TomoHawk
Free Member
-
Joined
-
Last visited
Everything posted by TomoHawk
-
 I don't really understand what you mean by 'it'll come back again some time in the future,' Bruce. I think it was a good thing to replace the factory ignition module. The engine seems to run more smoothly, and I've gone about 45 miles in the suburbs with the gas gauge needle moving only slightly, when, for the same driving with the old setup, I would've used about 1/8 tank. I'll have more data after next weekend, when I will be going about 400 miles. I'm also still interested in adding a remote relay or a kill switch to the 12V feed coil. It's probably better than putting a SPST switch on the distributor sensor wires- I think that's what killed the old ignition module, even though it was missing some anyway. You could easily disguise a SPST switch as a gauge lighting dimmer knob...
 -
I can't explain it, but the rev counter started working after I taped up the unused connectors. The thing only needs some adjustments and a tune.
-
I still plan to put on a kill switch for the new module. Would you prefer to break te switched 12V line, or the connection from the + pole on the coil to the B terminal on the module? I think the first location would be preferred, as that is what occurs when you turn onn the keyswitch. I have a remote 10A relay that would be ideal for that.
-
It doesn't make sense, but since the engine was operating (smoothly) I drove around the block to test it a little, then put the cover back onto the ECU, taped up the un-used ring terminals from the distributor junction block, and the rev counter started working. It still needs a proper tuner some adjustments, but I put about 12 miles on it today.
-
I did install a generic GM HEI ignition module, and it works fine; the engine runs smoothly without backfires, but the rev counter is not responding, so I'll look into why that is so. If this new ignition module works out, I'll consider the performance Pertronix one, and put the generic one in my spares kit. Would you say all the trouble is worth the $400 for a replacement OE ignition box?
-
Yes, the first thing I did was to unbolt and unplug the old ignition box. It's sitting here on my desk. Then I traced the blue wire from the - side of the coil to pin #1 on the ECU, as well as checking the other important things (grounds and power) according to the 280Z EFI handbook. Then I connected the HEI module. So right now, the tach needle isn't moving at all. Before, it would twitch a small bit while cranking. I thought there was a second (black) wire on the - side of the coil, but I don't see it now.
-
My condensor is on the + side of the coil. Should I add another, or switch it? Where do you get condensors? the only on I've seem lately was at the lawn mower section at the DIY store.
-
I finally got the GM module installed, and the engine runs smoothly, but the tachometer isn't responding. I have a blue wire attached to the (-) pole of the coil, and I understand that supplies the spark signal to the ECU. The wiring diagram also shows another wire (Blk/Wht) that goes to the (-) pole, bur I can't find that one anywhere in the area. Has anyone else installed the HEI module and still have the tachometer working?
-
I looked at the Pertronix D2070 Module mentioned here, and the description says "race only." It sounds like it's for a 'performance' application, but isn't a L28 (or similar) engine the right thing to go with it? The description says, This is a race module that only draws 7.2 amps, a module that's optimized for the 6,000 to 8,500 rpm range. I can understand the RPM spec, but I dunno what the 7.2 Amps means, with regard to the L28E engine. That's 86W from the ignition switch or relay.
-
I had an idea, that since many people are upgrading things to electronic control, would there be an advantage to just replacing the old, factory wiper amplifier module? With all the 40+ year-old ignition modules I hear of going bad, I'm likely to believe that the electronics (transistors/semiconductors) inside the module could benefit by being replaced with a module built with the most modern semiconductors. You'd need to get an amplifier in working condition and reverse-engineer it, to come up with one that is an exact replacement, but with better semiconductors.
-
Right now, the rev counter is (dead) since there is no spark from the HT wire. The last time the engine 'ran' the revs were really jumpy- steady 800 a second, then blip to 14, then quit. I agree it might be an ignition module problem. This might be a chance to switch to the GM HEI module.
-
I followed he 280Z EFI book to probe the ECU pins. Everything was correct, even the resistance to the WTS. The only thing I can't check with a VOM is the ignition coil pulses, but the FSM probably tells you how to do that.
-
I'll have to trace those wires. Did I mention the timing is 50 before without the vacuum?
-
The plugs look fine, as I recently checked, cleaned and gapped them for the summer. The mix should be right. Plus I switched them just in case, with no improvement. The only thing I didn't do is to check the sensors directly, because they are fairly new. The only symptom I couldn't explain is a bit of a misfire, and the spark timing is at 30 degrees even before vacuum advance. something must've jumped? I think I have located a local shop that knows about L-Jet.
-
Since replacing the connectors, my engine has died. It makes no sense to me or the ECU died. or even the coil. The spark plugs looked a bit burned, as if it was oily with misfires. I have an old factory coil on the shelf.
-
I made the connections for the relay as in the diagram; I used the wire for the high beam as the ground for the relay, so it would power-on the lamps only with the high beams, and it didn't have the desired outcome: the lights were on no matter which headlamp beam was on. I hope I won't need yet another relay to correct the situation... What is the preferred way to aim the spot lamps? I aimed the lamps about parallel ( the spots are to the inside of the headlamps) with the high beams, reinforcing the headlamp beams down the road. I also tested them on a dark local road and they did brighten the road for a ways, but things will improve more, as I install some proper spot lamp bulbs, such as 80 or 100W Then I will take it to the turnpike and see how that comes out. The only catch is that I need to turn on the high beams and the spotlights individually, so I will need to pay attention to approaching vehicles. That, and it's just not as bright as the headlights on my new car. The headlamps are KC Hilites H4 conversions and the spots are Delta lights 60H Series rectangular lamps with 55W xenon bulbs. The headLamps are getting full voltage, but still seem a bit dim- it must be a weak ground leg.
-
A fire extinguisher is the only tool or item I own that has just one purpose.
-
I have been following the development of the foam fire extinguishers and there has been some improvements. The AFFF (Aqueous Film-Forming Foam) is getting approval from Underwriter's Laboratory, the U.S. Forestry Service, and many electronics groups, (as an alternative for Halon.) More of the foam formulations are biodegradable, less toxic to the environment, and just better overall, when compared to dry-power fire extinguishers. Only the Coast Guard has refused to accept it. The only drawback I was able to find was that when compared to certain specific types of fire extinguisher media, in specific circumstances, you needed a larger volume of AFFF to do the same job as the dry powder fire extinguishers. So, in general, the AFFF fire extinguishers are excellent for protection in a passenger vehicle. I think it is rime to get the racing organizations to recognize the AAFFF fire extinguishers and change the rules regarding them. Having said all this, has anyone bought one recently? They seem to be available only from overseas.
-
That might work for a backyard fire ring, but in an automobile, you only have a few seconds, to grab your fire extinguisher and get out, open the bonnet and start spraying the fire.
-
I think there is information on the atlanticZ website(resistance versus temperature data) to tell you which sensor should be the right one, but you'd have to buy a few then check the calibration to find the correct sensor. I think that's unless you can get one via the Nissan factory part number, which should be the correct part for your engine.
-
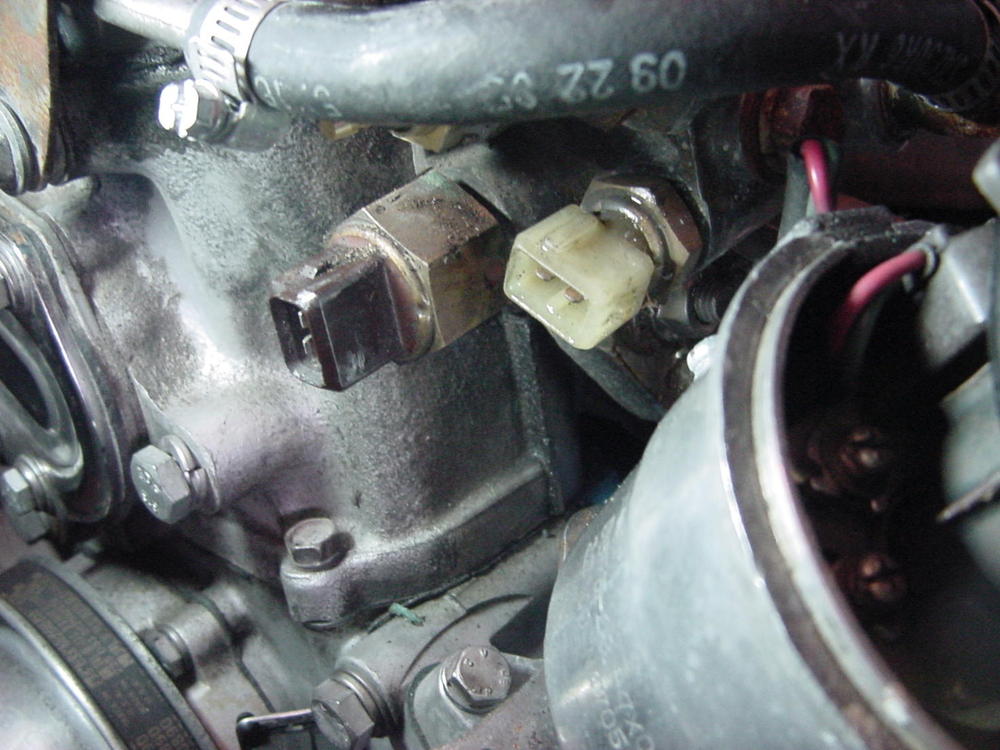
This is what happened to the gauge sensor:
-
Hey, Are you sure you have the correct sensor? I'm wondering if I got the wrong one (because some computer says it's "equivalent") so it might be making my engine run, but not like it should. looked at some of those things on eBay, and every one had the tab in the center. I know I replaced the thermotime switch with one from BlackDragon, but I think the others are "original" but you never know for a 30-year-old car.
-
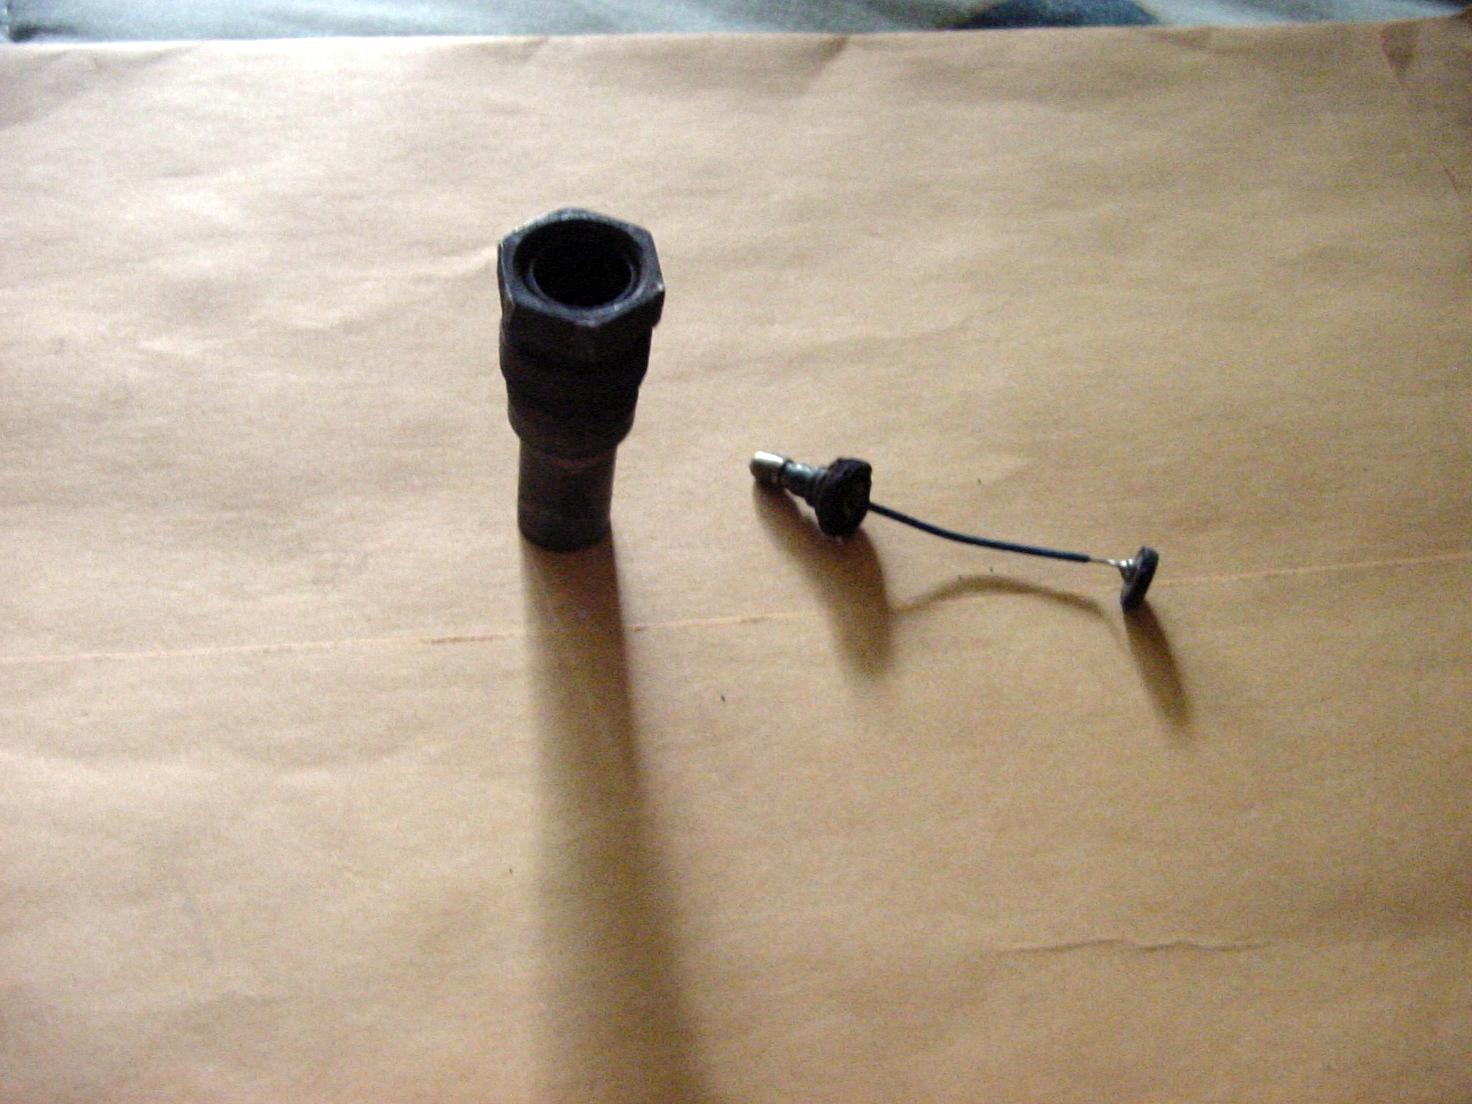
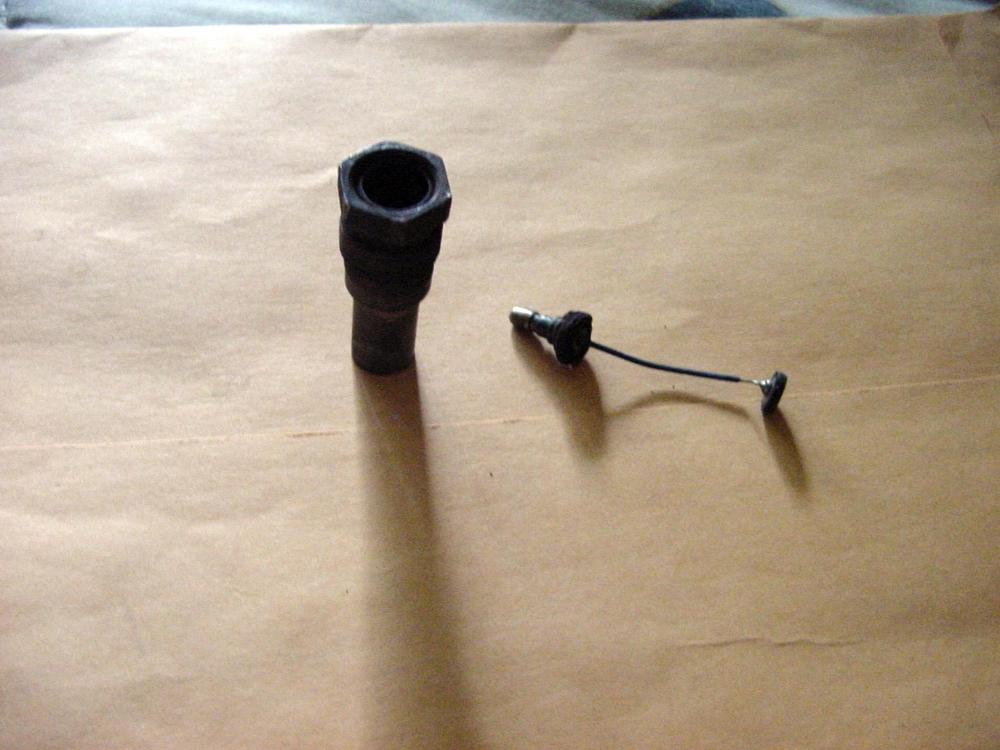
You were correct. I just took a photo of mine. It has the groove centered on the old connector, as you see here. So I will try to make an off-center groove on the connector I just wired on, and if not successful, I will file off (what's left of) the old off-center tab. But in the long run, I think I will see if I can get the correct sensor & connector, just for a little piece-of-mid. Maybe someone can identify a source for the correct sensor & connector.) It's no wonder the thing was a PITA to get off, and the other slipped off easily, after pressing the retaining clip. The second photo is of the sensor itself. I'm not sure it it's the original sensor, because I replaced several including the thermotime switch many years ago.
-
I just presumed the offset tab was so you don't connect the things wrongly. The one is a resistance to the ECU, an I think the other is for the thermotime switch. That suggestion to go to the JY is reasonable. Besides, you can take your notepad, tape measure, camera, snipper, (sandwich?) etc., and maybe make a few notes on something you might want to get later. I could walk several miles browsing the pull-a-part in my area- and all that entertainment for just $1. But it would help to know which types or makes of cars have the needed connector.
-
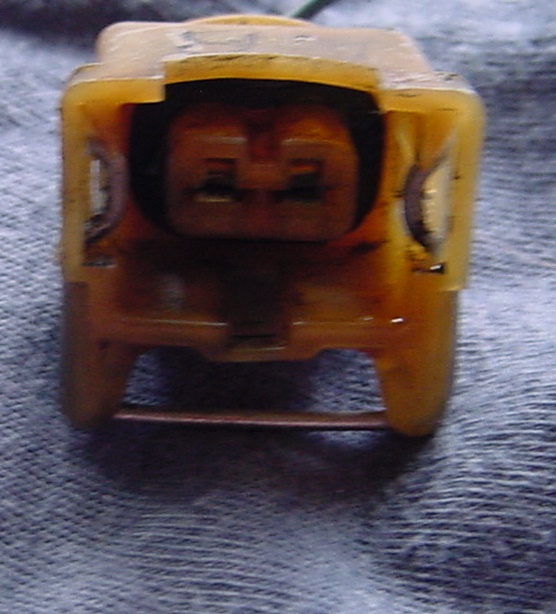
Yes, both the sensor and the old, factory connector has the offset tab. I think I could just use a Dremel with a small grinding stone or bit to make a groove on the new connector I wired on. I can get the connector on as it is, but it's not easy. What I have is an engine harness from a BMW which I got from a recycler in AL. Vines Auto) I saved all the injector-style connectors and some others that would fit my engine, but none of the m have the offset groove.