240dkw
-
Posts
707 -
Joined
-
Last visited
-
Days Won
7
Content Type
Profiles
Knowledge Base
Zcar Wiki
Forums
Gallery
Events
Downloads
Store
Blogs
Collections
Classifieds
Everything posted by 240dkw
-
I use a foam earplug, just poke the wire though it and let it jam up against the wire feed block. It works great
-
This thread has some more information as well. http://www.classiczcars.com/forums/showthread.php?t=39219
-
If Bruce and or Greg can not help you, PM me. Dan
-
Brian: I have a few of them around. Pm me if you want. Dan
-
Dean: something like these would work, a bit pricey but they have been for sale for a while now and you might be able to get a better deal Dan http://manitoba.kijiji.ca/c-cars-vehicles-auto-parts-tires-tires-rims-Minilite-Rims-W0QQAdIdZ242121235
-
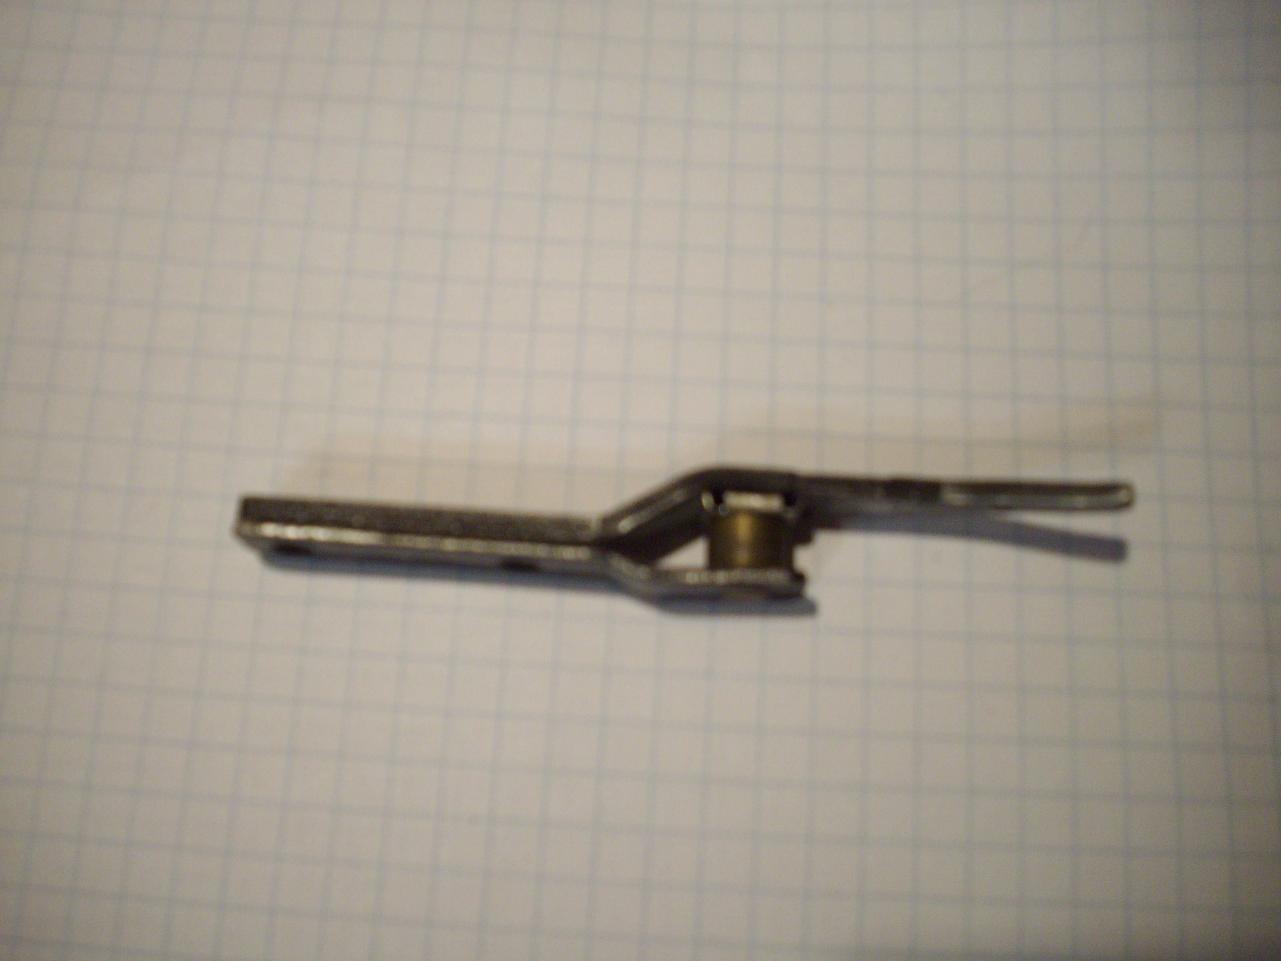
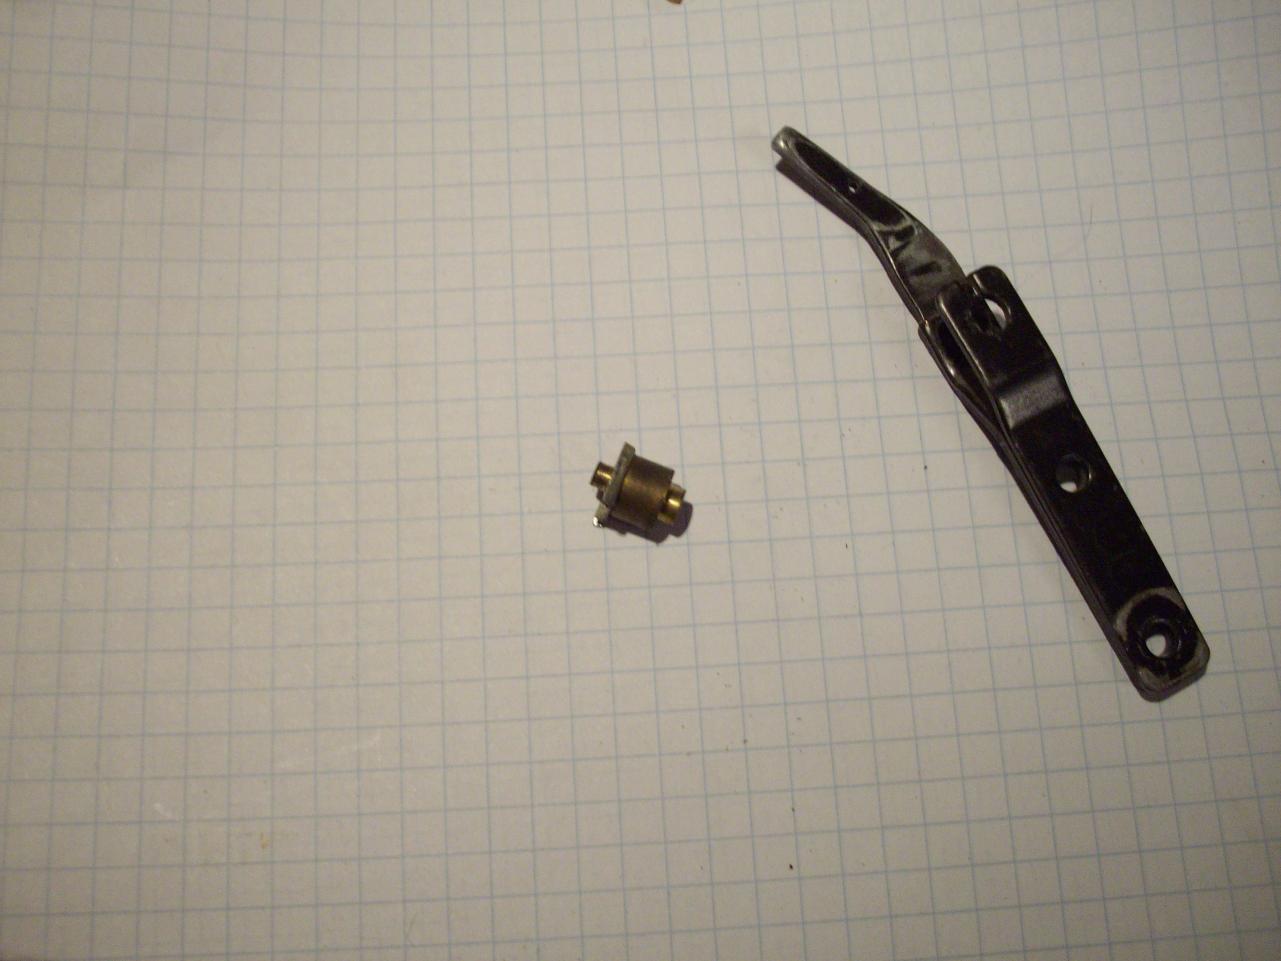
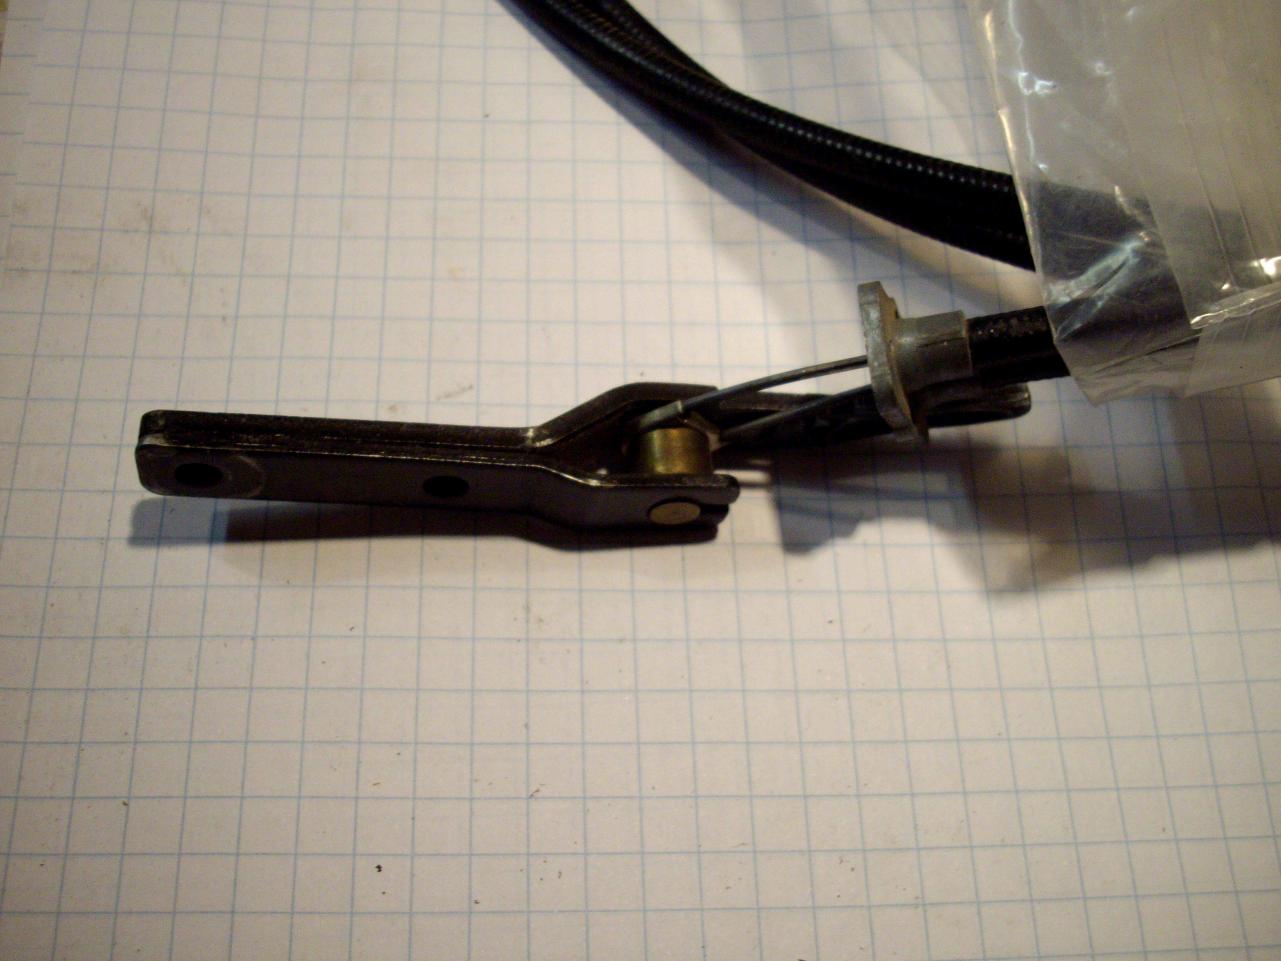
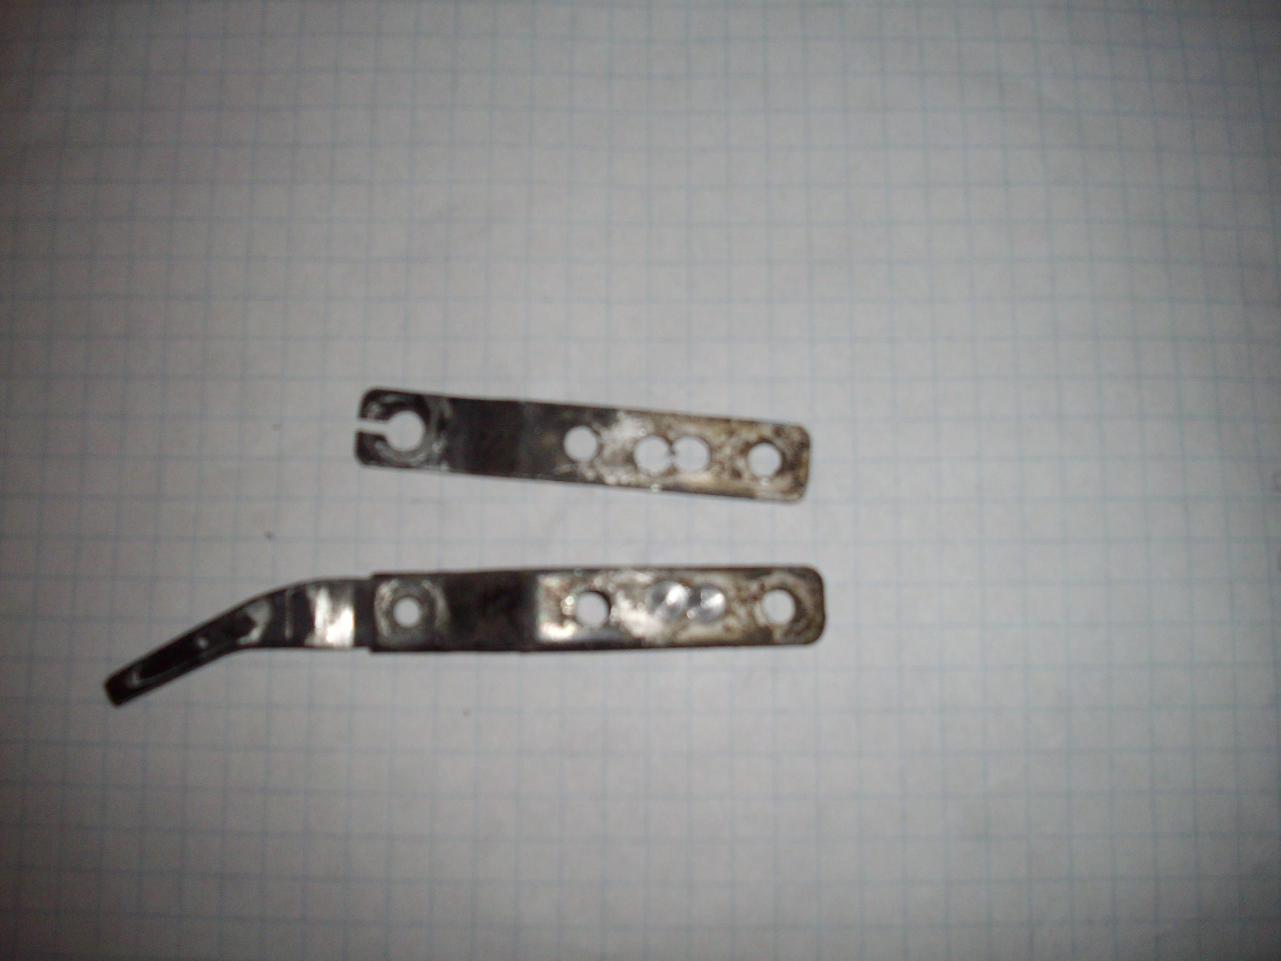
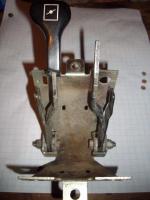
Do these help? Sorry for the focus problems. After looking at the photos I posted it looks like I used the throttle lever instead of the choke lever. This might cause some confusion. Looking at your photo you have the wire loop on the wrong side. If you start at the longer side of the lever (left side in your photo) The order is choke wire loop, horseshoe shaped washer, brass spacer, bolt. Dan

-
Rich: is this one of the hood decals you need, it is off a canadian car, not sure if they are the same. Dan
-
Richard, I am sure I have a later set laying around. I will email you my phone number. Dan
-
Ron I have a reproduction set on order. I will post a photo once I get them with everything replated and painted. As well how, I will try to make one for the shorter slot as I have several chokes laying around.
-
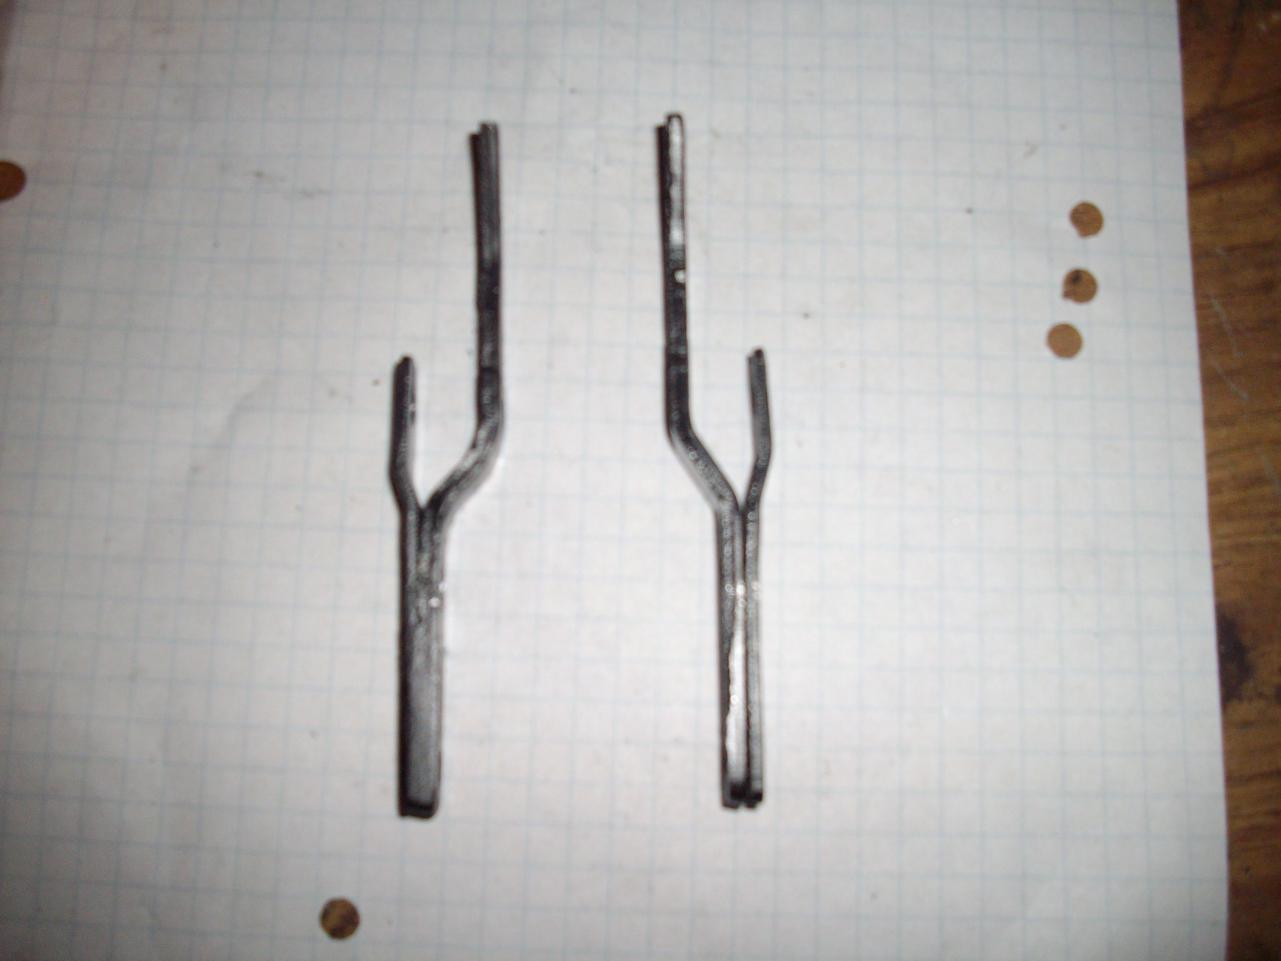
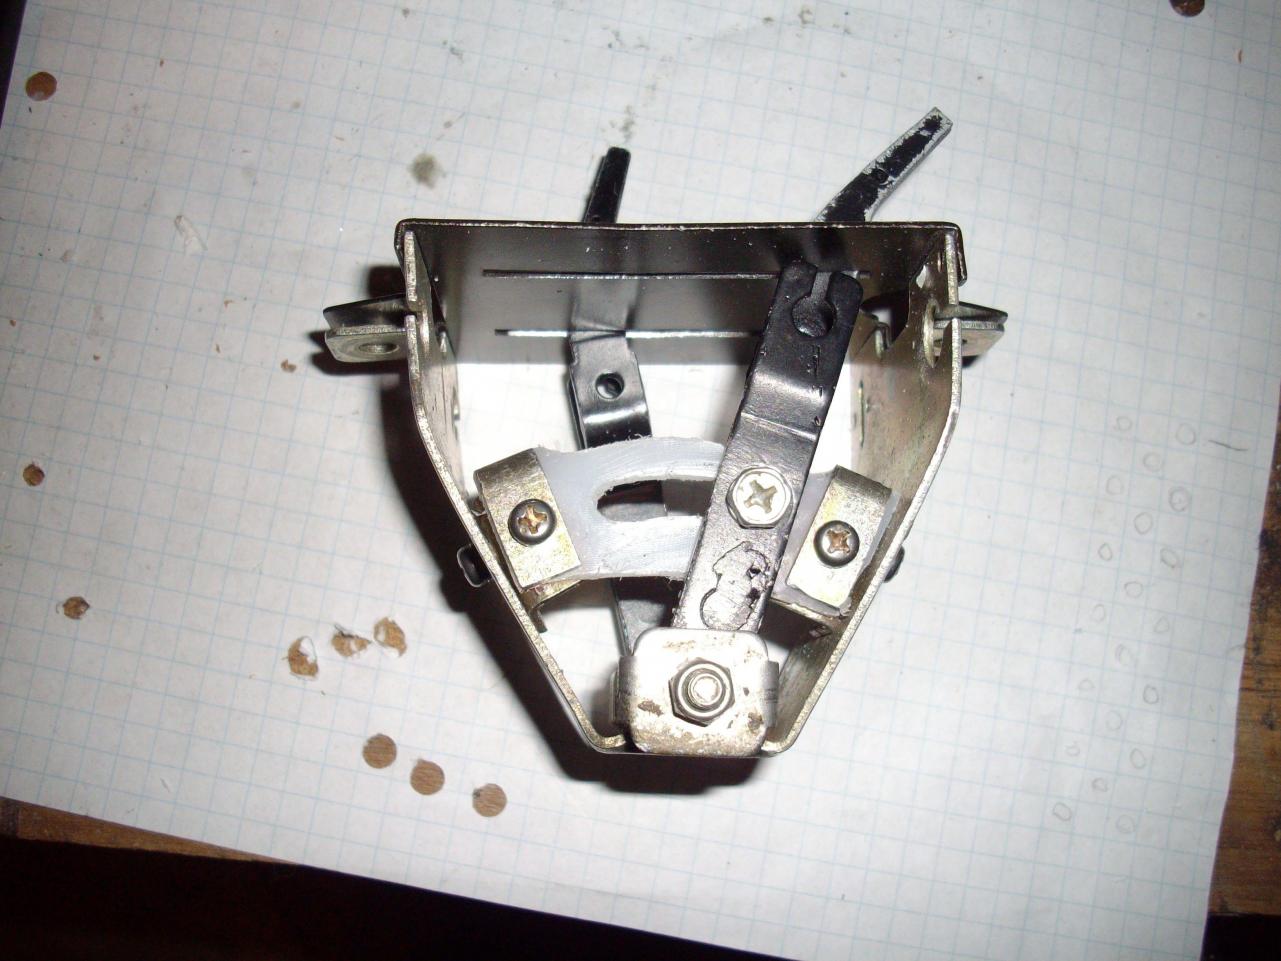
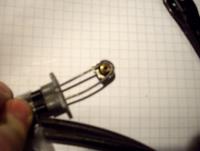
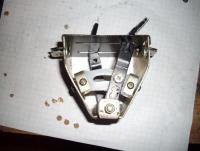
As it has been much too cold here to work in the garage I thought I would try to see if I could modify one of my spare choke levers to make it a throttle lever. as the lever is make from mild steel, I drilled out the spot welds and flattened it in a vise. After bending it to be the mirror image of the original lever I welded it back together. I than made a couple of brackets and a guide for it. As I was looking for something to fill in the slot, I think this will work very well. Now I need a better long slot choke/throttle bezel as the PO cut out a larger hole for an antenna up/down switch in the one I have now.
-
-
Owen: sorry, I misplaced the card they were on, I have the same work to do on the passenger side and will make sure to take photos then. No there is no rust in that seam other than right at the bottom of the dog leg. In my first post you can see the white seam filler. I scraped it all out and there was no rust. Dan
-
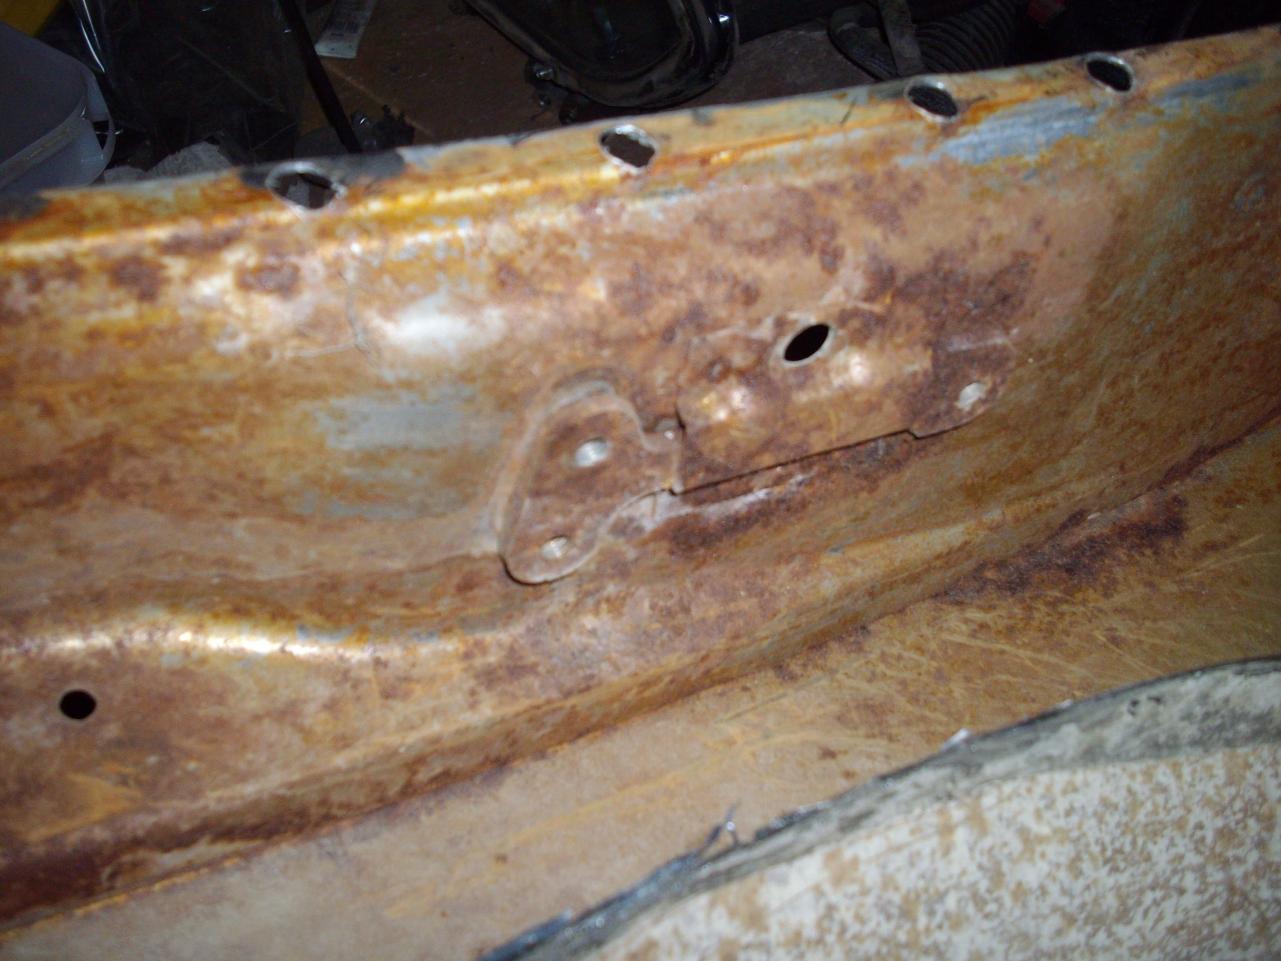
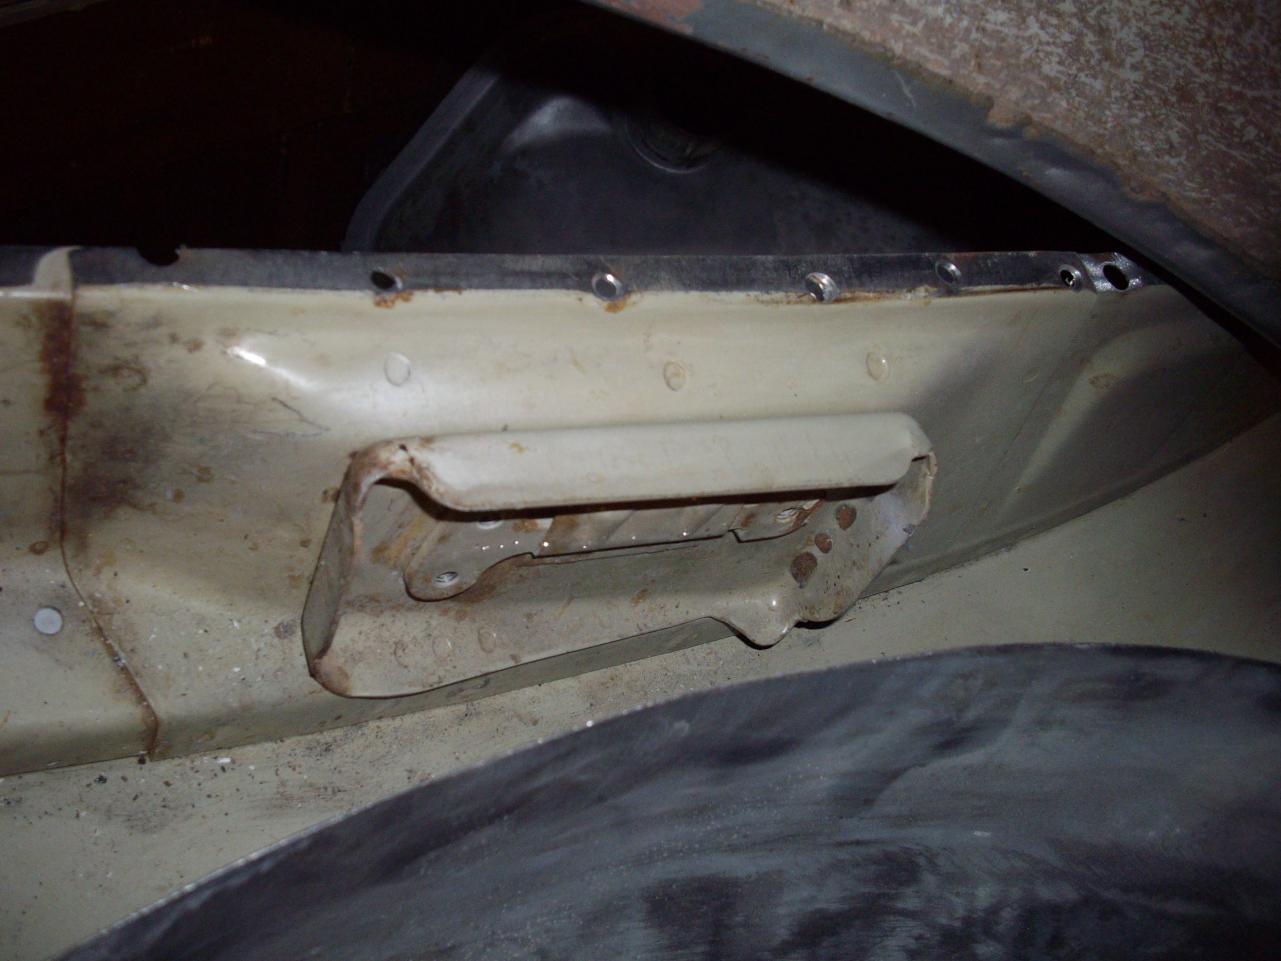
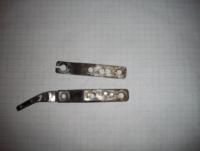
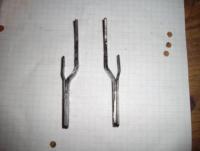
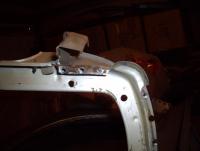
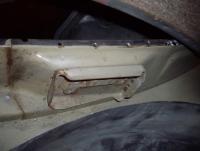
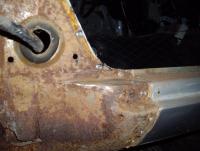
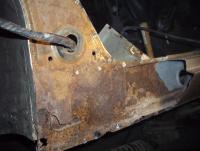
While I have replacing my rear quarters with a set from a 73, I found a couple of things that are different. In the first photos the is a "eyebrow" on the top outer corner of the main body that fills in a open area on the quarter panel. This does not exist on the series 1 quarter. The next set show the door latch area. The series 1 has a very small spot welded bracket to hold on the latch plate backing, and the later one has quite a large reinforced bracket for the latch.


-
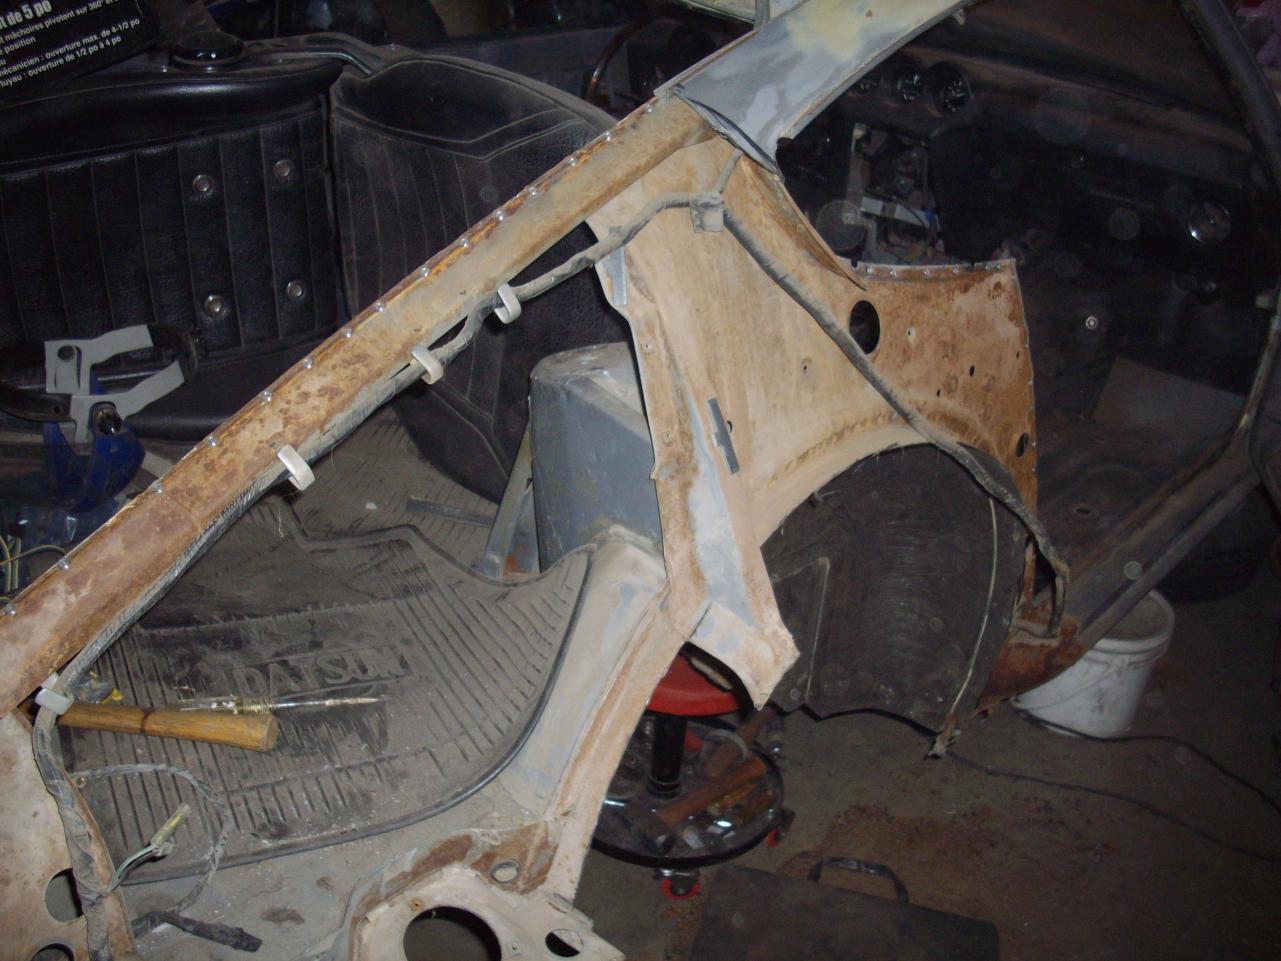
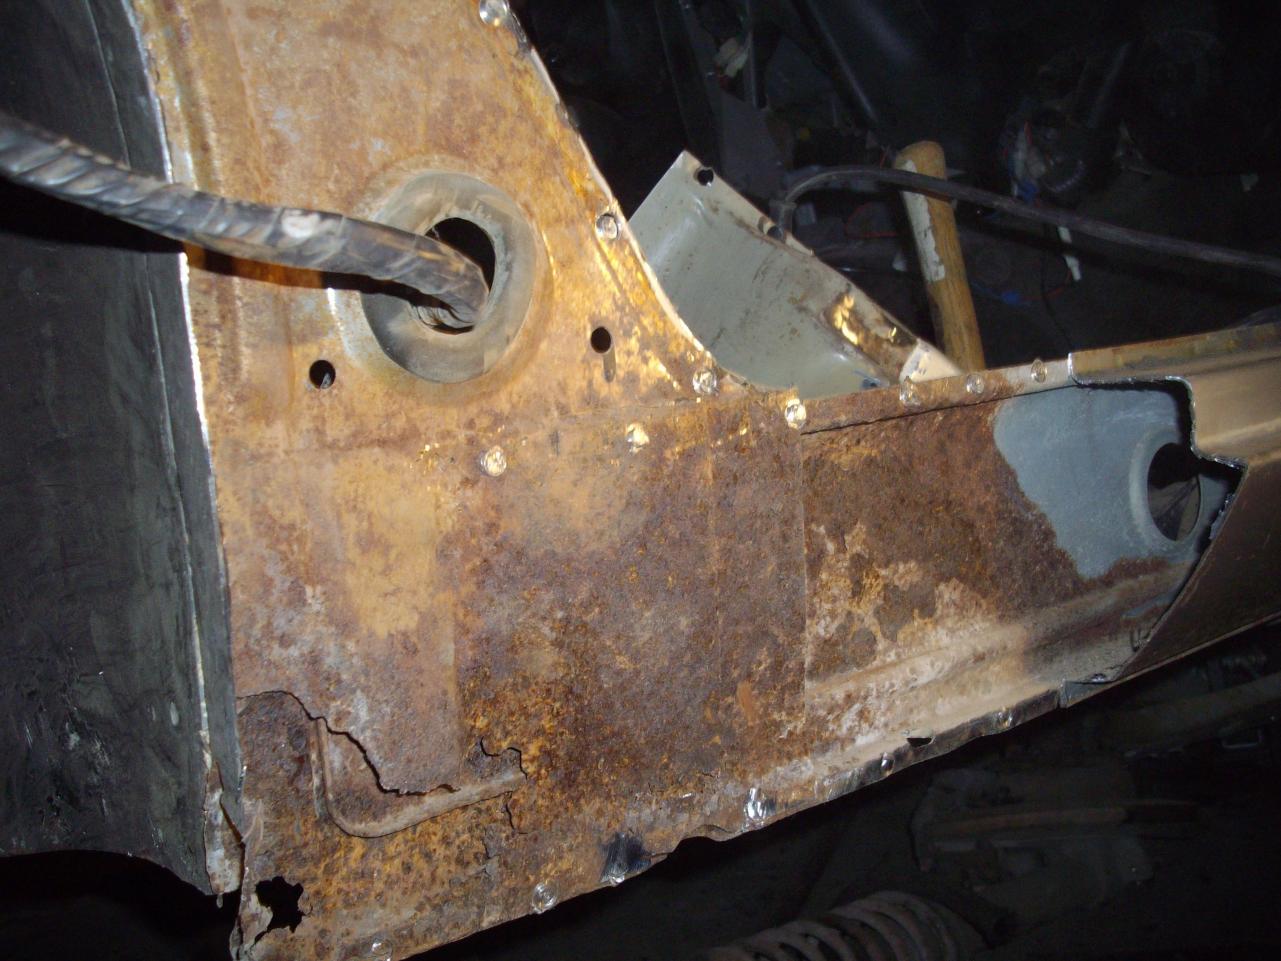
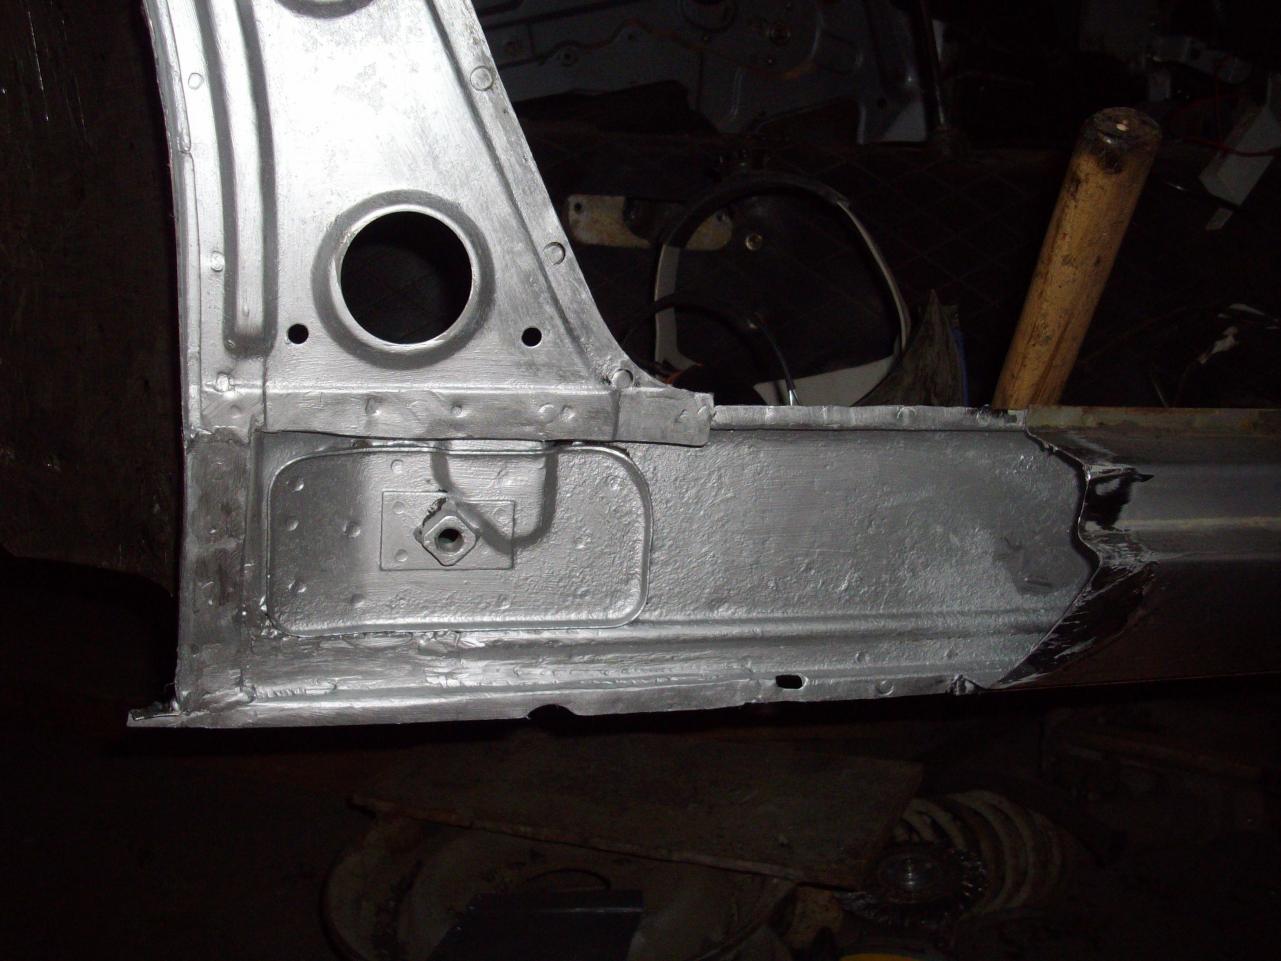
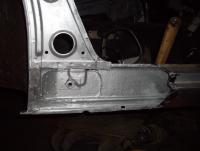
Time for an update. I have worked my way around the car to the right rear quarter, here is a photo of the old one removed. The only bad spot underneath was the dogleg area. After cutting out the bad, I treated everything with the silver POR15. next up is to weld on a non rusted rear rocker section and then the new rear quarter.
-

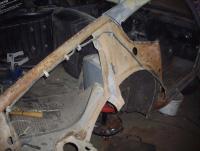
Two frame rails at TC rod-is there a "floor" between them?
240dkw replied to Mikes Z car's topic in Body & Paint
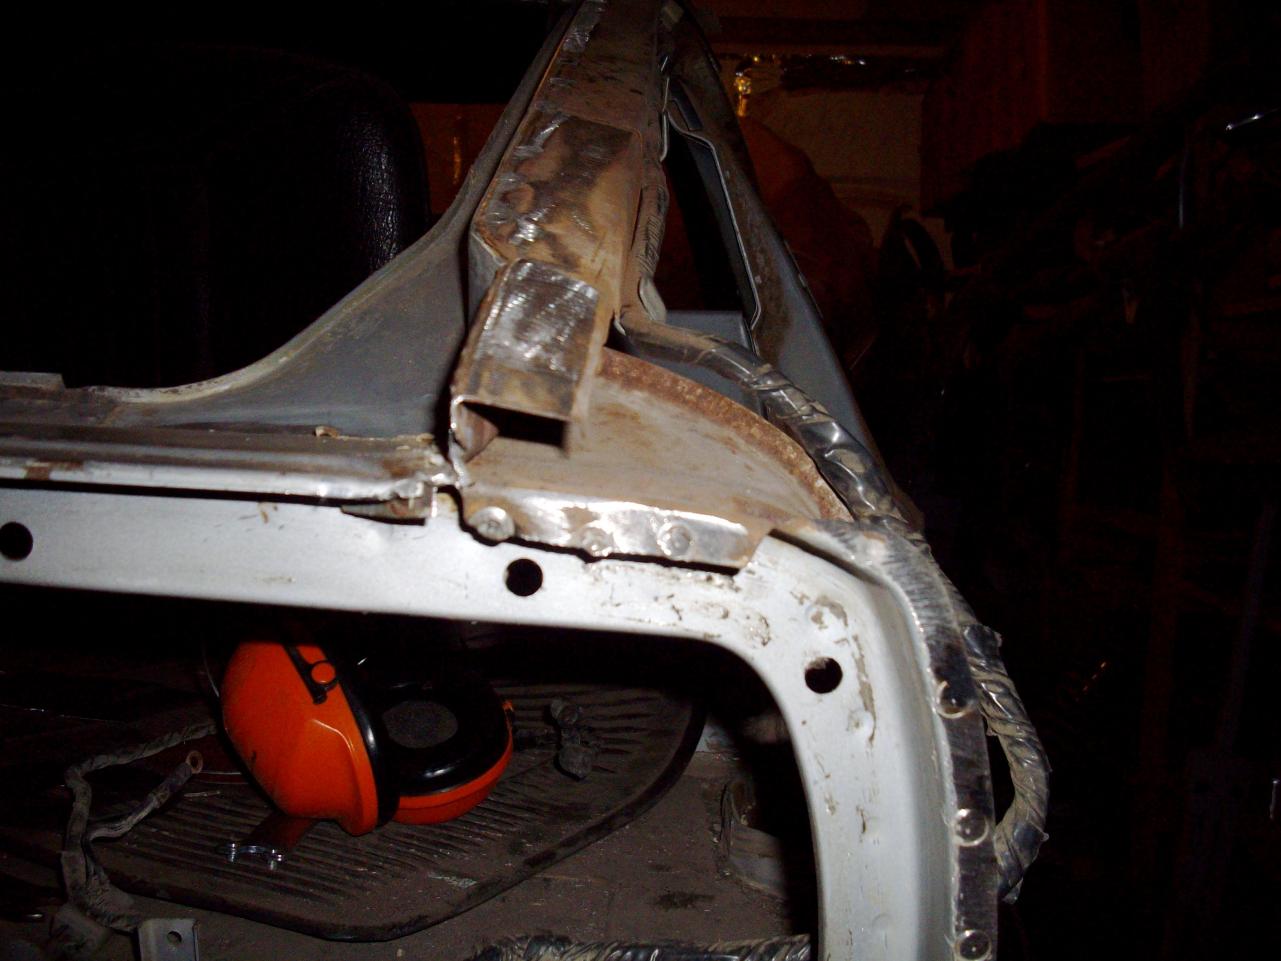
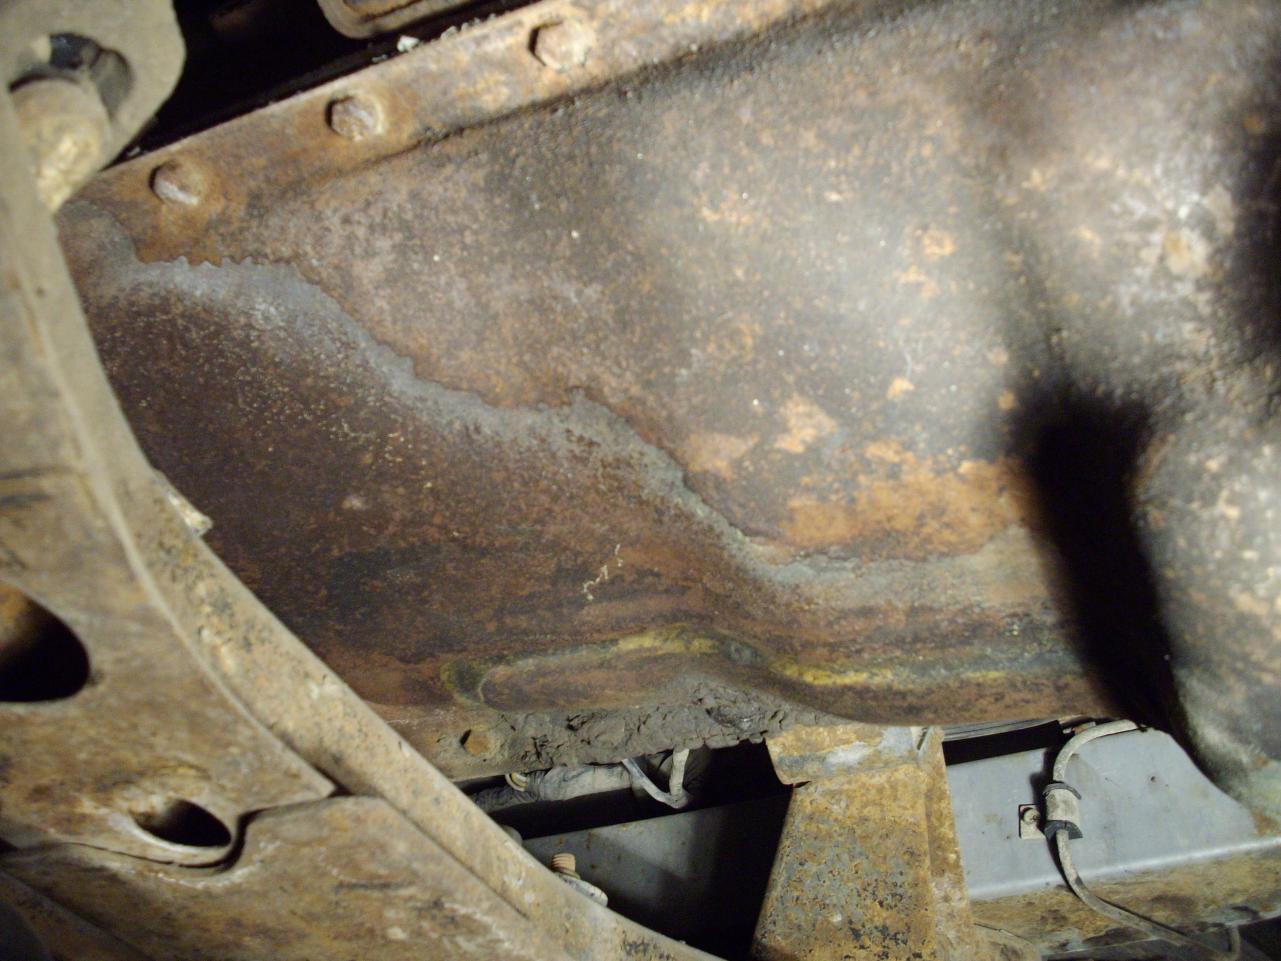
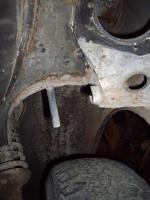
Mike: I might of misunderstood your PM about the question of a floor between the rail and TC box. Jon is correct, here is a photo of a rail I cut off a parts car. Dan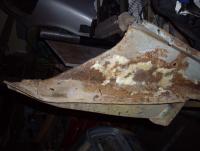
-
E-tek: I have the Tabco quarters and inner fenders as well as a set of floor pans and rails. I was going to redo a 73 that I had but it was too far gone, found a 70 in much better shape and now do not need the parts. PM me if you are interested. Dan
-
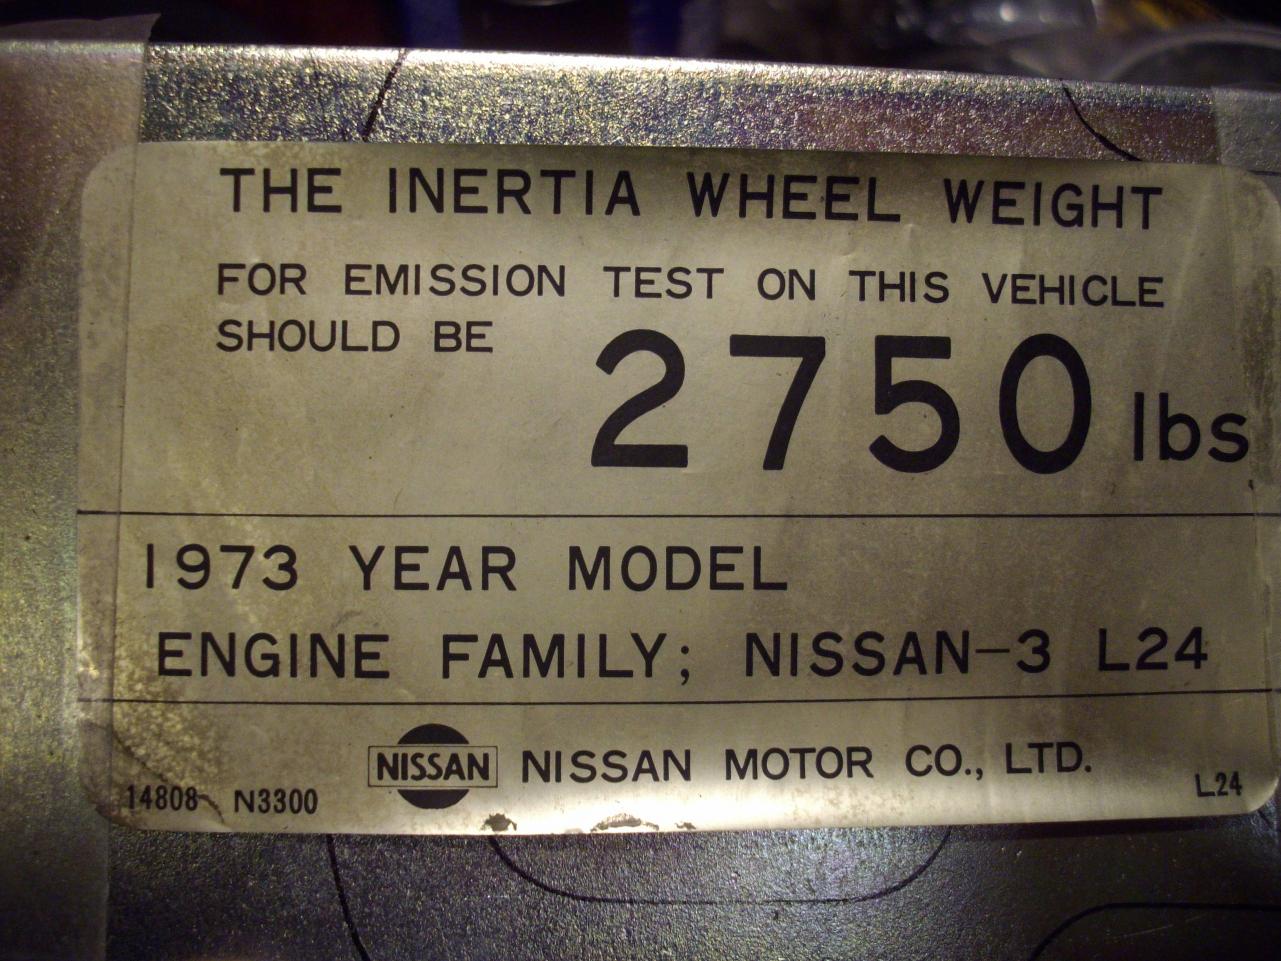
I did a little research and as far as I can tell, the emissions law for Canada was passed in 1970. So it would be applied to the 1971 model year. Of course we end up back at question as to when the cars with a later build month started being called a 1971 car. as my car has a 7-70 build date, I am sure it is a 1970.
-
John: very nice work, a ride in very much in order.
-
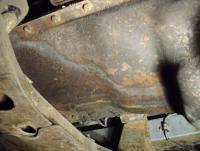
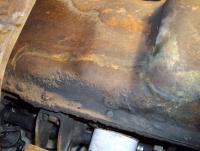
I have been spending the last week or so under the car scraping the rest of the undercoating off and have noticed a couple of things. First it looks like the car has a early reinforced oil pan, the engine is the original one and a number of L24-9873. I do not have any of the history of the car so I guess that the oil pan was replaced with this early one at some time. Because of how much later it is than the dates in this thread. http://www.classiczcars.com/forums/showpost.php?p=278322&postcount=28 As well, because this car is a mid 1970 Canadian car and does not have the extra vent hose to the gas tanks here is a photo of the support tab that would have been for the extra hose, still unbent as if came of the line. This tab sits right behind the filler hose shield. The is another unbent one on the spare tire tube for the same hose as well.
-
I have been searching the threads, but did not find that one. I will try to find it.
-
That makes sense for my car HLS30-06513, as it has a single pulley, no air pump, non emissions balance tube, no tubes in the manifold, no evap tank, and no extra hose connections on the tank, too many things for it to be a modification by a PO
-
Ron: If the evaporator tank was not required in Canada in 1970, does that mean most or all of the cars that came to Canada in the first 5-6-7 months of 1970 did not have the tank? Dan
-
oldhemi: I had photos, but missplaced the memory card:stupid: I started out by putting a 90 bend in a patch panel at a depth that is the same as the deepest part of the stiffener. I than clamped the patch to the back of the stiffener and used it to hammer the panel it to the shape. I ended up with a folded crease at each end that I filled in with a weld to stiffen it up. I hope this makes sense. Dan
-
-
Mike: I used a borescope camera call "Snake eye" that I borrowed from work. http://www.snakeeye.com/ I do not have any photos as I did not hook up the recorder to the borescope. I still the other rail to do so maybe I will try doing a video recording than. Dan