Oiluj
Free Member
-
Joined
-
Last visited
Everything posted by Oiluj
-
 Reminds me of when my car was at that stage. Nice work!
 -
I agree completely. When nothing changed after the 1st round of bail-outs, the follow-up bail-outs were a stupid move. I also agree with Jon that it's unlikely they will make it. I for one do not mourn their downfall. Quote: "Stupid is as stupid does..."
-
It wasn't Obama that ran GM into the ground. The "Big 3's" downfall has been in the making for years. It was GM's short-sighted management that are fully to blame. In my opinion, it's about time they were held responsible for ingorning changes in the market, not to mention rising fuel prices and economic conditions over the last 8 years. That's why Toyota, Honda & Nissan have taken so much of their market share. Stepp'n down off my soapbox now....
-
I echo Will's comments.
-
Stephen, What is your opinion of the self-piercing bolt-on taps? I was thinking they would be a good alternative. Was even thinking they could be soldered as well, but would be eaiser to mount on the hard line.
-
I’m working on installation of my AC lines, bending the hard tubing. My question is where to locate the service ports. Is there any “best†location for the service ports? I’m assuming that anywhere that’s convenient for servicing is OK, but wanted to verify before bending and cutting more lines. I'm planning to locate my drier on the passenger side strut tower, but am open to a better solution. Thanks!
-
I'll chime in o doing the work "with" your son. 1) He will appreciate the car more and will be less likely to take chances with it after putting a hundred hours or more of labor into fixing it up. 2) He will learn a lot in the process. 3) It's quality dad/son time! Have fun with your project!
-
Thanks Mike. I'll do a web search for a converter. While I can do some 3-D cad (pro/e), I'm graphically challenged when it comes to other formats.
-
Let me try this again... Perhaps I didn't communicate what I was trying to say very well. I'm not criticizing your add in any way. In fact, I looked at the original ad on eBay and thought the car looked pretty good. What I mean to say is that as long as you have disclosed any issues with the car, (ie. the photos), I think you've done what is reasonable.
-
File type for the icons is: .srf
-
Sorry, didn't fully read your question. First, as you indicated, I'd cancel the current auction. I'd simply state that there is some moderate surface rust in areas and show the pics. Indicate that it is nor rusted though, (if you are sure of this). Should be good enough...
-
I'd disclose it. Add additional pics to the ad.
-
Ok, here's a challenge for you graphicaly gifted Z people... I got a Garmin GPS yesterday. There are downloadable car icons you can put on the screen. I put the Speed Racer Mach 5 on mine. The icons are a 3-D .swf file. Anyody capable and interested in making a 240Z icon? (if you do make one, please make a silver one as well...) Julio
-
I've been tinkering with a spreadsheet to understand the impact of spring rate on wheel rate / suspension frequency for my 240Z. It is based on a spreadsheet a buddy used. I modifed for the Z, making a few assumptions along the way on the approach to the calculations. I used a web-based spring calculator for the estimating the spring rates. (There is a web link embedded in the spreadsheet). The spreadsheet is a bit messy and has not been fully verified for computational accuracy. Also, I just "guessed" at the suspension component weights, (used to calculate unsprung weight). Attached is the excel worksheet. It's been a fun exercise, but not being the smartest guy in the room, I expect there may be a few errors... Perhaps some of you can have some fun with it, point-out any errors and let me know what you think. 240Z Suspension Spreadsheet.xls
-
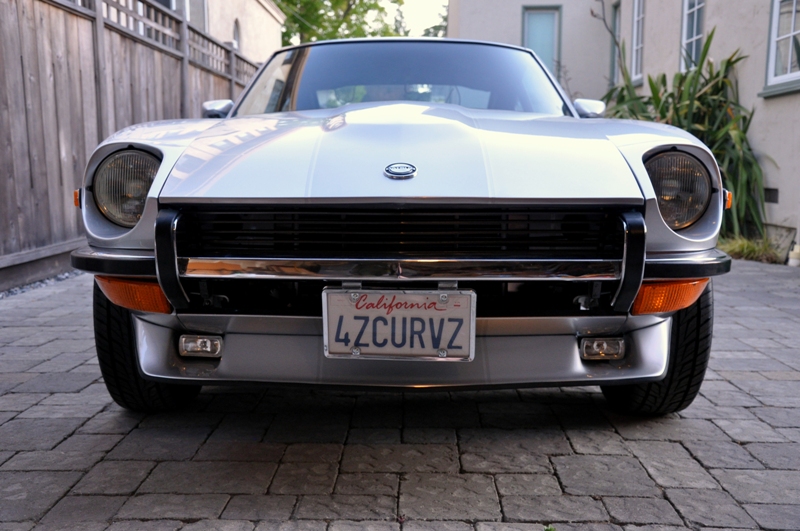
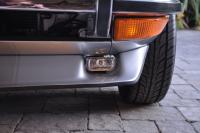
Here's where I installed mine. They are mostly for looks, but do provide some benefit in foggy conditions in lighting the road edge without blinding drivers coming the other direction. They are basically H4 bulbs in a wide-angle lenses, so they are not super bright.

-
Why not just make some. Just aluminum rod, a drill press & a thread tap. With polishing, would probably take no more than 1 hour.
-
Lori just called me back in. They blew-up the Z... What a waste, even if it was a 2+2. I hope it was really rusty under the paint...
-
Update: My wife just called me back into the room. Someone driving the Z just shot a model & drve off screeching the tires. I wonder if it will only be used this episode. With the killer driving the car, it may end-up crashed by the end of the program.
-
My wife is watching watching a new show on "Lifetime". I was in the living room playing a RPG (Neverwinter Nights), on my laptop when she told me to look-up. It's the premier of the show is "Hostile Make-Over". Early in the show the heroine drives a late 70's, silver/blue 280Z 2+2 into what appears to me a mechanic's shop. Even my wife (so far), finds the show "miss-able", but at least it has a Z...
-
Sweet car for only $3800! For the gas smell start with the fuels hoses, then carb tune, then the myriad of gas tank hoses.
-
Been almost 20 years since I rebuilt an L24, but if I recall correctly, you have to loosen the chain tensioner. Before you do this, bring cyl #1 to TDC and note the position of everything.
-
Ditto on the posts above. Won't buy from him unless I can't get it elsewhere.
-
Wow! Glad to hear it all turned out OK.
-
All advice above is right-on. Biggest thing for me was to not apply glue to the perimeter edges. Left about 1-1/2 on all sides unglued. Went back and added glue to the back edge after installation. Sides and front are well captured by the roof structure. Made it much easier.
-
I did the same thing on my previous Z. I did a junkyard exchange of my early 71' seats for late 72' seats. You'll appreciate it even more over time...