SSuspect
Free Member
-
Joined
-
Last visited
-
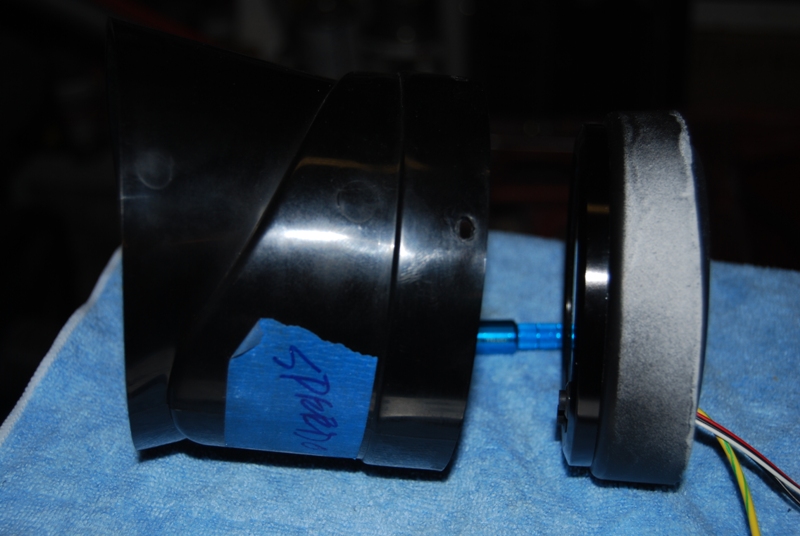
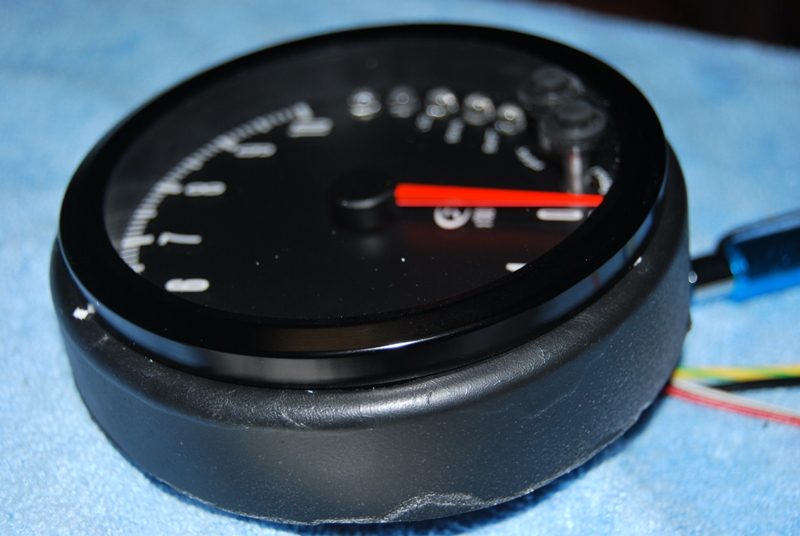
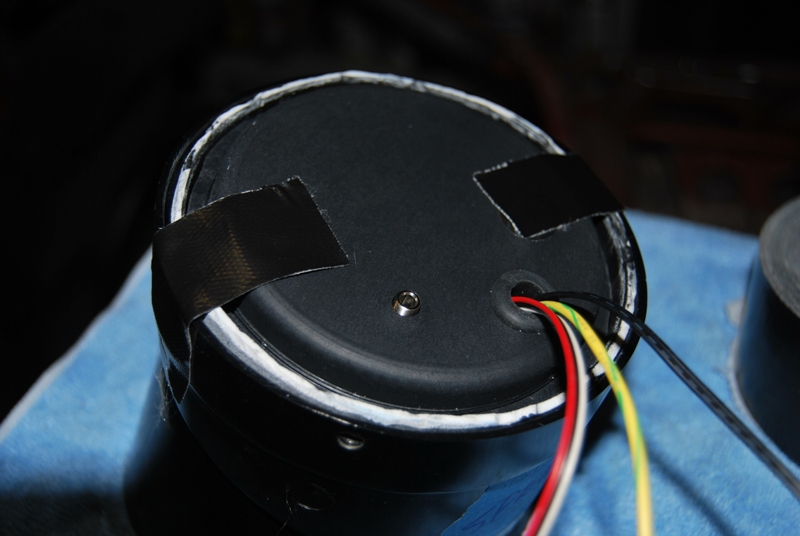
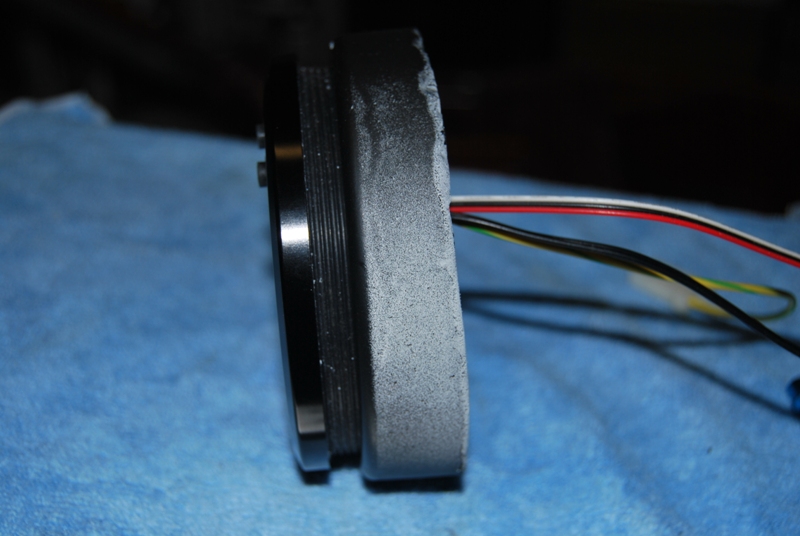
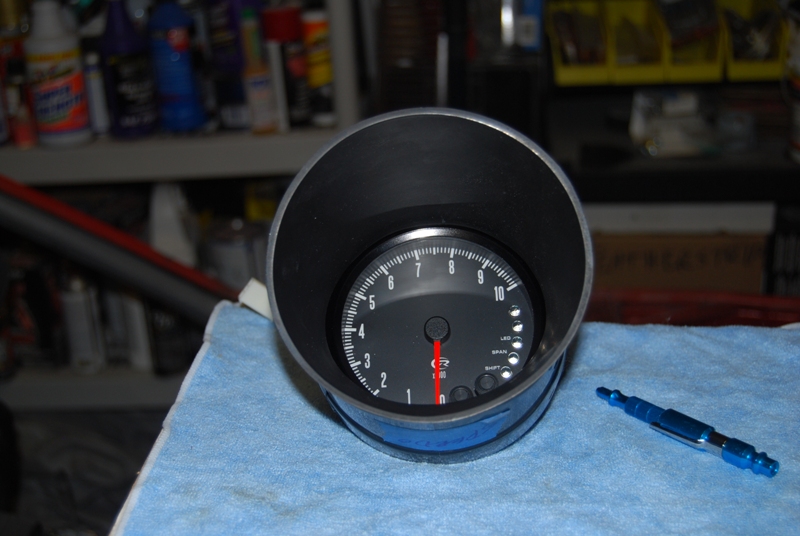
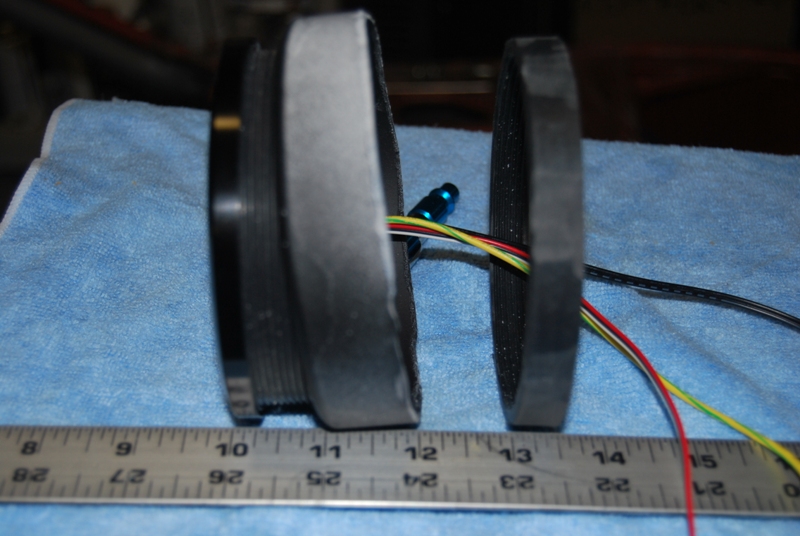
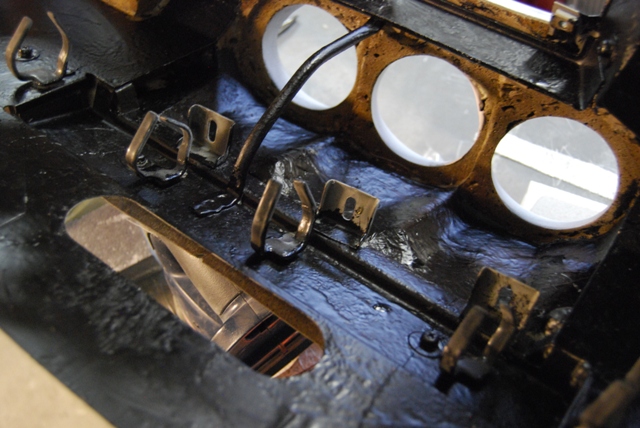
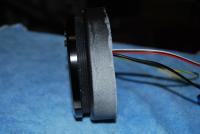
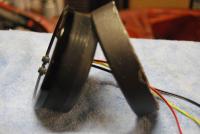
Thanks guys. I definitely don't worry too much about what others think. It is all about me! Kenny - I have "almost" all of the pics to do a full writeup. Got impatient toward the end and did not take the final pics. I only missed the part where I mount the metal gauge cups back to the rear of the plastic cups. I can talk you through it. I am only using the Speedhut speedo and tach. I am not using the stock plastic lens. I did not like the look and had issues fitting everything. I am sure that it can be done and keep the lenses. I will take more pics of the rear of the dash and wiring harness later this week. Cliff notes... - White 4" plastic caps from plumbing section at Home Depot. For sprinkler line - not regular ABS. - Cut out solid part of cap to gauge diameter and cut cup to gauge depth - Install Speedhut lock TIGHTLY ring into trimmed white cap (Note - ring is tapered - install THIN SIDE IN) - Screw gauge into cap and tighten - mark top center for alignment in gauge cup - Place into gauge cup and align as needed - hold with tape - Mark points on plastic cap that align with the metal tabs on the metal gauge backing cup. These areas will need to be ground down in order to clear tabs - Unscrew gauge and paint plastic cap black (keep paint out lock ring of threads) - Install gauge back into painted cap - Install into plastic gauge cup - Install metal backing cup and tighten small factory screws - Install into dash See attached pics. Definitely trial and error, but they came out nice and they are solid! I will add more later or will start an entire install thread. Thanks Tim


-
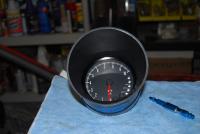
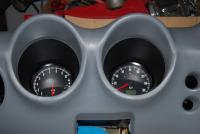
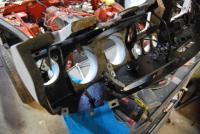
Quick update... Speedhut gauges are installed. Wiring harnesses are in place, but I need to adapt all of the new gauges and sending units. Then I need to install of the air ducts. I am hoping to have the dash back in the car within the next 2 weeks... I know that a lot of folks here are not crazy about the interior color change and gauge changes, but it is coming out VERY nice. Can't wait to get everything put back into the car. I do these things for me and really do not follow the crowds too much... :devious: Tim
-
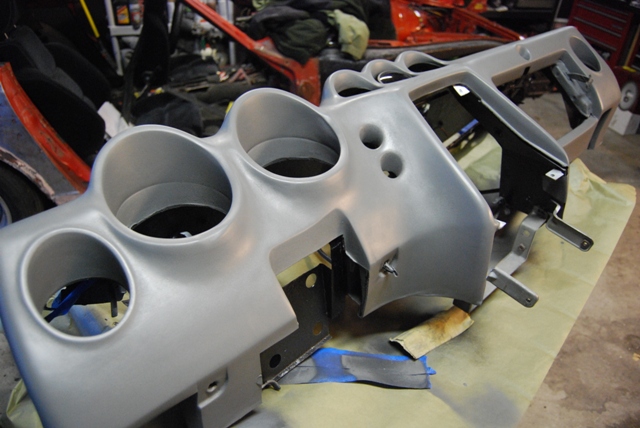
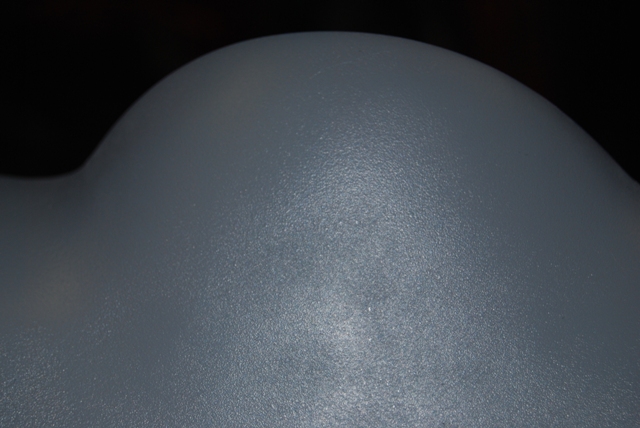
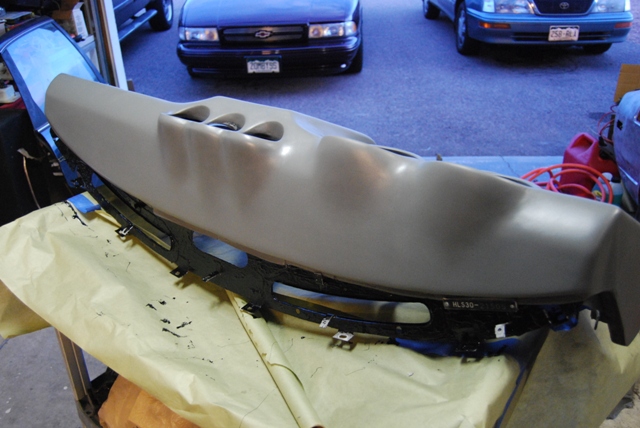
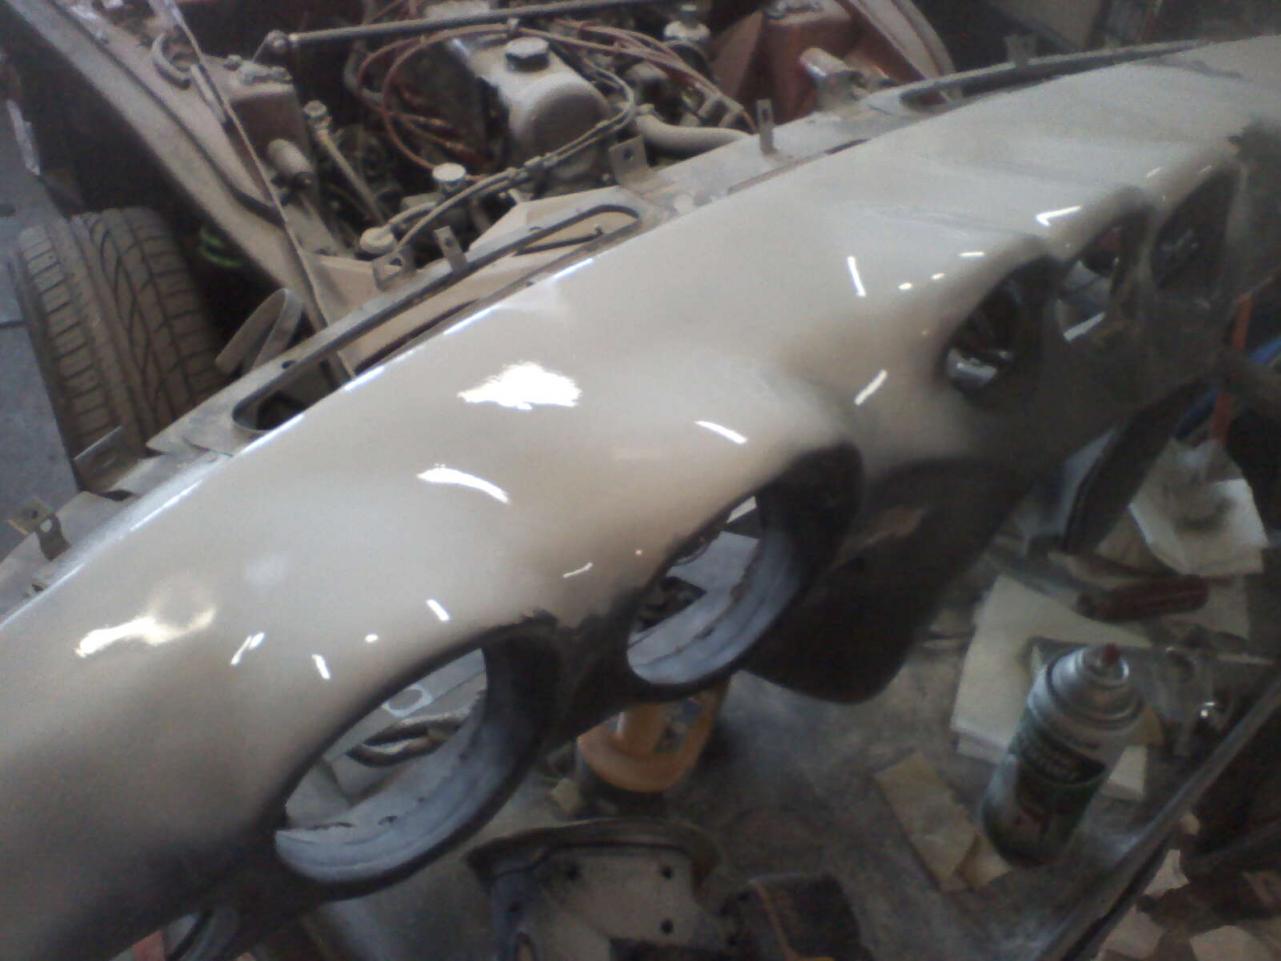
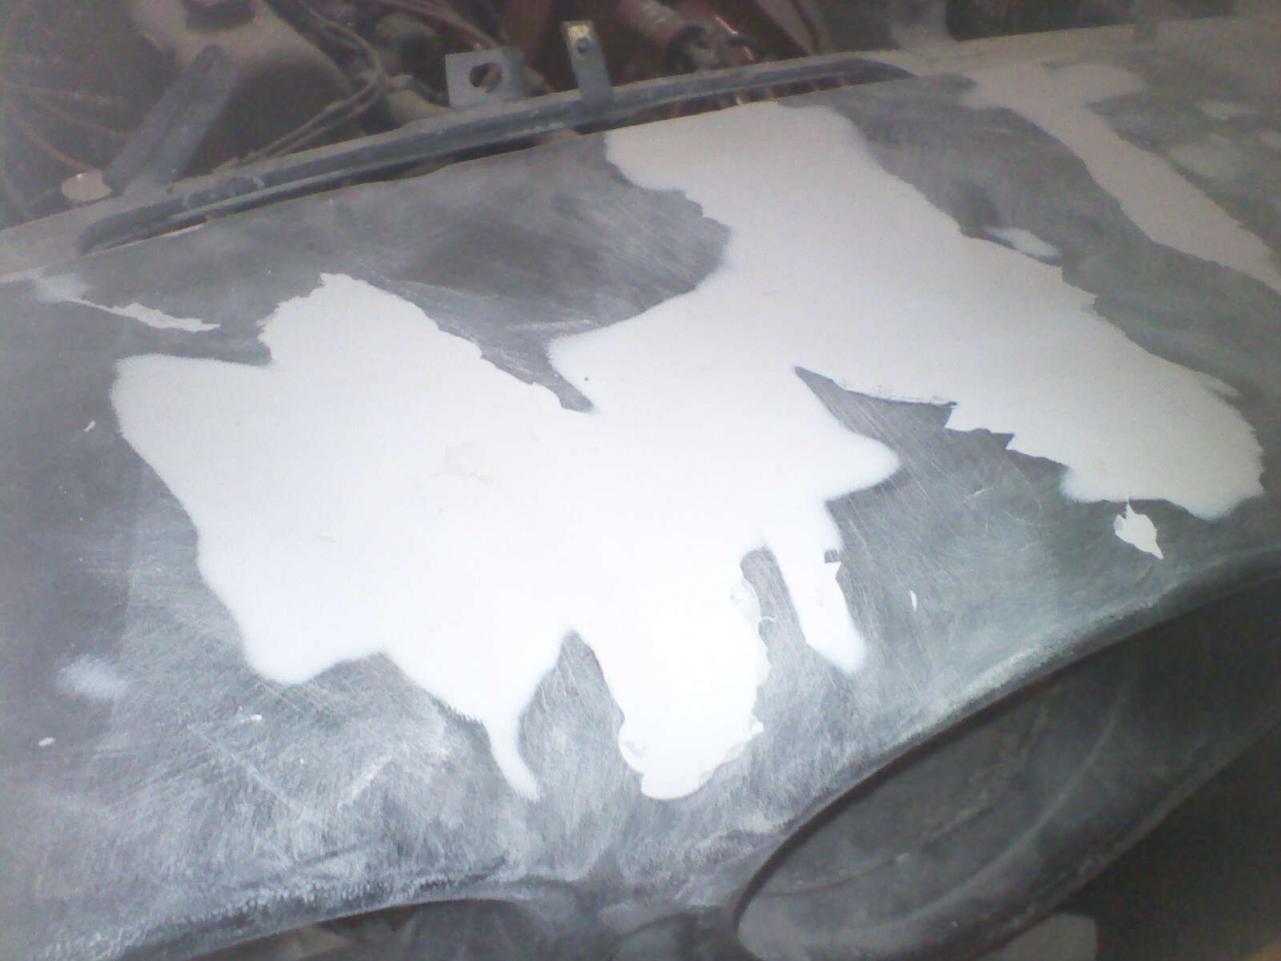
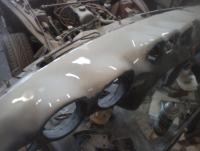
Finally got some time to kick this into gear! I just finished the color coat about 2 hours ago. Yes - I know that it is not black. Yes, I know that this is not traditional. But, I am not restoring the car to OE anyway. The entire interior is changing to gray. I like "different". Finished up the bodywork and sprayed it with the SEM texture coating. It went on fairly dry and had some high spots. I knocked it all down with 400 and then applied 3 coats of SEM "Presidio Gray" Flexible Color Coat. I am VERY happy with the results! There is some minor variation in the finish in different areas, but it is not something 98% of the people would notice. Speedhut speedometer and tach will be here next week. I will post more as it goes into the car. Thanks, Tim One "before" and several "after" shots.


-
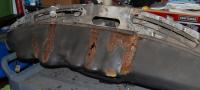
Well... I went ahead and pulled the harness and everything out of the dash. Tried to avoid it, but I can't help but to dig deeper and get everything done at the same time rather than to re-do it later... The dash is ready for final finish and final color. All "body/finish" work is done! I painted (almost) all metal surfaces with flat black rust encapsulant. This stuff is thick and does not lay out smoothly, but it is a great coating! It is behind the dash and will not be visible anyway. I will paint the last areas when the dash is installed and all grounds are in place. I also applied 2 layers of fiberglass to the underside of the gauge area. I hope this helps with future cracking issues (thanks for the tip Kenny!). I also need to paint the area on top of the dash where the air vents come through, but will wait to do this after the rest is finished. Regardless, I will most likely end up with a carpeted "Dashmat" to help keep the dash safer in the future. Too much work into this to let it get messed up! I am hoping to have the dash finished (final color in place and all gauges installed) and back into the car in about 2 weeks. I will post an update when there is something worth posting. Thanks, Tim

-
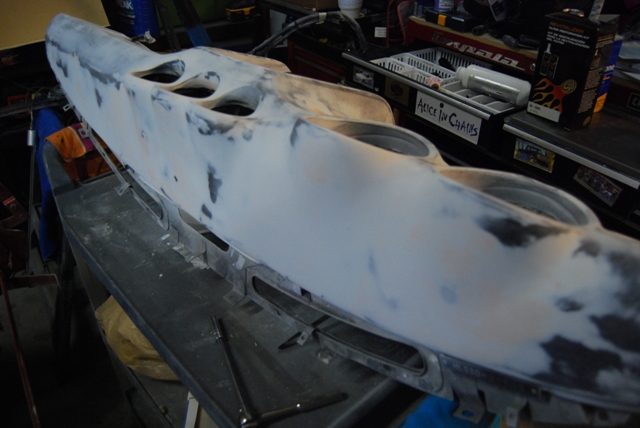
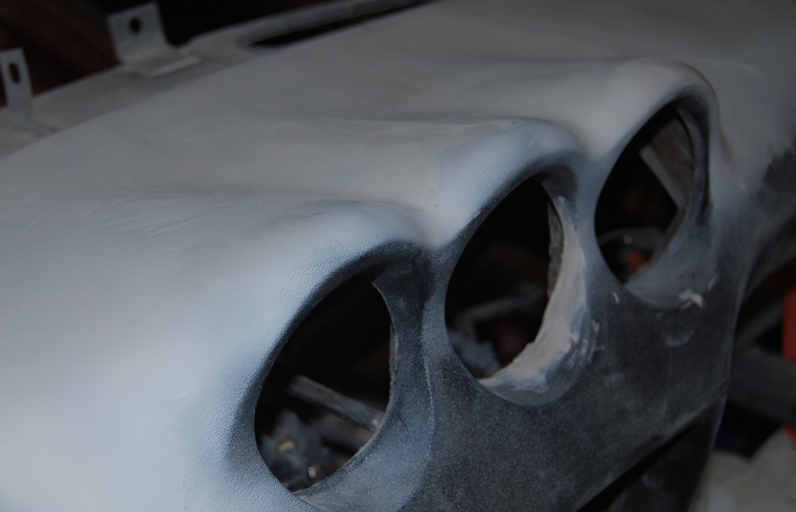
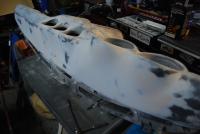
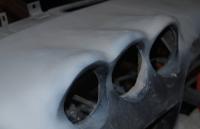
Thanks Kenny. Great input! Since the dash is still out, I should at least throw some resin and a couple of glass strips on the bottom side. I currently have Gorilla Tape under there. It sticks well, but is definitely temporary. The polyester is working well and is easy to work with. Longevity? We'll have to wait and see. The attached pictures are of the white plastic primer after it was just sprayed and still wet (will be sanded off). But you get the idea. Again, bad cell phone pics, but it is coming out nicely. The "body work" up top is complete. Still need to address a few other issues with the dash before I finish it. MY GARAGE (AND EVERYTHING IN IT) IS COVERED WITH SANDING DUST (look at the Z in the background!)! It will take a good weekend to clean all of this stuff up! Thanks again! Tim

-
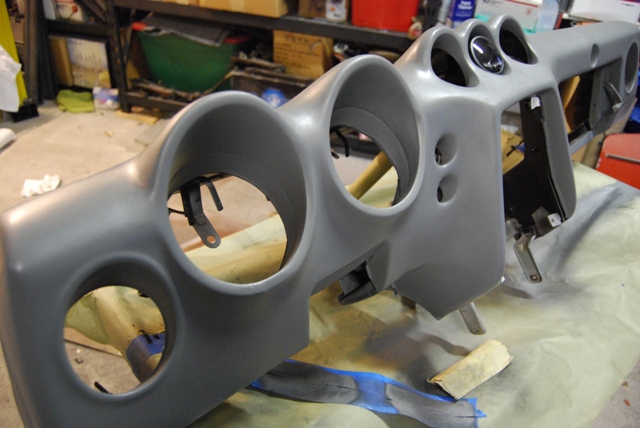
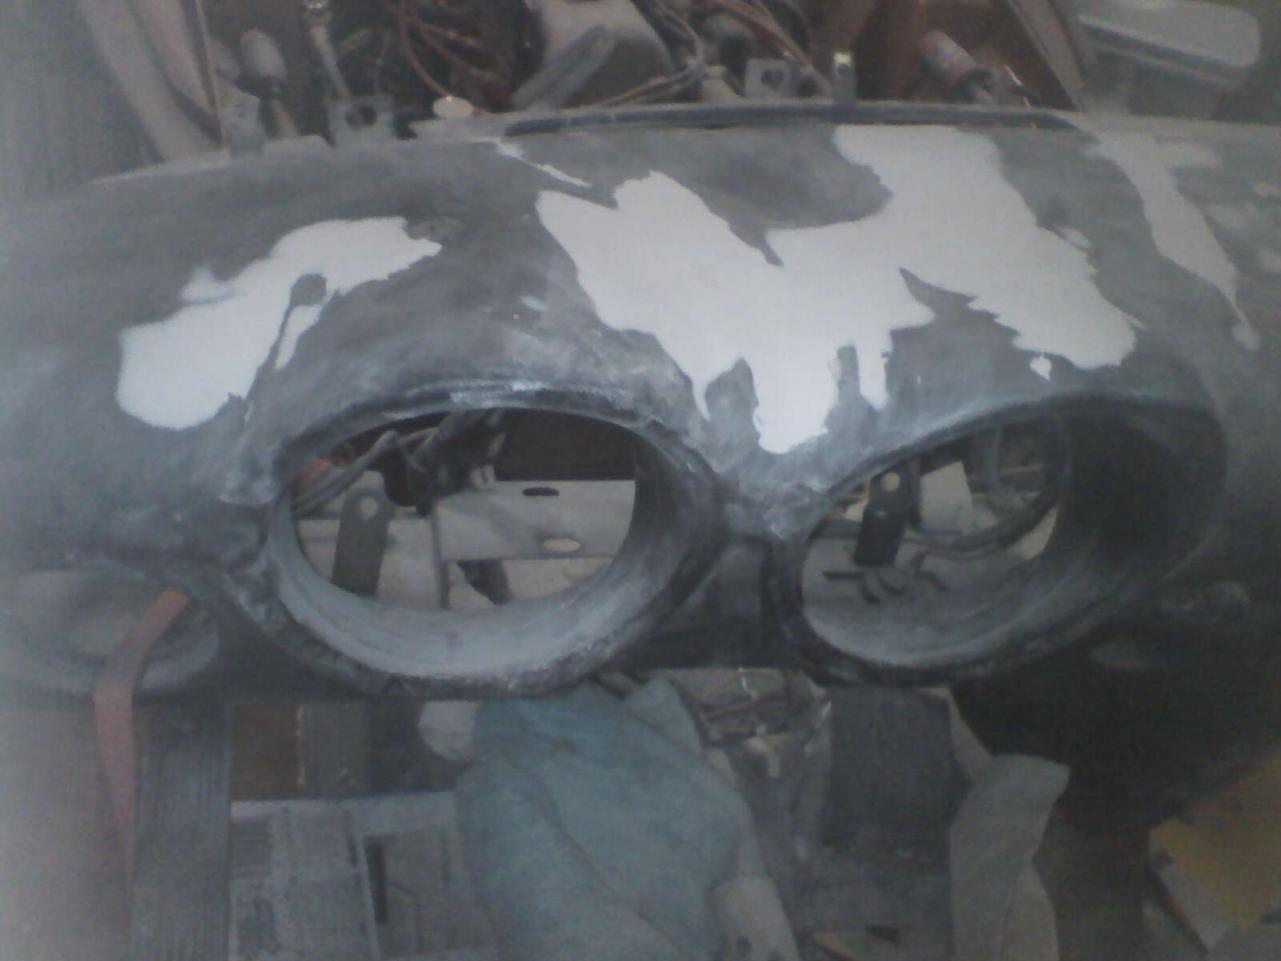
OK... Got to put some good time into the dash this weekend. Here are a couple of teasers. Coming along NICELY! But, it has been a "project" to say the least. :tapemouth I will post a full writeup once it is done and back in the car (another week or two). Until then, here is a "work in progress" comparison. Initial ""before and after" pics. The white color is a plastic primer. Using it to find highs and lows. Will be sanded off tomorrow night (I am on a mission now!). I still have a couple of small areas to finish (around center gauge and hazard switch). Should get these done this week. I would like to have the new texture finish applied by next weekend if I can. Thanks, Tim

-
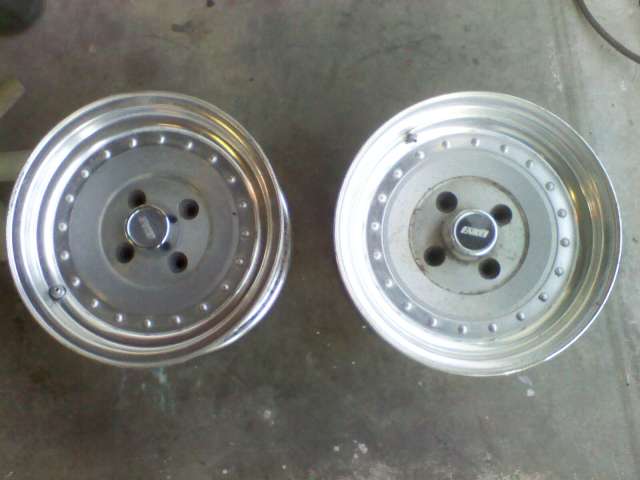
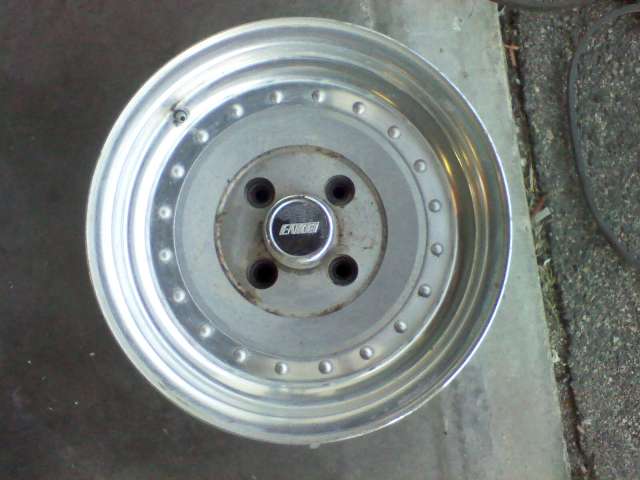
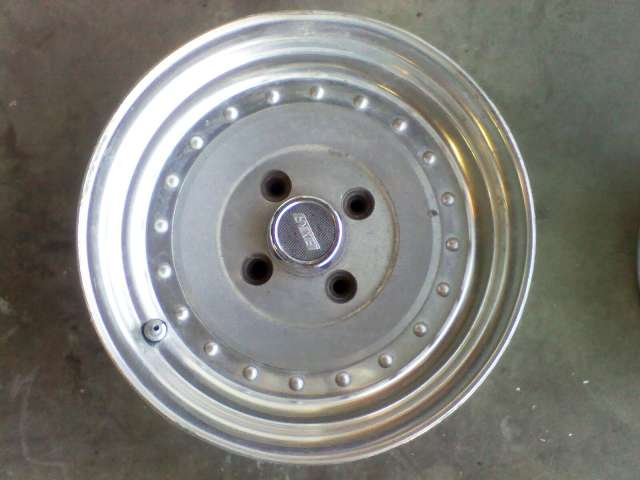
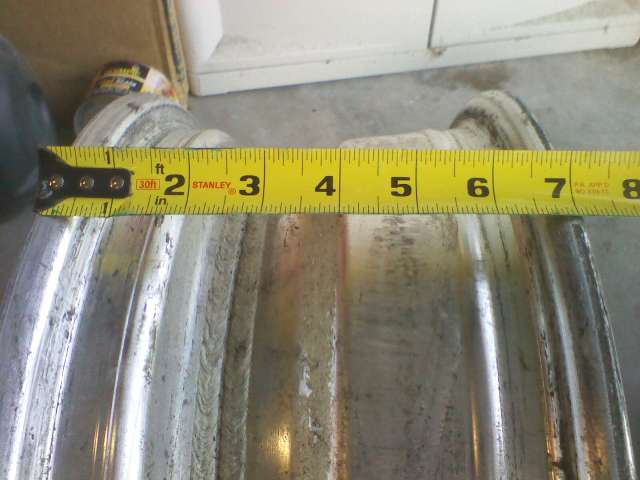
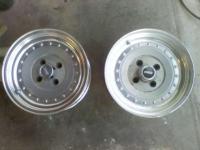
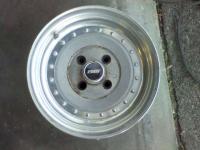
I do still see these show up from private sellers on a regular basis. Classic look for many cars, but definitely not "period or OE style". If anybody is interested, I have 2 old school 14" Enkei centerline style wheels sitting in my shed. Will let them go cheap ($40 for pair + any shipping). Just let me know. Tim


-
True, but some of the players can shred pretty good! ! Me too, but I prefer so see somebody else using one rather than me!
-
Hi Gary - Yep - That is me... (don't own it - just work there!) http://www.dmt-inc.com/ I just used a little bit of our scrapped material to do this. It slices through the foam "like buttah"... NOTE: It will cut through your skin the same way! We do sell material to the public. However, it is usually done in volume orders for specific saws and cutting applications. The wire has 6 sizes ranging from 140 microns to 420 microns in thickness depending on the application. If you are looking for some "official" uses for this material, I can link you up with the right folks. If anybody is looking for this material, please shoot me a PM and I'll be happy to see if I can help. Note - Somebody could also use a "wound" steel guitar string (maybe a "D" string) and get nearly the same result. Thanks! Tim
-
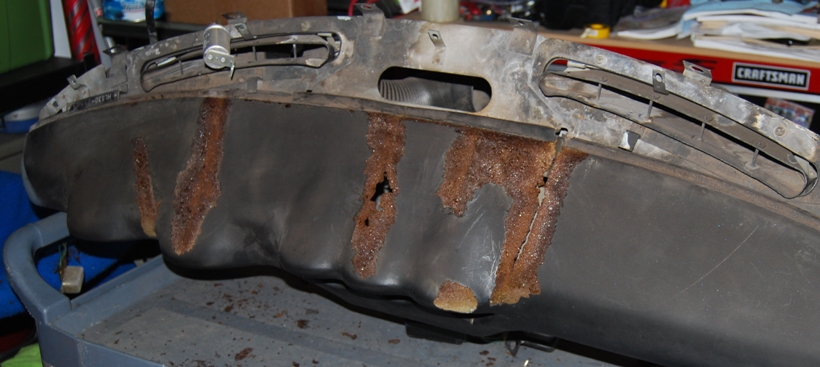
Hi all... Well, I too am diving into this repair process head first. I had a full dash cap, but decided to try this repair process instead. Napa does not stock the bumper repair material any more. They have a few floating around the US, but I decided to go a different route. I am using SEM Flexible Polyester Glaze. The SEM part number is 39482. http://semproducts.com/Catalog.asp?prod=122 It will be interesting to see how this stands up compared to the other materials detailed in this thread. Process to date... - Beveled all large cracks and filled with Great Stuff foam. Small cracks will be filled with finish material. - Cut down the foam using a thin piece of diamond coated cutting wire - worked great and made flush, clean cuts! I happen to work for the company that makes this material. - Applied first coat of SEM Polyester glaze. Filled and smoothed out well. - Second coat applied. Smoothed out and feathered around the edges very well. I have to apply the final filler coat this weekend and finish up the surface prep. There are still a few low spots that I need to finish up and the lines ofer the gauge arcuse are a PITA when you are out of practice doing body work! Once this is done, I need to decide which "texture" I will go with. I am doing a COMPLETE interior color change to gray. I will be using the SEM color over the texture finish. I hope to have this finished in 2 weeks or so. It all depends on how much time I have left after the spring "Honey-Do" lists are completed... A couple of BAD cell phone pics attached. I have taken GOOD photos thrughout the process and will post them once the process is finished. I LOVE these car forums! Tim


-
Glad it ended with no major issues! These little "surprises" are no fun at all! I would say Rockauto, eBay or Napa for replacements. MSA and Black Dragon too, but probably a bit higher. Regardless, the "quality" cylinders are still up around $100 each! I just finished the complete rear suspension and disc brake conversion on the 240z. When I saw the total cost related to replacing ALL drum componants, I was at nearly the same amount that the disc conversion would cost. I decided to go with Discs due to the fact that I understand them more and they are easier to work on if needed.
-
They definitely get hot enough to damage regular paint... I would use some of the Rustoleum high heat paint or even some of the "BBQ Black" paint. Even these will not be permanent, but will work well. Be prepared for a little bit of "burning paint" smell regardless...
-
Well... All I can say is "Third Time (or switch) Is A Charm!"... I double checked EVERYTHING and all looked correct. Went back to Napa and returned the switch and got another. Came home, hooked it up and guess what??? Yep - everything works as it should! So, when all is said and done, I was right the first time I hooked everythign up and lightning (mechanical failure) struck twice! What can you do??? :stupid: The car is running GREAT! Still did not get the dash out, but I will this week. Thanks again for all of the help! Tim
-
Thanks Mike. Your explanation does make sense. I am using the factory fuel pump wiring (Green & Blk/Wht) also. My problem is that all of this is connected as it should be and I still have the issue. I have gone through a lot of the forum posts about this. I am going to get under the car and trace everything from the pump forward and go through everything again. I have time to do this. I am just going to bypass the oil pressure switch and install a toggle switch for now that will allow me to cut the pump from inside the car. That way, I can move it around as needed until I get the issue fixed. No time to get to the dash today... Derailed by "honey-do's" again!
-
Thanks for the reply Mike! Now I am thoroughly frustrated (not because of your post)! I picked up a new switch from NAPA and I have the SAME PROBLEM! Pump runs fine with the key in the "on" and "start" position, but once it starts, the FP cuts off! 13+ volts is present at the switch, but SOMETHING is keeping the switch from opening. Maybe it is the T or something - crazy! Has to be something simple! I hate to ask this Mike, but could you look at the attachment above and can you tell me if your routing is the same? It sounds like I have the same setup, but I want to make sure. If it is not the same, would it be possible for you to make a quick drawing of your connection path? I am going to put the car back up in the air and trace the lines from the pump back up (gives me a reason to change the rear filter out anyway). MAYBE something is reversed, but I am not seeing it. Auto wiring is not my strong point. Stereos = yes. Mechanical = no. This is probably a simple problem, but it is killing me! Thanks again! Tim