moogrr
Free Member
-
Joined
-
Last visited
-
I am in the process of rebuilding a 2.8 for my 240z. The donor motor came out of a 107000km car. It looked perfect. Closer inspection of the crank revealed a slightly damaged thrust face. Does anyone know if oversize bearings ( thrust ) are available? If I can't have it ground down, I don't think I will pay to have it welded & ground. I'll just start looking for a new crank. What a disappointment. Thanks; Ted.
-
I just disassembled/reassembled mine. One was bad - ripped boot and the balls/races were pitted badly. I replaced this with a donor shaft. The donor shaft had a pressed-in convex plug in the big end, however, my originals had a flat plug secured by a snap ring. No difference. You could take them both completely apart without removing the u-joints, I did to service the u-joints anyway. You can do it without harming the boots but the boot clamps will need to be replaced. All my u-joints were original and all were as good as new so I just cleaned them and repacked them with grease. Any EP grease will do although synthetic is cheap and works great. Grease fittings are not needed. To "rebuild" the sliding part I would say snap ring pliers and a good vise is all that is required, other than basic tools. A plastic or dead blow hammer wouldn't hurt. One of mine was tough to pull apart. As far as parts, all you need is good grease and two boot clamps. Pull them good and tight, and secure them with a sharp center punch or drill bit. Cut off excess with diagonal cutters. Put EVERYTHING together exactly as it was taken apart. Clean everything. It really is not that difficult of a job, but a lot of force can be required. If you have a big C-clamp, you could do the u-joints as well. I could post a few pics if you like. Ted.
-
Here they are, had to switch to IE to make it work. Thanks Mike G. Ted.

-
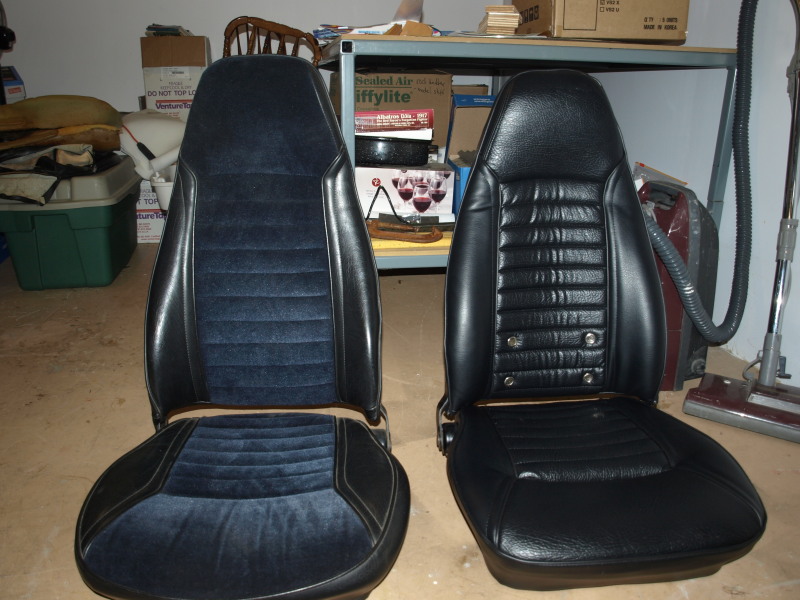
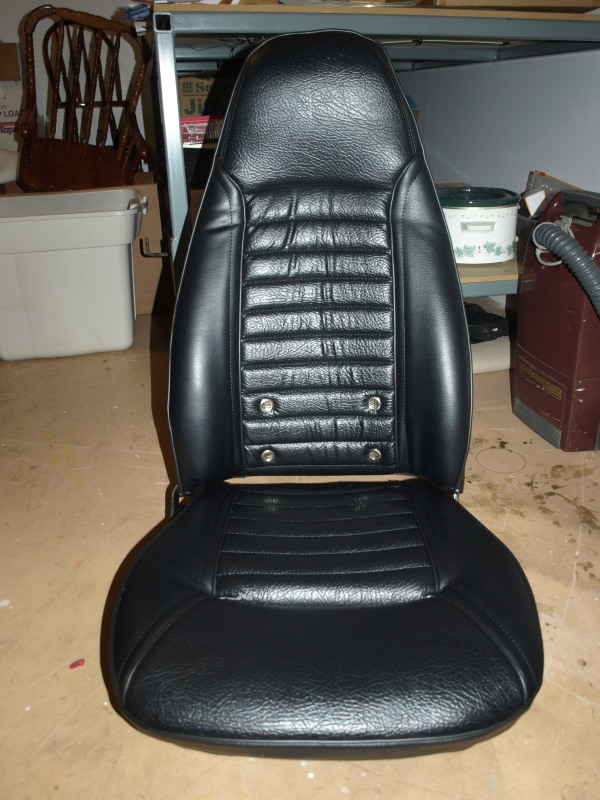
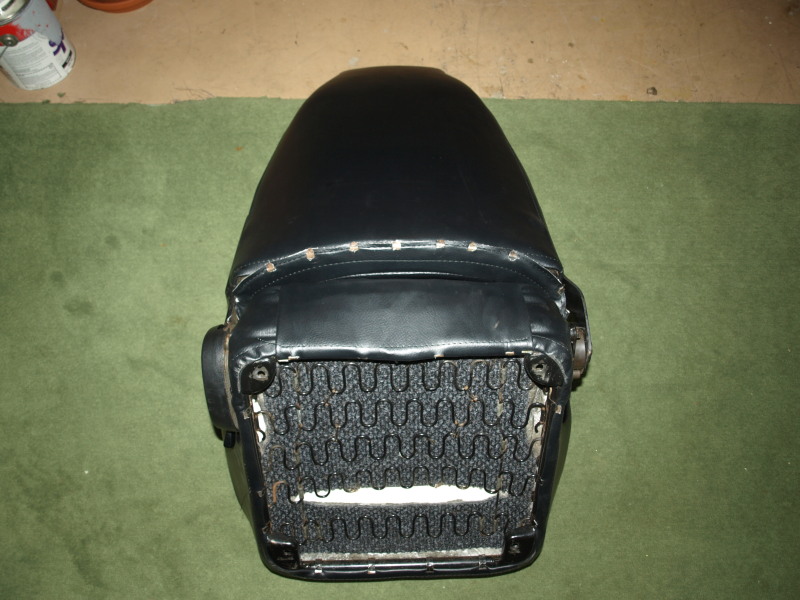
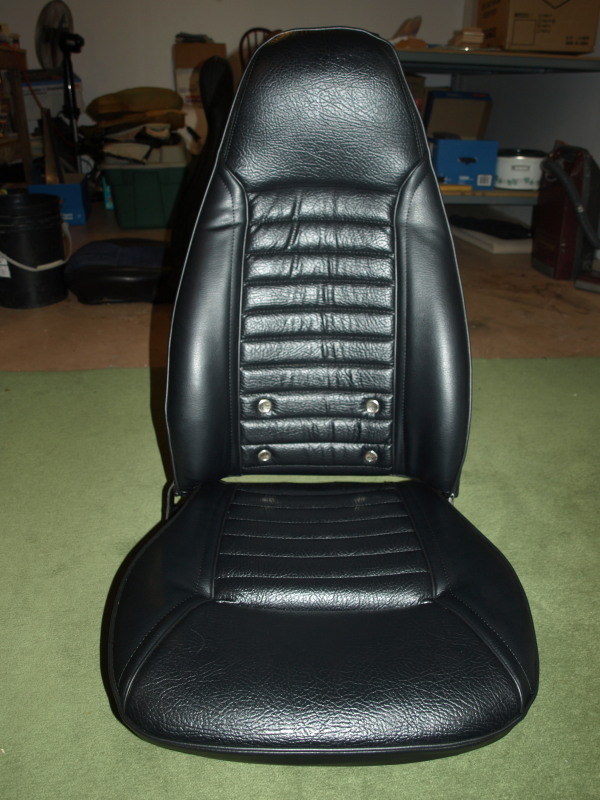
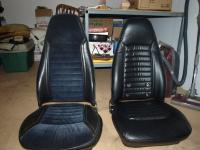
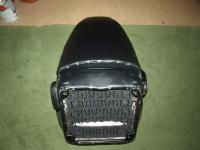
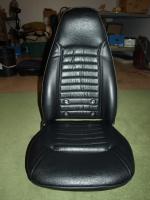
Here are a few pics of the seat. As I said, the listing wires were the most difficult part of the installation. The one beneath the headrest was the most trying to my patience. Adding wires to the hems is mandatory, I would say. So is adding some support to the foam in the base. Although the rear seam of the seat back had a nice rolled edge, I opted to attach it first, then the front piece. It just made more sense to me. A couple of the tabs broke off, so I just spotted them back on with a mig welder. Overall, very satisfying project - but not for the faint of heart. They look good - ask me in 10000mi if the products are any good. I'm going to add a few layers of 1/4" foam to the lumbar area of the other seat to firm it up a bit. I'll post when it's done. Have a bad rear wheel bearing to attend to. Later; Ted. Pics won't upload - I'll try to find out why - sorry. Tommorow hopefully
-
One seat done and it looks great. Decided to stick with the original springs. Bought a black doormat that resembled the old pad and cut to original shape. Replaced the string with mechanics wire in the seat bottom and added wire to the front and rear of the back too. Attached the rear first, then the front. Listing wires were by far the hardest part. The new foam is worth every penny. Not perfect, but no complaints. I can post pics if anyone's interested. Thanks again. Ted.
-
Thanks. That's a ton of help. I'm going to try the vinyl trick. My pads were all there - just the front was still rigid though. I only drove the car about 500mi so the truth is I don't recall how the springs were. They're easy to replace though. How much will I need? About 15 lineal feet? What's that worth? I'll give it a go. Seats are kind of important.
-
I am in the process of restoring my 73 240 seats. I purchased new covers and foam. My seats had been apart before and some fabric stitched into the center sections. I have two quick questions: 1) Is the 1/4" foam glued to the seat back original? 2) Does anyone have any suggestions what to use in place of the sisal/hardboard that protects the foam from the springs on the seat? Mine has broken down into a nest of fibers. Thanks; Ted.
-
I would consider the core worthless since the brass jet has been epoxied into the plastic base. I am really just looking to replace the one nozzle with a good, used unit as everything else is really in quite remarkable condition. If it ain't broke... Thanks; Ted.
-
My core is worthless, which ups the price considerably. Ted.
-
I was trying to locate the source of an annoying imbalance in my carbs and found the problem. For reasons I do not understand, one of my nozzles was " customized " by shortening it 1/4". Does anyone have or know where I can purchase one factory spec nozzle, new or good used, for a REASONABLE price ? The carbs are in excellent shape otherwise, and appear to be original to the car. They have three screws holding down the vacuum chamber, and the float bowls have a drain plug. The entire engine is completely stock. The car itself has a late 1972 build date. Thank you in advance; Ted.
-
-
I am having trouble finding a partial floor pan for my 10/72 240z. The only rust in the car is in the footwell area on the passenger's side. I only need a piece to repair this localized area of rust. I'll make my own before I pay 300$ US for the whole thing. I just hope someone knows where I can find a partial. Scraping off the pan was a real good time. Thanks in advance; Ted.
-
I know this an old thread, but i had a similar problem recently. Drove the car back from Utah (2000 mi) didn't burn a drop. No smoke. Adjusted the timing, adjusted the valves, tinkered with the carbs a bit, and changed the oil with 10w30. Blue smoke - a lot. No blow by at valve cover. Back three plugs a little wet looking. Noticed the oil was a little over the full on the dipstick. Drained a litre out. SMELLED LIKE FUEL. Don't know enough about these cars to give you a concise explanation, but changed the oil again and now I'm golden. Thought I got burned by the seller... but turns out it was my fault. Good luck. Ted.
-
Perfect. Thanks for the pics. I'll be sure to check that the original bolt isn't too long before I put it together. Nothing like taking 1/2 pound off the crank for free. Ted.
-
Now that the car is at the frame shop to be pulled, I have a chance to fire off two quick questions. First, I have a 3 sheave pulley on the crank. The outer one looks to be separate from the inner 2. Since my car is manual steering, and the air injection system is removed, I want to remove the outermost ring. Is this possible, or is the harmonic balancer one unit? Do I have to find a 2 sheave balancer? Secondly, I am new to Datsun and my car is a theft recovery, so don't laugh at this but I just replaced the ignition switch and I need to know if one key operates all the locks eg. doors, hatch, glove compartment. Thanks. Ted.