Lone_Star
Free Member
-
Joined
-
Last visited
-
There is a Z Car club or National Convention decal on the front passenger side, so it should not be too hard to find someone in the Houston area that knows the car, or even the previous owner, to get more info on the car......
-
I believe that is the one I used when I replaced mine a couple years ago. It fit correctly with a minor trim to one tab. The hard line that goes through the core support on the drivers side is not as long as the stock one, so the support did not bolt up, but have not had problems with it otherwise.
-
Well, have been out of town on vacation the last week, so did not get back to the Z yet. I did check the carb kit boxes for the needle/seat assemblies that were removed when I rebuilt them. One measures 13/16 in length, the other measures 3/4 inch in length. The carb kits have different part numbers also with all parts being the same except the needle/seats. I have not made time to pull the tops off the float bowls to check the installed needles, but remember them being the same as in the kits. Also have not driven it recently to try adding a bit of choke when hot to see if that helps.
-
Interesting, I will check the carbs and the rebuild kits I used for them. I am pretty sure there are two different length needle and seats. Thanks! Bryan
-
Thanks Bruce, I will try that next outing. What about the float levels between the two bowls with different length stand-offs? Set them both the same at 23mm?
-
Hate to dig up an old thread (but the last post is only 6 weeks ago), but I am still looking for a clear answer. Is the 23mm down from the lid the starting measurement for ALL the round-tops? I have a '72 set with the different length float hangers and want to be sure I get the correct starting point. The car is running now, but I am going back and fine tuning the carbs. I have a second issue that I have not been able to find any info on; when the car has been driven then parked for 15-30 minutes, when trying to re-start, I have to give it some throttle to get it to fire. I have double checked to be sure the choke is not causing the problem. I am thinking it is a heat-soak issue, but not sure how to resolve it. I do have the heat shield in place, and am running headers, so wondering if the heat shield needs to be changed/enlarged to better protect the float bowls. Any thoughts? Thanks! Bryan
-
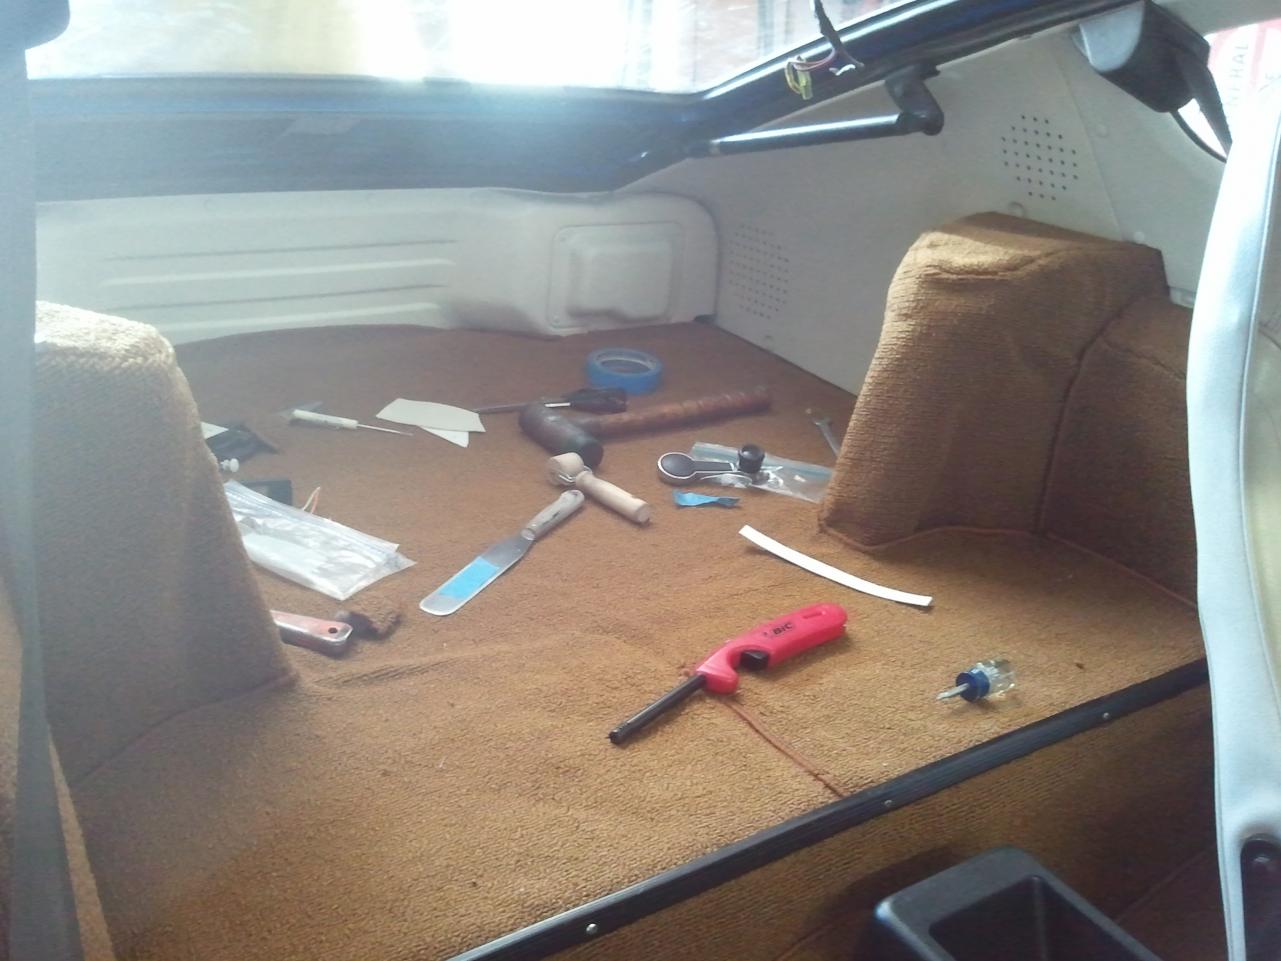
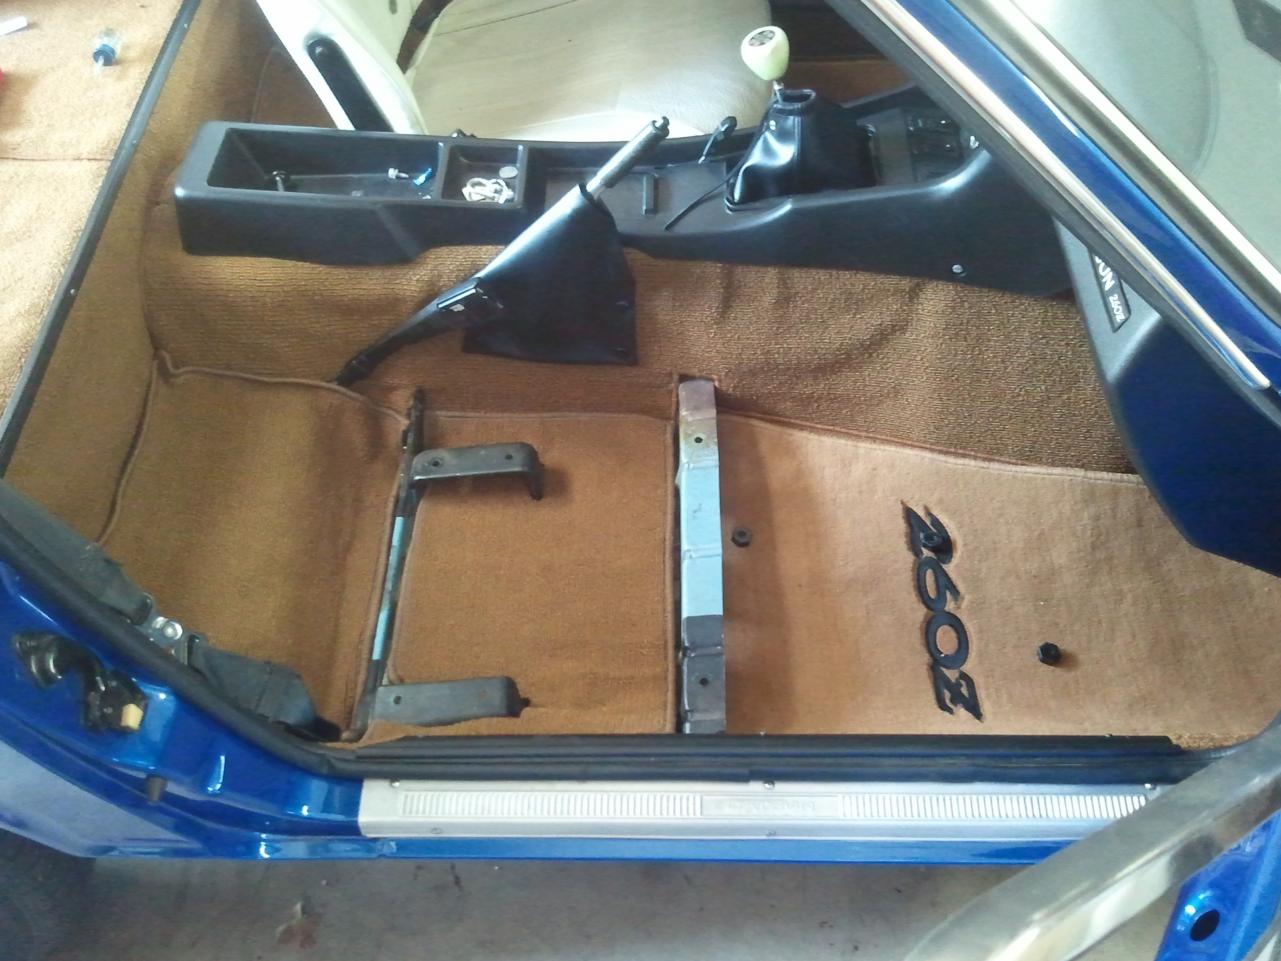
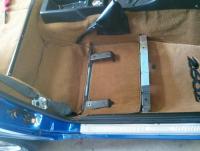
Well, an update on my carpet install; one of the biggest disappointments of the entire refresh-storation. The only pieces that we did not have to modify or have fitment issues with are the two large sections in front of the seats. The tunnel piece had to have a two inch wide strip cut out of the back where it goes over the tunnel to make it fit right, the edging had to be cut off the door sill pieces to get the the sill plates to fit right, the vertical piece behind the seats had to be cut down, the shock tower pieces were so far off that they had to be cut apart and fitted properly. The large cargo mat does not fit with enough material to cover where it meets the plastic side panels in the back, some metal shows. The small pieces that go behind/under the seats did not cover all of the area under the seats either. We ended up ordering a couple yards of the carpet through MSA to make our own sections to go under the seat to get full coverage and to have extra to make floor mats or repairs. I will have to pull extra photos from my other pc, but here are some of the final install.


-
There is a photo on this site somewhere titled '260z-aclines' that shows the firewall very well. I used it to locate where some of my vac lines, etc are located. It shows the heater hoses run diagonal, then above them, the choke cables, then the top one is where the vacuum line goes through to the heat/ac system. Hope that helps....
-
I have one of their kits. They do have loop and cut pile, call and request samples. My kit is for a 260 and is a 7 piece kit, so it is different than what would fit your car. It does have the heel pad and backside pad, as well as sewn edging where it is exposed.
-
I just went through this on a 260Z. The old grommet was shot, but not split all the way through. I used a tool from Lisle - 56500 purchased at the local O'Reilly auto supply. I numbered the plastic connector with a sharpie, labeled the wires to match with strips of masking tape, then wrapped the loose wires tight with masking tape and wrote the color of the connector on that tape. I then took some harness tape (the thin stuff with no glue) and wrapped the wires tight like the rest of the harness. I then slid the grommet on as far as I could, when it got tight, I pulled it to turn it inside out to make it easier to feed the wires, then sprayed the harness with some 409 soap to help the grommet slide along. Once I had it close to where it needed to be, I soaped it again and turned the grommet right-side-out. Then it was a matter of unwrapping the wires and re-installing in the plastic connectors. The most important part was having the correct tool for removing the connector pins. Good luck with yours, just take your time and it will come out great!
-
I went the same route as Blue, using his tips and steps in the linked post. Mine is a for an early 260 that has a 3 piece pad. I ended up making it into two pieces for ease of making and installing. I used the same oil absorbing sheet and found it at O'Reillys, backed it with high density foam in the form of a camping sleep pad found at Wal-Mart. I will say that the oil pad is some tough stuff, it does not cut as easy as you would think. I am almost ready to install it, but I am missing one of the snaps for holding the carpet. Blue, where did you find your snaps, and did you attach them only to the pad you made, or screw them direct to the firewall? My originals are only attached to the pad with screws from the front and a small piece of fiber board on the back side.
-
What part are you having trouble with? I just did one of my frames last night. If you look at your old material you can see it is folded to form the sides. You need to take the new stuff and fold it the same, then slowly feed it into the frame. Of course you need to clean inside the frame first and apply weatherstrip adhesive to the frame and new weatherstrip.
-
Good videos! Wish there were some audio commentary explaining what is being done, but otherwise good. These should be linked/saved for future access by others doing their own rebuild. I have done a couple rebuilds without using a press, but if you have access to one, it makes life easier. If you have a few pieces of pipe, etc, some patience, ingenuity, and time, you can do it yourself. The last one I did, I bought the rebuild kit with bearings, synchros, gaskets, etc for about $150 from Autozone, and knocked it out in a weekend.
-
I did this same project about a year ago. I purchased the Brute Force U-Joints from the local auto supply and installed them myself. I dont remember the specific joint, but they are the ones that dont have grease jerks; no jerks, no interference. I used the same ones on my 1-ton truck and went with the ones without zerks because they are stronger. If they can hold up to a ton truck pulling a 32ft travel trailer, they can survive in a Z car.
-
I ordered the Custom Carpet Kit, it was special order to get it in loop (so no forum discount). Cost was $280. I will spread it out on the driveway when I get a warm day and take photos. Will take photos when I get far enough along to install it in the car. http://www.thezstore.com/page/TZS/PROD/SIC103/40-2596G