e-tek
Free Member
-
Joined
-
Last visited
Everything posted by e-tek
-
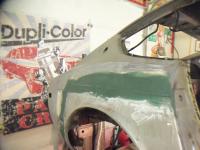
 Just one small piece left to fab up for the drivers rocker before getting onto sanding.... Pattern - Worlds best metal sheer - Over to the brake - Putting a bend into it - After welding it in and applying seam sealer to the edges, it was done. A quick coat of the Duplicolor undercoating and it blended right in. Then I spent the next 4 hours sanding and stripping the engine compartment paint....yuk.
 -
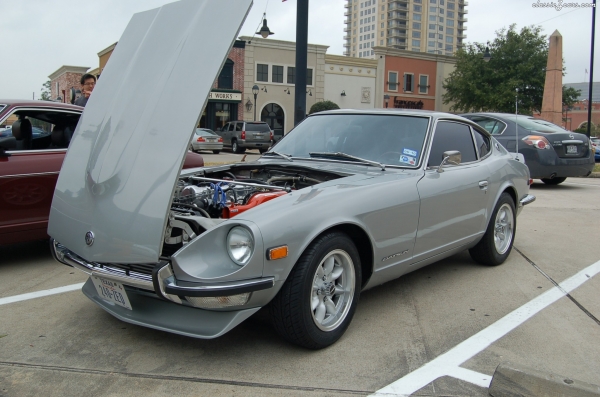
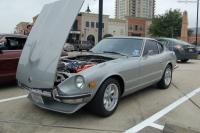
This is Zedyone_kenobi's ride and mine will be a near clone of his. Same color, same wheels. The only difference is that I have the full front air dam on mine. Dupli-color has already supplied the paint for it!
-
If you're interested in more updates, you can "Like" my Dupli-color FB page. Thanks!
-
I didn't strip it, but the floor pans were bare of course and the back end had the factory Undercoat. I cleaned it all really well with a variety of wire brushes, then with a lot of wax and grease remover solvent. Any repairs and new metal got a couple coats of self-etch primer and then I sprayed 3-5 coats of the Dupli-color undercoating on it all. Should be good for another 30 years! Next up is the body work on the body and all the panels, then I'll fit them all up, gap it all, then tear it down again to paint the inners and back-sides of everything - hopefully if I can get that done by May or June, I can get the entire thing painted by August. If that happens it'll be a running, driving show-car for summer 2014!
-
Wow - this is more replies than I've had since beginning this thread! To seal up potential pinholes - even tho I'm pretty careful not to have any! These 240's had bad metal from the factory - likely all recycled and little in the way of rust-defense, like phosphate protection coatings where used in Japanese manufacturing back then. It's gonna be perfectly stock.... You can do it! Got the bottom-side undercoated today - now on to prep
-
Finished some odds and ends and started prepping the underside for a coating of Dupli-colors rubberized undercoating. It'll give me a nice, evenly covered canvass to start re-assembling the suspension onto. Maybe it'll be back on its wheels and ready for paint this summer!
-
We hear you 'thechechone' - Many of us have been - or are - in a similar situation. Restoration work can really get a guy down at some points. It's very labour intensive, the work is done inside (often in a garage resembling a dungeon!) and most of this work is also done in winter - which can affect our positive mindset greatly. Also, it's not cheap, even if you're just paying for supplies - right? When you think about it, it's amazing how many people actually FINISH their resto-projects. I can see you spent a bunch of money and time on it lately, so 'hopefully' you're just having some "spenders remorse" and be burned out! Working in an OSB garage with no heat is a sure way to get depressed :disappoin Now that you have that heater, maybe you could paint the walls white and put up a few posters of finished cars you like - motivation is important! If you take some time to step back, take a break and do something else for a while (like beautifying your surroundings), you may find you'll have a whole new outlook. It's easy see you are doing good work - so I wouldn't worry about welds breaking during racing - even if they did, it's EXTREMELY unlikely to be catastrophic. You would notice it and be able to repair it/rebuild it even better afterwards. Also remember that these are multi-year projects. Lots of guys put together a timeline that is too short and get frustrated. You have to really try and enjoy the actual build process - not just think about it being done and hate that it's taking so long. I bought the metal parts off a member here 4 years ago and JUST got them welded up! Anyways, not sure if I've helped, but maybe a little perspective is in order. Take the break, do something else and think it through. Even if you extend your time line to 3 years from now, you'll still end up with a great car you built and others will love. Cheers!
-
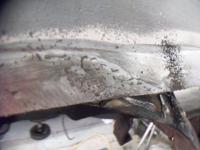
Today's project - front rocker panel rust repair - Had to first weld a nut to the inside for the lower fender attachement point - A skim coat of kitty hair finishes the weld dressing -
-
I've collected some of my all time faves - Was even featured in CarCraft Magazine last year! Also have a 2006 Mini Cooper S, 1981 TransAm Convertible (Rare), 1946 Mercury Truck (ORIGINAL) and a rod in progress....
-
Doing all that work on a low production car is cake! You should be more amazed at those of us who put that much work into a POS '71!!!
-
Did a little clean up on the floors and quarters today. This week I'll do some metal work on the front aprons and left rocker, then I'll be ready to flip it over and finish up the underside.
-
You gents may want to take a read of my website. I've been doing restorations and rust repair for quite a while. Maybe partly due to my having a degree in science I decided to look into it from a technical standpoint and have tested and reported on many of the top rust products, such as POR15, Phosphoric Acid Solutions and Eastwood's offerings, including their Inner Frame Coating (with the long tube applicator). The long and short of it, is that surface rust CAN be nearly stopped for quite a while. Phosphoric Acid (Ospho, Naval Jelly, Metal Ready) chemically changed Iron Oxide (rust) into Ferric Phosphate, an inert substance. POR15 is a humidity cured sealant paint that stops air and moisture from getting back at the metal. Wax and oils also keep moisture and Oxygen at bay. Red Iron (III) oxide + phosphoric acid yields black ferric phosphate + water. Check my site if you have a minute and look under the link "Rust Products". Cheers!
-
......Almost a year ago.....
-
Nice weather there - bastard!! Great job freshening it up. Cleaning, painting and rebuilding parts has always been my reward for rust work. Looks like you're having fun!
-
Fantastic work - and exactly the same as what I just went through! Not sure who's was worse! Not to hijack your awesome thread, but here's what I mean: I spent too much time on my rotisserie! Did you not have to do the quarters? At the rate you're going you'll be done way sooner than I will!!
-
Fitting and trimming inner fender. Perfect butt weld gap Tools. Dash is perfect, so I'm trying to keep it that way.
-
I thought I was having a stroke - until I realized it's in "Netherlandic"!! Good luck getting it back through - you'll be cruizing - and upgrading - soon!!
-
Got most of the metalwork done under the left - and final - quarter panel, which will get welded on tomorrow. I bought this car as a parts car for a racer I built for my wife in 1994. Drove it for a while then too. Sold the race car in 2003, but they didn't want the parts car....so I decided it was a "sign" and decided to rebuild it in 2010 - and here I am. (Though I've restored several other cars in the mean-time). As anyone who's done a restoration knows, finishing the metal work is a major milestone! Thanks to Dan (240dkw) for selling me the sheet metal several years back - using the last pieces now! Other side was finished last weekend - See the entire build here: http://www.classiczcars.com/forums/check-out-my-ride/36032-e-tek-racing-71-parts-car-resto.html
-
This tip should be a SCHTICKY!
-
Any updates since Xmas Dan? Y'know, I was thinking as I re-read your thread, you and I are on such a similar "Z-life-path" - ! If we get finished anywhere near the same time, we should drive our Zeds to a meet on the AB-SK boarder.
-
Hi Dan! Funny/terrible how time flies eh? That was a few years back and I finally got to using them (or part of one anyways). Definitely made that repair as good as it could be - thanks again! I have helped a few people now who couldn't get their projects done for one reason or another, but seeing your thread looks like you're making good progress!
-
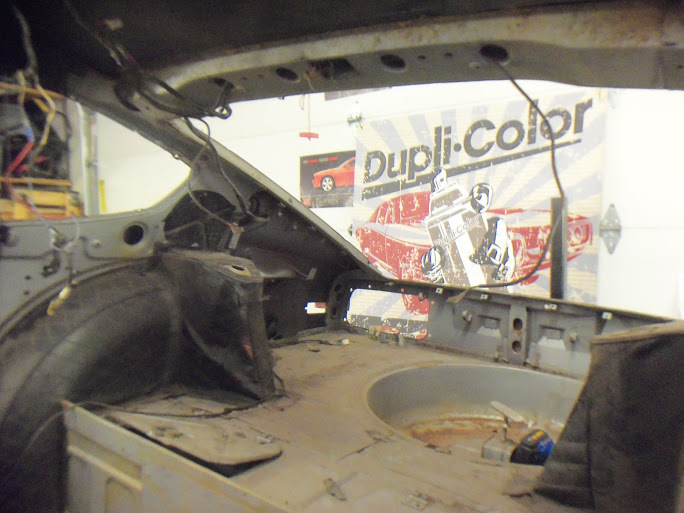
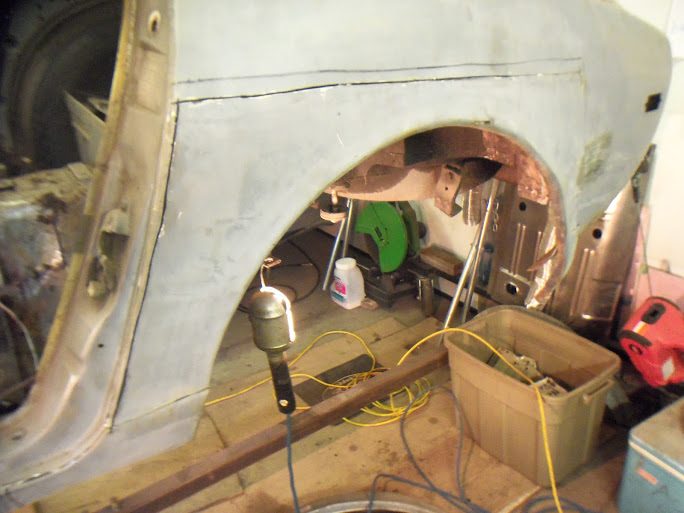
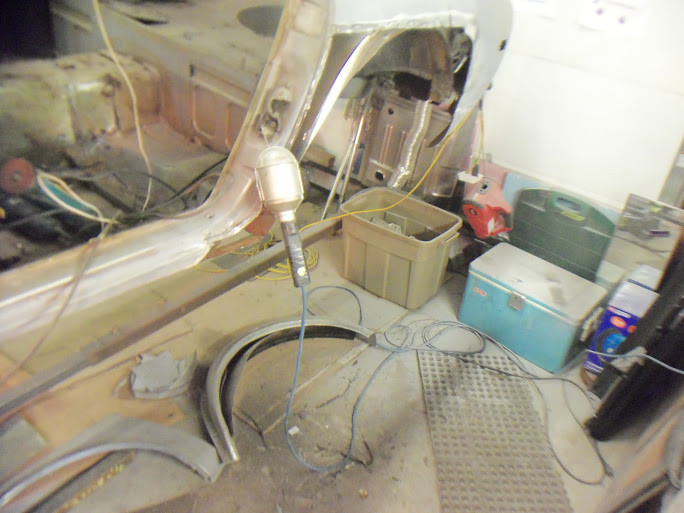
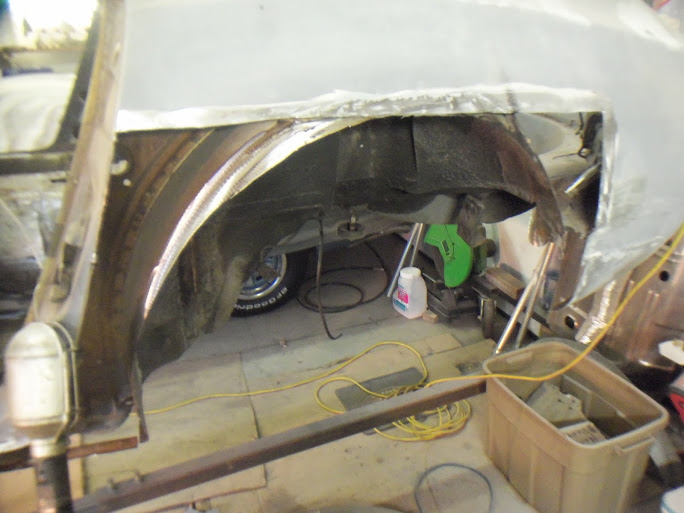
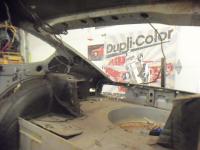
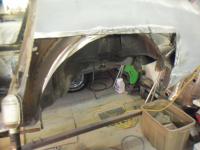
Lots of fitting and welding of stuff no-one will ever see! This is the inner dog leg area on the Datsun. It joins the rocker to the quarter panel and is also the tie-in for the seat belt bolt. When I bought a set of foors, quarters and inners from a member on ClassicZ.com, he also gave me a couple of these sections that where cut from a donor vehicle. I definitely needed this piece here! With the backing piece in place, I added a piece to the rocker... Behind the wheel well was also rusted out (surprise, surprise...)... So I made this piece to repace the rusted bits - And after a few hours of welding, grinding, prep, paint and sealer..... it all gets completely covered by the quarter panel. Tomorrow being a holiday (February never used to have a holiday, so they made one up, called "Family Day") I'll be able to get more shop-time in!!! !
-
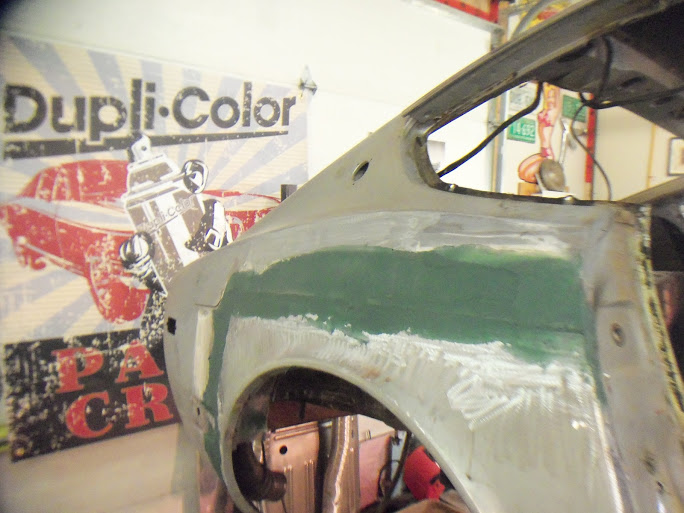
Got started on the right side yesterday. You can see that the wheel arch had been done before. This part will be OK to work around, but unfortunately, they just went over the rusty bits with new metal under the bumper indent - which is really gonna be a pain to fix up.... Today I'l get the new quarter patch fitted up.


-
Not sure if I ever posted our other Zed. I built this one on 1994, for my then girlfriend (now my wife) to race in Vancouver, BC at Westwood Raceway. She was also doing some modelling at the time, which helped in getting sponsorship! We sold it in 2003 to a guy who raced it at Gimli for a few years. I believe it's currently sits in his Dad's garage in Regina, SK.
-
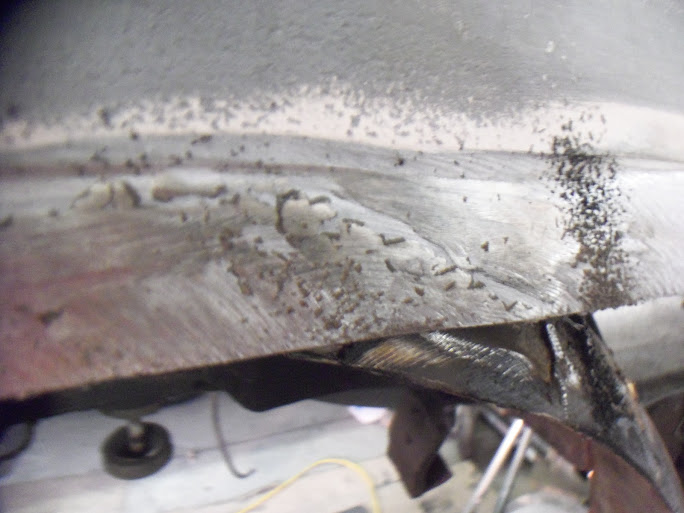
Got the Left Quarter and Floor welding finished and put a skiff of kitty-hair (short-strand fiberglass) over the welds - Just the Right quarter and rocker left!