
77Z
Free Member
-
Joined
-
Last visited
-
 I got excited for a minute. But then the picture shows a bumper, not the dome light switch grommet. And it's the exact same shape but it's made of hard rubber and quite a bit taller. Totally different part. That little bumper is in the door well towards the rear of the car. Thanks for trying!
 -
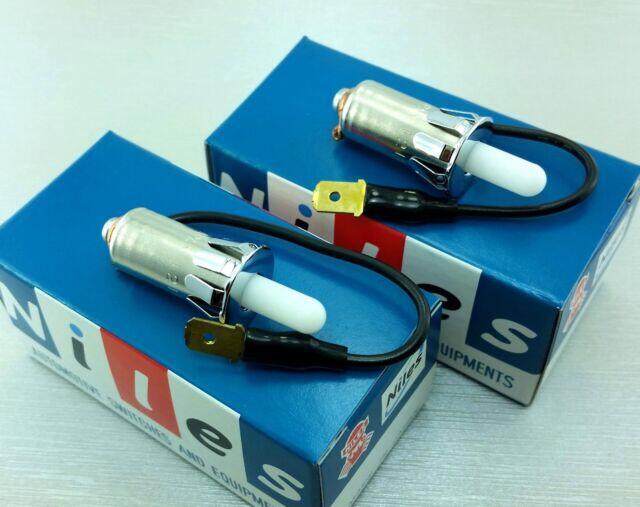
Here's my interim solution. Apparently, 240Z was simply the chrome switch. 280Z added the big insulation grommet.

.jpg.48f409d91f11ed567715df43e226bc3f.jpg)
-
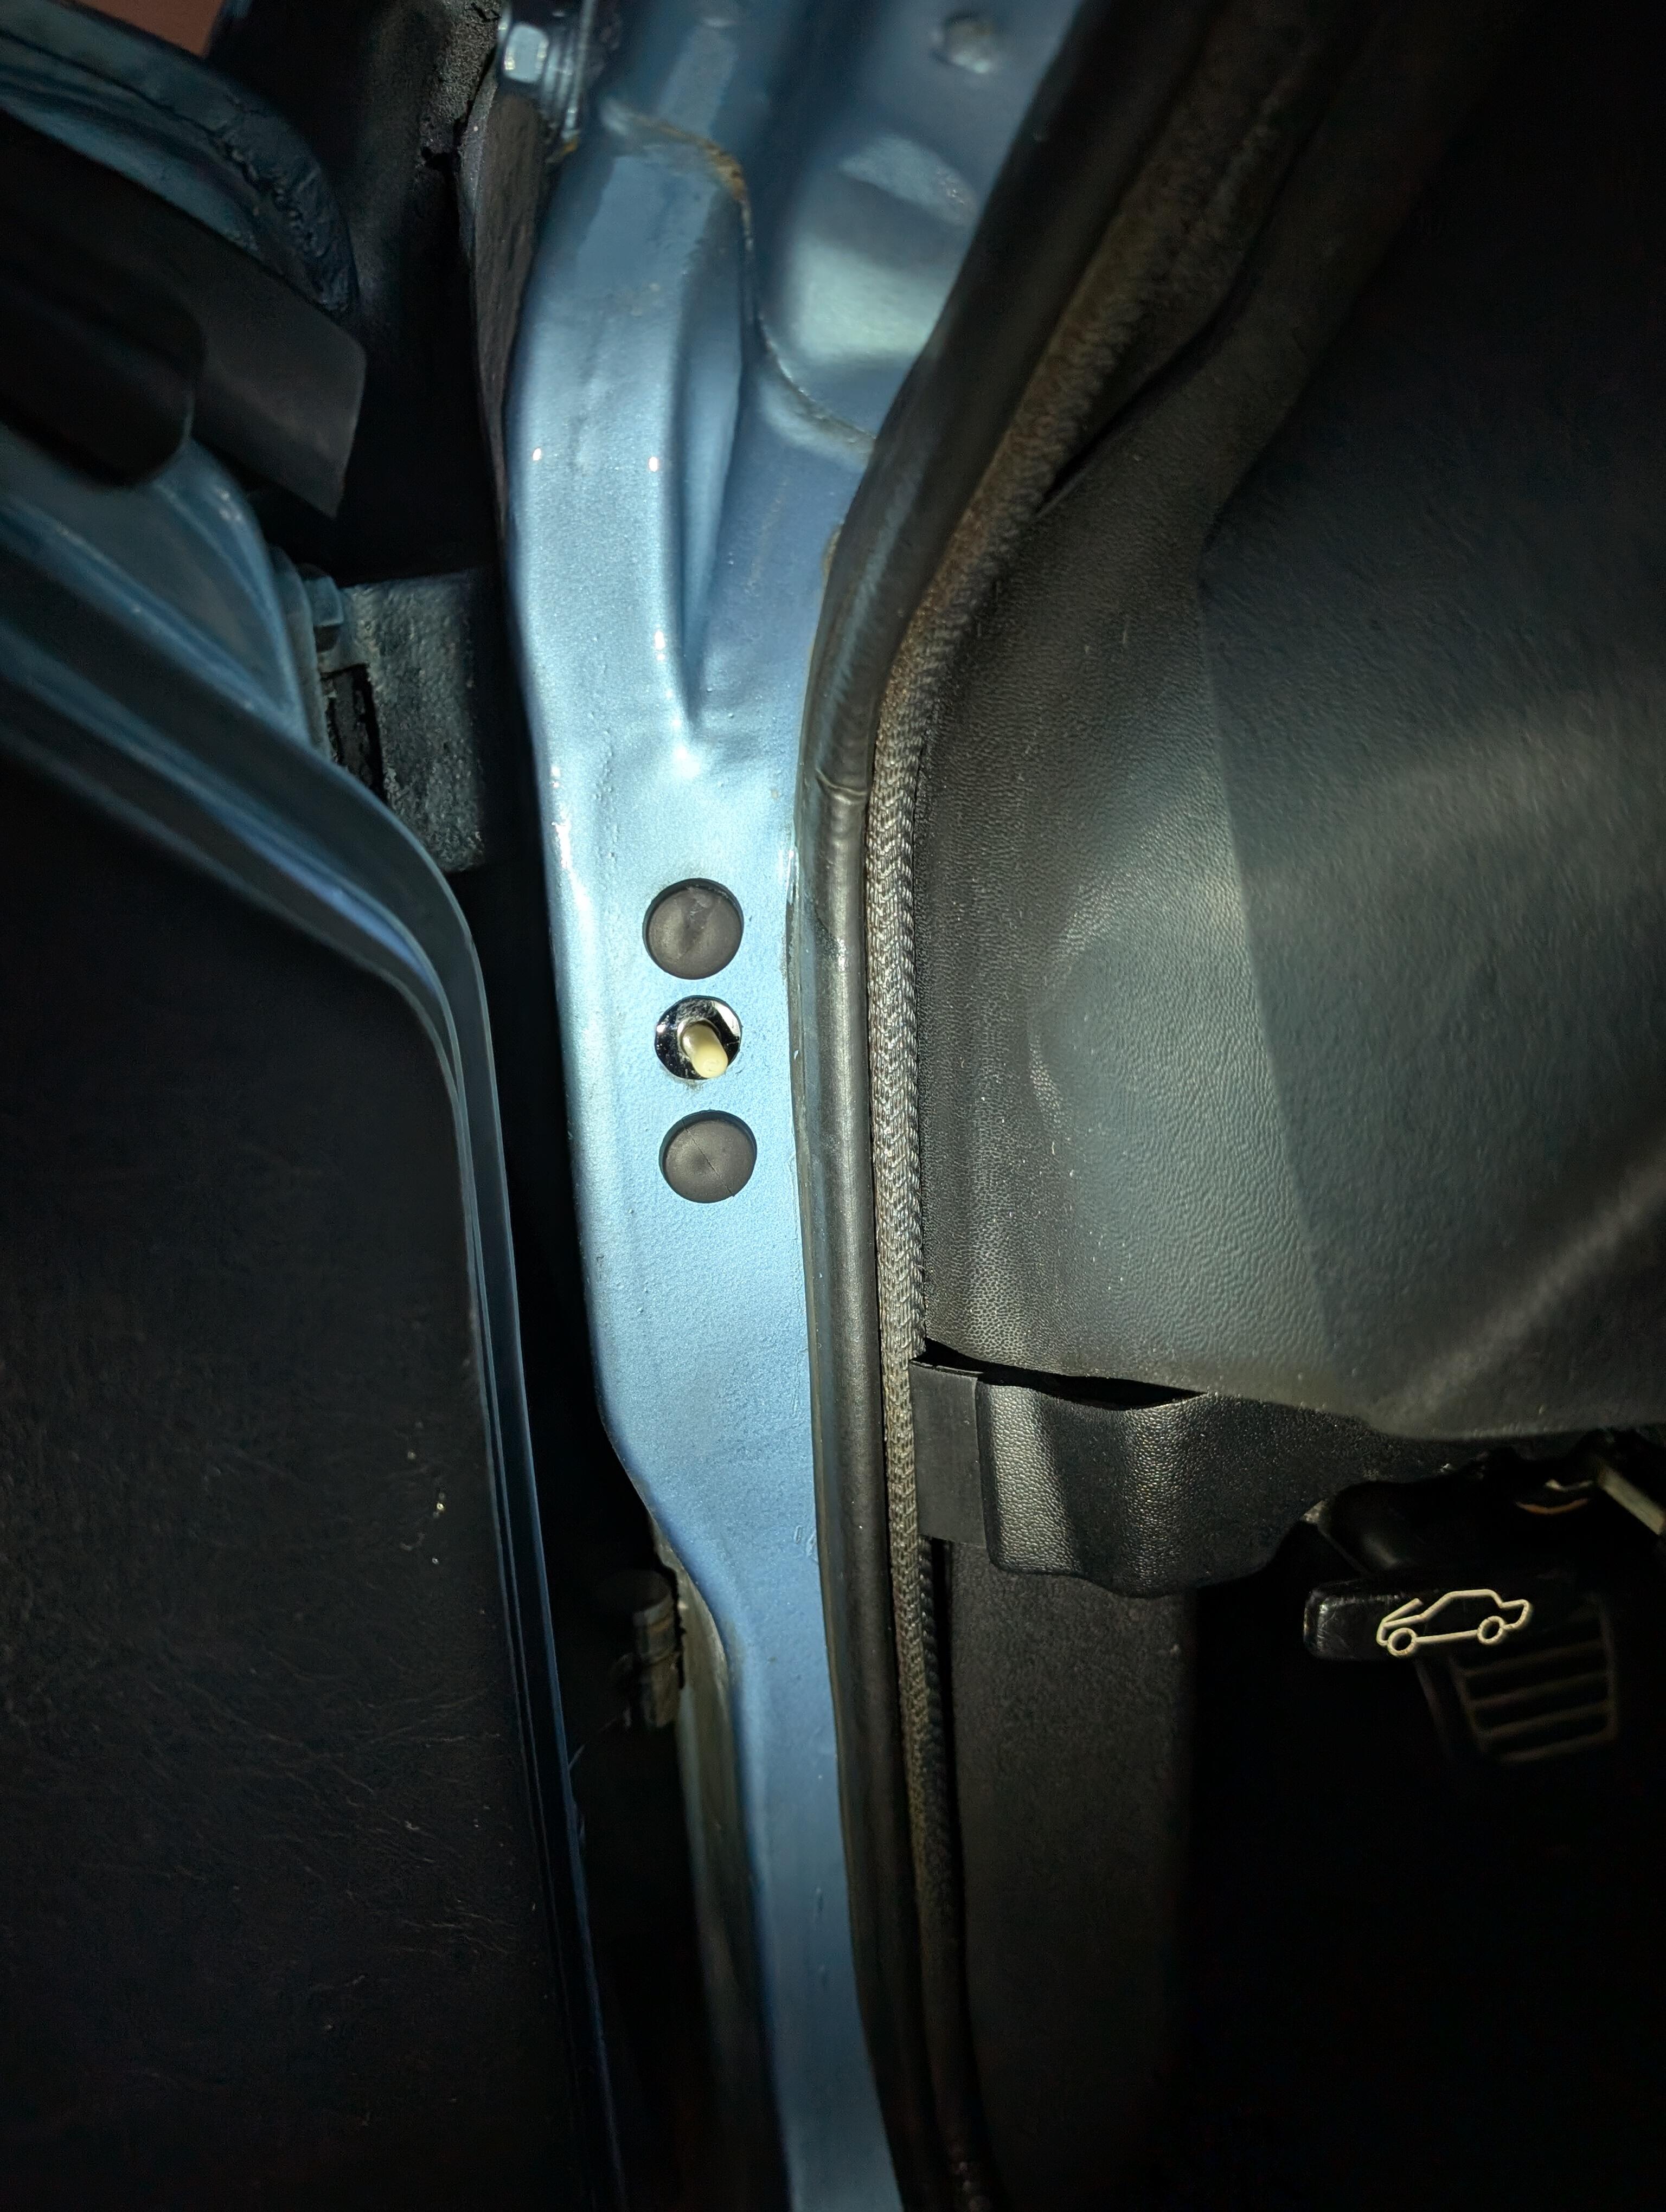
If this is a picture of what you're talking about, I don't think it'll work. That wouldn't cover the two holes in the '77Z door well which the grommet goes into. The grommet I need is as in the photo, roughly 3 in tall 1 in wide, rubber.
-
If you're saying I could buy the switch and get the bezel I'd by two of the right side switches just to get the rubber grommets.... and chunk the switch.
-
I think I've seen that metal bezel you're talking about. But on my 77 I had these rubber pieces that have about a quarter inch long studs on the back to go into the door well holes. I think I will hunt for a cast and mold system. I've been looking for these for a long time.
-
The pictured grommet looks good but is actually very brittle and the rear posts are split off. The other one has crumbled away. Does anyone have a source to purchase these or a cast/mold product that might work?

-
My elation from determining that I don't have a blown head gasket is exceeded only by my gratitude in your (@cgsheen1 and (@siteunseen) replies. I will heed advice to remove the oil pump.... after draining the oil (I read about that somewhere too). I'll report back on this thread as the project gets going.
-
Thanks, siteunseen, I went through those. I don't need a timing chain, valve or head work and I'd like to not disturb my new valve cover gasket or the perfectly fine head gasket. I do want to replace the pan gasket (due to the mess created by the cover leak). I'd like to see if anyone's successfully re-seated the cover without disturbing the head. Unrelated video of the Z's new pipes VID_30650805_133332_512.mp4, enjoy.
-
It seems I'll be servicing my front cover (see attached). But, from this and other discussions, I'm glad my oil leak isn't a blown head gasket. I get fresh, new unburned oil at the corner of the cover and block (under the masking tape). Its annoying to have had this leaking for a long time and being unable to isolate the source. I first replaced the valve cover gasket. So, I know I'll pull the radiator, shrouds, fan and belts. Is it fairly straight forward to: - drop the pan entirely and go with a new gasket after thorough cleaning (its totally fouled from the oil of this leak) - pull the pump and front cover from the block (oh, and drain the oil first).... or can the pump and cover come off as a unit? - gaskets needed on the front cover or just sealer? Thanks, Ed

-
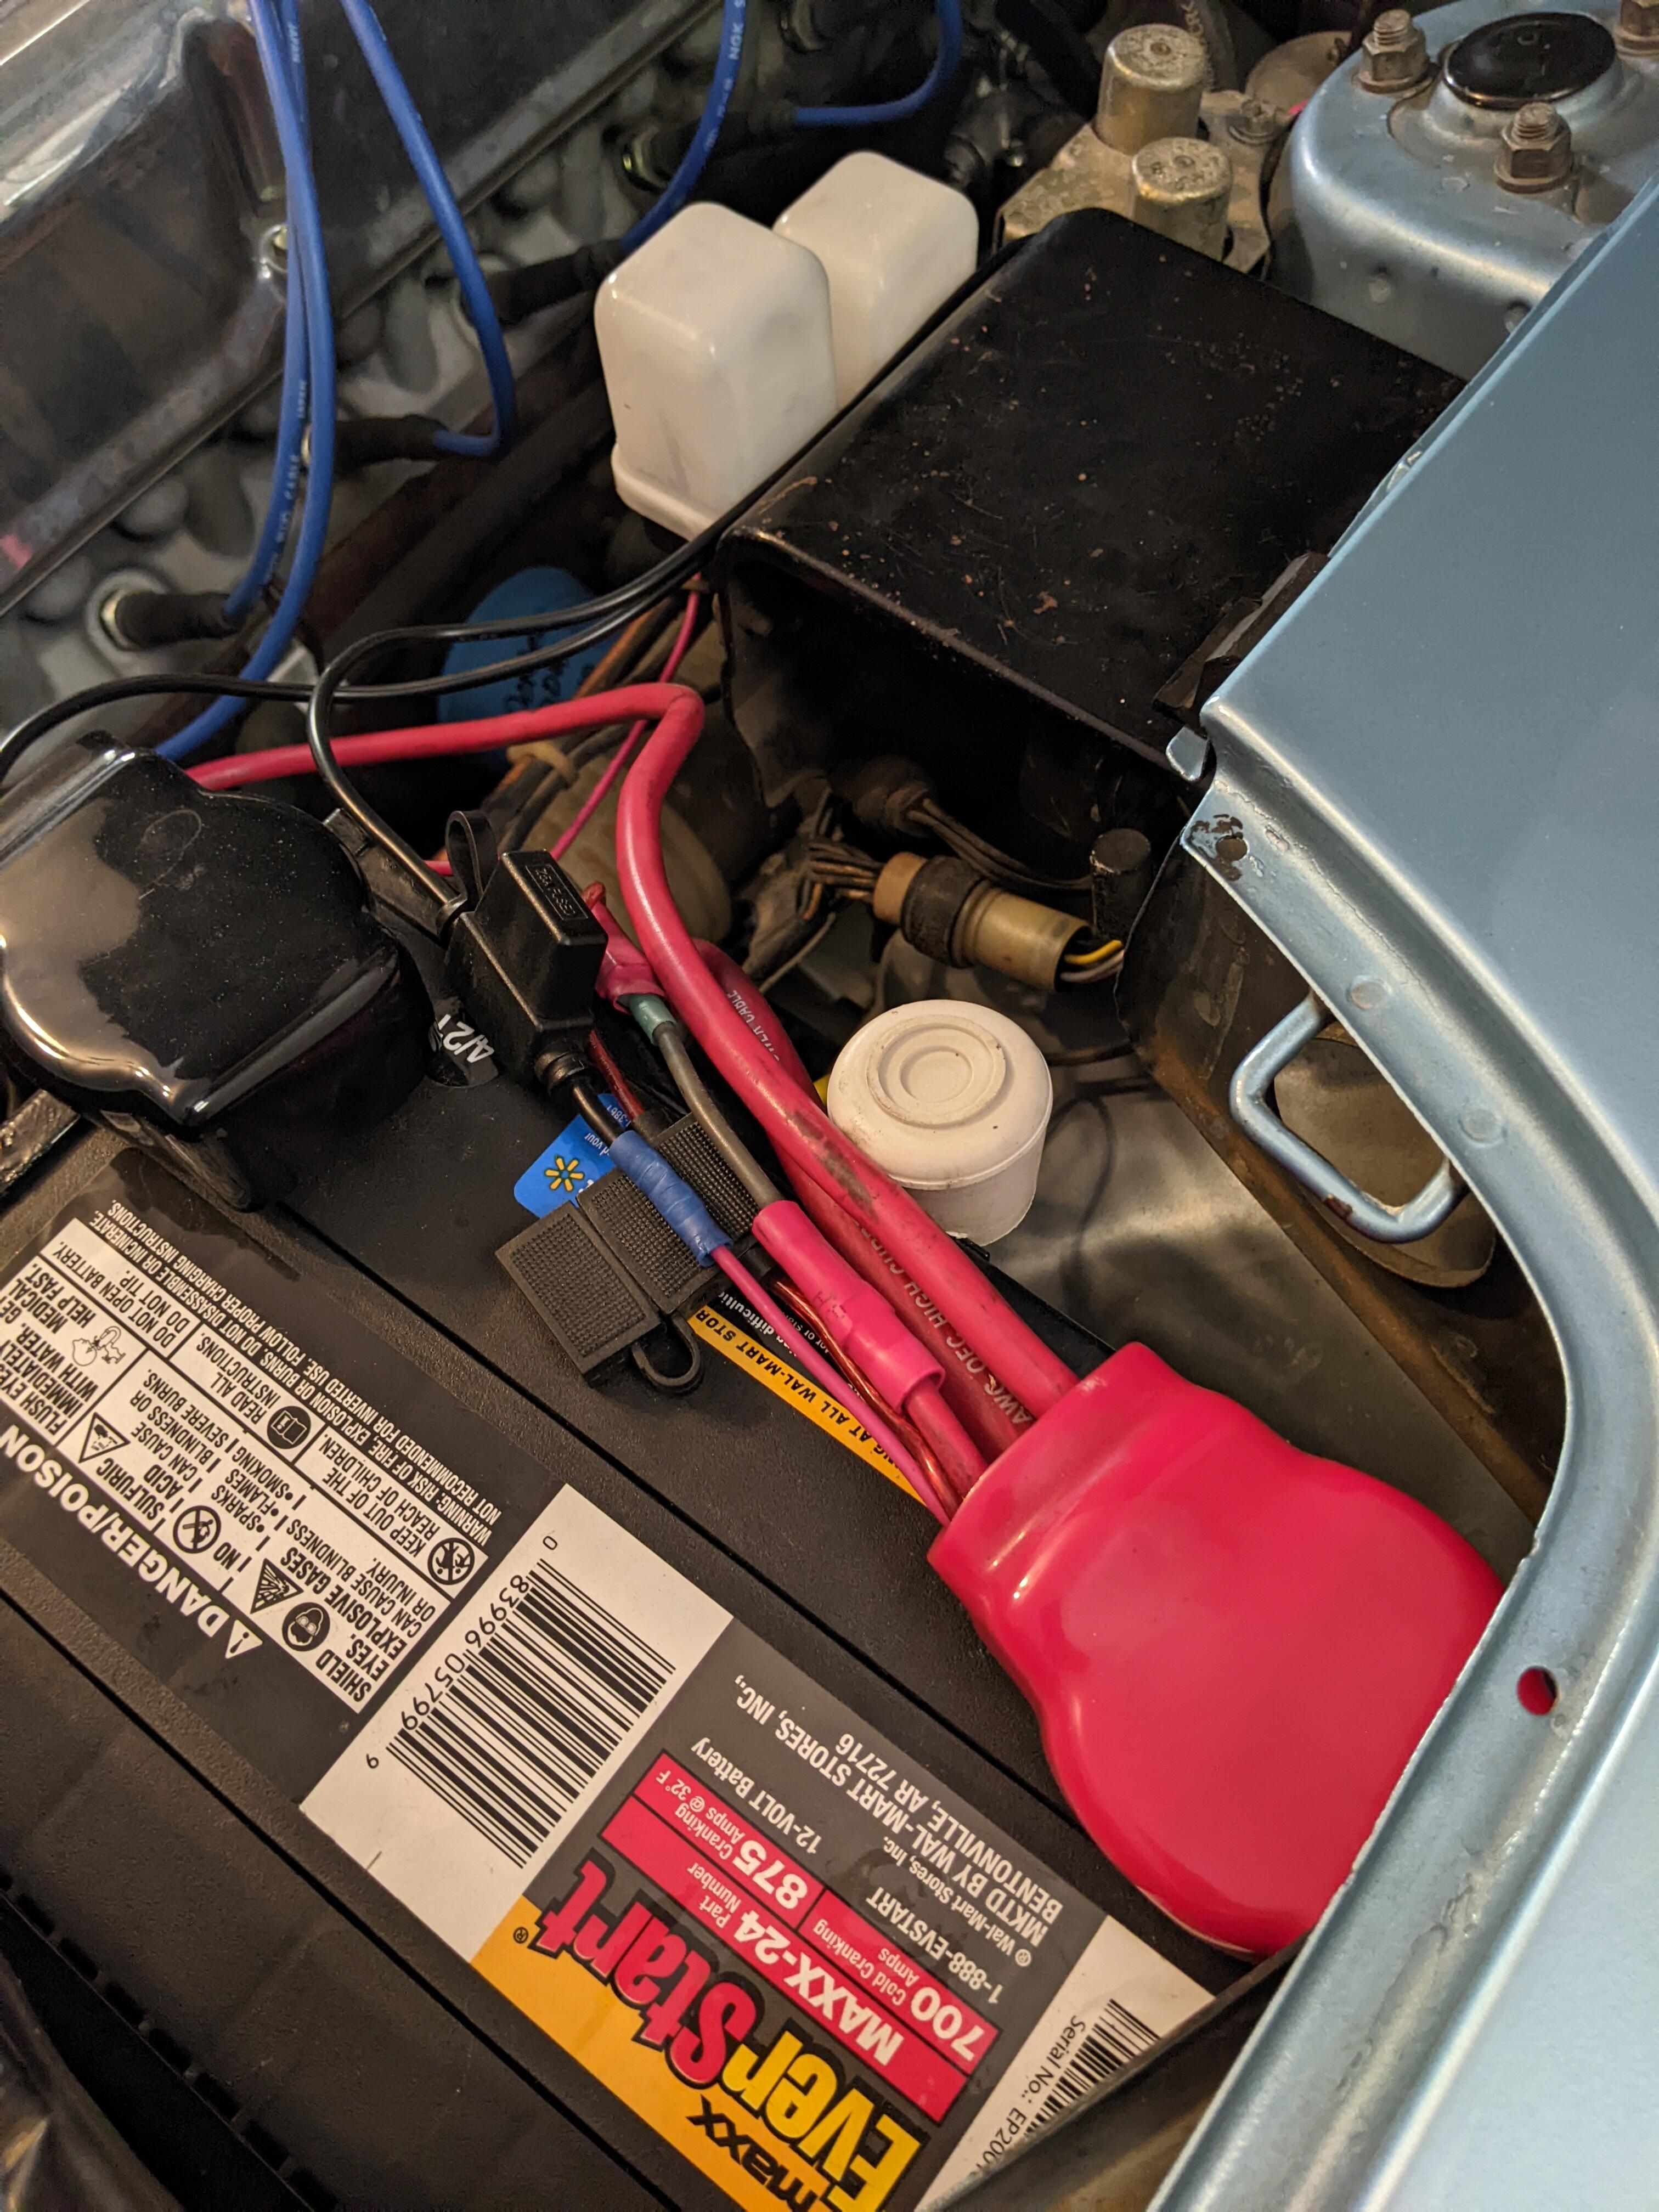
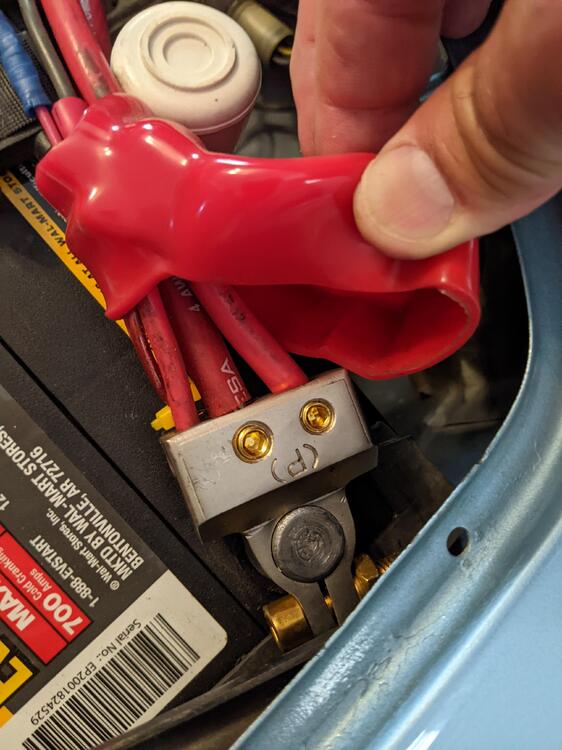
Standard alternator Bosch AL236X. Plenty of amps to run the Sound Ordnance woofer behind the passenger seat and the Kenwood amp under it. Speakers inside the front center console and inside the B-pillars. Look inside and you can't see anything but Z.
-
Those are great. Mine look slightly different but have taps for my heavy audio requirements. I found these plain jane red and black covers on Amazon that fit the terminals well.

-
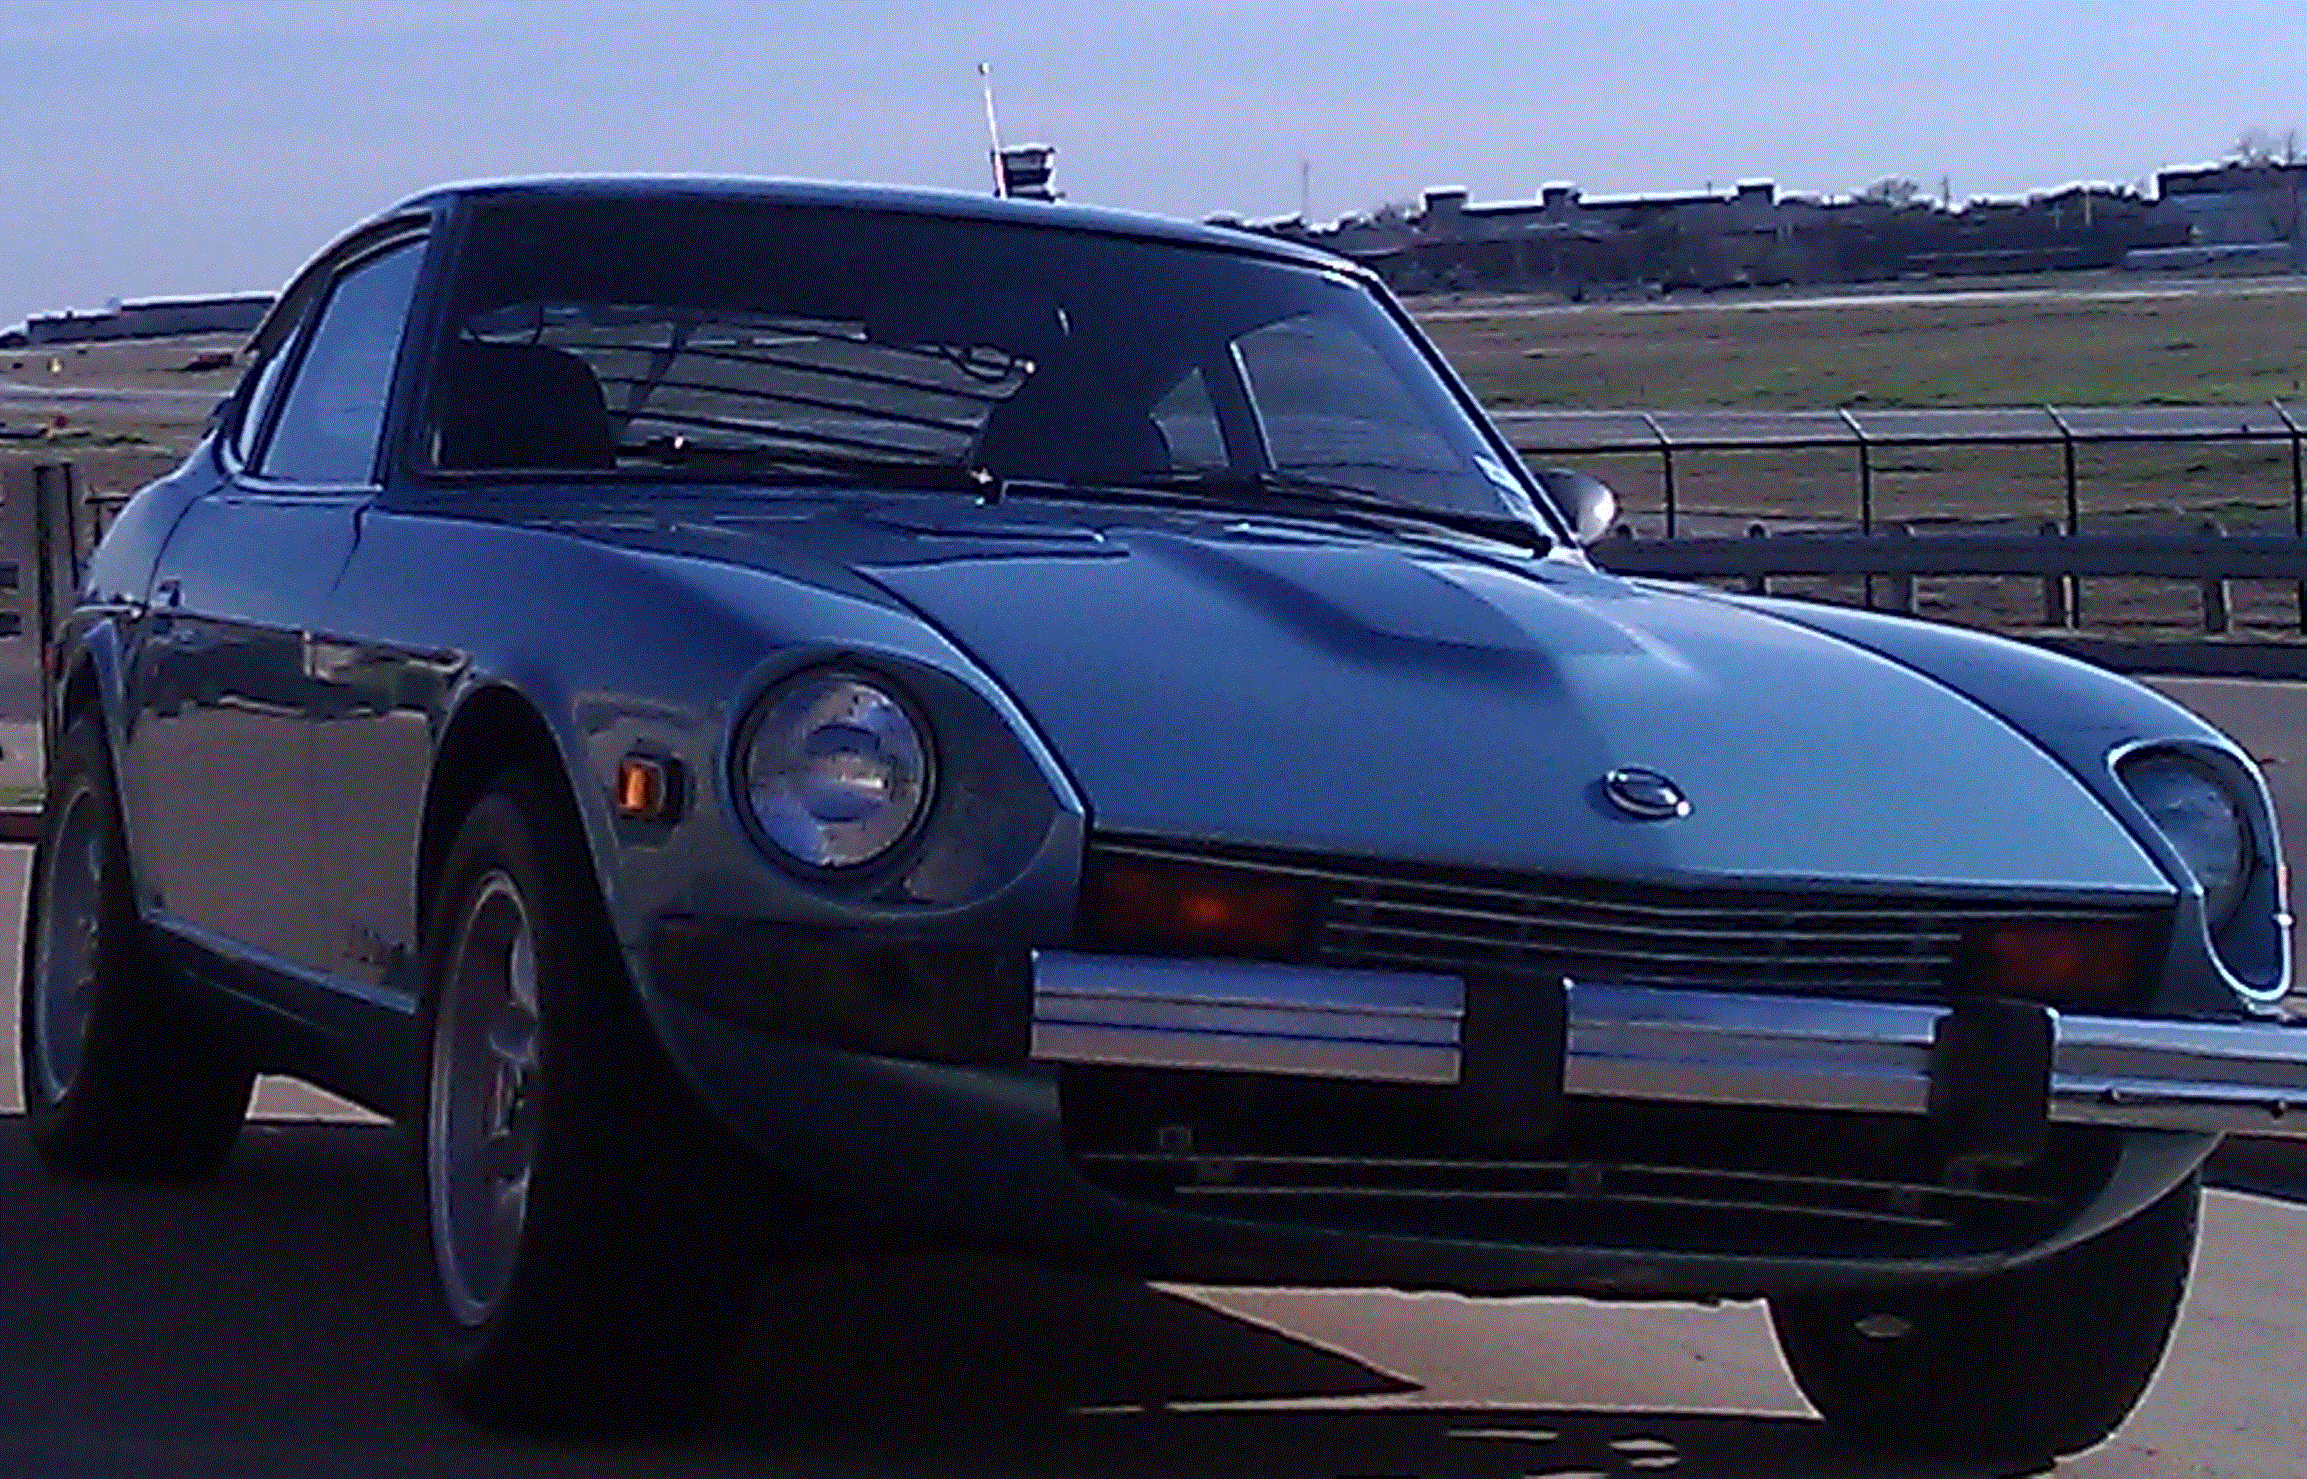
Driving it!
-
I've driven the new mechanical regulator long enough, since popping loose the contact, that the spiking would have appeared. And, it has not. So, the spiking problem was likely the solid state replacement that was in there. It had evidence of problems (cracked base). Thanks again guys.
-
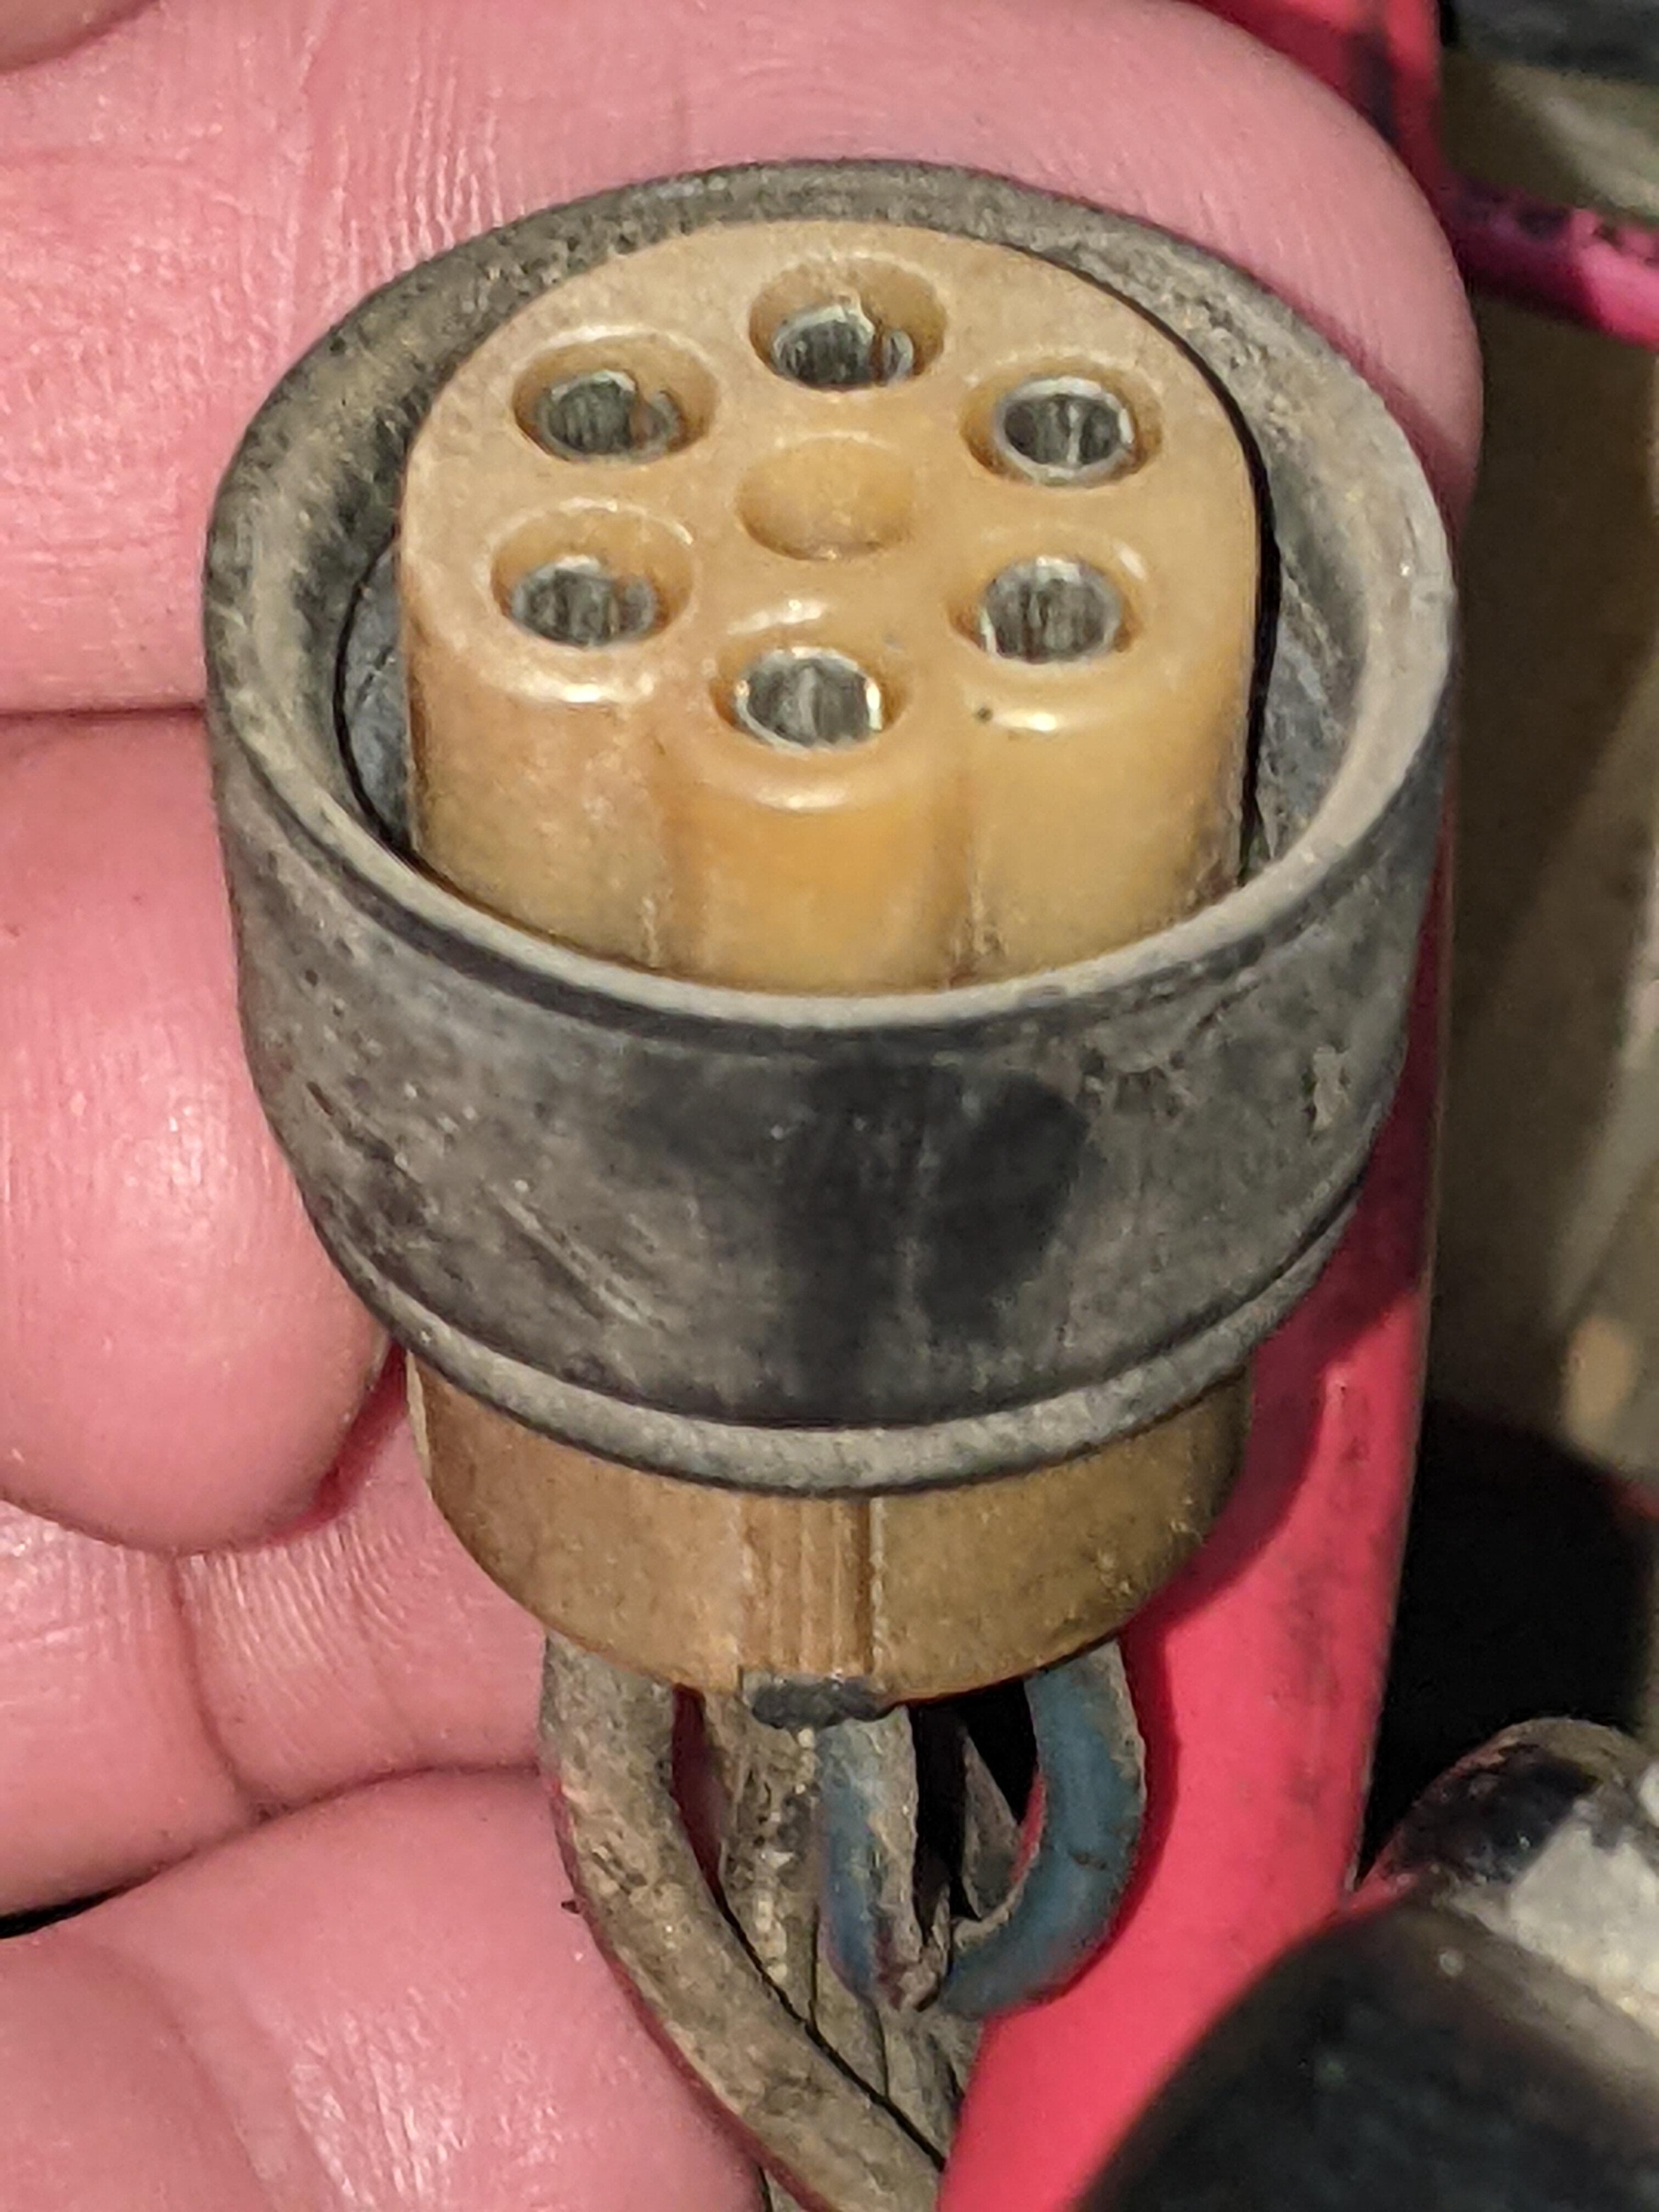
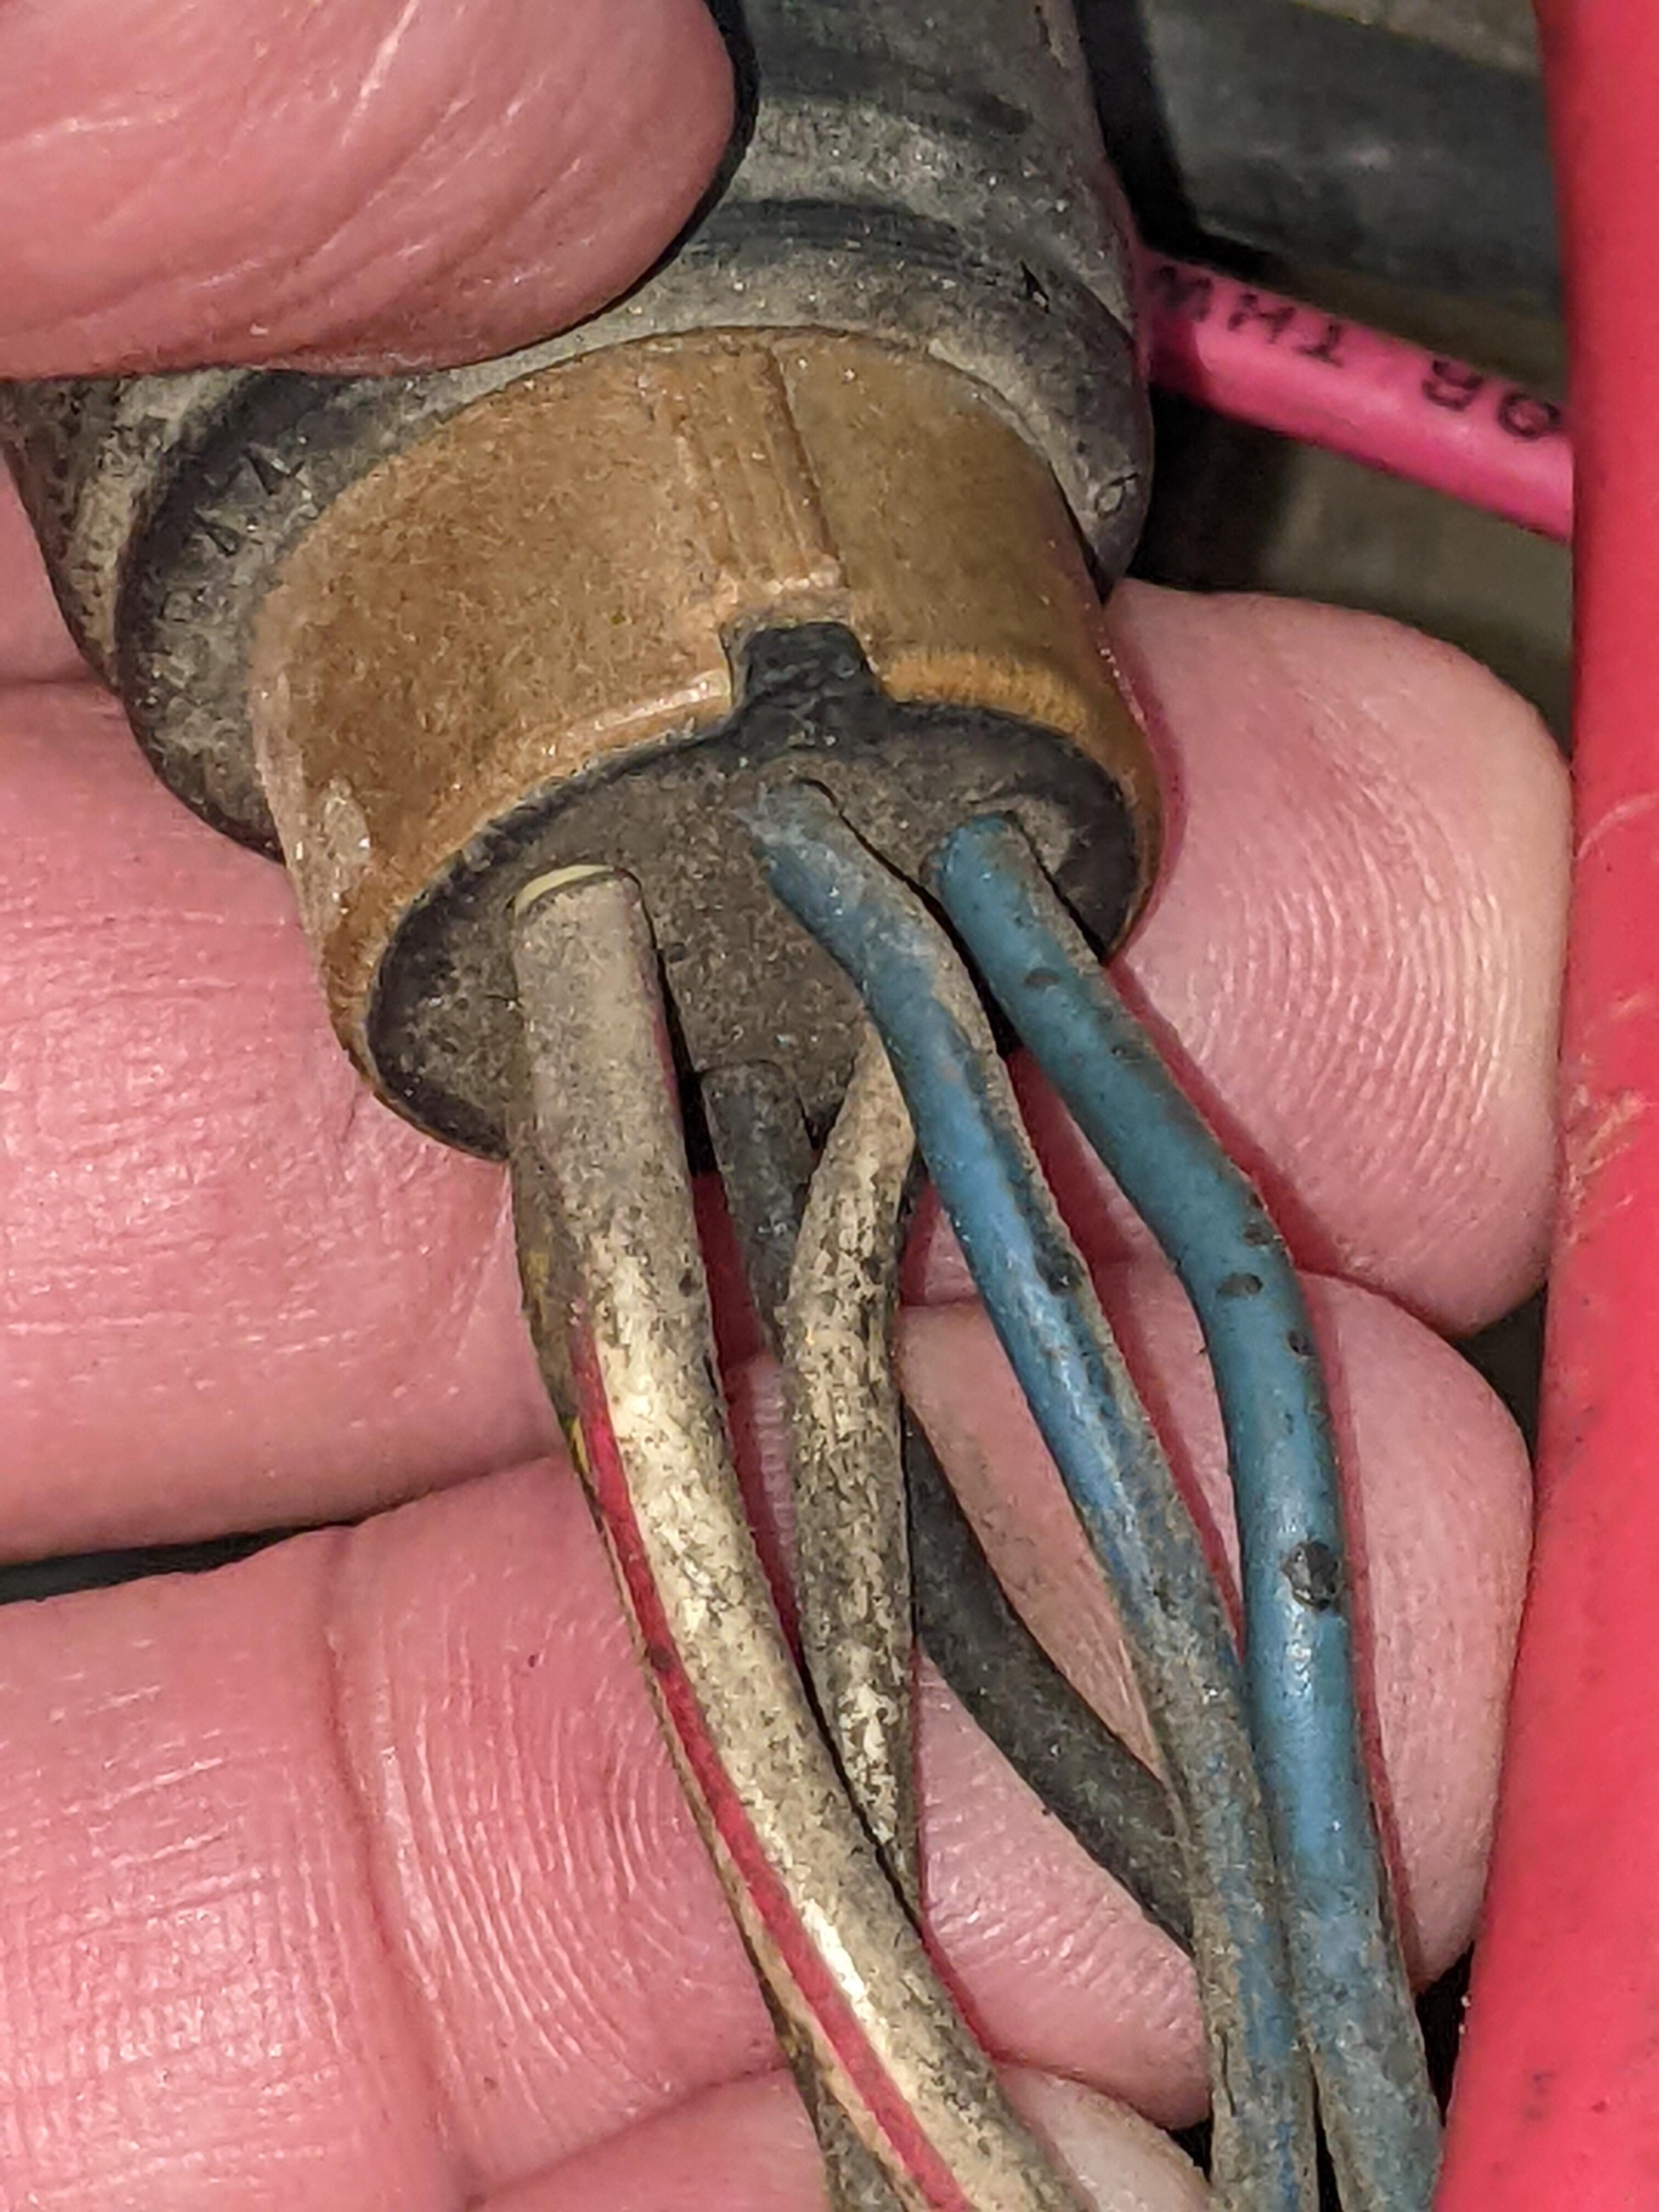
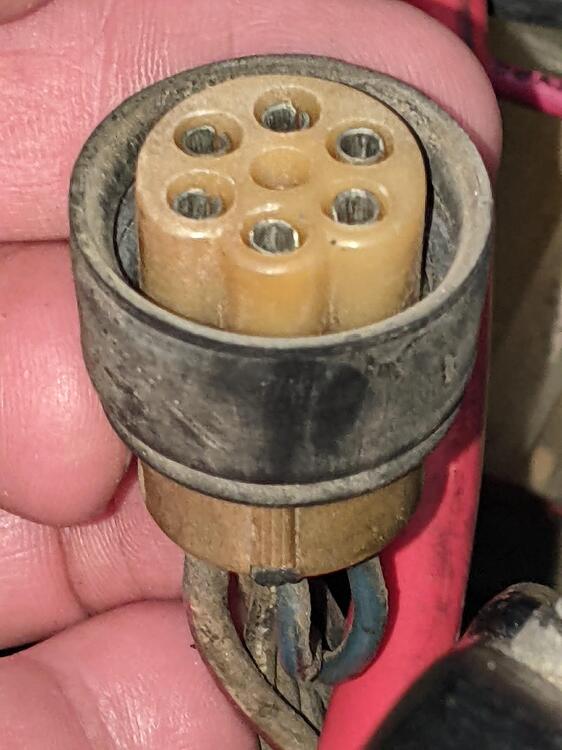
Here's the pics. Body harness are the dirty ones. Totally different.

-
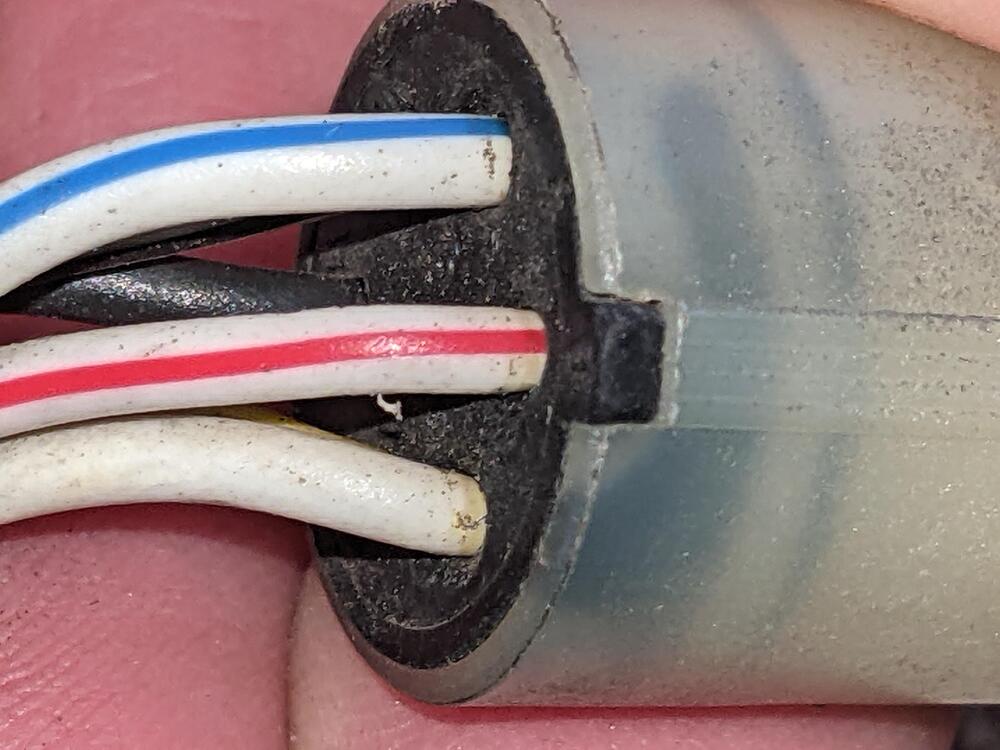
Viola! The new VR works now! I took it apart, violated the warranty that expired 44 years ago and moved all the contacts for freedom. One of them was stuck. See photo. I unstuck it and problem solved. The dashboard gauge reads ~14 and no charge light. However... following ZedHead's advice I checked the harness wires. I need to do some cleaning to complete the check, but right off the bat I see that my body harness wires are different than EE348 (which is the relay end). That W/R is NOT at the top on the car end. I believe its Blue/white at the top. The White/Red is 1 pin to the side. Before I put it all back together nicely, I want to finish the wire checks and get some cleaner for the contacts. Then, I'll monitor for the mystery spiking. THANKS GUYS! I've been into most everything on this Z over time, except the VR. So, its hard to imagine that the harness/pin were changed. There's a possibility that my "Z-guy" in Benbrook, TX changed out the VR to solid state a few decades back (must have, since its not stock). But, I can't imagine pins were changed.