zeeboost
Free Member
-
Joined
-
Last visited
Everything posted by zeeboost
-
 If you want to verify true TDC, use a piston stop and make your own marks on the crank pulley. Then once you have it lined up at TDC on the crank, line up the cam notch with the #1 slot. There's a certain number of links between the cam/crank marks, but I forget how many (instead of just going by the shiny links). But instead you can just assemble all the timing components together, rotate the crankshaft two revolutions (clockwise) and make sure the cam/crank line up in the same spots. Also i must be looking at the distributor picture wrong because it doesn't look like the rotor is facing #1 on the cap, that should be towards the radiator.
 -
Good to know it's legit, I just picked up a few of them and was a little worried with how easy the checkout process seemed.
-
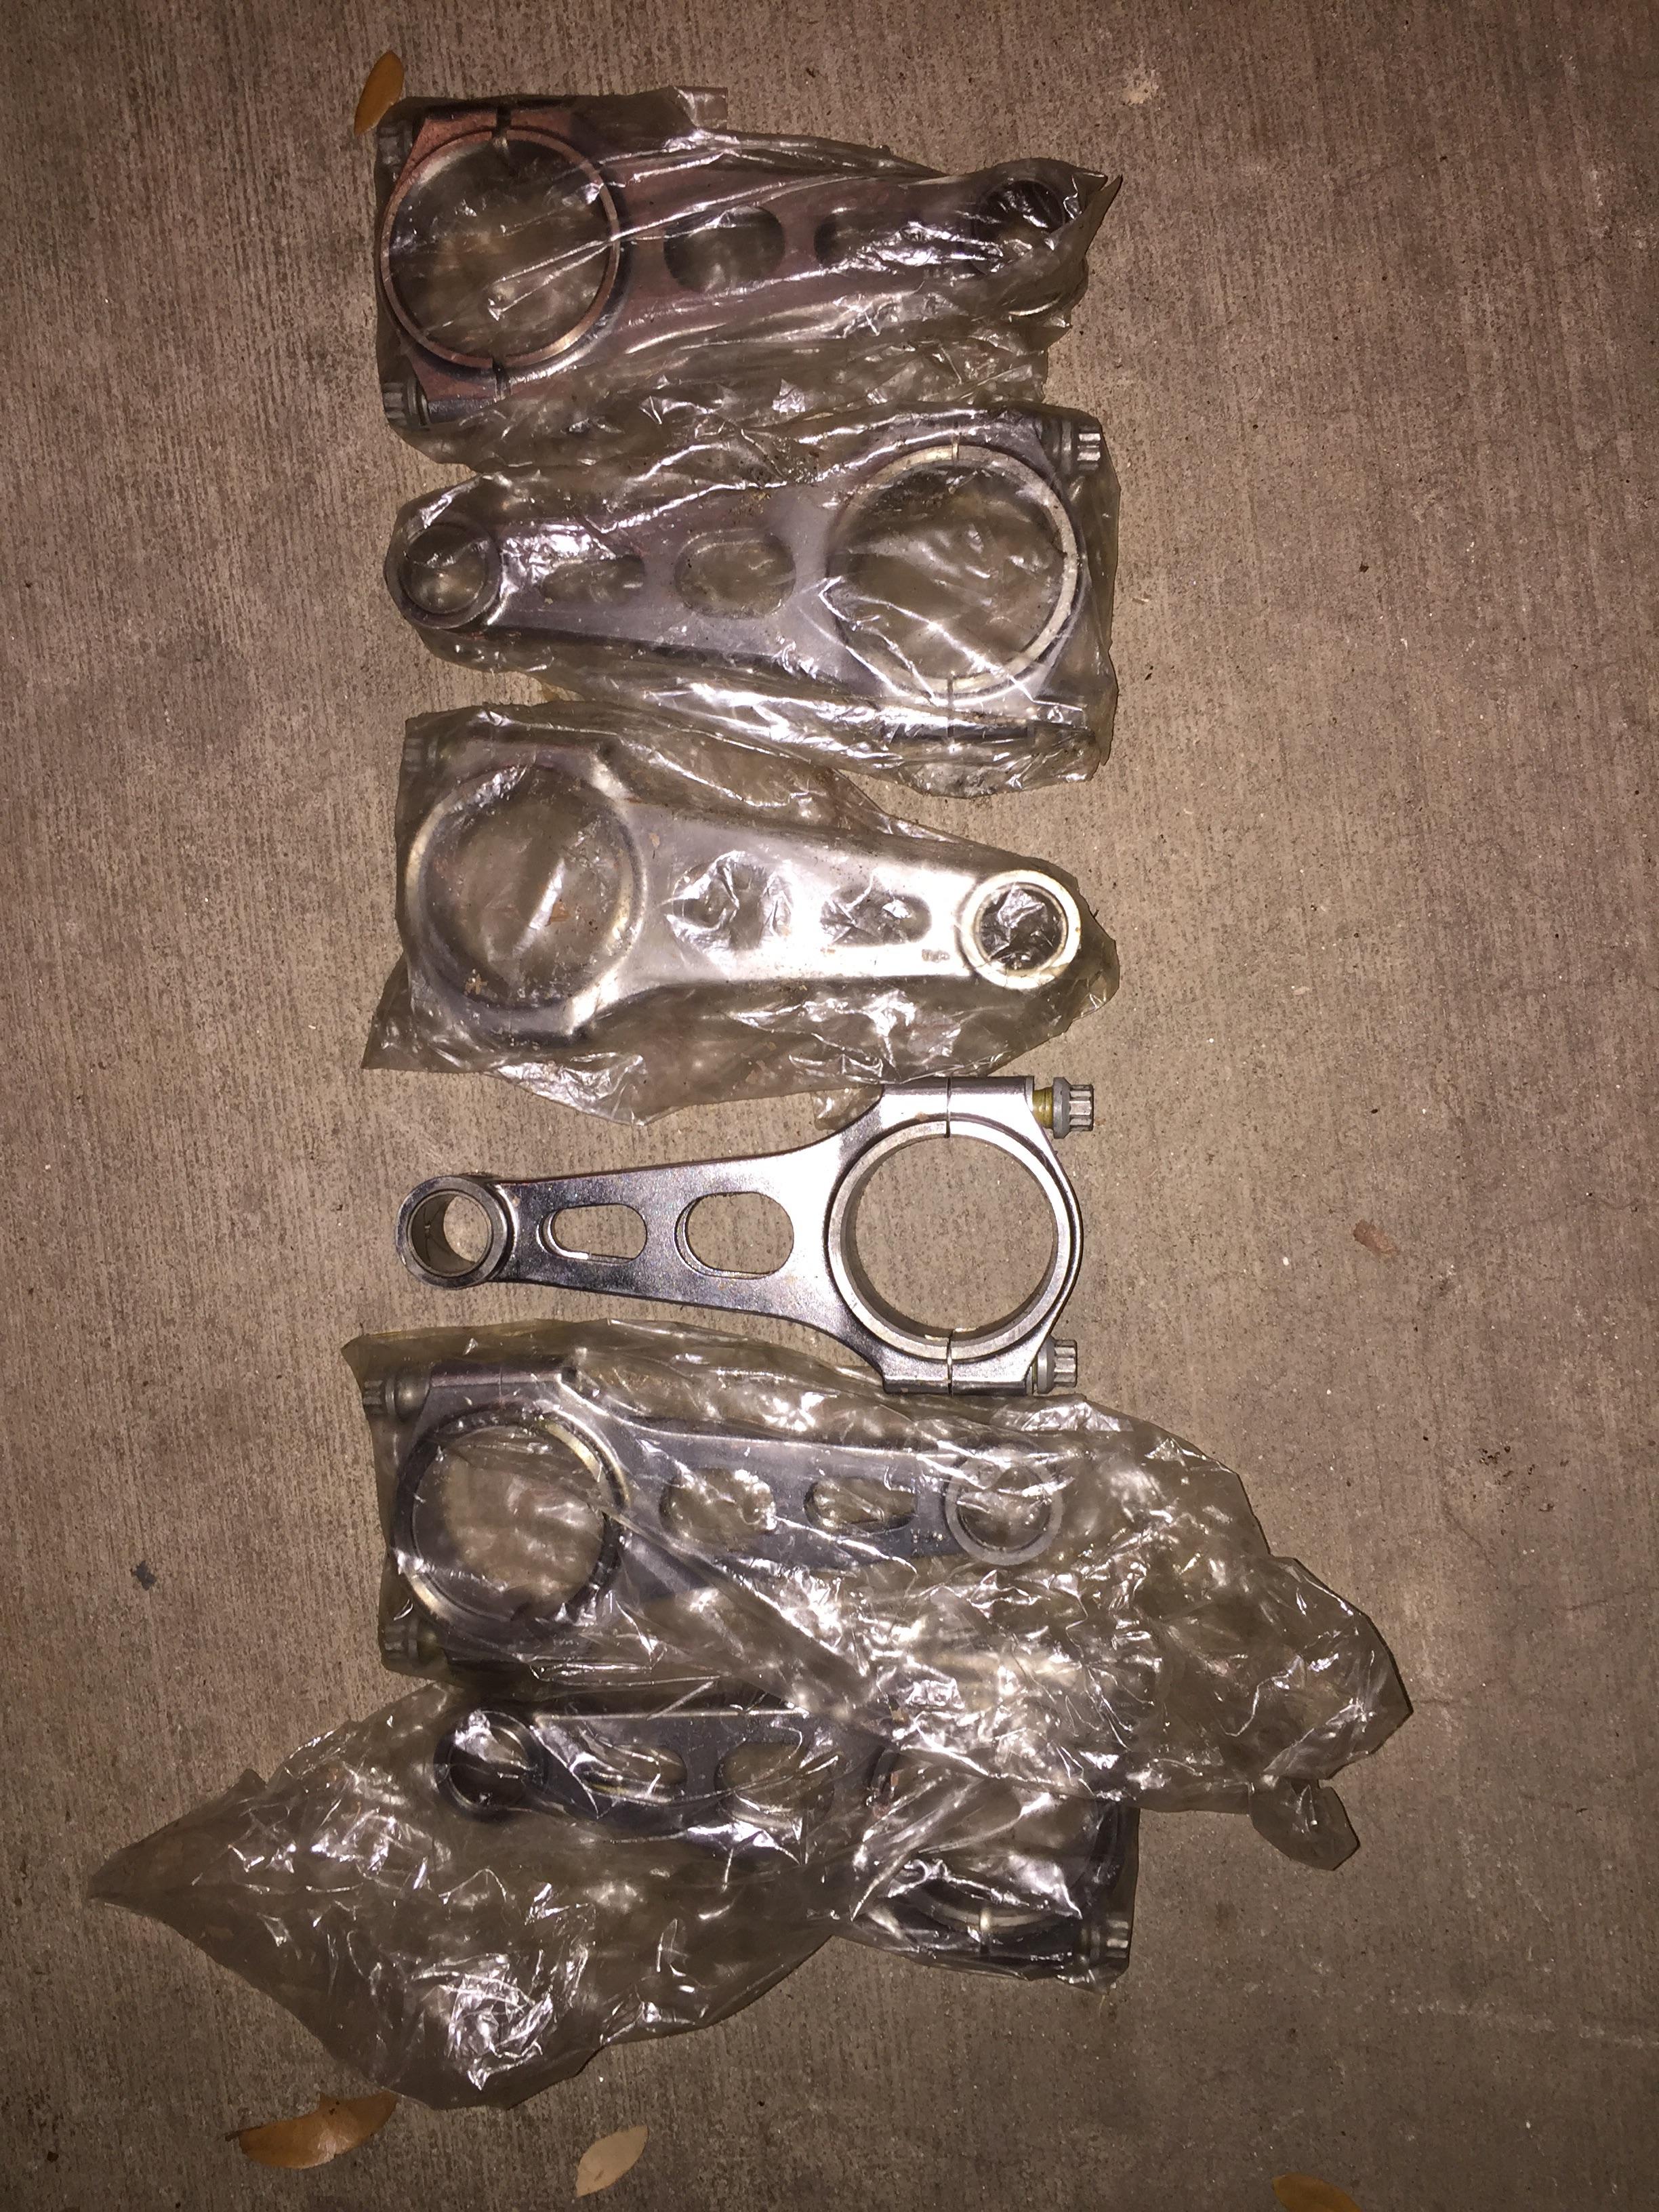
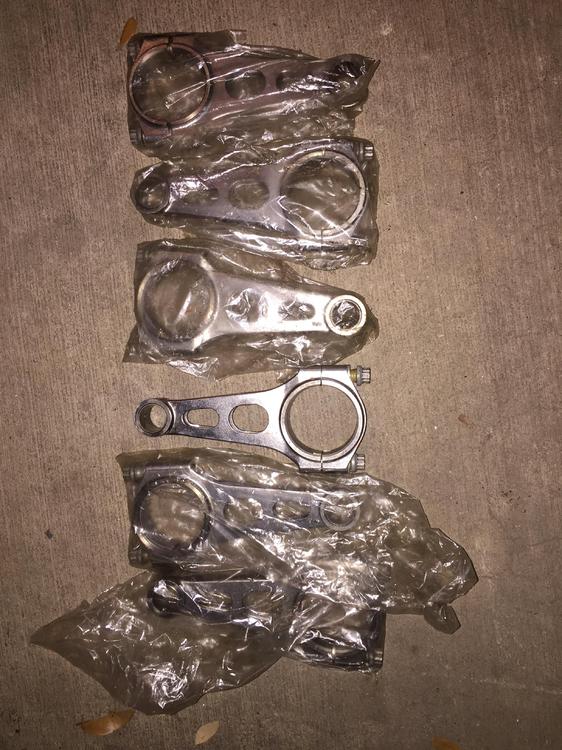
One of my favorites to this day was from over 10 years ago, I bought a 240z for pretty cheap and as per protocol, it came with quite a few spare parts. Aside from the engine stand, tons of -an fittings and hoses, other fuel pumps, regulators, and general performance stuff, I found a crankshaft with V07 stamped on it, along with a set of Mechart rods. Mind you there weren't any performance connecting rod options then like there are today, so I was pretty stoked. Wish I knew more about them but I don't really ever see them mentioned. I think once in one of the 'how to build your L engine" books. Honorable mention would be a 280z I bought 9 years ago that had a v8 swap, been sitting in storage for 25 years. Upon parting out that one I discovered a scarab bellhousing on the m21 transmission, along with many other little scarab pieces. It also had some custom bubba brackets and axles made for a c3 corvette differential that was installed. Despite the fact that I made quite a bit parting that one out, it still gets me that I bought it with a crack free dash, and thought just simply covering it from the sun would protect it. I should've pulled it out the first day, because in less than a week of texas sun, it split in a couple places.
-
While drilling to a larger size will work, keep in mind you'll need to drill out the slave cylinder to accept the larger bolt as well. It's not really a problem, just a little more hassle. I've had to do that in the past and it's still holding up fine. Although if it were me I'd rather try to re-tap the existing threads and see if it'll clean up well enough to reuse first.
-
That's what I'm thinking. From what I can tell in the picture, it looks like smaller bolts were just stuck in from behind the bell housing to hold the slave cylinder in place. I figured if it was a stud that threaded into the bell housing, then it shouldn't have fallen into it and catch the flywheel. It's possible the PO damaged the threads in the bell housing and just rigged something up in the meantime. If the damage is minor, the bell housing is aluminum and shouldn't put up much of a fight to rethread it with a tap, assuming there's enough material left in the boss to retain a functional thread. If all else fails, it'd be pretty easy to helicoil.
-
I've replaced slave cylinders on many different Zs, and the orientation has always been the bolt head facing towards you, and the bolt threads into a threaded bell housing. I'm not sure why yours is different, if it was modified or just a different setup that I haven't seen yet, but is there any way you could just fish the bolts out with your flexible magnet, run a tap through the bosses in the bell housing, and then just install new bolts the other direction? Then you also wouldn't run the risk of another bolt falling into the bell housing. If you wish to keep the same setup, I don't know what's stopping you from just removing the damaged bolt and taking it to a local hardware store to match it up. I'm not sure what you have available in your area, but home depot should have that bolt, it'll just be a generic grade 5 or grade 8, not an automotive style. If you have a fastenal or some place that specializes in nuts and bolts only, you could get a more accurate match taking it to one of them. The generic grade 8 bolt will serve you fine, but will be cosmetically different. I'm going to guess the bolt is m10x1.25, which is a pretty common thread to find locally, but you'd be better off taking both bolts, so that way the good one can be used as a point of reference for an accurate thread pitch measurement.
-
I should add that drilling holes in that center piece of pipe would pretty much mimic how most straight through mufflers are designed. Not quite as cheap as drilling them yourself, but basically something like the pipes in here https://www.amazon.com/Dorman-917-016-Oil-Filter-Cap/dp/B0075MREHI
-
I'd say install it and drive it around first, if there is a substantial difference in power (car struggles to get up to speed) then you'd probably be better off installing in the dmv parking lot. If not much of a difference then it should be fine for a short trip. I've come across plenty of vehicles that had converters clogging up the exhaust so bad that they literally couldn't move (takes a little bit of driving to get to that point though). As soon as the converter was replaced, engine ran great without a hiccup. Could you not at least insert a smaller tube in the center (maybe 1" diameter) so the exhaust at least has some unrestricted place to escape? That way it'd be a safer bet for you engine and would probably still do a decent job of muffling.
-
Not sure if you saw the Pm I sent yesterday just a few after you posted the ad, but I'd like to at least get the ECU since my '76 is having a weird sporadic issue that I'm thinking may be something internal with the computer. I did request the harness as well in the PM because mine is pretty corroded and even though I cleaned the connectors, there may be excessive resistance in the wiring that's contributing to the problem. But I see Dohrem also posted a need for it, so if he needs it then that's fine. Wiring repairs for me are easier than circuit board repairs lol. Just let me know how much for shipping and I'll send it to you, thanks!
-
Yes, the '77 has a sock in the gas tank. I had to take compressed air to the outlet of the tank on my '77 and blow the sock off the line so I could get fuel to the pump. I then did what everyone else does and installed a clear filter between the tank and the pump.
-
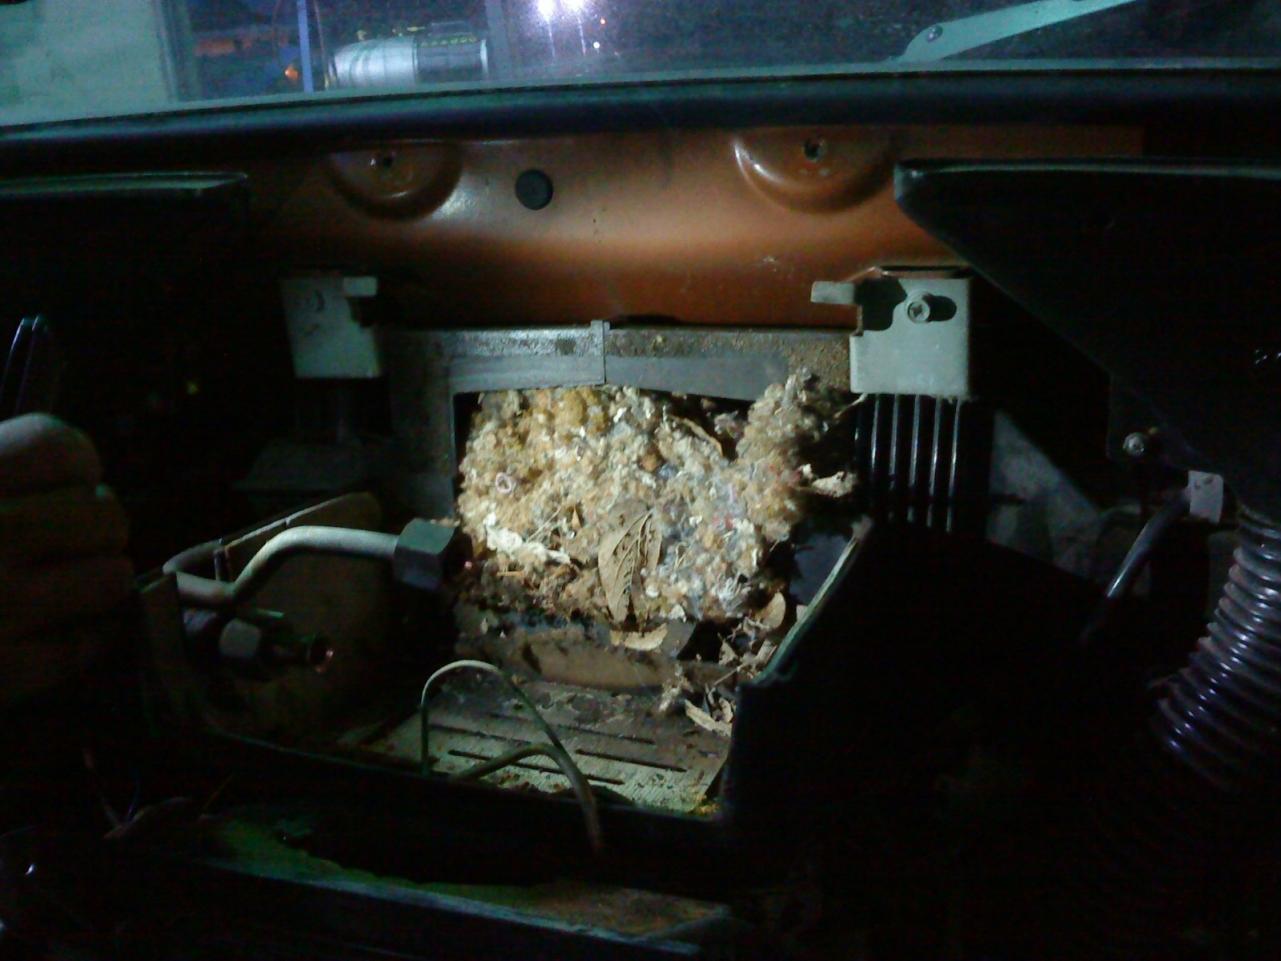
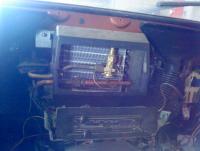
Oh yeah, and as soon as I removed the evaporator I discovered why my airflow was so poor

-
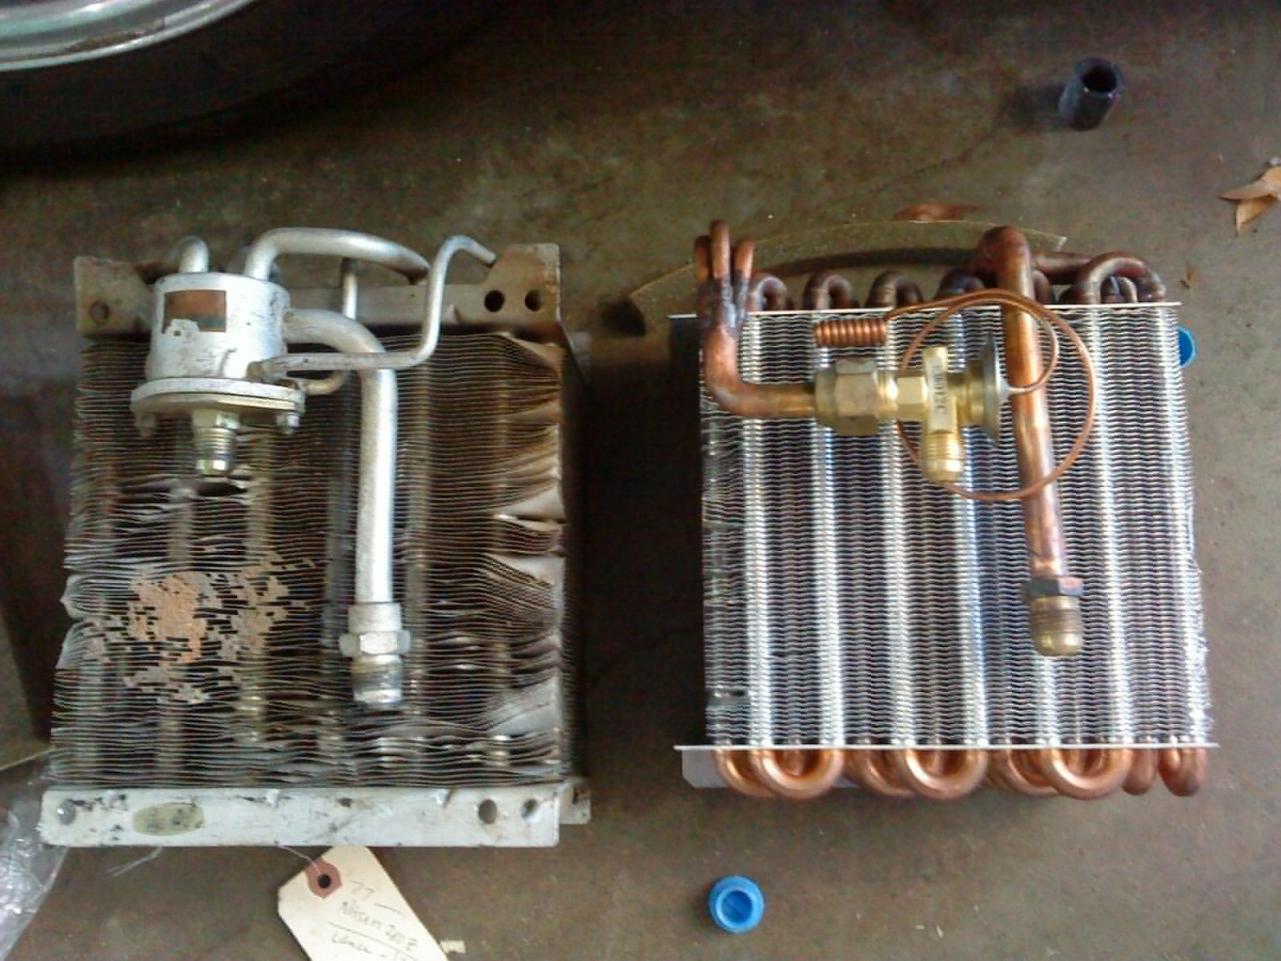
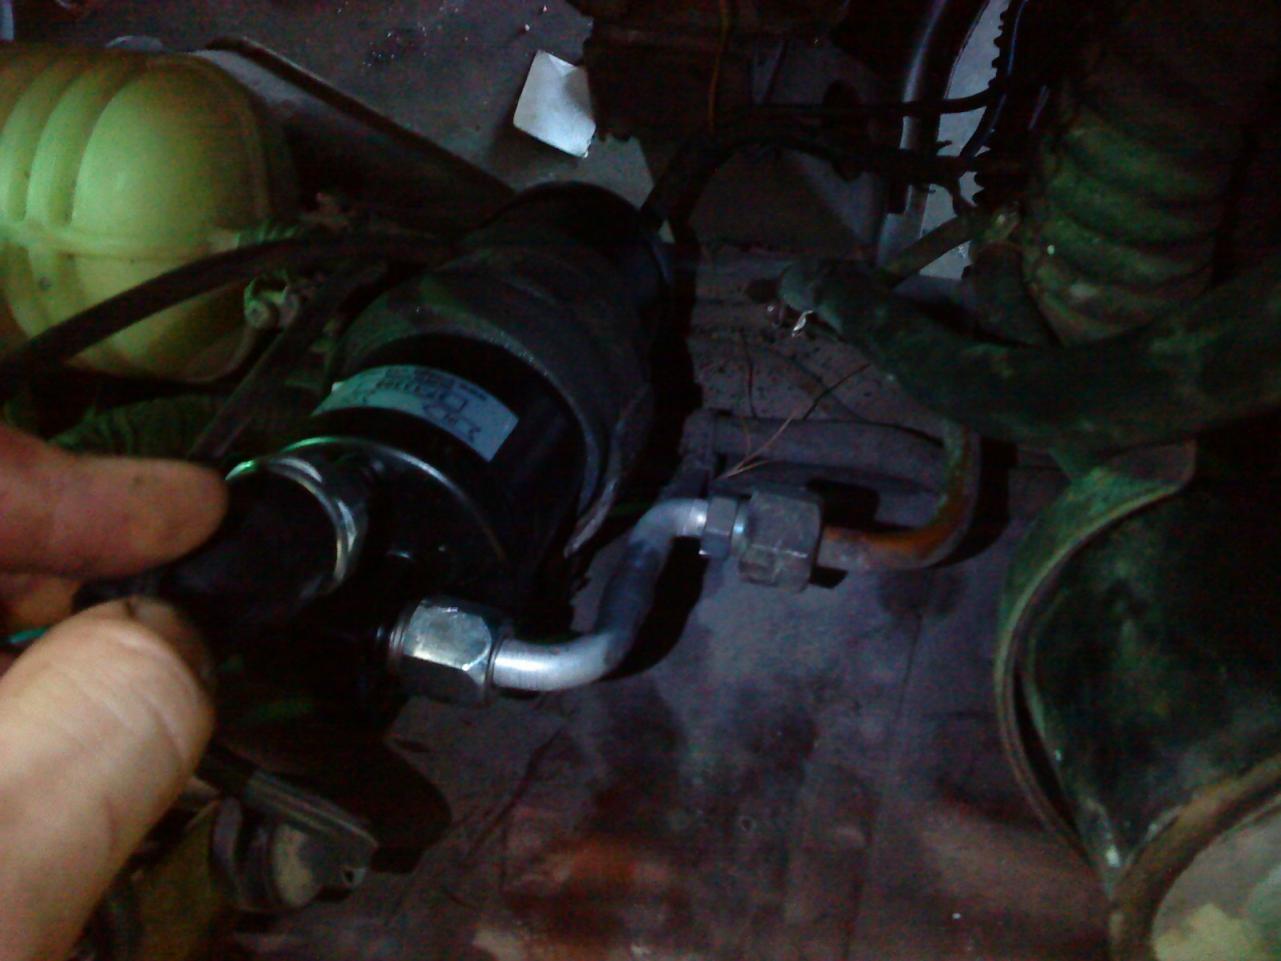
Figured I would go ahead and update my progress with this. The a/c shop (Austin Rebuilders in case anyone is curious) told me my evaporator wouldn't hold pressure, so I had them order a replacement in which I could install a modern expansion valve with. I also had them make me a line with 2 90* bends so I can use a generic universal drier along with a common pressure switch. The evaporator was pretty close to the original size, but I still had to trim the metal on the top of it to get the housing to seal up all the way. I hooked everything up but it still won't hold vacuum (loses 30" in 5 seconds so it's a huge leak somewhere). I haven't replaced the rubber discharge line between the compressor and condensor so I'll replace it tomorrow and go from there. Even if it's not the source of the leak, the peace of mind is worth it. Zcurves, once again, I appreciate your help with this topic. I have 3 pics of the setup (although they're cell cam pics): - Comparing the old vs new evaporator / expansion valve. The metal I had to trim is on the left side of the new evaporator in this pic: - Everything installed (dashboard removed, obviously): - Closeup of the line I had made for the drier: I do have a question about the compressor oil. I doubt it'd be good anymore since it's been sitting for so long. Do I need to remove the compressor so I can drain out the old stuff or is there a better way of replacing the oil in it? Or does that oil really not need to be changed?


-
I have several cans of freeze 12 so I wasn't planning on converting this one. I appreciate the links to this stuff, but I was fortunate enough to find a local shop that can do custom a/c work (modify my evaporator core for a modern expansion valve) so I'm gonna take it by them tomorrow and see if they can do a quick turnaround. Do you think I'd need to replace the condensor even if the pressure holds up and I'm not converting it to r134a?
-
Haha, no I just need to get the heater parts installed first so I can have the car driveable by this weekend, although it would be nice to complete the a/c by then too. I'll search your posts and see if I can find where you got the parts from. And you're right, parts availability is the worst - I should've been done with this a long time ago.
-
bump Need this car out and driving by the end of the week.
-
Zcurves - I have a '77 280z that I'm trying to get the HVAC system up and running. The compressor will engage, but the system has had a fair-sized crack in one of the lines for several years (been sitting in a barn for a while). I replaced it (suction line running to compressor) but since the system has been exposed for a while, I want to replace the evaporator (hopefully with a modern expansion valve), receiver, and pressure switch. While I have the dash out, I'd also like to replace the heater core, hoses, and water **** if possible. I'm giving this car to my brother and he's not very mechanically inclined, so I'm trying to make sure he won't have issues with this stuff. Parts stores don't even show an evaporator, expansion valve, or water ****. Anyways, I was wondering what kind of shop you went to for your a/c parts. I doubt just any a/c repair facility will have these parts. If I get the heater core through a generic parts store, it would take a few days before I'd get my hands on it. I'm looking for something local because I have to get this Z put back together by the end of this week. It's tempting to just drive over to Houston to the same place you purchased yours from, but surely there has to be a shop here in Austin that could help me out...I simply don't know what kind of shop to look for. For instance, should I go to a radiator shop for the heater core? I thought I read a hydraulic shop could help with the expansion valve, but that didn't sound right to me. I'd appreciate any kind of help with this, thanks.