motorman7
 Subscriber
-
Joined
-
Last visited
Everything posted by motorman7
-
 Datsun/Nissan also had the throttle control knobs on the earlier Roadsters. The knob always required some type of pull force to keep operational, otherwise it would drift back to idle. So, back in the day (late 70's), I kept a stack of popsicle sticks in my ashtray and would shim the throttle control knob so I could cruise at the desired speed for long road trips. Used to drive straight through from San Diego to norther Idaho that way, along with a bottle of No-Doz. No way I could do that now.
 -
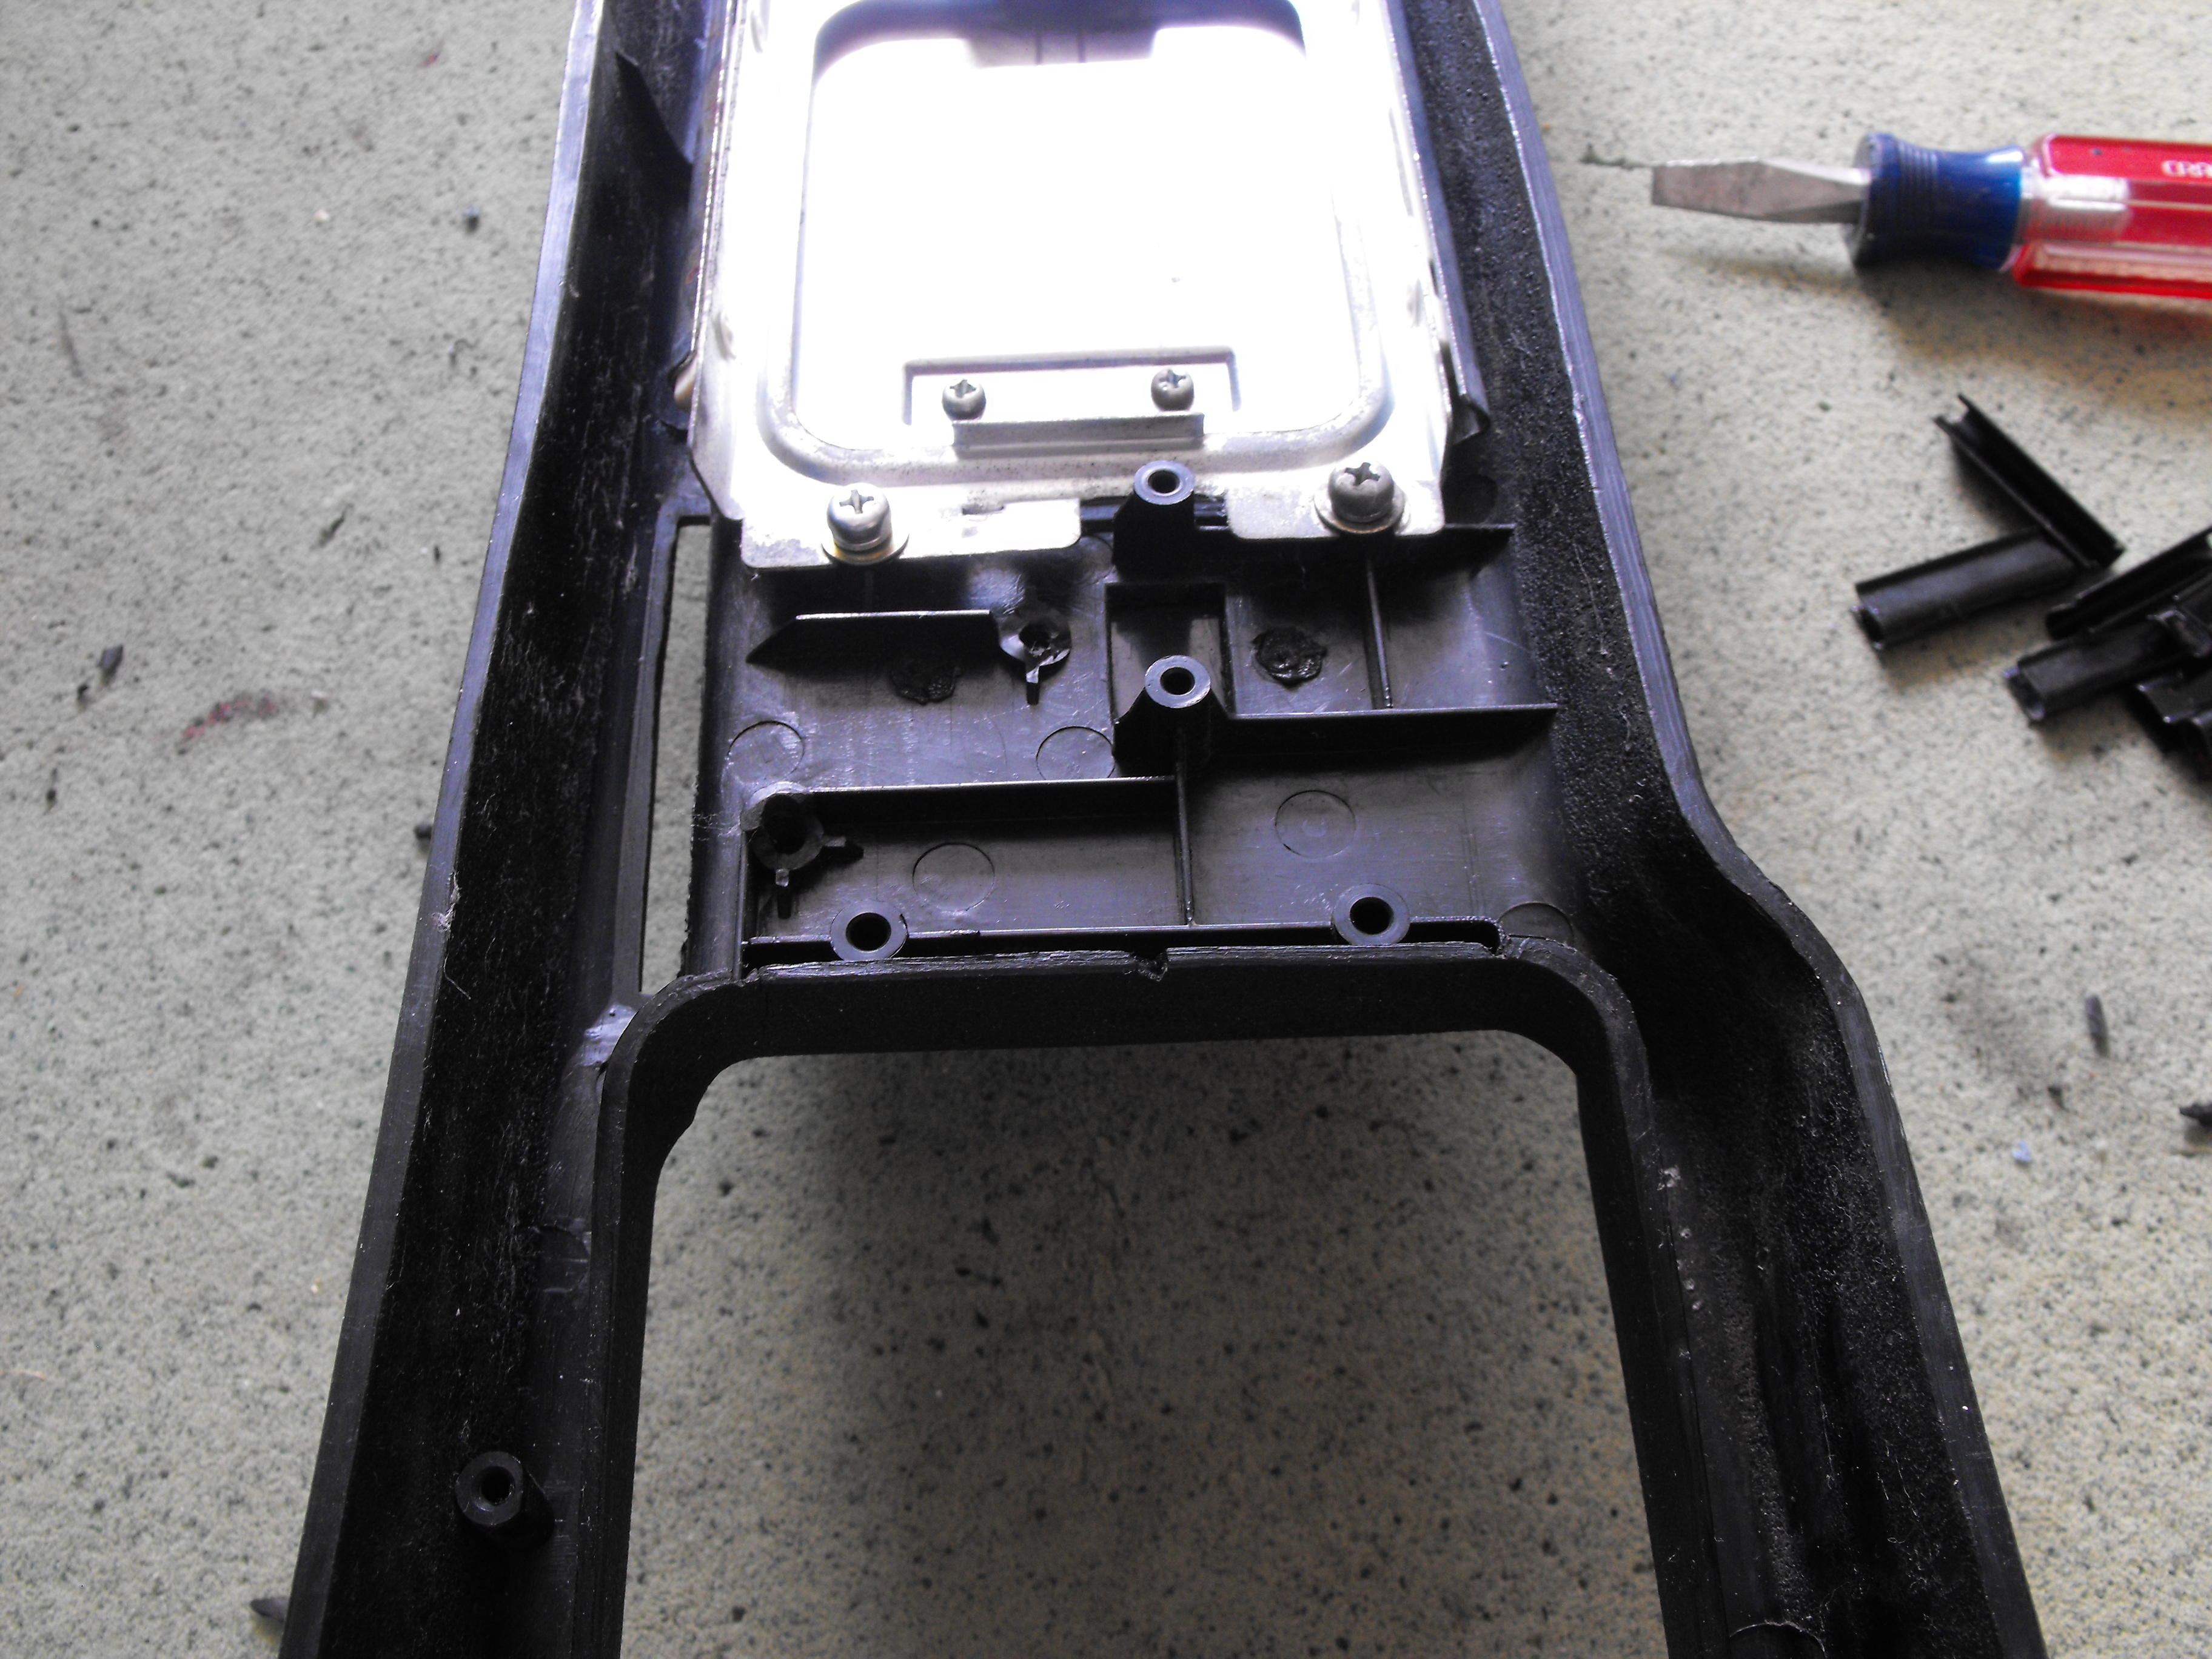
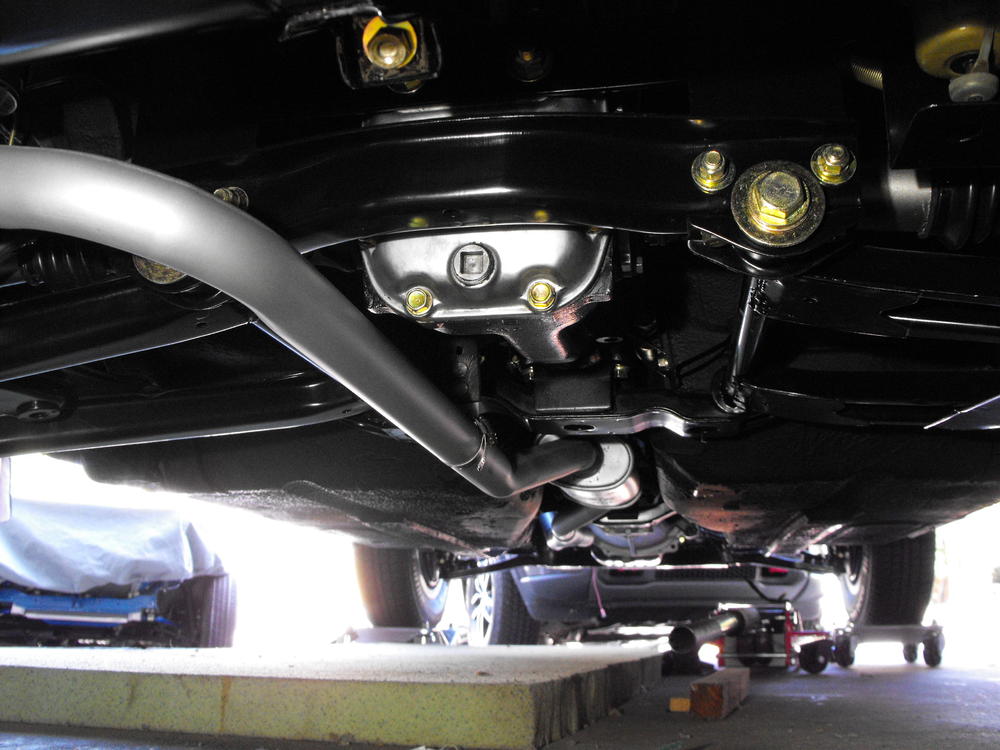
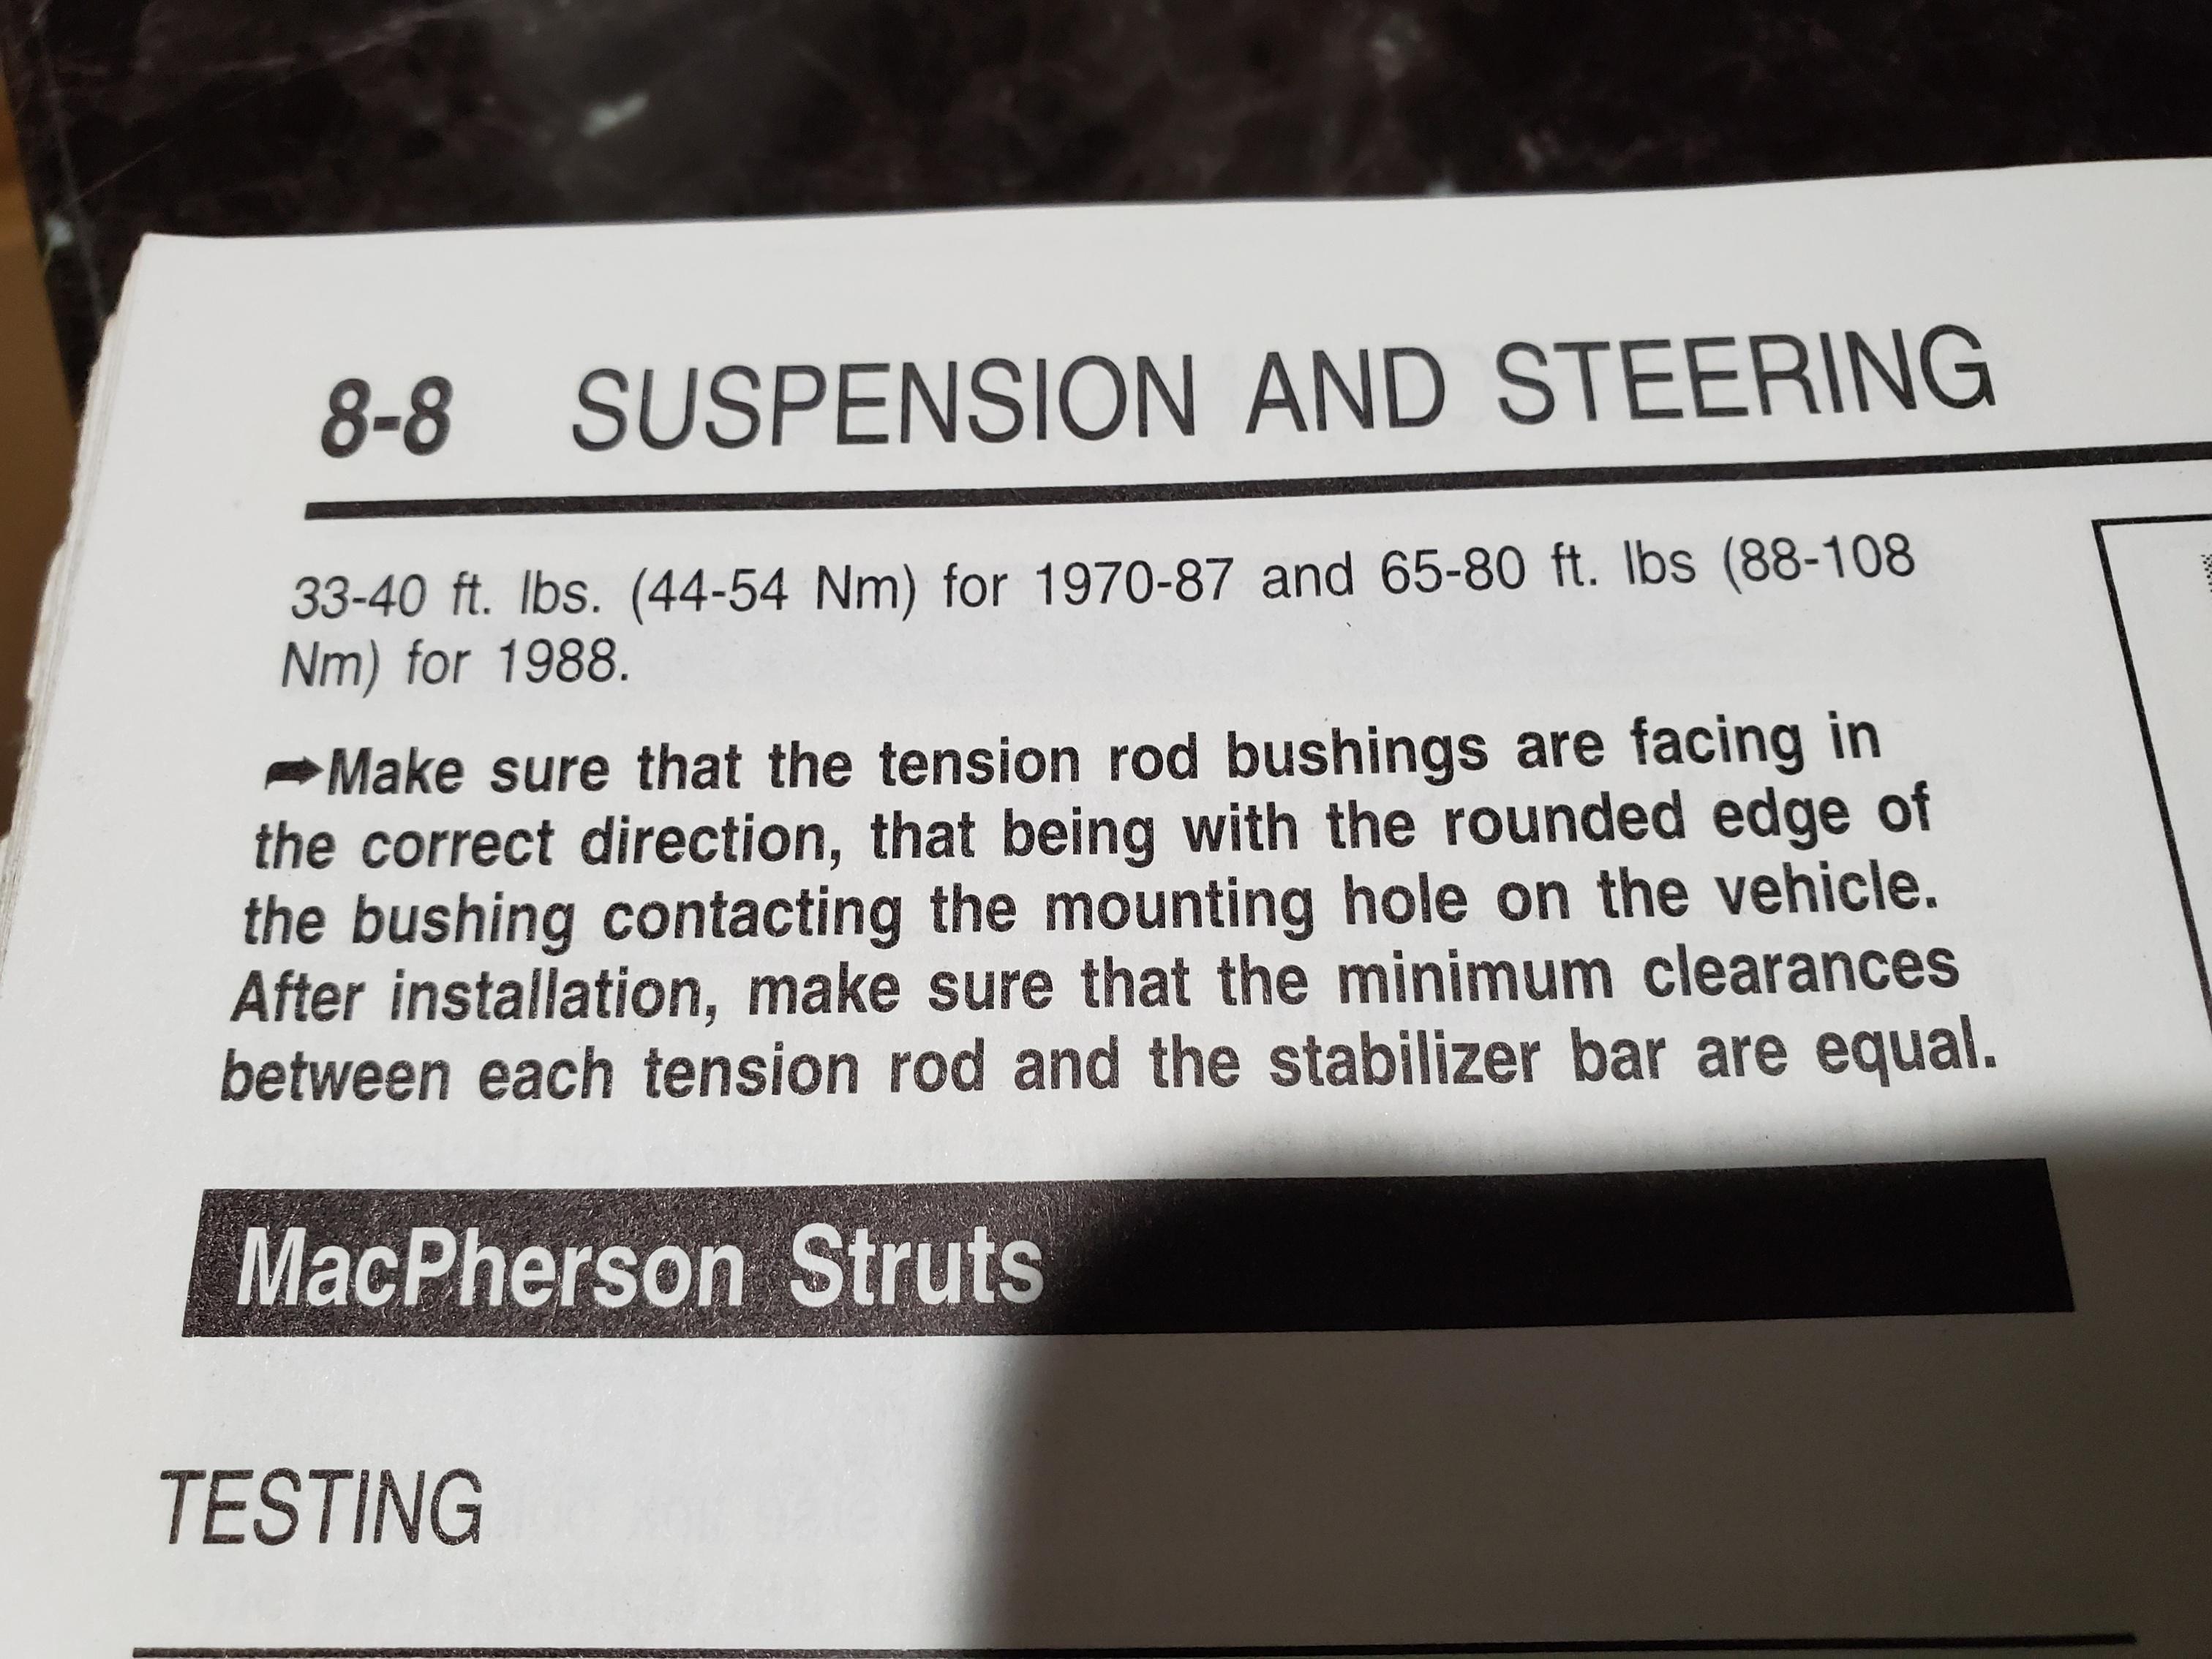
I had to save the pic and blow it up. Looks like they have the rounded edge facing 'forward' and the squarish side facing 'aft' for BOTH bushings. That's weird, but then again it's a 280ZX.
-
Interesting
-
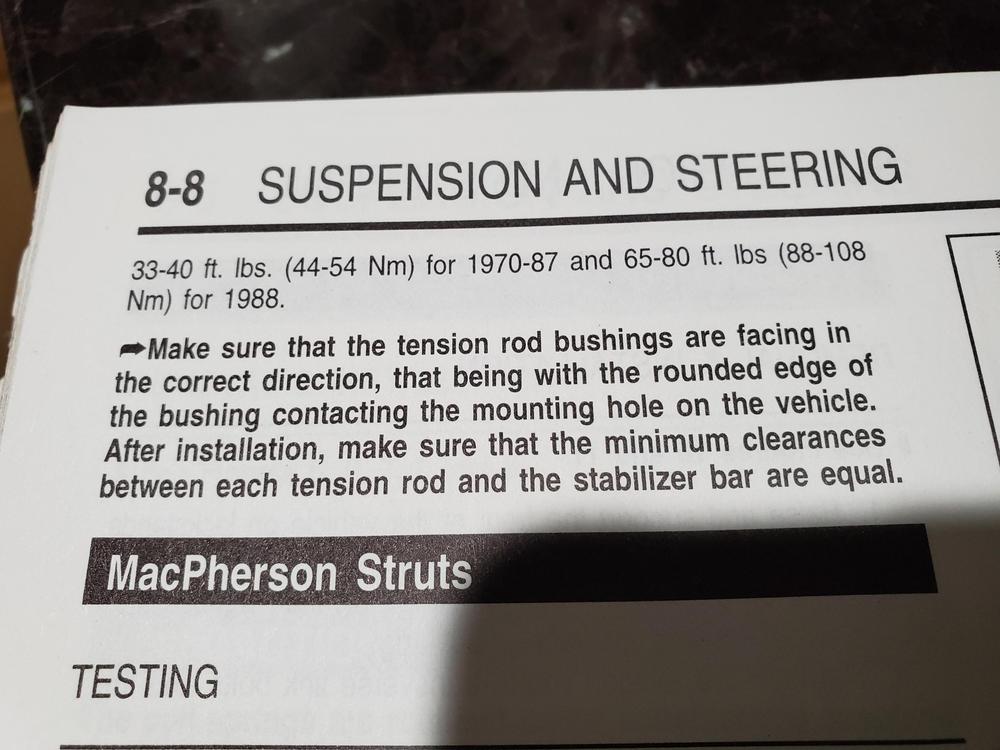
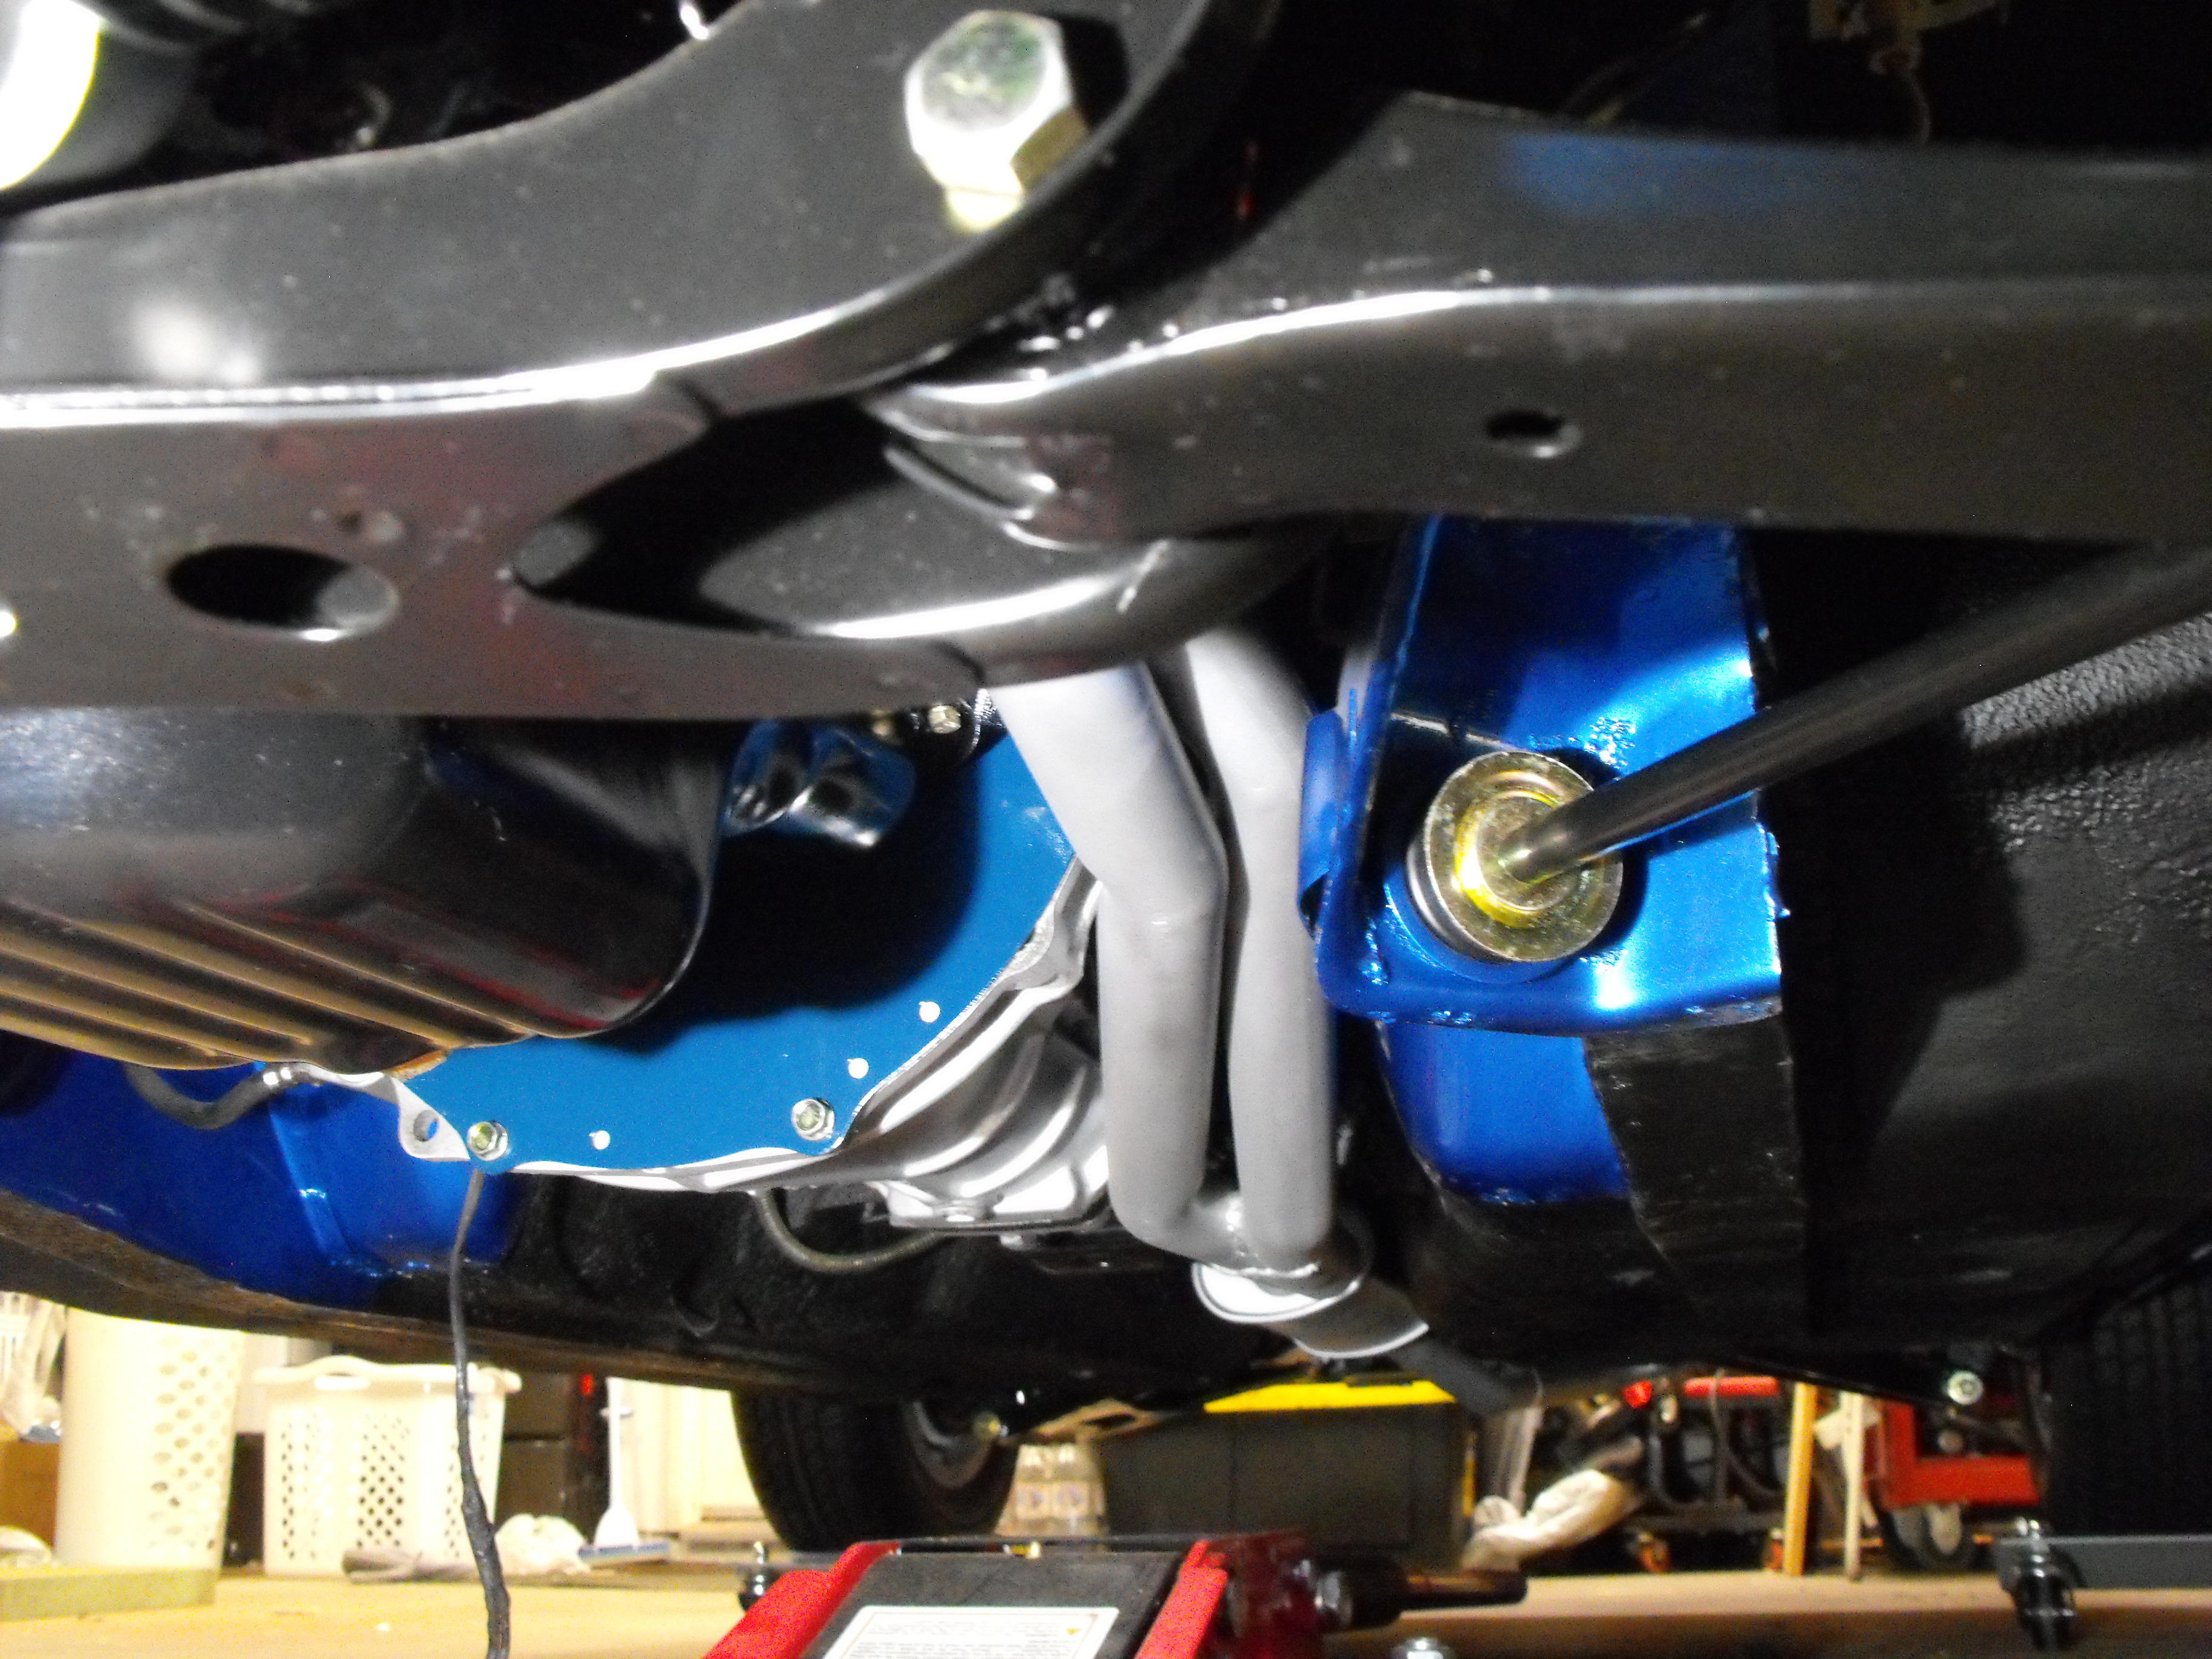
More muddy waters...Another item that comes into play are the mounting features/cups on the body that the bushings insert into. The feature is rounded inside. It would seem odd to put the squared end of the bushing into the rounded cup. The bushings from the energy suspension kit look like the red one in the pic above; rounded on one end, square on the other. Because of this feature, I am going with the rounded side toward the cups.
-
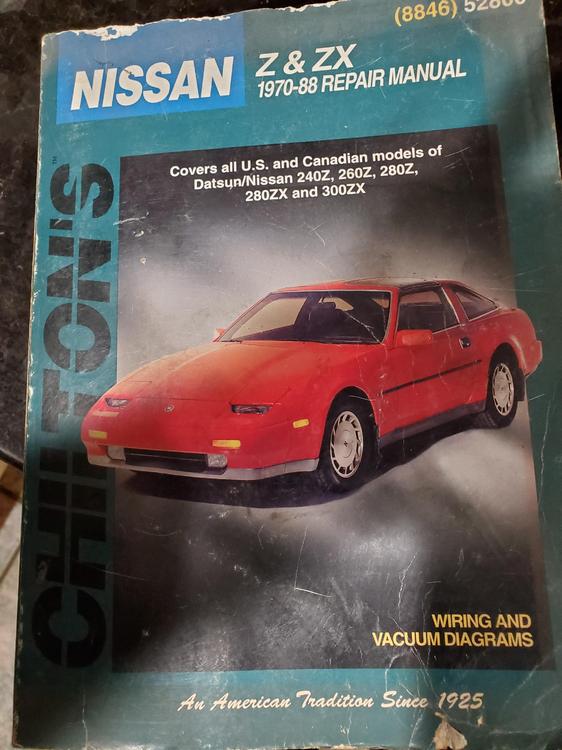
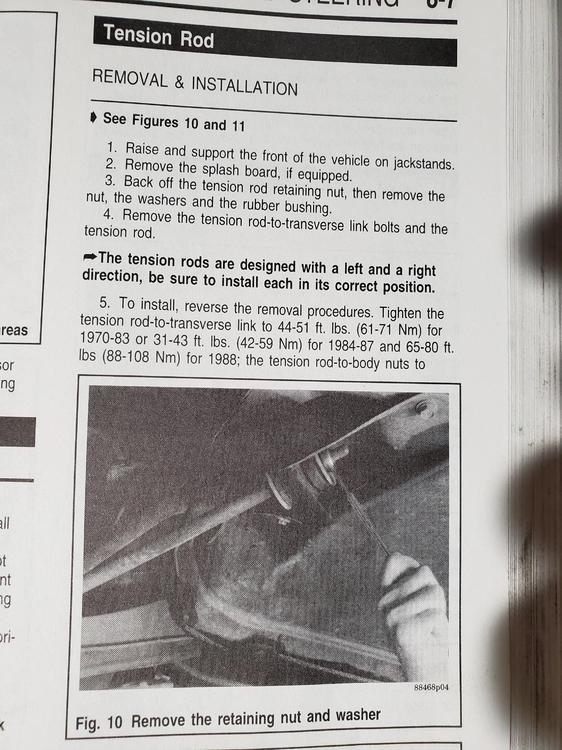
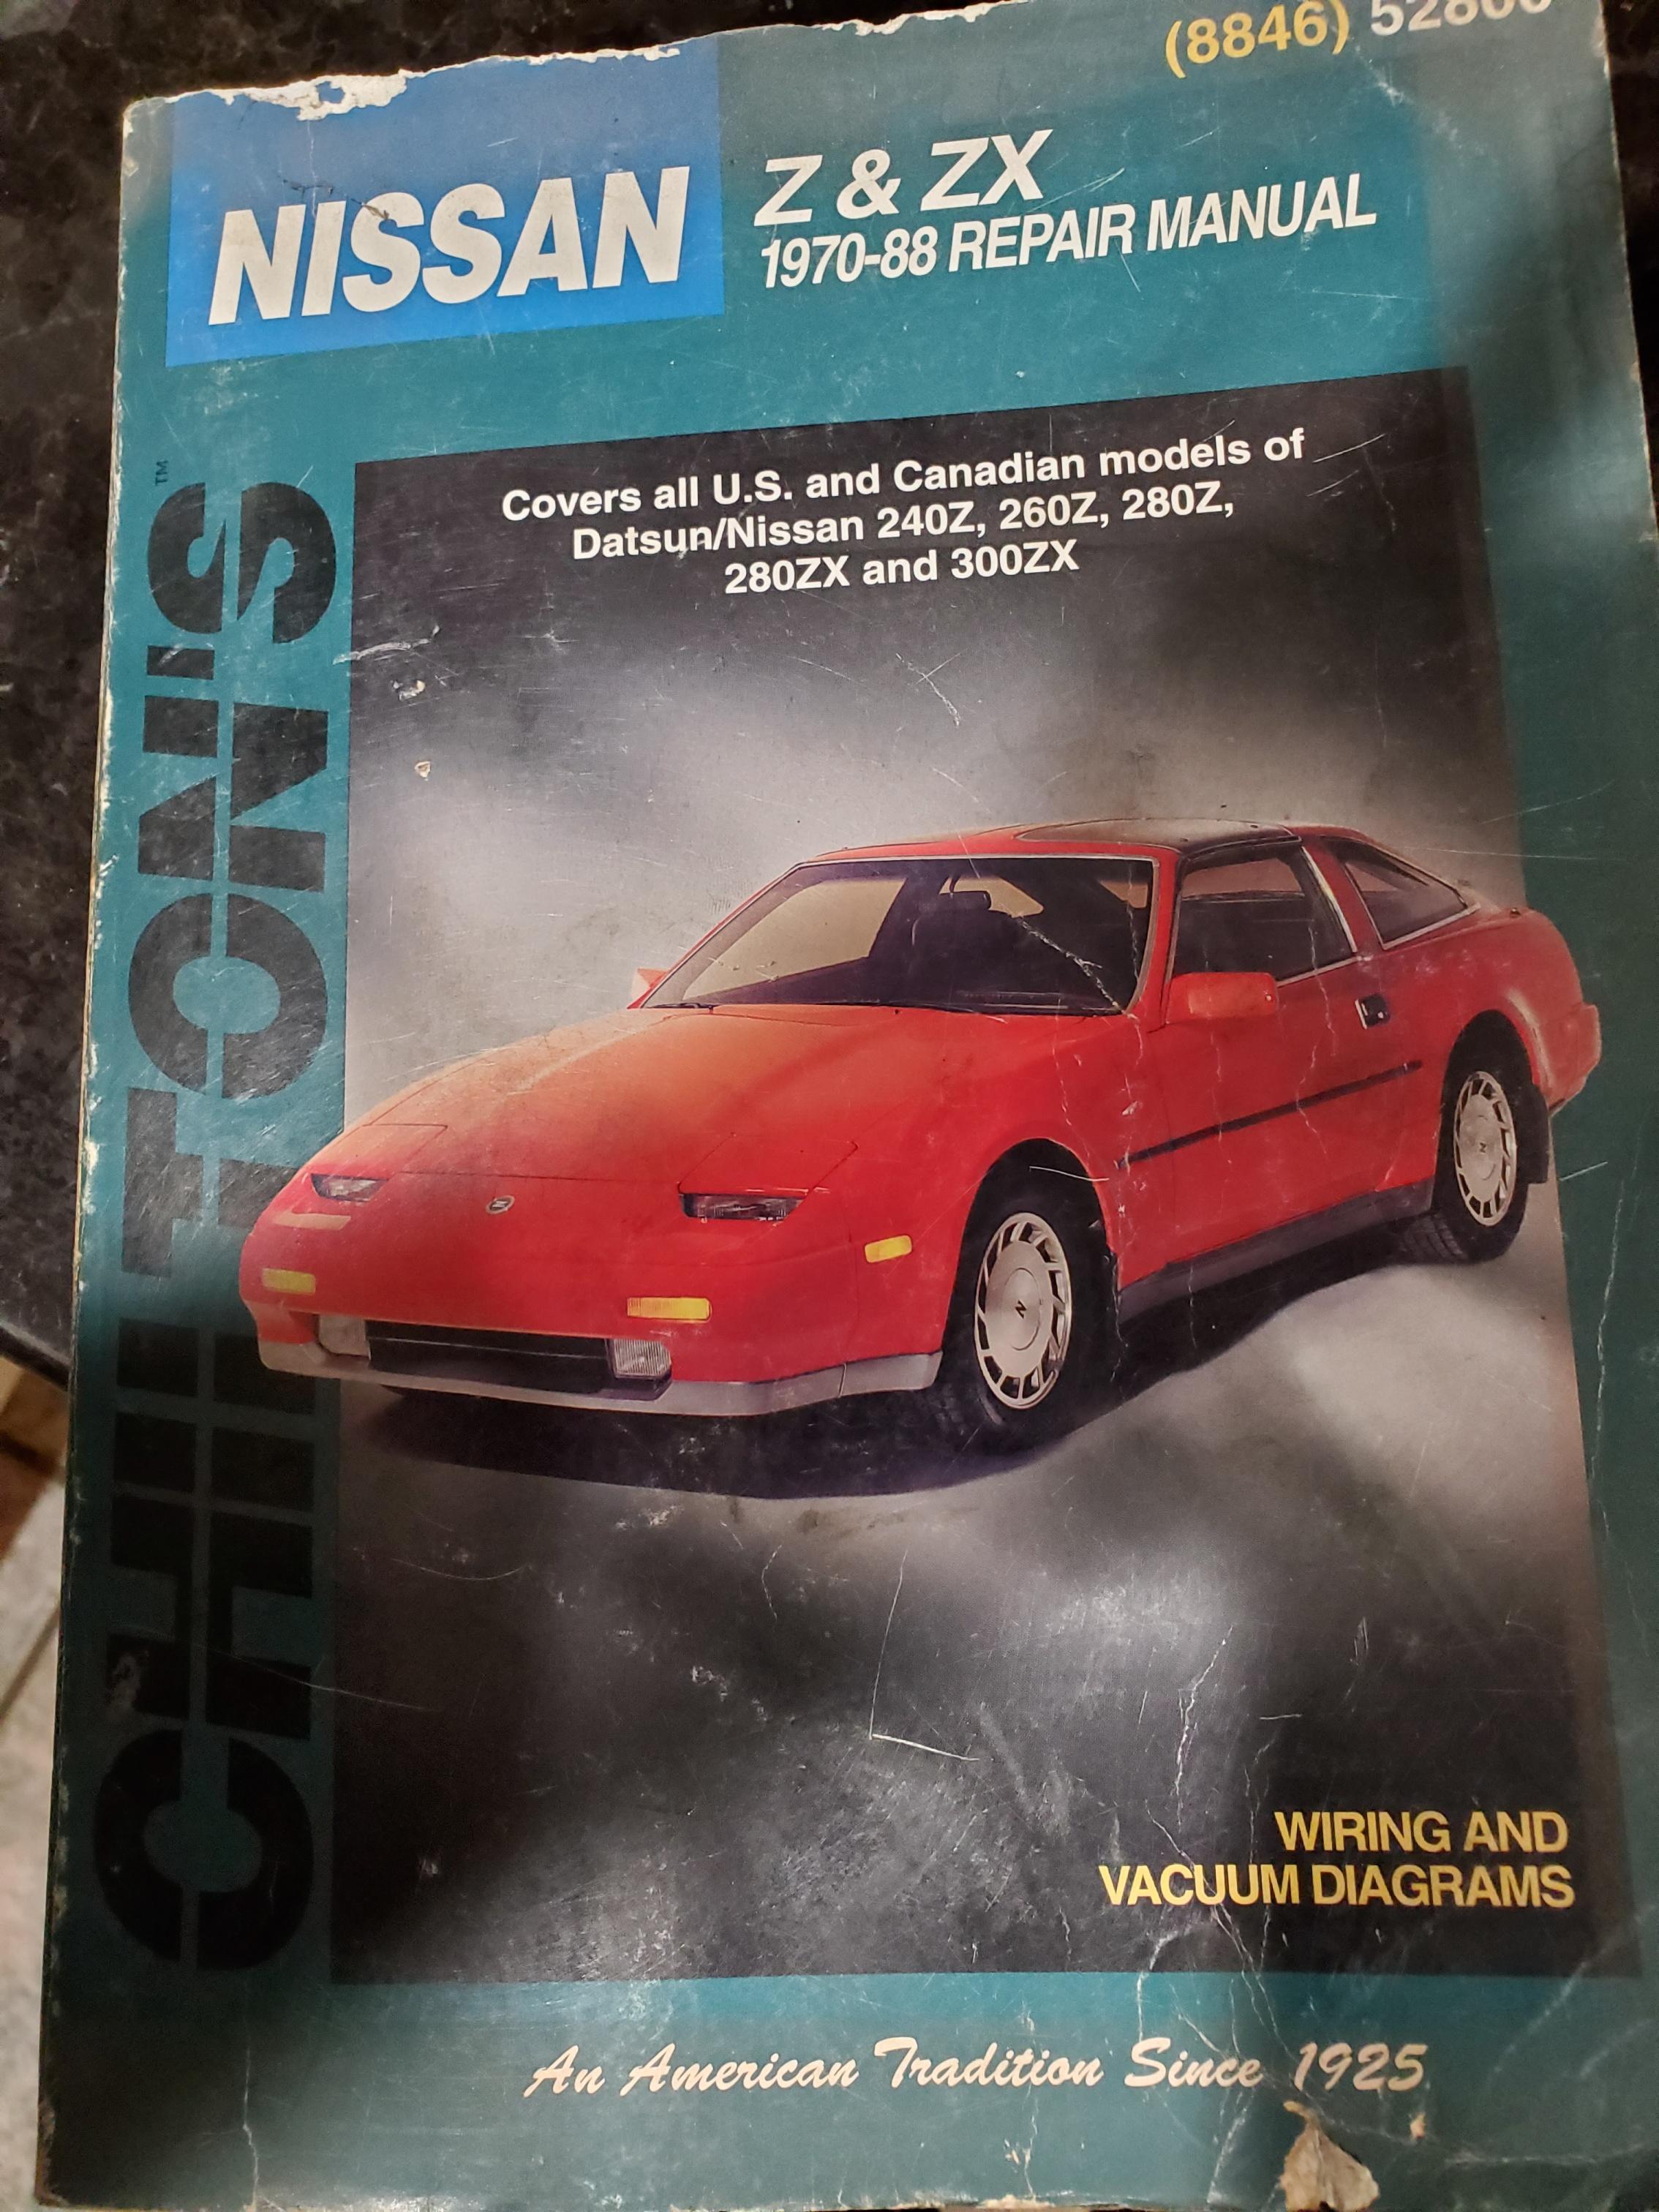
@Captain Obvious here is the source for the rounded side of the insulator to the body. It's the Chilton's manual, bold type on page 8-8. Not sure if it's the best source, but it's all I could find.
-
Yes, will double check the source on the rubber when I get home. I actually had the rubber as shown in your picture above but switched it after reading the manual.
-
Yes, backside washer too...of course. Interesting though, I went through all of my manuals and really could not find a clear picture or verbage of how the washers are supposed to go and unfortunately, my '70 is not available for verification. The only information I could find was to ensure that the rounded part of the rubber was toward the frame. Will have to double check on the source.....may have been a Chilton's. It does seem odd to me that the convex side is toward the rubber. I would think that water would/could accumulate at the interface. Seems like convex side out would reduce water intrusion.
-
Thanks @Captain Obvious...got those washers inverted. Thanks also @Zup and @Terrapin Z for the parts. Things are coming together here. Will get those non-brass/copper parts plated.


-
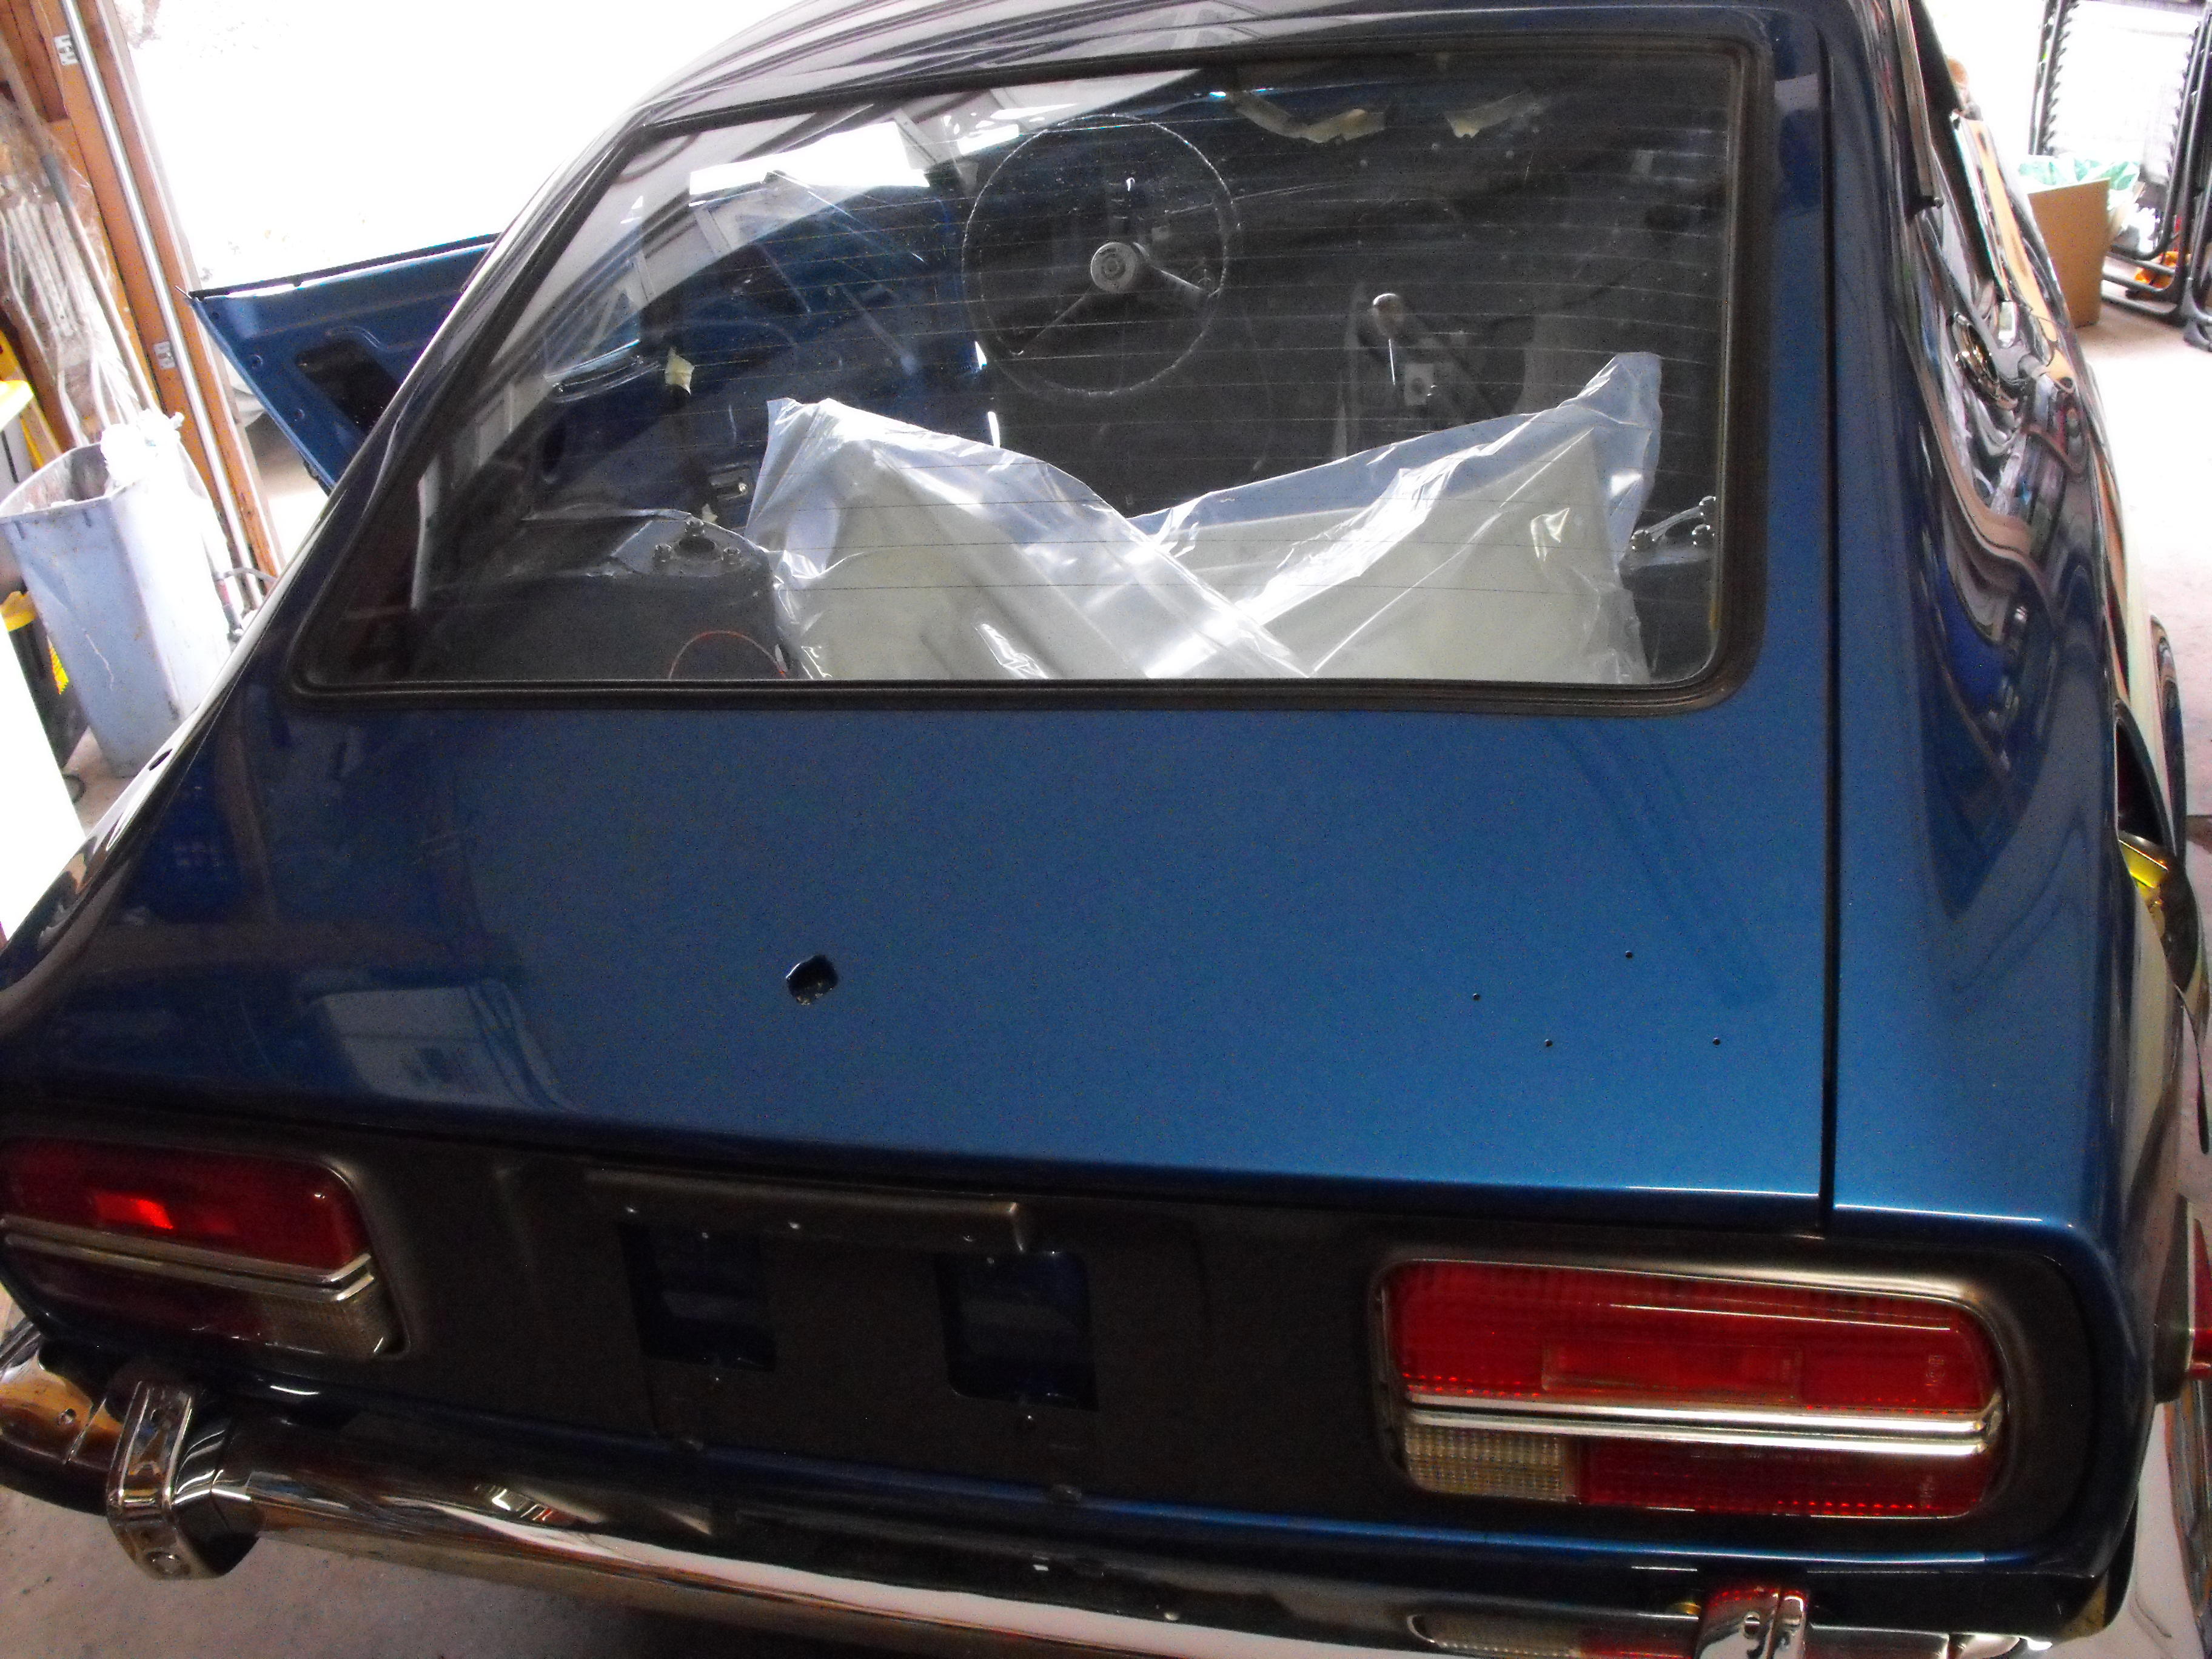
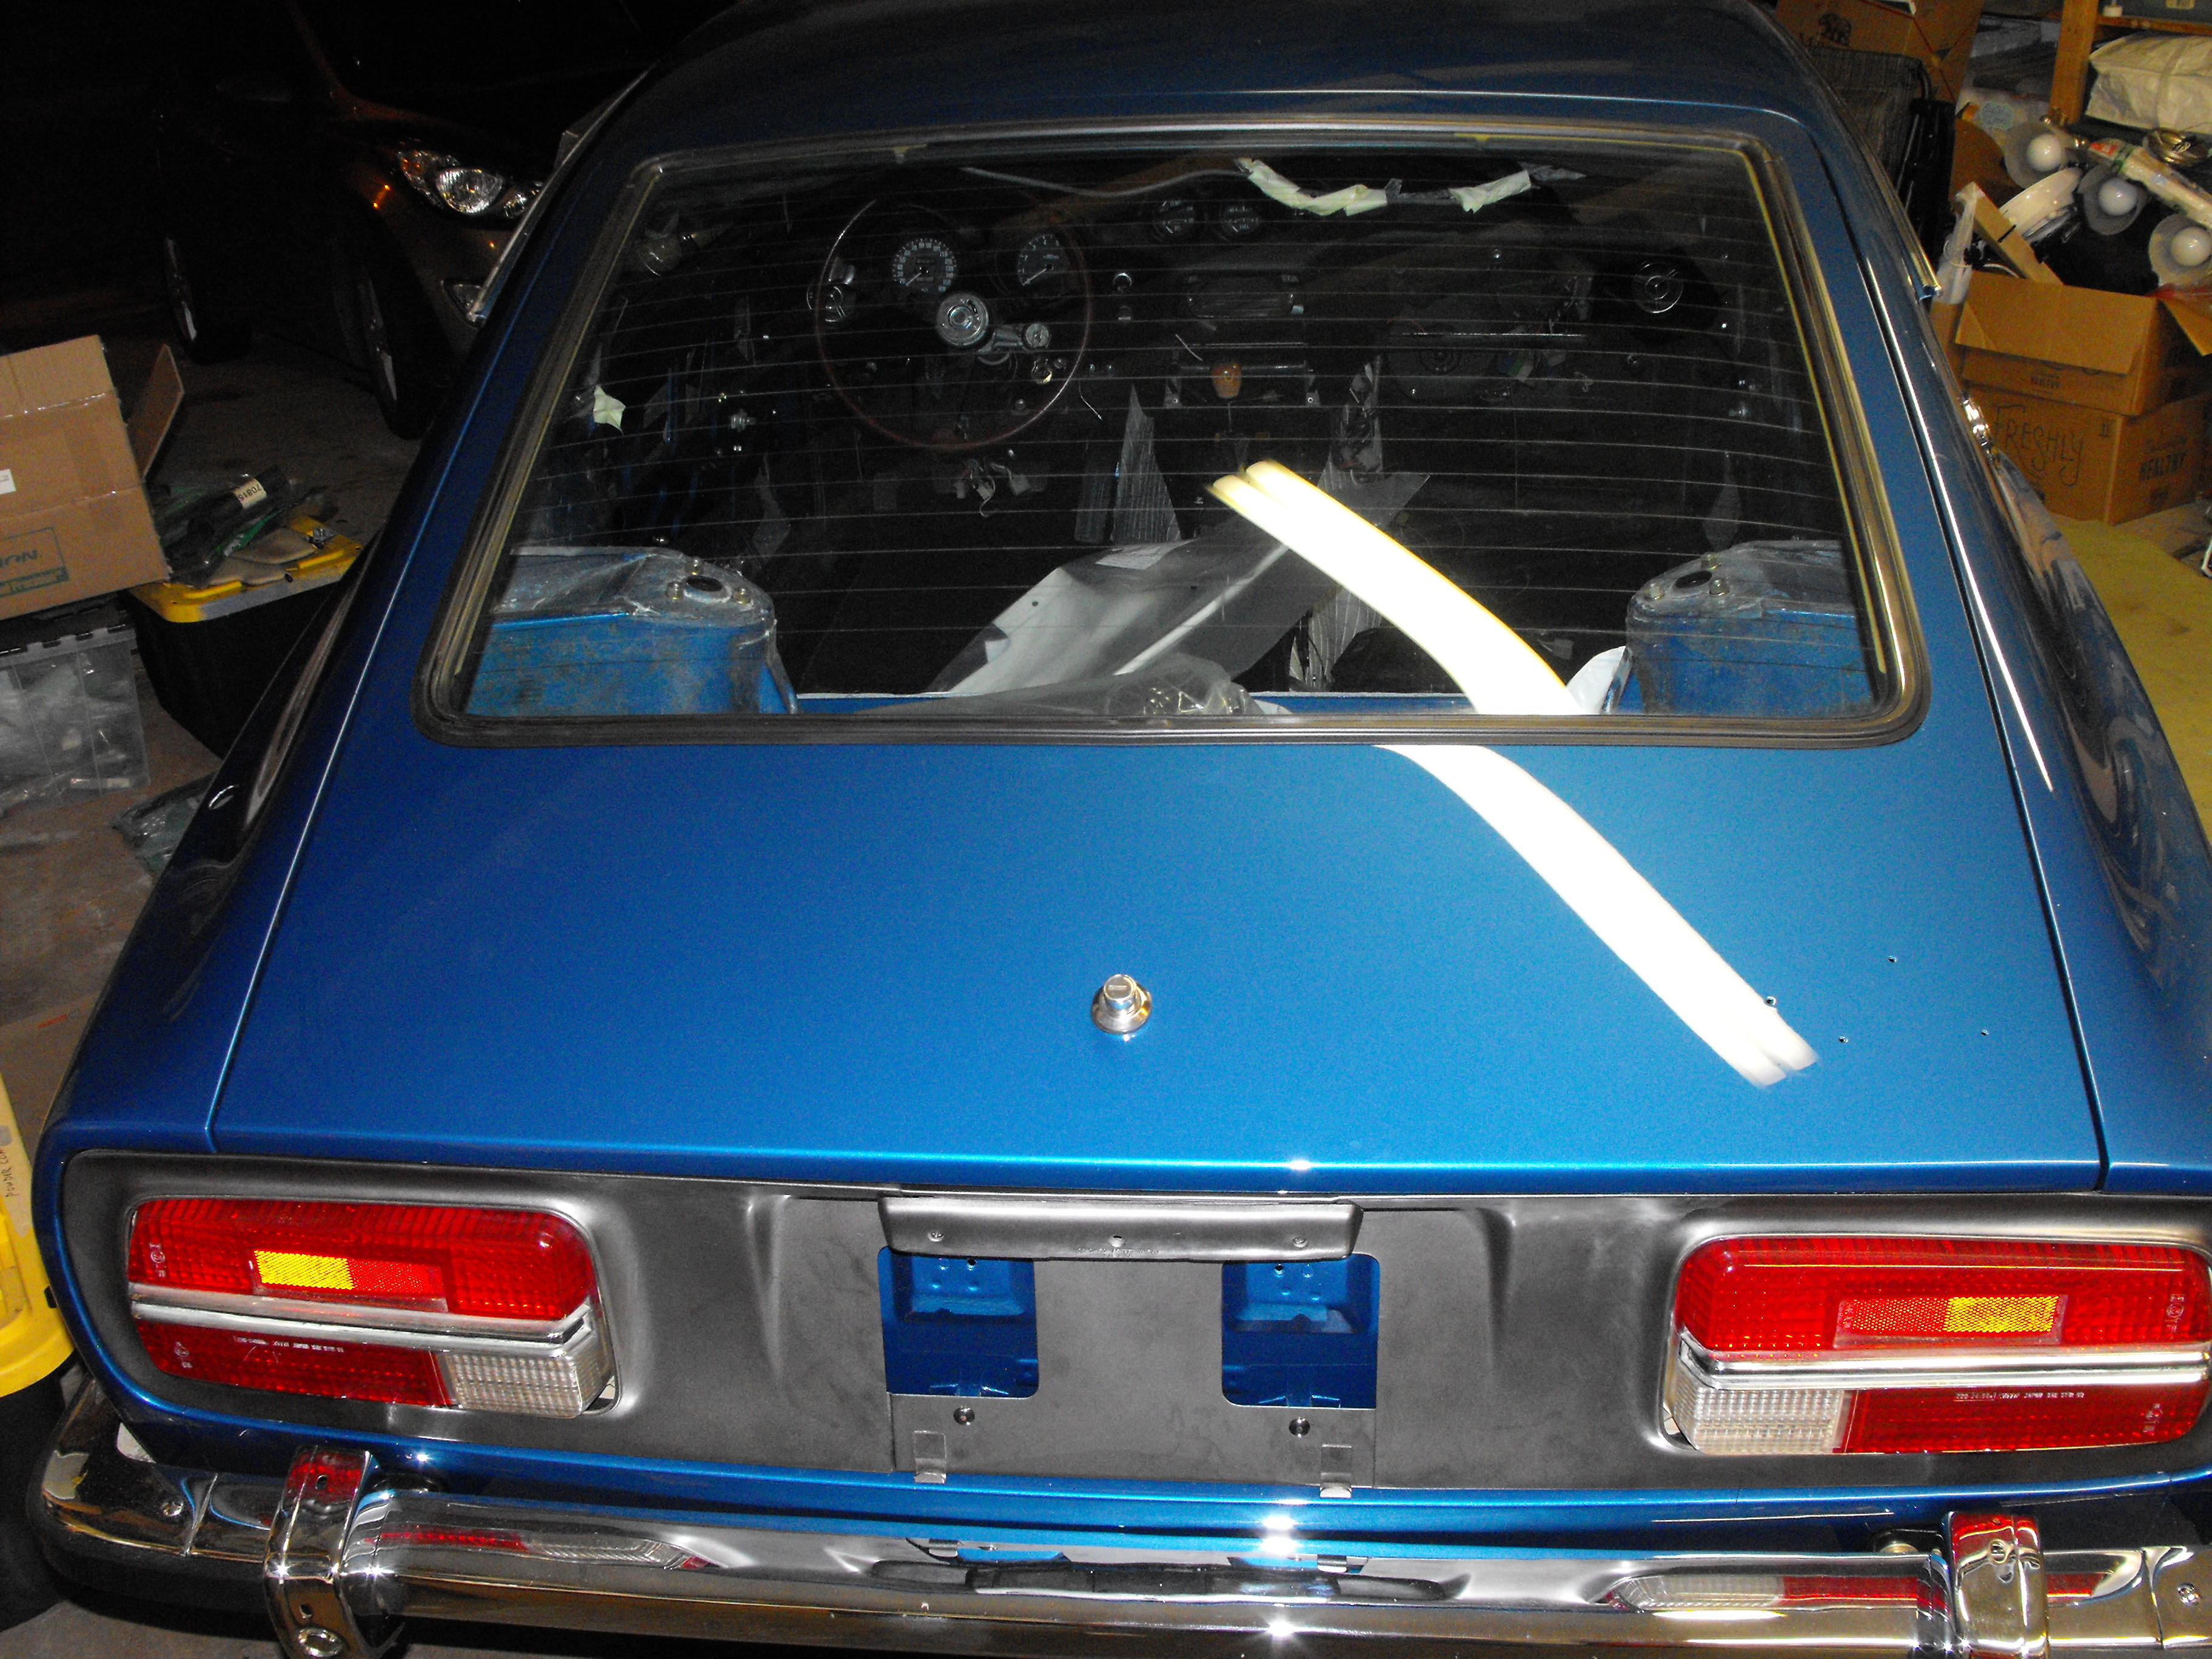
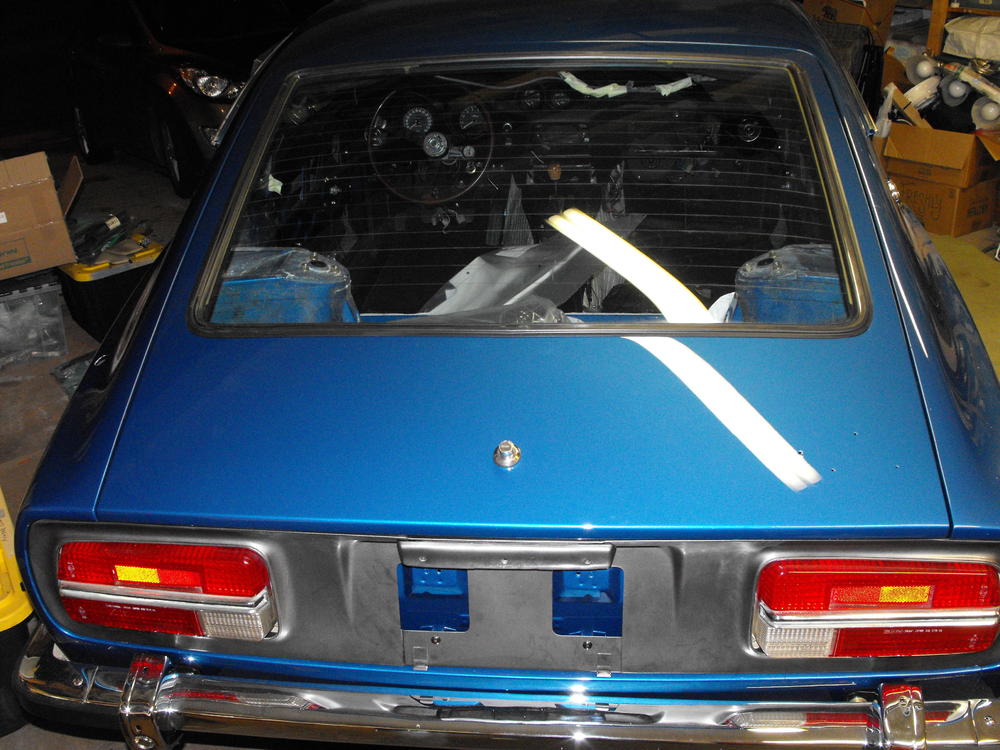
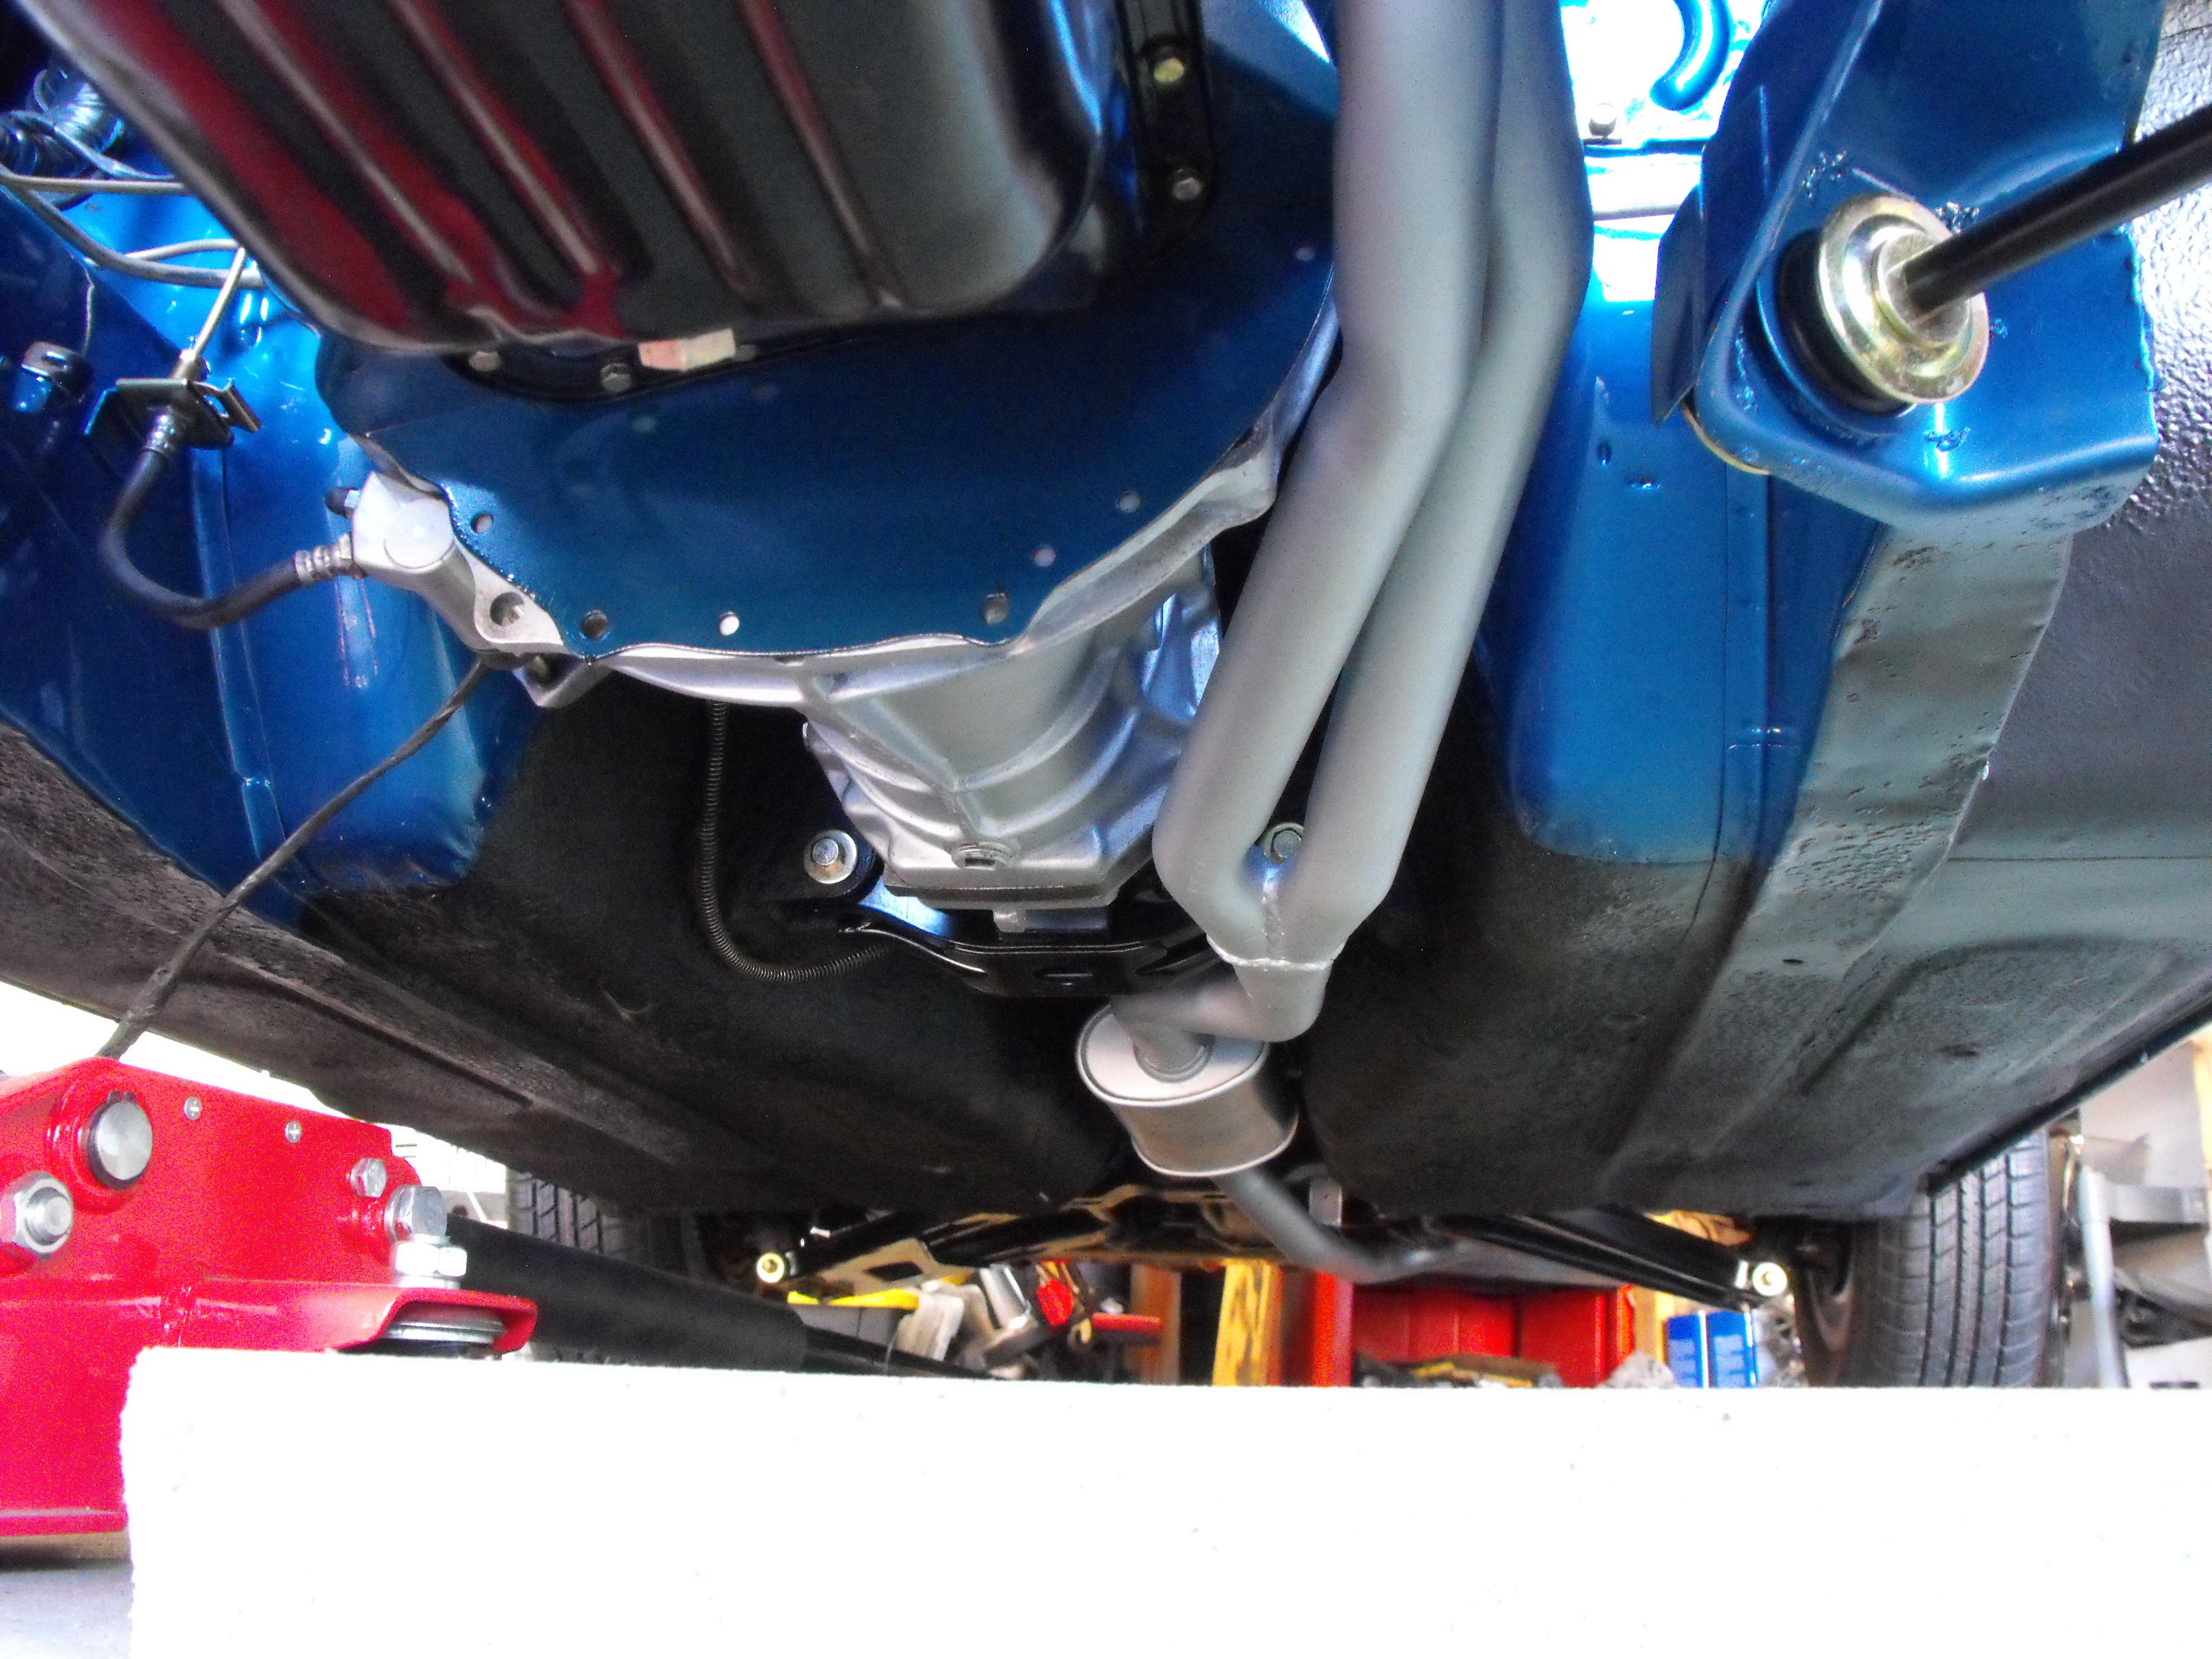
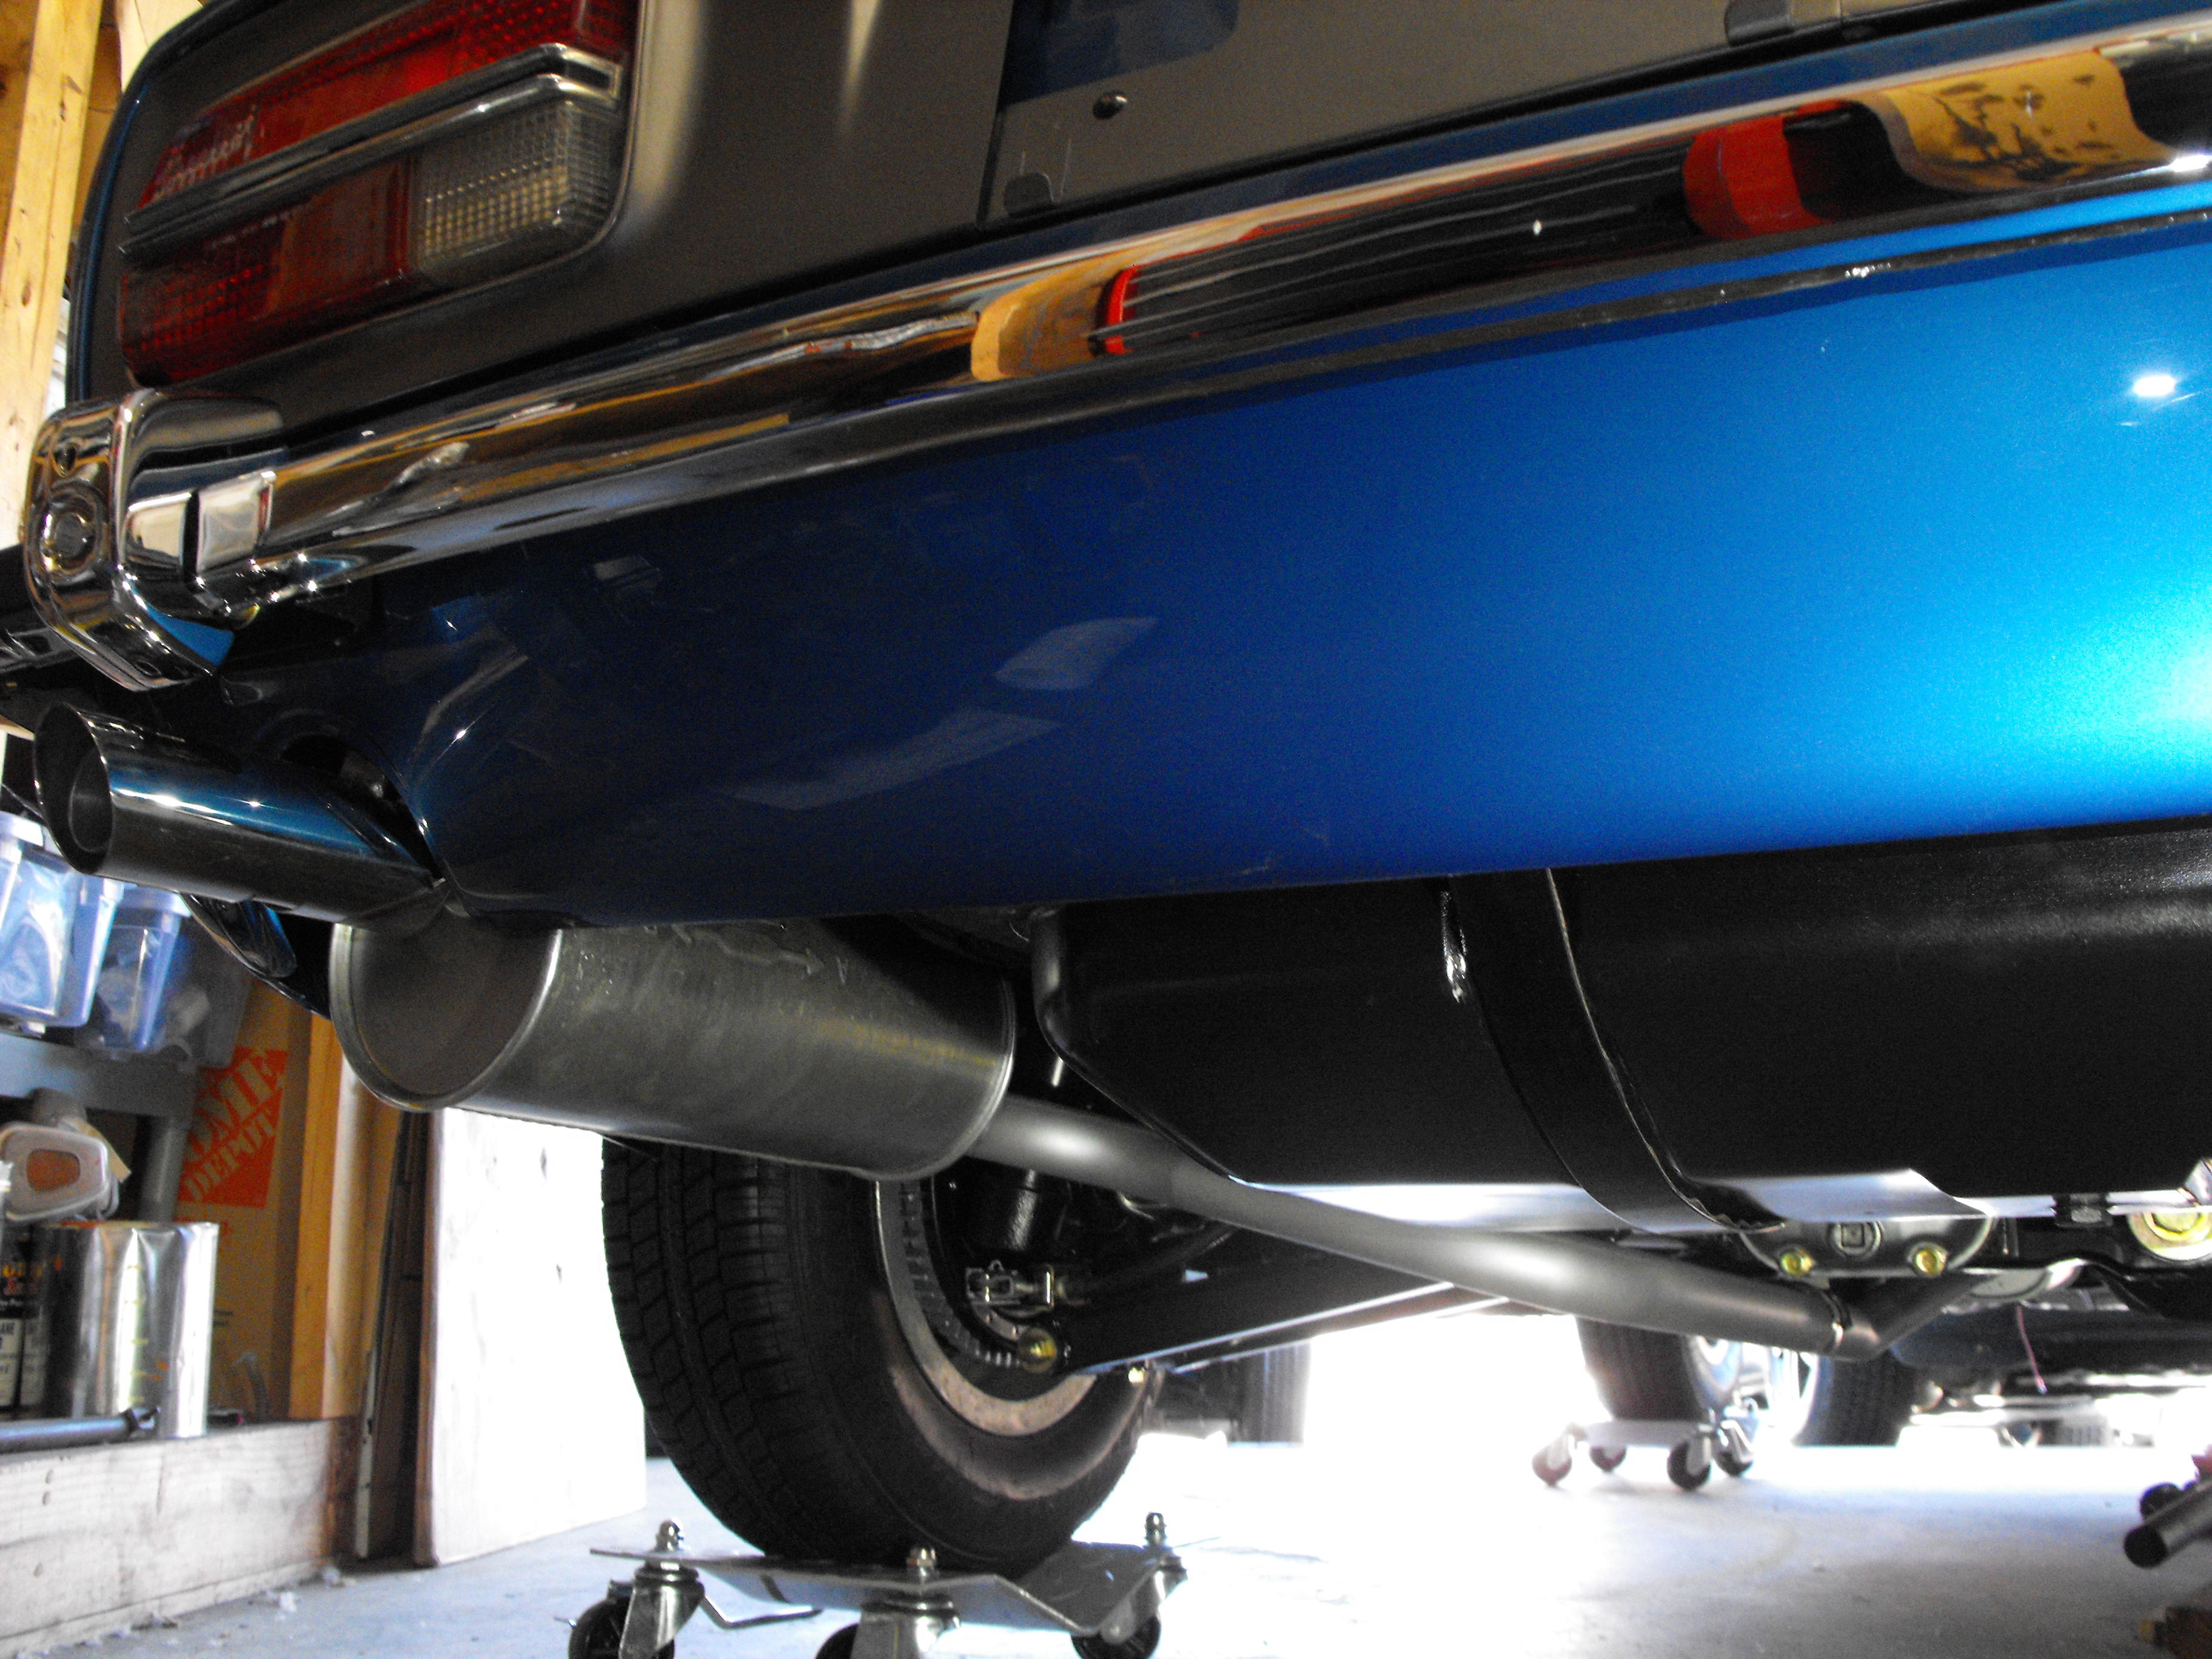
Put the exhaust in this weekend. Need to go the store and get some muffler clamps, used the hose clamps since they were available. Parts to finish out the carbs should be coming in this week. Will need to get those plated, then will install hose. Also, need a little help finding the rear bumperette rubber. You can see it is missing in the last pic. They are different for the '73 than the earlier models and don't seem to be readily available. These ones on eBay seem to be the right ones, but not sure, no part number. https://www.ebay.com/itm/REAR-BUMPER-BAR-RUBBER-OVERRIDER-RUBBER-INSERTS-for-DATSUN-NISSAN-240Z-260Z/132883410645


-
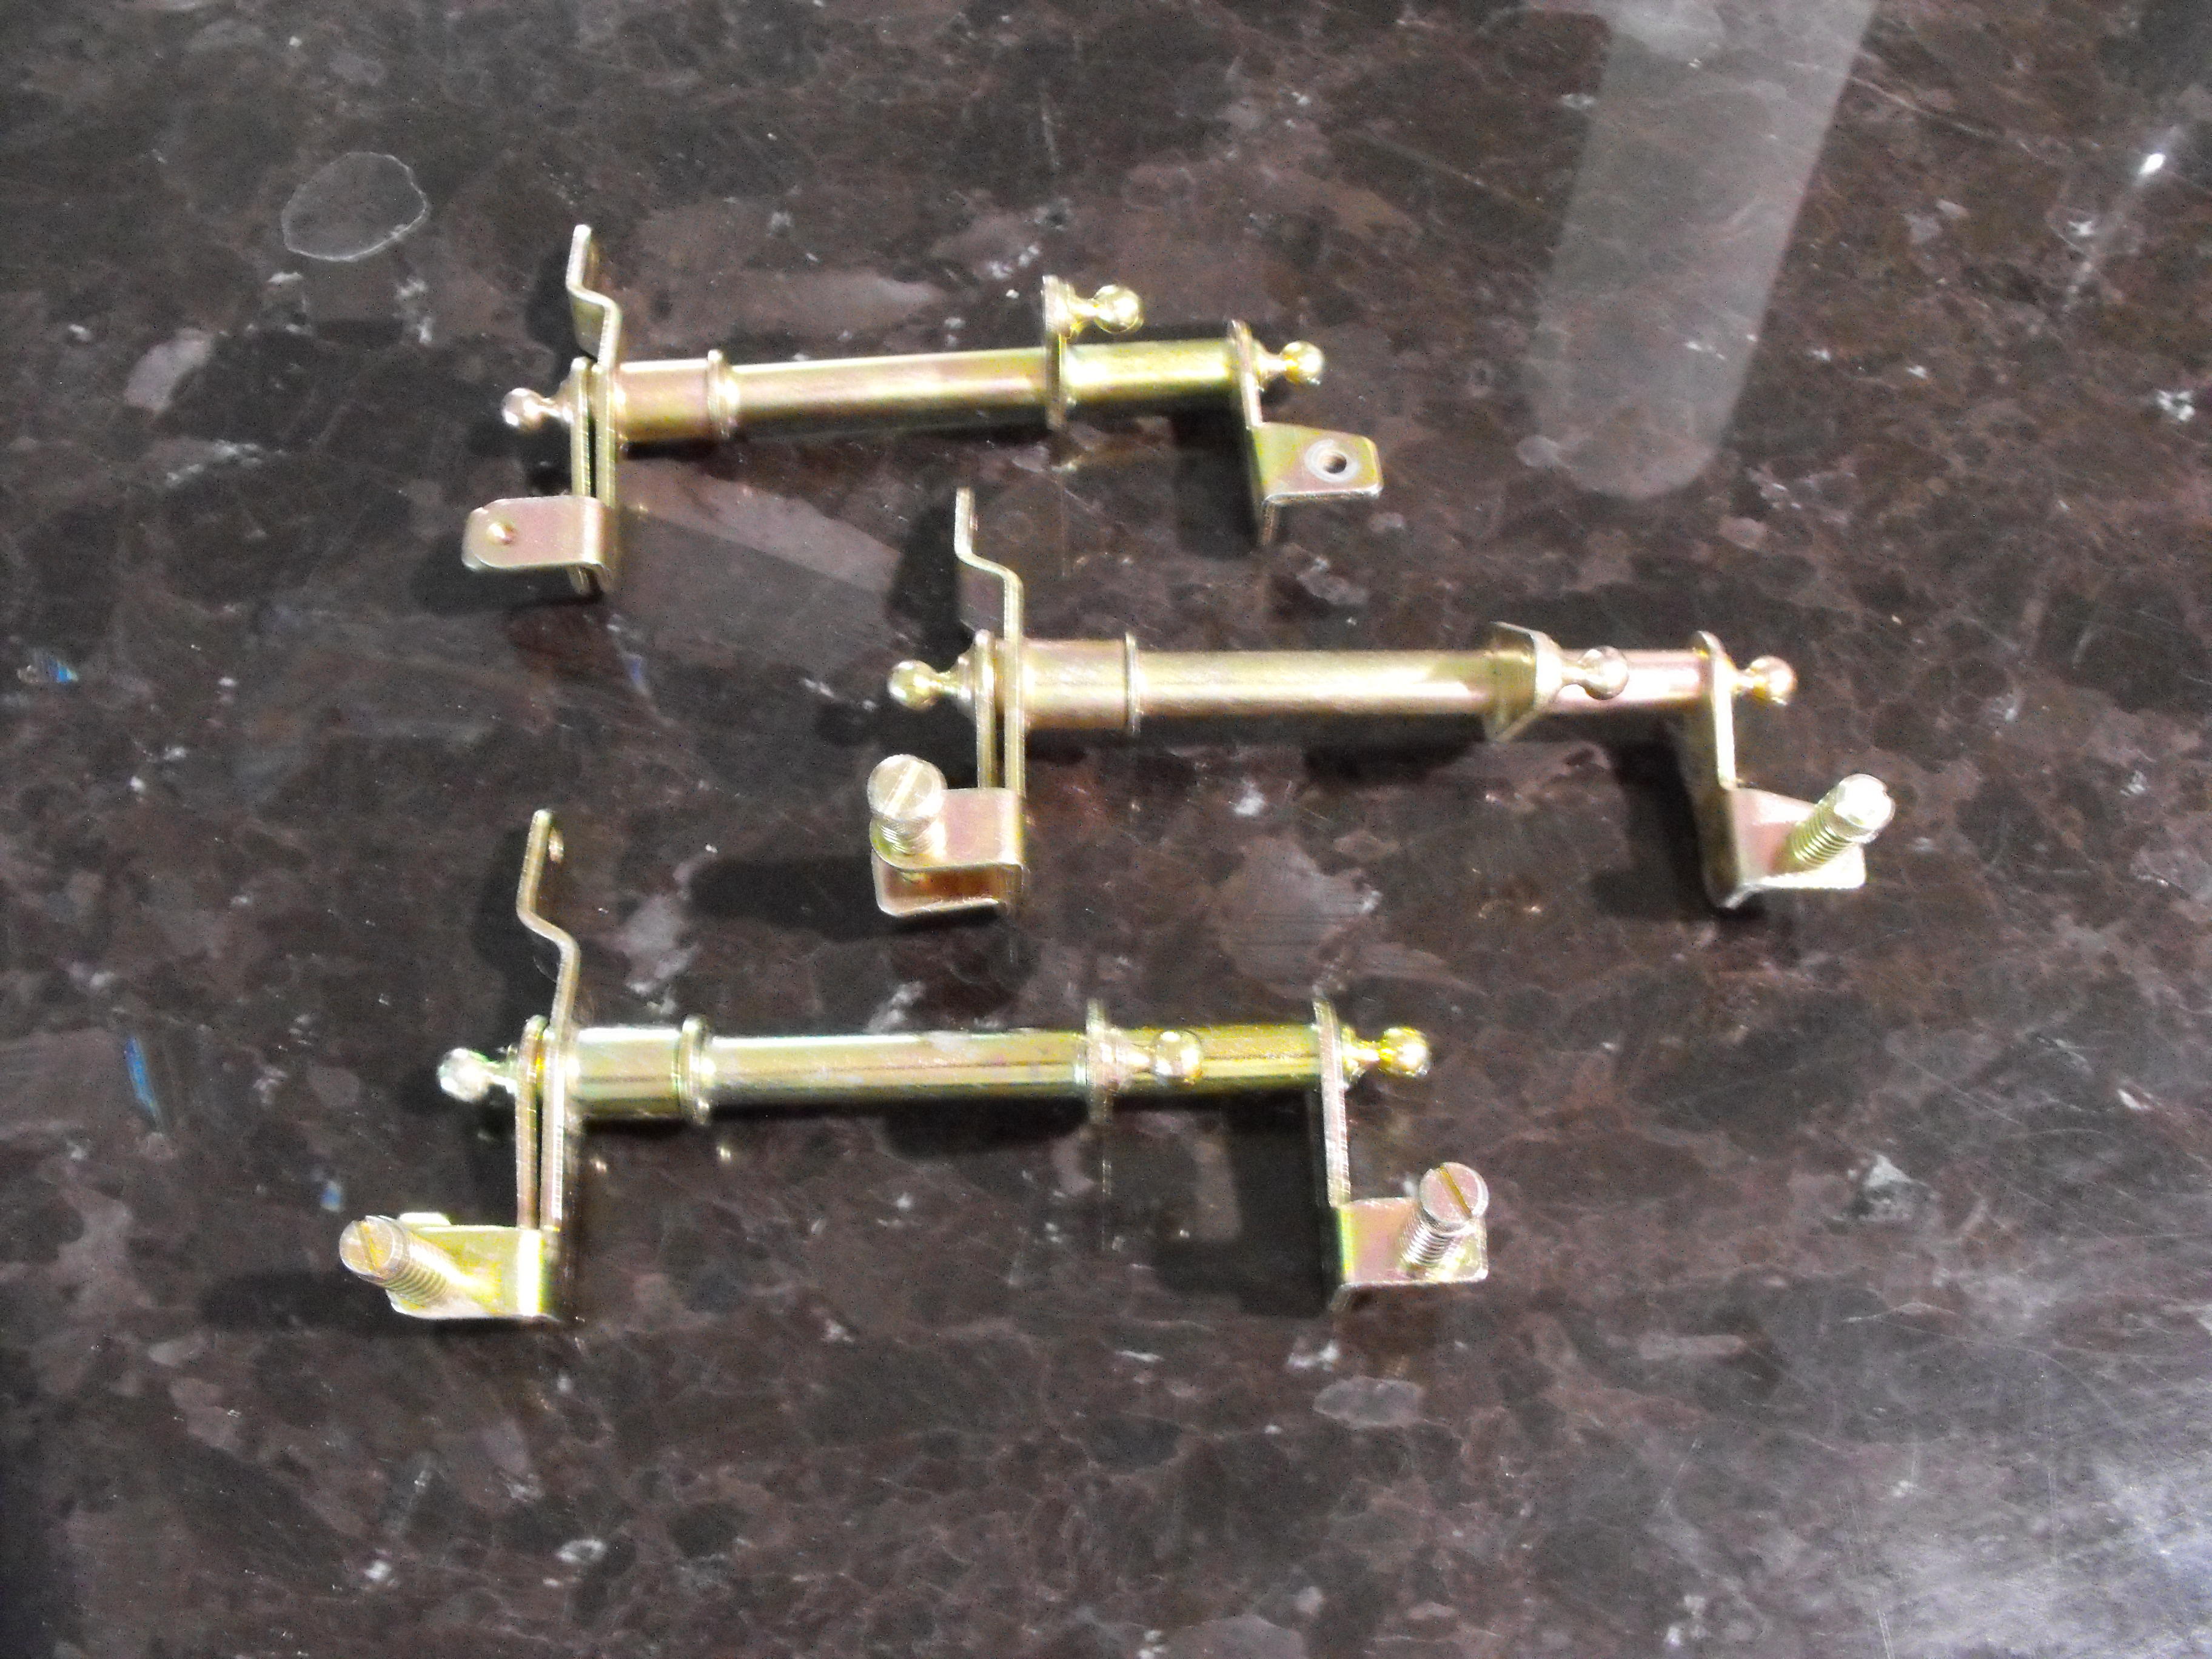
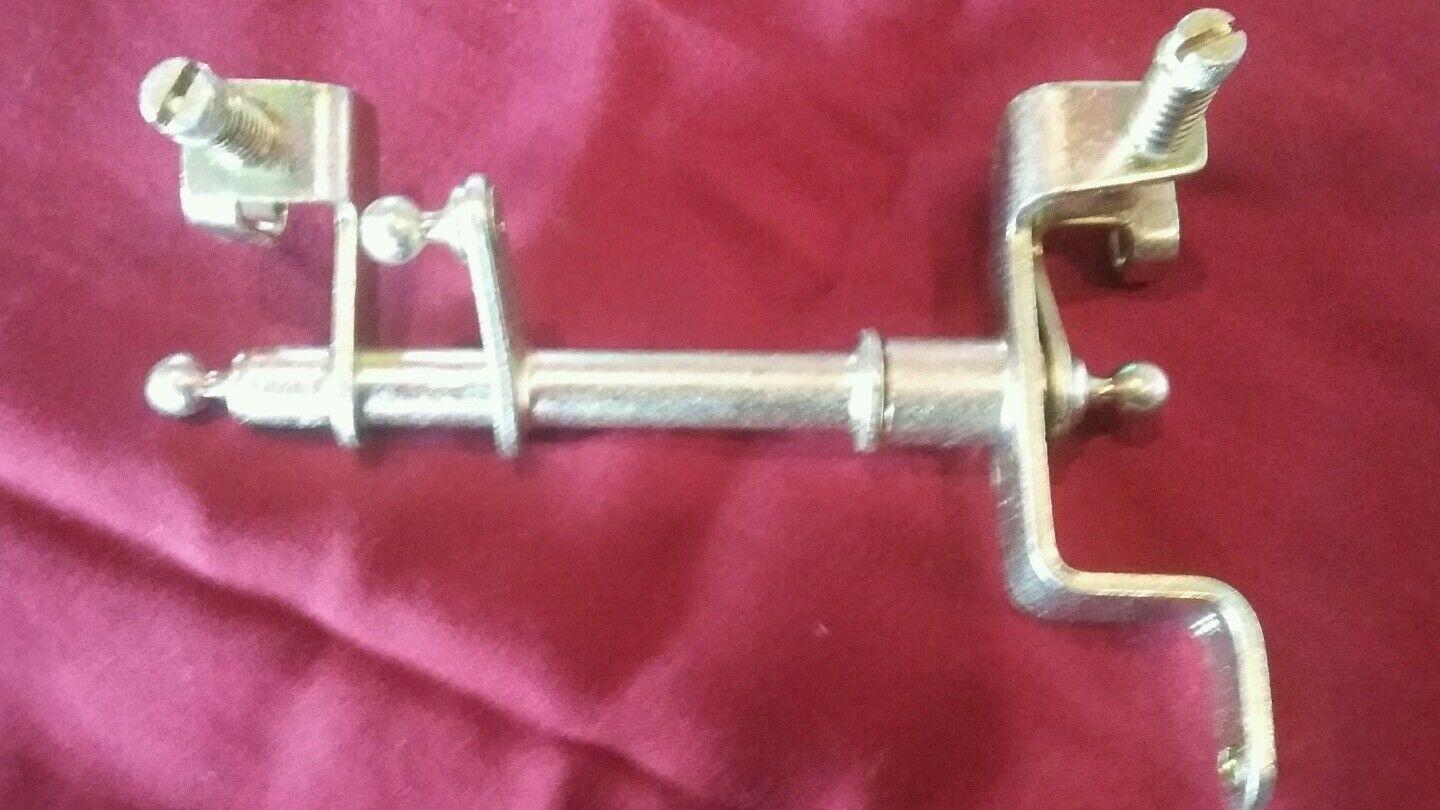
Yes, please send. I can cover you through PayPal....or trade you 2 of my SU linkages for your 1 flat top linkage ☺️
-
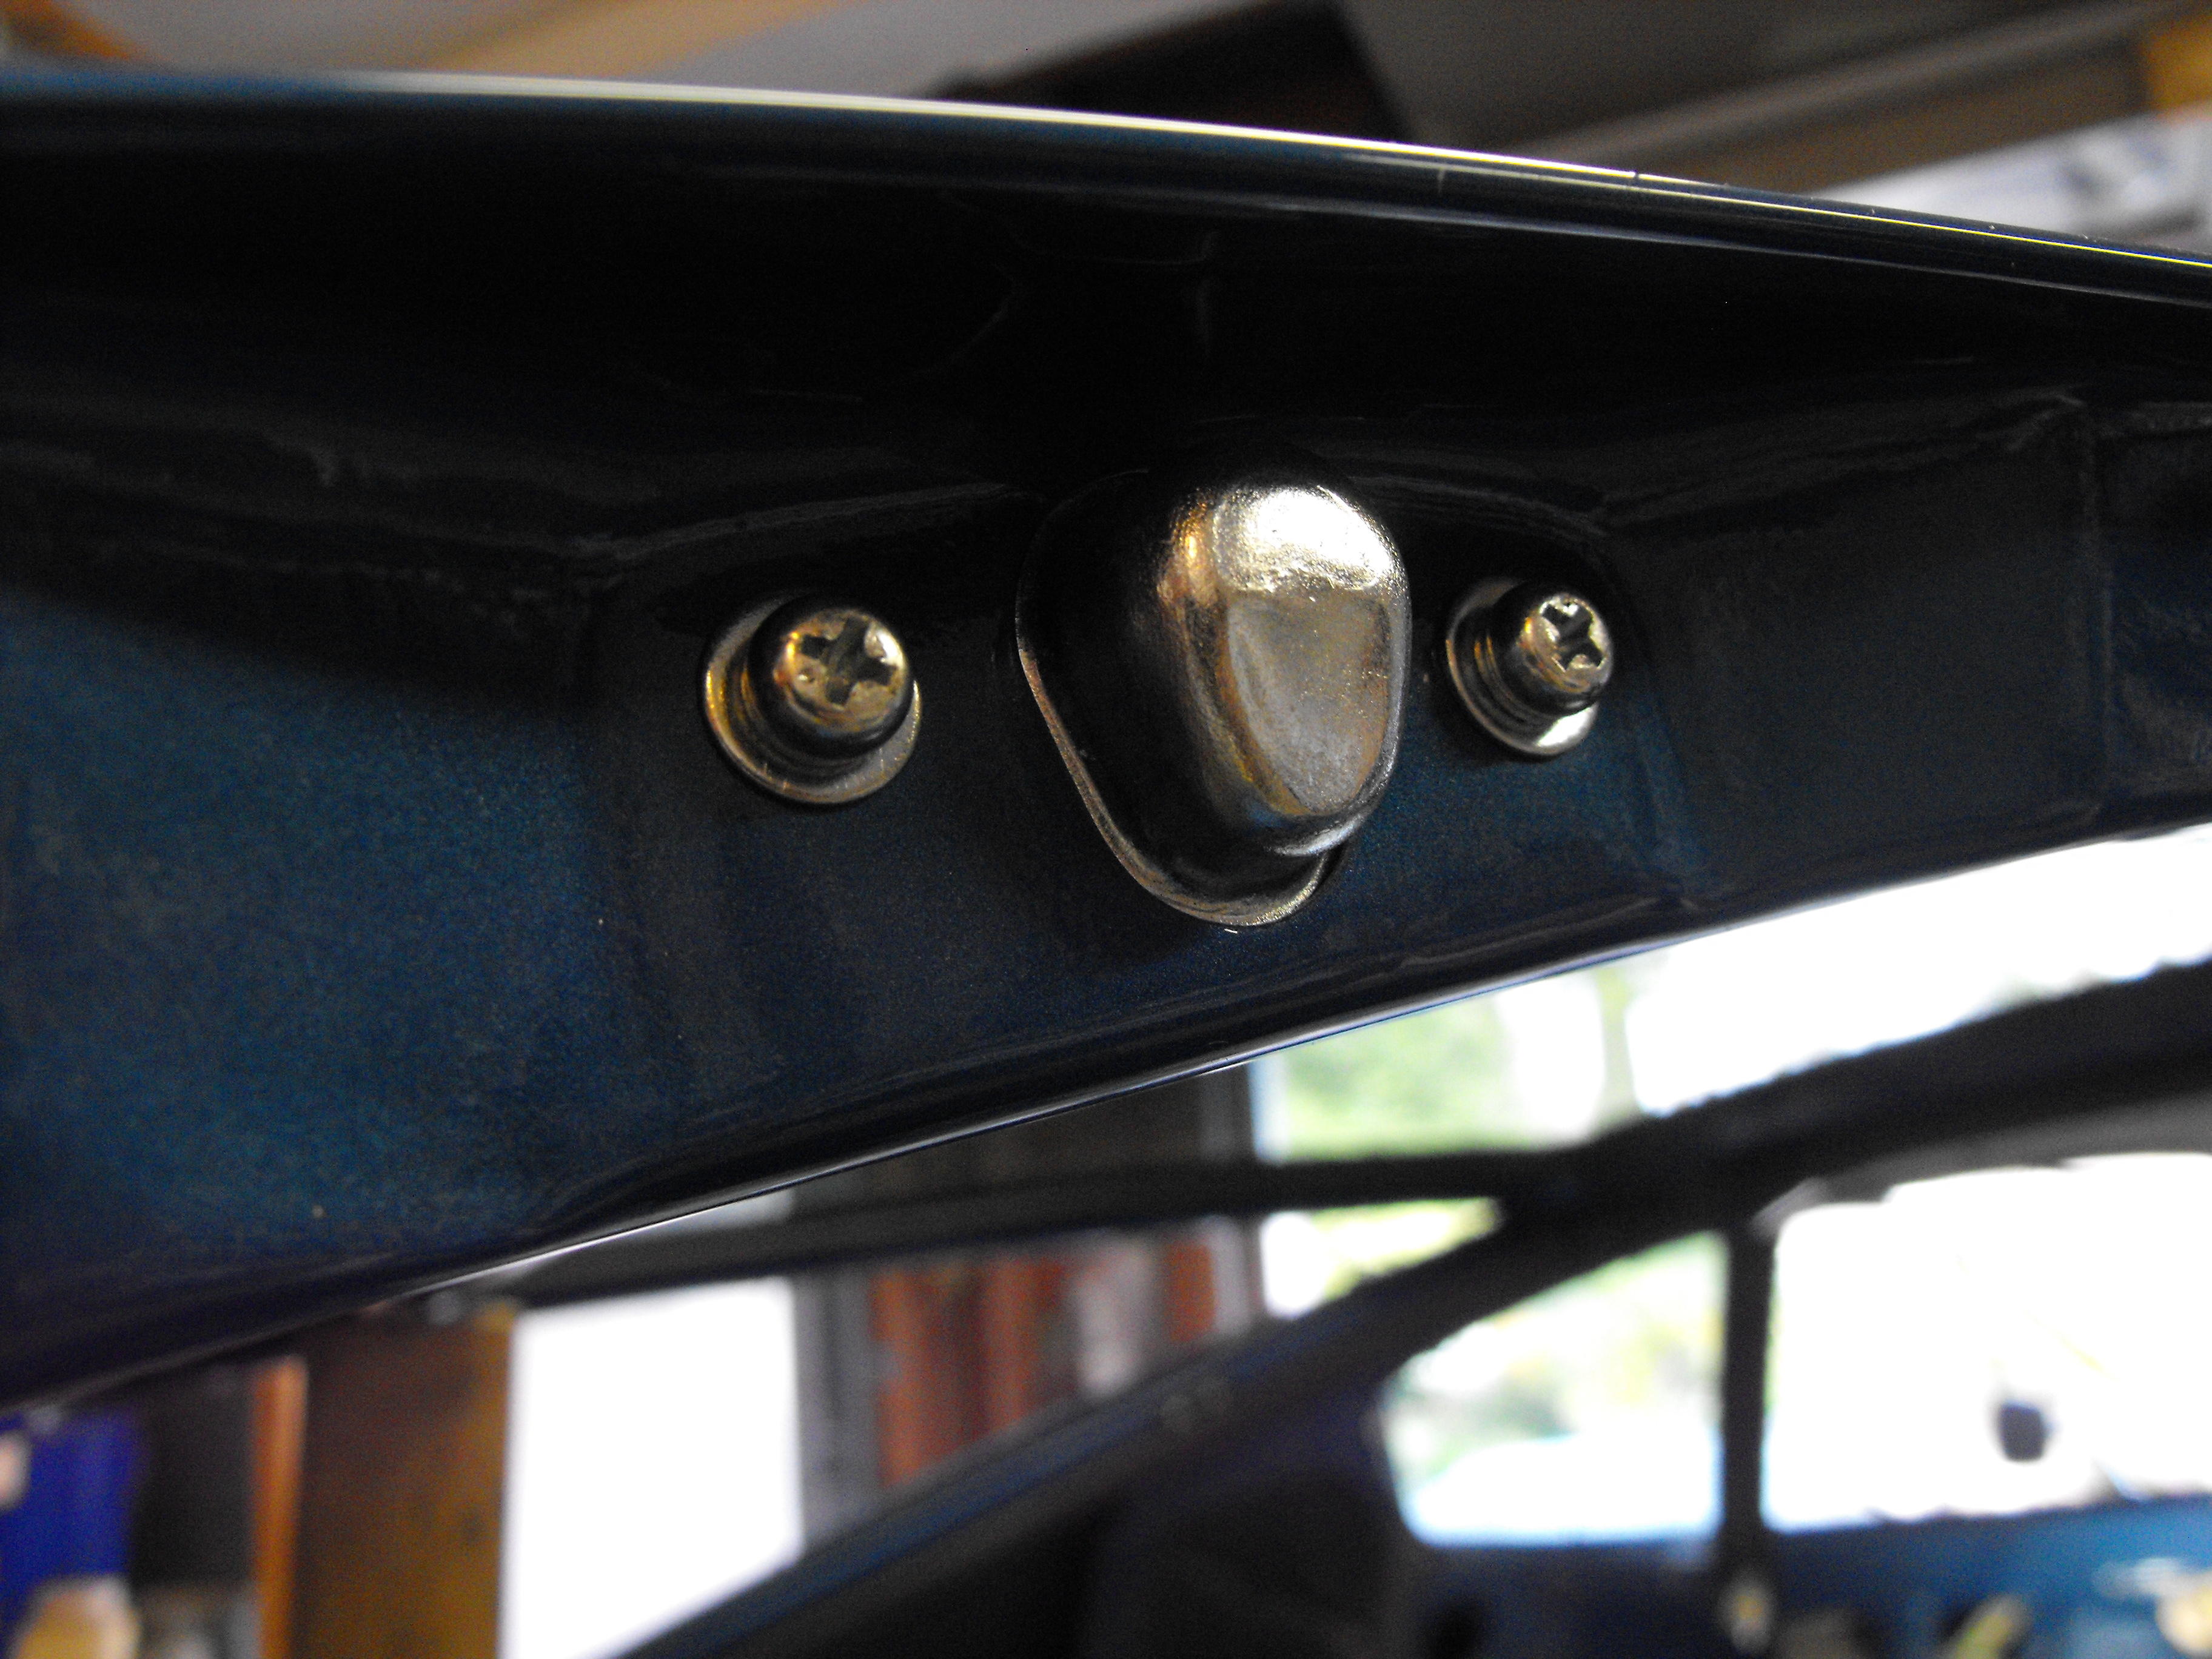
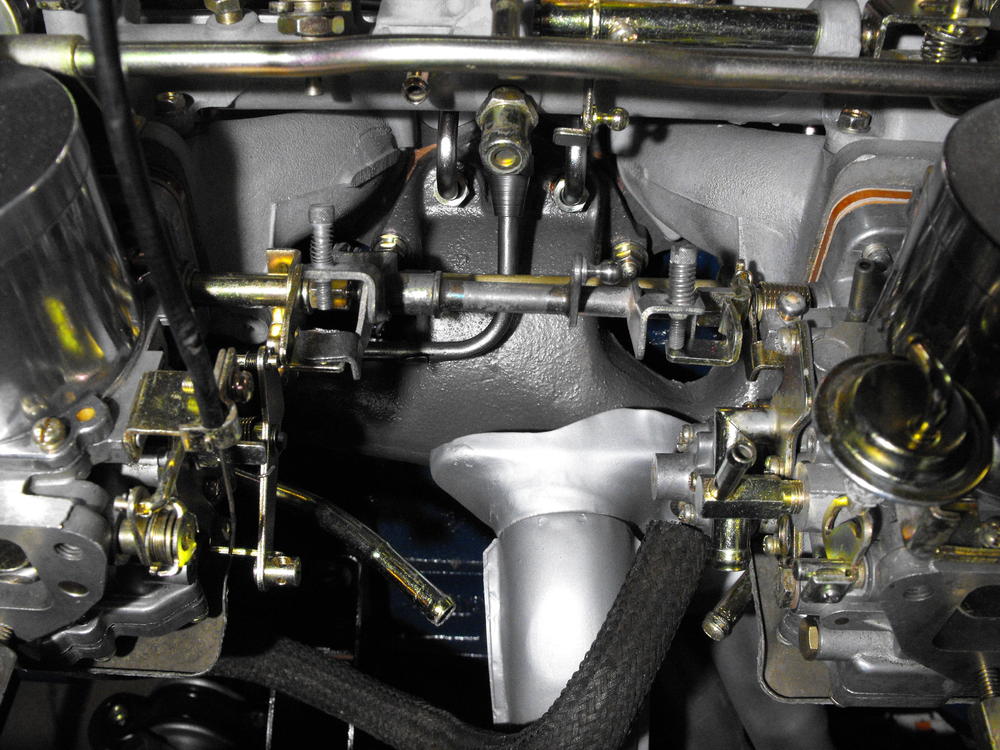
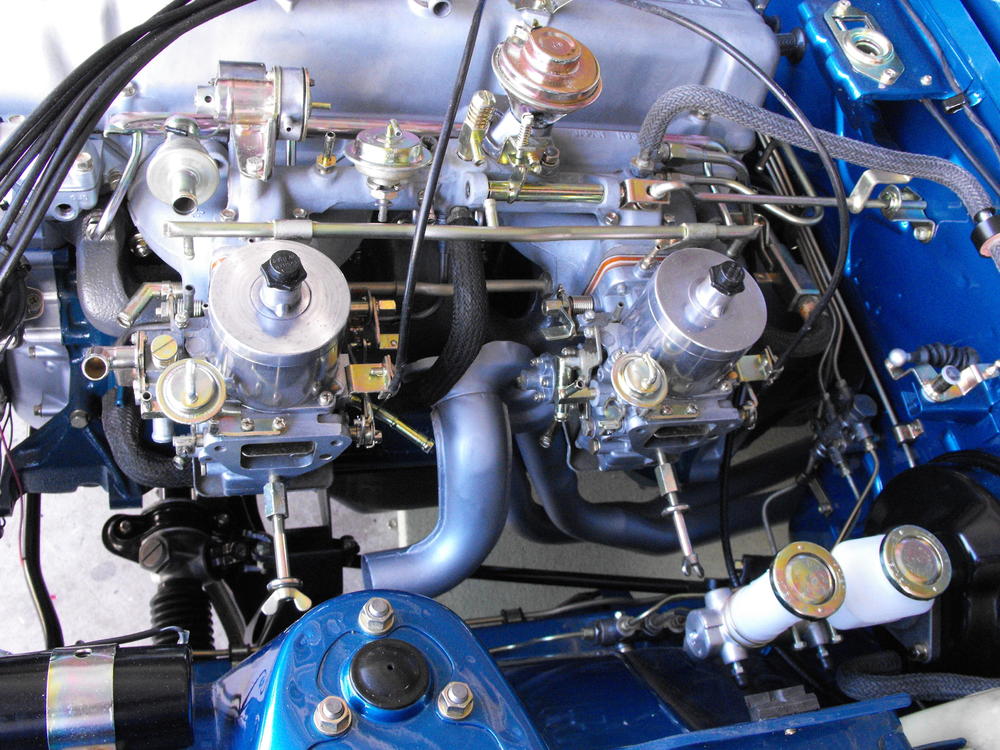
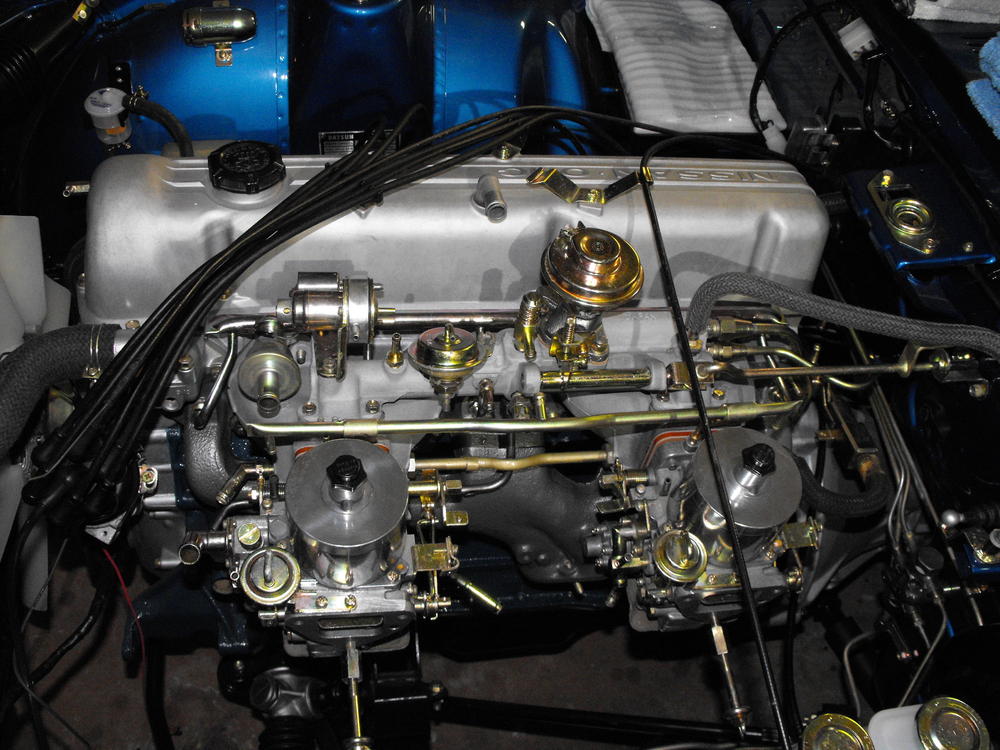
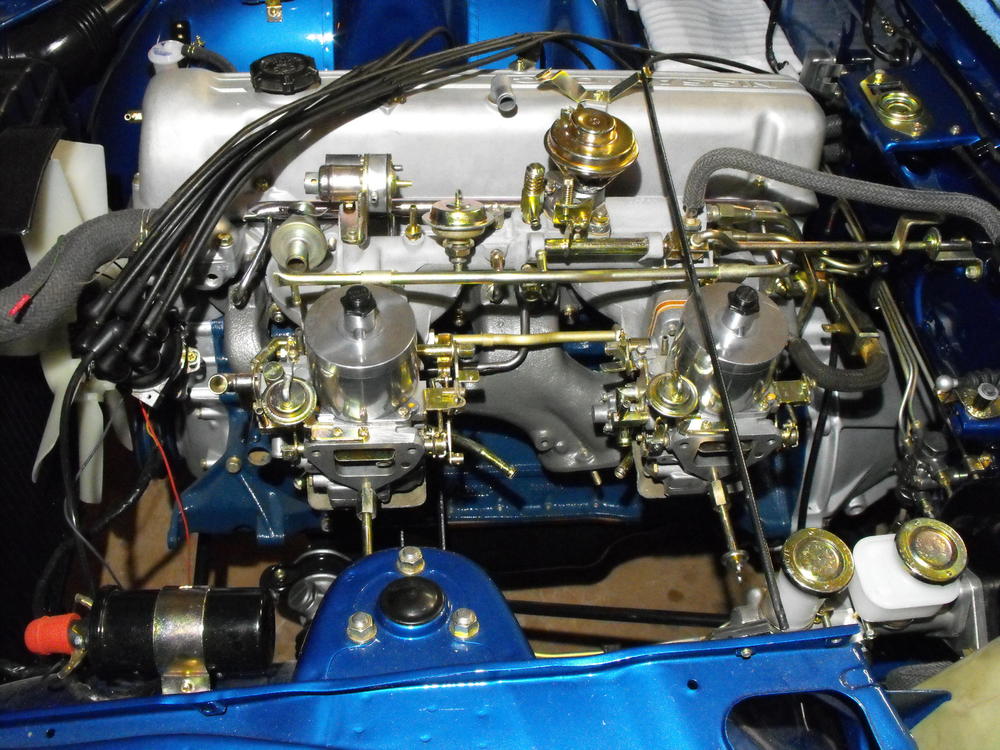
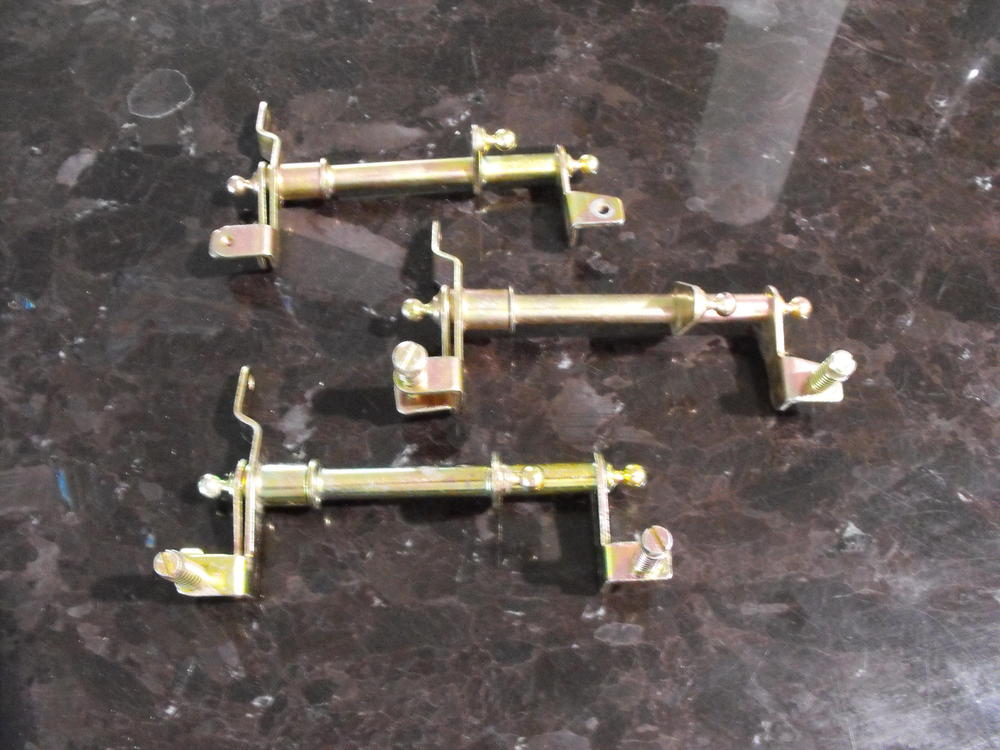
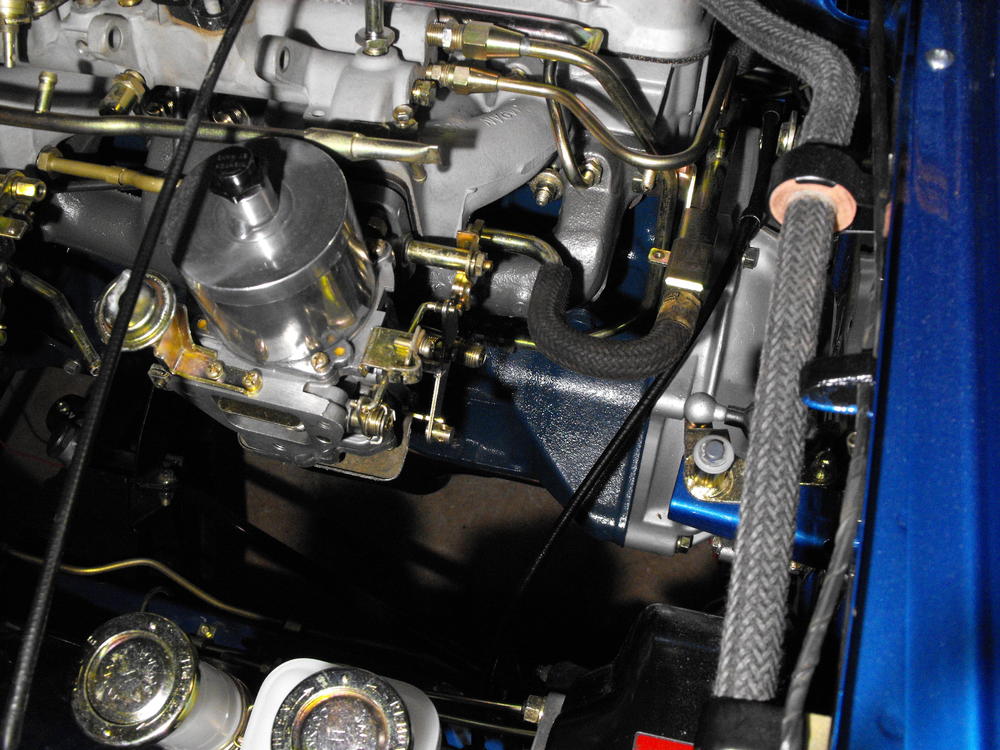
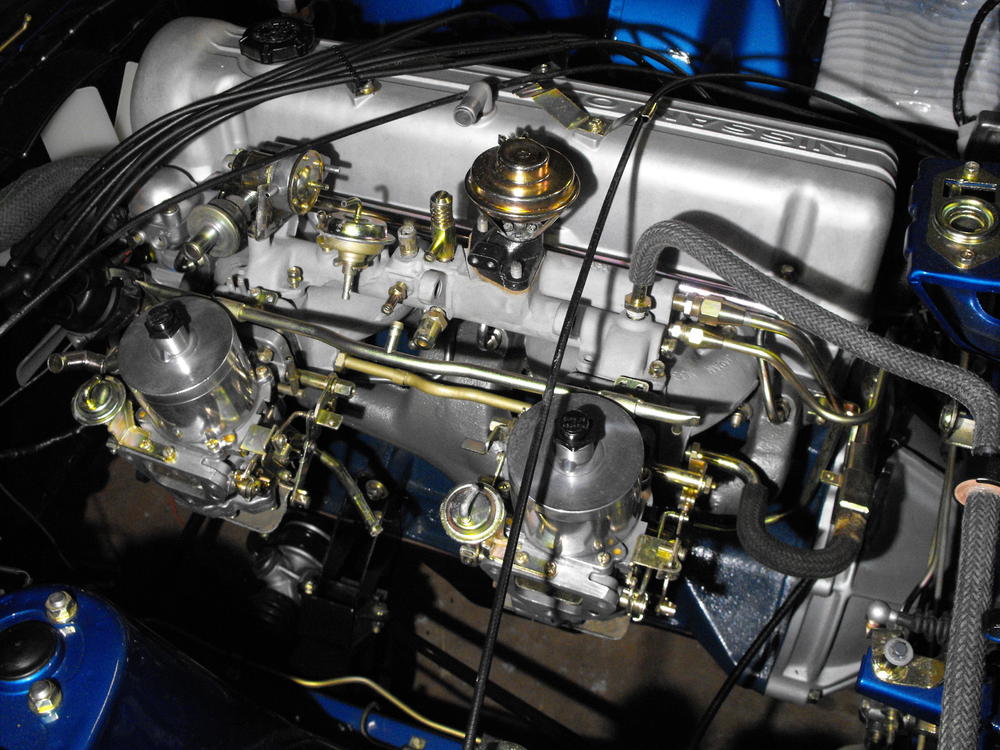
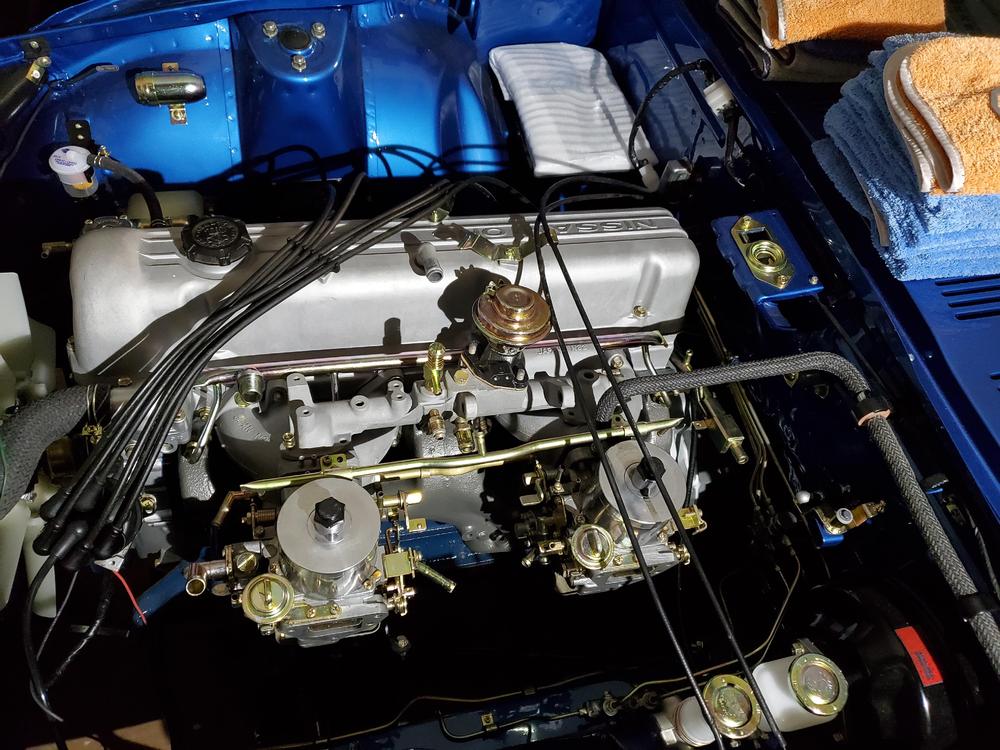
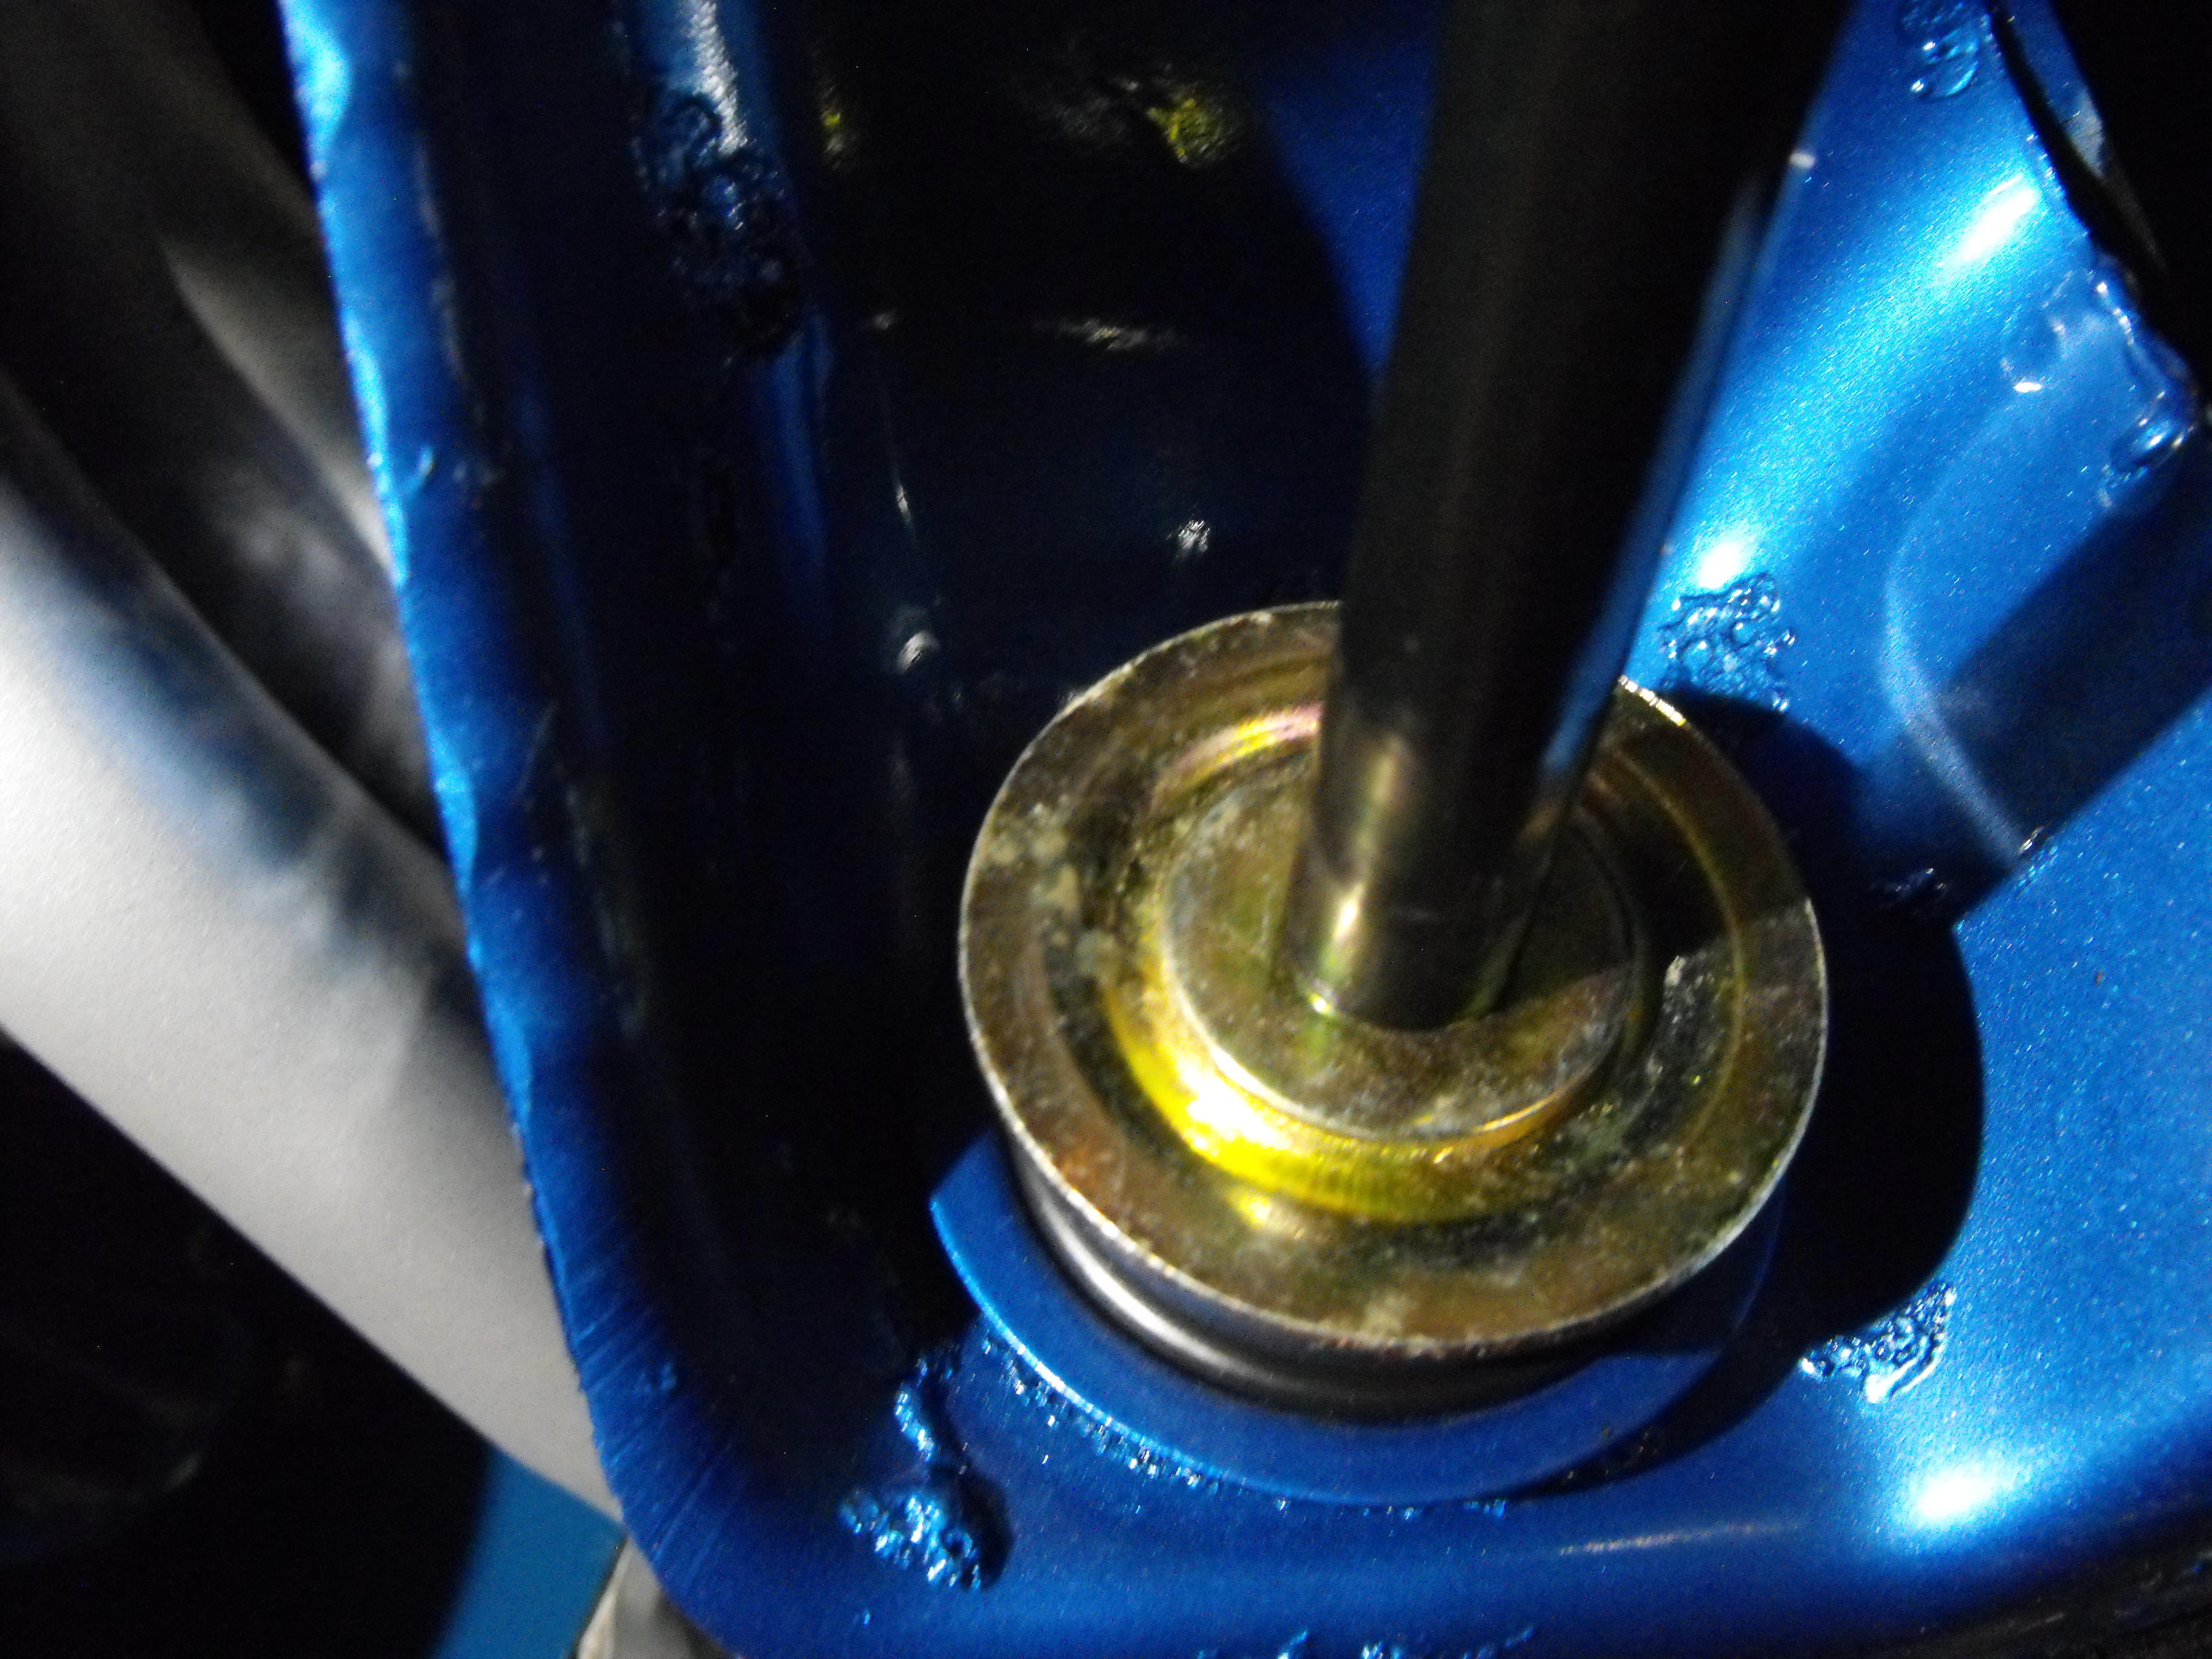
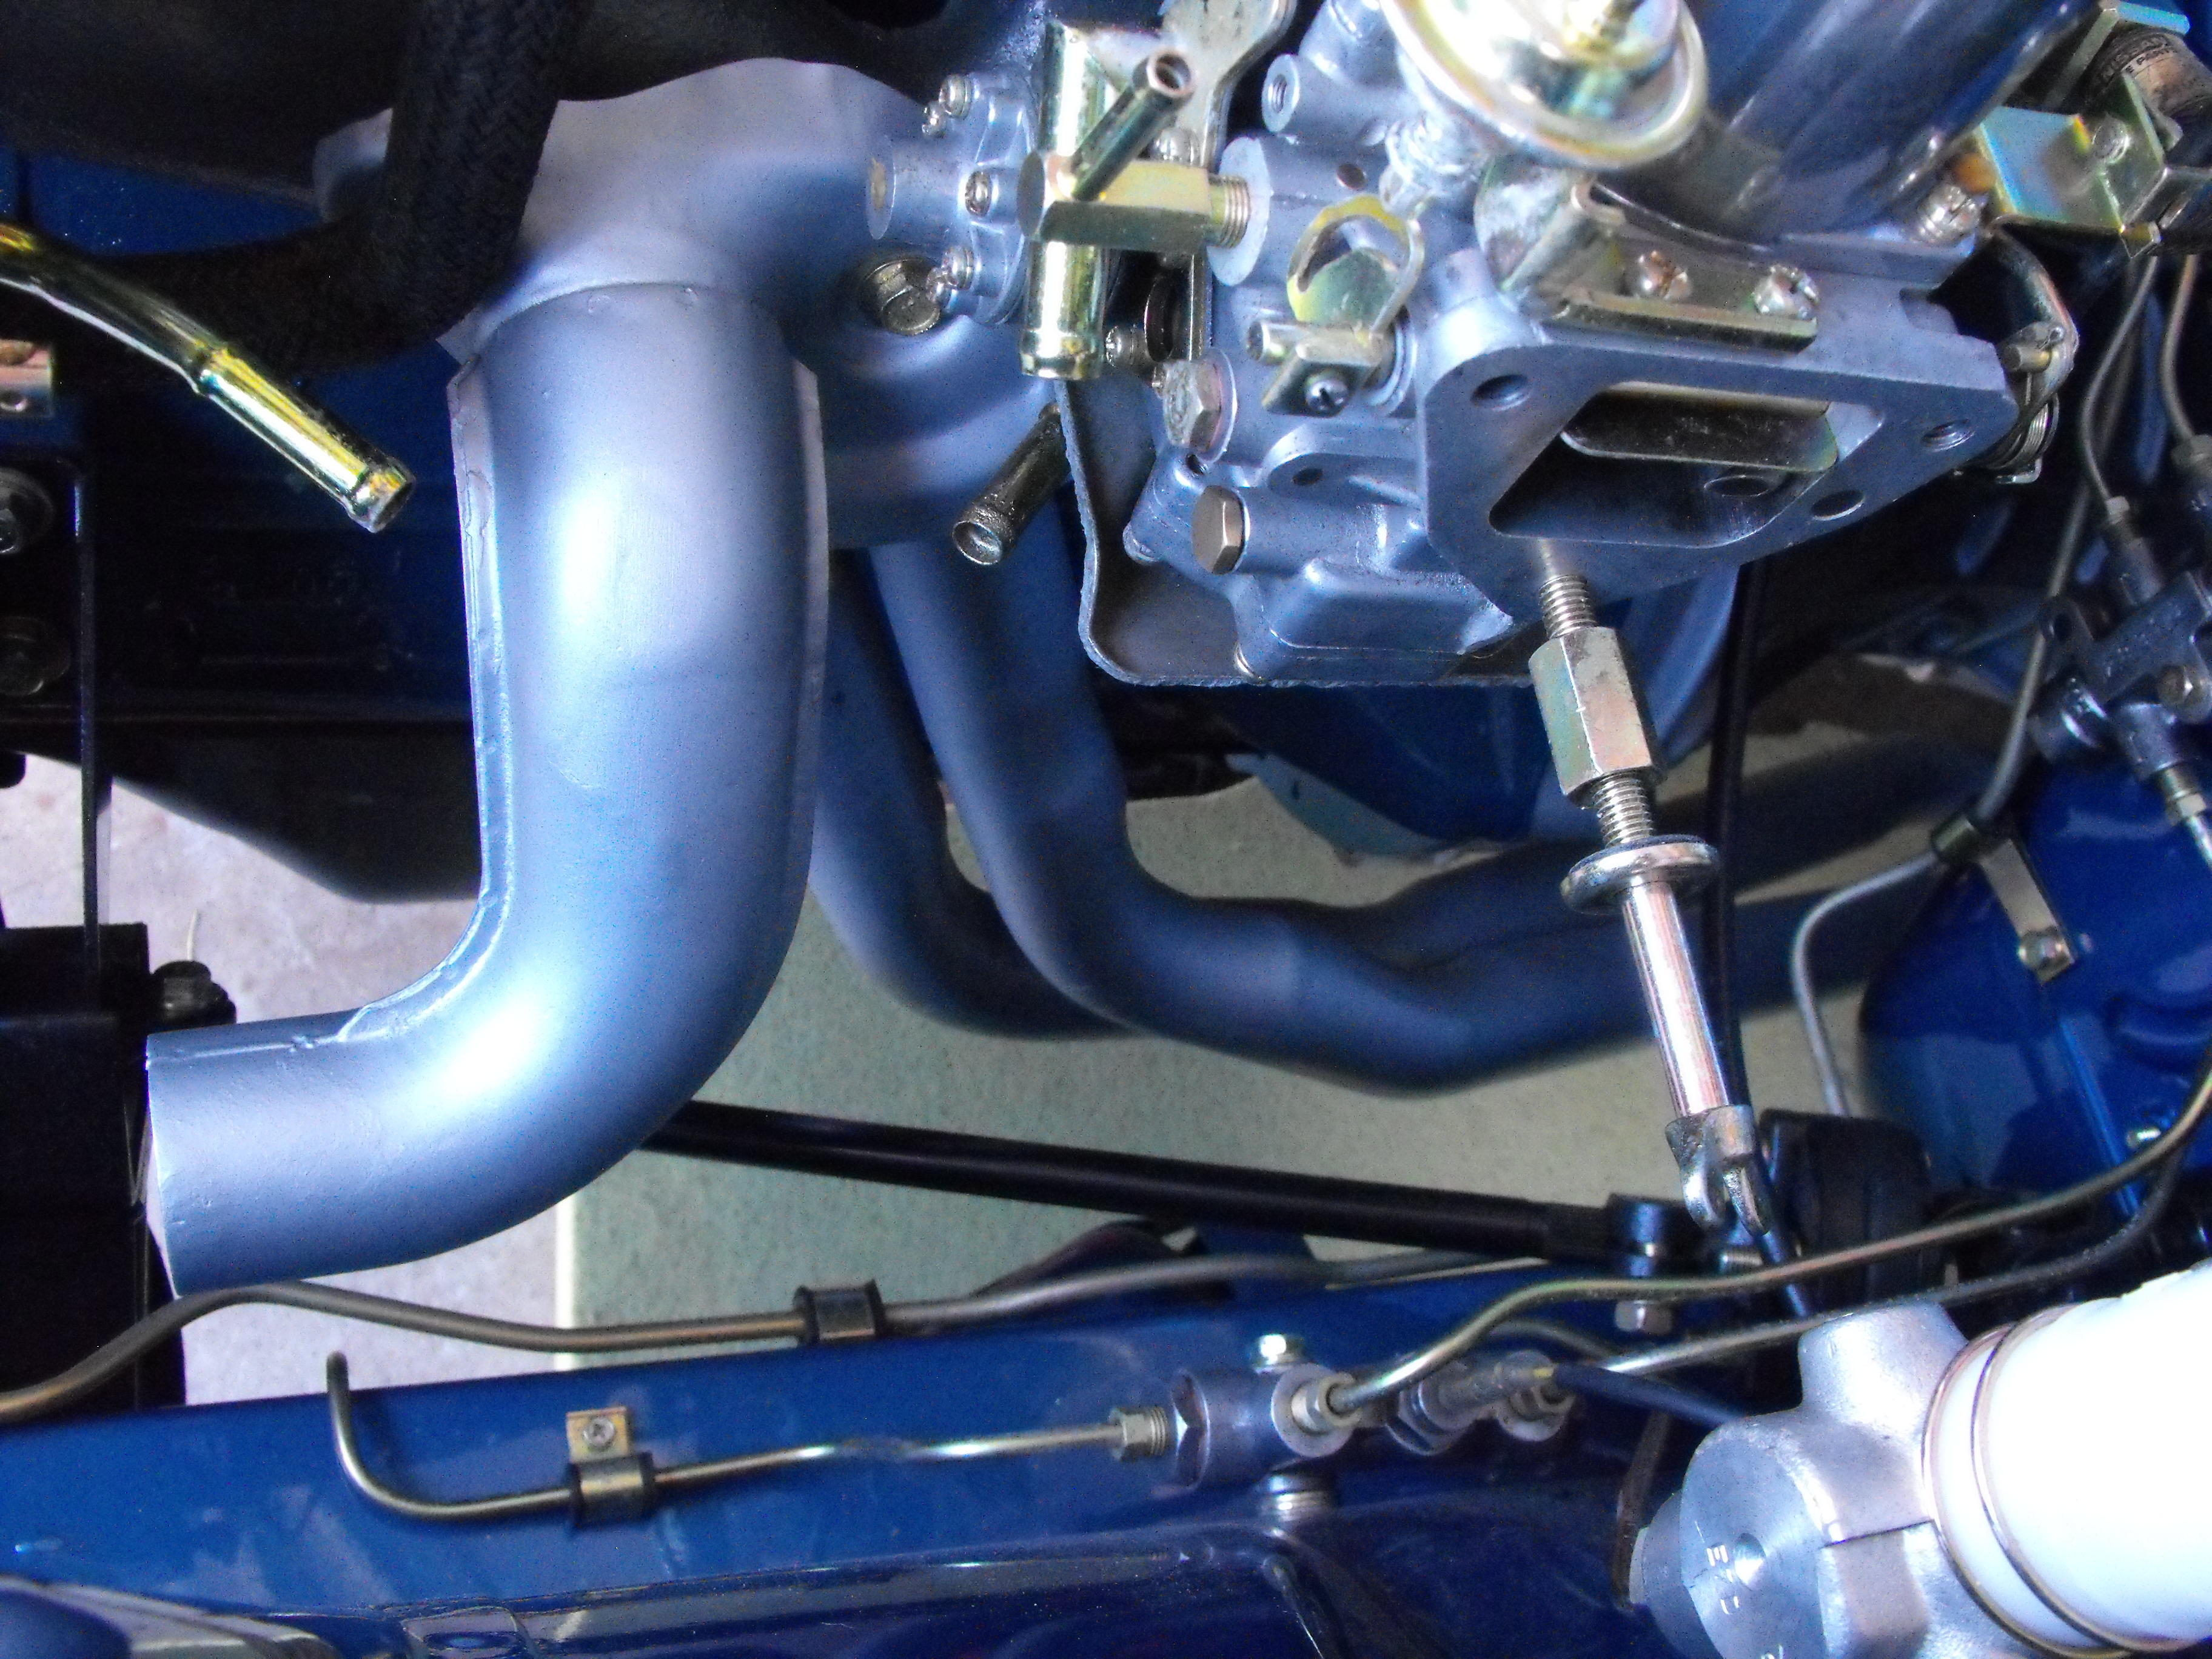
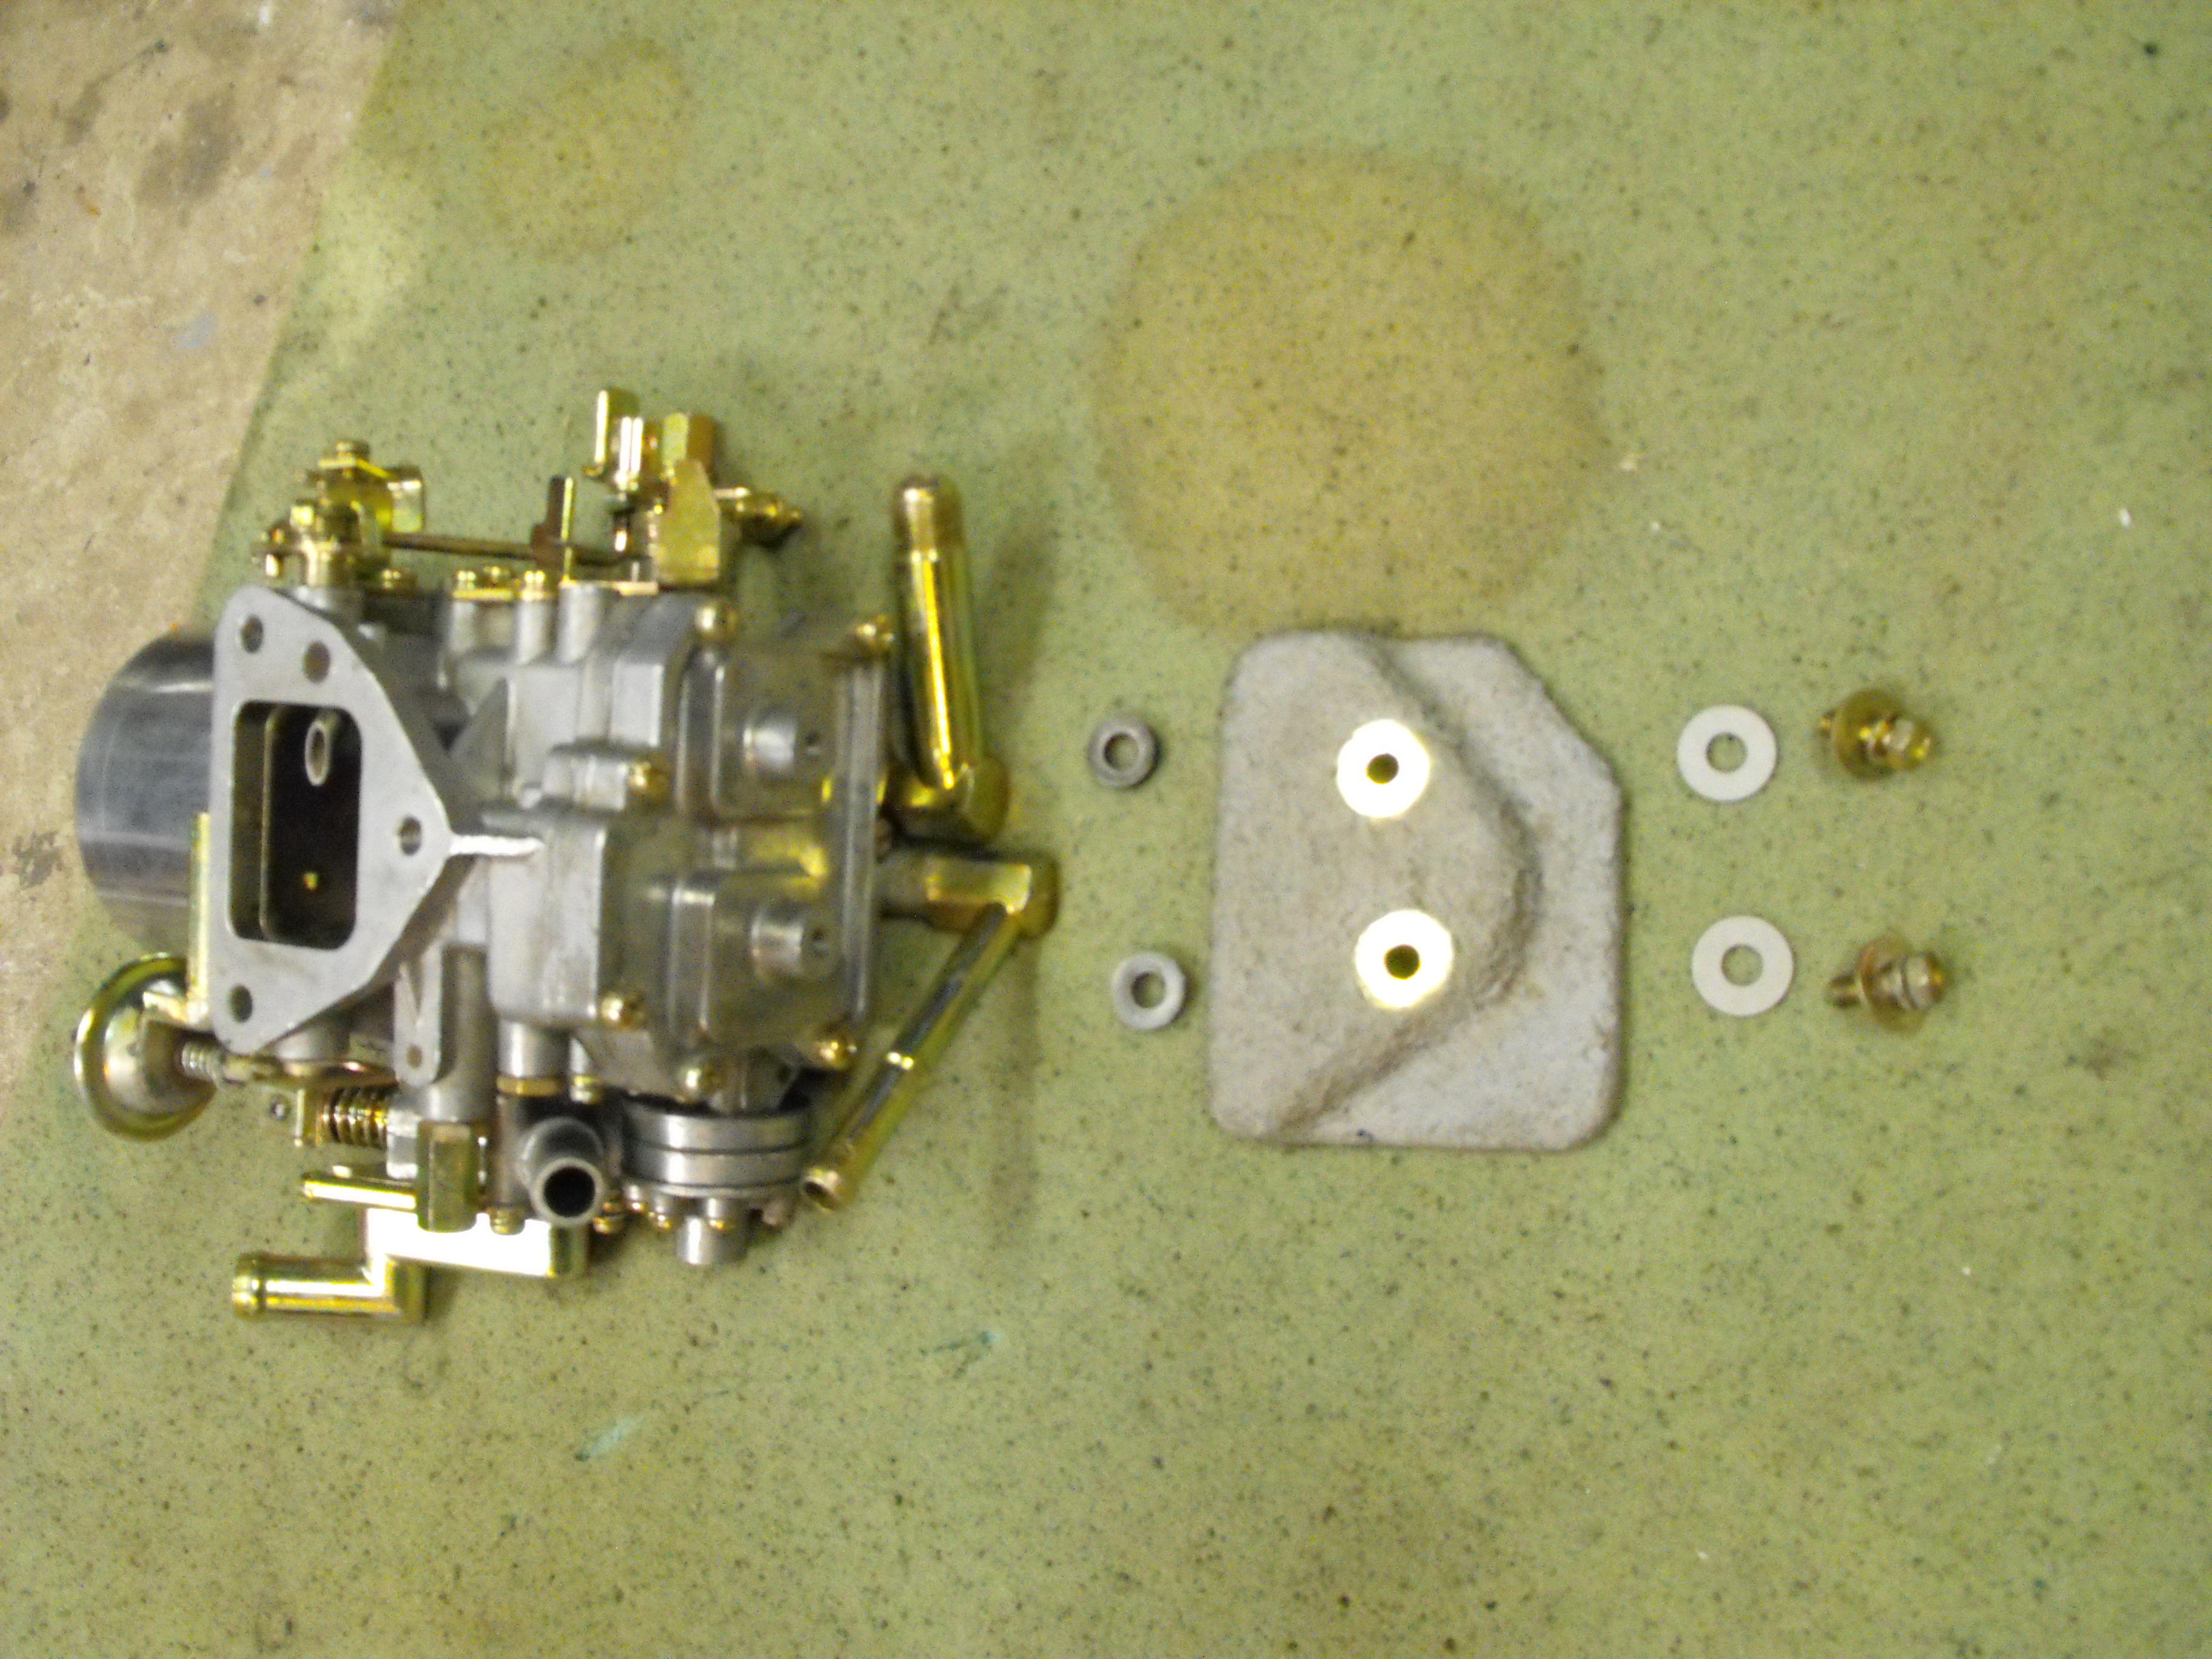
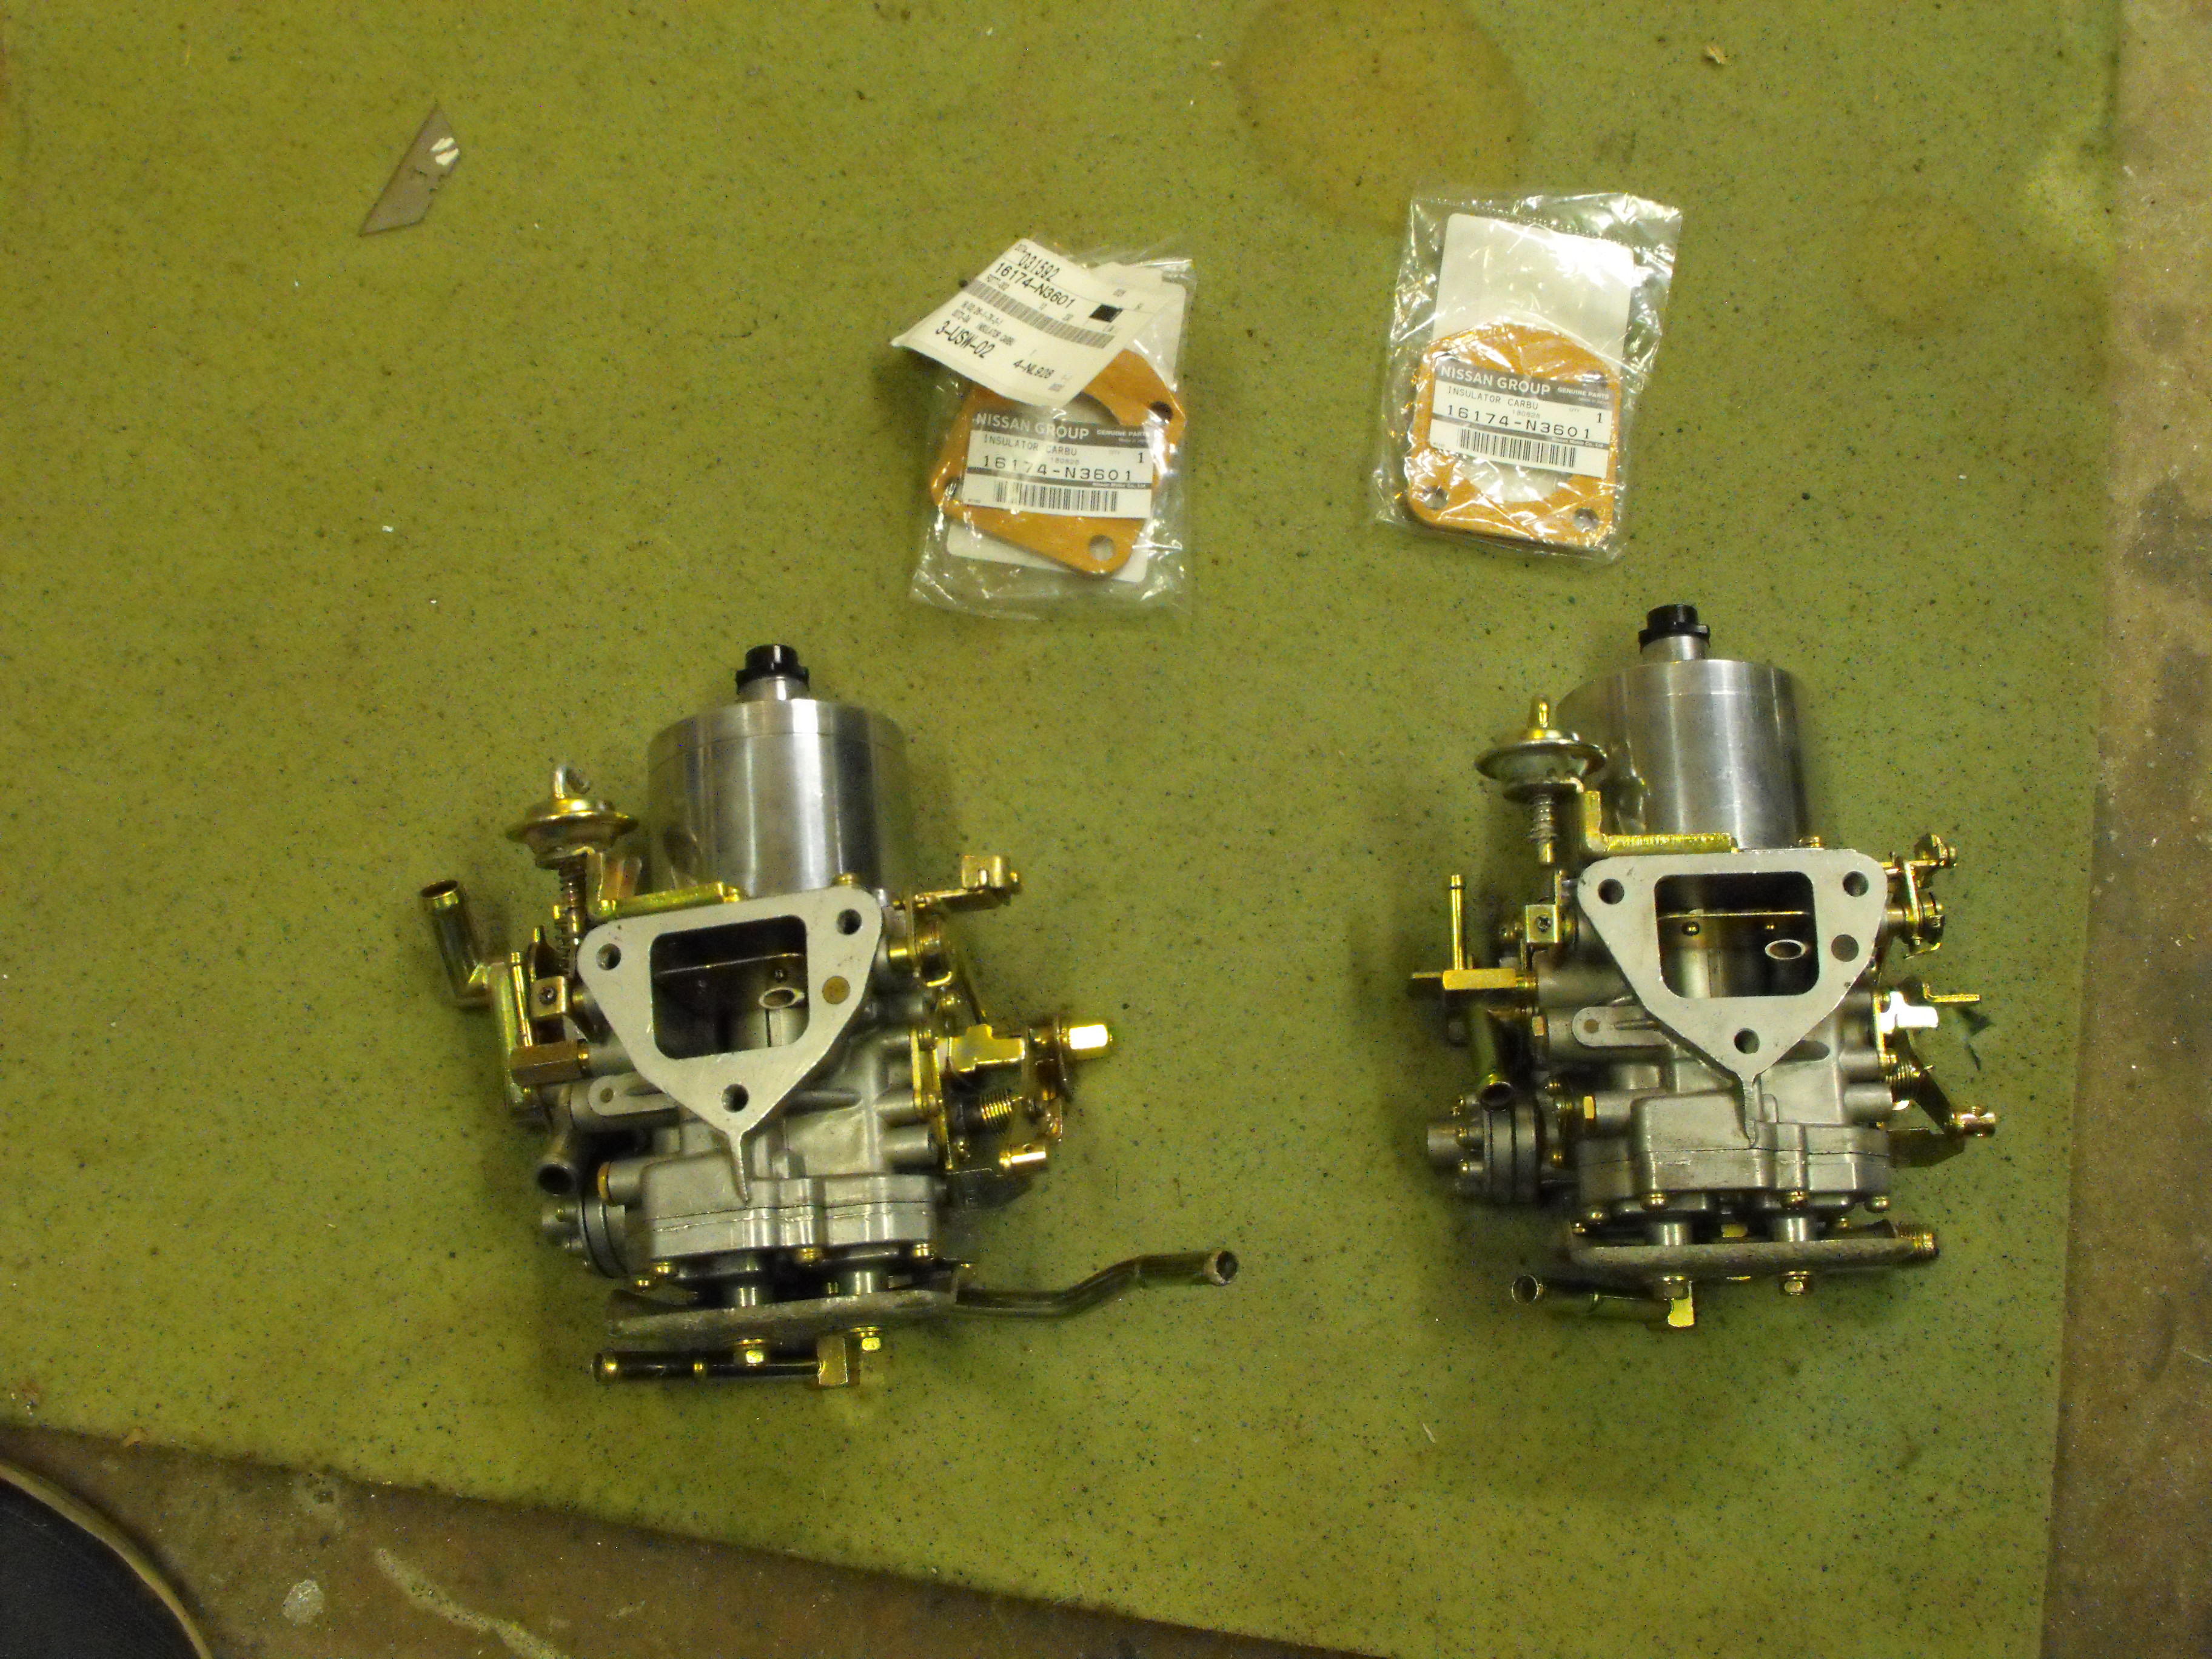
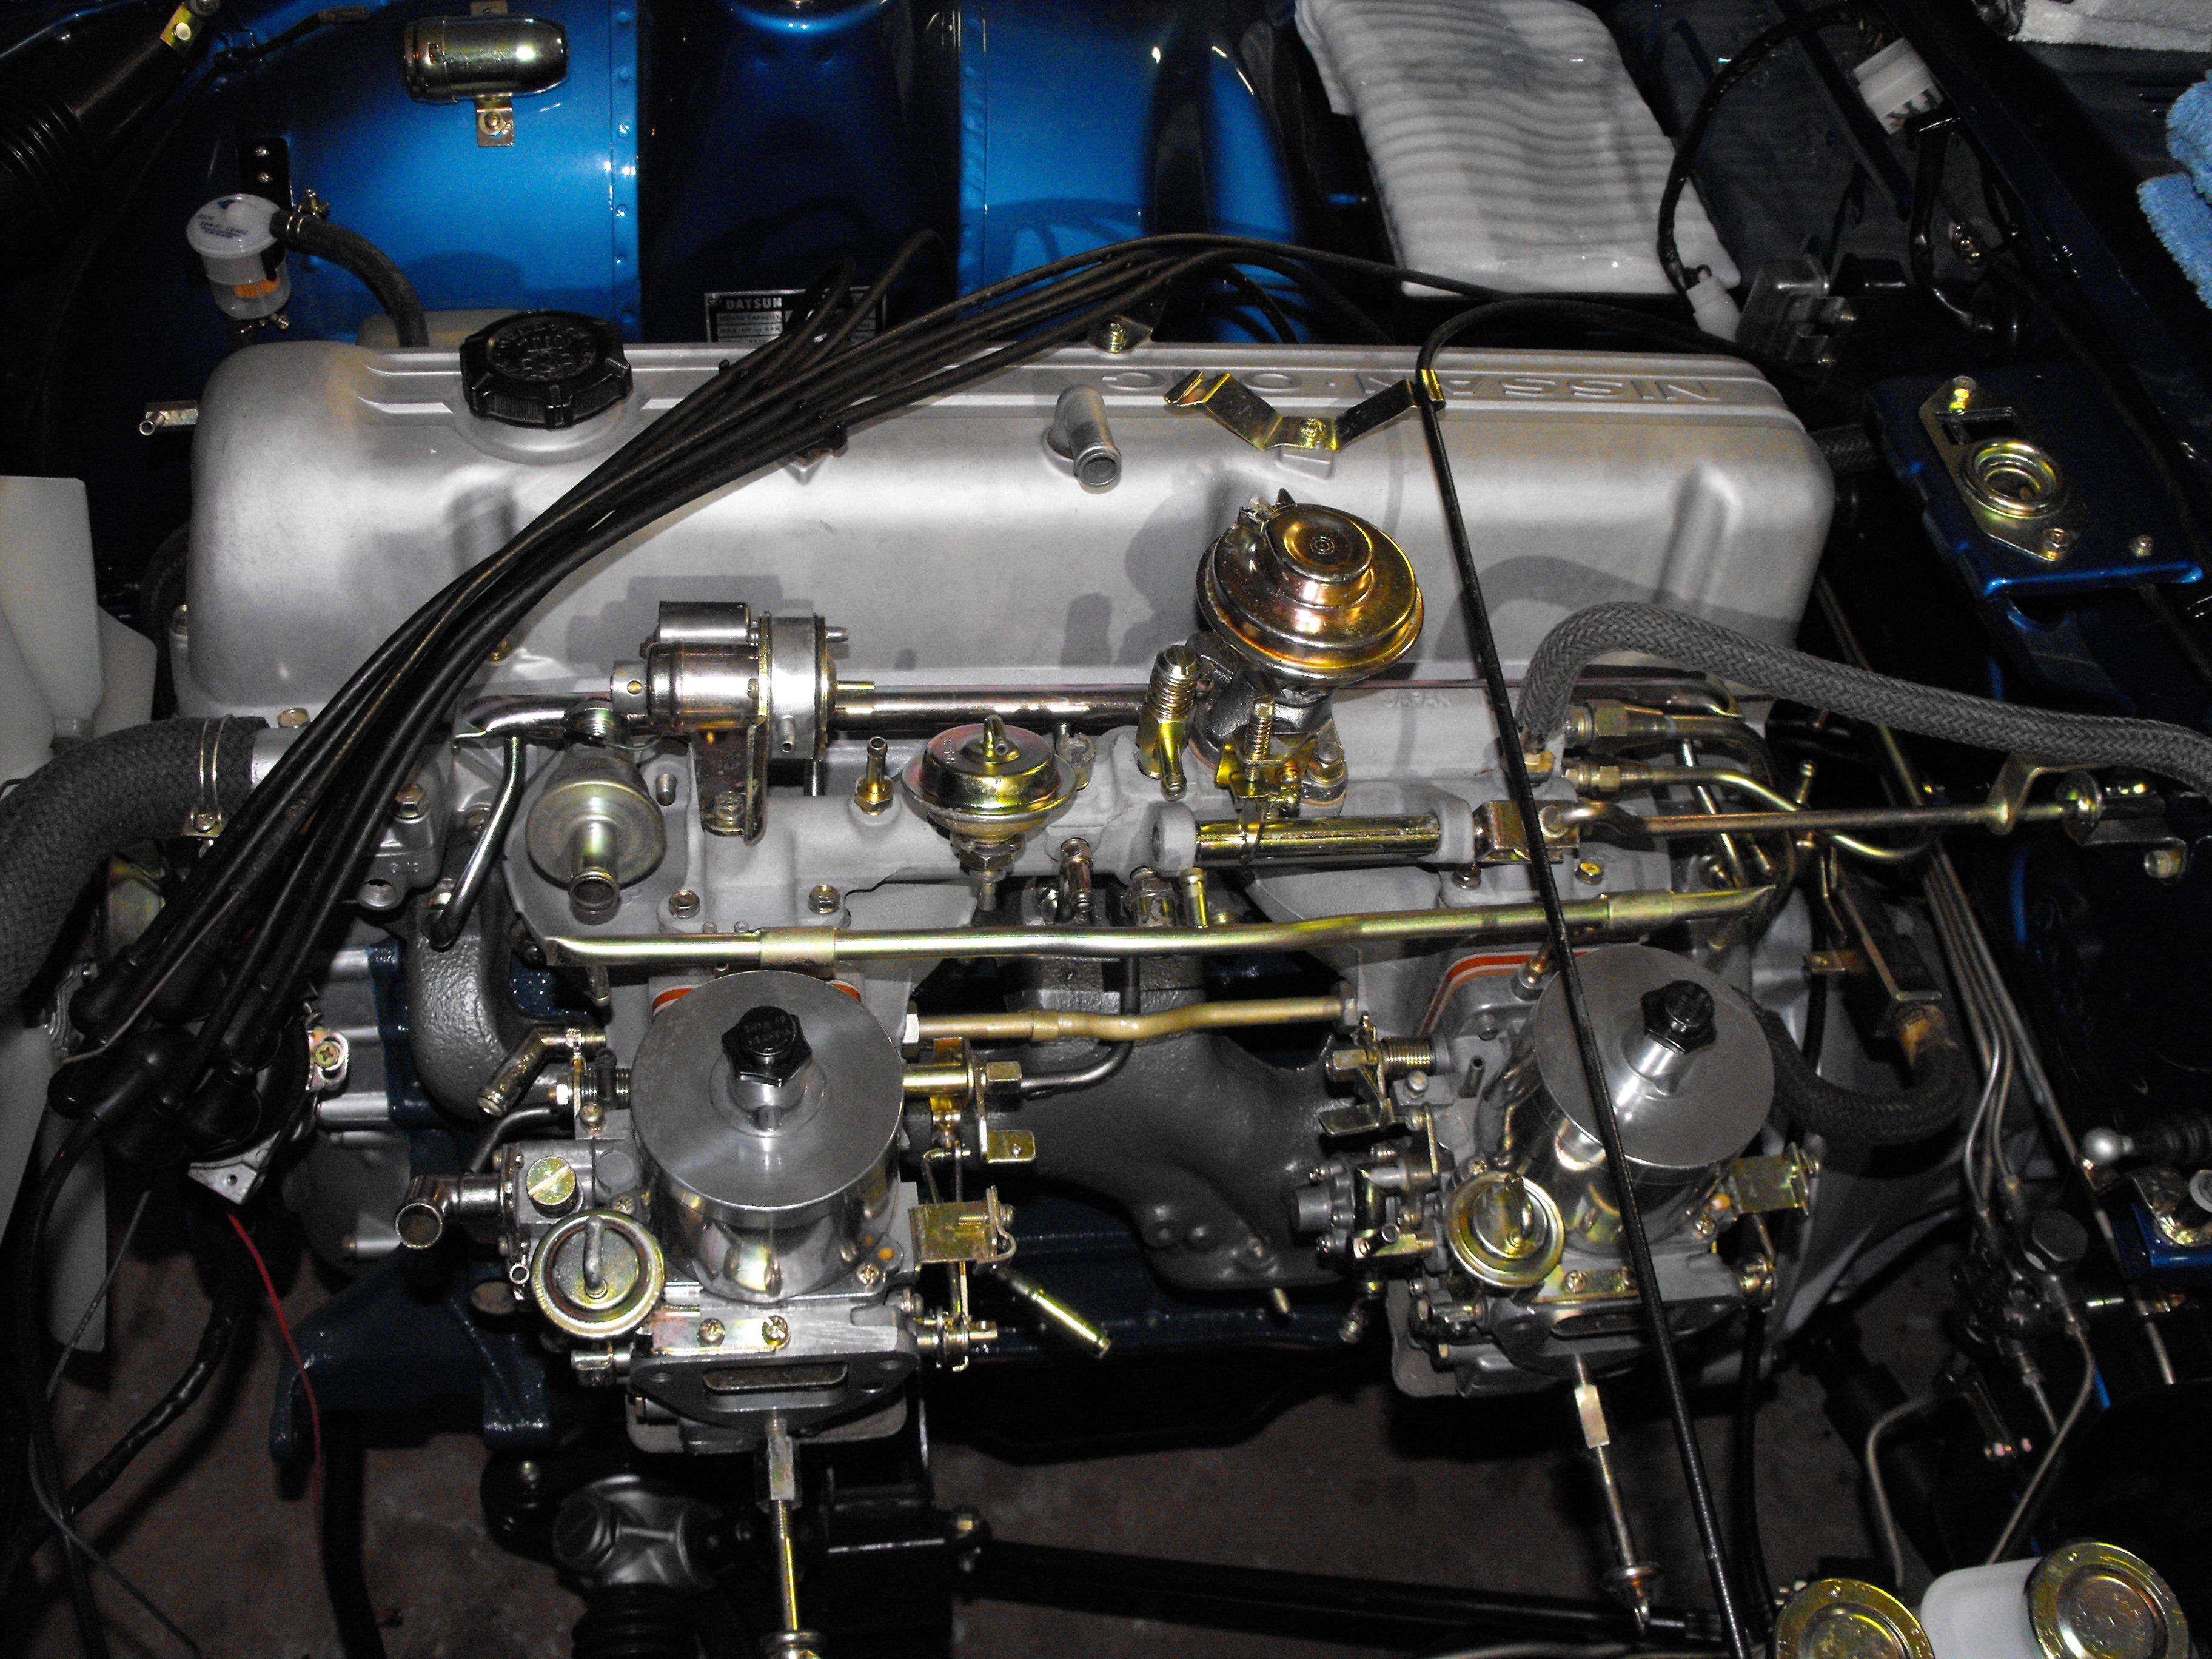
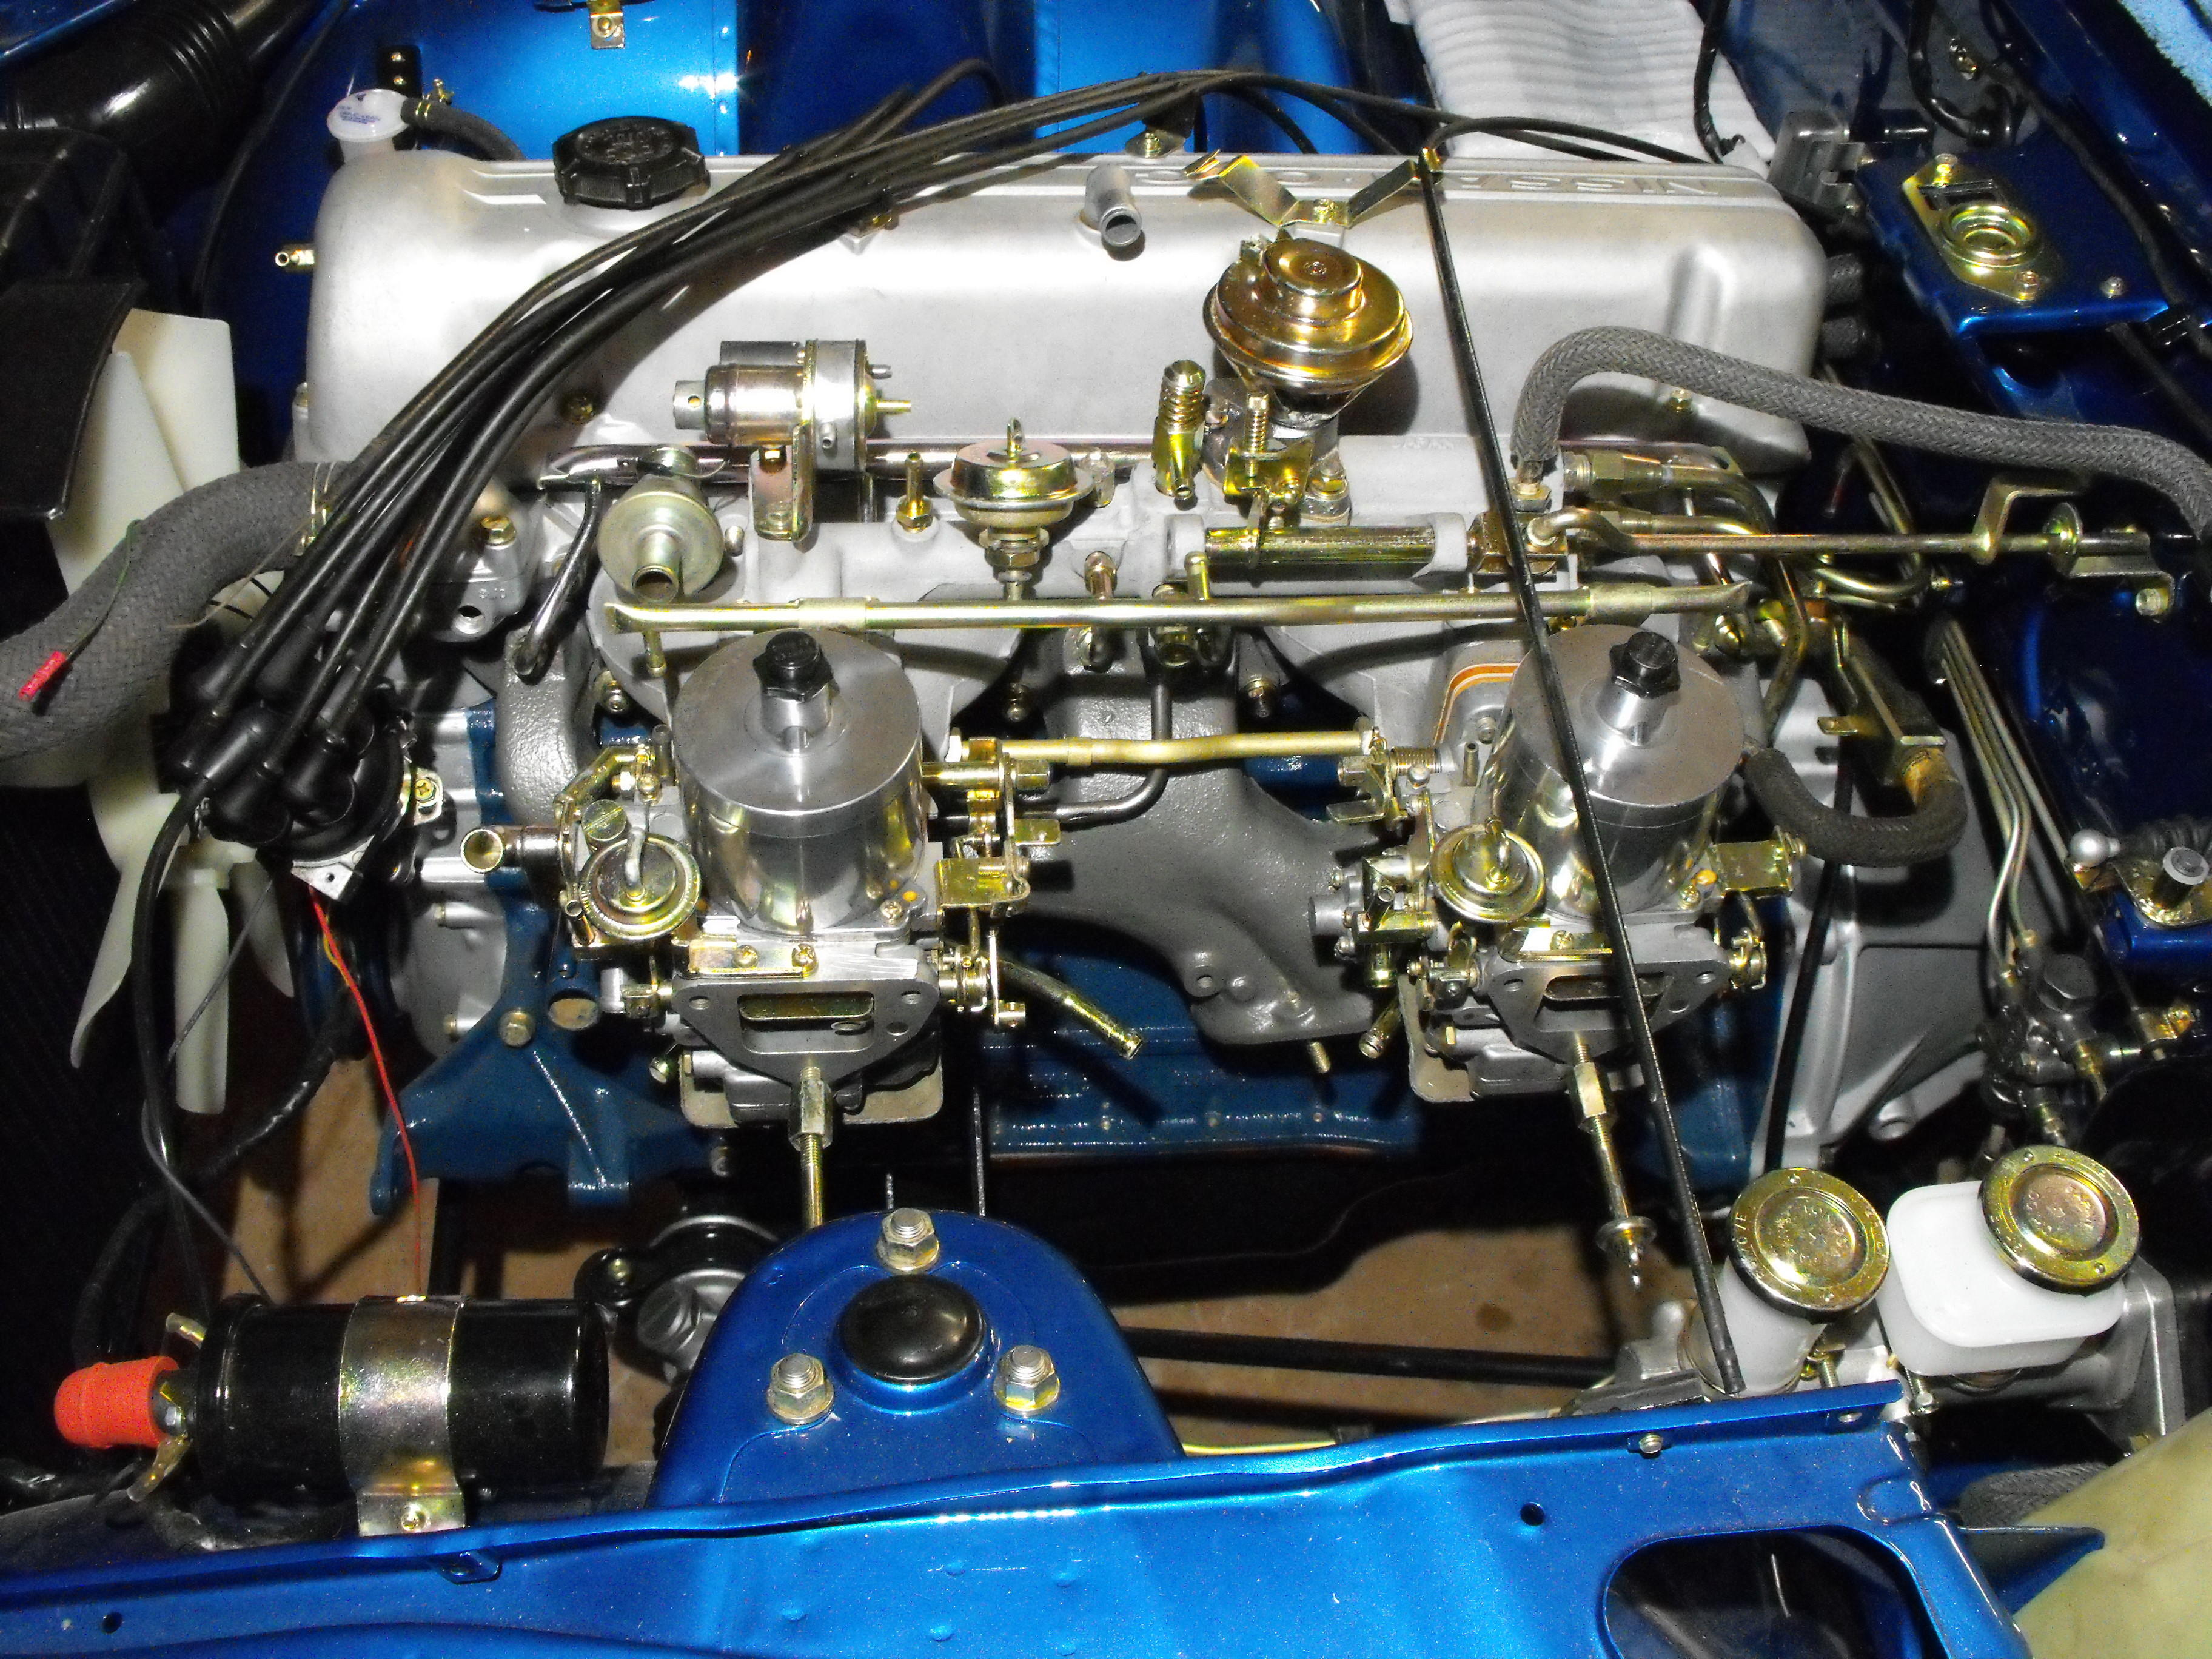
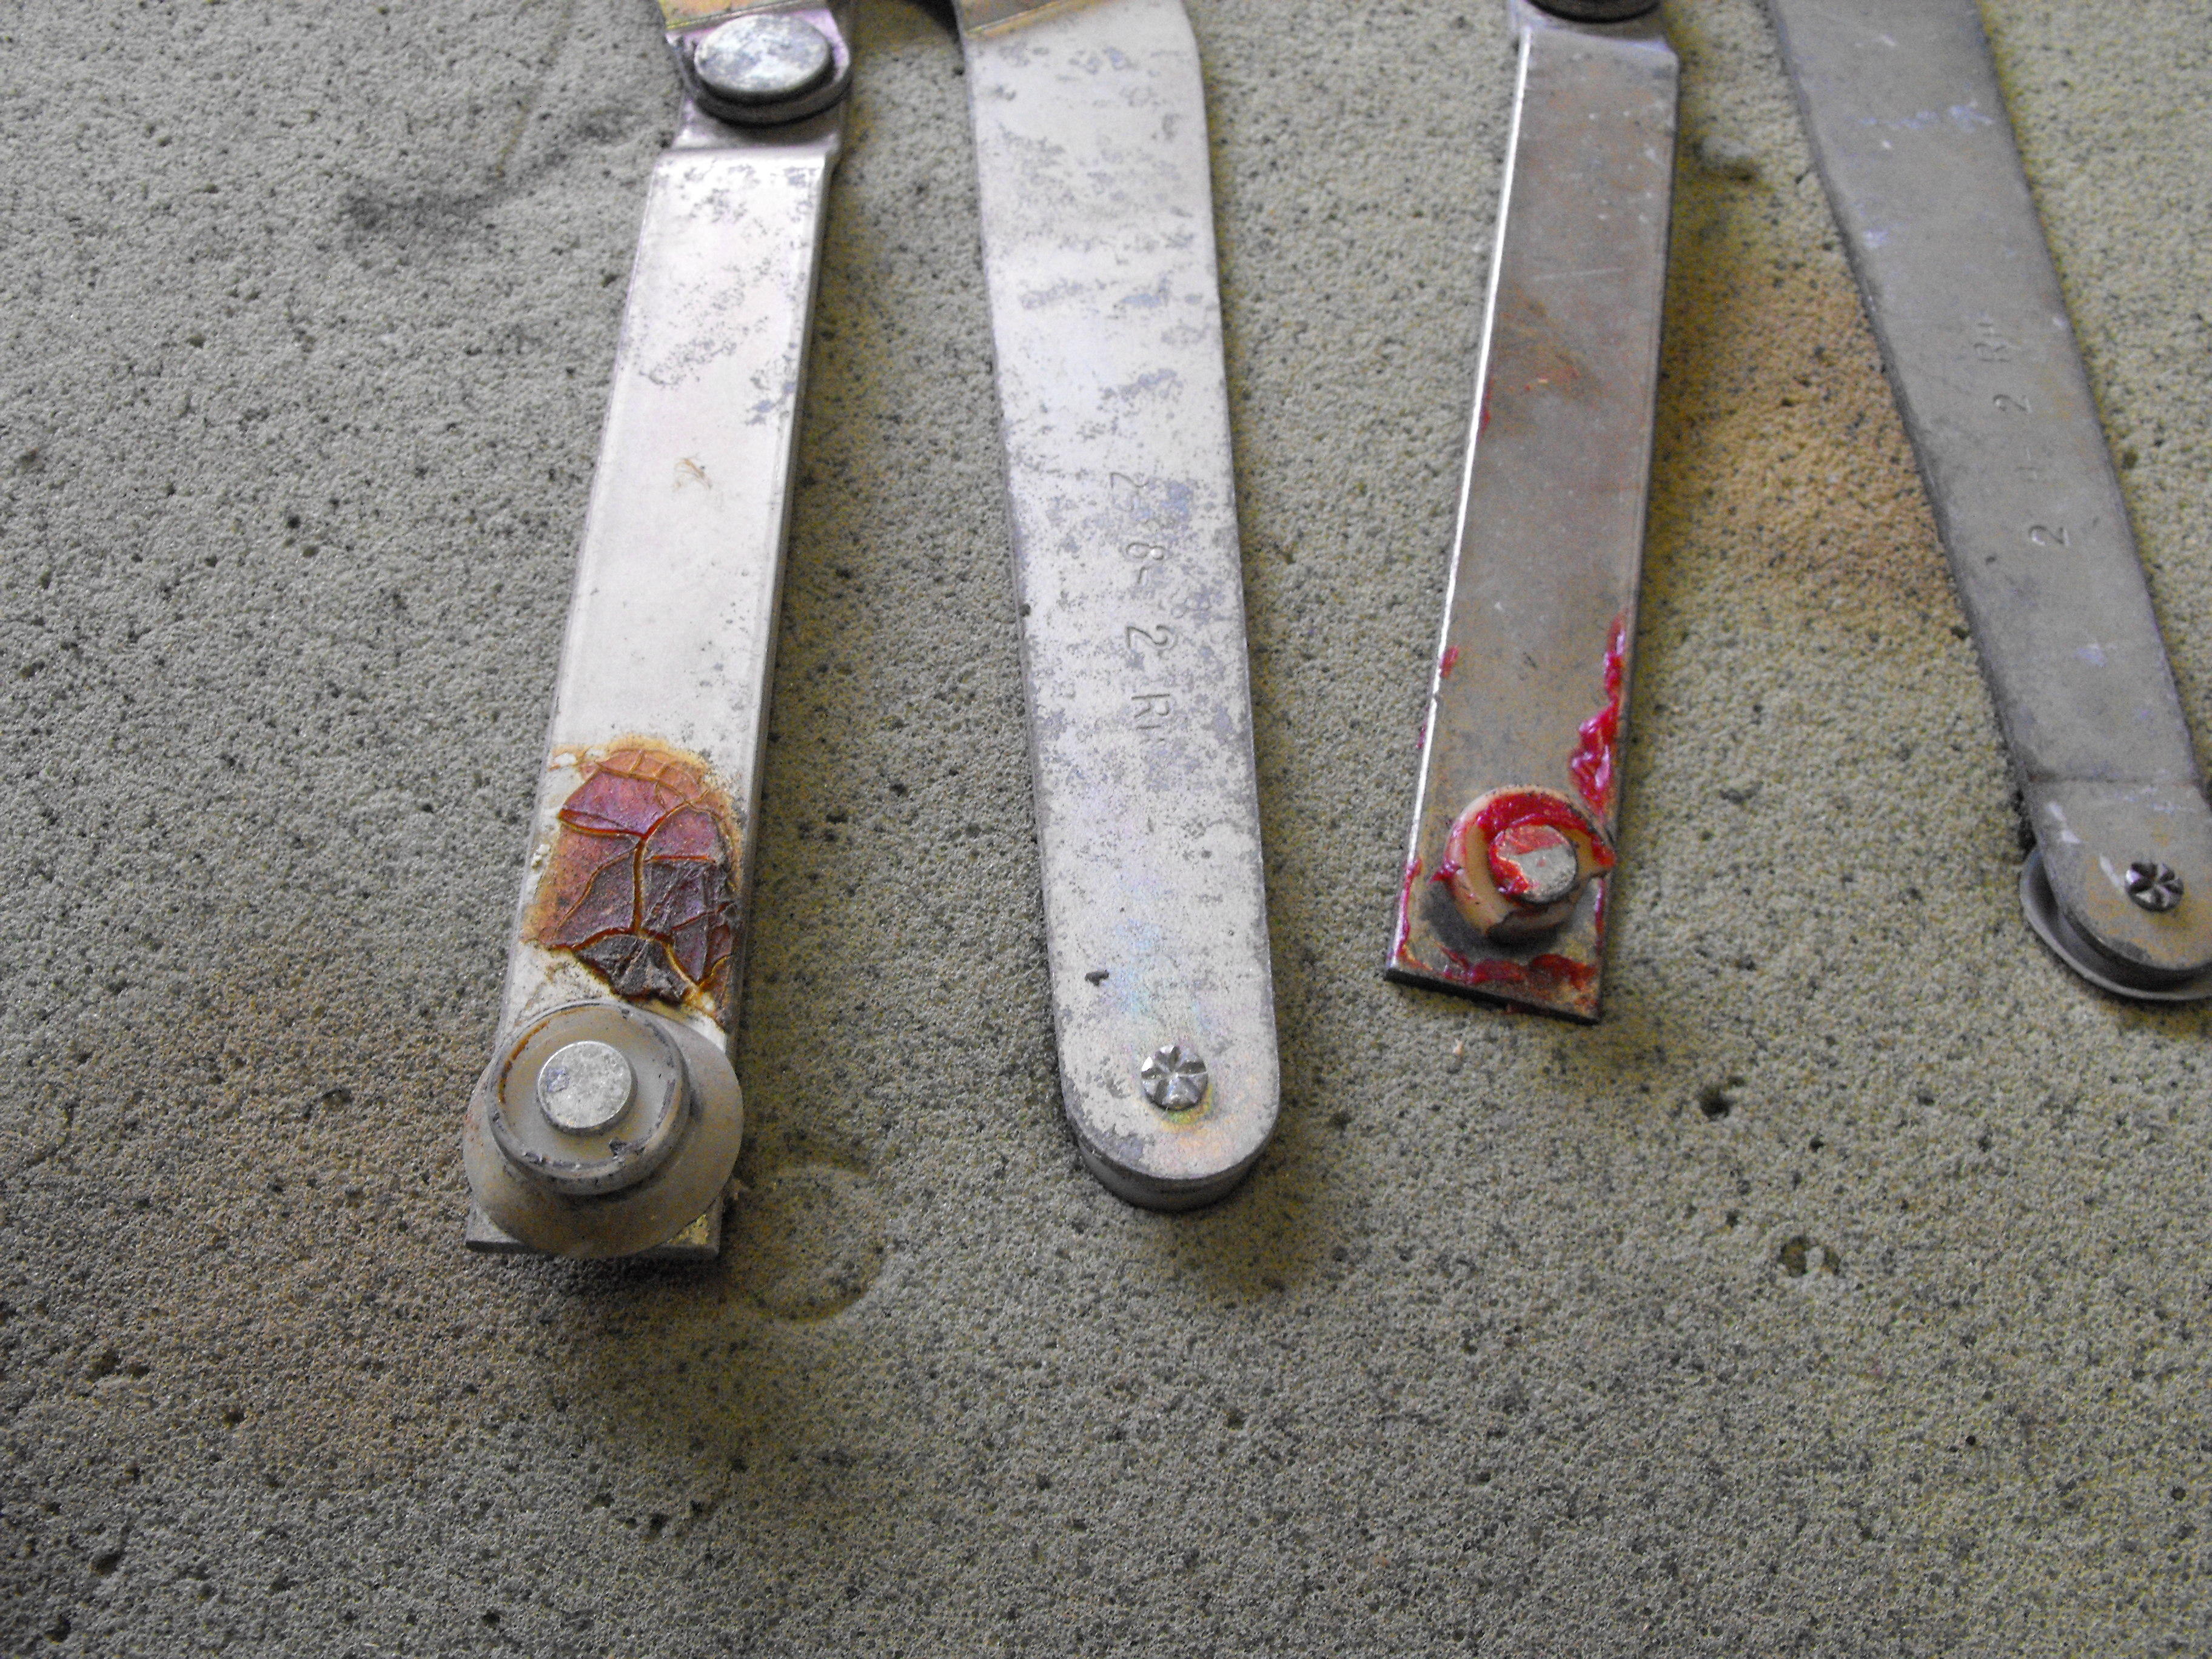
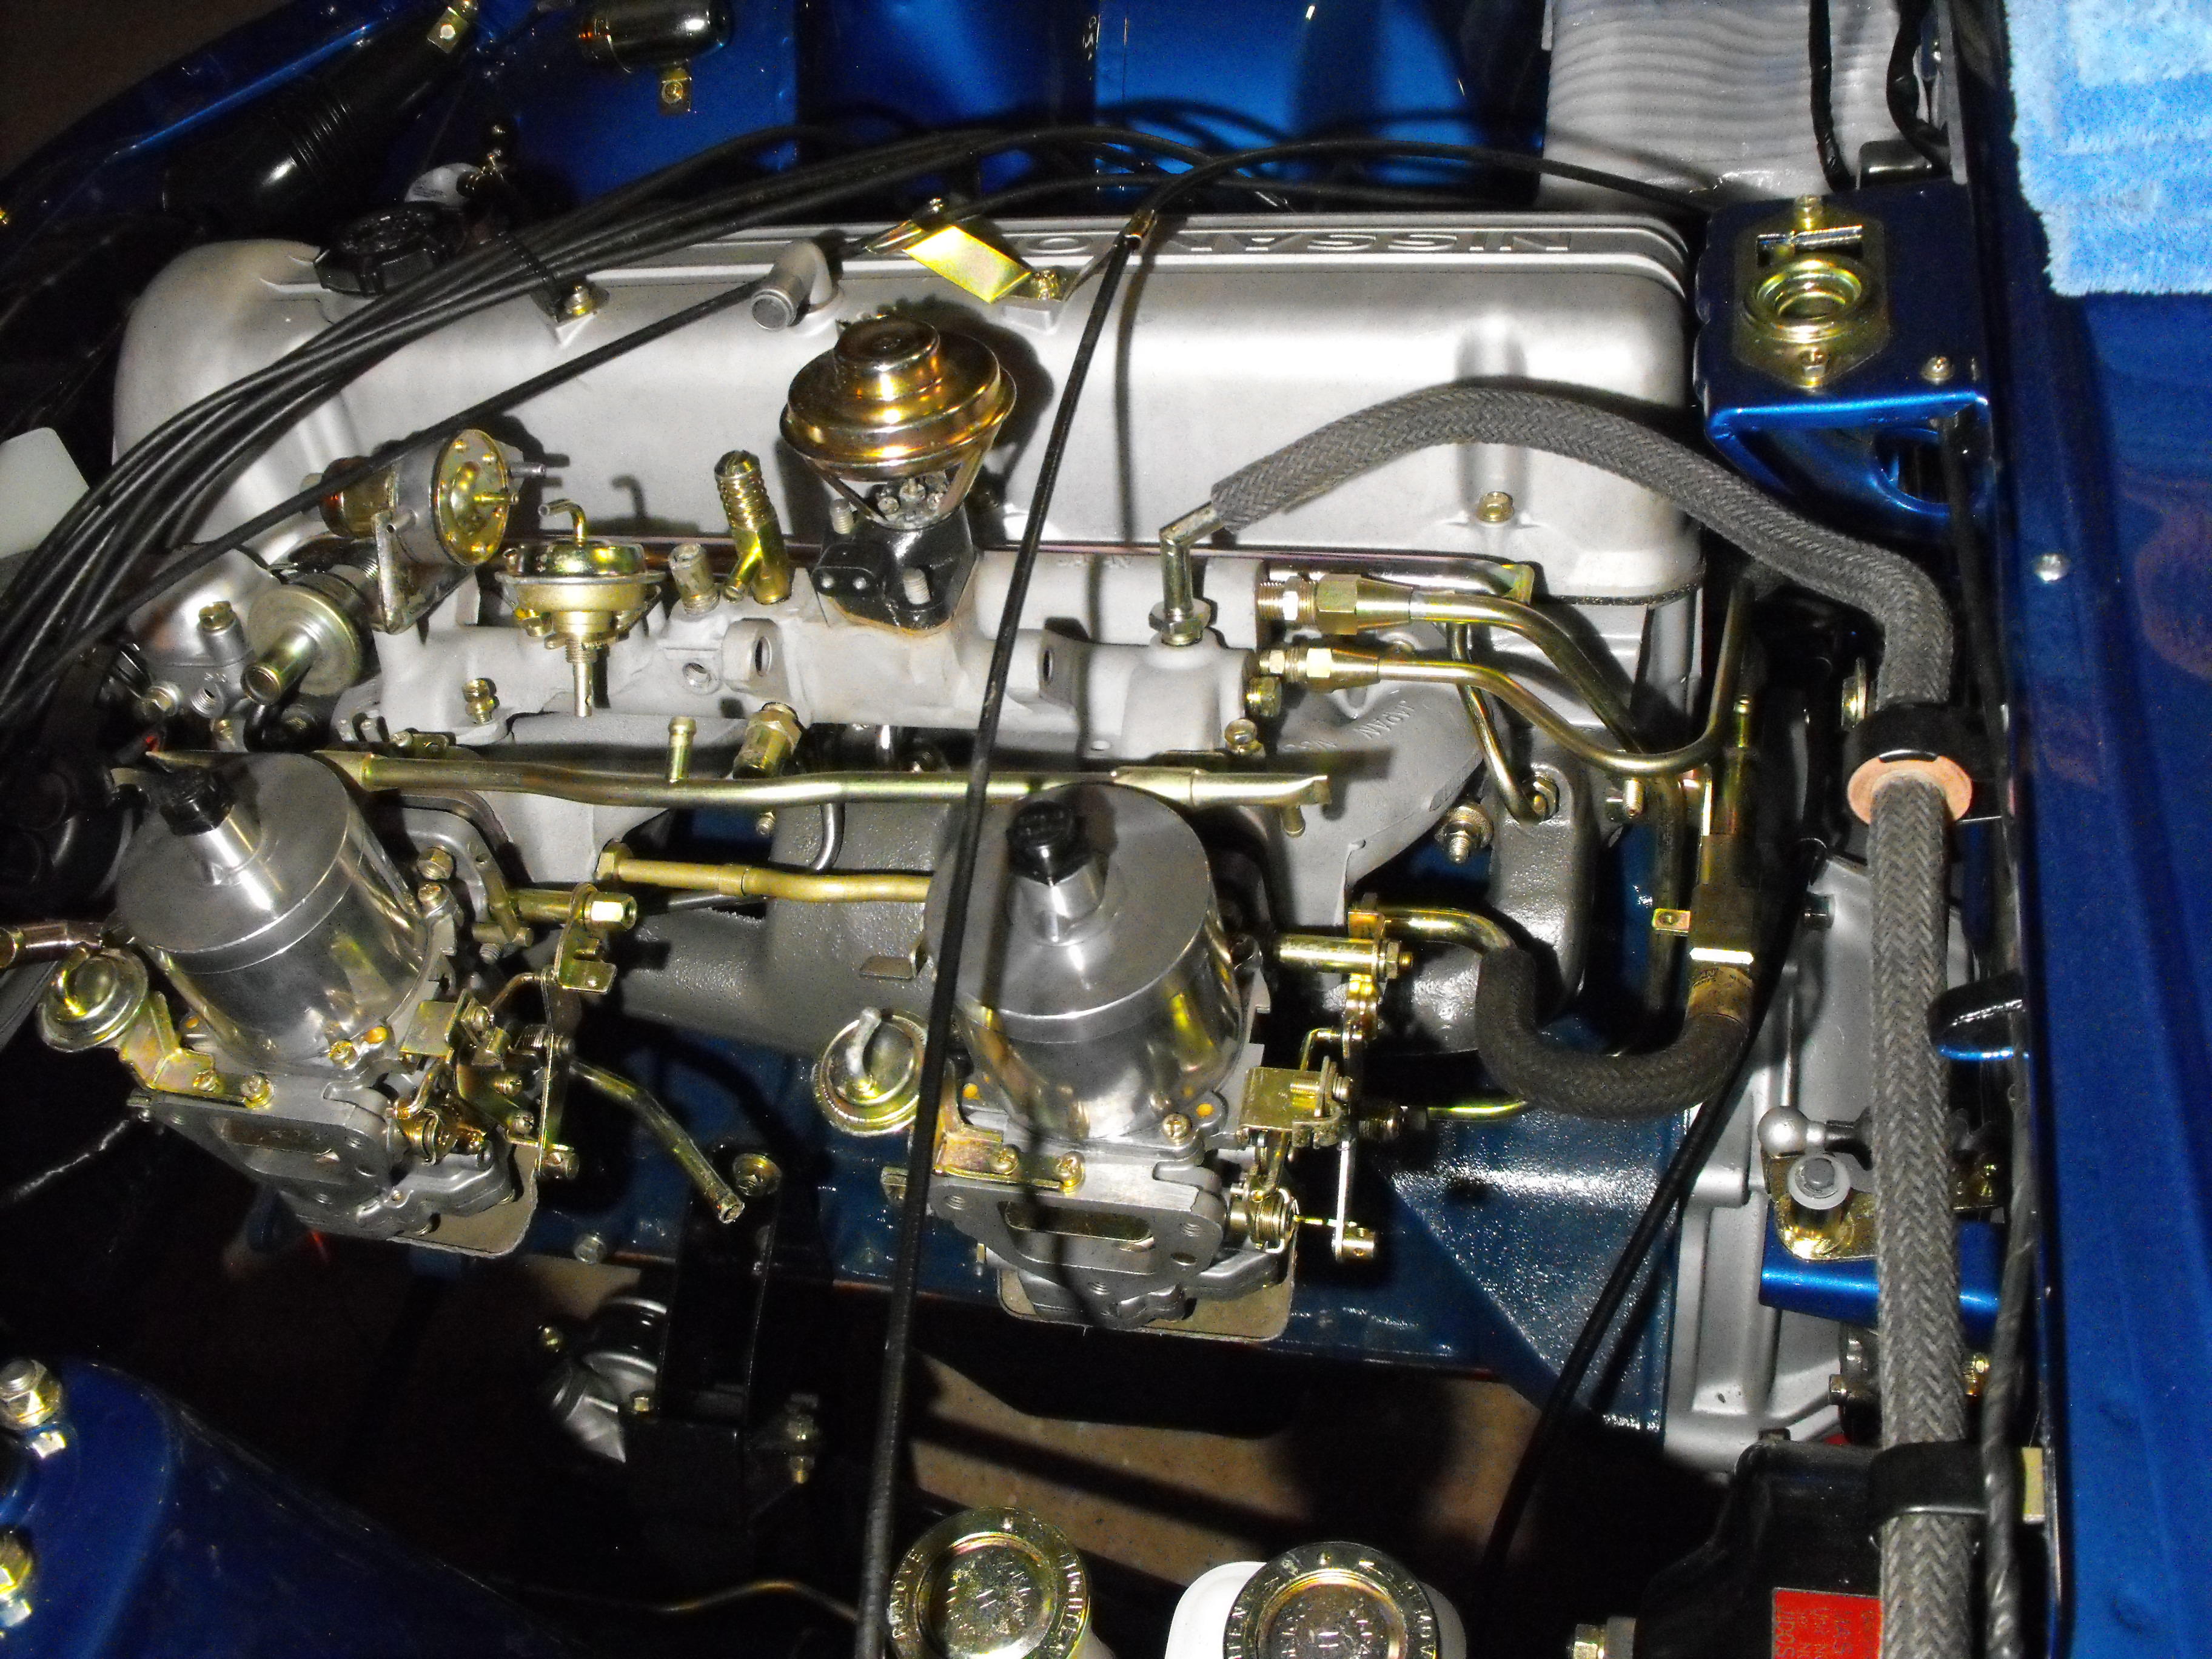
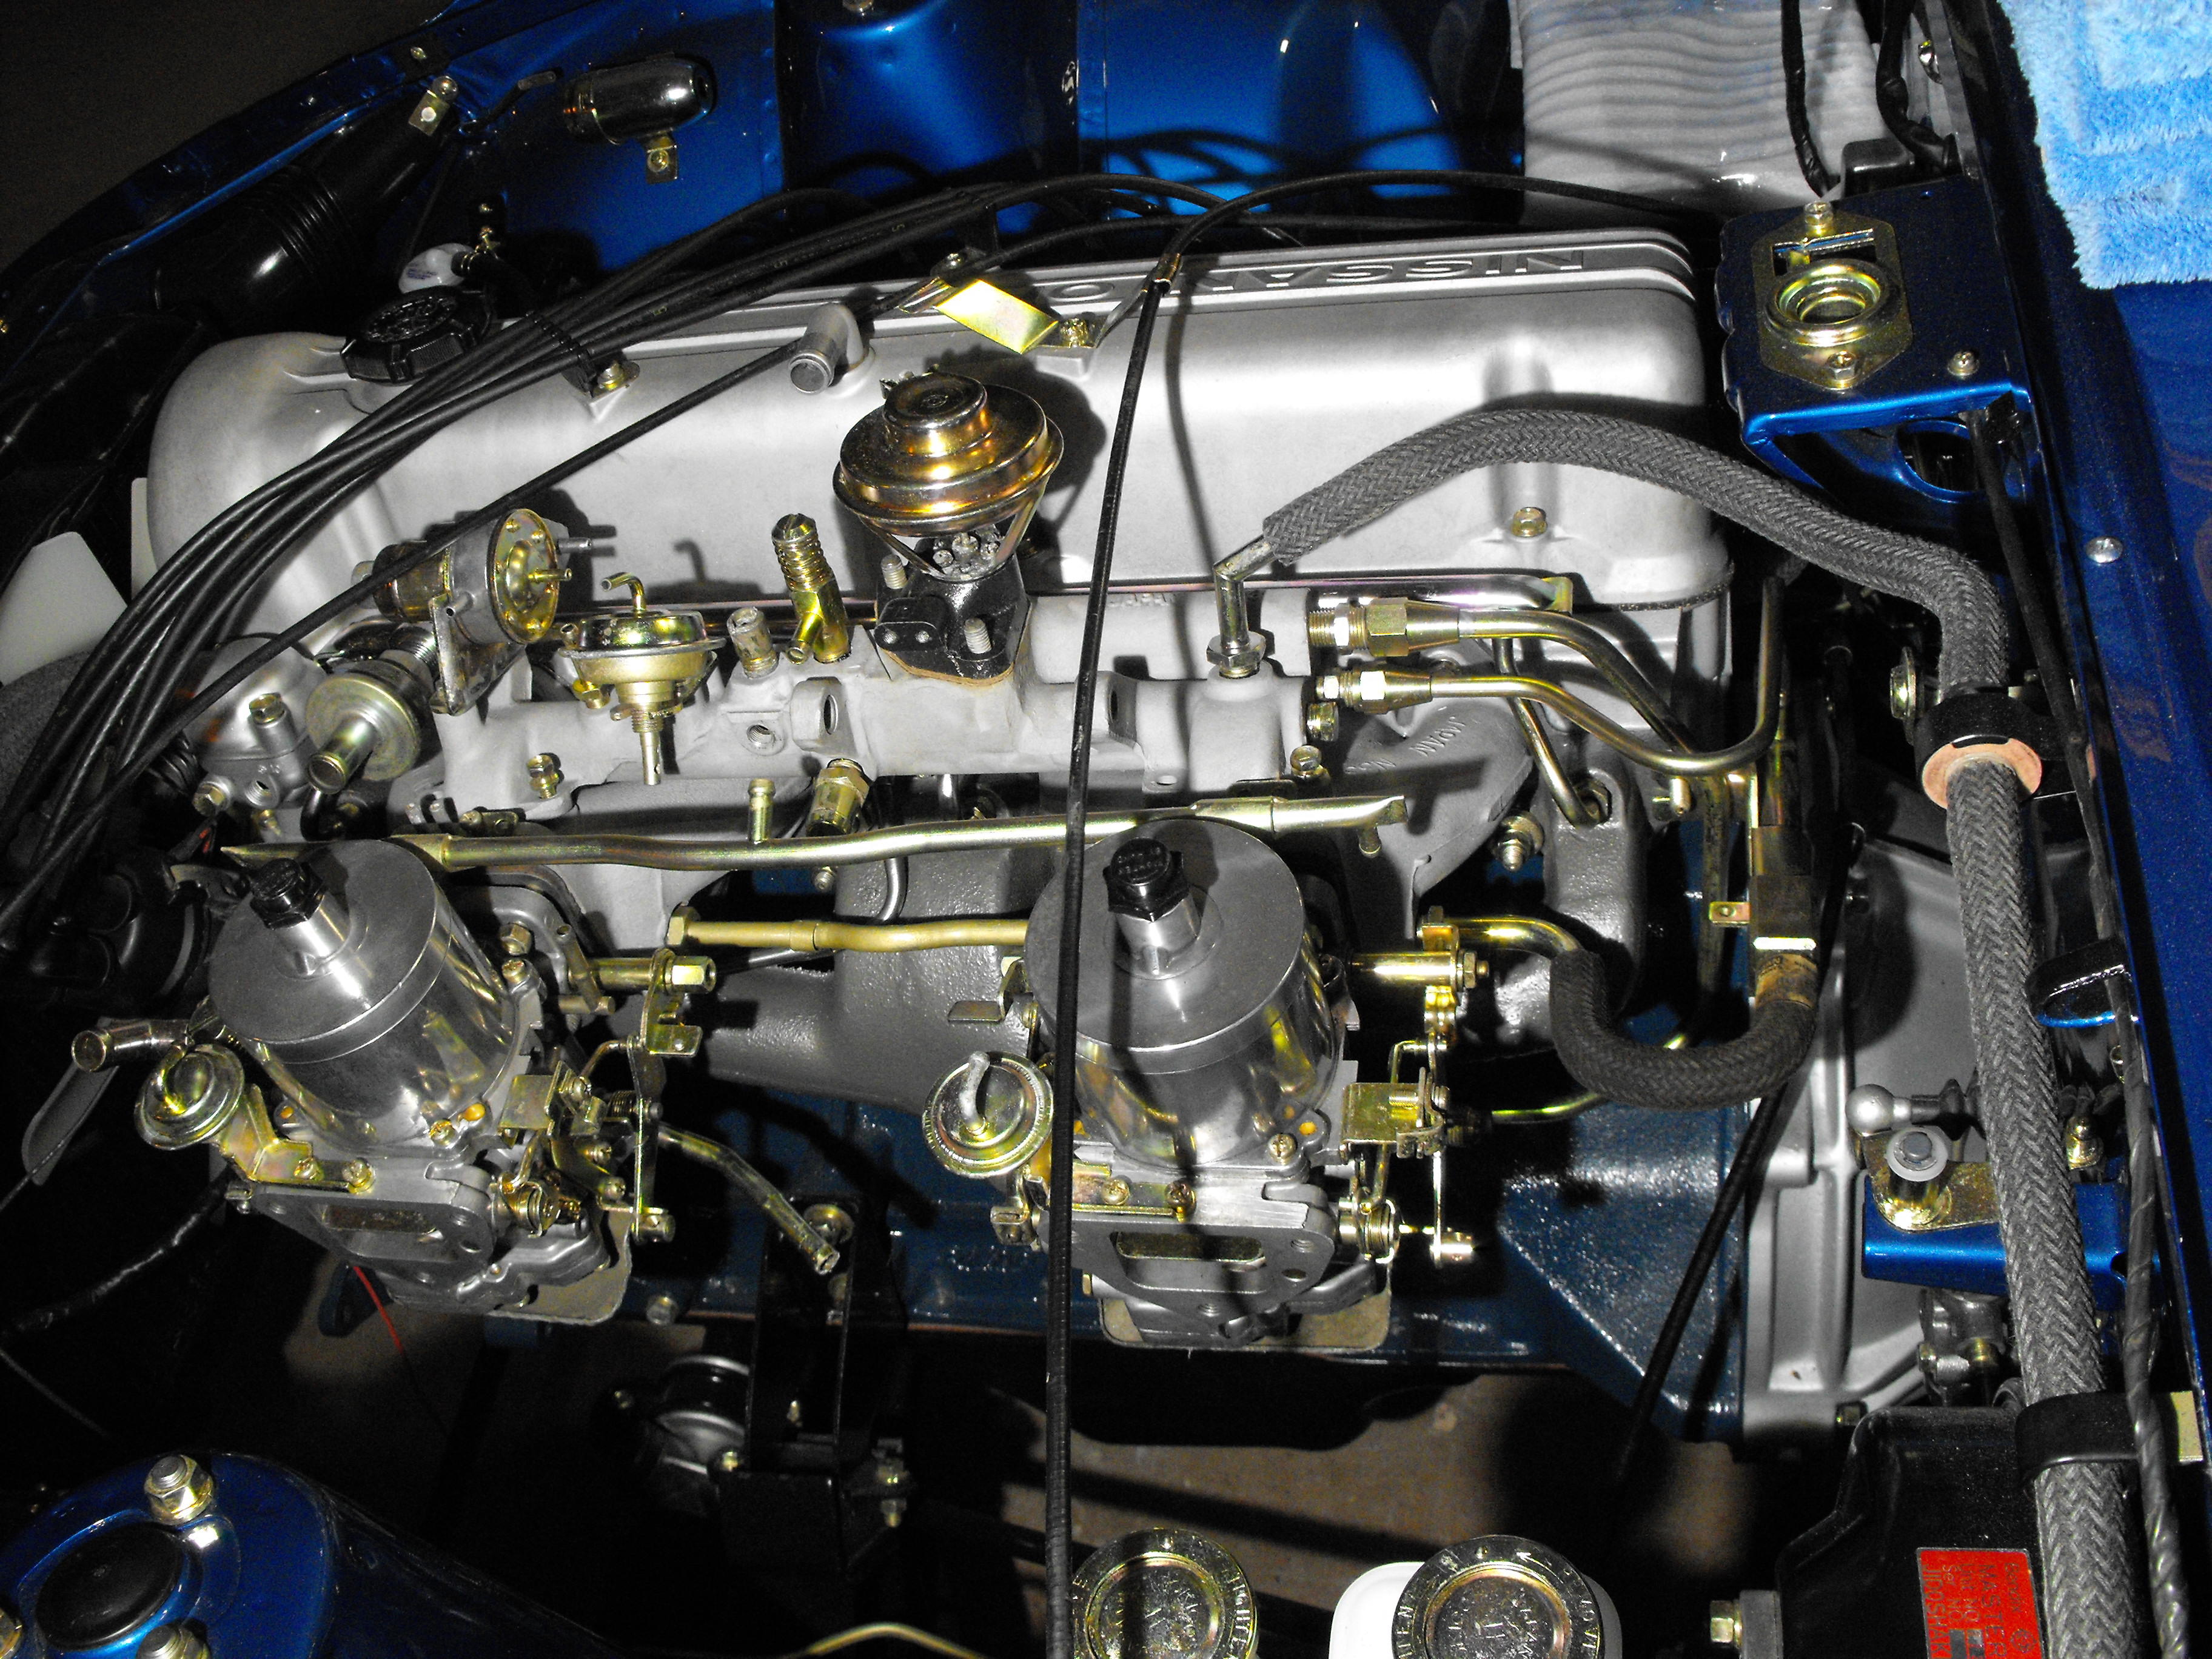
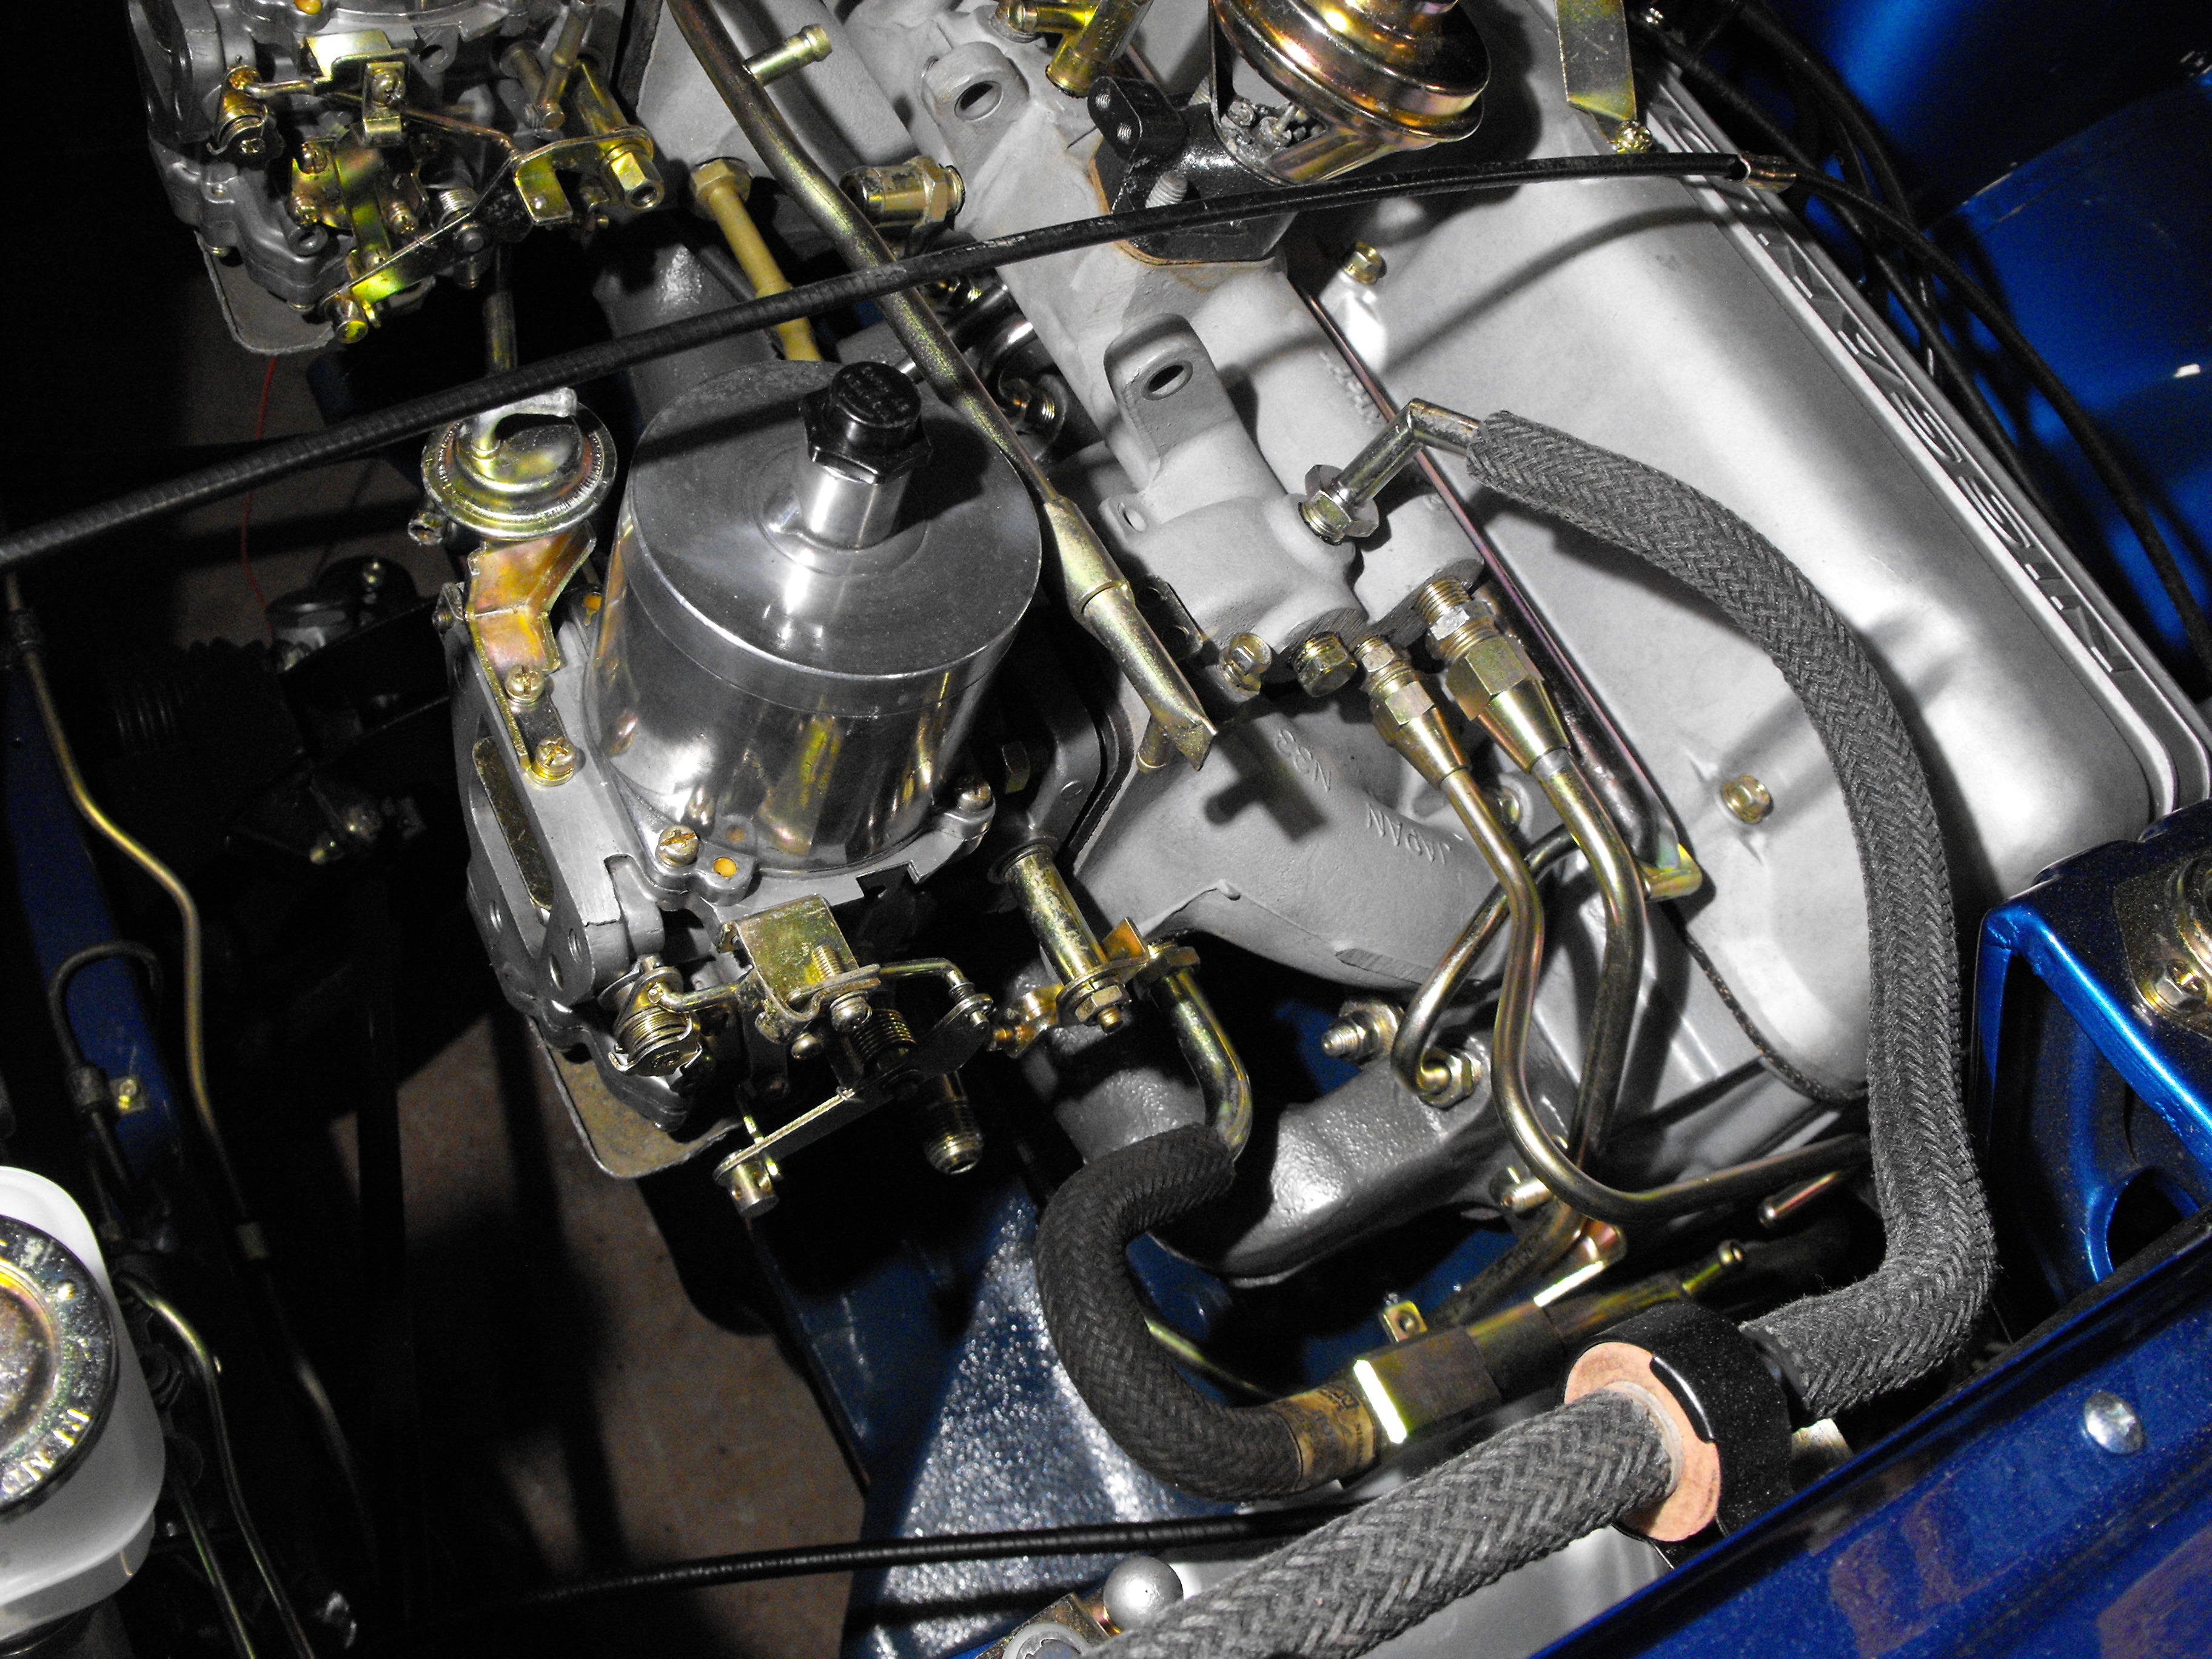
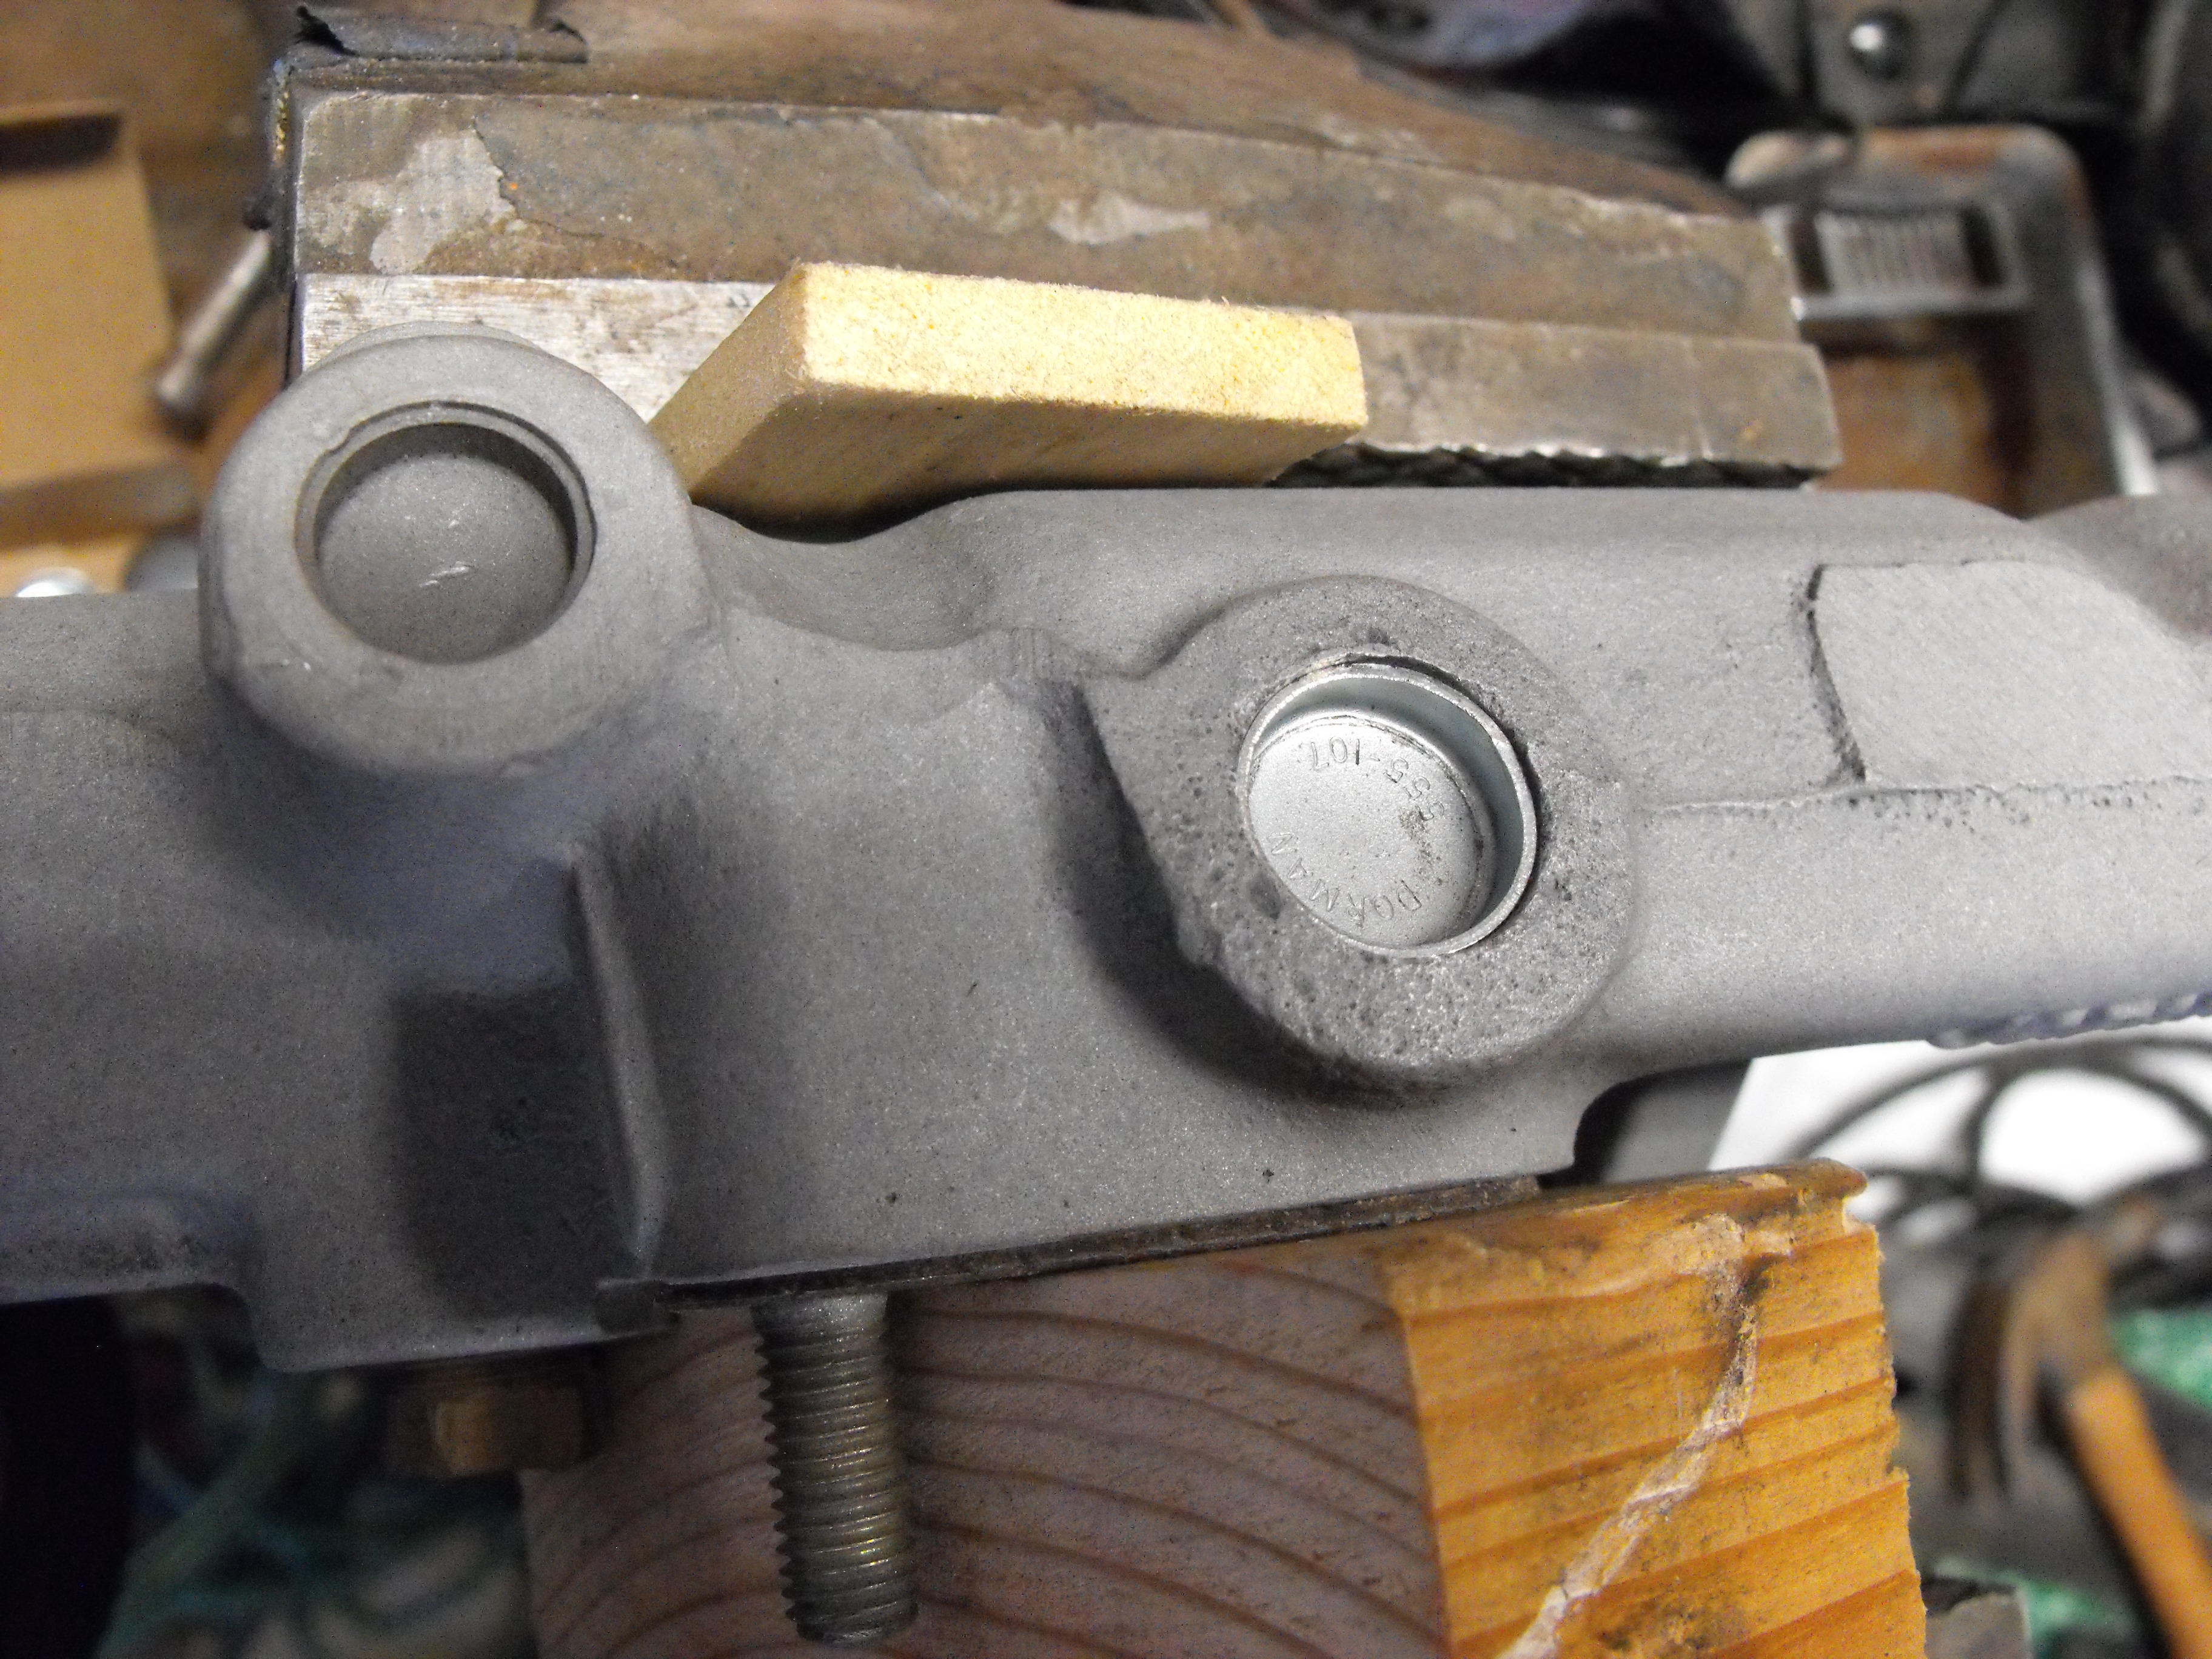
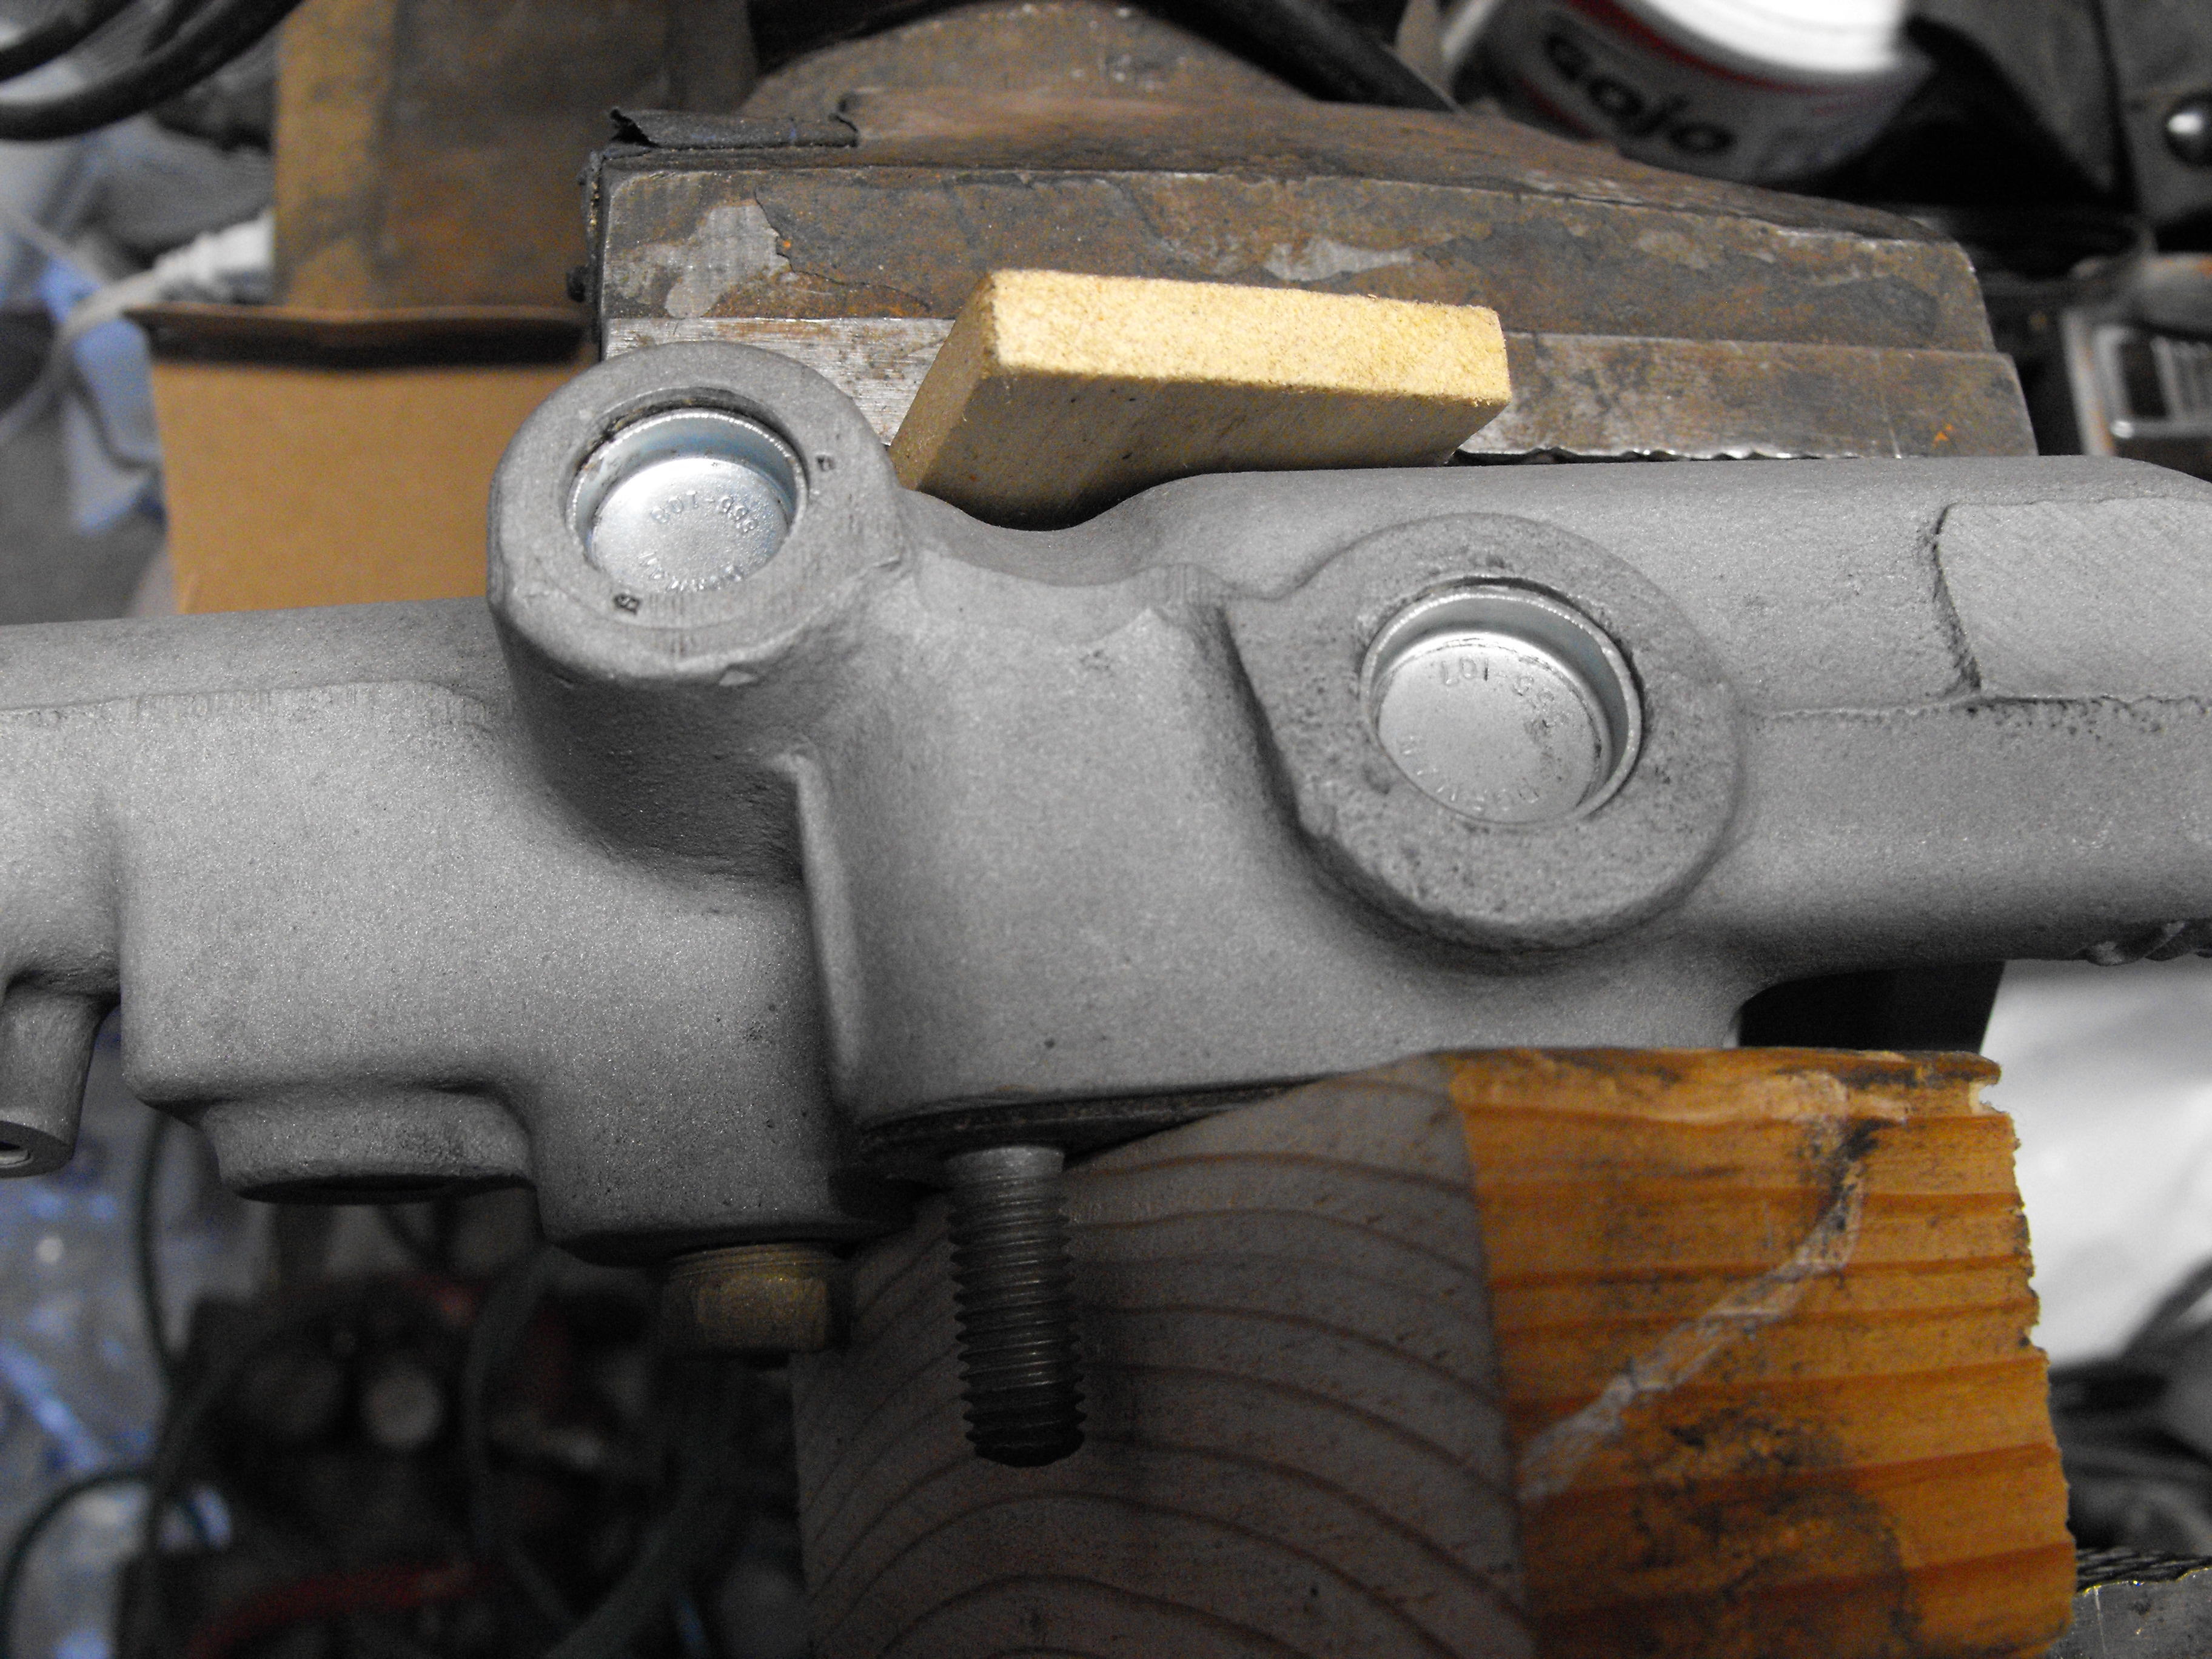
Being an engineer, I have to say that the carb heat shields inherently have a heat transfer issue. There are black insulators between the heat shield and carb float bowl, but the securing bolts on the opposite side directly contact the heat shield and screw directly into the float bowl base. This means that all of the heat that the heat shield is absorbing is transferred through the bolt assembly into the base of the float bowl., which means the shield is not helping very much and the float bowl is acting like a heat sink. So, I added two gray fiber washers on the opposite side of the heat shield (from the insulators) so that the bolts do not directly contact the heat shield. This way the heat shield is isolated and not channeling as much heat into the float bowl. This is pretty much the only mod that i have made to the carbs and hopefully it reduces the susceptibility to vapor lock. I picked up a new front flat top carb on eBay for fairly cheap...couldn't pass it up. I am debating on whether to cannibalize it and put some of the parts on the rebuilt front carb, like the fuel filter, plastic cap and choke diaphragm. Or, just install it on the front. The problem with the second option is the finish is slightly different. I am also considering trying to make the rear flat top finish match the new carb. The new carb has a flat finish, so maybe a light bead blast would do the trick. Still weighing options here. Got some new carb insulators...those look cool. OK, now my latest issue. The throttle linkage that connects the two carbs is too long. I have three sets, and I think all are for SU's. Never realized that the linkage for the flat tops is shorter than the linkage for the SU's. You can see in that second to the last pic that the linkage is too long, my guess is that it is too long by 1/4". Was thinking that maybe I assembled something wrong, but that is really not possible. The carb throttle shafts control the span distance, and the linkage I have goes beyond the throttle shafts. Anyway, will need to research this a little bit. Maybe @Zup or @Captain Obvious can provide a bit of insight. Ahhhh, the '73 linkage is definitely different. Just added pic at bottom


-
PM sent
-
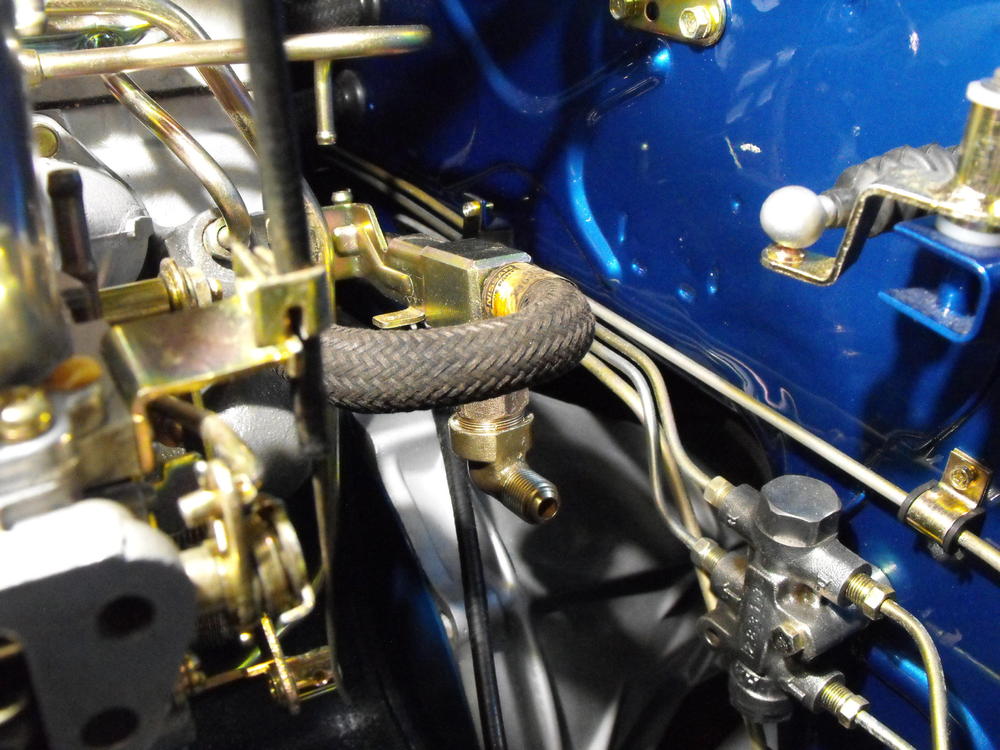
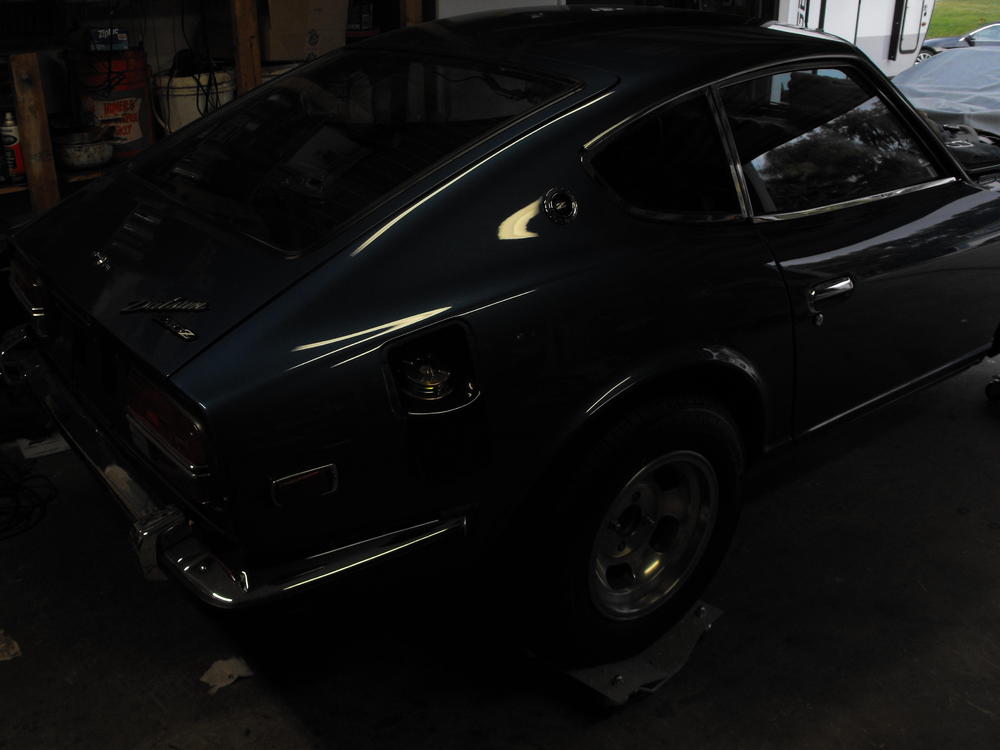
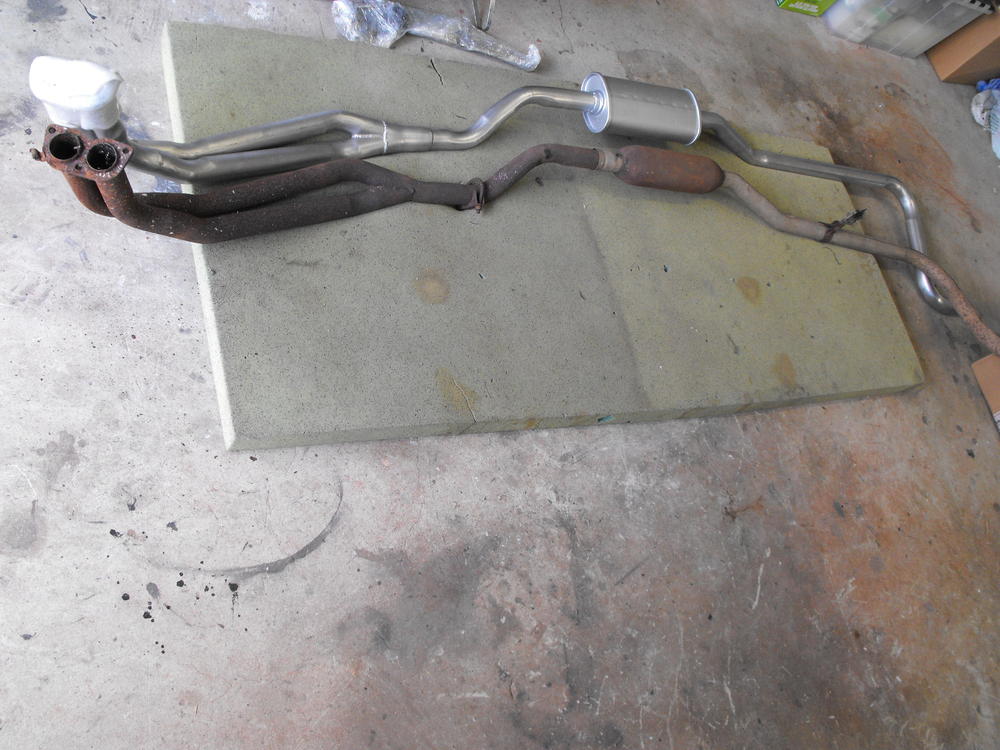
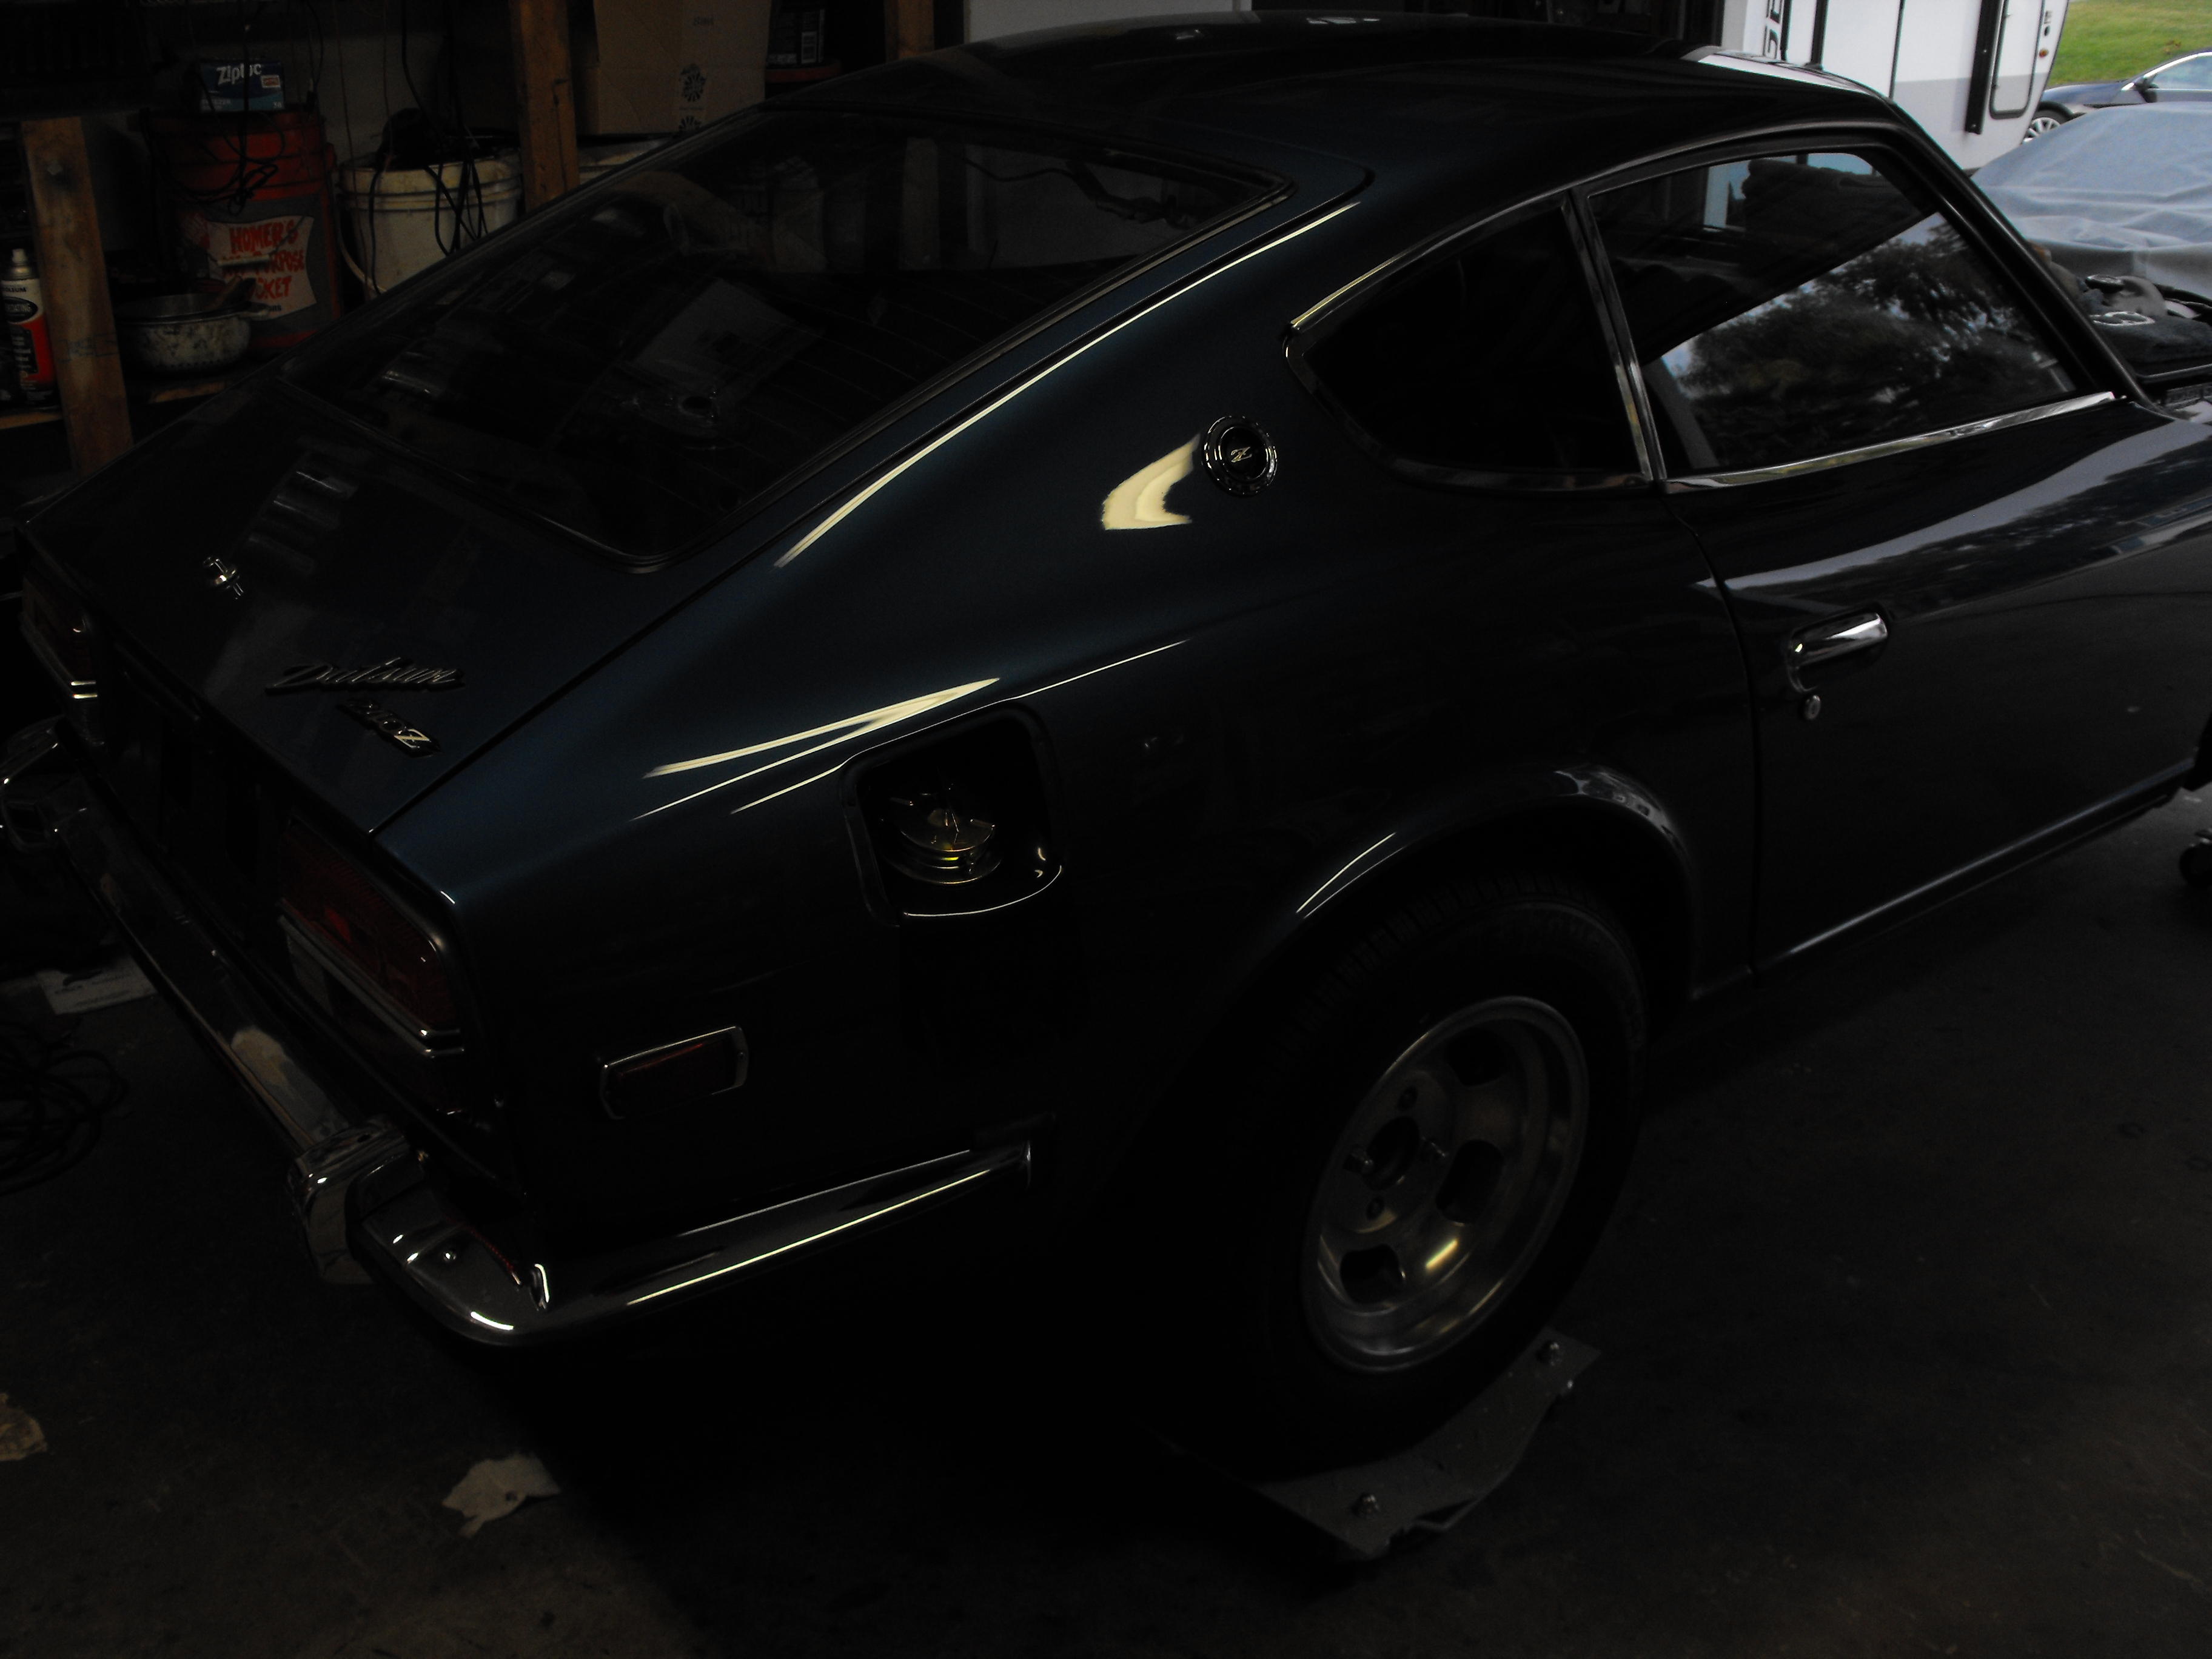
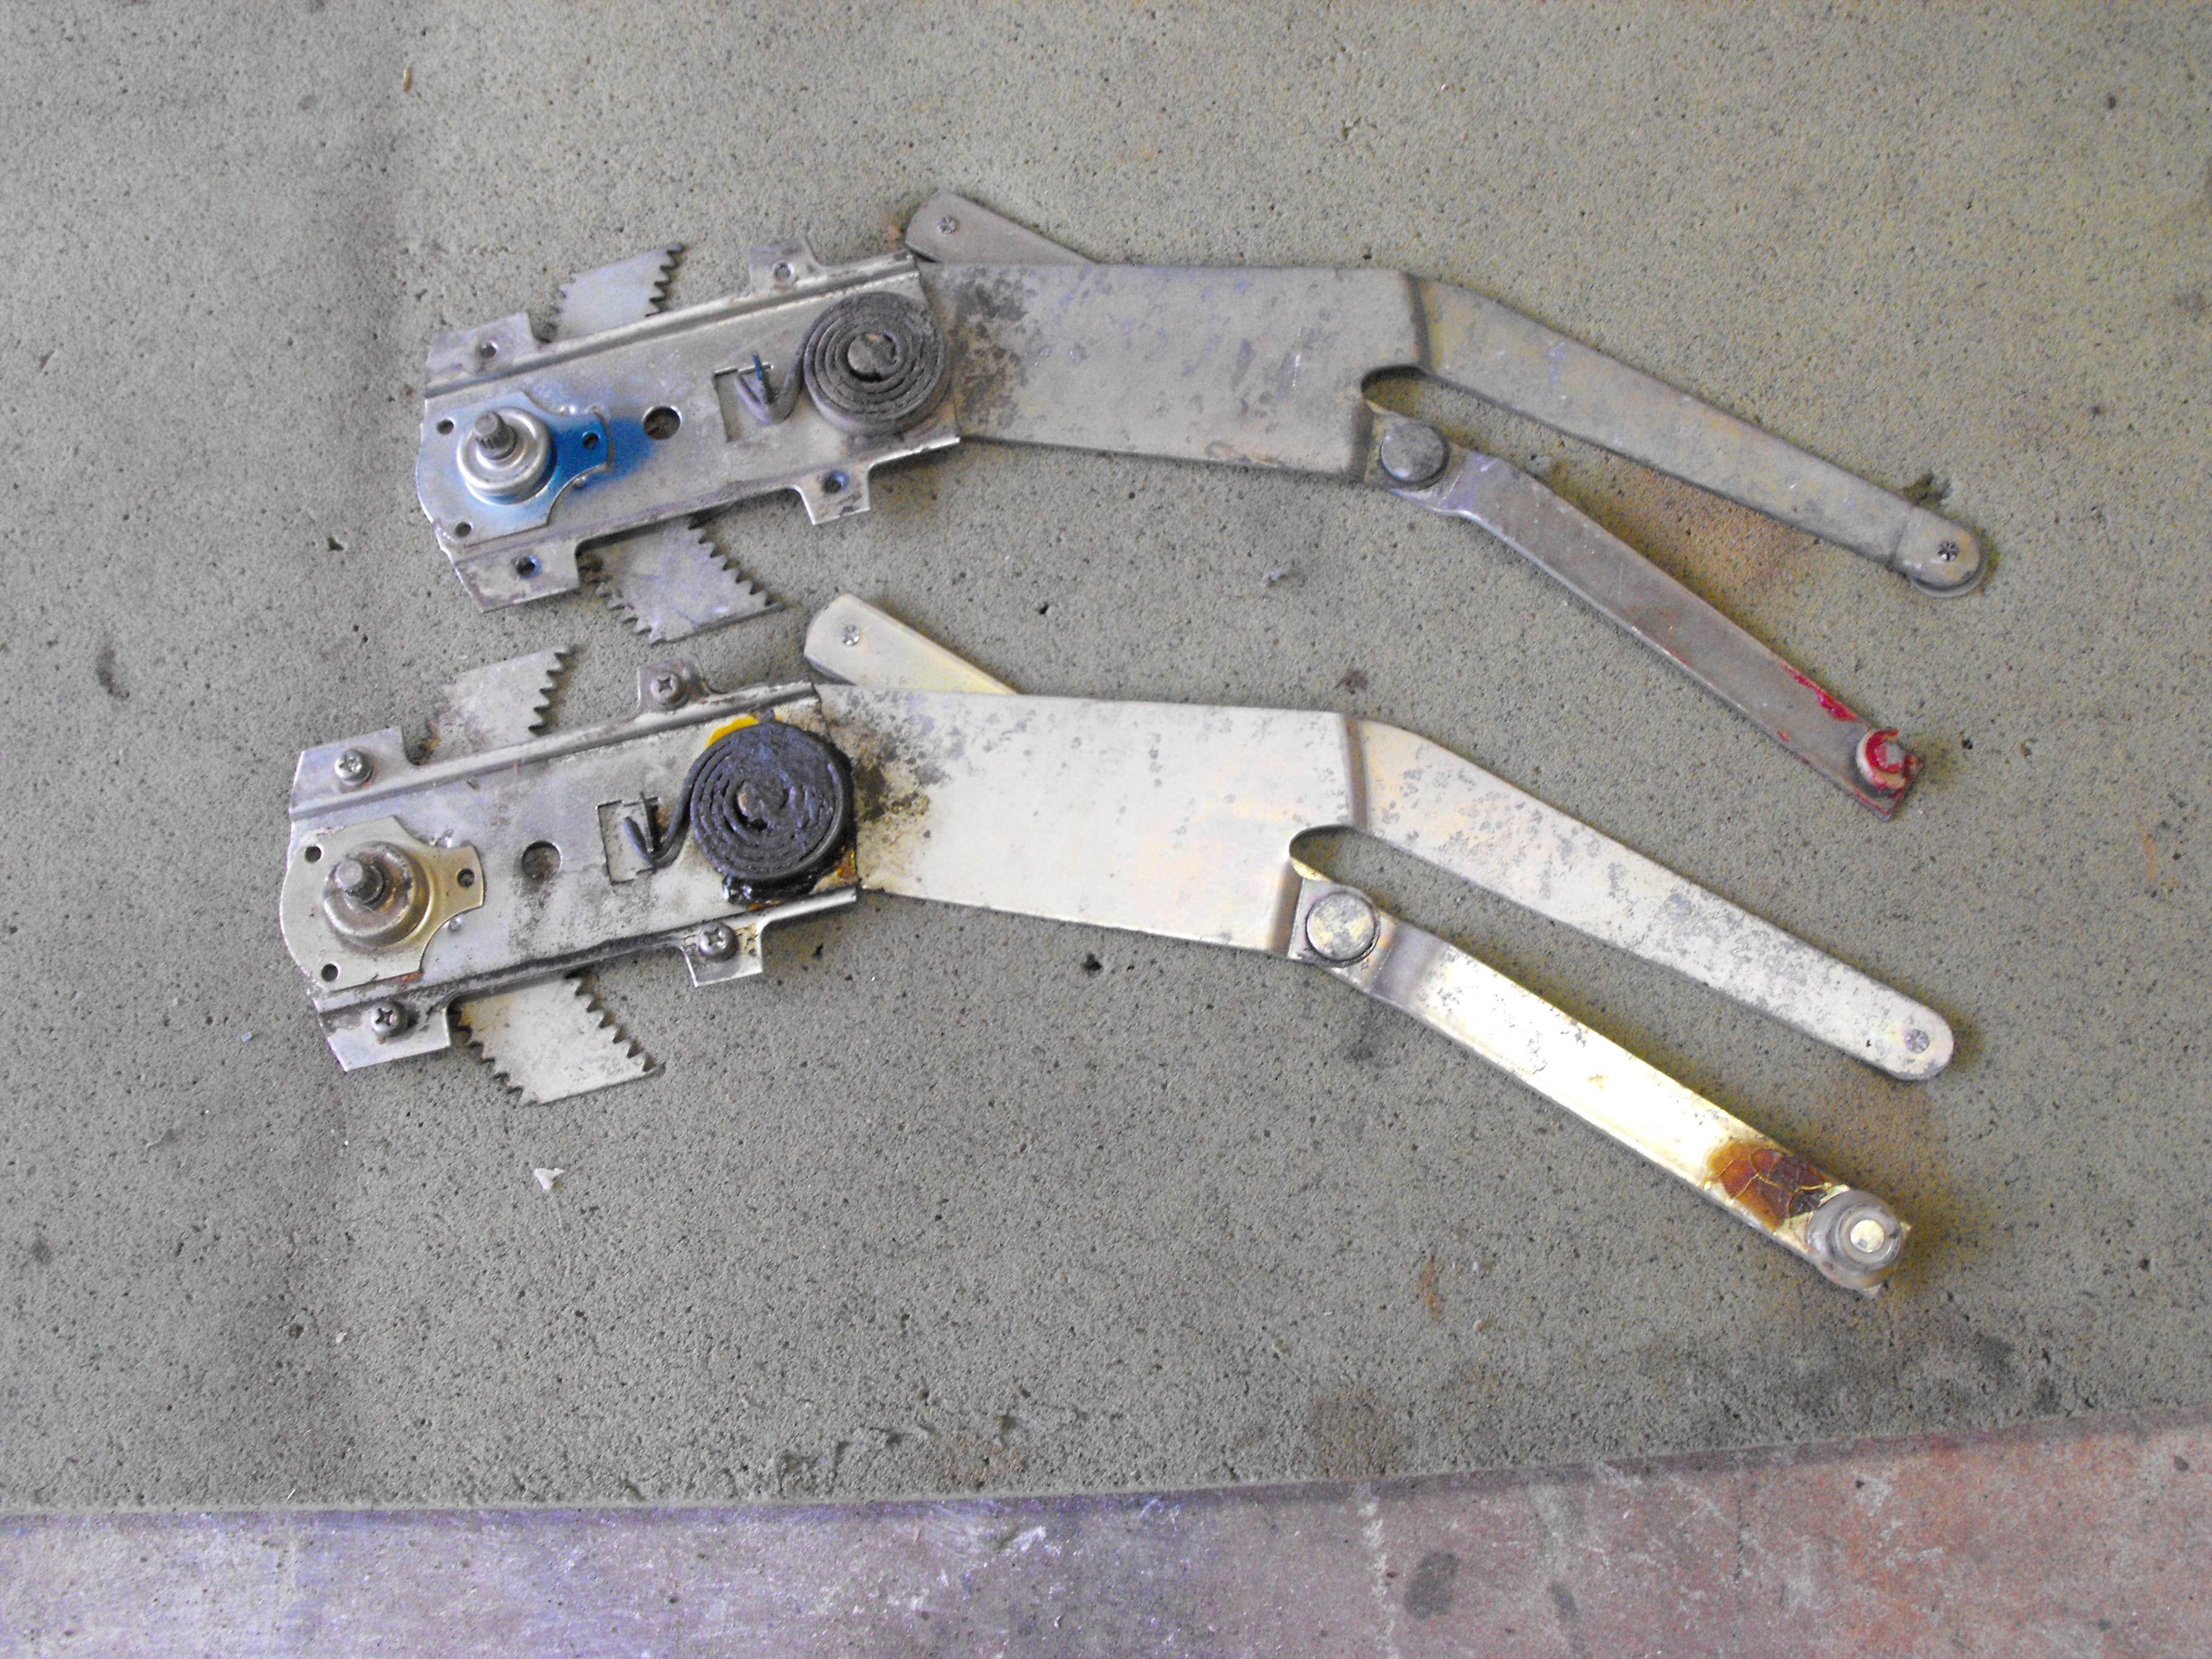
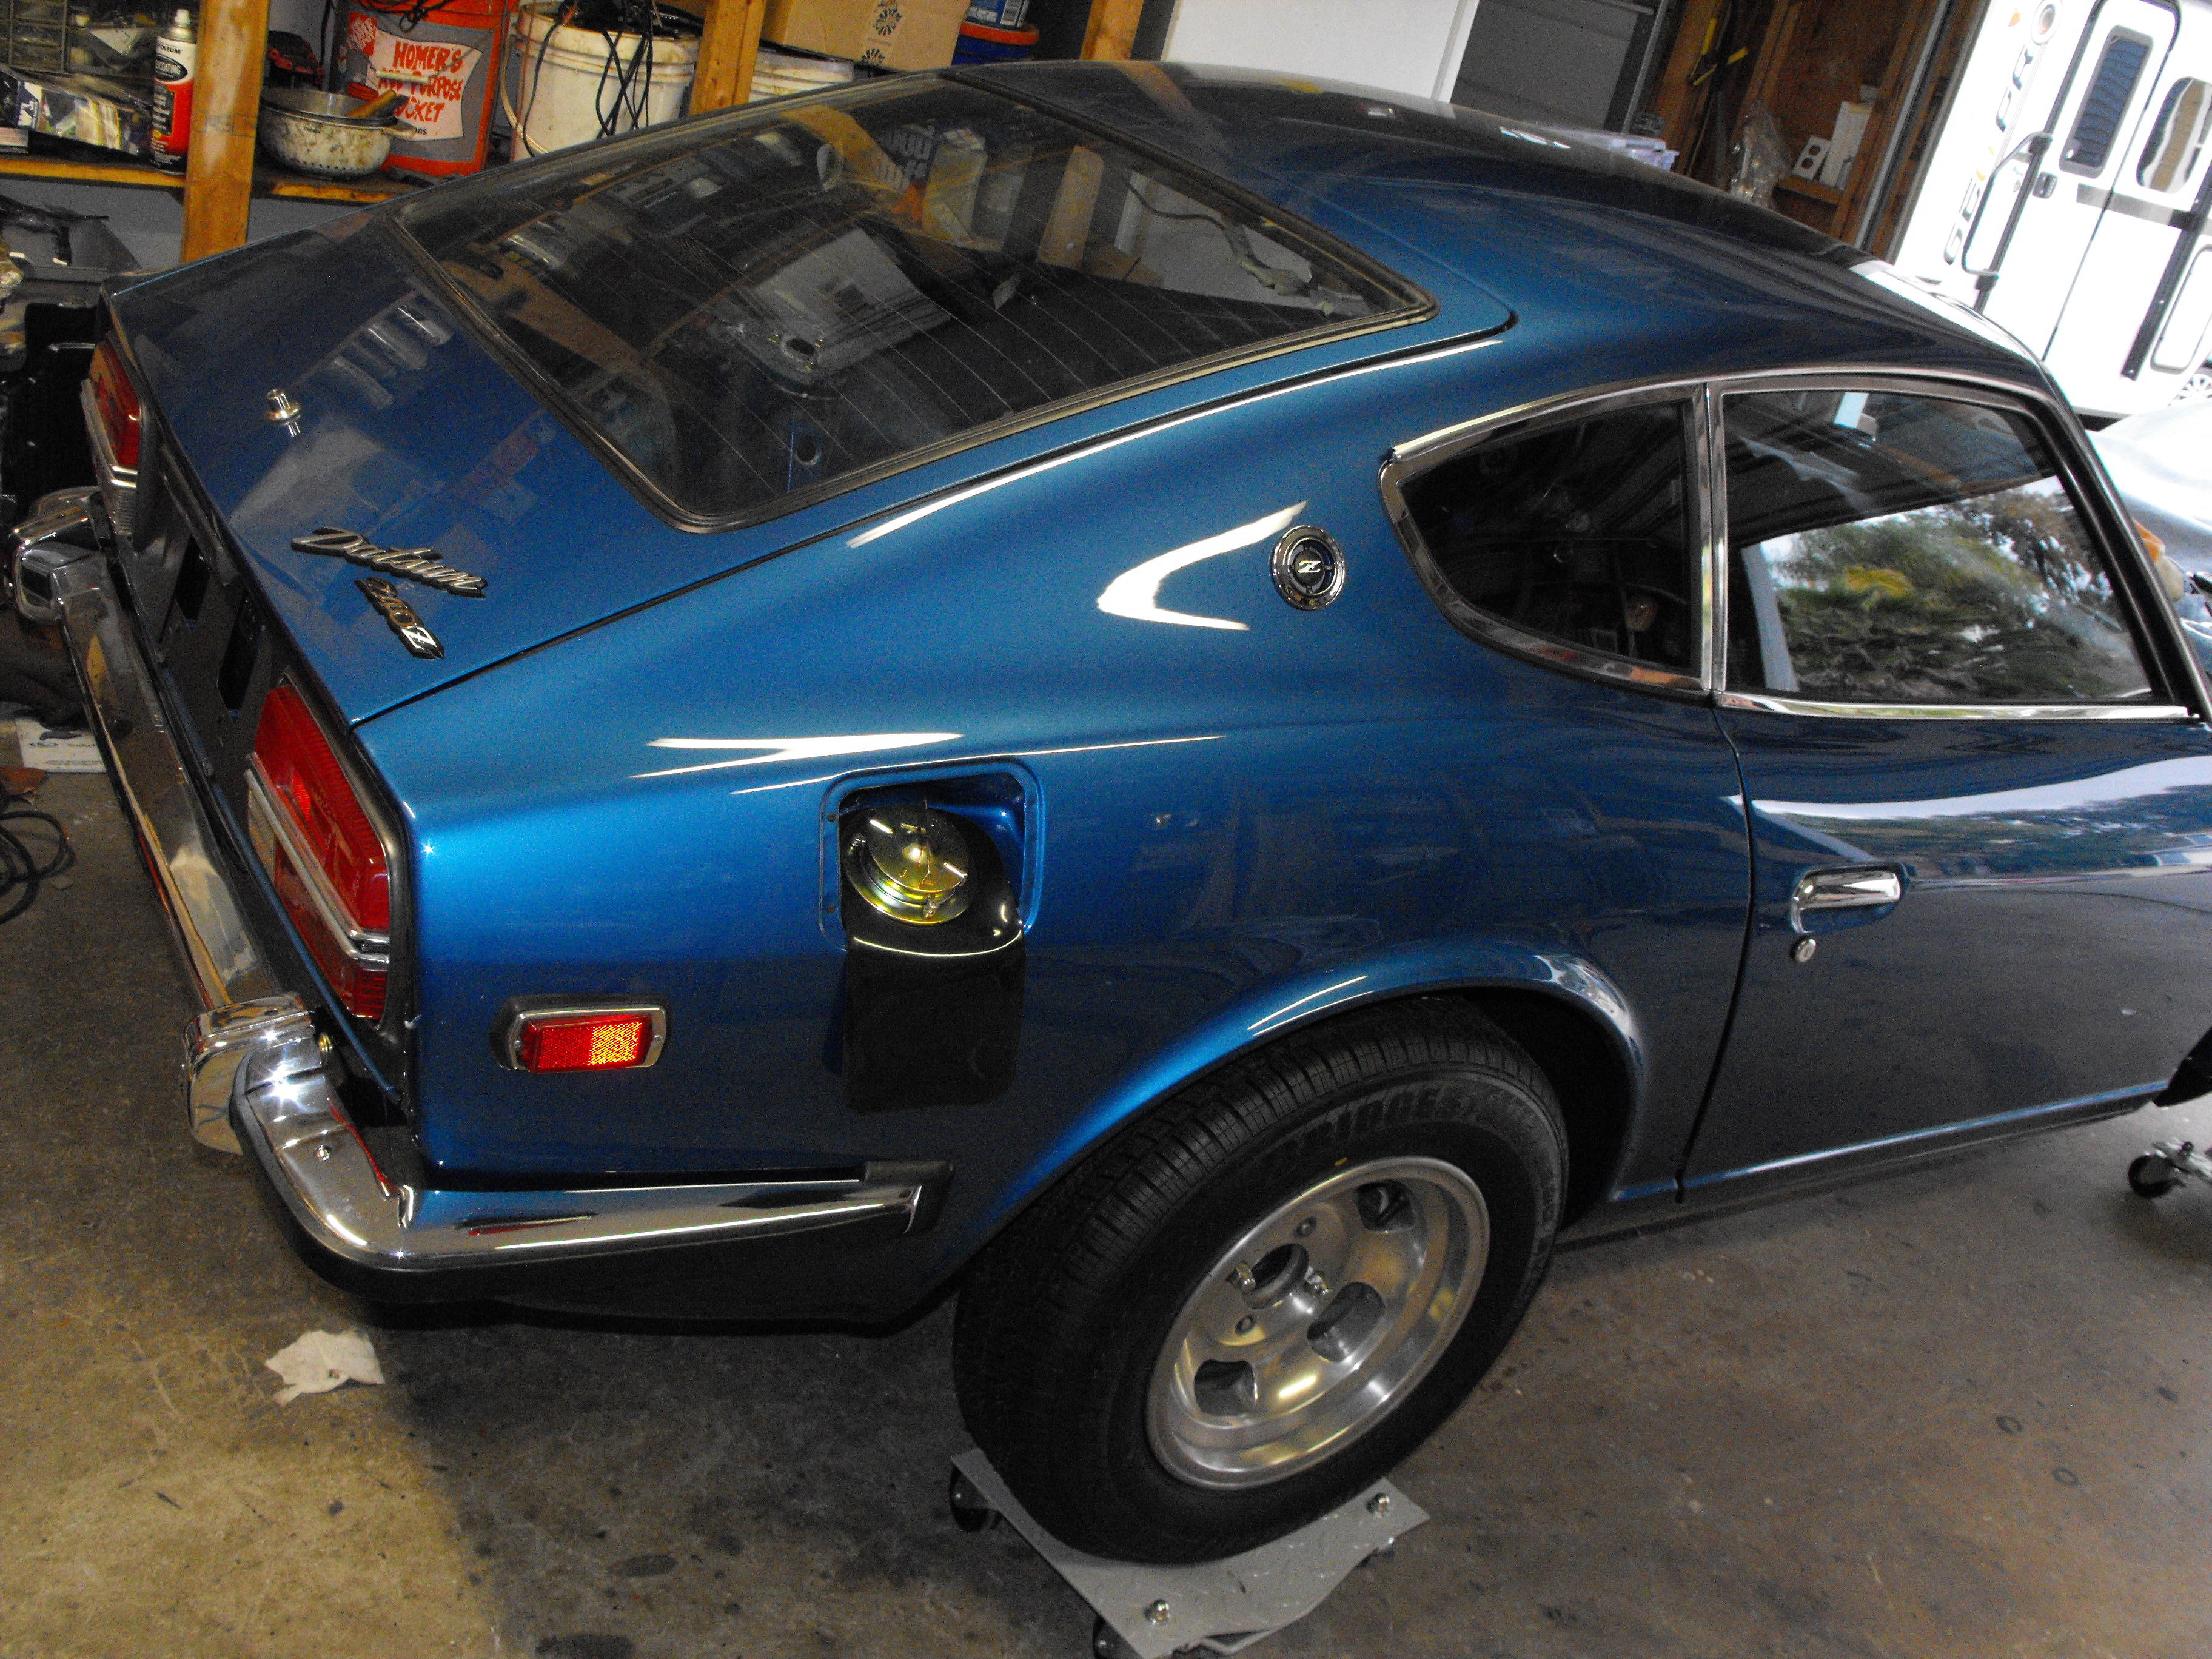
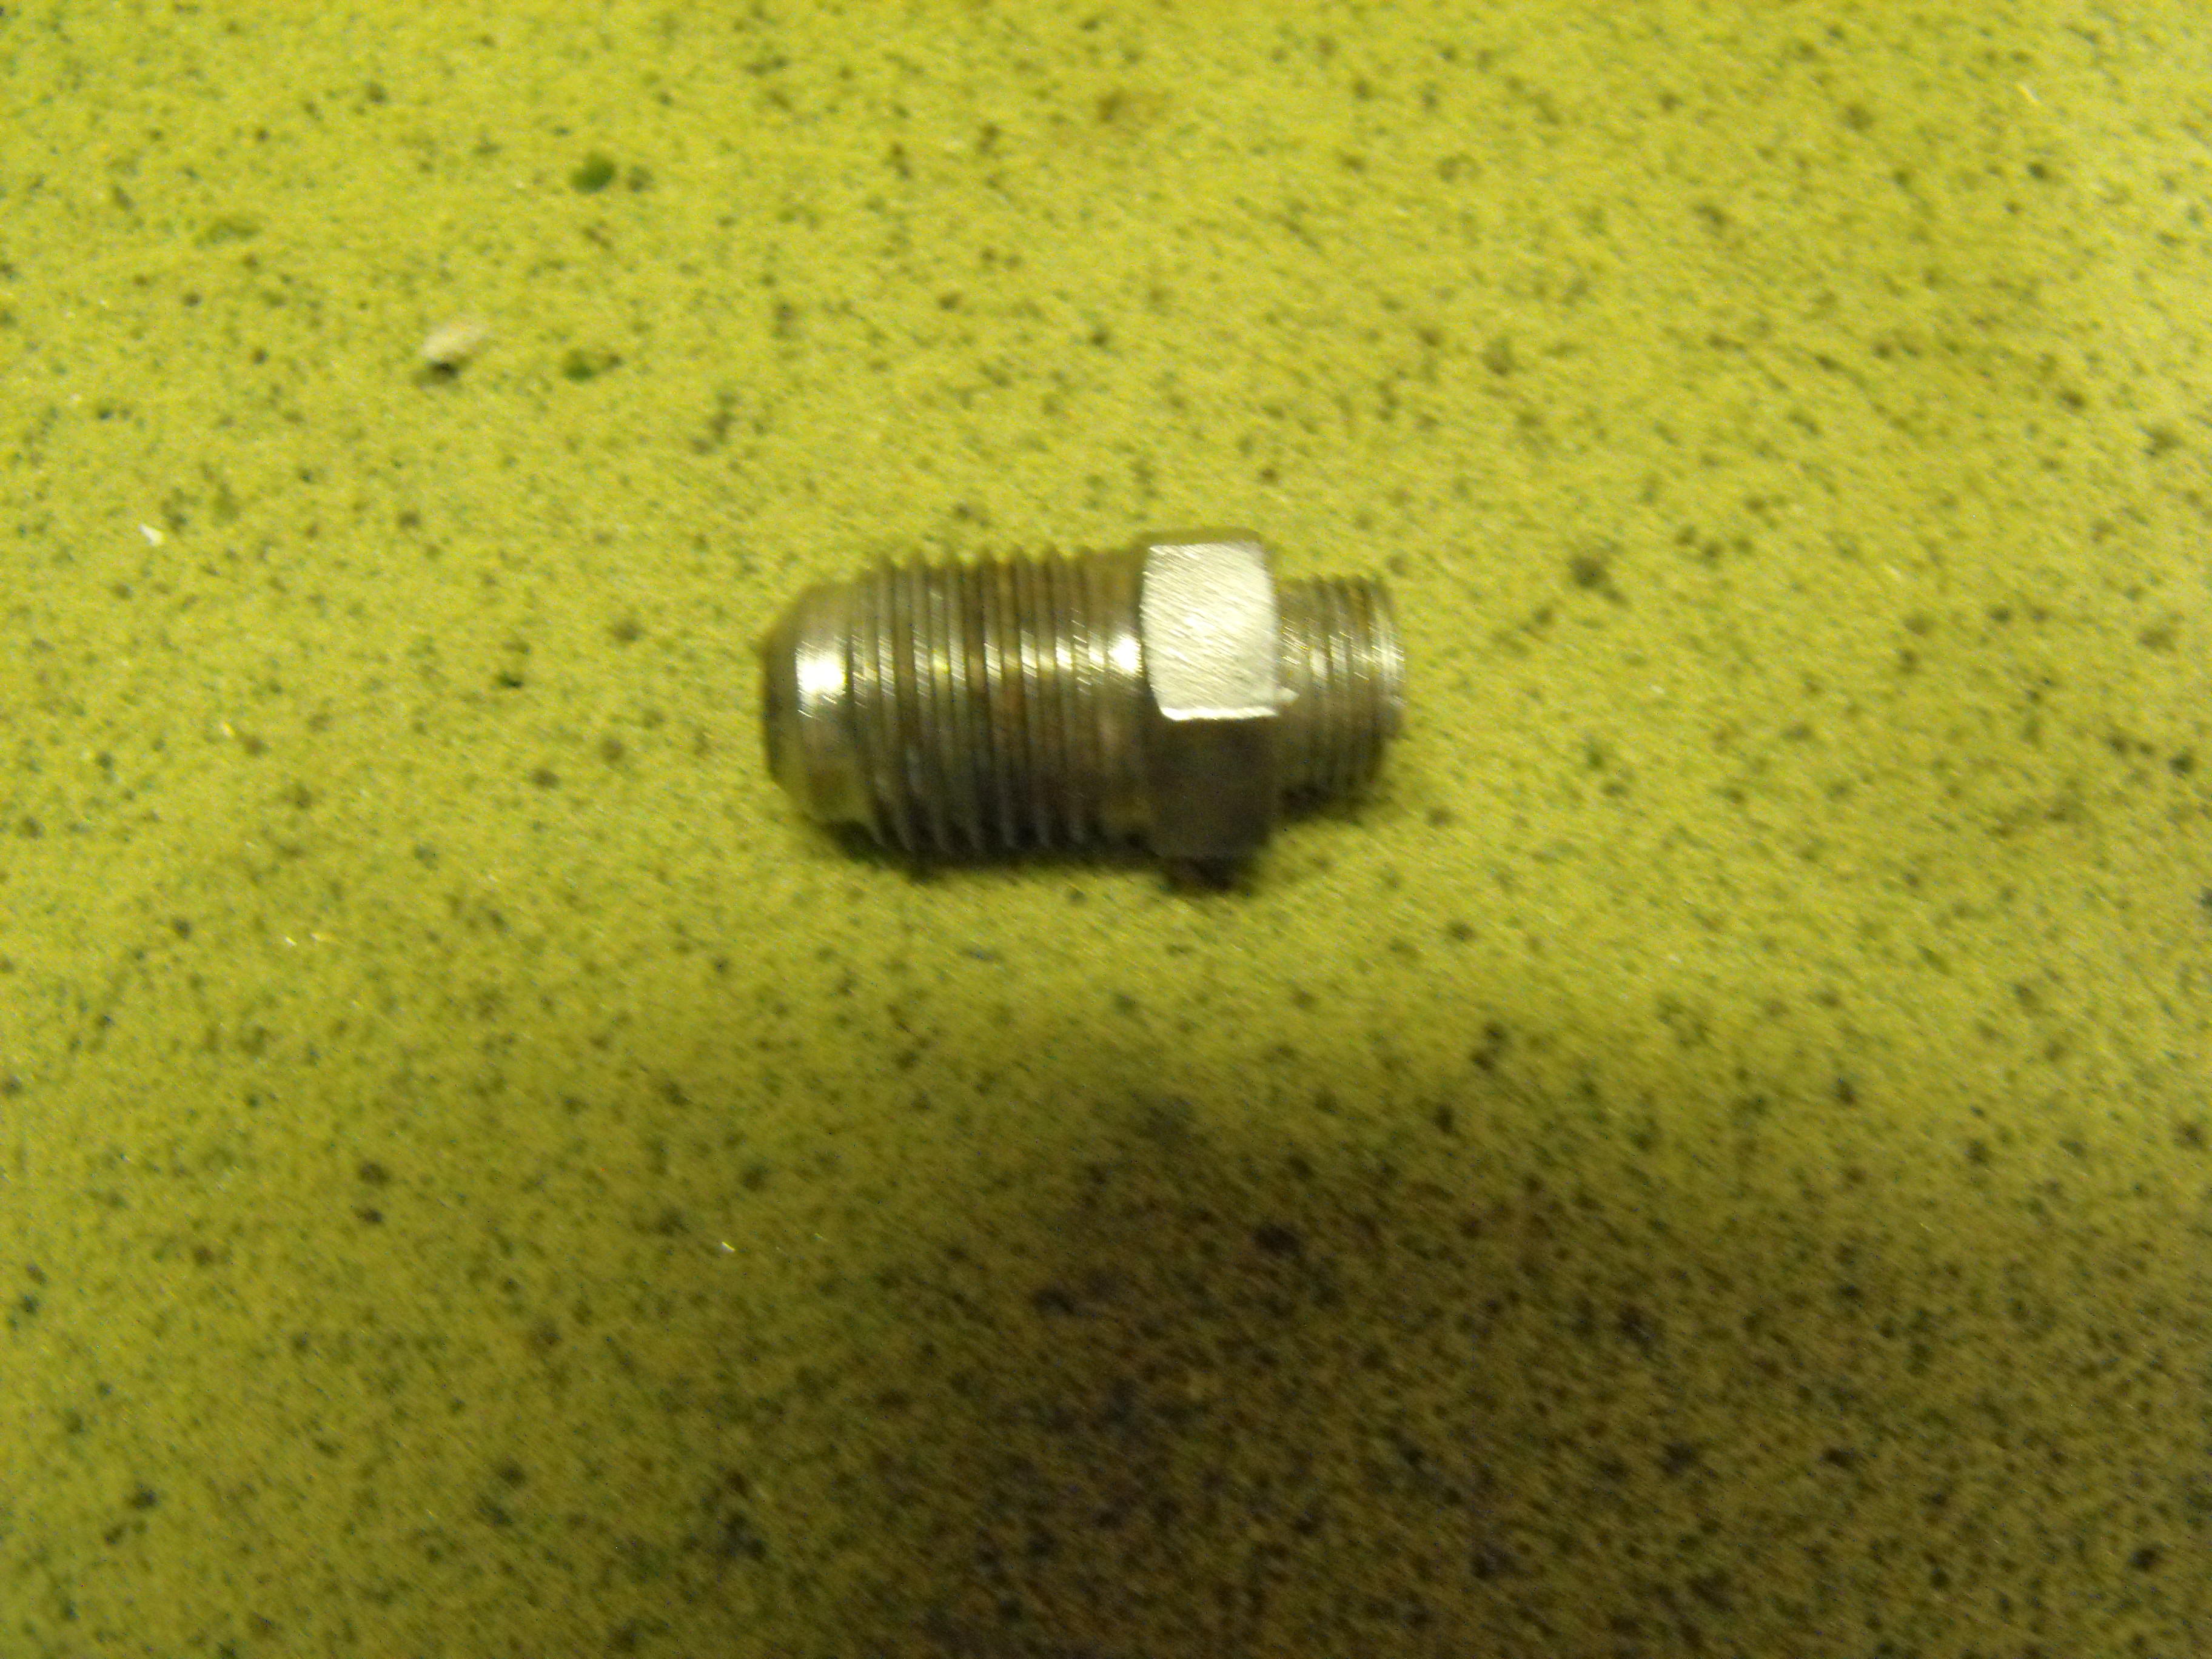
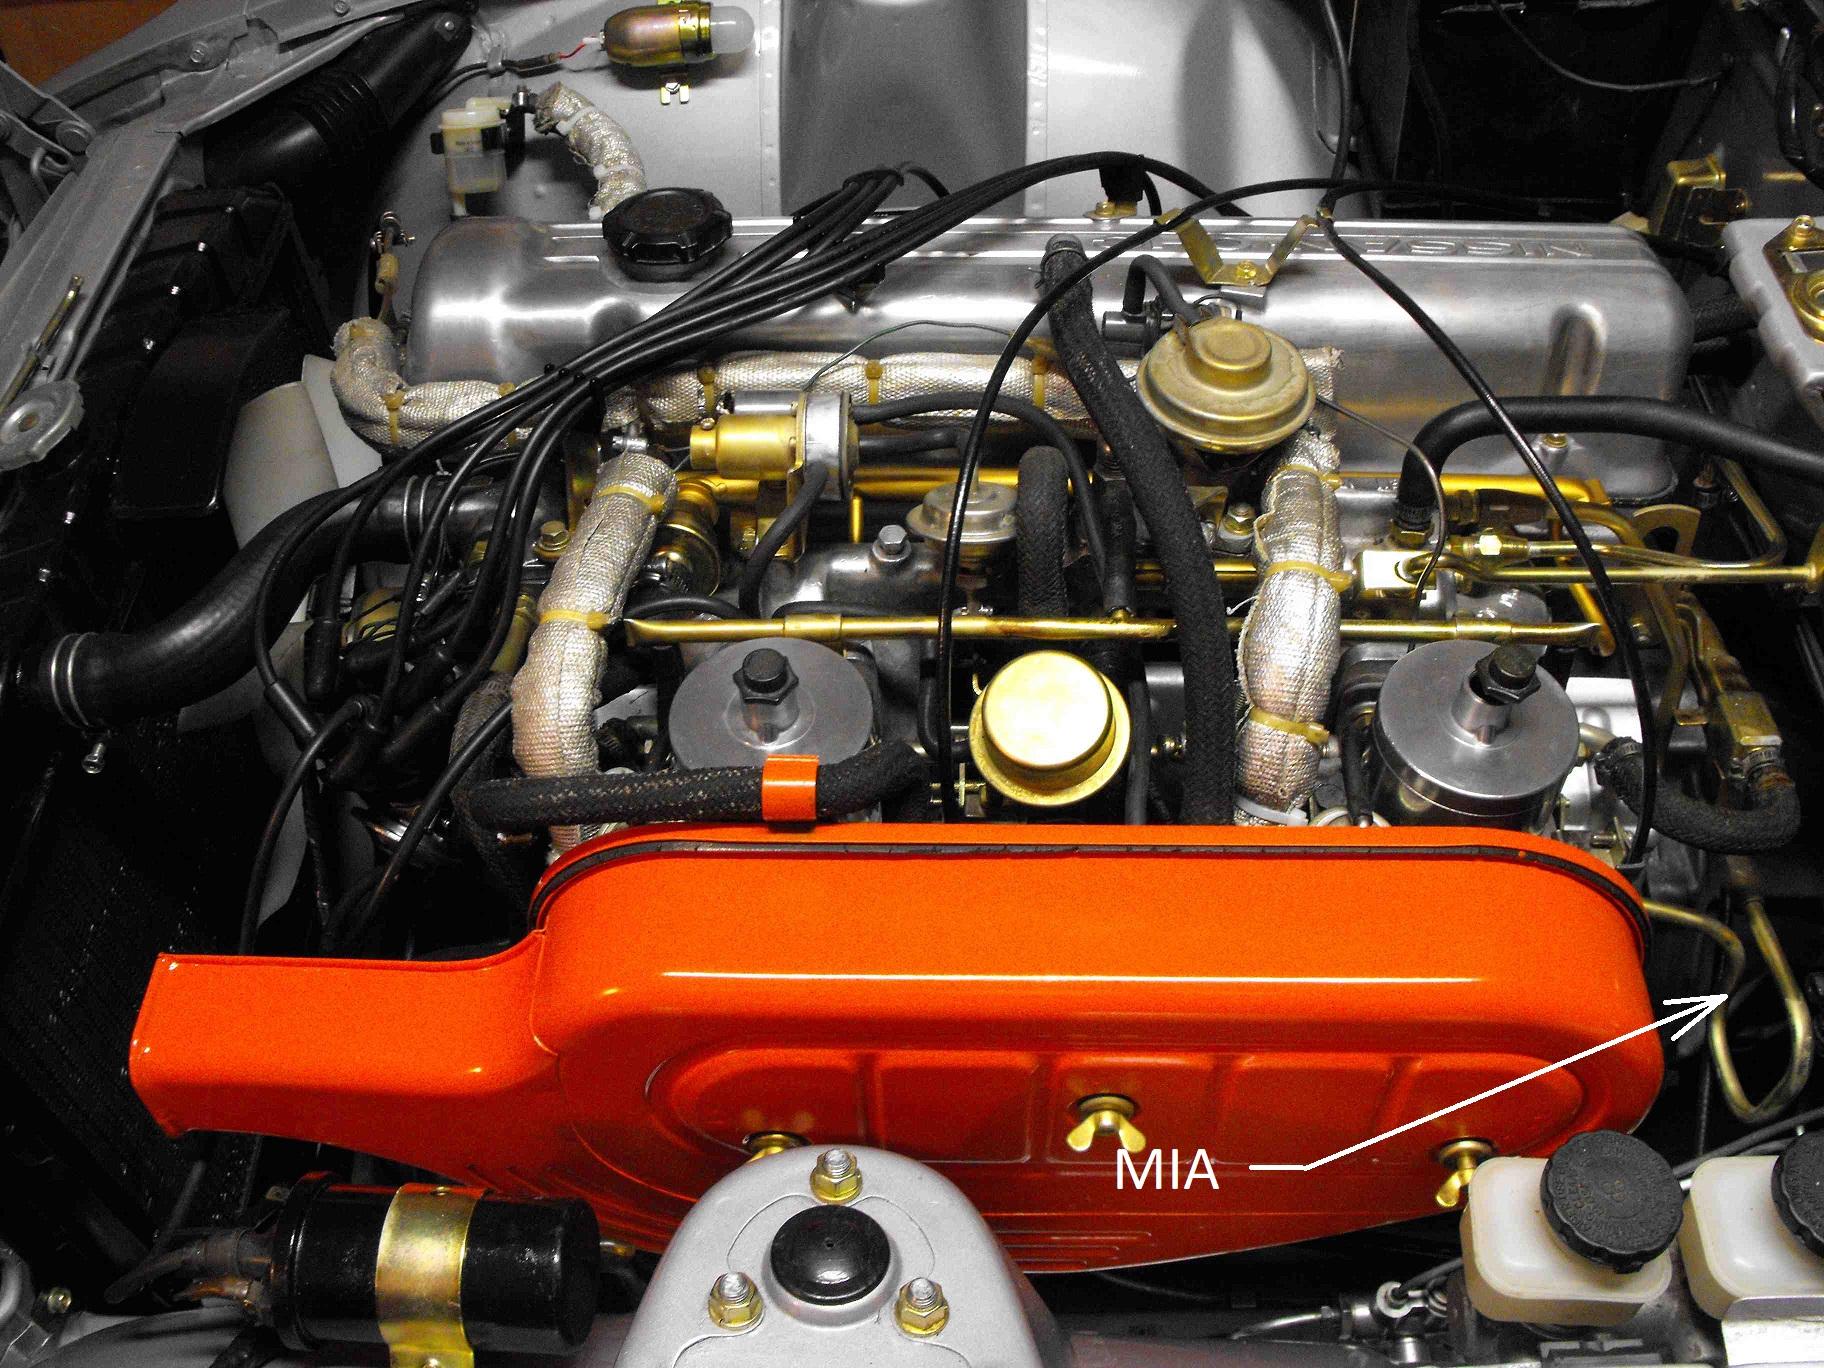
Got a new passenger side window regulator. Original had a broken wheel which doesn't work so well. Installed that last night. Attached an exhaust system comparison. My original is still at the muffler shop since I need another one, but here is the comparison with a spare I had in the backyard (That's a scary place) Worked on the Carb plumbing. I have one partially broken water system fitting that might still work. Will check today to see if I can find a new one. Also, I need the plumbing that goes from the water feed tube to the carbs. That is totally MIA. Will have to put out an APB to see if anyone has those. Will post pics of parts I need later today. Was playing with camera settings on car pic.


-
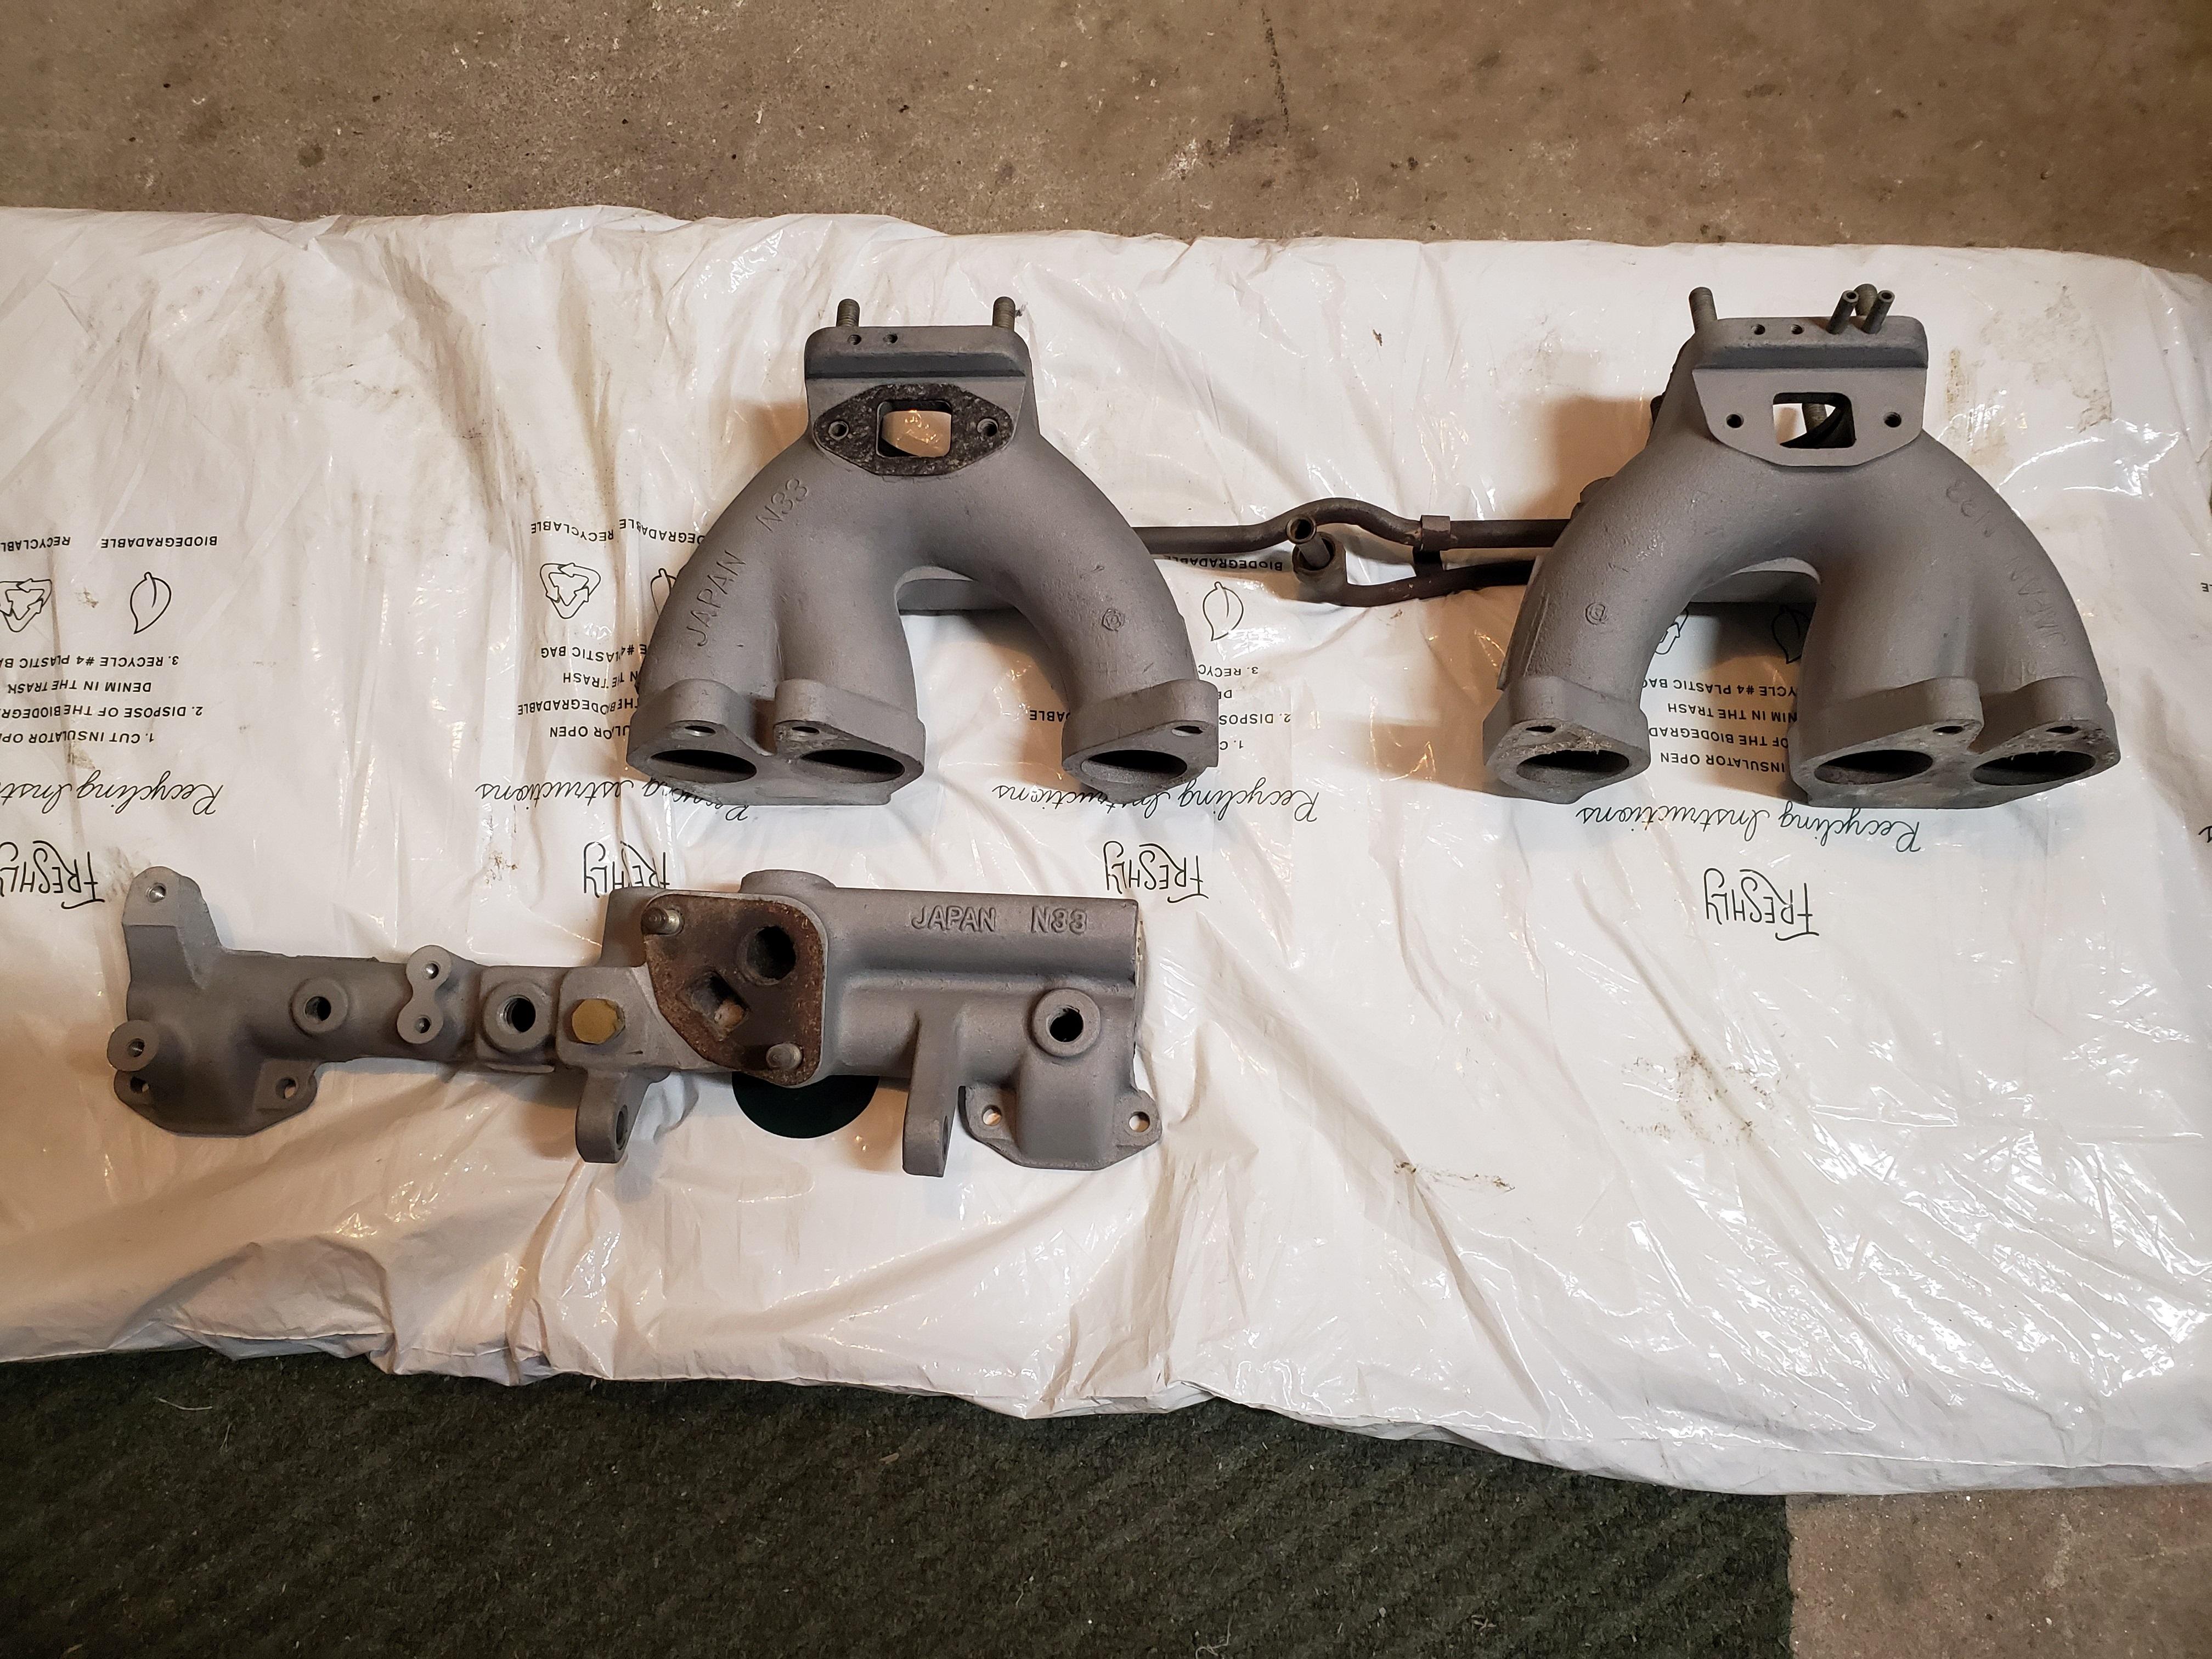
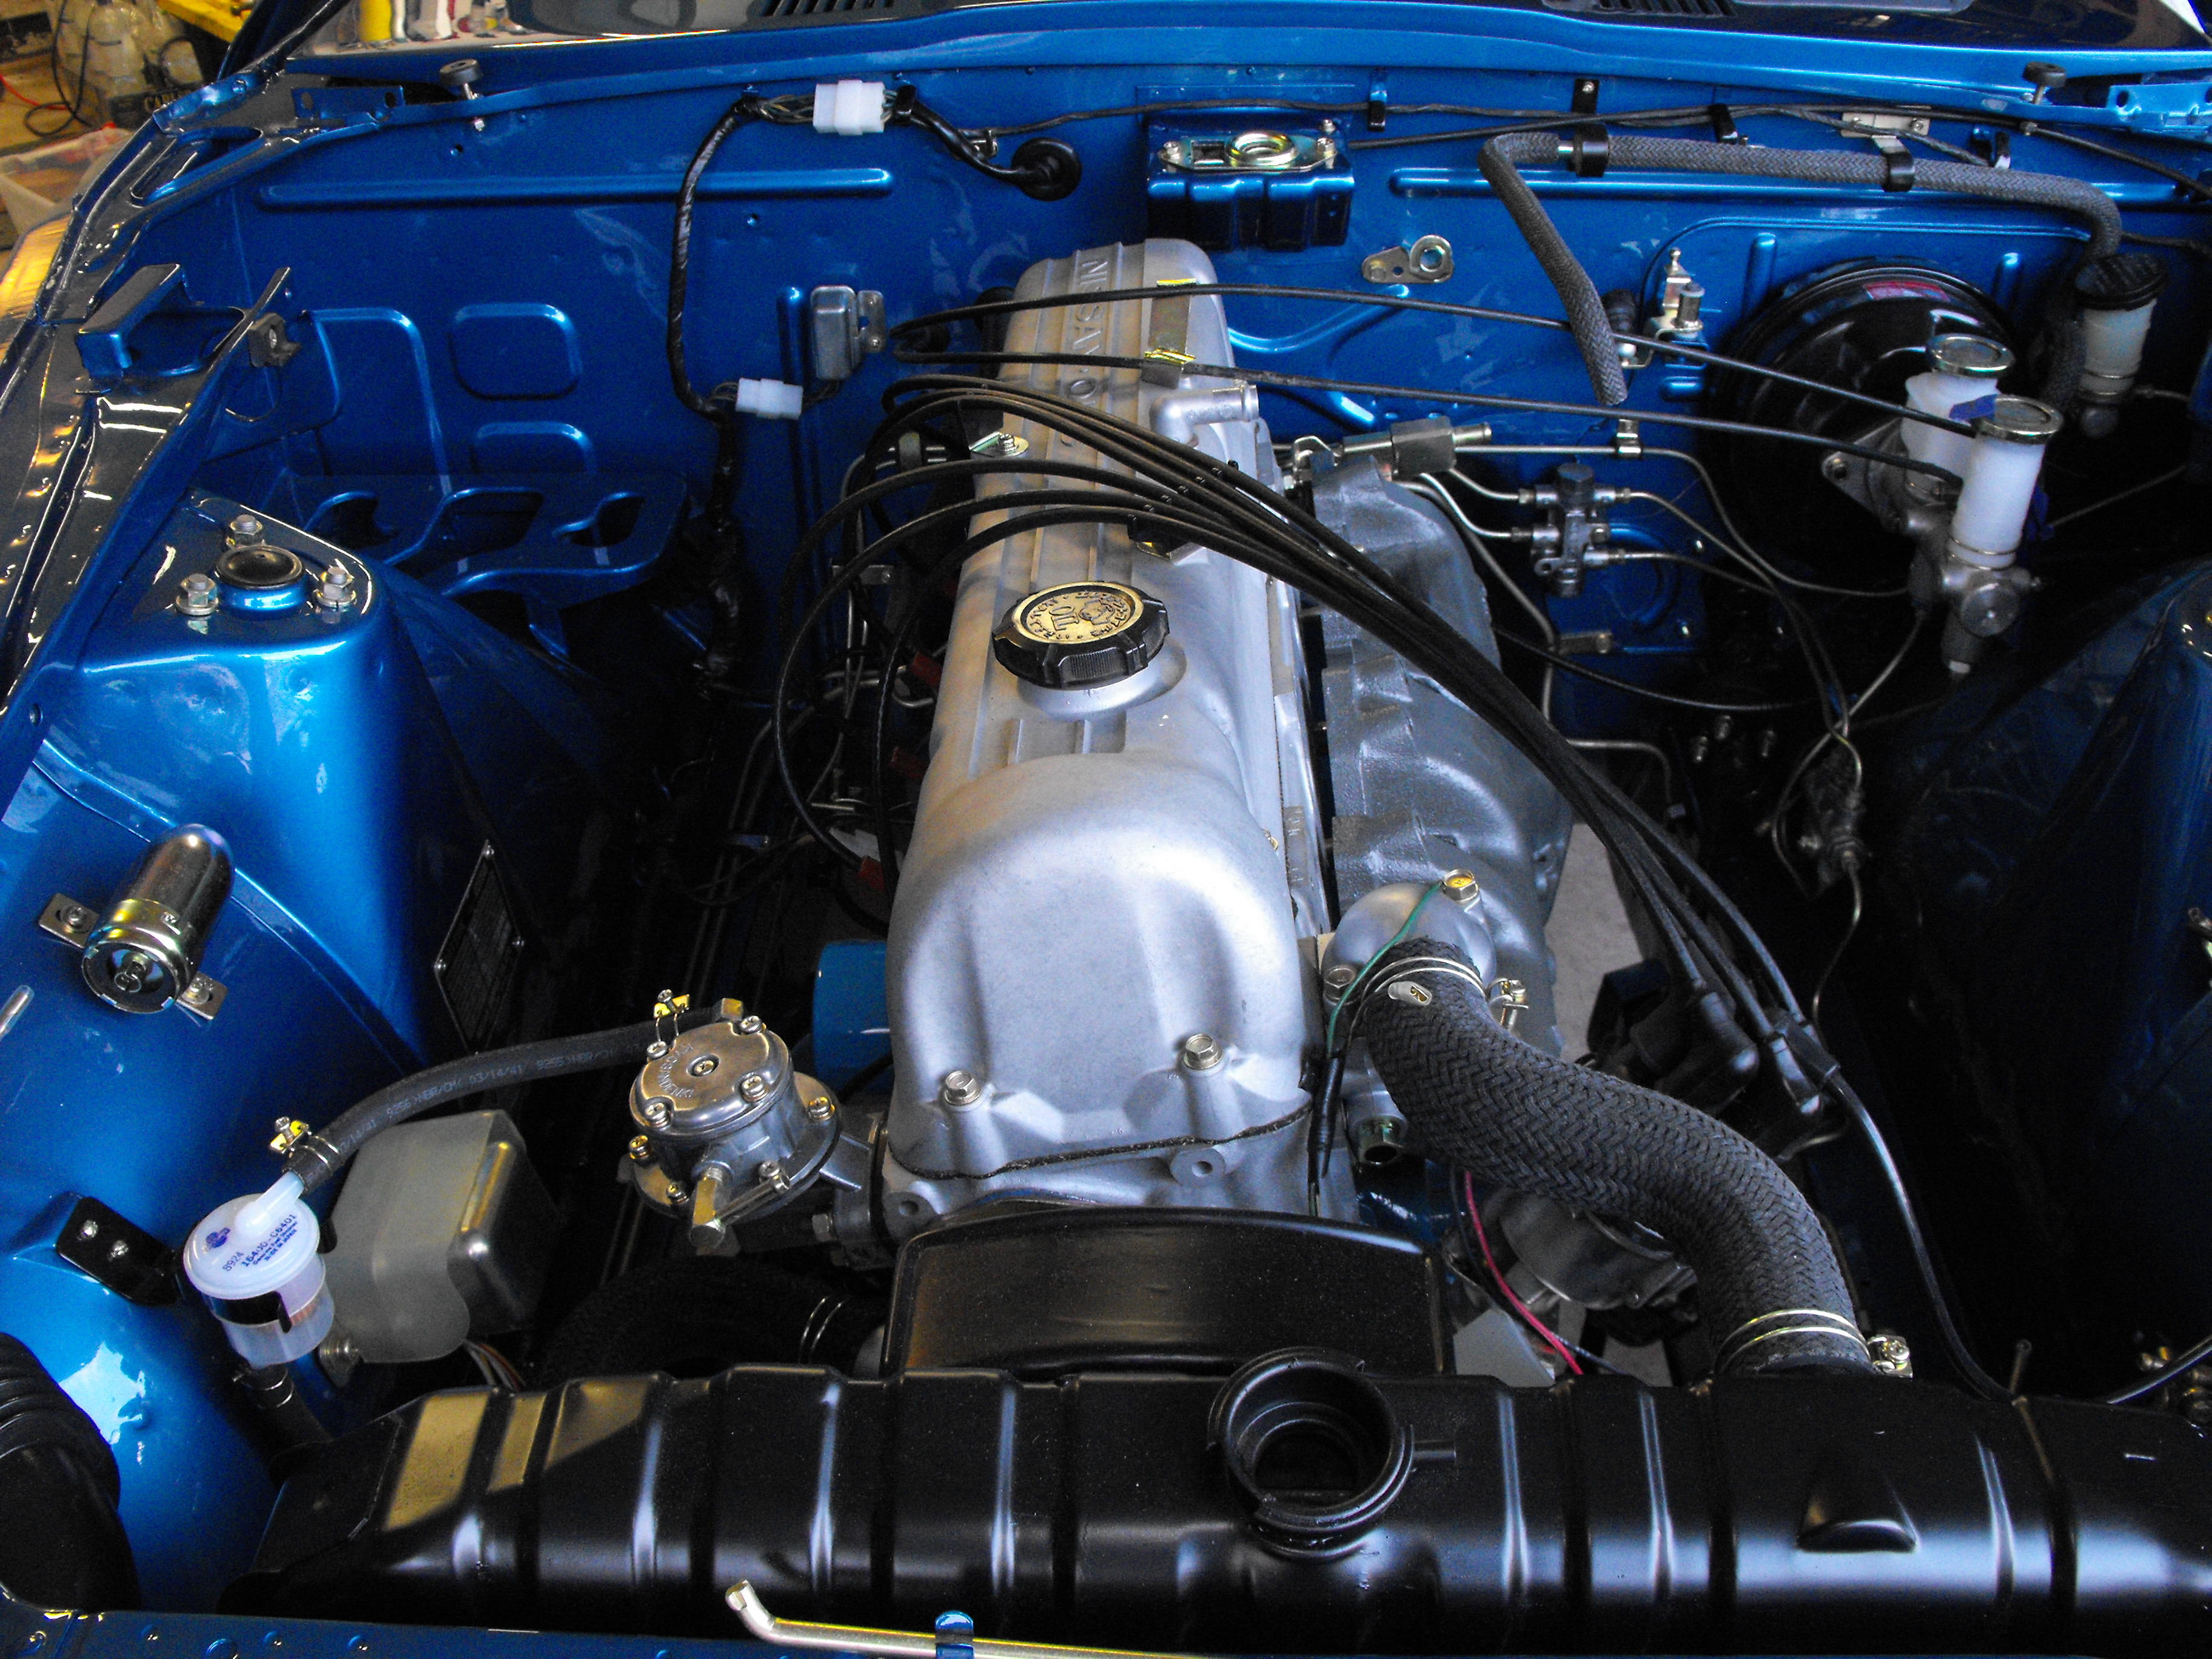
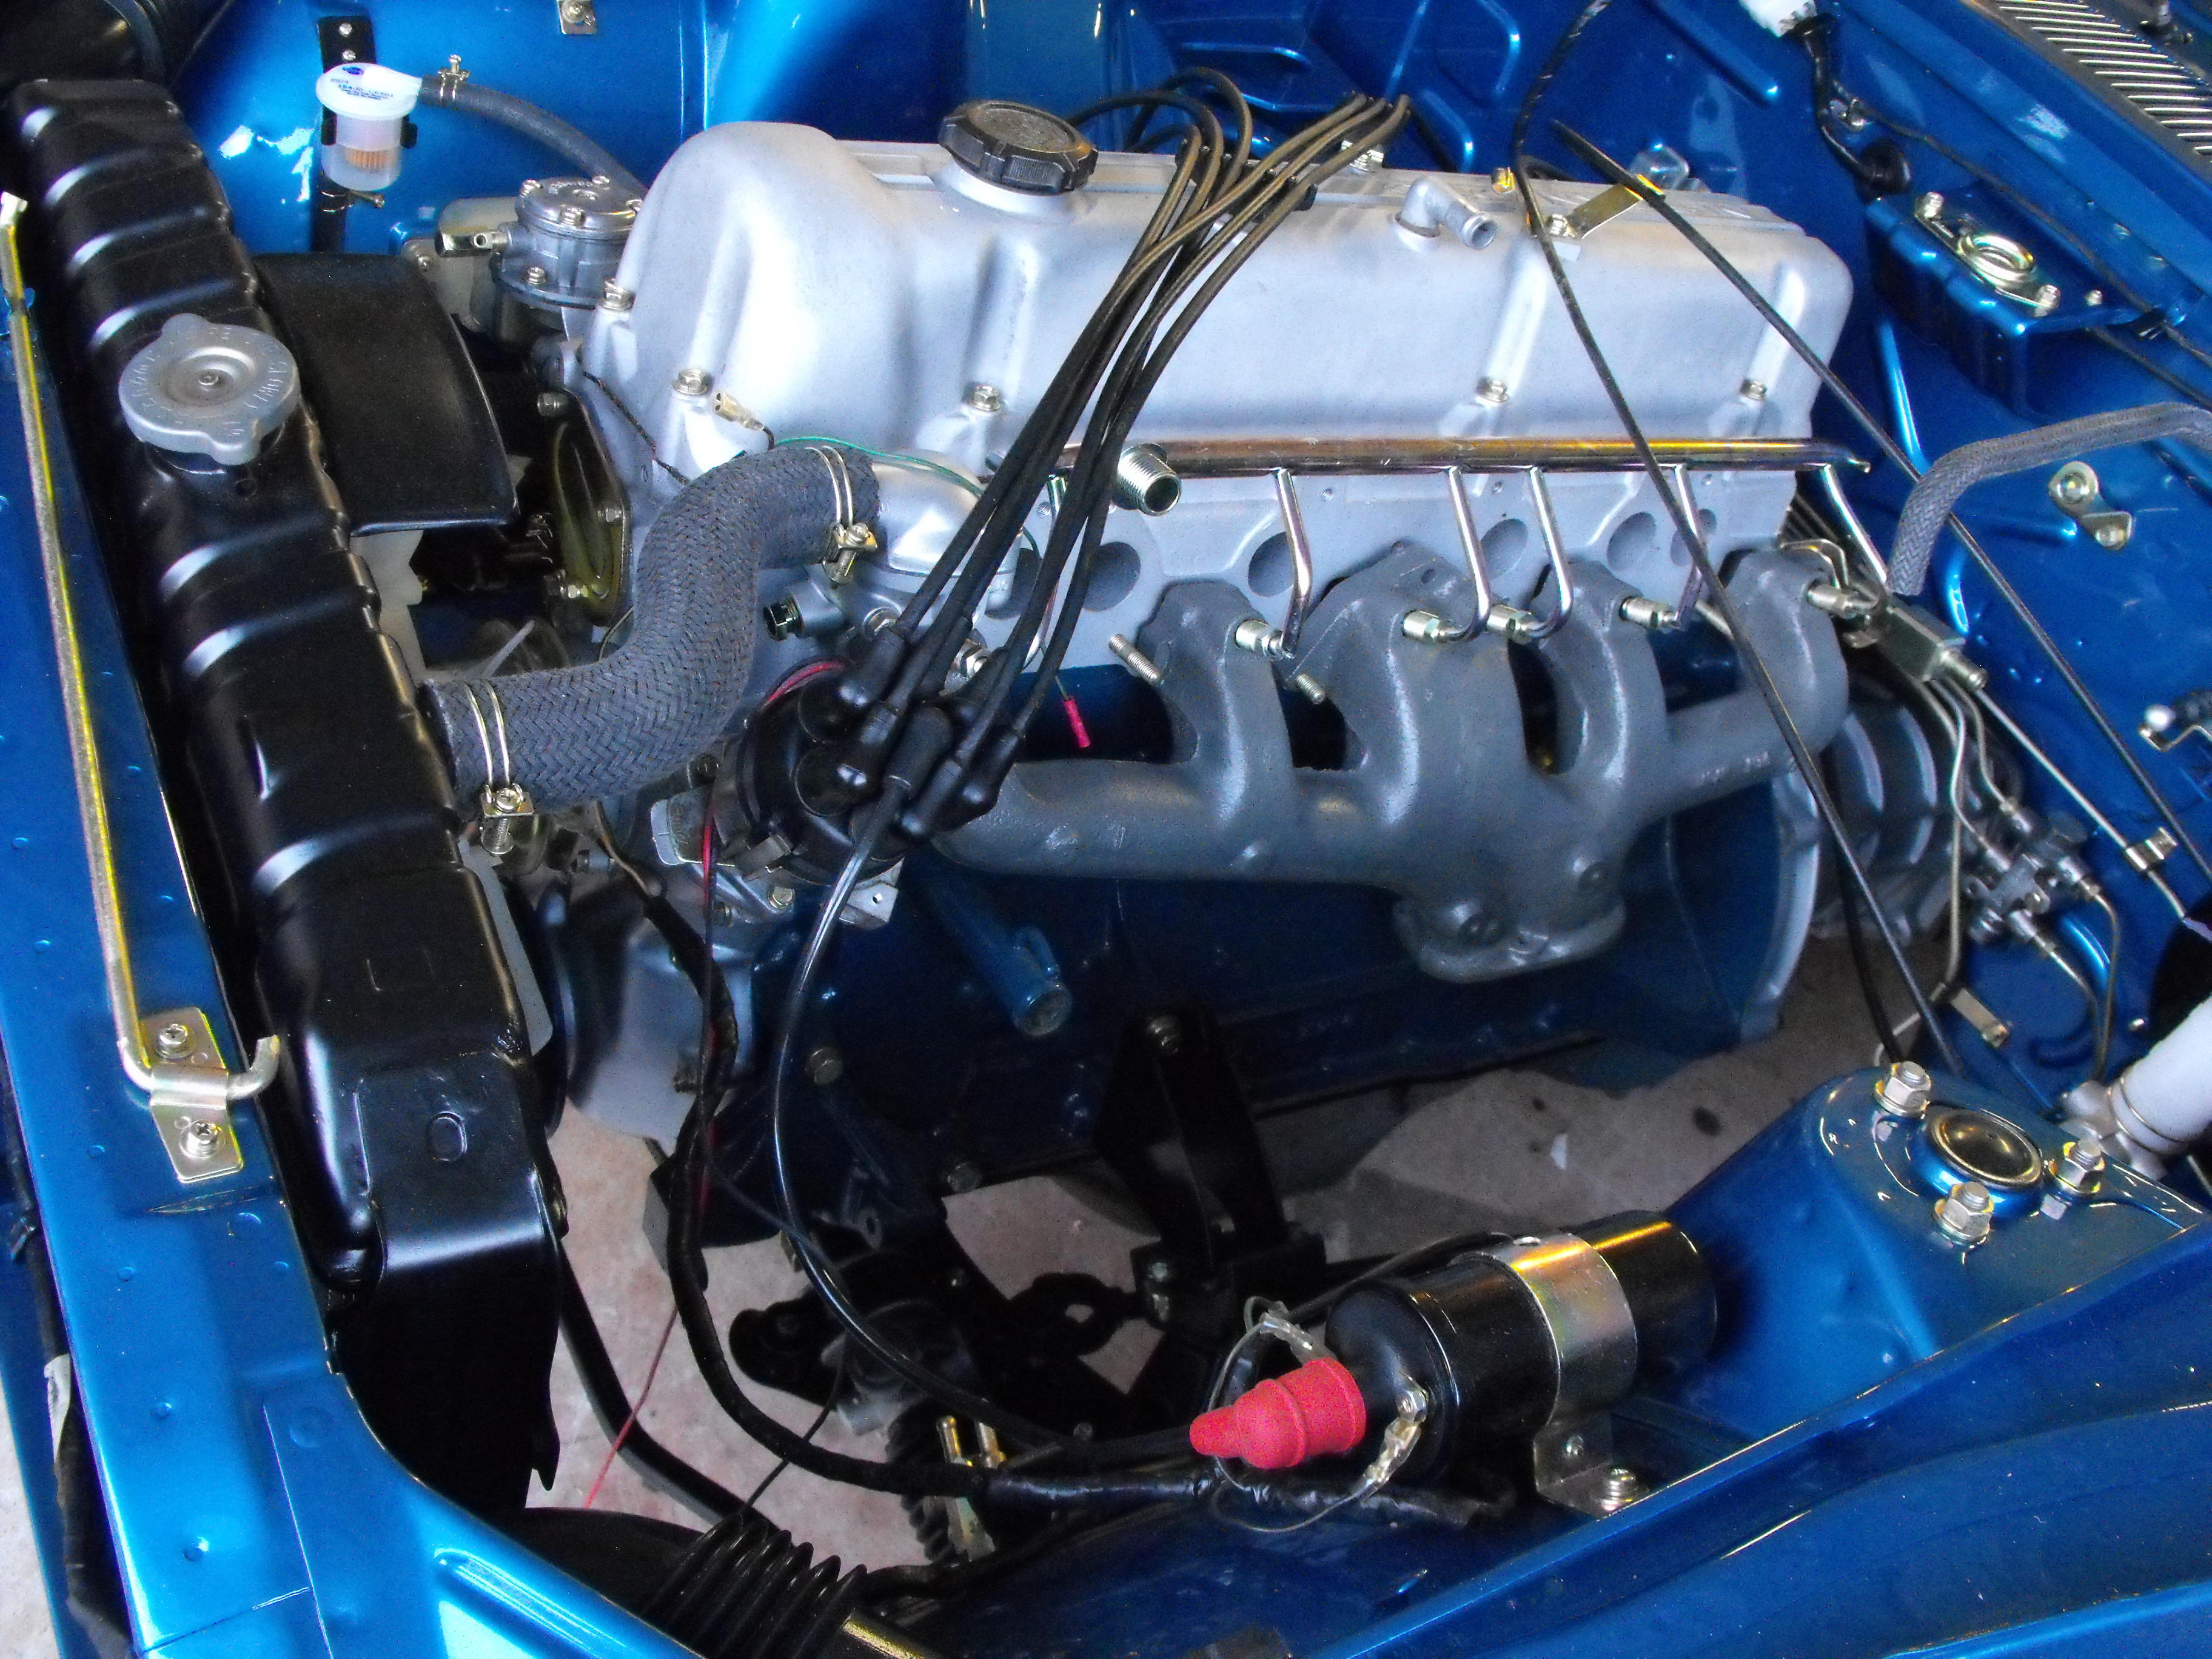
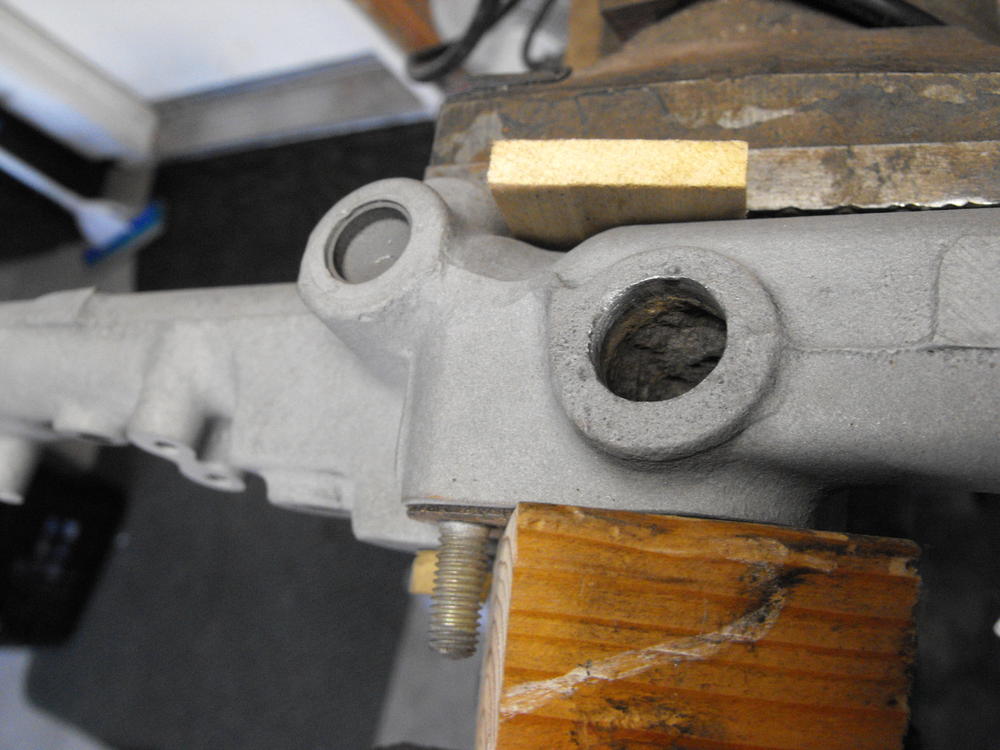
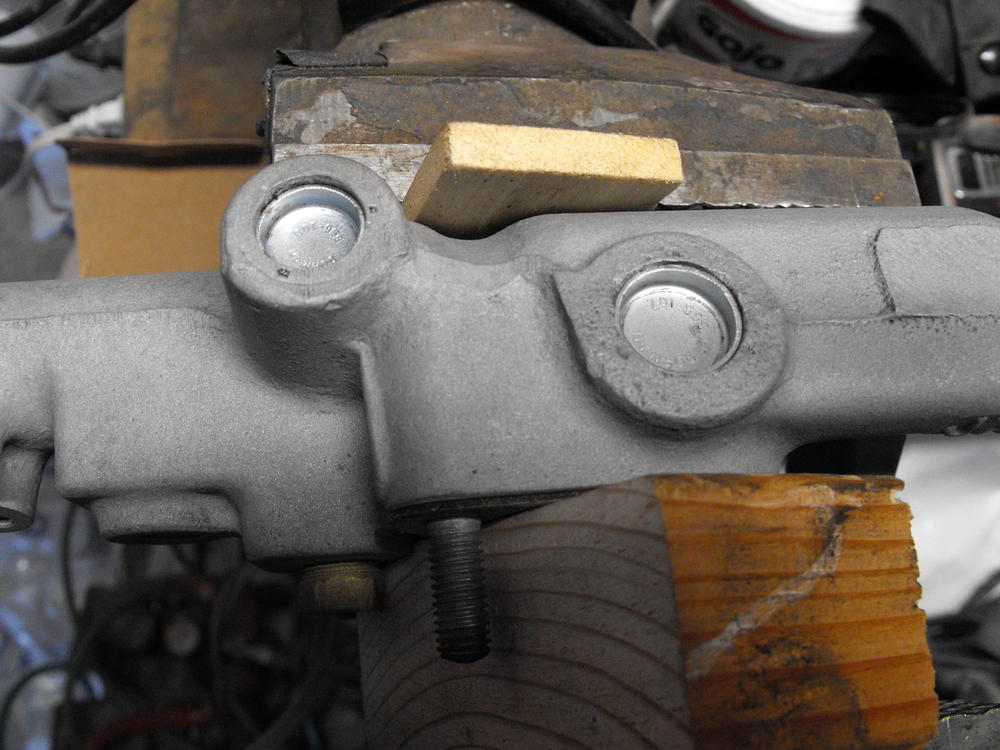
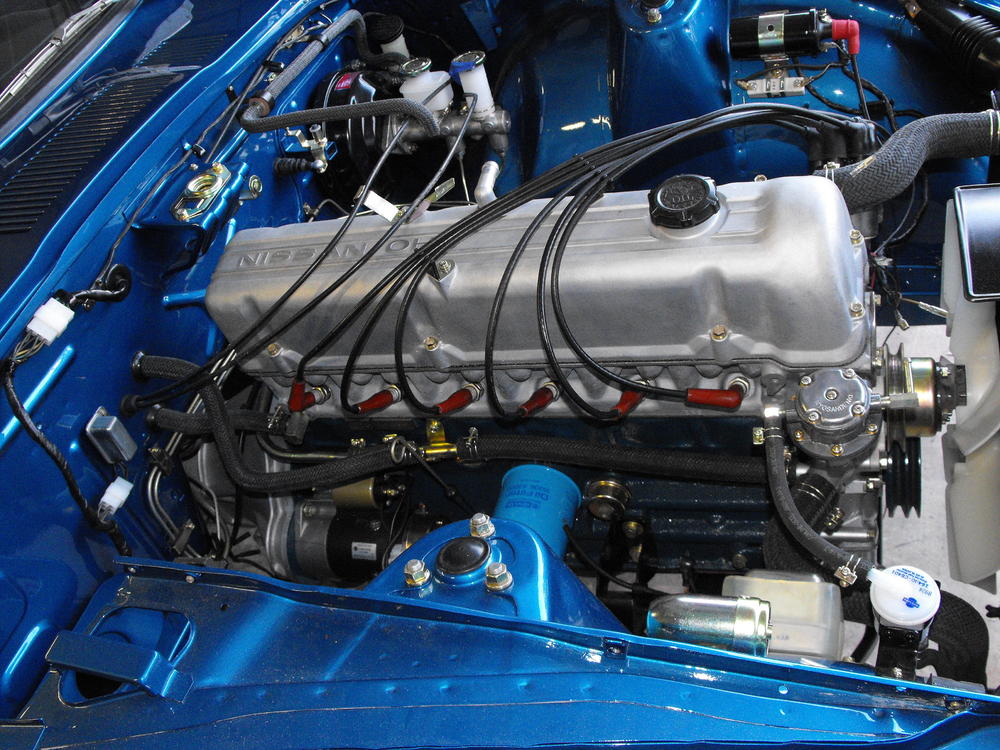
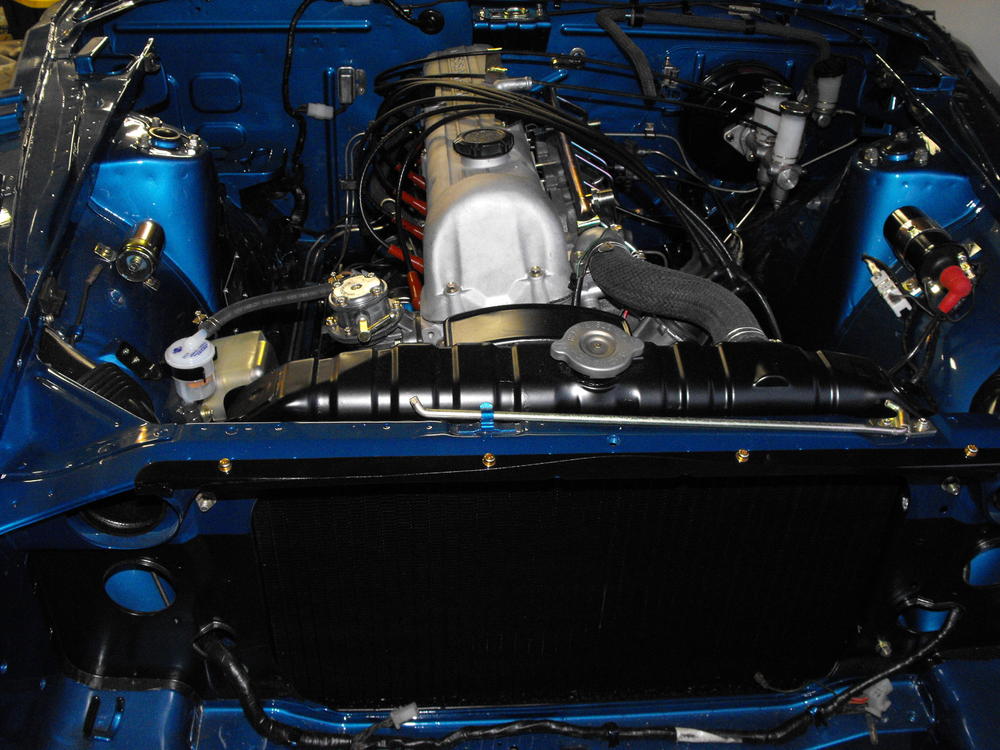
I guess it's a bit of a challenge getting this just right. Can't make it too shiny, don't want it too dull. I did get the manifolds installed last night. Nice to be working back on the engine. I temporarily placed the balance tube and flat tops on just to see what things will be looking like. The balance tube is a bit of a challenge. That brass plug on top is pretty hard to get out....even with the vice grips. Will have to try the fire and ice method on this and see if that helps to loosen it. Also broke off a fitting on the underside of the tube so I will need to drill and tap that out. I had to re-tap the threads for the air galley. Those threads are M14 X 1.5 for anyone interested. The good thing is that my water tube and exhaust tube for the EGR are in nice shape. I did a quick fit check on those. I will install as much of the tubing as I can before I actually install the carbs.
-
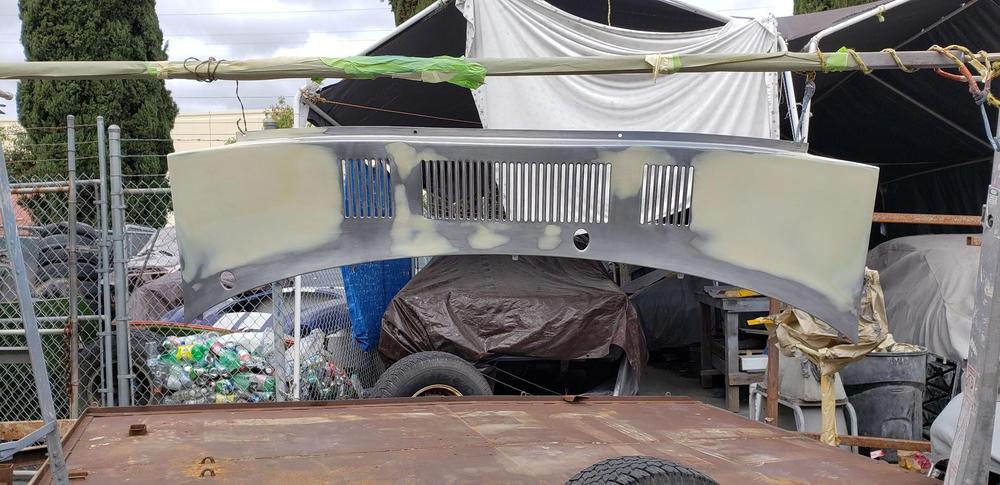
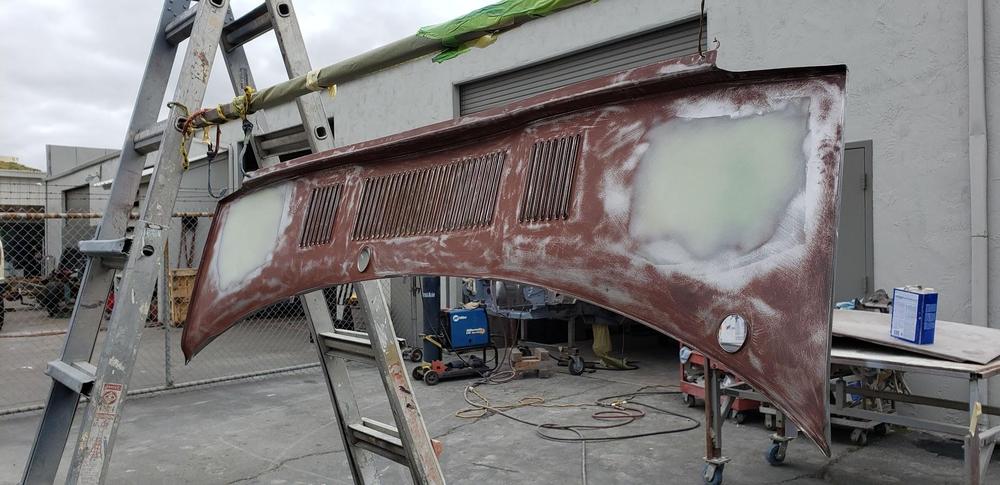
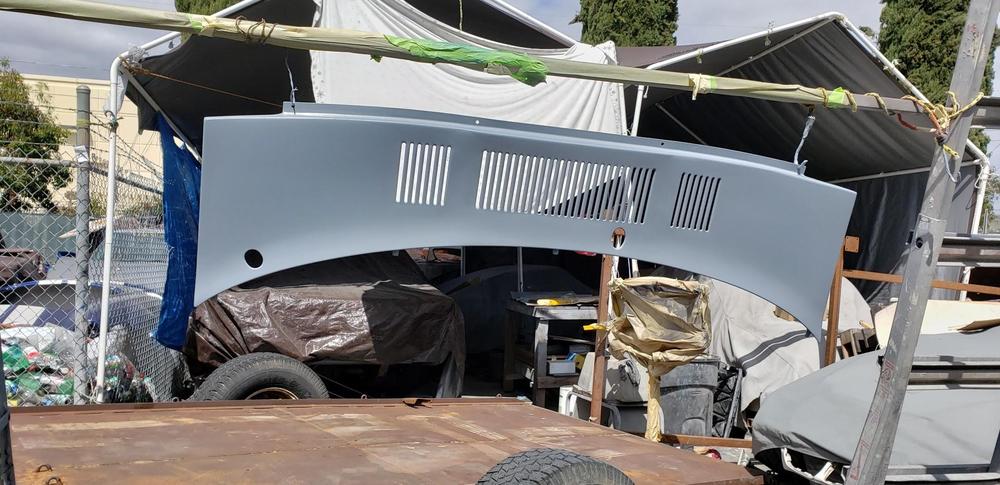
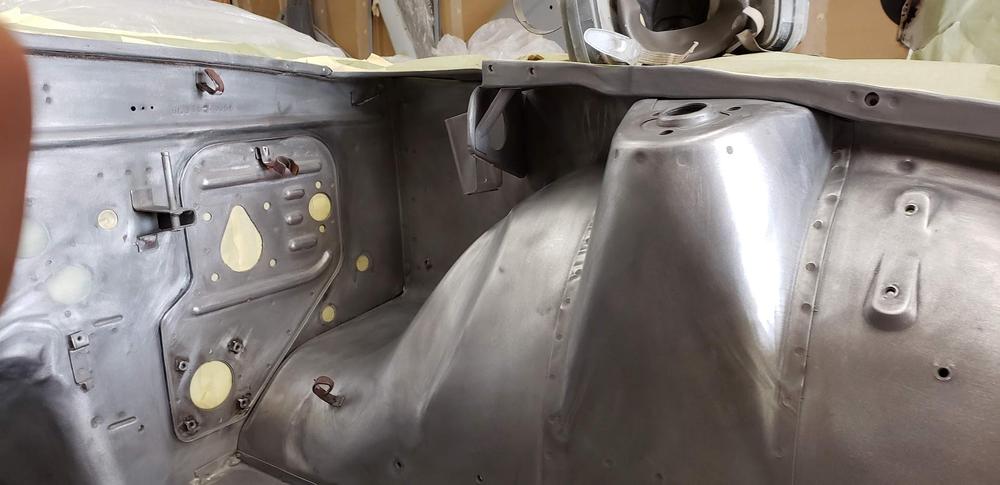
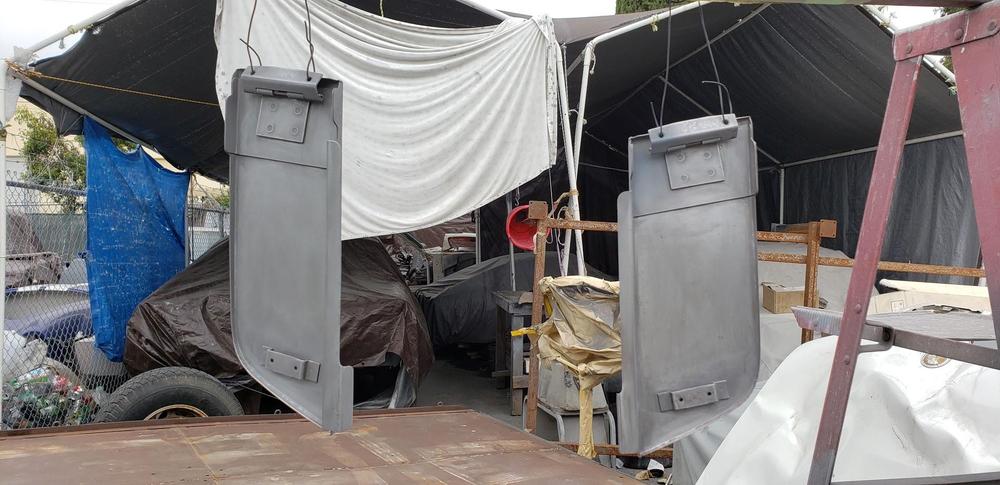
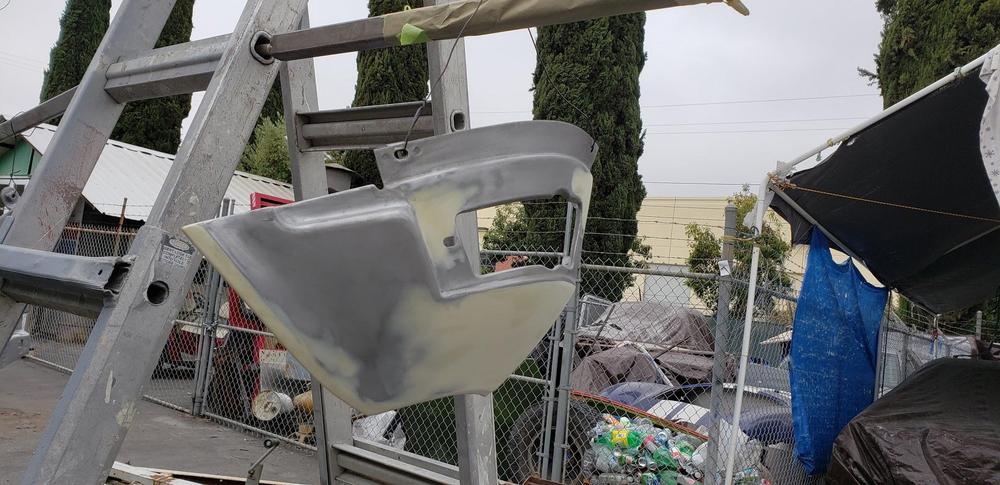
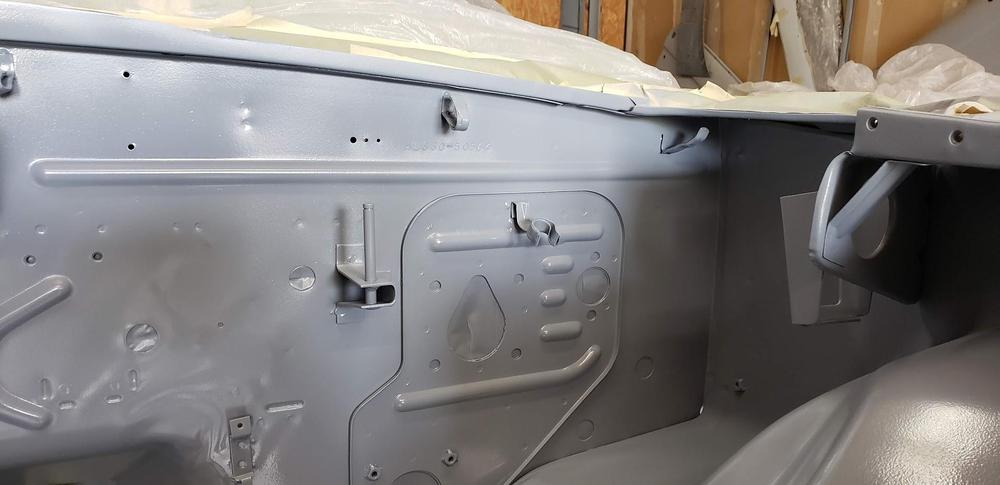
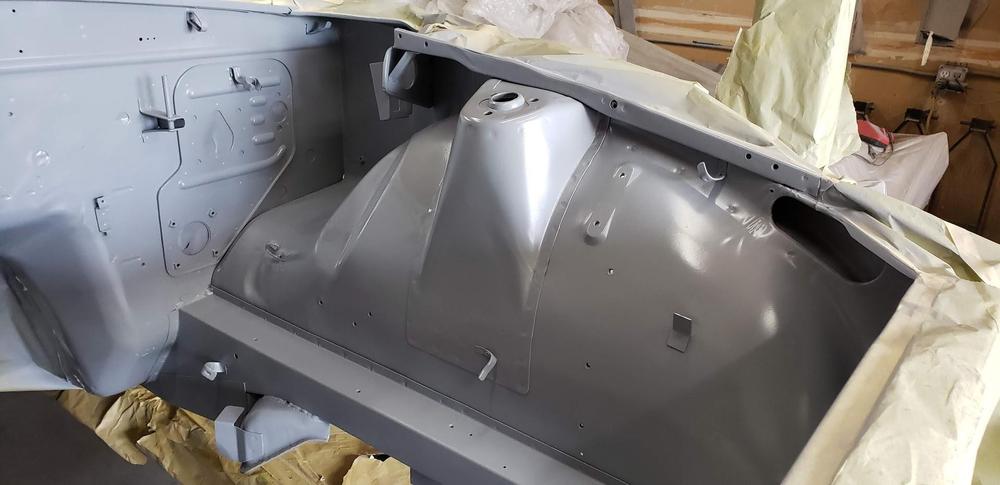
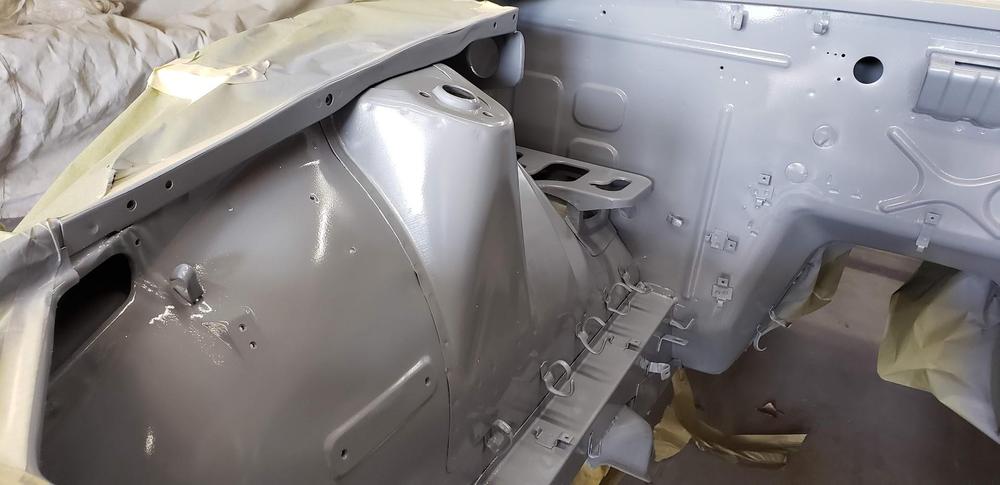
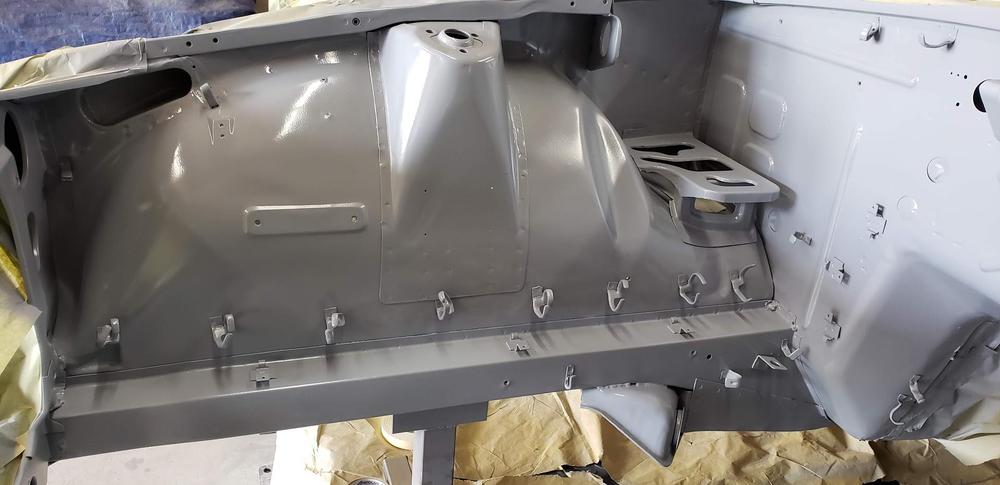
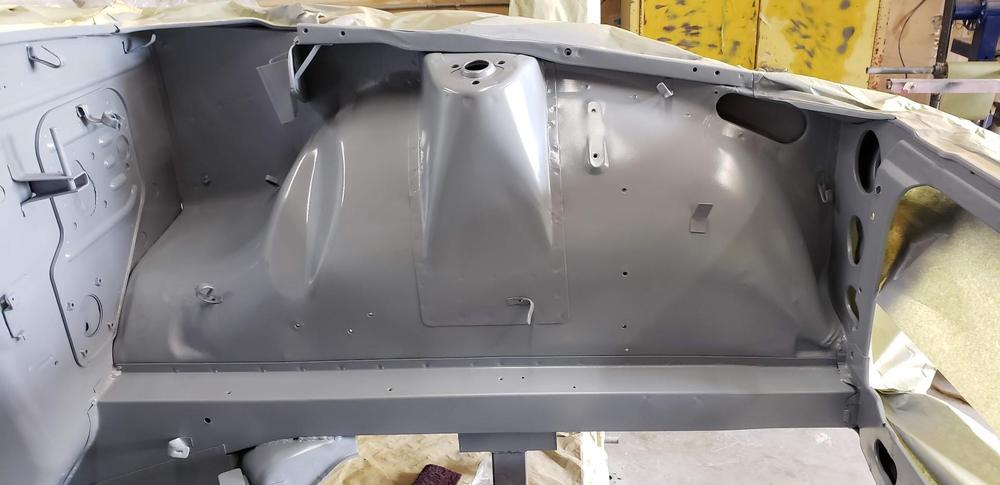
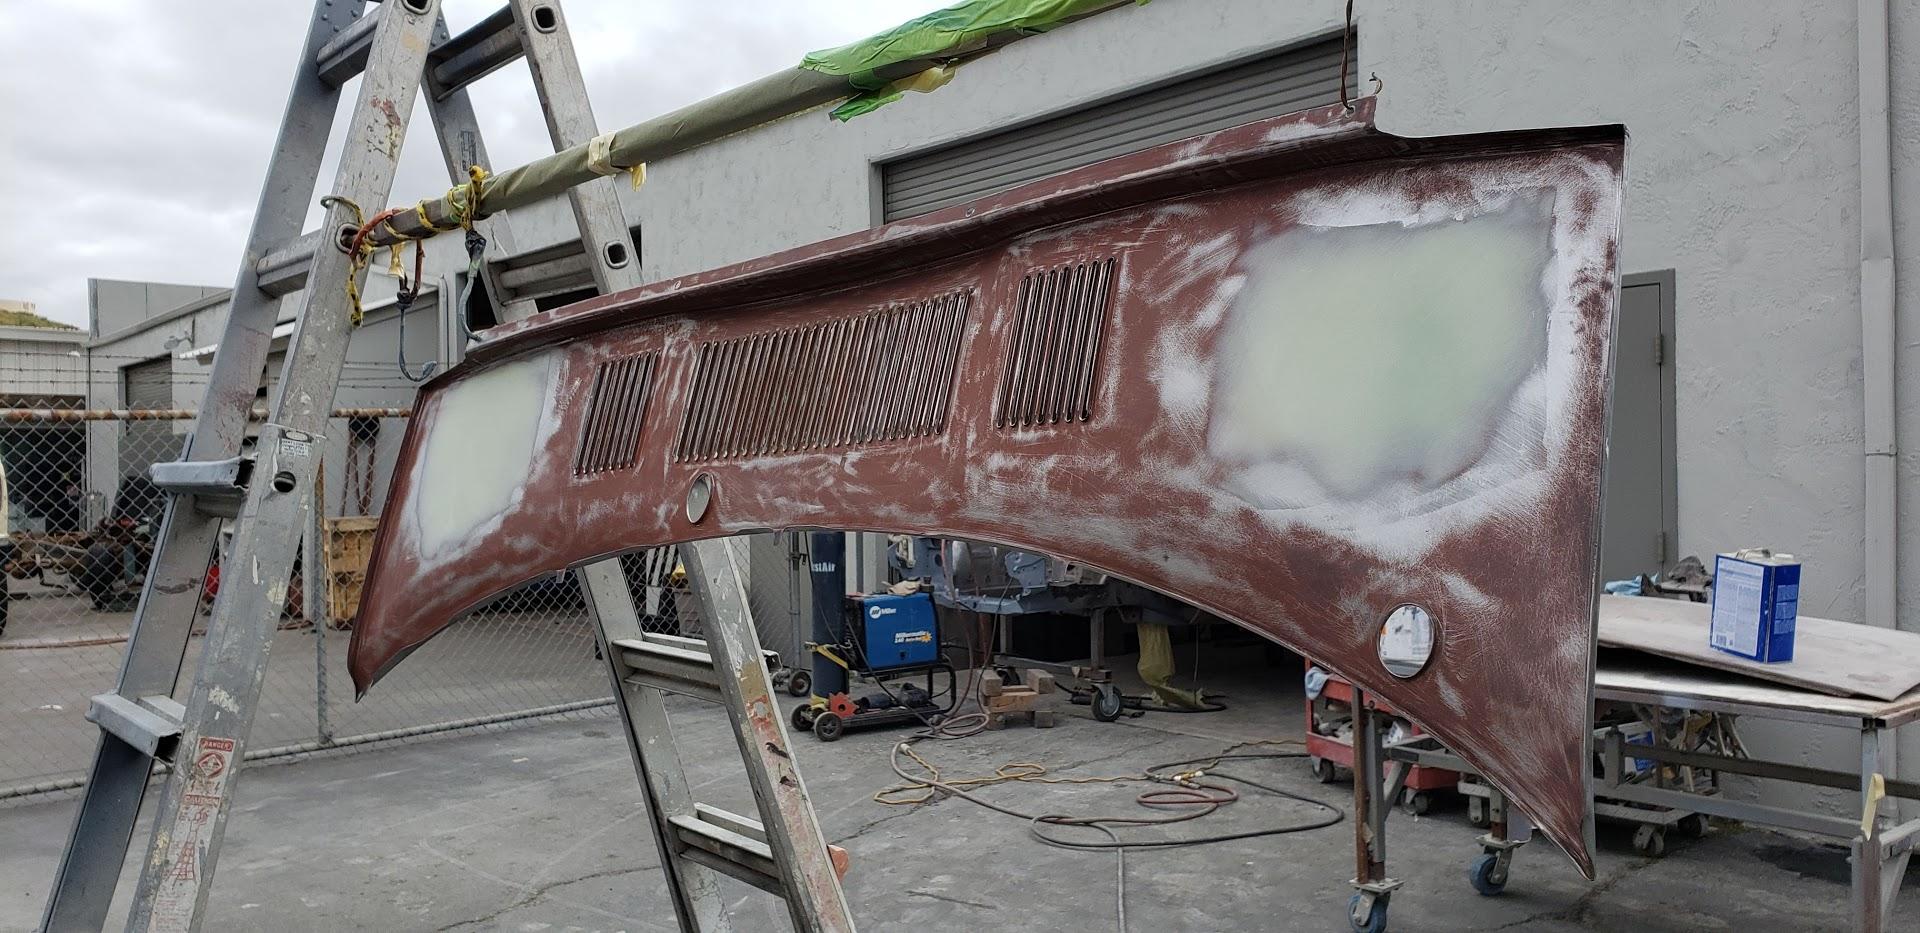
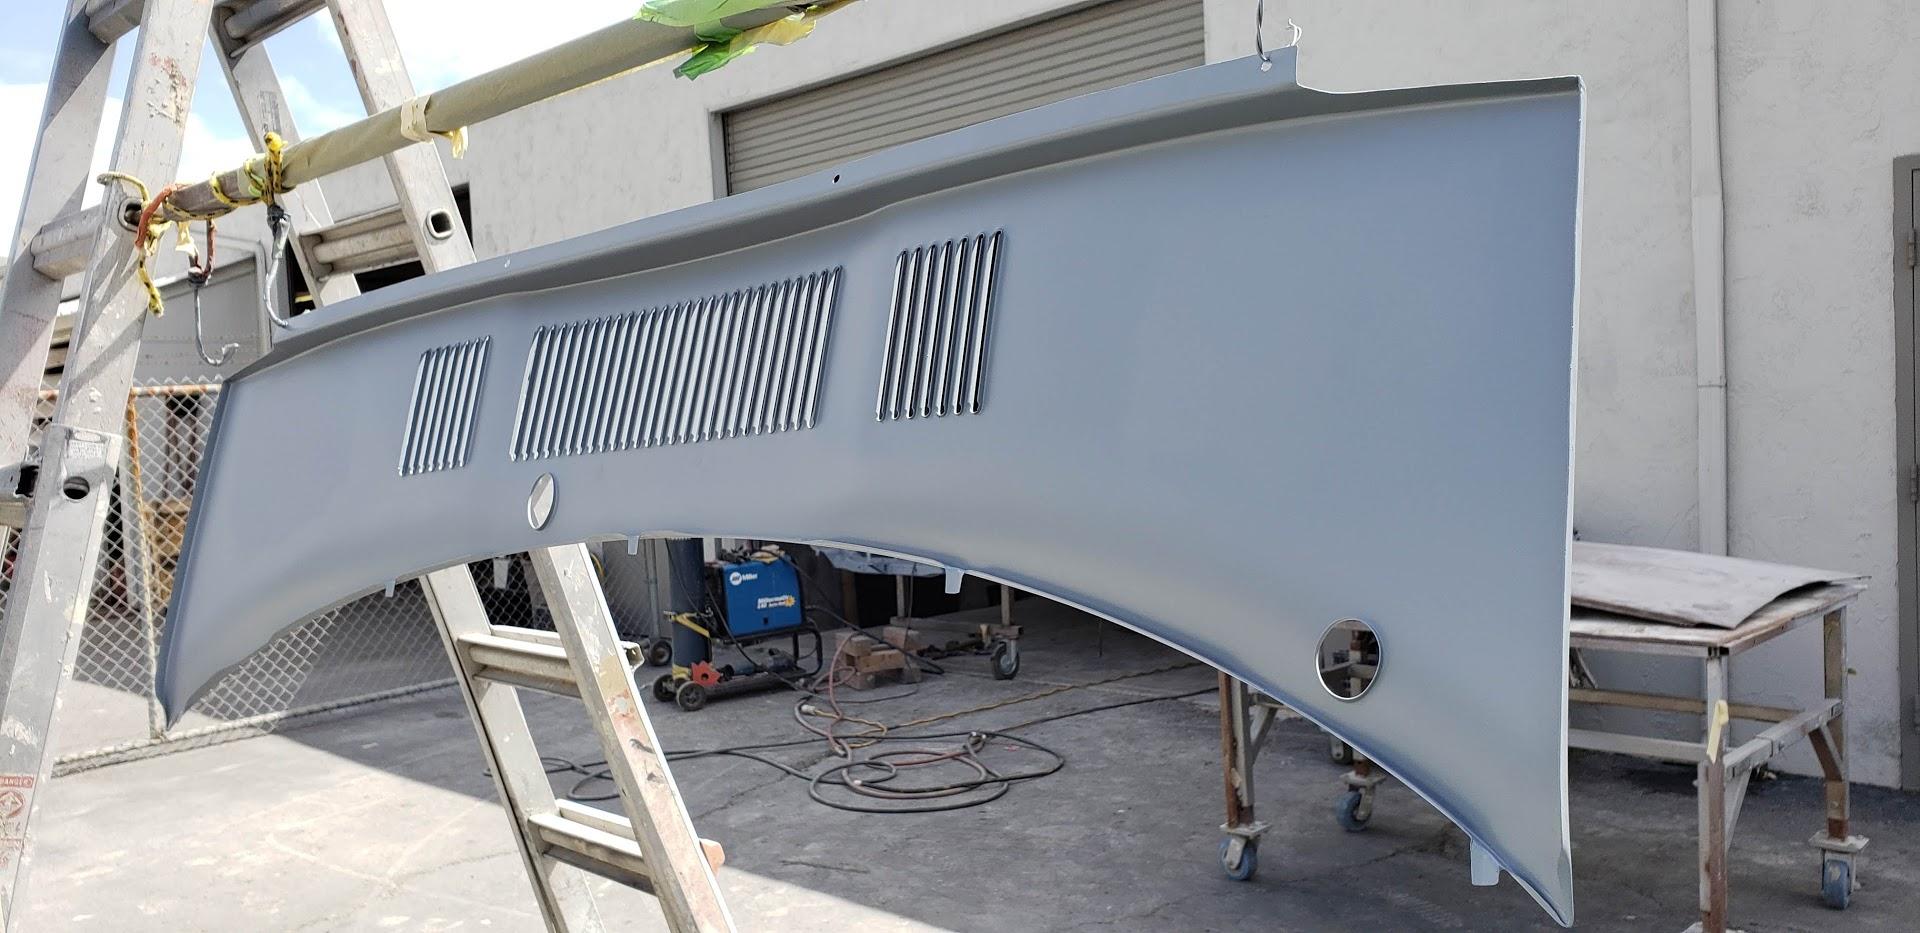
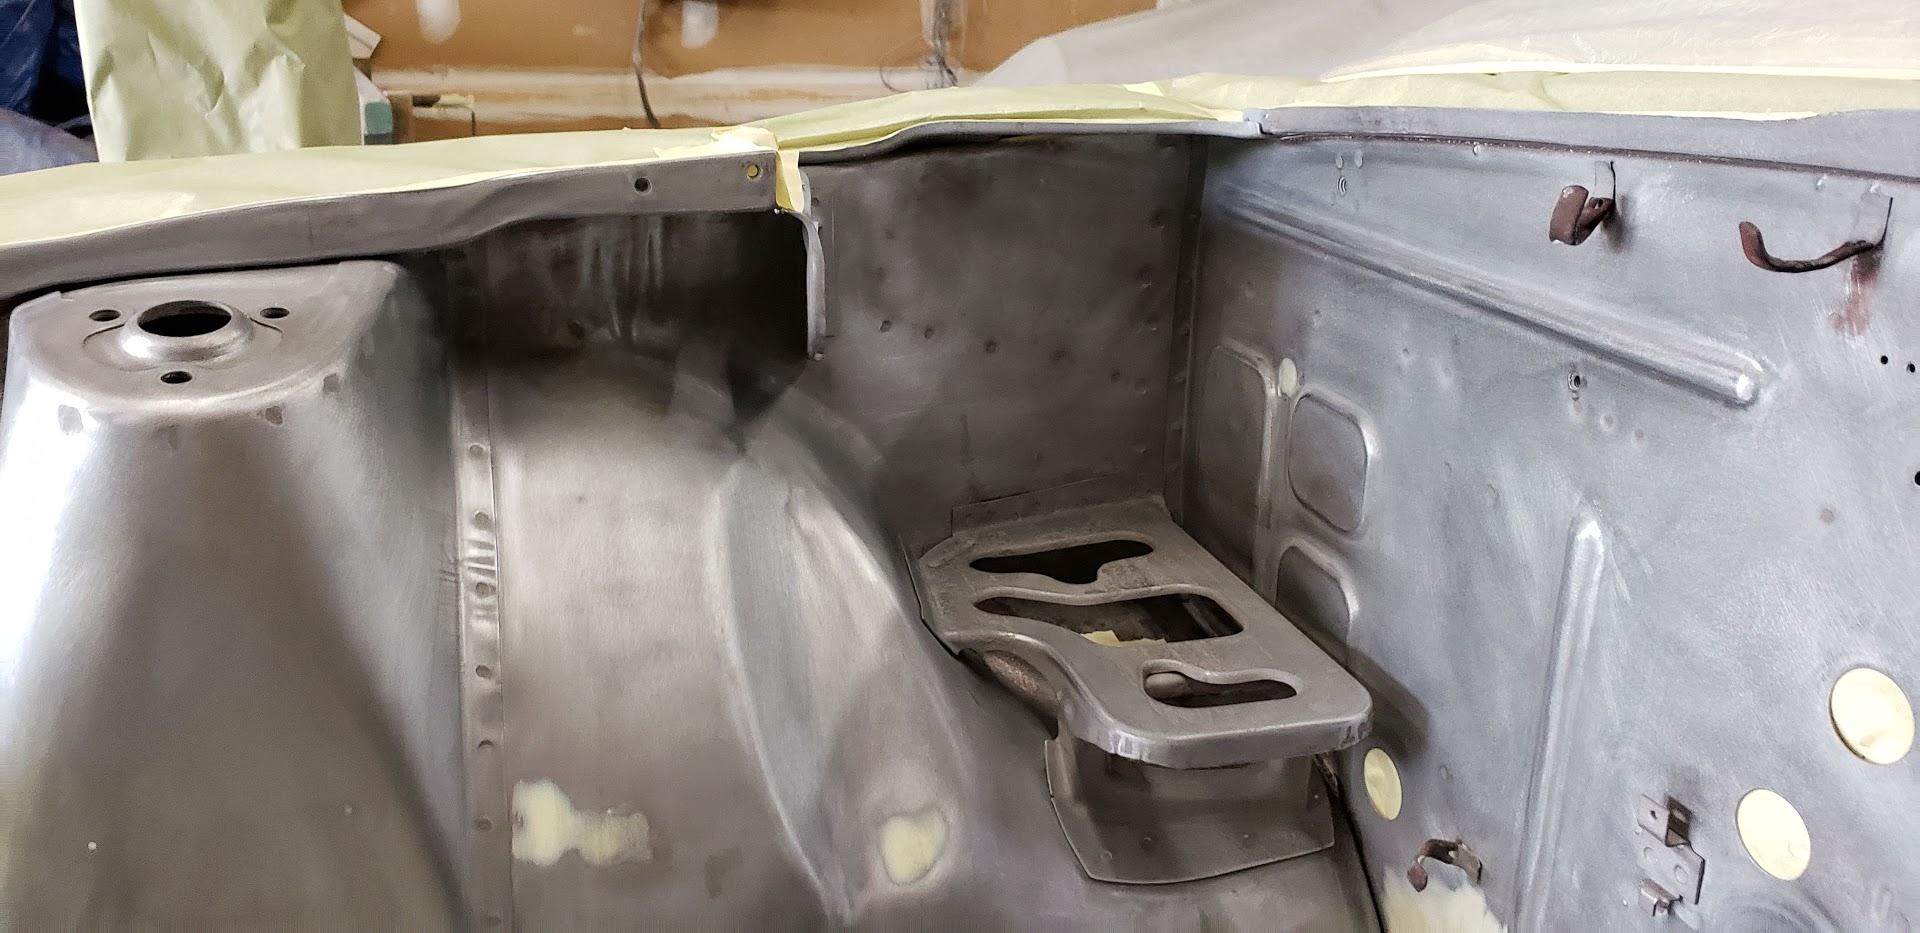
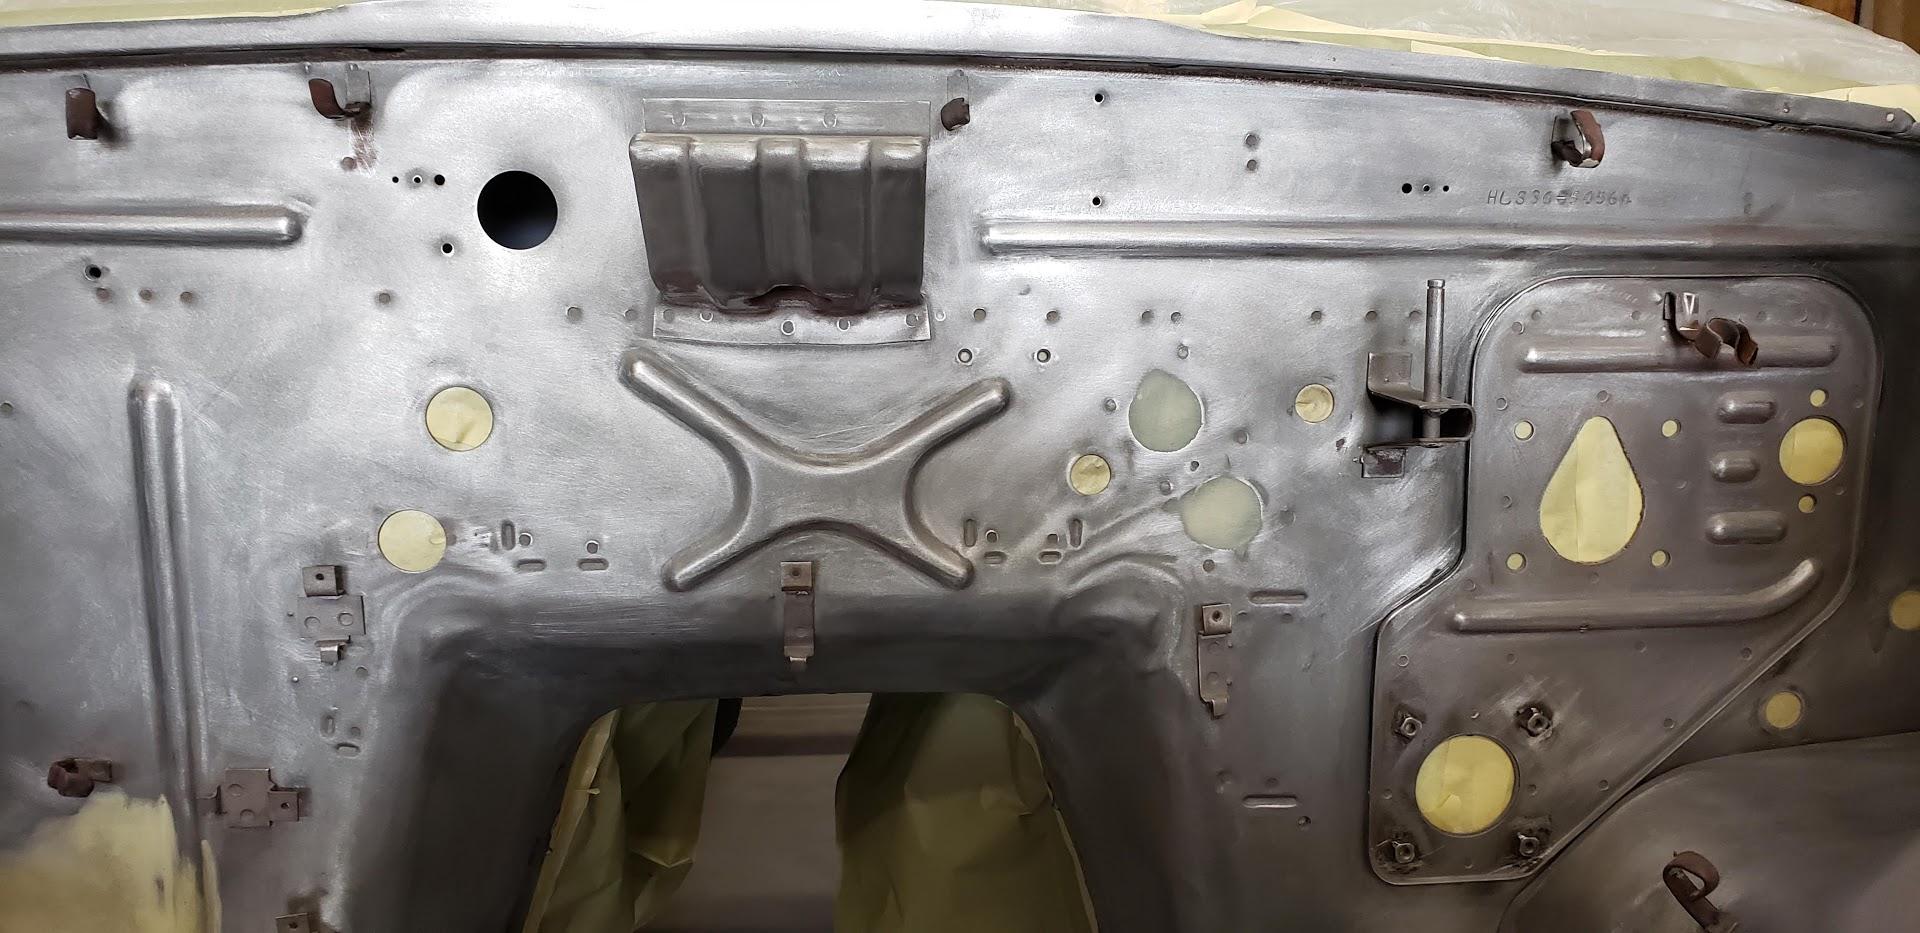
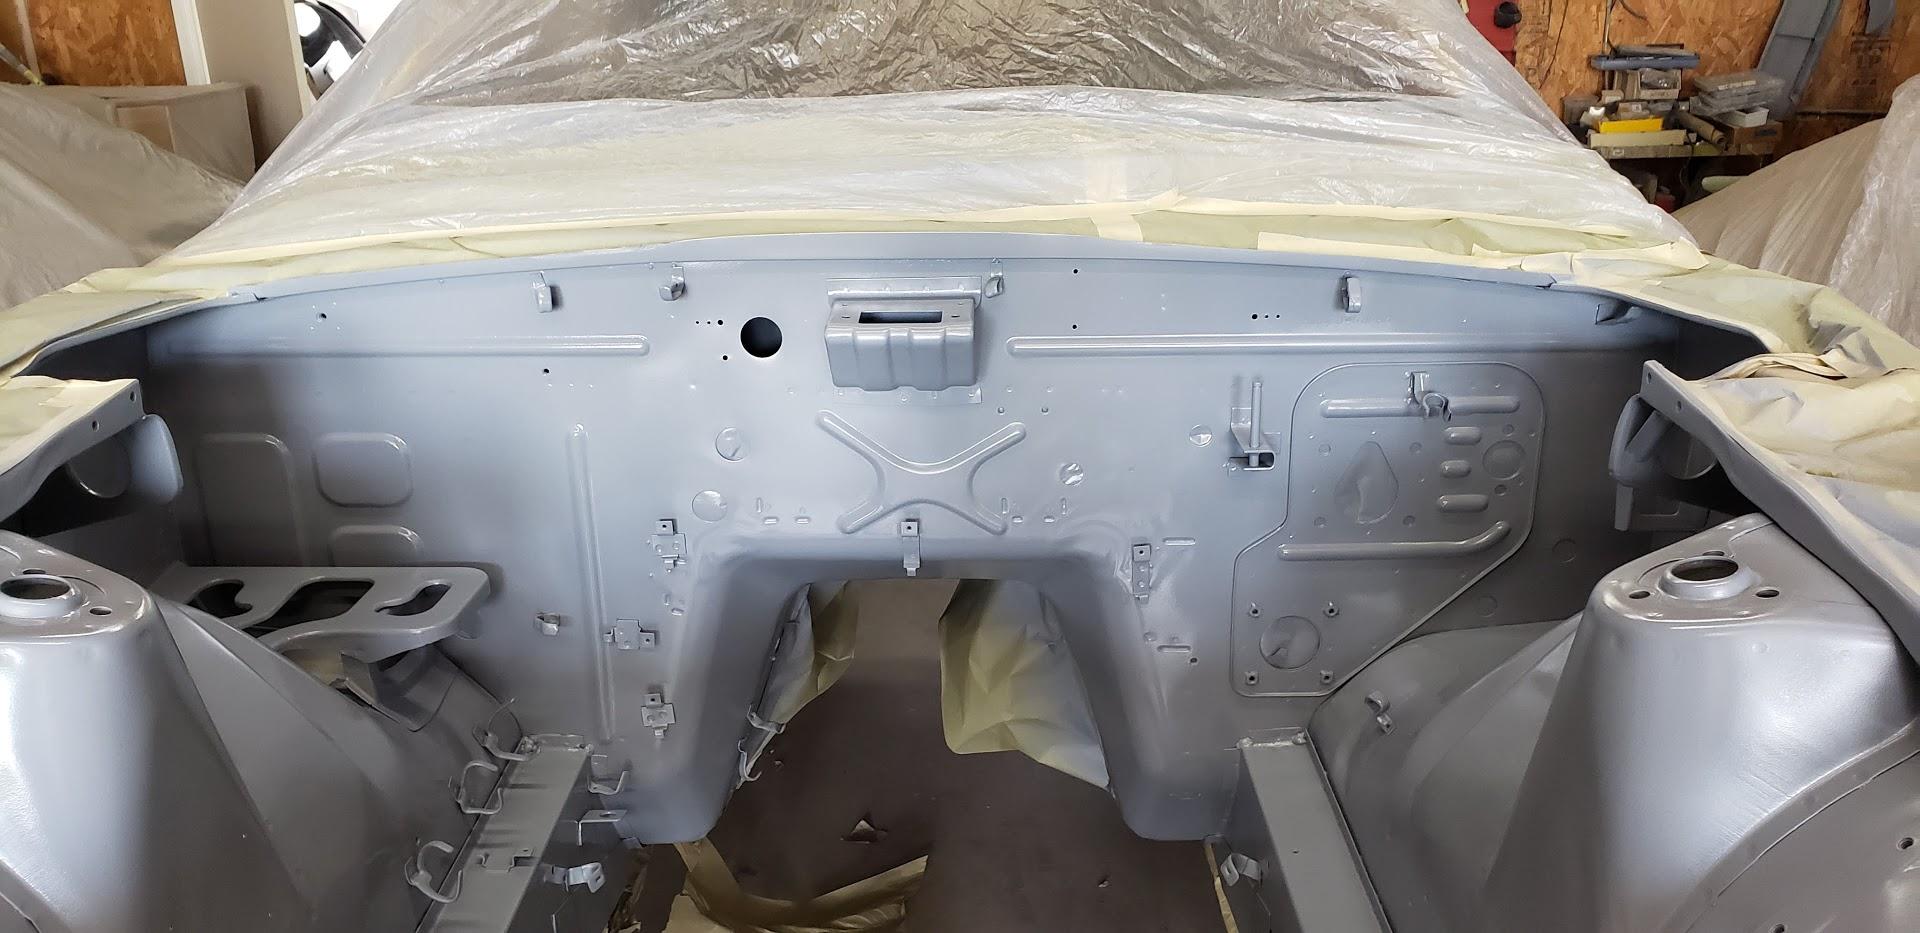
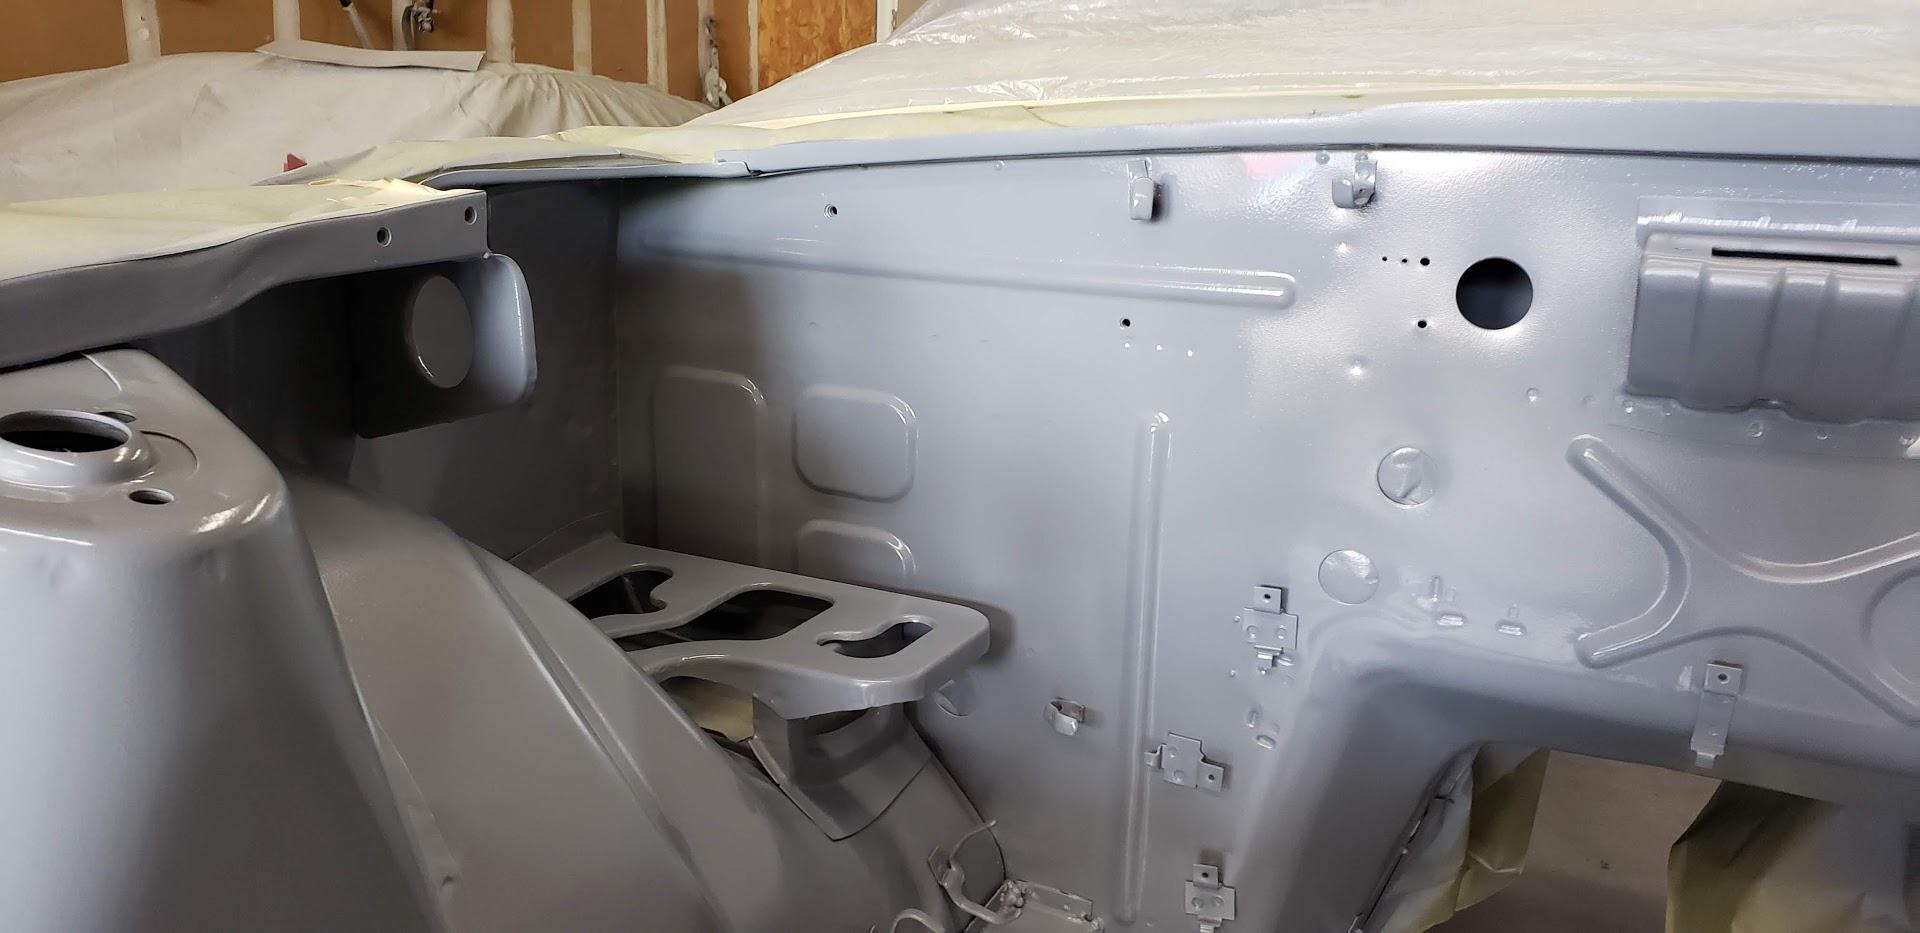
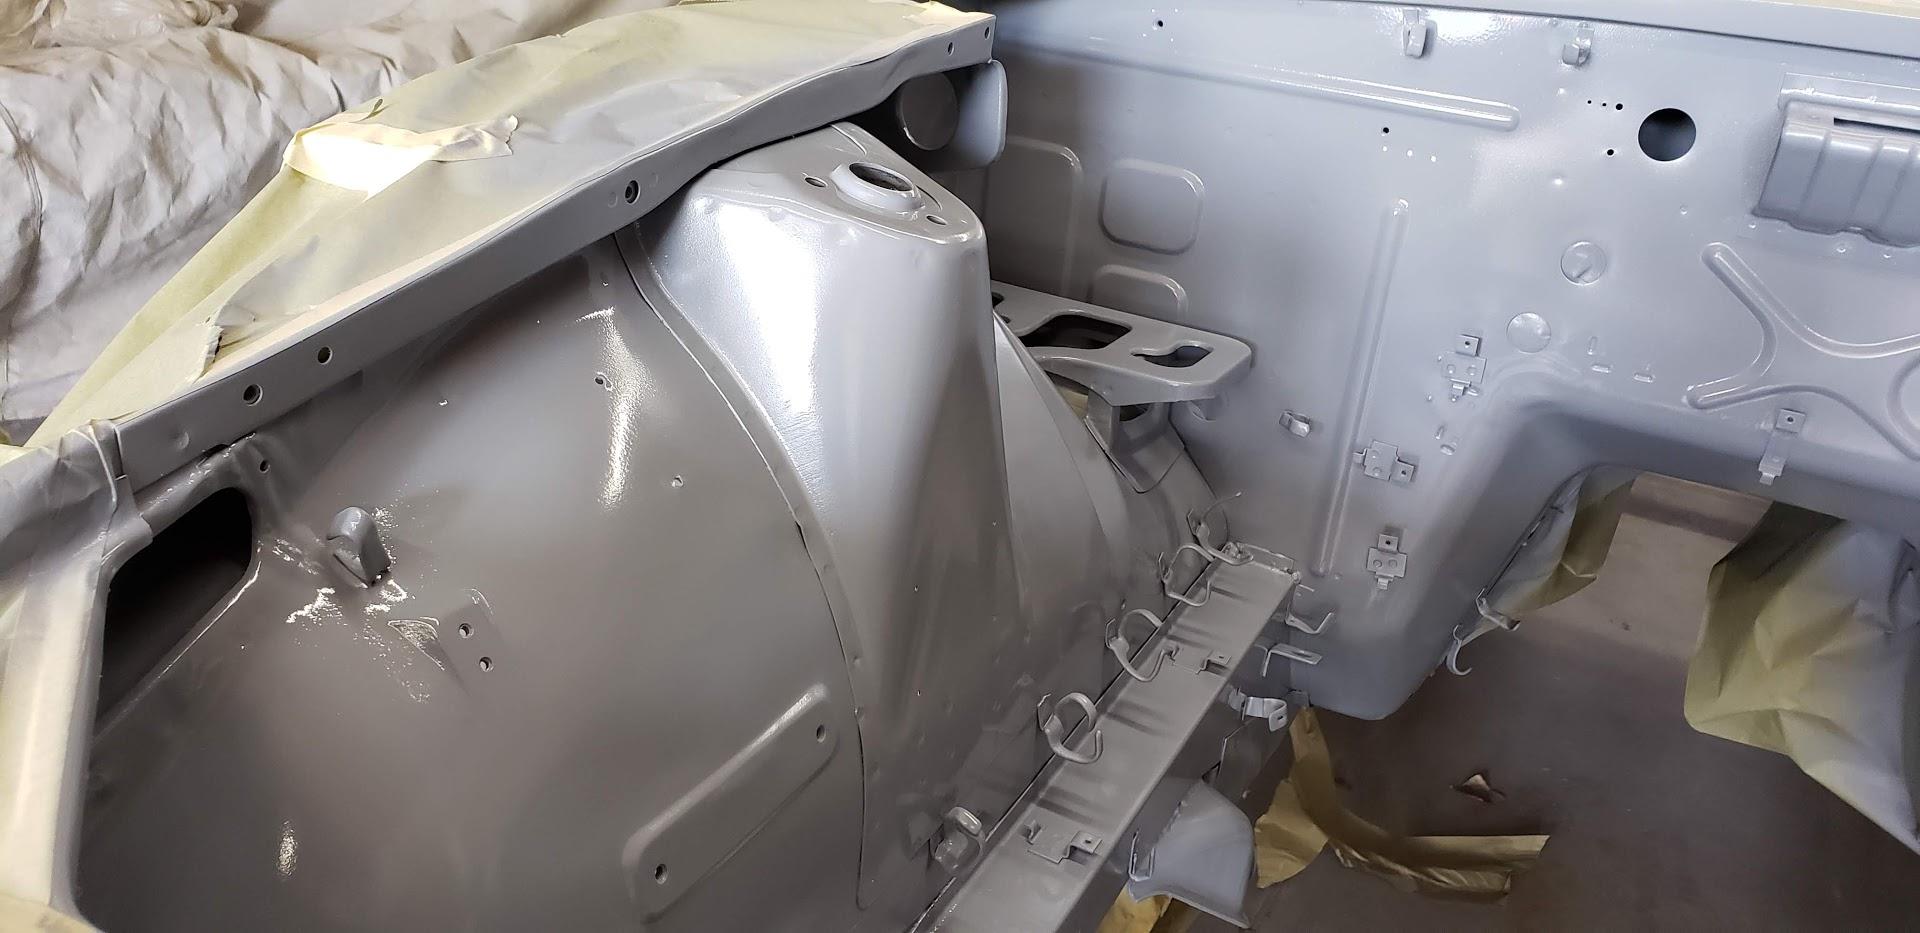
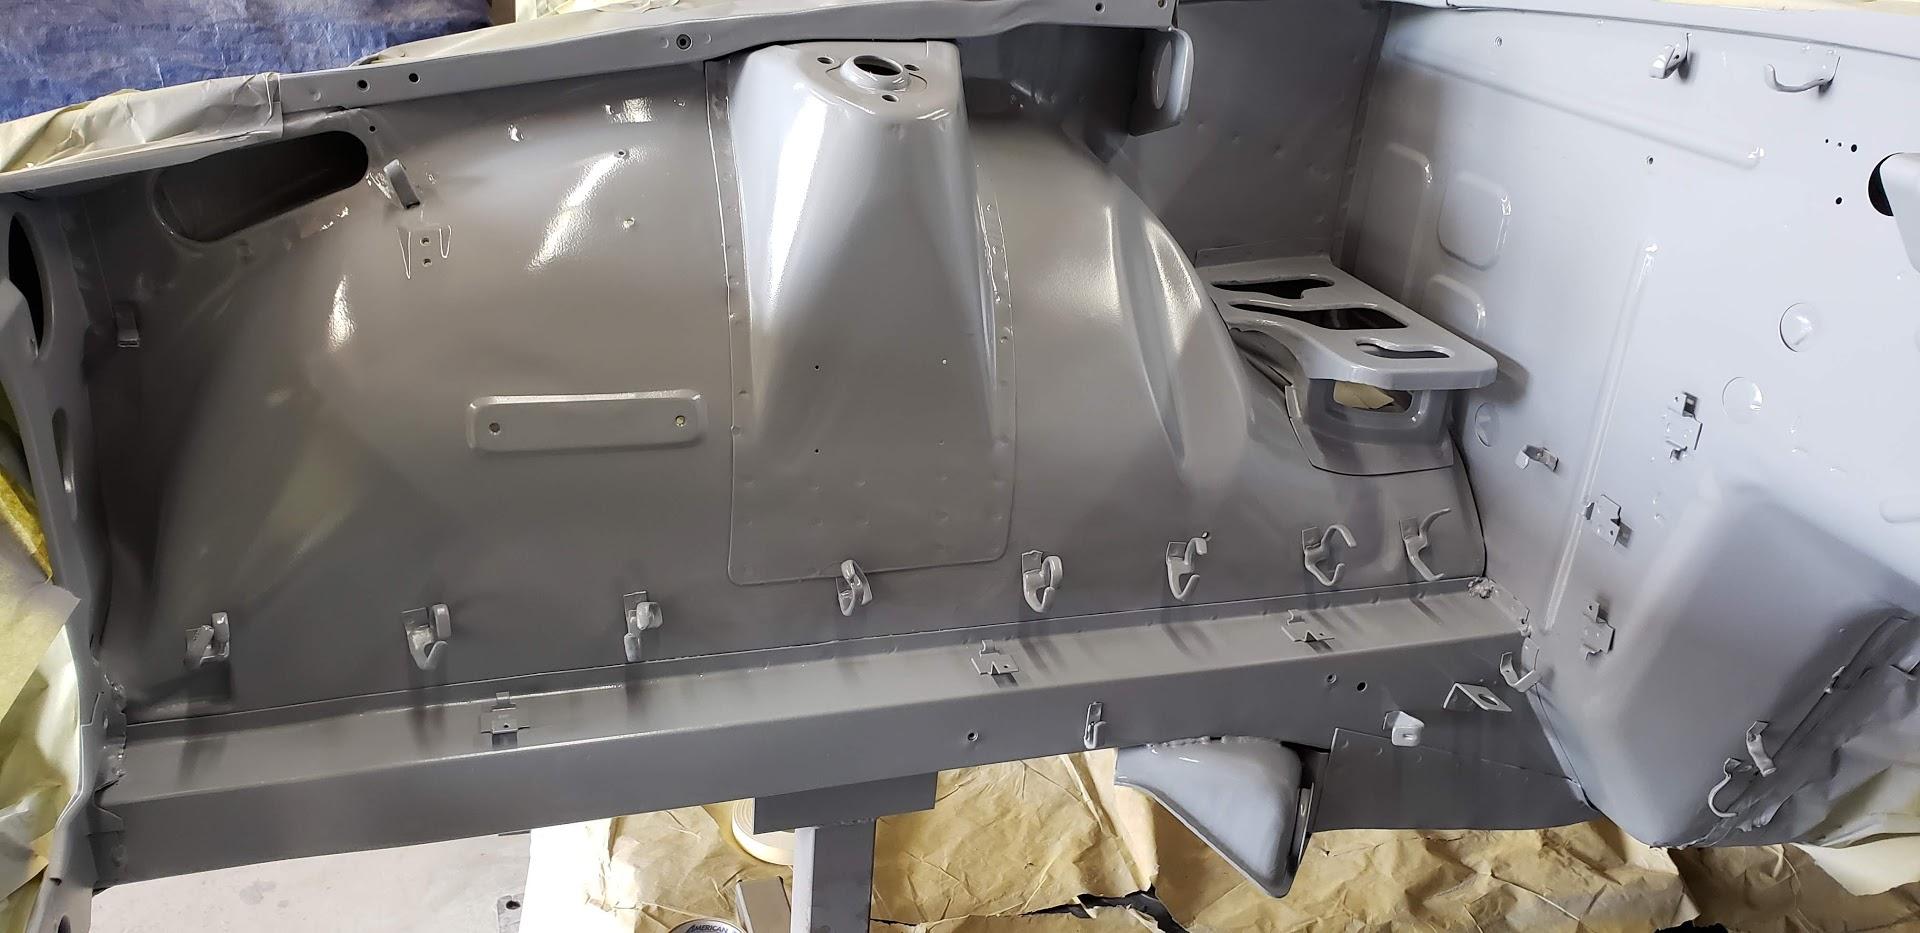
More paint shop pics...little by little.


-
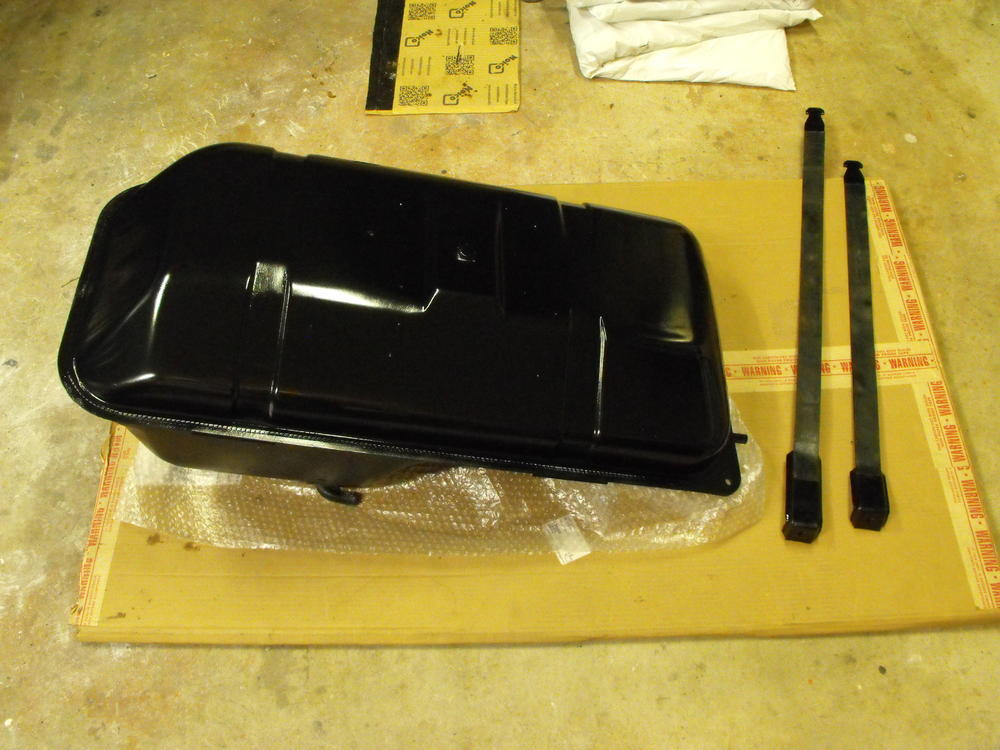
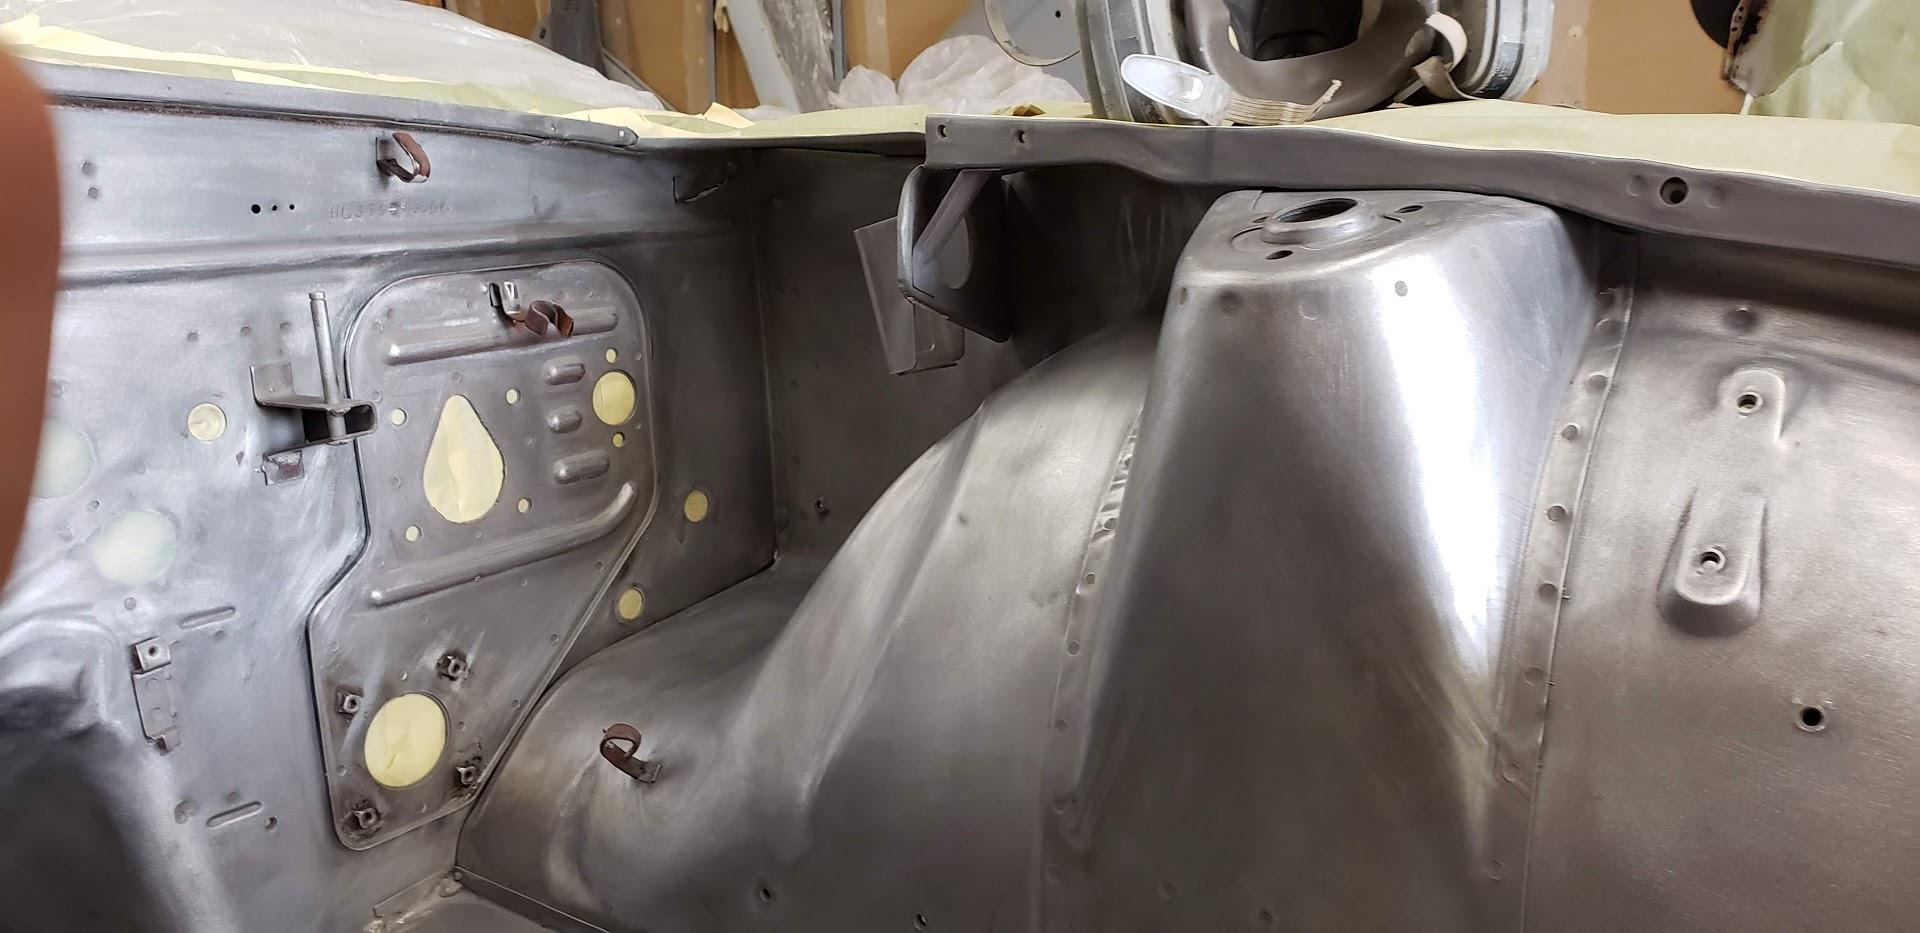
Got the fuel tank sealed, cleaned up and painted. Loosely installed the tank so I can start running all of the hoses. That's always fun.

-
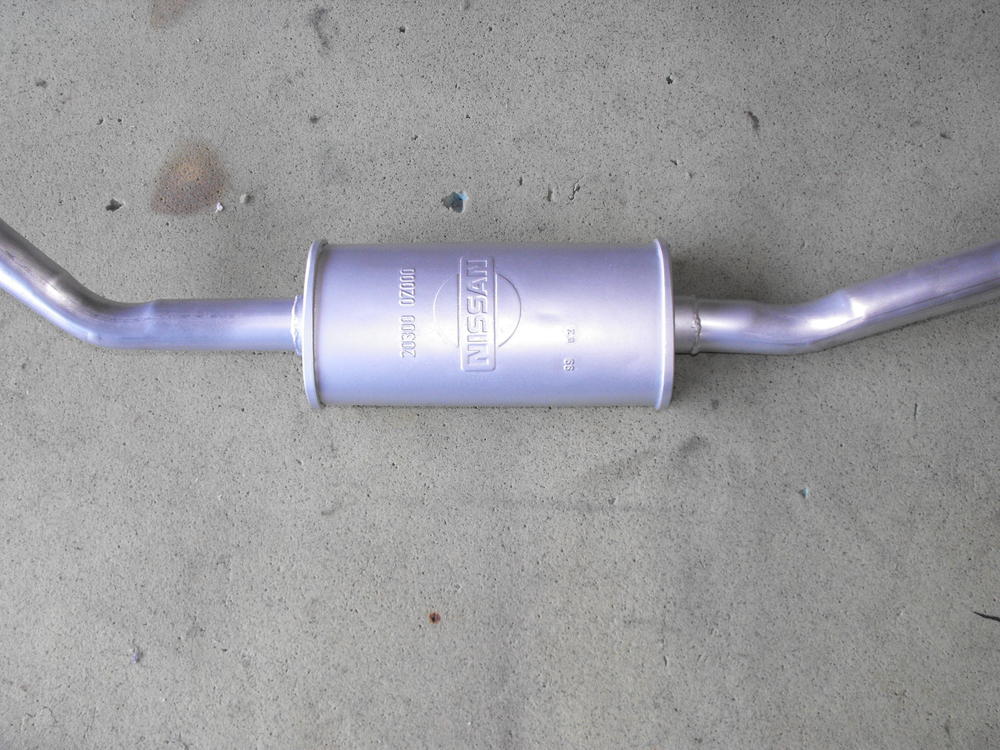
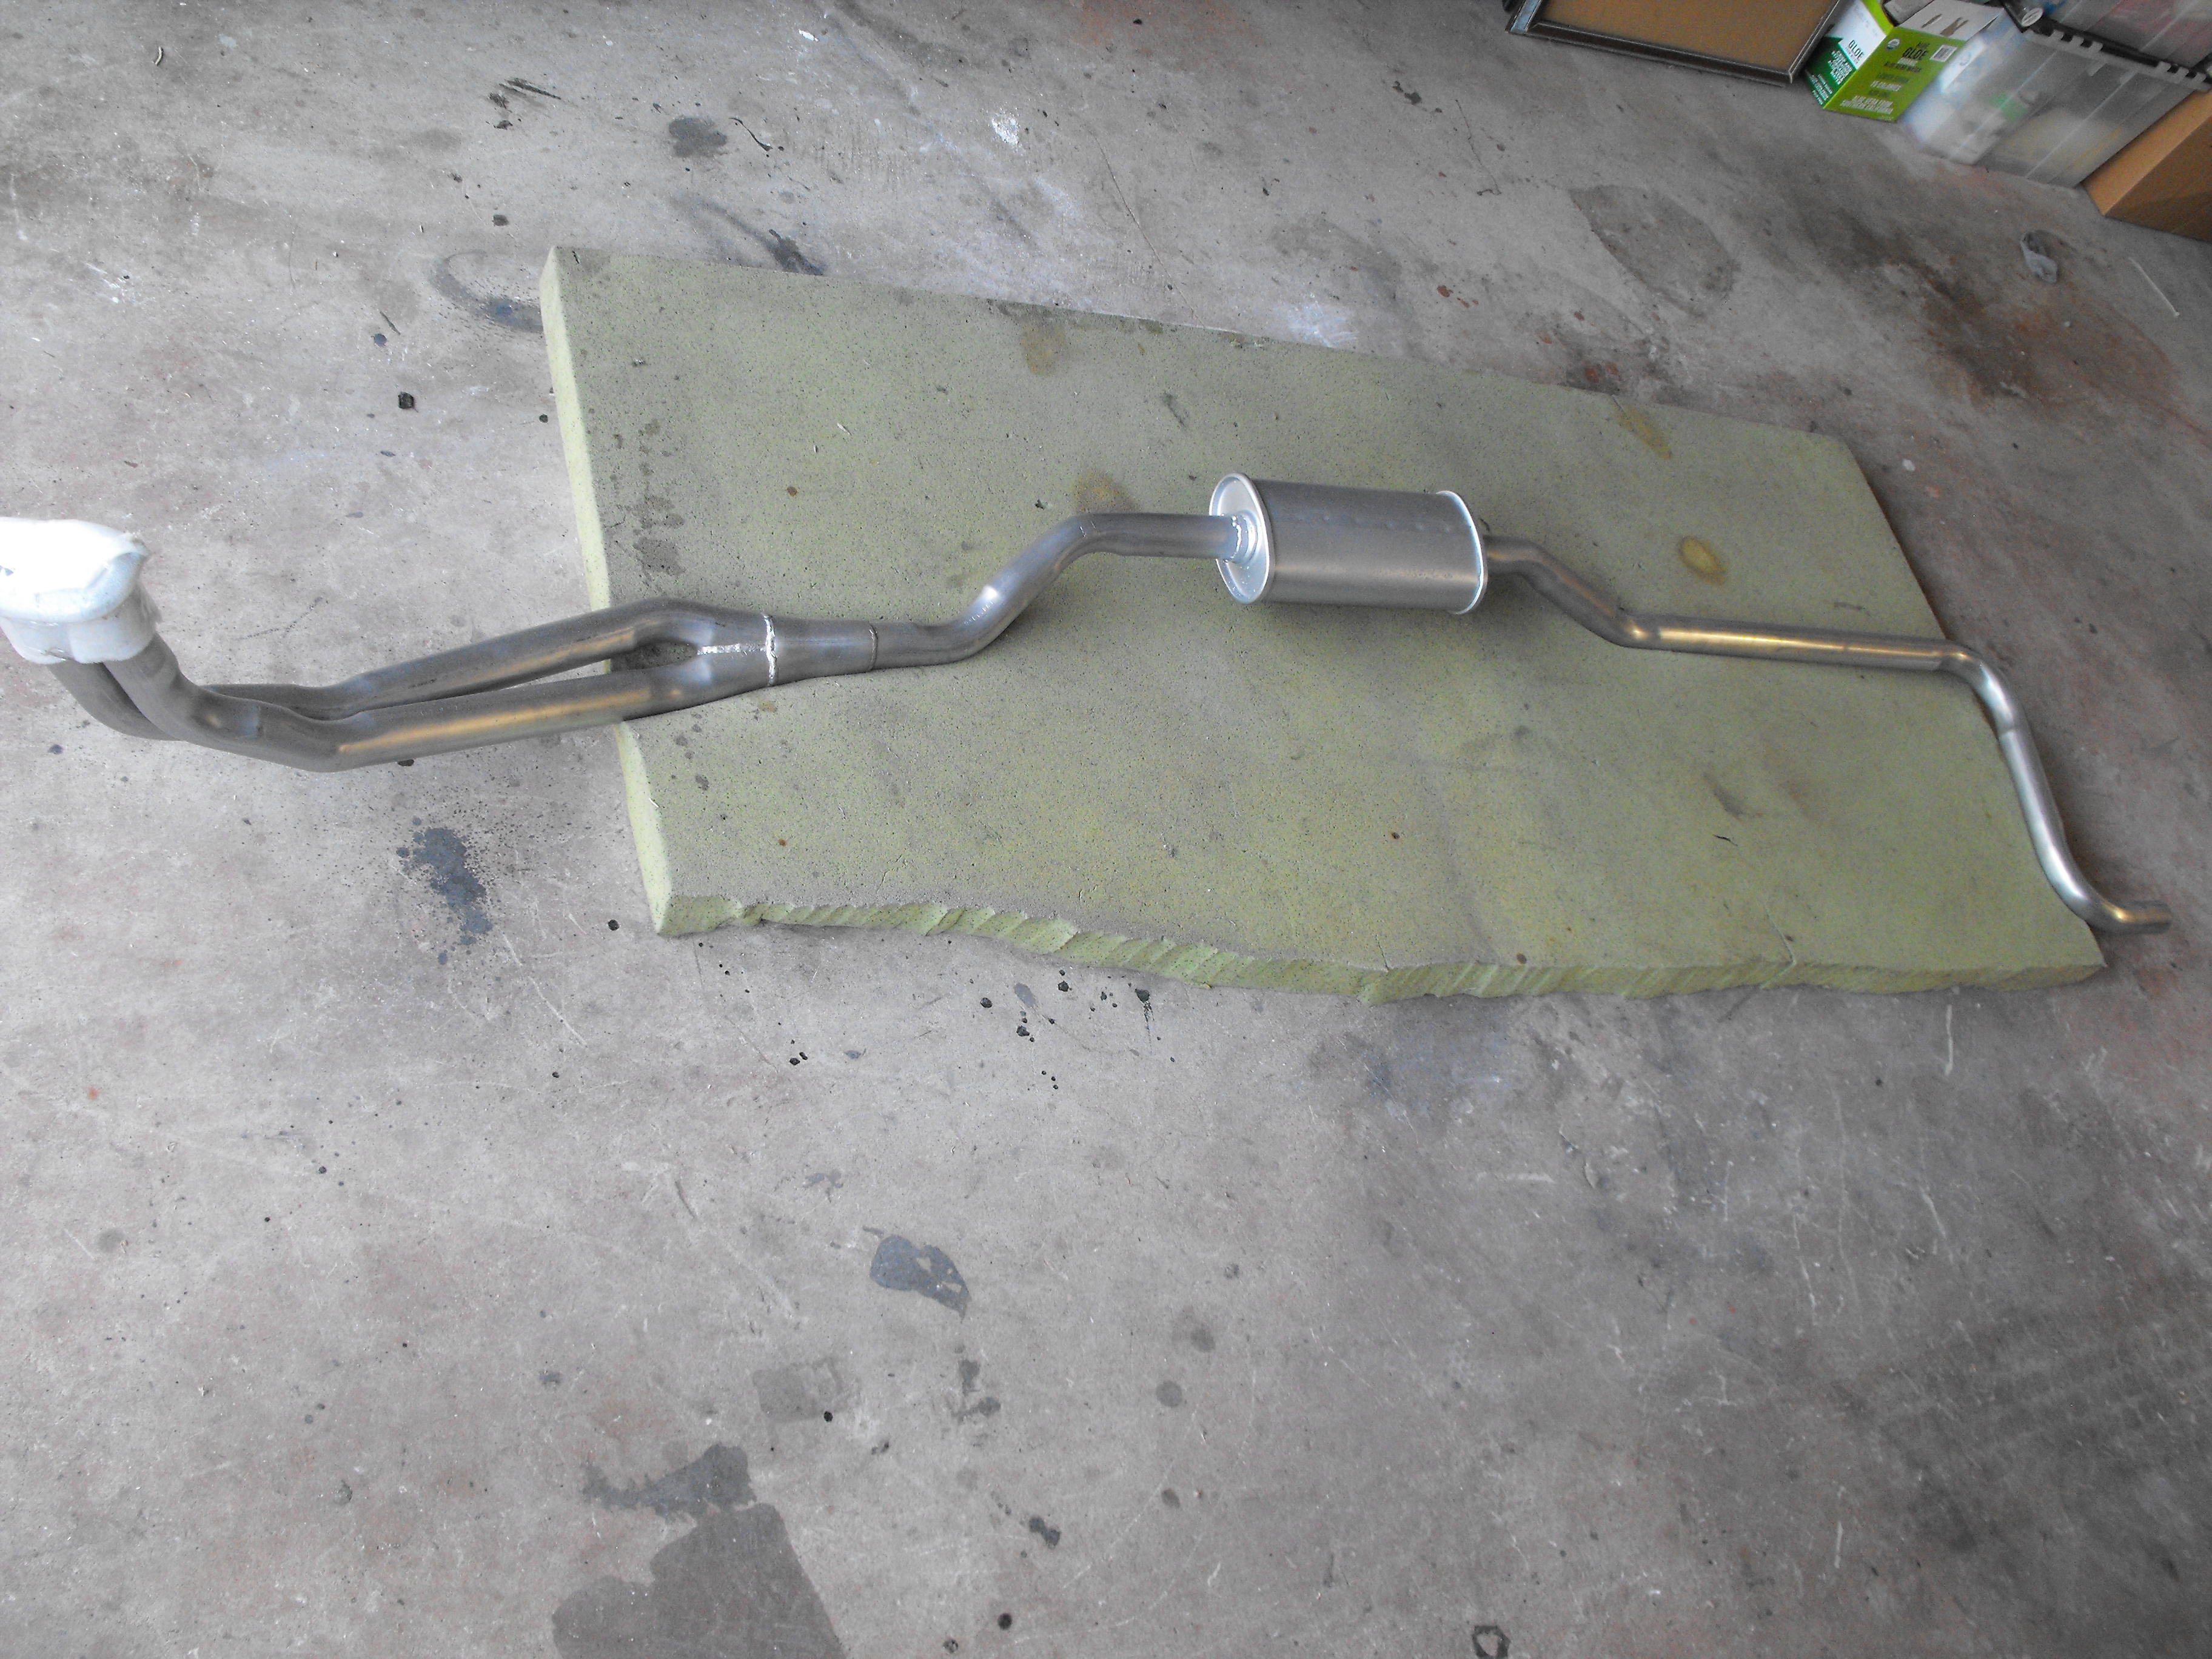
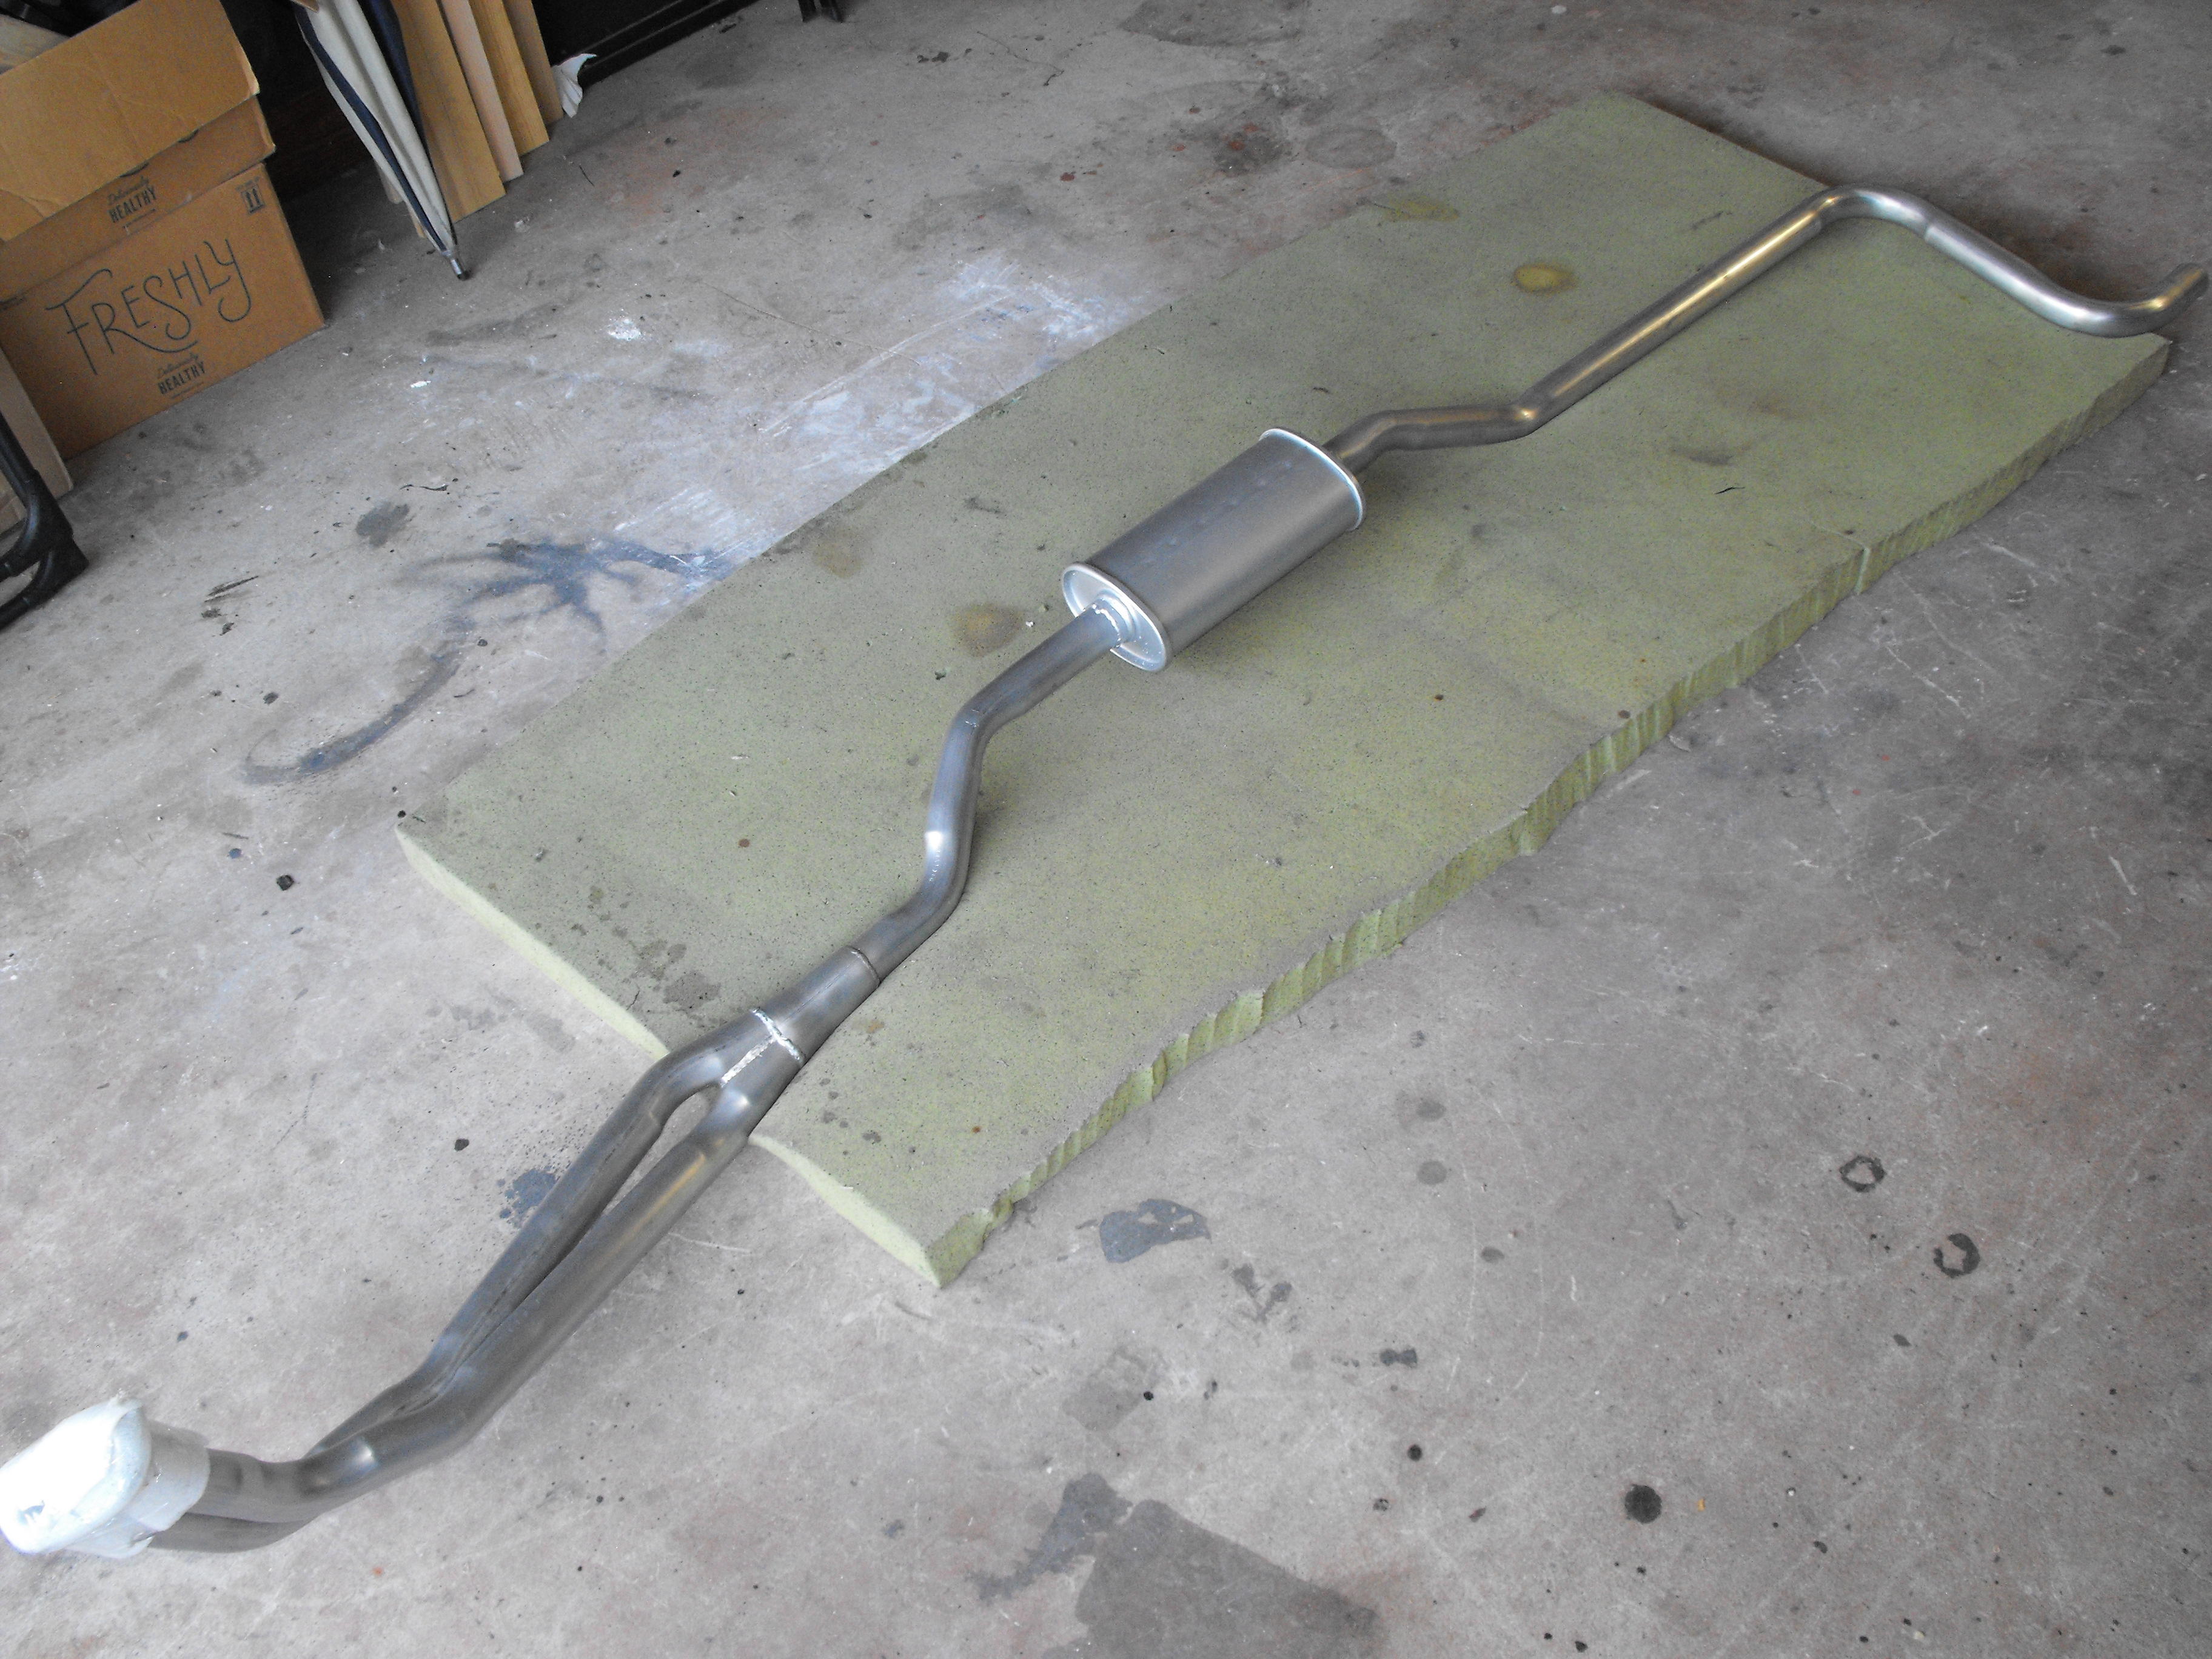
Hi Carl, I will pull out one of my old exhaust systems and put them side by side in the next day or two. My muffler guy has been around for a while and actually had a couple of these Nissan resonators back in his storage. Unfortunately, I think he said this is his last one and I actually need another one made for my white Z. I am not sure what Nissan model they were made for. I think he told me but I forgot. I will save the part number and probably keep a look out on eBay. I am surprised that Jay does not make these. He makes the front and the back, but not the middle section. My muffler guy does a pretty good job with these as the last one went in perfectly.
-
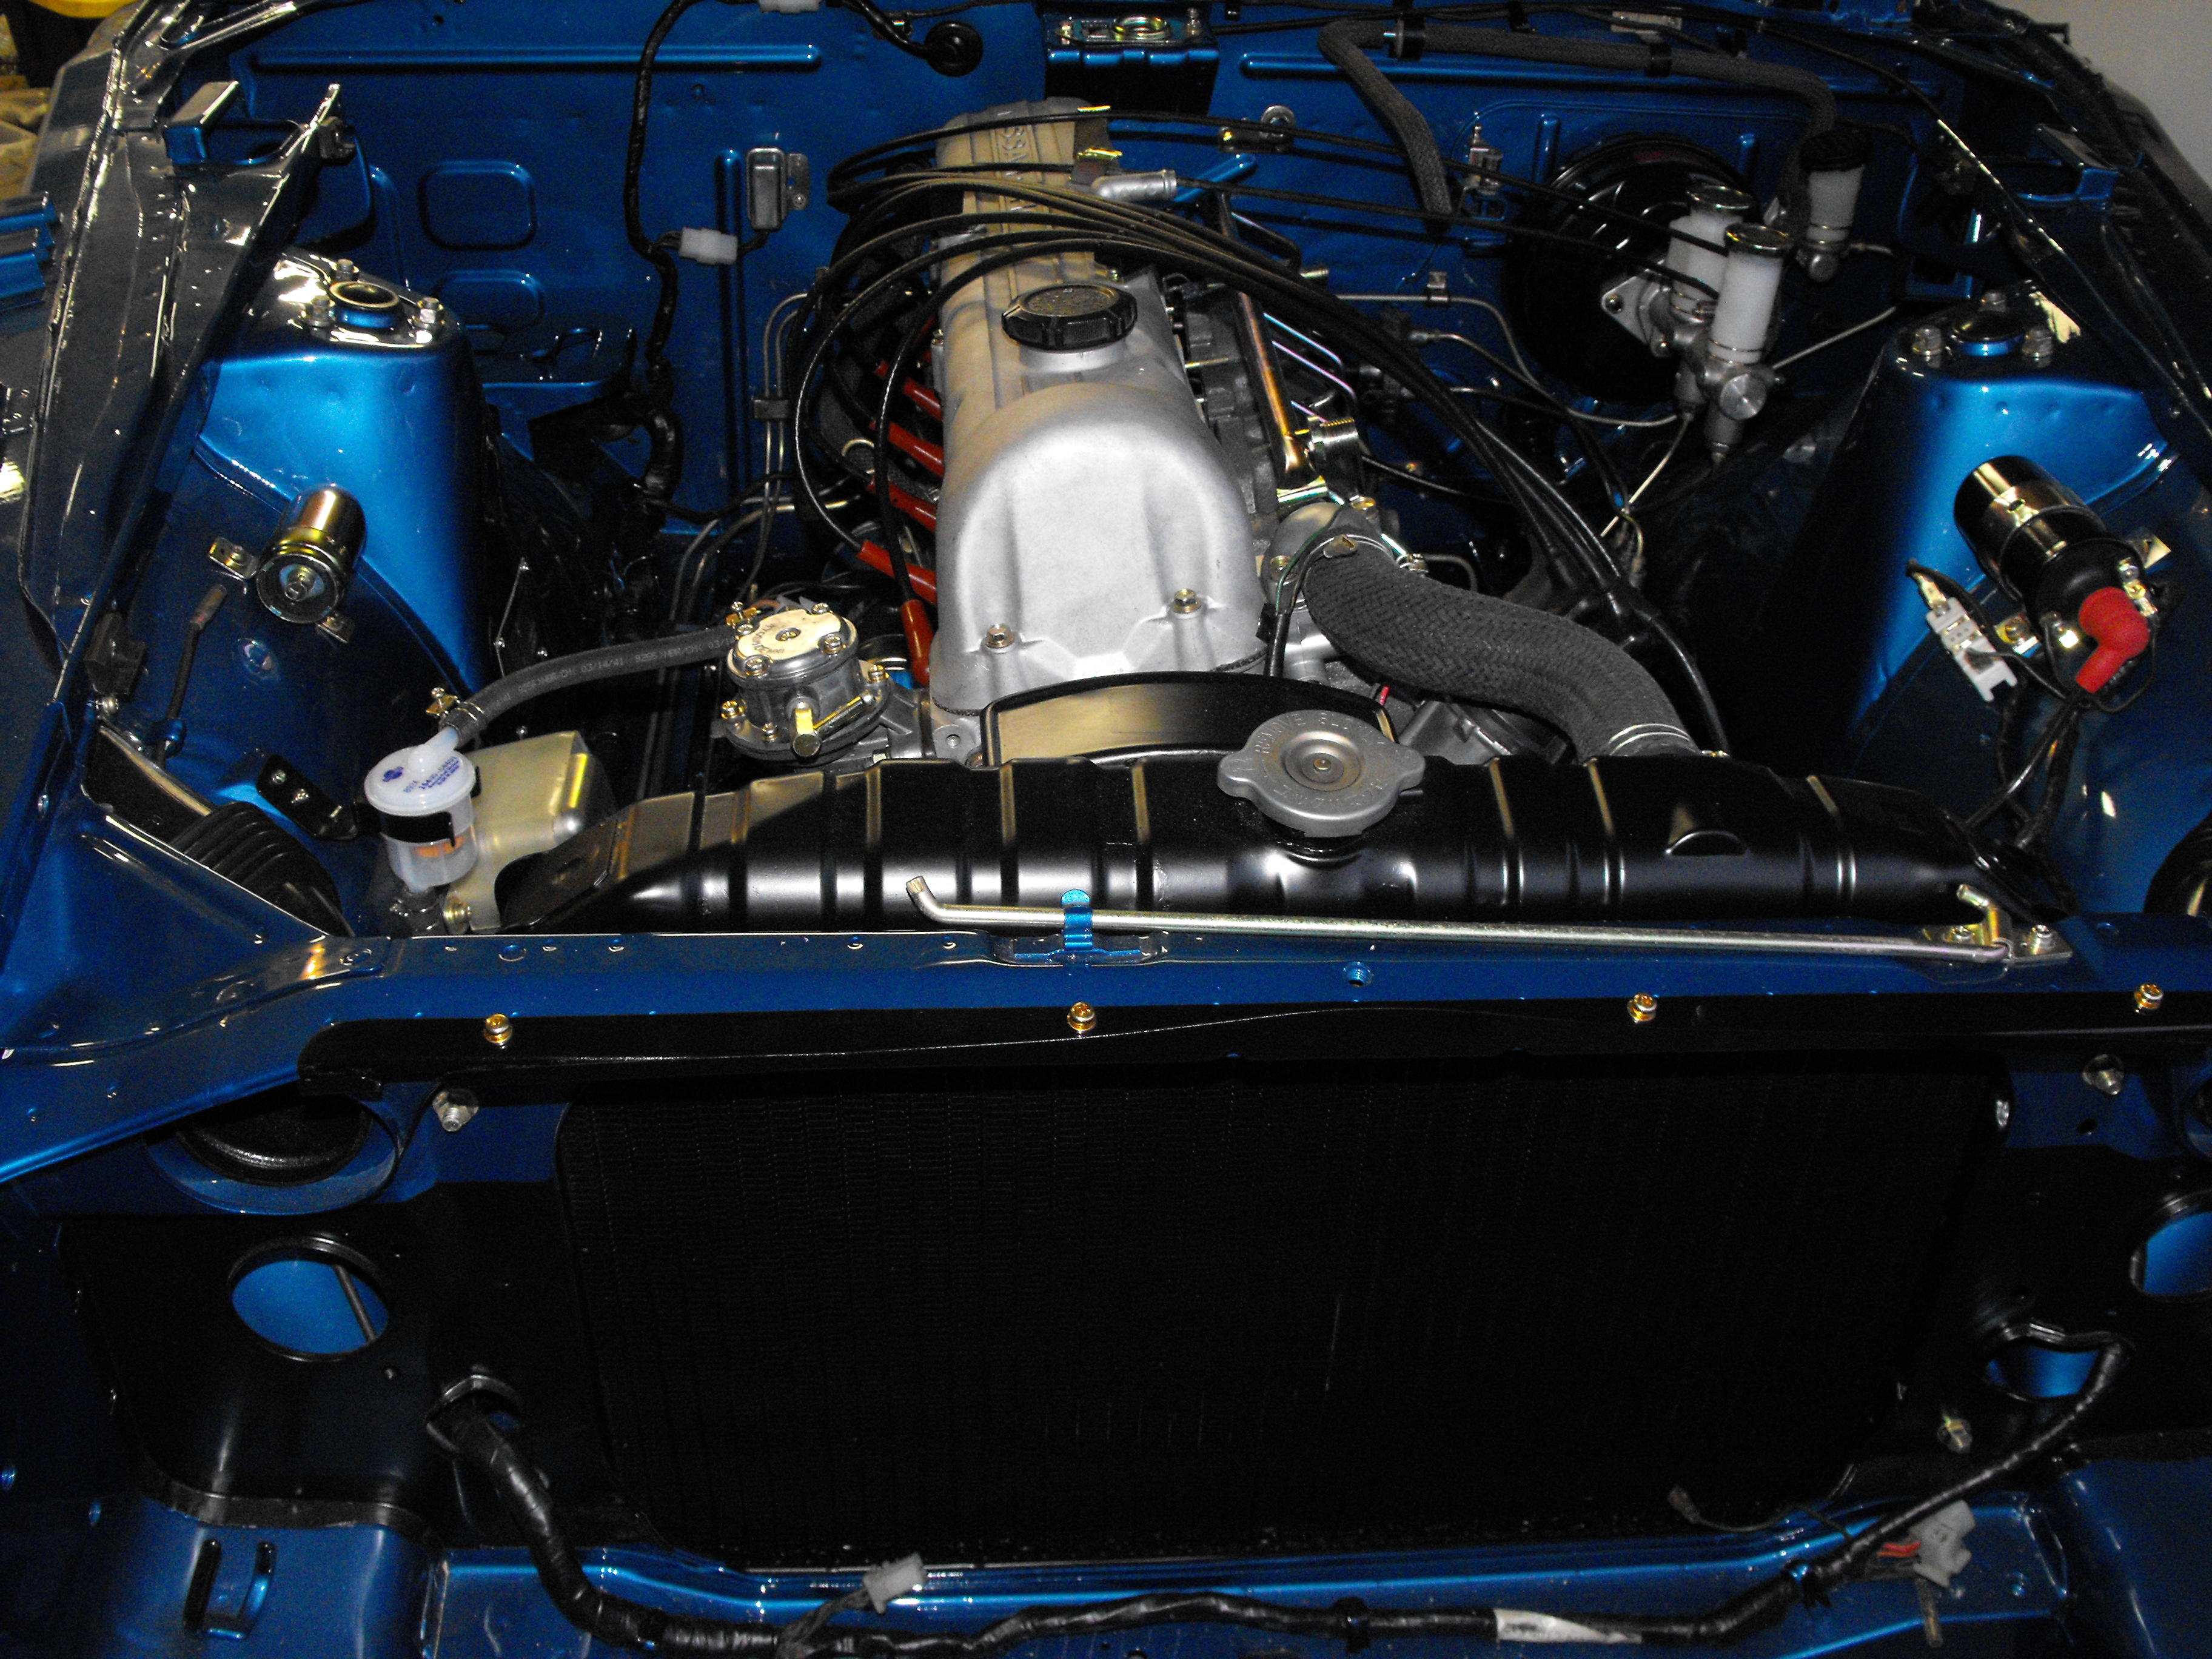
Here are pics of the exhaust system. I brought an original exhaust system to my muffler guy and he replicated it using a Nissan resonator. Downpipe and Rear muffler with tip (not shown) are all from jdm-car-parts.com. This is the same set-up I did on the previous build and it sounds great. Got a couple of the core plugs replaced.


-
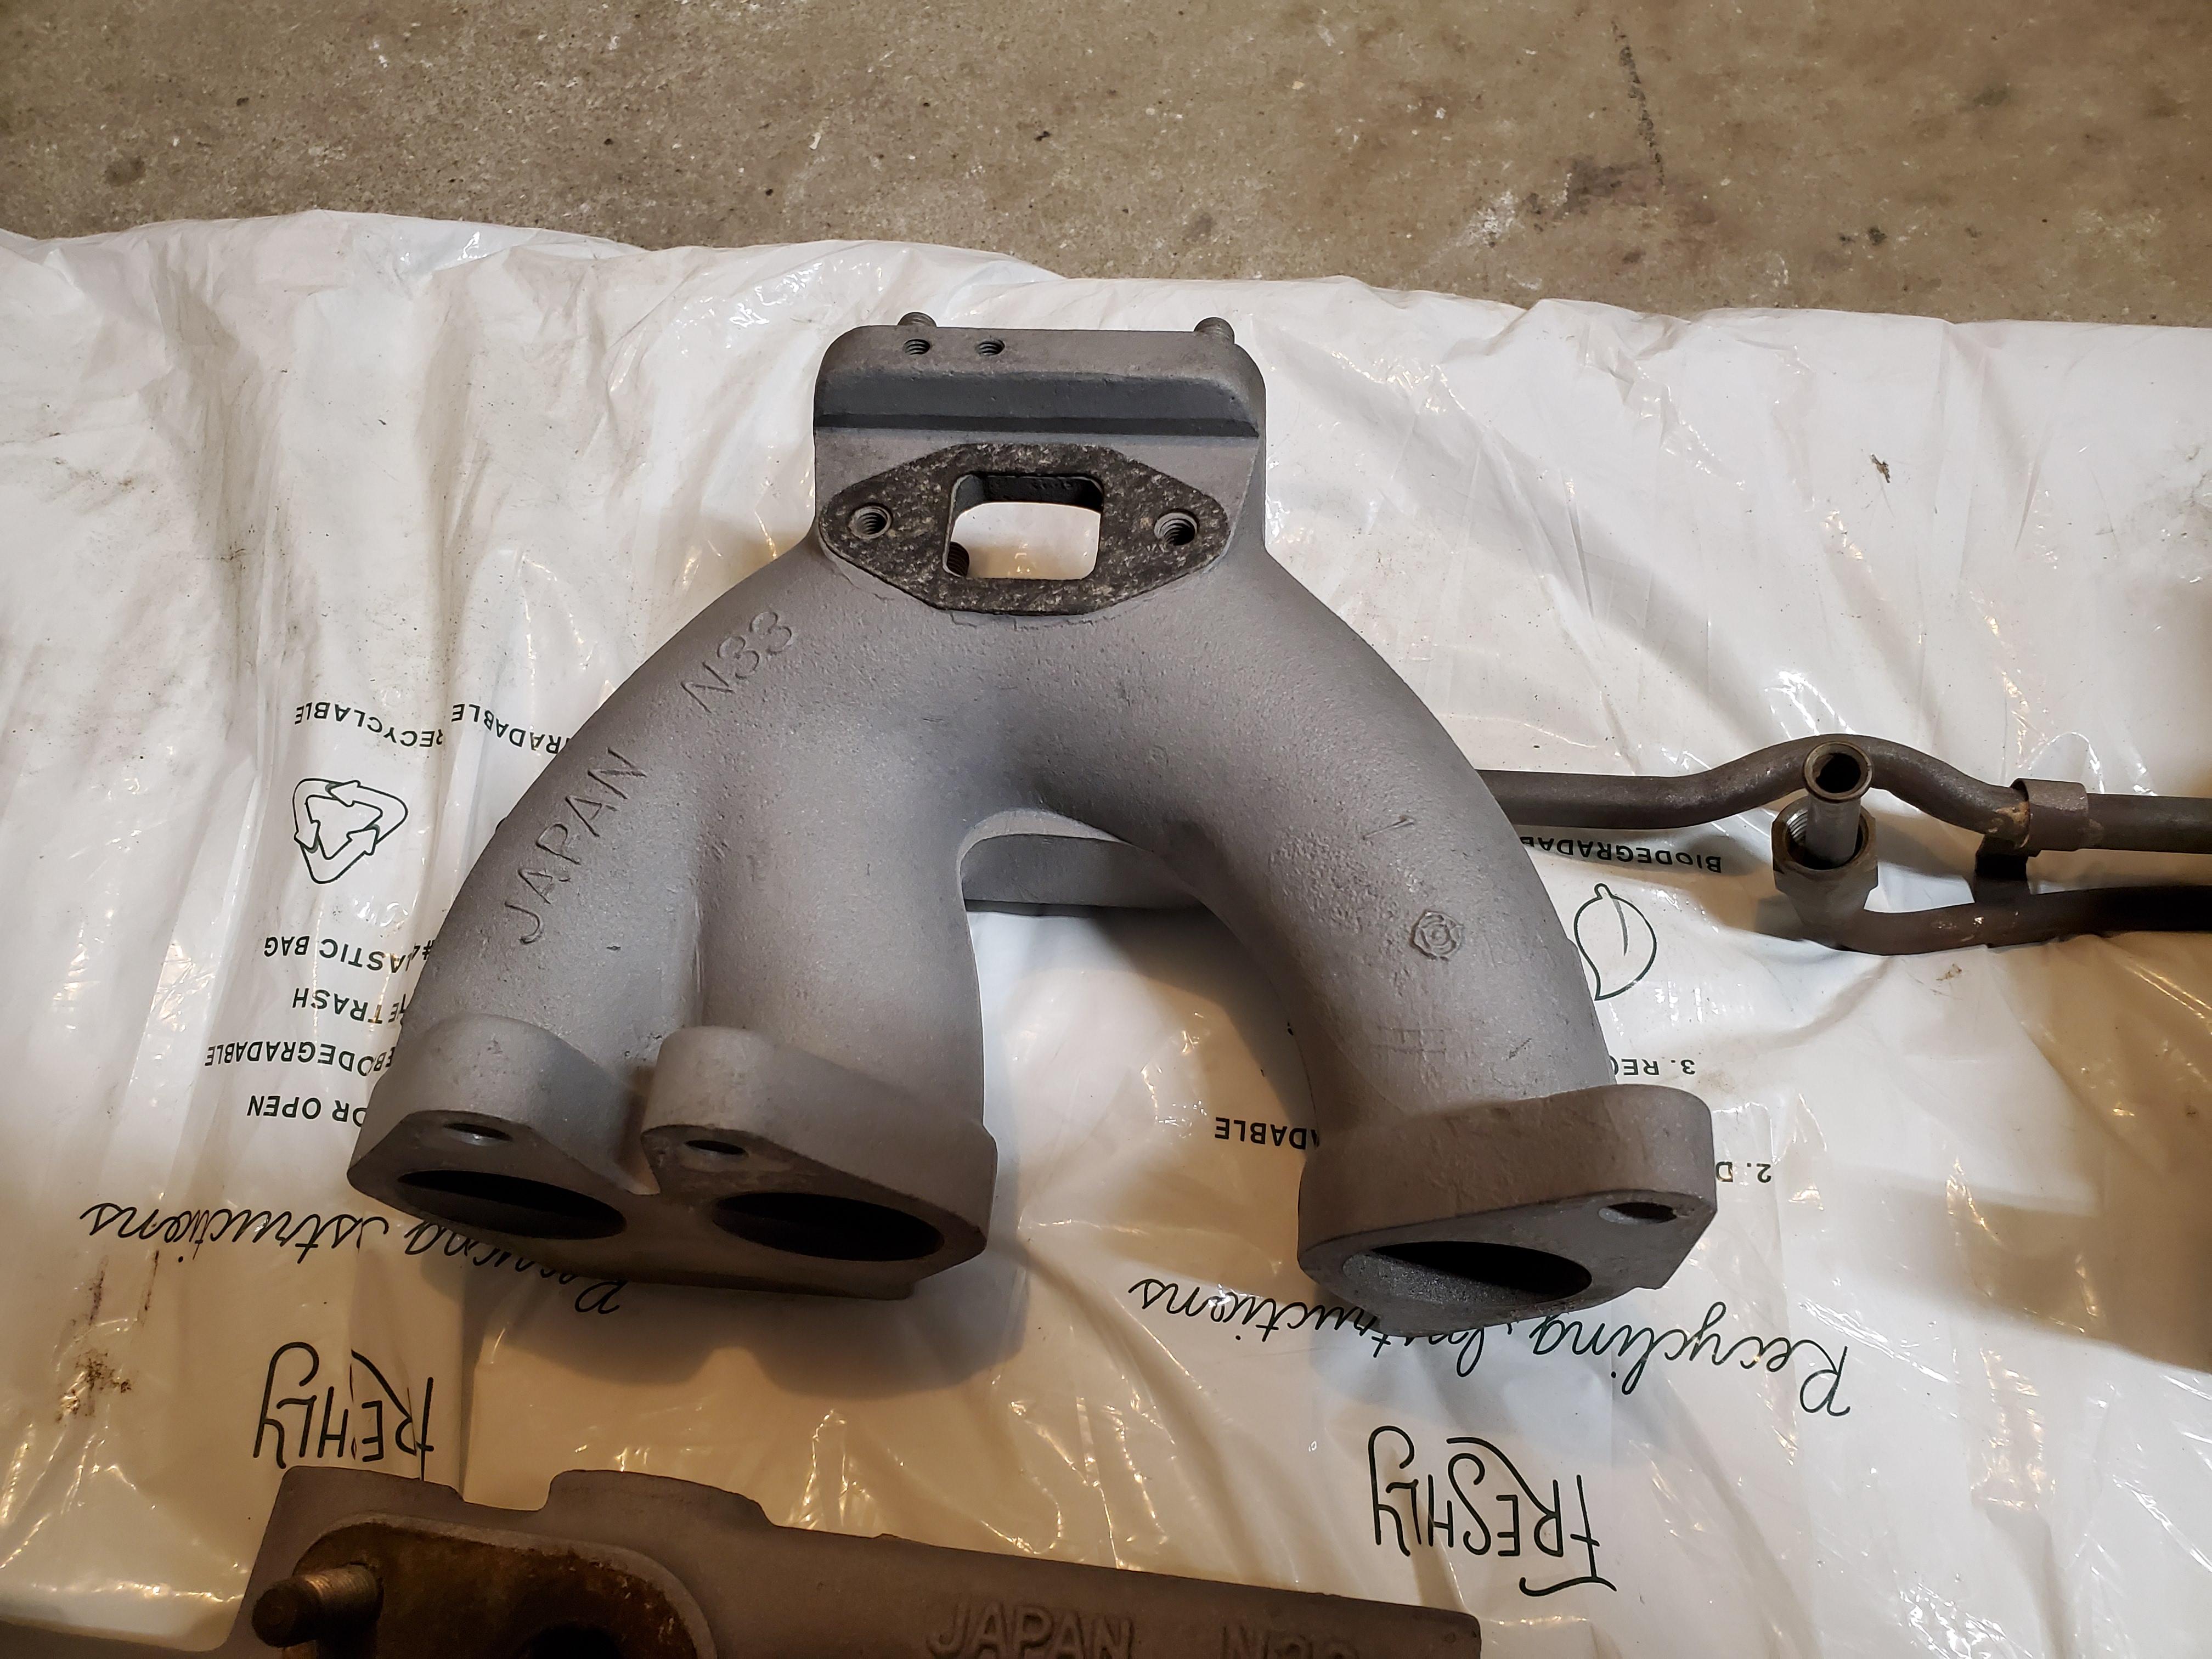
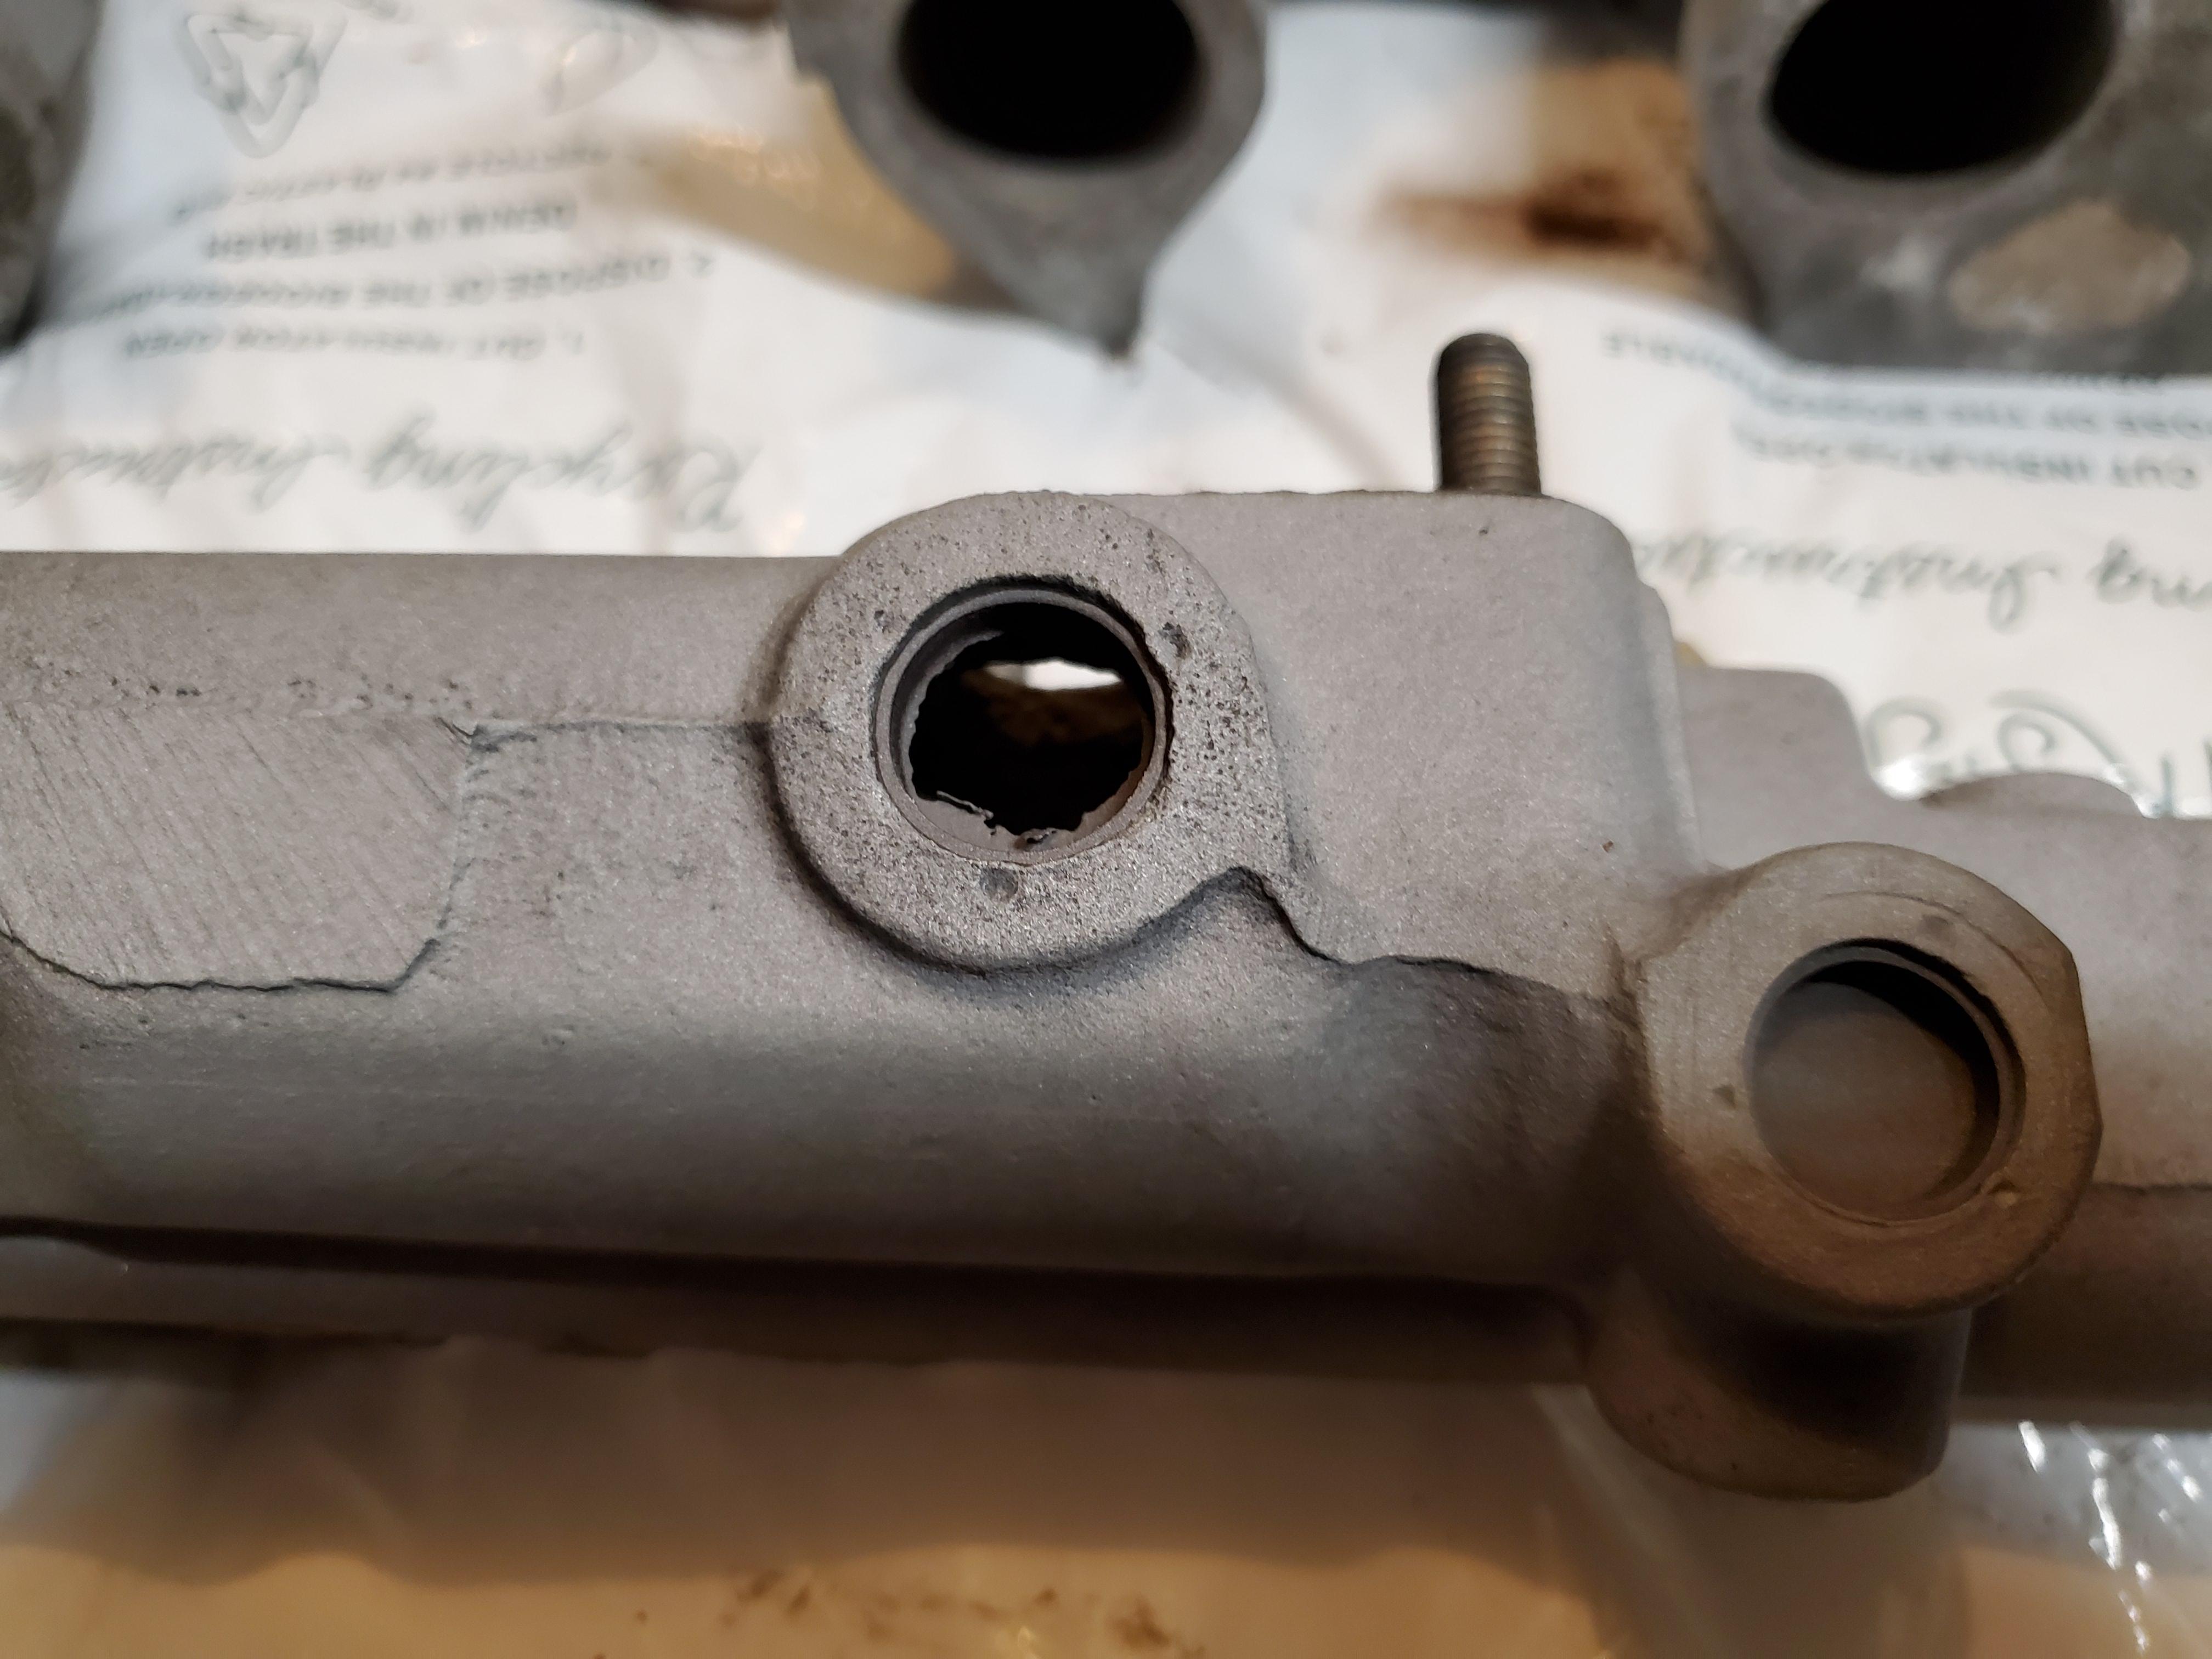
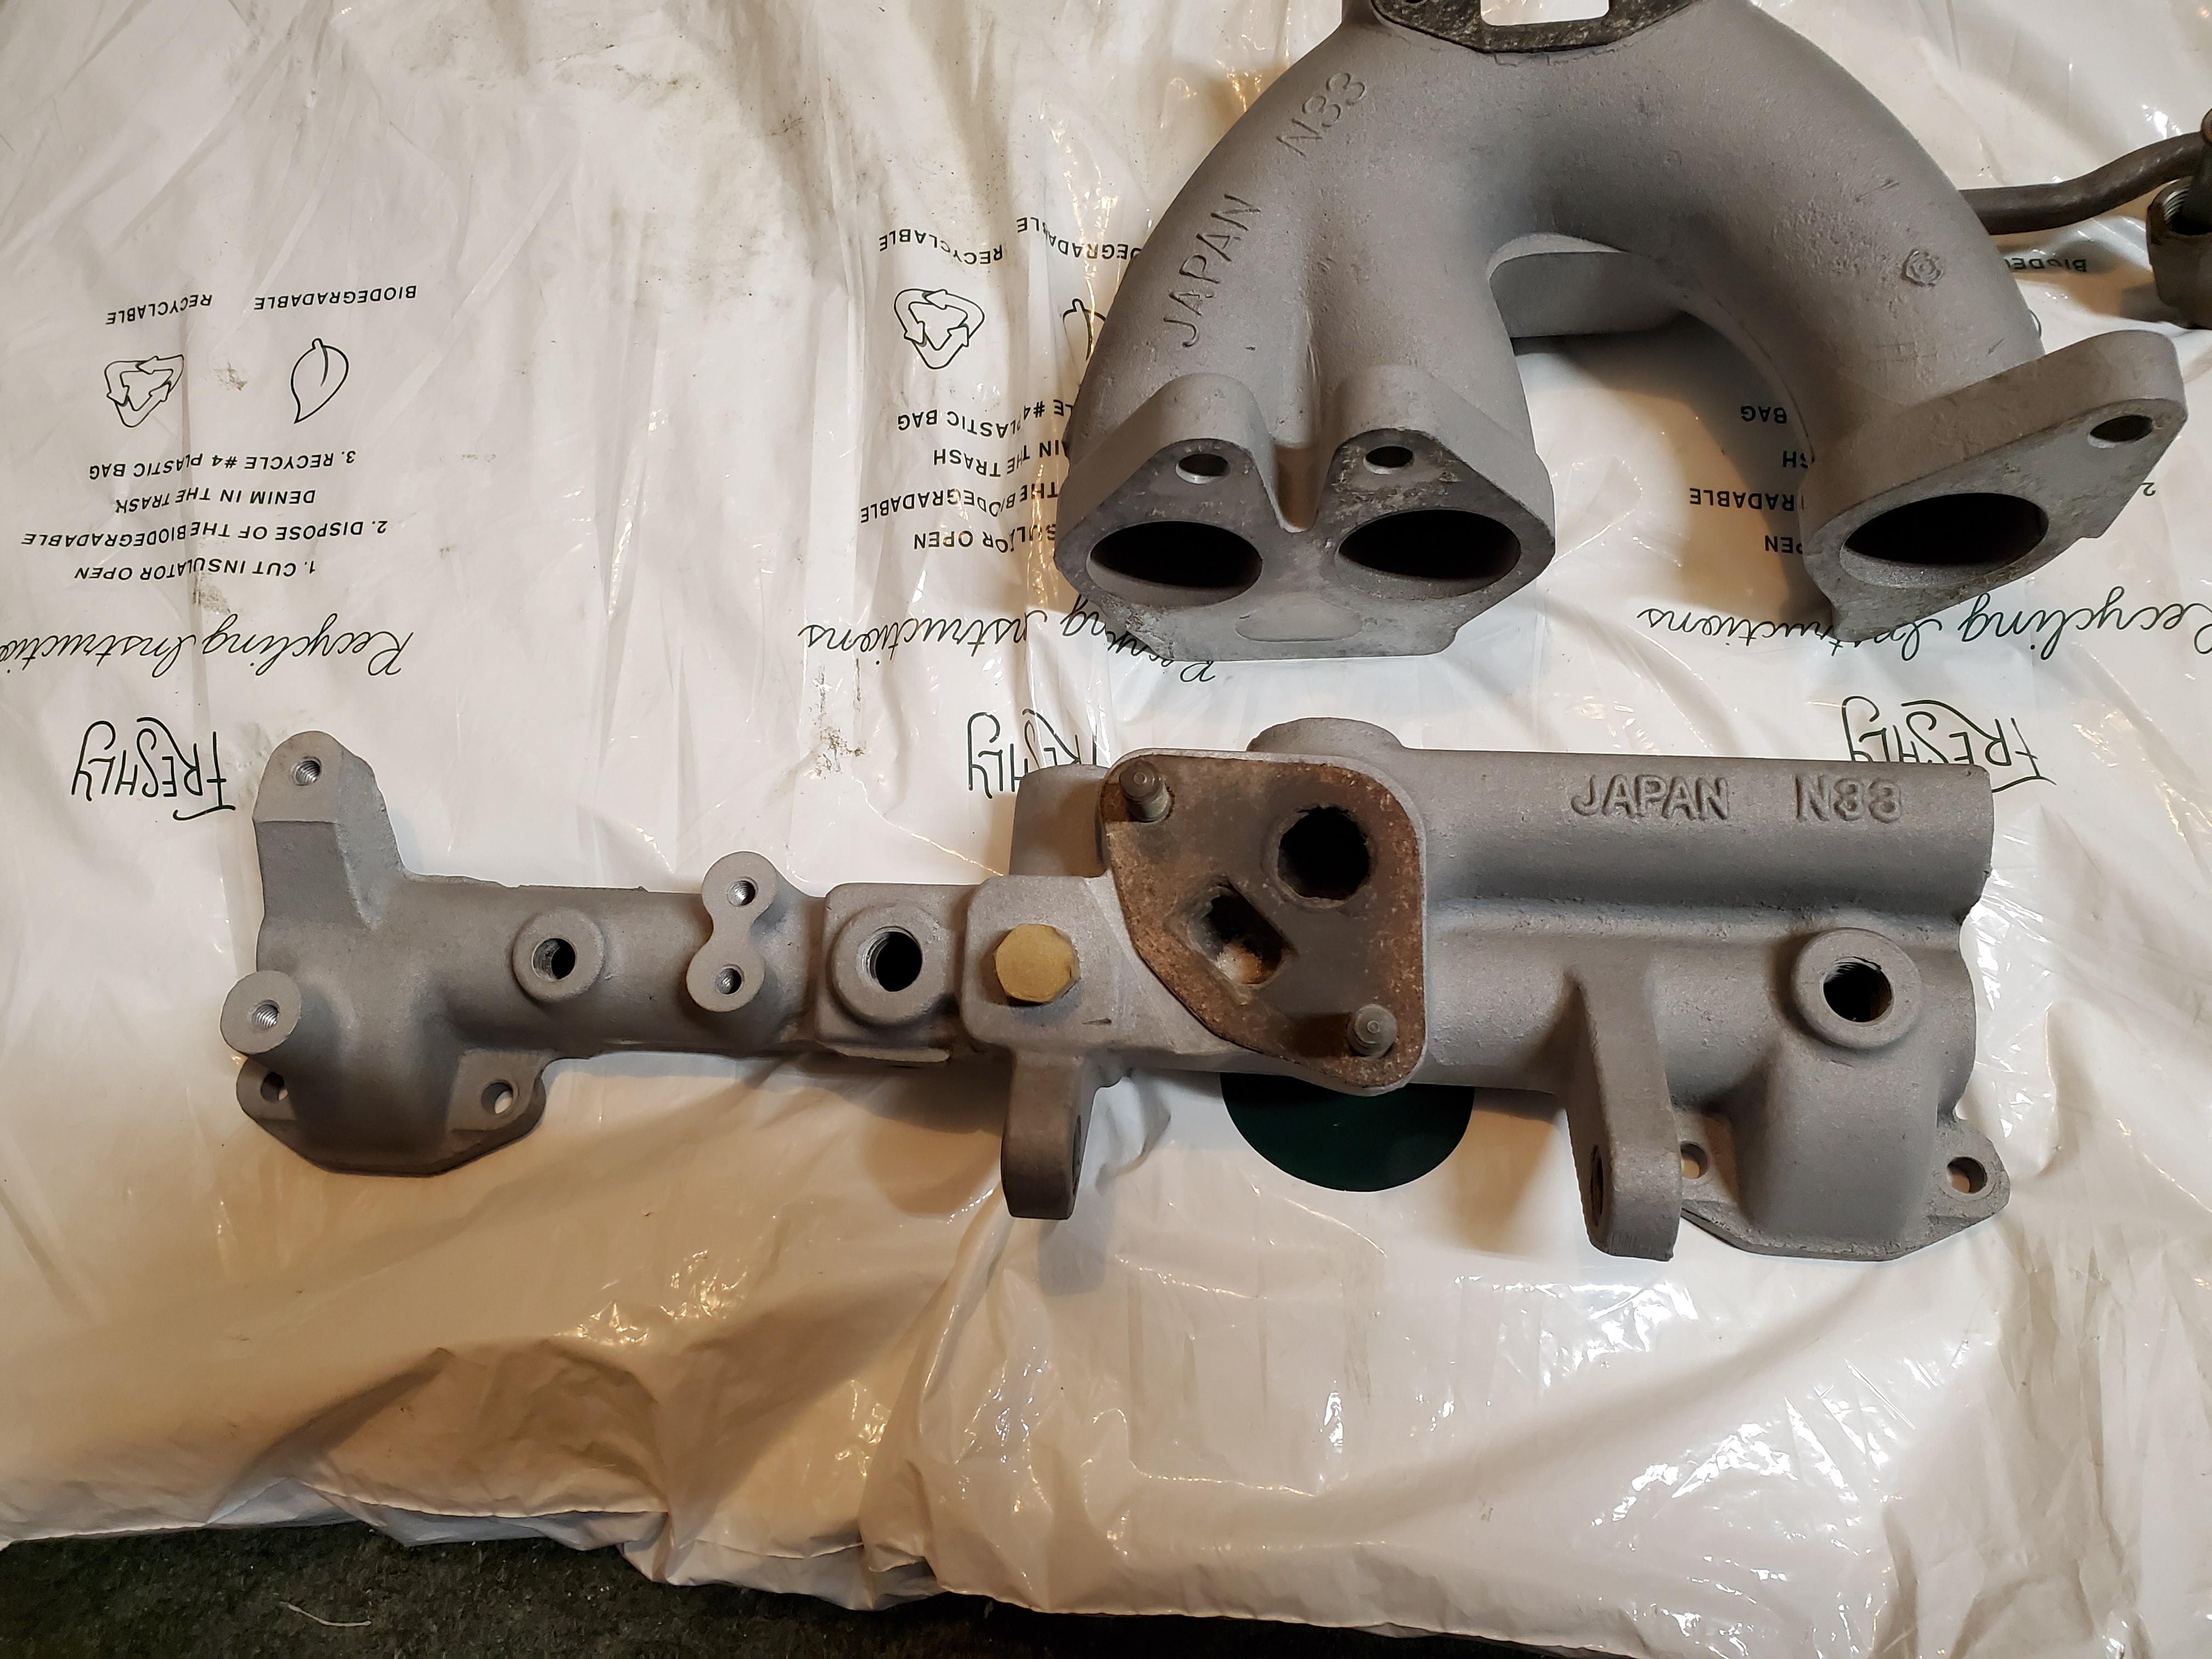
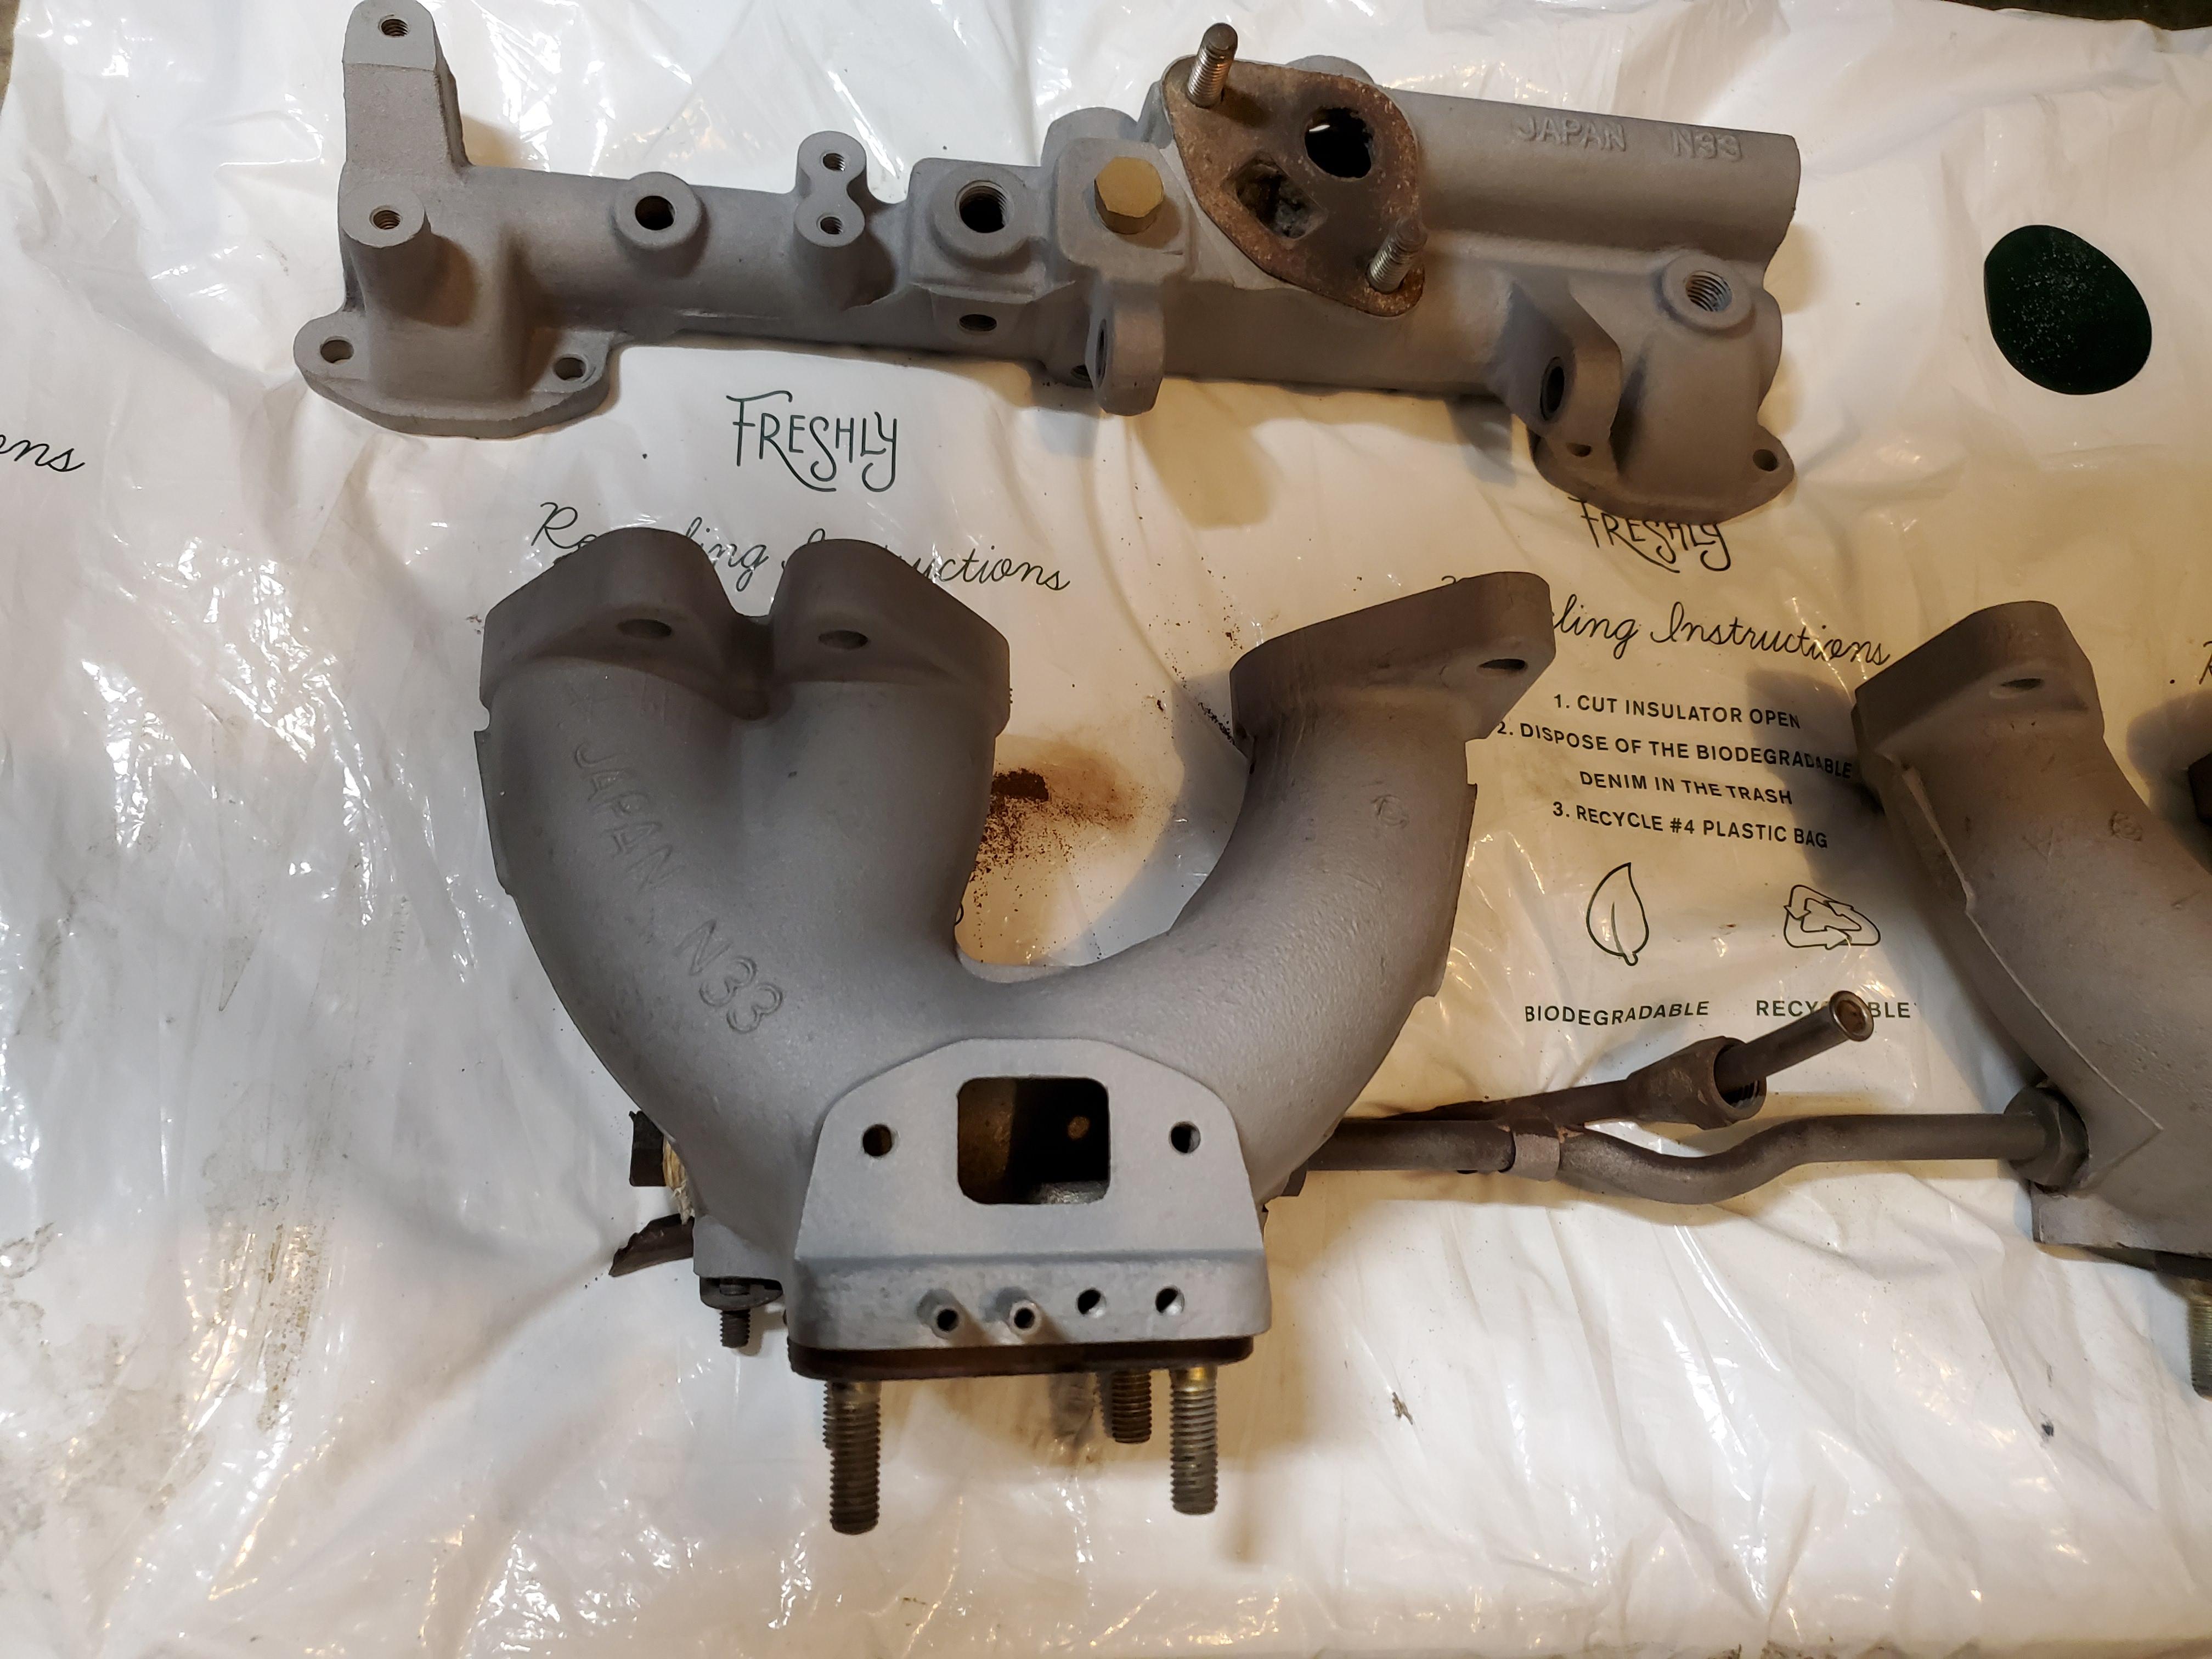
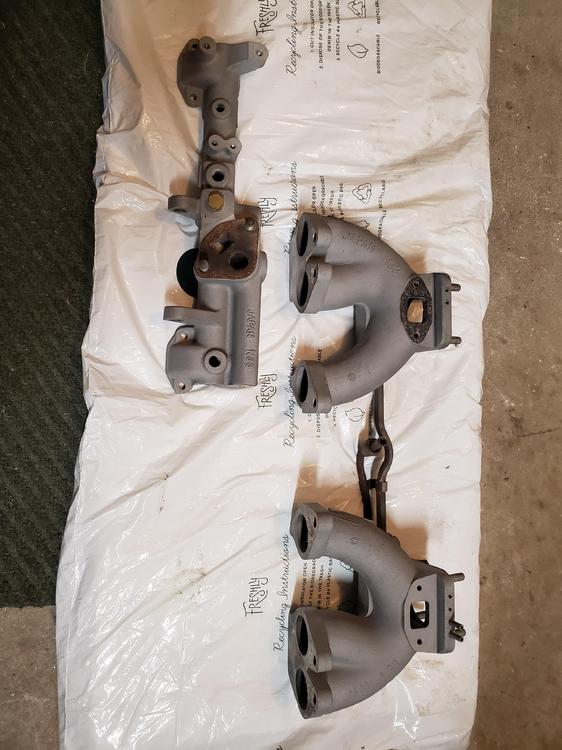
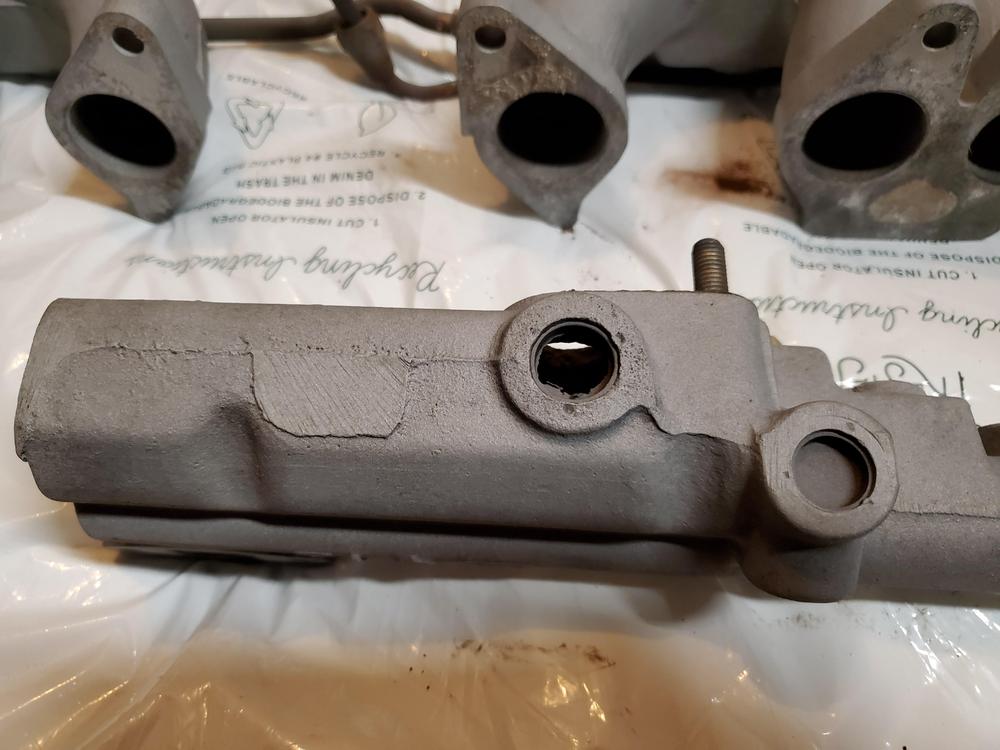
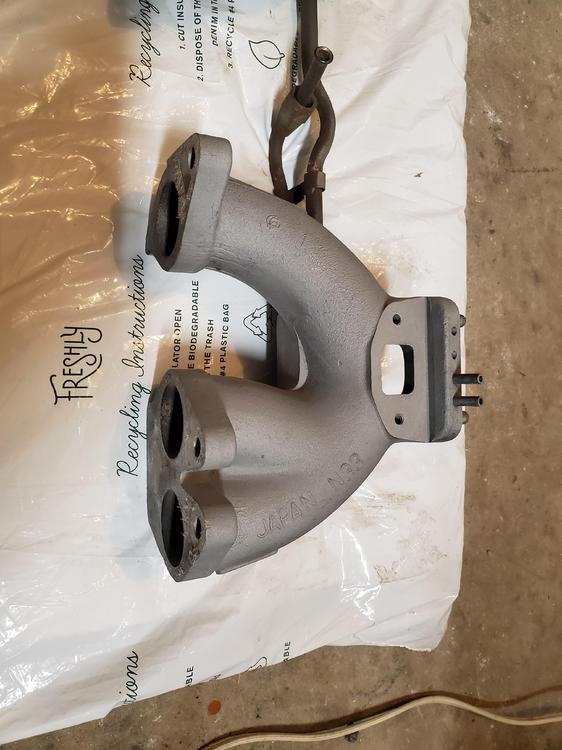
Got the intake and balance tube bead blasted. I finished those off with a coat of matte clear to help with finger print removal. I probably should have removed the gaskets before I had the bead blast done. Noticed one damaged core plug in what looks to be the exhaust port of the balance tube. Working with parts store now to replace all of the core plugs. Also got the fuel tank cleaned and sealed and the new exhaust bent and welded up. Will post pics of those later.
.thumb.jpg.1a540fa6fef4662758700520a47e2d95.jpg)


-
No prob. Wasn't sure. Unfortunately, as I have gotten older, I have also become a bit more opinionated. Not sure why that is. Hair is graying also ☺️
-
OUCH!...Sorry about that. Back to minding my own business.
-
Hi Careless, Send me a link when you get a chance. This is the stuff I ahave been using, which is the closest that I have found to the OEM. http://newcoproducts.com/index.php?route=product/category&path=34_44_304
-
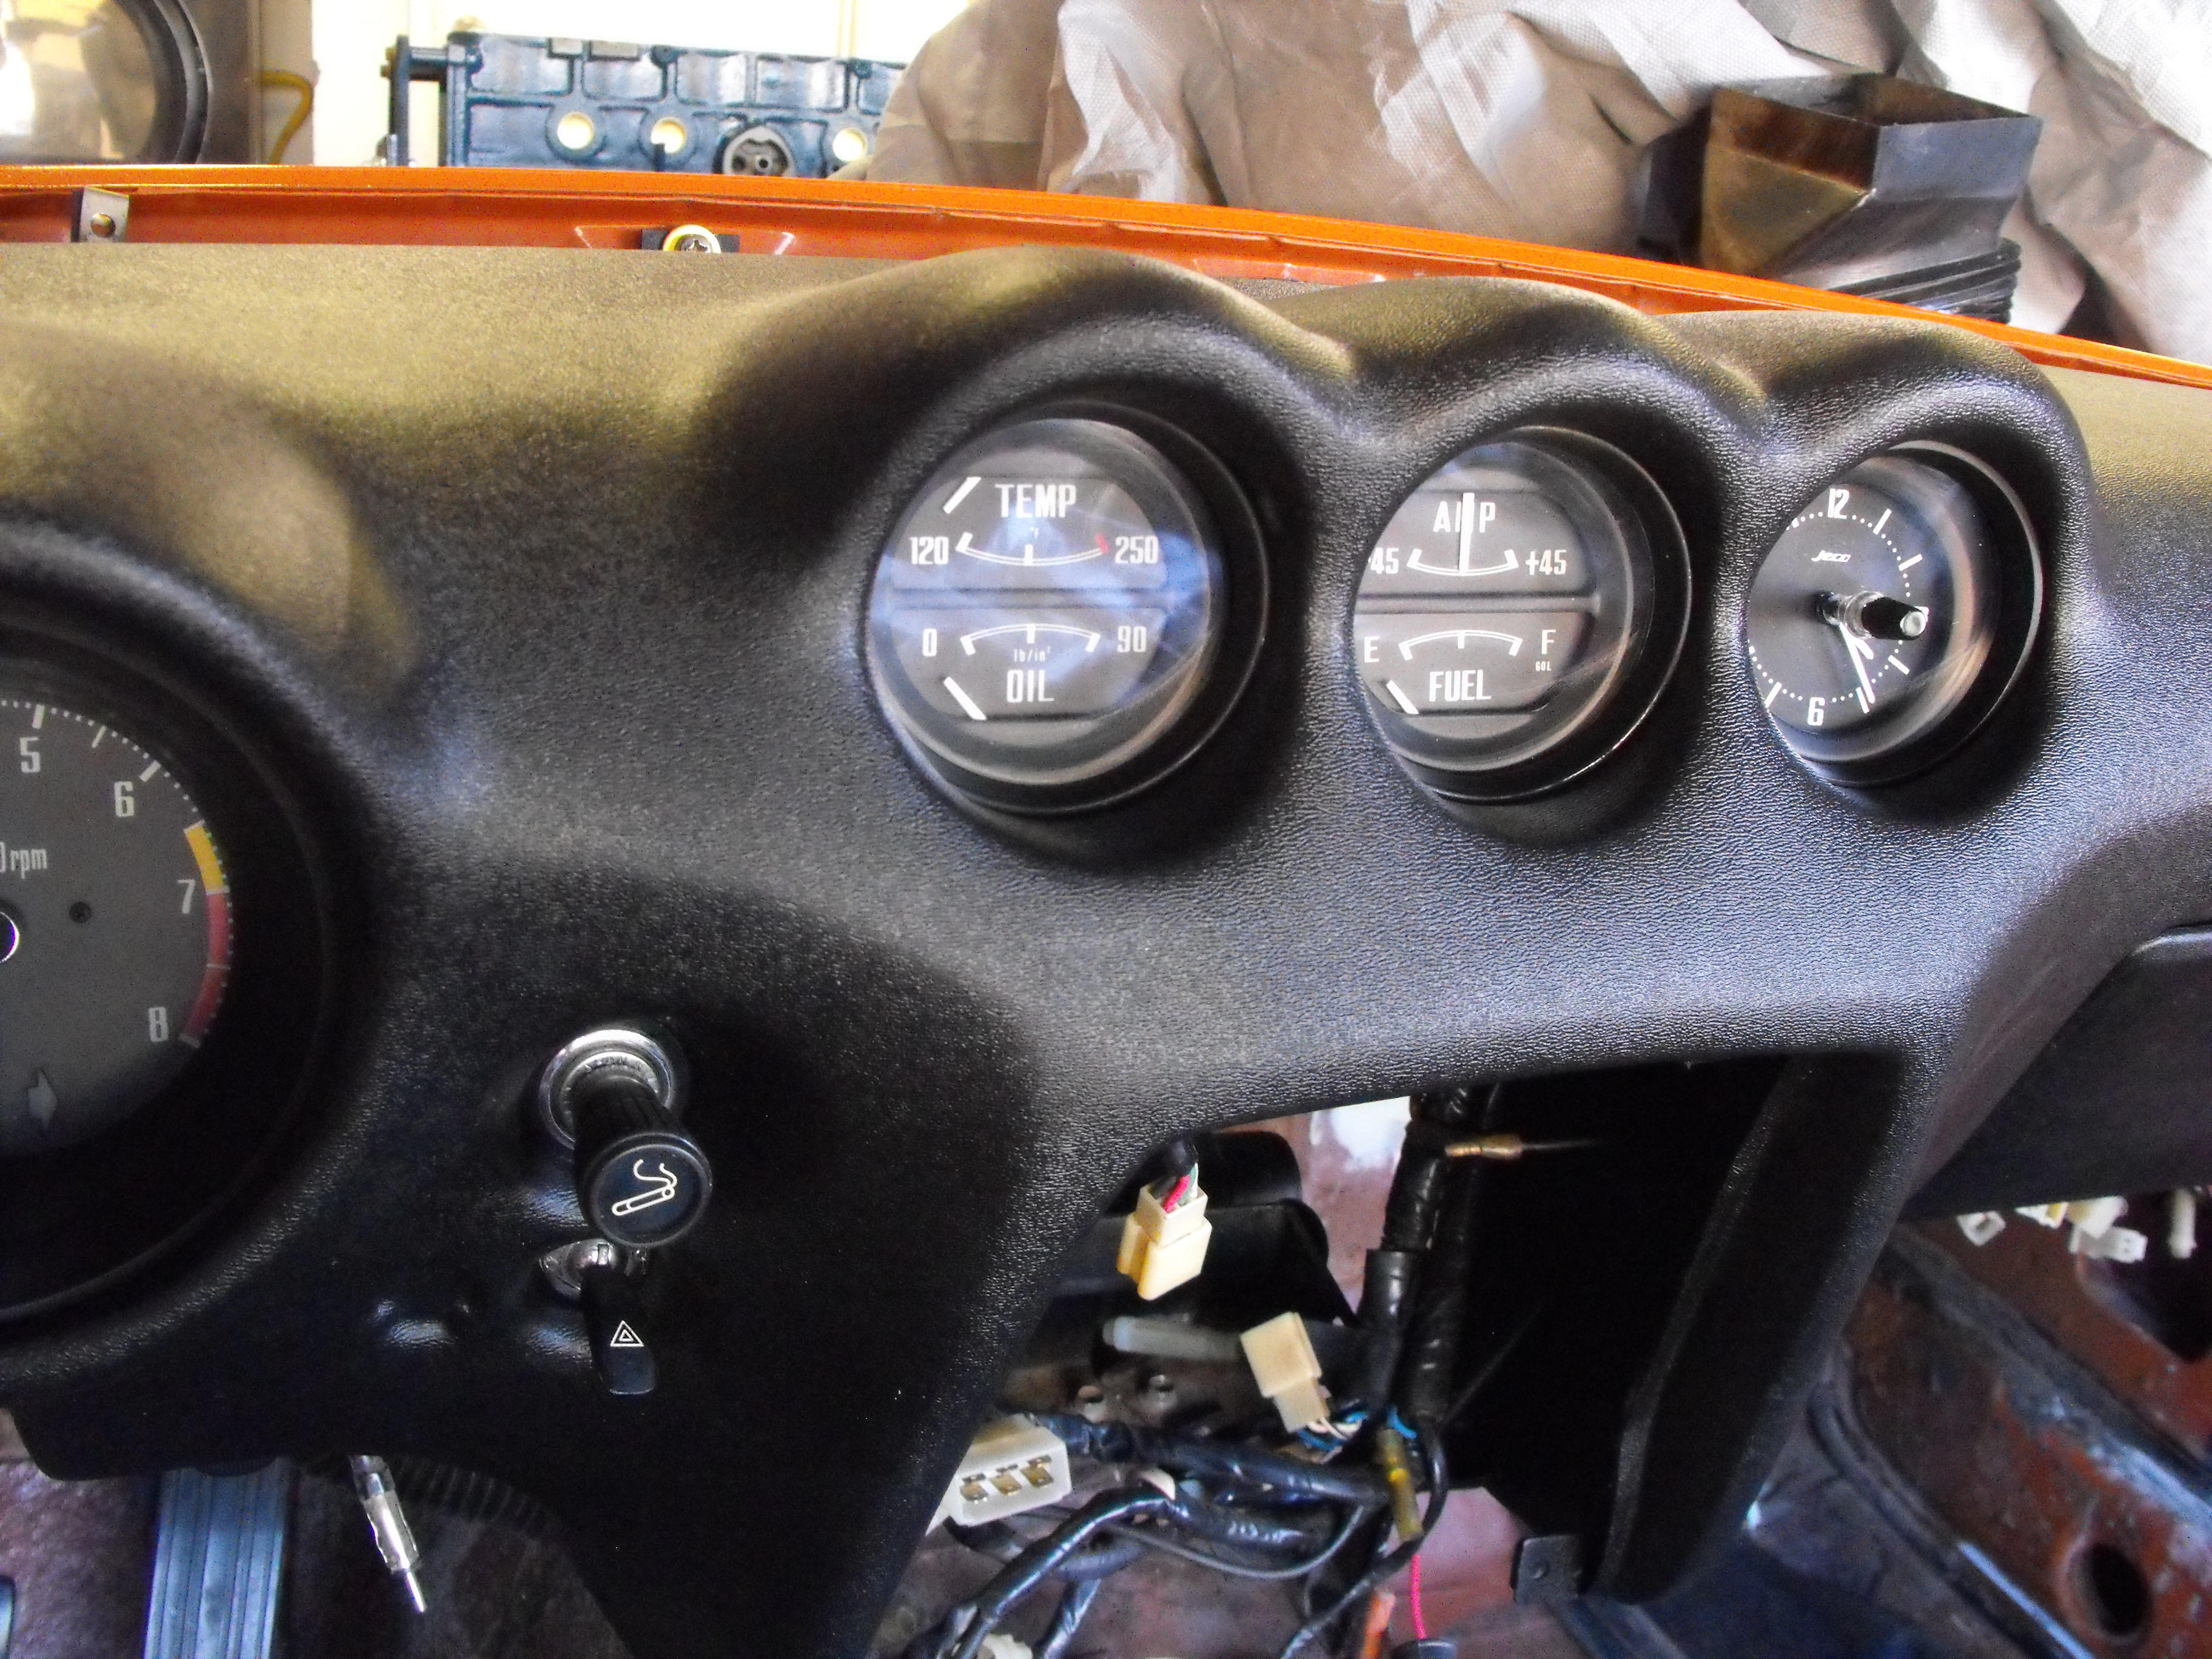
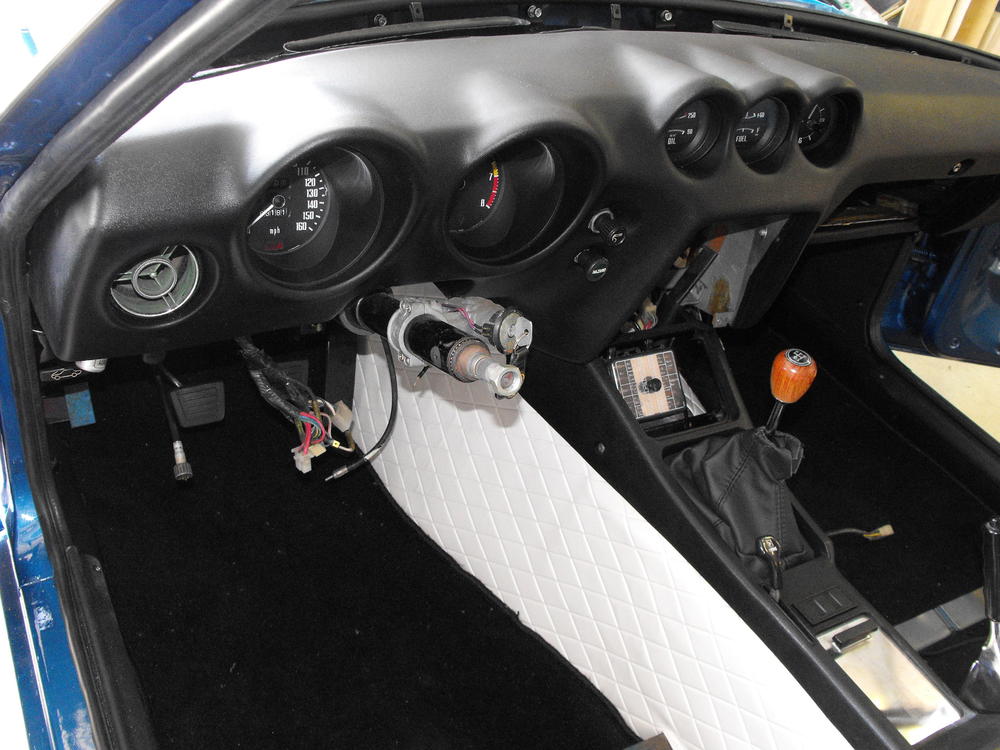
I will have to walk away from the pissing contest about the dashes on this BAT thread. Do not wish to hi-jack it and detract from the auction. For those actually interested in the difference between the the two dashes, other than the huge price difference, my thoughts are as follows. Personally, I believe the exterior plastic is exactly the same for both dashes, and both are installed the same way (vacuum forming). Both have the exact same texture which does not match the OEM texture, but looks good. The difference is the foam portion. The Vintage Dash foam is molded and is a single piece. Just Dashes removes the outer plastic skin and trims the foam where needed and then re-foams and shapes the dash. I think the problem here is that there can be areas of the Just Dashes dash that are not replicated as well. One of those areas is the center cluster where the three instruments are located. You can actually see the difference in the pics below, Just Dashes dash is on orange car, Vintage on the blue. The 'Deja Vu' Dash is from Just Dashes and was purchased, I think, before Vintage Dashes was in existence..or at least in it's infancy. The Just Dashes 'scallops' are a bit fat and rounded, where as the Vintage Dashes 'scallops' are a bit more sleek. I did a visual check with my '70 and feel that the Vintage Dash replicated this area much better than Just Dashes. I did not check other areas of the dash. Instrument fit is similar for both dashes. The one negative for Vintage Dashes is that they omit some of the flaps in the glove compartment area. Not sure why that is as it would seem pretty easy to re-produce. The flaps are not visible once the glove box is installed. Anyway, just my opinion for those that are interested.

-
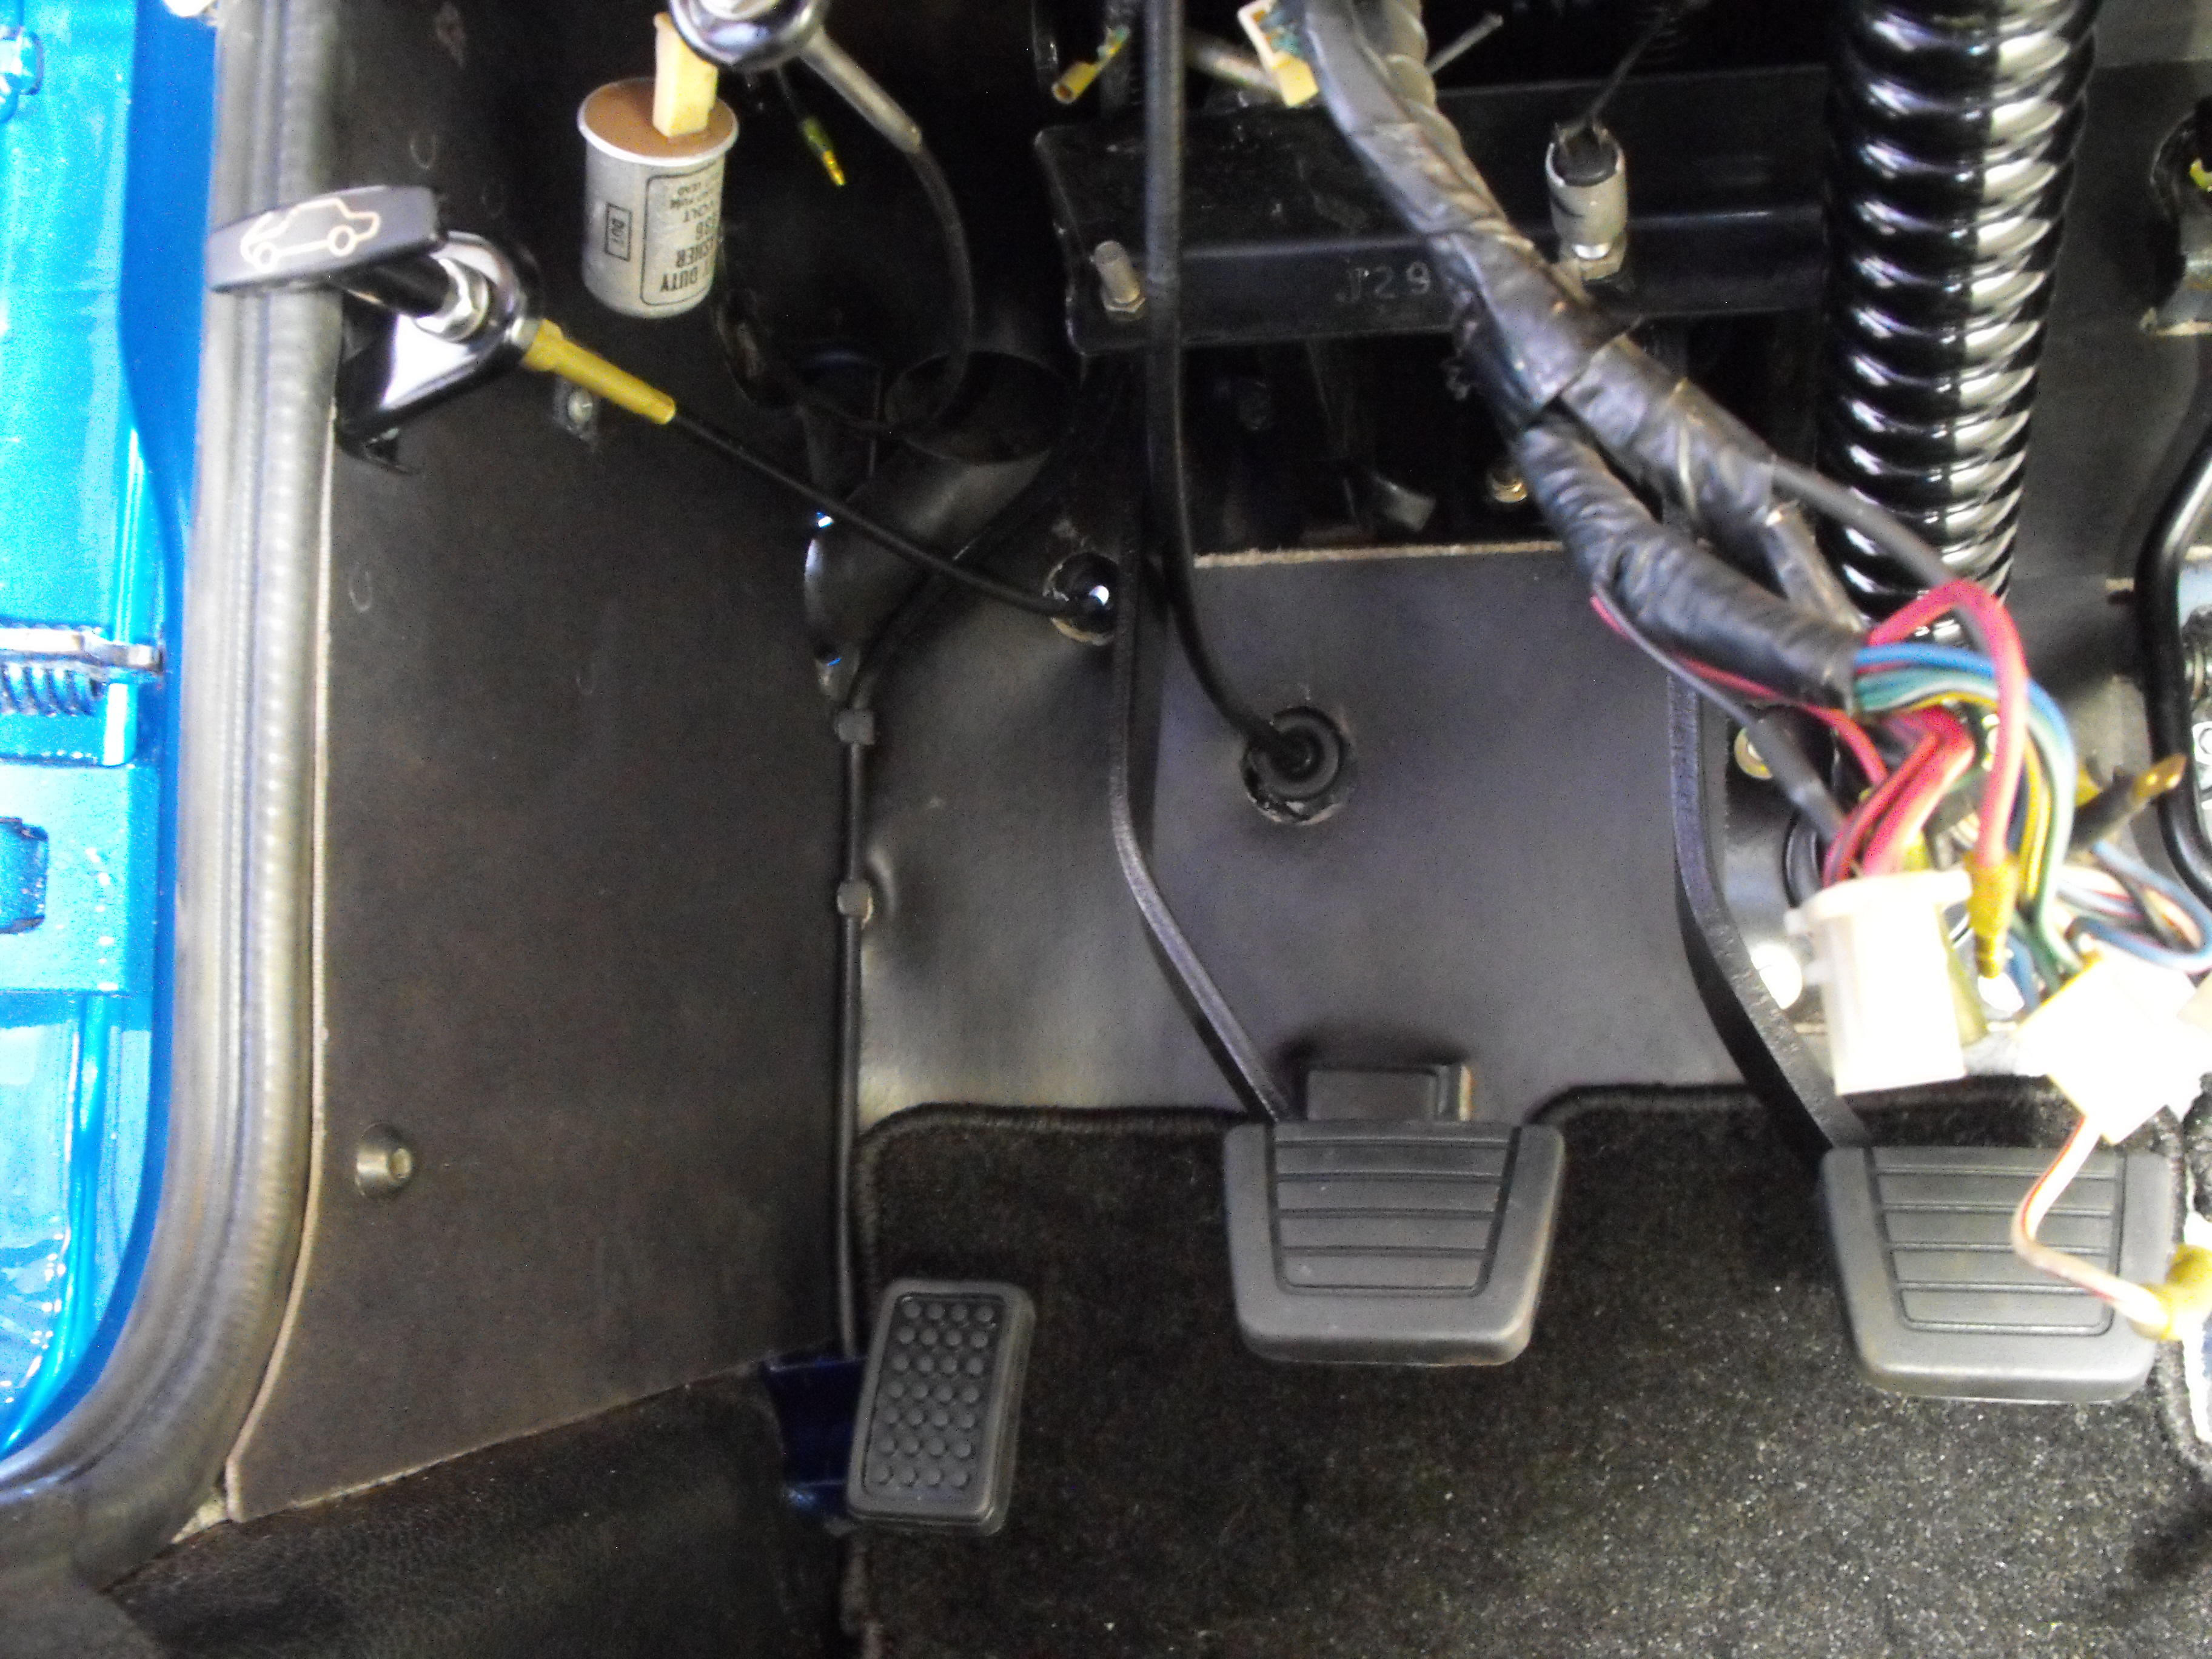
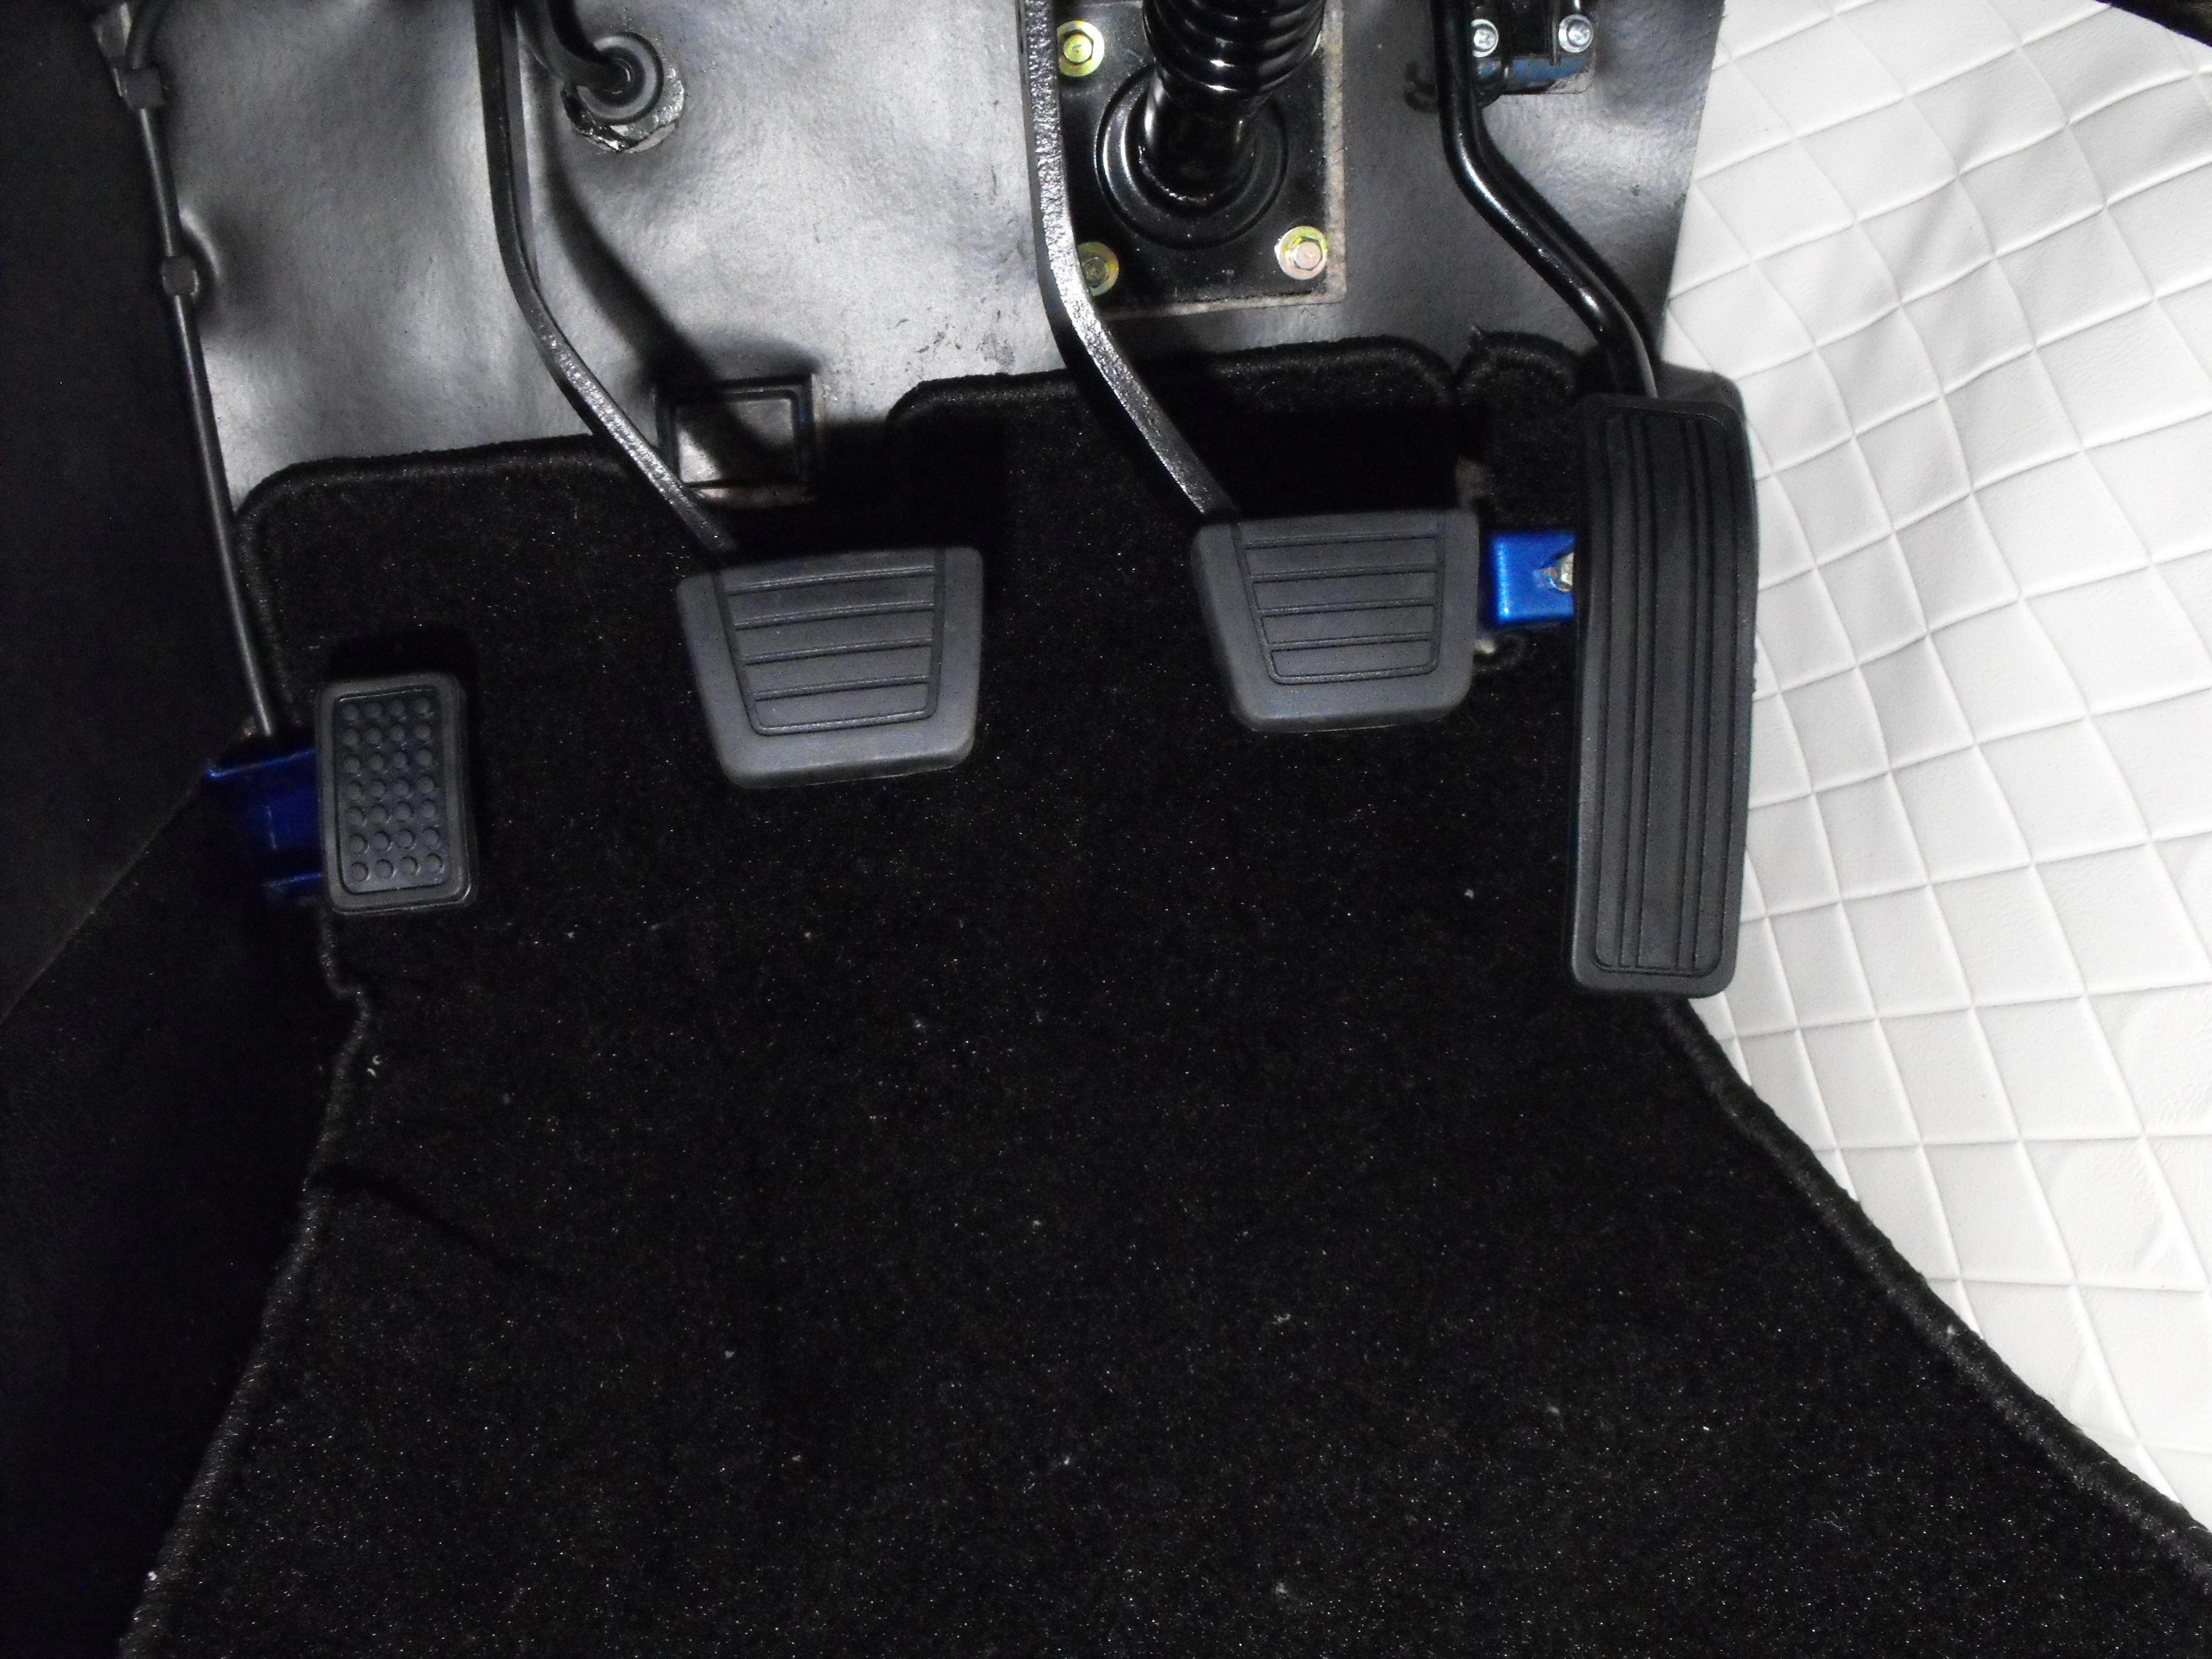
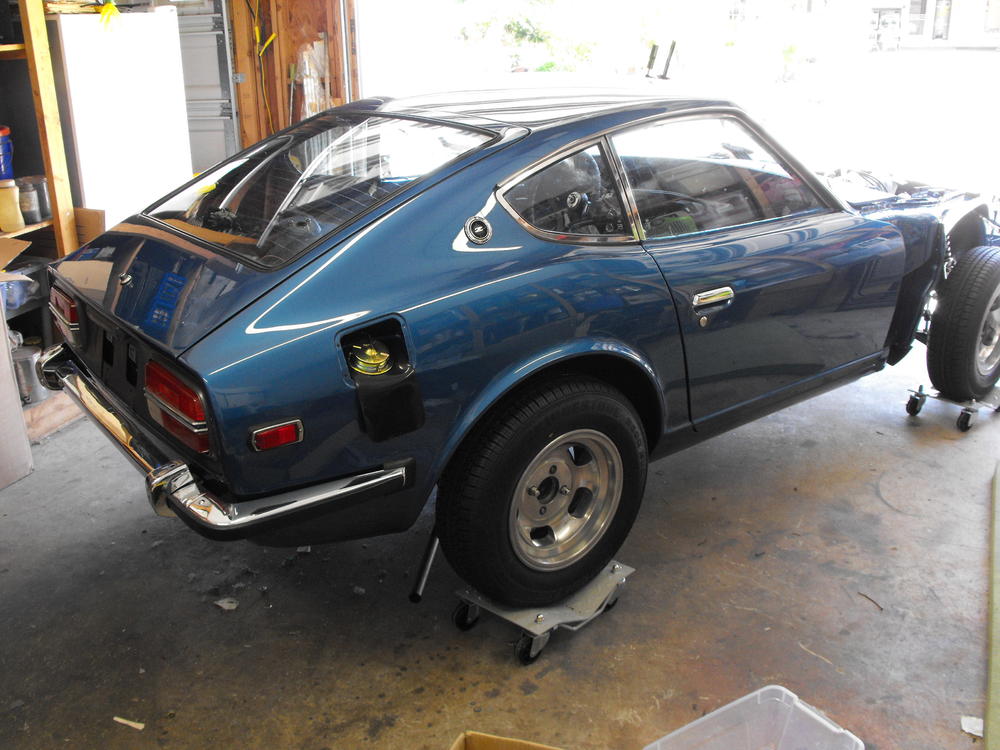
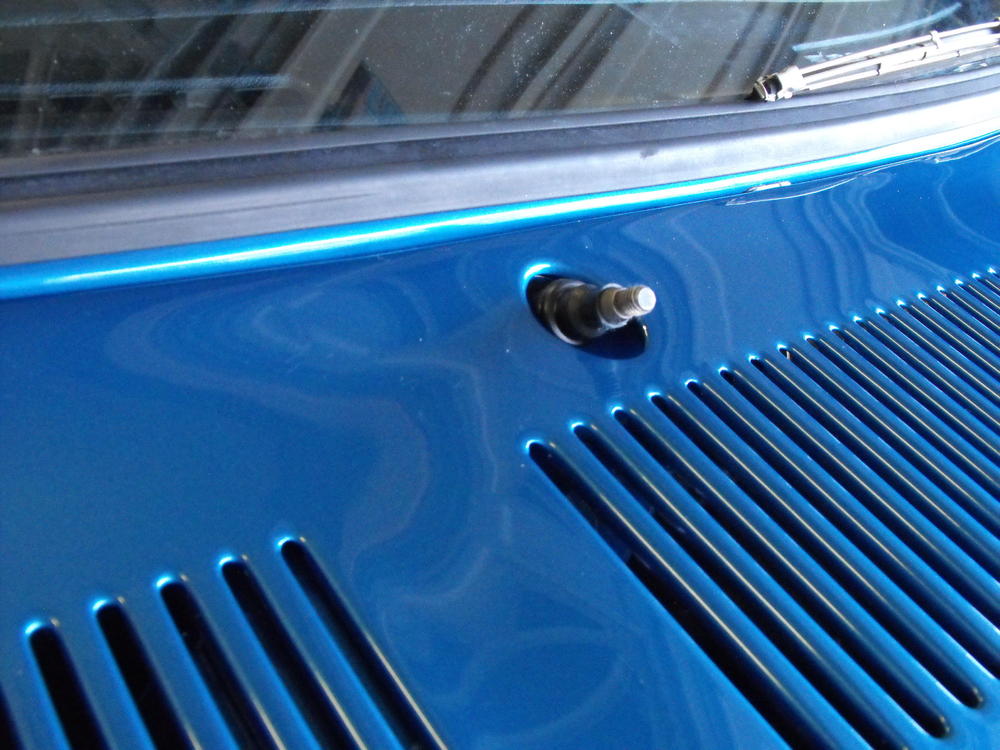
Wife was out of town this weekend. I can get so much done when she is away. It was like Christmas this weekend, woo-hoo. Got the hatch installed, front and rear glass in, got windows in both doors. Put in the choke plate after small mod to clear choke switch screw. Cleaned up floor area, installed kick plates and installed dash. Got wiper system installed. Cleaned up and put the old plug wires on cause i thought they look cool. Still a lot to do but she's lookin' pretty nice. Here are some pics.


-
Yes, I was surprised that no one mentioned that. Seems like a much more prominent item than the rear interior panel. Love all the engine shots, but the spark plug wire holder that attaches to the water housing is missing. Though there are other items, those are the two that stand out to me. Both pretty fixable. Personally, I think it is one of the nicest looking Z's that I have seen on BAT. I am predicting an $80K sales price.


.jpg.a9aea7b33104815b94d58747e37f33ab.jpg)