motorman7
 Subscriber
-
Posts
2,198 -
Joined
-
Last visited
-
Days Won
56
Content Type
Profiles
Knowledge Base
Zcar Wiki
Forums
Gallery
Events
Downloads
Store
Blogs
Collections
Classifieds
Everything posted by motorman7
-
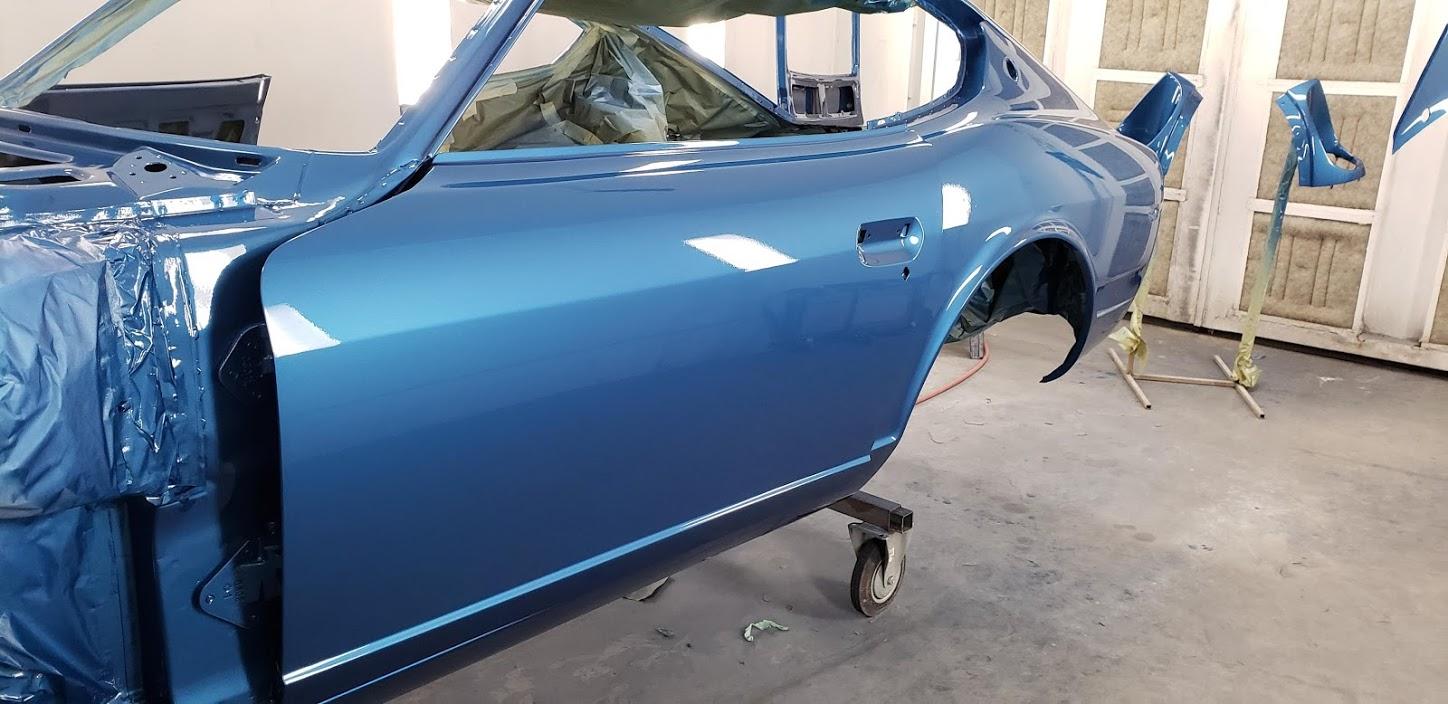
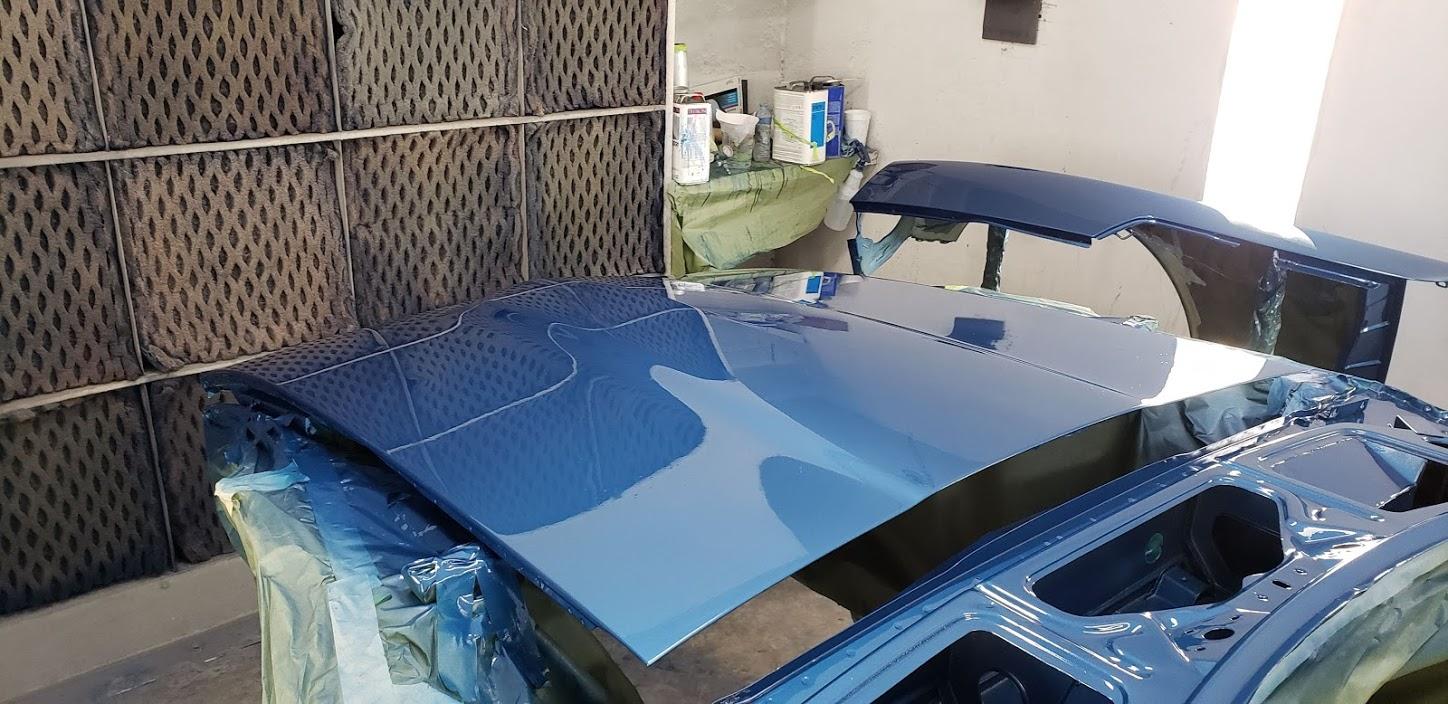
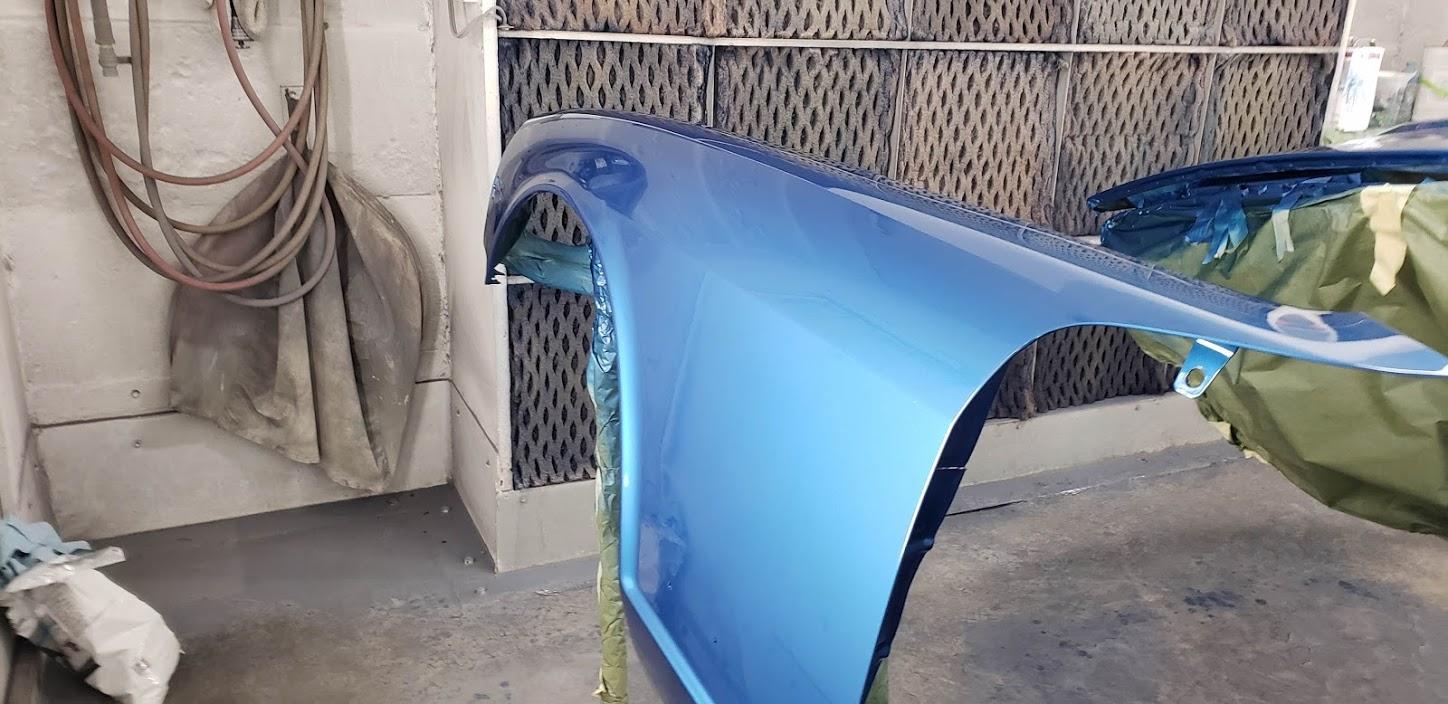
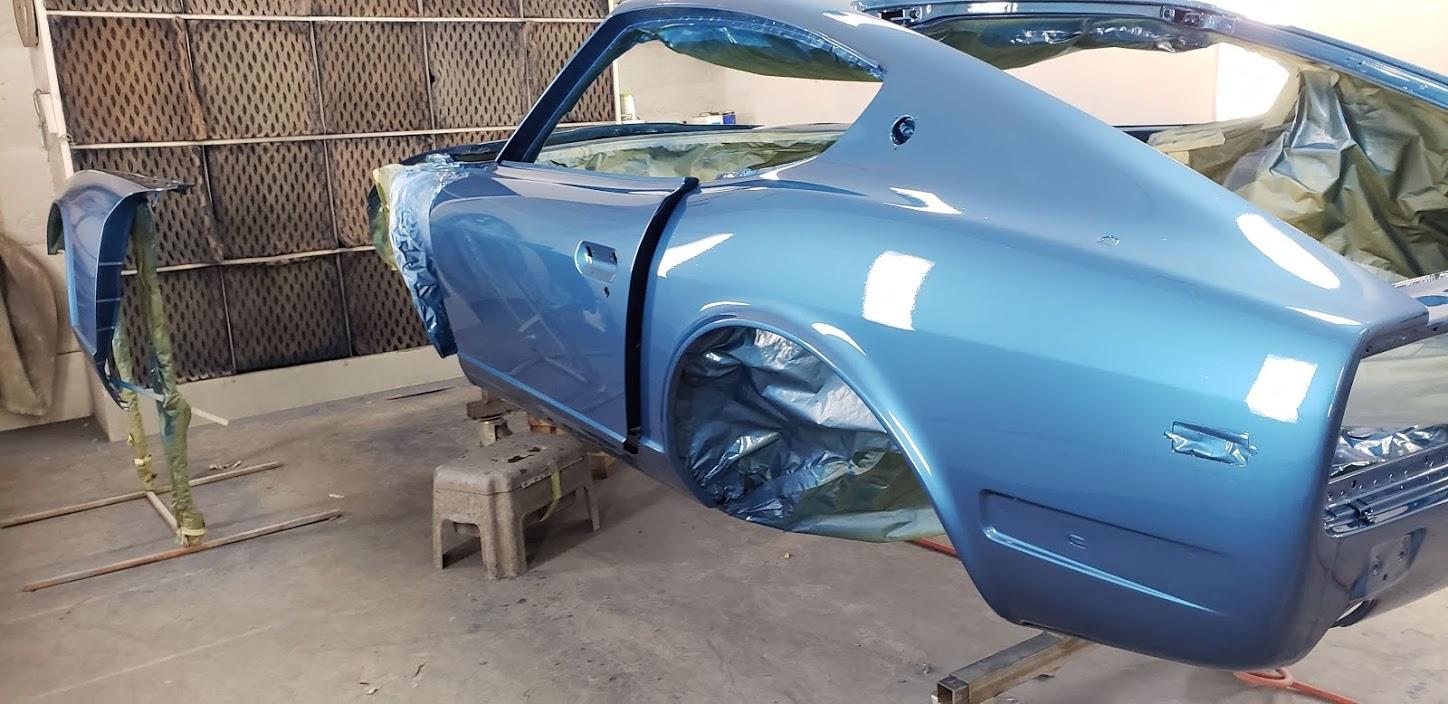
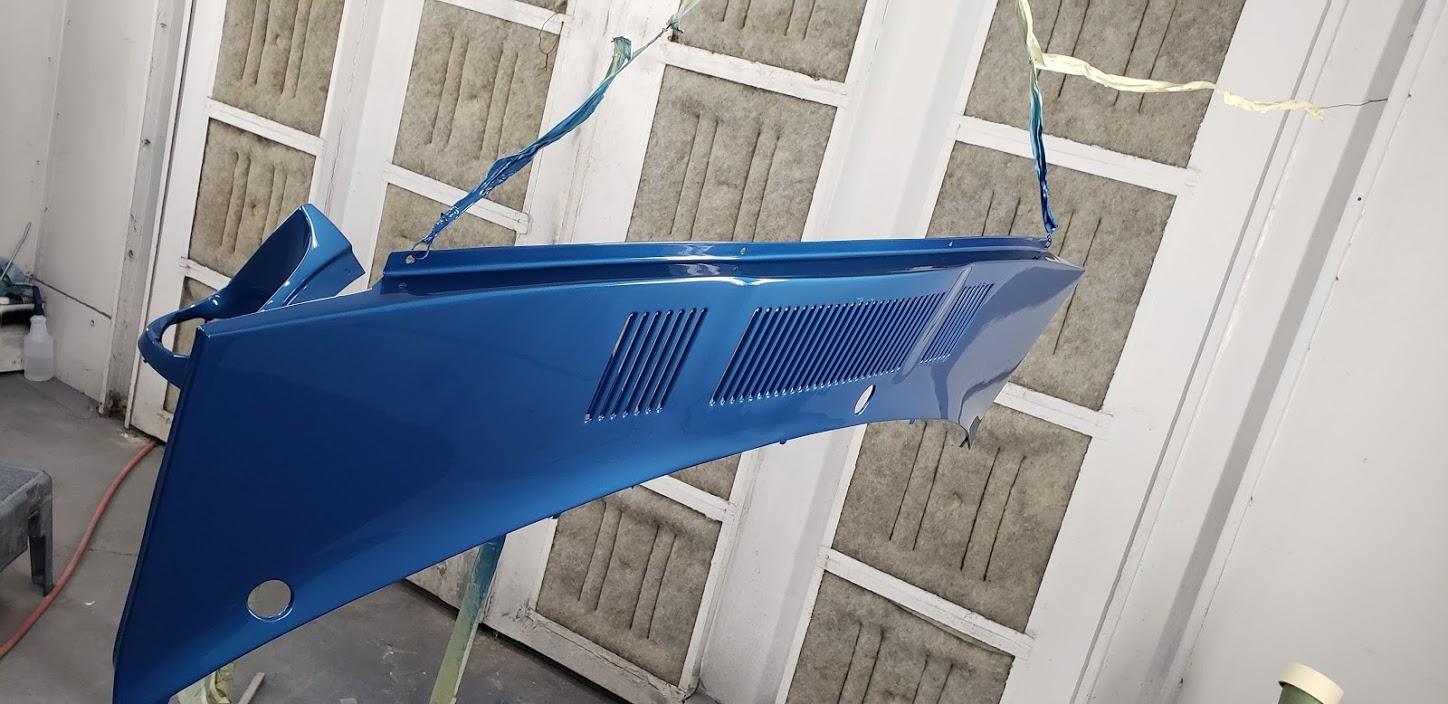
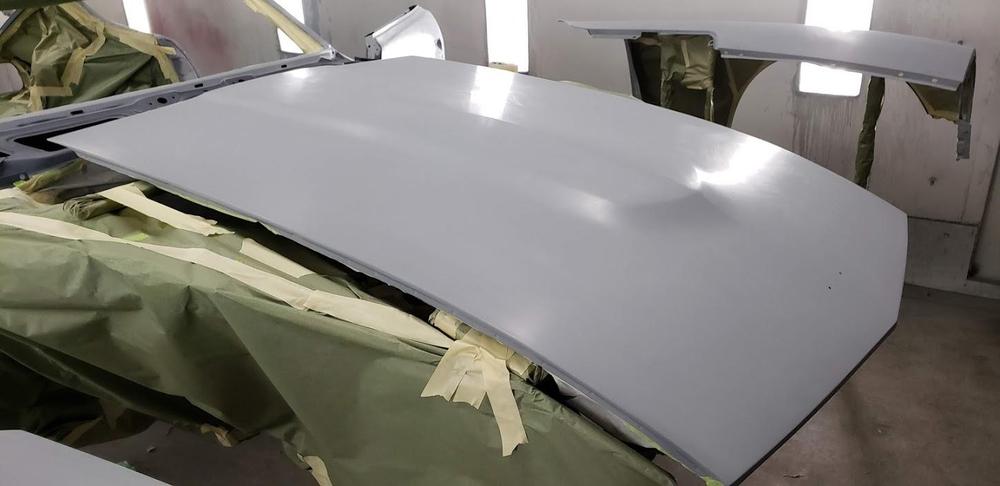
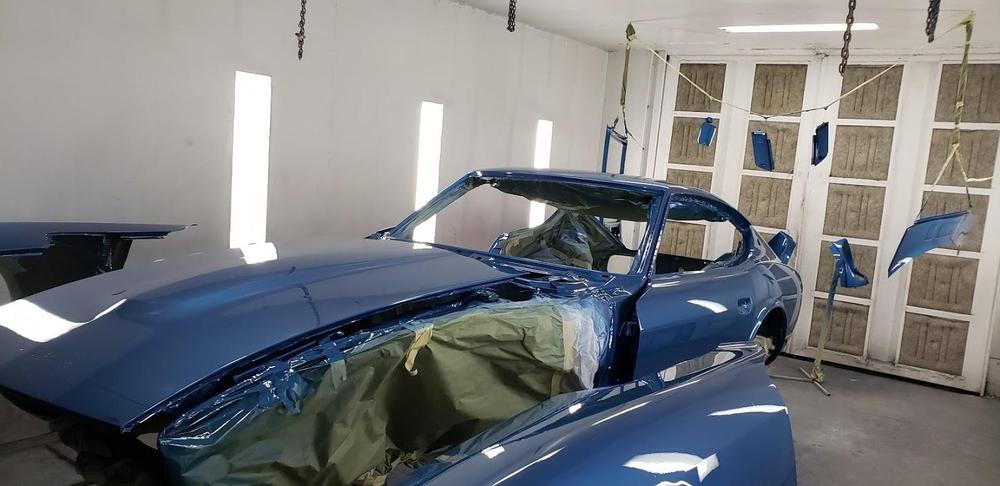
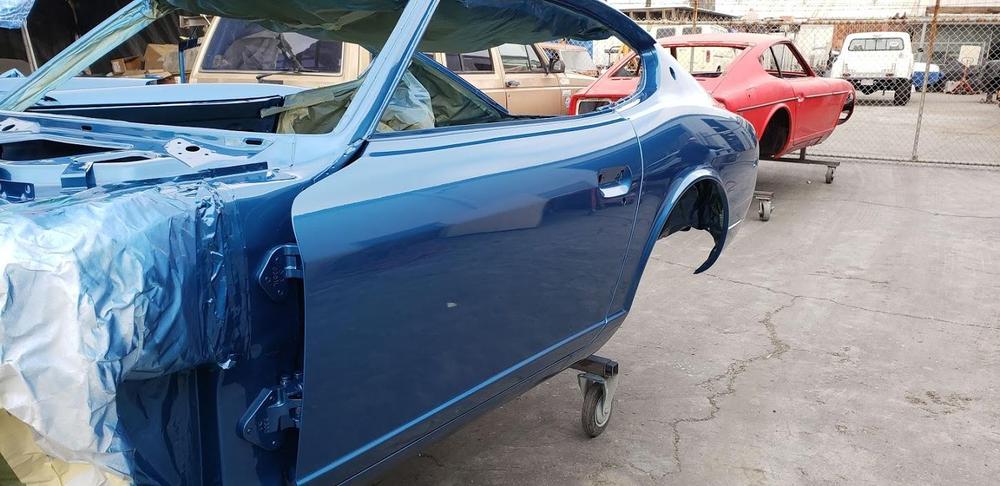
OMG, I'm drooling. This will be one sweet ride. Can't wait to start assembly.


- 613 replies
-
- 11
-

-
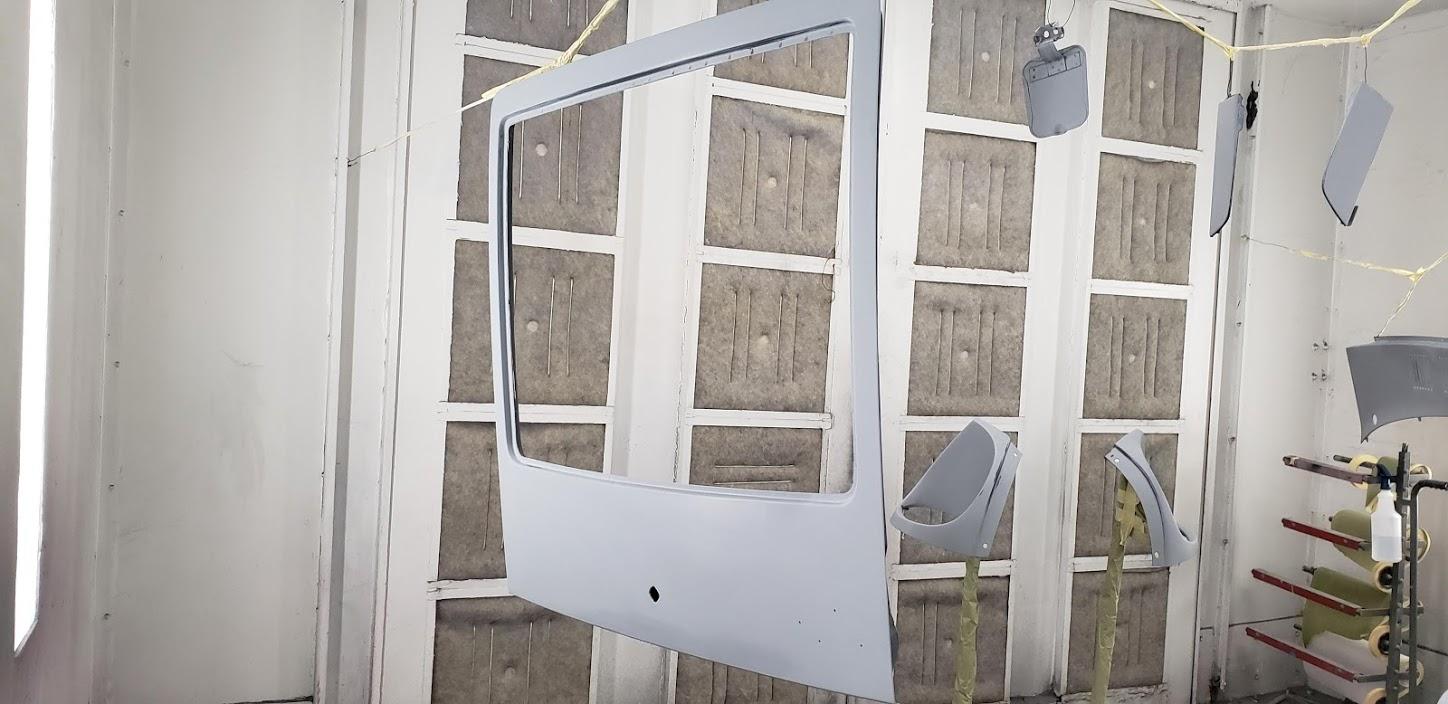
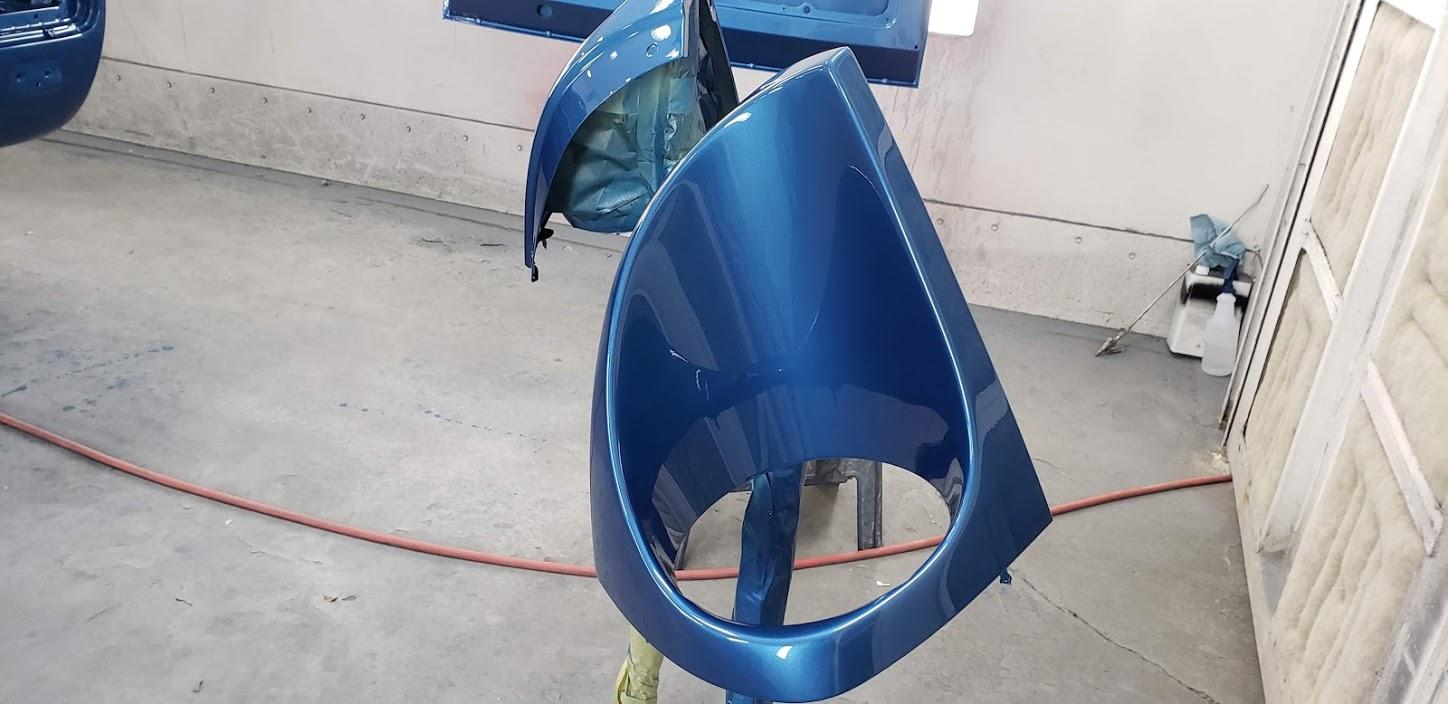
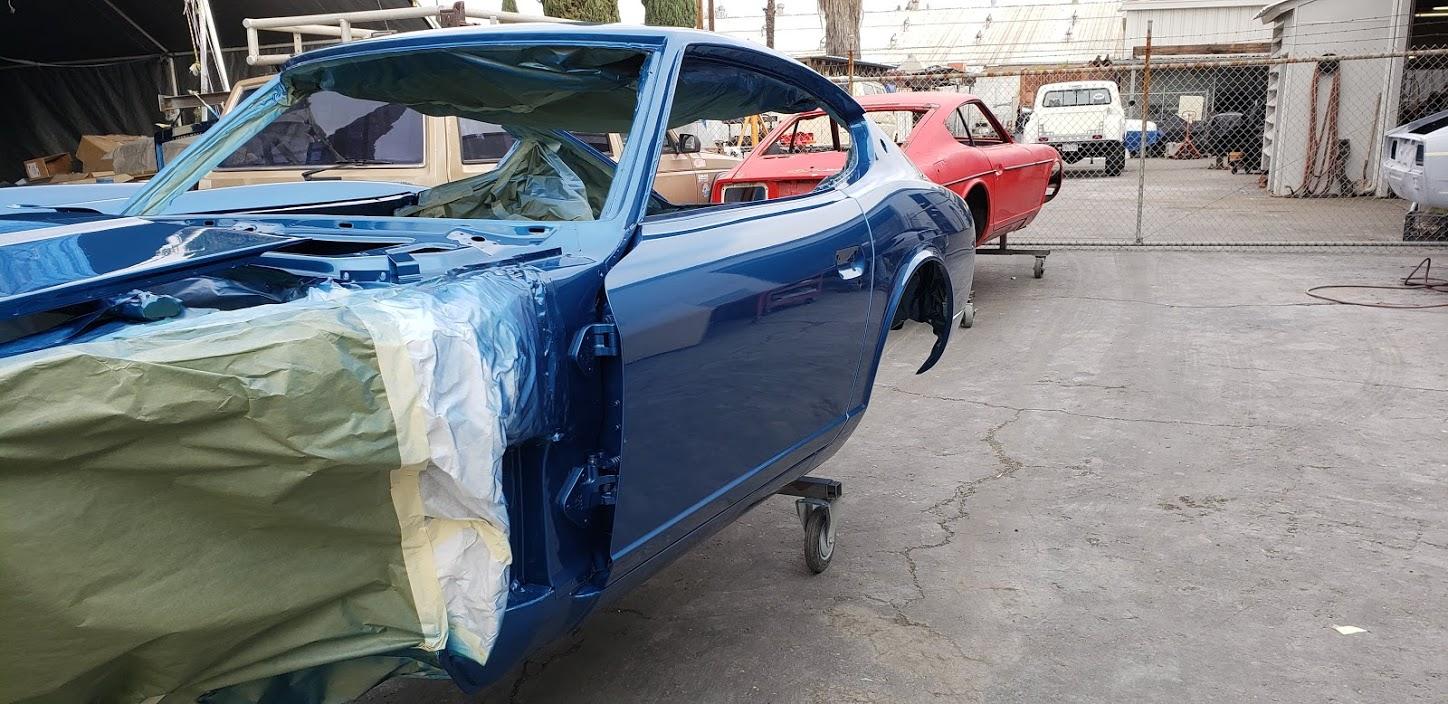
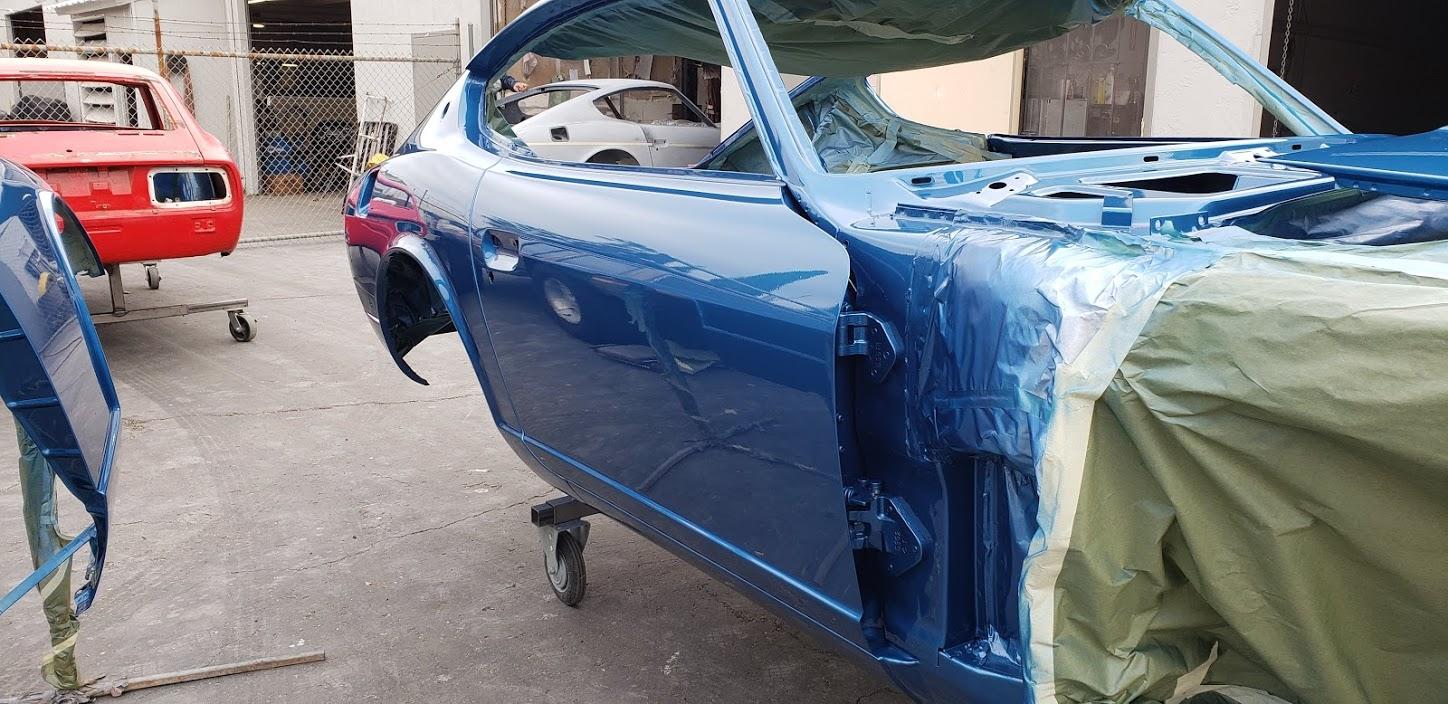
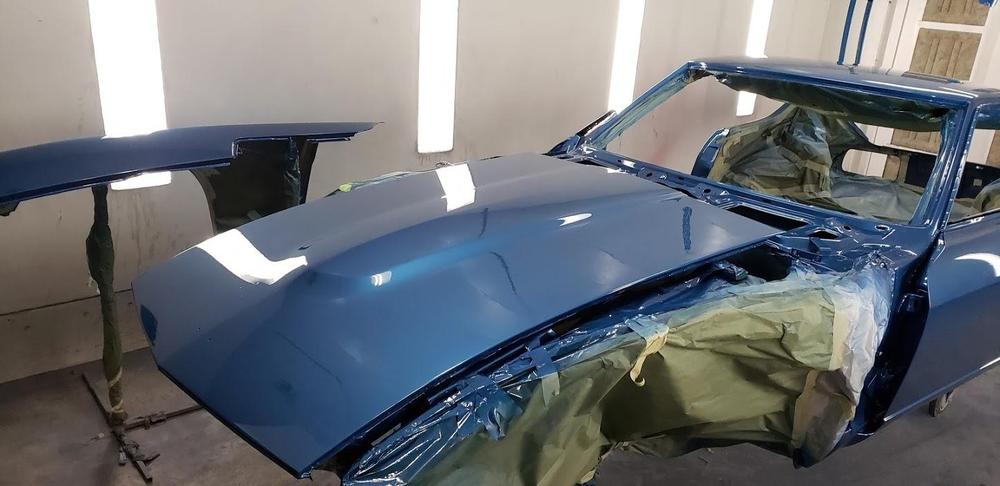
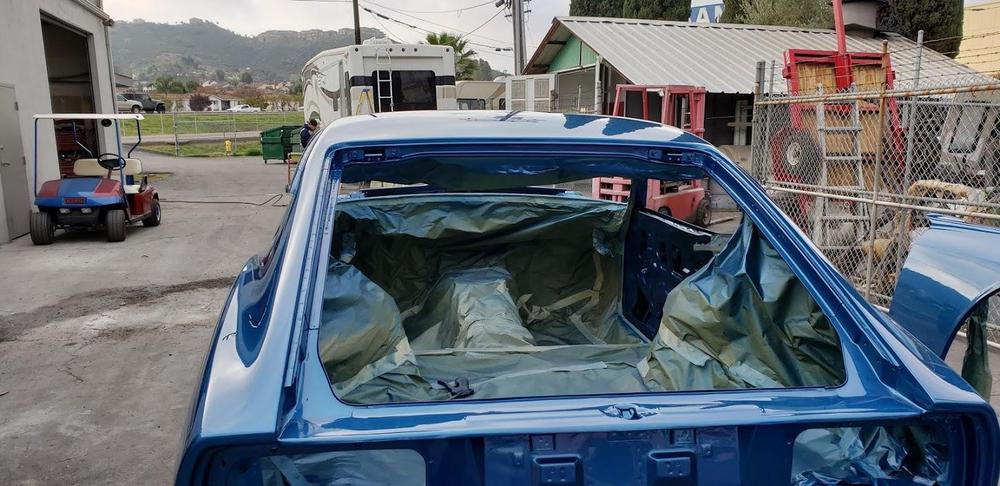
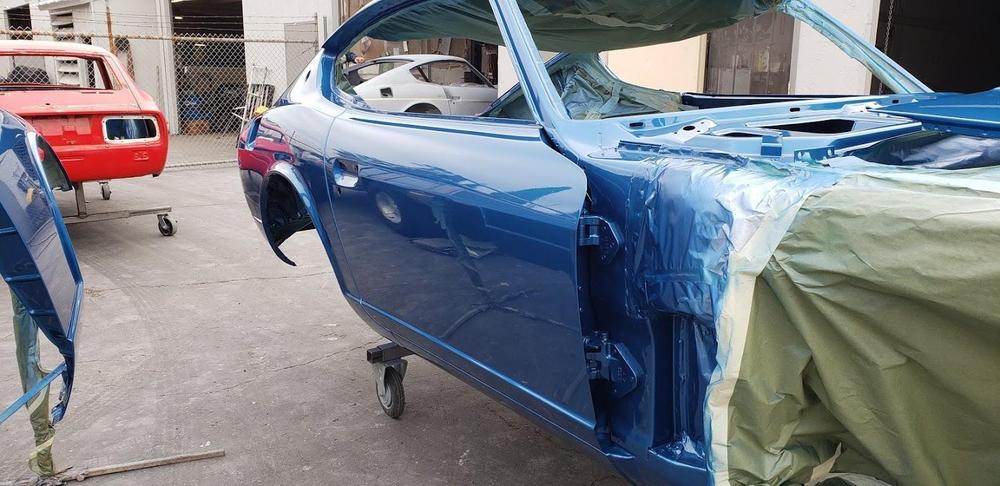
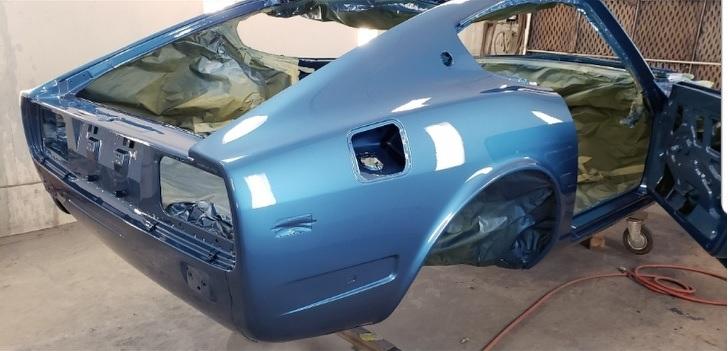
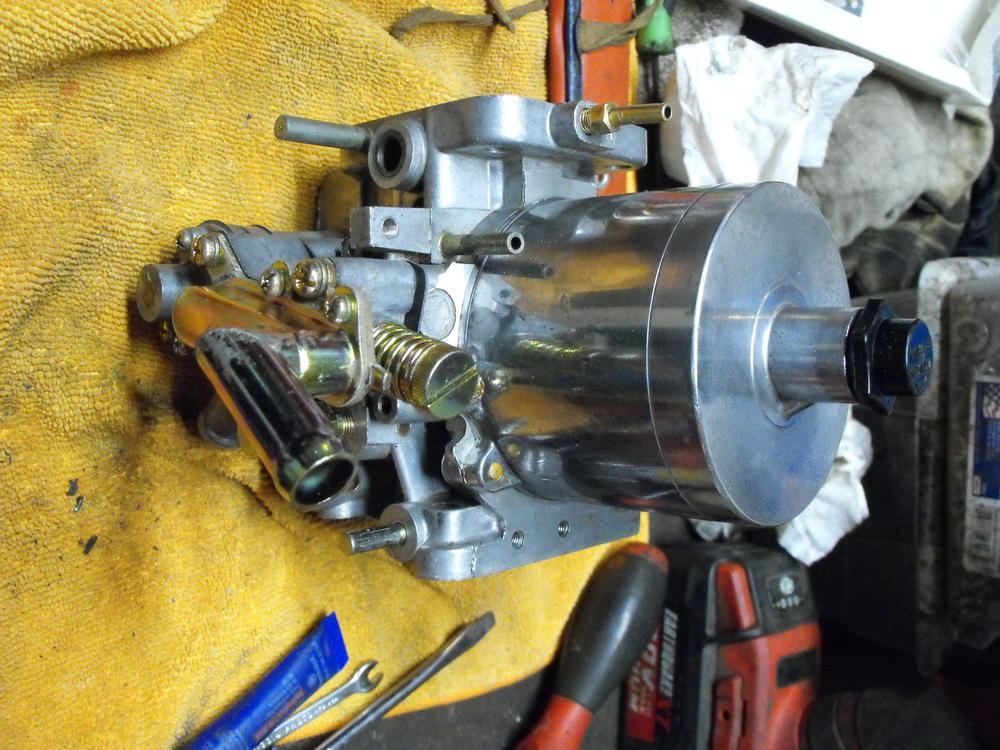
Here's a teaser photo....more to follow
-
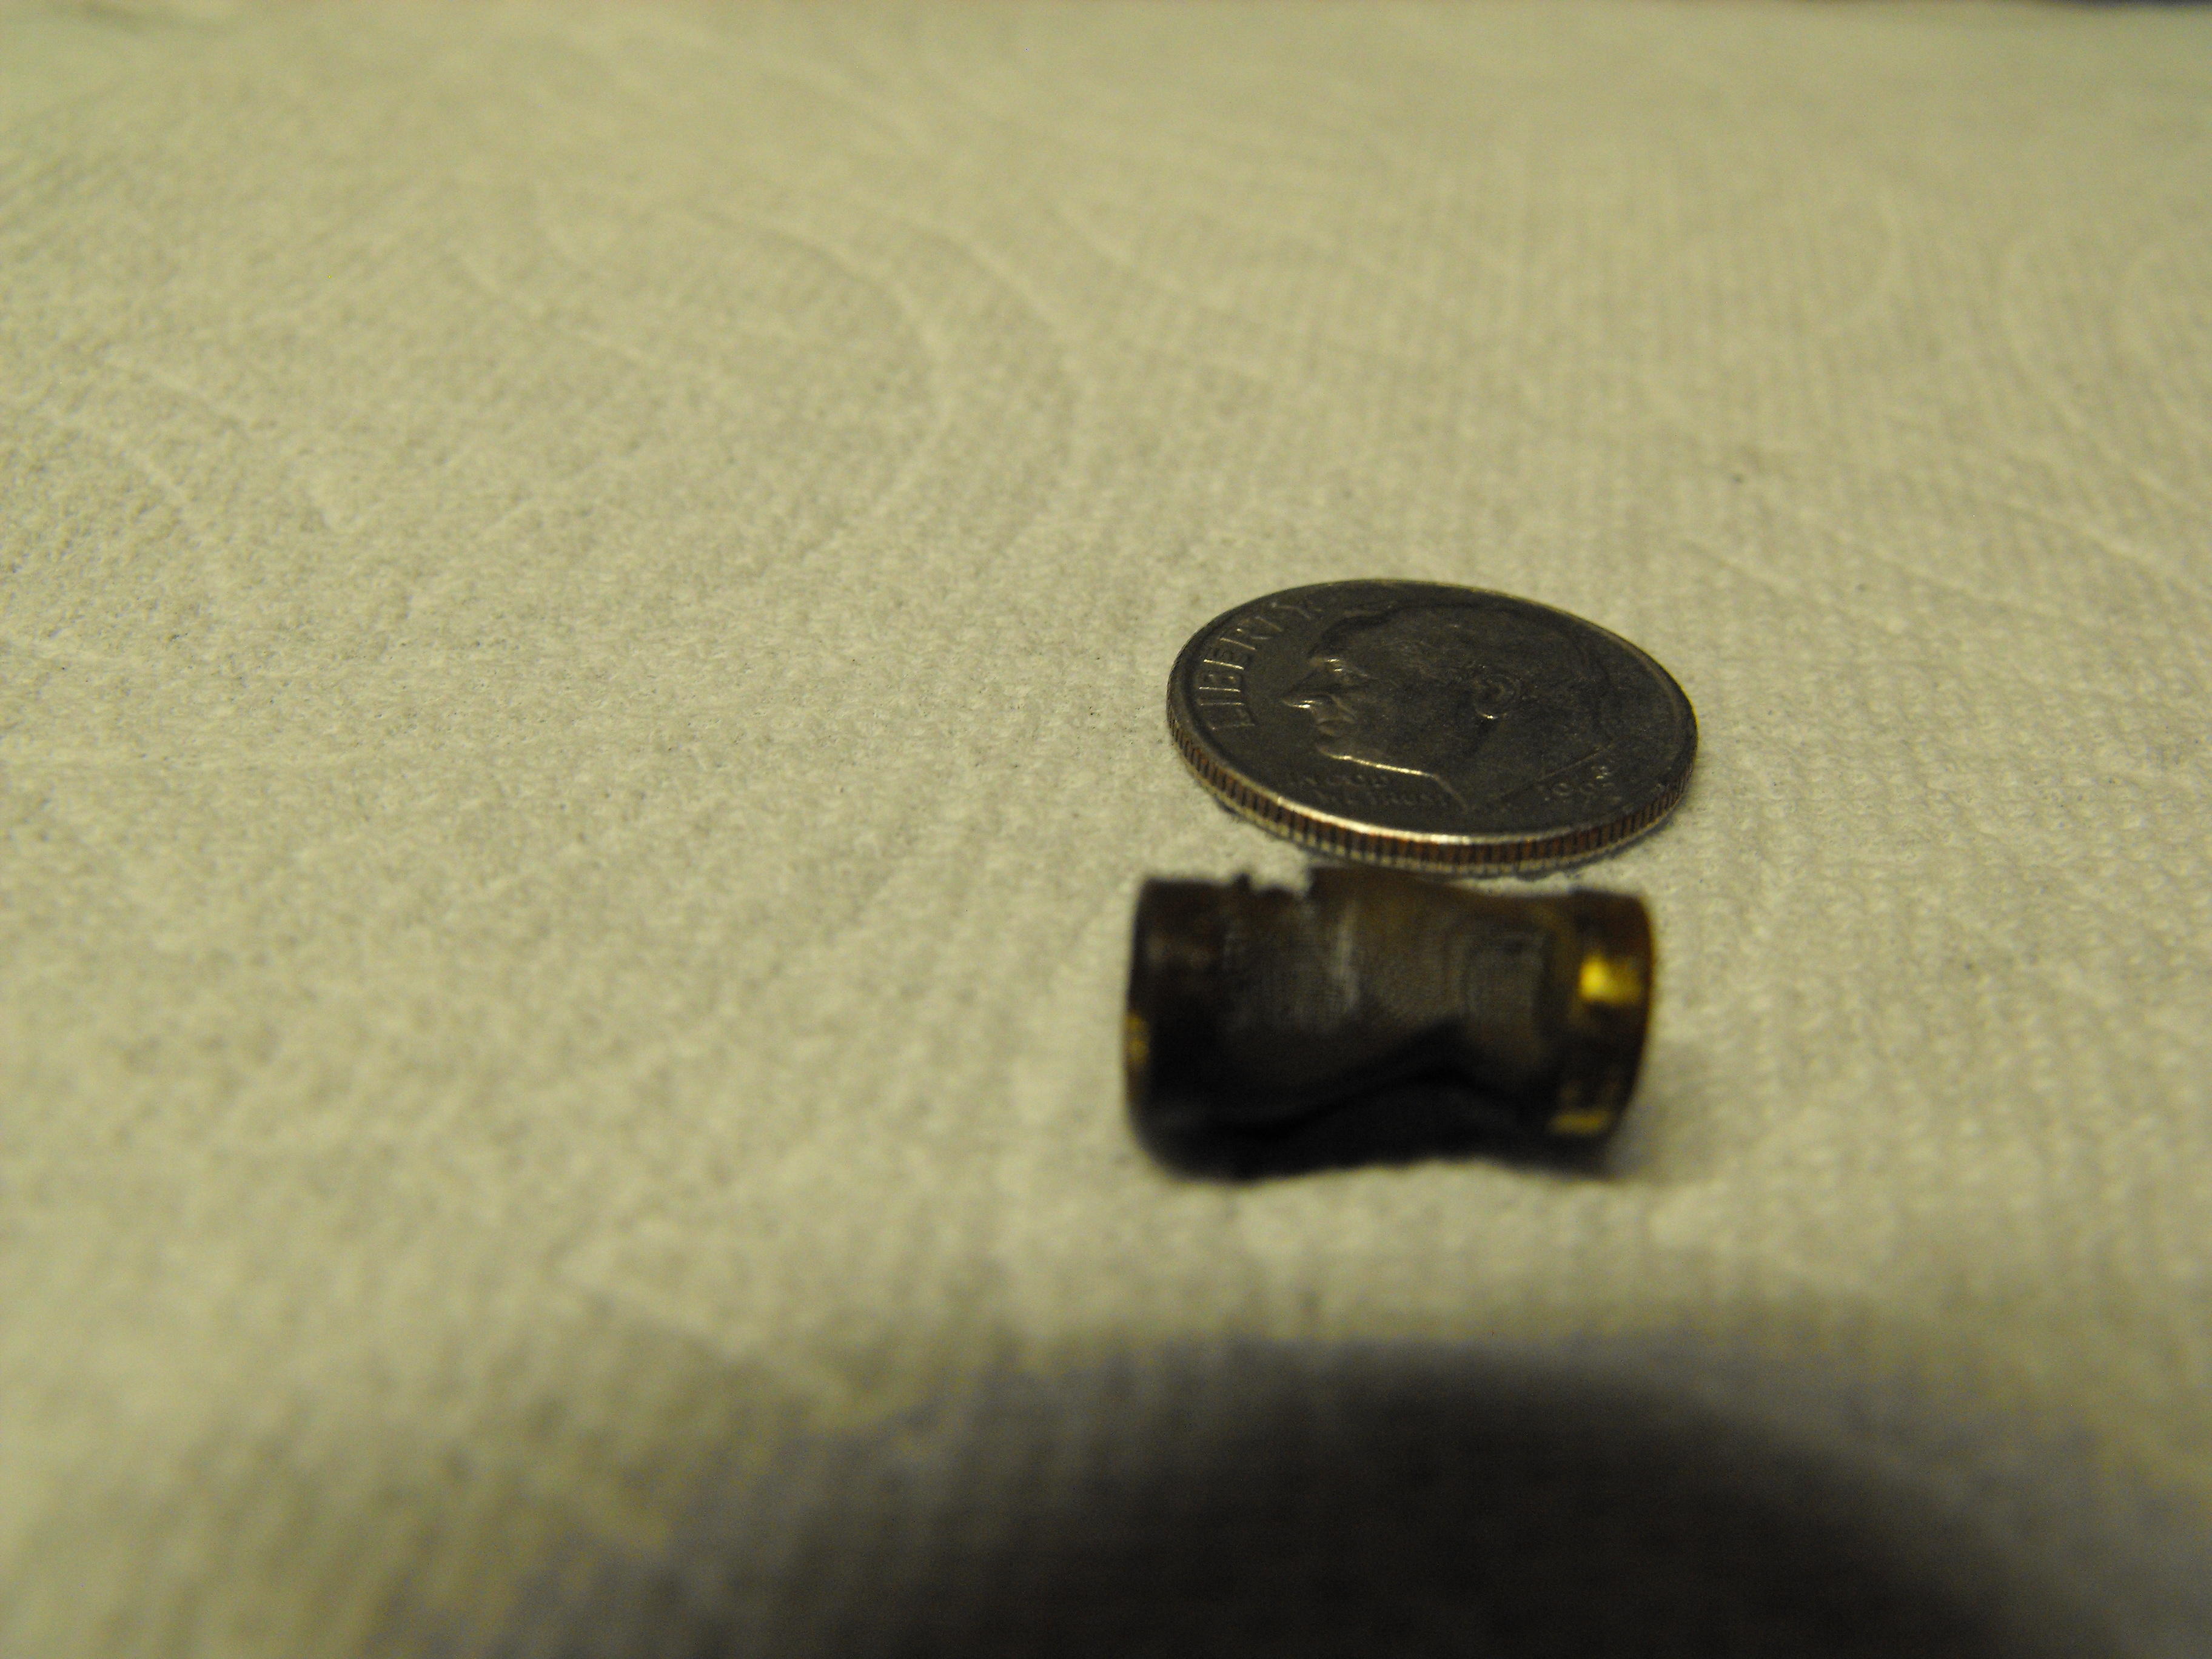
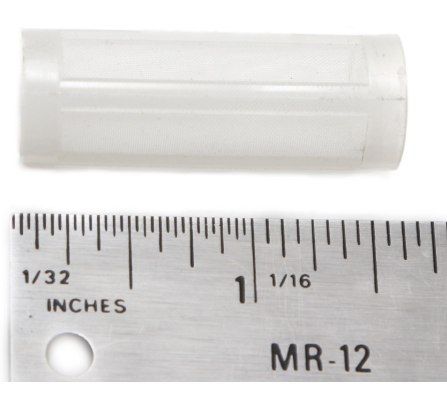
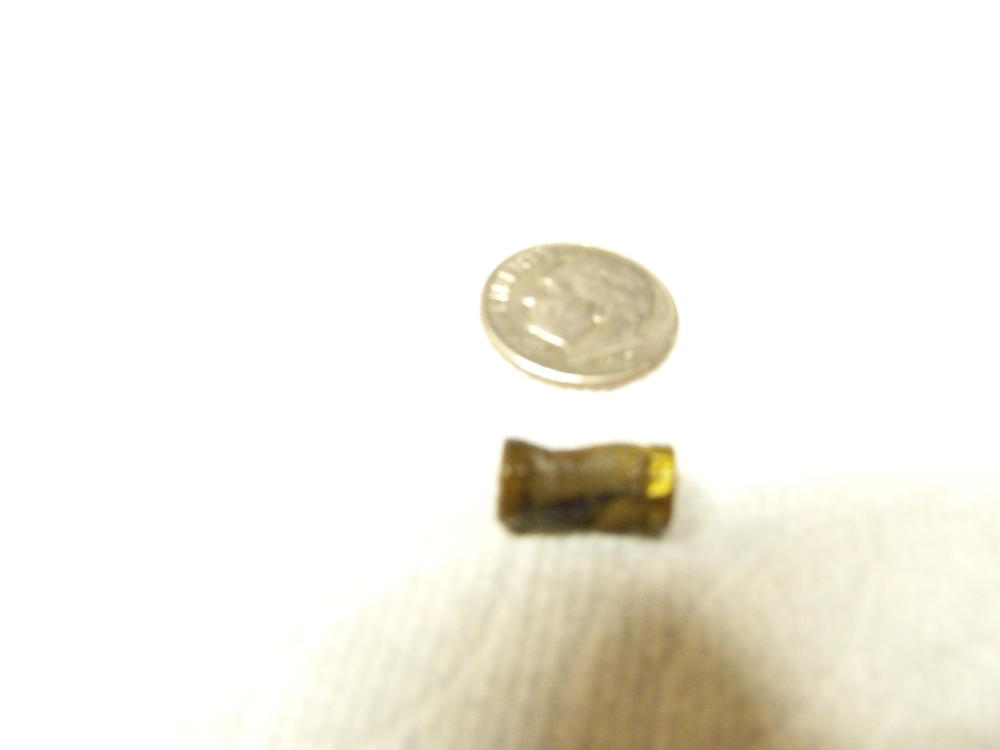
I measured the filter with my calipers. It is .5" (12.7mm) long and .25" (6.4mm)diam. Those fuel injector filters are pretty doggone close. Will need to open up the small end as the carb filter is open on both sides. Will do a bit more checking here. If nothing shows up, I will PM you with my info.
-
Will take measurement tonight in millimeters. If they are close I will take you up on your offer, Thanks!
-
Actually, they look like they may be just right. The old flat top filter is shown on the earlier pics next to the dime. The white one above is for a fuel pump and looks to be 3X too large. Do you have a part number? Thanks
-
Hmmm, it's a bit large, but definitely the right shape.
-
Will look into that....and go into production? ?
-
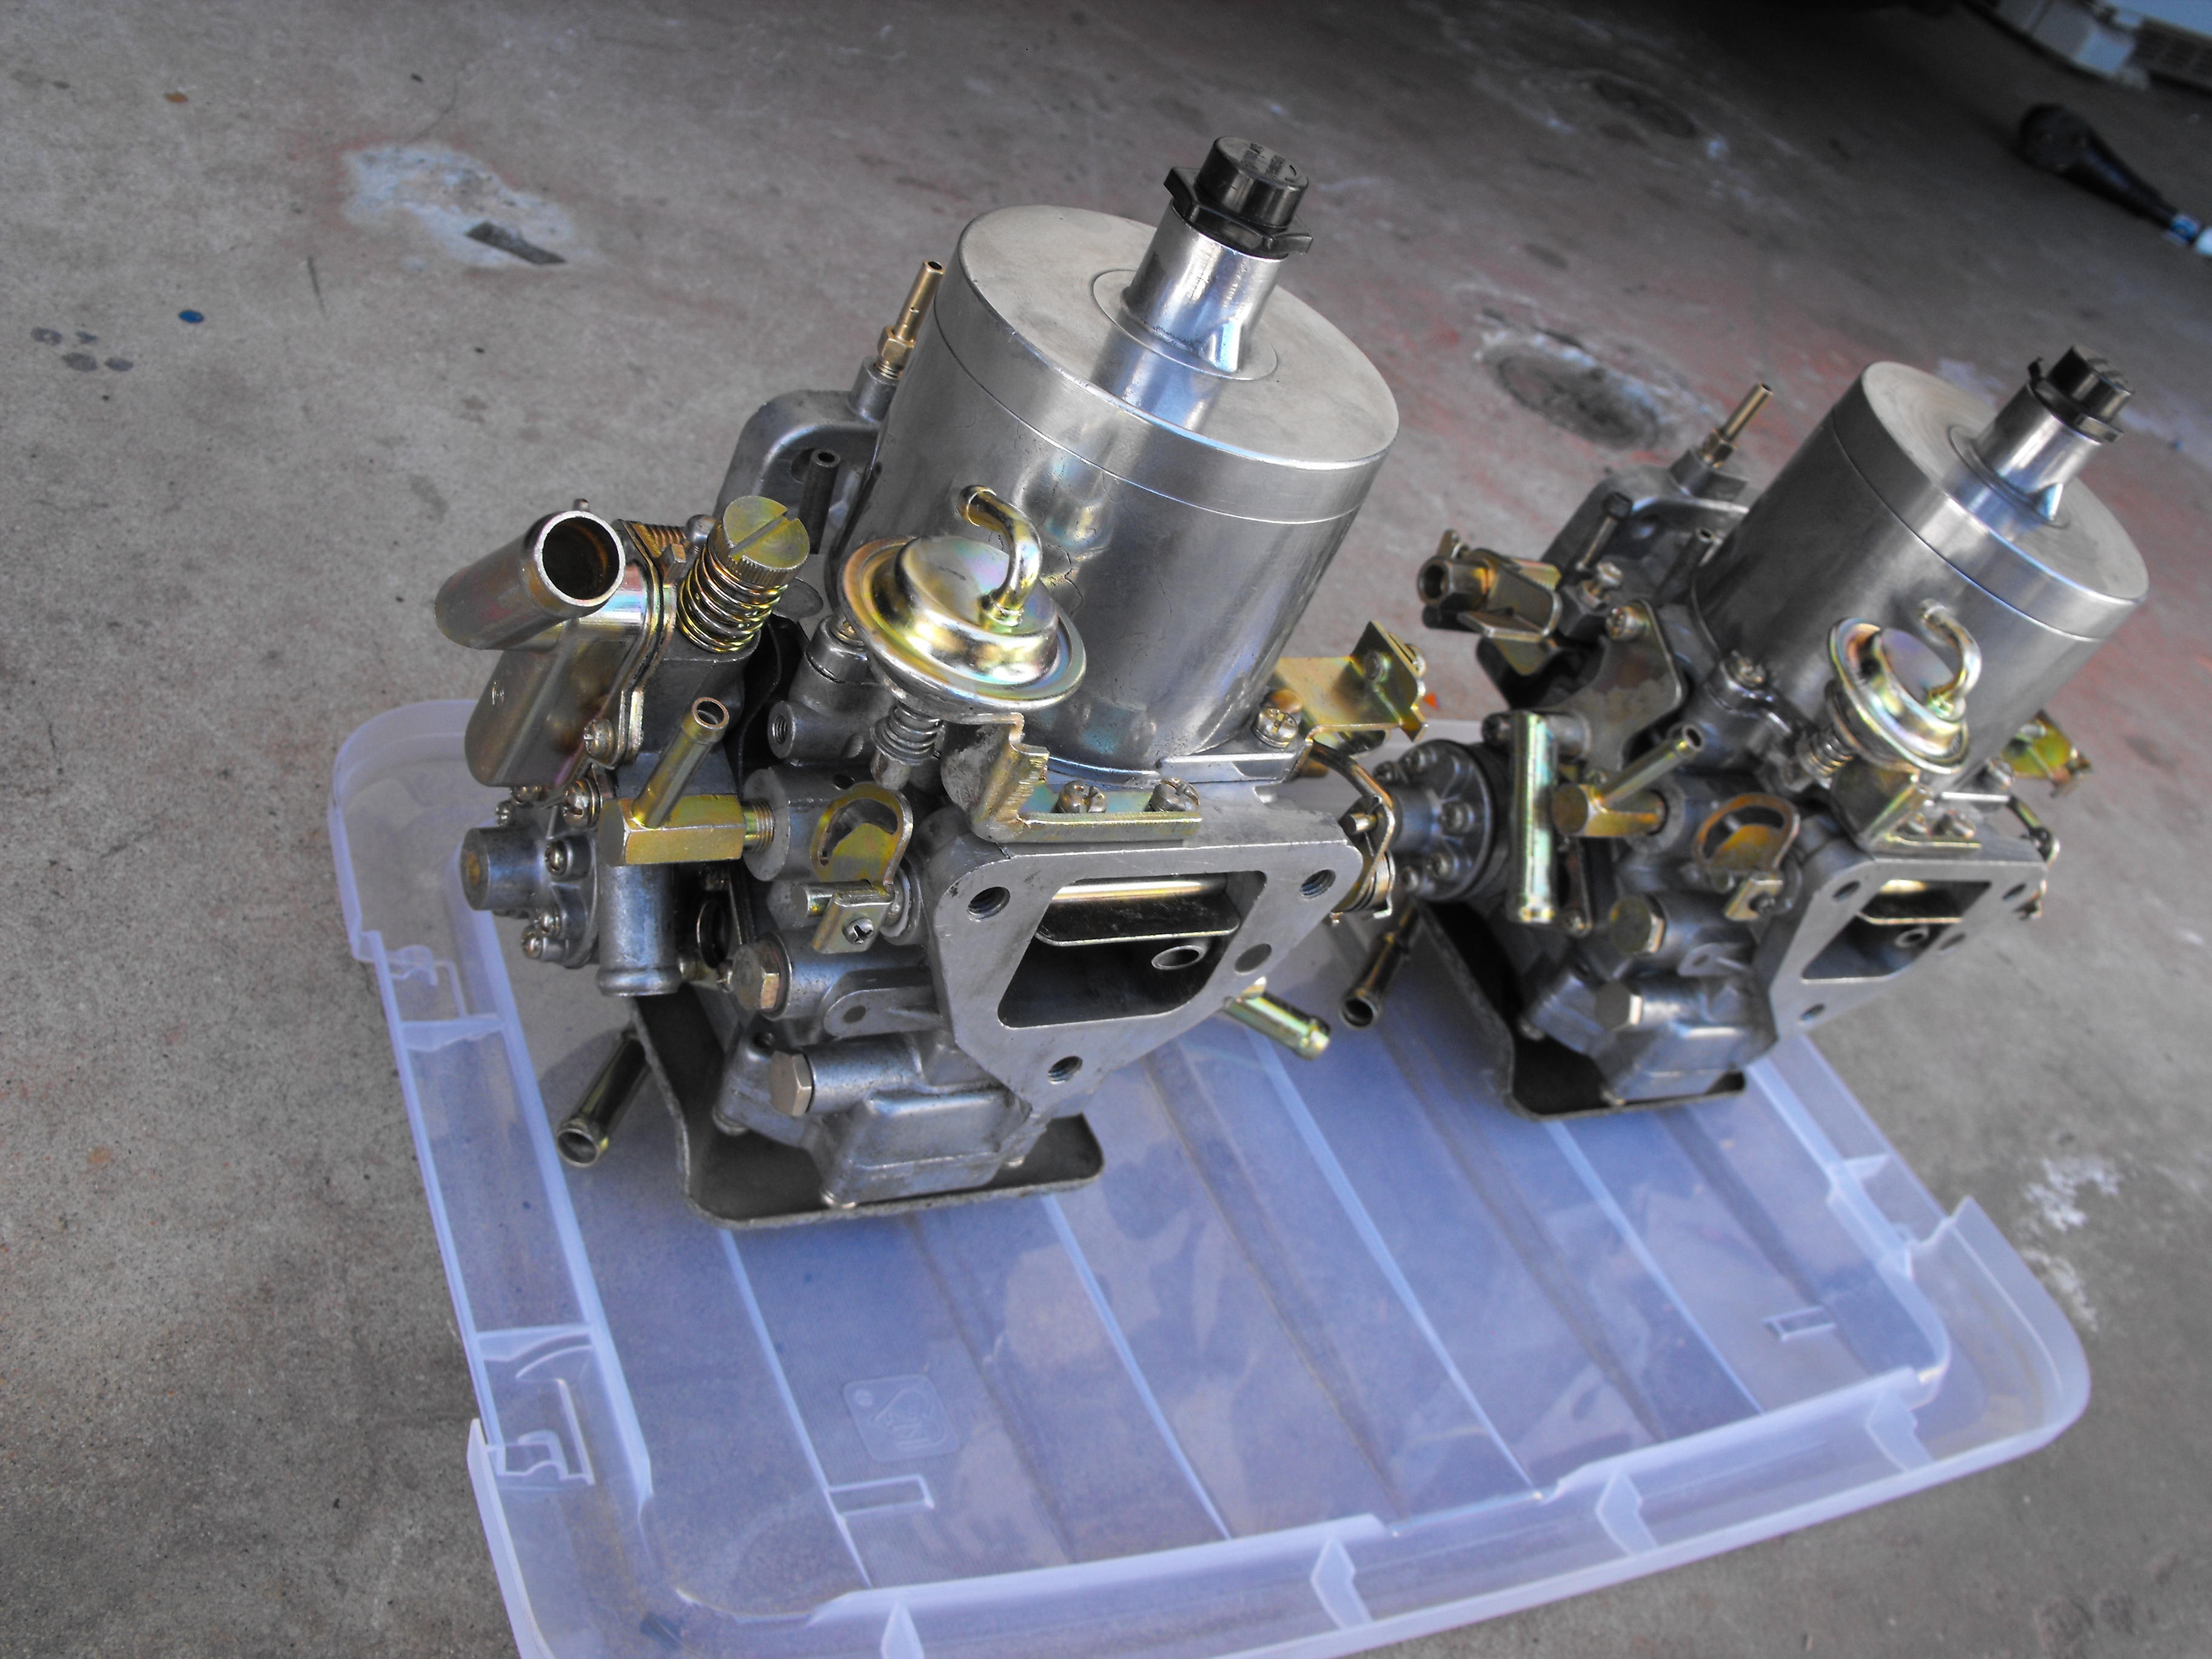
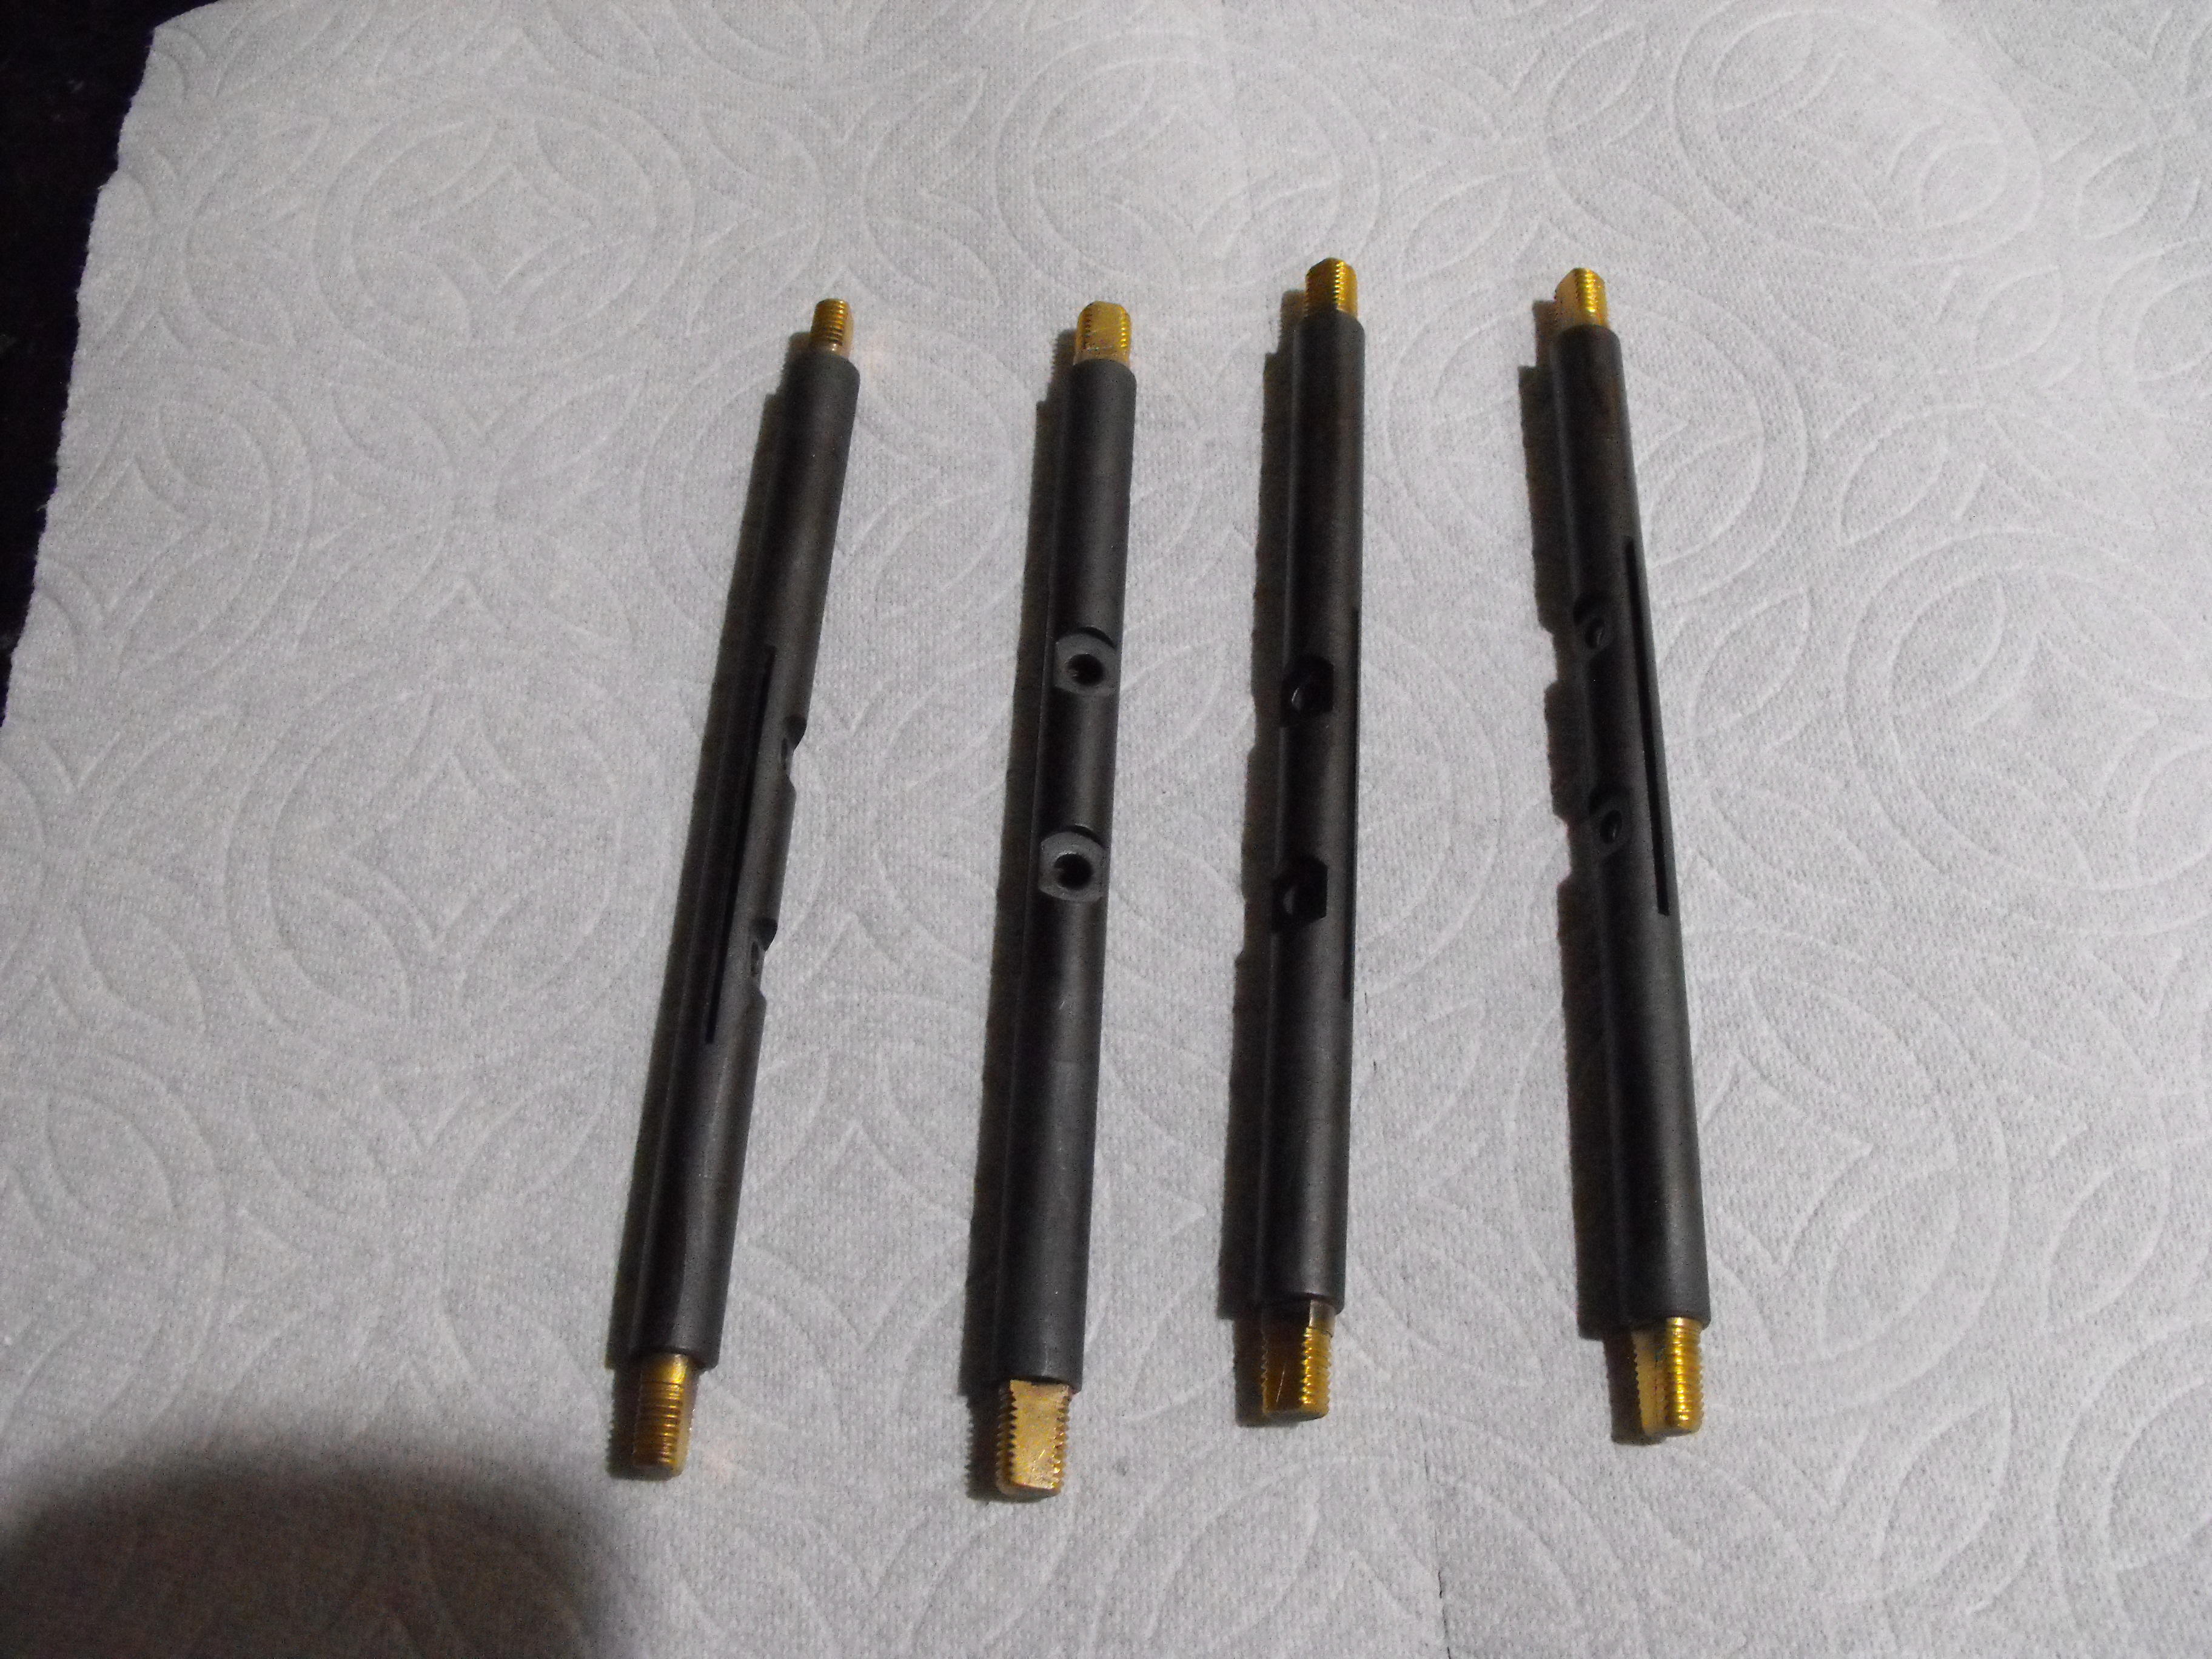
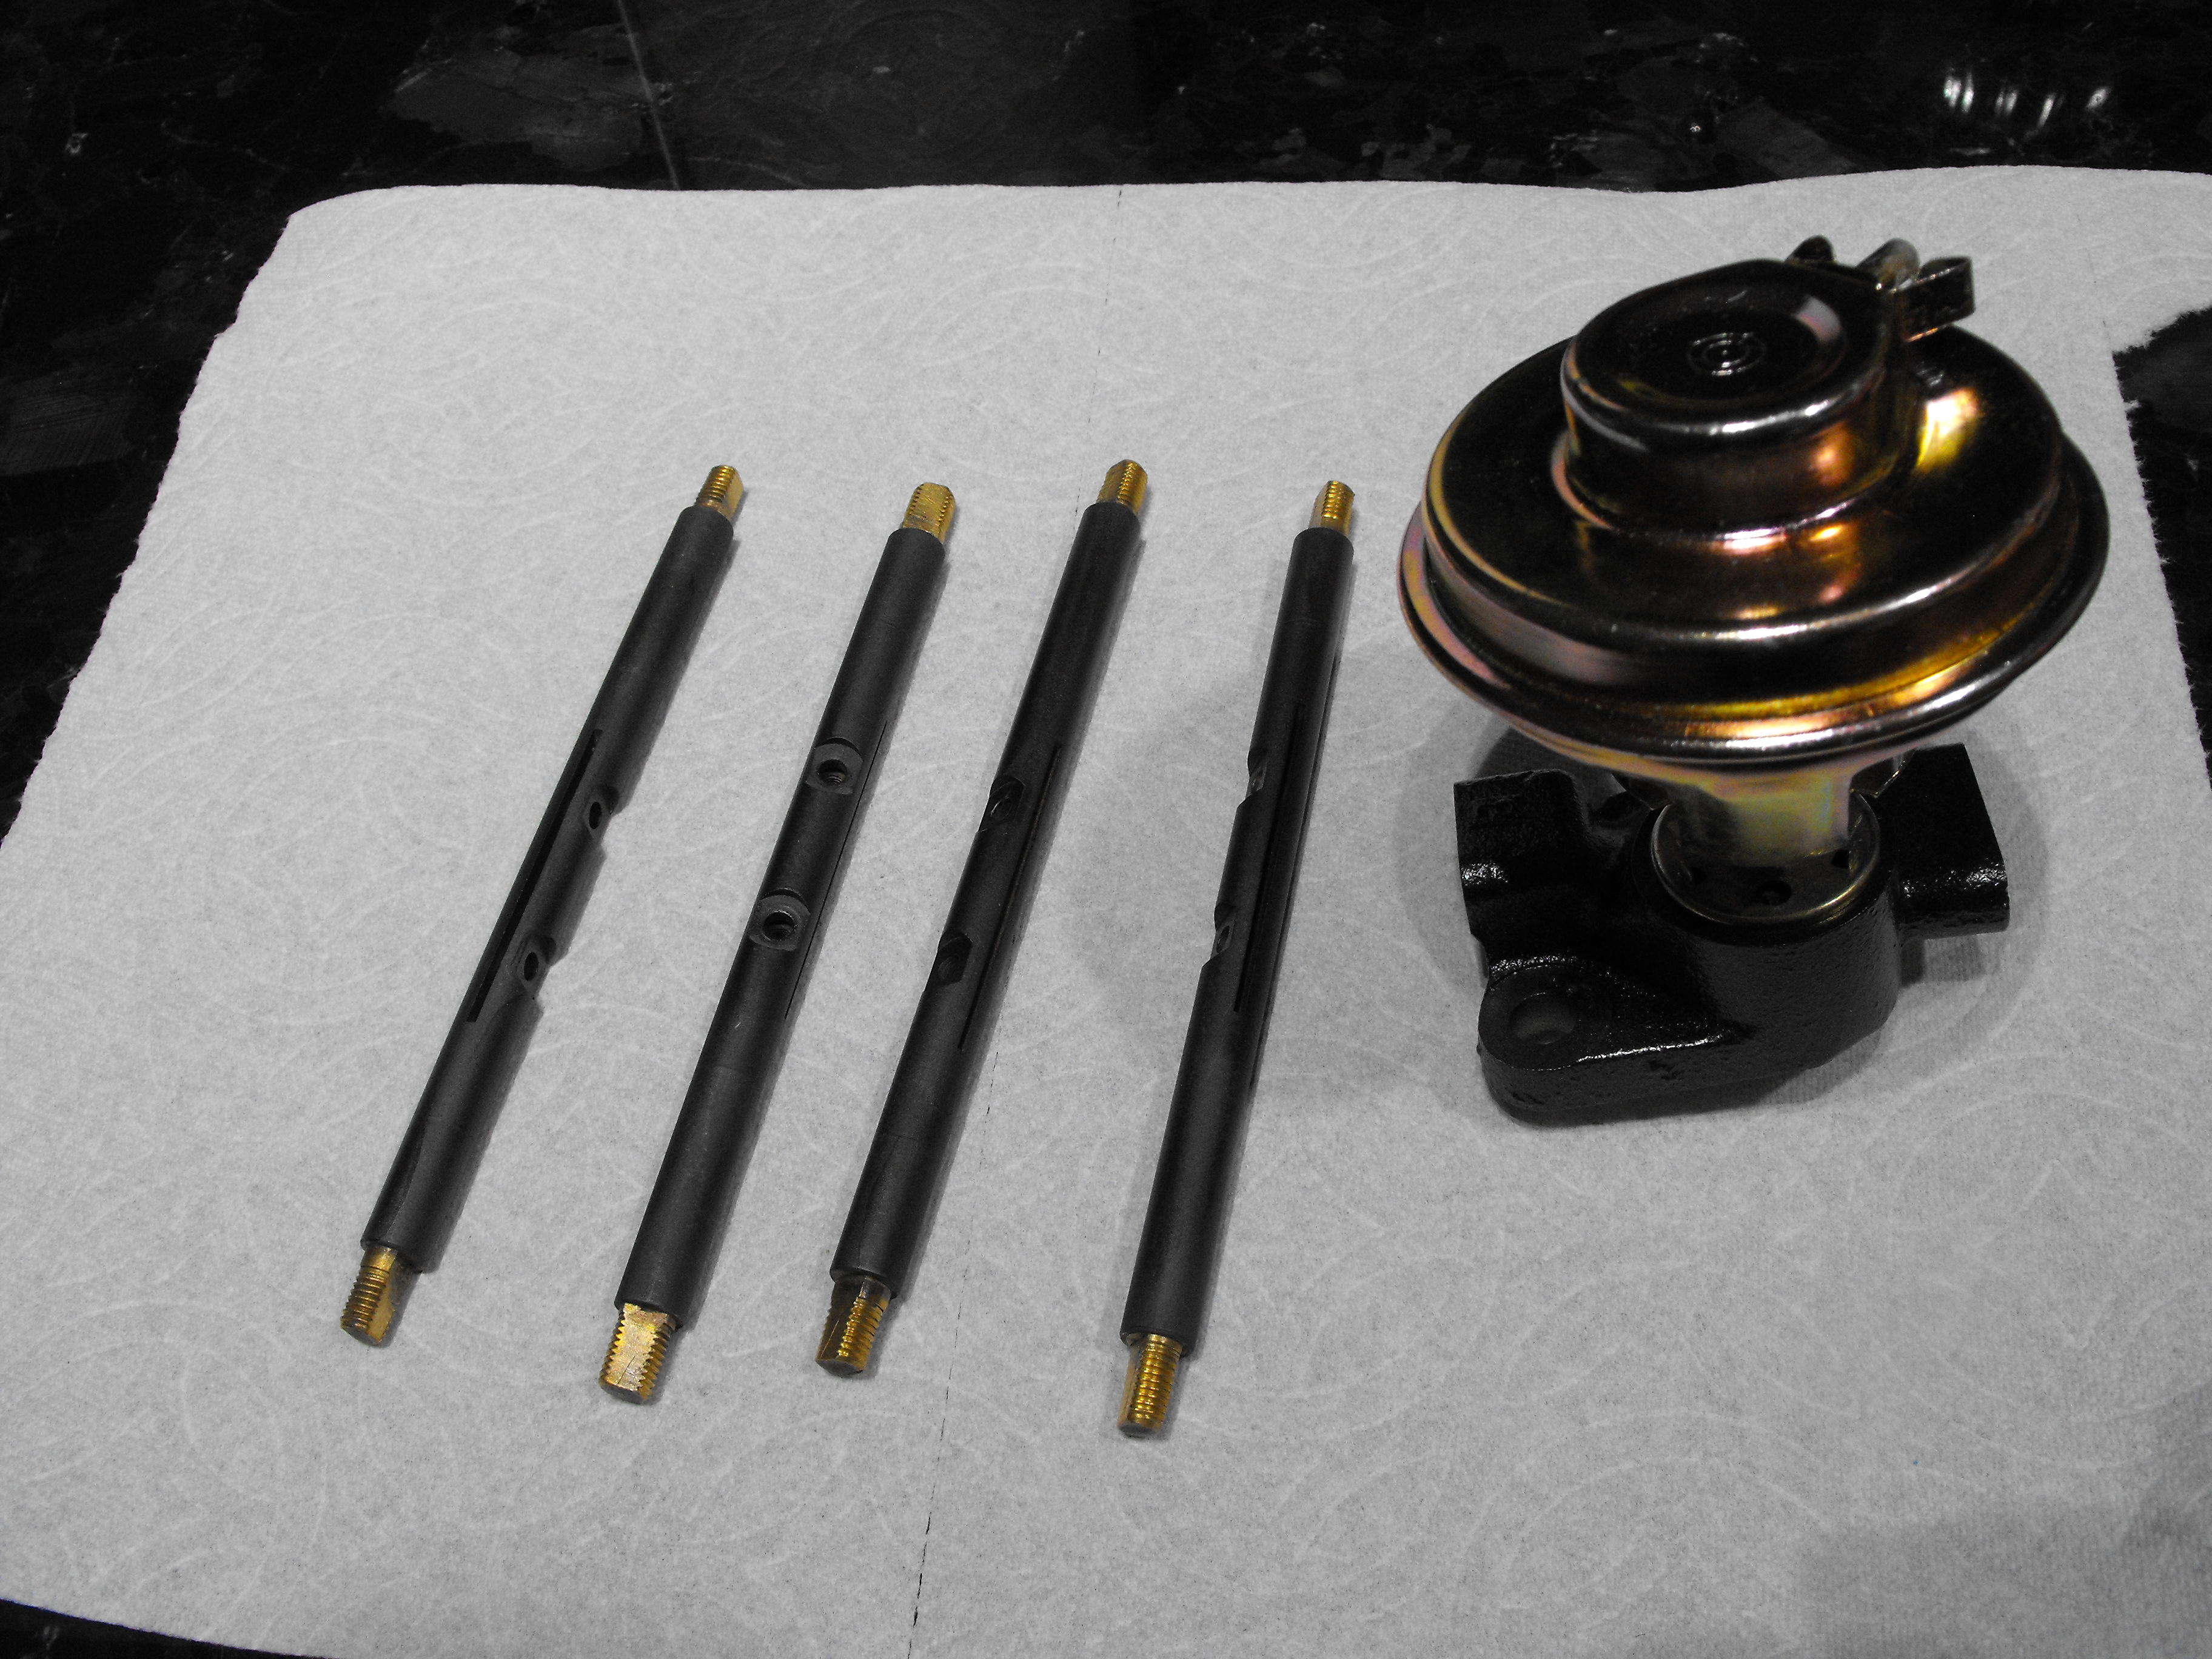
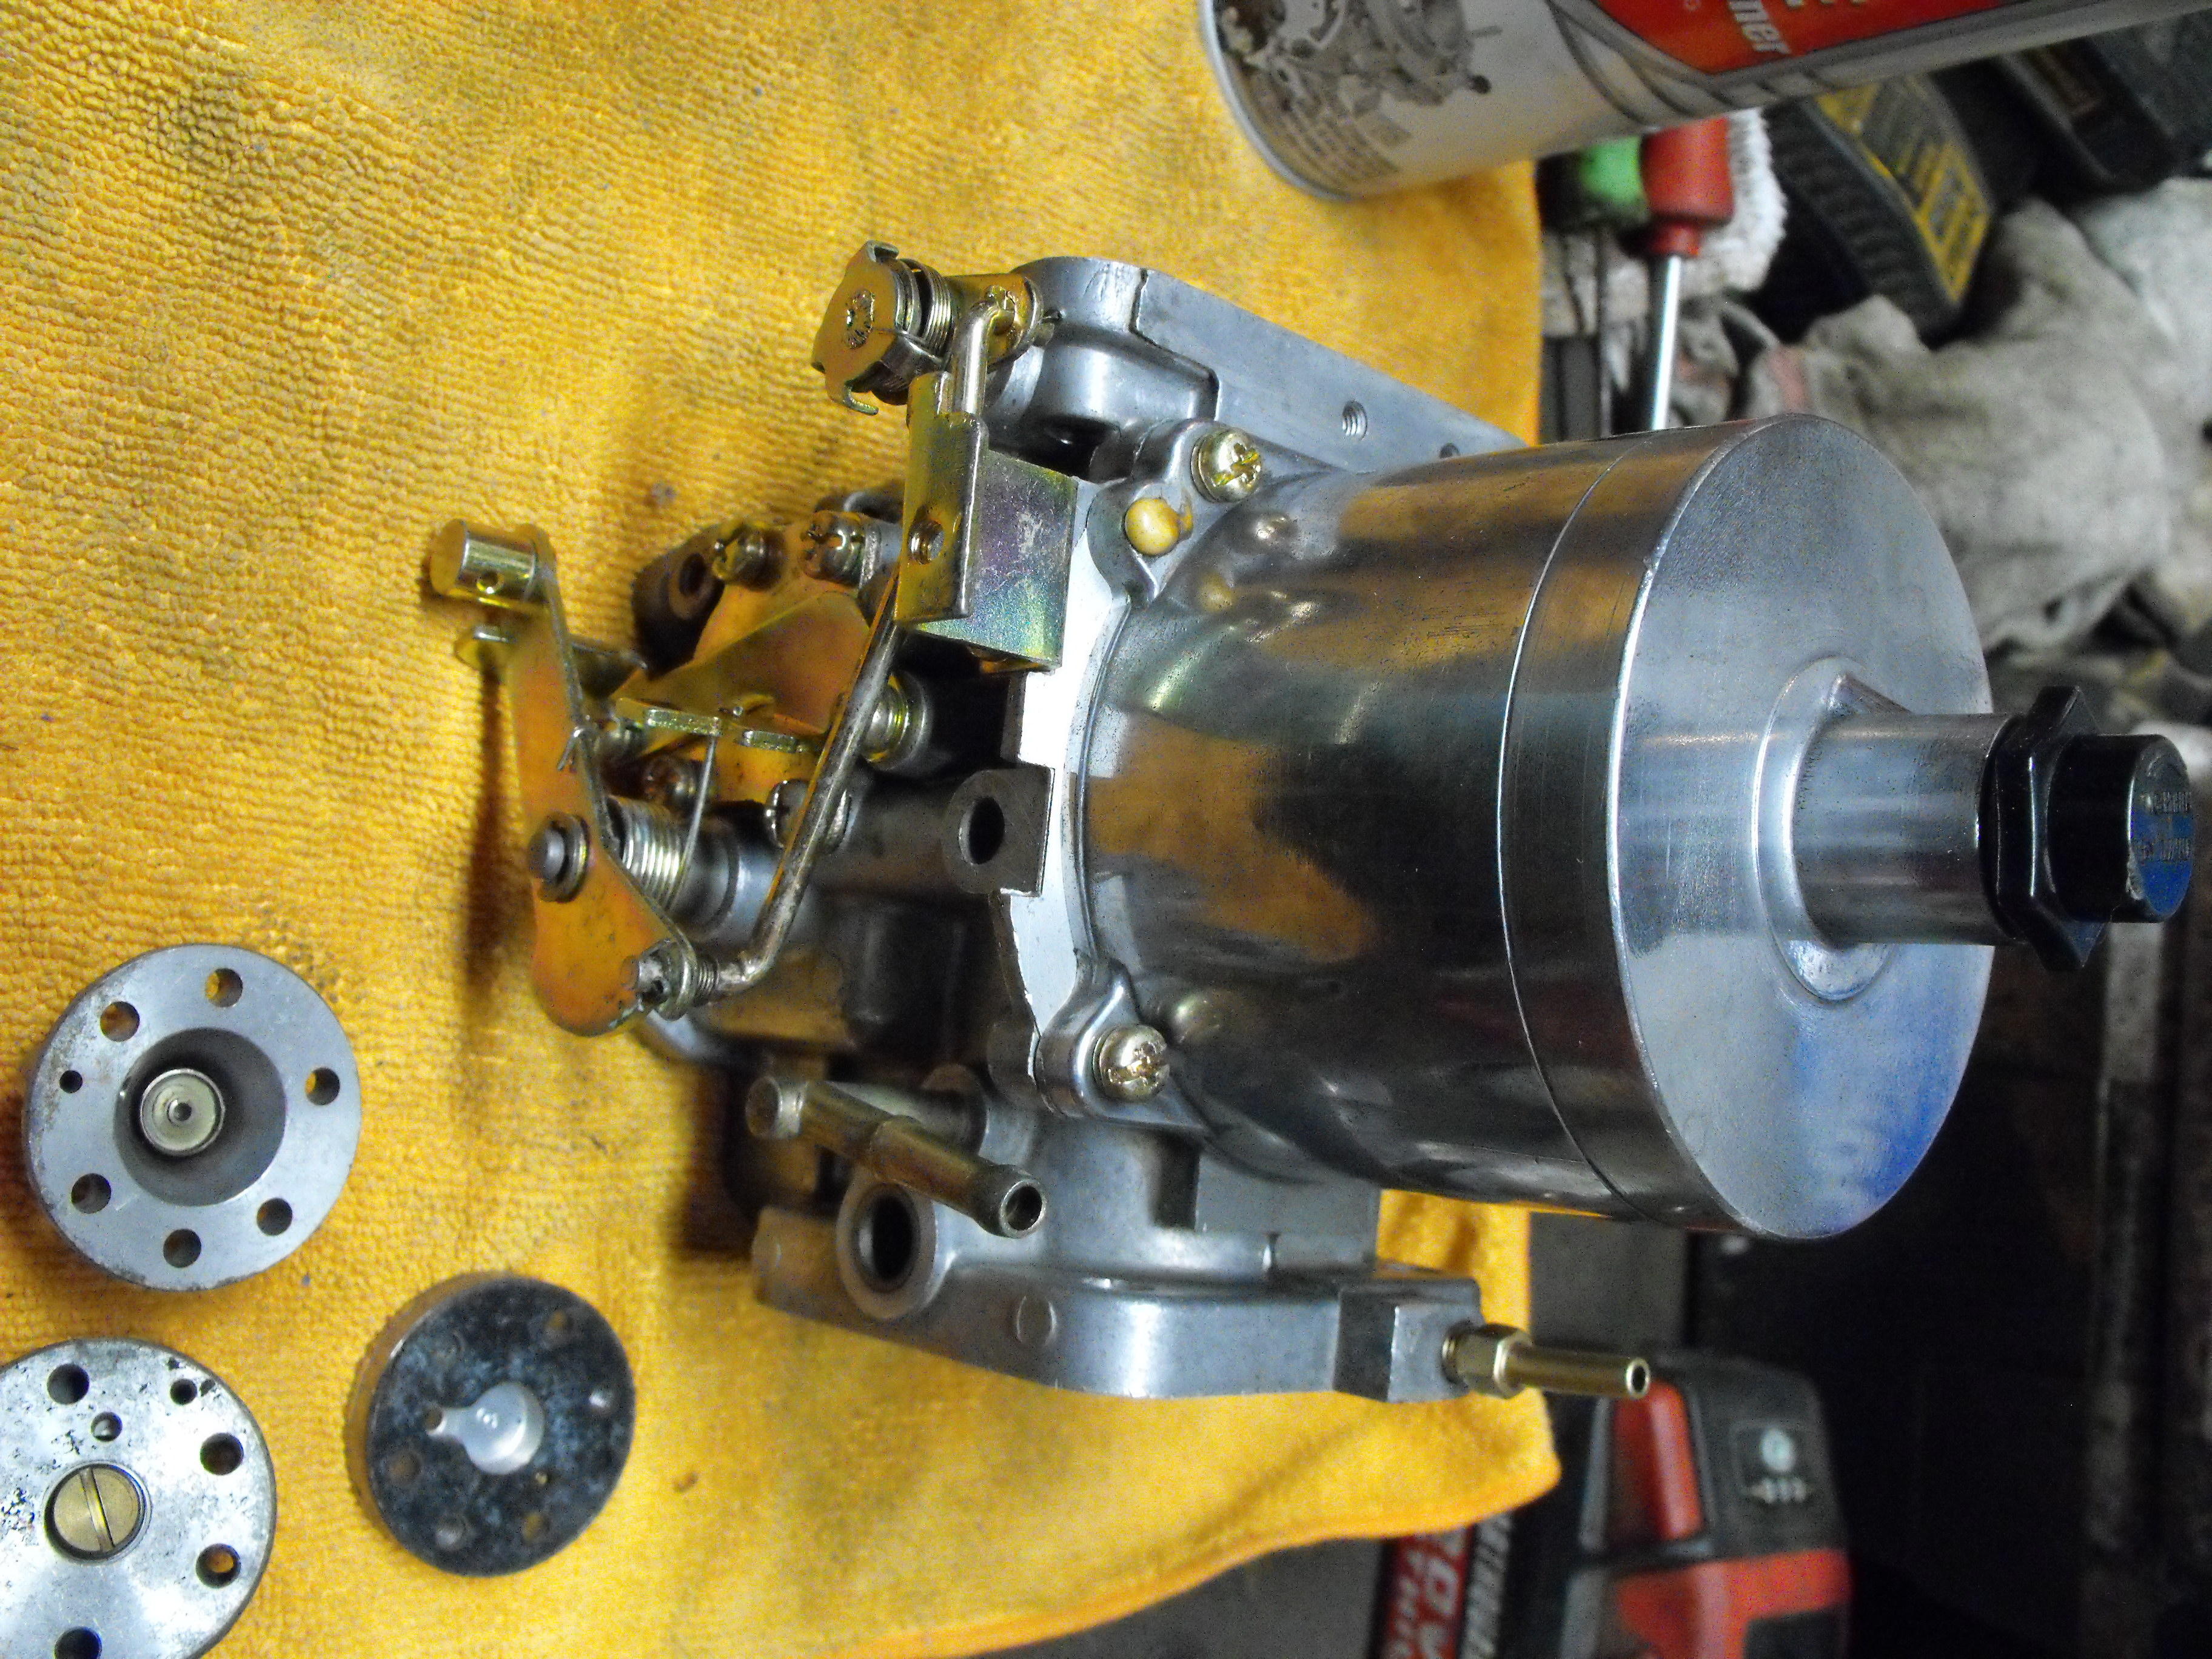
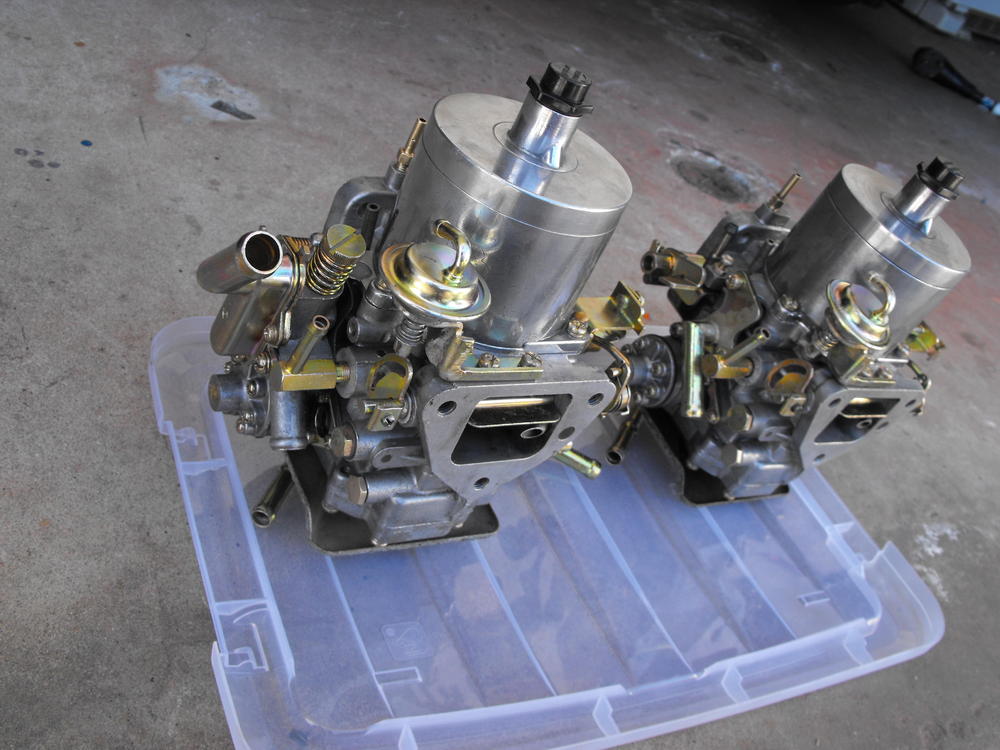
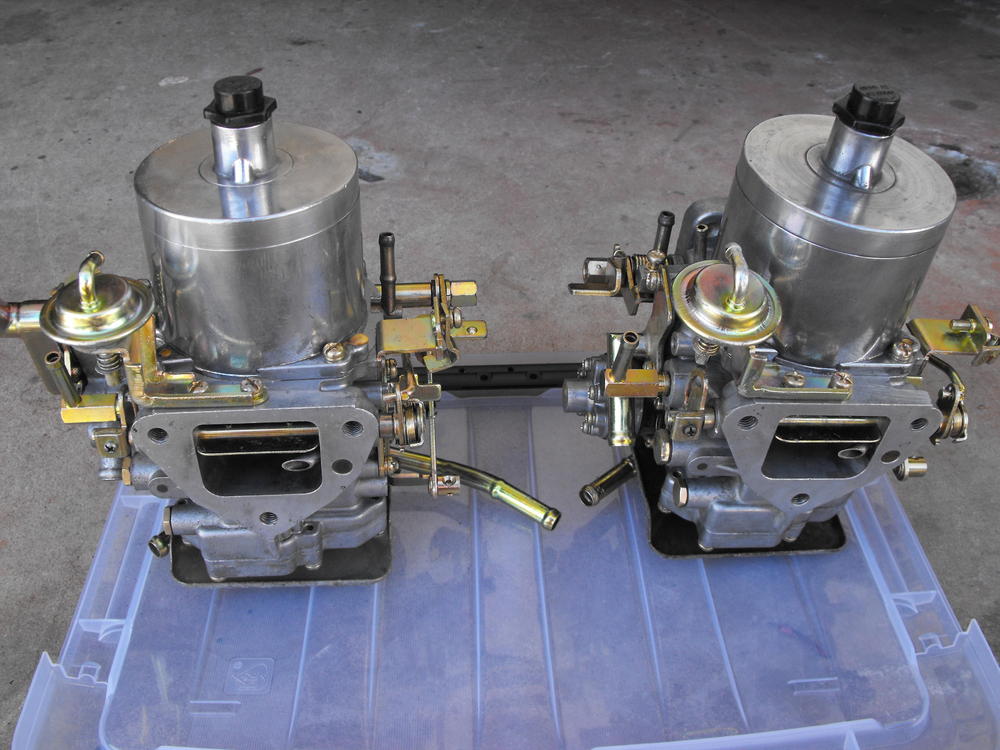
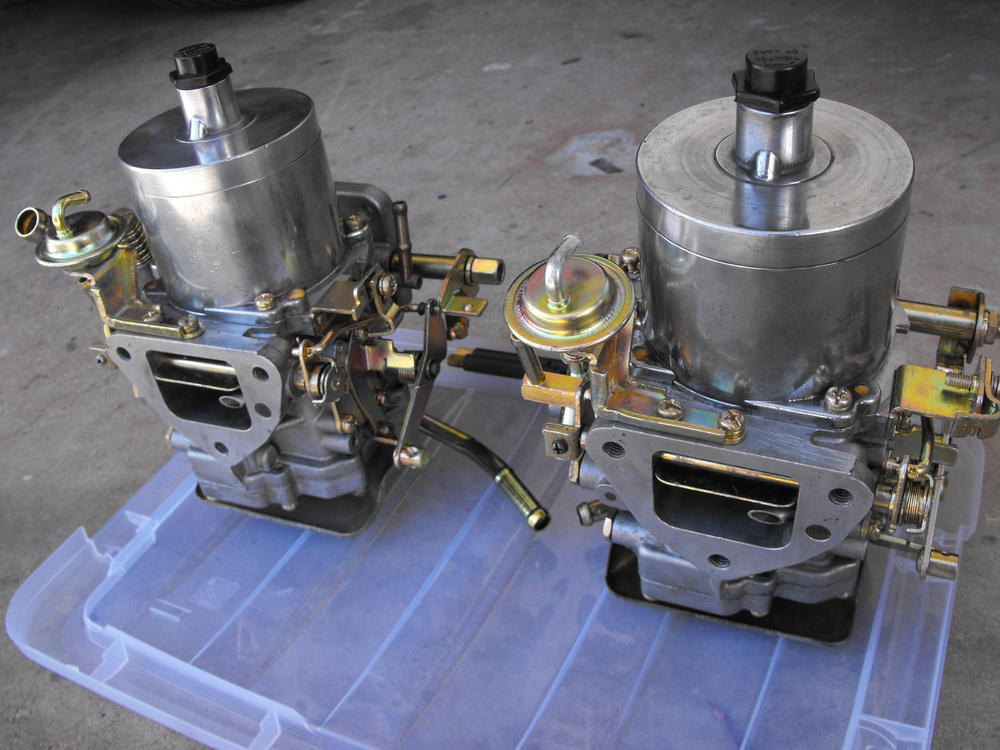
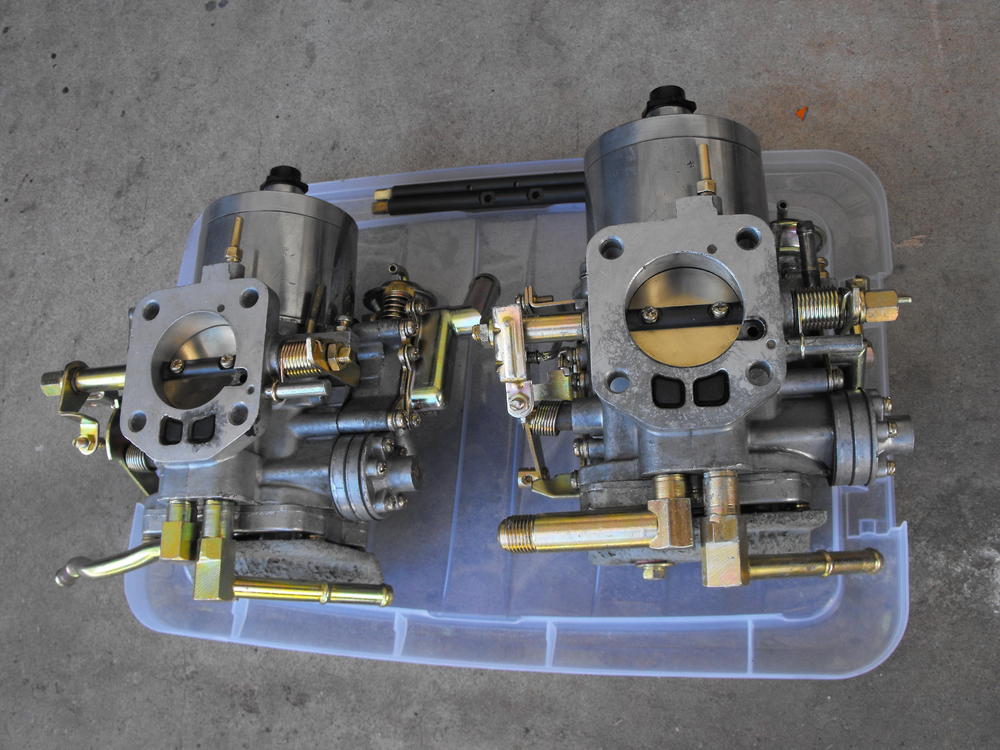
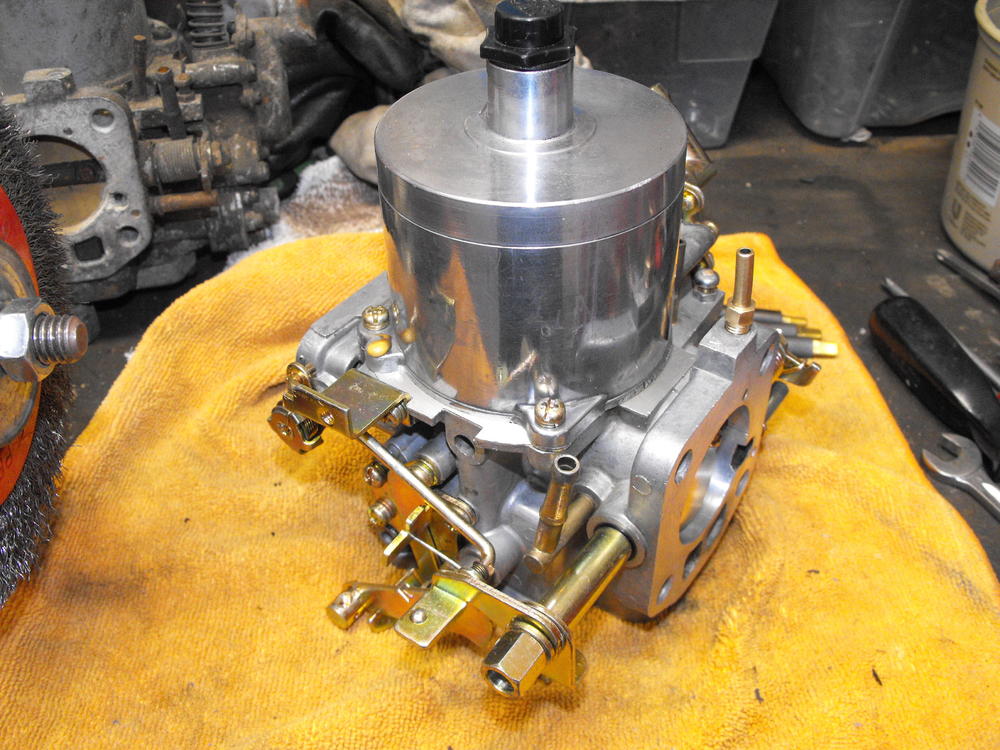
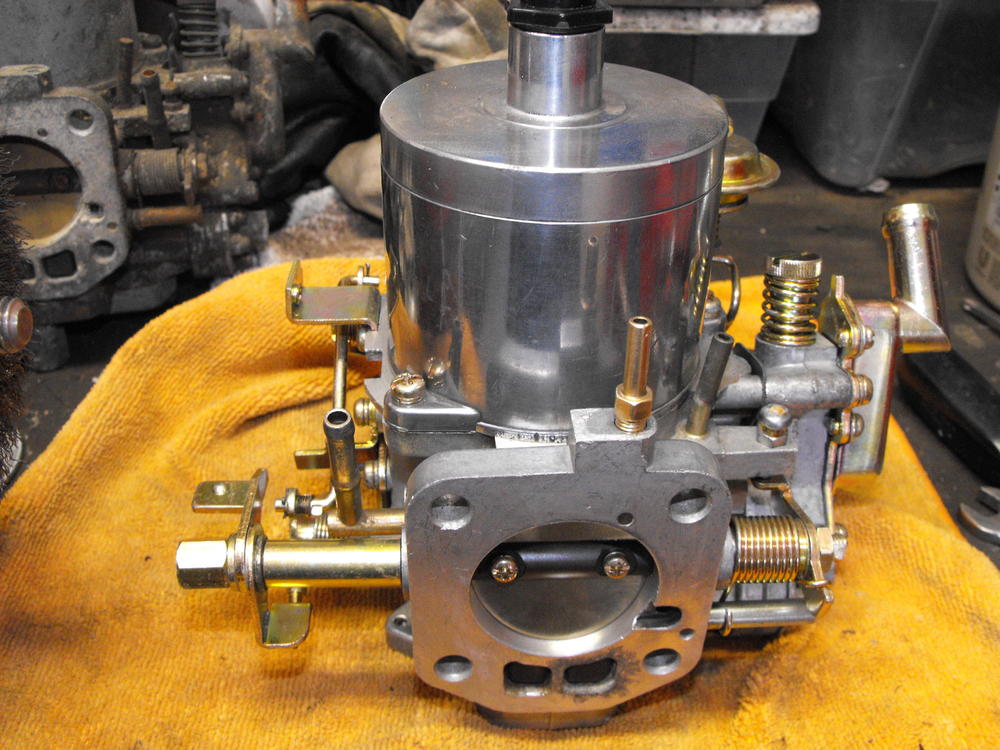
They really came out nice. My favorite part though is something that you will not see when installed and that is the throttle shafts with the throttle plates. They really fit nice in the carb with the dry film lube coating. I put a little bit of light oil on the interface with the bushing and they turn very smoothly with a nice seal. All the mechanisms and floats have been adjusted. They operate very nicely. Looking forward to having them operational.
-
The fuel filter looks like this, its very small. I have some of this at stuff at work that seems to be somewhat similar: https://www.twpinc.com/wire-mesh-material/stainless-steel/635-mesh-t316-stainless-138 Not sure how I would handle the edges yet.

-
Typically I do a light wire wheel on the heavy rust or corroded items. I also try and remove any grease or oil just because it contaminates the nicer parts. Also, all paint needs to be removed. No need to be real clean on everything and no need to remove the old zinc. They do a nice job with the plating.
-
I was thinking about that actually. I have a number of different stainless steel mesh sheets from a cancelled project at work that could possibly be used. Will look into that.
-
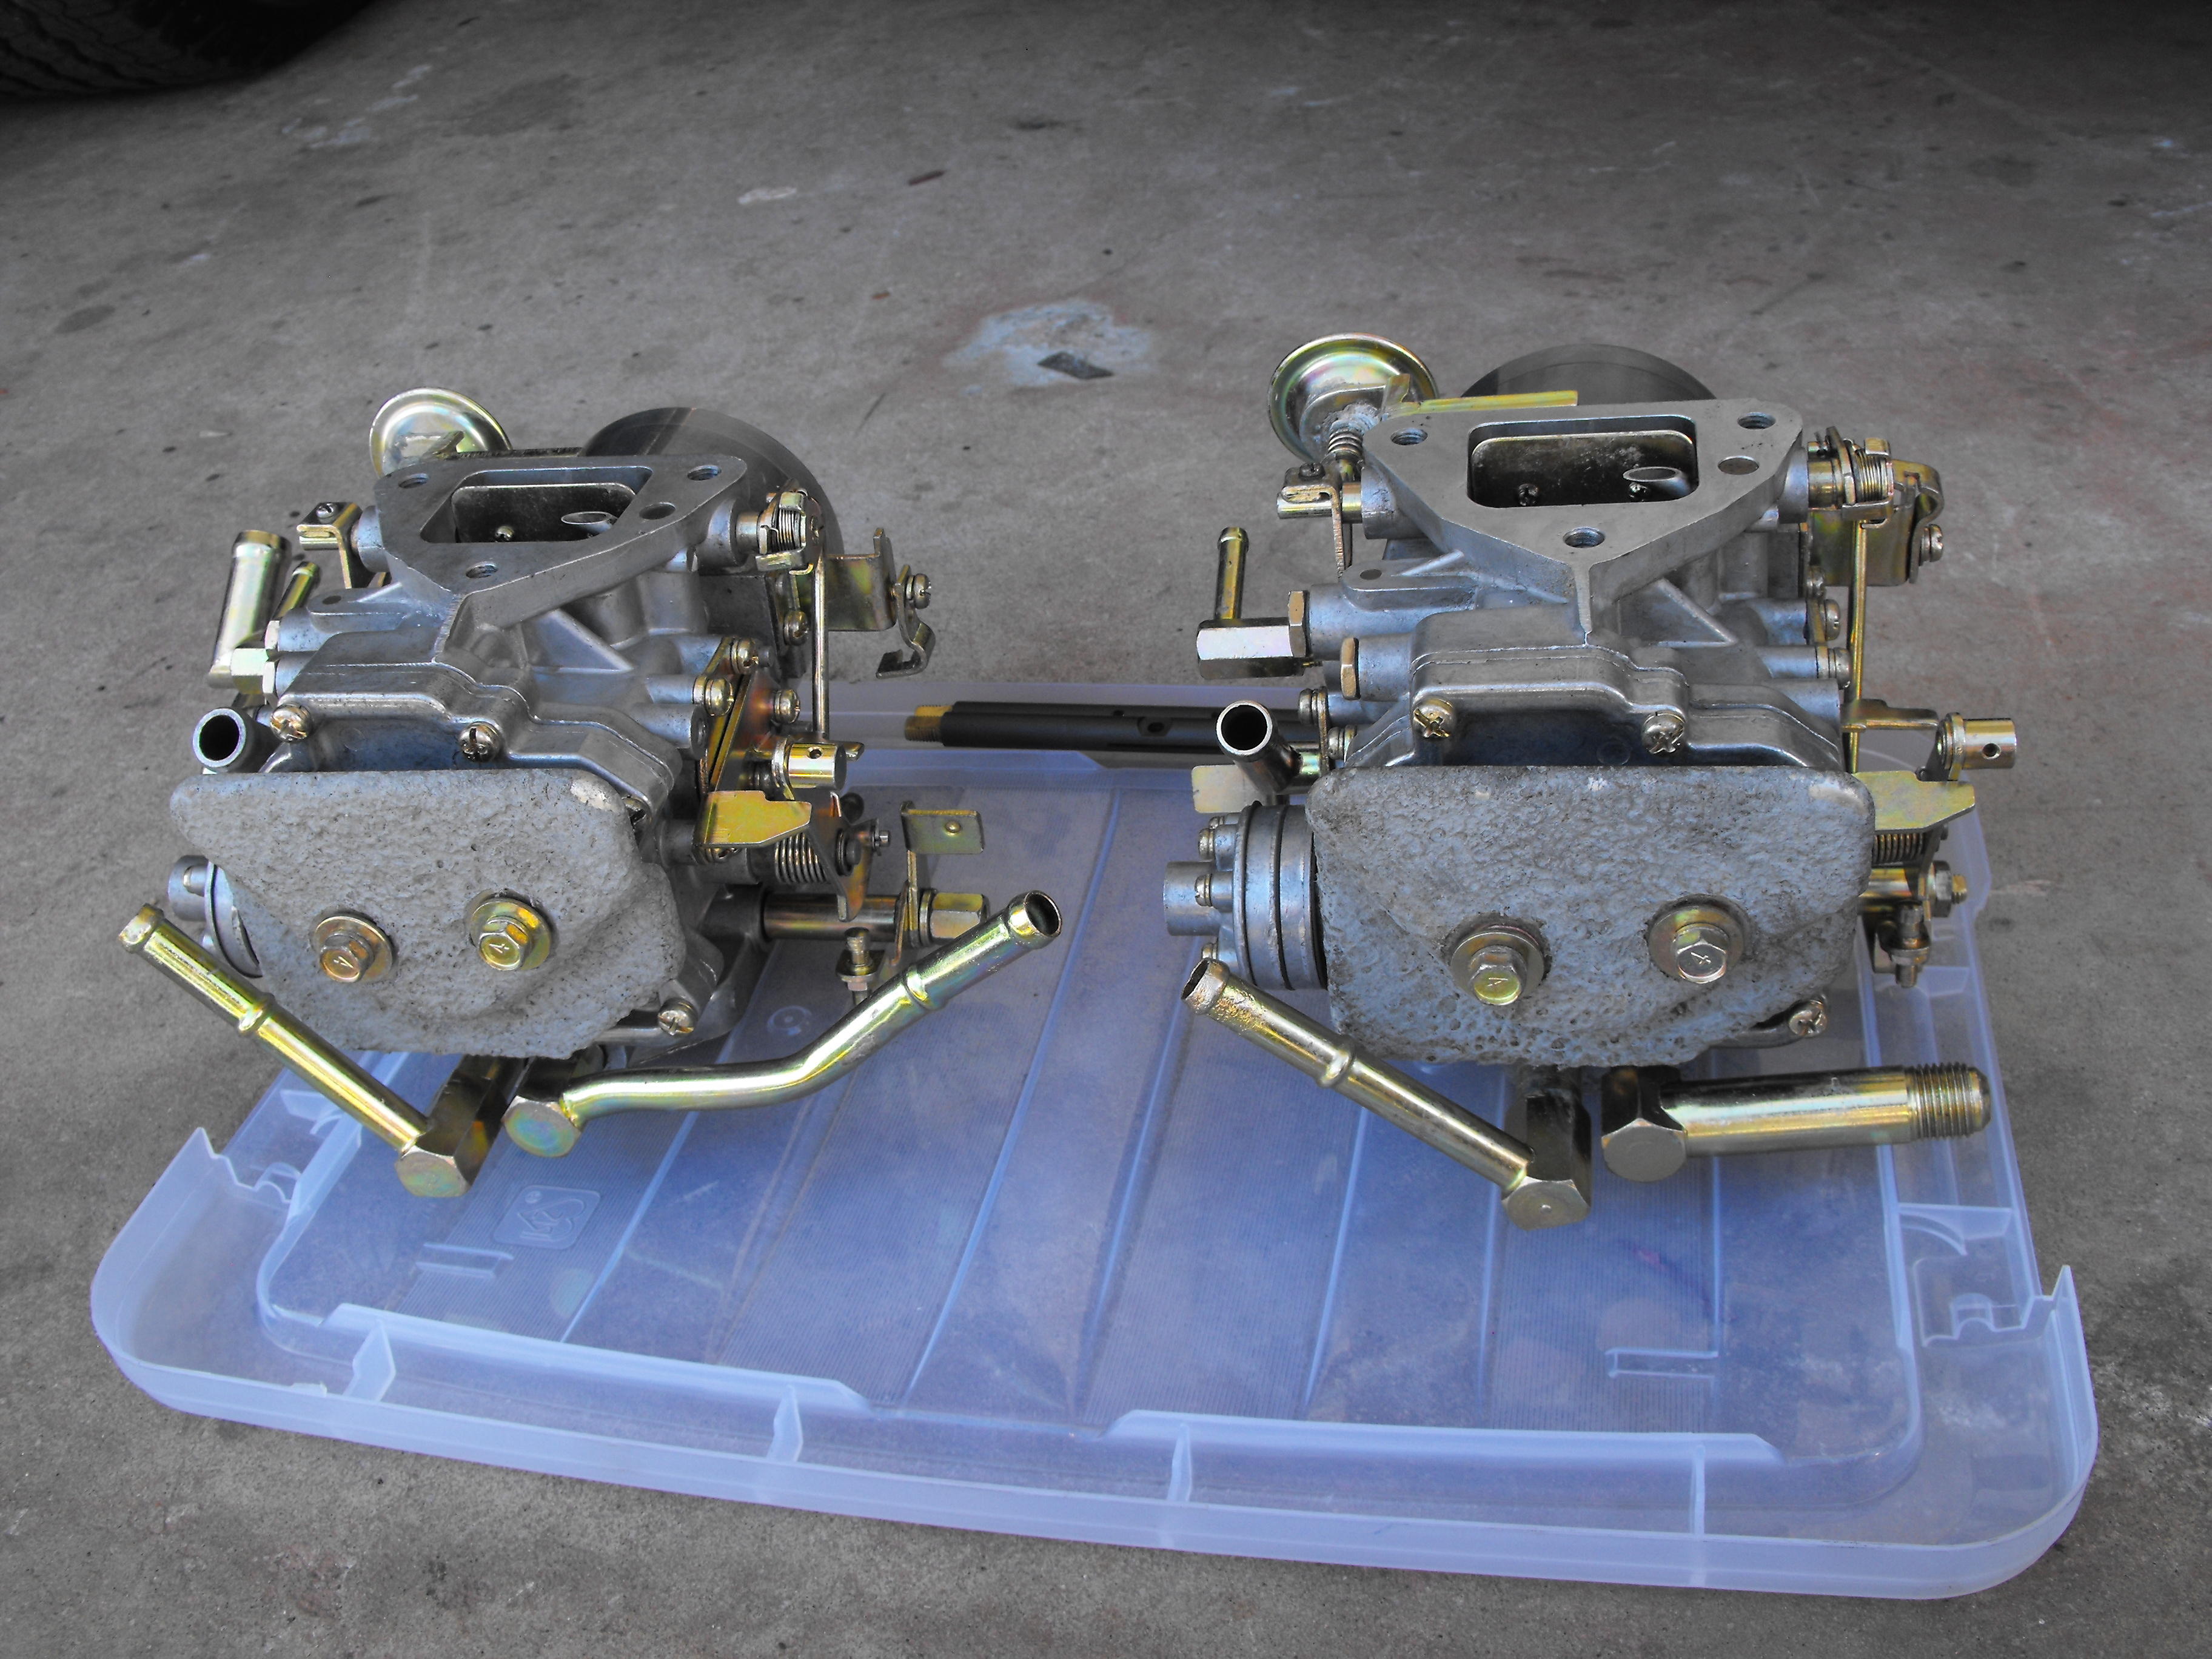
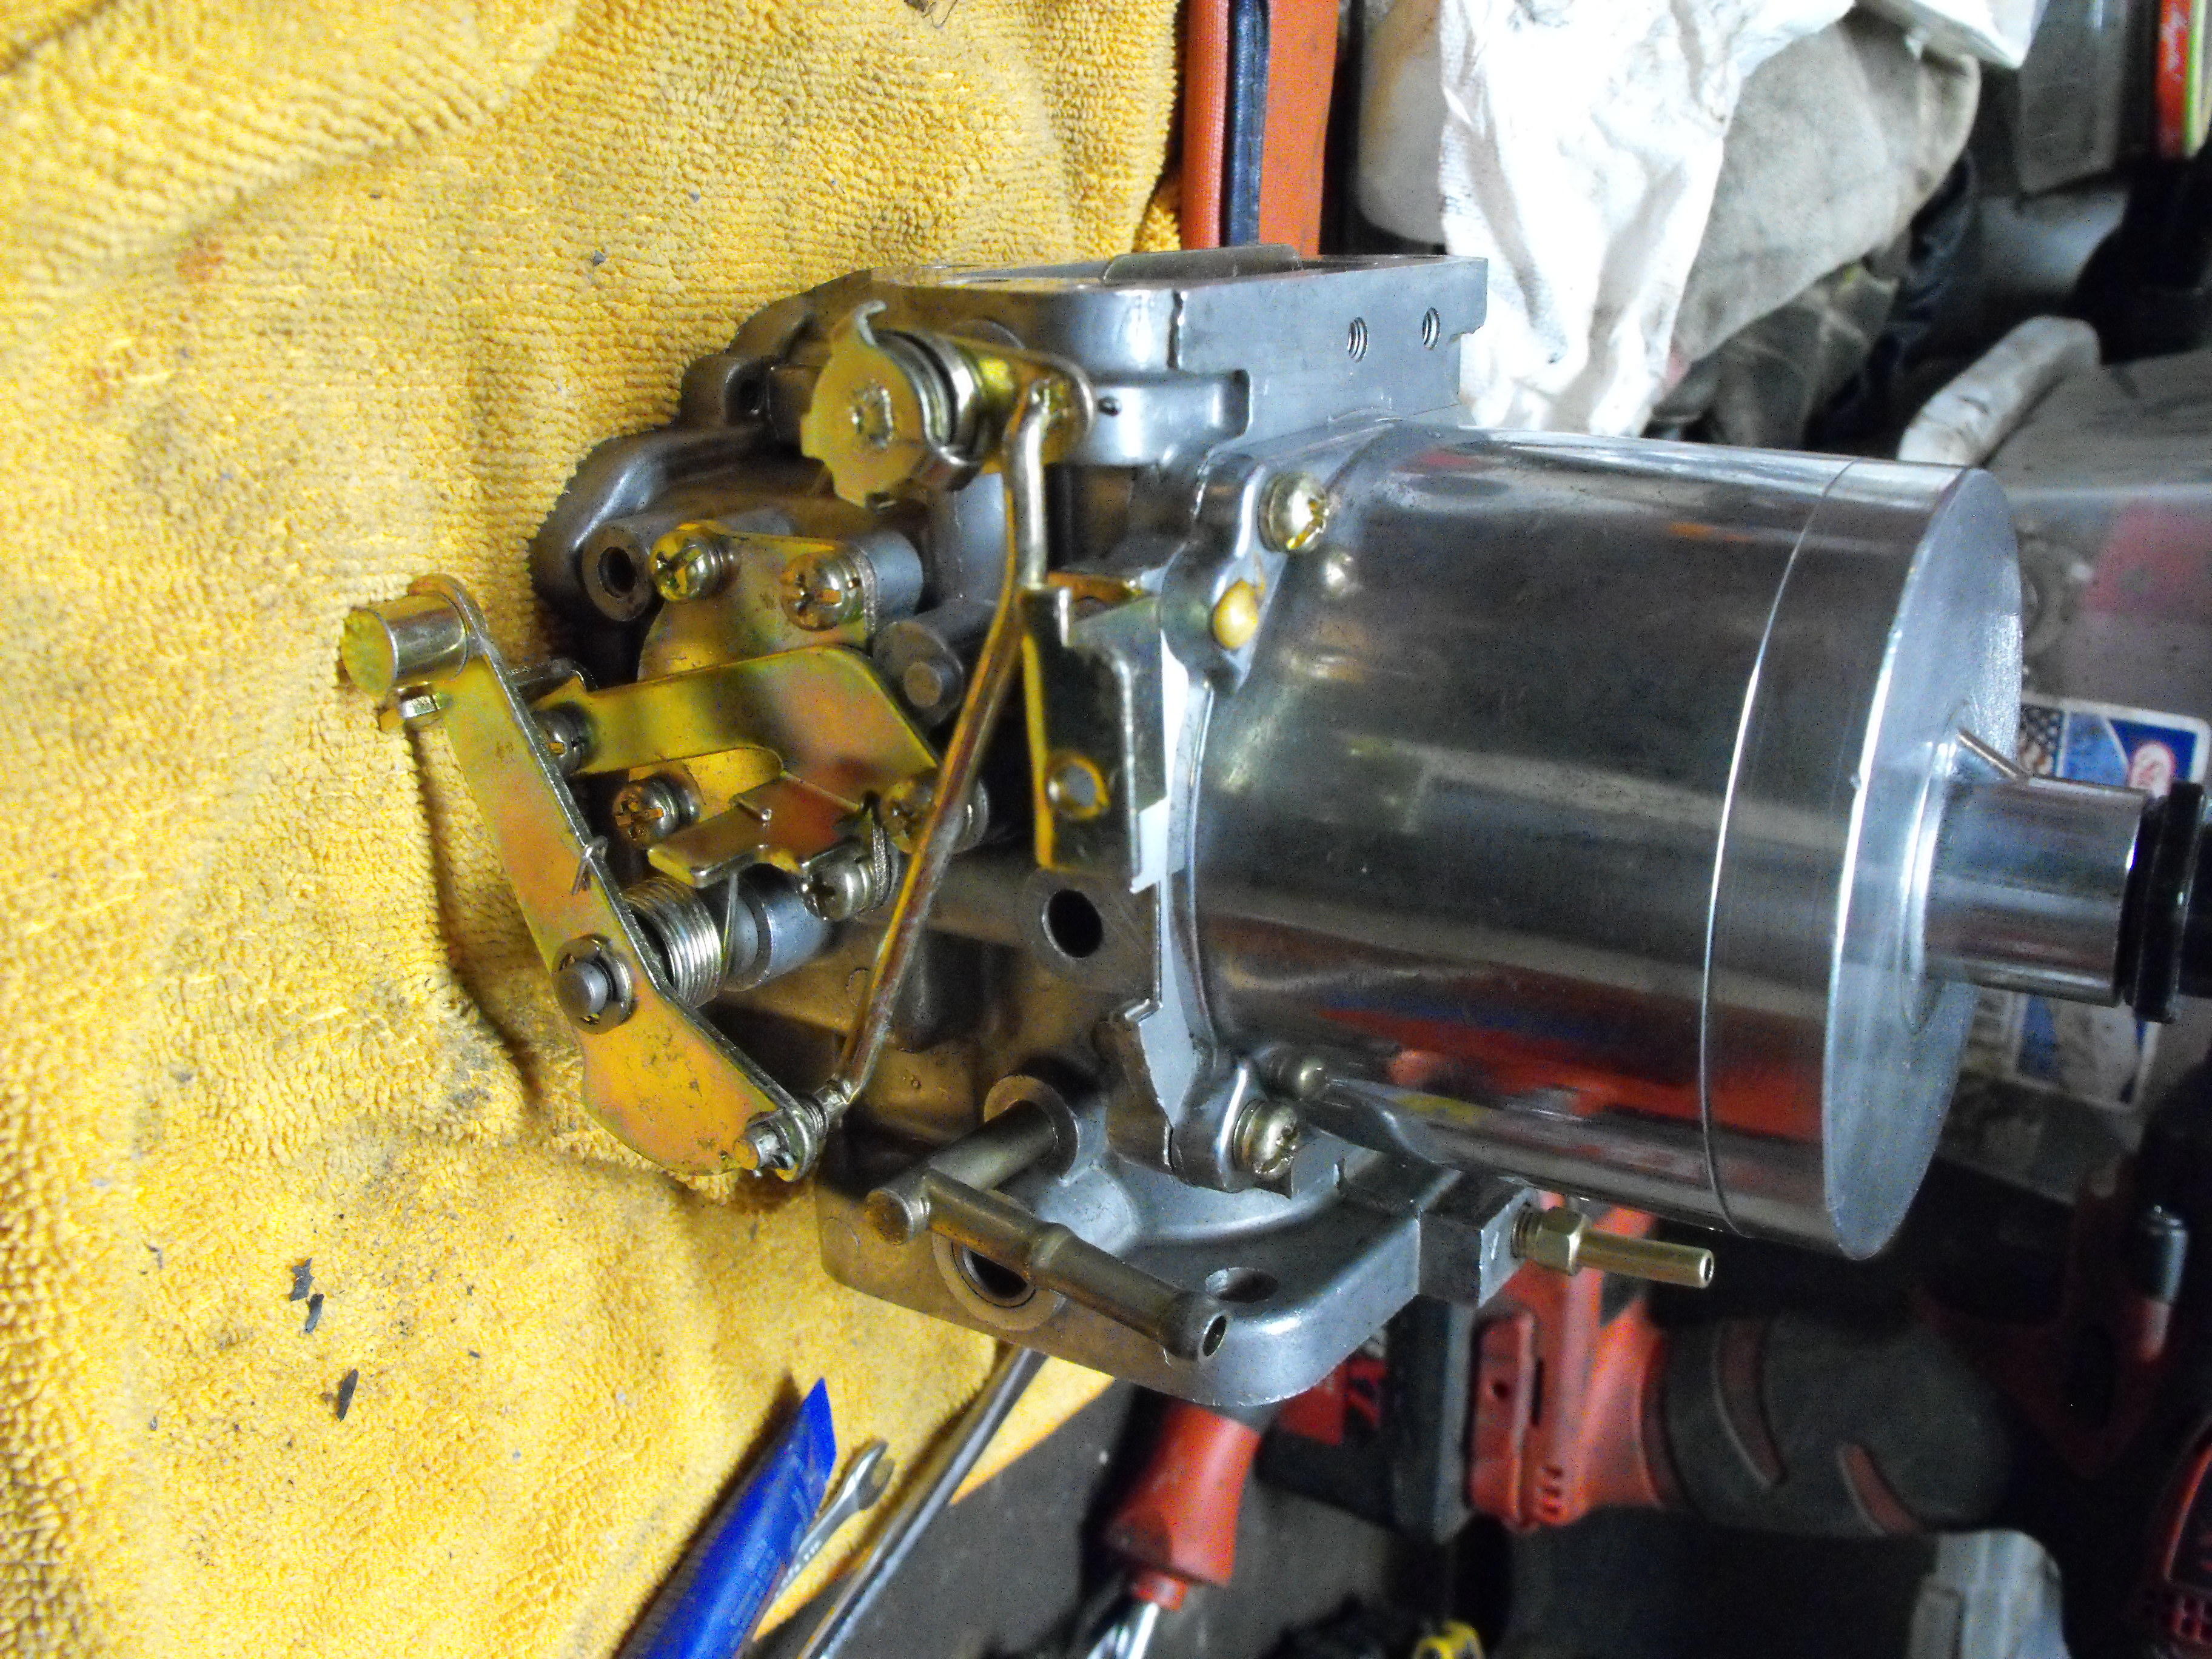
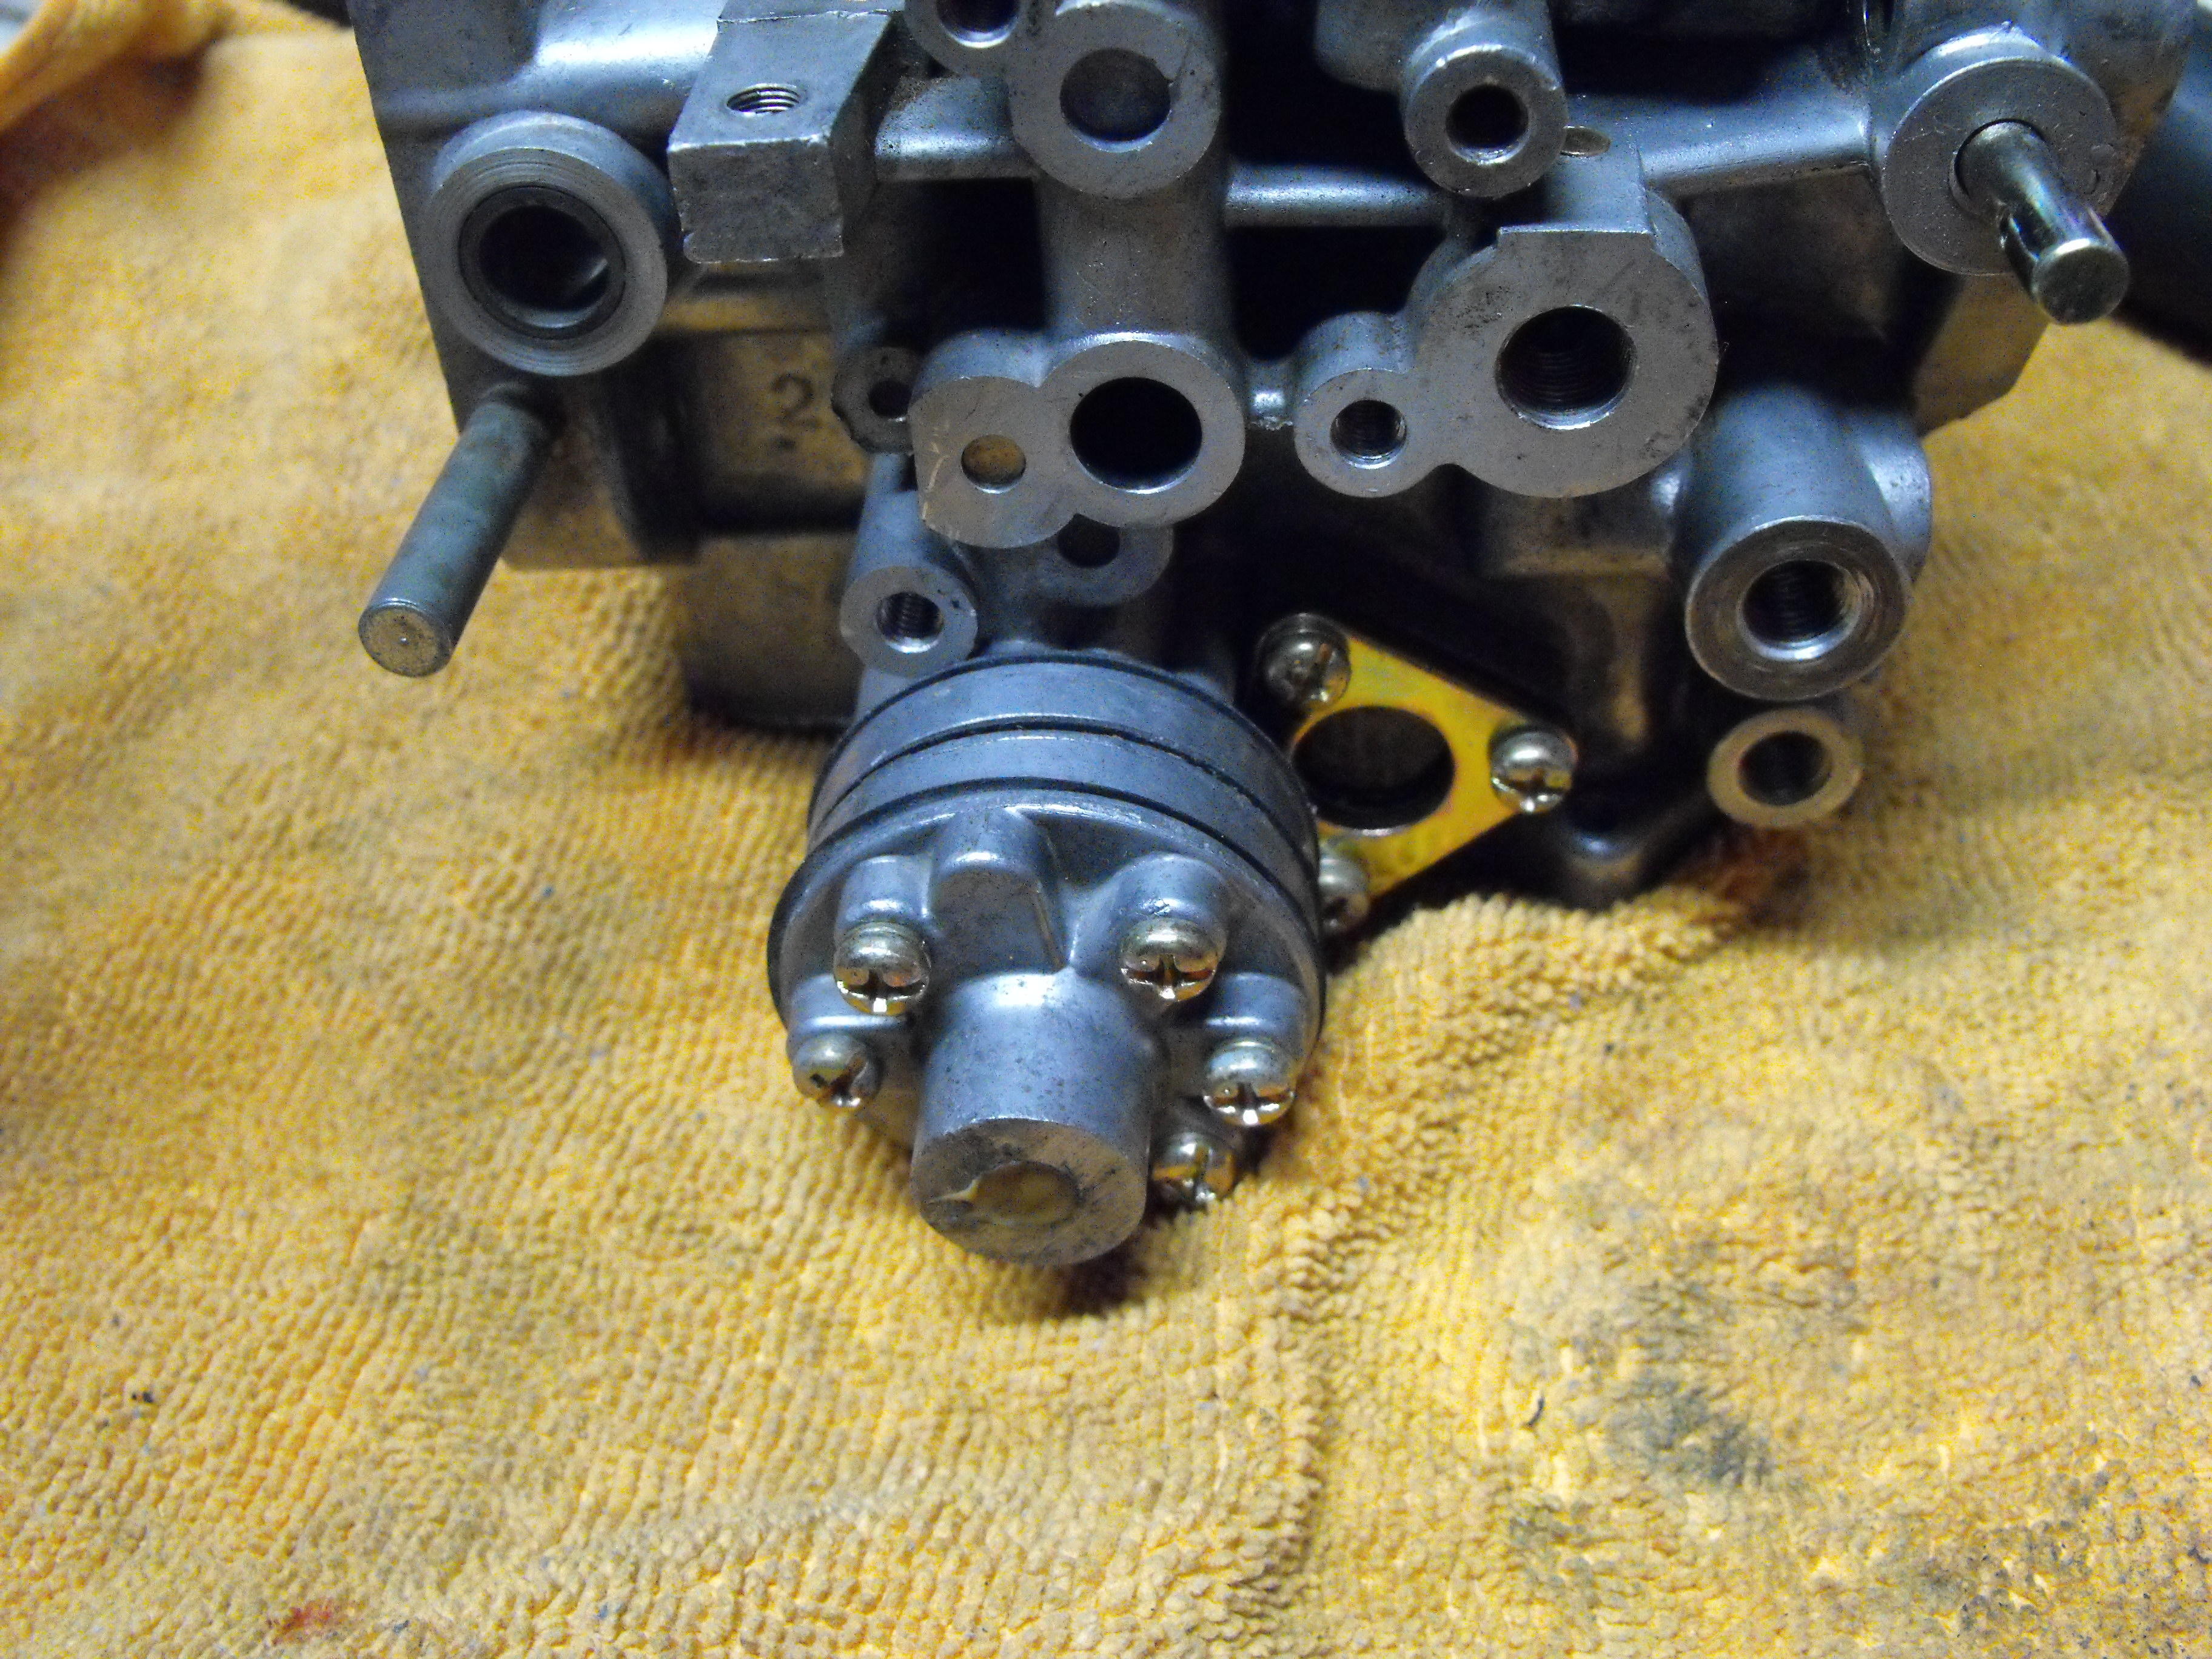
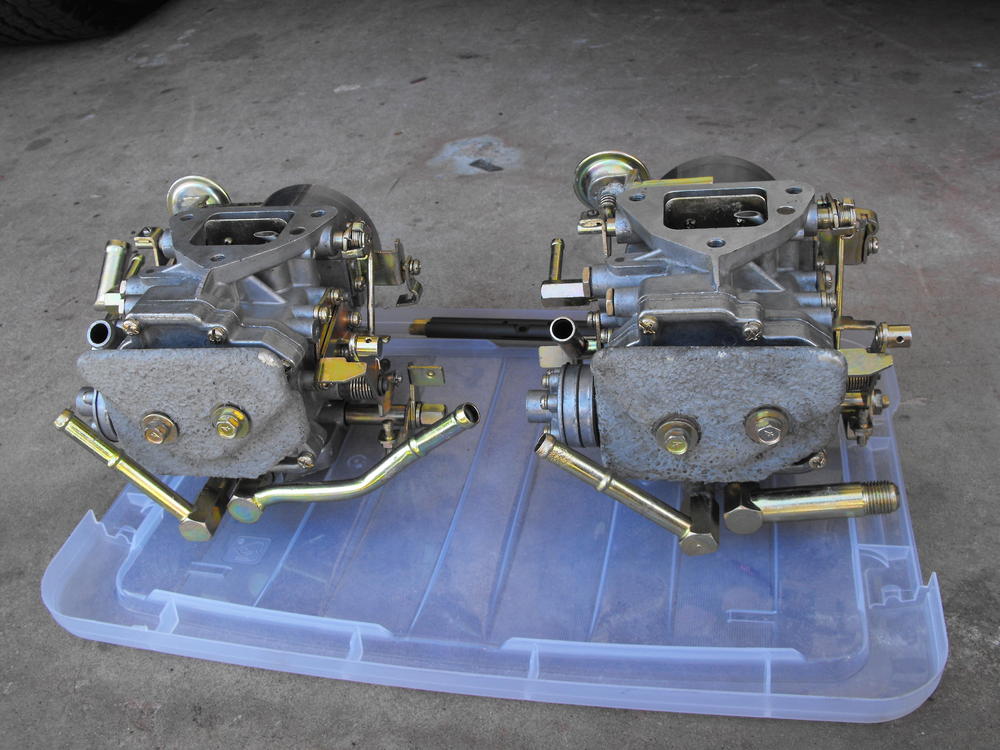
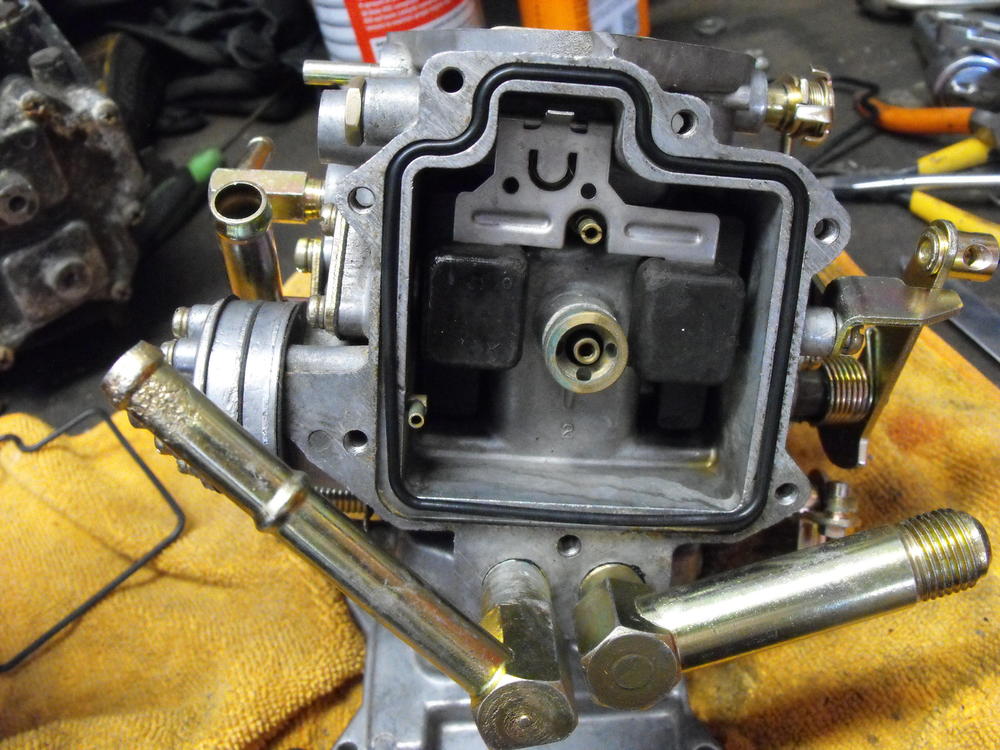
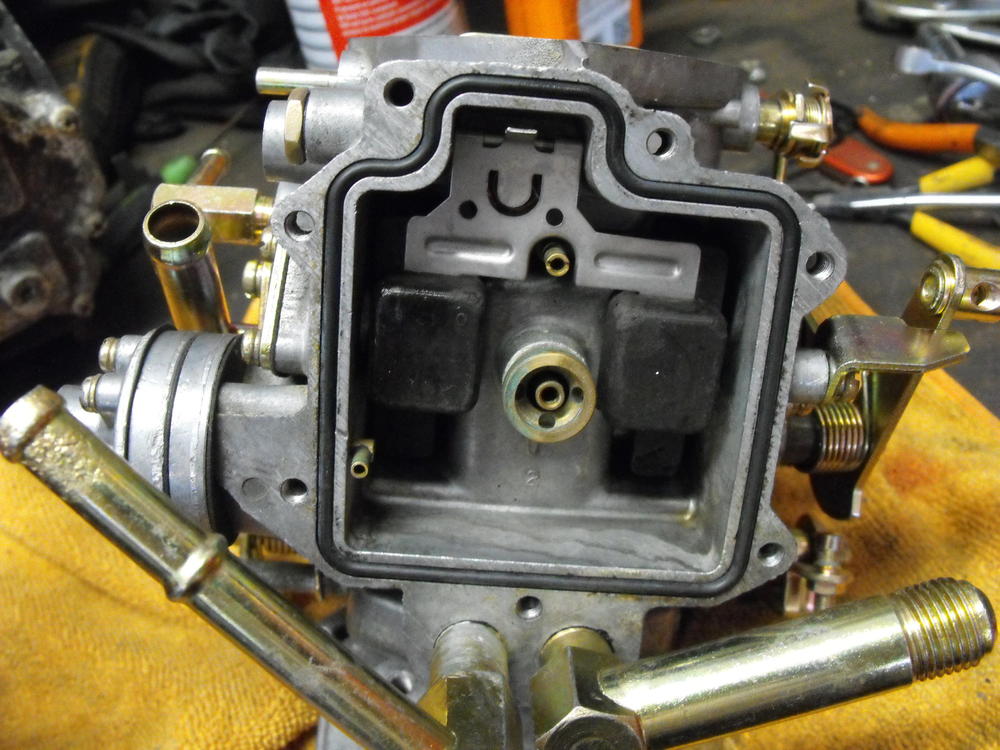
Not completely finished, but i am about 90% done. I need to get some more of those micro cotter pins to finish out the choke diaphragm assembly. Also need to look into getting new fuel filters. Do they exist? Surprised those are not in the rebuild kit. May do a bit more polishing on the right flat top. Technically $26 each. Actually there is typically a lot charge, $75, and then price reduced with QTY. The more you bring in, the cheaper it is. Tried to disassemble but could not do it without damaging something. The locking ring on bottom of cast iron has a spot weld. I zinced the whole thing and did cast iron spray over the base. Yes, this was a bit of an issue. Tried to reduce the problem by putting silicon in holes. The silicon did not always stay in place. They actually assemble nice when you have the correct set installed. I had throttle plates segregated but should have marked the throttle shafts. The shafts for this set of carbs was in the best condition, but after the coating it was a bit harder to discern which were the better set. The forward carbs assembled perfectly with no issues (beginners luck). On the rear, must have grabbed the wrong shaft as the throttle plate would not align. Took several tries to get the correct shaft. Also, the correct shaft rotated smoothly in the bushings. The wrong shafts did not. Also, had four gasket sets. Two of the gasket sets had nice fit for the fuel bowl seal. The other two were short as shown in pics below.


-
I will be there to represent the West Coast. Got my hotel reservations made....staying at the timeshare Sent from my C6902 using Classic Zcar Club mobile
-
I agree, there is definitely a steeper learning curve with these. That being said, I really enjoy the challenge of re-building these. It is nice to clean everything (love that Gumout spray) and re-assemble with fresh parts. Just got the throttle shafts in. I like the coating and it is definitely durable as they use this stuff on racing pistons. I did a quick test fit and they fit in nicely. Not too loose, not too tight. Not too worried about the color difference as most of this will be covered up...Pics are a little dark


-
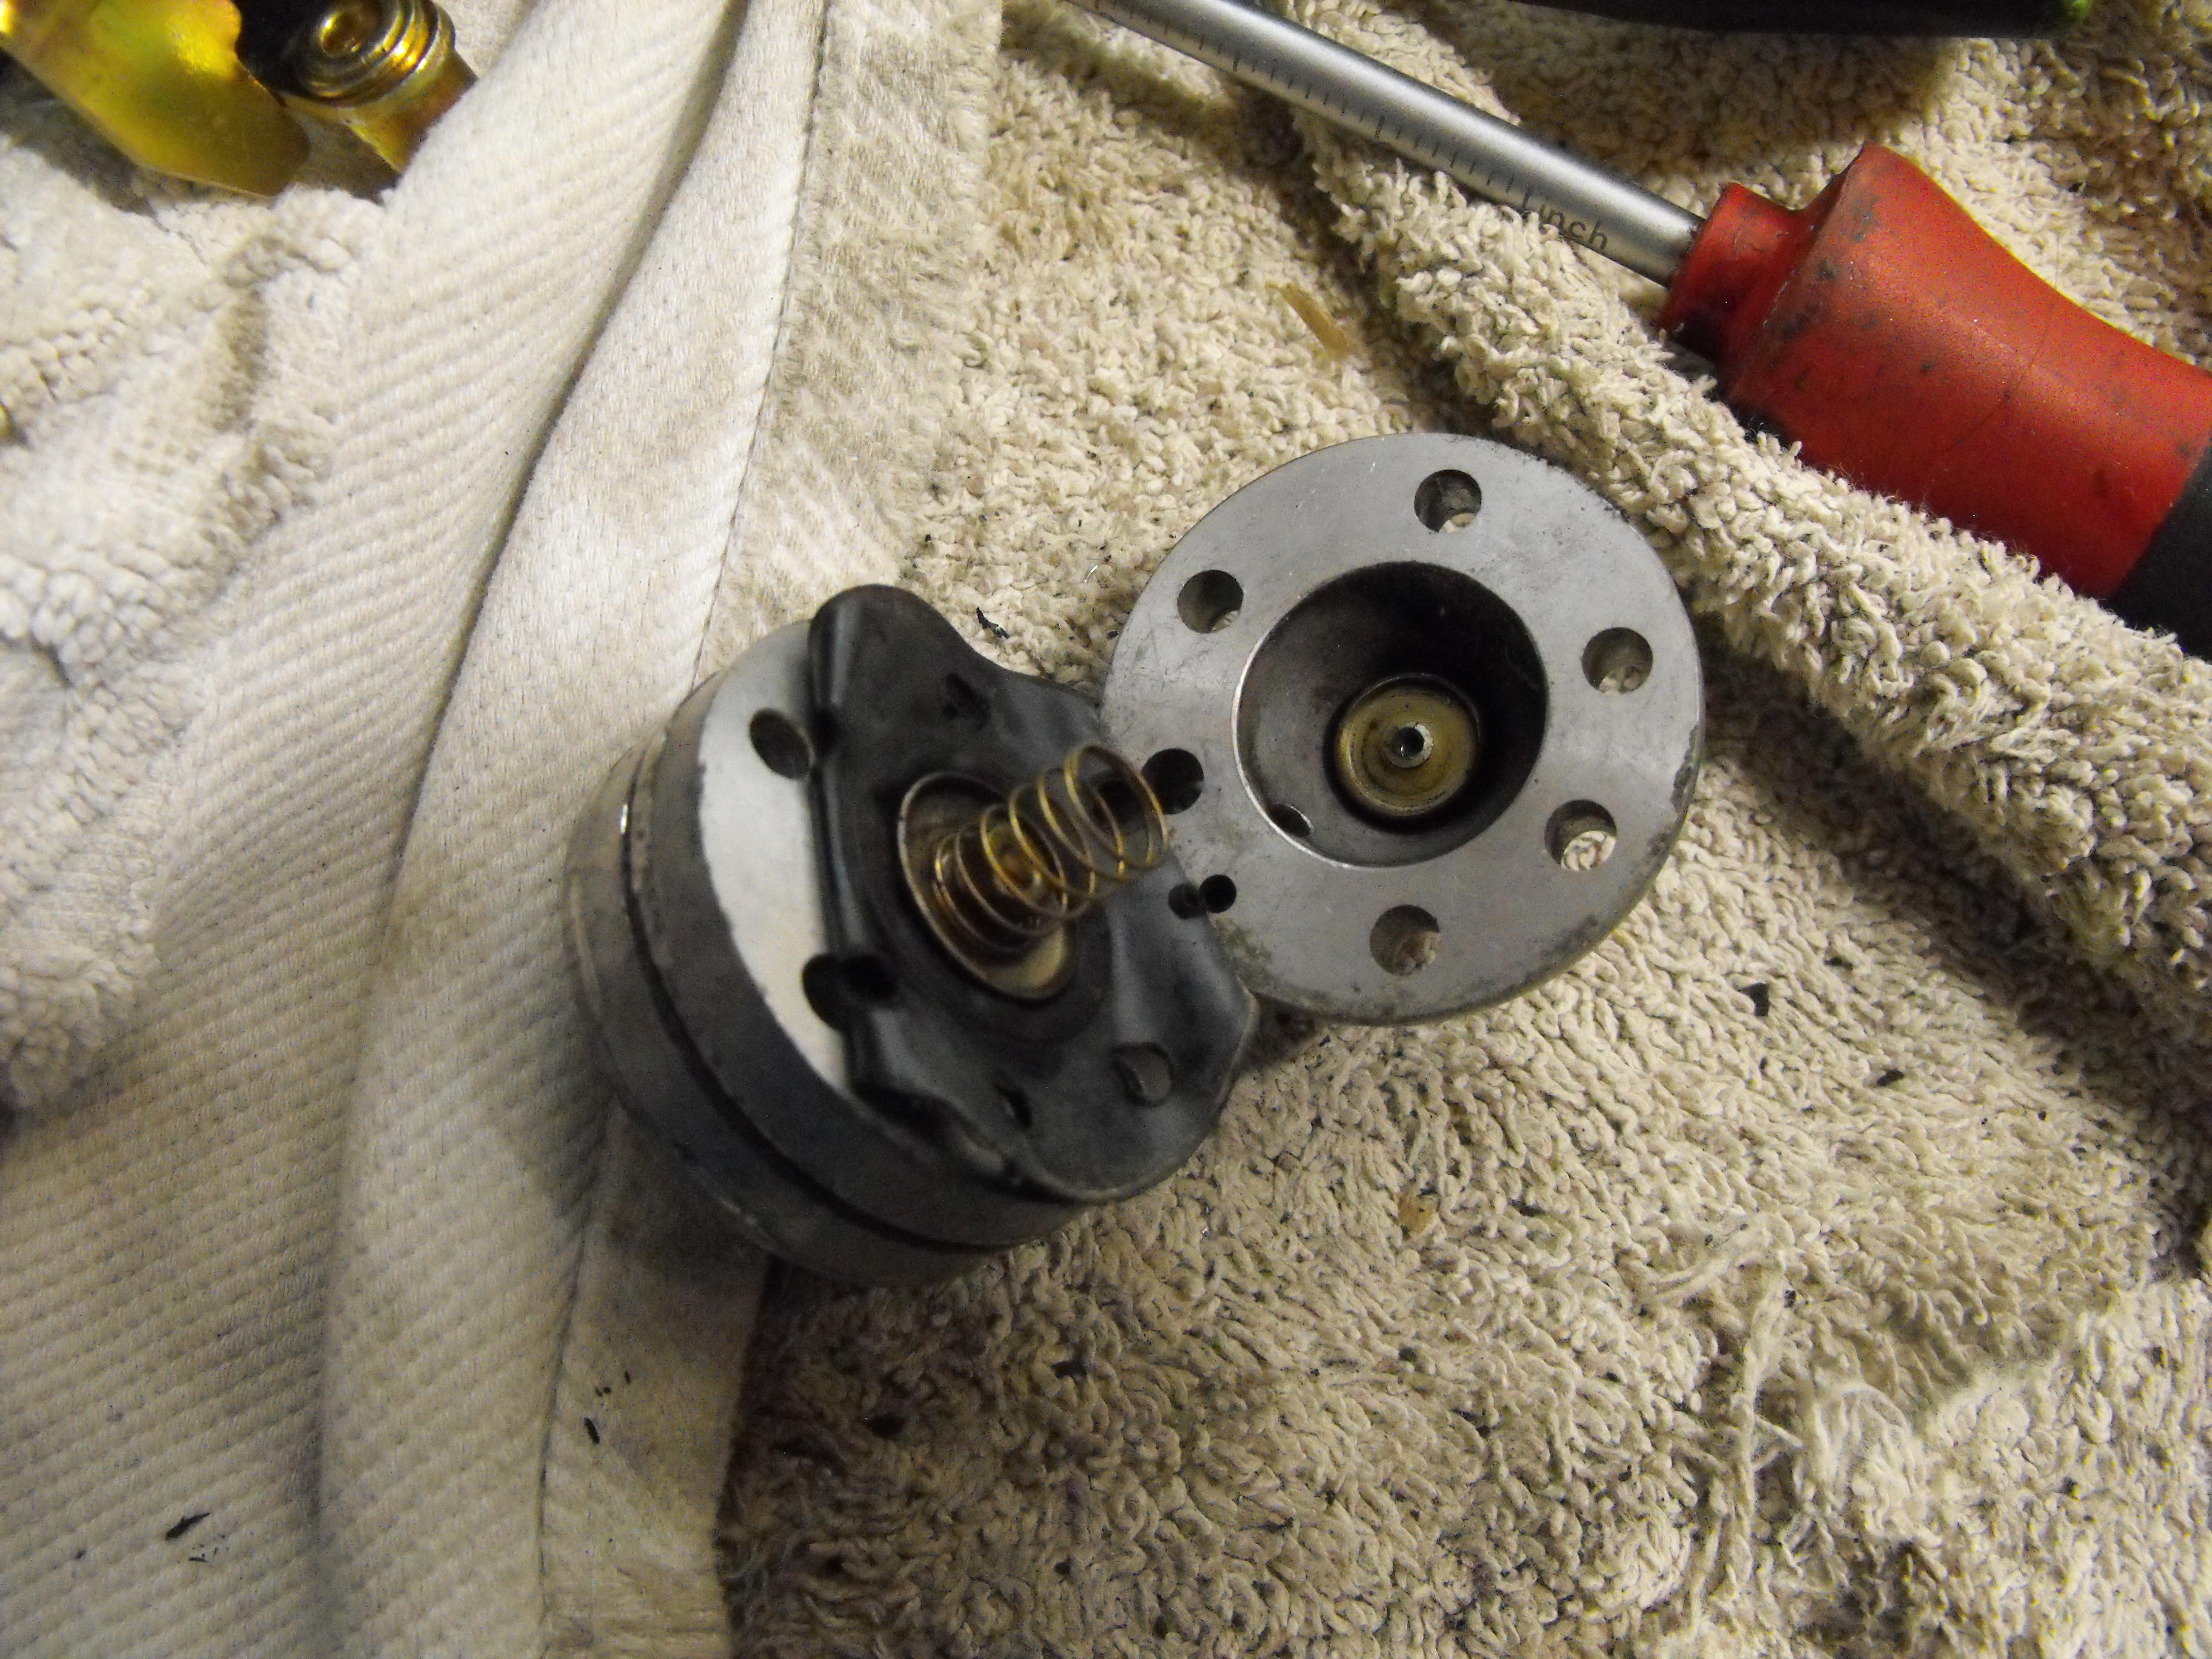
I think you are a prophet. I think there will come a time when it will be popular for the '73 and '74 owners to put the flat tops on. They just need to see more nice examples. I am pretty sure it was folded under, but could be wrong. I took it off very carefully. The material is very supple, perhaps that is why no crease. Plus, there was a bunch of black 'gunk' right in the area of the crease on the last aluminum section. Not sure what the gunk was, but it came off easy with carb cleaner. Will have to see if I have pictures of that. Will also see how the pump in the second carb looks. I should be able to finish out the carbs this weekend...assuming I get my throttle shafts. Will also carefully save the bowl seals.
-
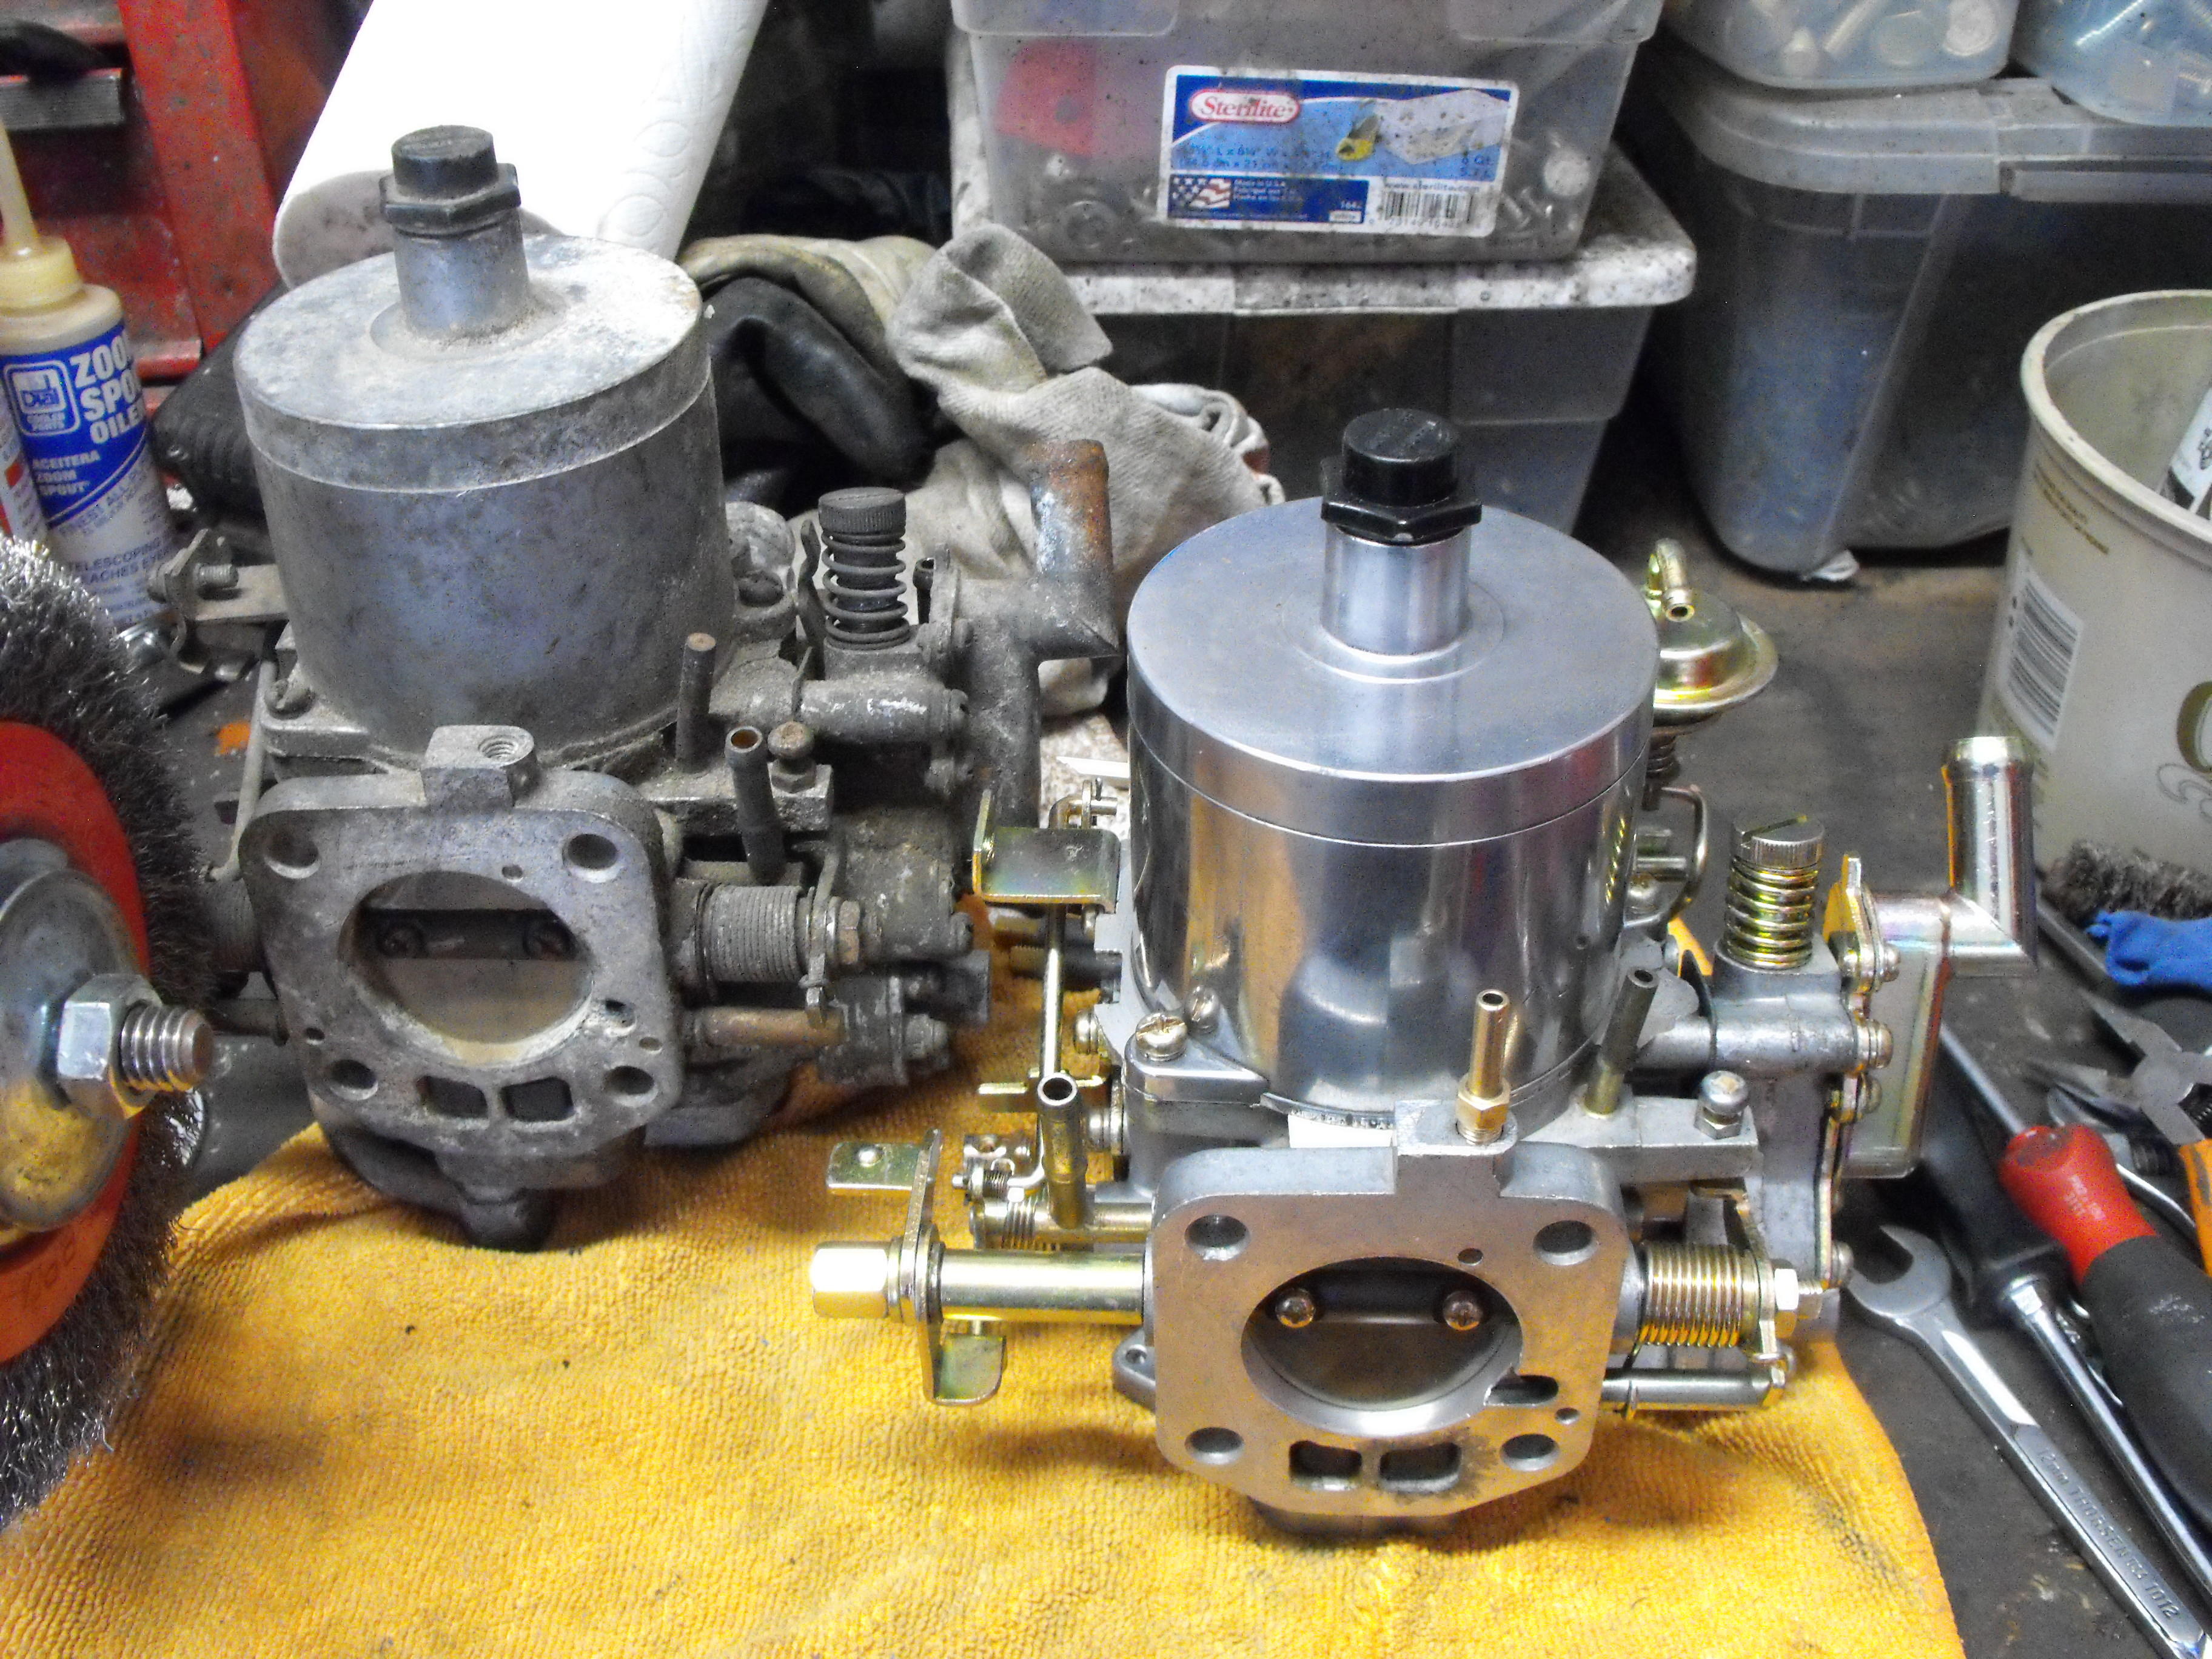
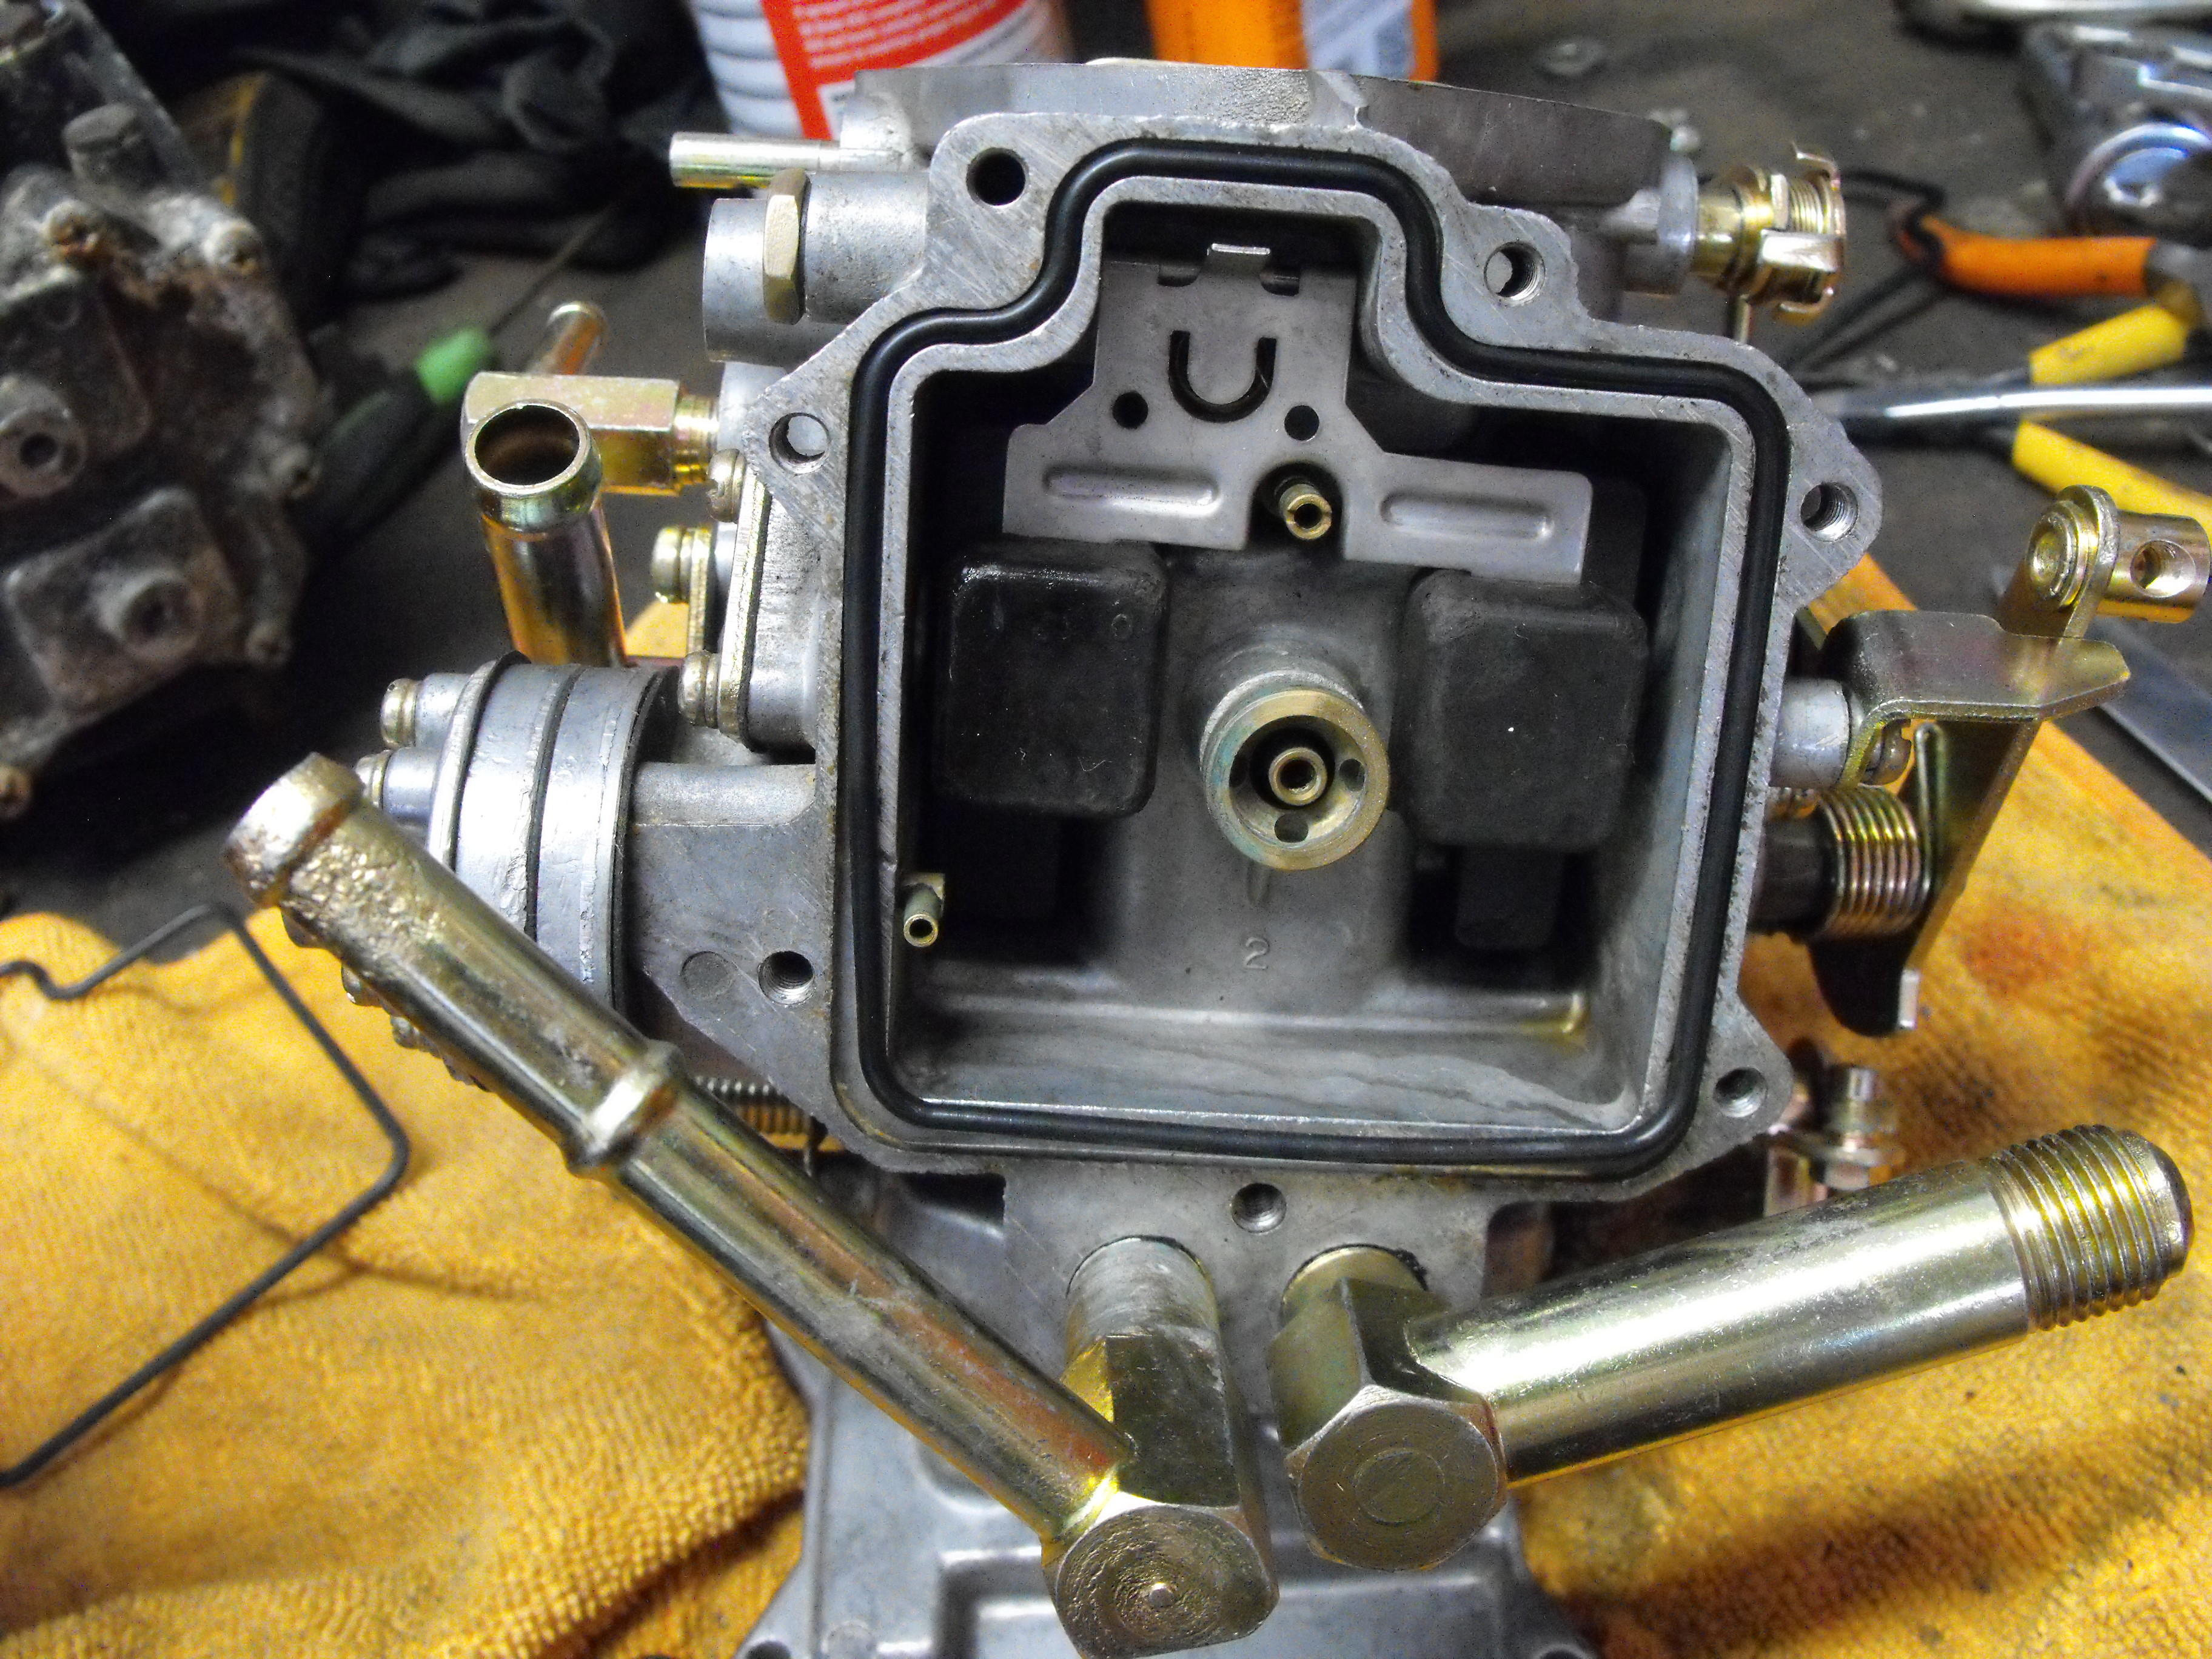
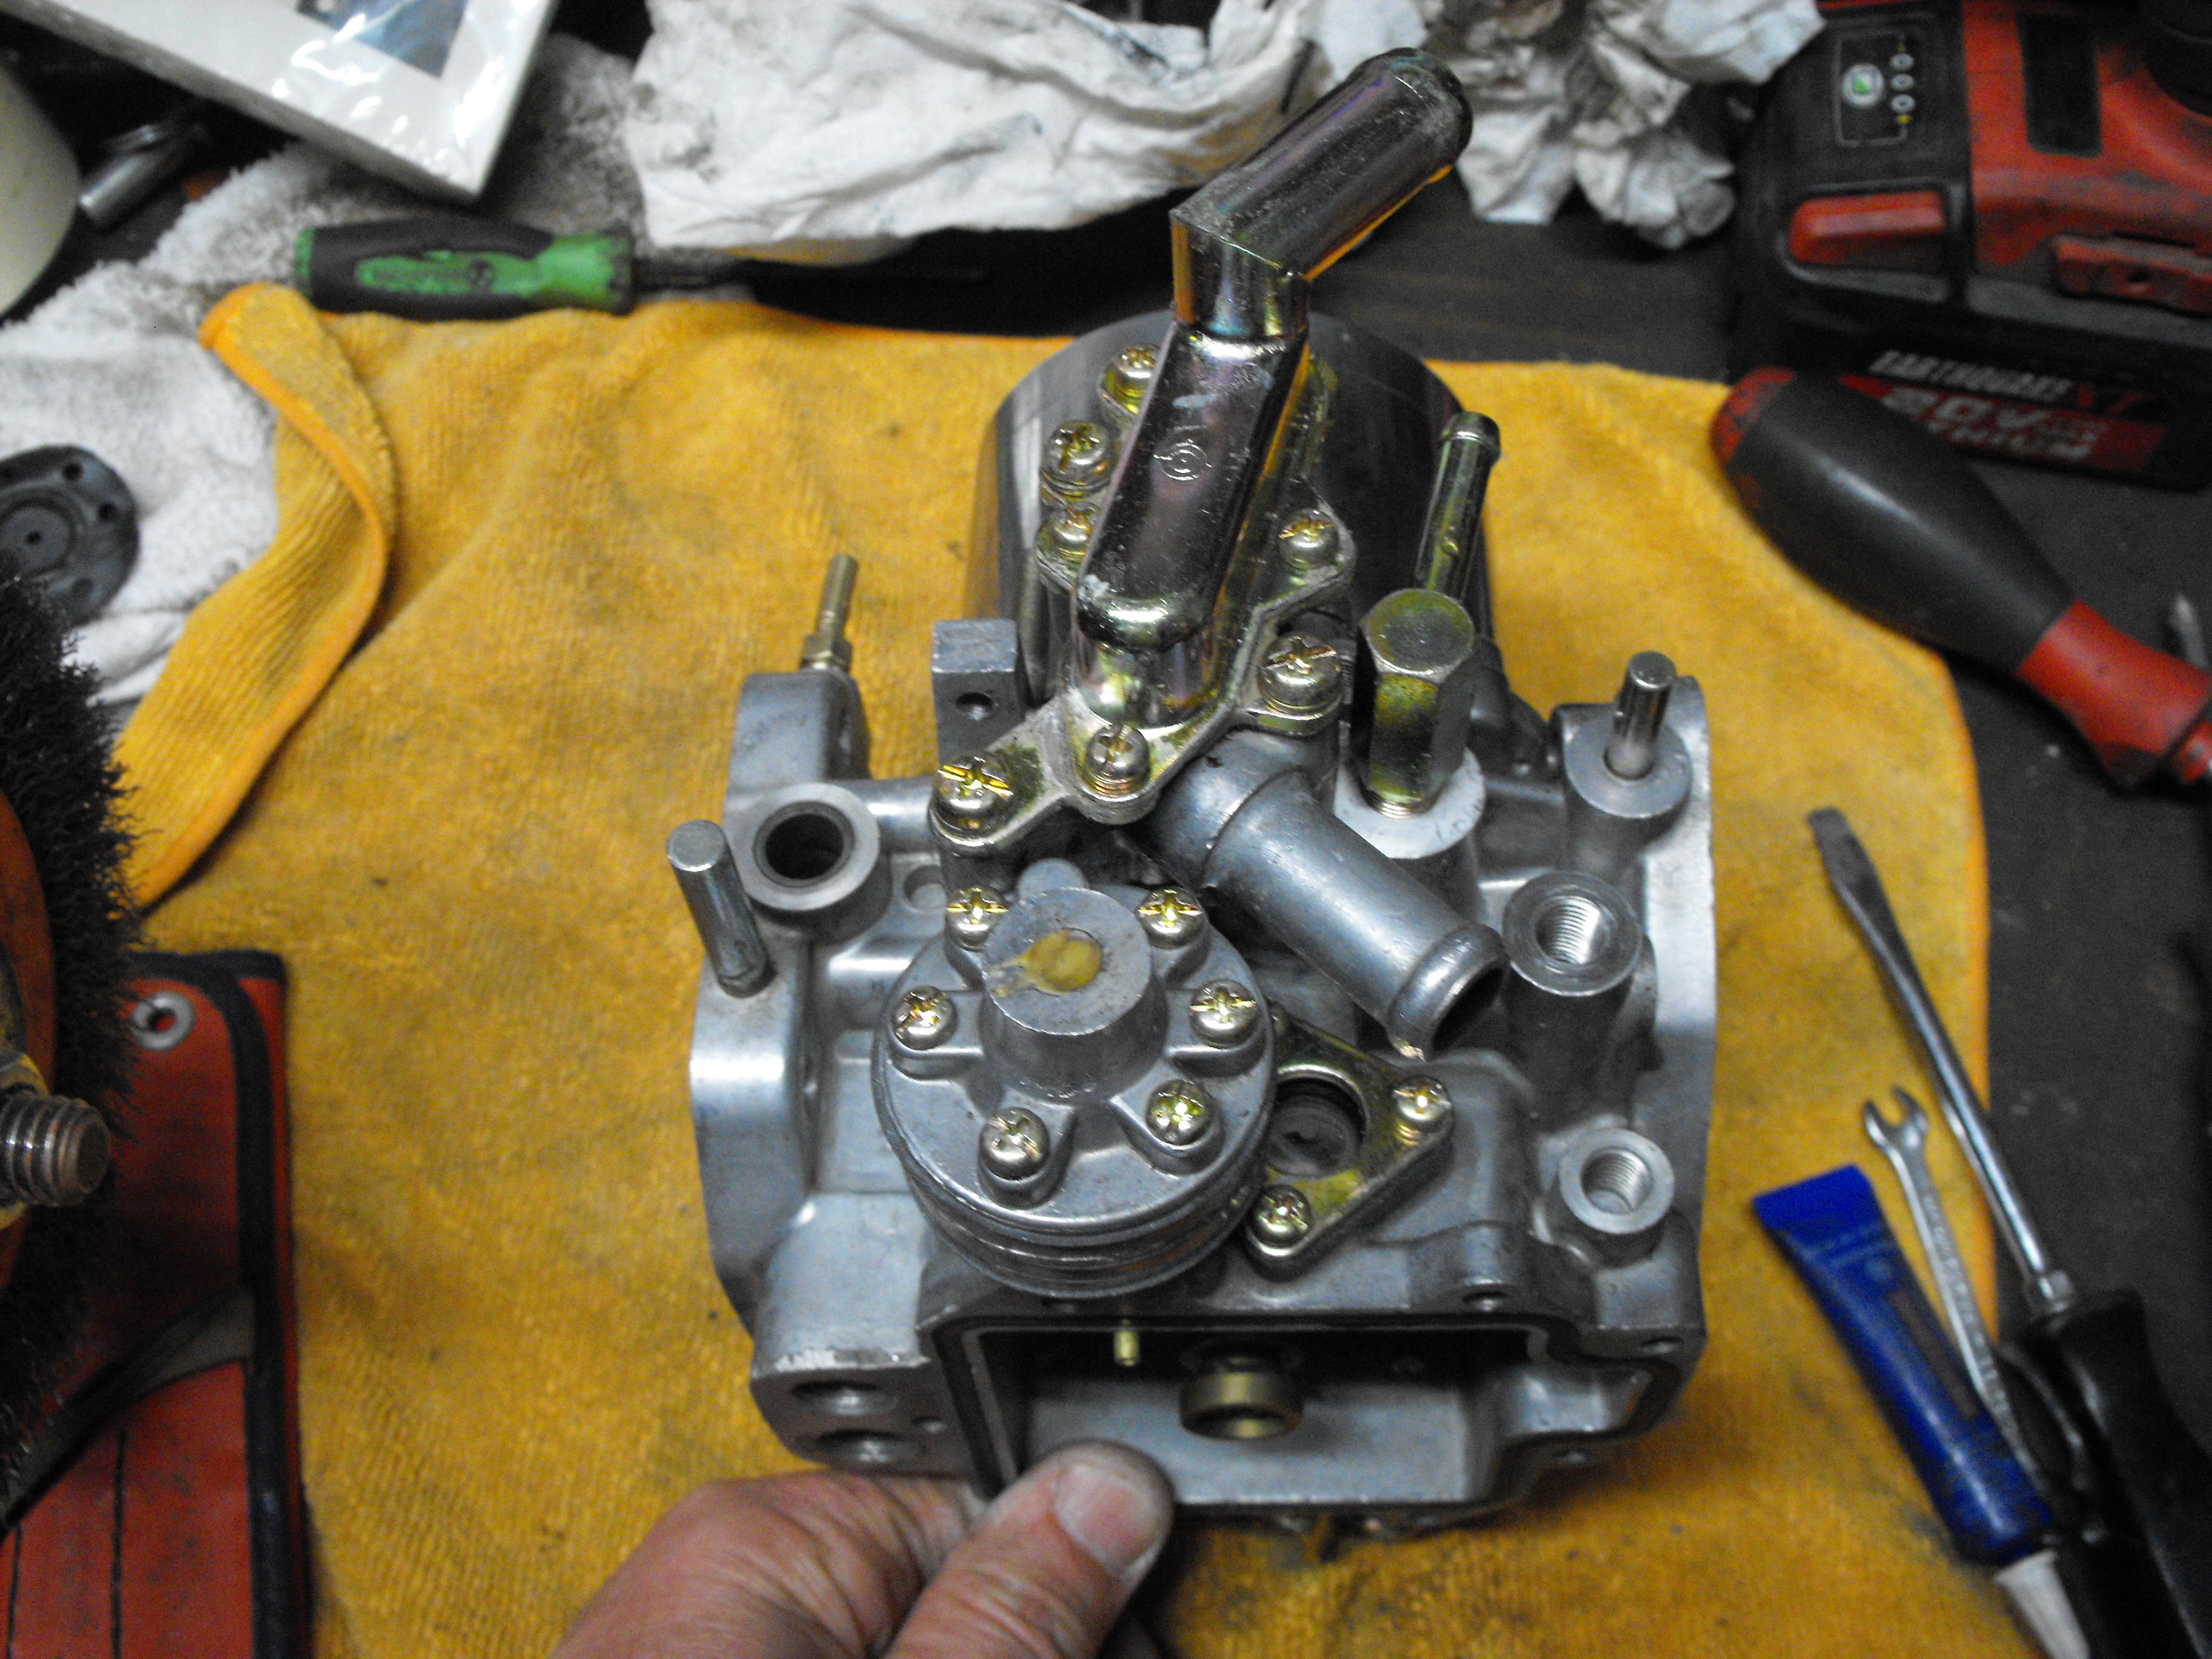
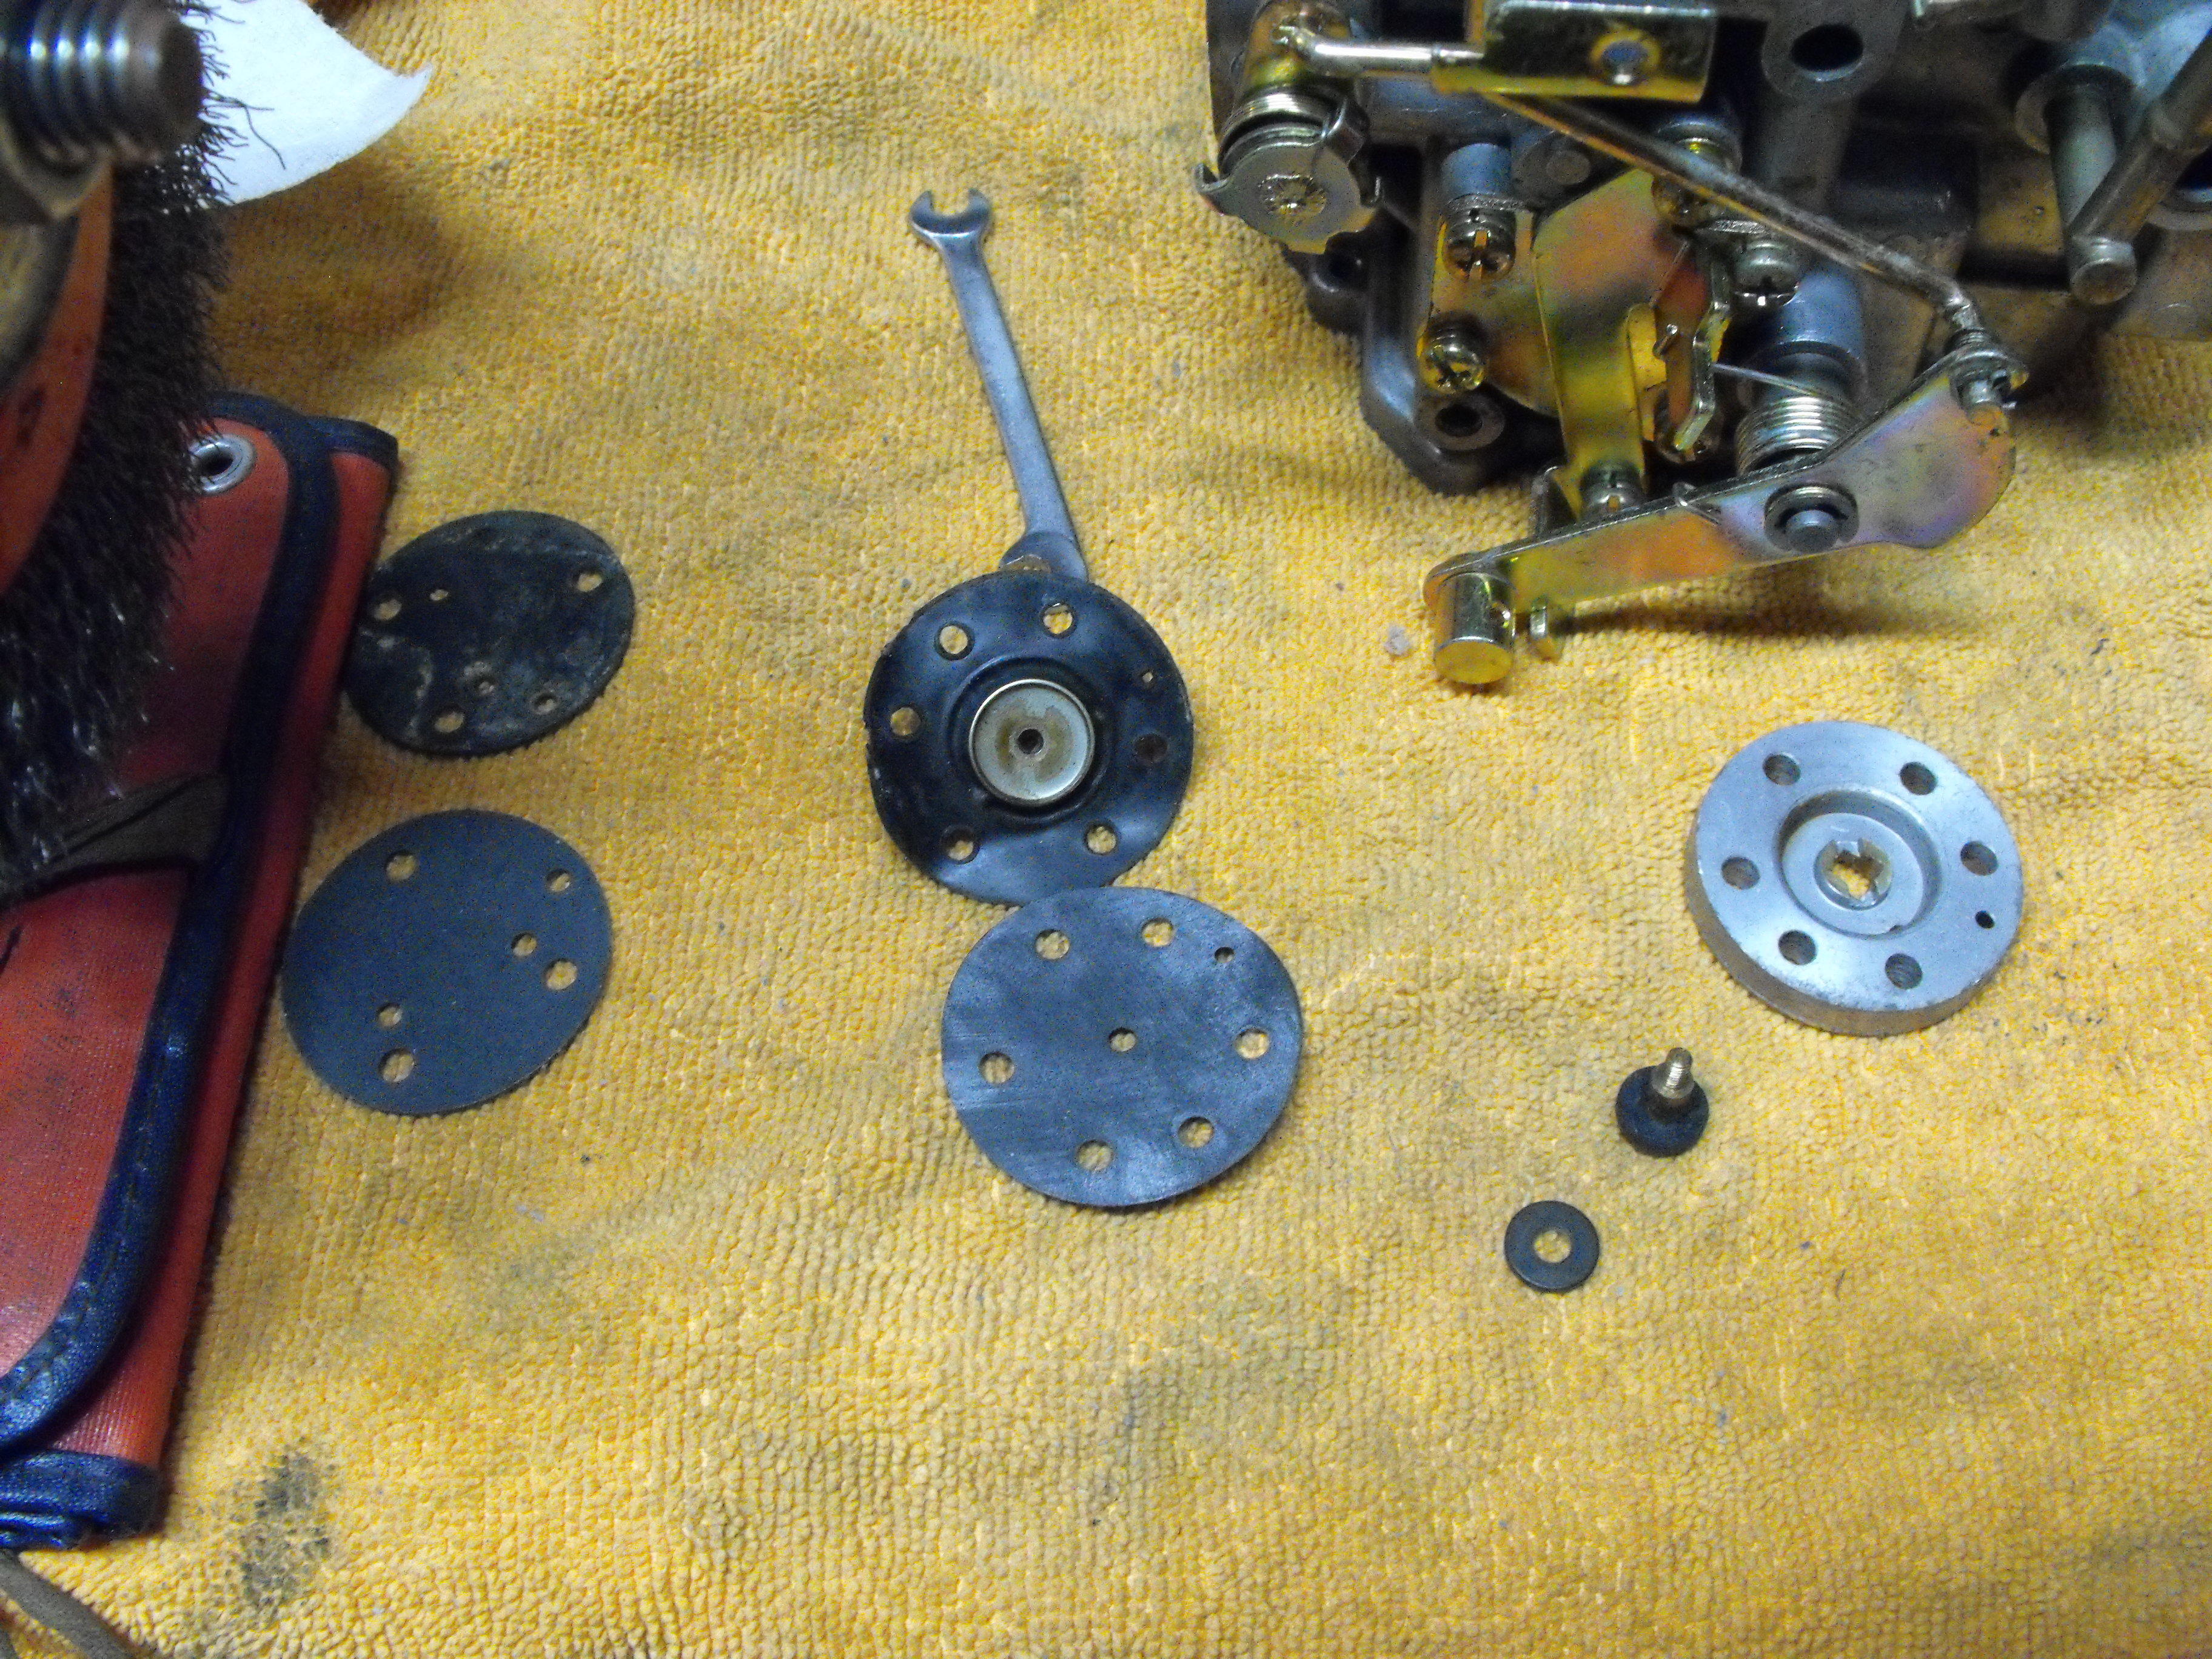
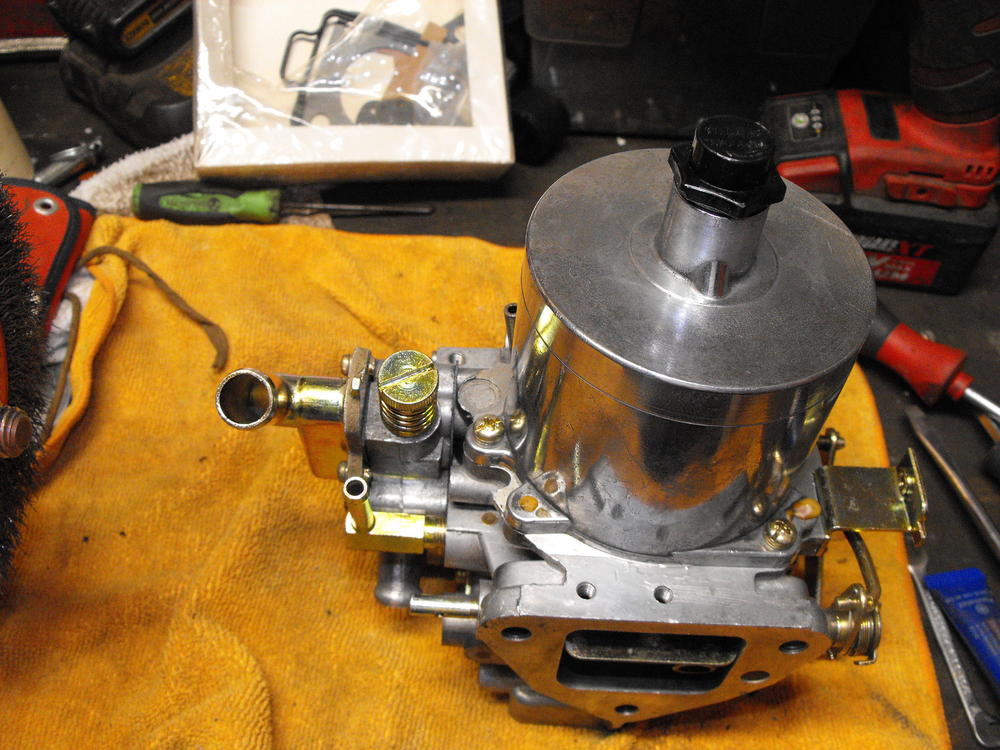
Started the carb re-assembly now that I have freshly plated parts. This is actually a lot of fun to re-assemble using the new gasket kits. Fortunately, I have a spare set of flat tops to look at to make sure that everything goes together right. Also have the 'upgrade' guide. Replaced all the gaskets on the pump assembly. Interestingly, it looks like the original one was folded over as you can see in the last pic. Choke mechanism works nice. My throttle shafts are supposed to be ready tomorrow with fresh dry film lube. Should be able to finish things out once I get those.


-
Nice
-
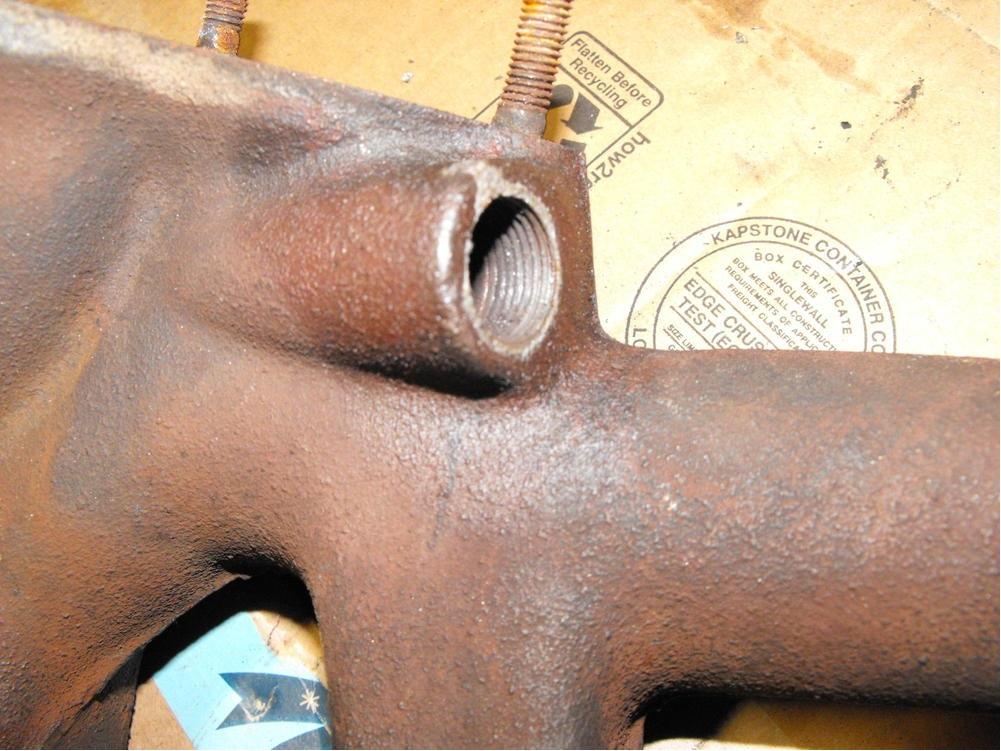
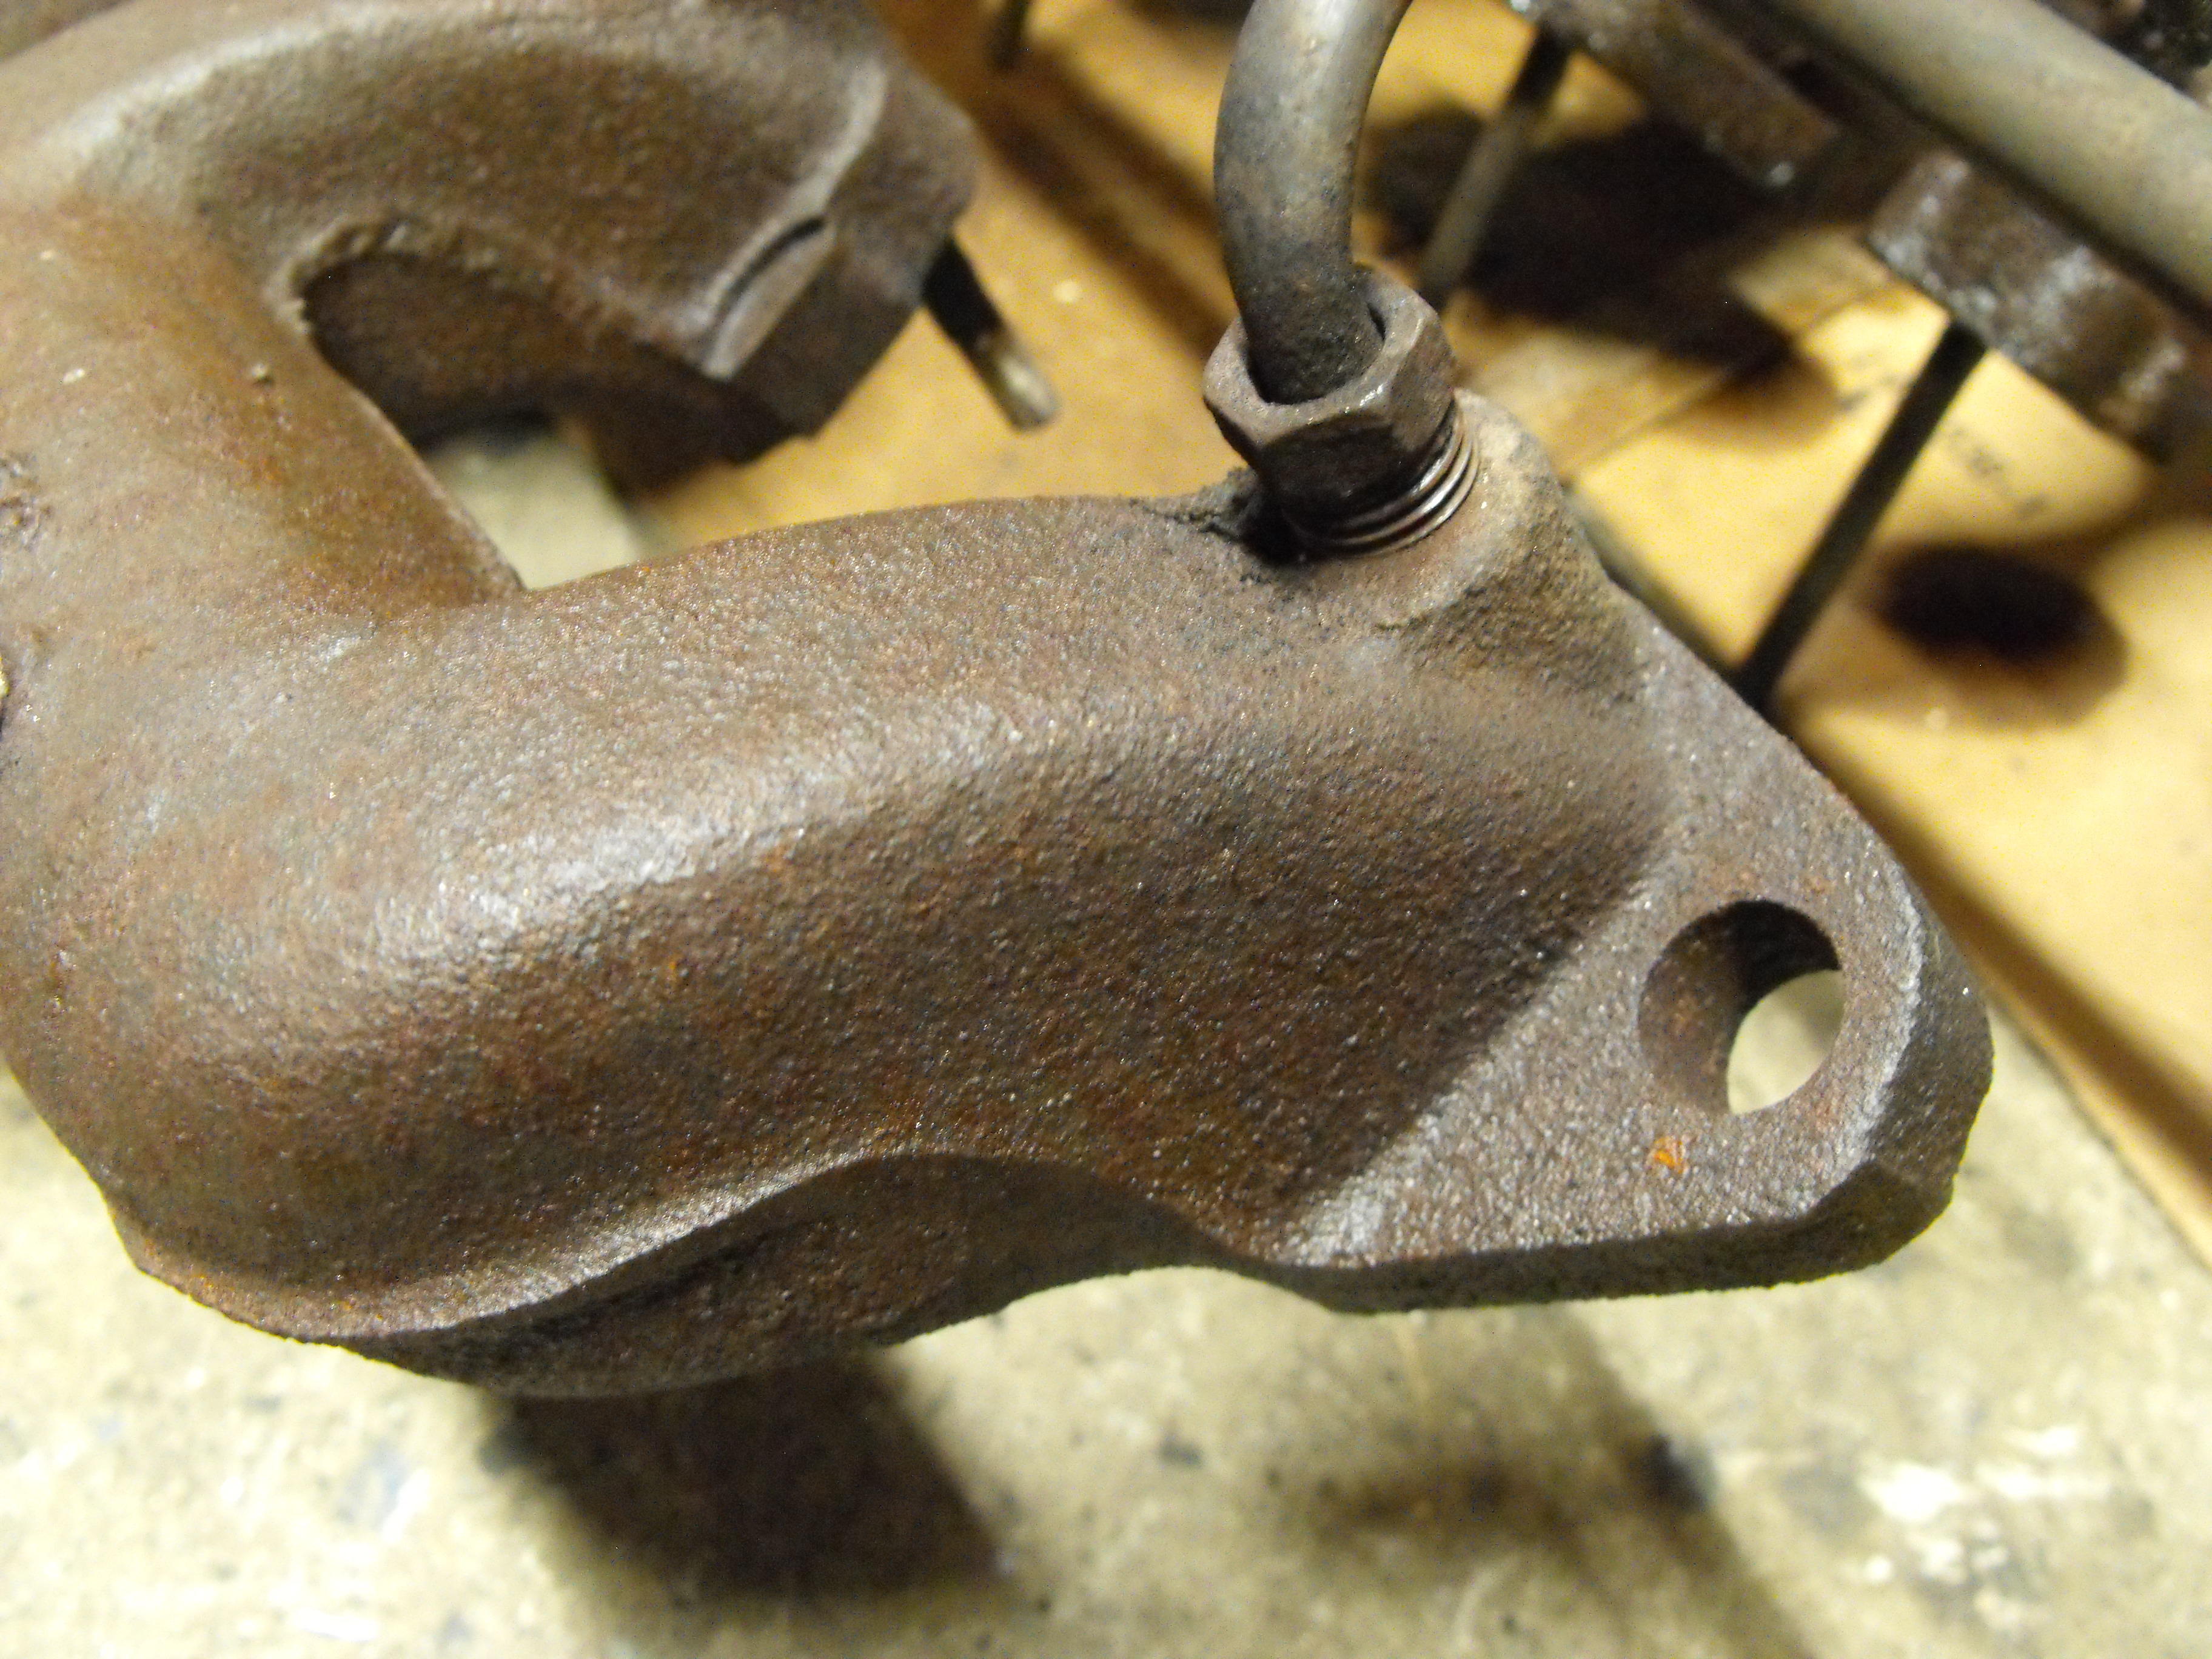
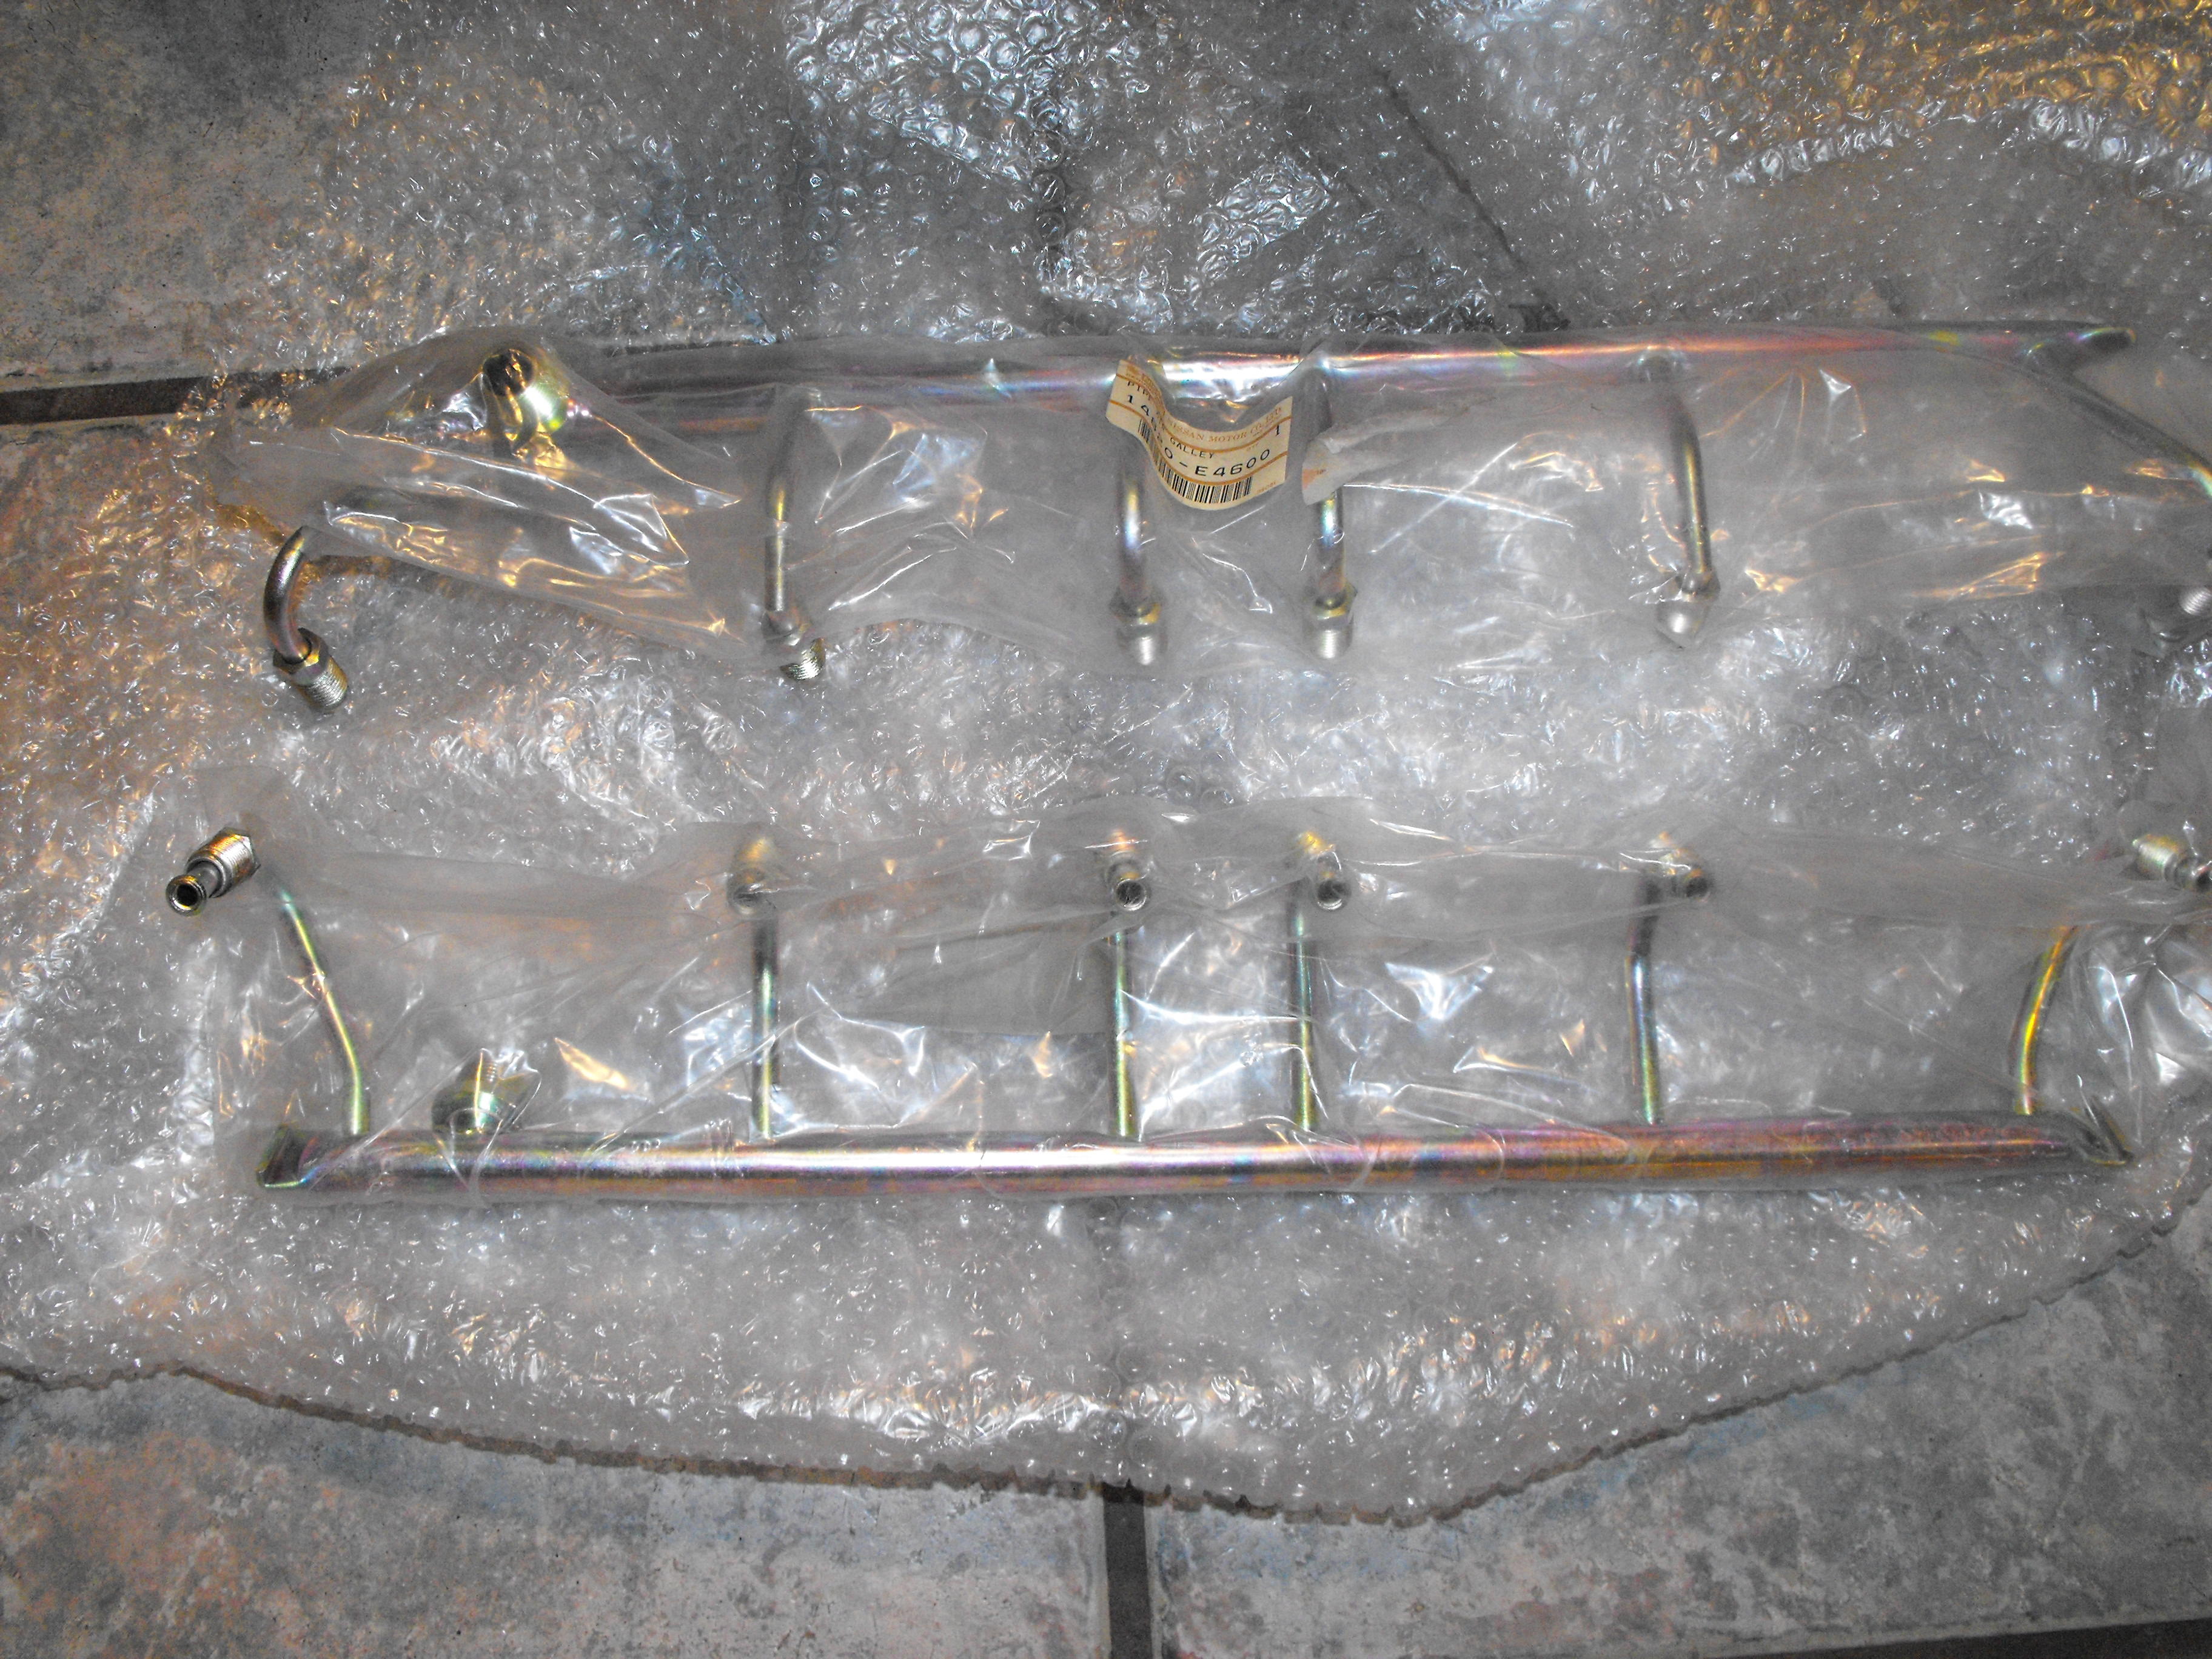
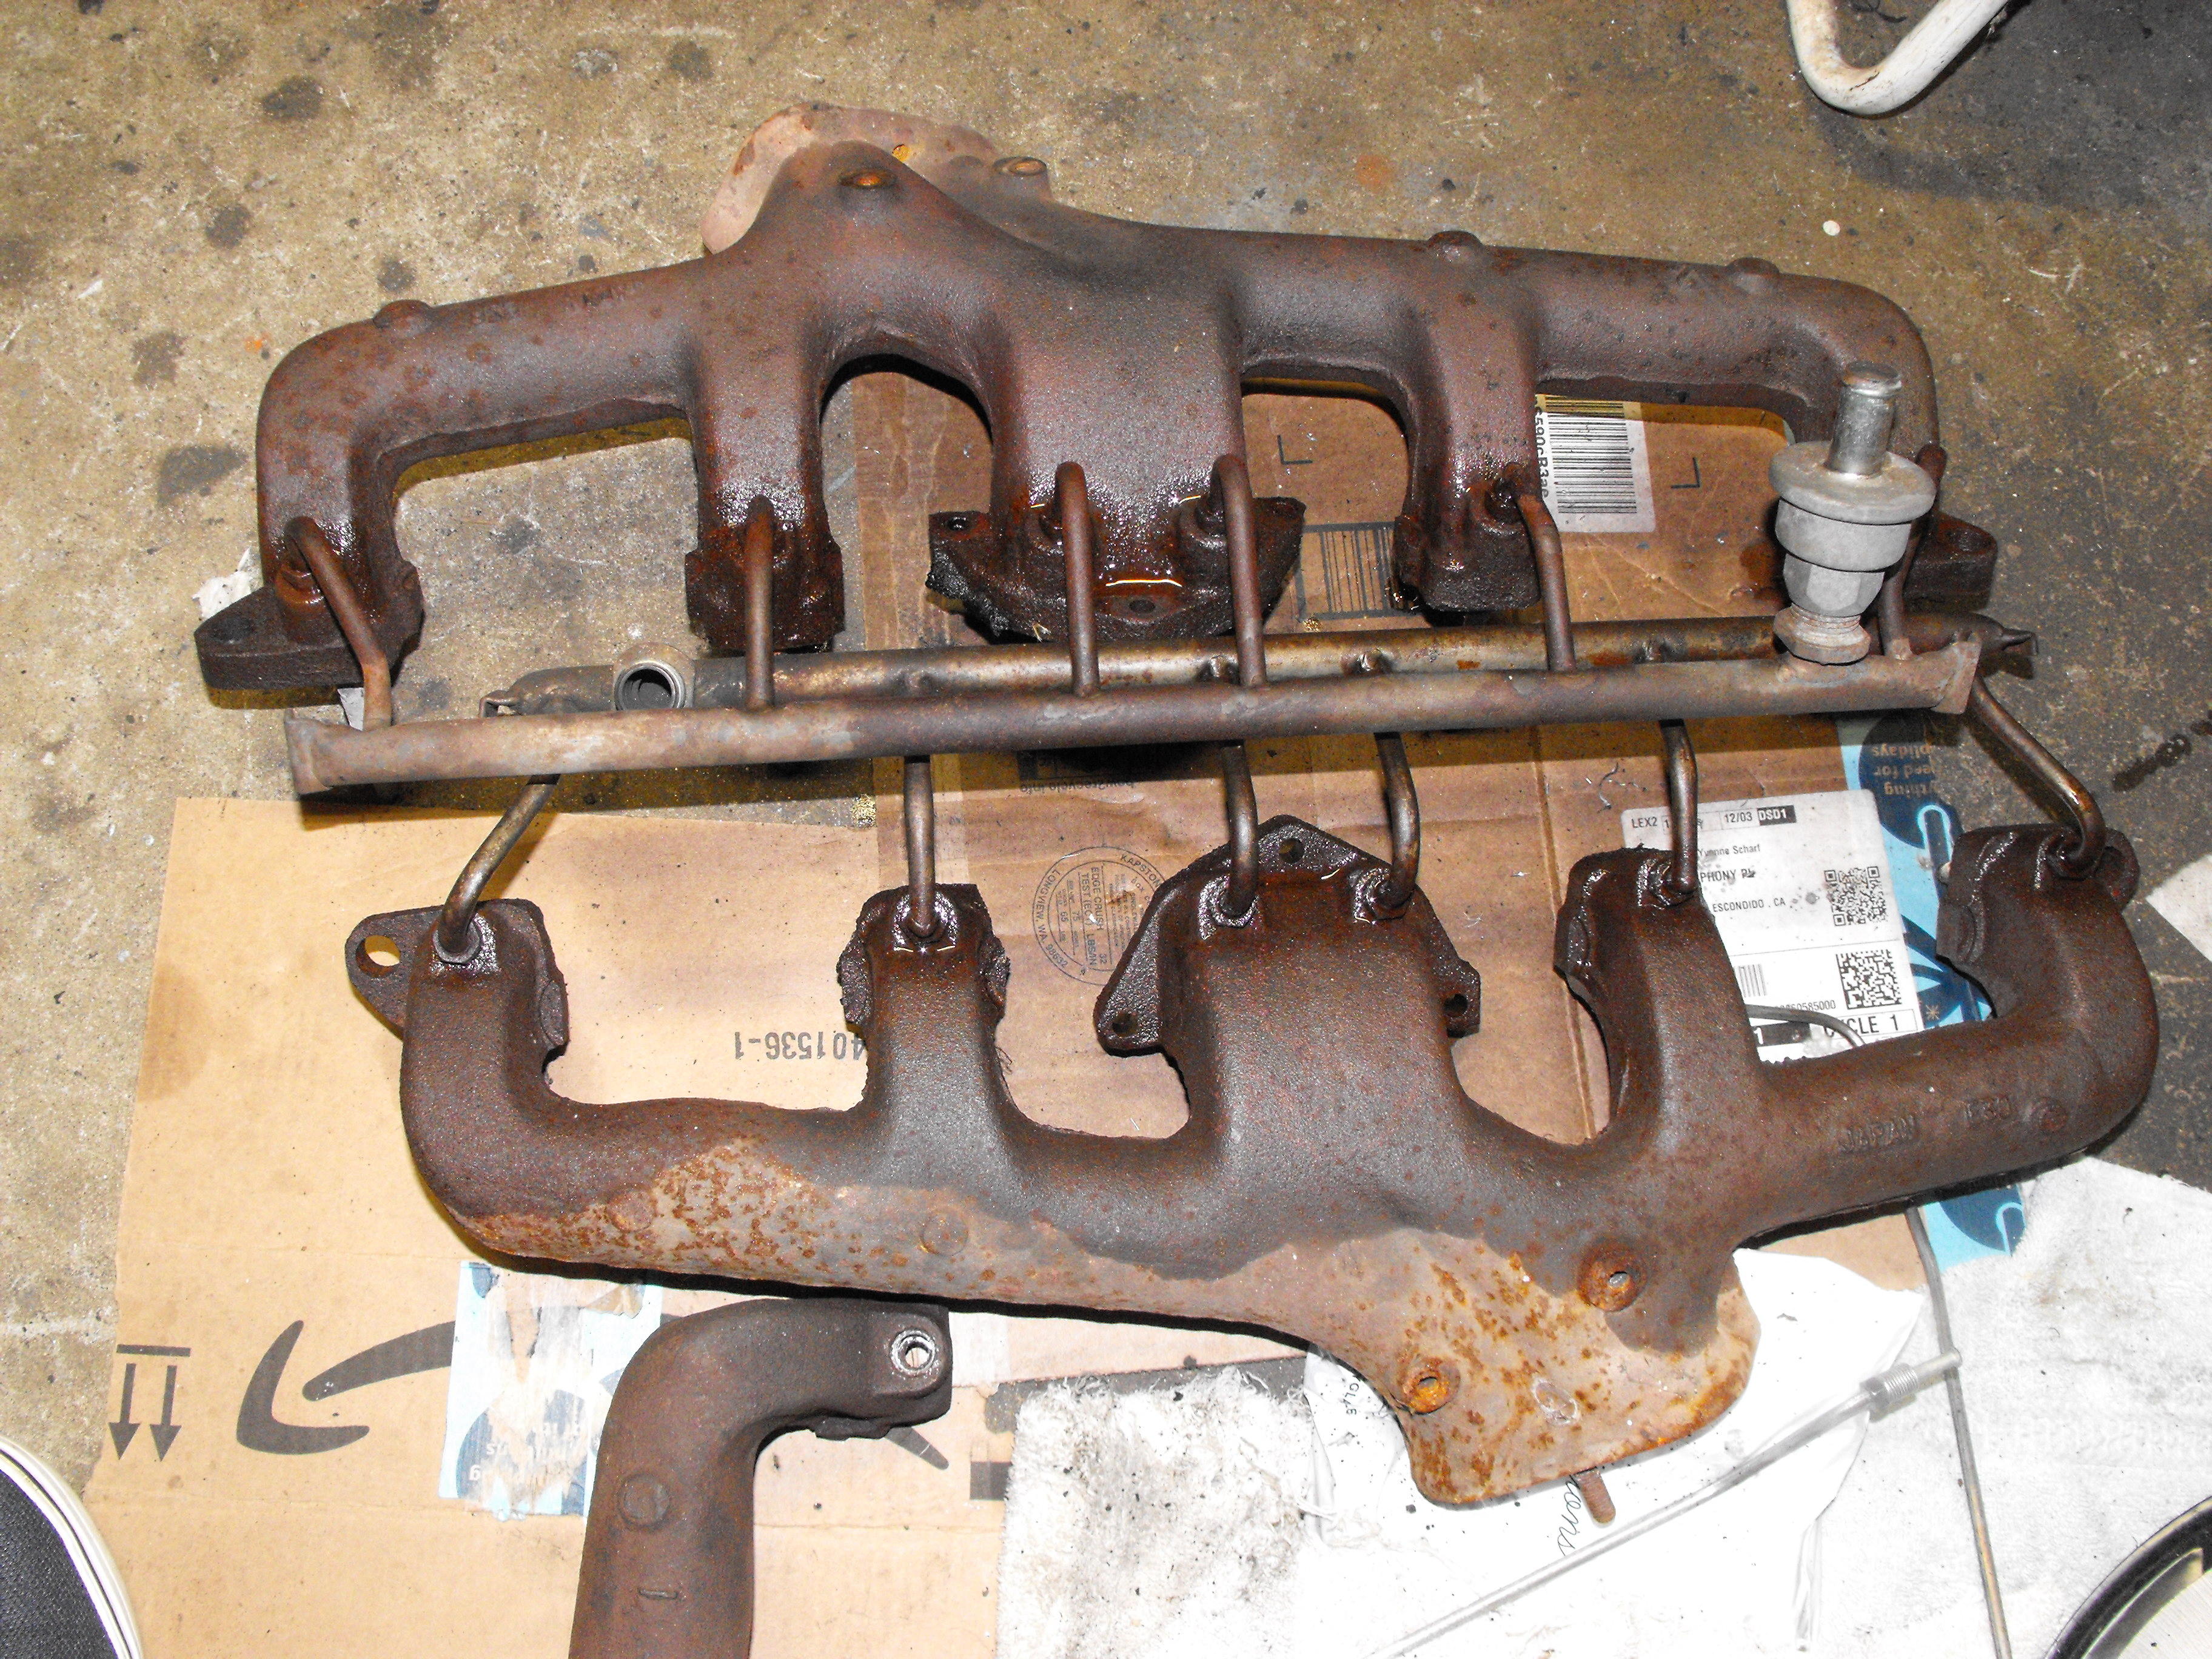
Hi Jim, Actually, the two shown are not for this car and are for earlier models (E30 and ?, I probably should not have included them on this thread) . They do not have the side port near the outlet which is unique to the '73 and '74s. The '73 manifold, I'm guessing early '73 (N36), has the side port as shown below and in earlier post. As you know, there is a tube that routes from this port up to the balance tube. On the '73 exhaust manifold, I drilled and tapped the smog ports. You can actually see part of that manifold in one of the above pics (3 manifolds). Also, I re-posted the '73 manifold pics below. The '74 manifold are much larger as seen in your picture. Not sure when the change came about for the larger size, but both have the side port. Yes, funny thing about the air galley and the discoloration. Not sure if there is any way to prevent that. It seems to discolor more if you disable the air pump which probably gets the air galley real hot since there is nothing to cool it down. It does appear that after the initial discoloration that the color stabilizes which is a good thing. And, I really don't have enough experience with the different platers to know which ones have a better finish or not. Will have to see how the air galley for this '73 does as it is NOS. Hopefully that does well.


-
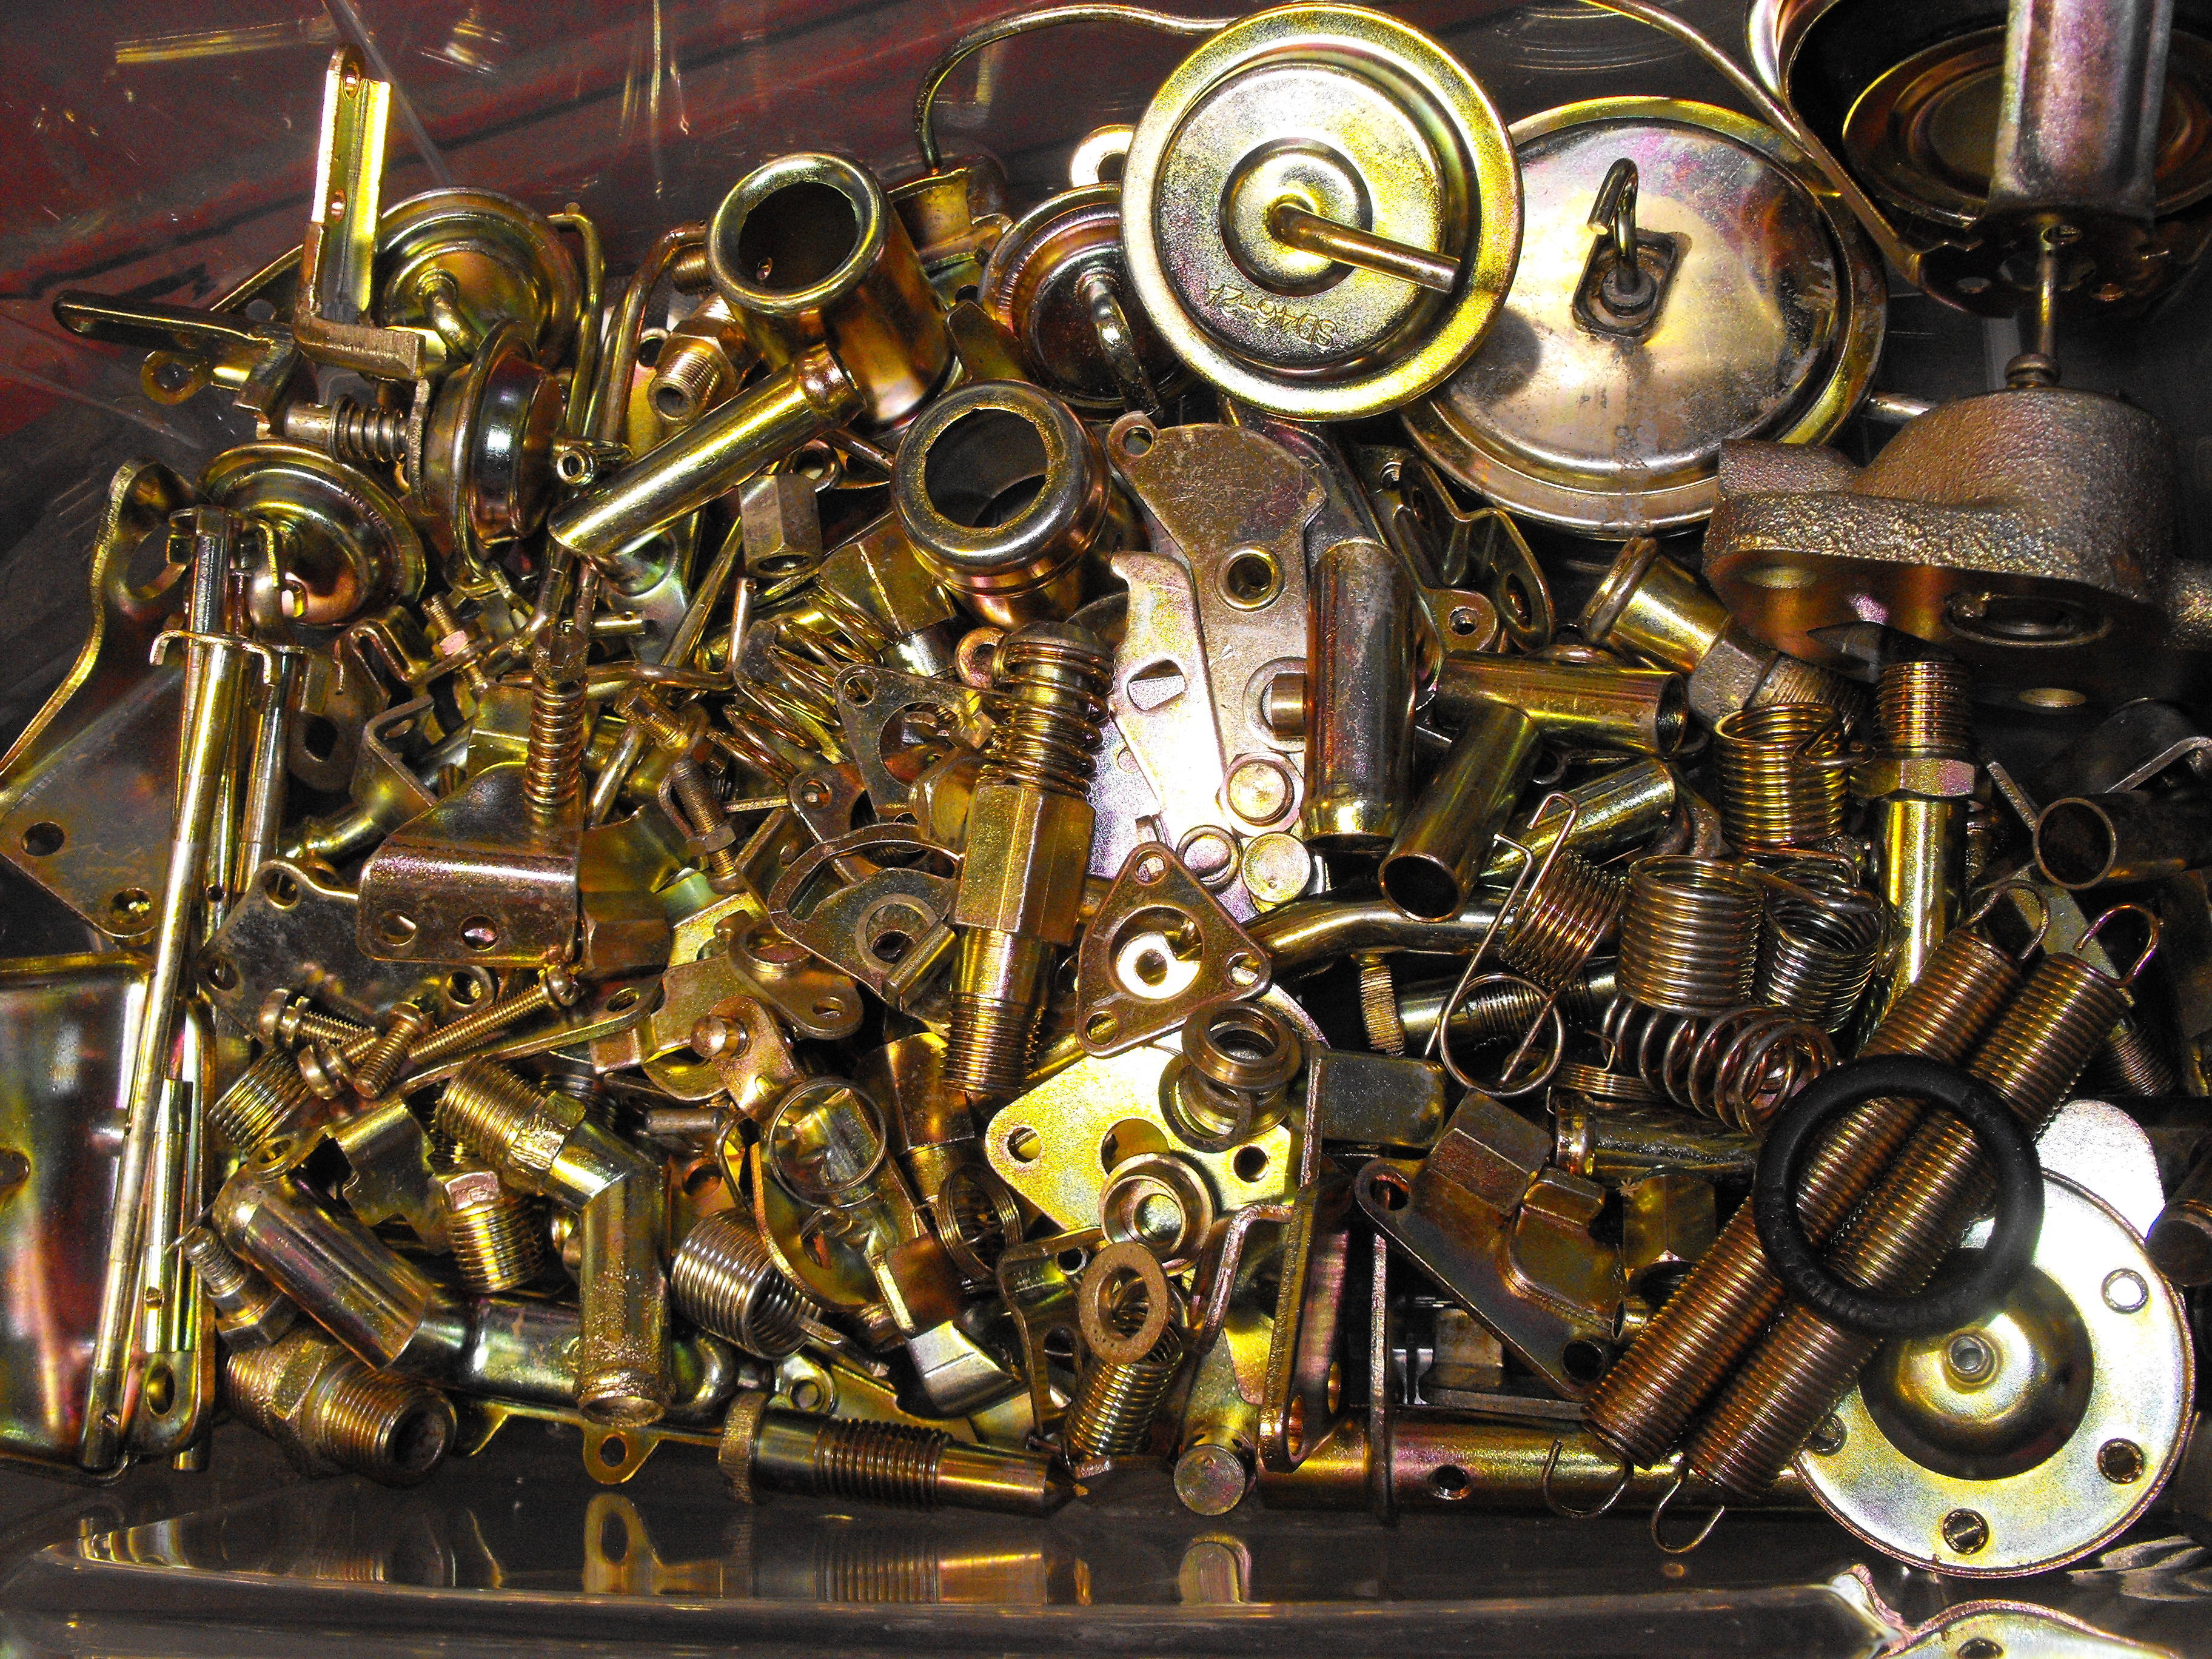
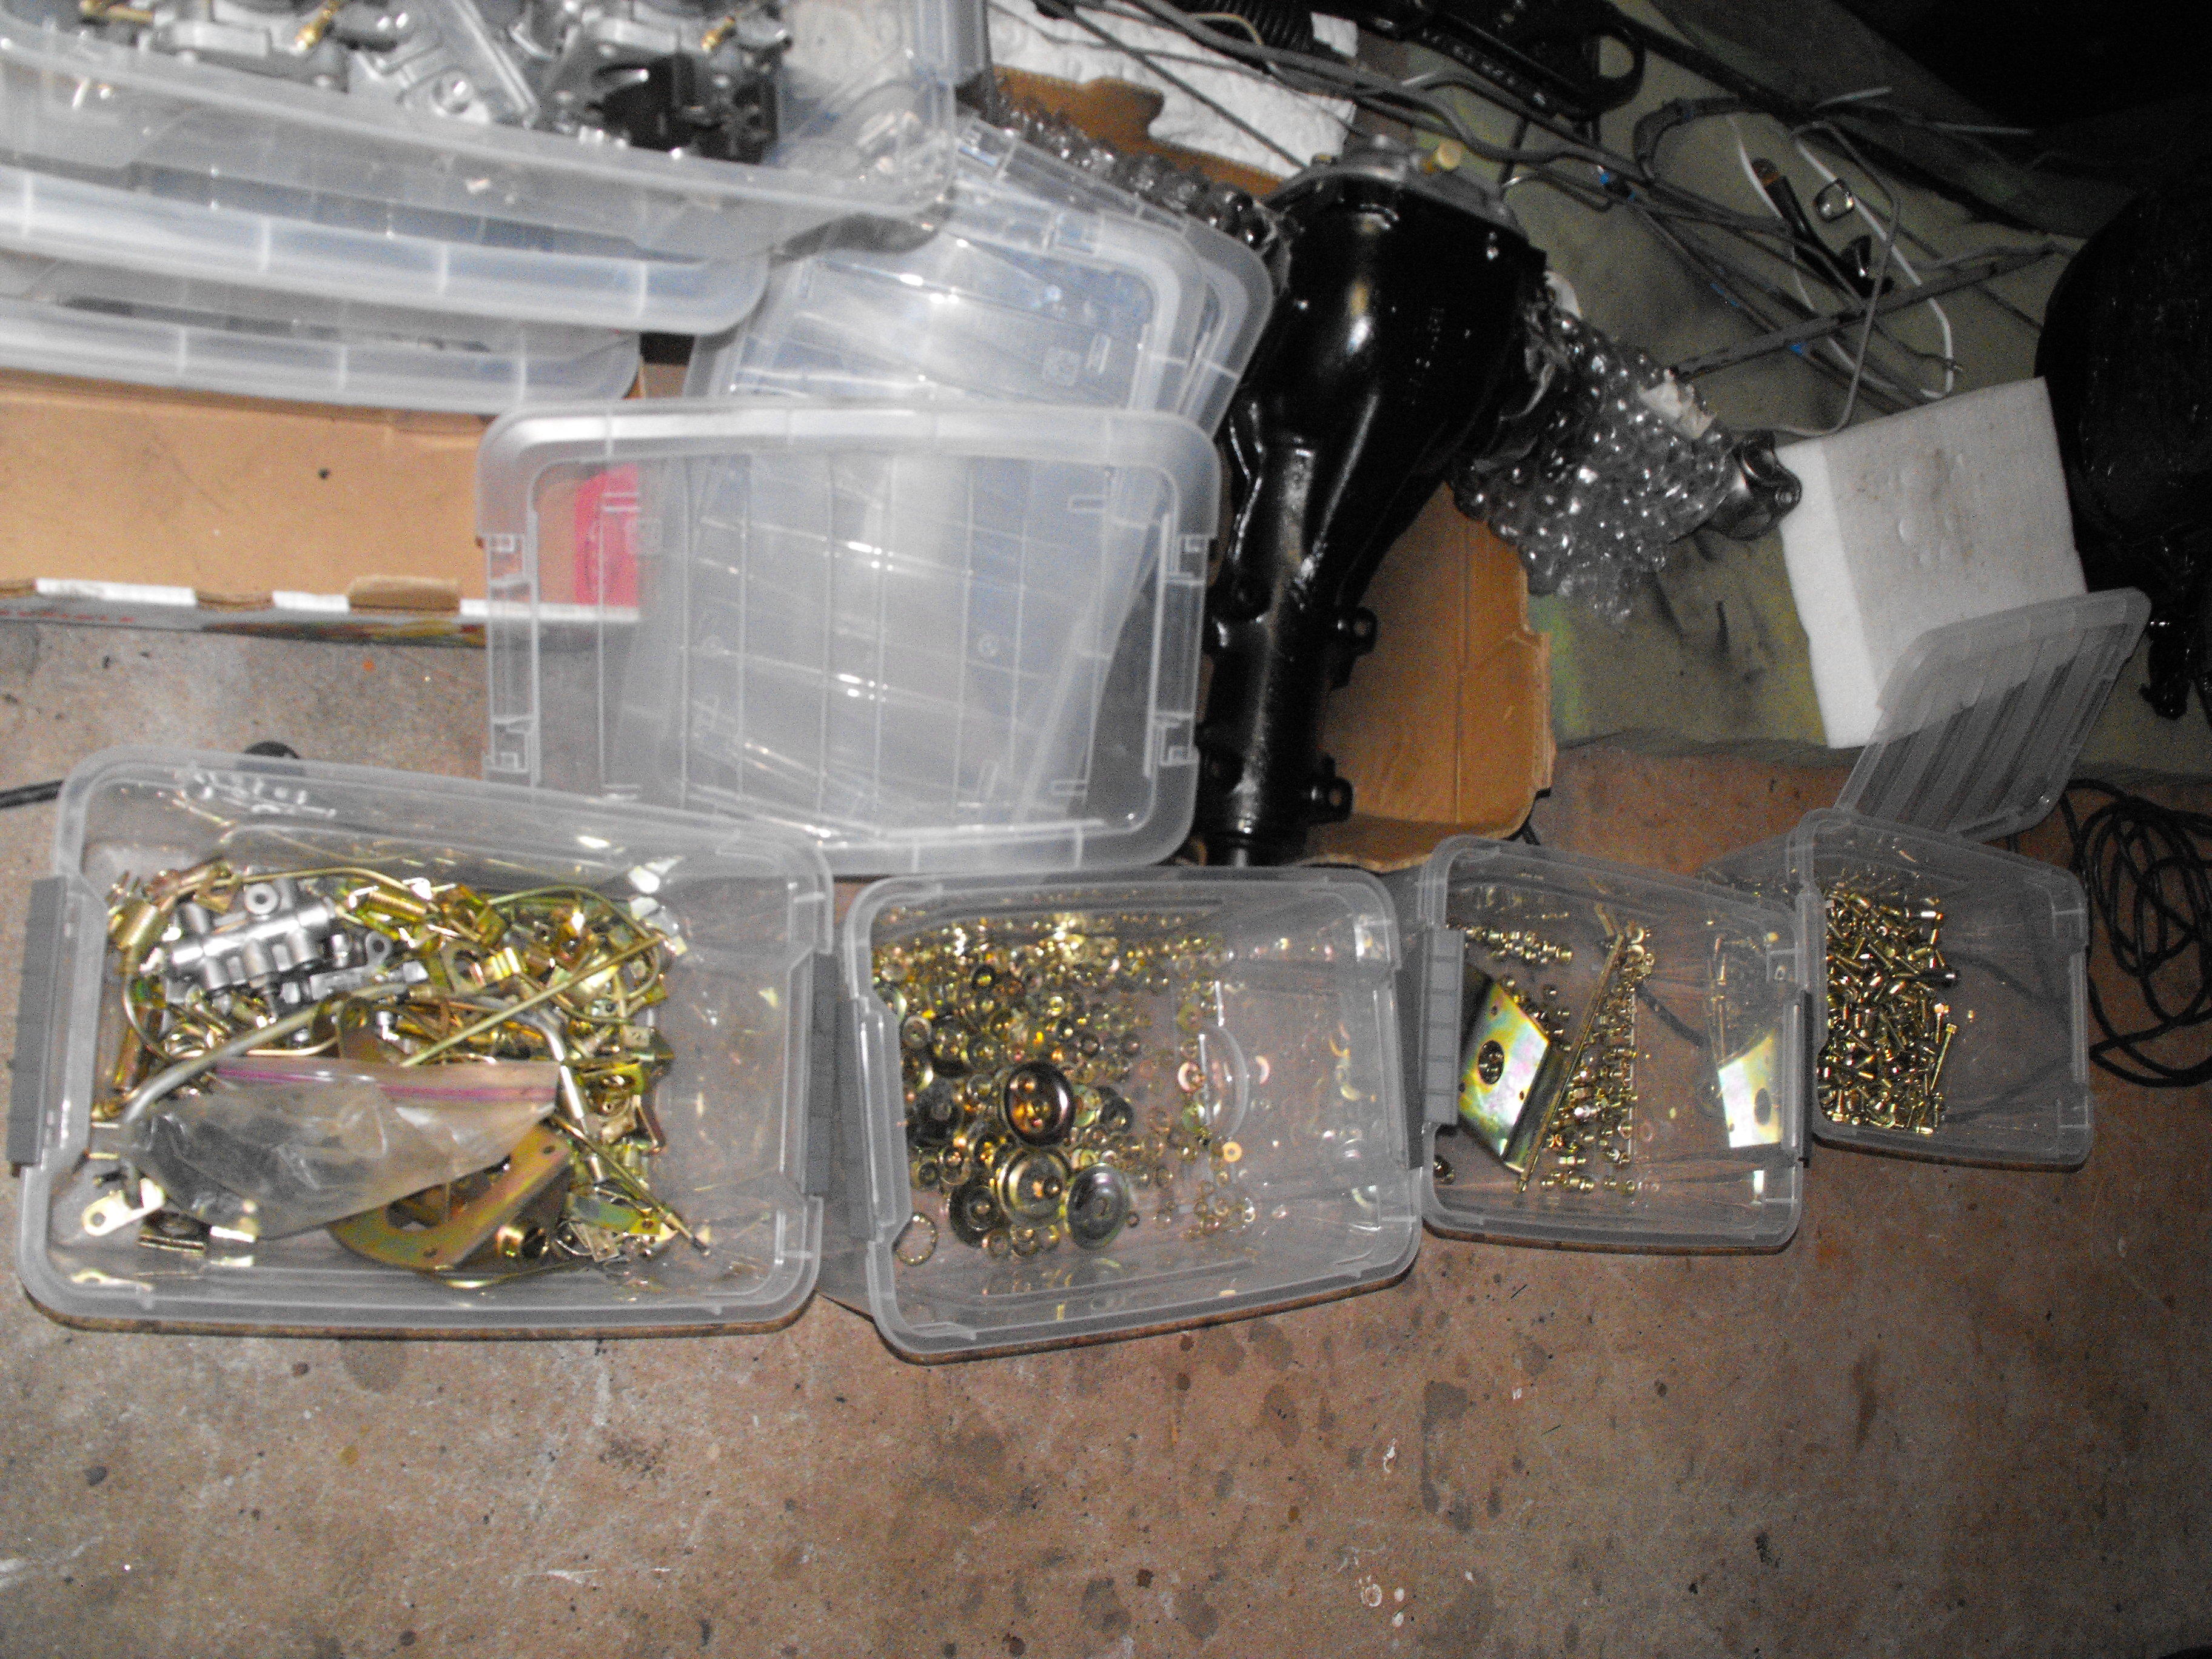
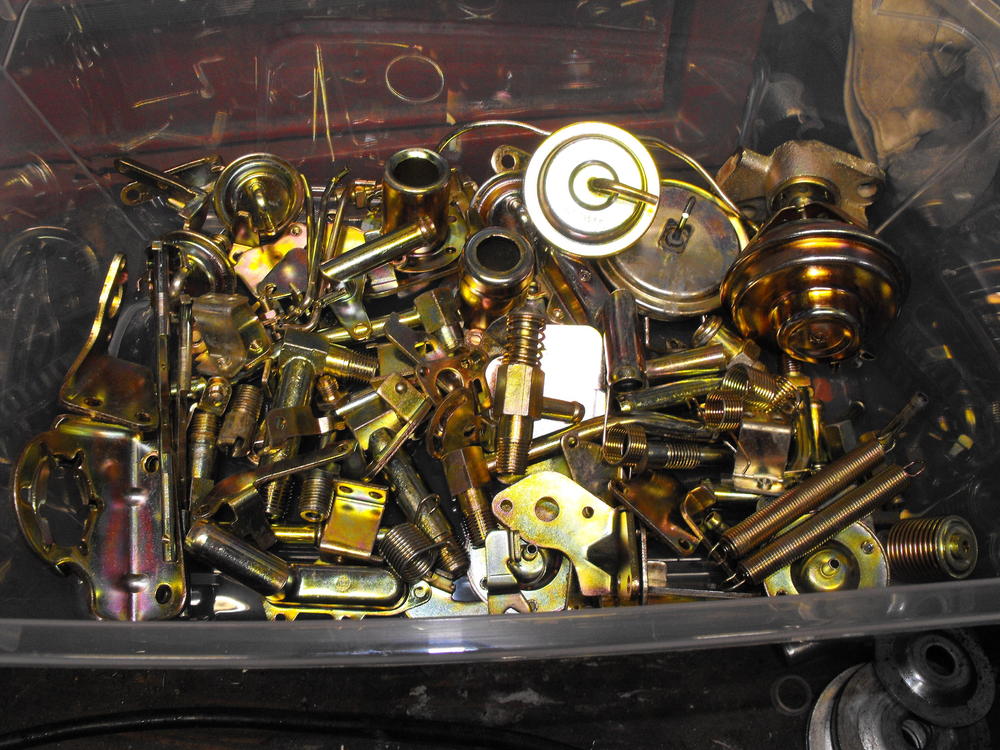
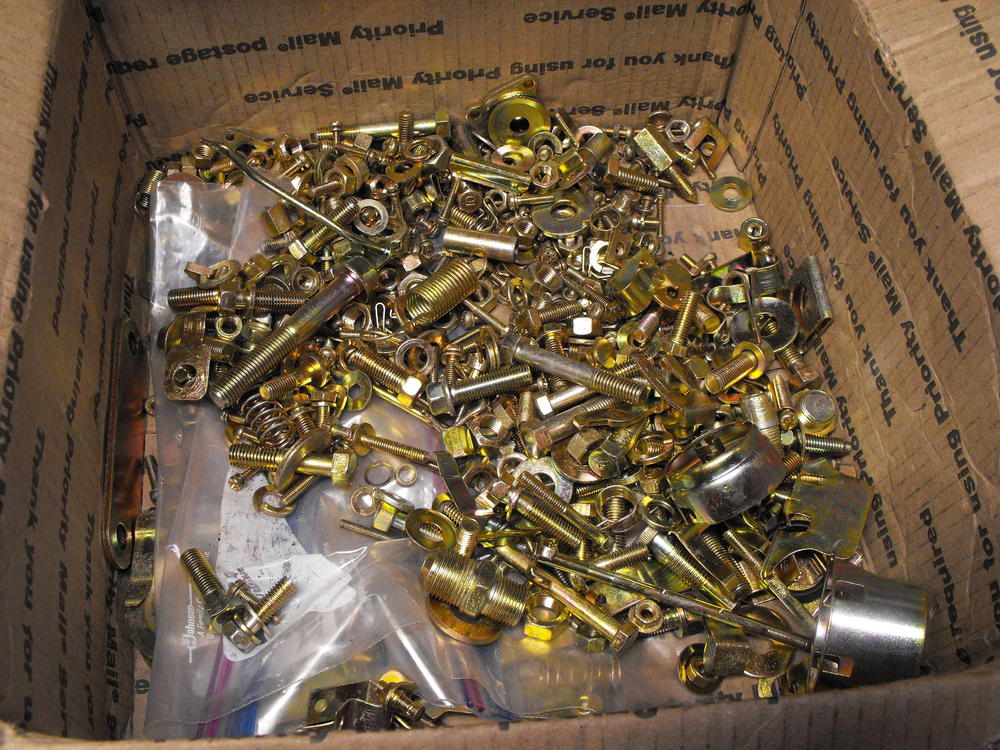
Got parts back from plating. Sorted these into separate boxes to help keep things organized. Items are categorized as, Nuts, Bolts, Washers, Brake parts, Carb and Smog parts, small screws and washers, silver zinc parts, and misc. That will help when I start putting things back together.


-
I didn't check the chemistry (not my field of expertise) but I figure the fumes from the Kroil and PB Blaster are probably not good for you either. Did my best to keep away from that stuff. I should clarify, the color of the dry film lube for this application is dark grayish. My intent was not so much the color replication, but the surface build-up and the bearing surface. The shaft is pretty much encapsulated, so the color will not be visible. Also, the dry film lube finish seems to be very durable. They use it to coat the piston skirts on racing engines. And yes, I did have to google STNG ?
-
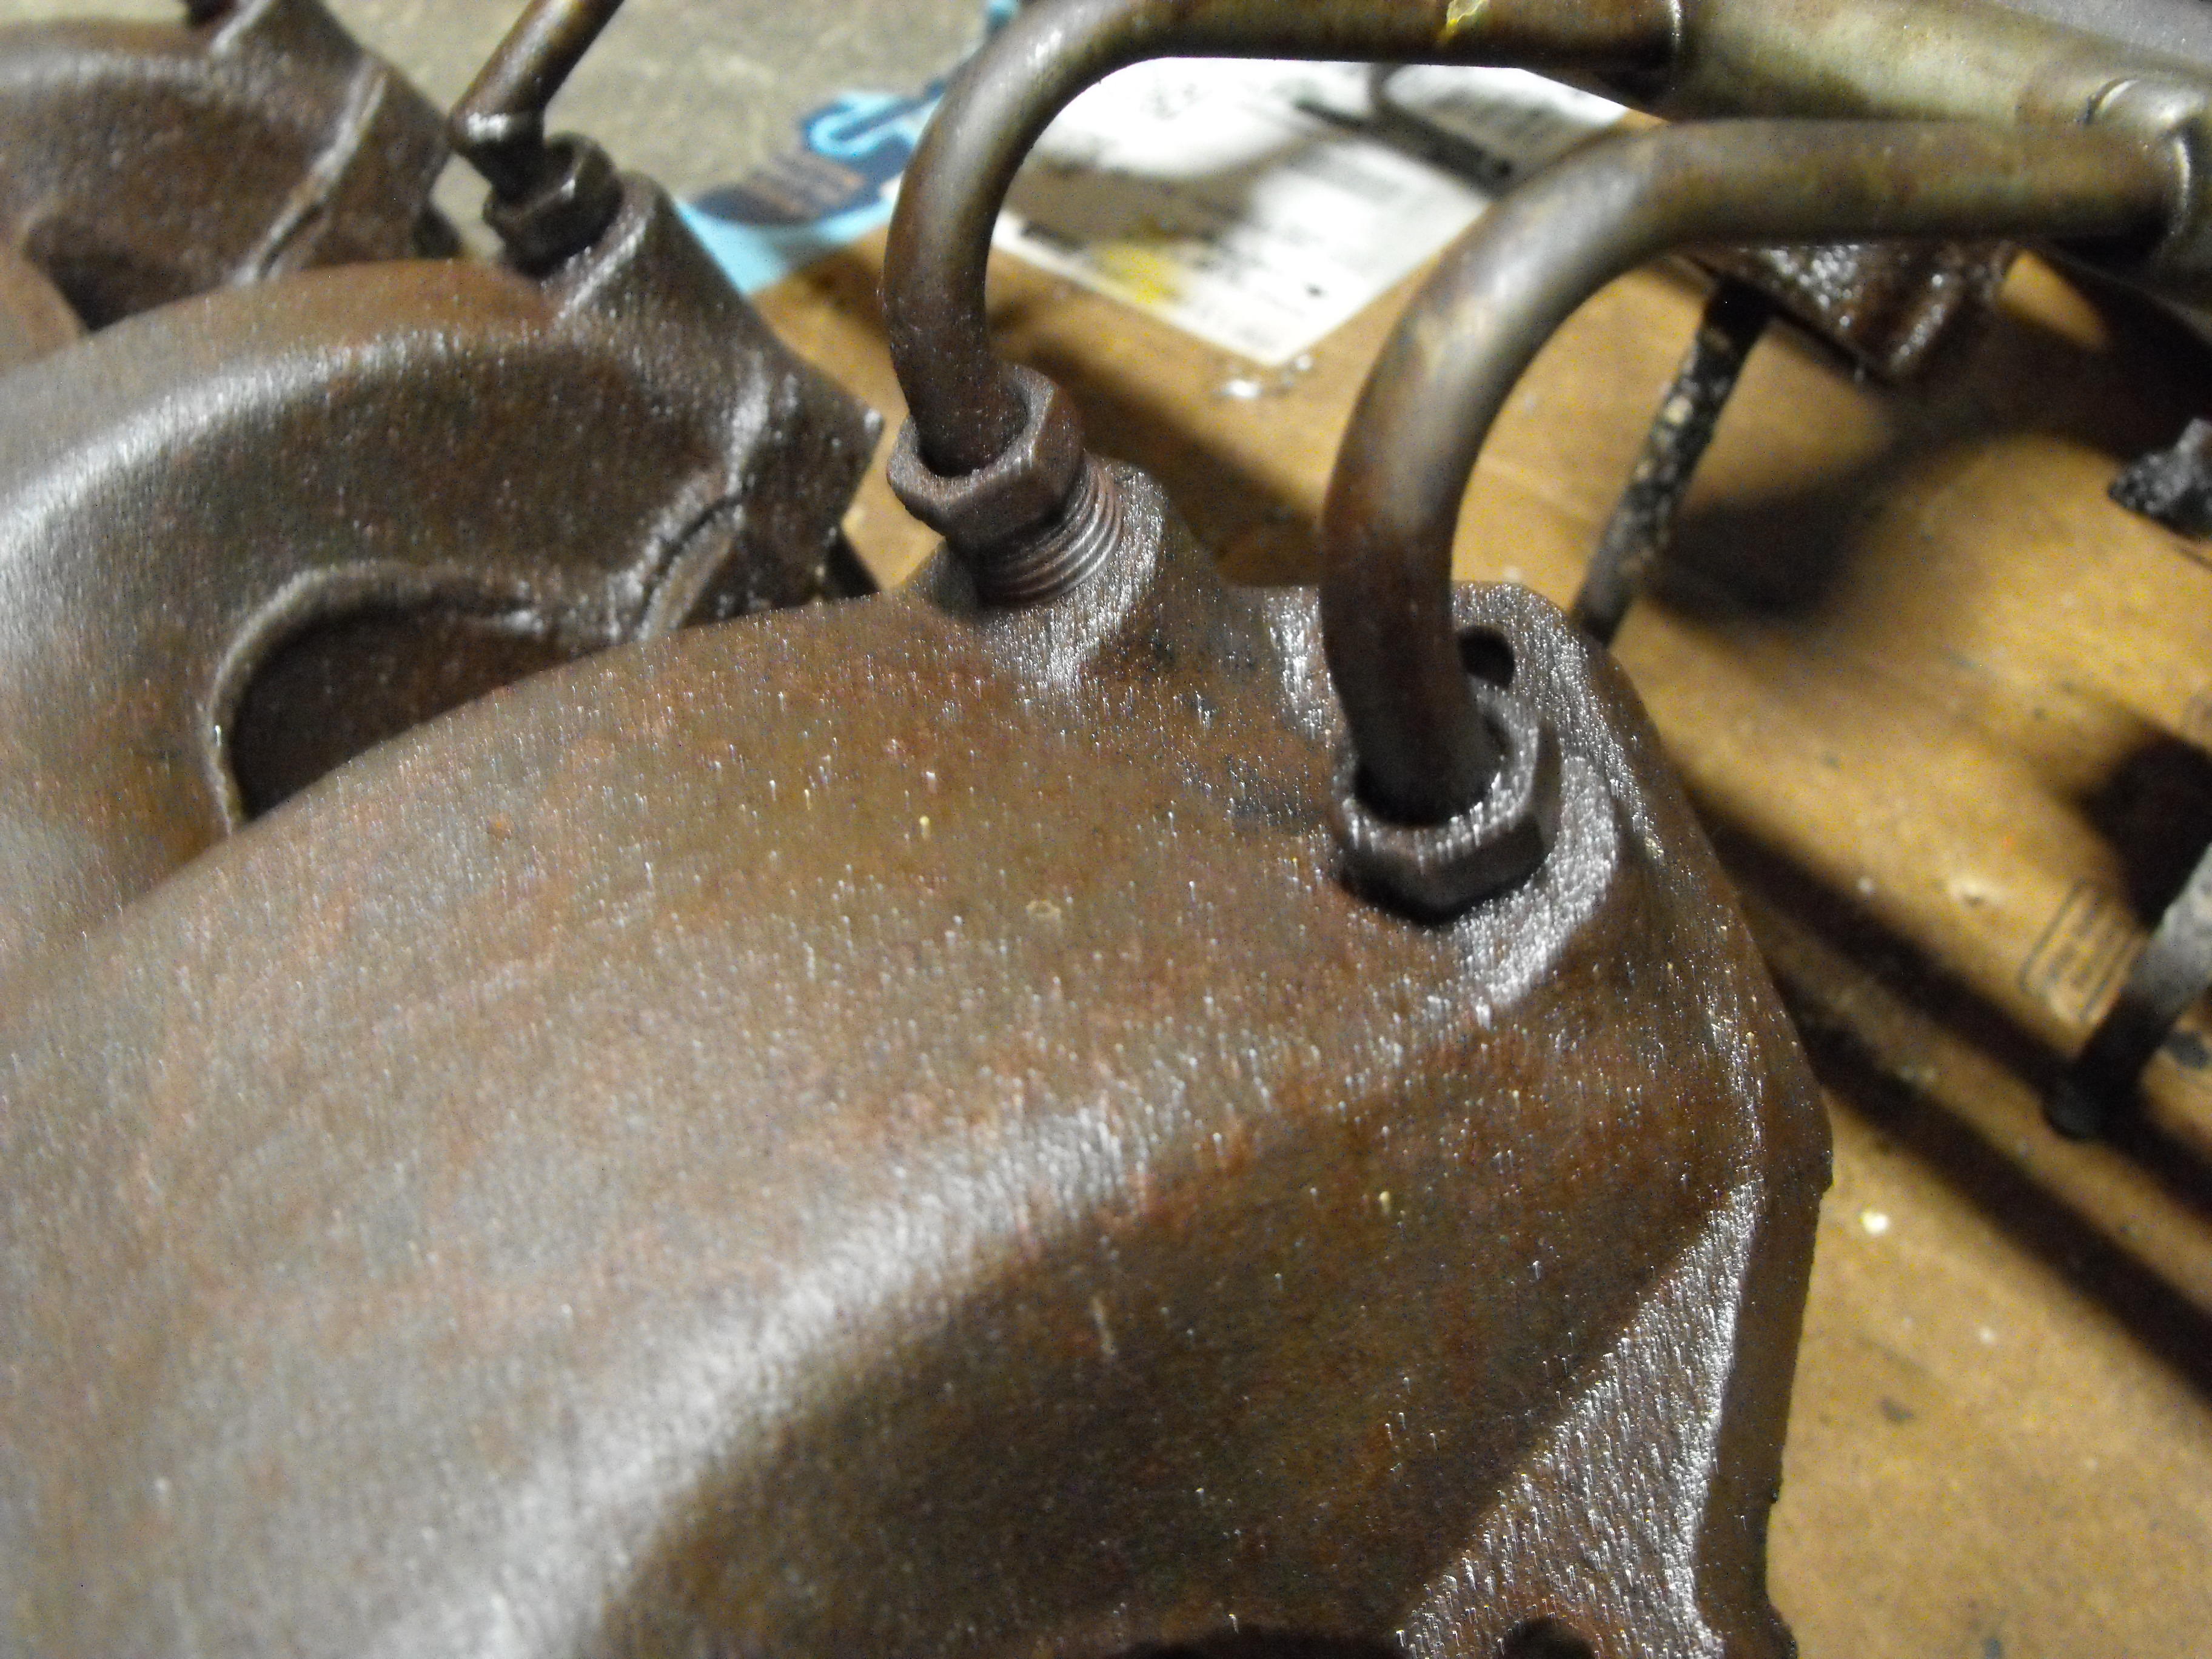
I was able to get two of the fittings to loosen on one of the manifolds. That is very promising. The other four on that same manifold would not budge. So, I think I will let them soak some more and try again on Thursday. No rush as this would be worth the wait. The fire and ice seems to work pretty well. Hopefully it will allow the Kroil to penetrate a little deeper on the fittings that would not move. The second manifold wasn't moving at all. So, I think I will continue to soak that one as well. I took the throttle shafts into Olympic coatings for a dry film lube coating. This should hopefully replicate the previous green coating that was on the throttle shafts. Forgot to take before pics on these. Also got a couple tires in today from @jayhawk. I will wait till later before I unwrap them. Pretty sure they are some nice Bridgestones.


-
Will have to look into the Freeze Off spray. Just found it on line.
-
I have a 14mm flare nut wrench that fits well on these. The problem is that the metal is incredibly soft, so it's hard not to damage the nut when trying to unloosen them. Occasionally I have resorted to the vise-grips but that rarely turns out well. I should get a little time tonight, so may give it a try using the torch and ice along with the flare nut. I need to add some of those funky looking vise-grips to my arsenal, thanks for the pics.
-
Wow, an automatic on a series 1. That doesn't seem right. Too bad there are no engine pics.
-
Bought a couple air galley's since these were pretty hard to find. One for this car and one for my white Z. Now that these are getting way too pricey, I am going to try and salvage these two. I have been soaking the two set-ups shown below in alternate soakings of Kroil and PB blaster. After about a week, I will hit them with fire and ice (torch on the exhaust manifold, then ice cube on the fitting) and see if I can get them to budge. I am not optimistic, but will give it a try. If that doesn't work, then I will just cut them off and drill and tap.