motorman7
 Subscriber
-
Joined
-
Last visited
Everything posted by motorman7
-
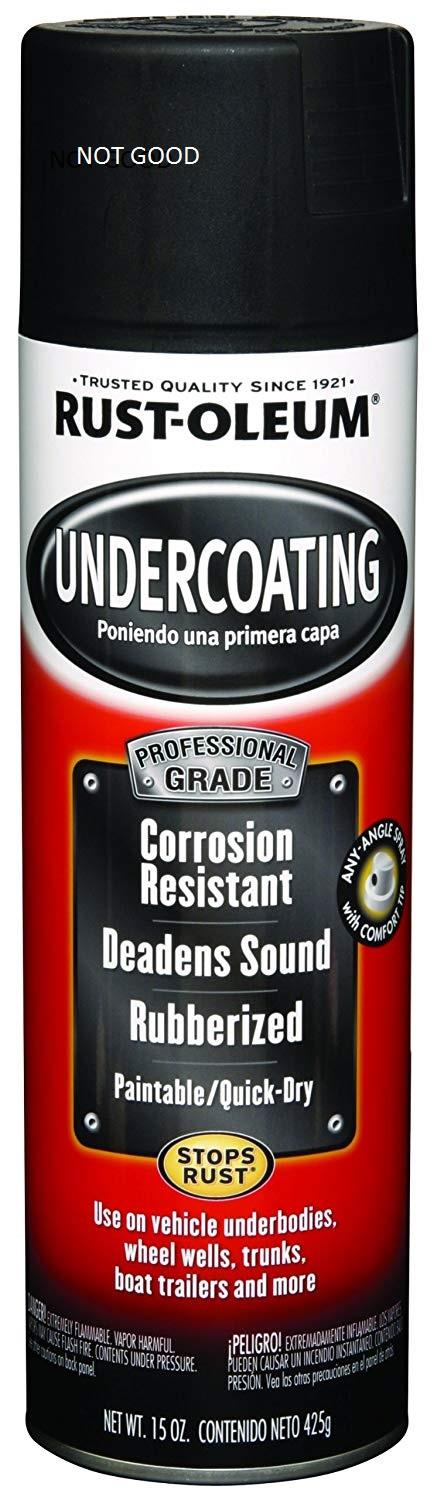
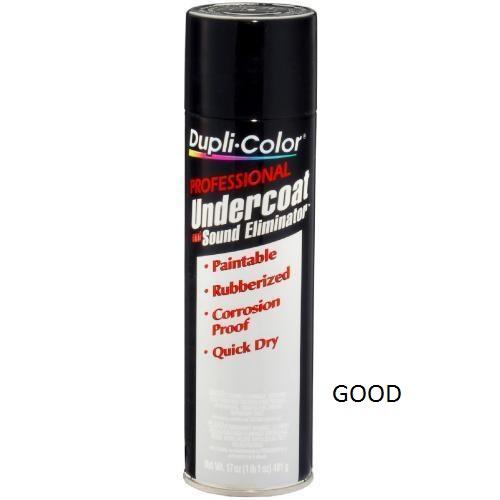
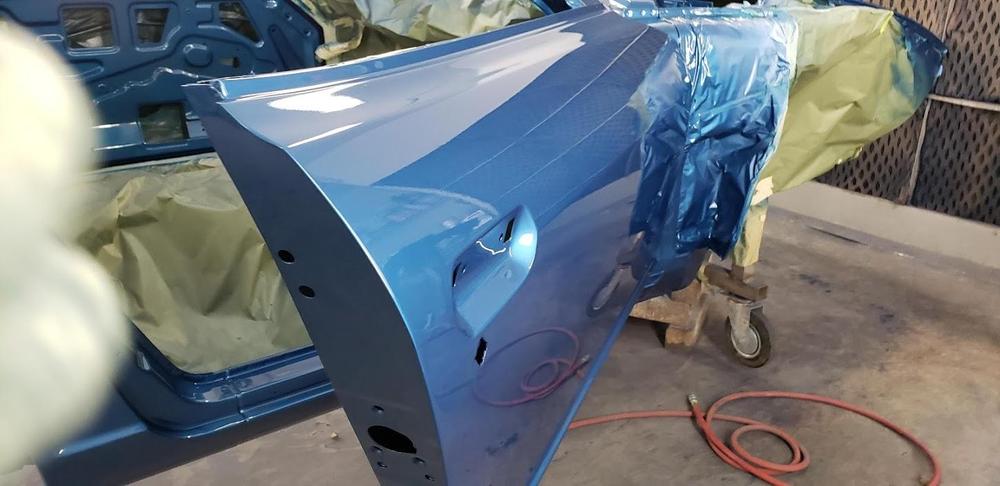
 The stuff I just bought and do not like is the Rust-oleum brand. It did not 'crinkle-up' well at all. It went on almost like thick paint. I had to double check the label to make sure I grabbed the right stuff. Might have been because it is a bit cold and damp here in San Diego, but it just did not come out well. I tried the new brand because it was a package deal on Amazon with free delivery. I will go back to the dupli-color brand which I have used on all the previous vehicles. The texture is much more consistent. Of course, now I need to cover up the parts that have been installed.
-
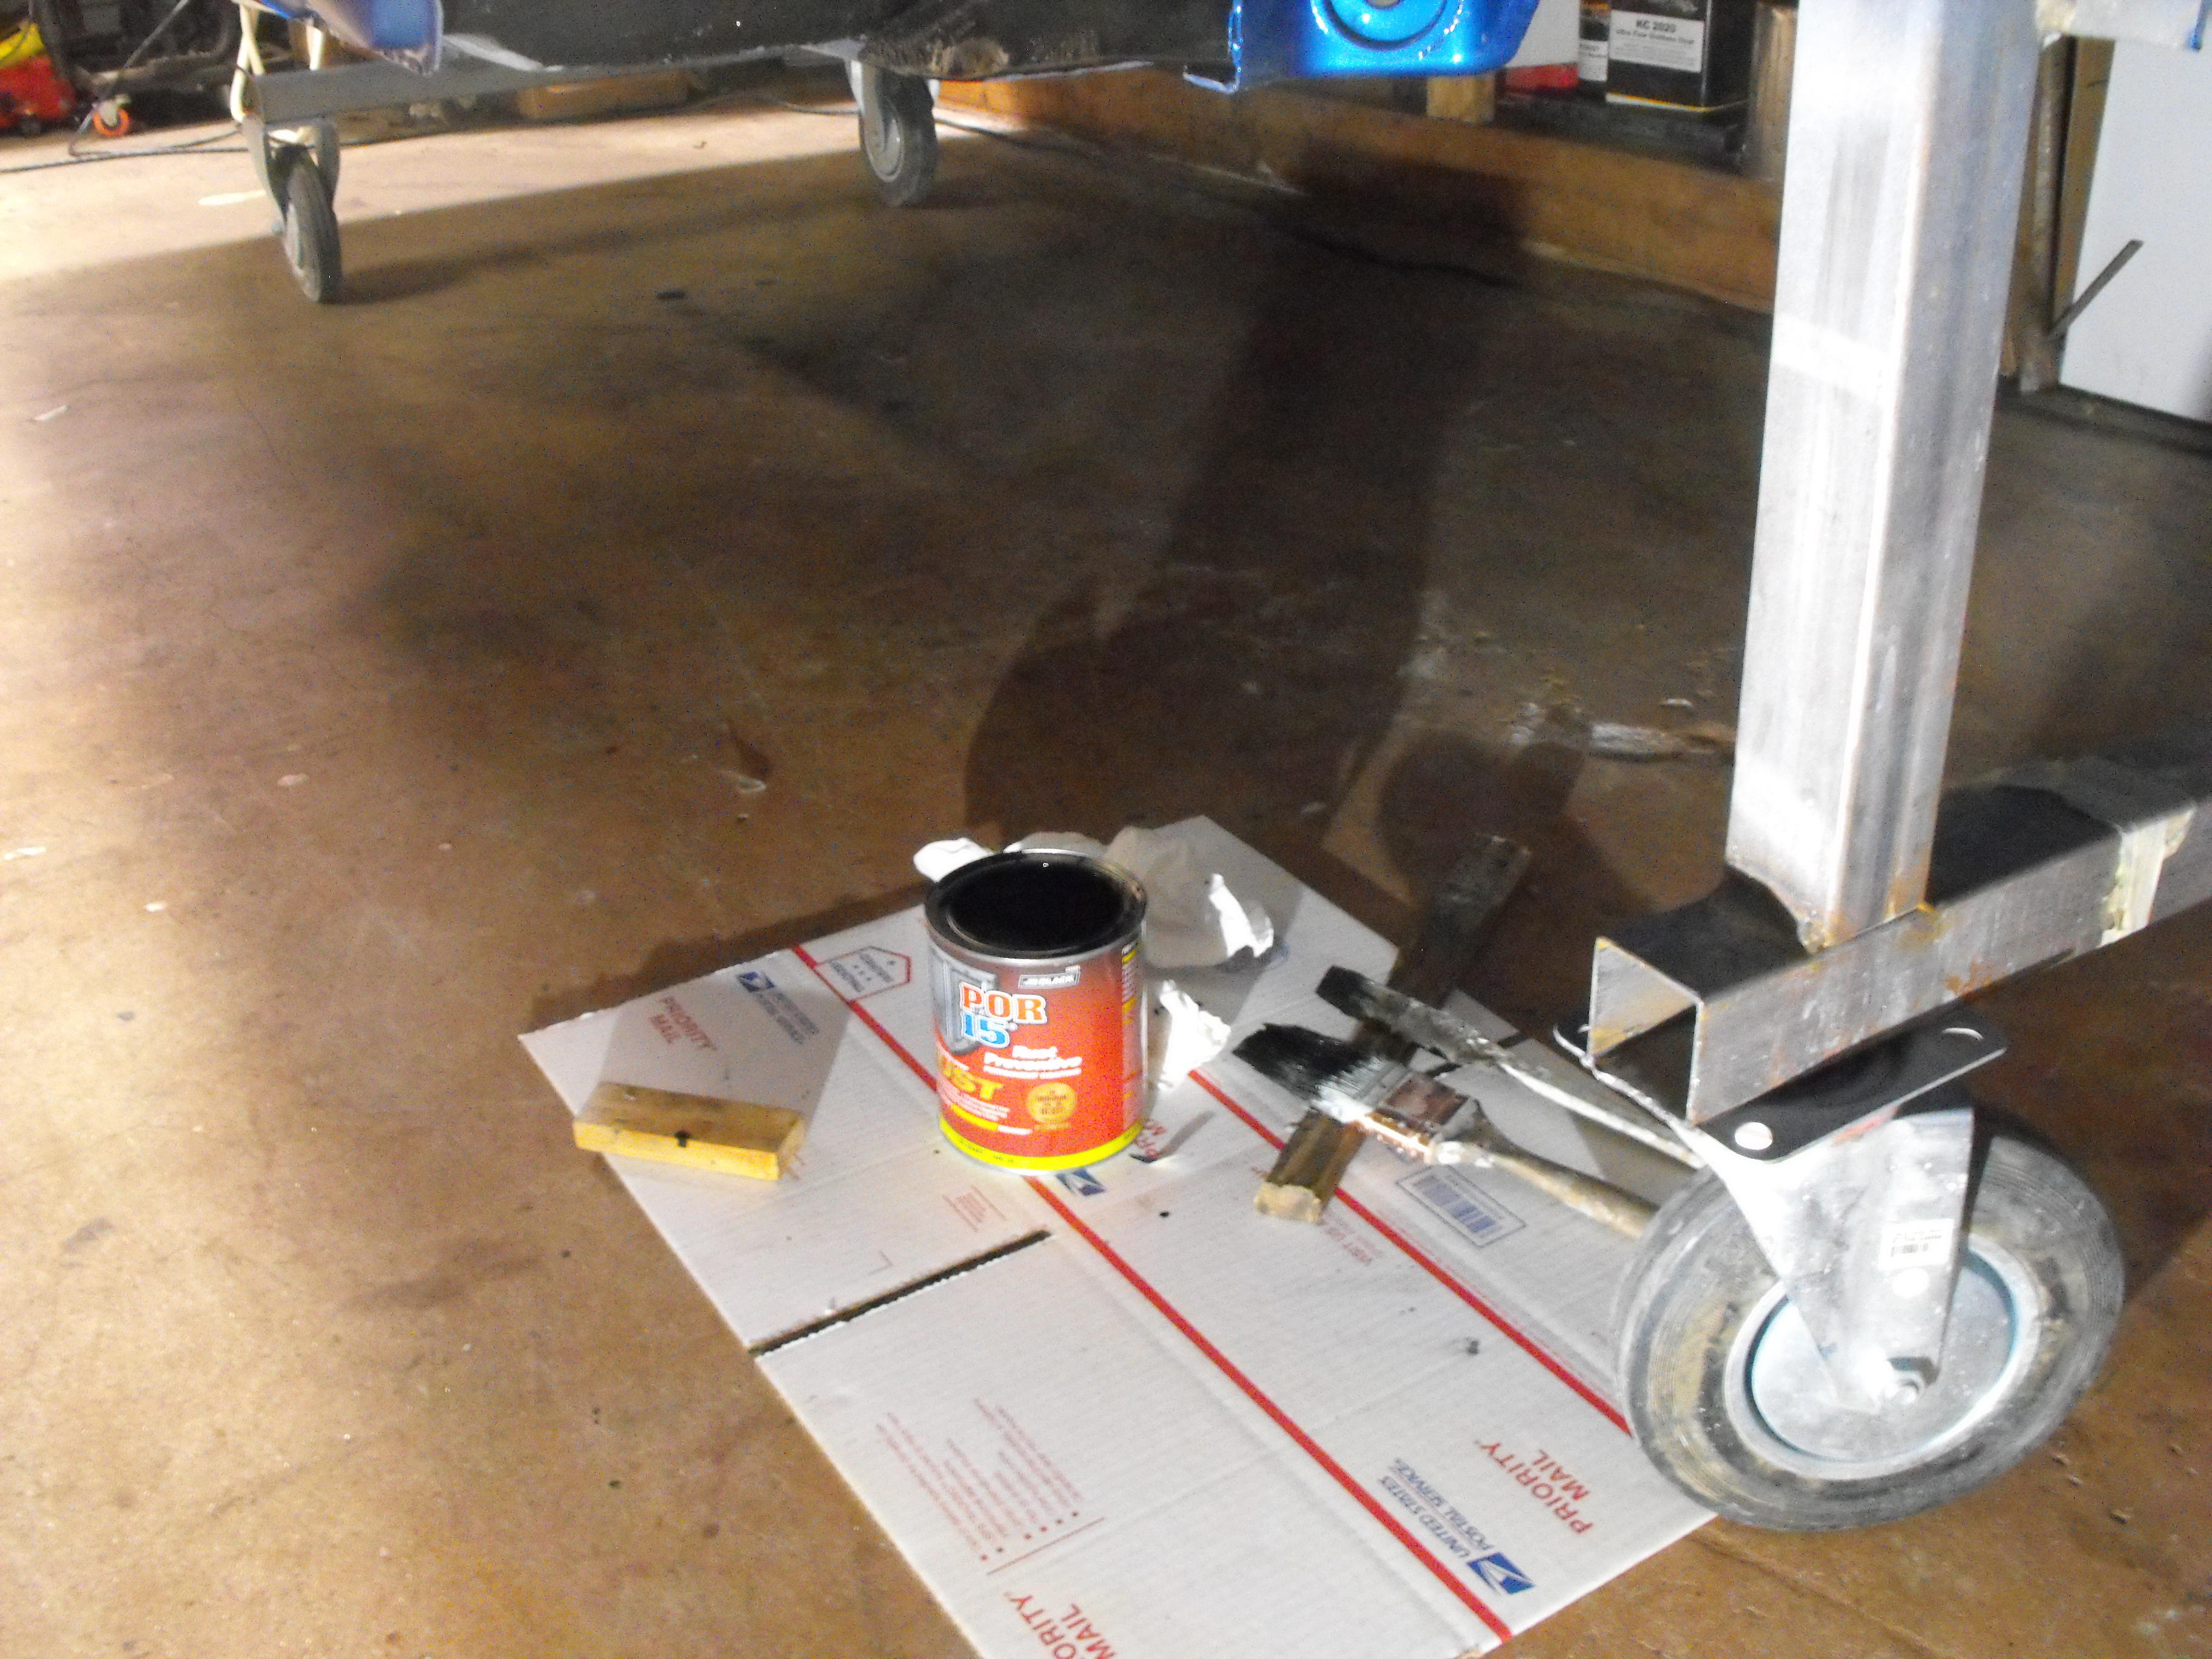
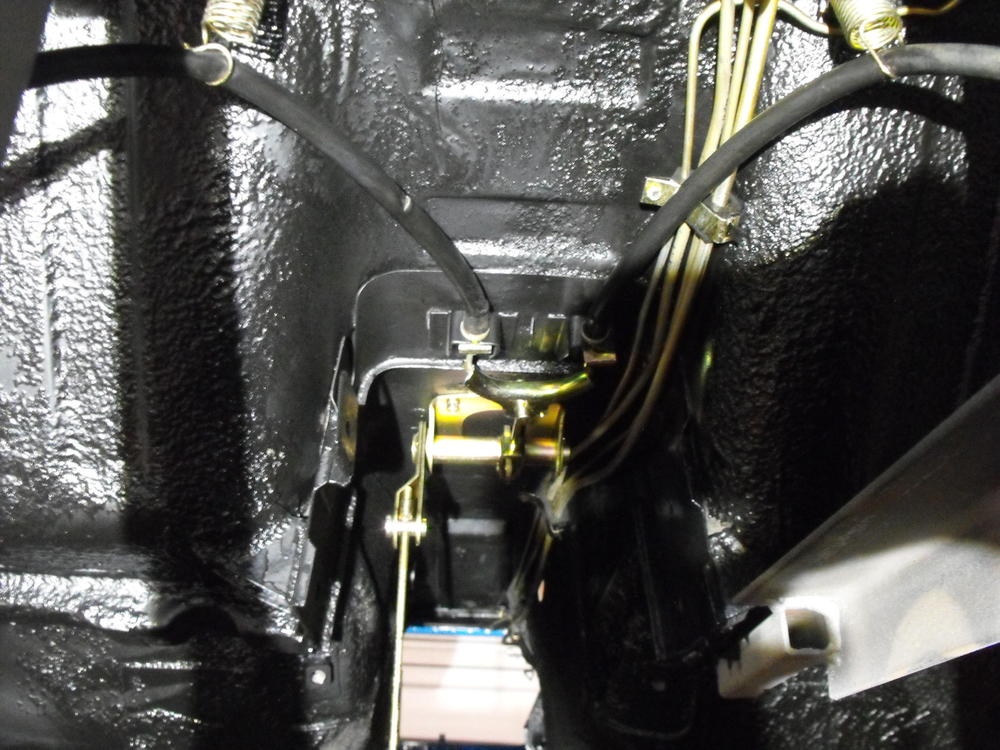
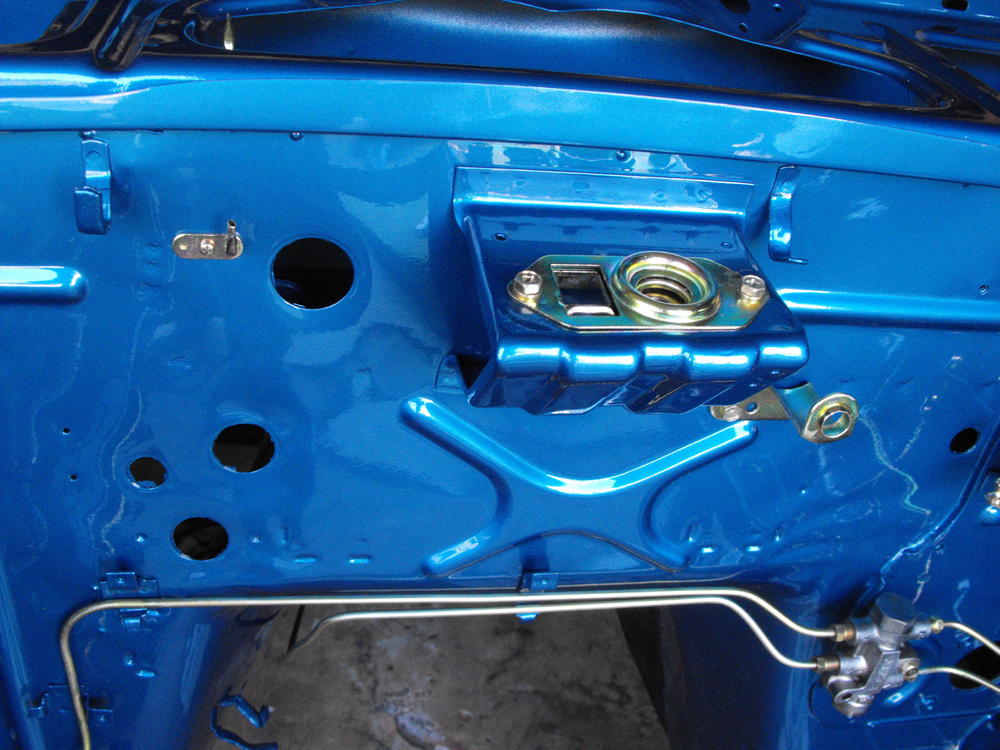
Yes, I had the original fuel lines replated. I had to bend the long tubes into thirds to fit in the 48" plating tank. I put a large radius bend in two locations, approximately thirds, to prevent the tubes from kinking. I bent them back after they came back from plating. The bend locations are in the tunnel so not highly visible. I stuck with the black because that is what the car was originally. I tried a different brand of undercoat, but am not very happy with it. It is not producing consistent texture. Will go back to my old brand and redo most of the areas. Sent from my C6902 using Classic Zcar Club mobile
-
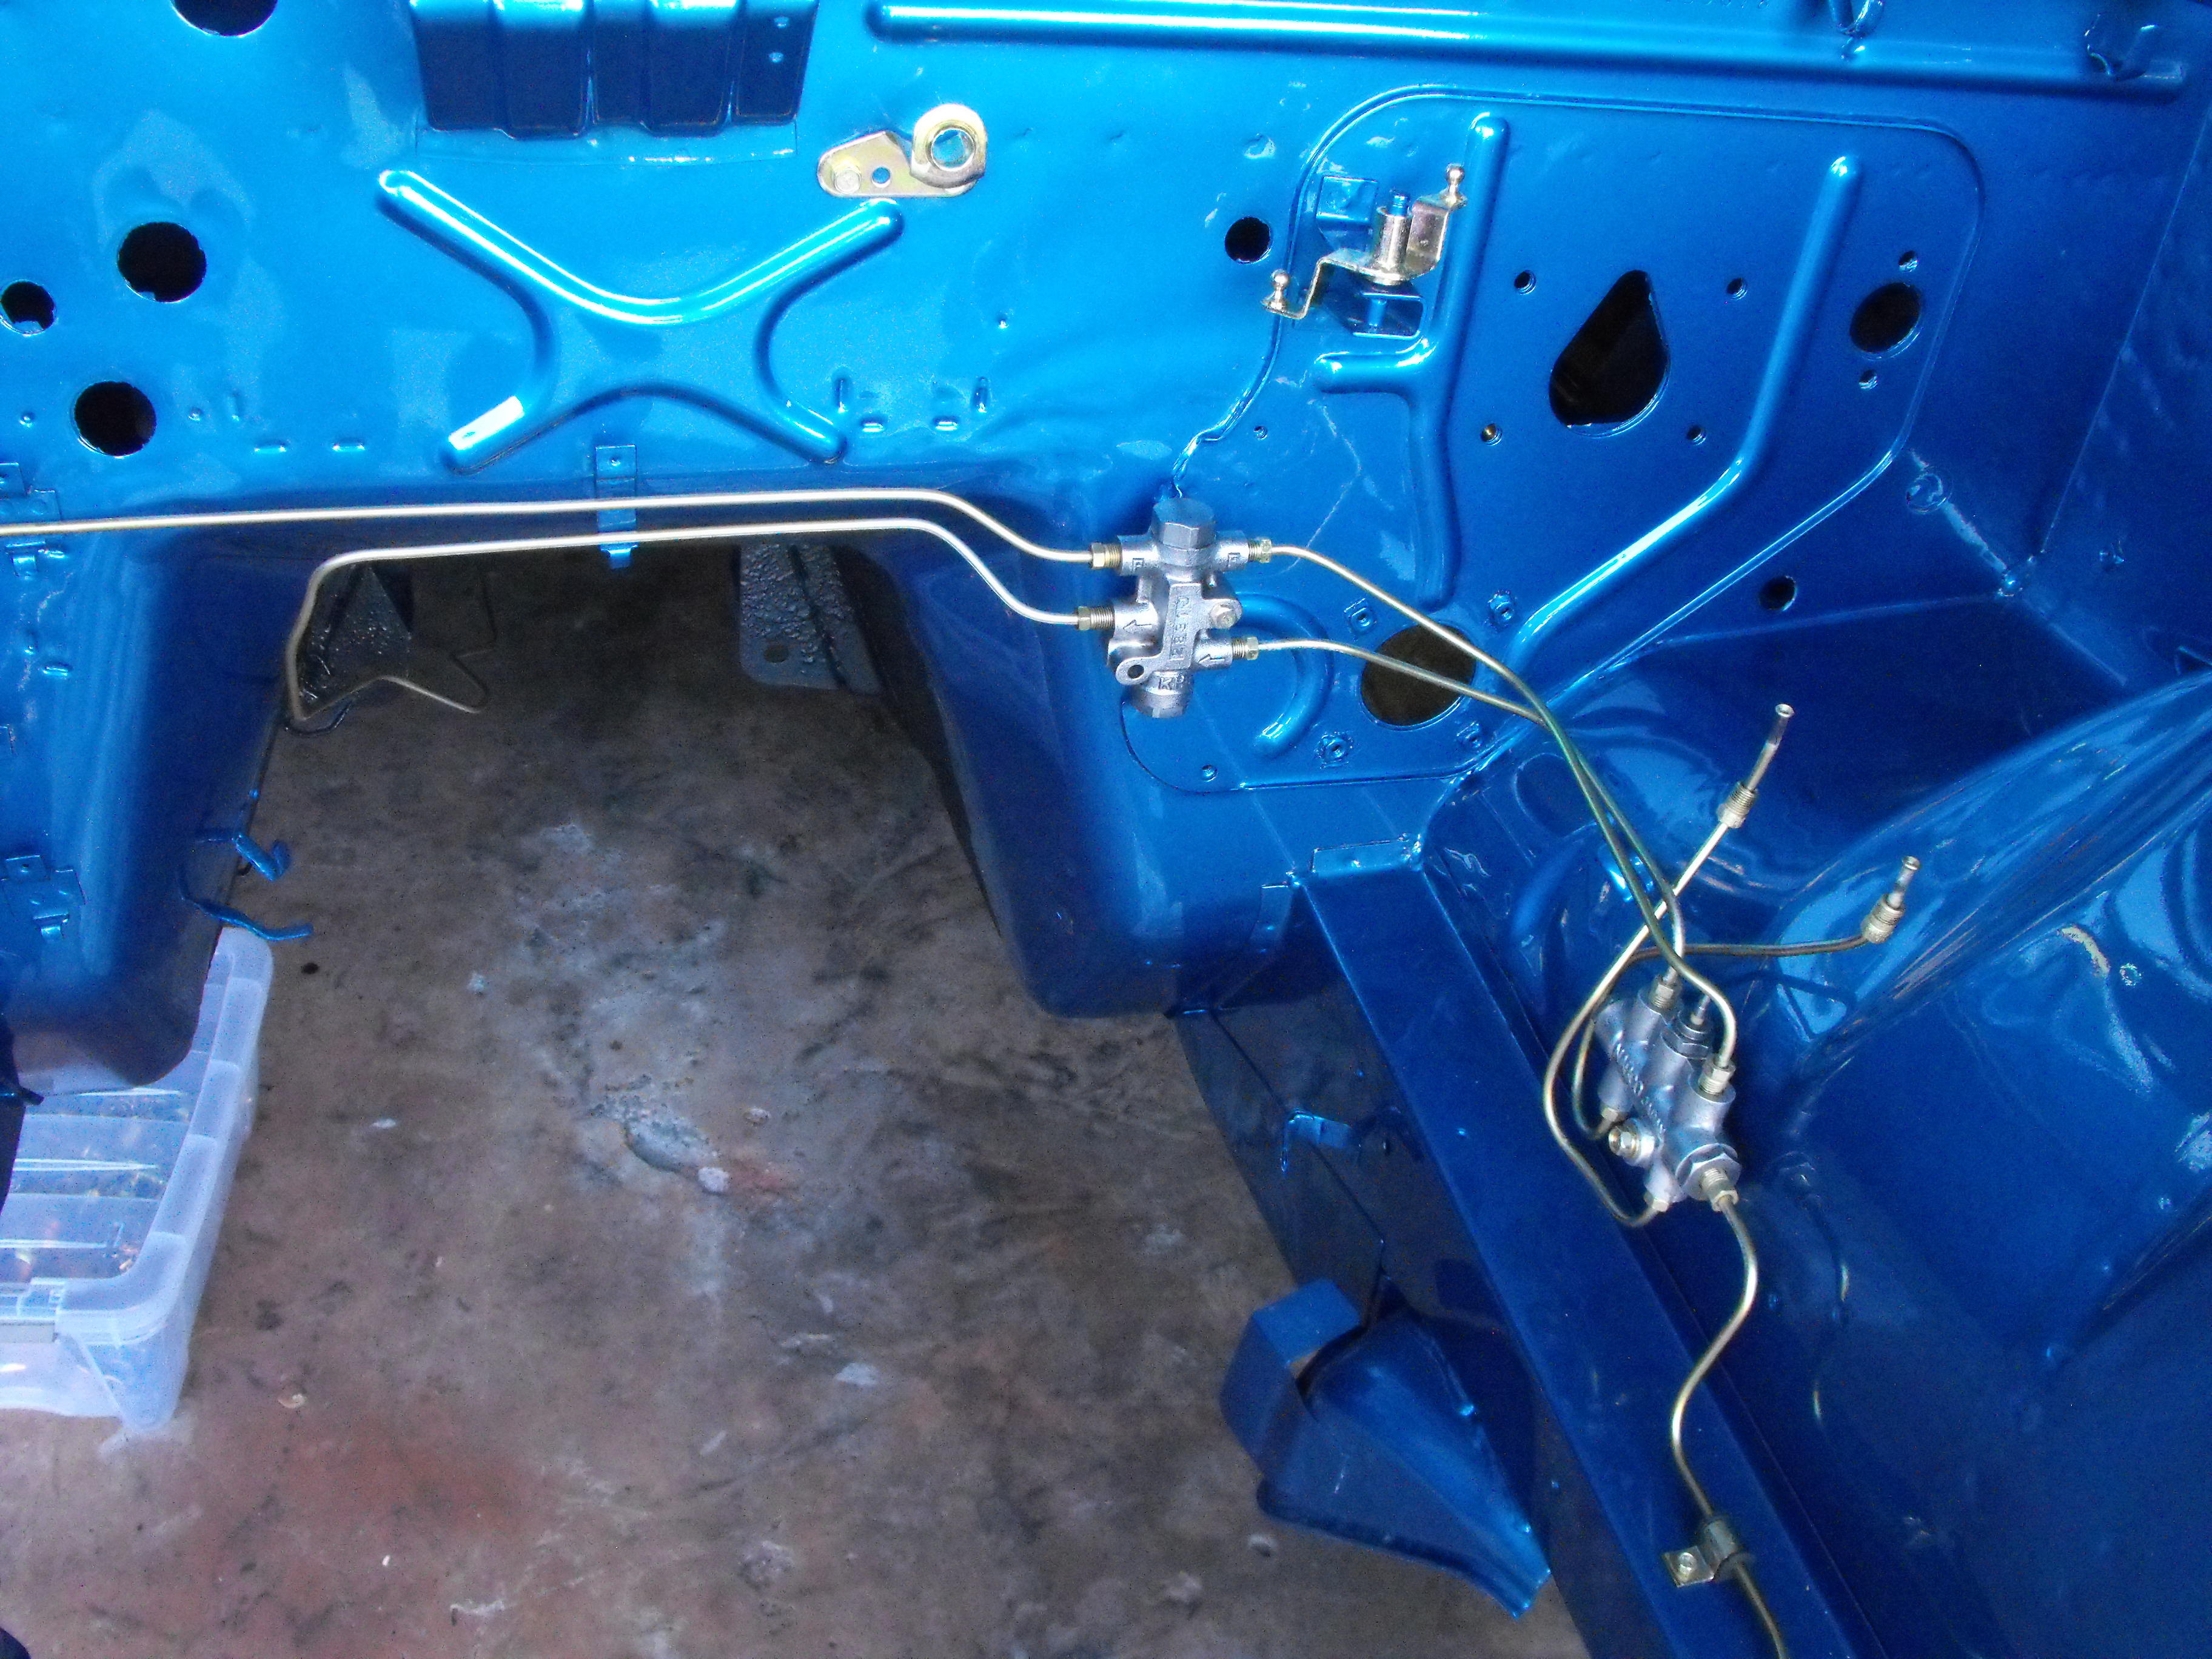
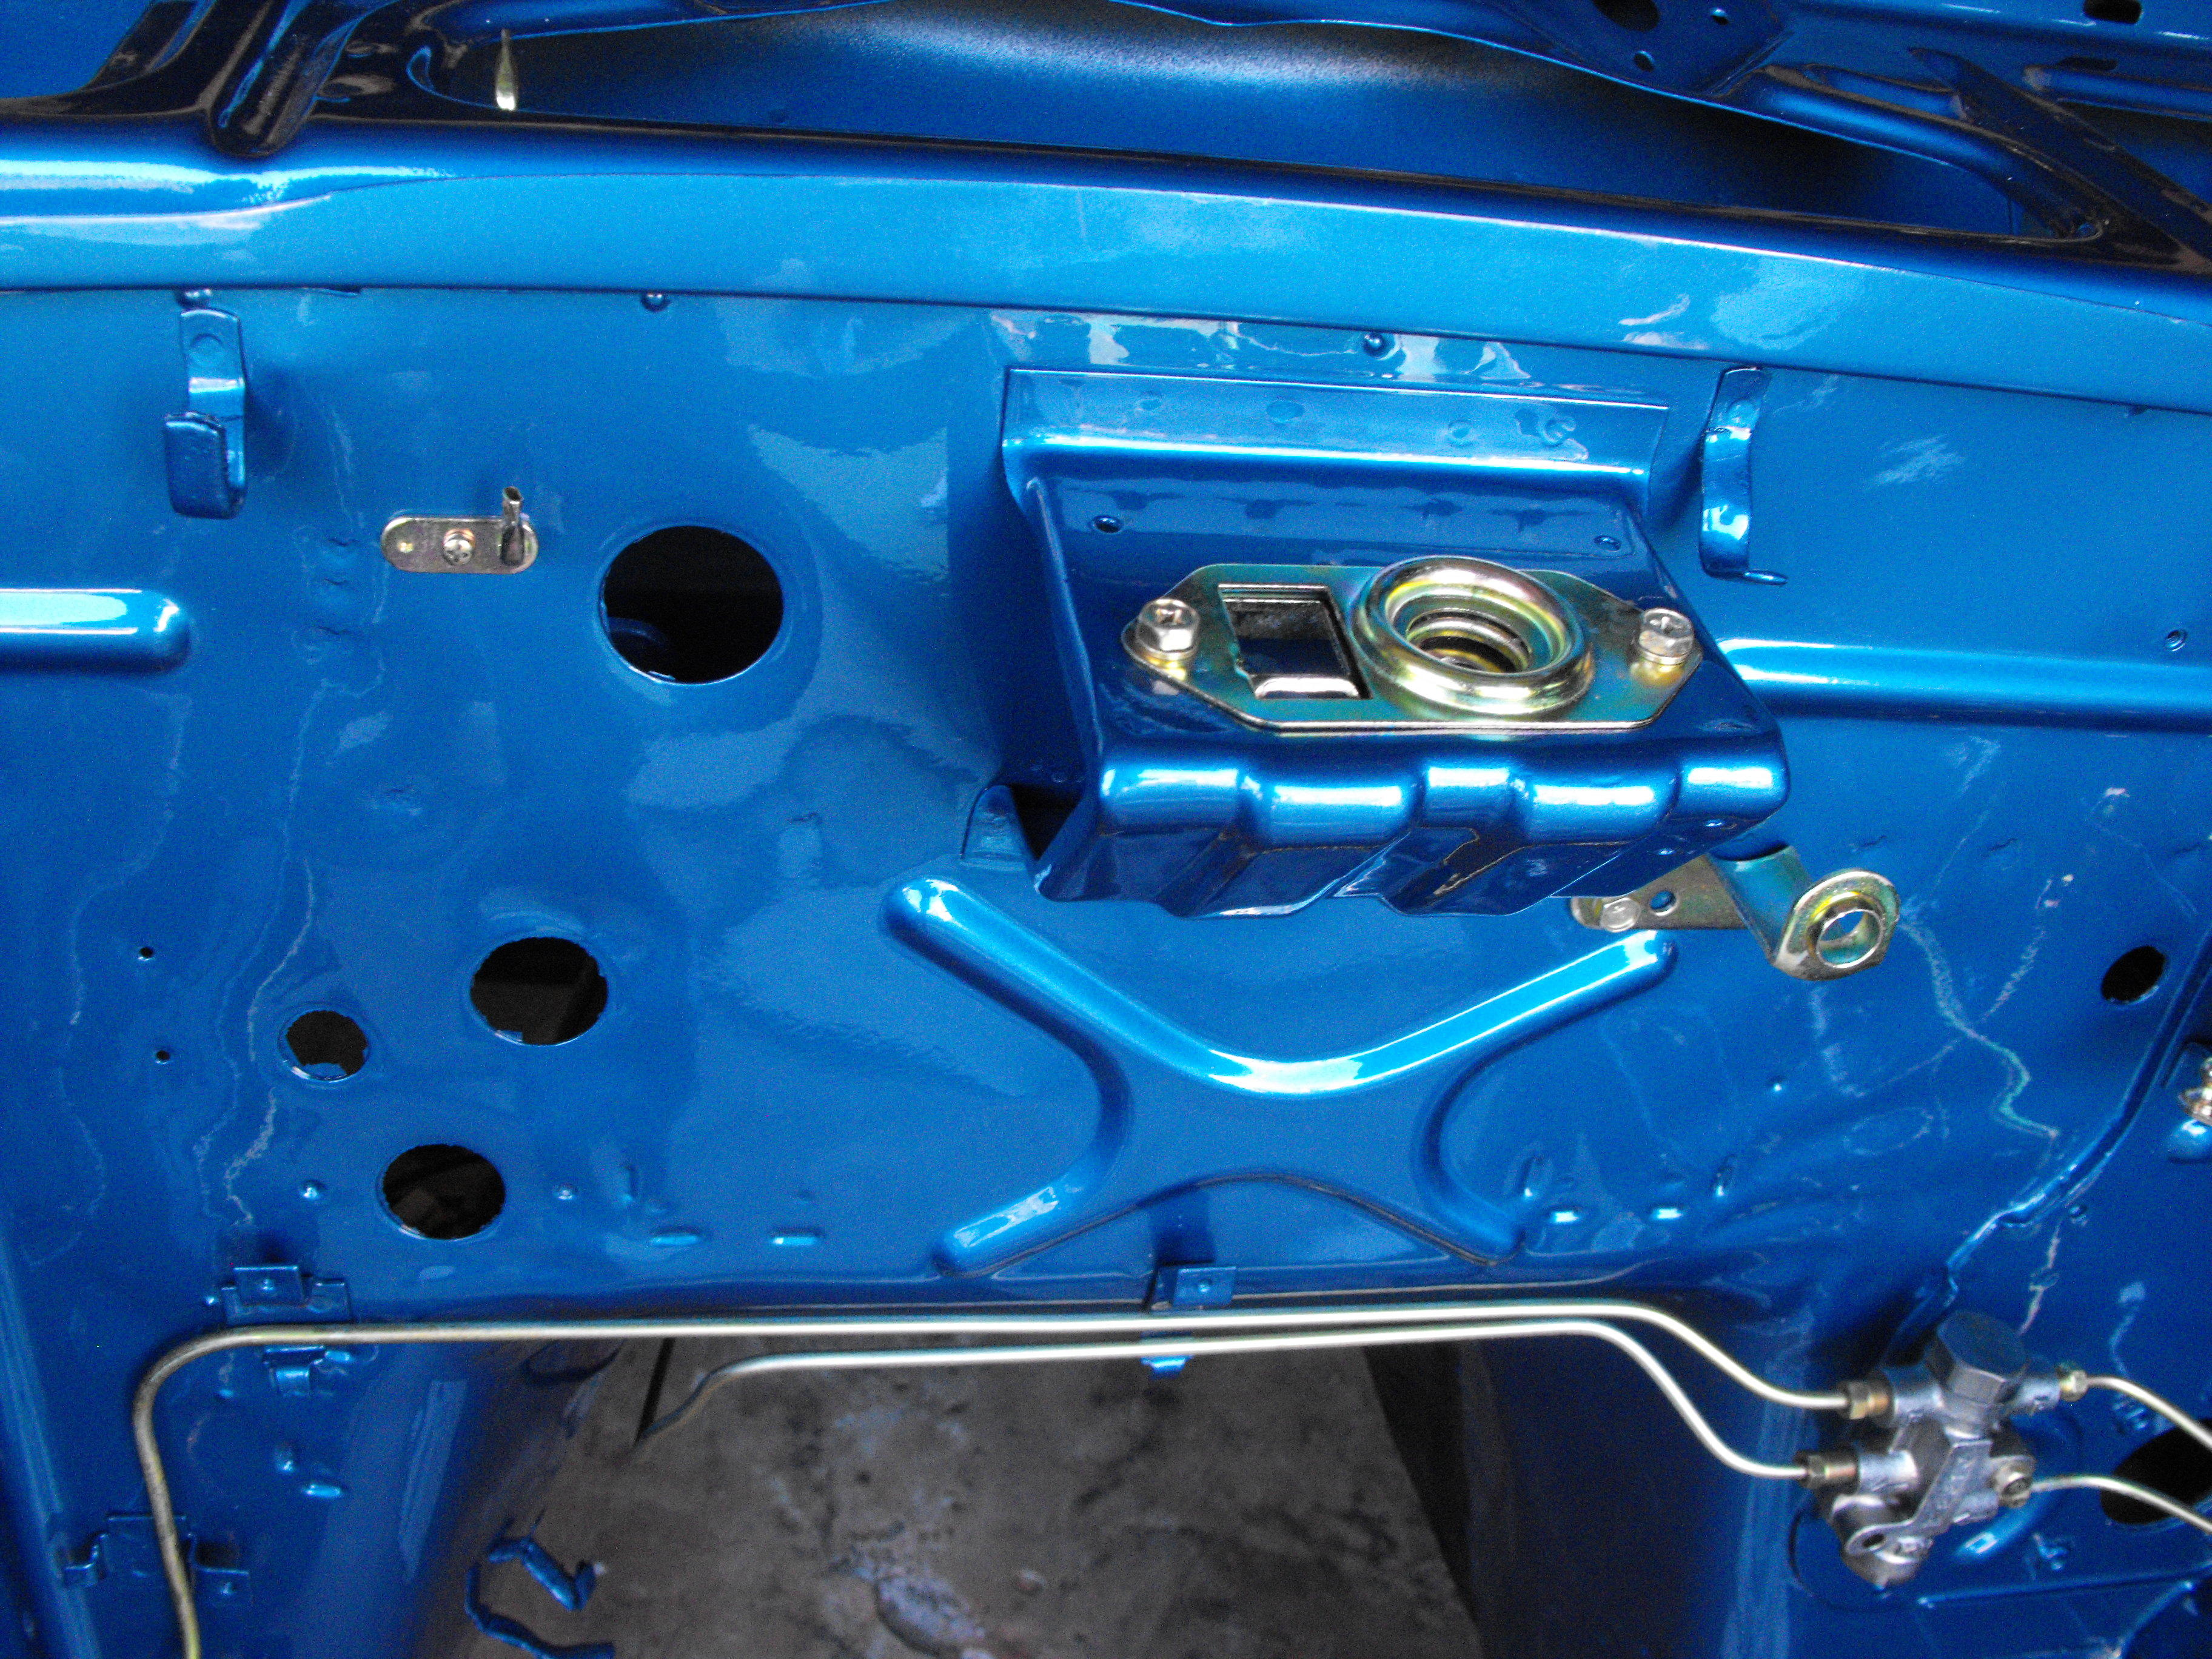
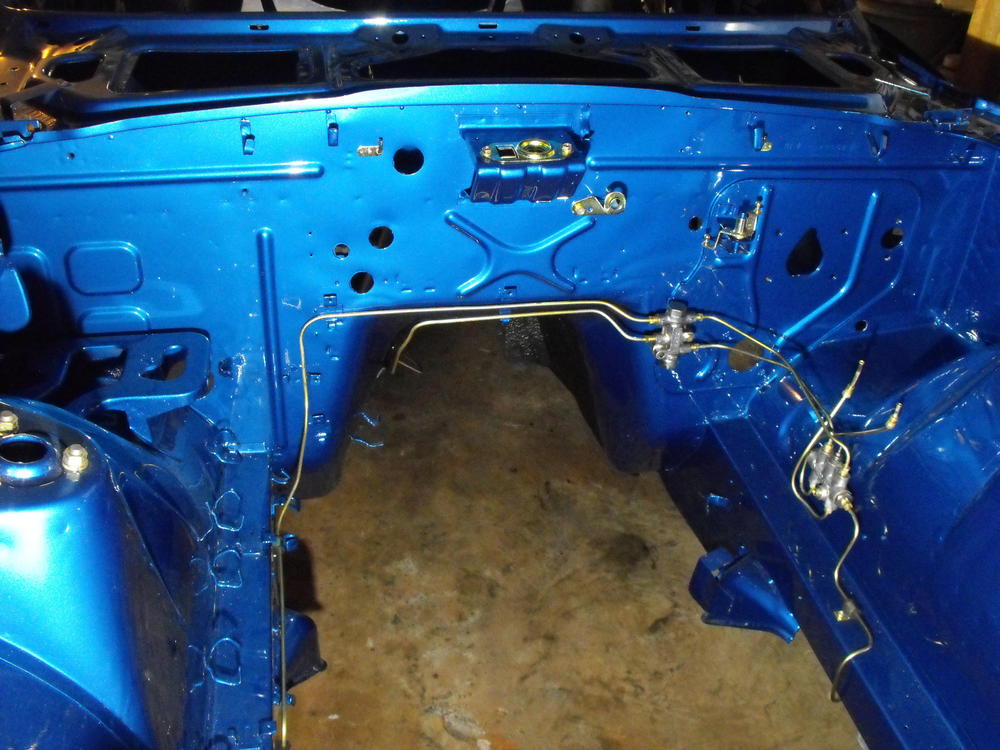
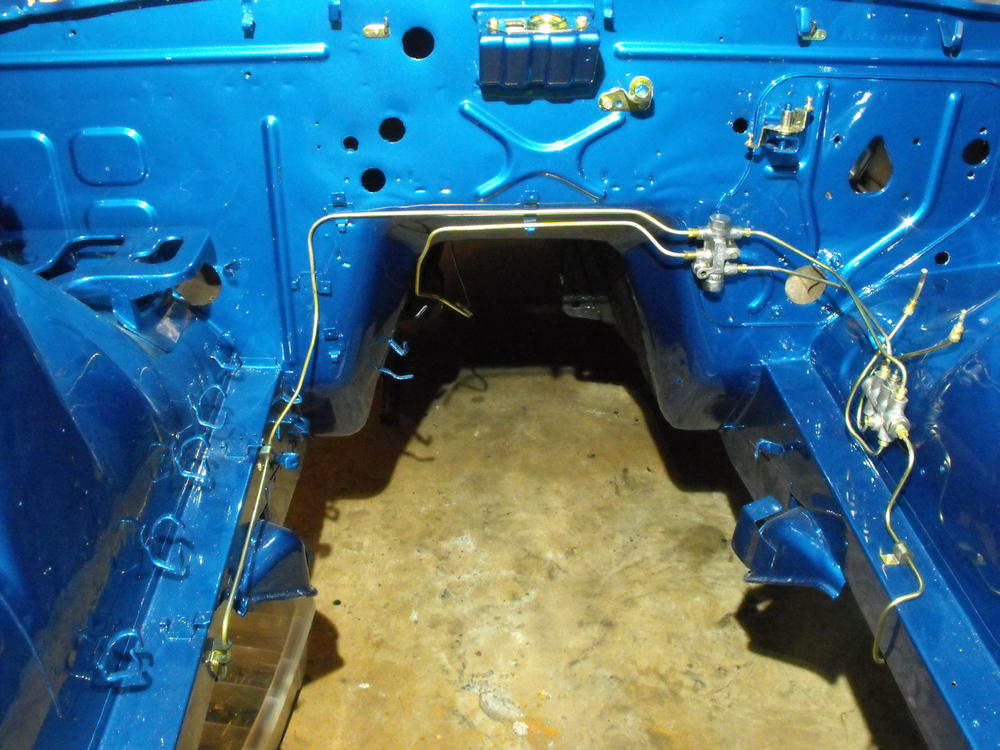
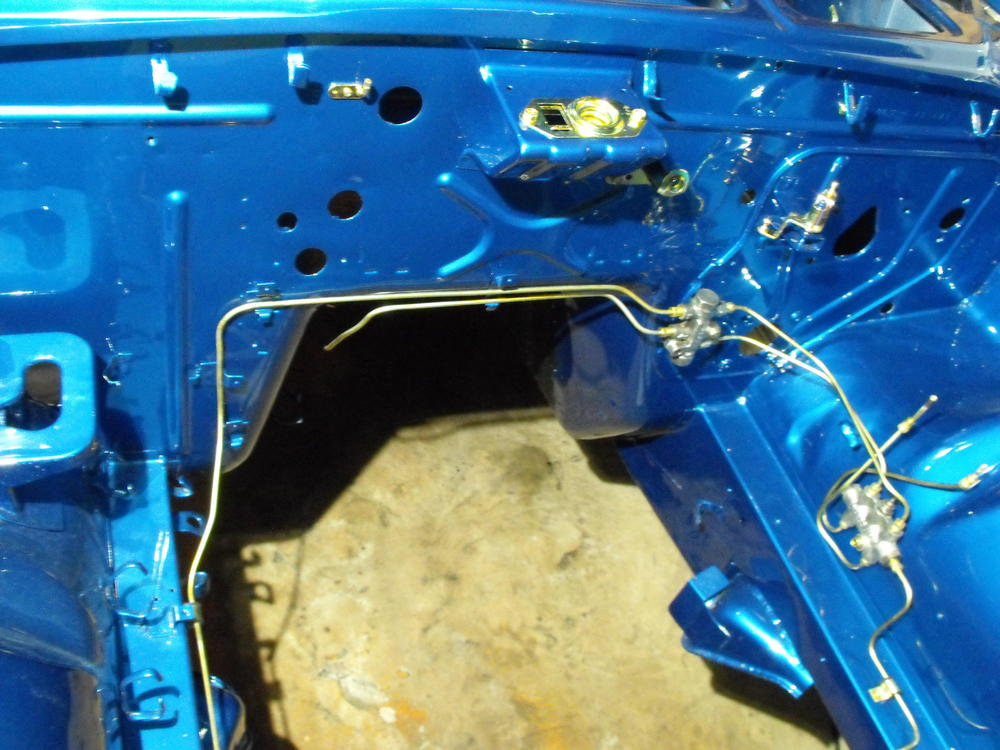
Got the rest of the brake lines in, fuel lines and most of the emergency brake.

-
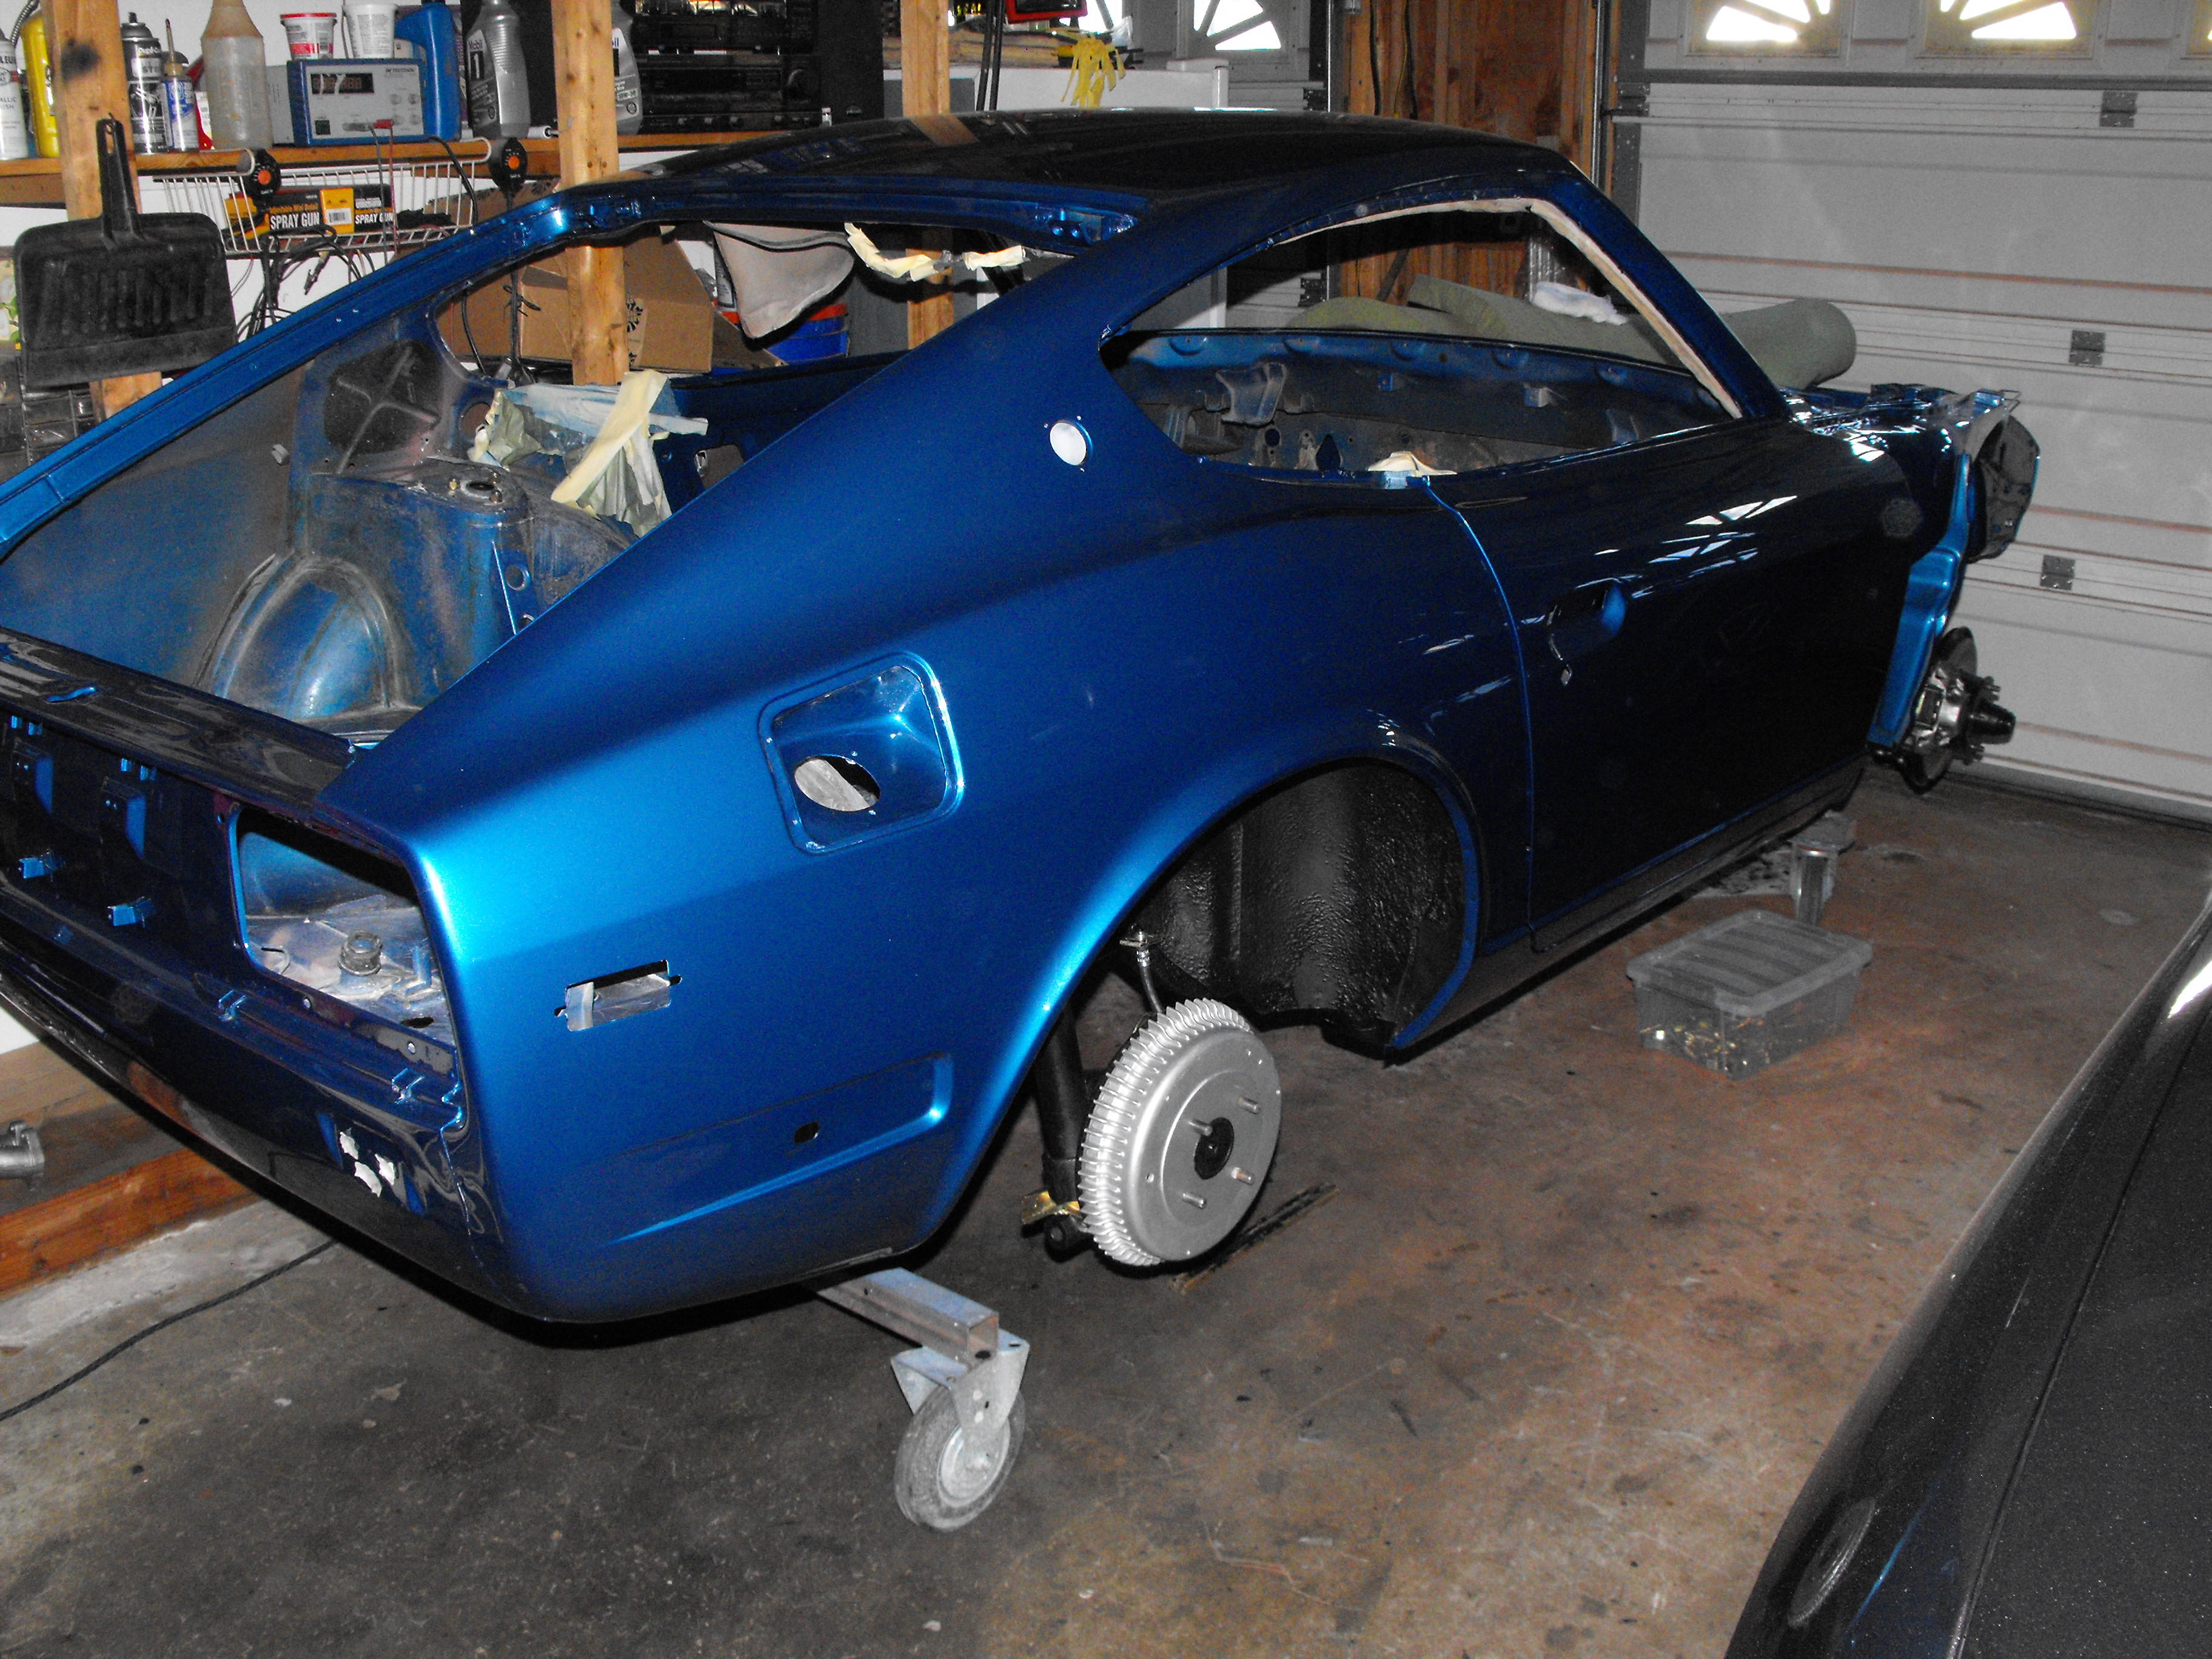
Not sure why I am getting so much reflection. I tried a few more pics using my LED light and no flash. Color looks a little better but paint is almost mirror like. check out the reflection on the right of the second pic. That's weird. Obviously, I am not a photographer.
-
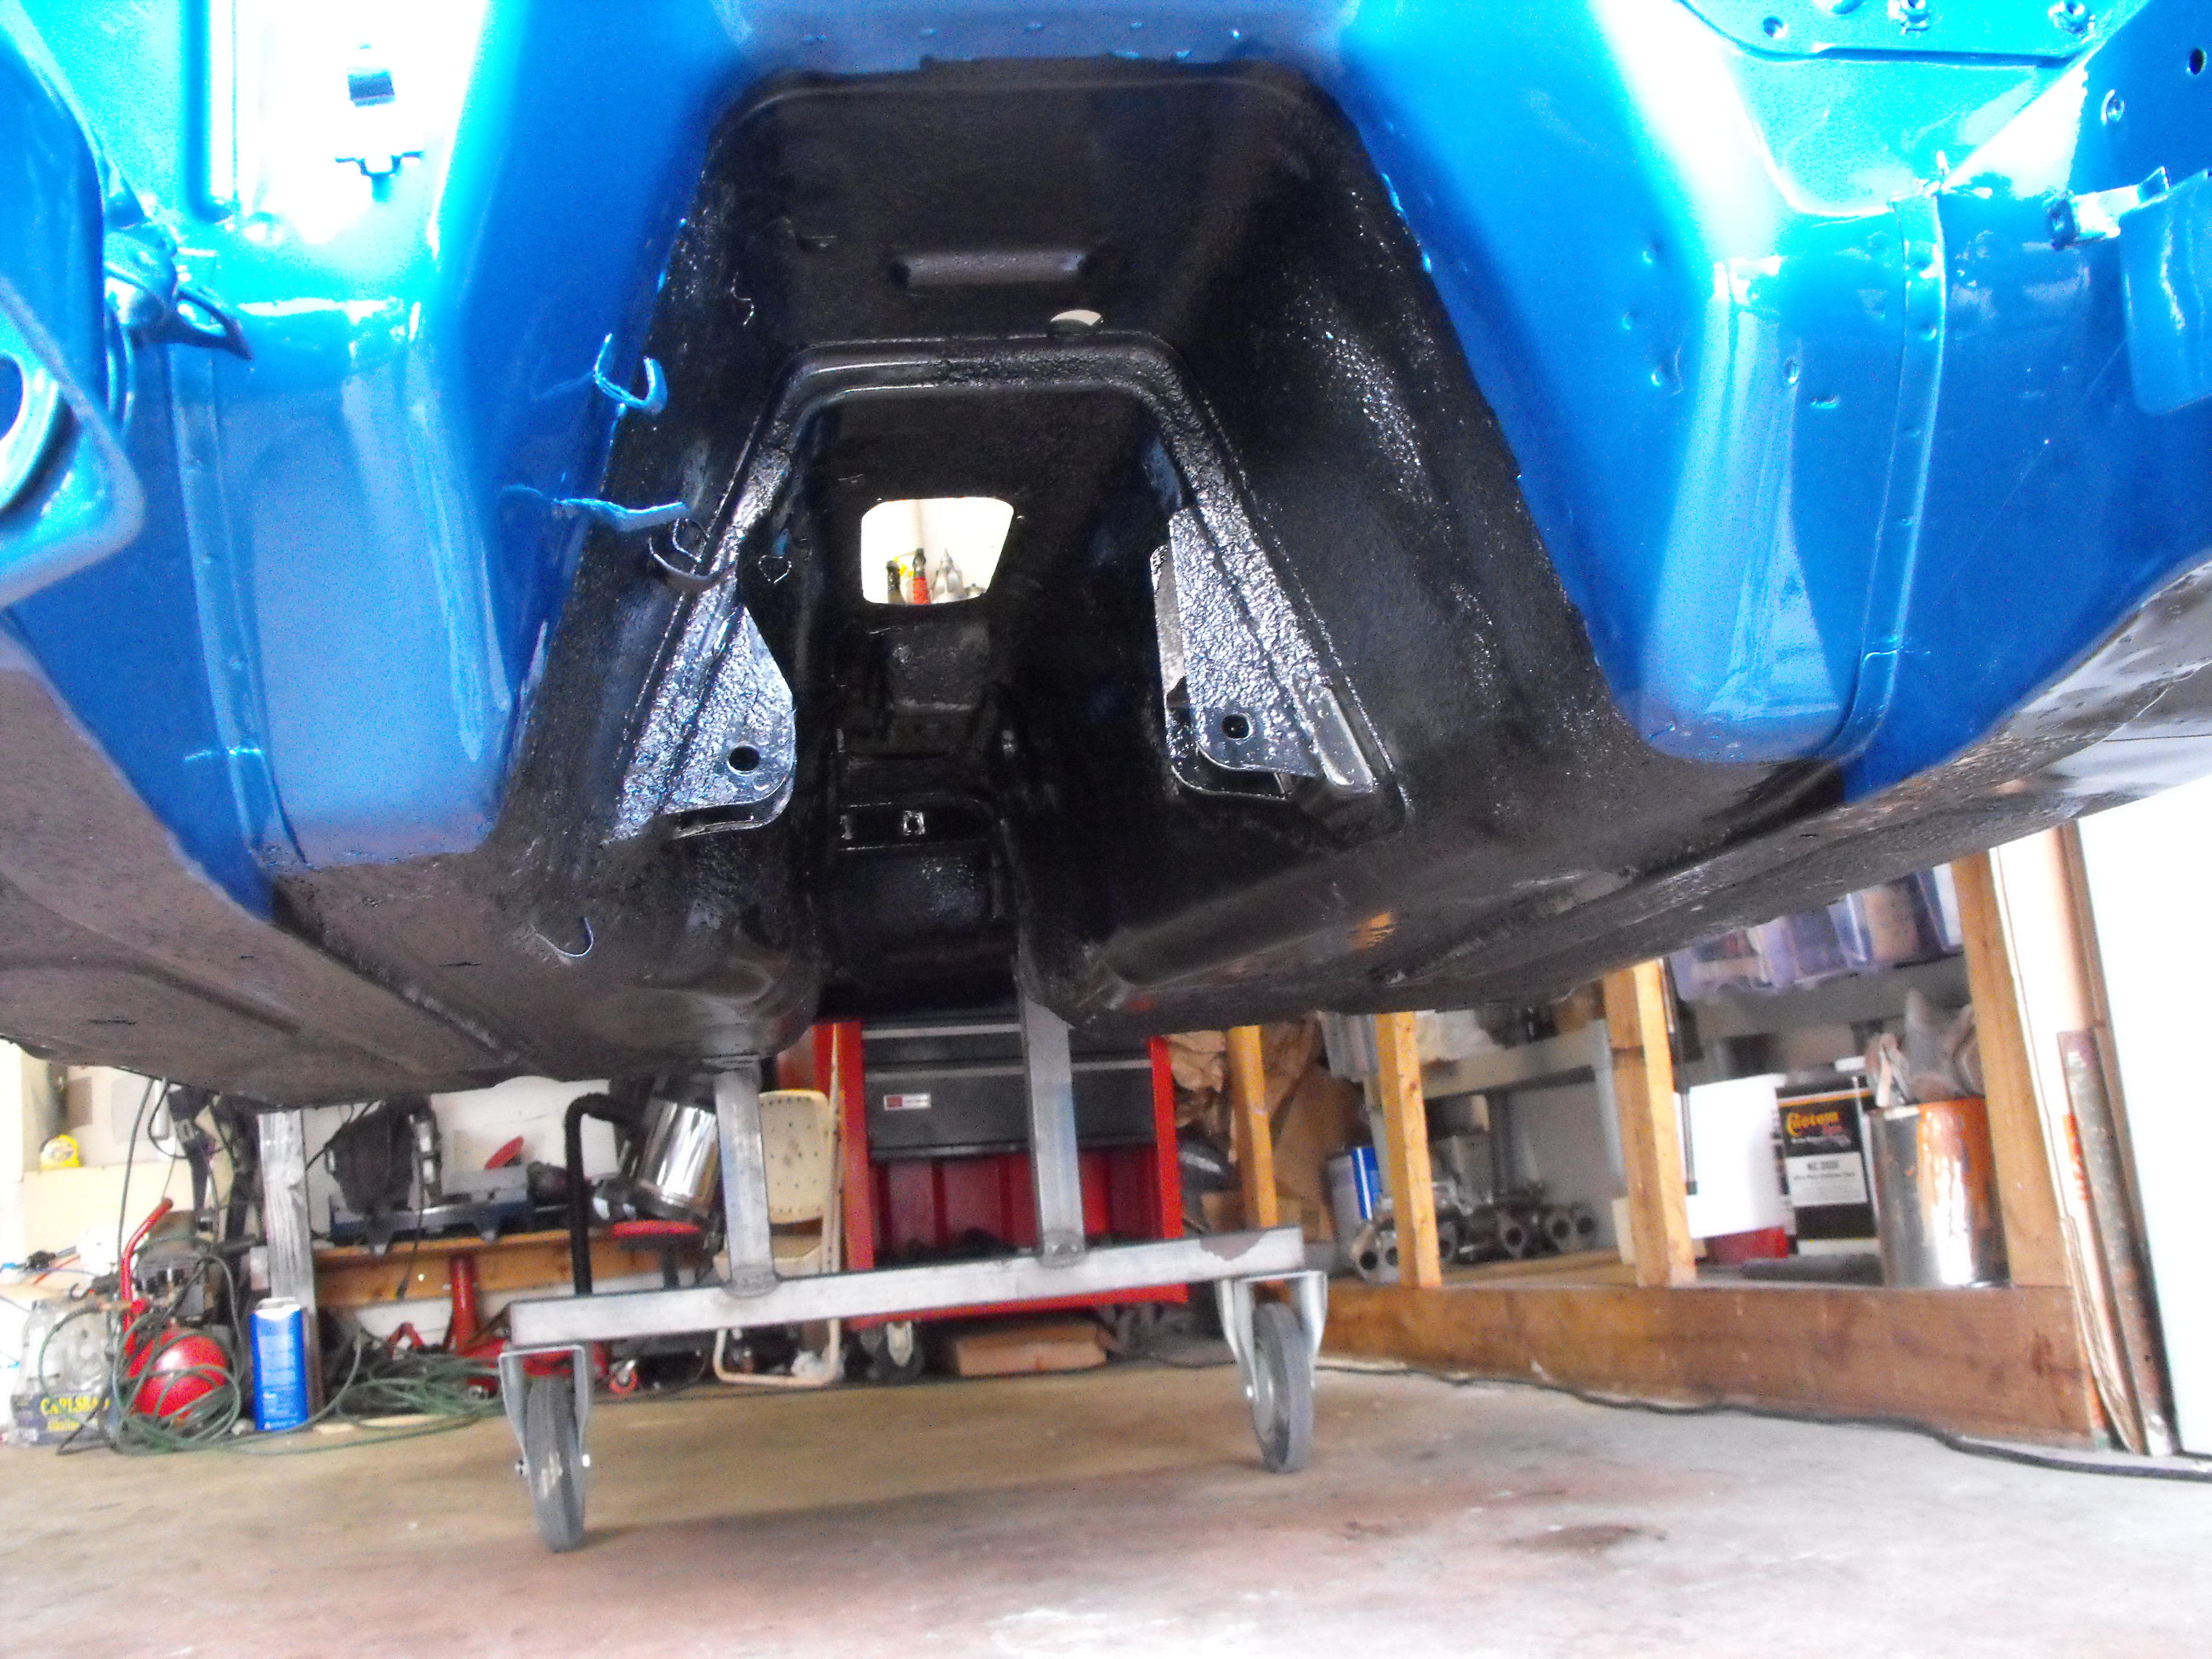
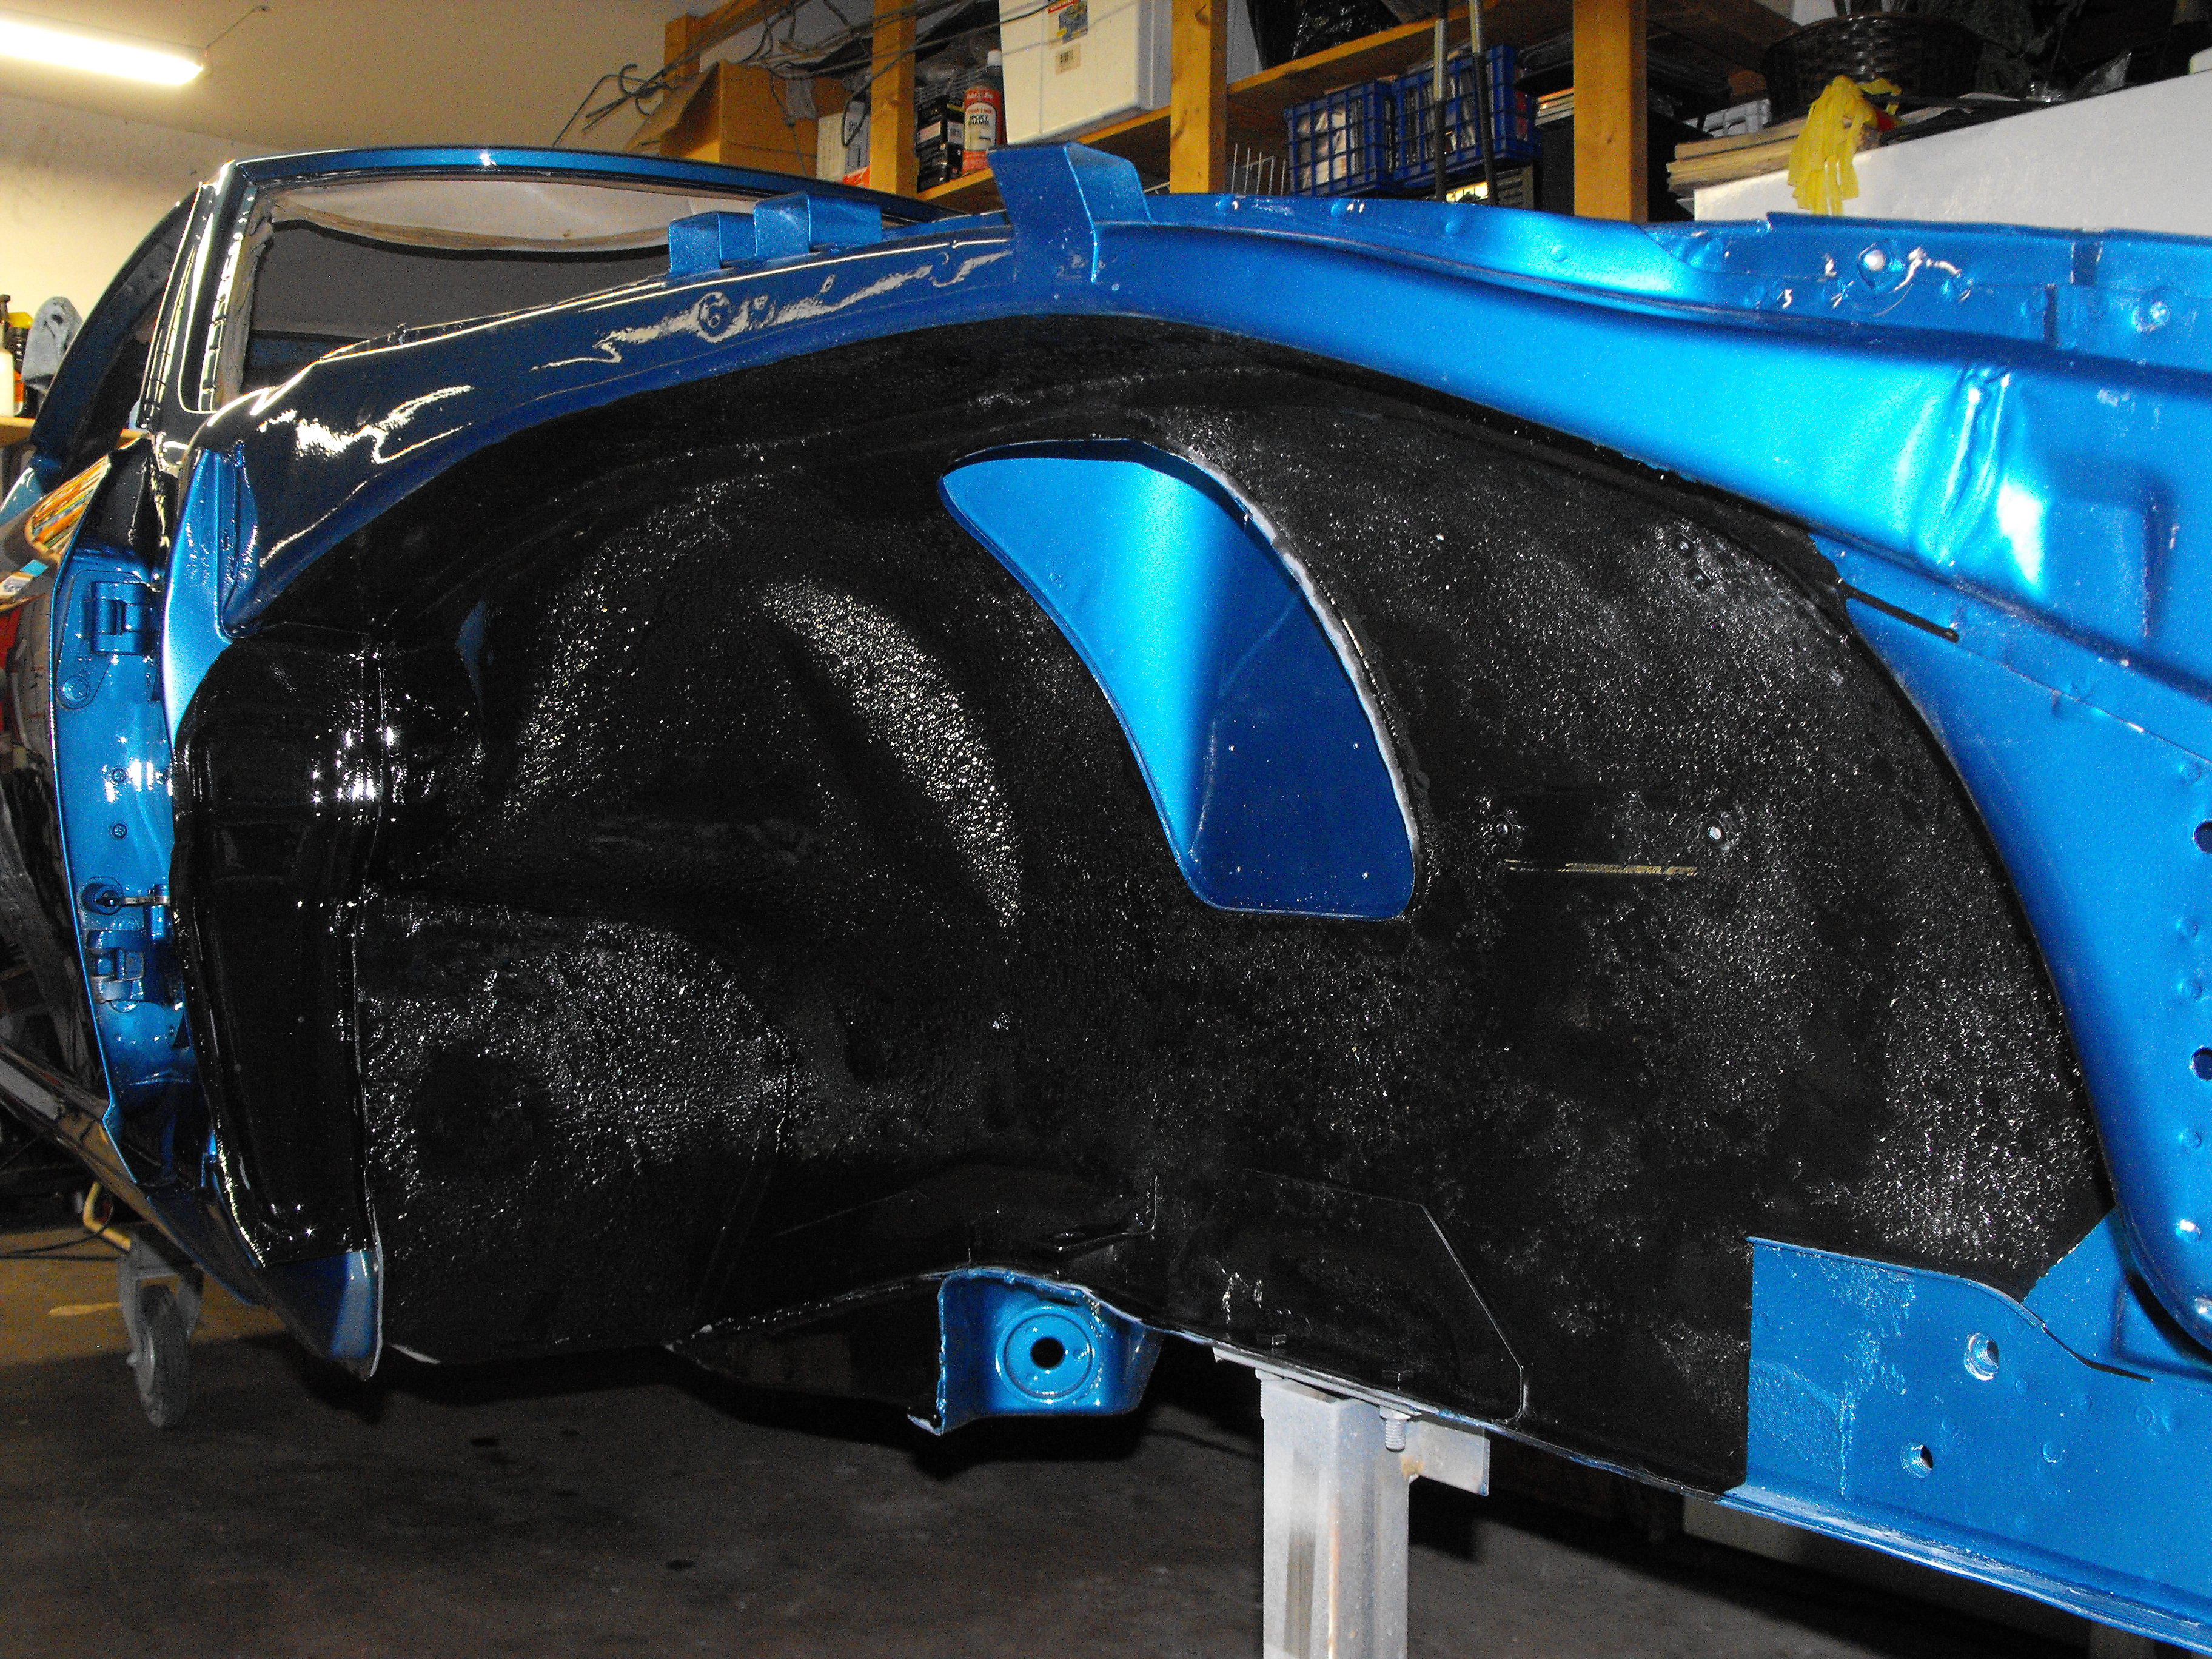
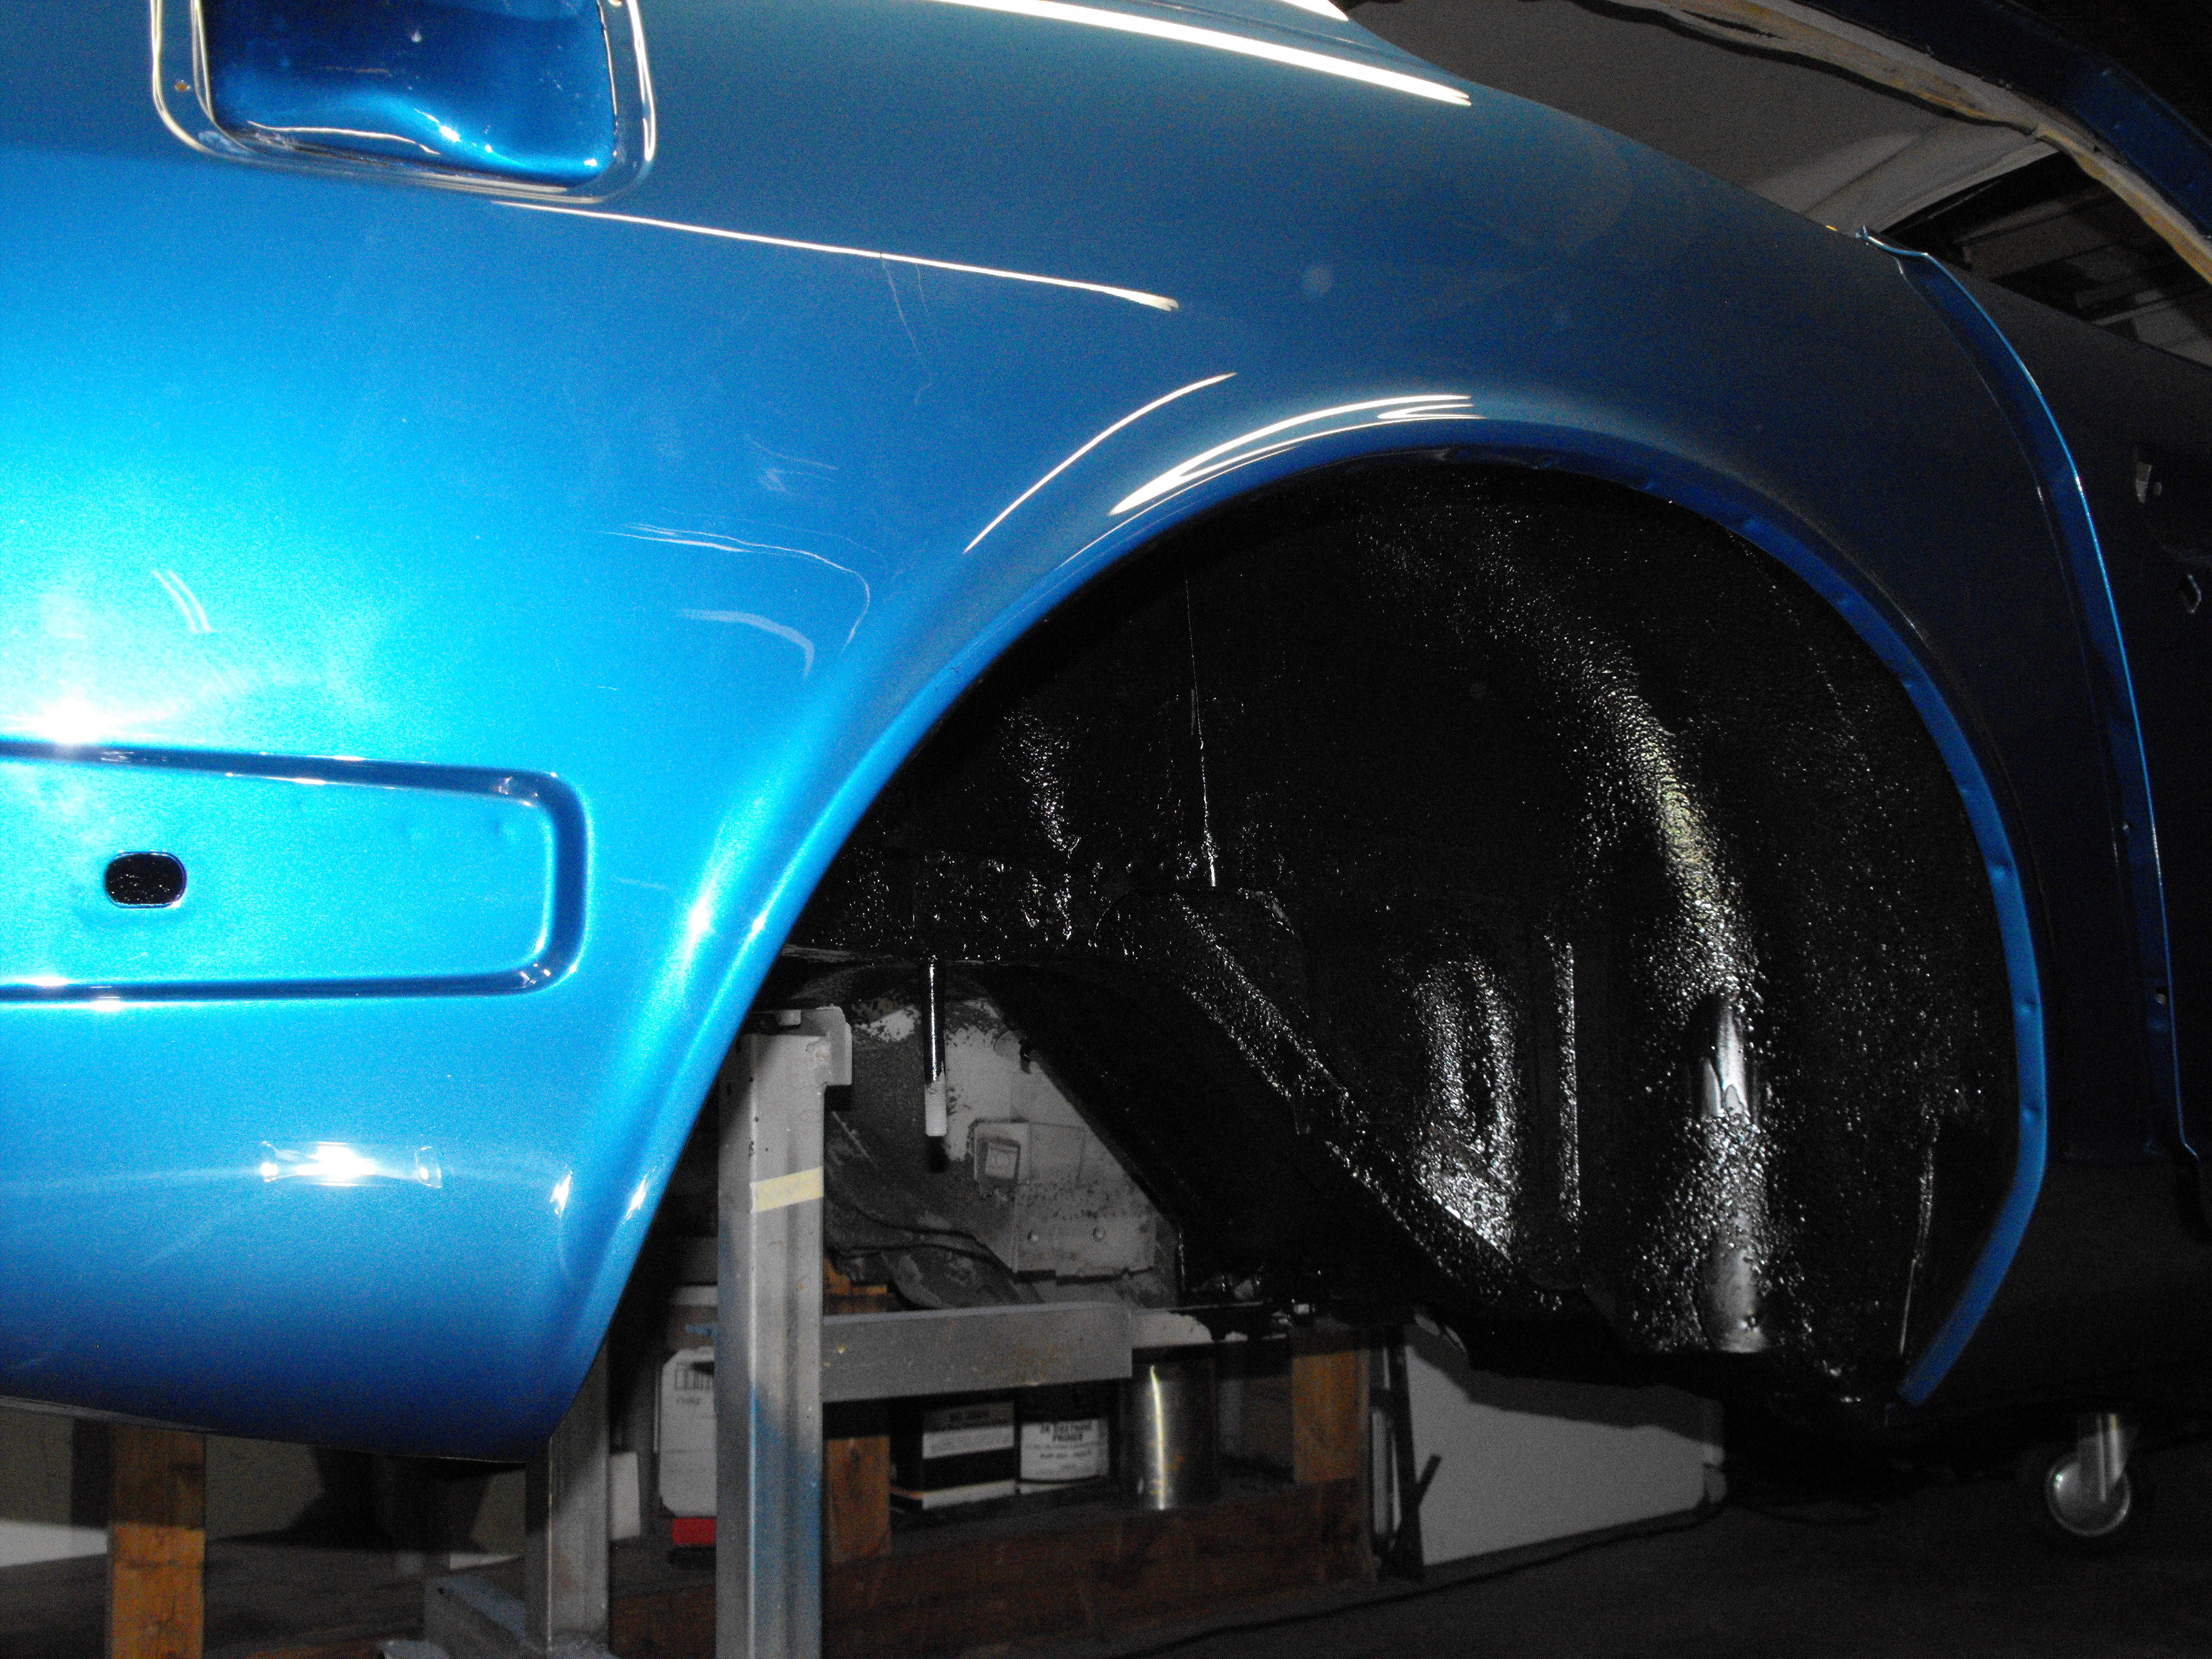
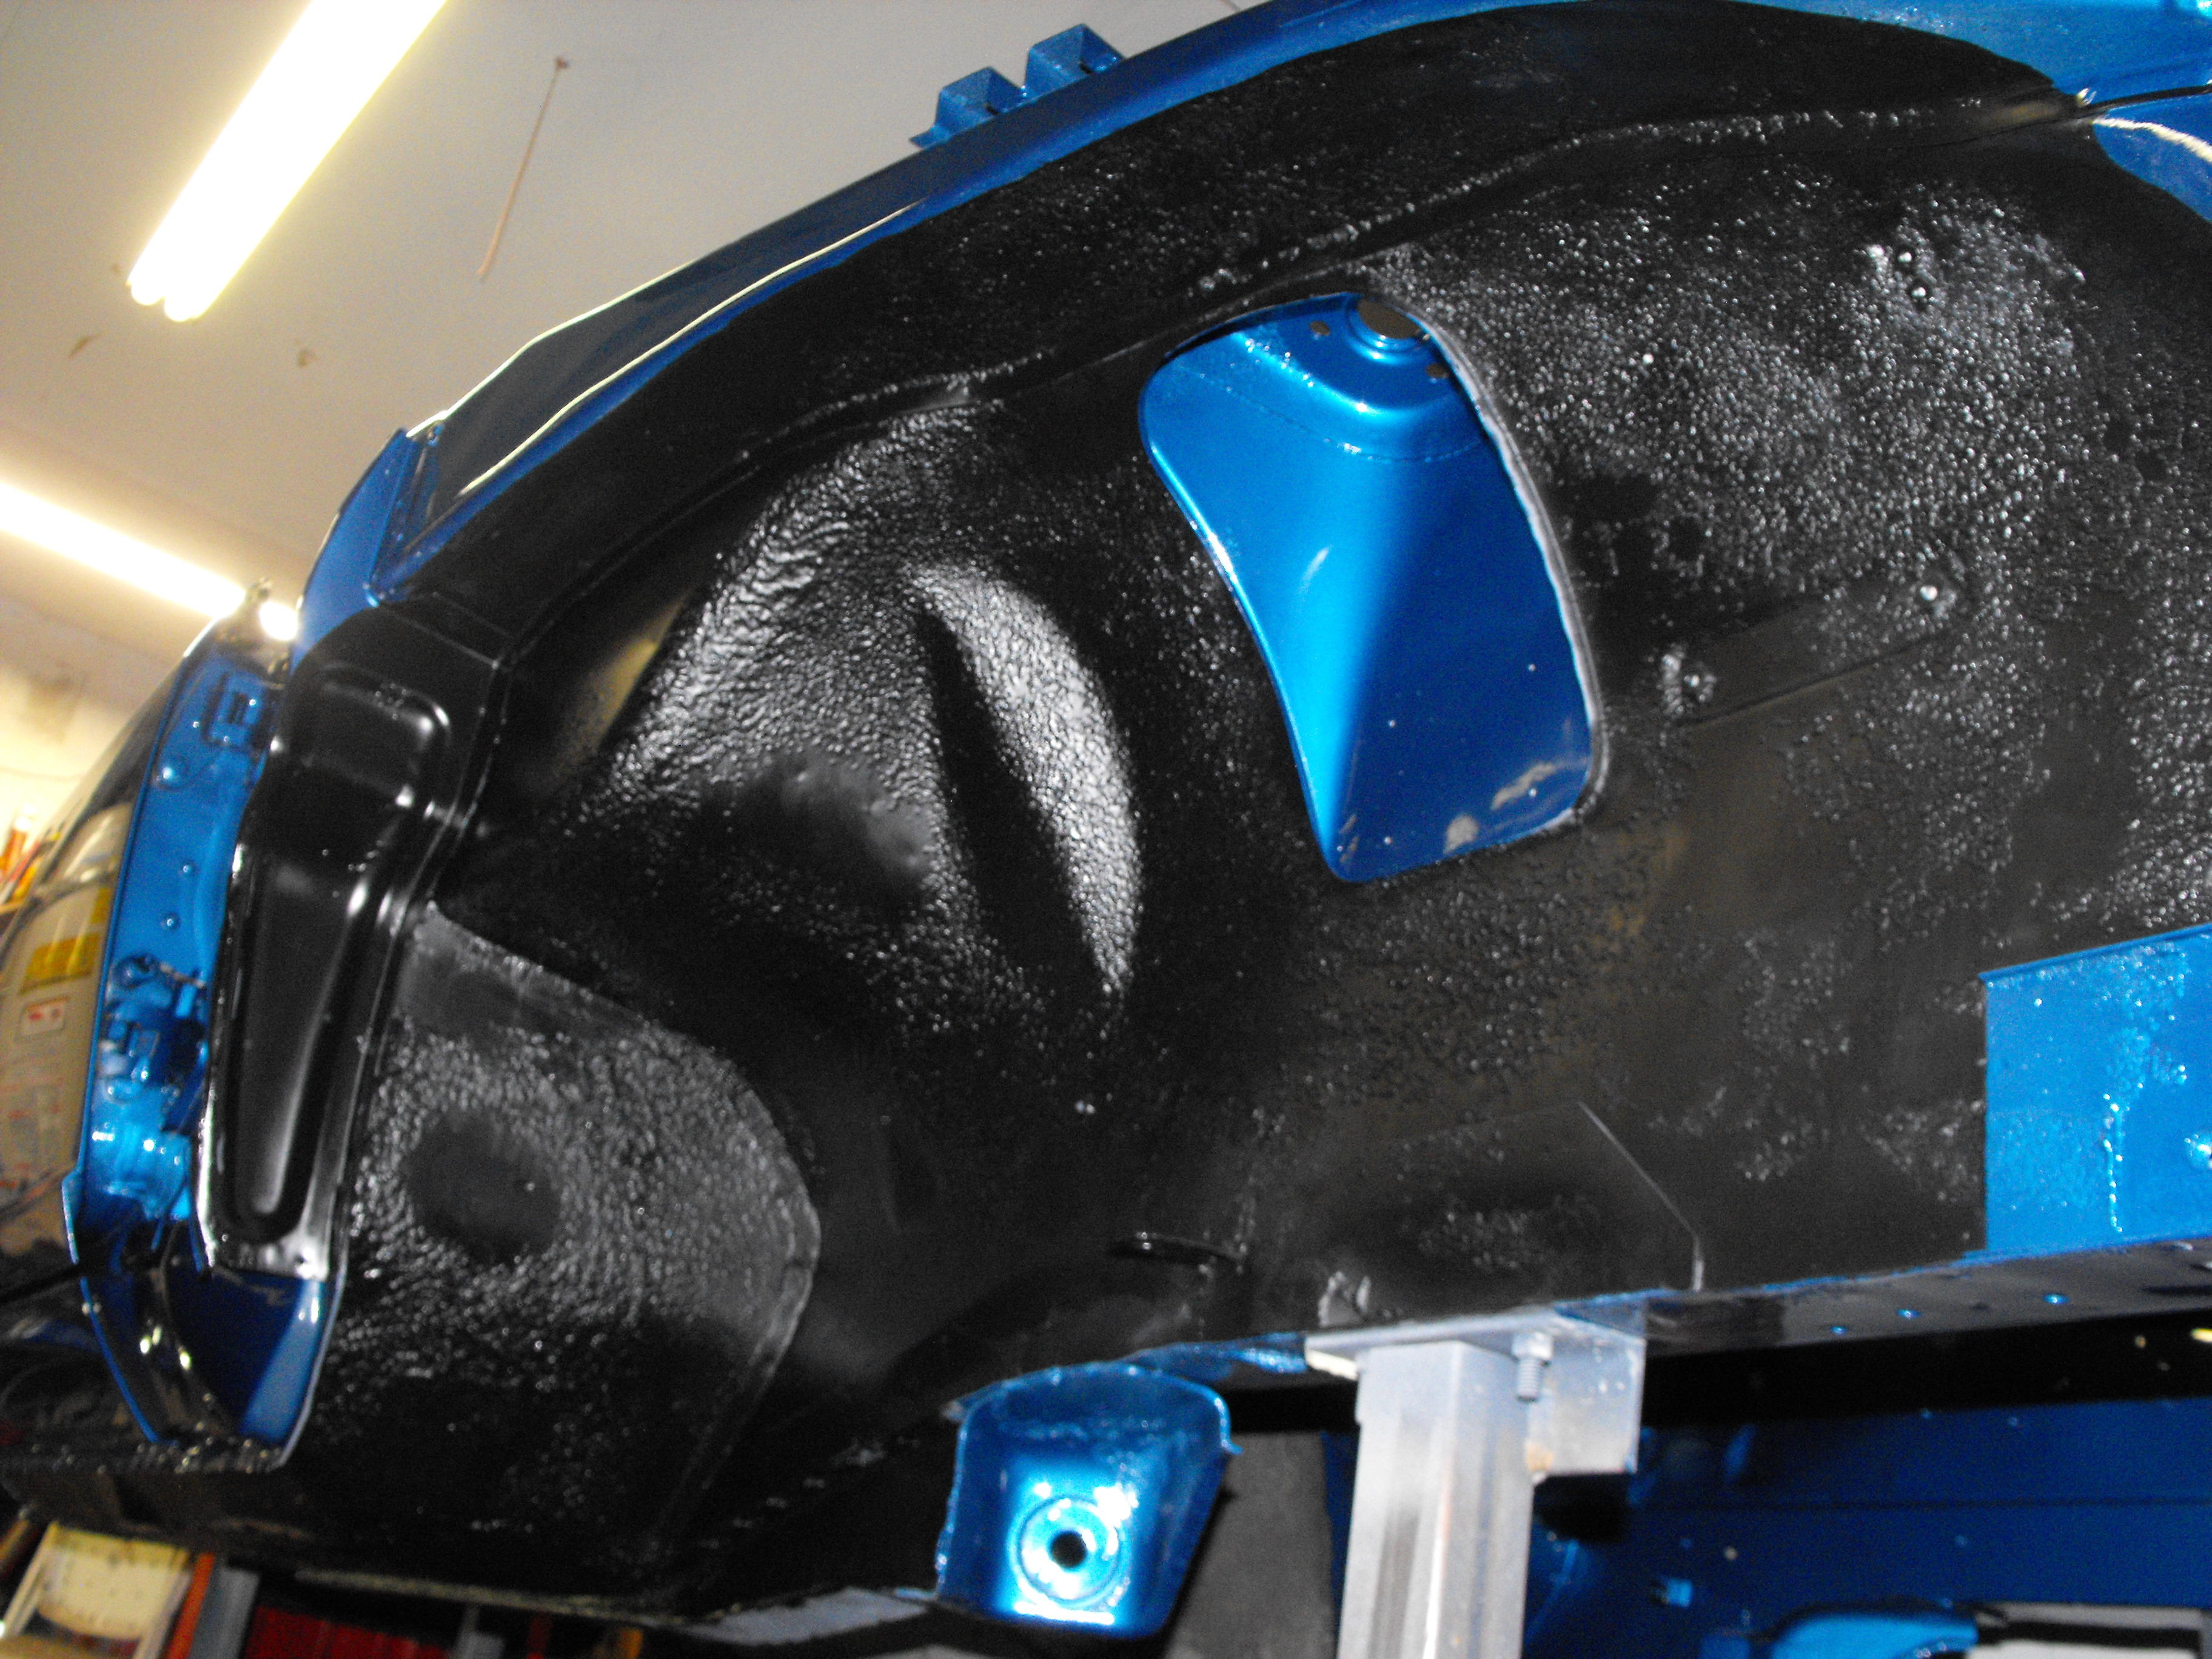
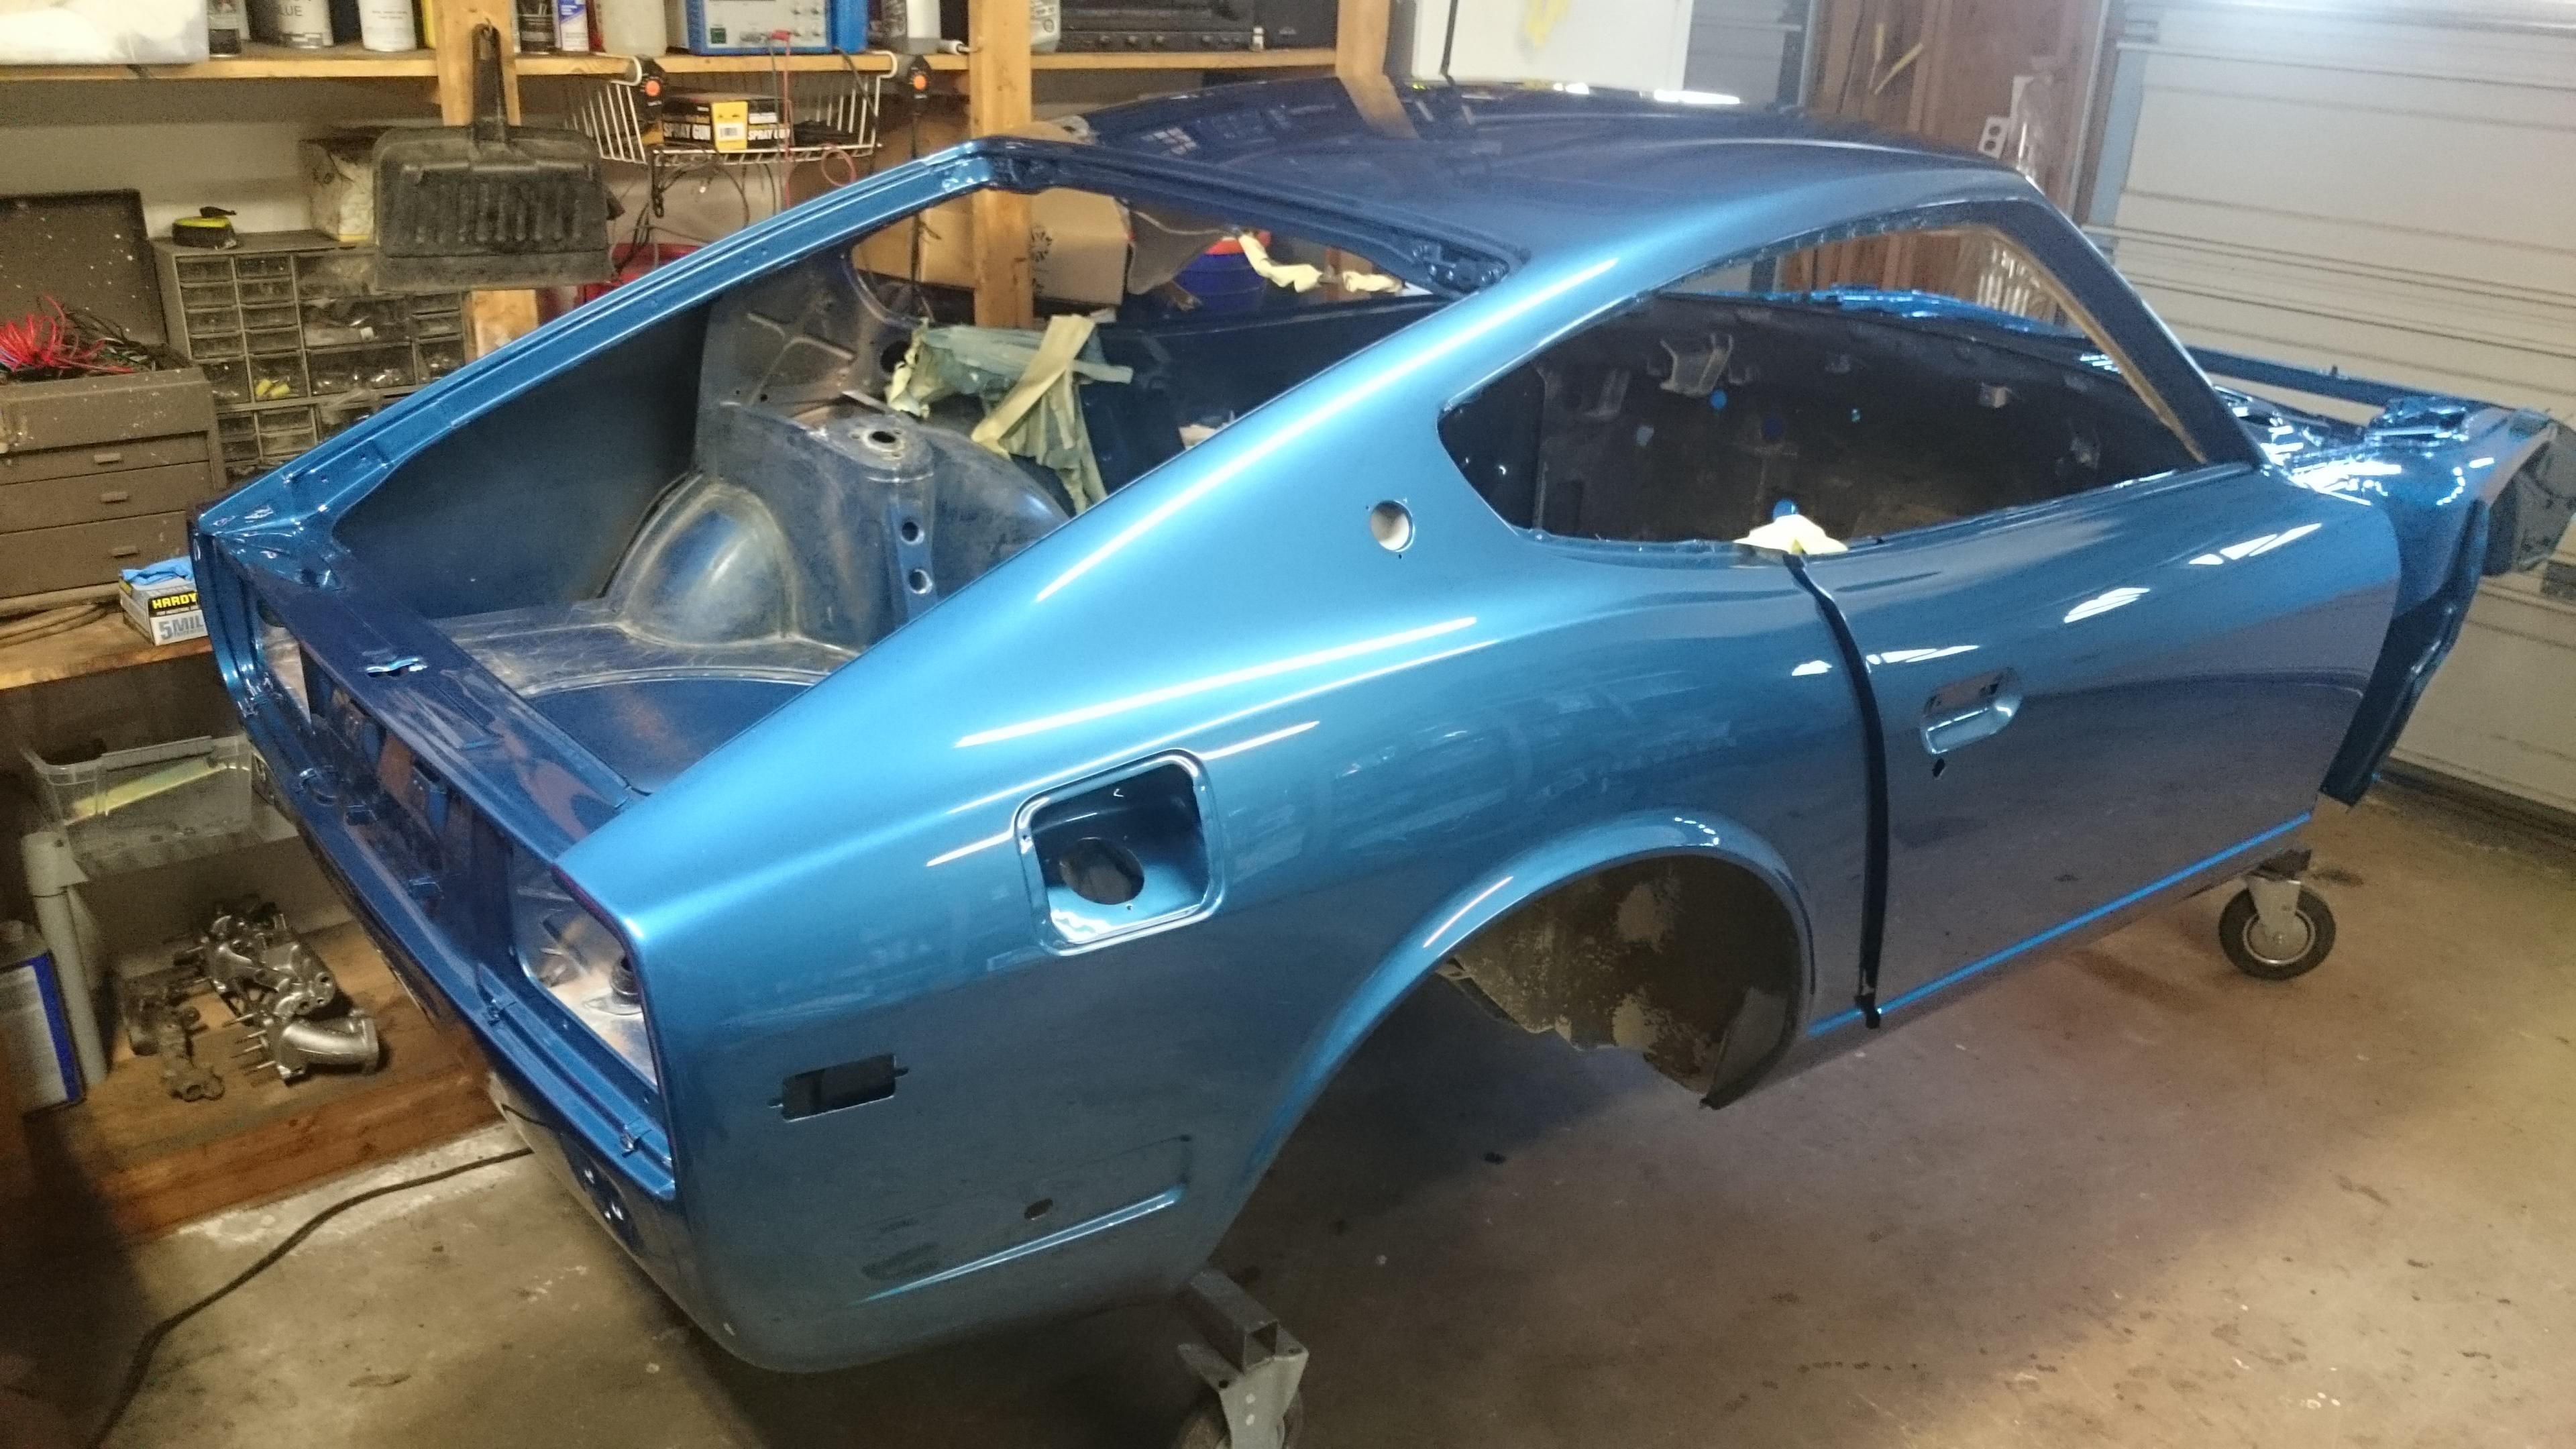
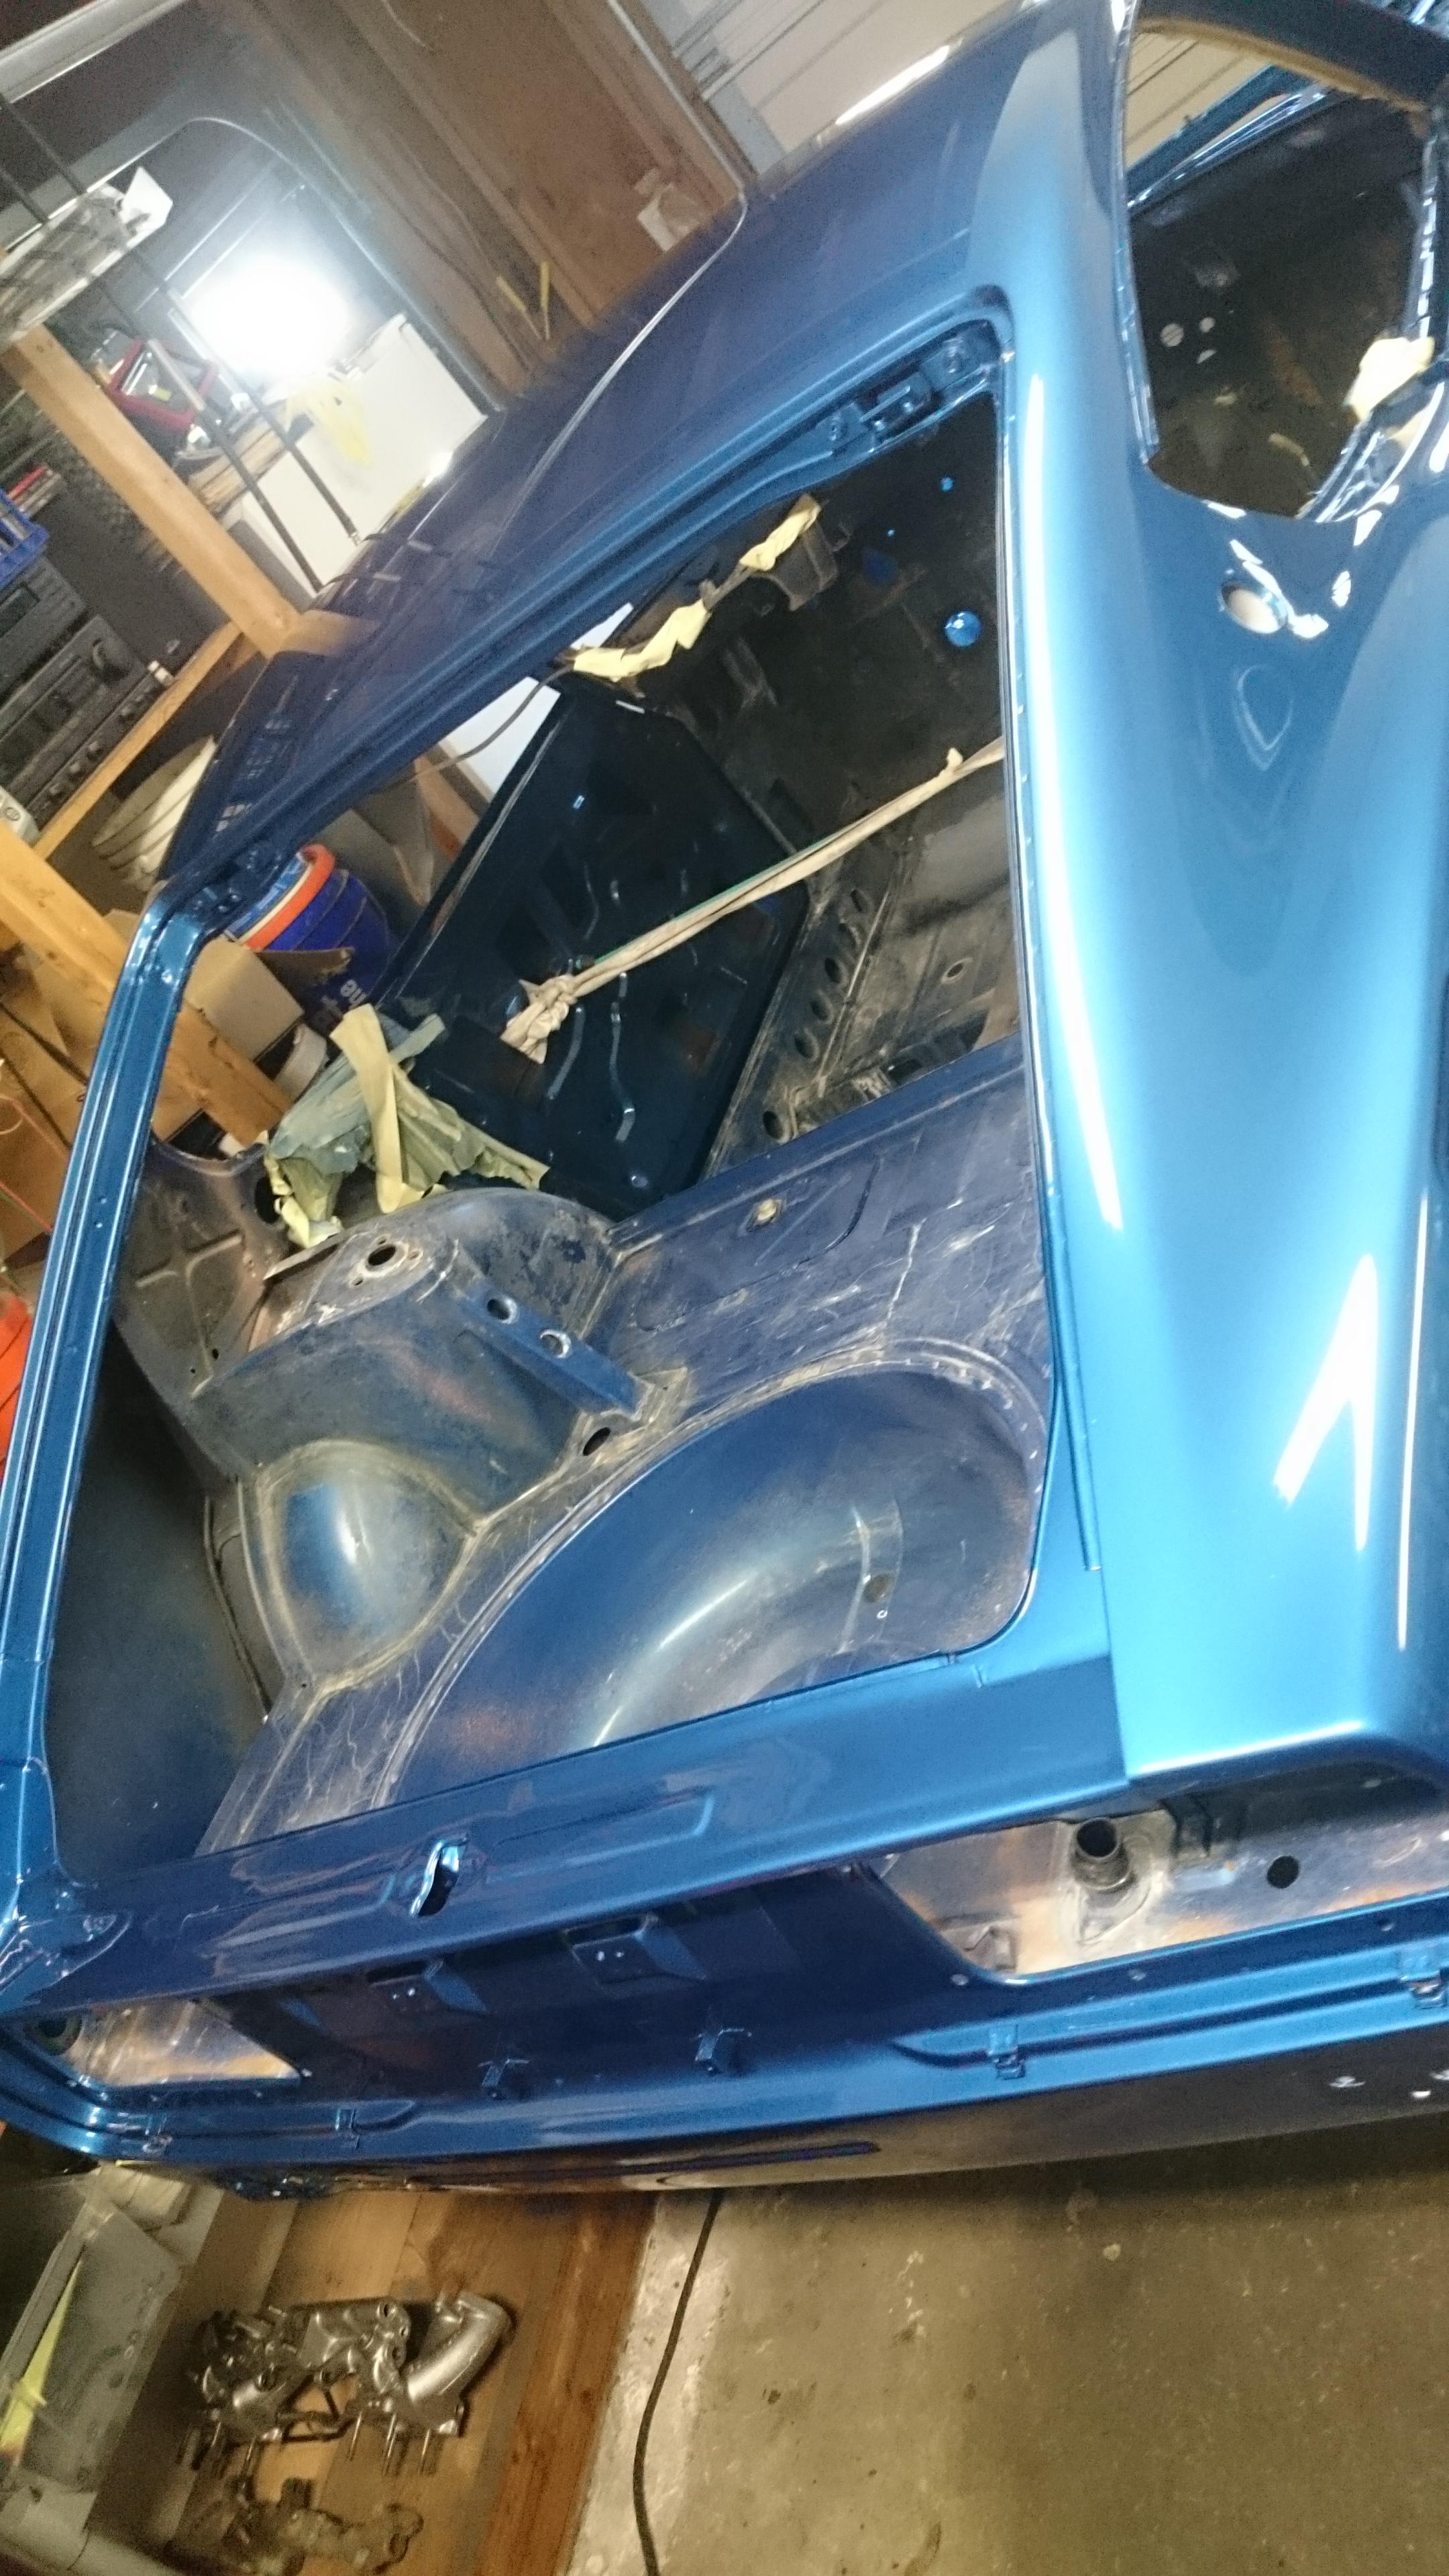
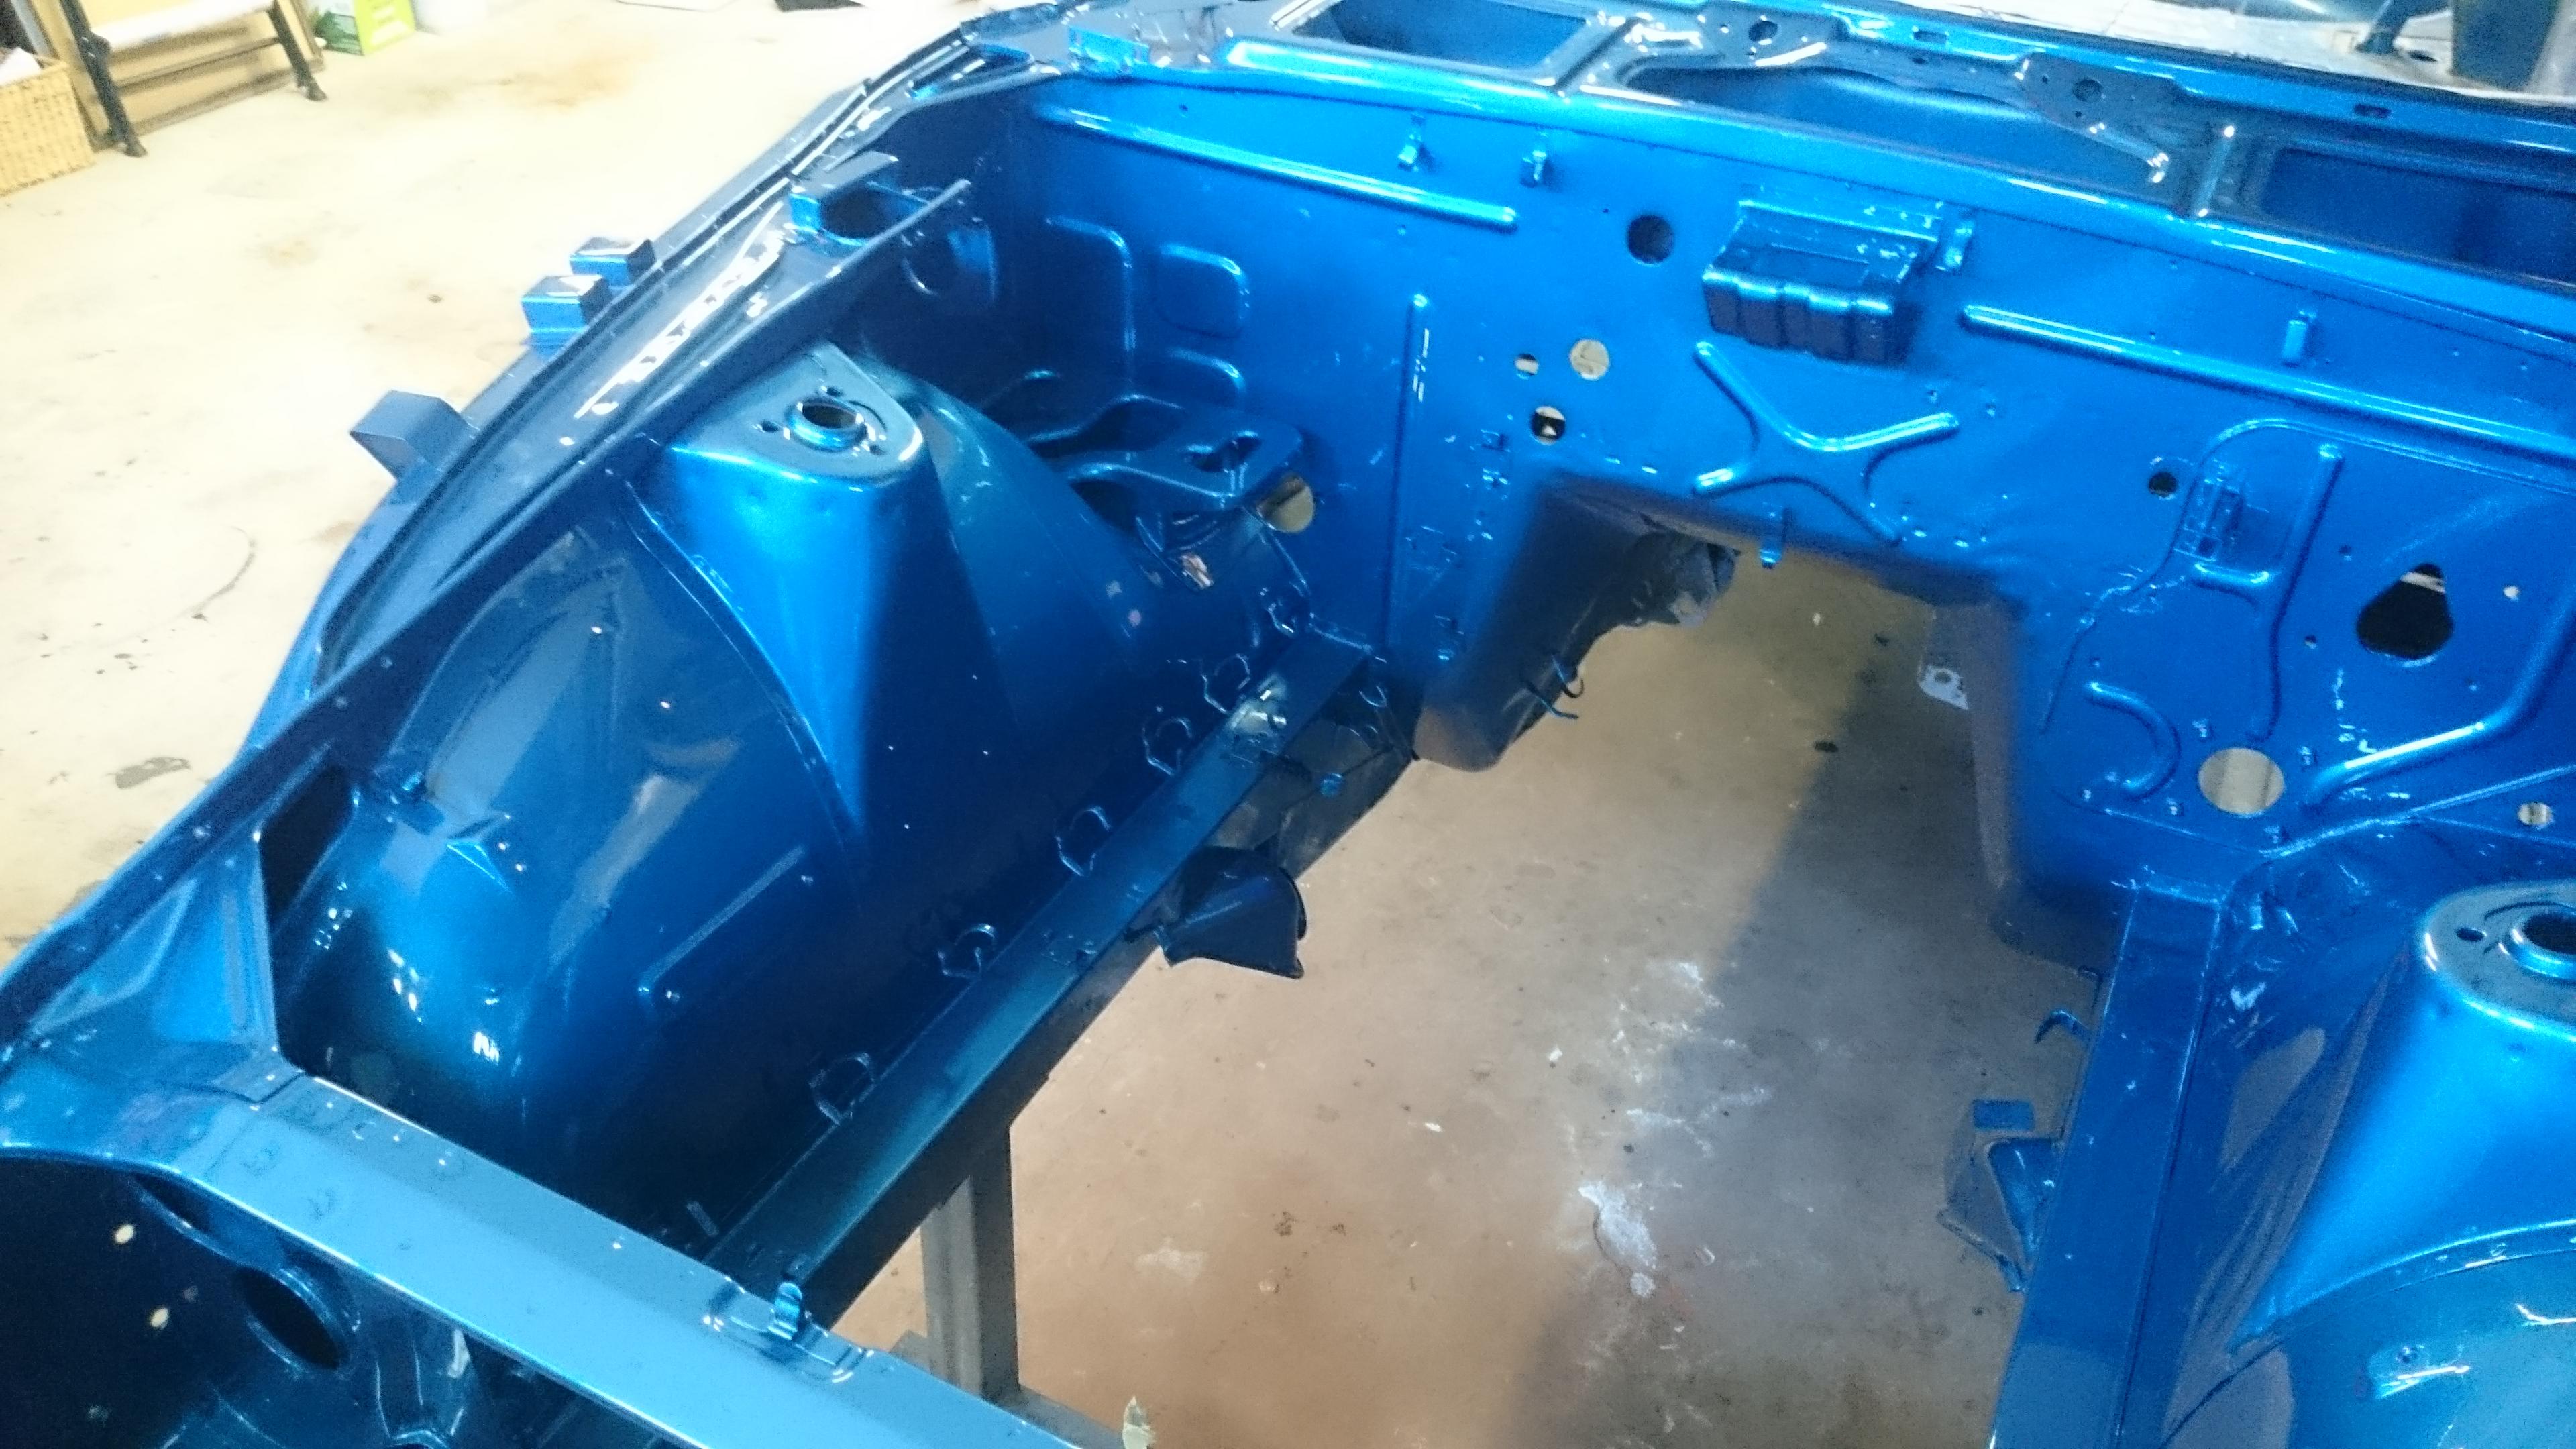
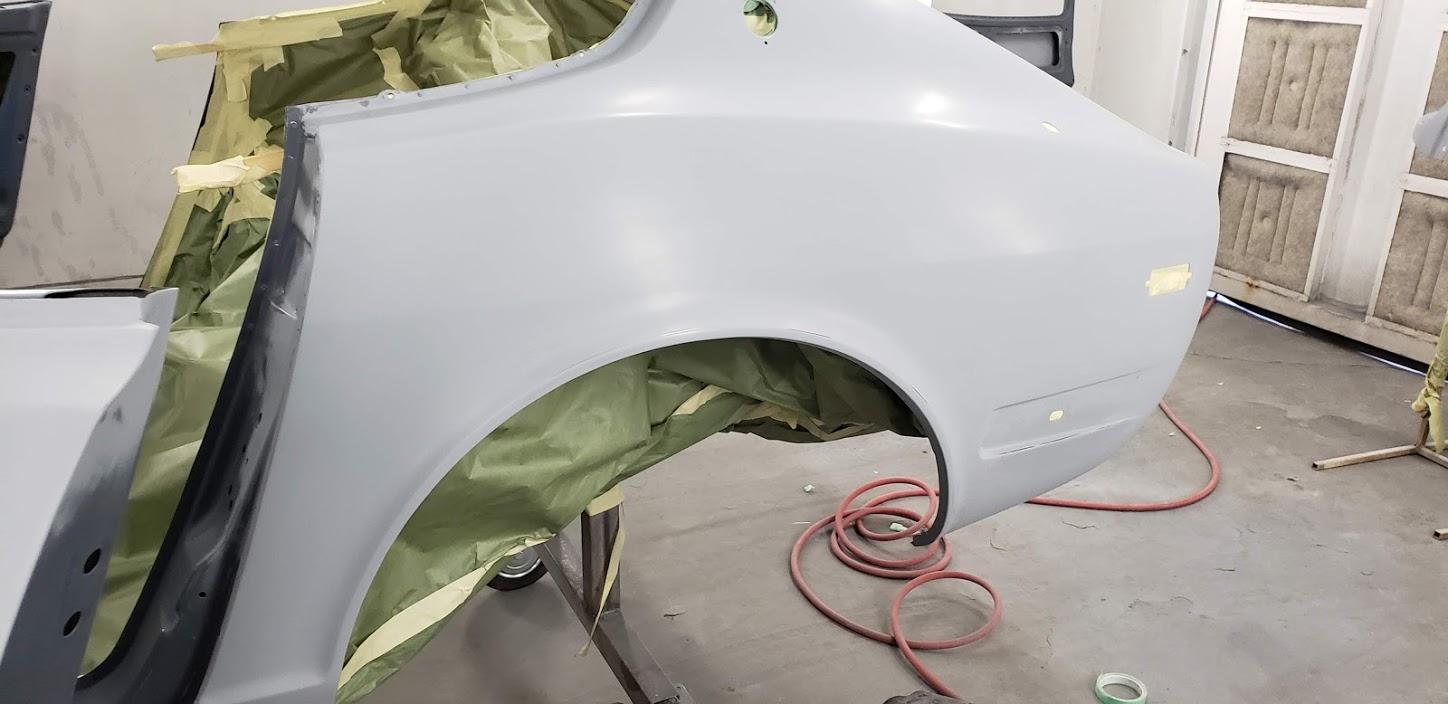
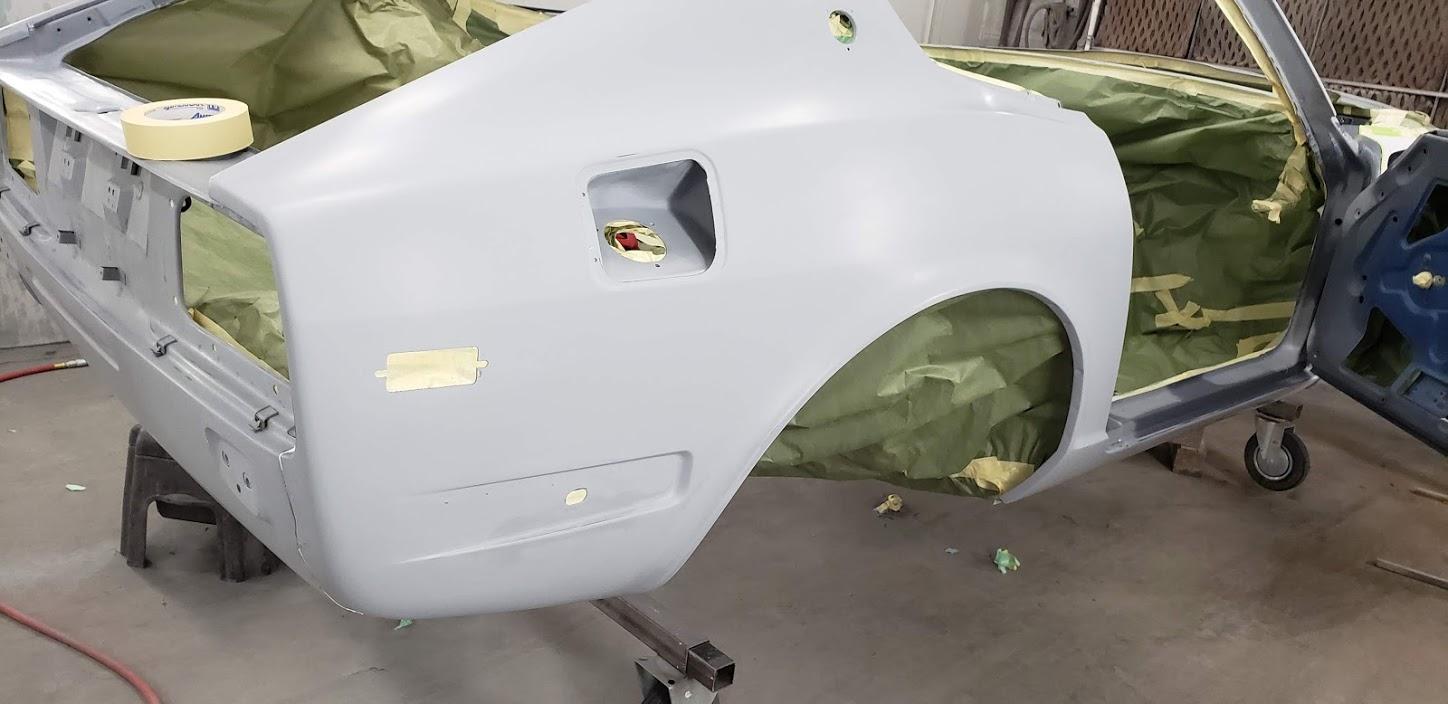
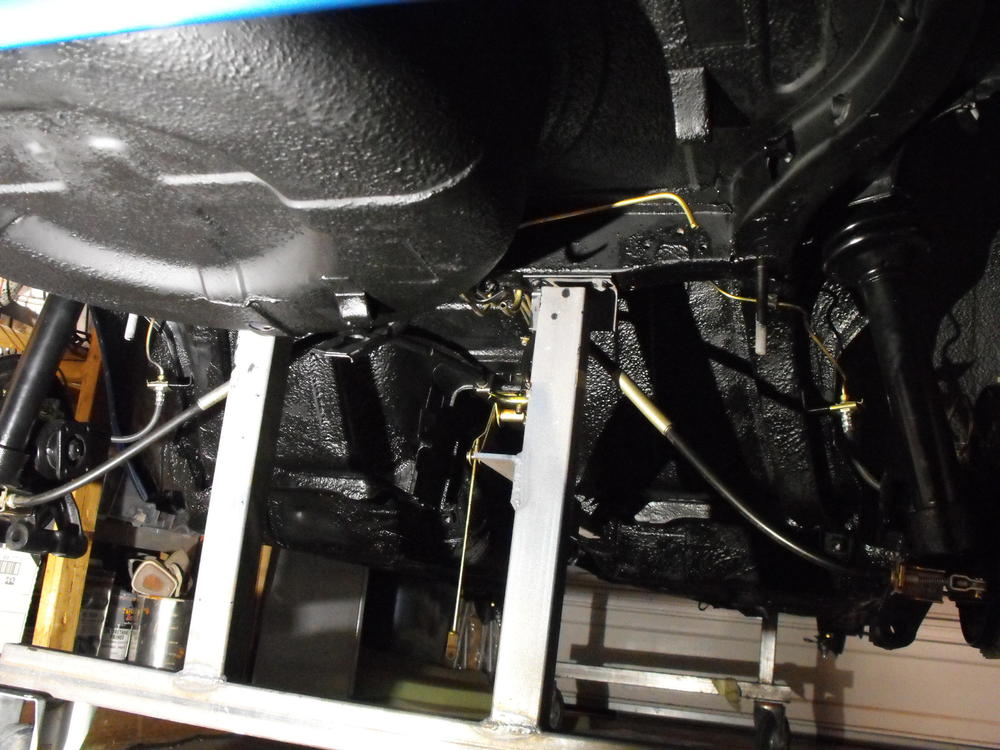
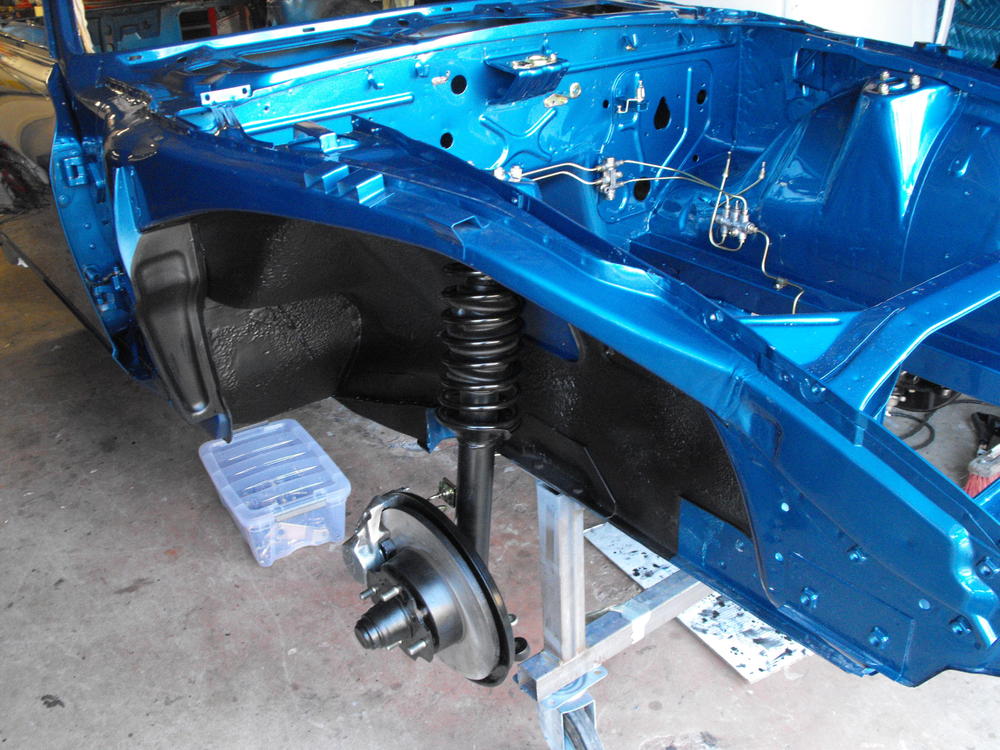
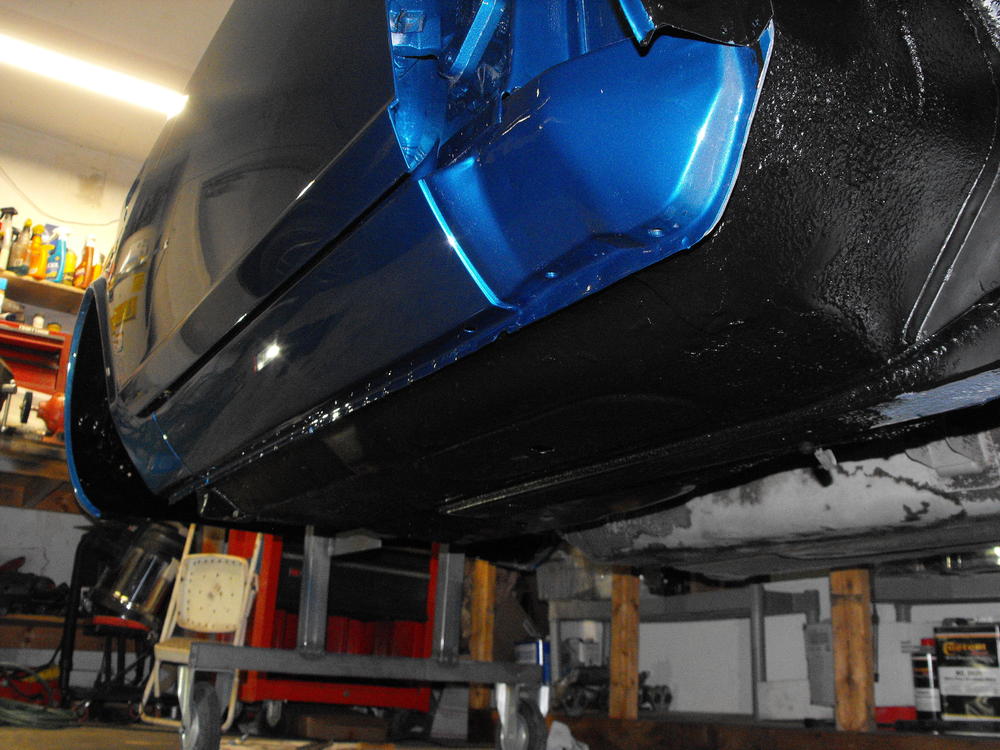
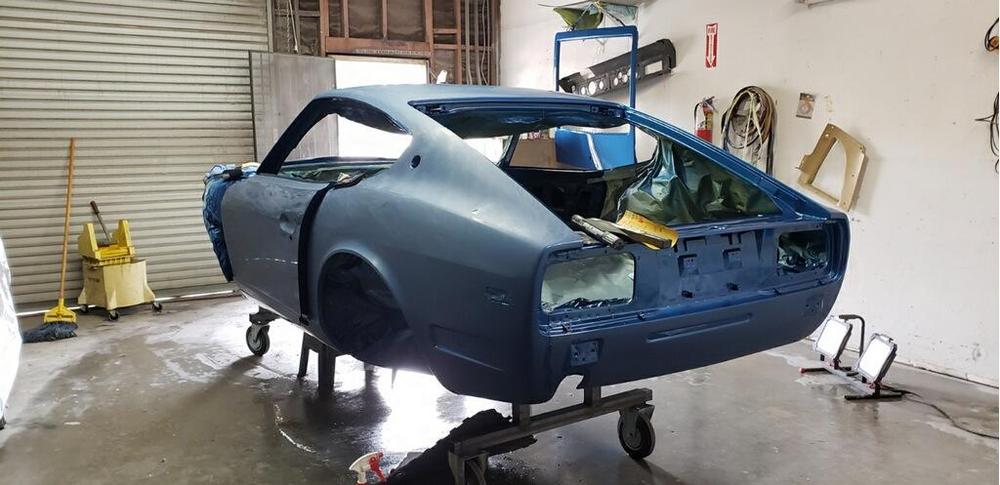
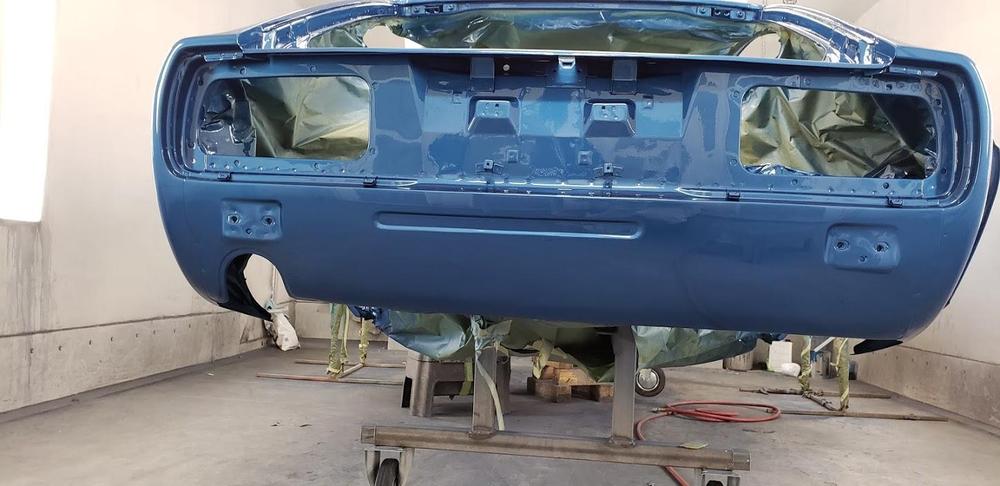
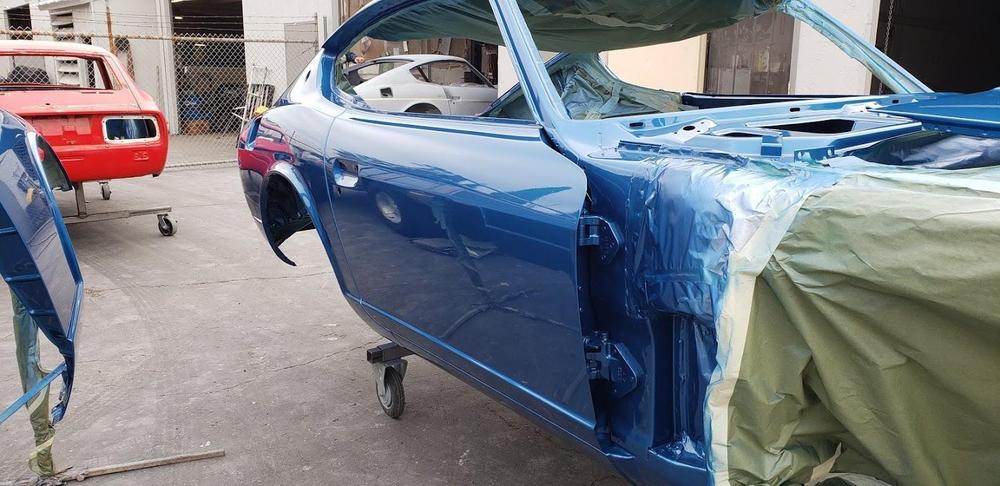
Finished the complete underside with POR-15, then added undercoat. Started assembly. Put on the 4 struts and started the brake line installation. Camera does not do the car justice. Not sure why the plating looks too silverish....paint too glossy.


-
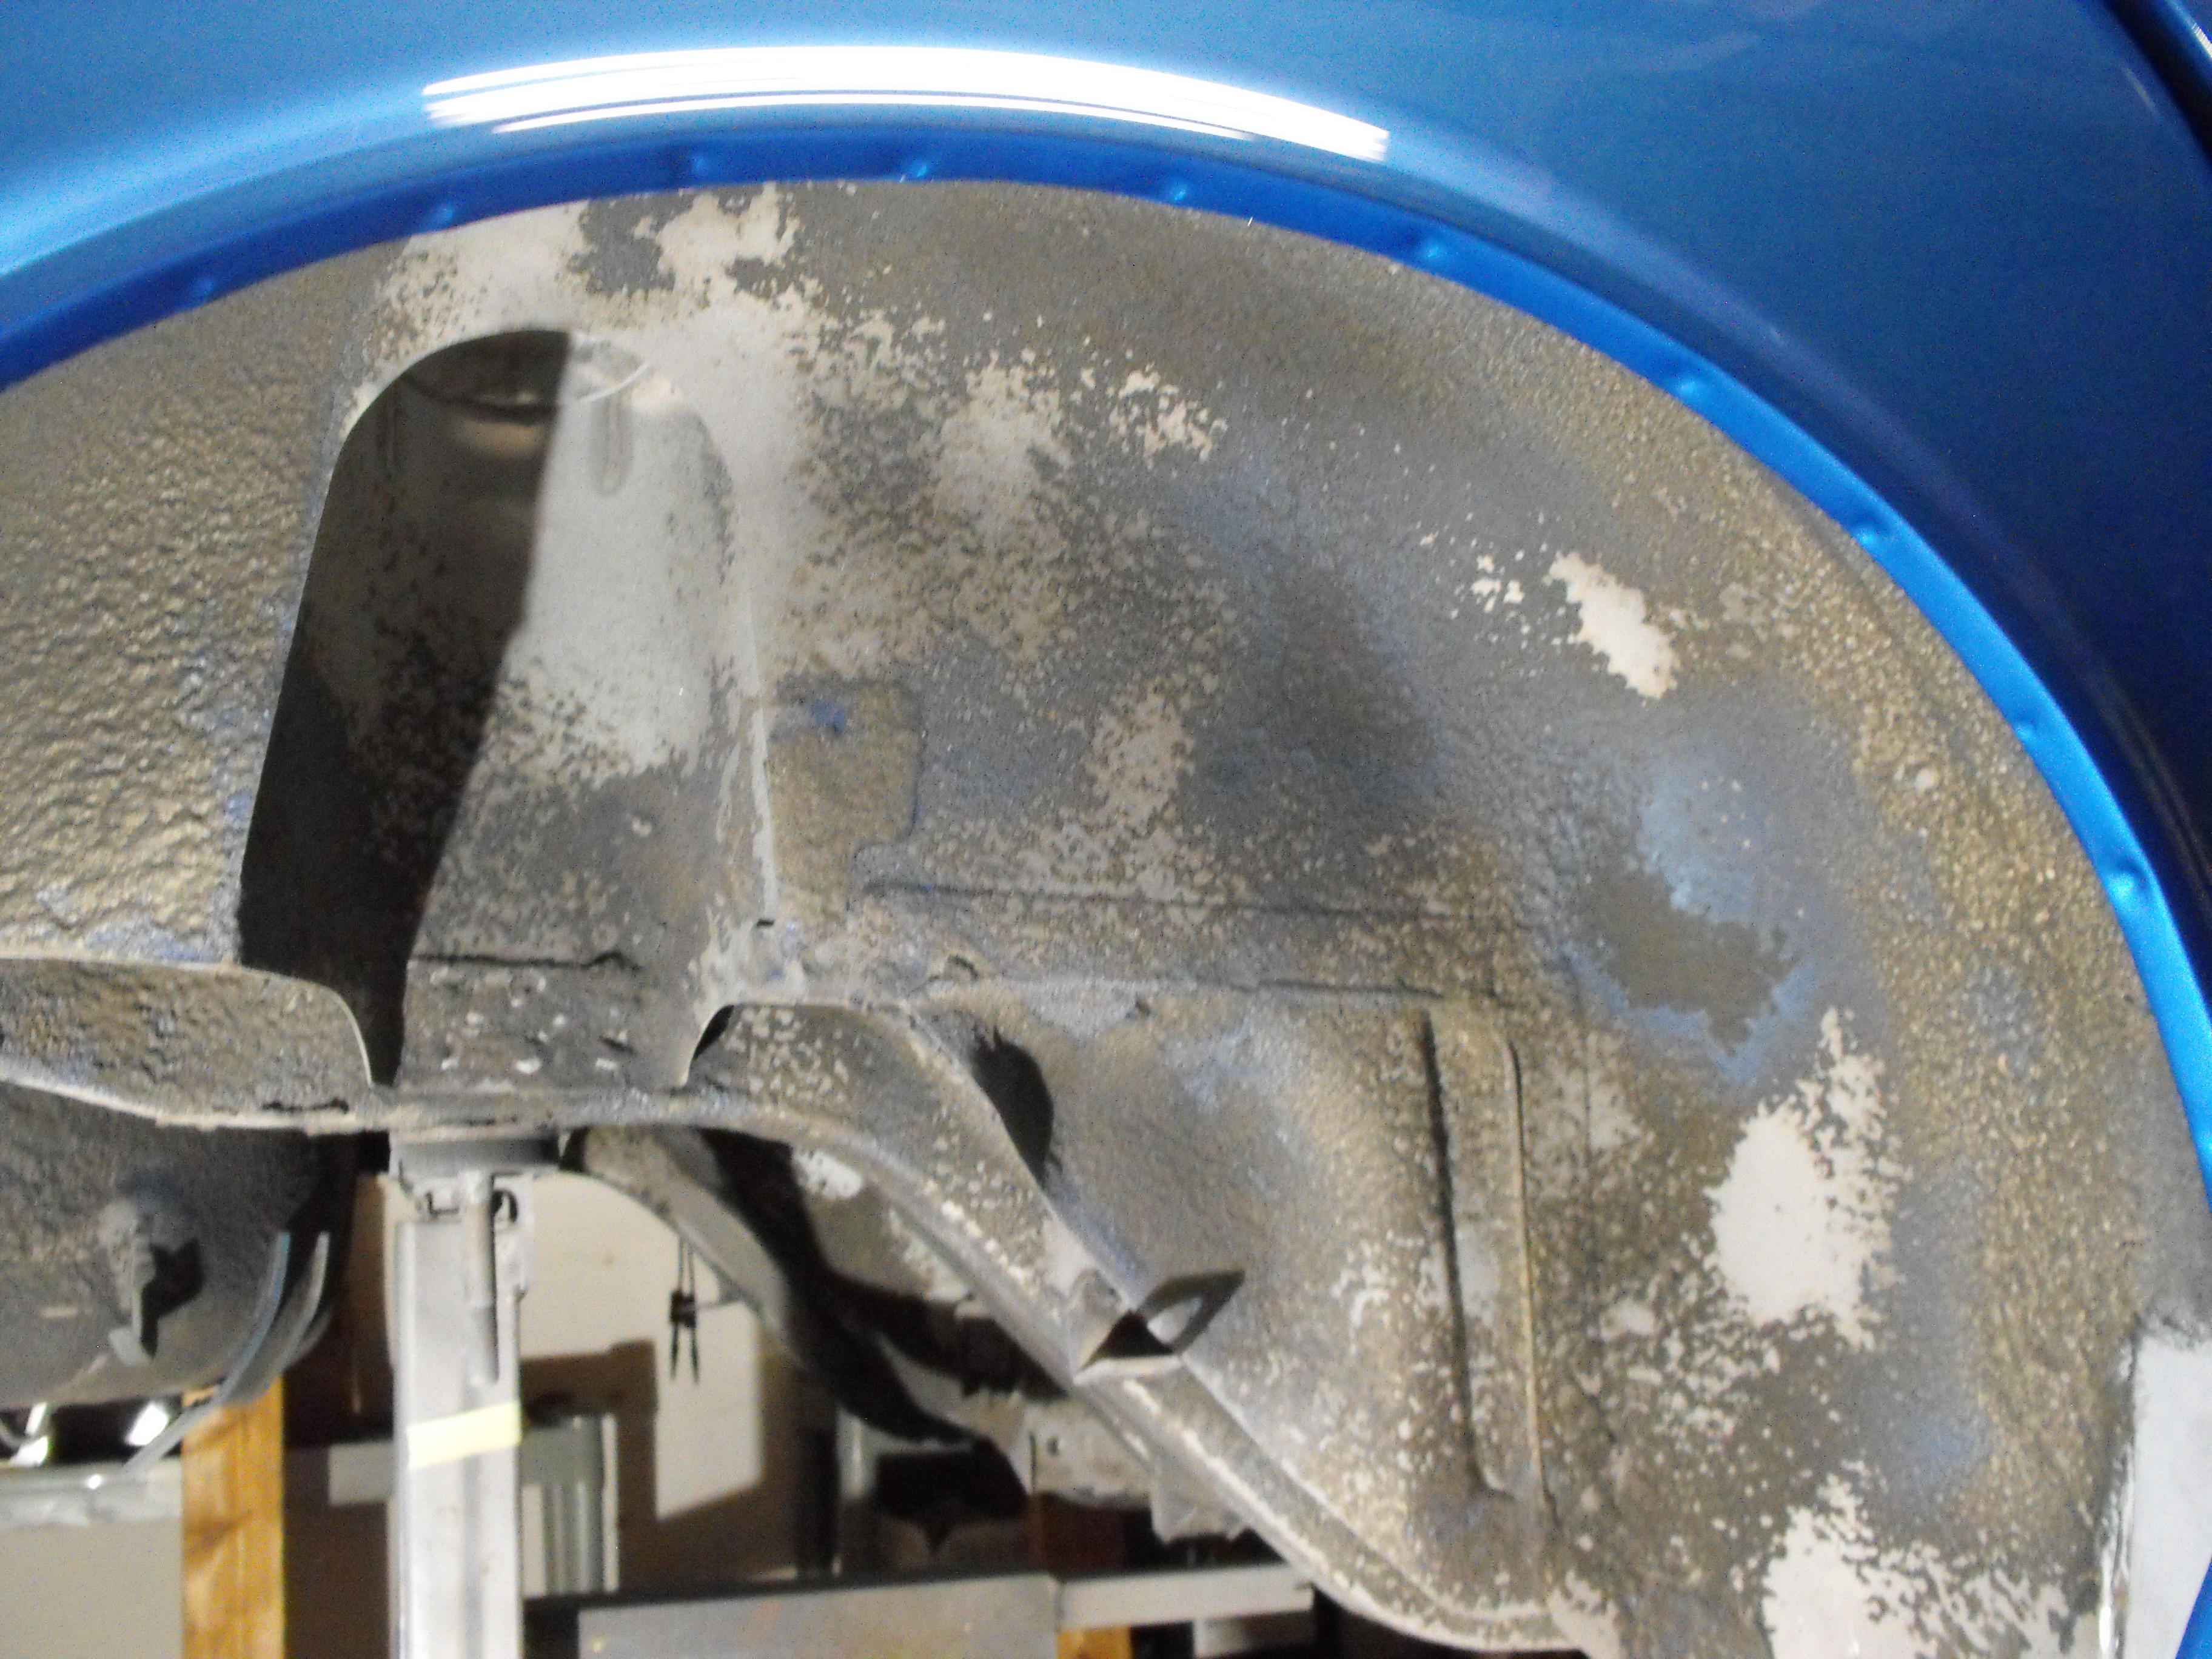
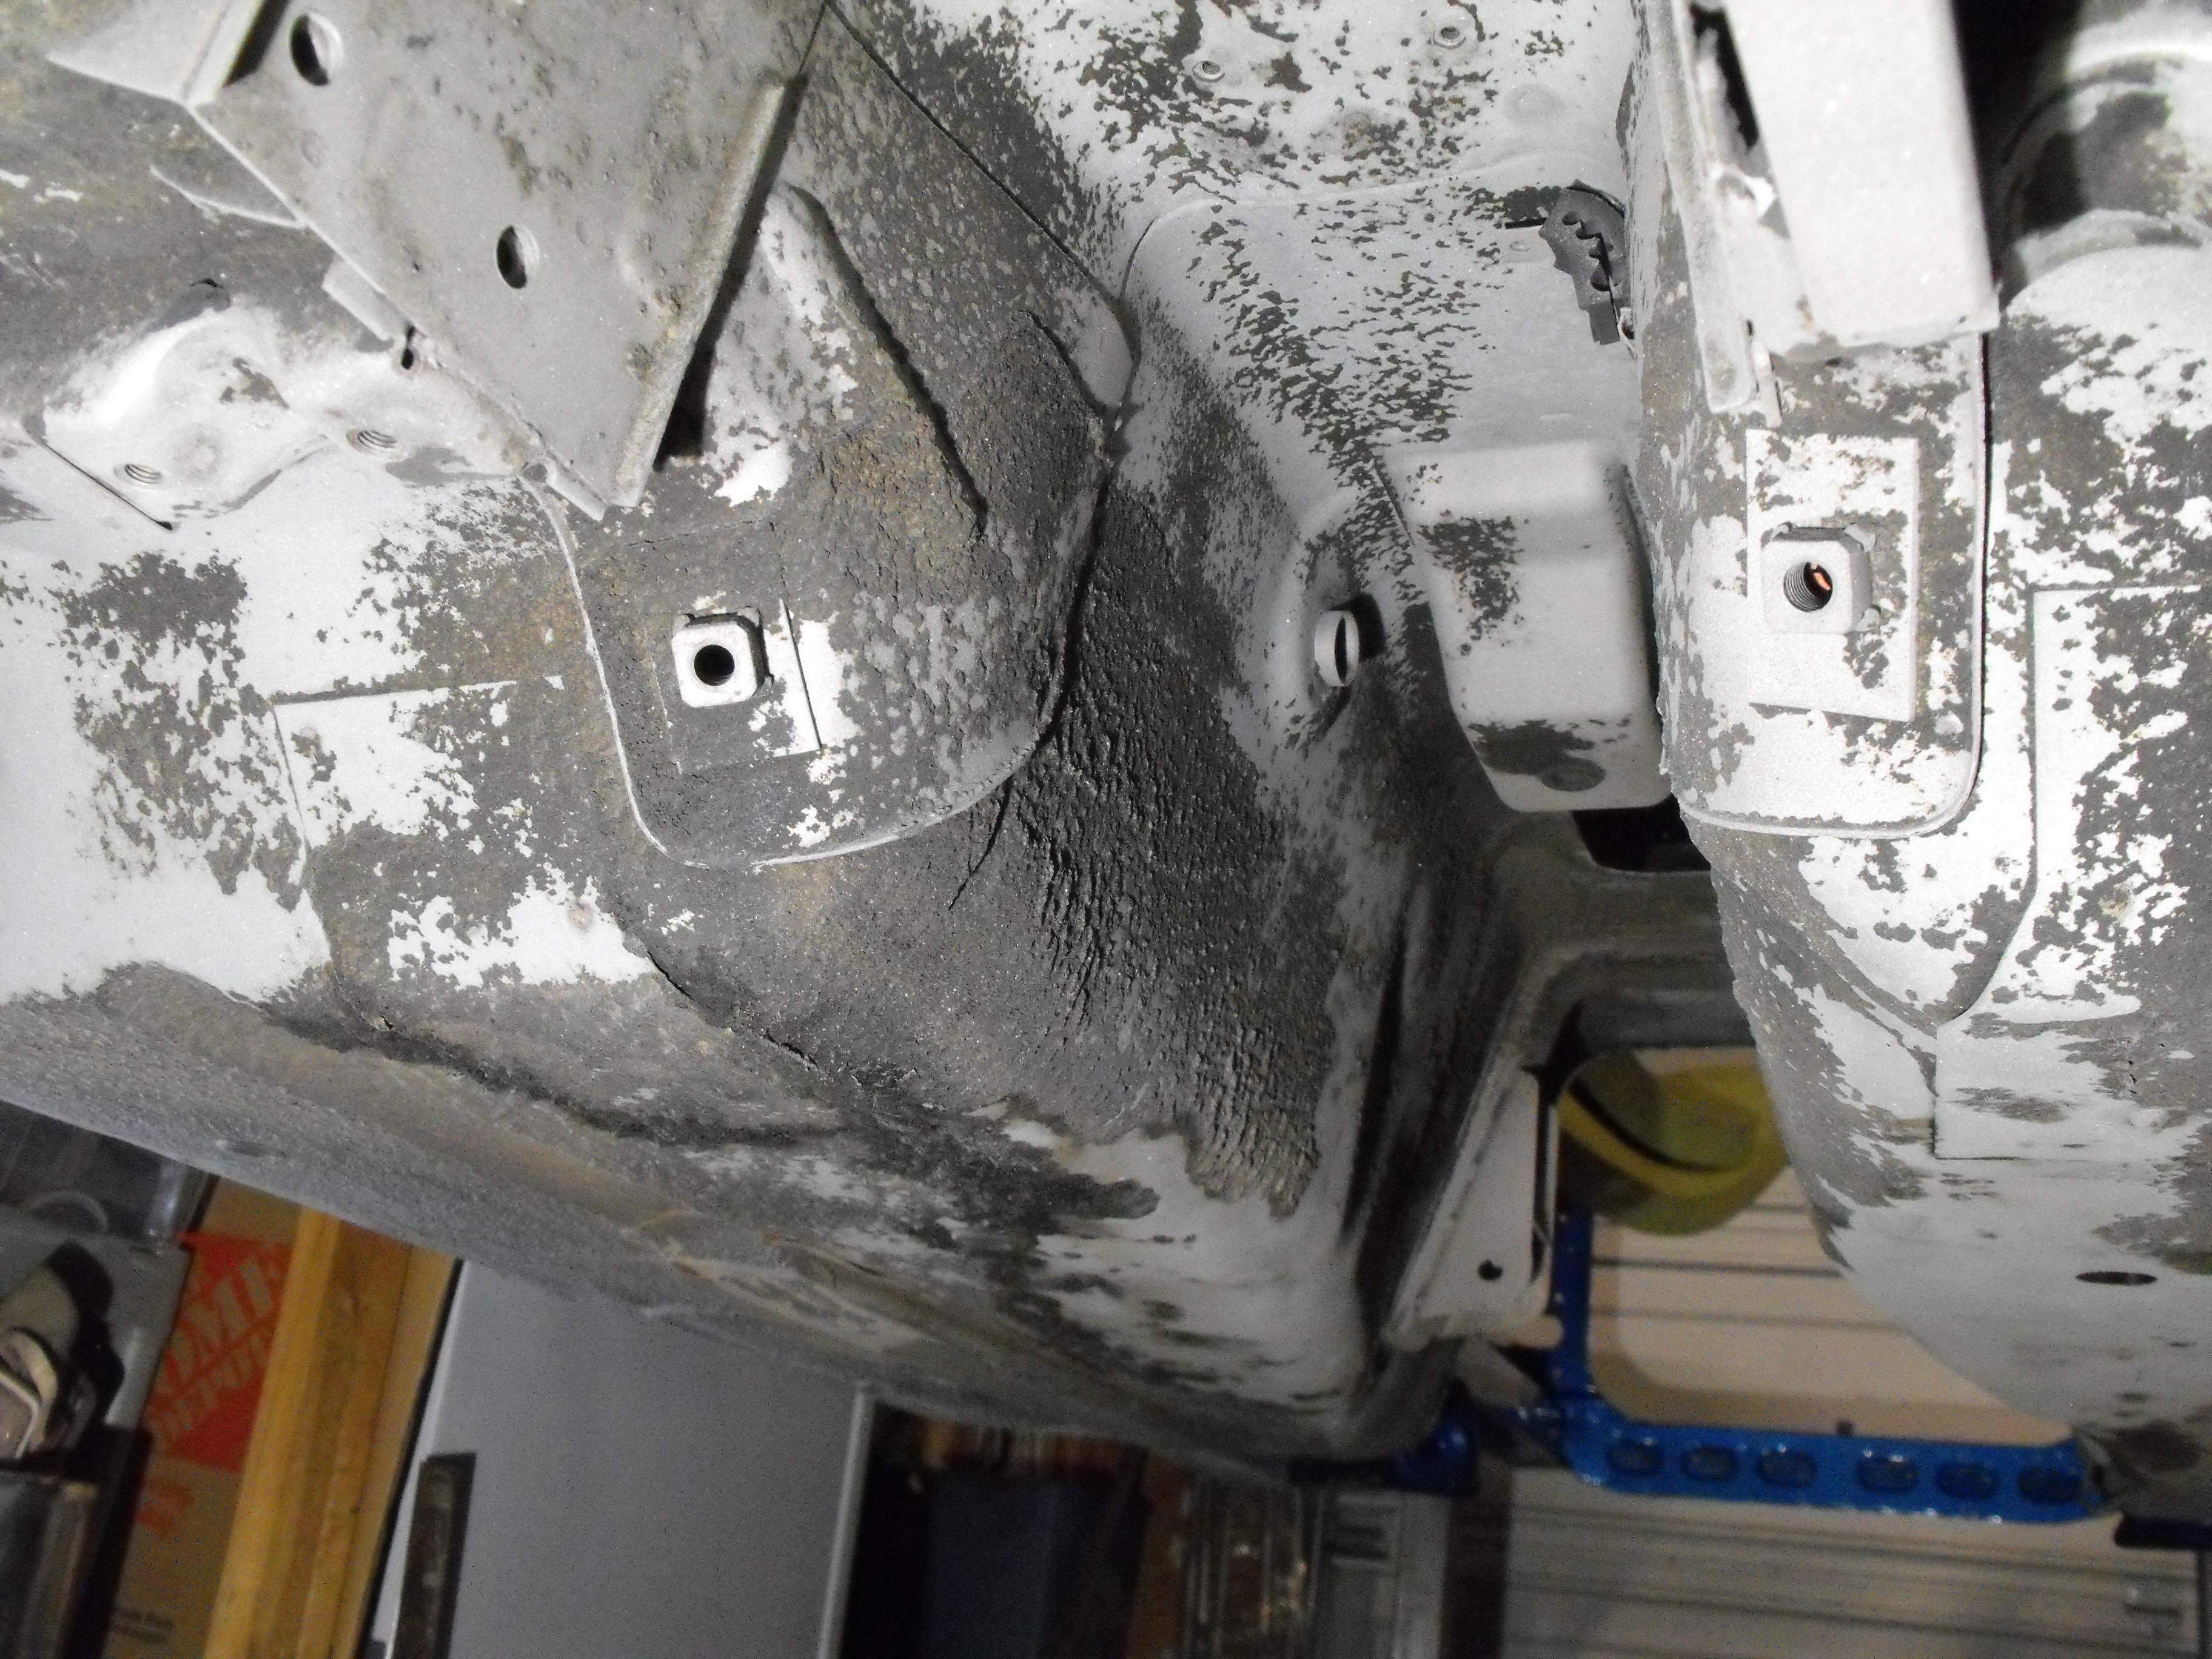
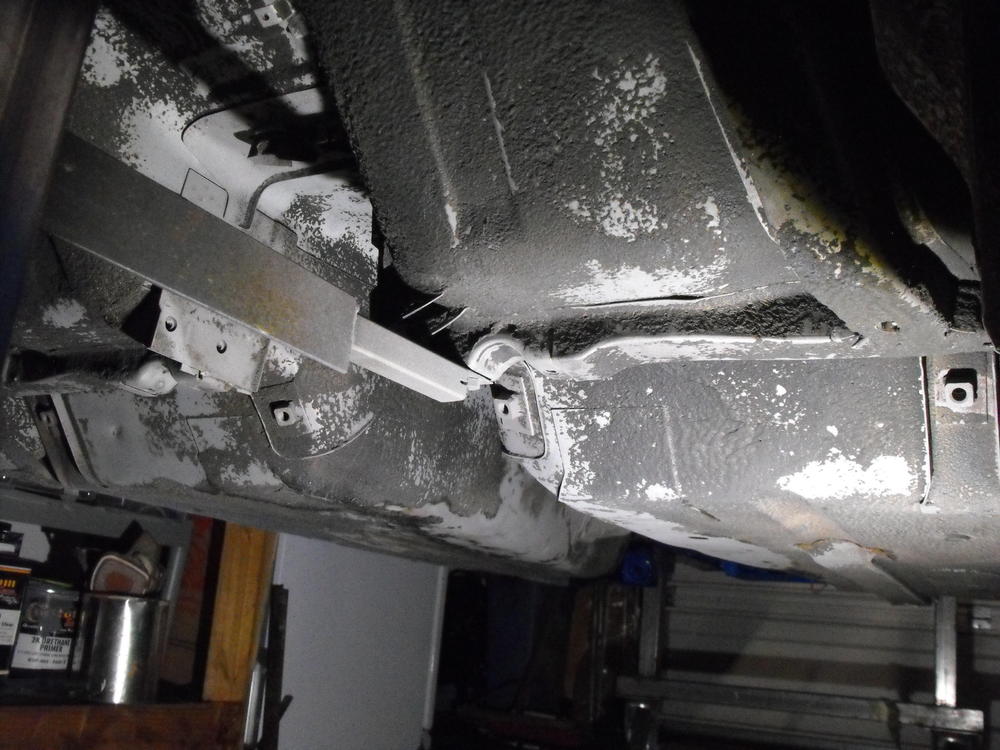
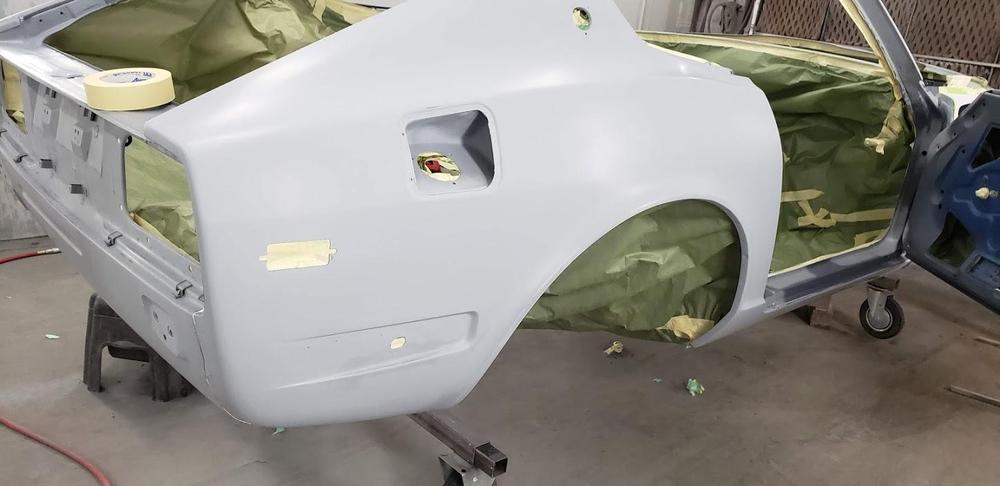
Next step is coating the underside with POR-15 and then spraying on the undercoat over that. The underside was sandblasted at the paint shop so a good portion of the old undercoating is gone with a lot of bare metal showing. I did not remove all of the old undercoating since the underside is in pretty nice condition. I got most of the passenger side done this evening.


-
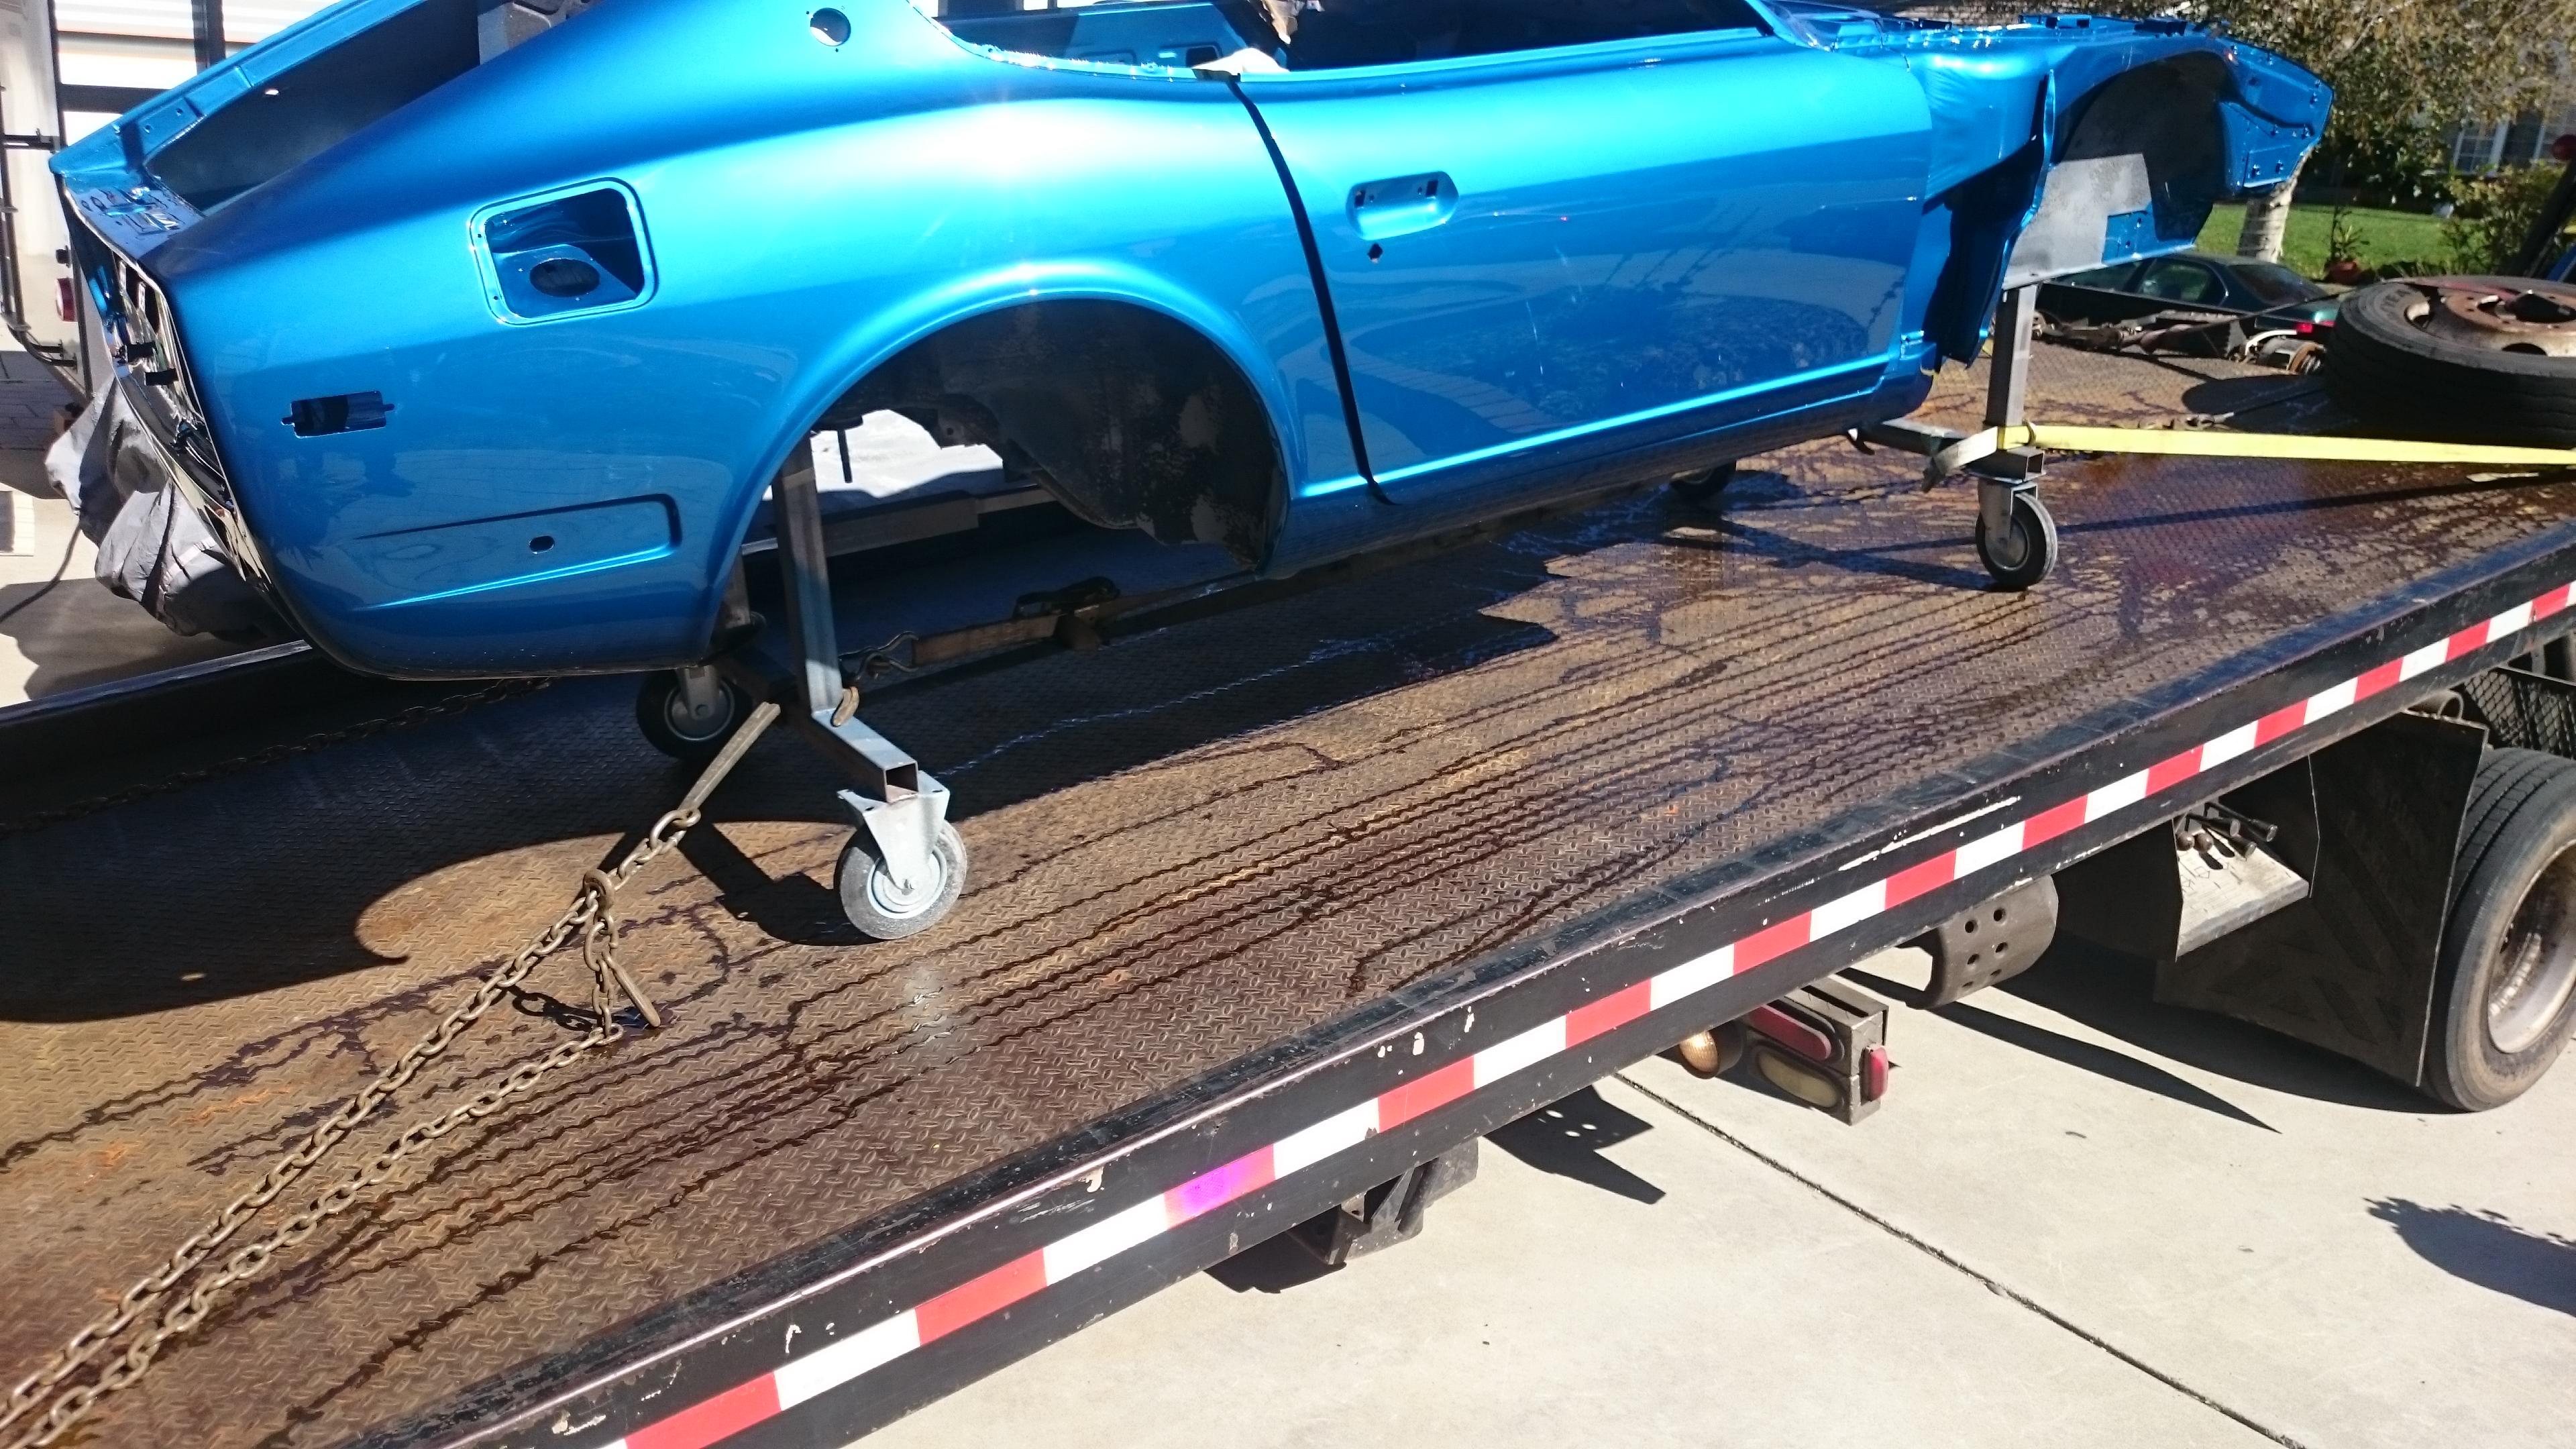
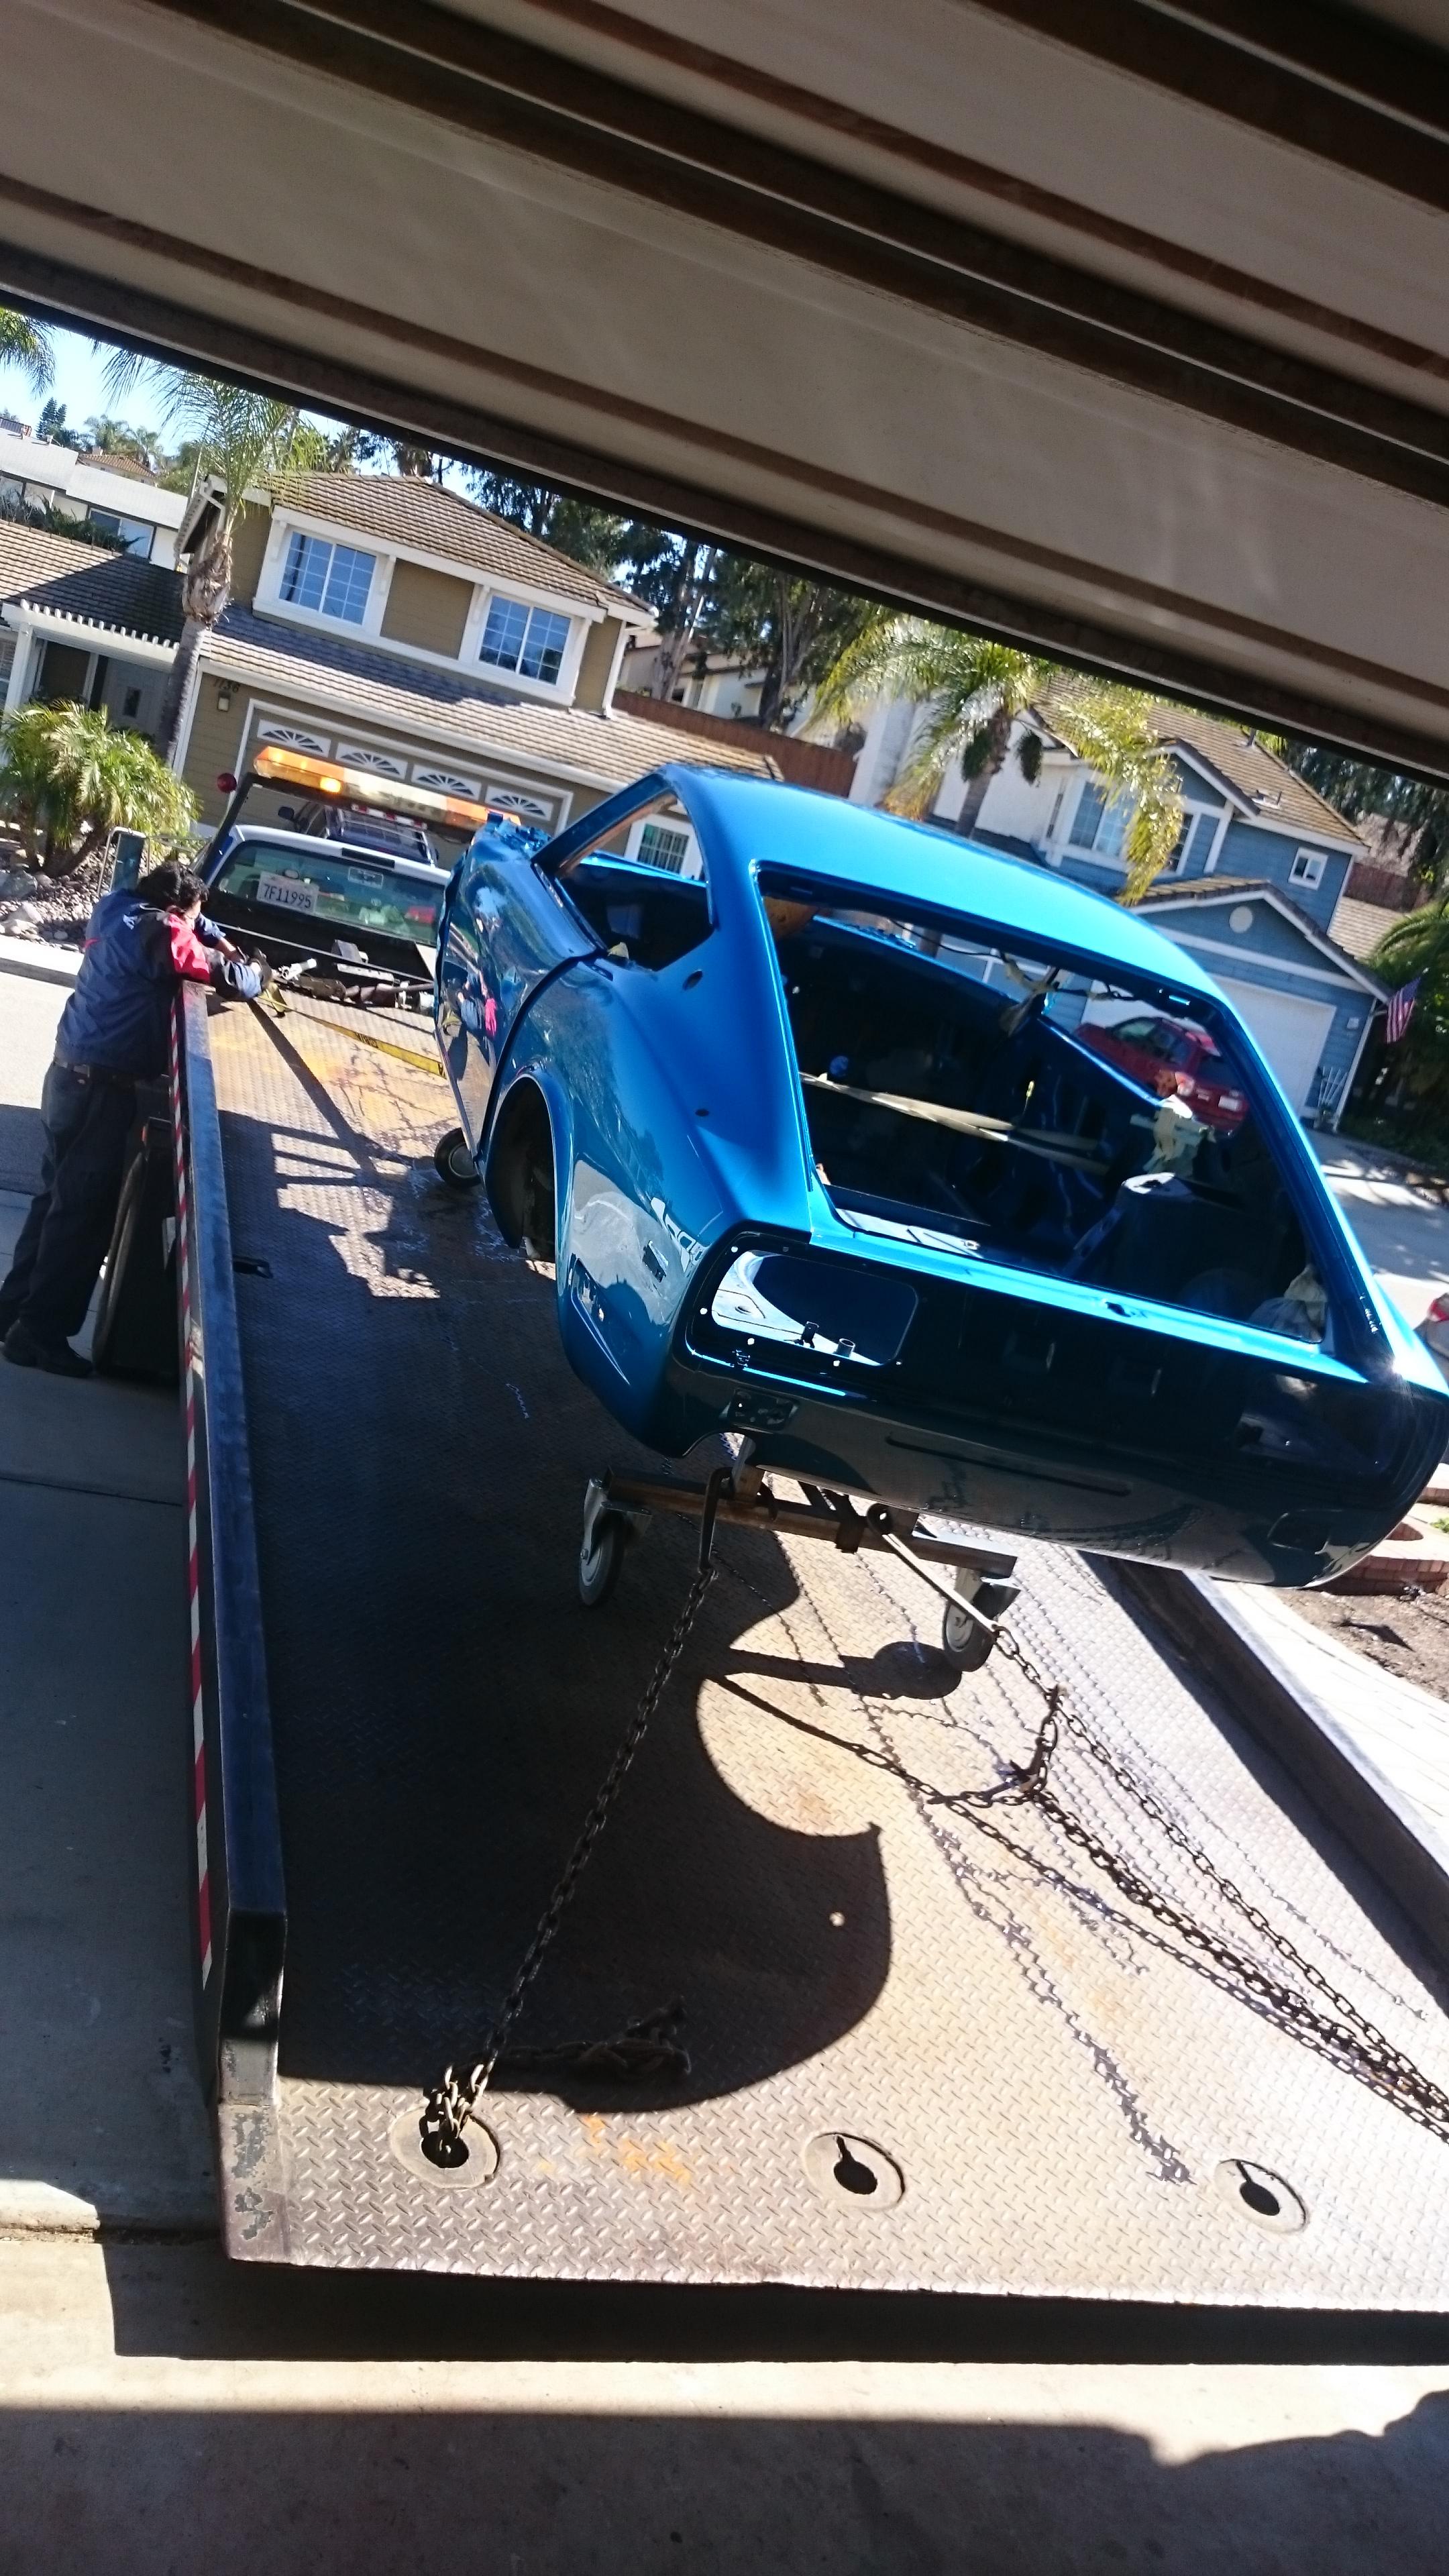
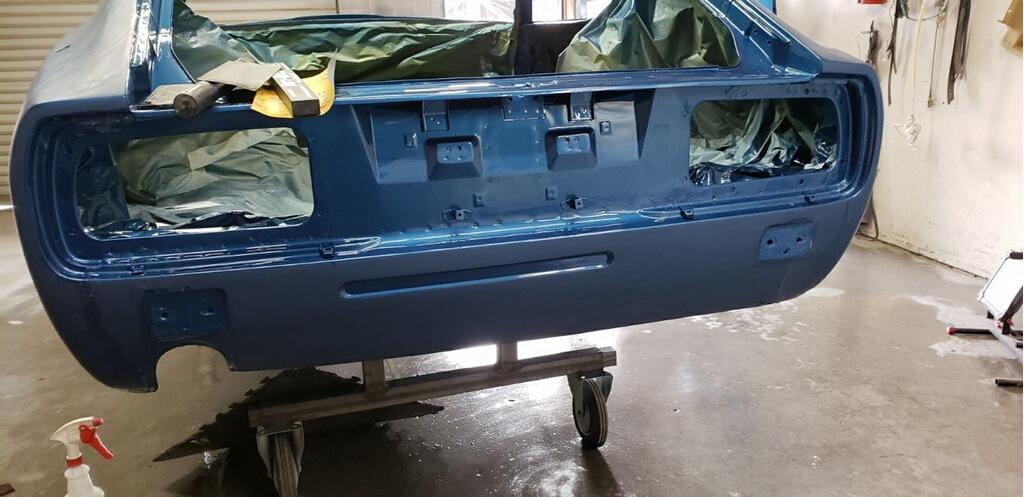
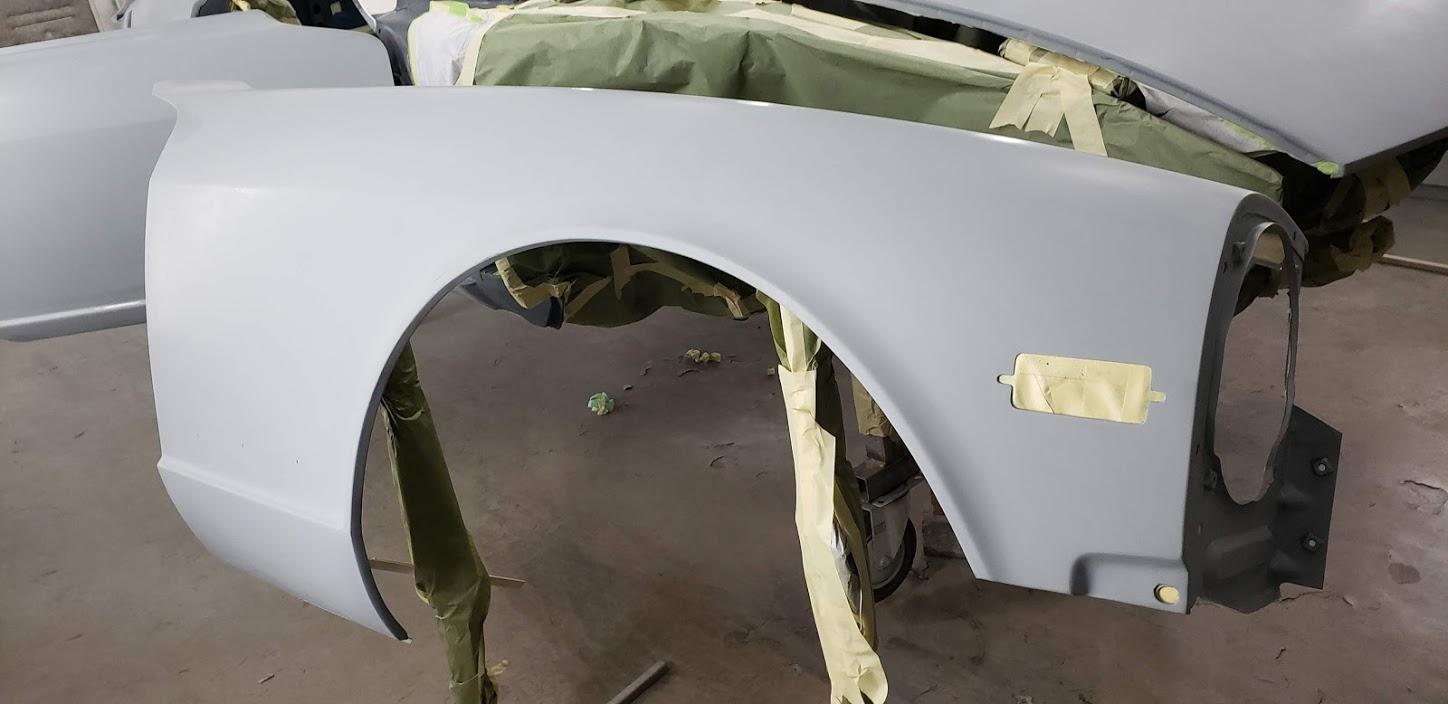
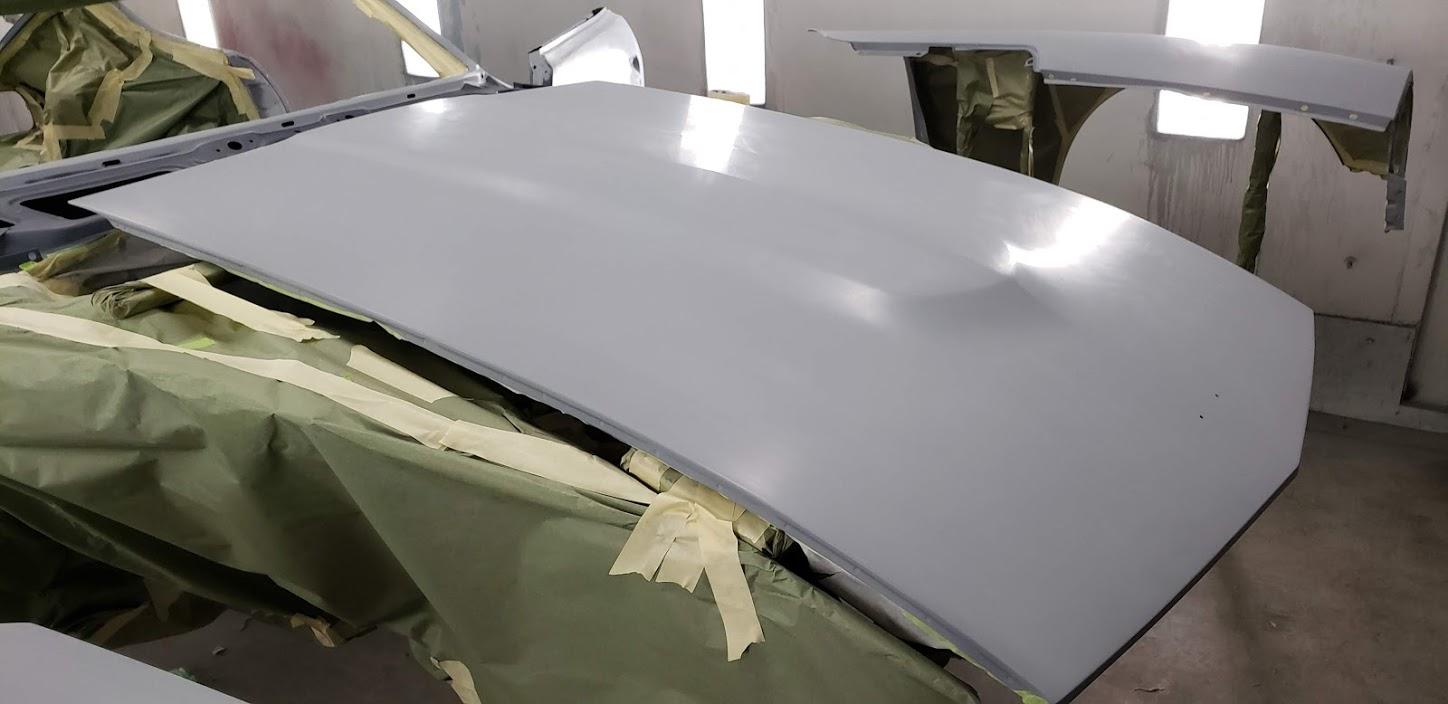
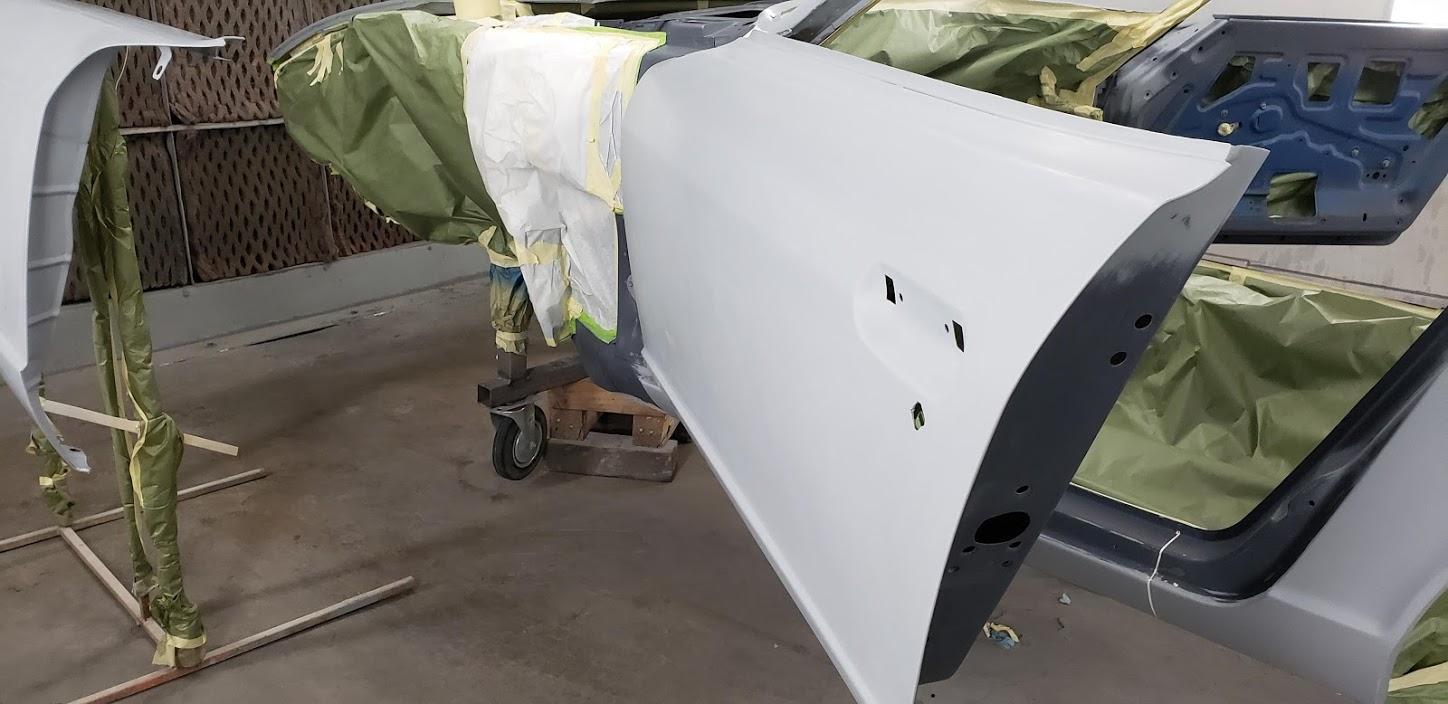
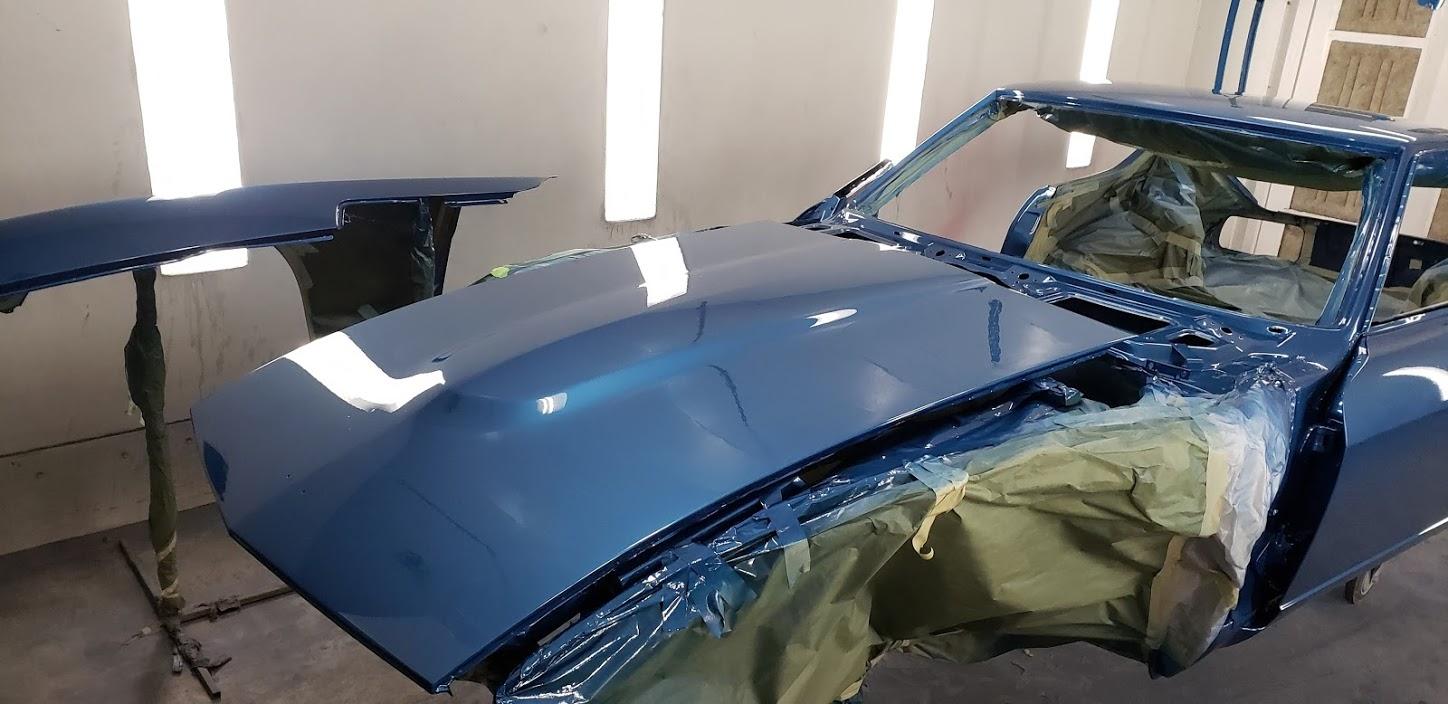
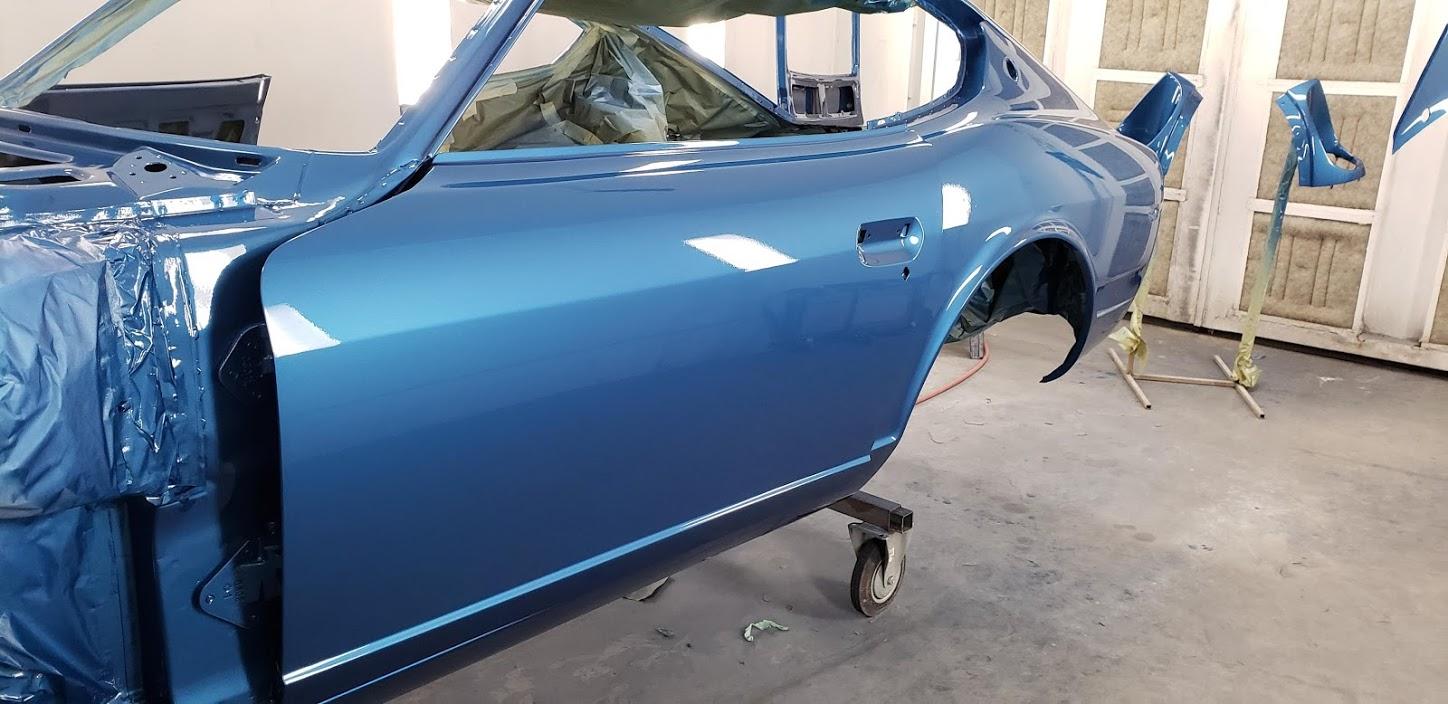
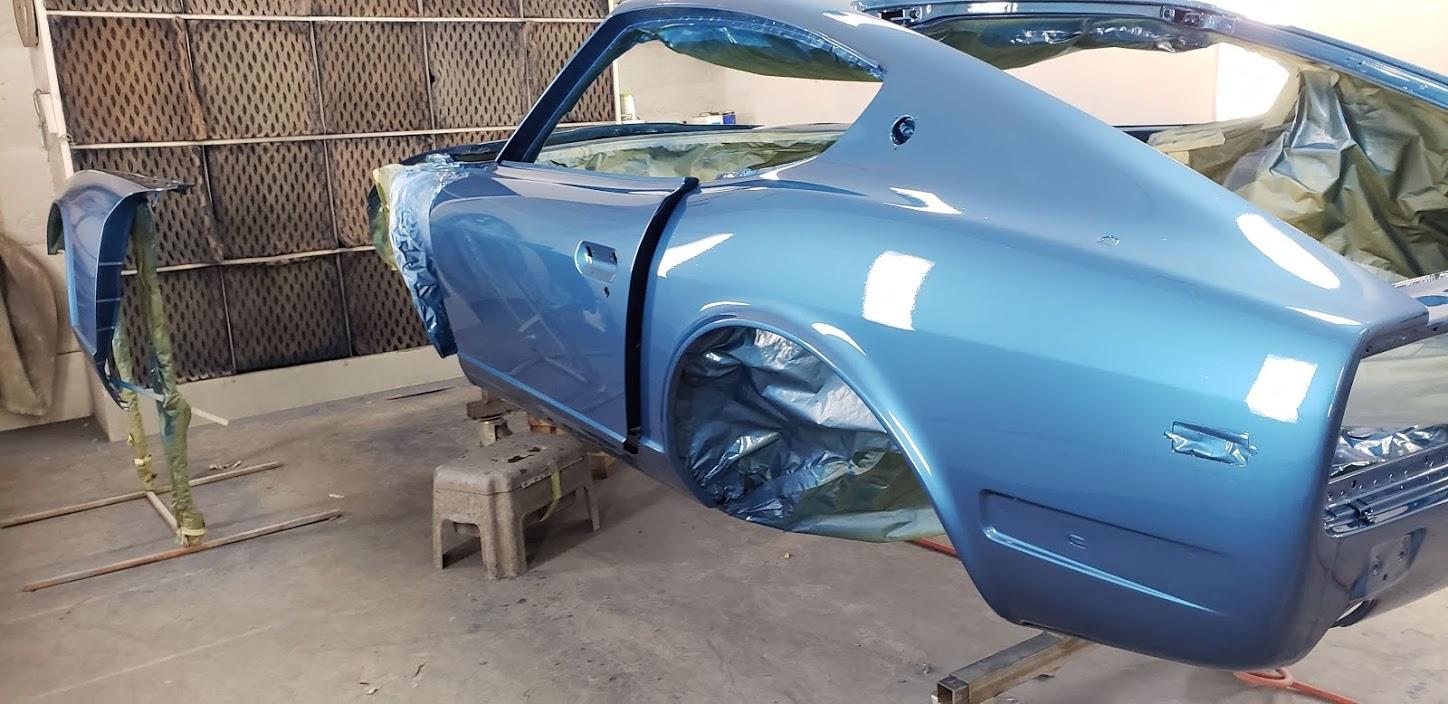
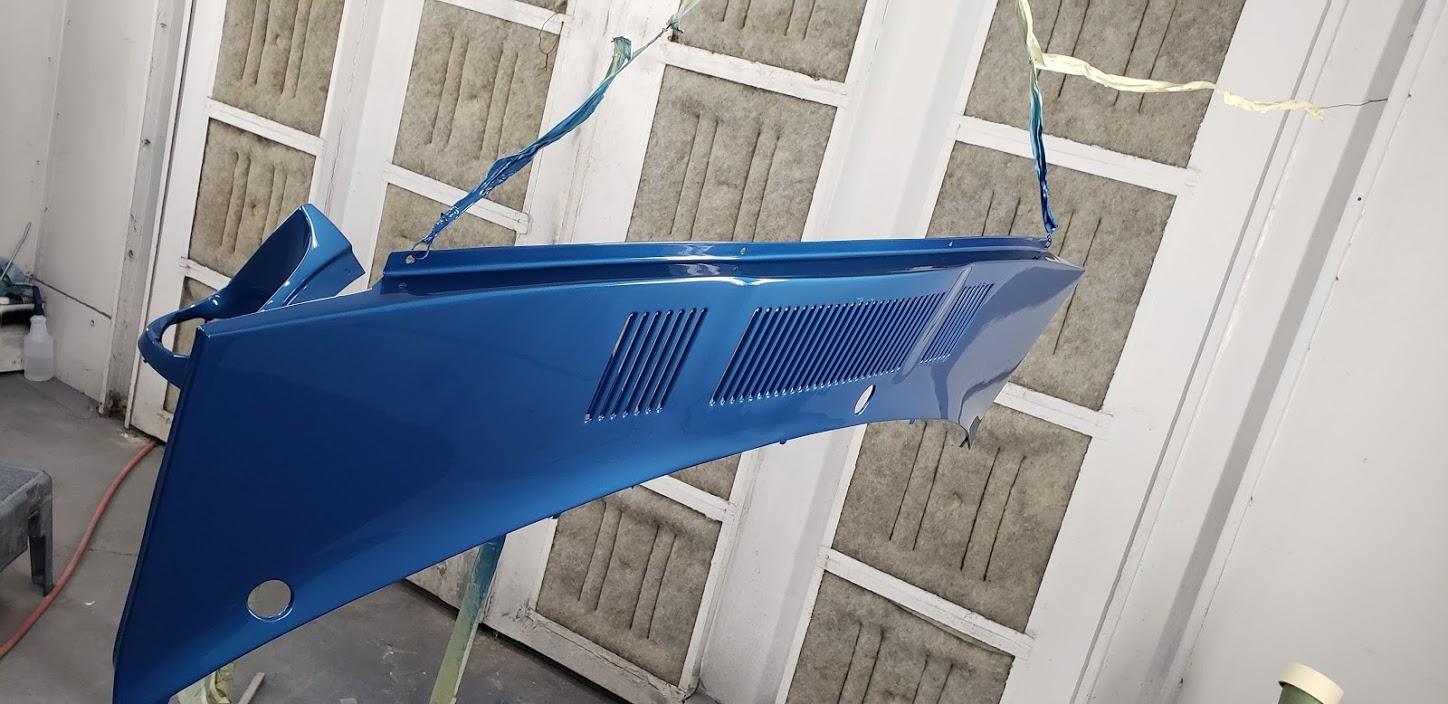
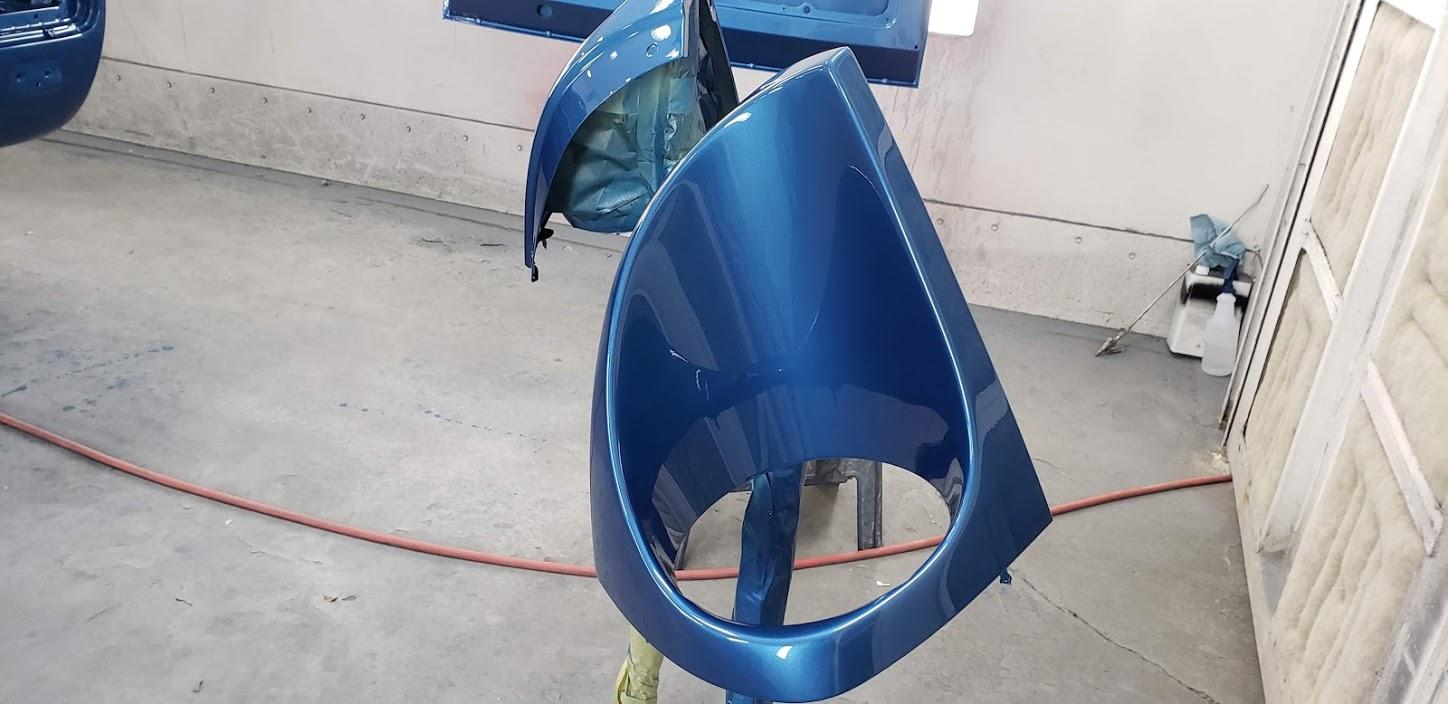
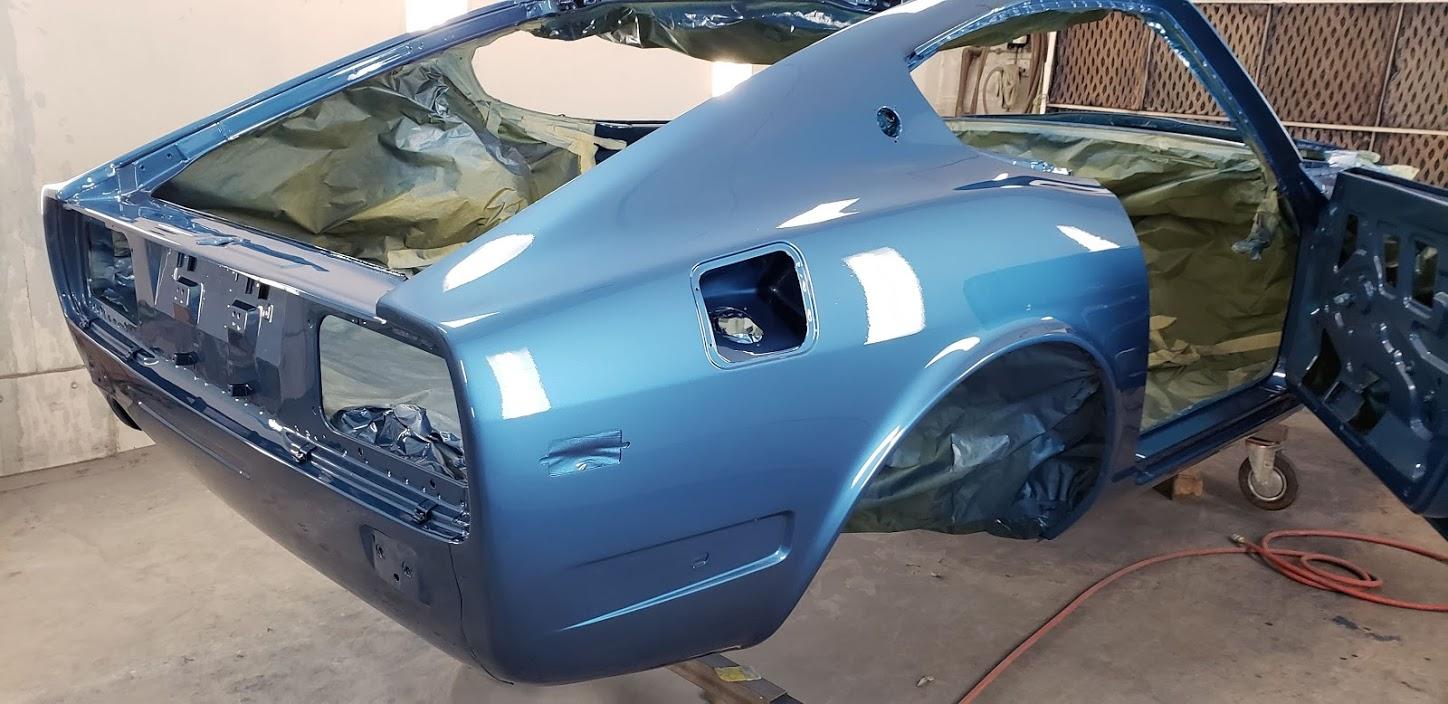
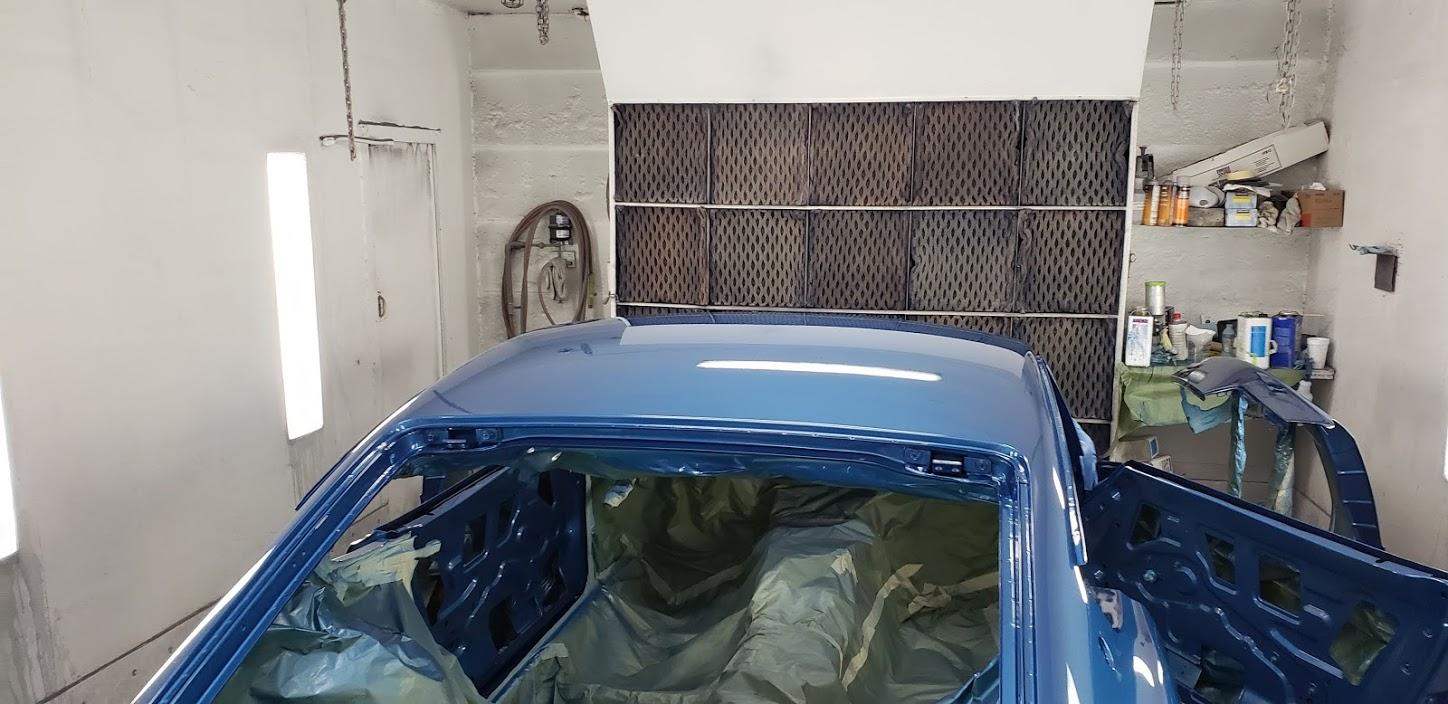
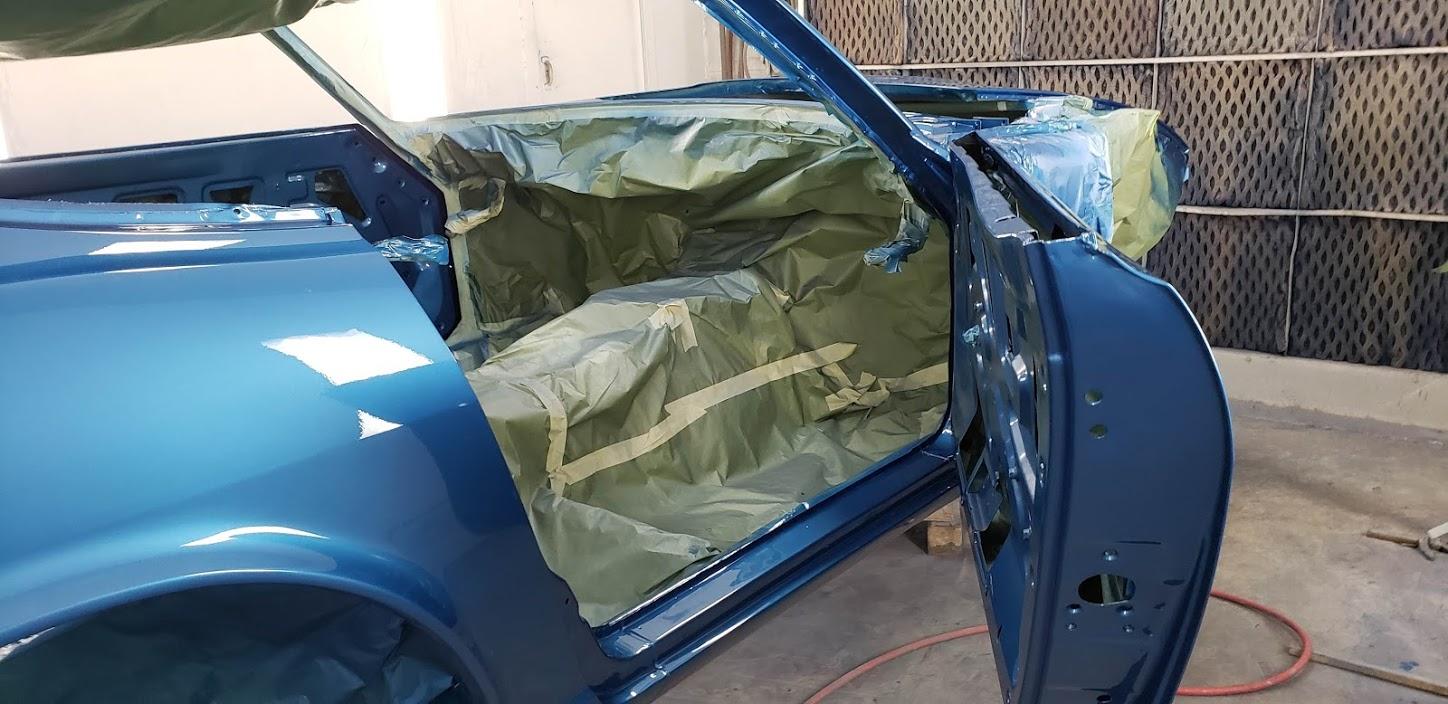
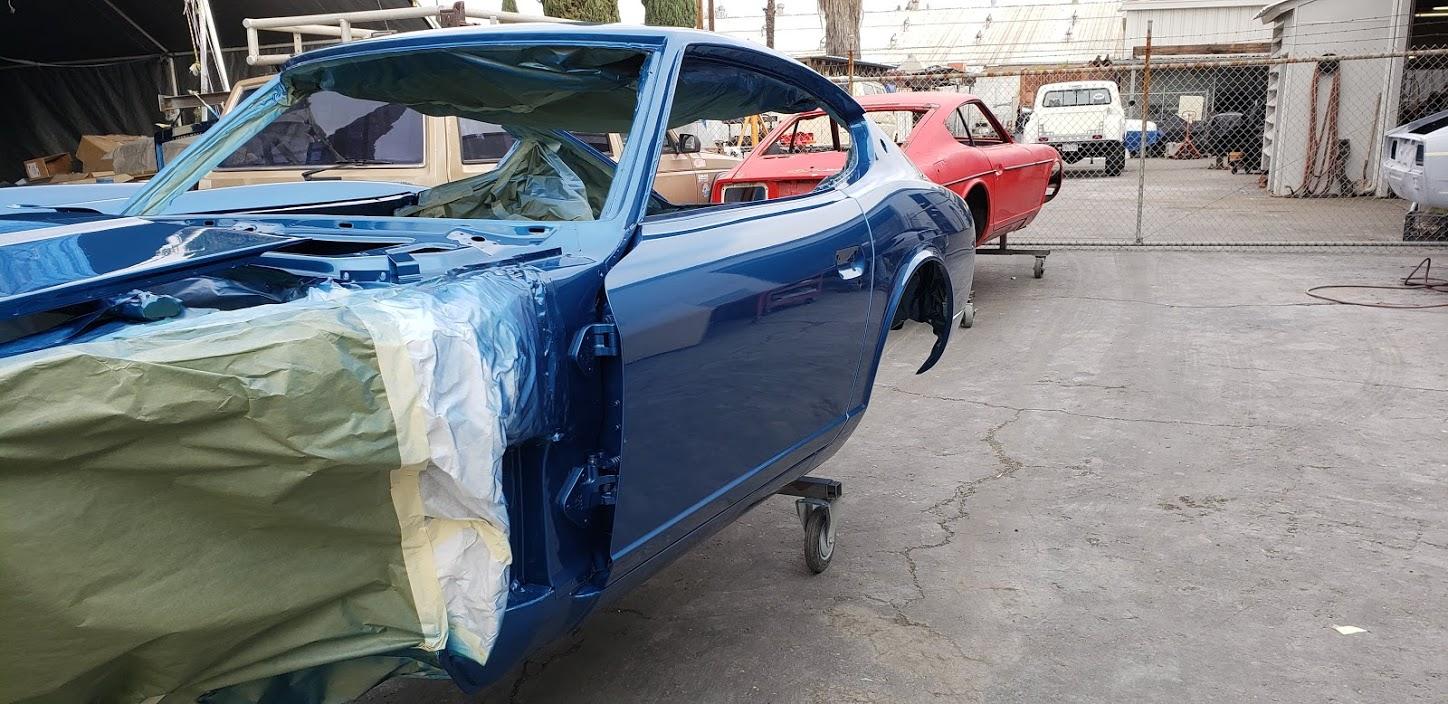
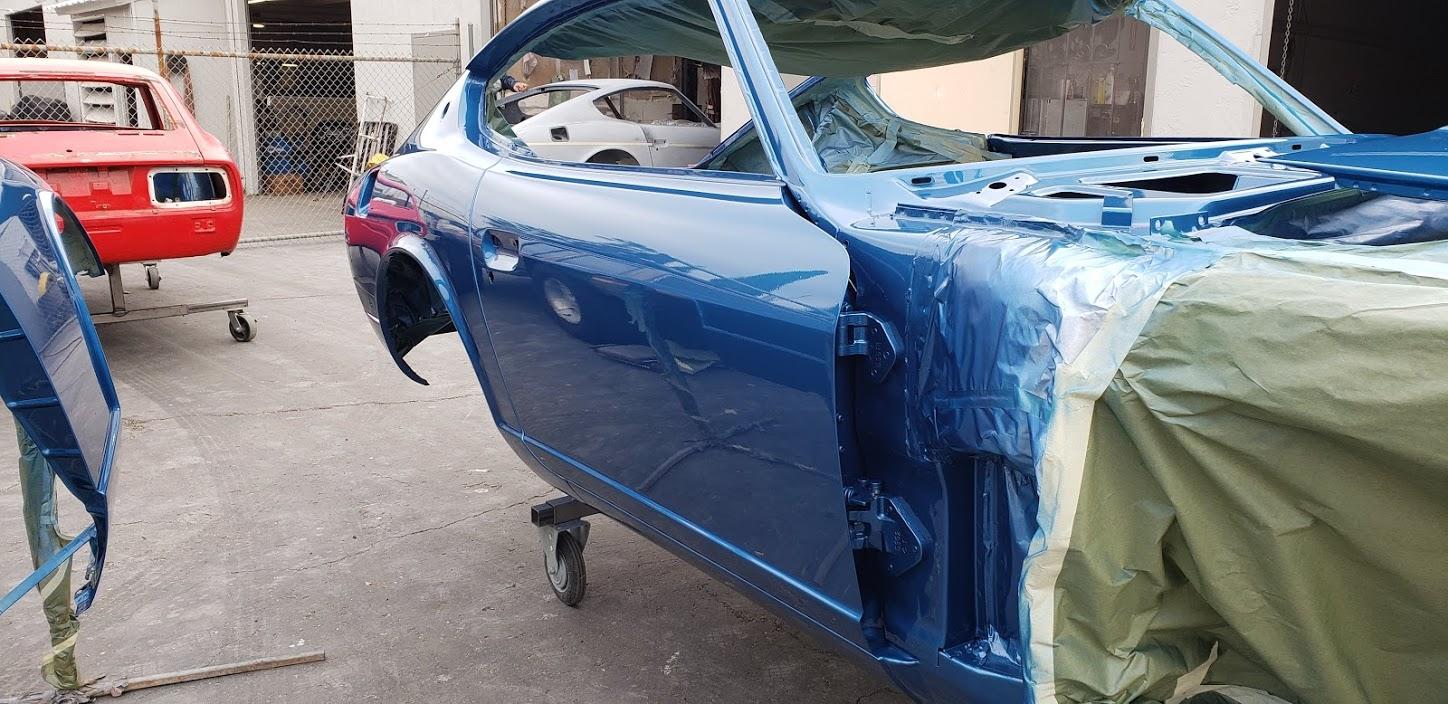
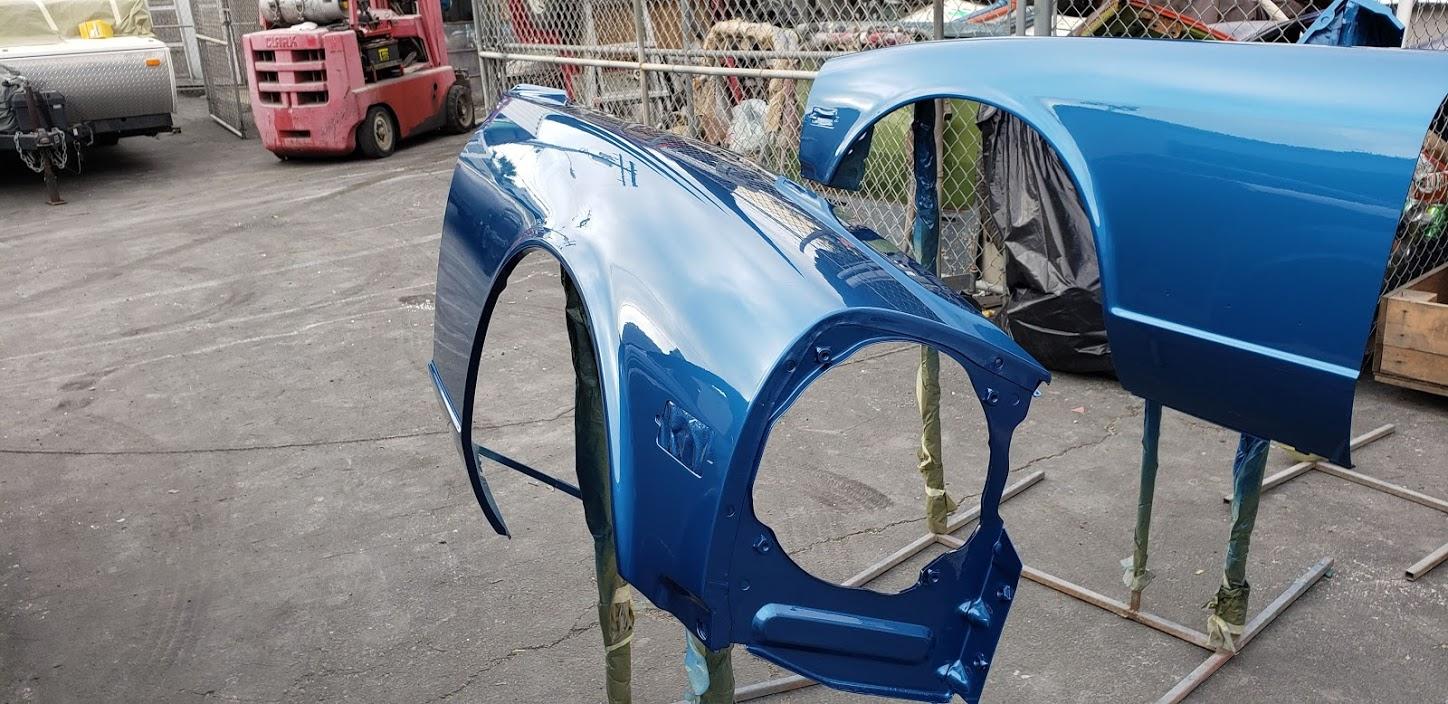
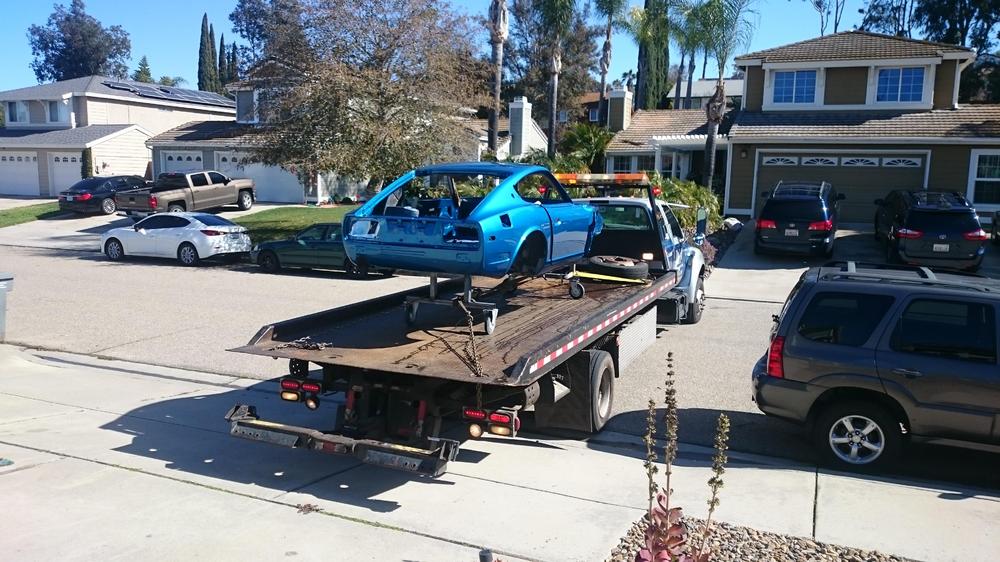
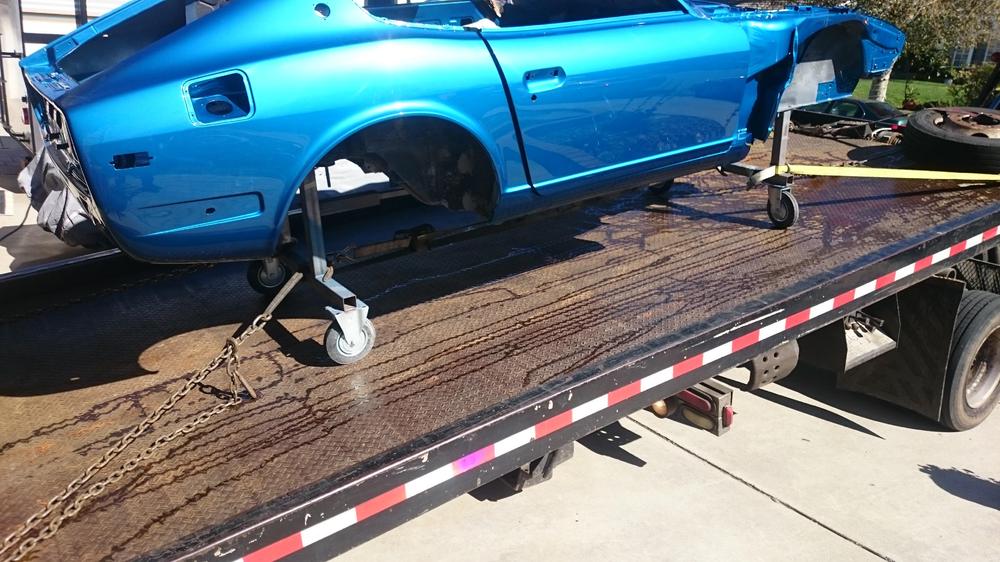
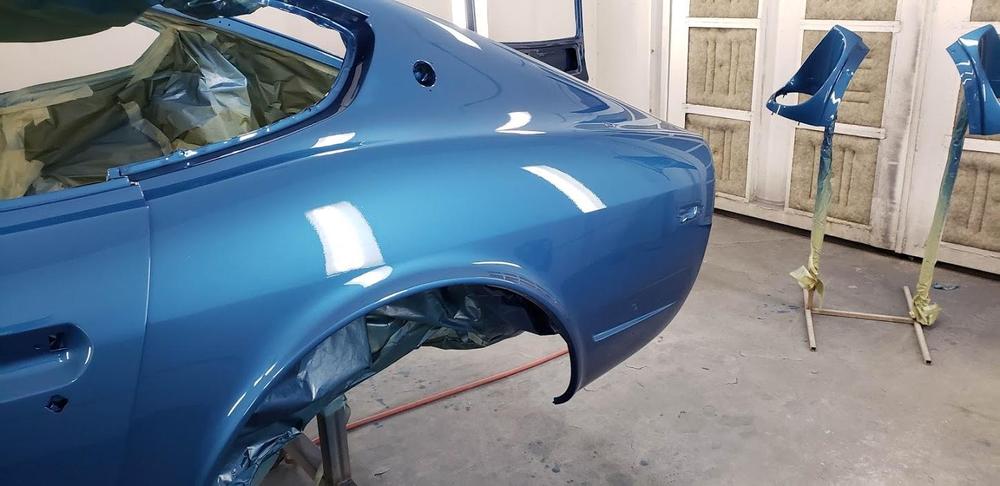
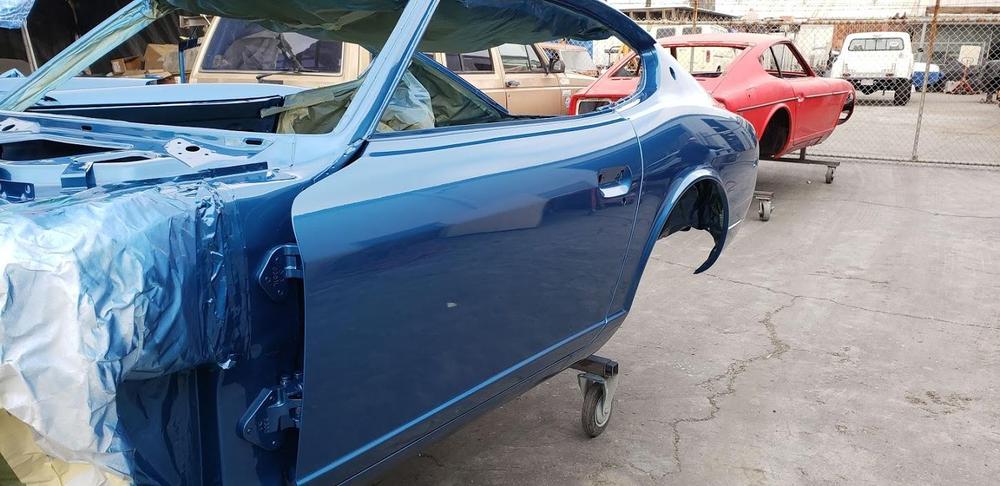
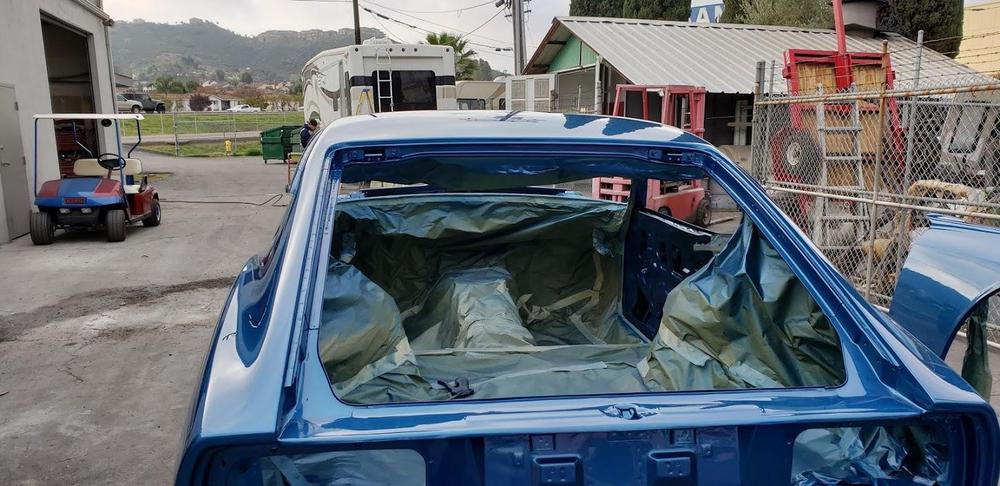
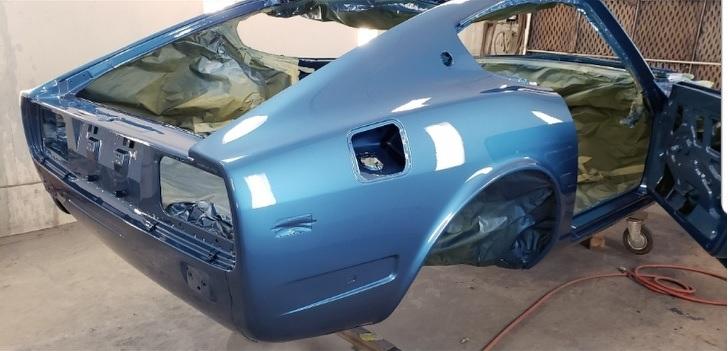
OK, she is safely back home. The paint looks amazing, better than the pictures. Looking forward to finishing up the underside and then installing parts. The air intake ducts look amazing. Too bad no one will see them.


-
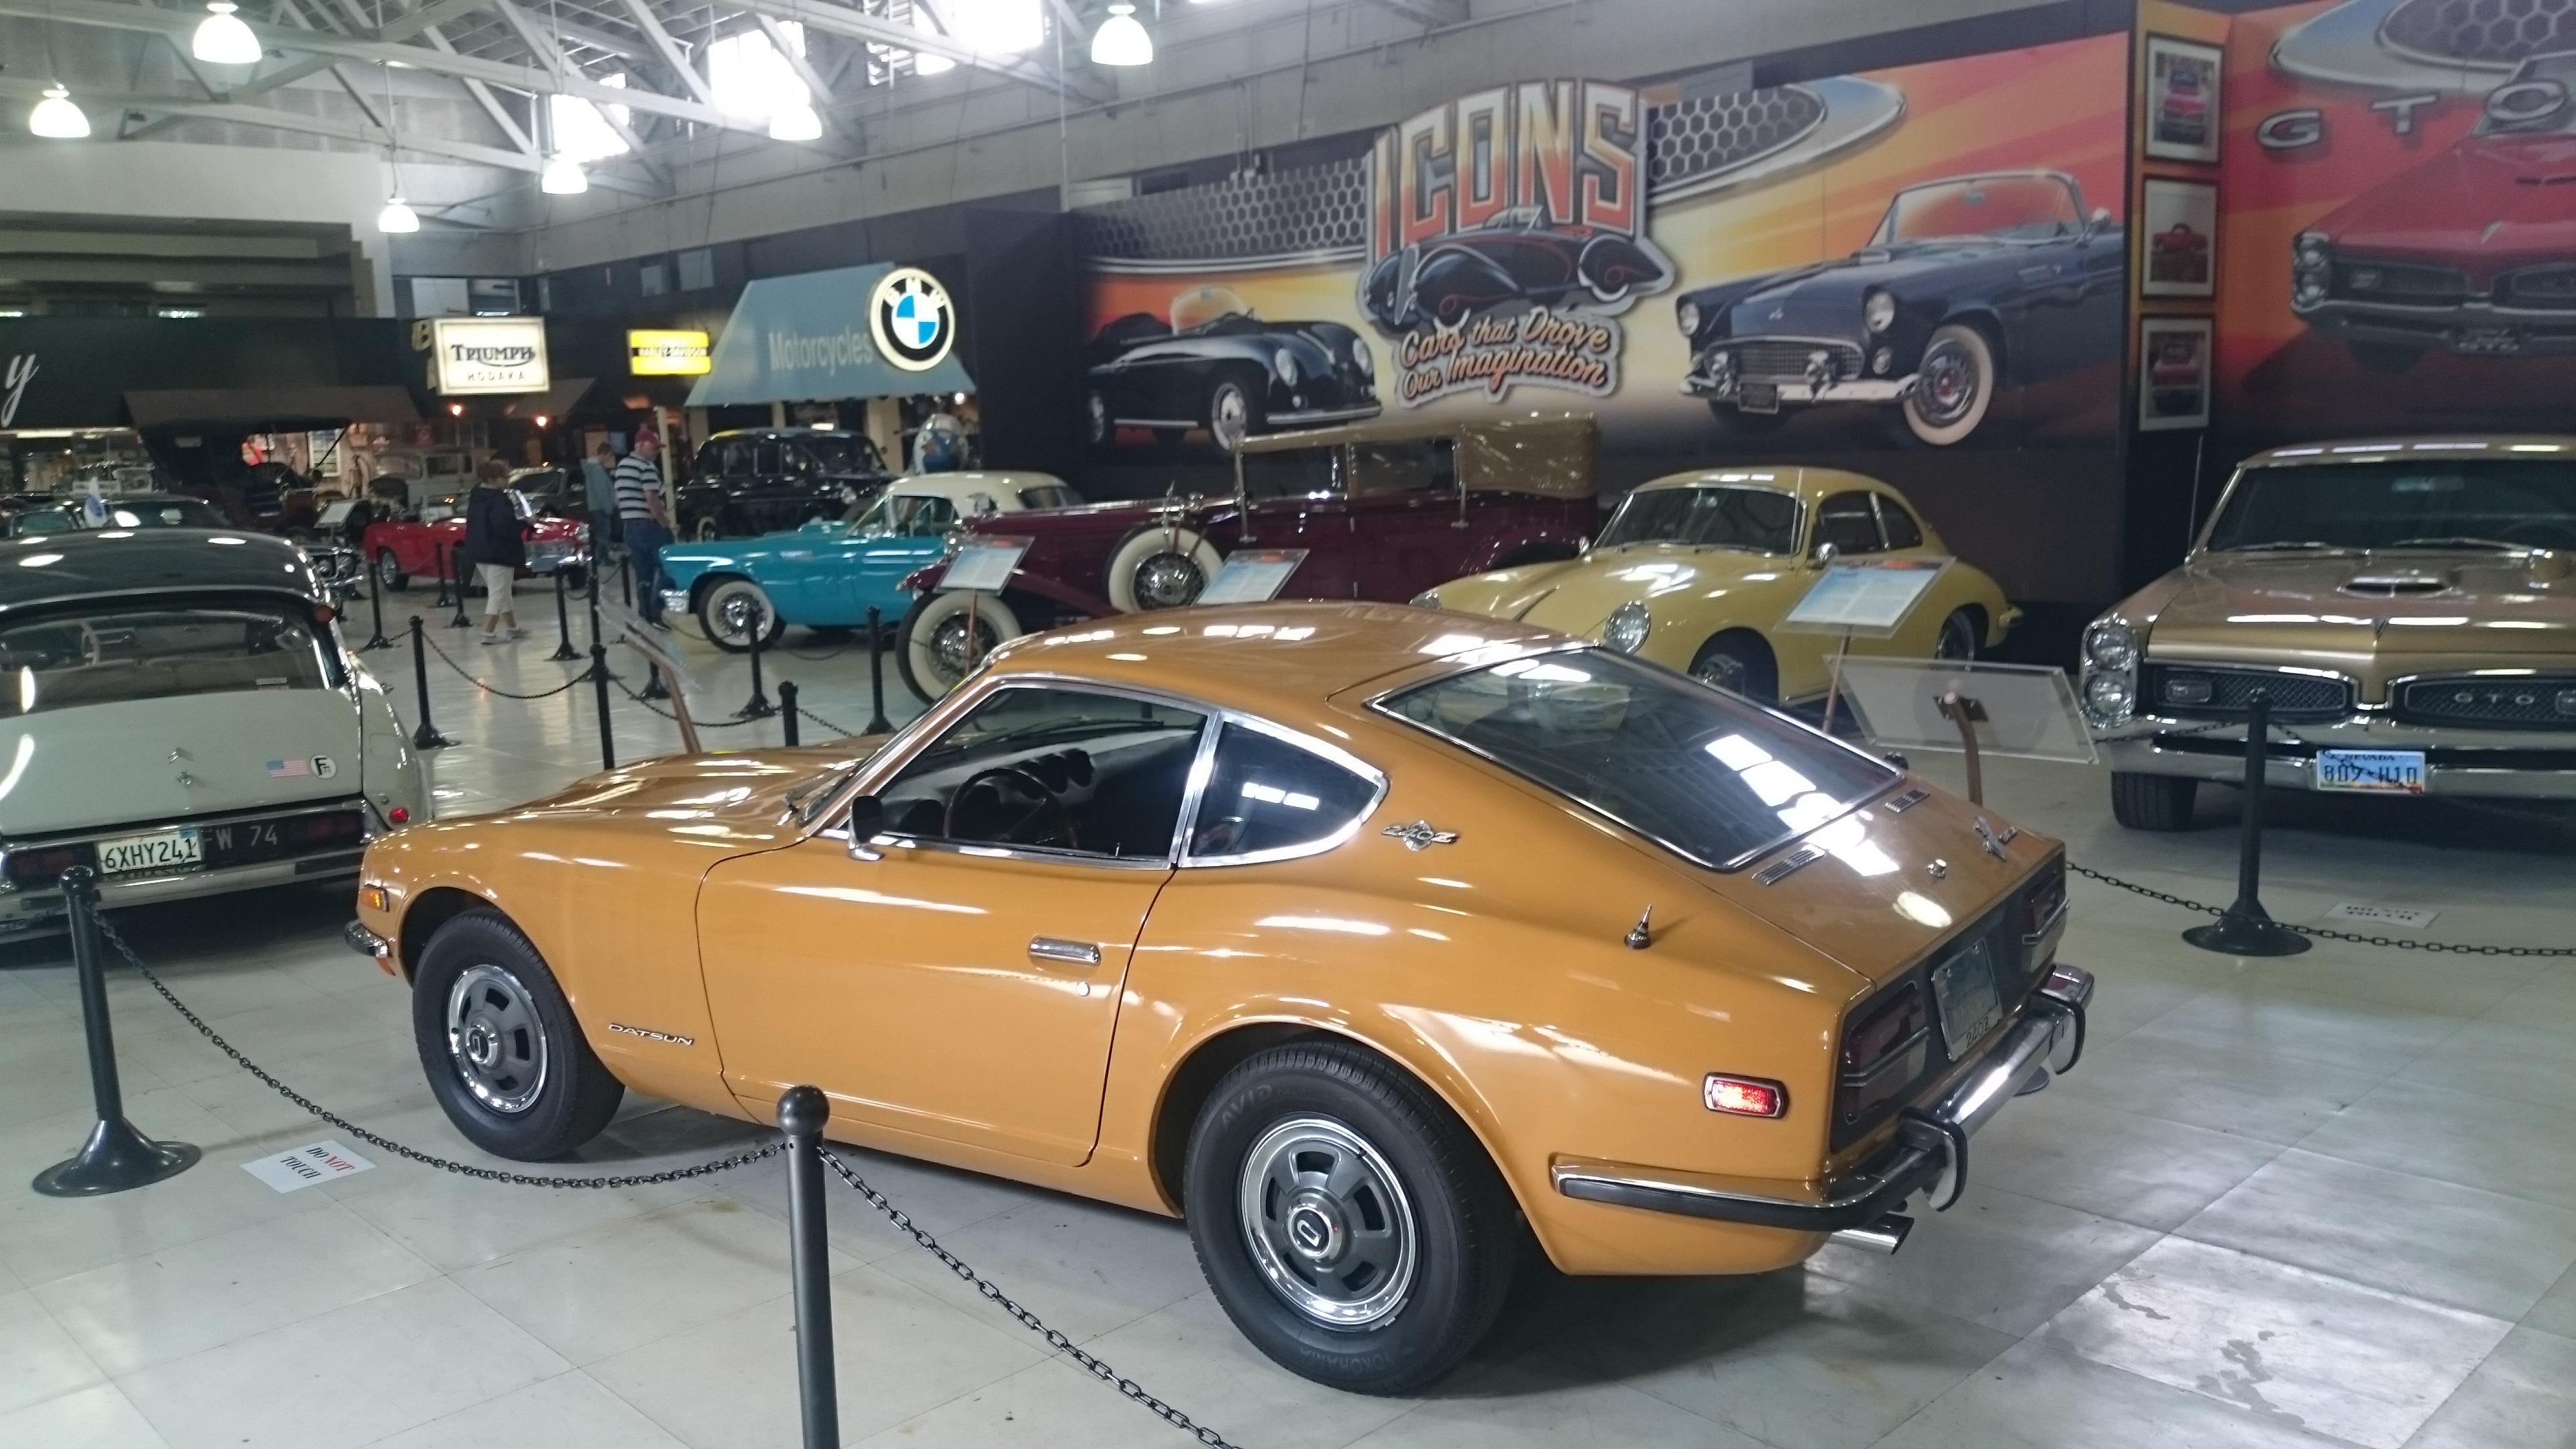
My 1970 Z has been in the family for nearly 49 years (4/70 build date). I was 9 years old when my dad brought the car home brand new and I distinctly remember the day. It was purchased in Florida (I have the original receipt), where dad worked on occasion, but driven to California where we lived for a number of years. My dad owned it and took excellent care of the car for about 38 years. He passed the car onto me several years before he passed away. The car is very original and mostly unrestored (I did clean up the engine bay). The paint is the original 49 year old factory paint job. The interior is pretty much untouched and still has the original uncracked dash, slightly worn seats, radio, carpet etc. Undercarriage, glass, chrome, and weather stripping are also all original and have never been removed. I don’t really do anything to the car other than drive it several times a year just to stretch it’s legs and keep things moving. It has pretty much been garaged it's entire life. The car still runs very smoothly and is a nice driver. It has a little over 98K miles on it.
-
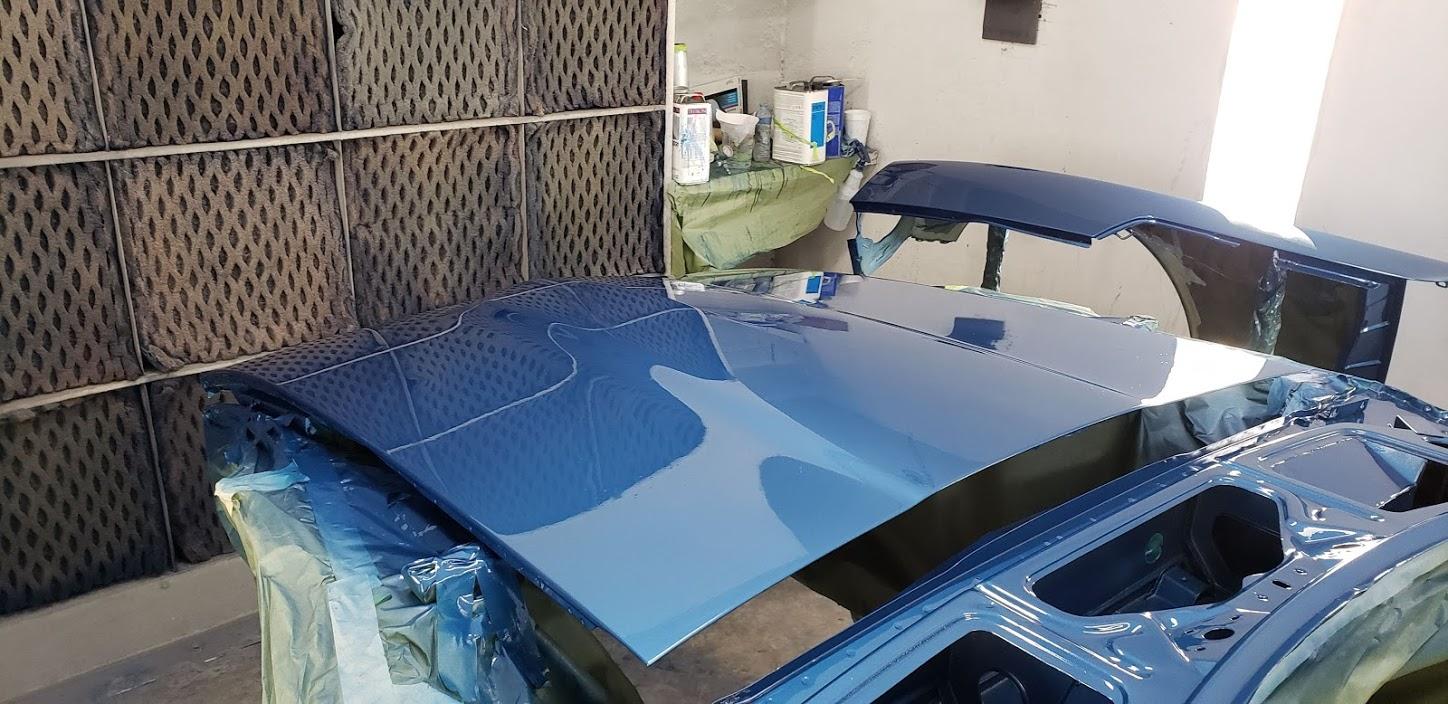
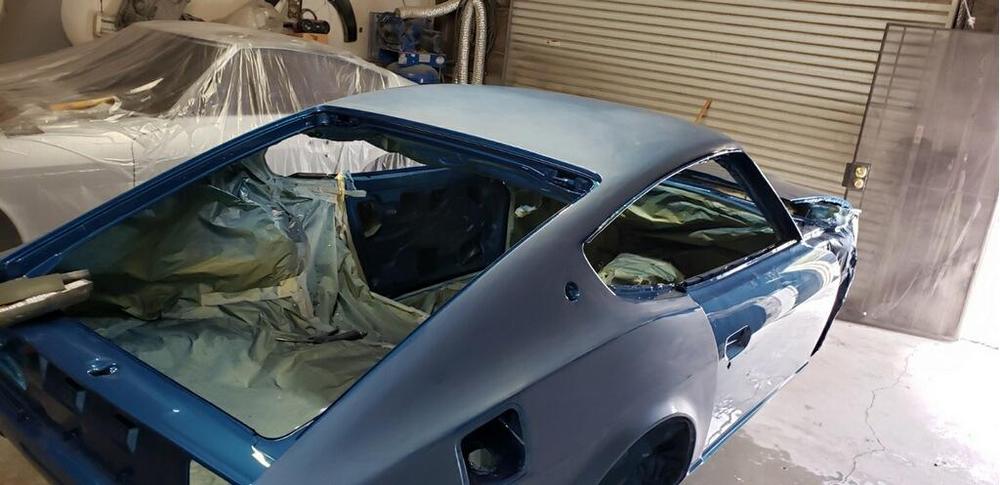
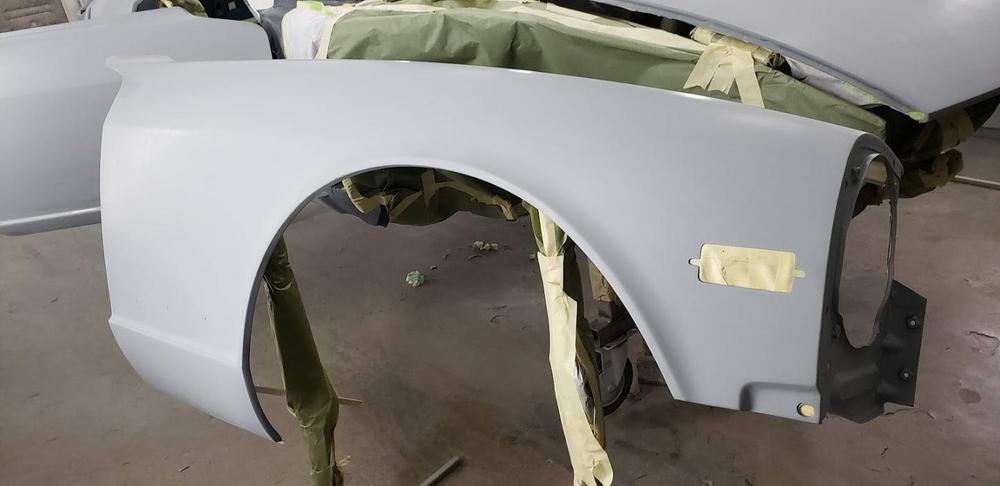
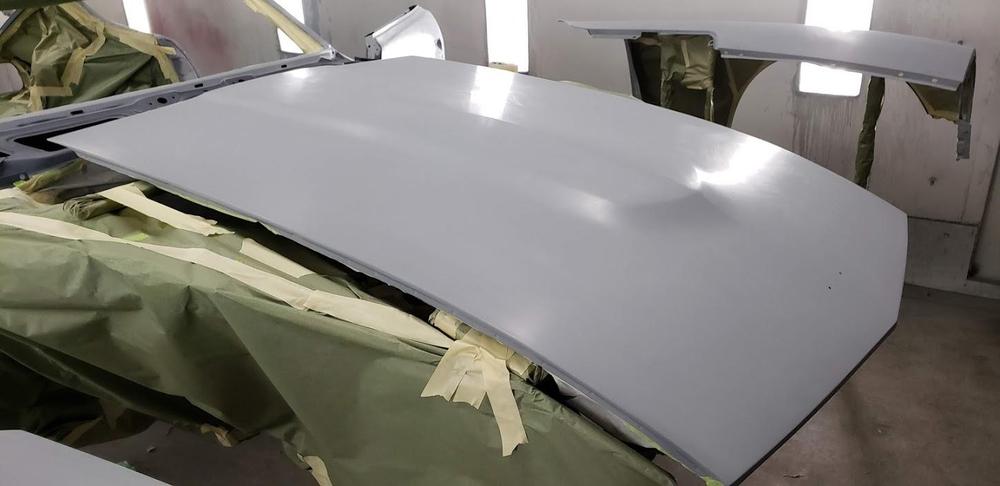
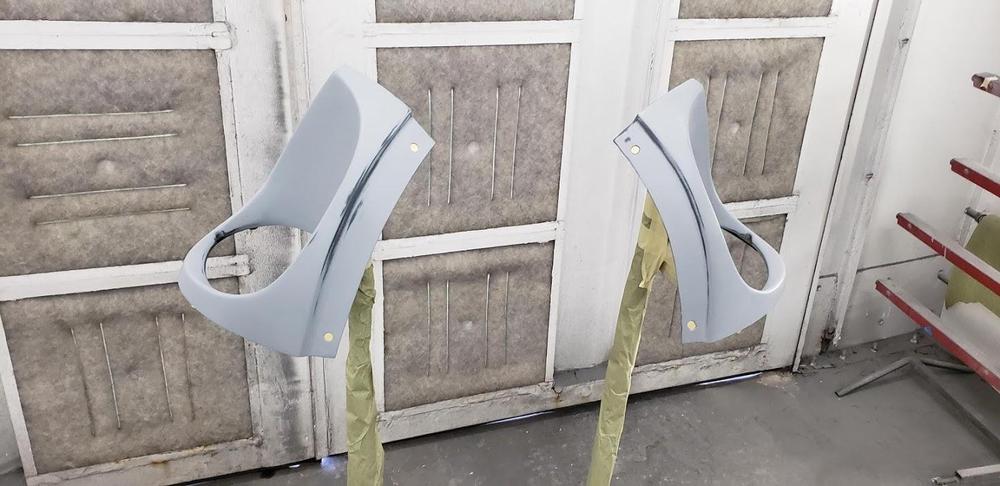
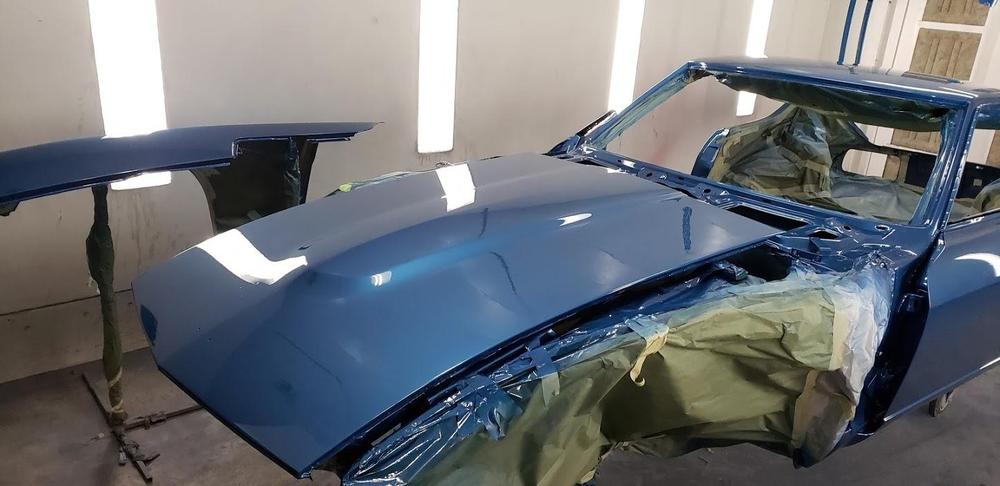
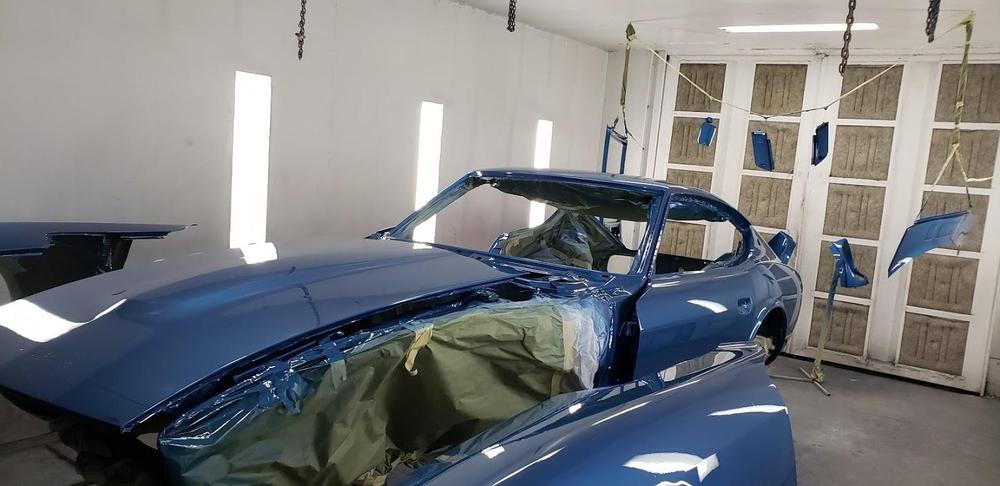
Paint (clearcoat) is finished with color sanding and is now being polished. Will pick up car this Wednesday and get this into my garage. That is when the real fun begins.

-
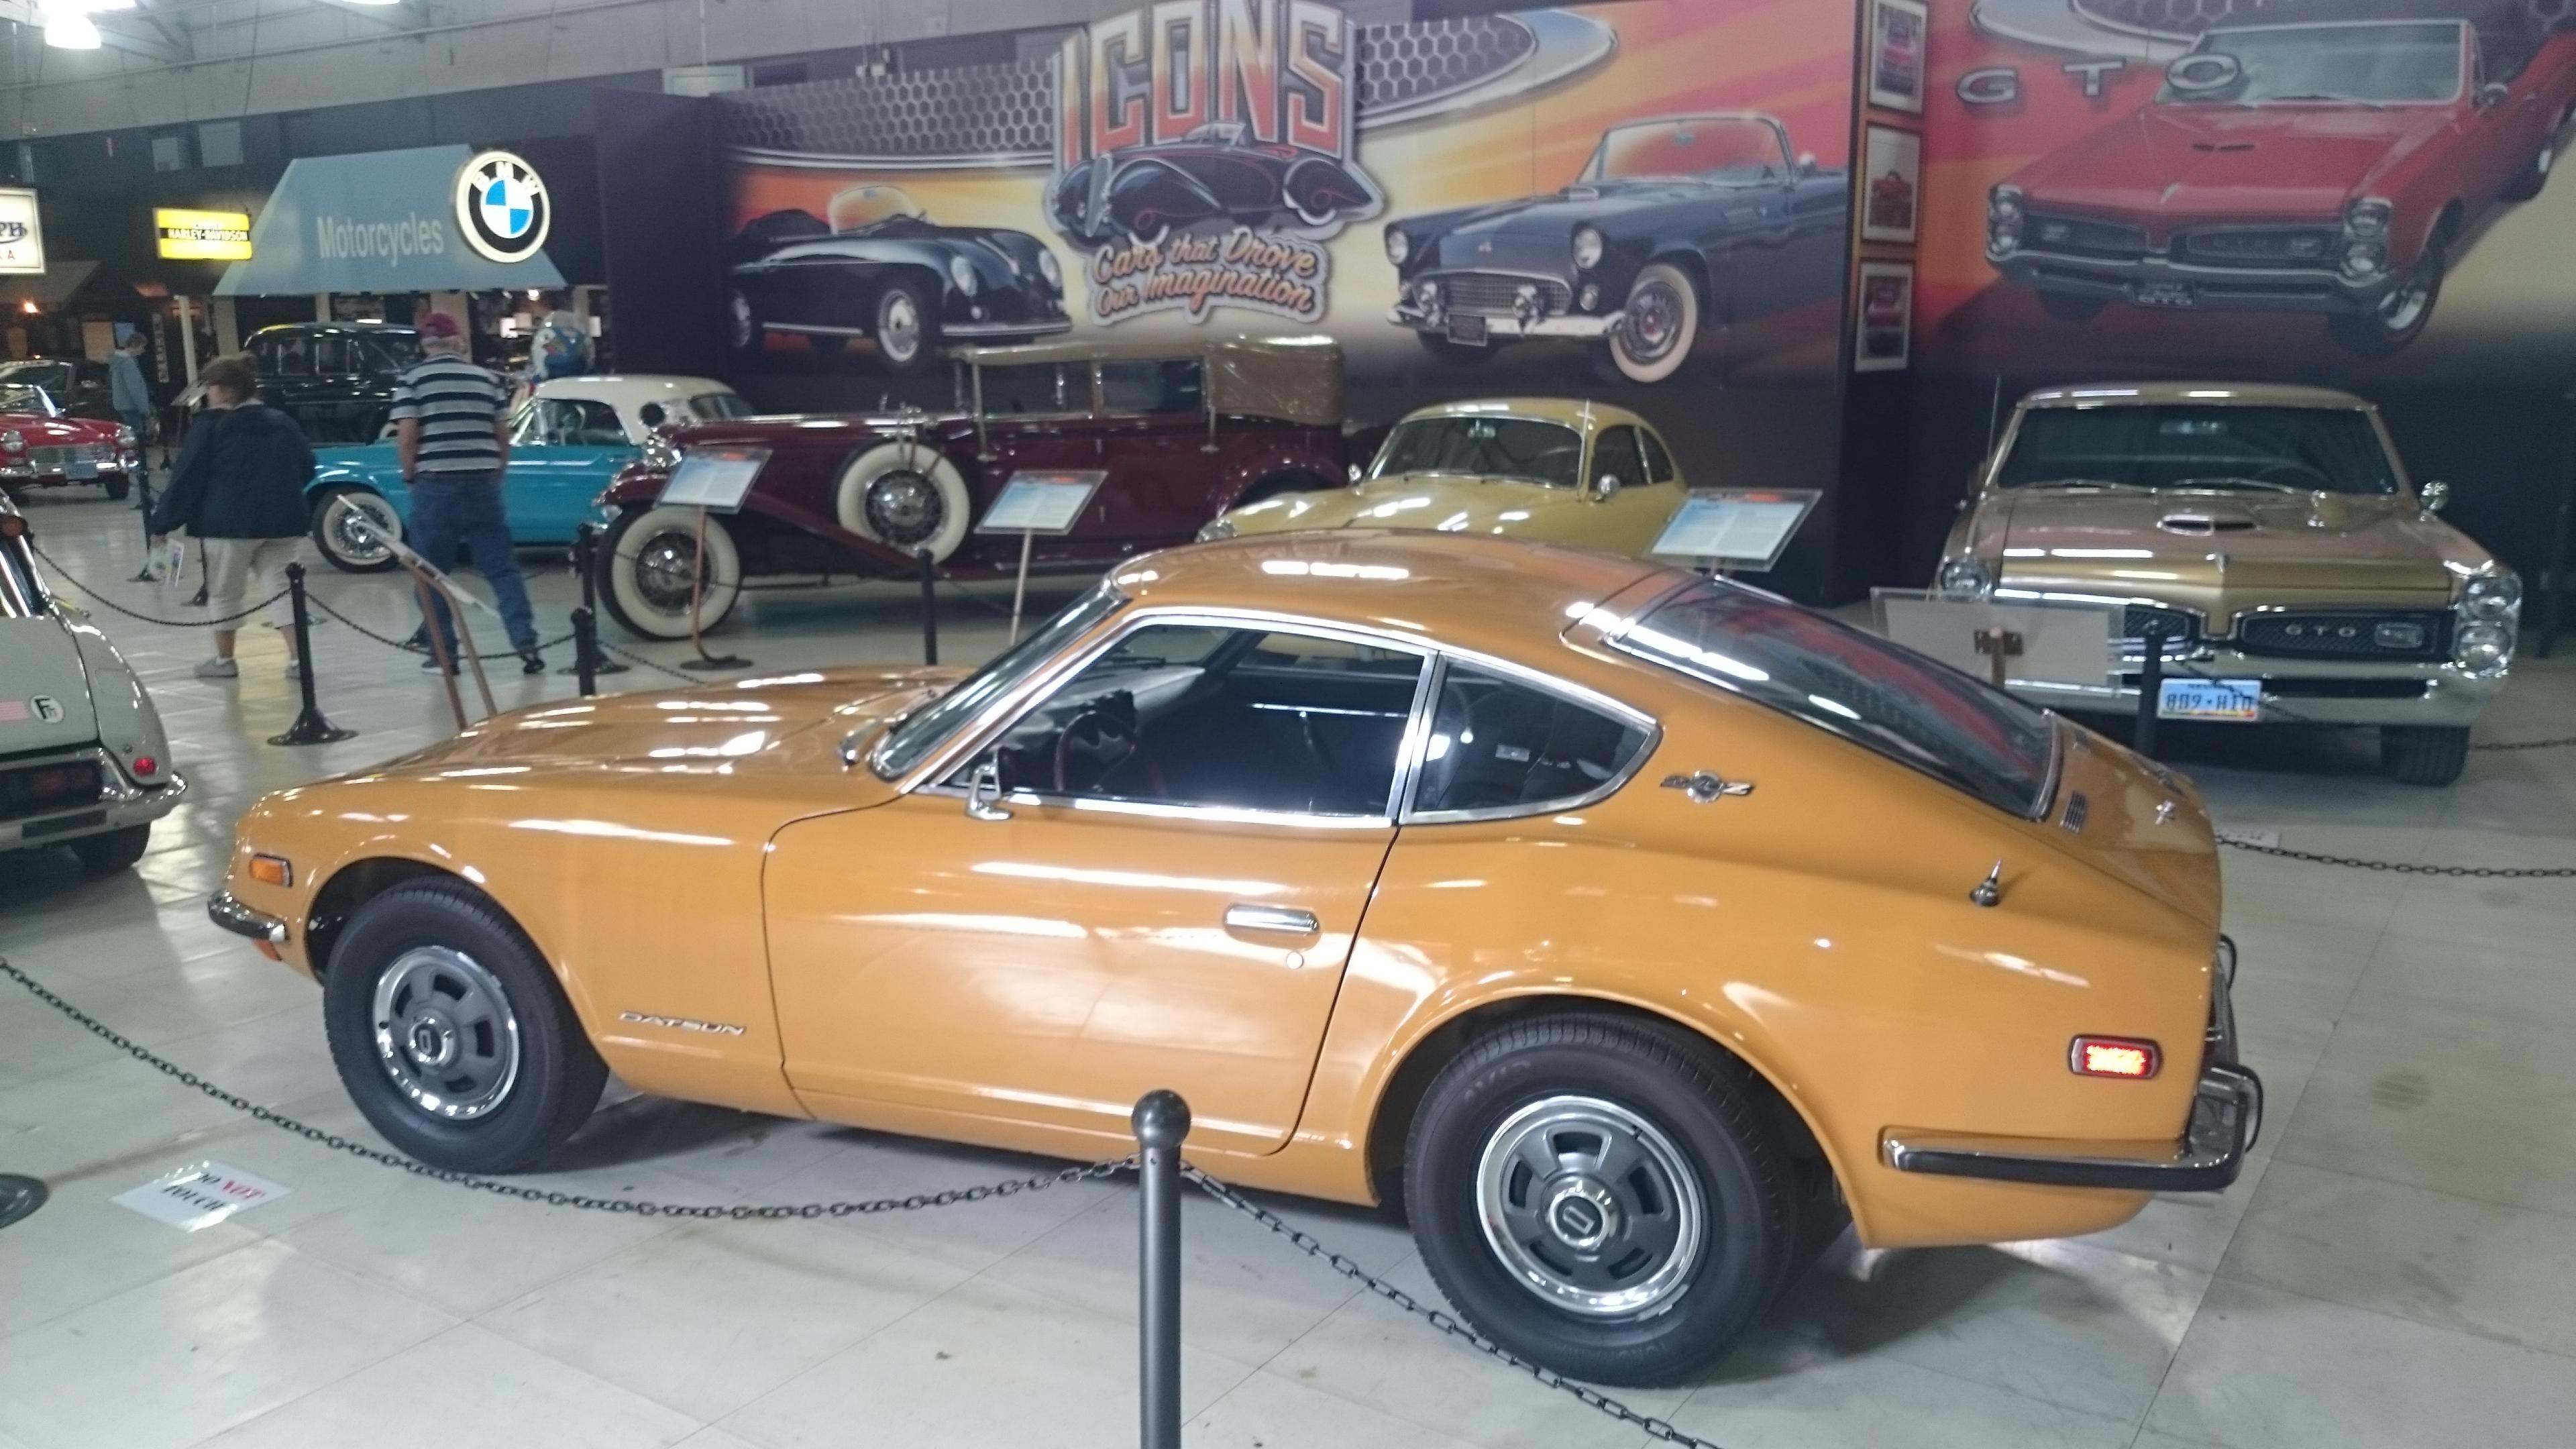
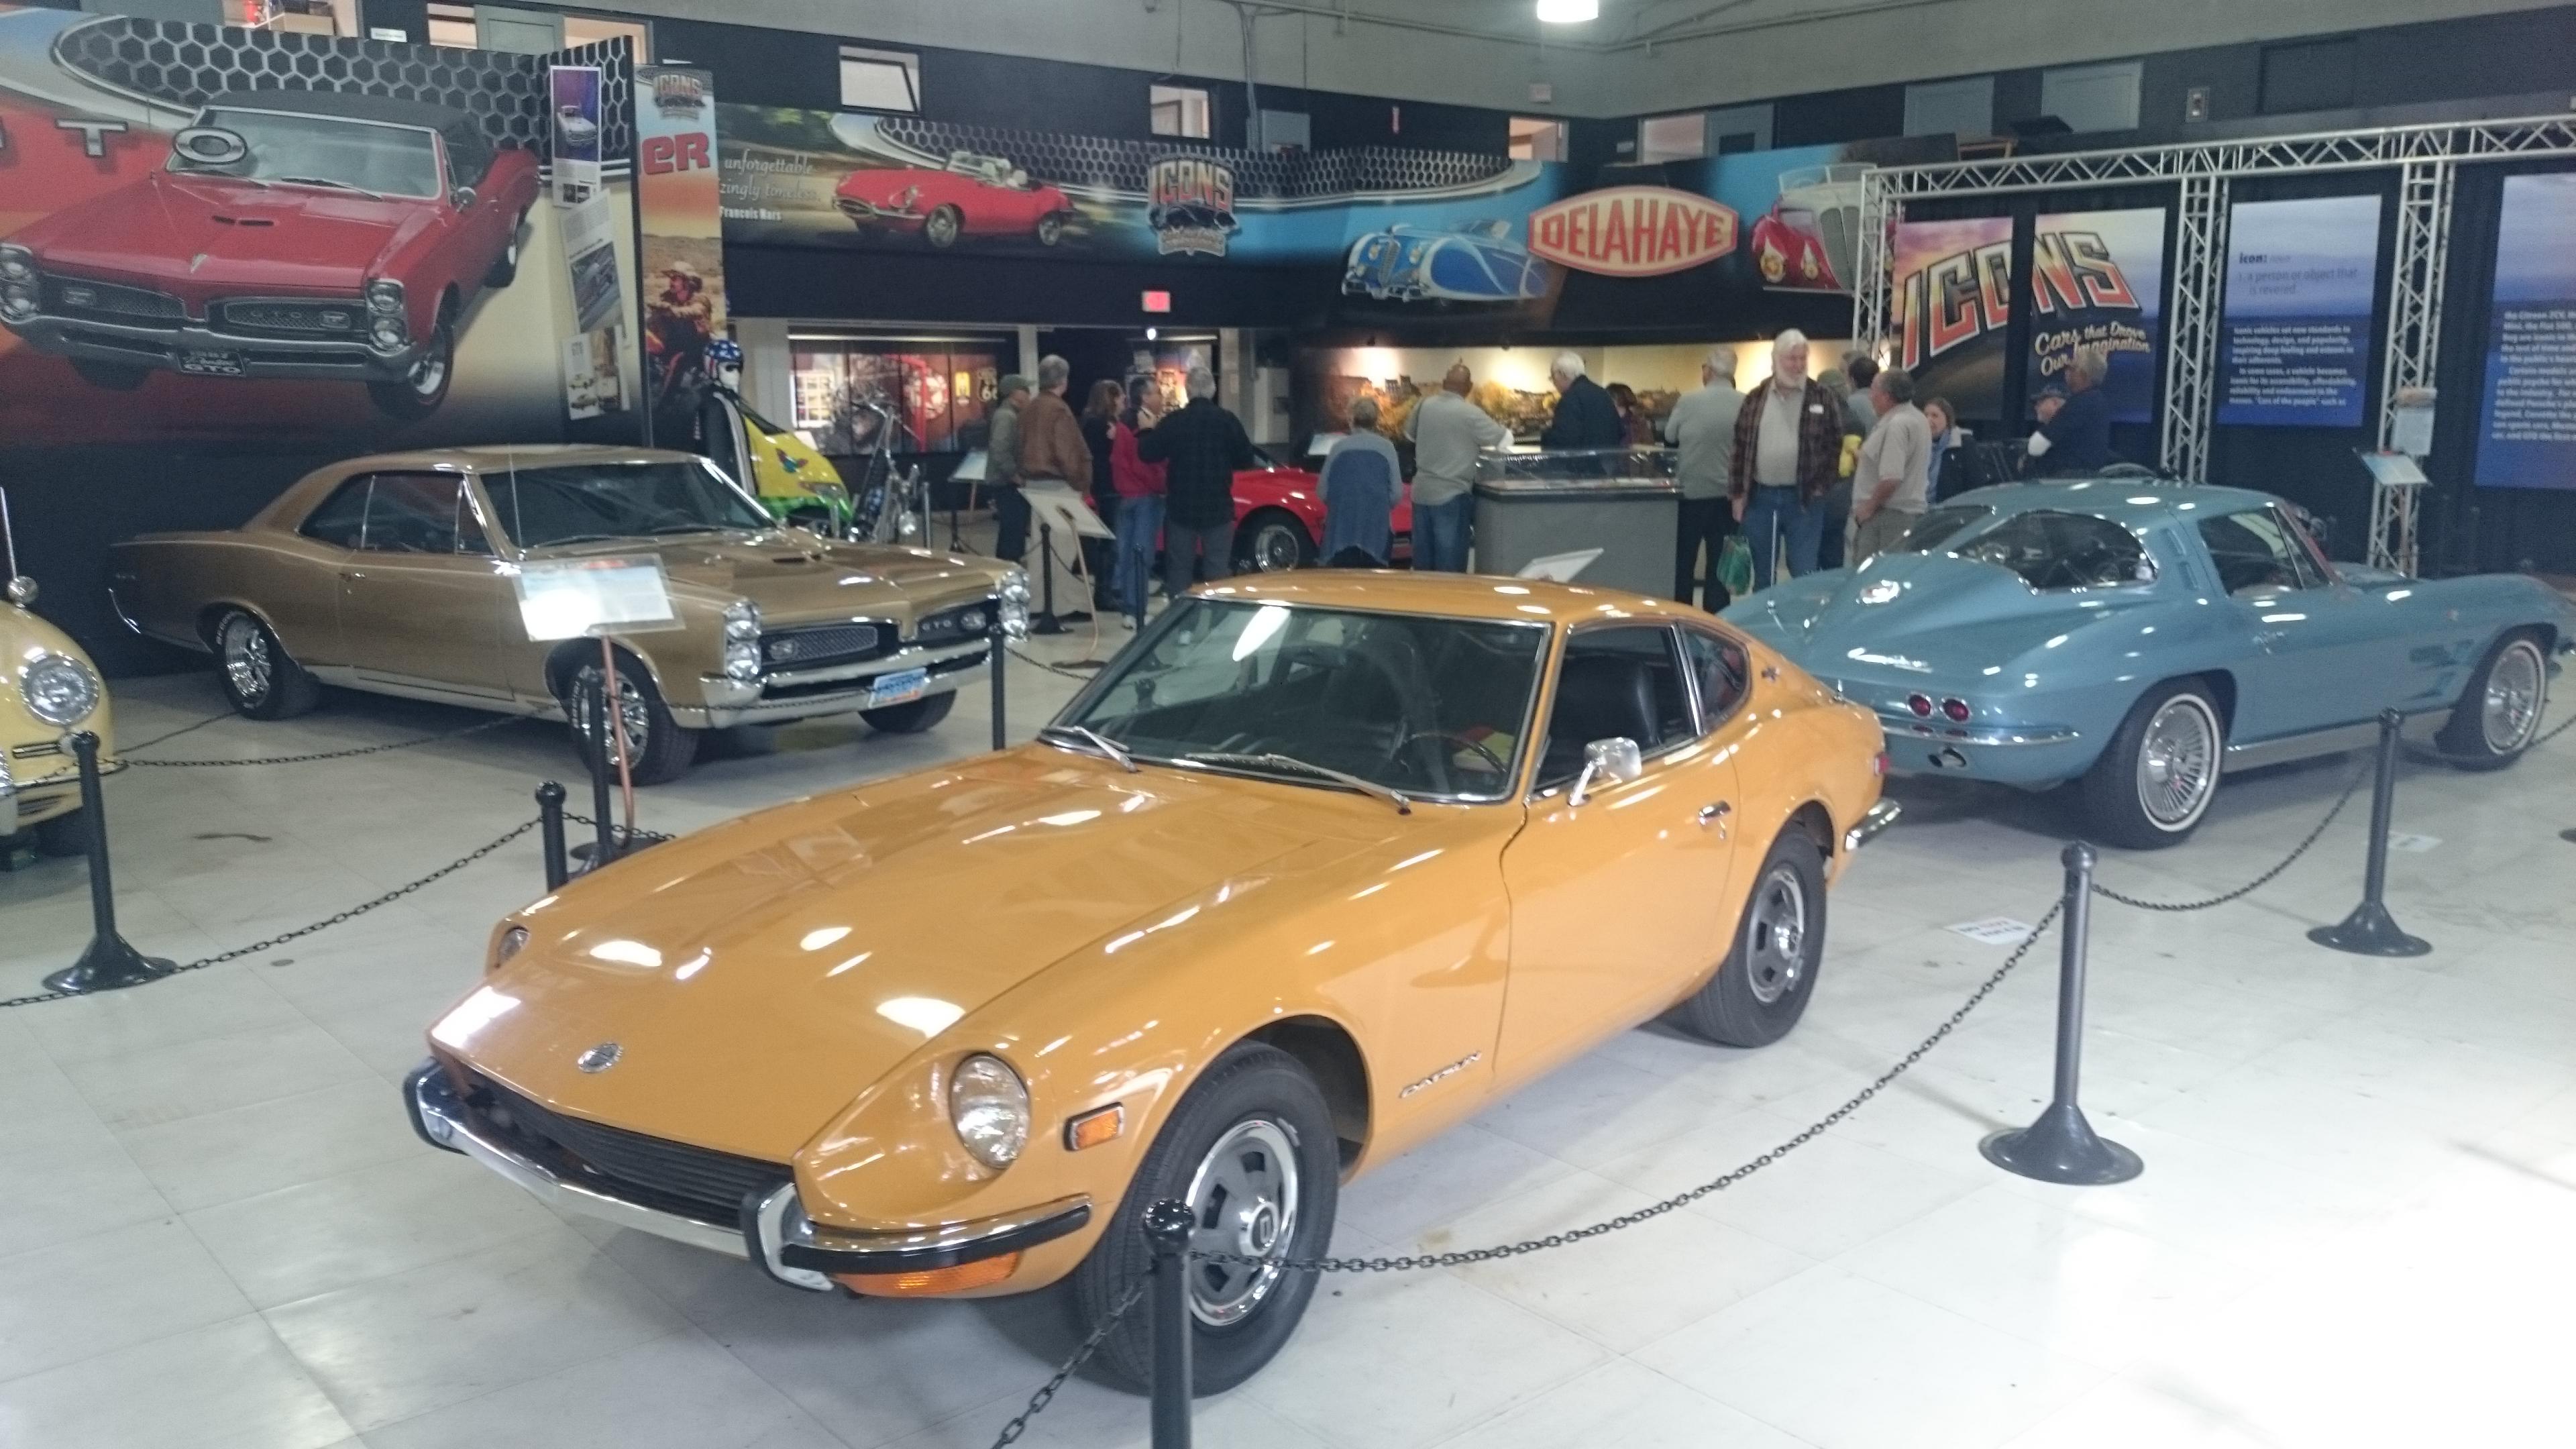
I should update the title of this thread to 'Z cars at the Concours and Museums'. My '70 is now on display at the San Diego Auto Museum. They have an exhibit that started Feb 2, 2019 called "Icons, Cars that Drove our Imagination" : https://sdautomuseum.org/exhibit/icons The Roadster is at the Petersen Museum: https://www.petersen.org/1969-datsun-1600-roadster/ Love that free storage!


-
No, I leave that to the experts. Miguel at https://www.facebook.com/CustomsByMiguel/ does all the body work and paint. He is pretty amazing...and a bit slow, but worth the wait.
-
OMG, I'm drooling. This will be one sweet ride. Can't wait to start assembly.


-
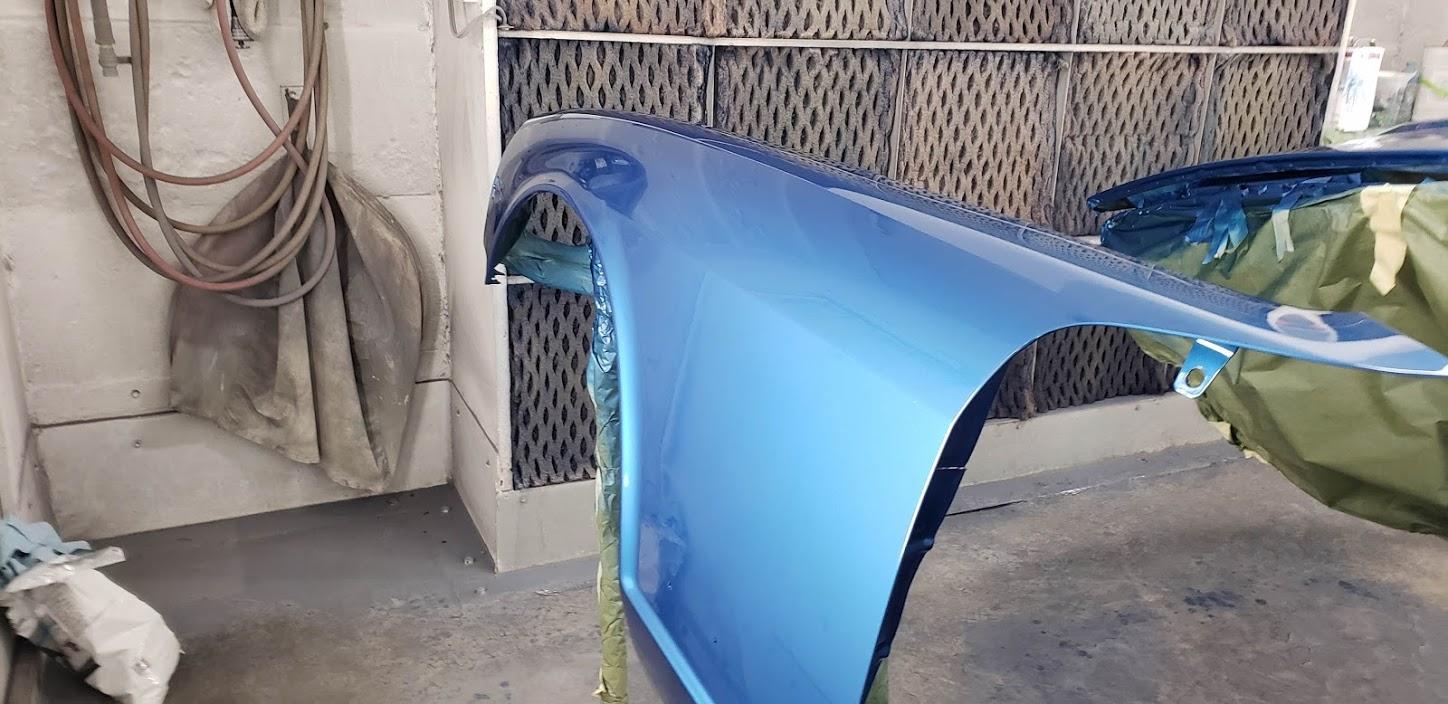
Here's a teaser photo....more to follow
-
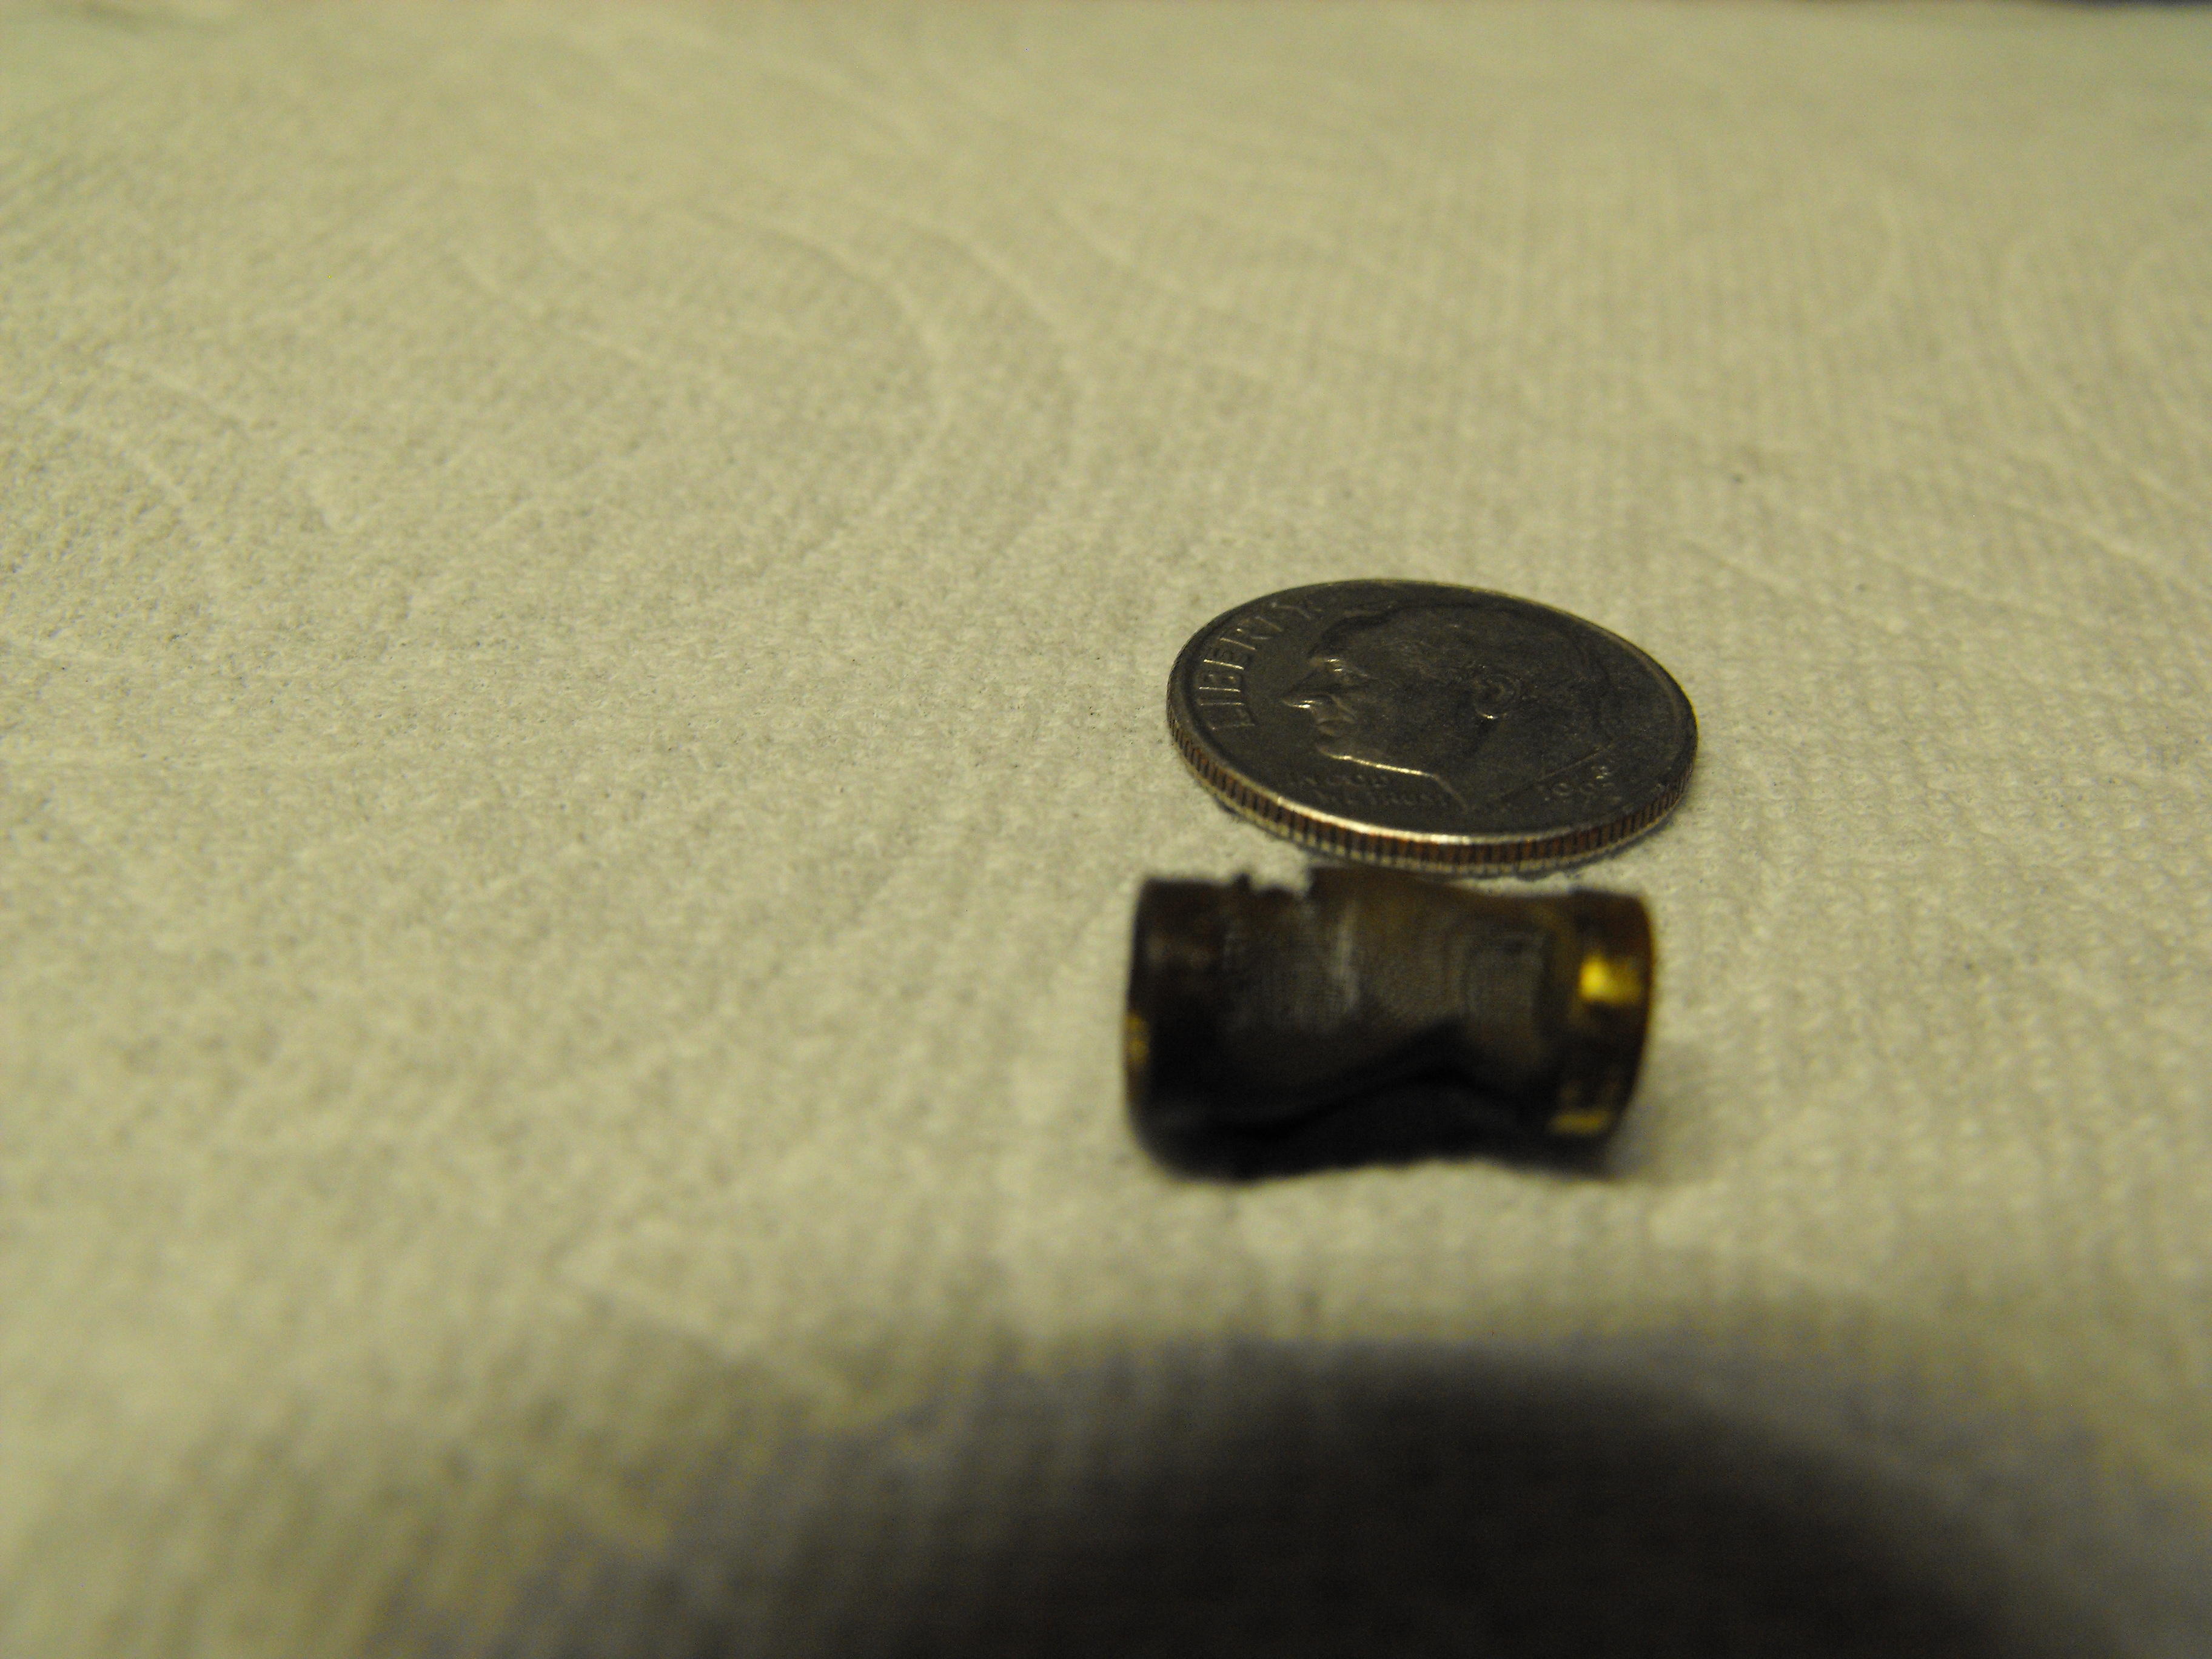
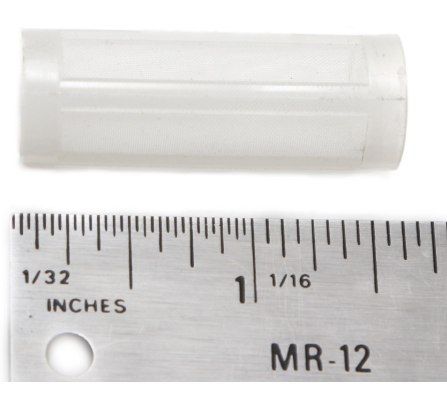
I measured the filter with my calipers. It is .5" (12.7mm) long and .25" (6.4mm)diam. Those fuel injector filters are pretty doggone close. Will need to open up the small end as the carb filter is open on both sides. Will do a bit more checking here. If nothing shows up, I will PM you with my info.
-
Will take measurement tonight in millimeters. If they are close I will take you up on your offer, Thanks!
-
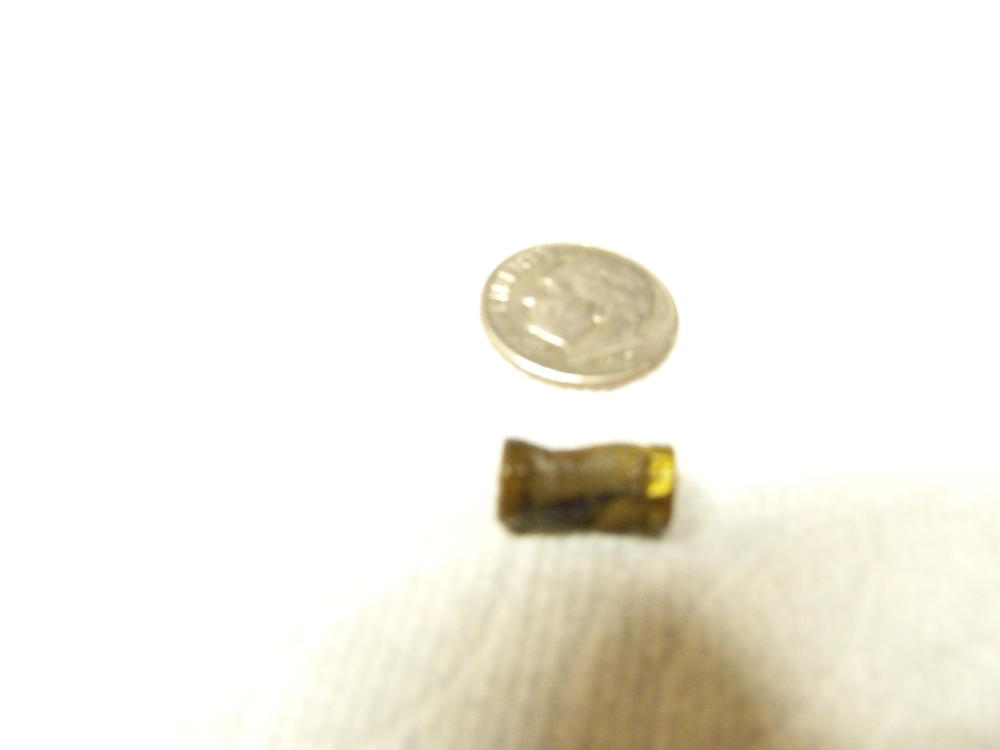
Actually, they look like they may be just right. The old flat top filter is shown on the earlier pics next to the dime. The white one above is for a fuel pump and looks to be 3X too large. Do you have a part number? Thanks
-
Hmmm, it's a bit large, but definitely the right shape.
-
Will look into that....and go into production? ?
-
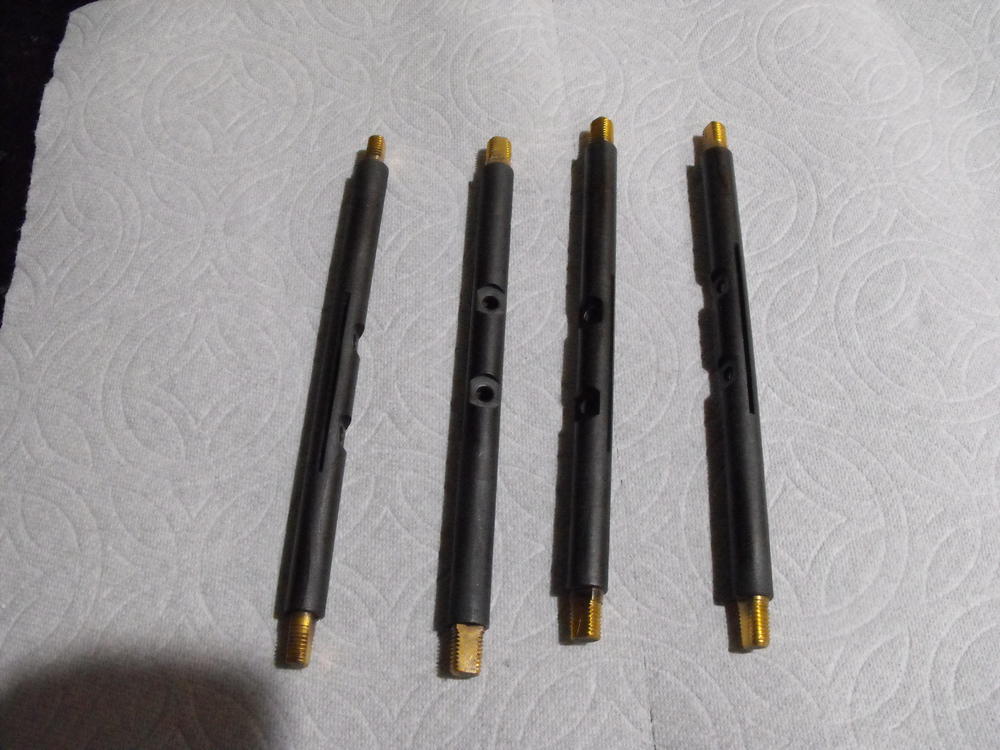
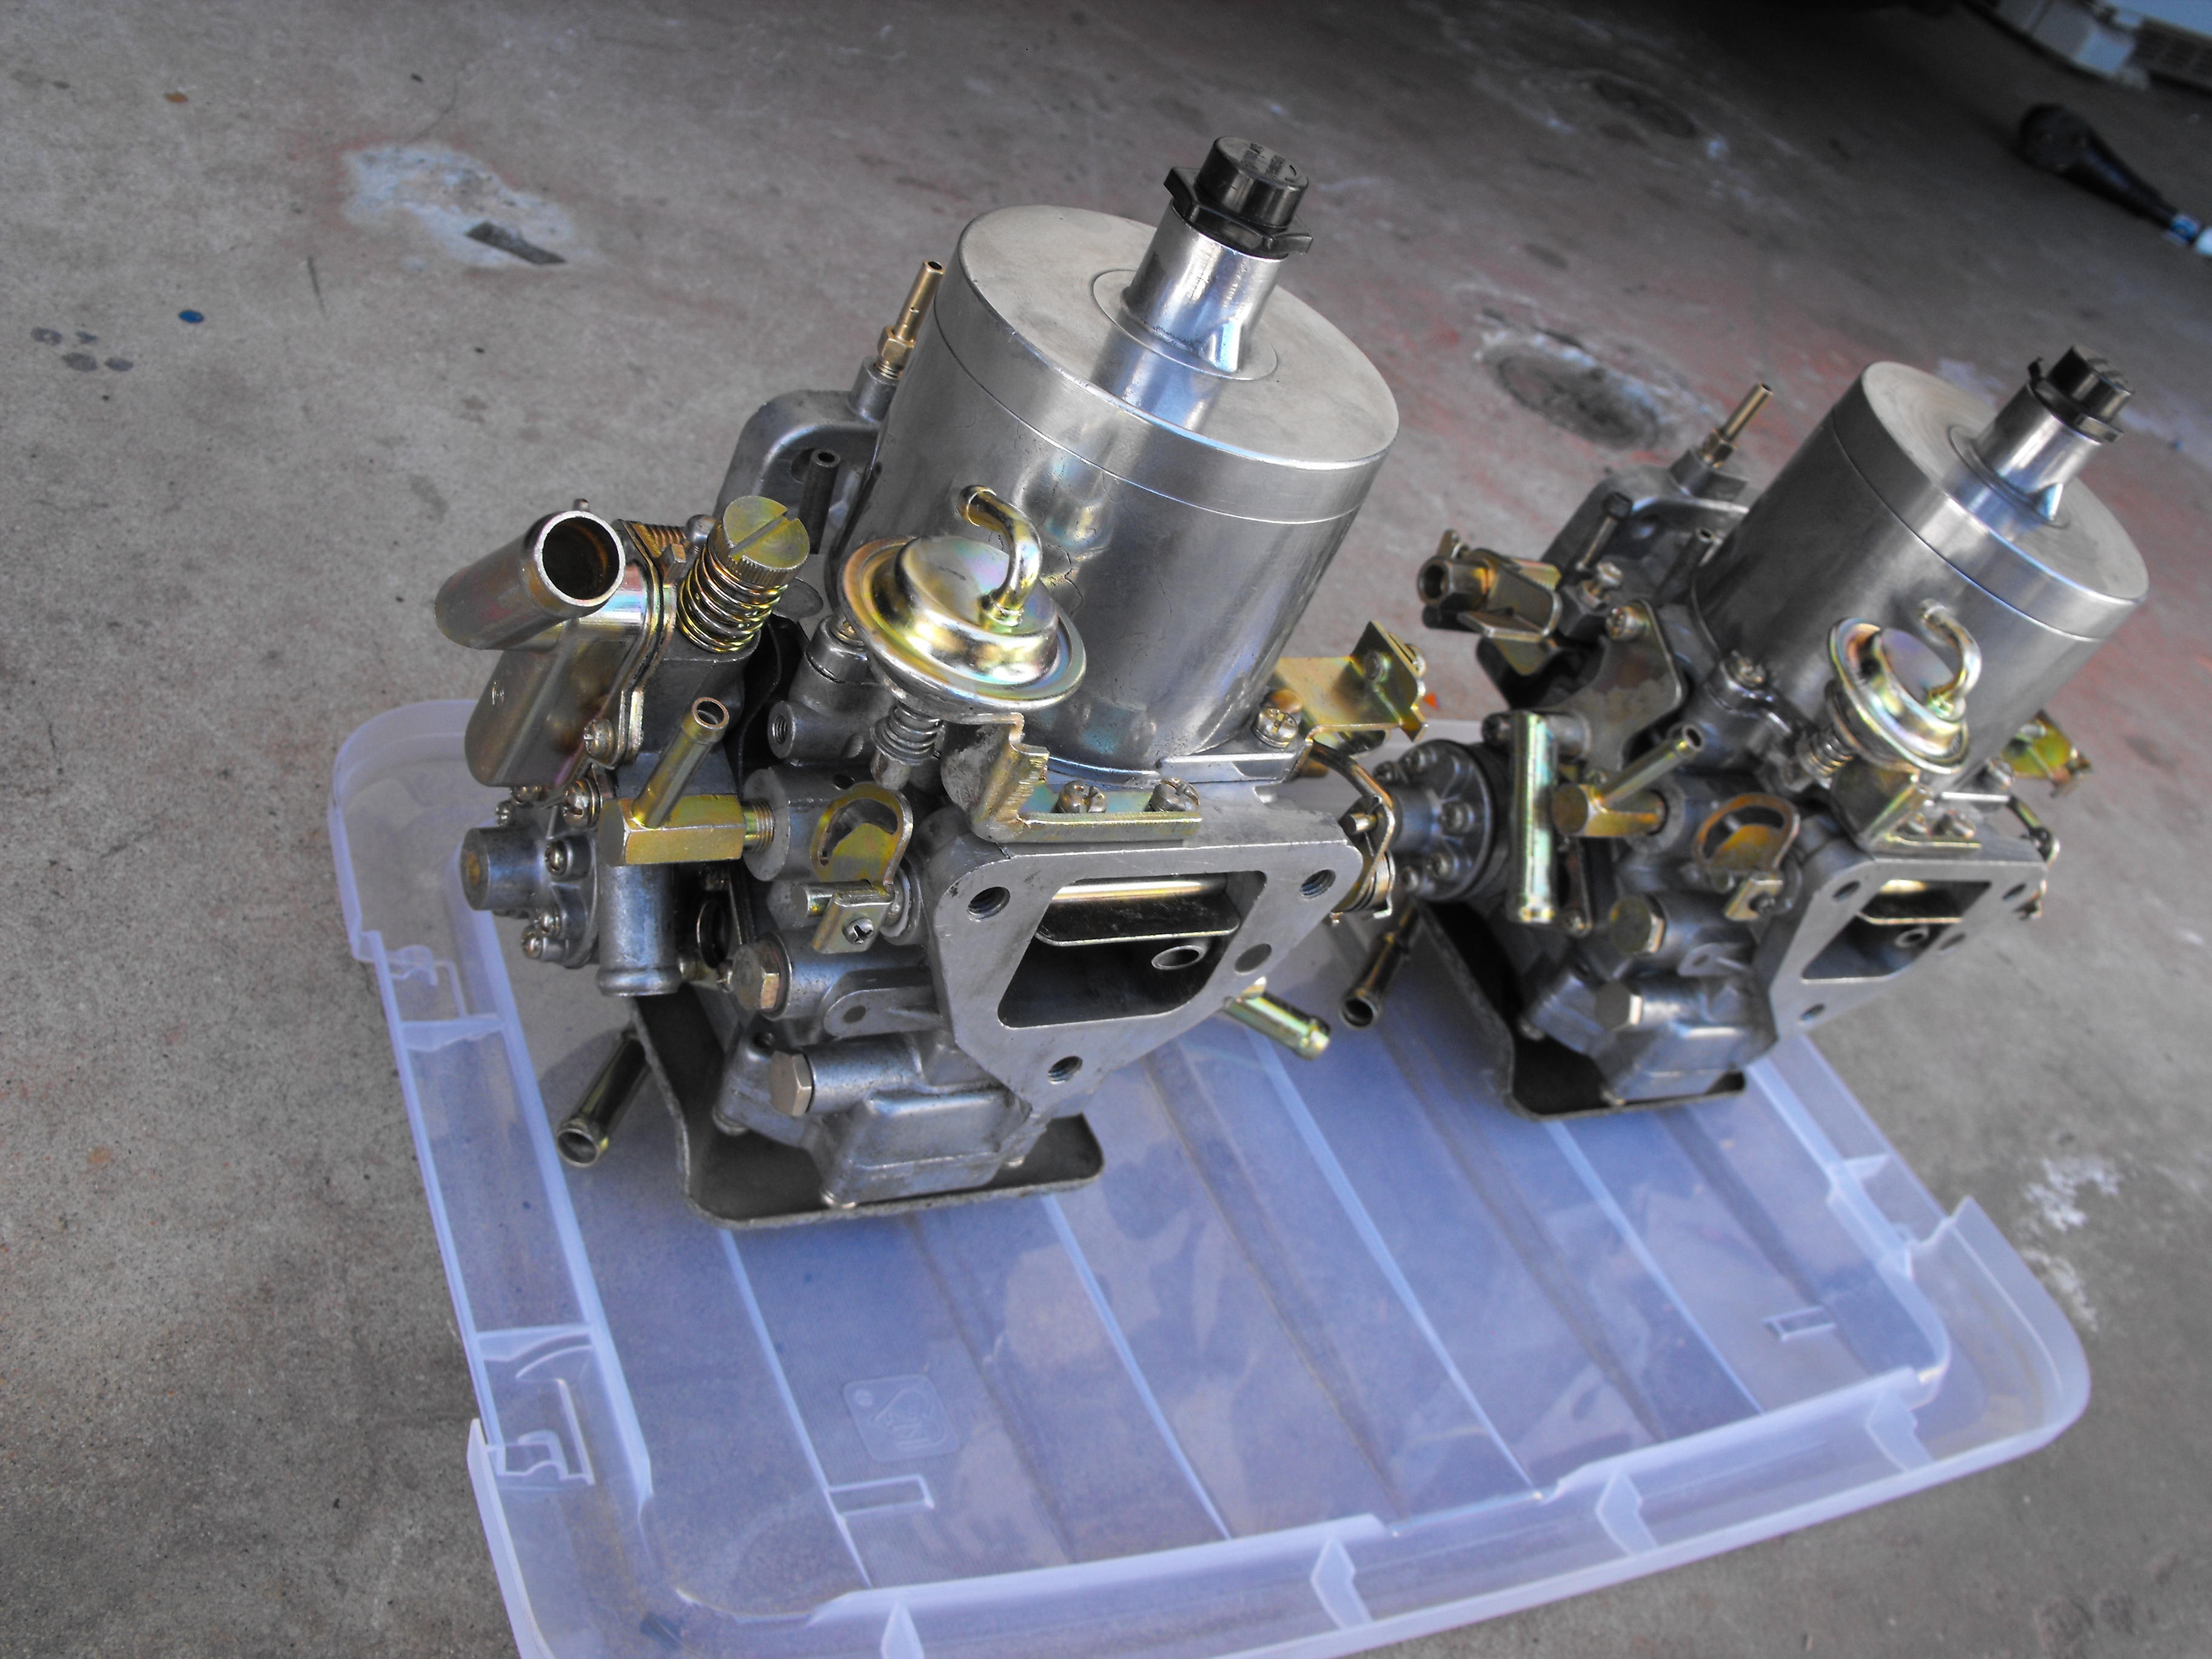
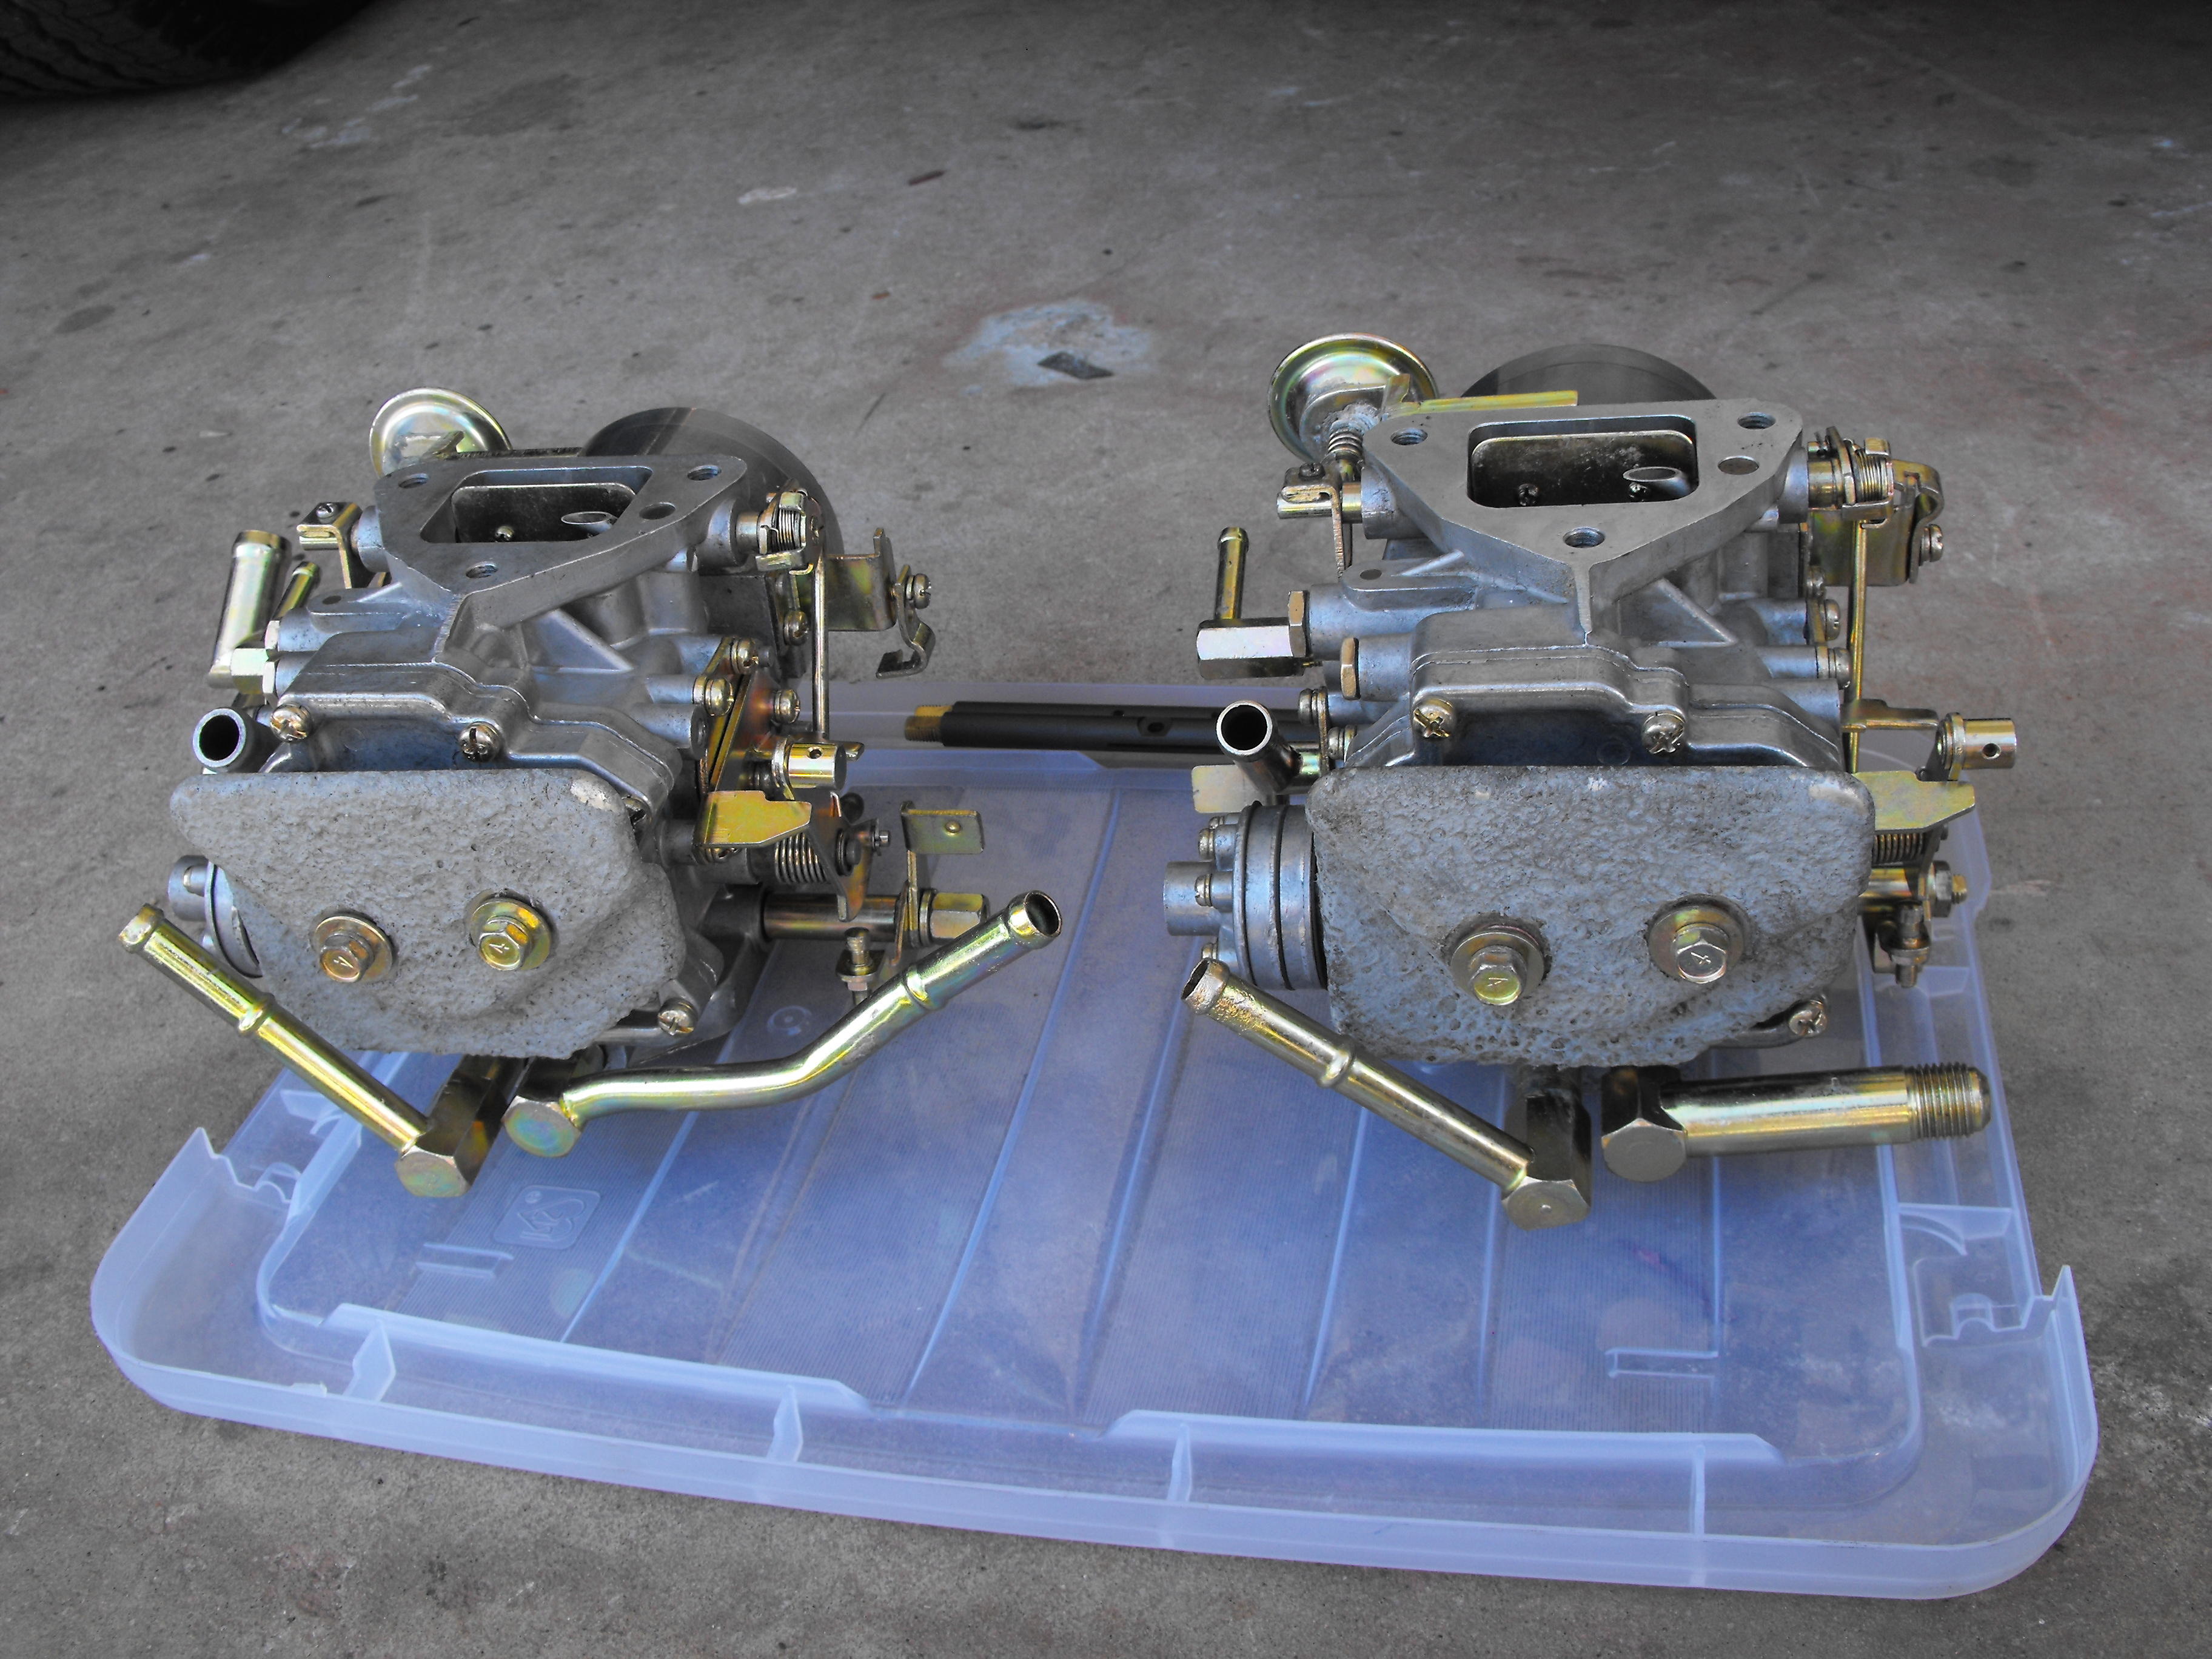
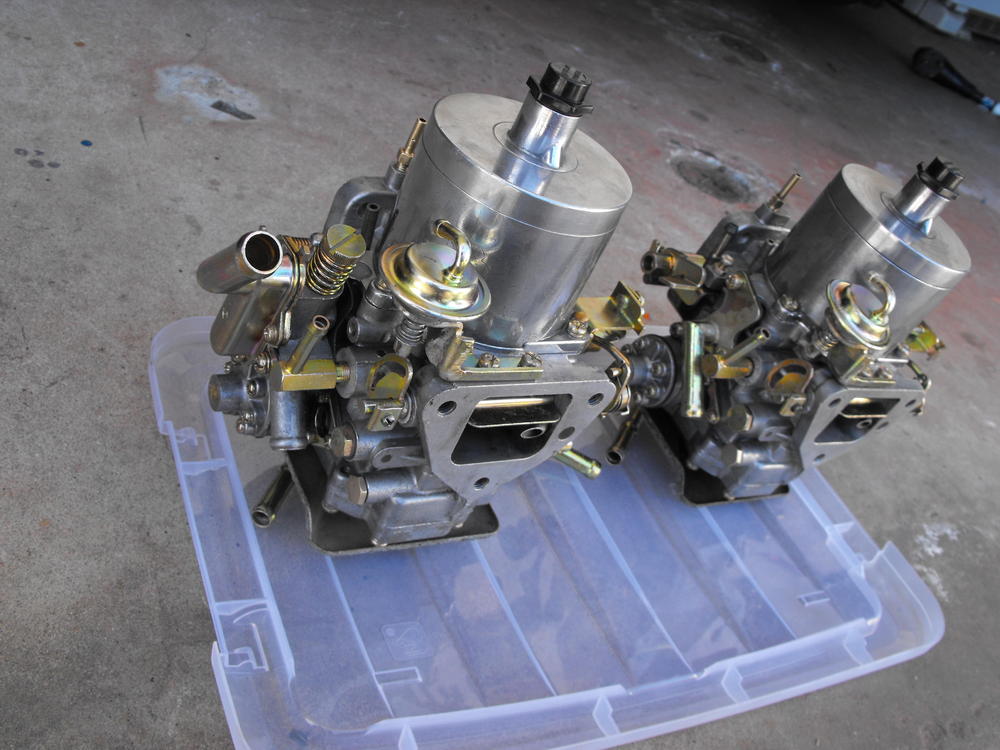
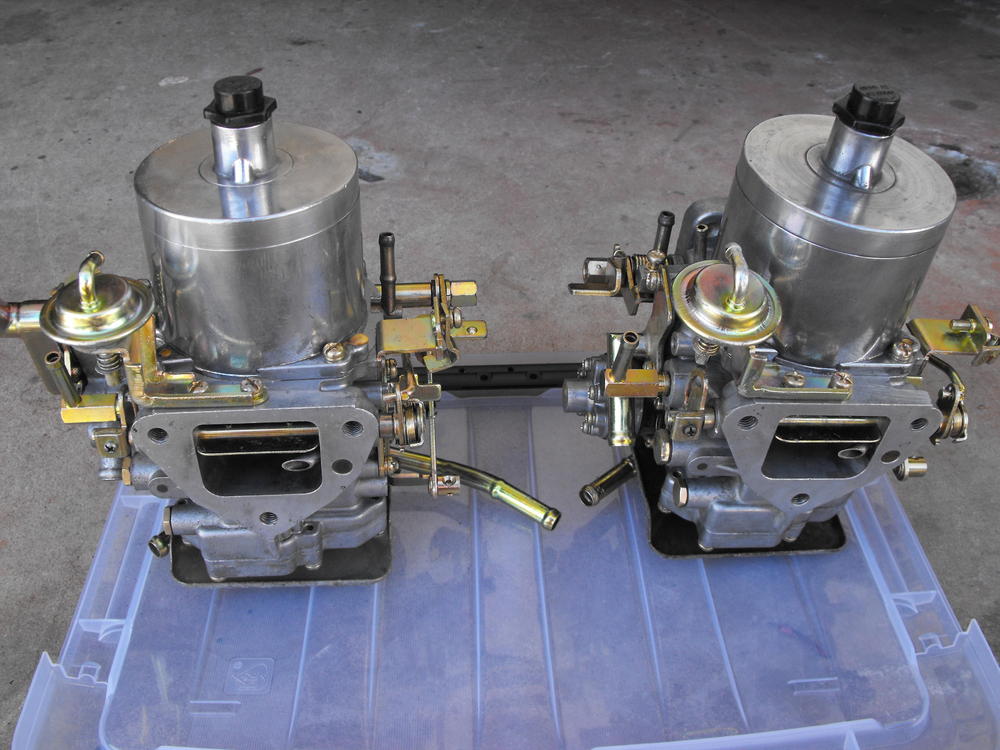
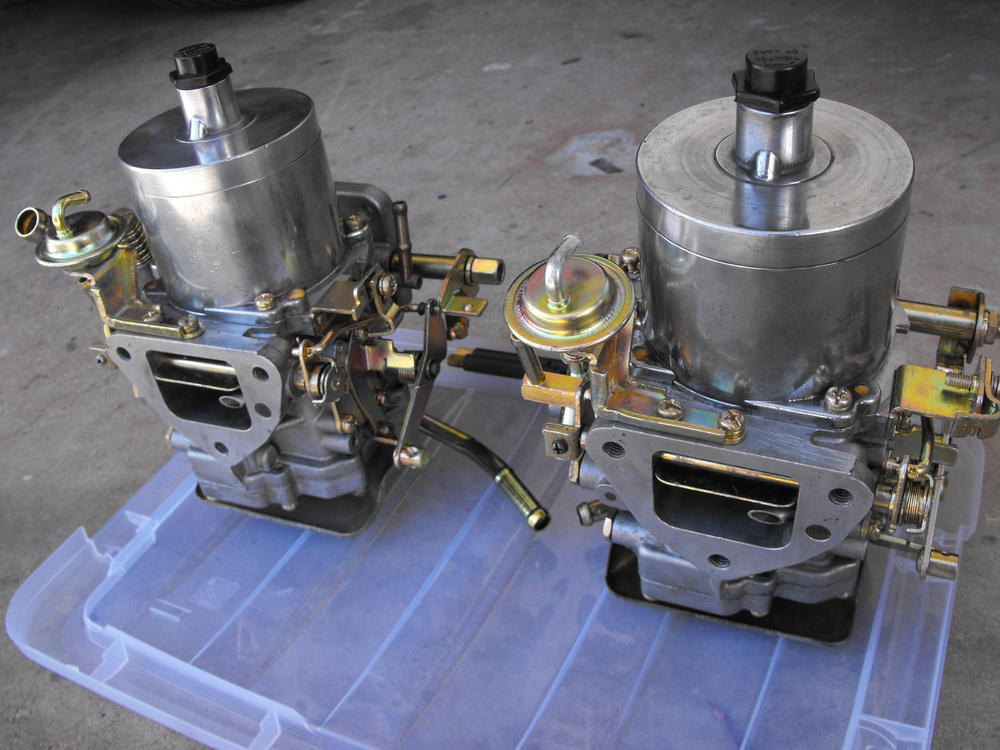
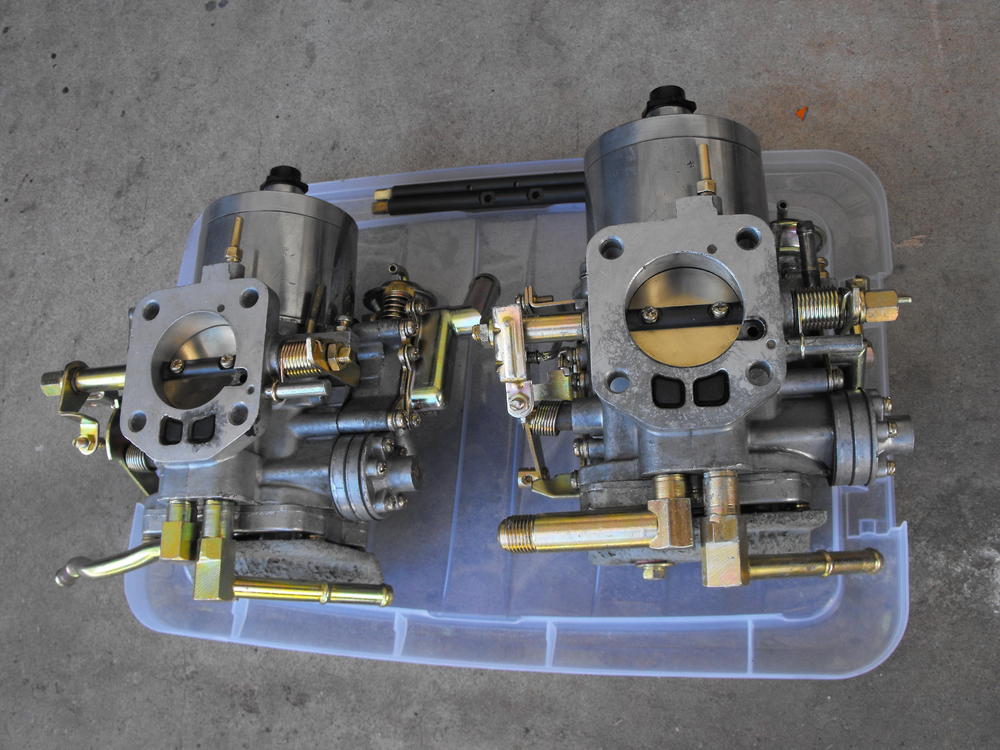
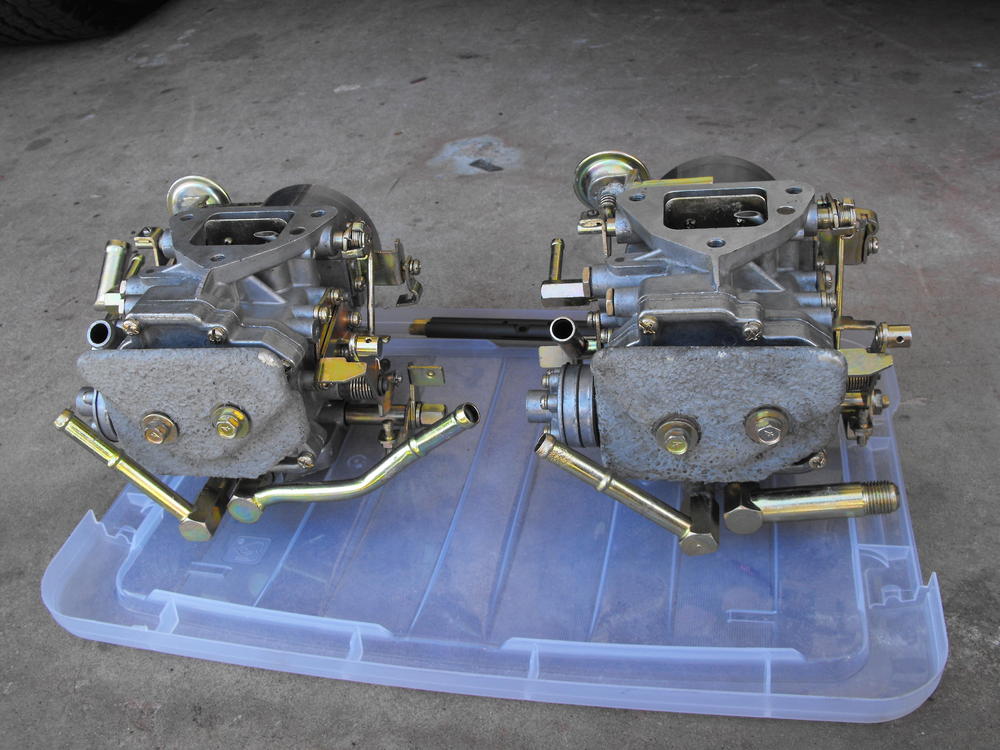
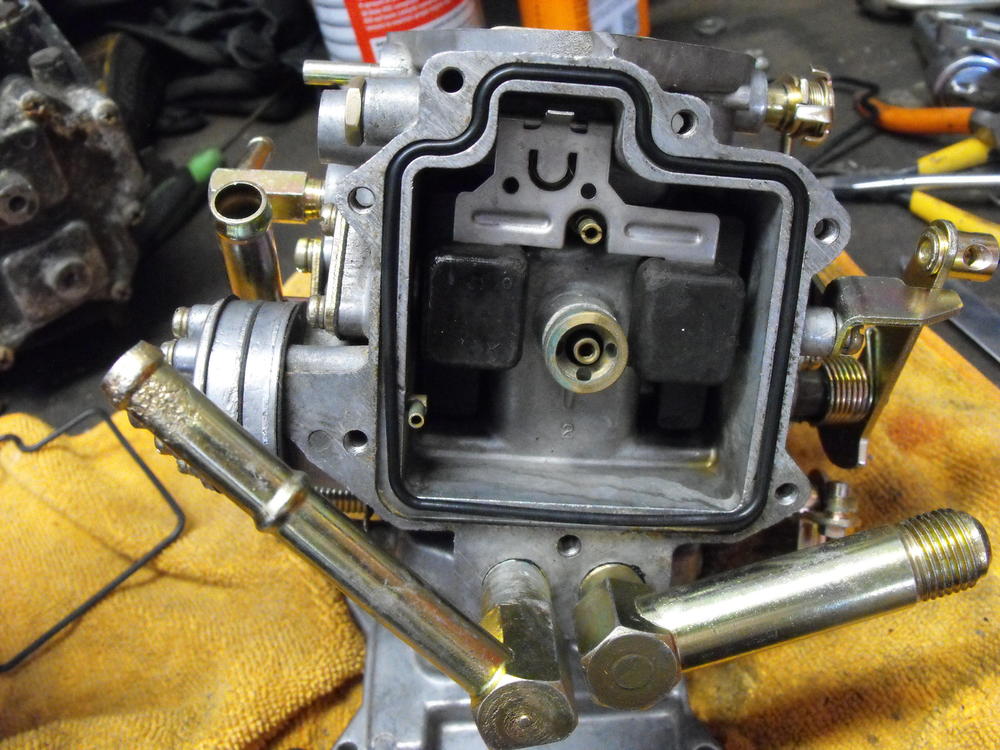
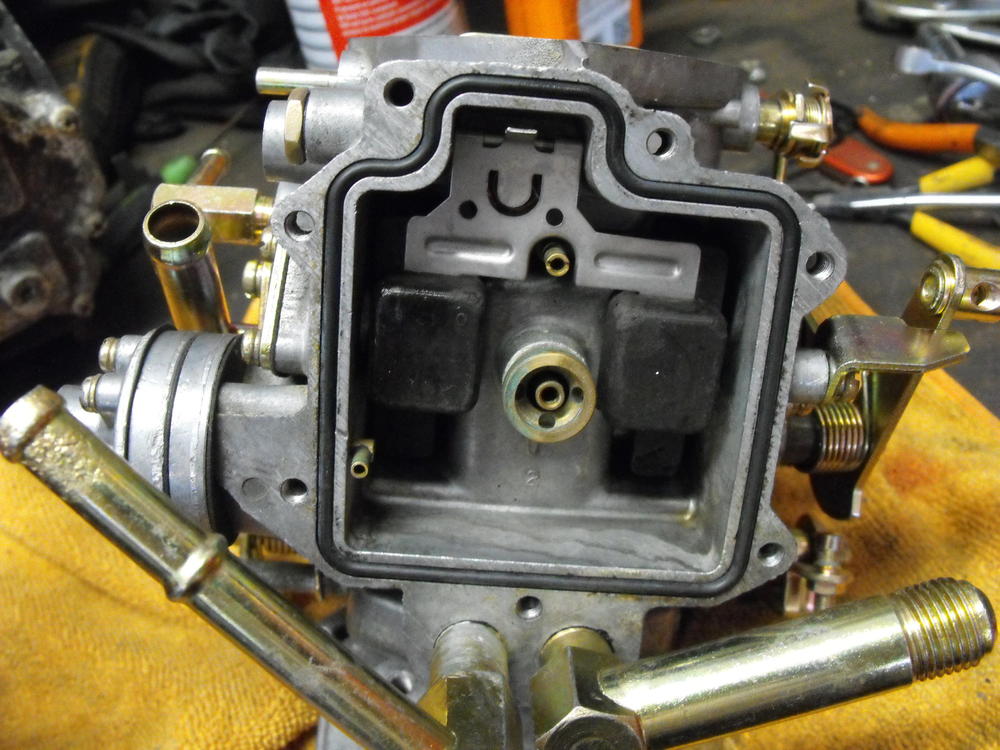
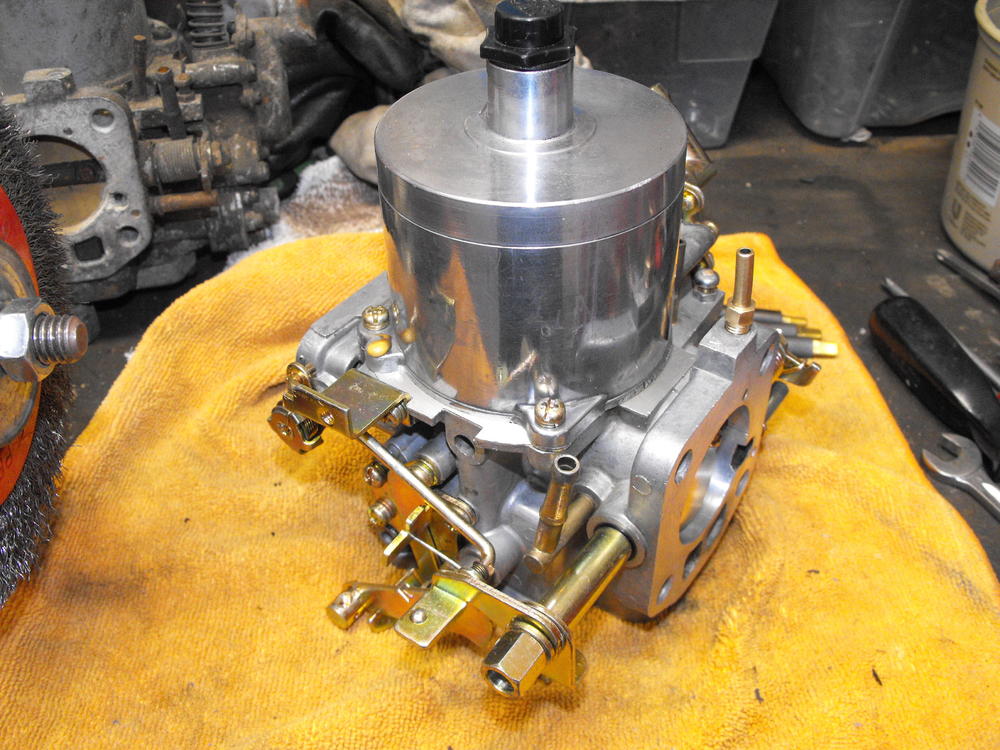
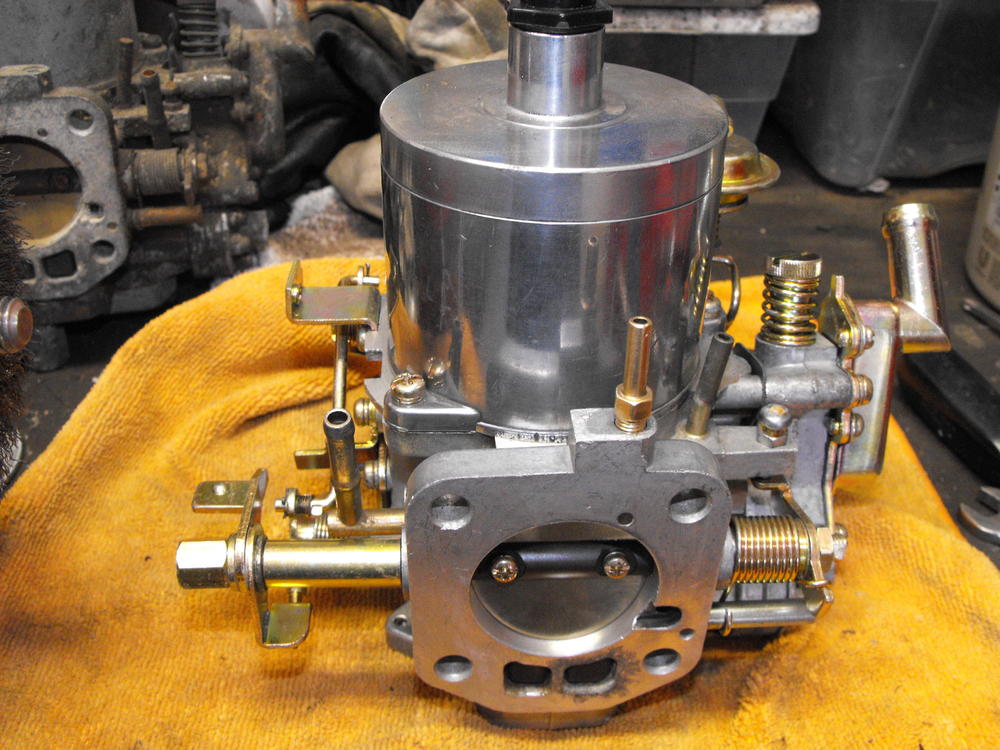
They really came out nice. My favorite part though is something that you will not see when installed and that is the throttle shafts with the throttle plates. They really fit nice in the carb with the dry film lube coating. I put a little bit of light oil on the interface with the bushing and they turn very smoothly with a nice seal. All the mechanisms and floats have been adjusted. They operate very nicely. Looking forward to having them operational.
-
The fuel filter looks like this, its very small. I have some of this at stuff at work that seems to be somewhat similar: https://www.twpinc.com/wire-mesh-material/stainless-steel/635-mesh-t316-stainless-138 Not sure how I would handle the edges yet.

-
Typically I do a light wire wheel on the heavy rust or corroded items. I also try and remove any grease or oil just because it contaminates the nicer parts. Also, all paint needs to be removed. No need to be real clean on everything and no need to remove the old zinc. They do a nice job with the plating.
-
I was thinking about that actually. I have a number of different stainless steel mesh sheets from a cancelled project at work that could possibly be used. Will look into that.
-
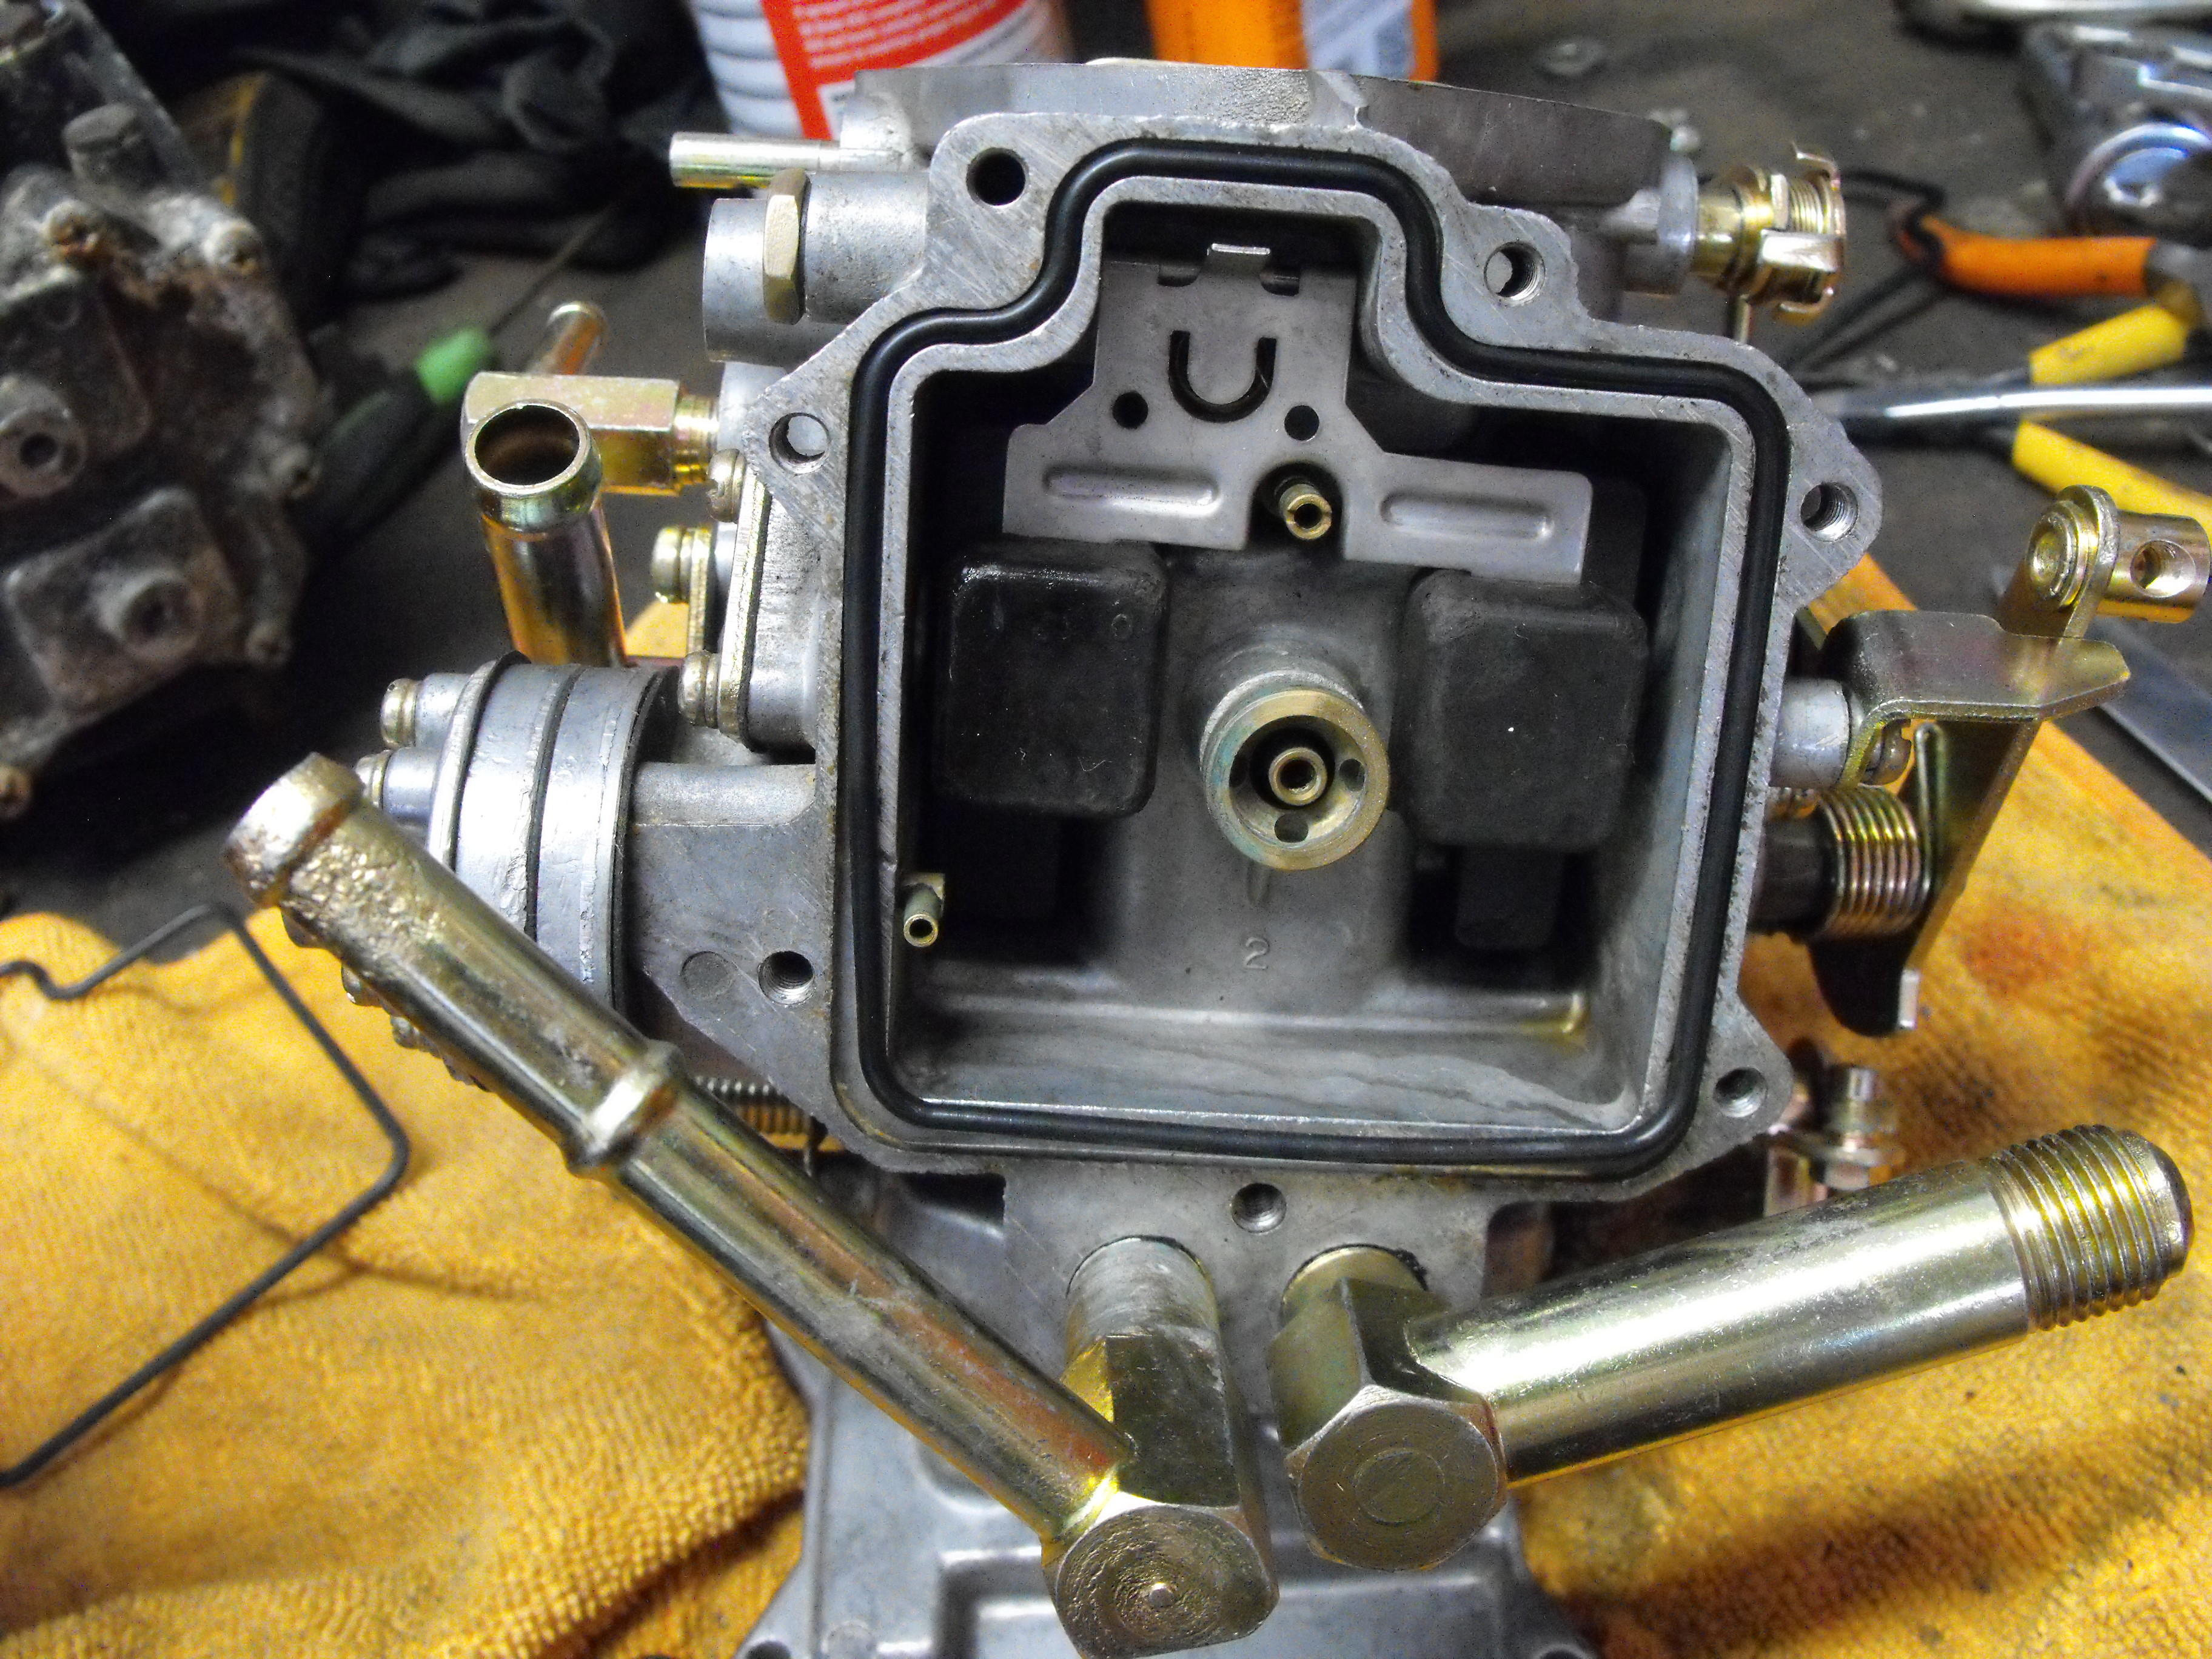
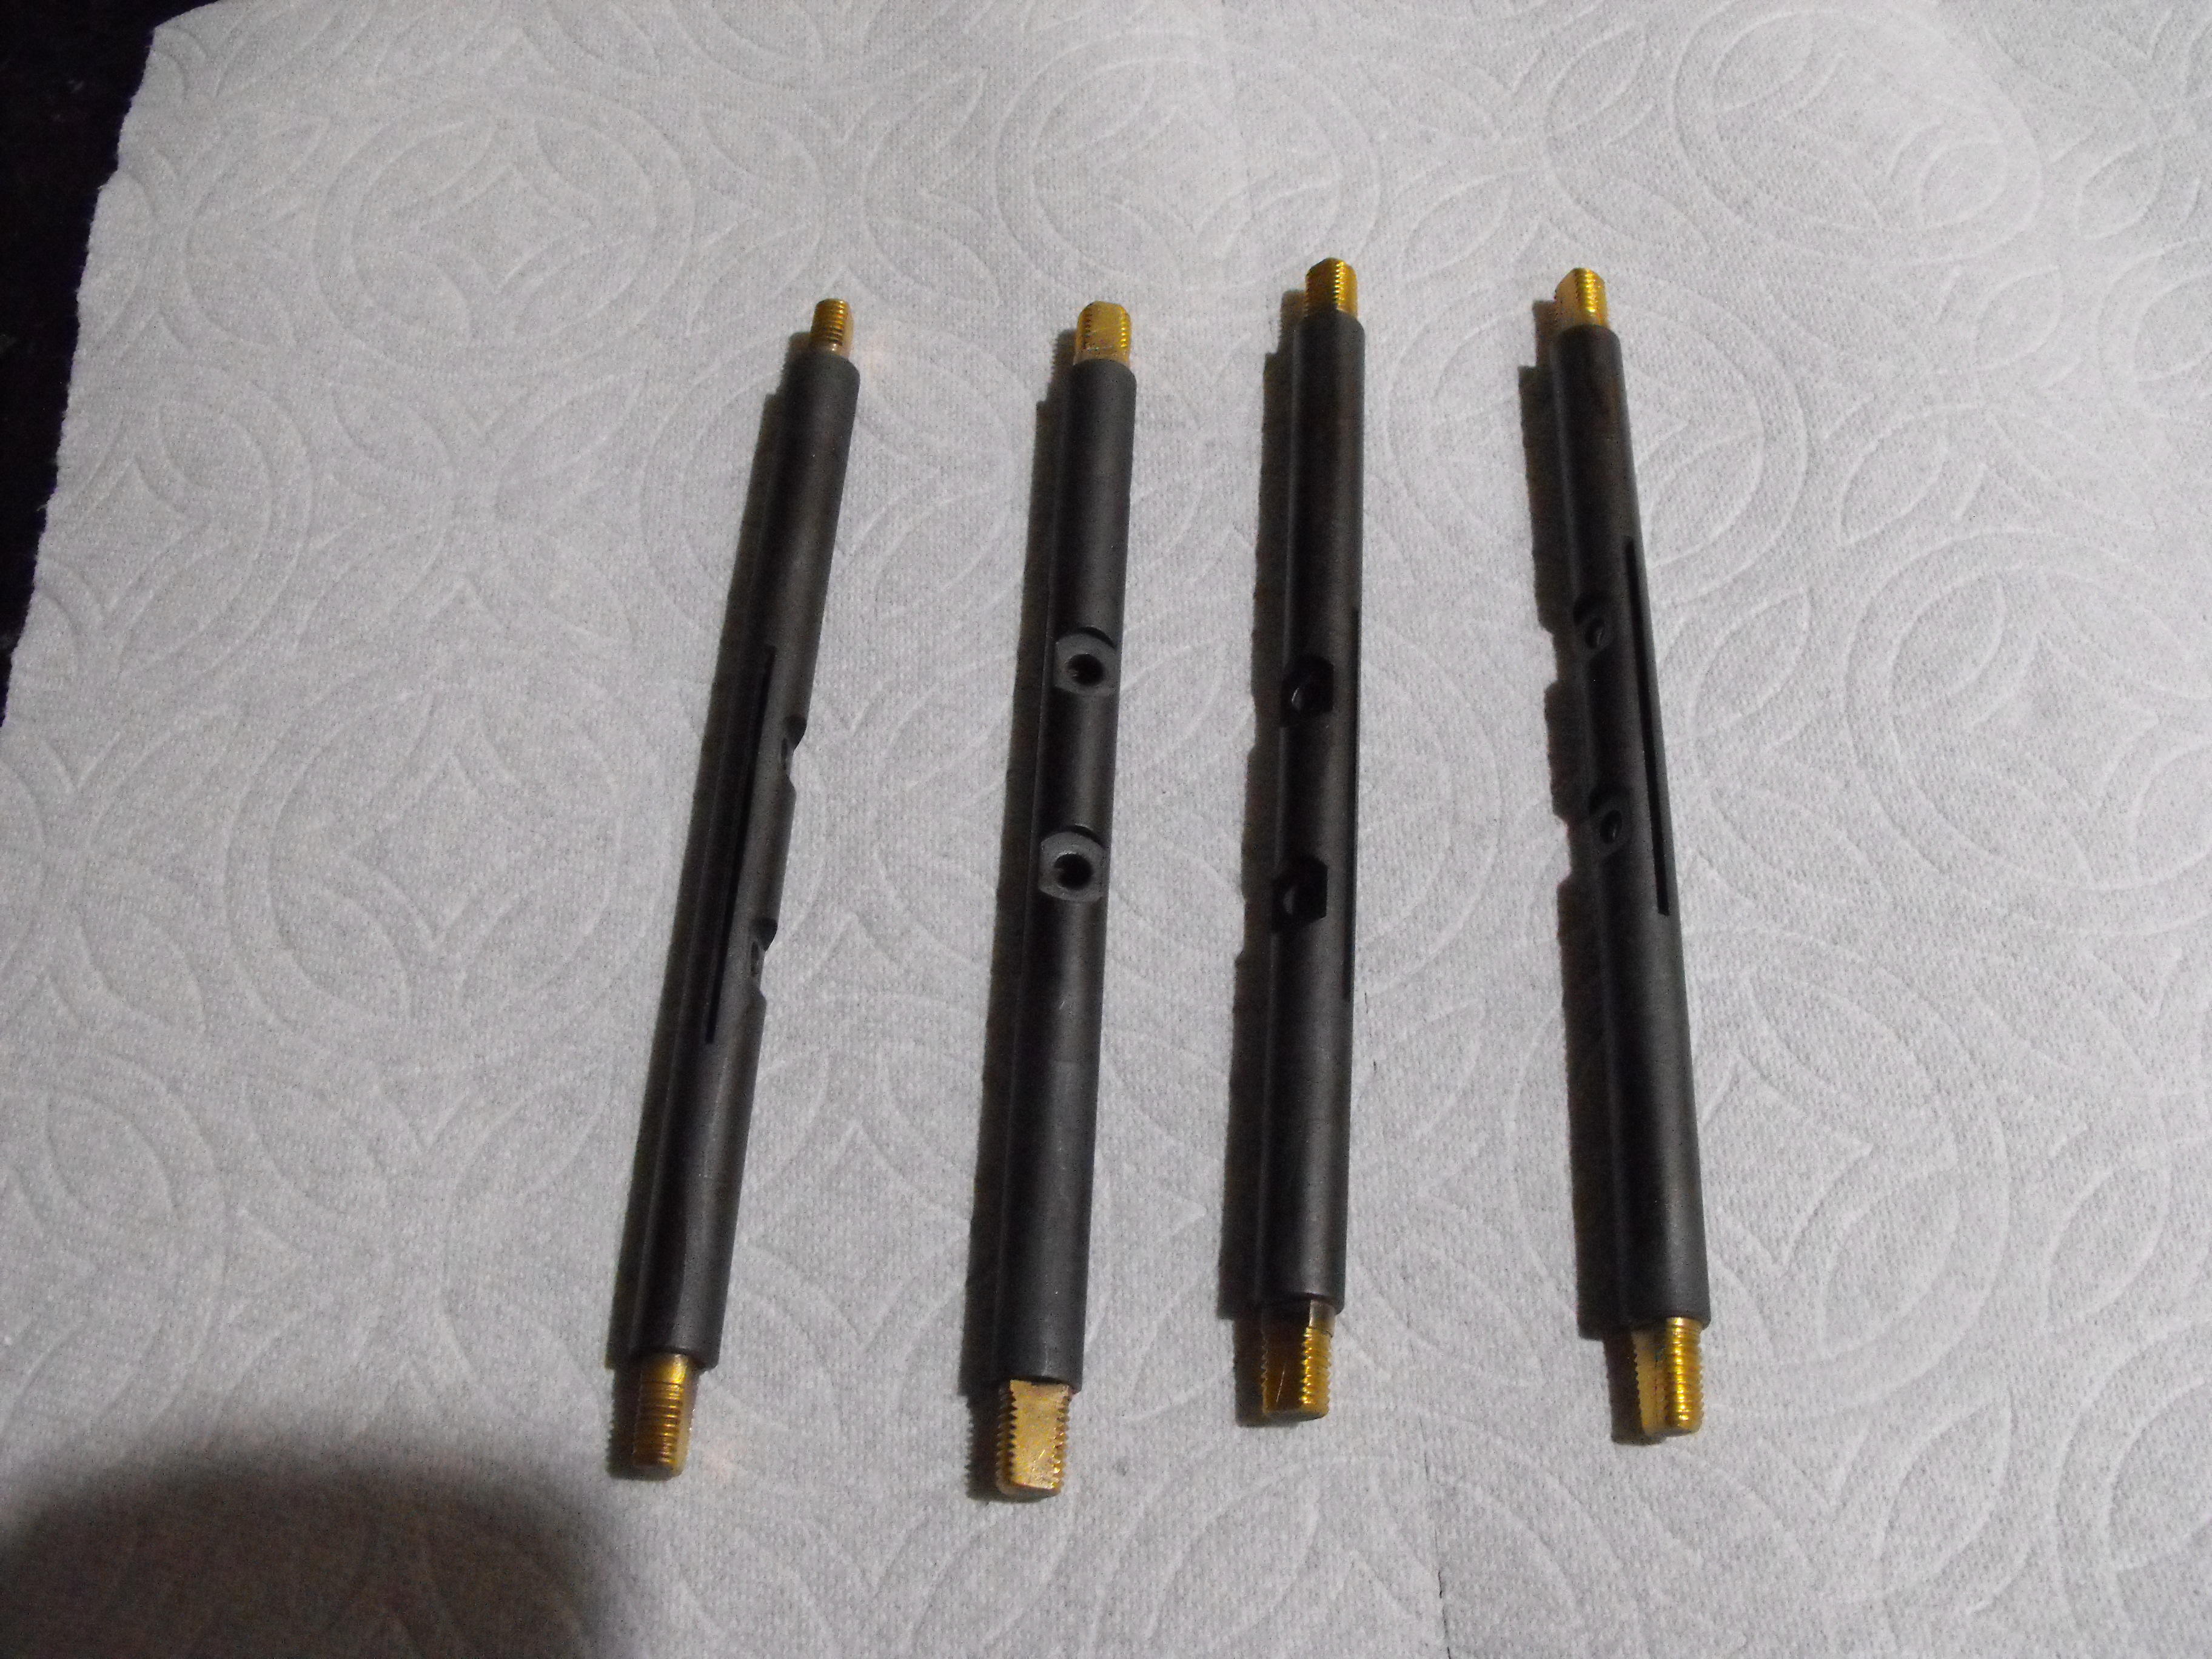
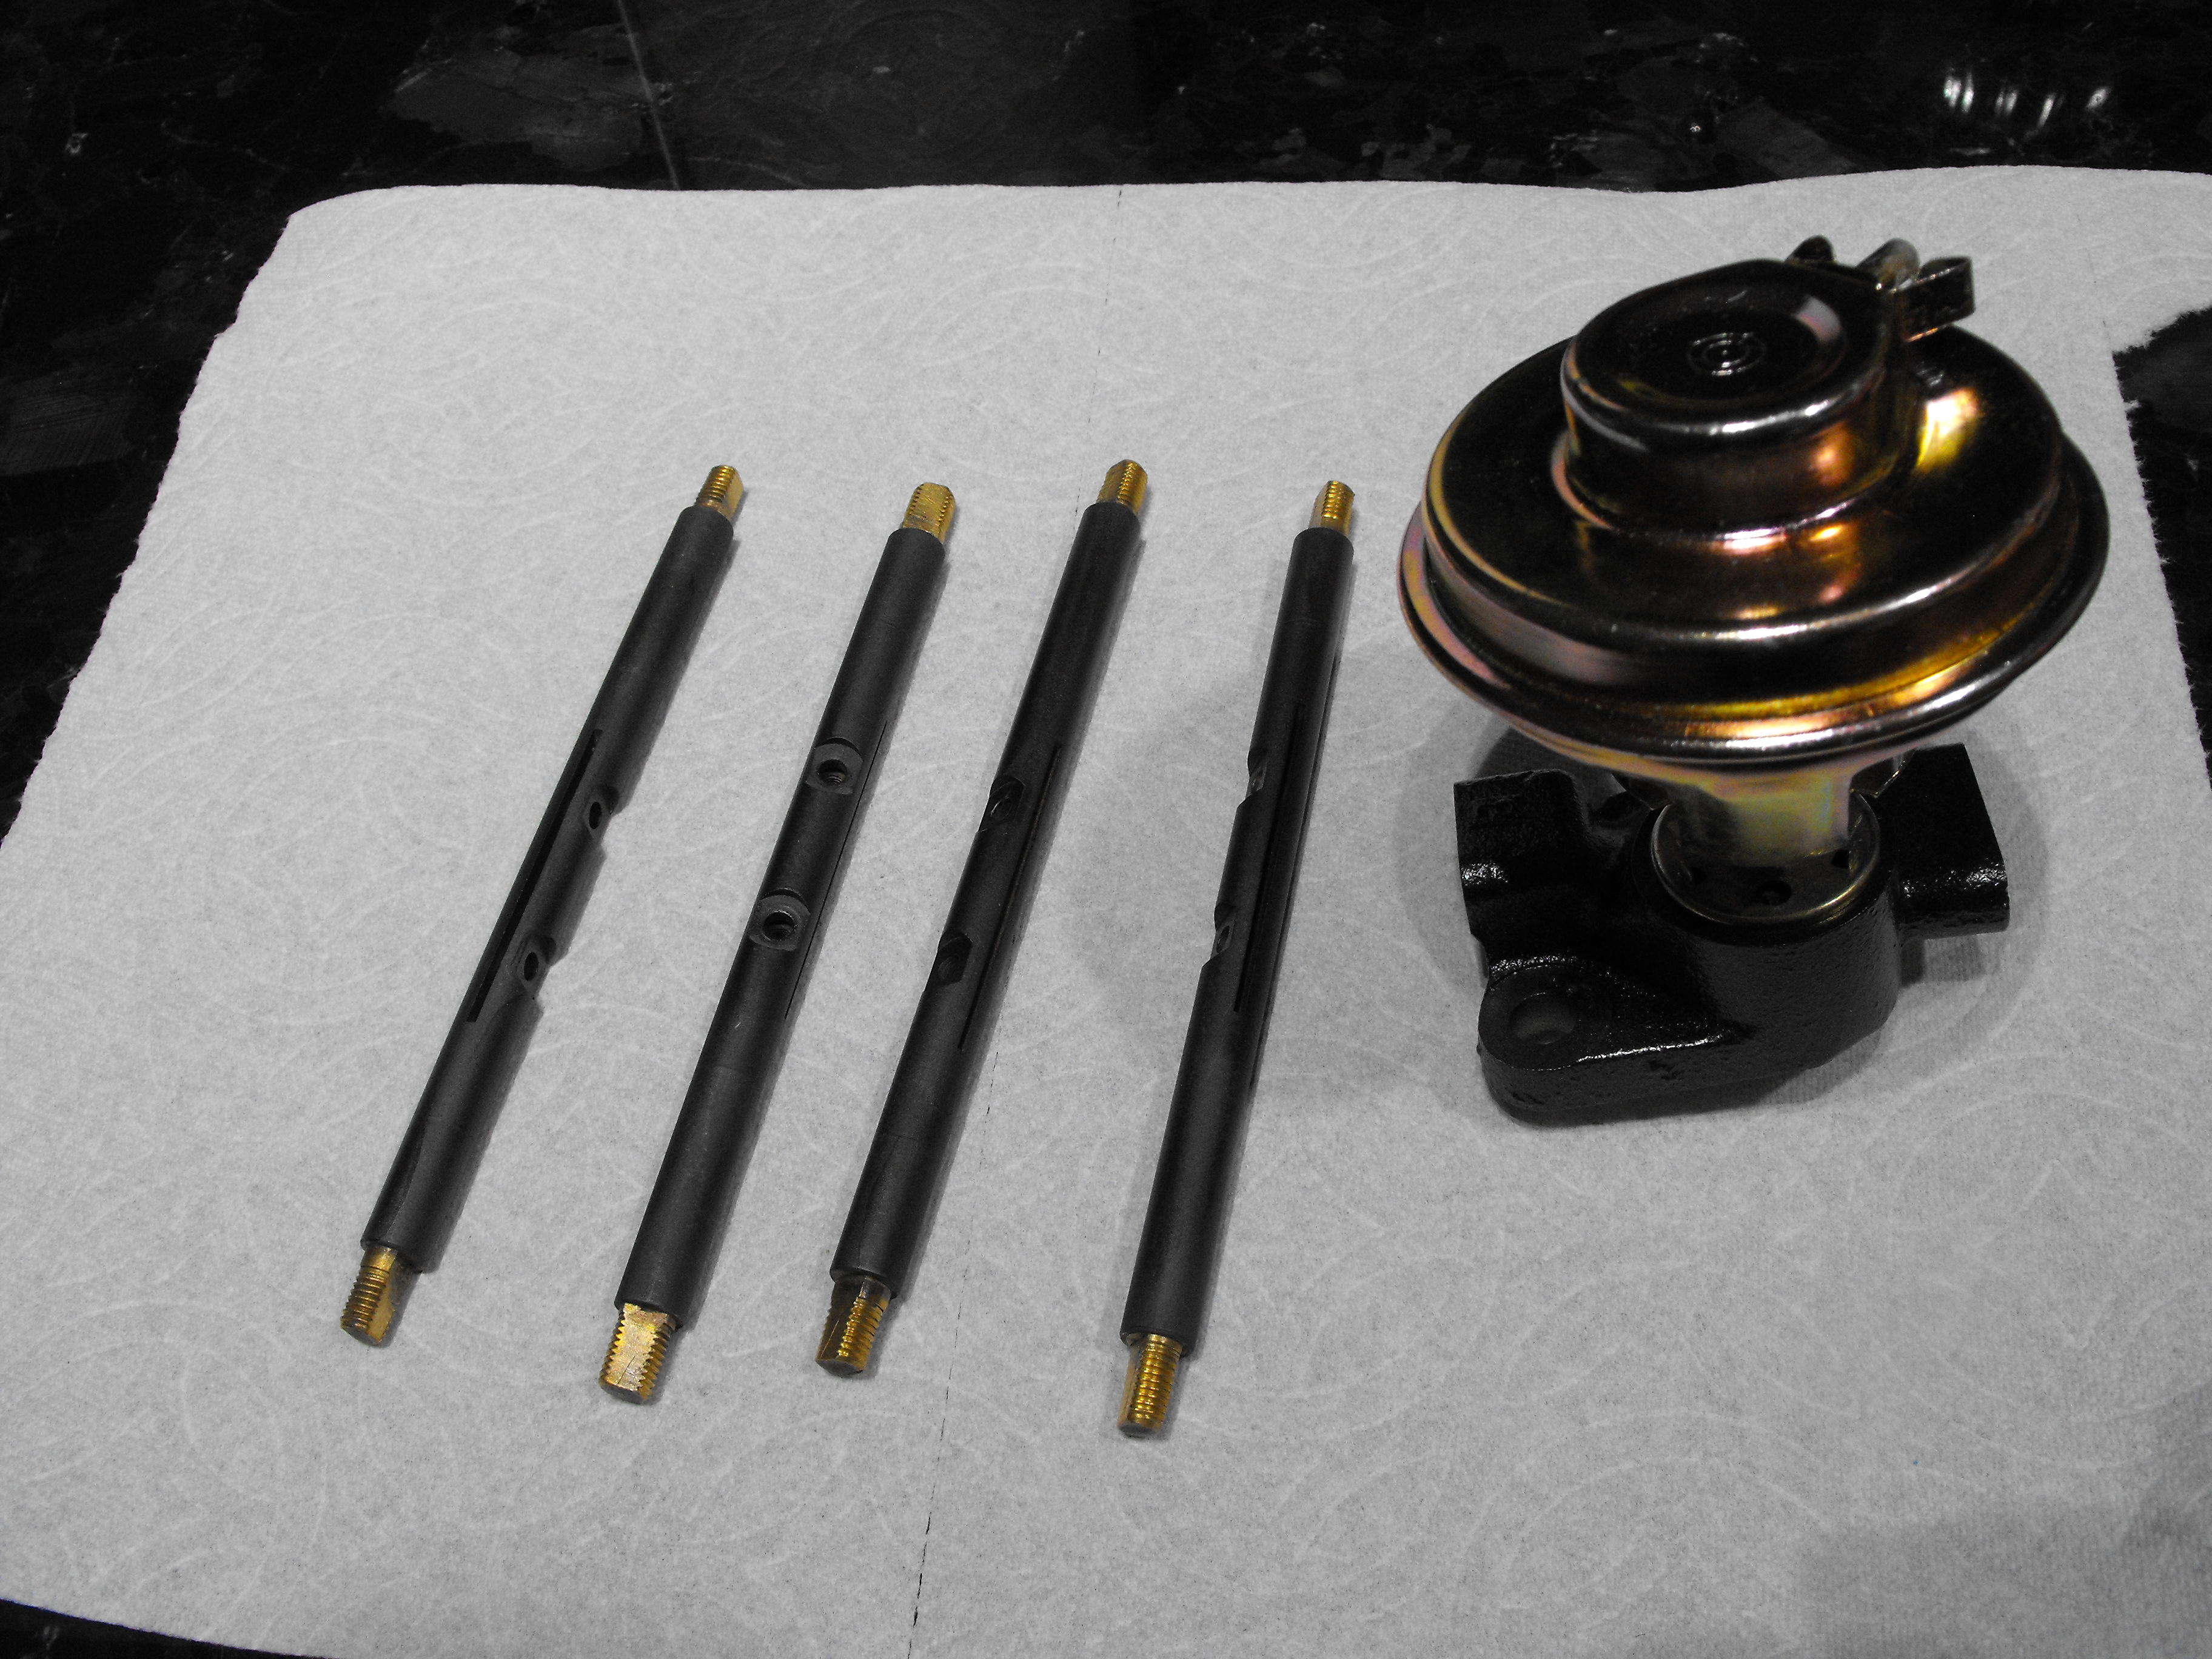
Not completely finished, but i am about 90% done. I need to get some more of those micro cotter pins to finish out the choke diaphragm assembly. Also need to look into getting new fuel filters. Do they exist? Surprised those are not in the rebuild kit. May do a bit more polishing on the right flat top. Technically $26 each. Actually there is typically a lot charge, $75, and then price reduced with QTY. The more you bring in, the cheaper it is. Tried to disassemble but could not do it without damaging something. The locking ring on bottom of cast iron has a spot weld. I zinced the whole thing and did cast iron spray over the base. Yes, this was a bit of an issue. Tried to reduce the problem by putting silicon in holes. The silicon did not always stay in place. They actually assemble nice when you have the correct set installed. I had throttle plates segregated but should have marked the throttle shafts. The shafts for this set of carbs was in the best condition, but after the coating it was a bit harder to discern which were the better set. The forward carbs assembled perfectly with no issues (beginners luck). On the rear, must have grabbed the wrong shaft as the throttle plate would not align. Took several tries to get the correct shaft. Also, the correct shaft rotated smoothly in the bushings. The wrong shafts did not. Also, had four gasket sets. Two of the gasket sets had nice fit for the fuel bowl seal. The other two were short as shown in pics below.


-
-
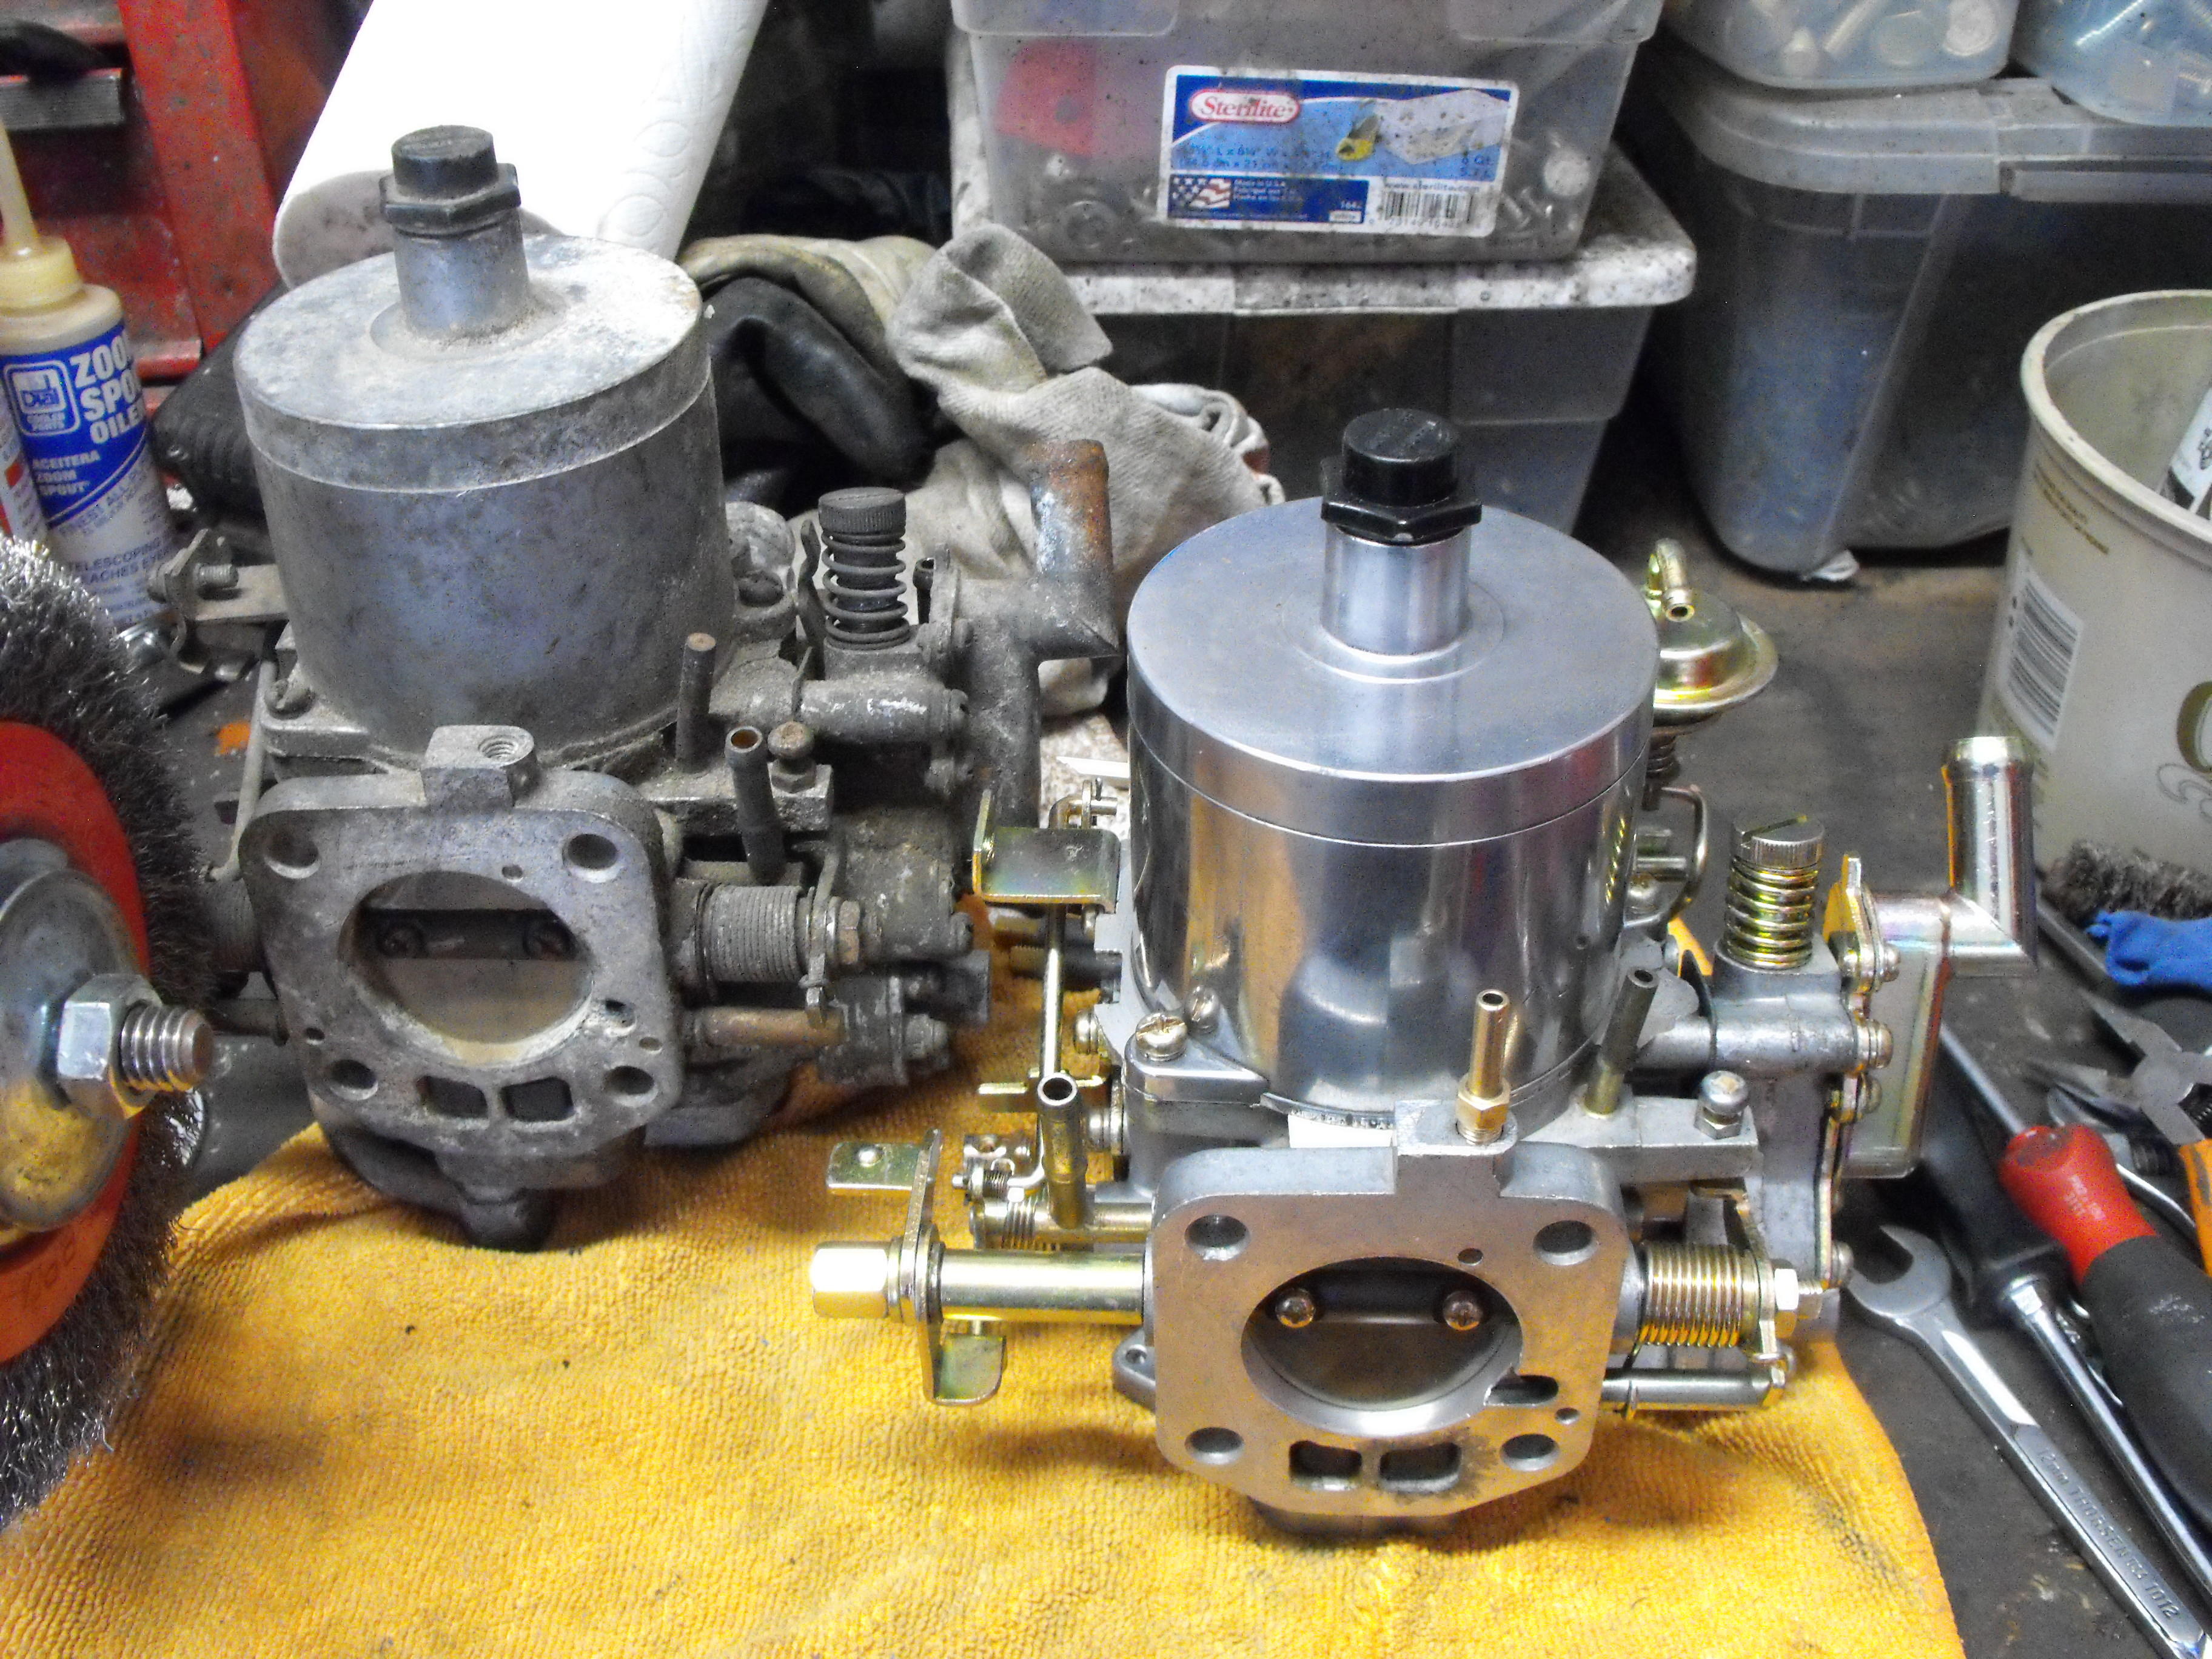
I agree, there is definitely a steeper learning curve with these. That being said, I really enjoy the challenge of re-building these. It is nice to clean everything (love that Gumout spray) and re-assemble with fresh parts. Just got the throttle shafts in. I like the coating and it is definitely durable as they use this stuff on racing pistons. I did a quick test fit and they fit in nicely. Not too loose, not too tight. Not too worried about the color difference as most of this will be covered up...Pics are a little dark