motorman7
 Subscriber
-
Joined
-
Last visited
Everything posted by motorman7
-
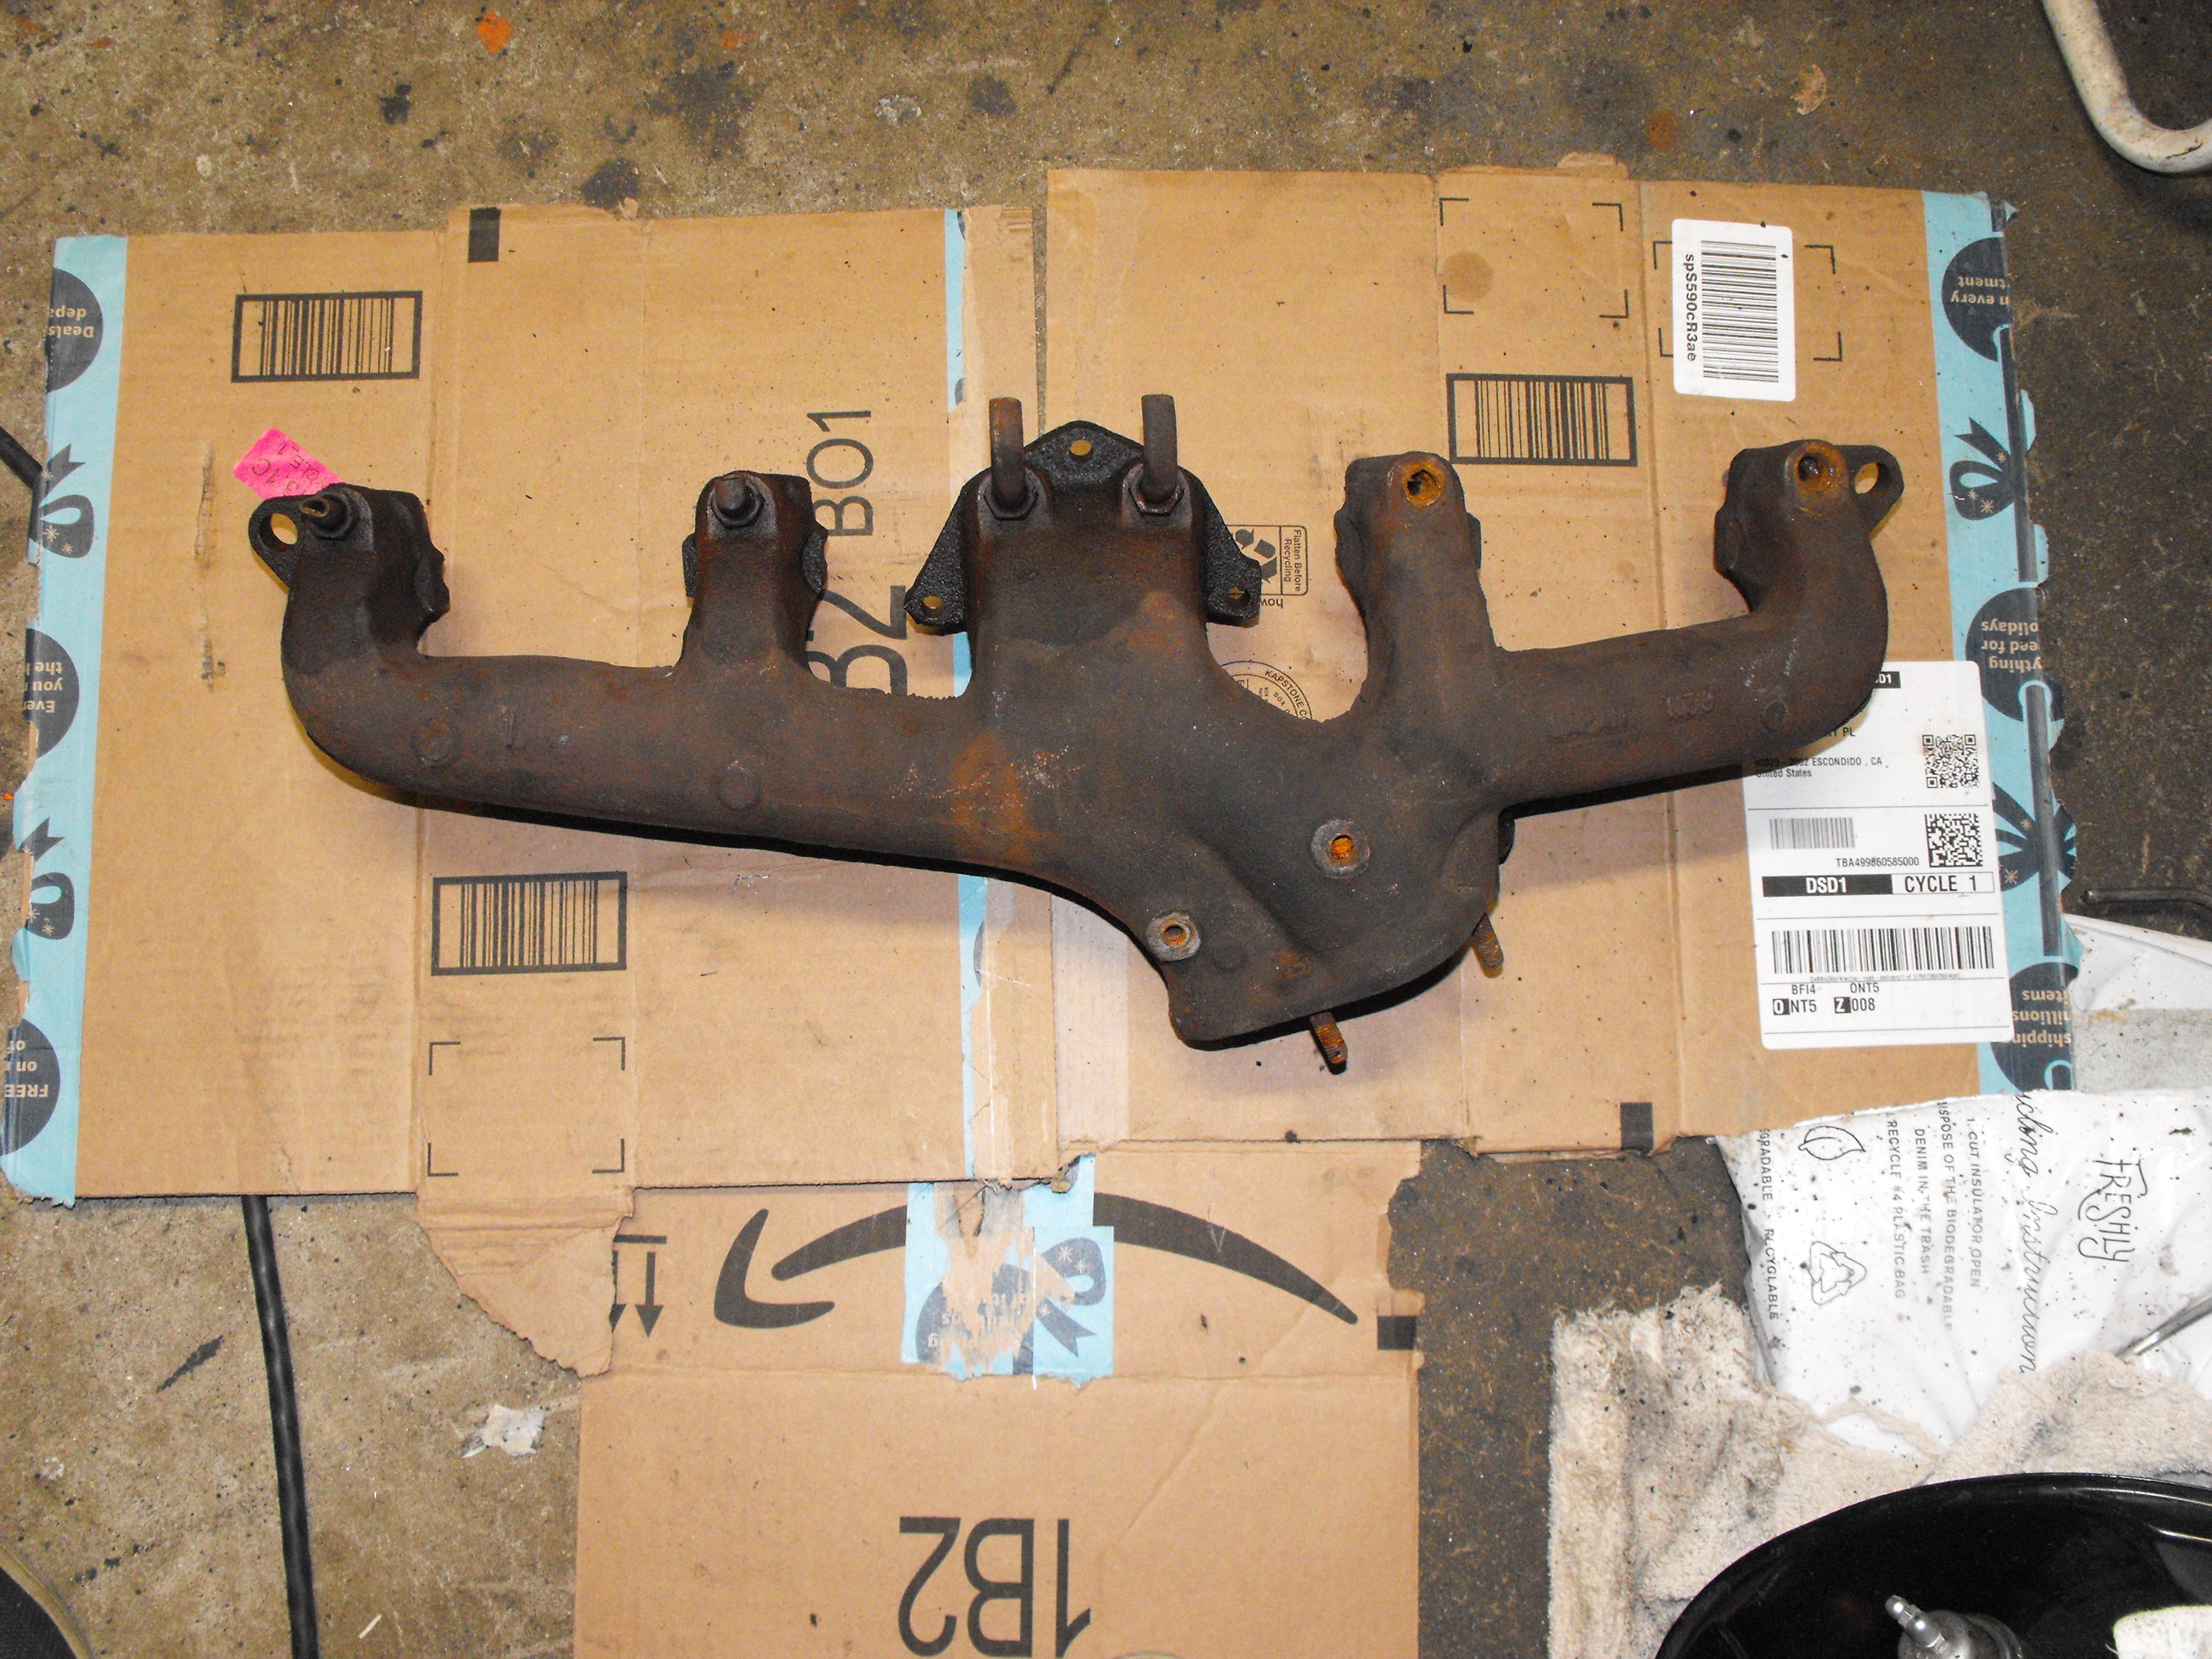
 And its not for a 1973. It's for a 1970 -1972. 1973 is an N36 manifold
 -
Tempting, but I am currently space constrained. I am semi-seriously looking for a car barn. That would make me dangerous I think.
-
The scary thing is that I think it's a good deal.
-
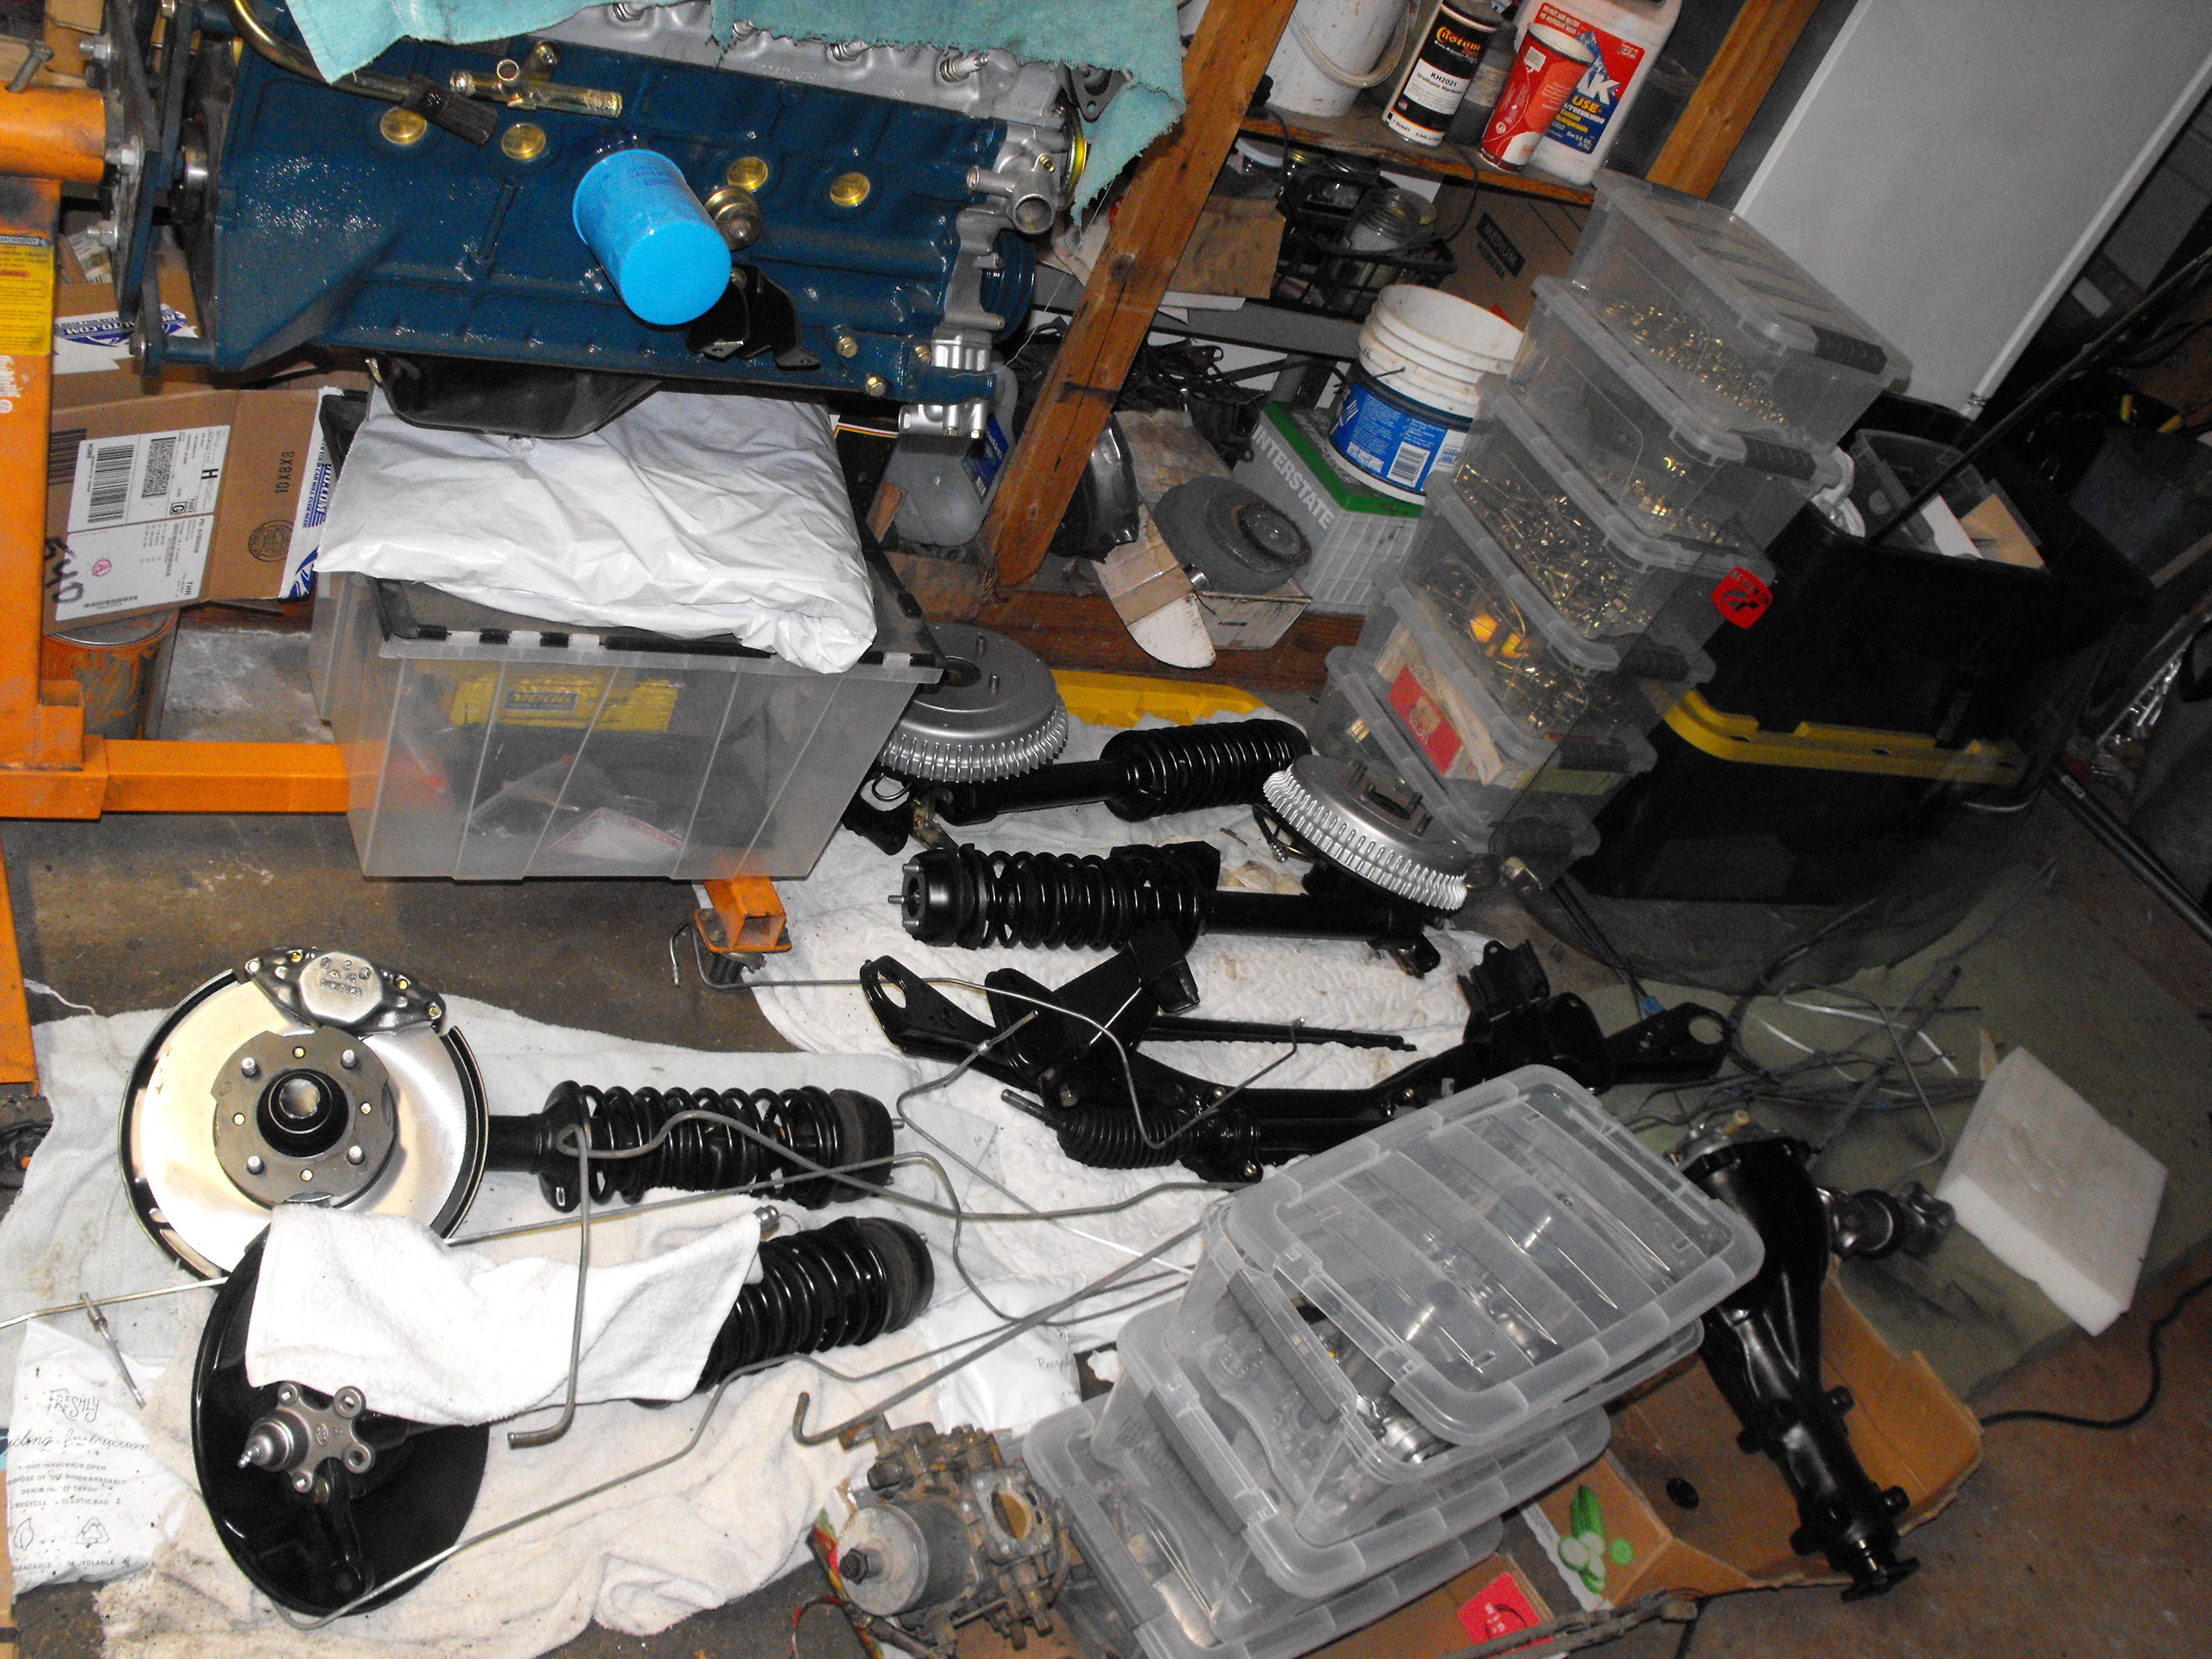
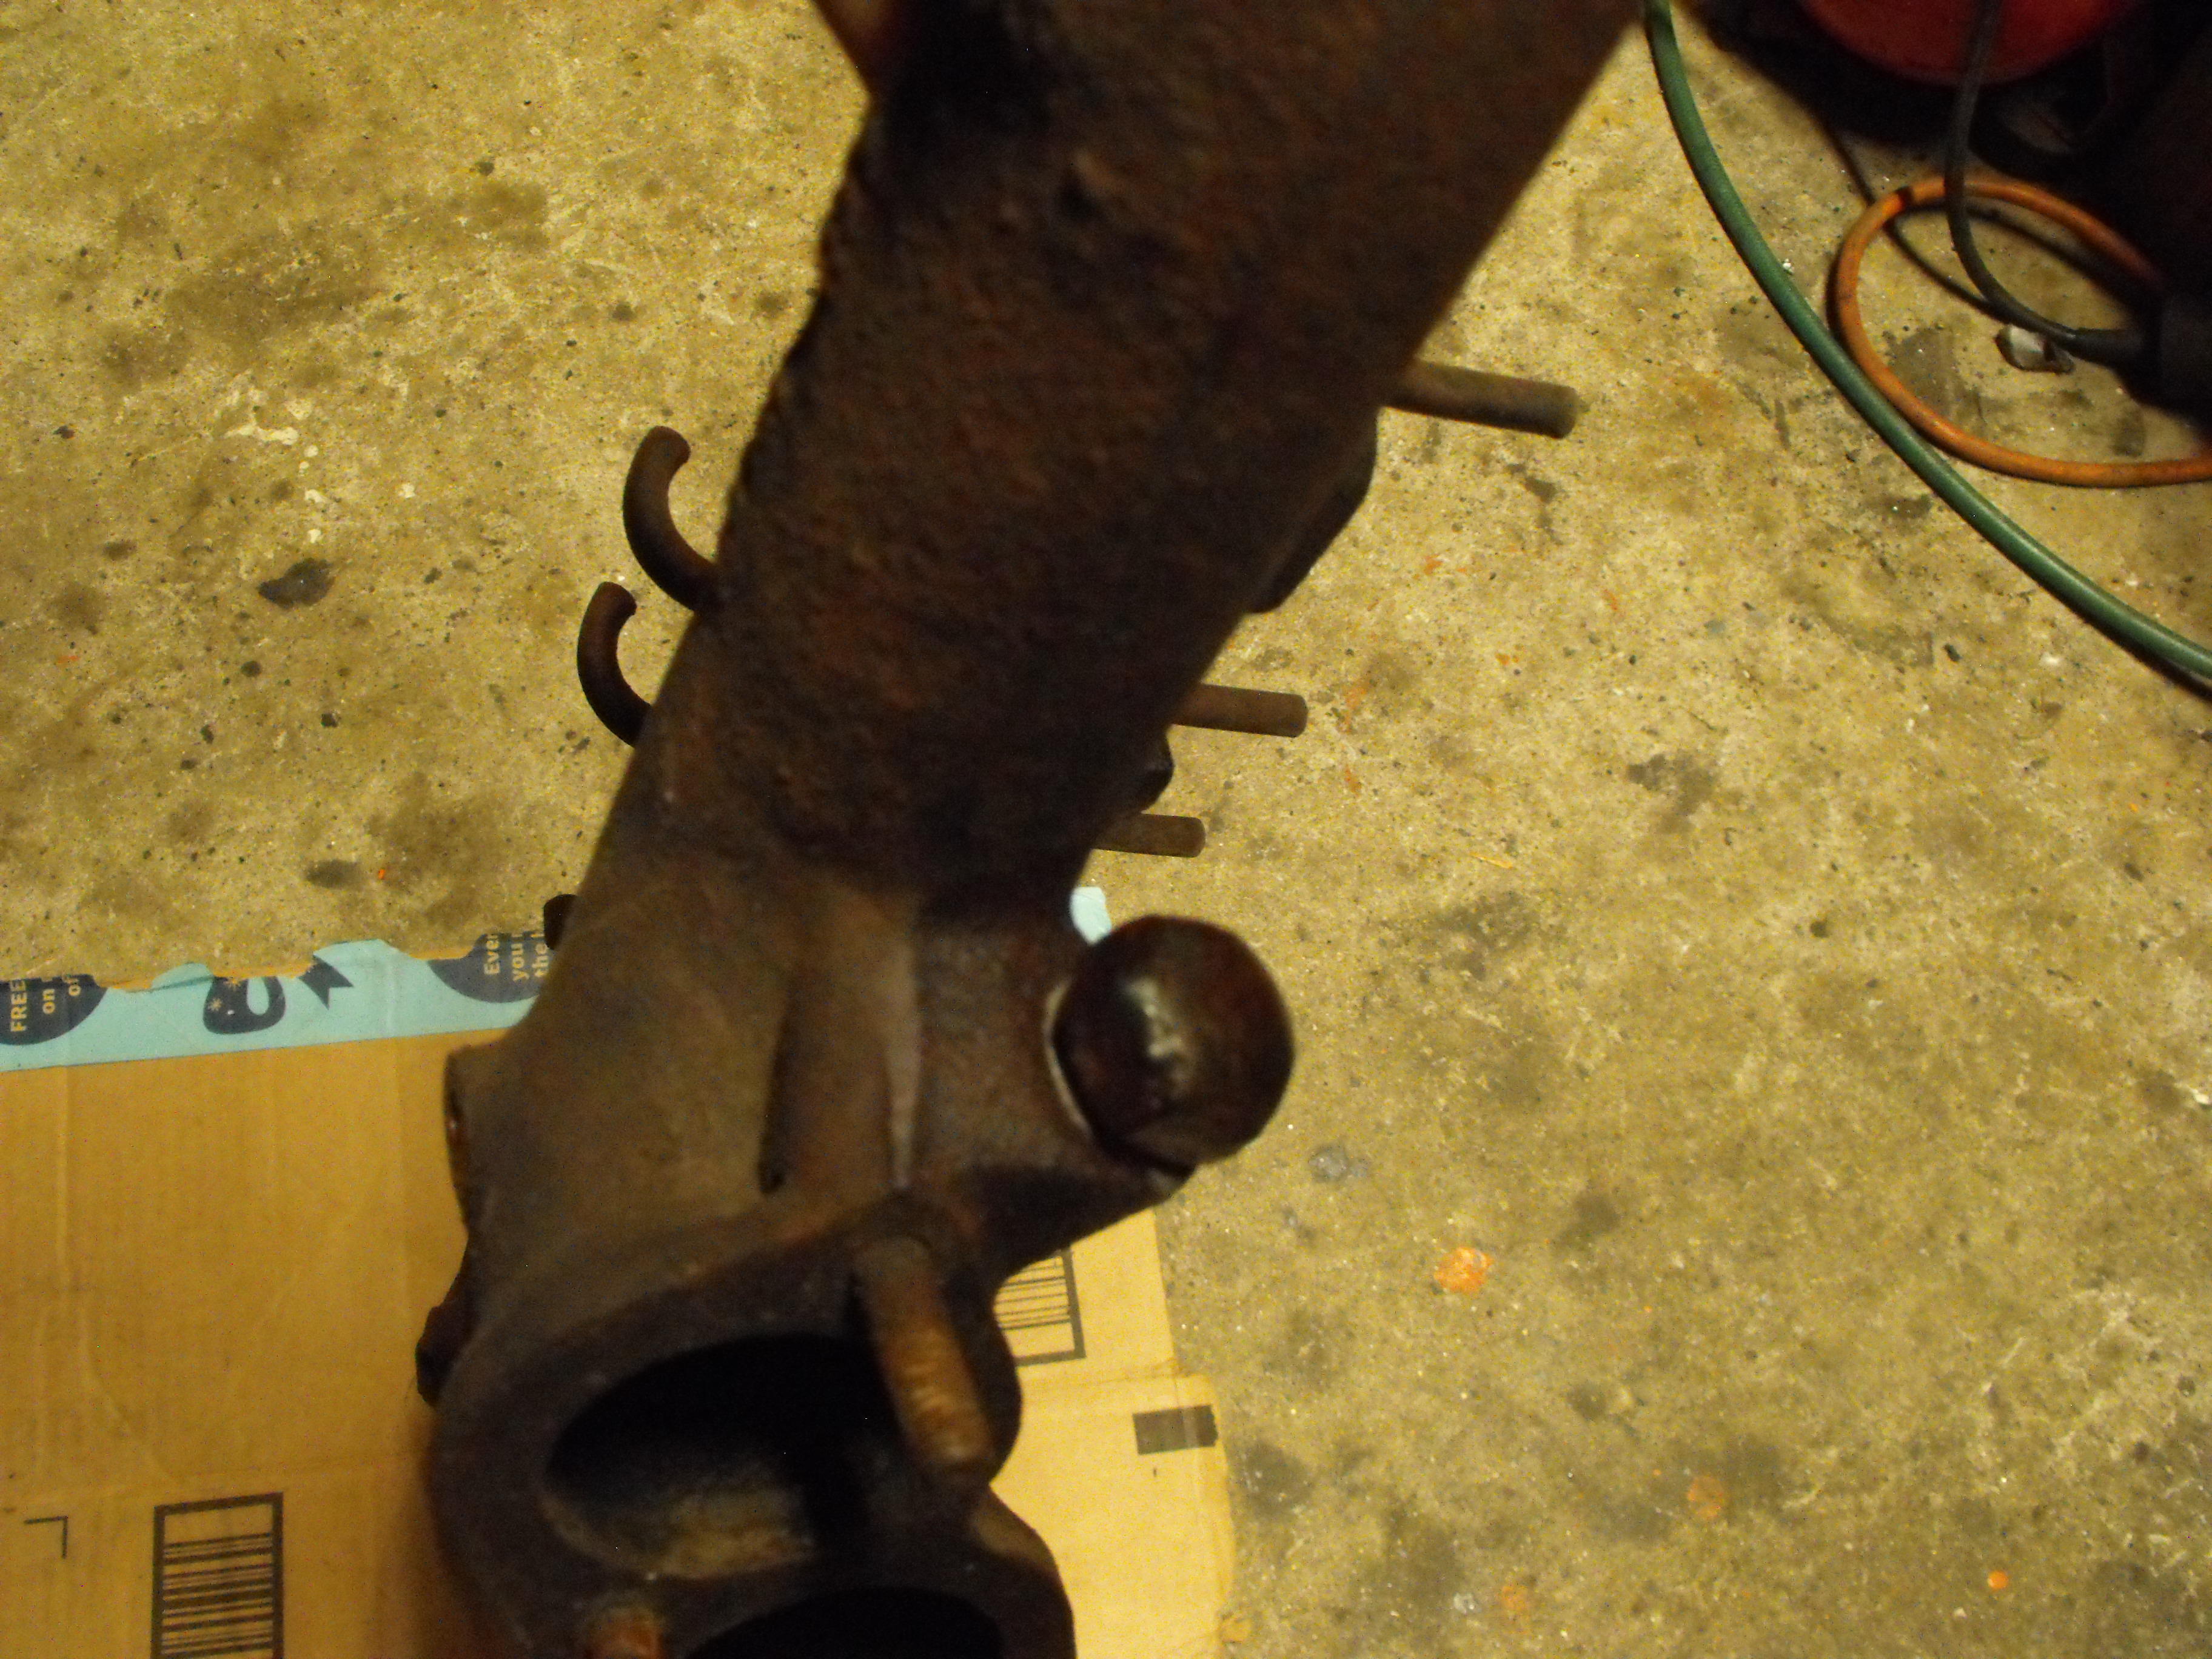
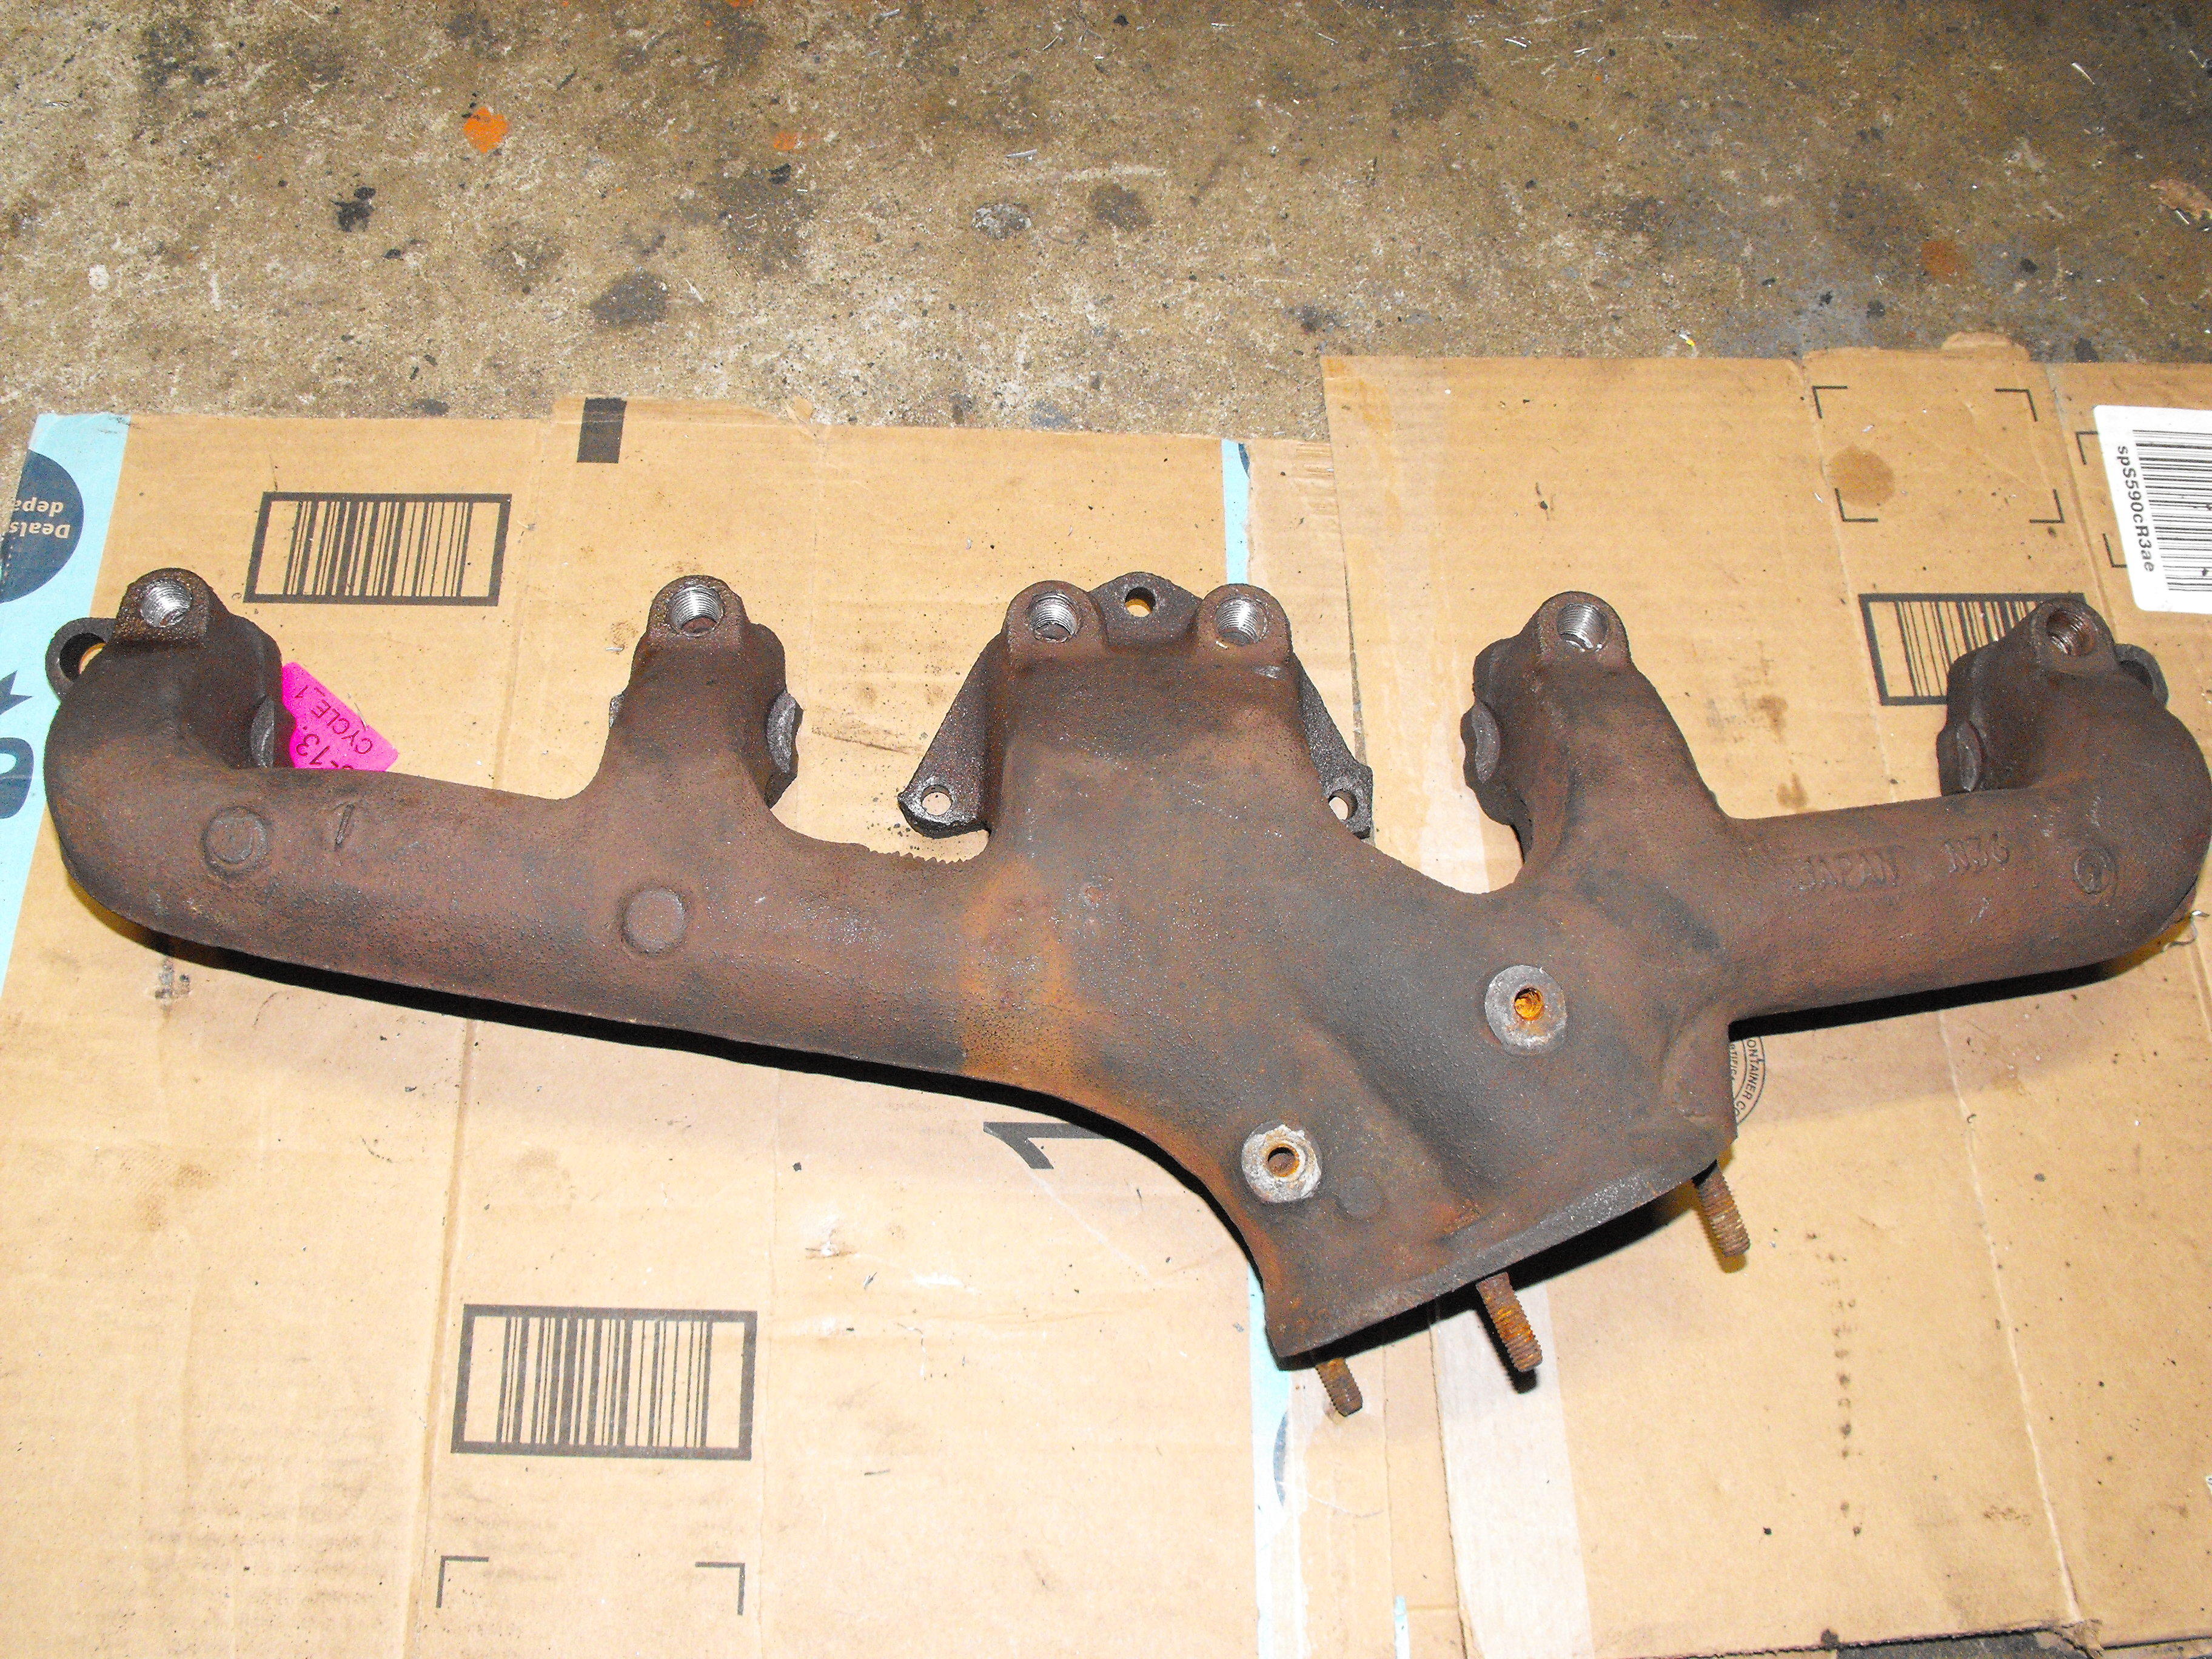
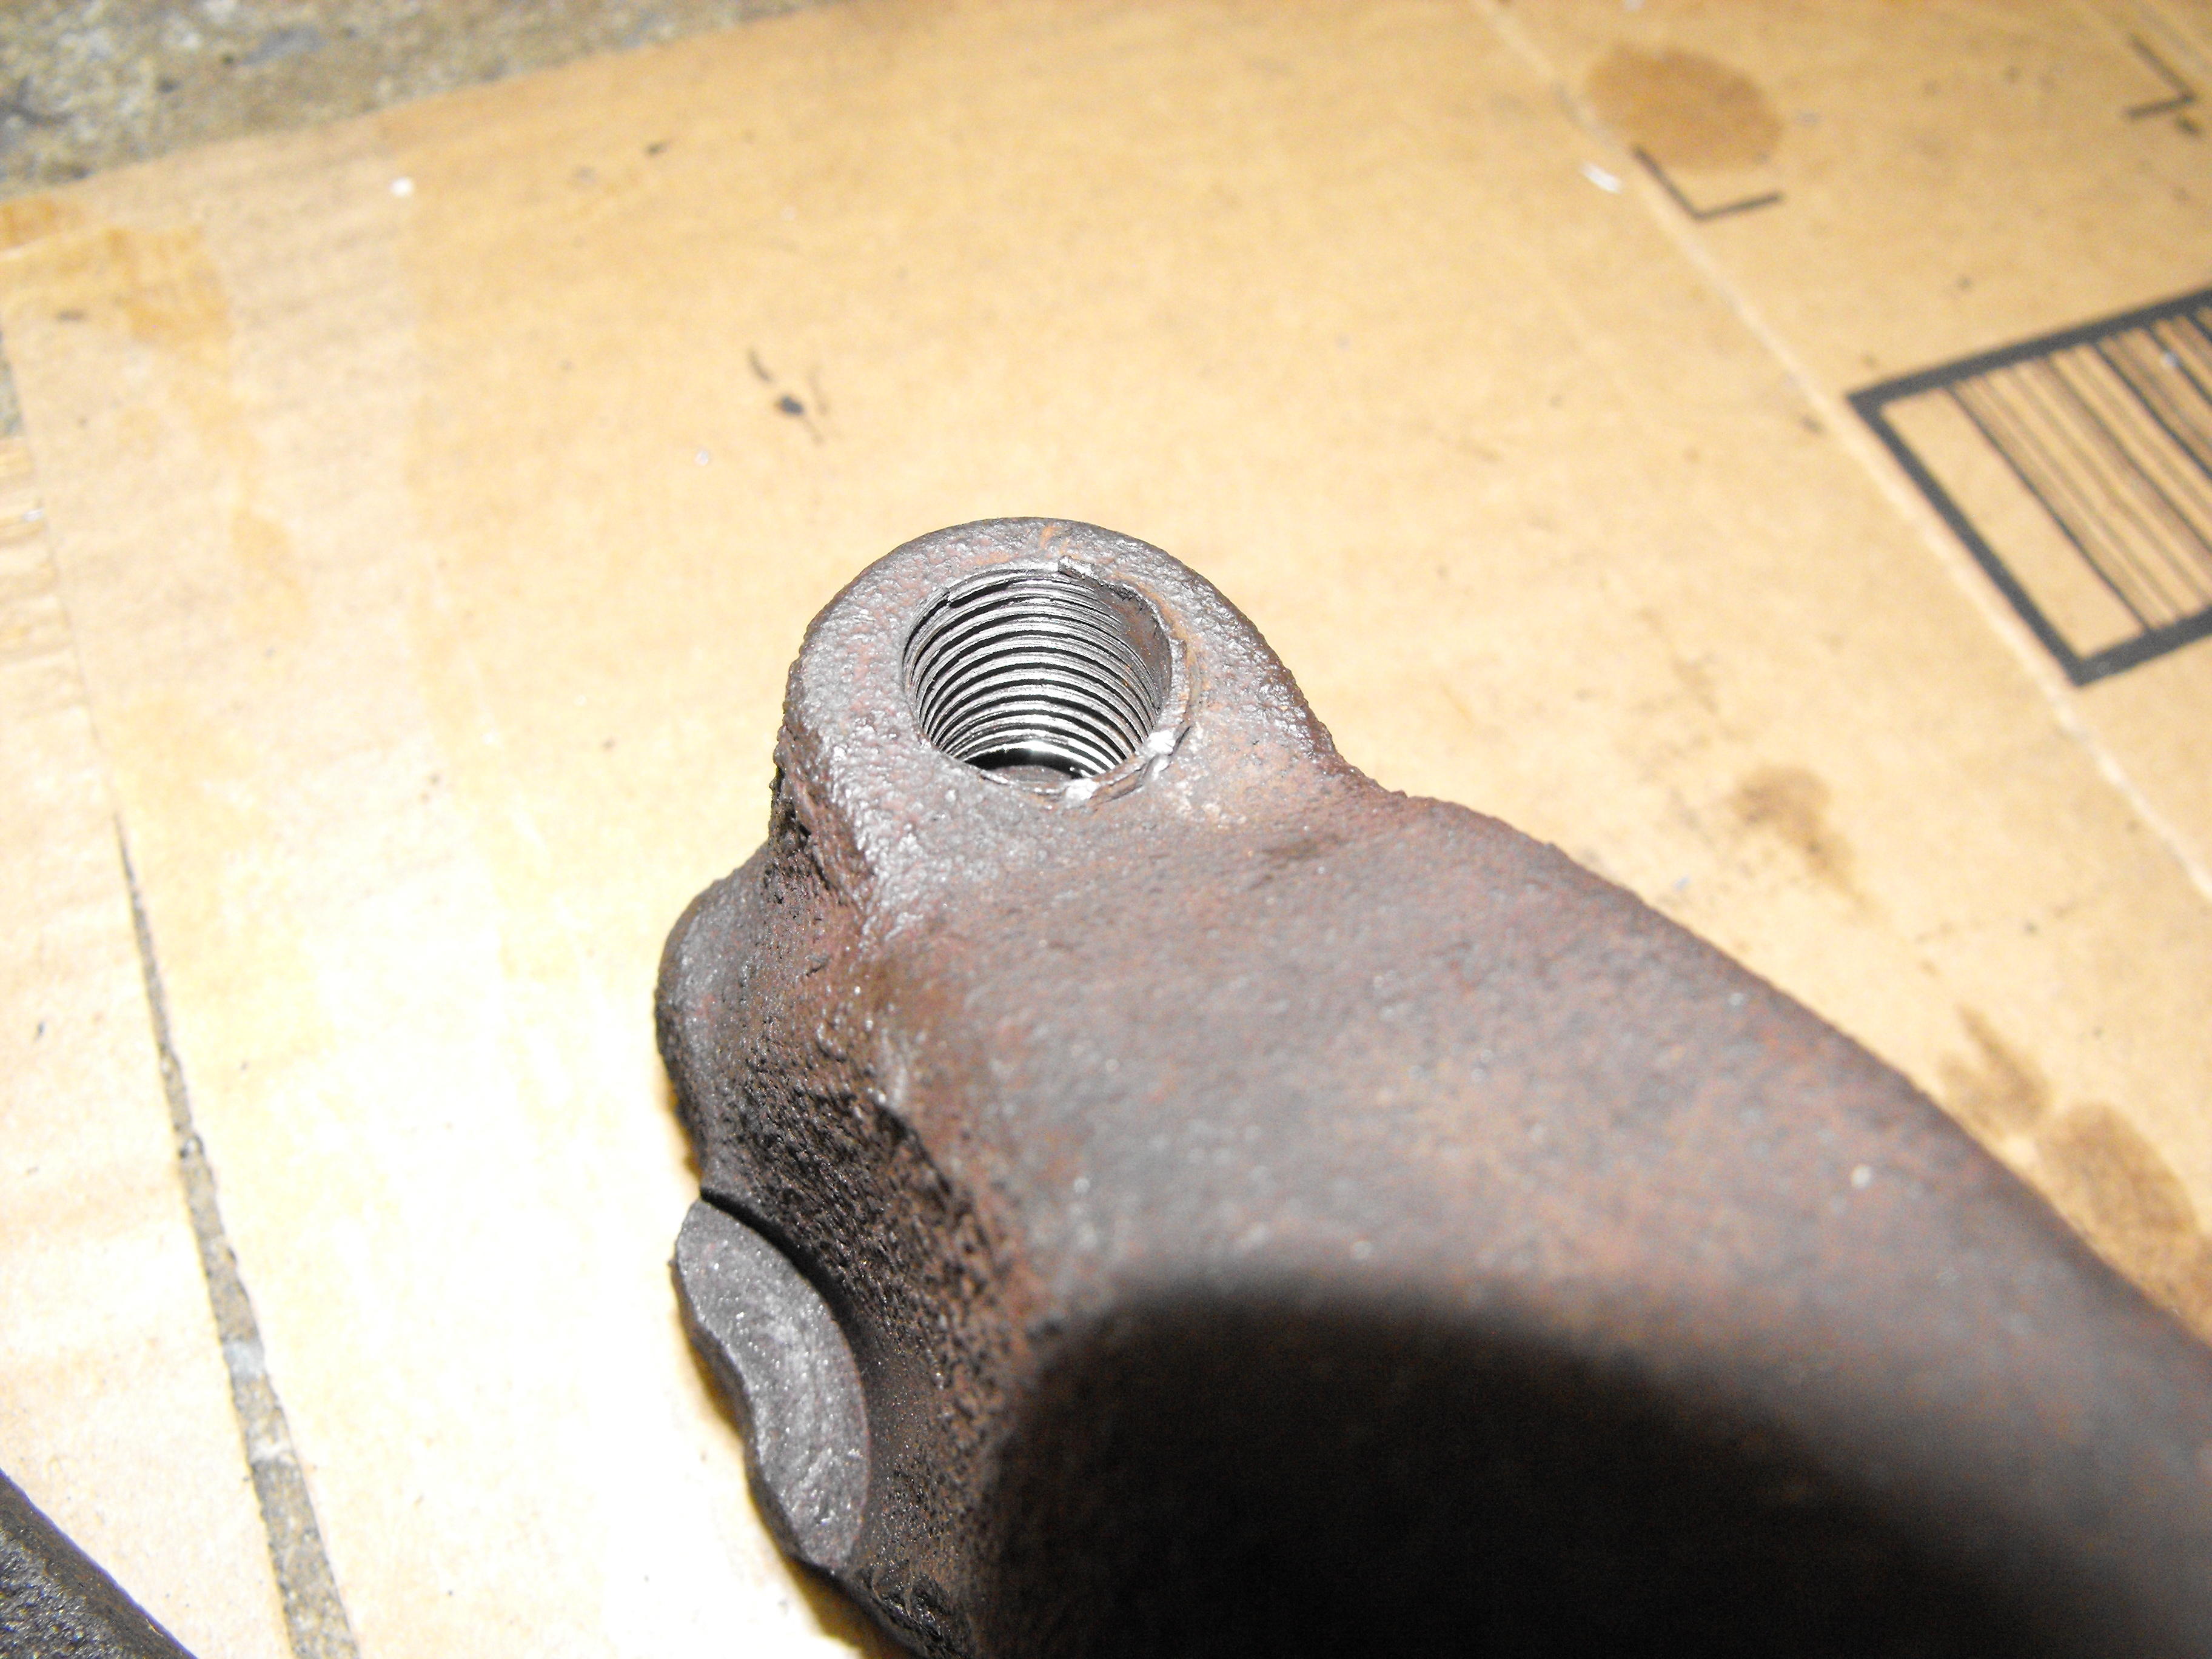
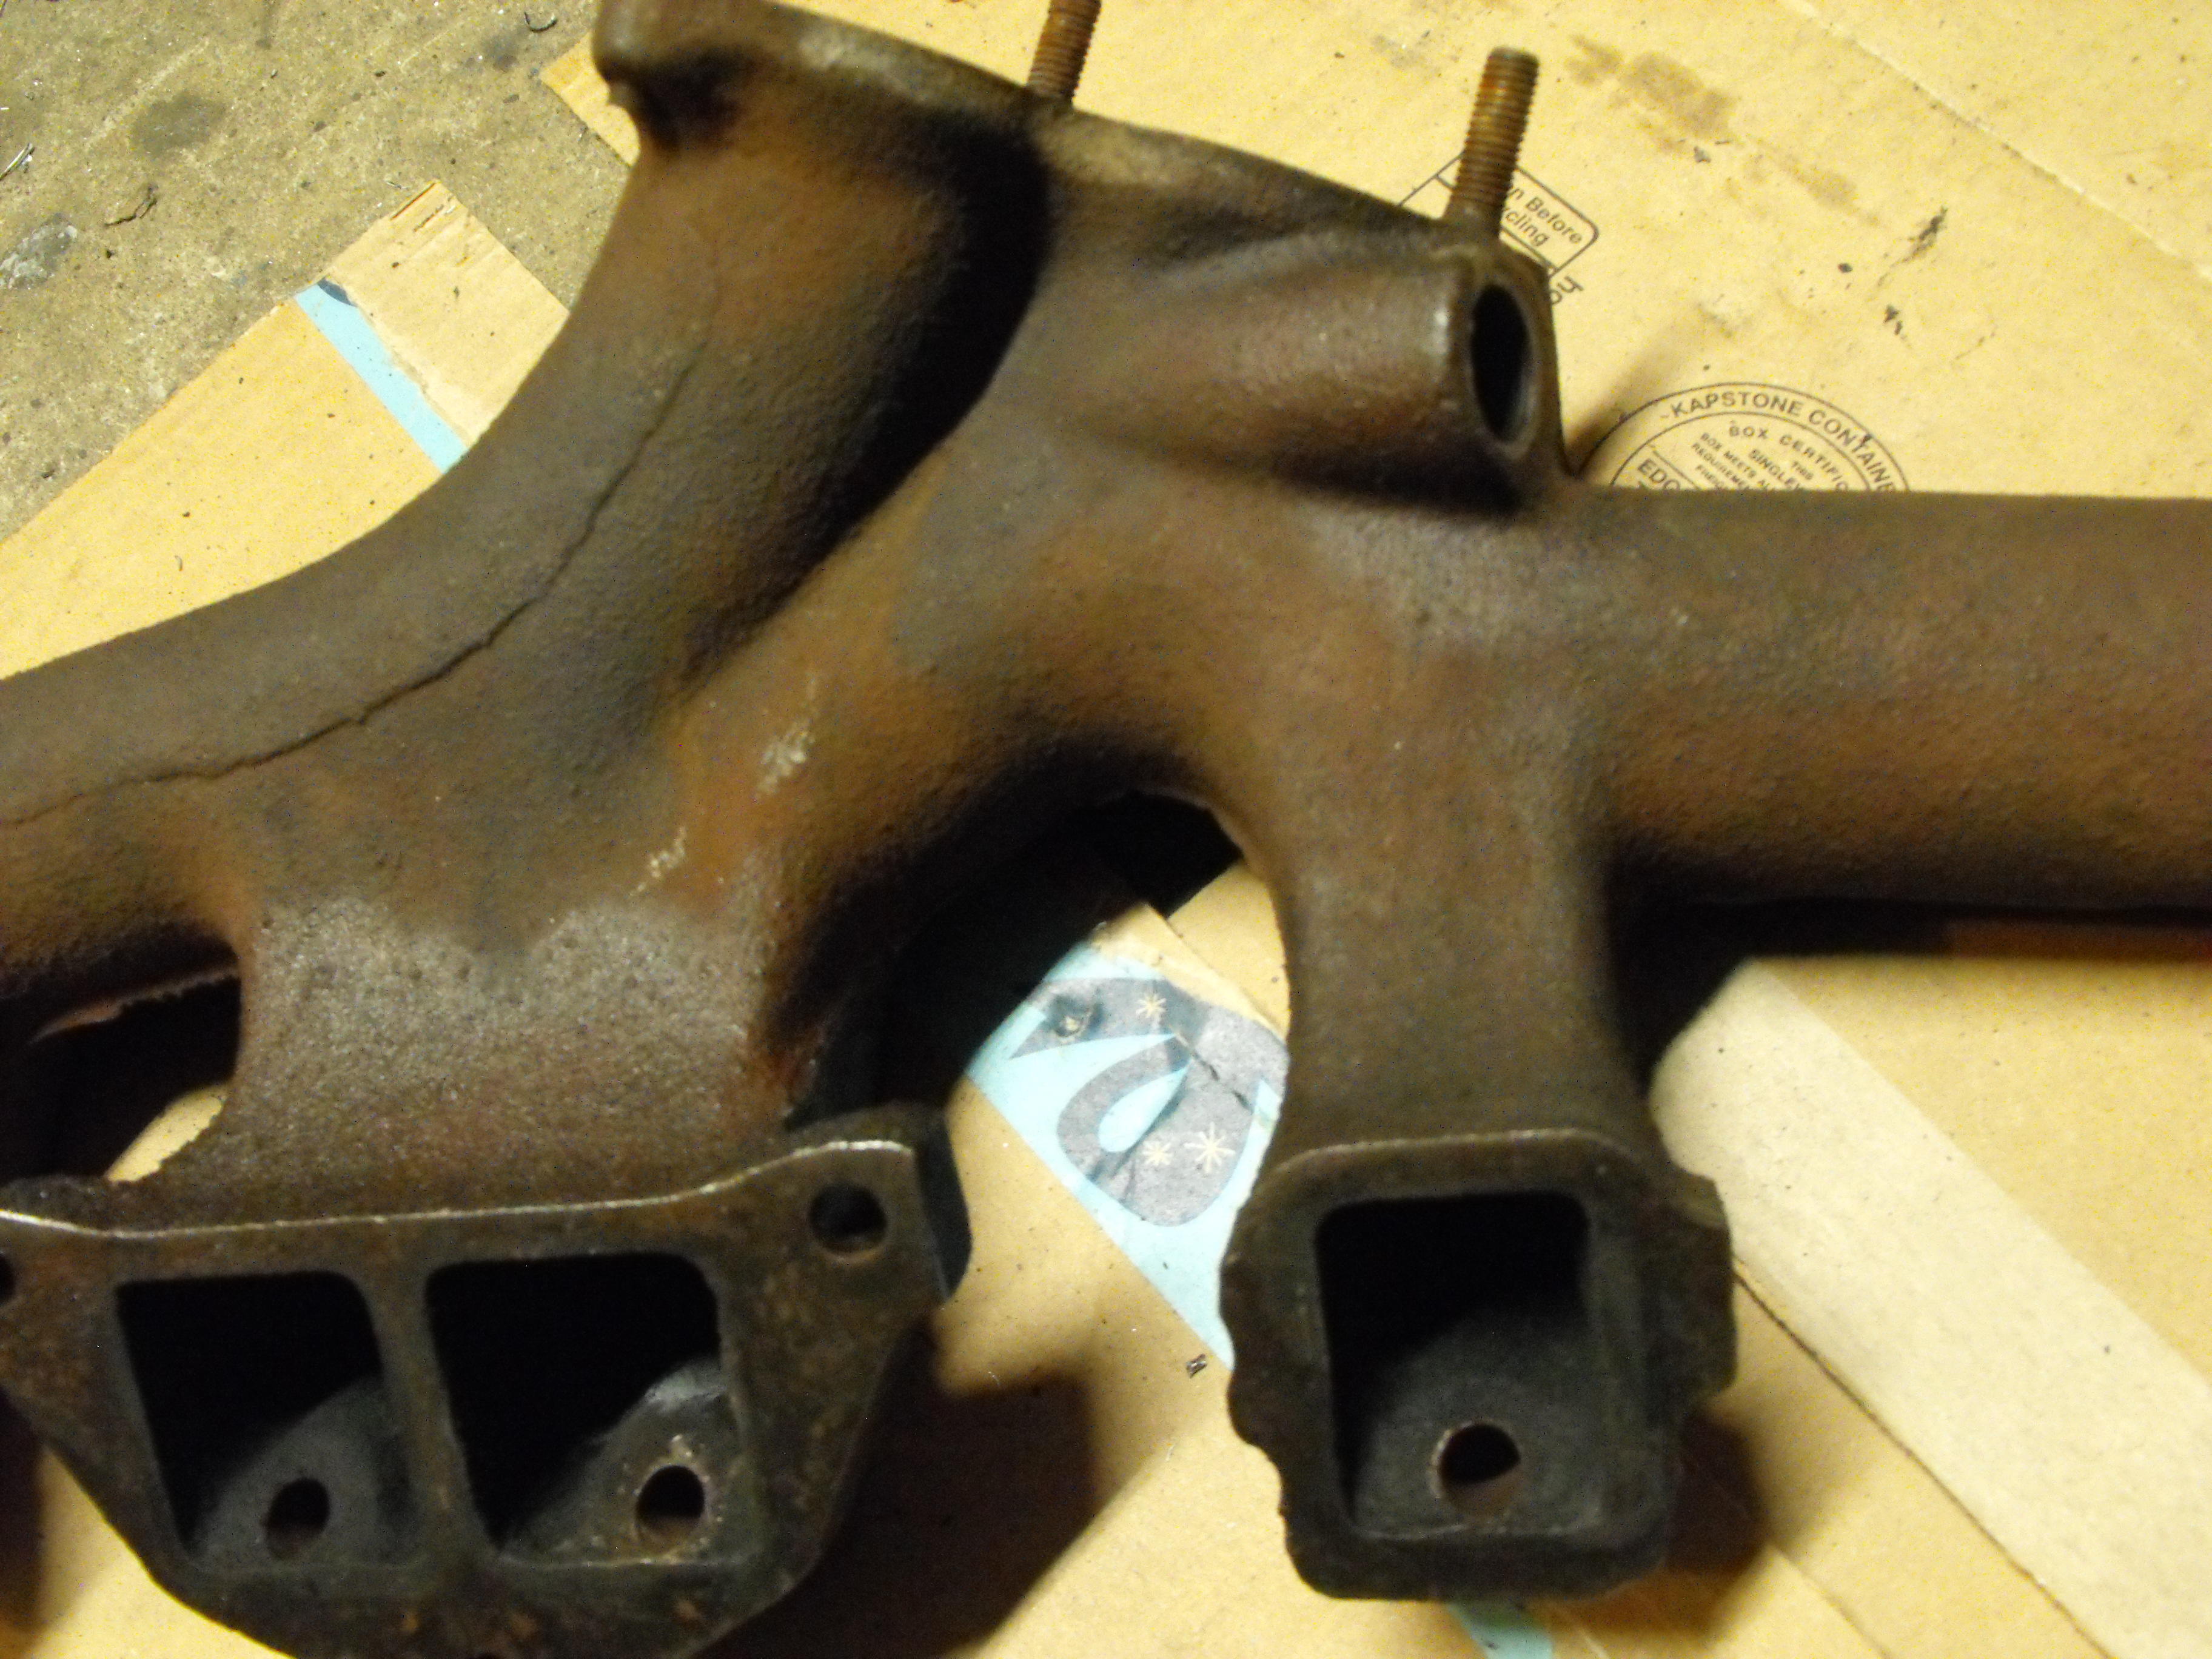
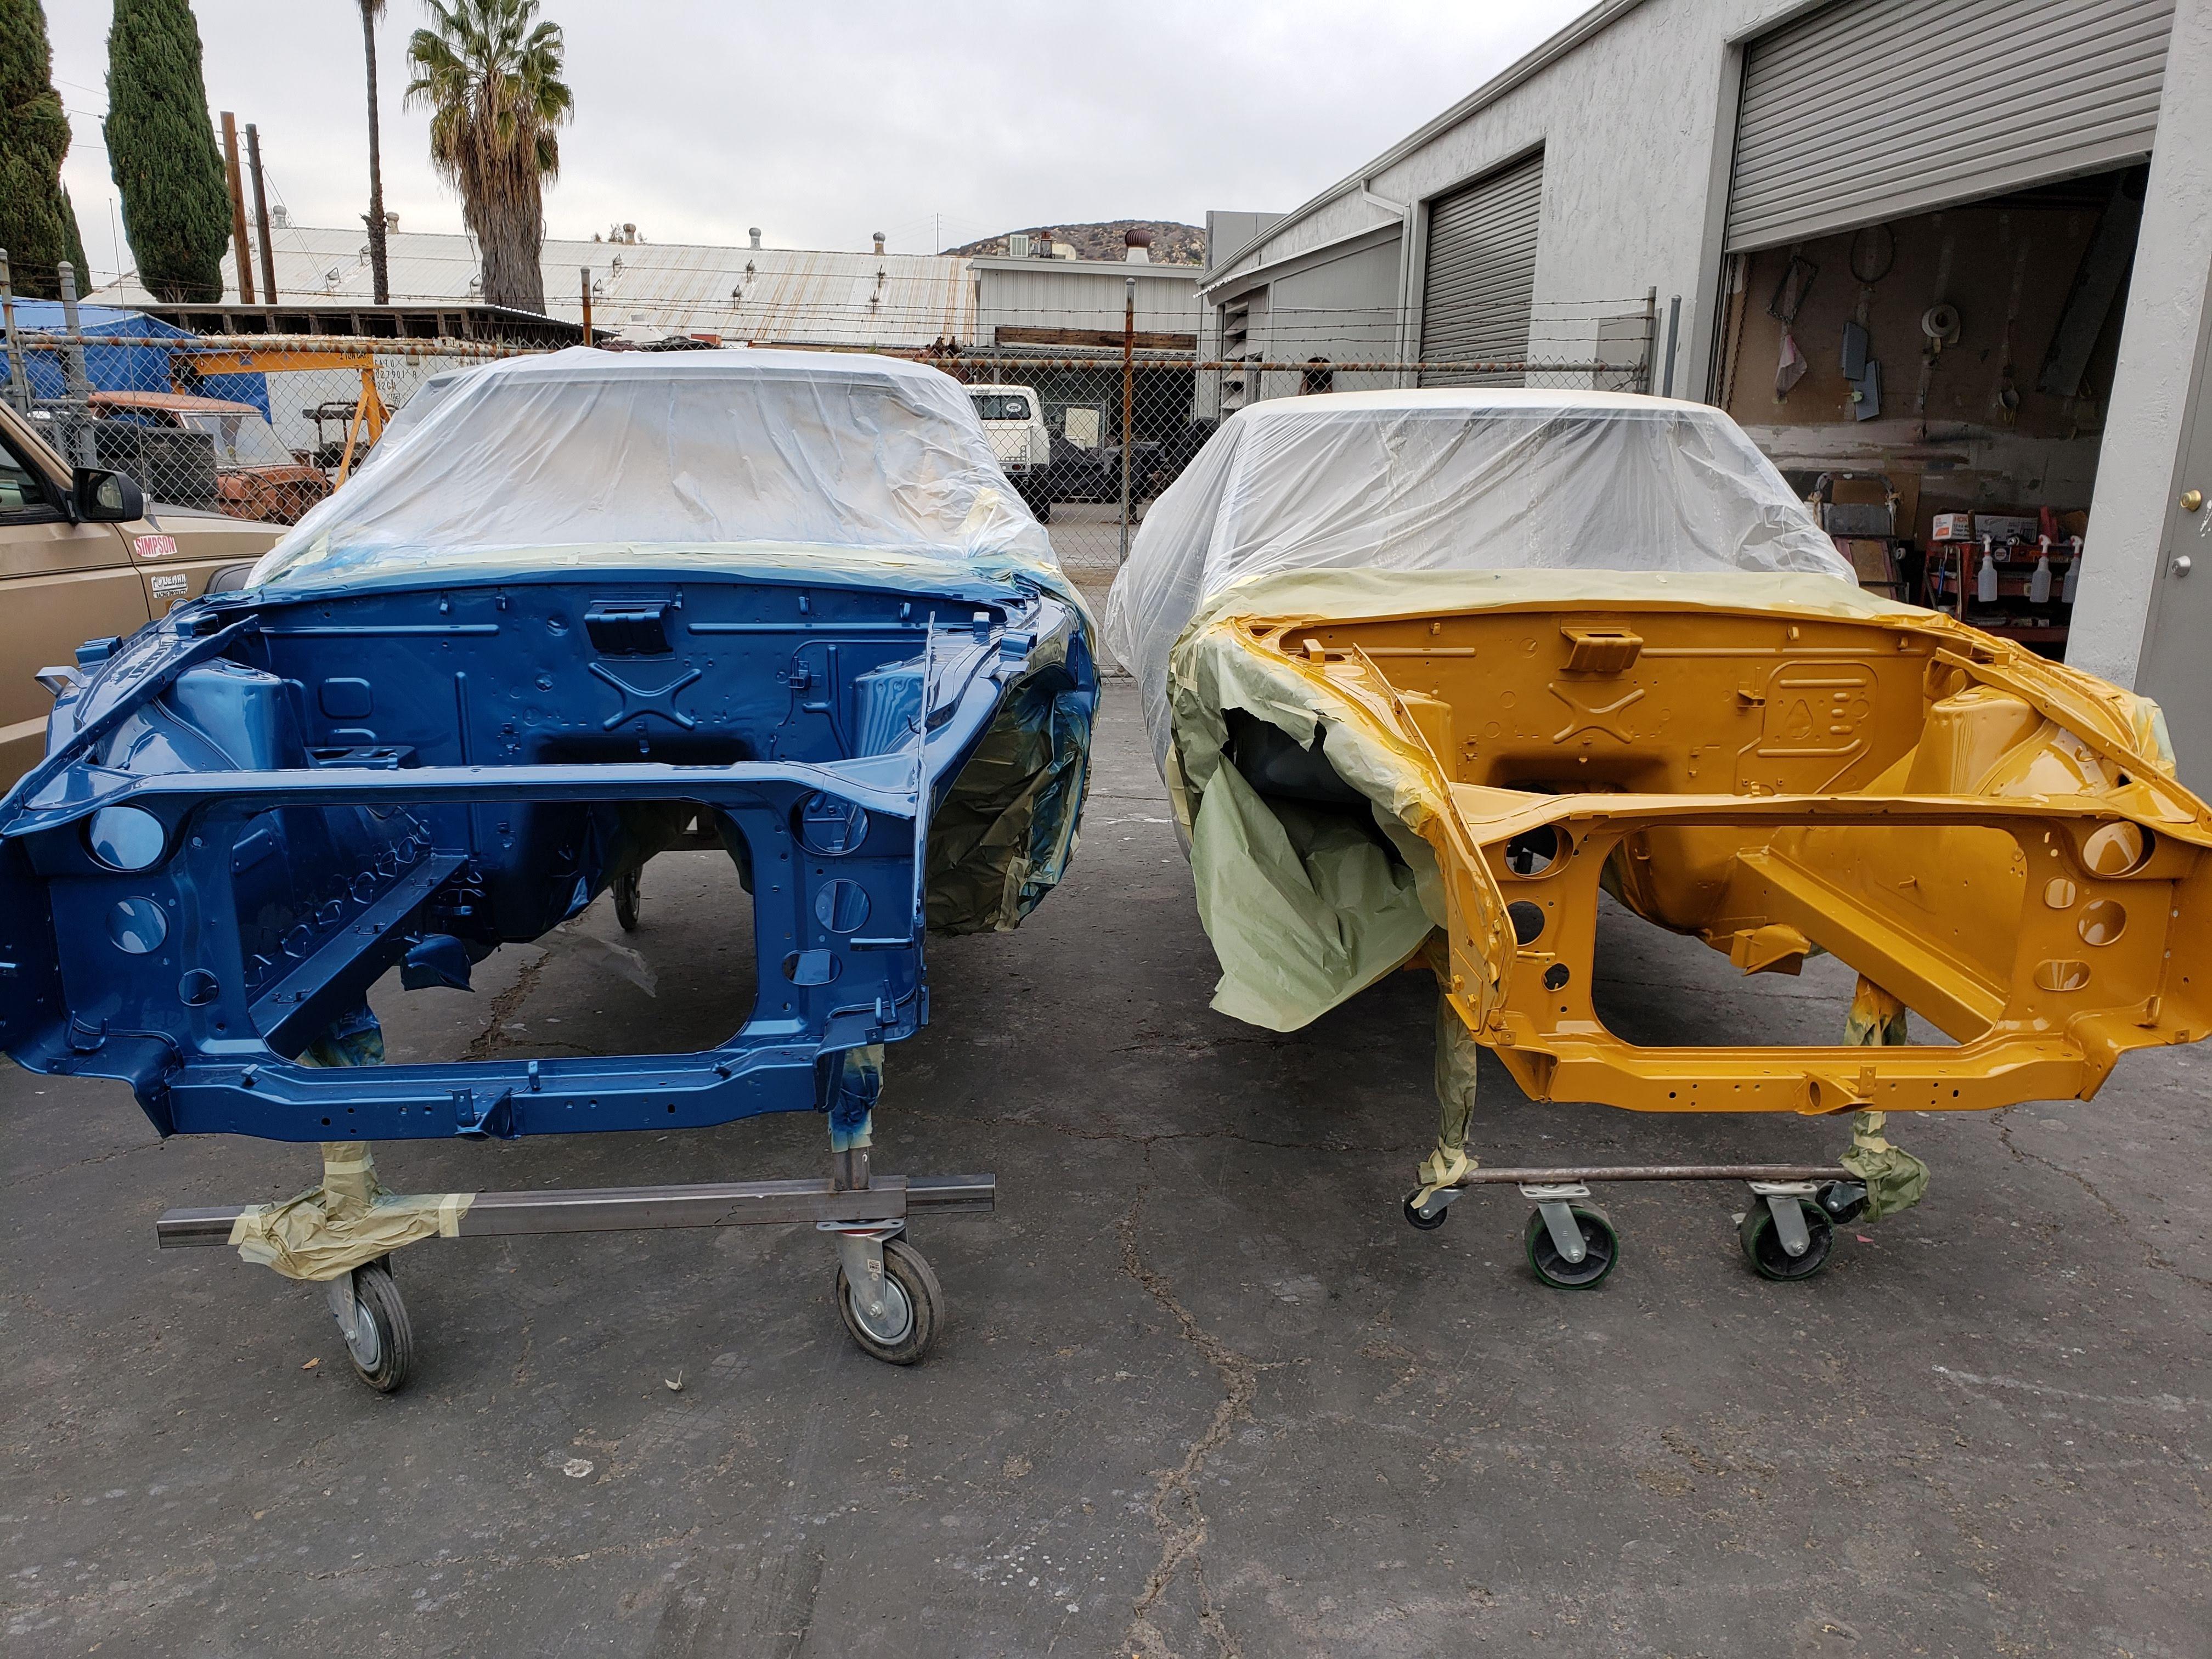
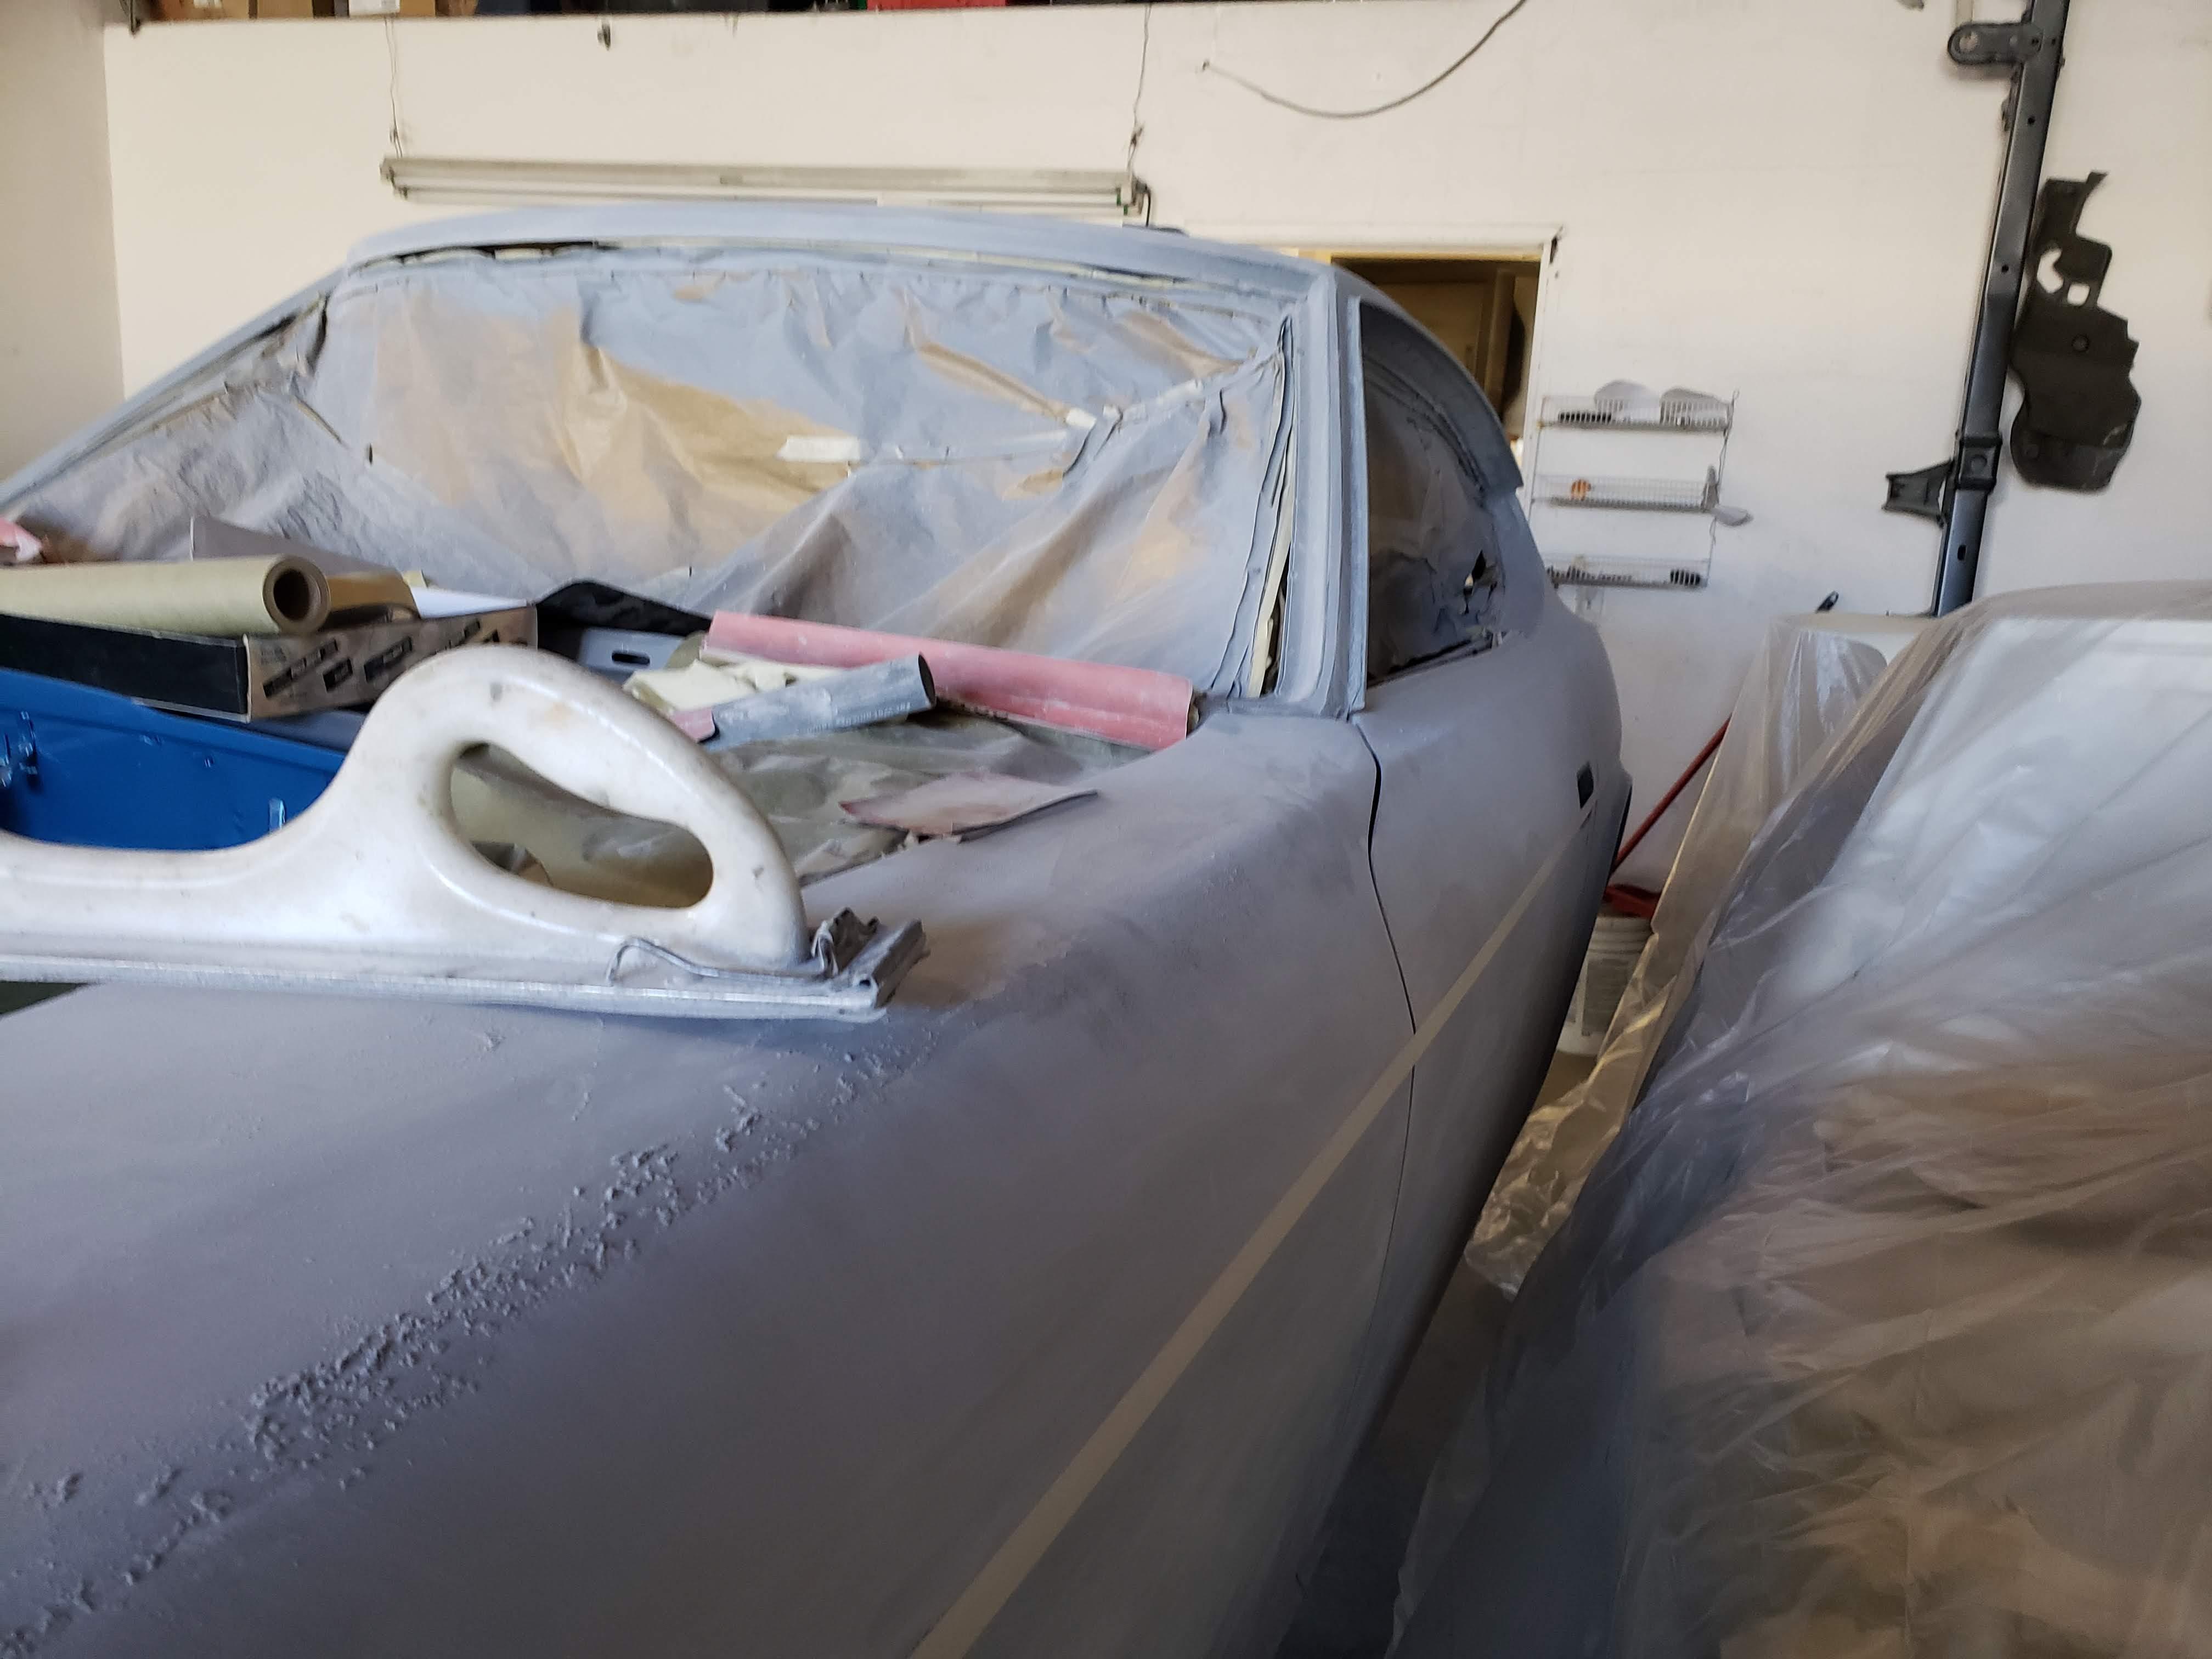
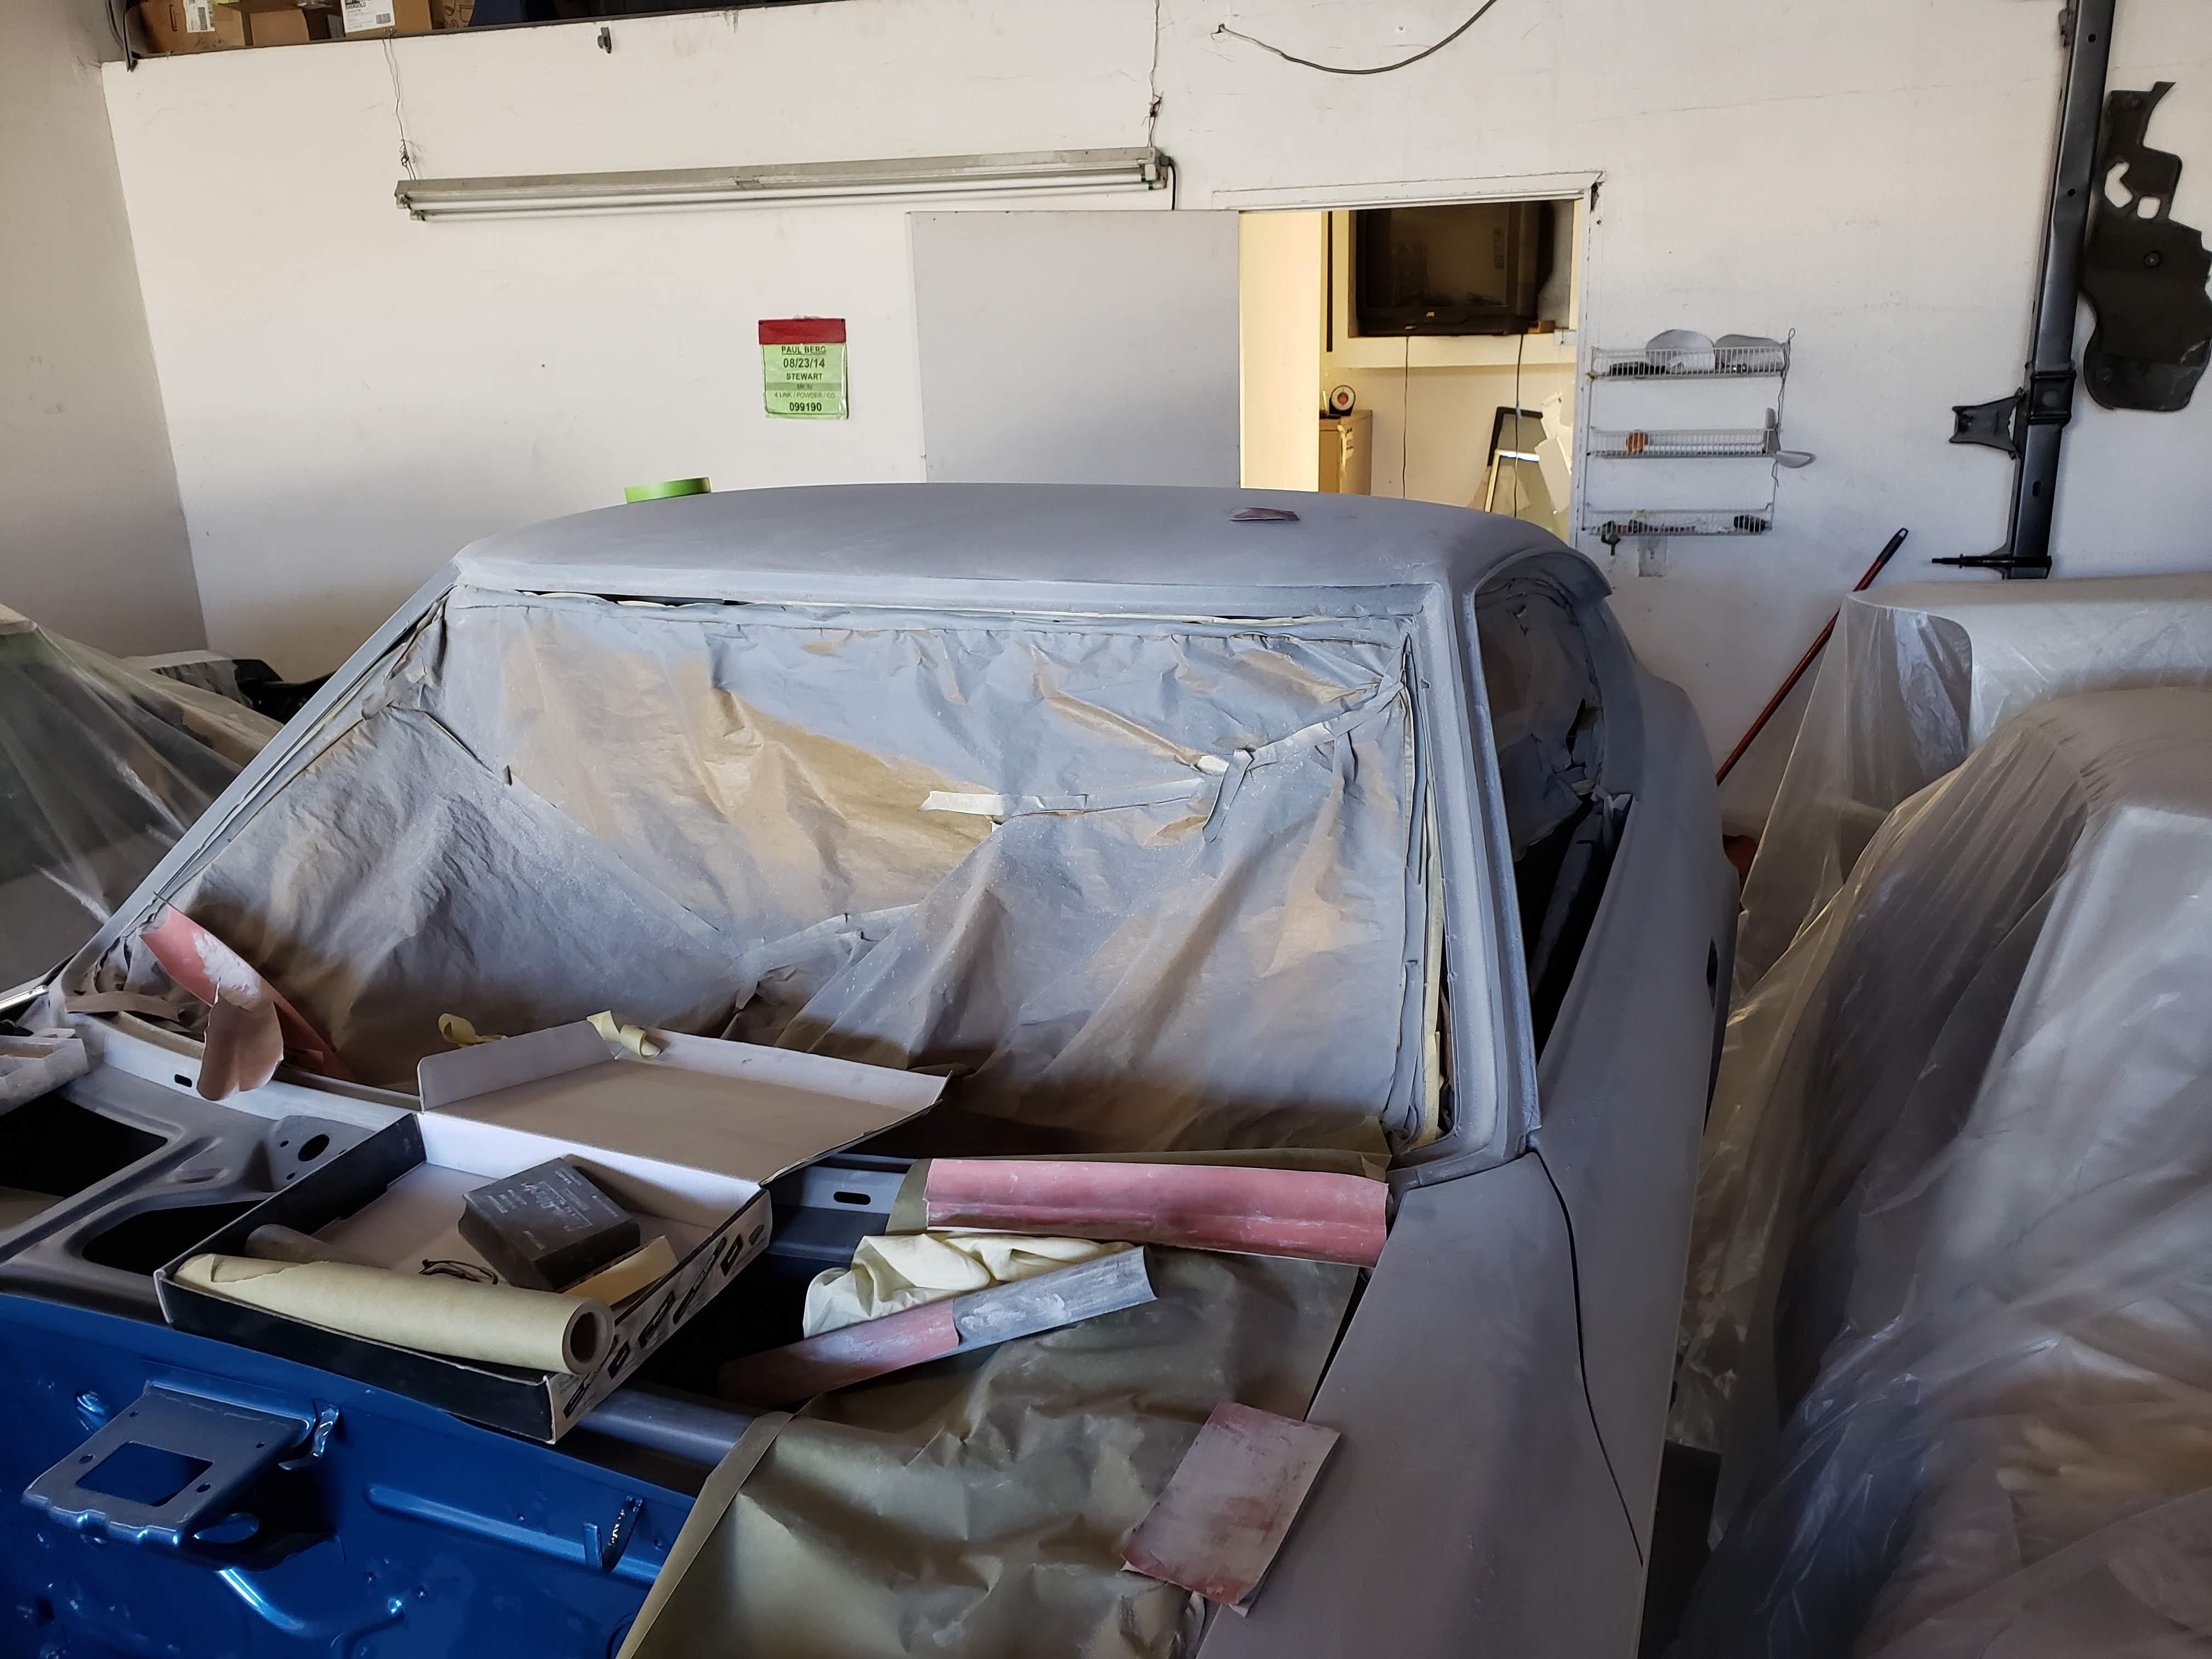
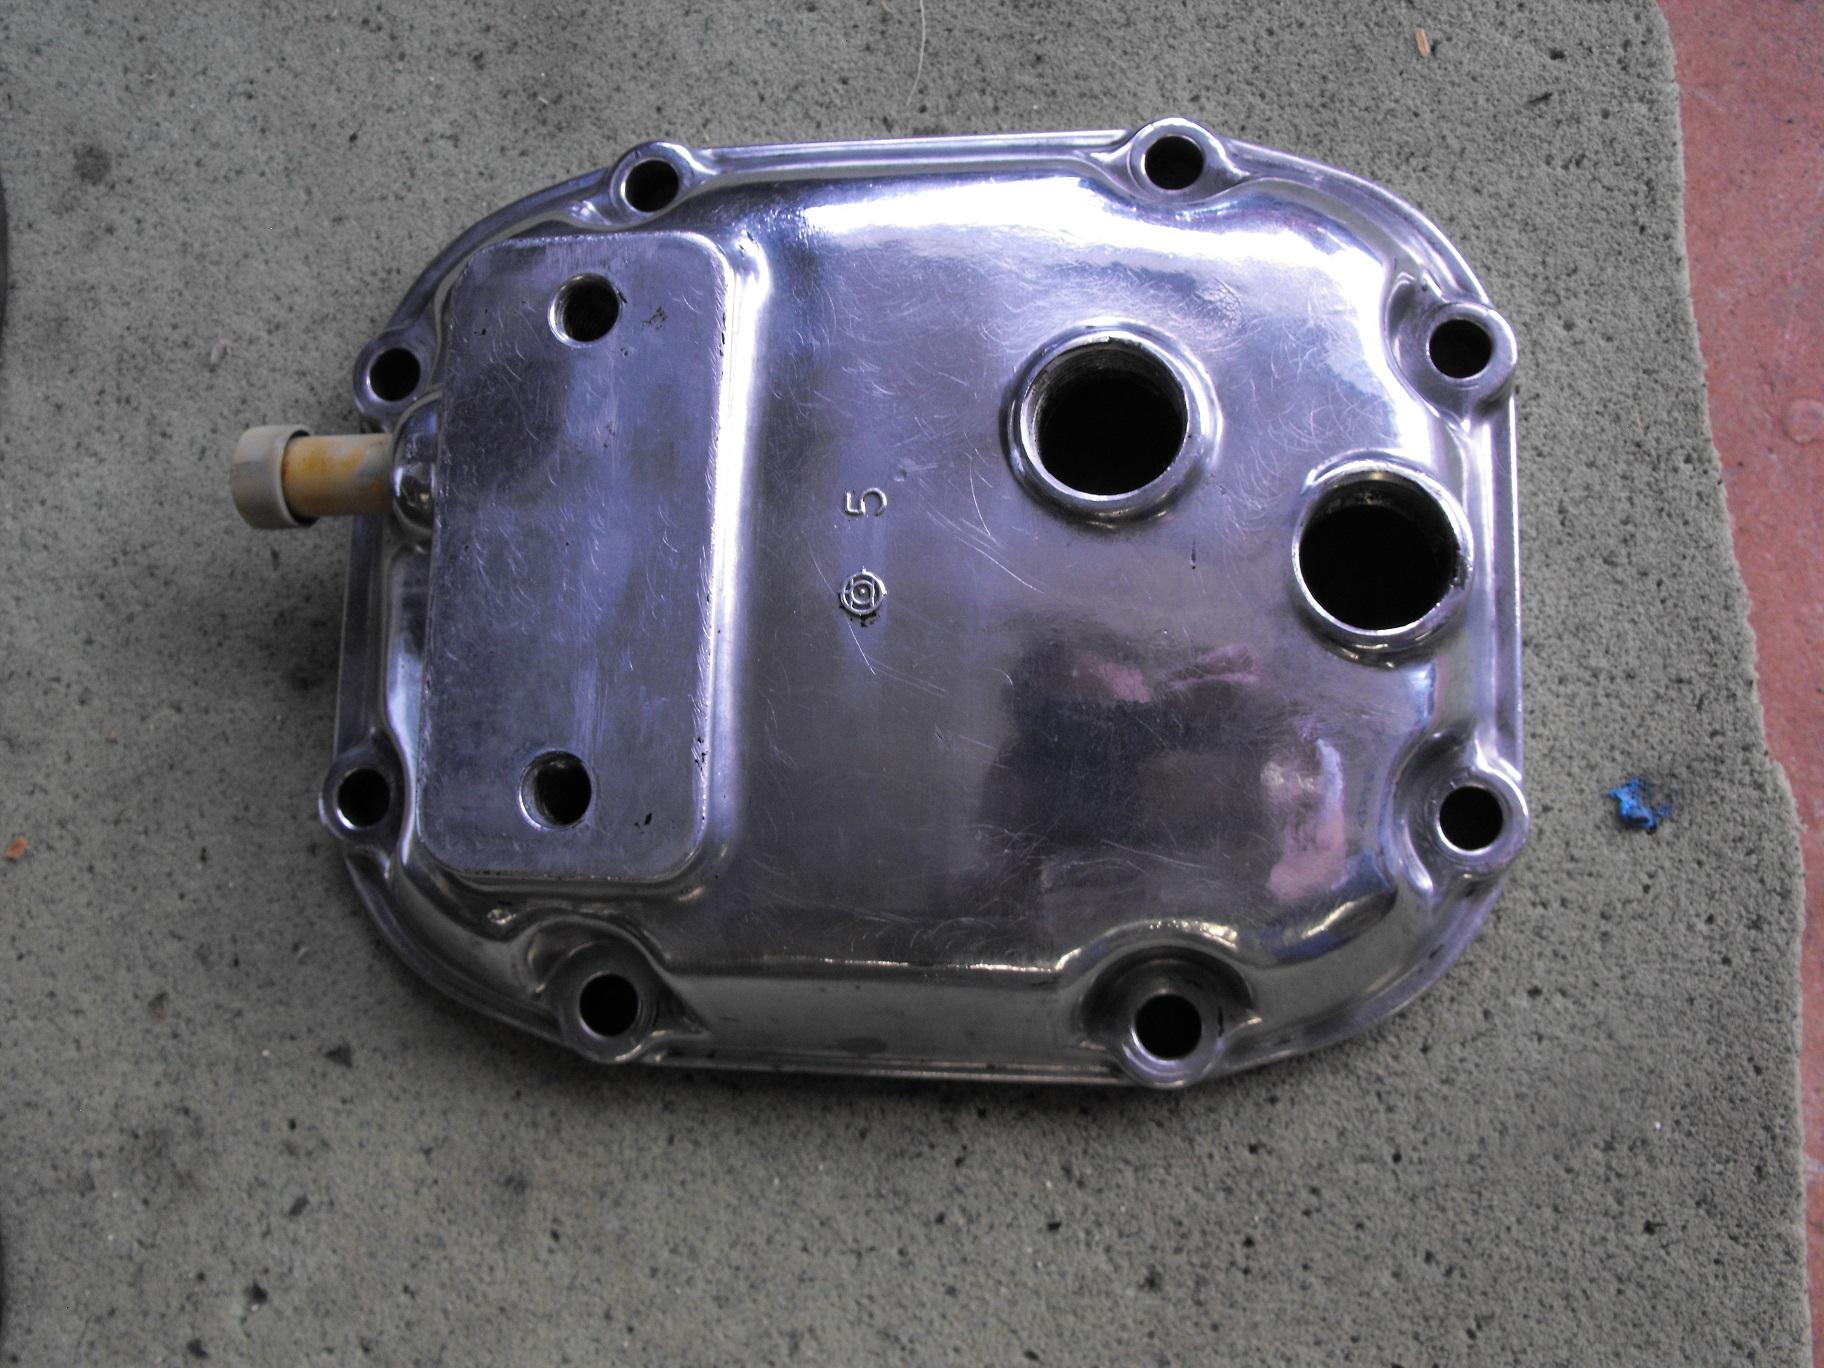
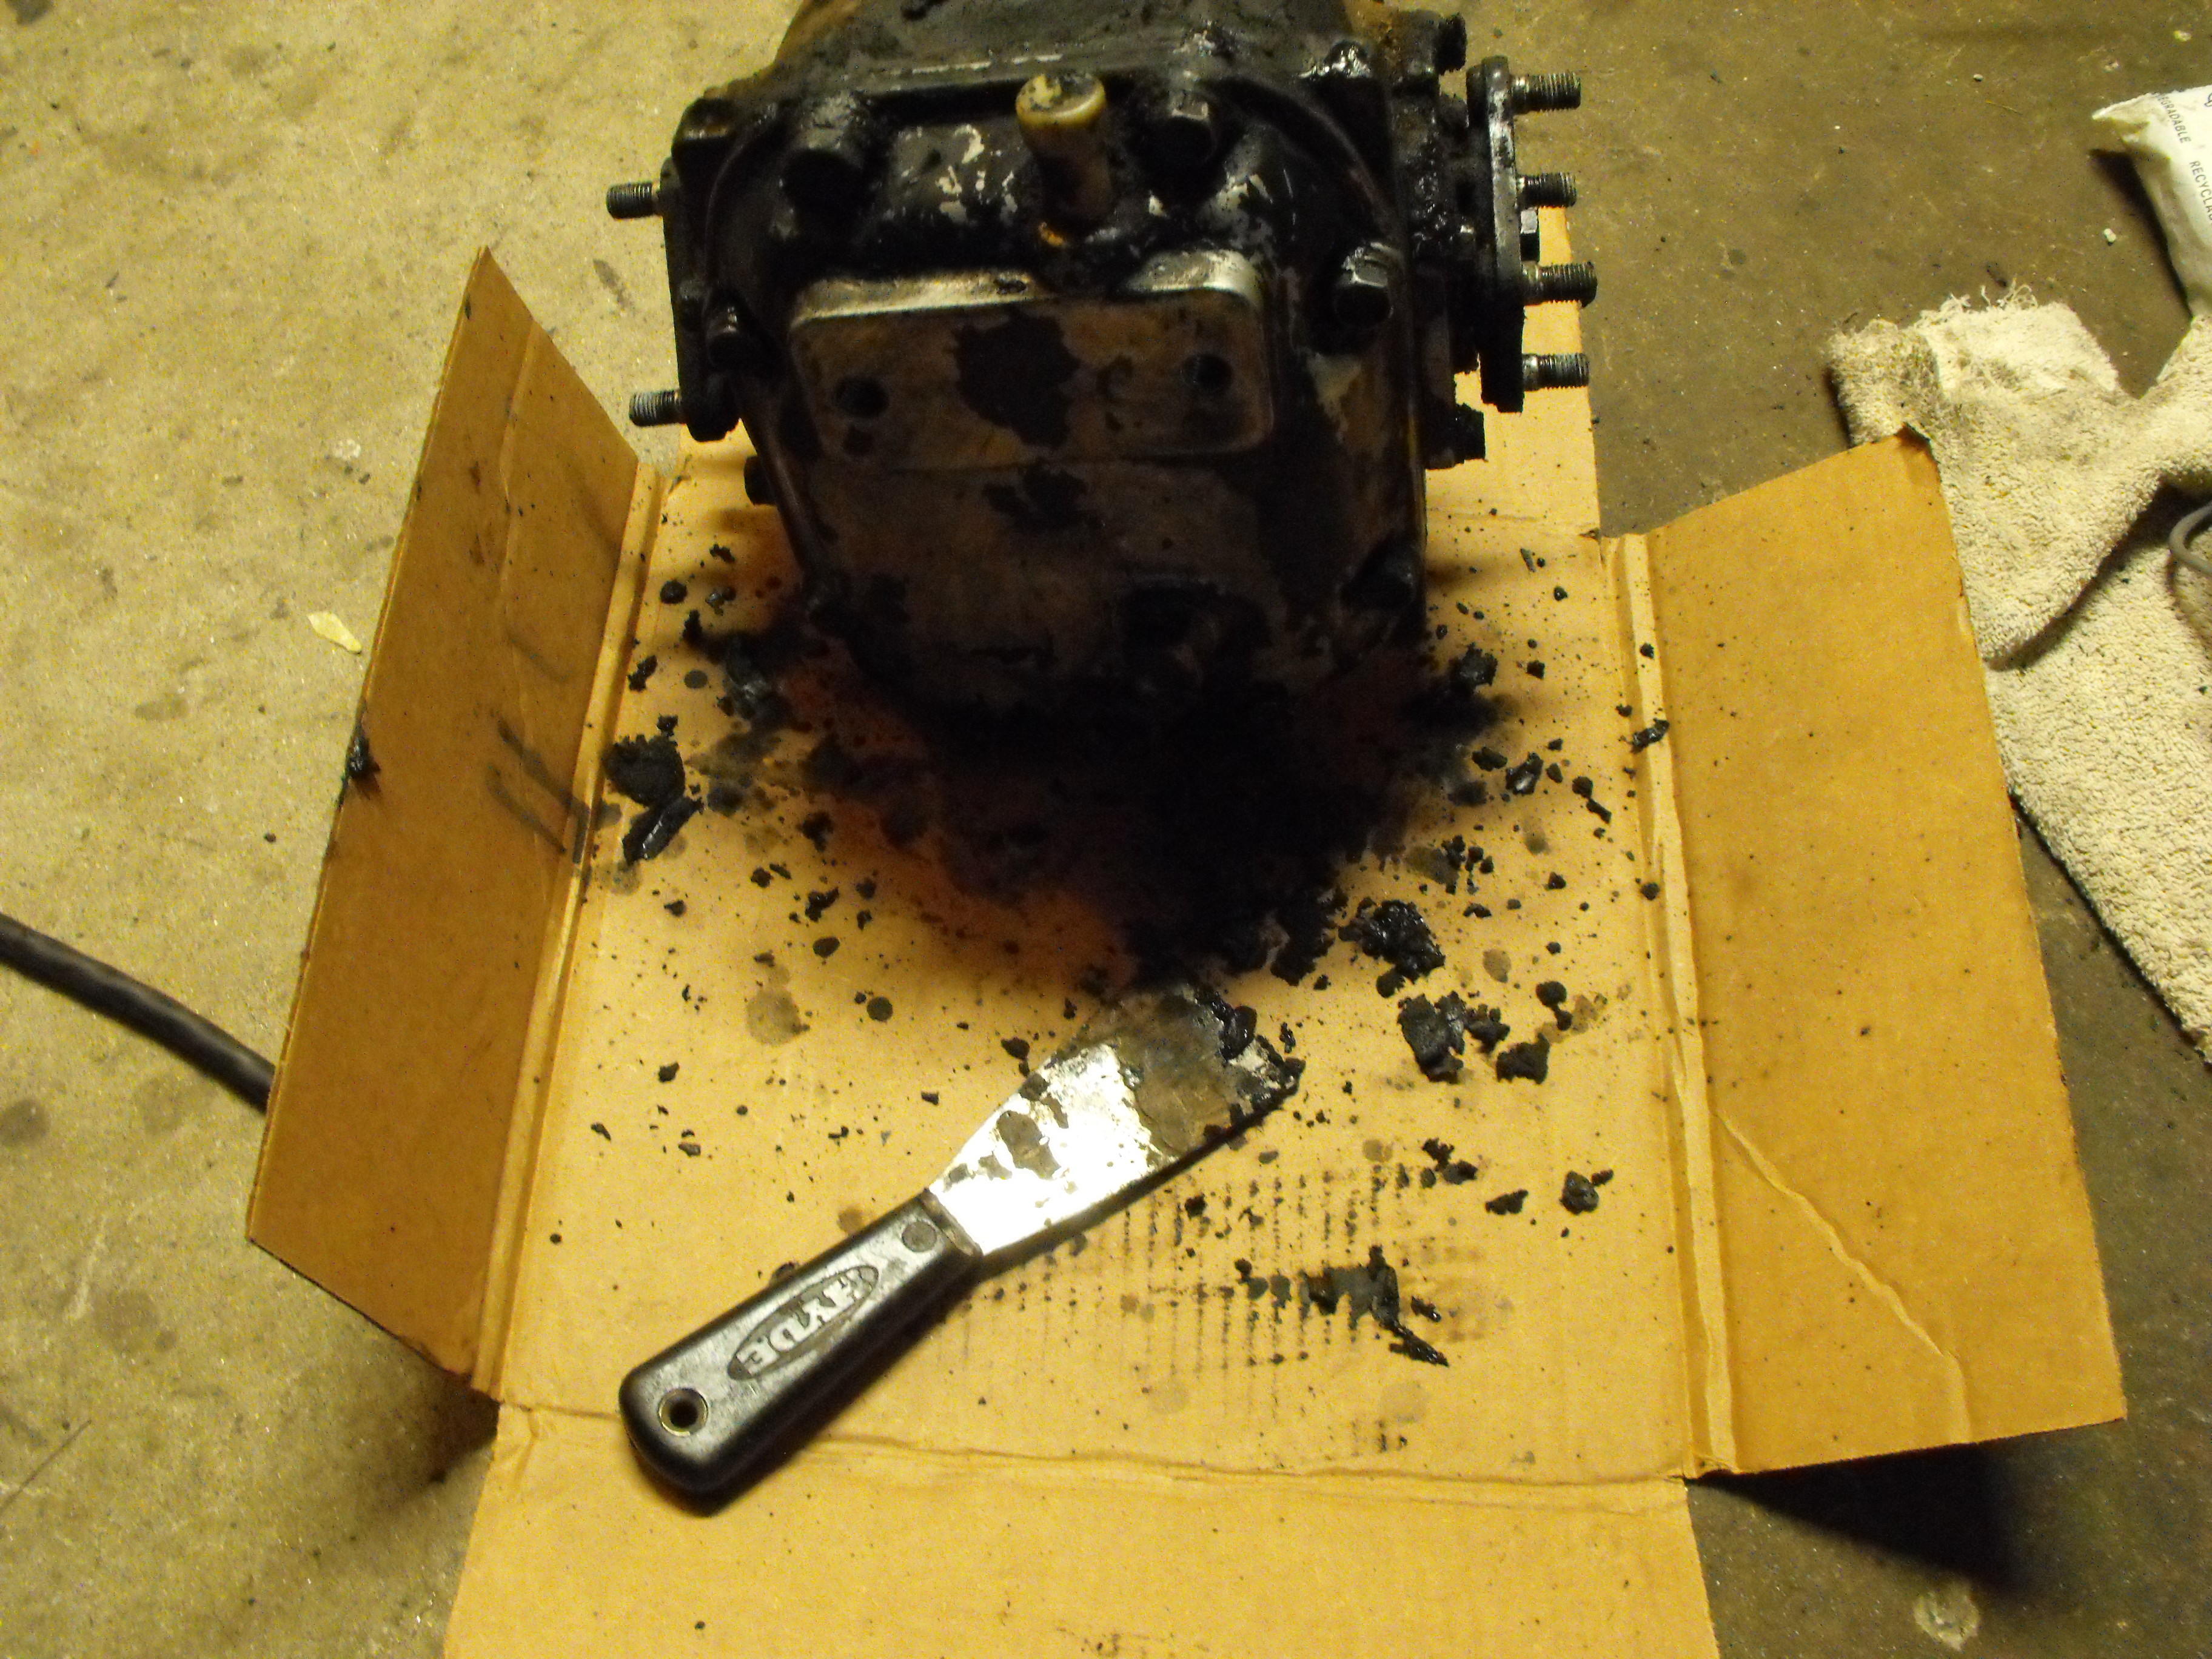
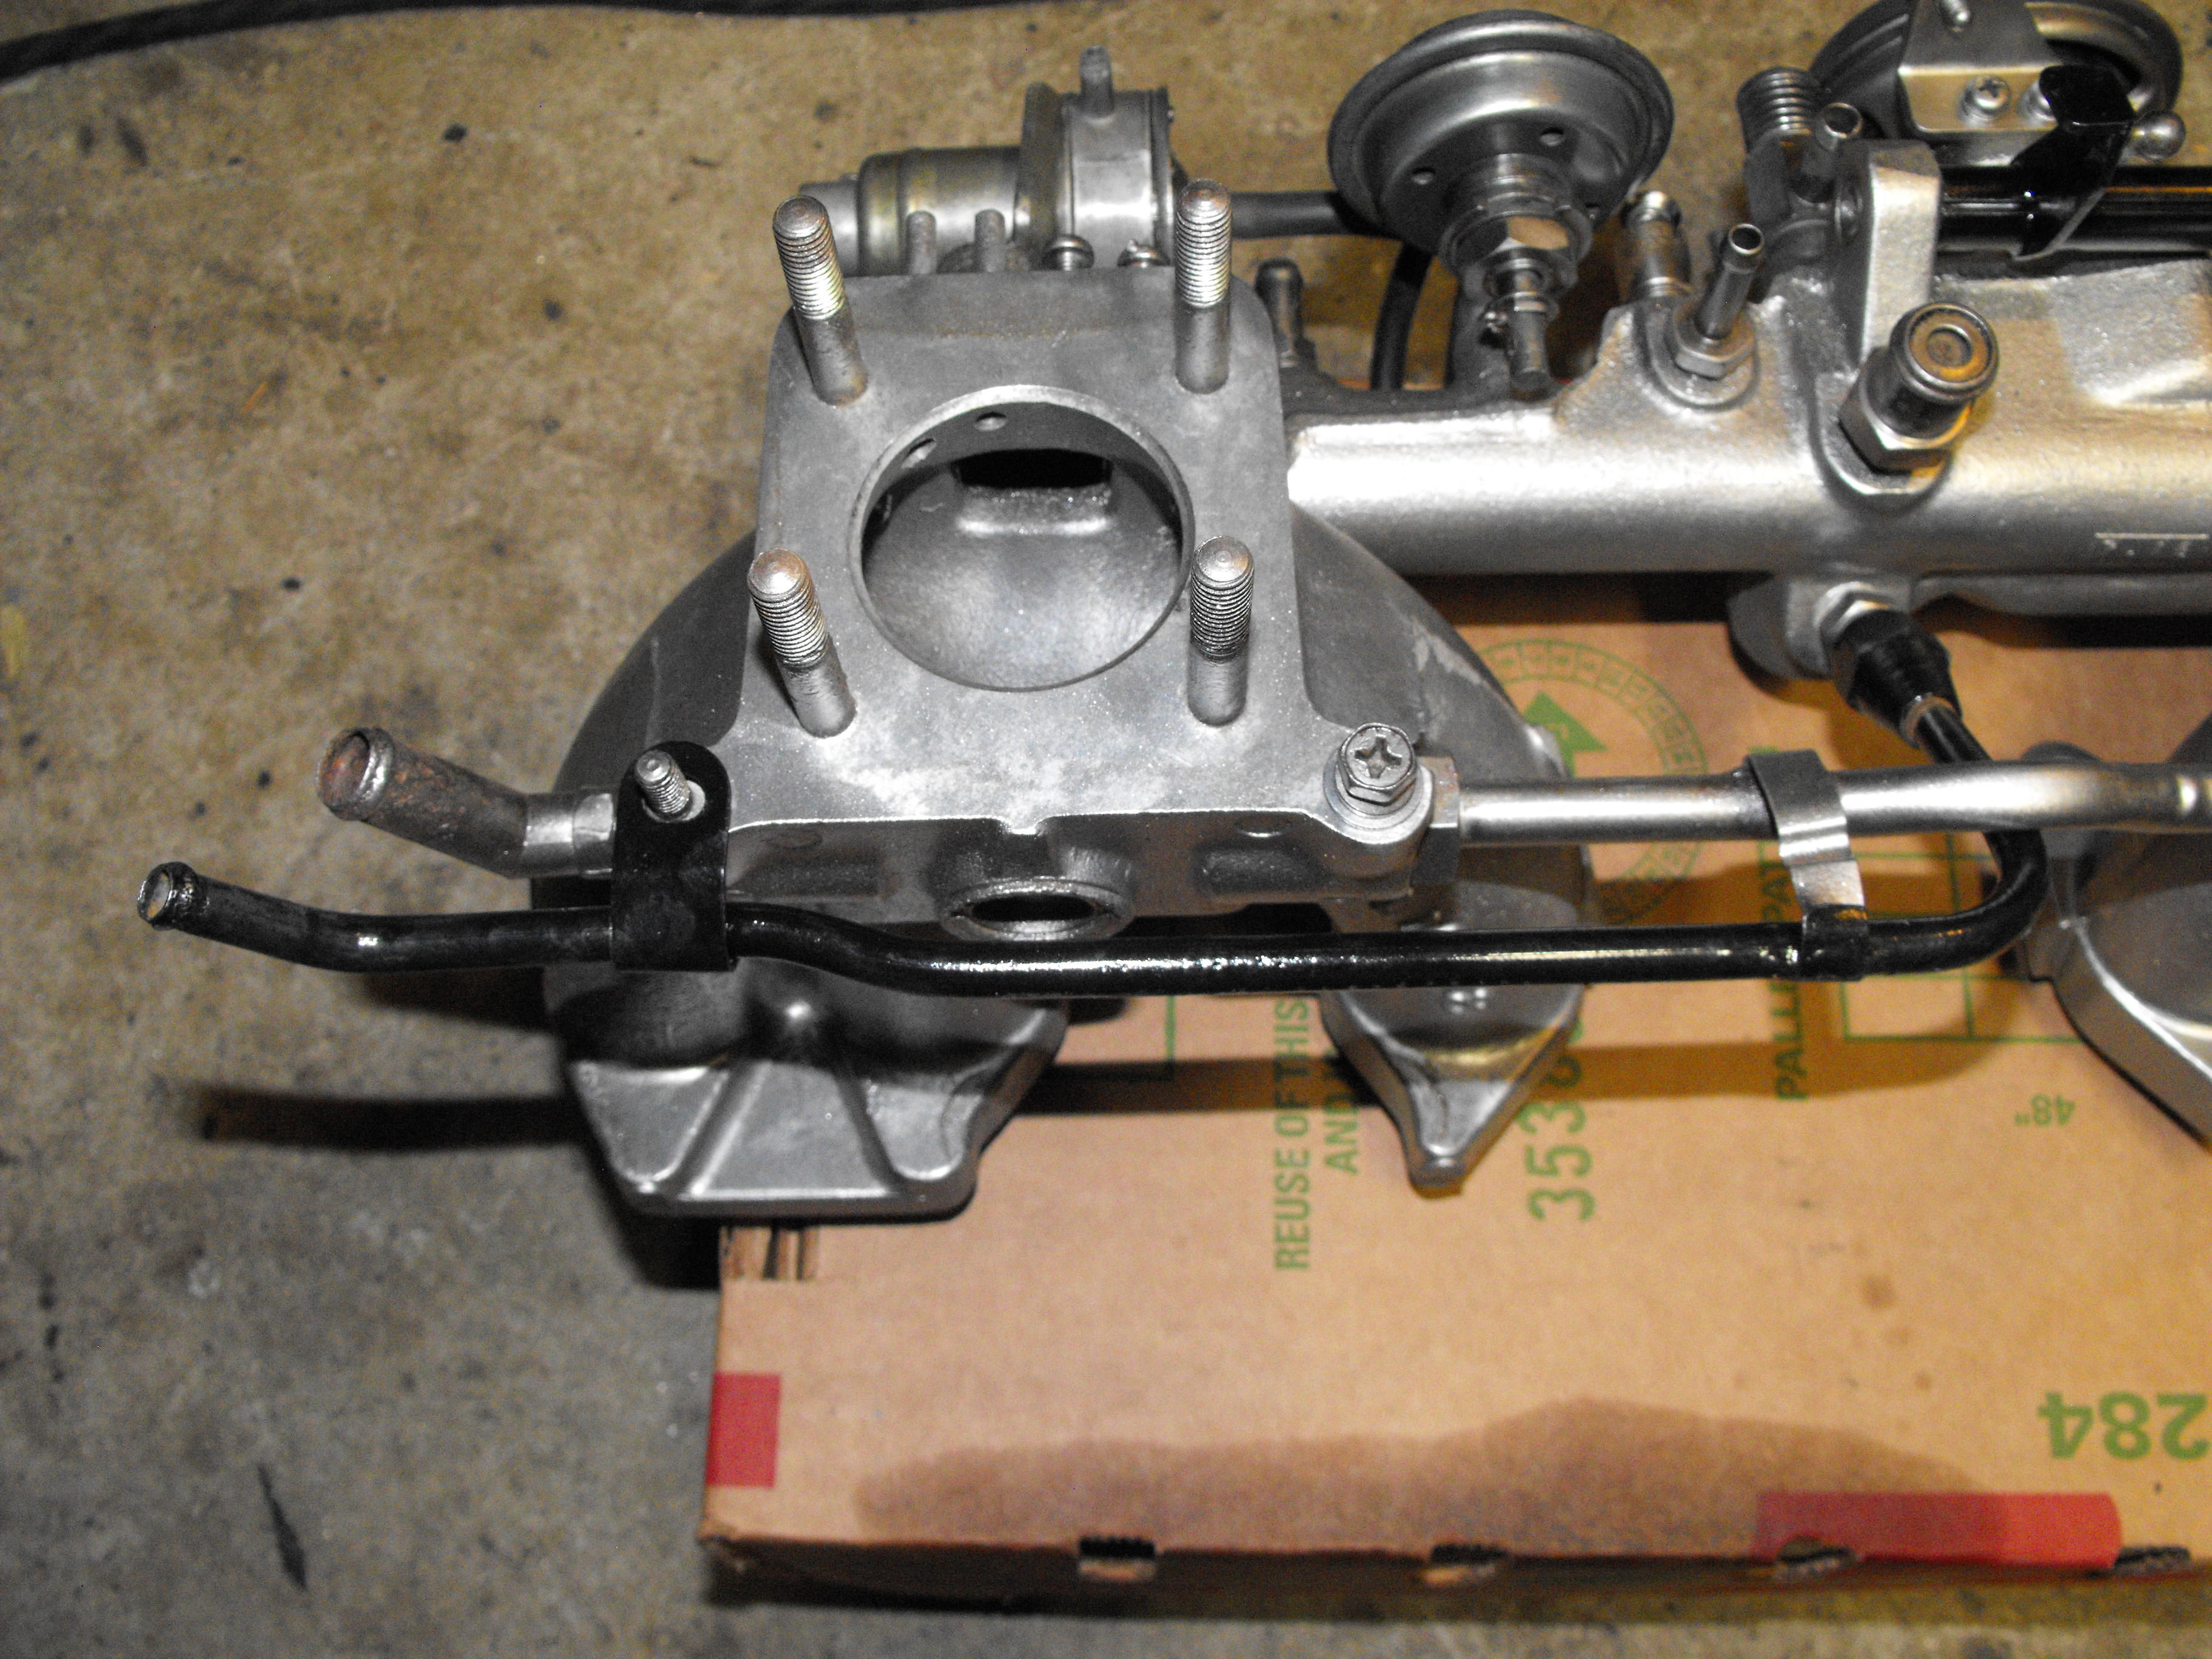
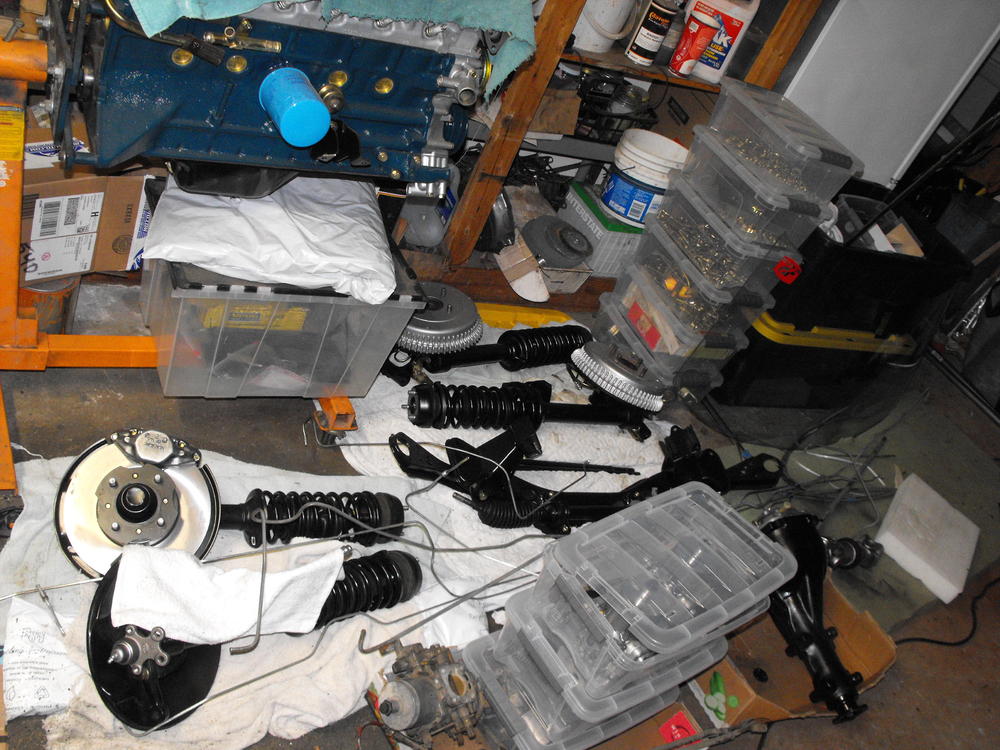
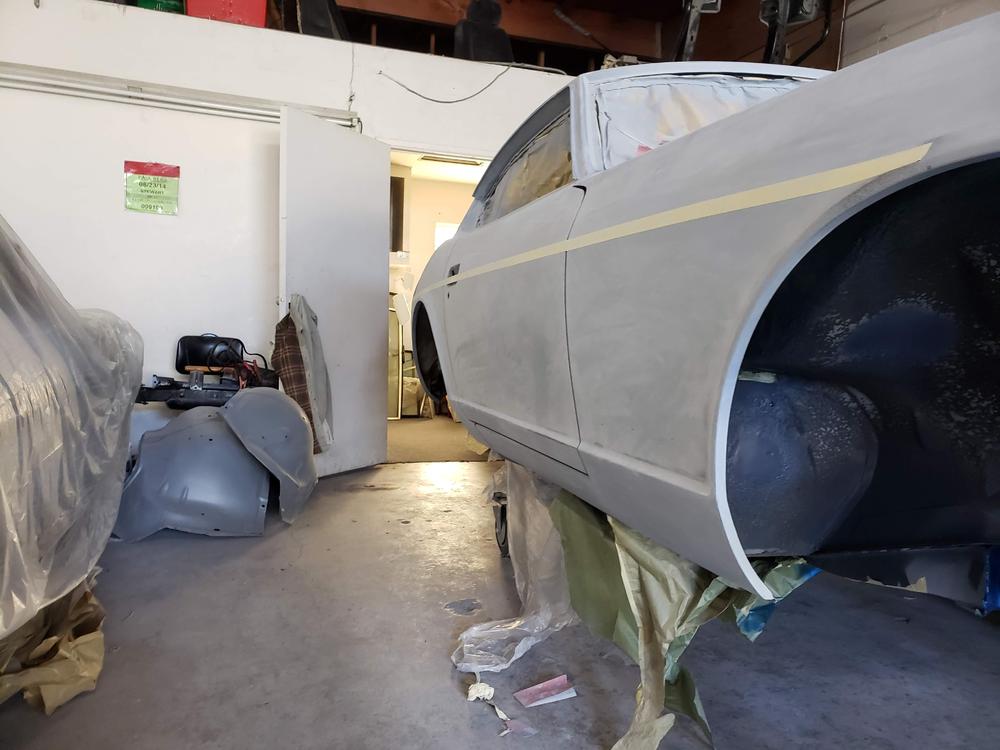
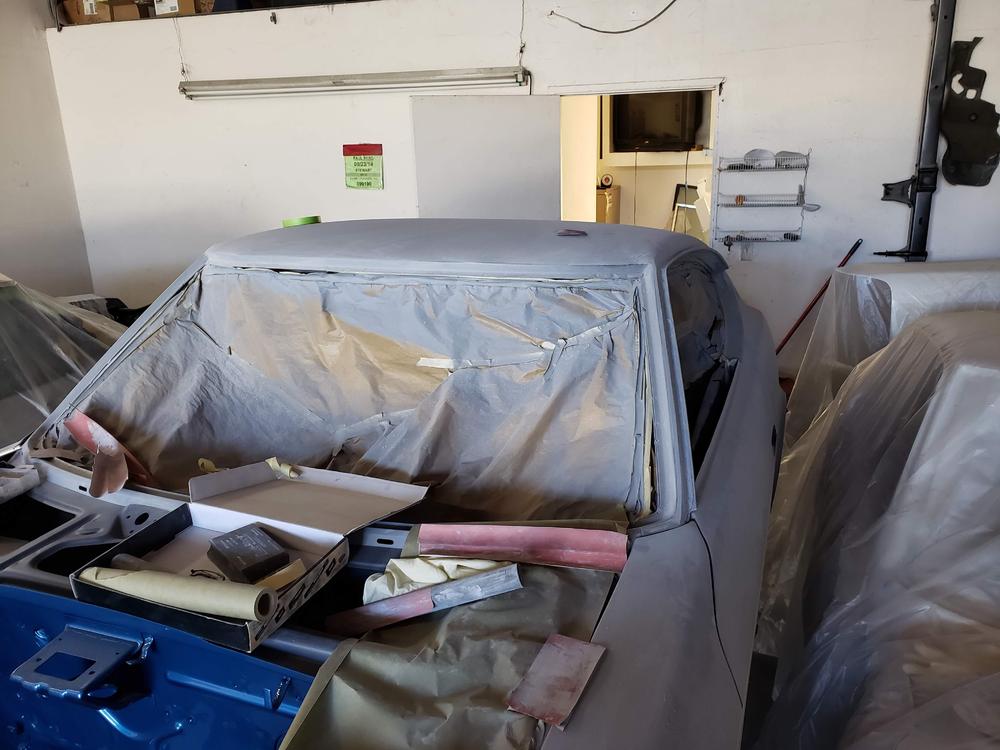
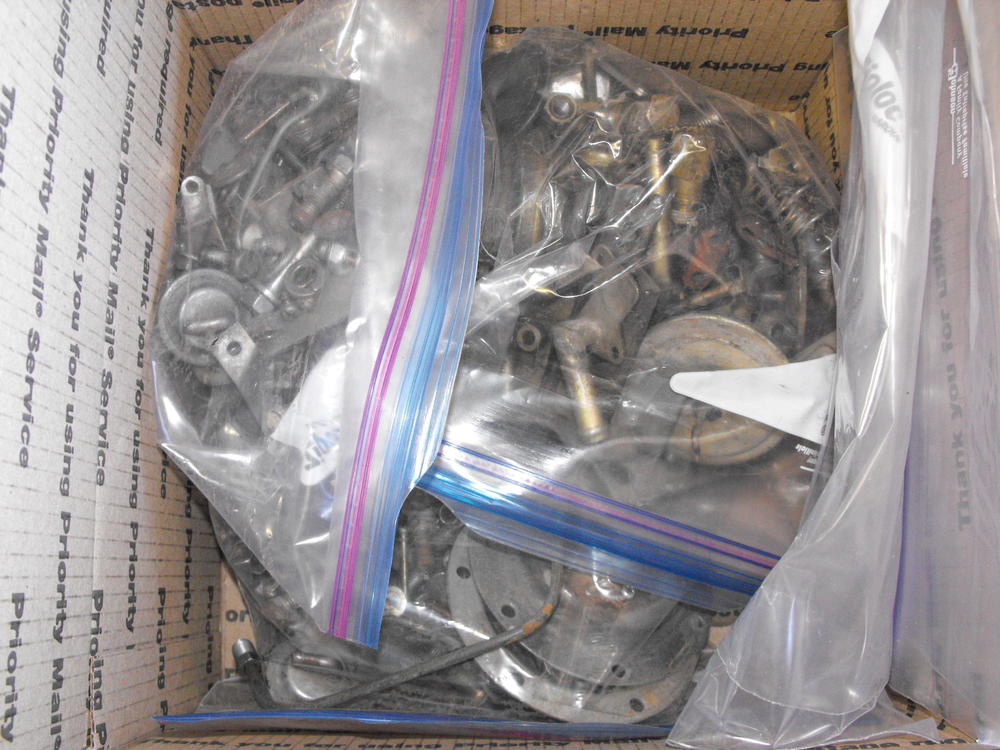
Yes, it is nice to have someone with his quality of work. The delay is due to the number of Z cars he is working on concurrently. Here's a pic of the staging area: Can you tell that I am ready for the body to show up? I actually had an old '73 exhaust manifold laying around, so I worked on removing the old vestiges of the air galley and re-tapped the holes. Also, the large plug for the tube that goes from this manifold to the balance tube came out pretty easily. I will take this over to Olympic and get it ceramic coated. New air galley's are getting hard to find (meaning expensive) and old ones never come off well. Zstore and Zeddsaver are out of stock on these. Had to pick up one from Jay at jdm-parts.com It should arrive in a couple days.


-
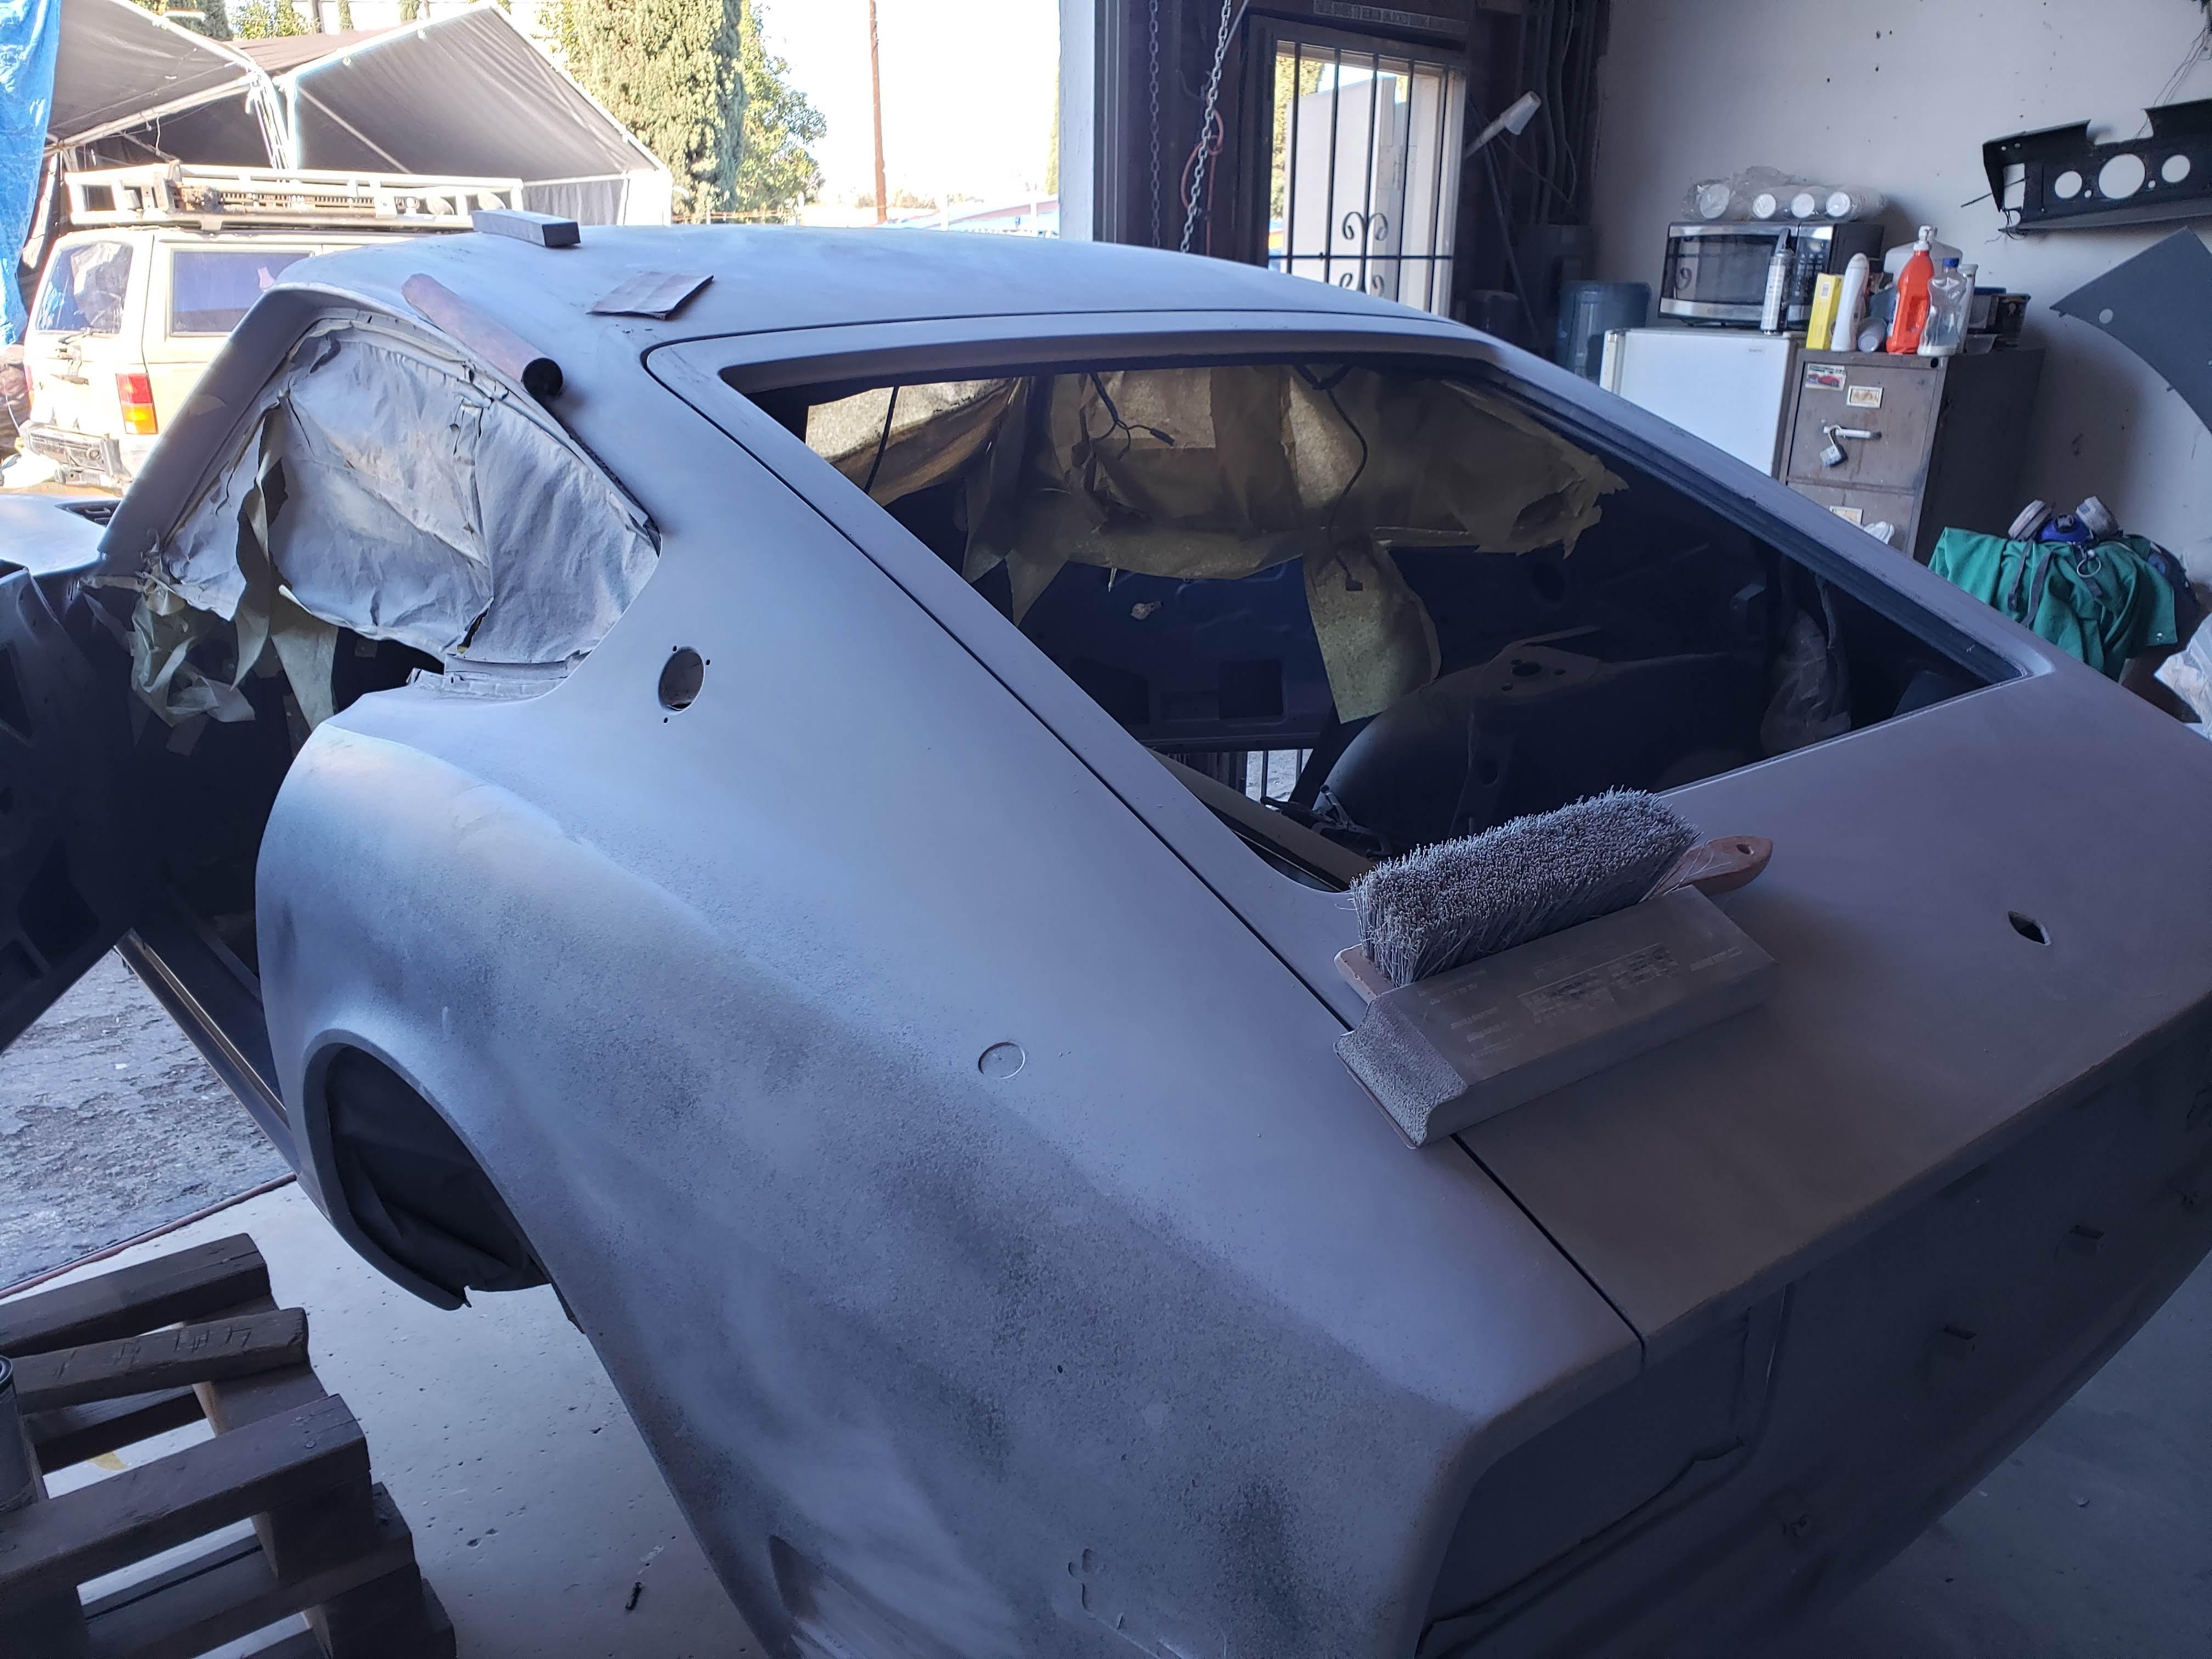
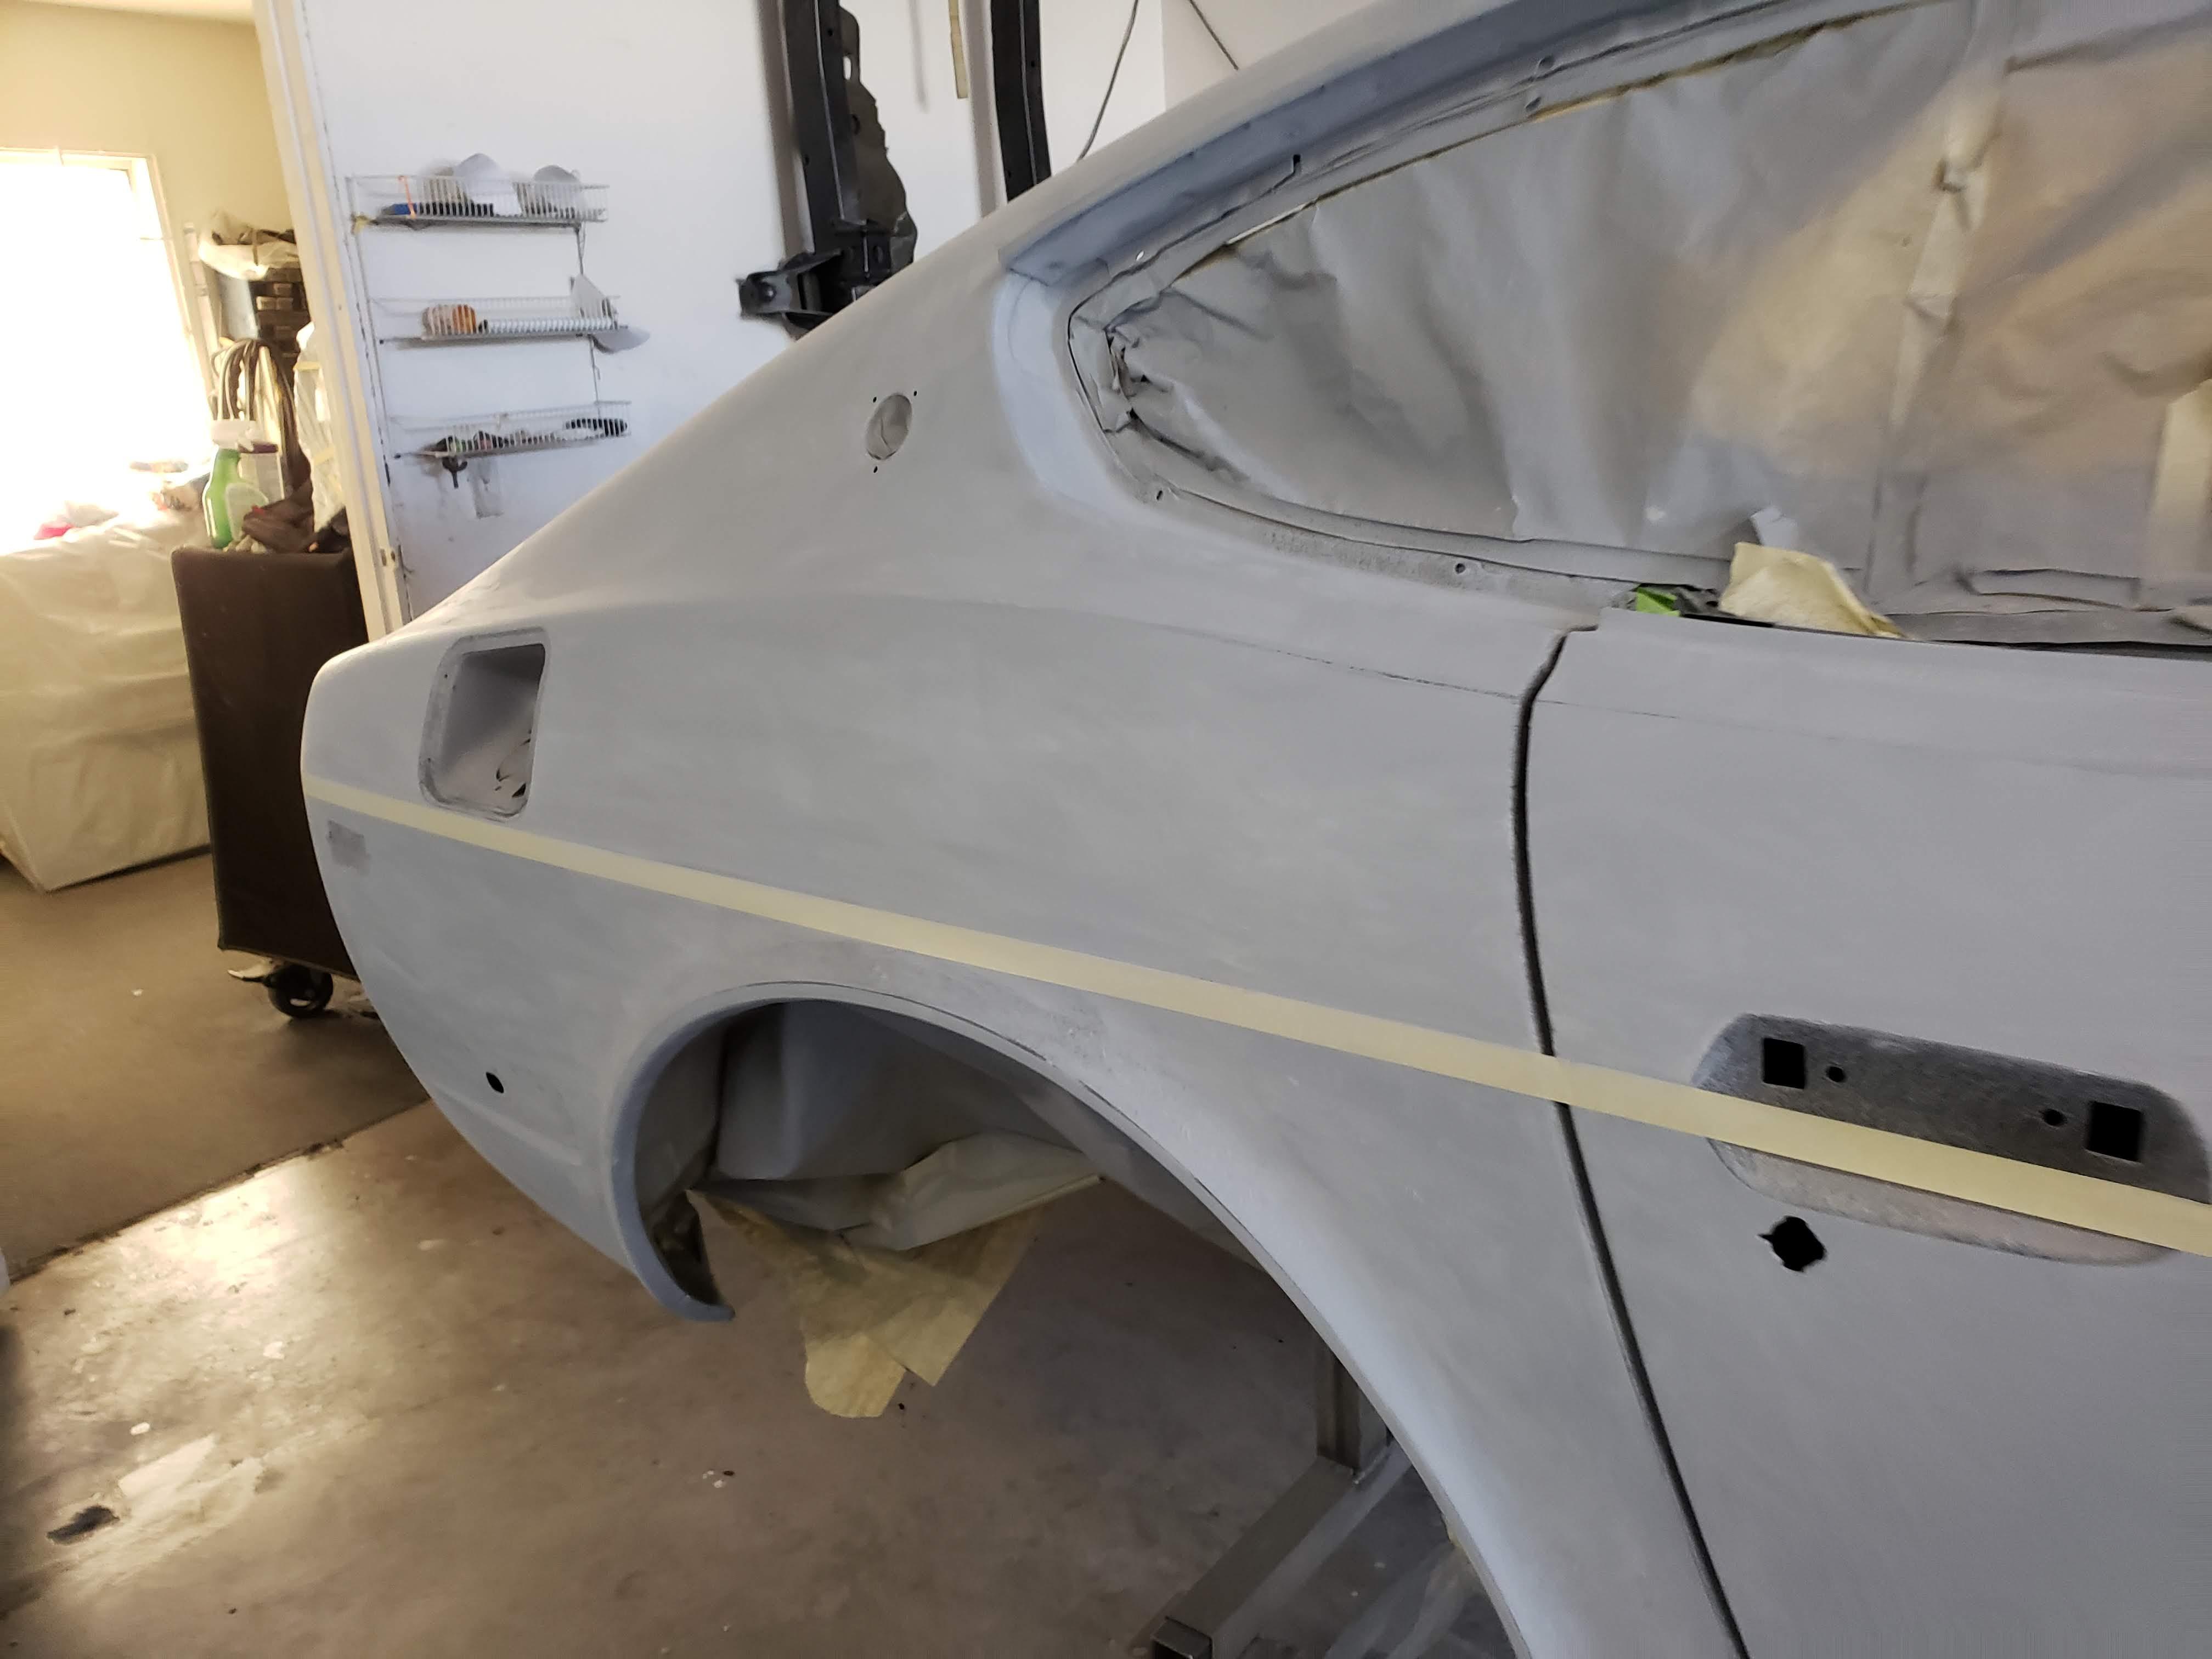
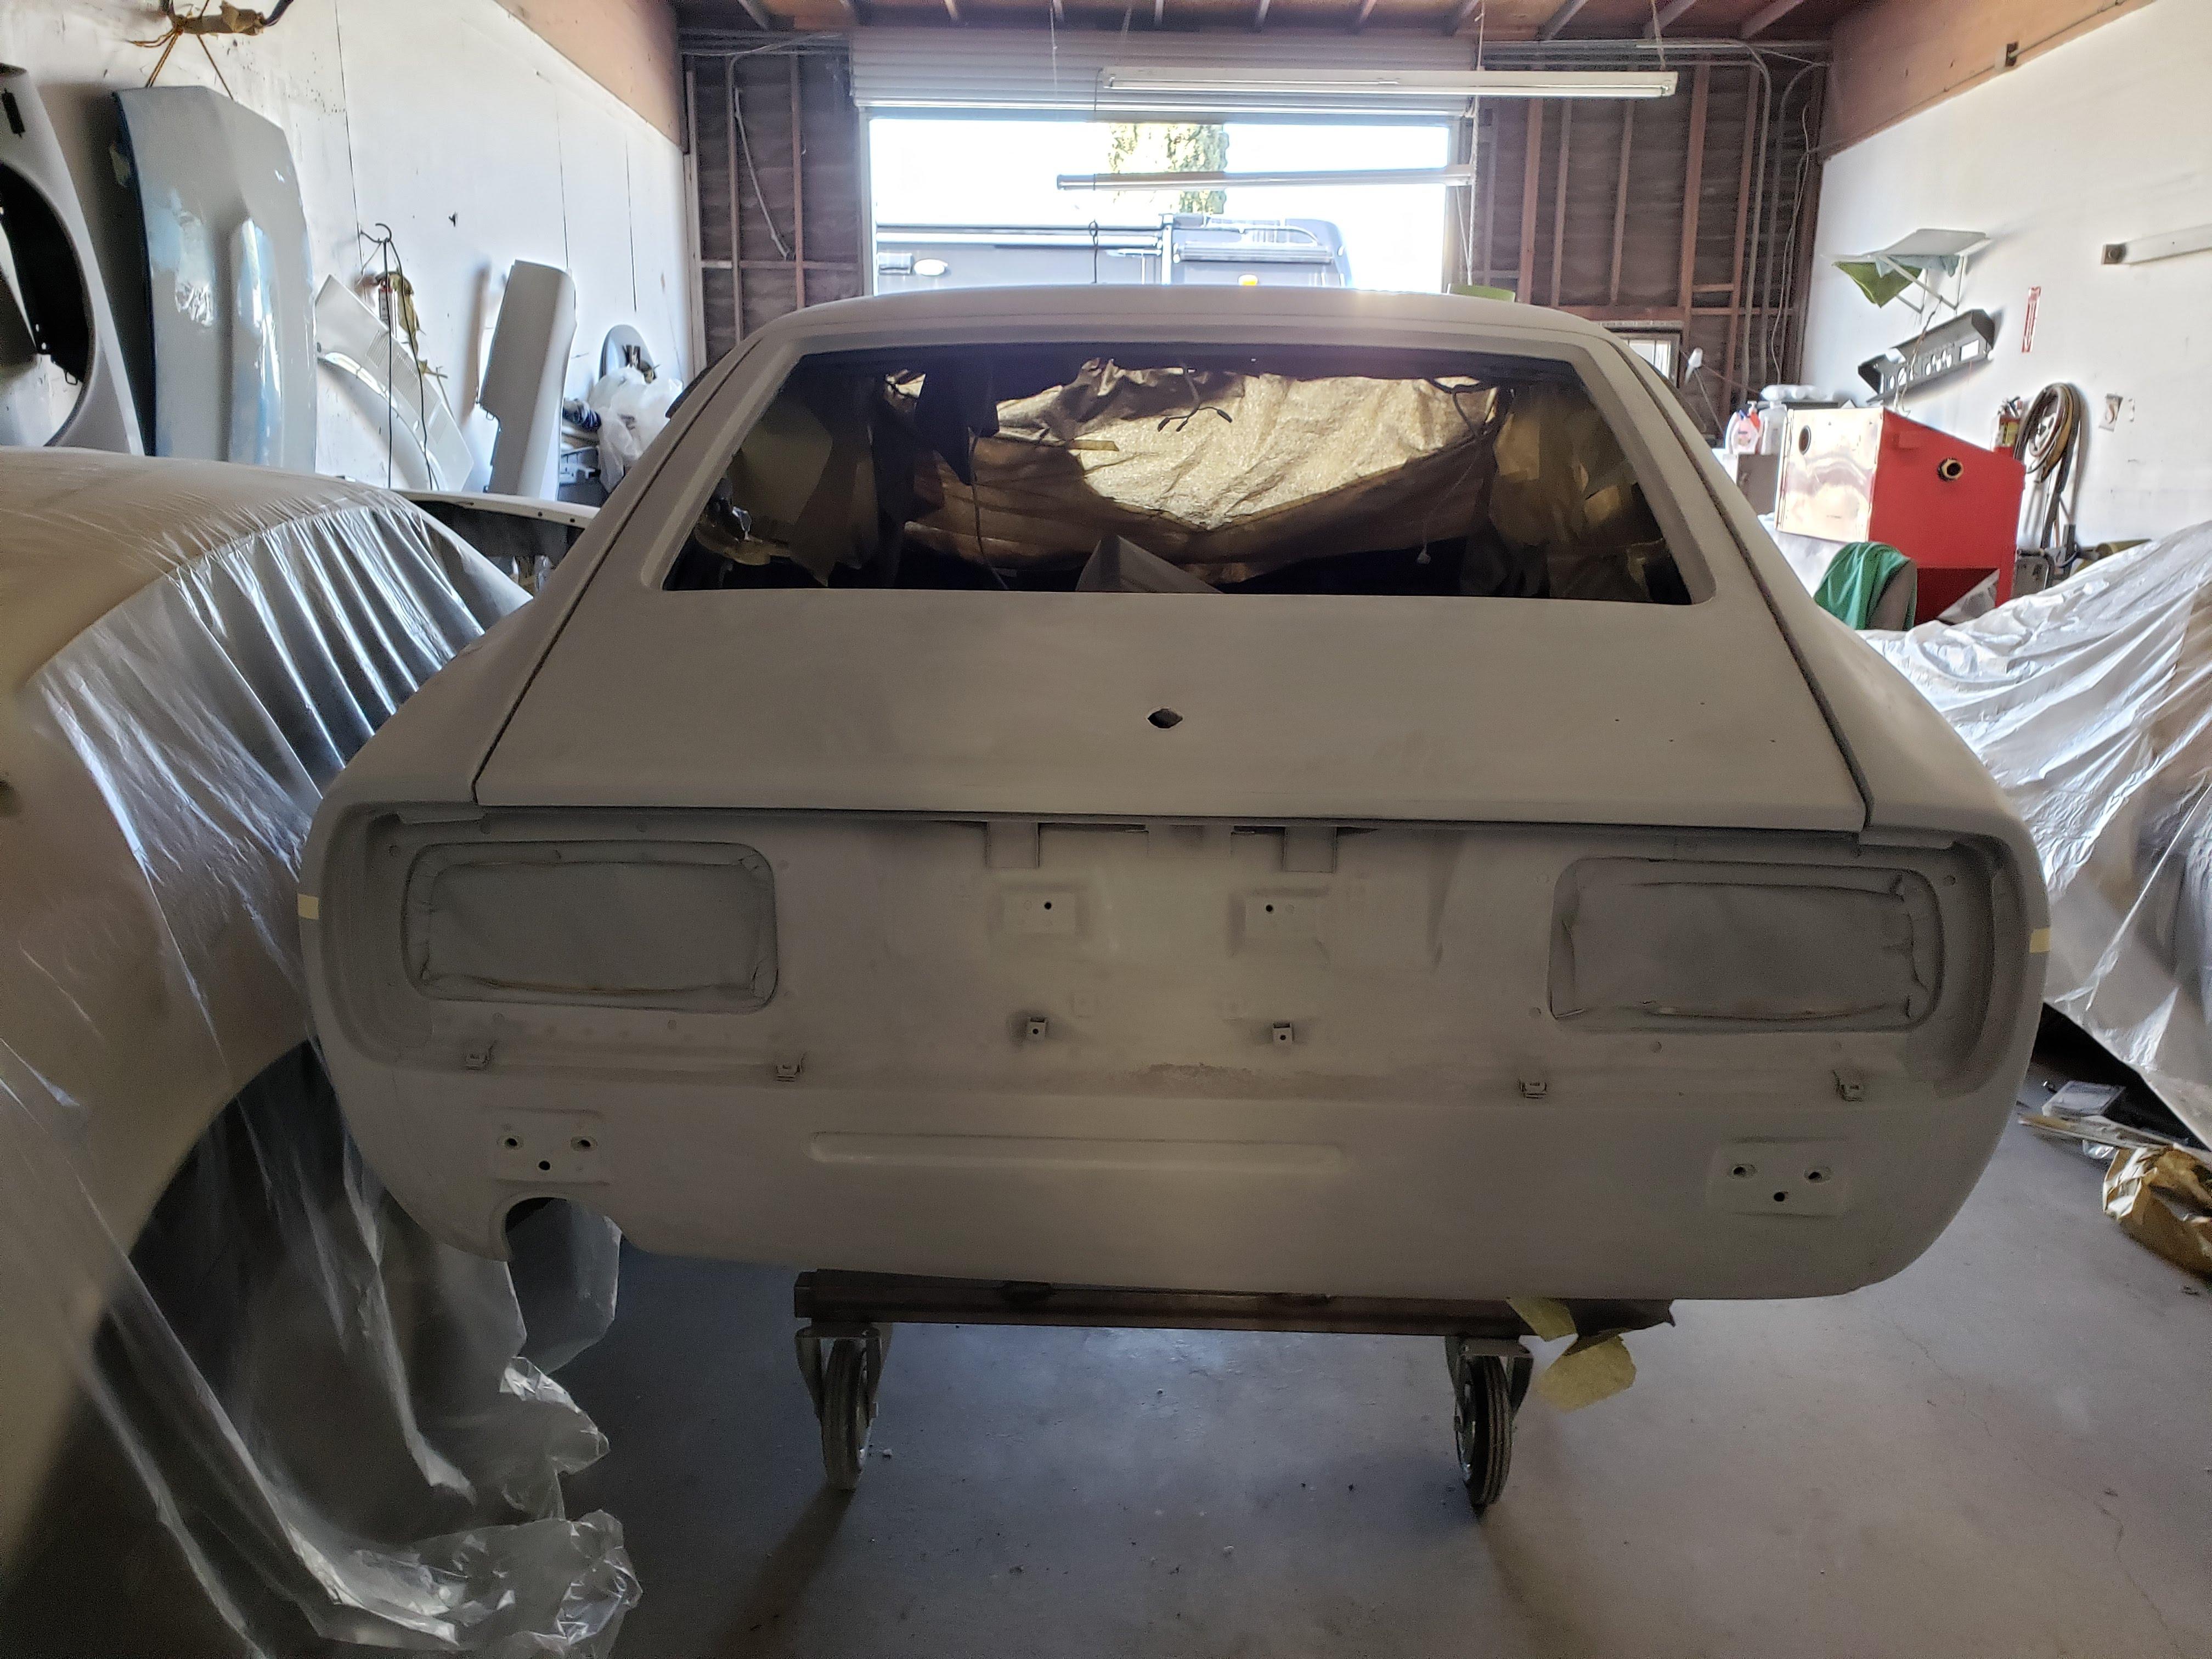
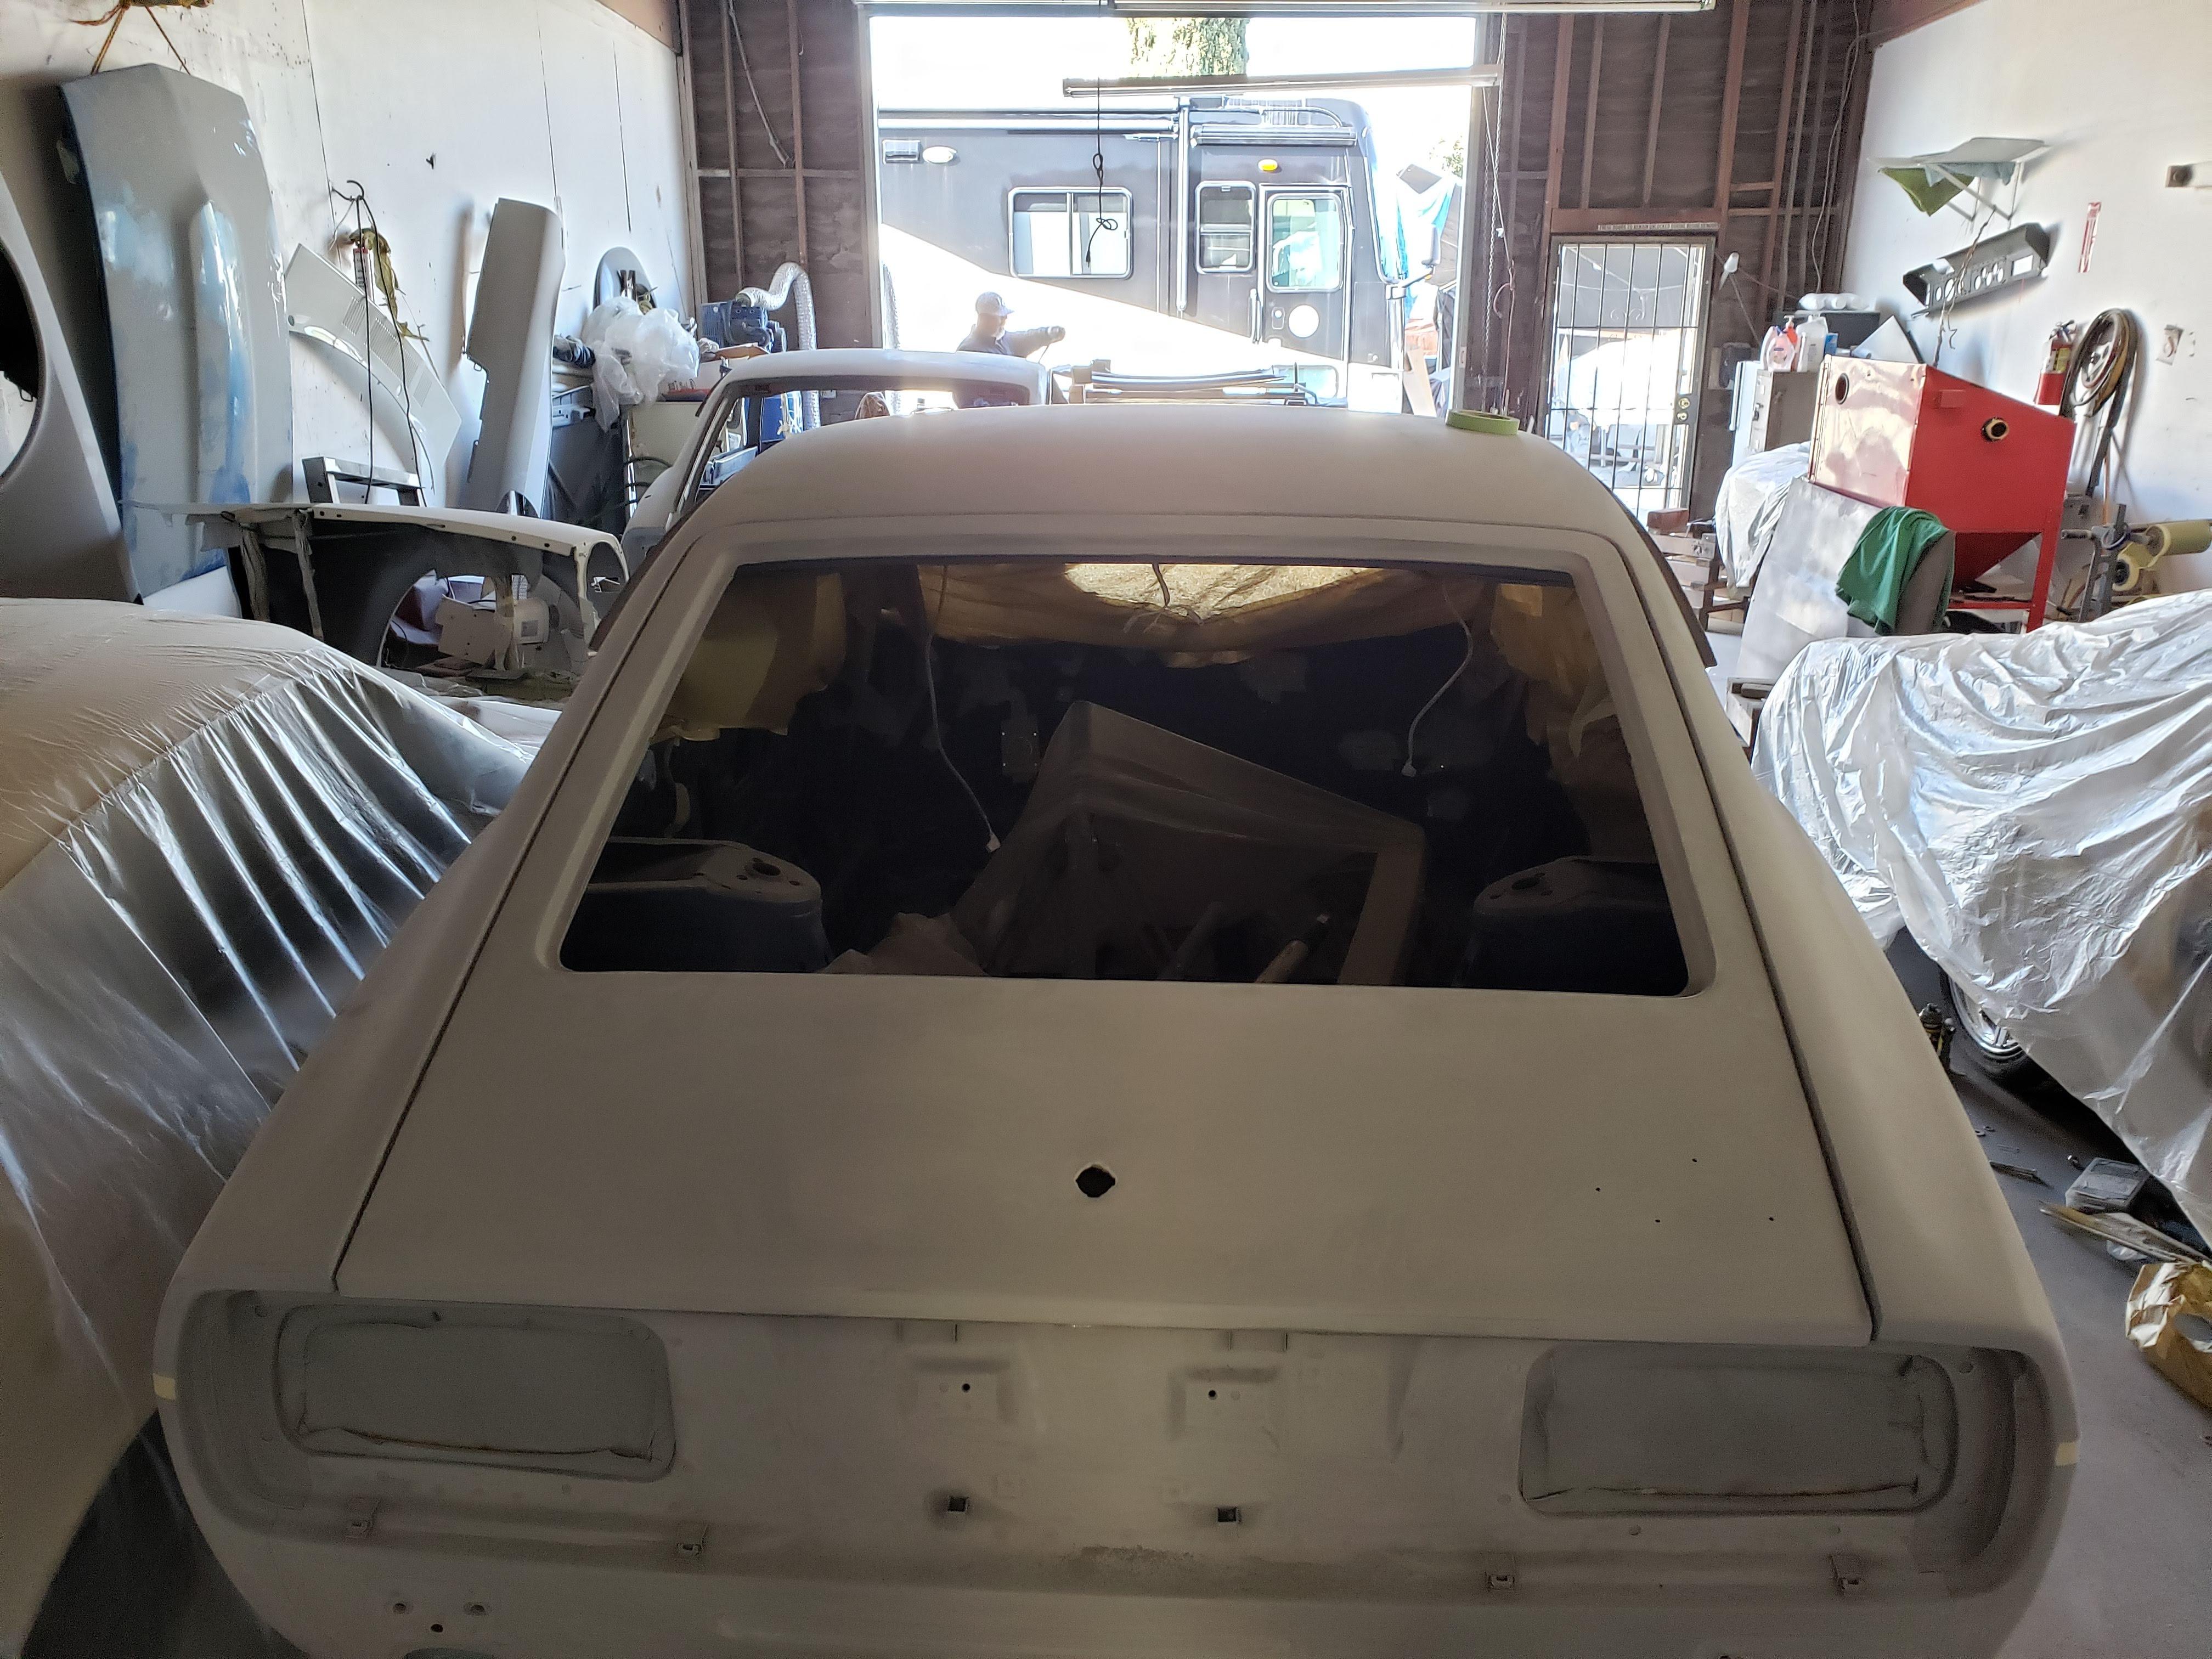
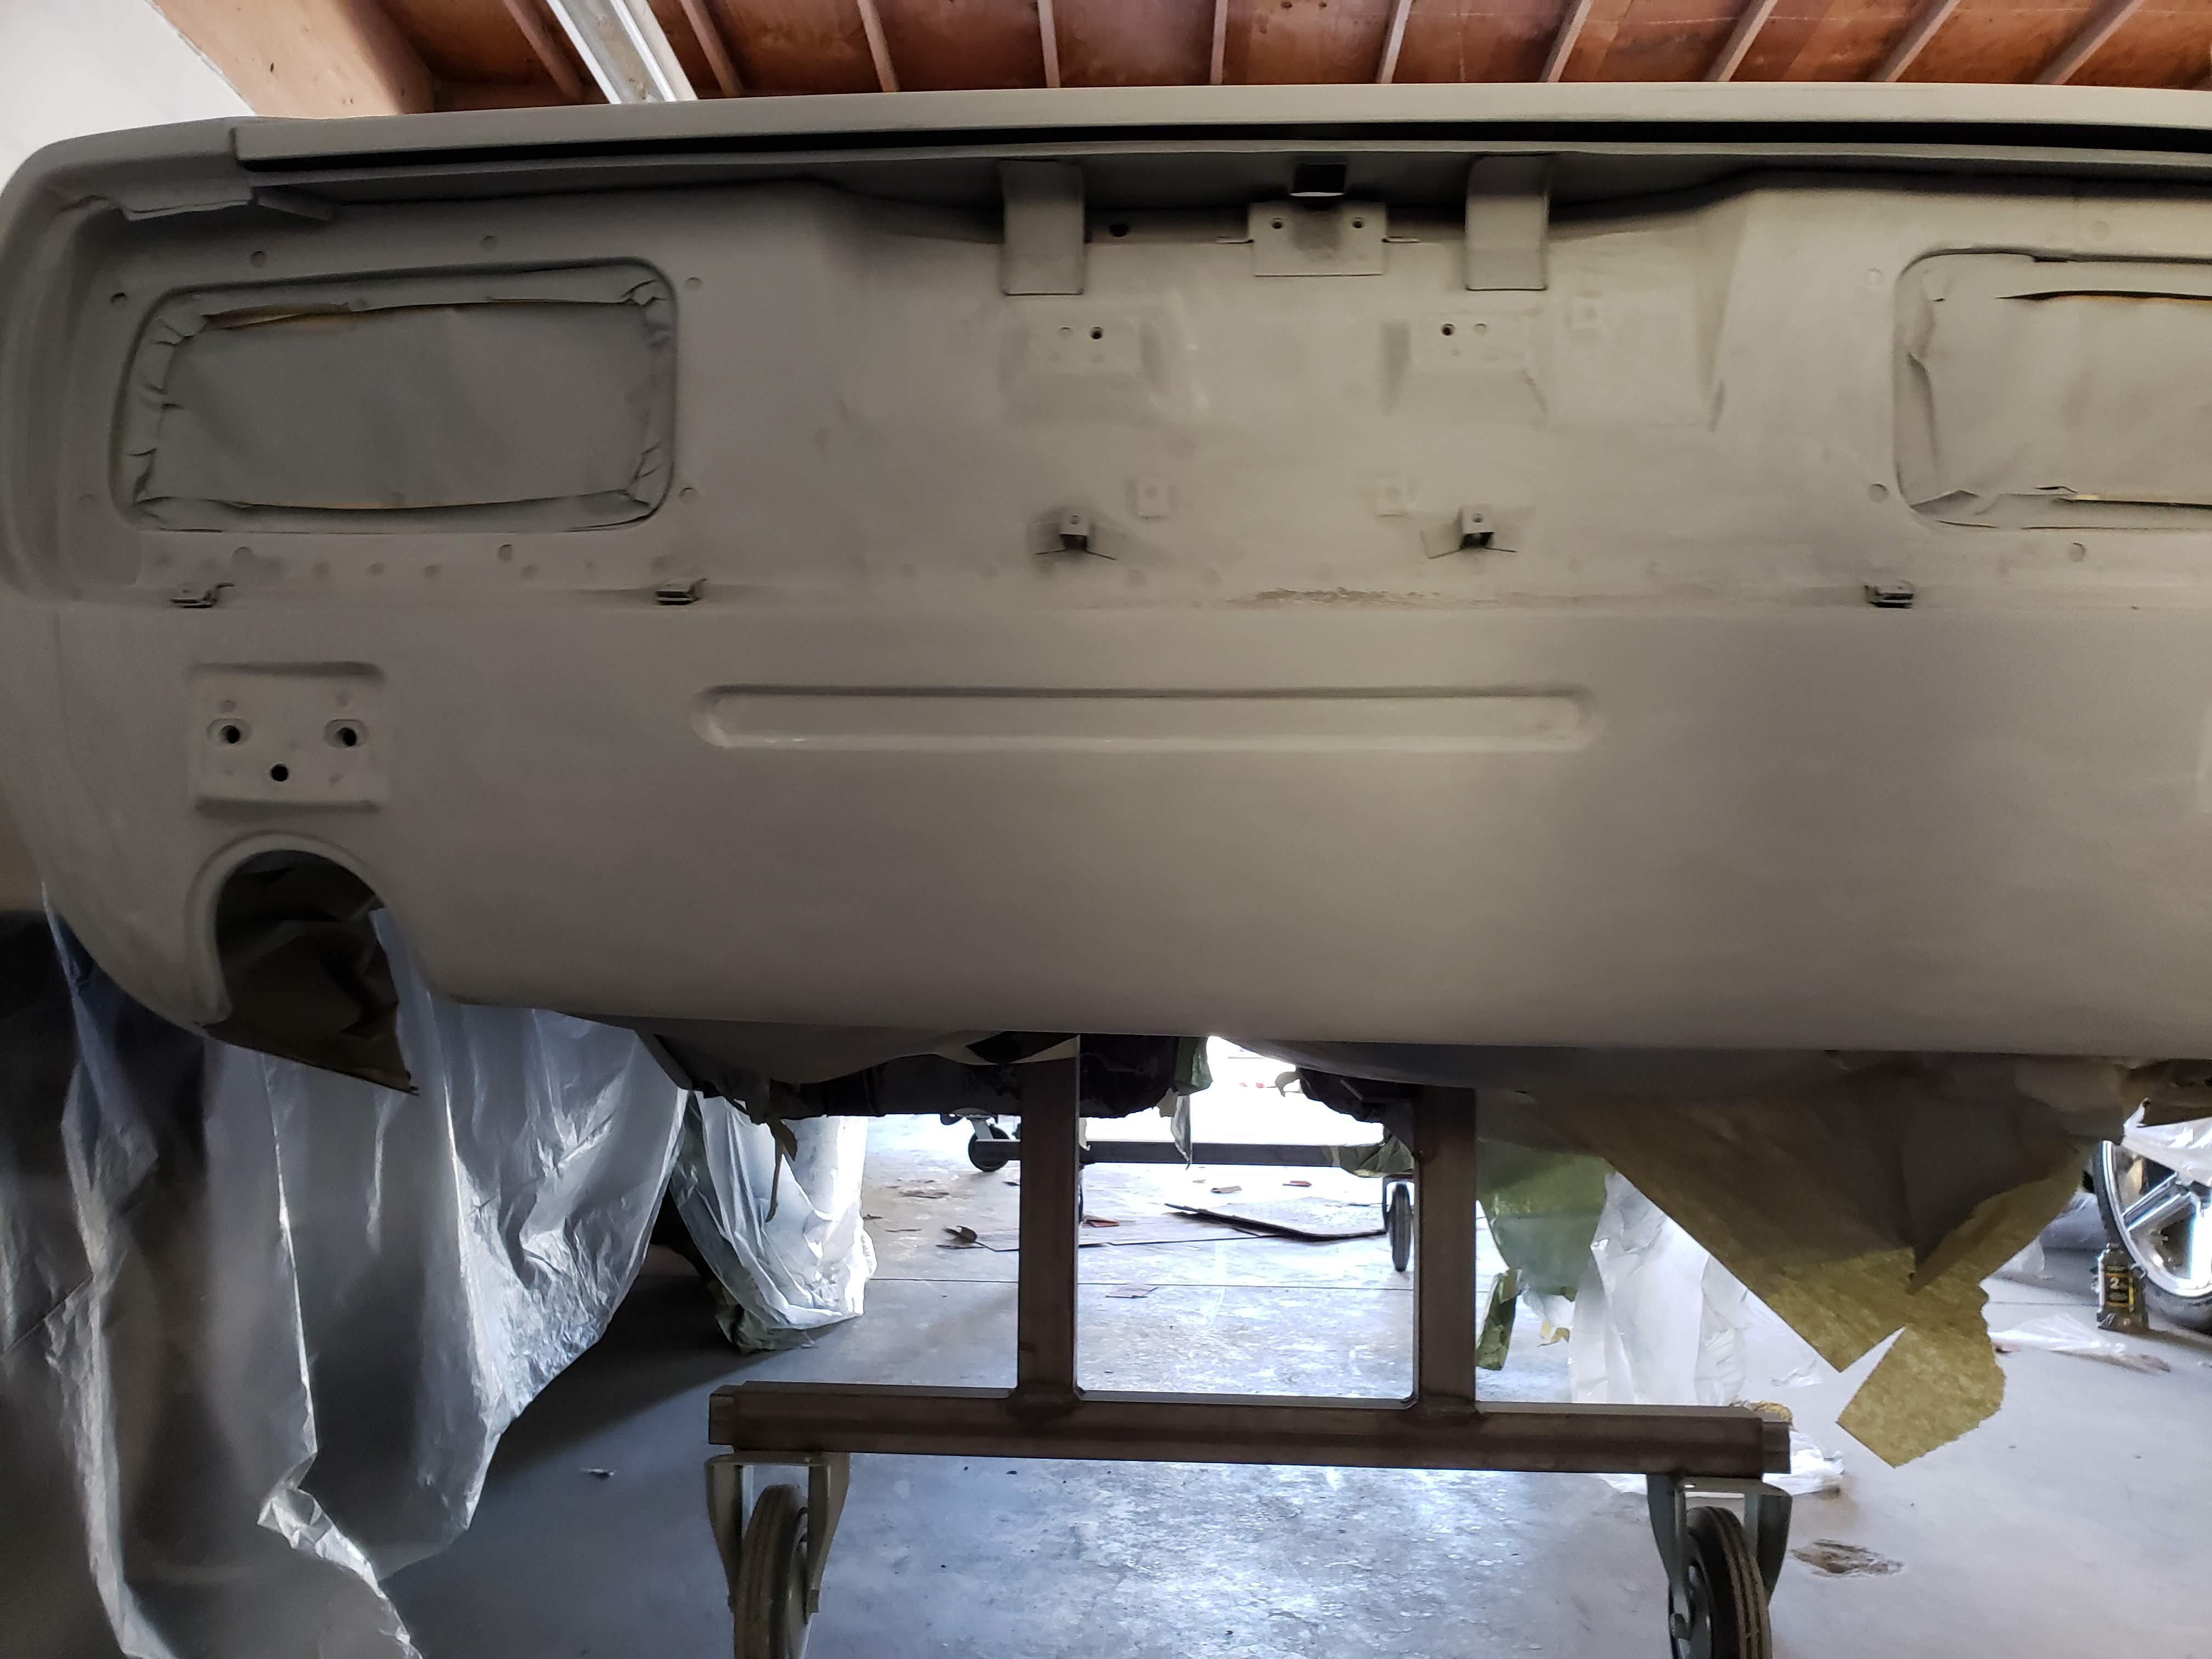
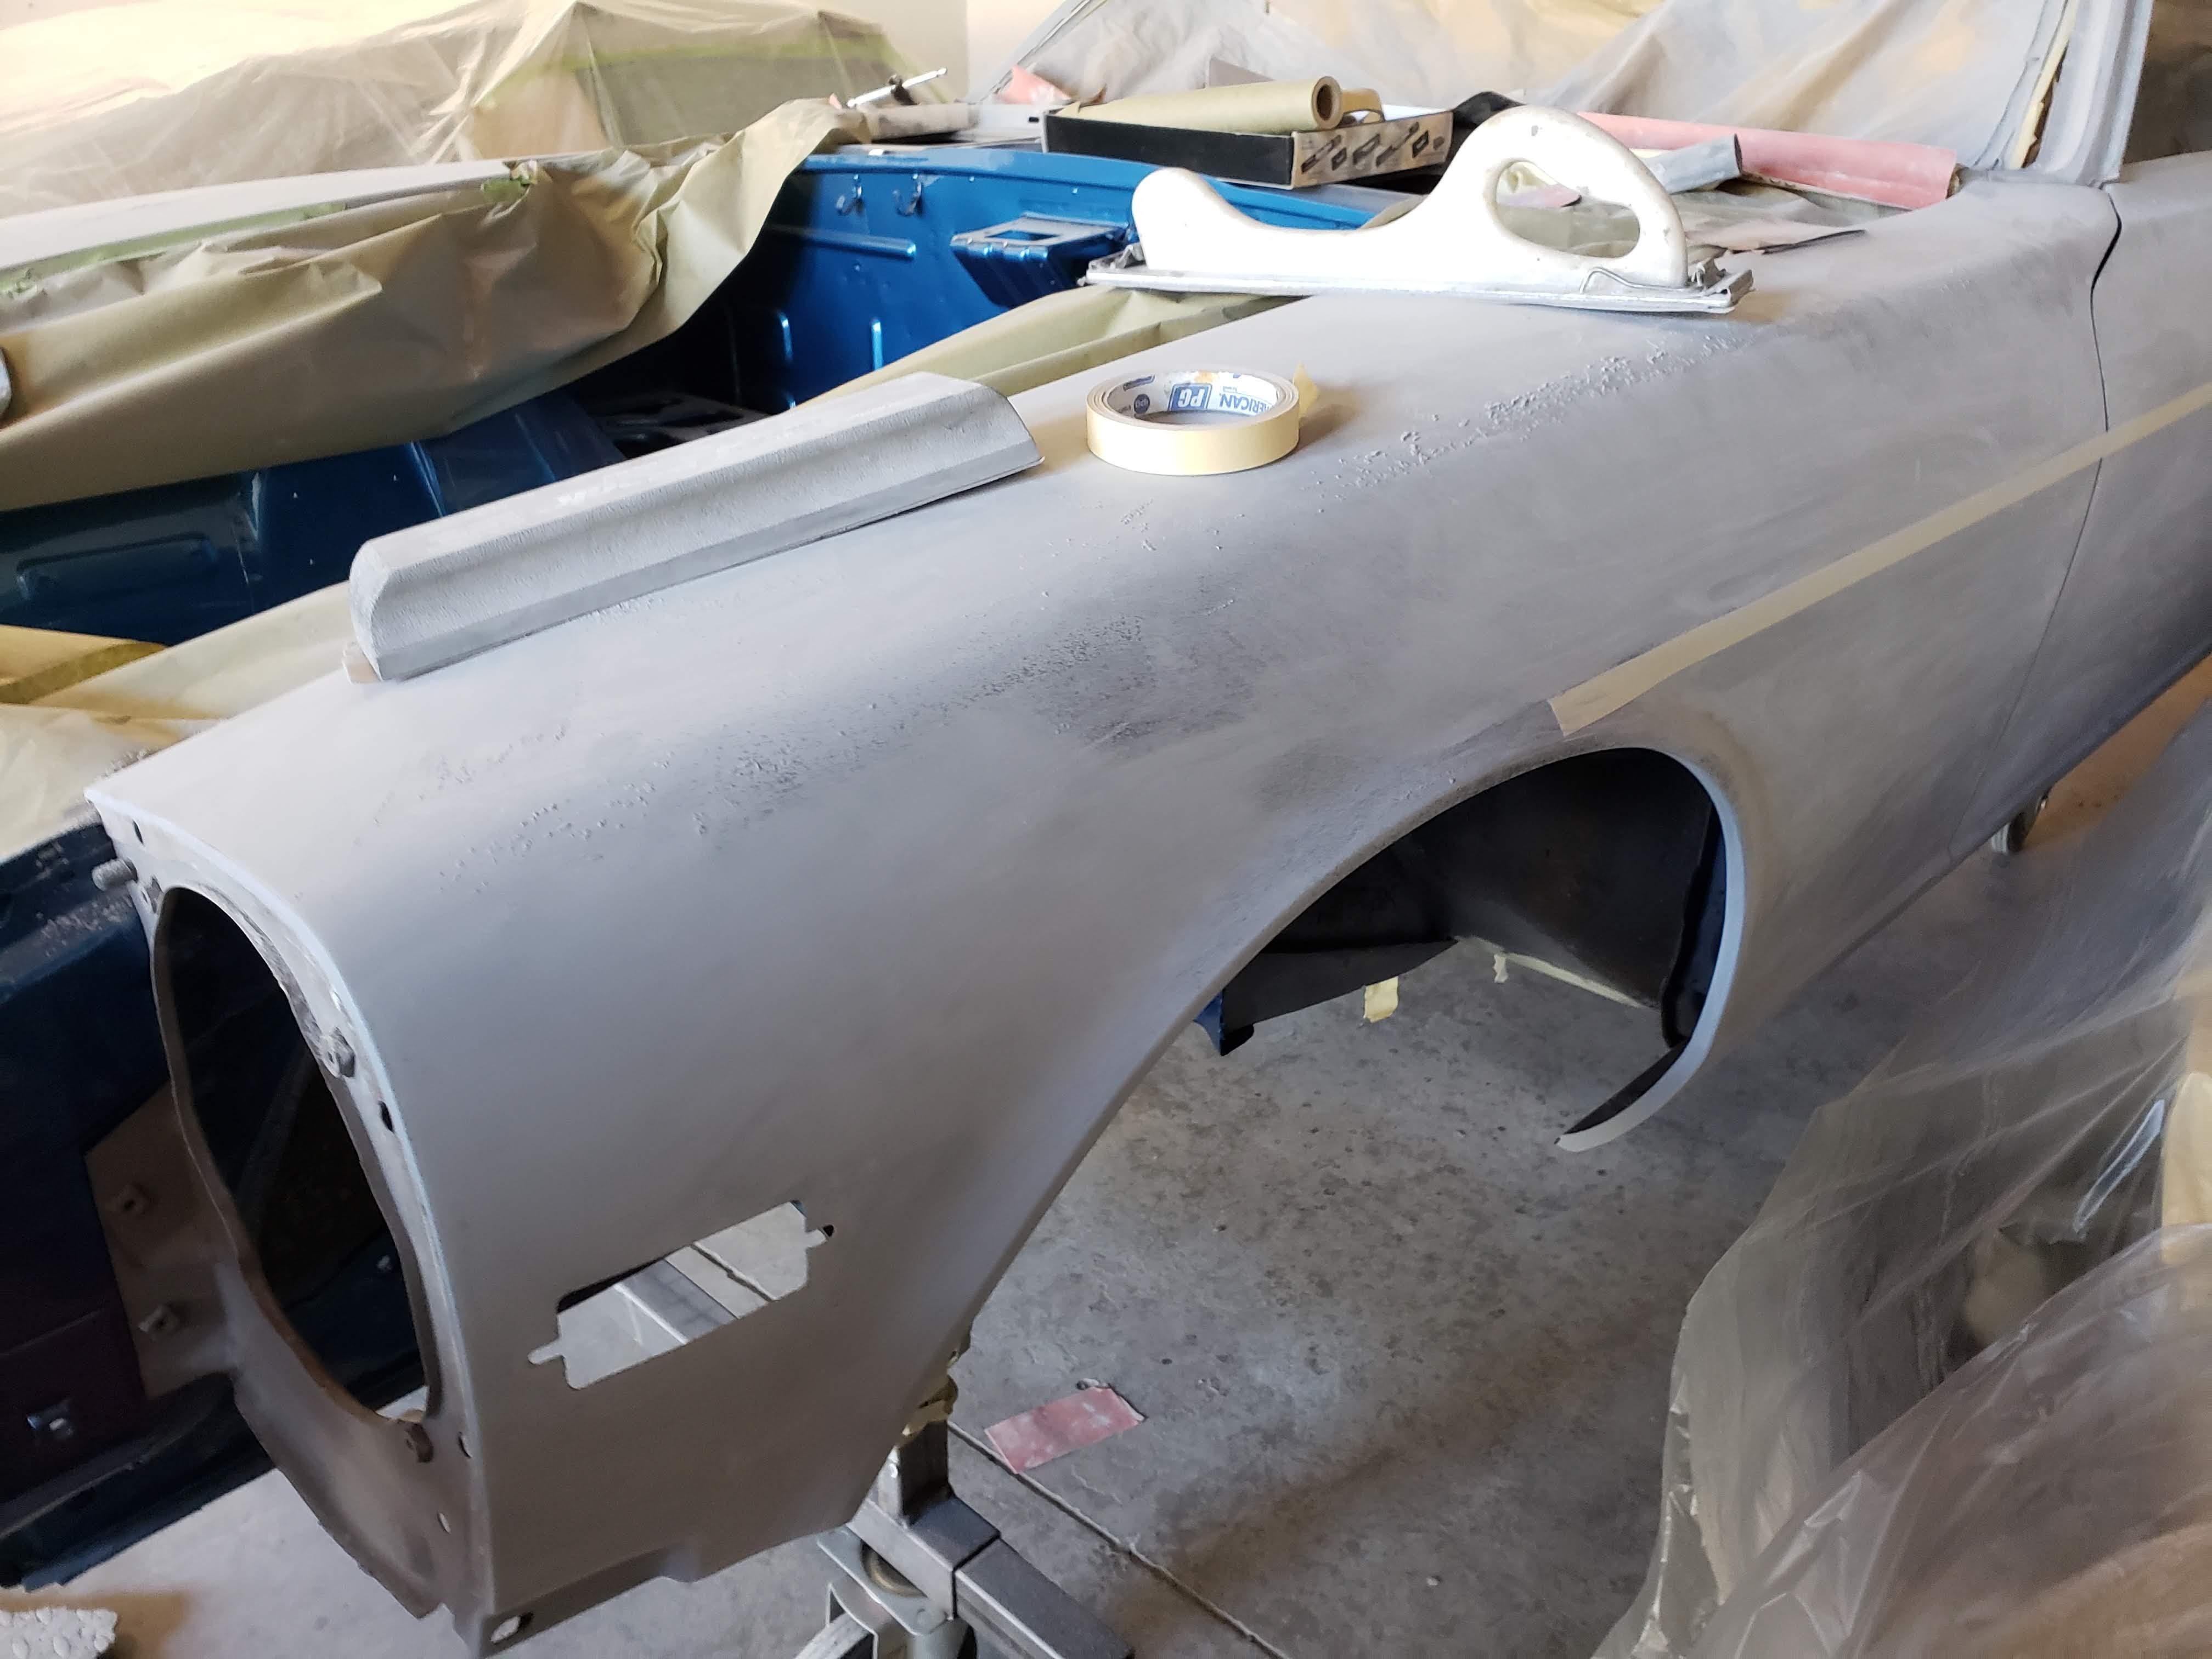
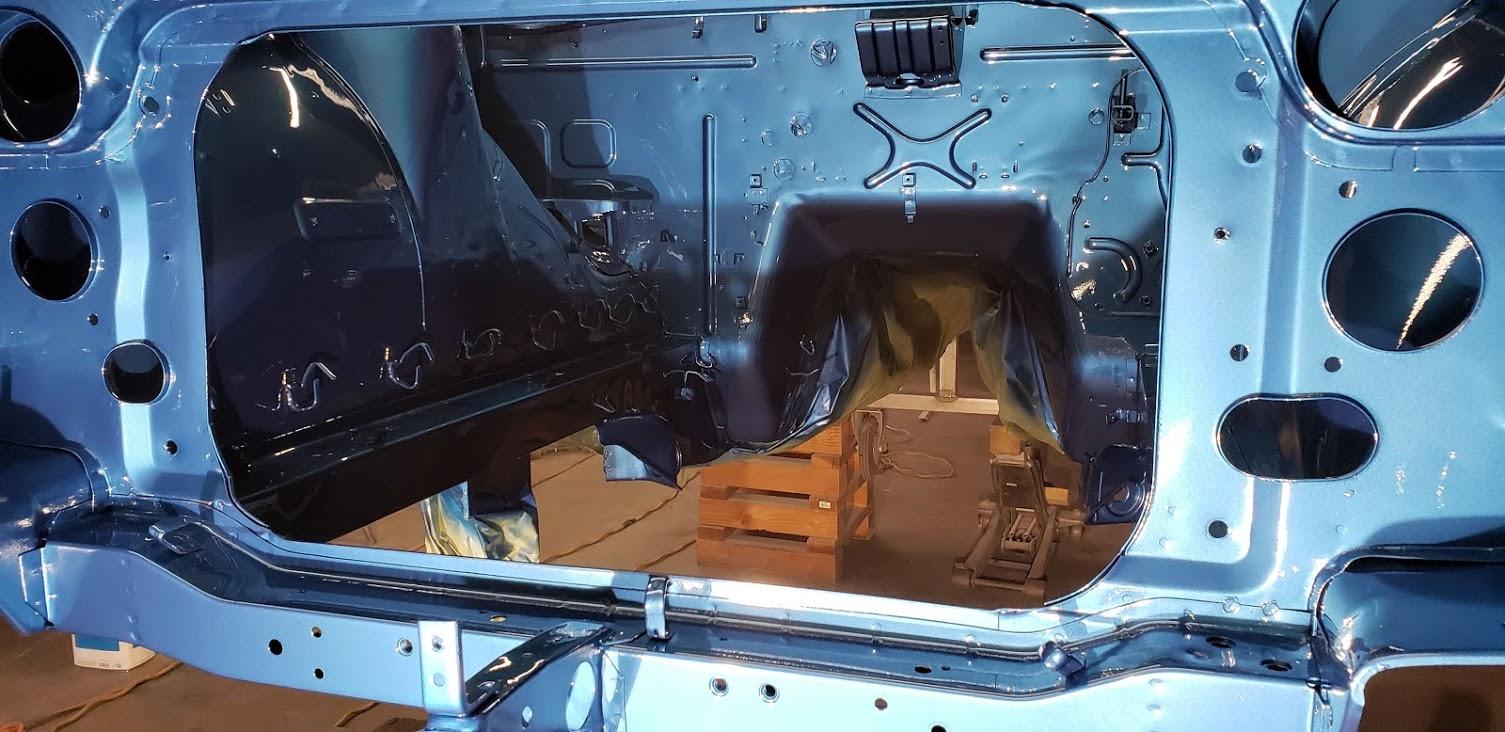
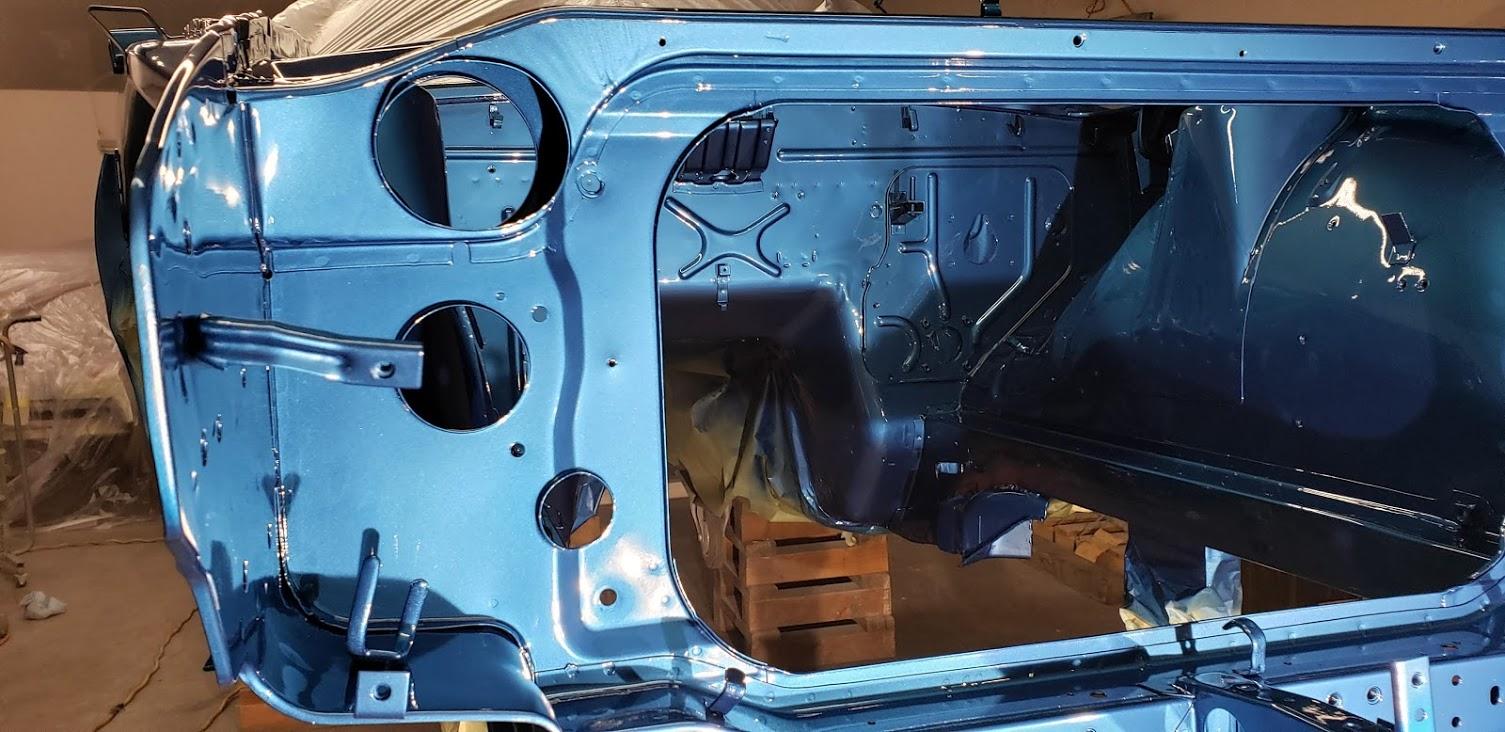
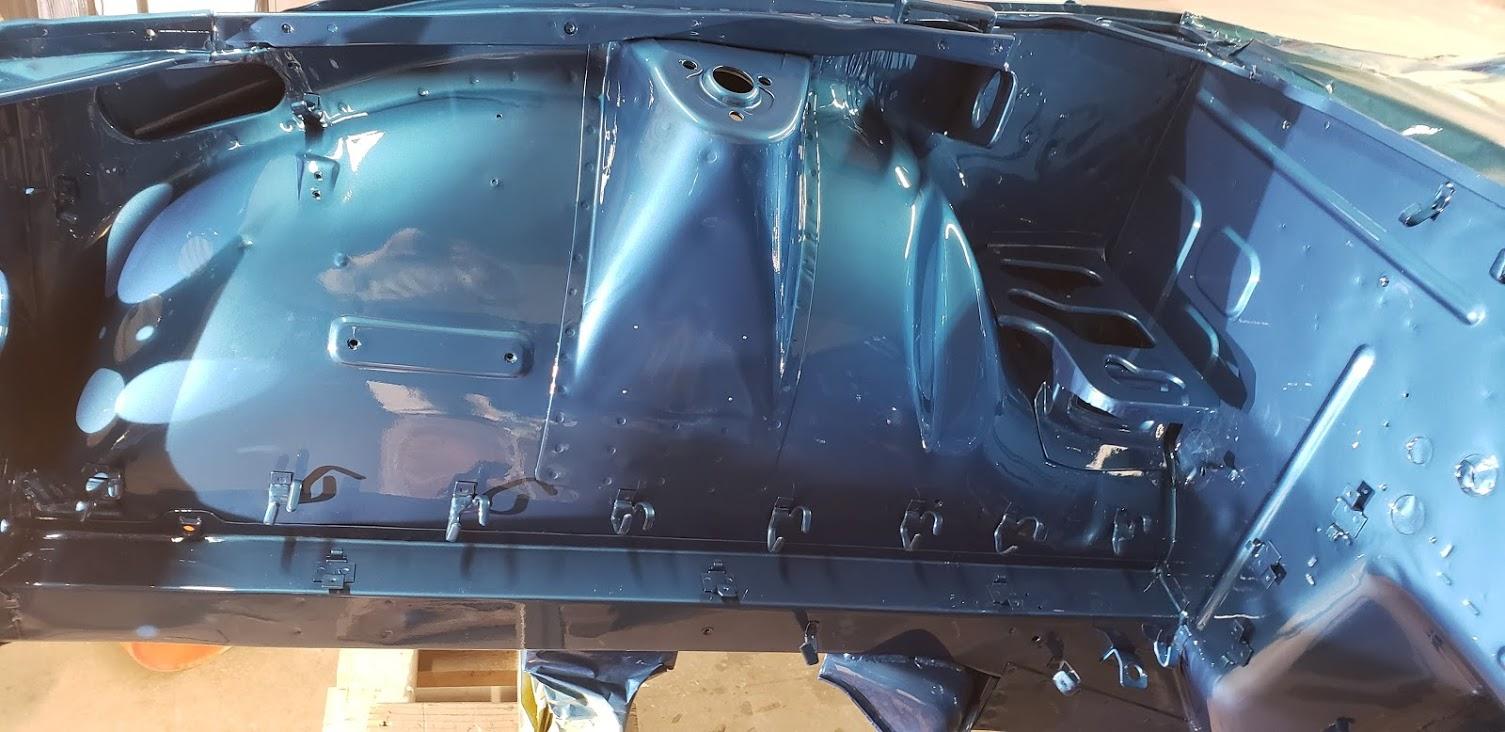
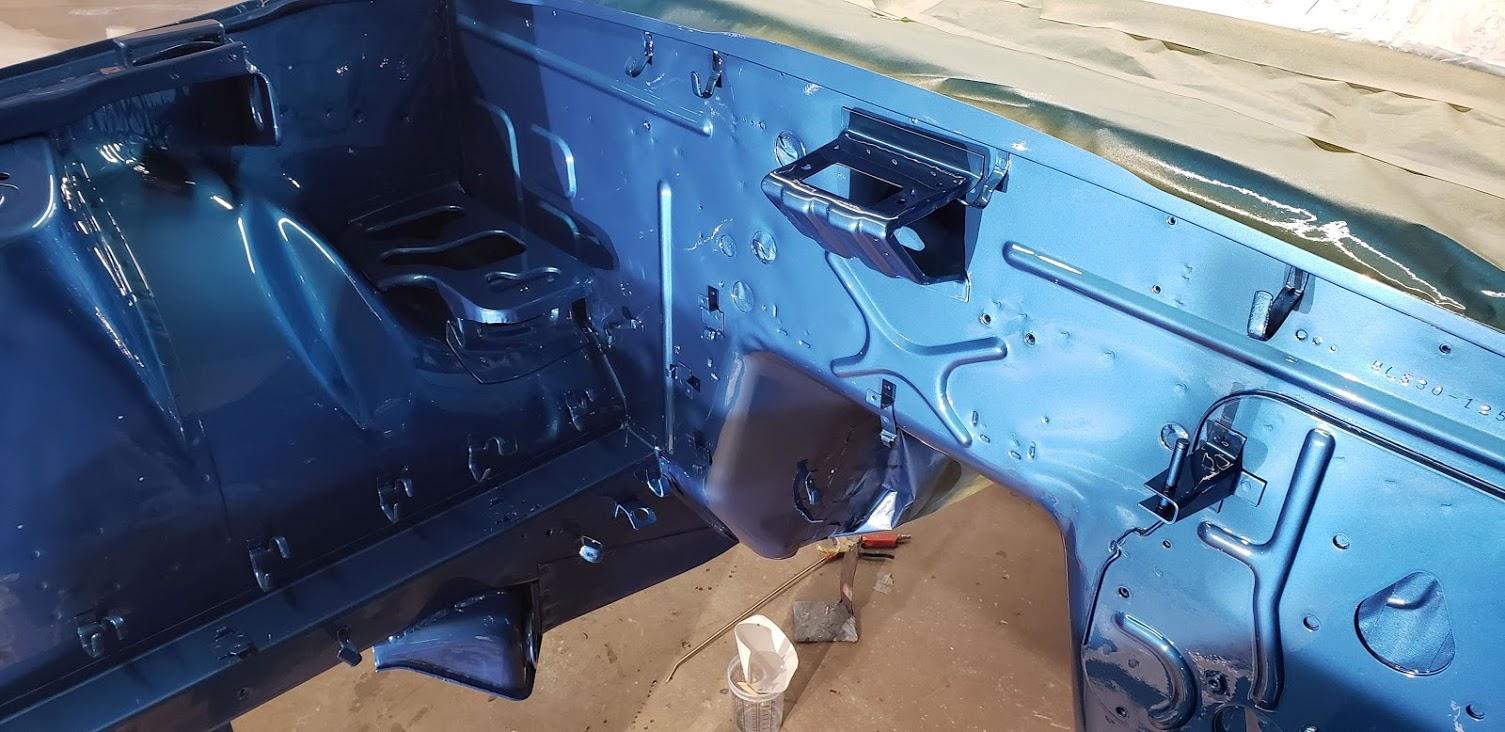
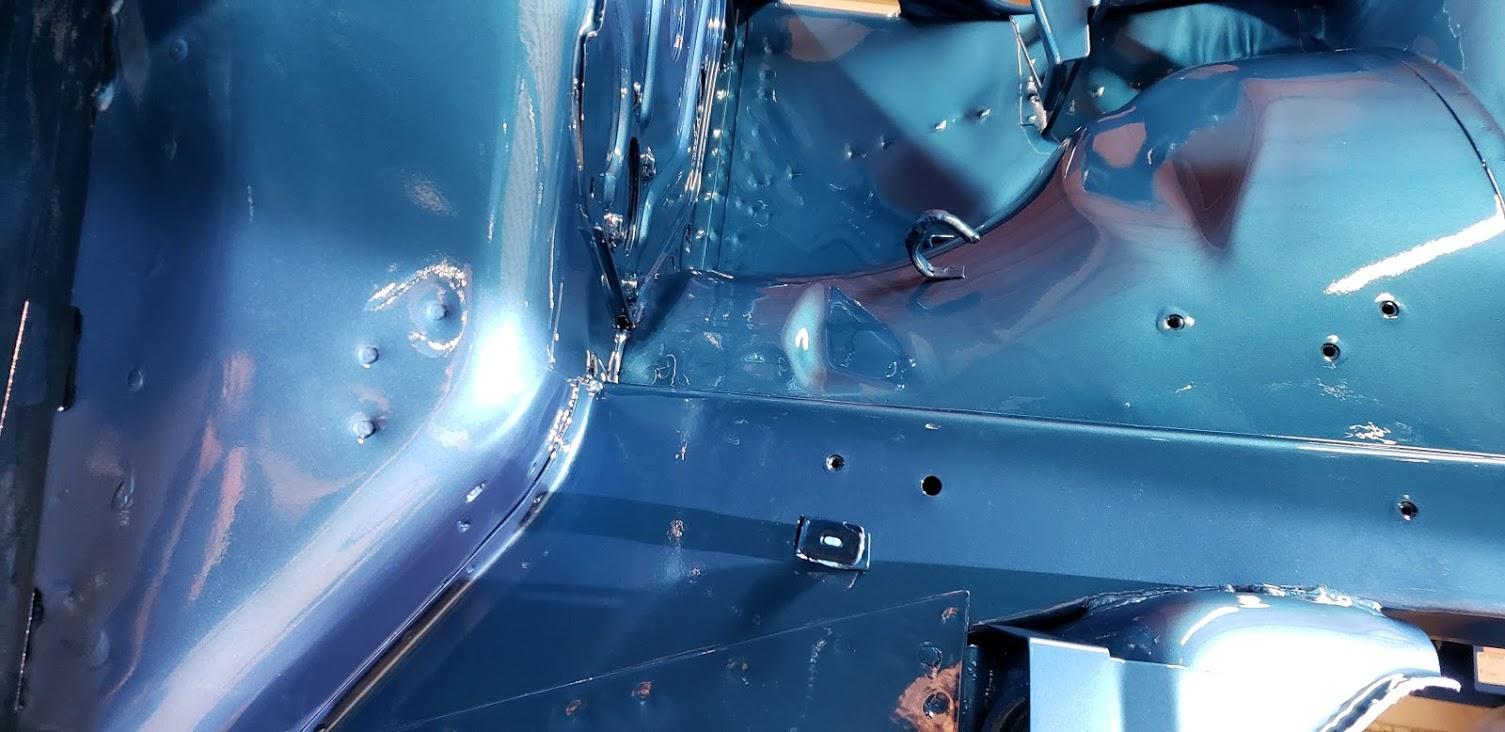
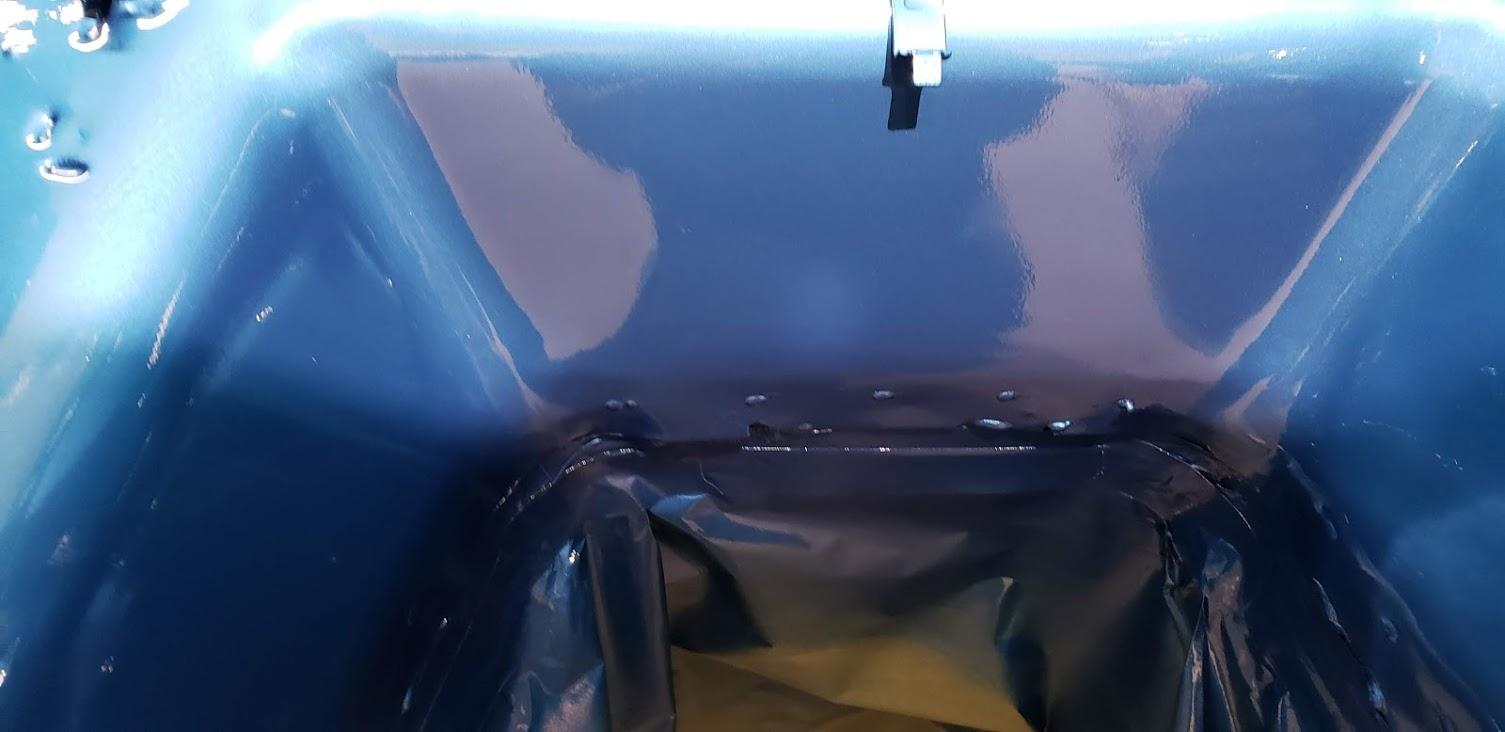
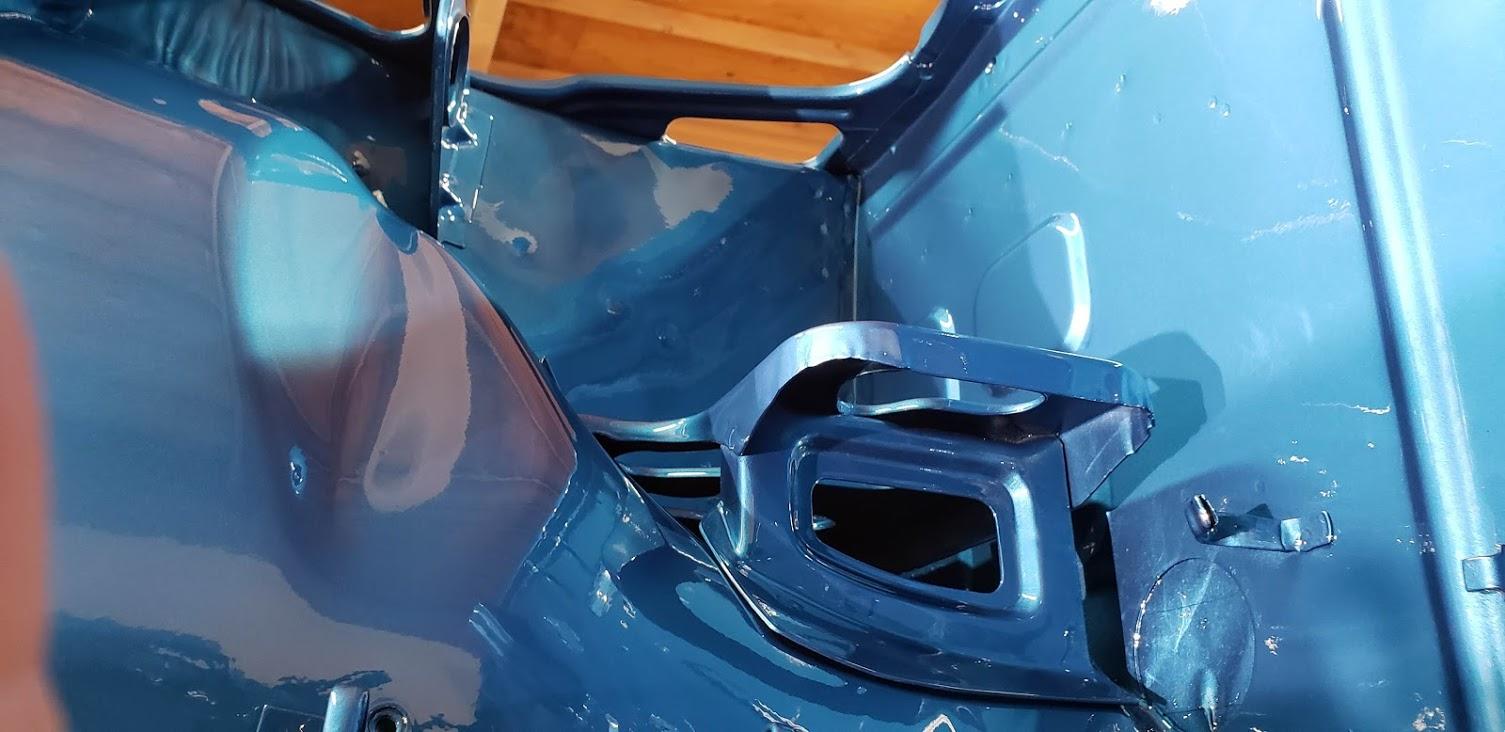
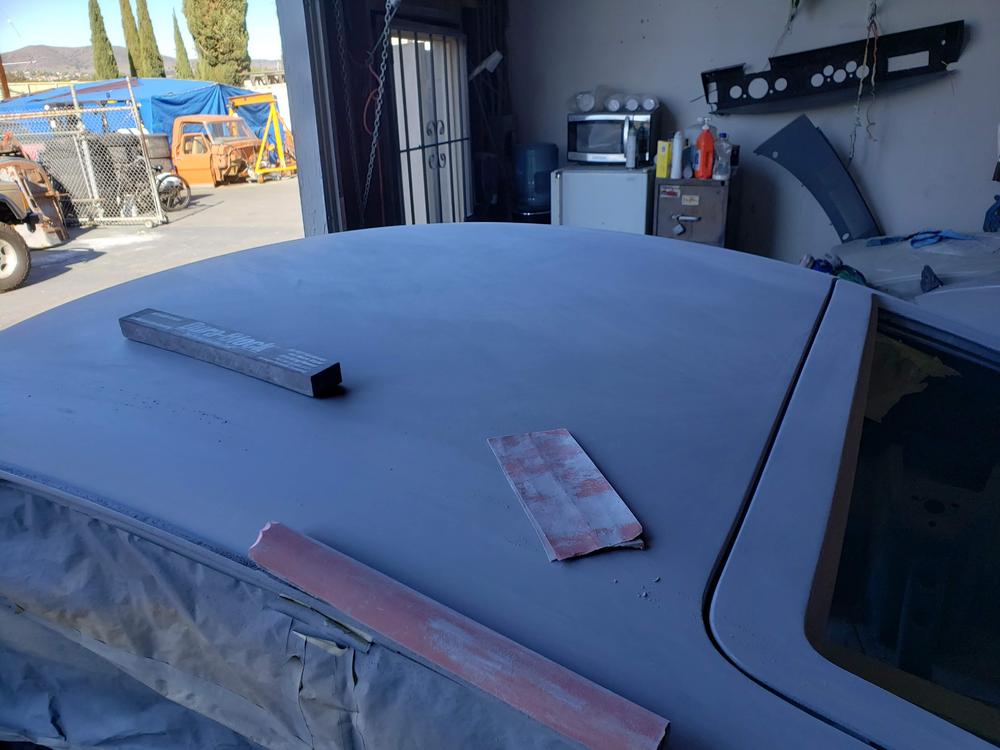
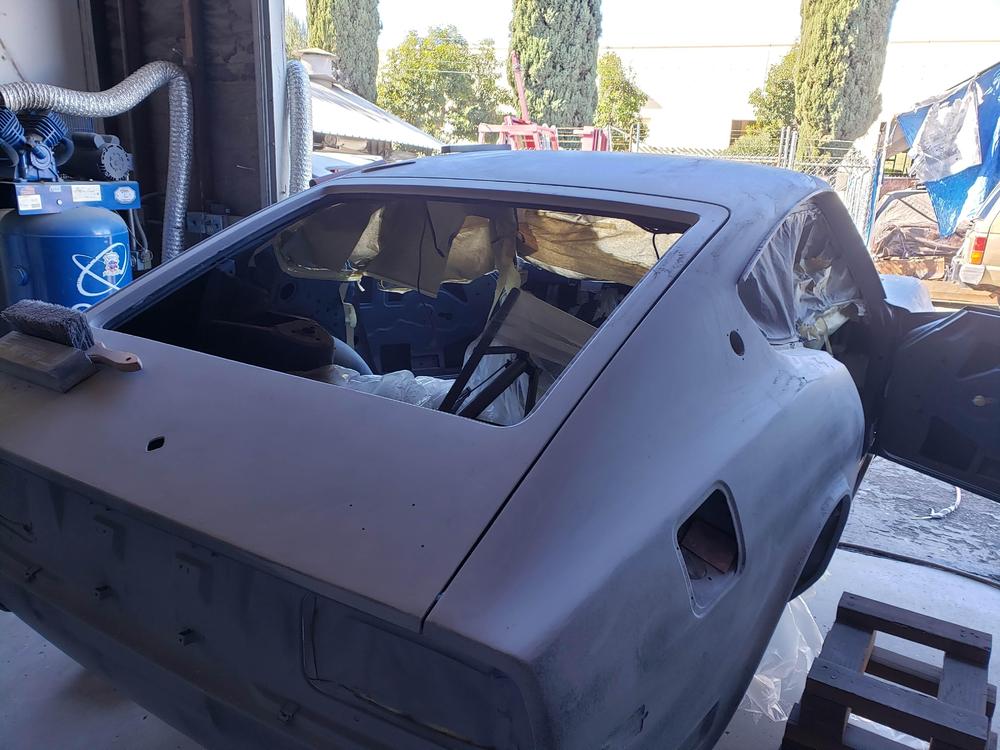
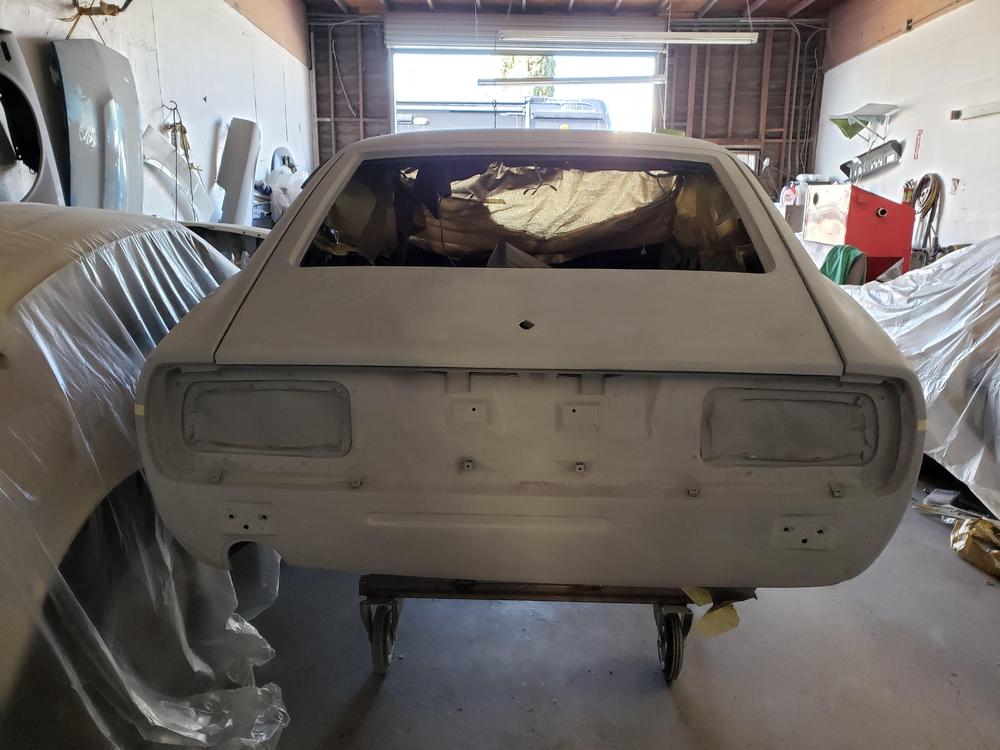
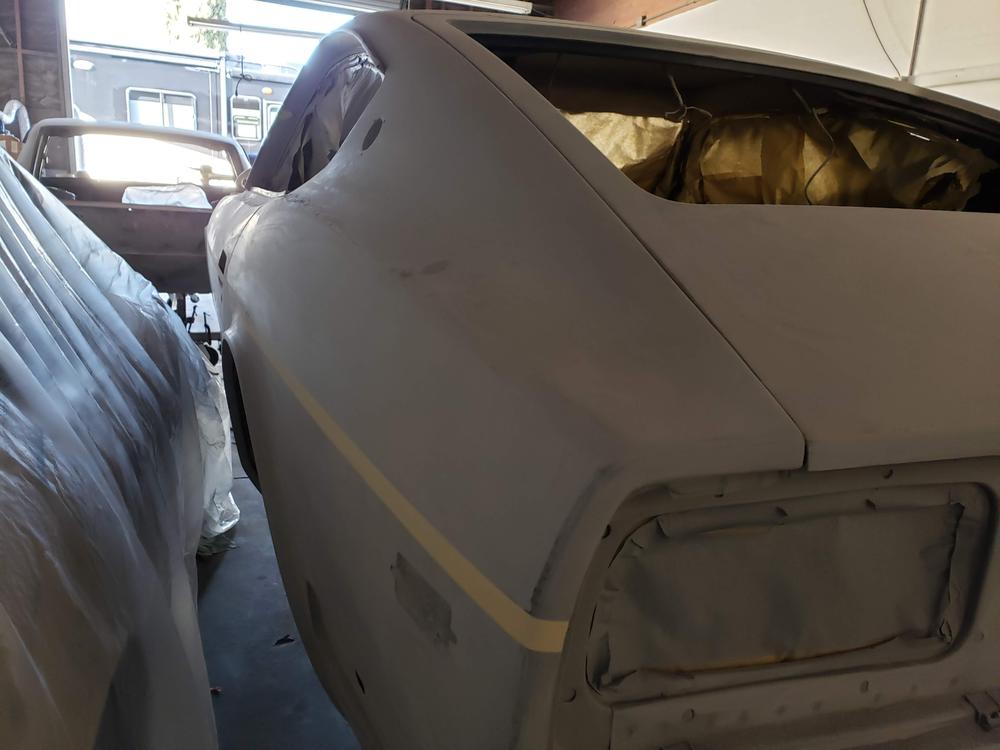
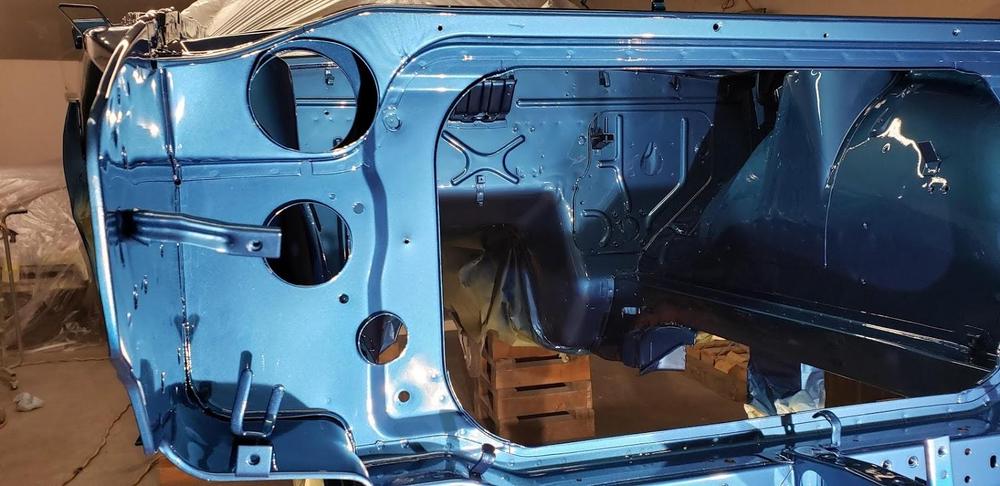
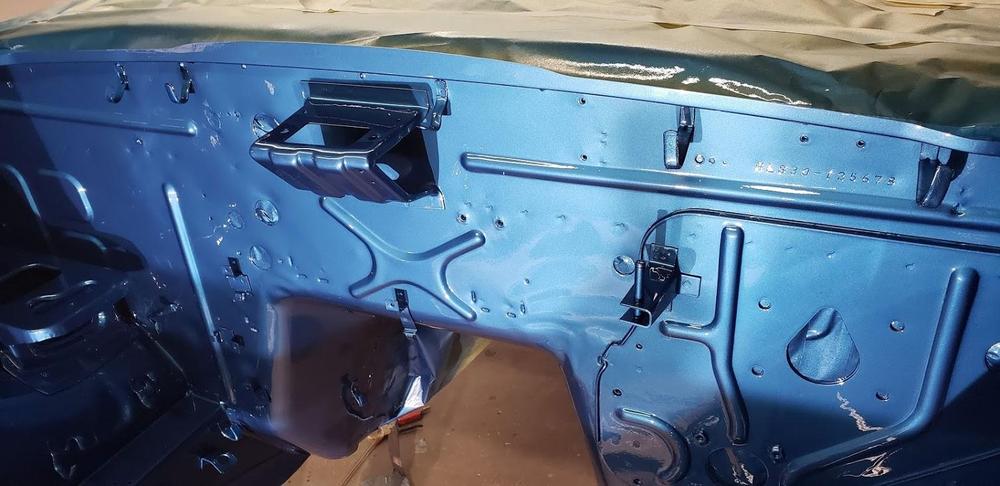
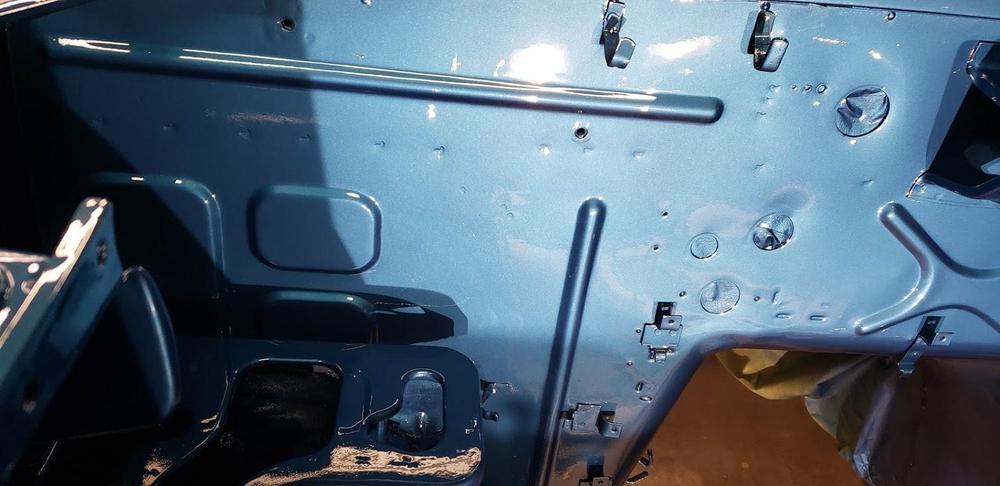
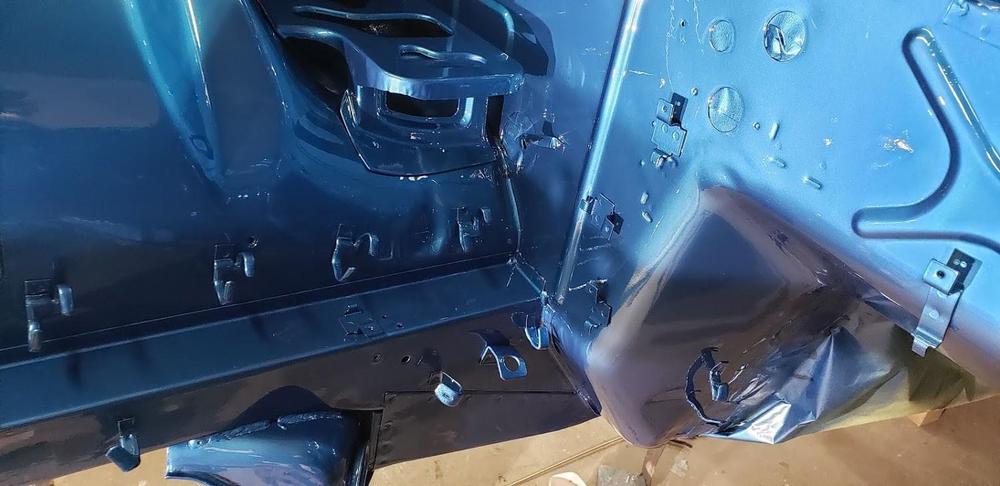
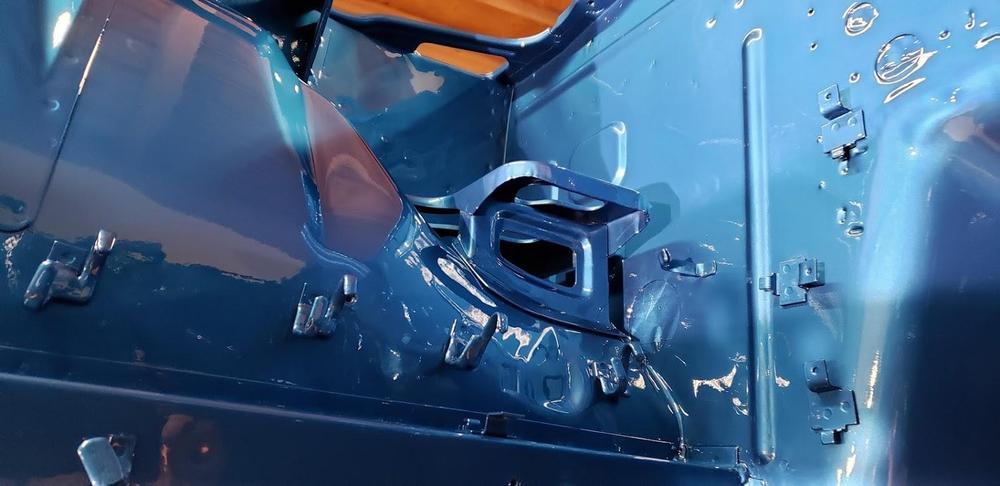
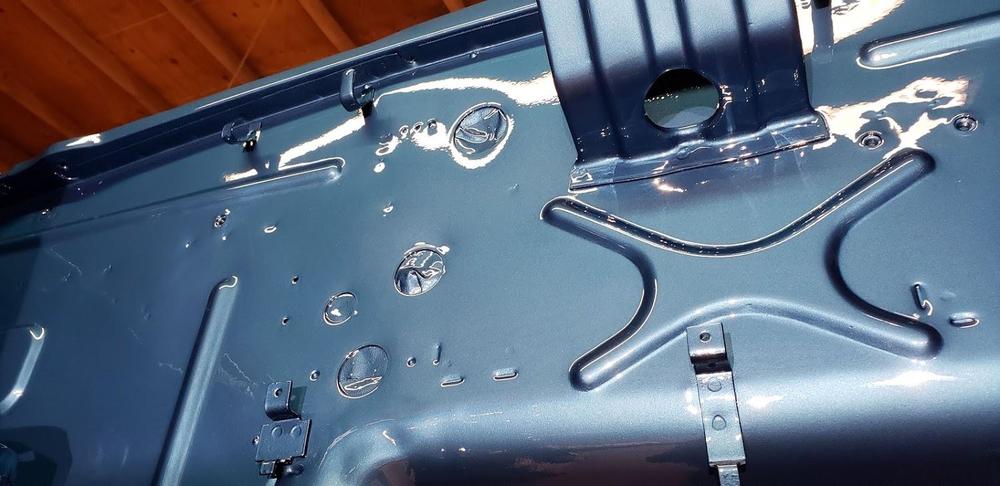
More photos from the paint shop. Progress seems to be painfully slow as I have pretty much all of the suspension and undercarriage items complete along with the motor, but no structure to attach it to. I am chomping at the bit to start assembling things here. I still have stuff to keep me busy but would rather be putting parts on the car. Latest batch of plated parts will be back in a week. Will get working on the exhaust manifold, handbrake cable and finish up the dash here shortly.


-
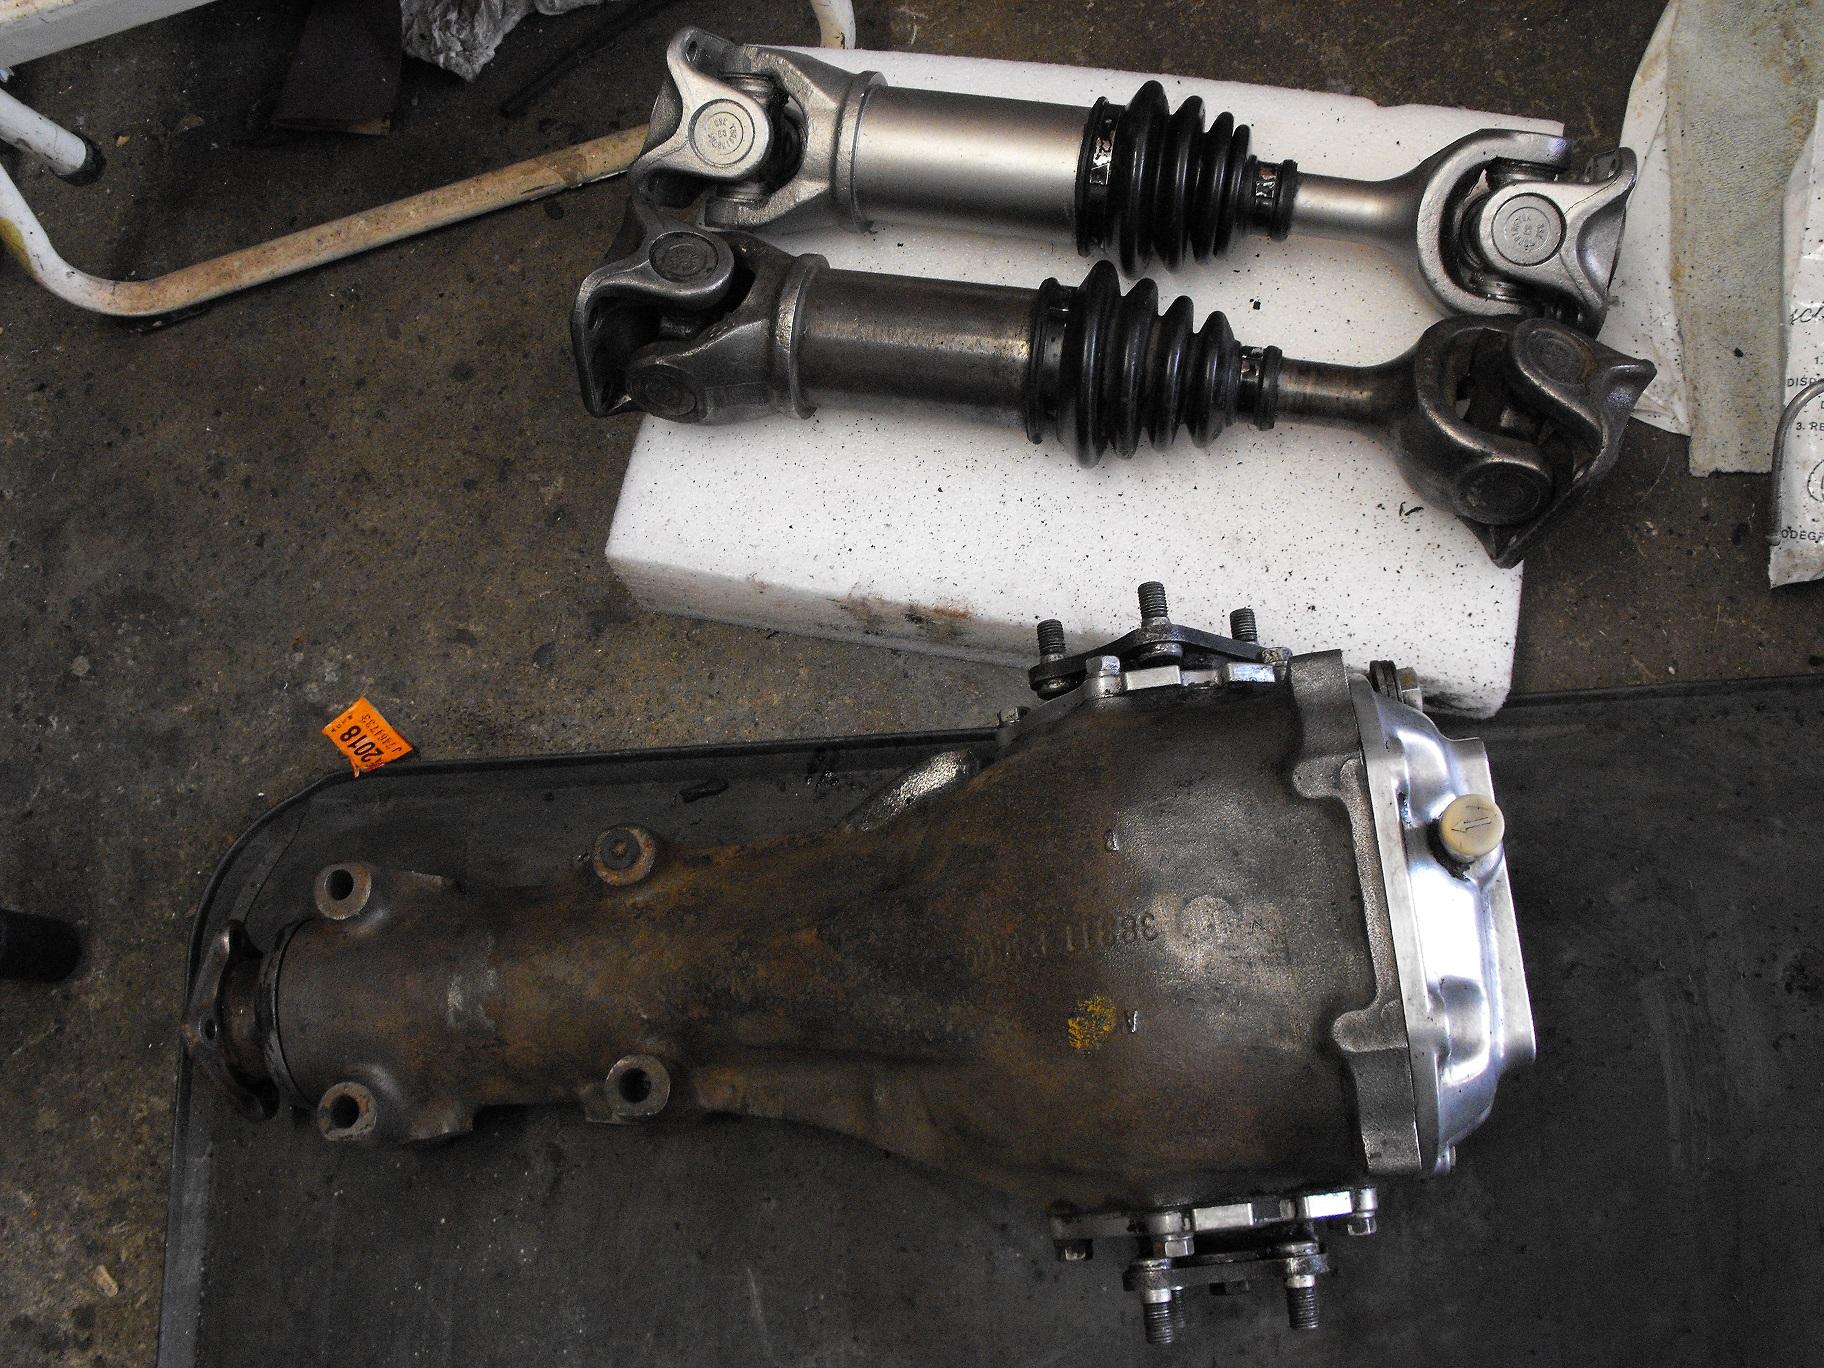
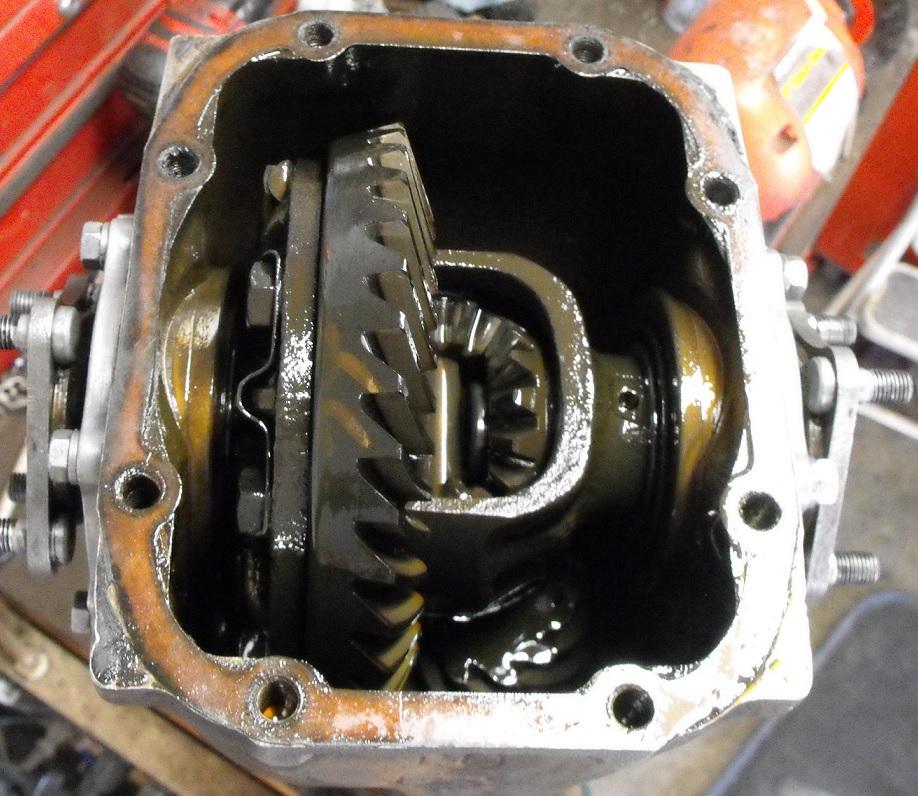
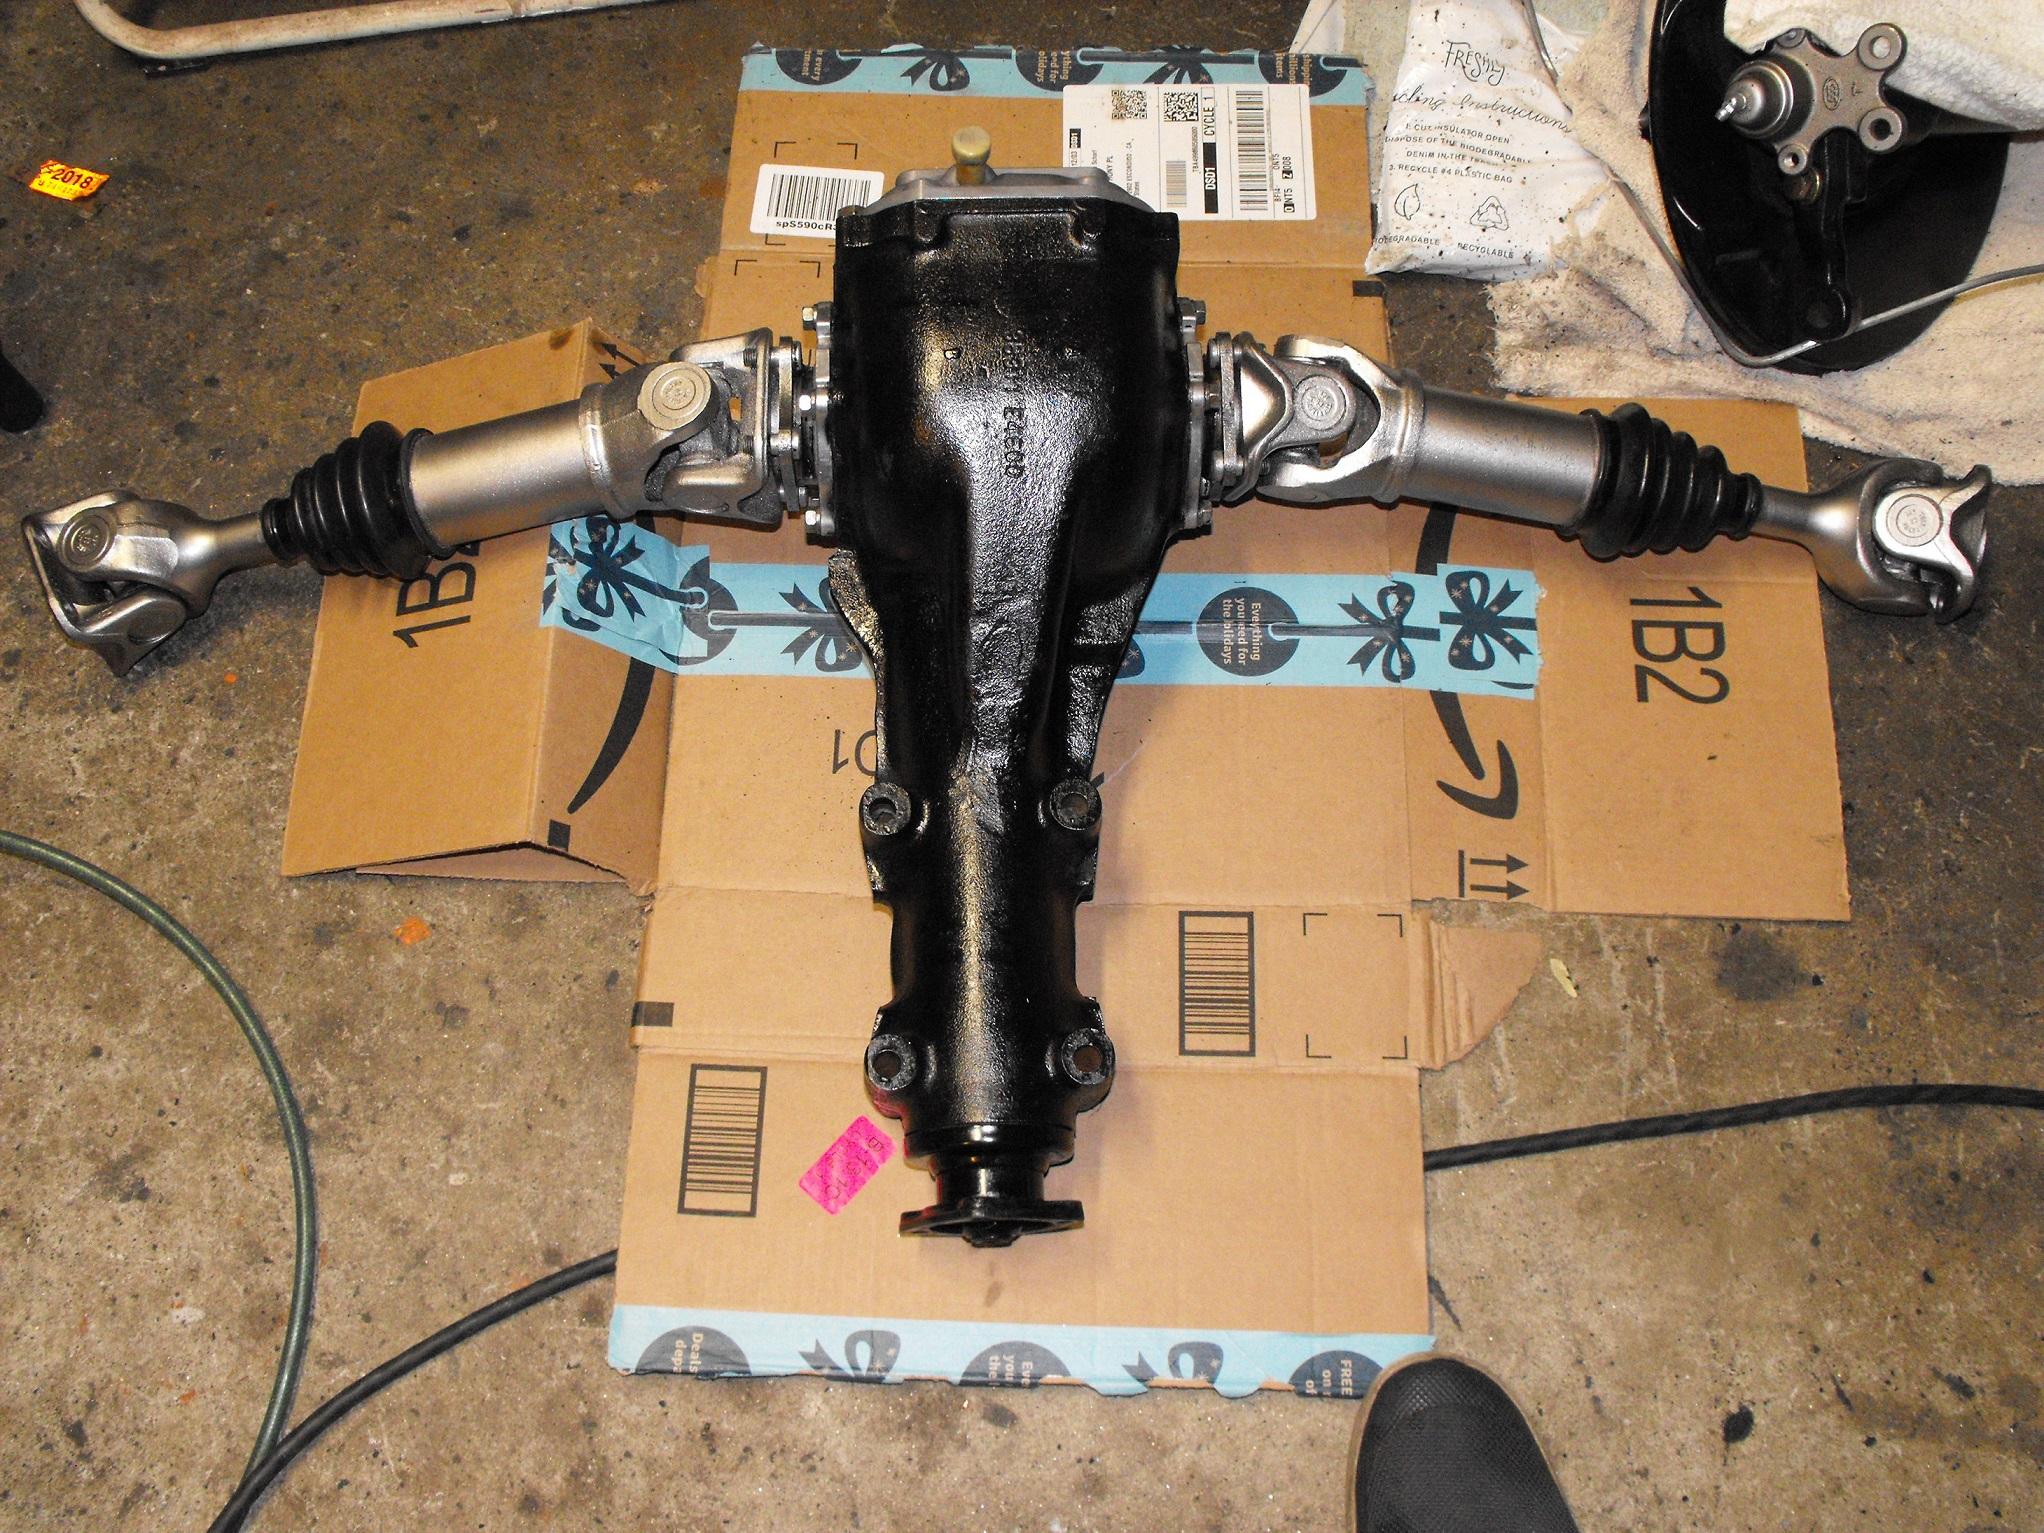
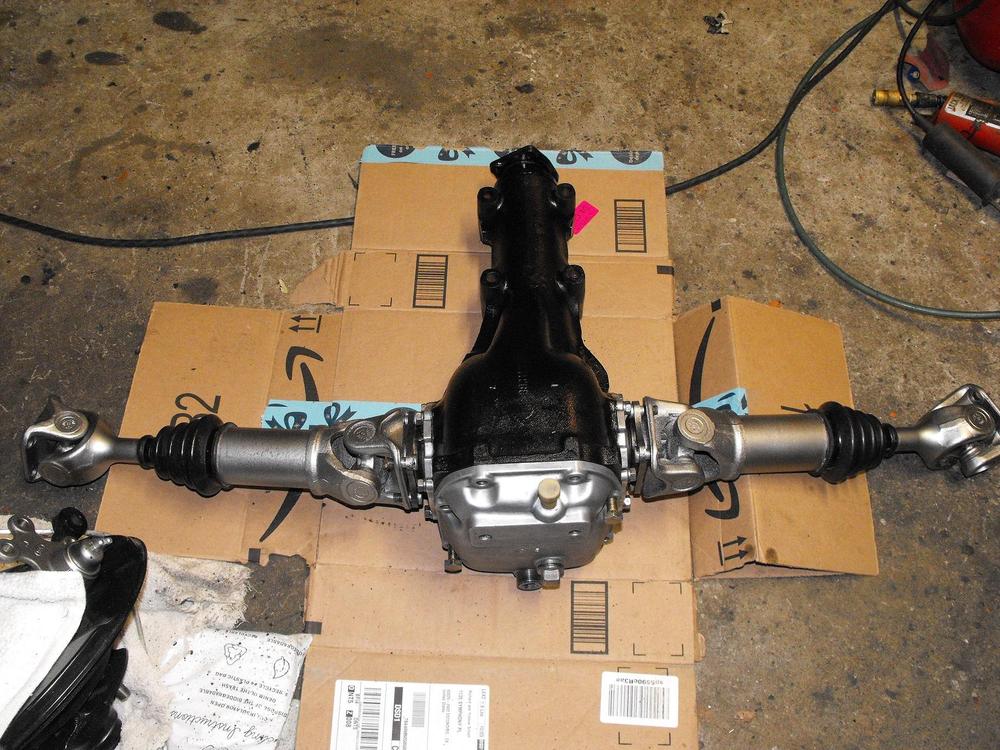
Continued work on the other half shaft and differential (after a short Holiday getaway). I tried to buff out the scratches off of the differential rear cover and ended up making that a bit to shiny. Sprayed it with some matte clear to tone it down a bit. Drained all the fluid out of the diff. The diff gear assembly is pretty smooth with virtually no backlash so I won't touch anything here other than put in new fluid once everything is together. I sent the diff nuts and bolts out for plating along with some of the carb parts and some of the other remaining items, so I will complete the assembly in a week or so. Loosely pieced the parts together to get an idea of what the final assembly will look like.


-
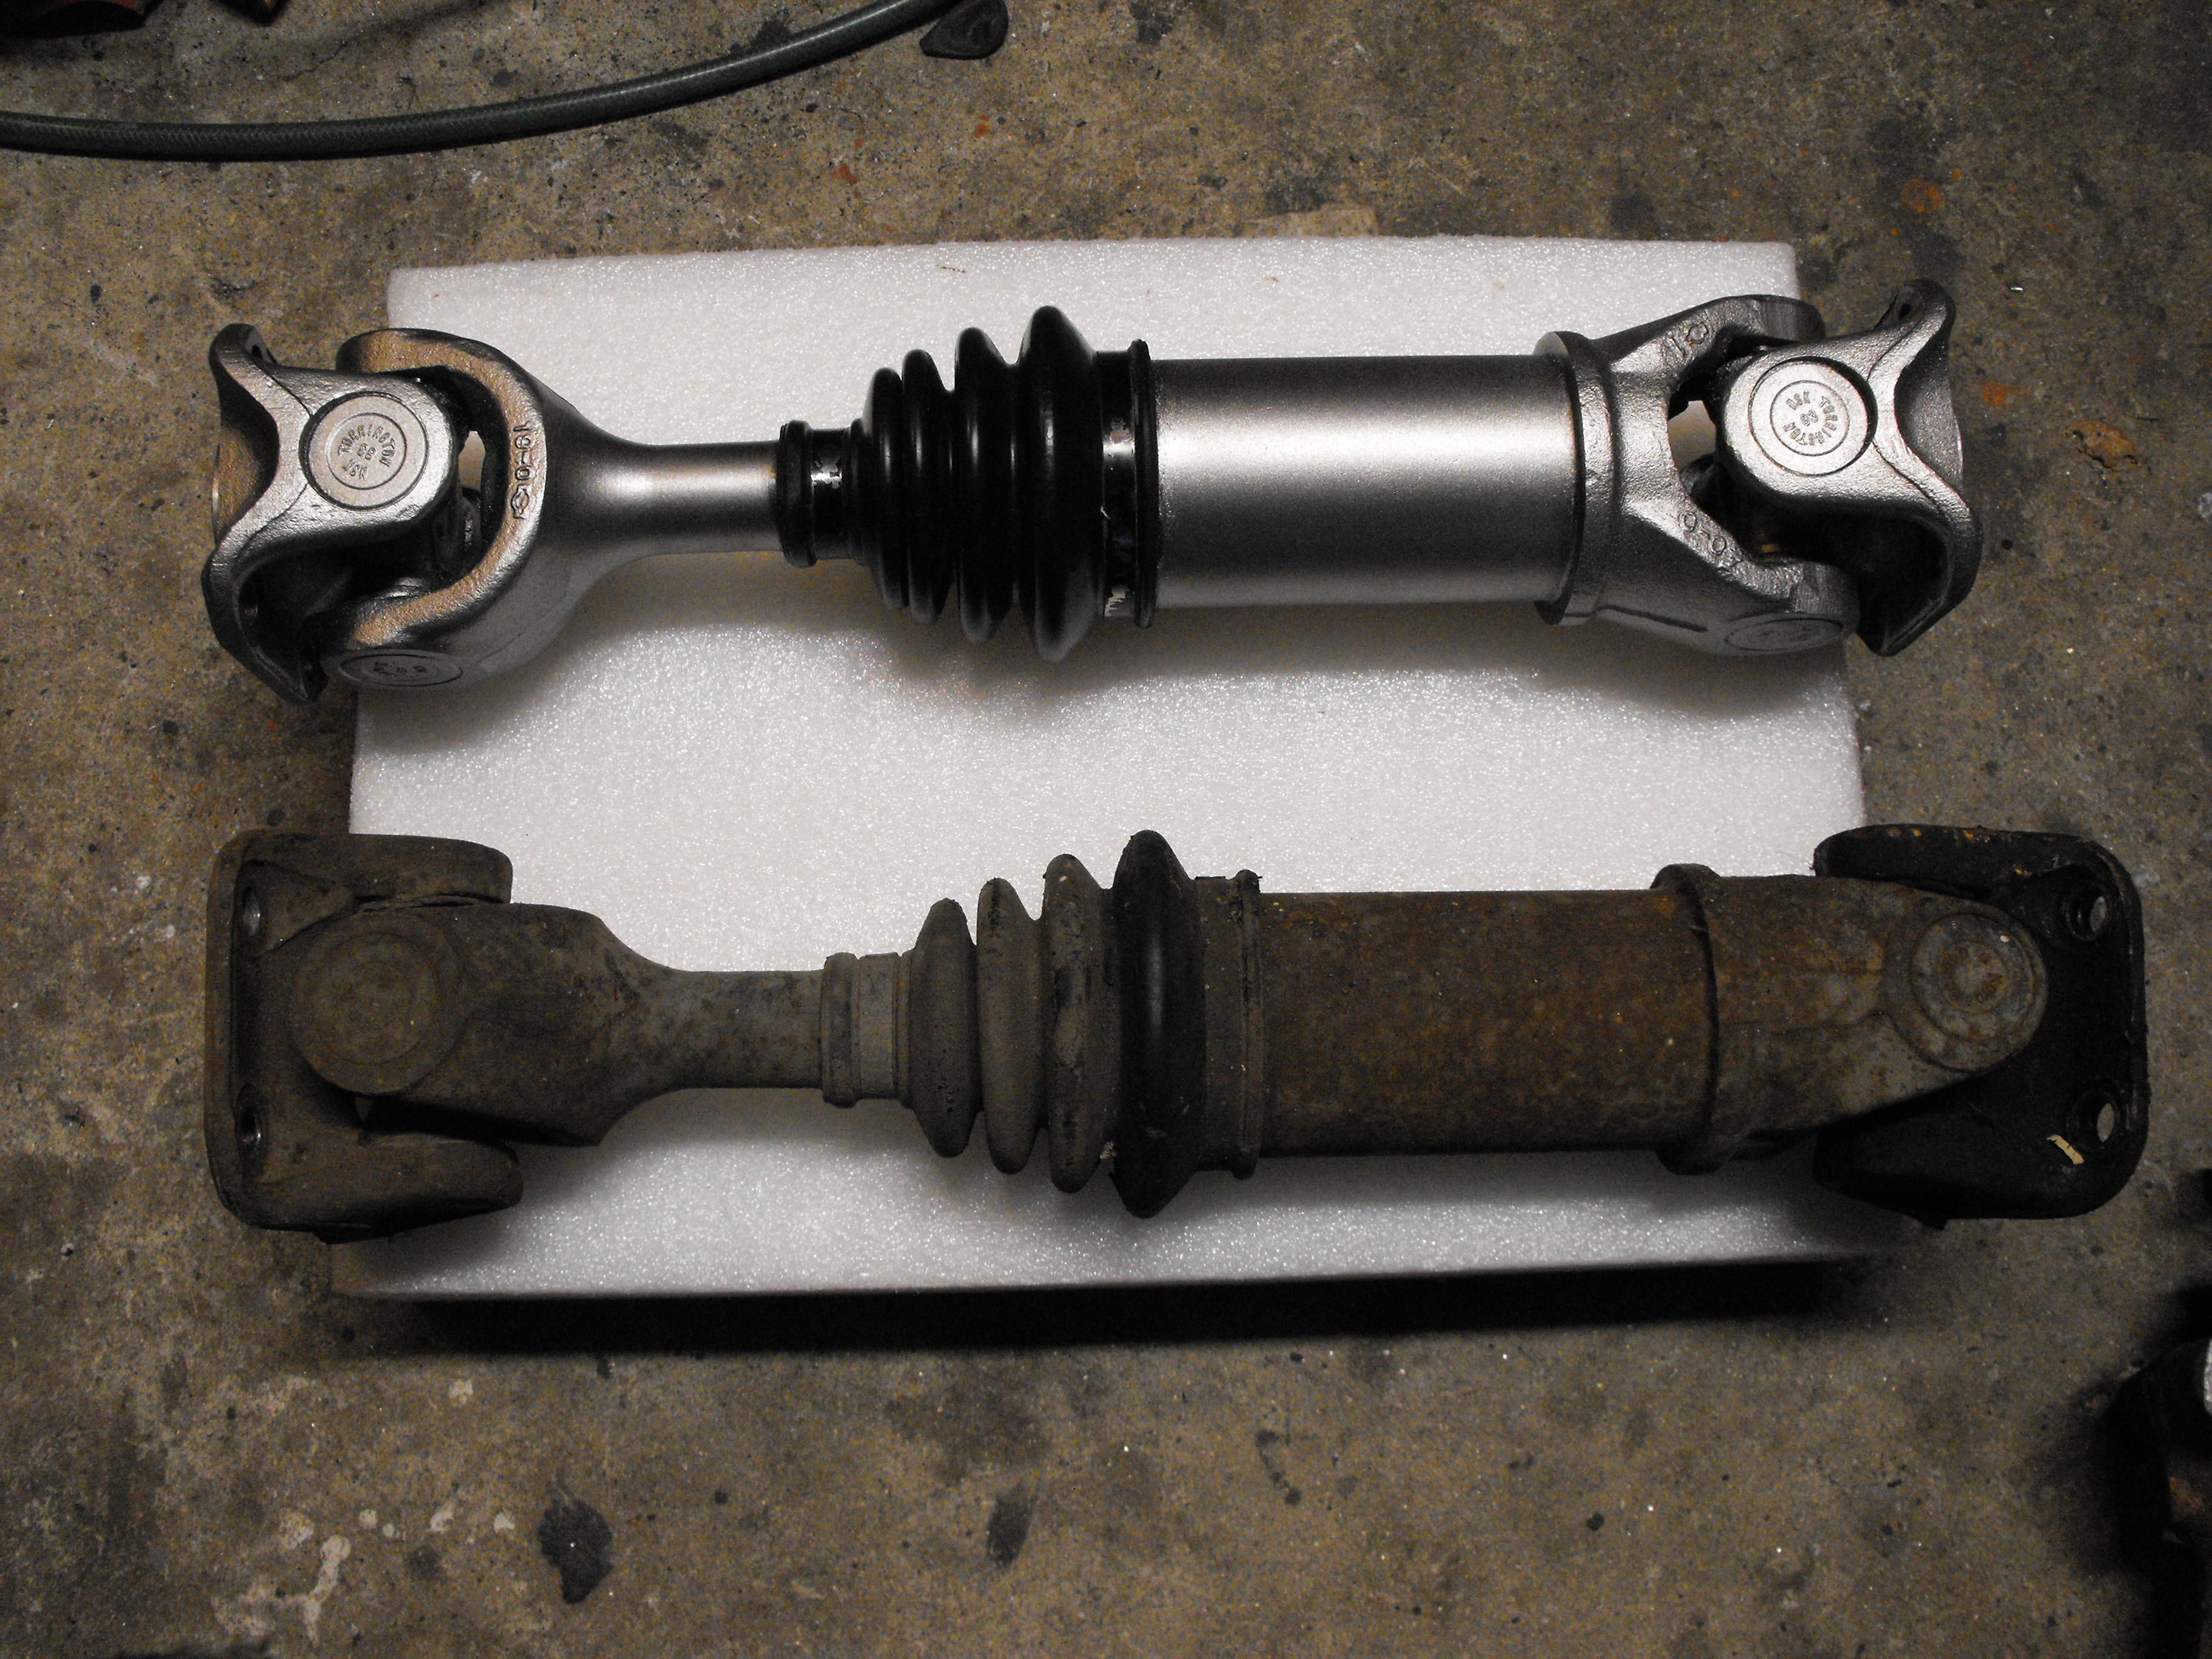
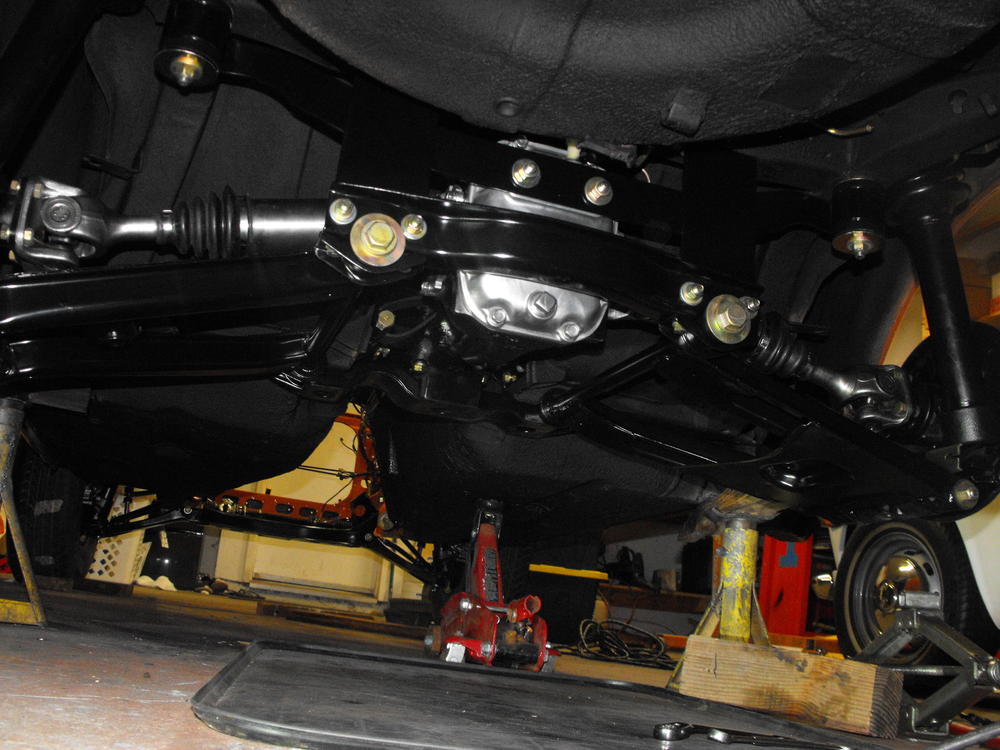
This one is actually painted with duplicolor 'stainless steel' paint. Typically I strip off all of the paint on the half shafts and then just do a clear coat. However, these shafts were pretty discolored (I think due to the rust and corrosion) and 'blotchy', and no amount of wire wheel stripping would clean them up. I initially did the clear coat on this shaft just to see if the discoloration would go away, but it did not and actually looked worse. So, I stripped the clear coat from the shafts and painted it with the closest color I could find to it's bare state. Technically, these are supposed to be painted black, but since everything else under there will be black, it would look kind of plain. I am also planning on stripping the back plate of the differential and leaving that bare. That makes for a pretty nice looking rear end.....that few people will really see. The finished product should look something like the pic below.
-
That is 115 Sent from my C6902 using Classic Zcar Club mobile
-
That is the stock color. The lighting makes things look a little off. Sent from my C6902 using Classic Zcar Club mobile
-
Started clean-up work on the differential and half-shafts. And...Merry Christmas Everyone!!!


-
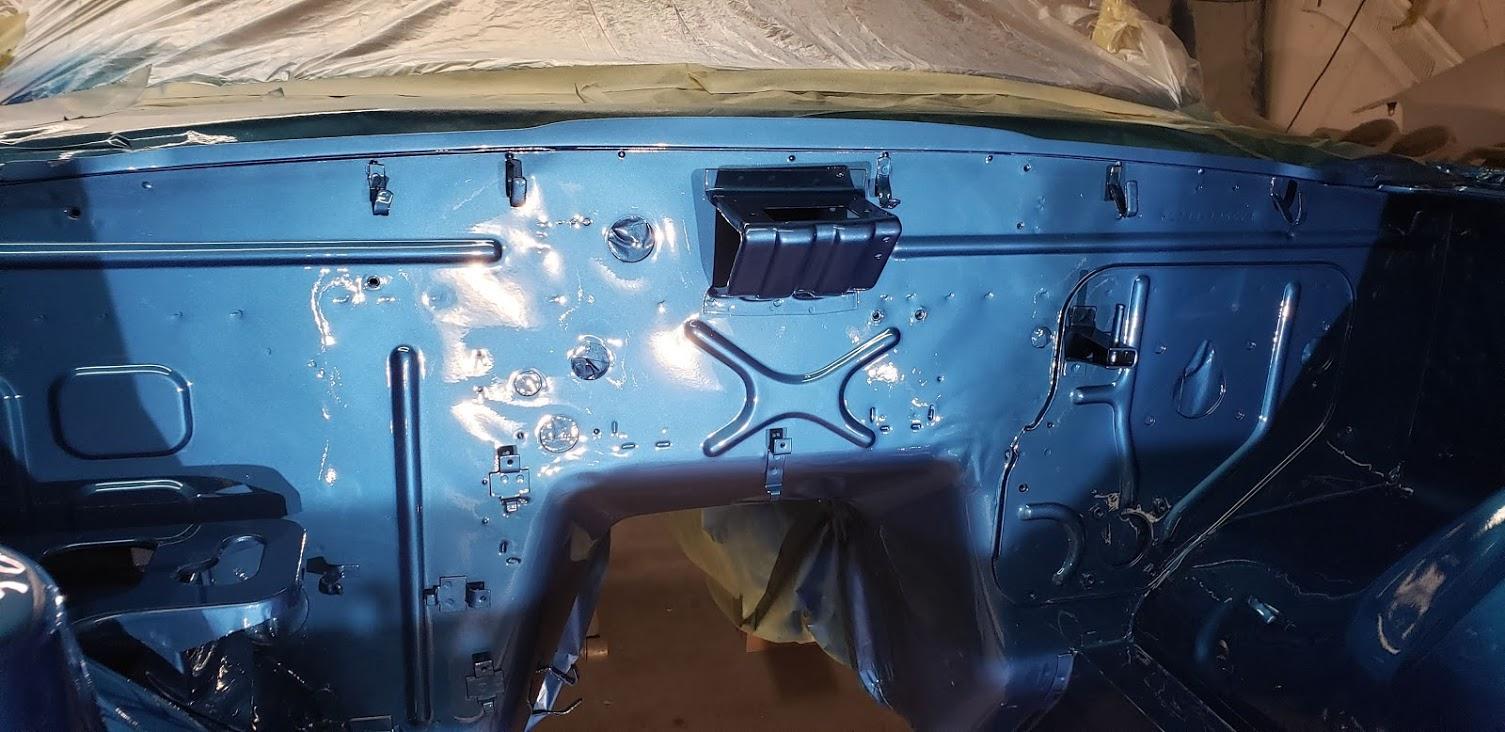
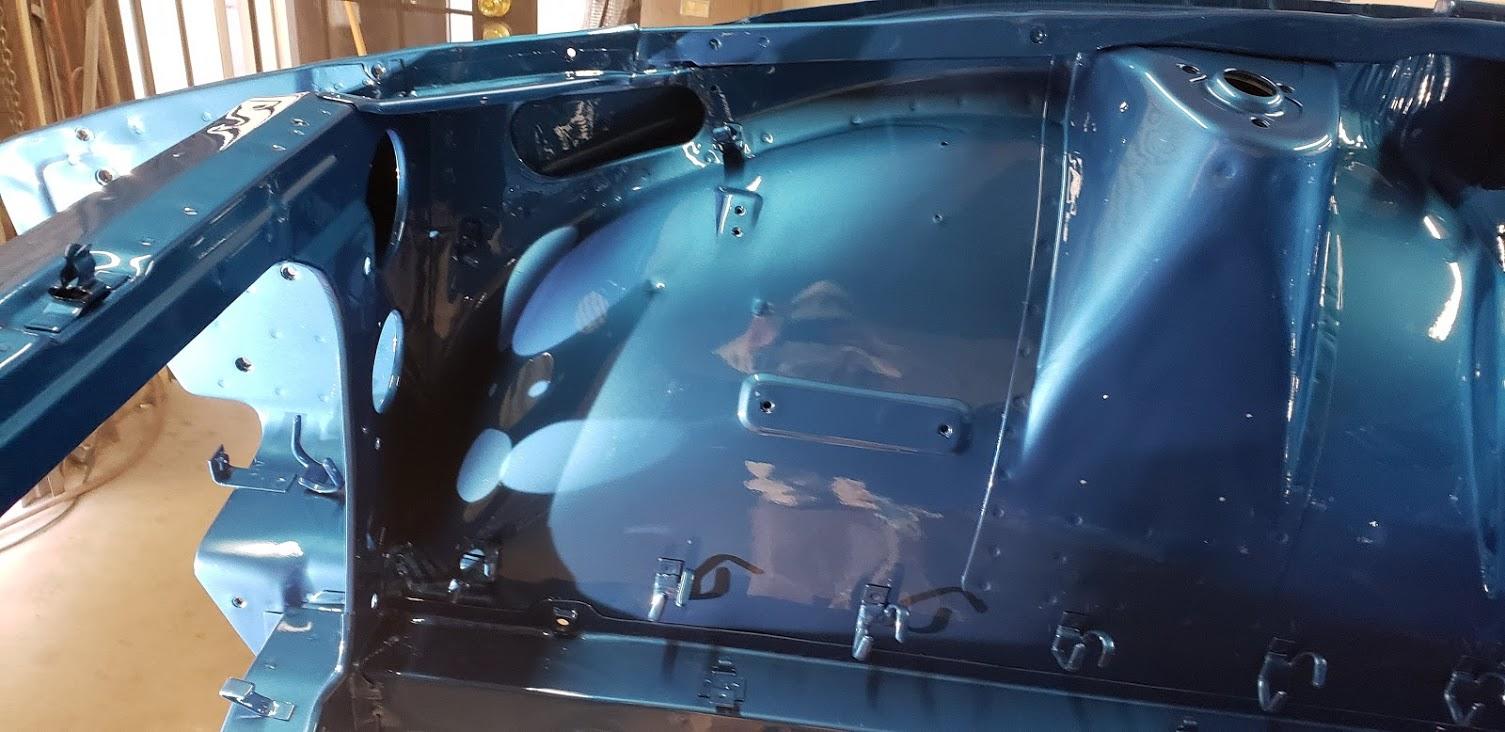
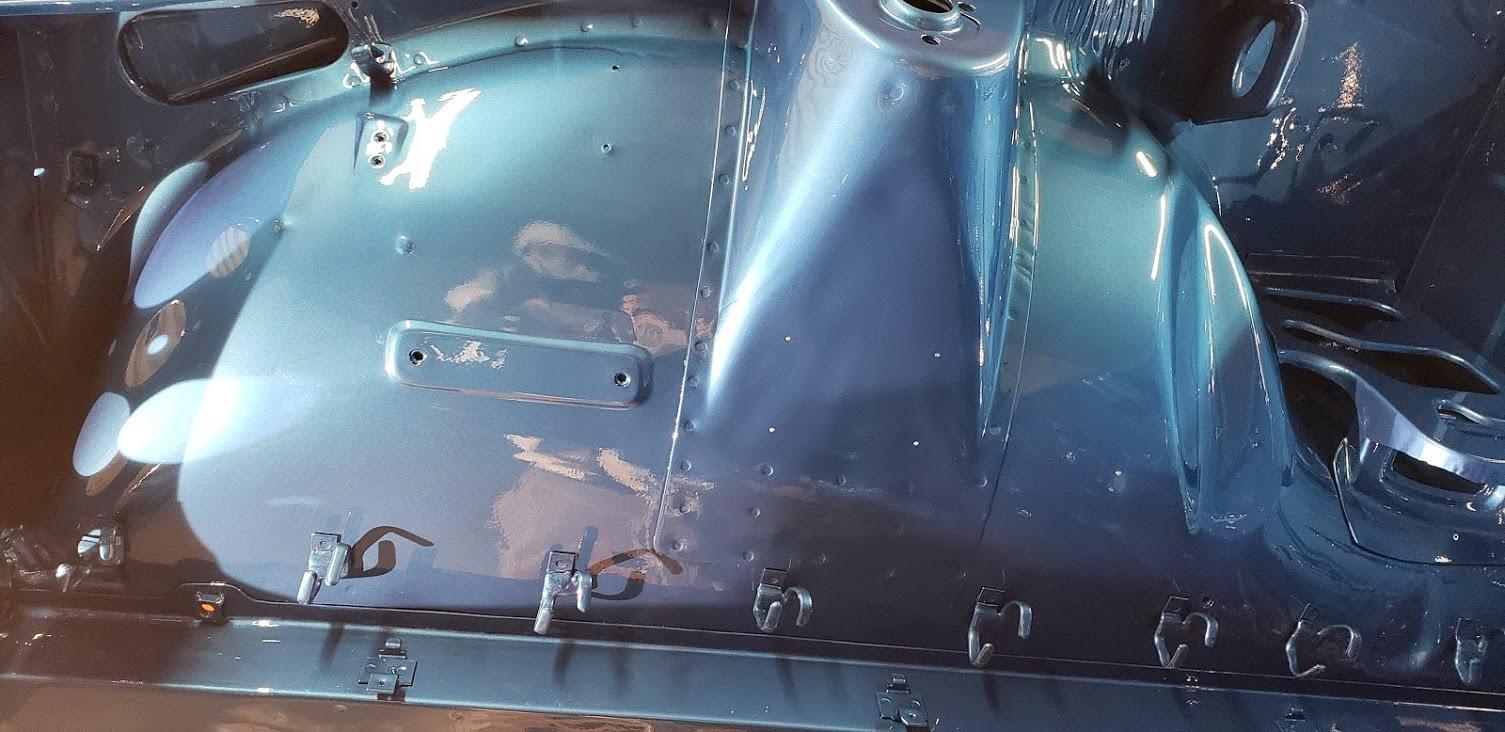
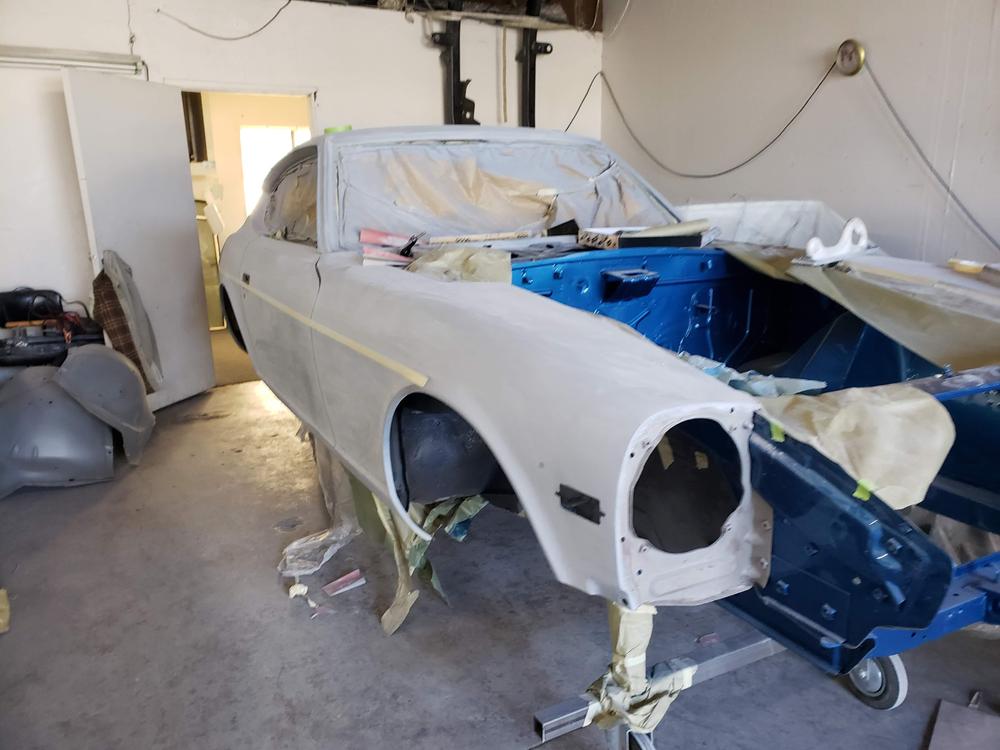
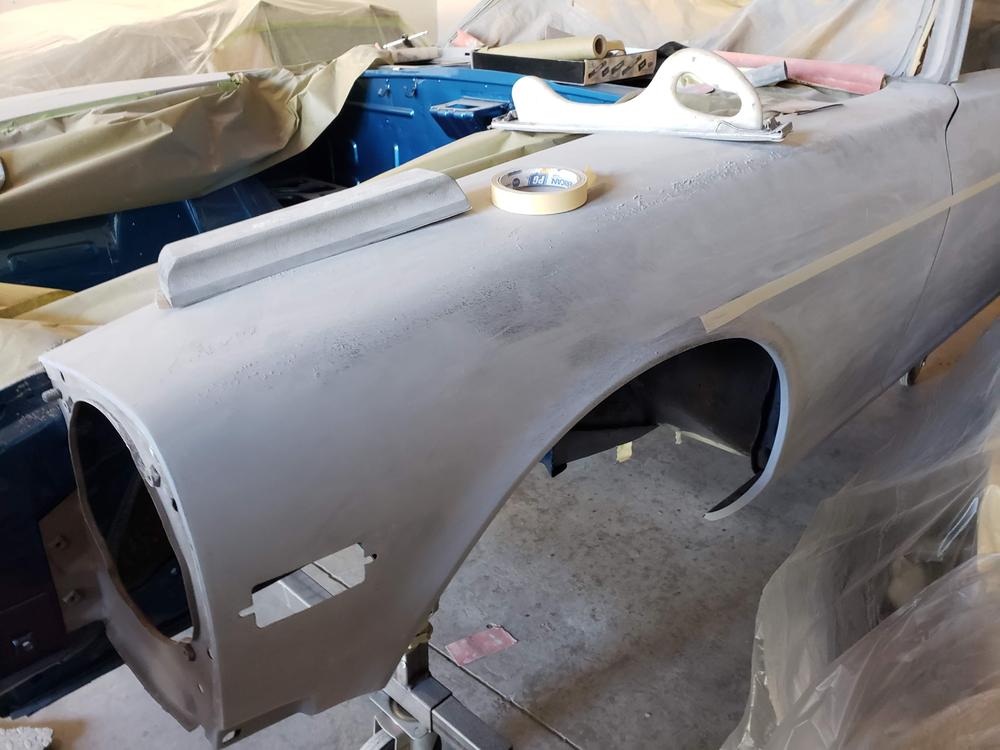
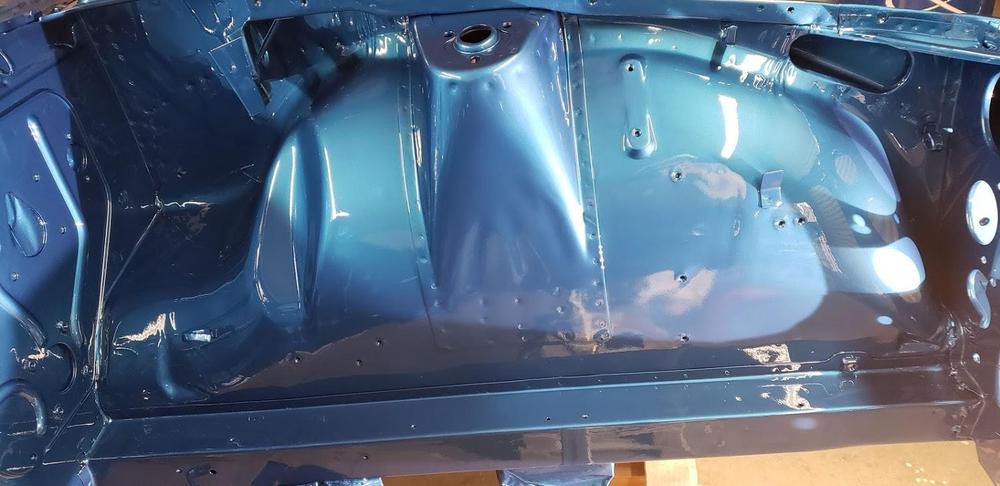
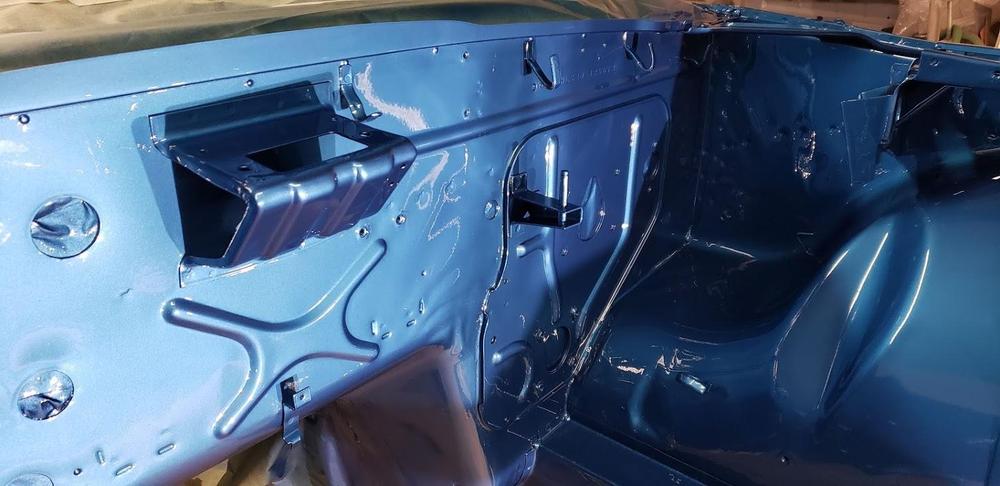
Got some photos from the paint shop....very pretty ?


-
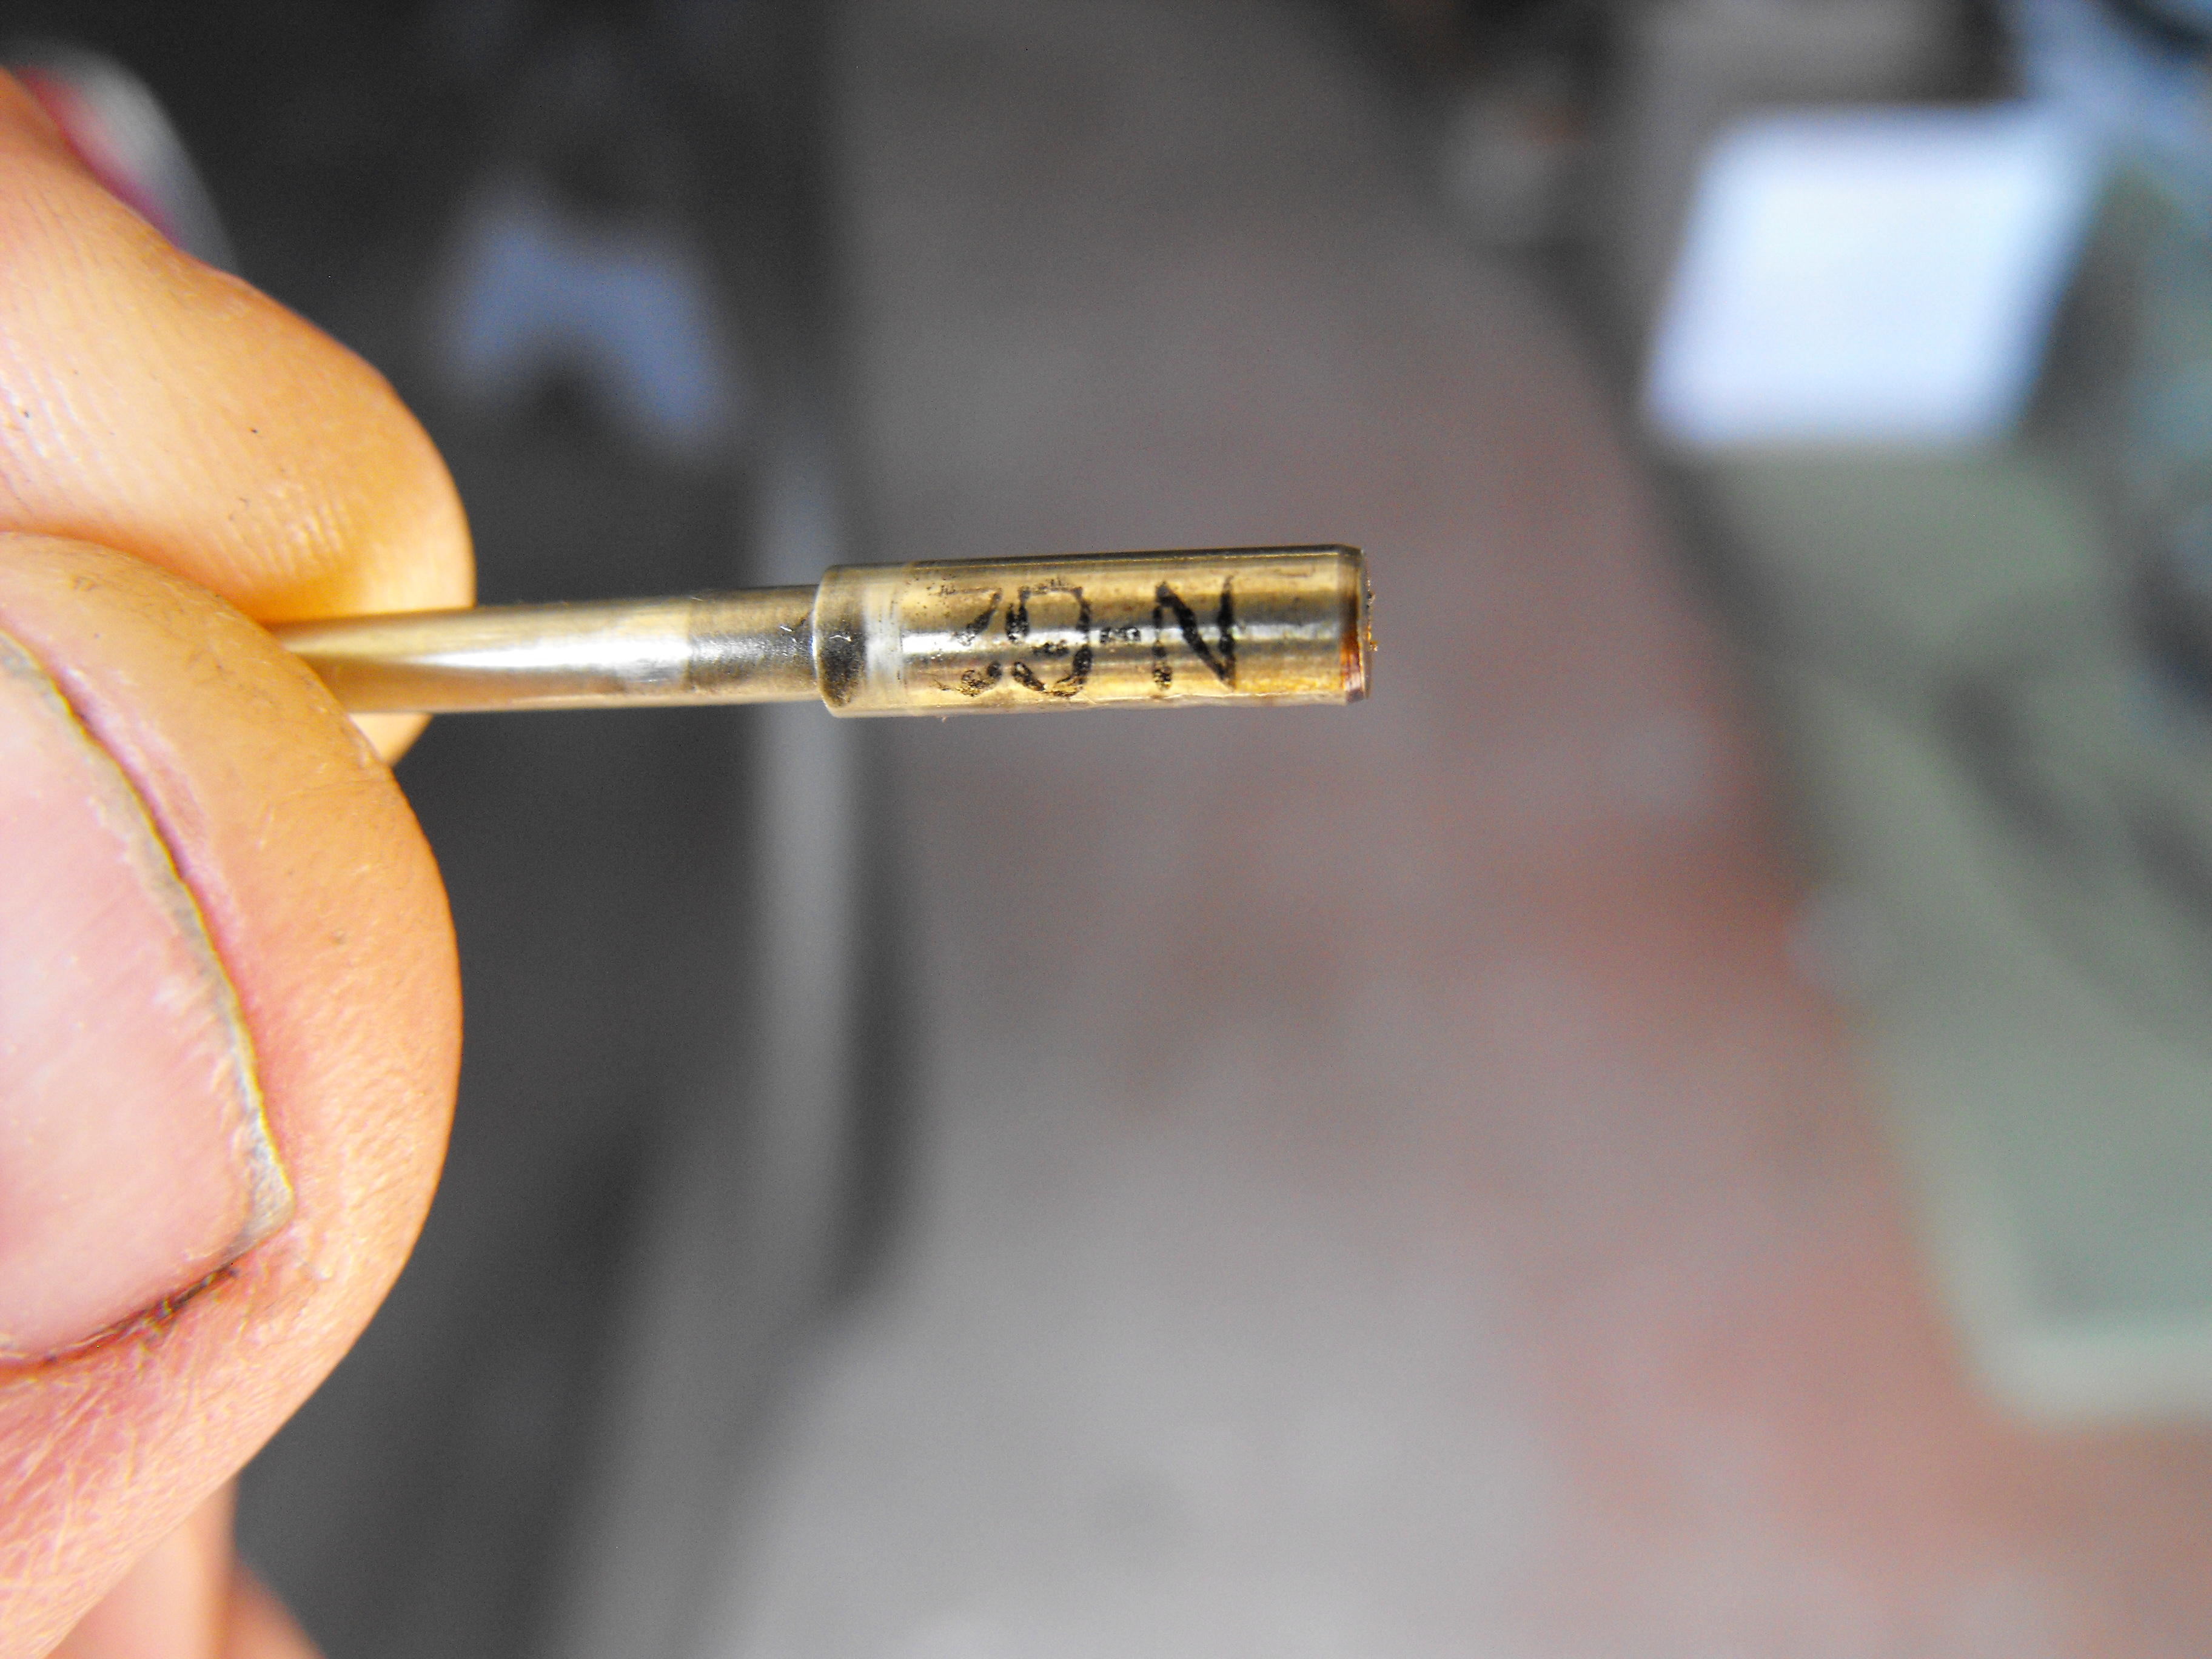
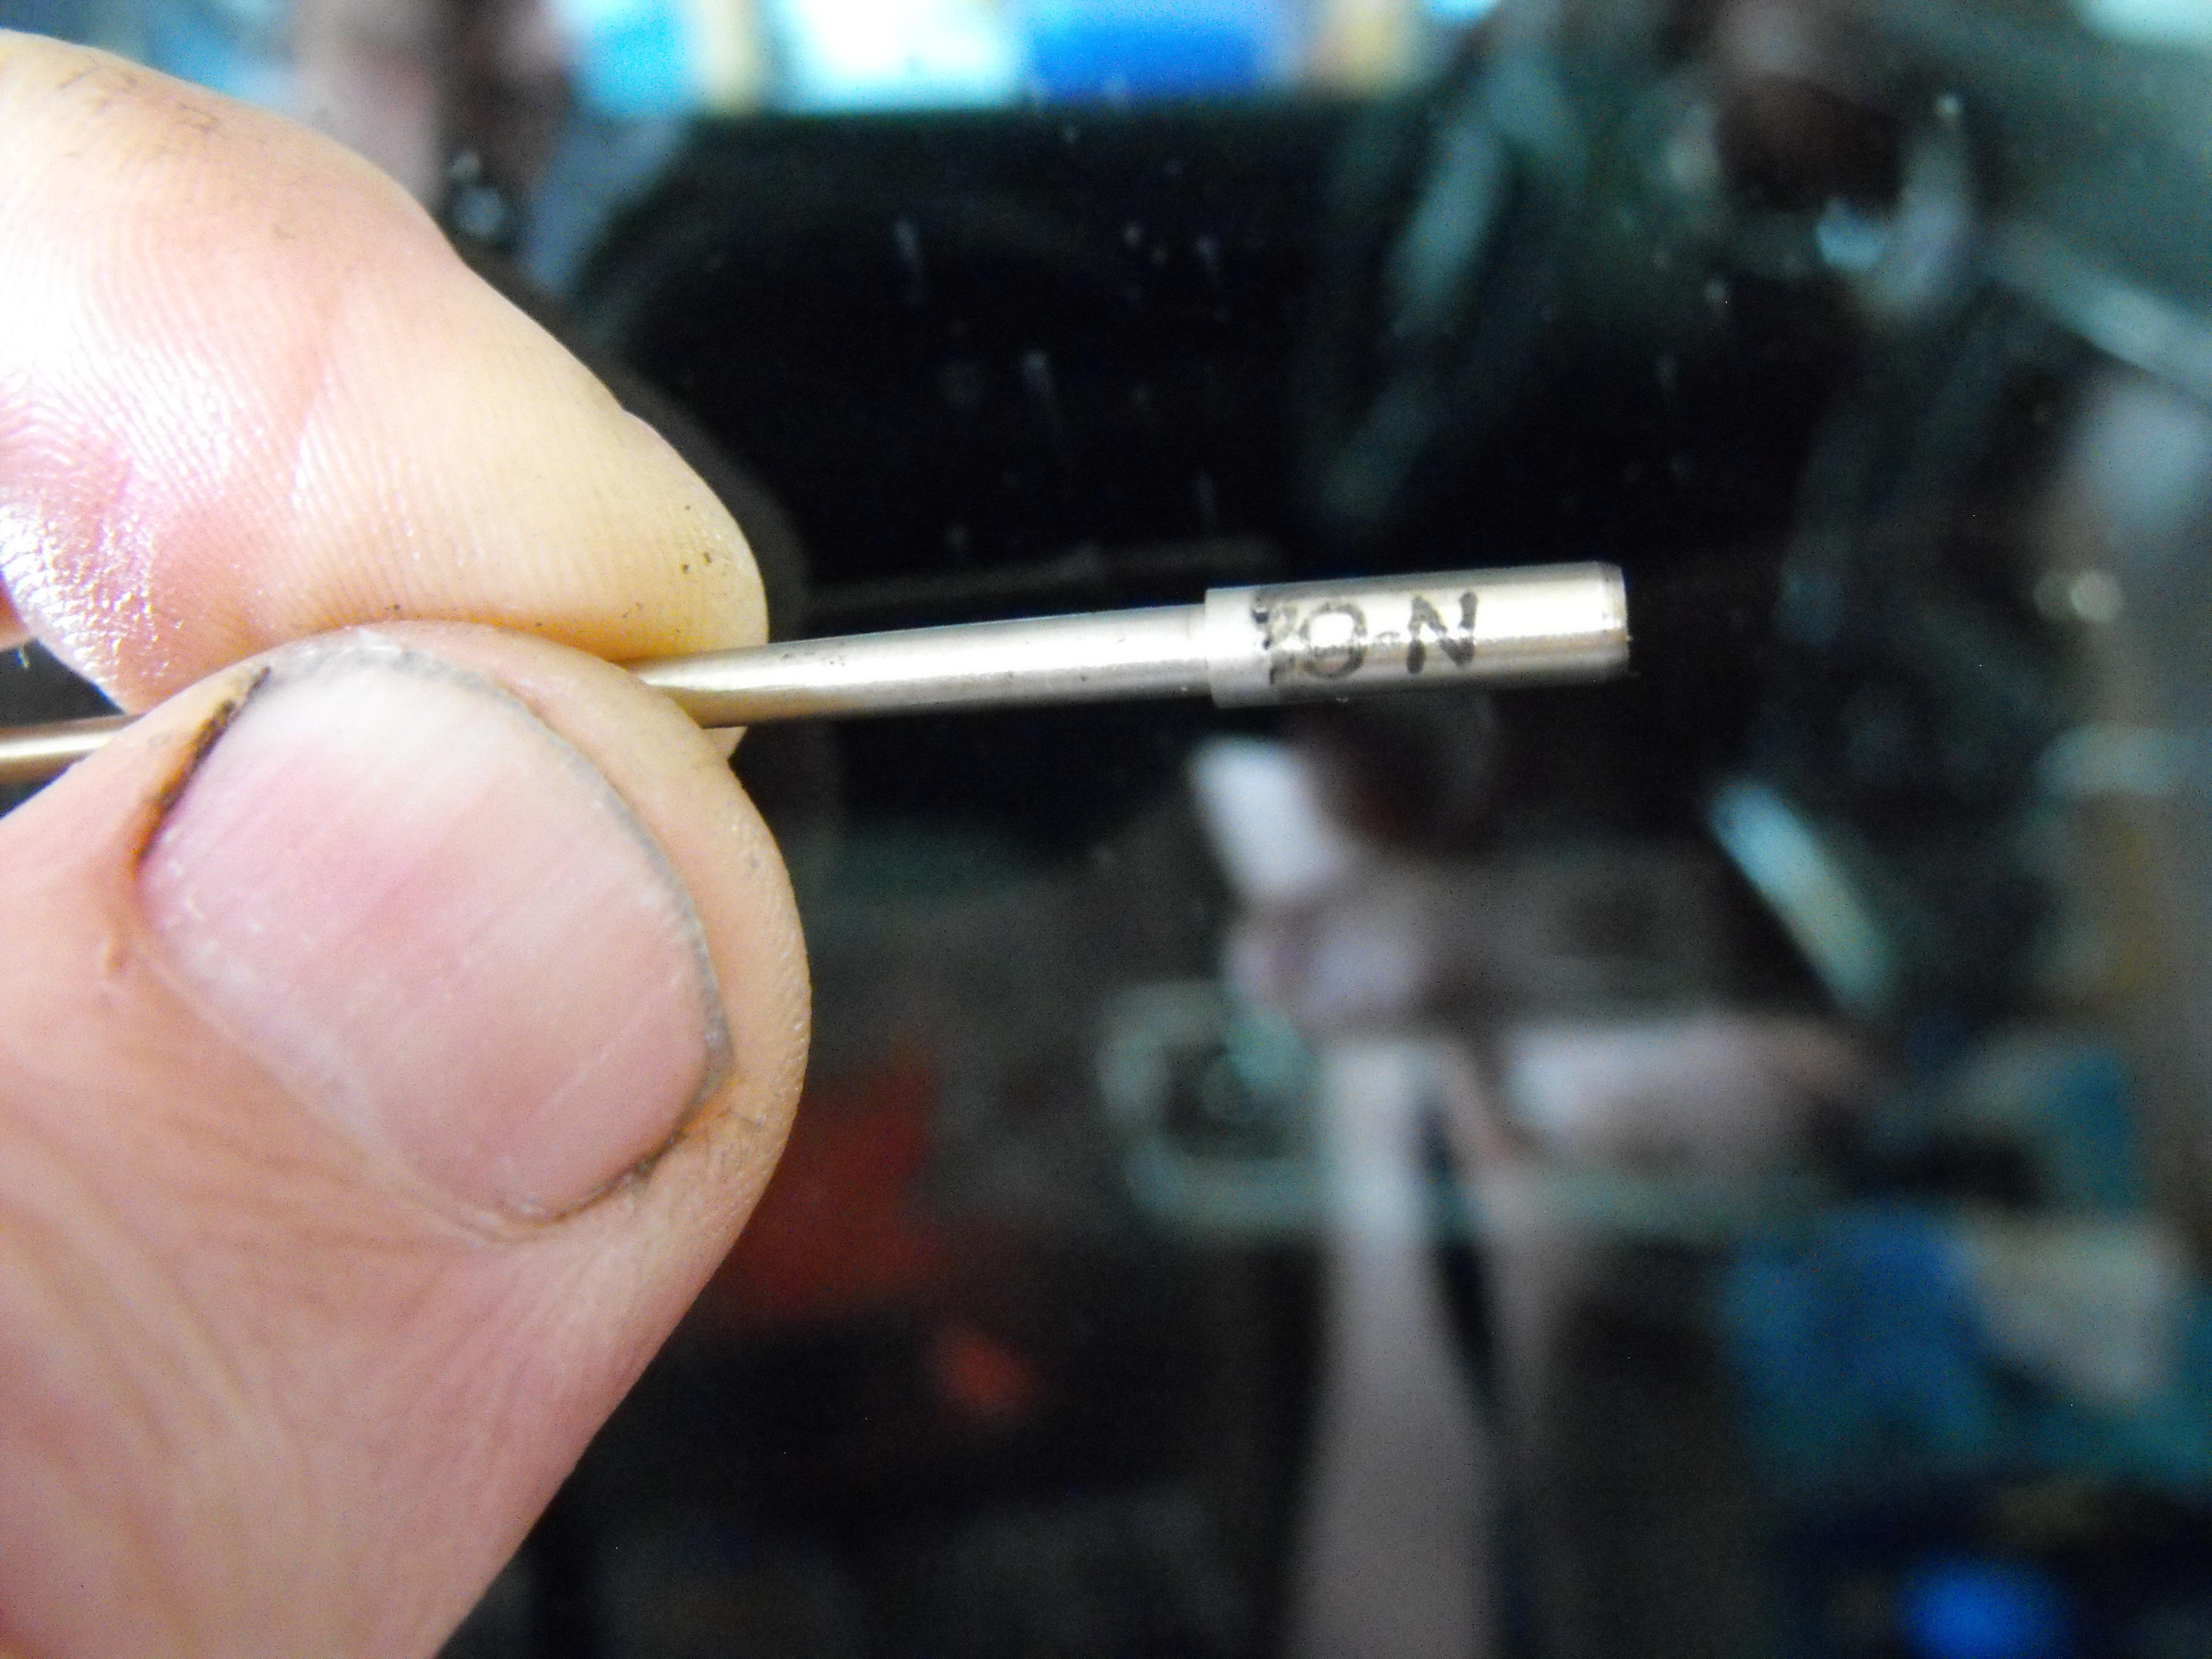
Just checked. The needle is shiny like that the entire length down, all the way around, so it's probably not contact....I think. My guess is that the upper part is oxidized while the lower part is shiny since it is sitting in gas. Will post pics of entire needle tomorrow Sent from my C6902 using Classic Zcar Club mobile
-
I will have to take it apart again and look. Actually surprised that my camera was able to get the close up pic. To the naked eye, it looked like N80. Once I saw the pic on the computer screen it was obviously N62. Will check both of the needles for any rubbing. Sent from my C6902 using Classic Zcar Club mobile
-
Looks like both pins are N-62. Looks like I need and manicure also.


-
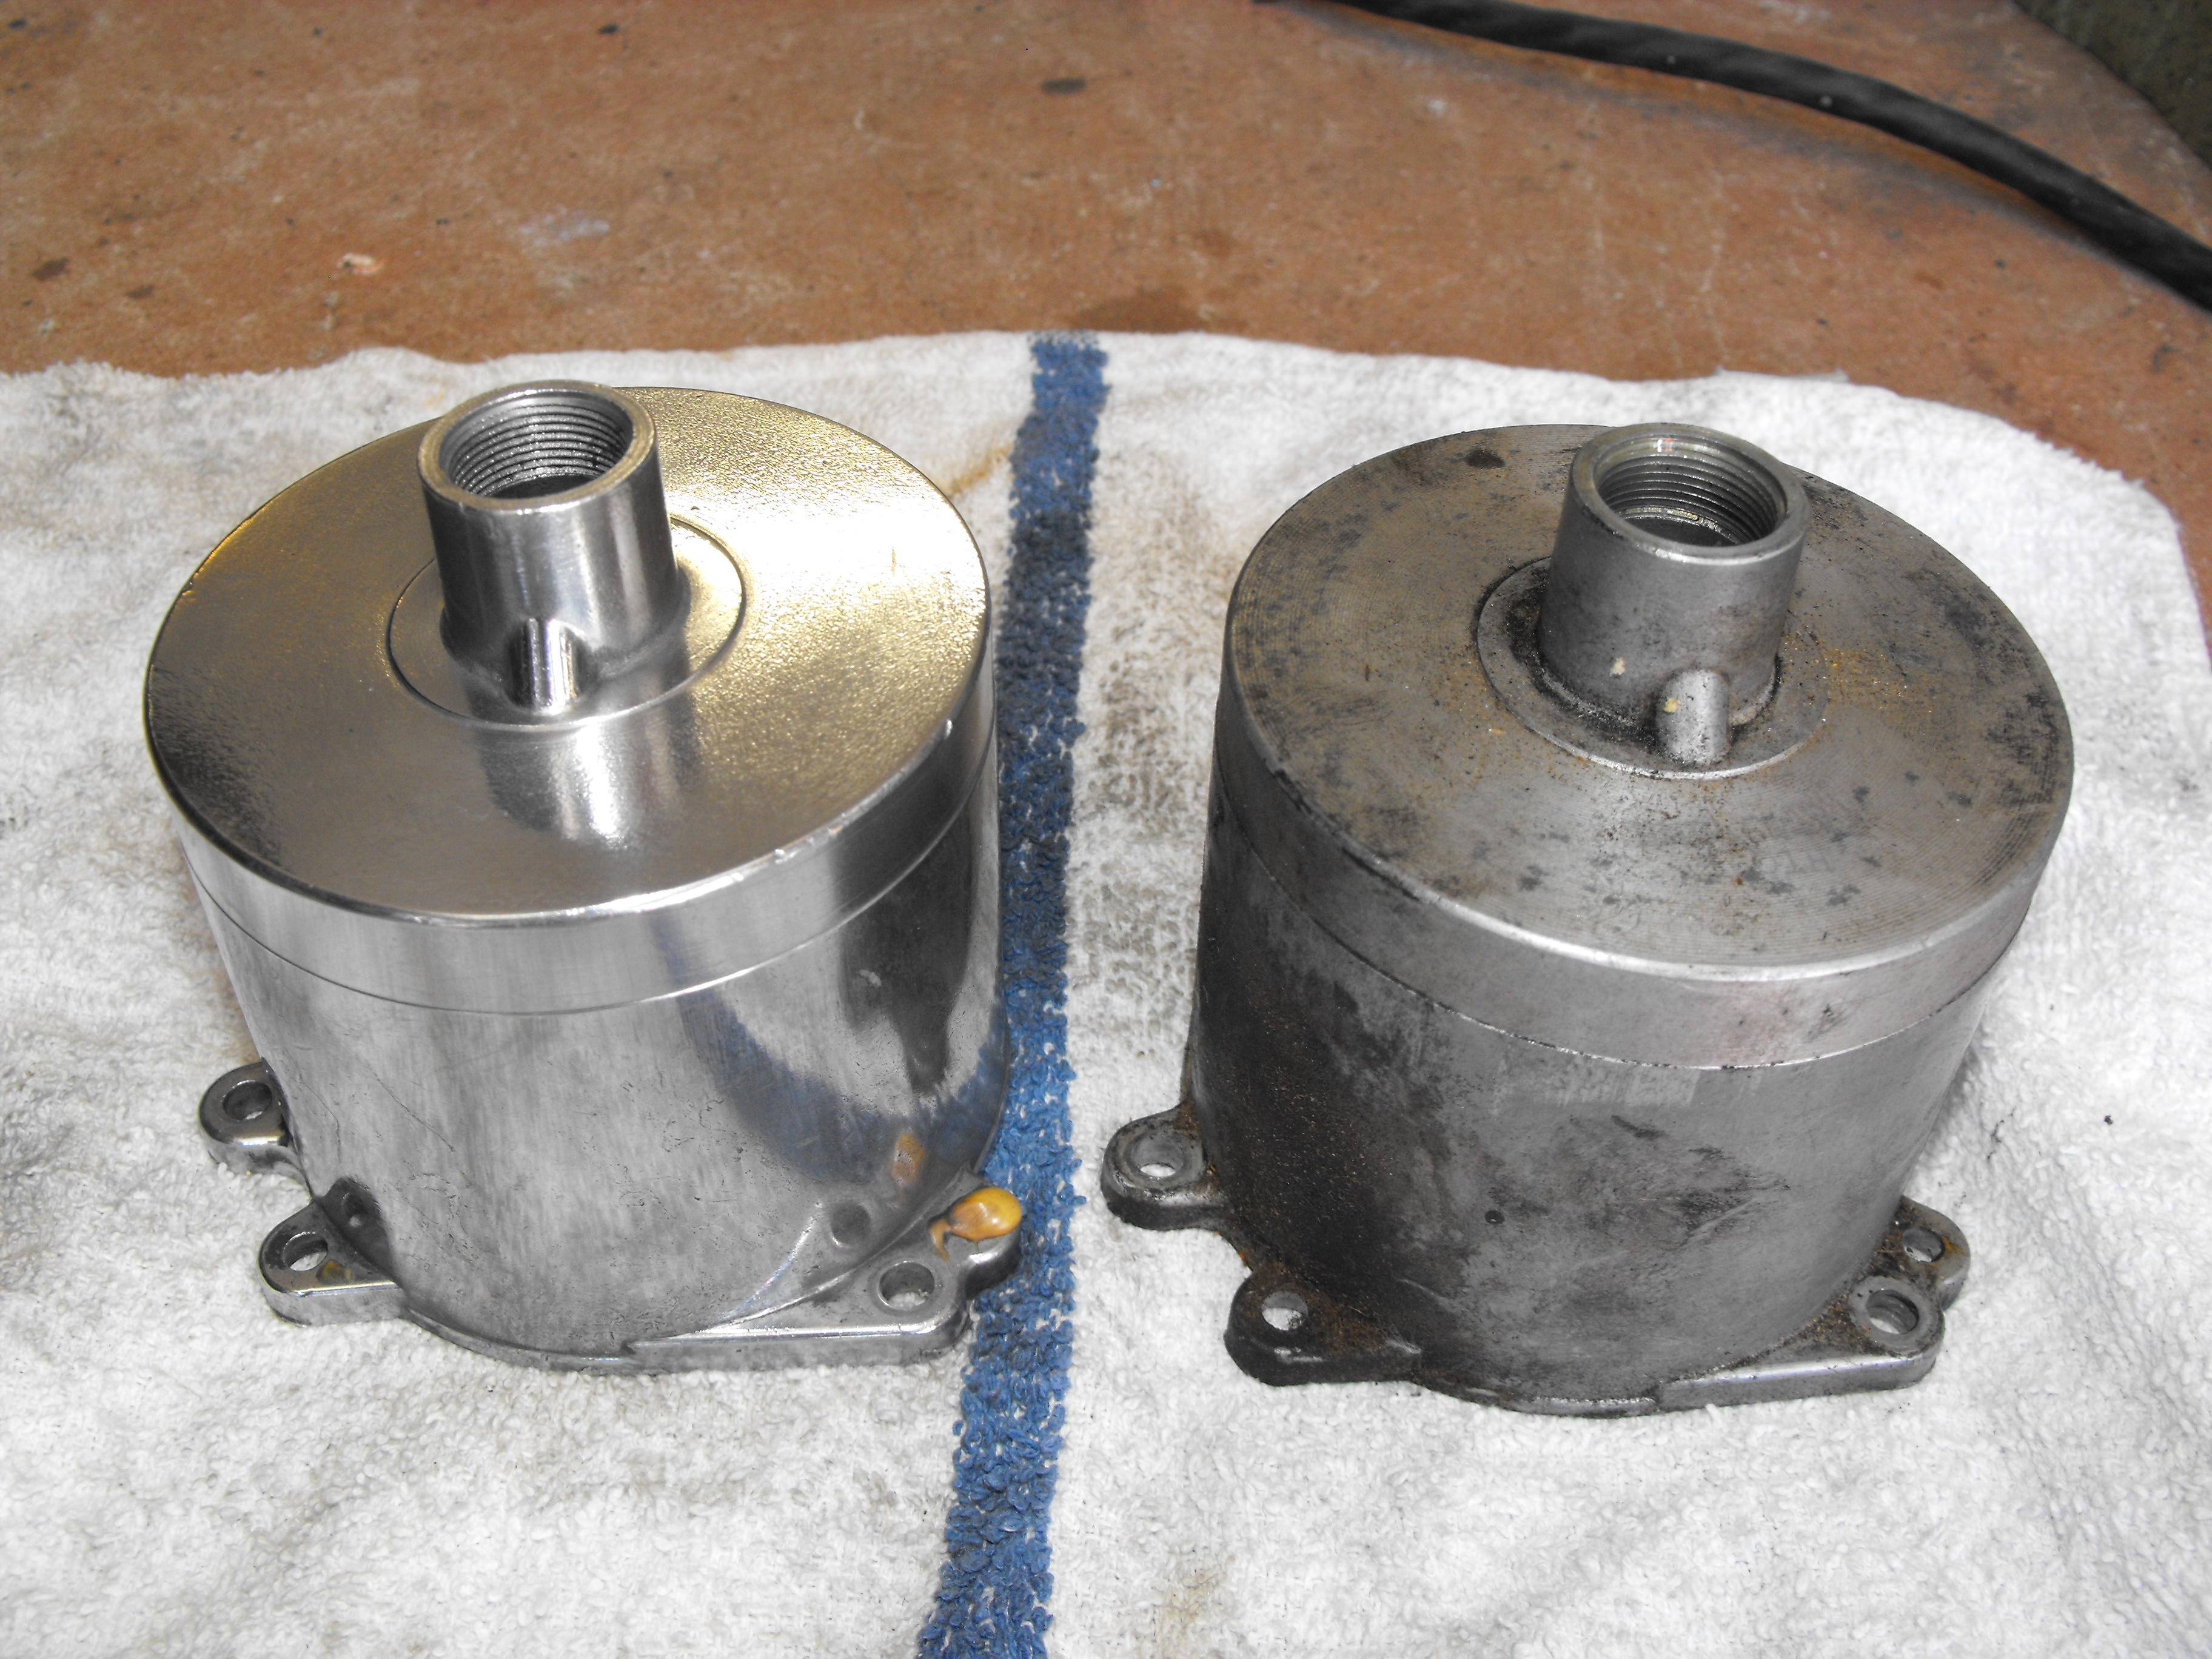
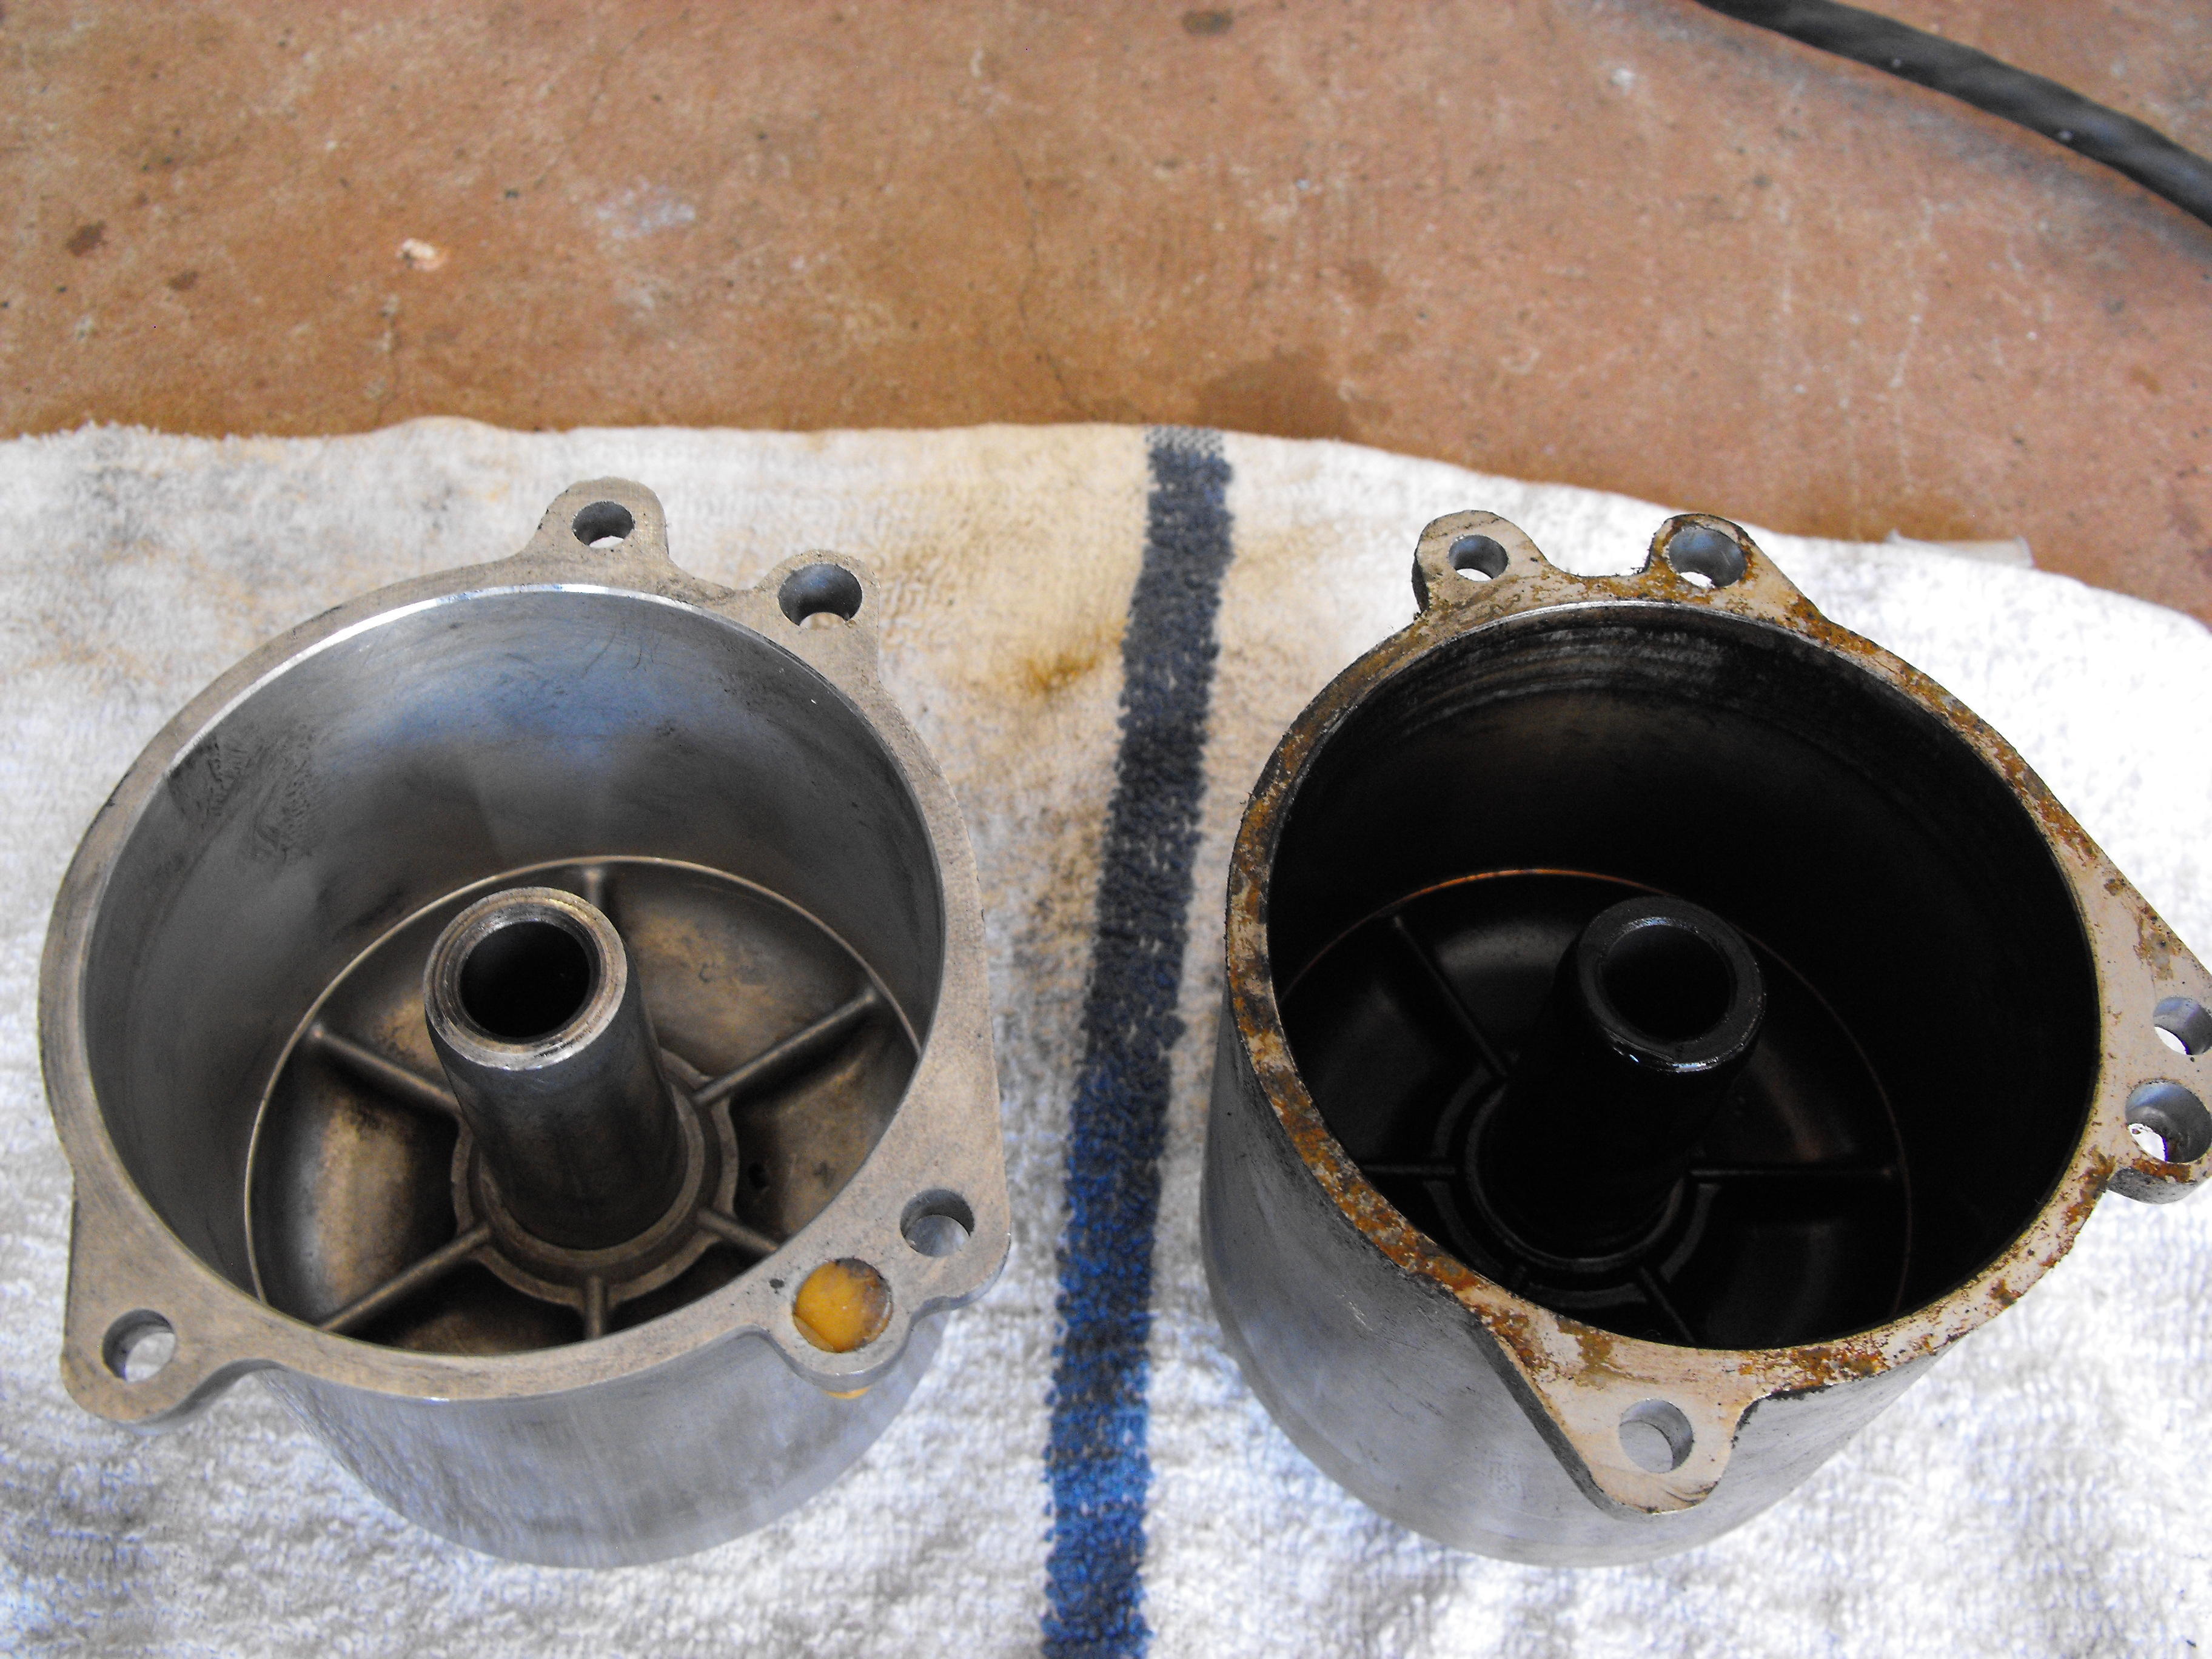
Cleaned up the carb bodies today with Lacquer Thinner (my favorite solvent) and fine dremel wire wheel brushes. I didn't want to scratch anything. Before and after pics (front and back actually) shown below. I put the plungers back in the carb bodies after the pics to help protect the needle. Got all the platable carb parts prepped to plate along with some of the remaining items that need to be plated. Will mail those out to Sav-on plating here shortly. This is about as far as I can go on the carbs until I get the plated parts back. I think I will get started on the differential and half shafts tomorrow.


-
Can you send me a link to his ebay store? Thanks.
-
I know, I know.....will have to get this bead blasted and the paint removed.....so many details.
-
No problem at all. It really helps to have a second set of eyes looking things over. With so many parts and all, it is easy to miss things. And yes, definitely a few more smog items on the US '73 and 74 Z's. Would be nice if there was a place to pick up some of these smog items new/NOS.
-
Got a 260 intake manifold off of eBay in today. It has several common parts that I am missing and seems to be in nice shape. Paint will need to be removed.

-
Thanks for the lead. This also looks promising and they are right down the road. http://www.olycoatings.com/dryfilm.html http://www.olycoatings.com/thermo.html I sent them an e-mail to get some more info.
-
Very cool, O-ring seals. I love it. For these carbs I am currently thinking that I will try and replicate the green material. For the needle alignment, I would think the one nub and three screws would get me pretty close...but probably not perfect, Depending on the screw and tab hole tolerance. Interesting that the bottom part of the one nub is missing. Sent from my C6902 using Classic Zcar Club mobile
-
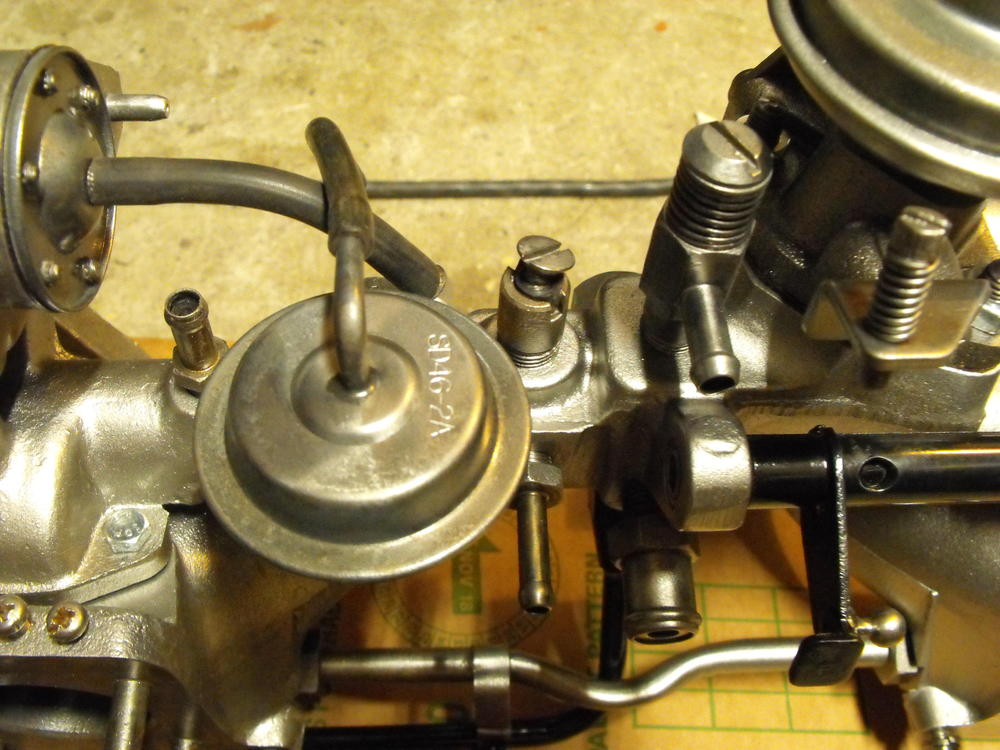
Here's a better pic

-
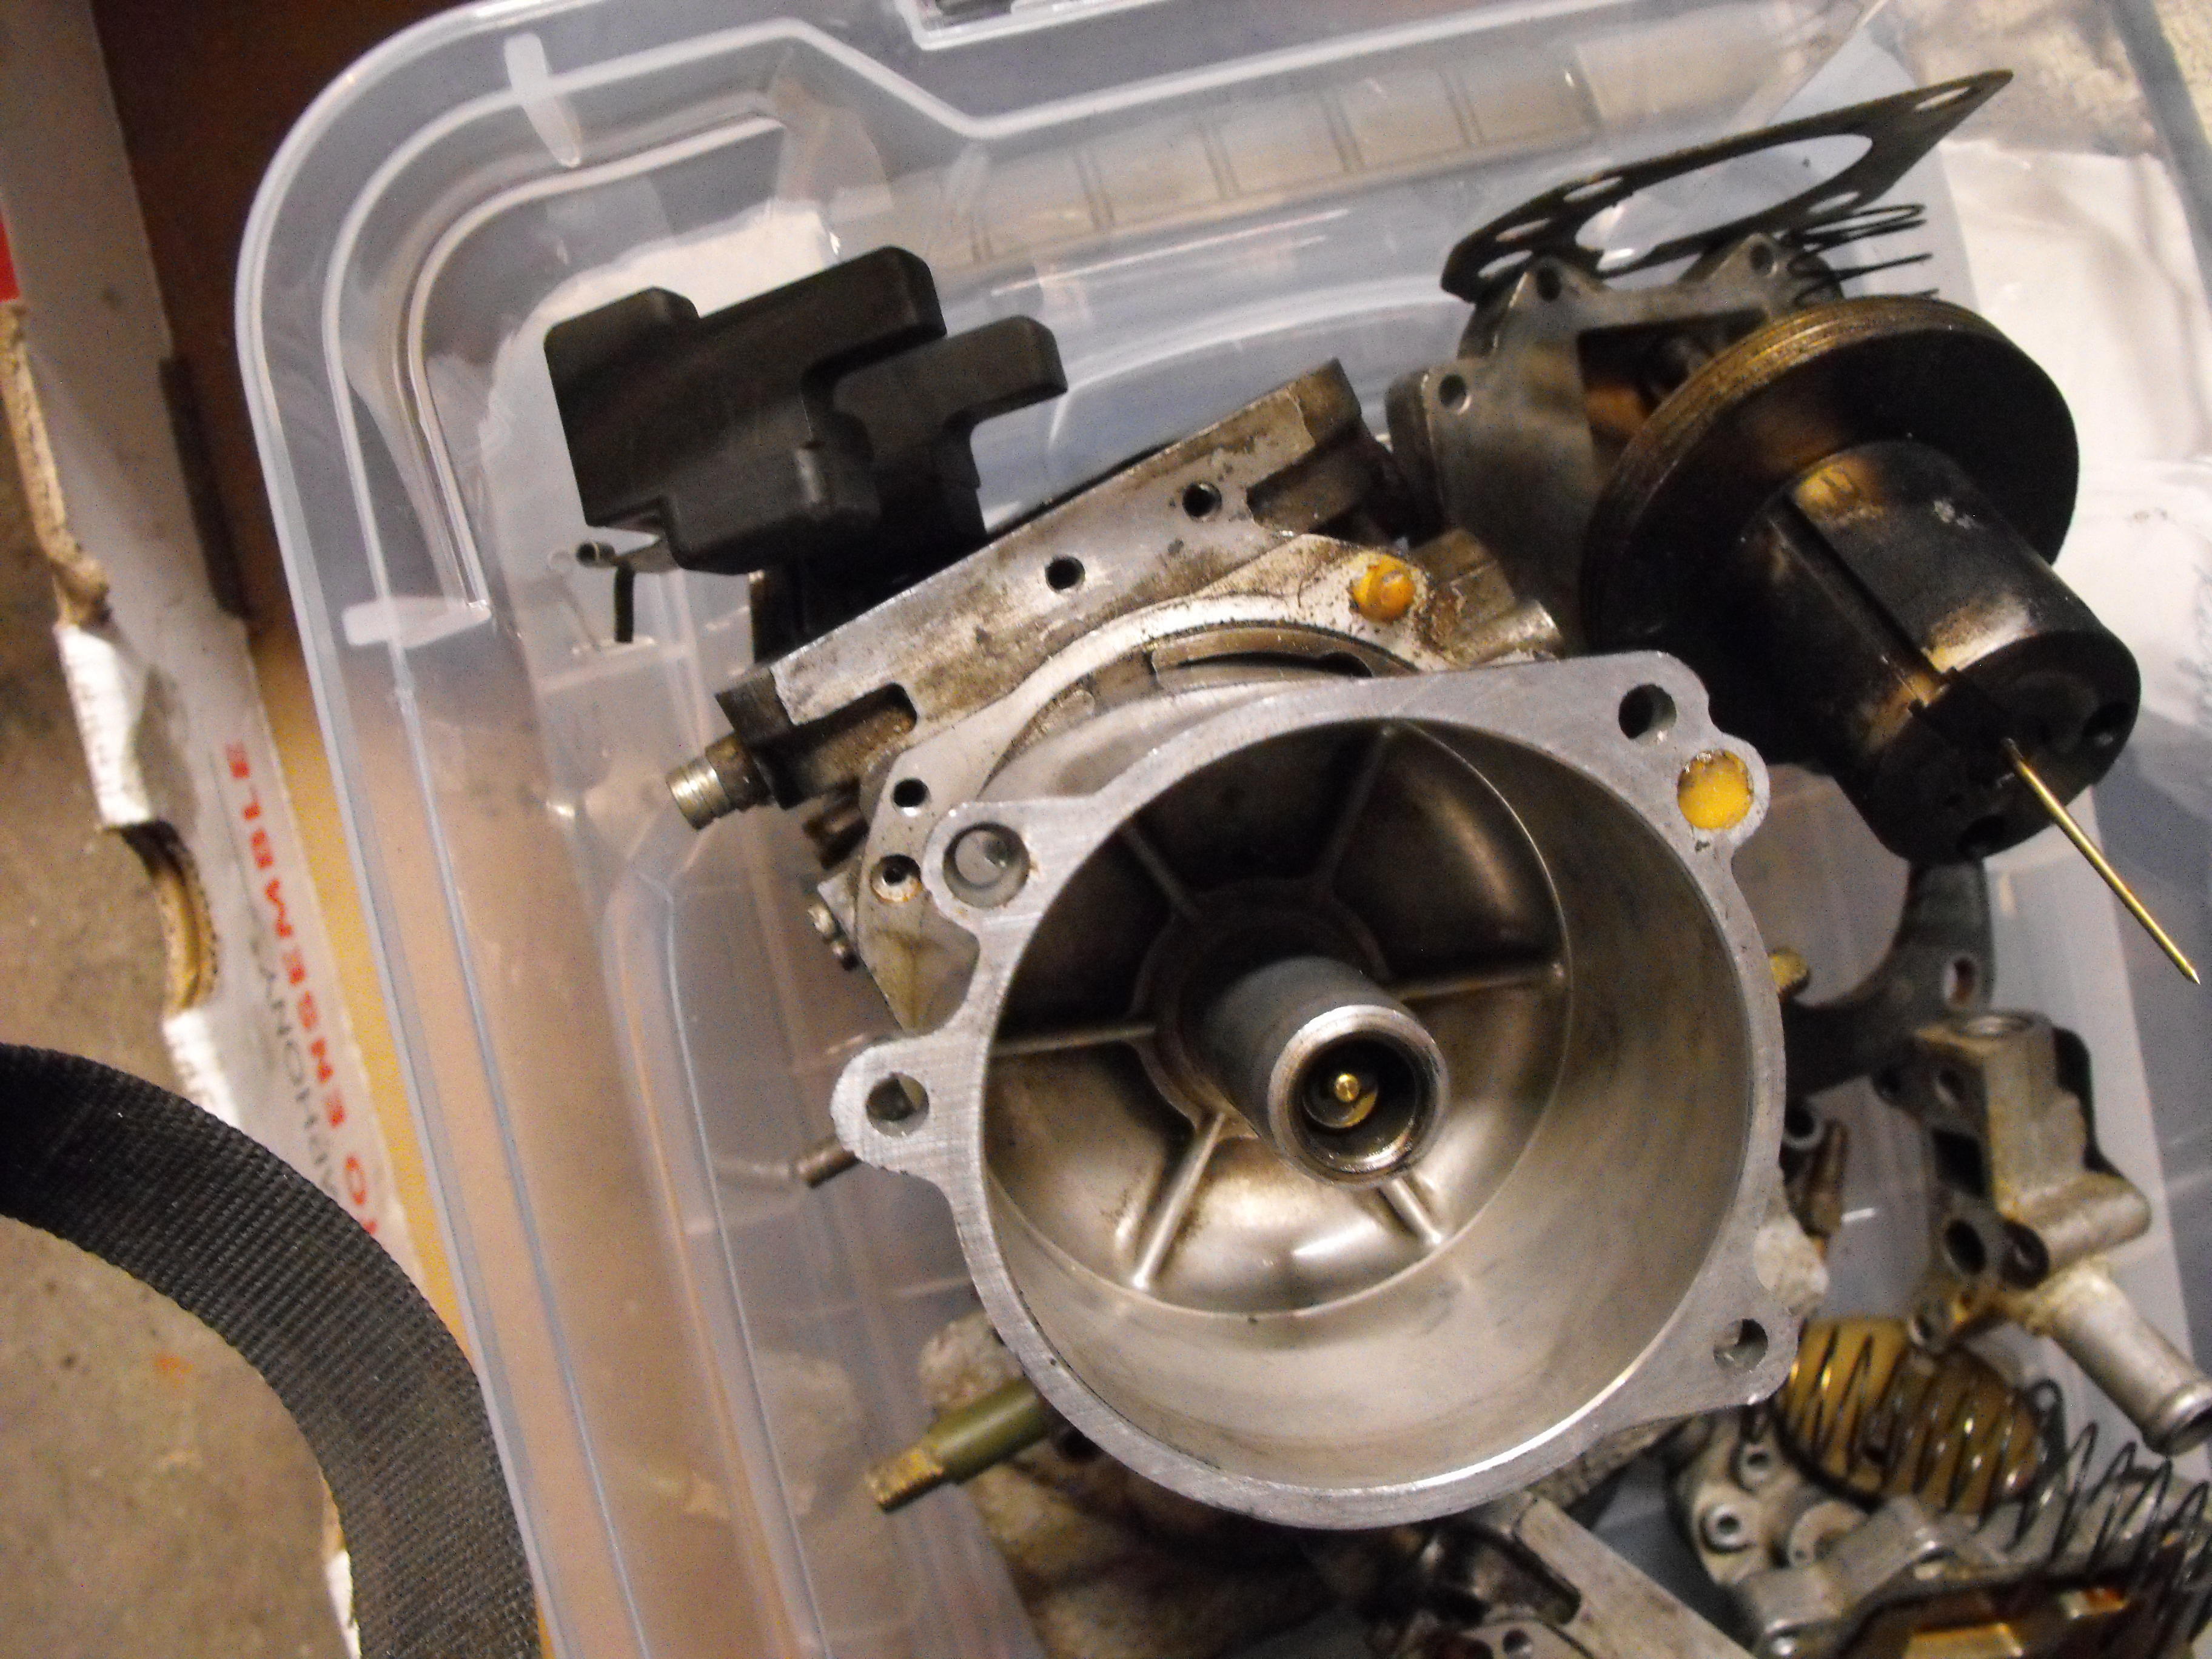
Aaahhh, I see what you are saying about the cones. Yes, these are the two I plan on using. On the one carb, both of the plastic alignment nubs are on the base. On the other carb, one cone is stuck inthe vacuum chamber. EDIT: sorry about the bad pics. the vac chamber flange is hiding the base area where the cone is displaced. Thanks for the feedback on the shaft. I will clean both parts (shaft and bushings) up a bit and see how the fit is. I will have to try and find out what the green coating is, and yes, it does feel 'slippy'. It would be good if I could re-coat the area where the shaft contacts the bushing with the same green material or something similar.


-
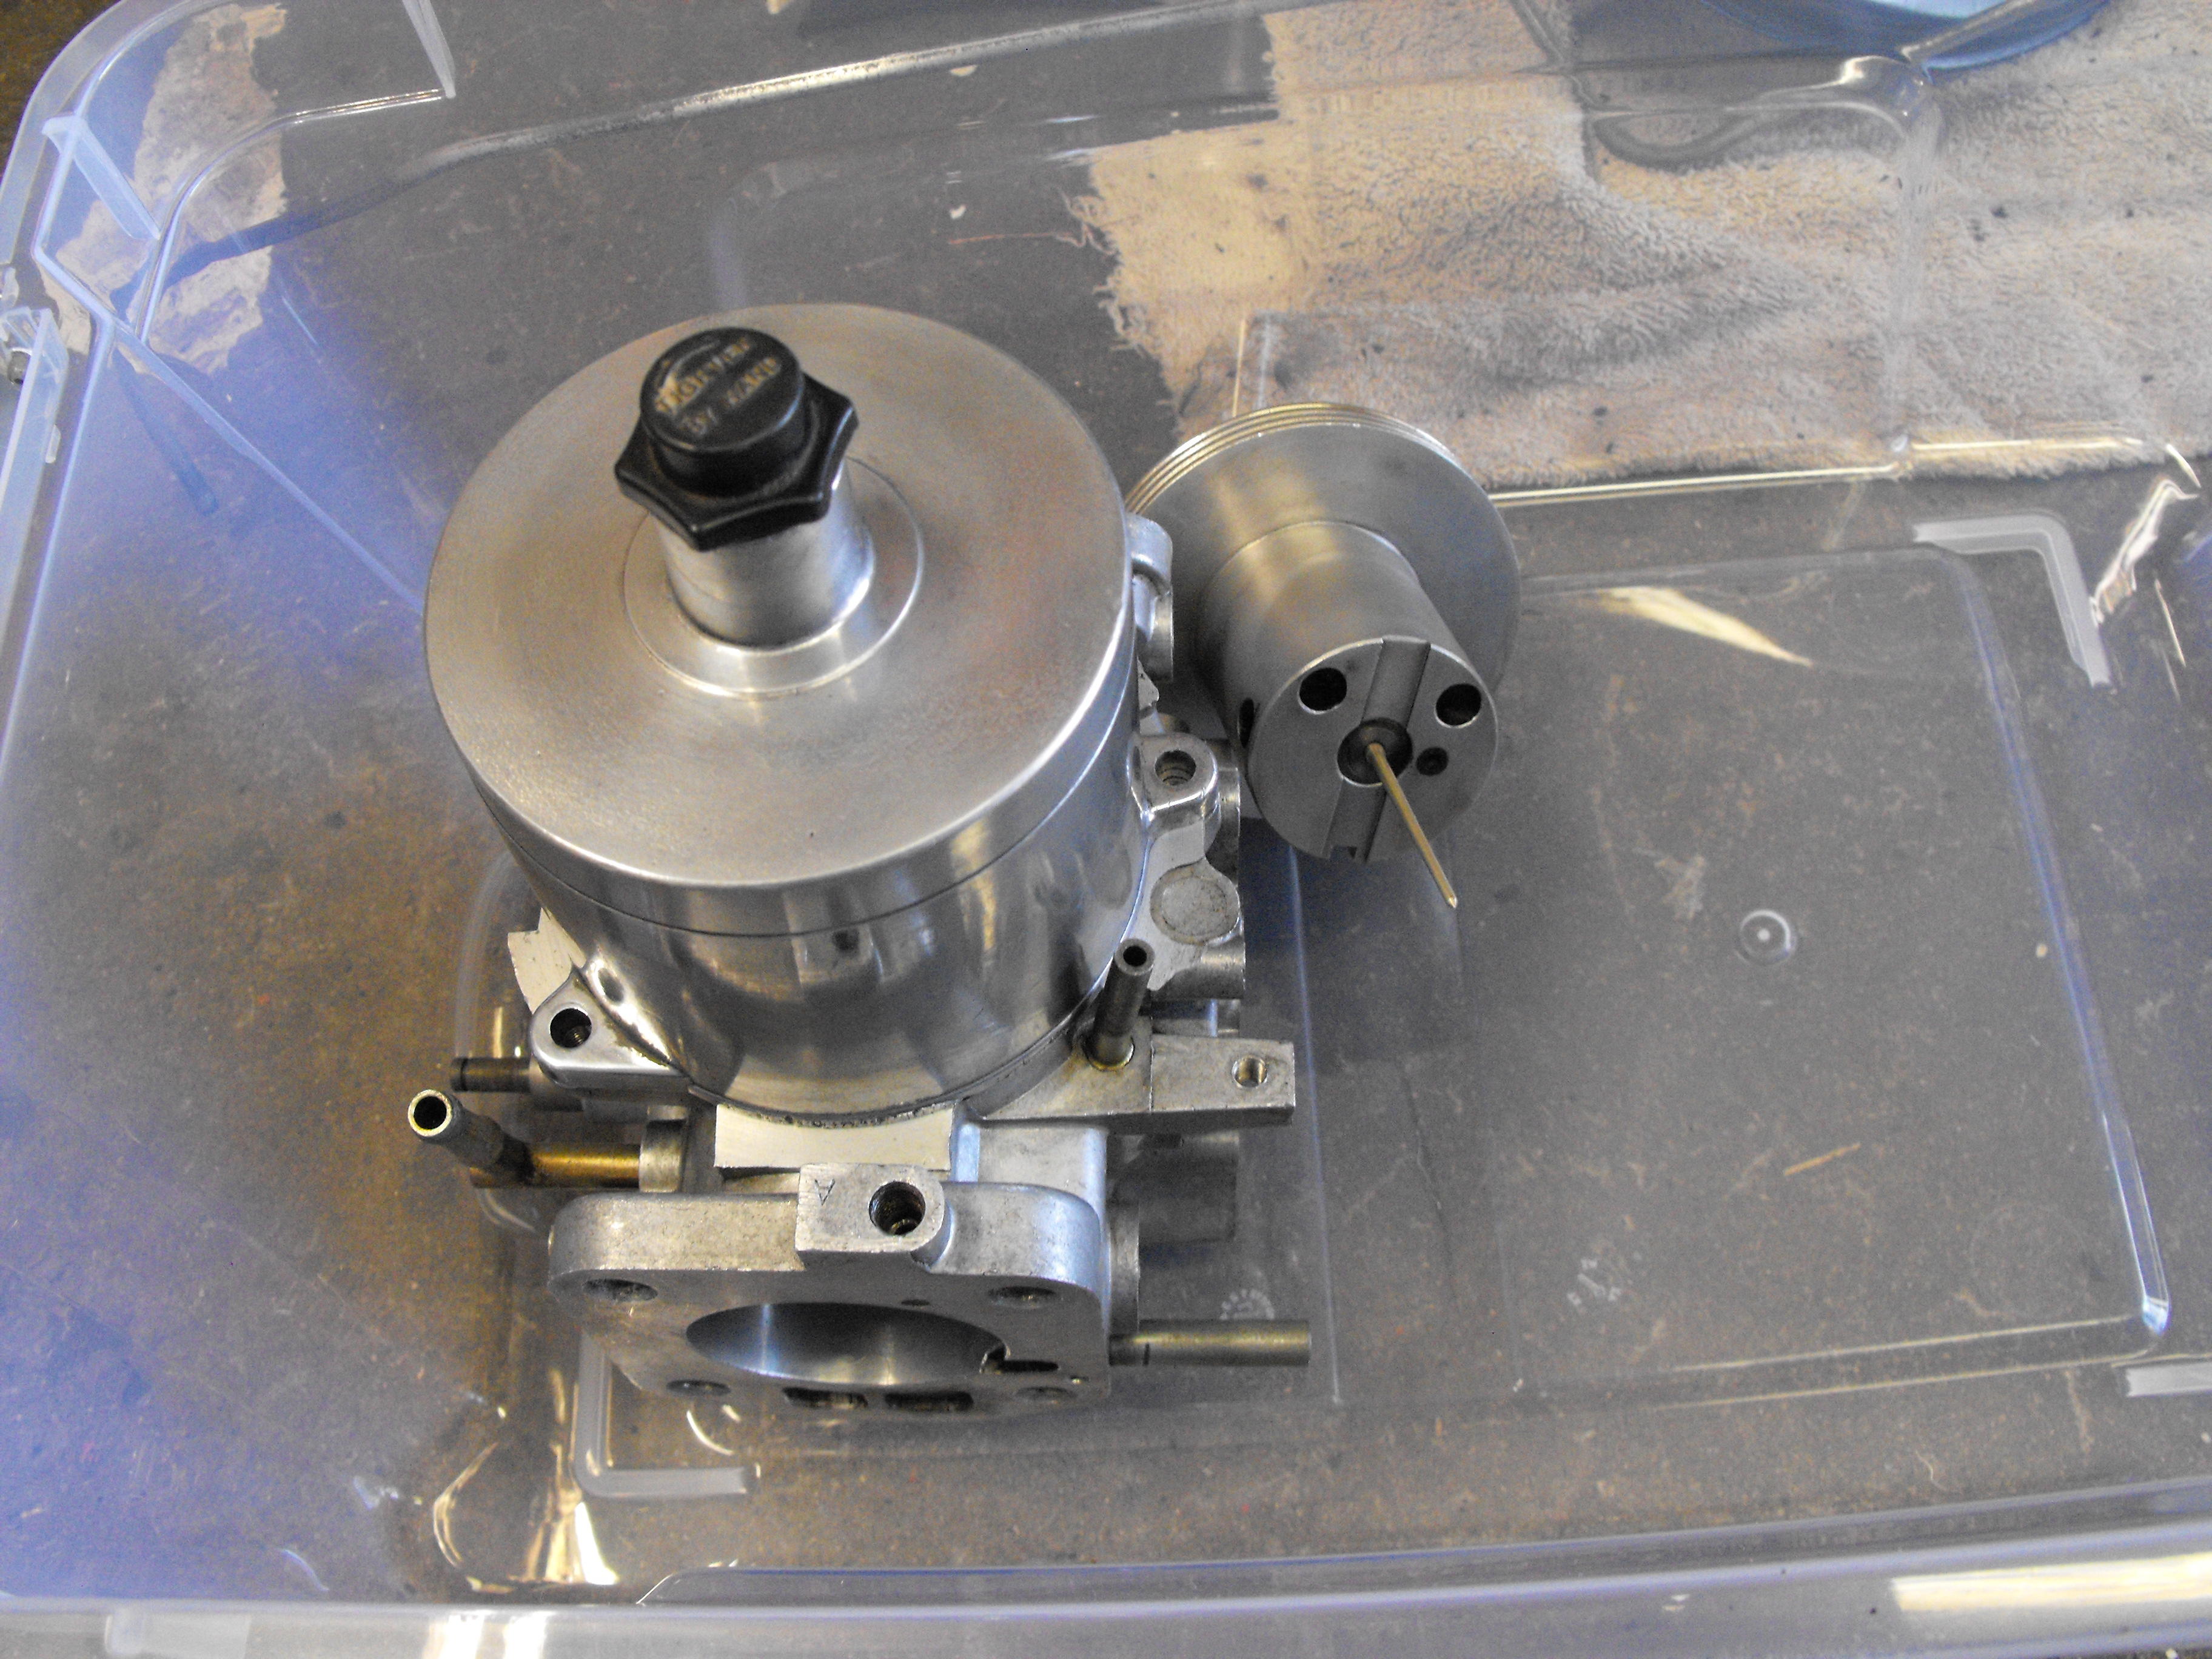
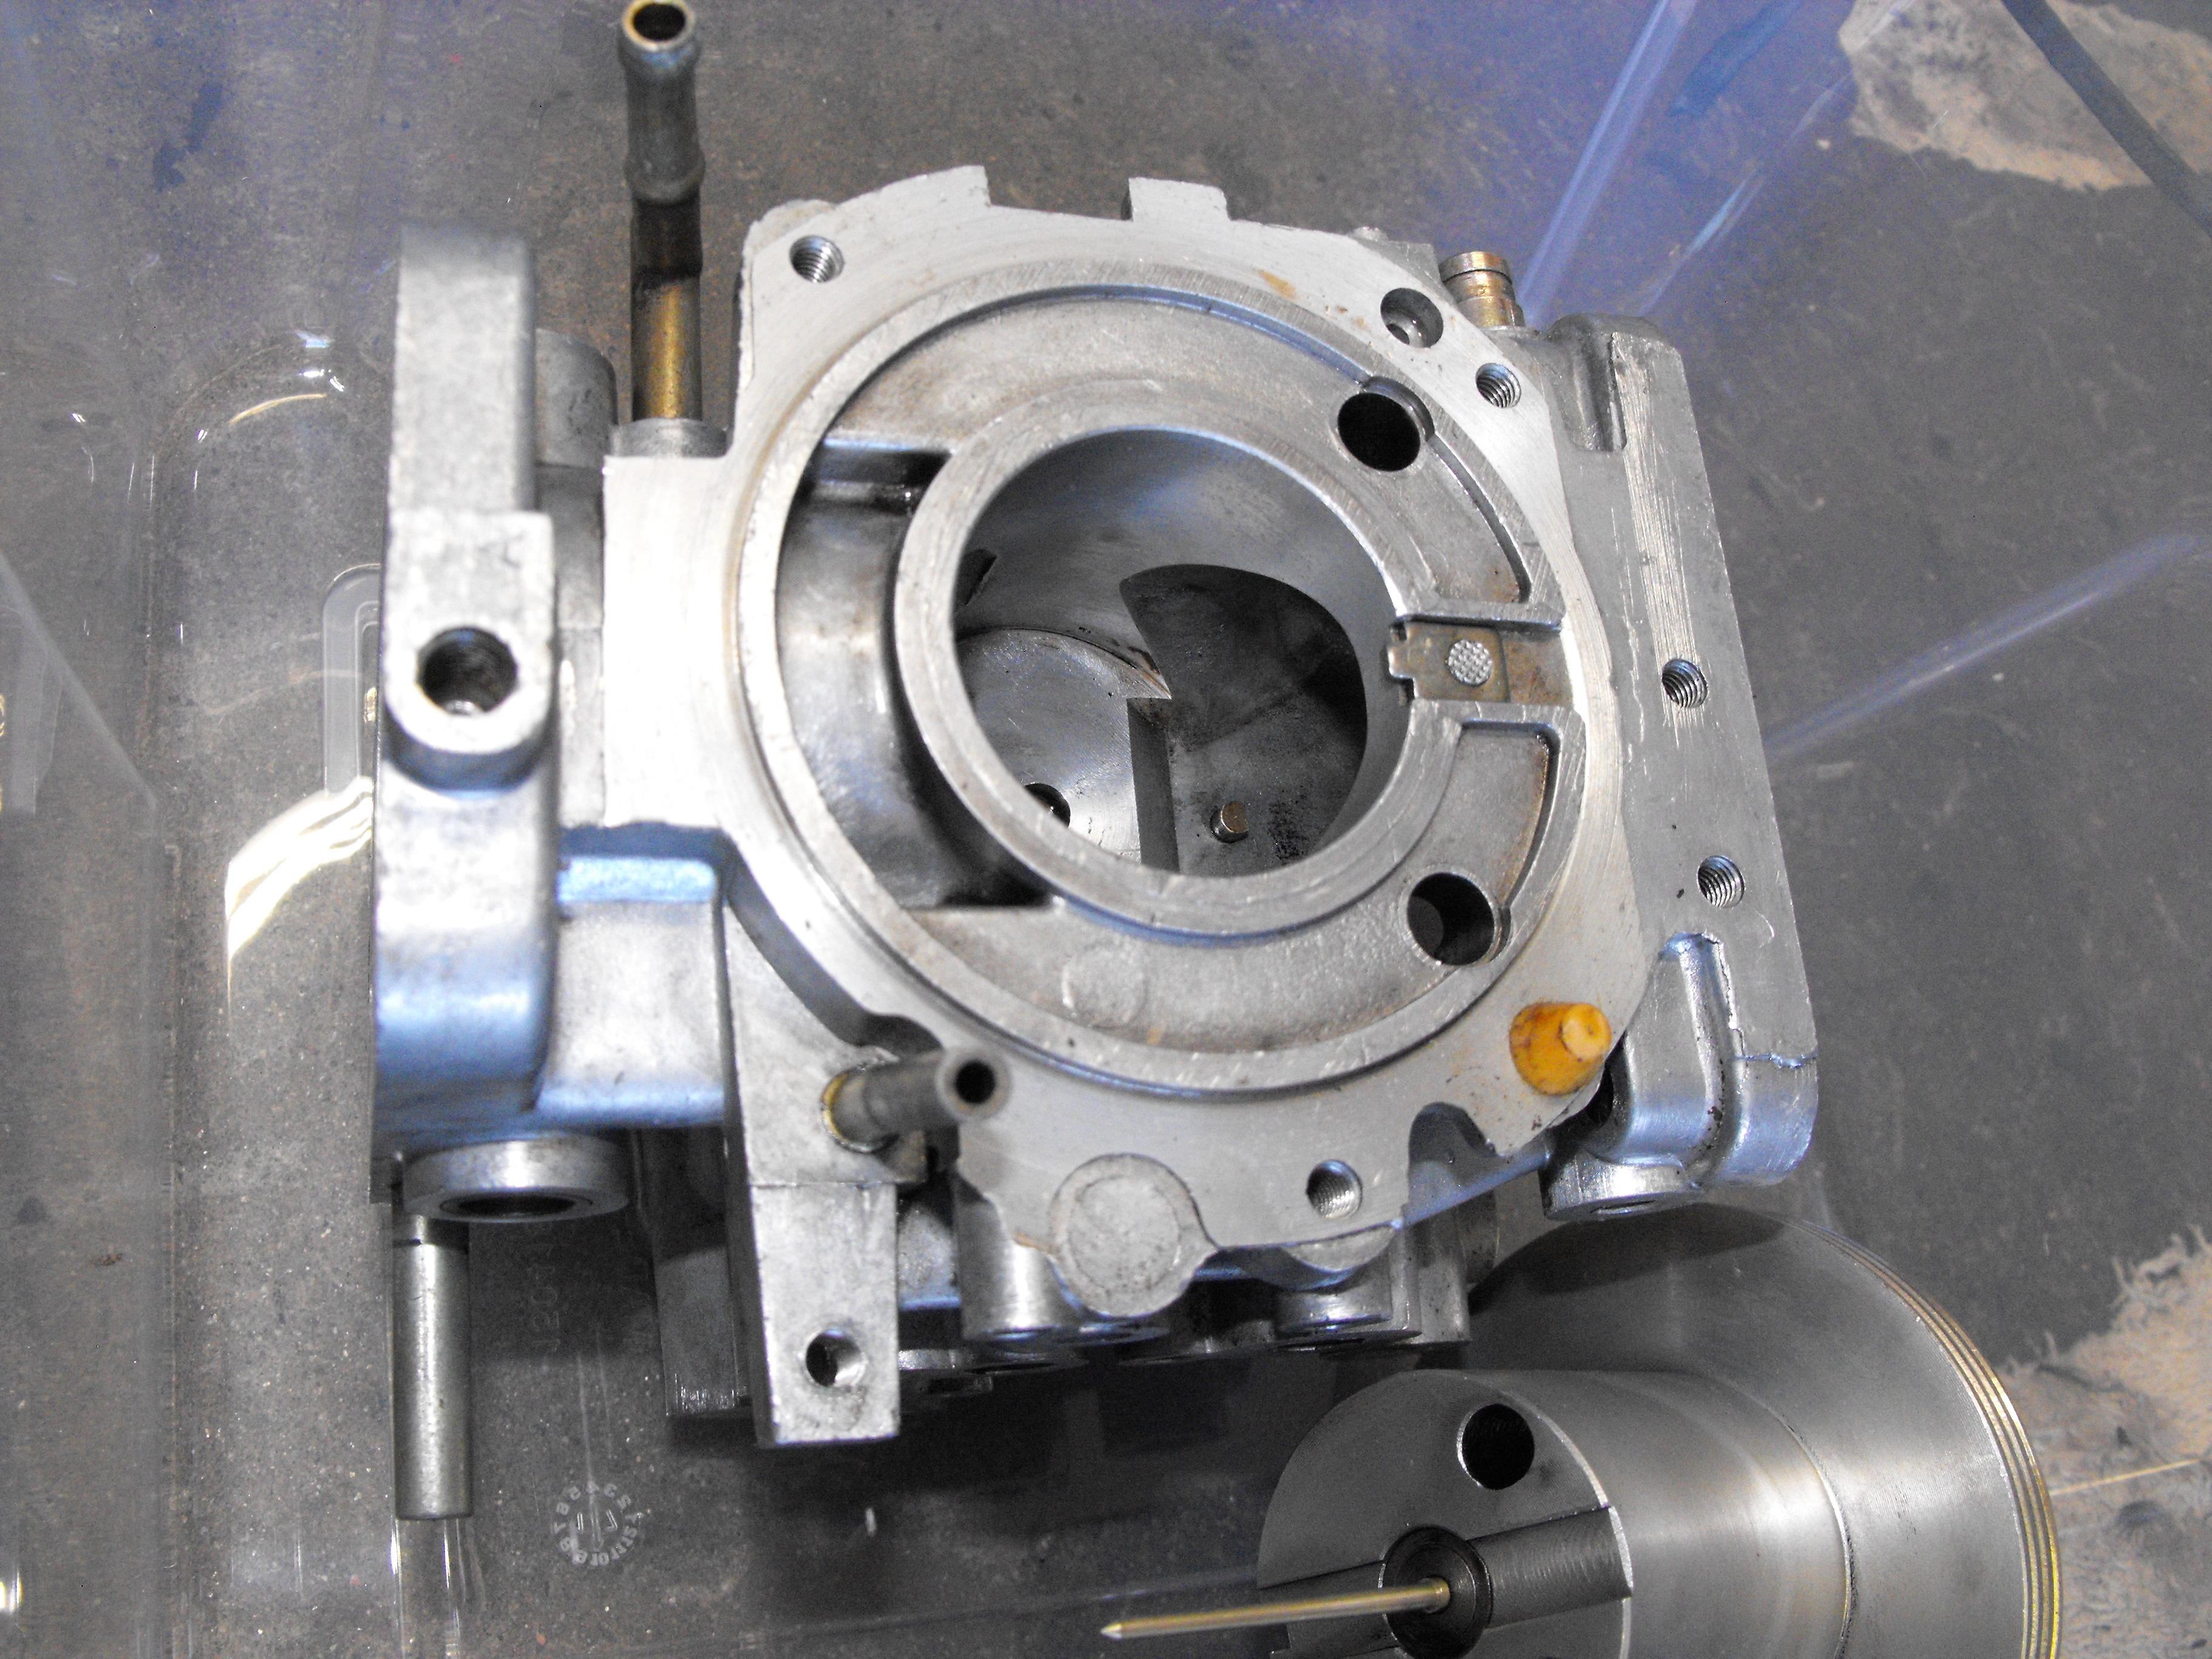
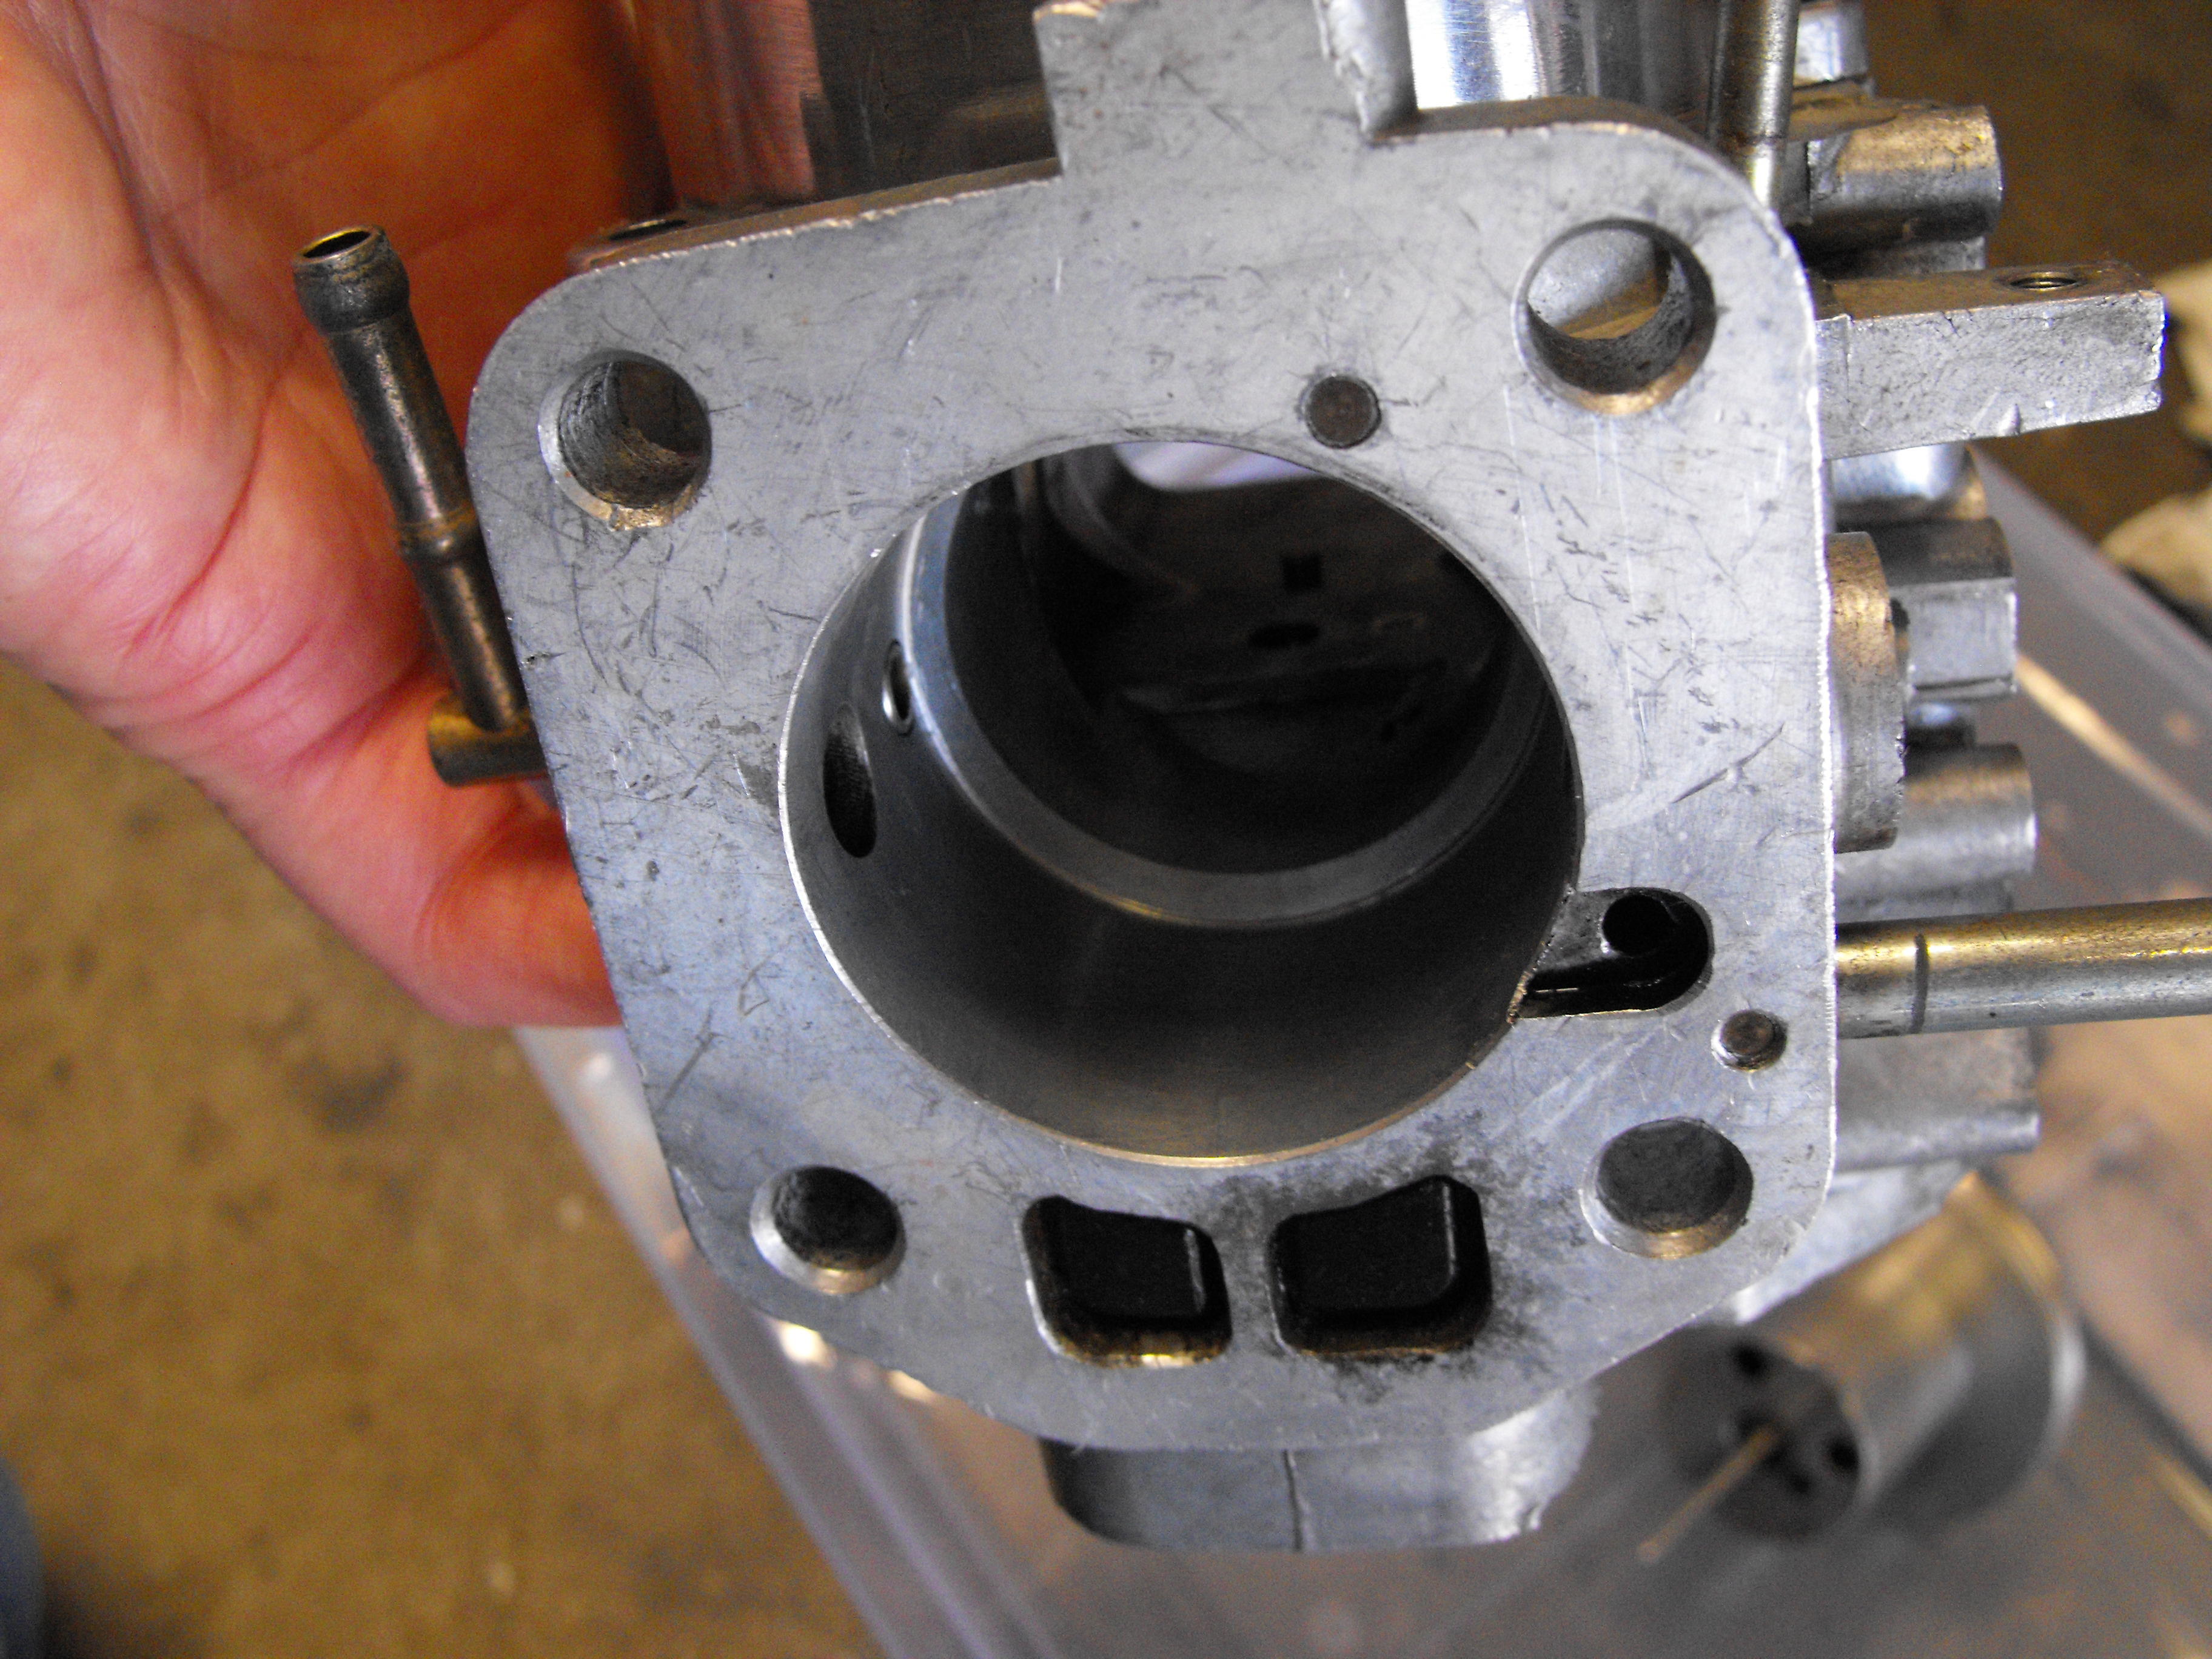
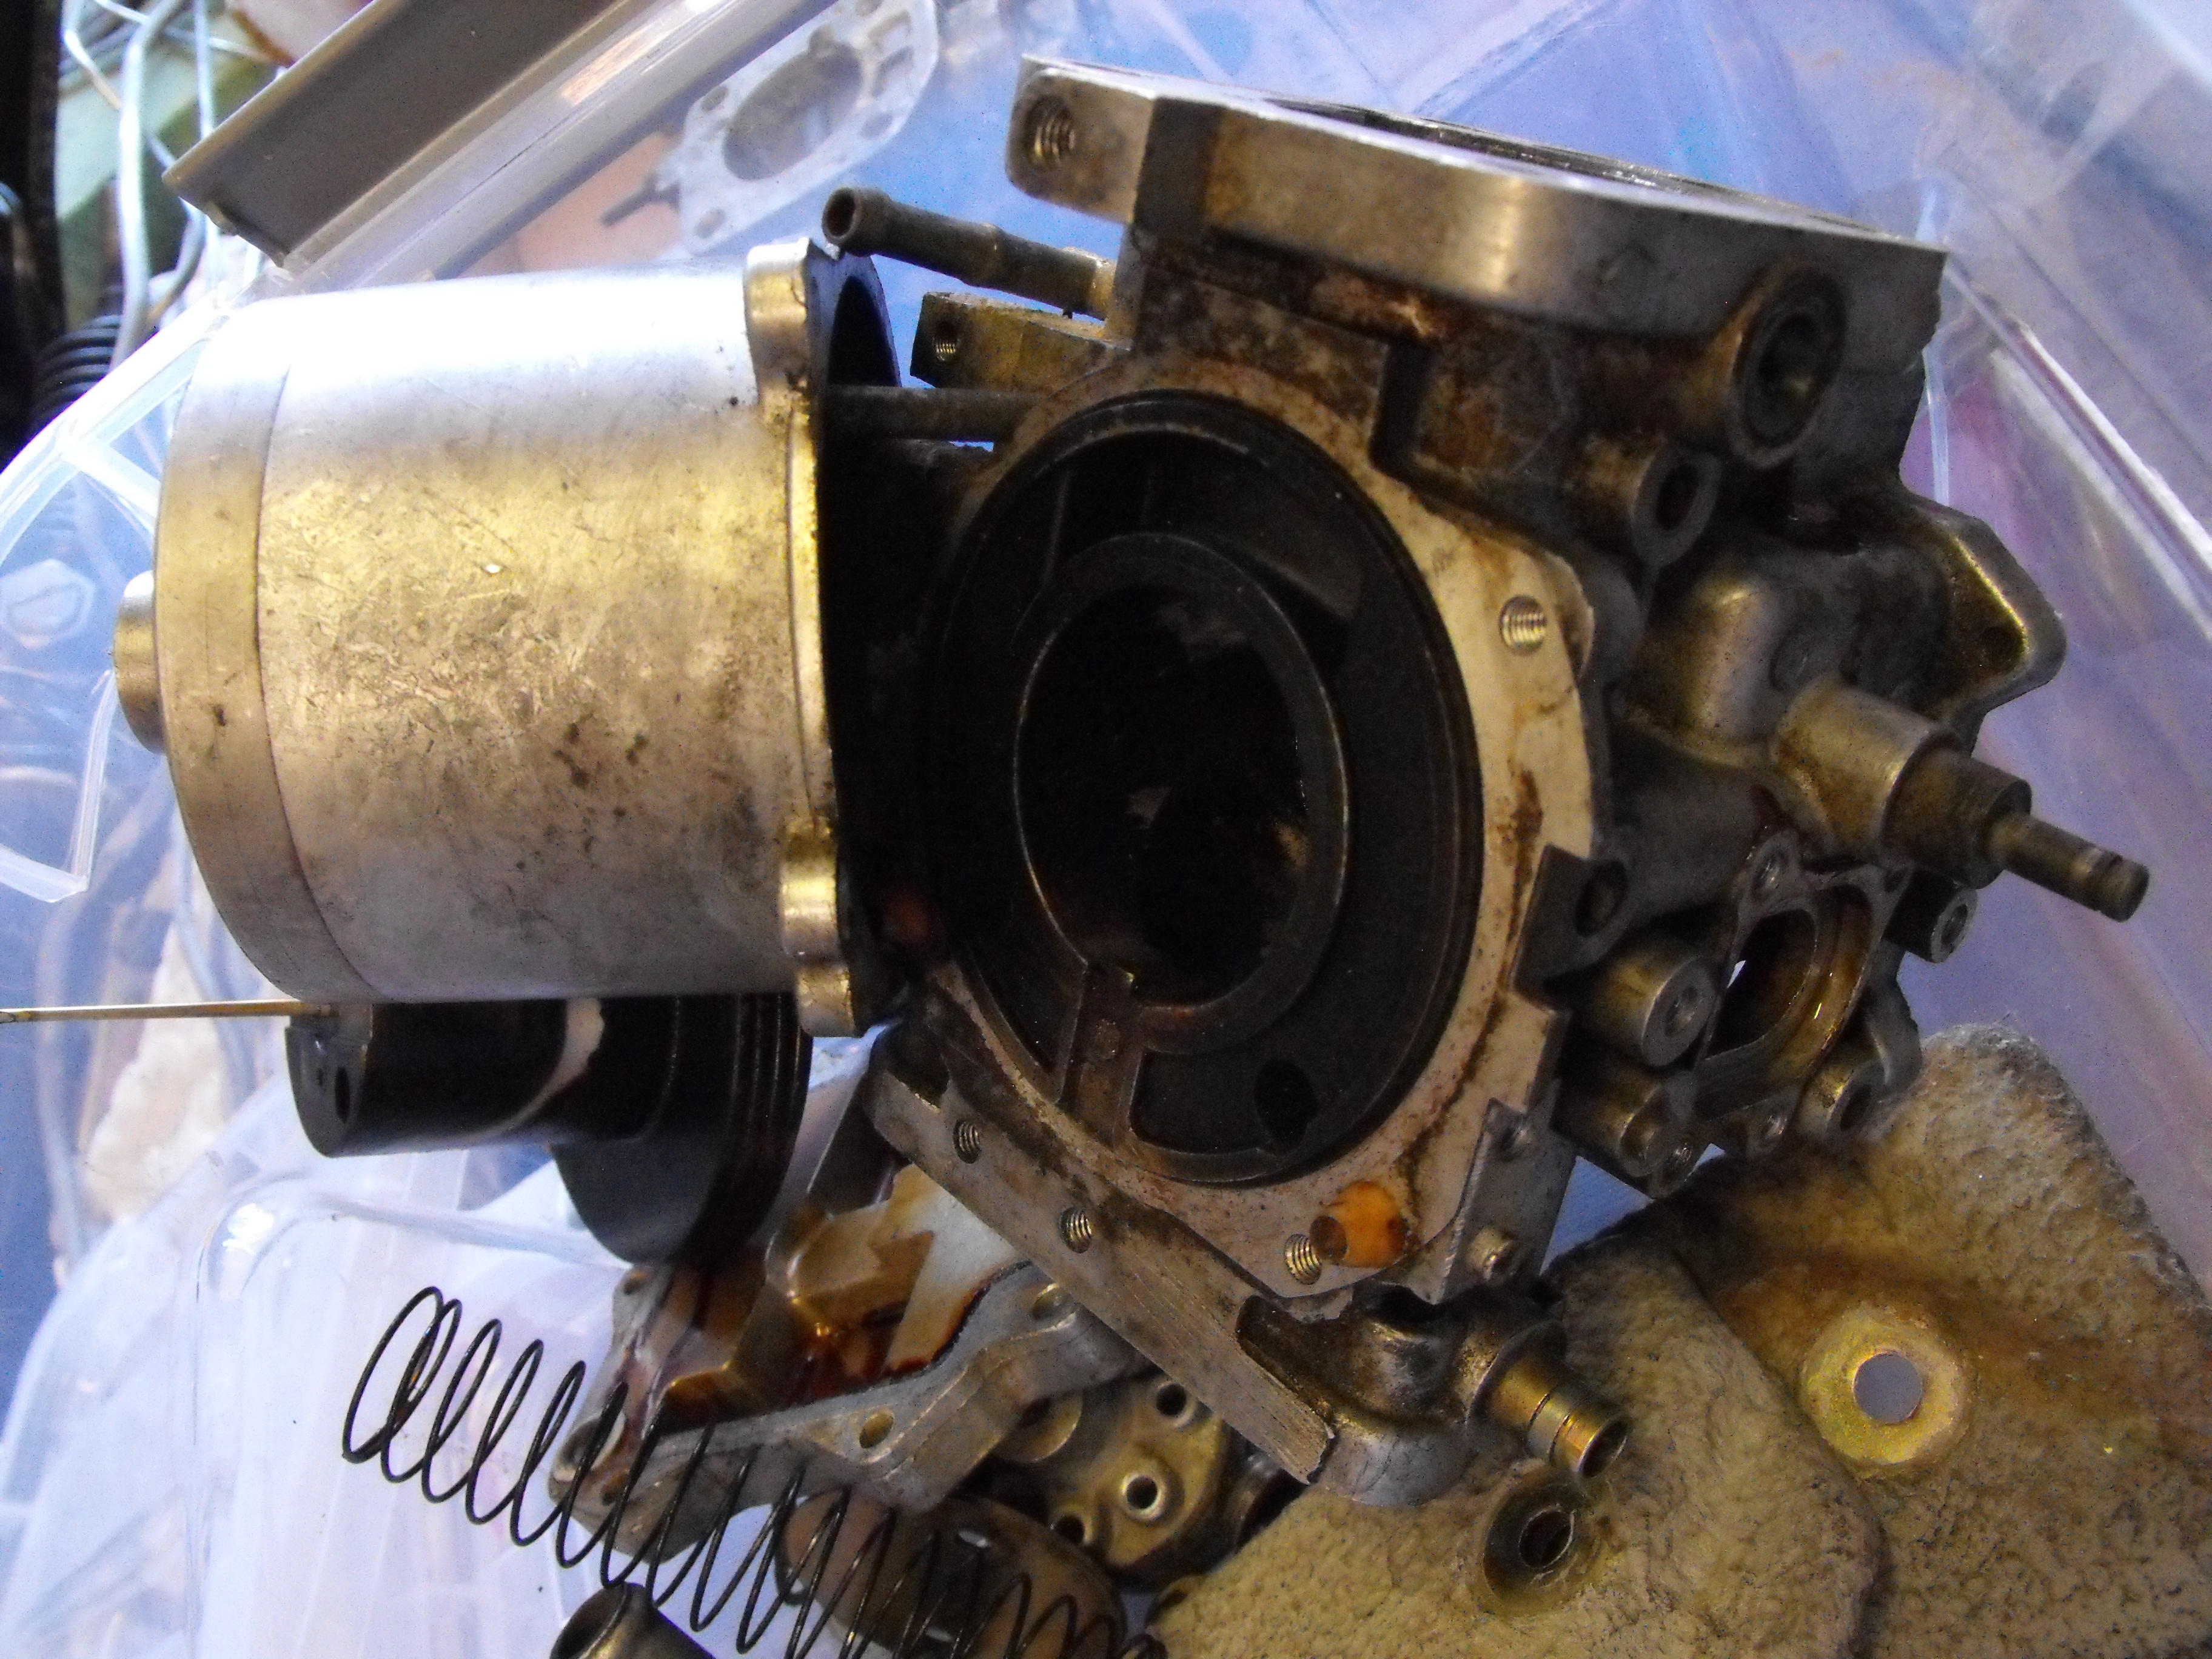
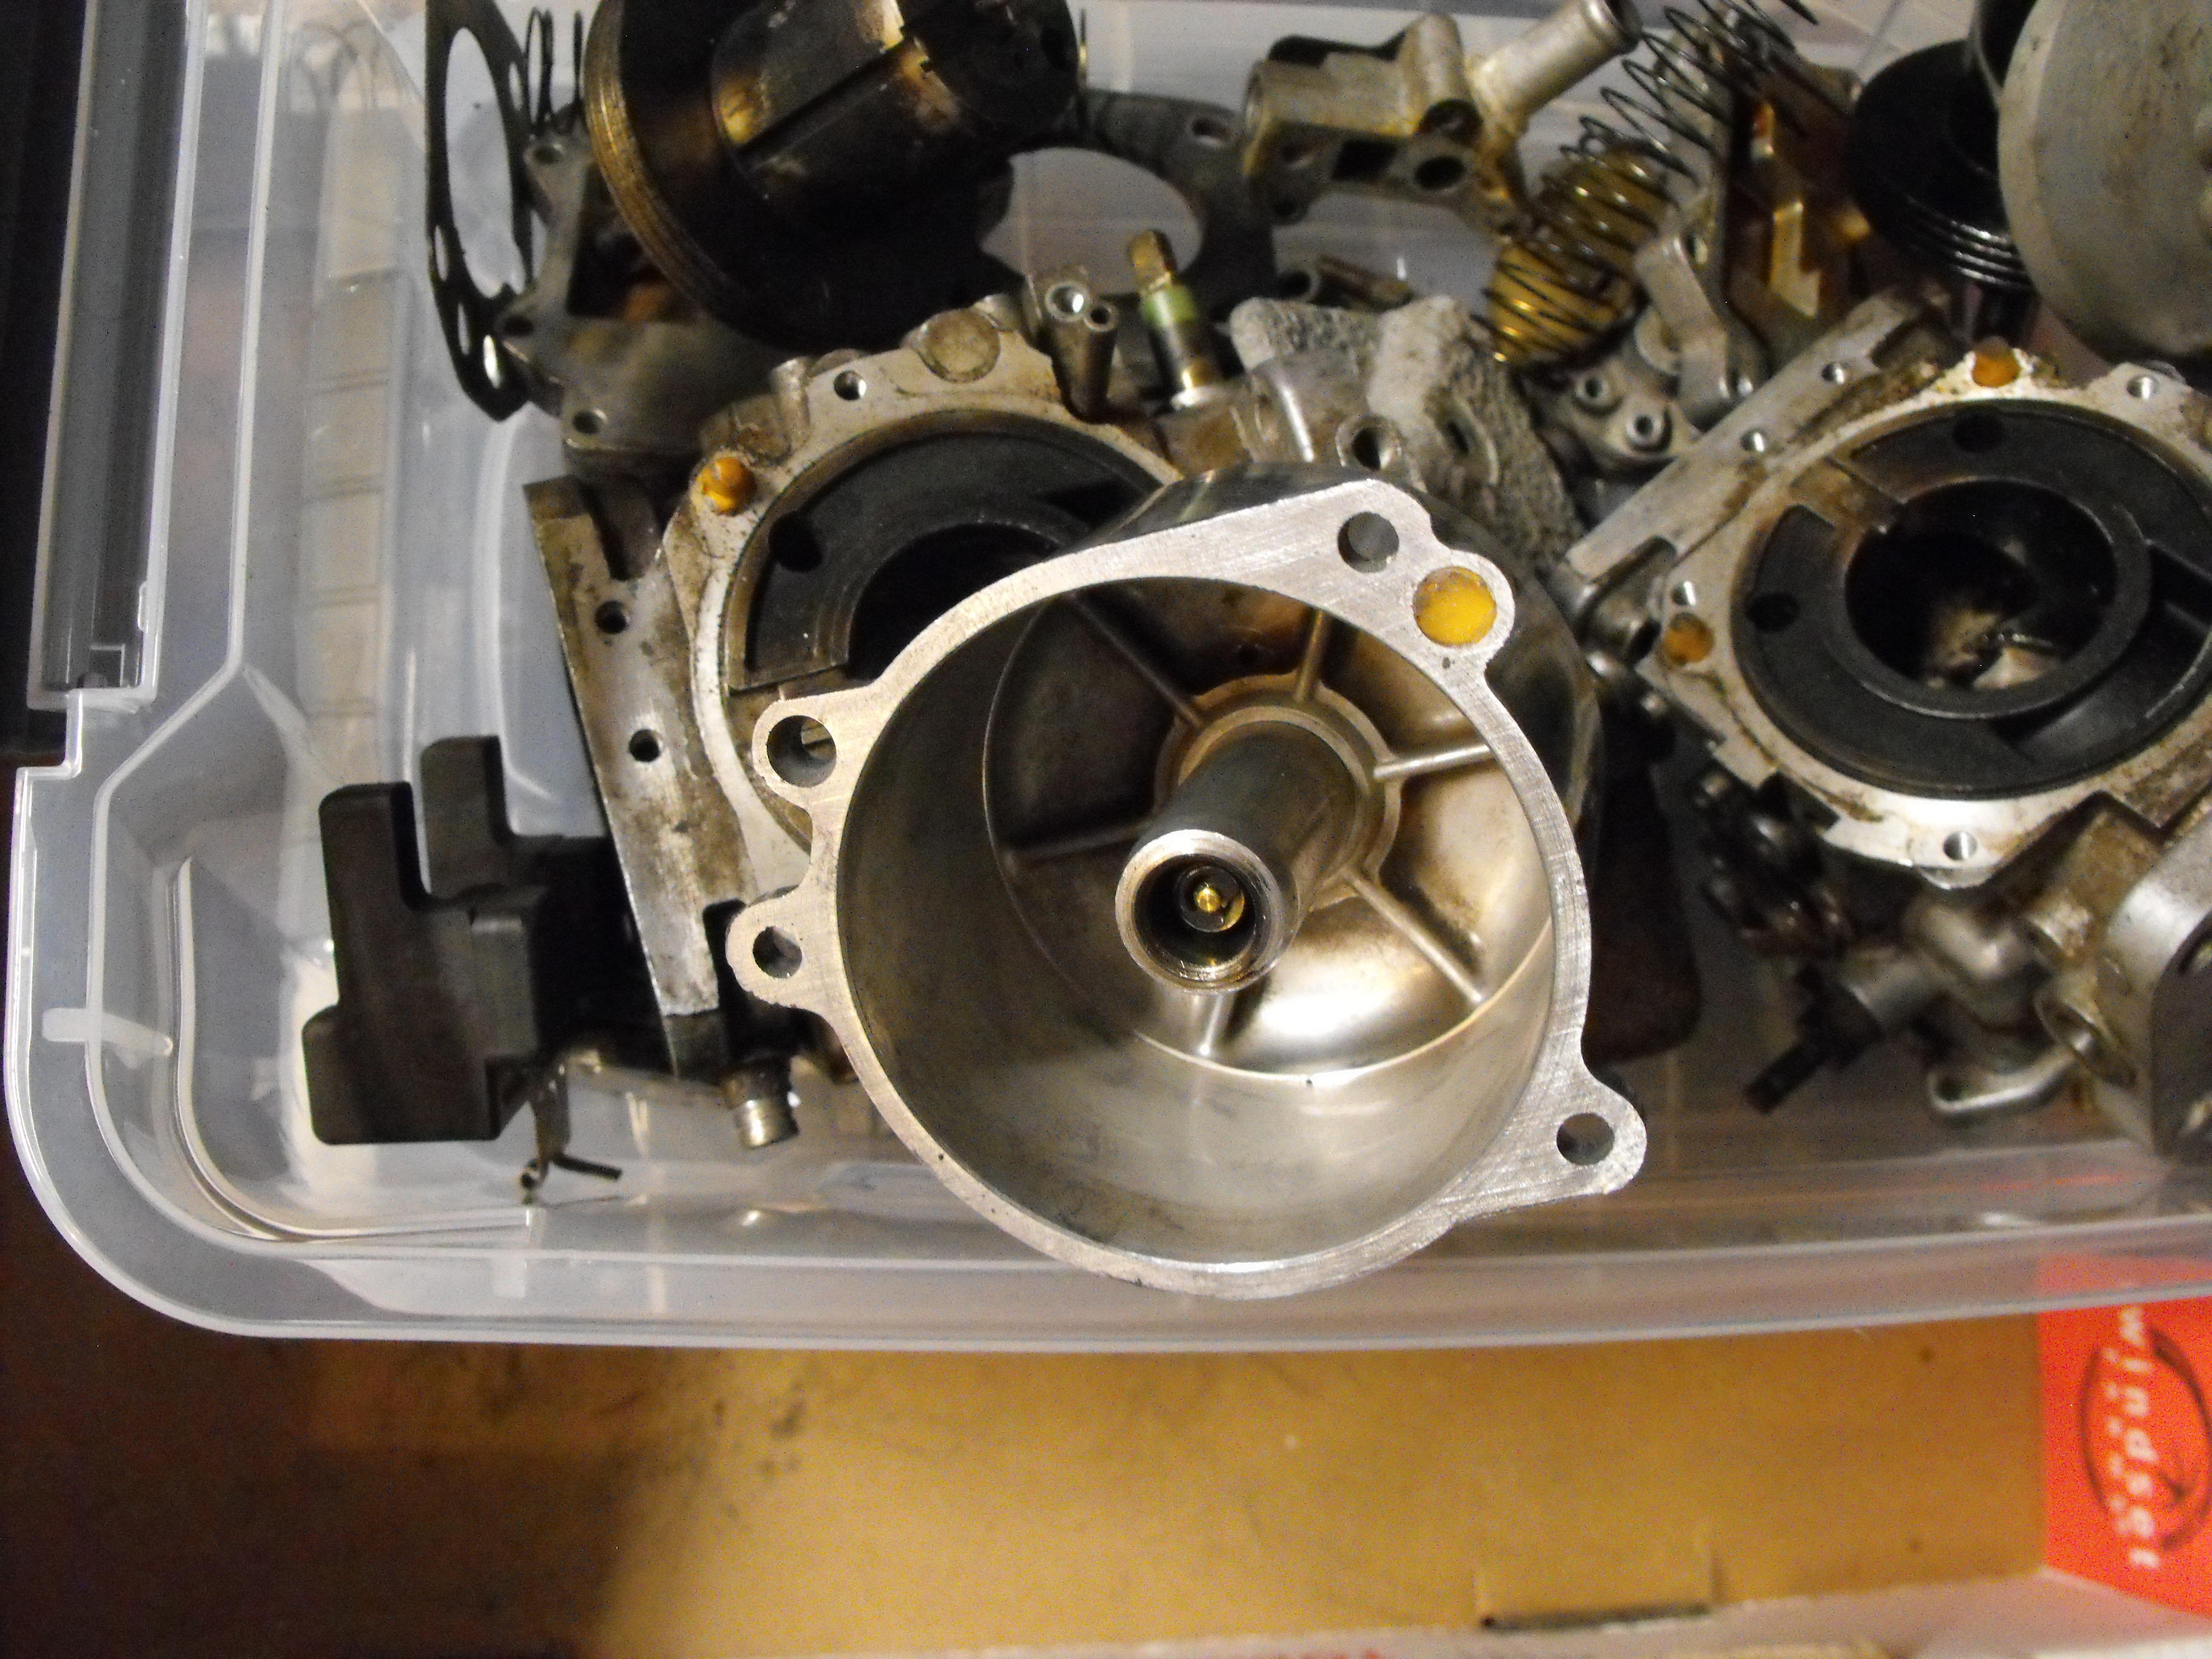
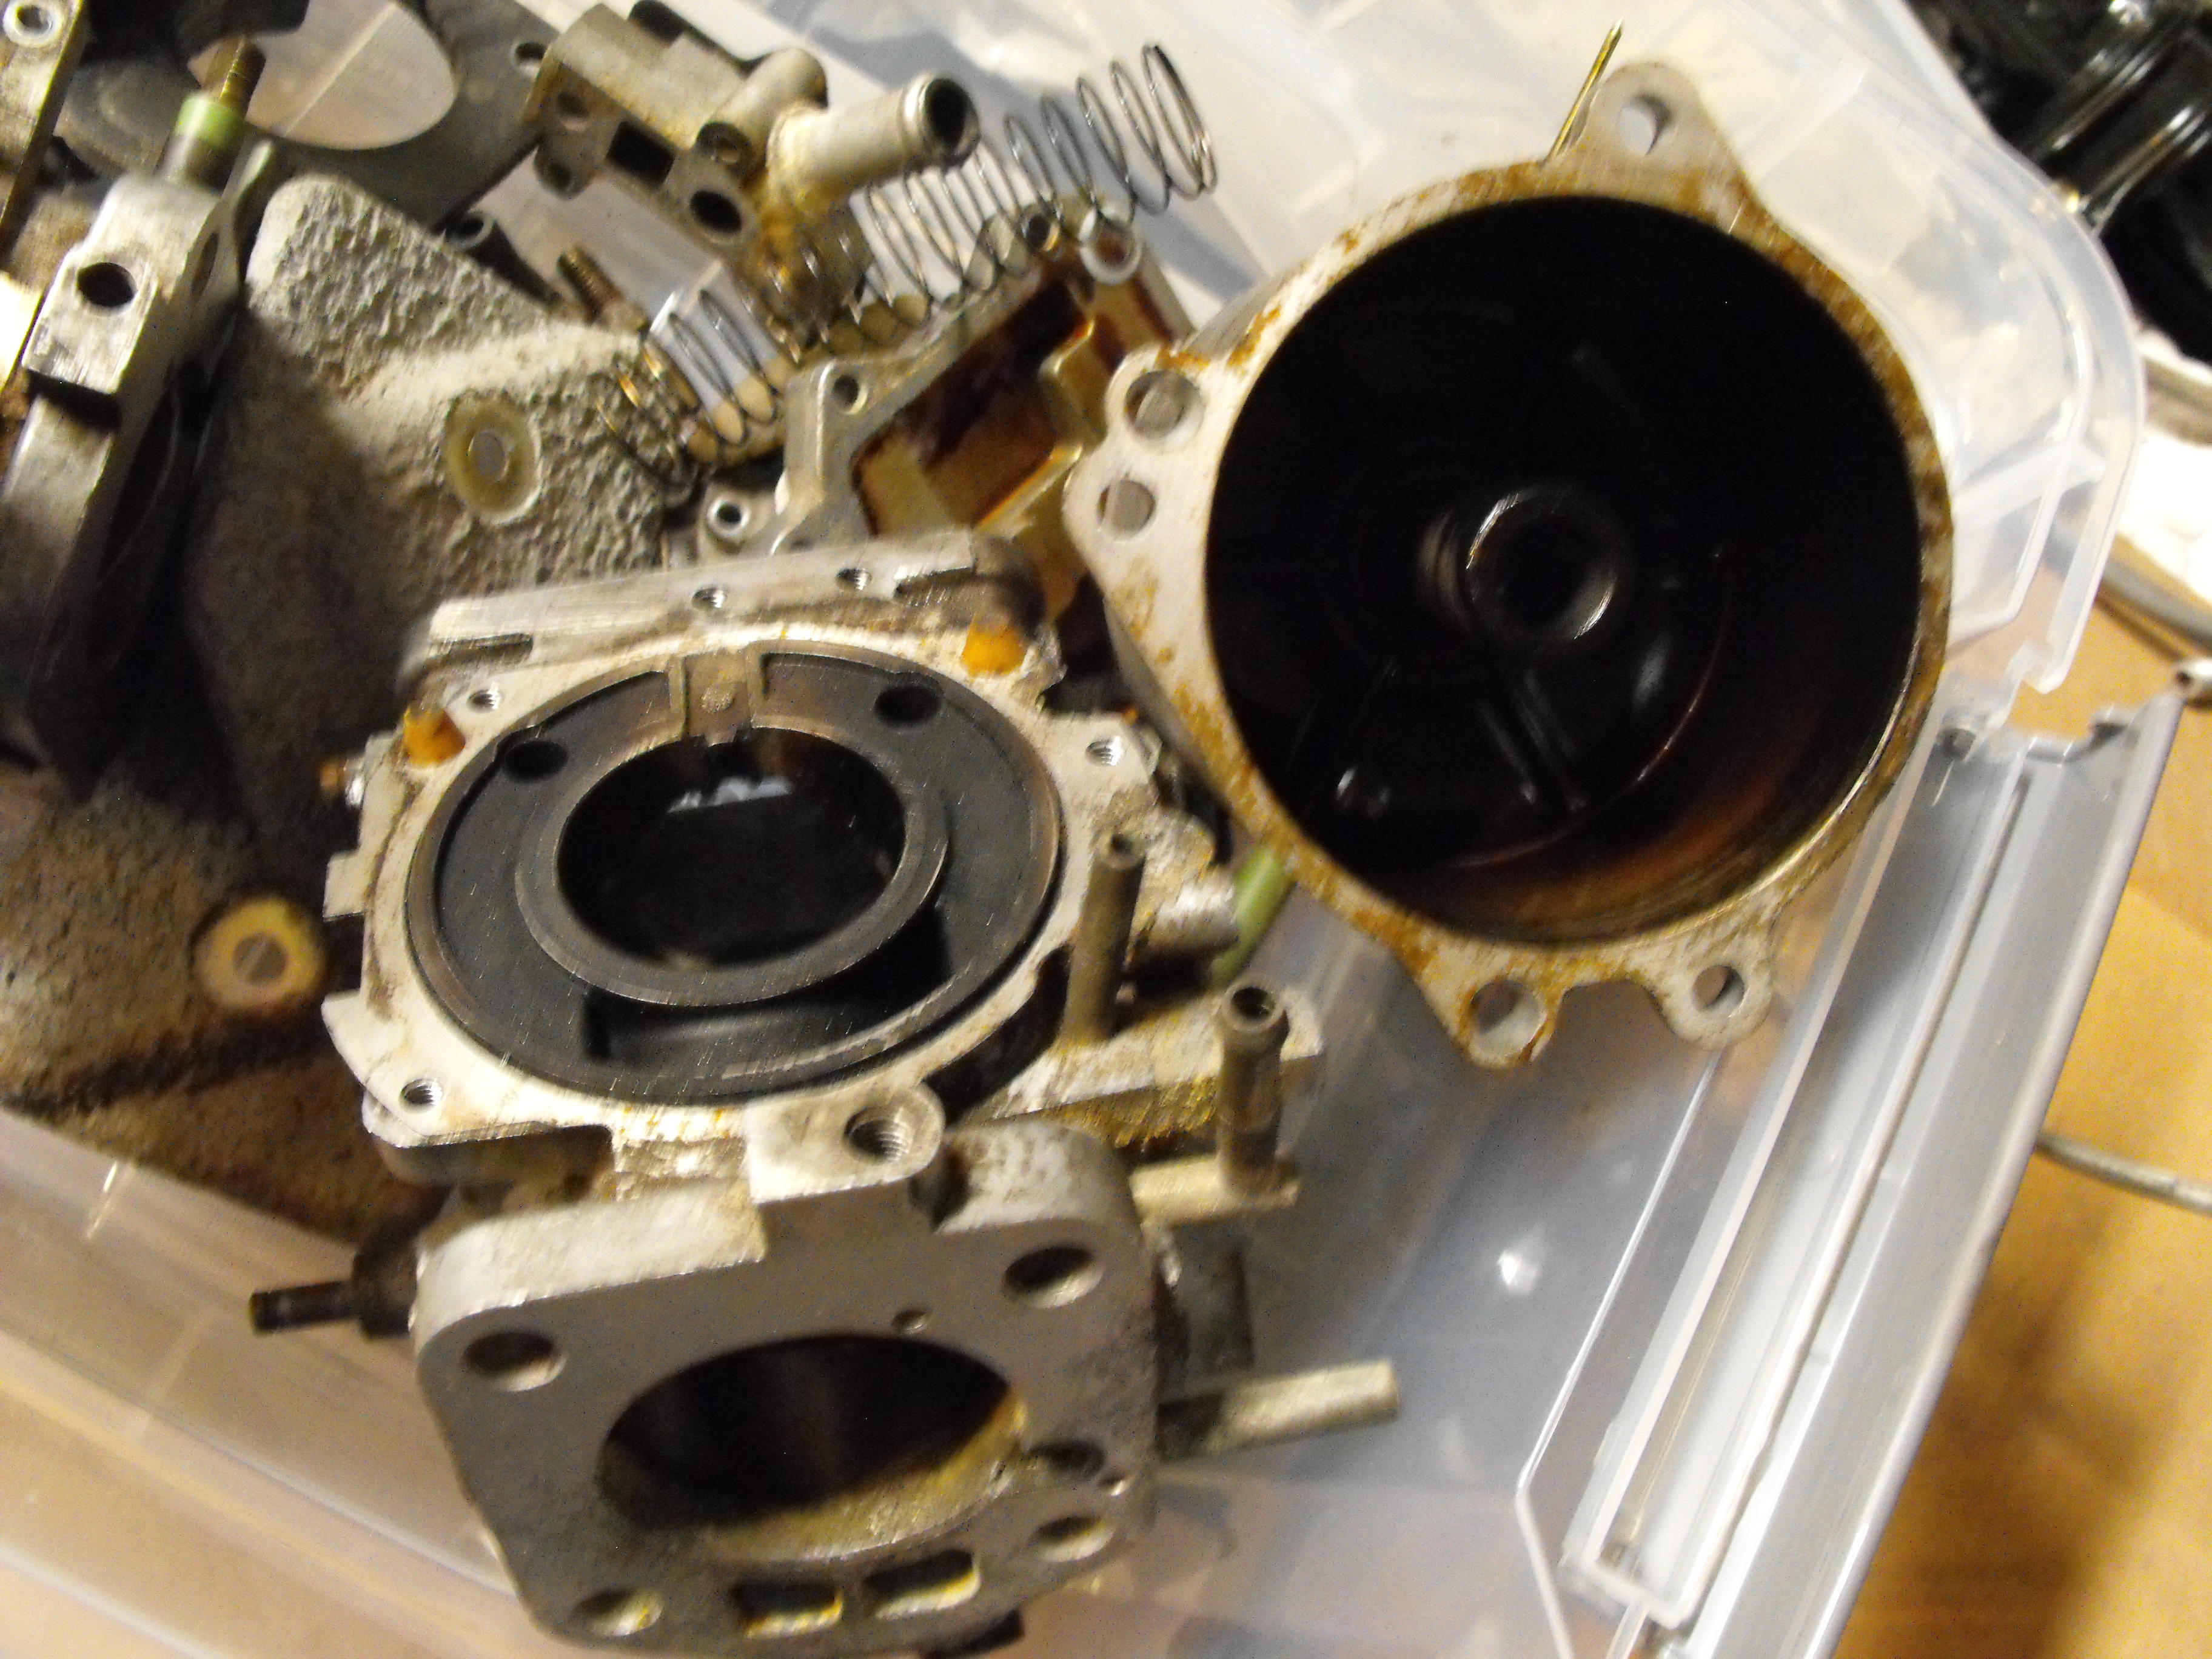
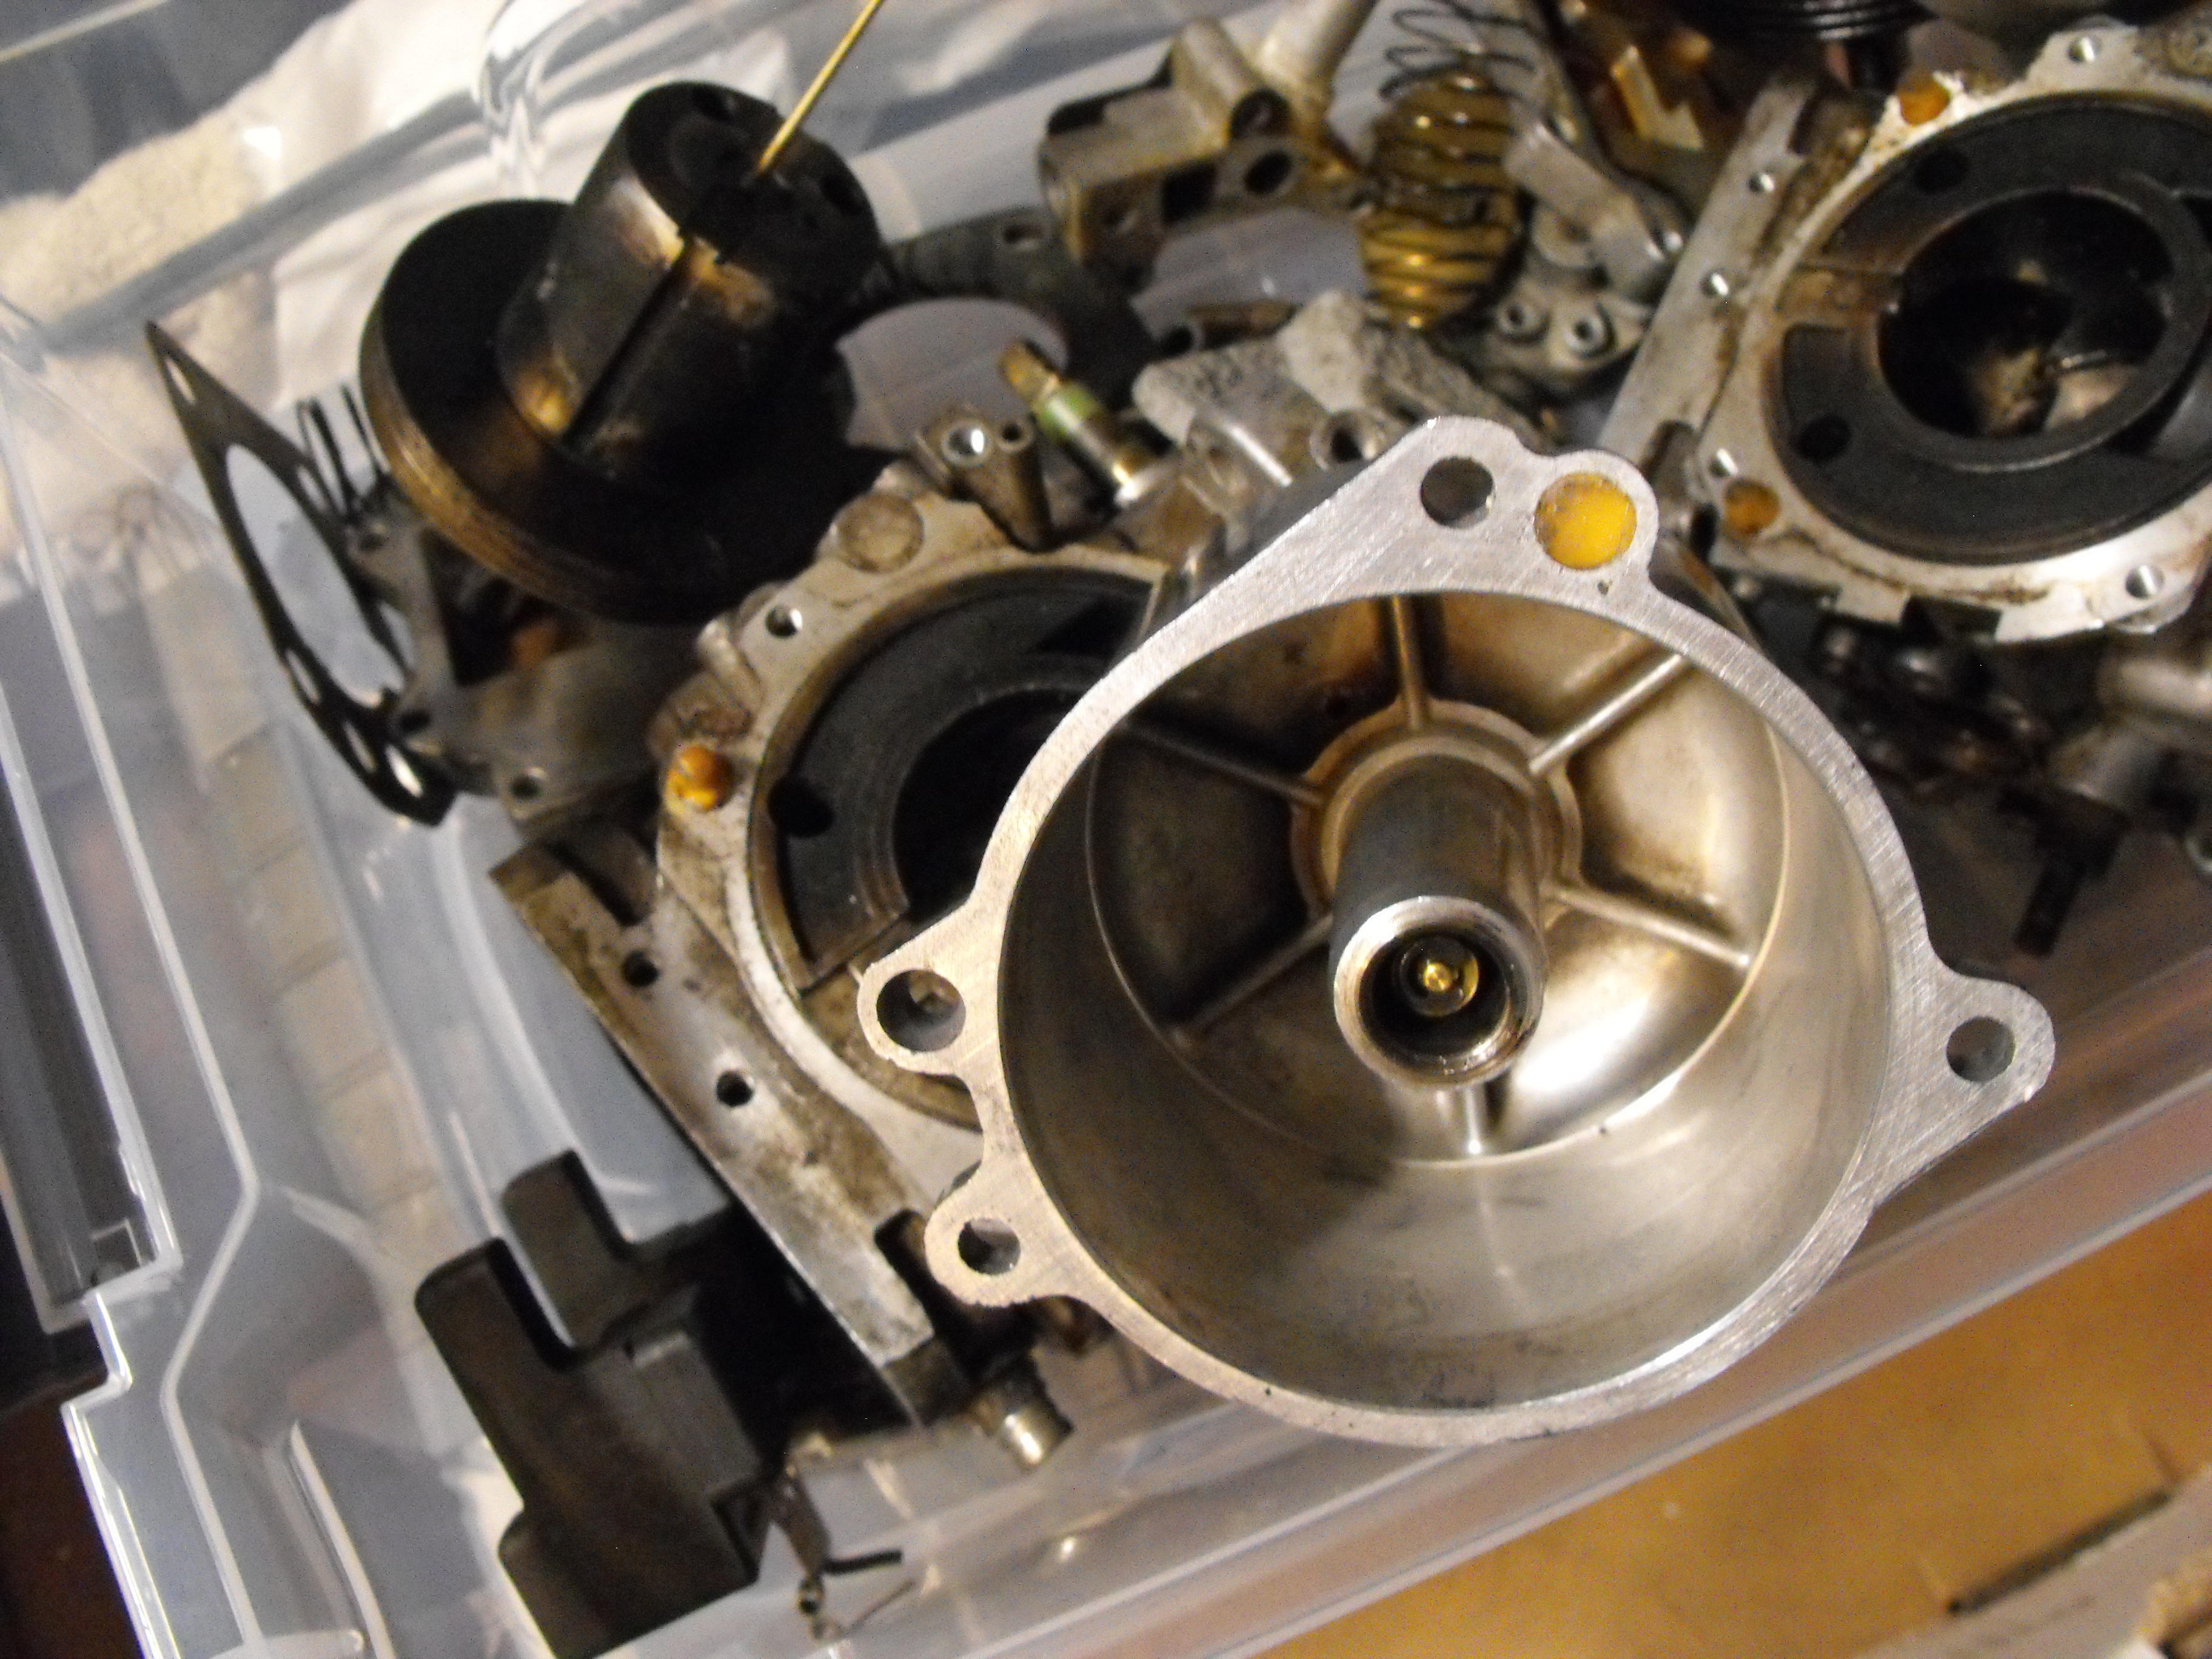
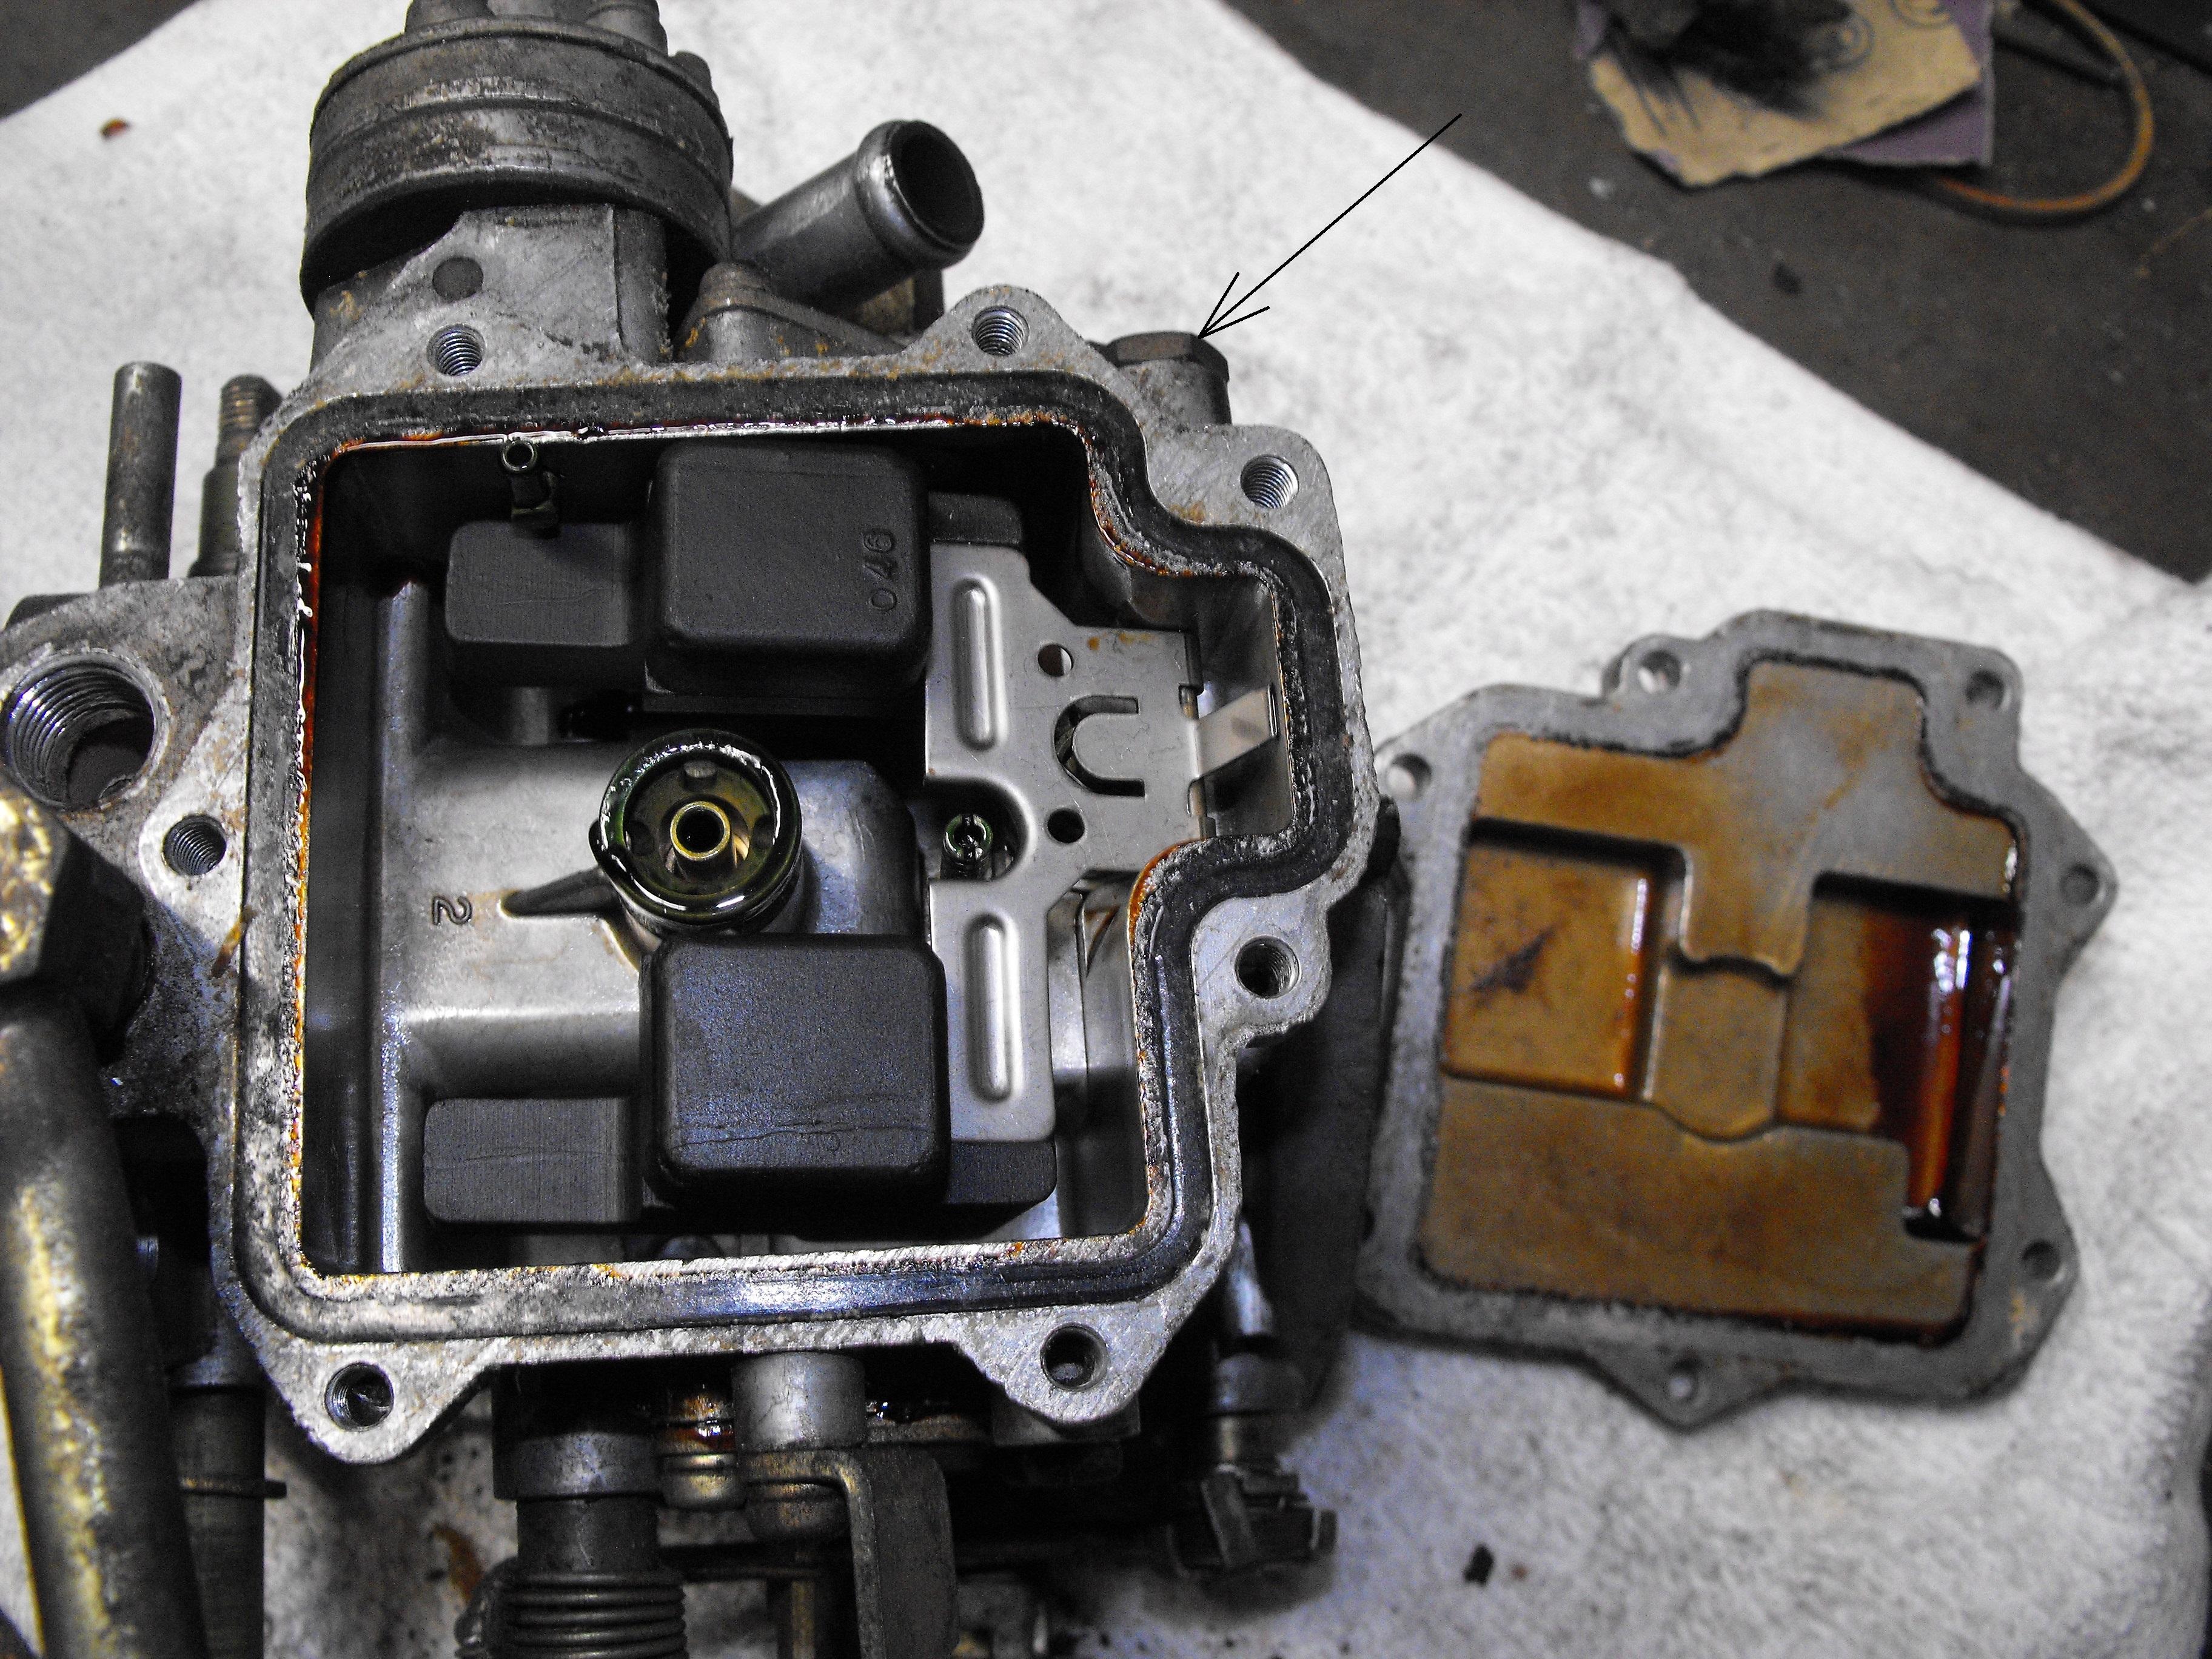
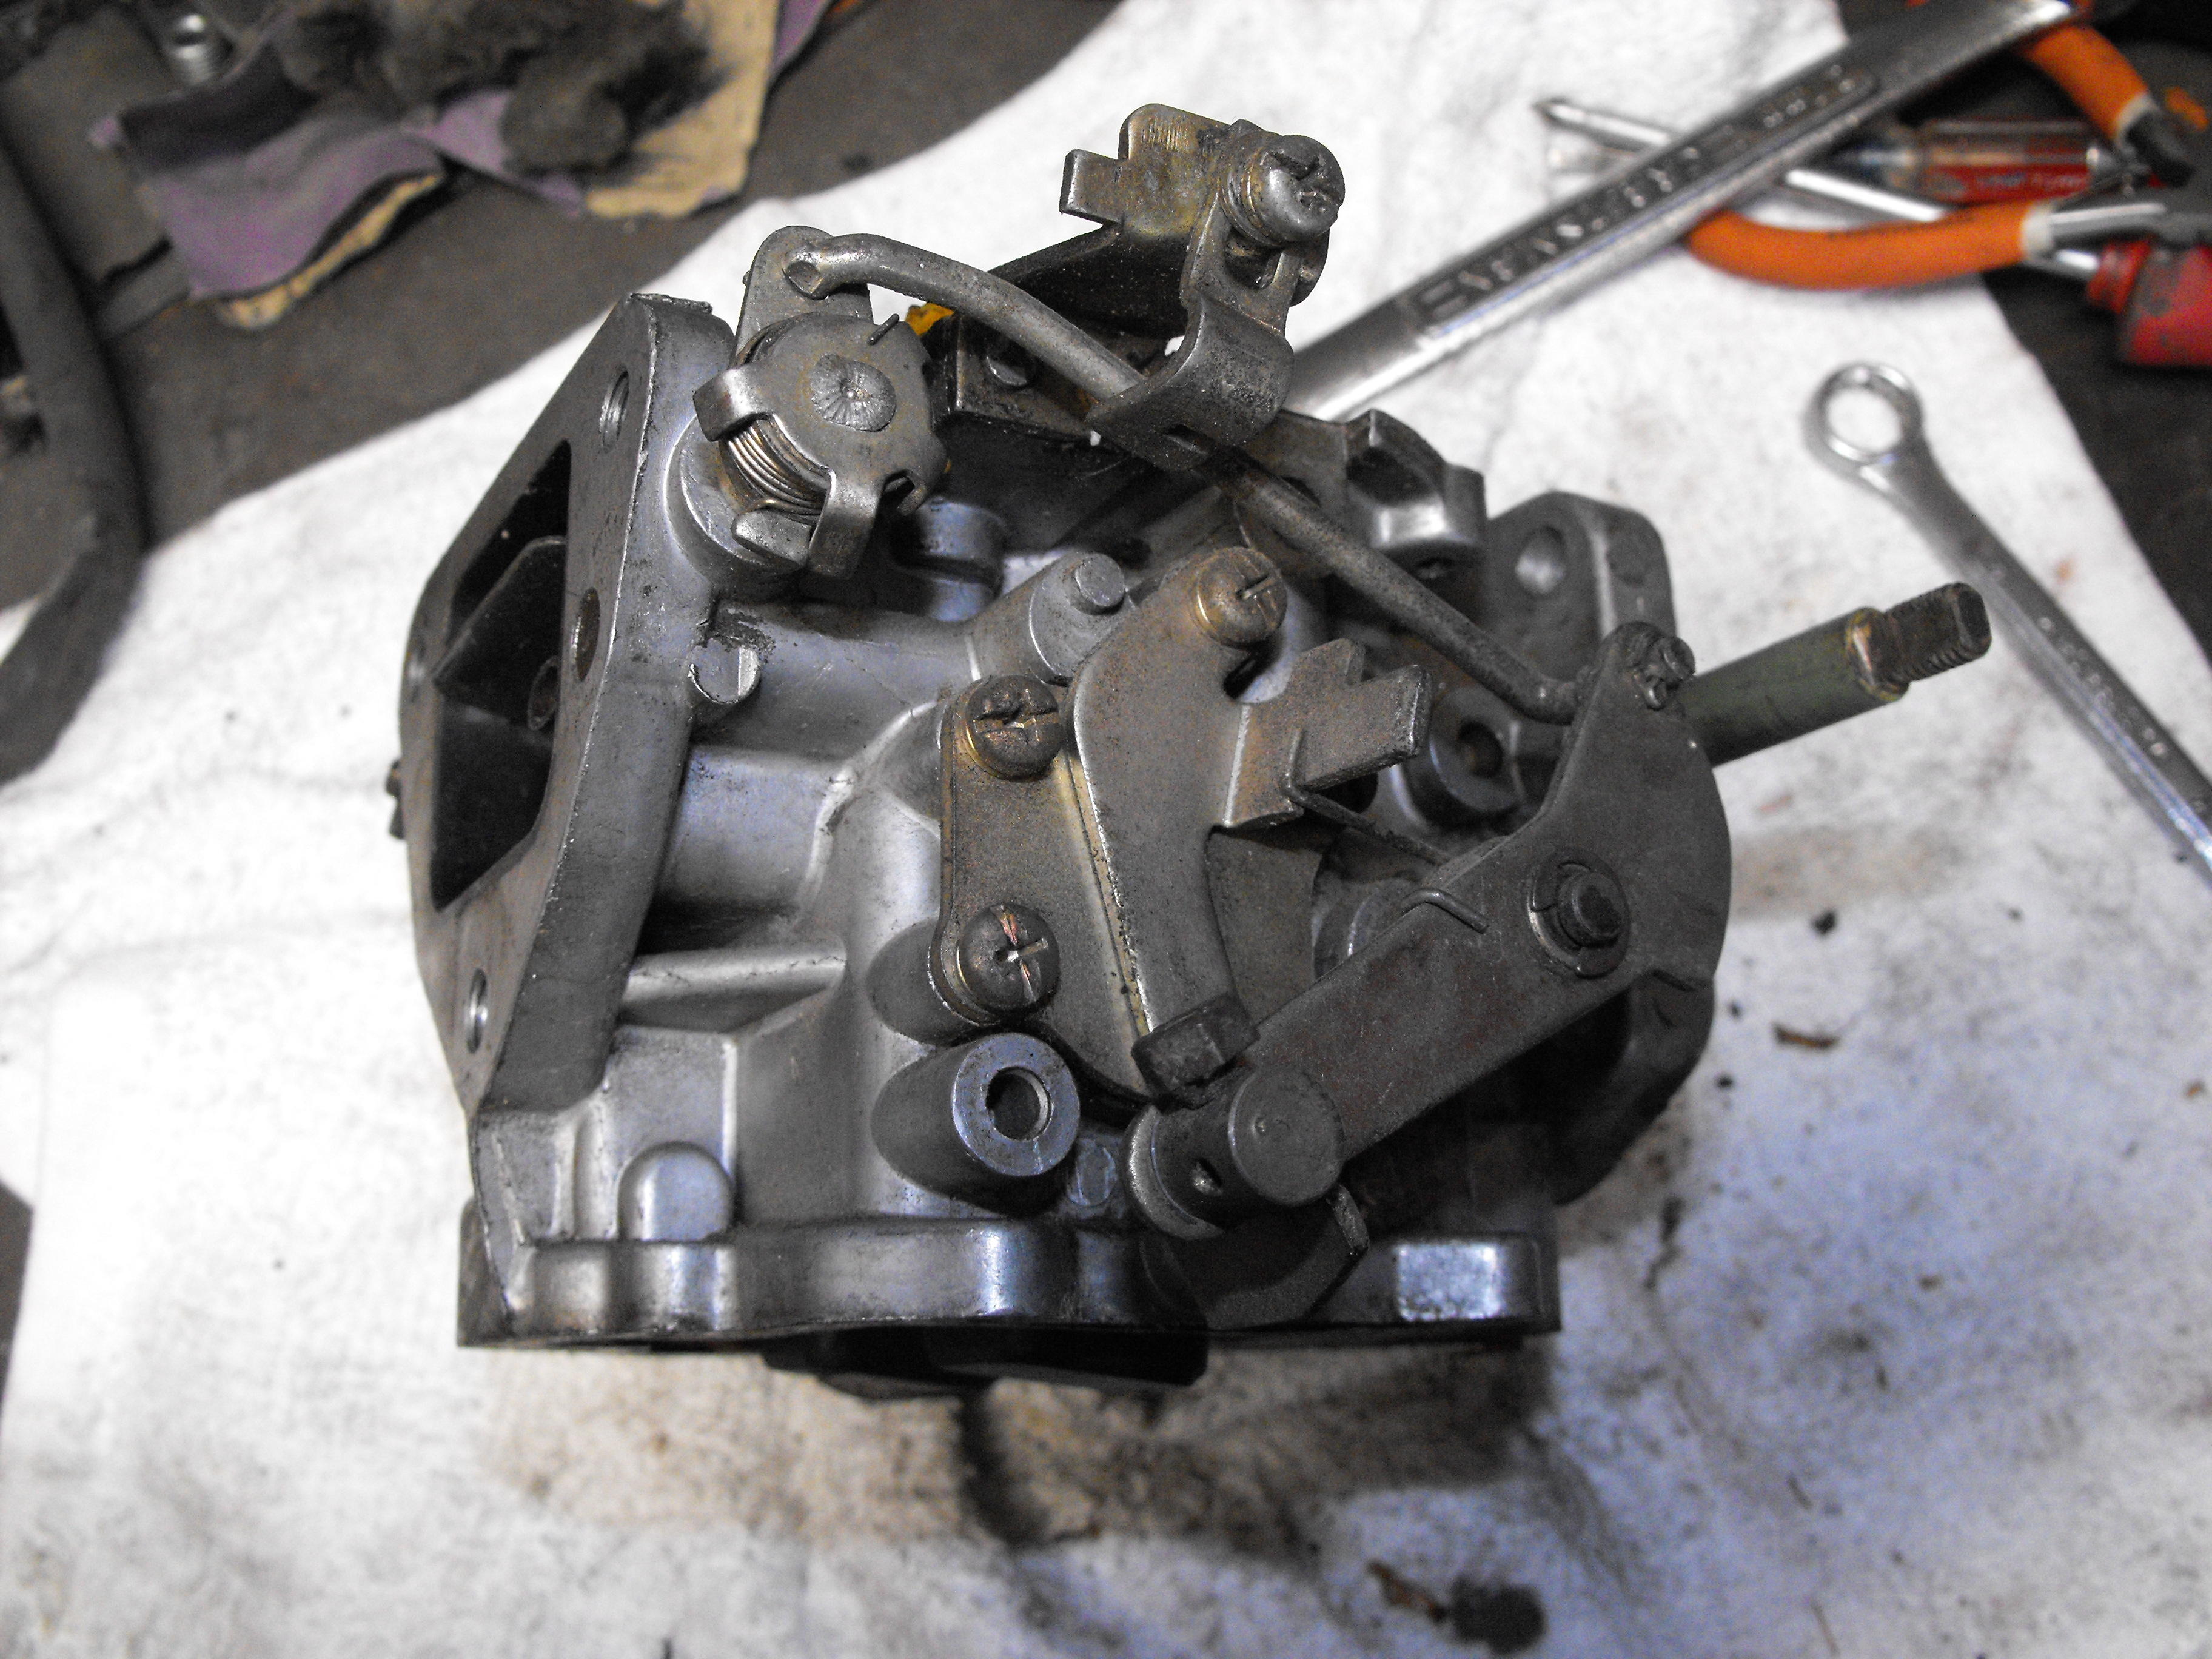
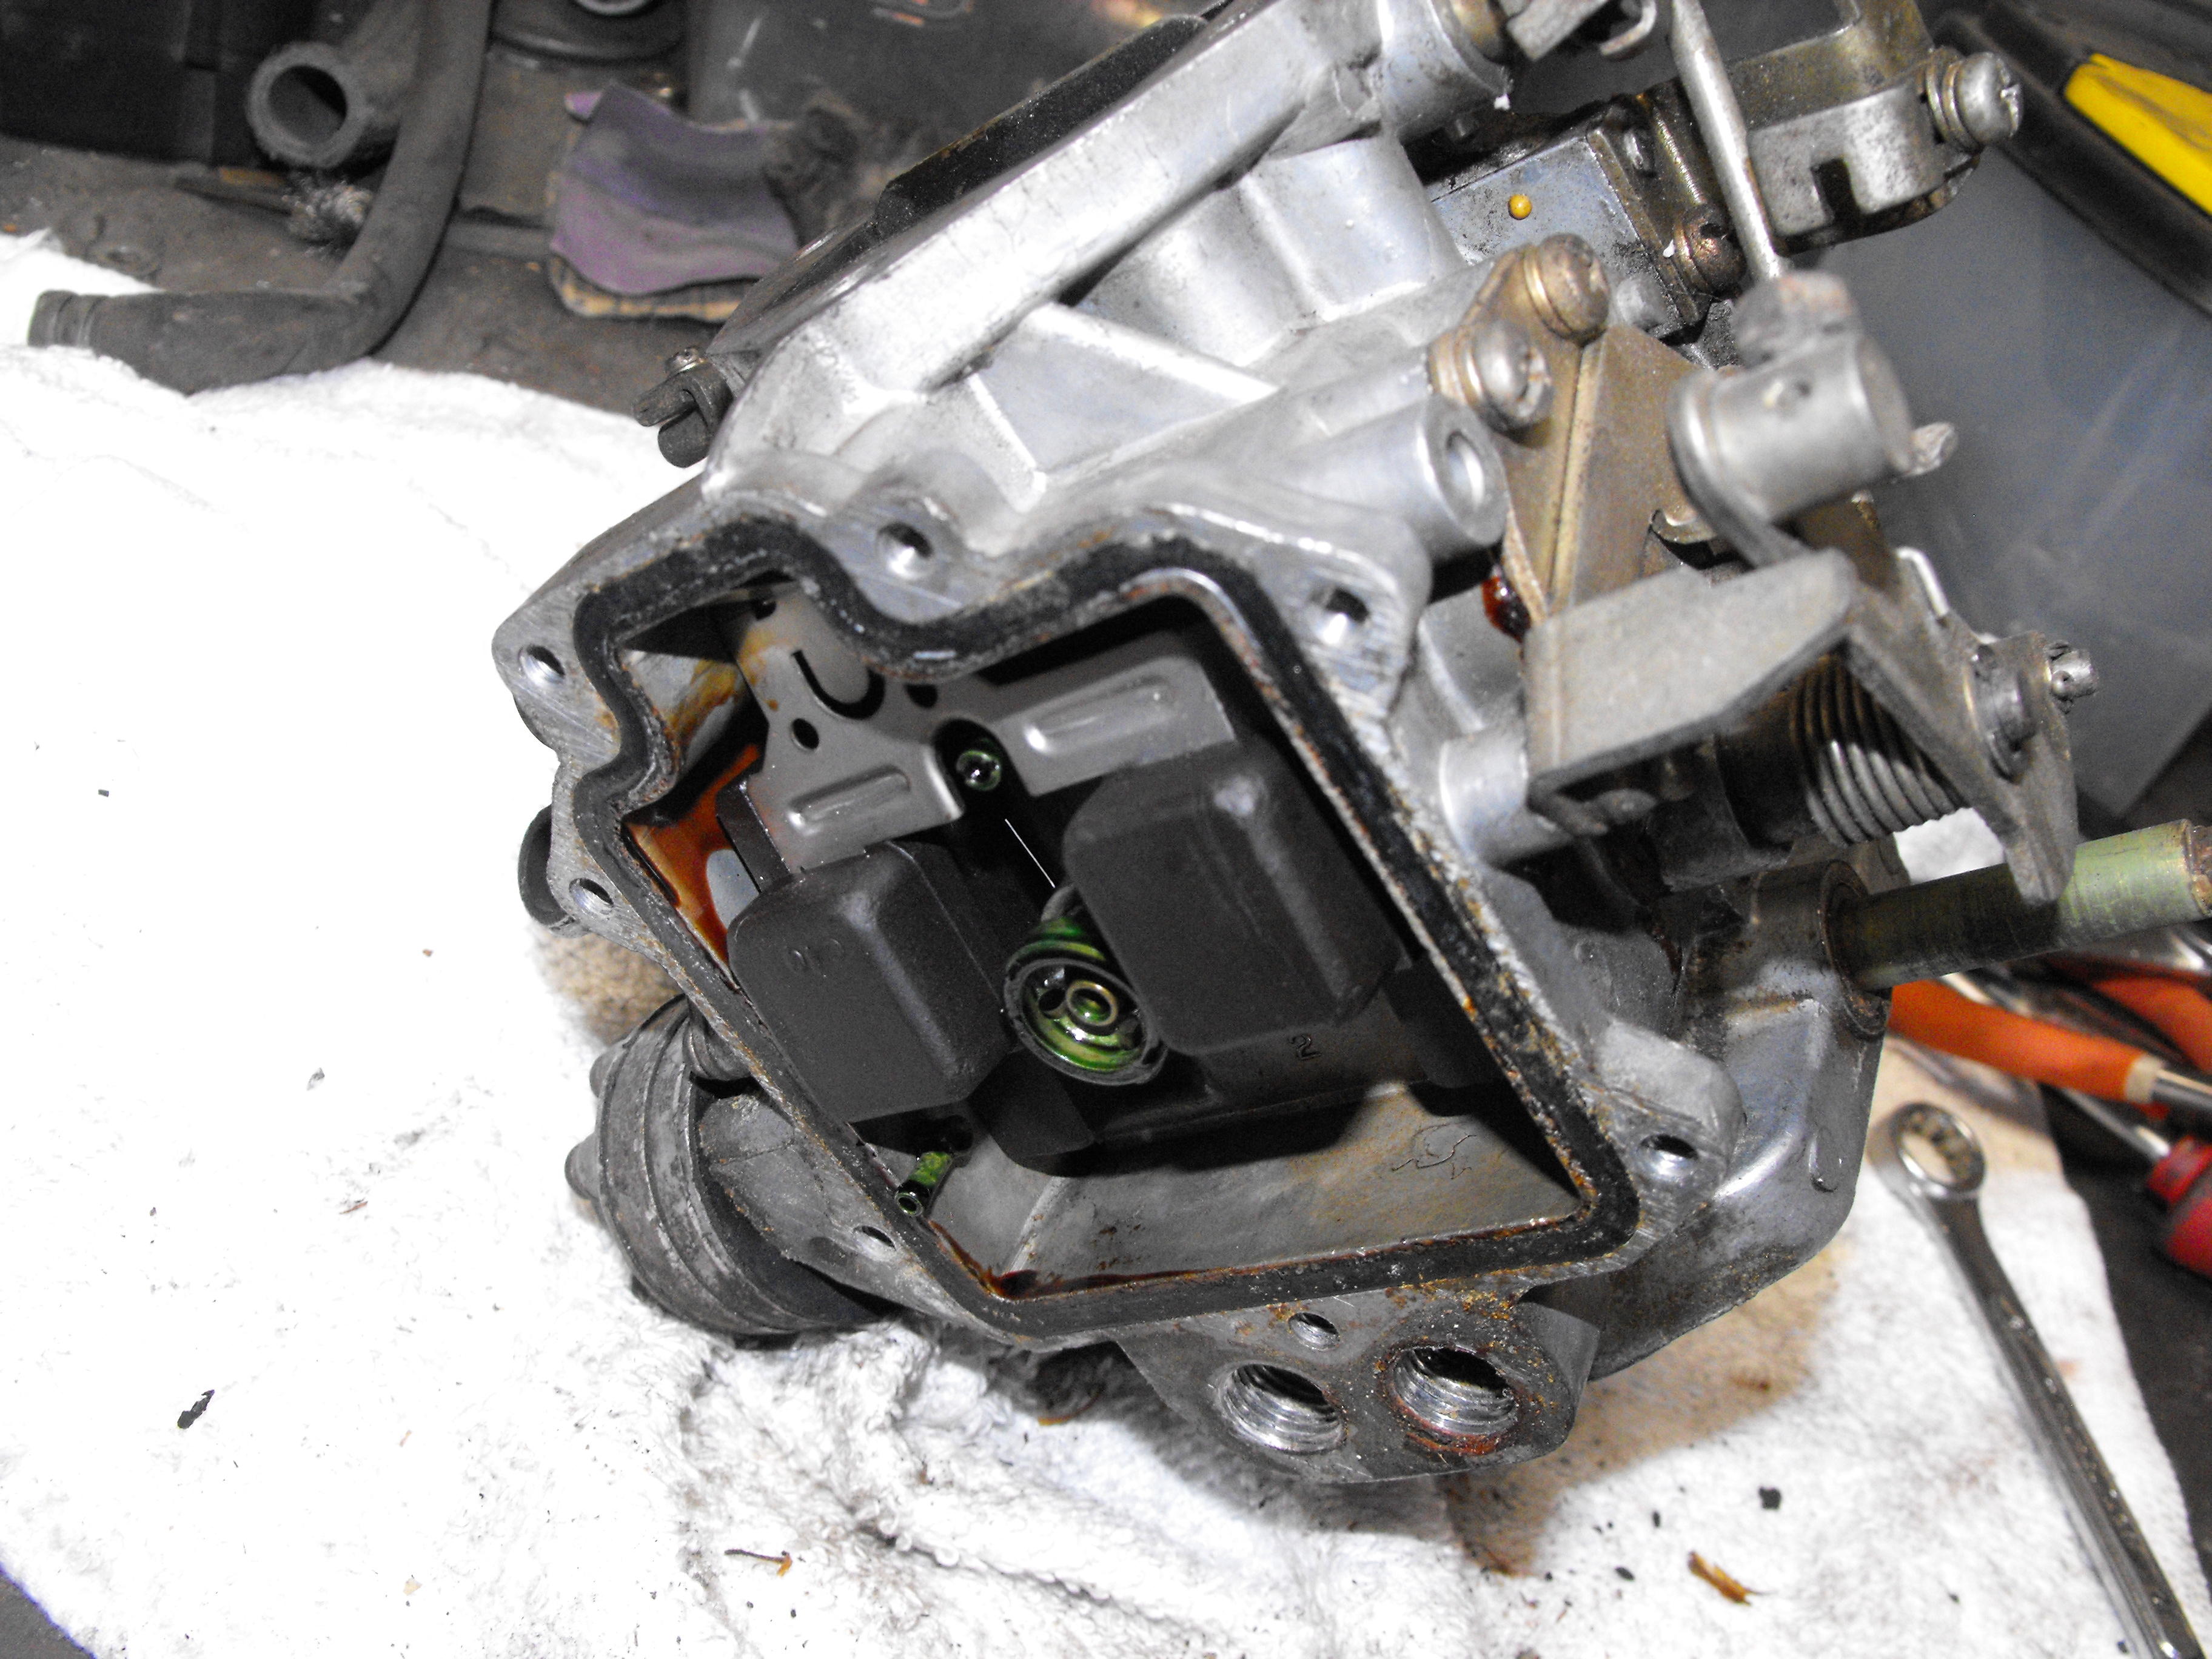
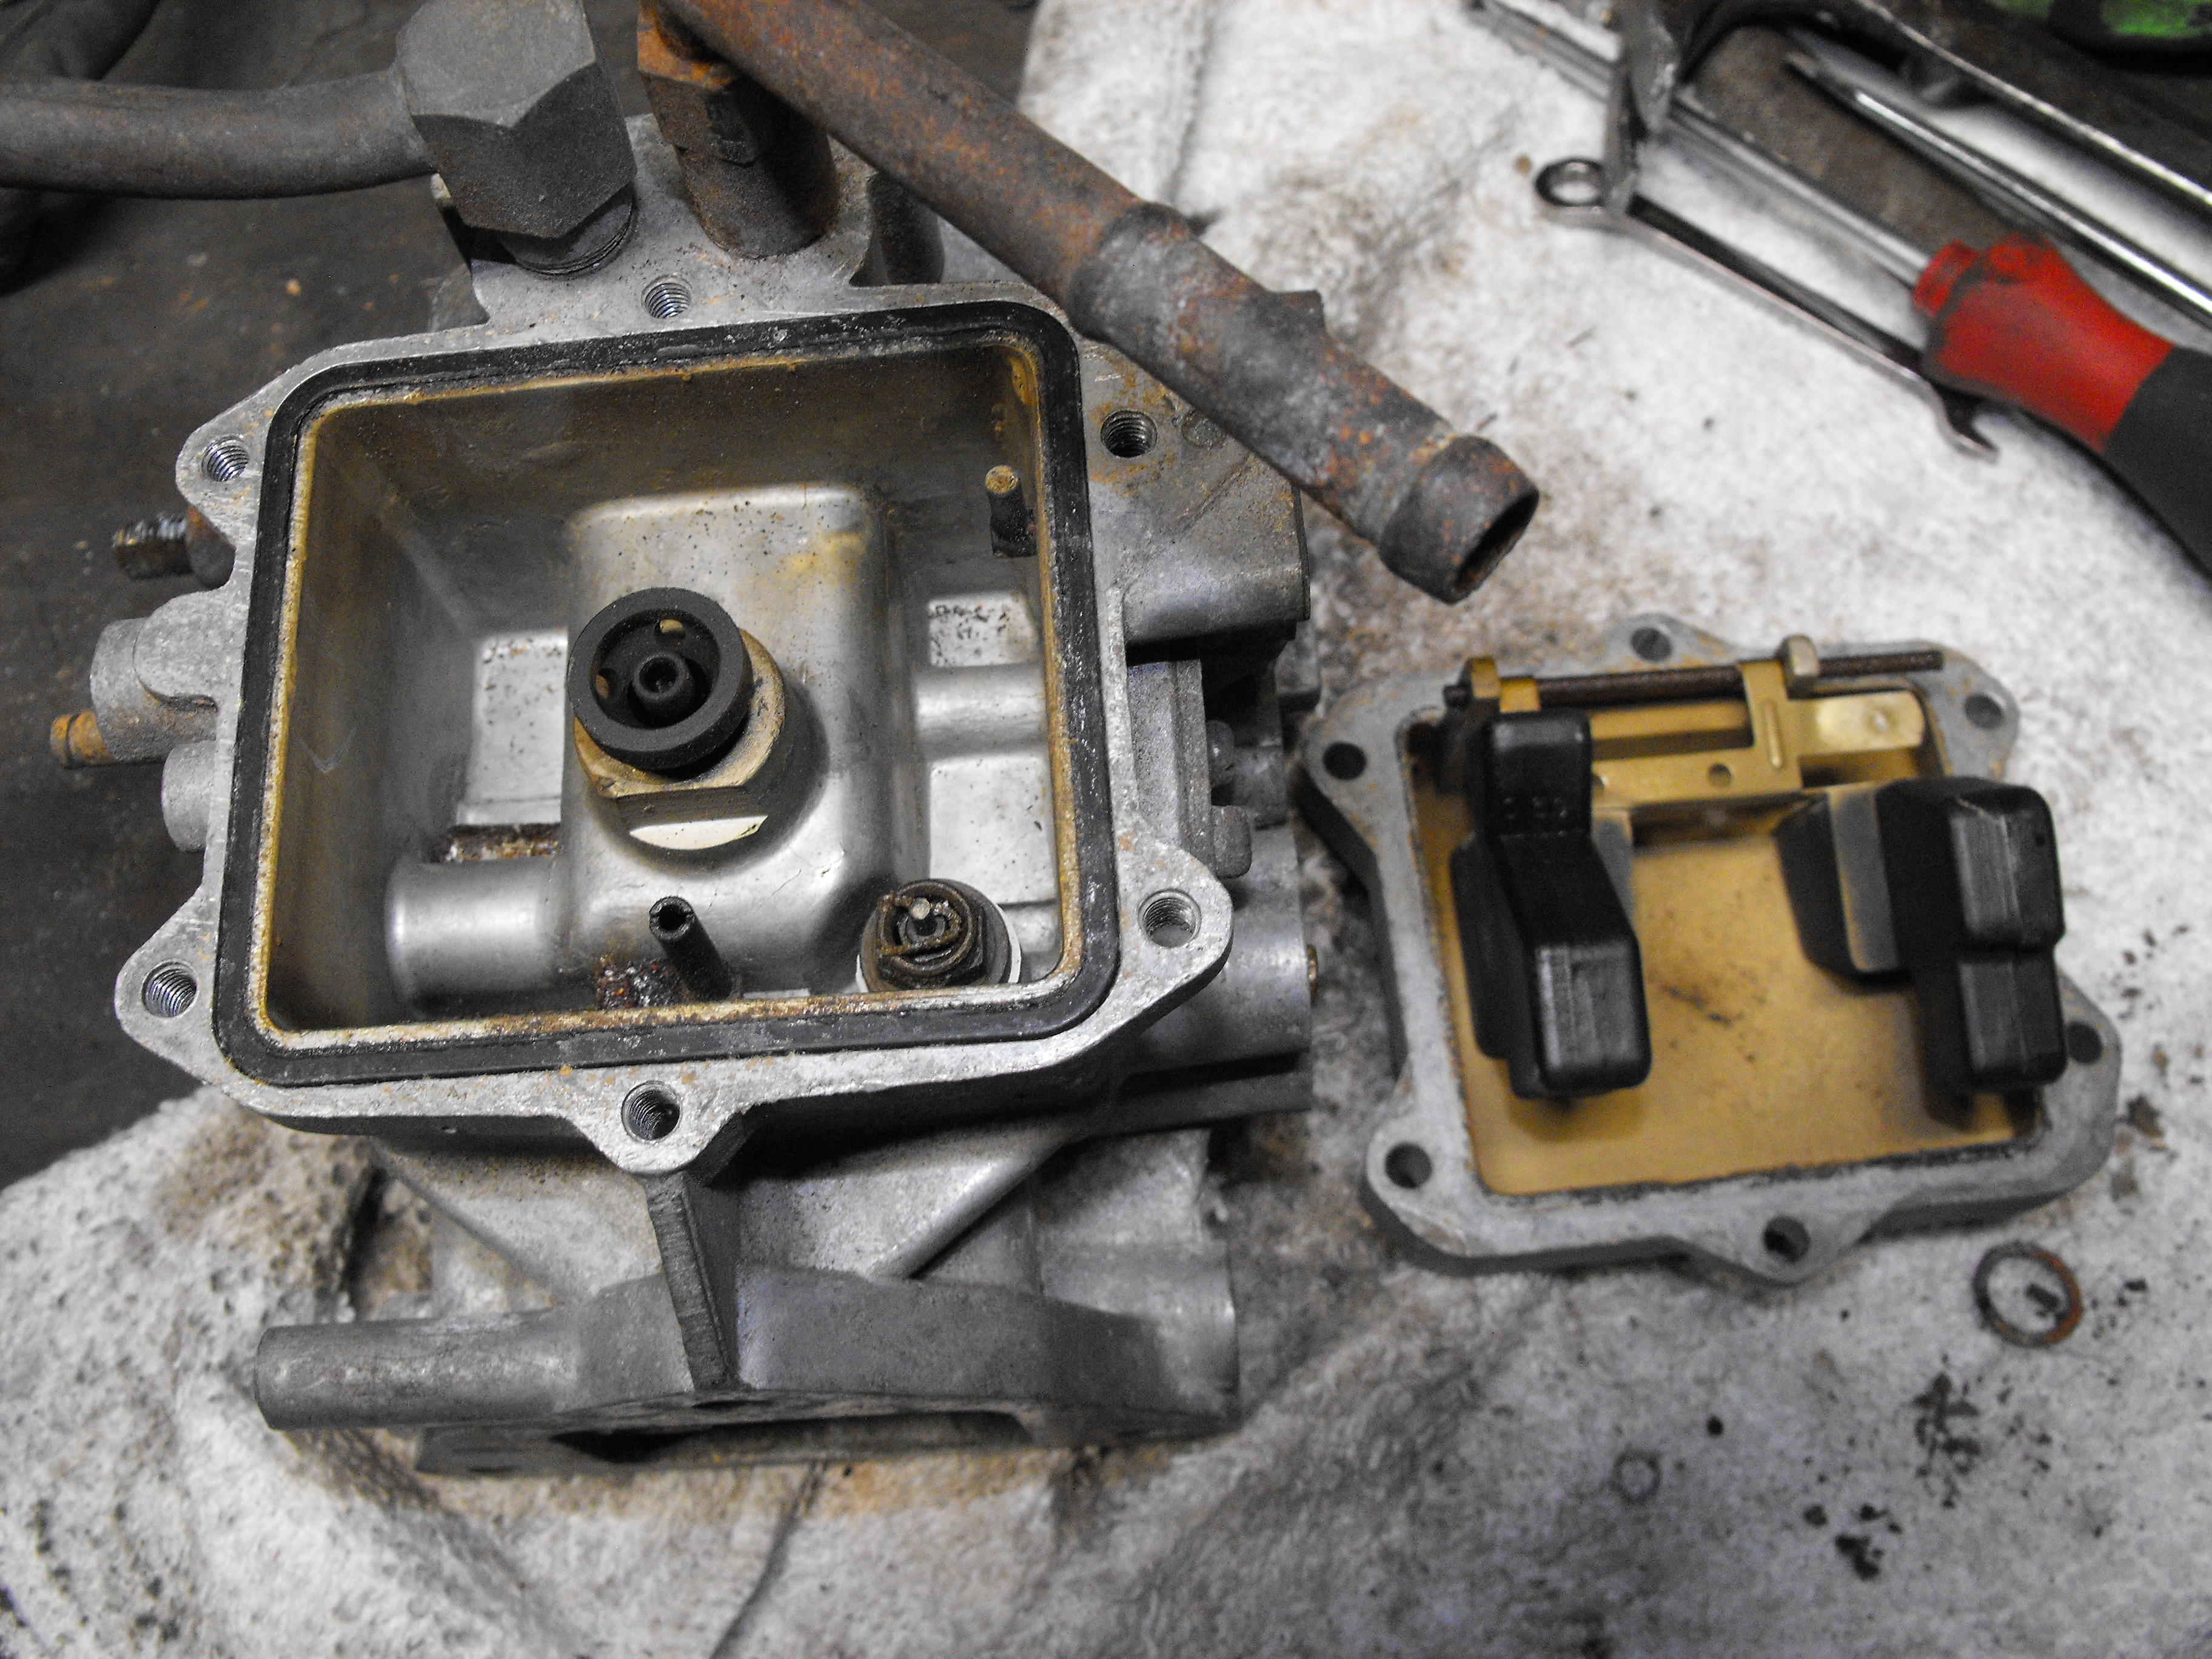
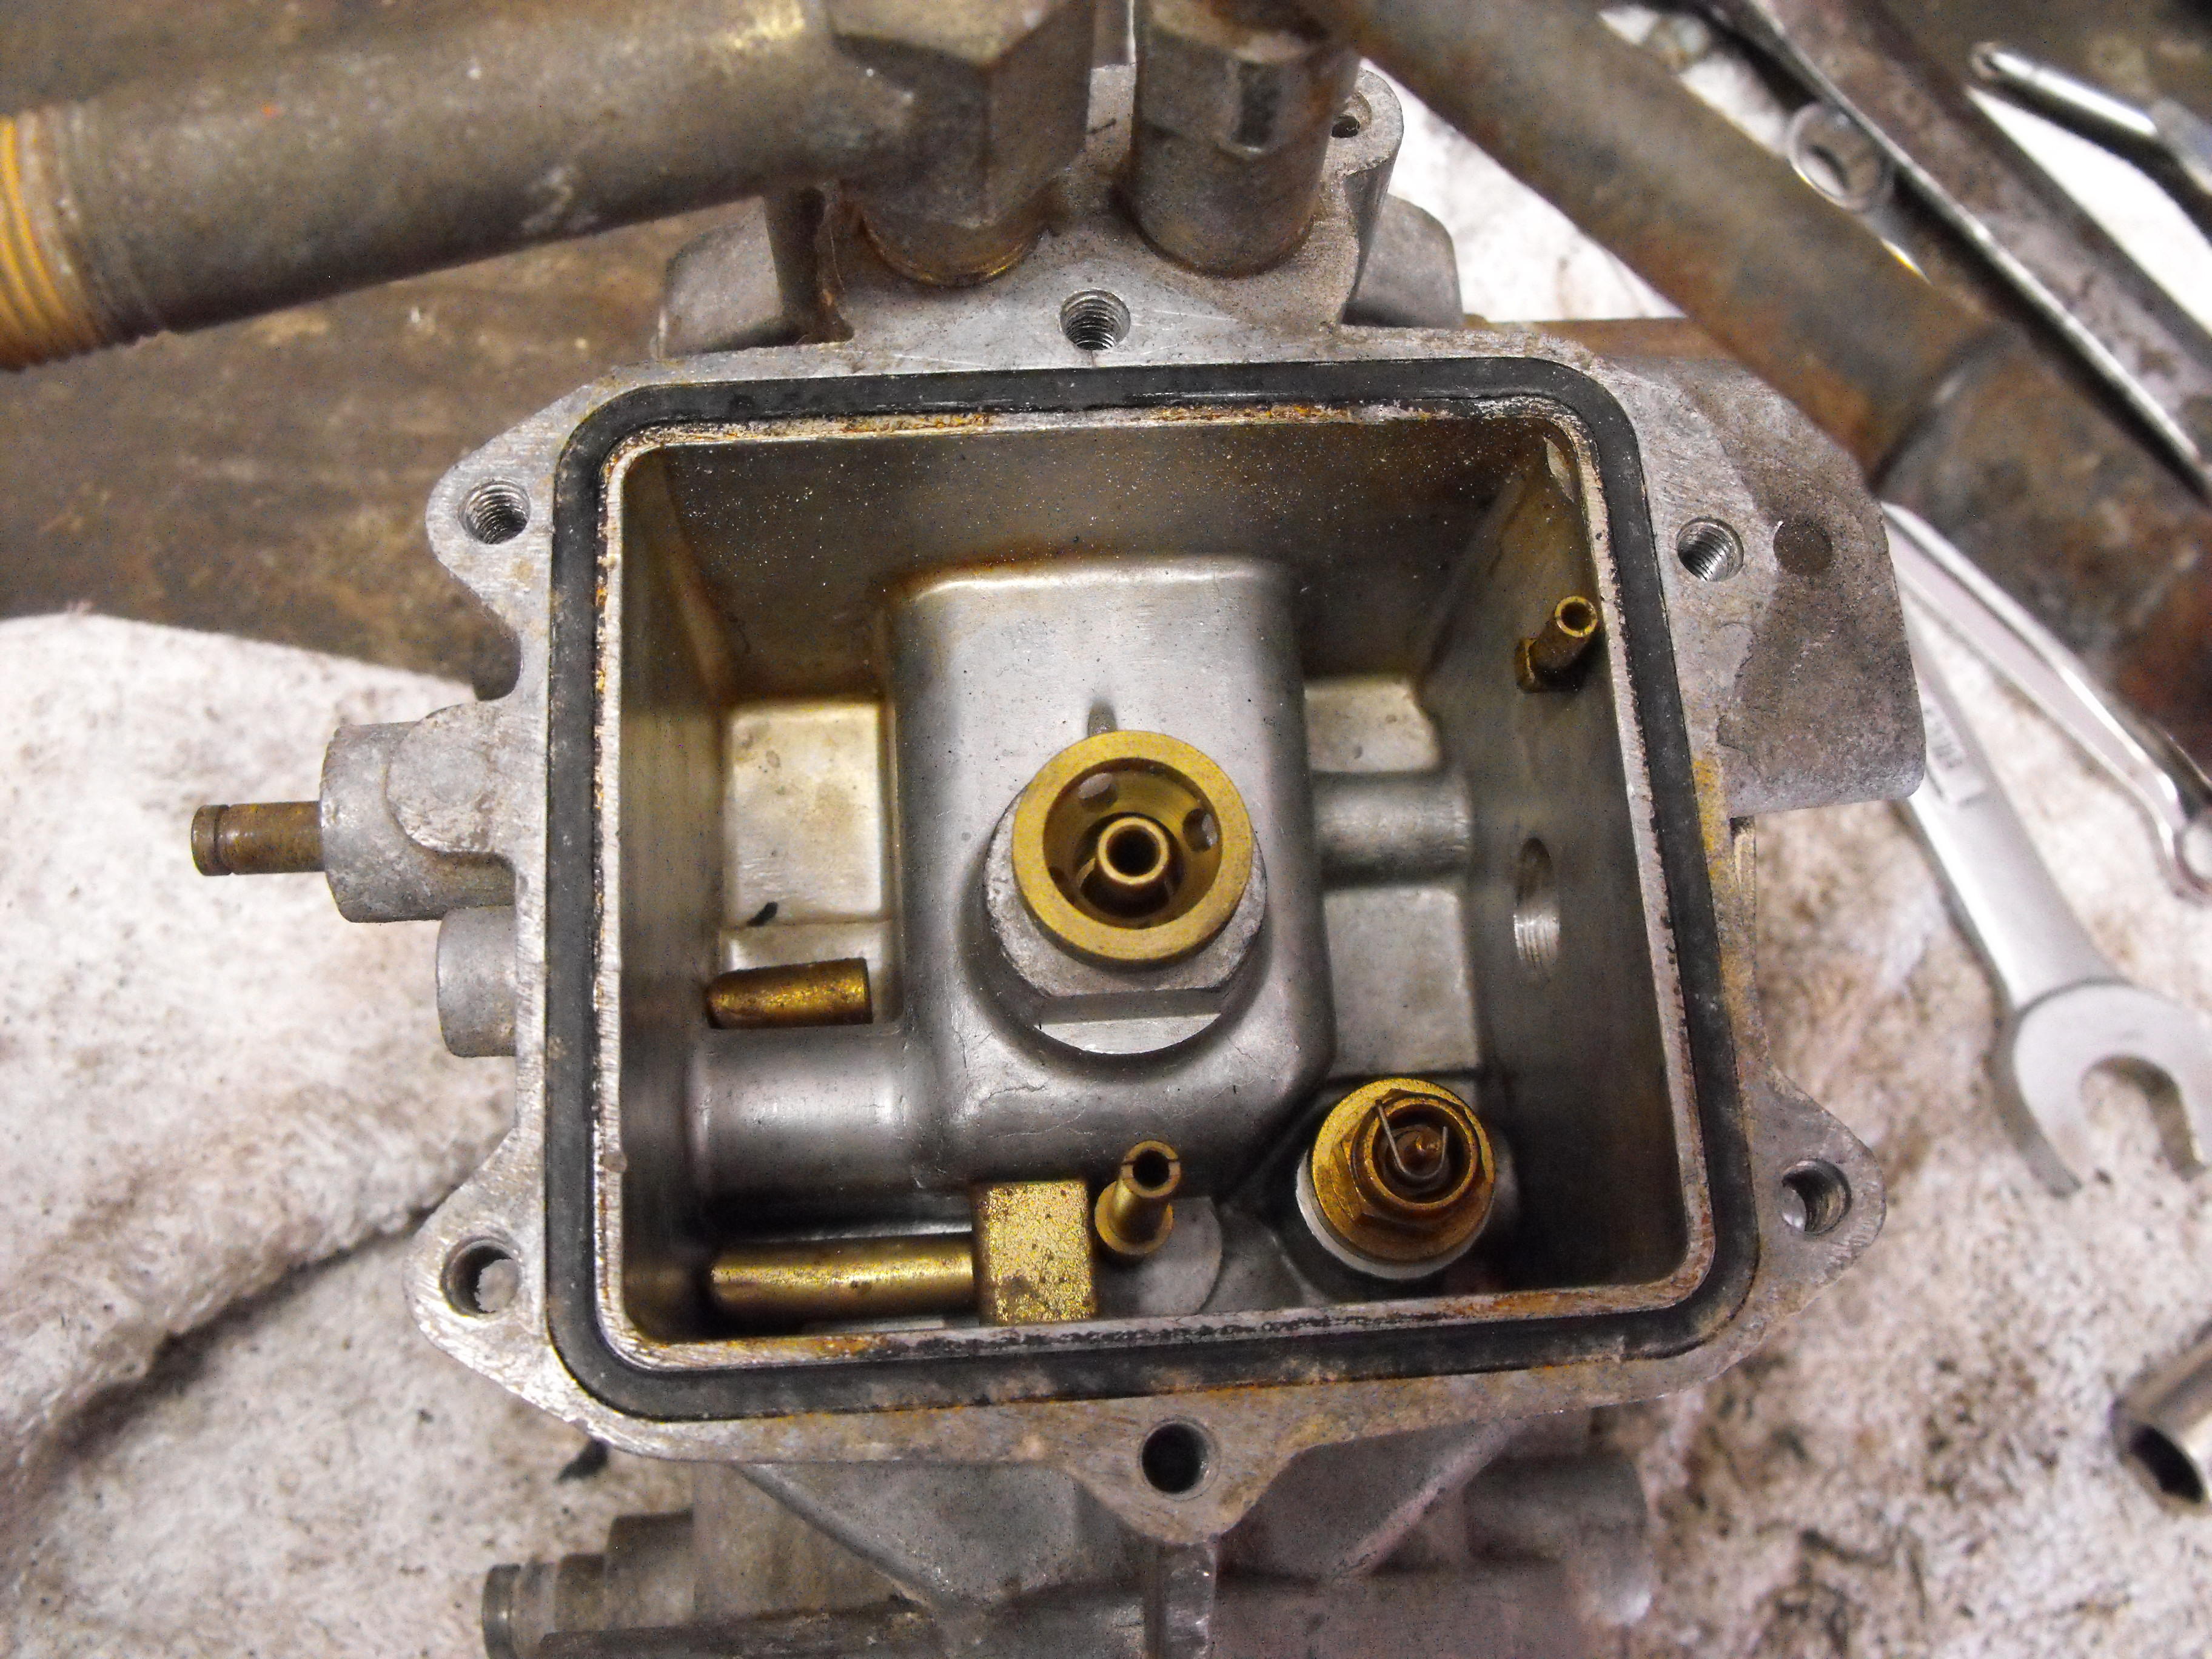
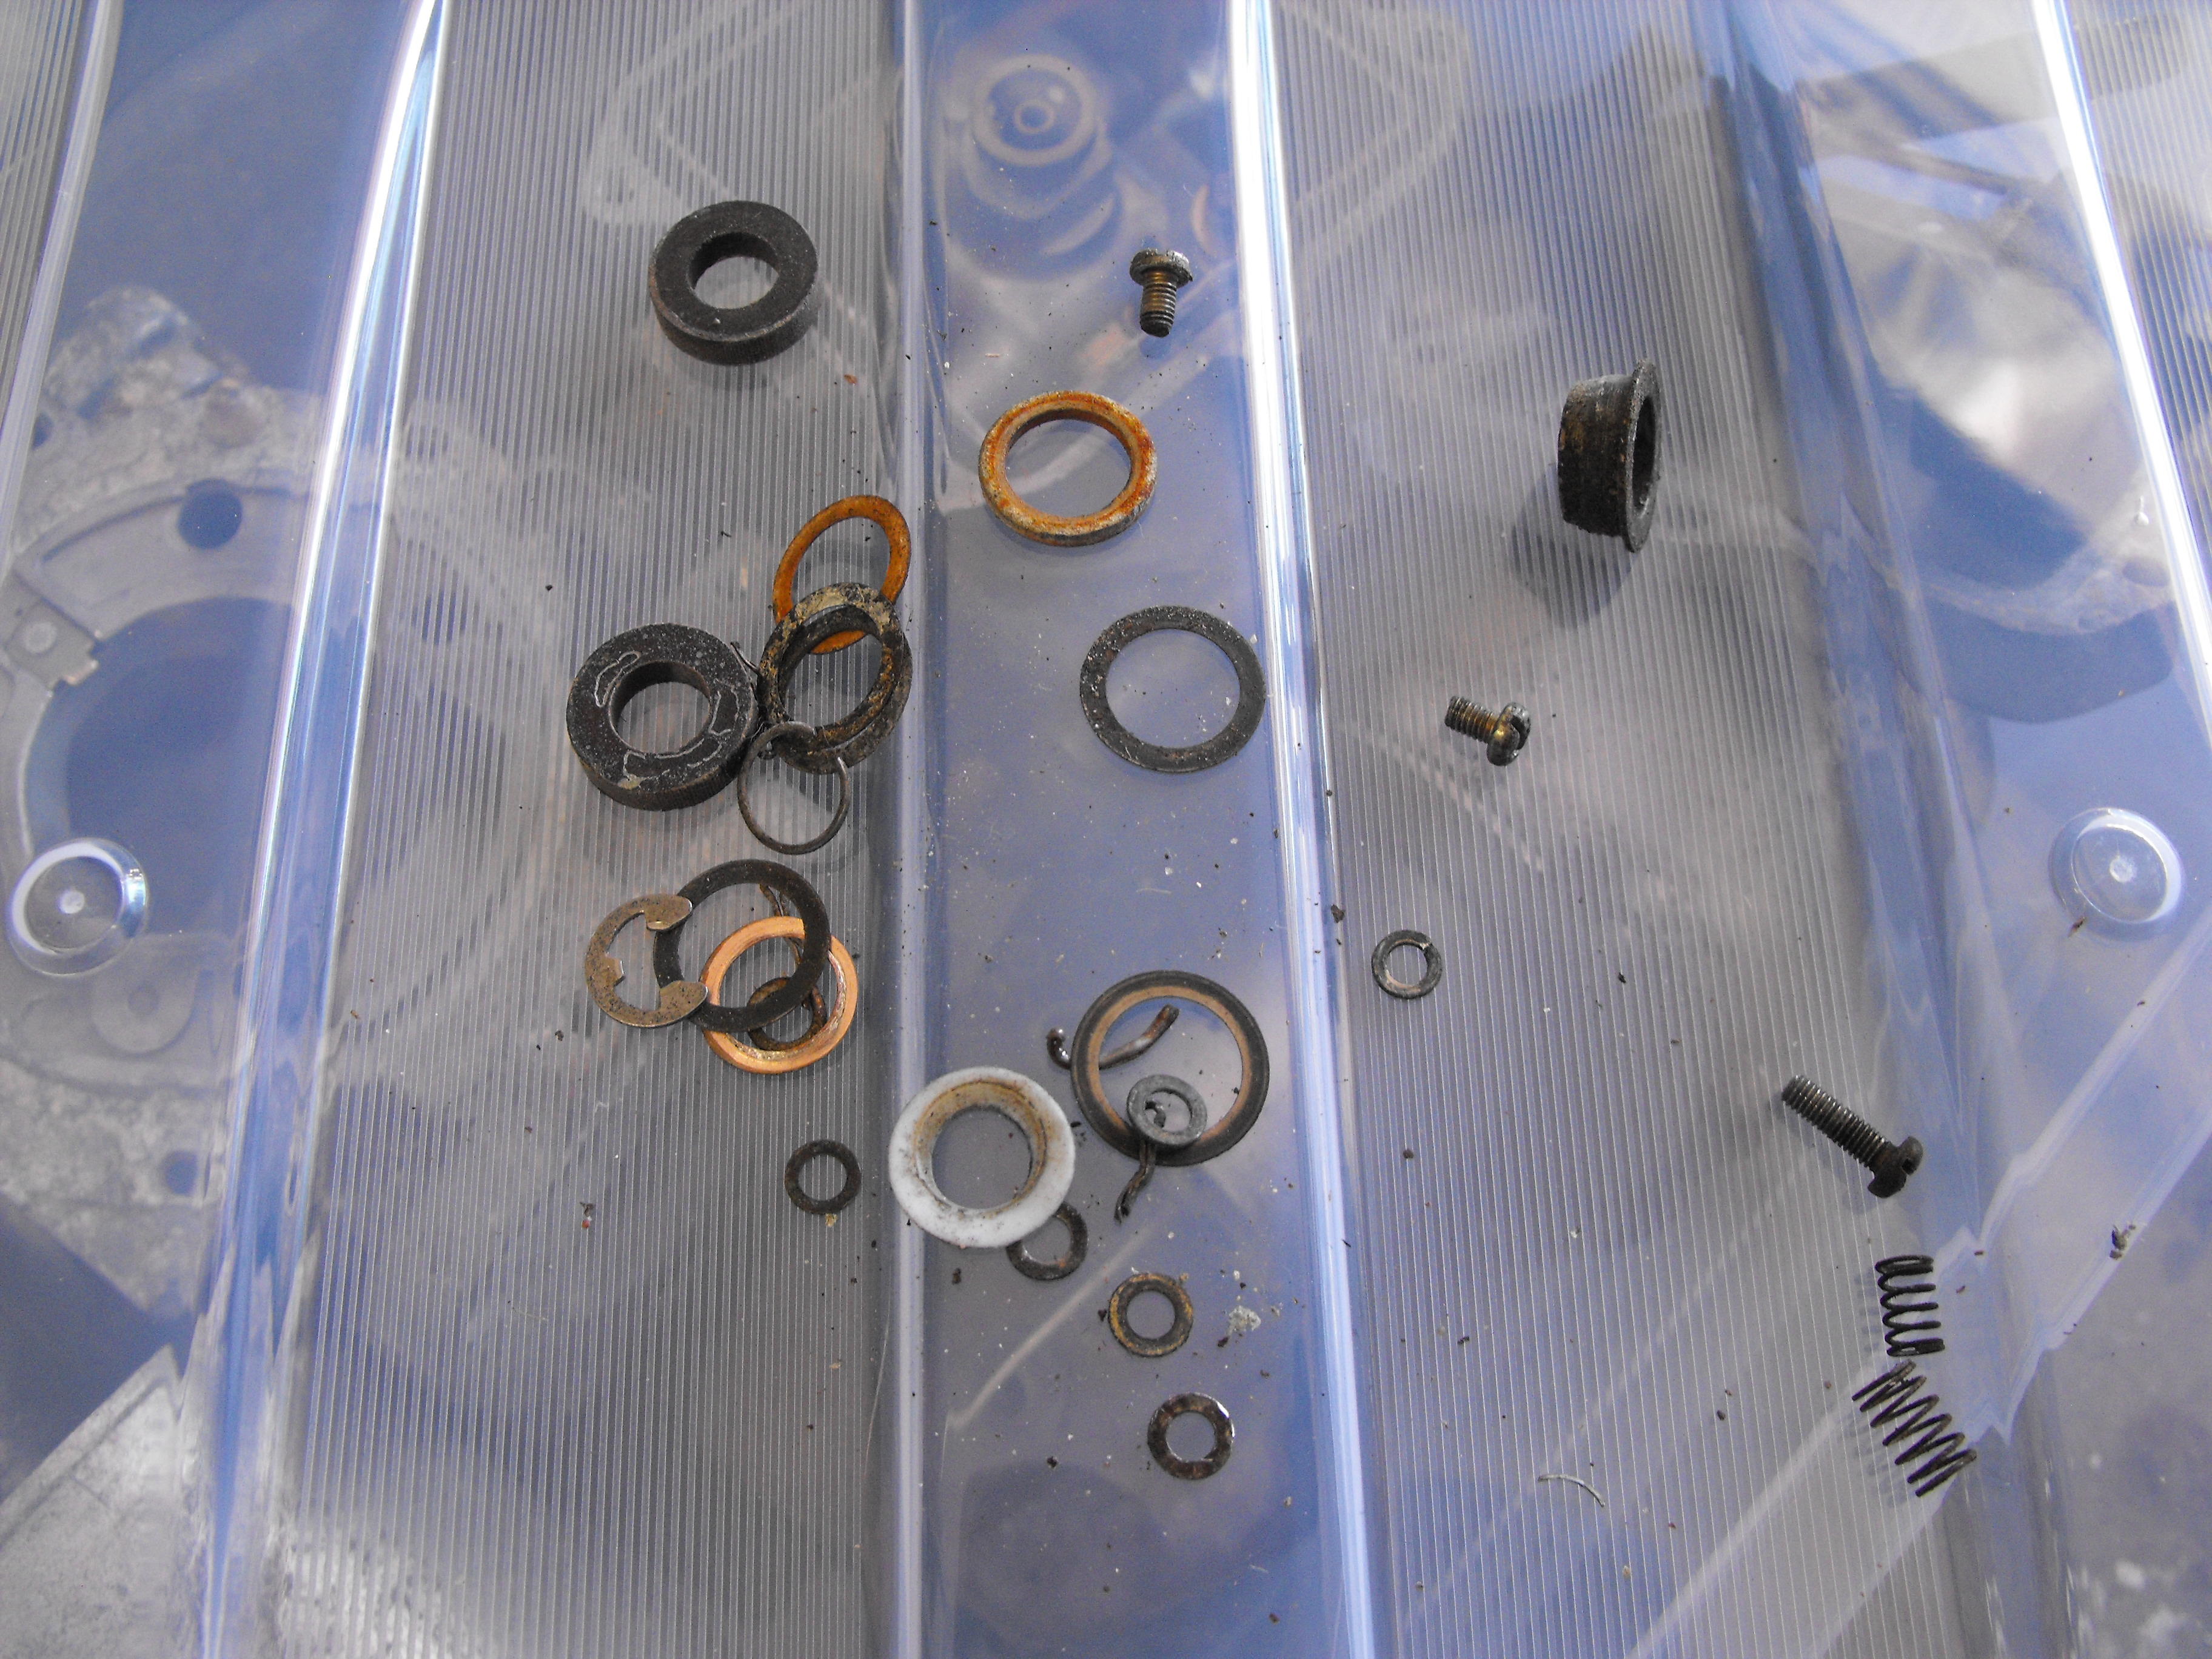
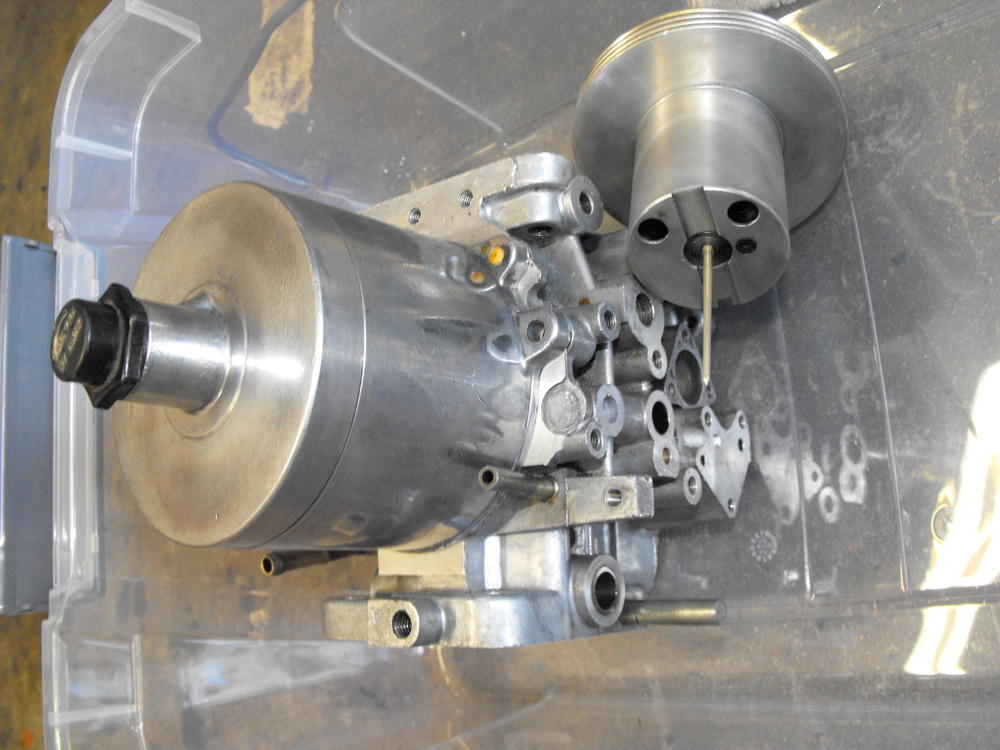
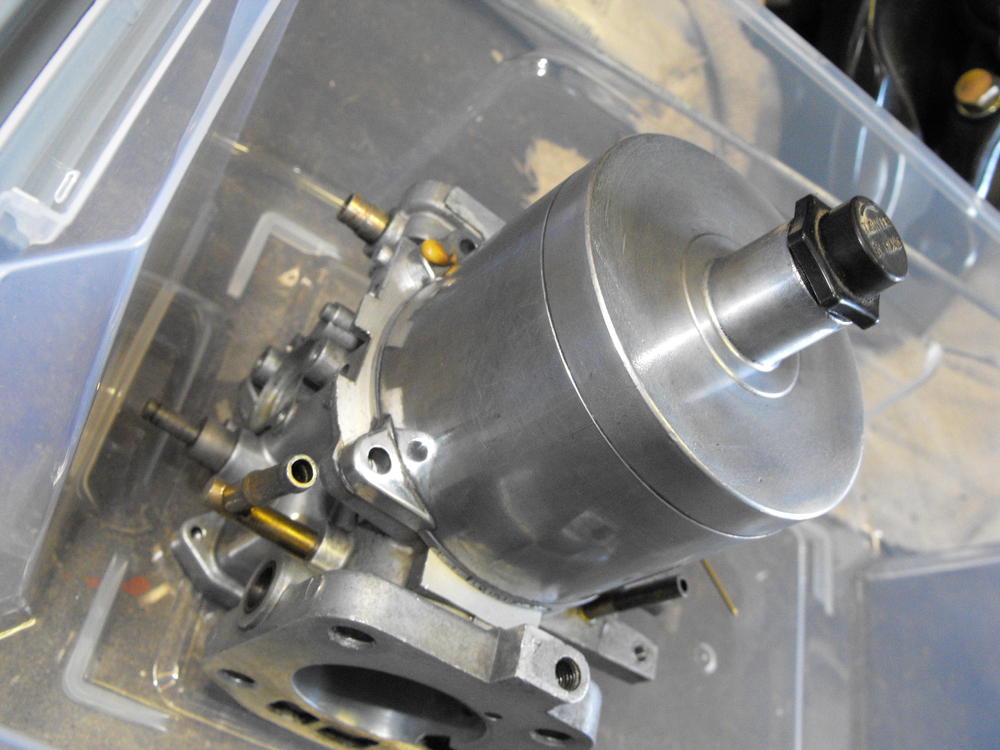
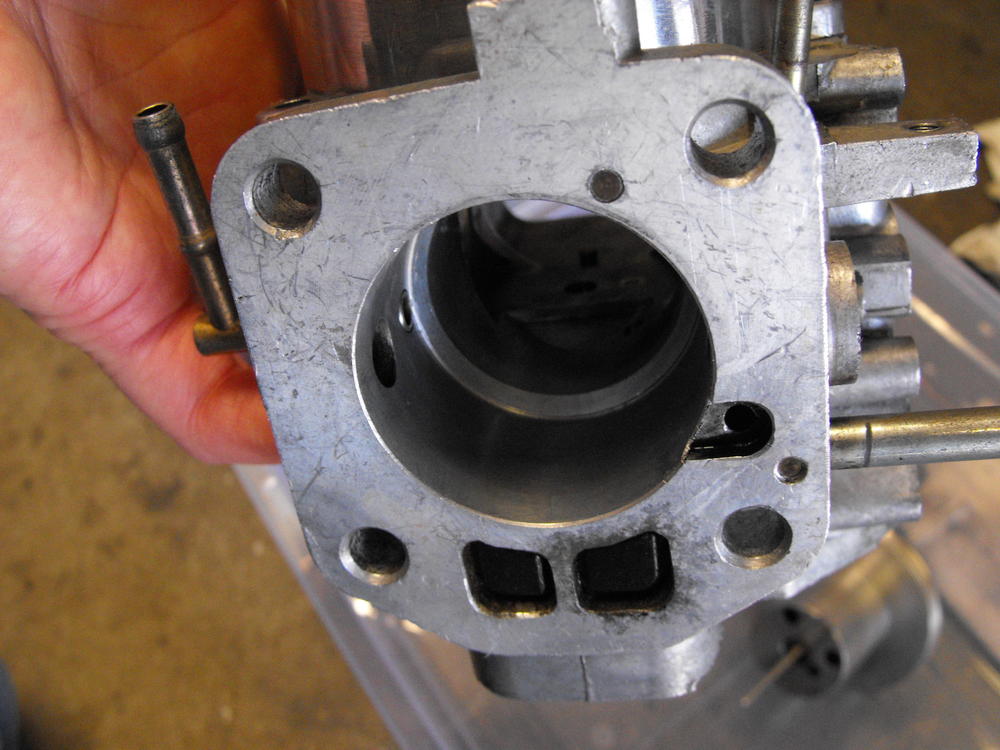
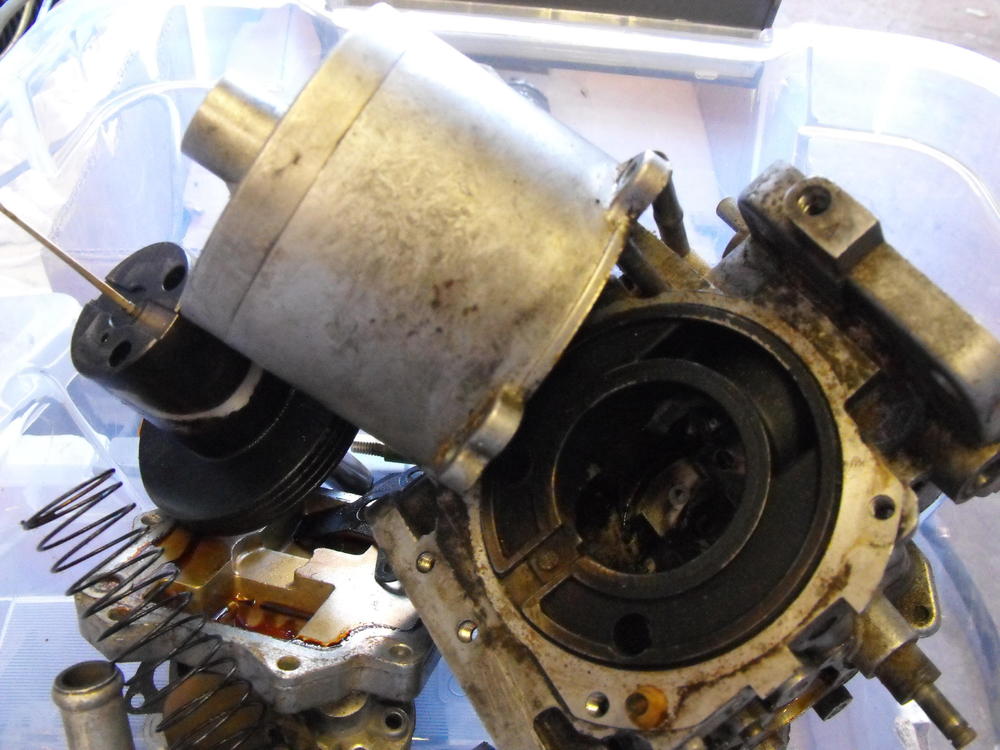
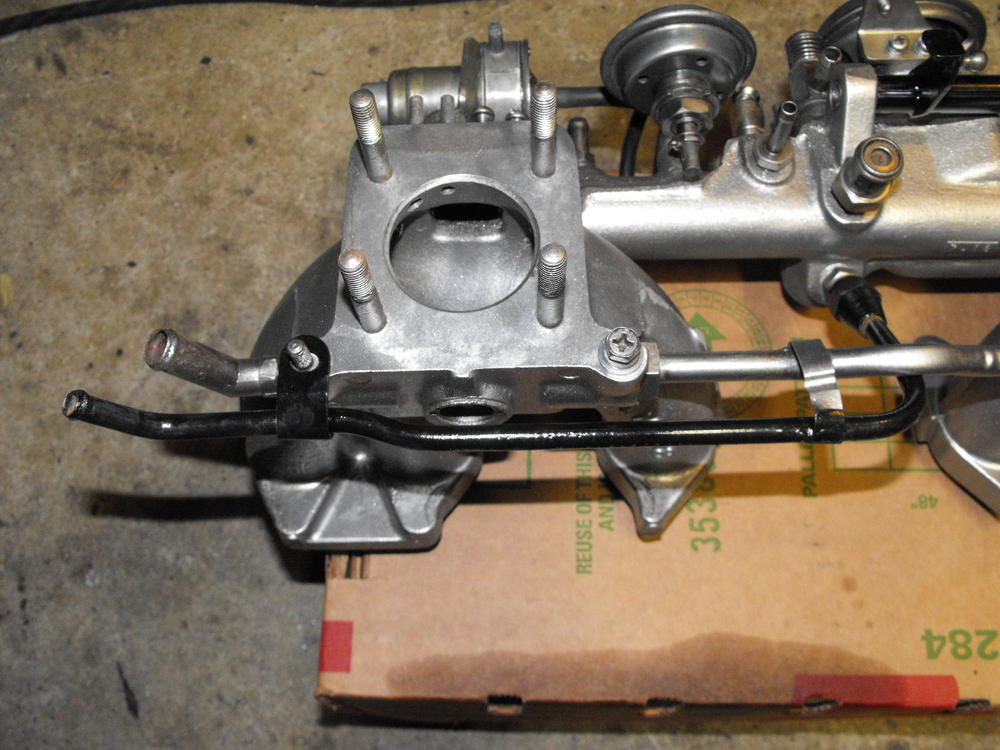
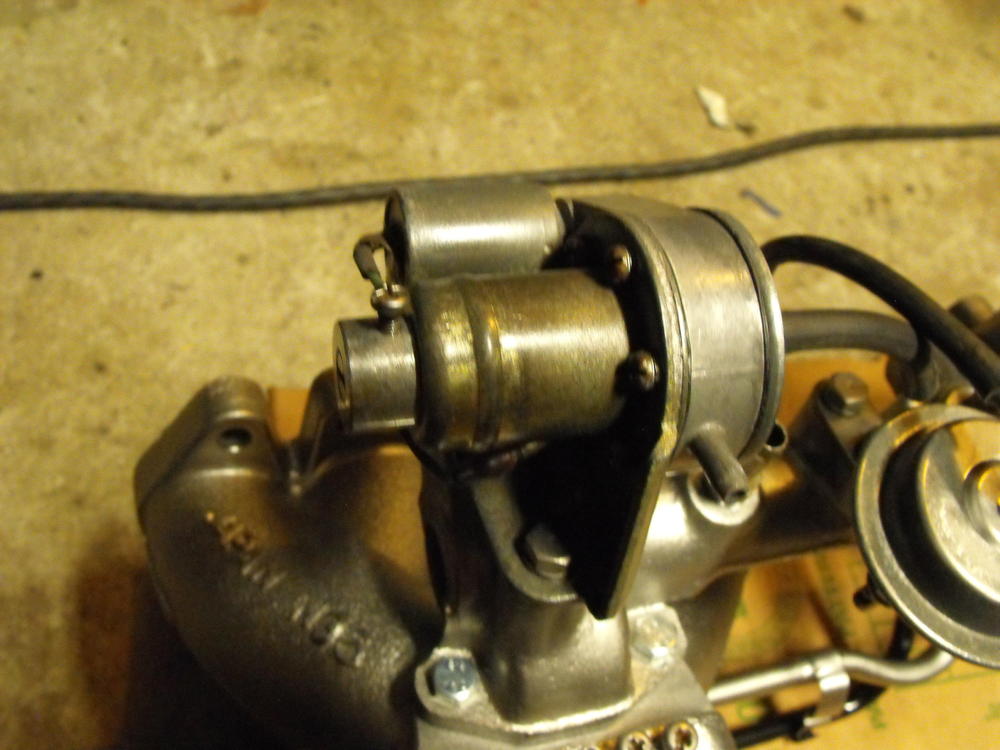
Hi Snekers, The float pin can be removed by taking off the nut shown in the first picture below. I put an arrow on it. On the rear carb, the pin came out easy. The pin on the front carb was stuck, so I soaked it in Kroil for a day (which didn't help) and then ended up heating the housing lightly with a torch. That did the trick and the pin came out. Was very cautious with this as I did not want to damage the floats. The forward carb also was not as clean as the rear. In fact there was some blue-green colored goo in the area where the nozzle is. The second set of carbs is very different as you can see and has the floats on the base plate. I do not care for this design as much, but did want the zinc platable parts off of it. Also, the sight glass cover is a different shape. Interesting seeing the differences. Nice improvements on the -2 carbs. Both styles of the flat tops have bushings on the throttle spindle. As you can see in the pic, the bushing looks a bit oval (worn) so will need to look into getting a new one of these. Interesting seeing the green zinc chromate paint over the brass spindle rod. Not sure why they did that, corrosion preventative? The key to the re-build here will be all of those little parts. I made sure to collect every item from both sets. Will not send those to the plater as they may not make it back. I did a quick clean and polish of one of the vacuum chambers. They clean up well.


-
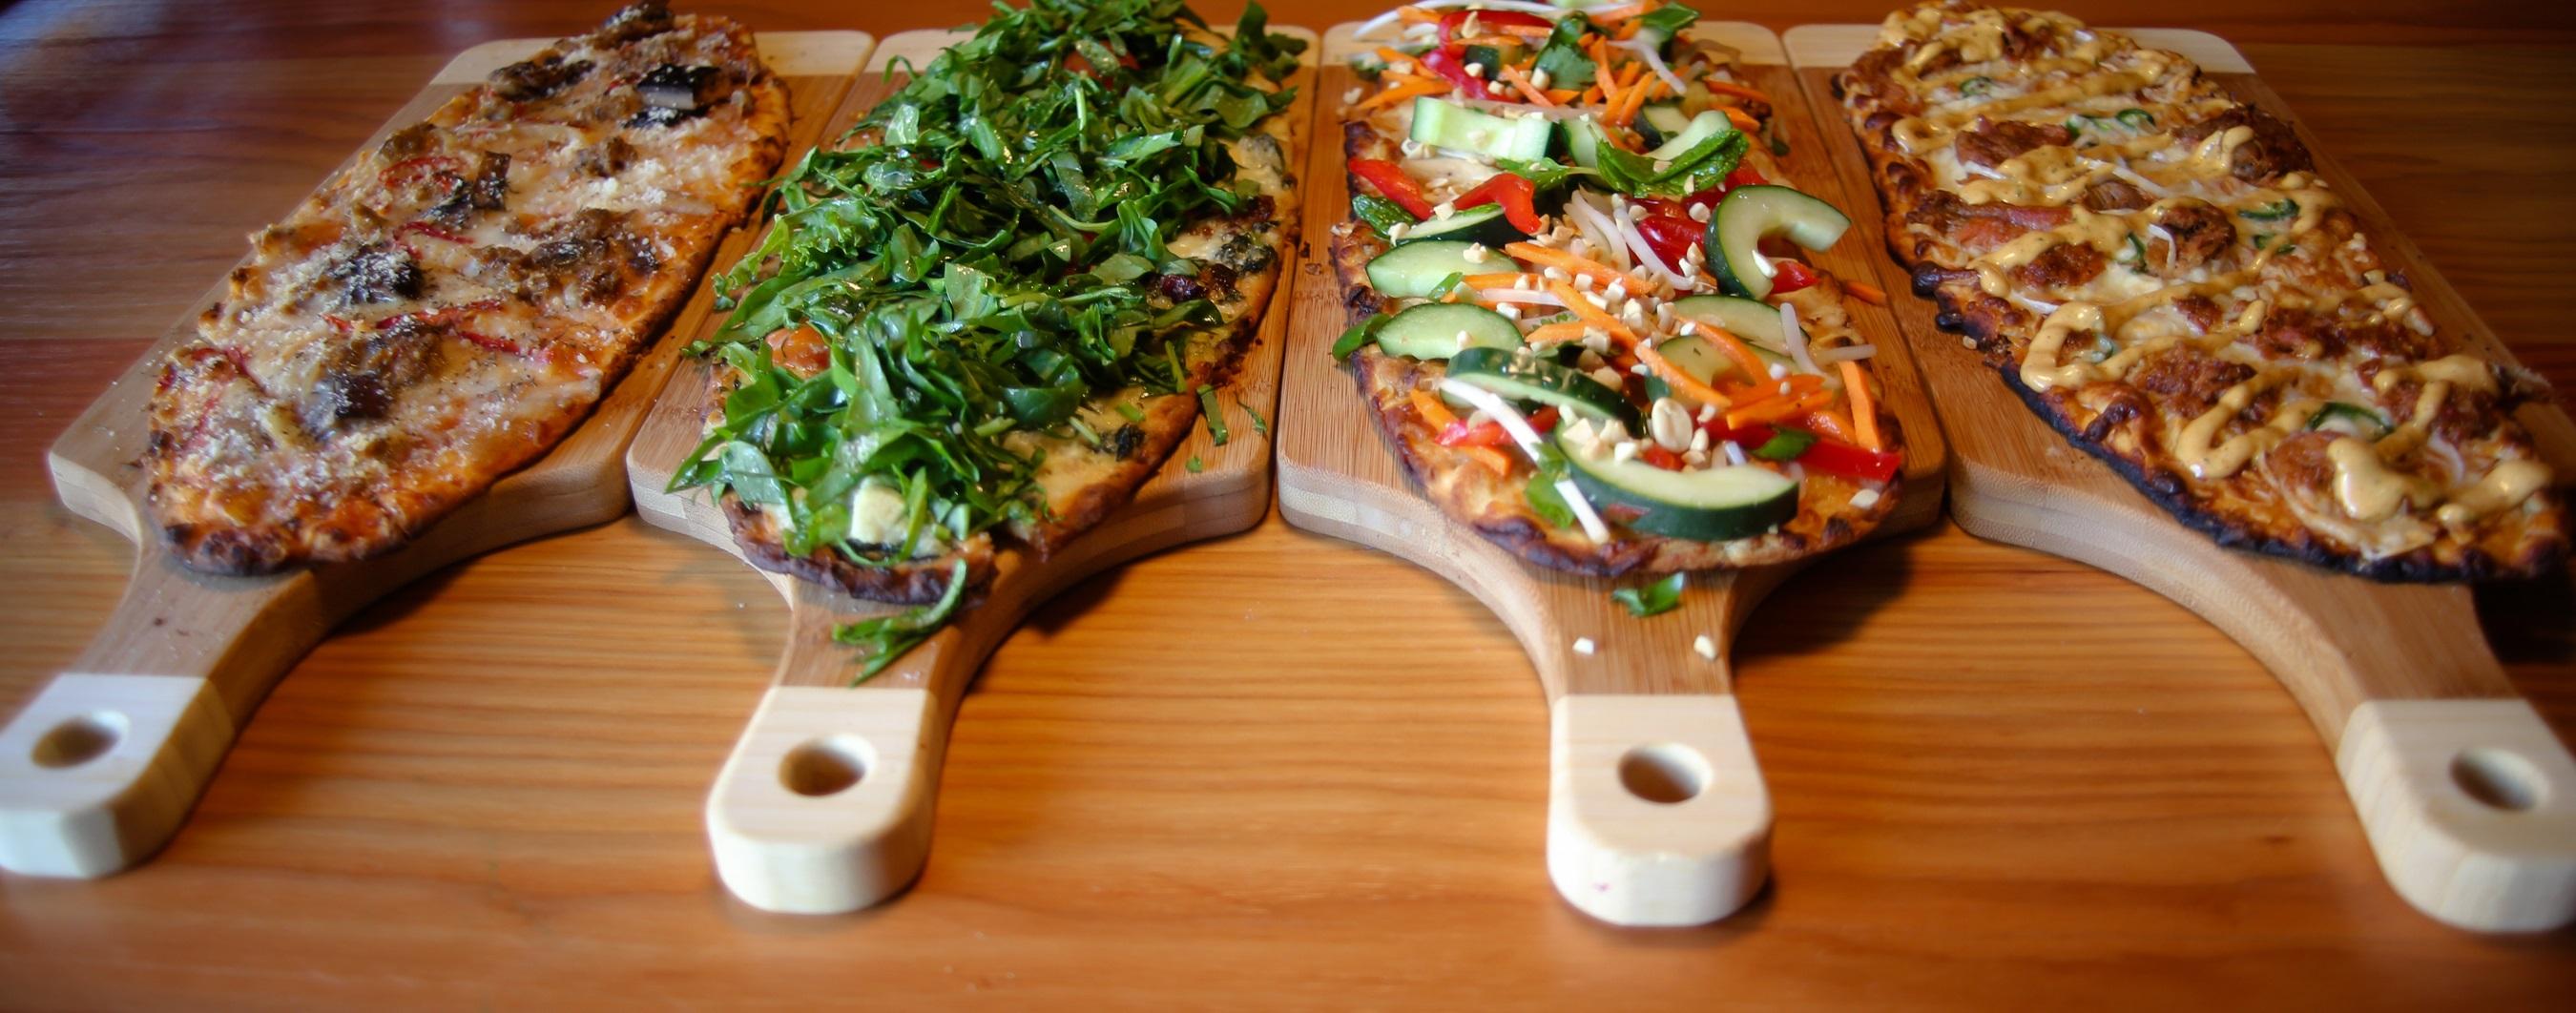
Yes, same here. Will post pics later today of forward carb disassembly. Just had to share this quickly: I usually talk with my wife about how the car work is coming along and what I am working on. I came in from the garage yesterday afternoon and she asked me how my "Flat Bread Carbs" were coming along. So, here is a nice picture of some 'Flat Bread Carbs'.......almost as nice as a good set of 'flat top carbs'. ?