motorman7
 Subscriber
-
Joined
-
Last visited
Everything posted by motorman7
-
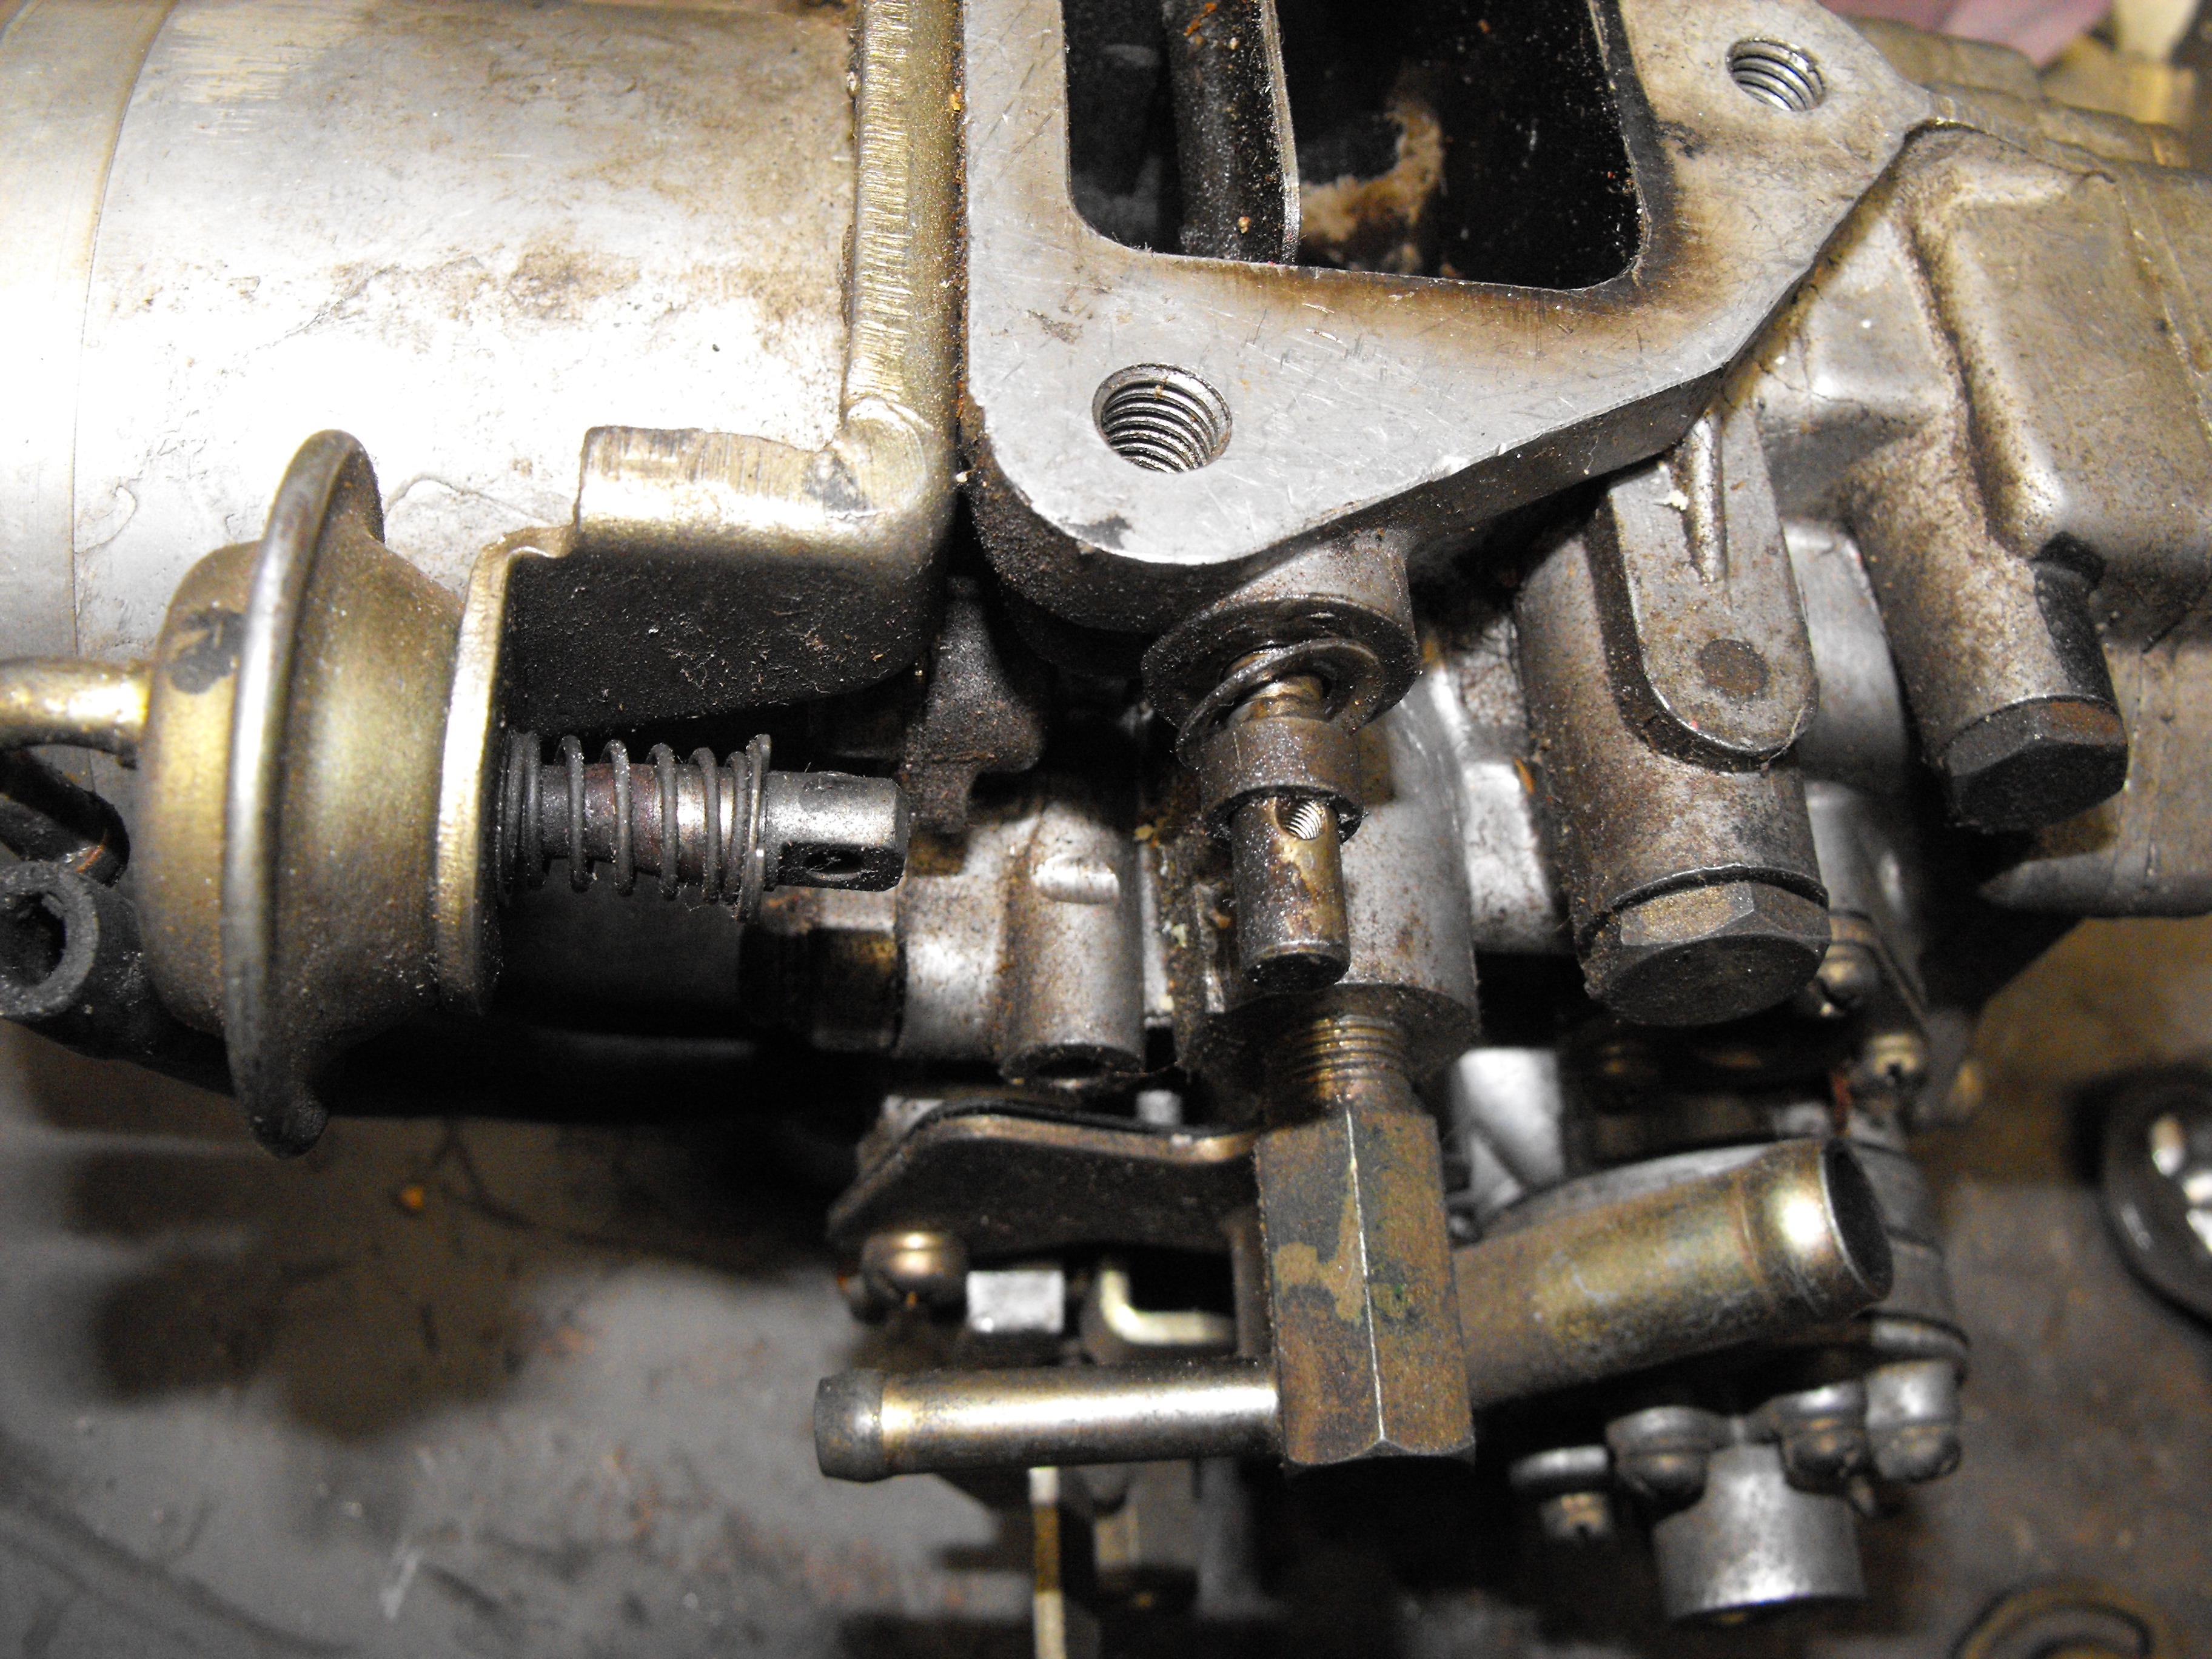
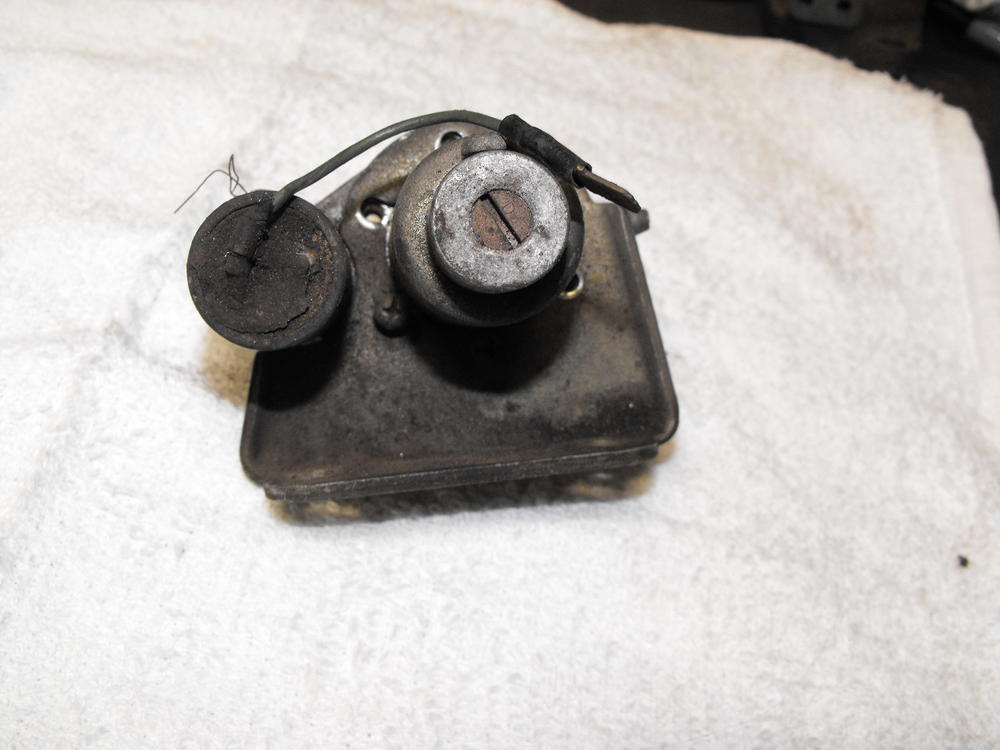
 I noted the throttle spindle seemed a bit loose in it's bushings. I will have to look into getting a new set of these. I may also be interested in the diaphragms if these to not hold a vacuum. Thanks for the comments.
 -
Thanks for the heads up on this. Will make sure I keep the parts well organized so I don't inadvertently swap these items.
-
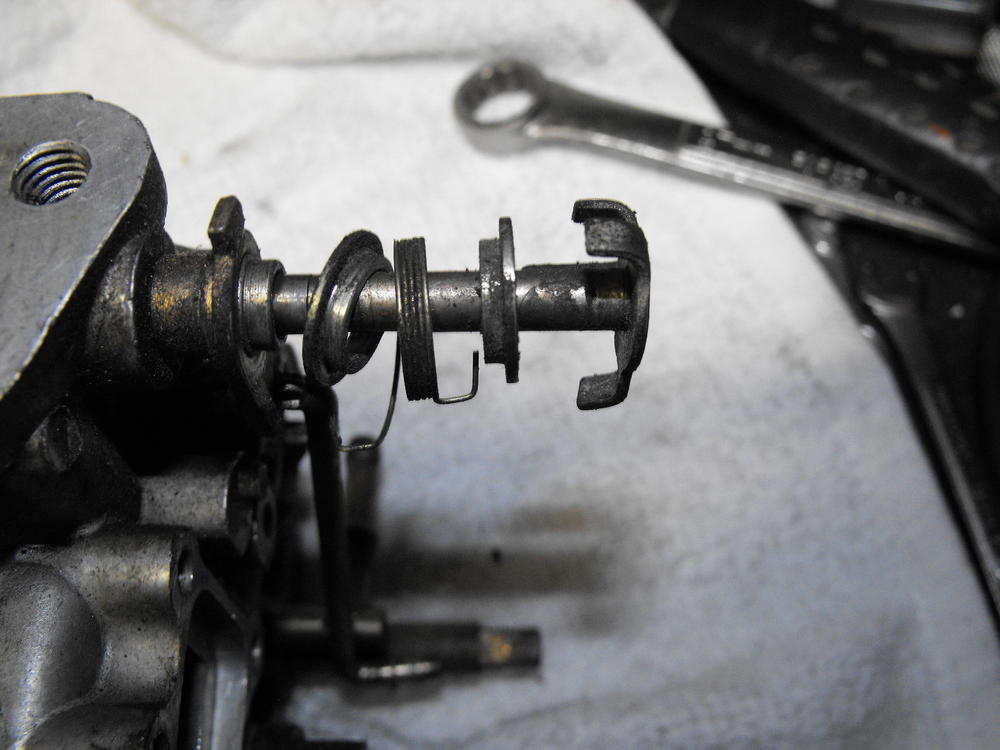
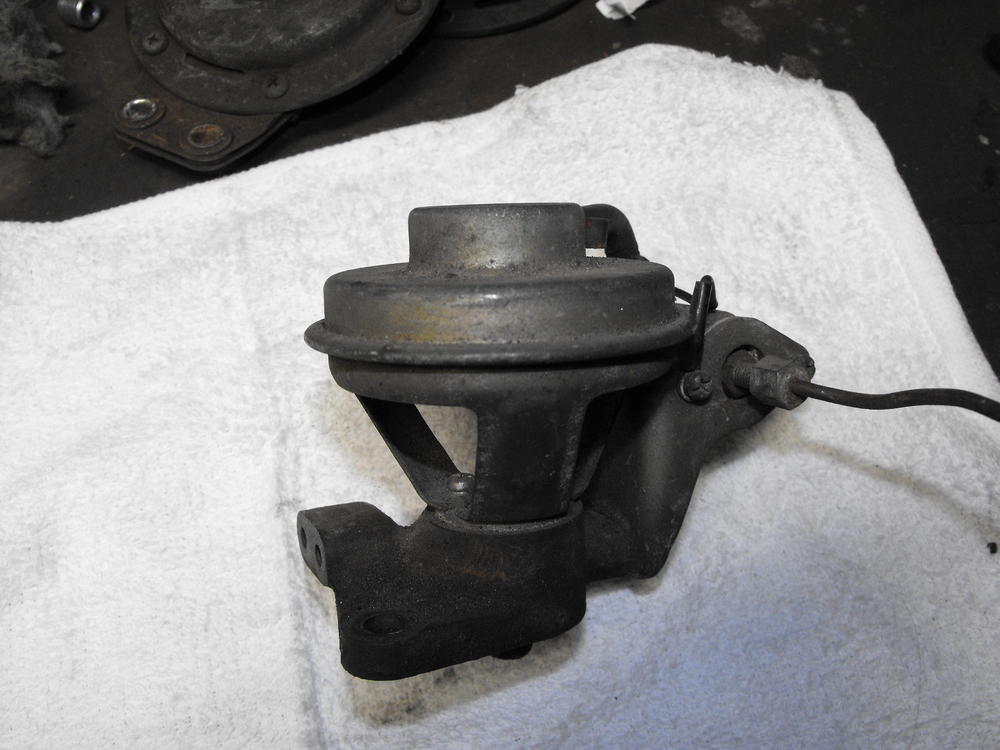
Hi Jim, I am really excited about working on these, believe it or not. Being a mechanical engineer by profession I really like all of the mechanisms, bushings, springs, etc. I have been actuating and cycling some of the mechanisms prior to disassembly just to nail down each function. I was actually pretty impressed with how smoothly the choke mechanism operated and how easy it was to remove the floats. Also, it was fairly clean inside, for the most part as you can see in the pics. It really helps to have the extra sets, that way I can be selective about the parts that I use for the primary set when the parts are re-zinced. I should have spares of most parts which will be nice. Also, having a completed carb will make the re-assembly go a bit faster. The key will be having everything organized and making sure all the parts operate well. For the Choke vacuum breakers, I am hoping that there are two good ones out of the four. I will hook up my vacuum pump and check them out here soon.
-
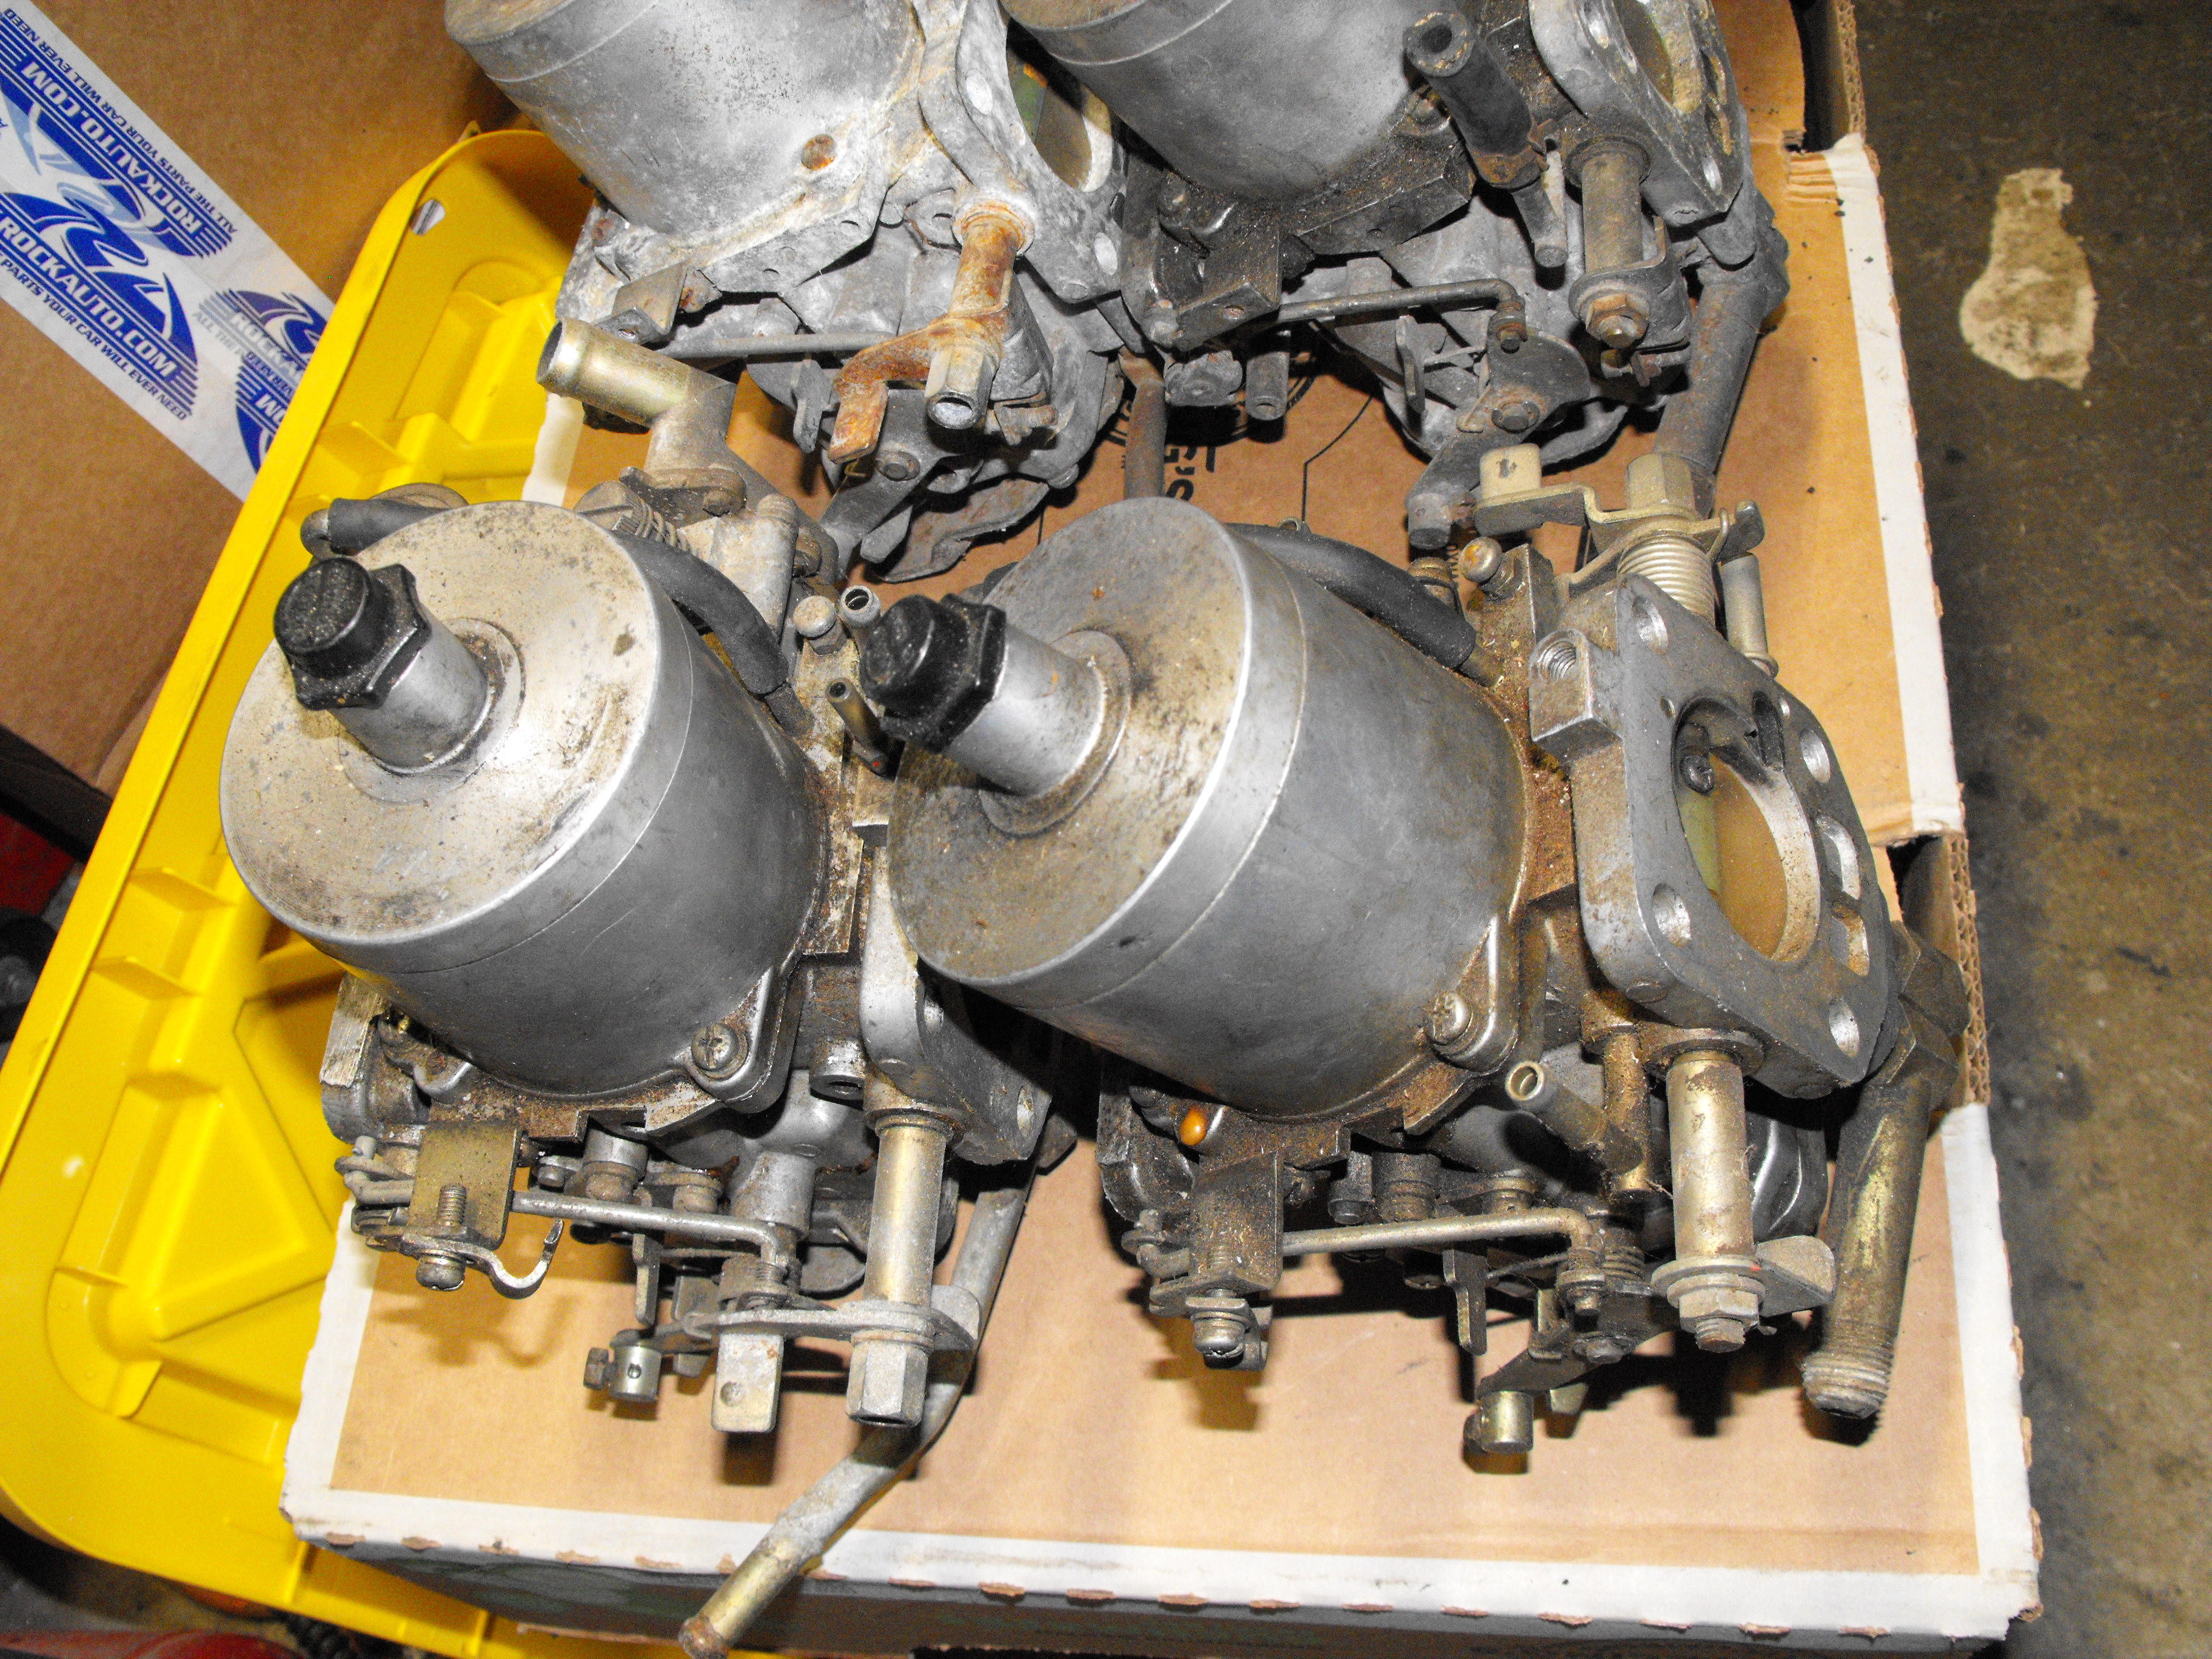
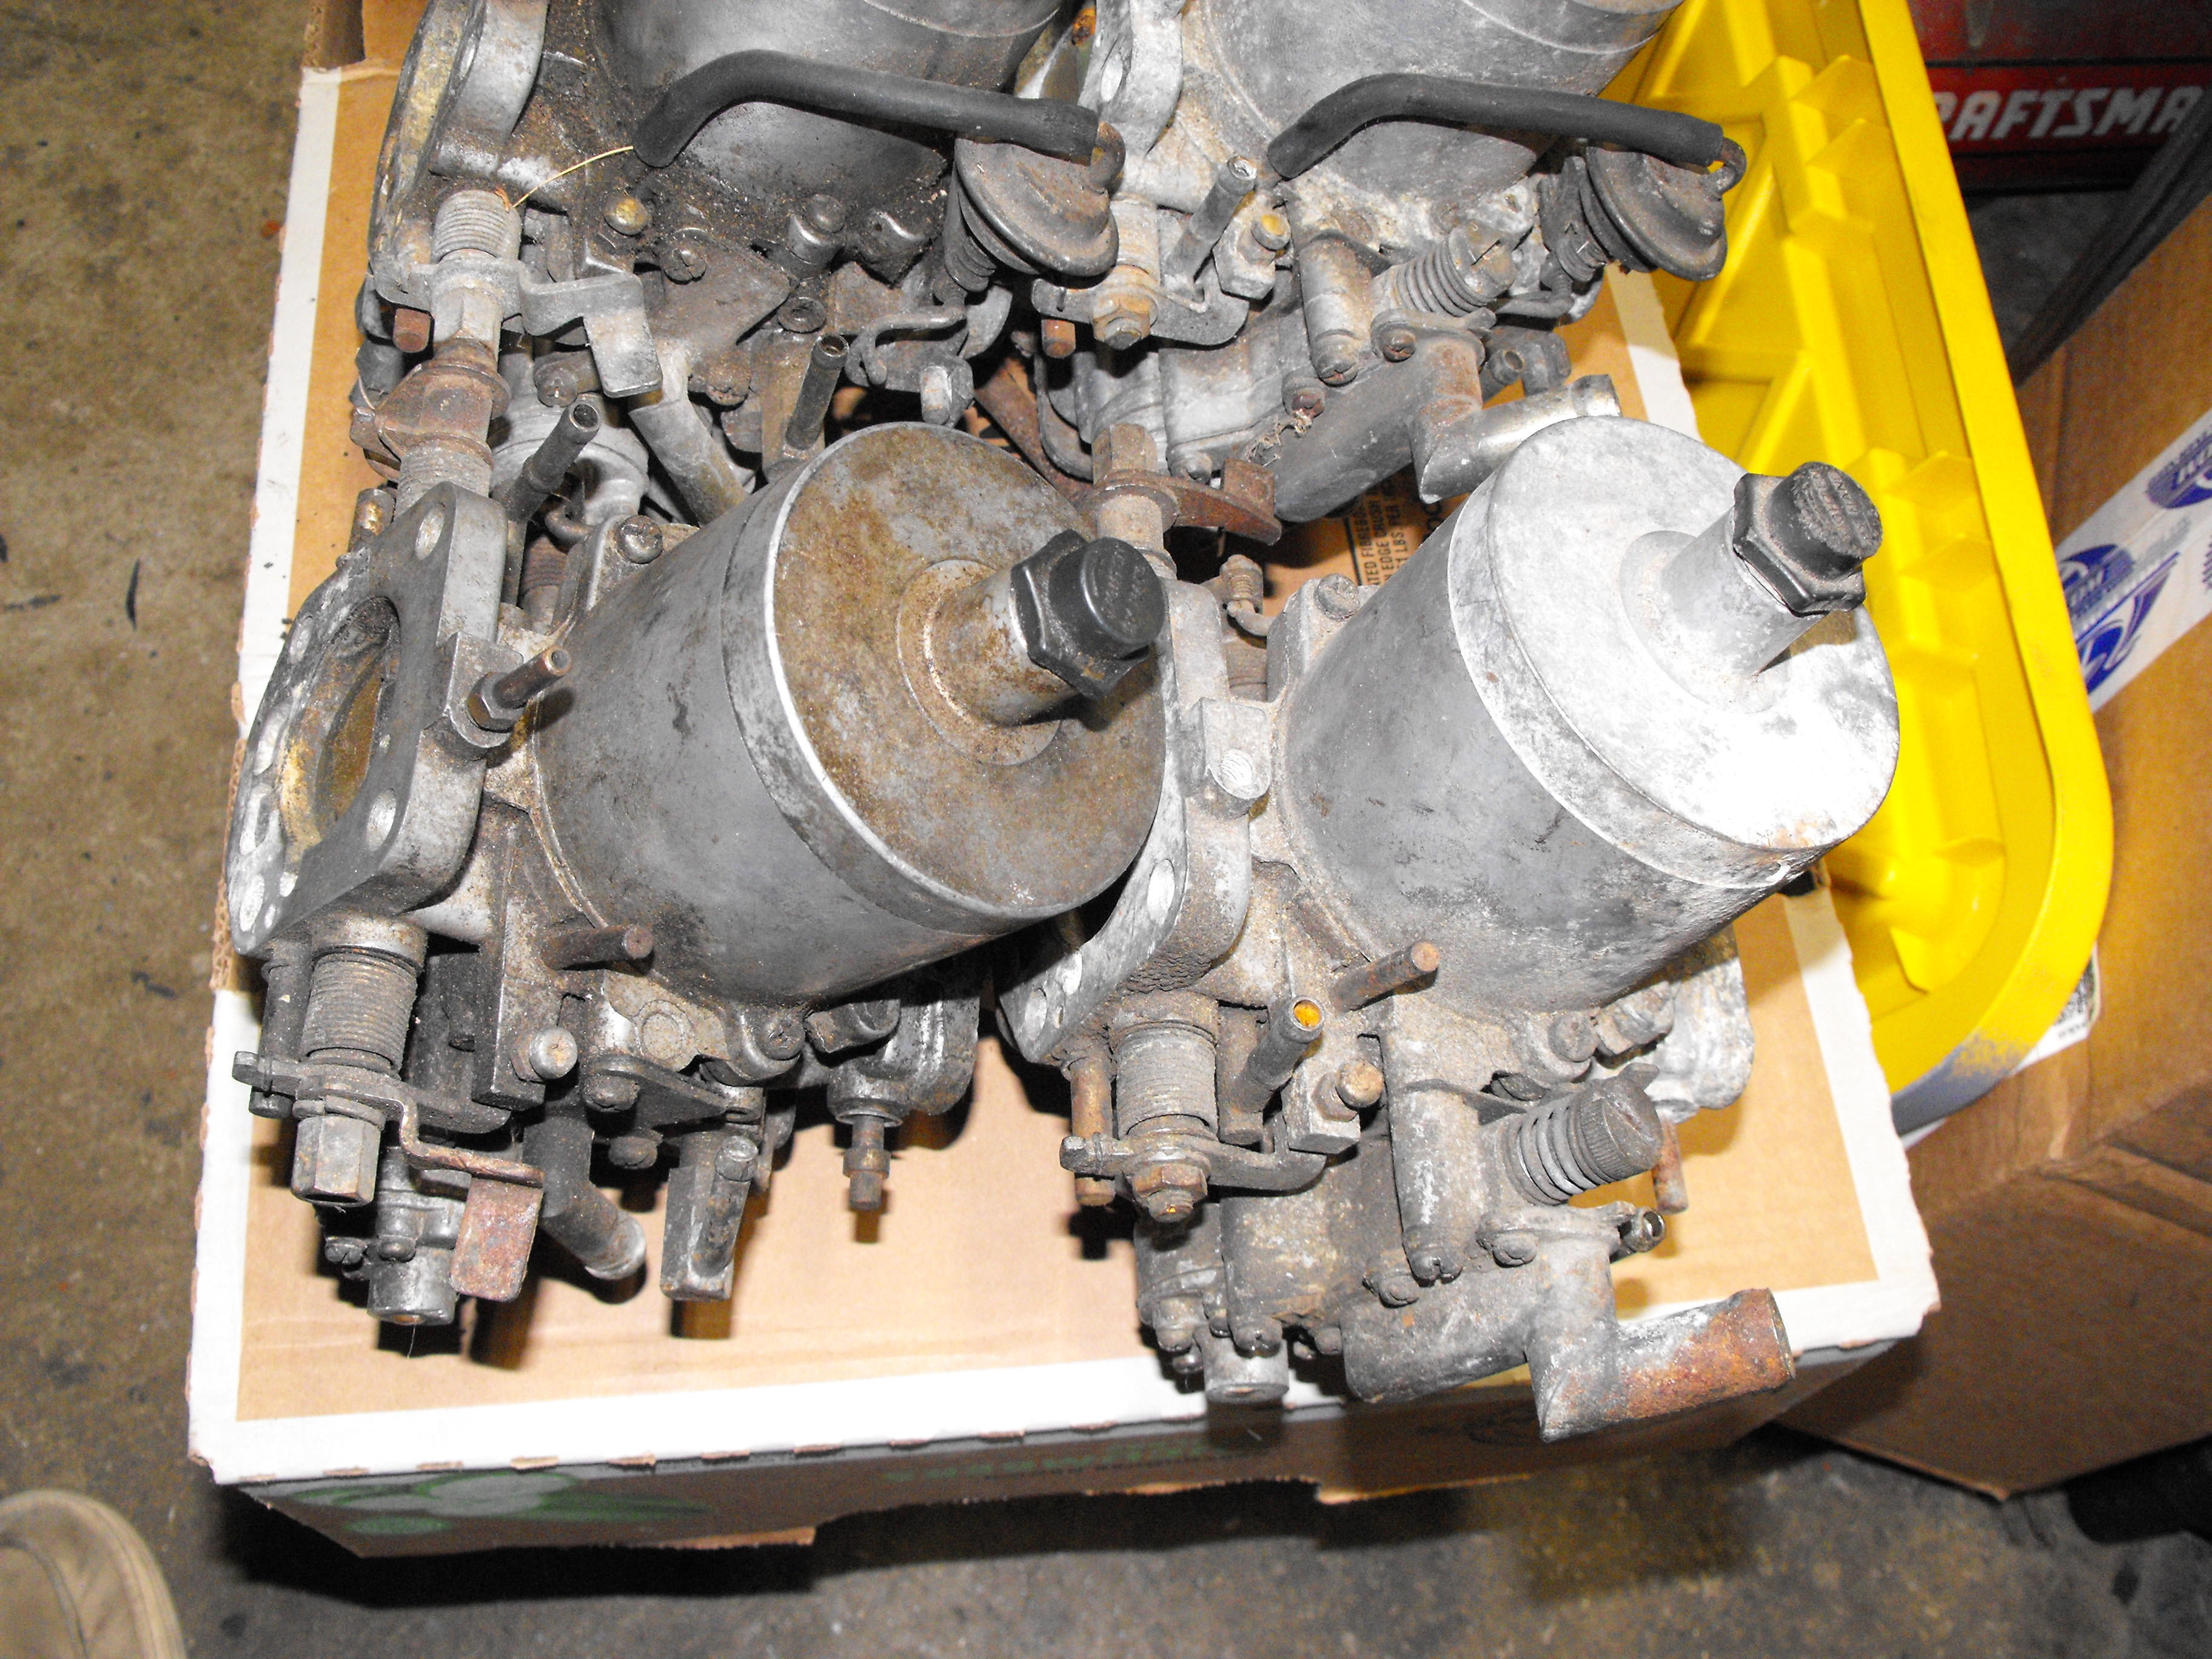
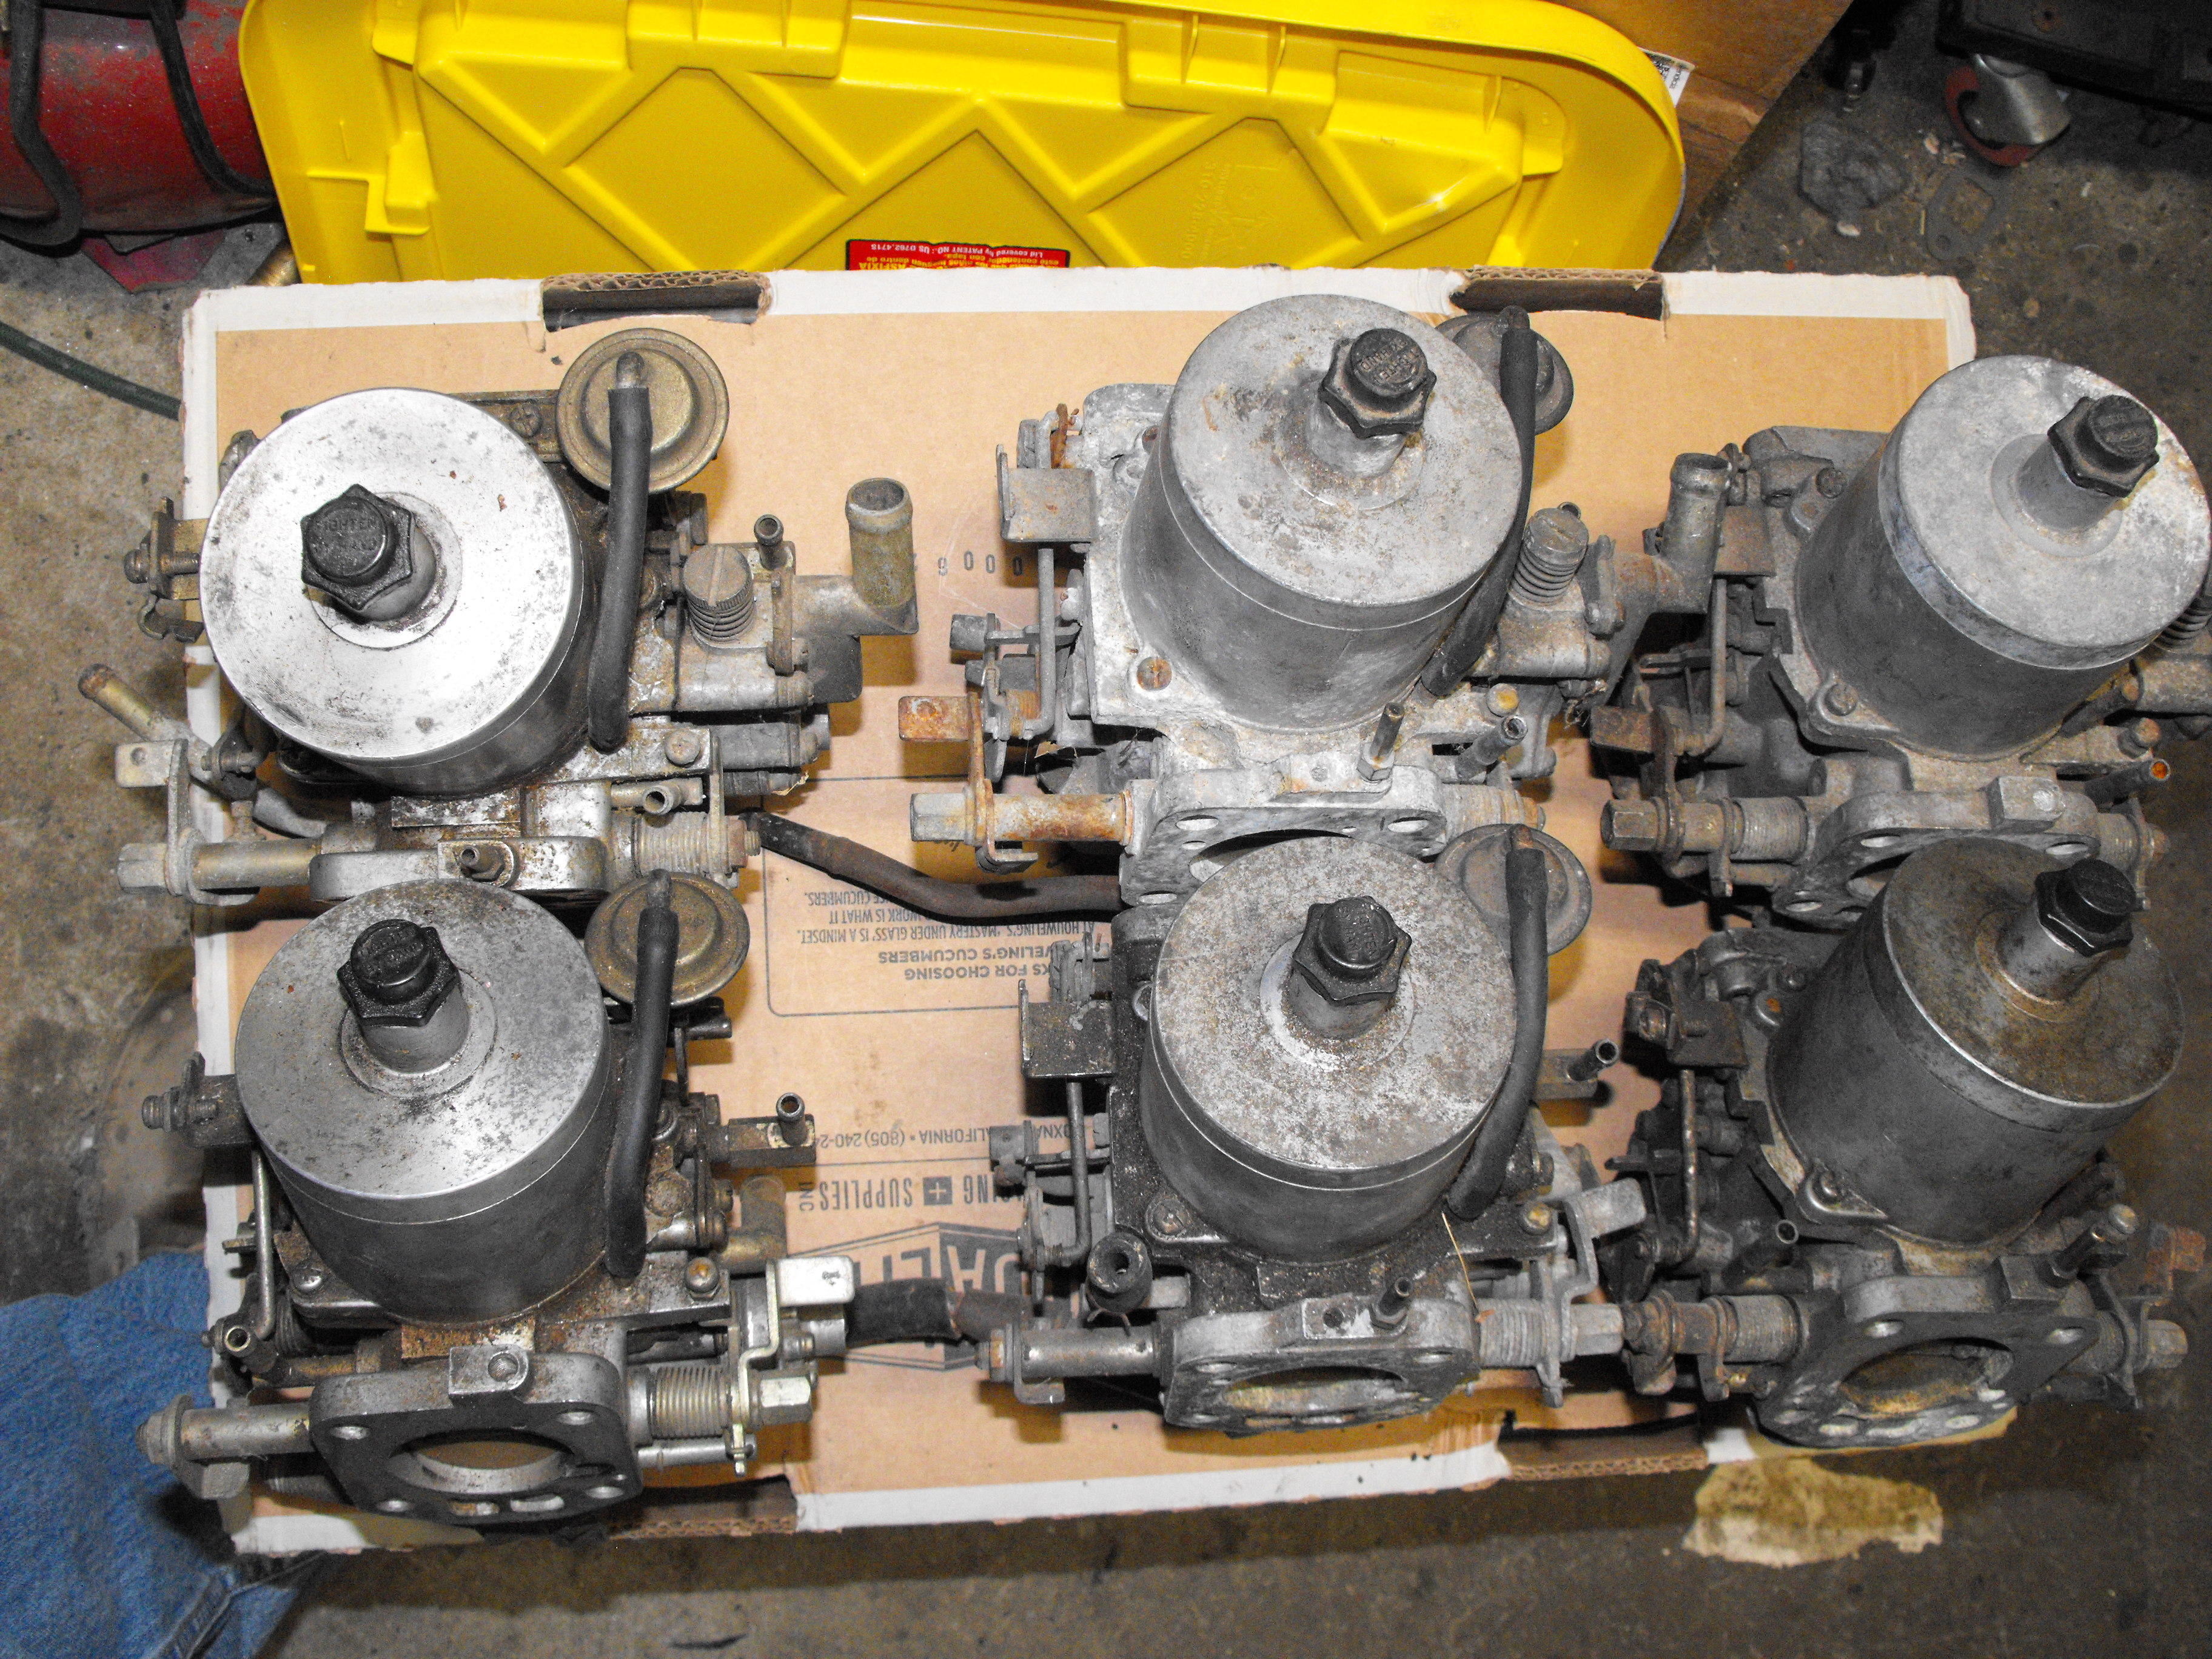
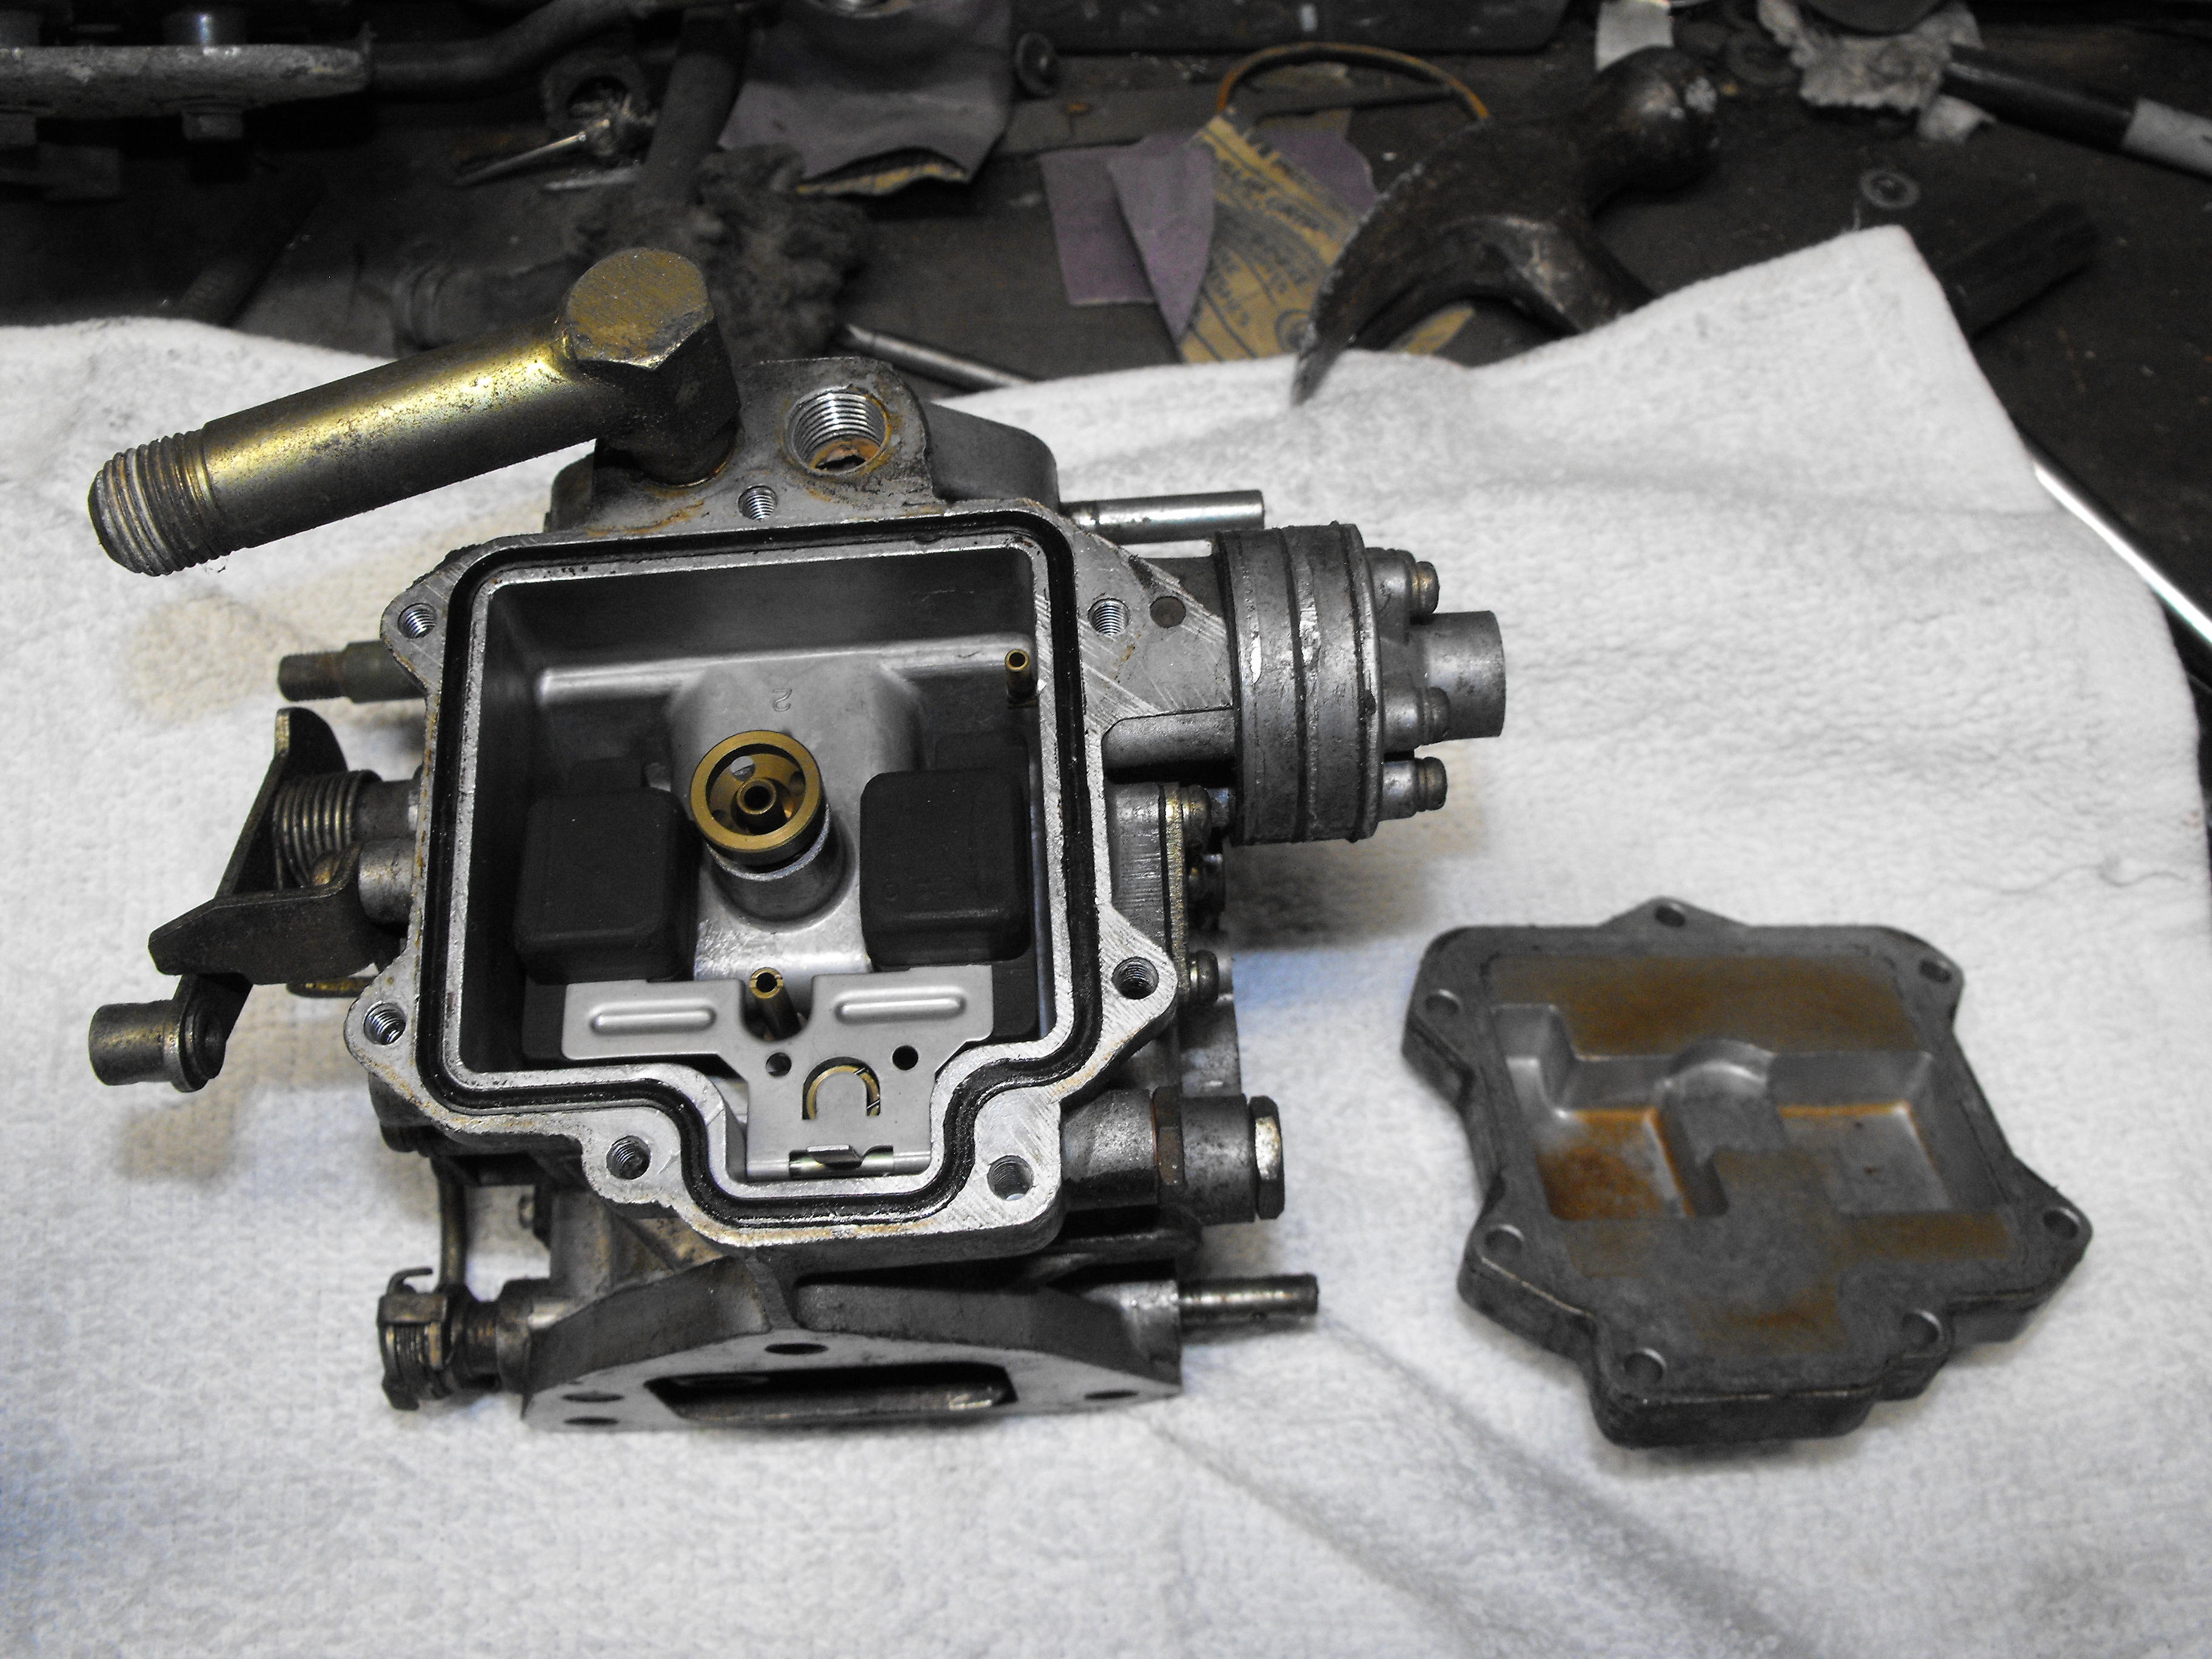
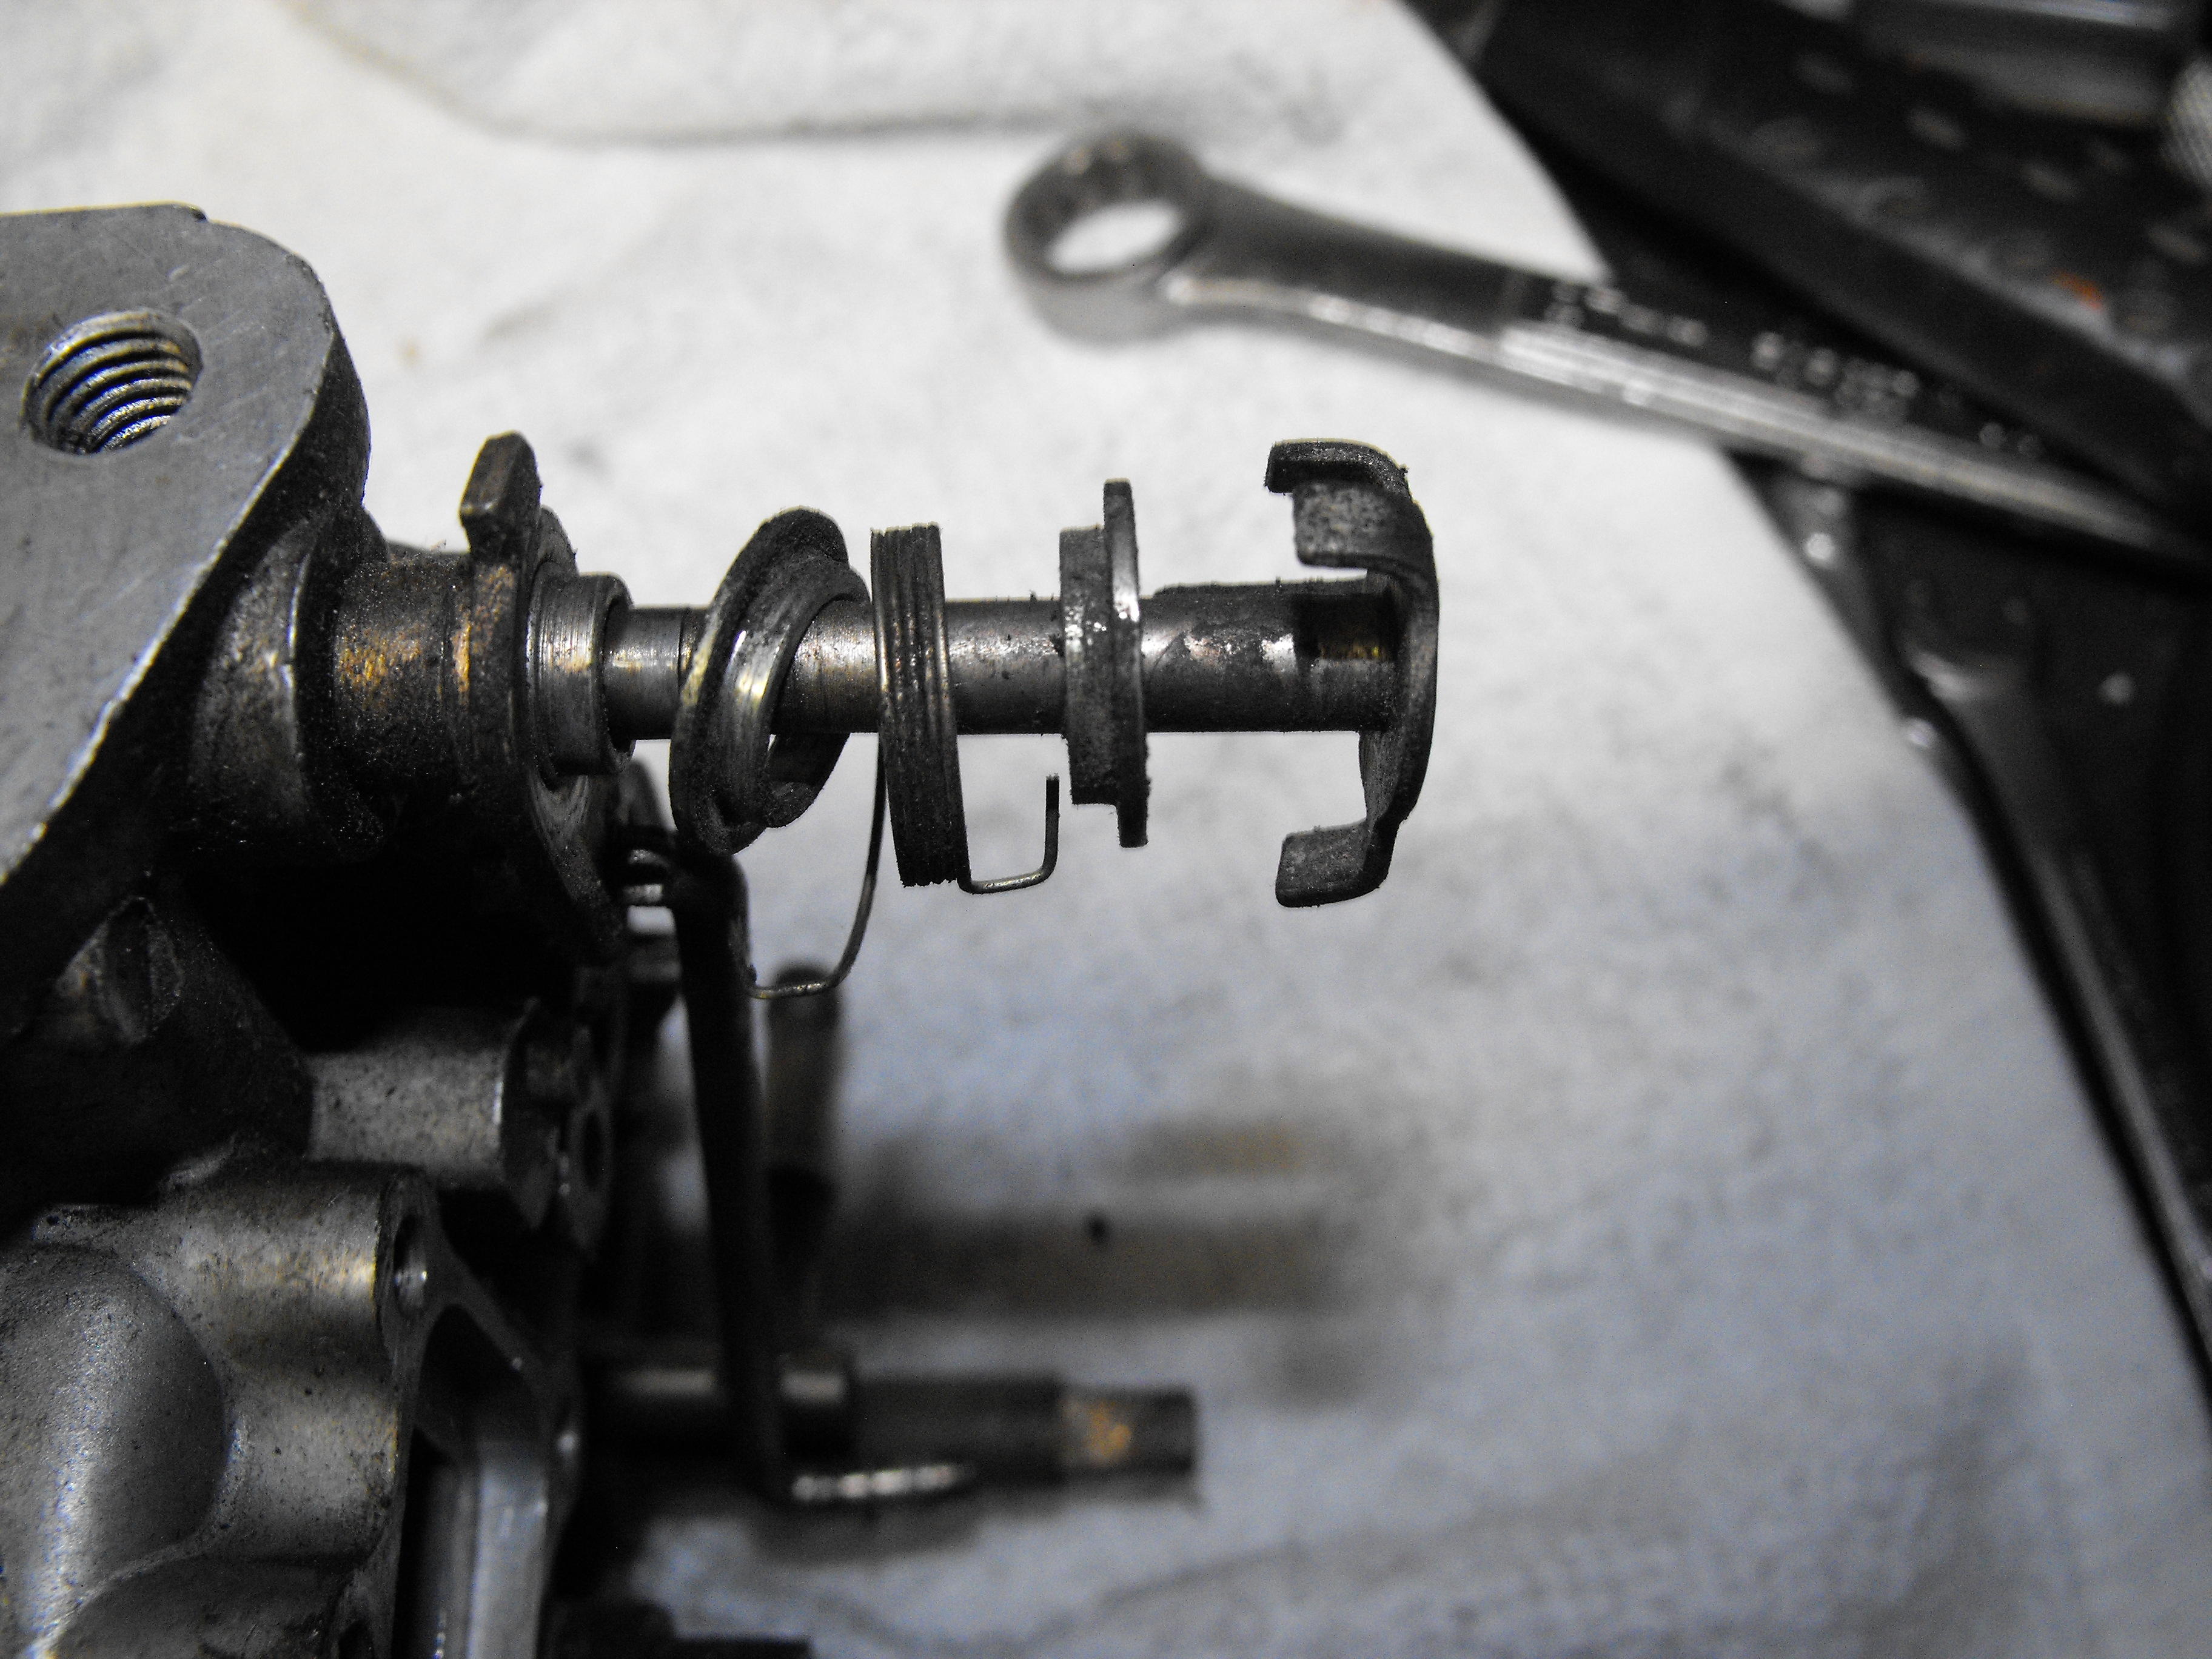
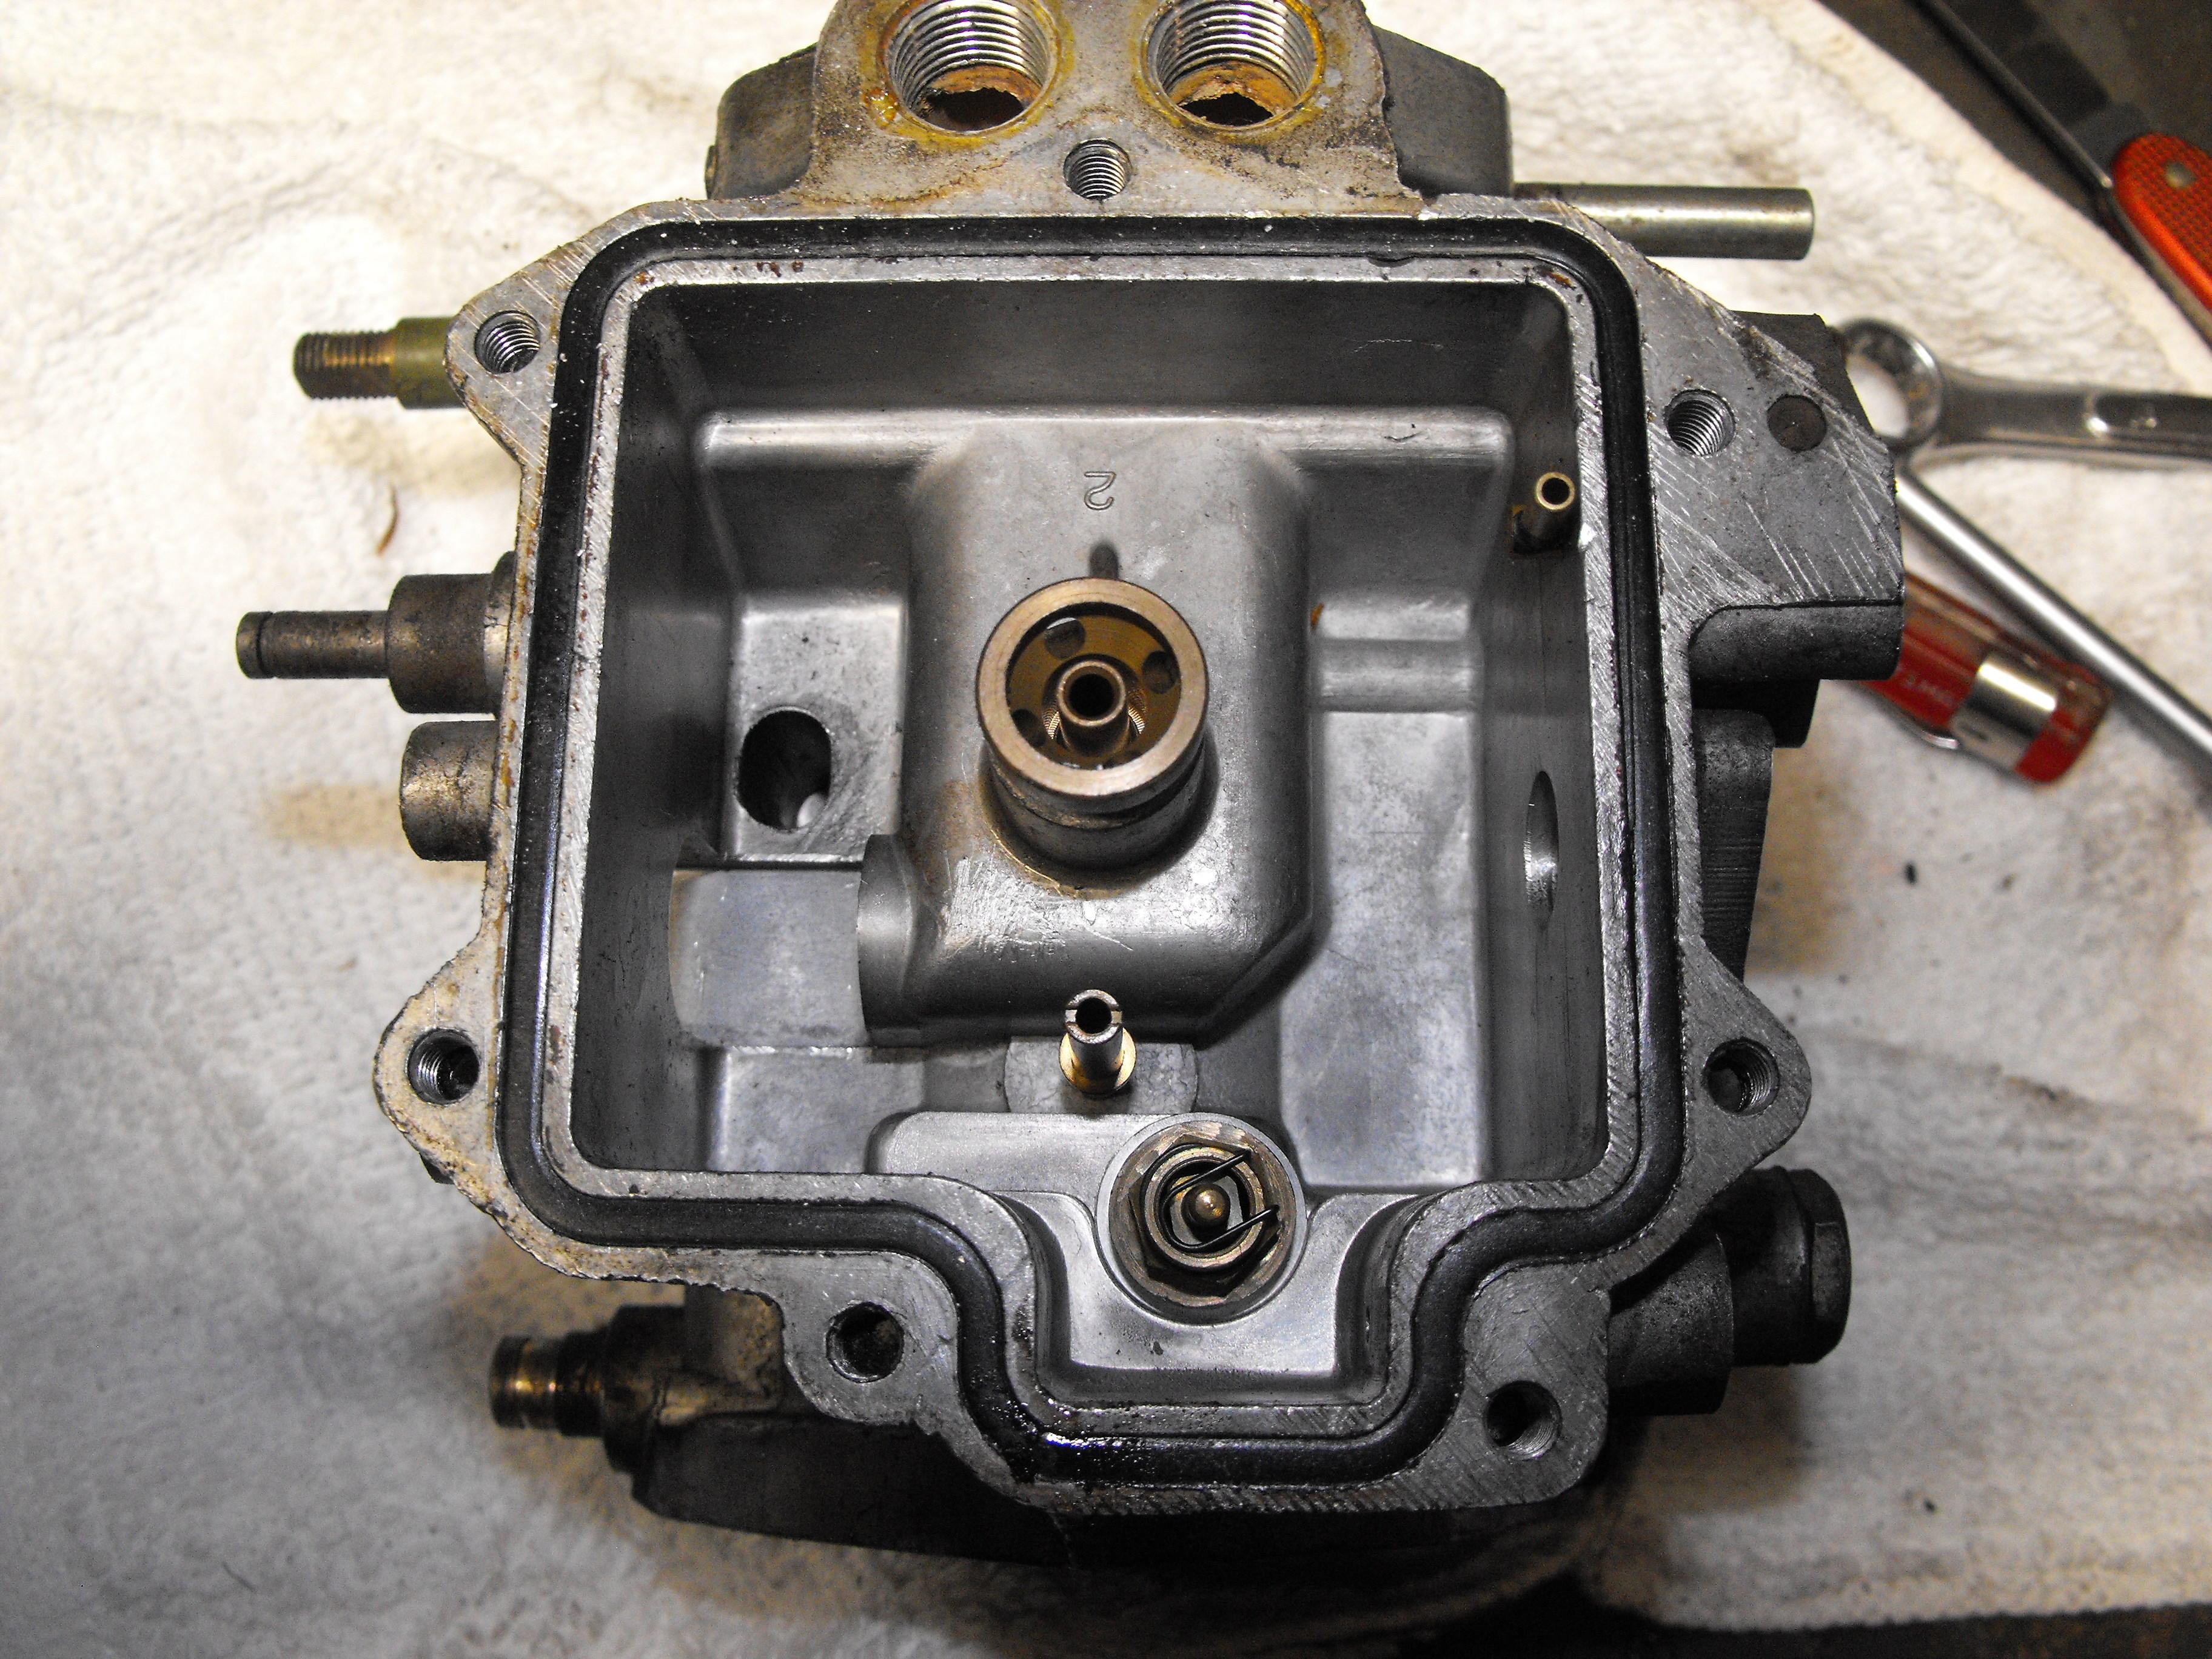
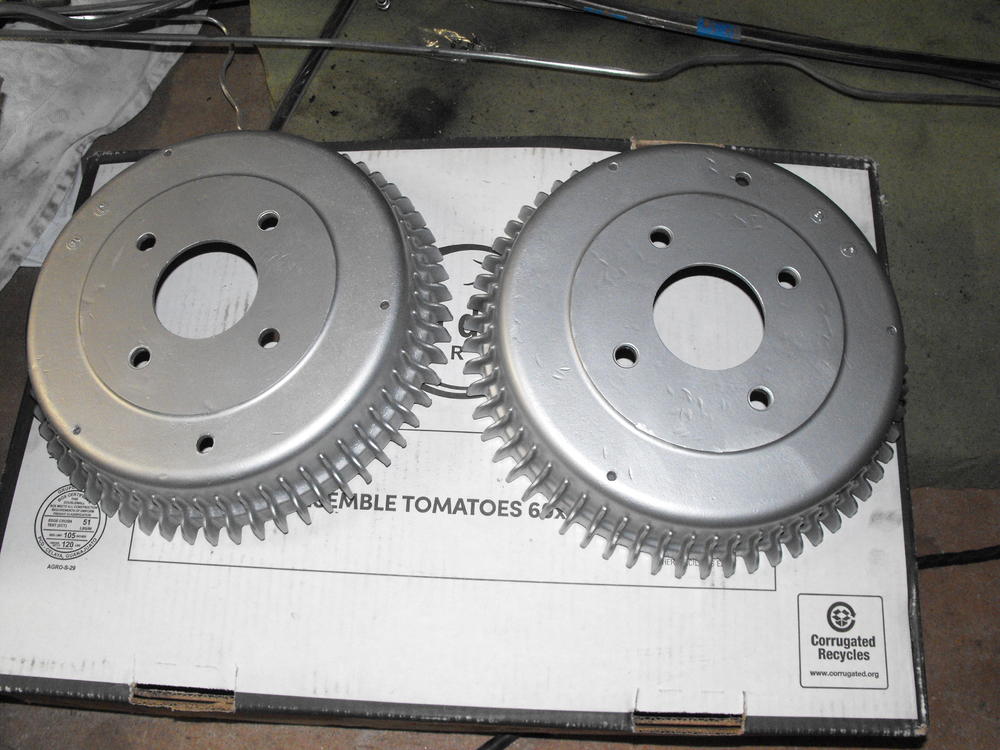
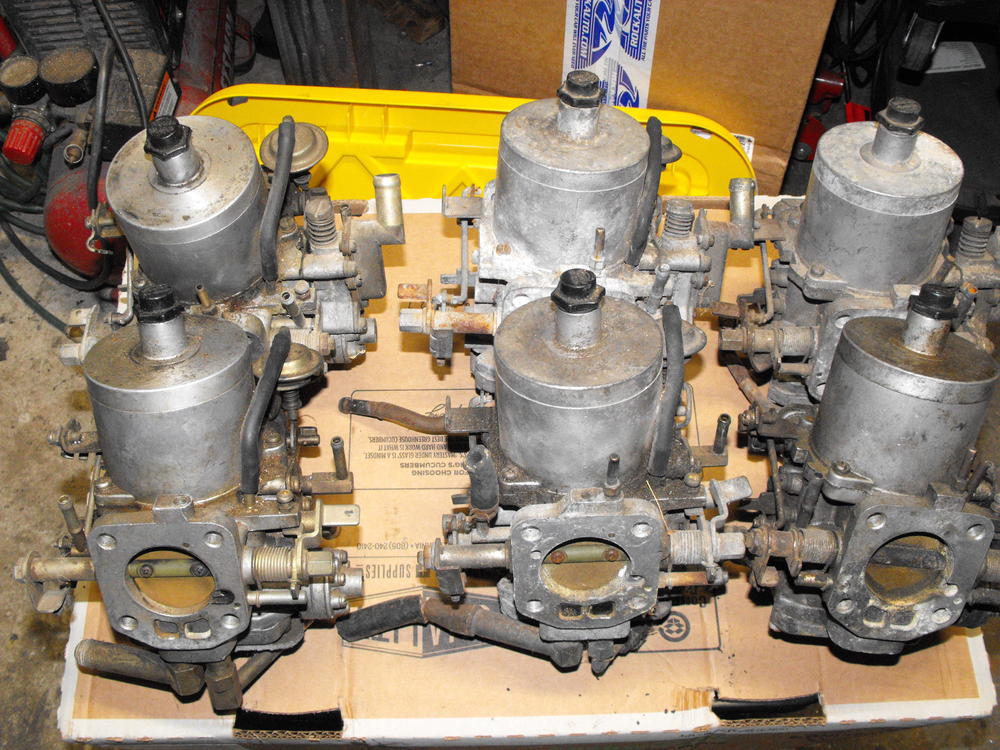
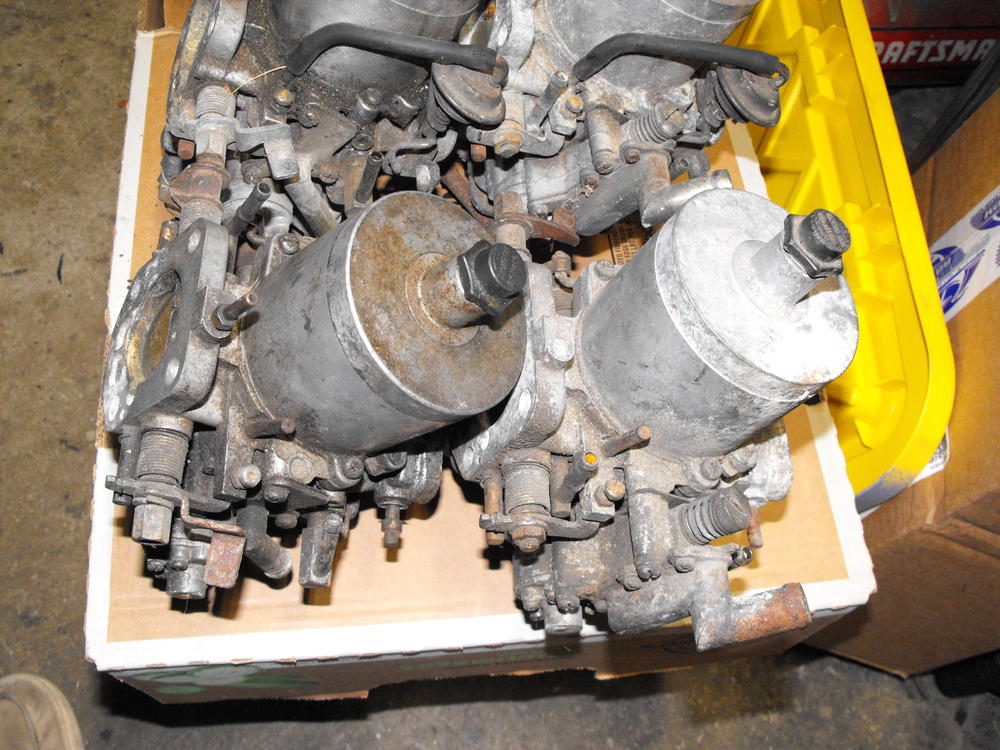
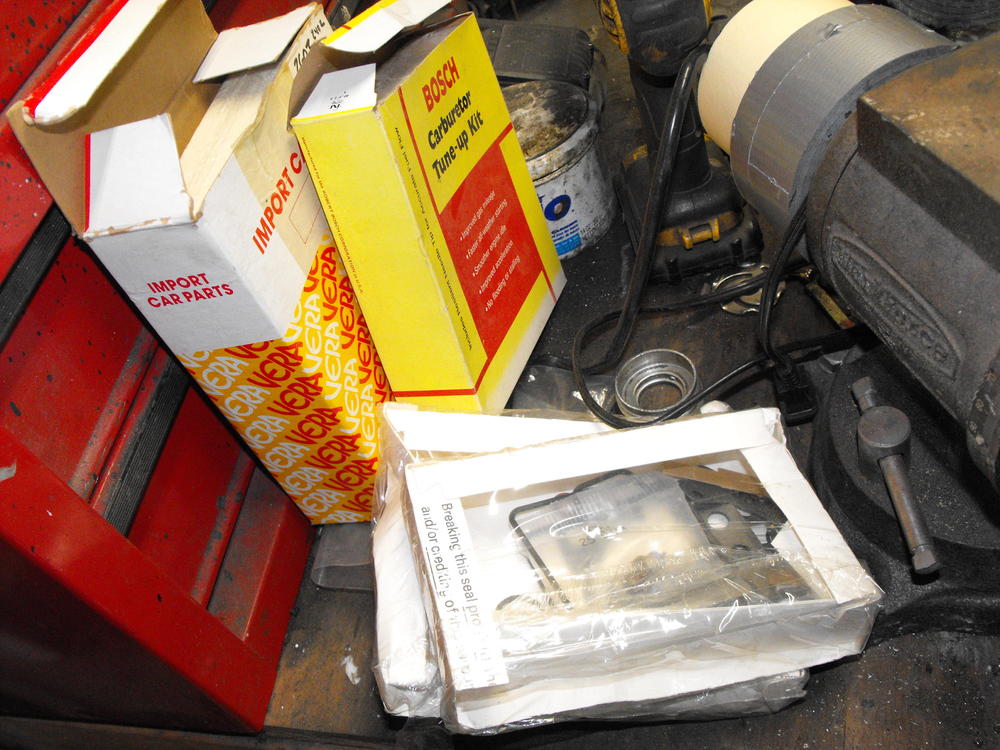
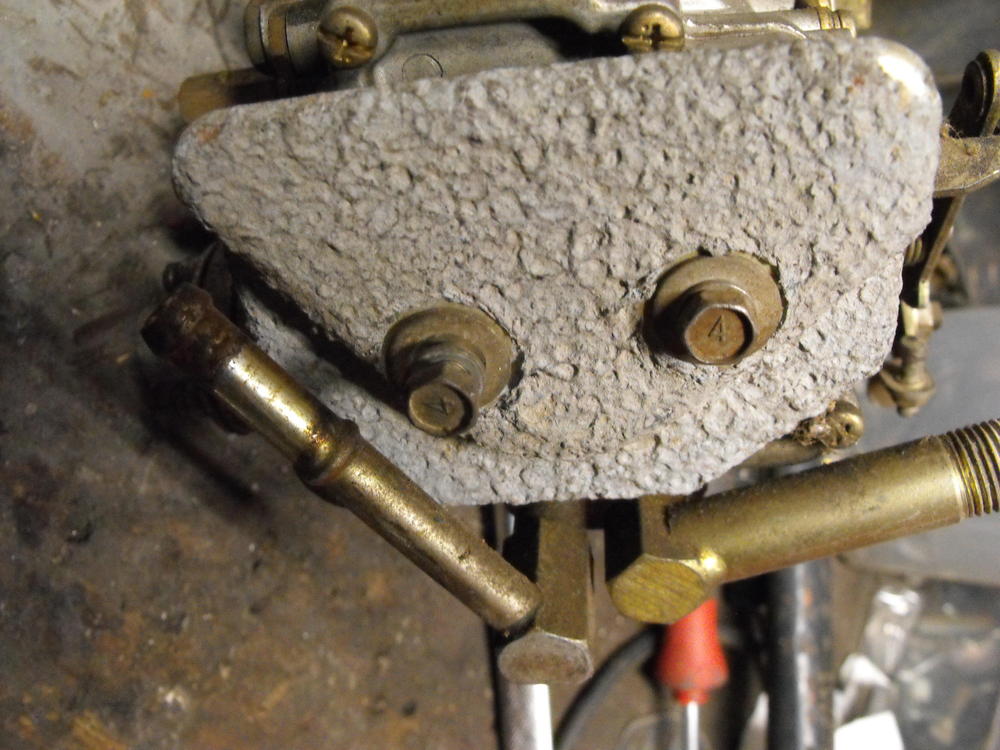
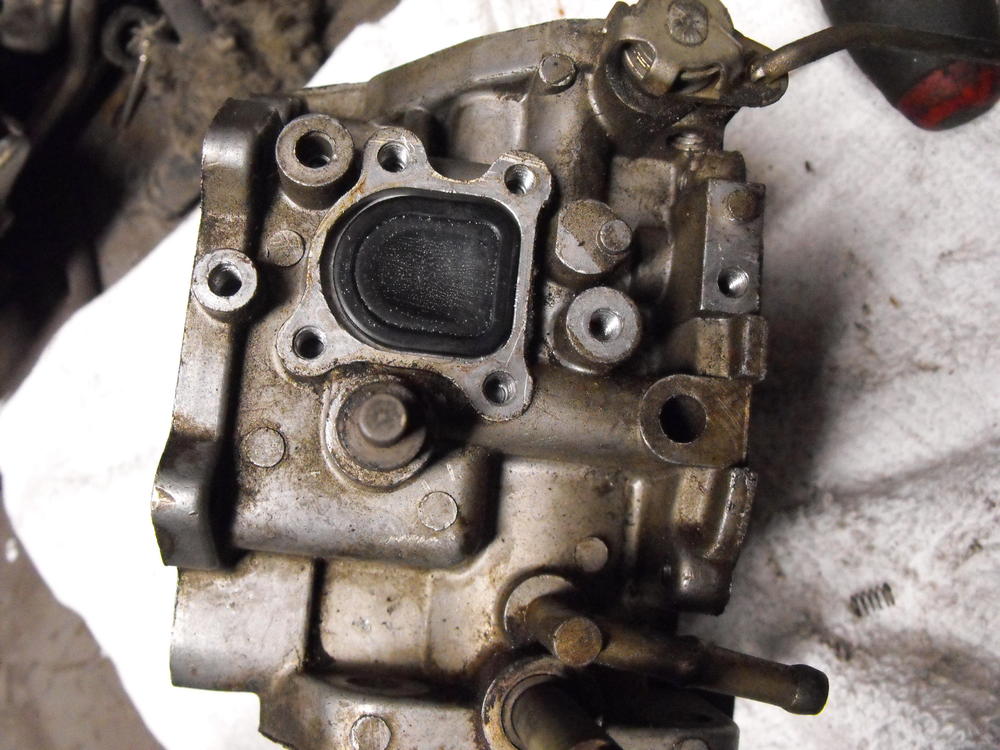
I cleaned the outside of the rear drums and painted them with high temp ceramic aluminum paint. They look pretty, but I am not sure that I like the finish. They seem a bit too glossy. I may change my mind and bead blast them and give them a high temp matte clear coat. And now what you all have been waiting for....I am venturing into the Flat Tops. I have three sets of the flat top carbs with two of them being mostly complete. The third set is missing the little diaphragm canisters, heat shields and linkage. The set on the left has the '2' stamped on the body and I am assuming those are the original carbs. They were also in the best condition. My plan here is to disassemble the best two sets and get all of the yellow zinc parts out to plating. I will keep the third, incomplete set, as a reference for when it's time to put everything back together. I have 4 rebuild kits. I will look through those when I start to put everything back together. Hopefully they are not too old and the rubber is all in good condition. I disassembled the rear carb and it looked to be in pretty nice shape. The trick with getting the phillips head screws out is to put the screwdriver in the screw head and tap the top of the screwdriver firmly with a hammer. That seems to loosen the screw and set the screwdriver deep in the head. All of the screw came out nicely using this method. I took lots of pics during disassembly to make sure this all goes back together correctly. Pics are below.


-
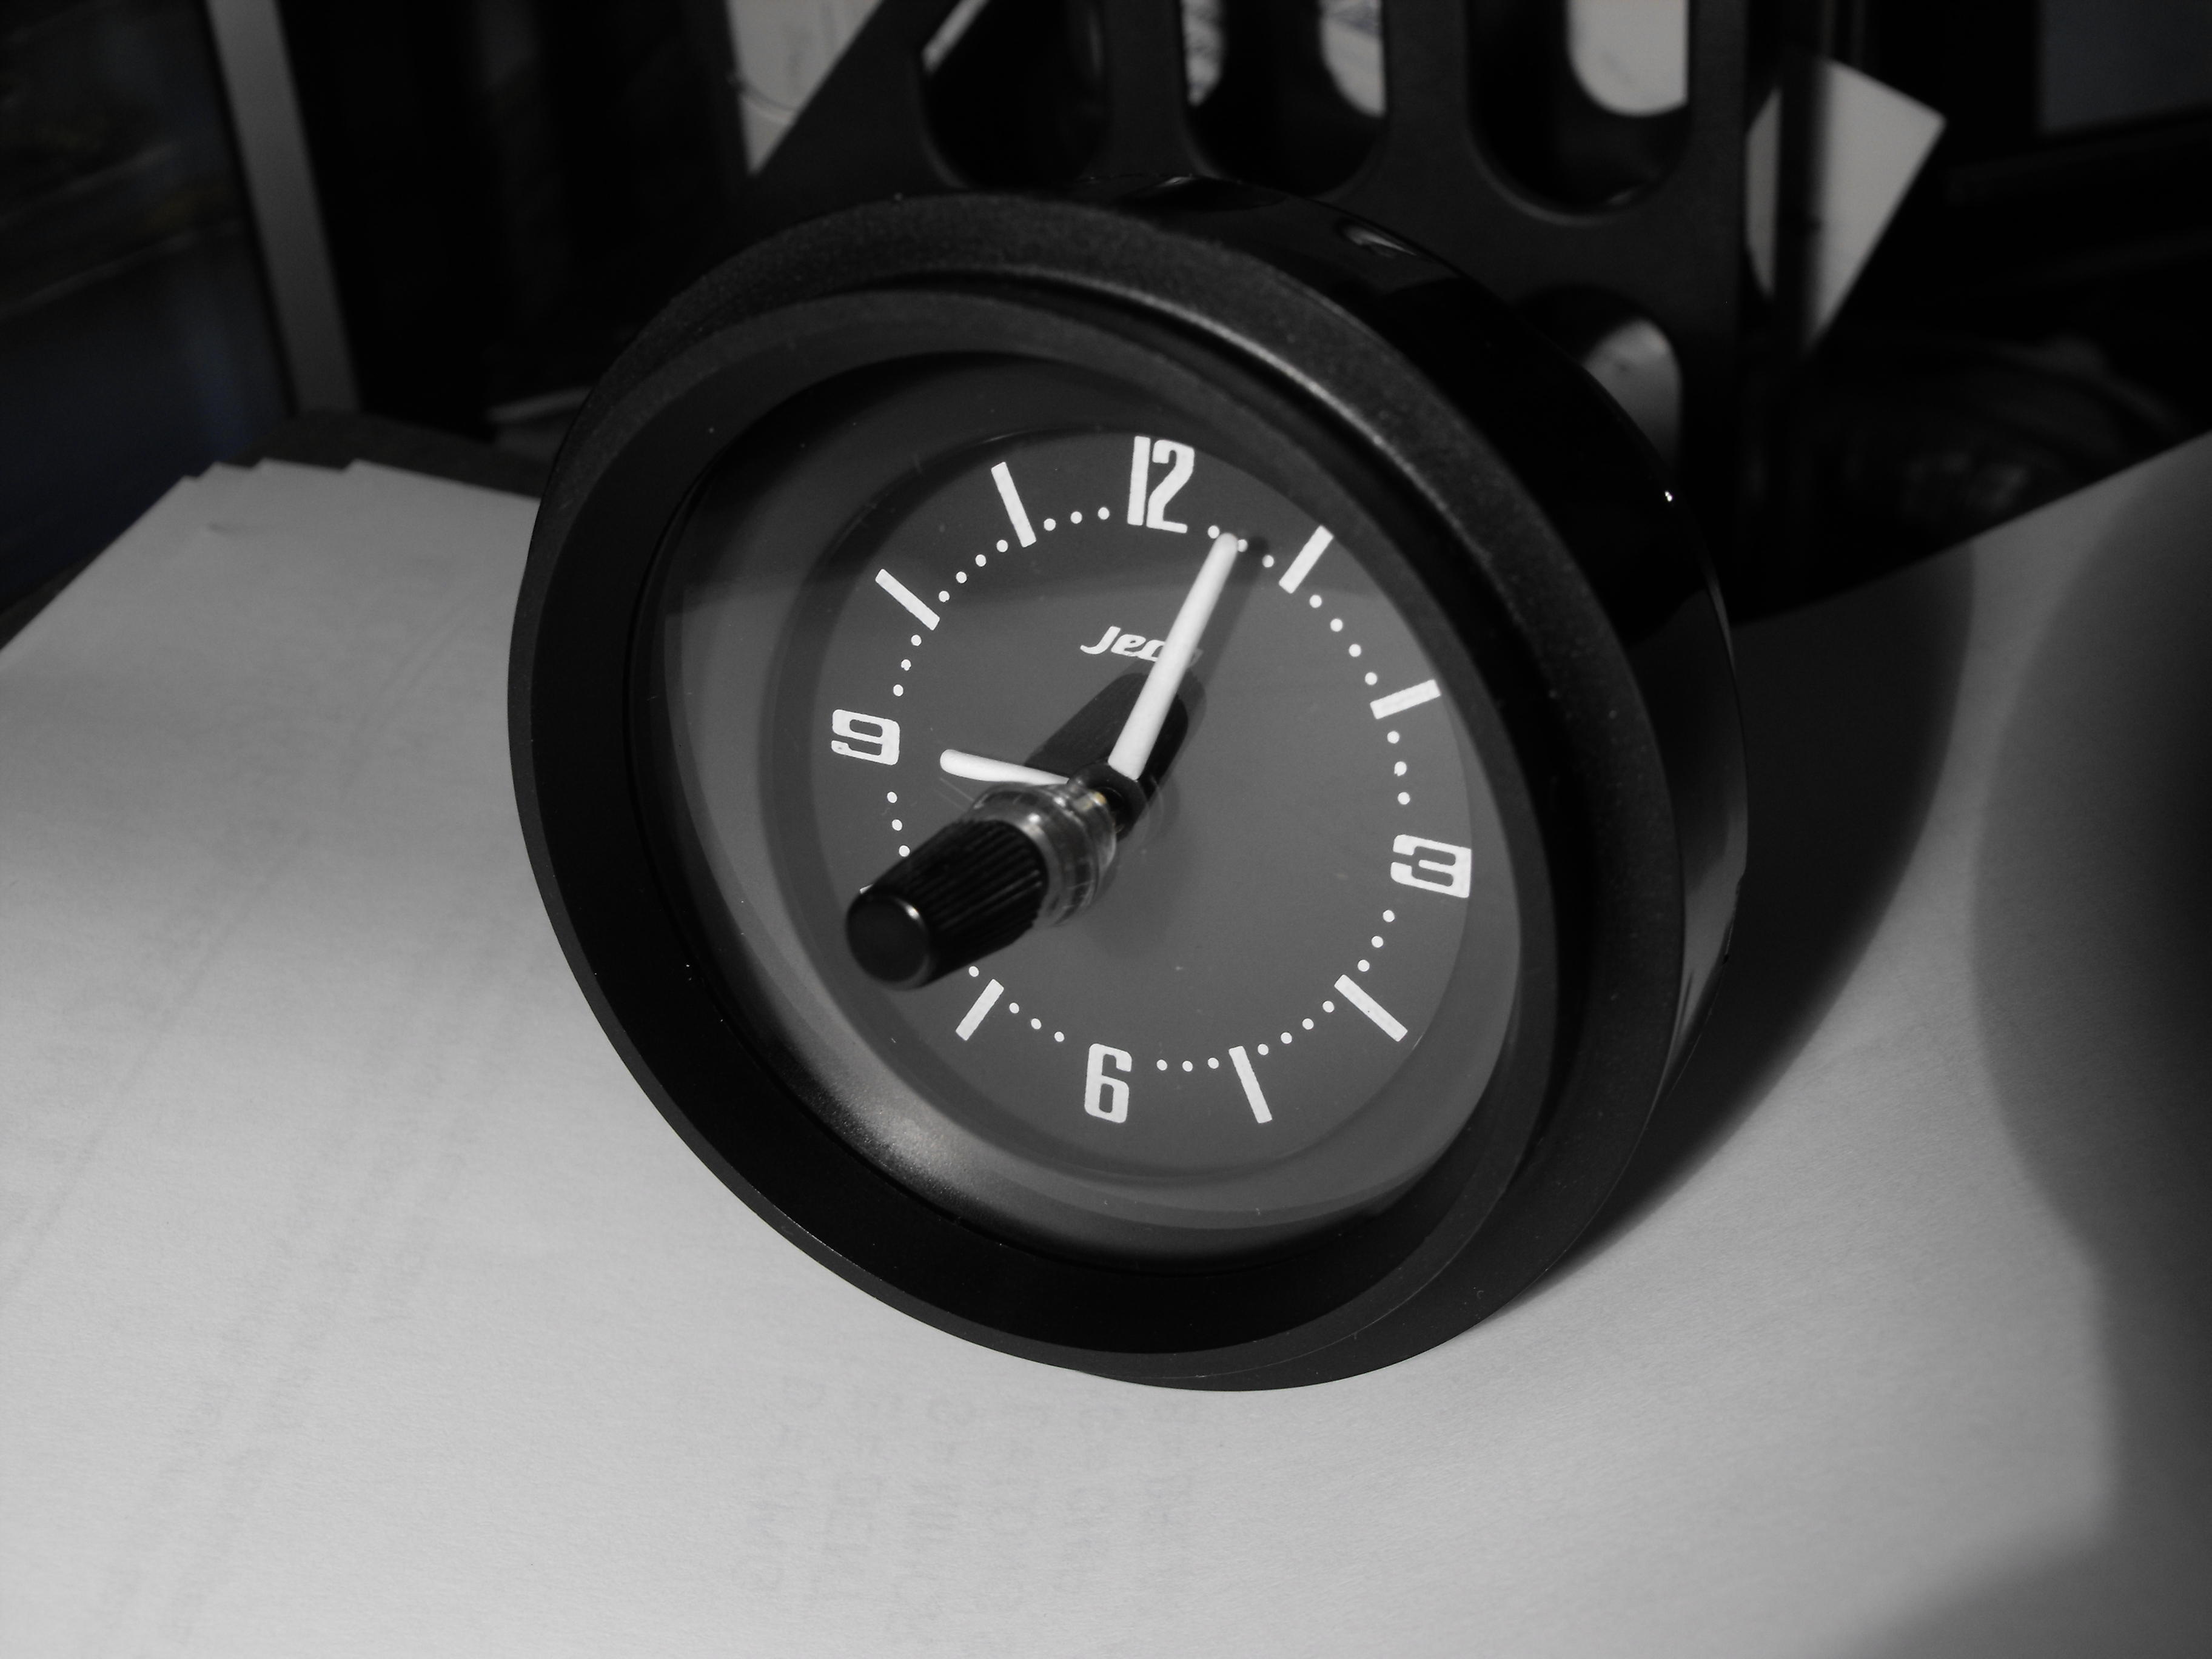
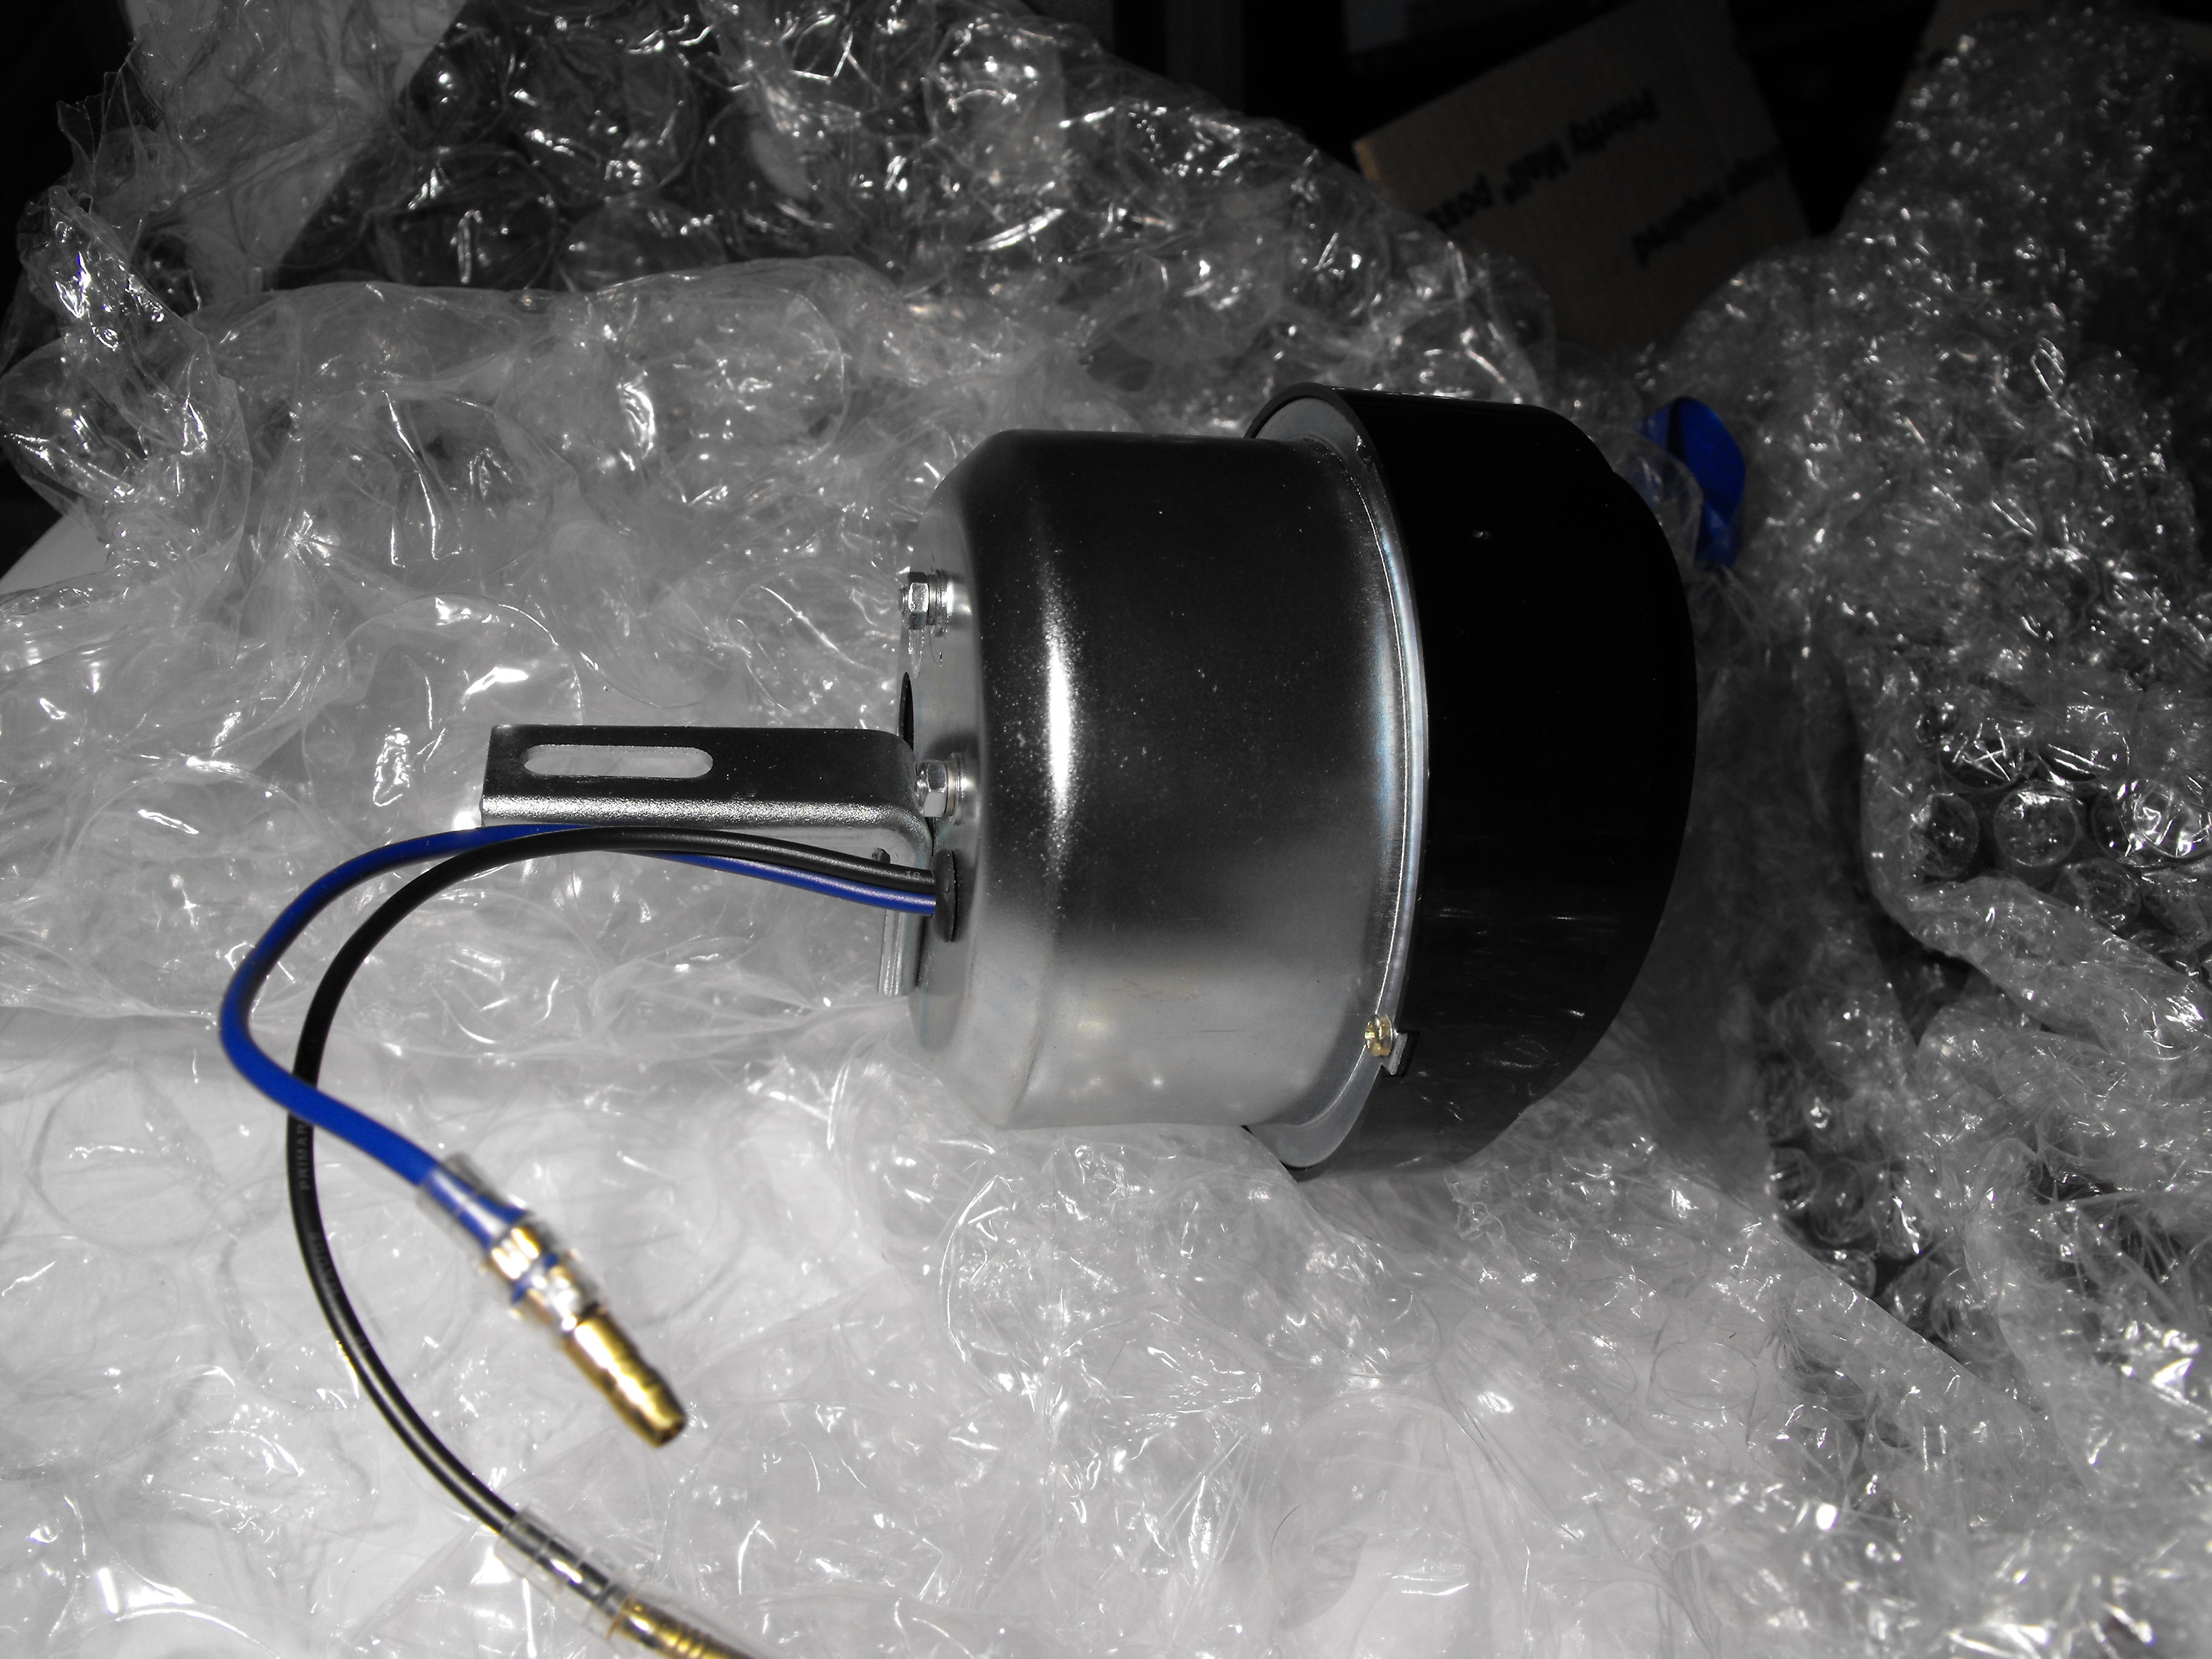
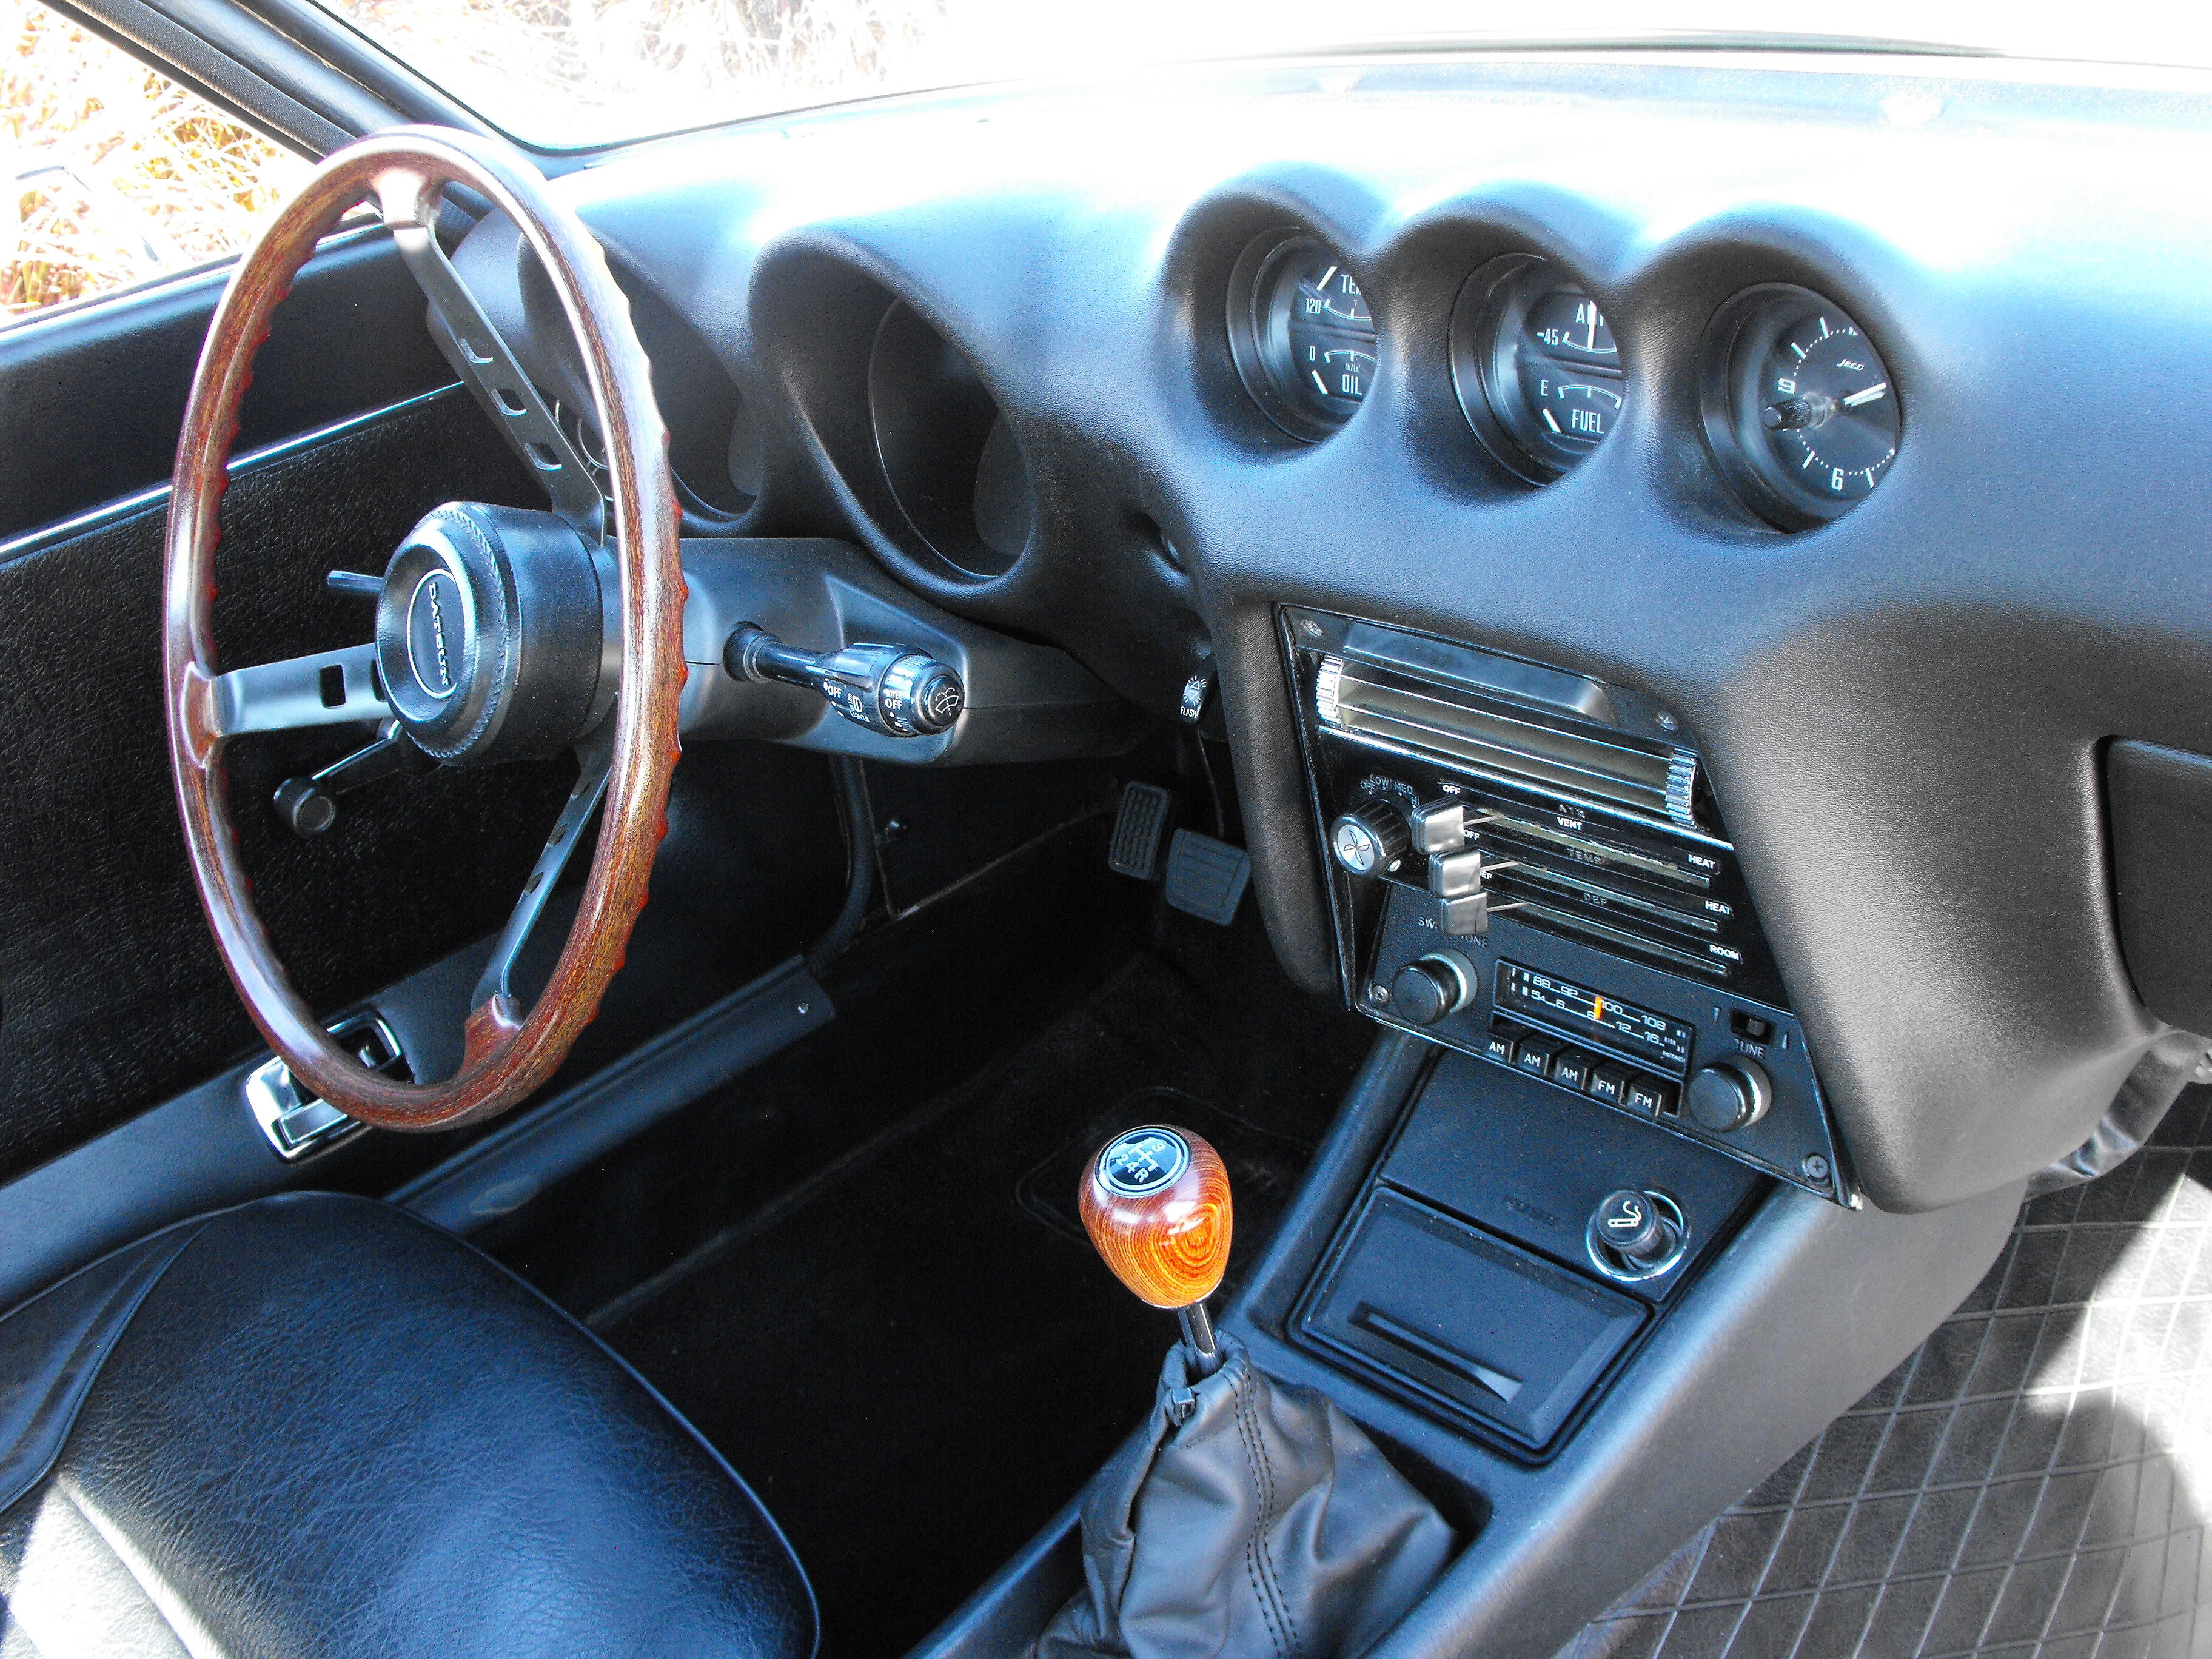
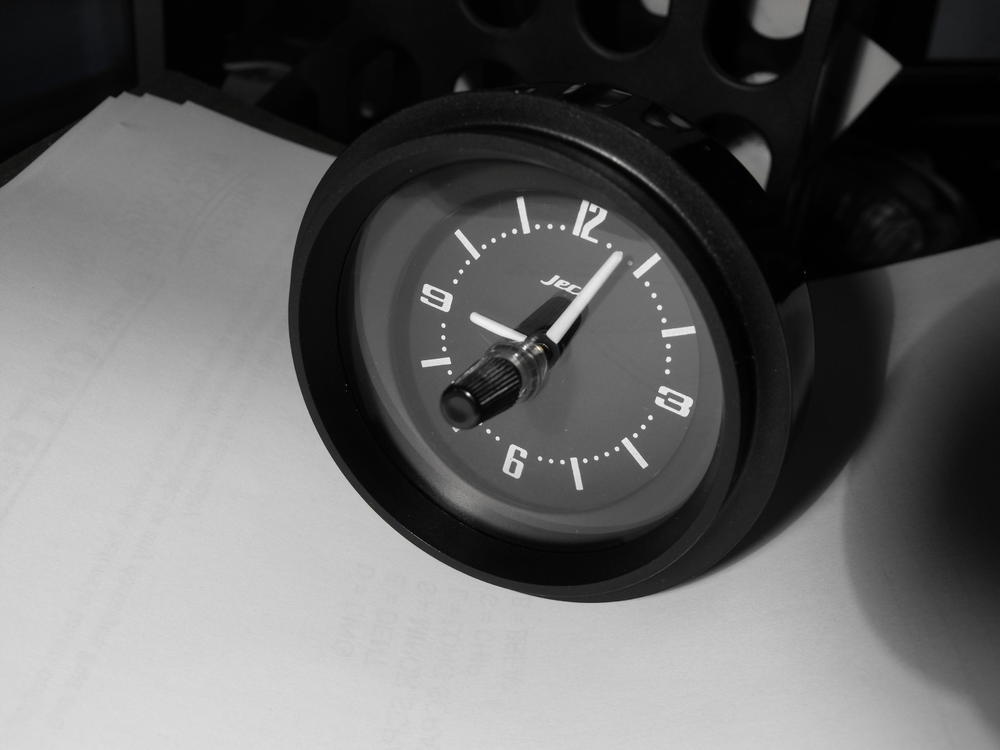
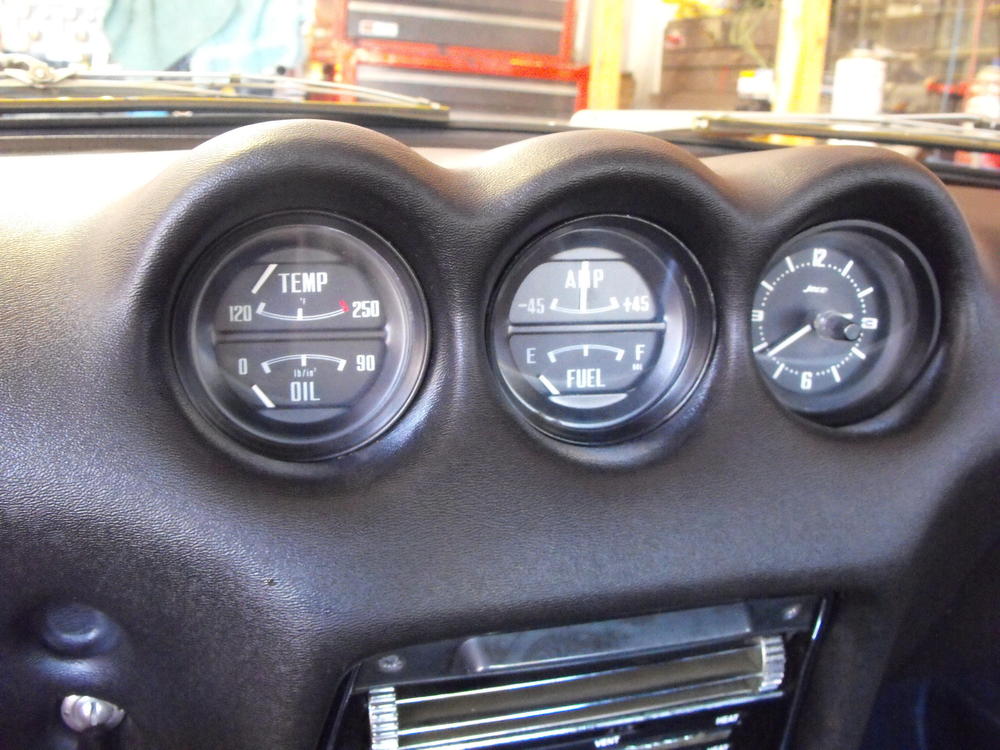
Just got the clock in from Ron at zclocks.com. This baby looks brand new! New quartz mechanism has been installed. Should be a lot more reliable than the old mech.

-
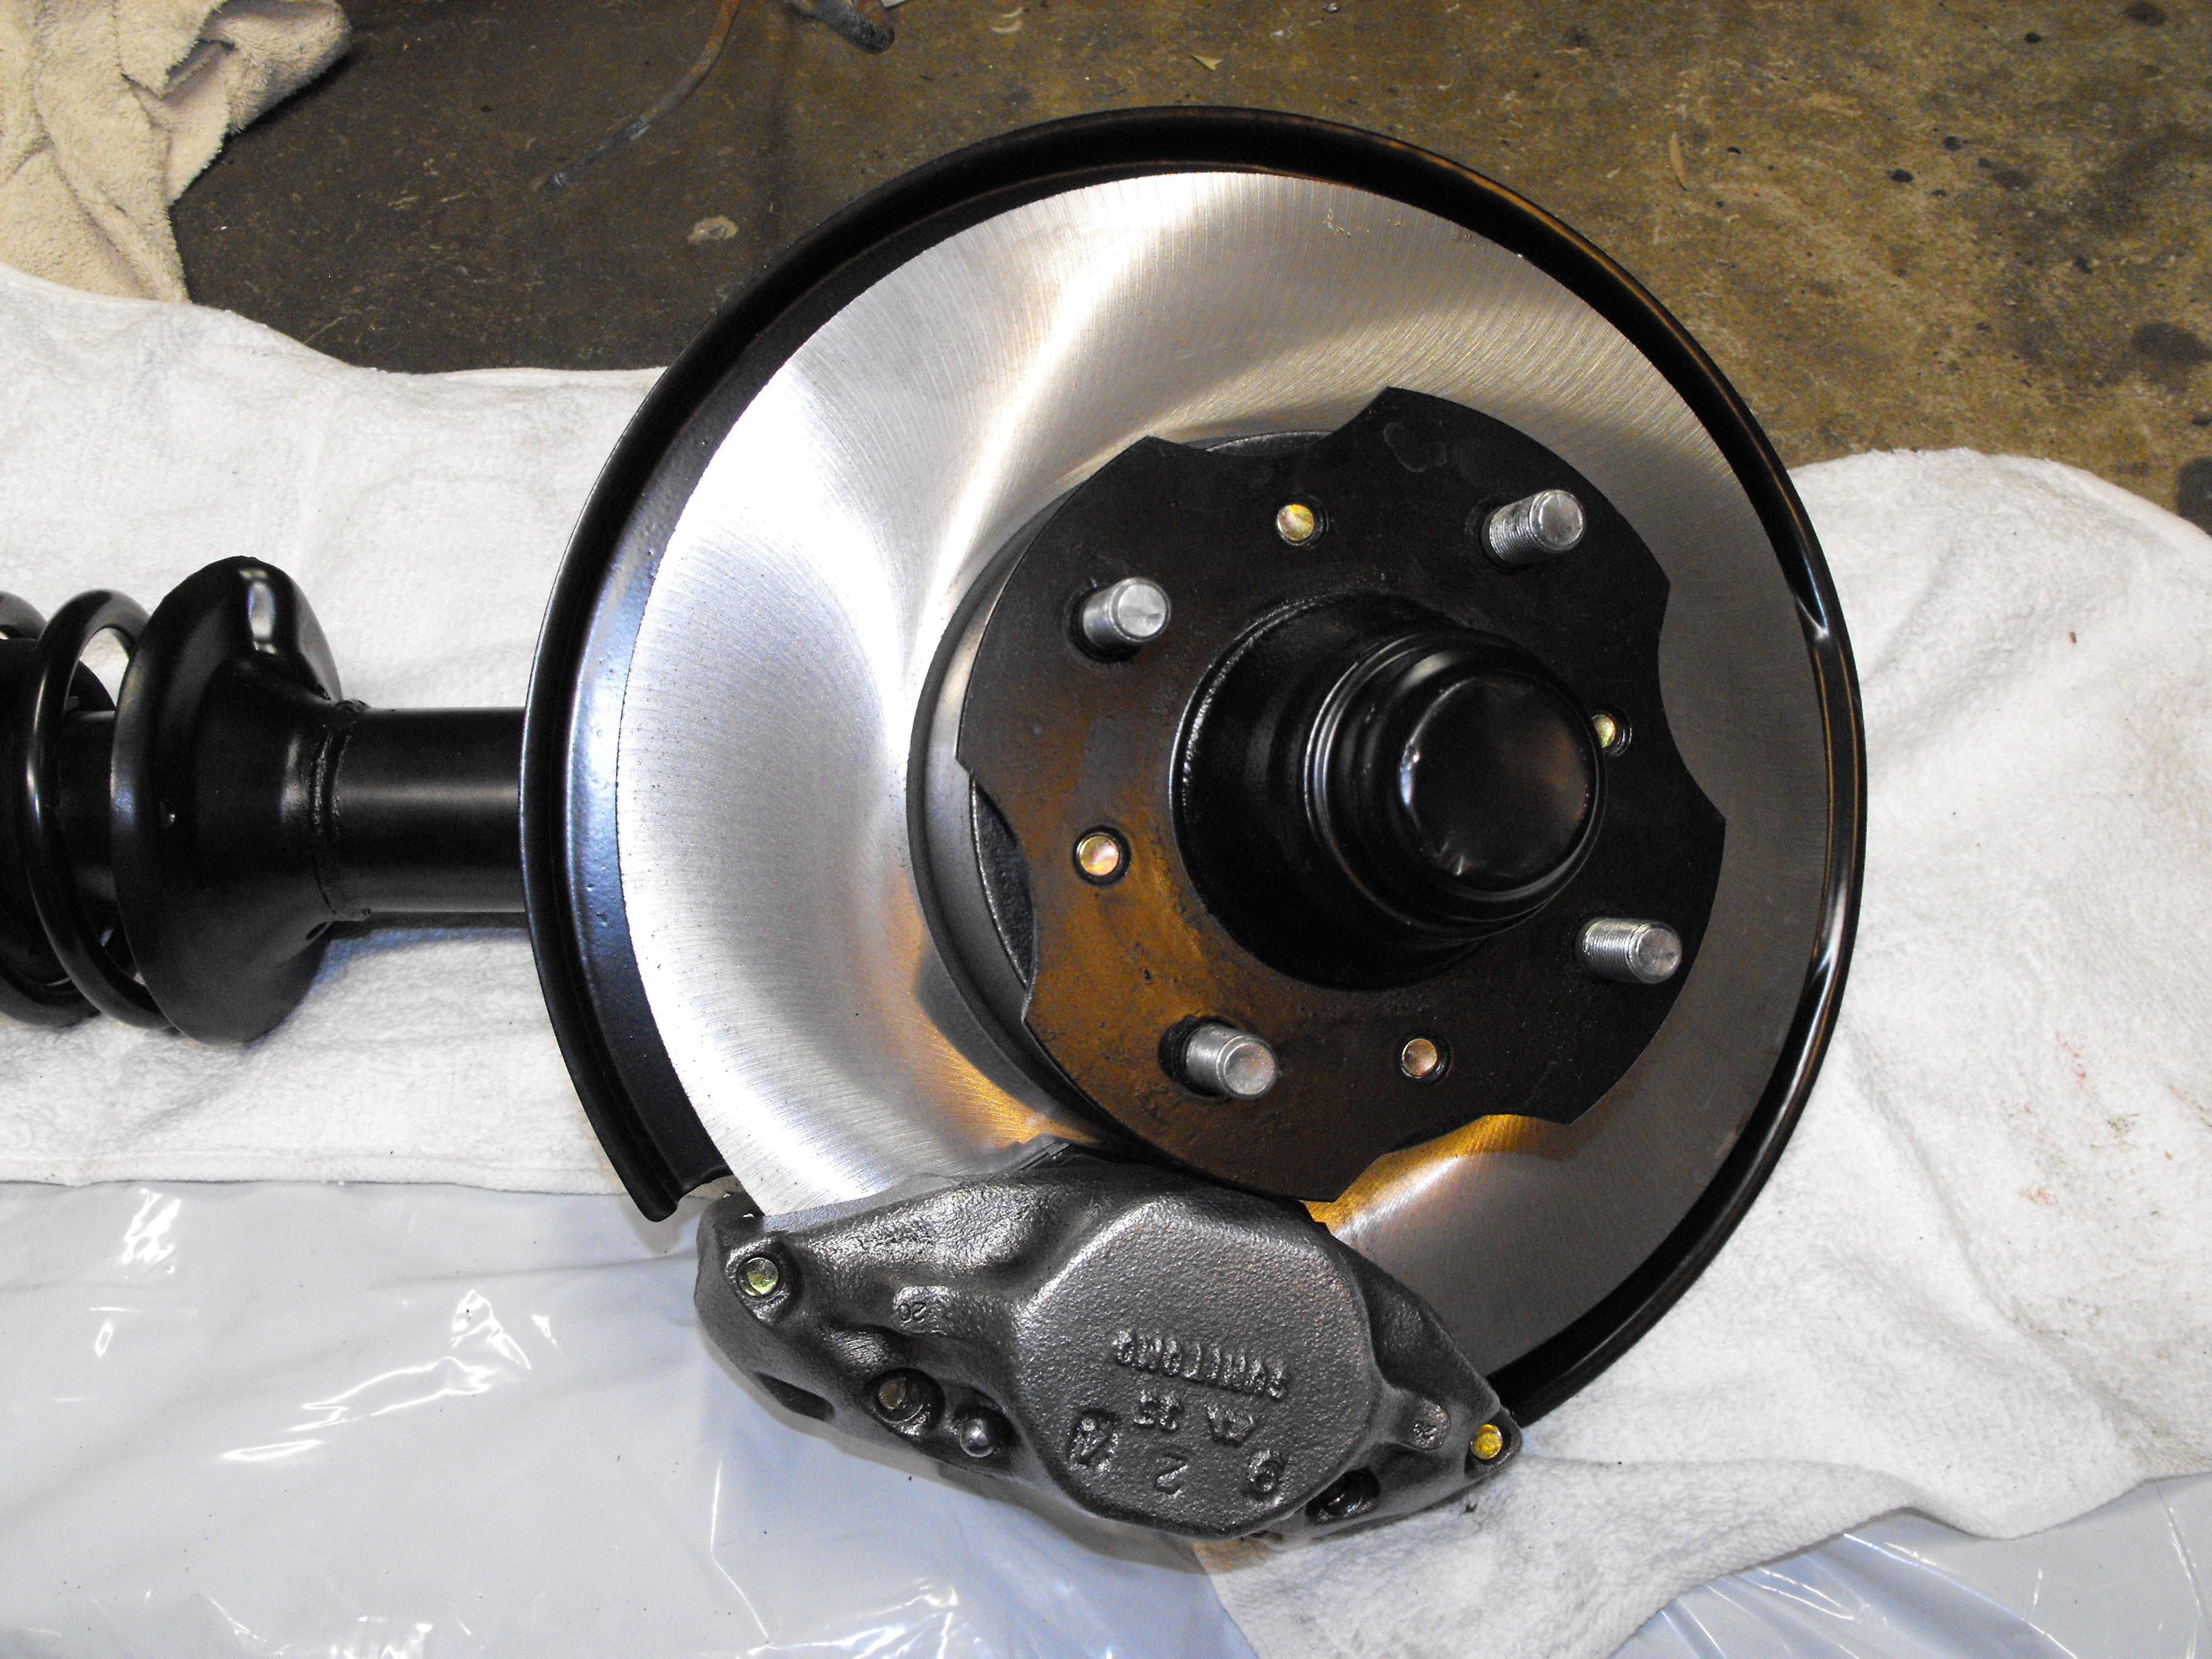
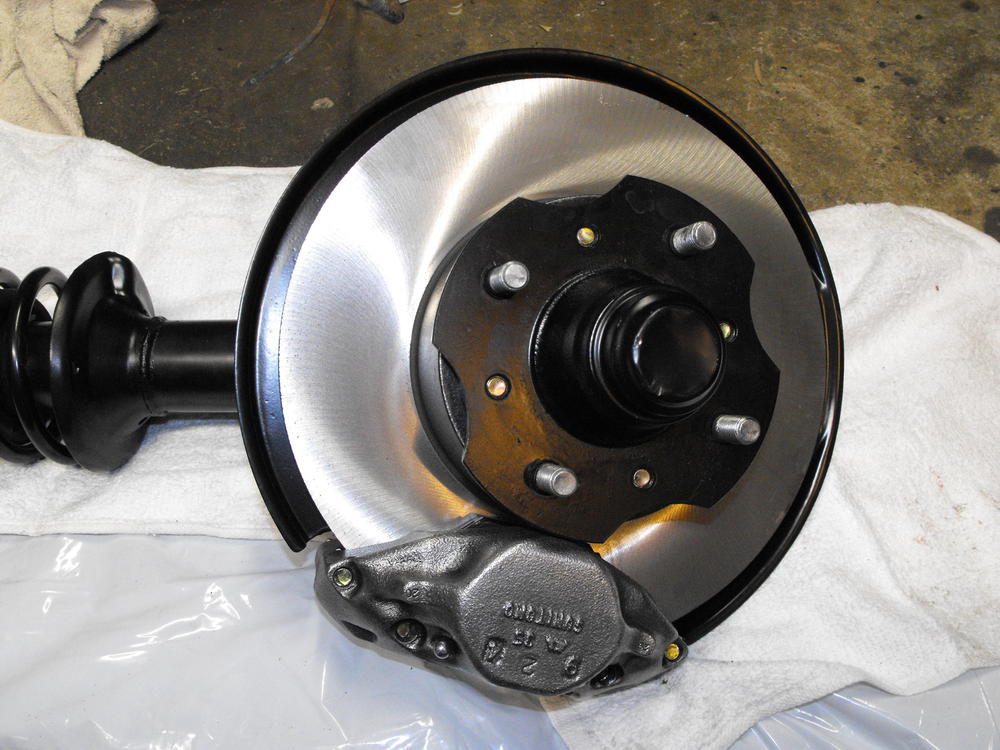
Got the Rotors and drums turned at the machine shop. Cleaned and re-packed hub bearings. Assembled passenger side hub and rotor to strut. Also attached the small brake lines. Started disassembly of the intake manifold parts and horn. Took lots of pics of these items for later reference.


-
That cast iron enamel looks nice! May have to pick some up.
-
Interesting. So looks like a matte grey paint on the steel. Probably to prevent corrosion. The matte grey kind of makes them look like aluminum.
-
I like the Duplicolor Brand. I get it from Pep Boys which has a nice paint selection. https://duplicolor.com/product/engine-enamel-with-ceramic
-
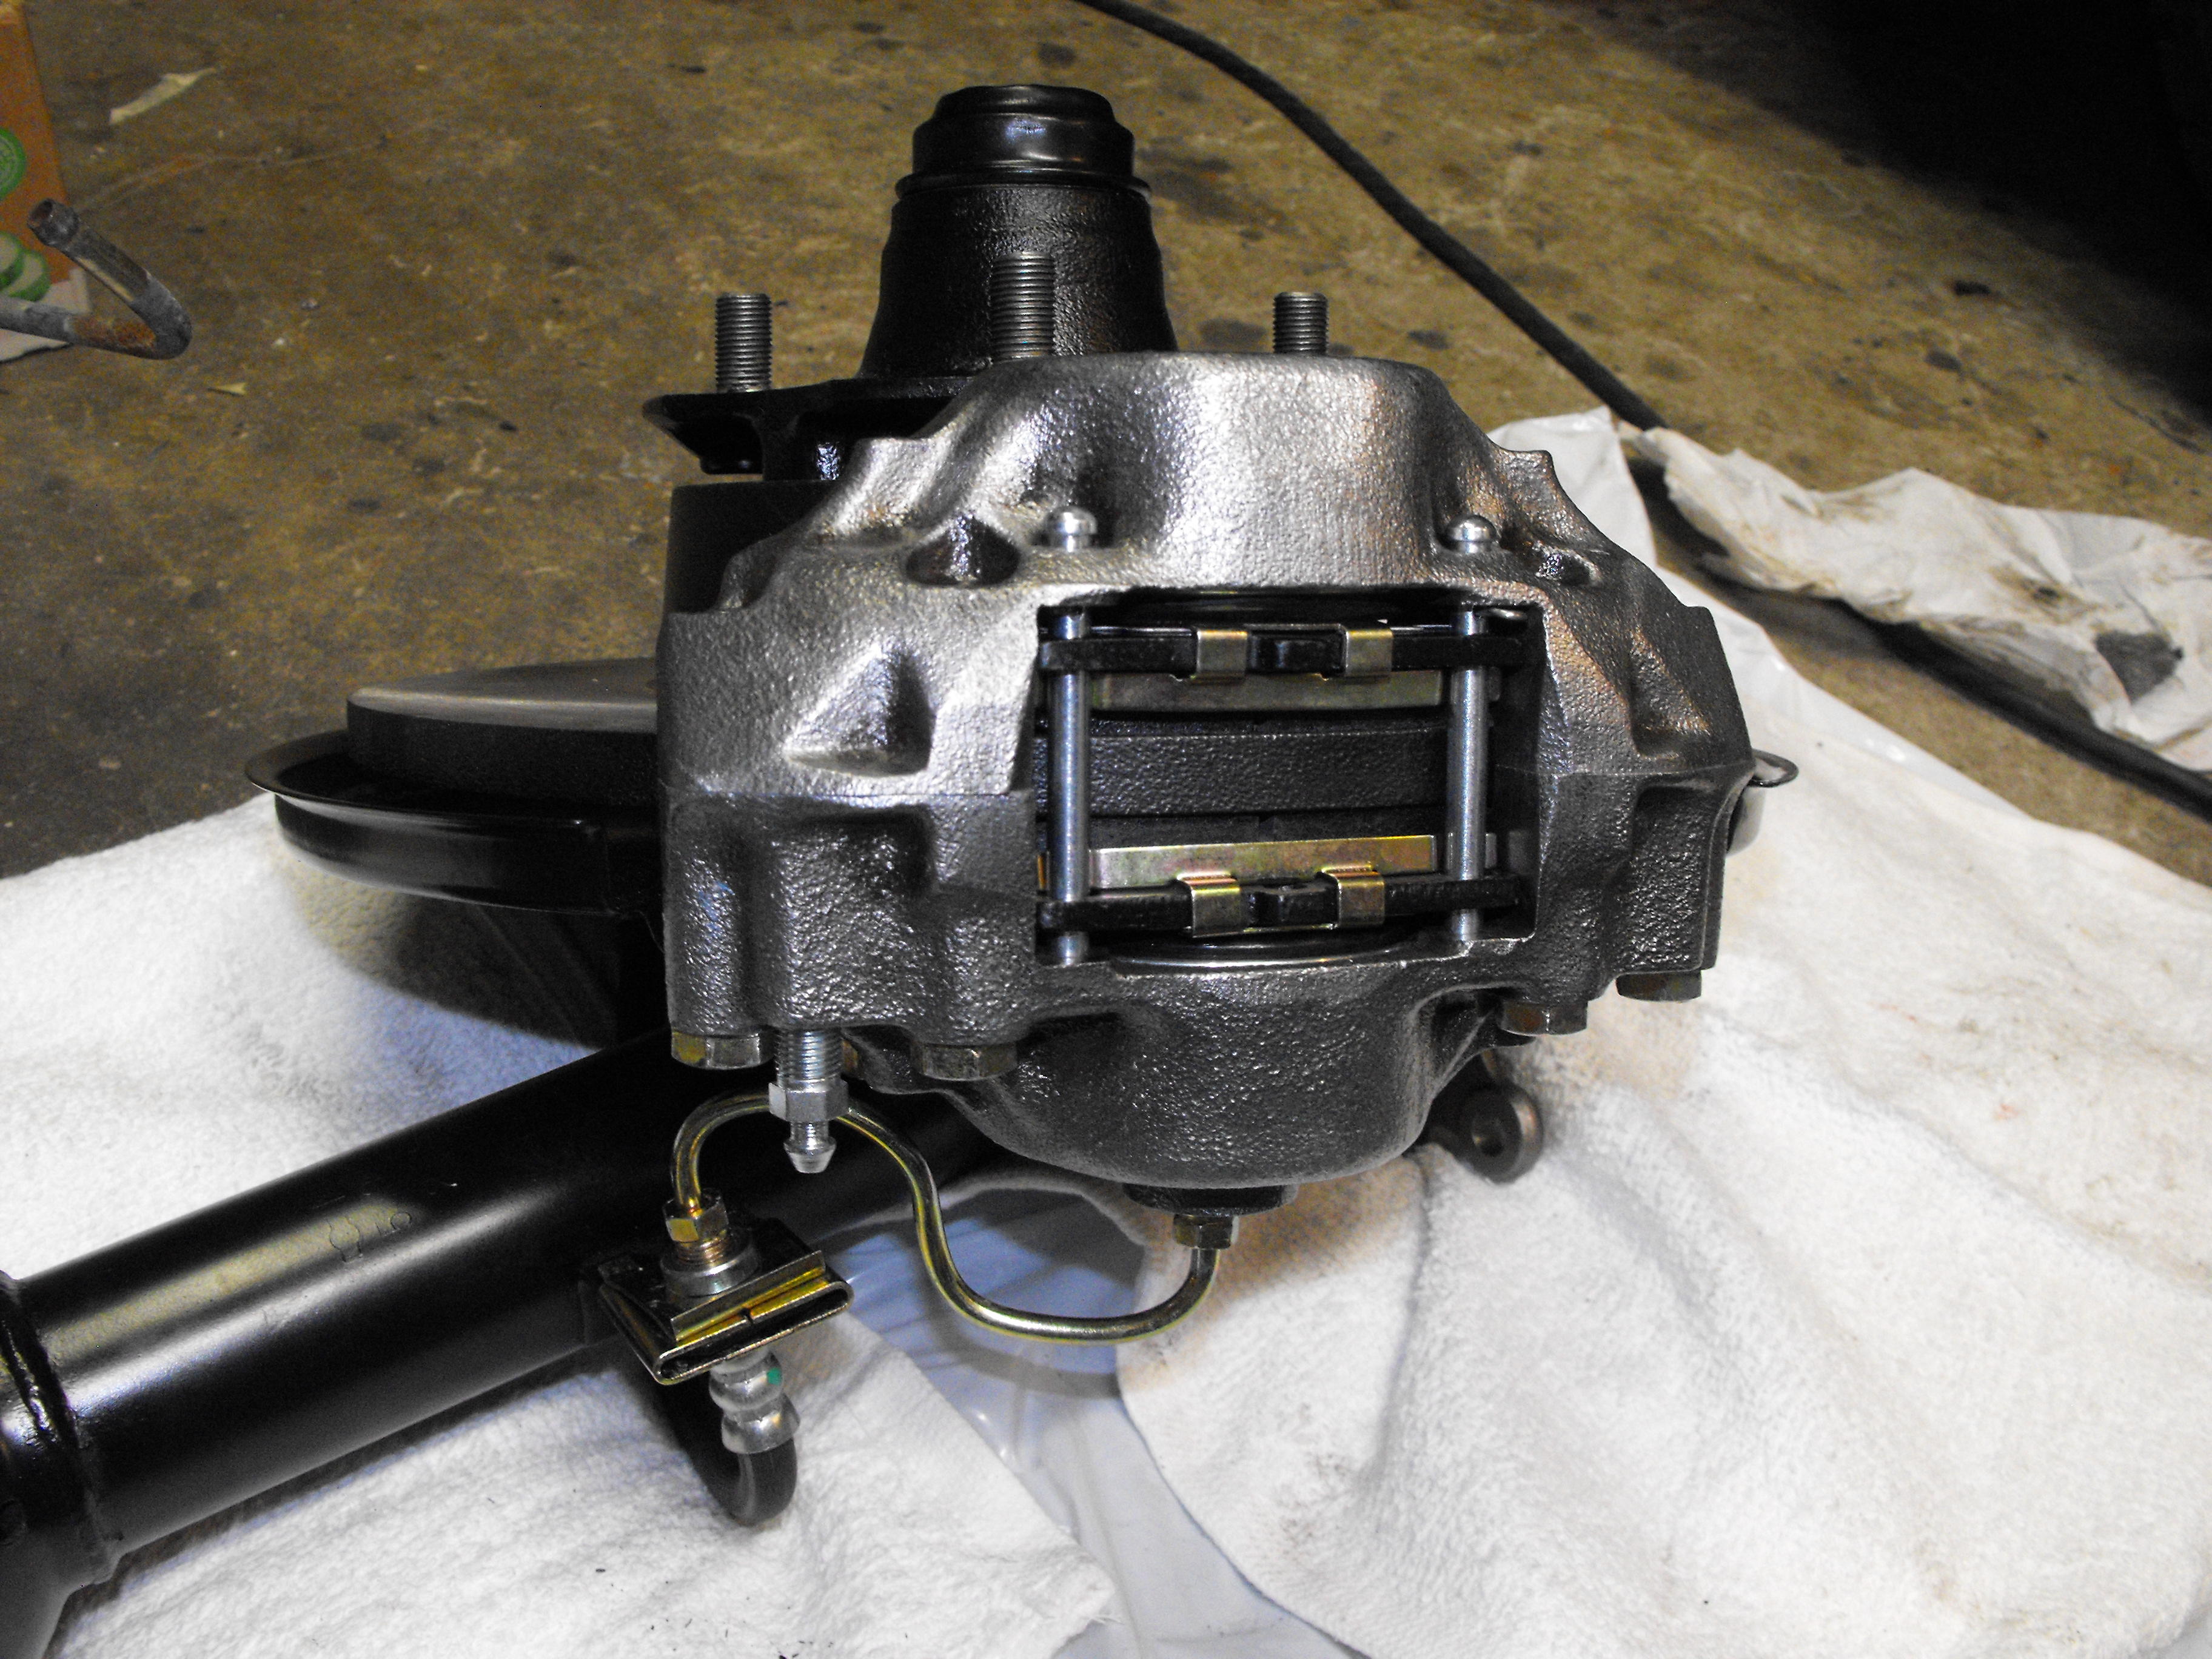
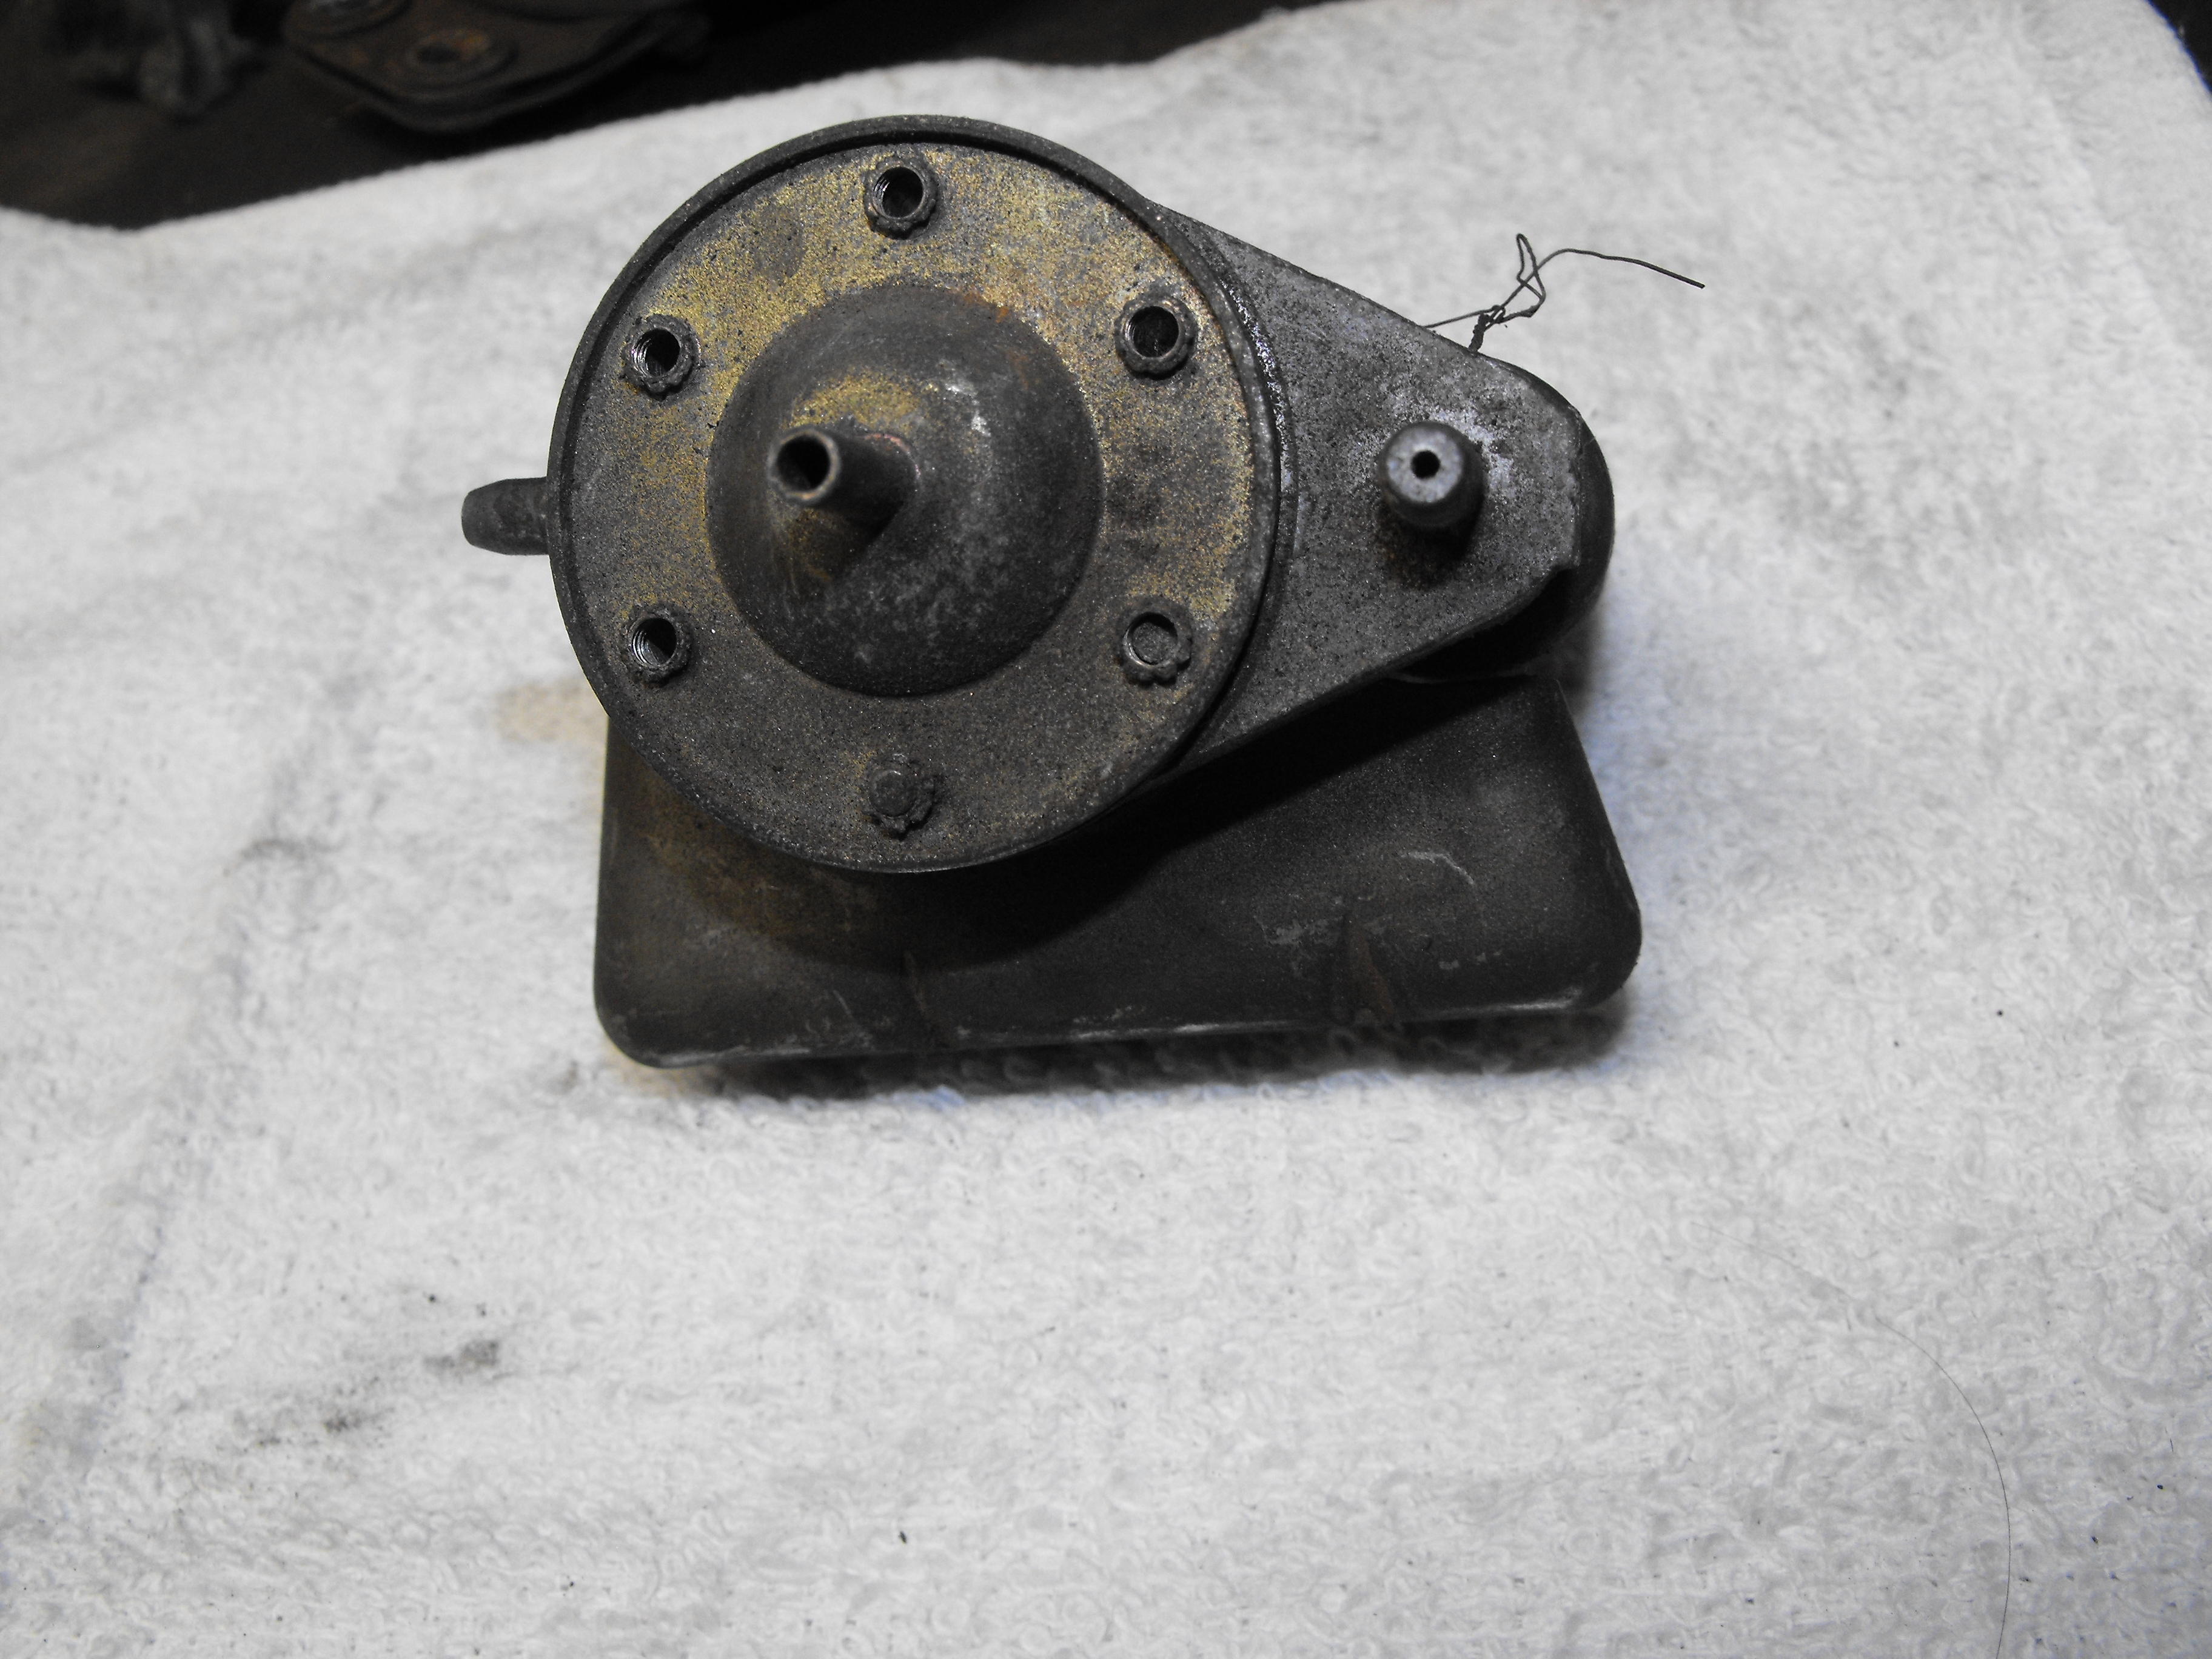
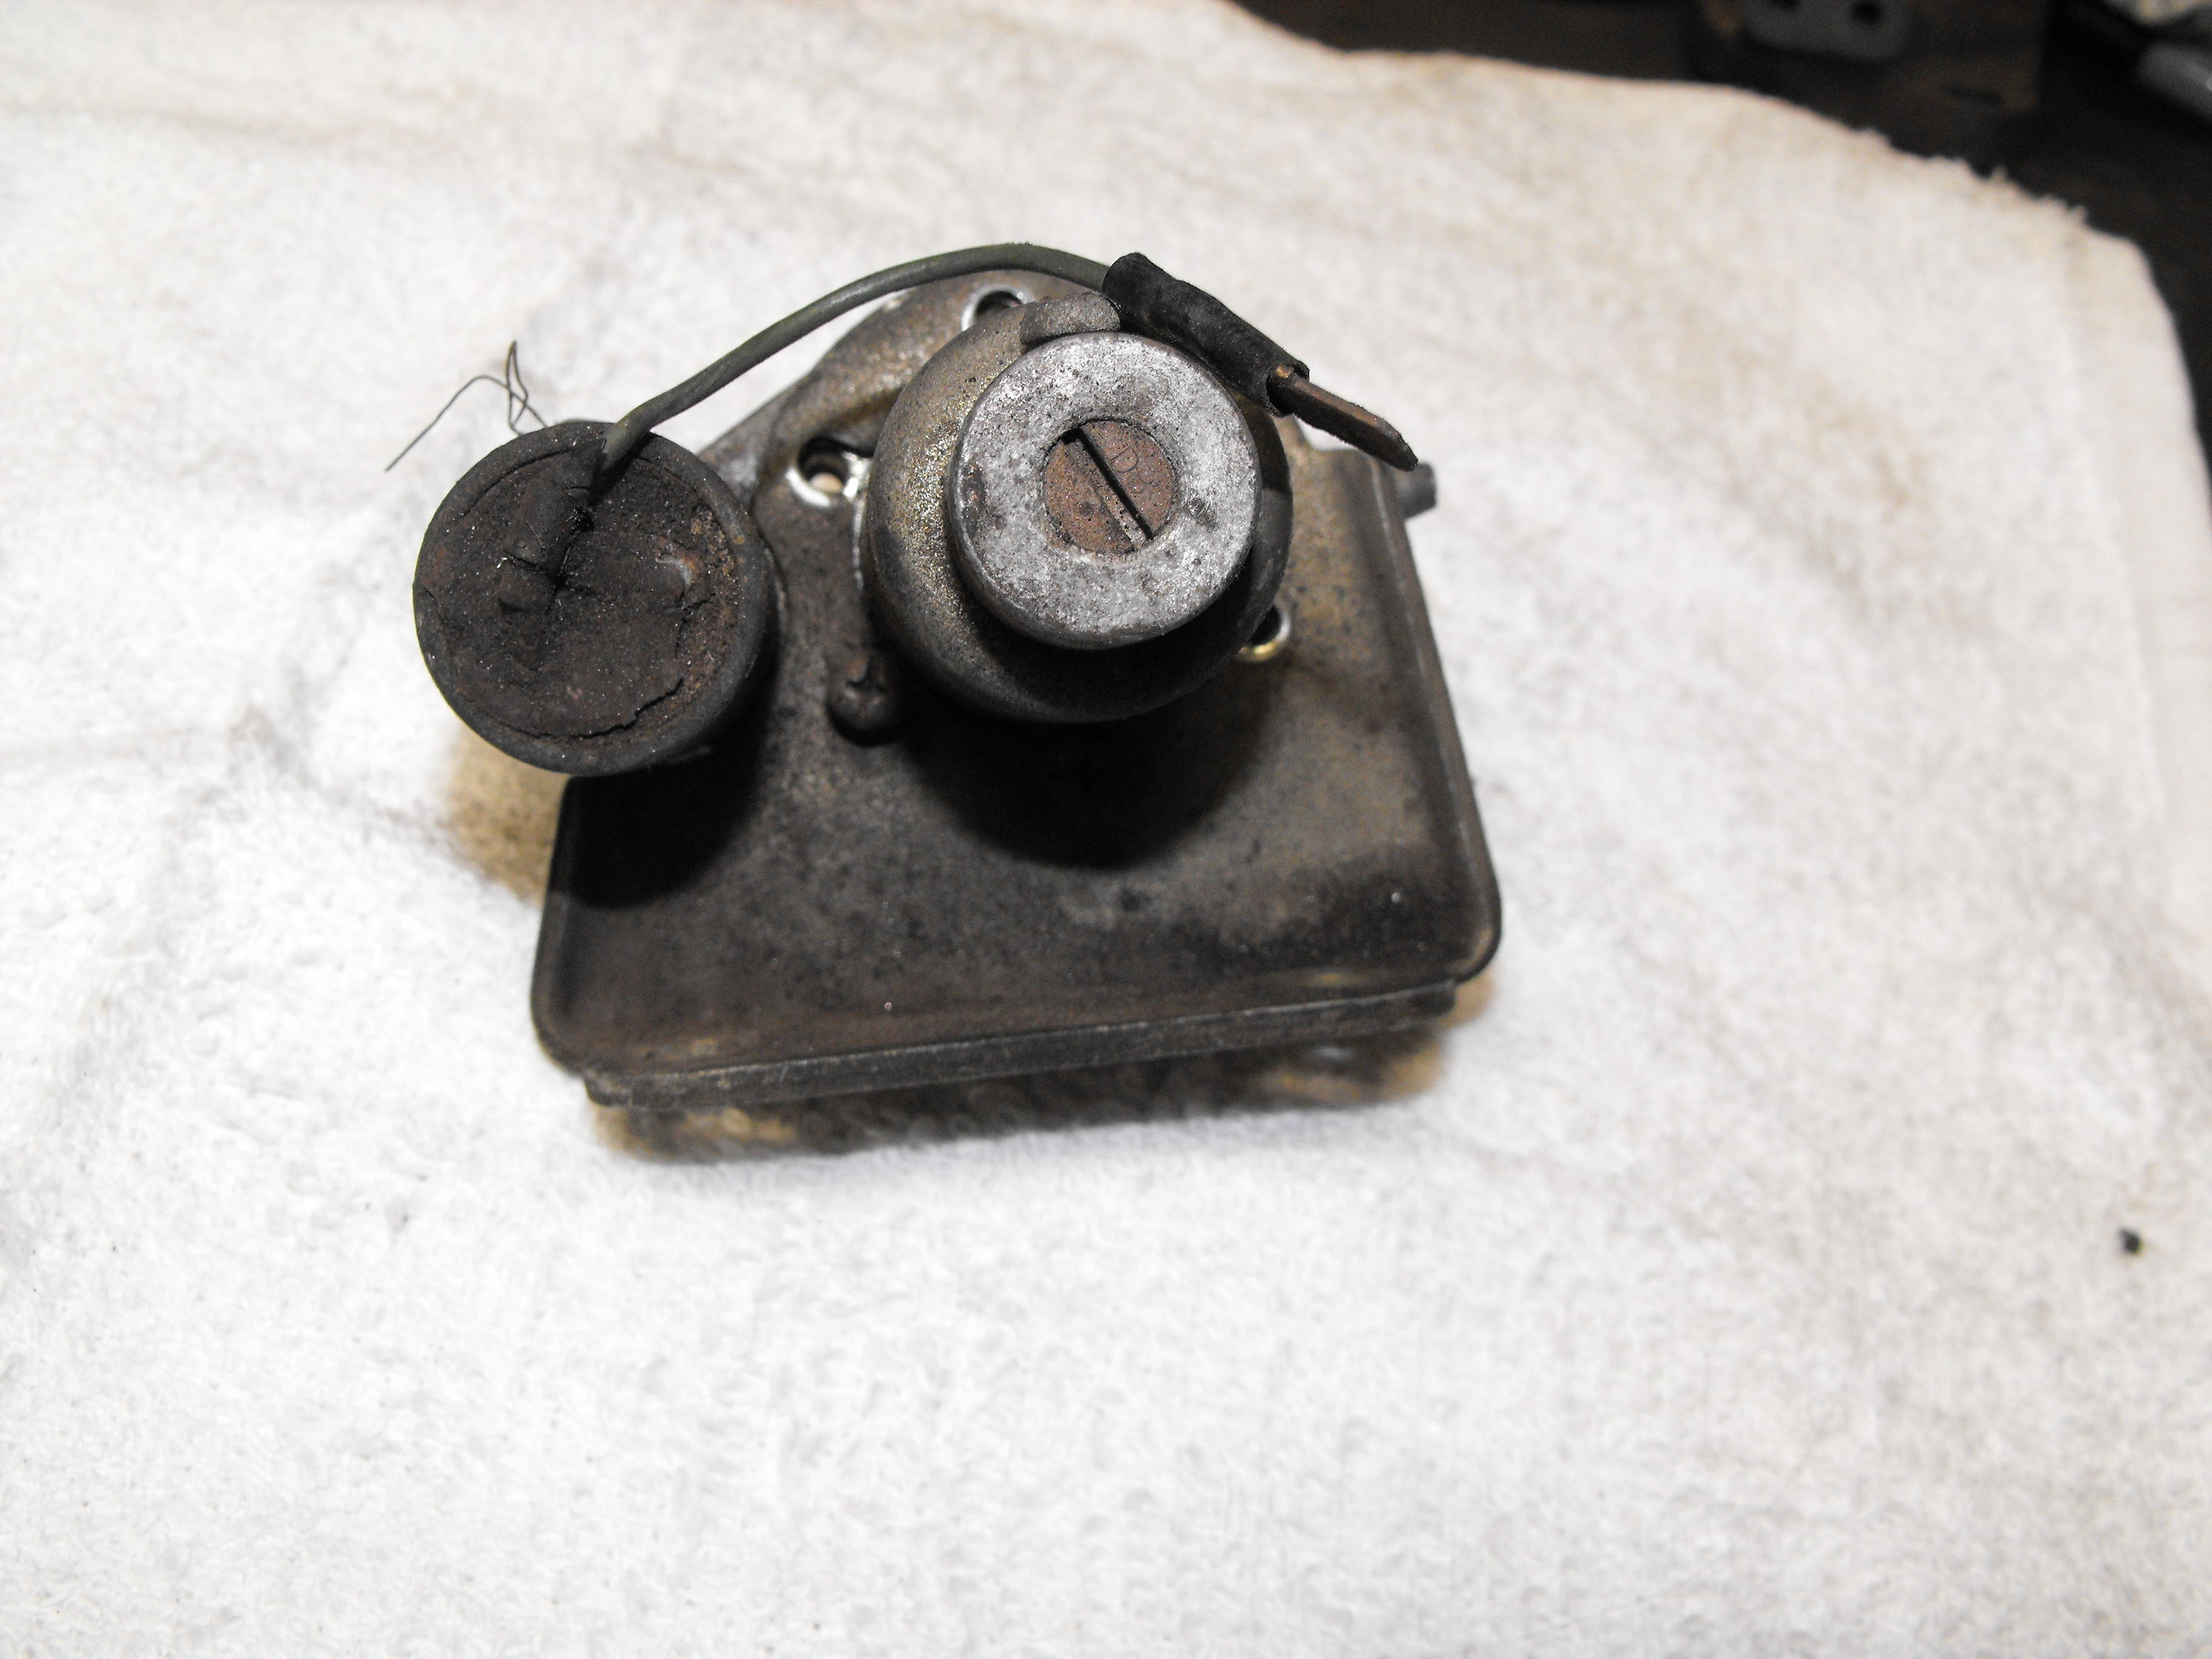
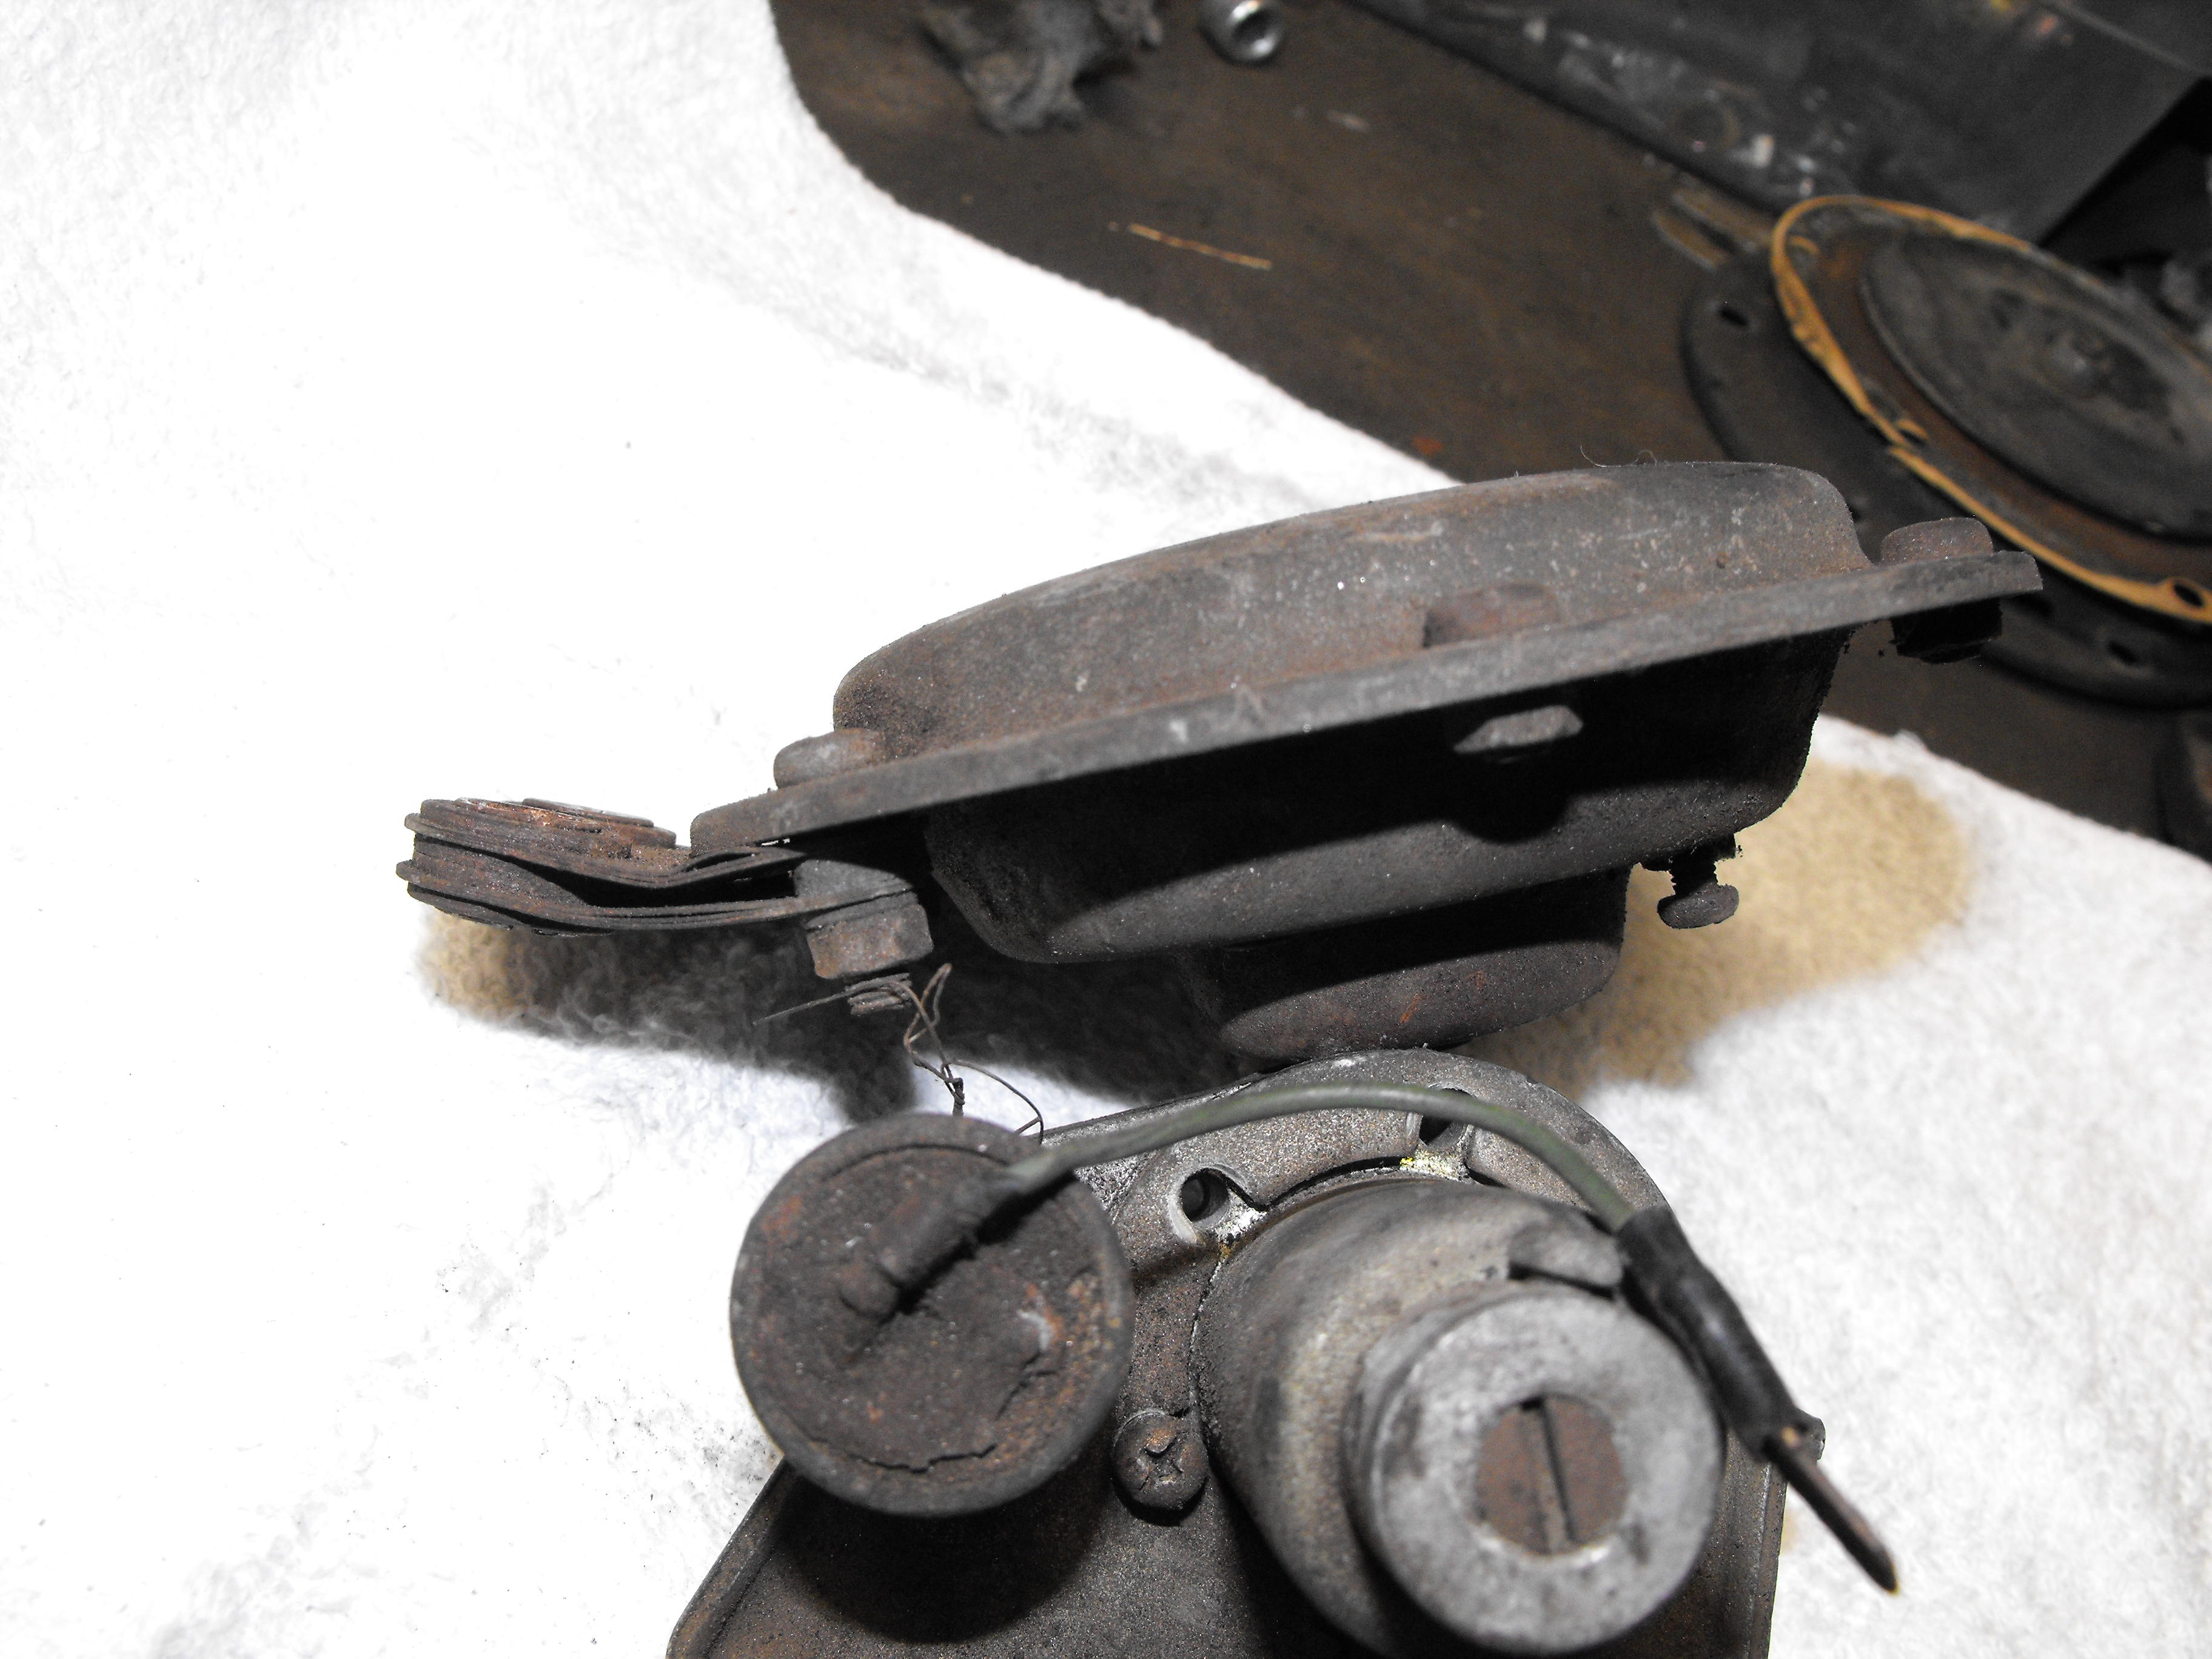
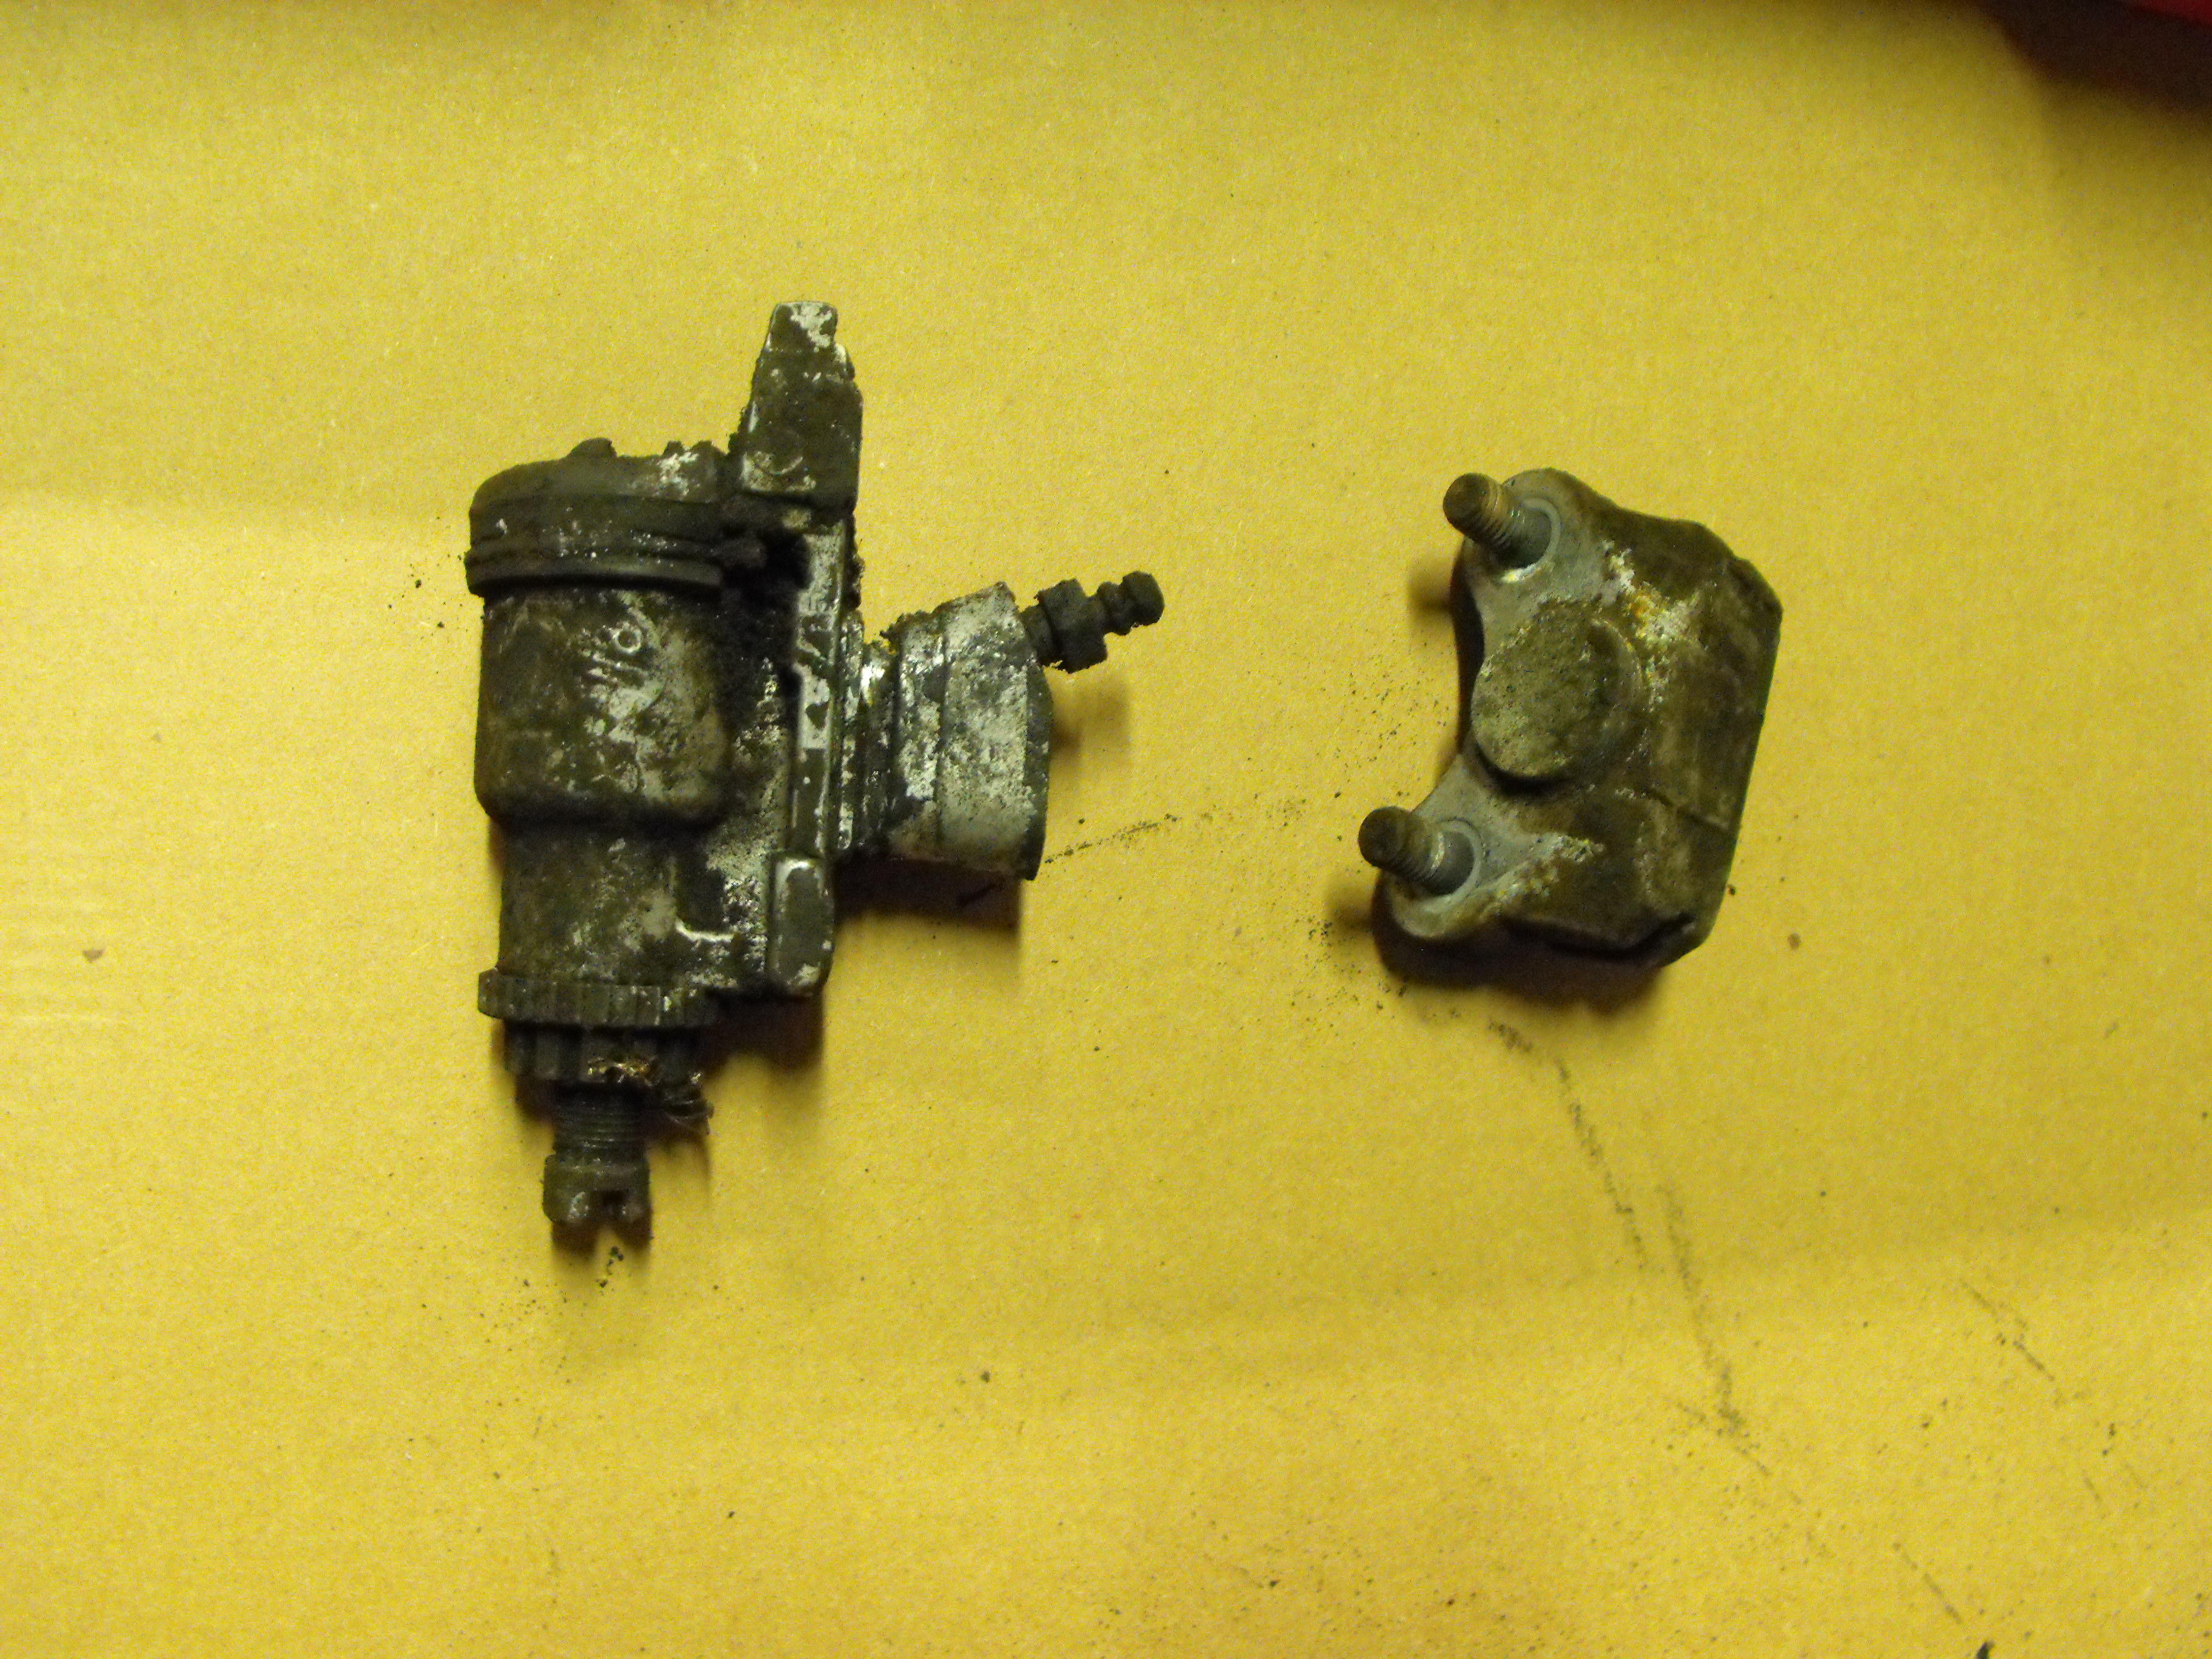
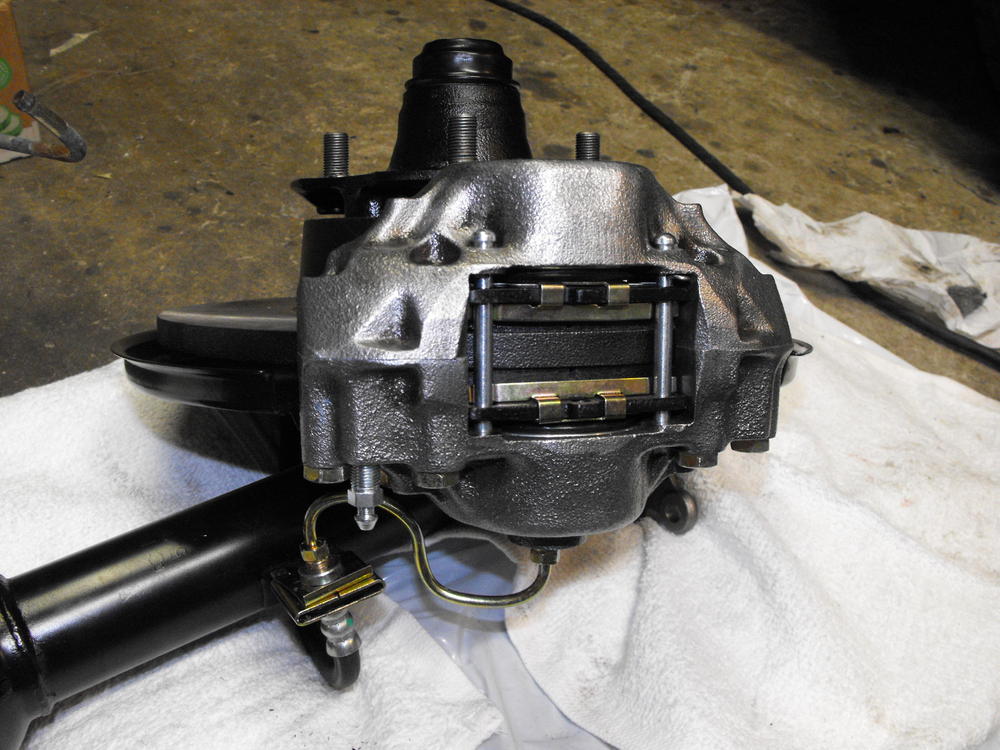
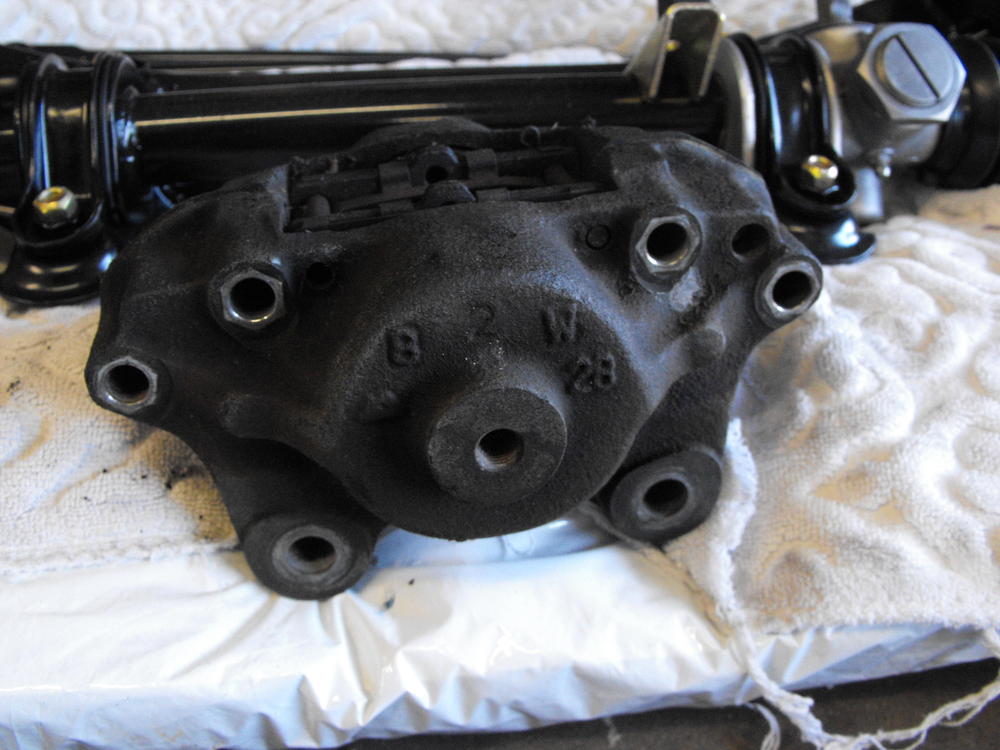
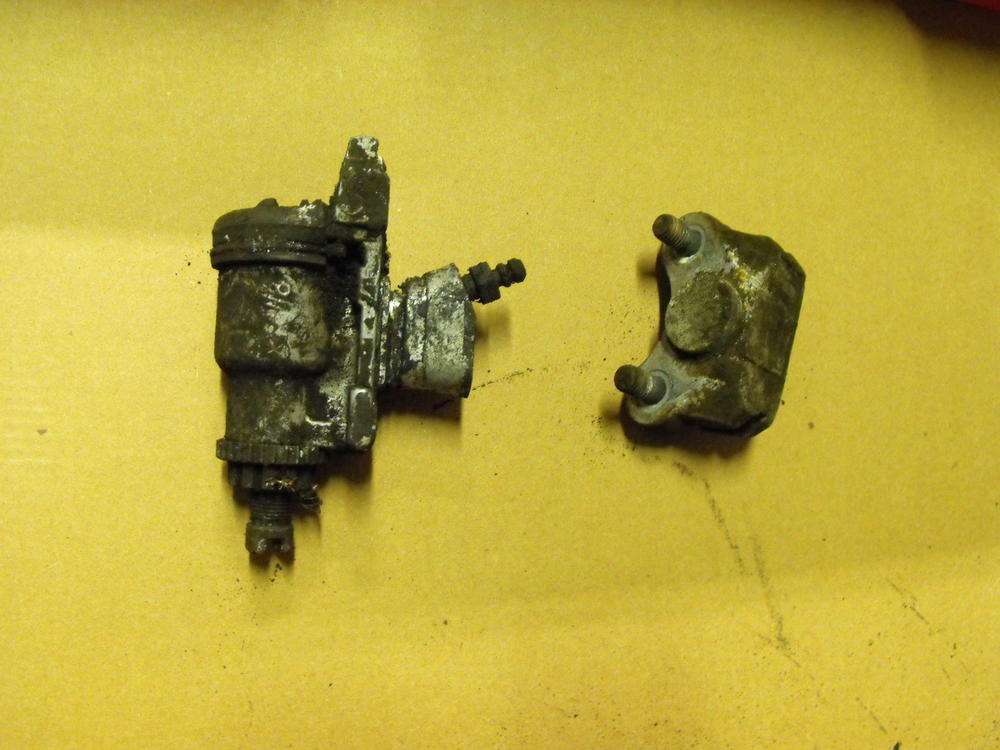
First I did an overall clean with paint thinner just to remove the grease and brake dust. Then wire wheeled each caliper side to remove all of the rust. Then high temp clear coat. I was able to get most of the rust off with the wire wheel. I had to use my drill with a small attachment to get into the crevices. The tricky thing (kind of dangerous really) is getting the pistons out to replace the internal seal. The first thing I did is use some Kroil on the piston edge to help loosen it. After letting it sit for a day, I used compressed air to force out the piston. On the slave side, there are two feed lines. I put my finger over one hole and used compressor air in the other to force the piston out. The important thing was to aim the piston at a 'backstop' because once it lets loose, it really flies. It is very tempting to watch the process, but I pretty much just turn my head away and pulse the compressed air till I hear the loud 'pop'. The master side is a bit more tricky. I had to plug the main feed line and the bleed line hole with threaded bolts, then repeat the process. After the pistons were out, I used lacquer thinner to clean off most of the gummy residue. For the residue that would not come off with the lacquer thinner, I lightly cleaned the area with 1000 grit sand paper.
-
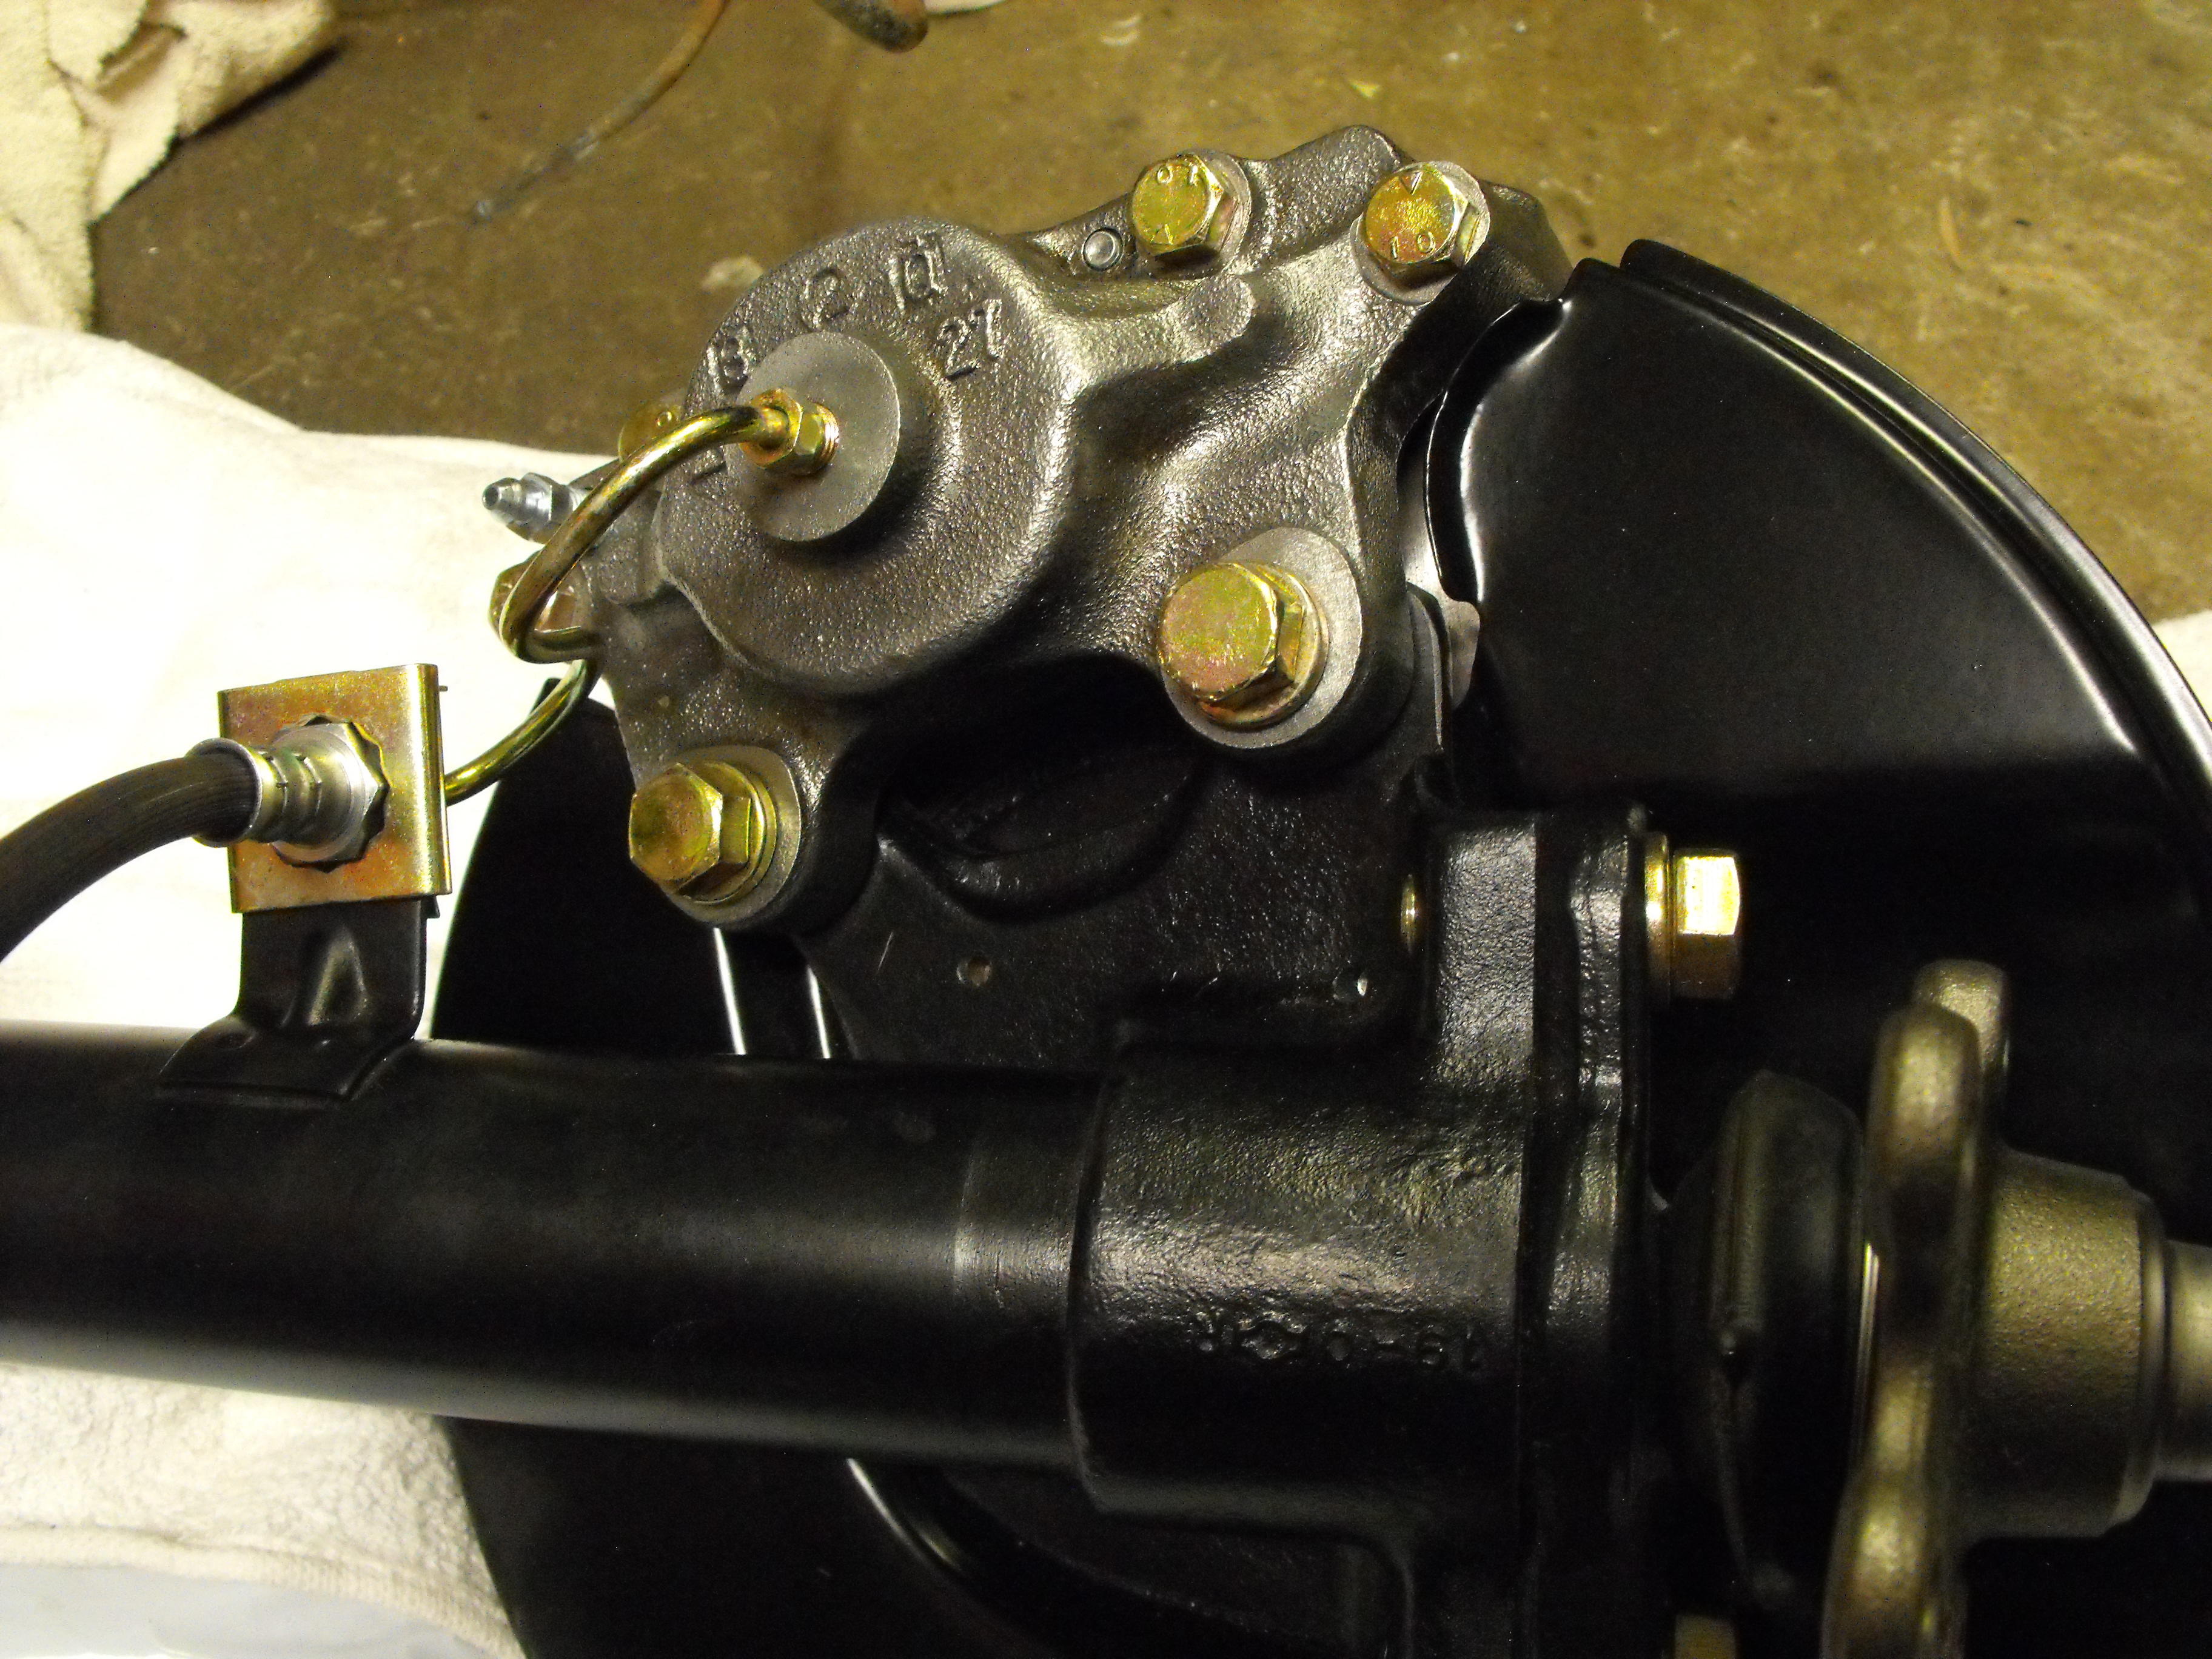
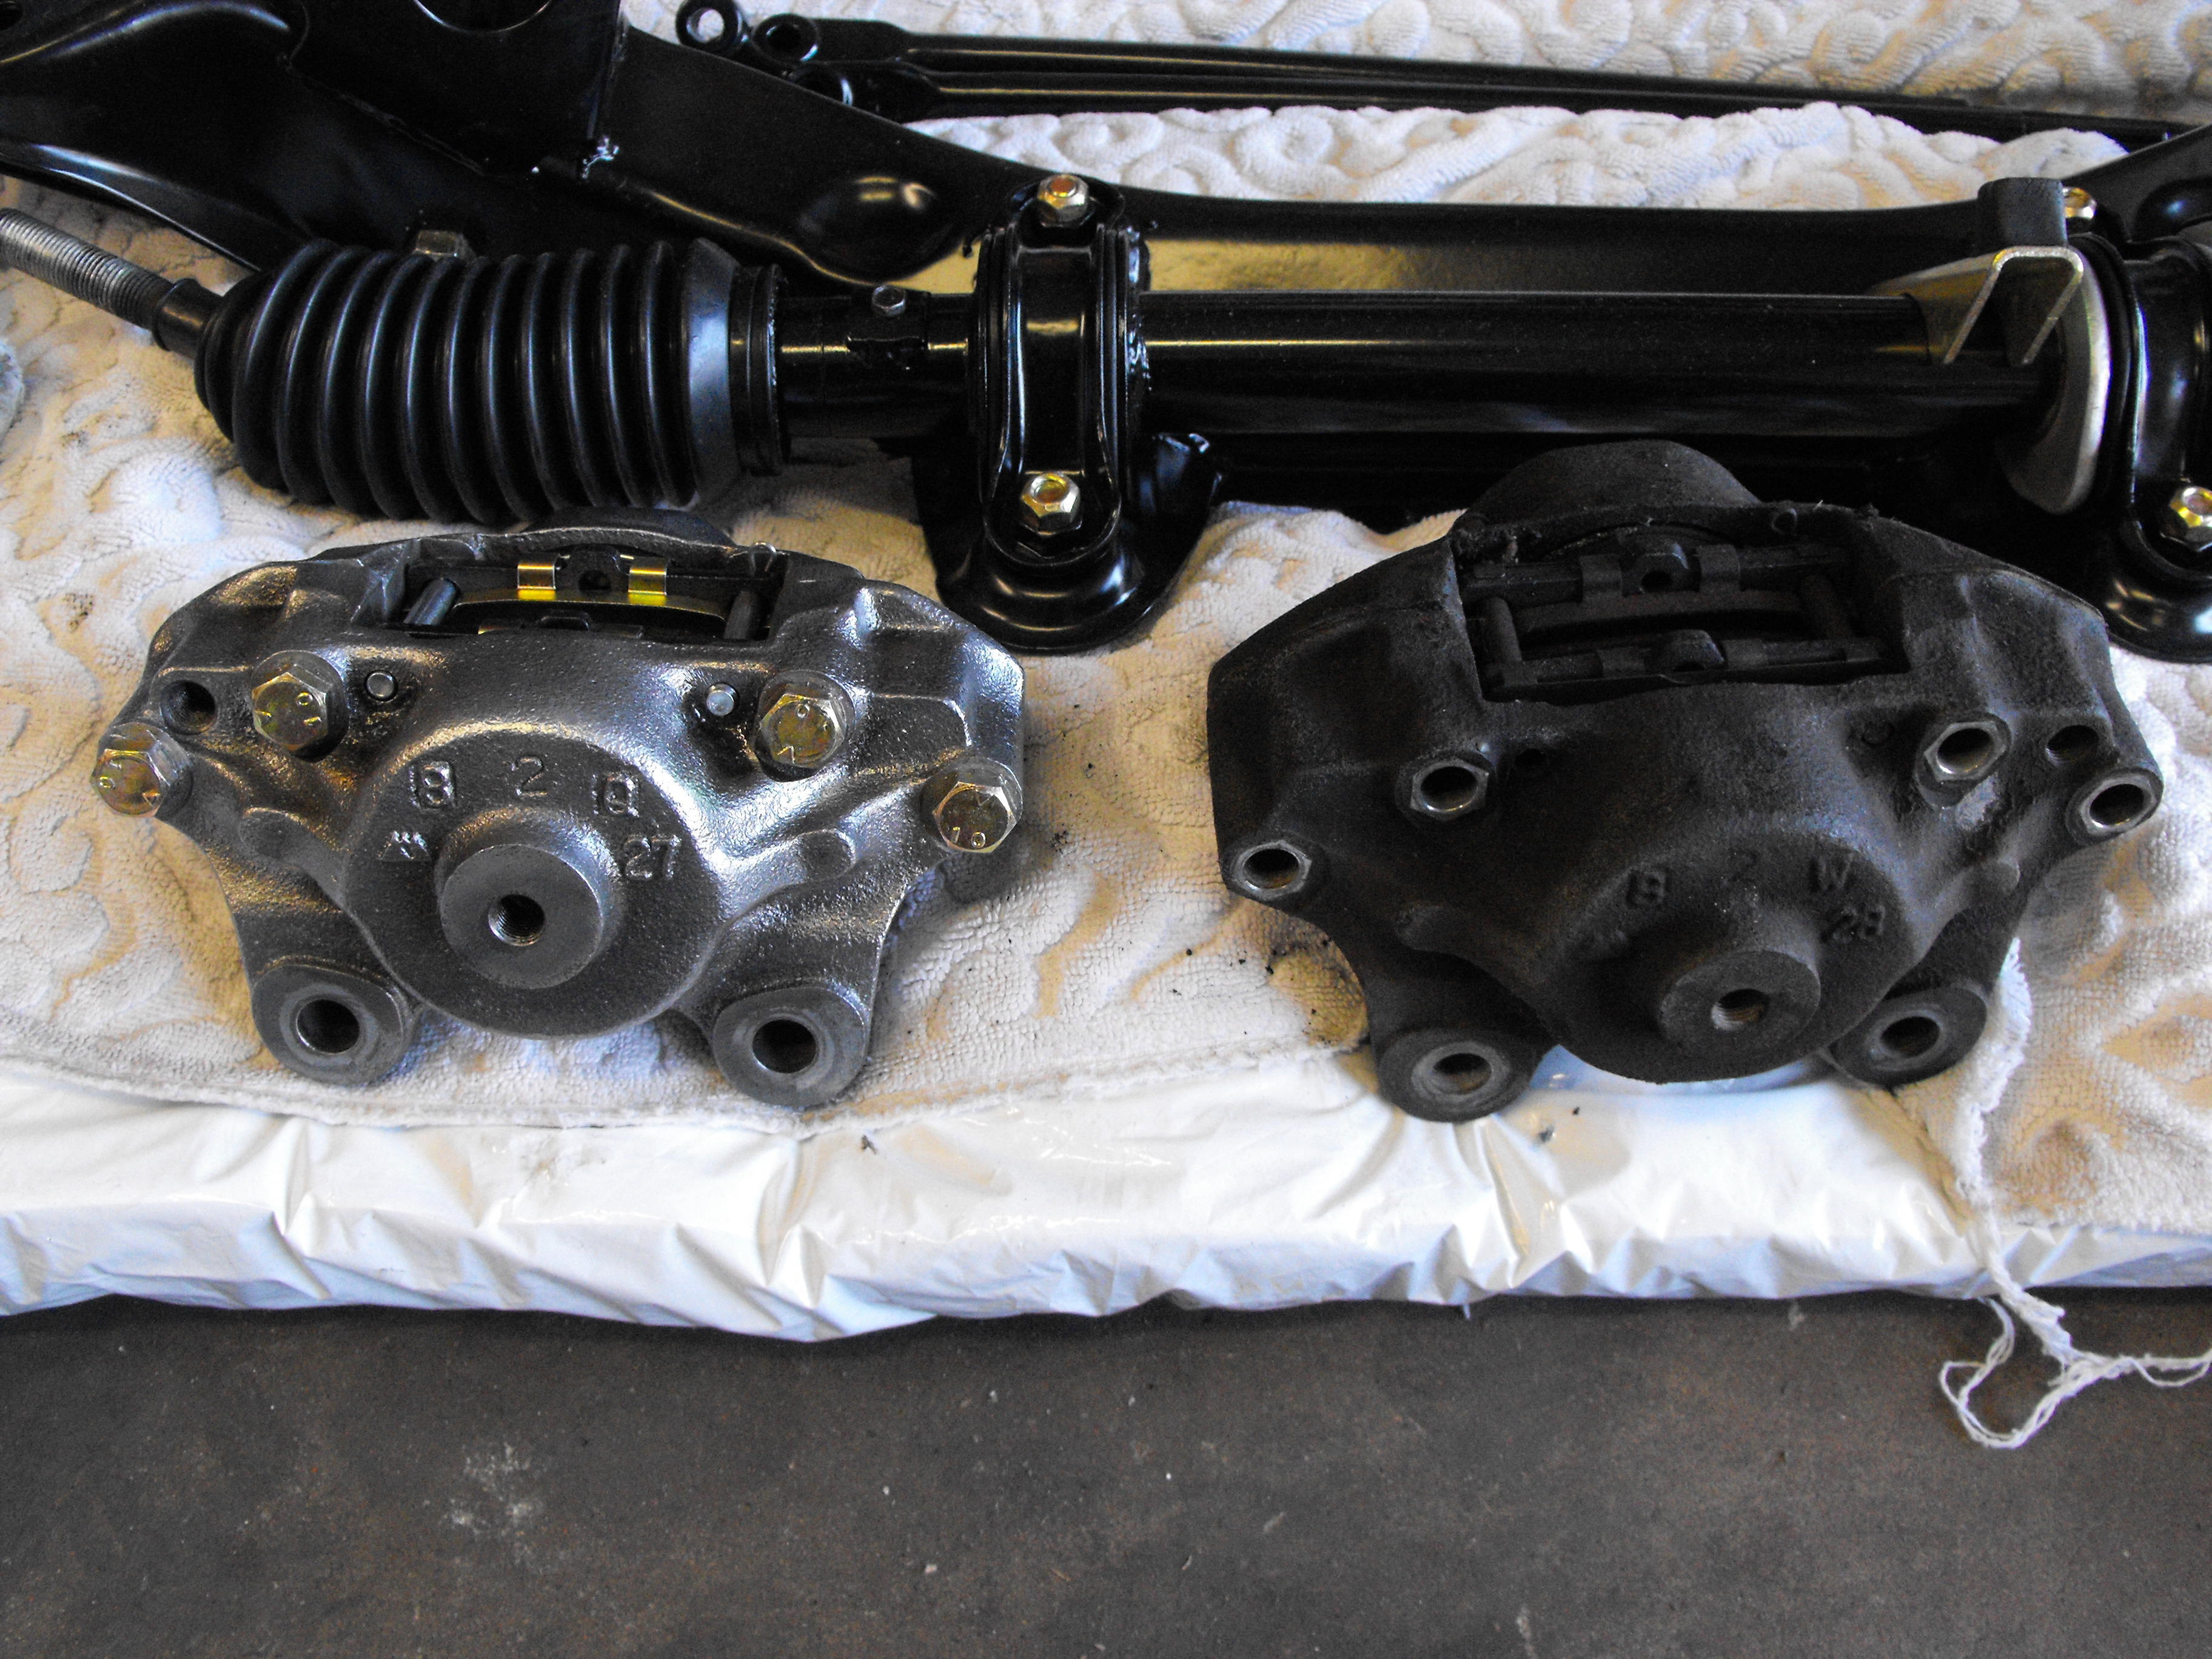
Got one of the front calipers rebuilt (Before and After pic below, kind of), Funny thing, when you order front brake and rear brake shoes, you get 2 sets in each box. When you order a caliper rebuild kit, you only get a kit for one caliper. What's up with that? So, need to order another caliper rebuild kit. I will order those along with the new brake flex hose lines. I put the short brake line that is near the backing plate on. Those look pretty cool, so thought I would take a pic. Started cleaning up the fuel and brake lines. Will send those out to plate shortly. Taking the Brake drums and rotors to get turned tomorrow. Hopefully the brake drums will be OK. They have some deep grooves in them.


-
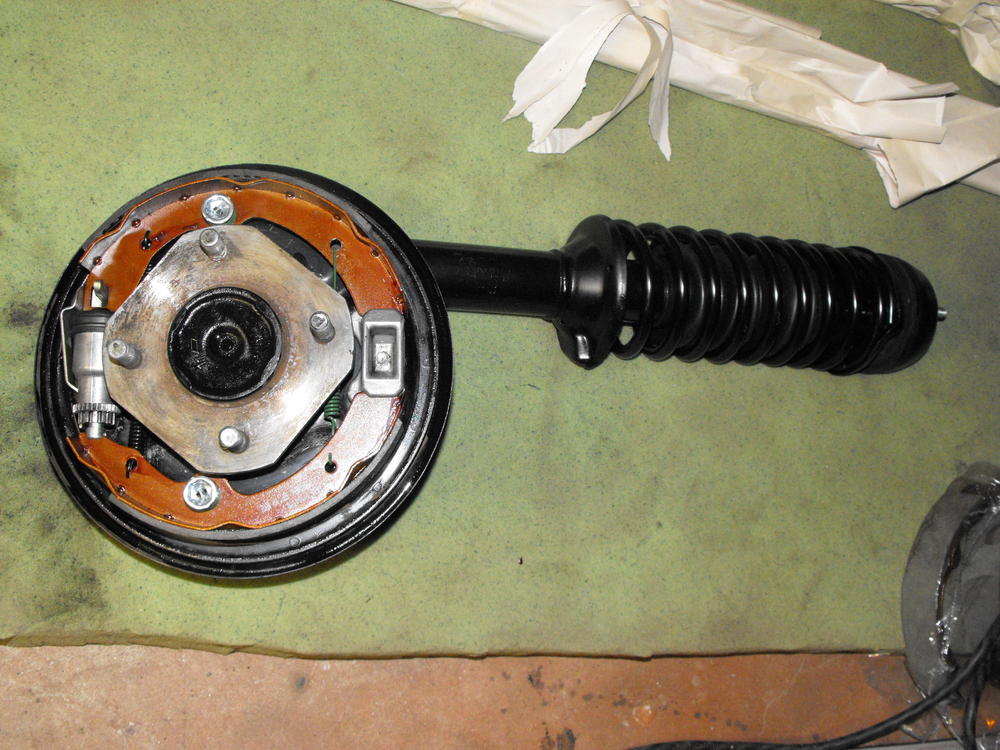
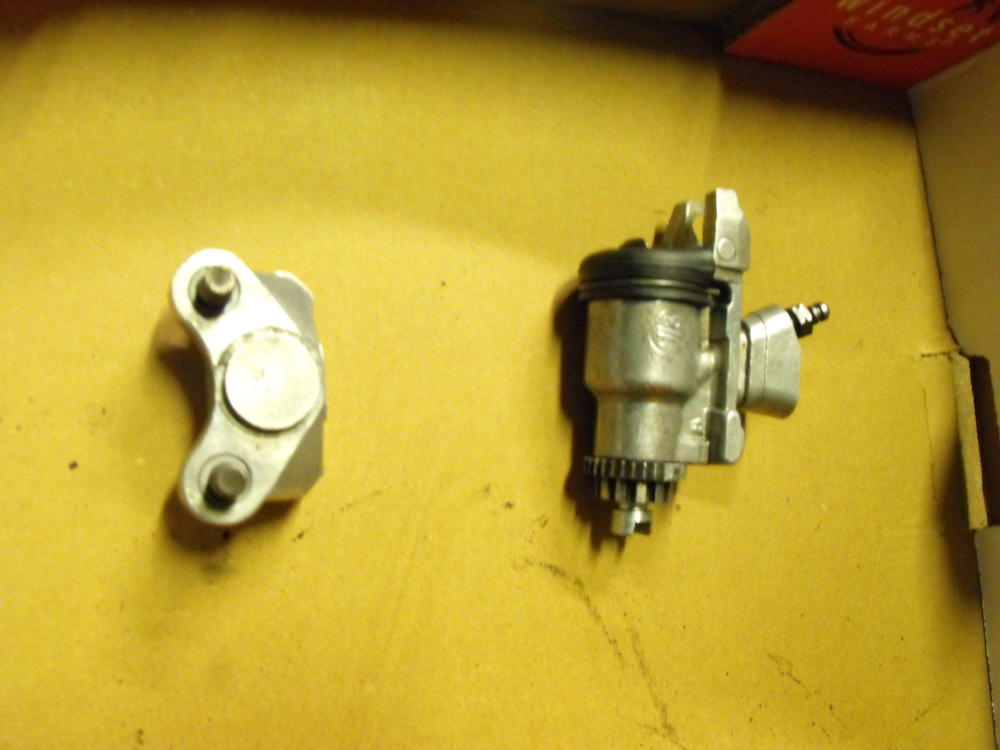
Cleaned up and re-built both rear brake cylinders. Installed the rear brake assembly with new brake shoes and springs for the passenger side rear strut. Also got the chrome in last week. They were pretty quick, taking just over two weeks. I think I will keep them wrapped up until I am ready to install.


-
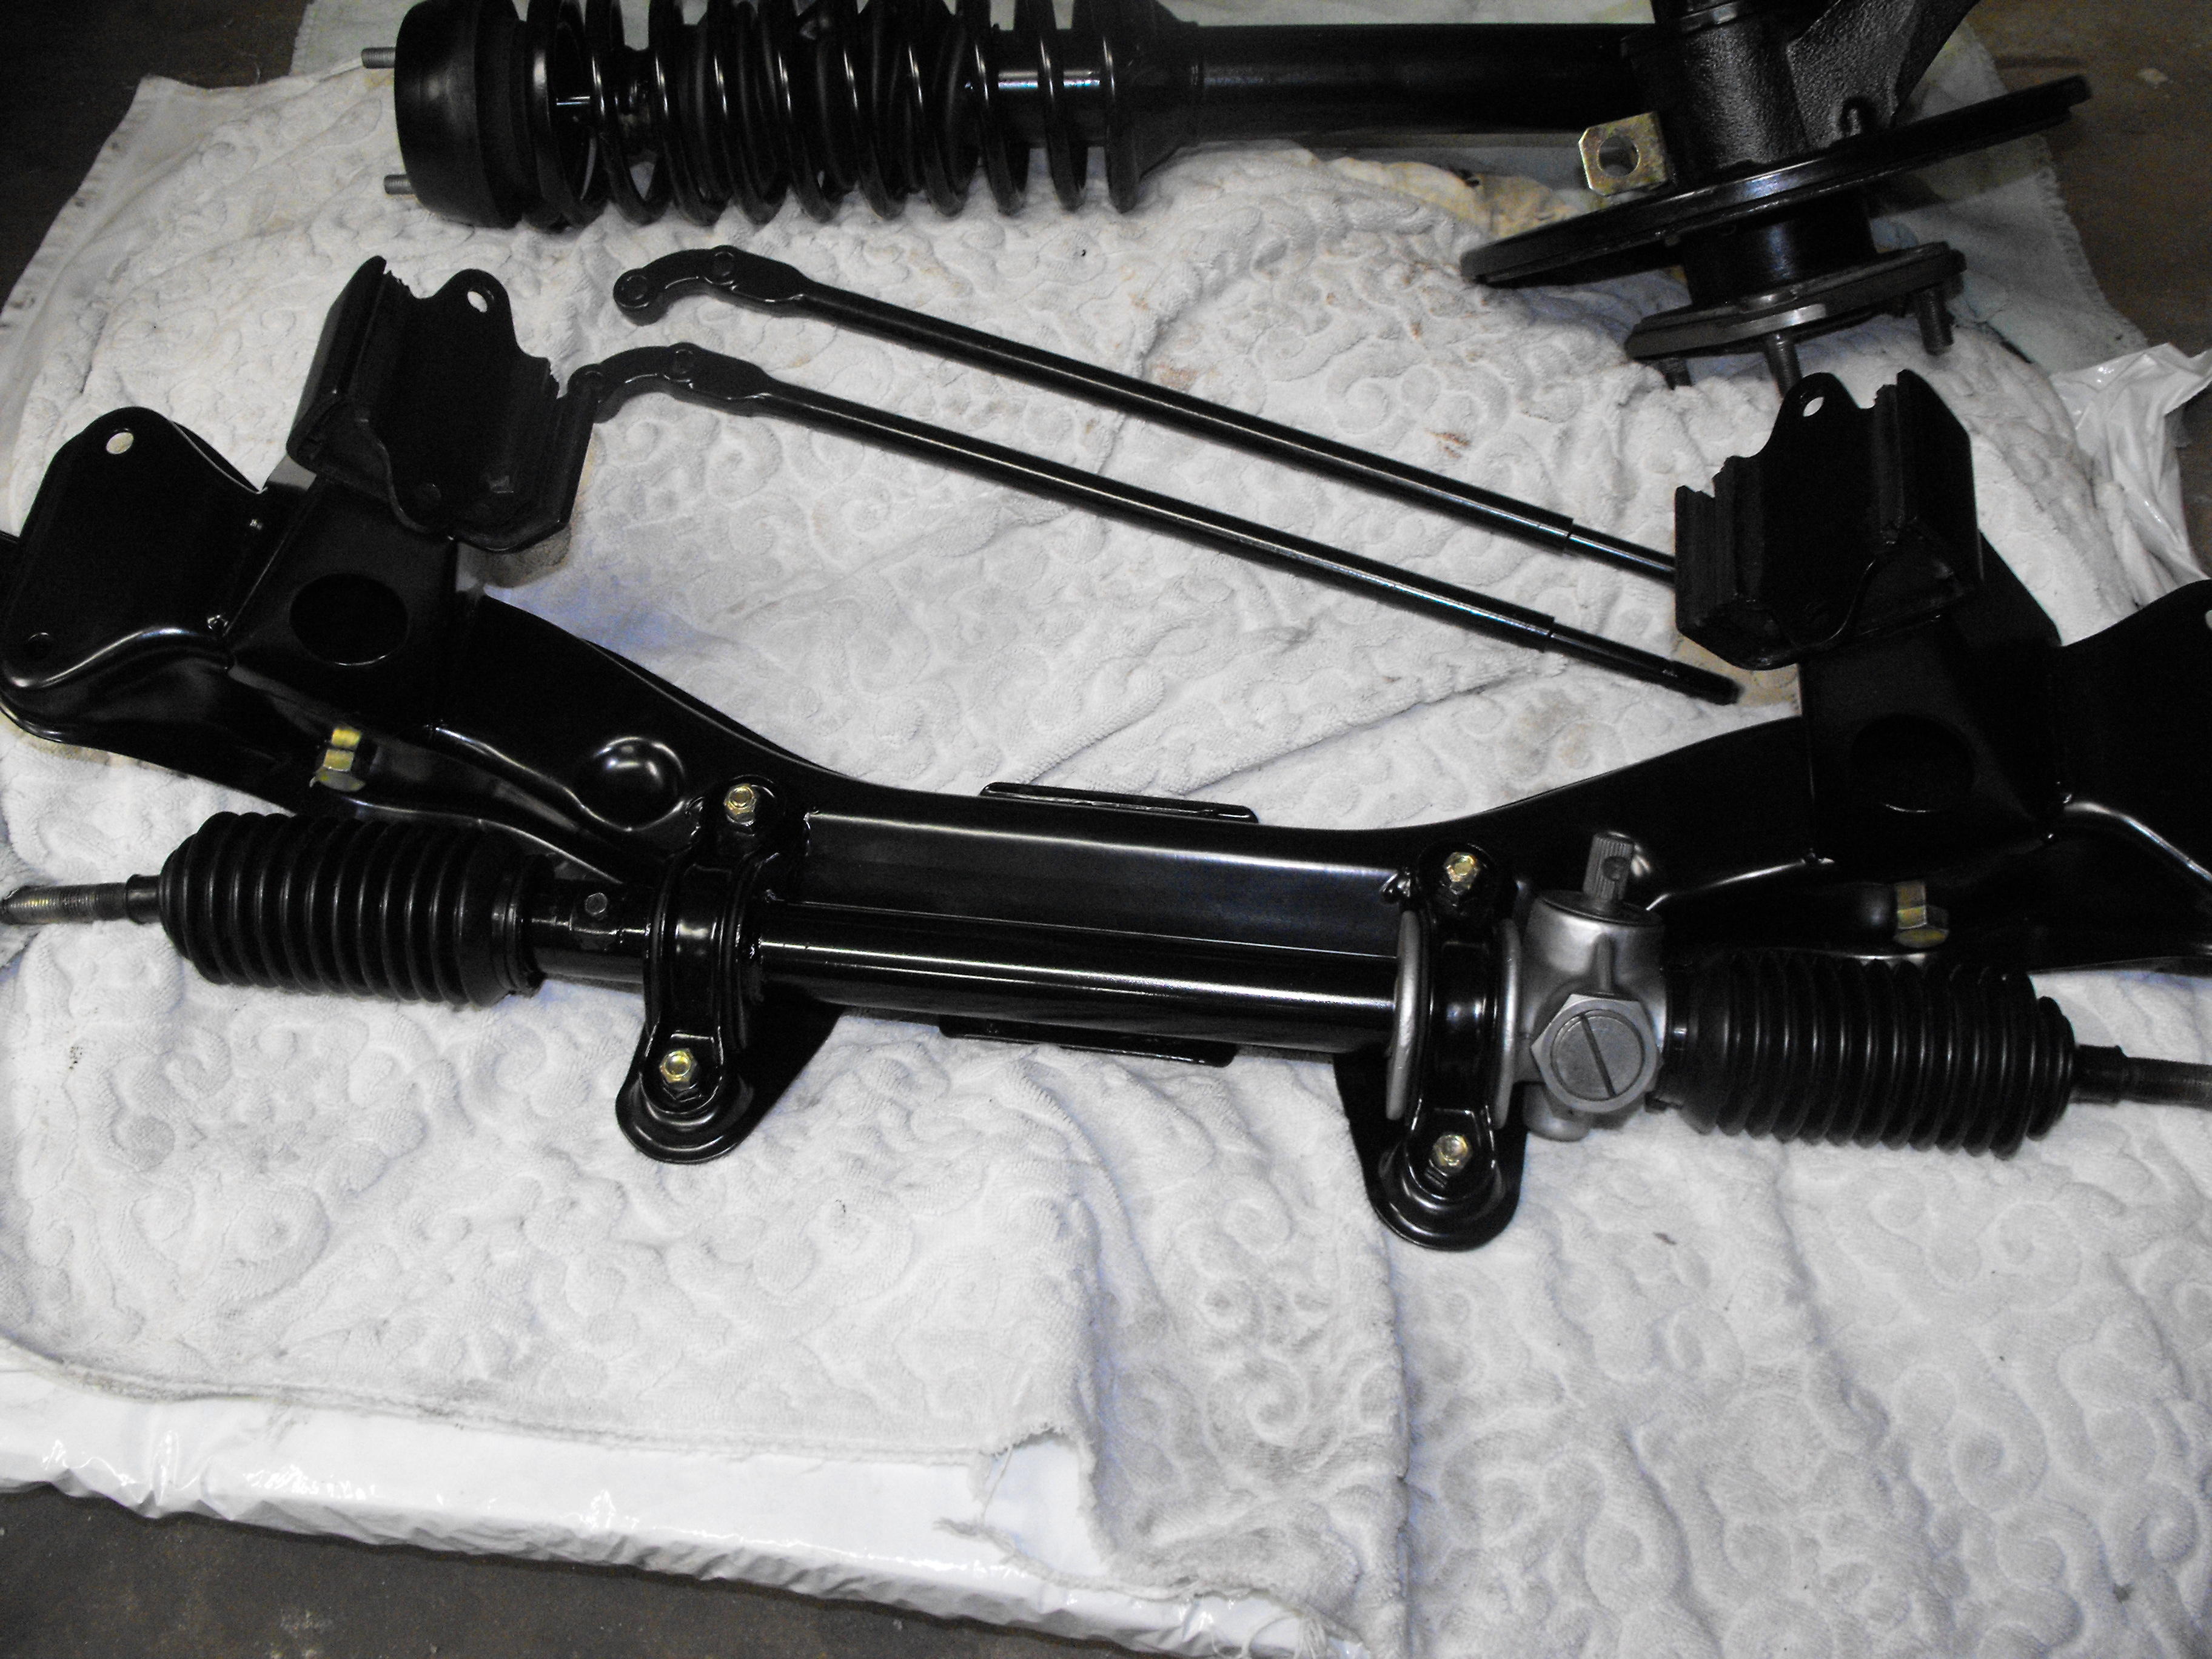
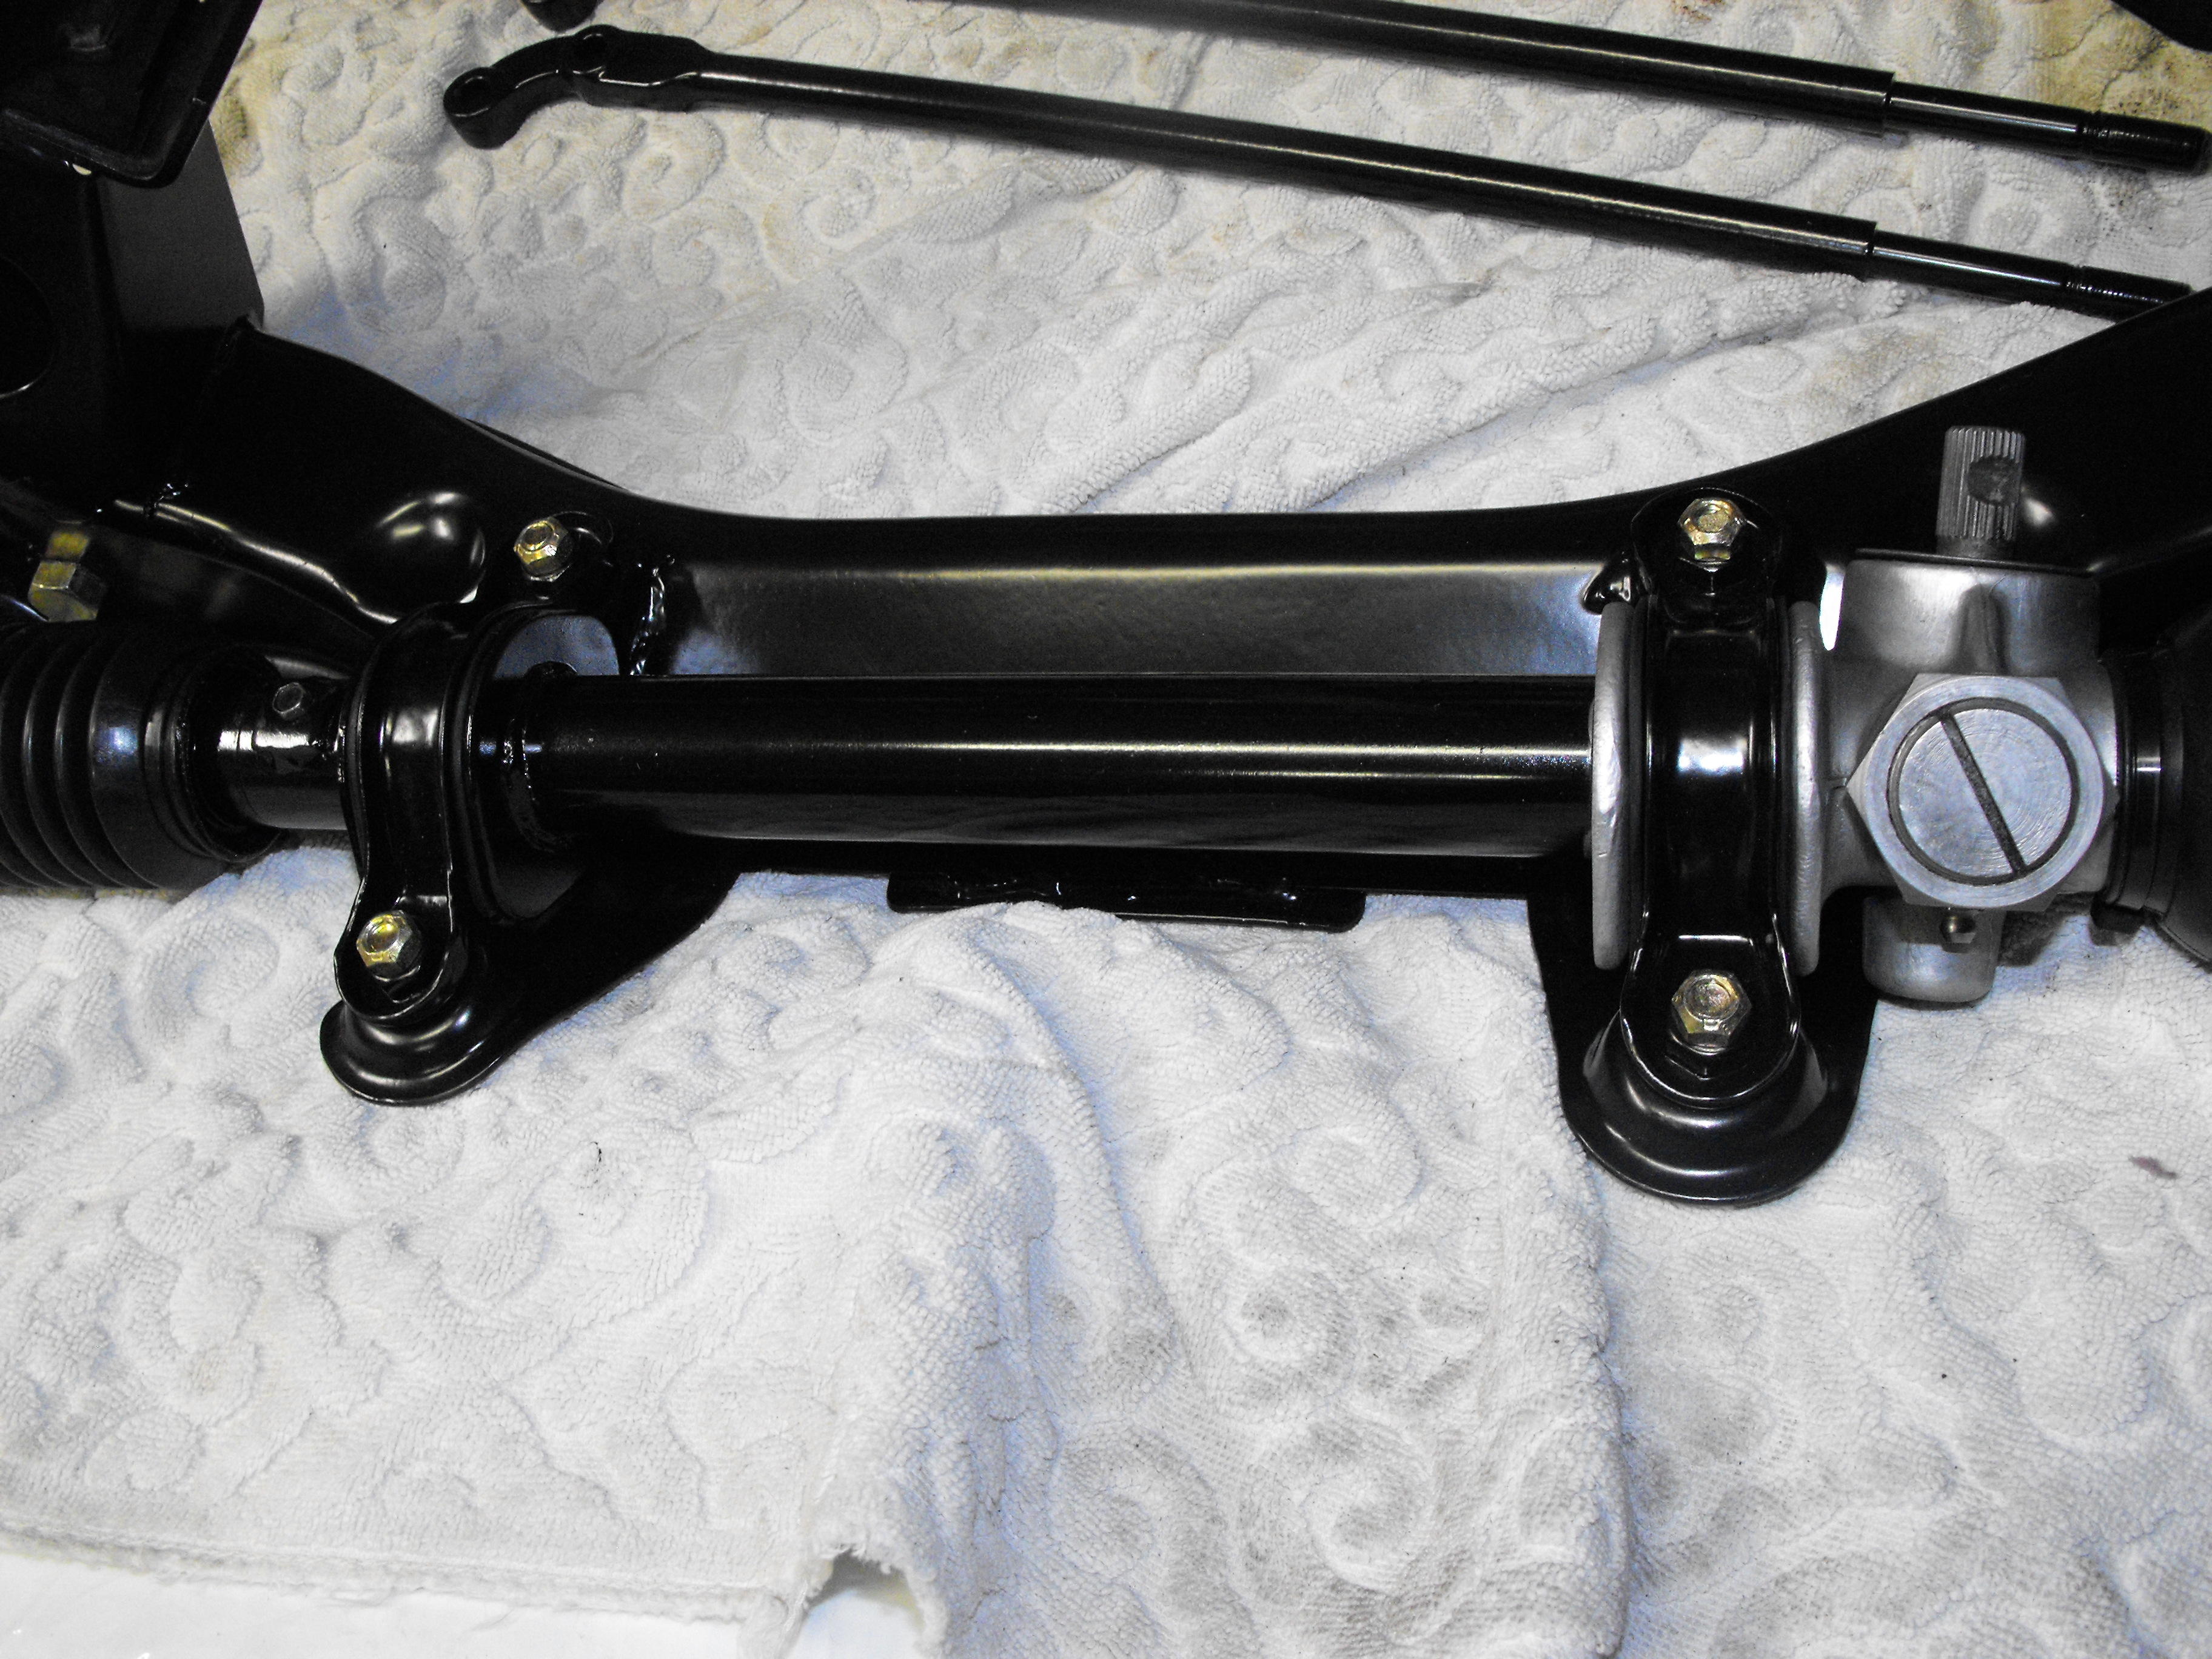
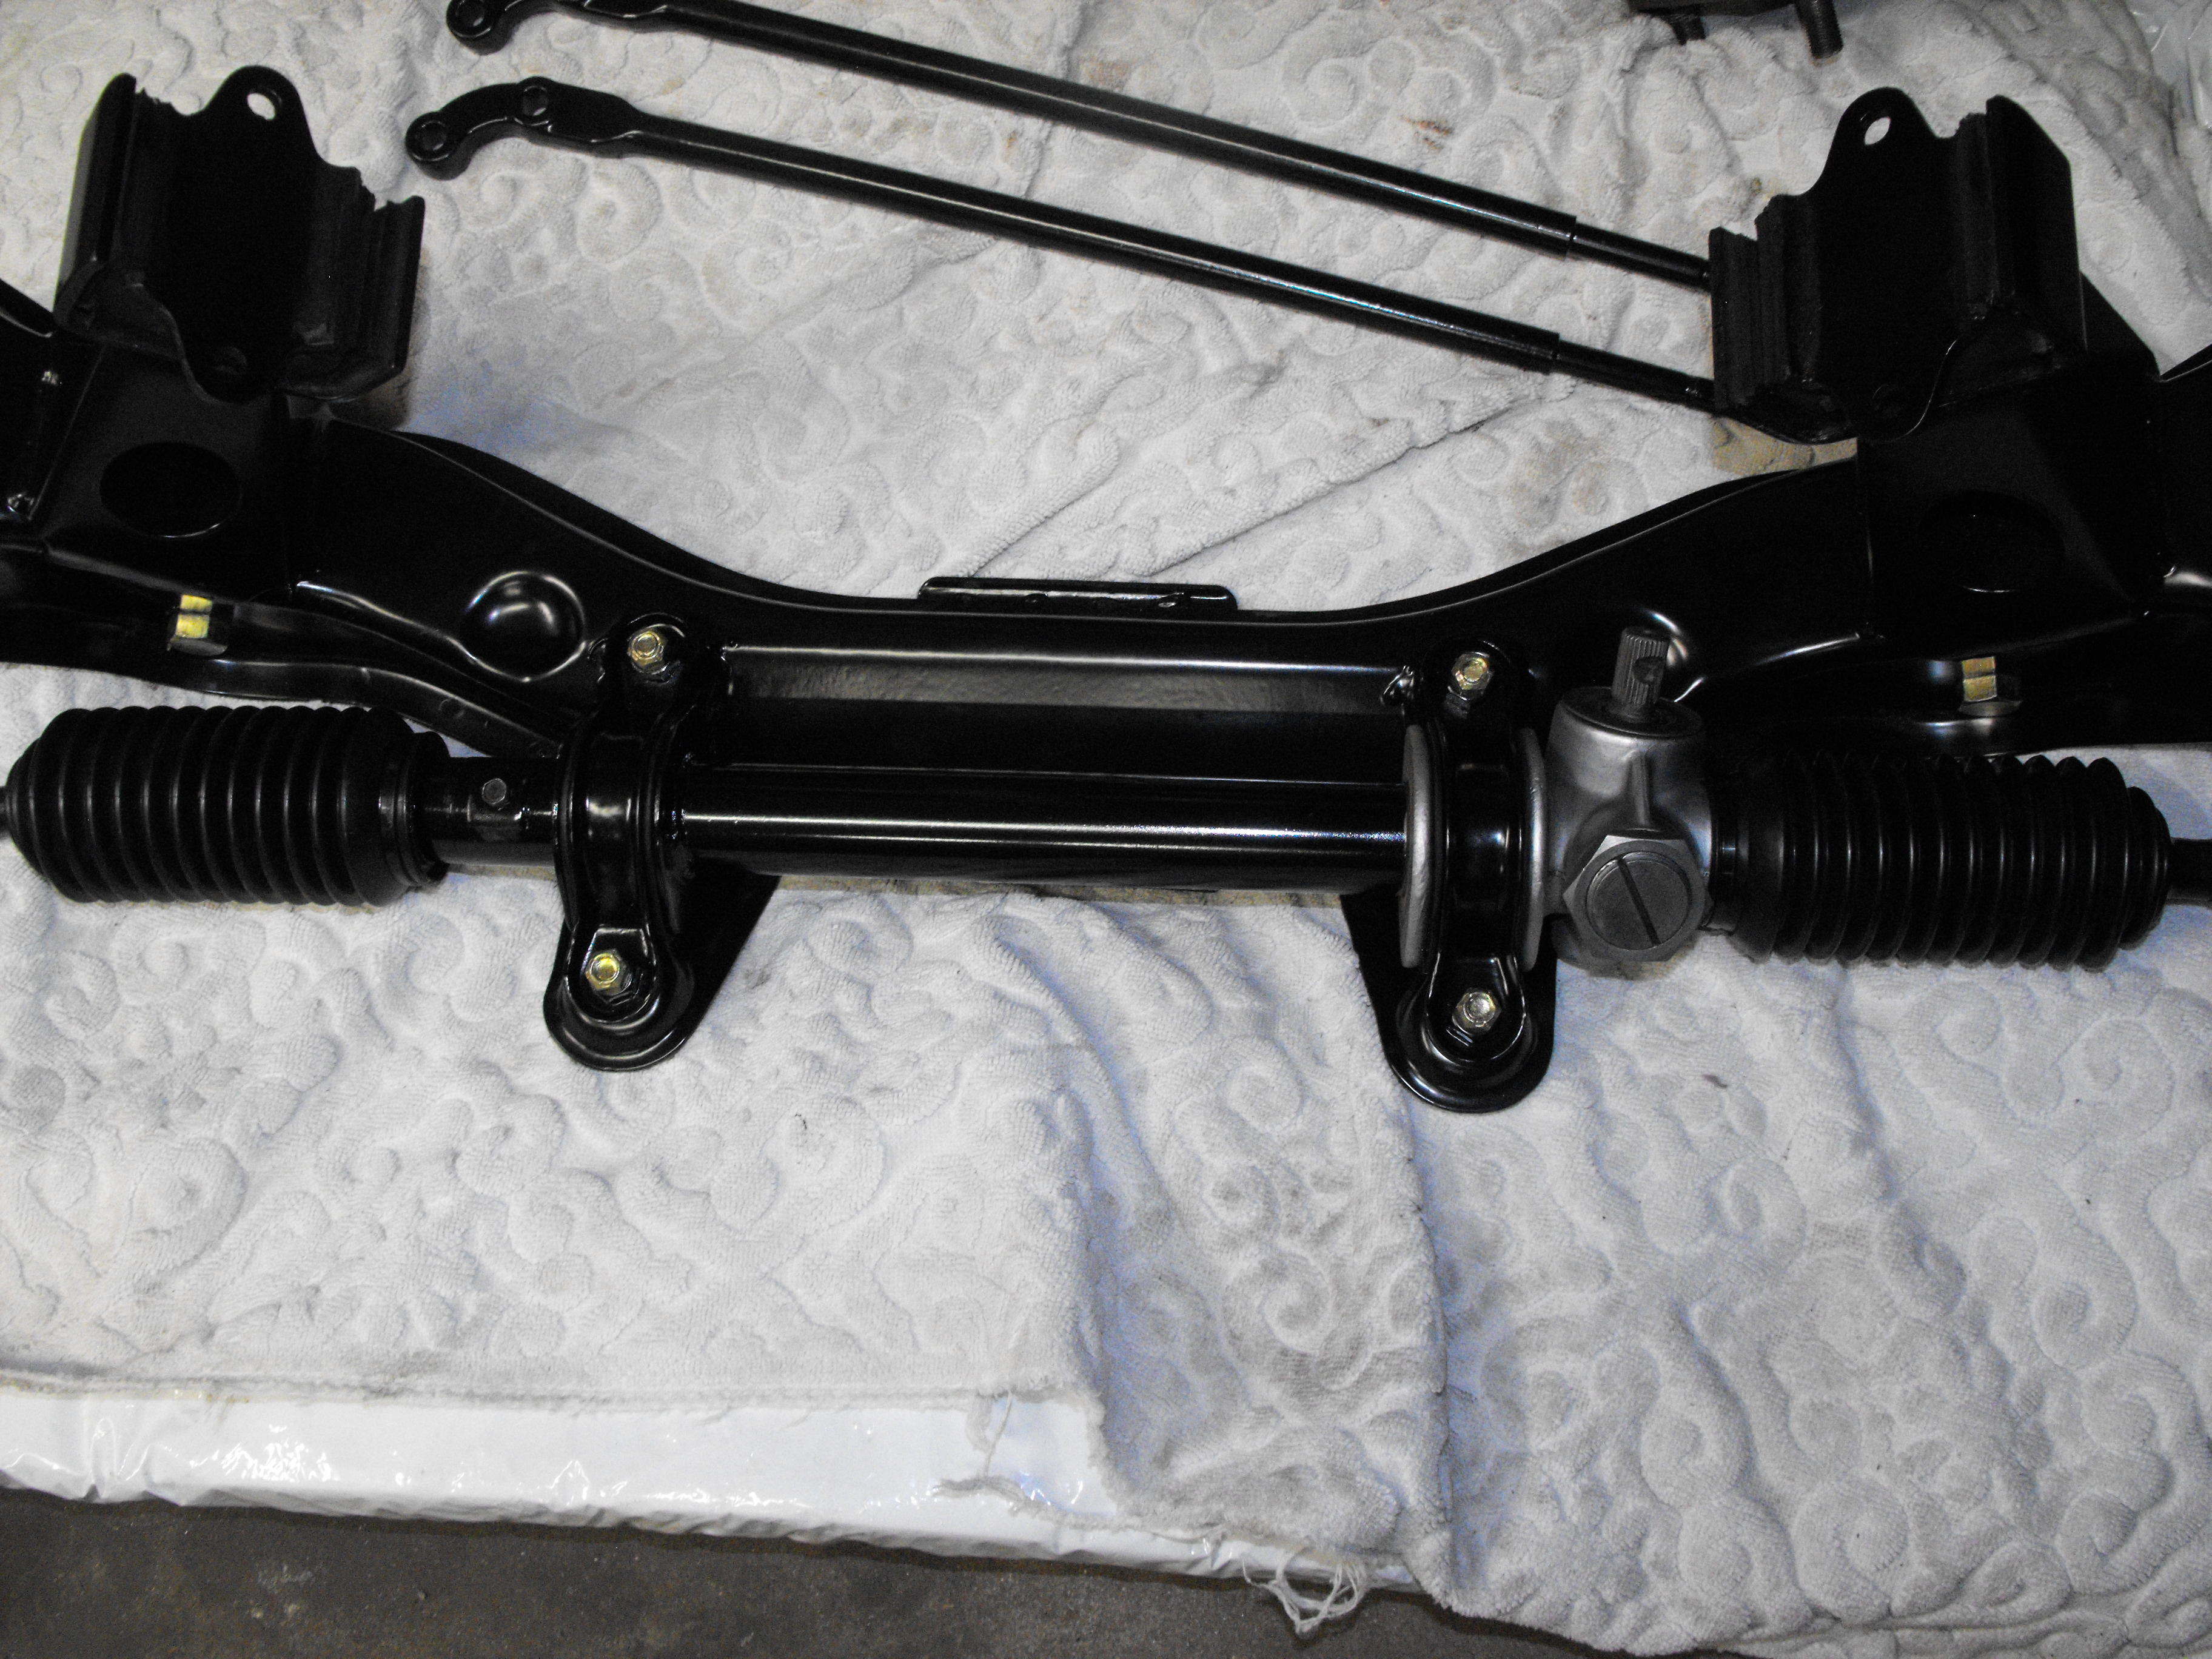
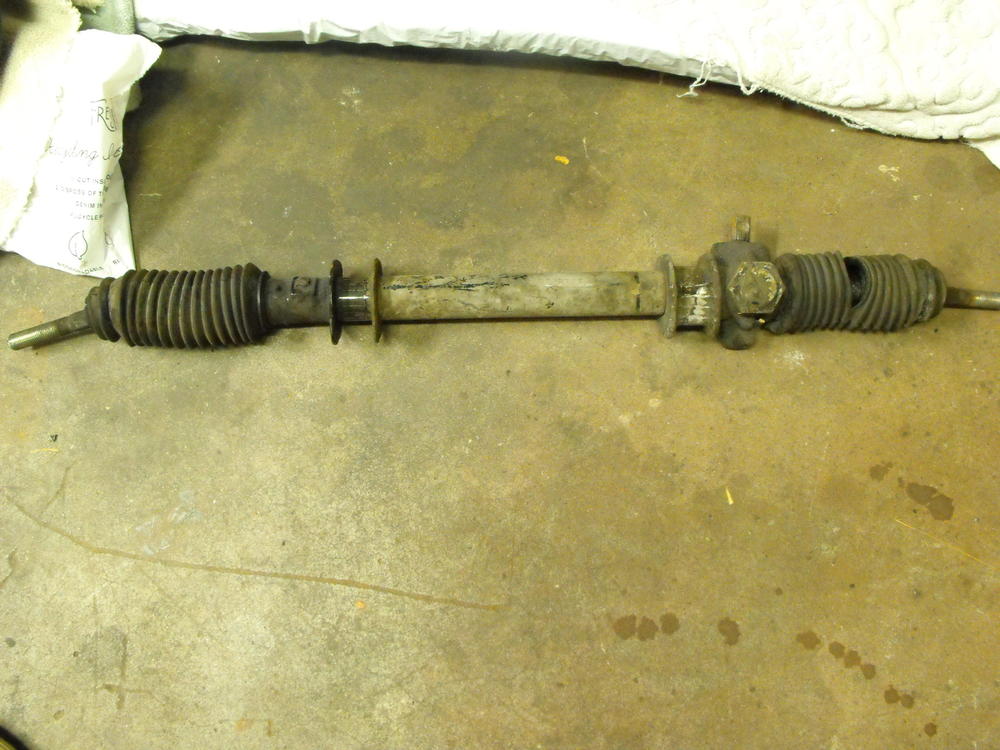
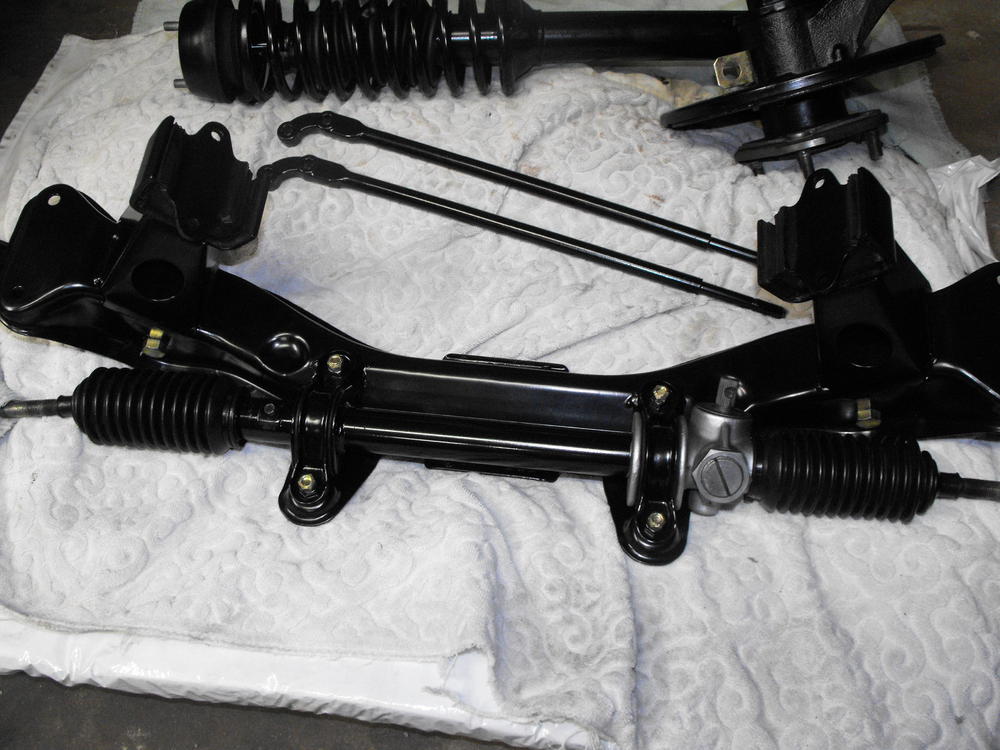
Got the Steering Rack cleaned up, painted and lubed. Attached it to the front support with the new Energy bushings.


-
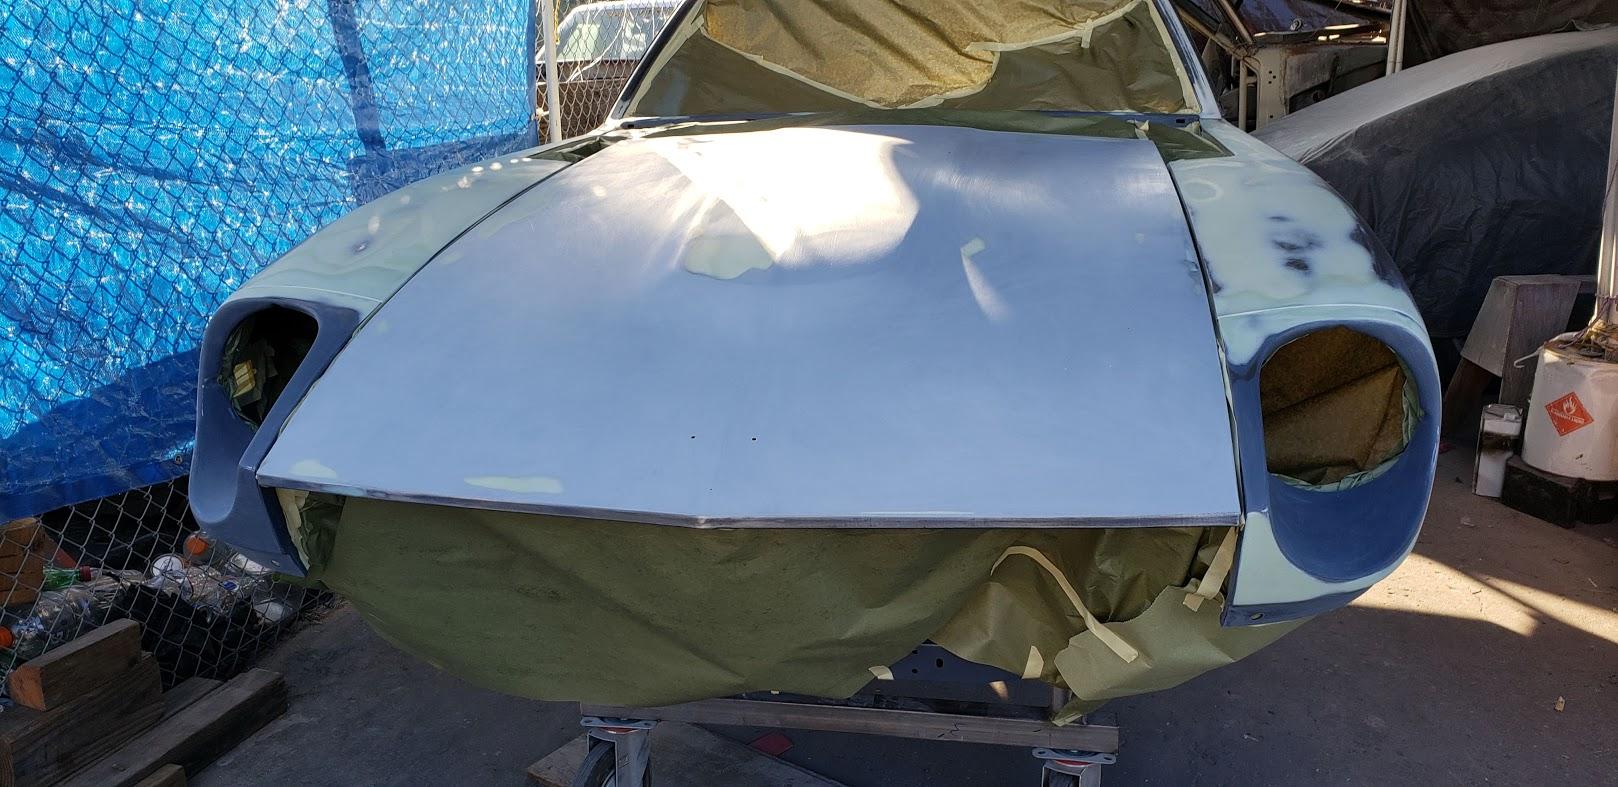
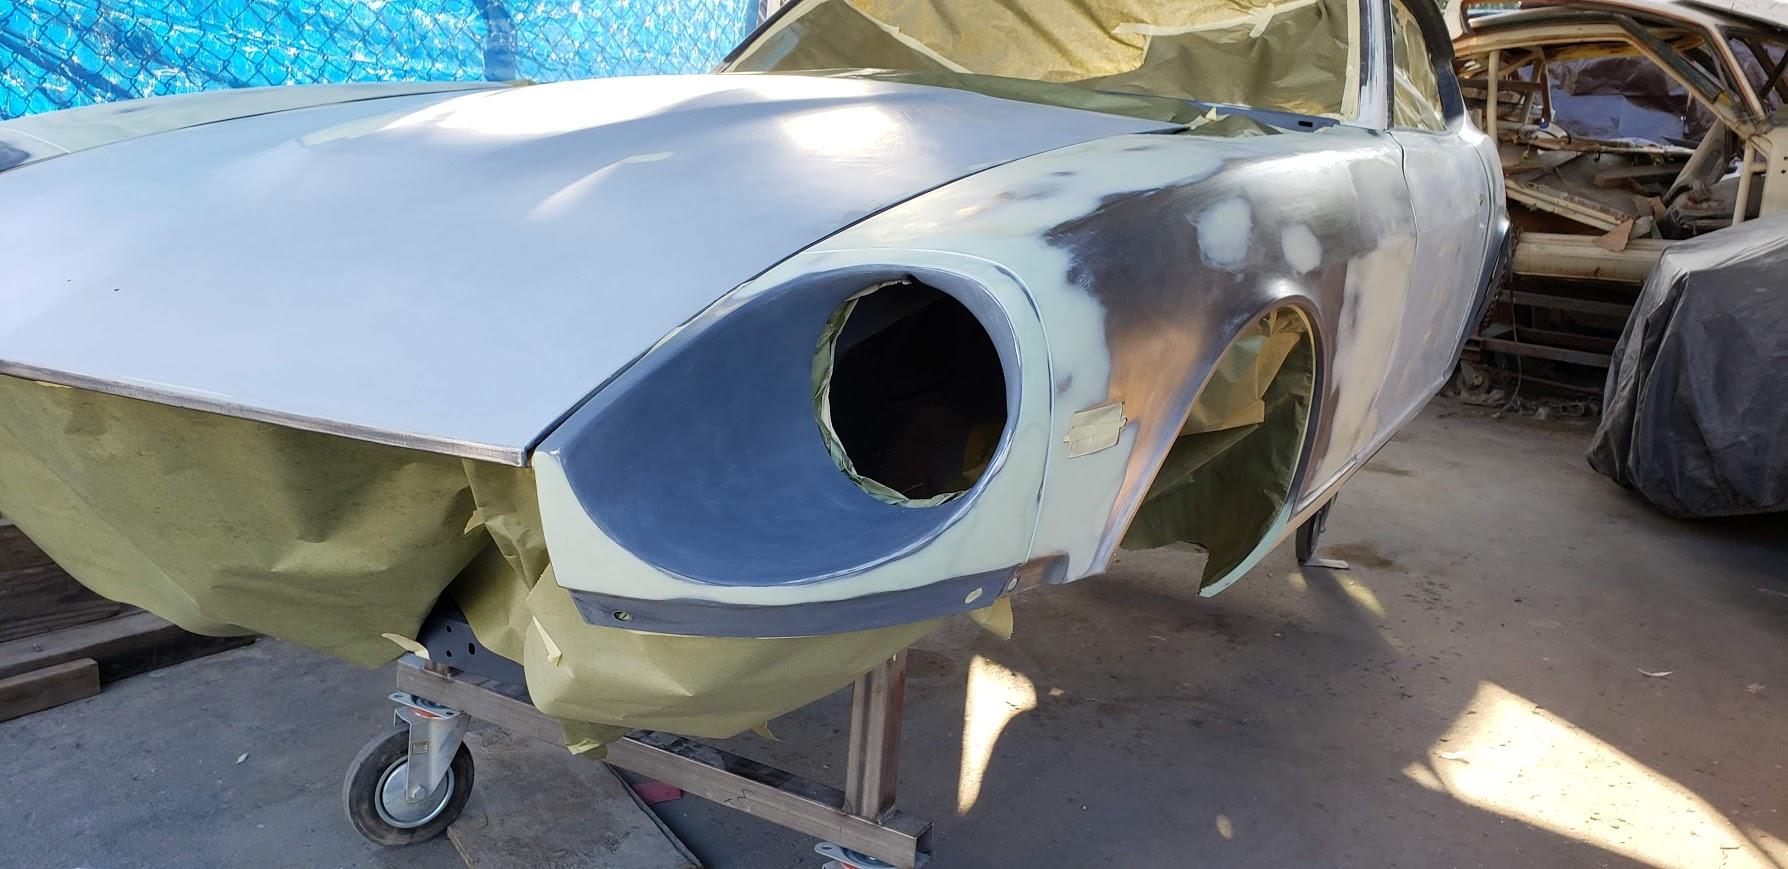
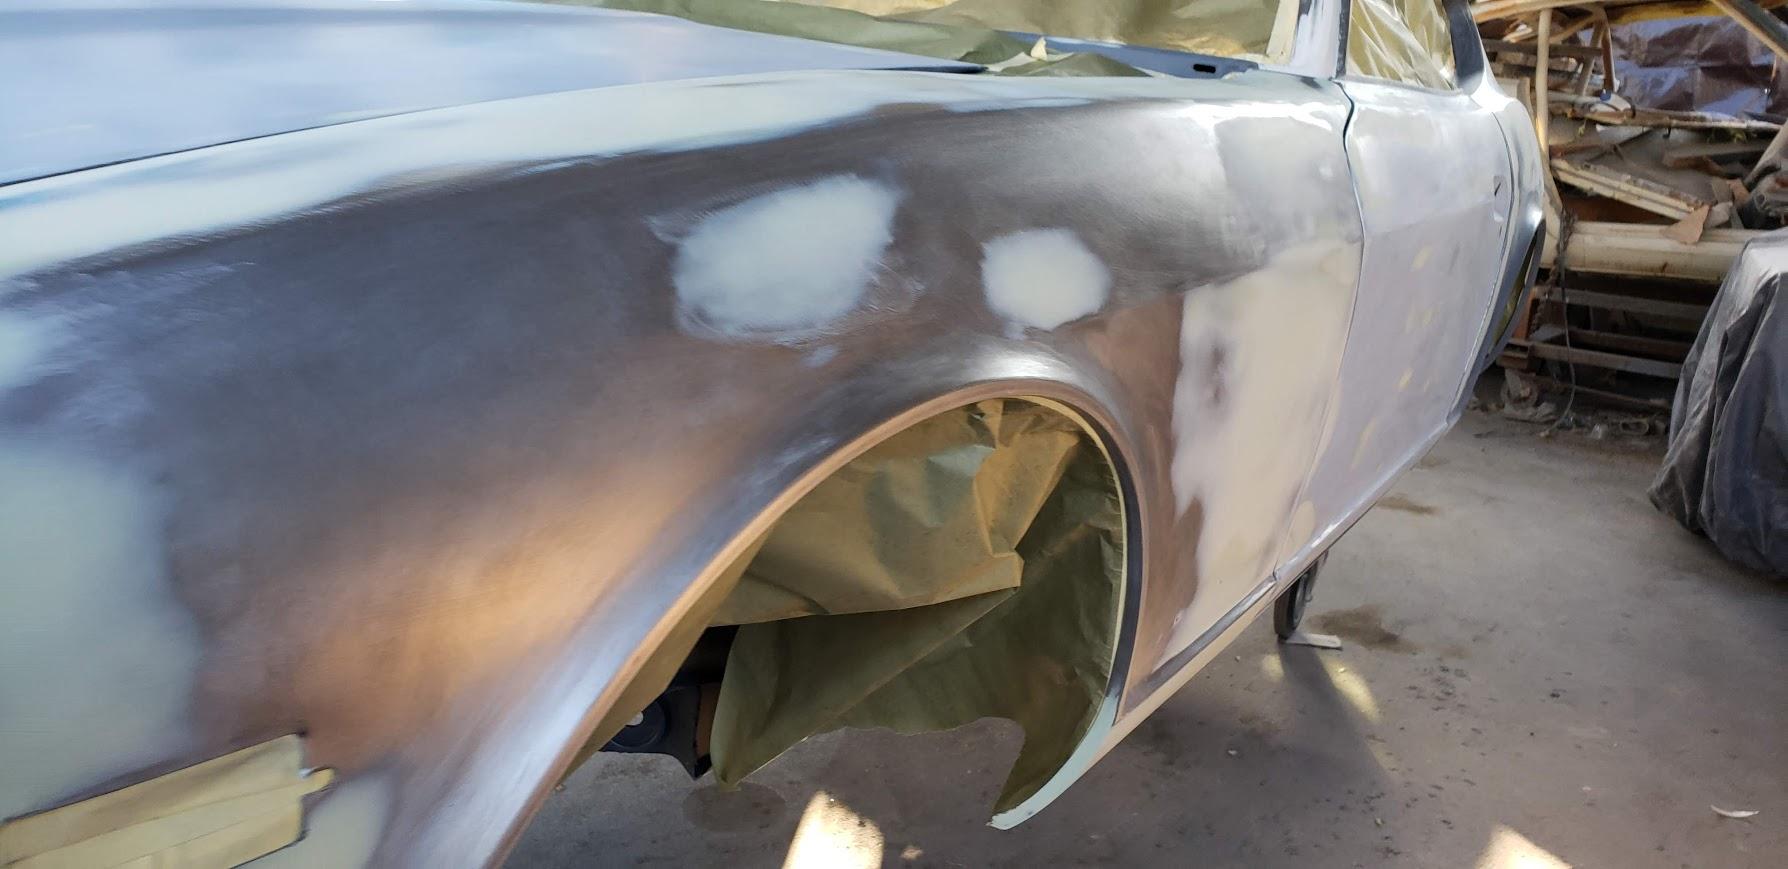
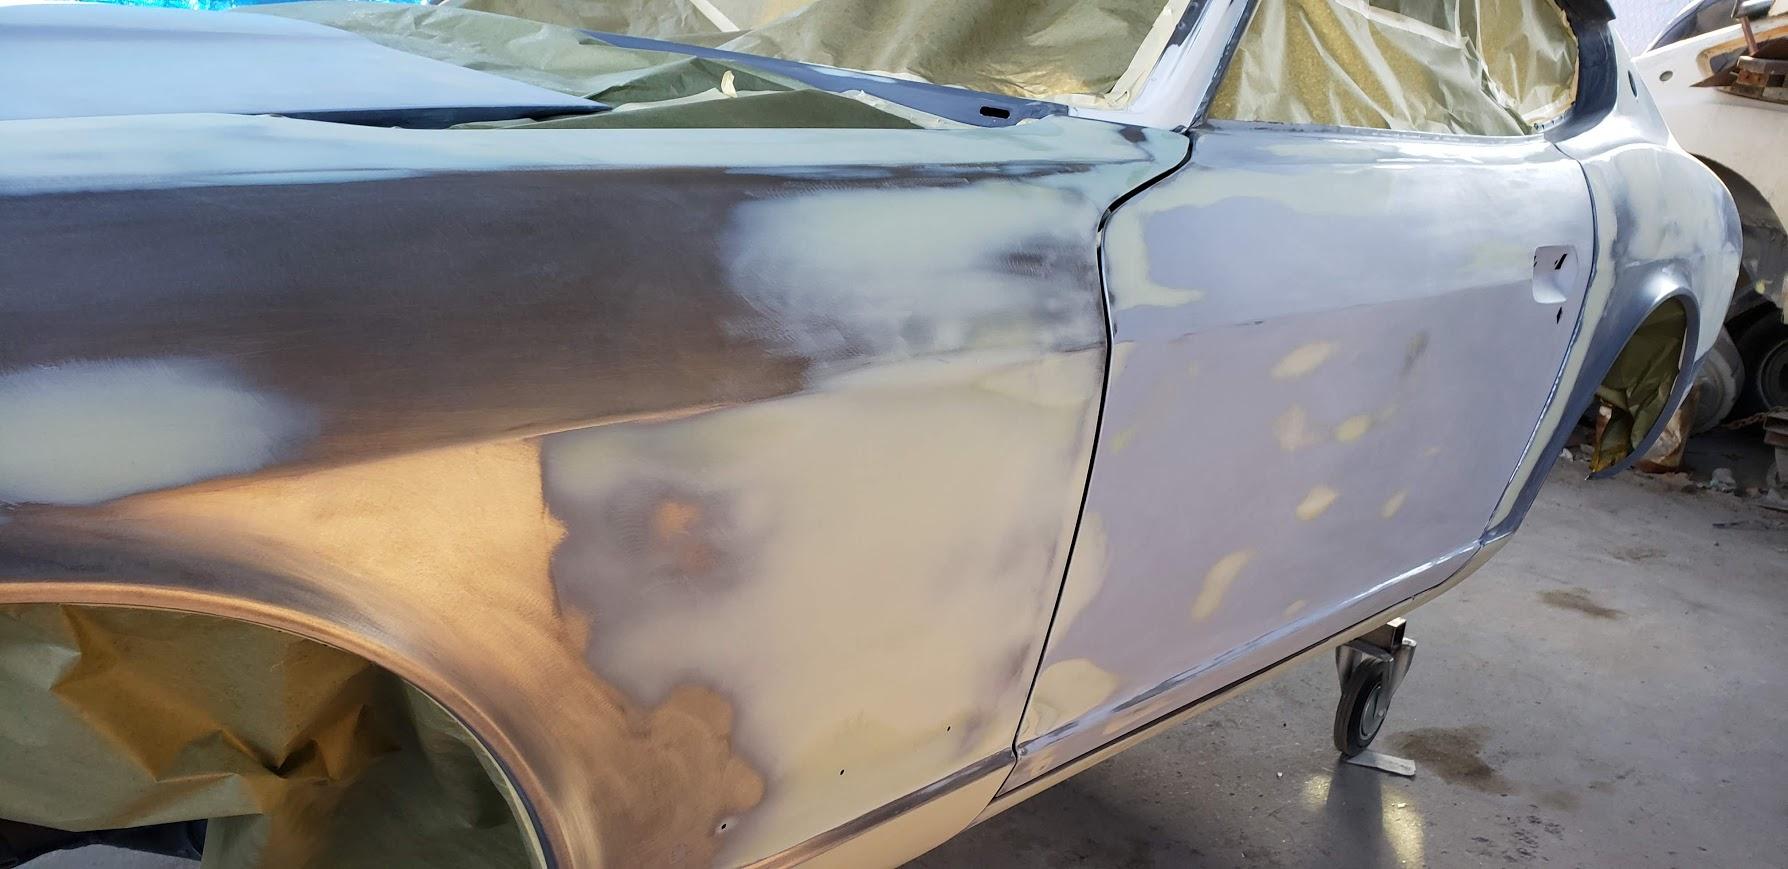
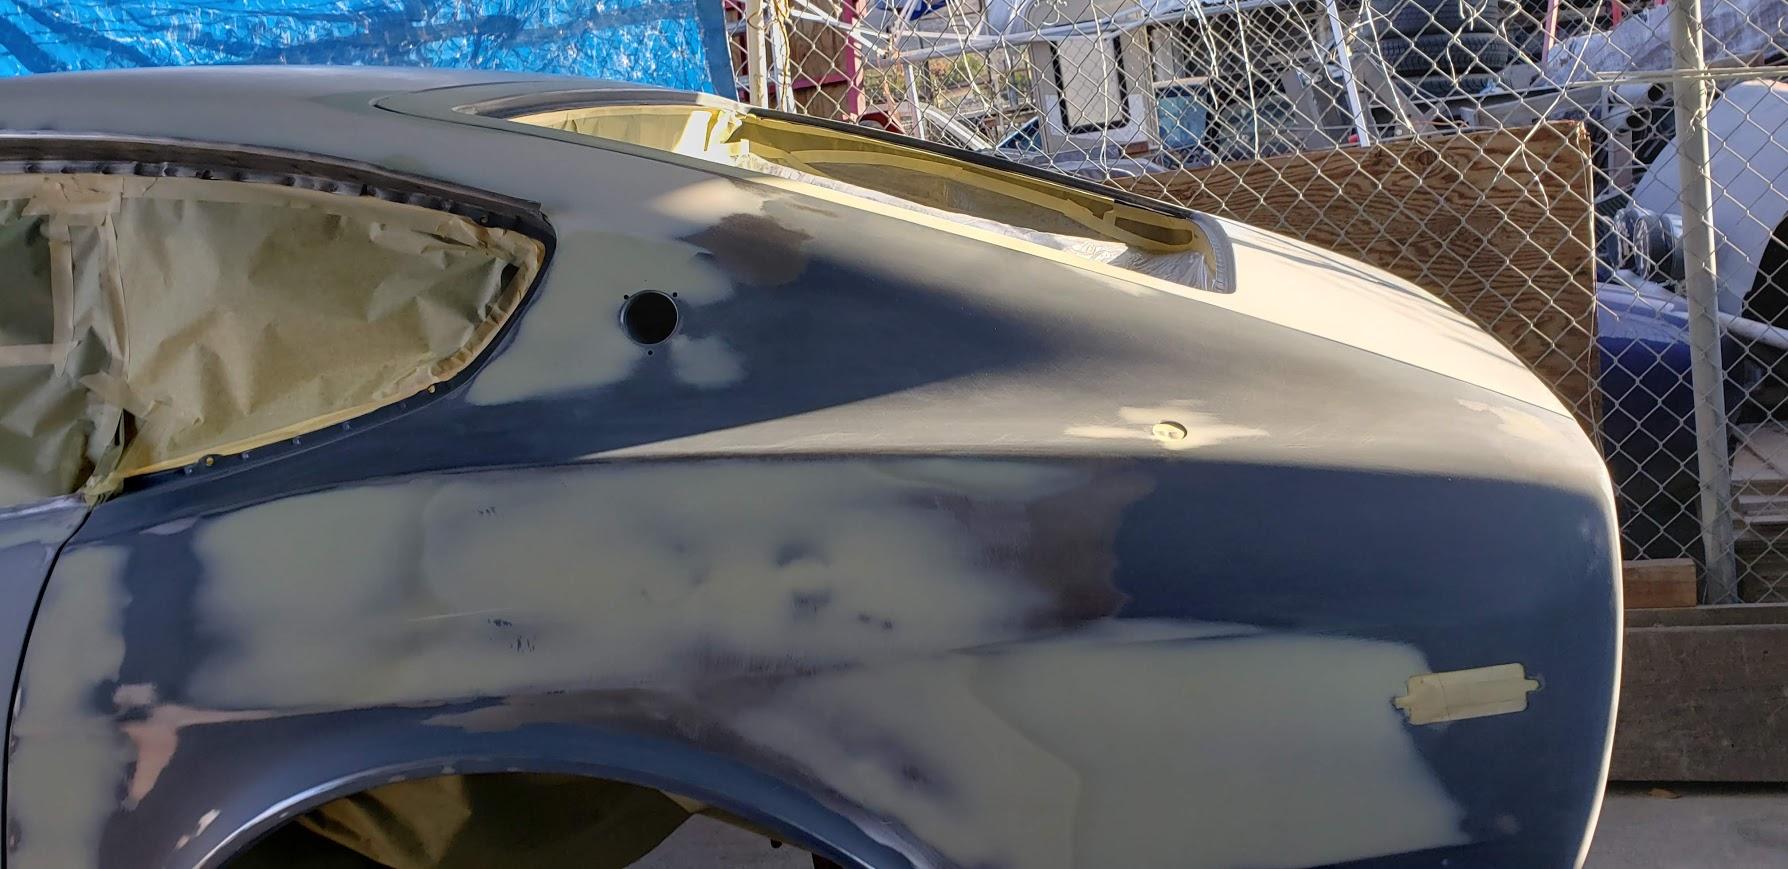
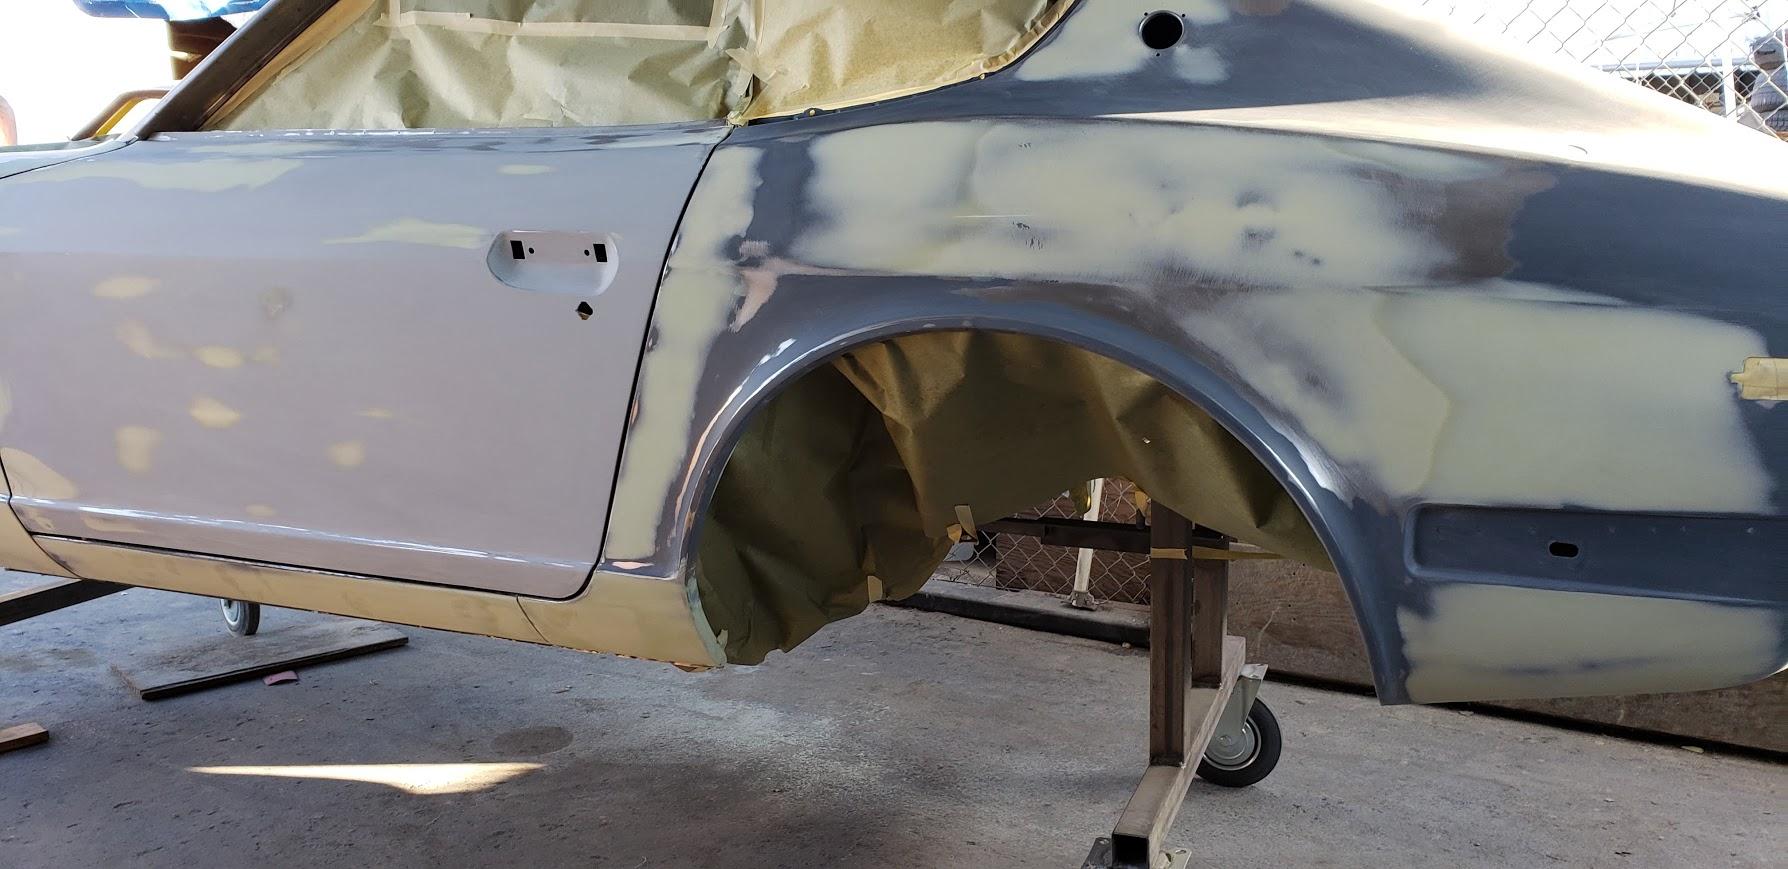
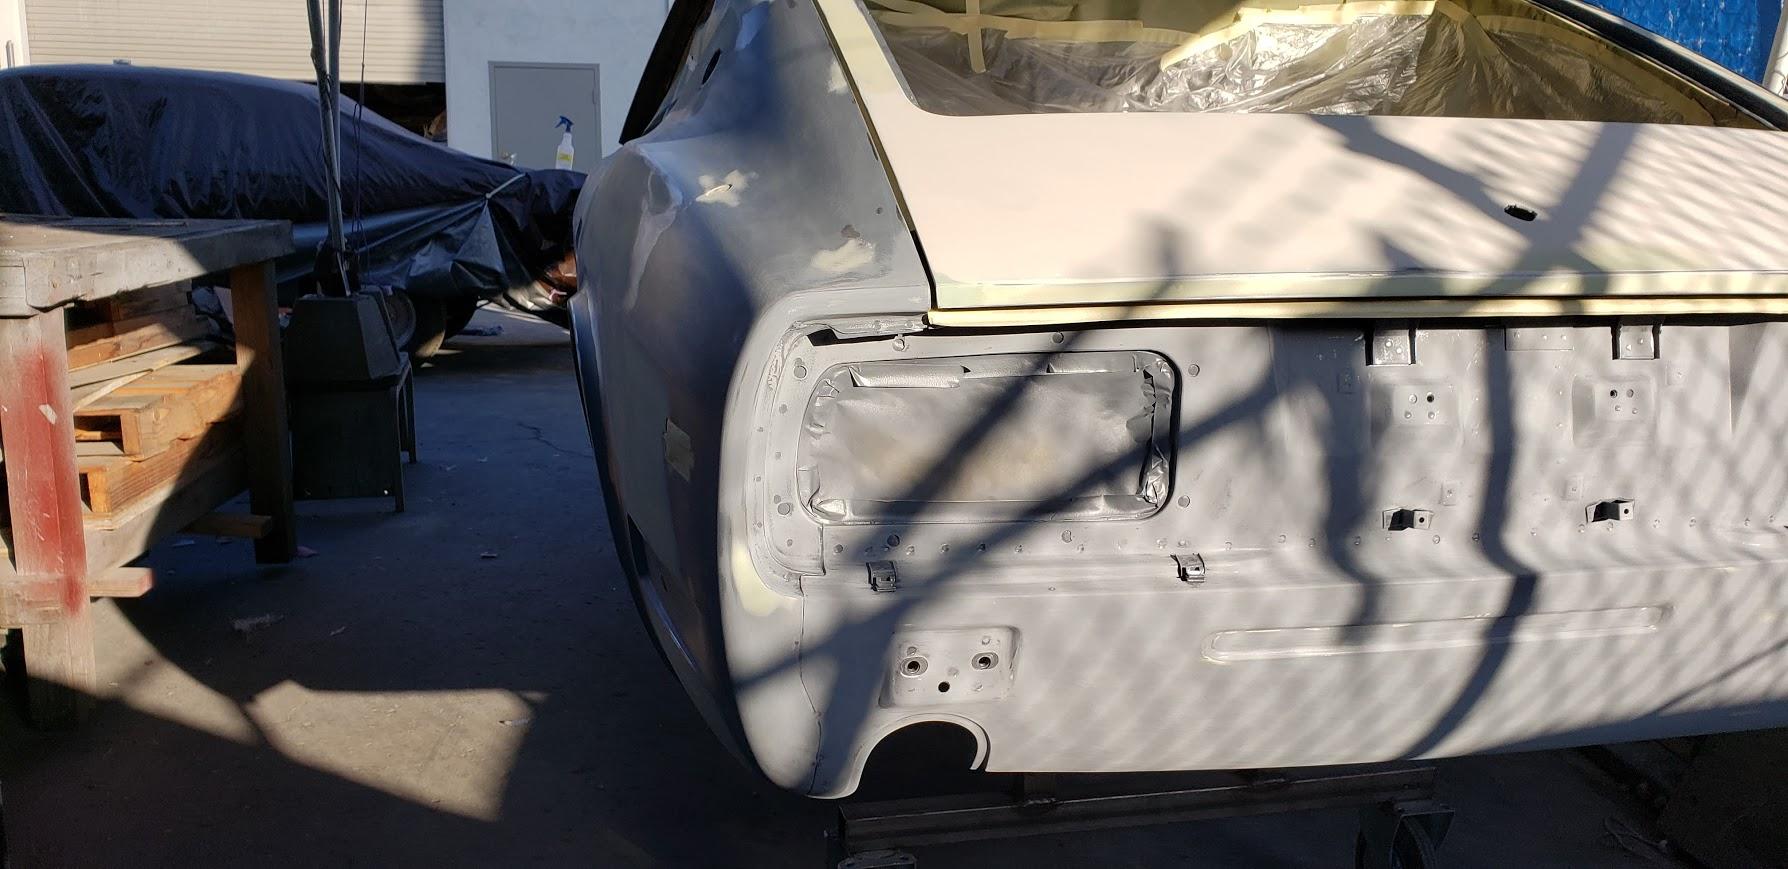
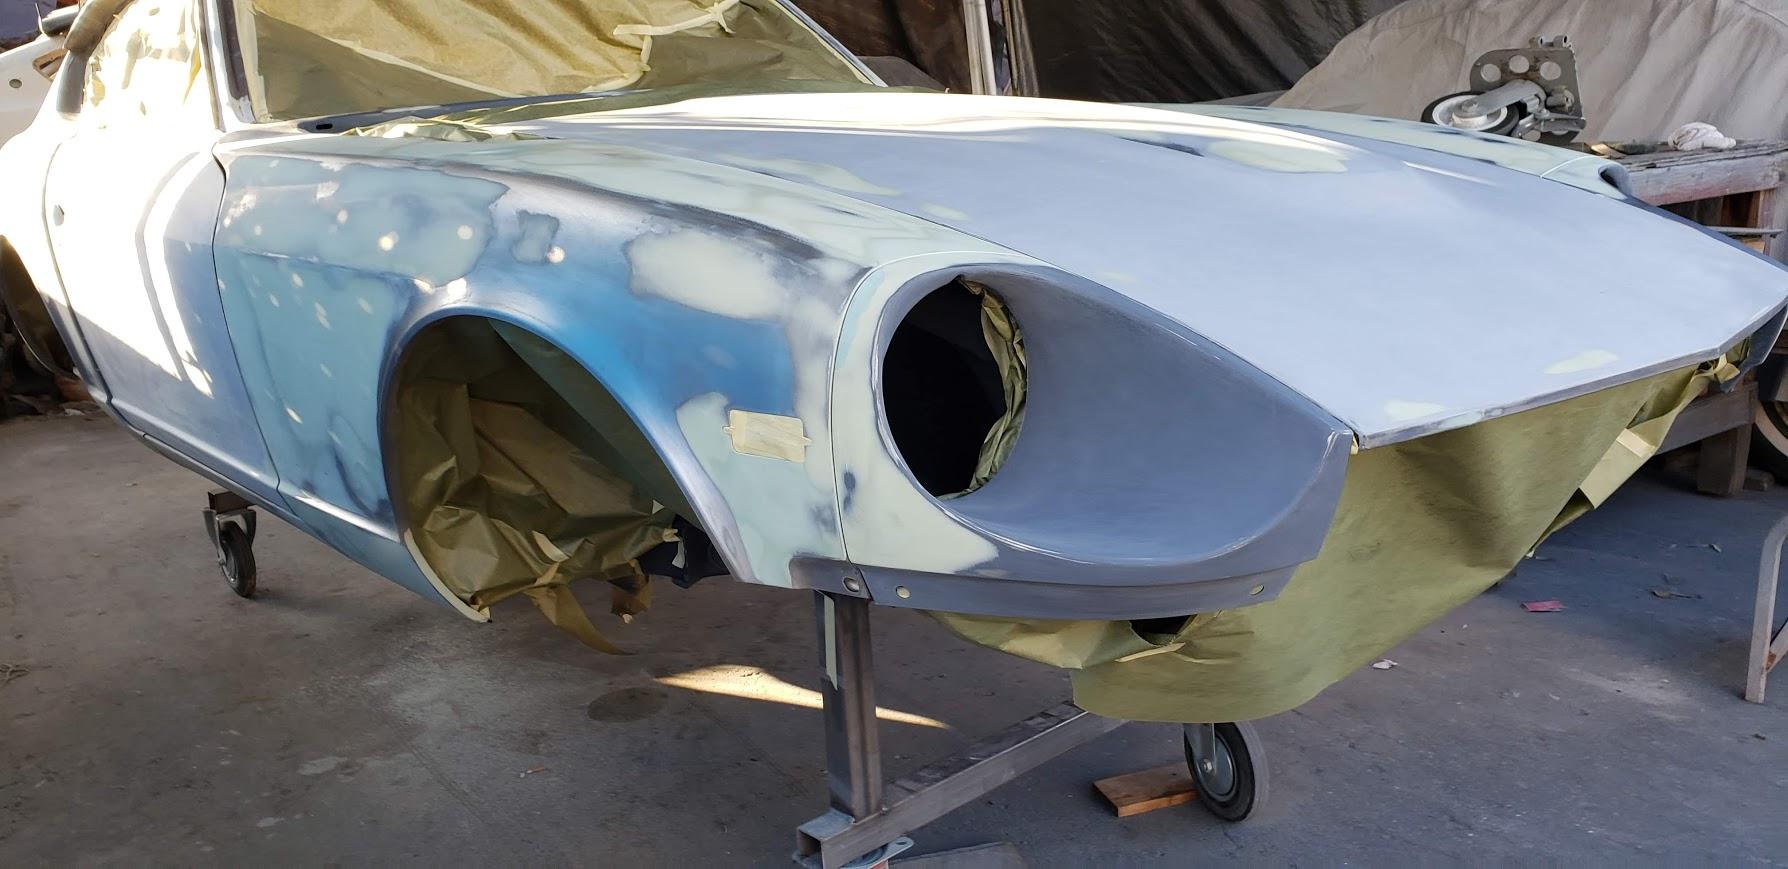
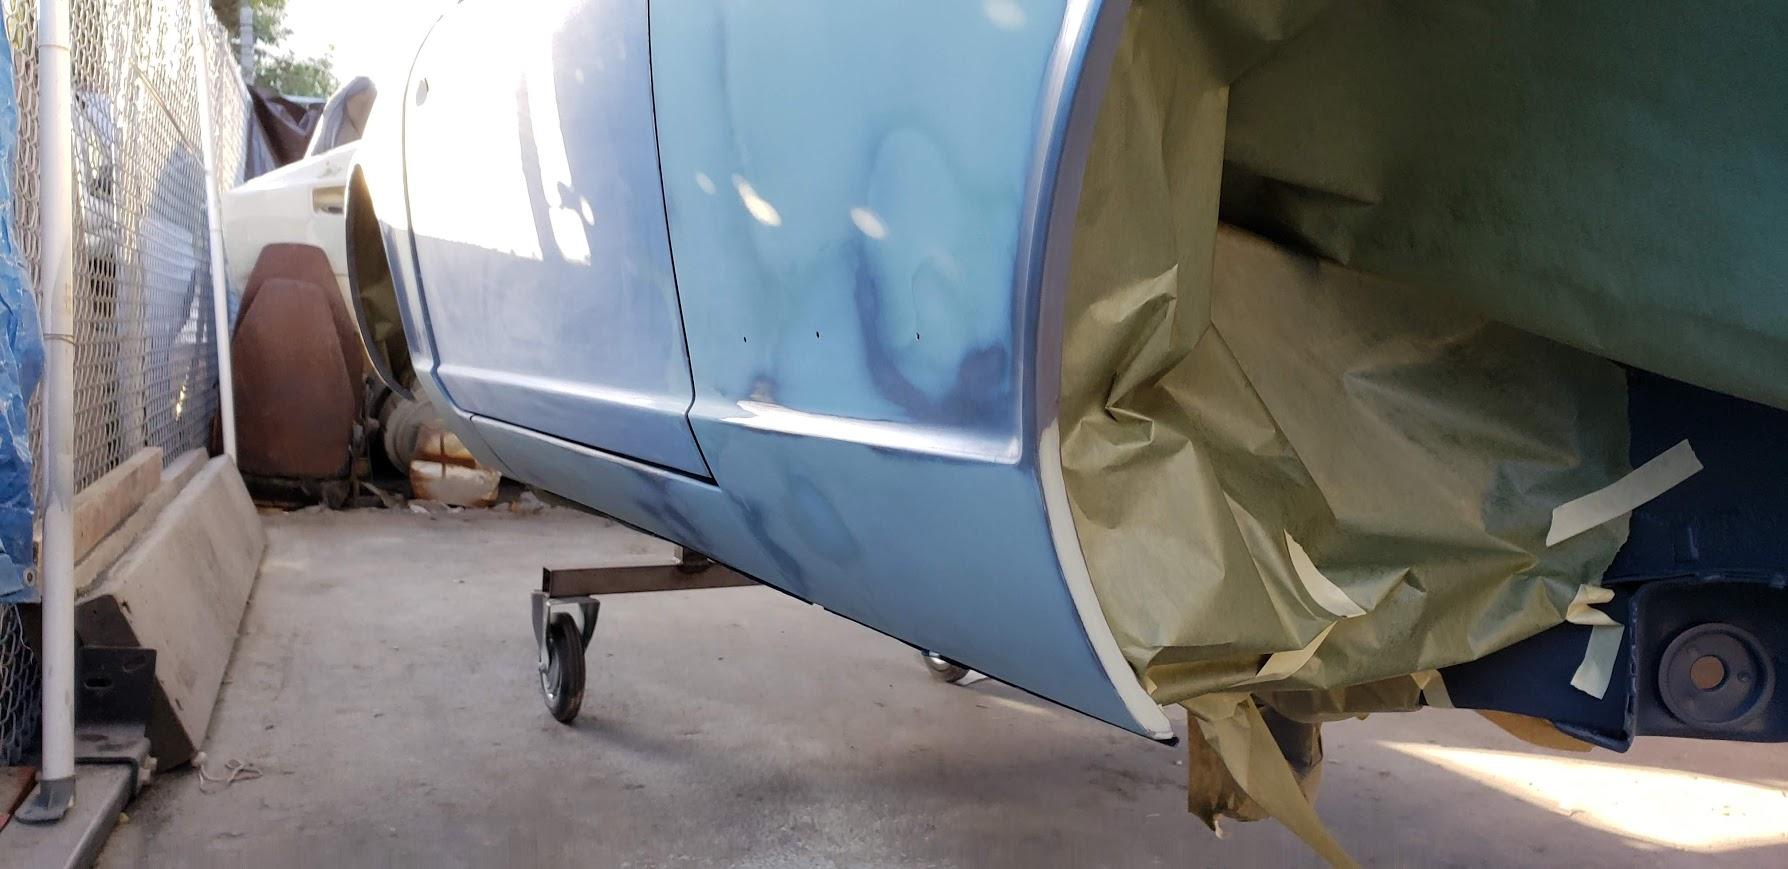
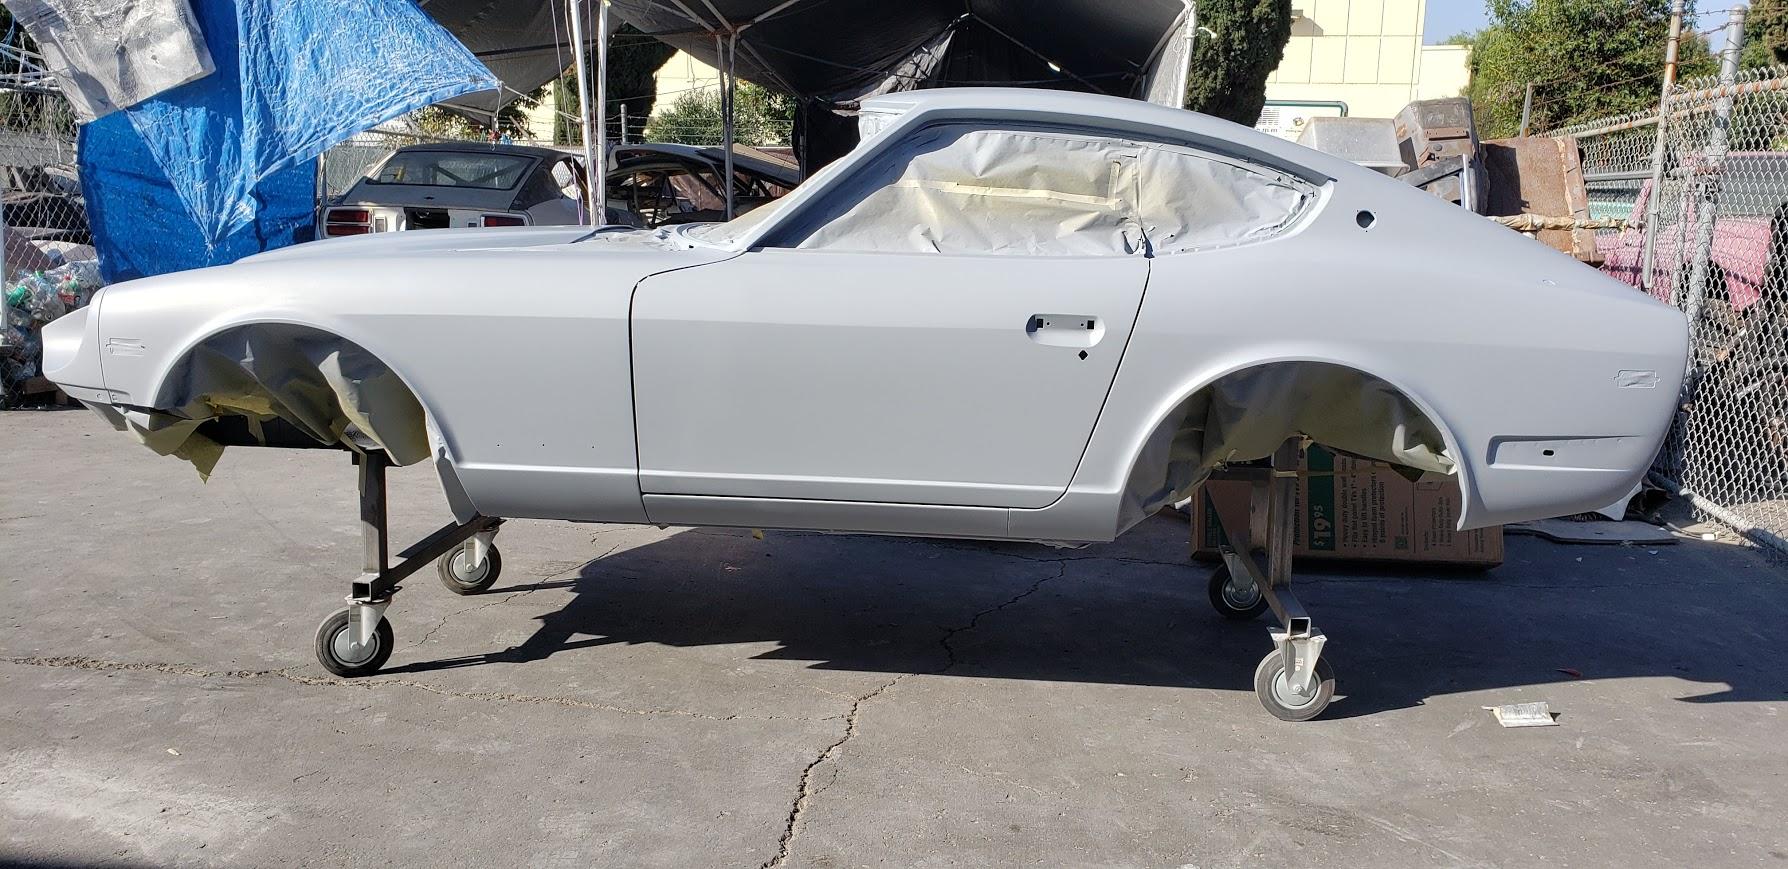
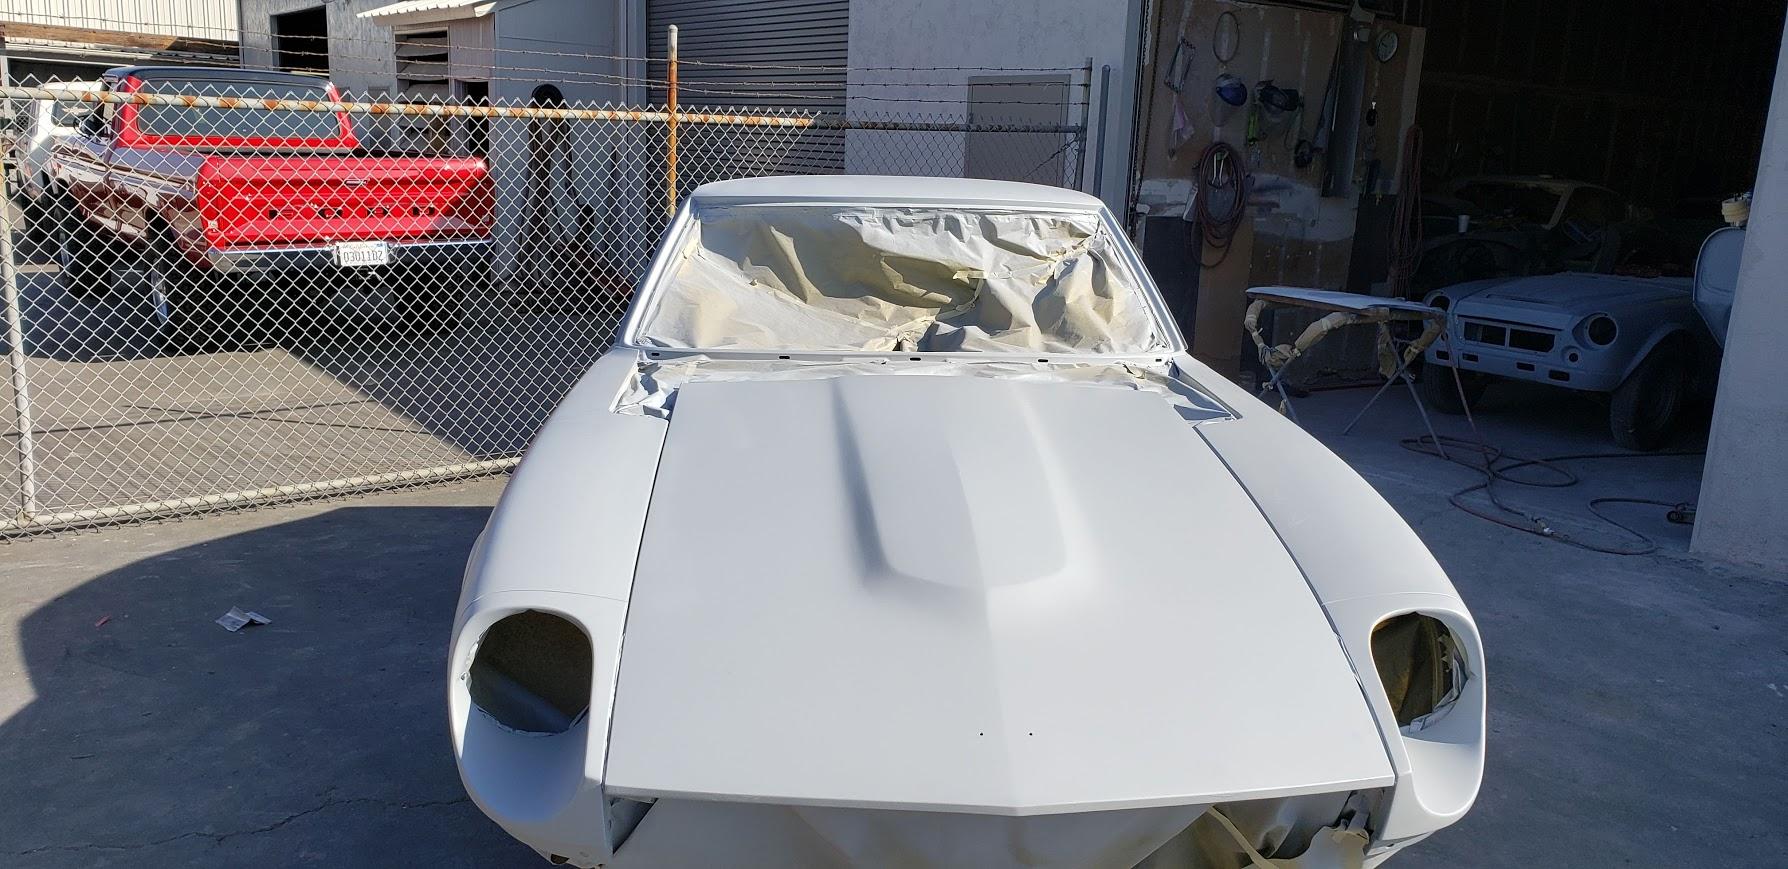
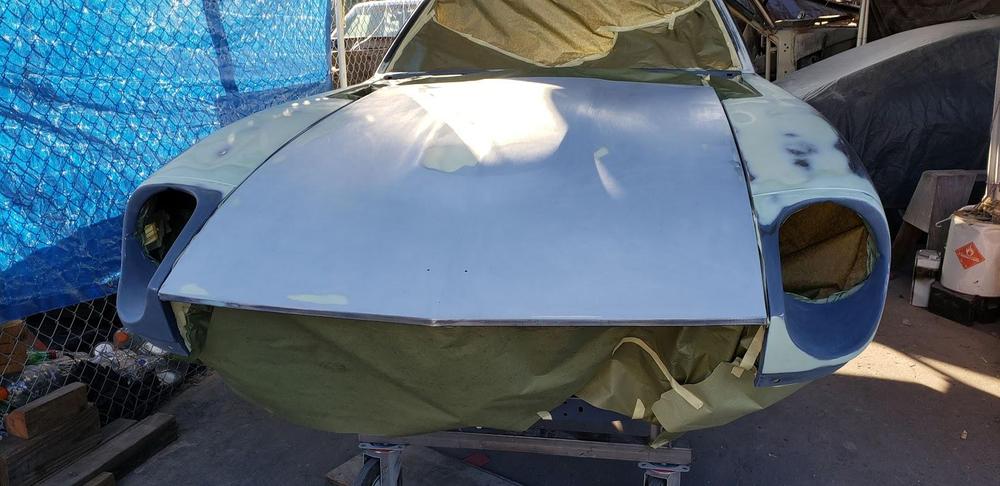
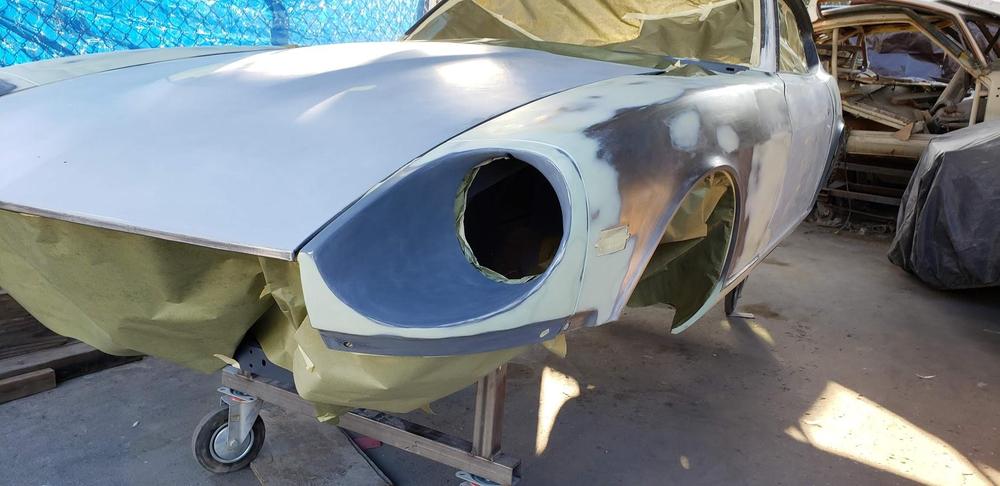
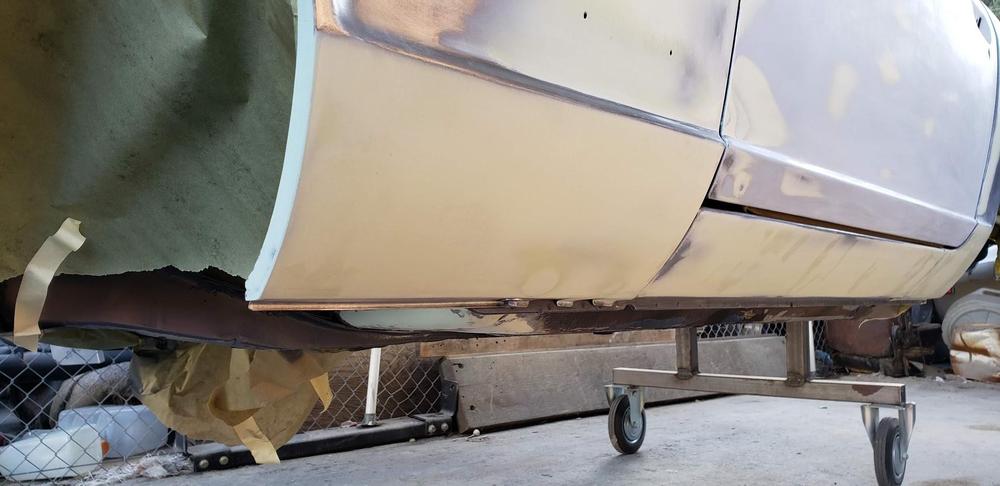
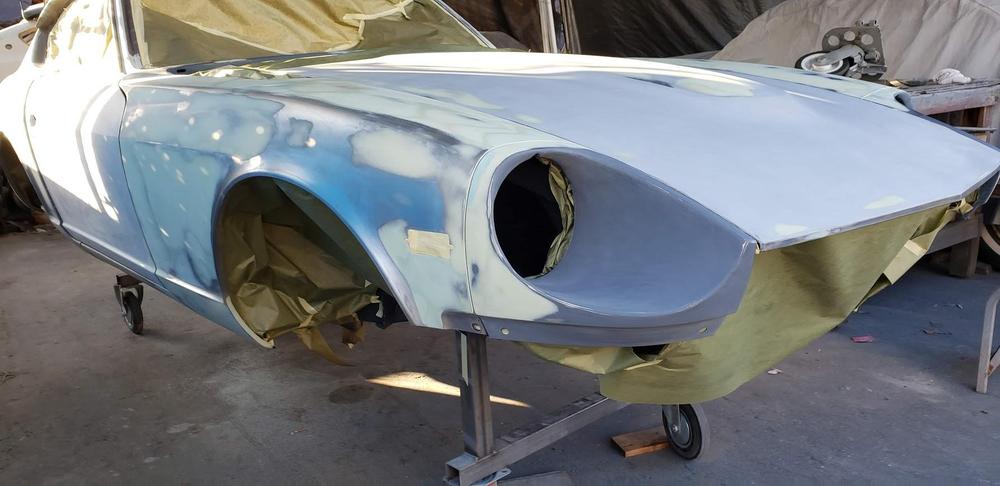
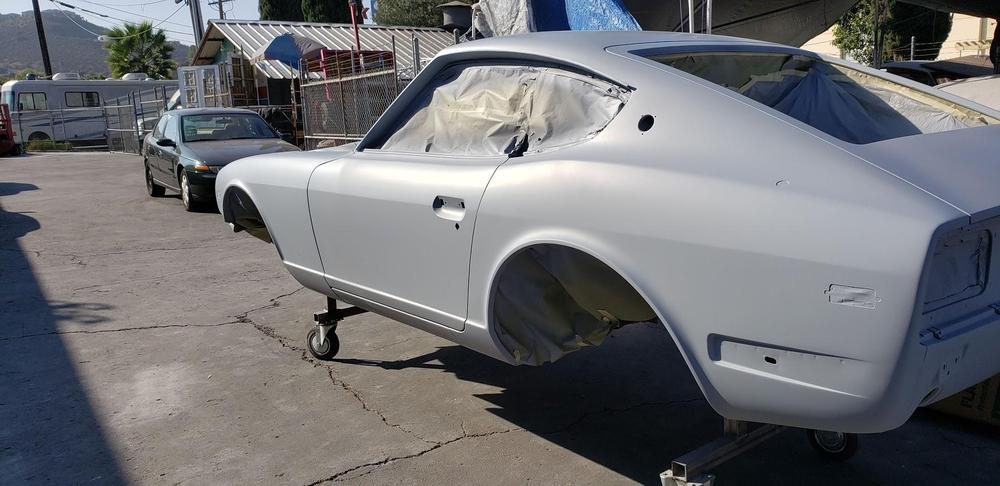
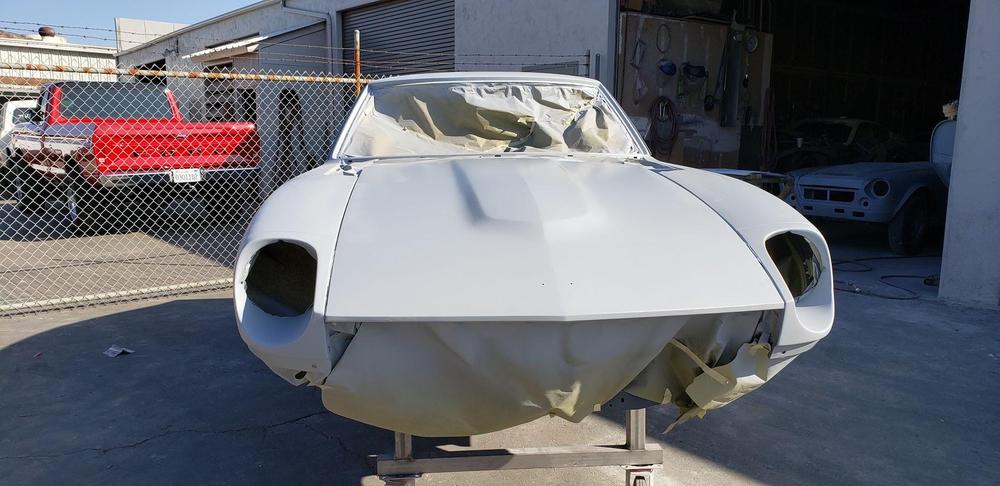
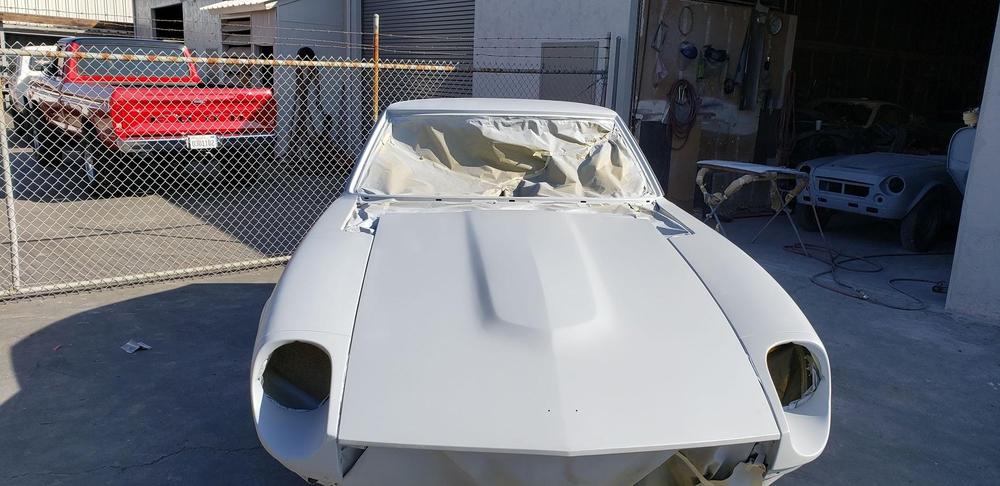
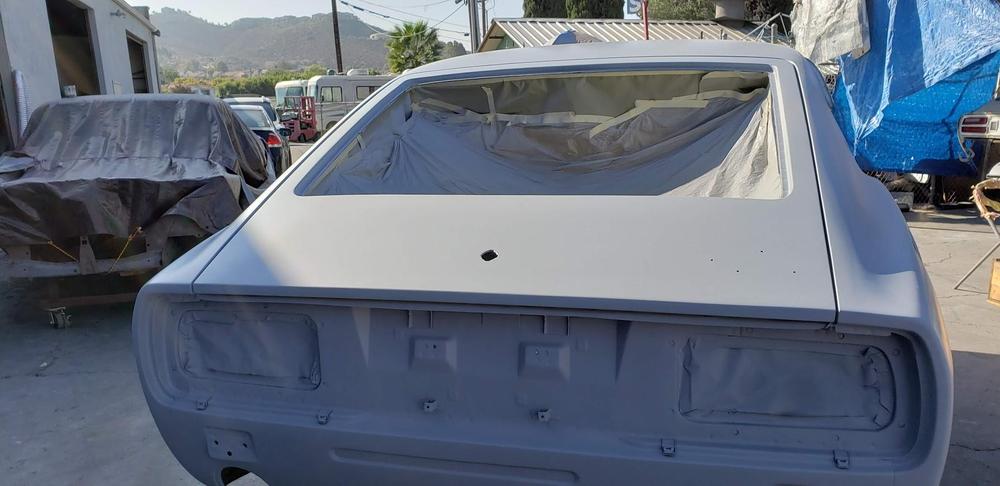
And, we have pics from the paint shop.


-
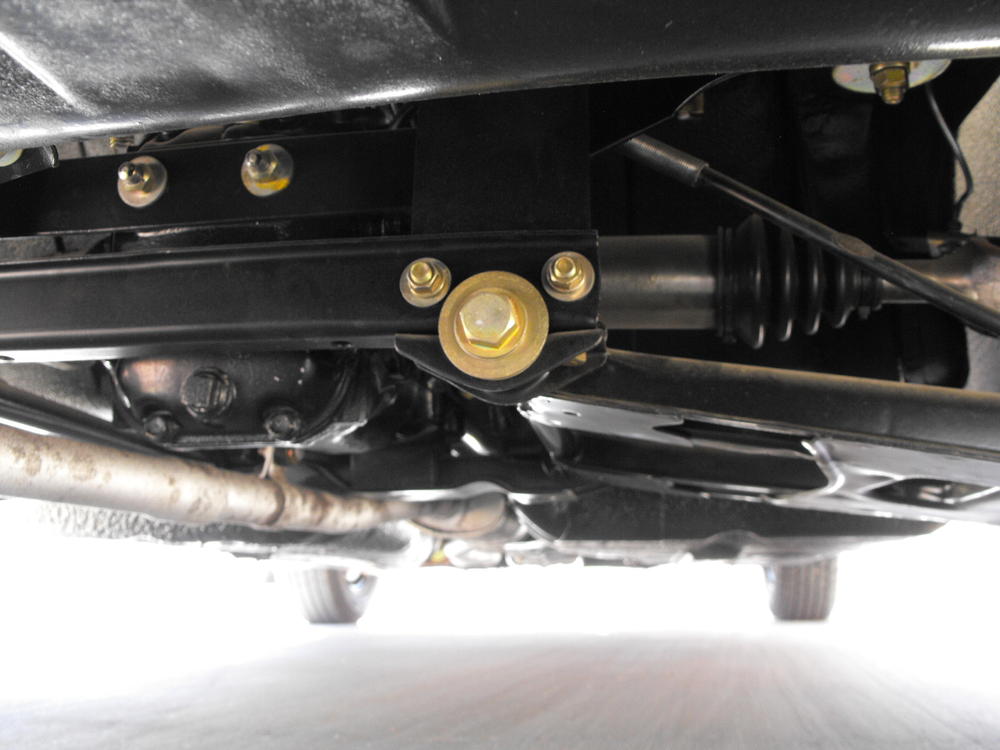
Thanks for the feedback. Yes, will remove paint from the axle flange faces and spindle pin area. I saw that conversation on the Duffy thread (I think). I will however put a thin film of grease on the interface to help prevent rust on the mating surfaces. Interesting note: I worked space programs for 15 years and we used to use non-conductive thermal lube when mounting our electronic packages. It's sole purpose was to prevent corrosion set-up between the mating metal surfaces. The bolt torque was enough squeeze out the non-conductive lube between the metal surfaces so that you would get a good electrical connection, and the lube prevented corrosion. Go figure. I did not put in new wheel bearings. There was no play in the assembly and everything looked to be in good shape so I left it as is. And yes, it was great to meet and talk cars and flat tops in Atlanta! Hopefully we have many more opportunities in the future.
-
Epilogue: So the car is now officially sold to a local collector. Fortunately I had plenty of time to make the decision and am pretty happy with how things turned out. I was a little surprised by the response and interest in the car, more than I was expecting. I could have stayed with BAT and possibly eeked out a few thousand more, but I felt much better selling the car to an individual that I had met and had a similar mindset about the car as myself. The seller plans to keep the car stock, drive it, and take it to some of the local shows. Already it looks like he has registered the car for the La Jolla Concours which is one of my favorite shows. So, I am glad the car will be in the area and look forward to seeing it with the new owner in the future. OK, now back to work on my other projects.
-
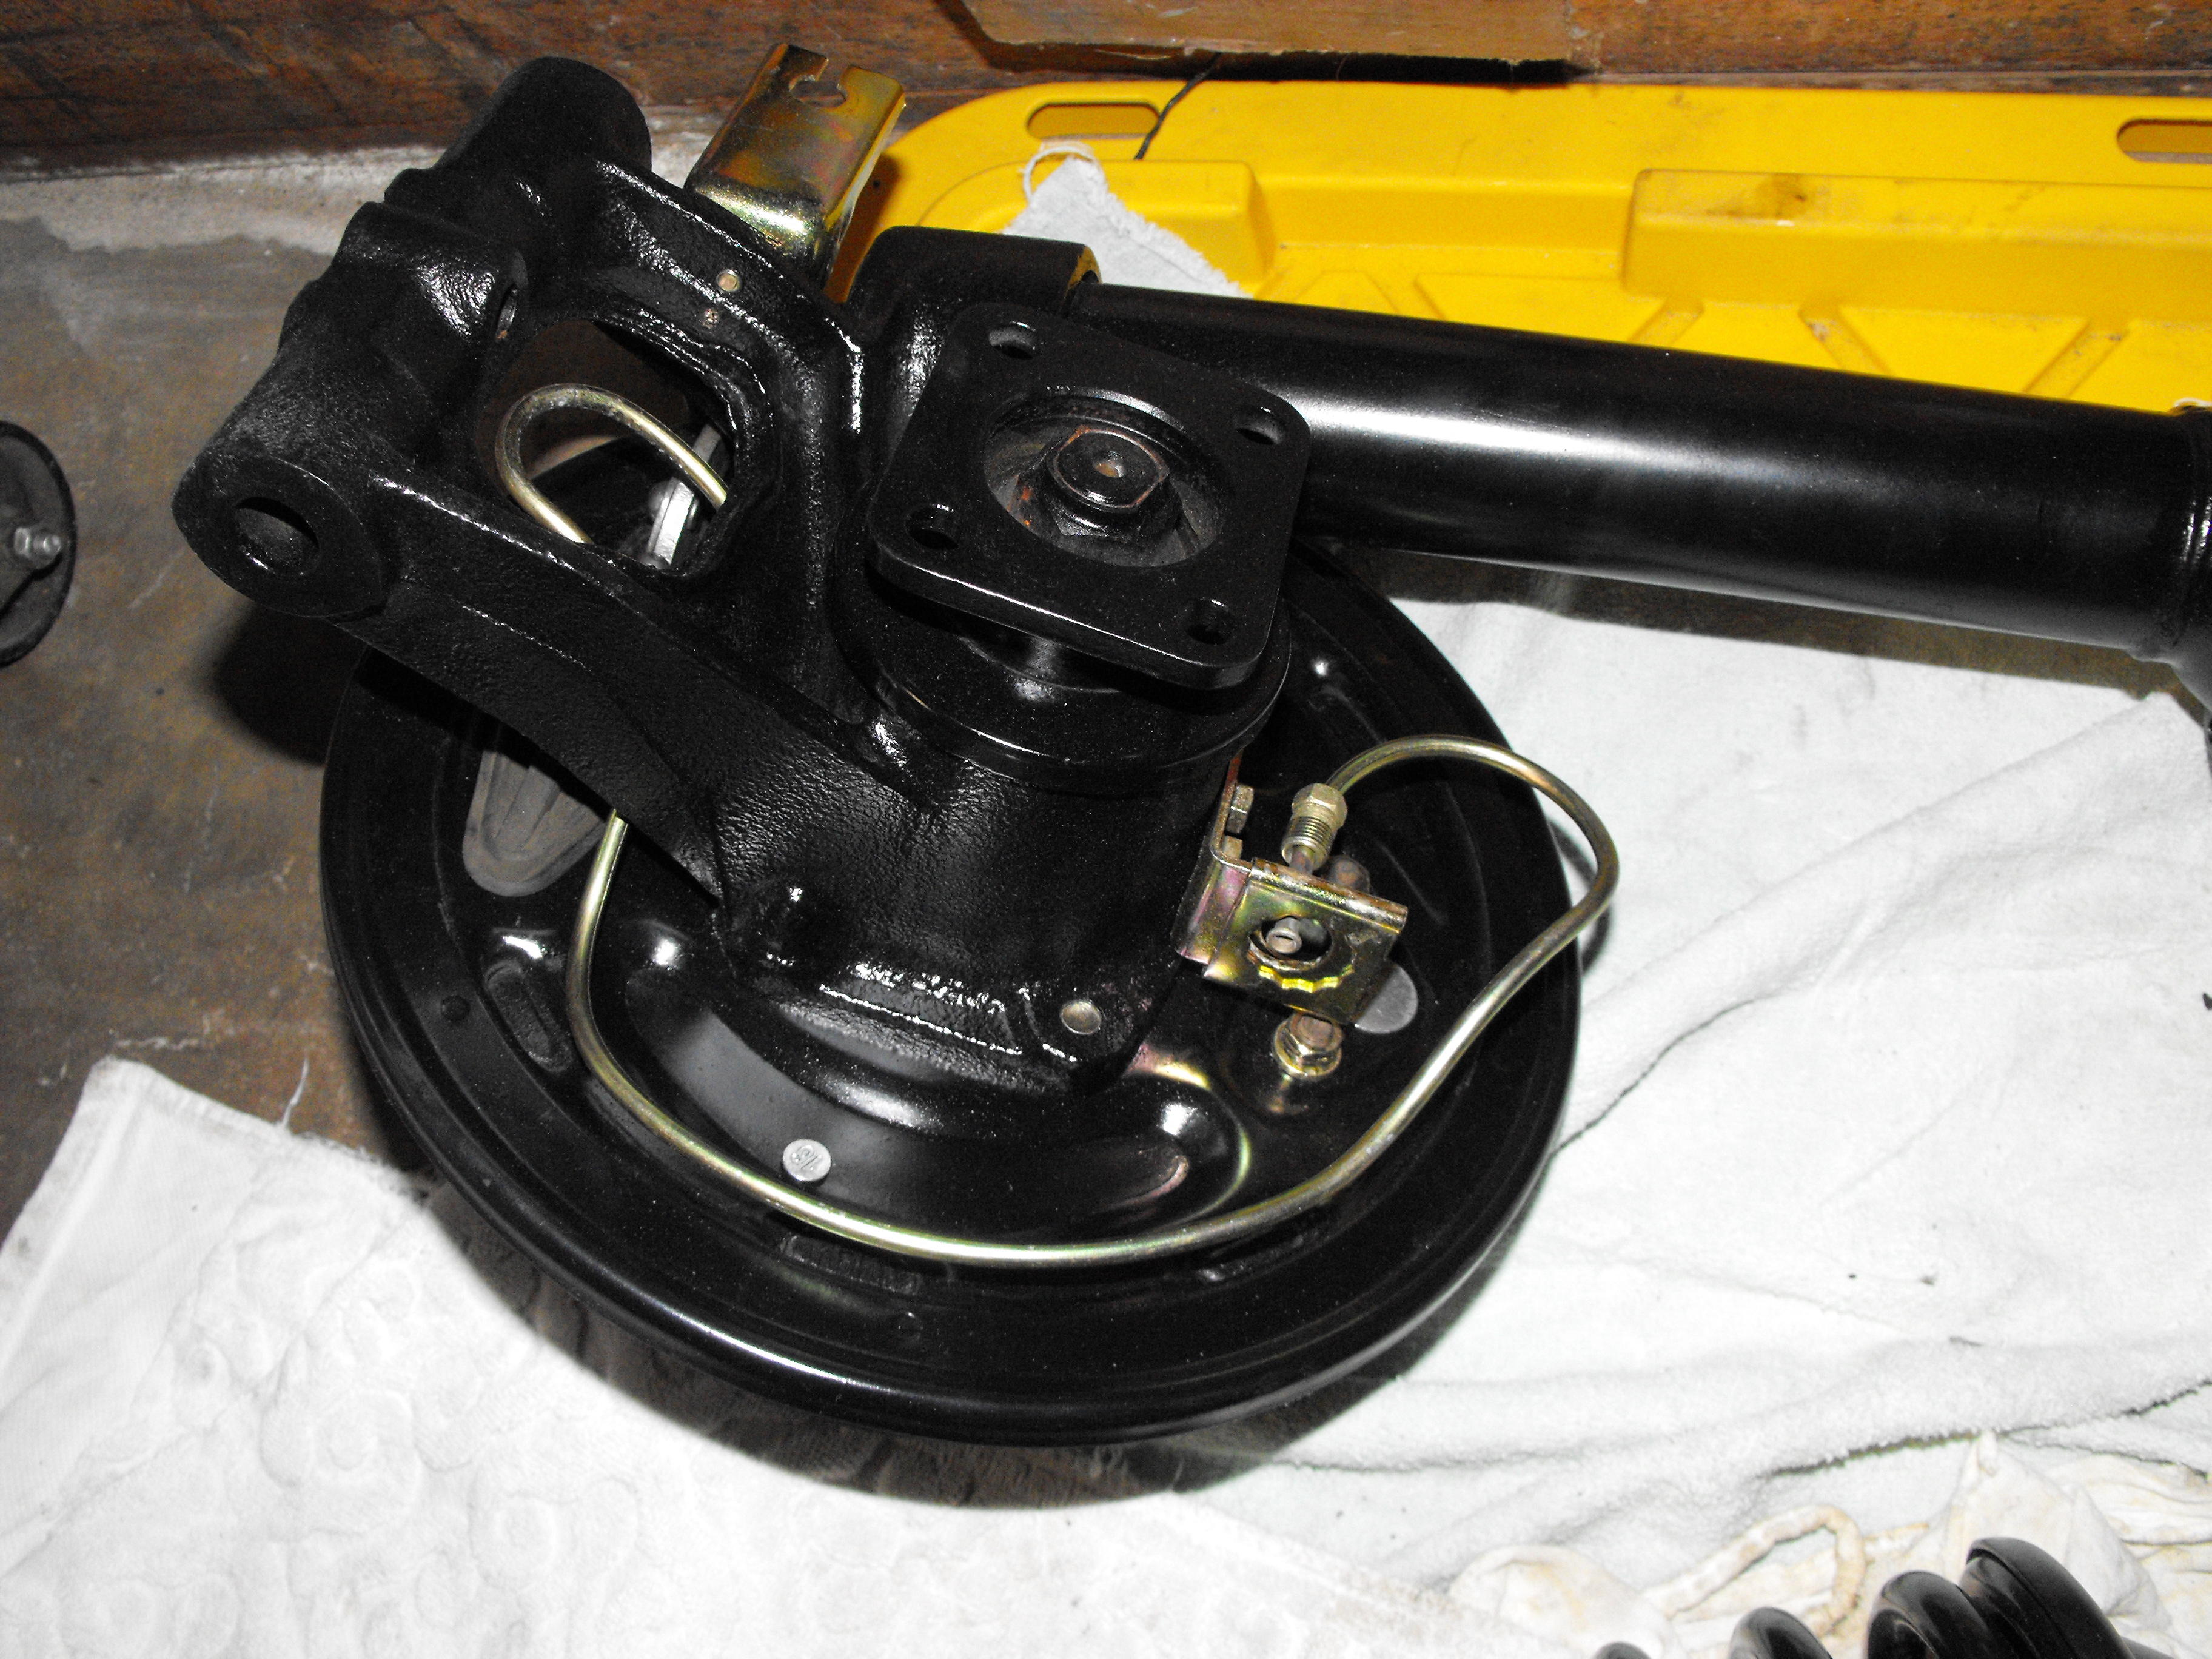
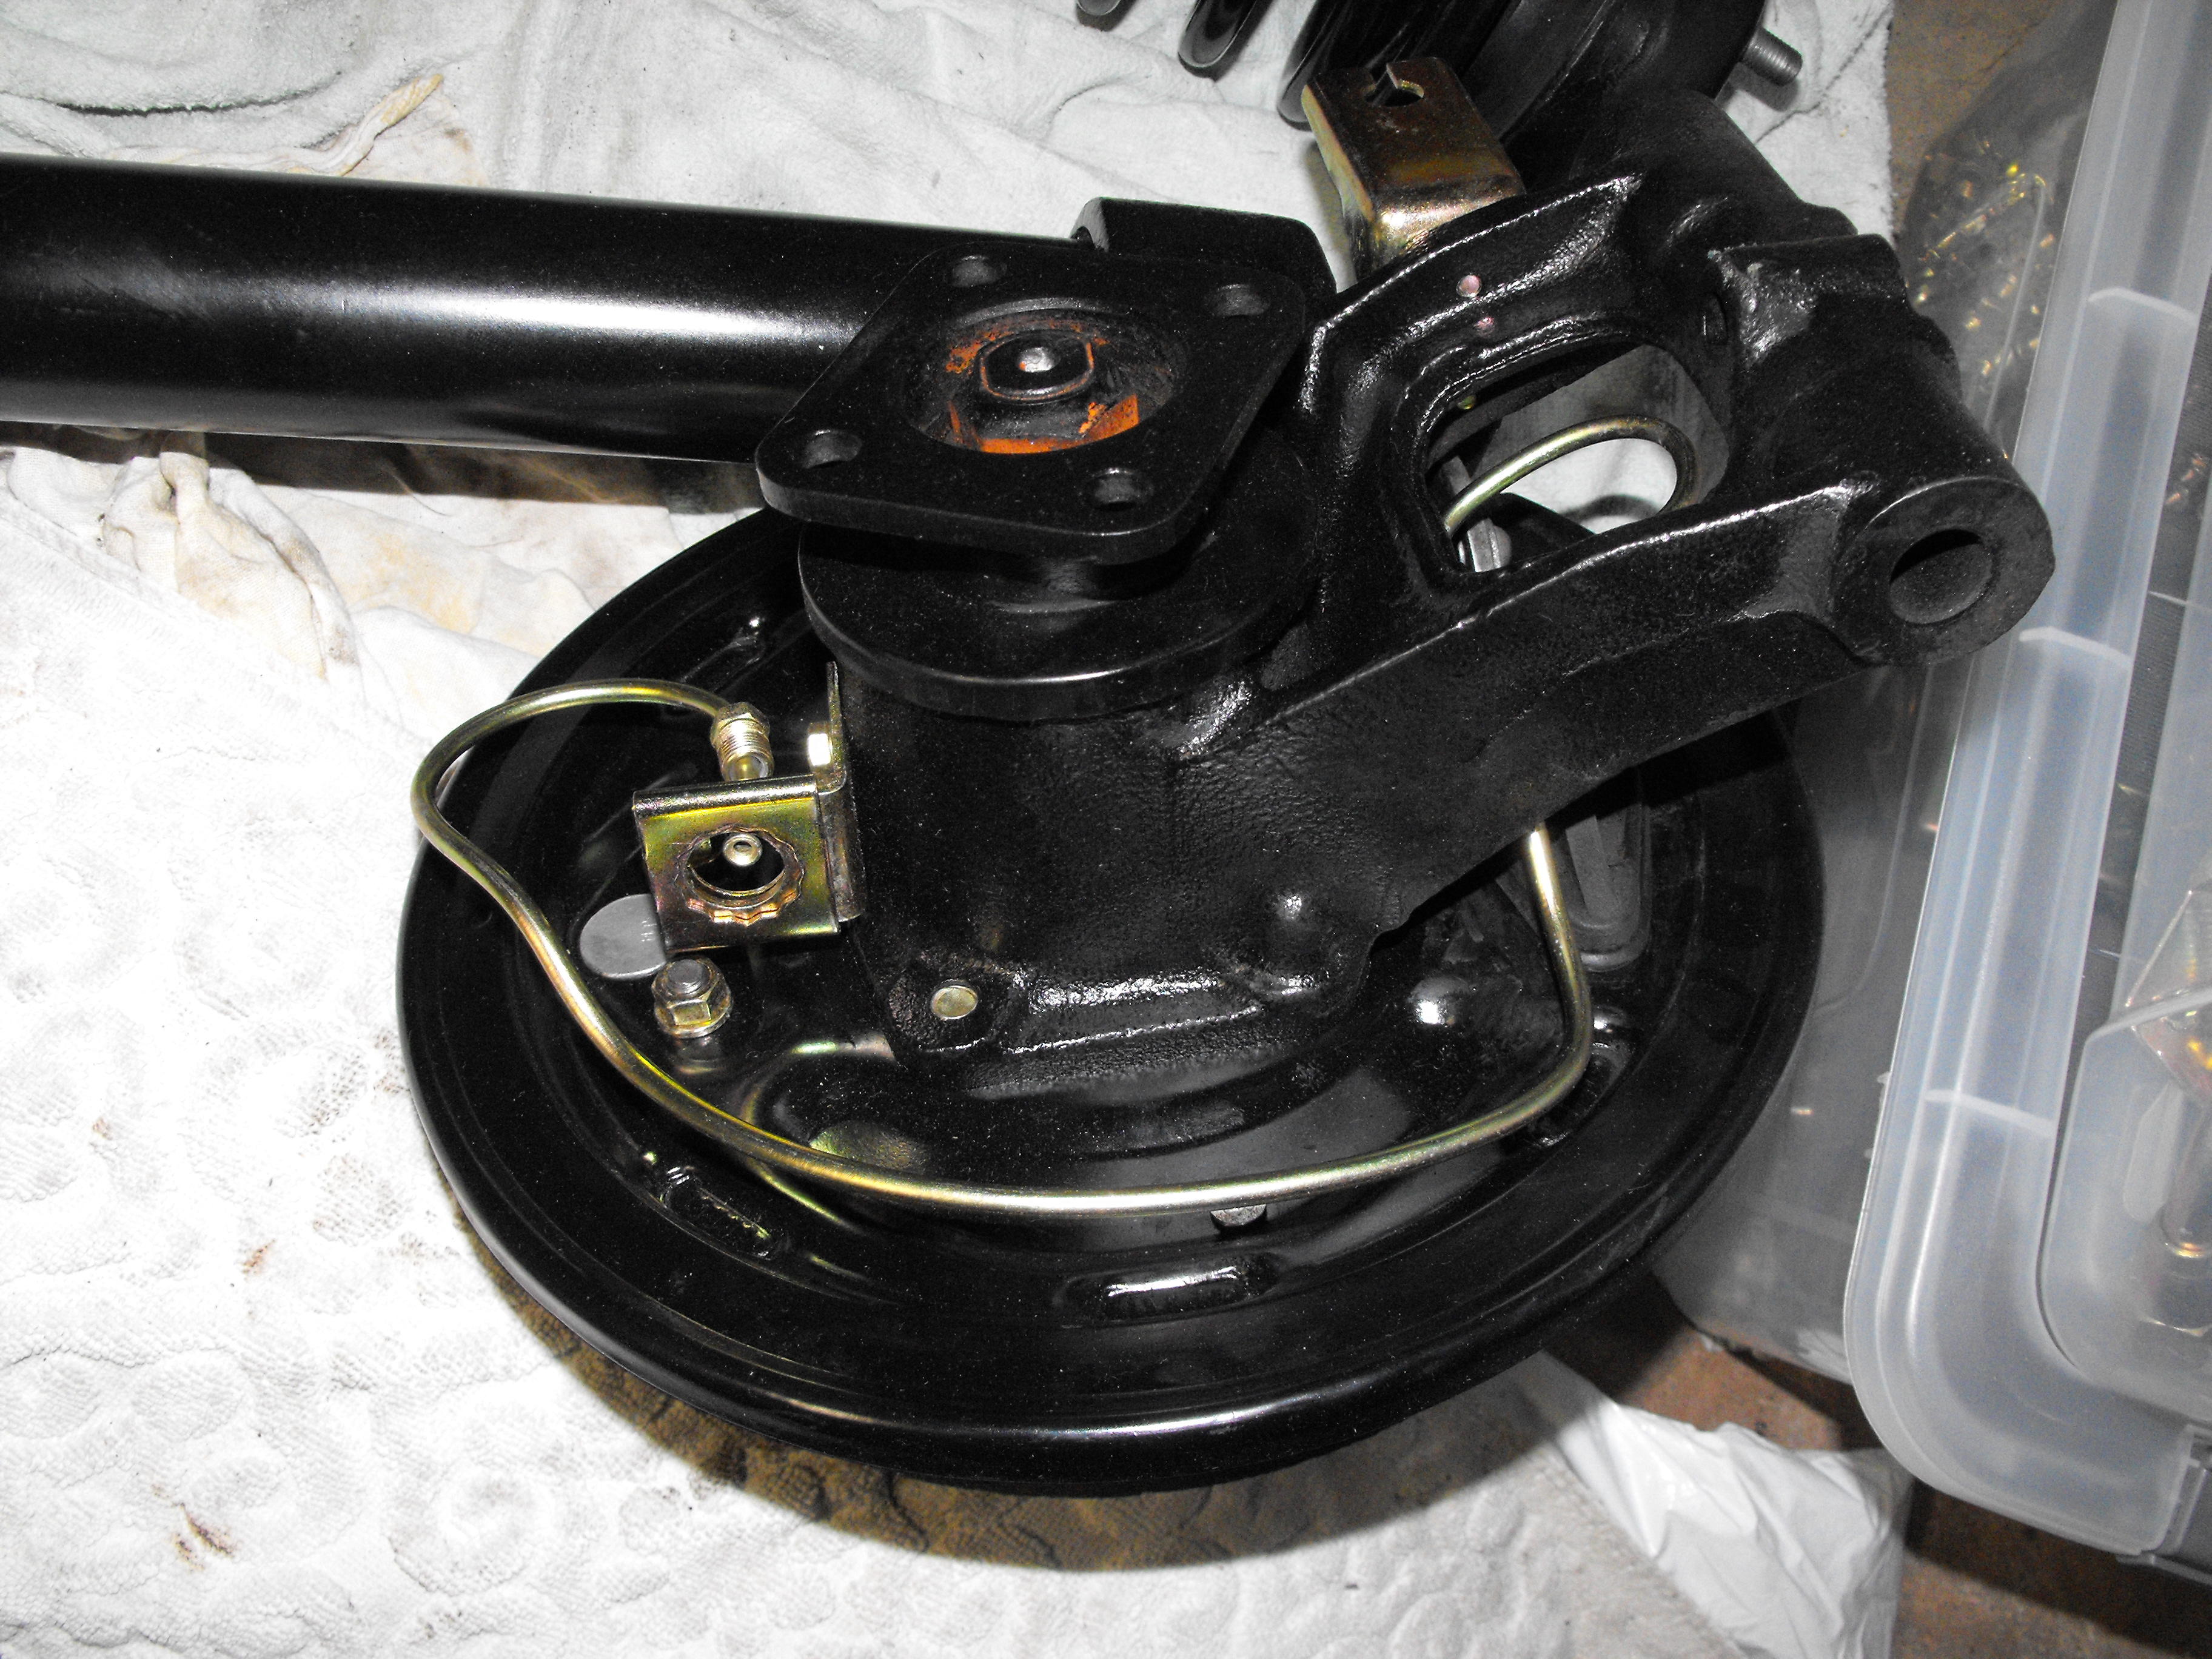
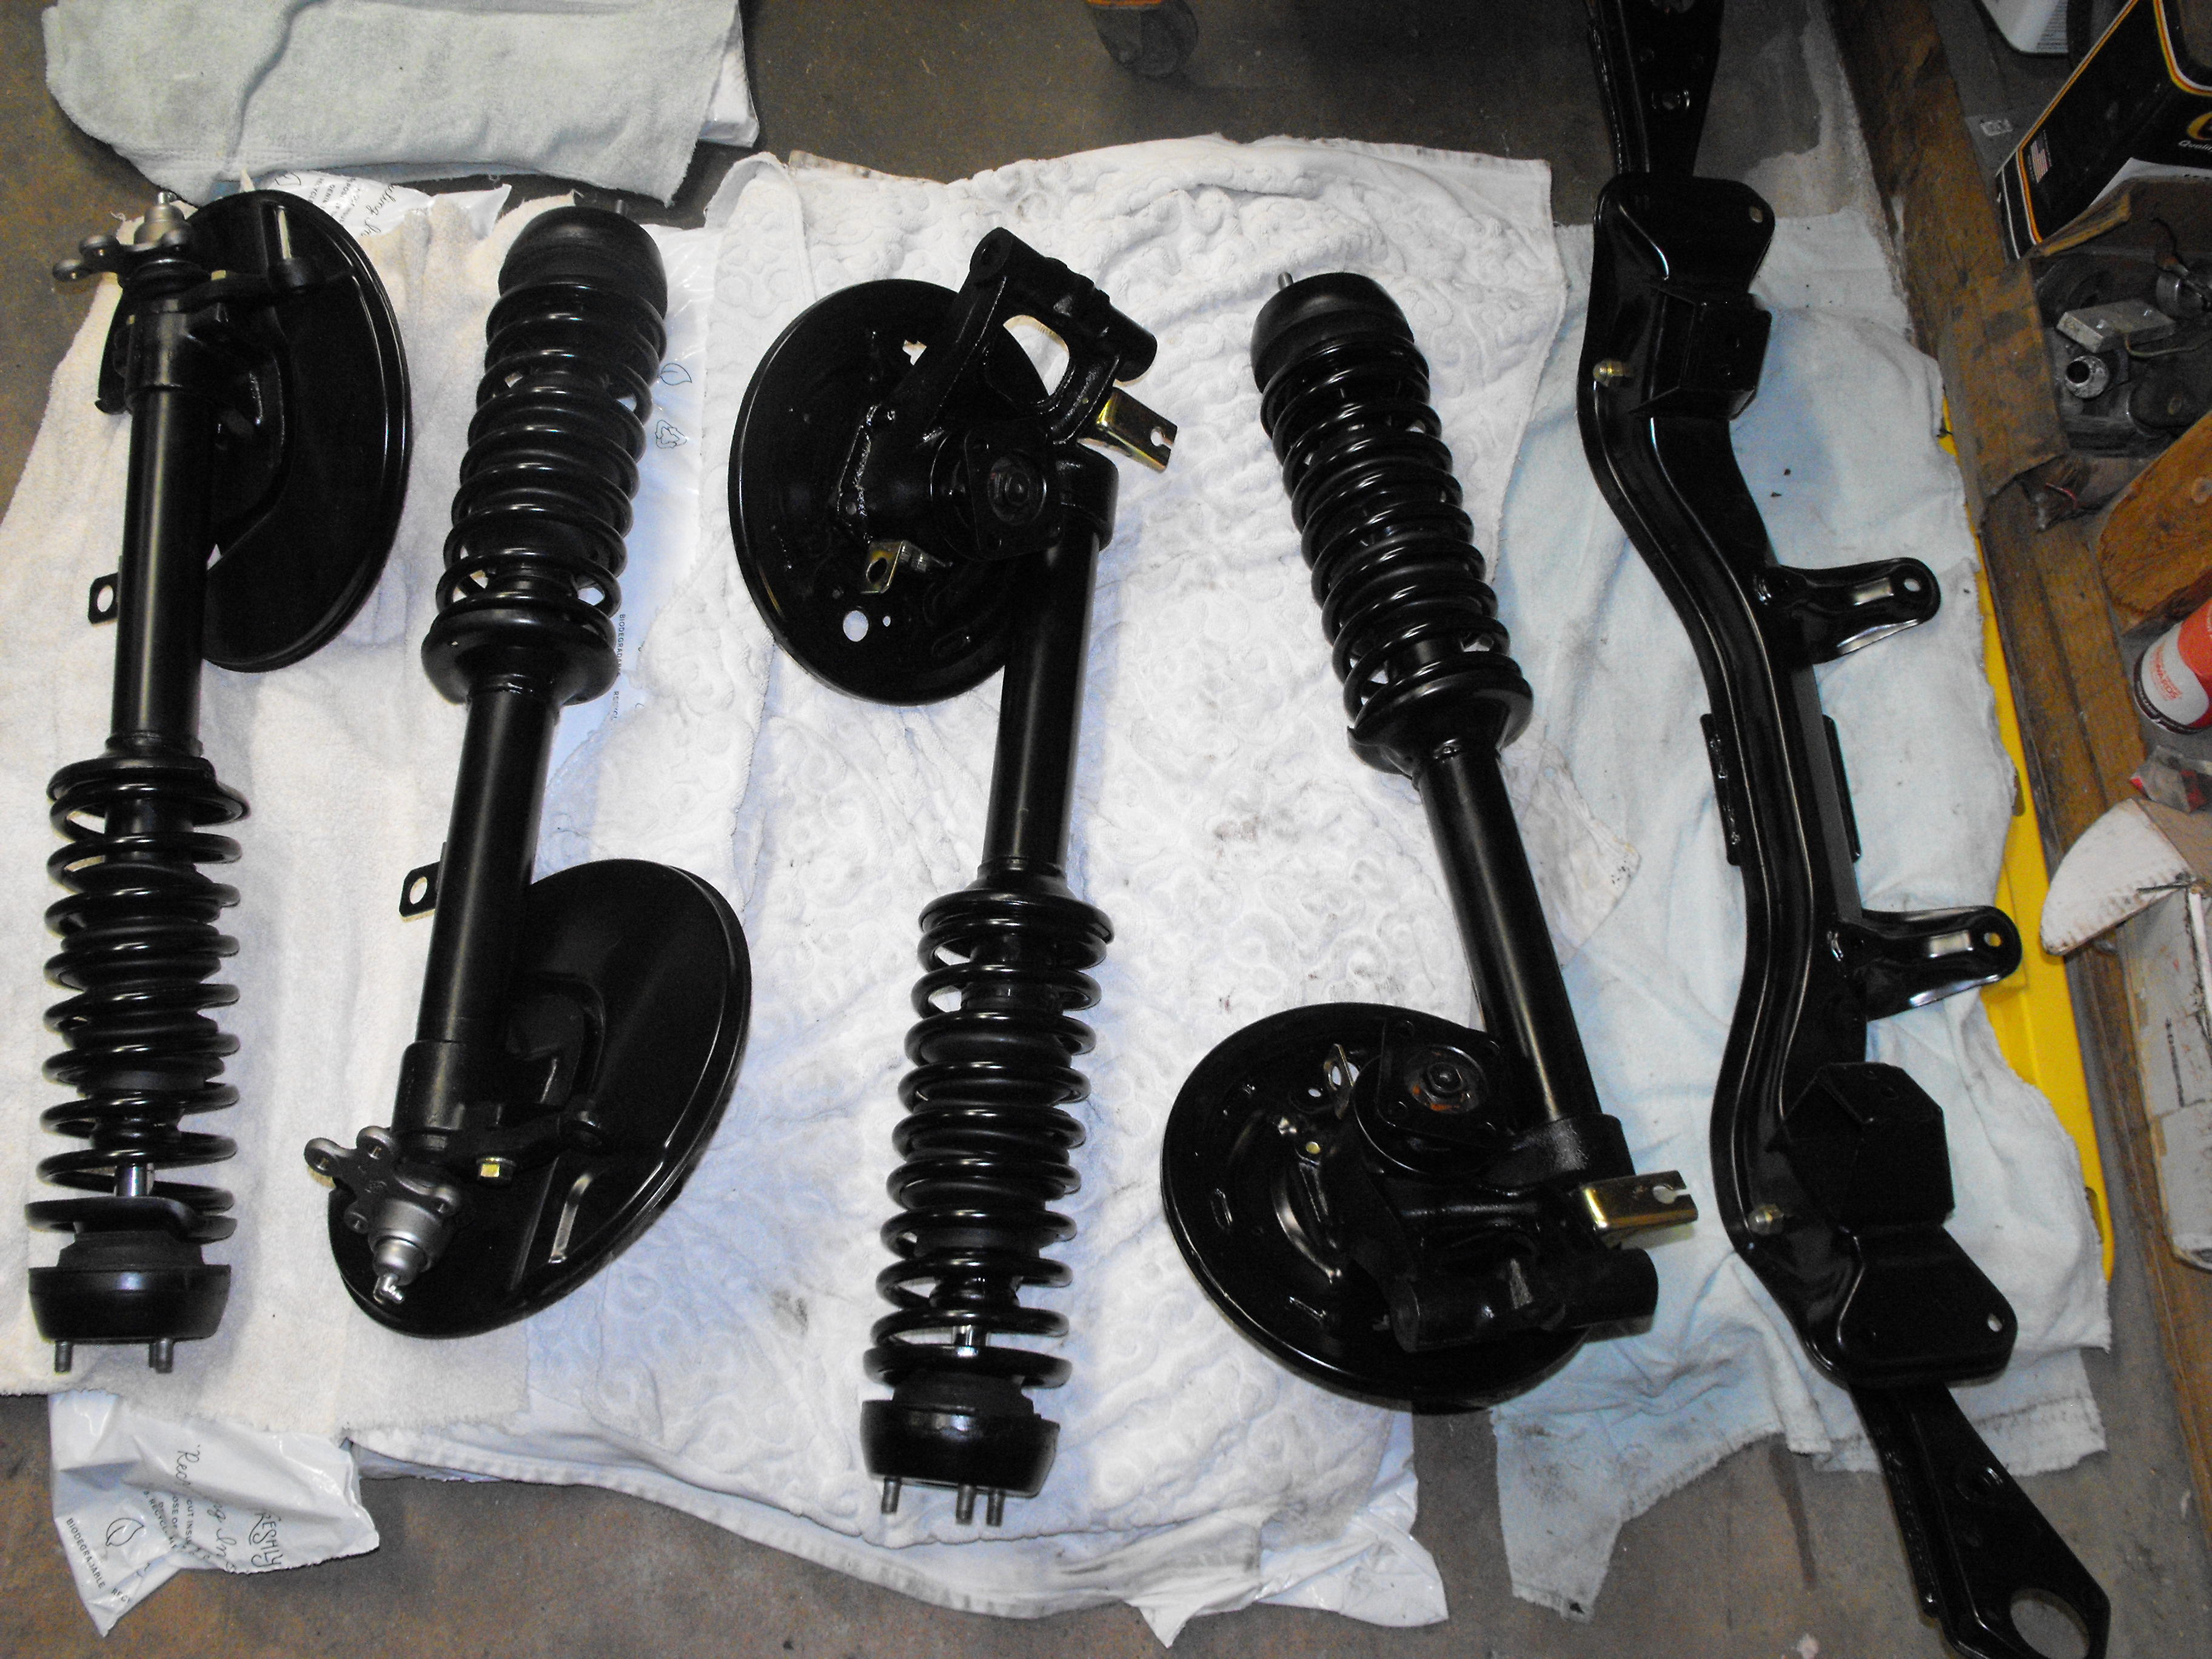
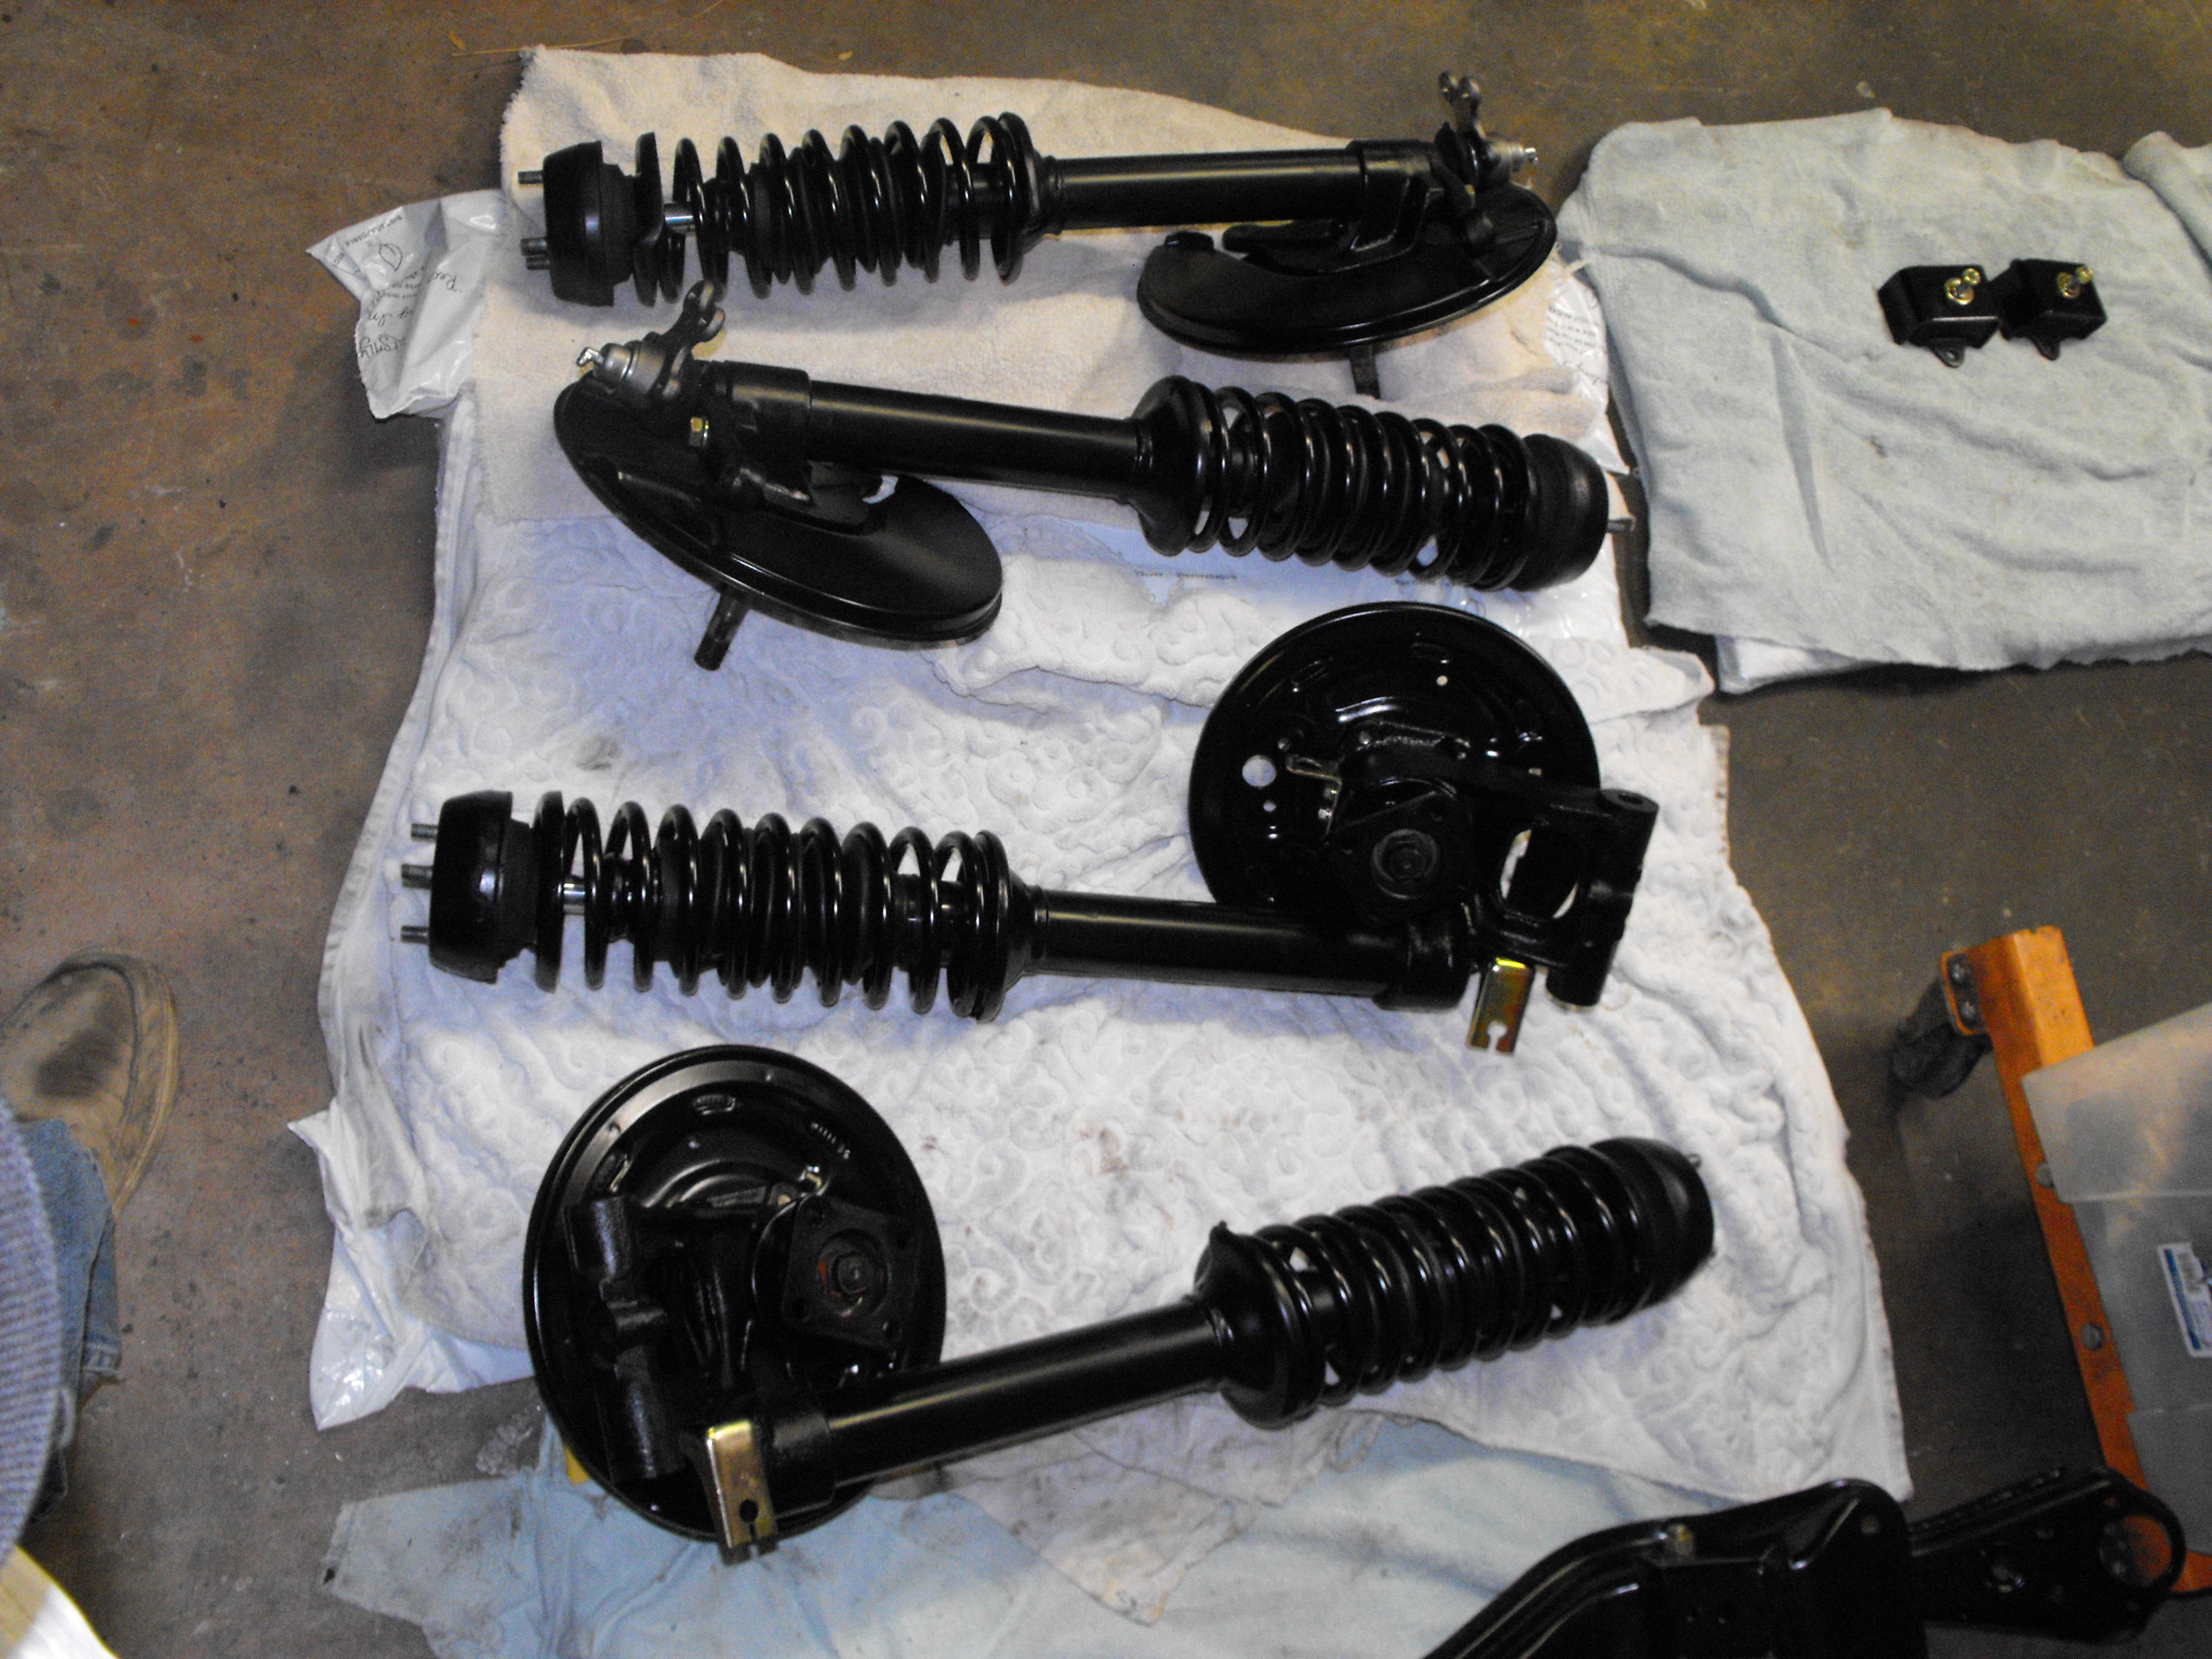
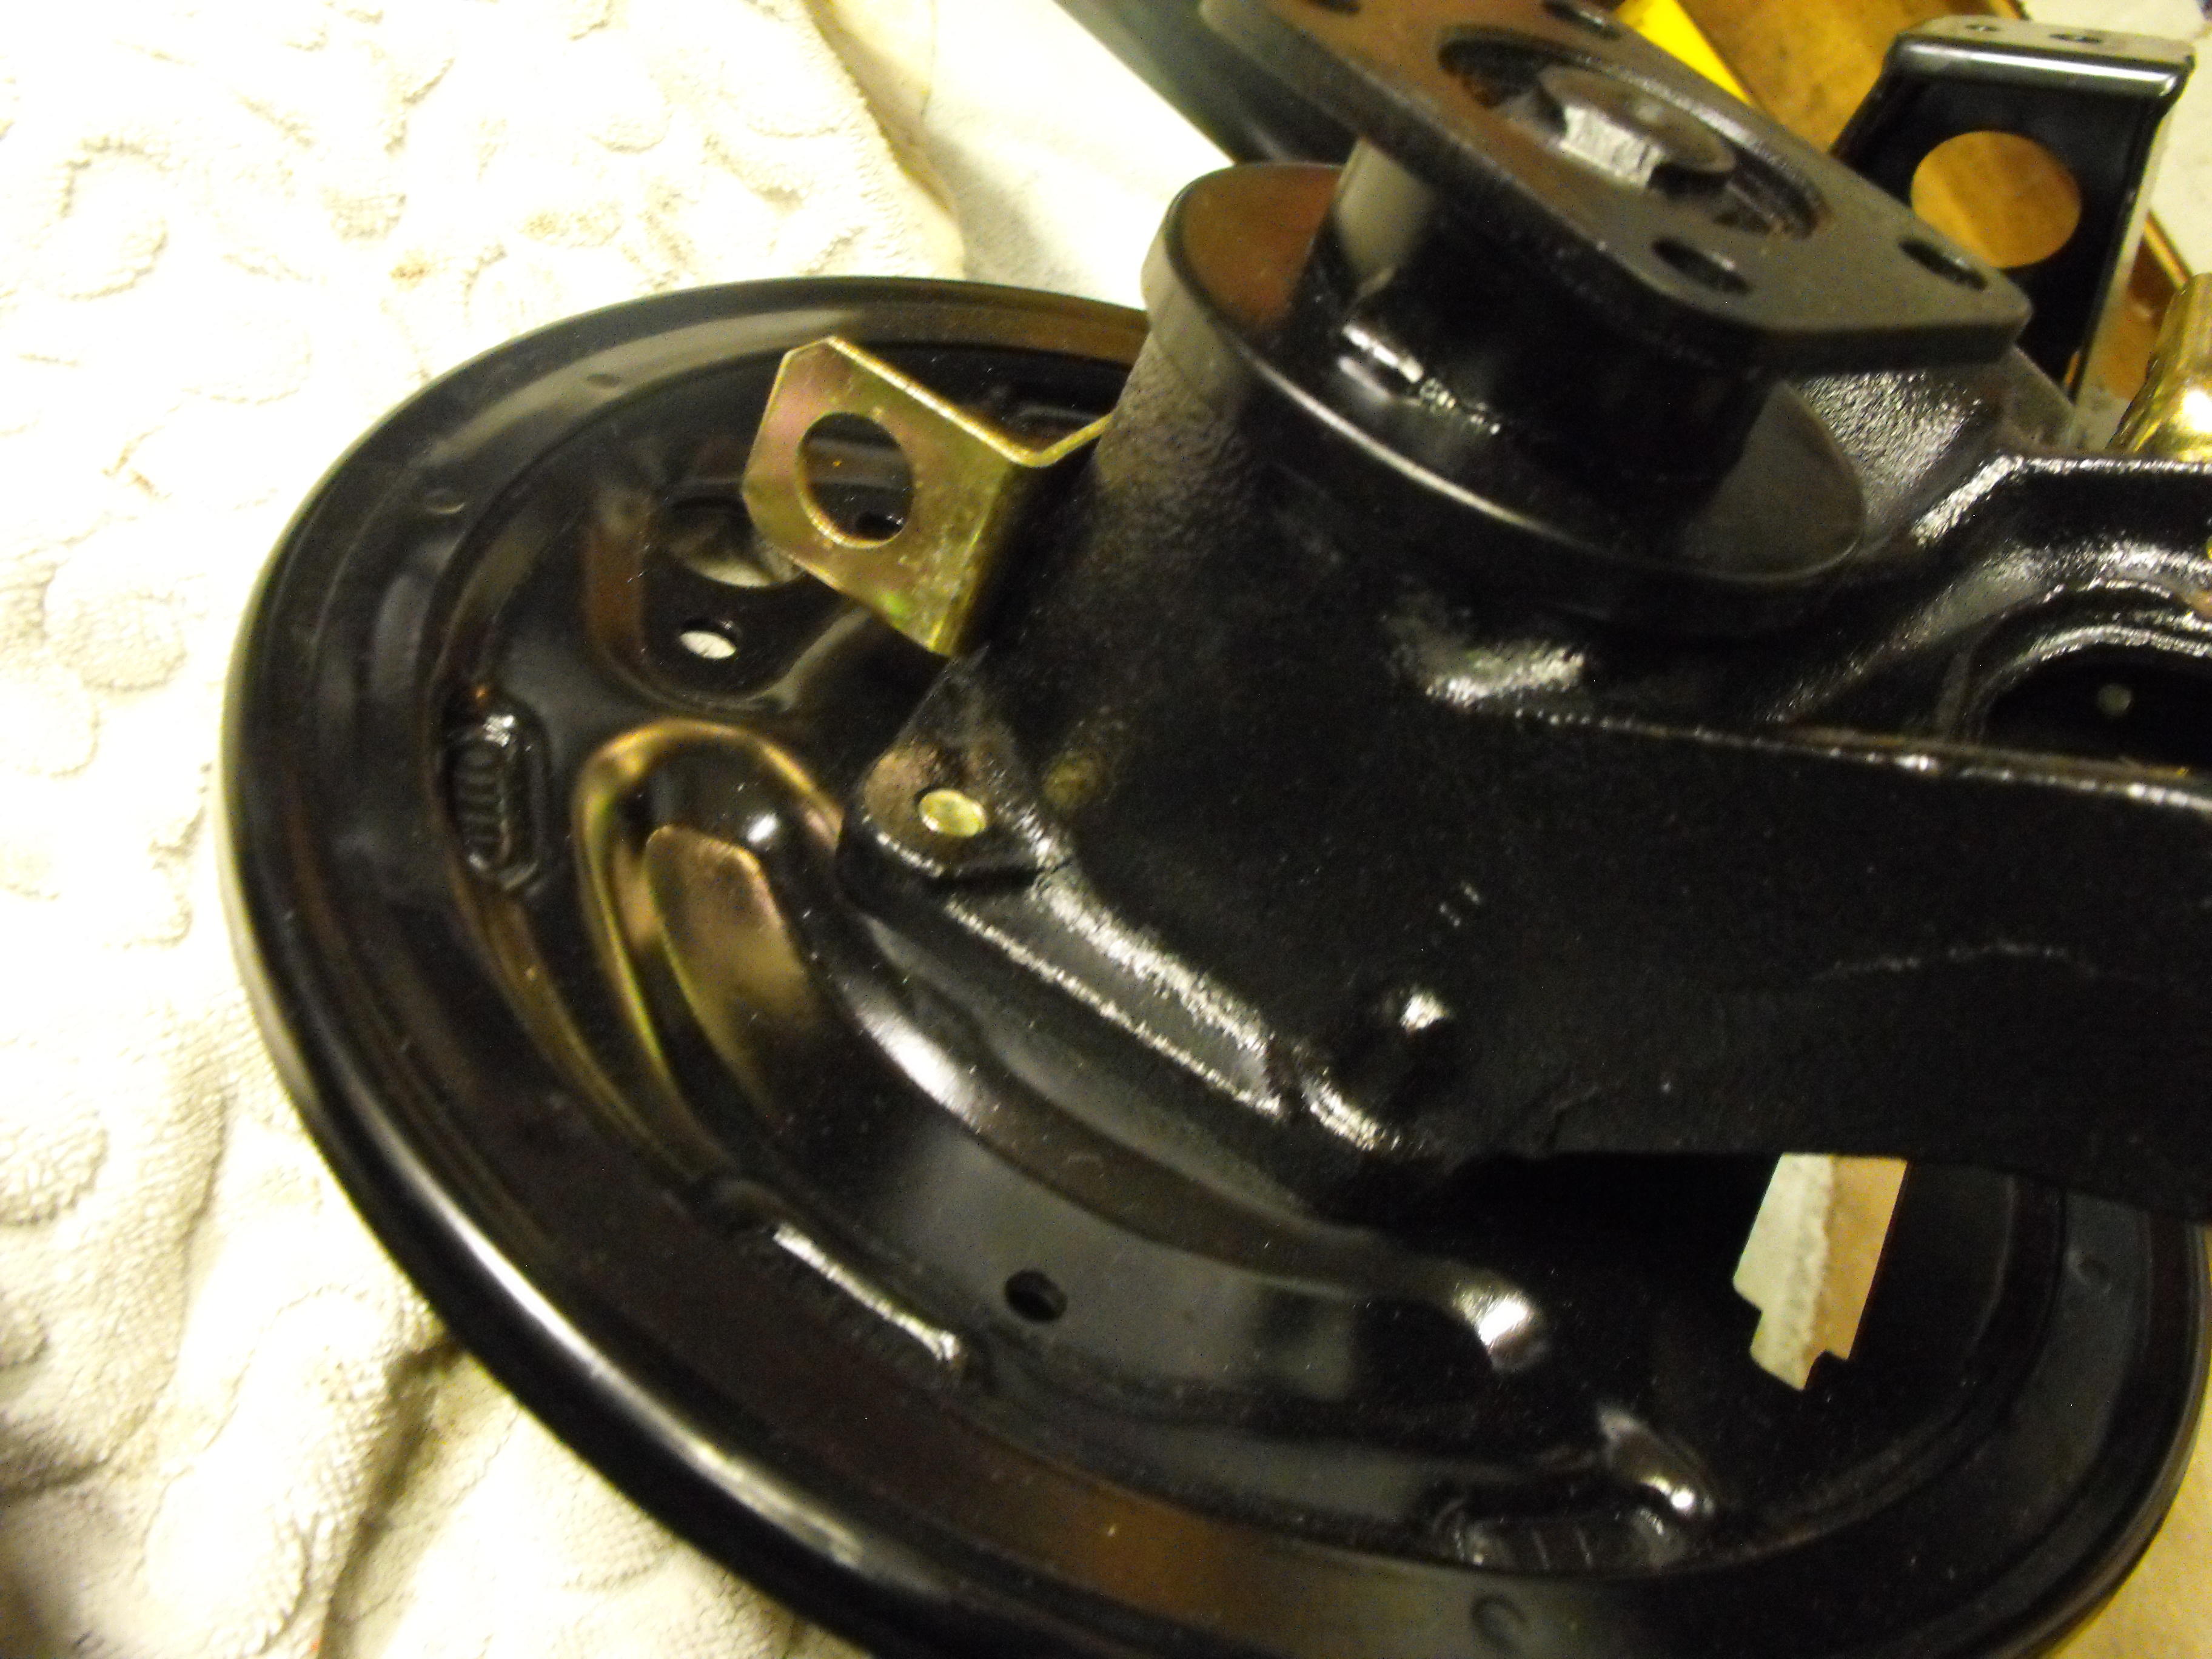
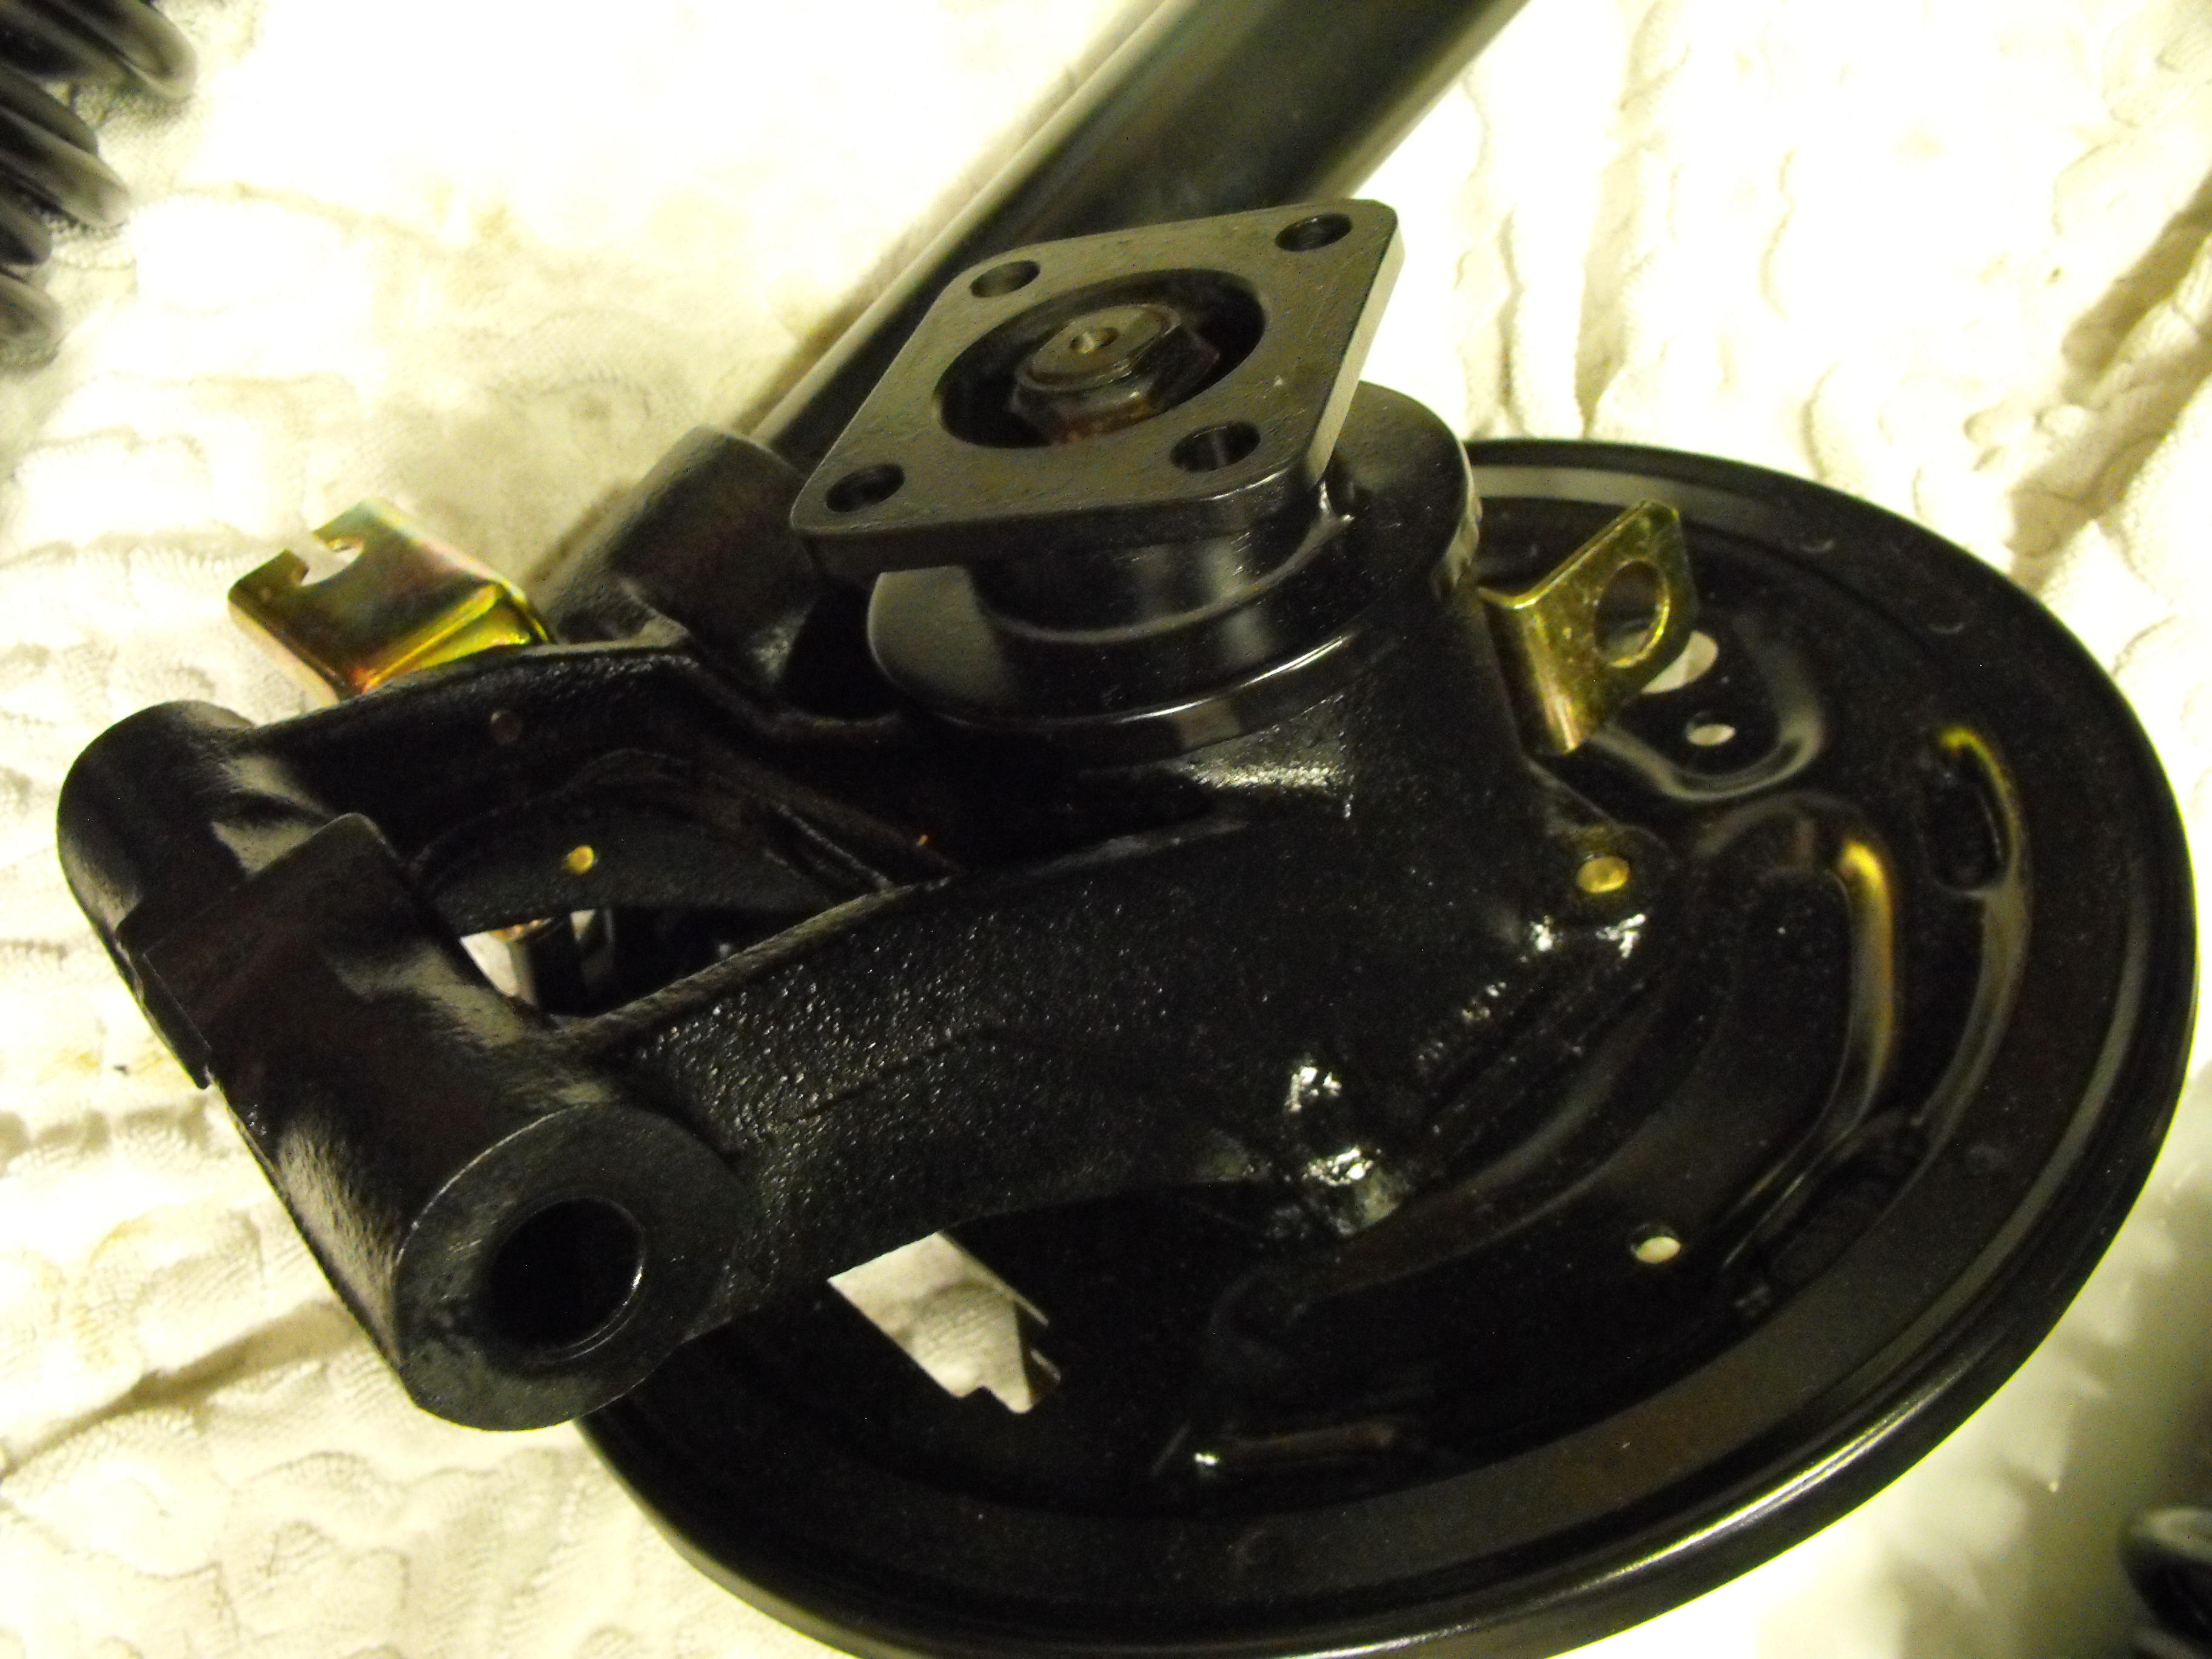
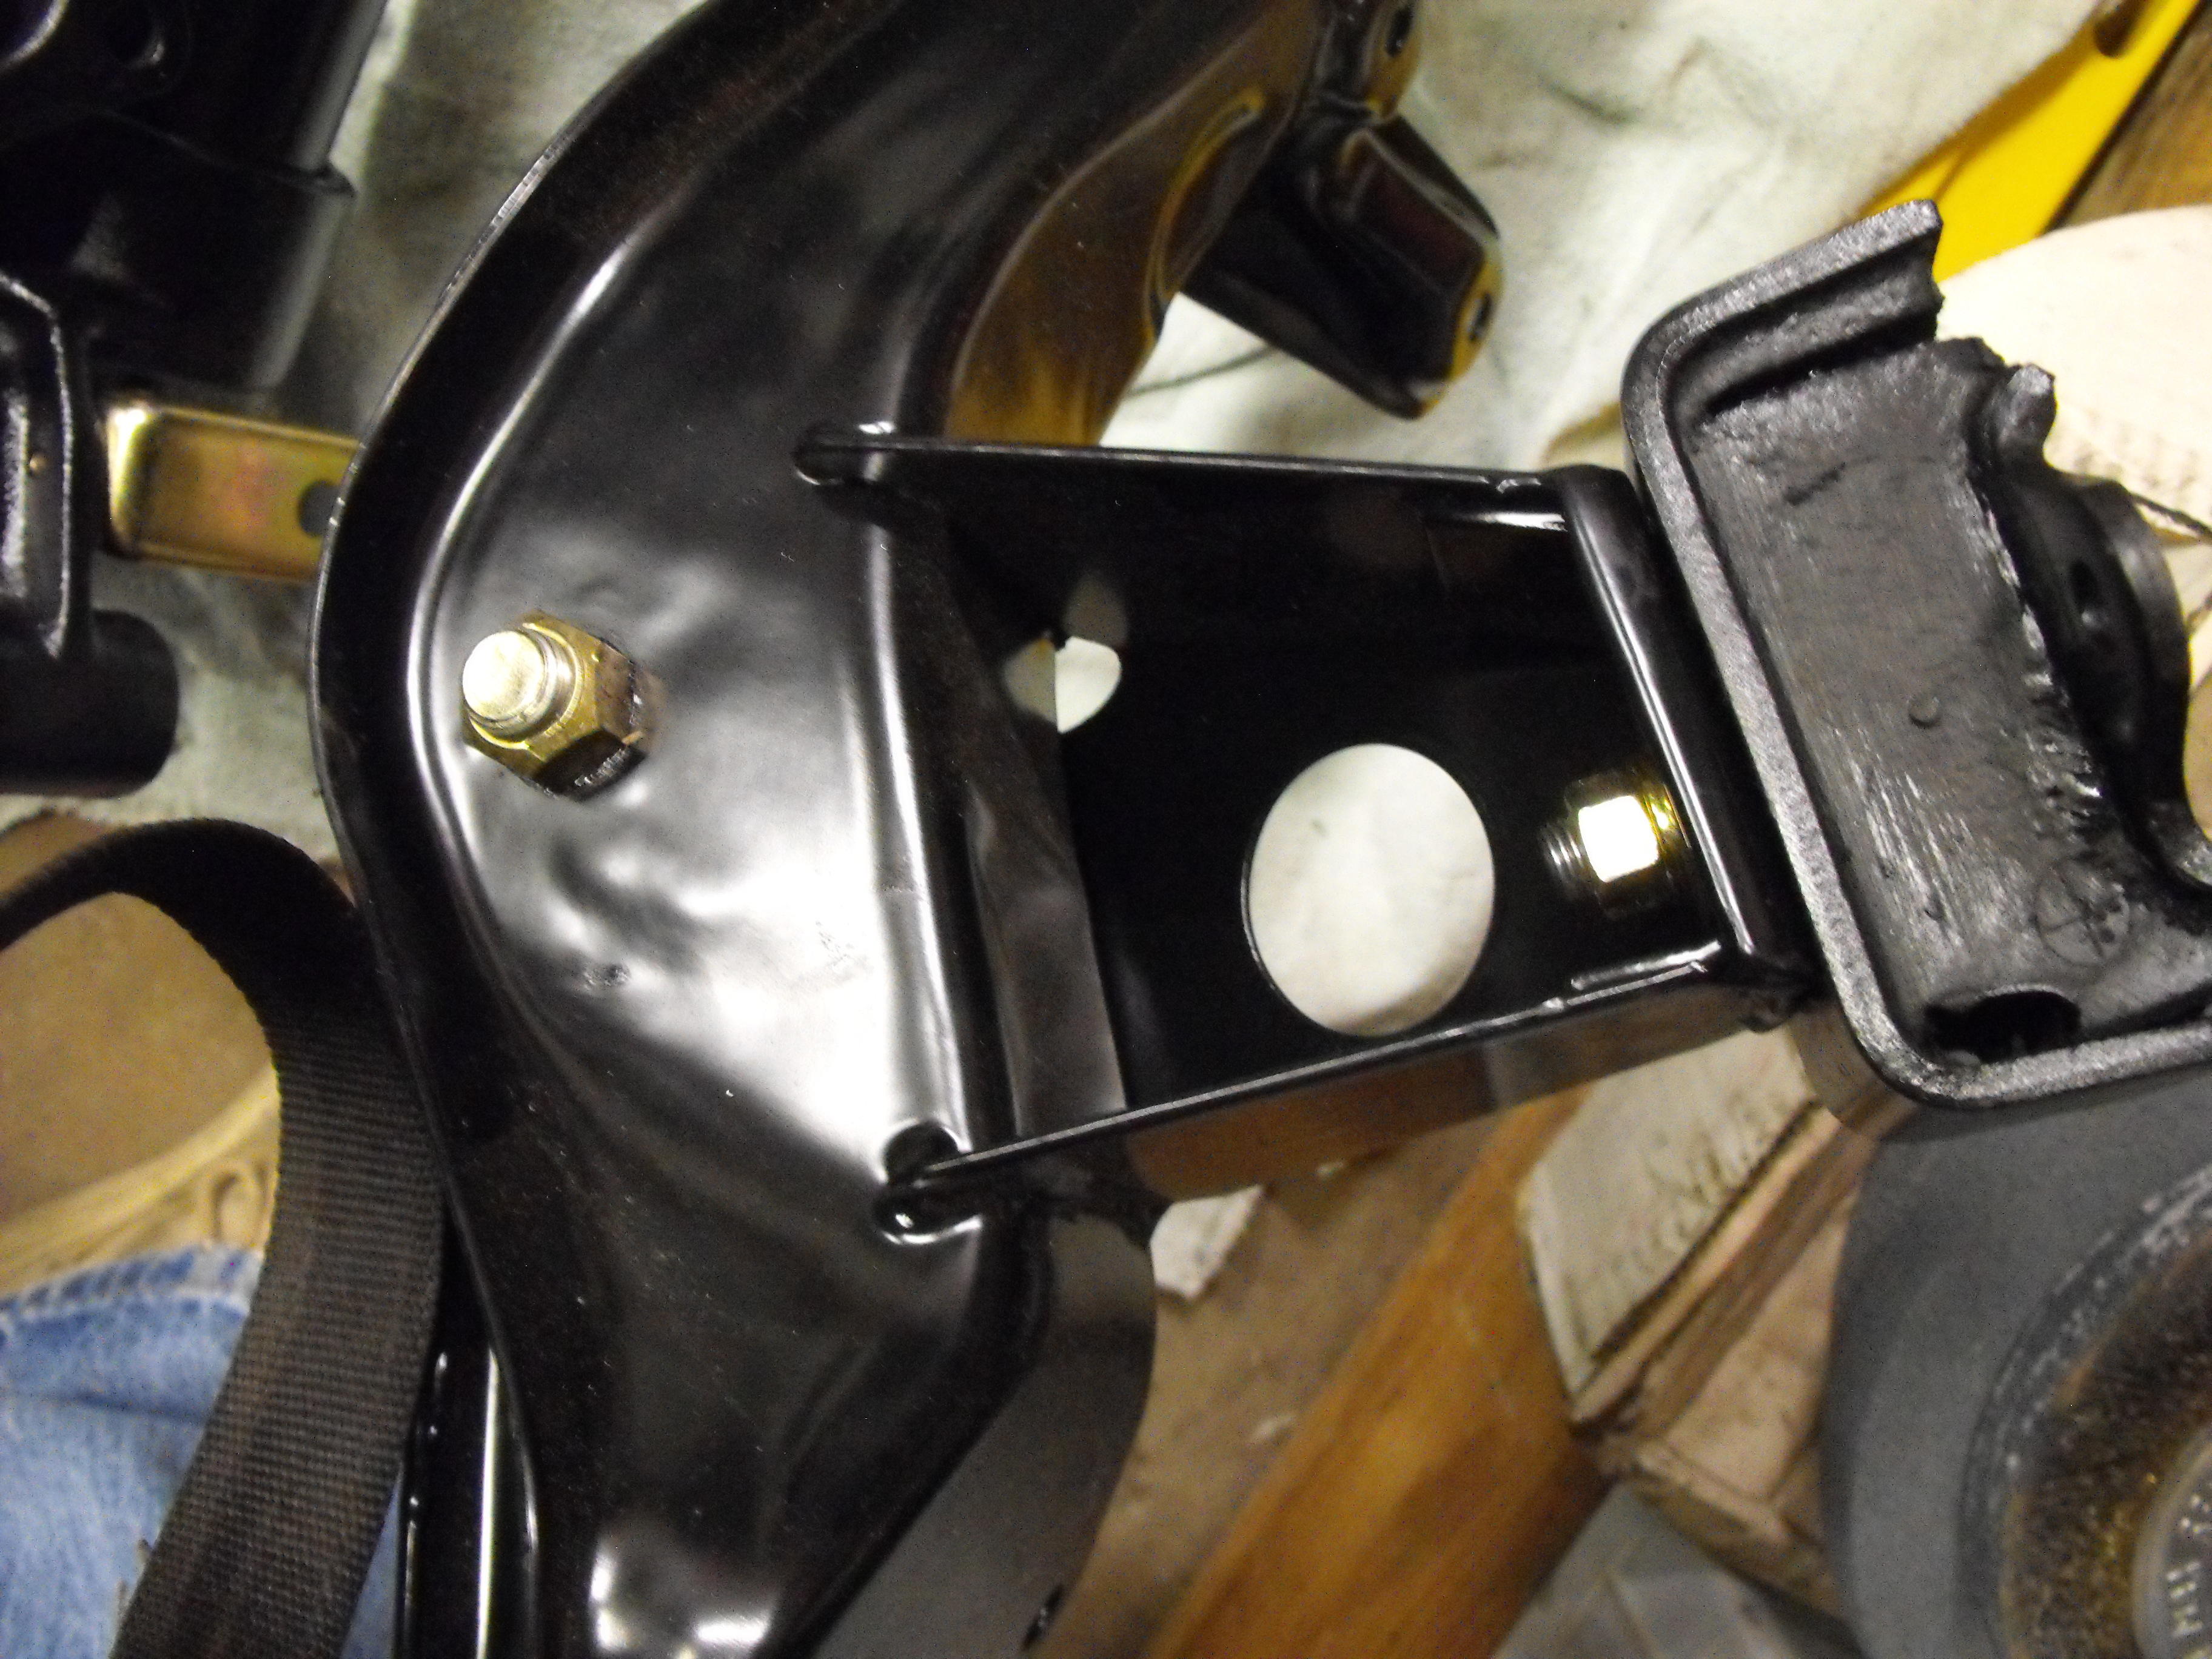
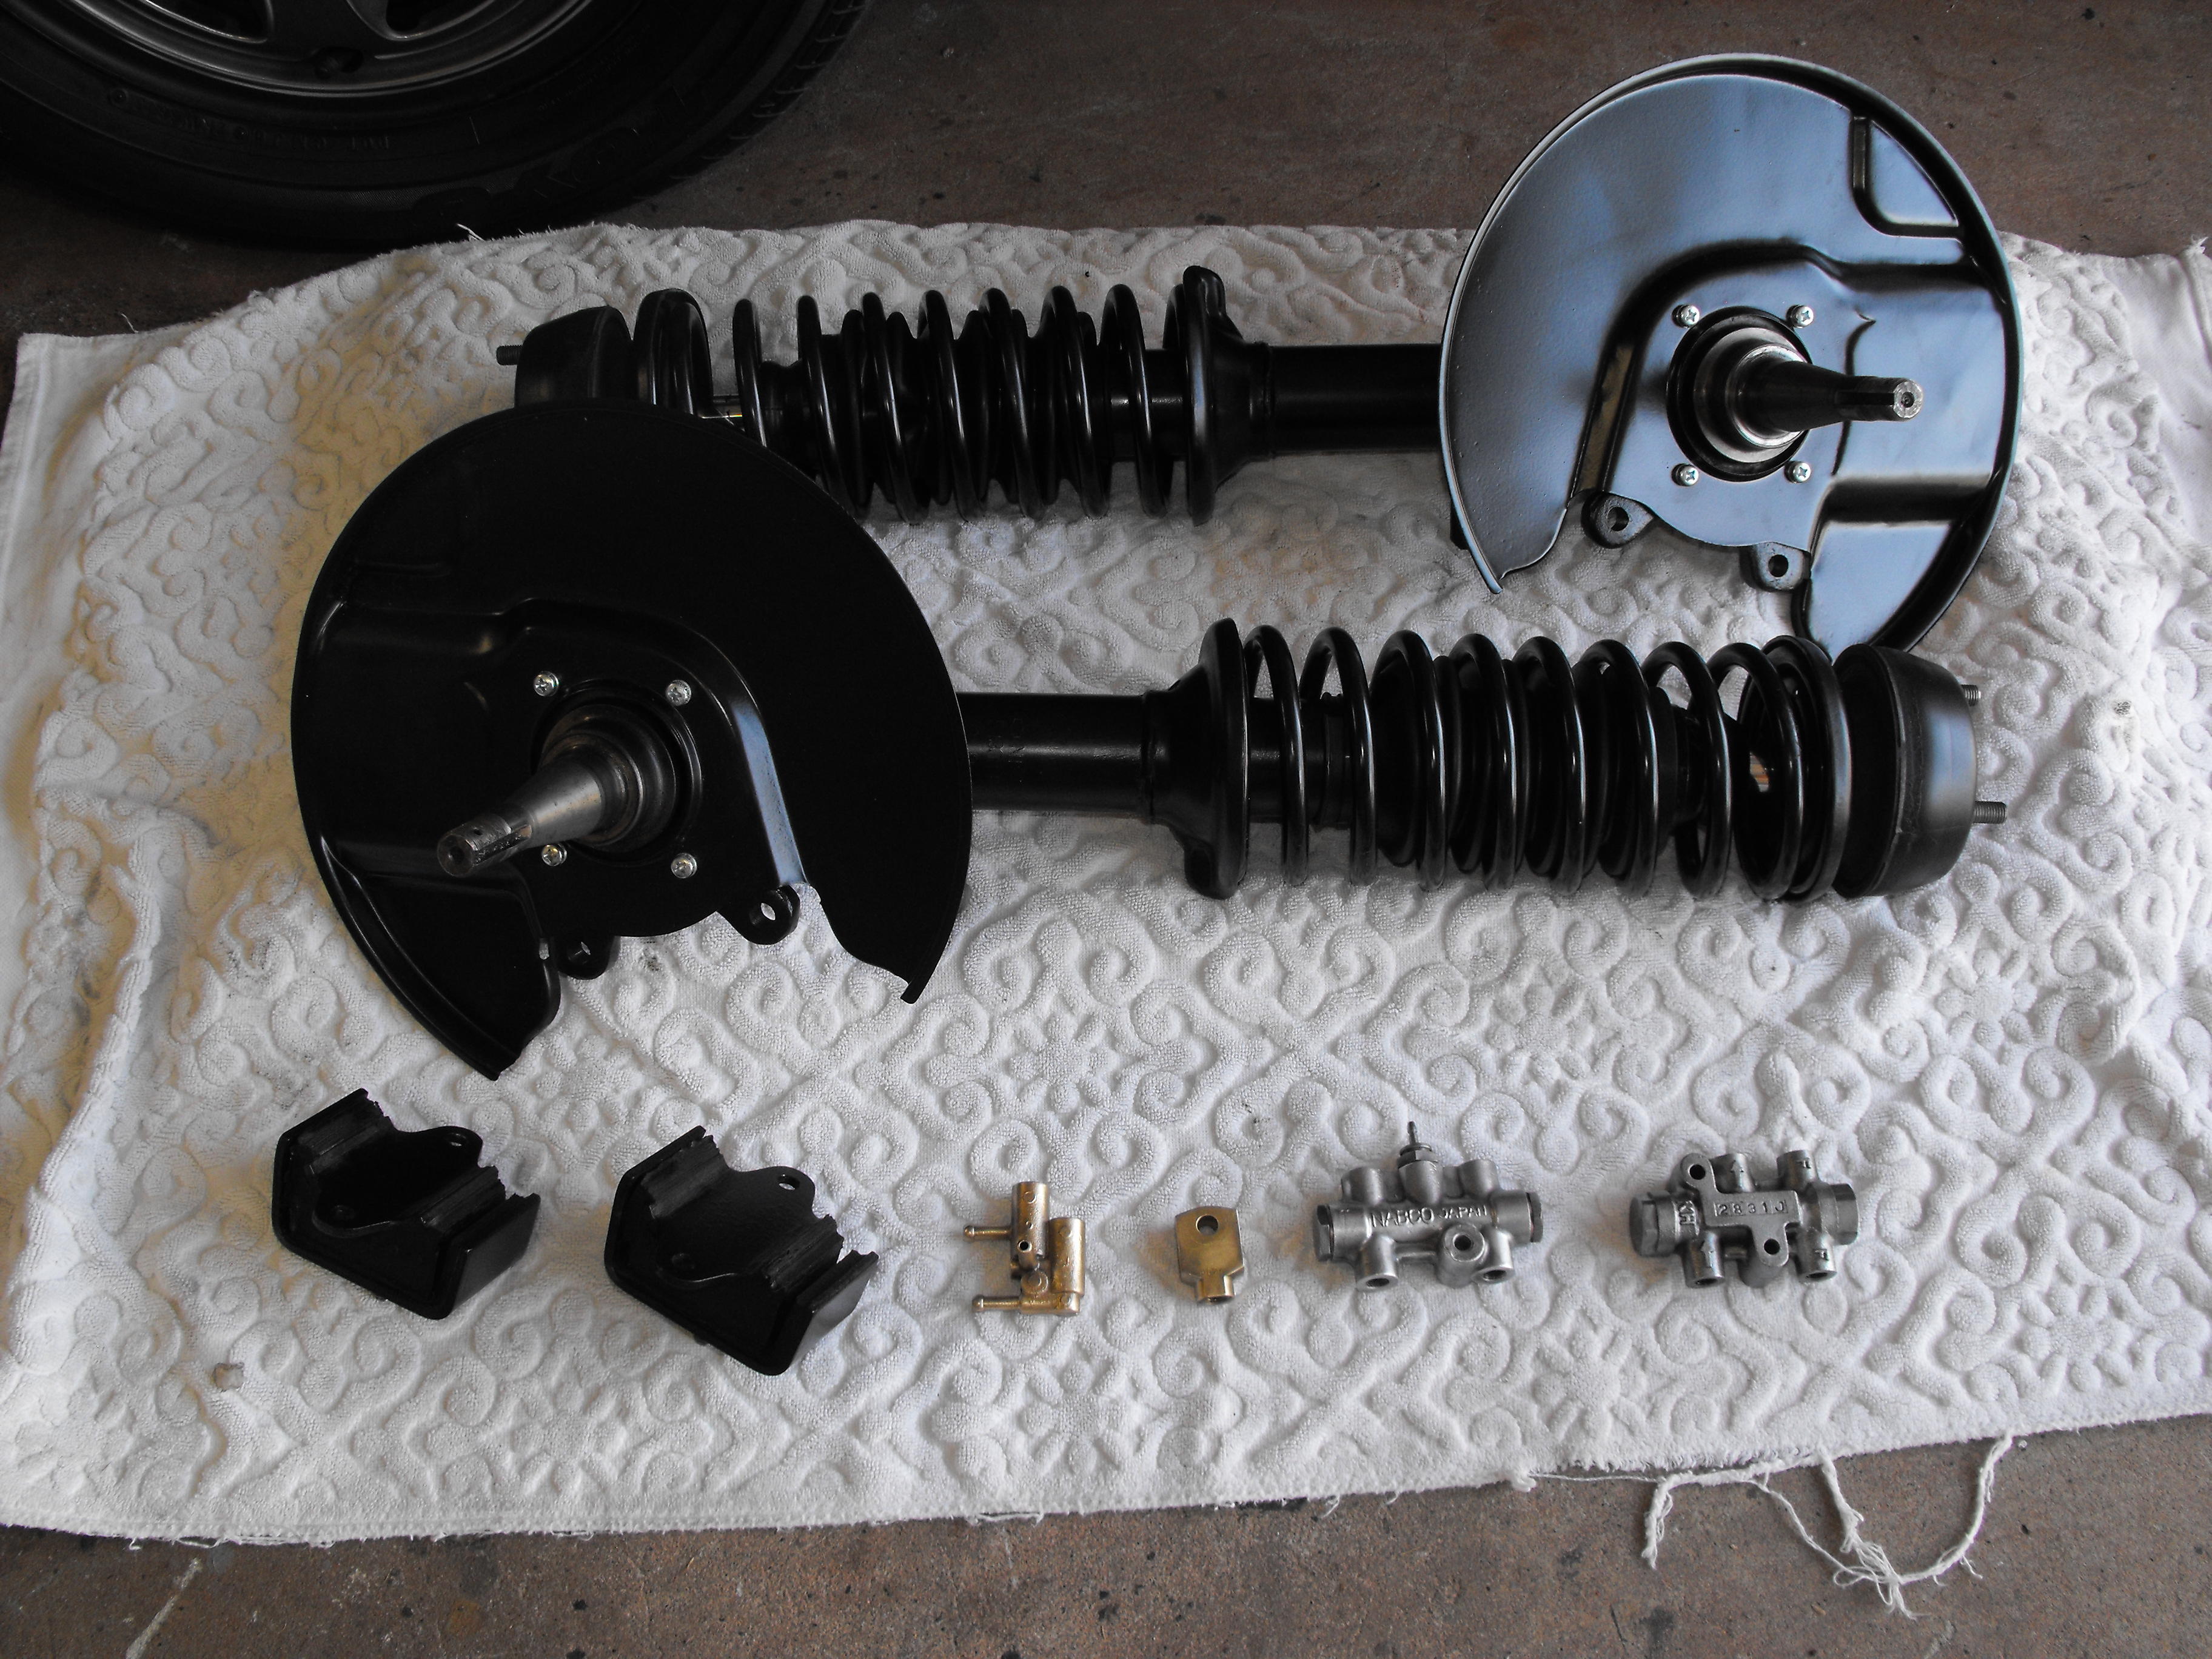
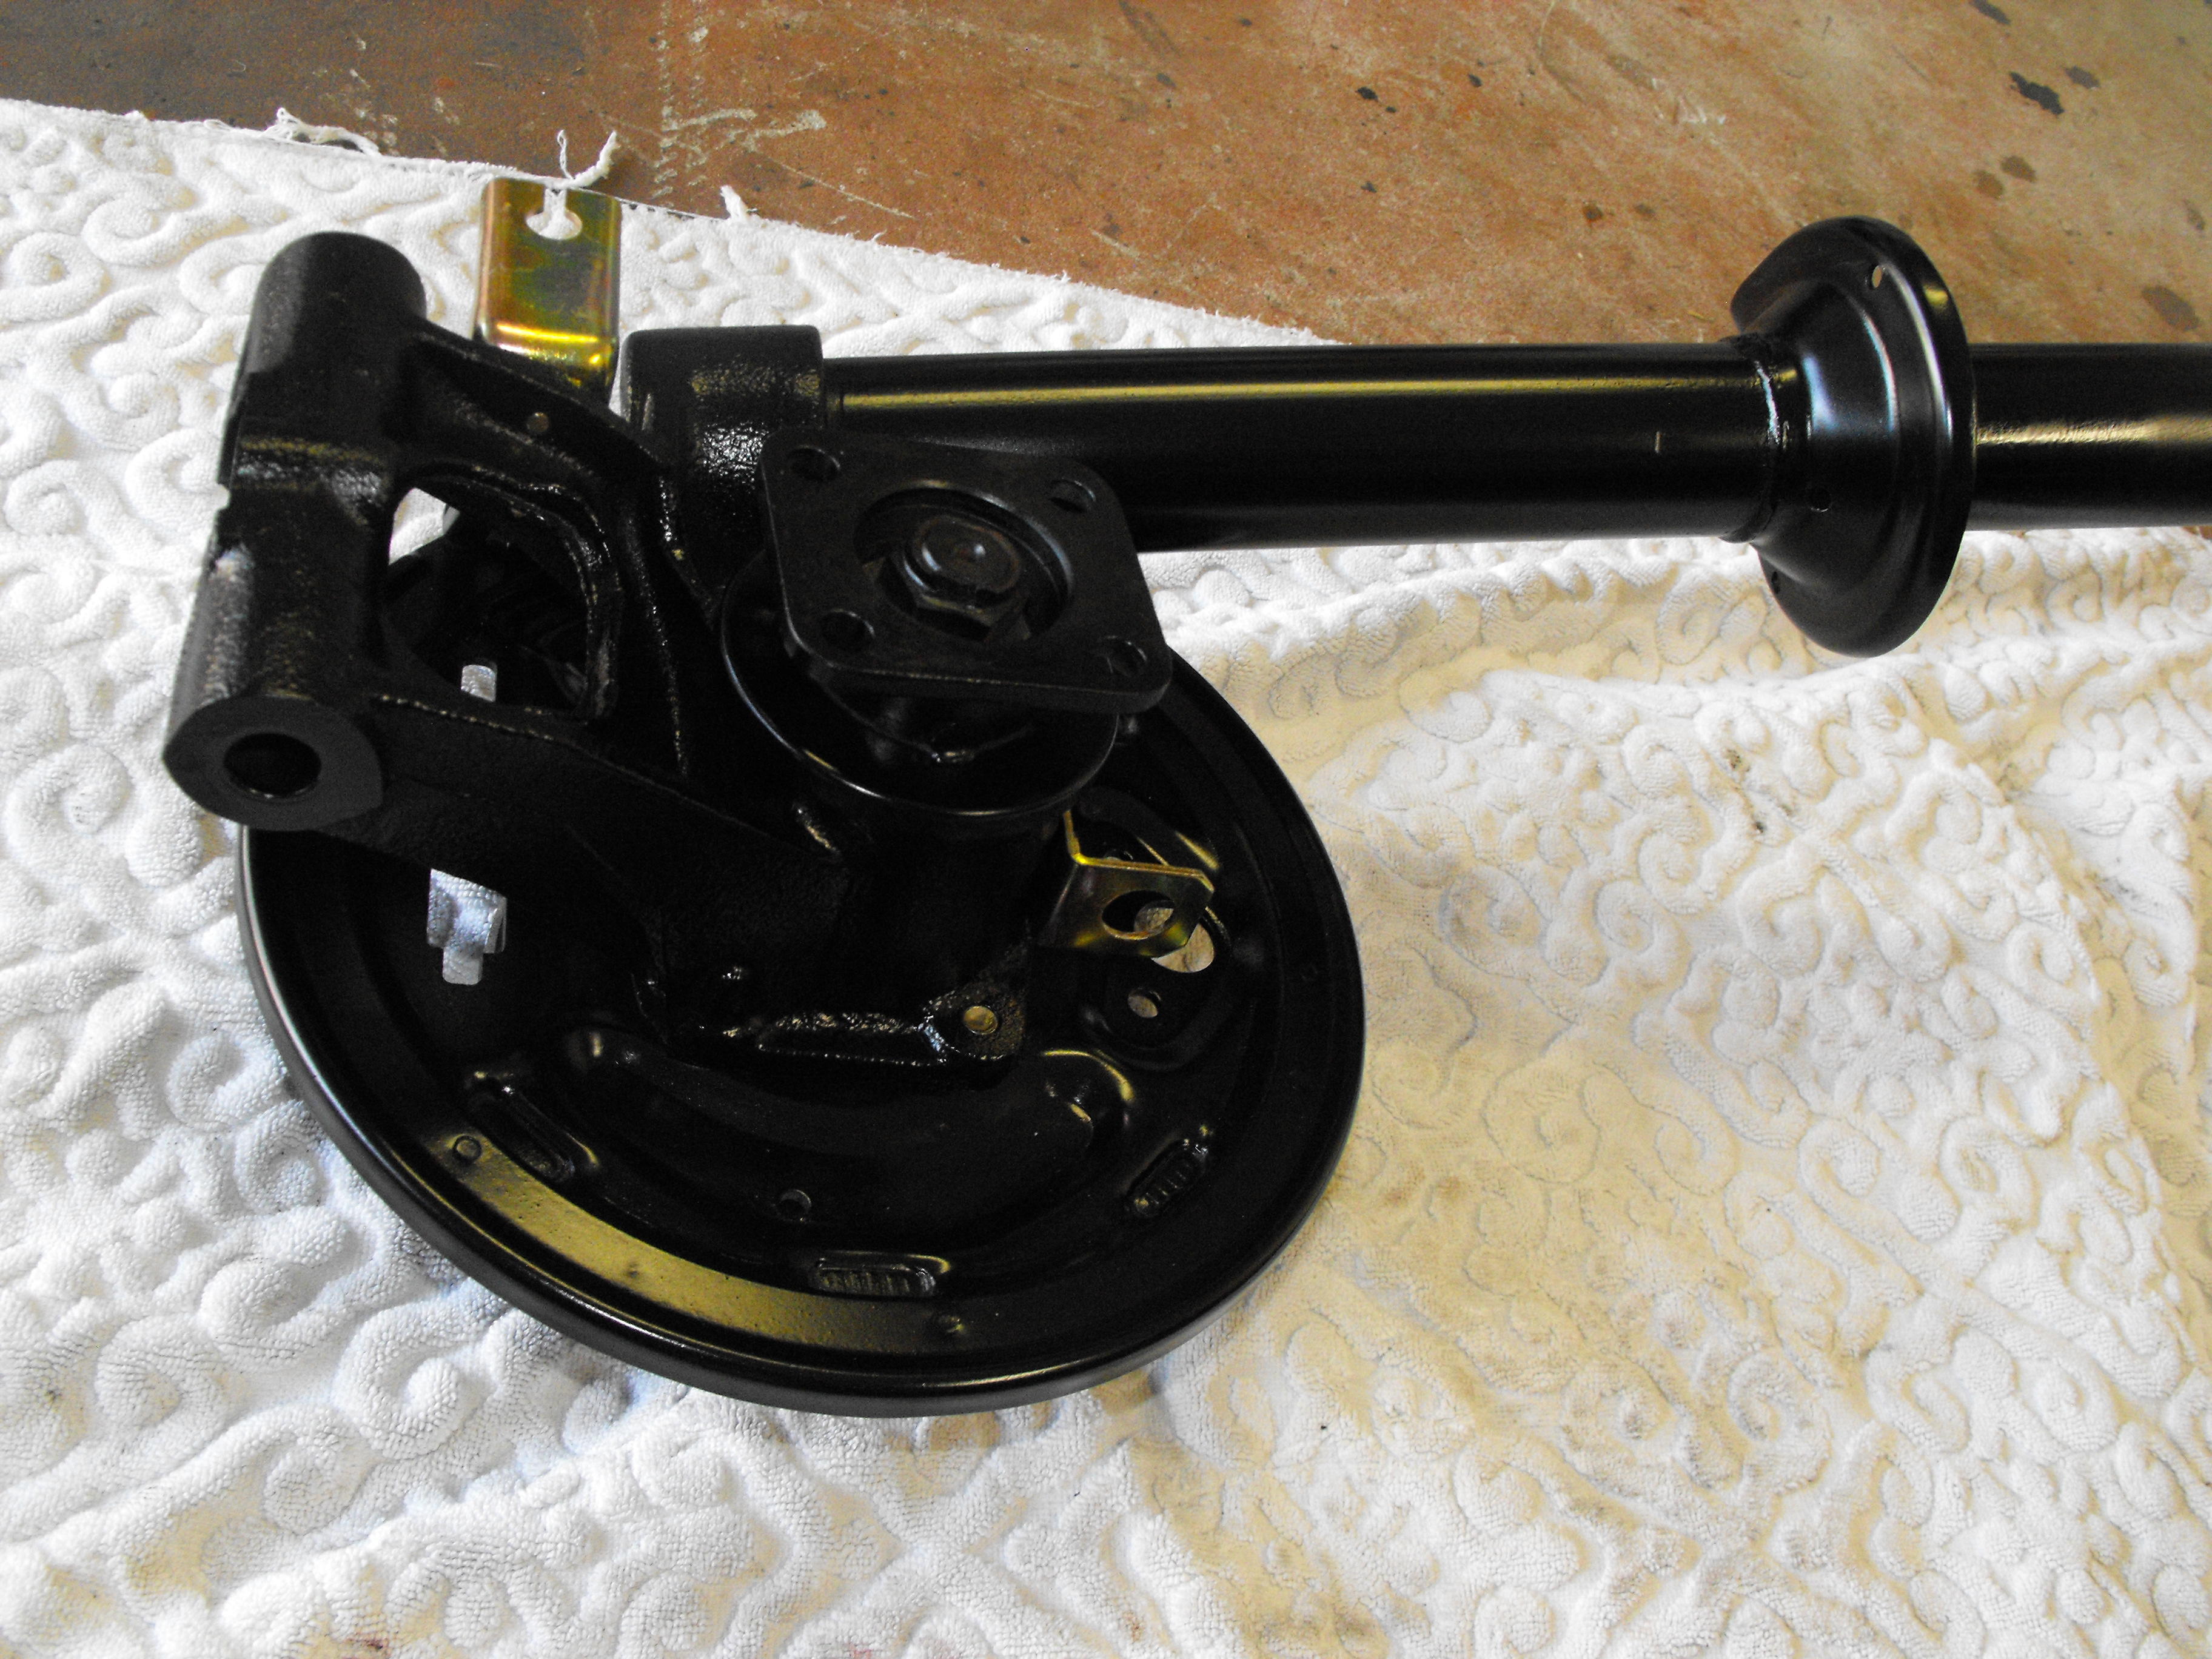
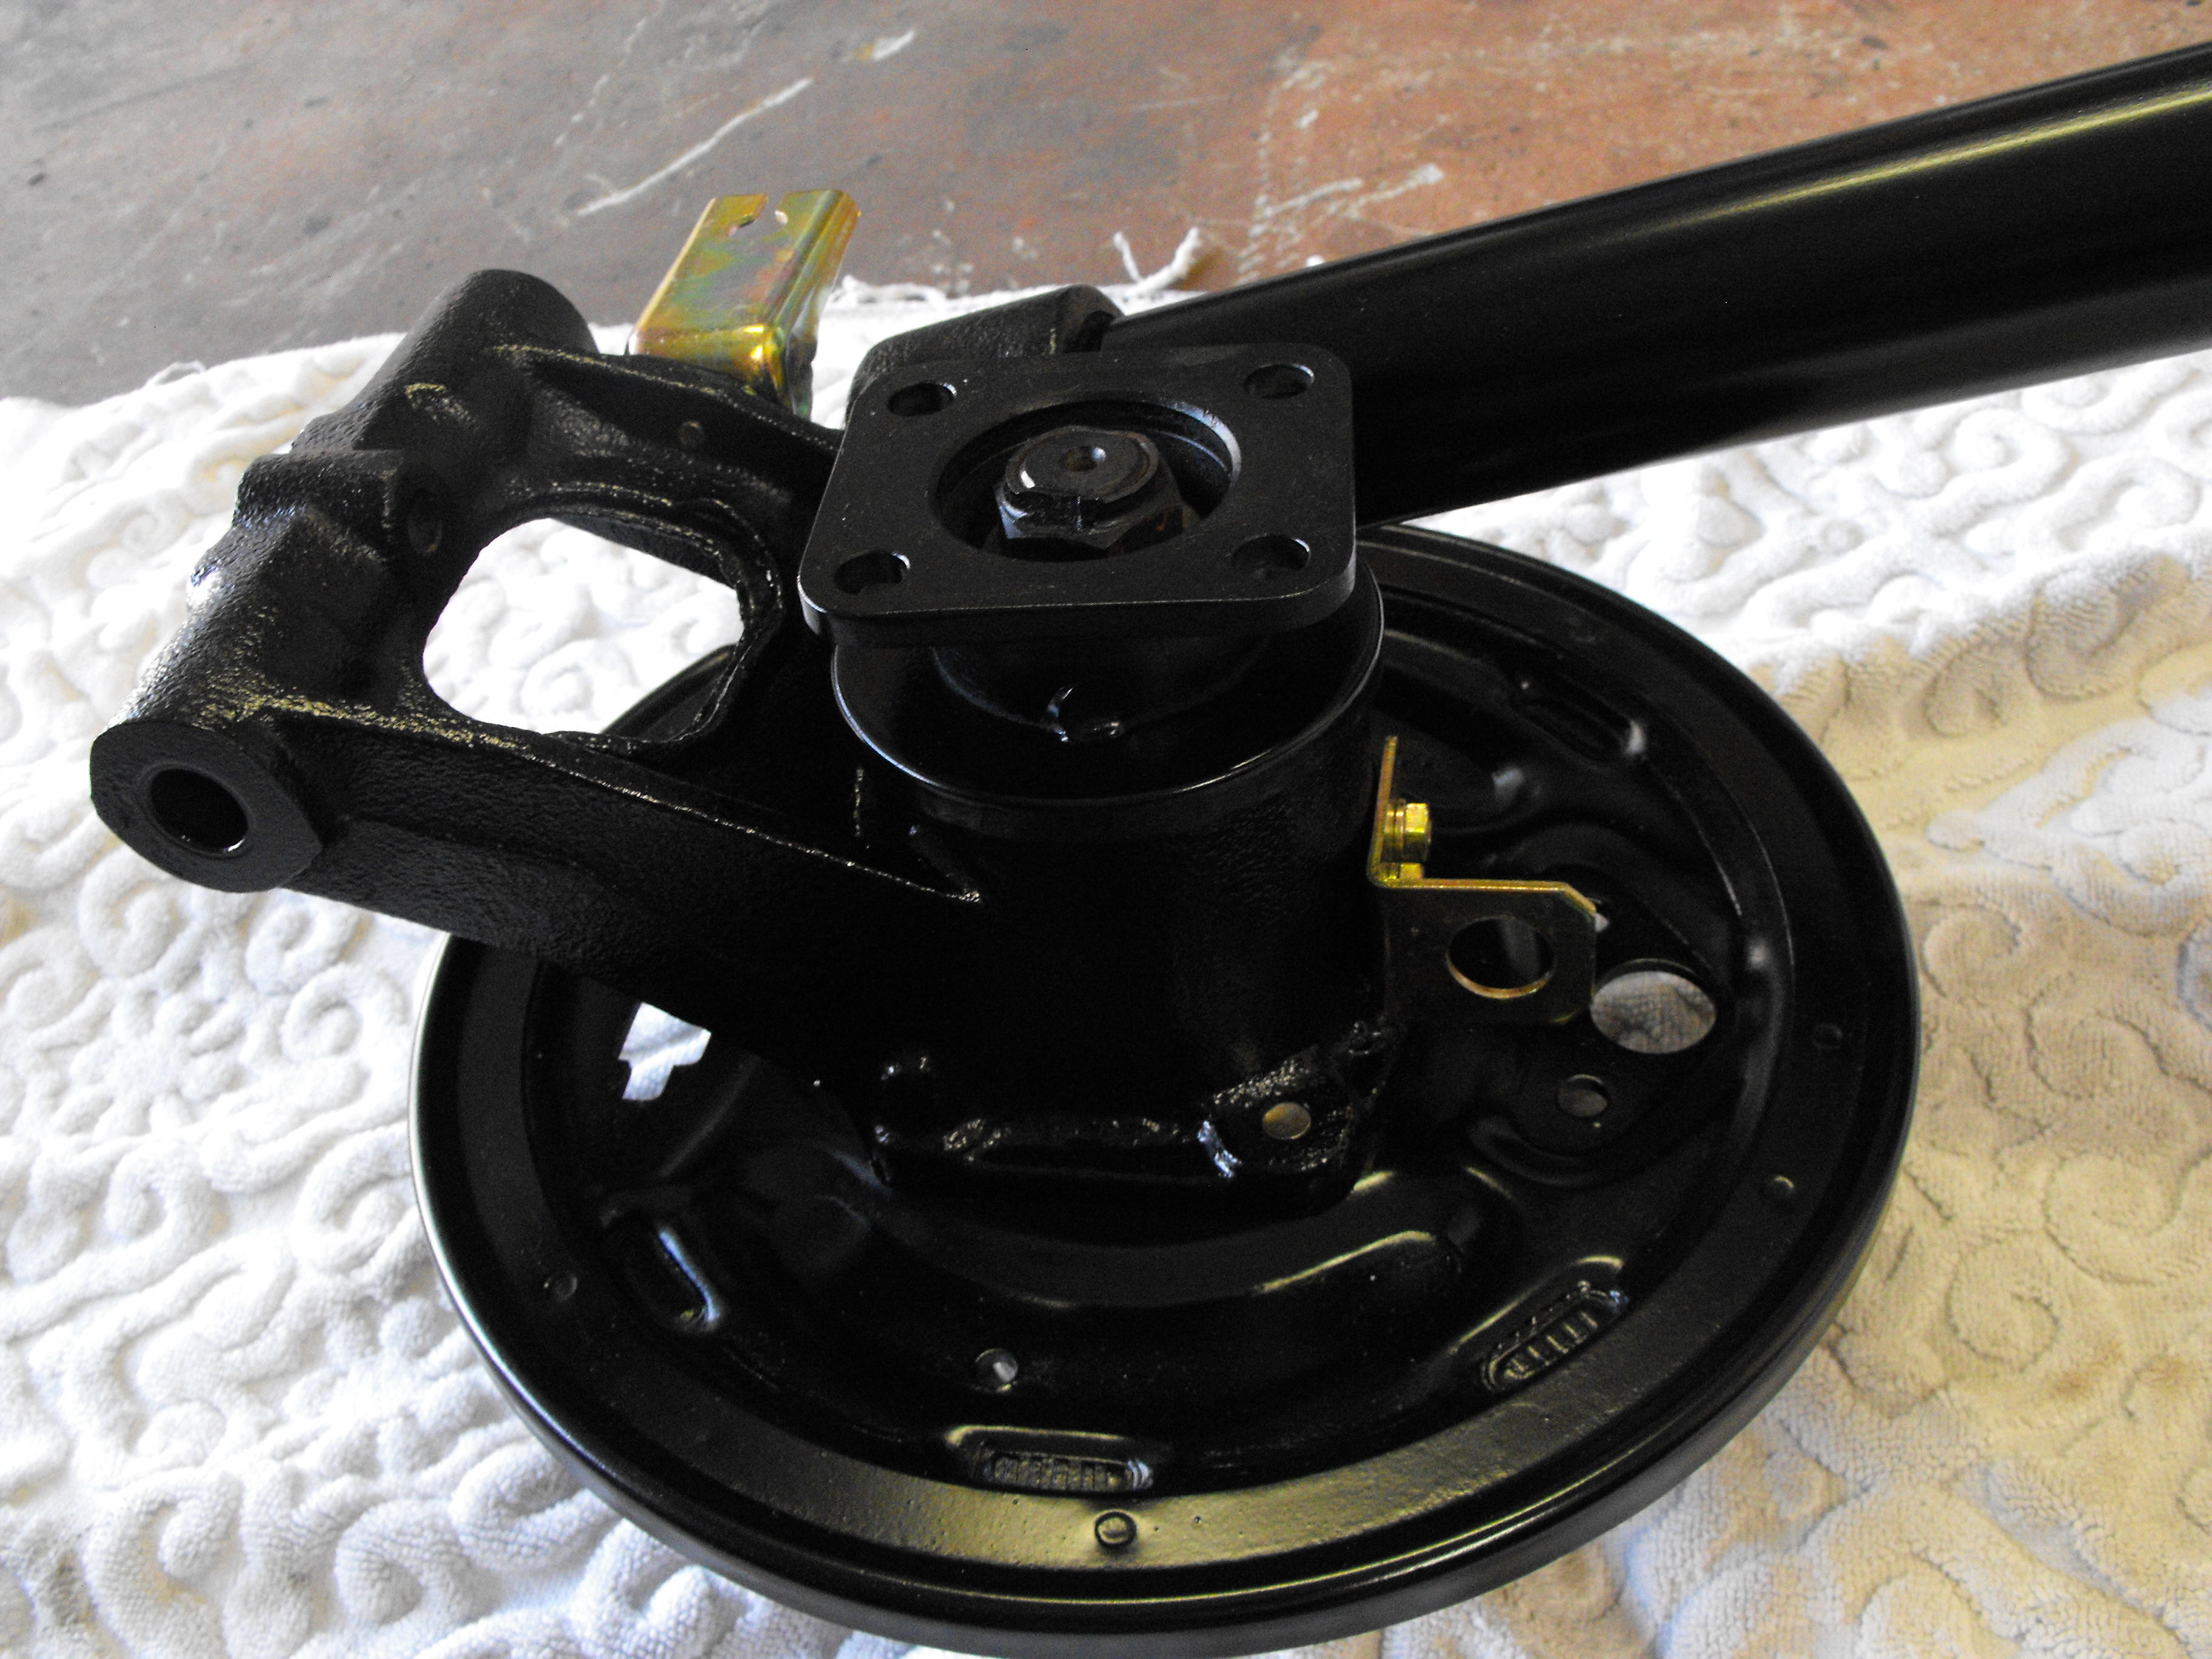
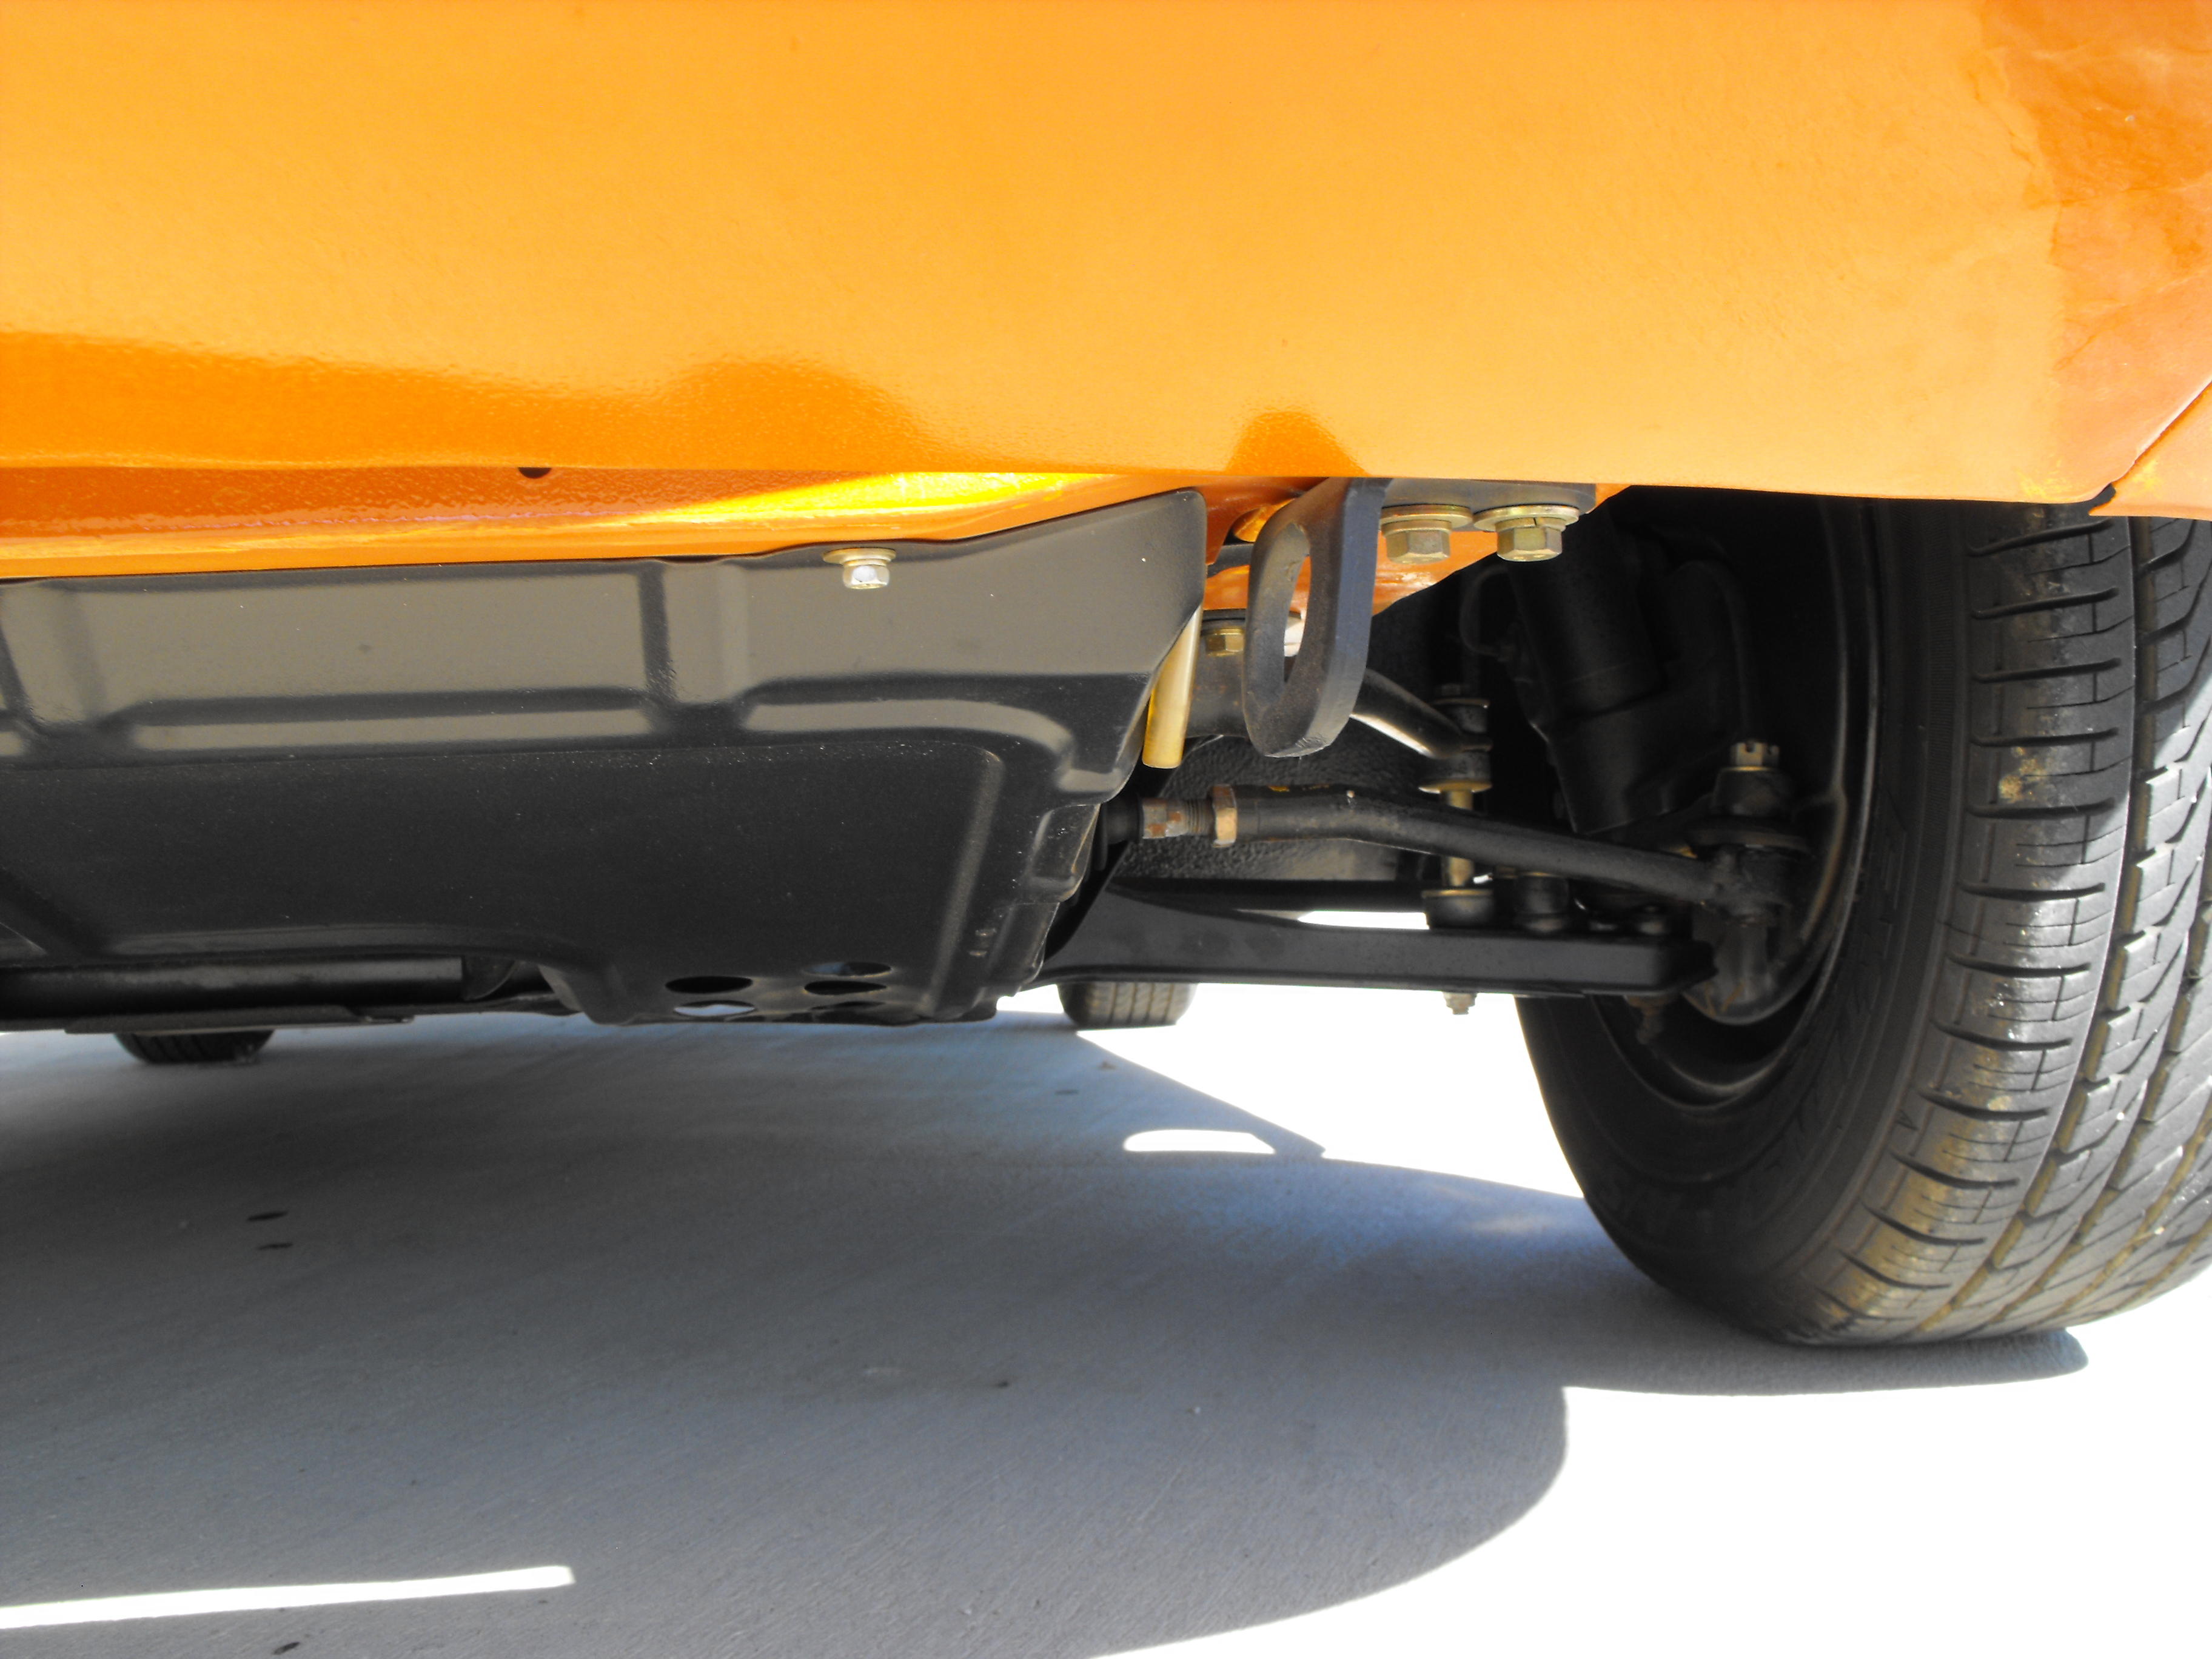
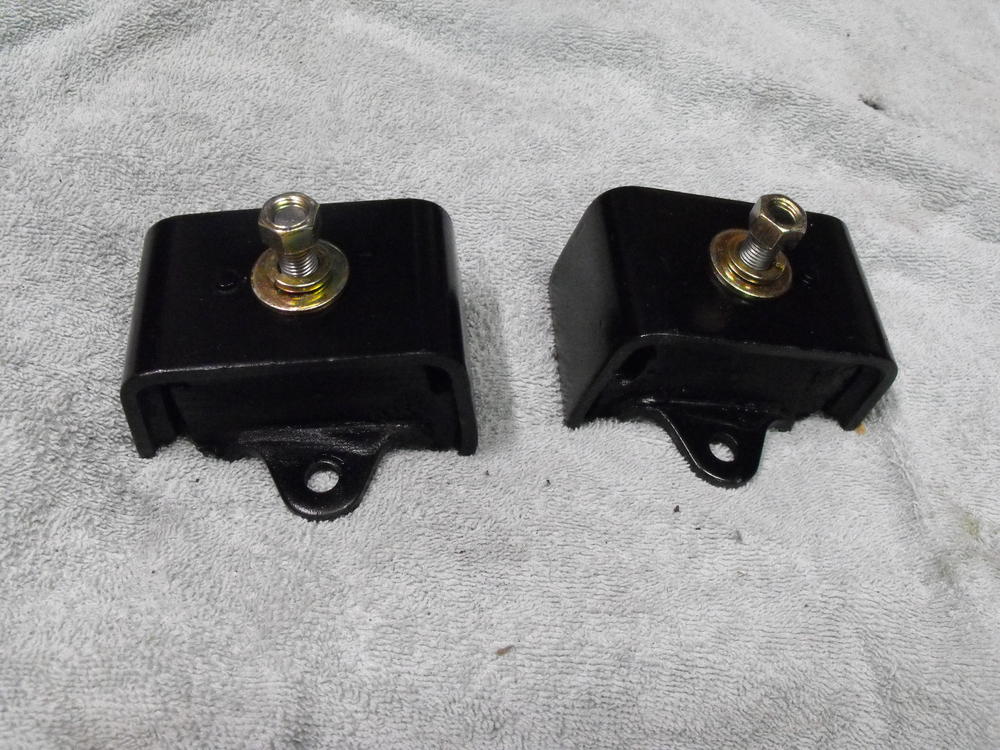
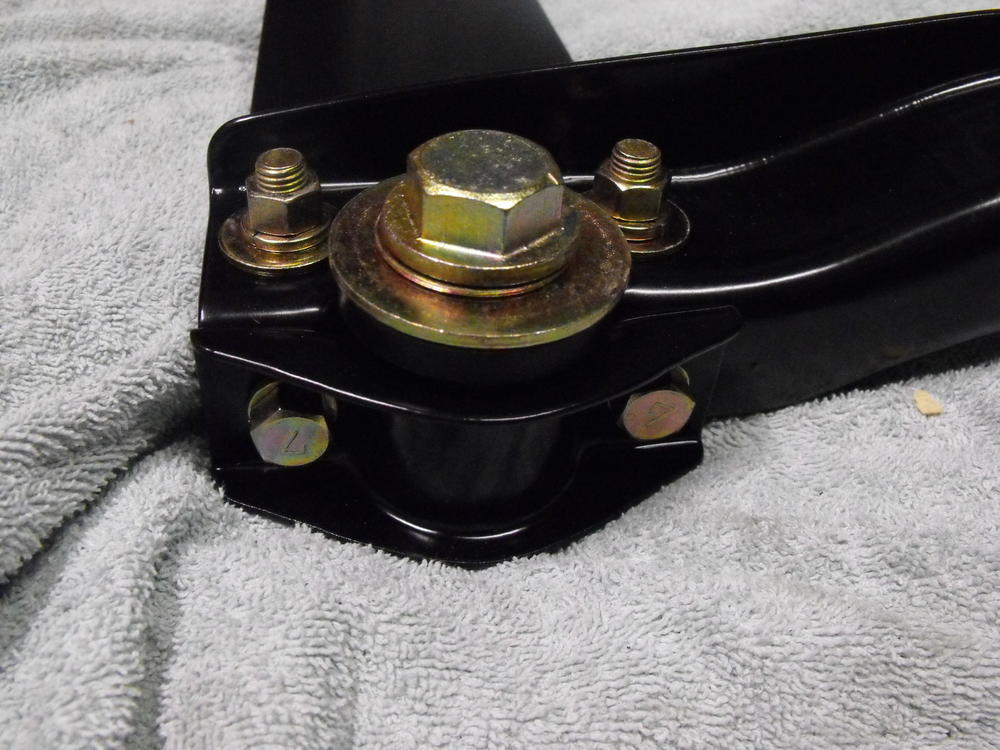
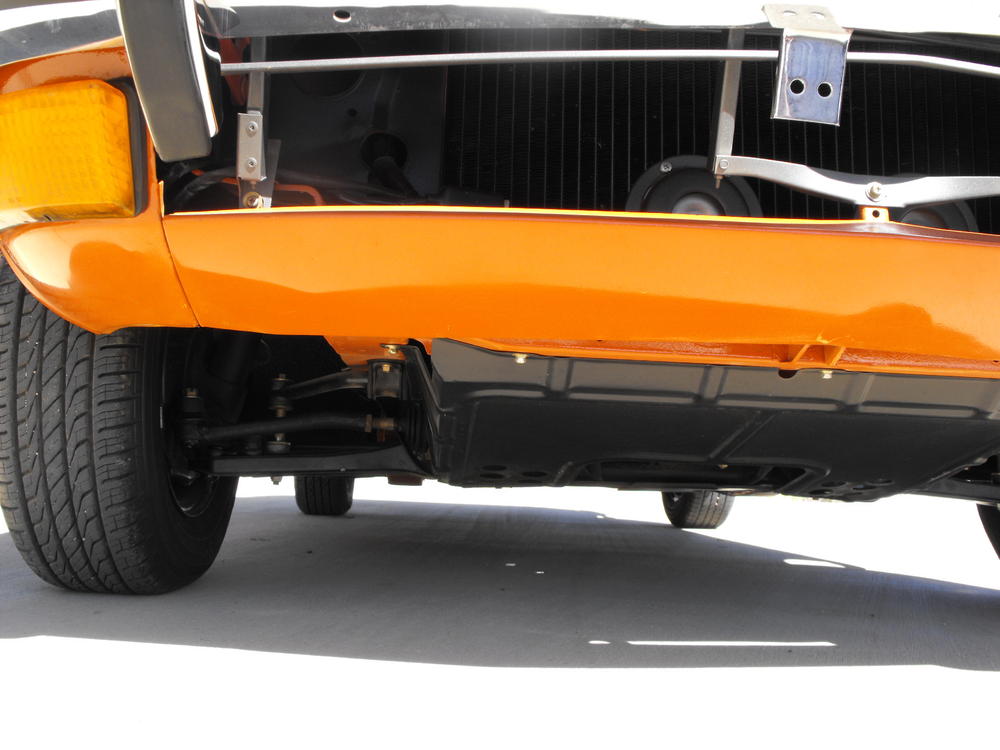
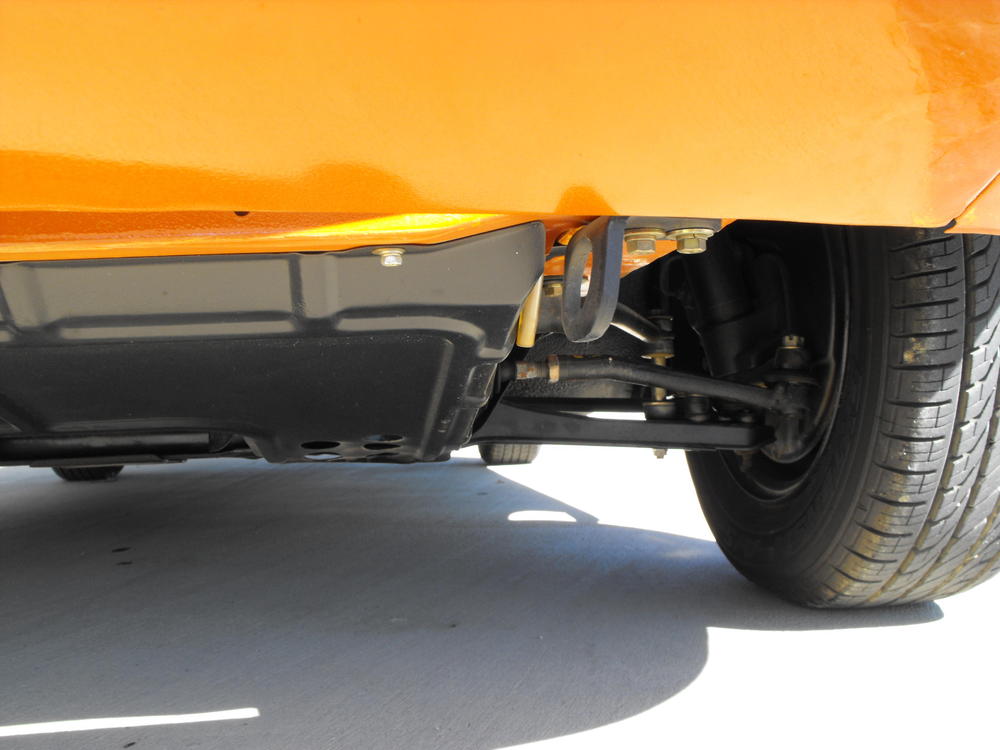
Did some more pre-assembly work on the undercarriage parts. Got the passenger side strut cleaned and painted last weekend along with the caps. Put the springs in both the rear struts. Also installed the motor mounts and did a little pre-assembly on the rear suspension parts. Pics are below.


-
Well, looks like she's sold to a local buyer/collector. Gentleman dropped by last night and looked the car over and we eventually finalized a price (North of $40k). So, looks like we will miss out on the BAT action, but I like the buyer a lot and feel like the car is going to a good home. Also looks like I will have visitation rights. So, we will finalize the transaction over the next couple days. I am sure this is probably something I will regret but for now this makes a lot of sense for me. And, I am still hard pressed for storage space. Thanks for all of the complements and support everyone.
-
Thanks for the info, it is a big help. I am working with BAT now and looks like the auction will start in about a week or so. I am pleasantly surprised by all the interest in my car. I have received several calls and texts over the last couple days and I am pretty sure I could have sold this for $37K and the car would be gone today if I had stuck with the price. I appreciate the advice from the thread here. It seems the market is a little bit hotter than I anticipated. Anyway, we will see how this all turns out.
-
-
-
Thanks for the comments everyone. I will probably leave it here for a couple weeks and after that move it over to BAT as mentioned if it does not sell on this site. I am not really in any rush and wife says I should wait till Spring to sell. I would probably go with a bit lower reserve, but we will see how that goes when we get there. $70/00 sounds pretty good. With all the labor I put into the cars, my wife often jokes that I work for about $0.25/hour. I need to look into this.
-
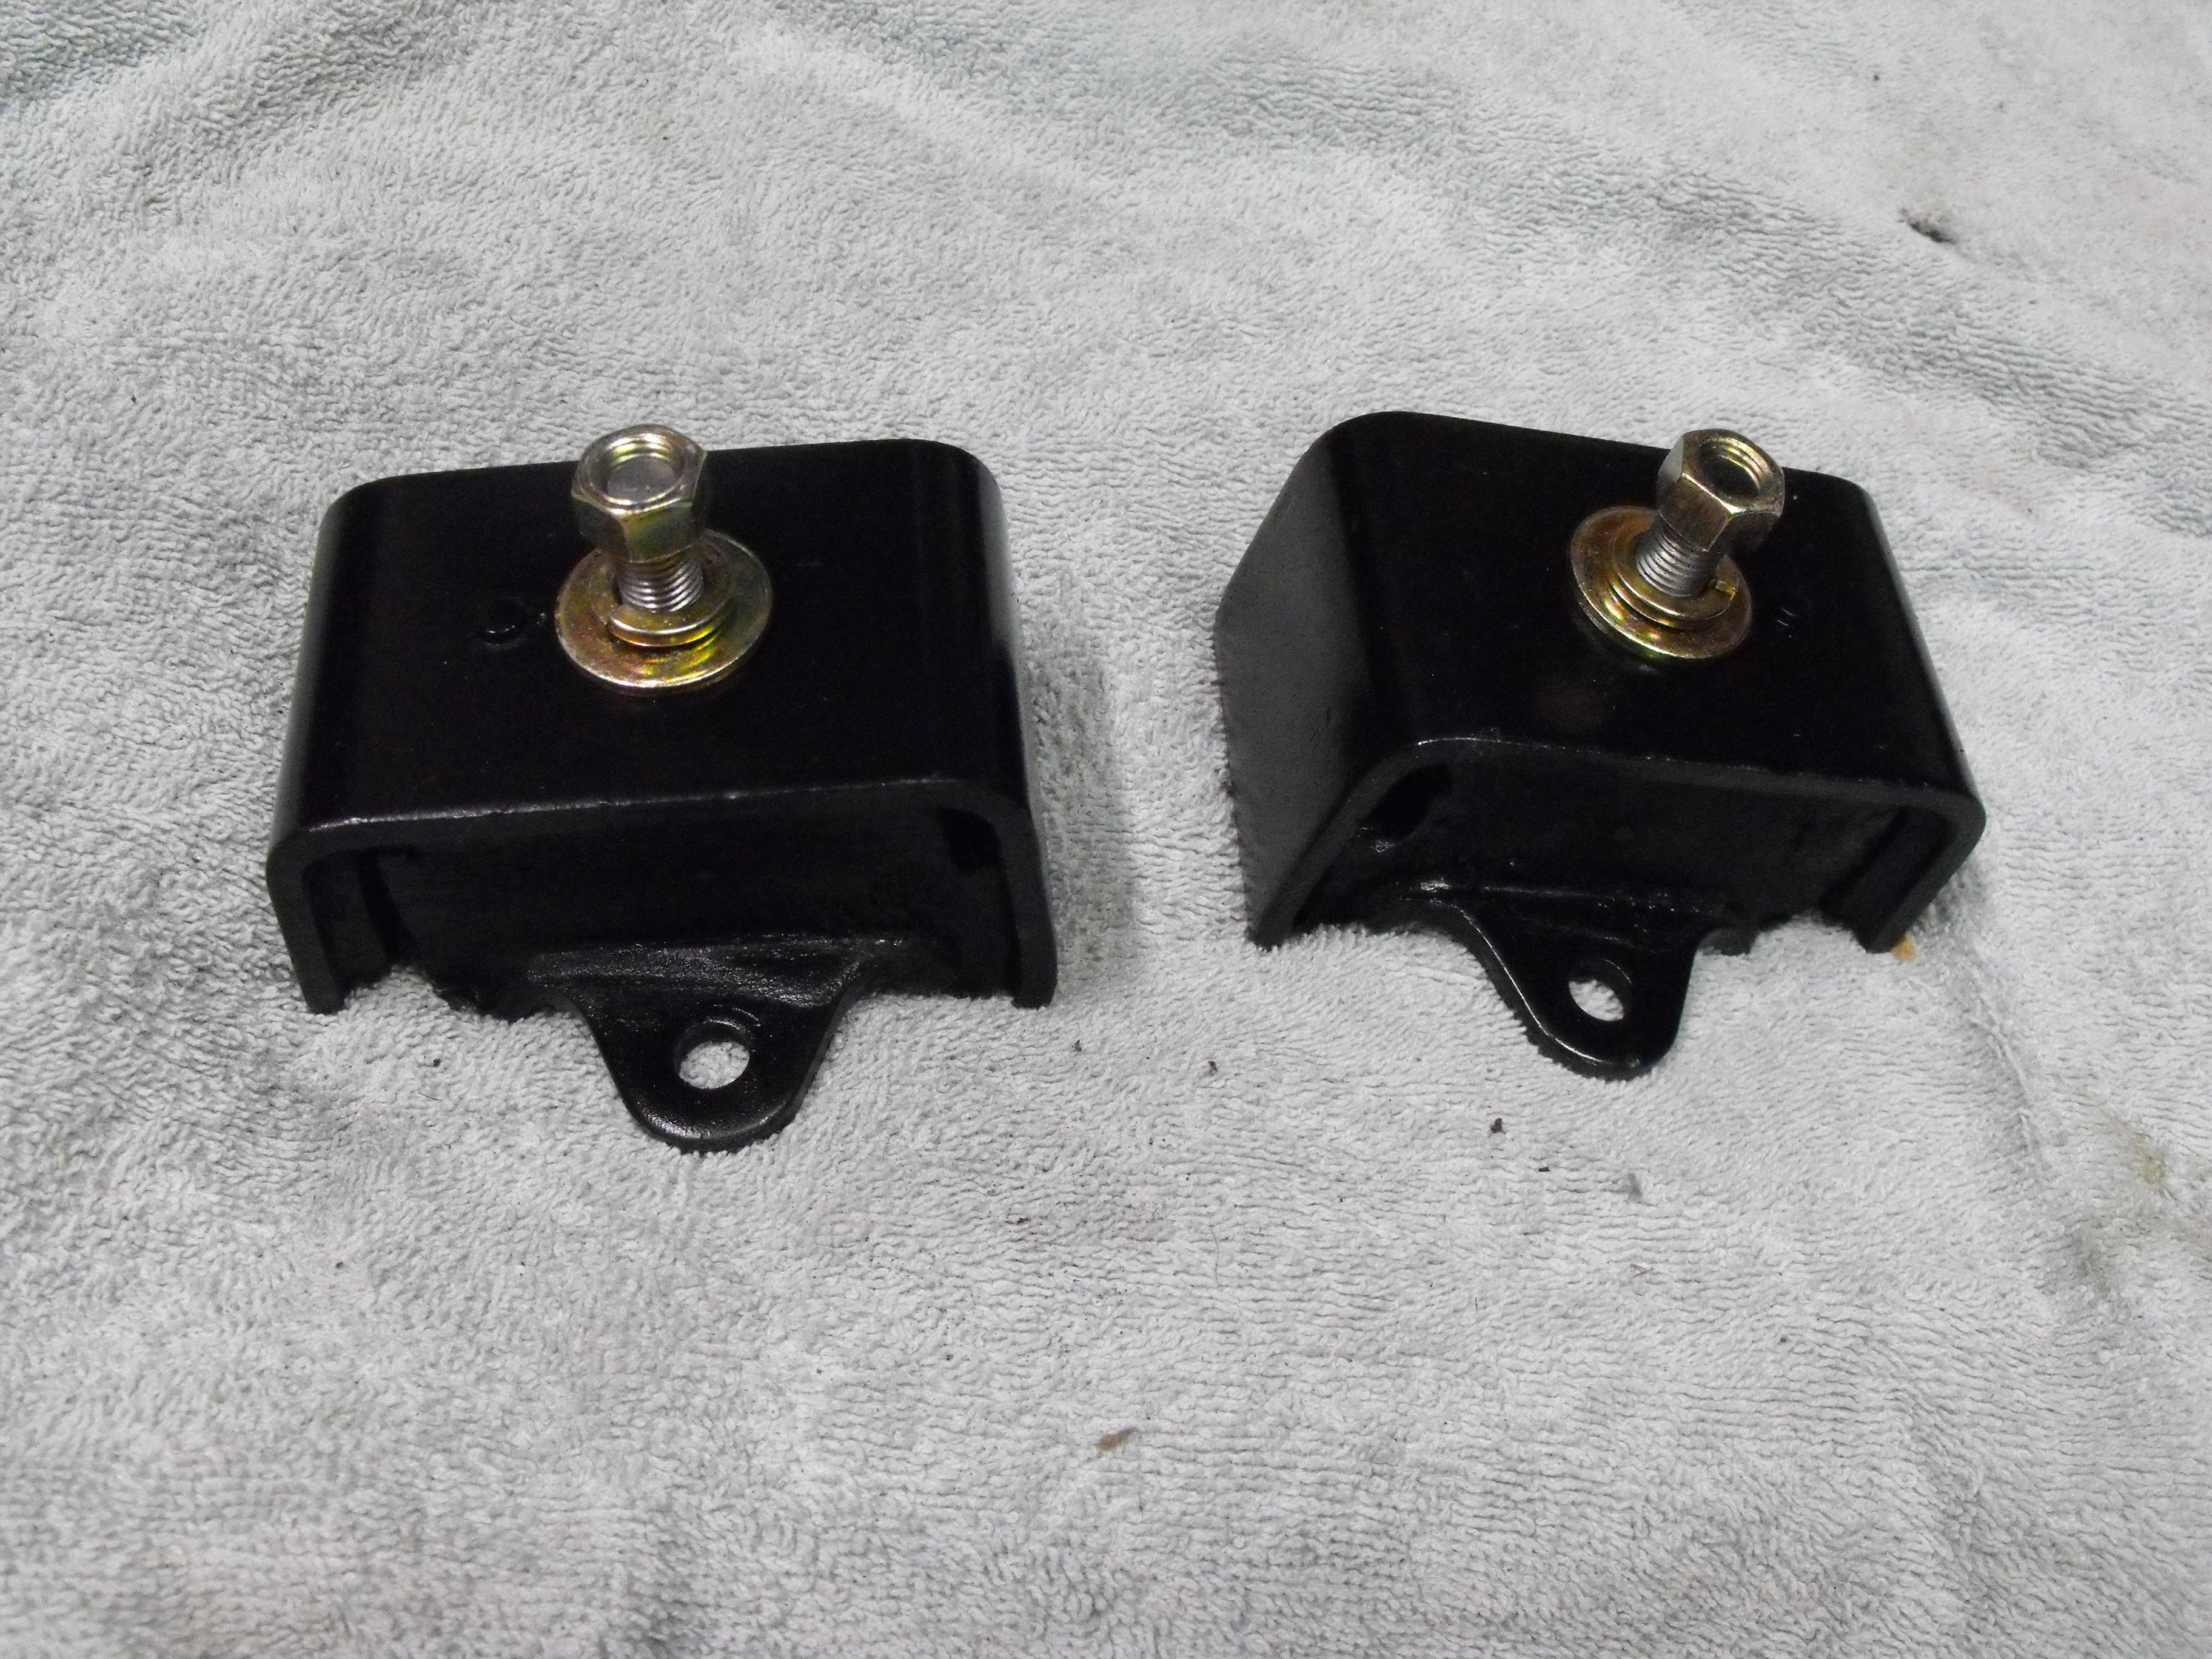
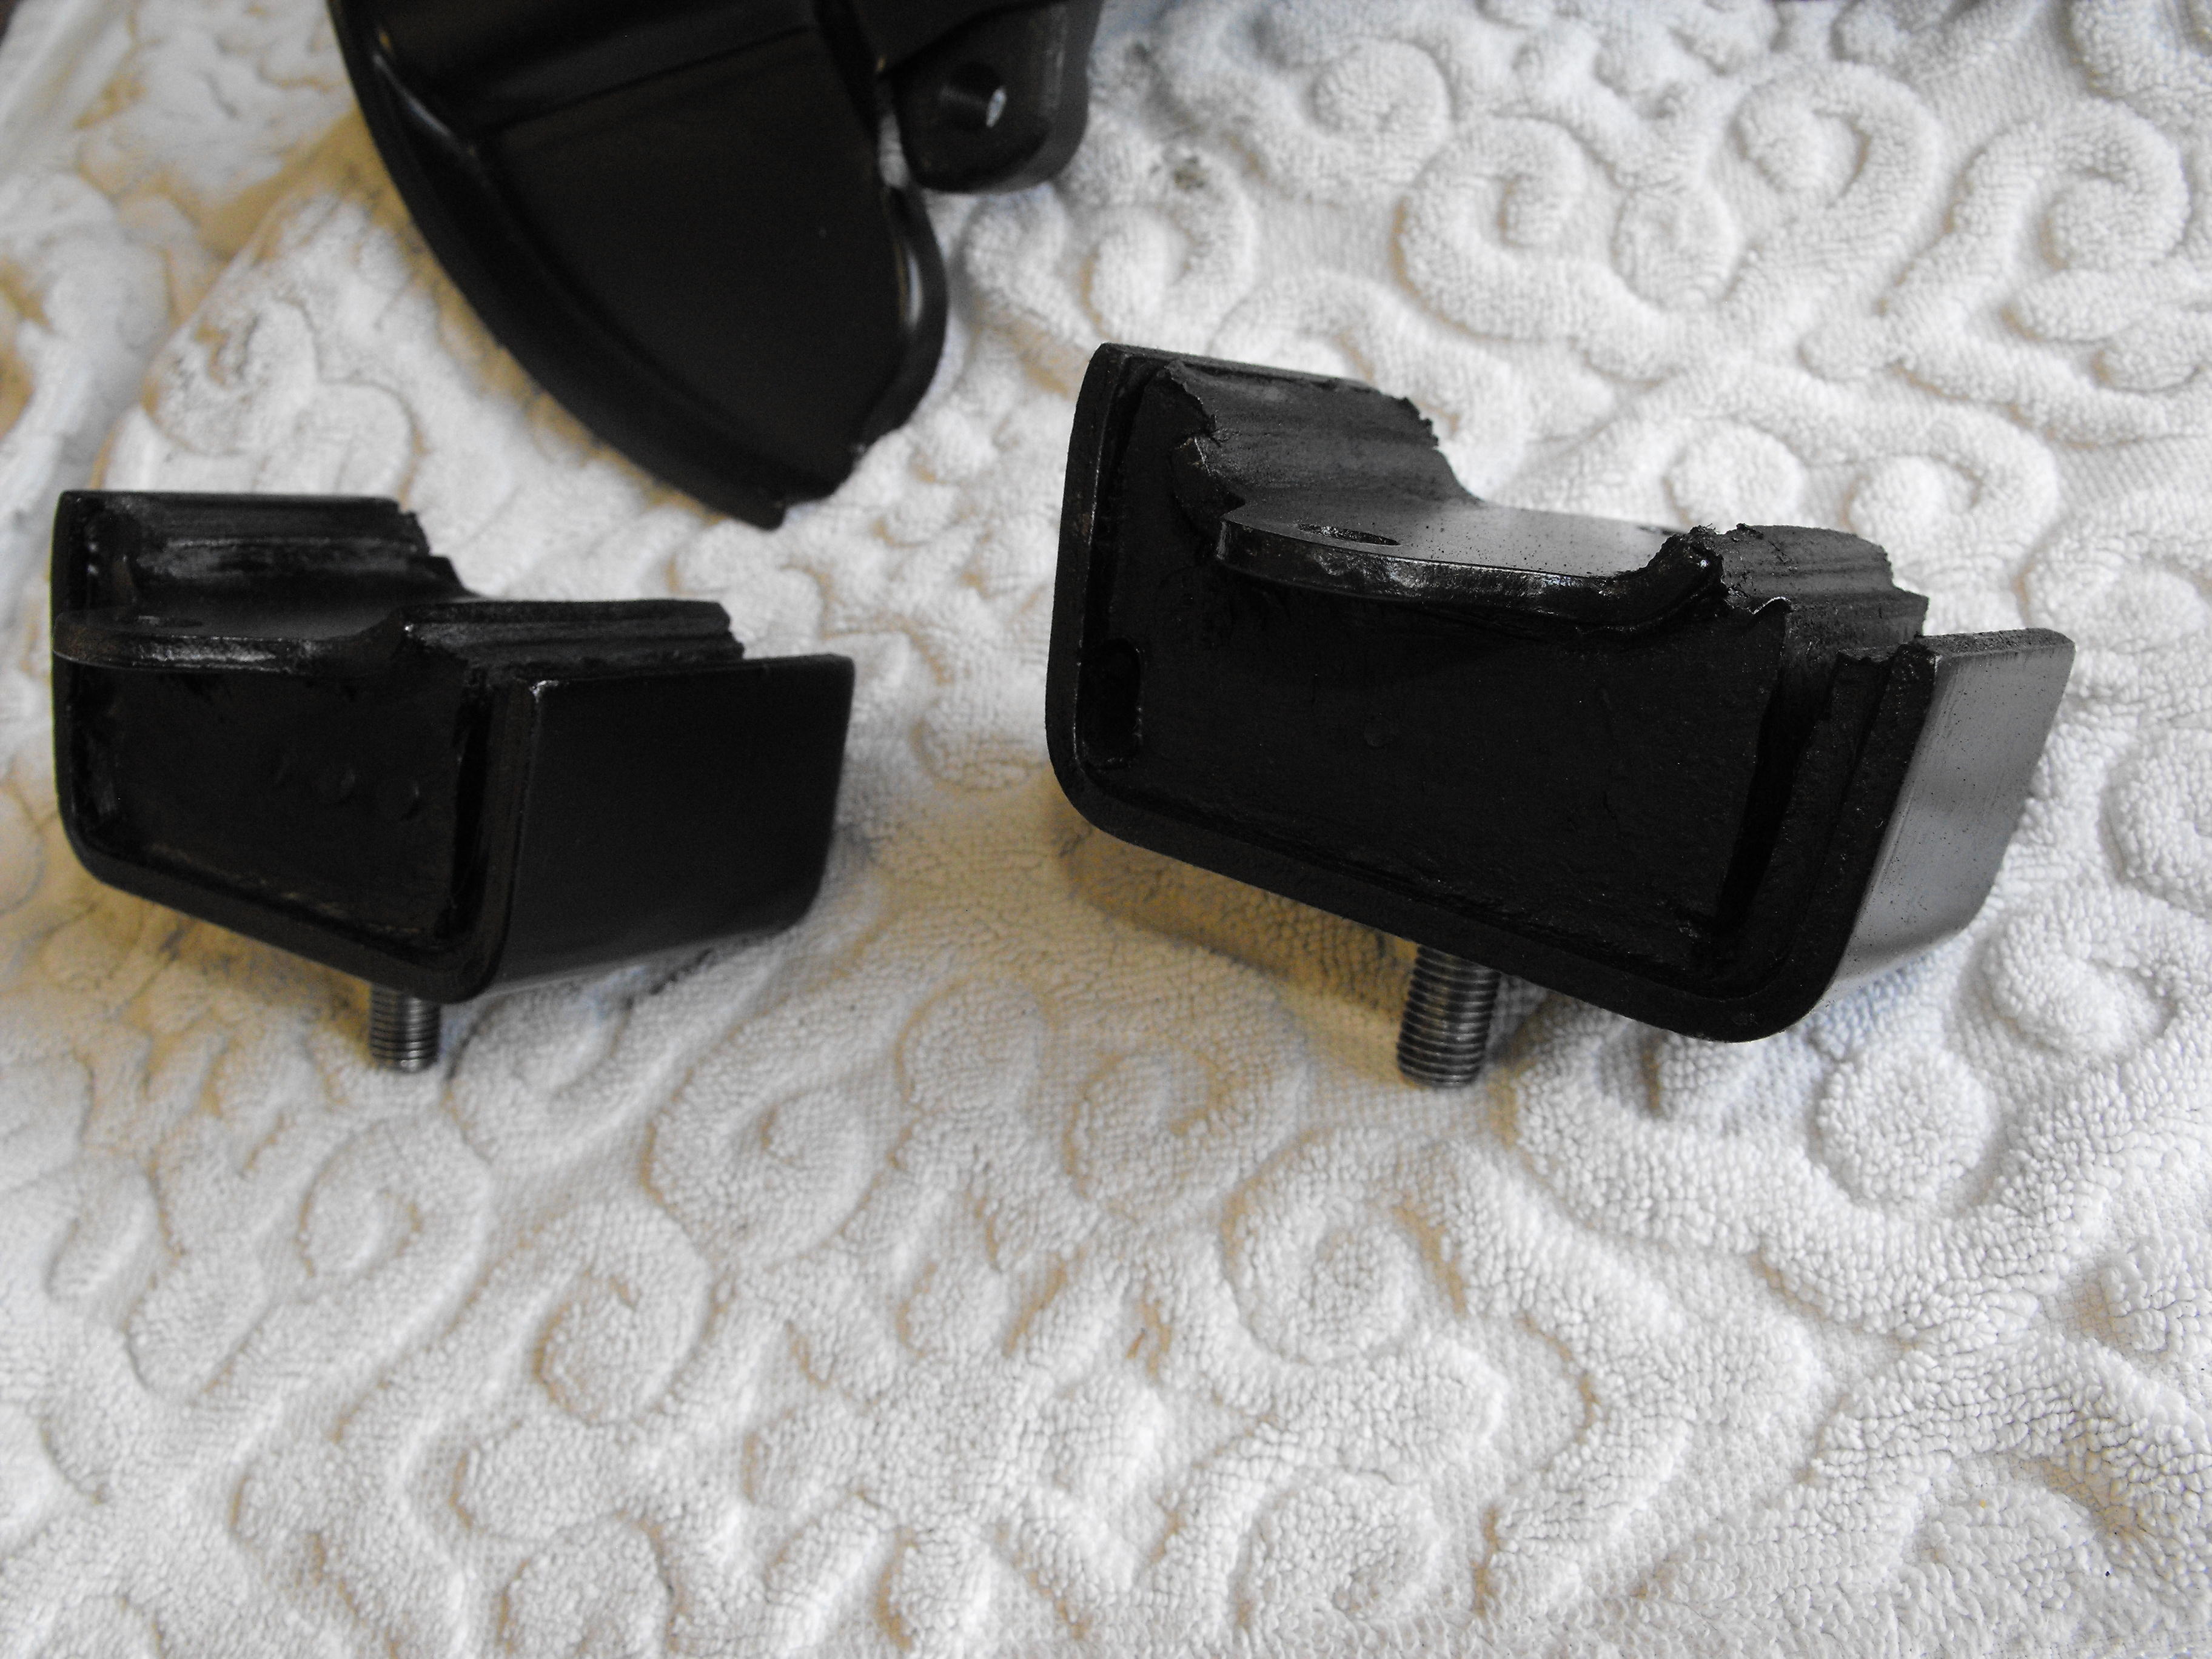
Now that I am back from ZCON (had a great time) , it's time to get started on the Blue car again. I cleaned and painted the motor mounts (rubber is in great shape) and some of the brake parts. I hit the brake parts and motor mount threads with some gloss clear so they stay that color. Also got the left rear strut cleaned up and painted and, attached a couple of the brackets. Nice to get moving on this again. I also dropped the bumpers off at the Chrome shop, Pacific Plating. They assured me that they would be able to fix the rear bumper which was nice to hear. Odd coincidence, they just relocated and are now just half a block from Miguel's paint shop. That's convenient! Here are a couple of pics of the cleaned up parts.


-
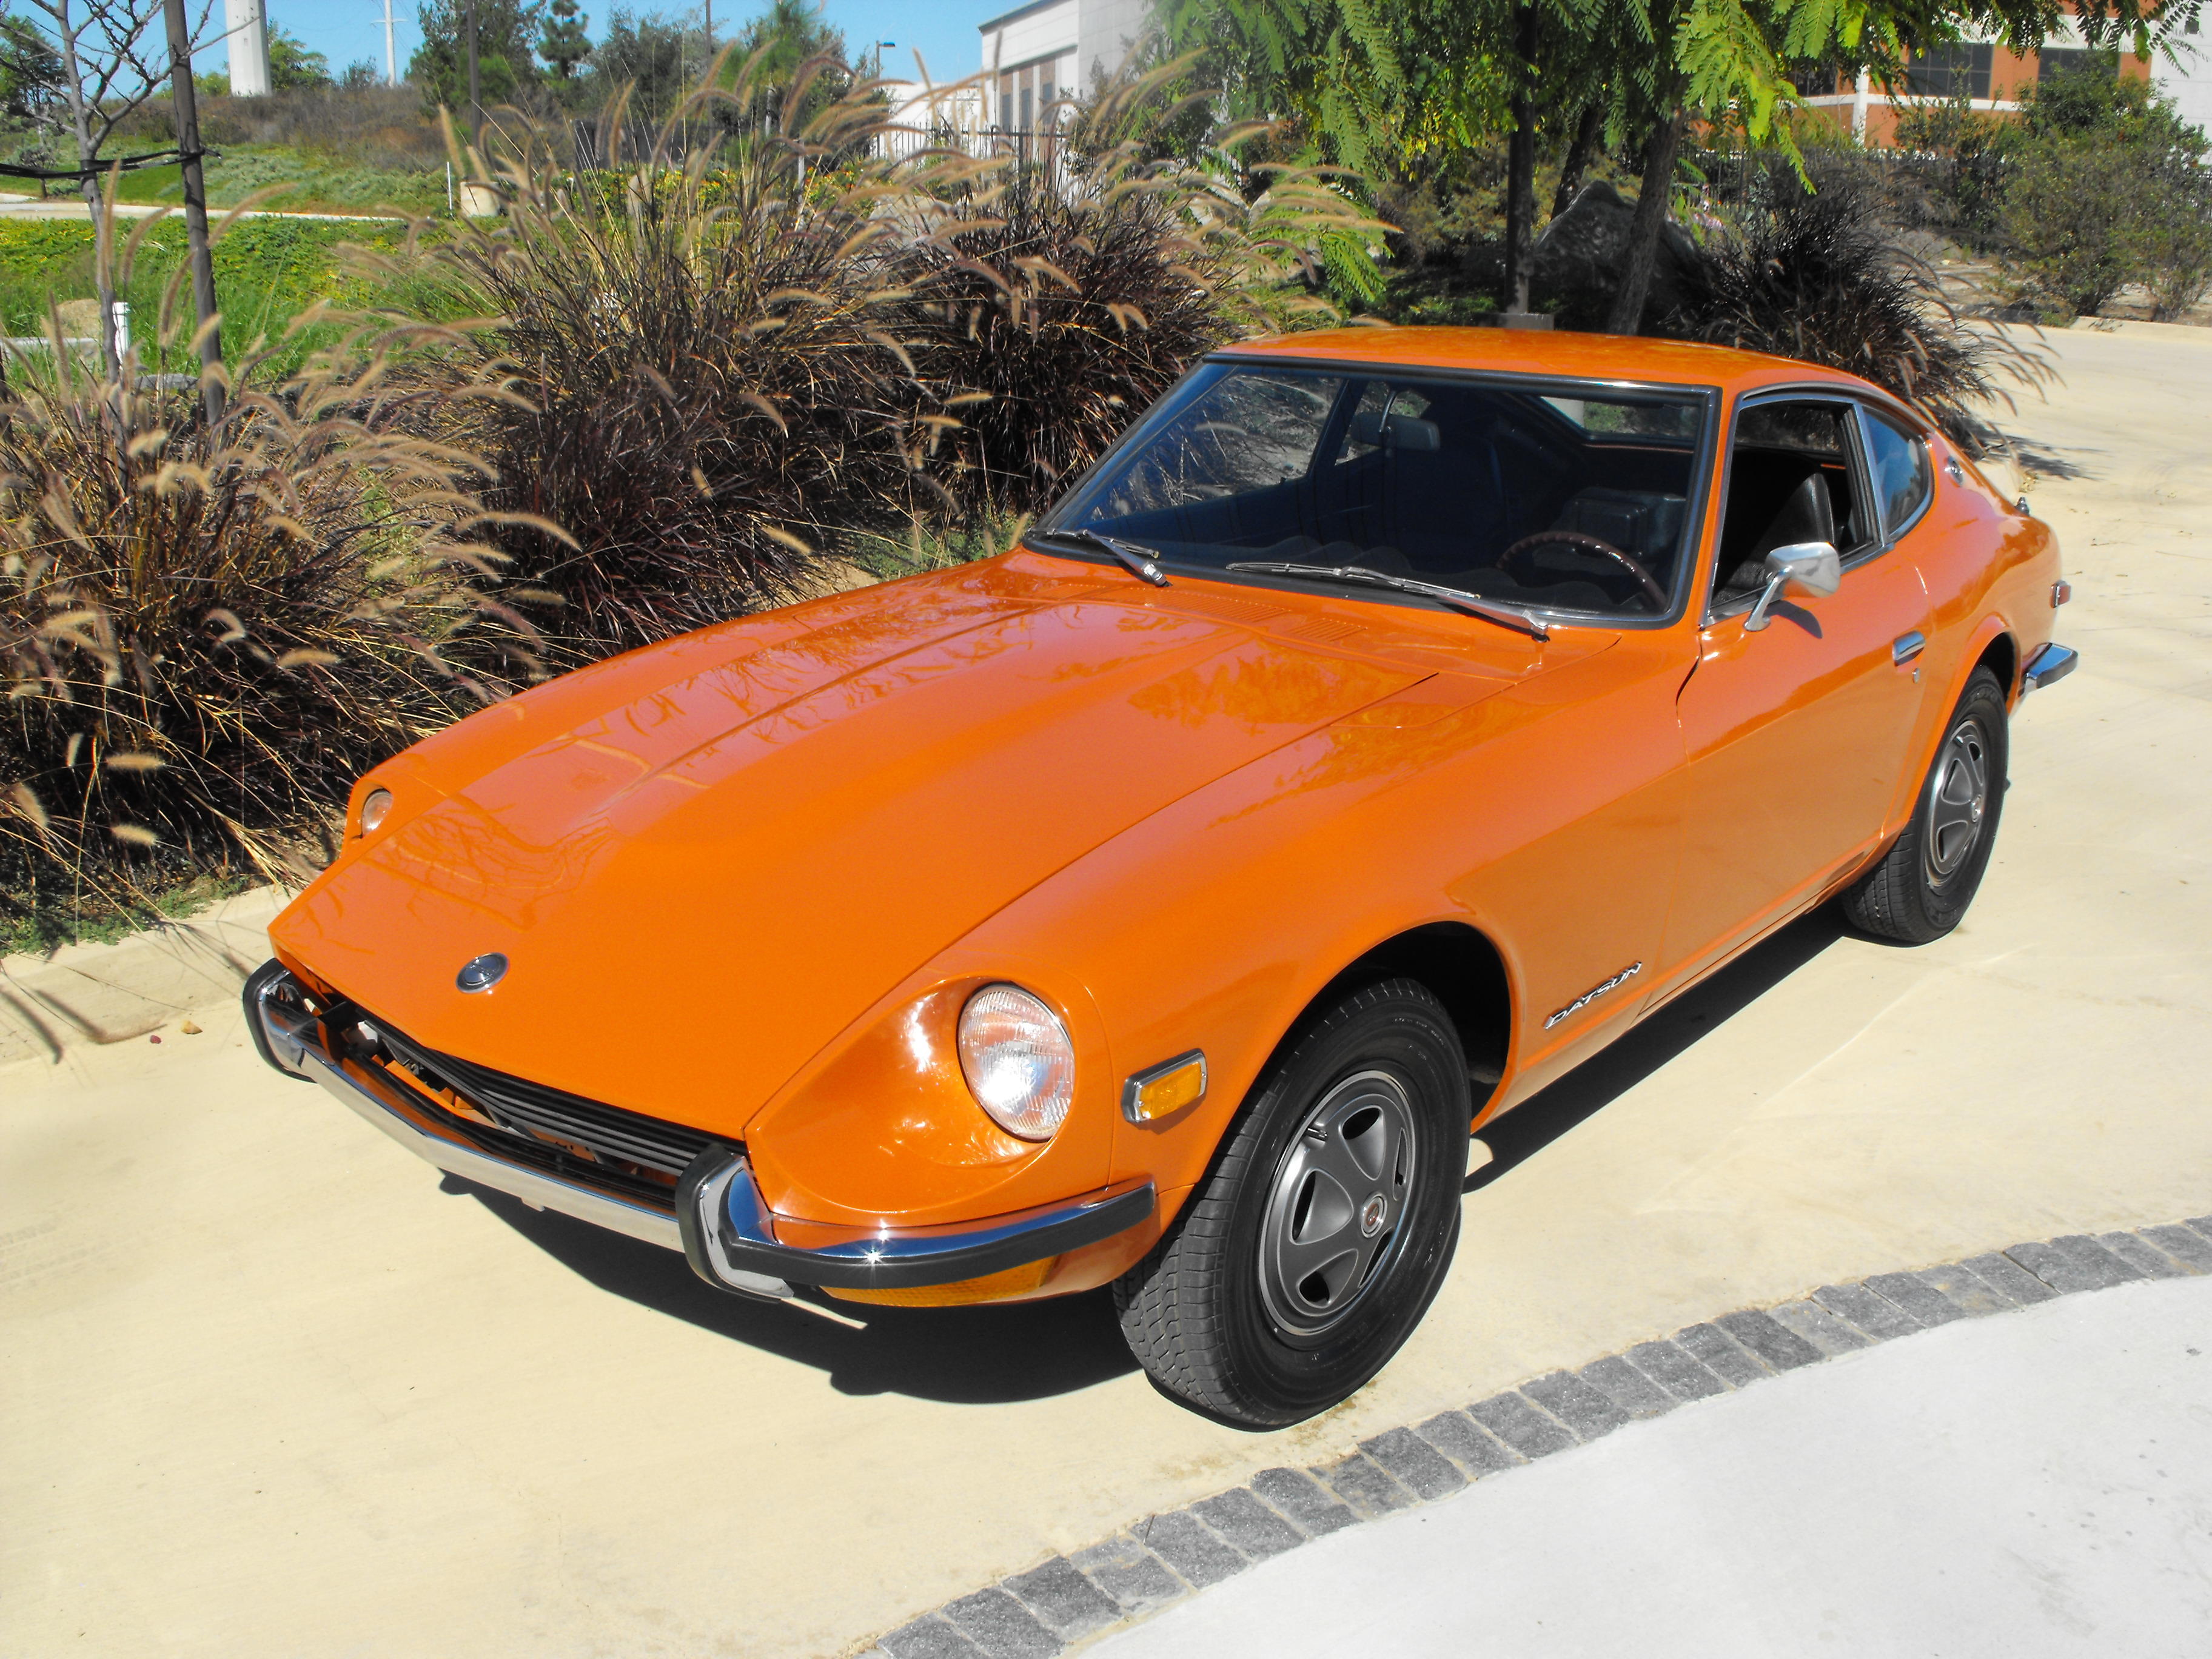
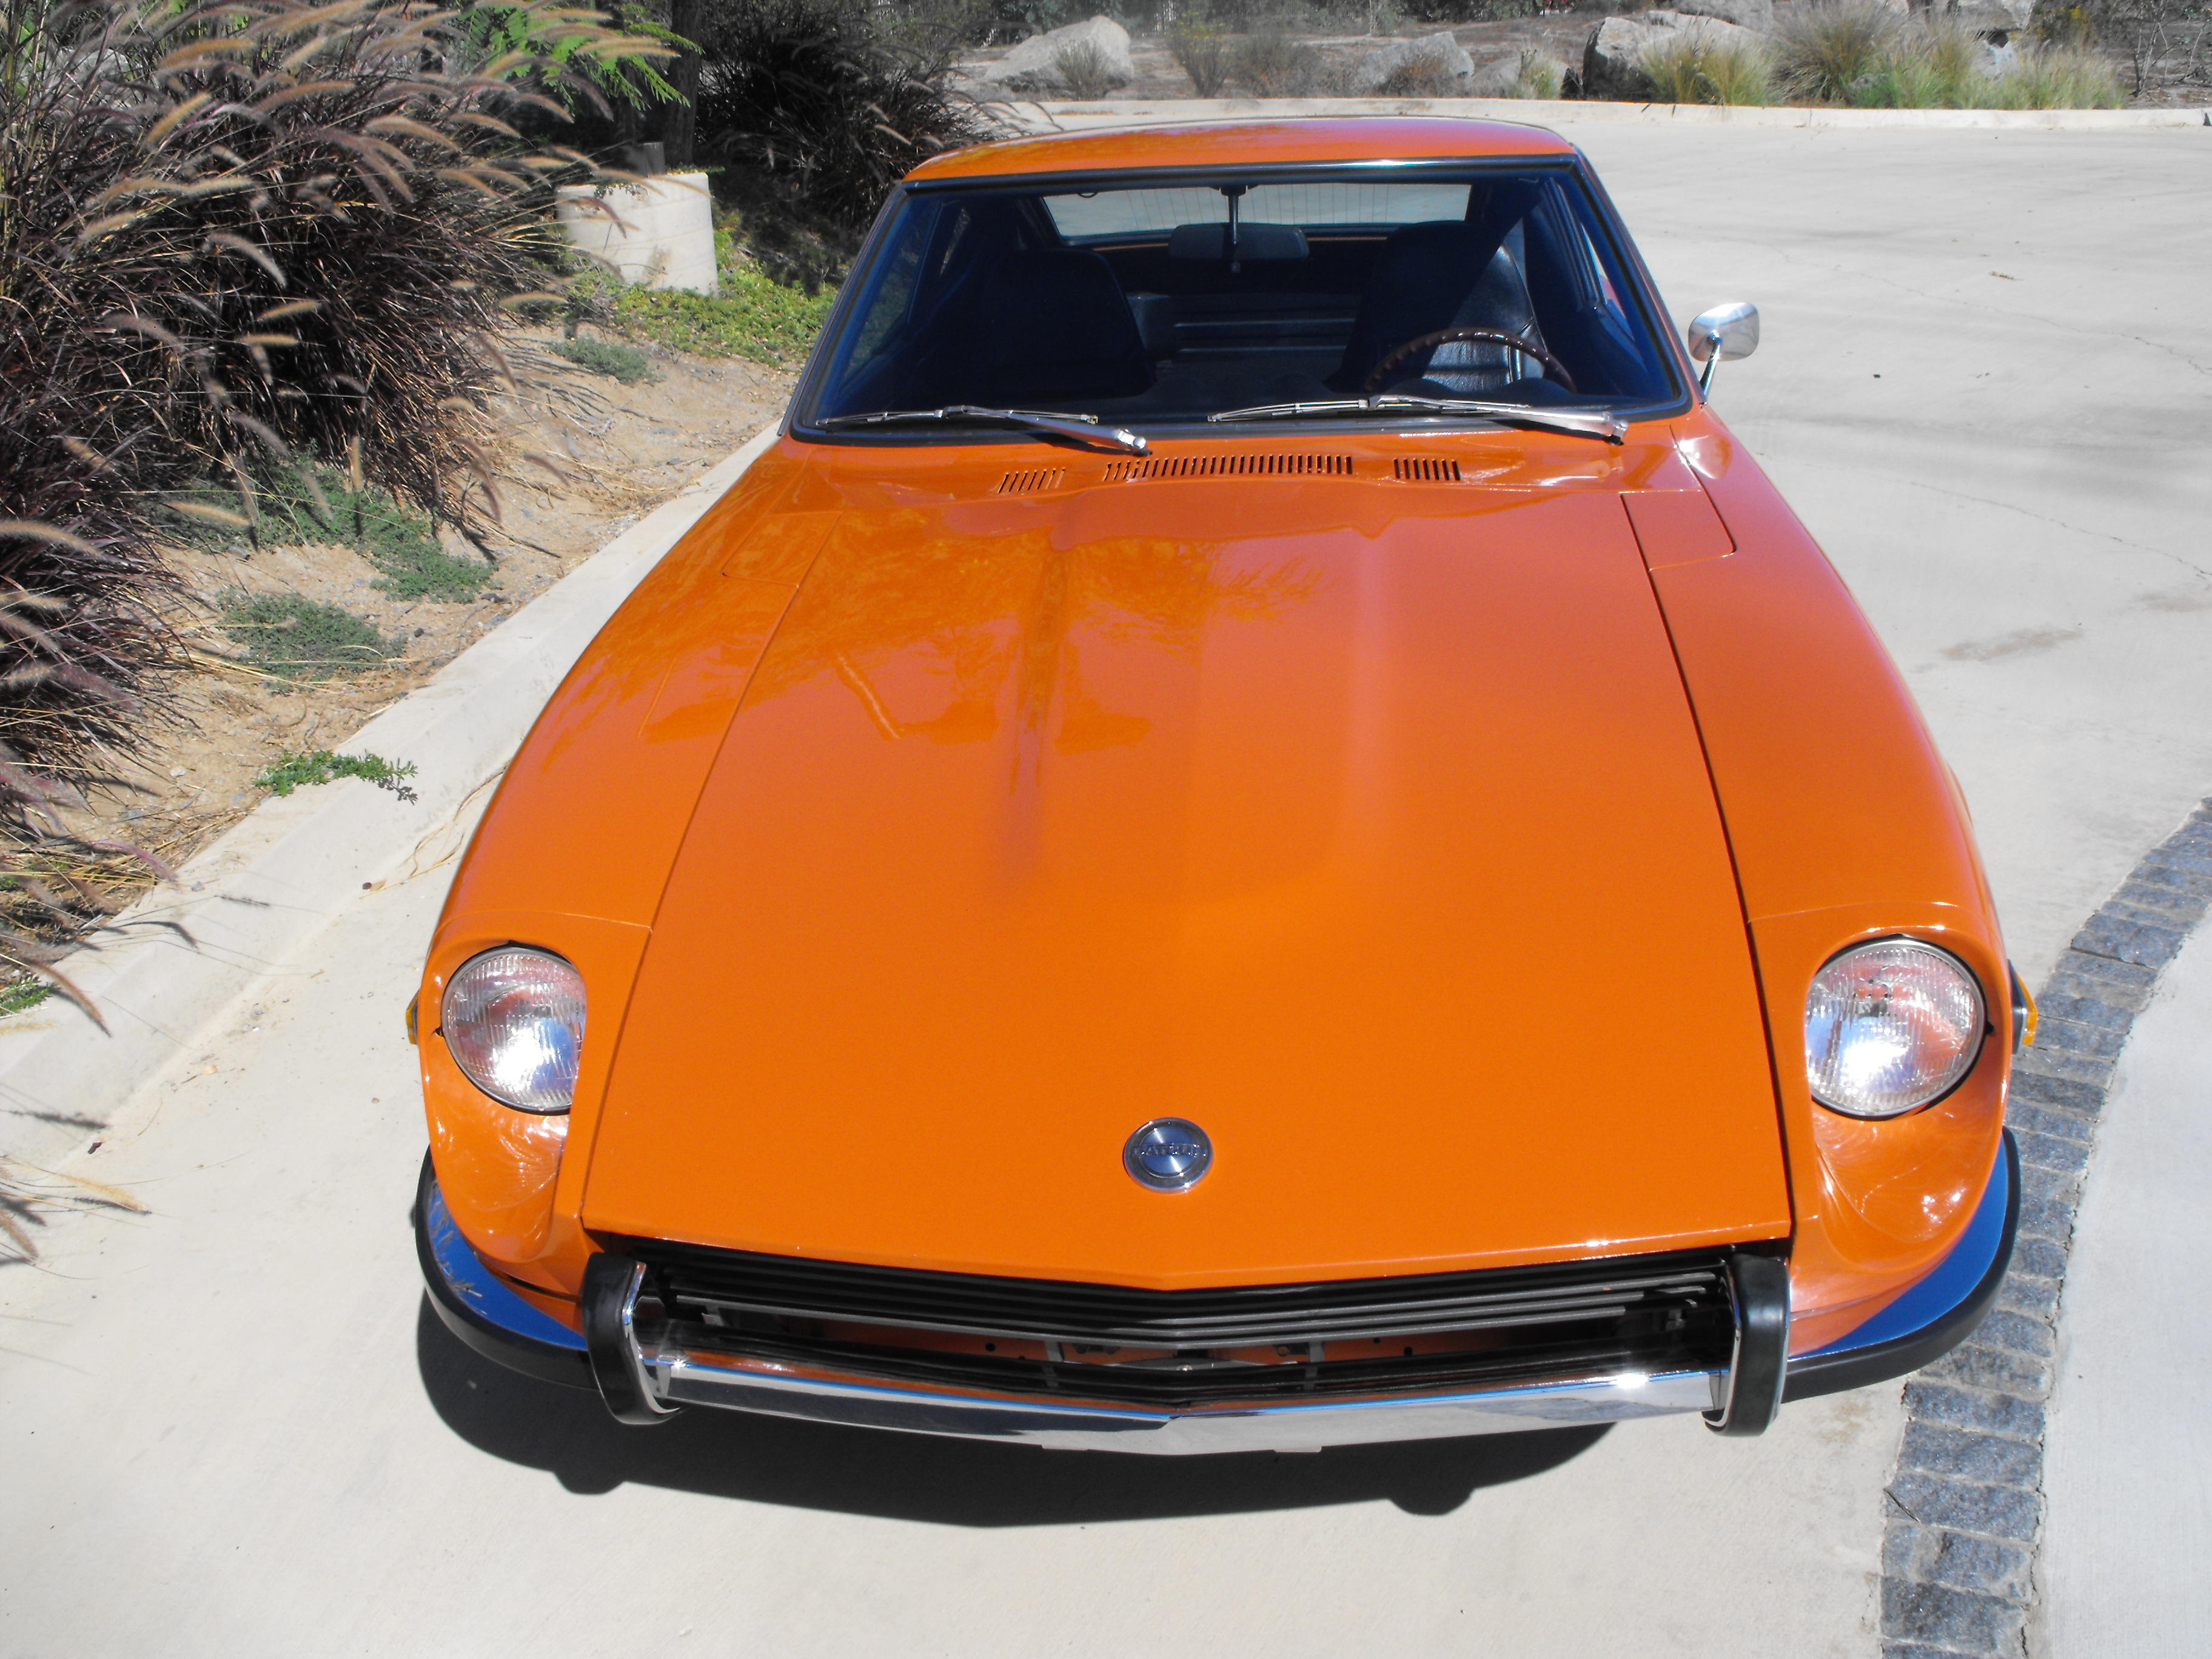
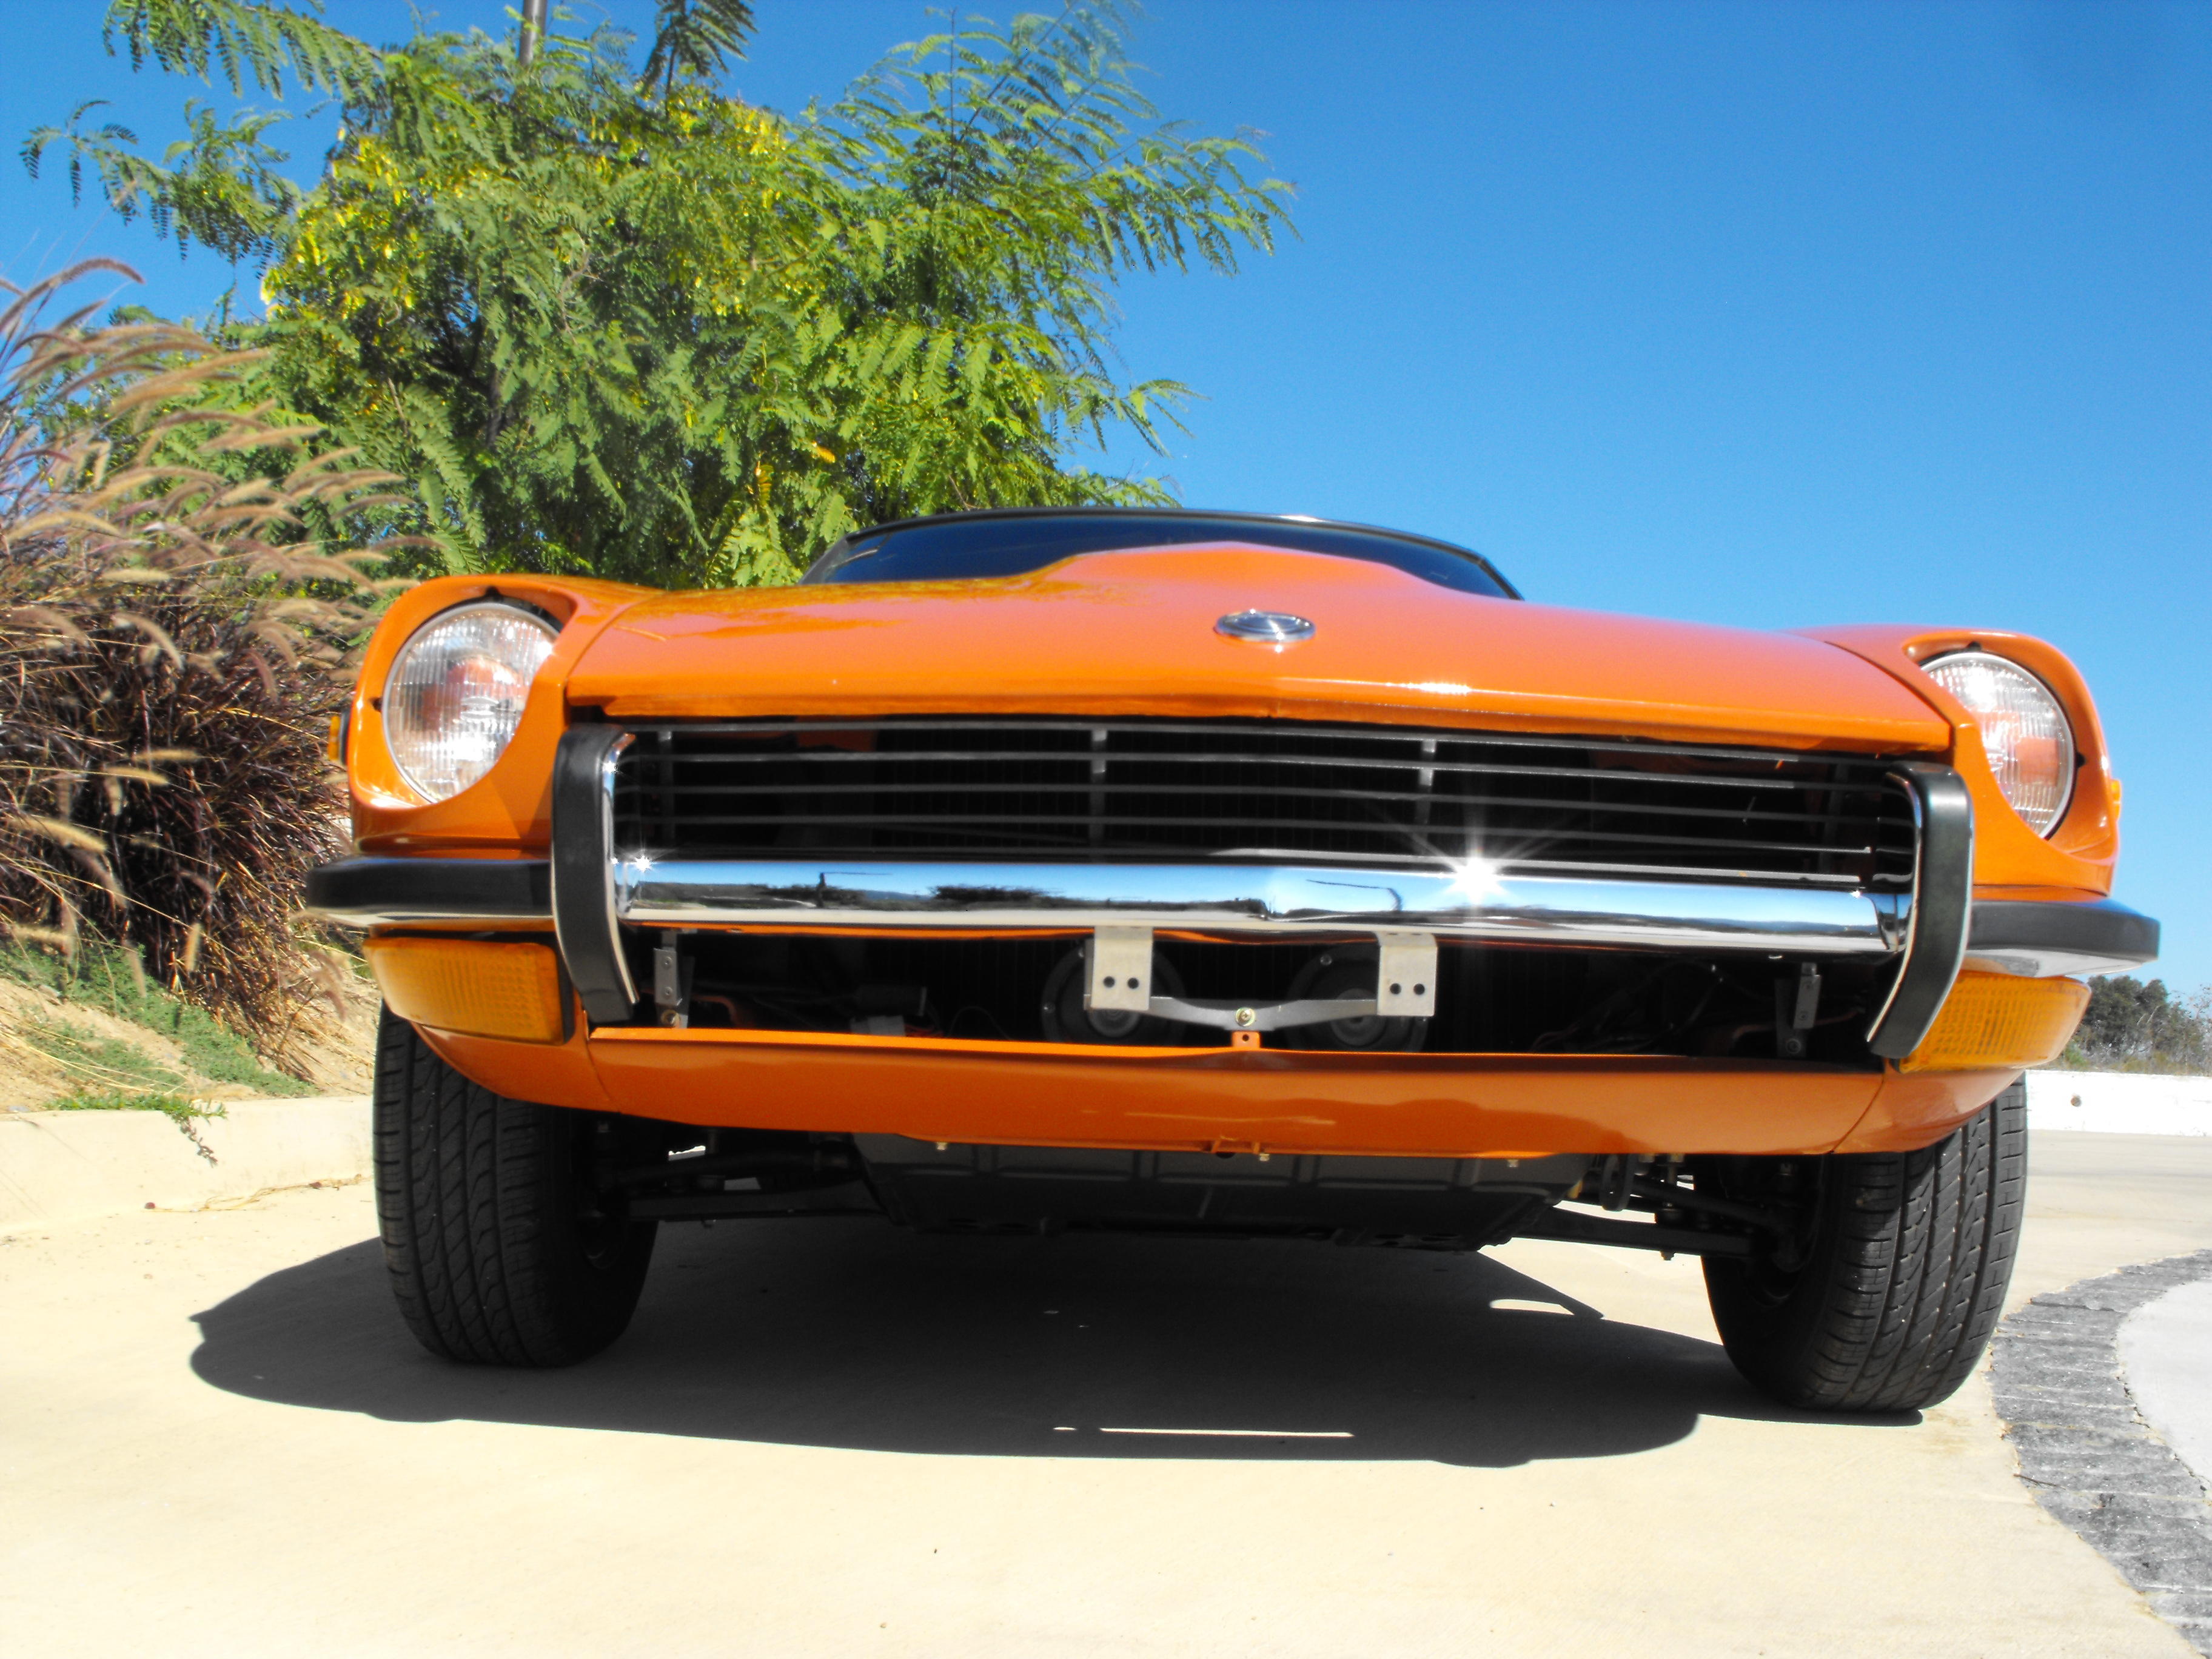
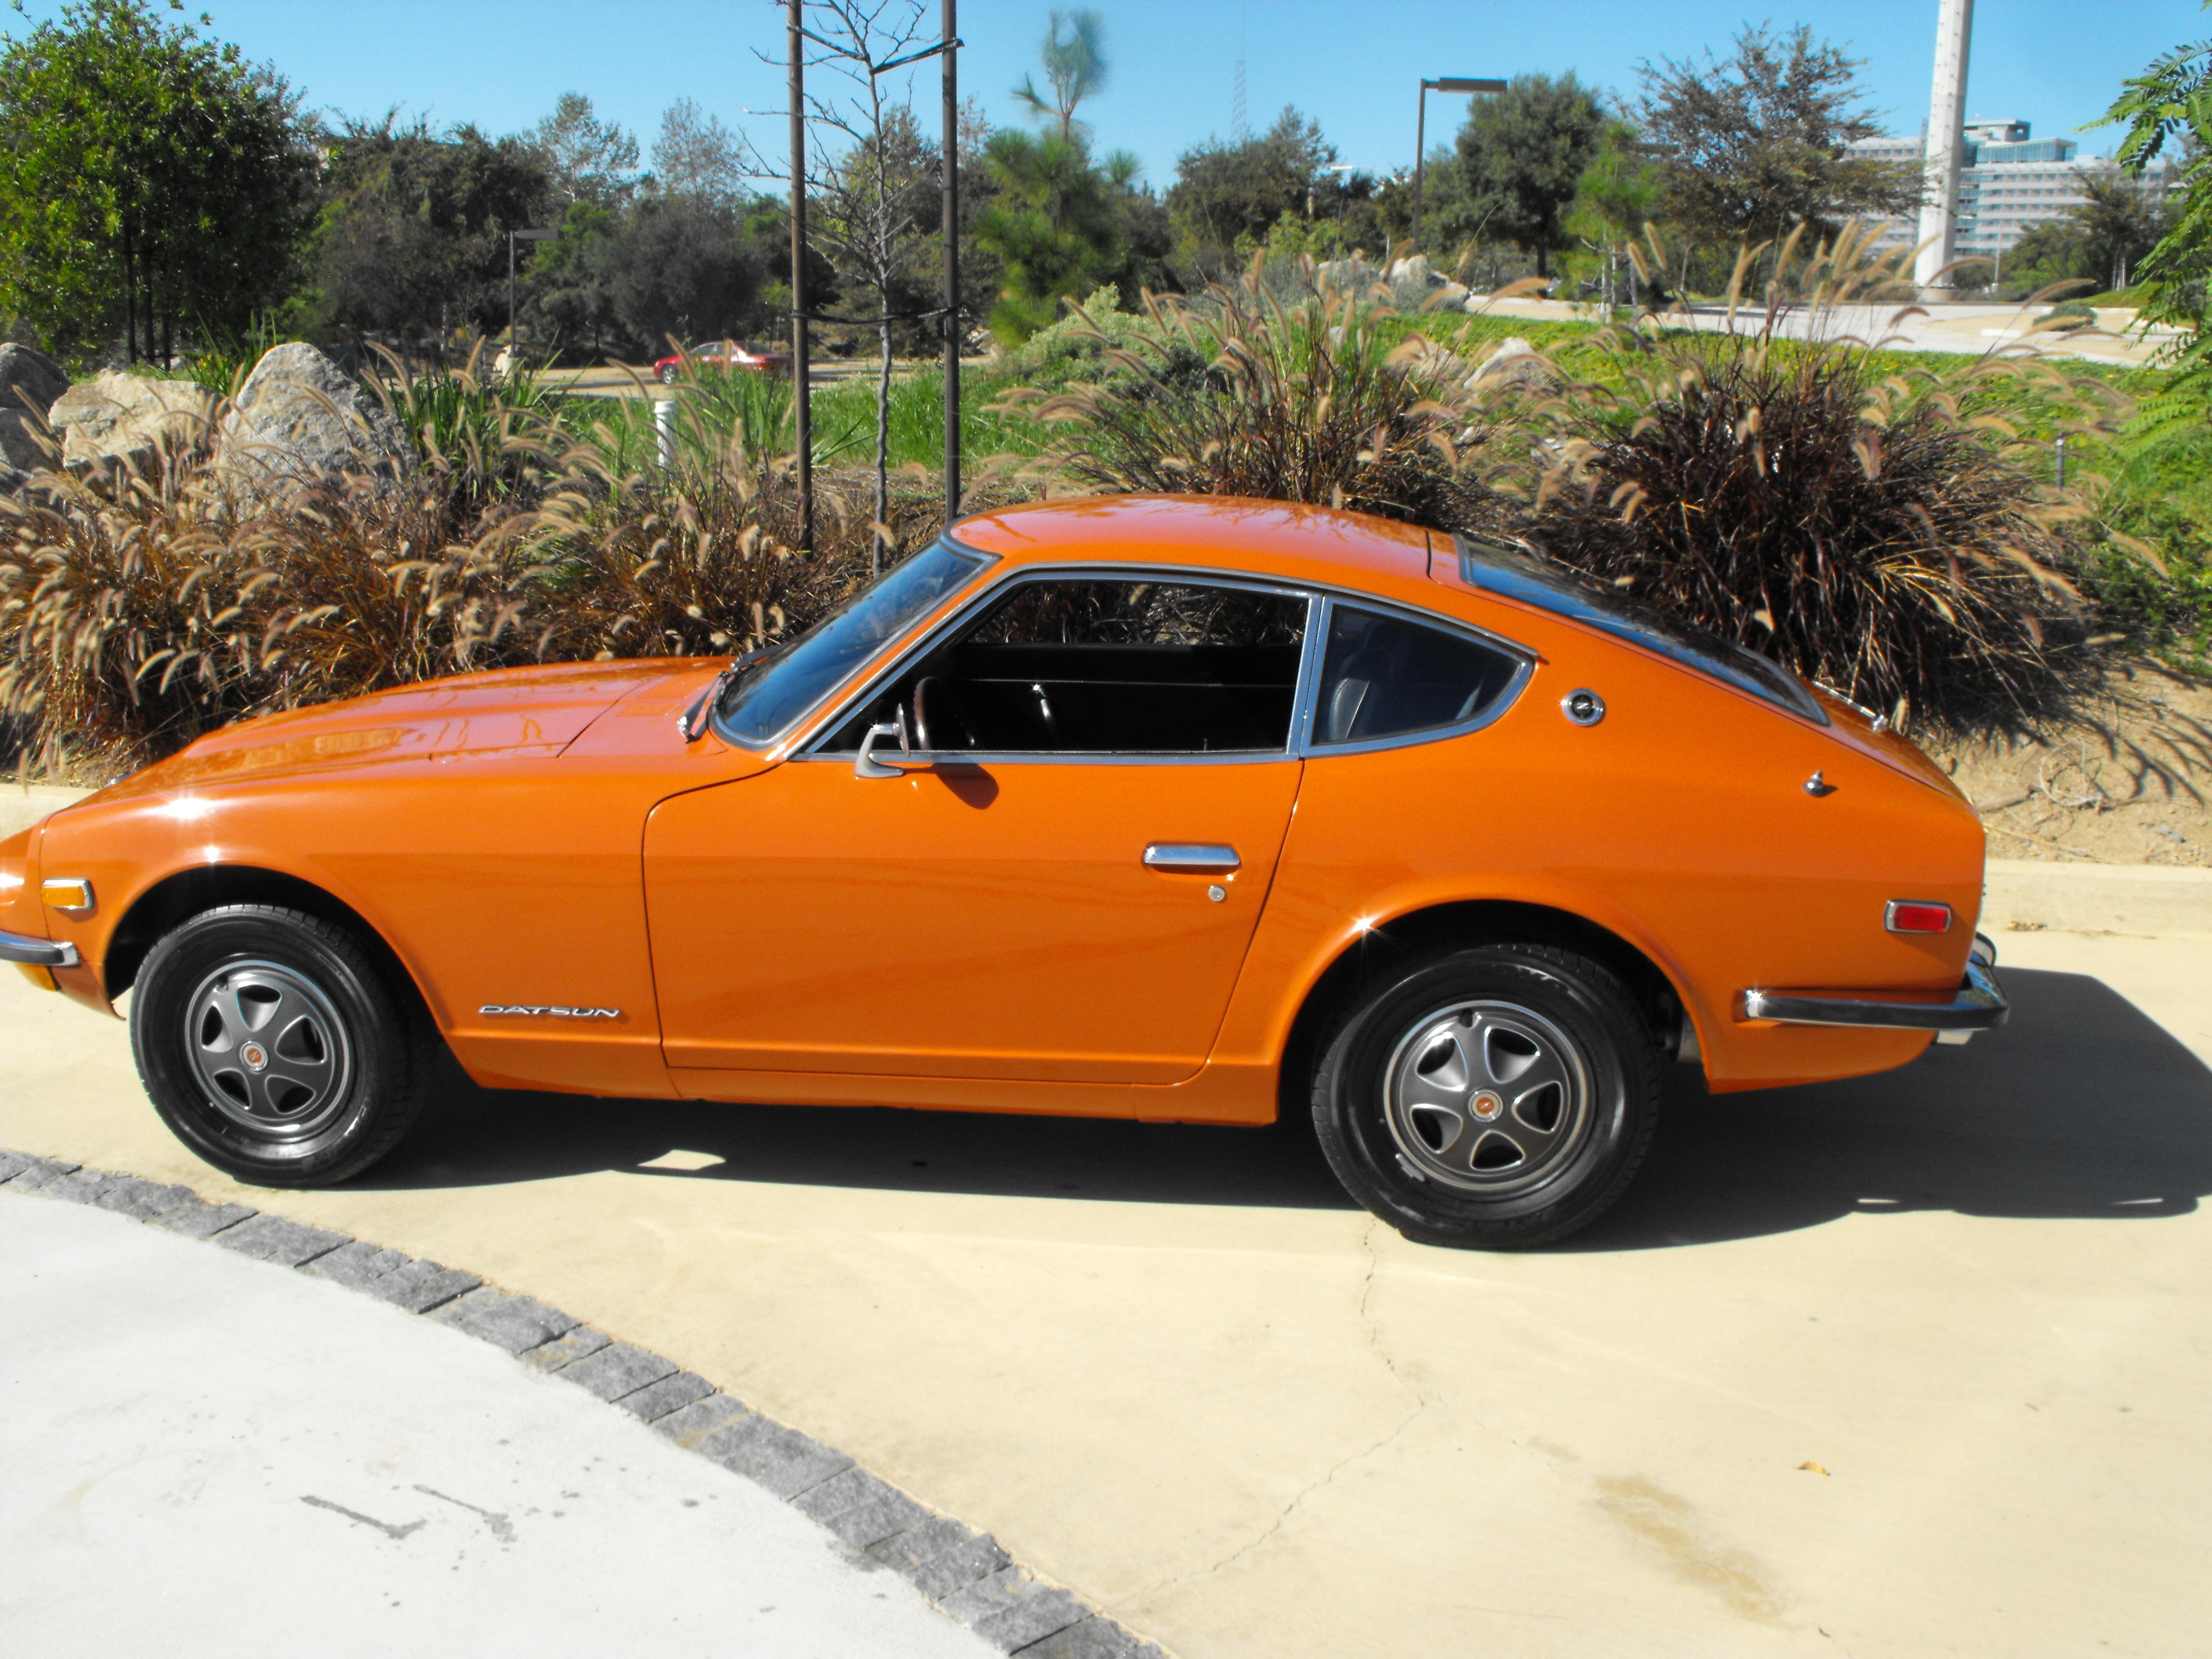
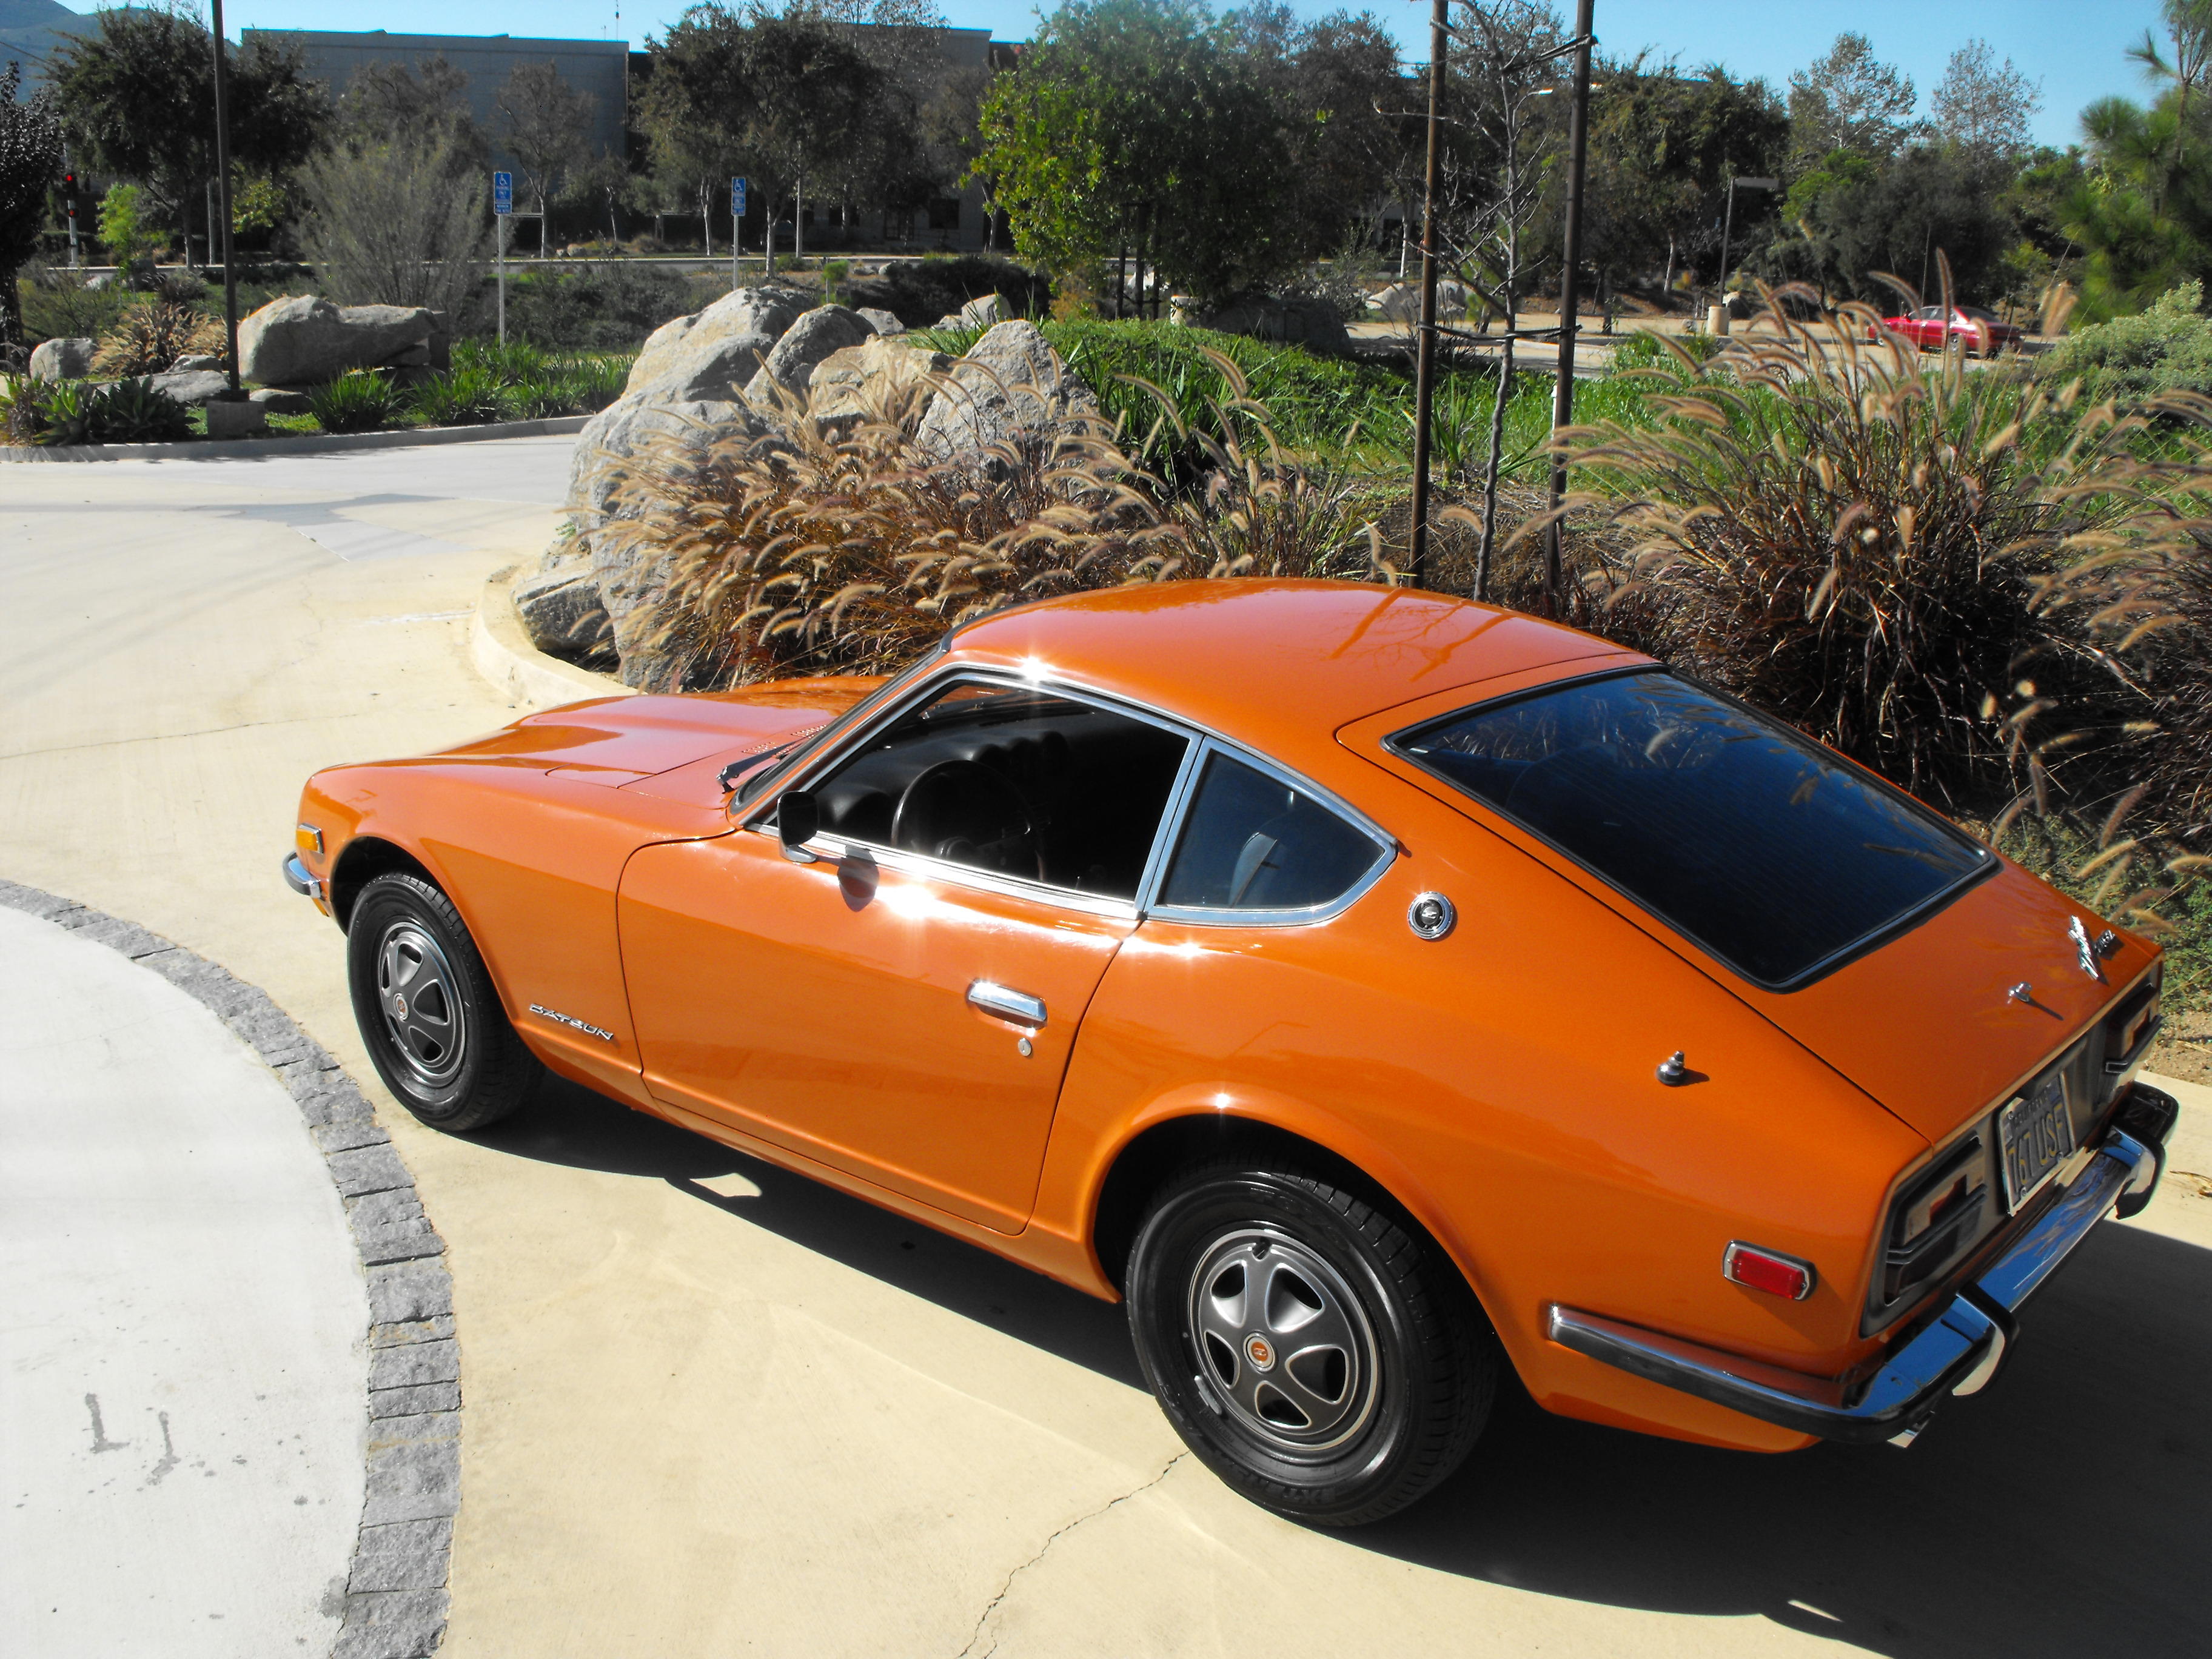
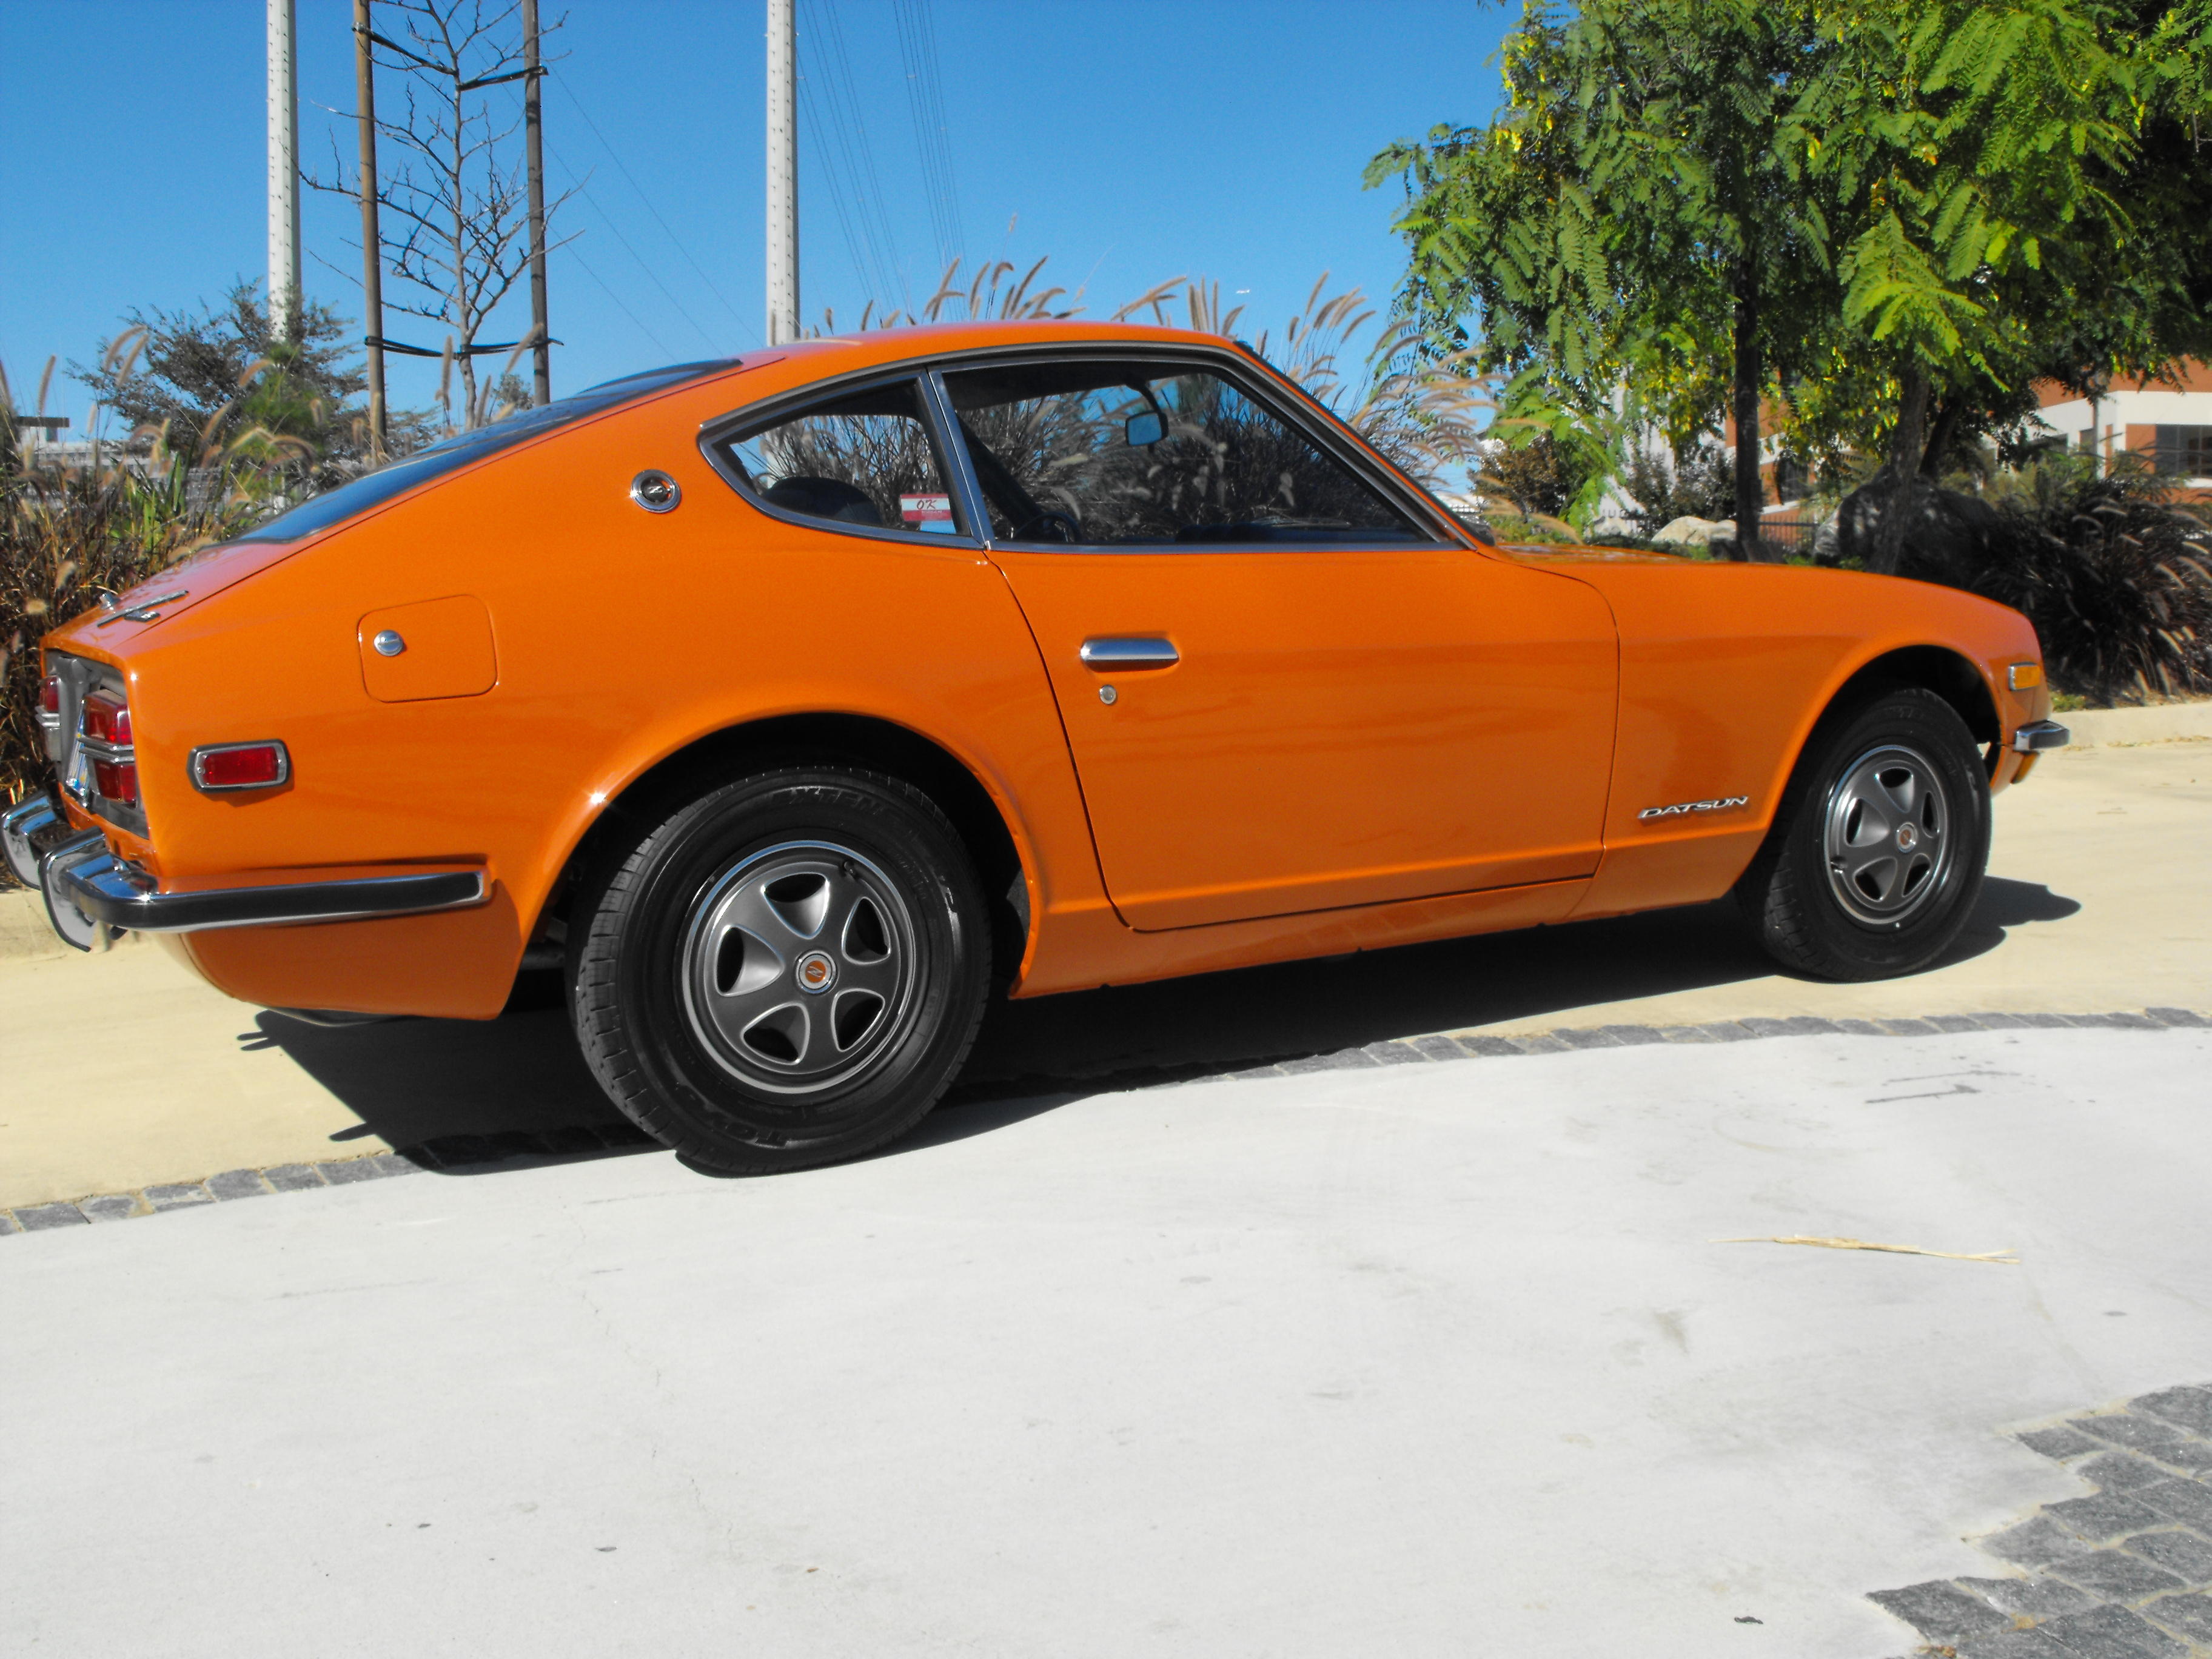
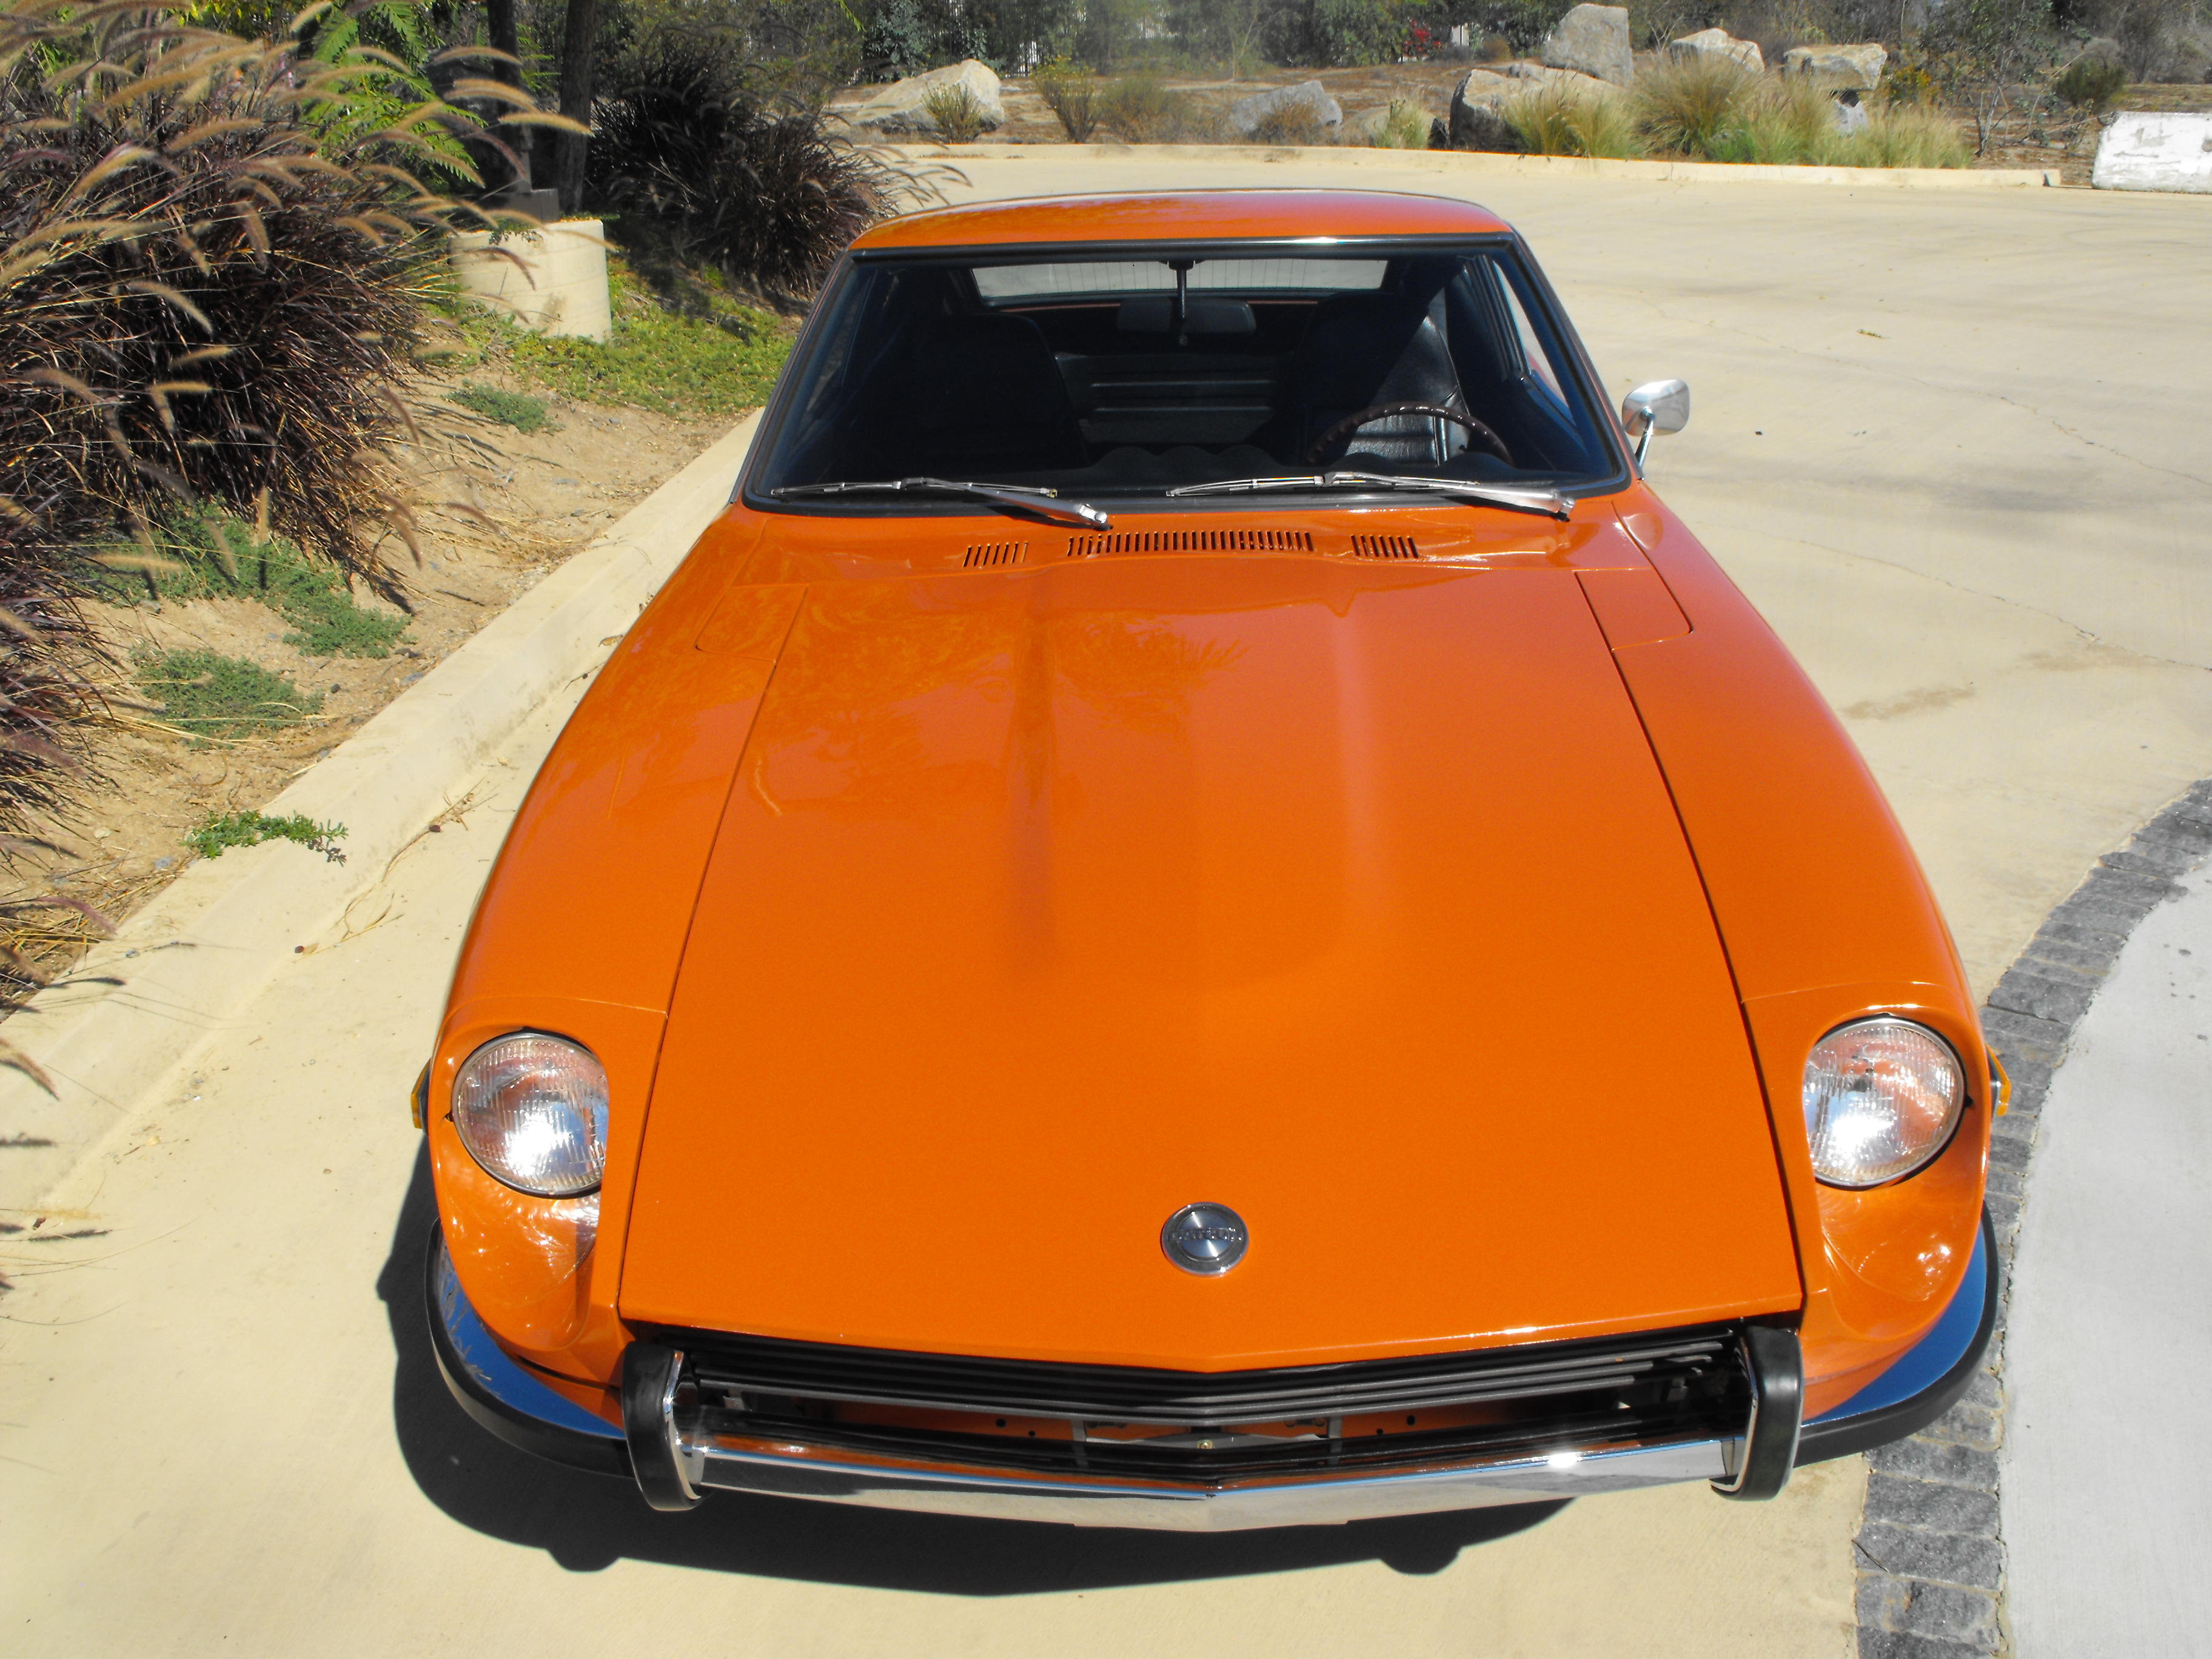
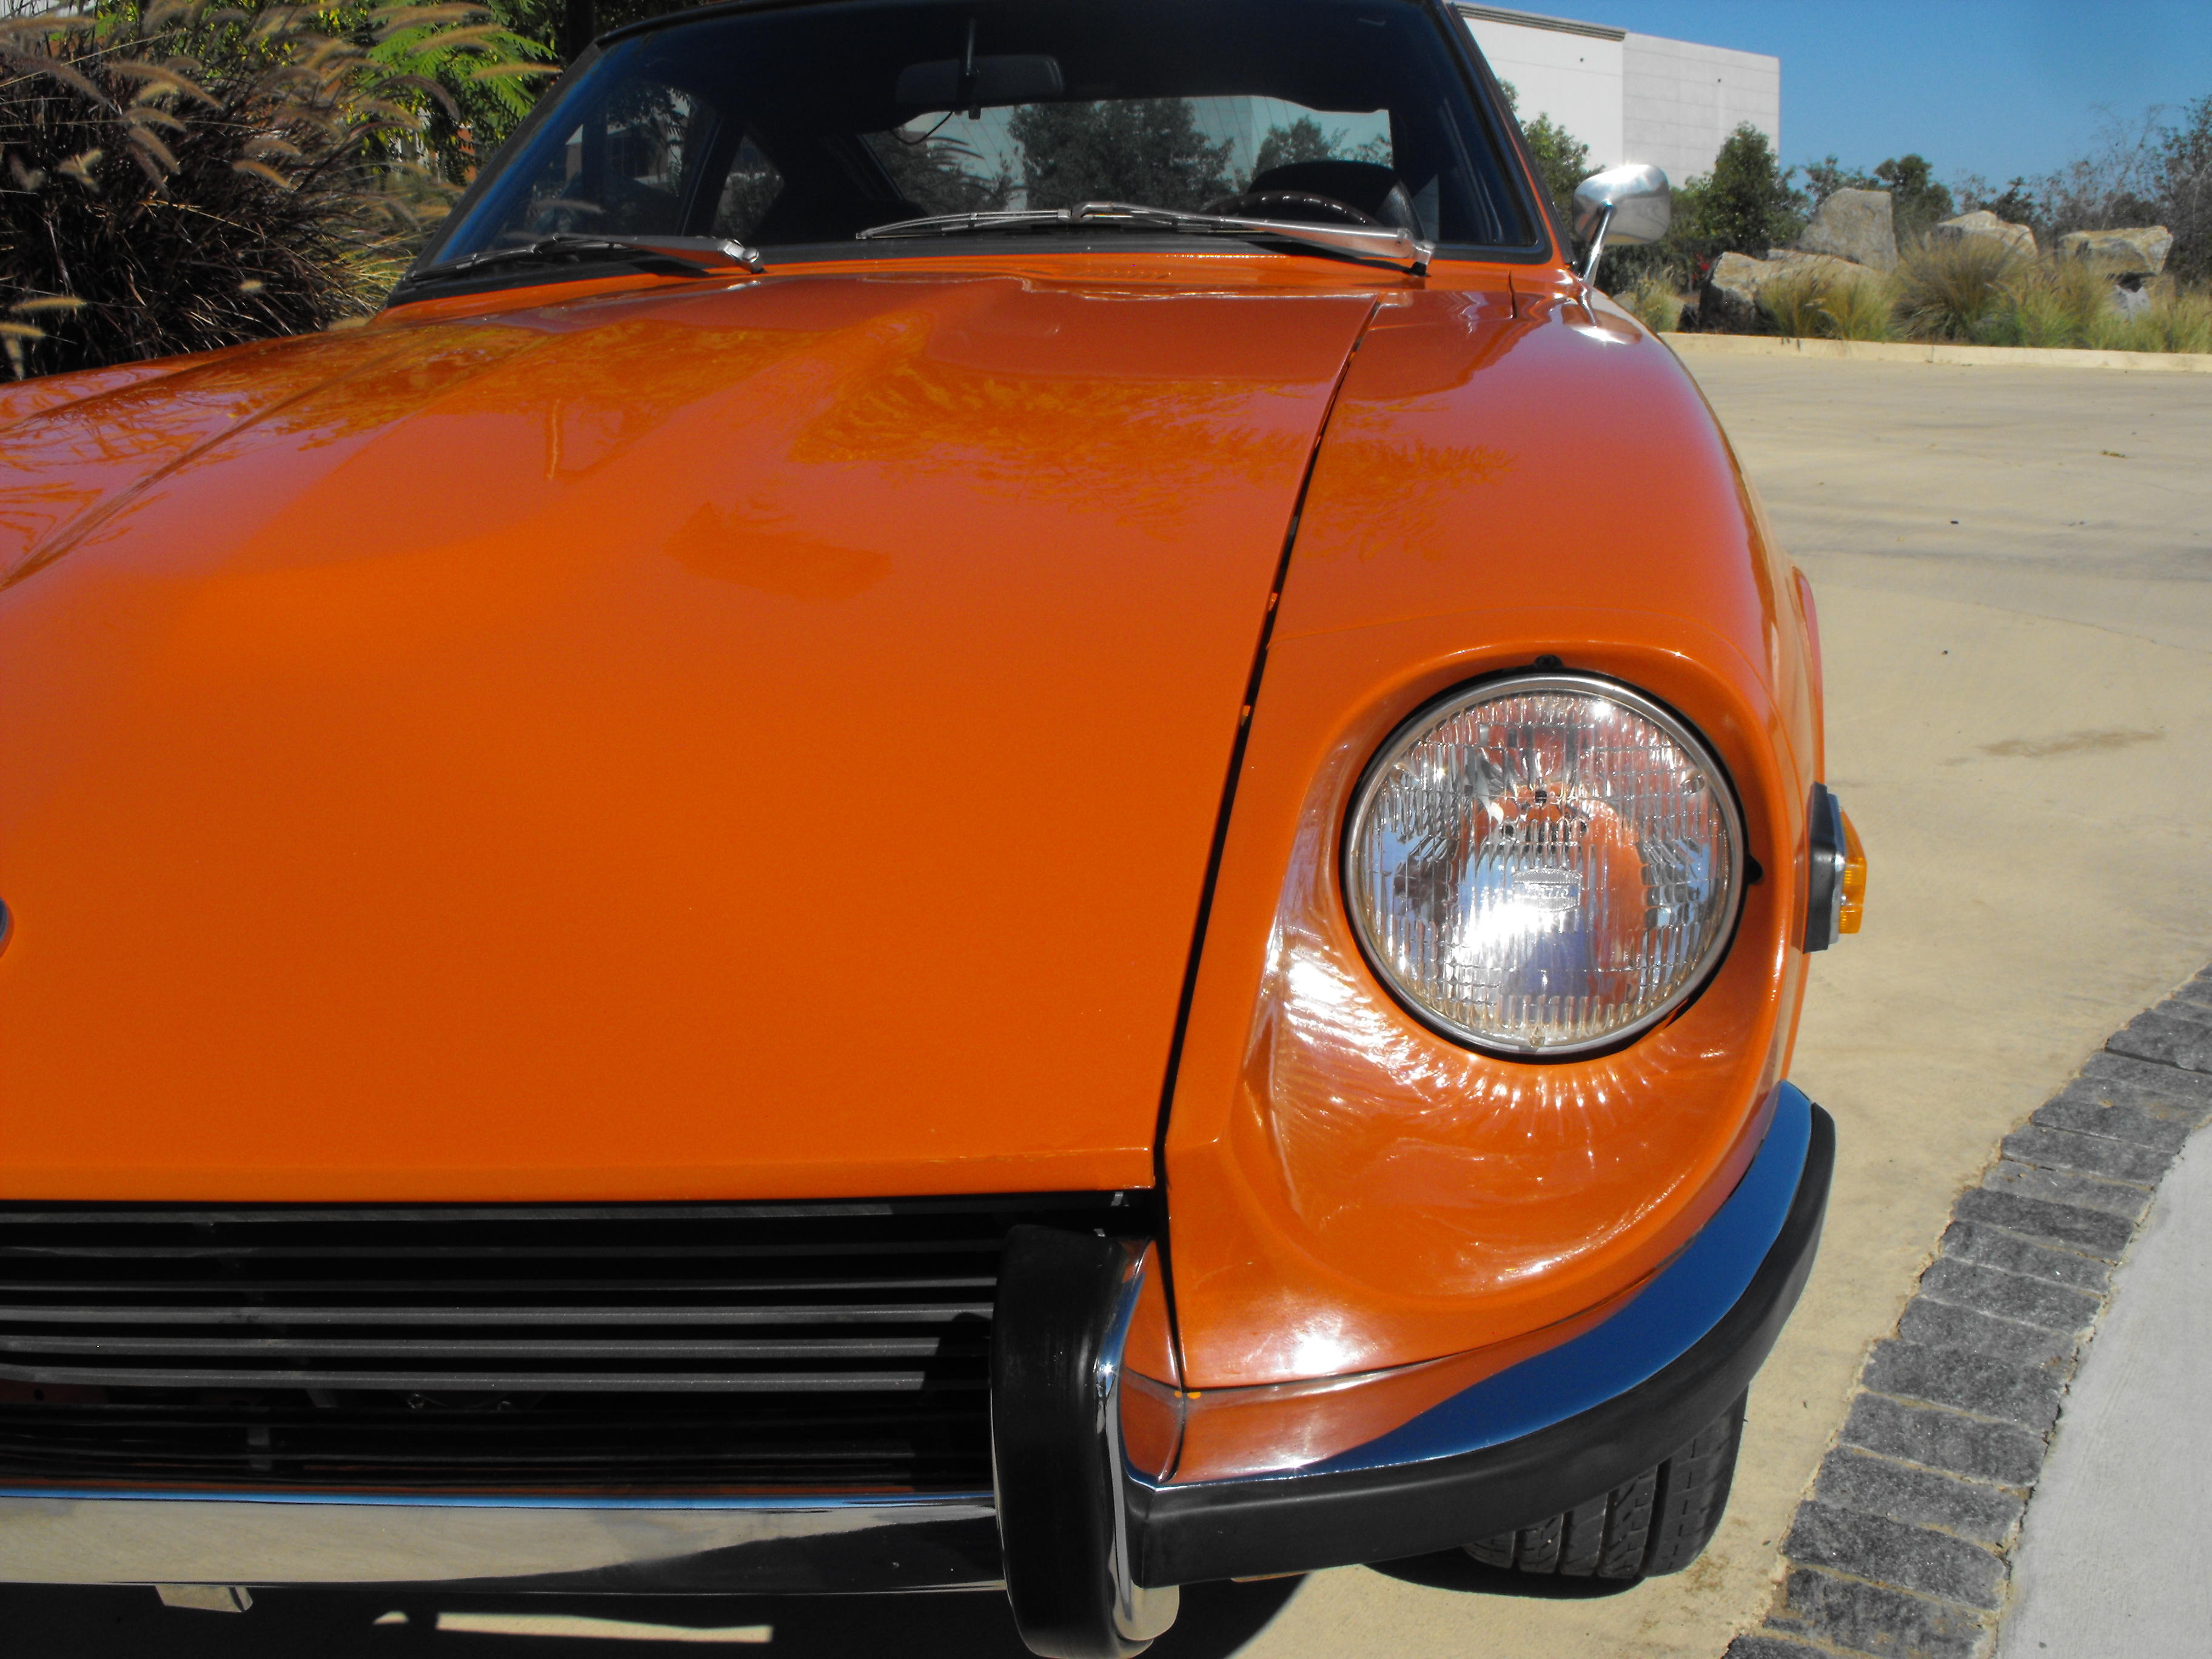
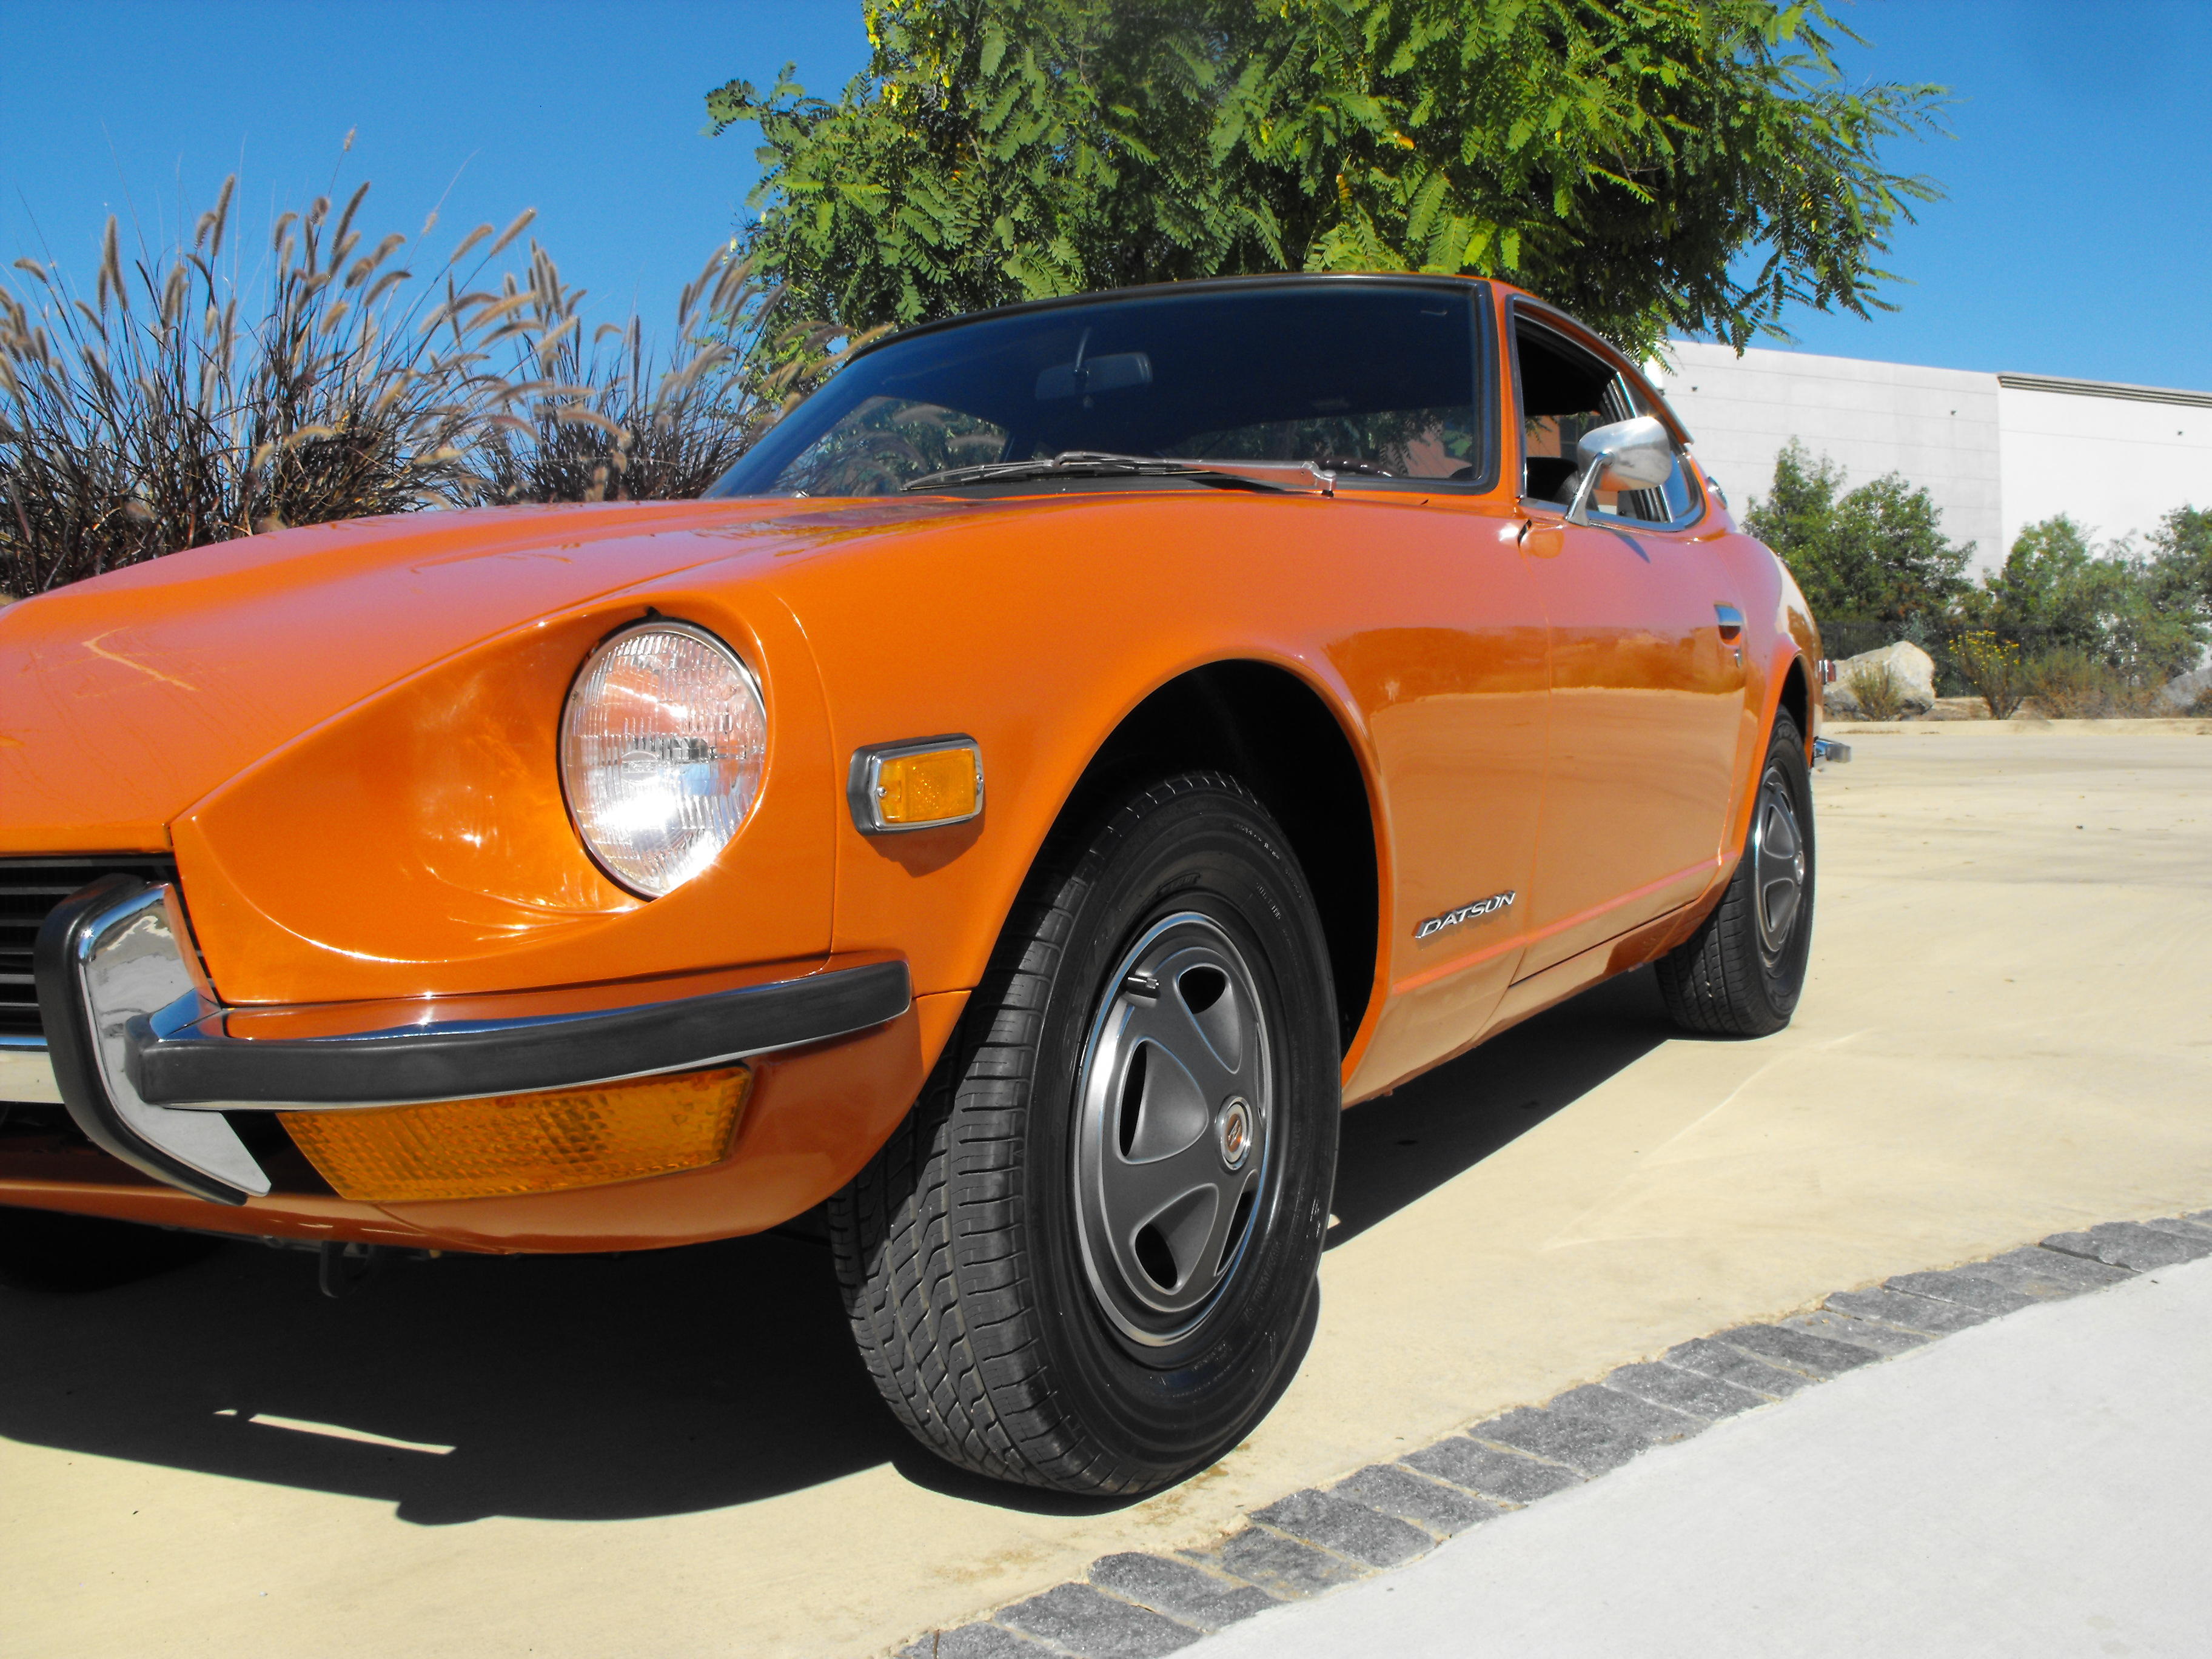
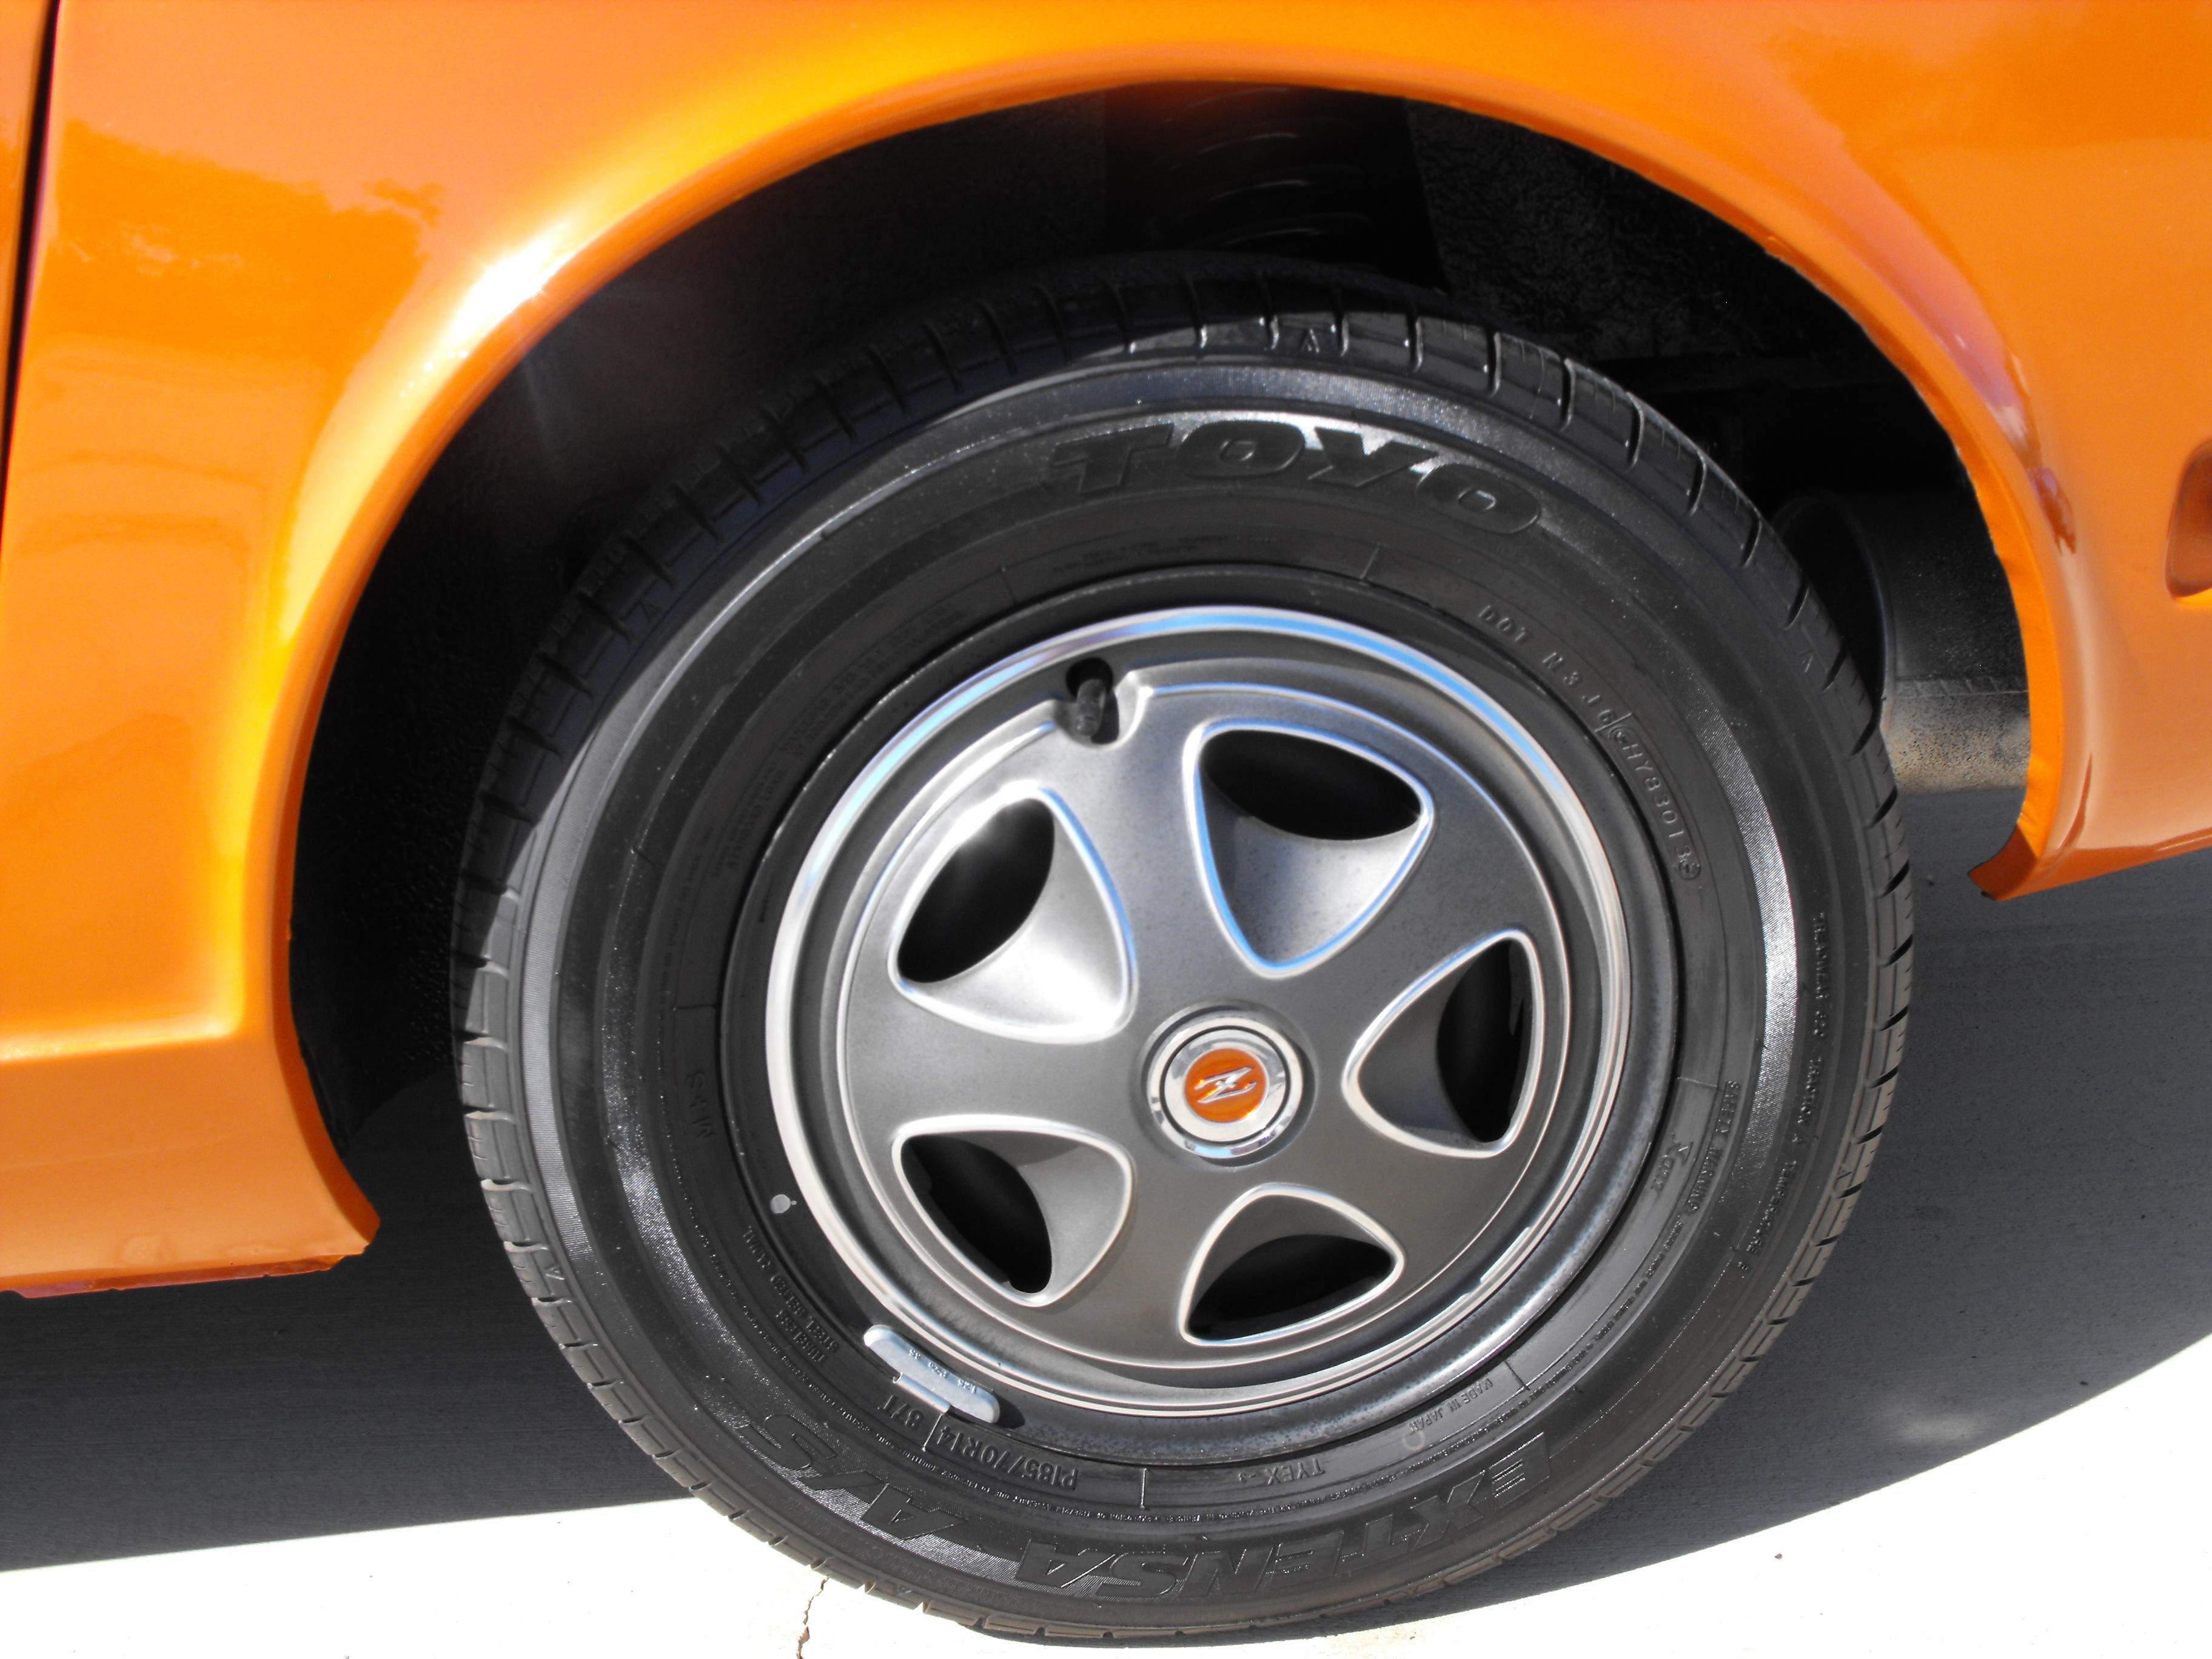
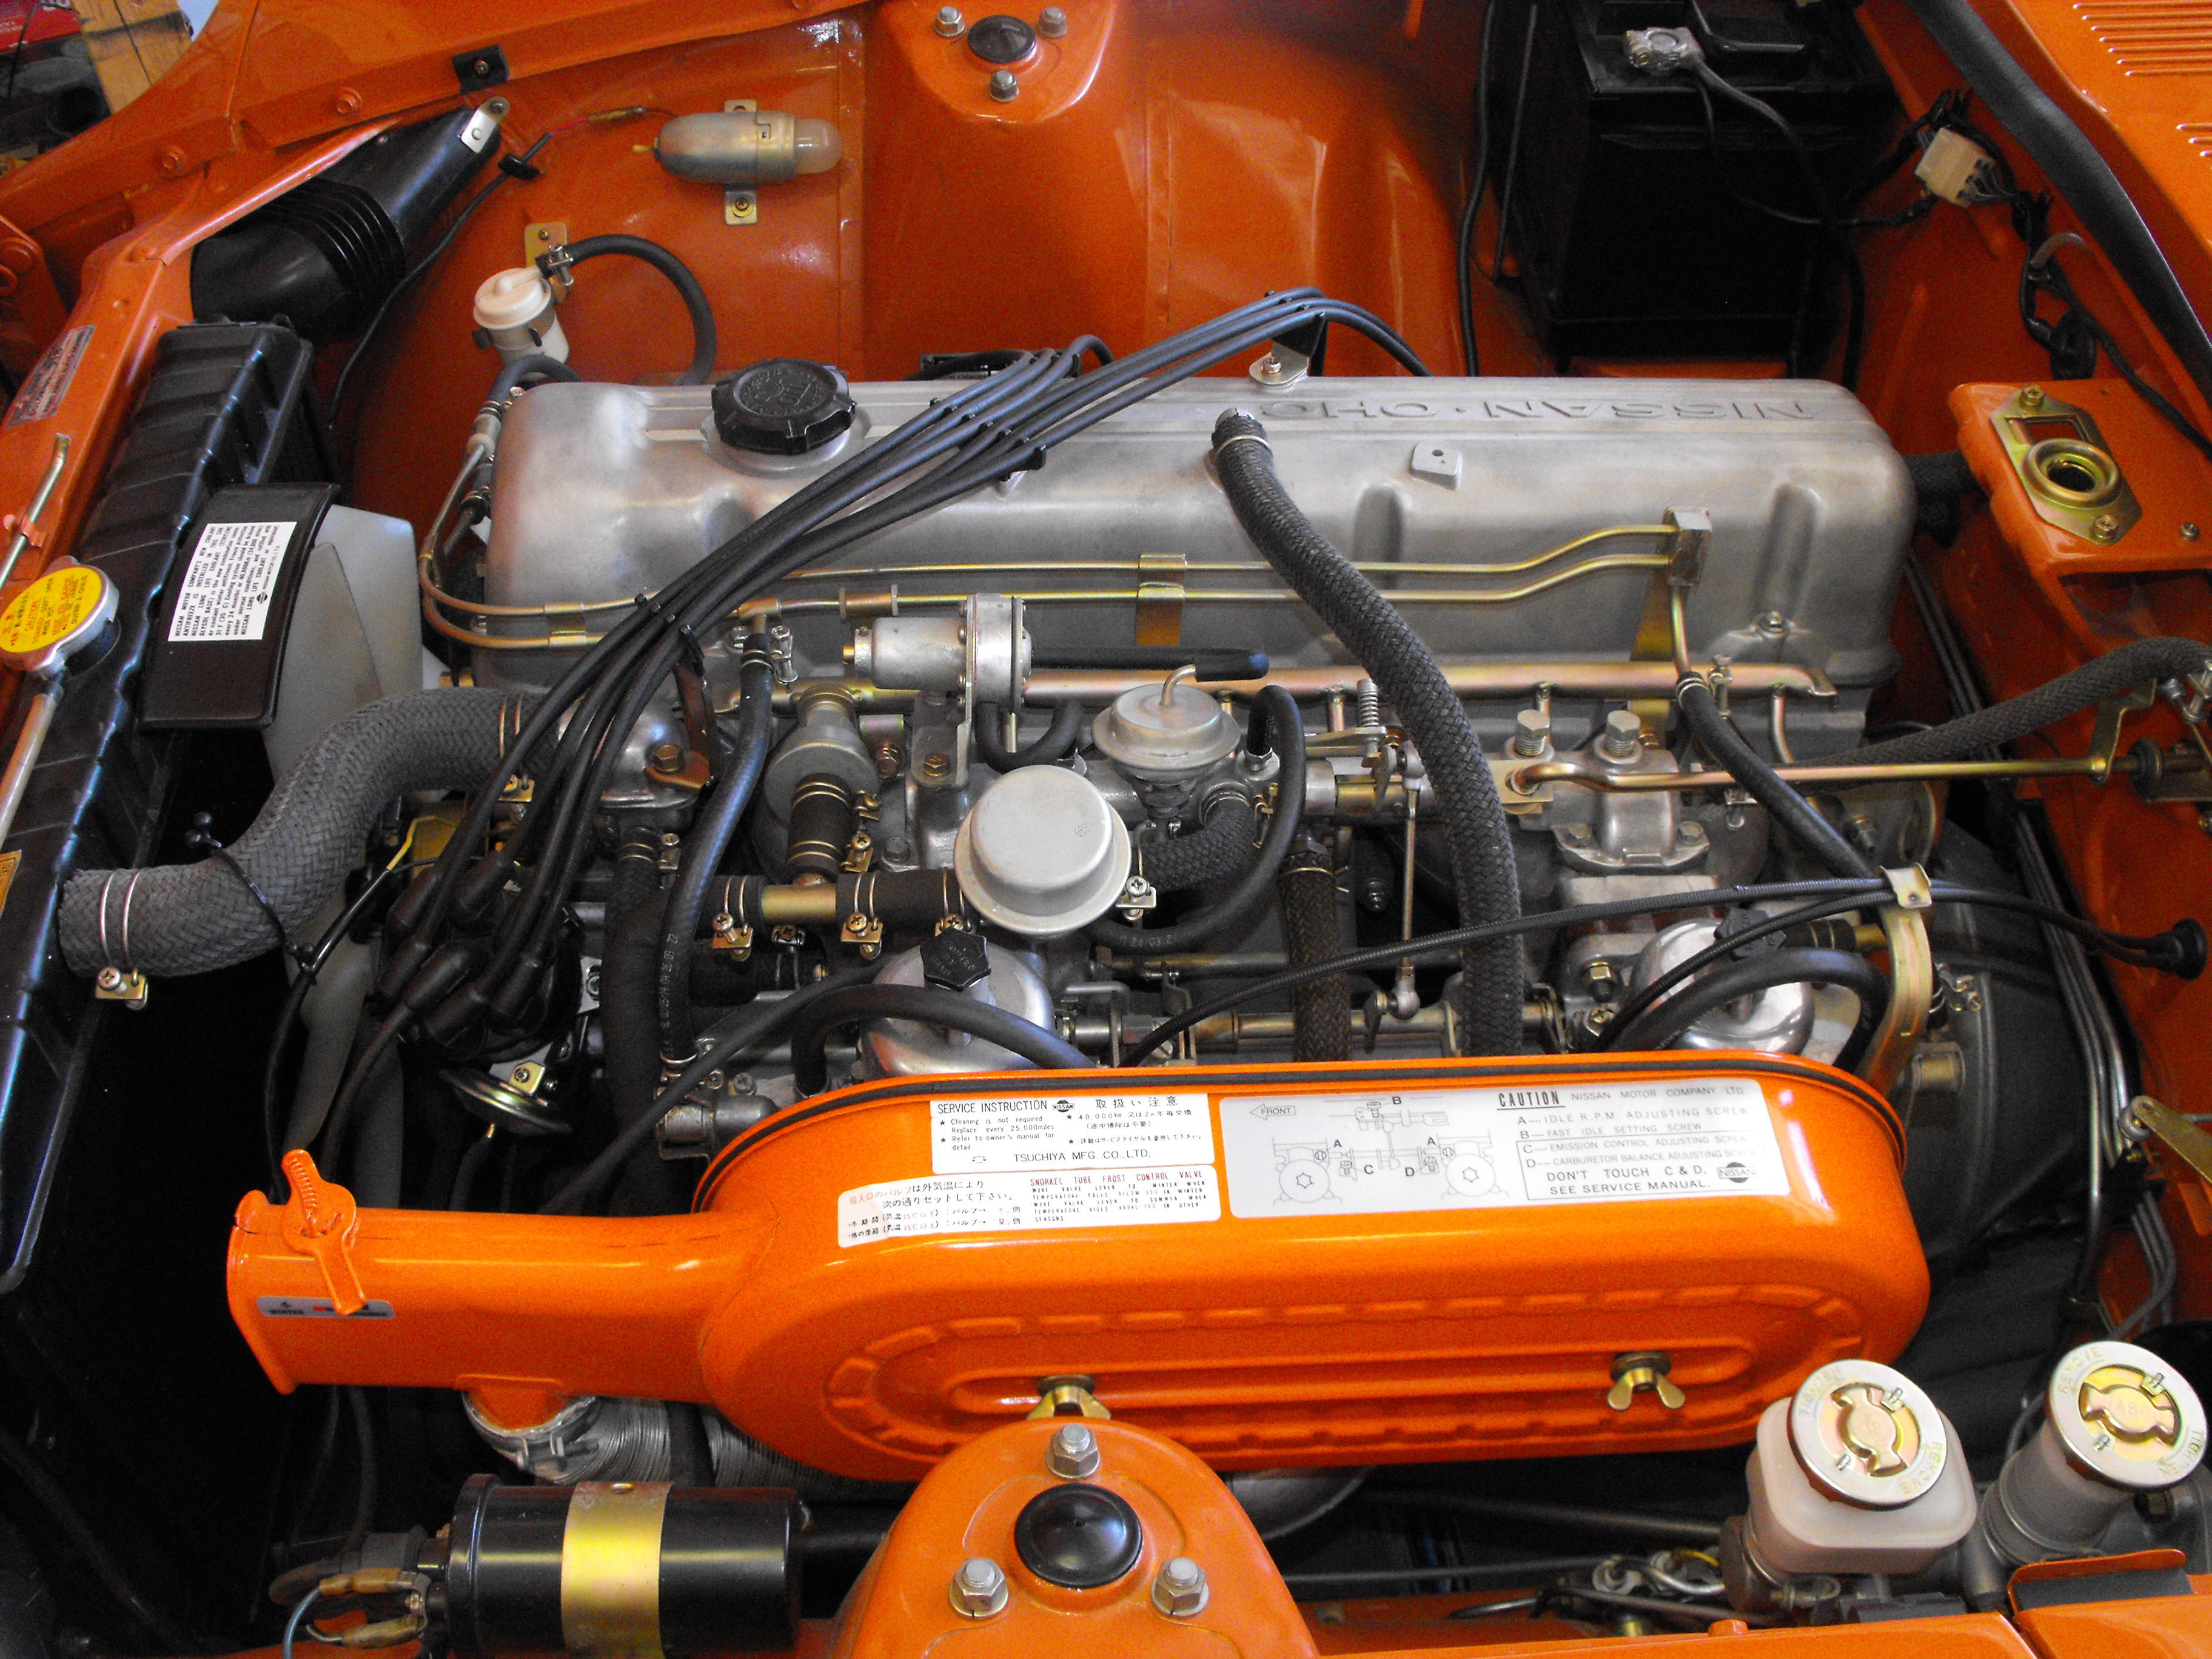
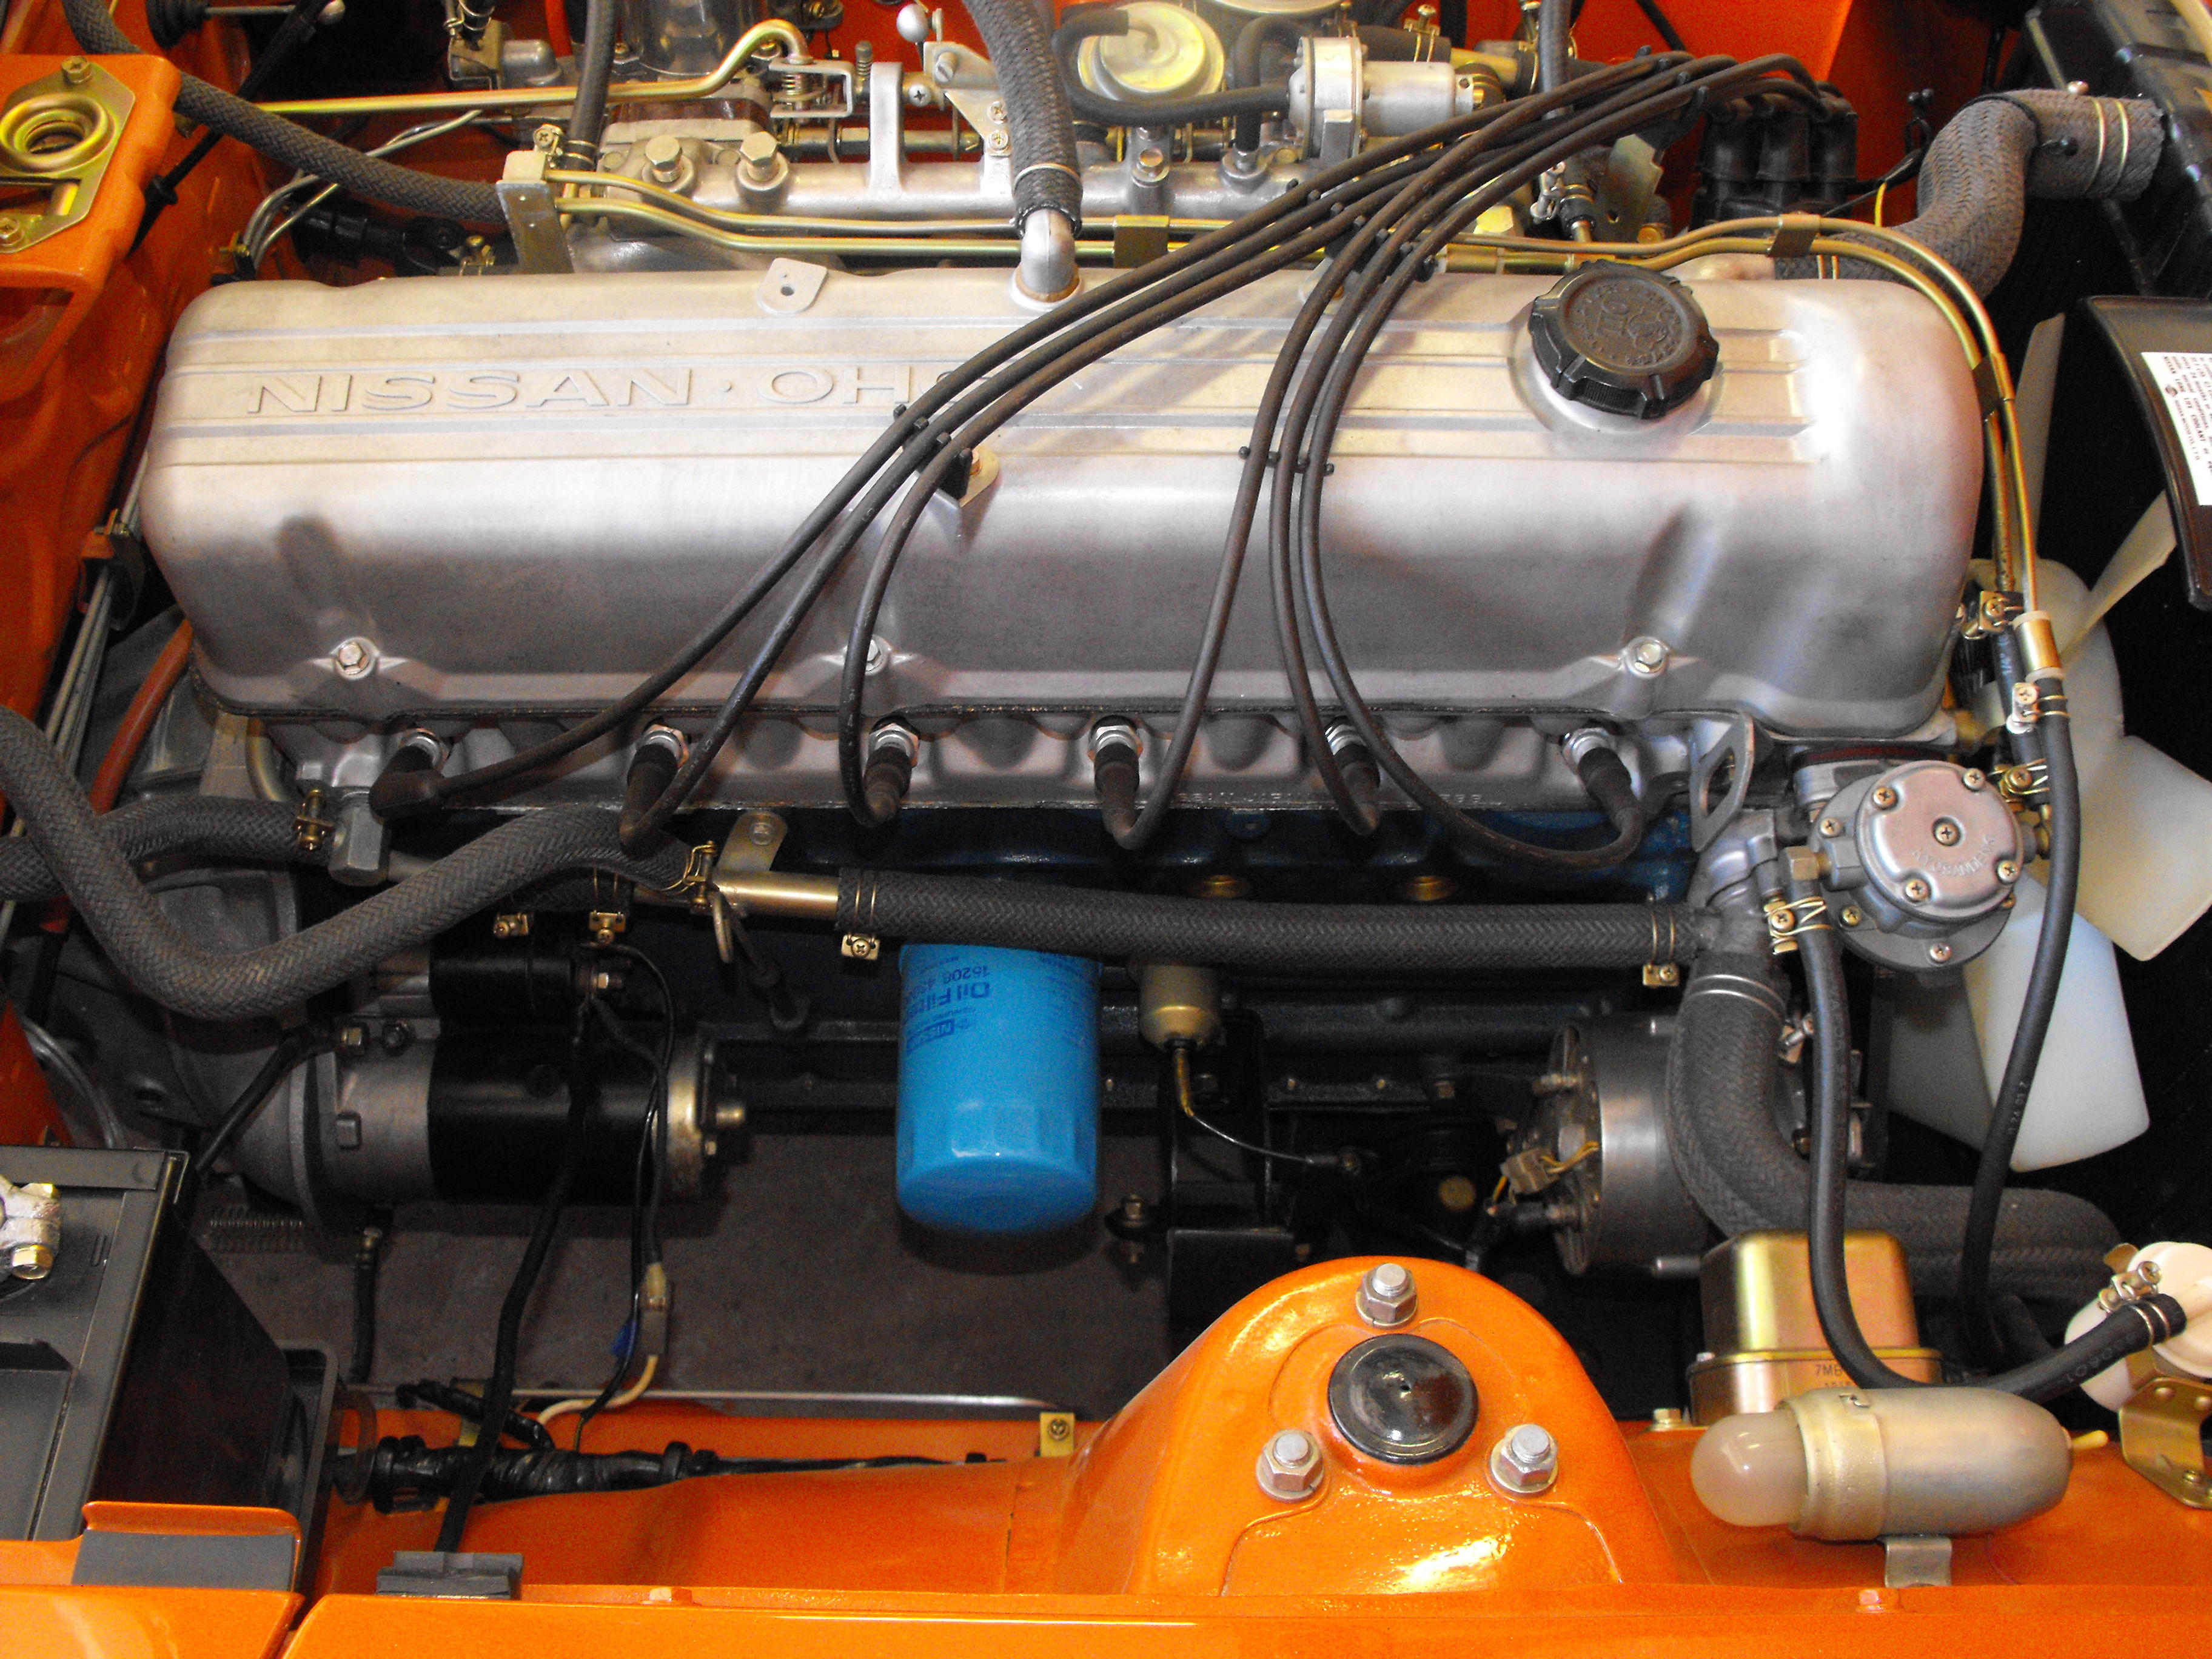
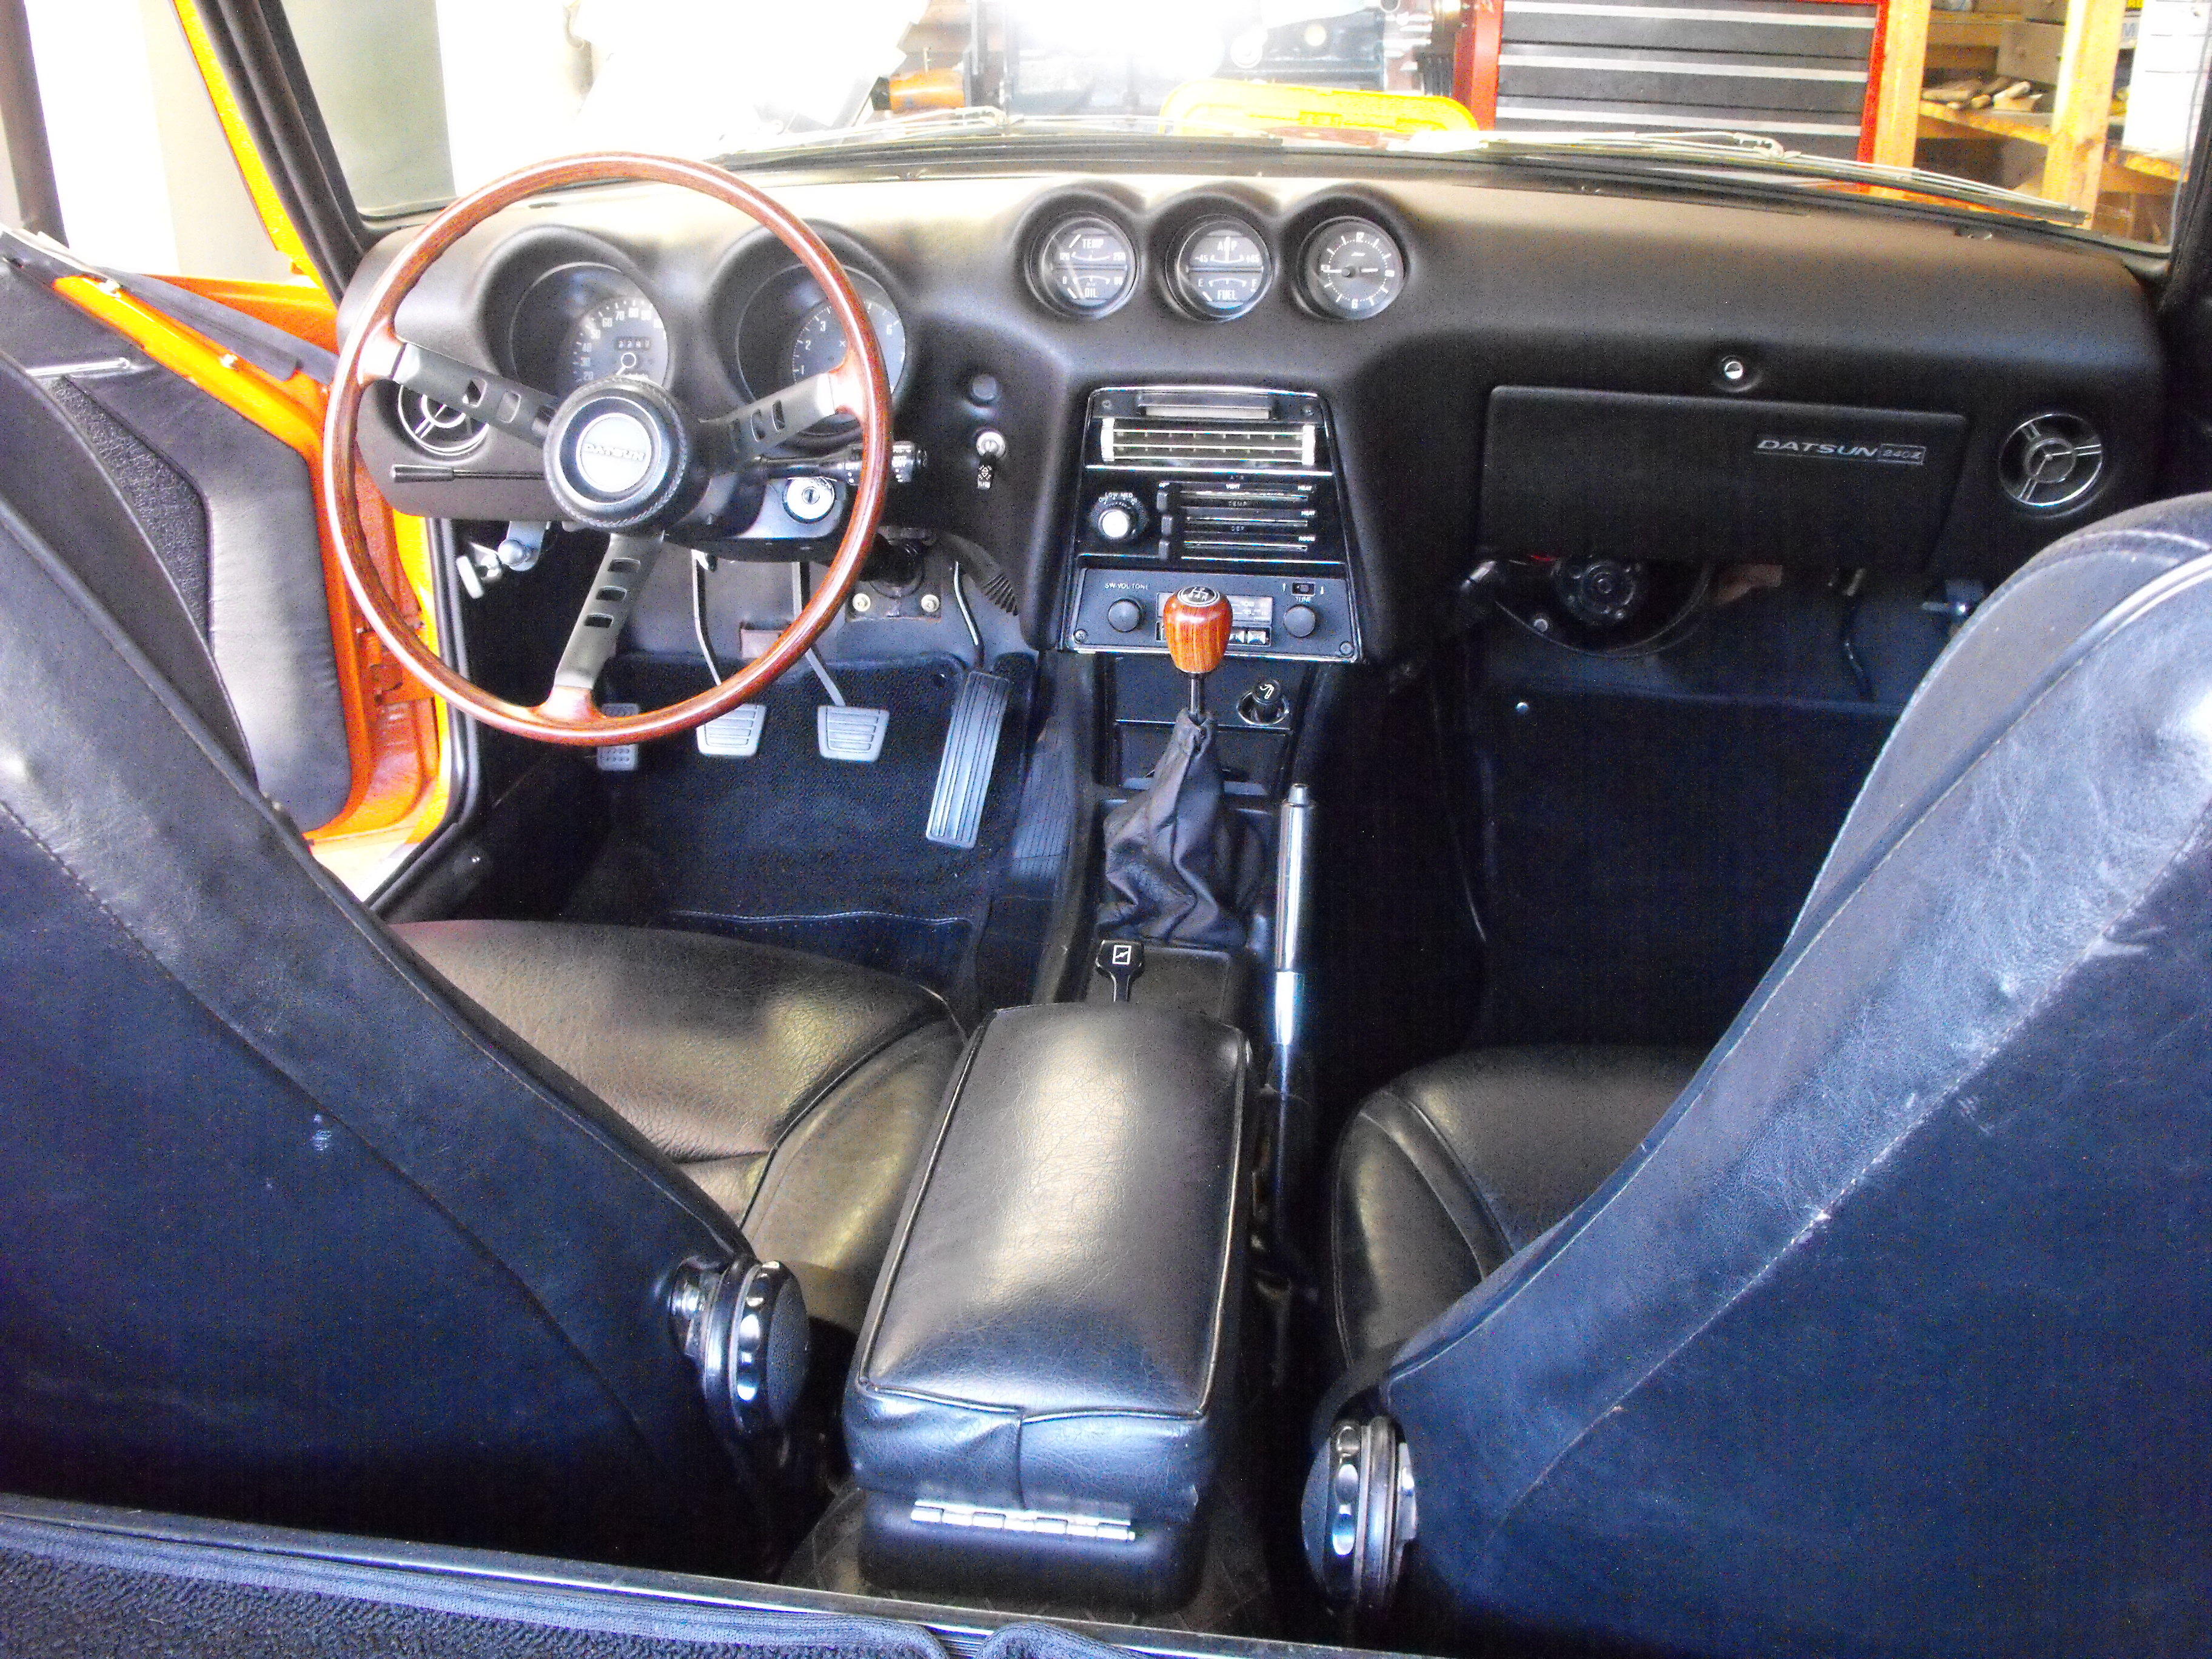
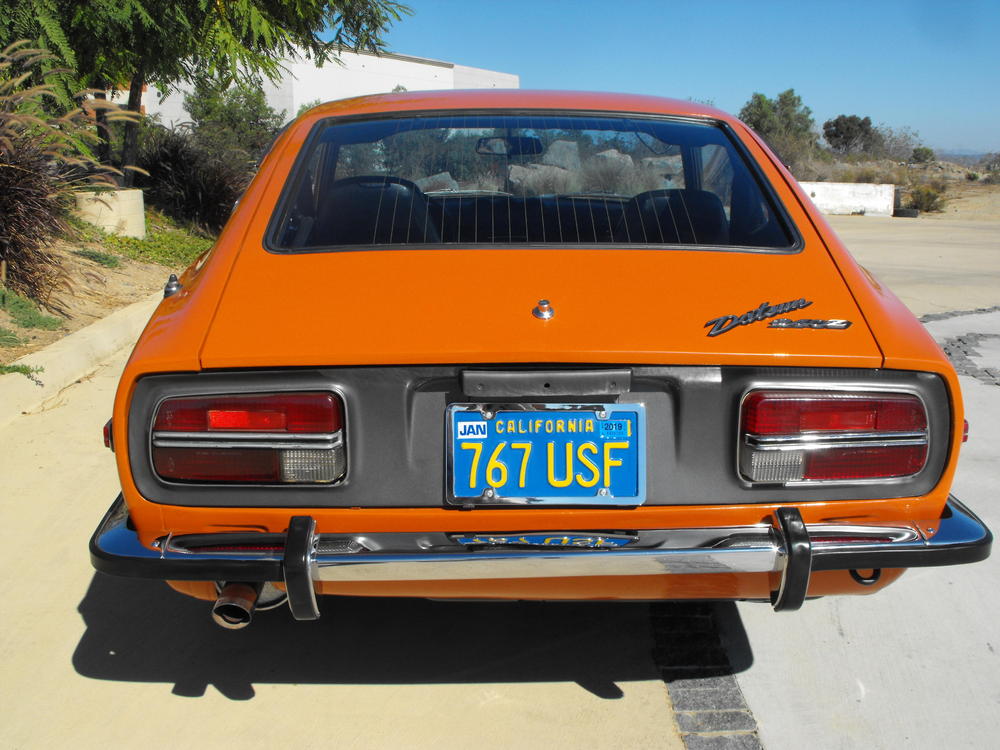
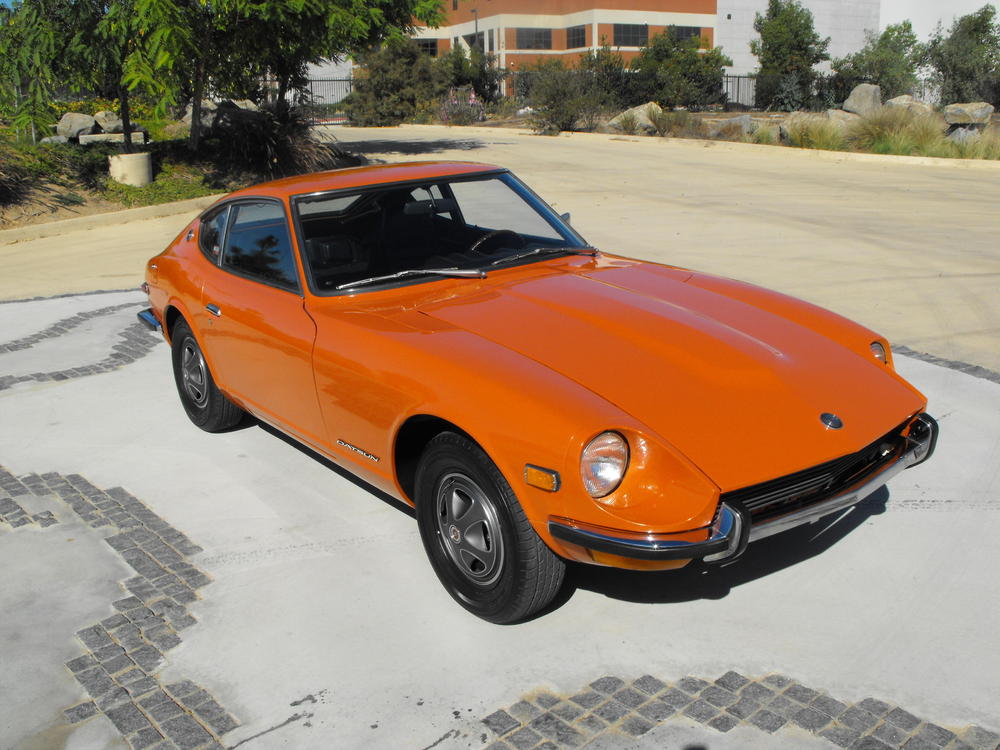
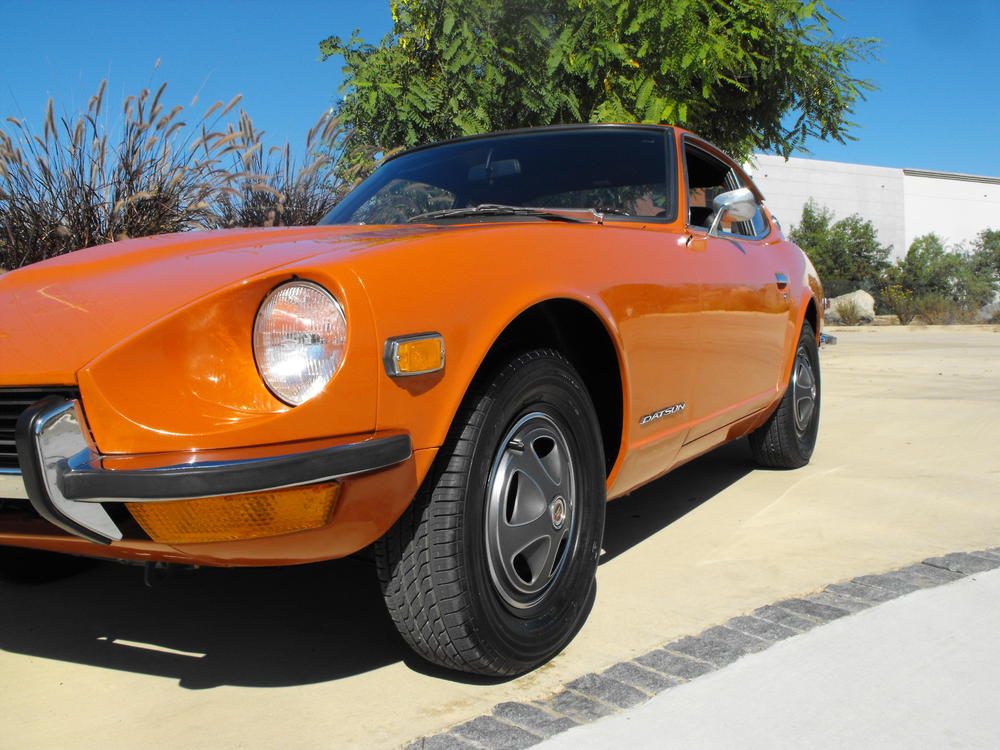
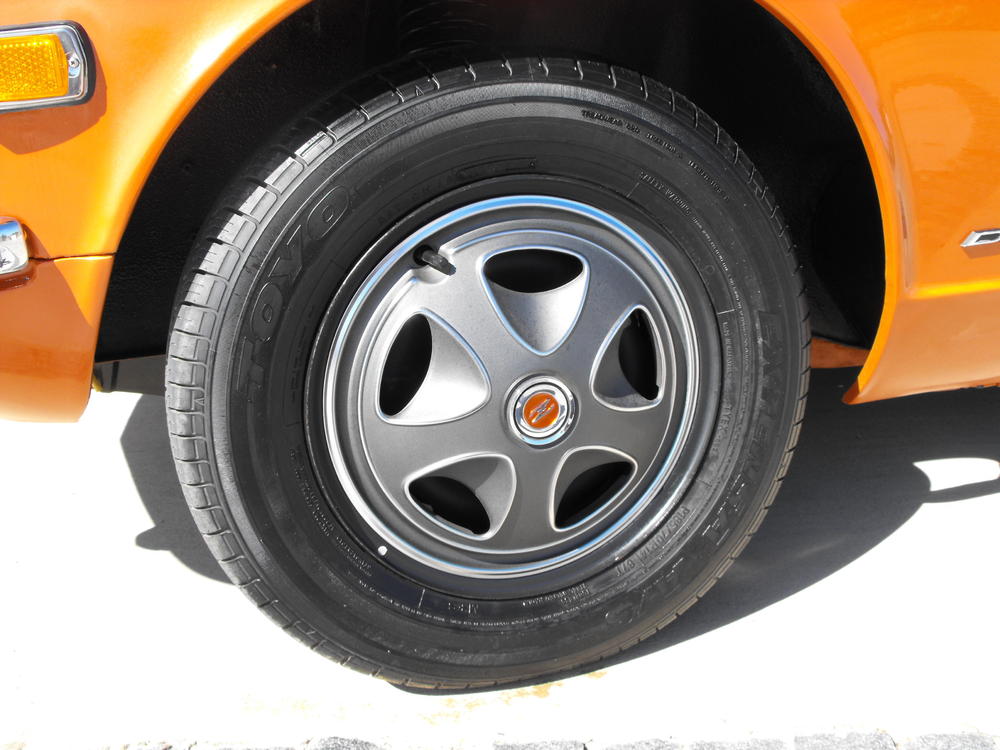
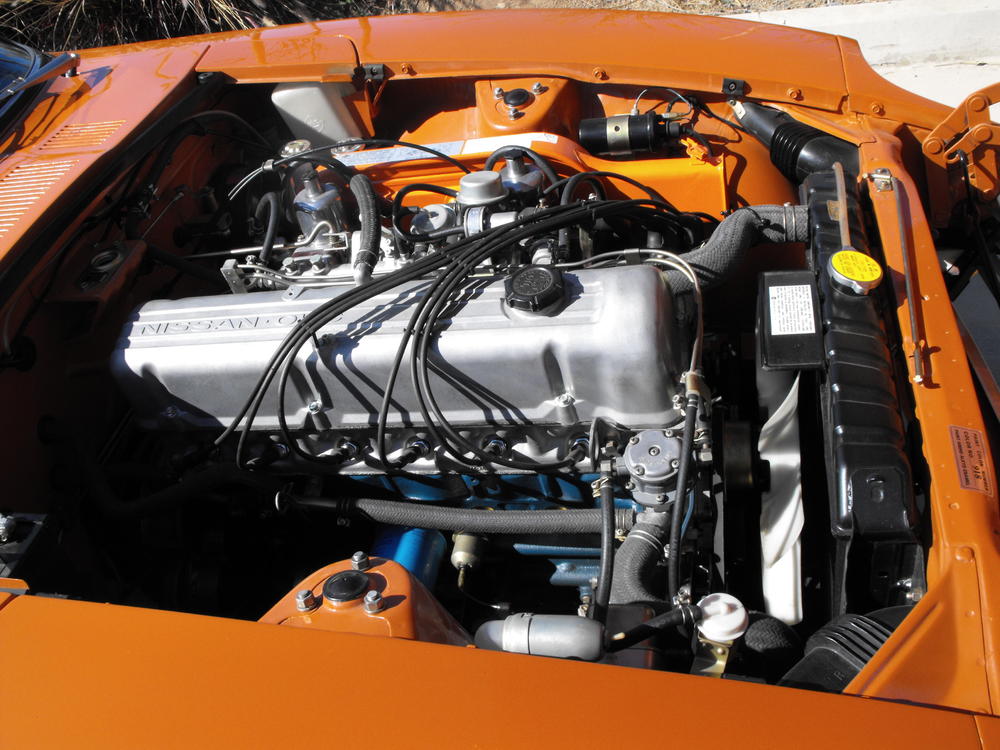
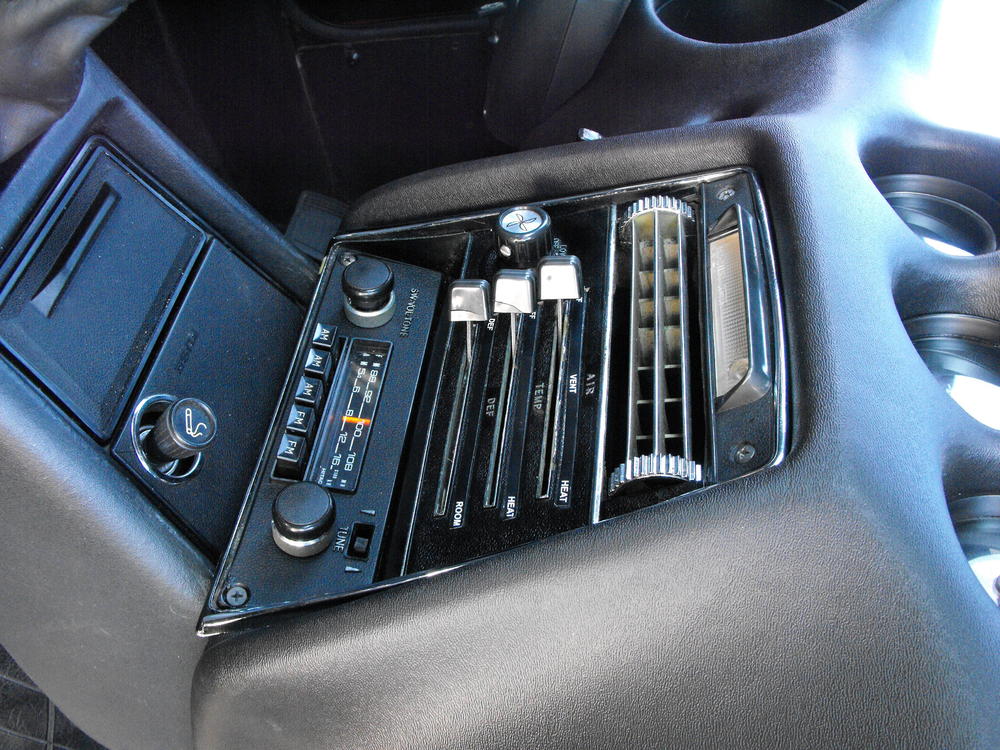
I have decided to sell my 918 Orange 1971 240Z. This is an original restoration with most of the work documented on this website link at: (Unfortunately some of the earlier work on this thread was accidentally deleted by the site admin due to some external spammers) I would consider the car a Category 2 restoration based on Hagerty's scale. This car placed 2nd in the Z car category at the 2016 JCCS which had nearly 50 entrants, arguably one of the most competitive Z car shows in the nation. The car runs great and all electronics work well including an original radio, antenna, wipers and clock (quartz mech) The car has also been featured in the 2018 Fall edition of the GQ style magazine and can be seen at this website: https://www.gq.com/story/datsun-240z-oral-history Many new and original parts on the car. Freshly chromed bumpers and 'Just dashes' dash just to name a few. Rims and hubcaps are epic (they were carefully stored for over 45 years) and are a bit hard to part with. While many parts of the car would be considered condition 1 by Hagerty's, I would consider the paint it's weak link and a category 2 ( I personally would give it a 7.5 or 8 out of 10). It is a beautiful high end single stage paint that could probably use a little more color sanding. On the flip side of this, I was praised by one Concours car show judge on how the paint replicates the original factory paint in its' appearance. Other minor issues would be a gap near at the drivers side door that is a bit wide and the original 47 year old exhaust that sounds a bit like a motorboat at low RPMs. I will also include a new aftermarket (motorsport) exhaust in the sale. Below are some recent pics. Will be listing on BAT soon Many more pictures available upon request Thanks, Rich


-
Yes, I think that is what I will do. Thanks for the confirmation.