motorman7
 Subscriber
-
Posts
2,198 -
Joined
-
Last visited
-
Days Won
56
Content Type
Profiles
Knowledge Base
Zcar Wiki
Forums
Gallery
Events
Downloads
Store
Blogs
Collections
Classifieds
Everything posted by motorman7
-
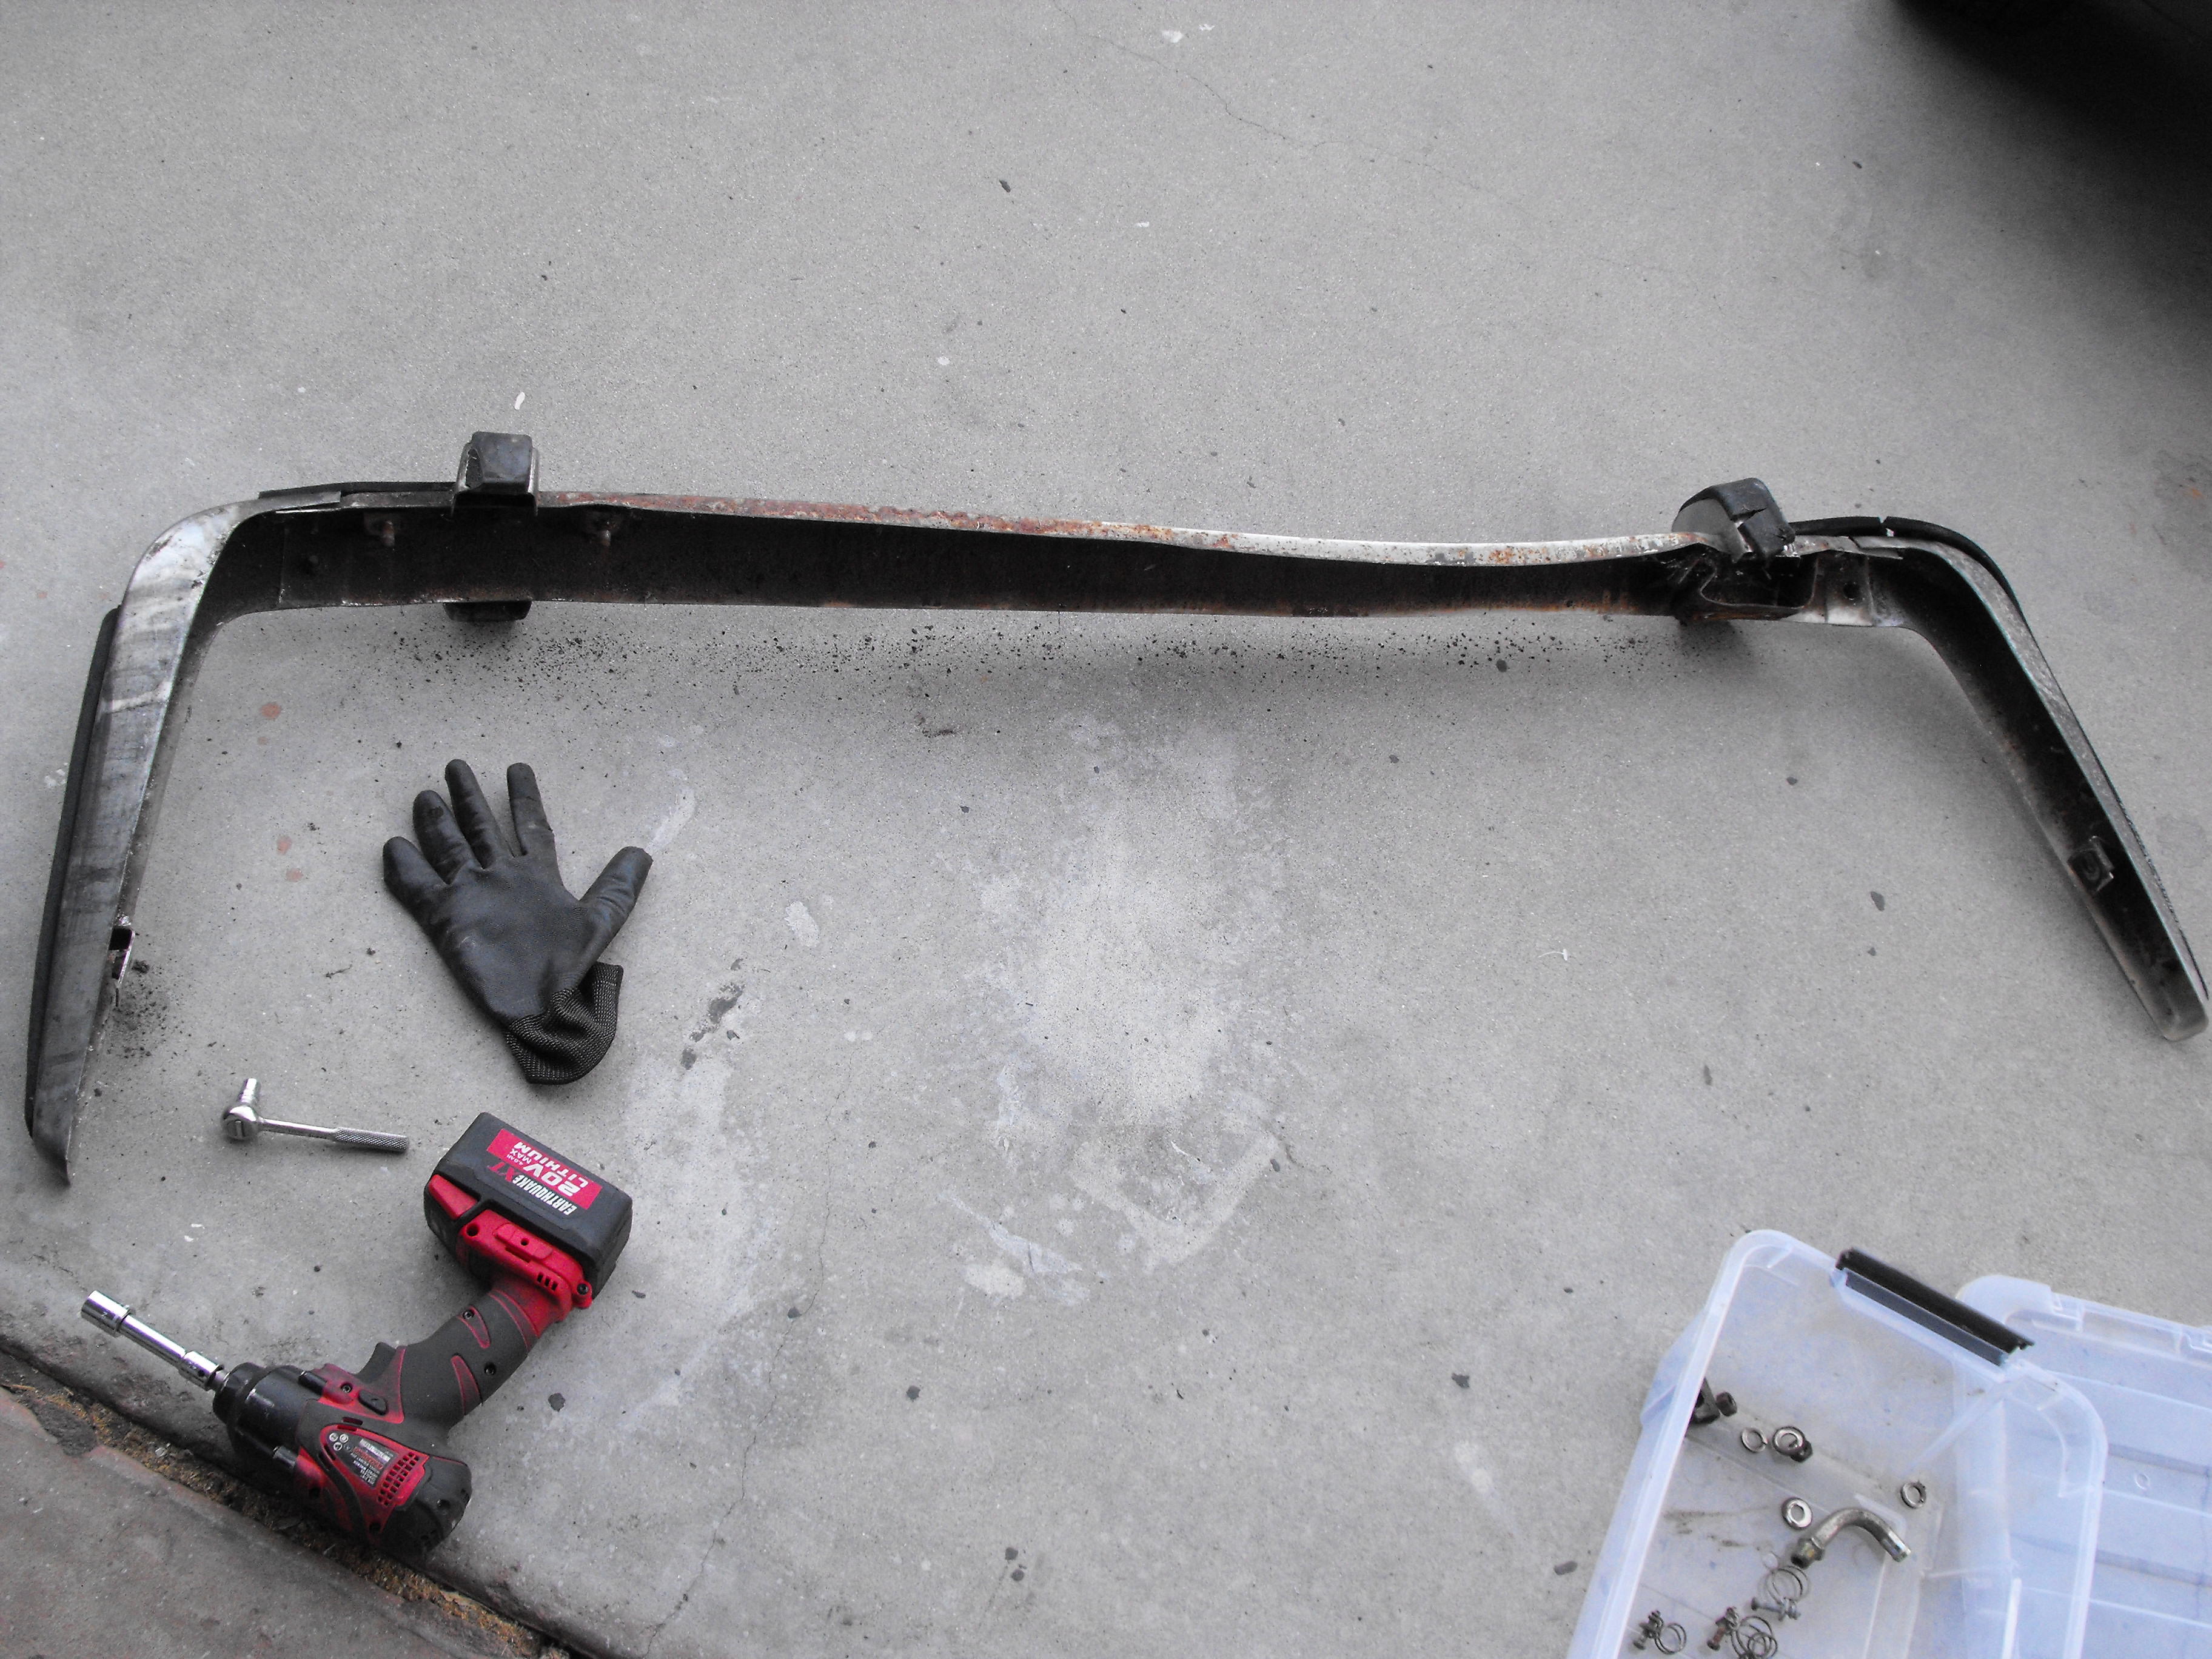
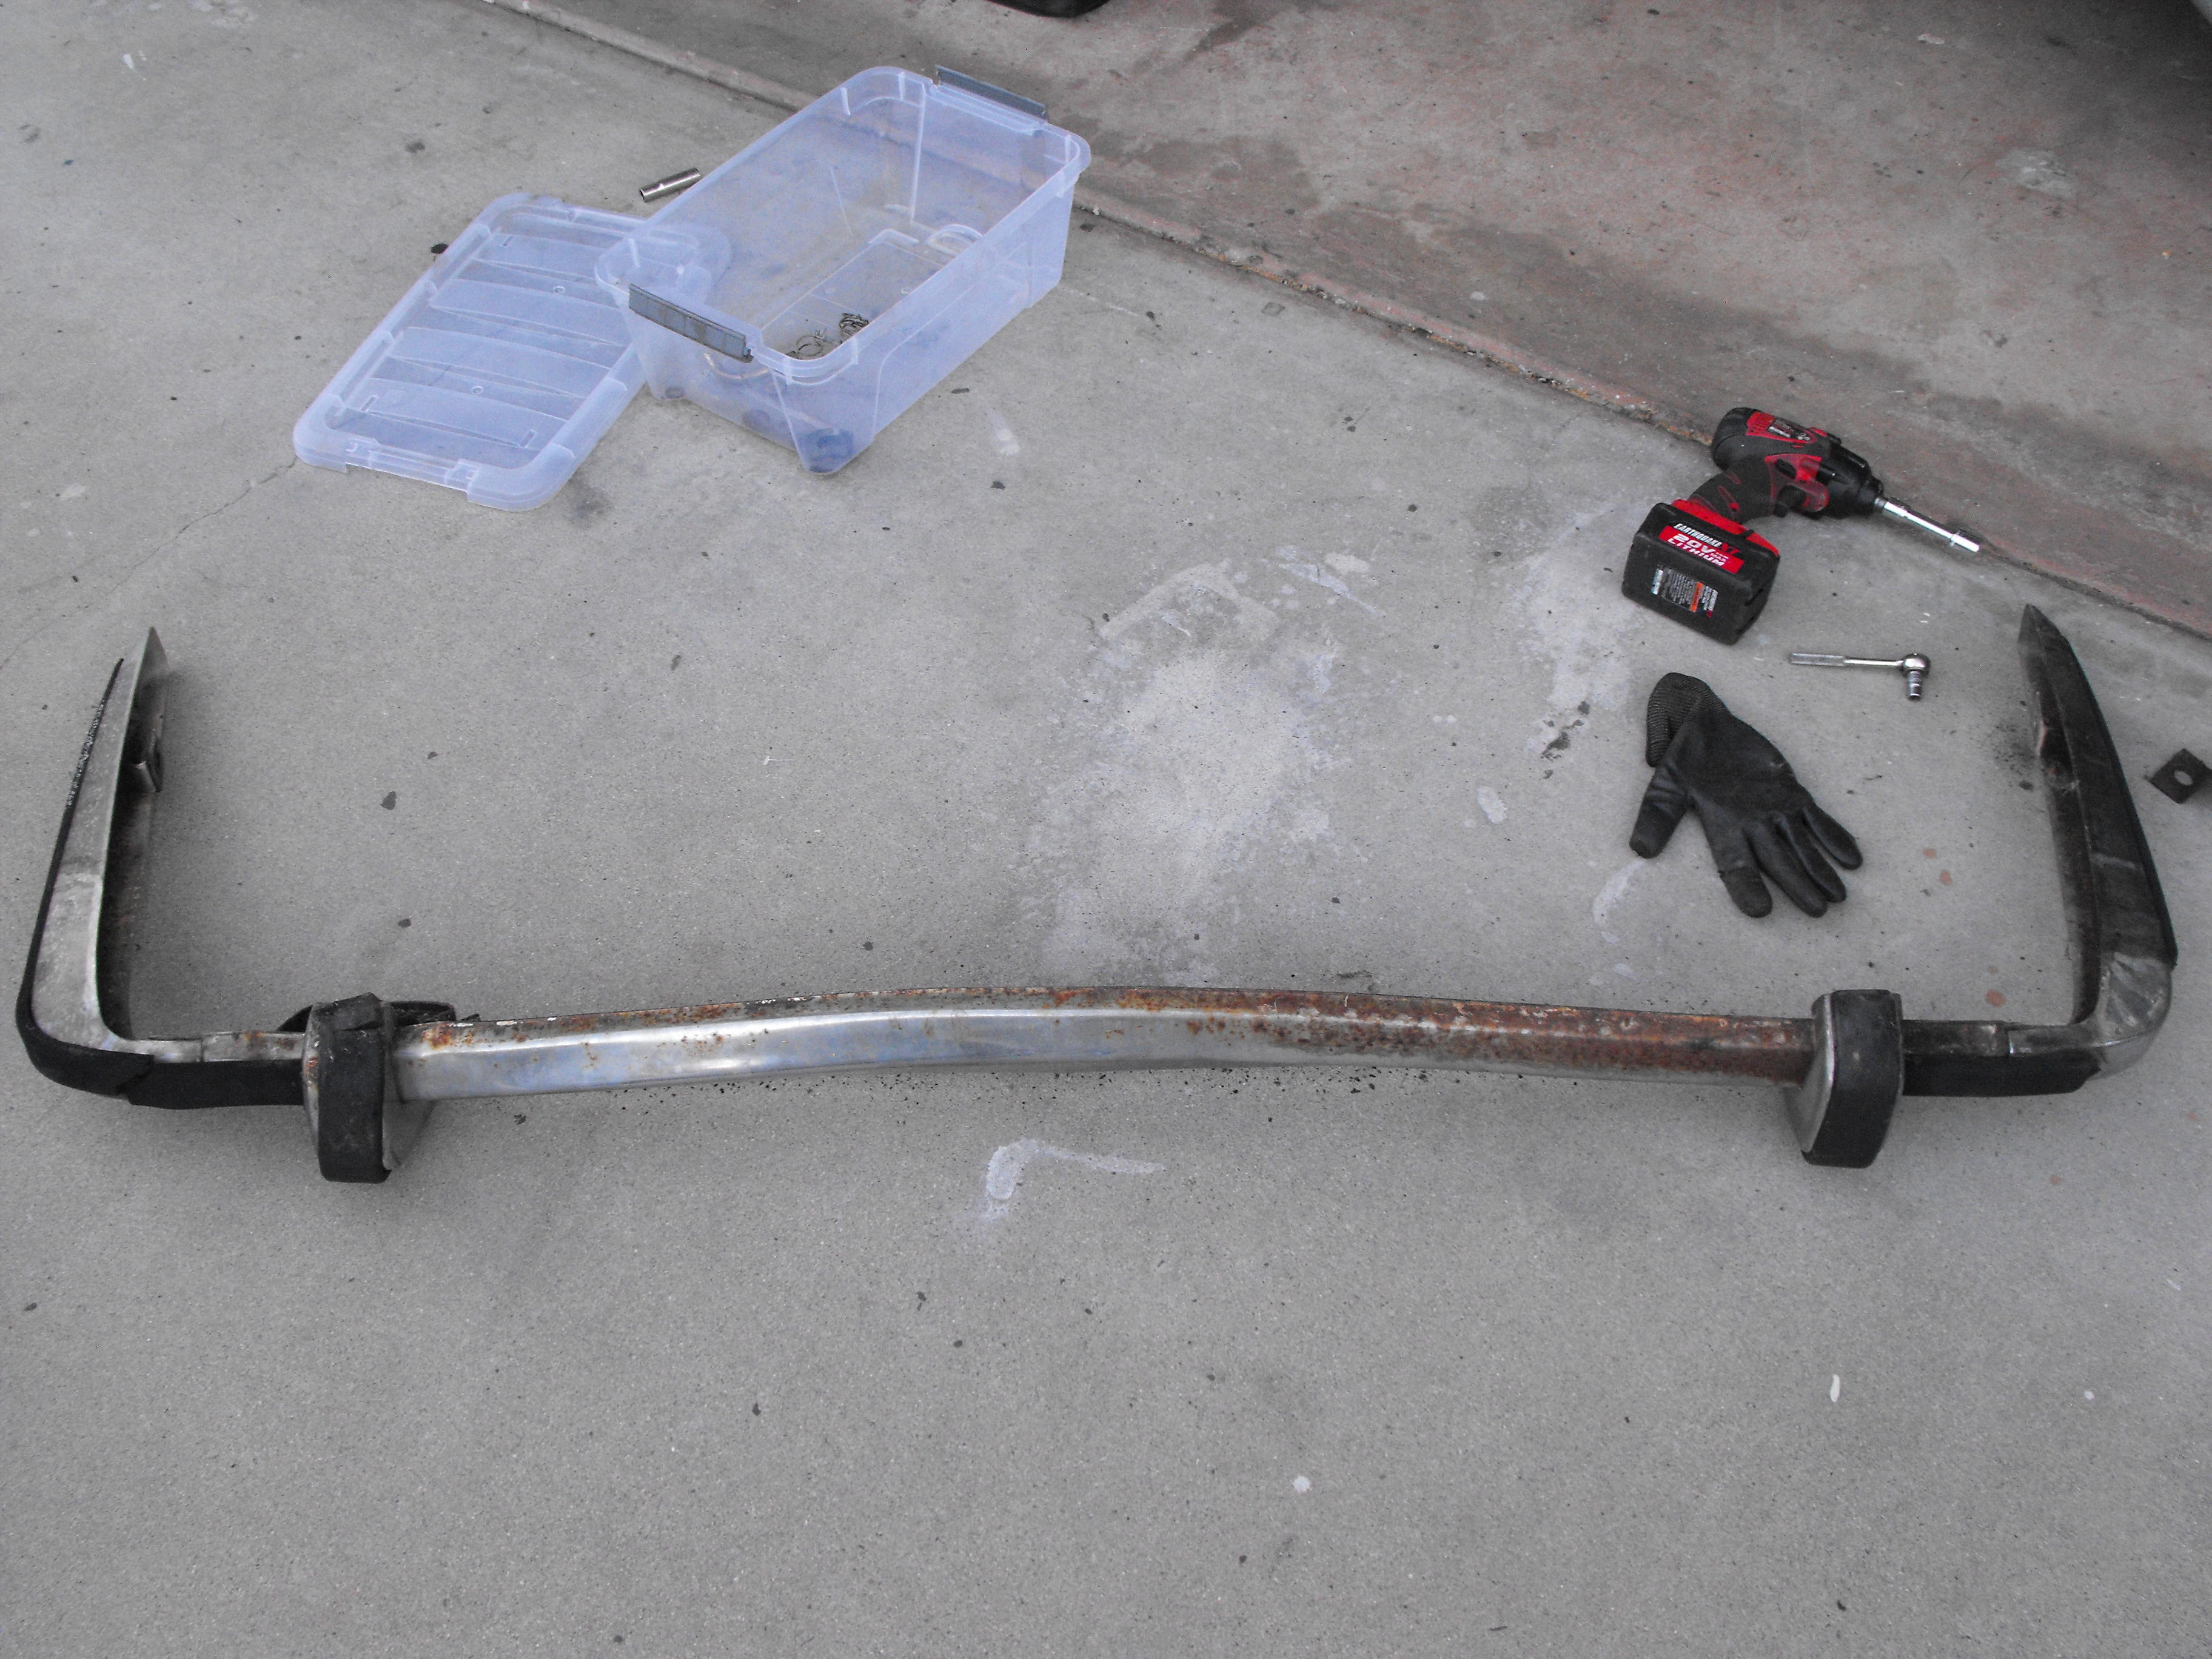
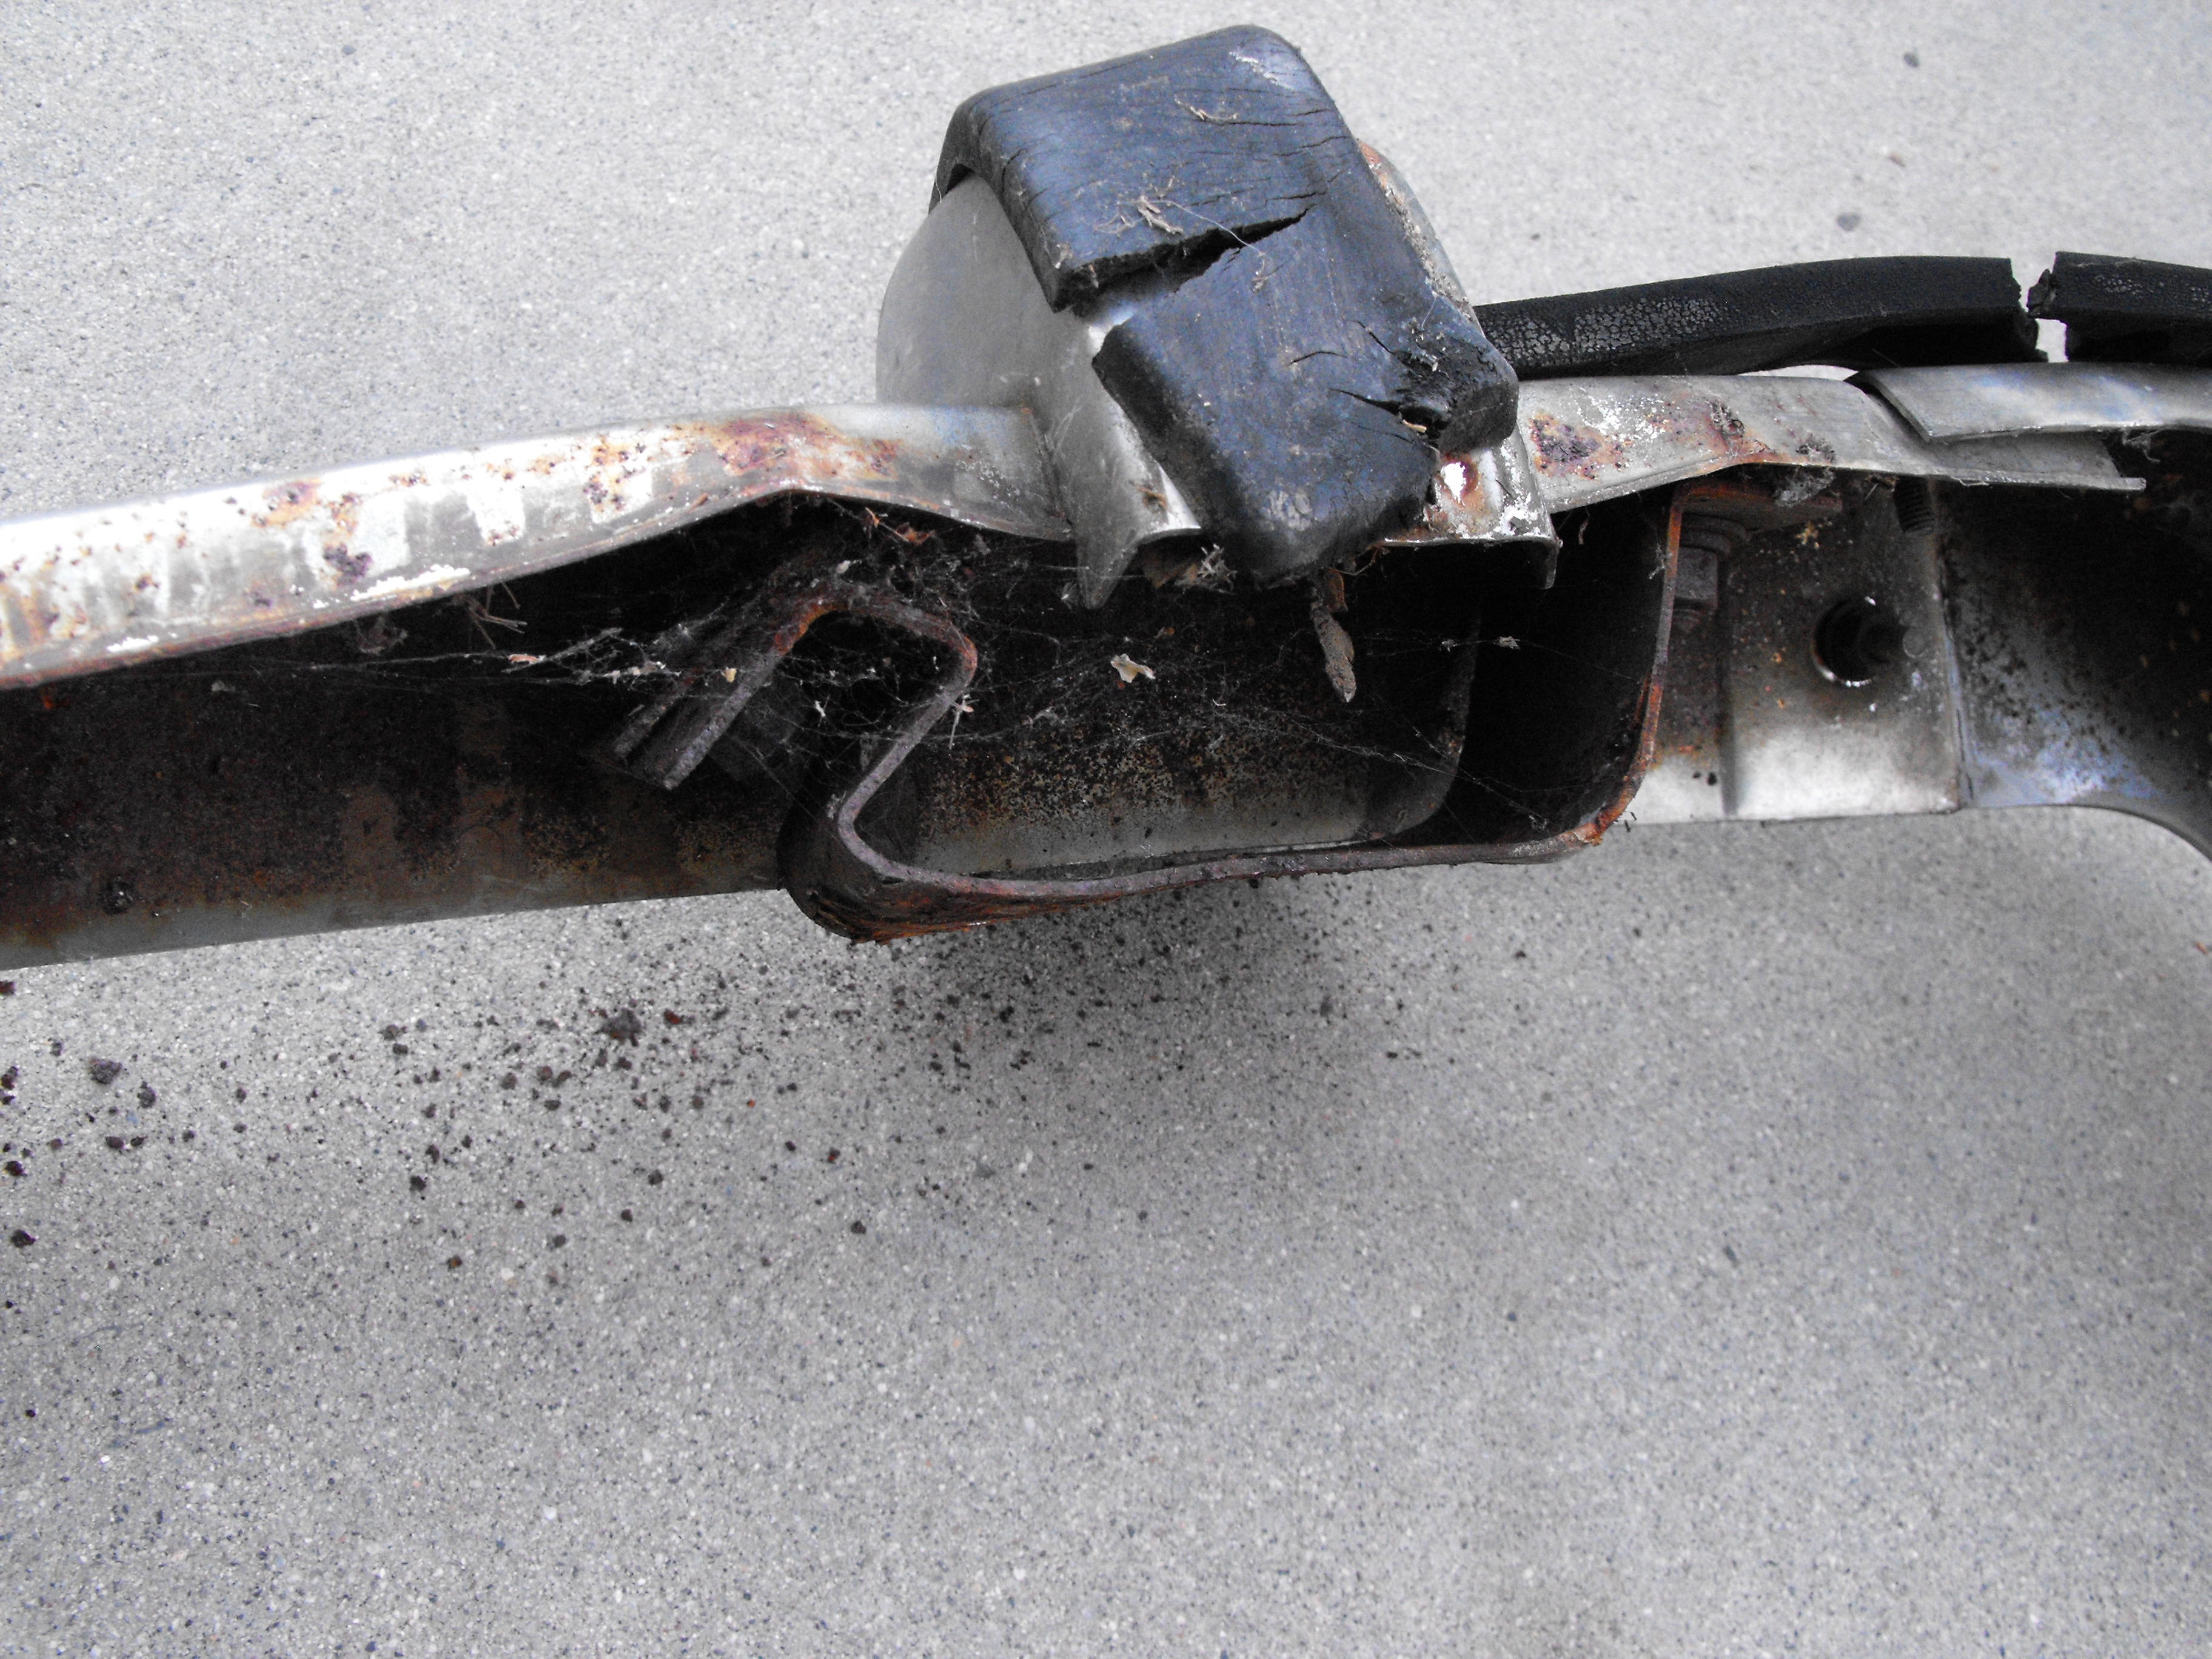
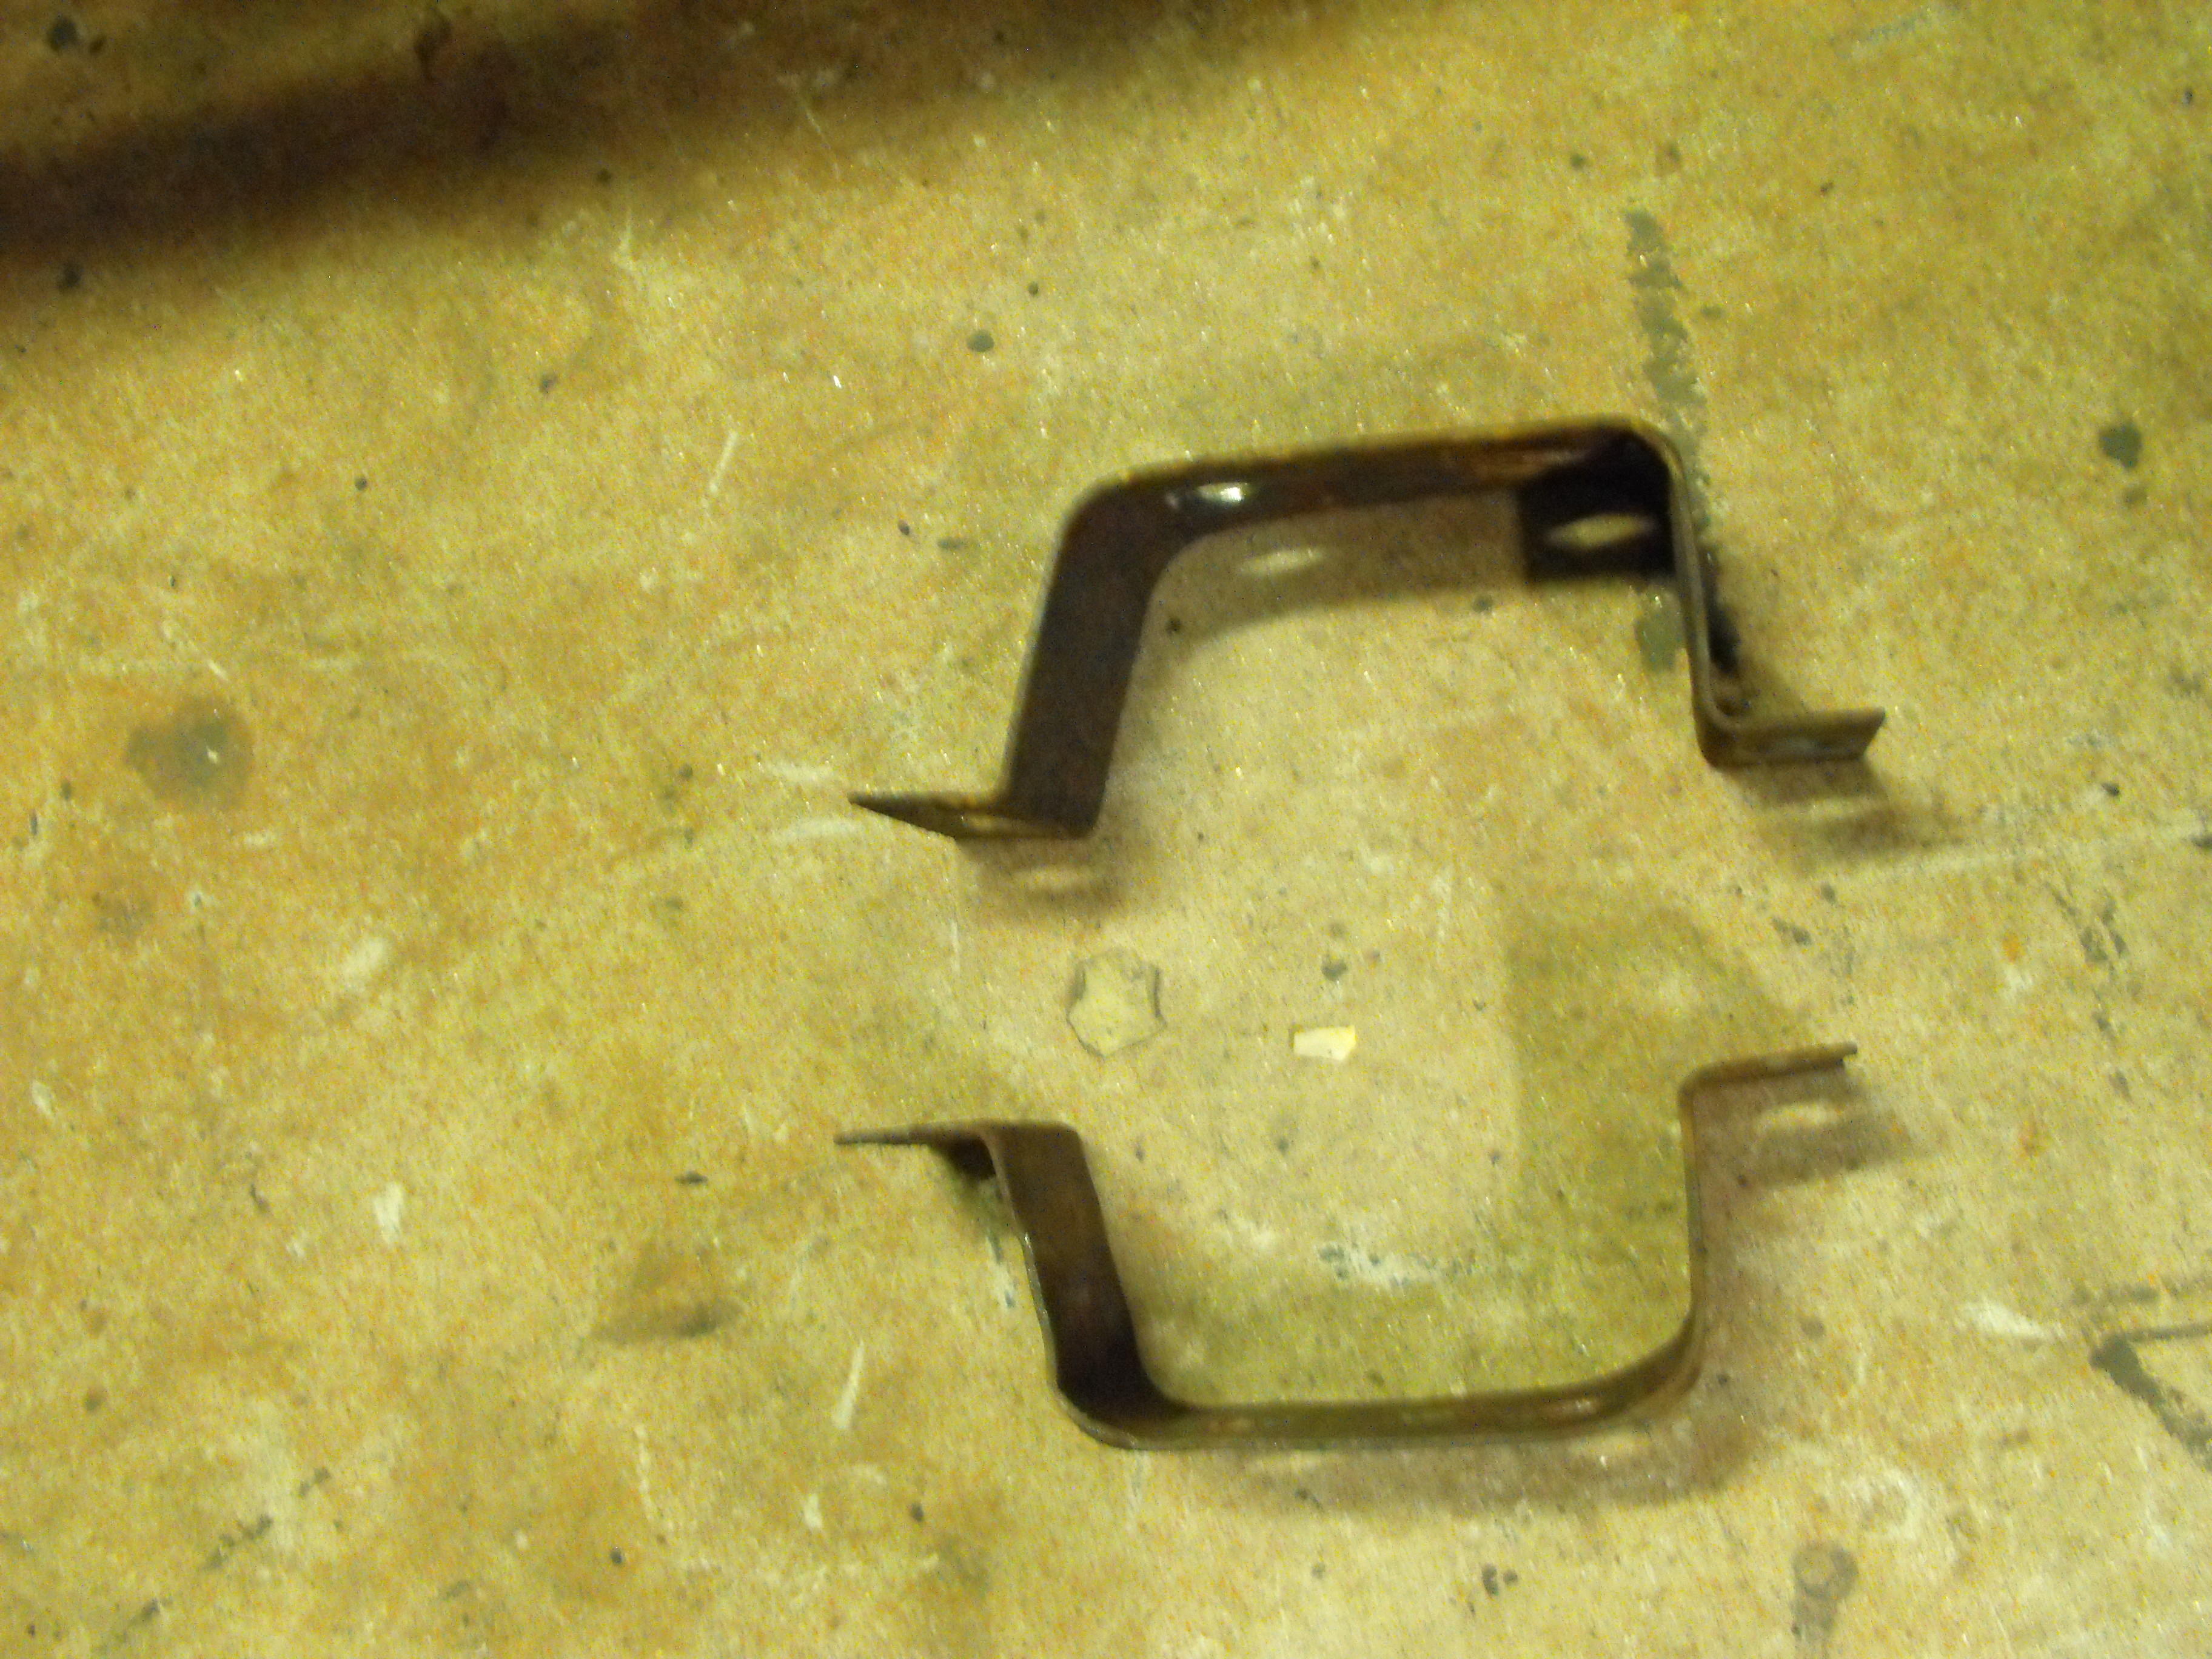
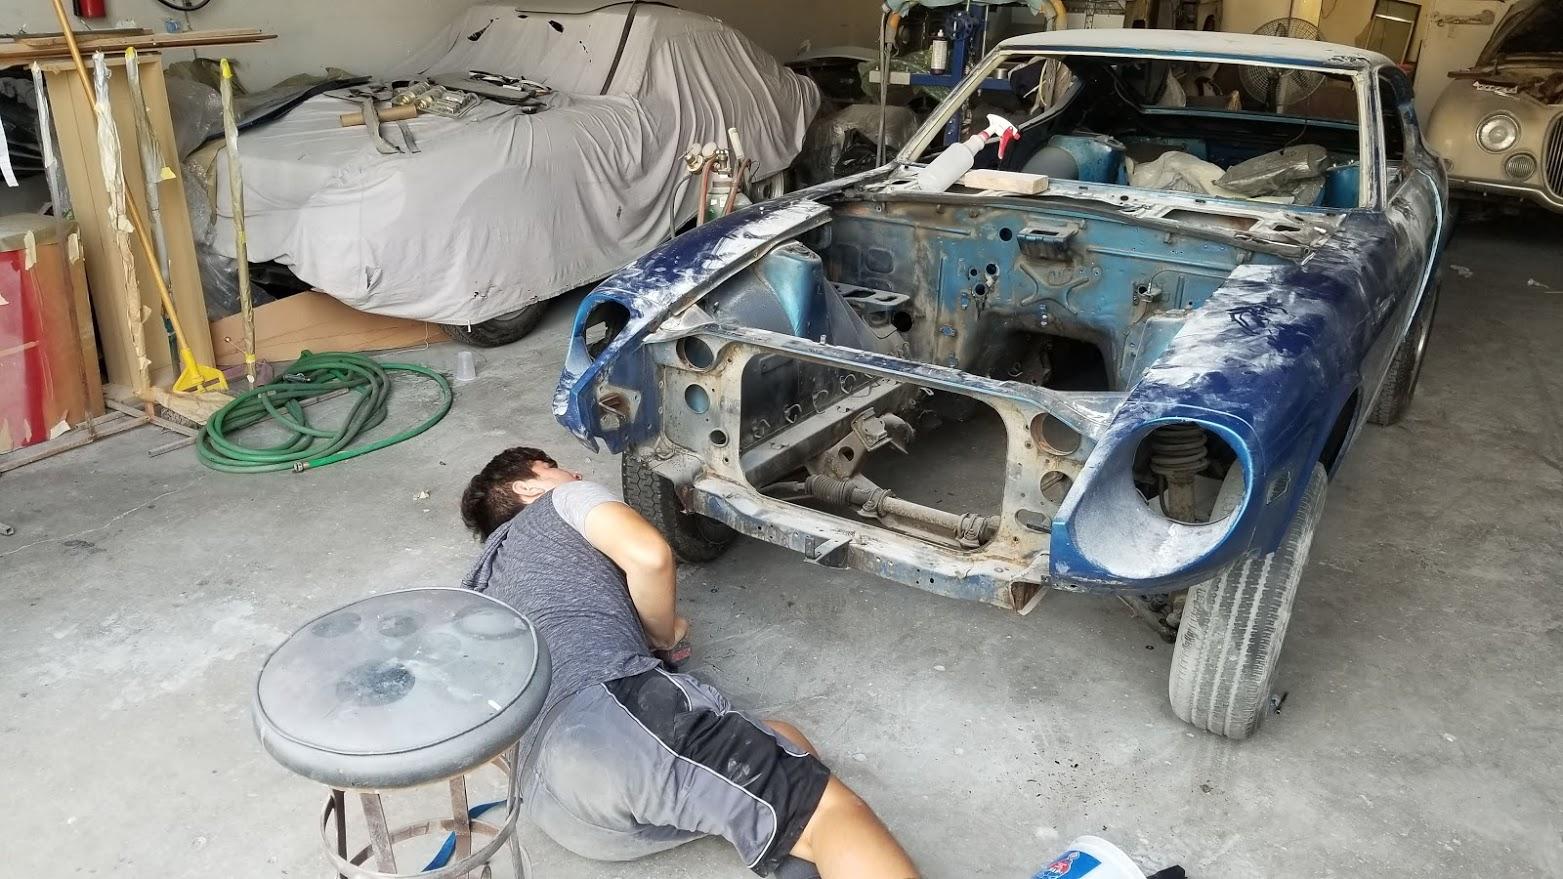
I disassembled the bumpers this evening and tapped the two of the rear bumperettes into shape. The center section of the rear bumper is a bit tweaked, so hopefully the chrome shop can clean that up. They do some pretty impressive repair work. I also straightened up the one rear support bracket. I will probably send the brackets out for powder coating a little later.


-
Actually, I did a quick check on eBay to see if we could sell them as 'antiques'. ?
-
The cost for the powder coating is roughly $15 per part. When you consider that they de-grease, sand blast, cover threads and bearing surfaces, and then paint each part, the cost is pretty reasonable here.
-
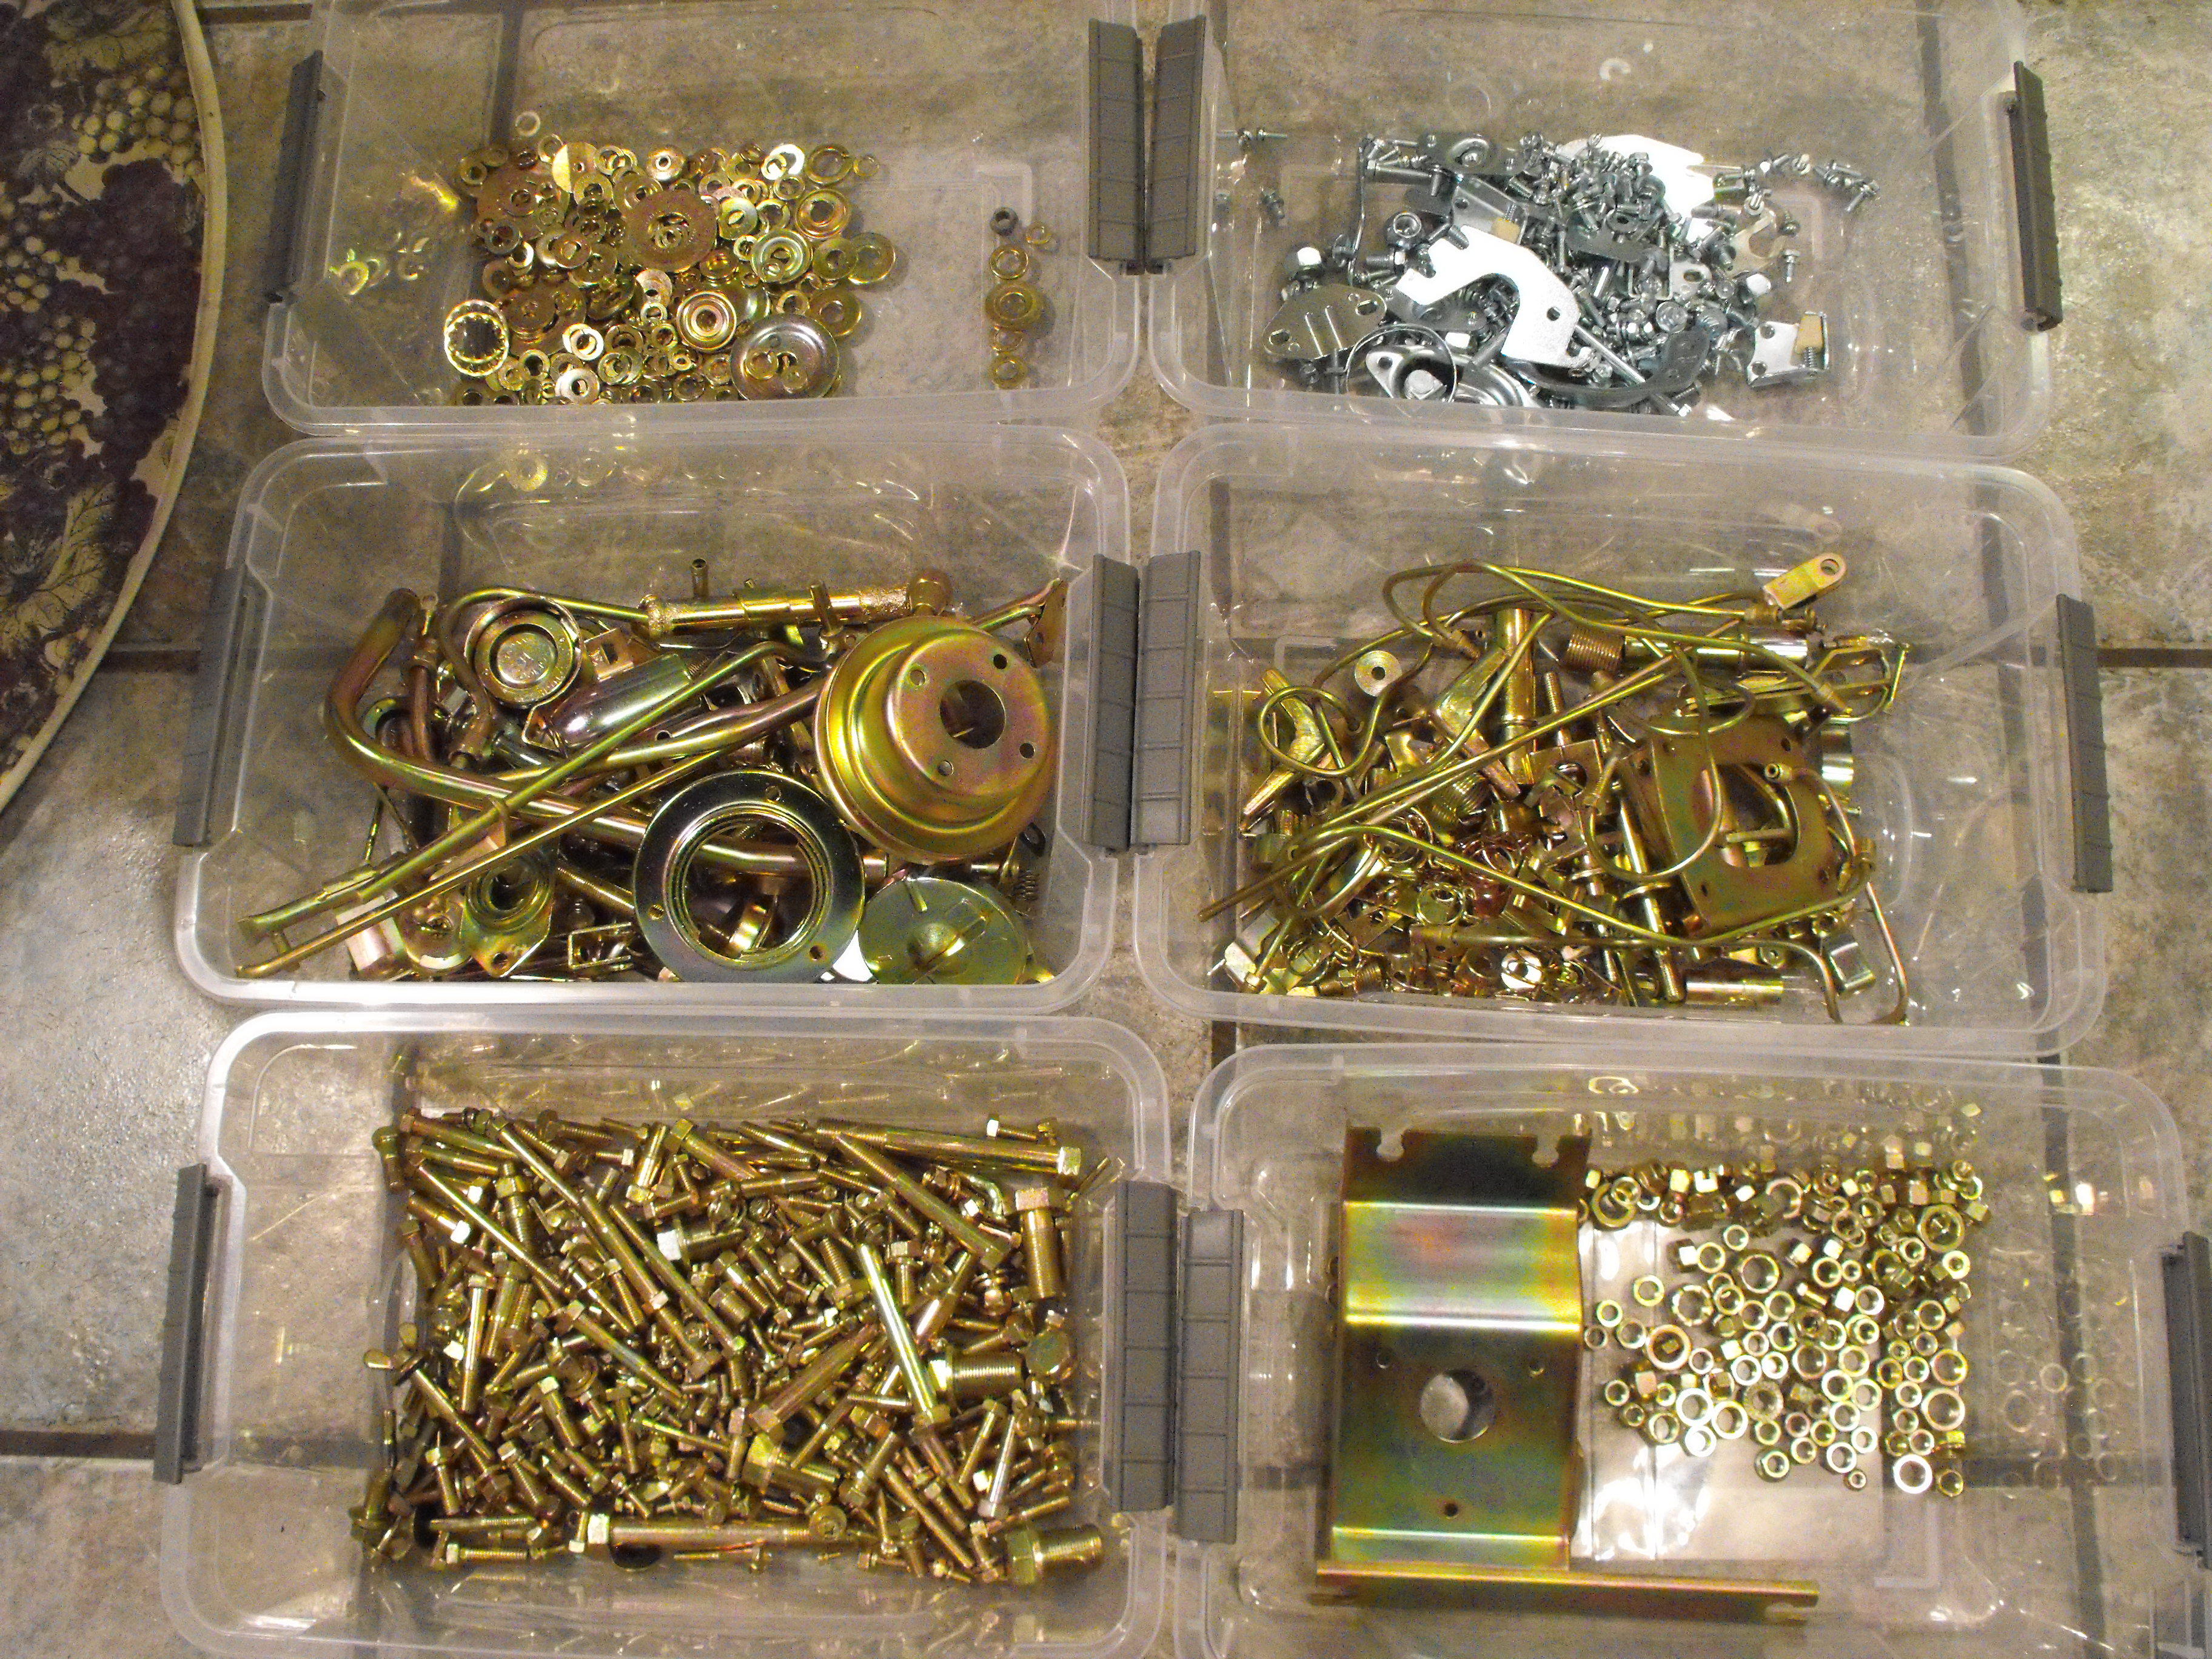
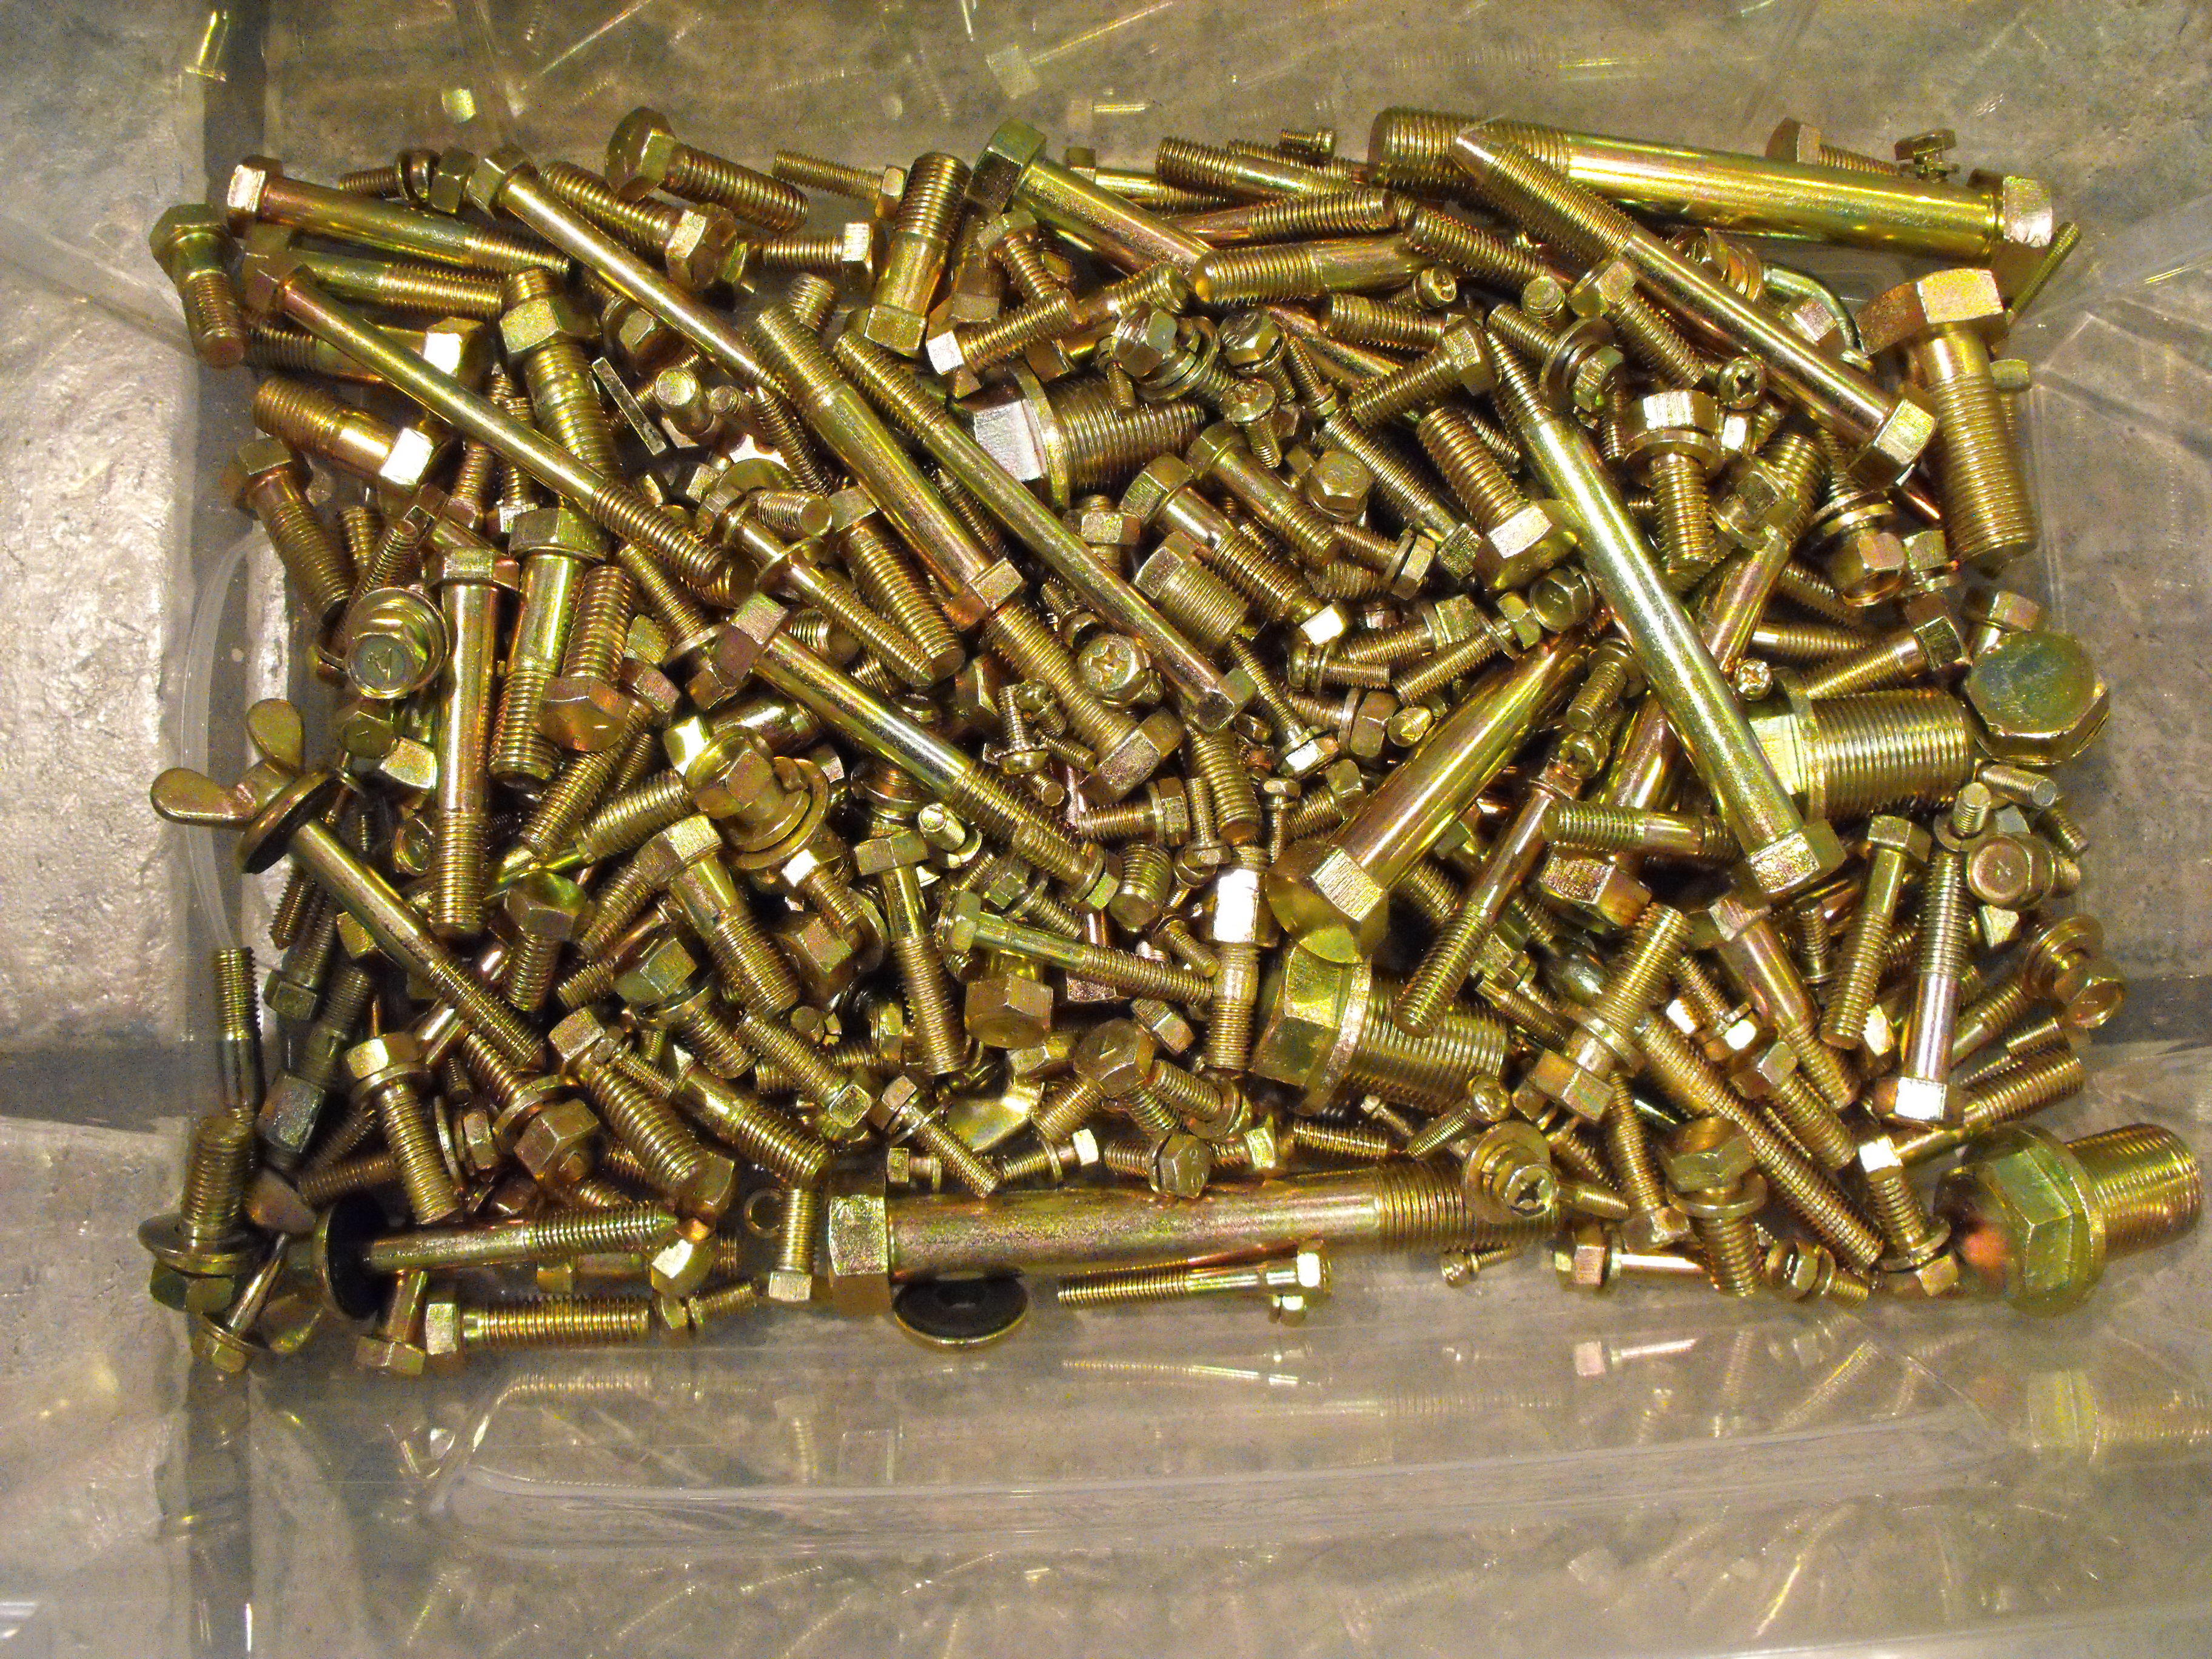
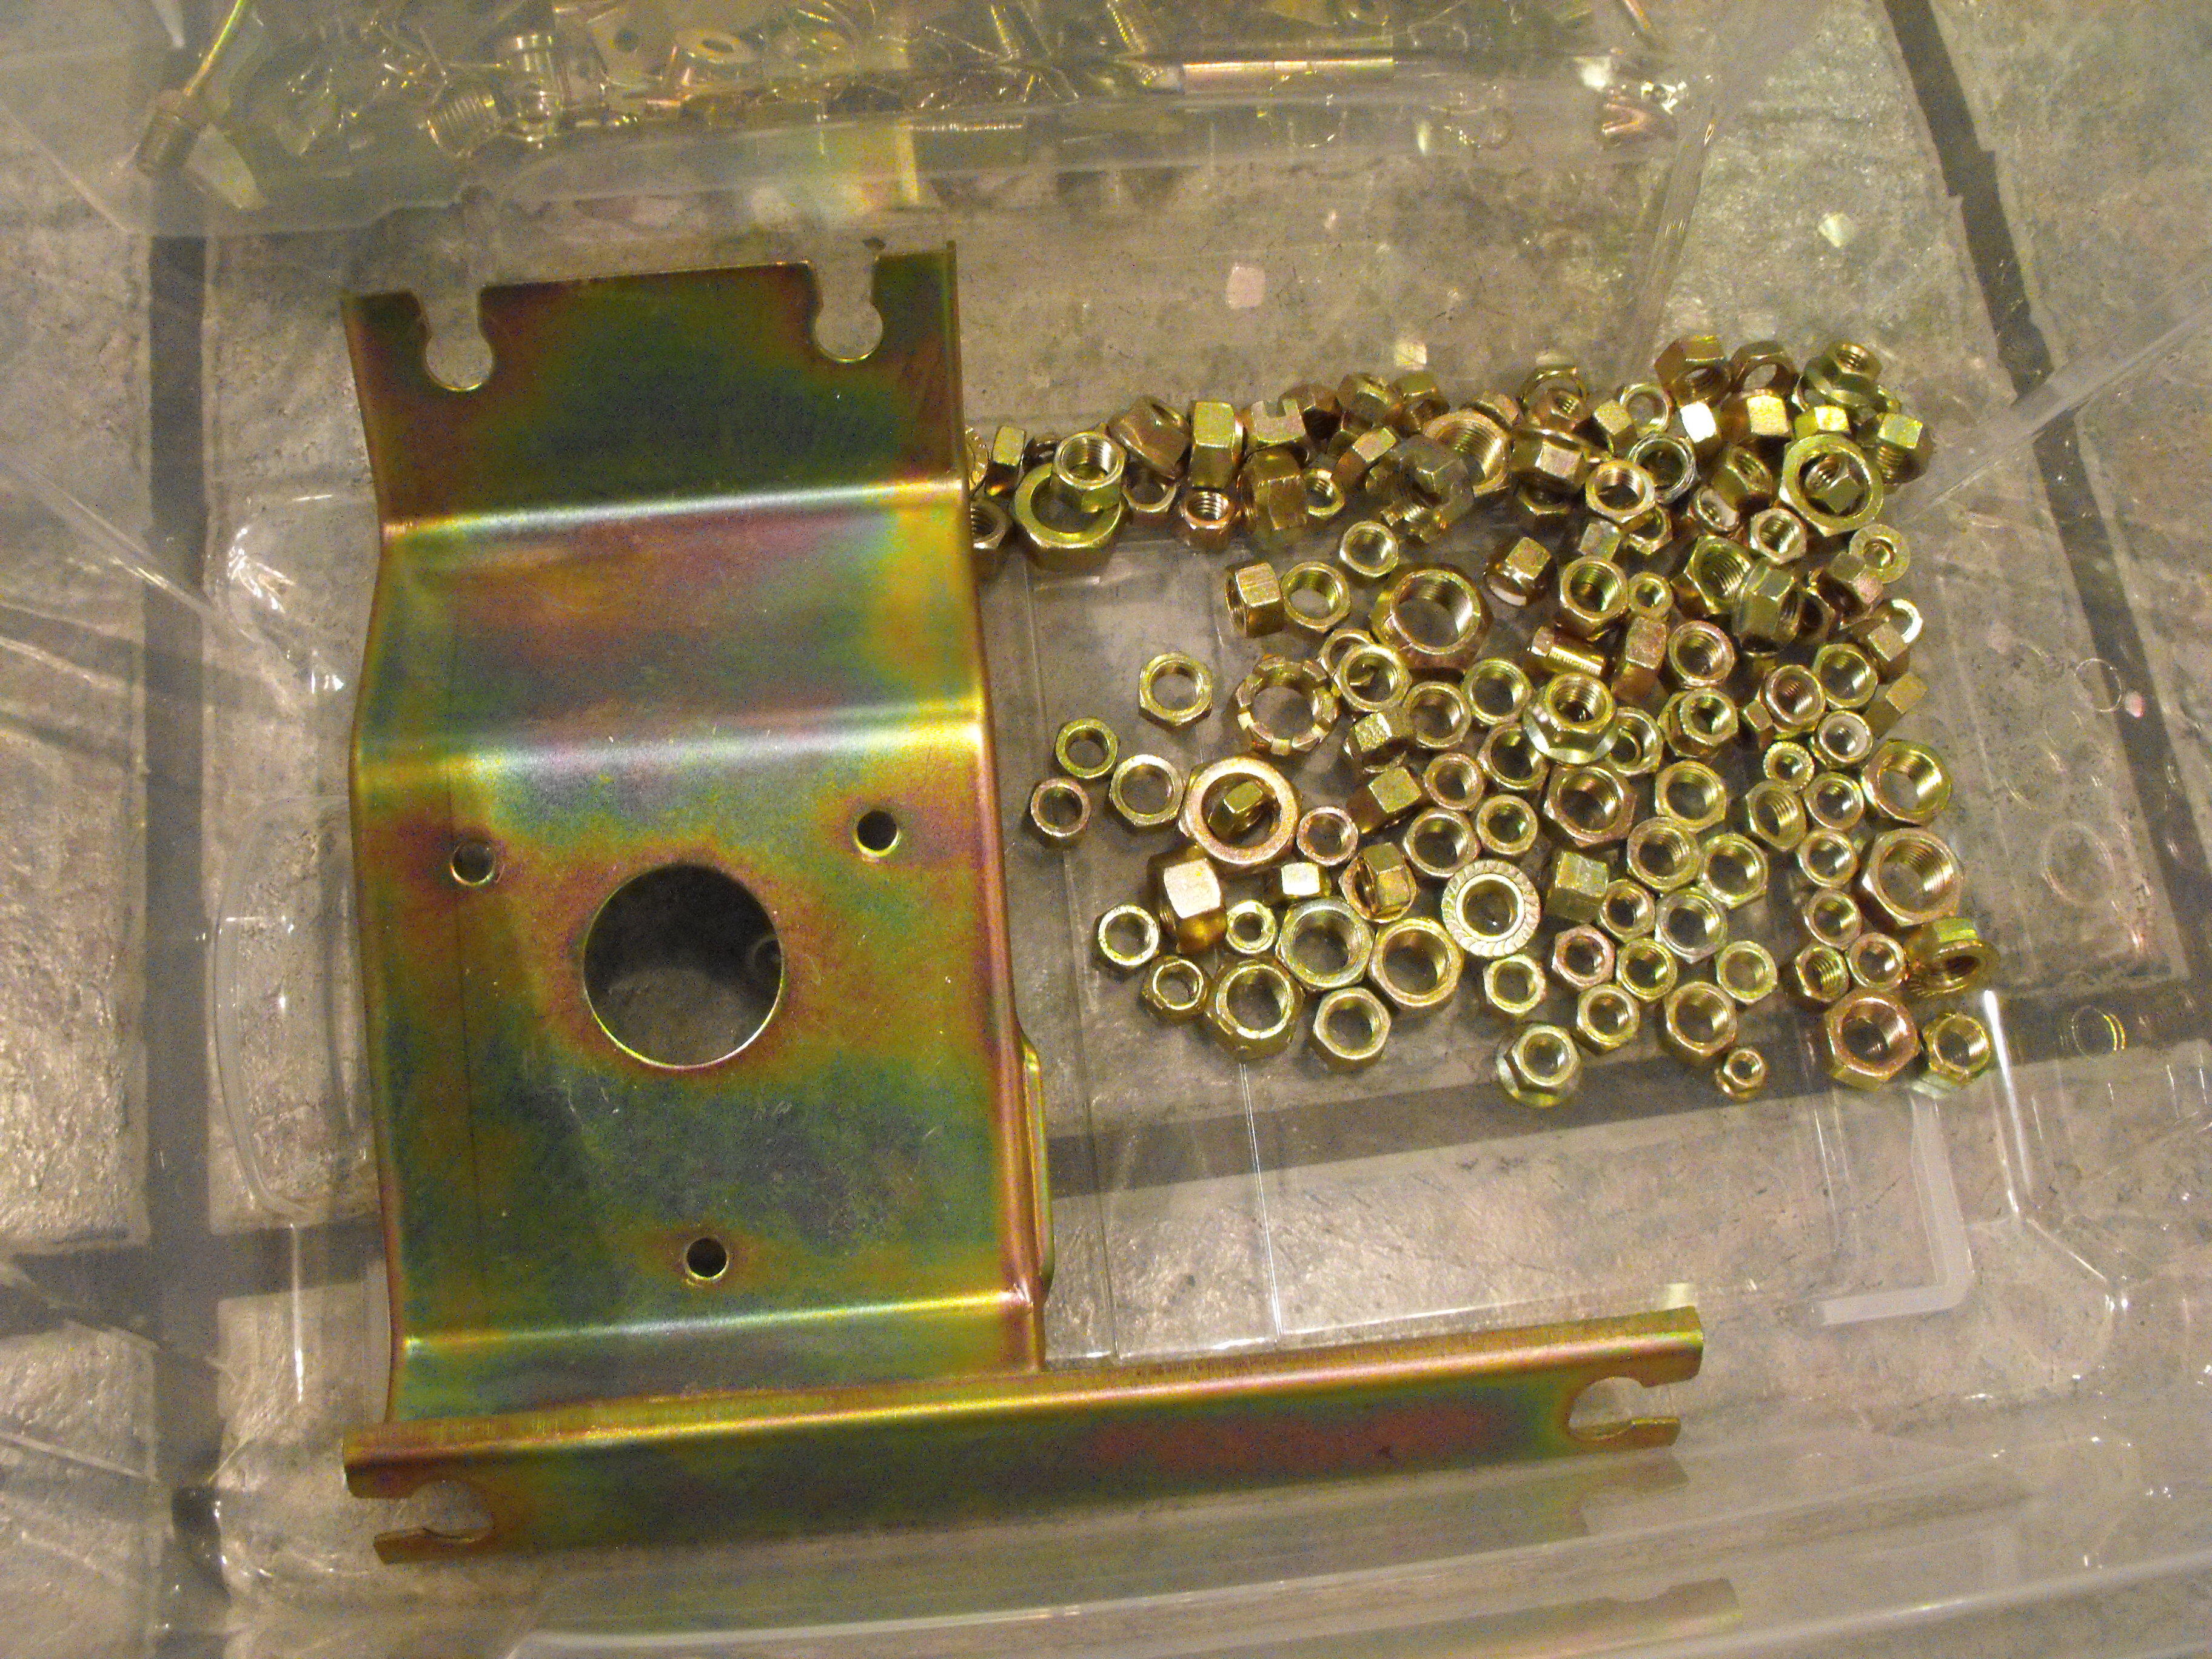
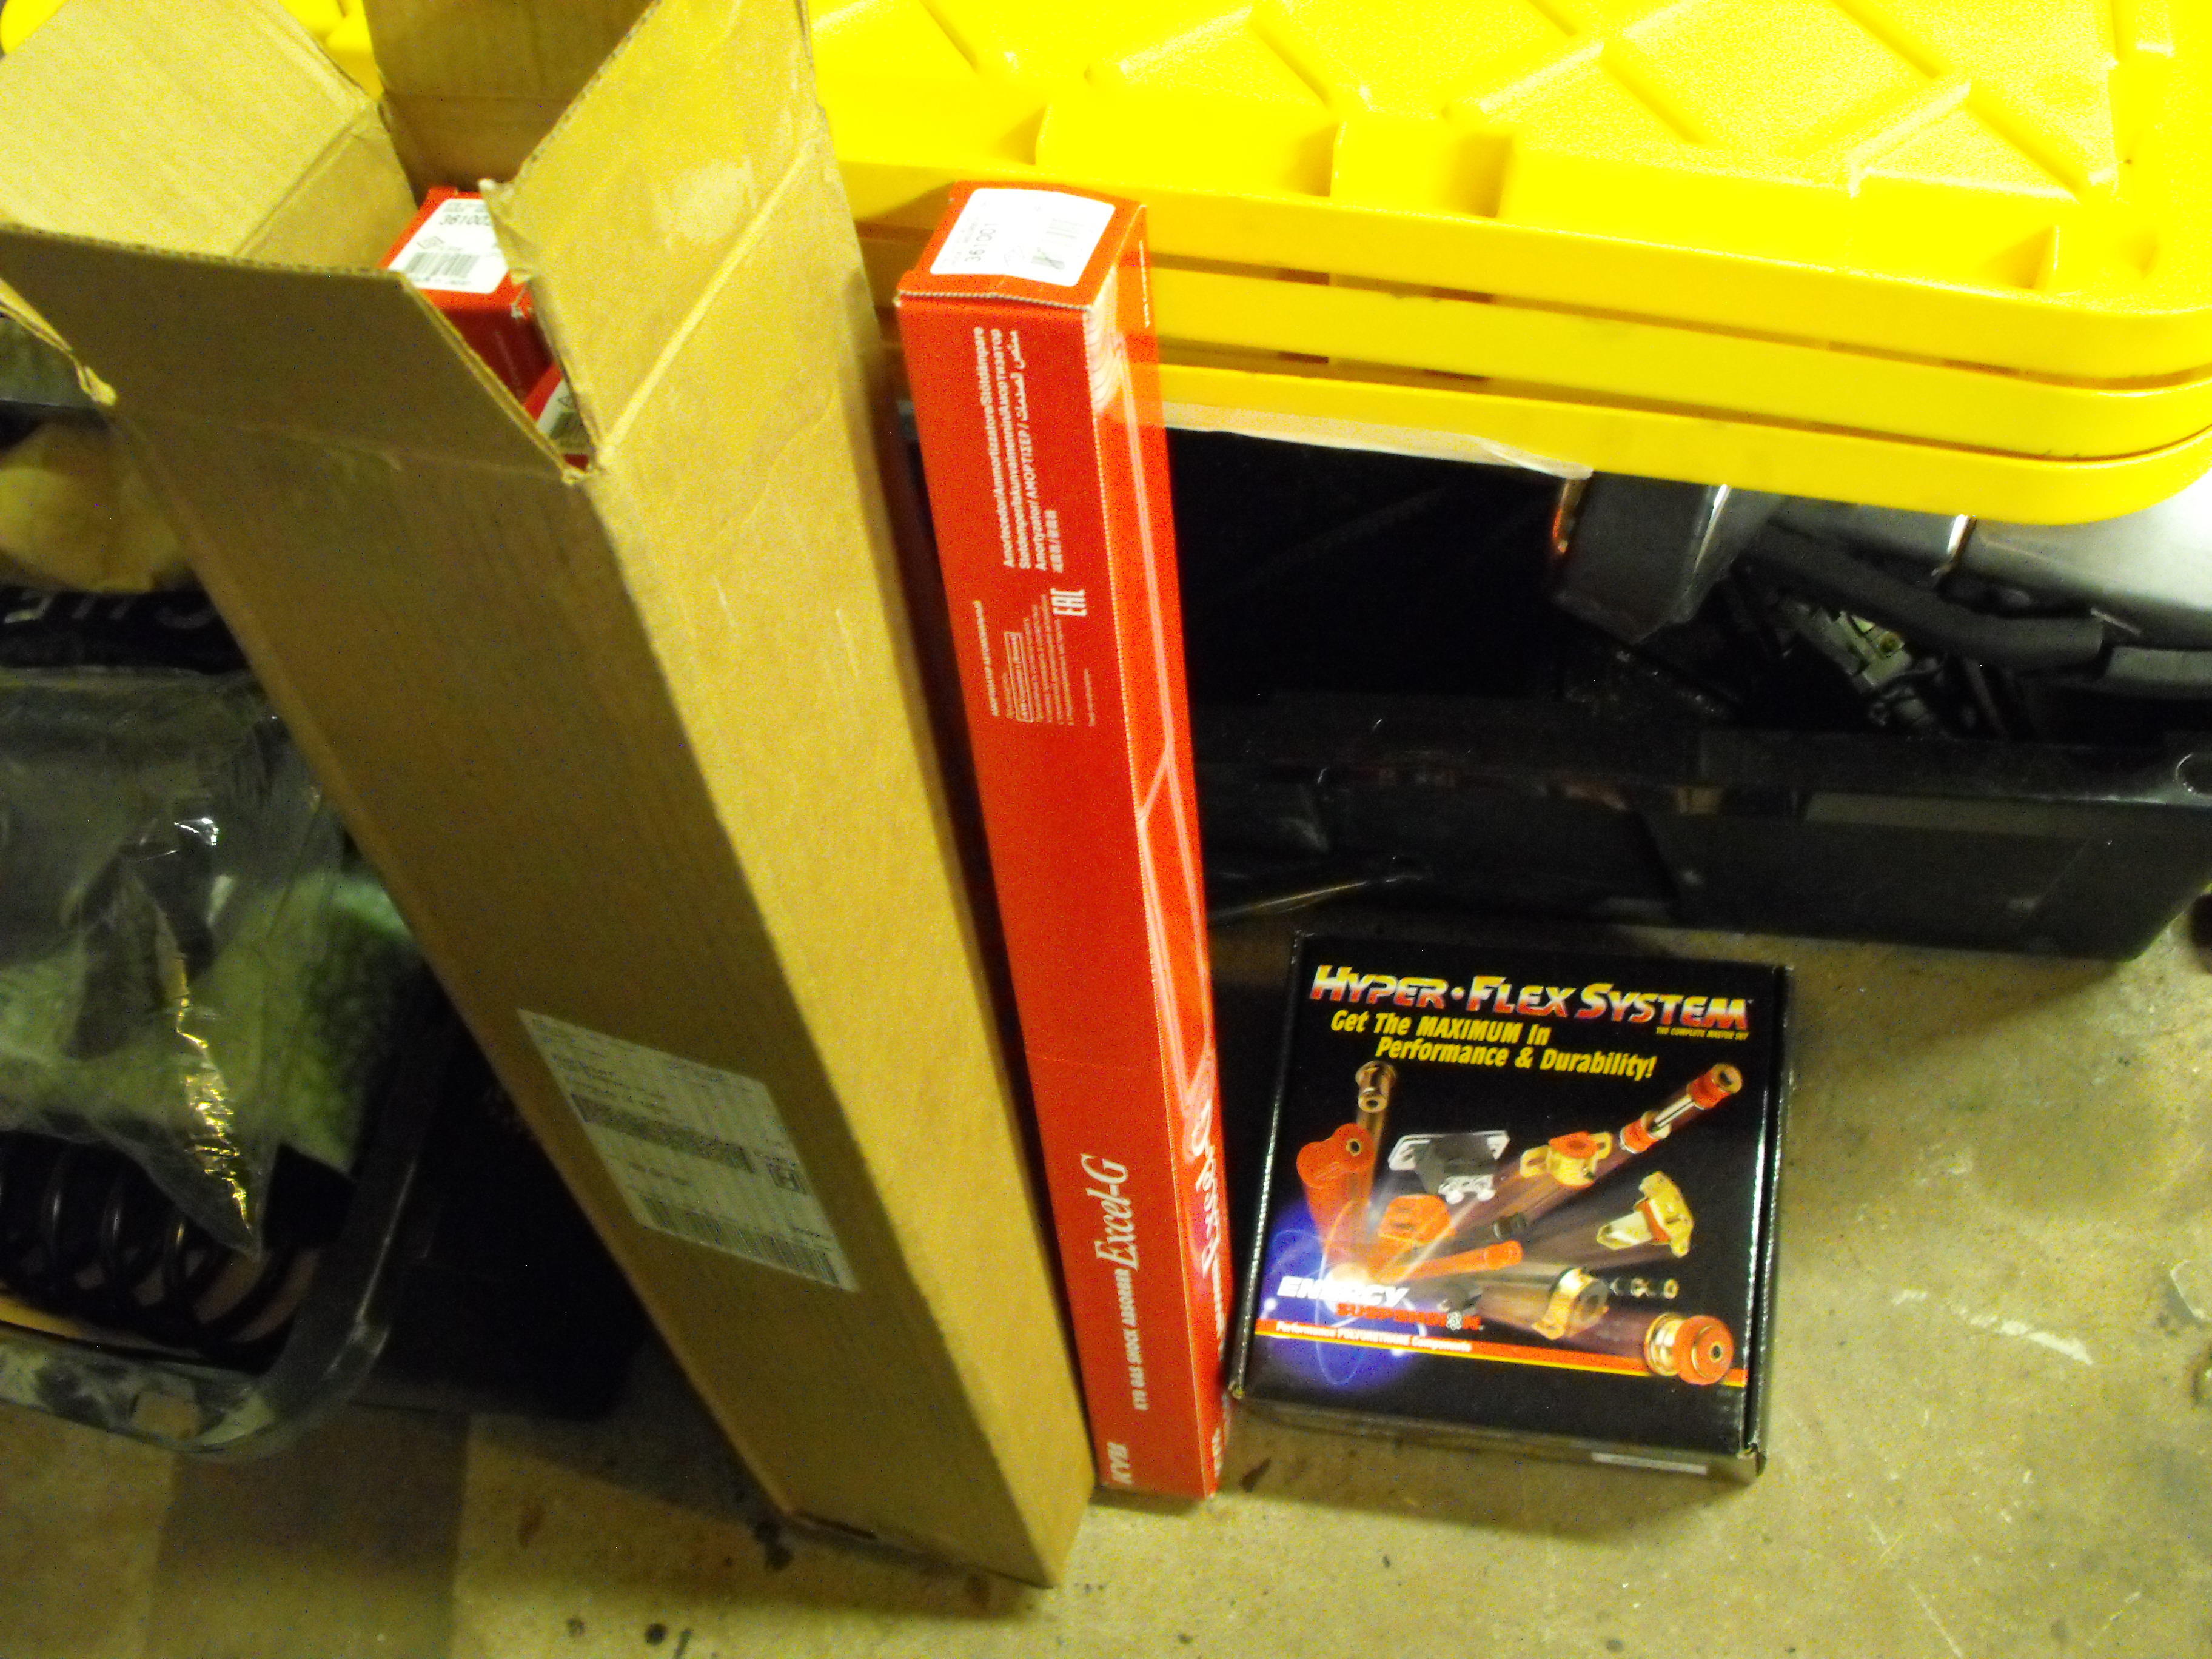
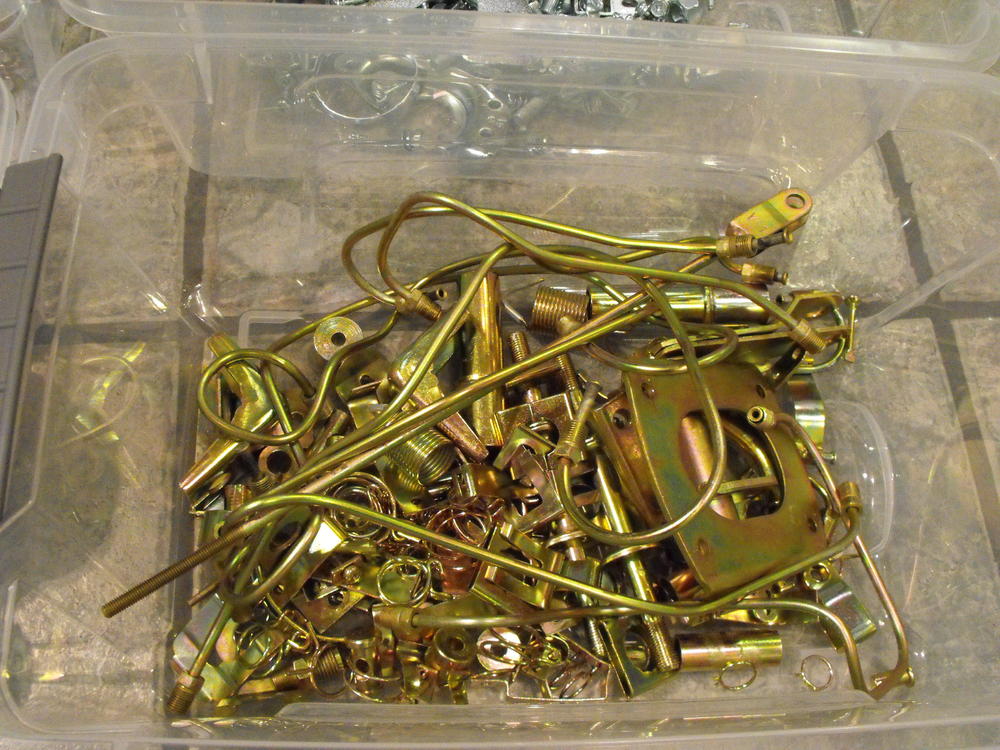
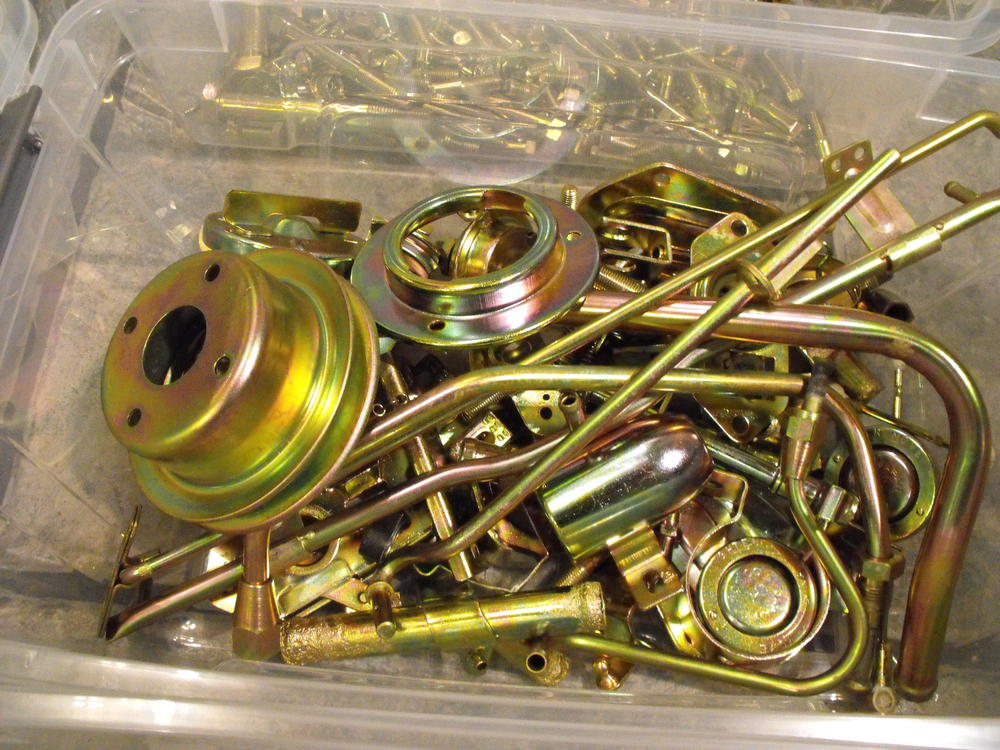
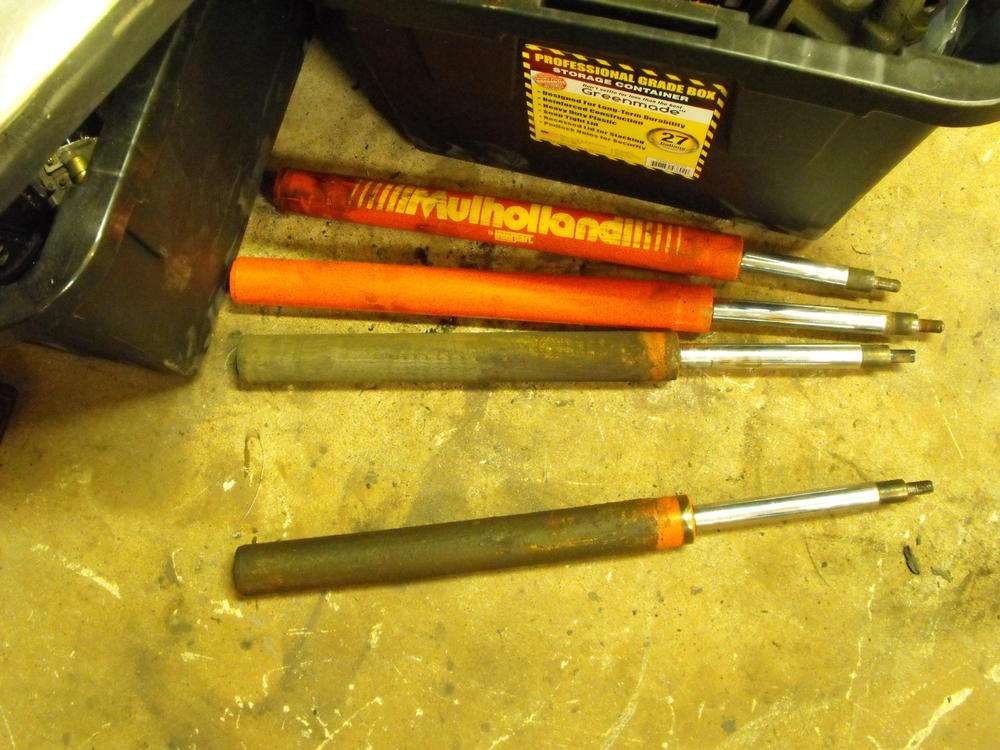
The plated parts arrived today, all 44 pounds worth. The parts look great, not sure if the pictures do them justice. I got the shocks out of the struts...finally. Actually the rears came out pretty easy. The fronts were not so easy. I soaked the left front strut for about a week in Kroil and PB blaster before finally tapping the strut off of the shock. Can you guess which two shocks were in the front from the picture below? ? The nuts that held the shocks in were also a challenge. I ended up heating the strut with my map gas torch and then putting ice on the nut, then loosening. That seemed to work pretty well. Also, note the 'Mulholland' shocks. Those are pretty retro. Not sure if they are around an more. Anyway, I will now clean up the struts, paint them, and then assemble with the nice new parts: KYB's, Energy suspension kit and newly plated fasteners. This is the fun part.


-

Japanese classic auto show this weekend at the Queen Mary!
motorman7 replied to Grubb240Z's topic in 240K Skyline
Pretty sure it is not at the Queen Mary this year. Location has changed. -
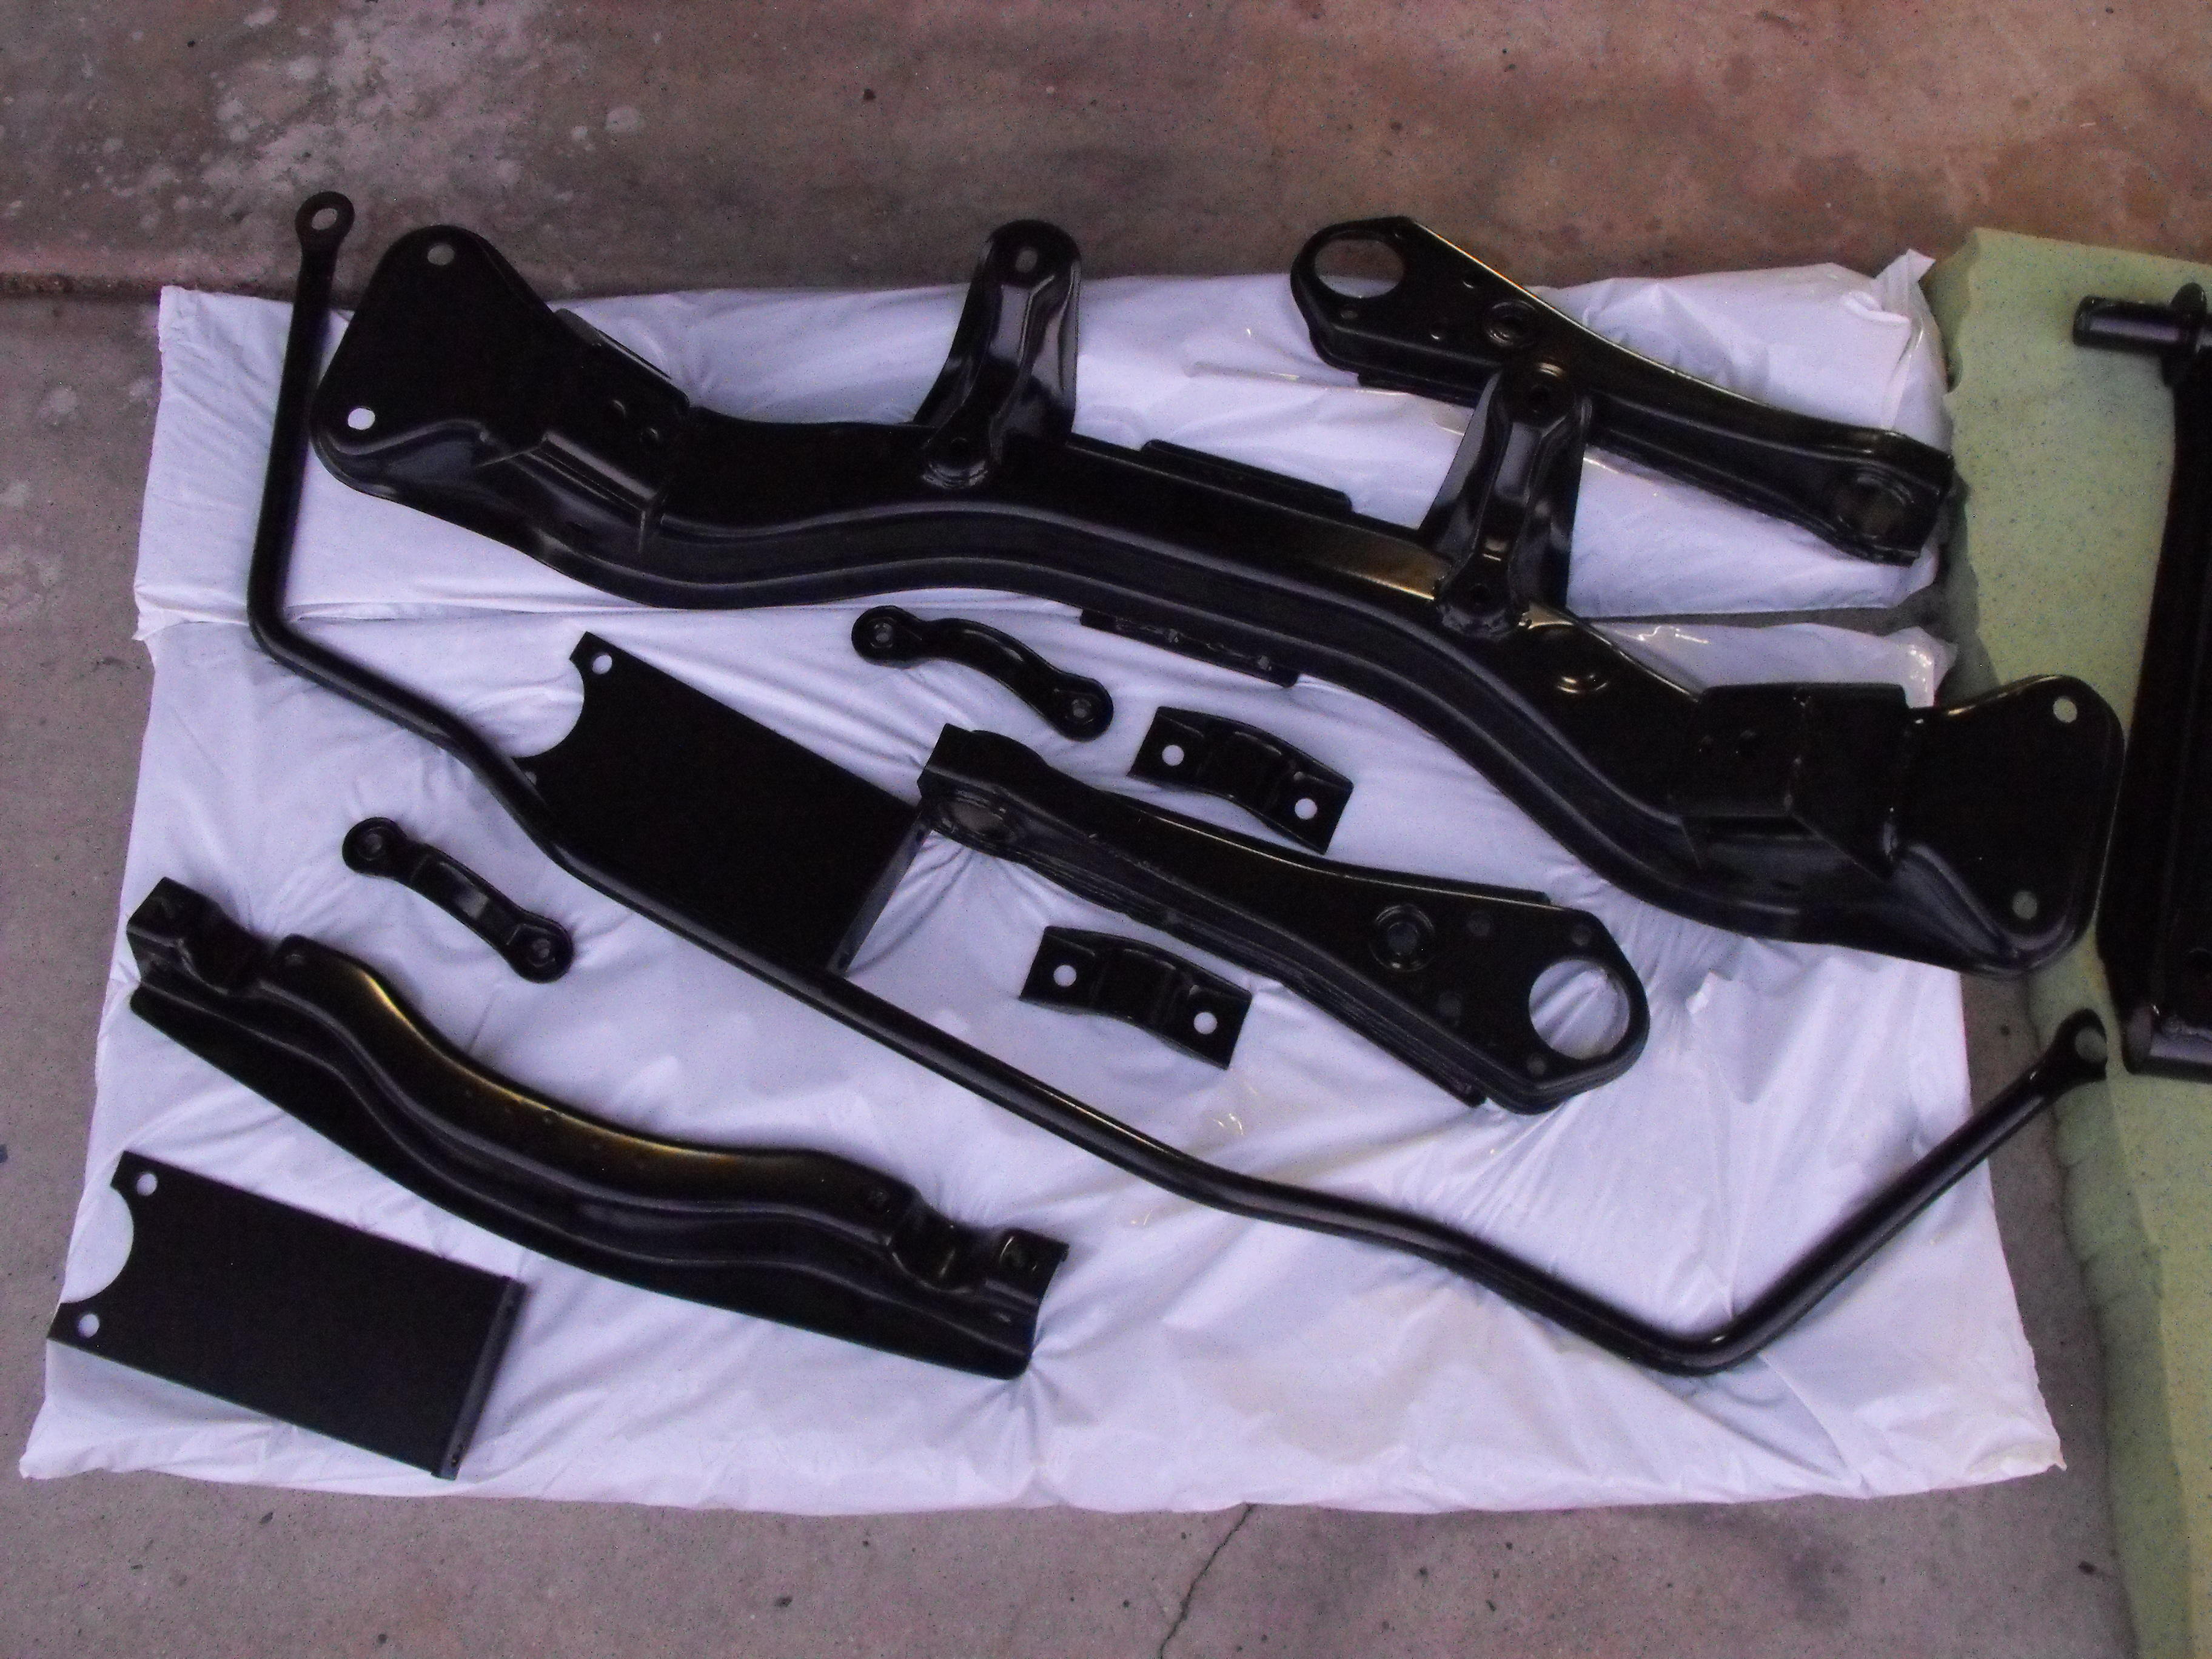
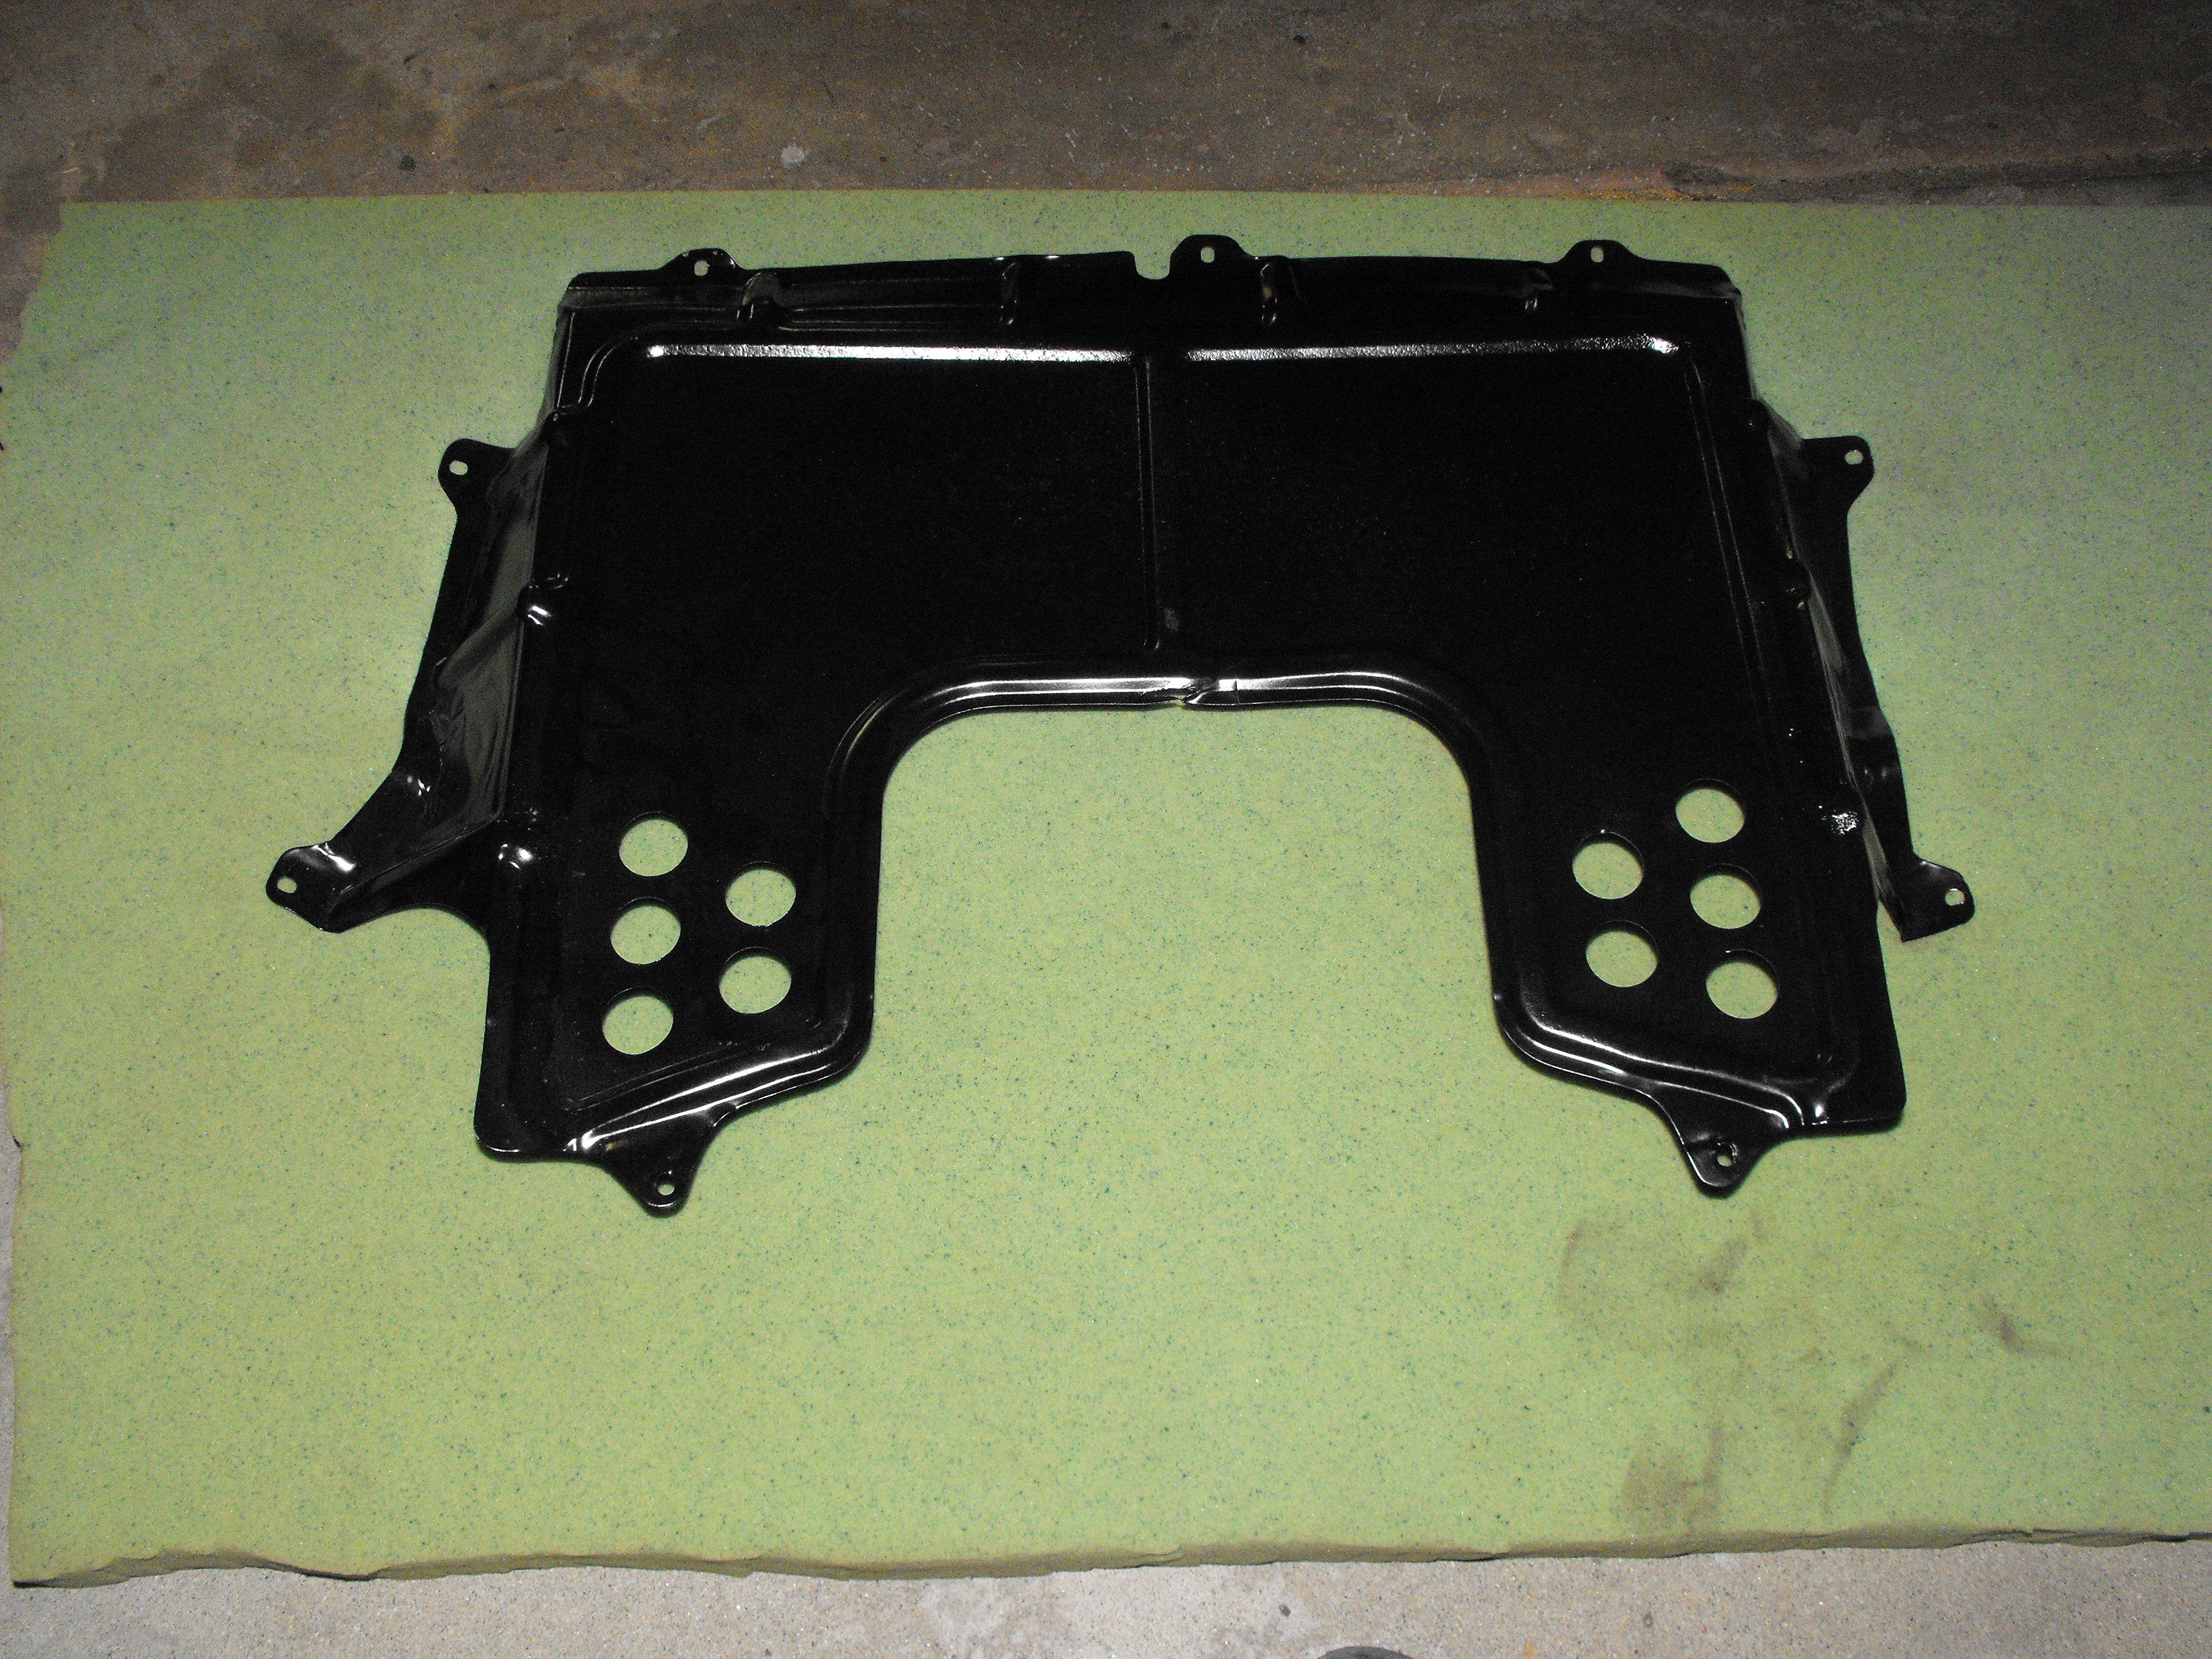
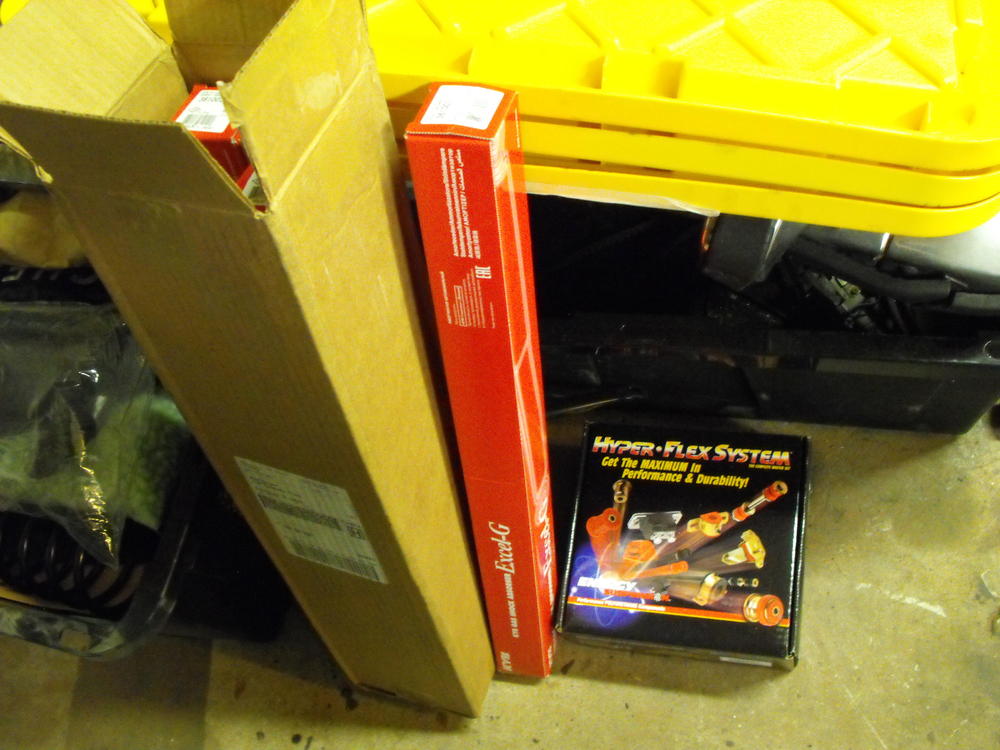
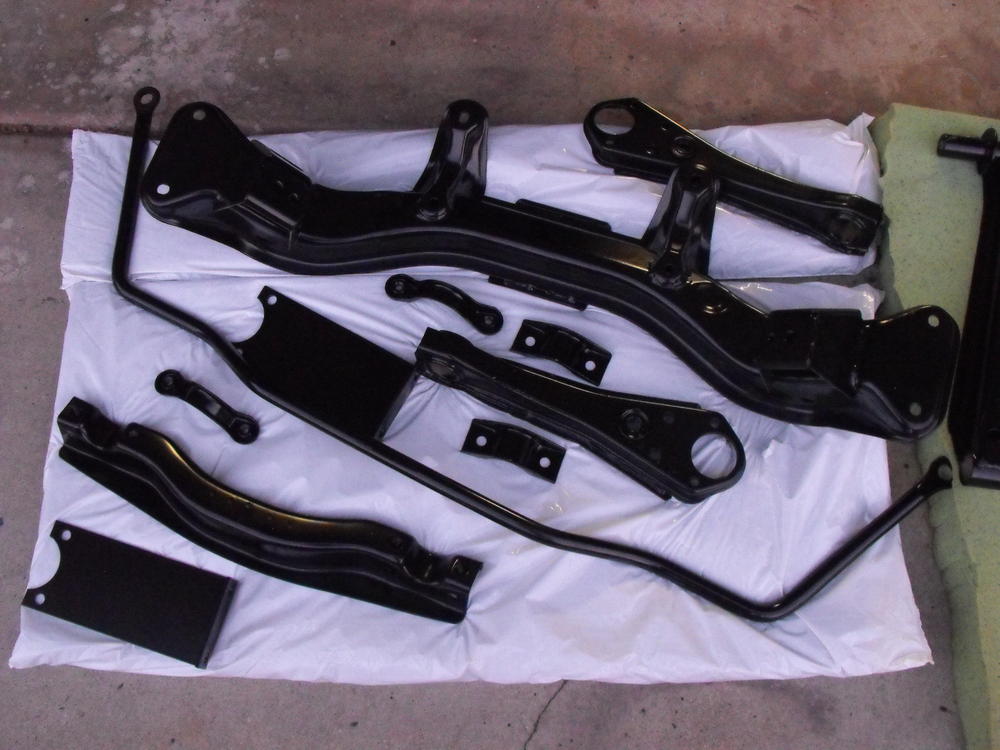
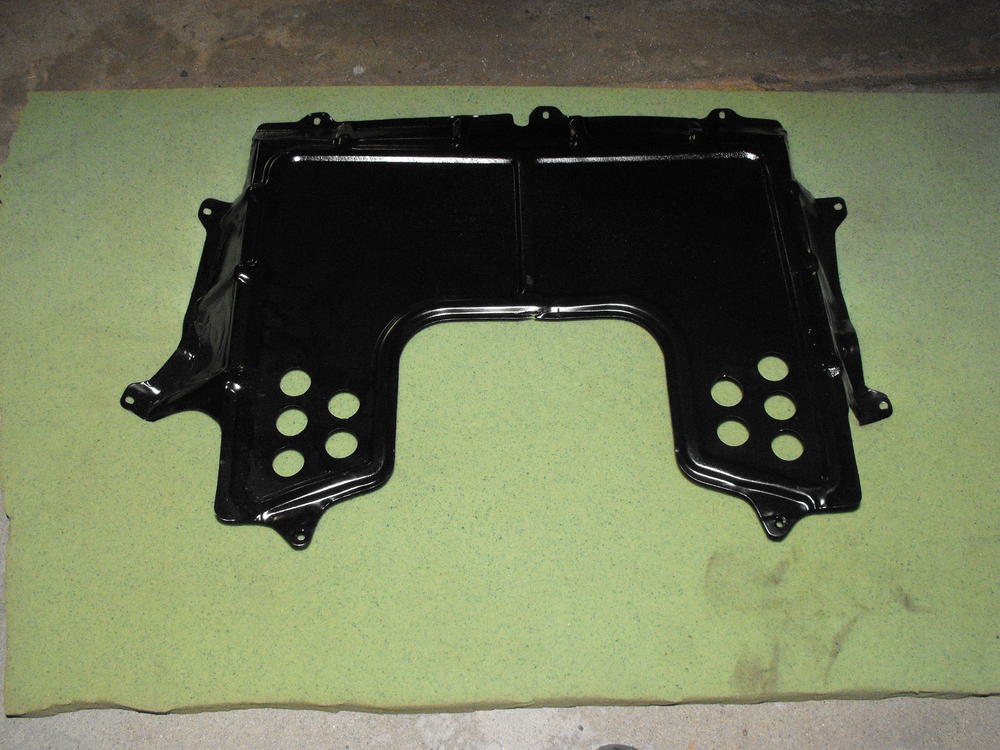
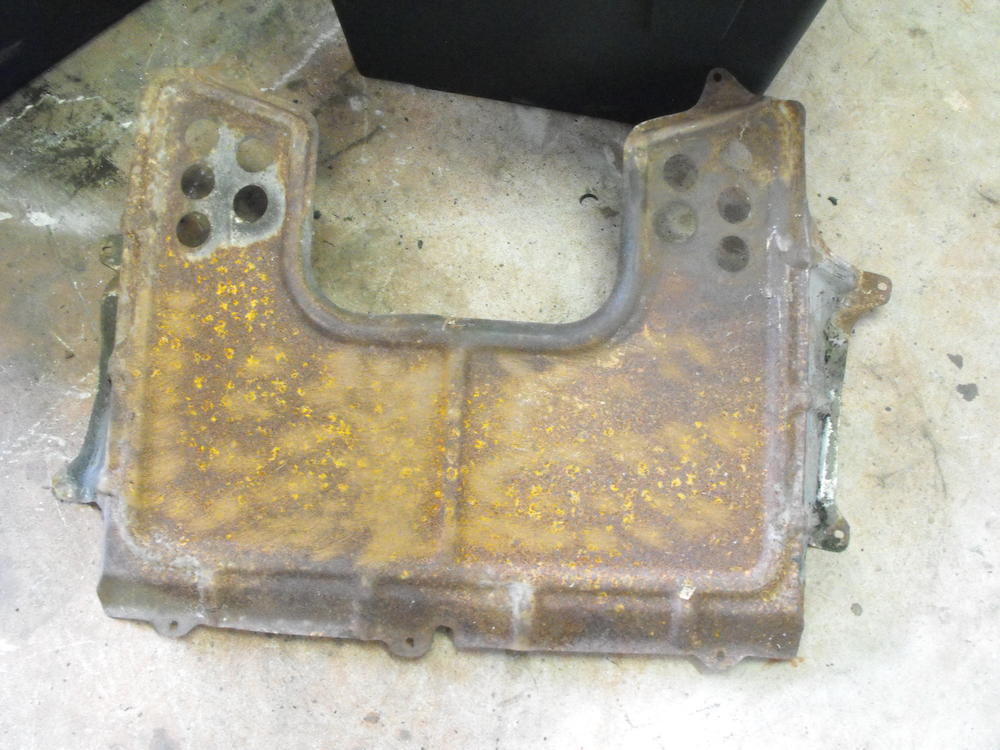
Got parts back from the Powder coat shop. I love working with fresh clean parts. The shocks arrive tomorrow, Energy suspension kit will be here Wednesday, and my zinc plated parts should be here by Friday. Nice to have all this coming together. I will do a little suspension pre-assembly while I wait for the body.....which will be a while. The splash pan is a little pock marked but not bad. Fortunately it is not a highly visible part. I will have to look into that some day. Although, I really like taking the parts to powder coat shop because they degrease and sand blast the parts clean. Plus they are relatively cheap given what they produce.


-
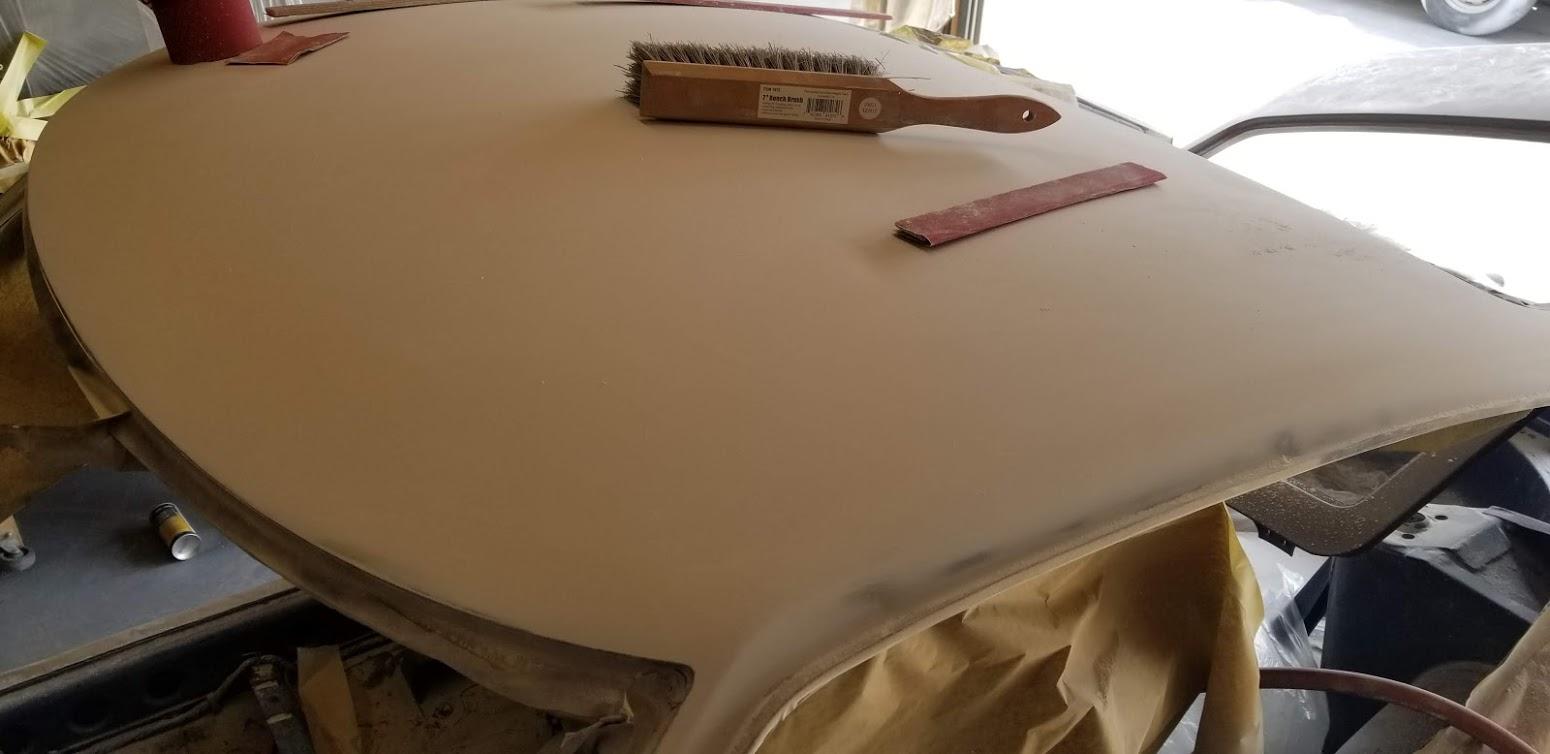
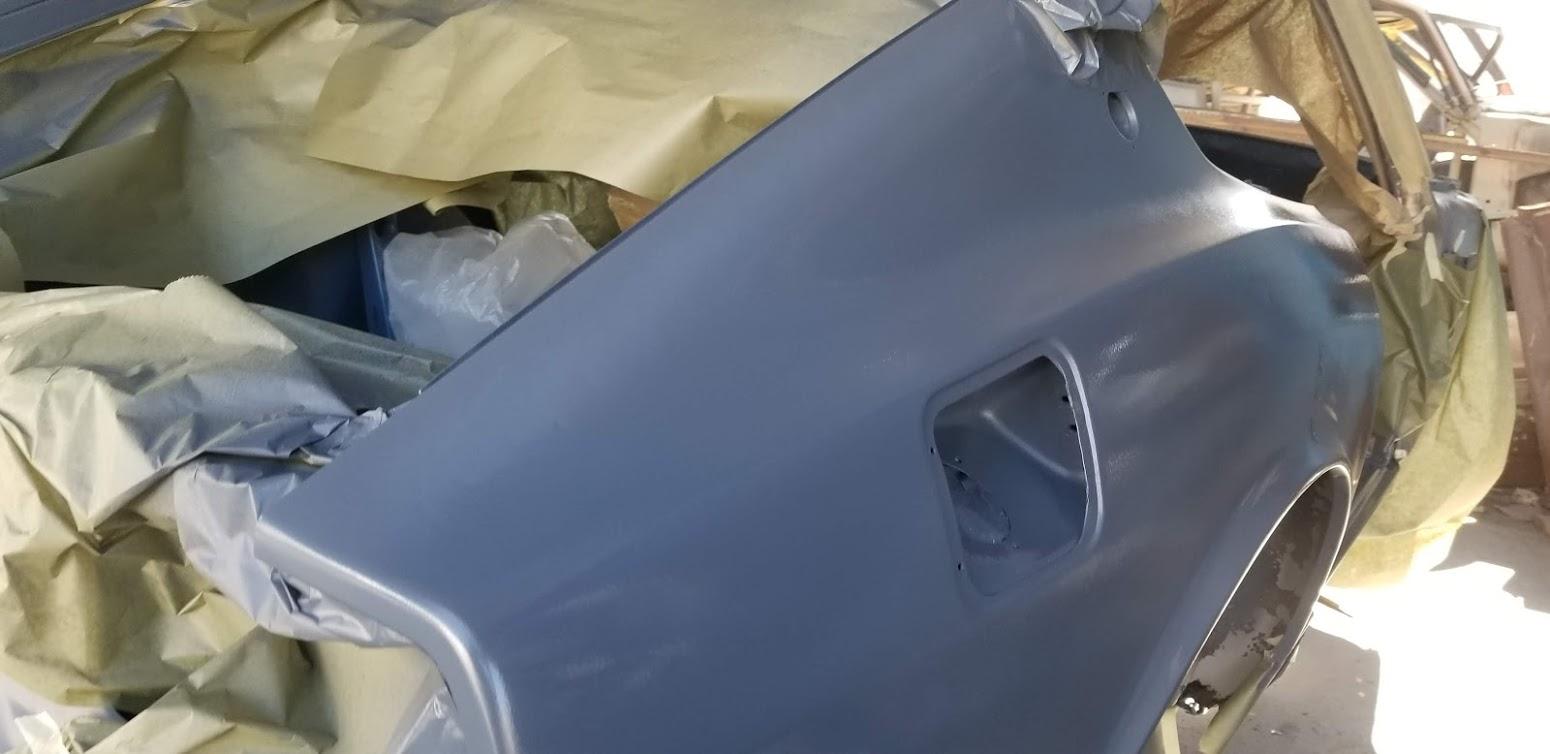
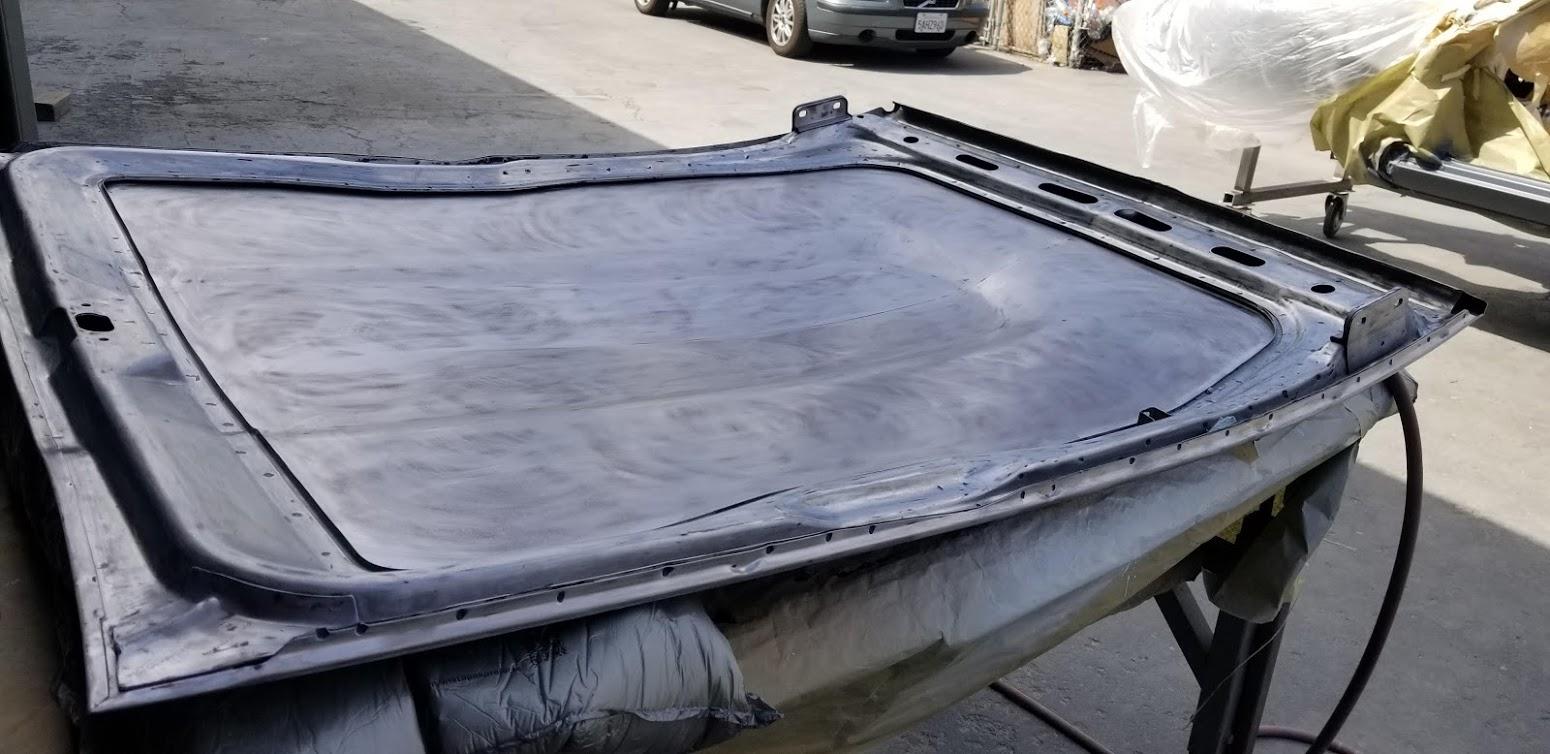
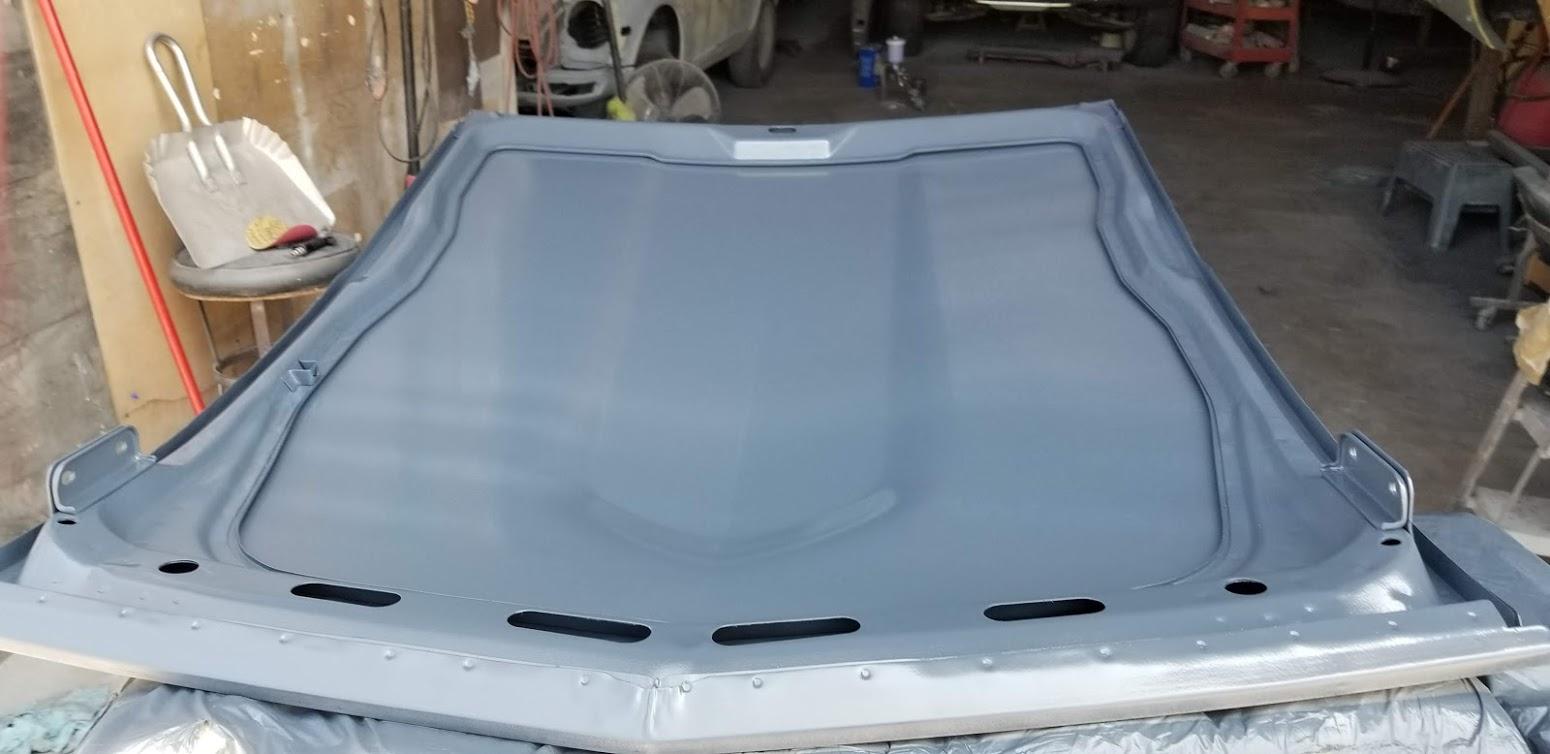
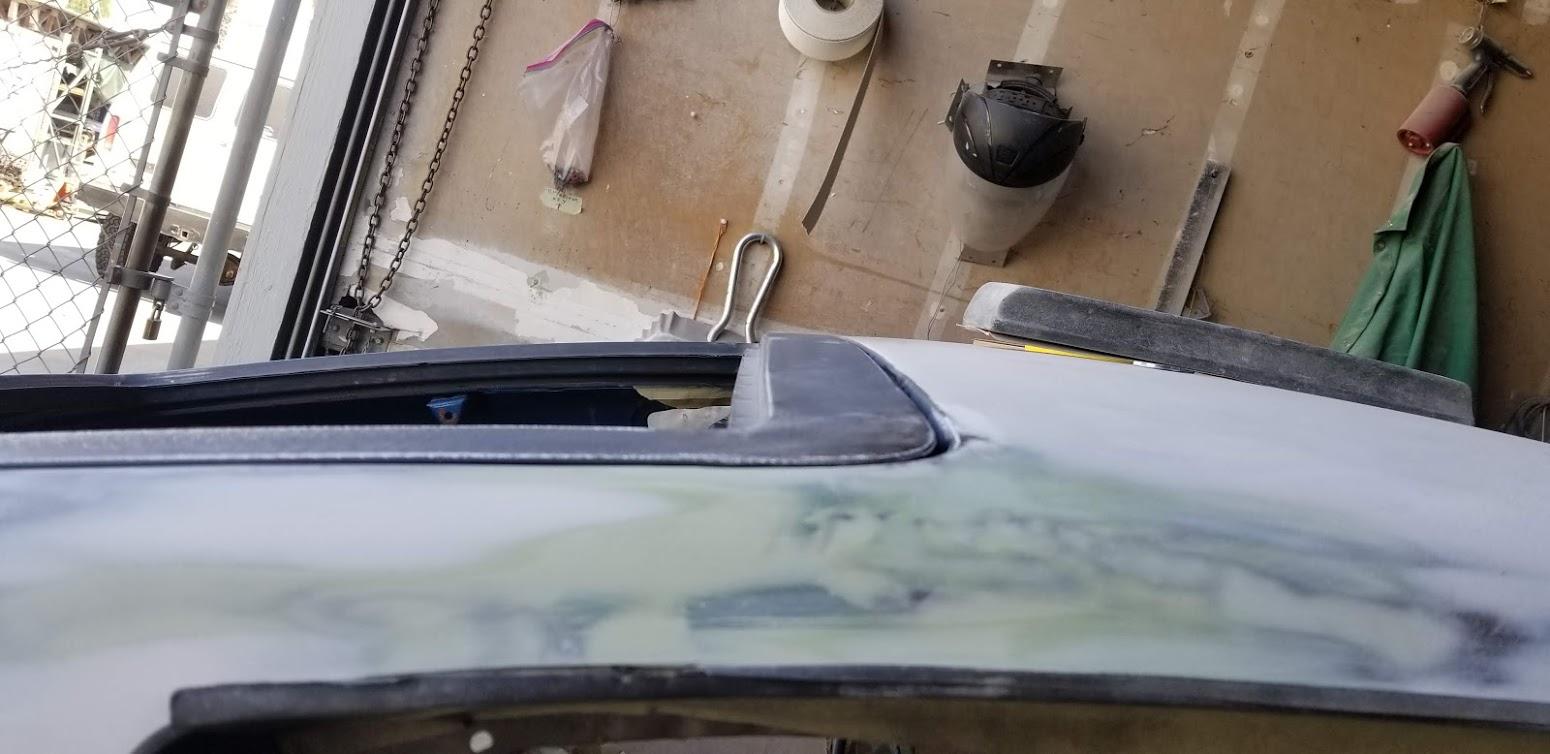
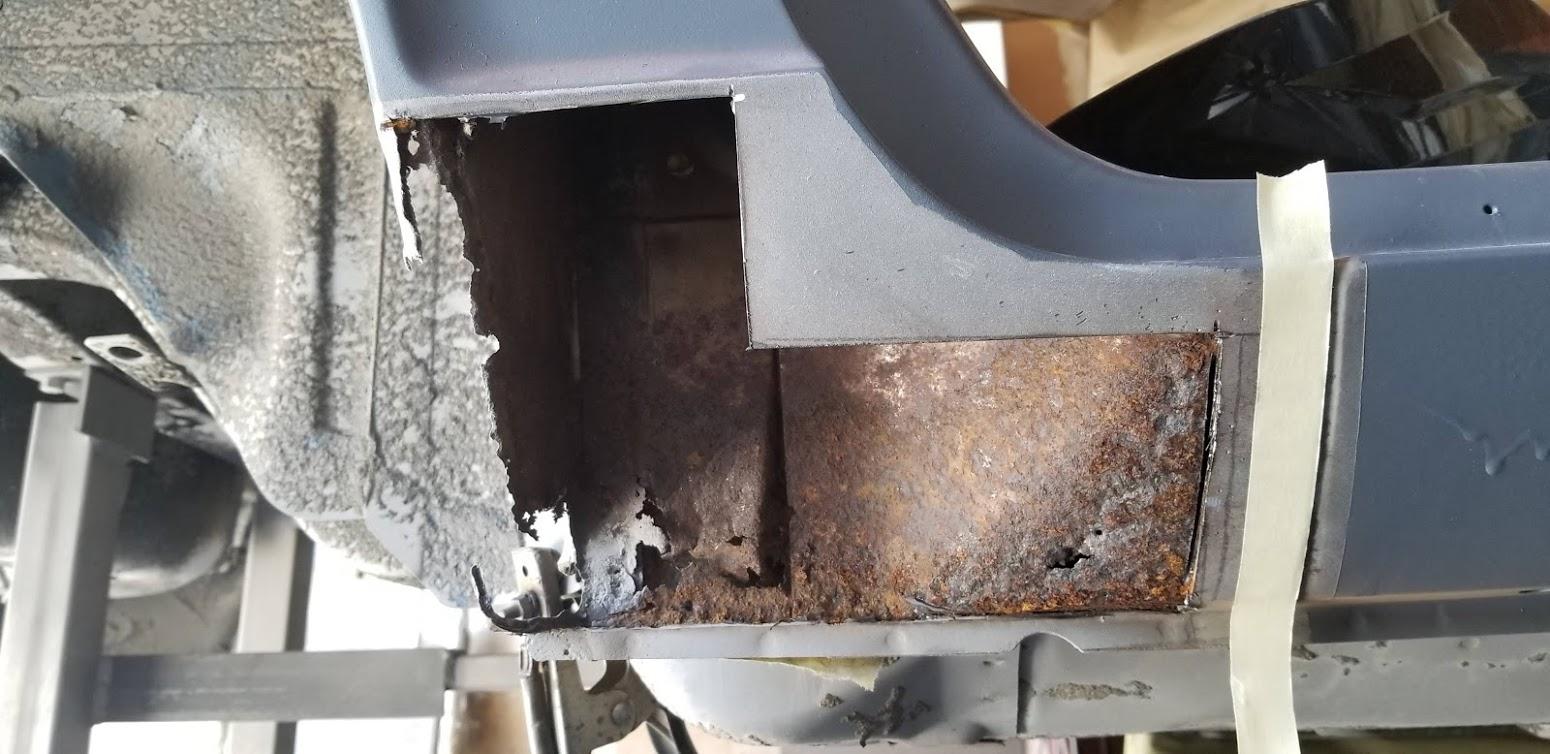
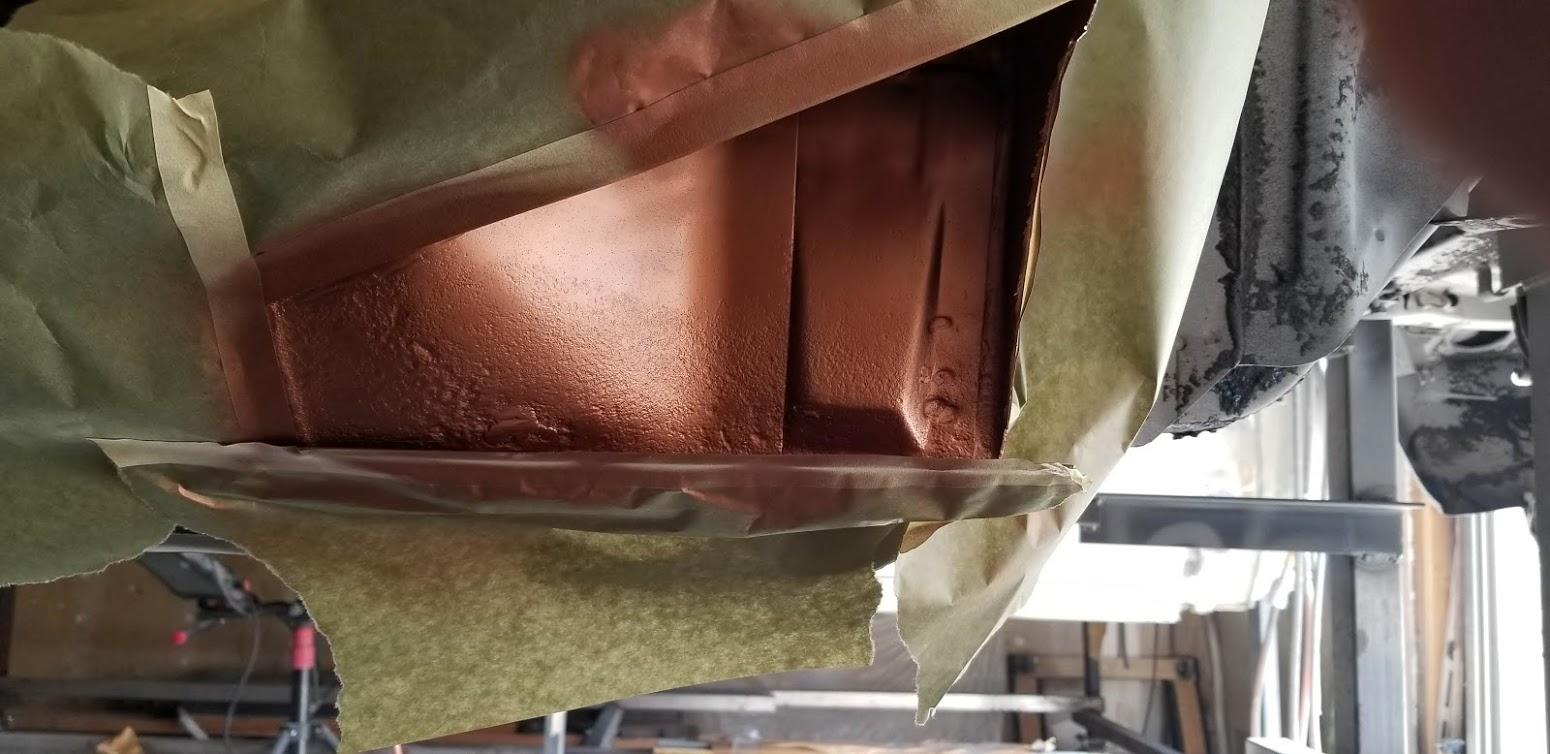
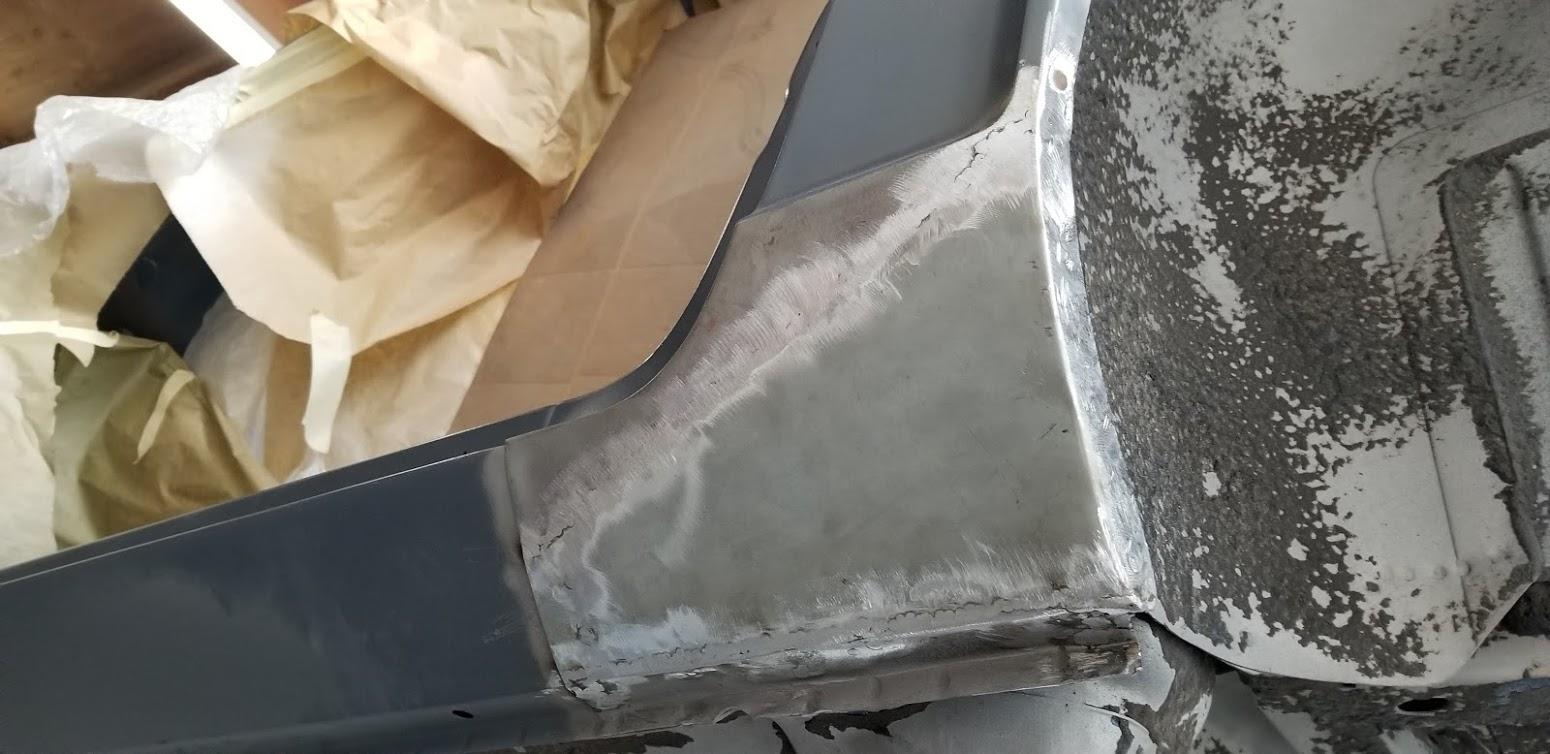
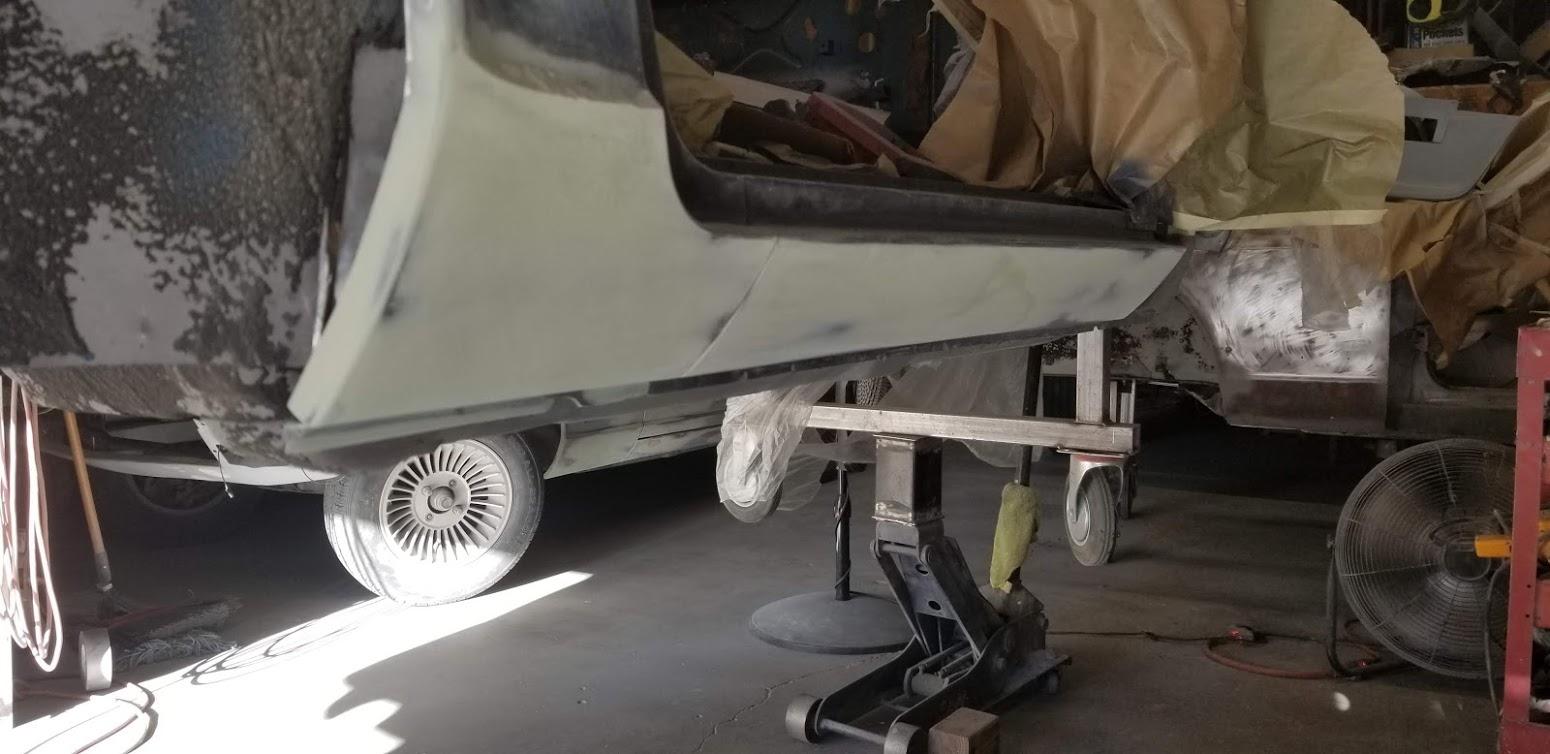
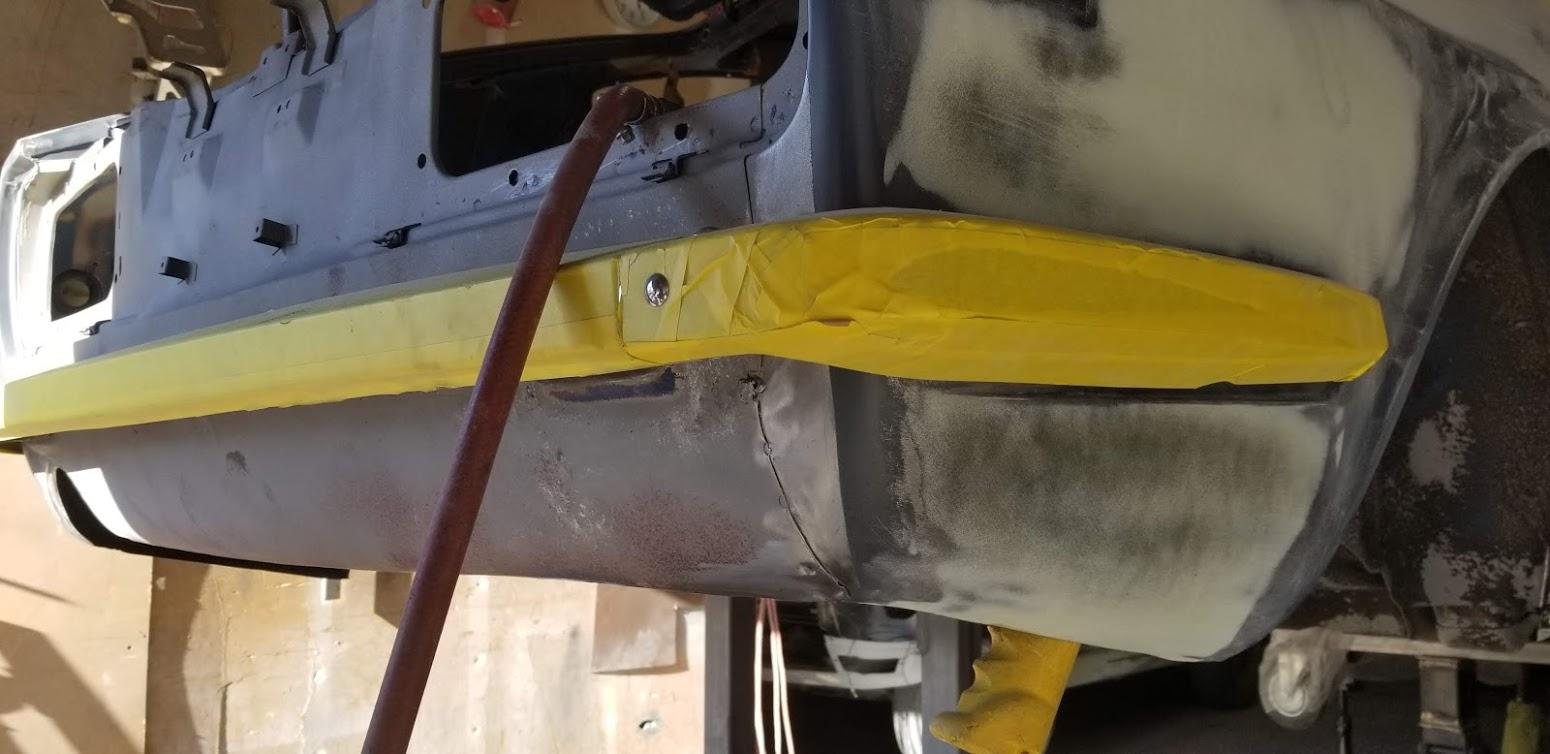
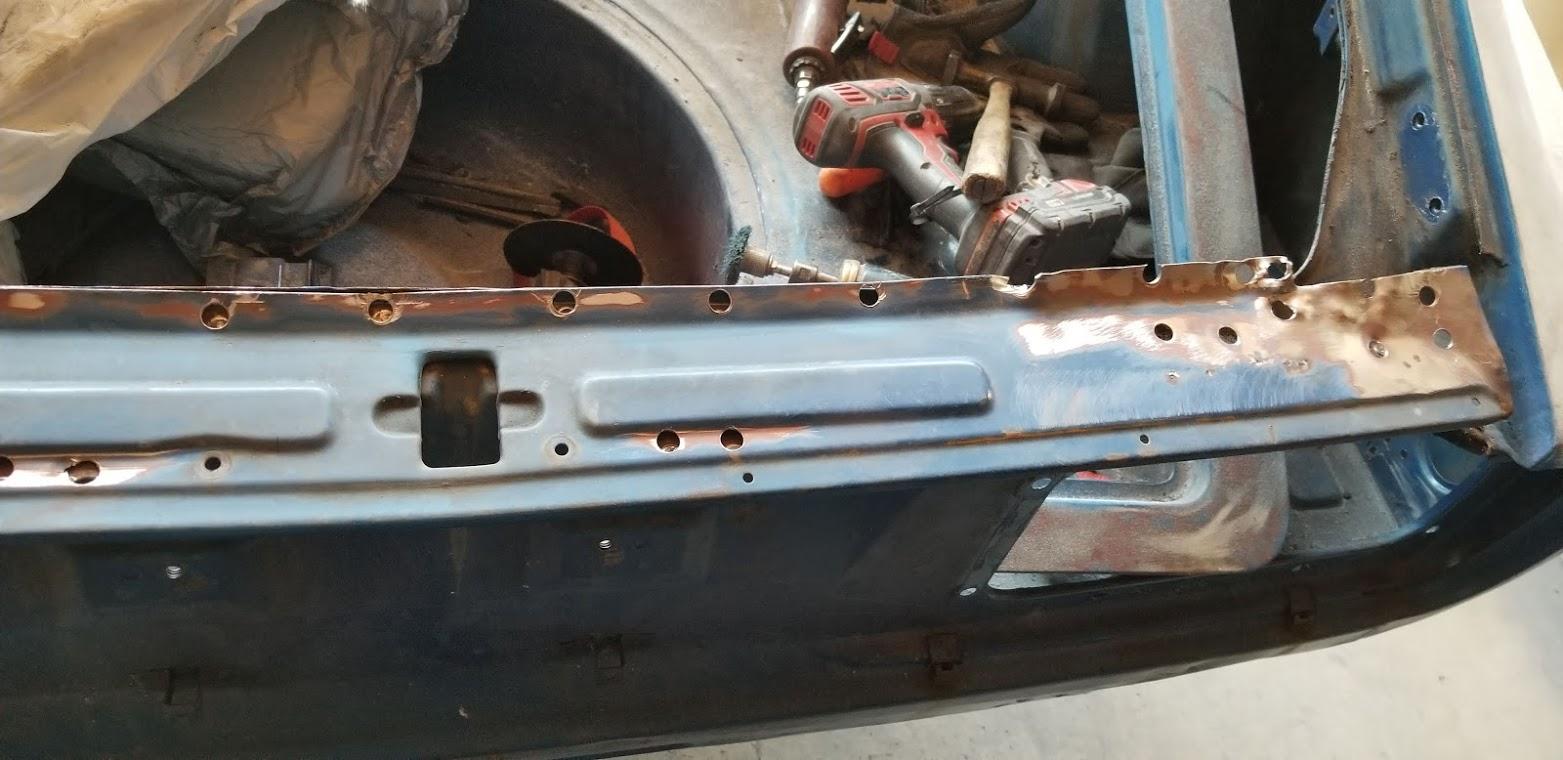
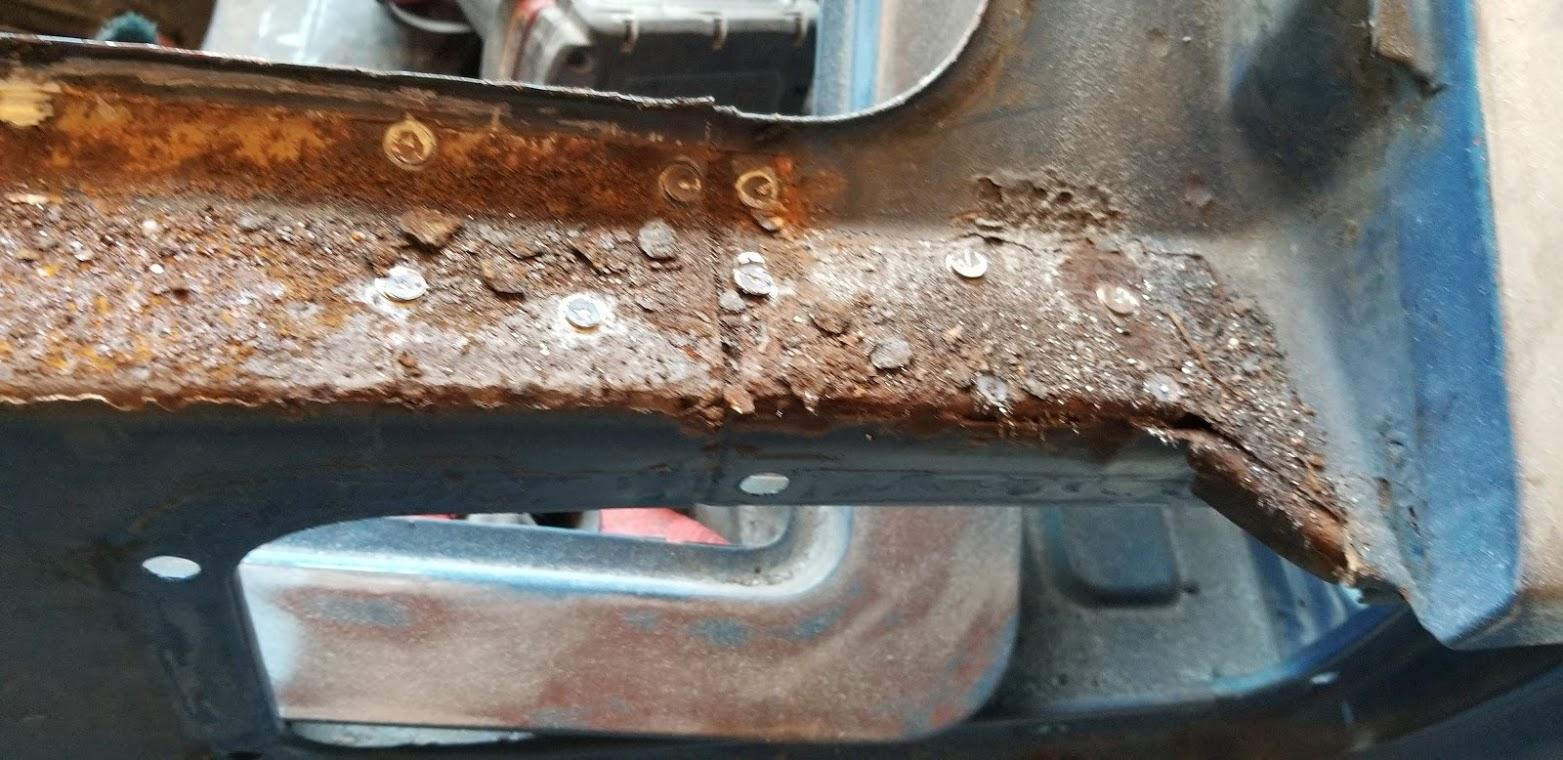
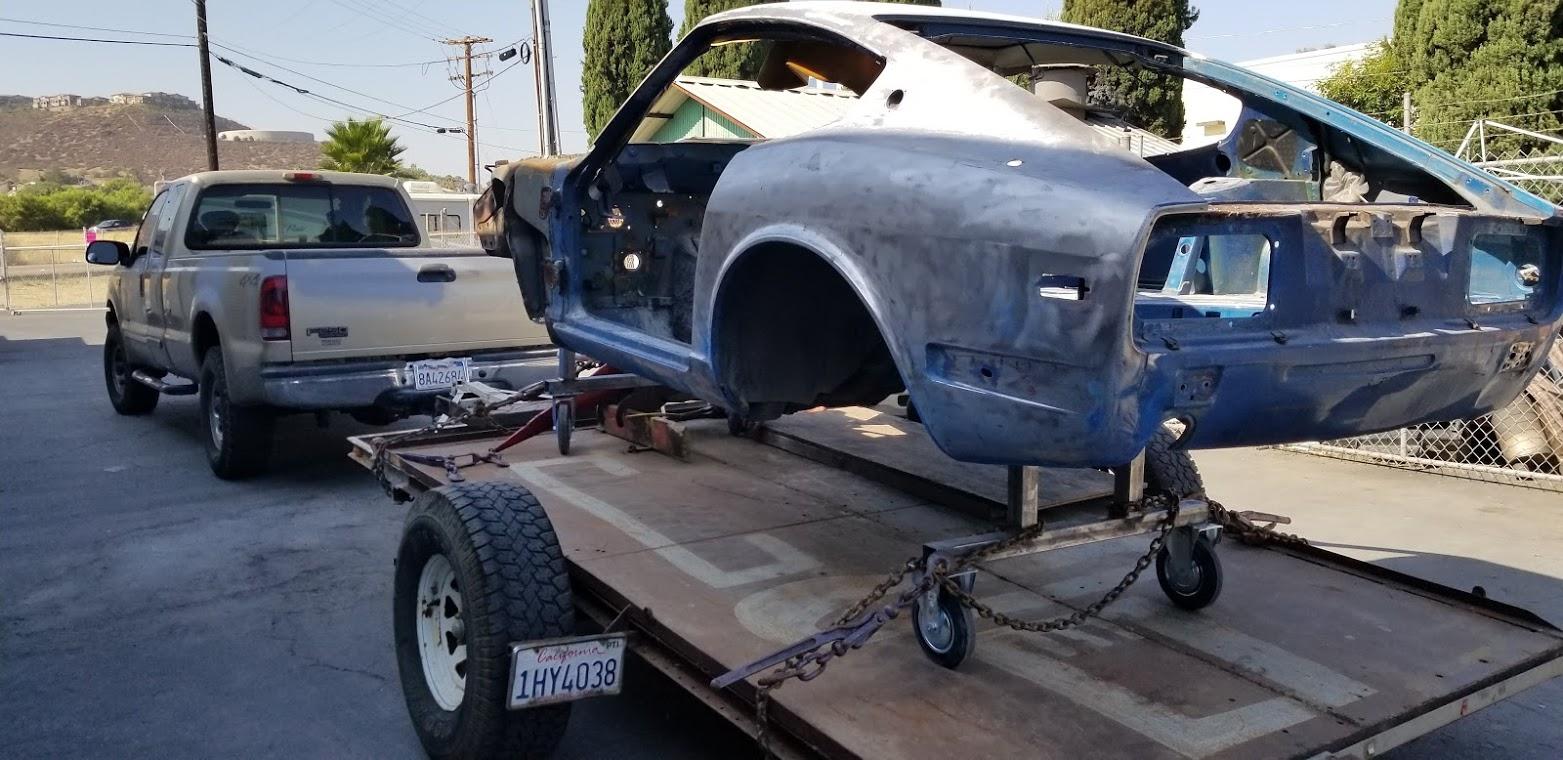
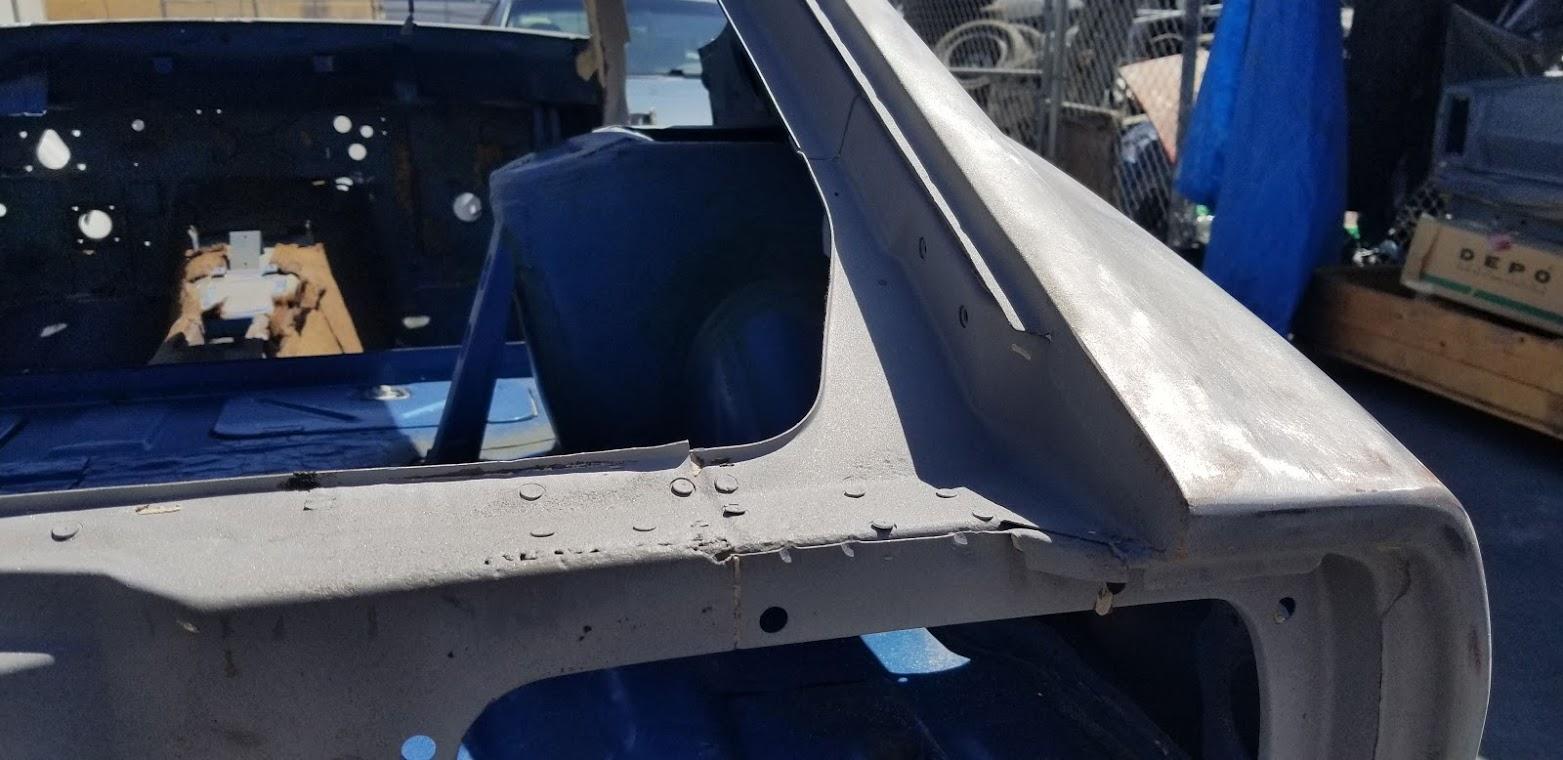
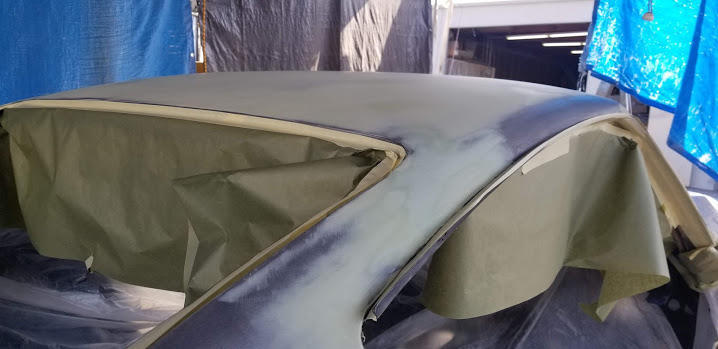
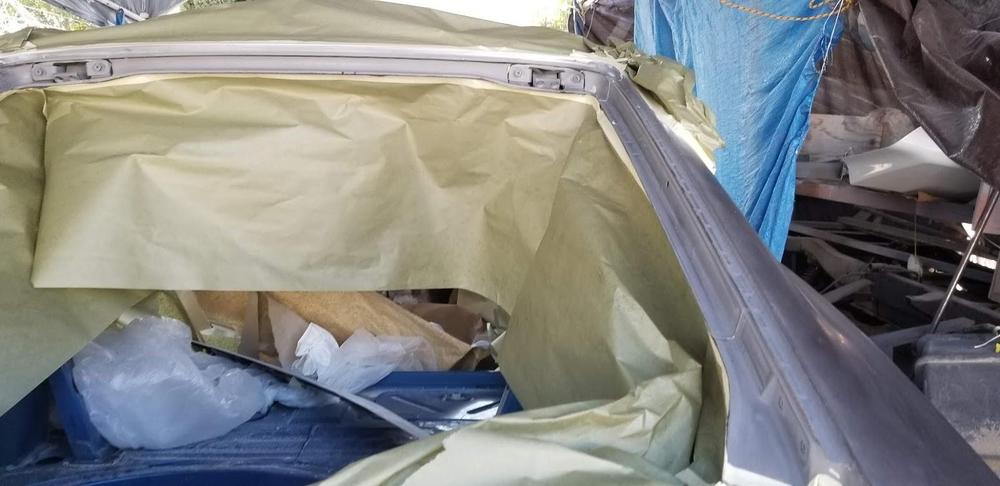
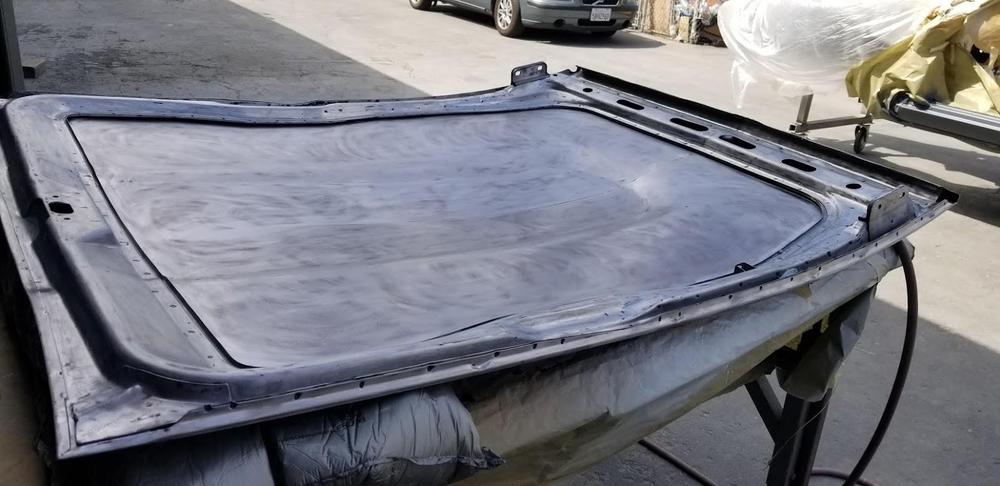
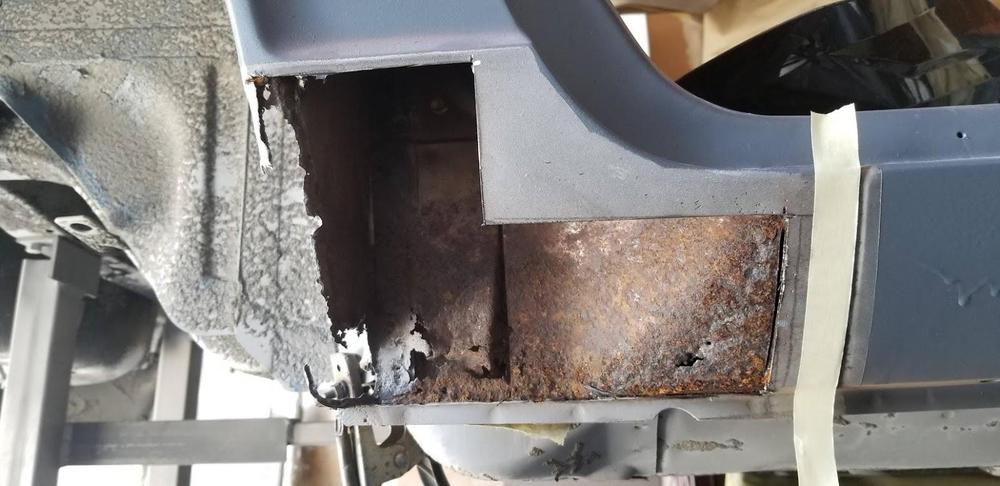
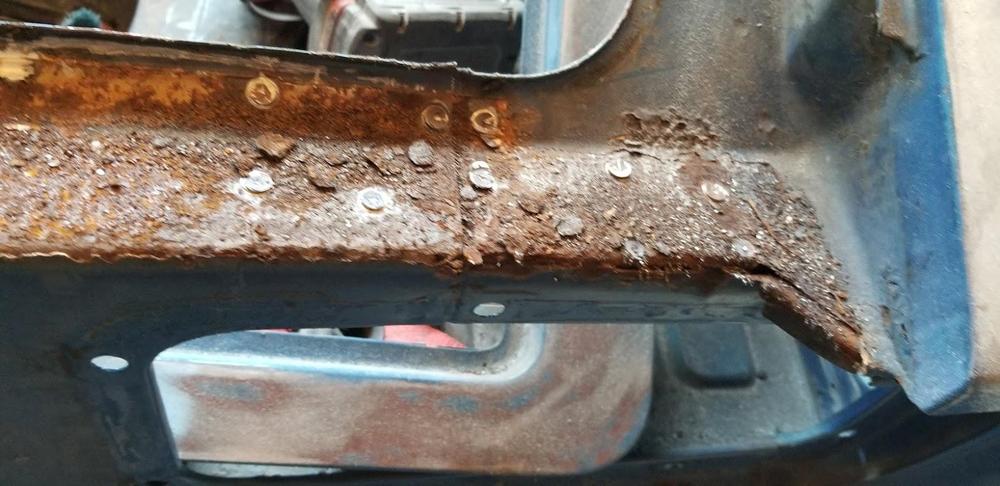
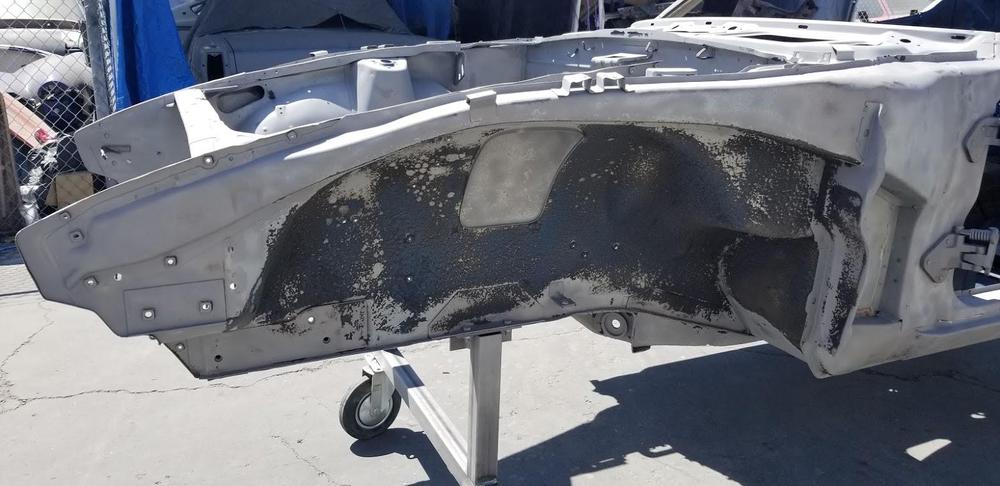
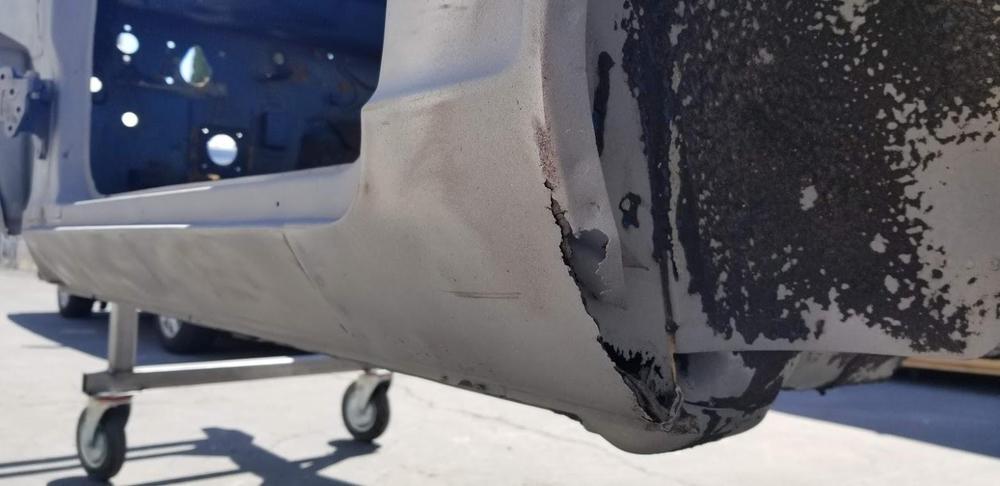
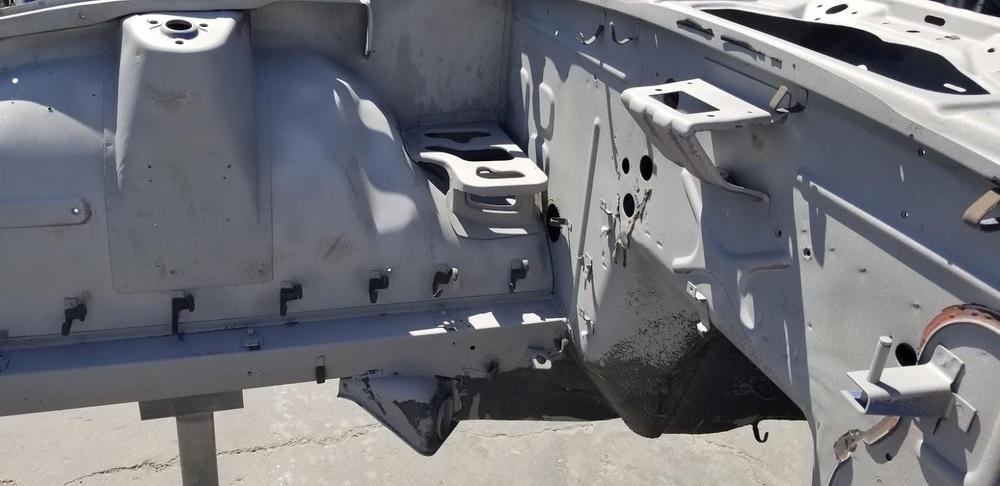
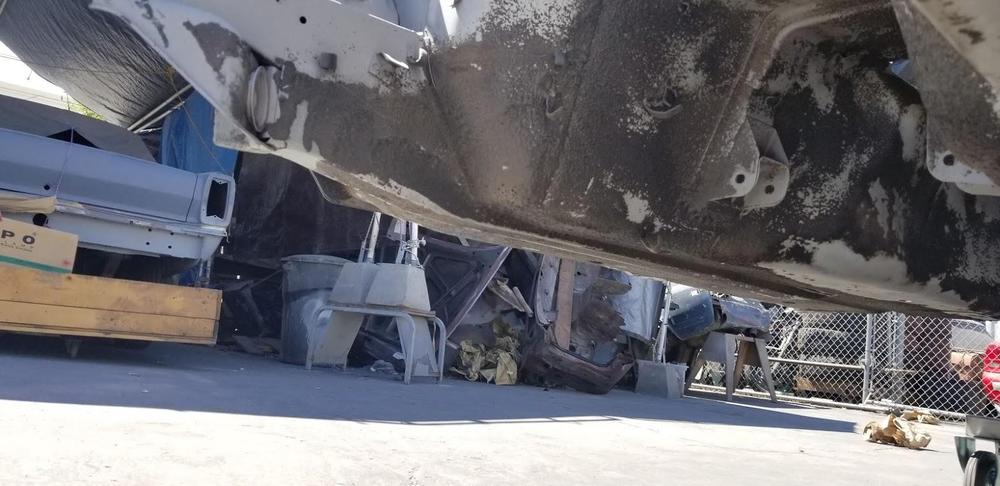
A lot of progress with the body work removing rusted out sections, dogleg repair, aligning the rear hatch lines and bumper attach points.


-
With the powdercoating, I am pretty sure it is just one heavy coat. I like the powdercoat for the durability and it's protection from fluids such as gas and oil.
-
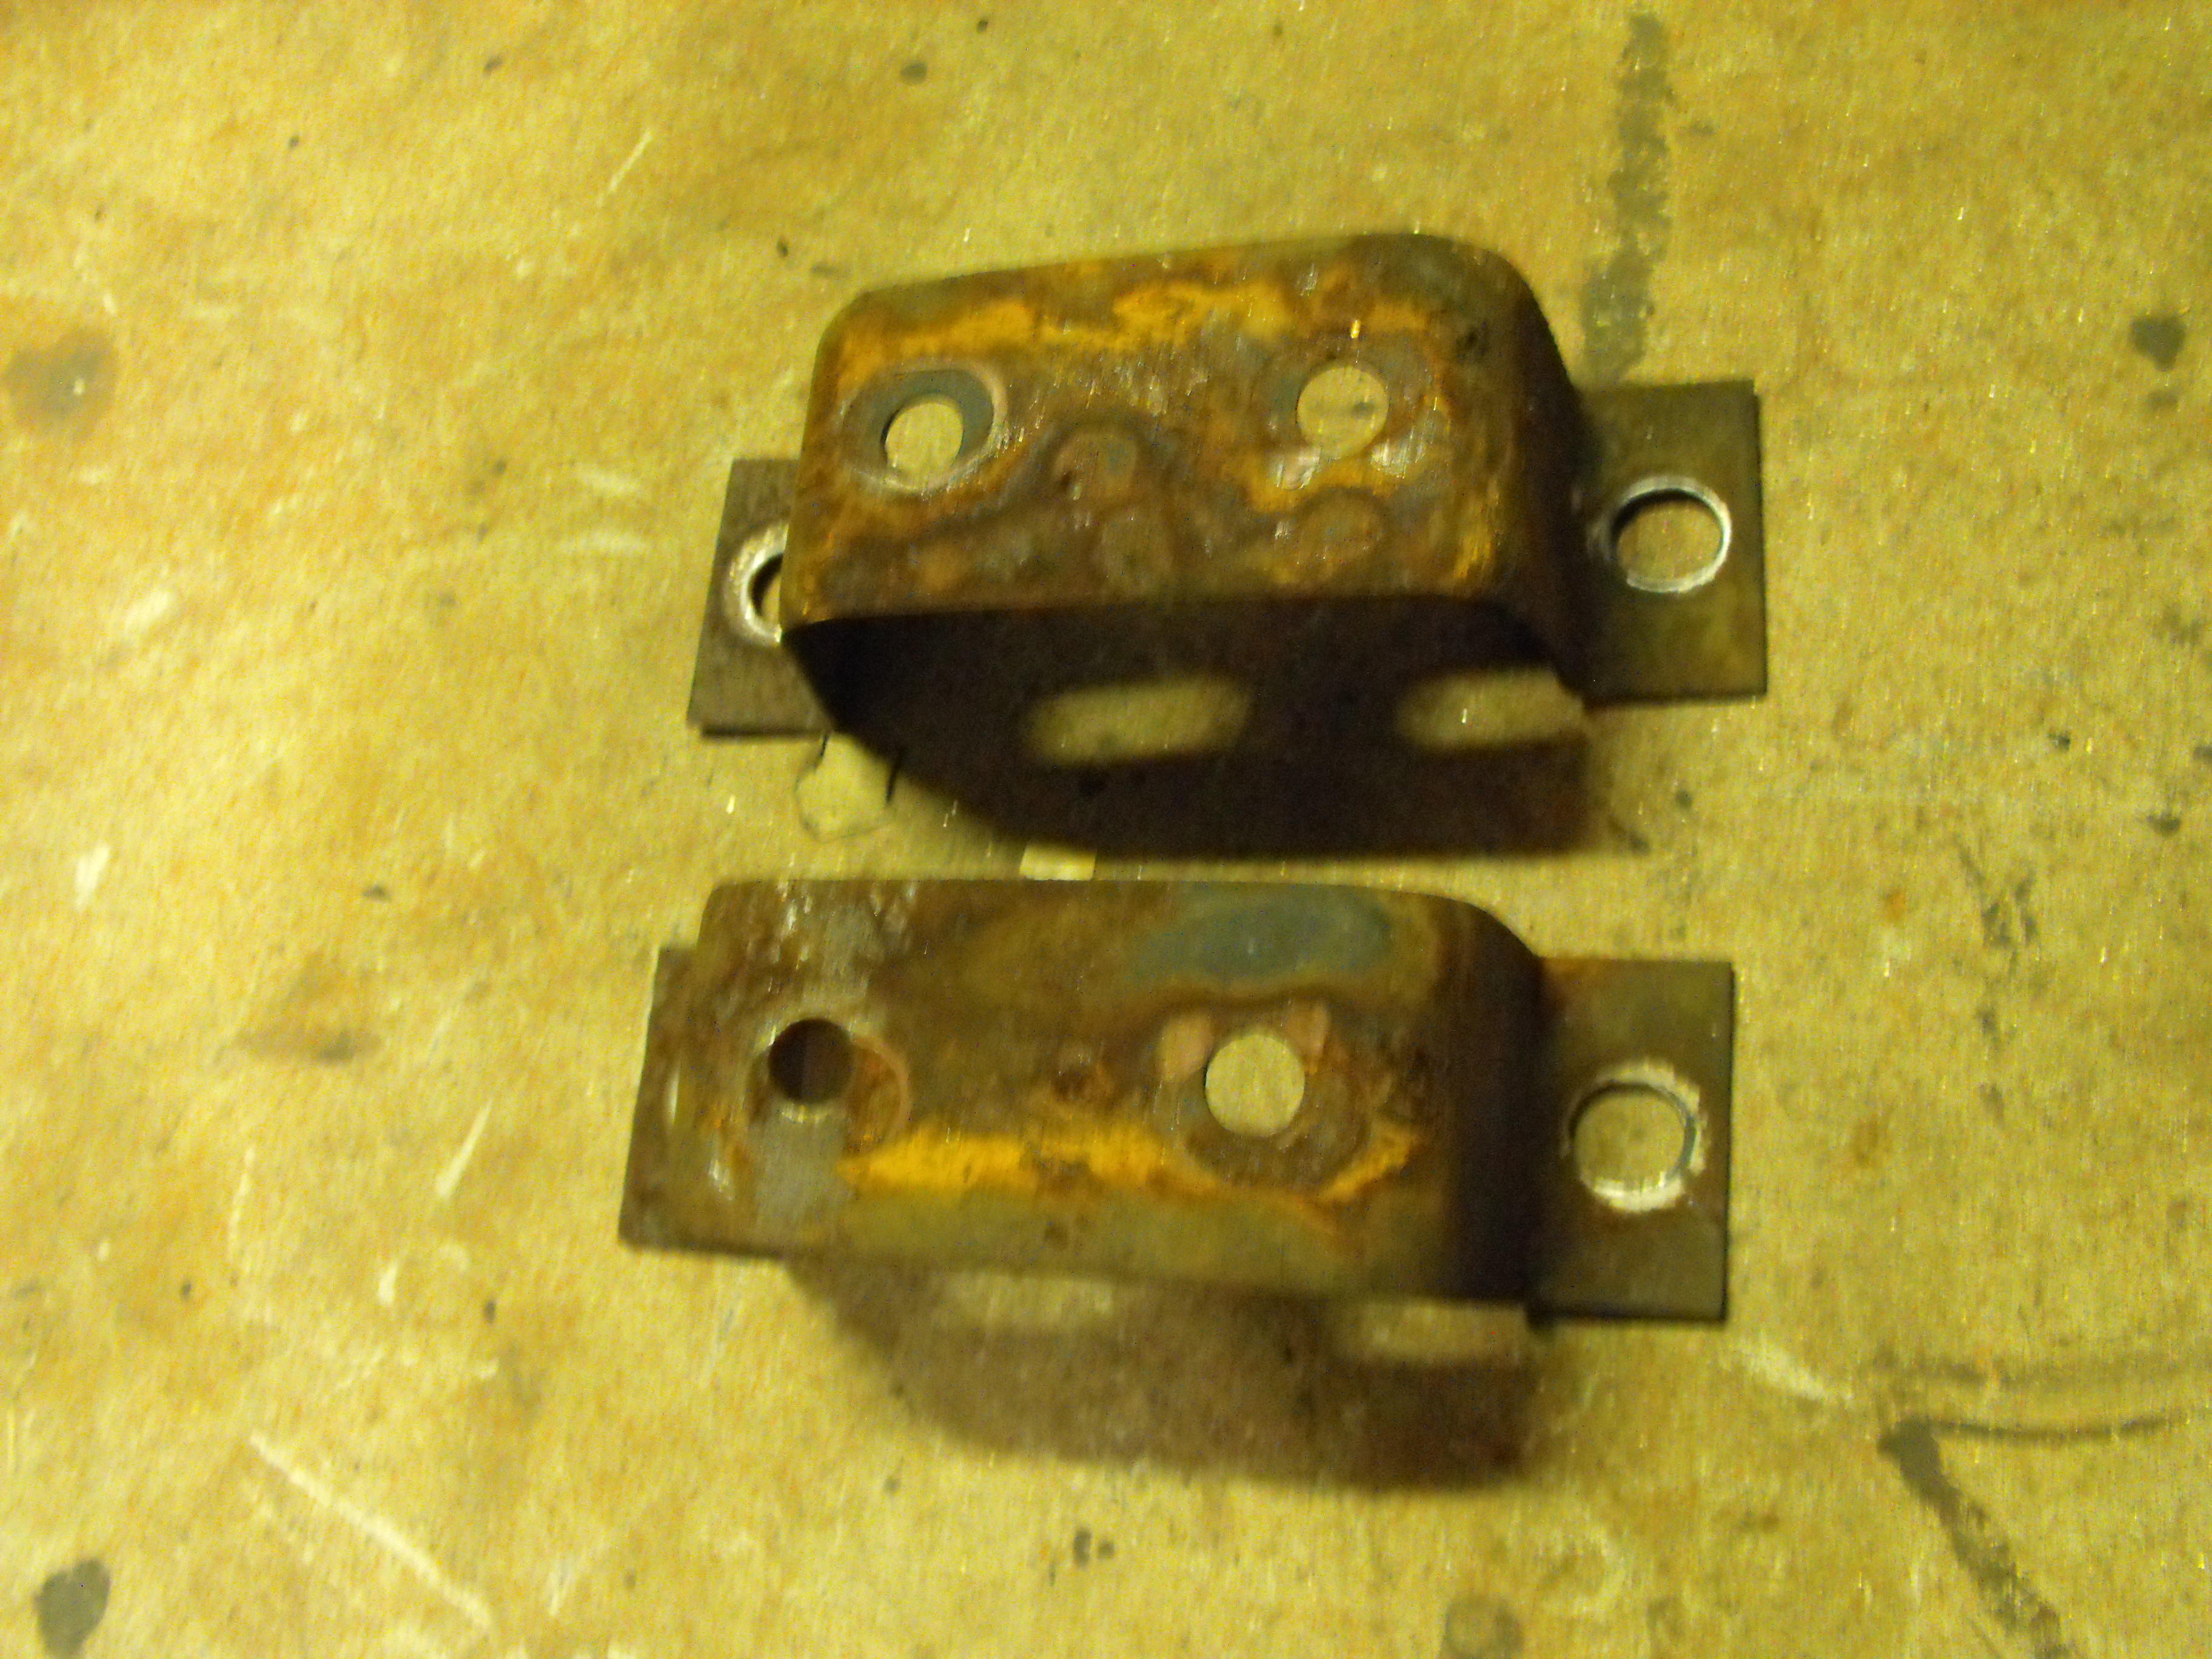
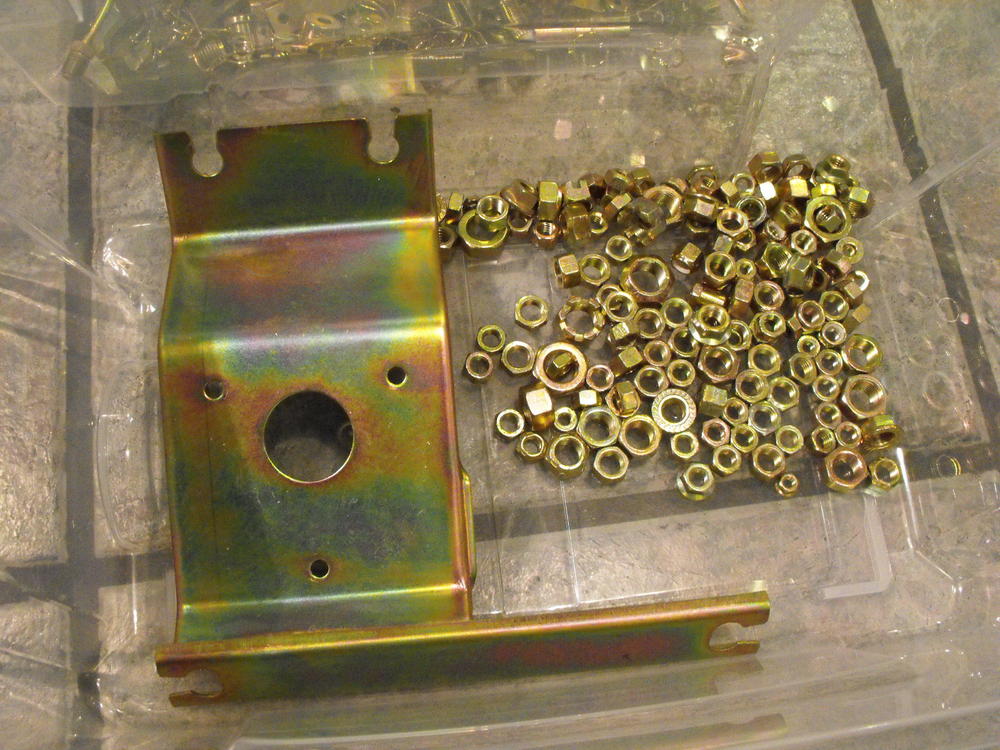
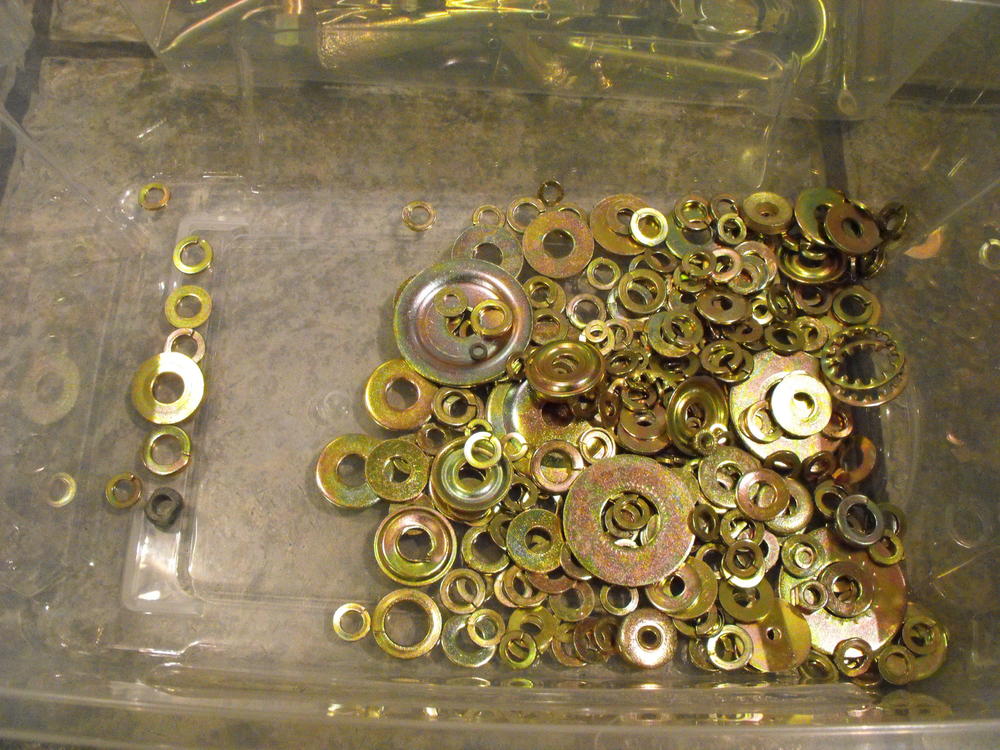
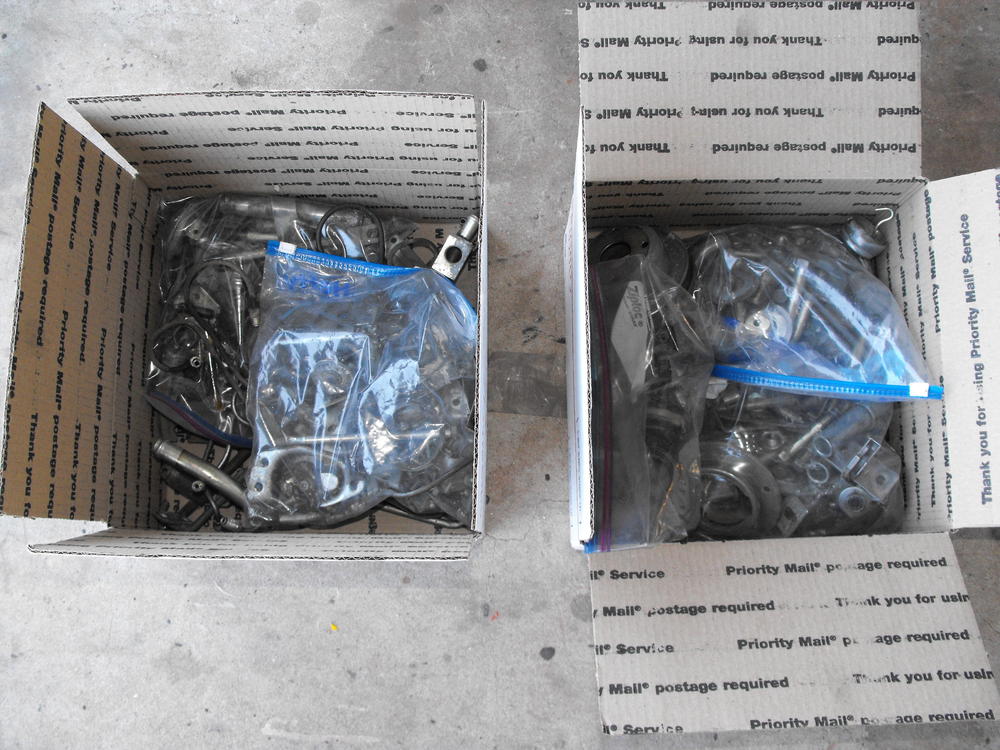
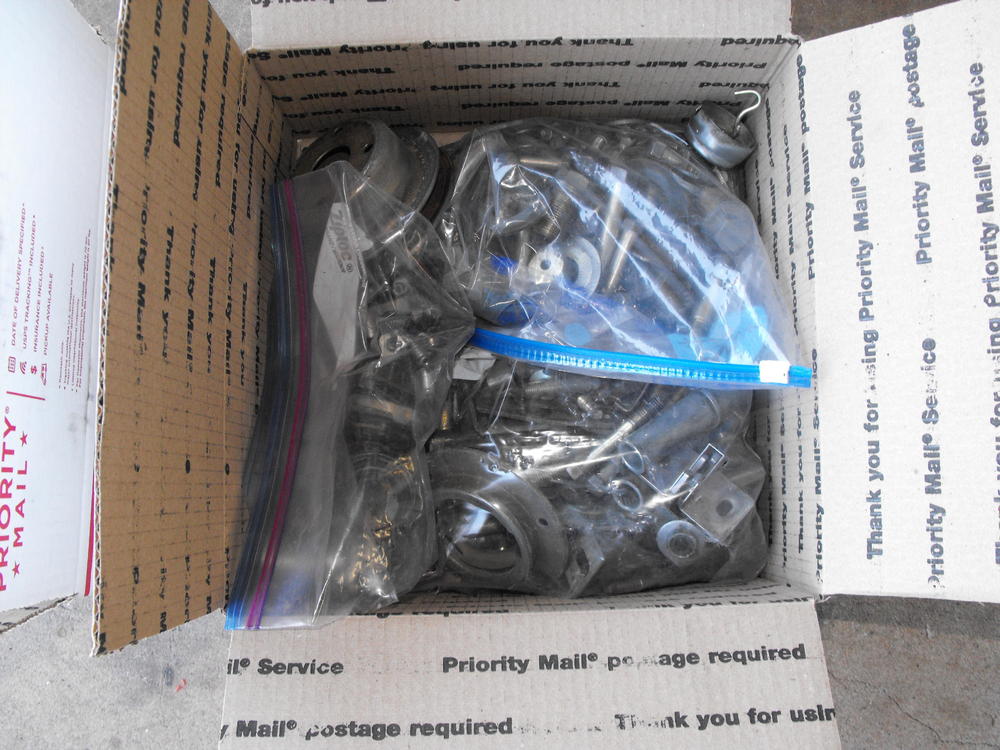
Anything that you do not plate will stick out like a sore thumb. Also, plating shops usually plate in batches with a minimum lot charge. Best thing to do is plate as much as you can in one shot. It ends up being much cheaper than sending multiple small batches. I separate my parts into yellow zinc and clear/silver zinc, putting them into large zip lock freezer bags. I put a sticky inside the bag indicating color, yellow zinc or clear/silver.
-
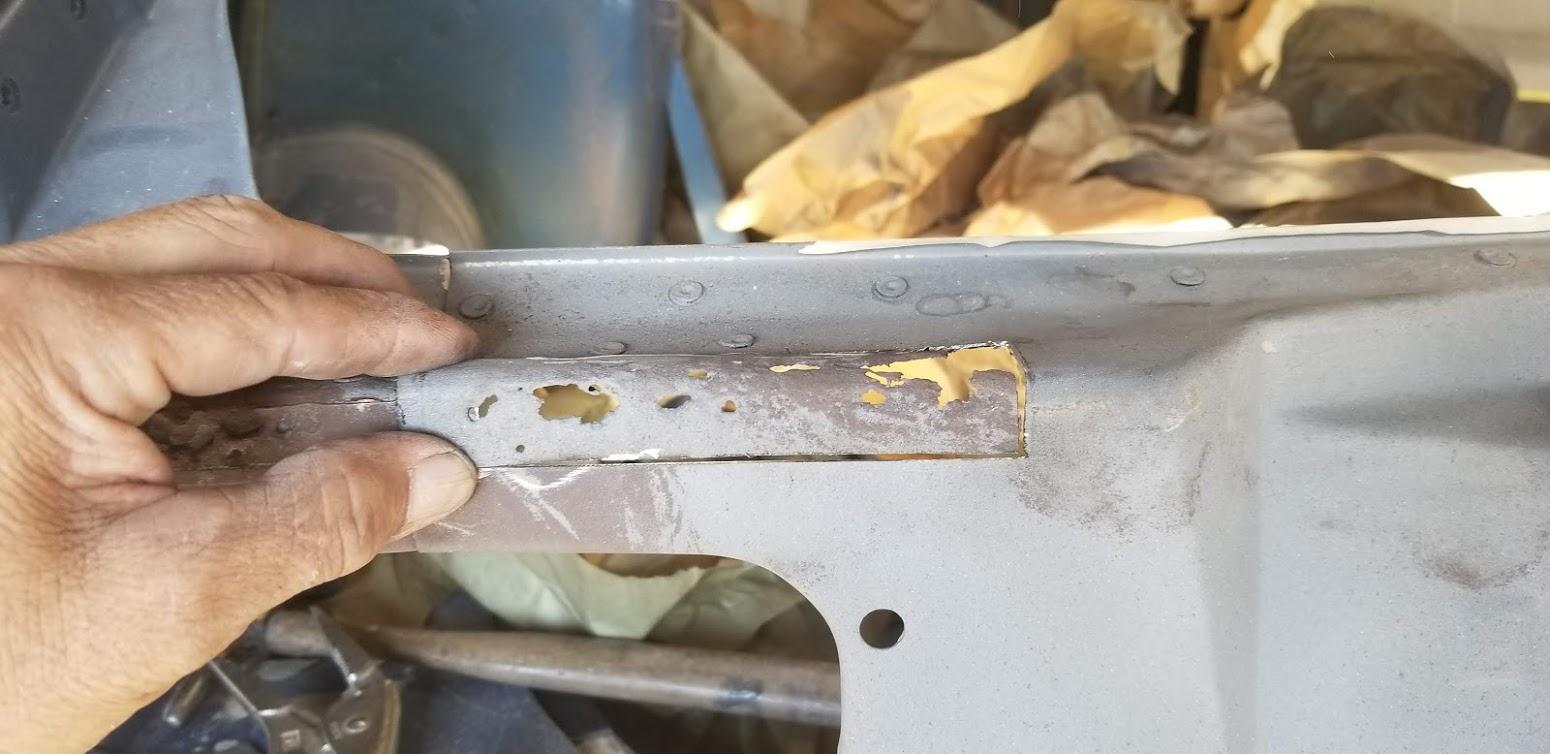
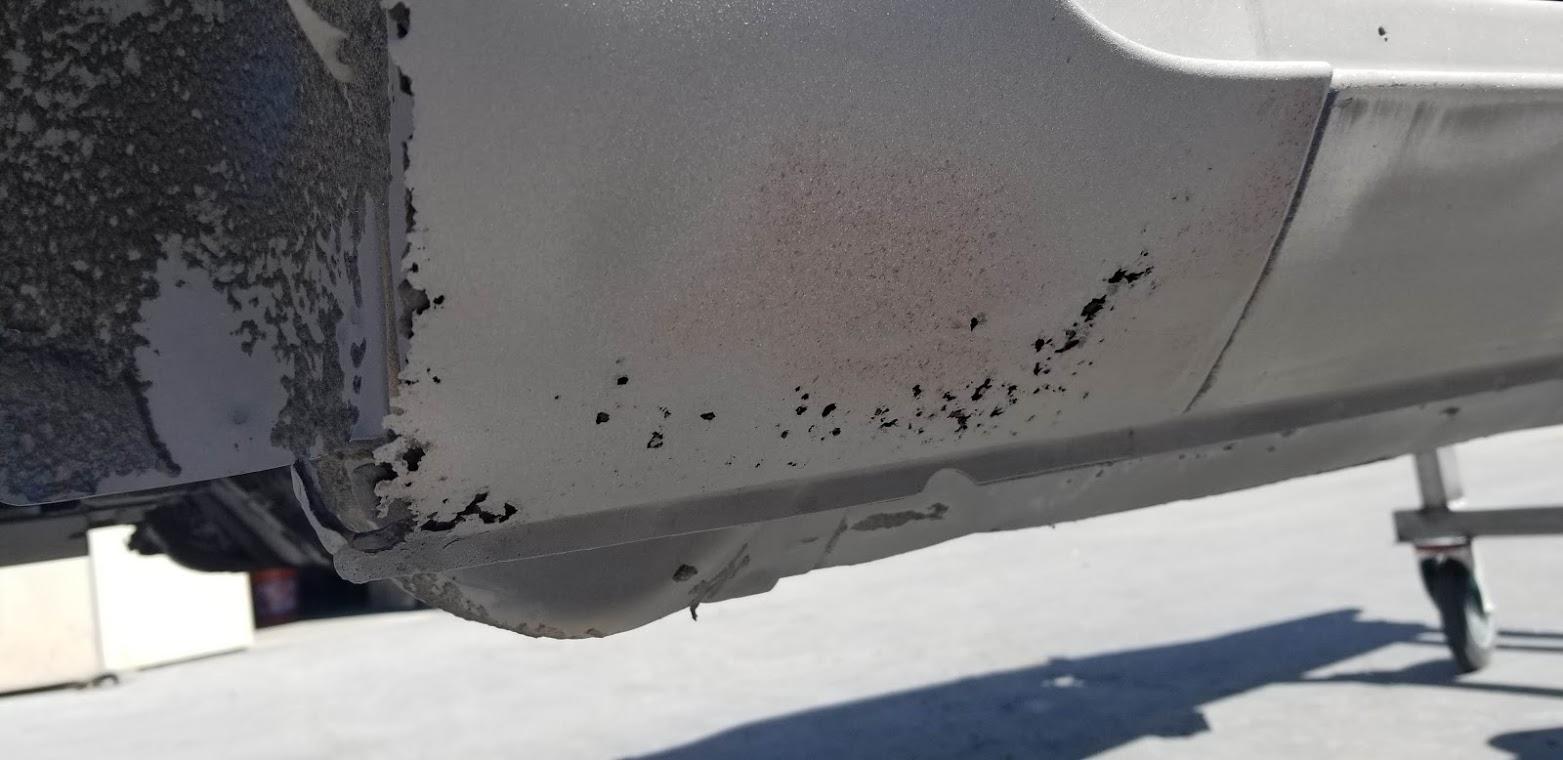
I did tap it into shape a bit using some wood blocks. Hopefully the rusted areas are not too pitted. Powder coating will cover small depressions, but not the deep pitting. Sent from my C6902 using Classic Zcar Club mobile
-
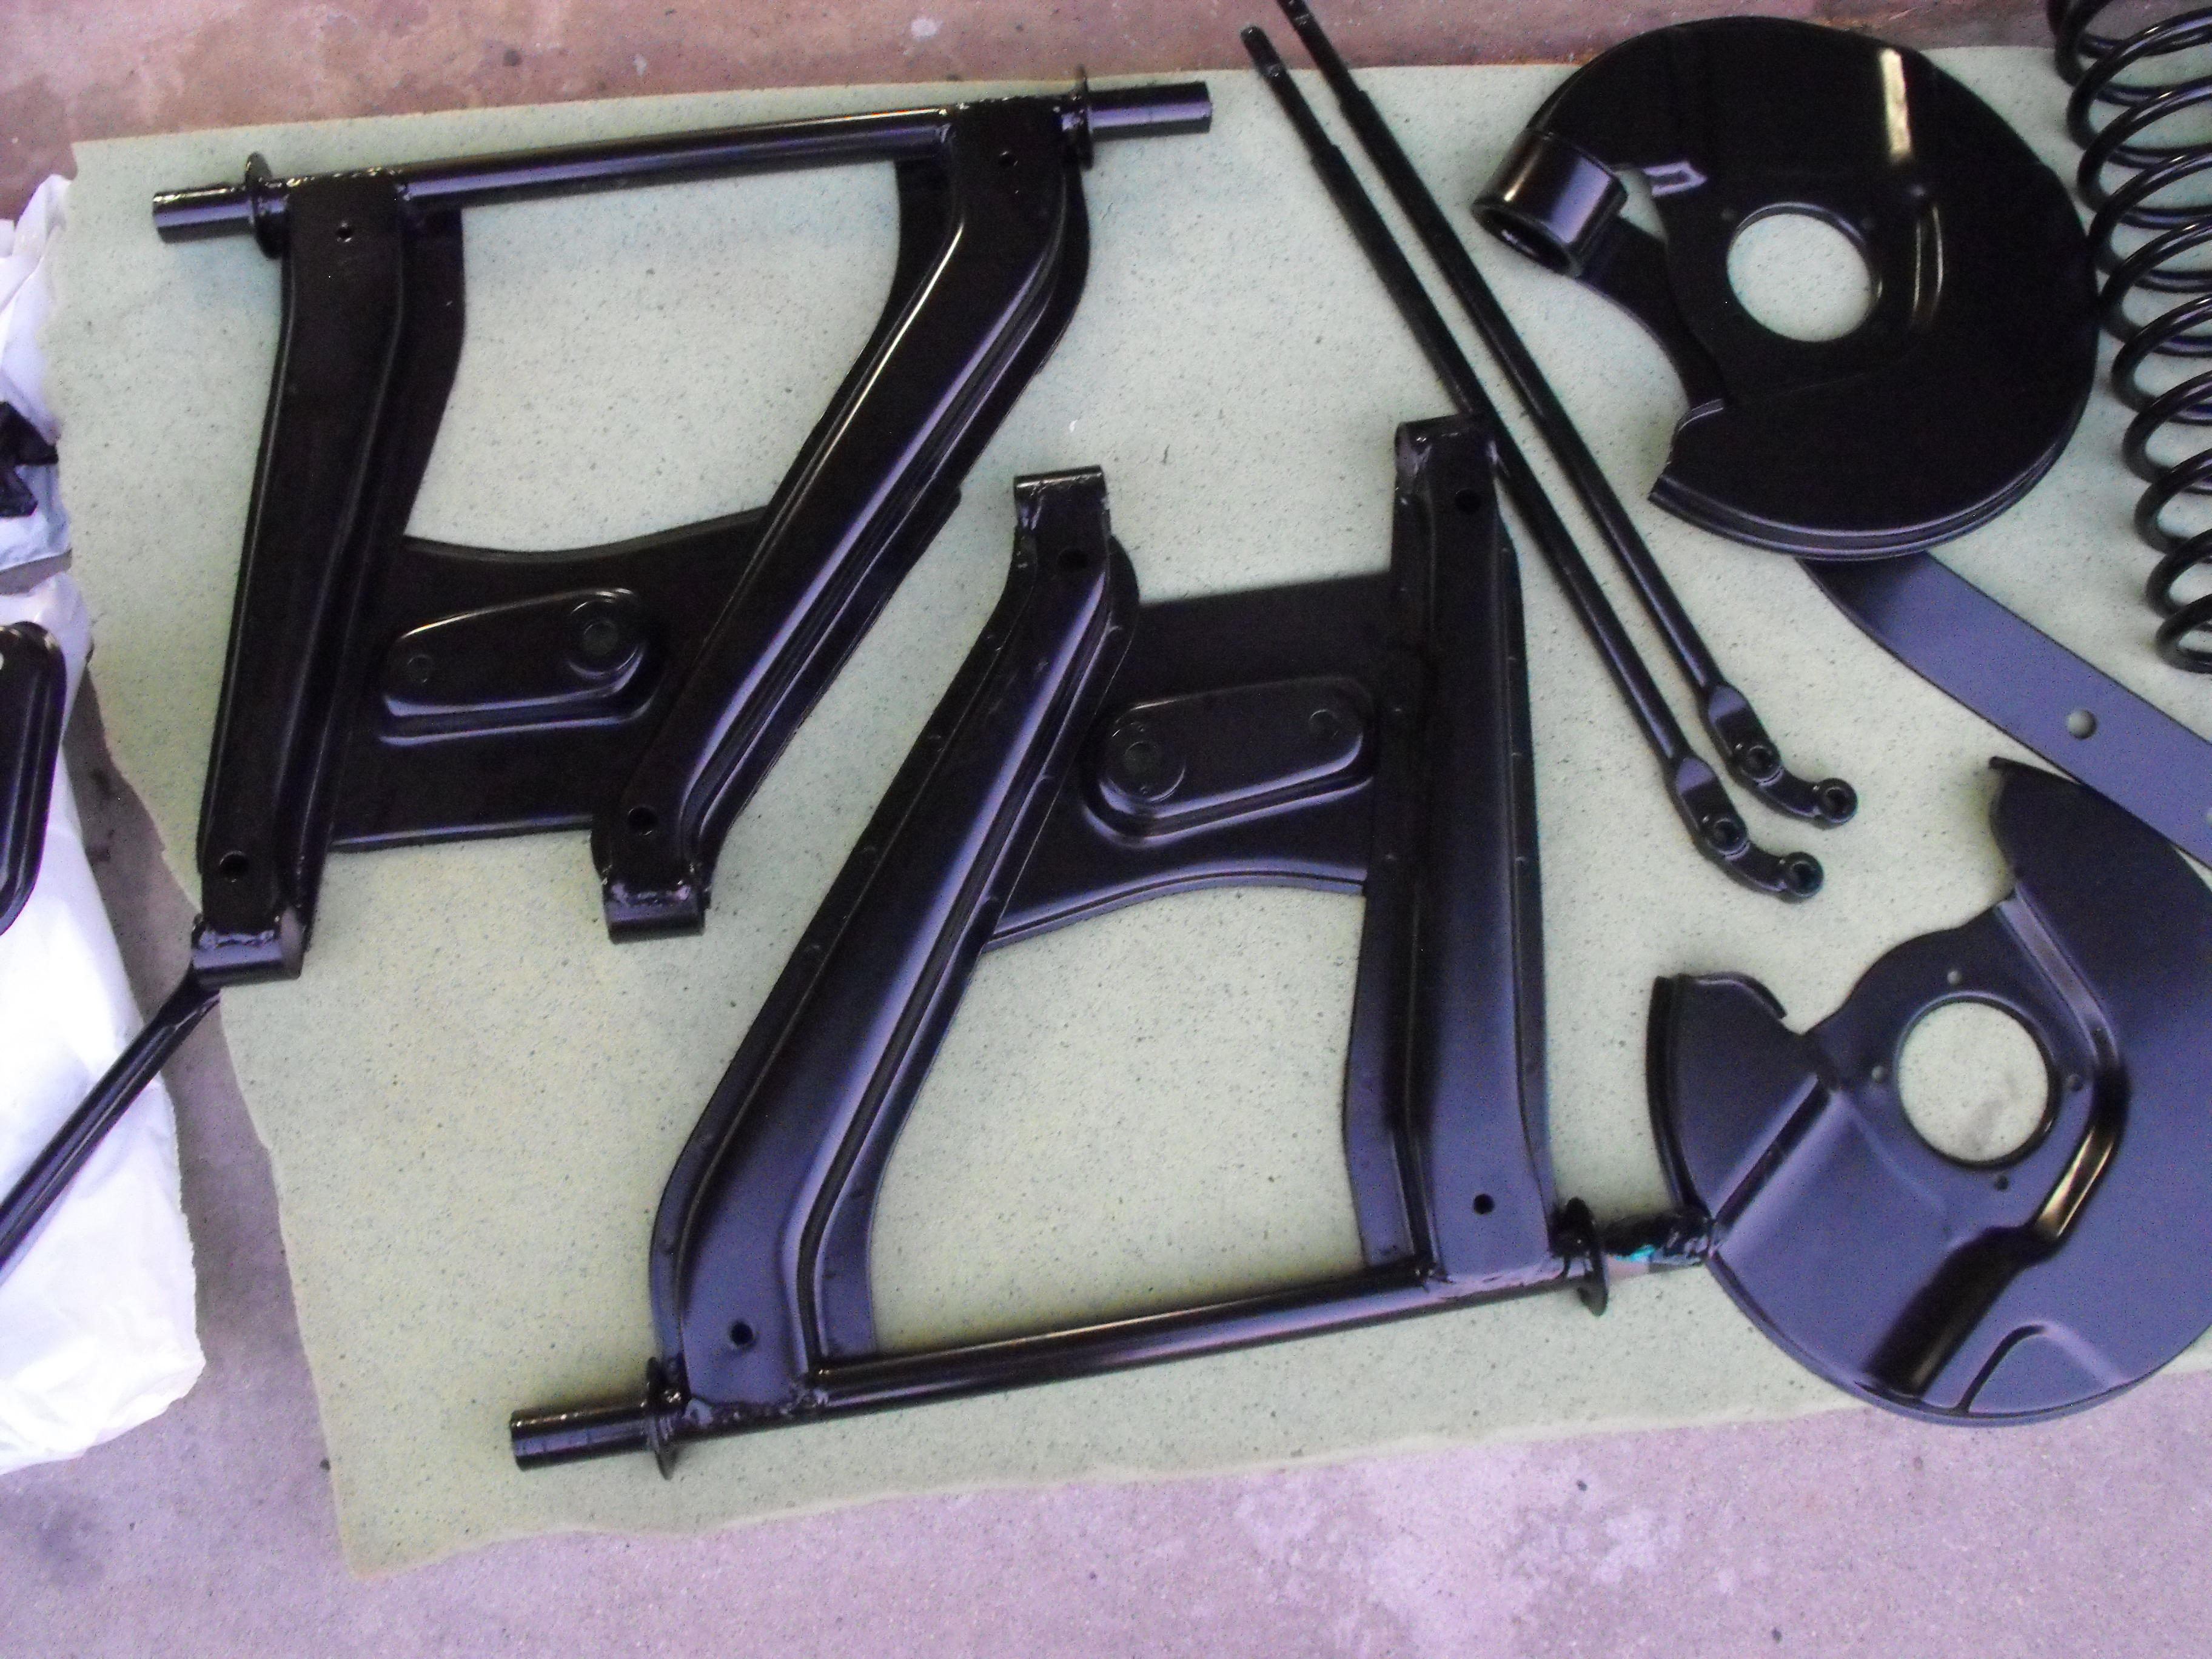
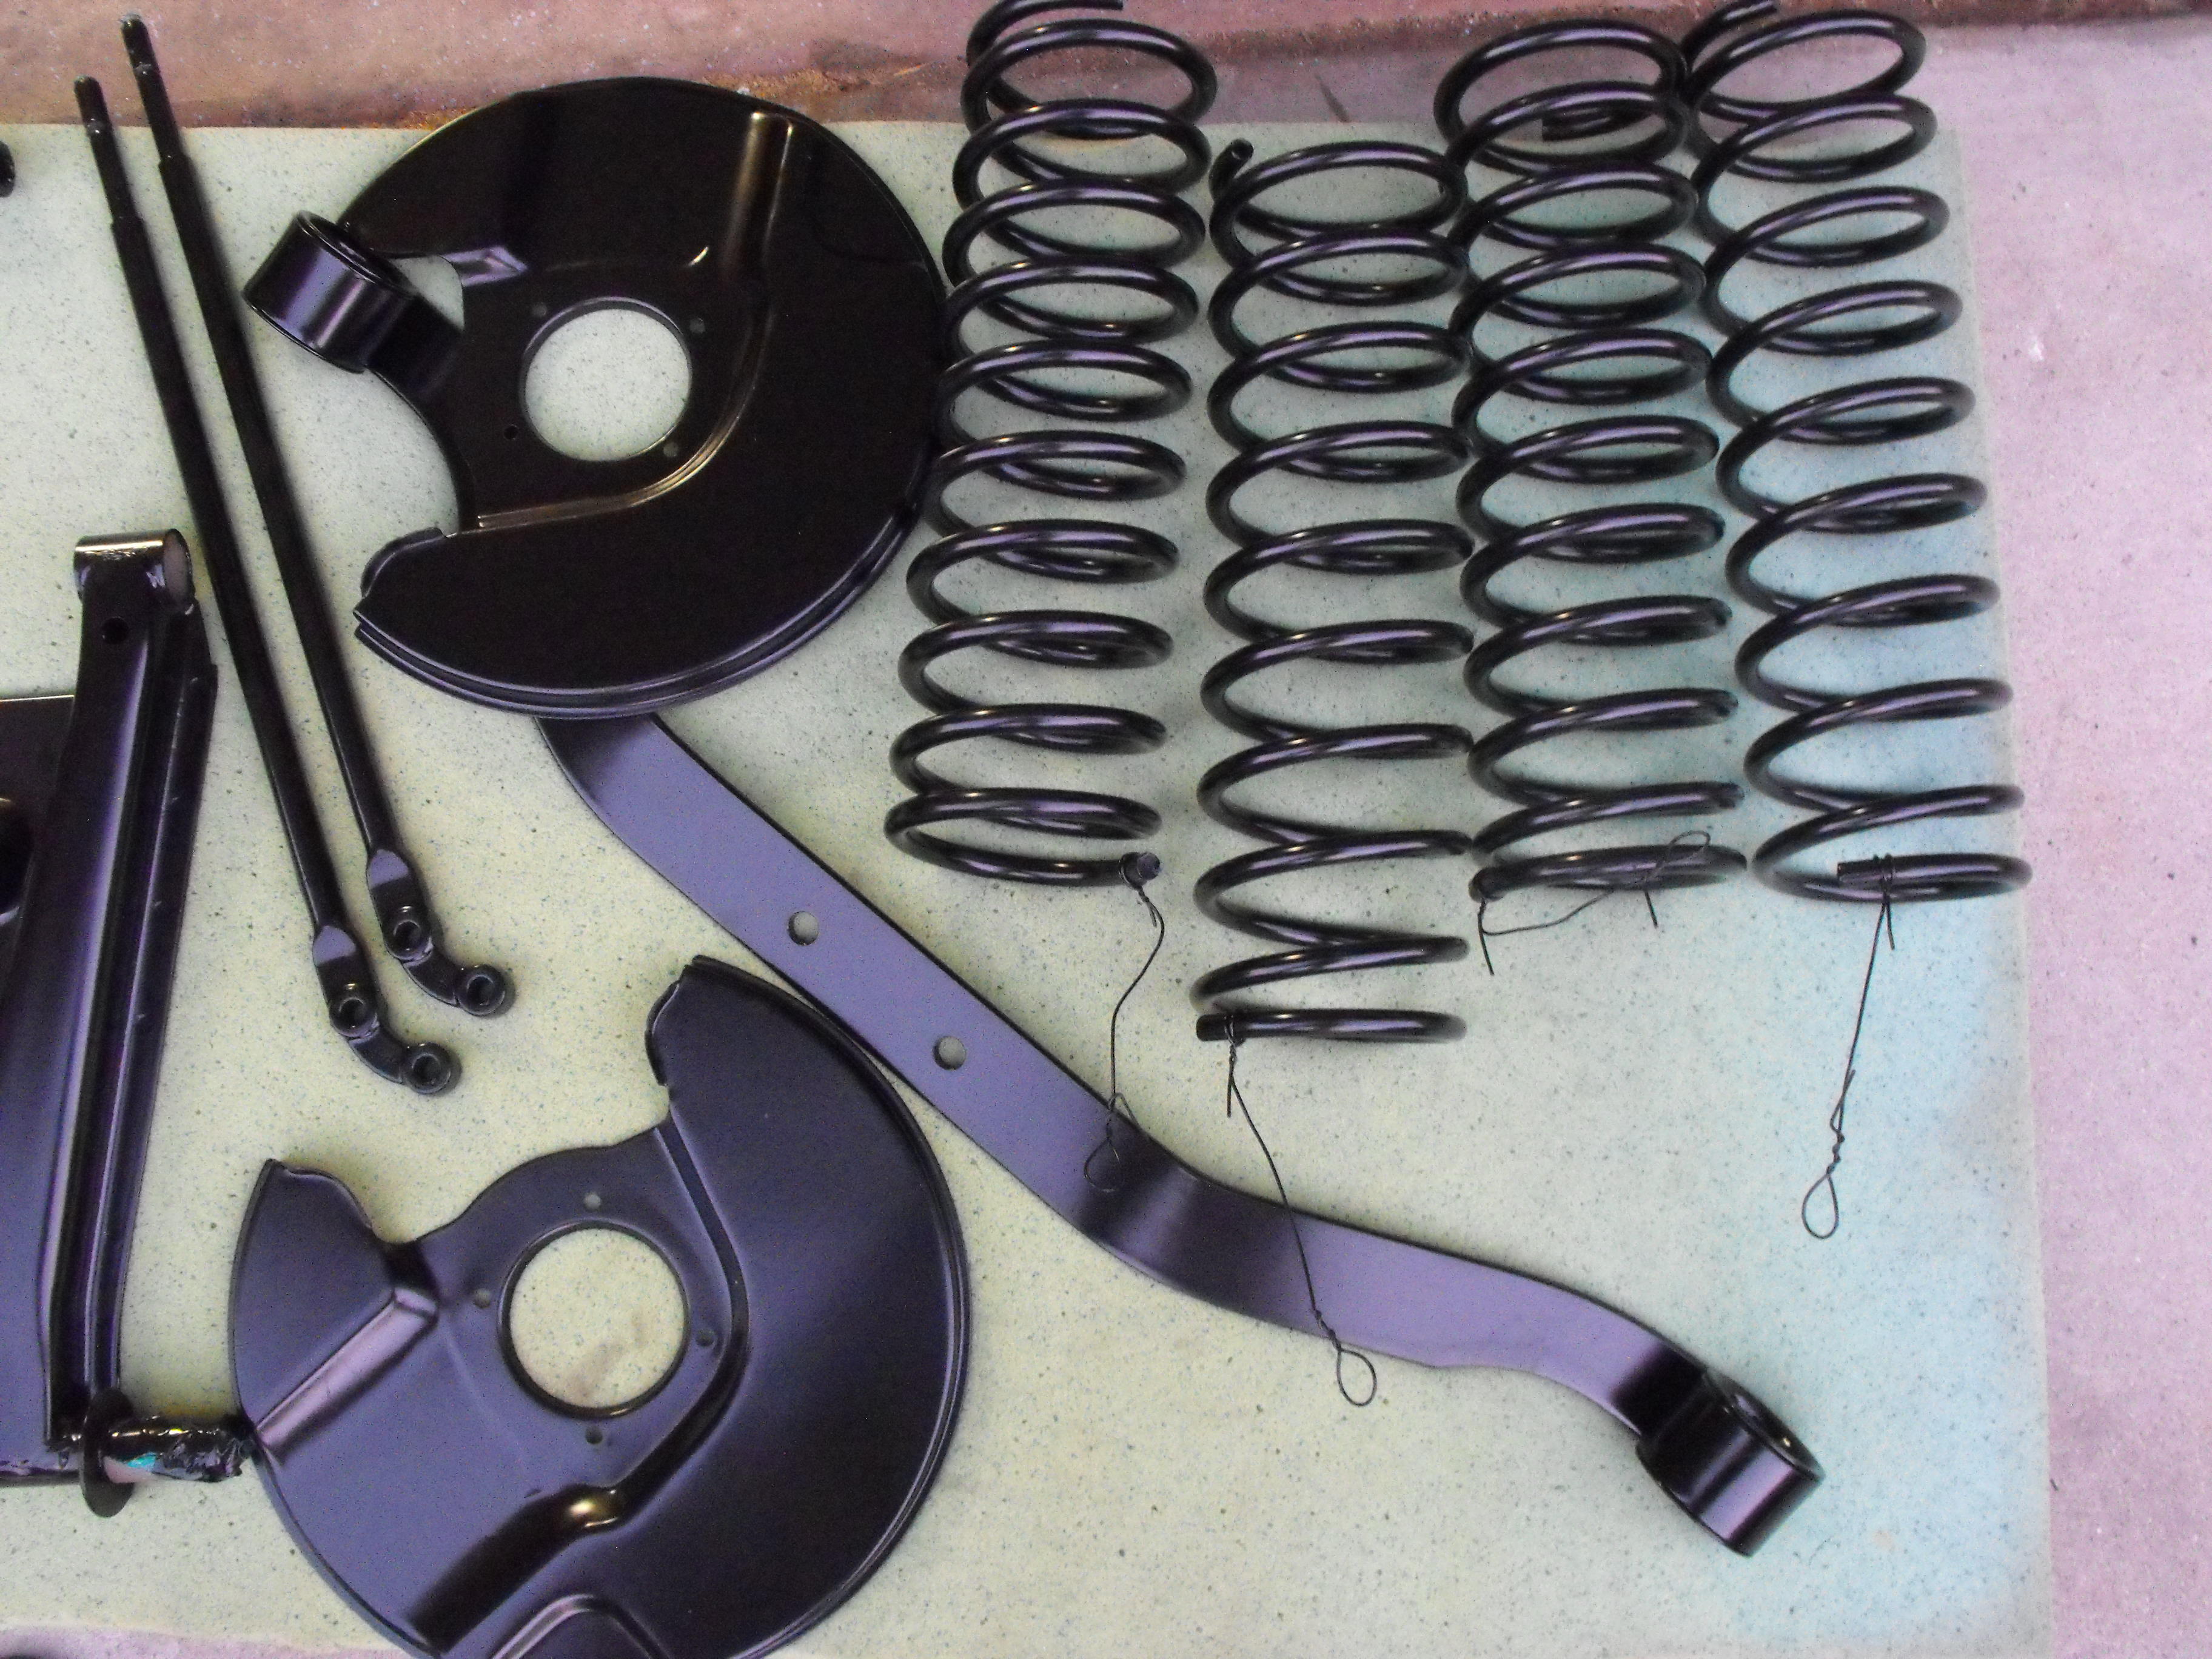
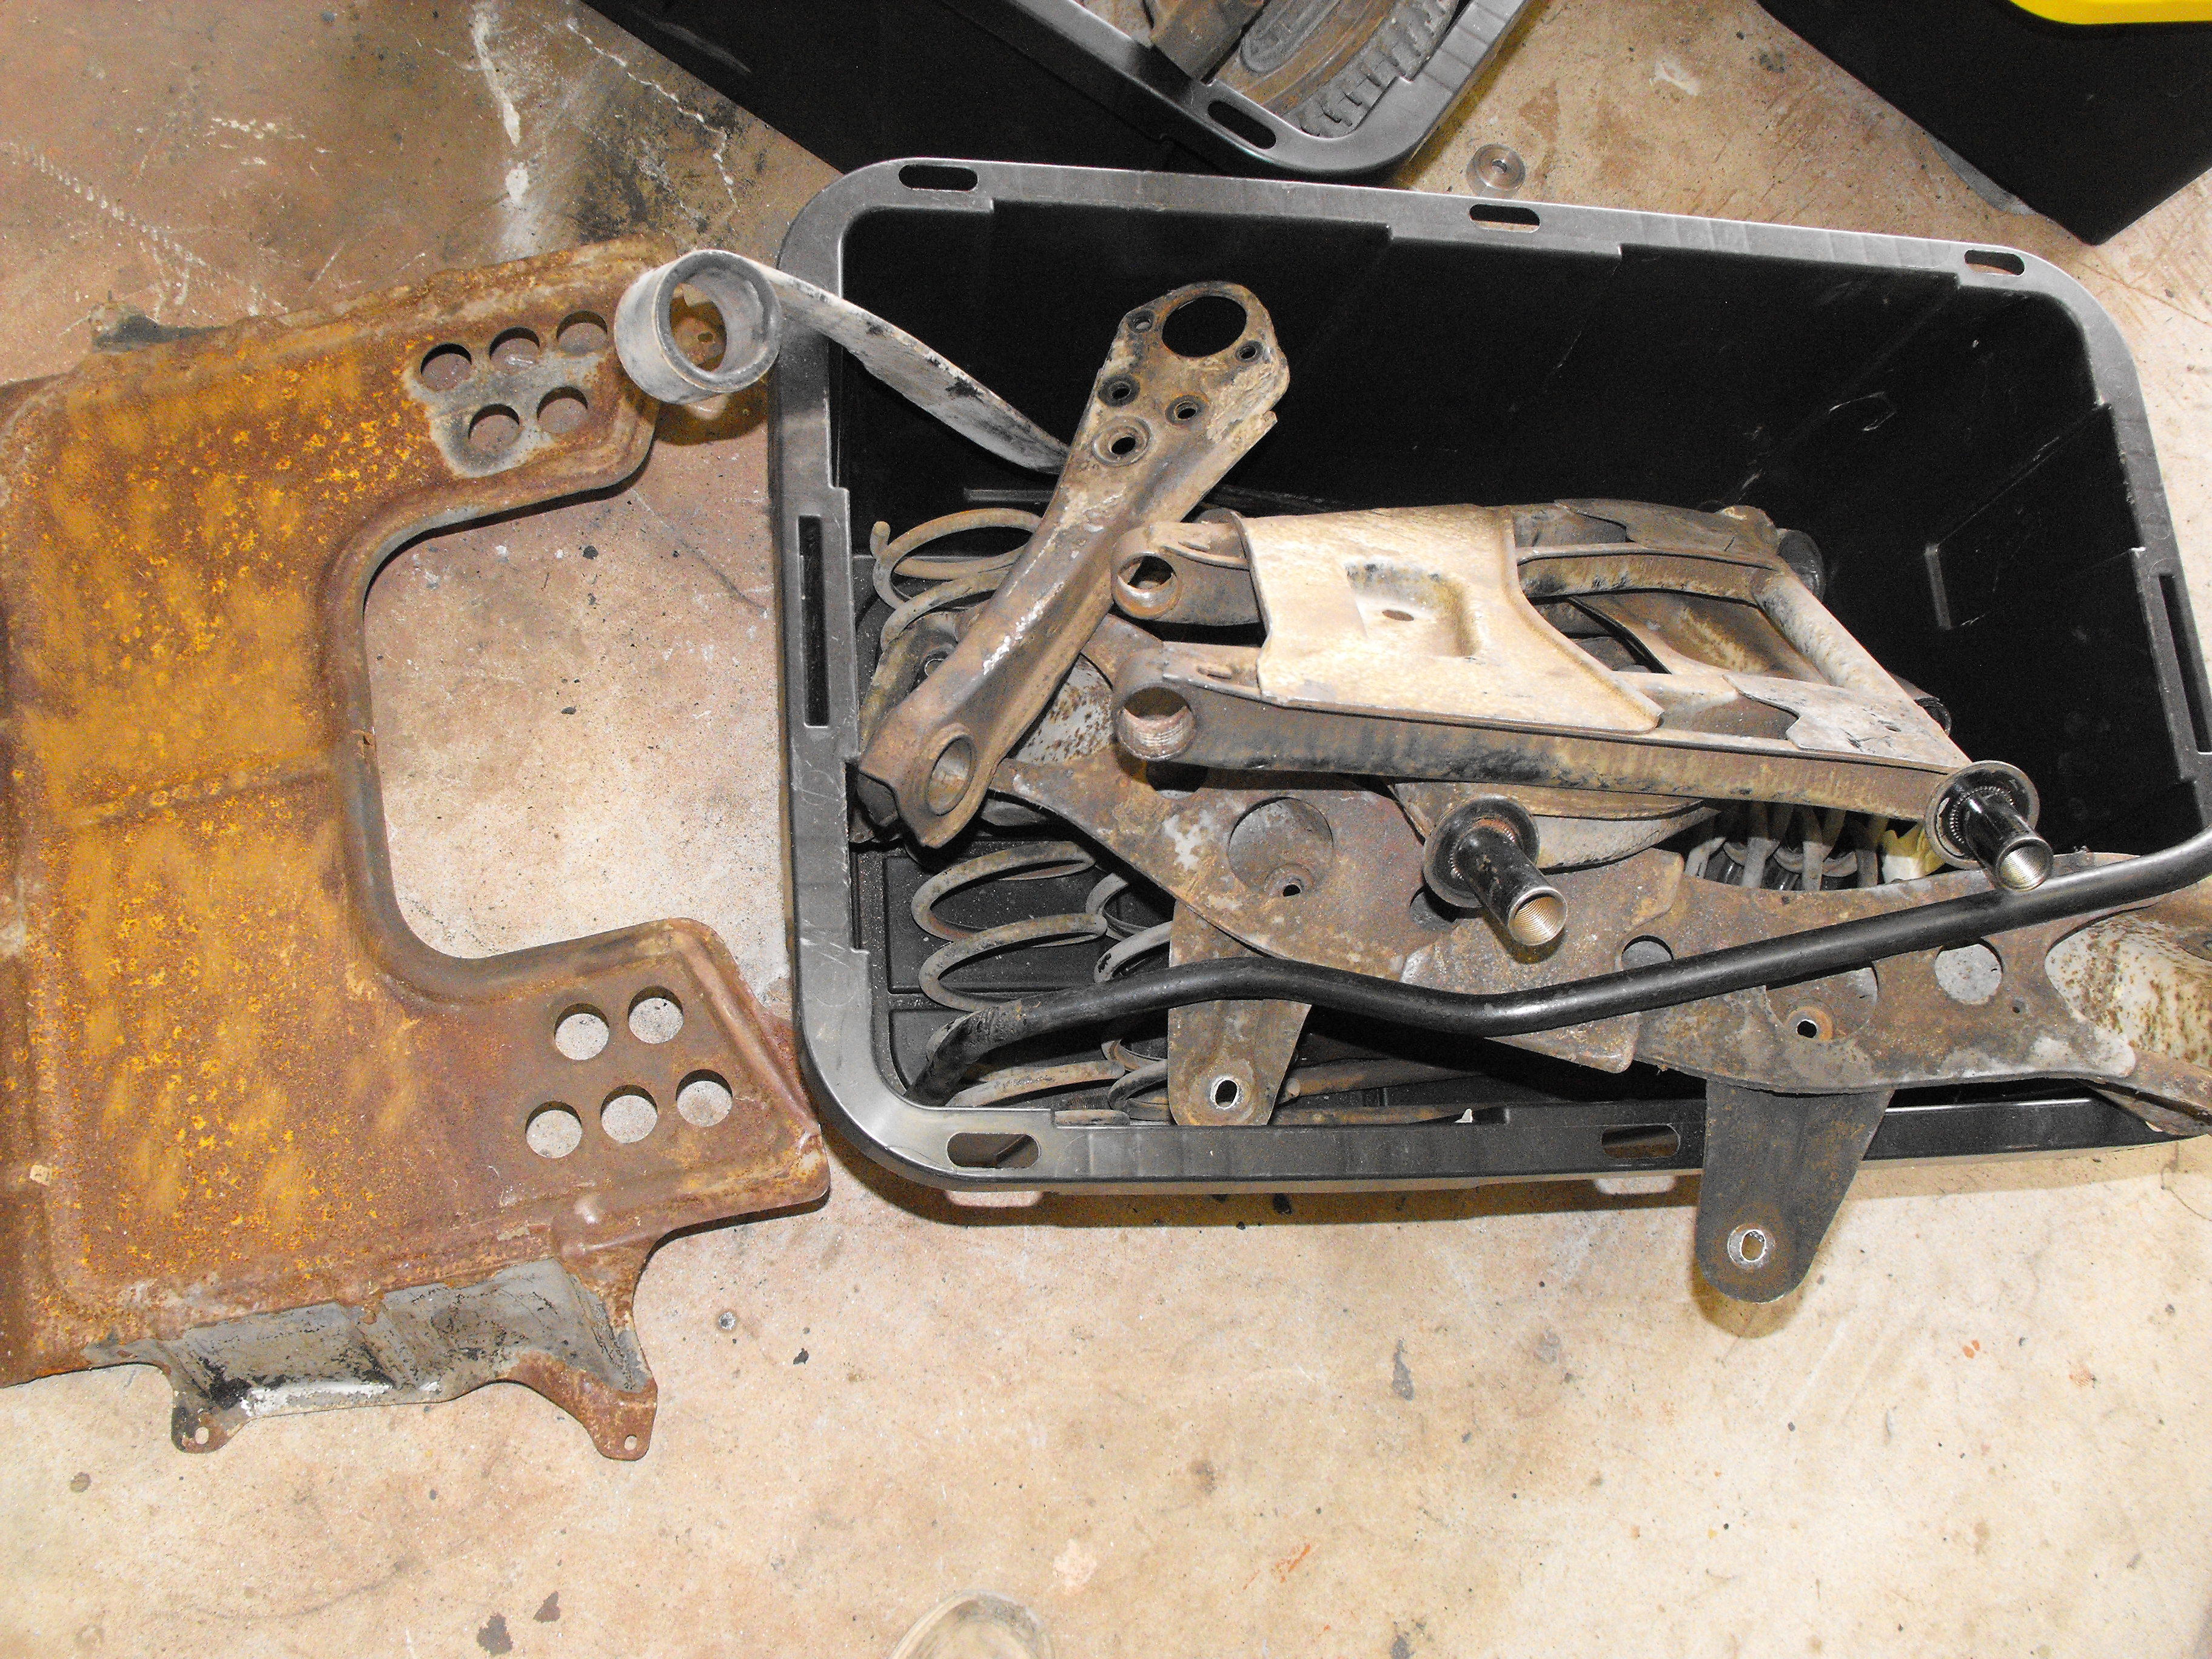
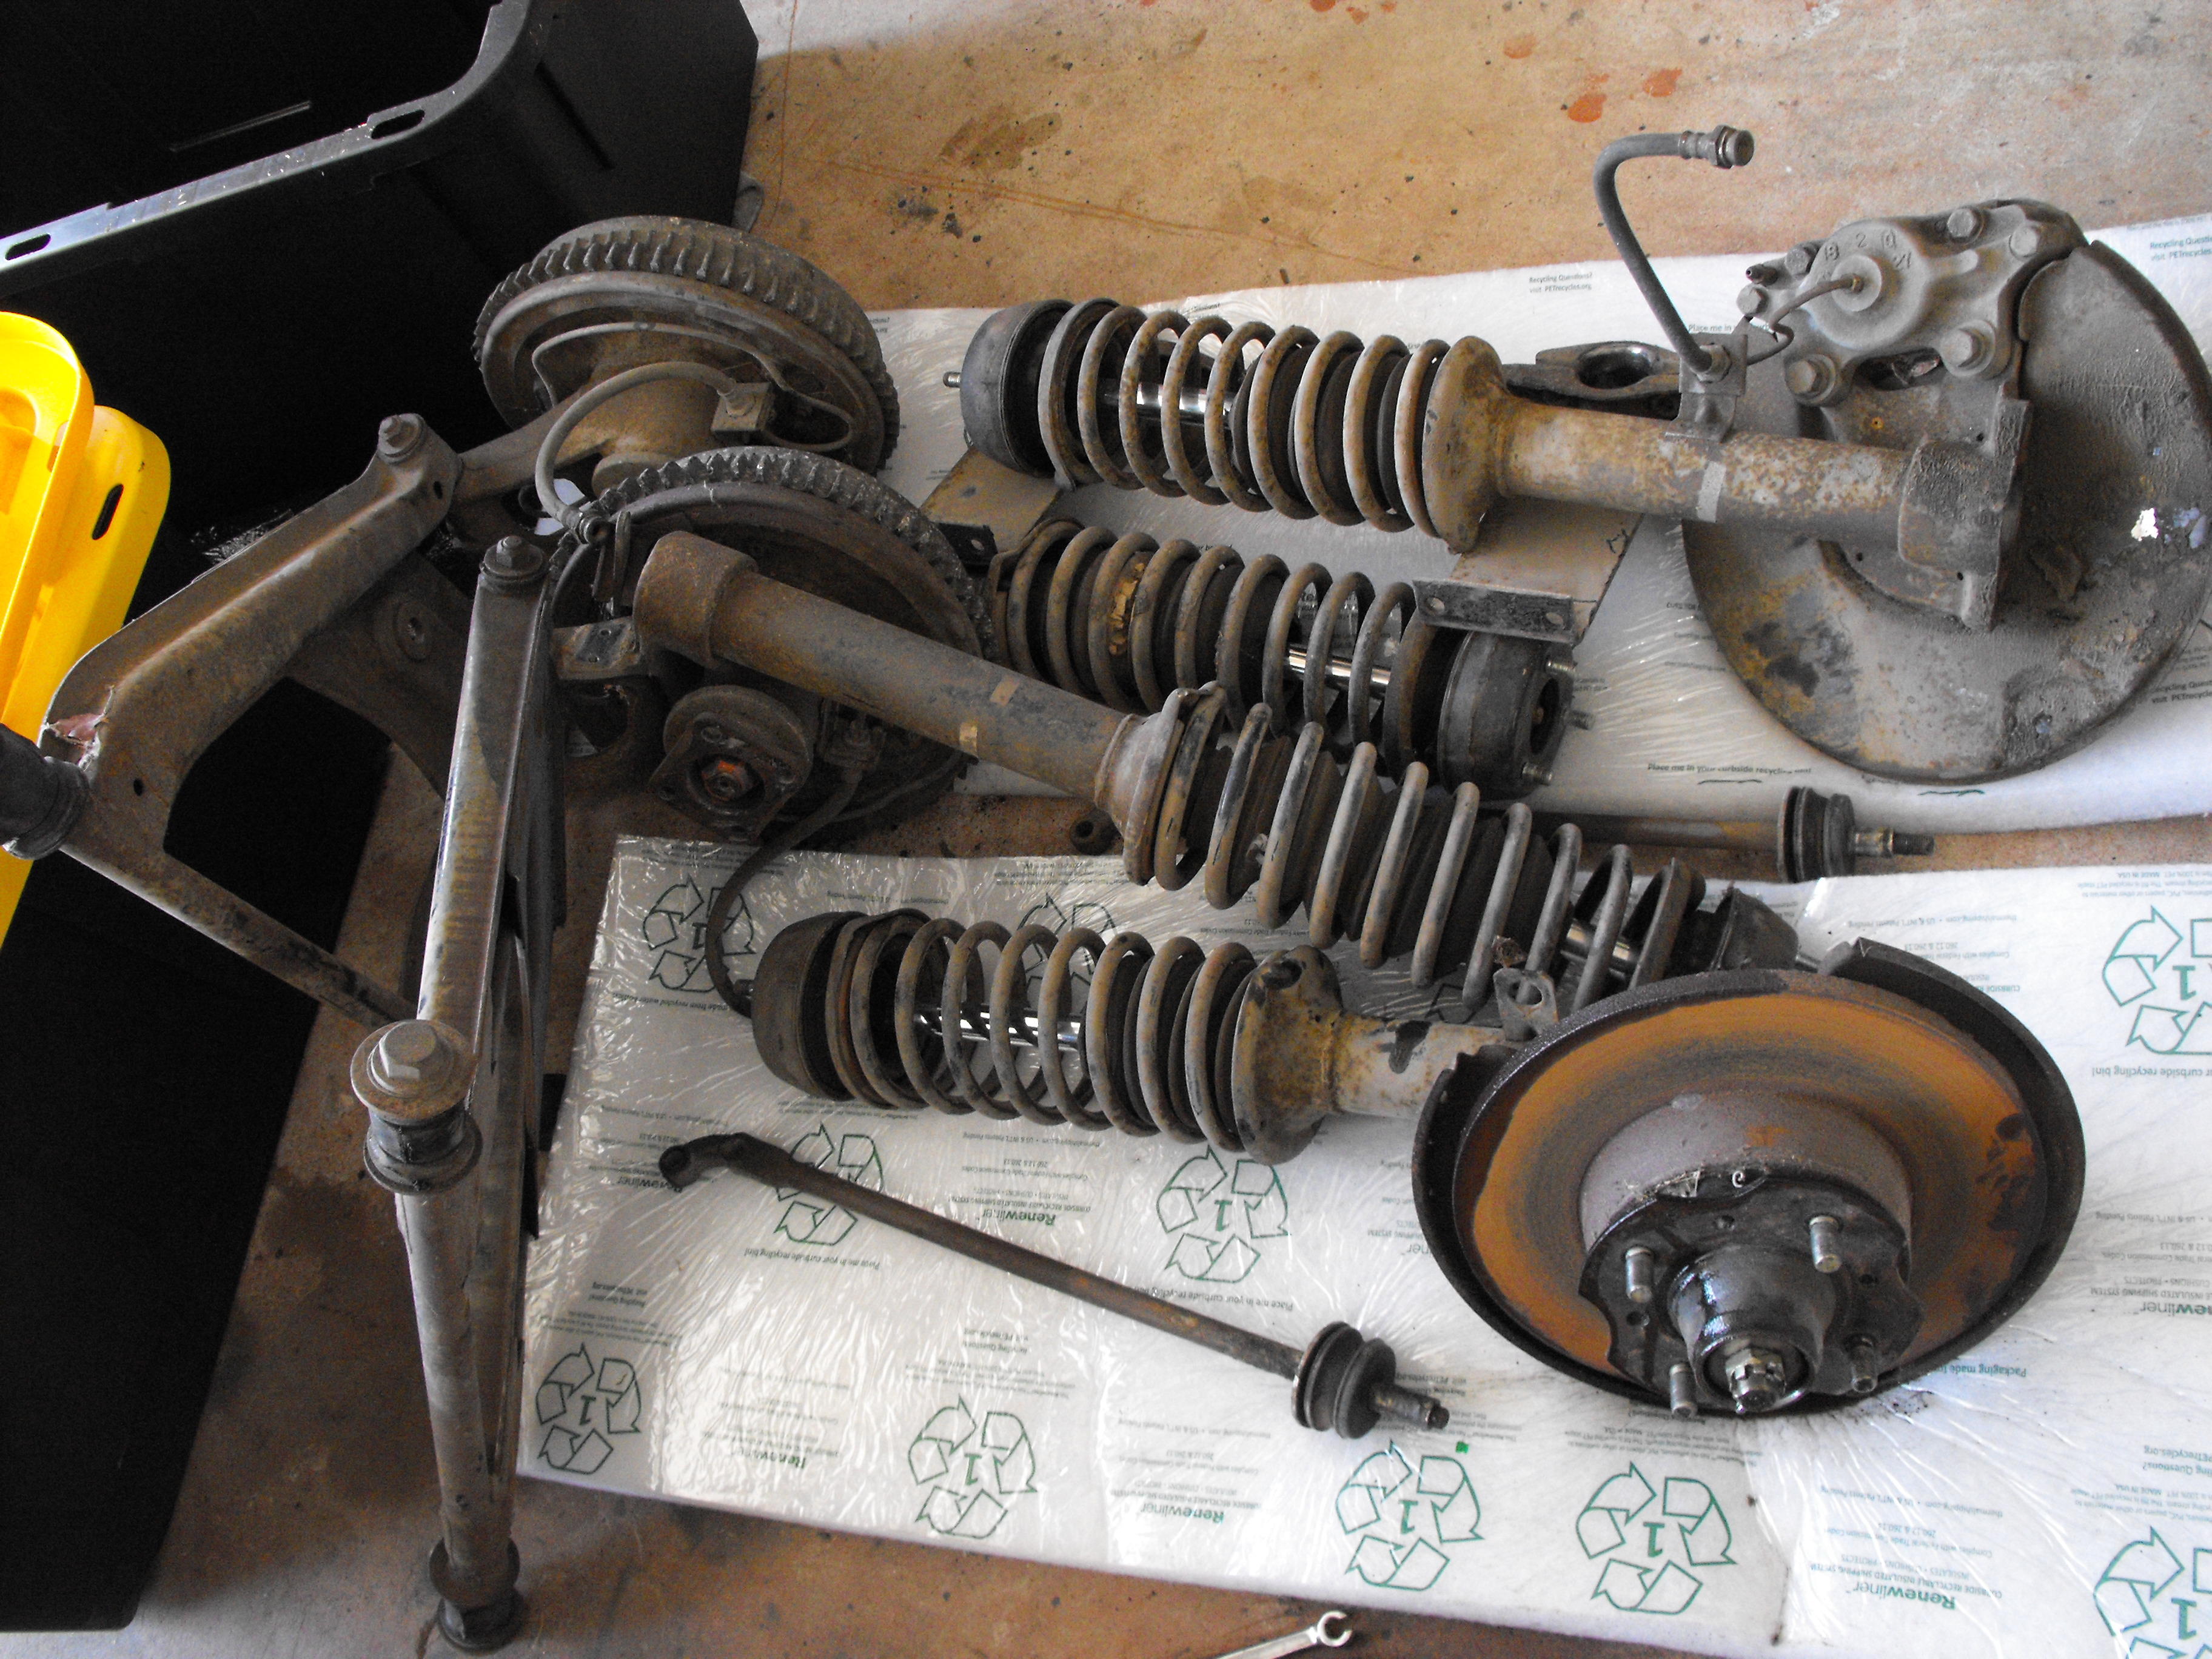
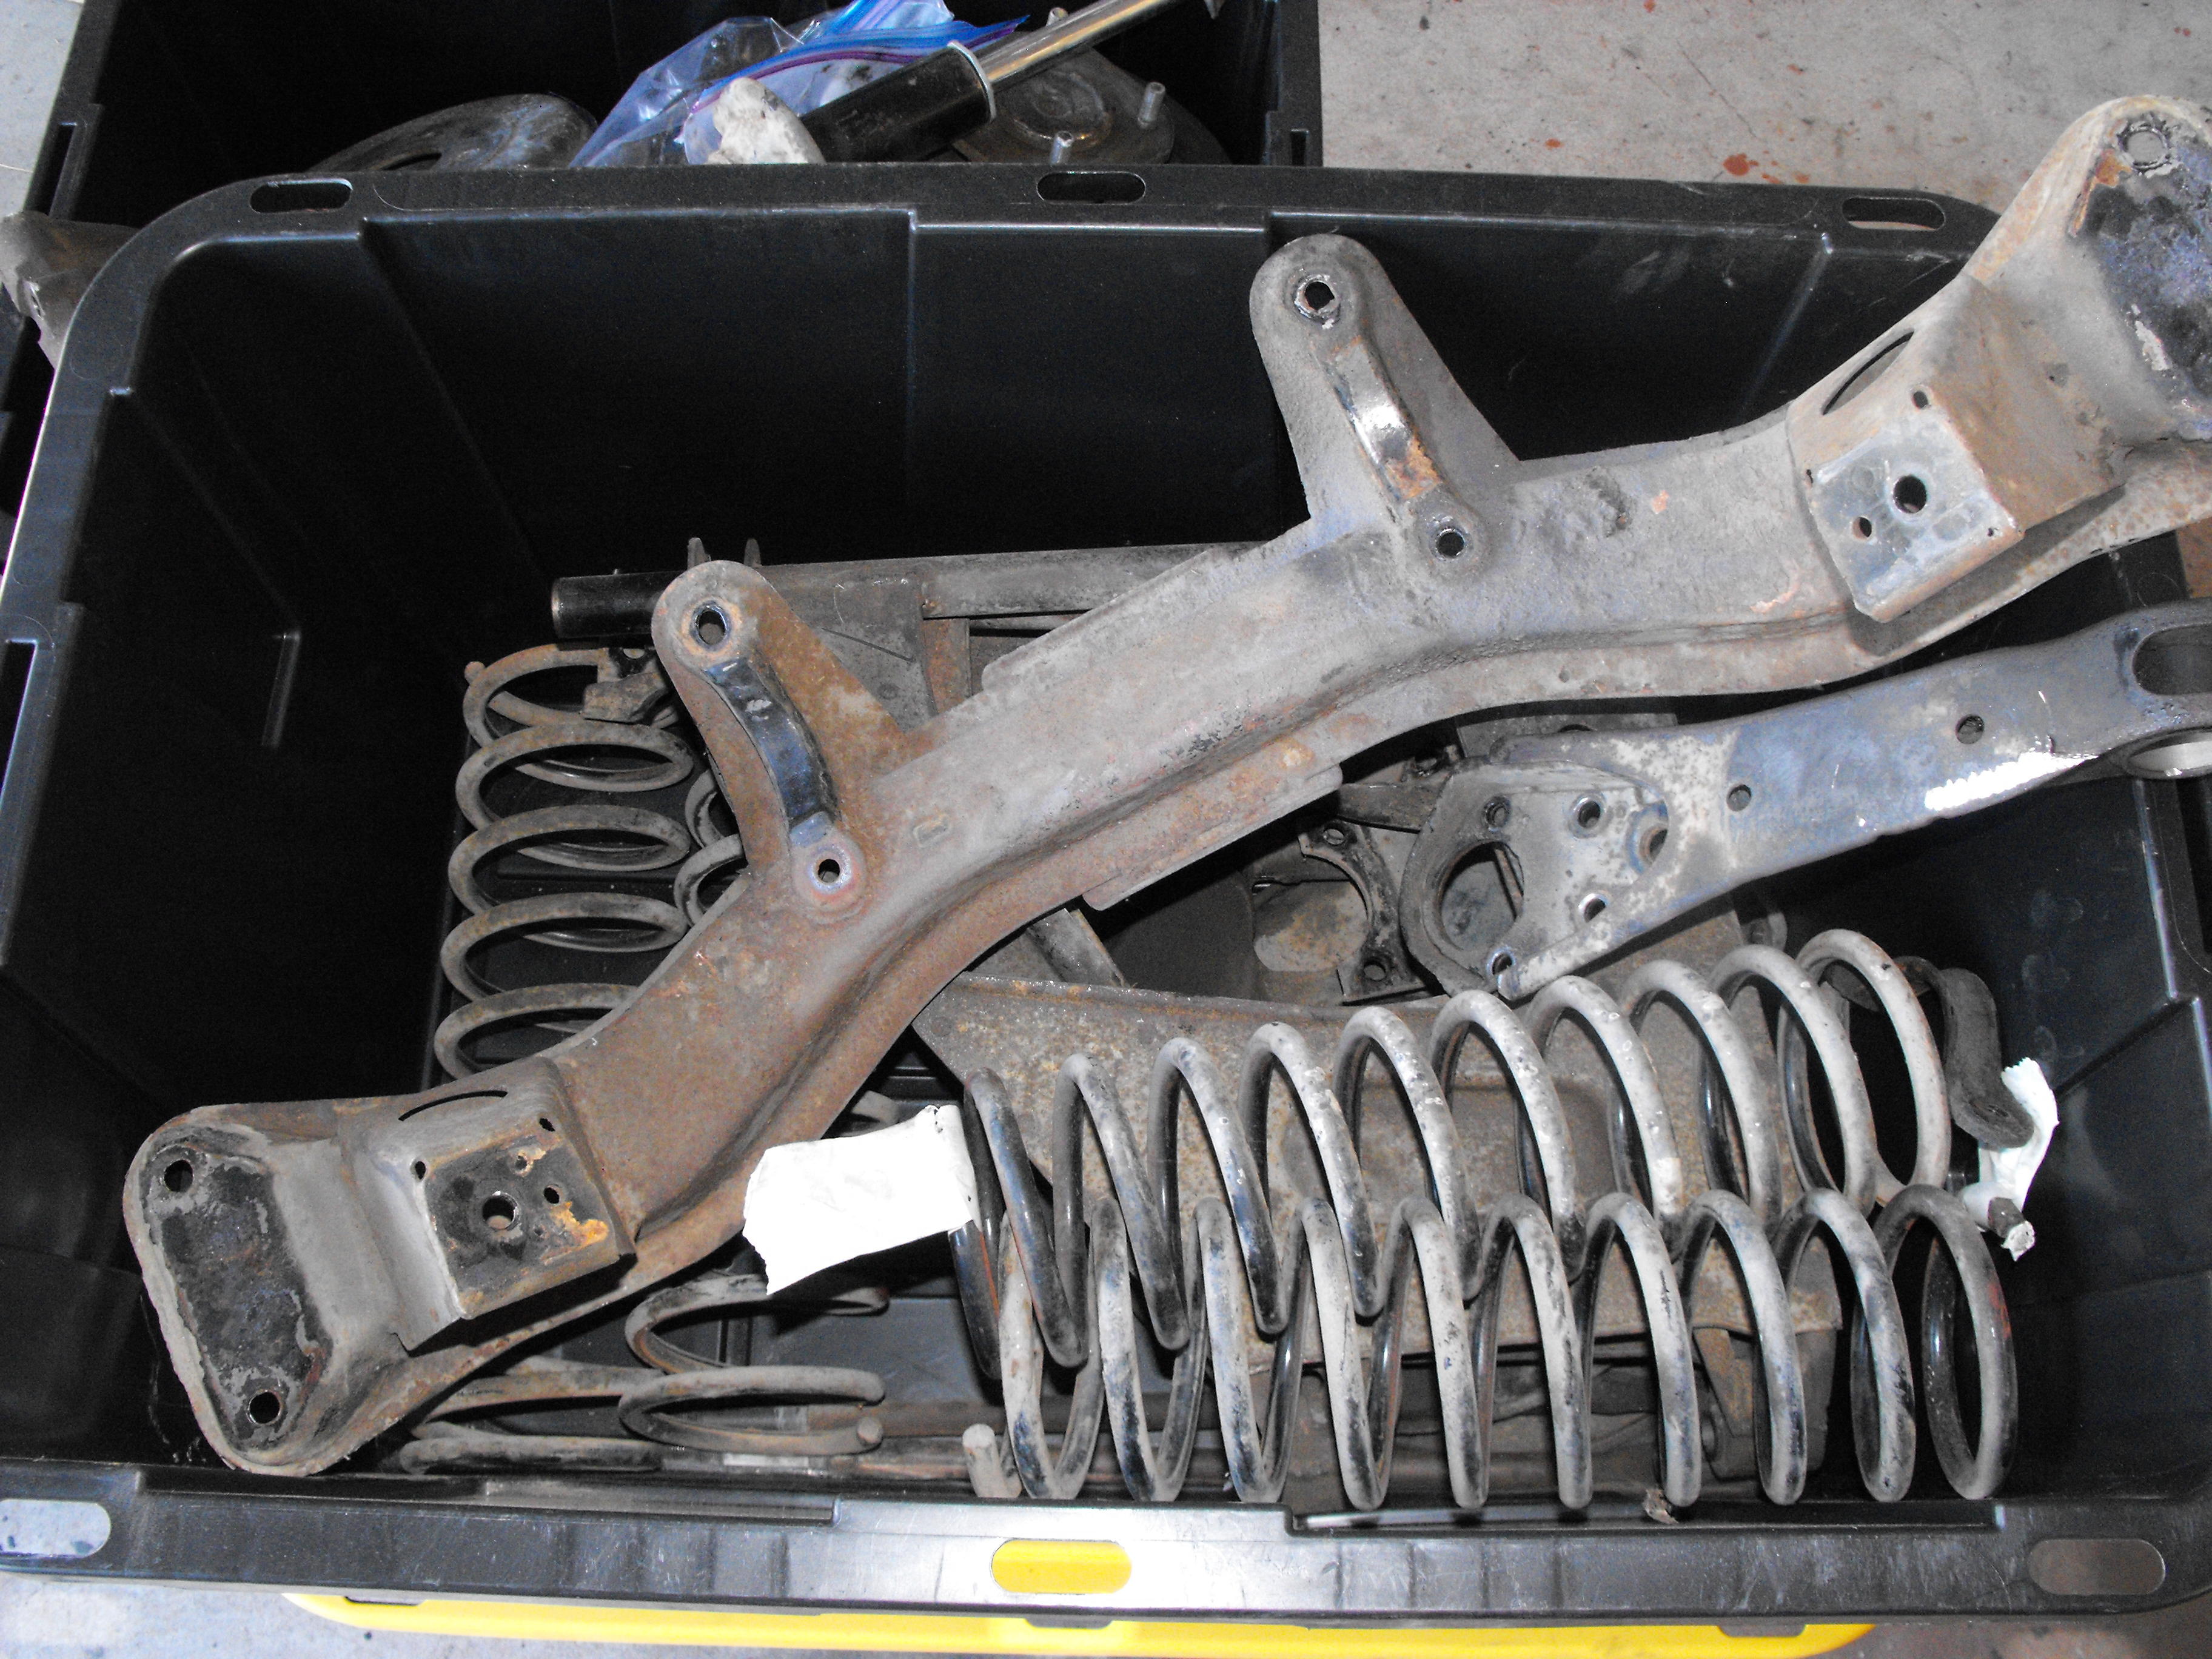
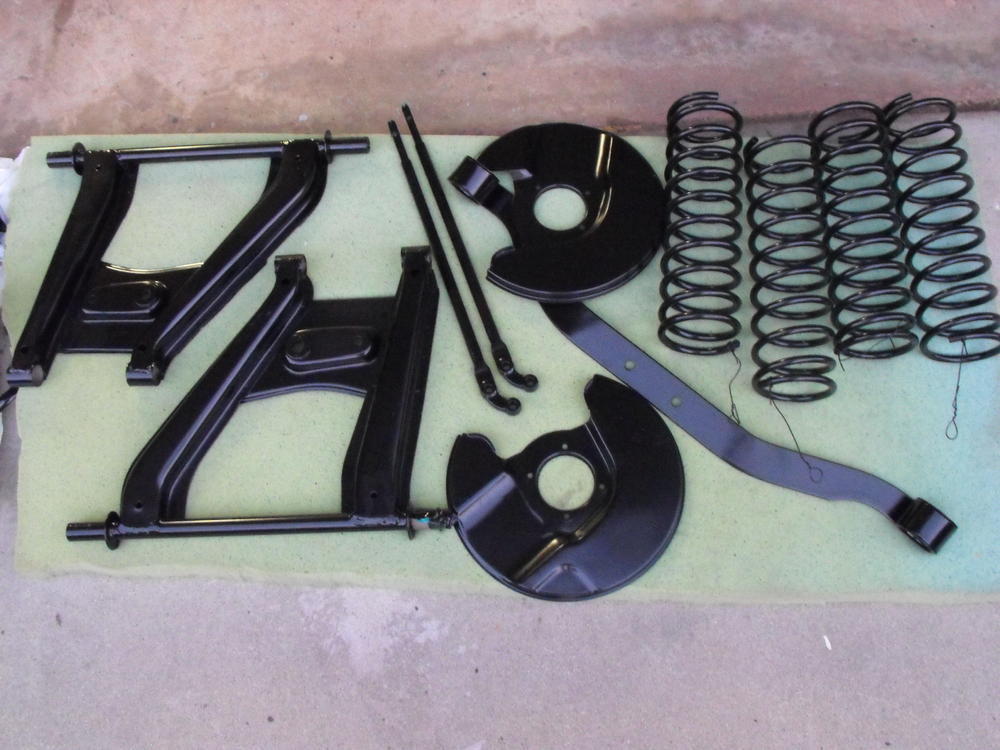
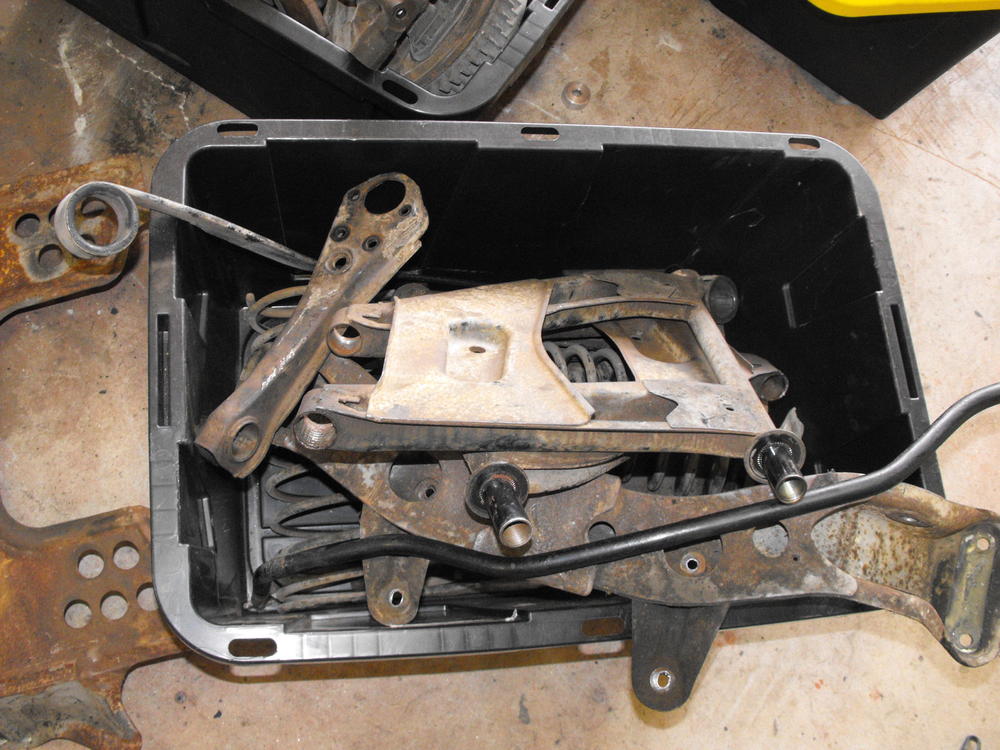
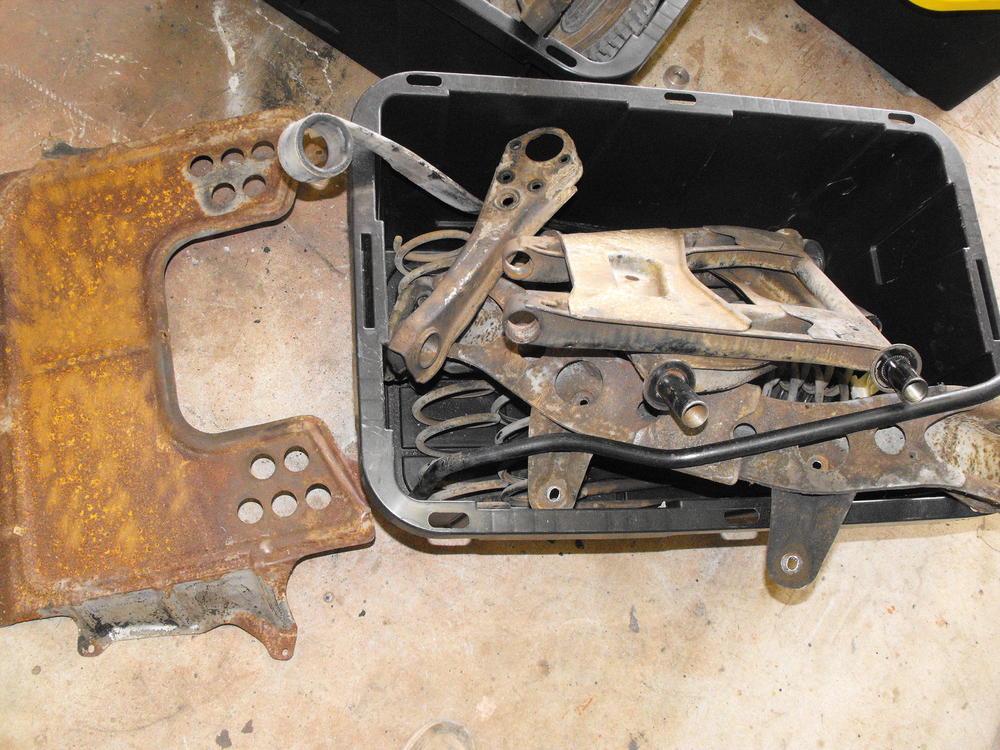
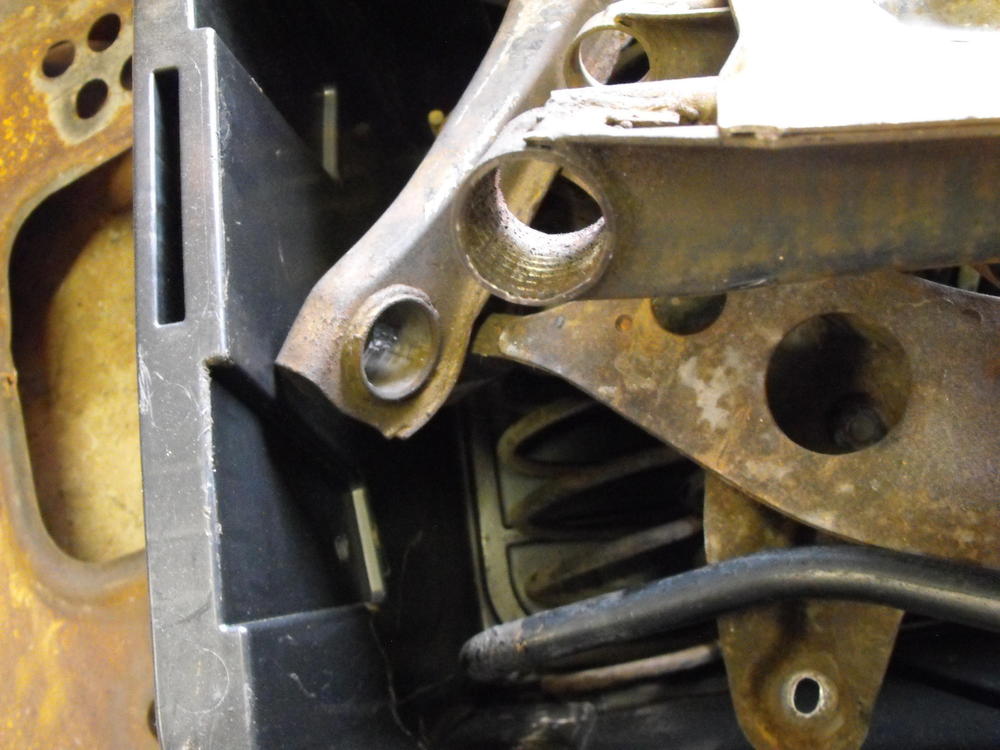
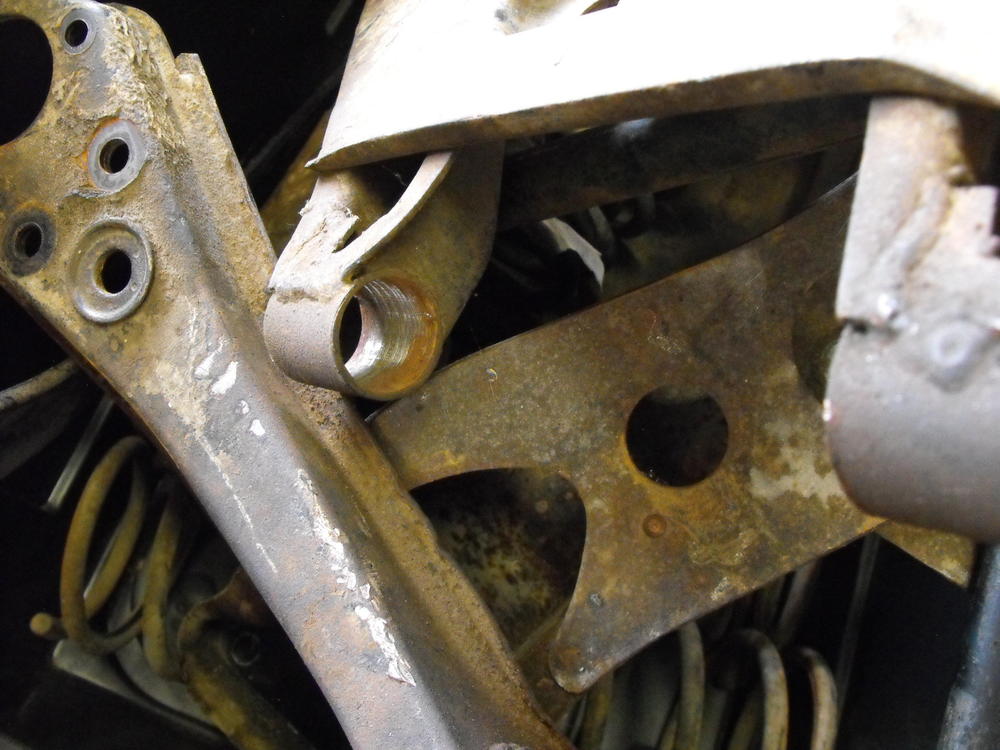
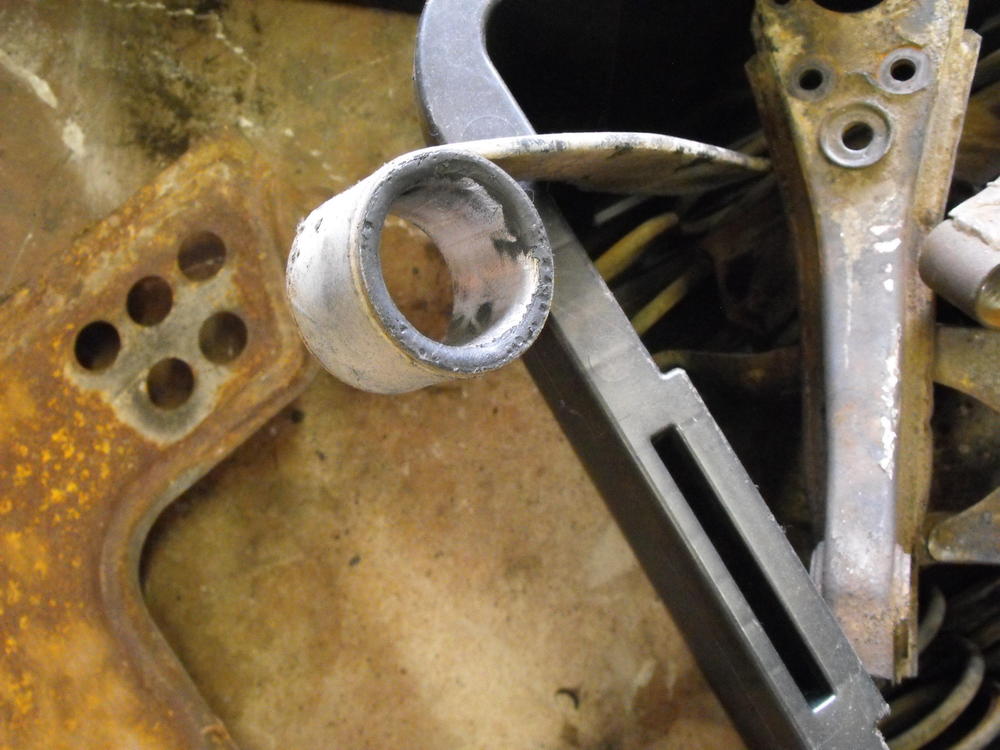
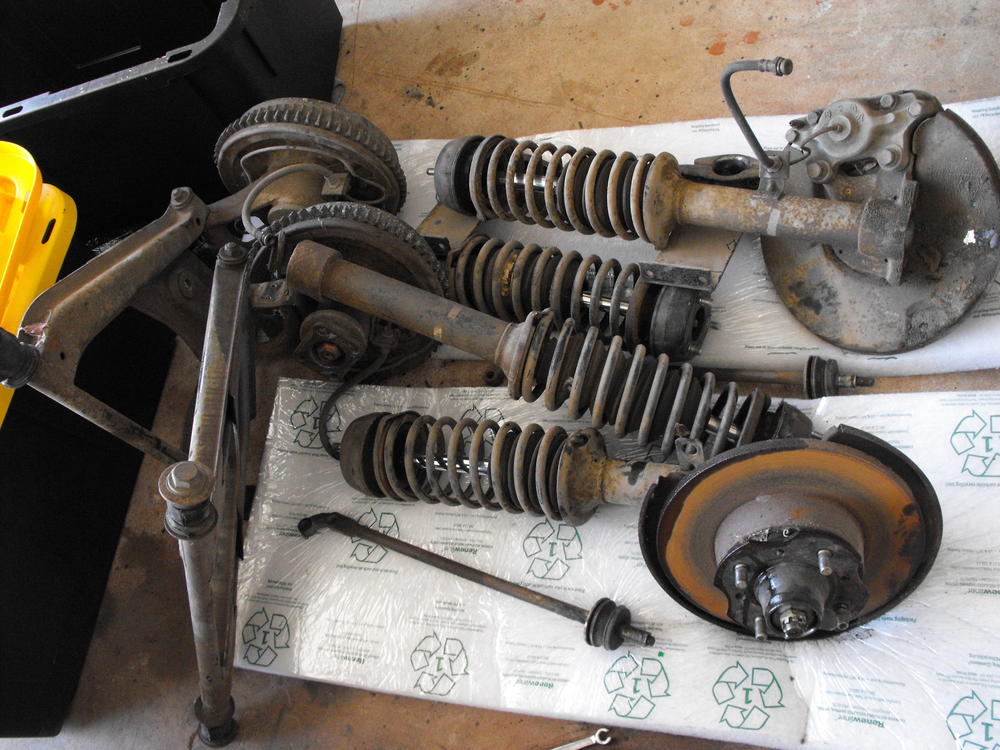
Got the suspension parts all disassembled and ready for powder coating. The powdercoater is great as they will sand blast the parts before coating. No need to do a thorough clean on these. The difficult task here was taking out the old bushings from the lower control arms. I went to Autozone and borrowed their U-joint/ball joint removal tool and used that to help with the bushing removal. The fronts weren't too bad as I was able to press them out with the Autozone tool and a carefully sized 25mm socket. The rears were not so easy. In addition to the press, I had to roll the edges of the bearing 'inward' to help peel them off the wall. A little PB blaster helped as well. So, I should have these at the powdercoaters tomorrow morning and they should be back in about a week. KYB Shocks have been ordered and should be here in a couple days. I will be ordering the Energy Suspension kit tomorrow so we will have all new Polyurethane bushings ready for assembly. All fasteners have been received by the plater and should be back here in a week or so. With that all done, I should be able to start assembling the suspension components here in a little over a week.
-
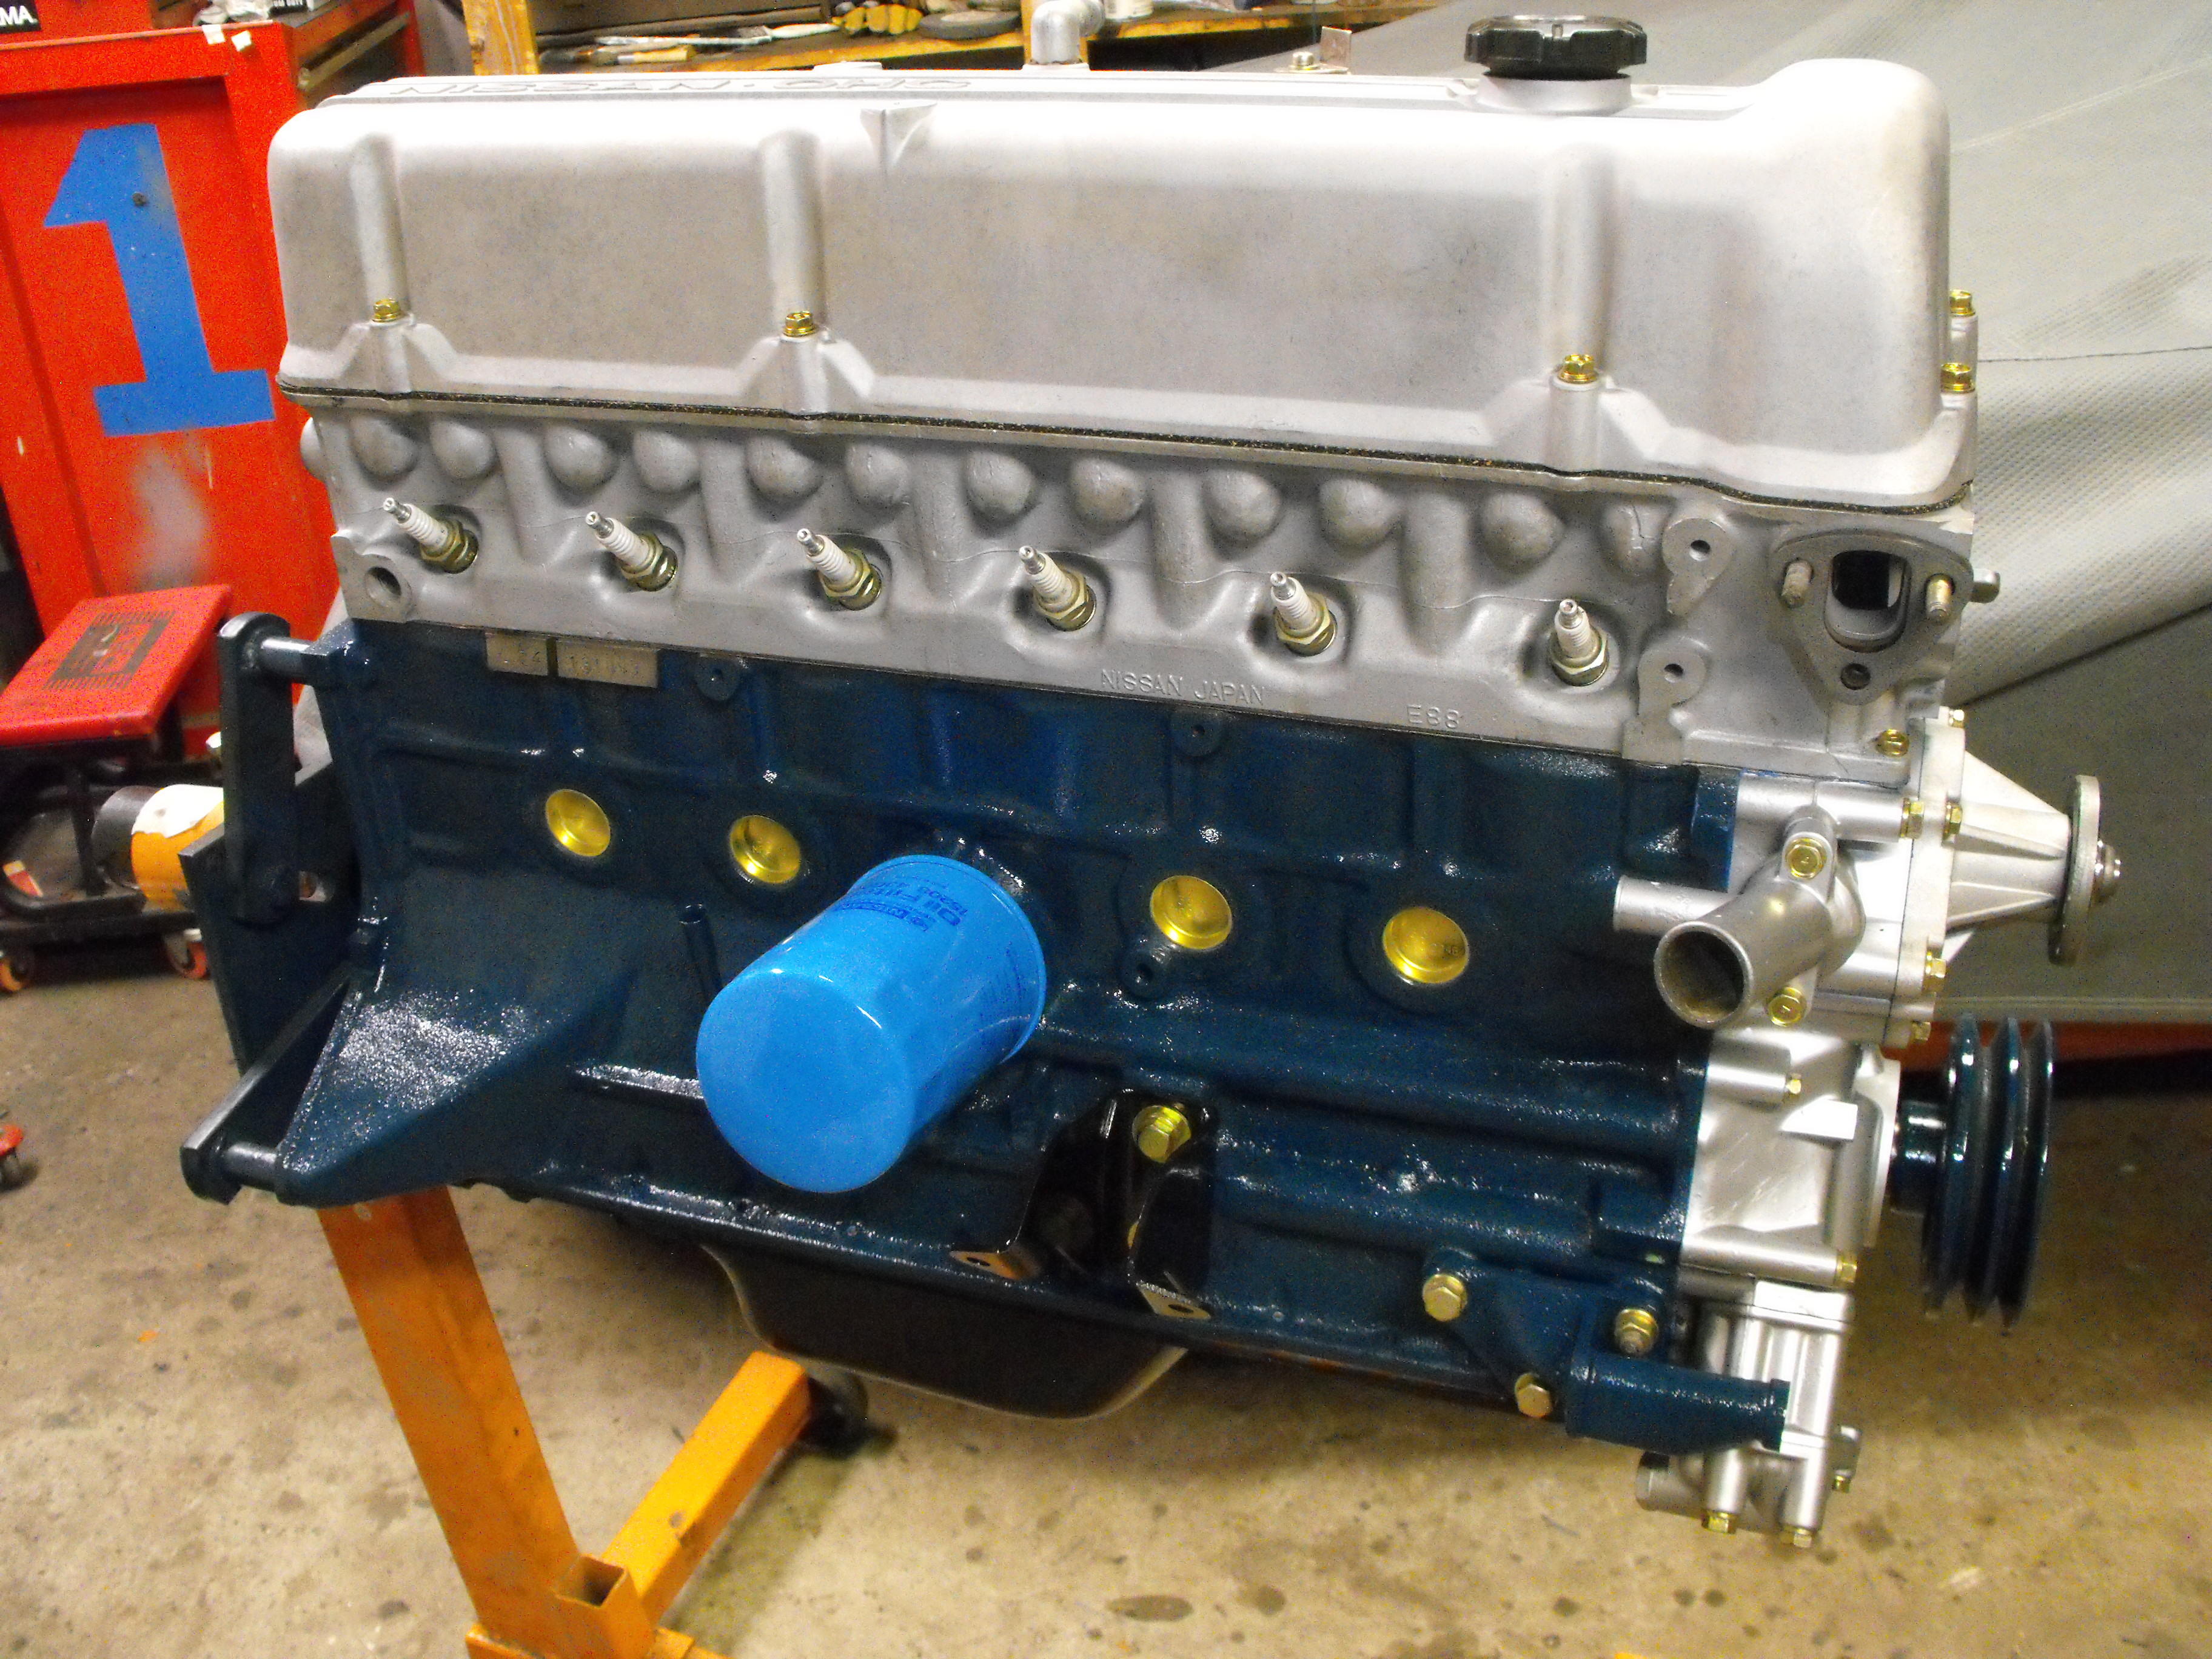
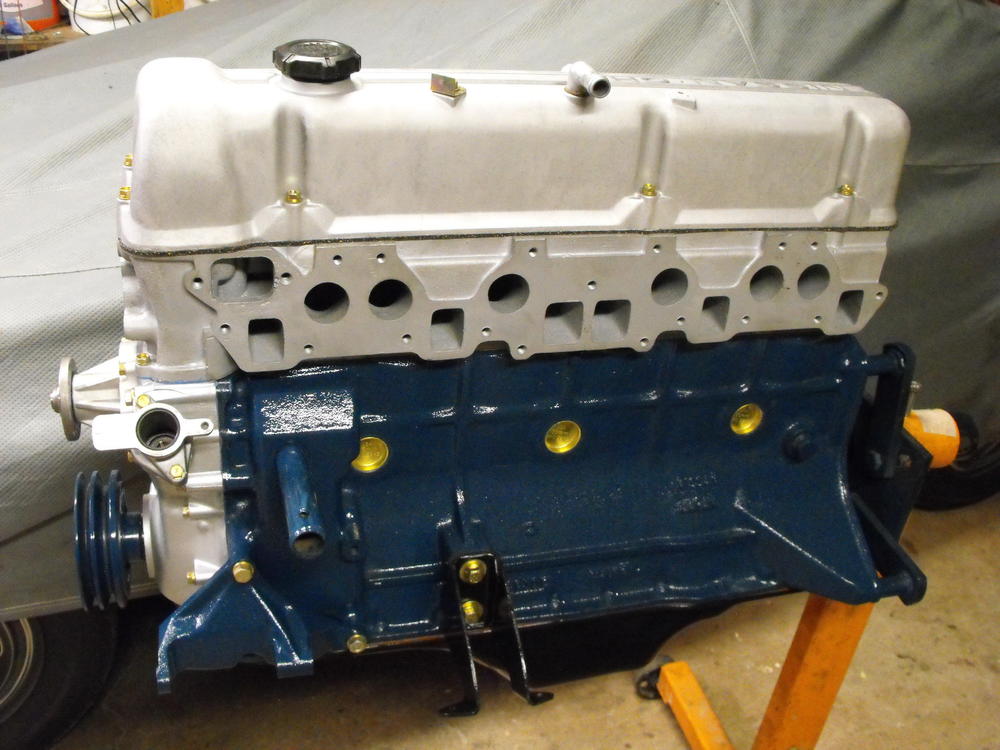
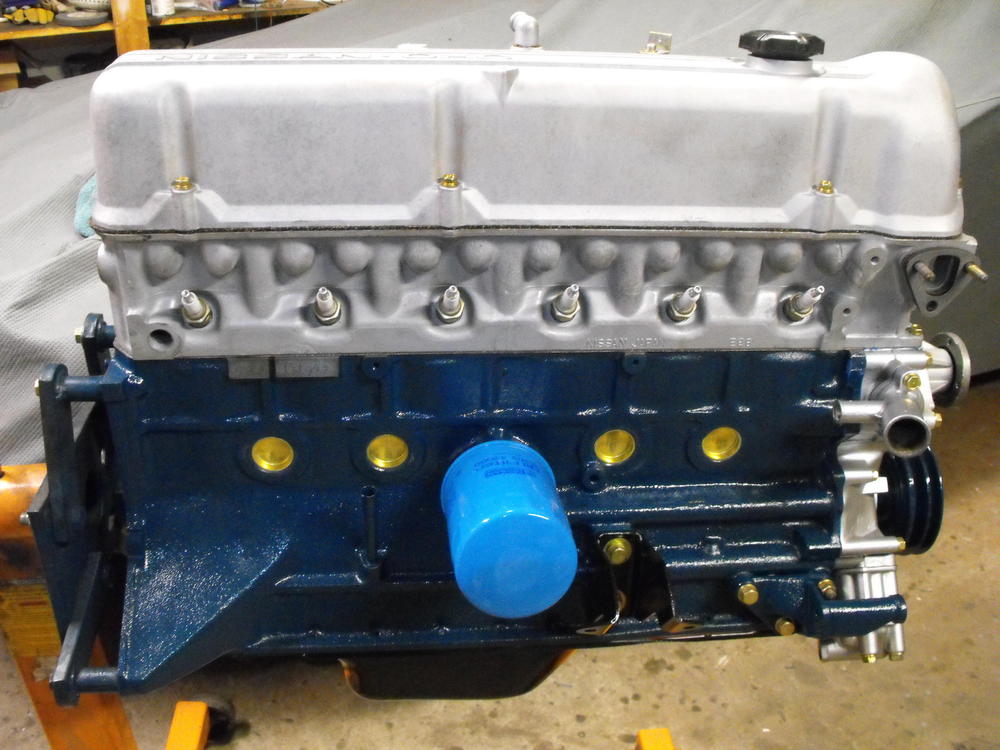
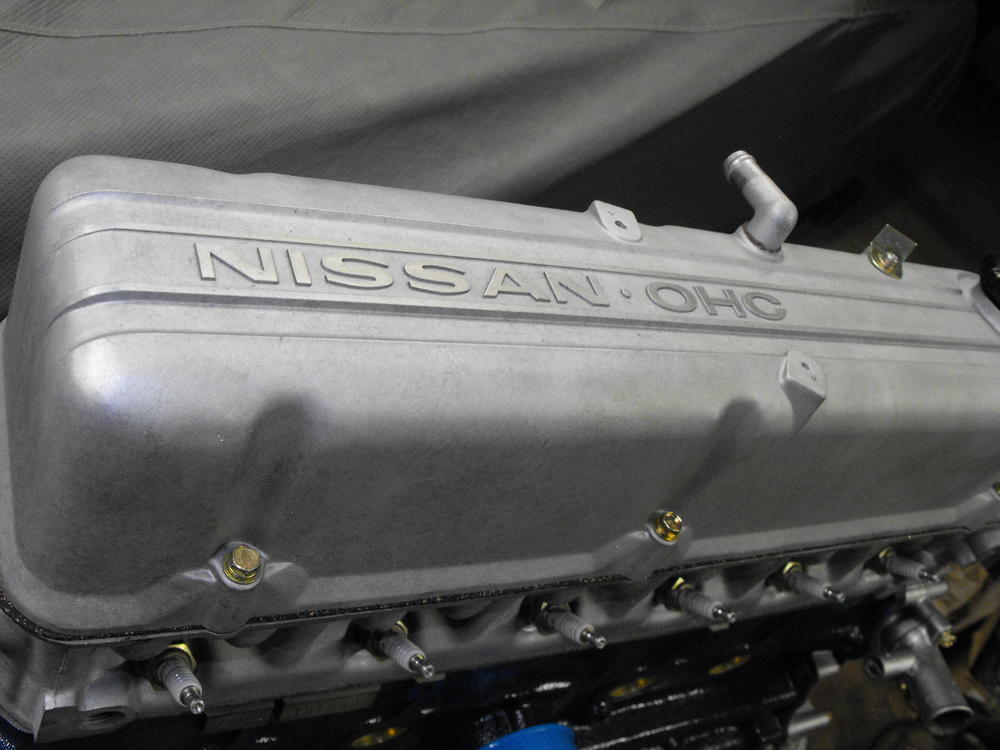
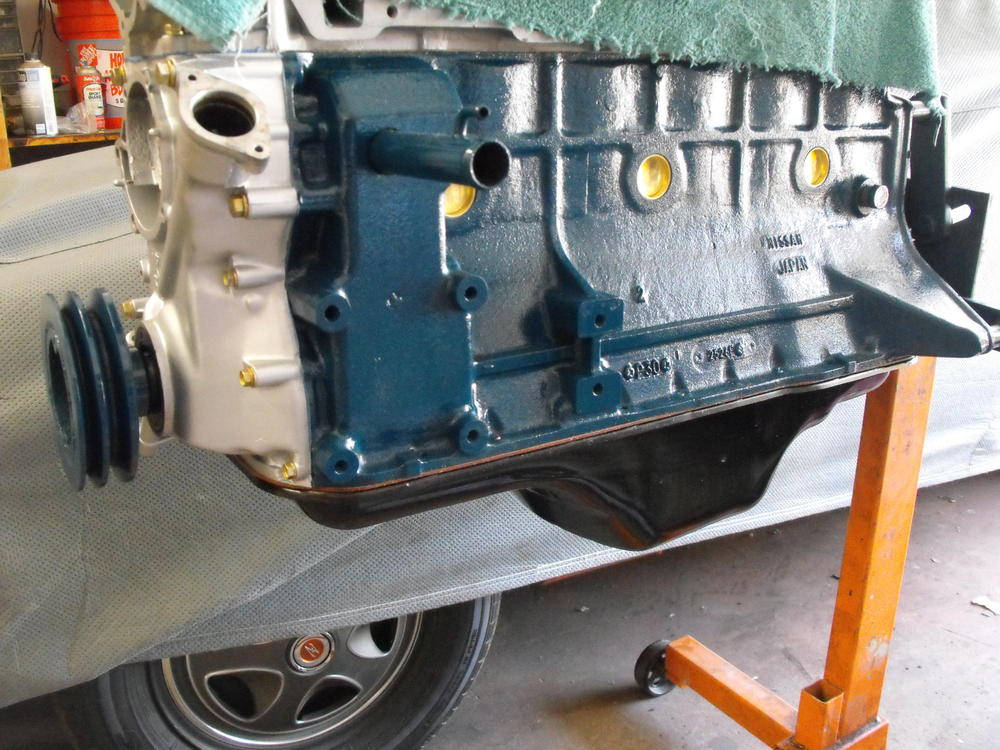
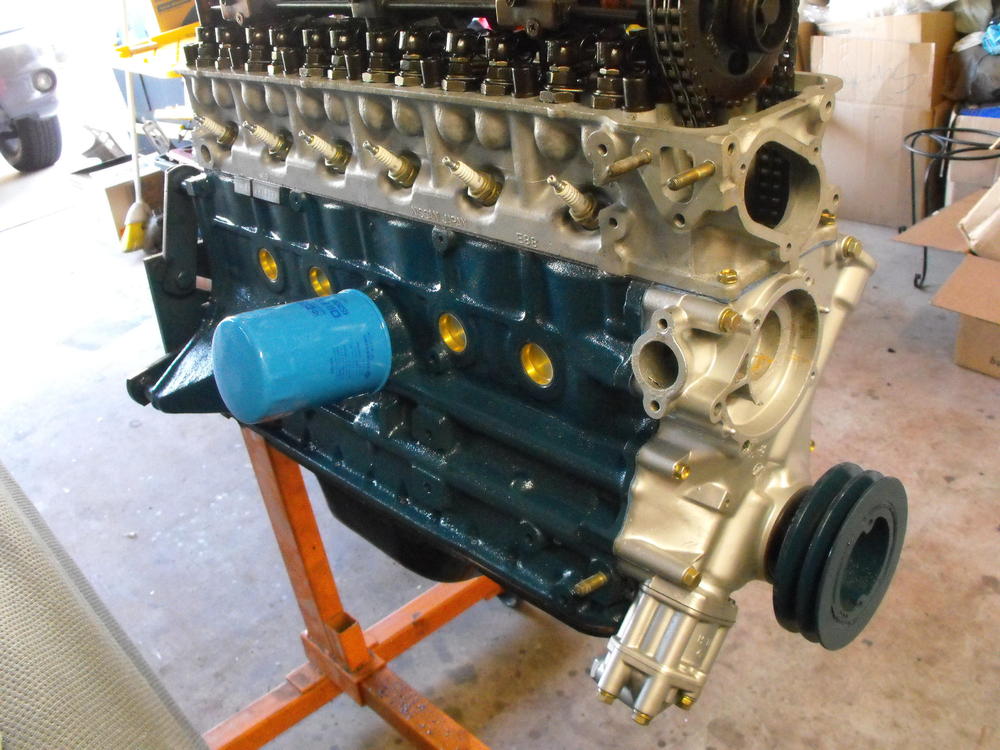
The motor is coming along. Got the valve cover bead blasted and painted with matte clear. Also installed the water pump, engine mounting brackets, and smog and alternator brackets.


-
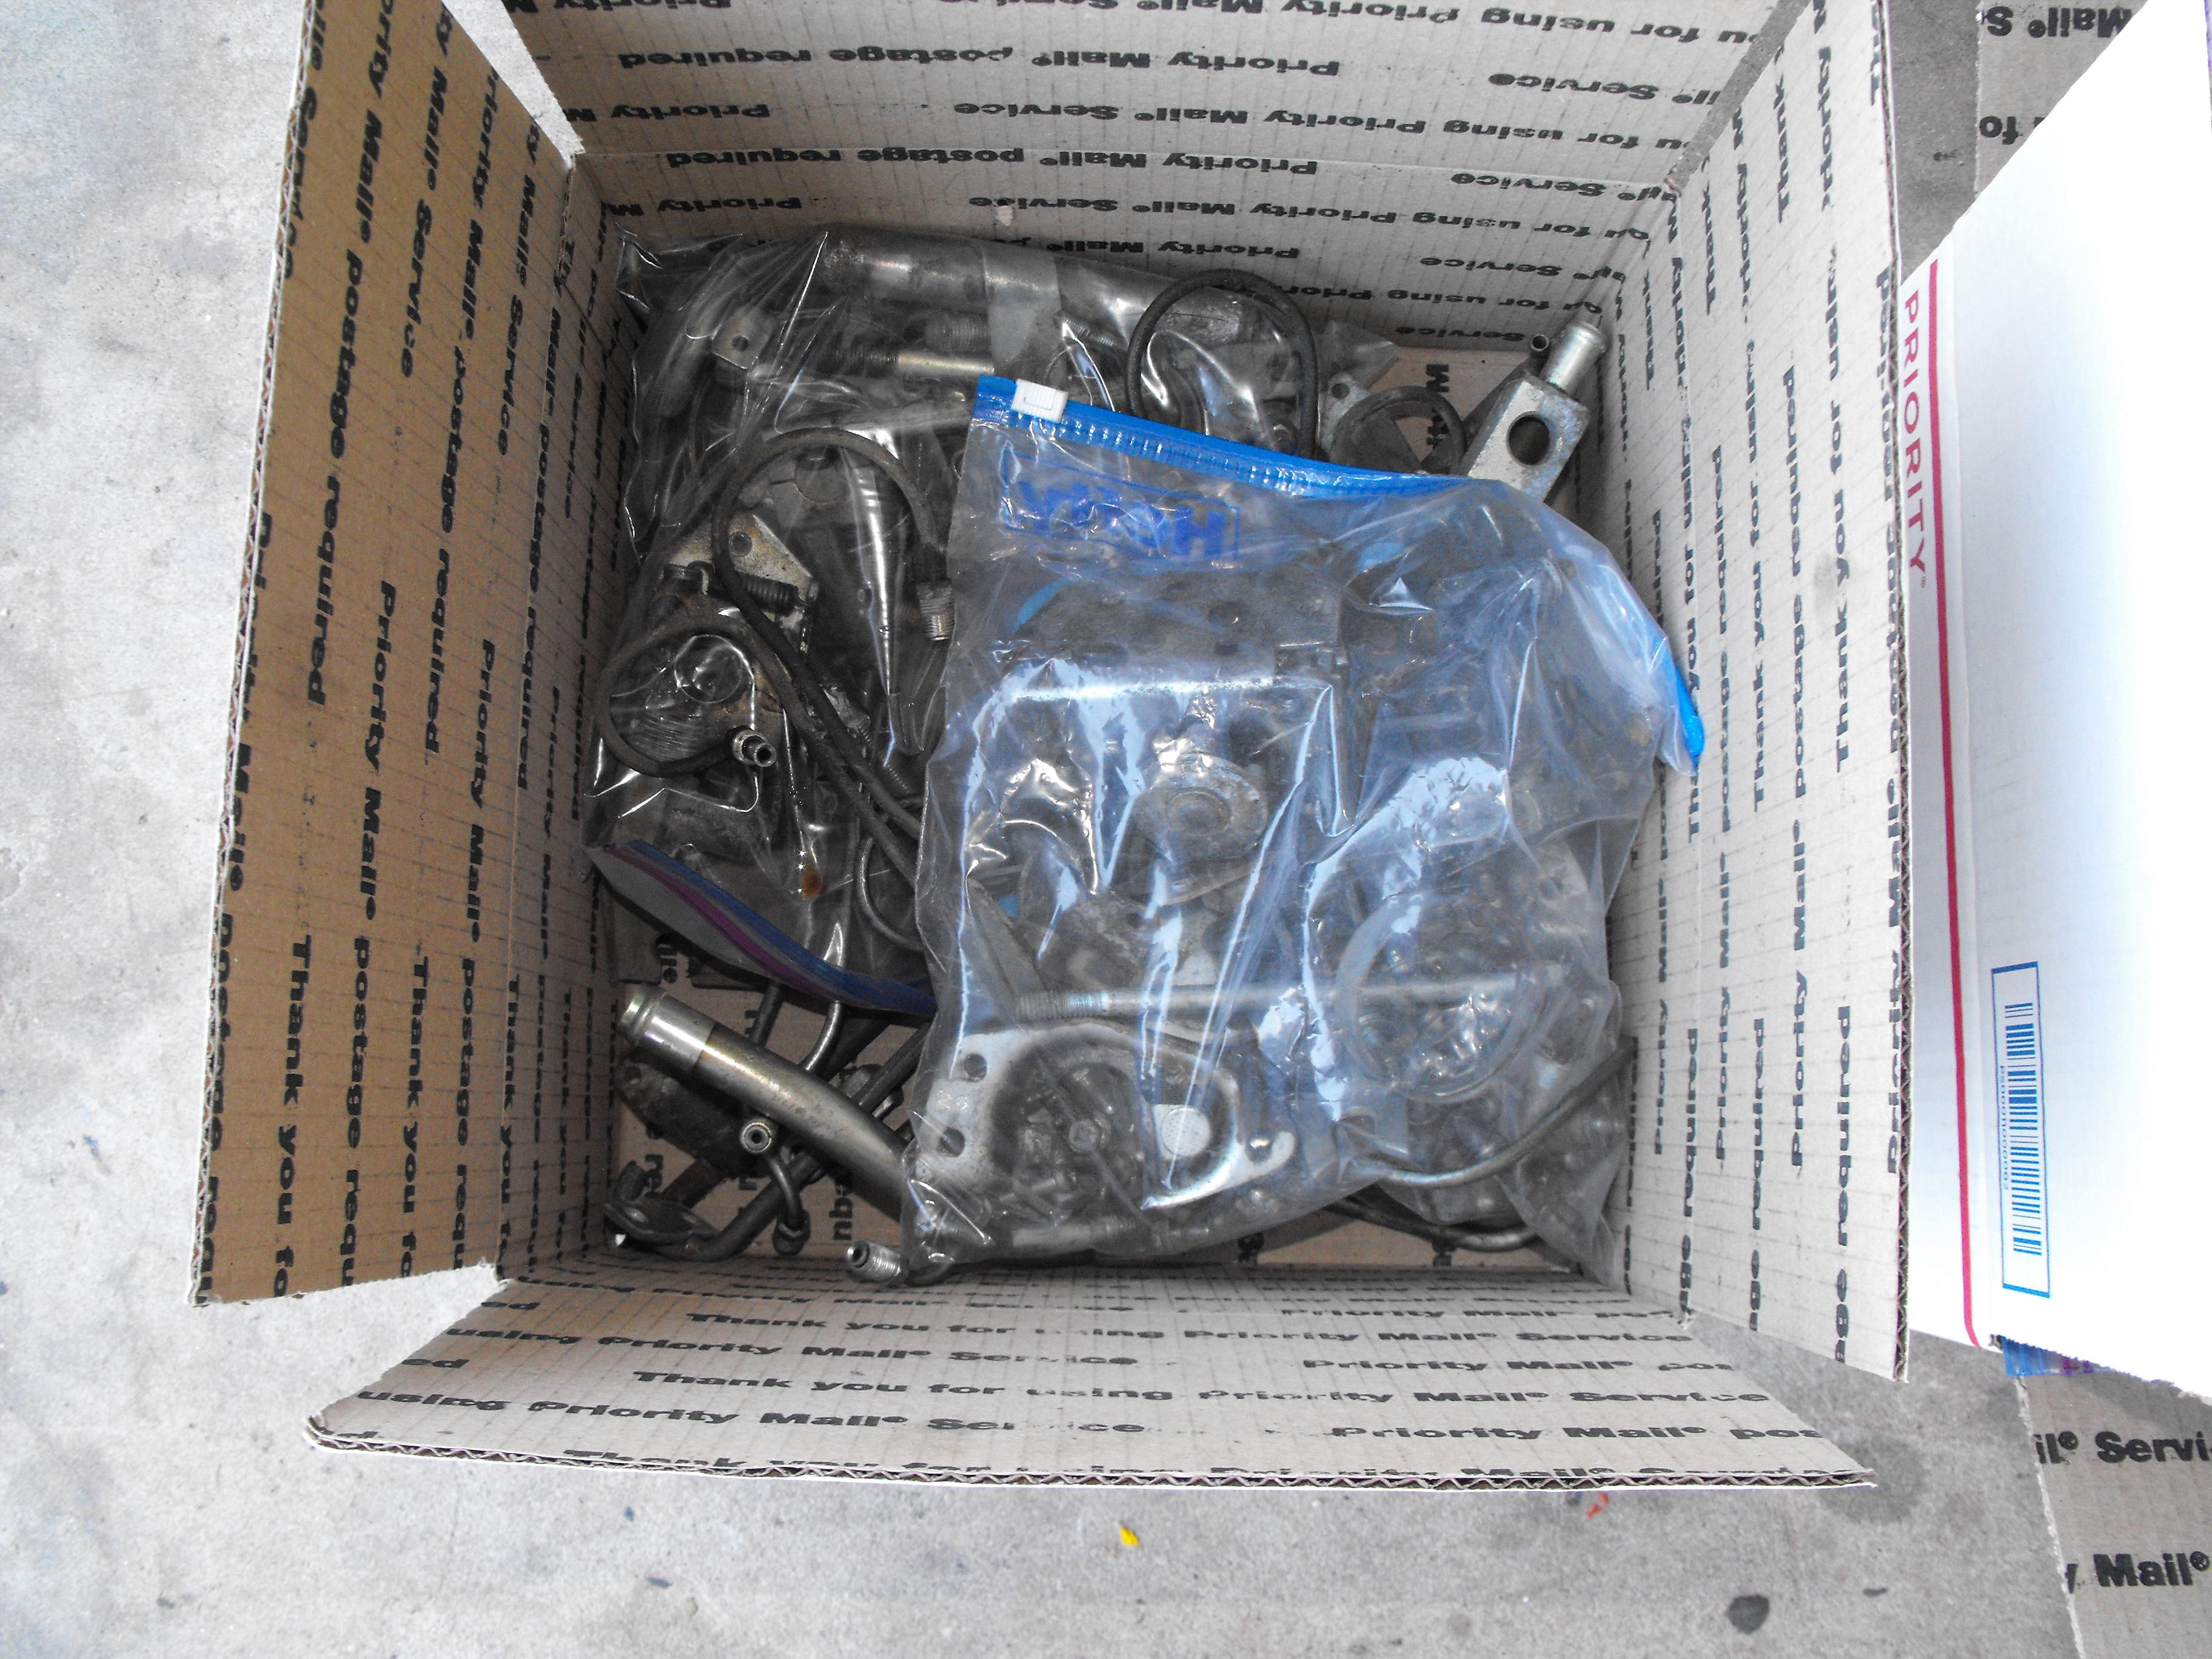
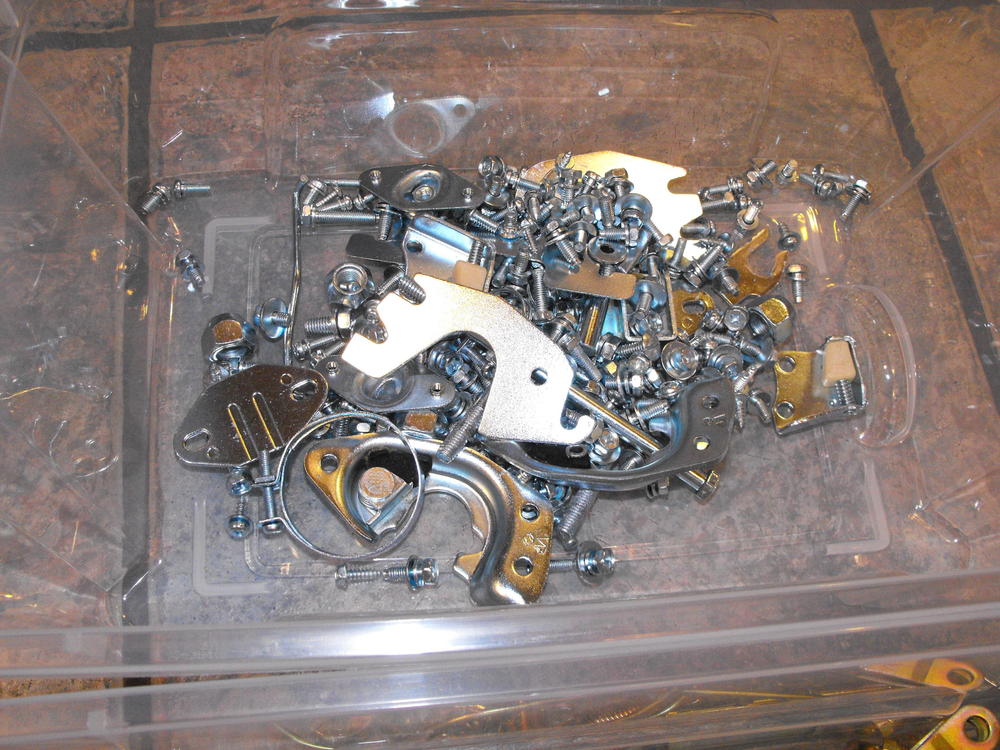
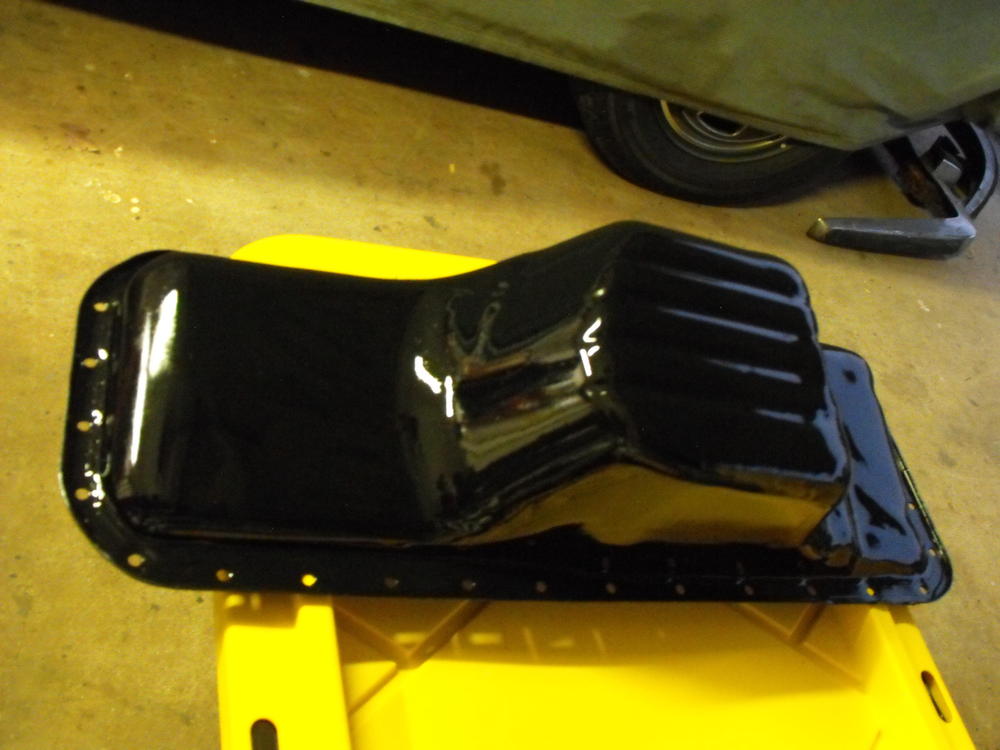
Glad you got to meet Bob. With all the Z stuff going on, I am sure that we will run across each others paths one of these days. Great to hear from you. .......................................... Got the Oil pan on. Also cleaned up and installed the oil pump. Got the distributor shaft slot lined up at the 11:20 location. I broke down the front and rear suspension, also bagged the small stuff and sorted components. I have a box set-up specifically for the parts that will be powdercoated. I did a basic wire wheel clean on about 85 percent of the parts that need to be plated. Got those sorted (silver and yellow zinc) and bagged so I can ship those to the plating shop tomorrow. I have two large USPS boxes full of parts to send out. I will send the remainder of the parts out along with the longer fuel lines in a separate shipment. Pics are below. Check out the brake disc...a solid home for the spiders.


-
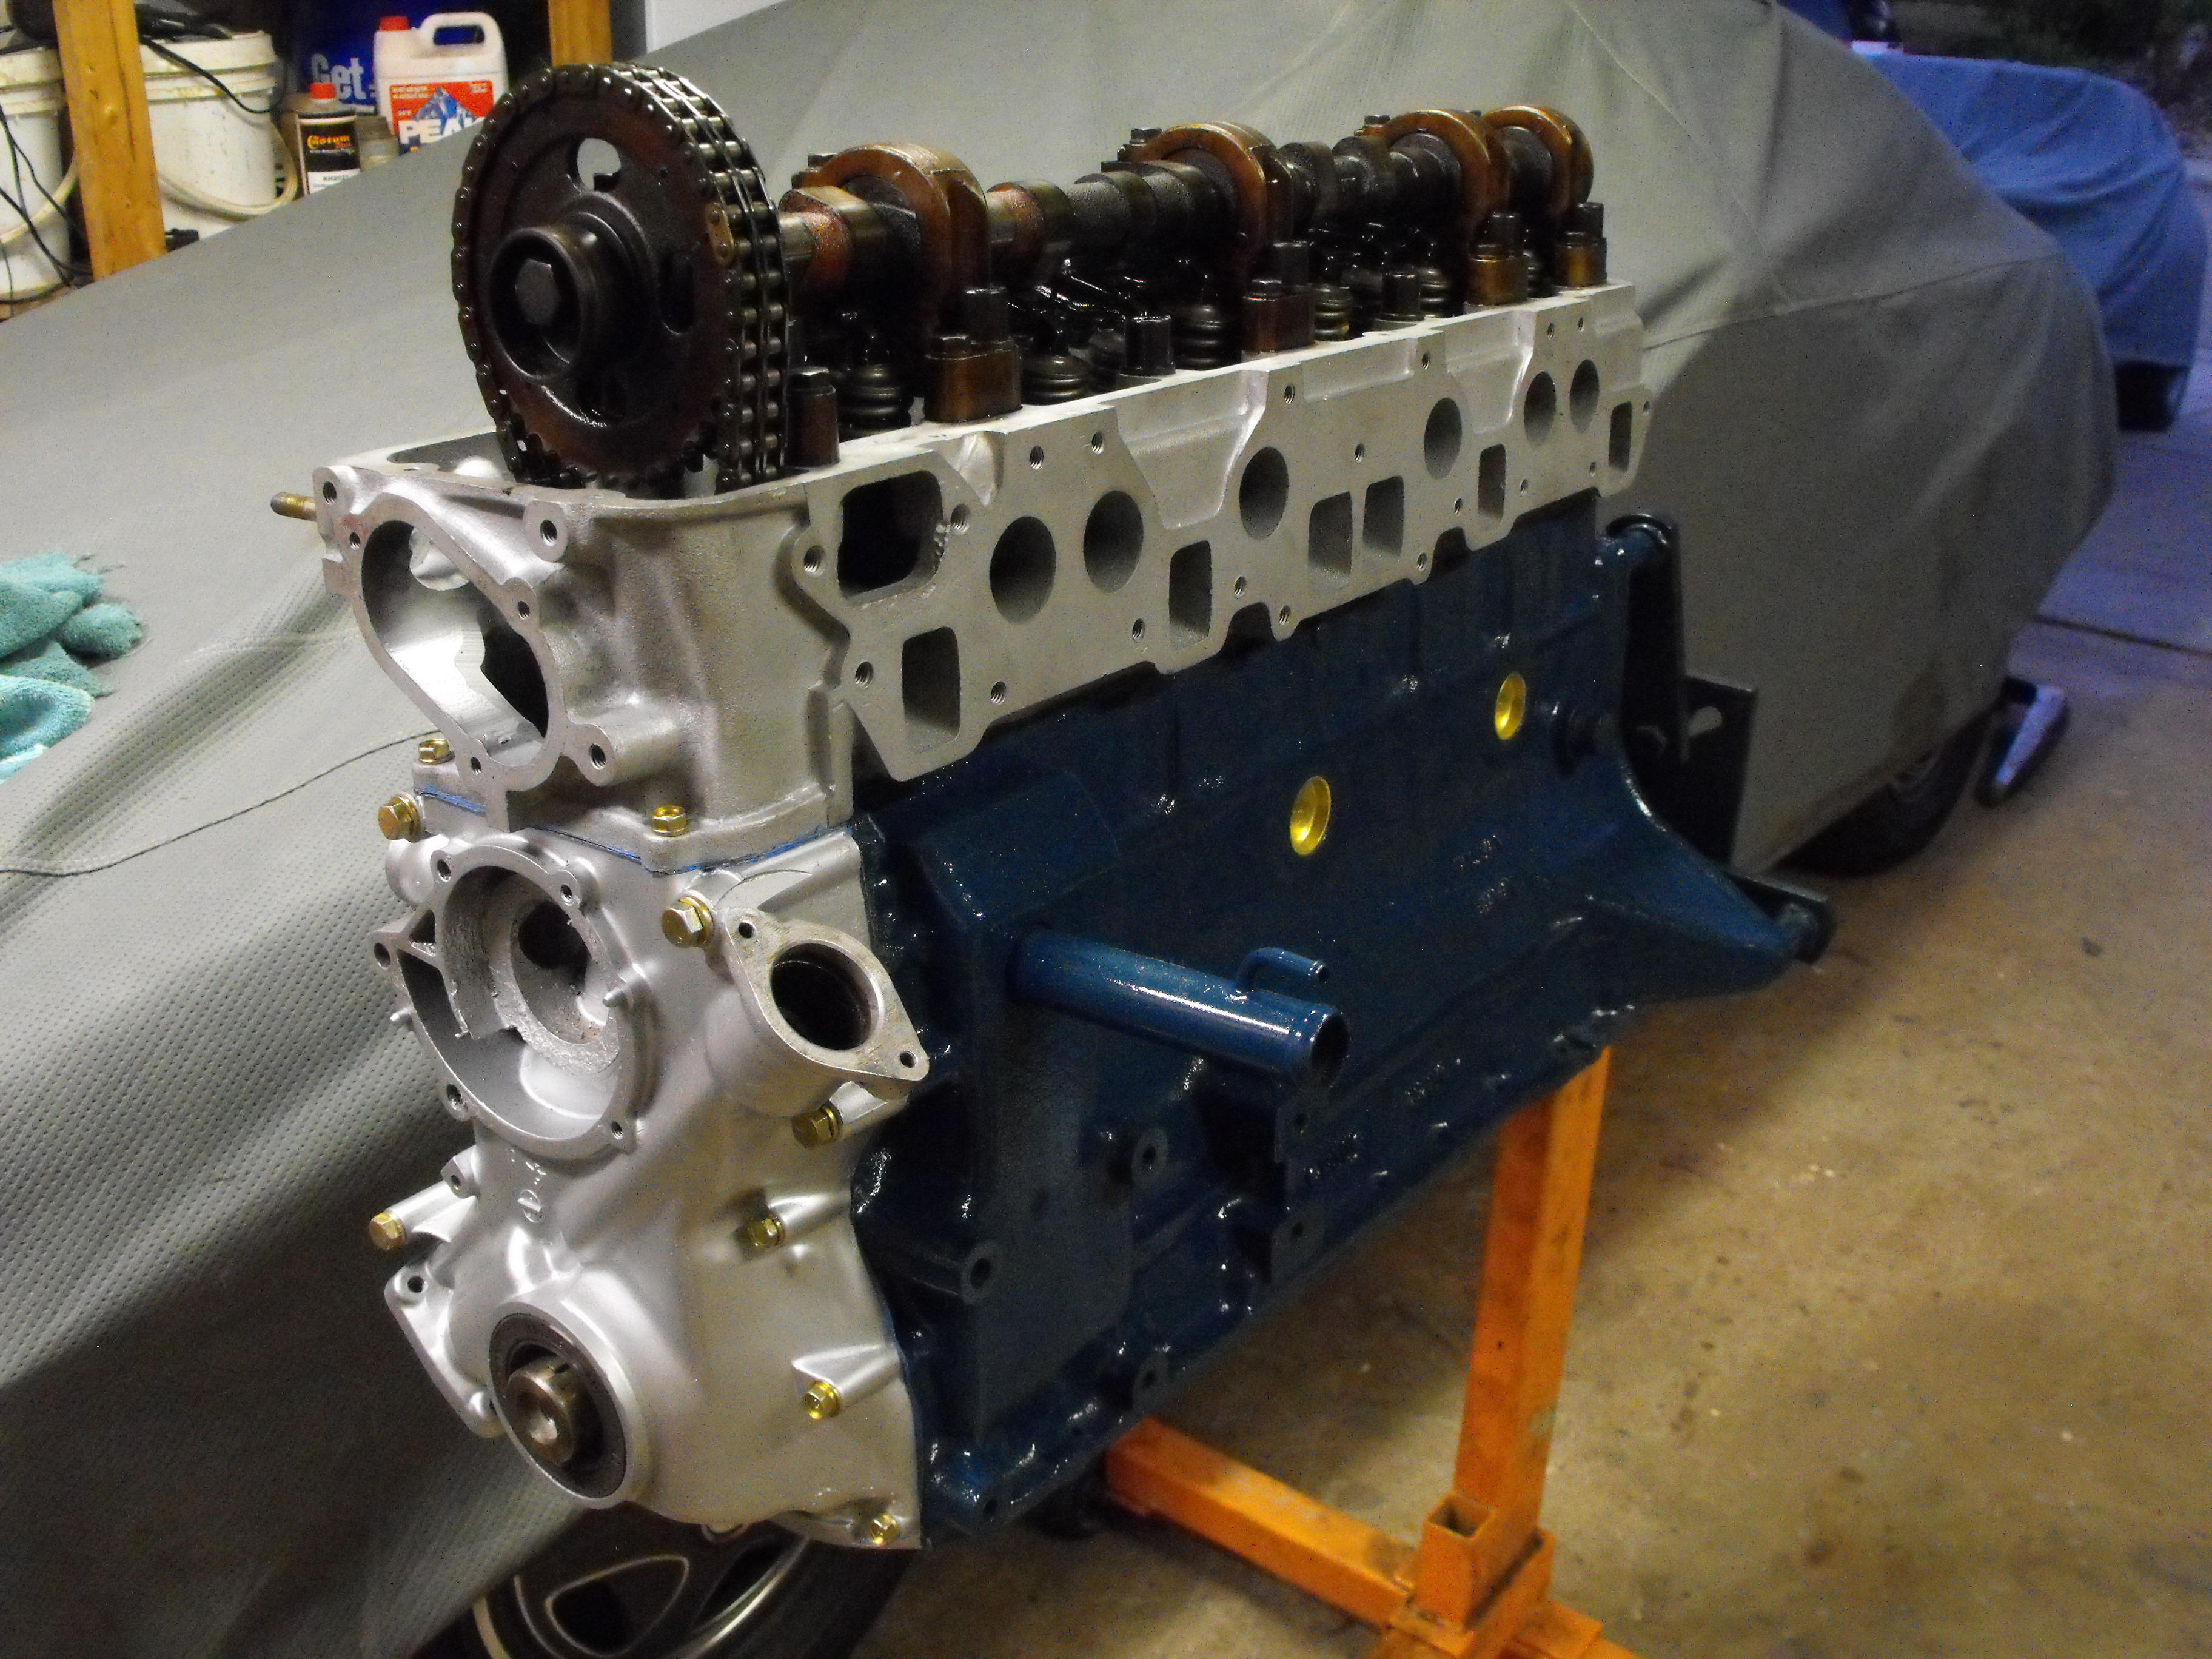
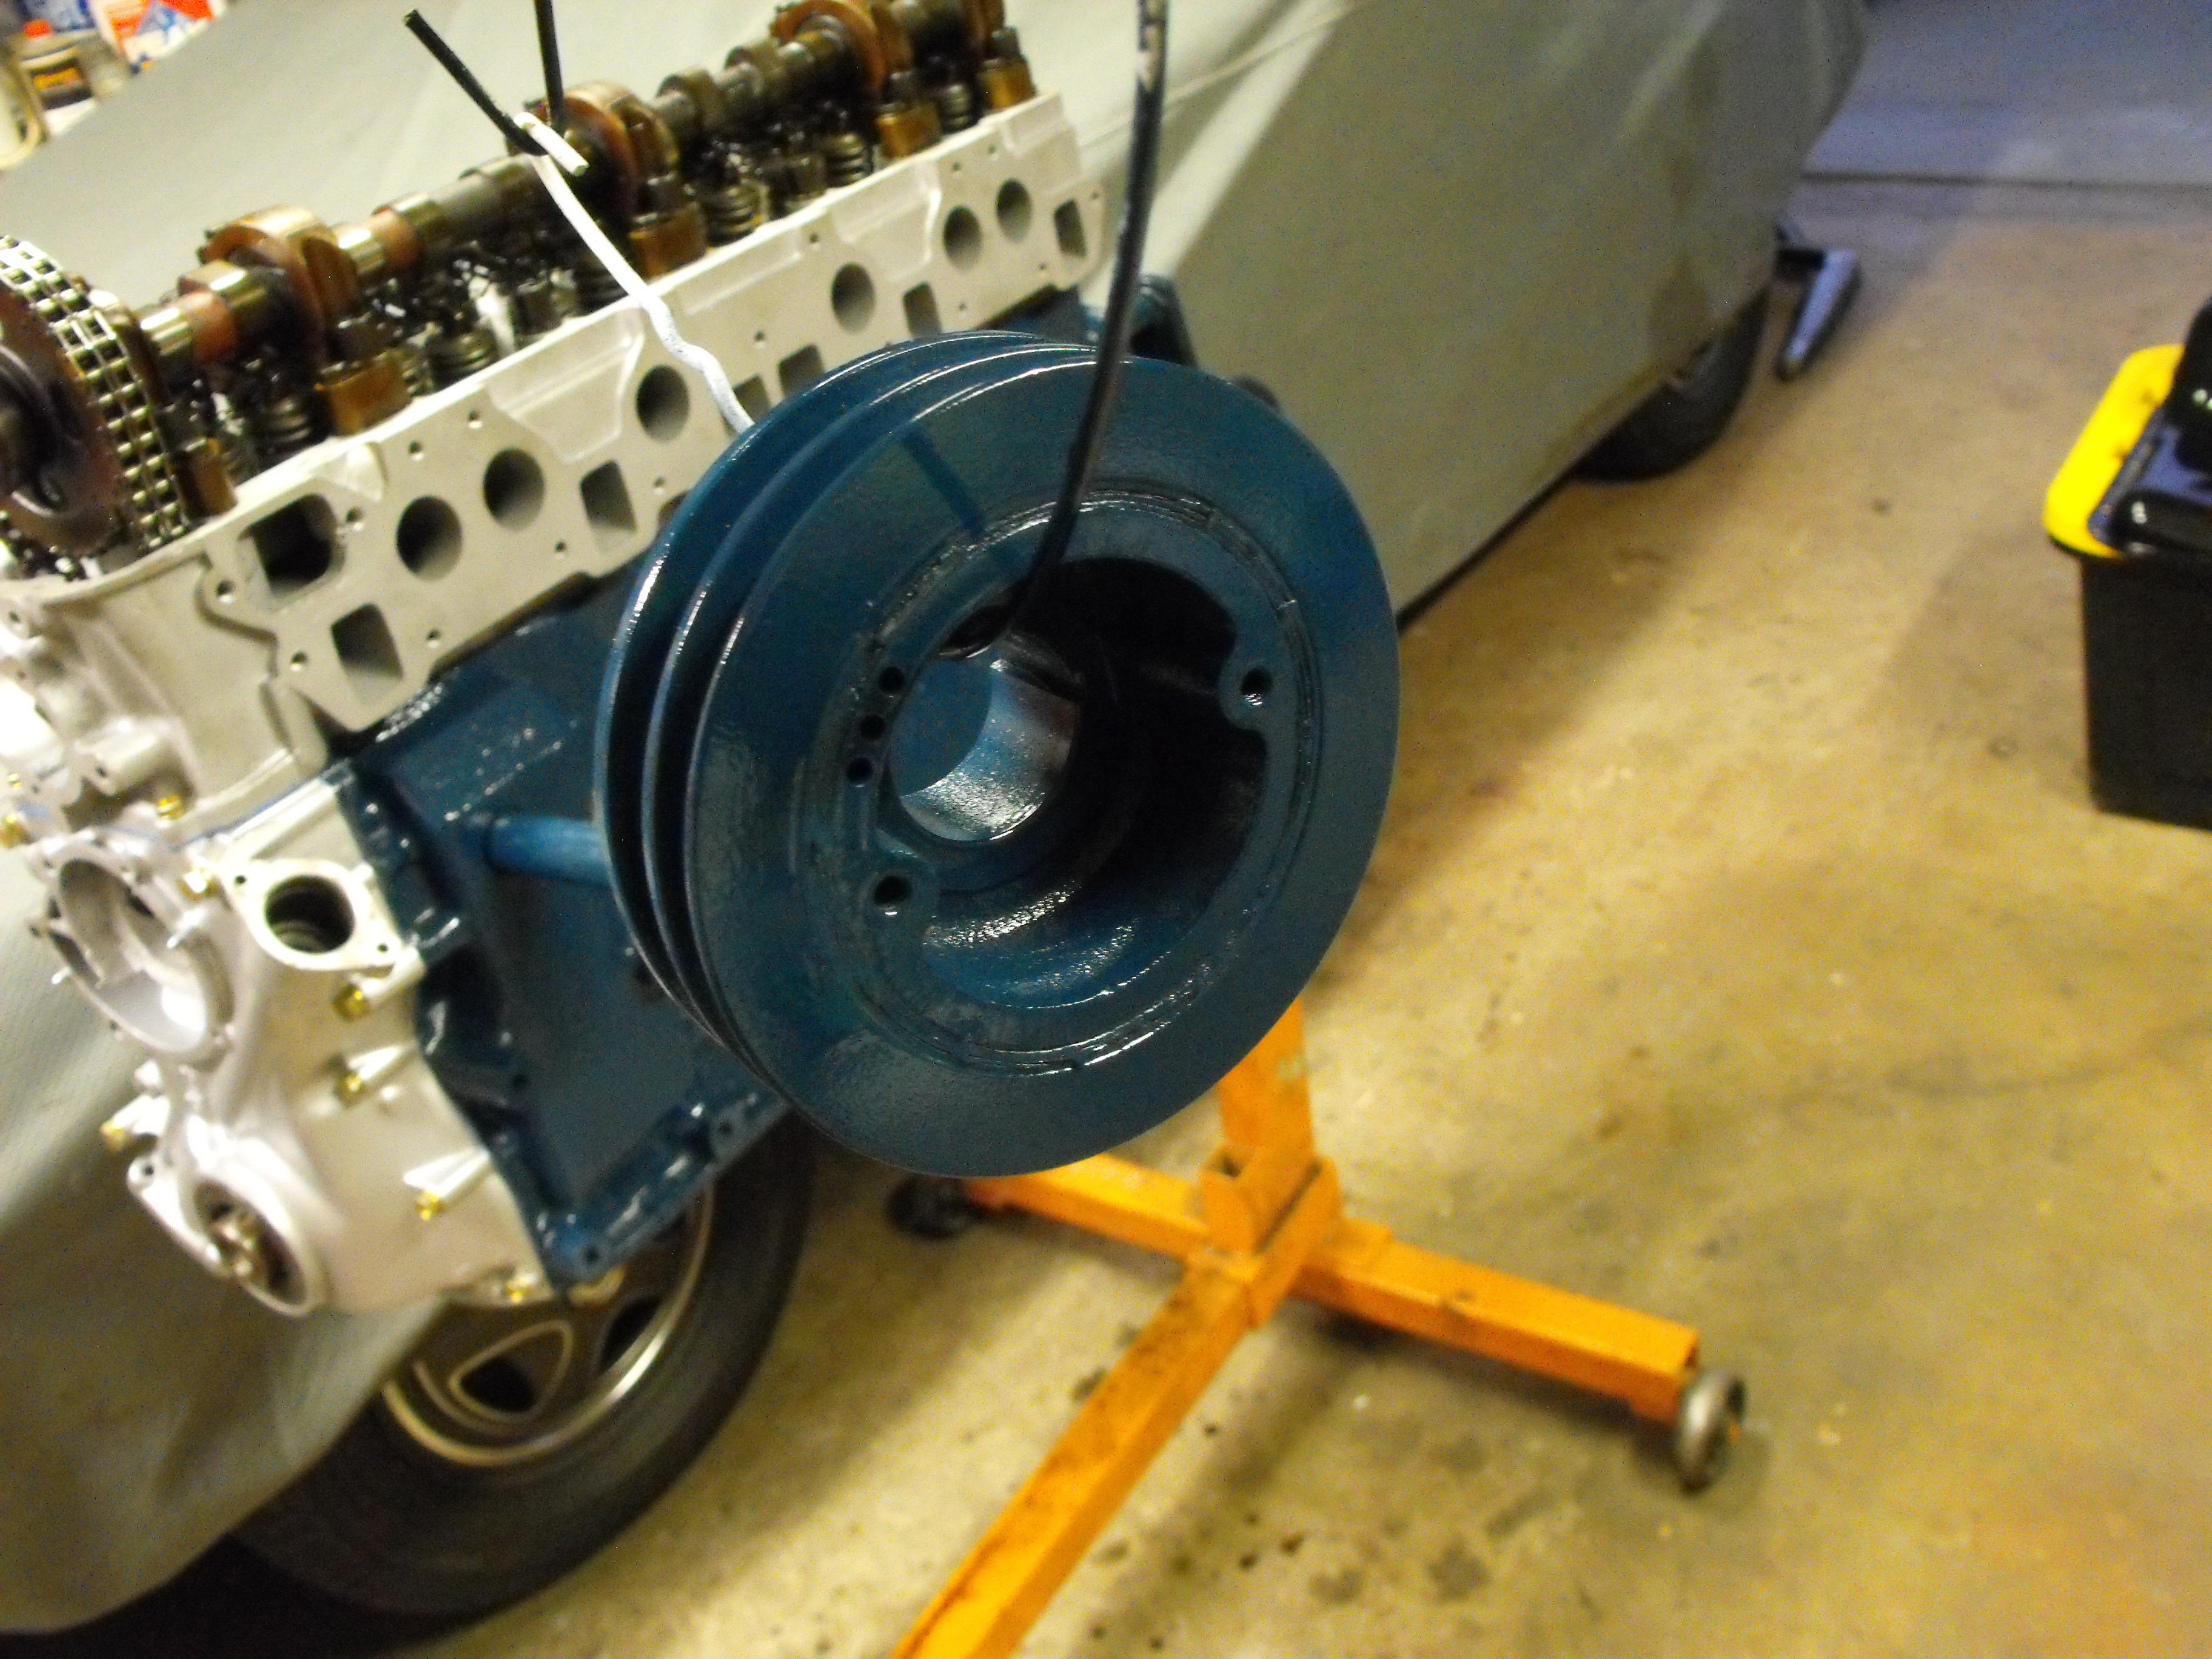
Got the timing gears and chain installed. Also installed a new timing chain tensioner. Cleaned up and sprayed the timing chain cover with high temp aluminum paint and got that installed. Also got the front pulley cleaned and painted and the oil pan. Will install those in the next couple days after they dry.


-
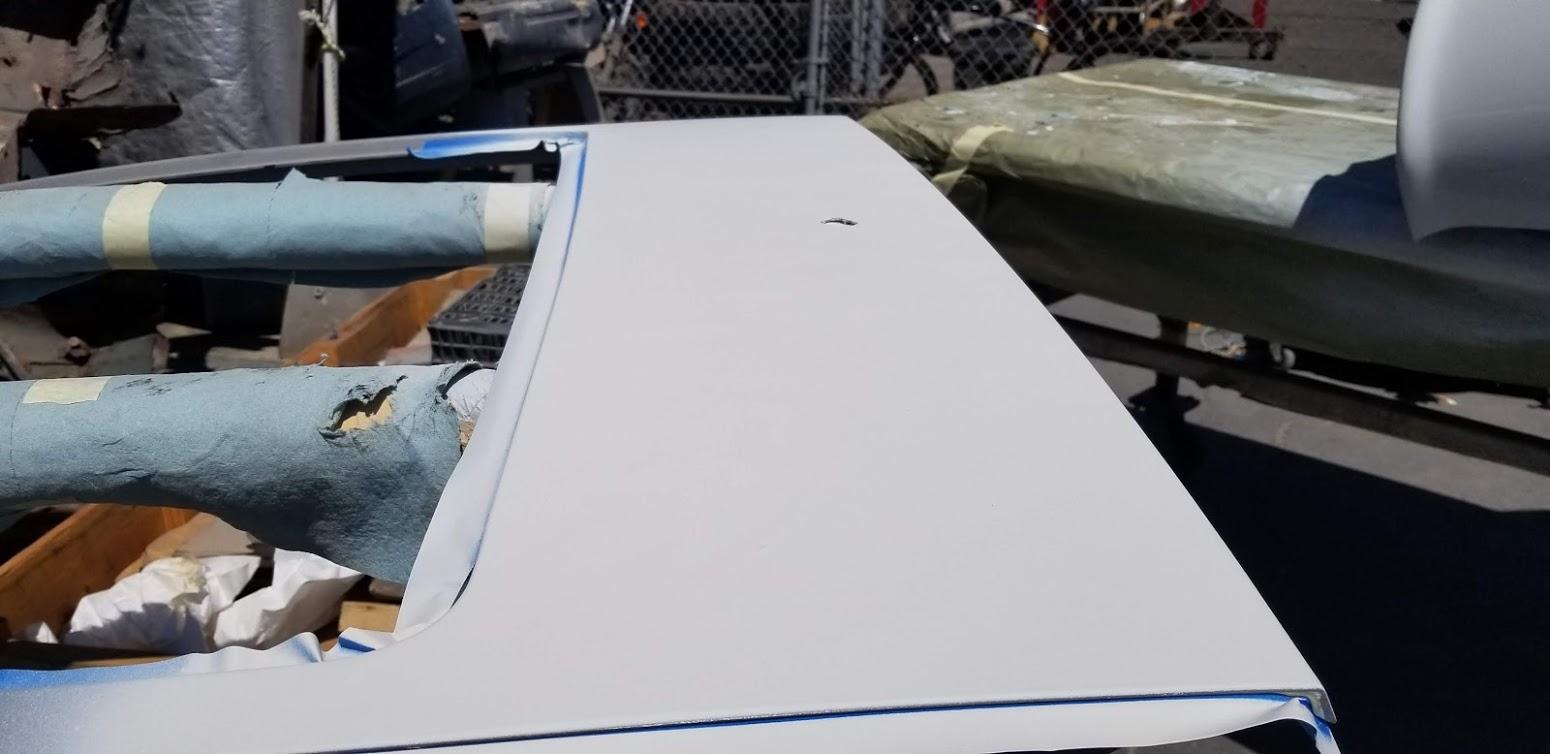
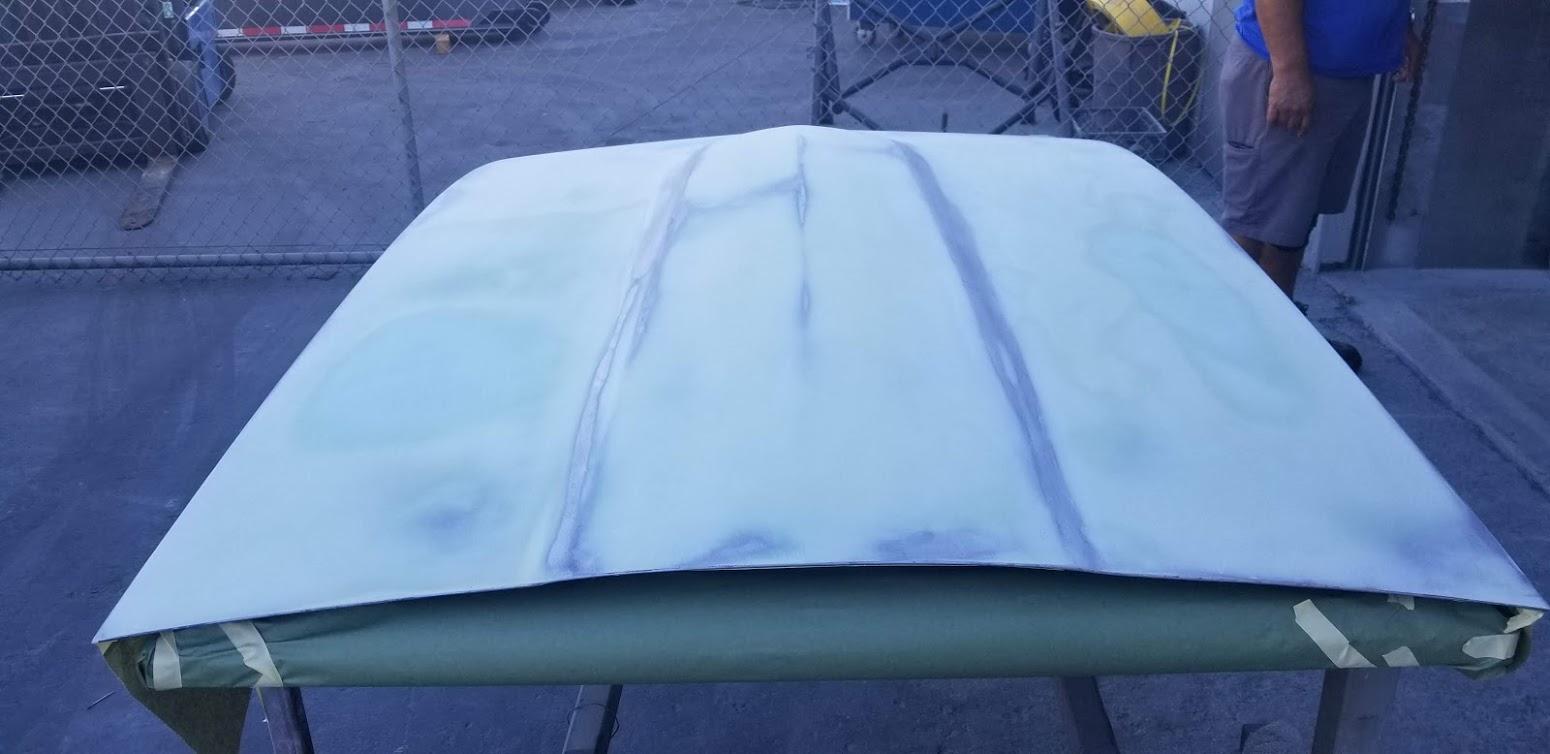
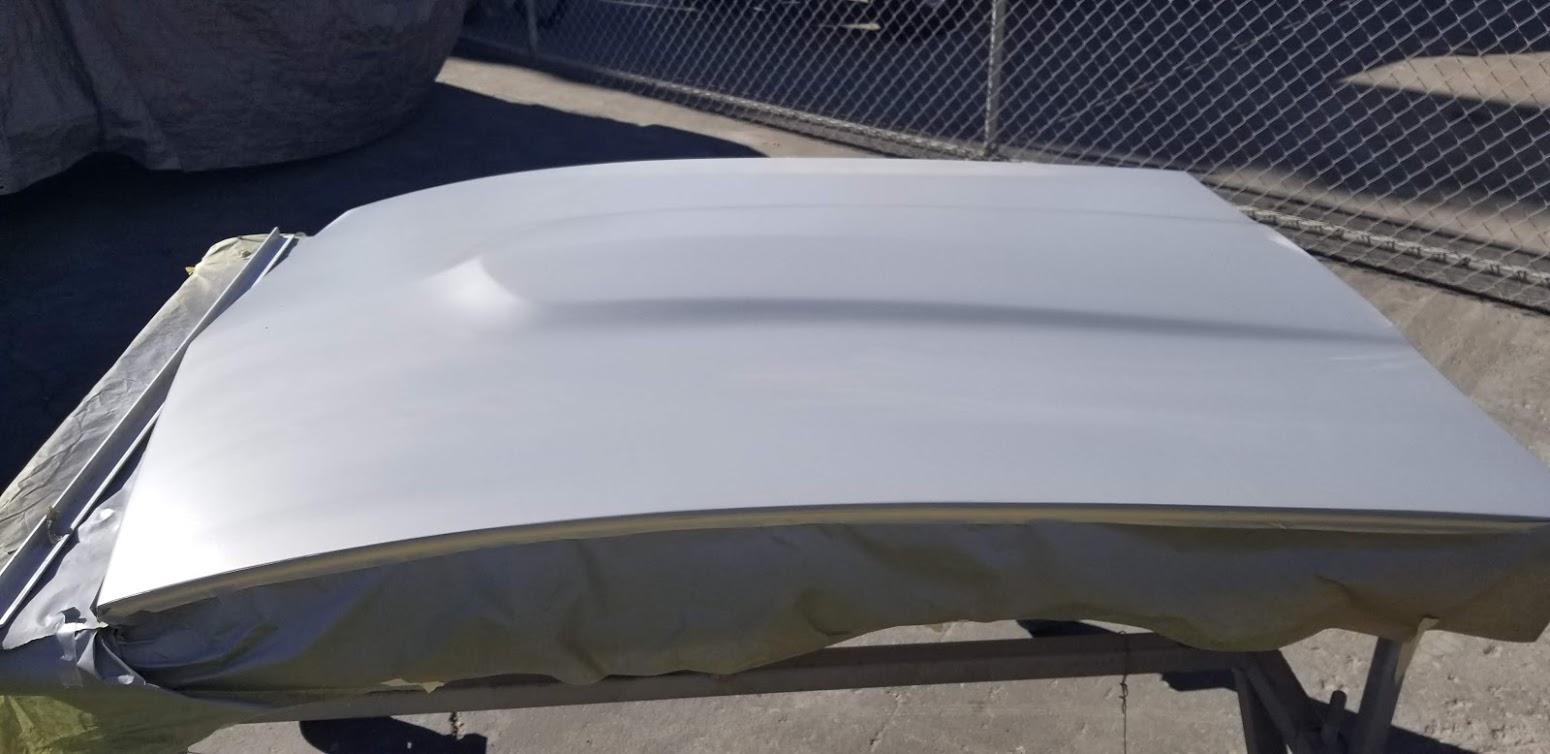
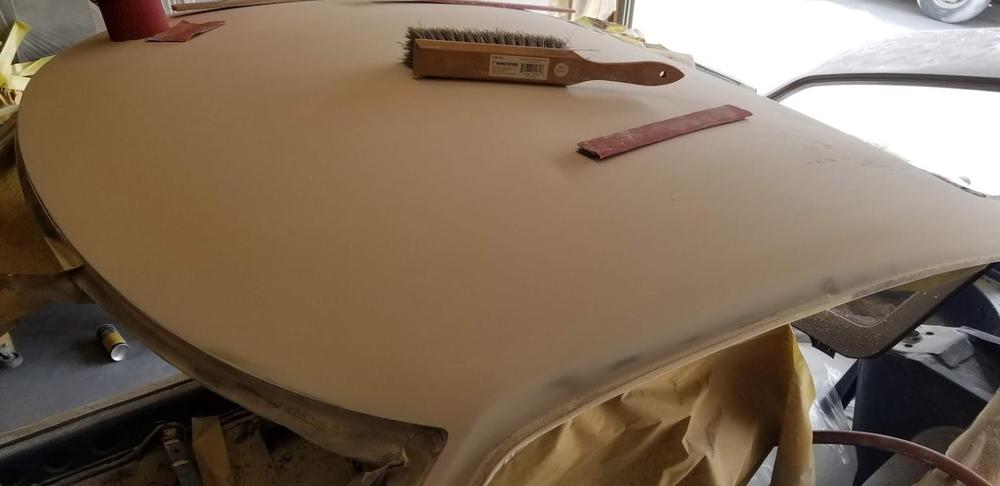
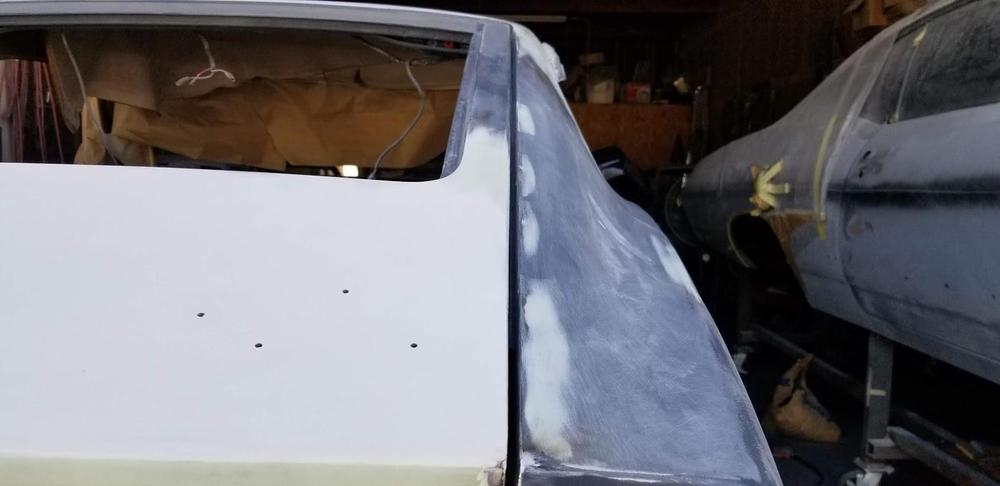
Interesting subject. This is one of the major features I use to judge the quality of a shops body work. On the low budget shops, the edge is rounded and sometimes not even very straight. The bad shops will mess this up even when there hasn't been any bodywork done in the area. On a side note, I saw a silver Z that was done on one of the popular car TV shows (not sure which one) and the body work and interior were incredible. On the body, they actually sharpened the line, along with the line just above it over the rear wheel. It looked gorgeous. I talked with Miguel about sharpening the line a bit on my white one. Will see how that goes when we get to that point. We are probably two to three months out on that.
-
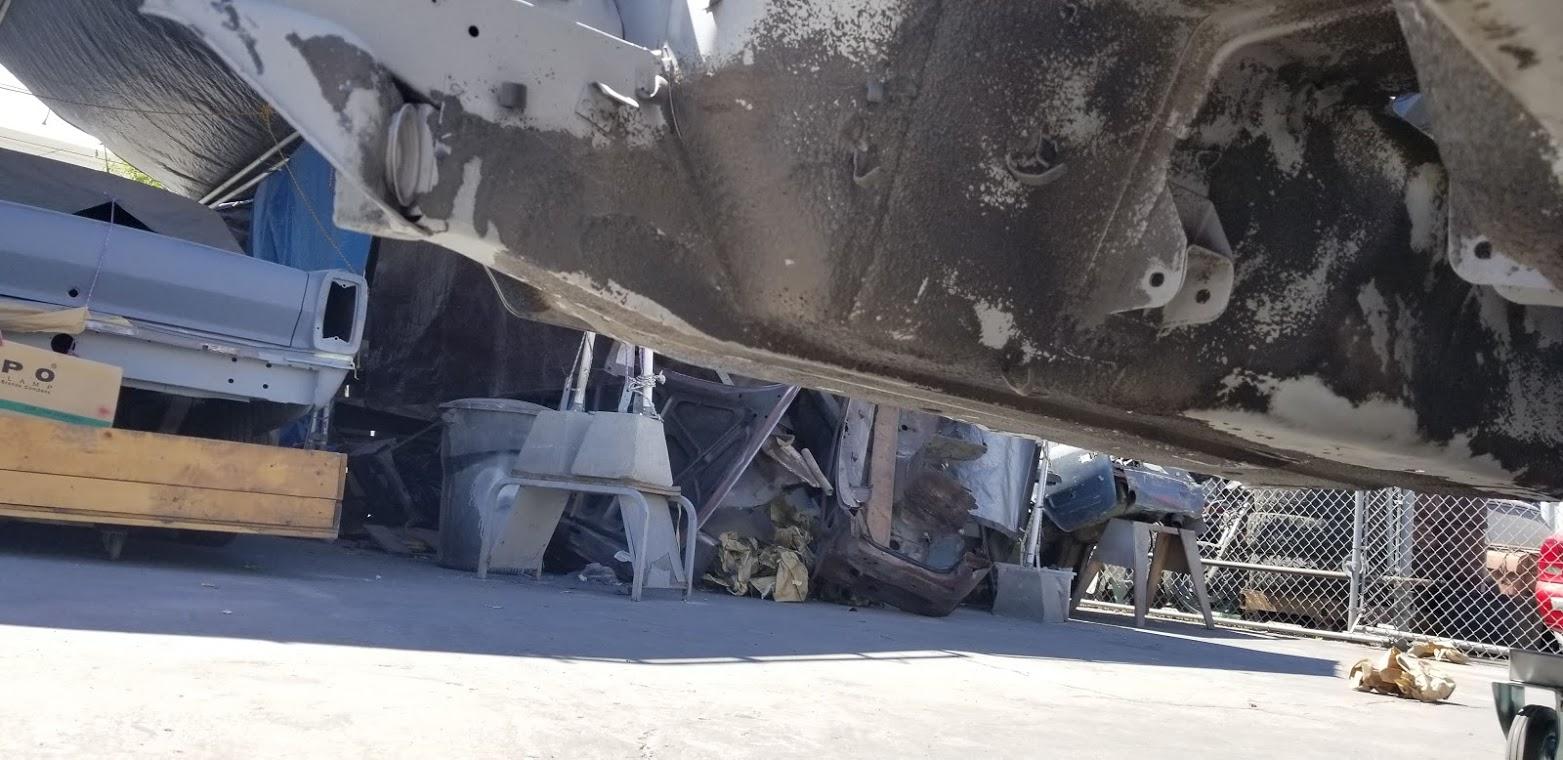
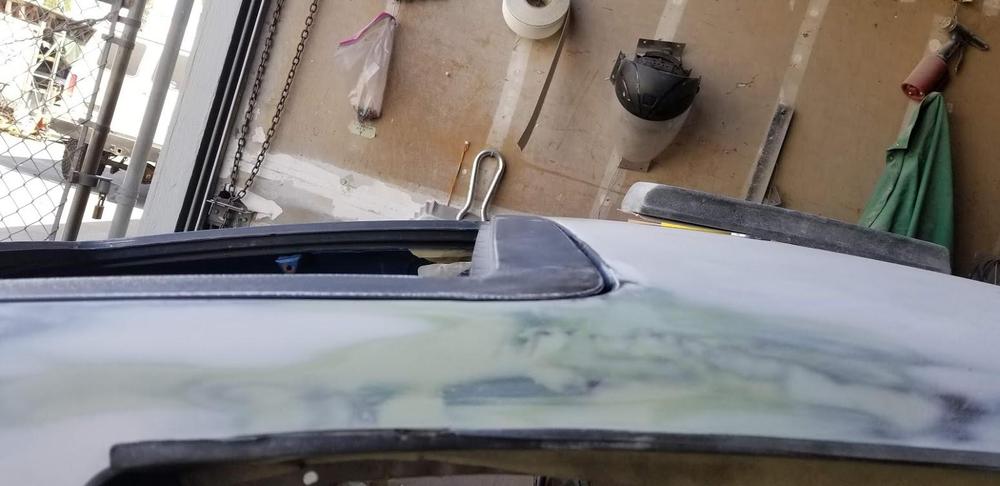
I think that area will just be just the regular primer and paint for the tail light panel area. I will POR-15 the underside and then use undercoating over that.
-
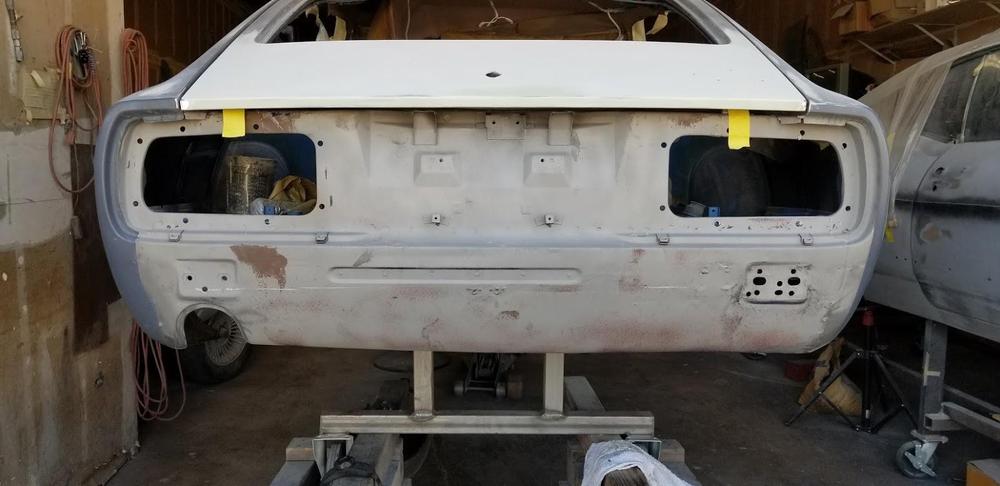
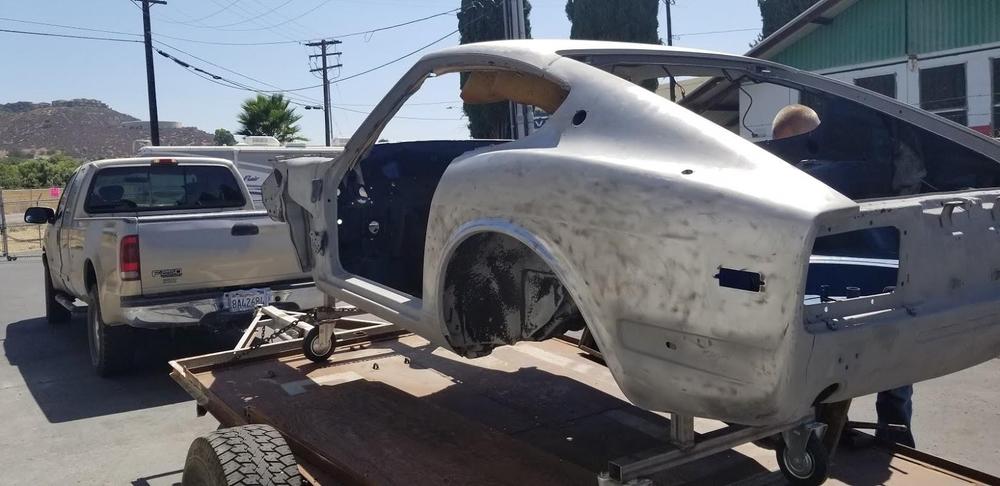
And pics from the paint shop. This is moving along nicely. Car just came back from media blasting. Looks like we will will be welding in a new hatch panel and both rear doglegs.


-
Hi @pontiacguy, I have these two pics plus I kept the assembly in tact (for now) so will try and take pics of that and post it. Hops this helps


-
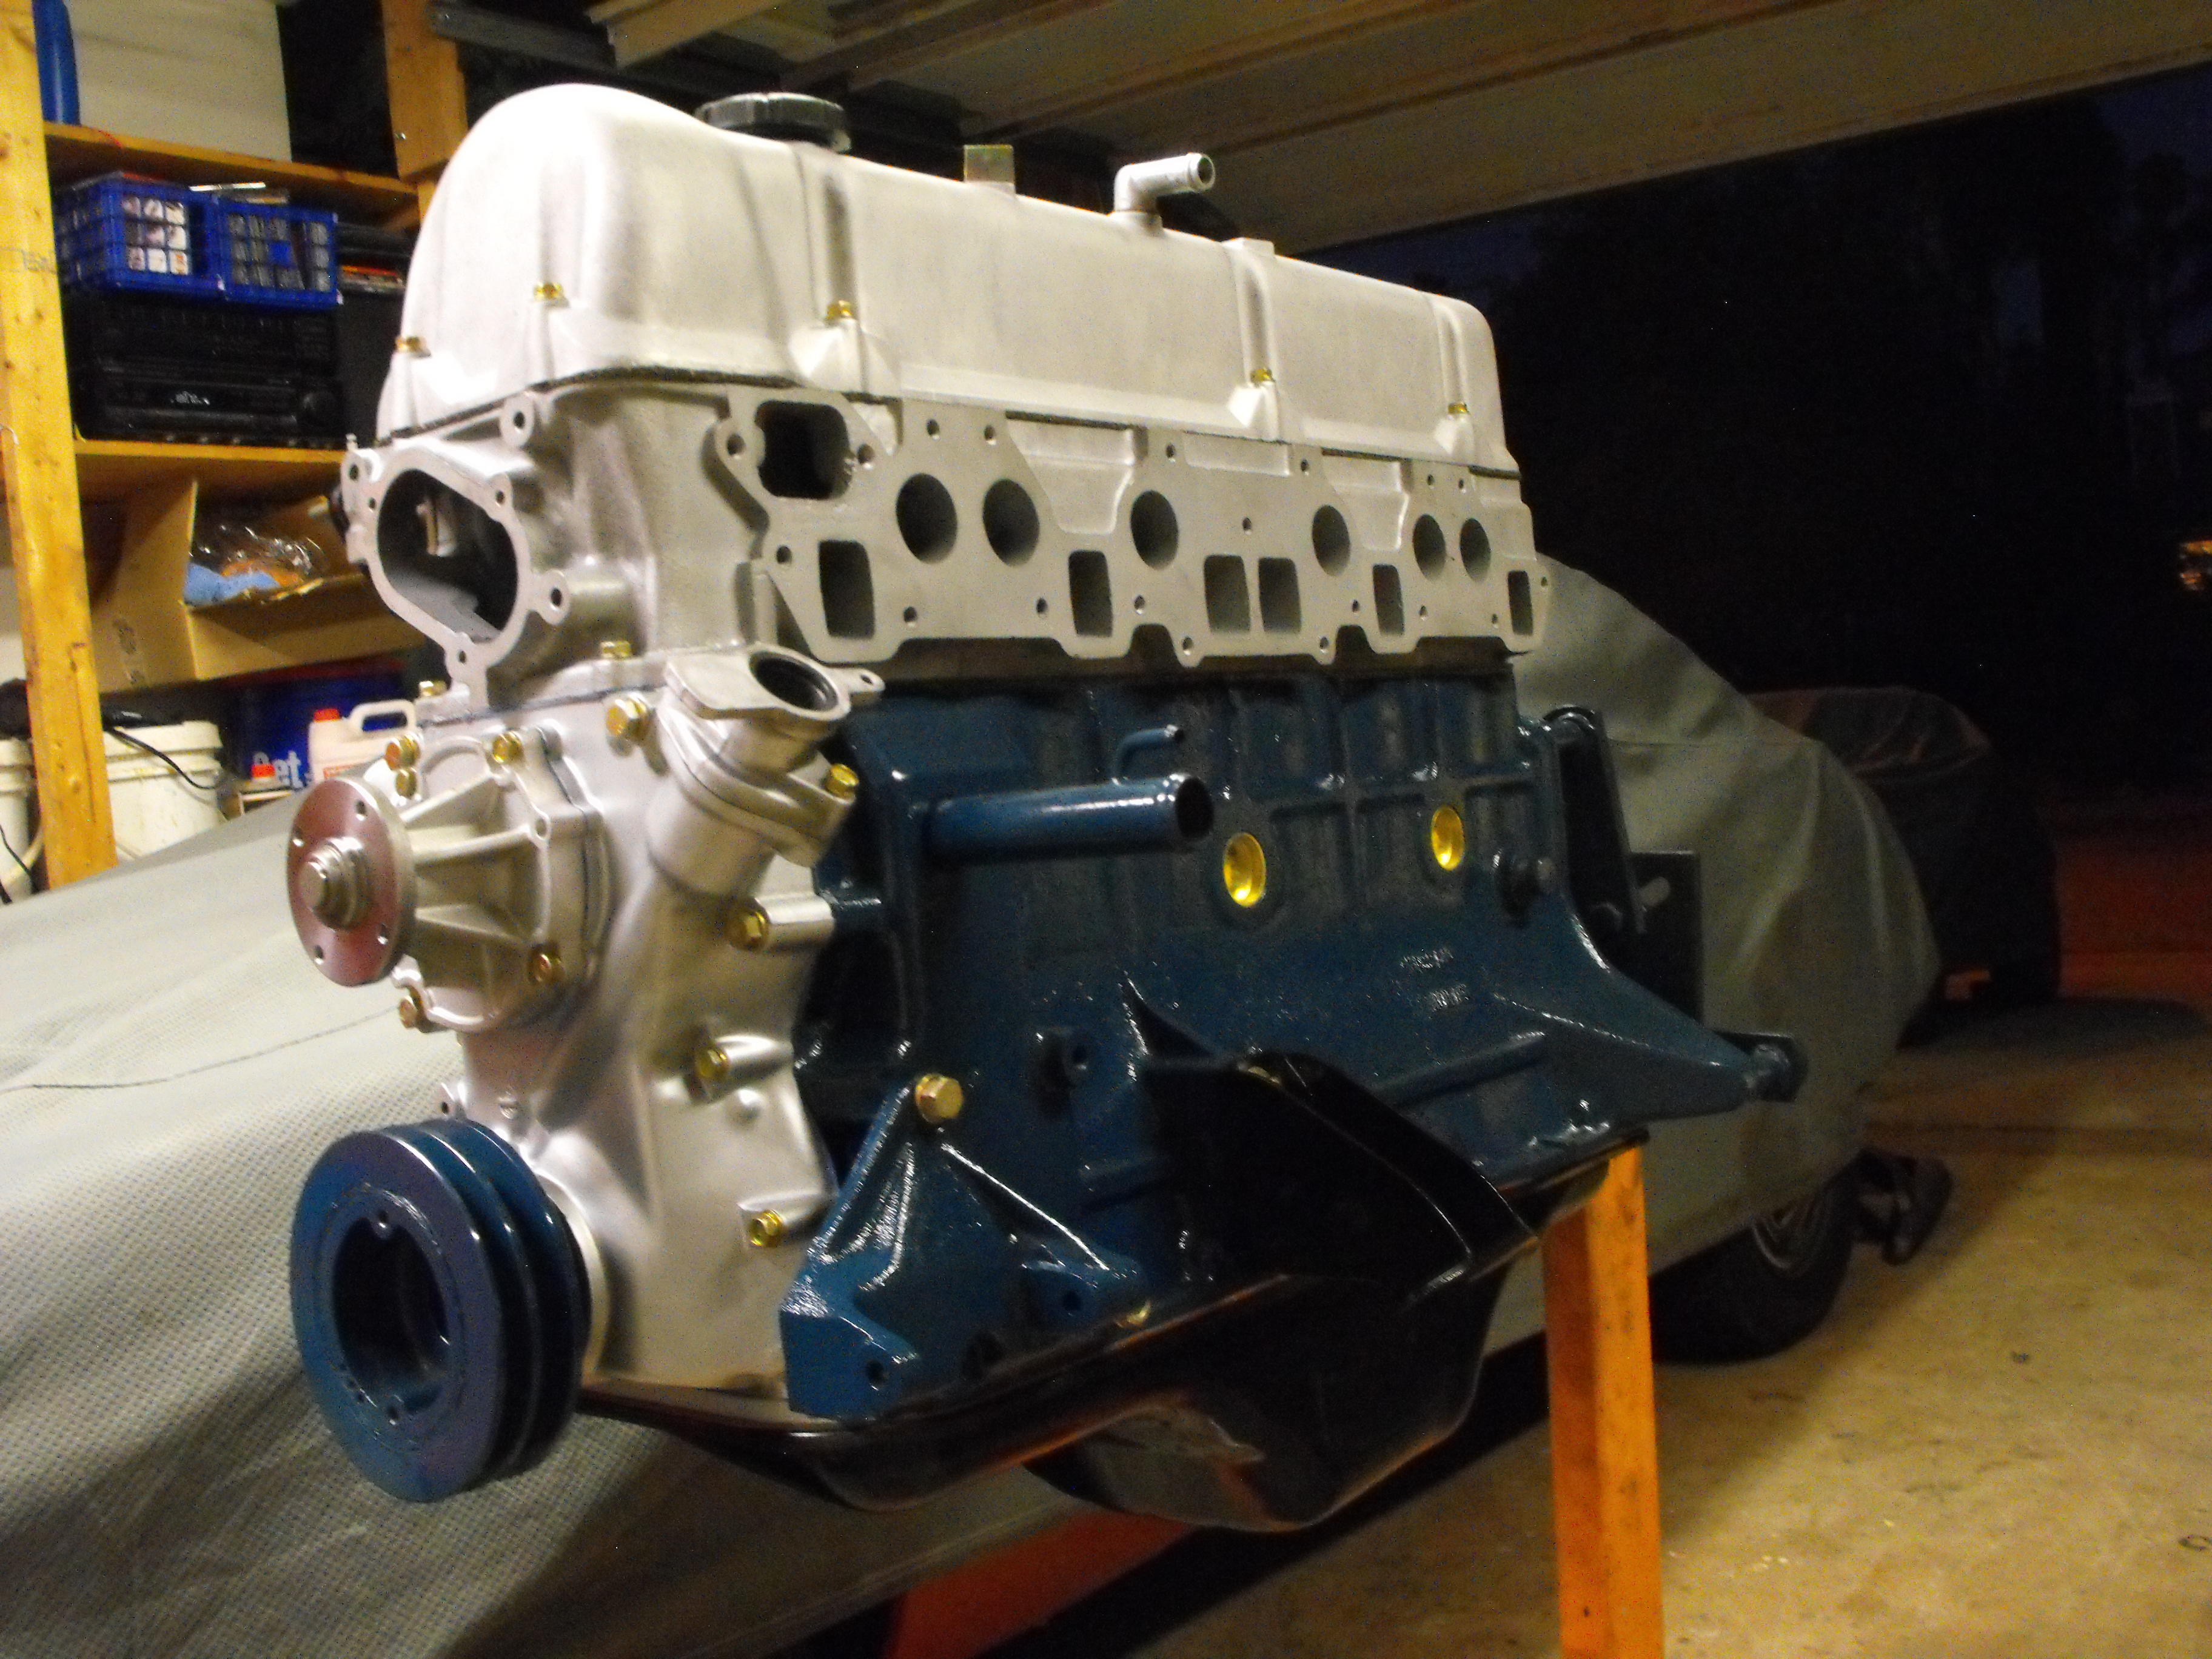
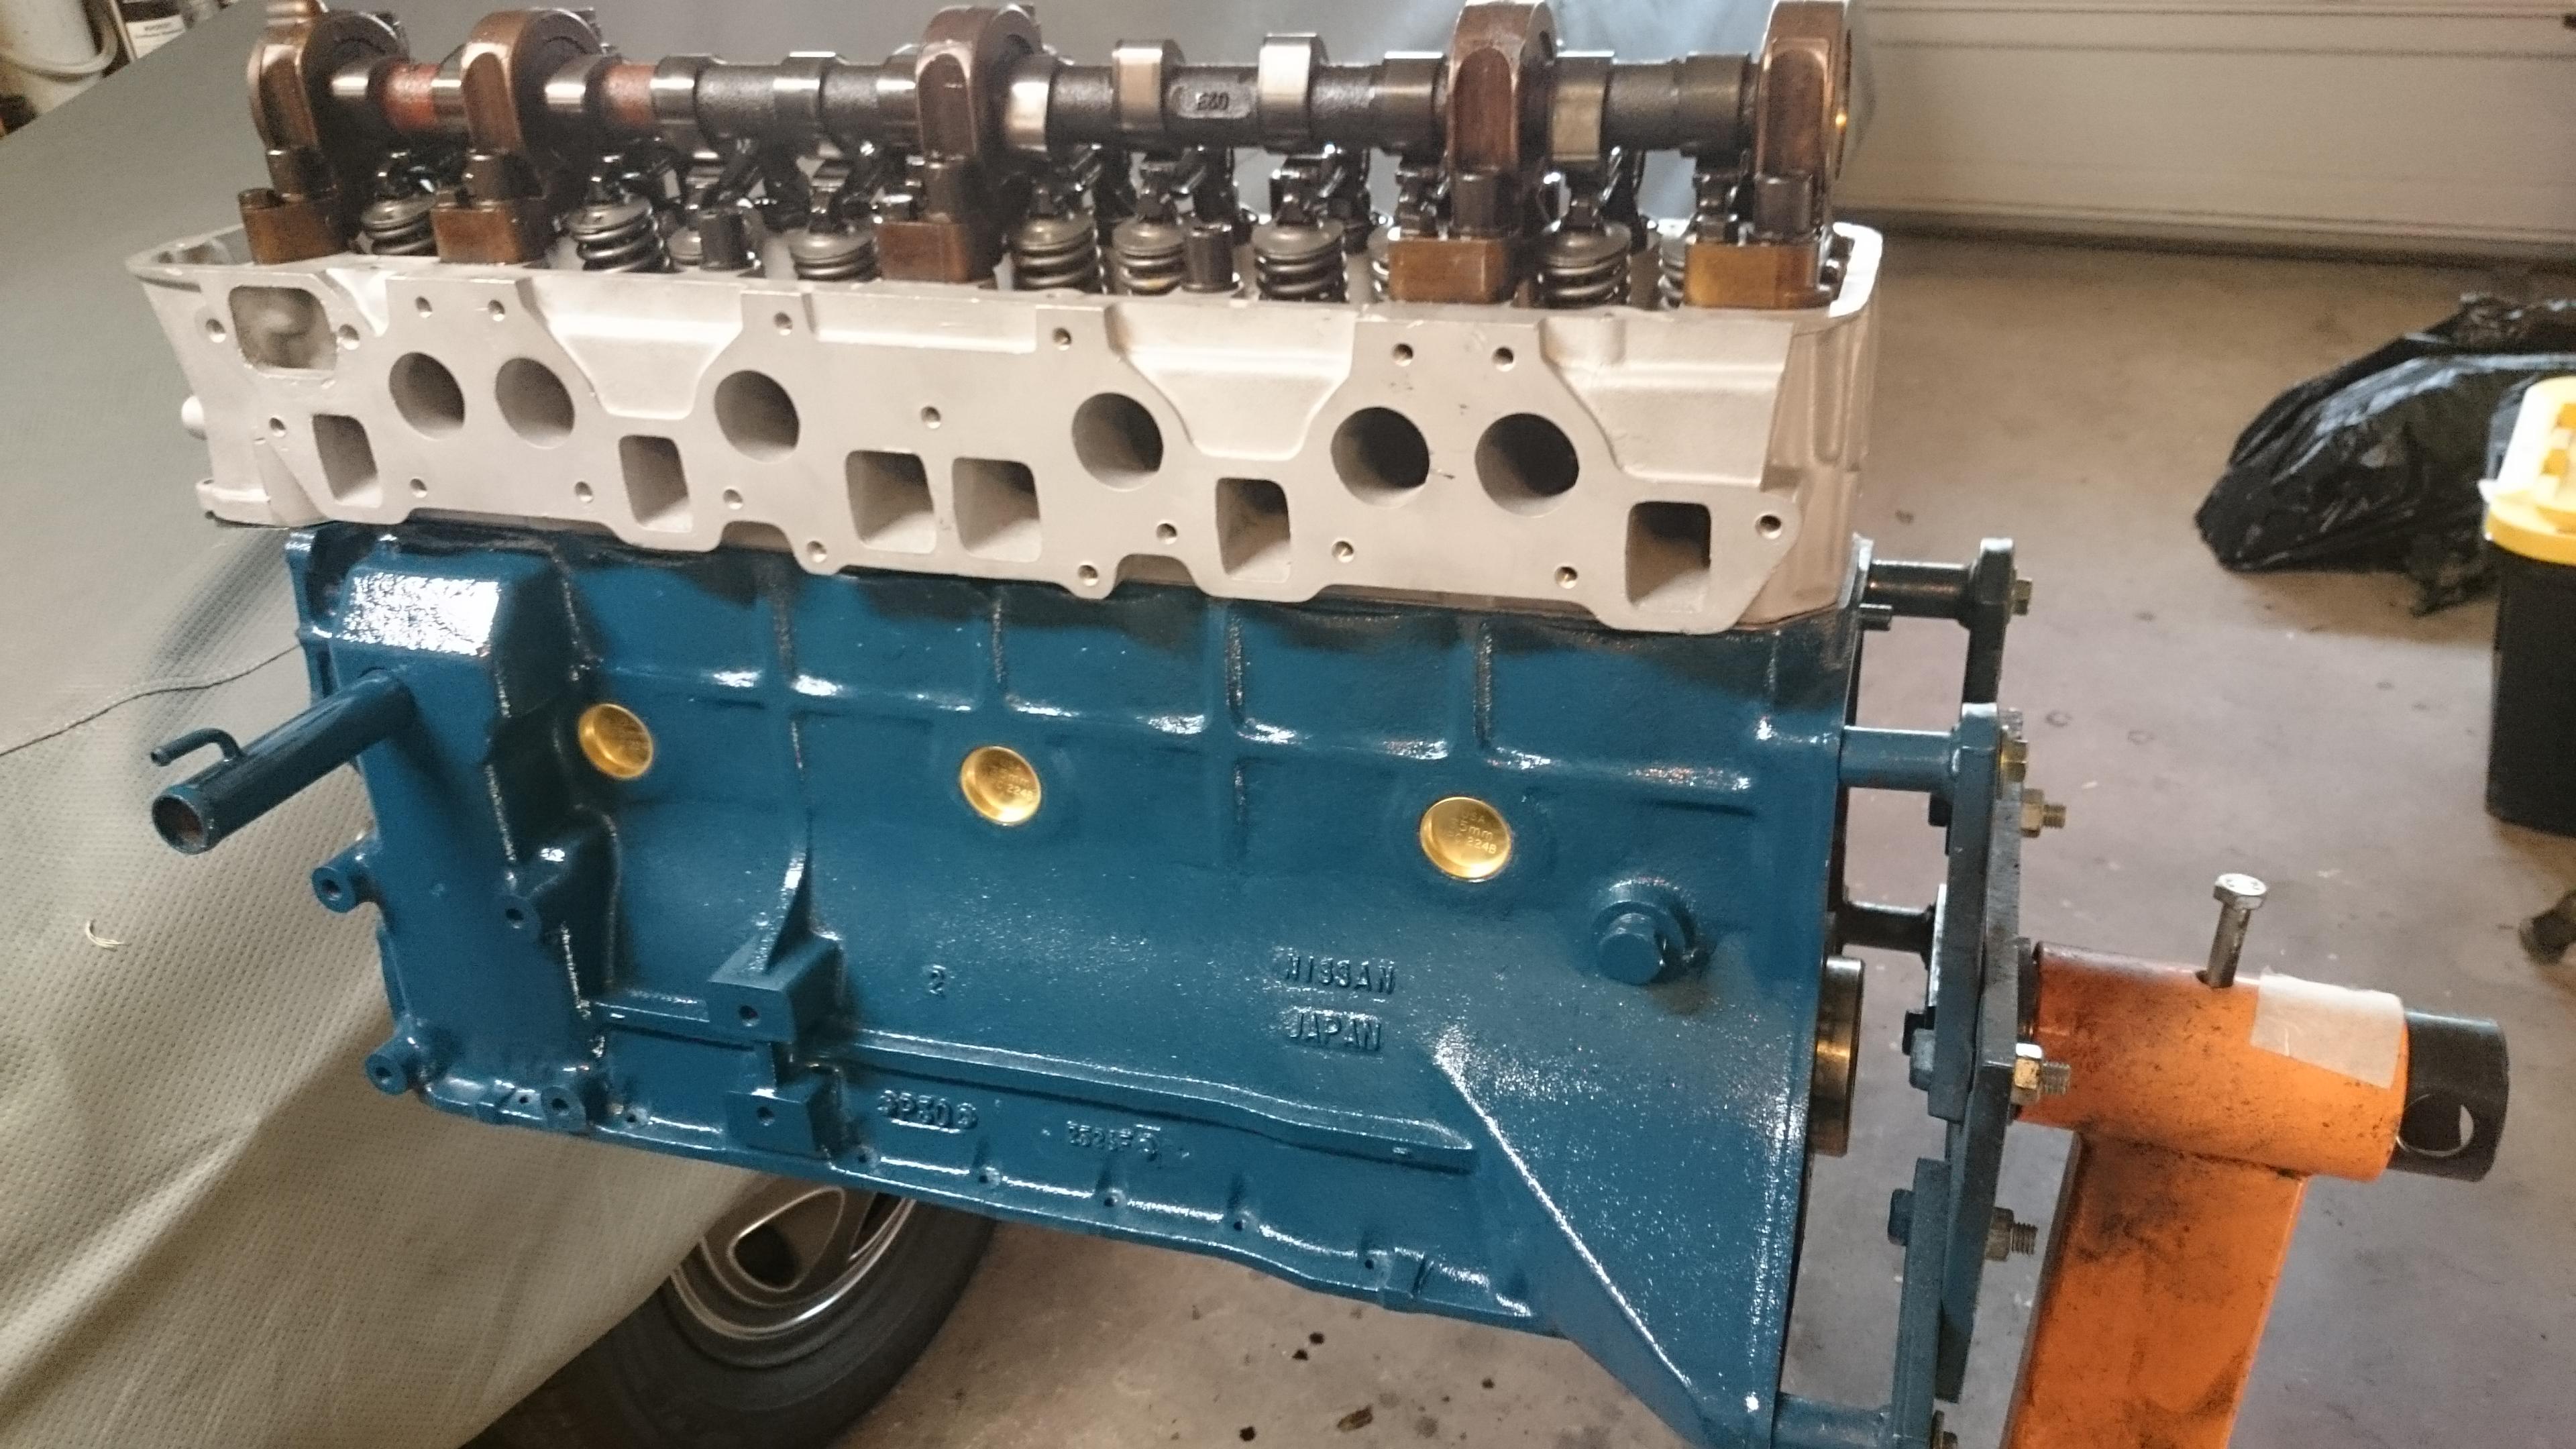
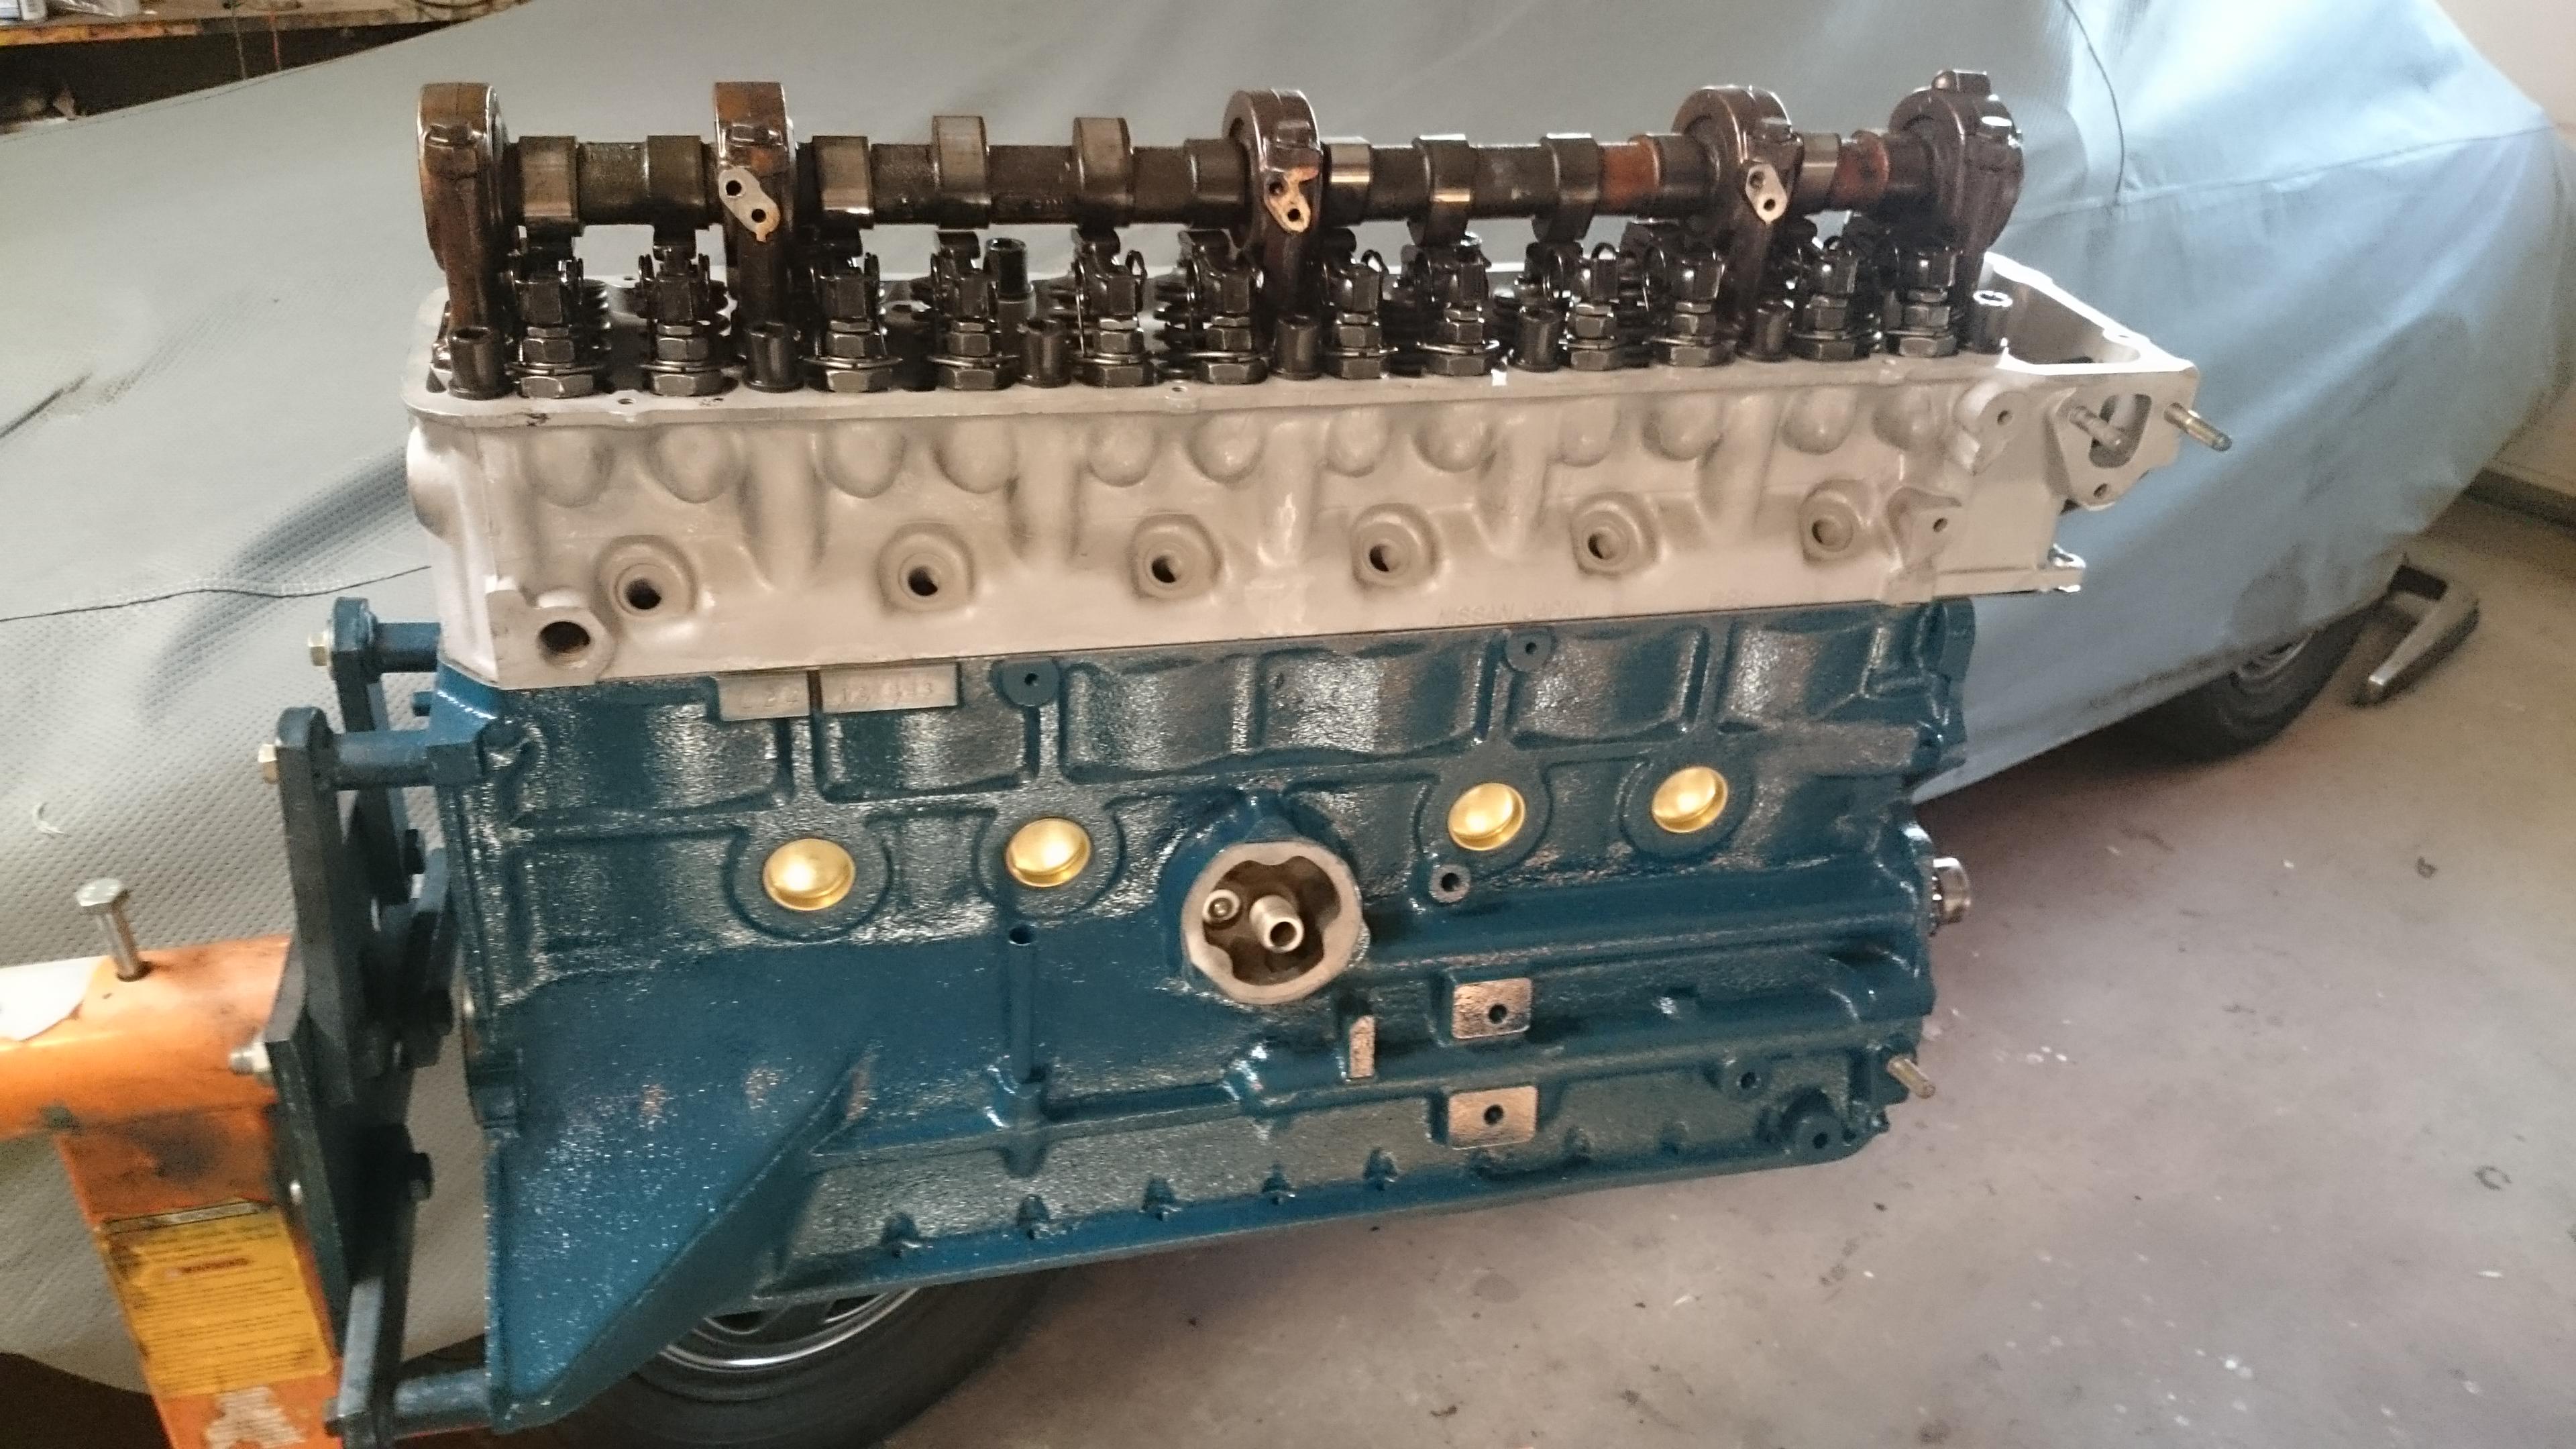
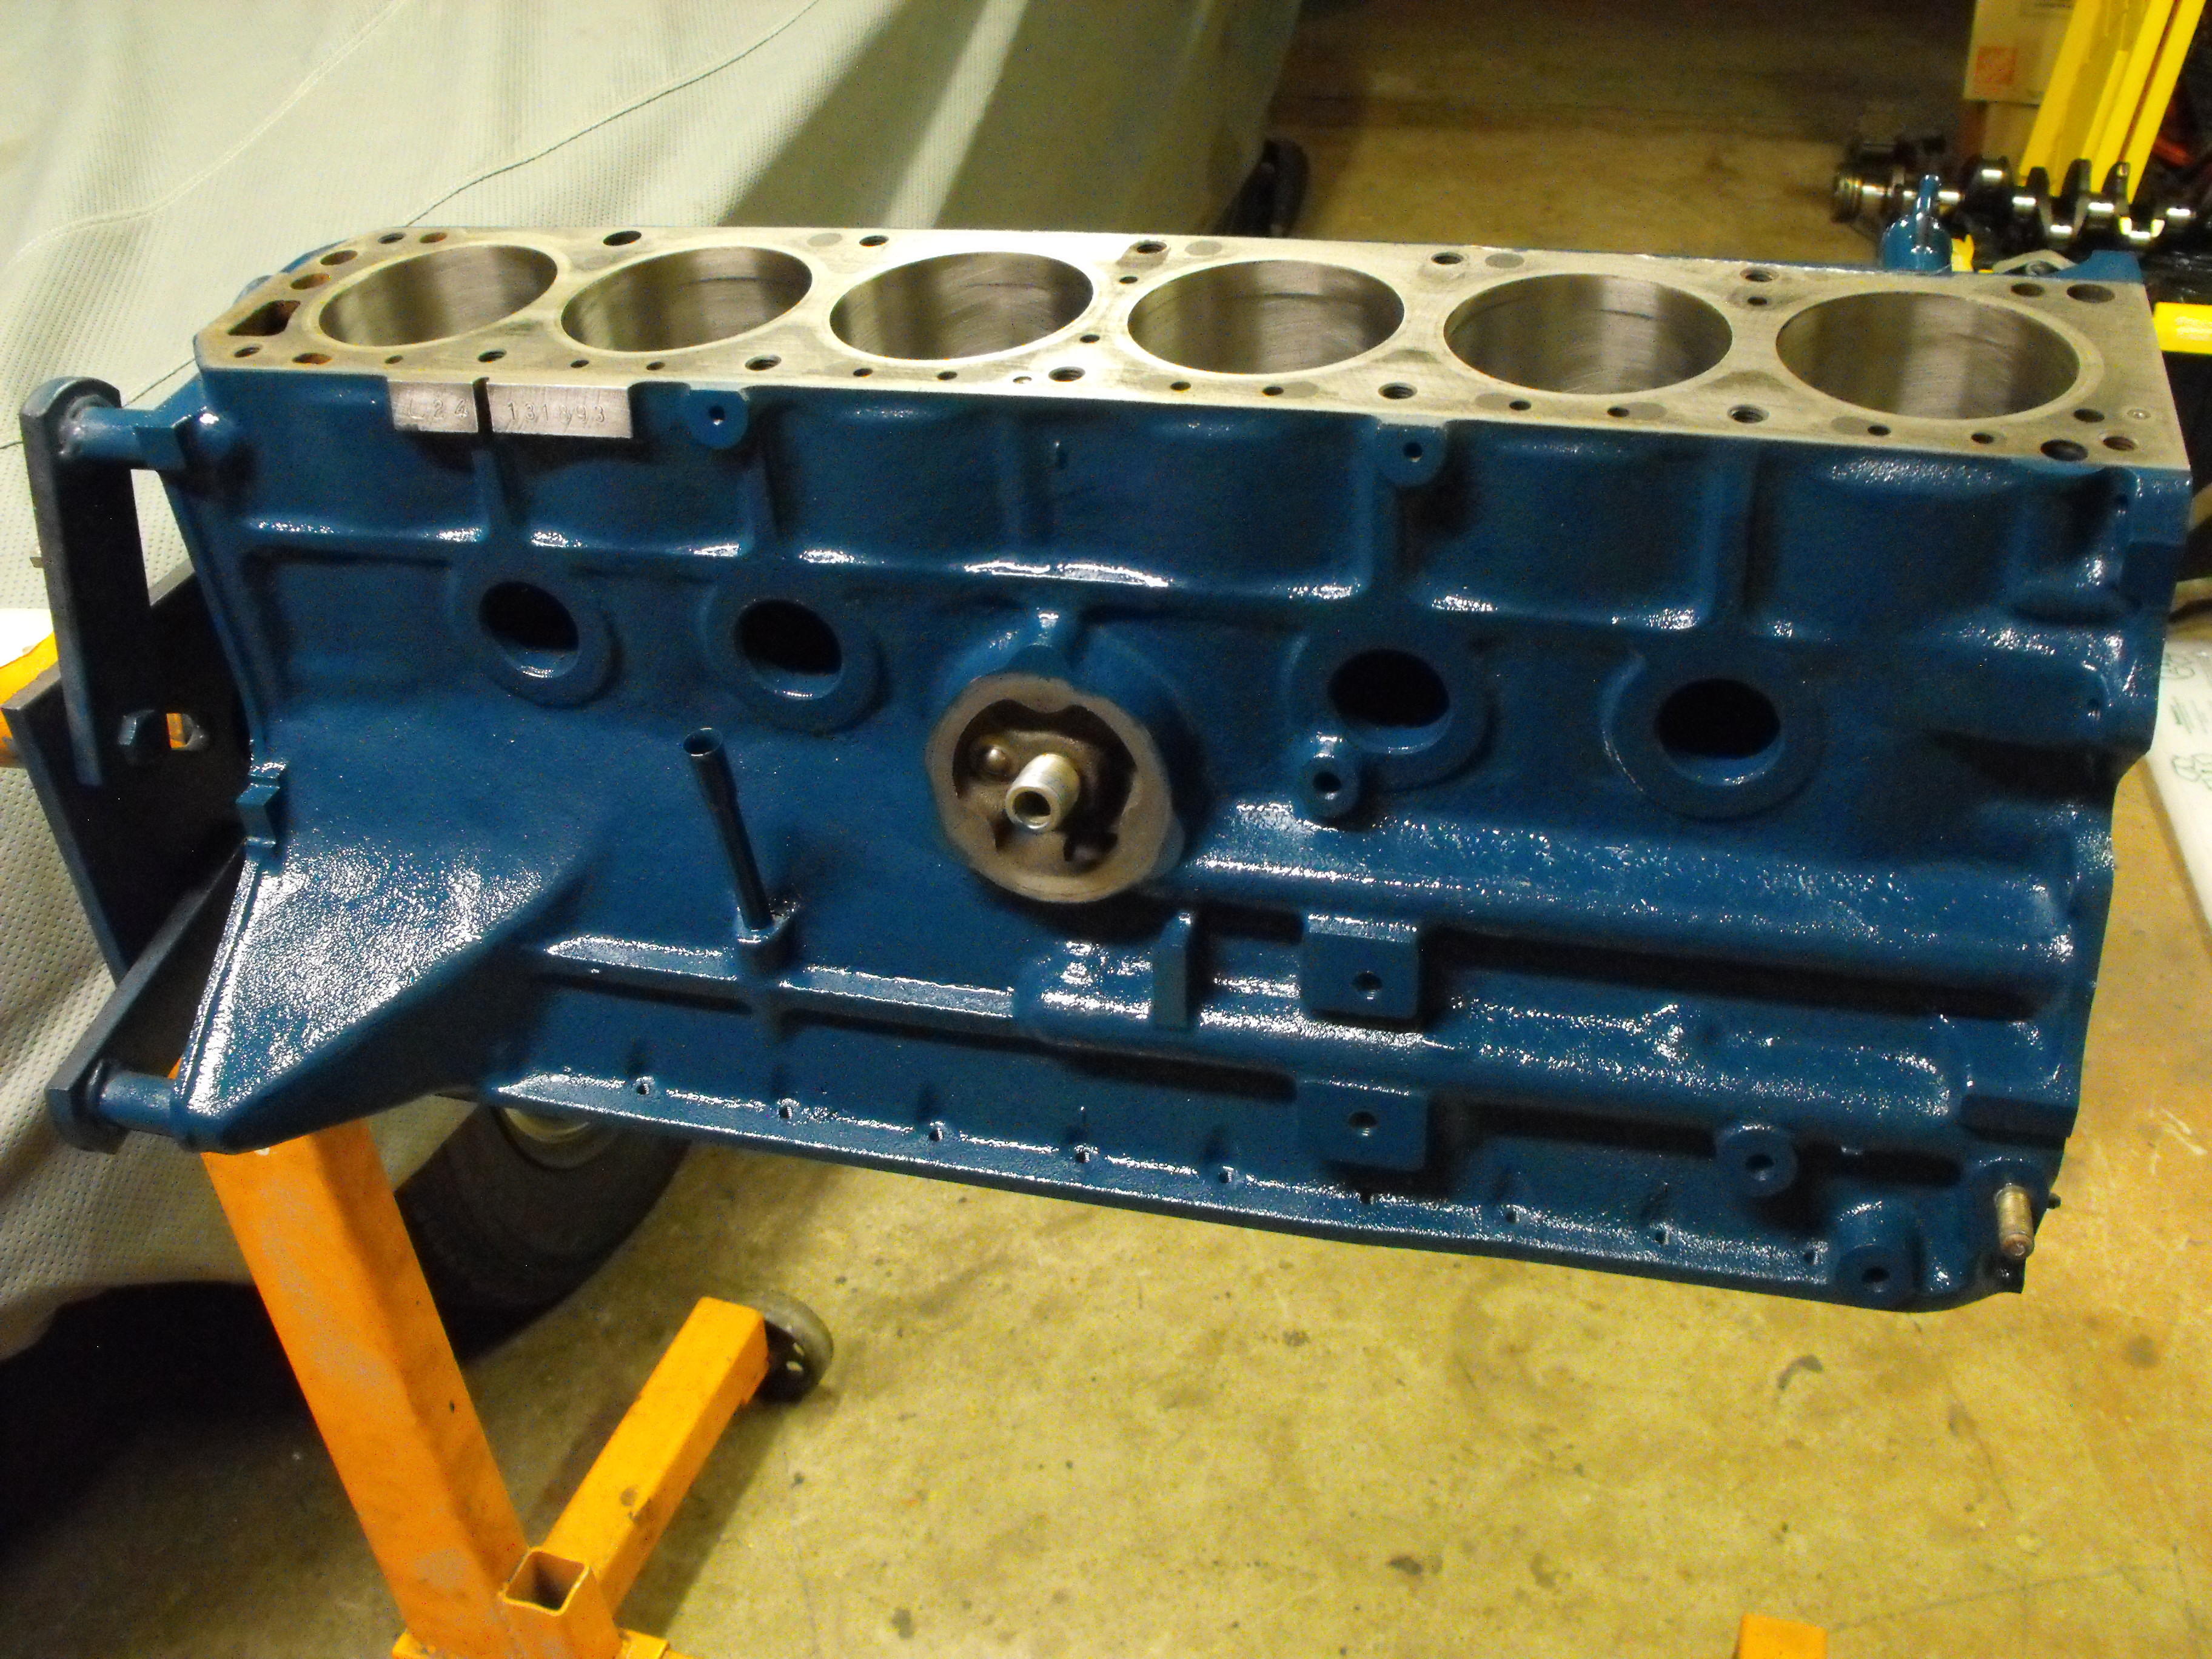
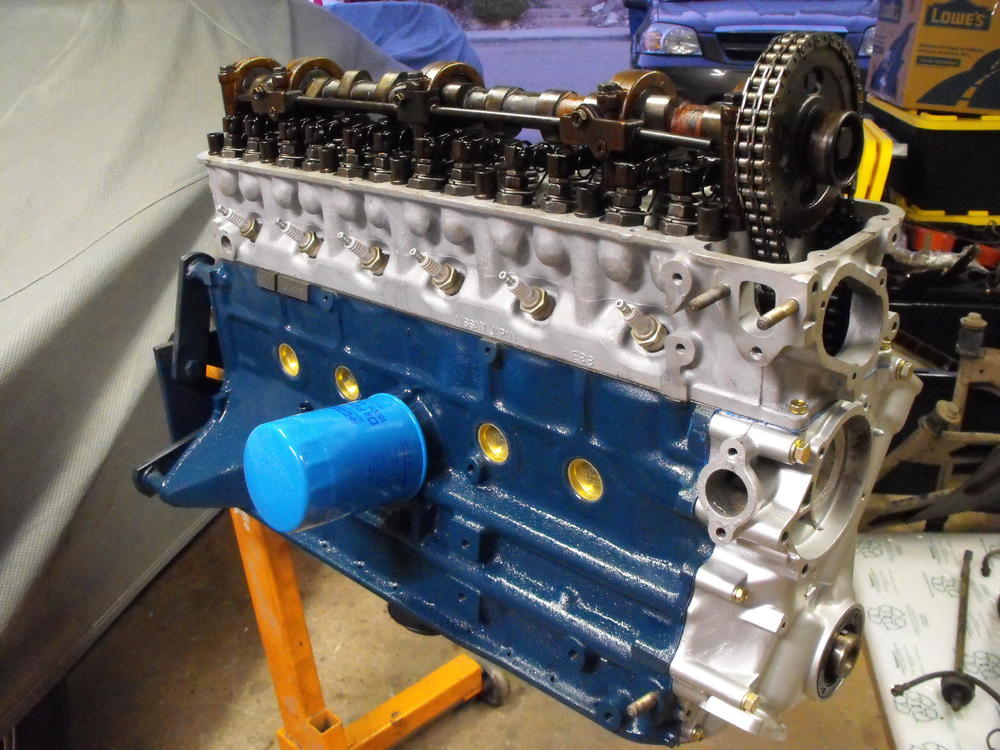
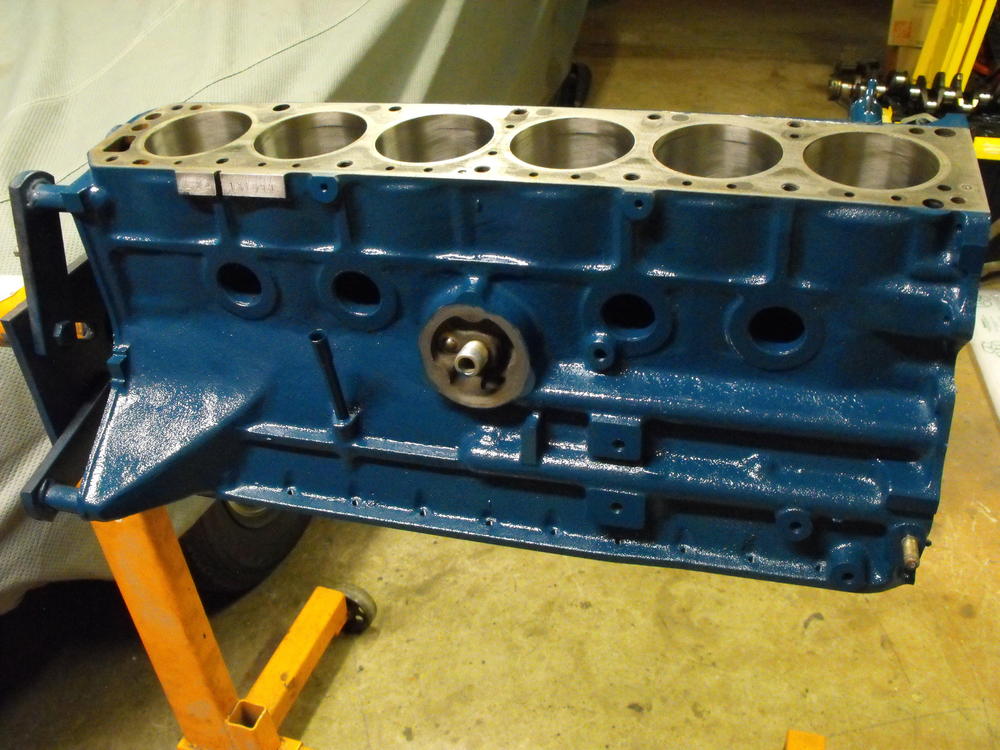
Got the head attached to block with No.1 Piston and Cam positioned at TDC.


-
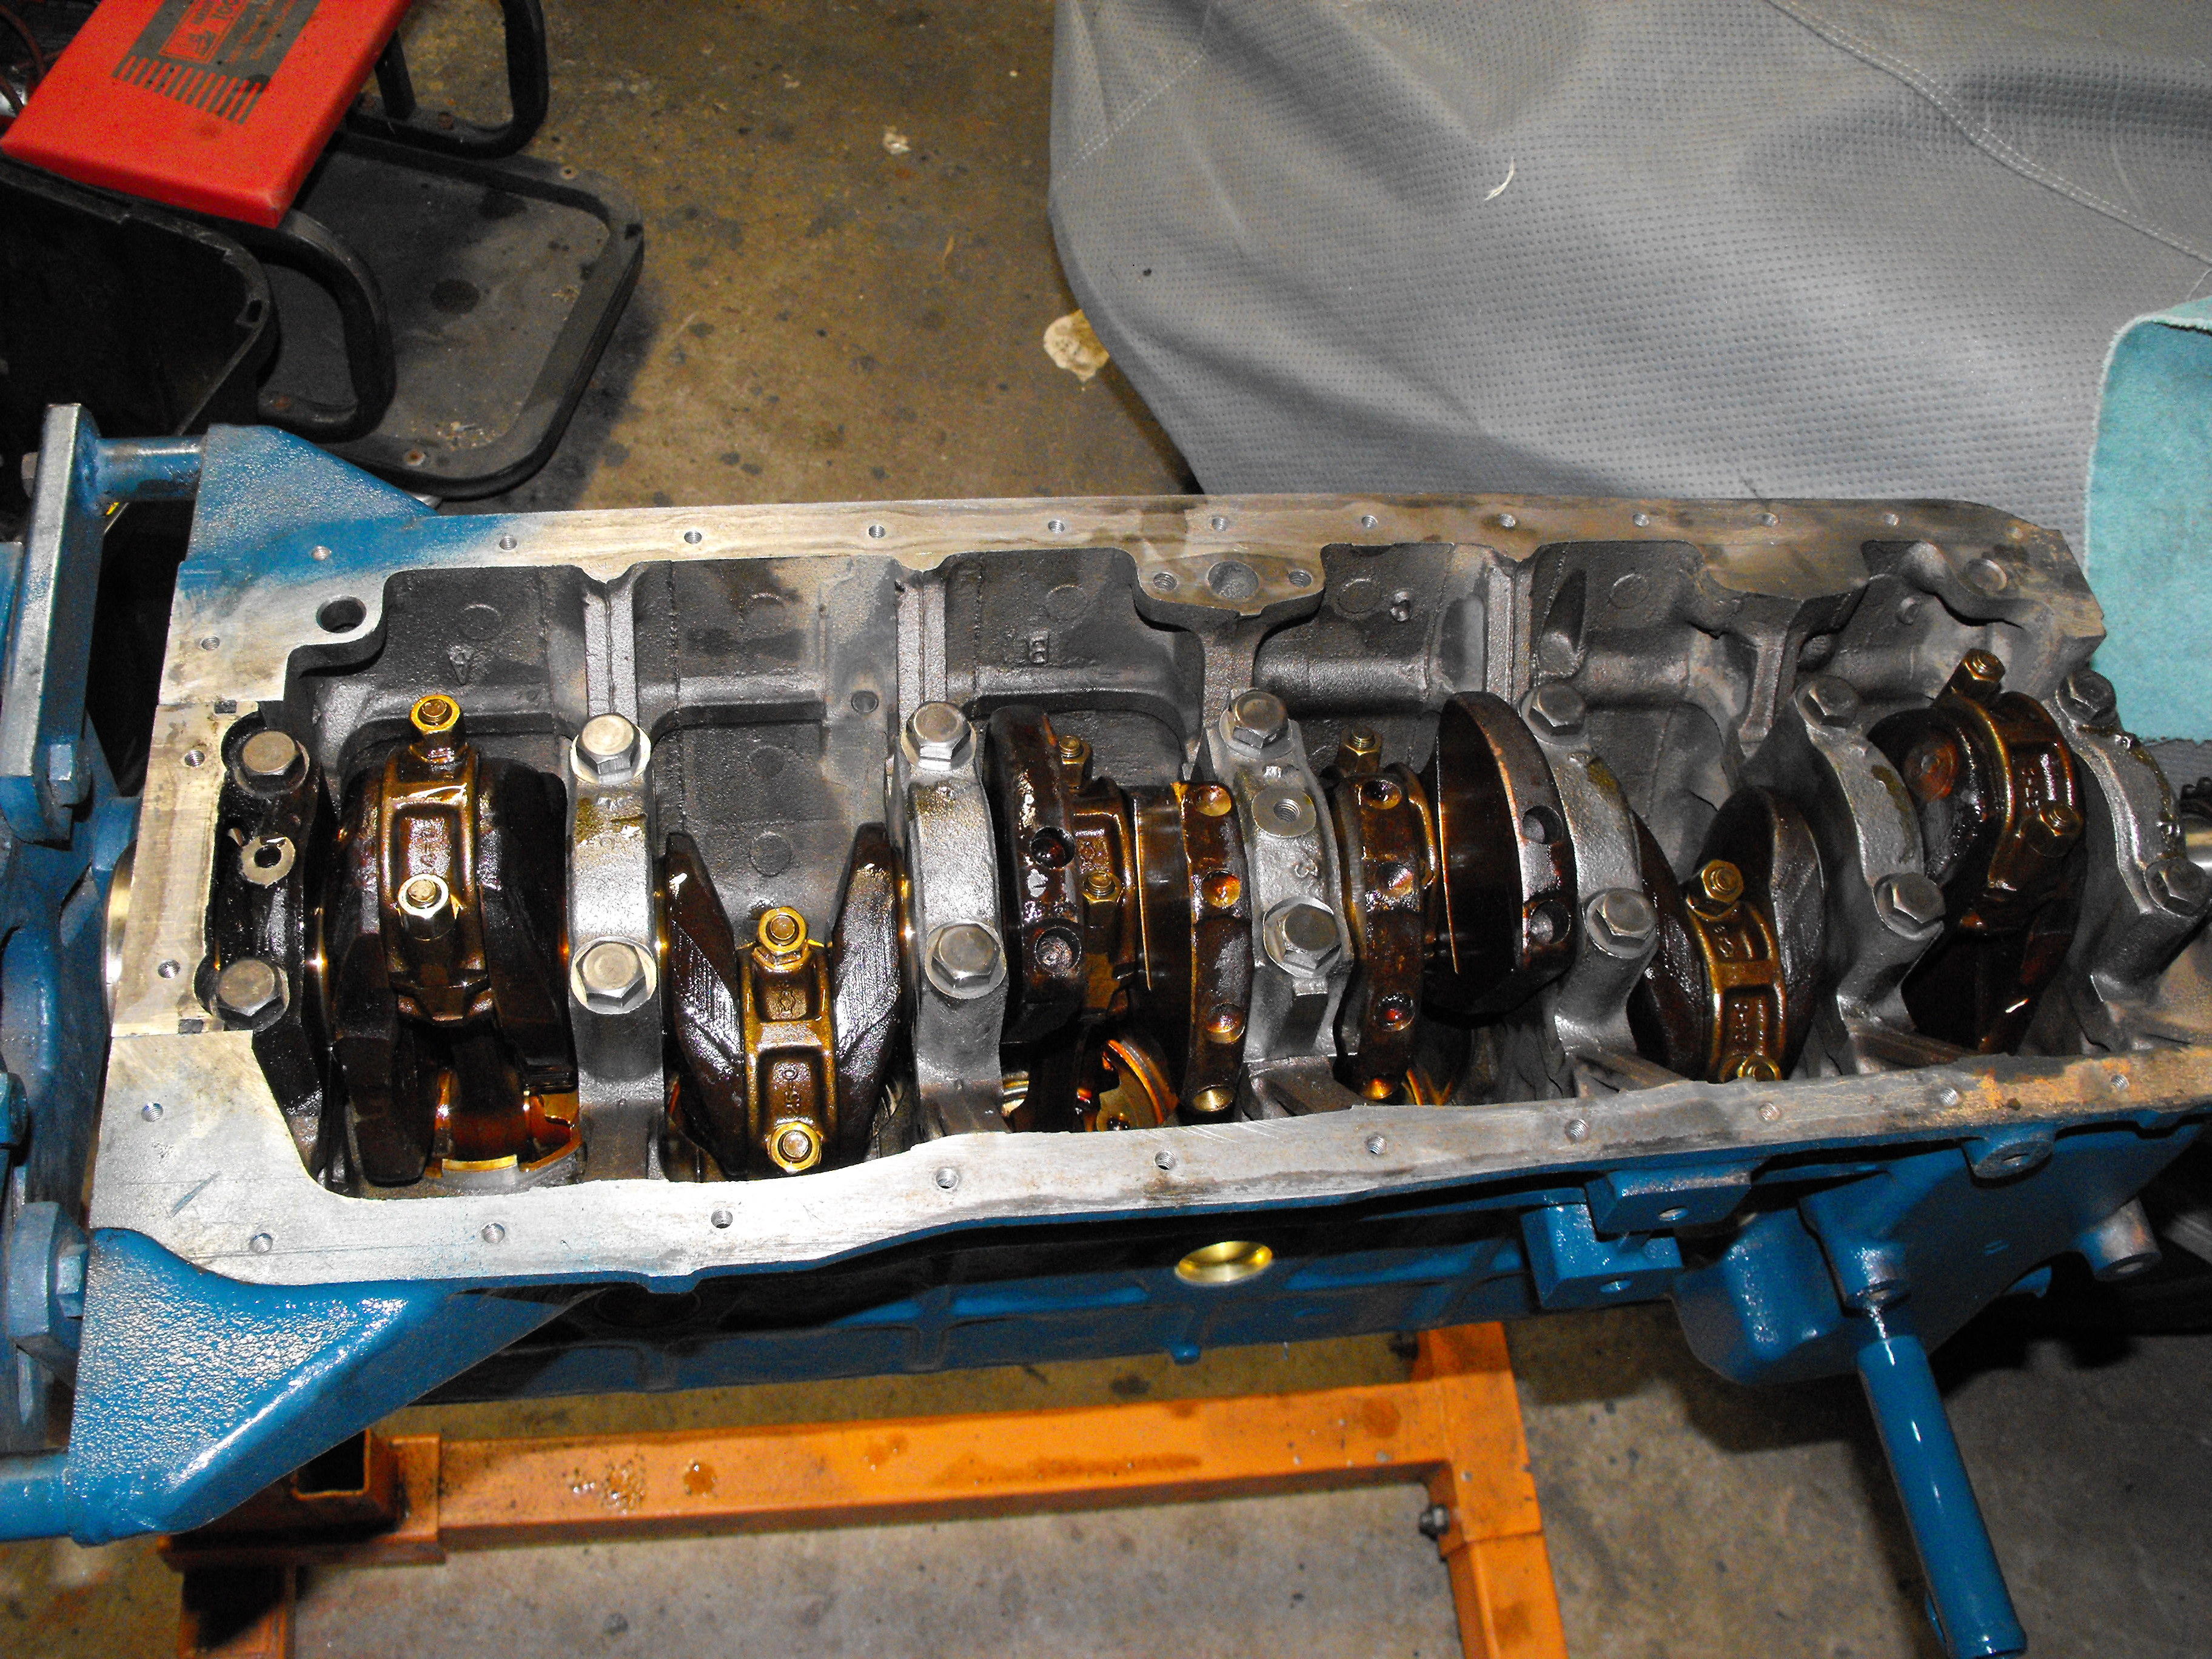
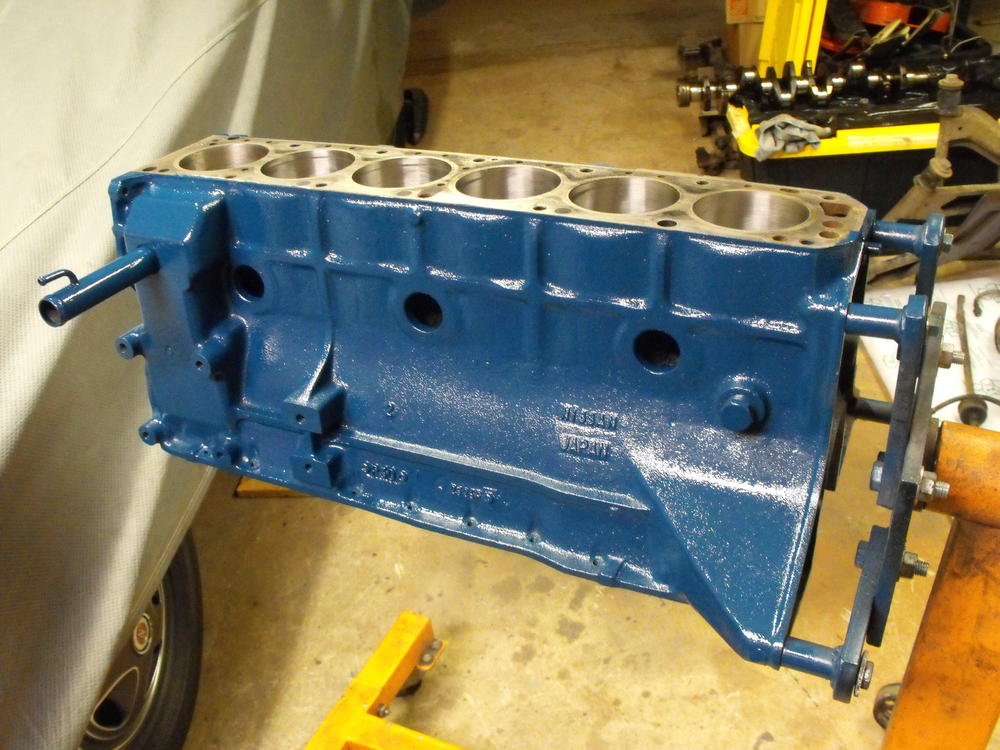
Got the pistons cleaned up. Installed new rings and connecting rod bearings.

-
I do the same. Les Cannady at Classic Datsun Motorsports recommended this to me during my first Z engine rebuild. I am sure he has prepped more Z engines than the average bear, so I take the advice as gospel. Never had a problem.
-
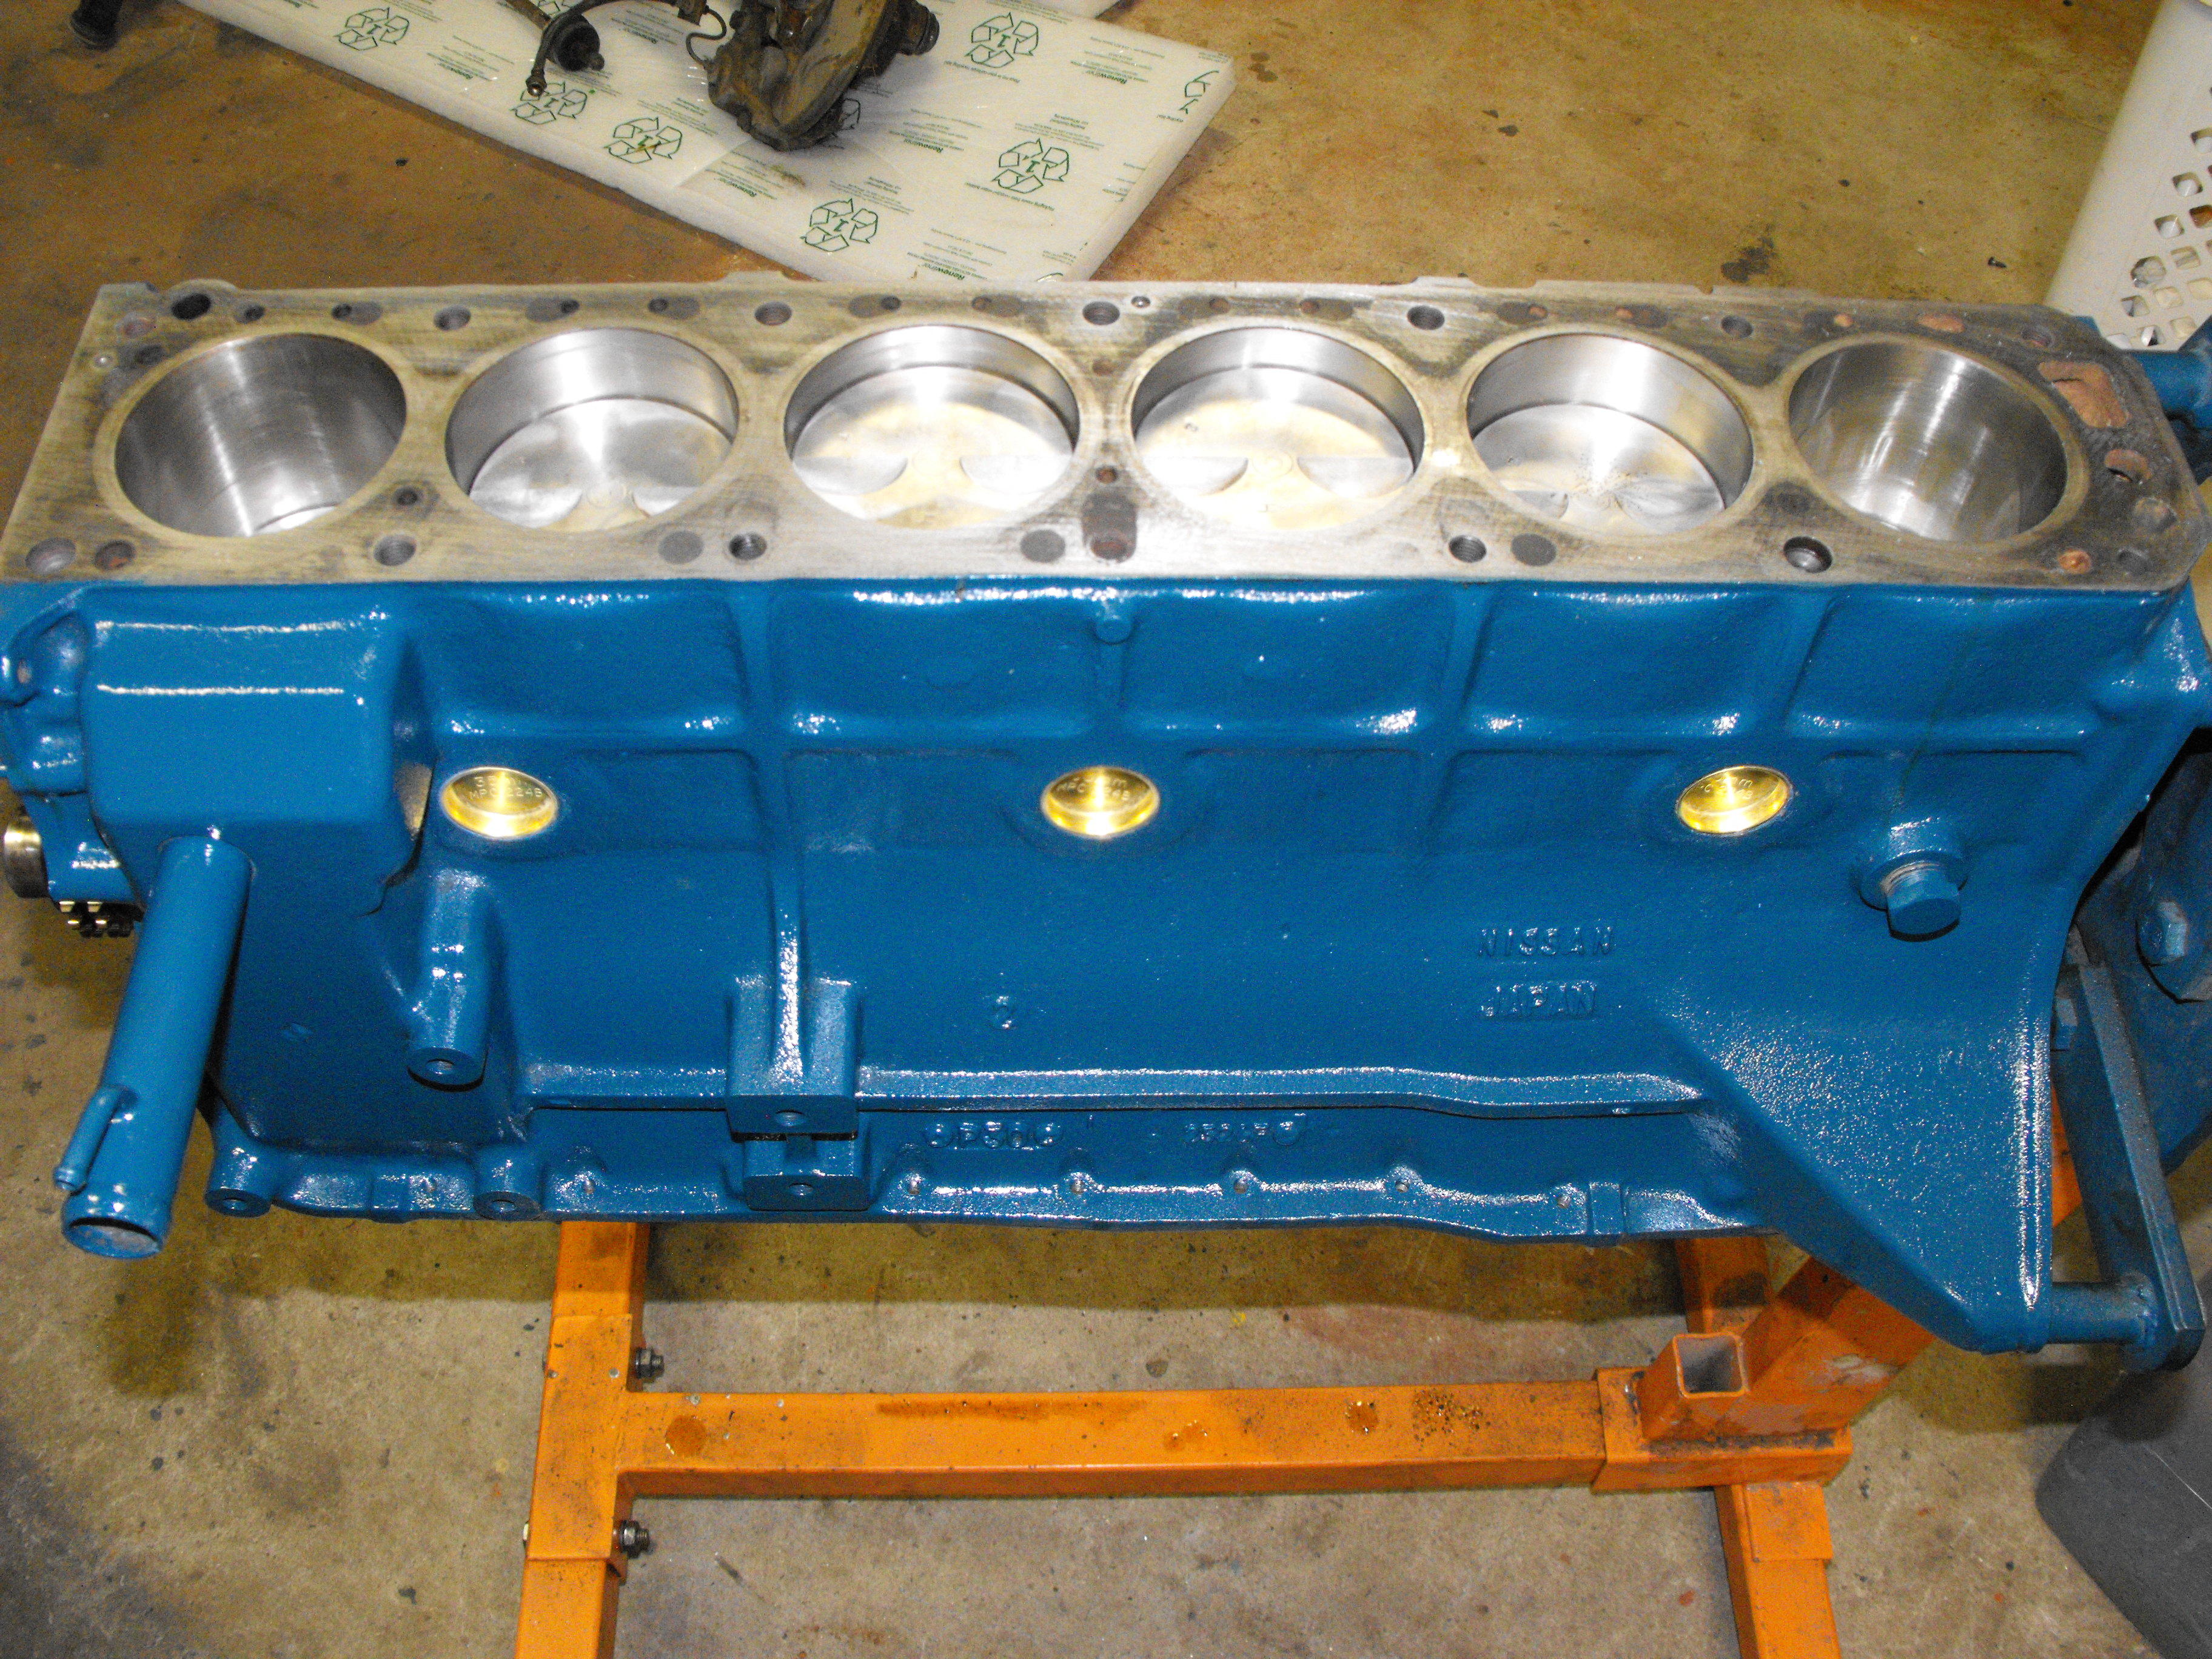
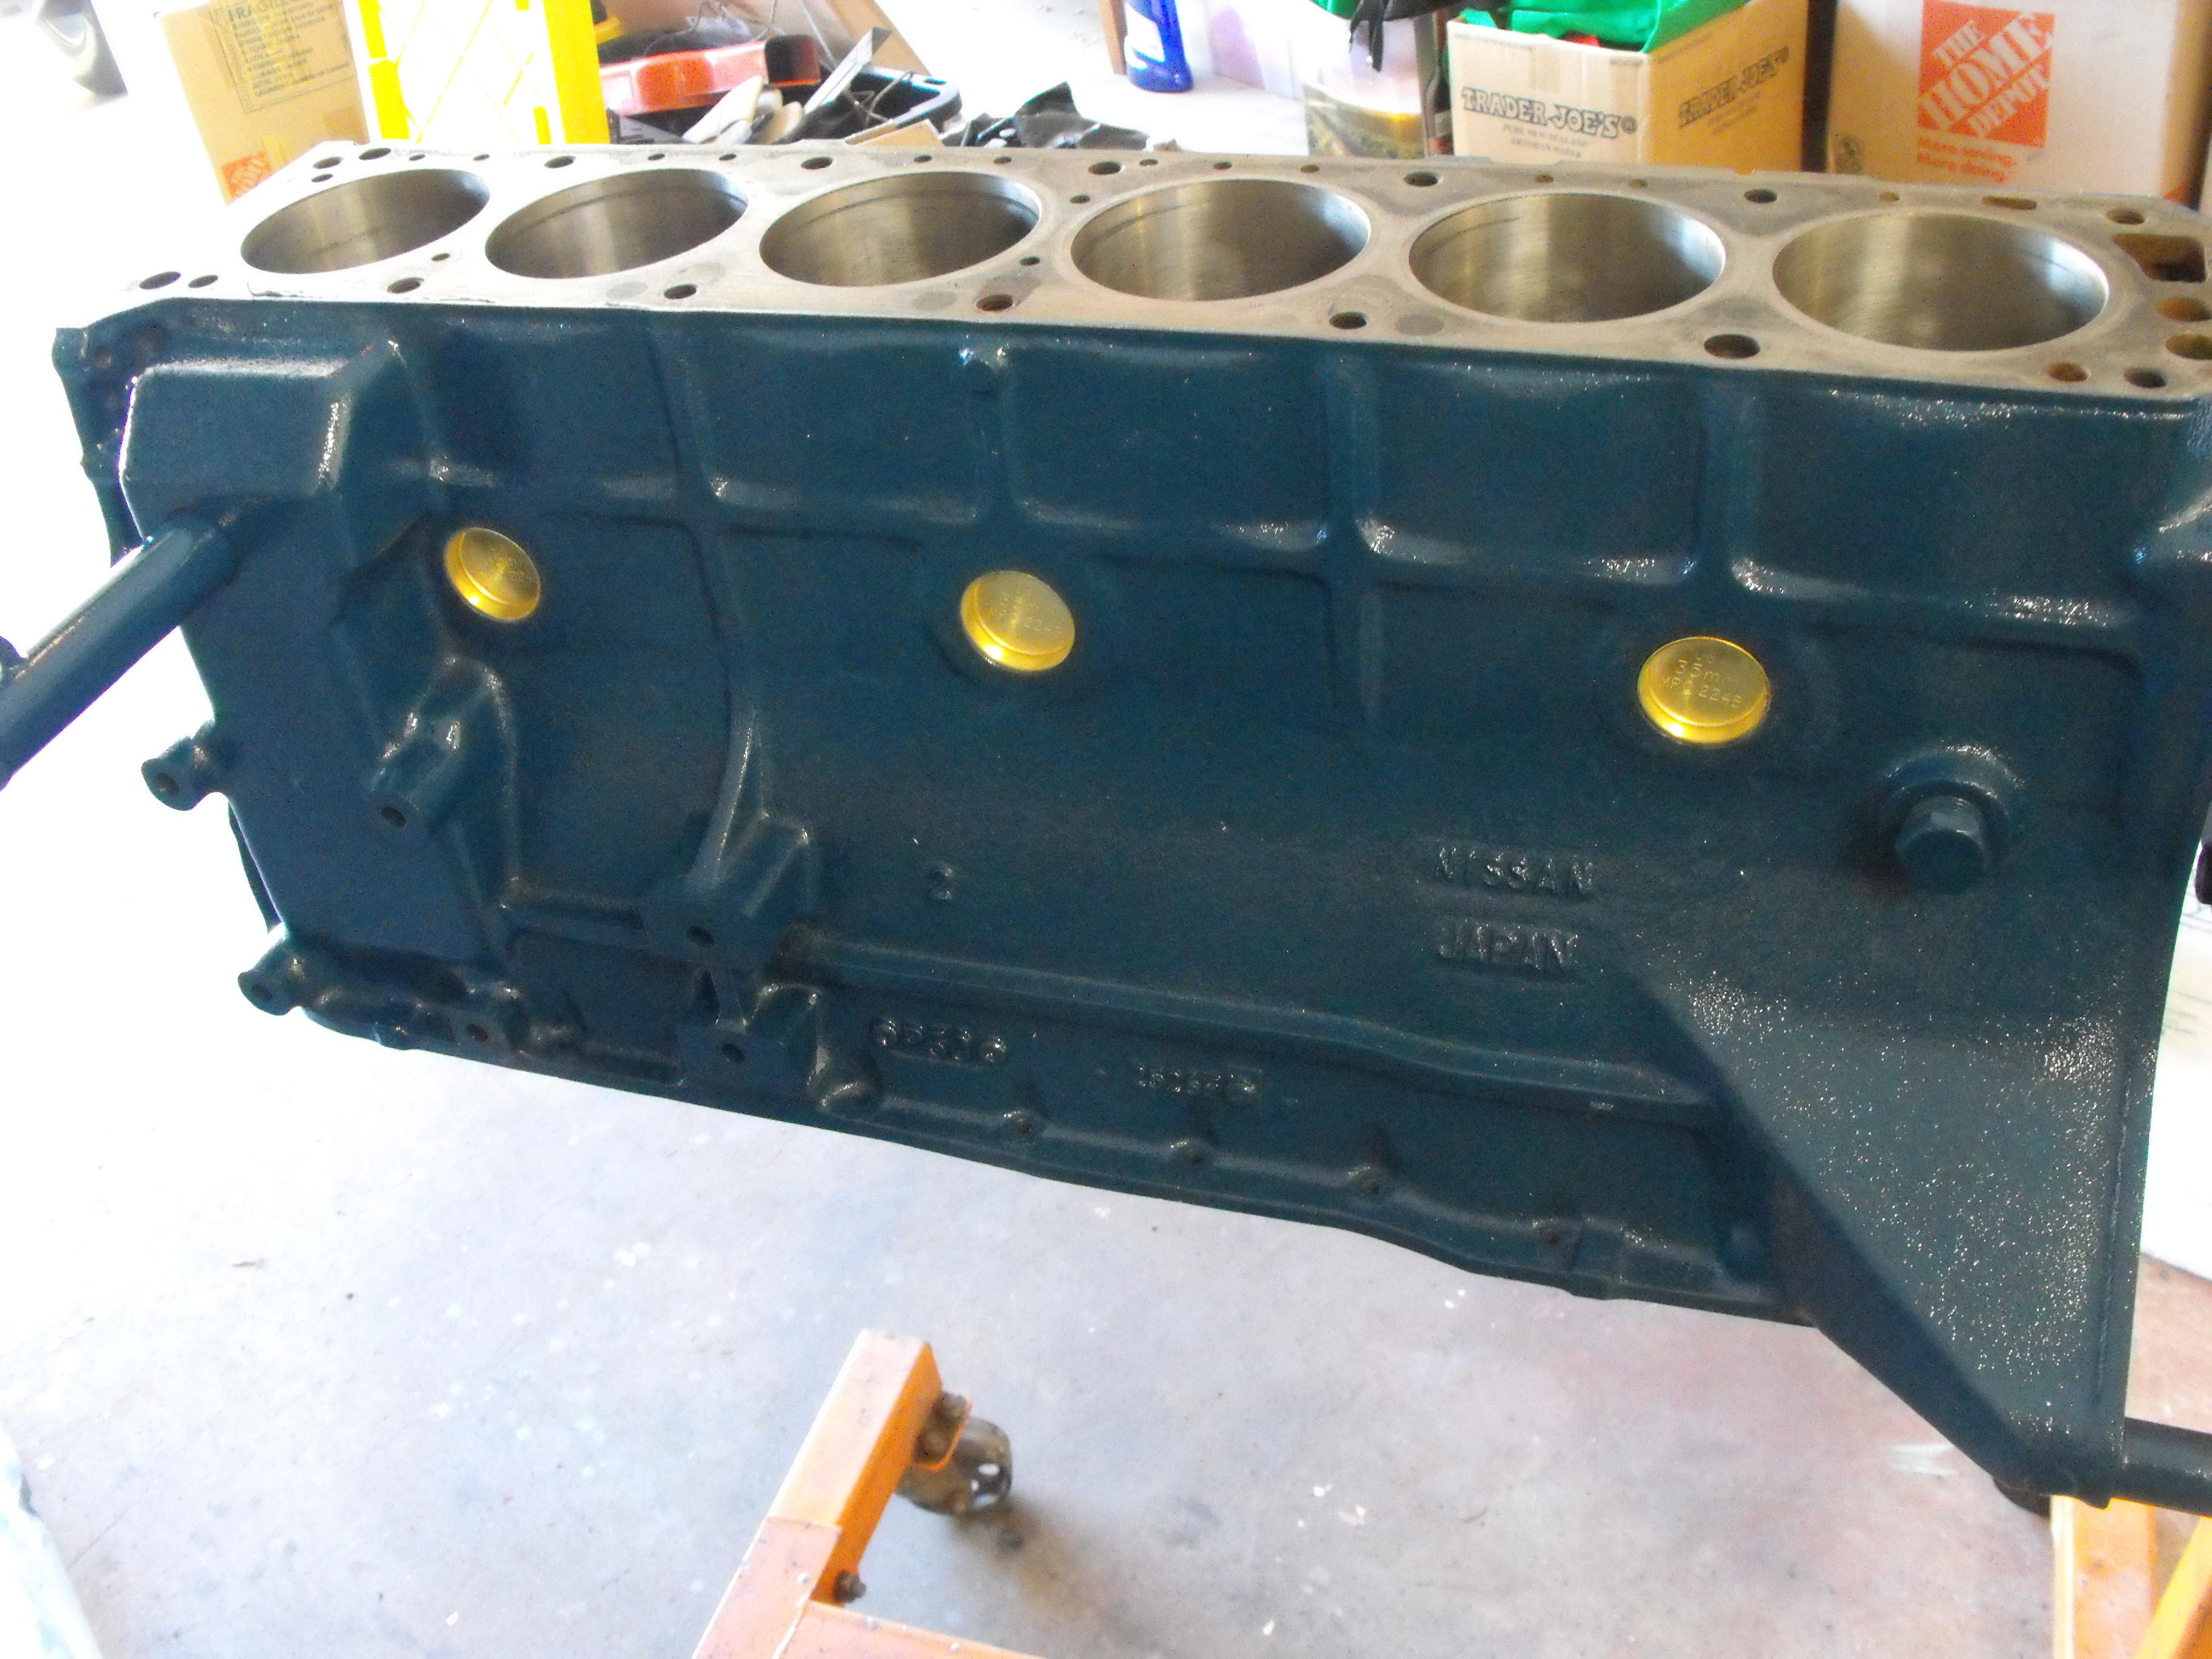
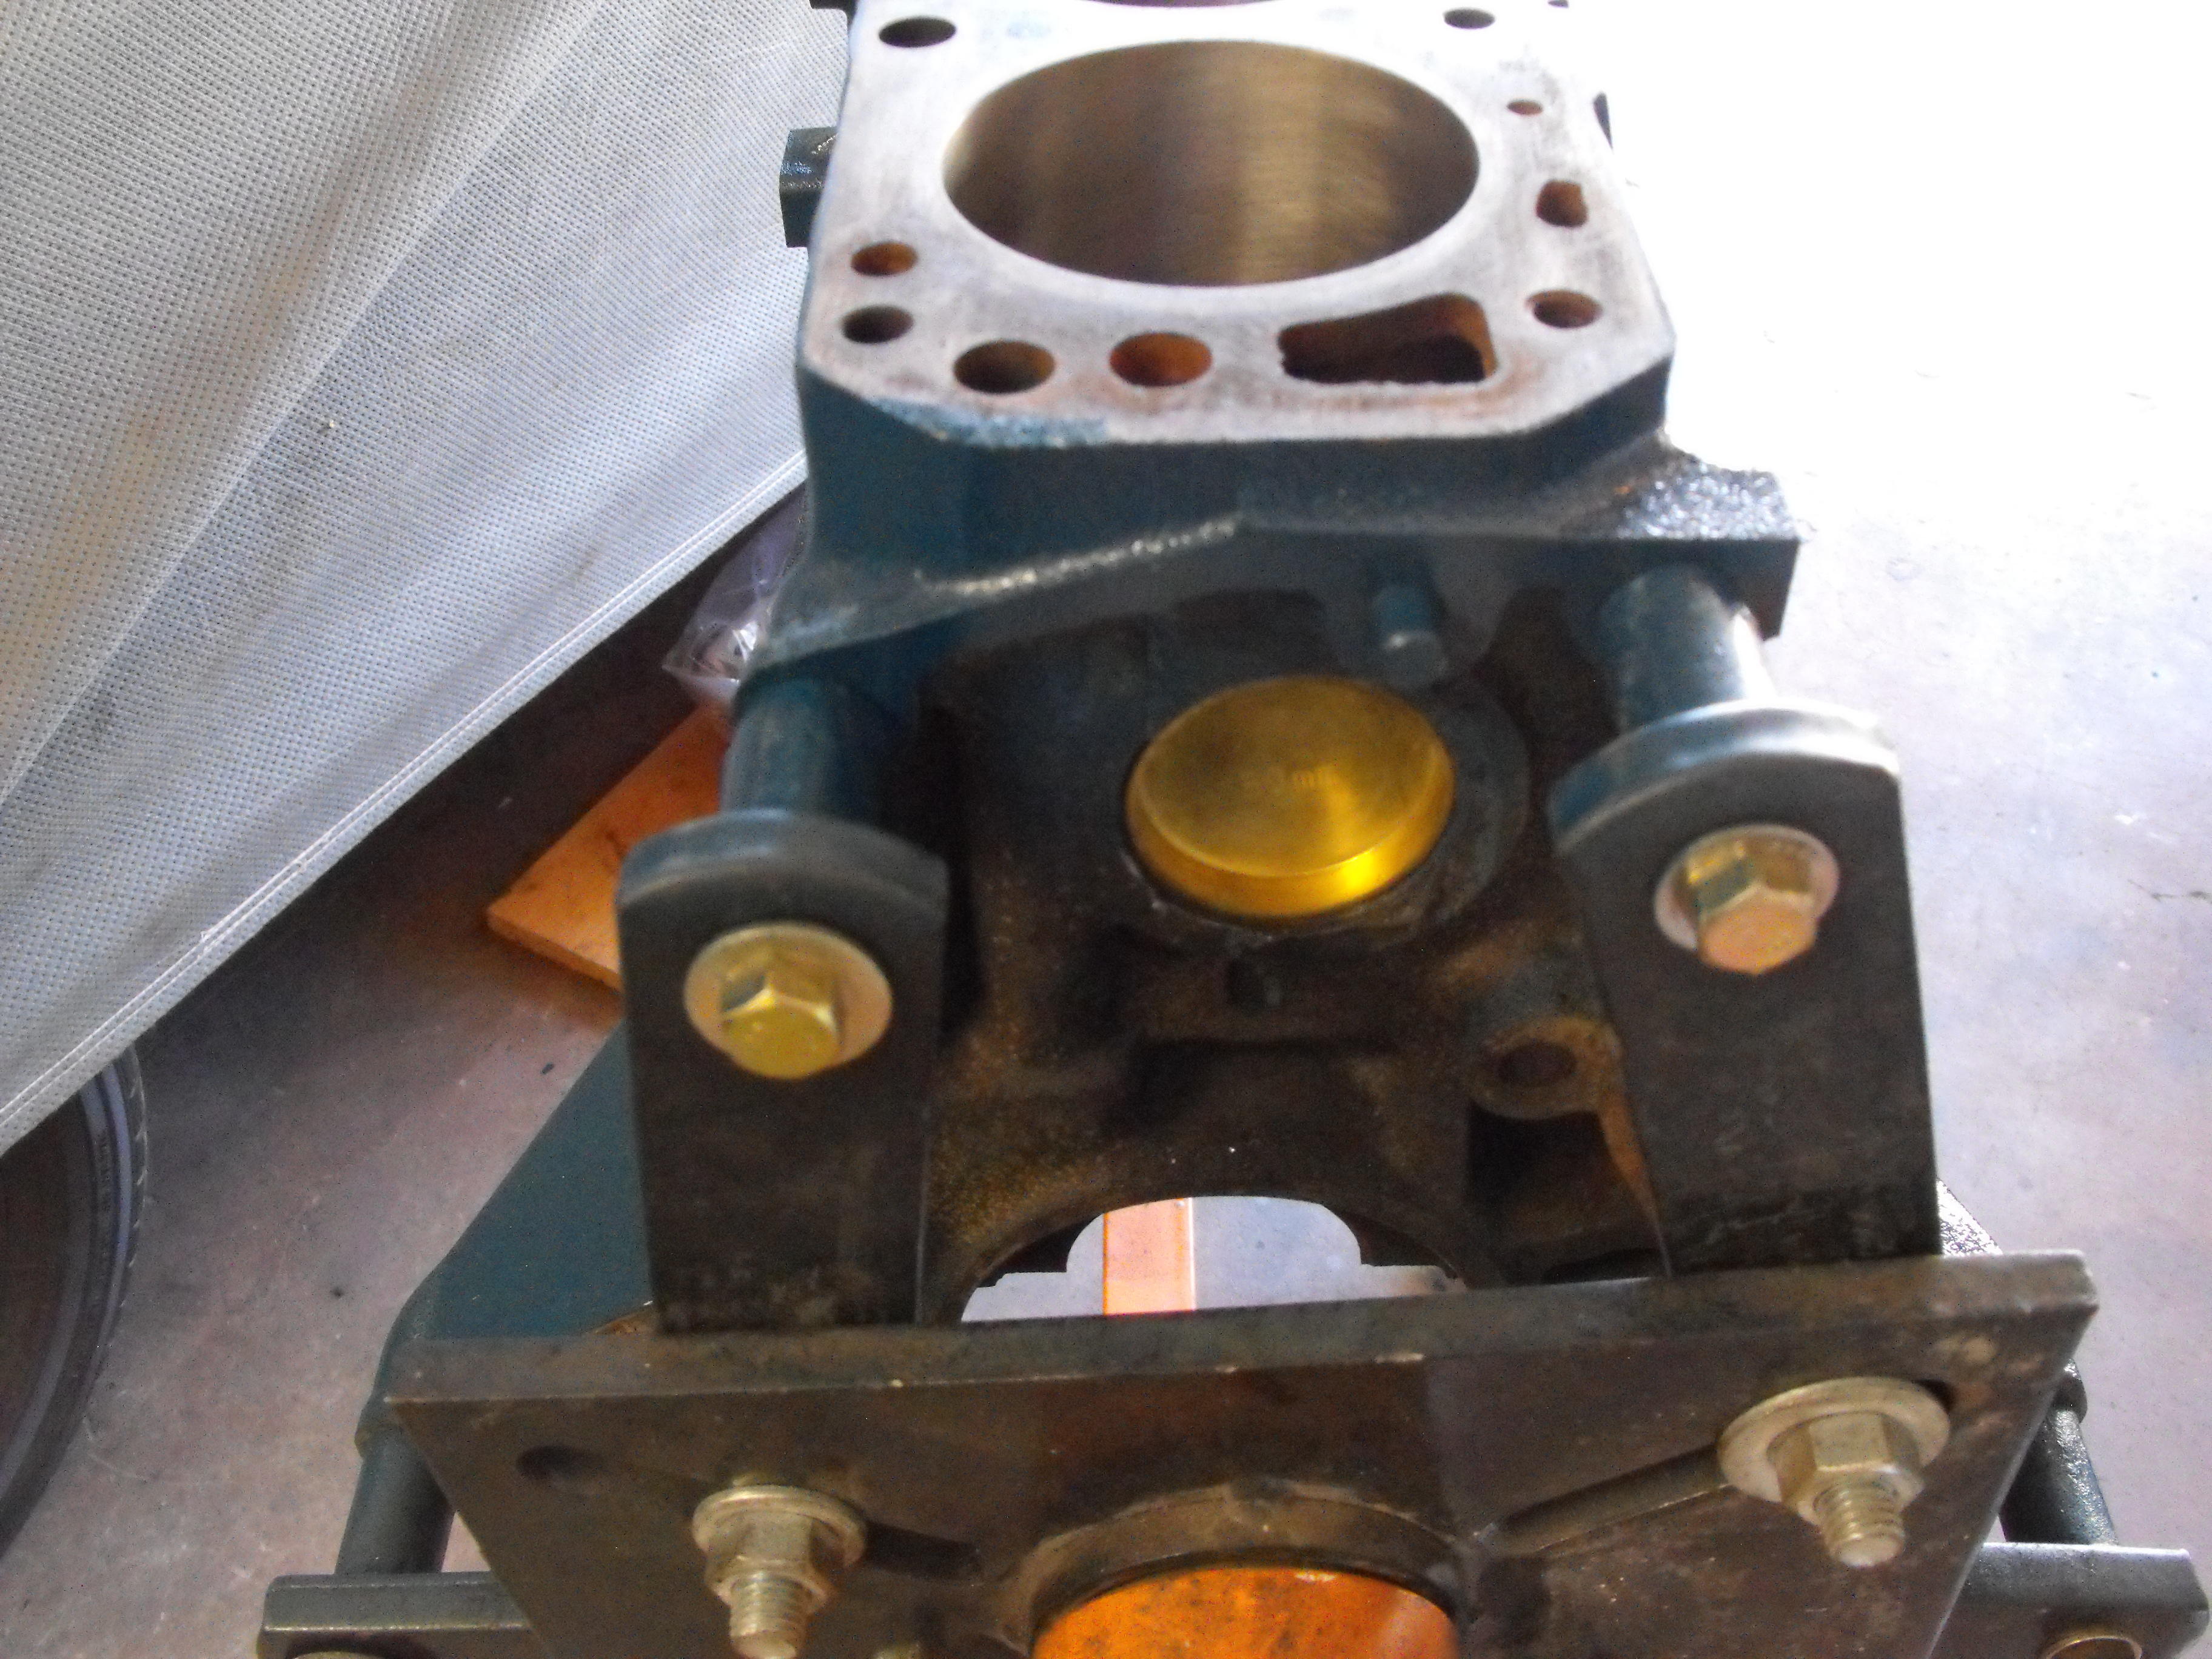
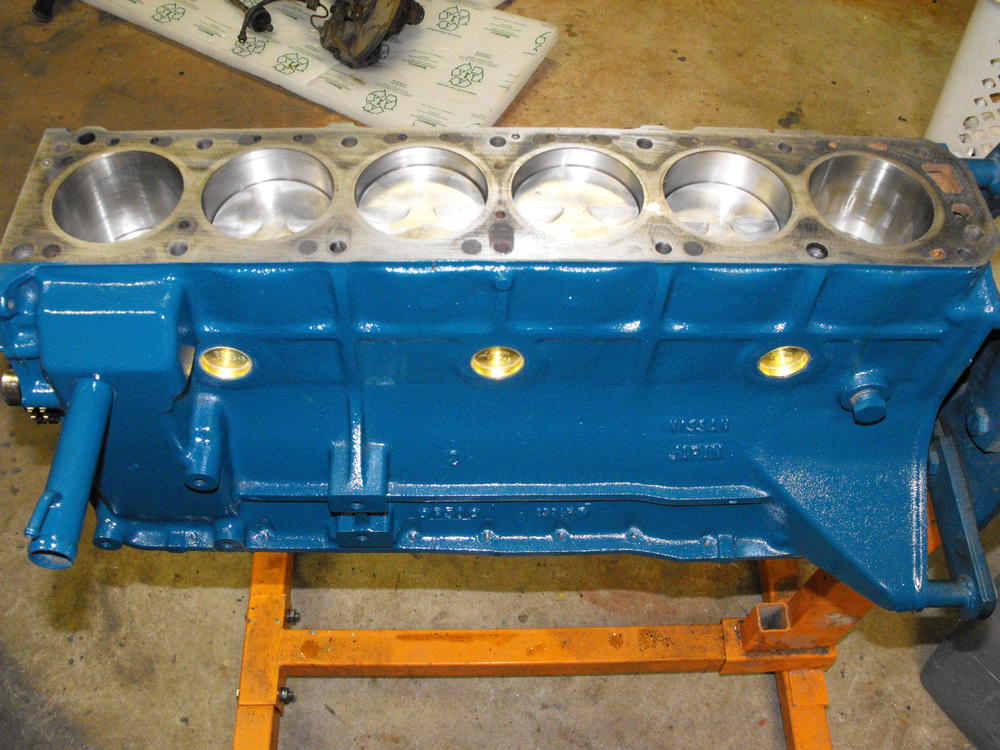
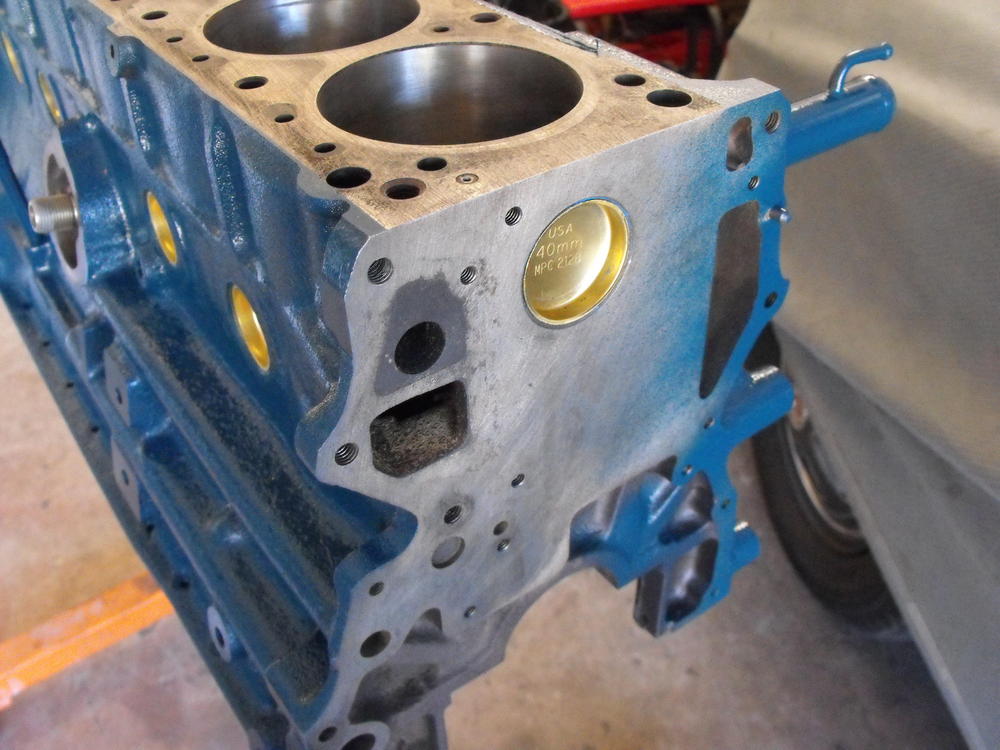
Got the brass freeze plugs in. Also got the crankshaft and new bearings in as well. Probably won't get to the pistons till Monday as the wife has me busy restoring her 1989 Suburban..........Home. Tile work in the living room. Ugh. I'd much rather be working on the car in the heat than working on house tile in the cool AC. Oh well, need to keep the priorities right.


-
Yes, high temp gloss clear coat for the serial number. Yes, I checked that when I picked it up from the shop. I can't even feel a mild depression in this area. I thought i might feel a ridge or something,but it is as smooth and linear as the rest of the cylinder.
-
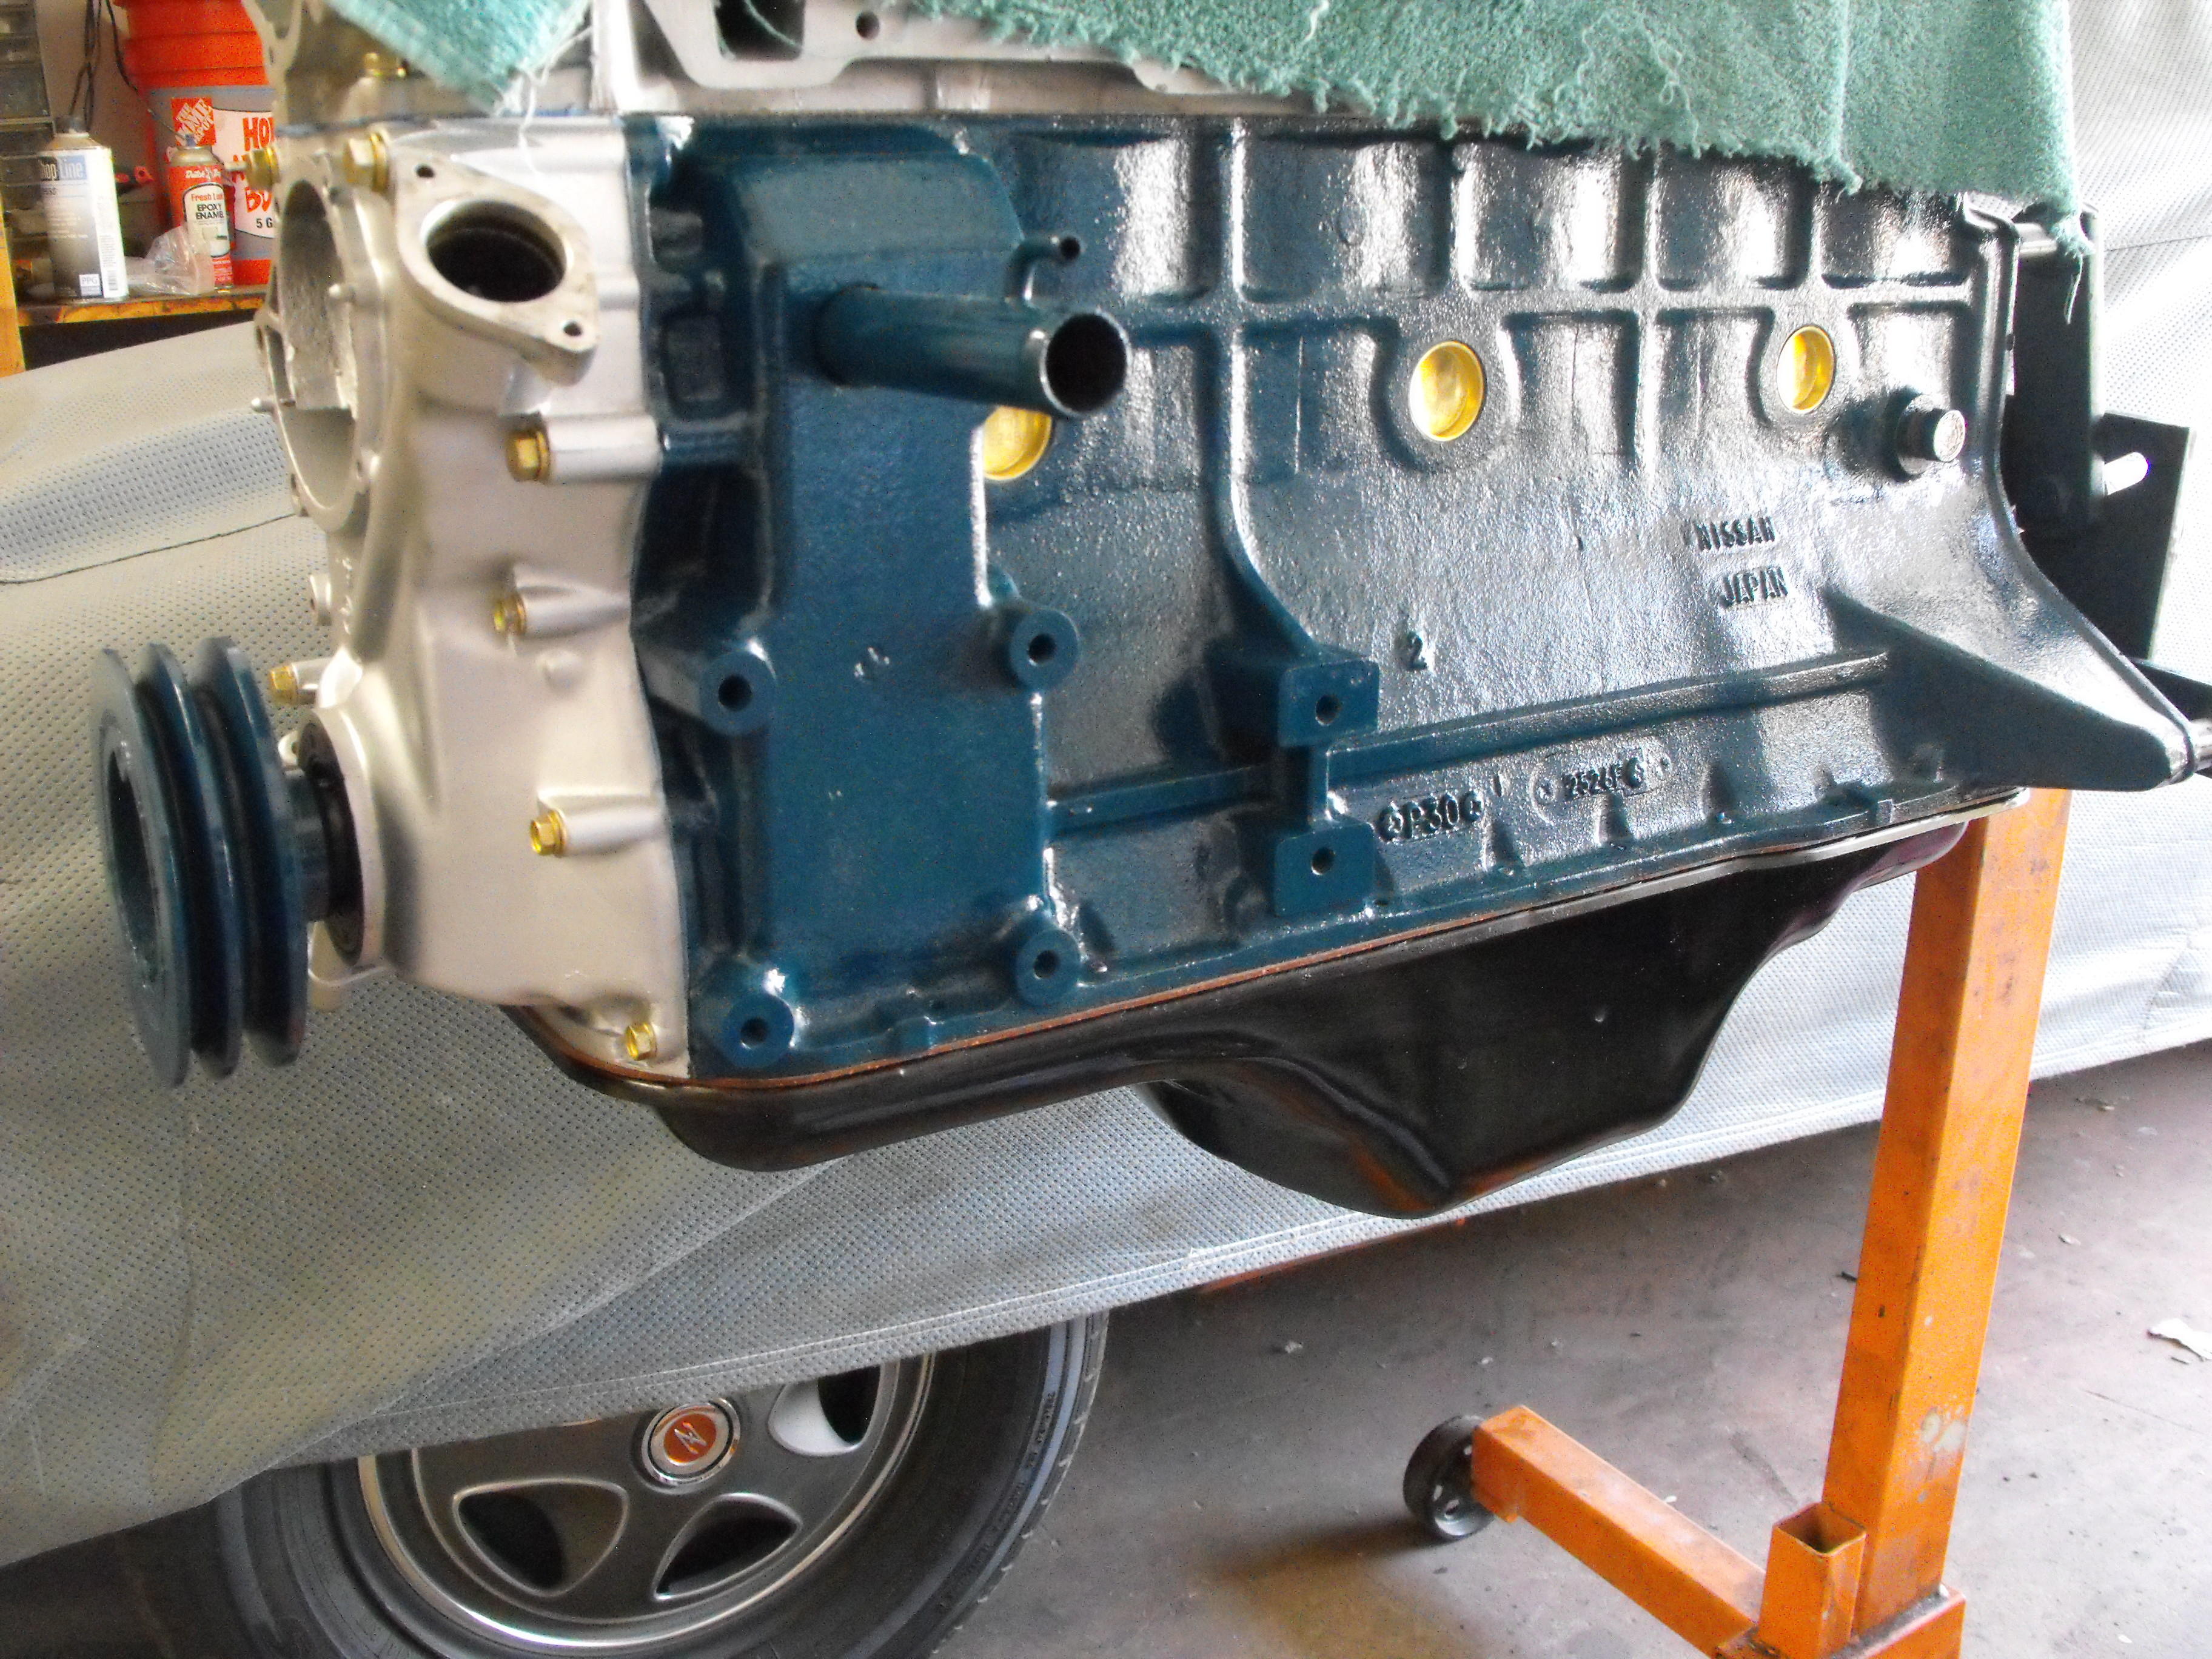
Got the block cleaned up and painted.

-
I found my Silver 1973 restoration thread. This is hard to look as I really wish I had that one back. Selling my silver 1973 probably ranks in the top 5 stupid decisions that I have made in my life (Which says a lot since I have made a lot of stupid decisions). Anyway, here is the tread to give you a bit of preview as to what's ahead.