motorman7
 Subscriber
-
Joined
-
Last visited
Everything posted by motorman7
-
 You need to rotate the short arm that attaches to the motor 180 degrees. This should fix the running into the cowl problem (Don't ask me how I know that ?)
 -
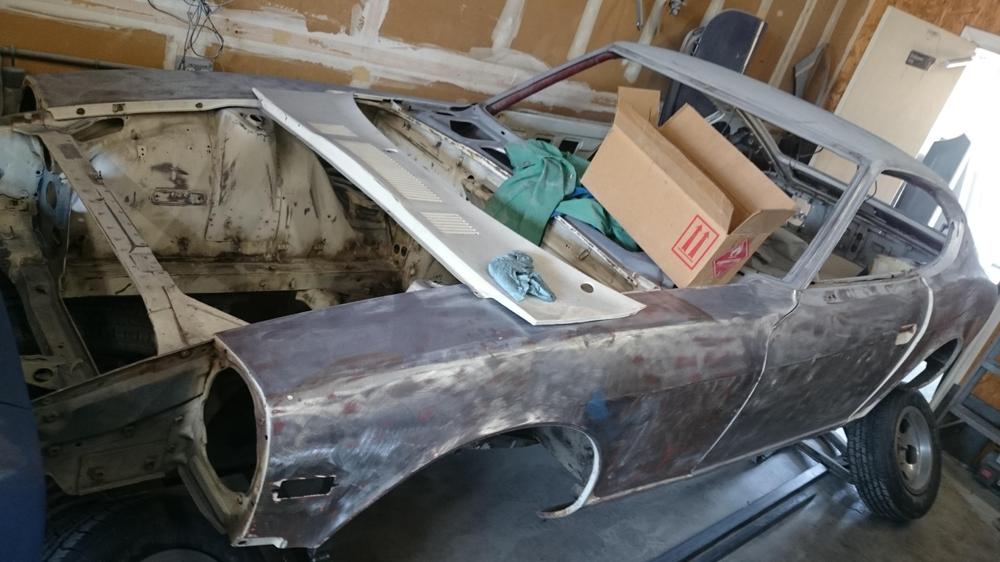
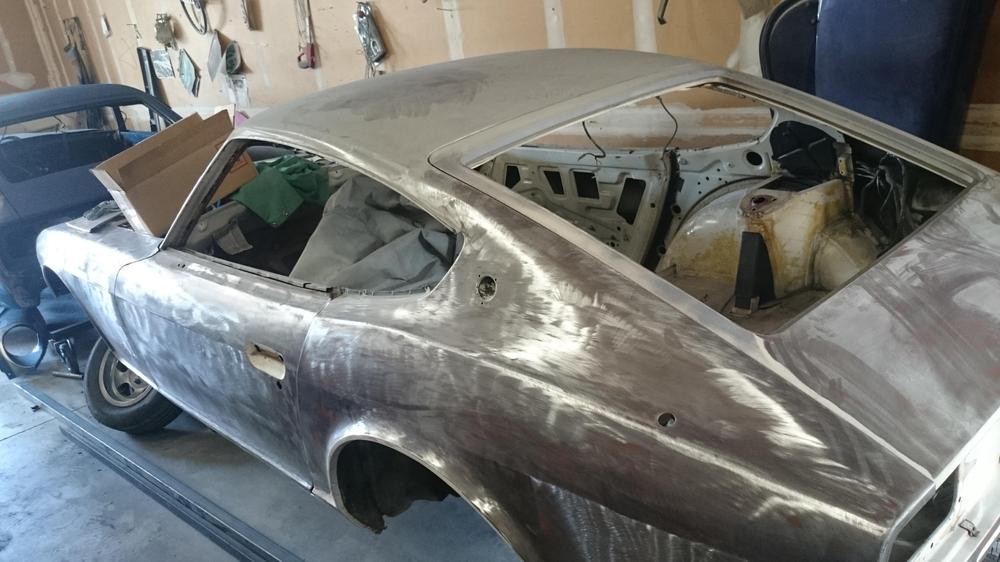
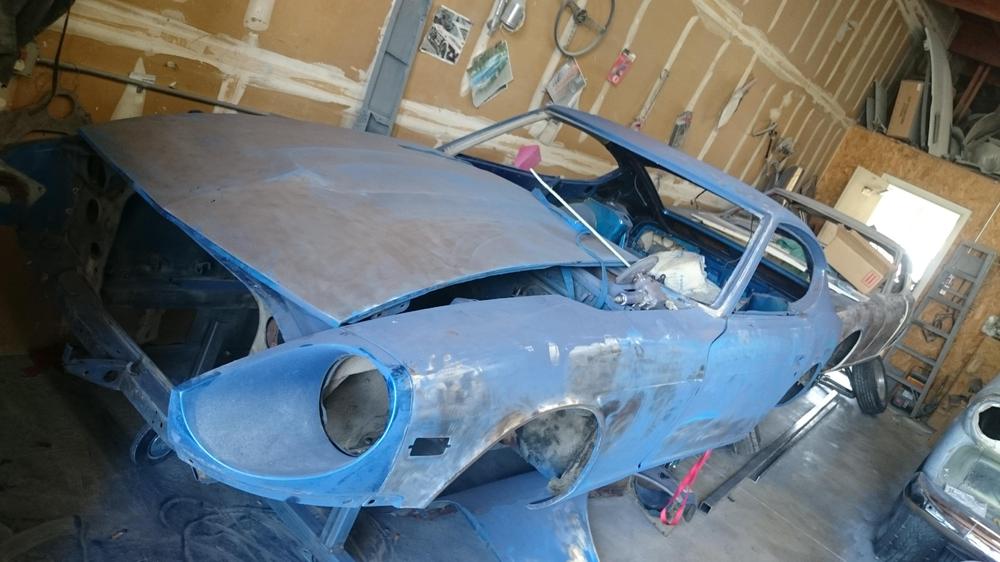
Pics from the paint shop
-
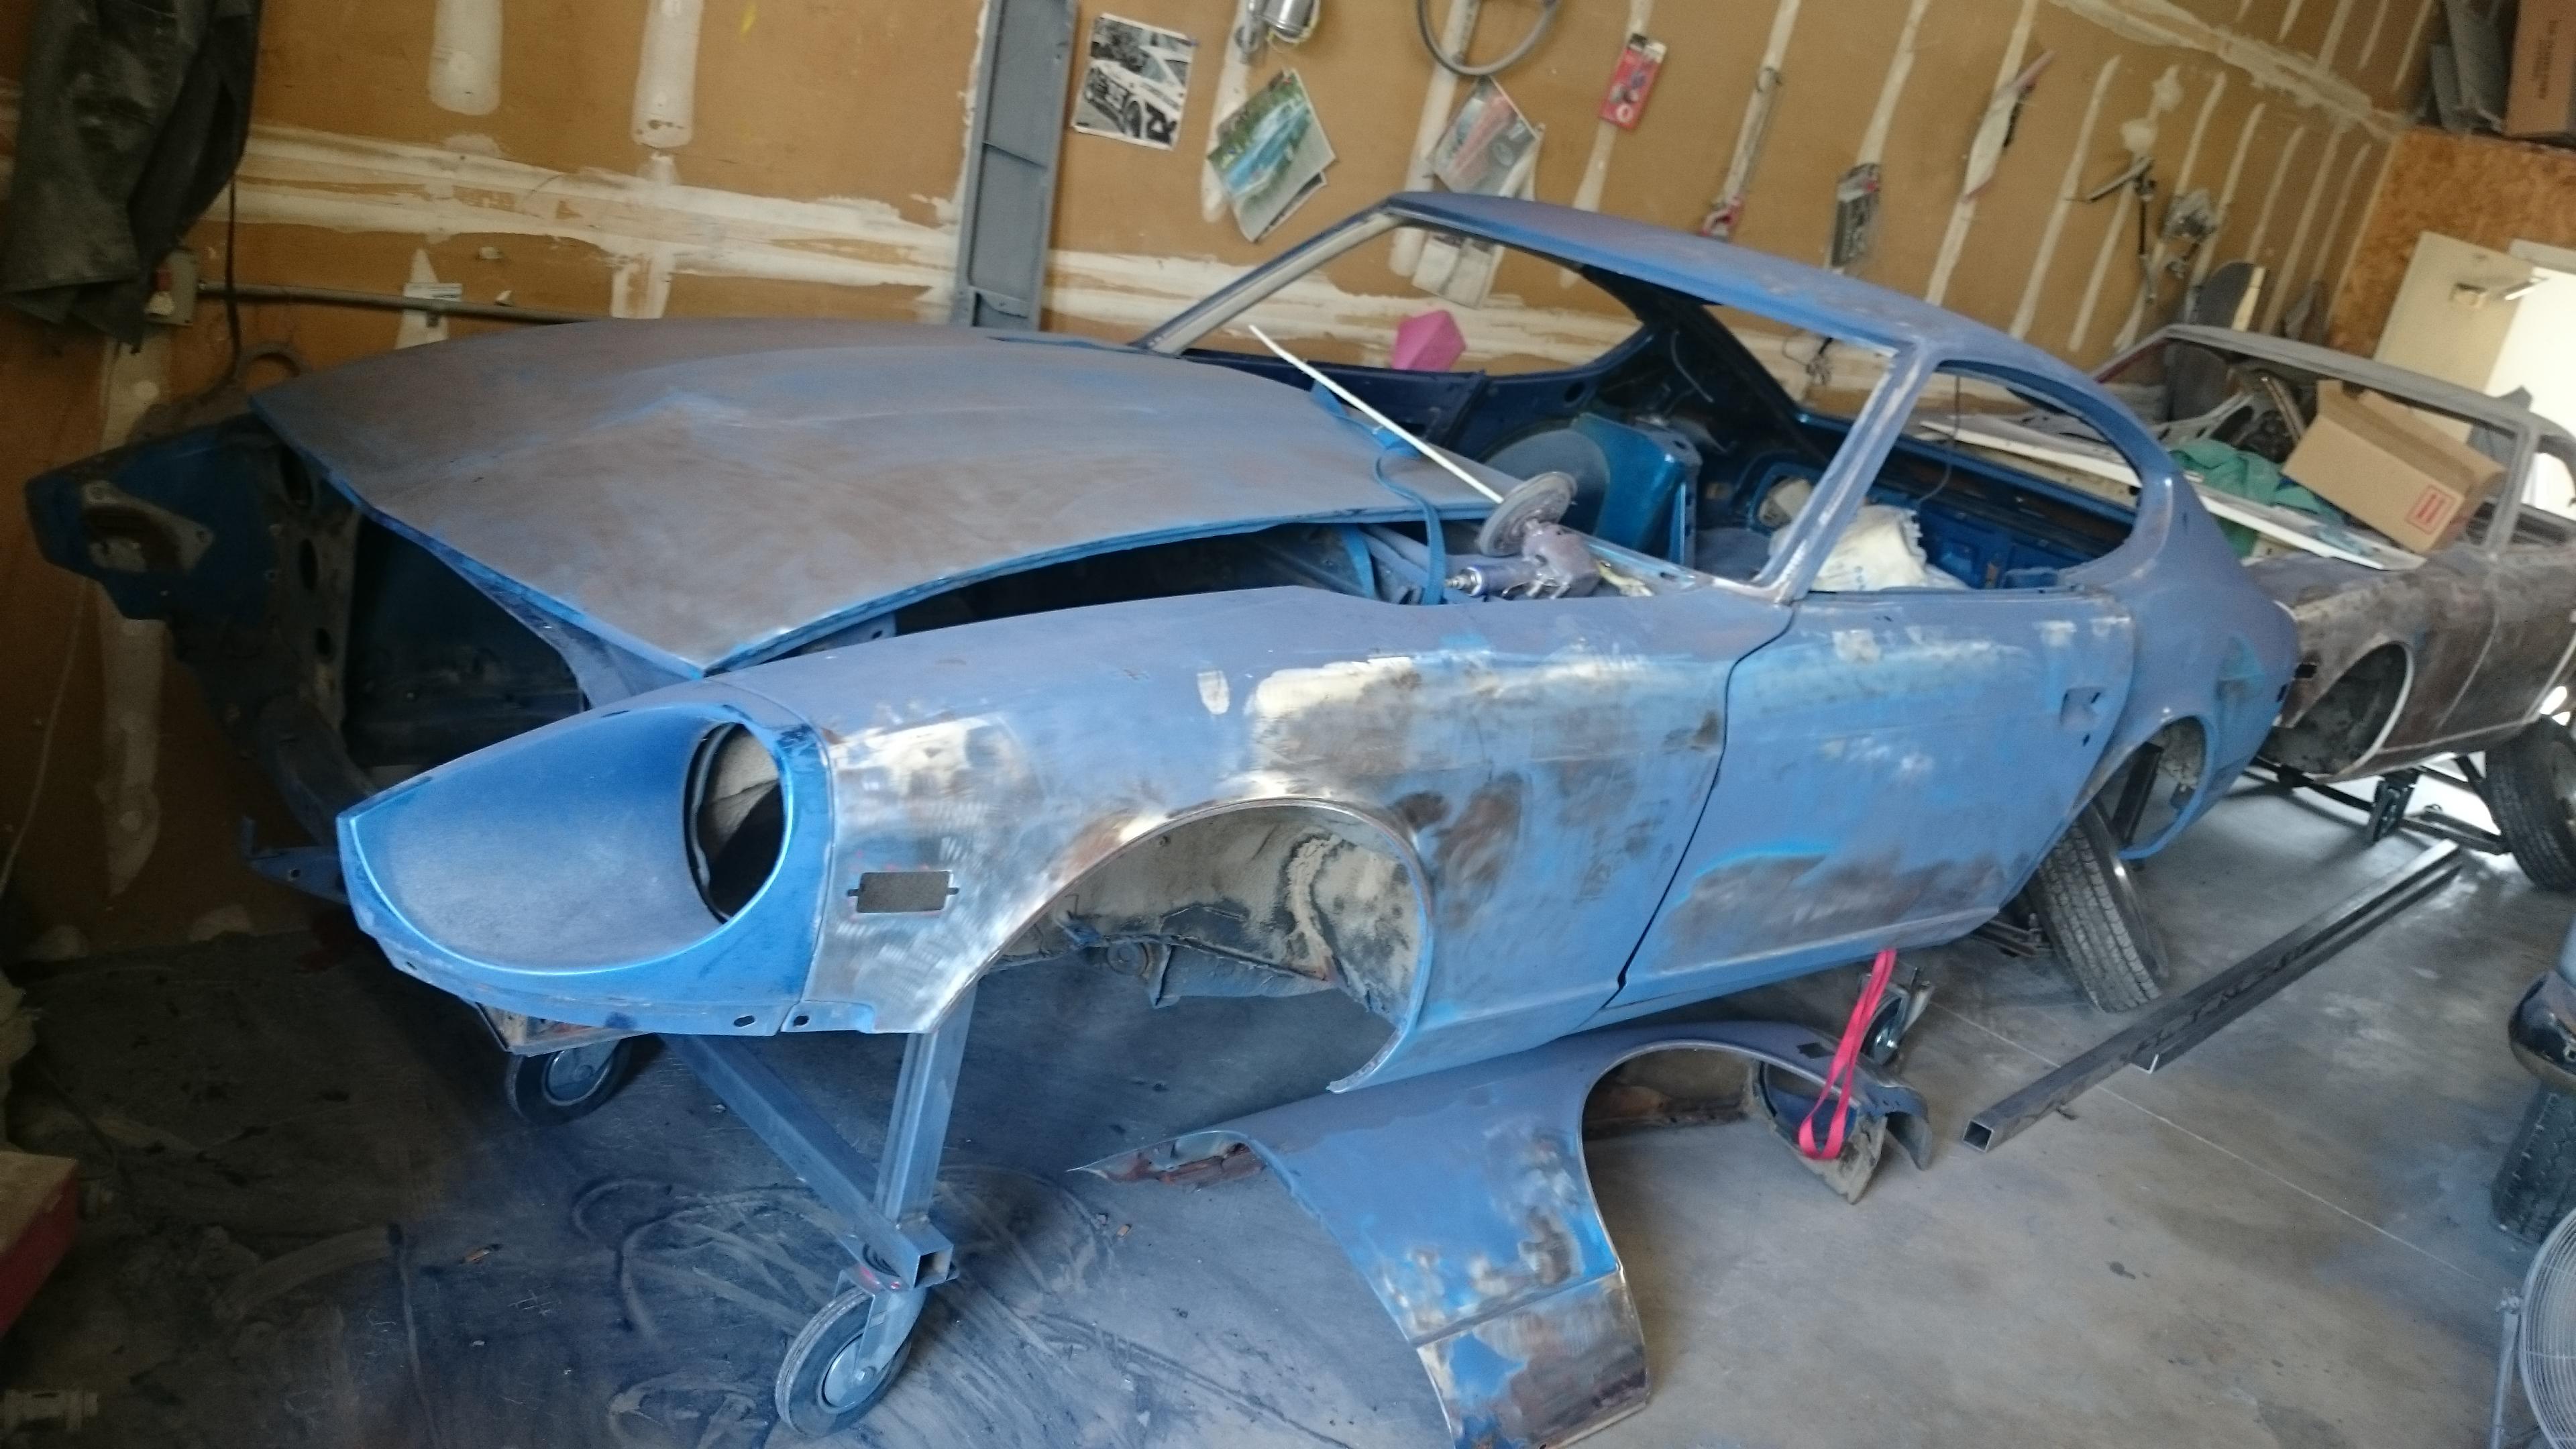
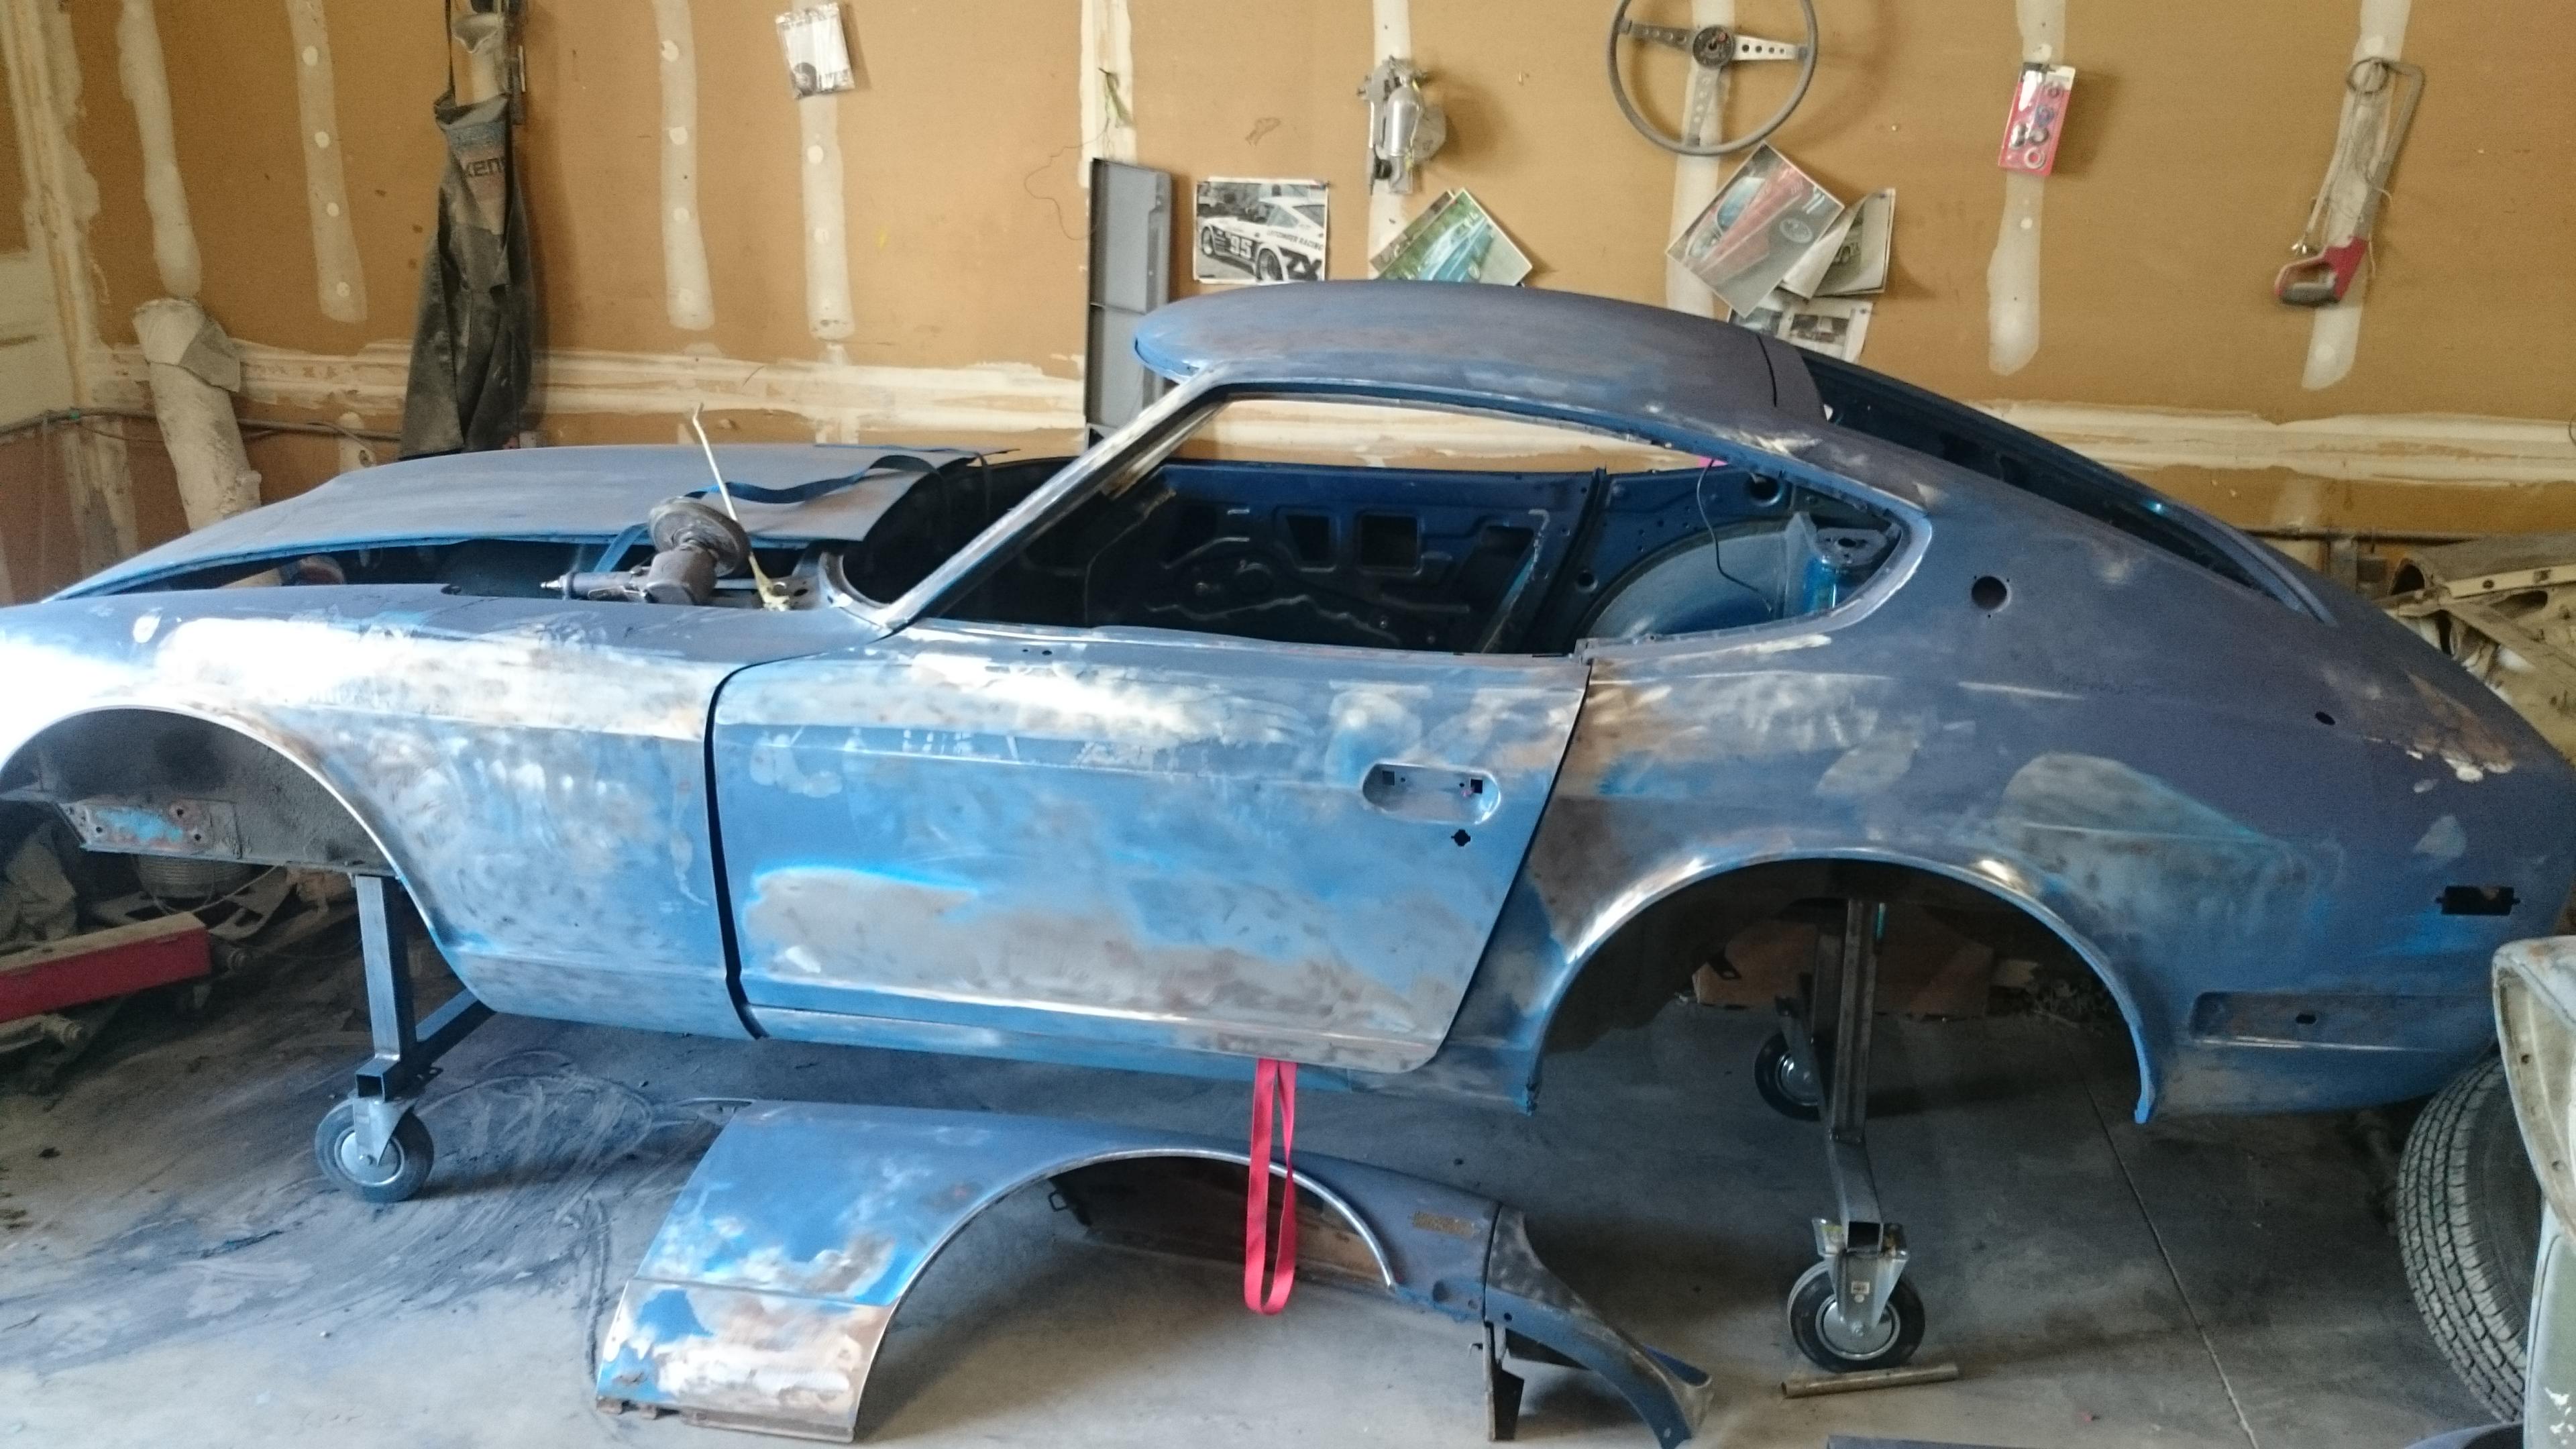
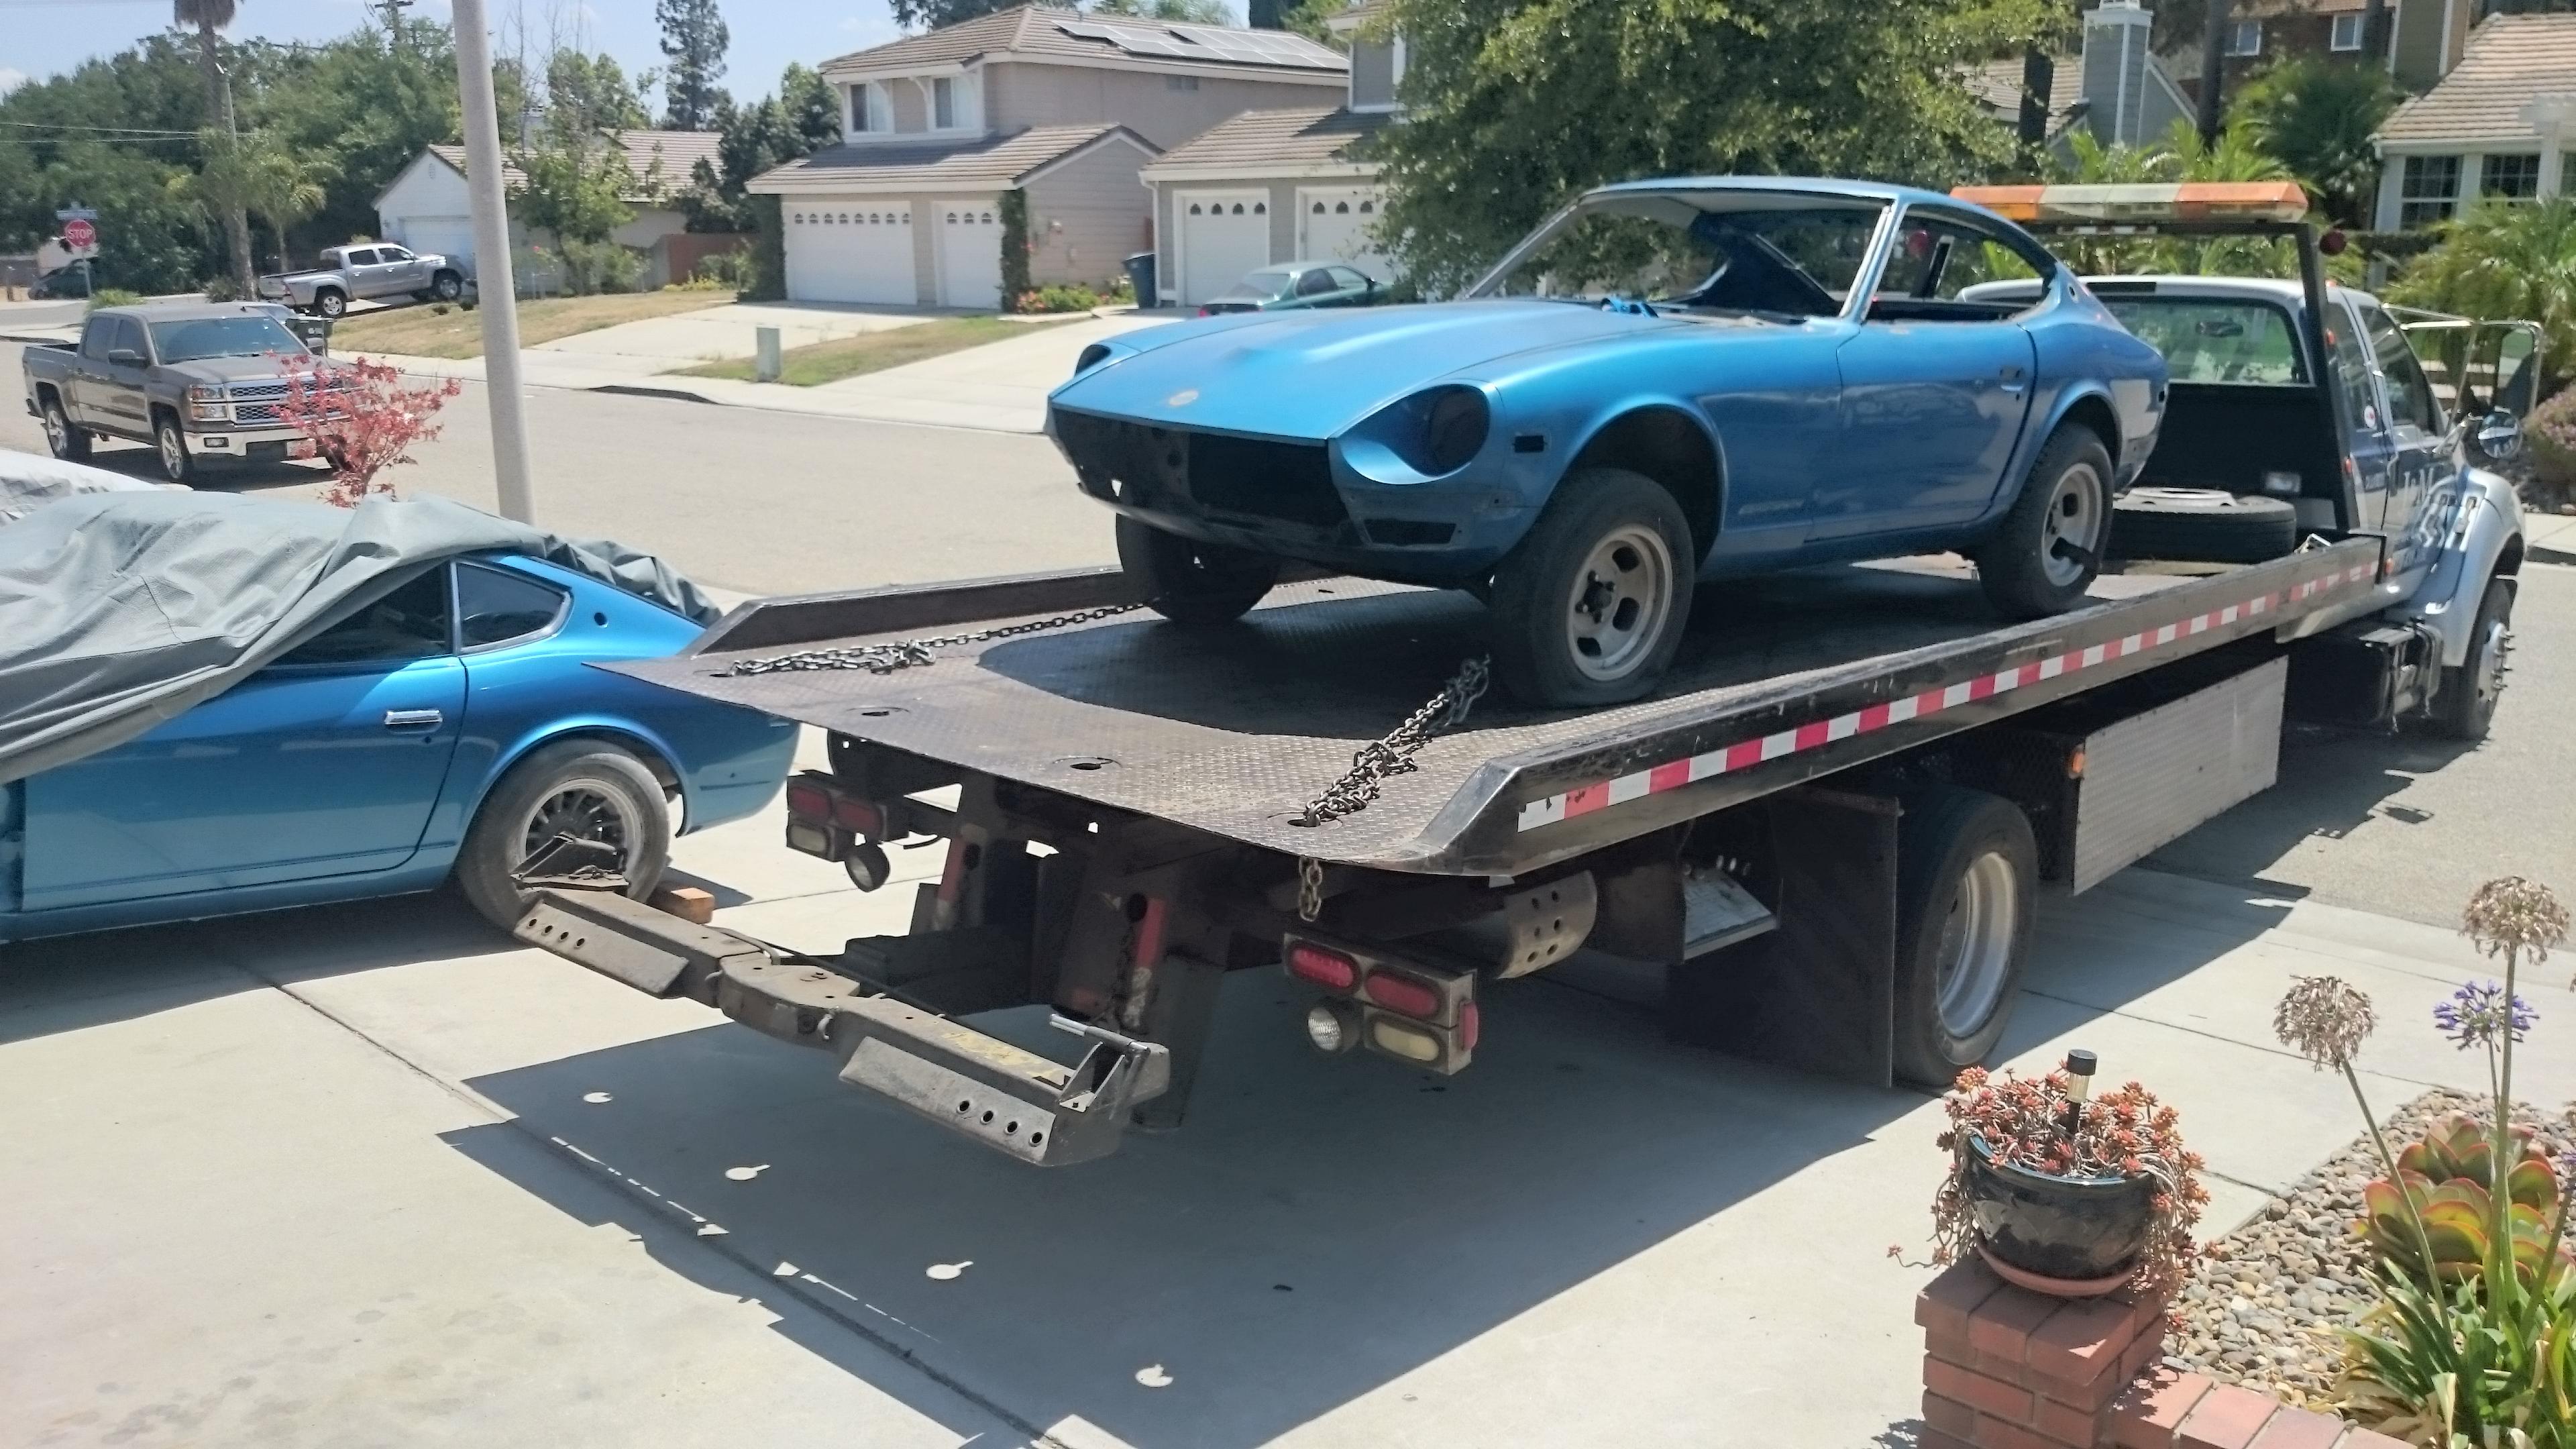
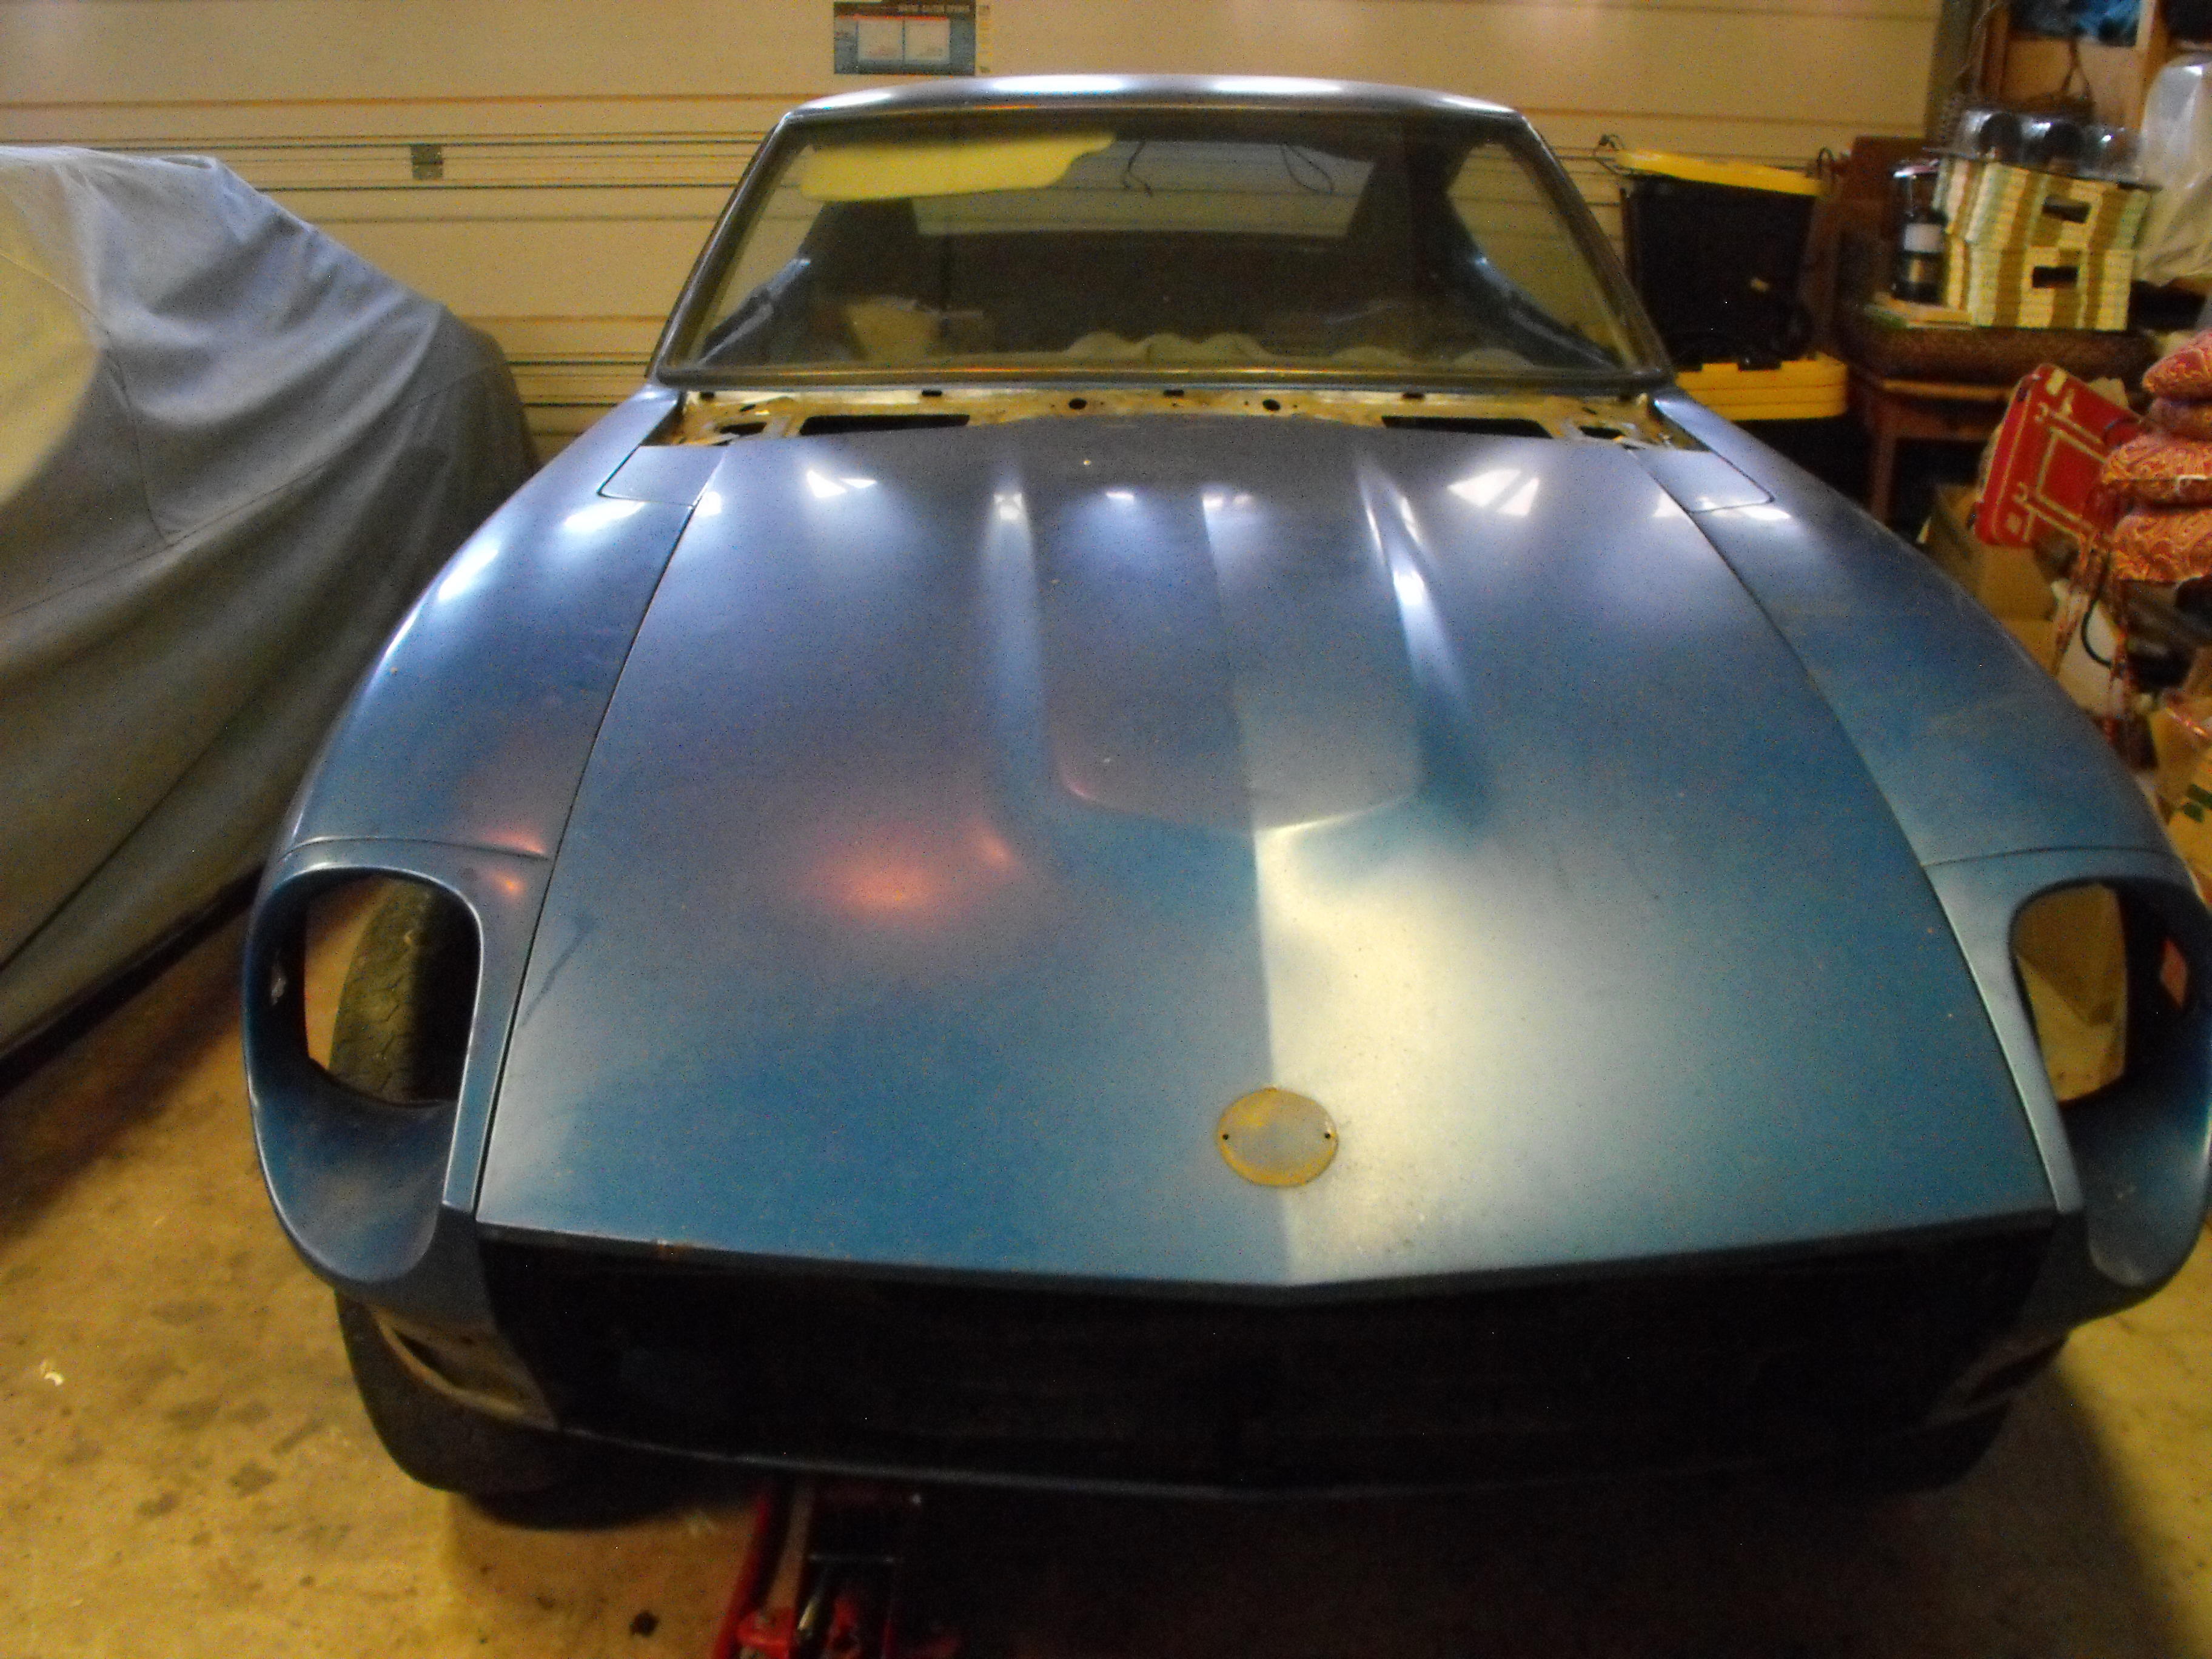
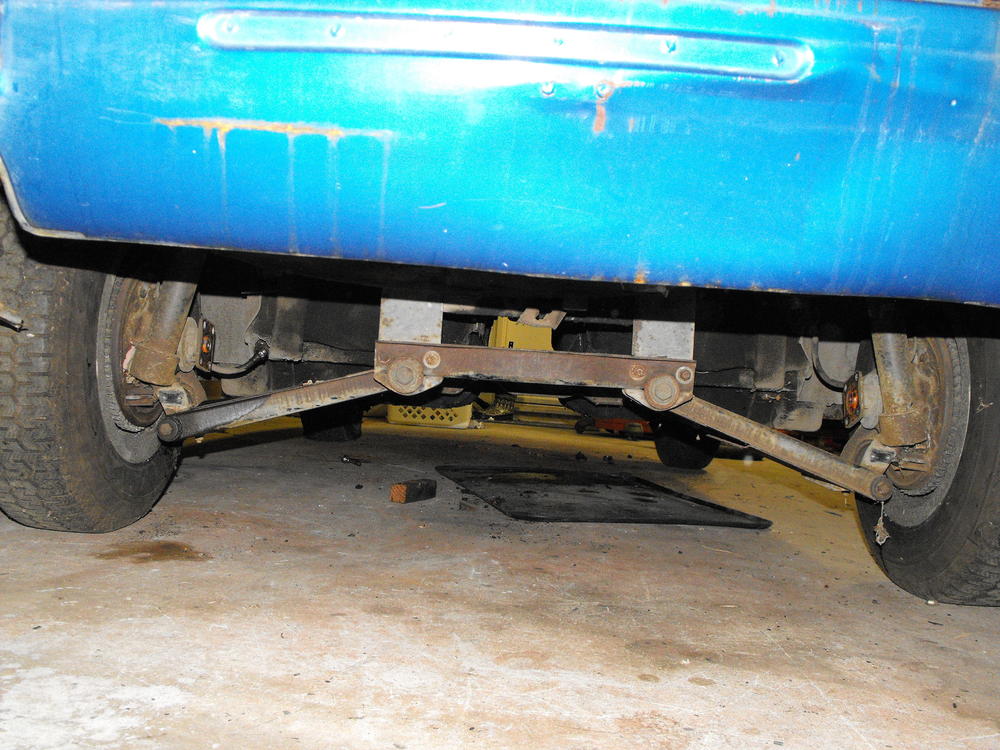
Here's a few pics from the paint shop. Picked up the suspension, will start to disassemble. Car is on rollers so it is easy to move around the shop.


-
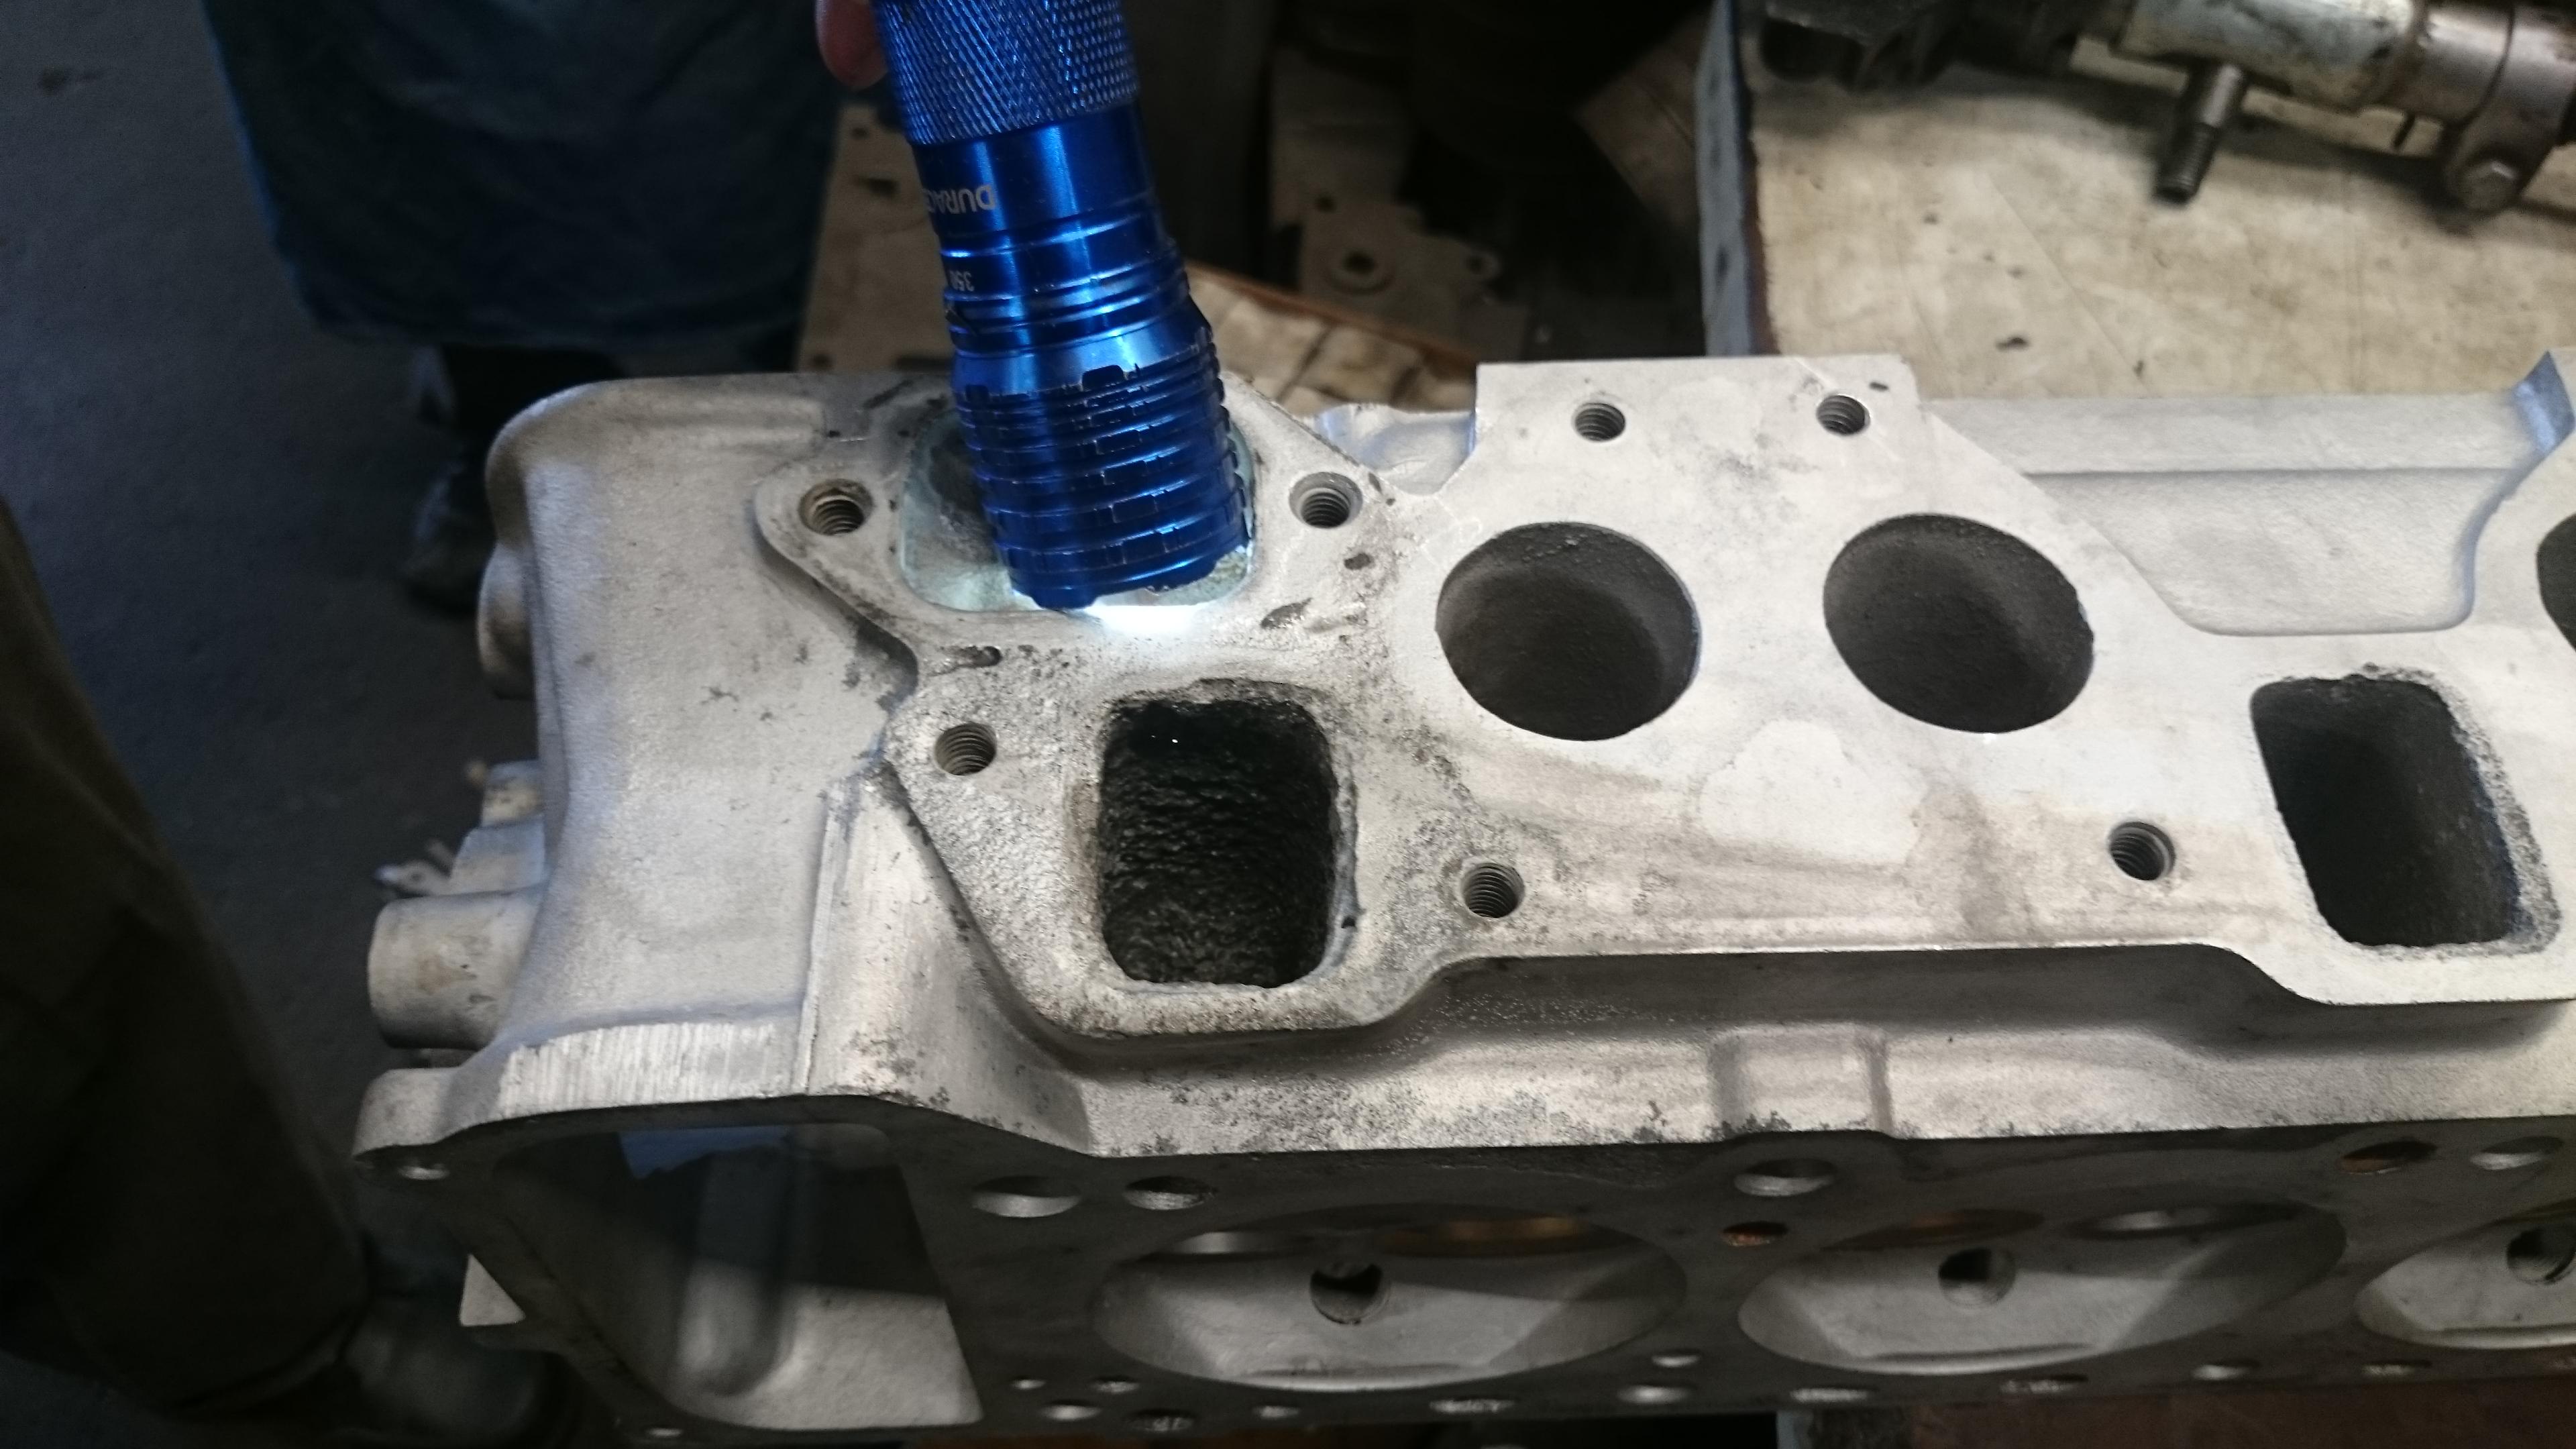
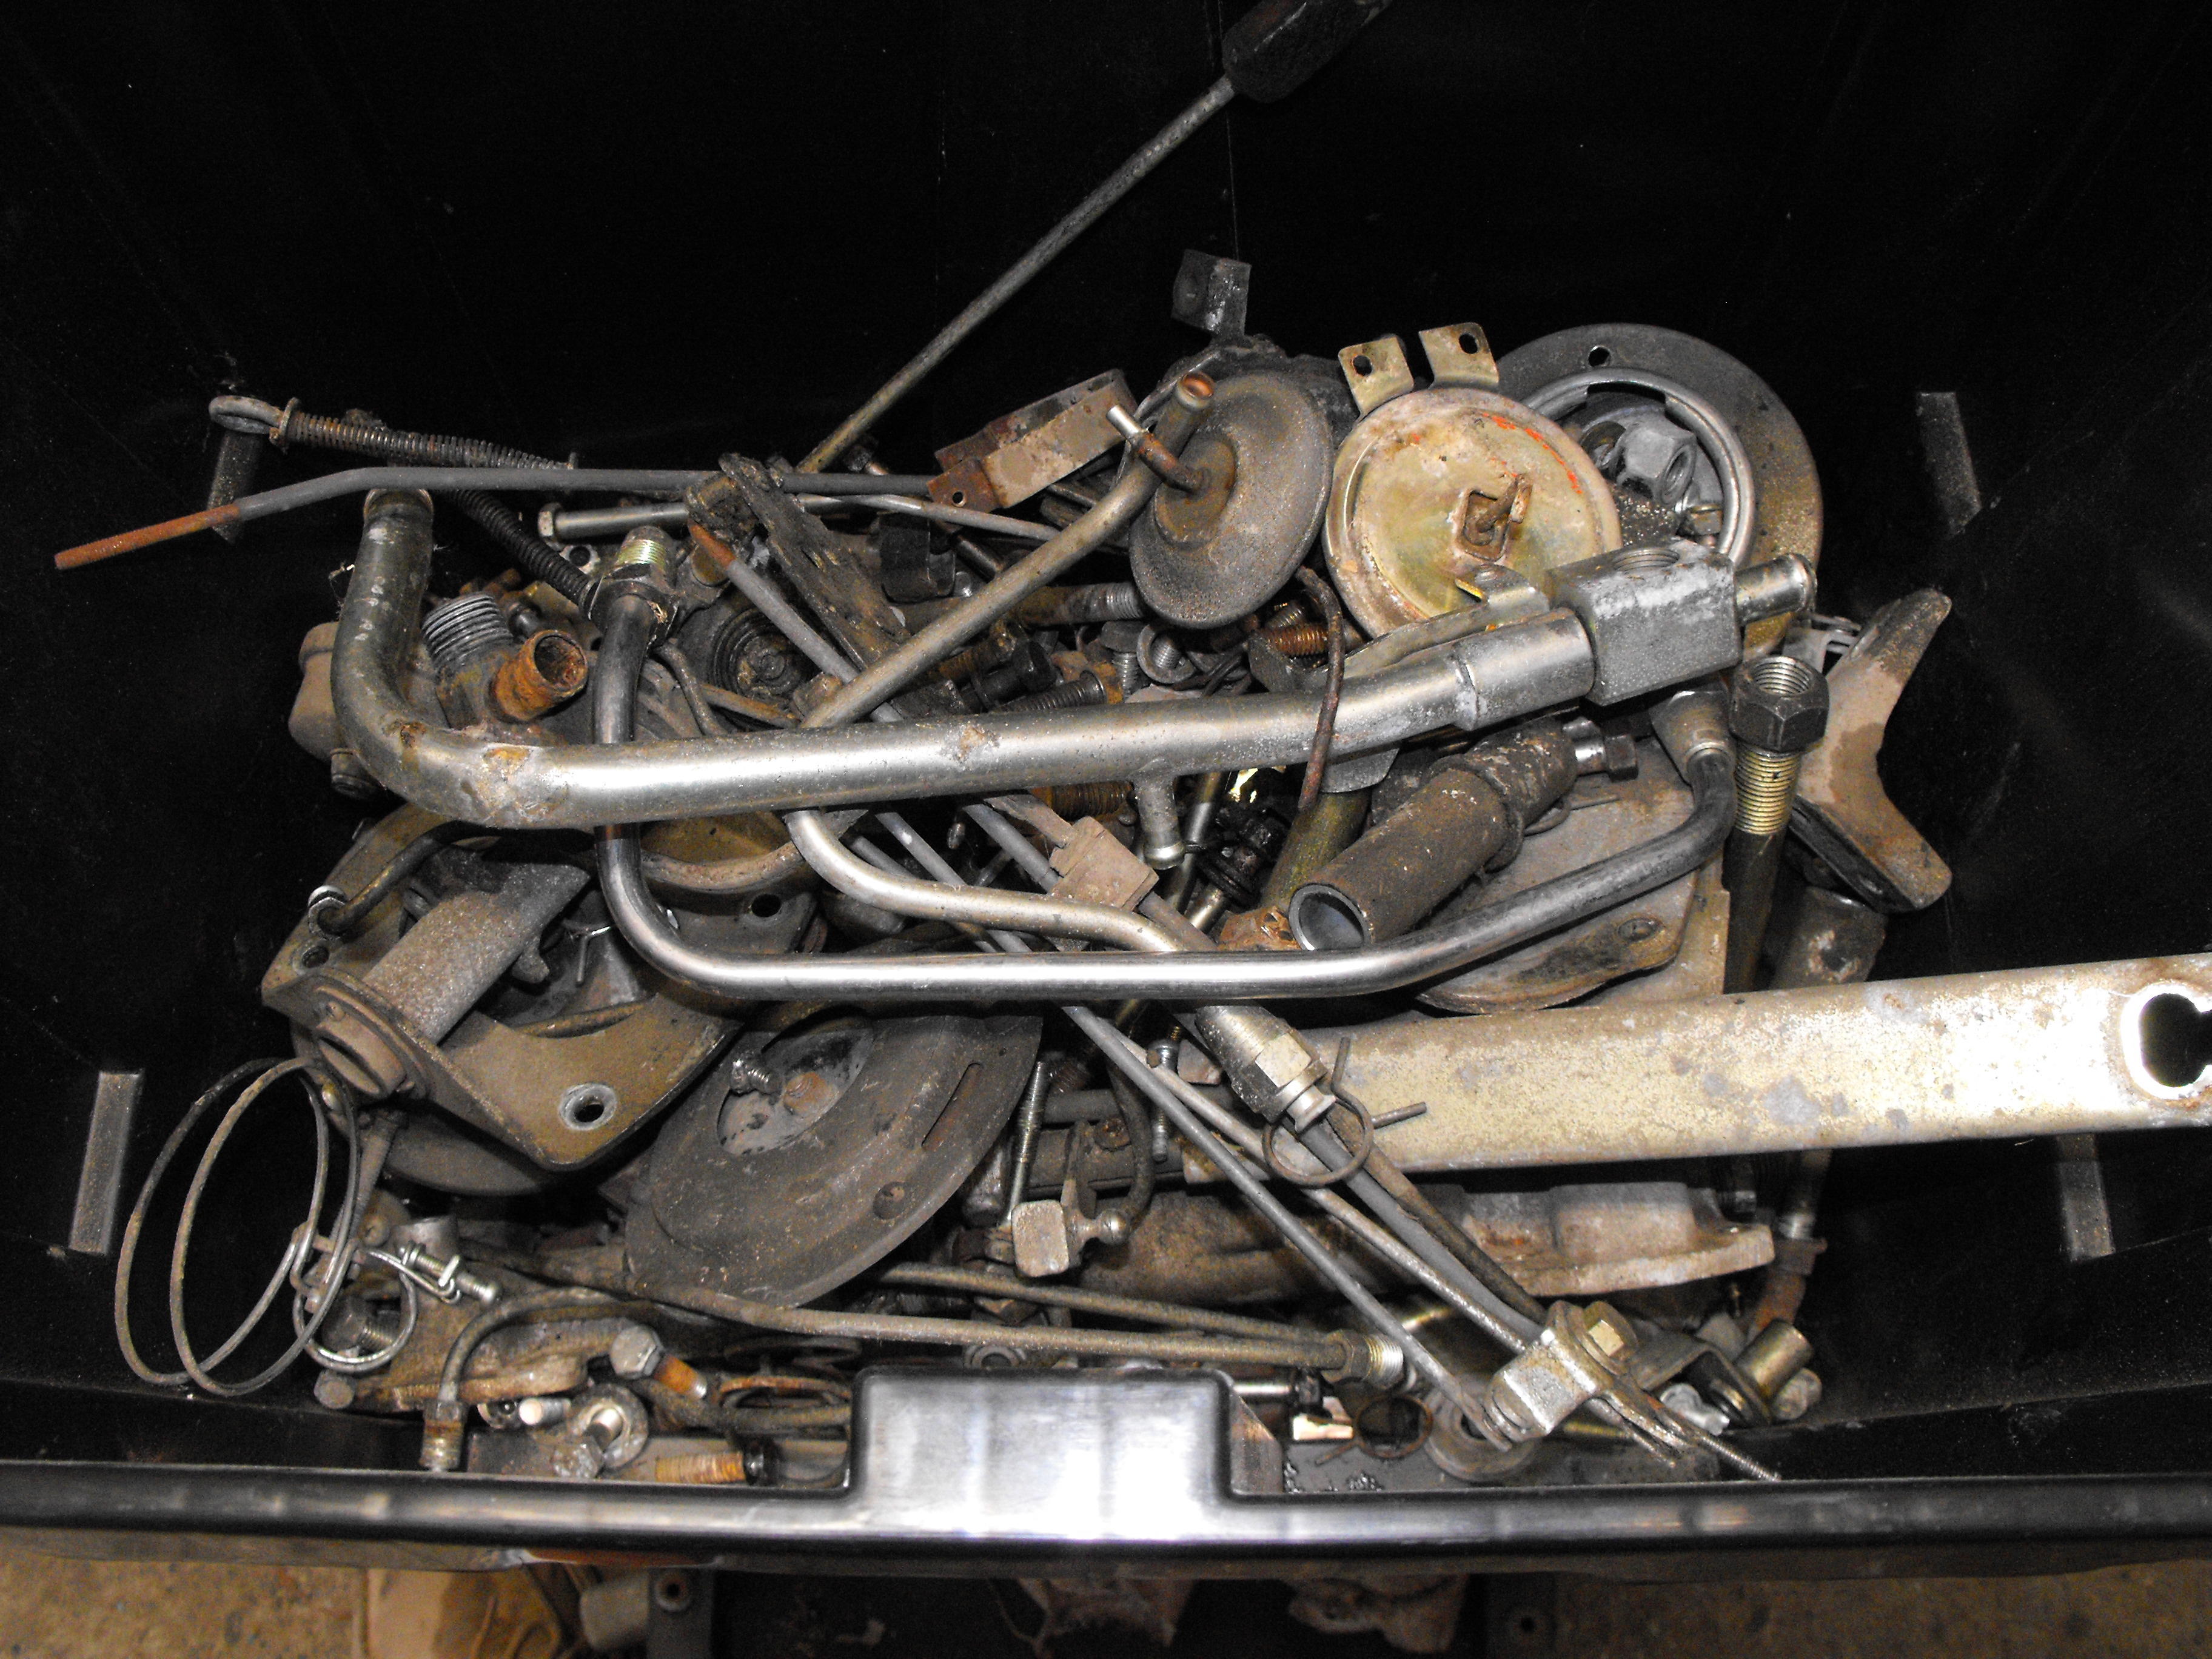
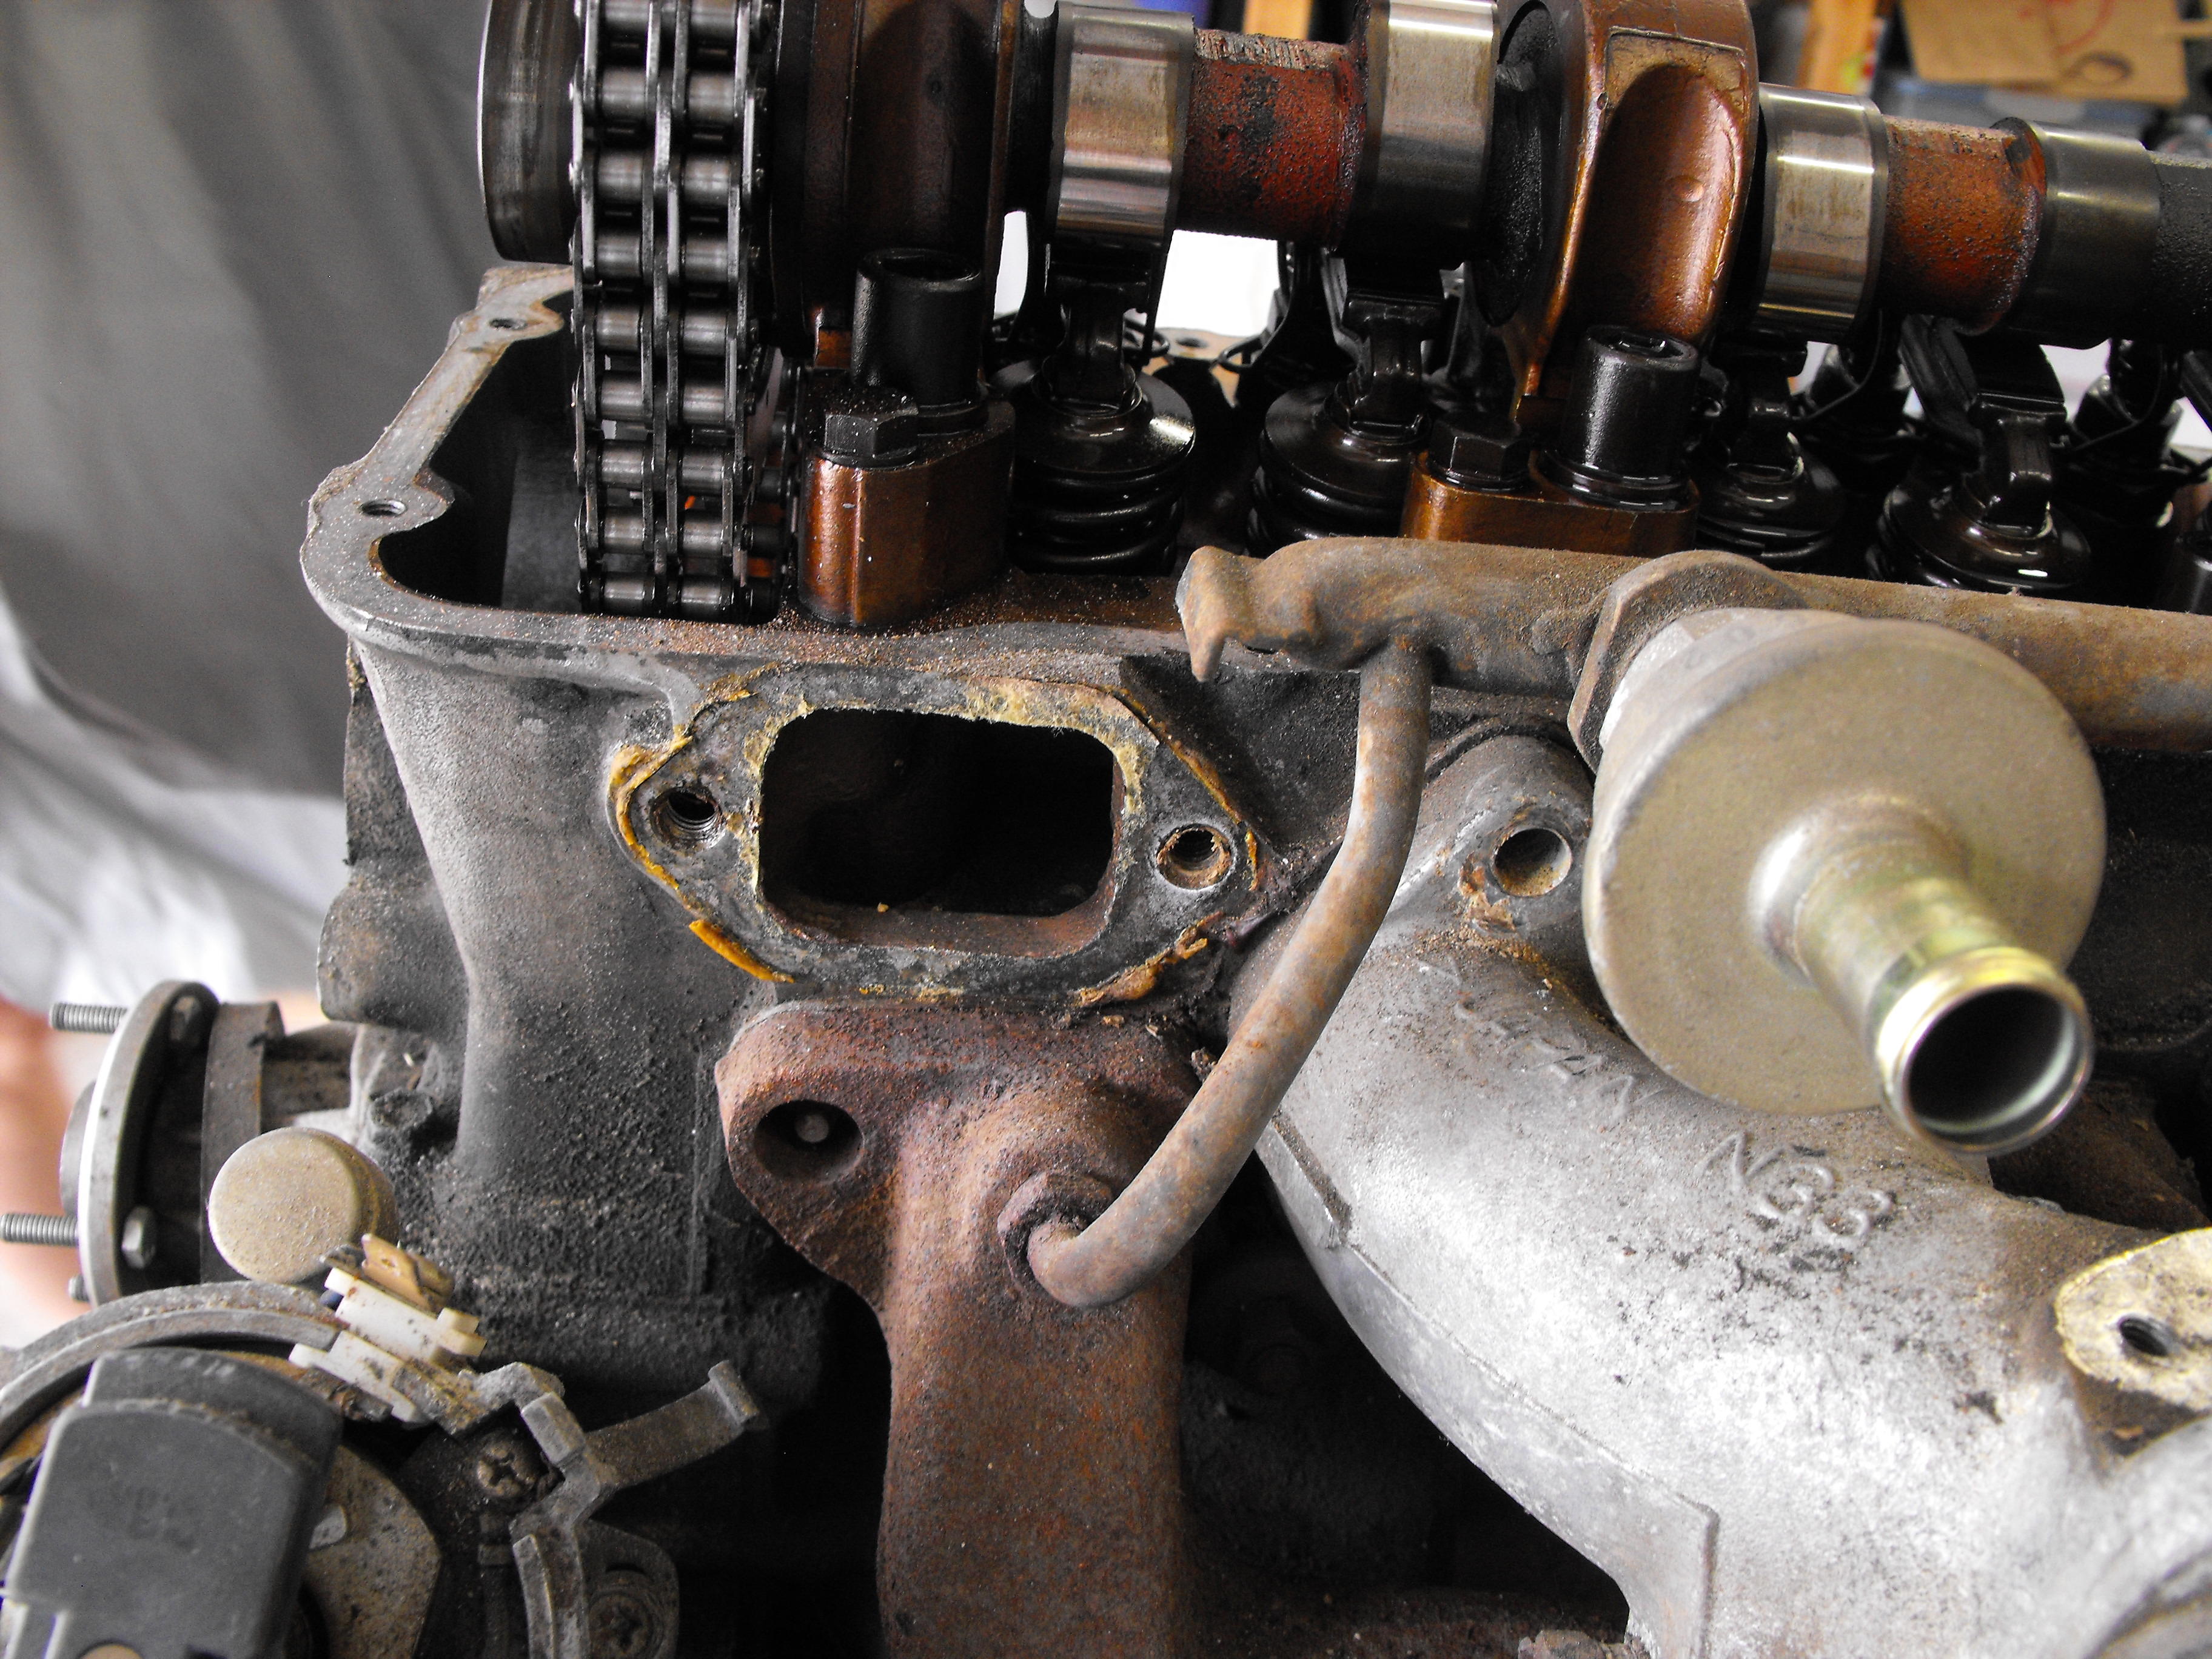
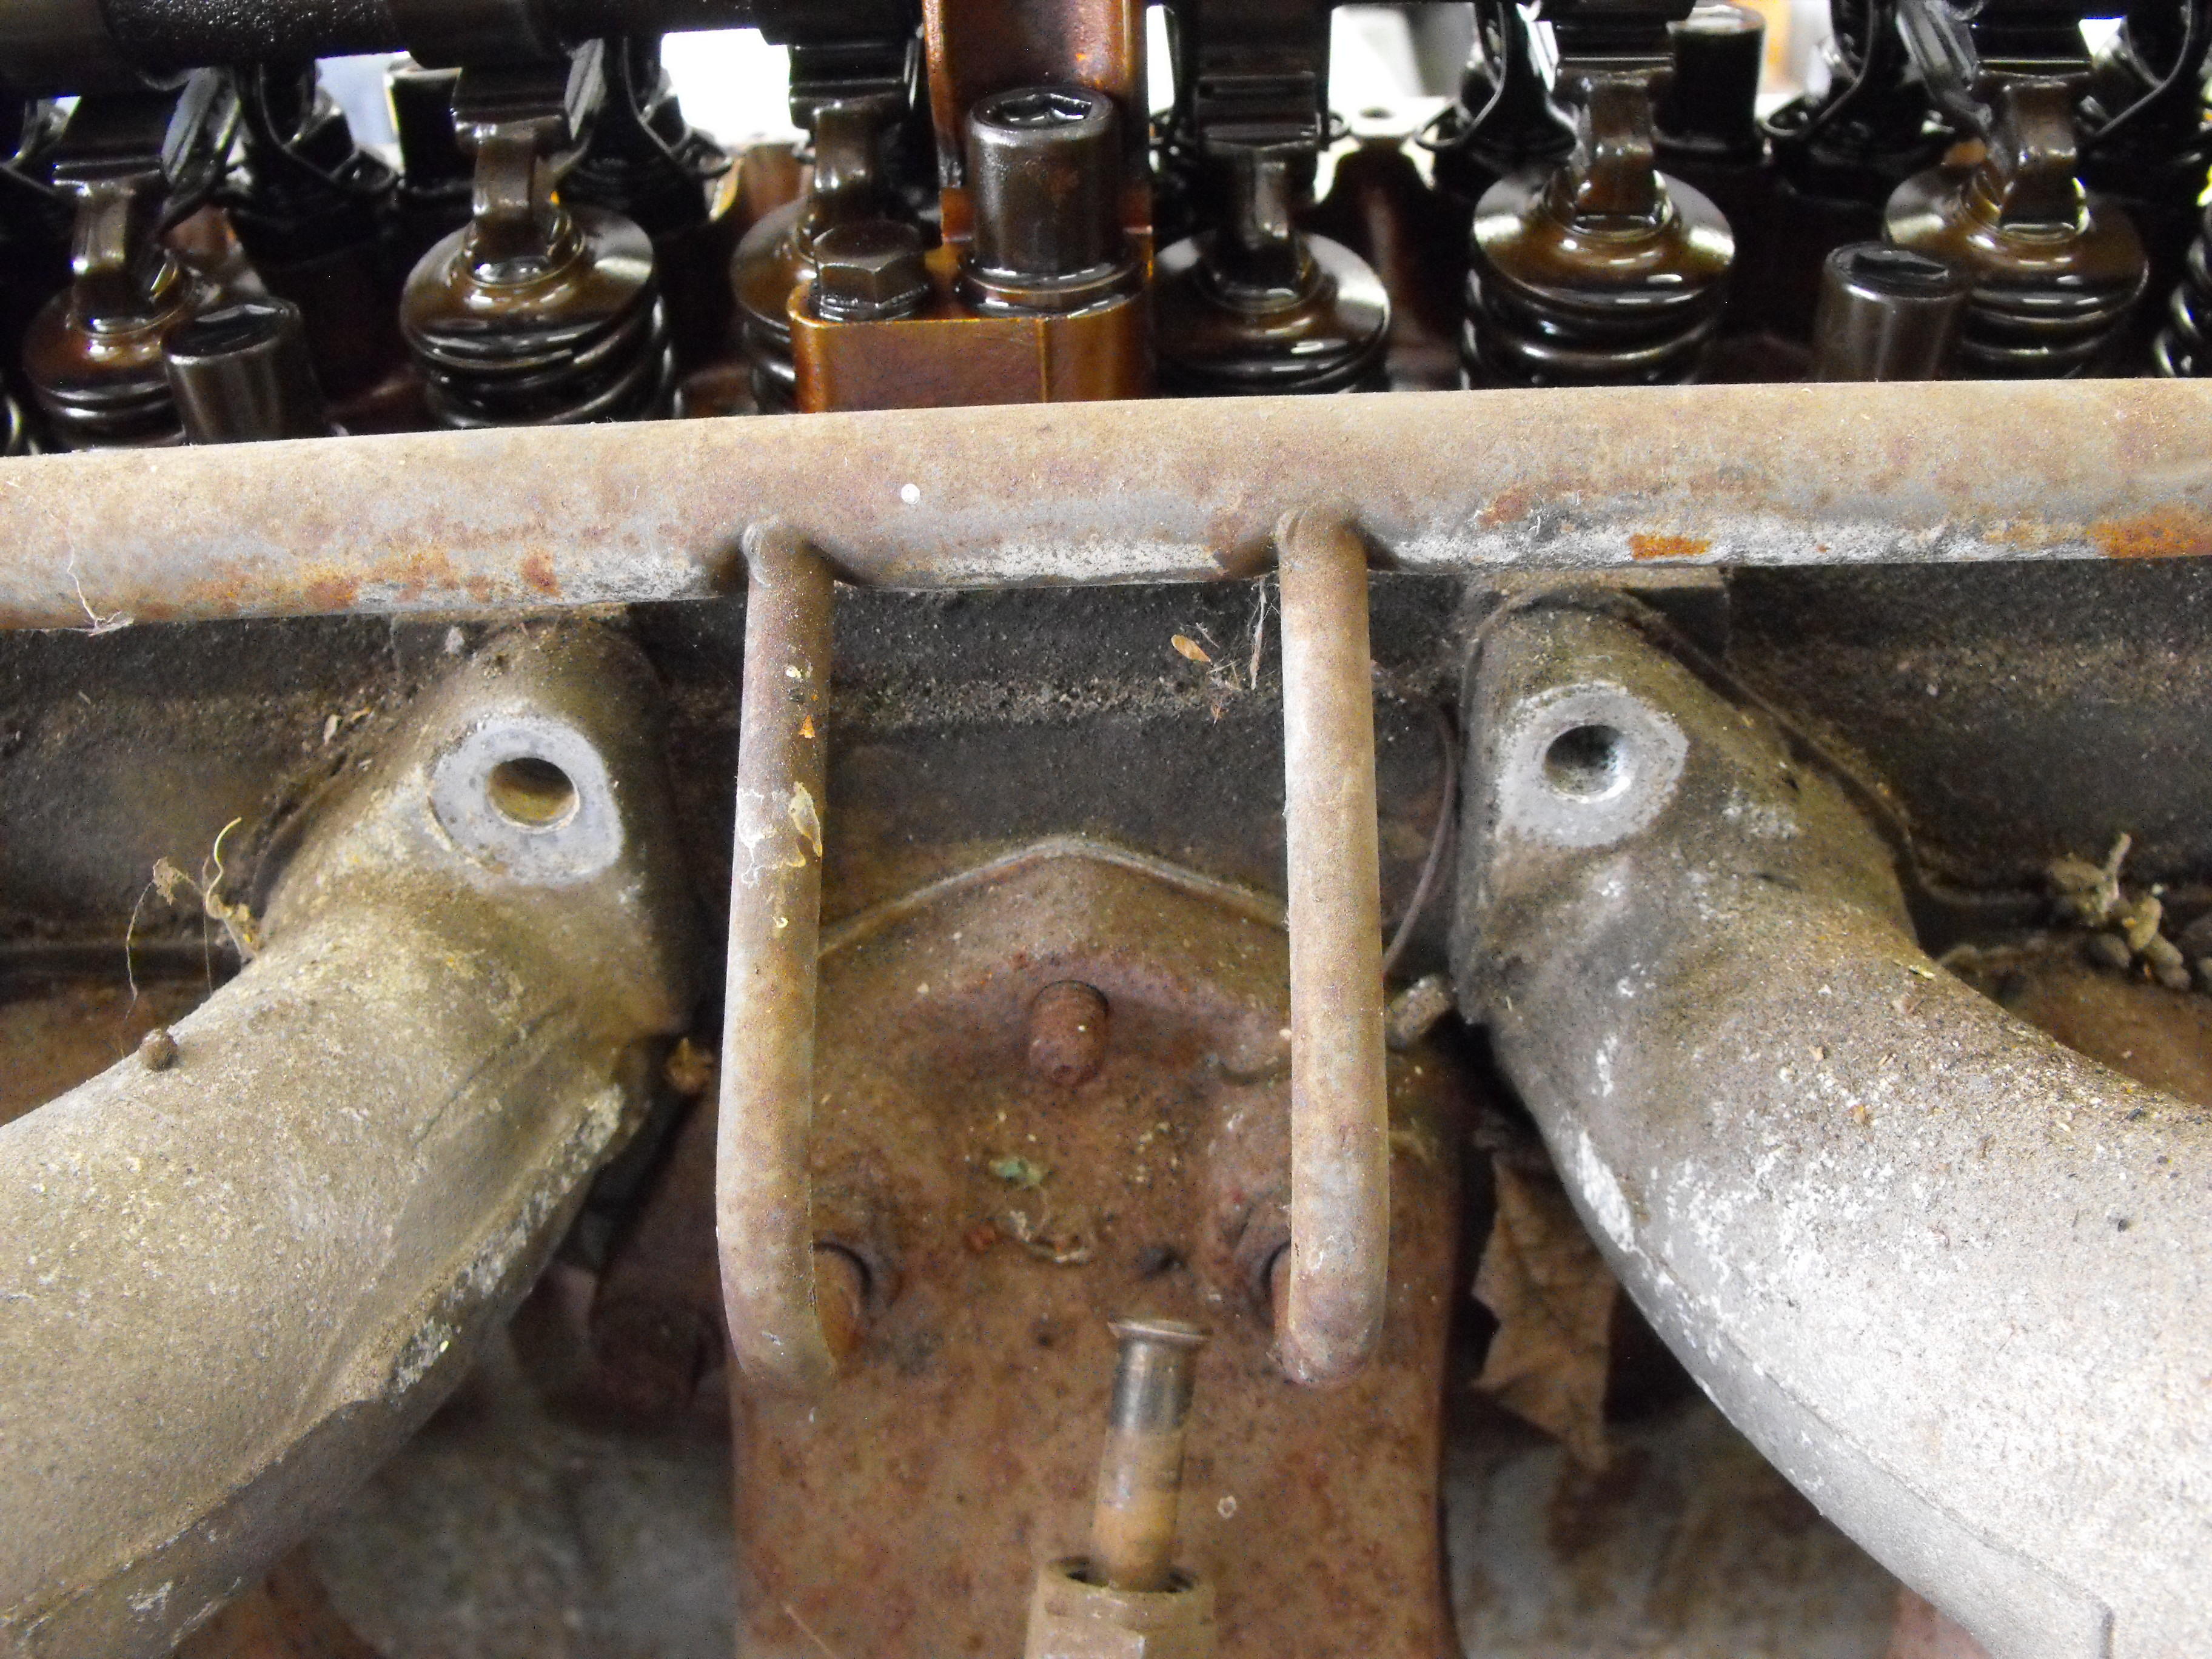
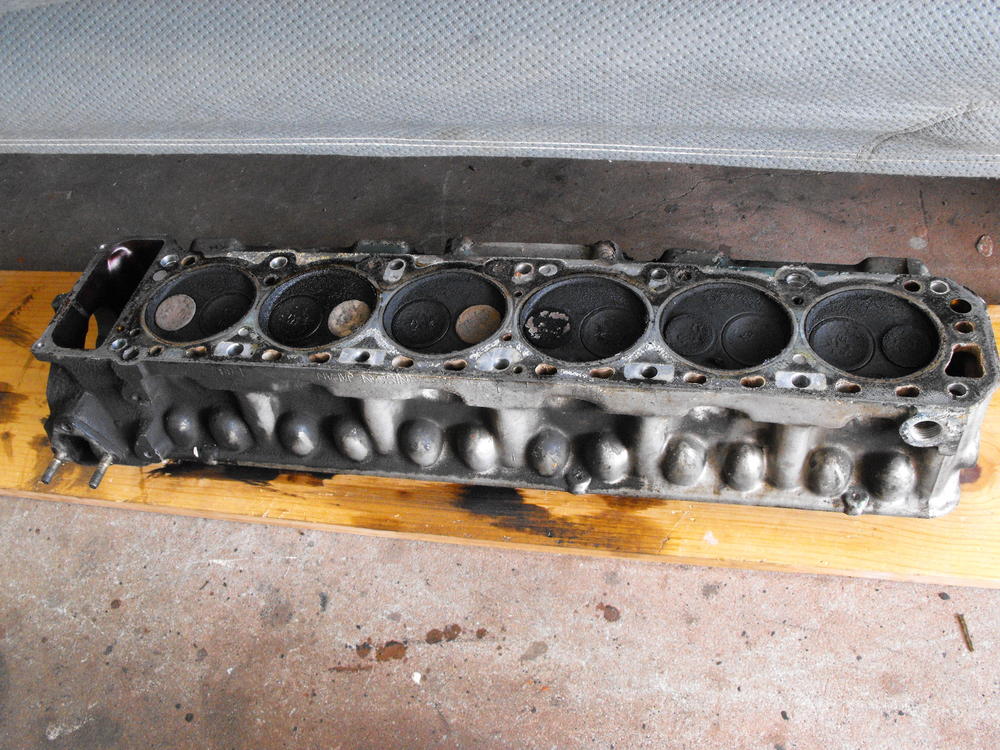
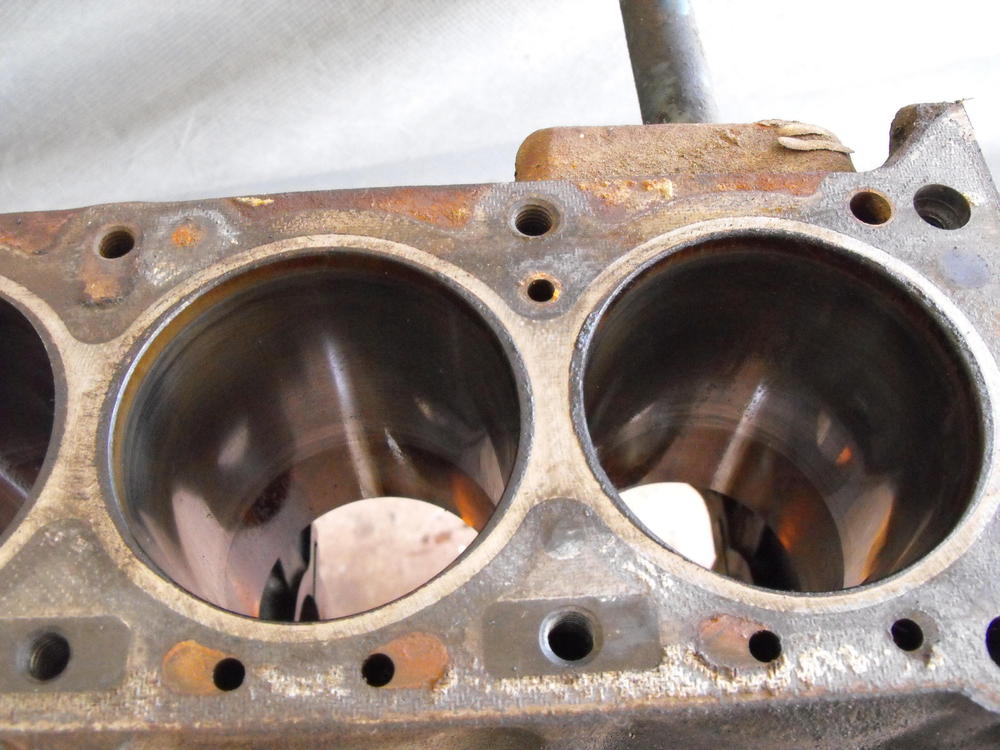
Well, lot's of stuff going on here. Currently I am sorting, disassembling and cleaning parts that will be sent out for zinc plating. Most likely I will have several batches to send out. The box of parts in the picture below does not look like much, but it actually goes fairly deep. I would guess the box weighs close to 50 pounds. That is a lot of parts to plate. I got a call from the machine shop early this morning. They said the head is not in very good shape and that the water jacket and exhaust port were disintegrated enough that there were two small holes between the two and the metal was very thin. I almost felt like I could touch my fingers together when I went to check the thickness of the material. Not easy to see from the pic but if you shine the flashlight into the water port, you can see light in the exhaust port of the first cylinder. The exhaust ports of cylinder 2 and 3 were also eroded. Welding would be a bit of a challenge as the exhaust port area seems to have lost a lot of metal. Not sure how that happens. Anyway, while I was waiting to talk to the shop owner about the head, I noticed another Z head on their 'unclaimed parts' rack. As I passed by the shelf , I checked the serial number and saw that it was an E88 head just like the one I brought in, all completely serviced and ready to go. I asked the owner about the head and he said it had been sitting there unclaimed for almost a year. I asked if it was available for sale and he said he would love to get rid of it as it is just taking up shelf space, the price was $300. After inspecting it and comparing it to @jayhawk E88 head, I told him i would take it. Such a deal. That's about what the valve job would have cost anyway if the head were in good shape. So, the shop owner said he would clean the head up, since it had been sitting for a while and run pressure and leak checks and I can pick it up tomorrow. I will probably keep the original head but, not sure what to do with it. Tomorrow, I will go down to the paint shop and pick up all of the suspension parts. The shell is now lifted and on rollers so the body can be easily moved and worked on. Will take pics of that tomorrow.


-
Looks beautiful, very nice job! Just a few quick comments. My early '70 did not come with decals on the air filter so I am thinking that you would not need those. I am not sure when the decals started showing up, but I would guess yours did not come with those originally. Also, the timing chain cover looks unique. Mine has ridges in it. Maybe the early ones were flat like in your picture.
-
I do not know. I am surprised that they only give a temp rating and no pressure rating.
-
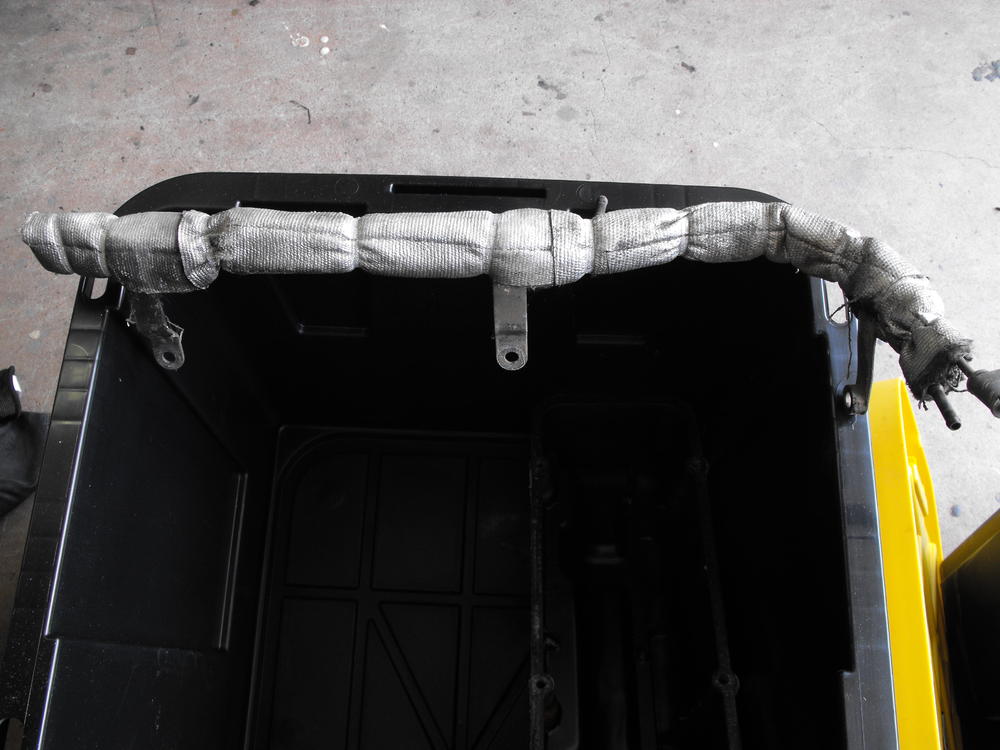
I figured that the insulation would be a little controversial. Here in California, asbestos is right up there with coffee and saw dust for being cancer causing agents. As of right now, the insulation is wrapped with Saran Wrap and in a box for it's protection (and mine I guess). I did not want to get any dirt or grease on it. My current thoughts on it is that I would like to keep it original and will use my 'Go to' Hi-temp matte clear paint spray over it when I am ready to install.
-
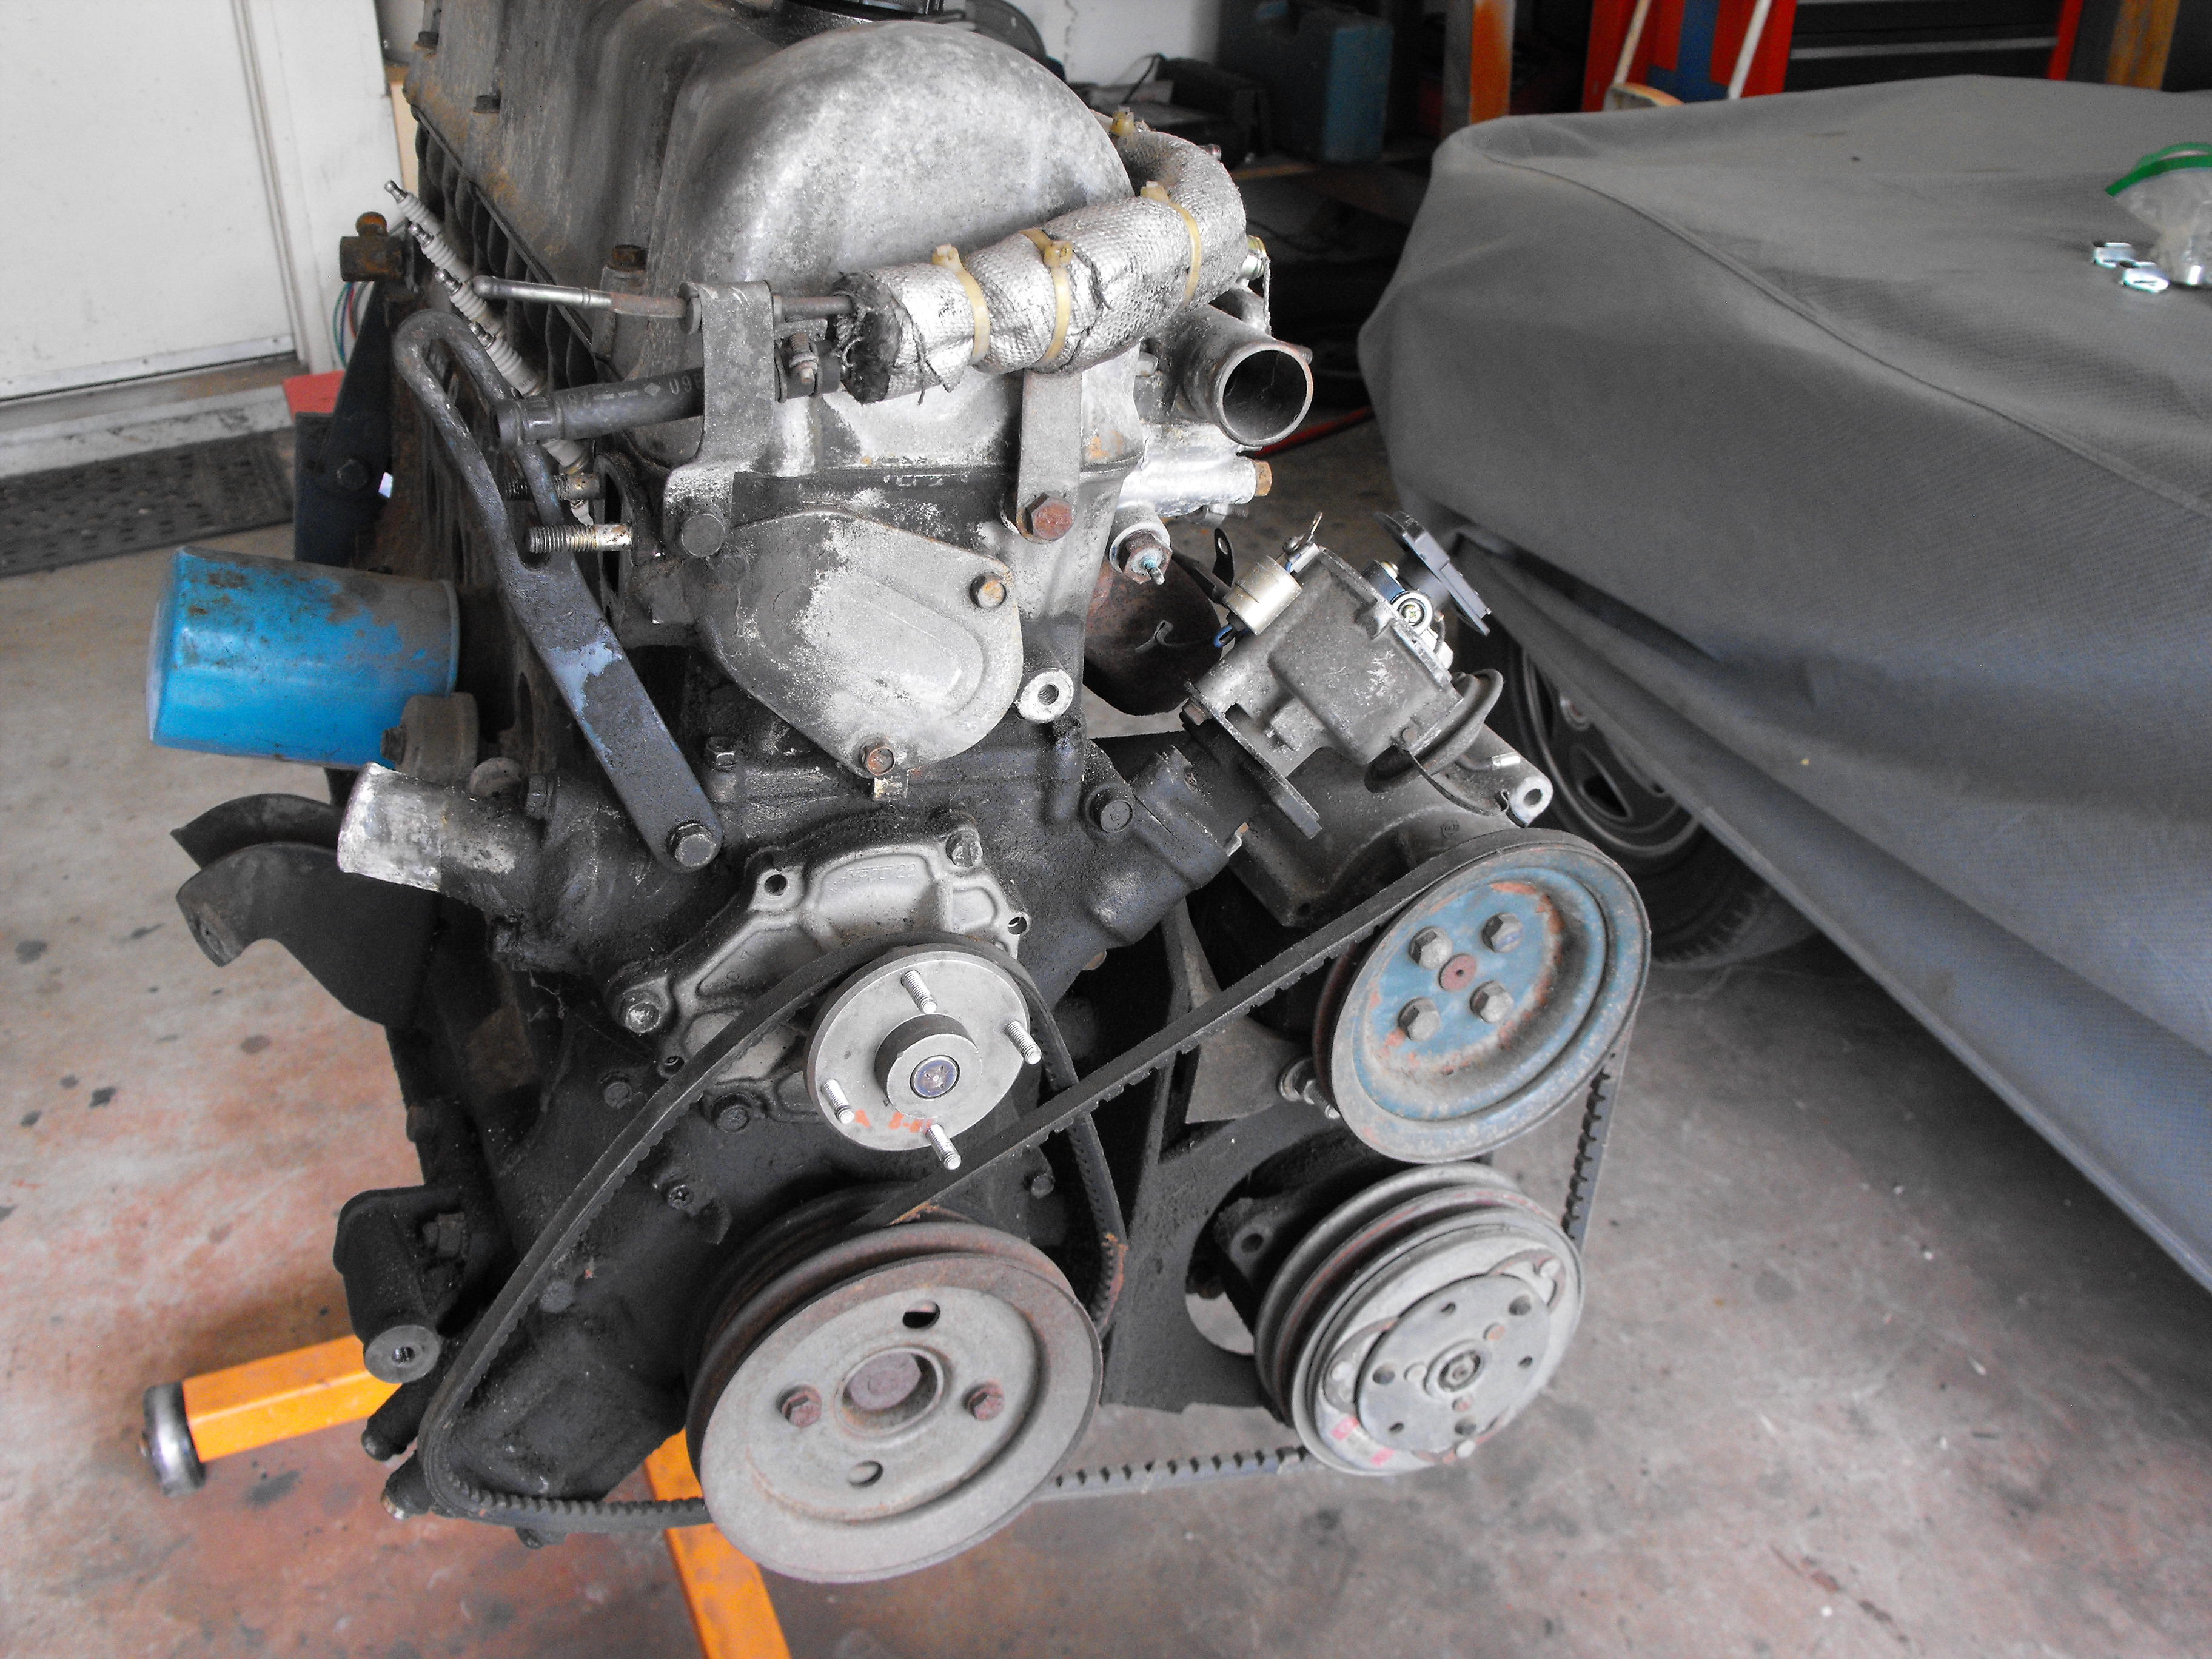
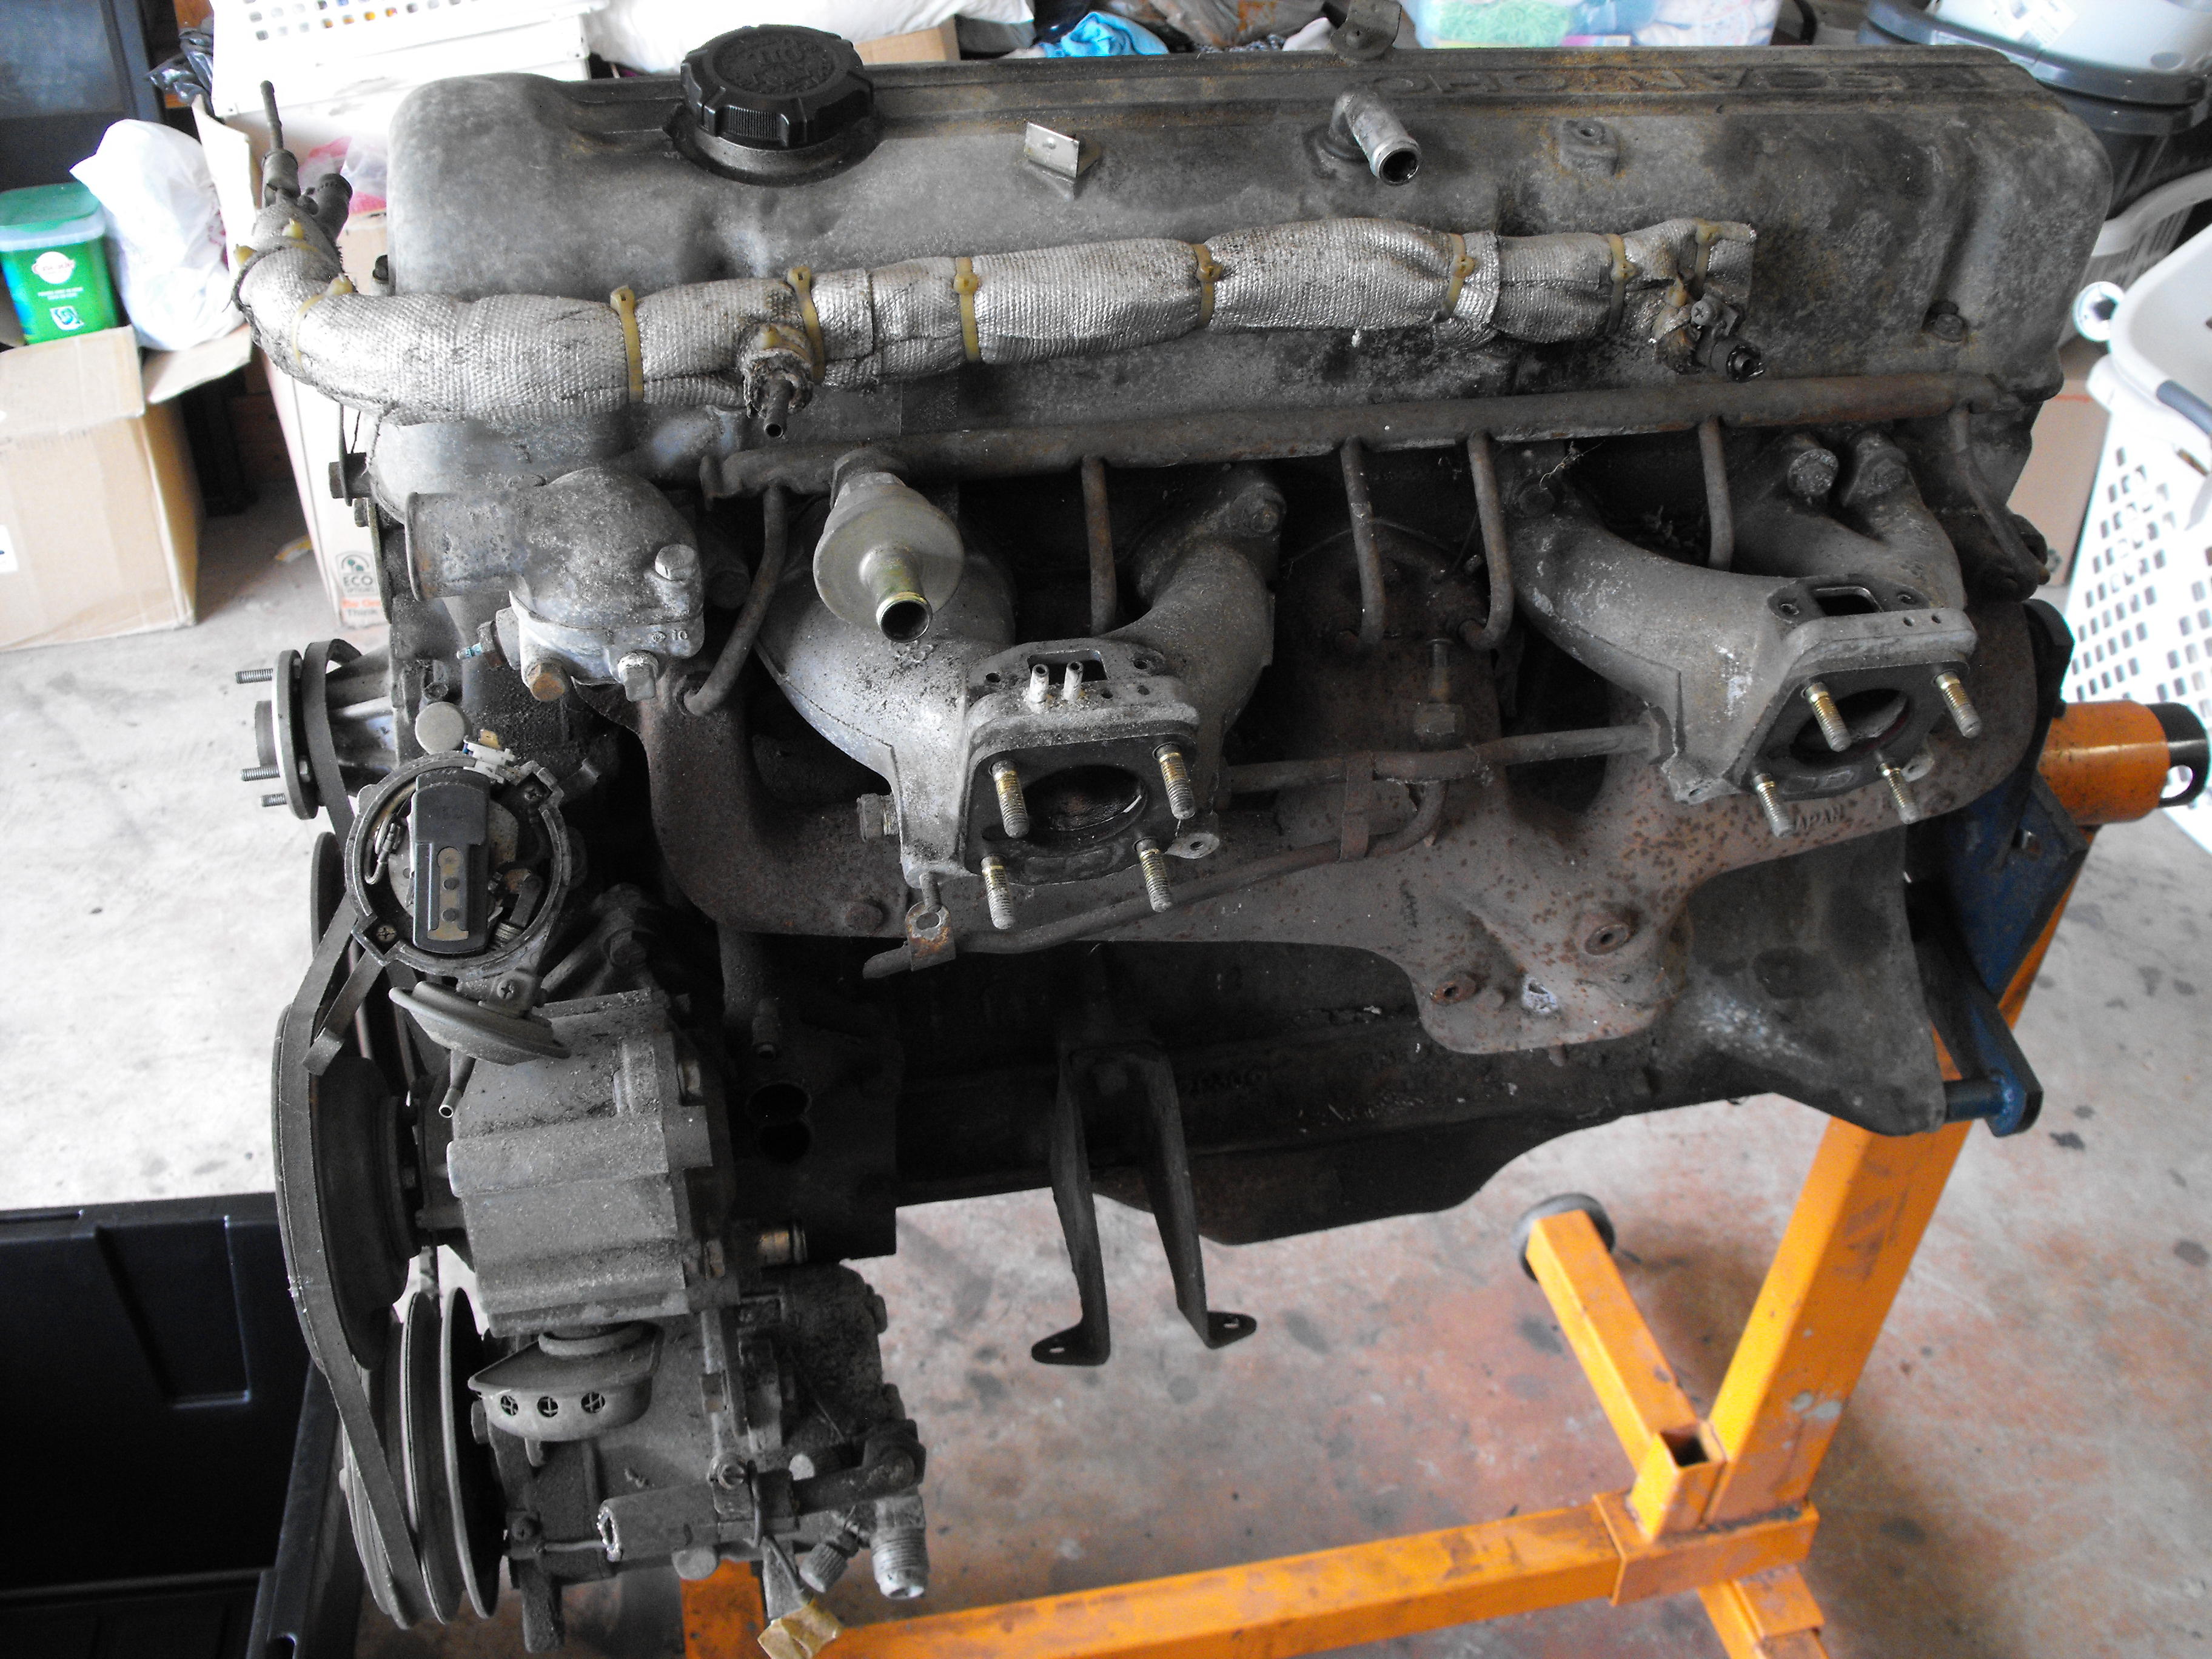
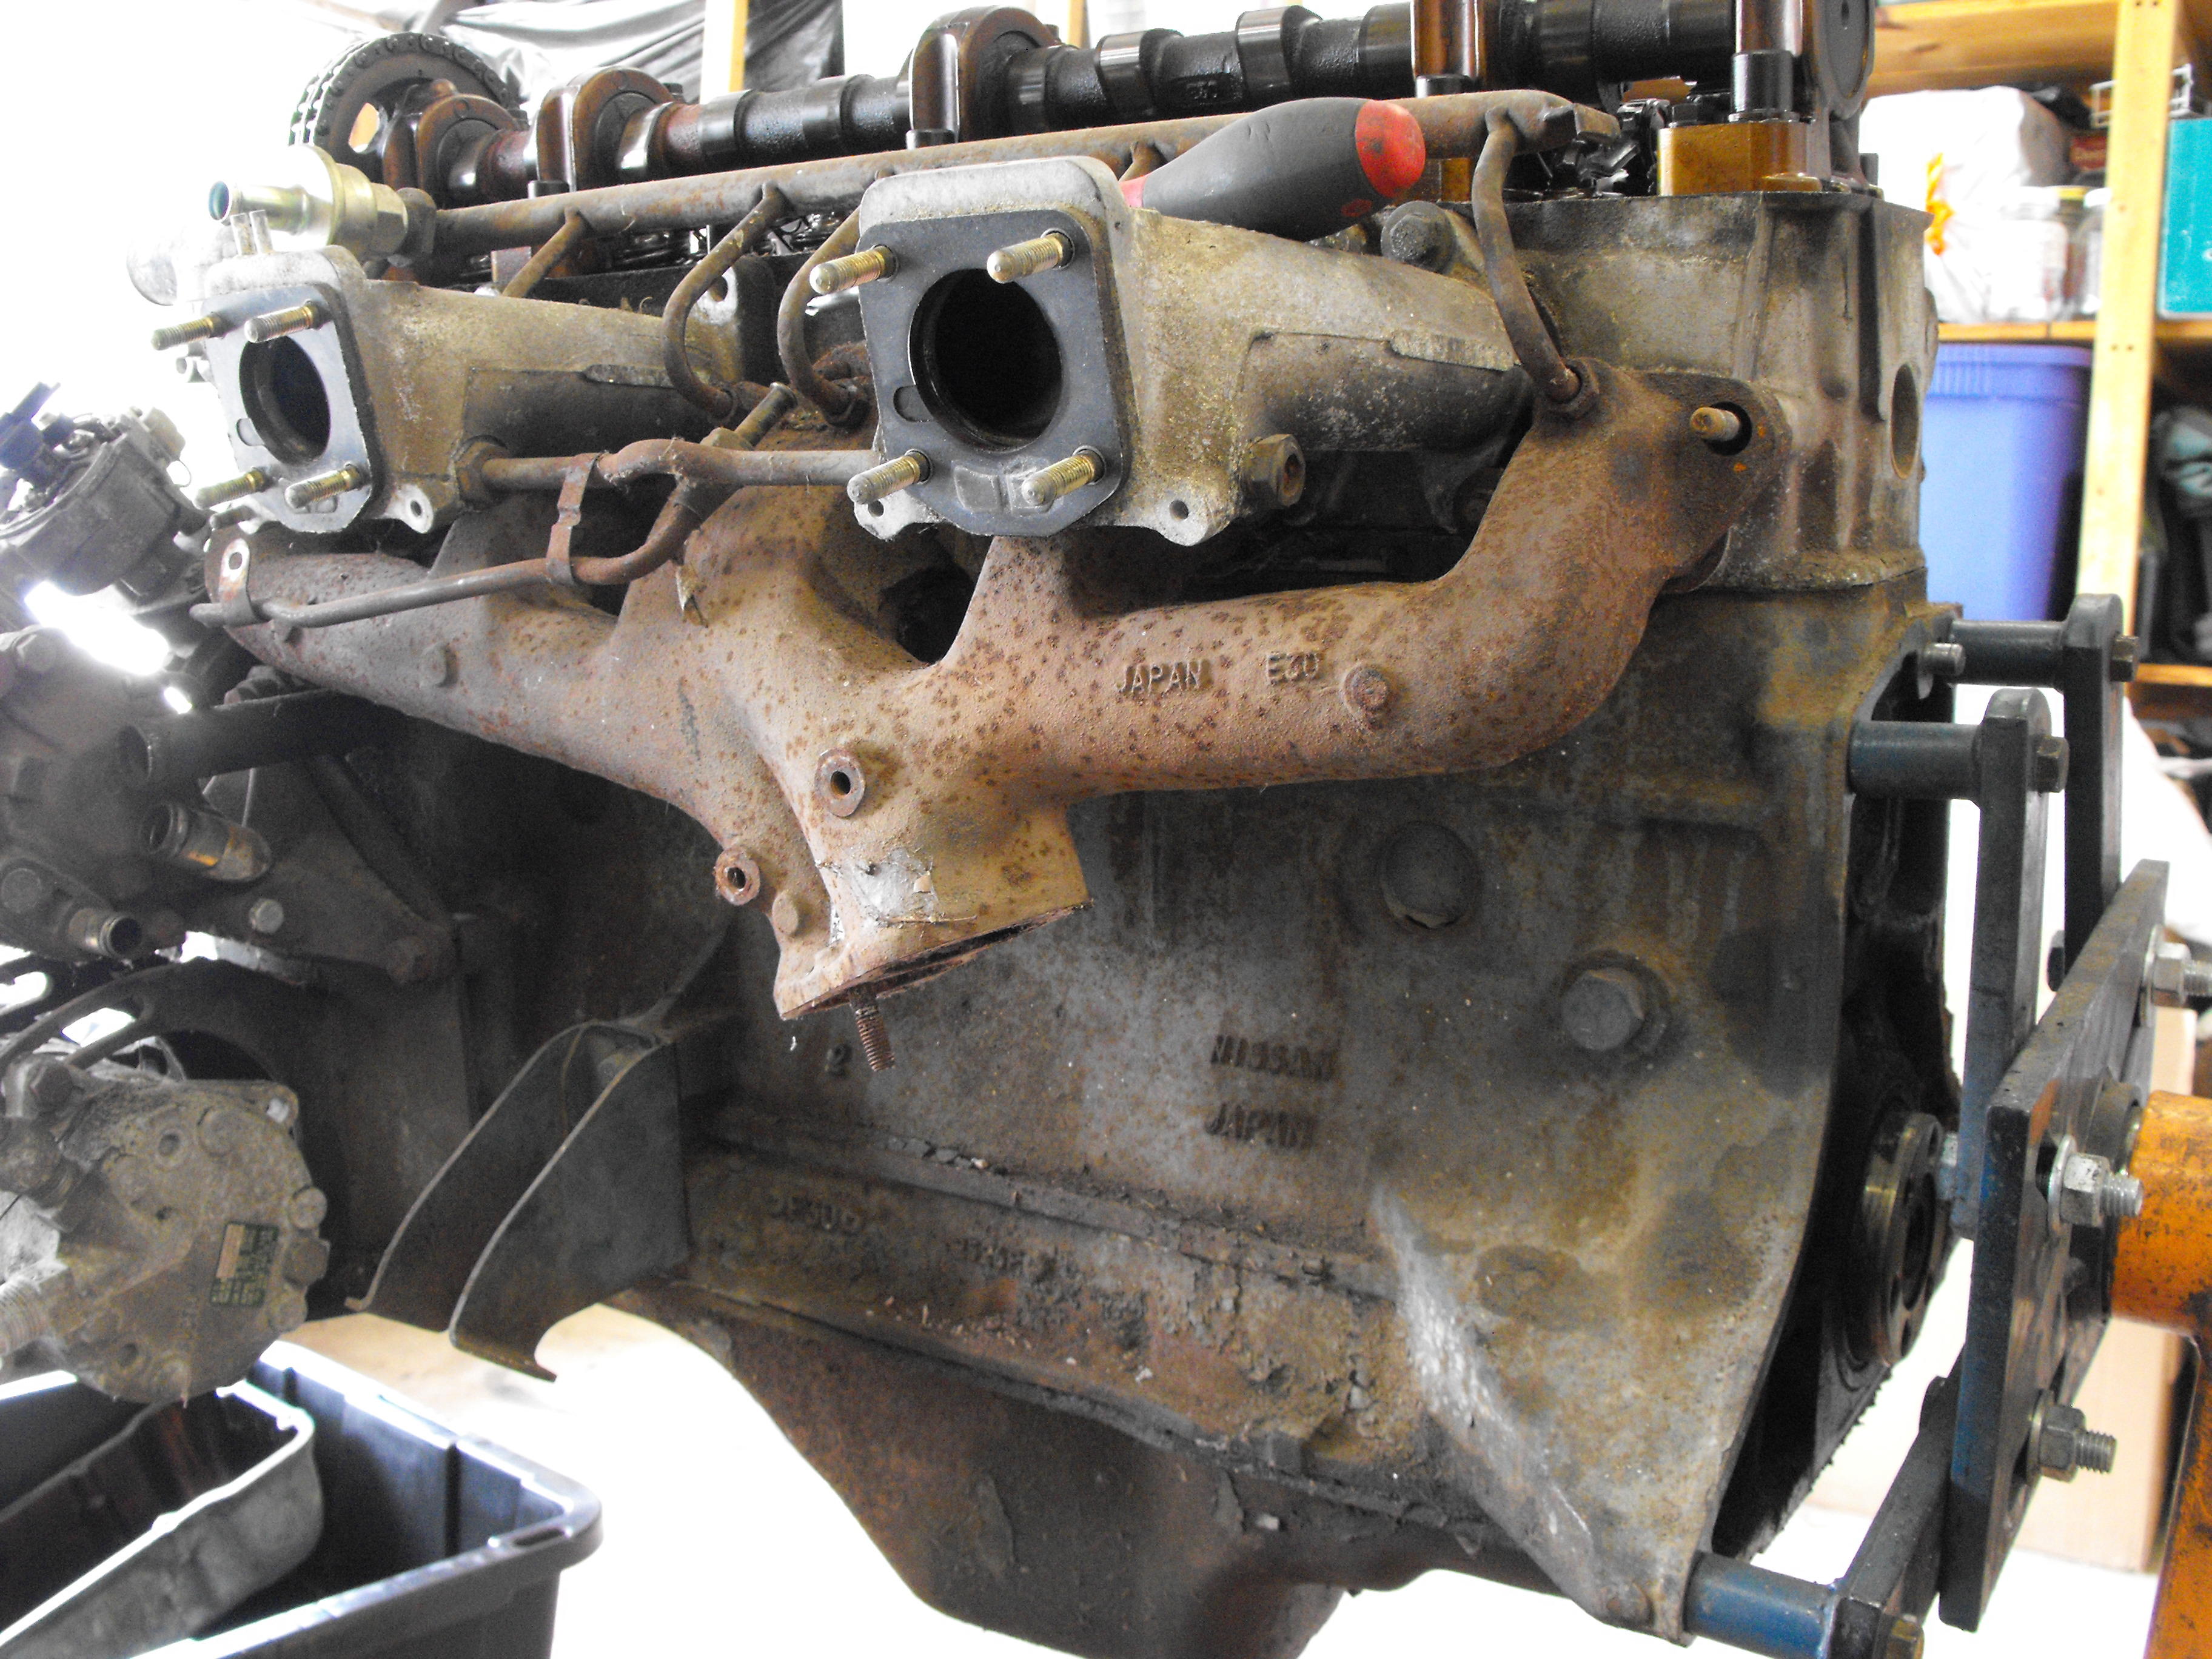
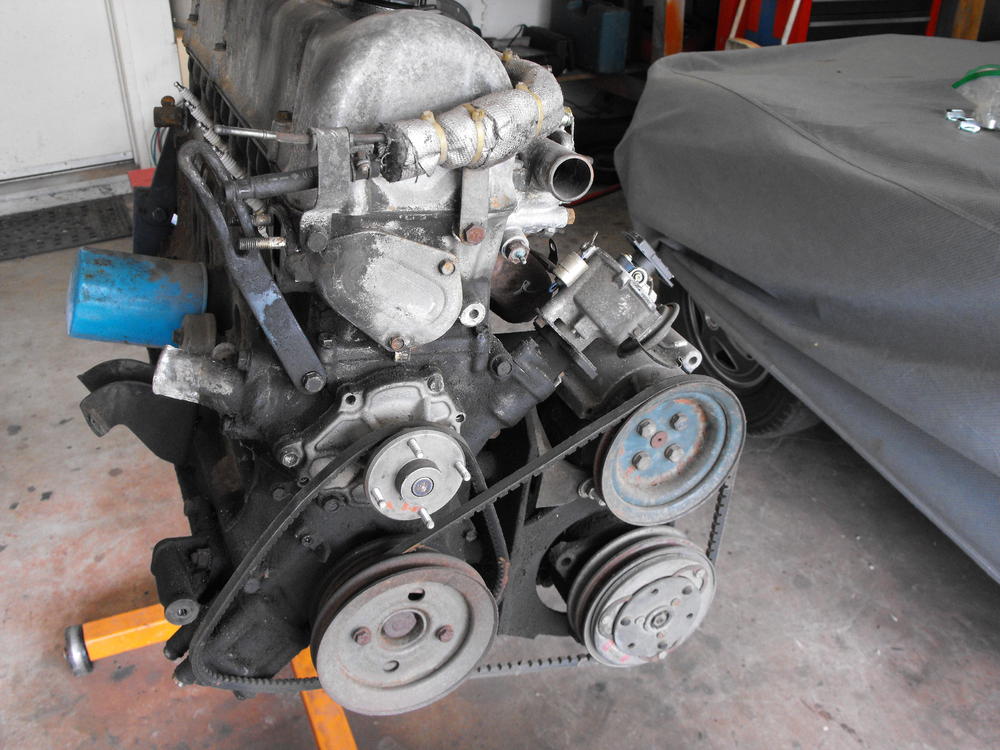
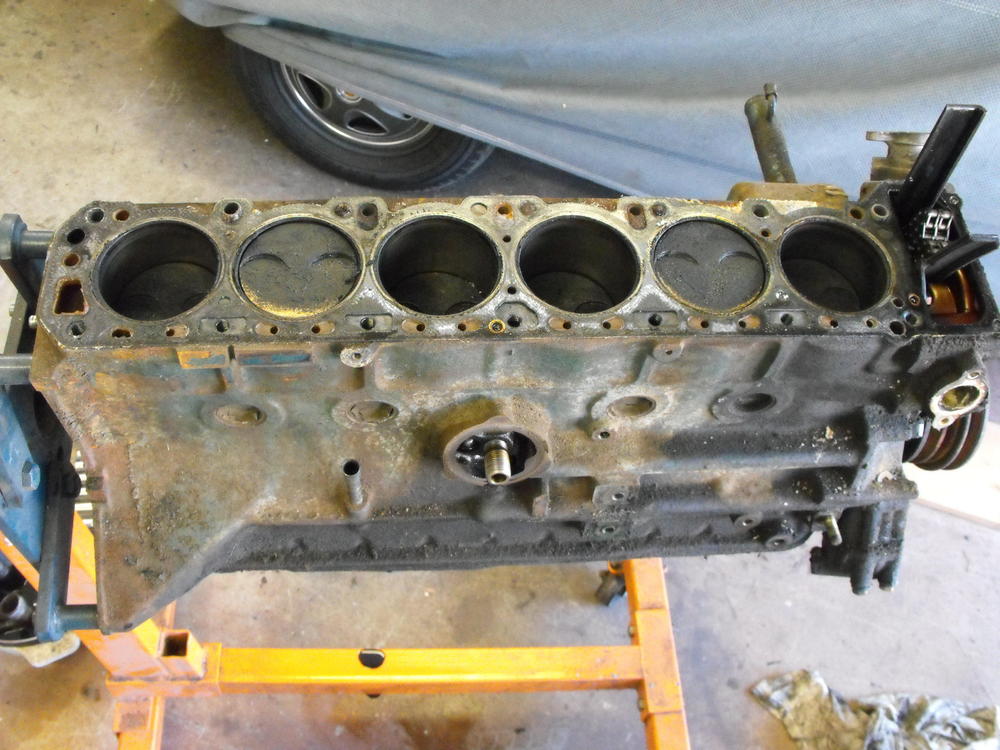
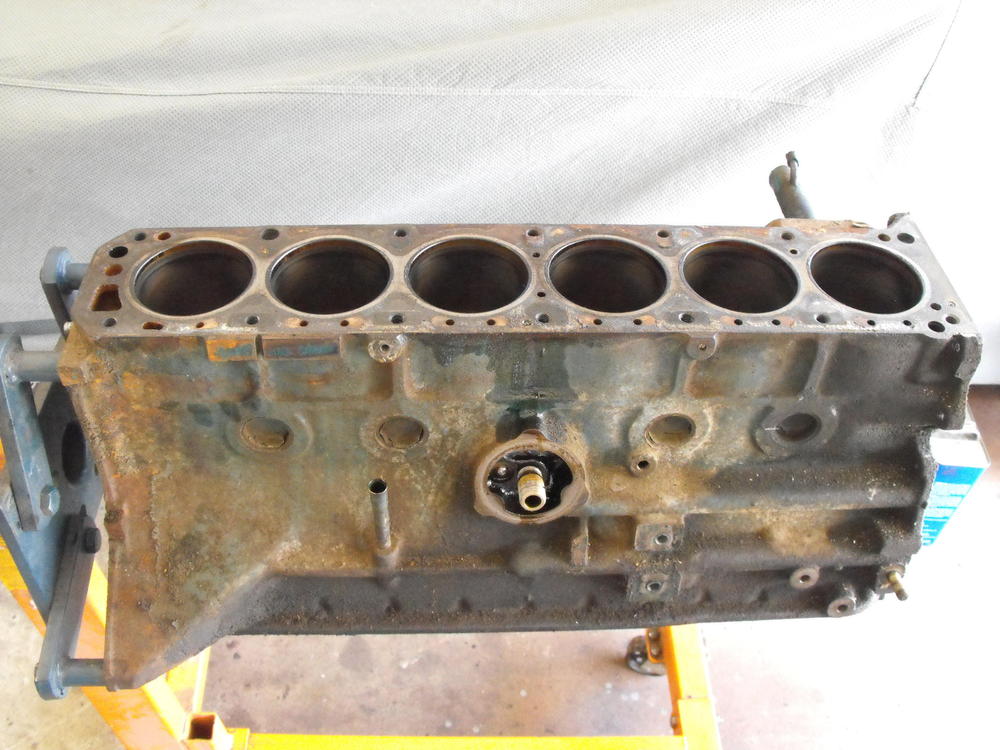
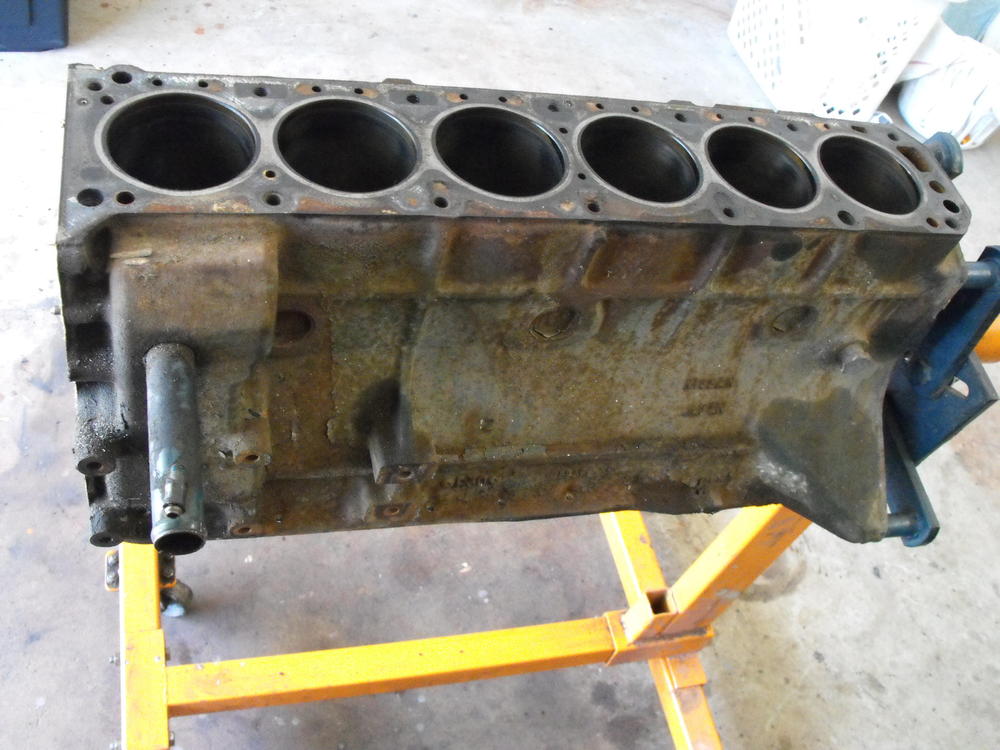
Finished the engine tear down this weekend. Will bring the head and the block to the machine shop on Tuesday. It's always interesting what you find when you break these down. On the exhaust manifold, there was one broken stud and another location where the nut was not even installed. Not to mention that it is the wrong exhaust manifold. There should be a port on the back part of the exhaust manifold. Fortunately, @Montezuma has a '73 manifold available, so I will use that one. Will post pictures of that one a bit later. I love the insulation on the fuel rail. I will be very careful with that and keep it as clean as possible. It may not be 'sporty', but I think it is way cool. Also, the cylinders look very clean with no scratches. Hopefully we can just get by with a hone on these guys. Pics are below.


-
My 918 orange Z is actually single stage 'Restoration Shop' brand paint. It is good quality and and looks great. The other 918 orange car that I just finished is PPG two stage. Hard to say which one I like better. A lot of it depends on the lighting.
-
We will be going with the PPG brand of paint. The paint will be two stage in the original factory color. It will look like the other Z pictured above ? . Will start posting more on that one shortly.
-
I noticed that you don't have the fuel lines in yet. If you are interested, I think this hose is the closest to the original style of fuel hose that I have found. I now use this on all of my restorations. https://newcoproducts.com/index.php?route=product/product&path=34_44_304&product_id=191
-
OK, she's off to the paint shop! Will meet with Miguel tomorrow to go over the details.

-
Regarding the Diluted Muriatic Acid...It is just a 5% solution, so 20 parts water to 1 part Muriatic acid.
-
Actually, a quick dip (5 seconds maybe) in a warm, diluted Muriatic acid bath will remove the yellow. Quick rinse with water and you are probably good to go. I do this at home when needed. I do not know whether the finish was shiny or matte. @26th-Z is probably a better source for this info than myself.
-
To be real specific, the wire clamps for the early cars like yours should have been silver zinc and not the yellow zinc . @Carl Beck probably knows more about this, but the yellow zinc wire clamps came along a bit later, like on the '71 cars. Personally, I think it's close enough. Not many folks are up on that.
-
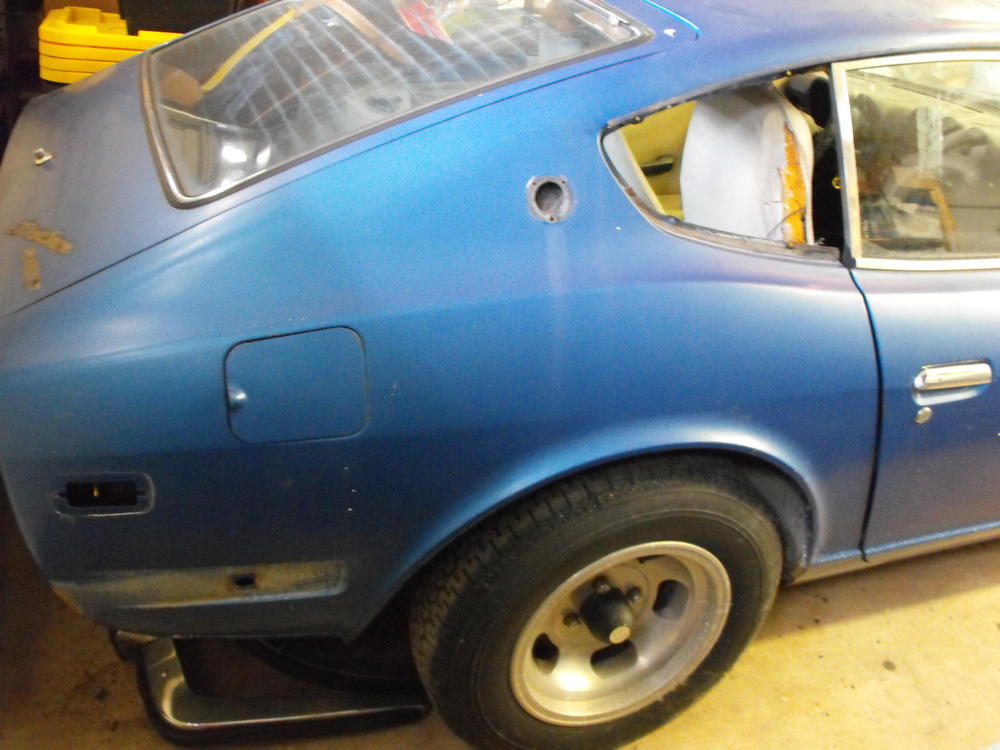
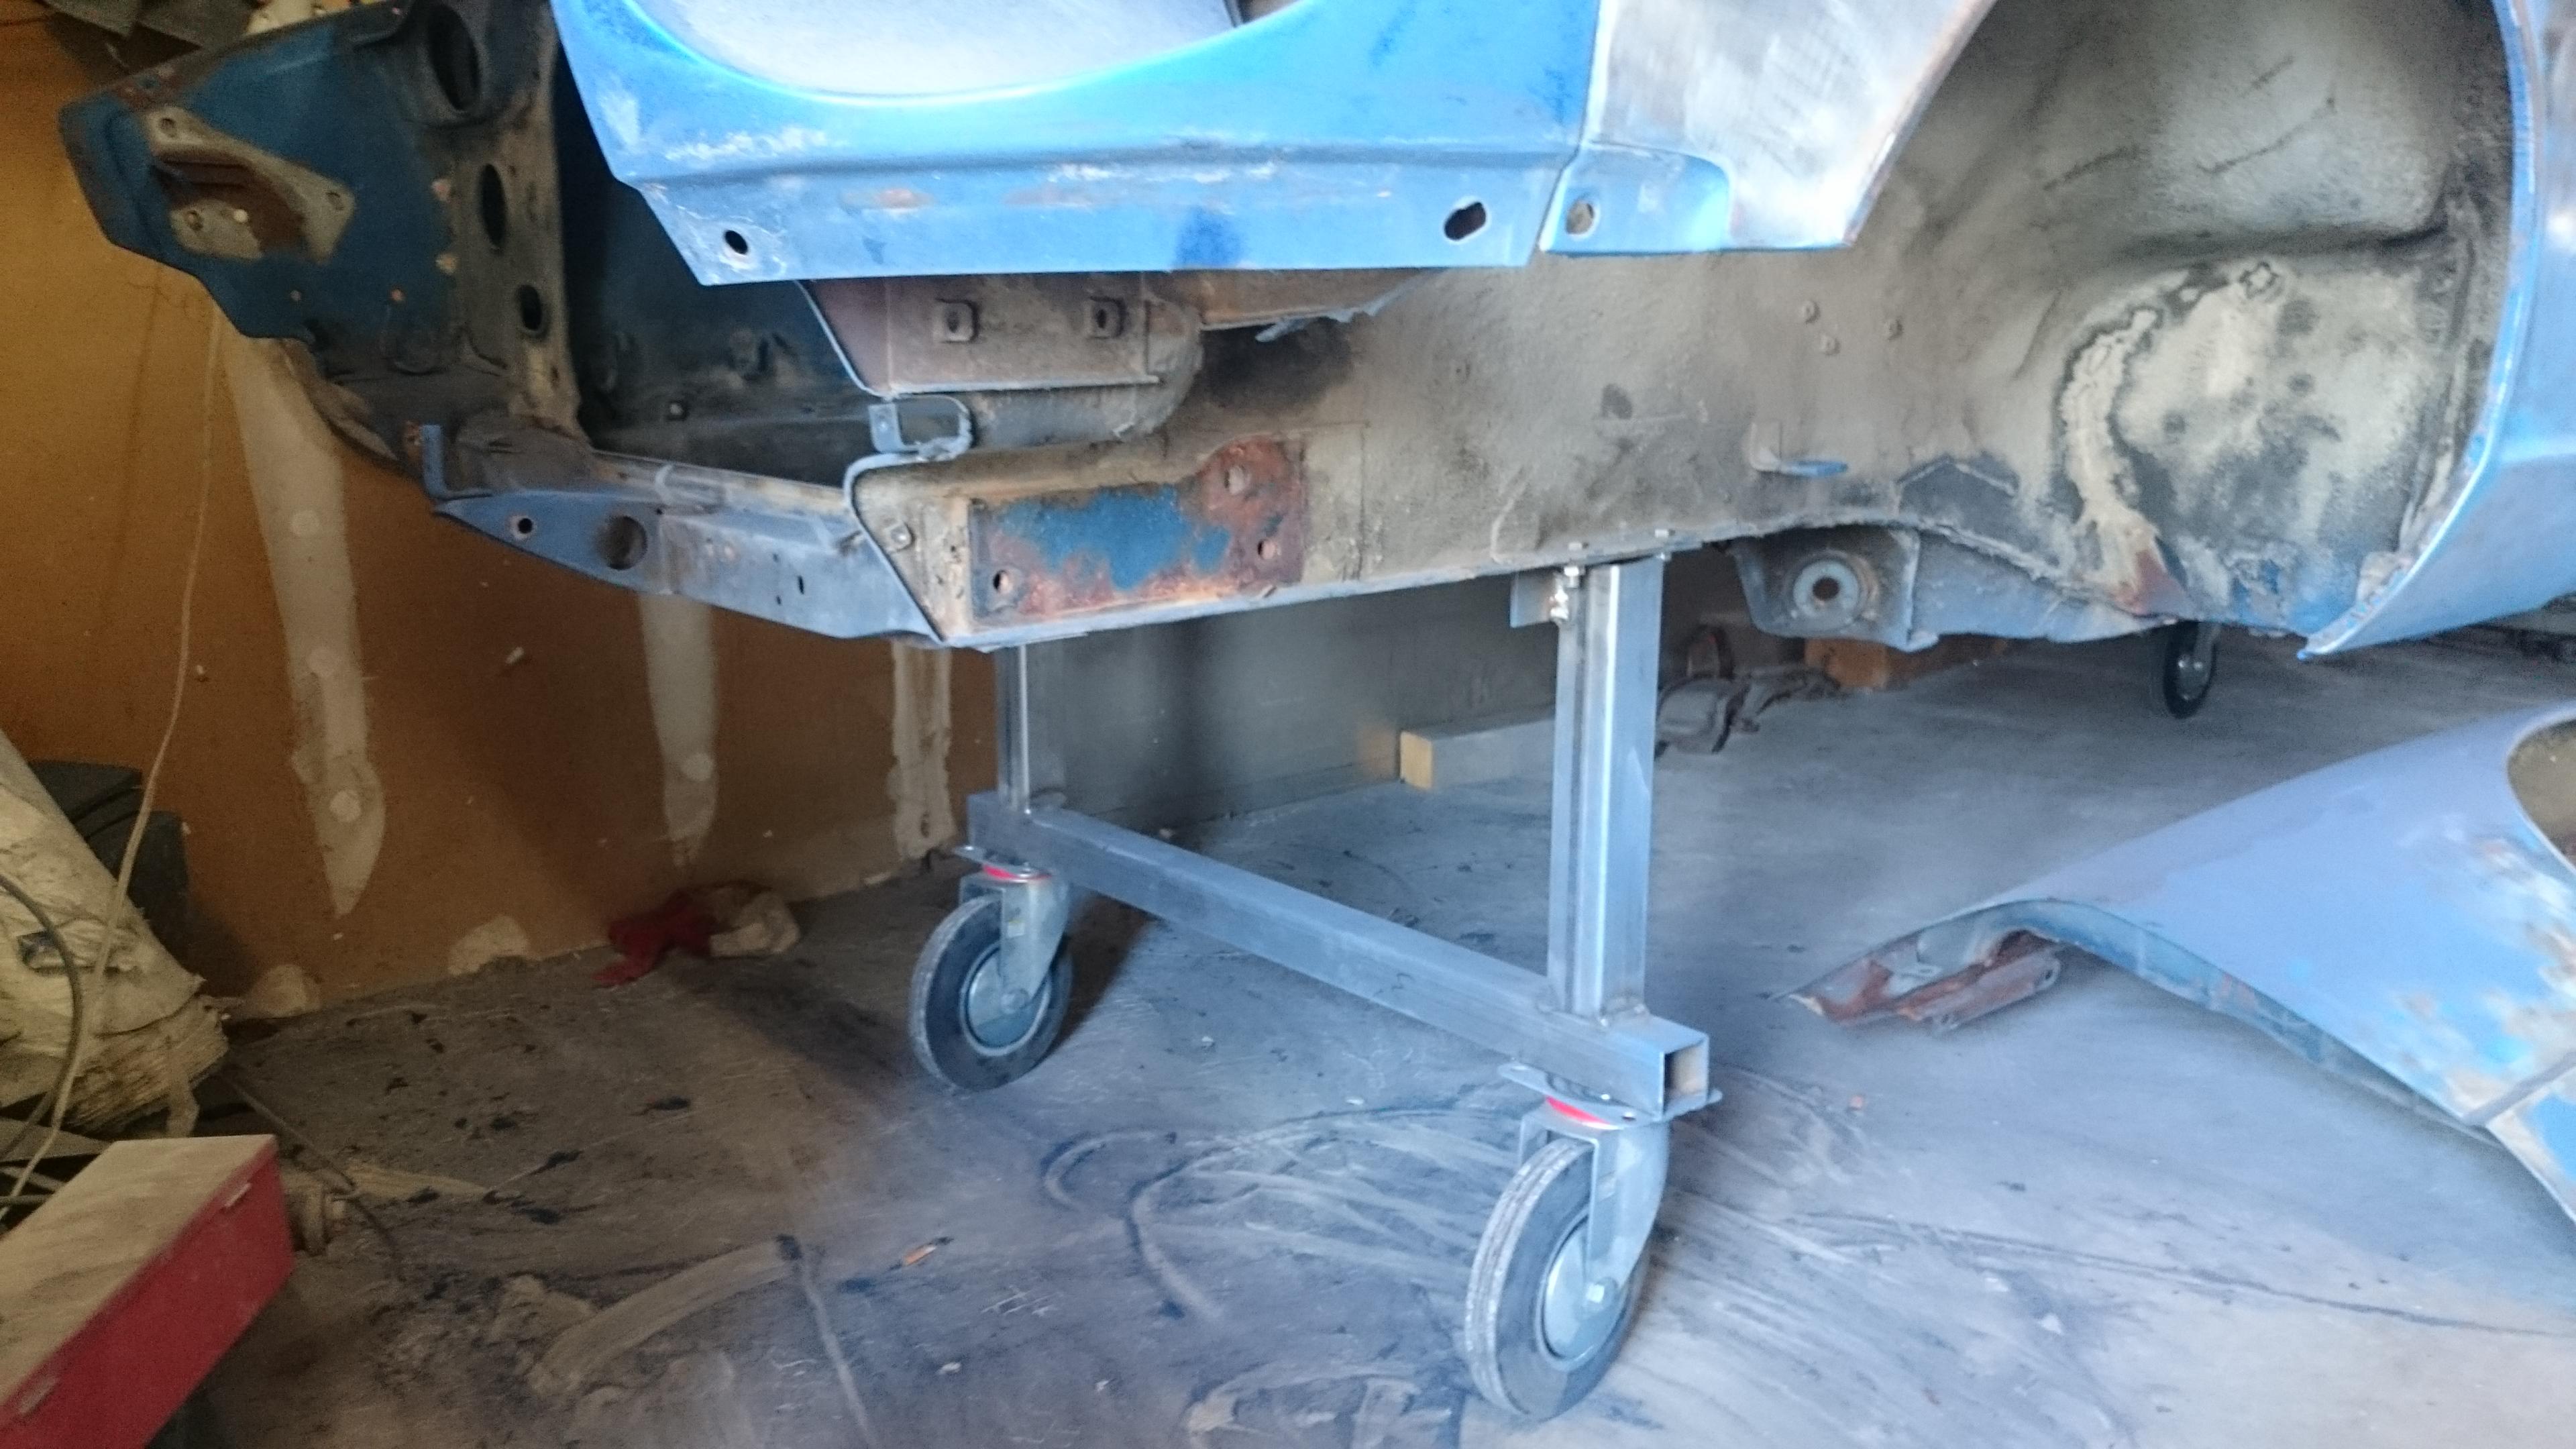
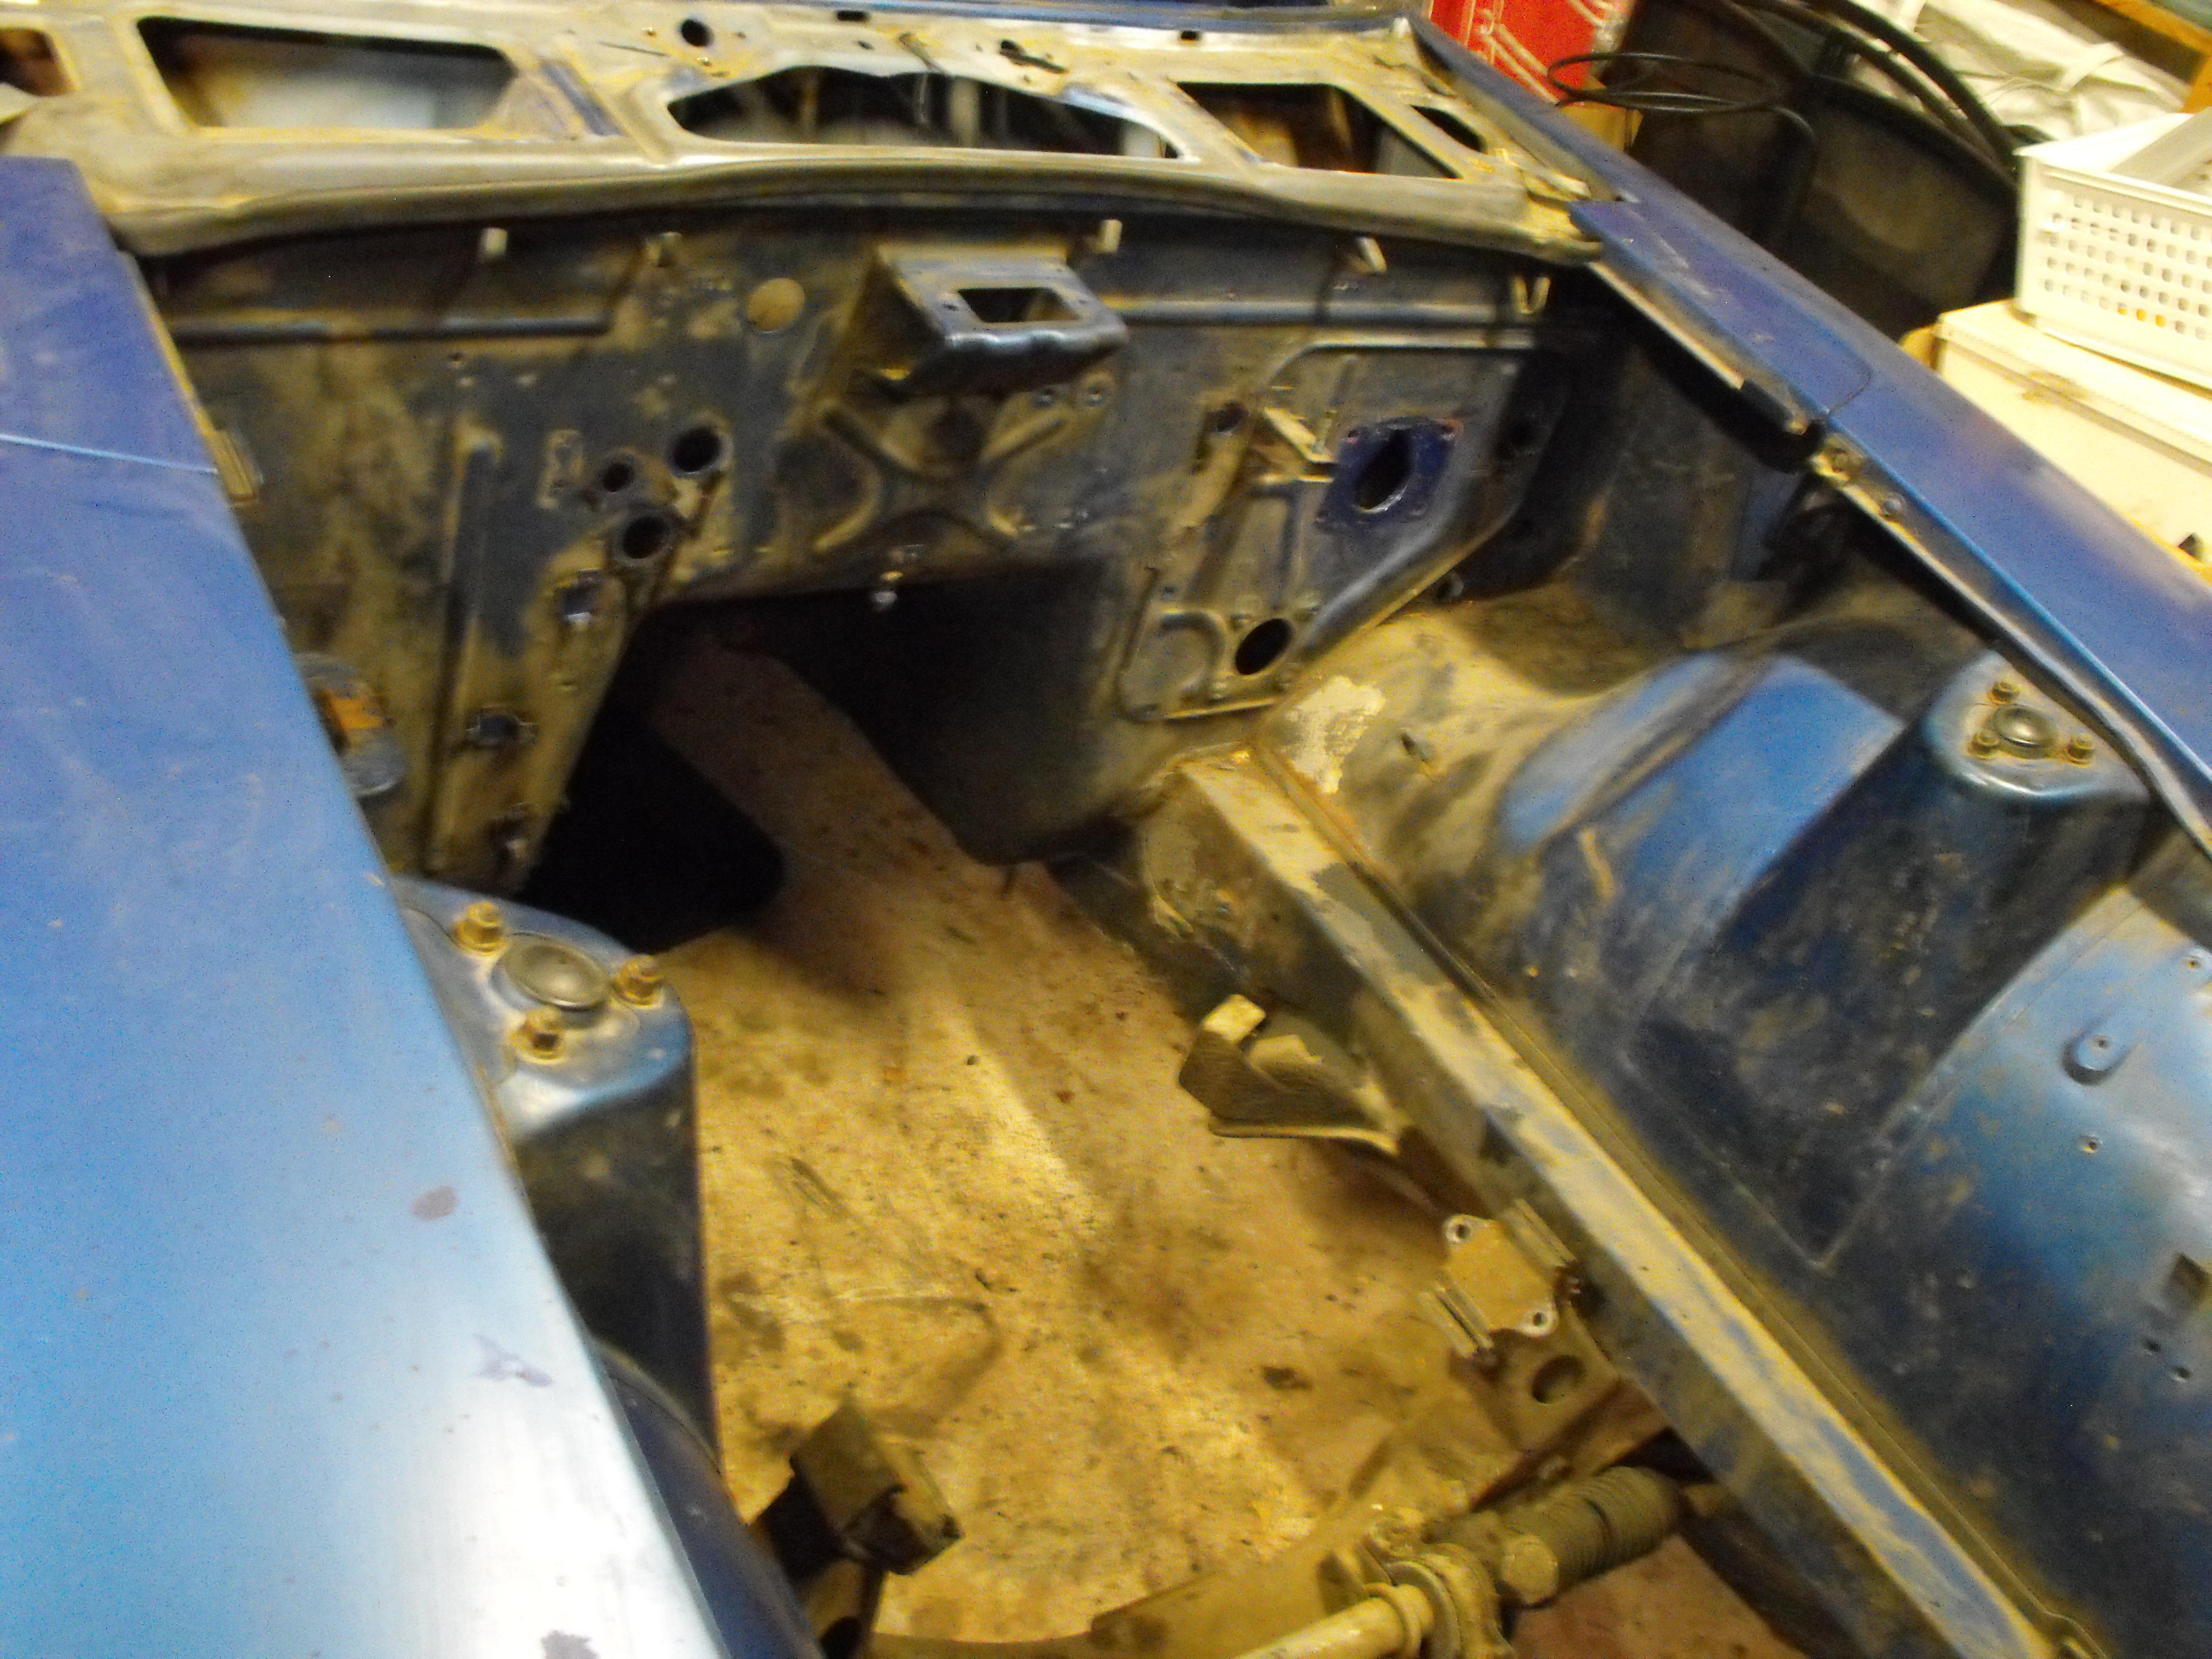
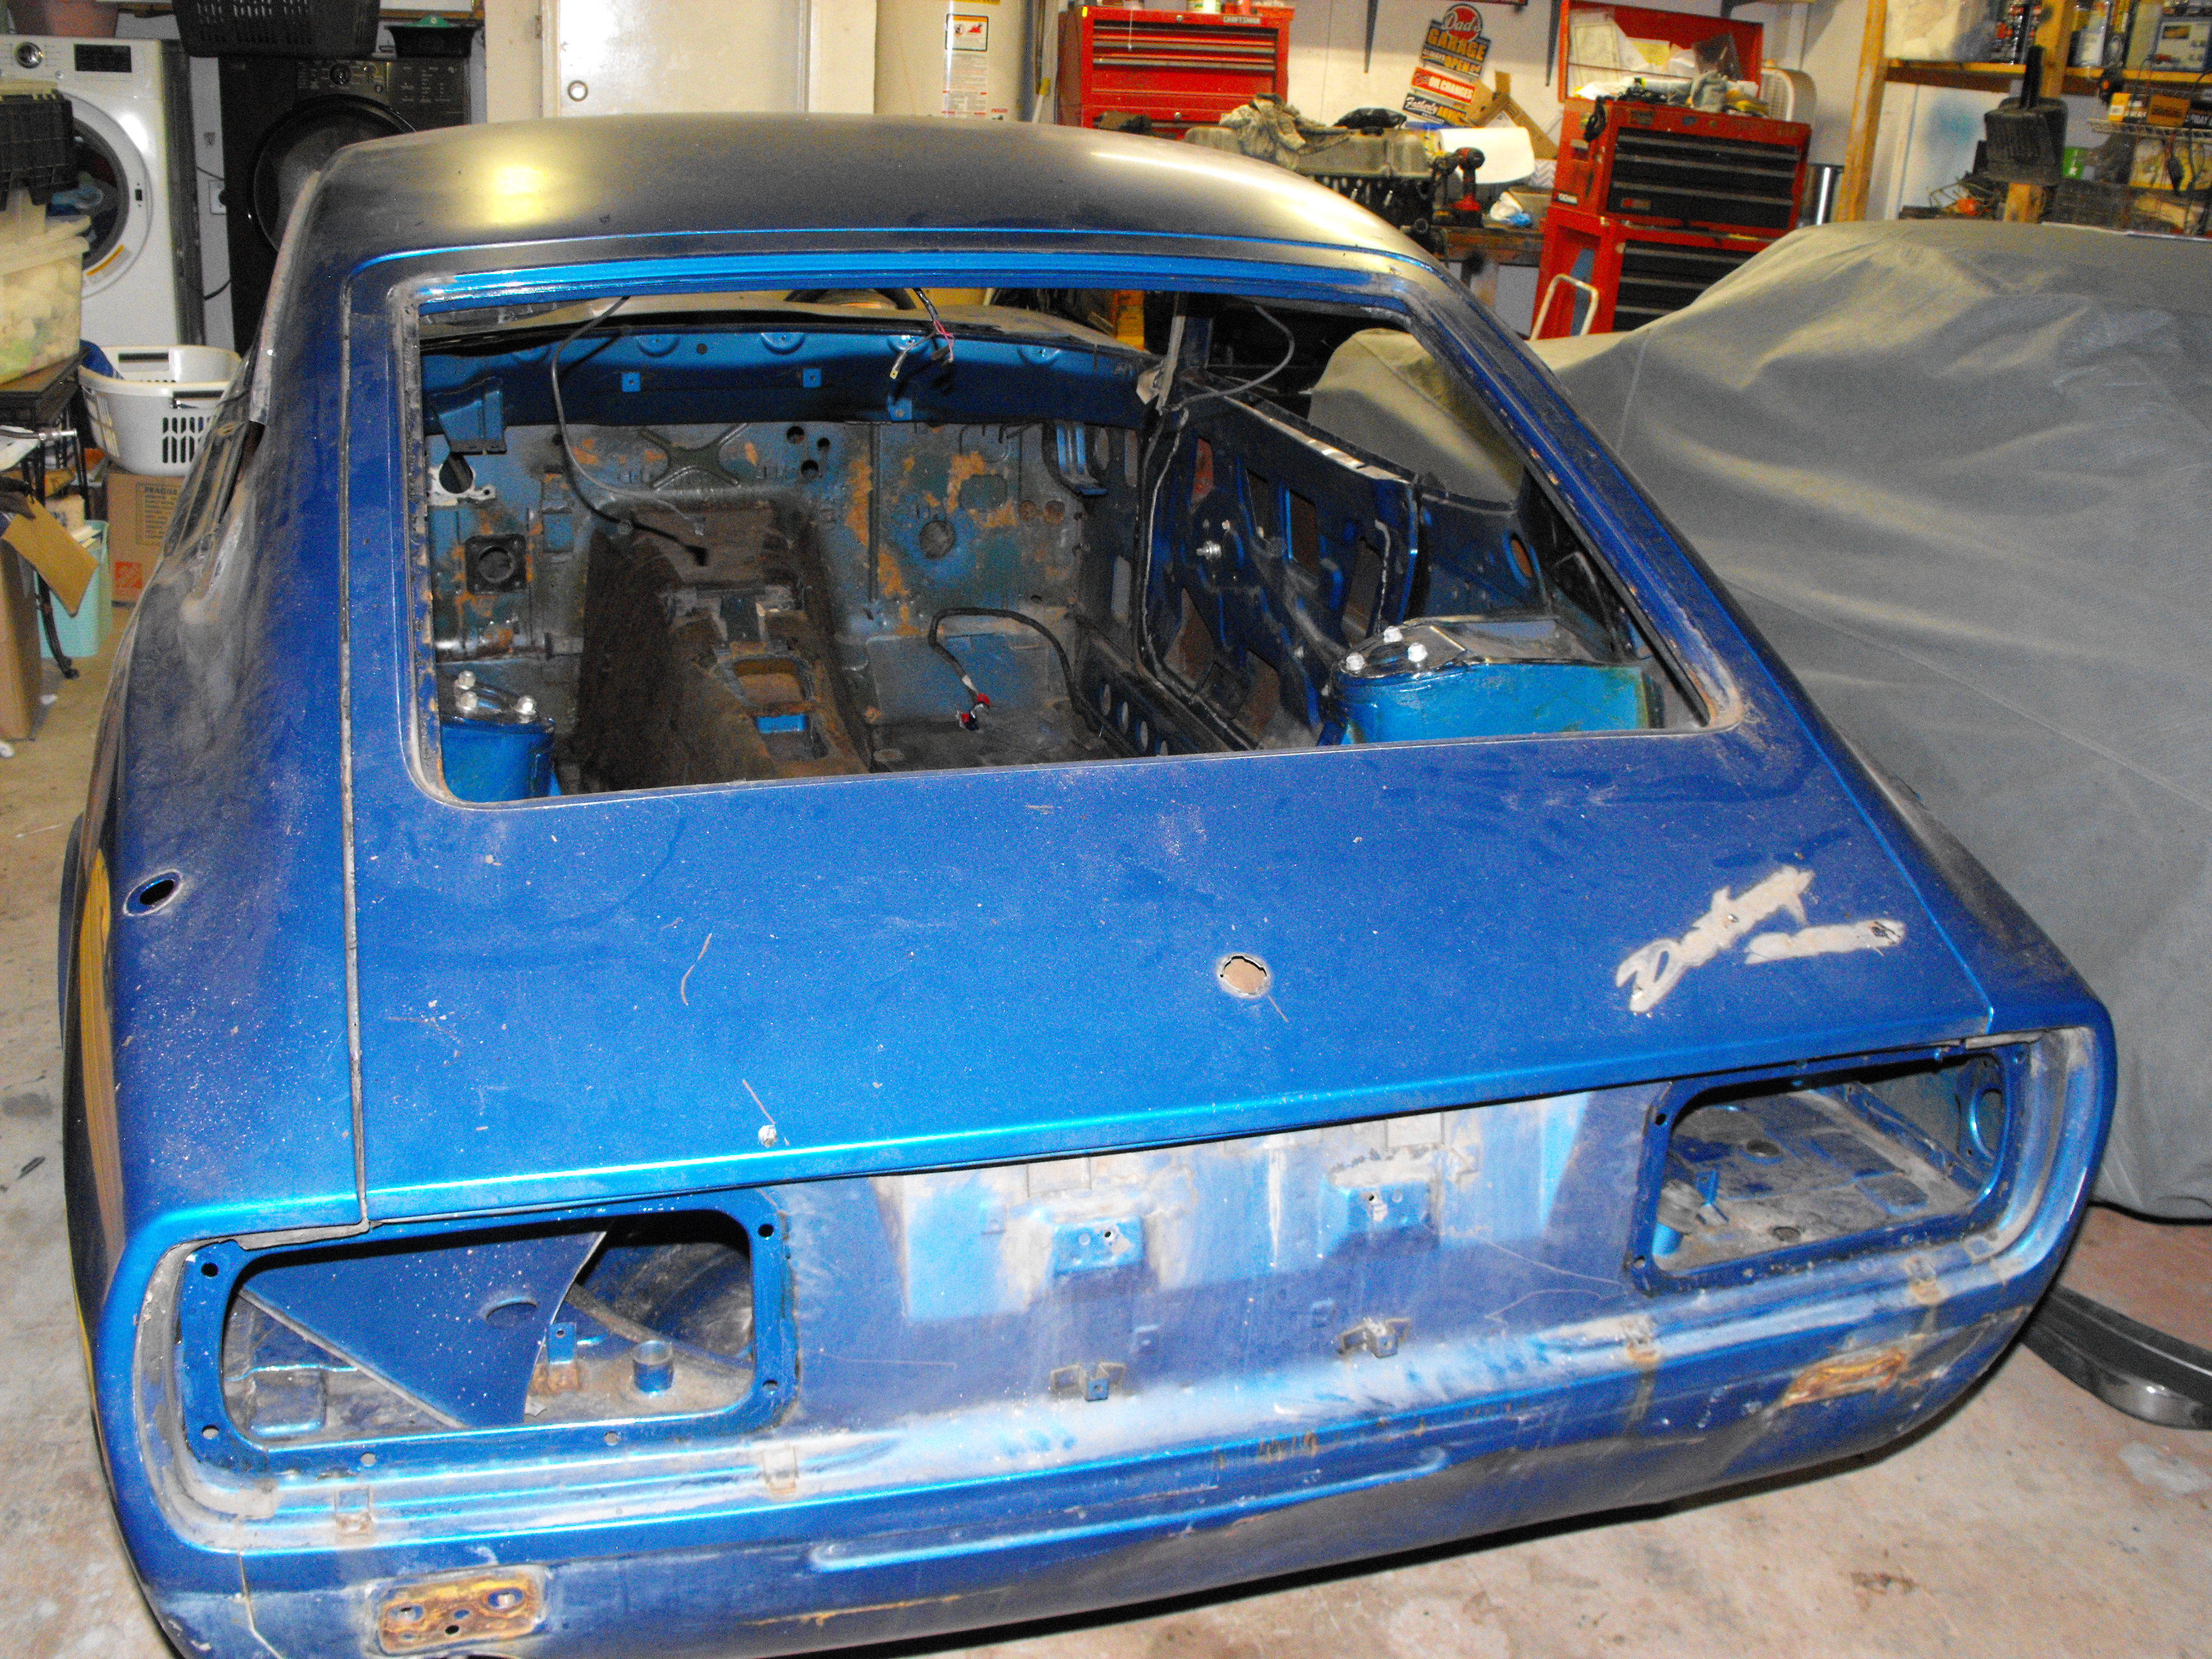
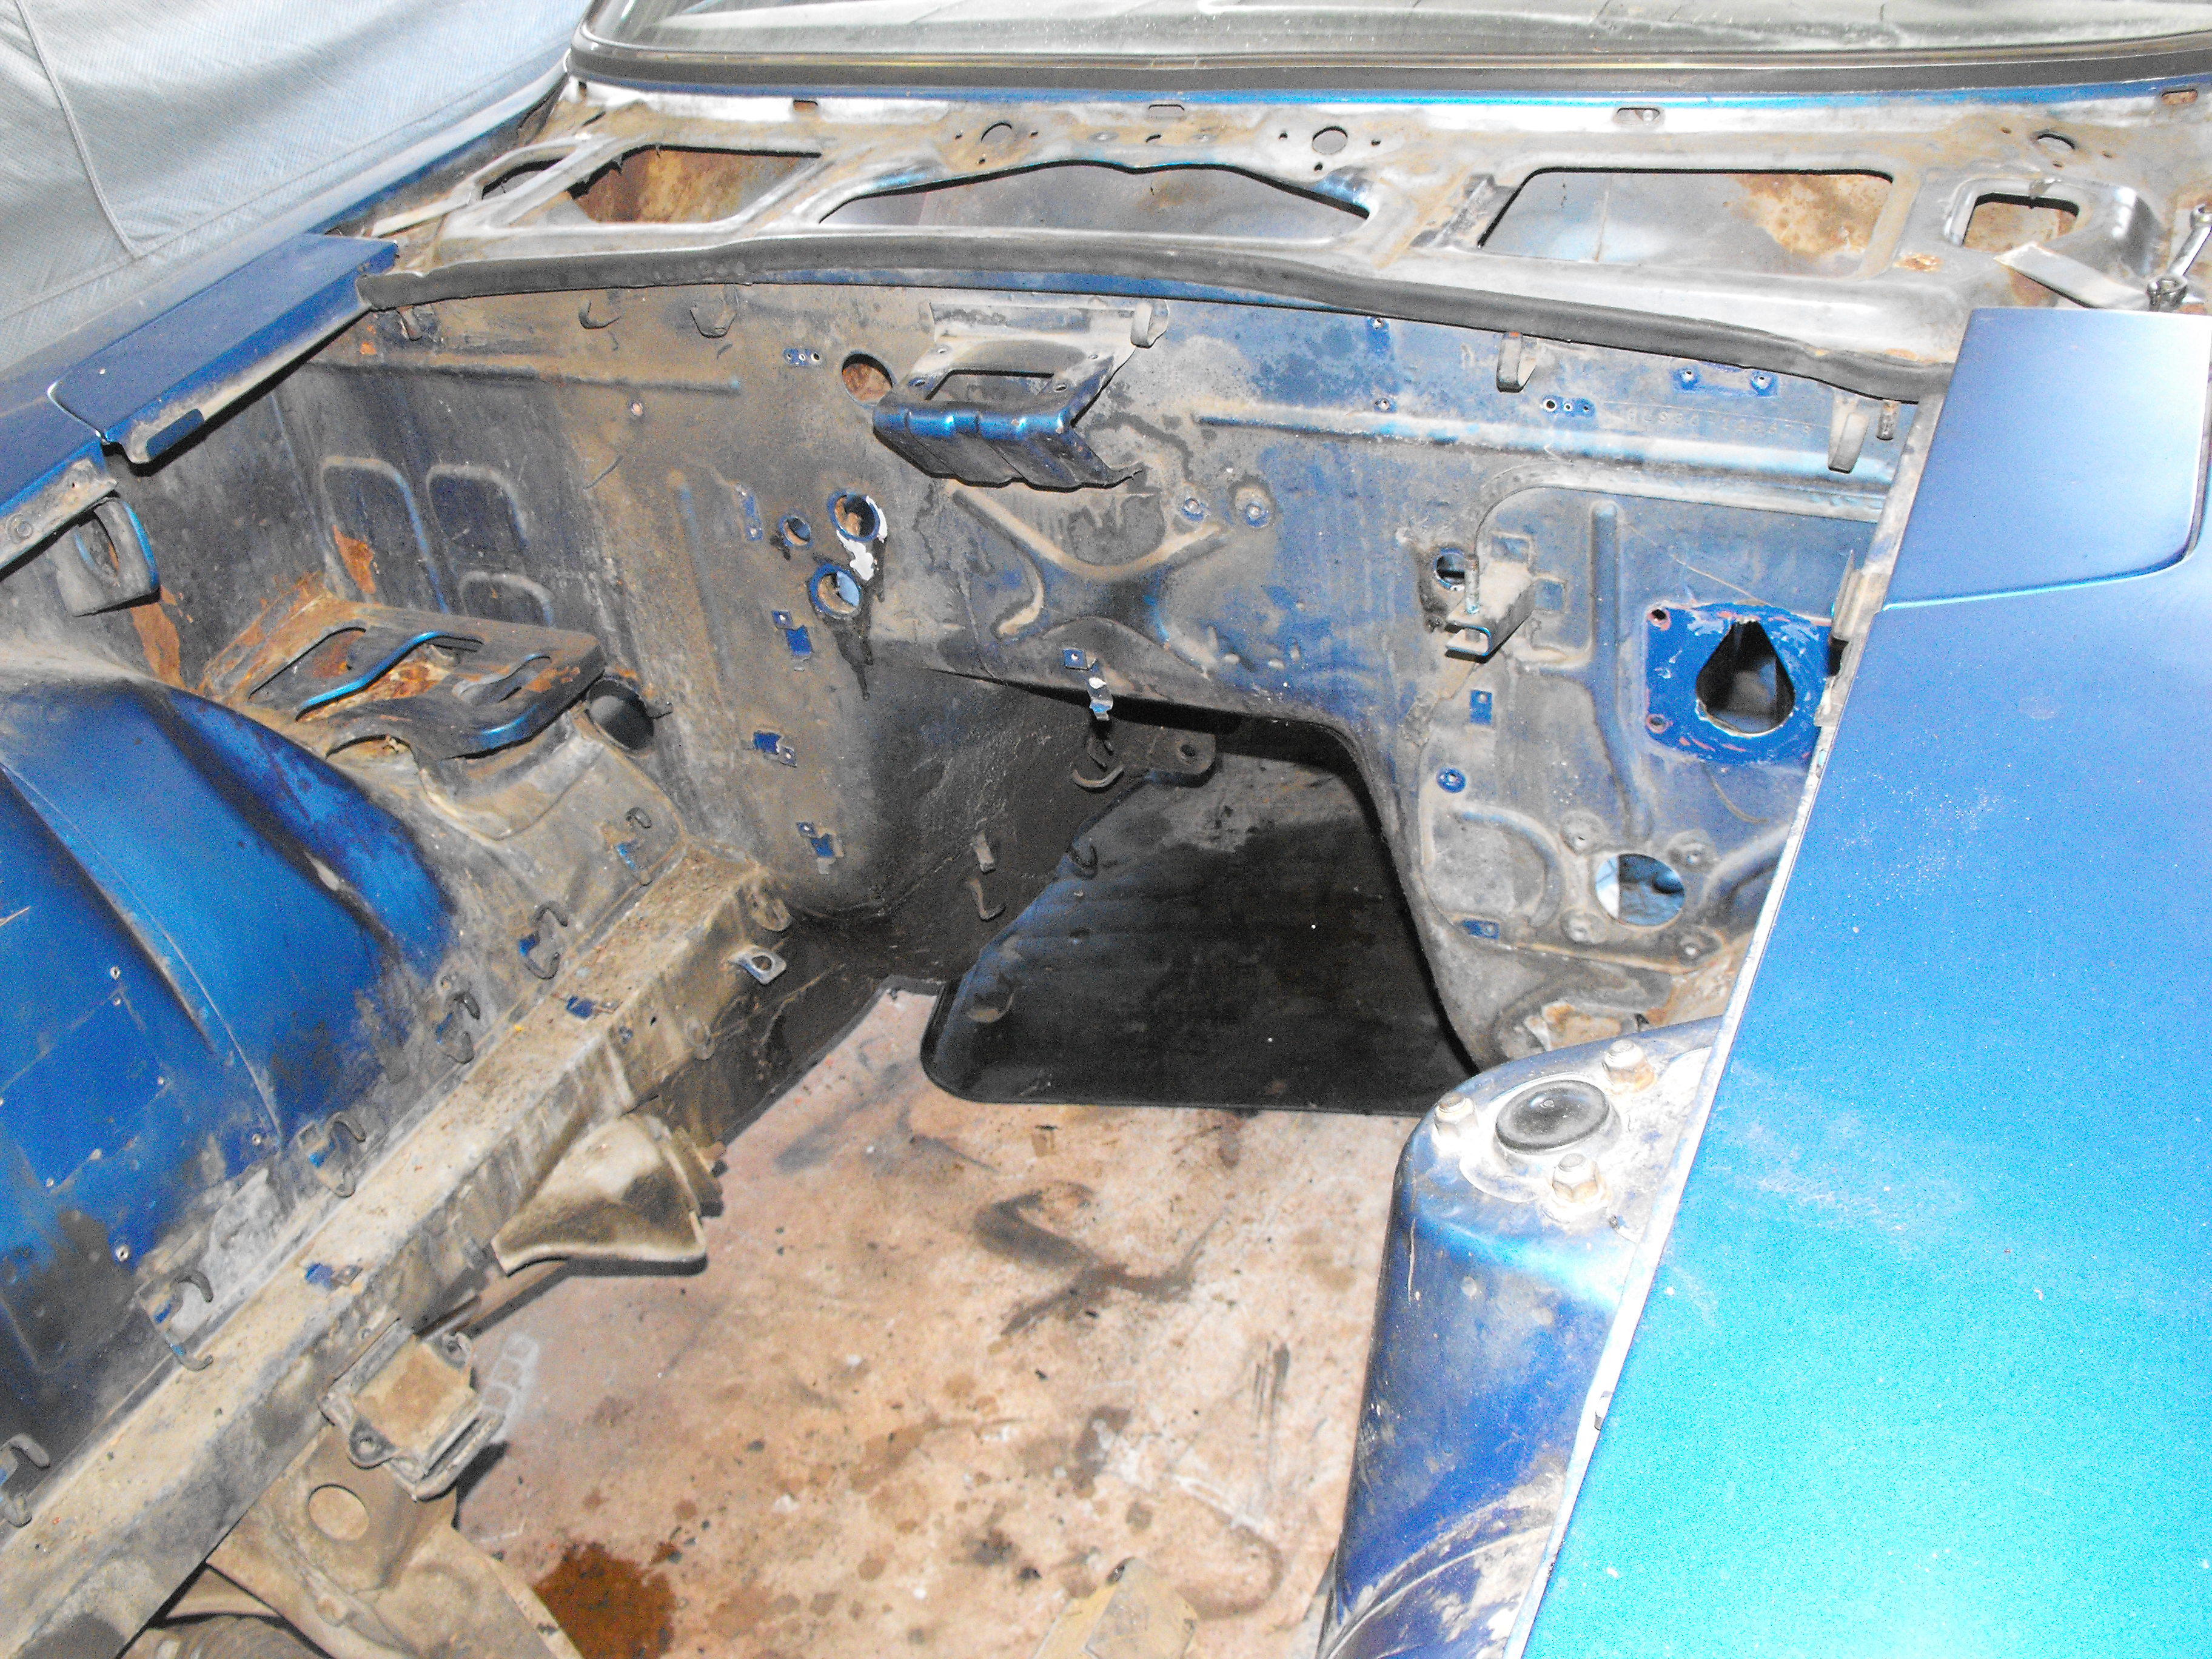
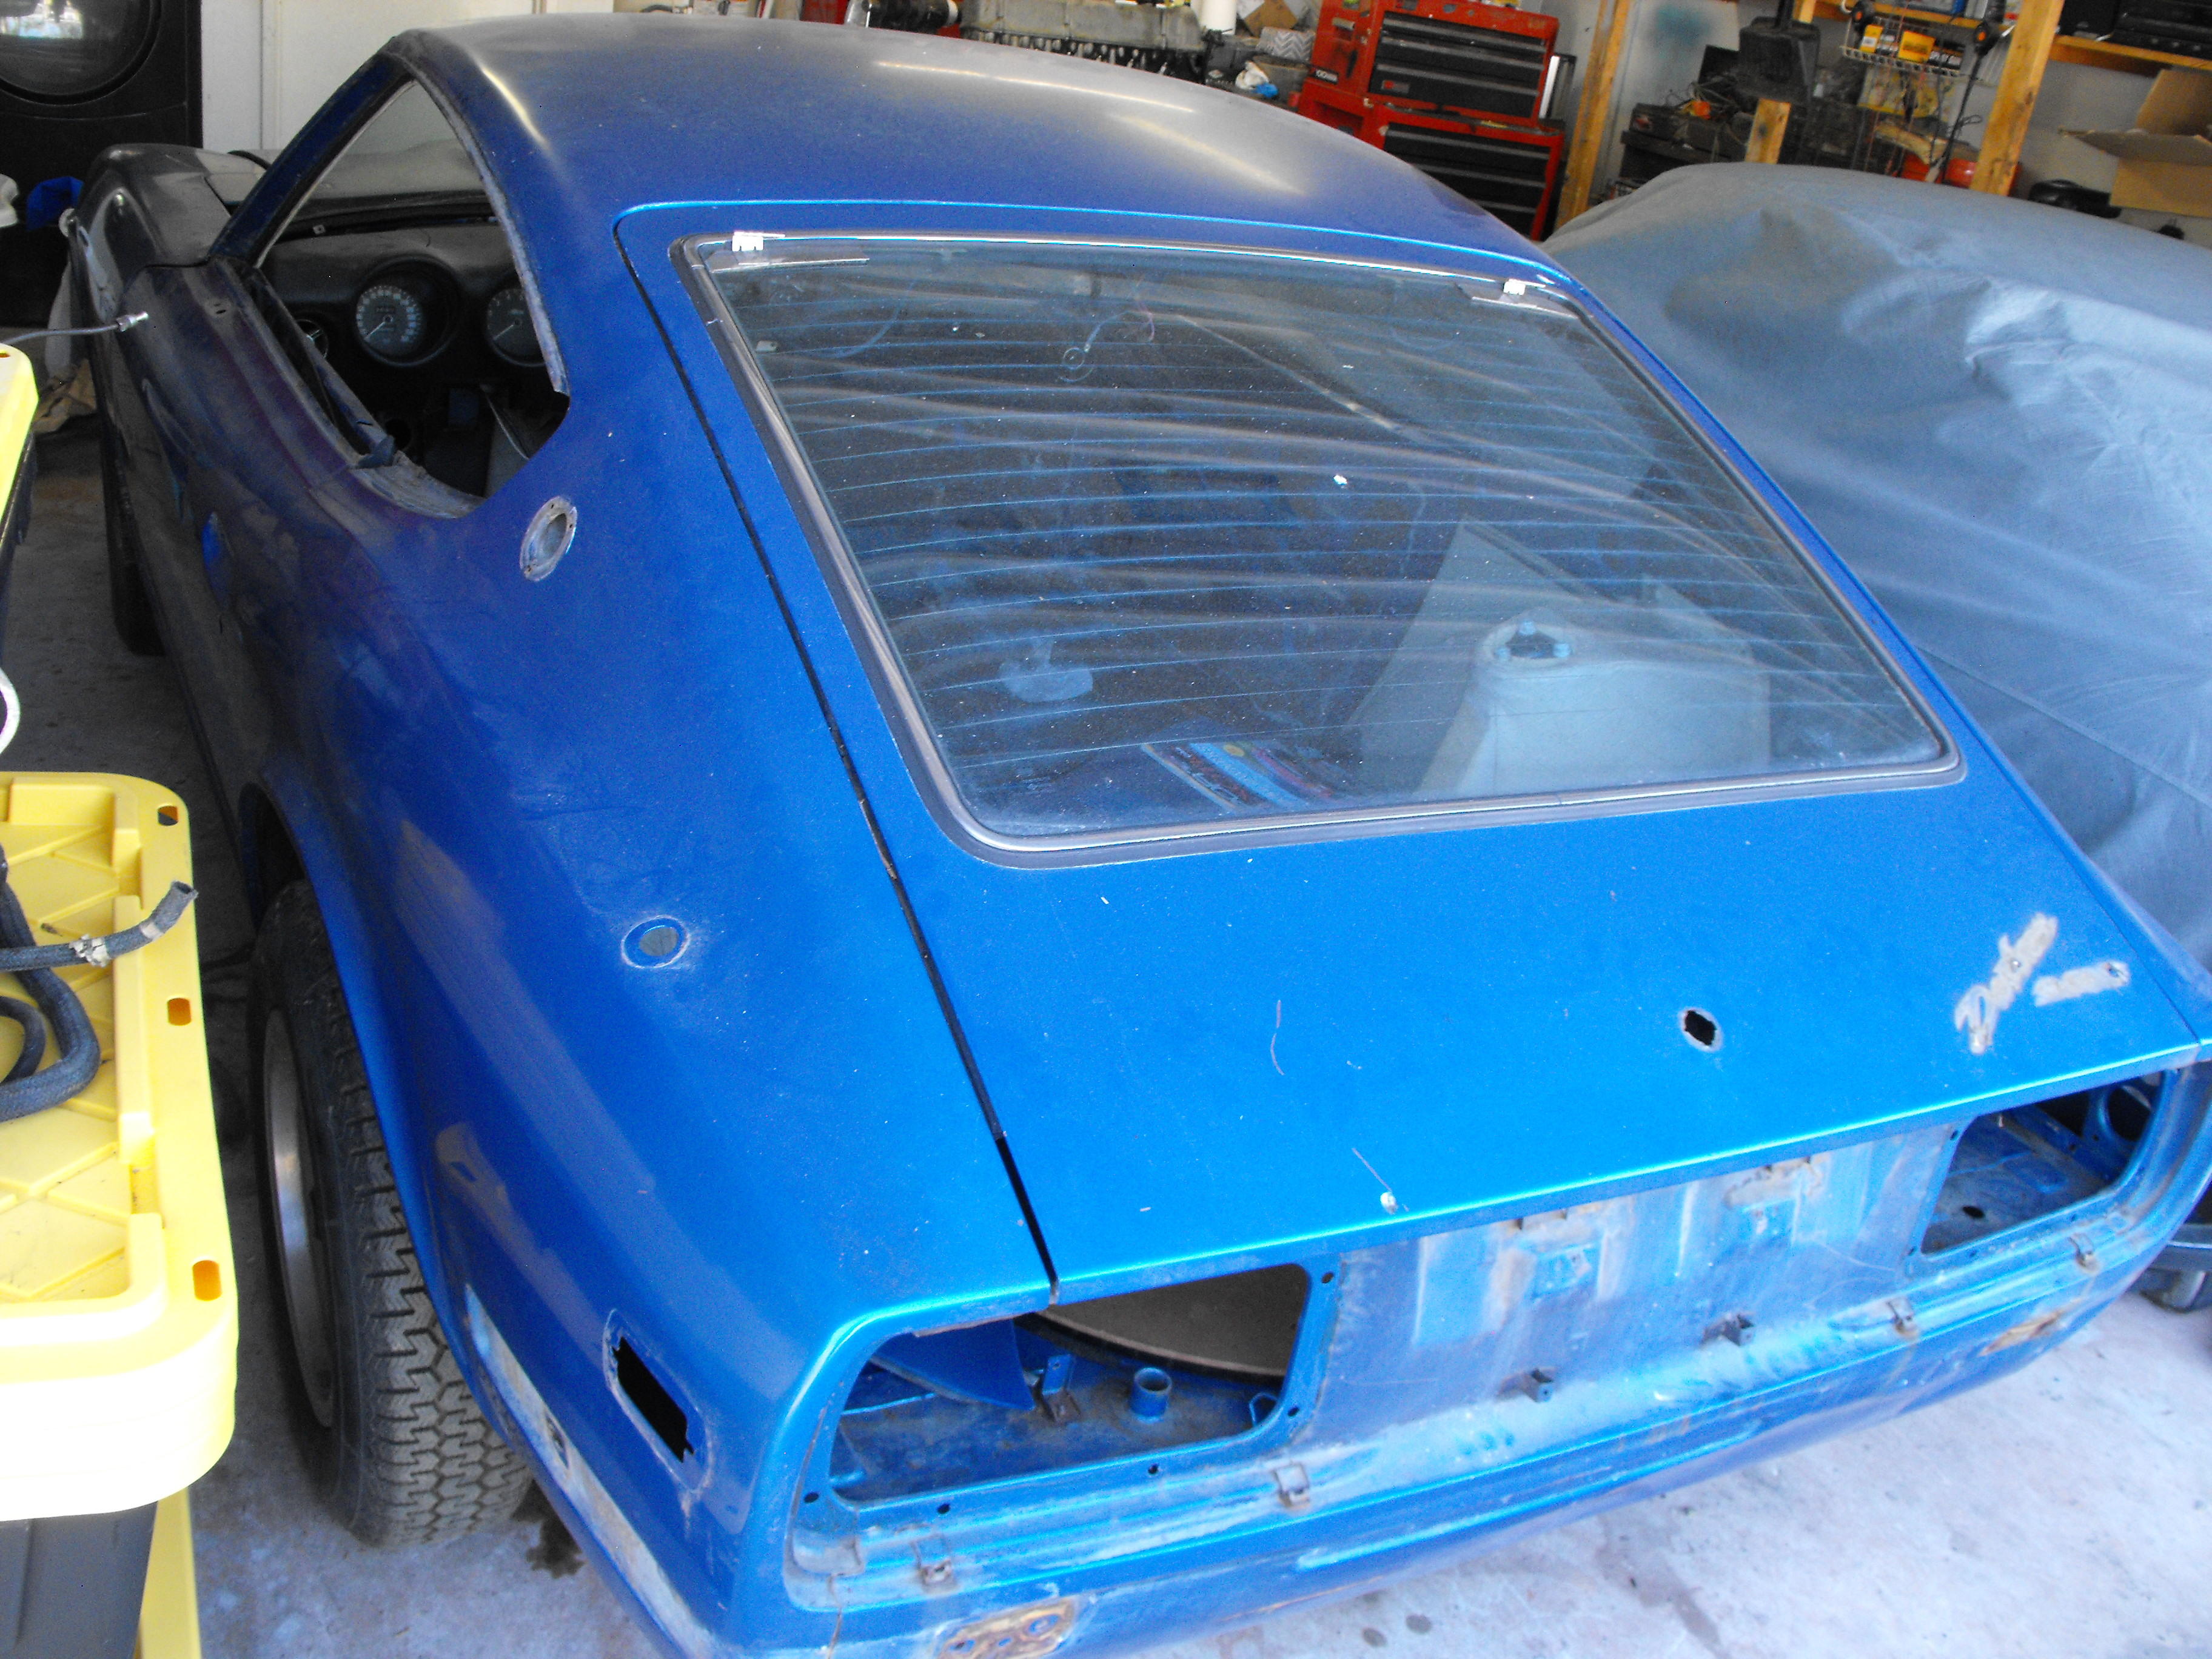
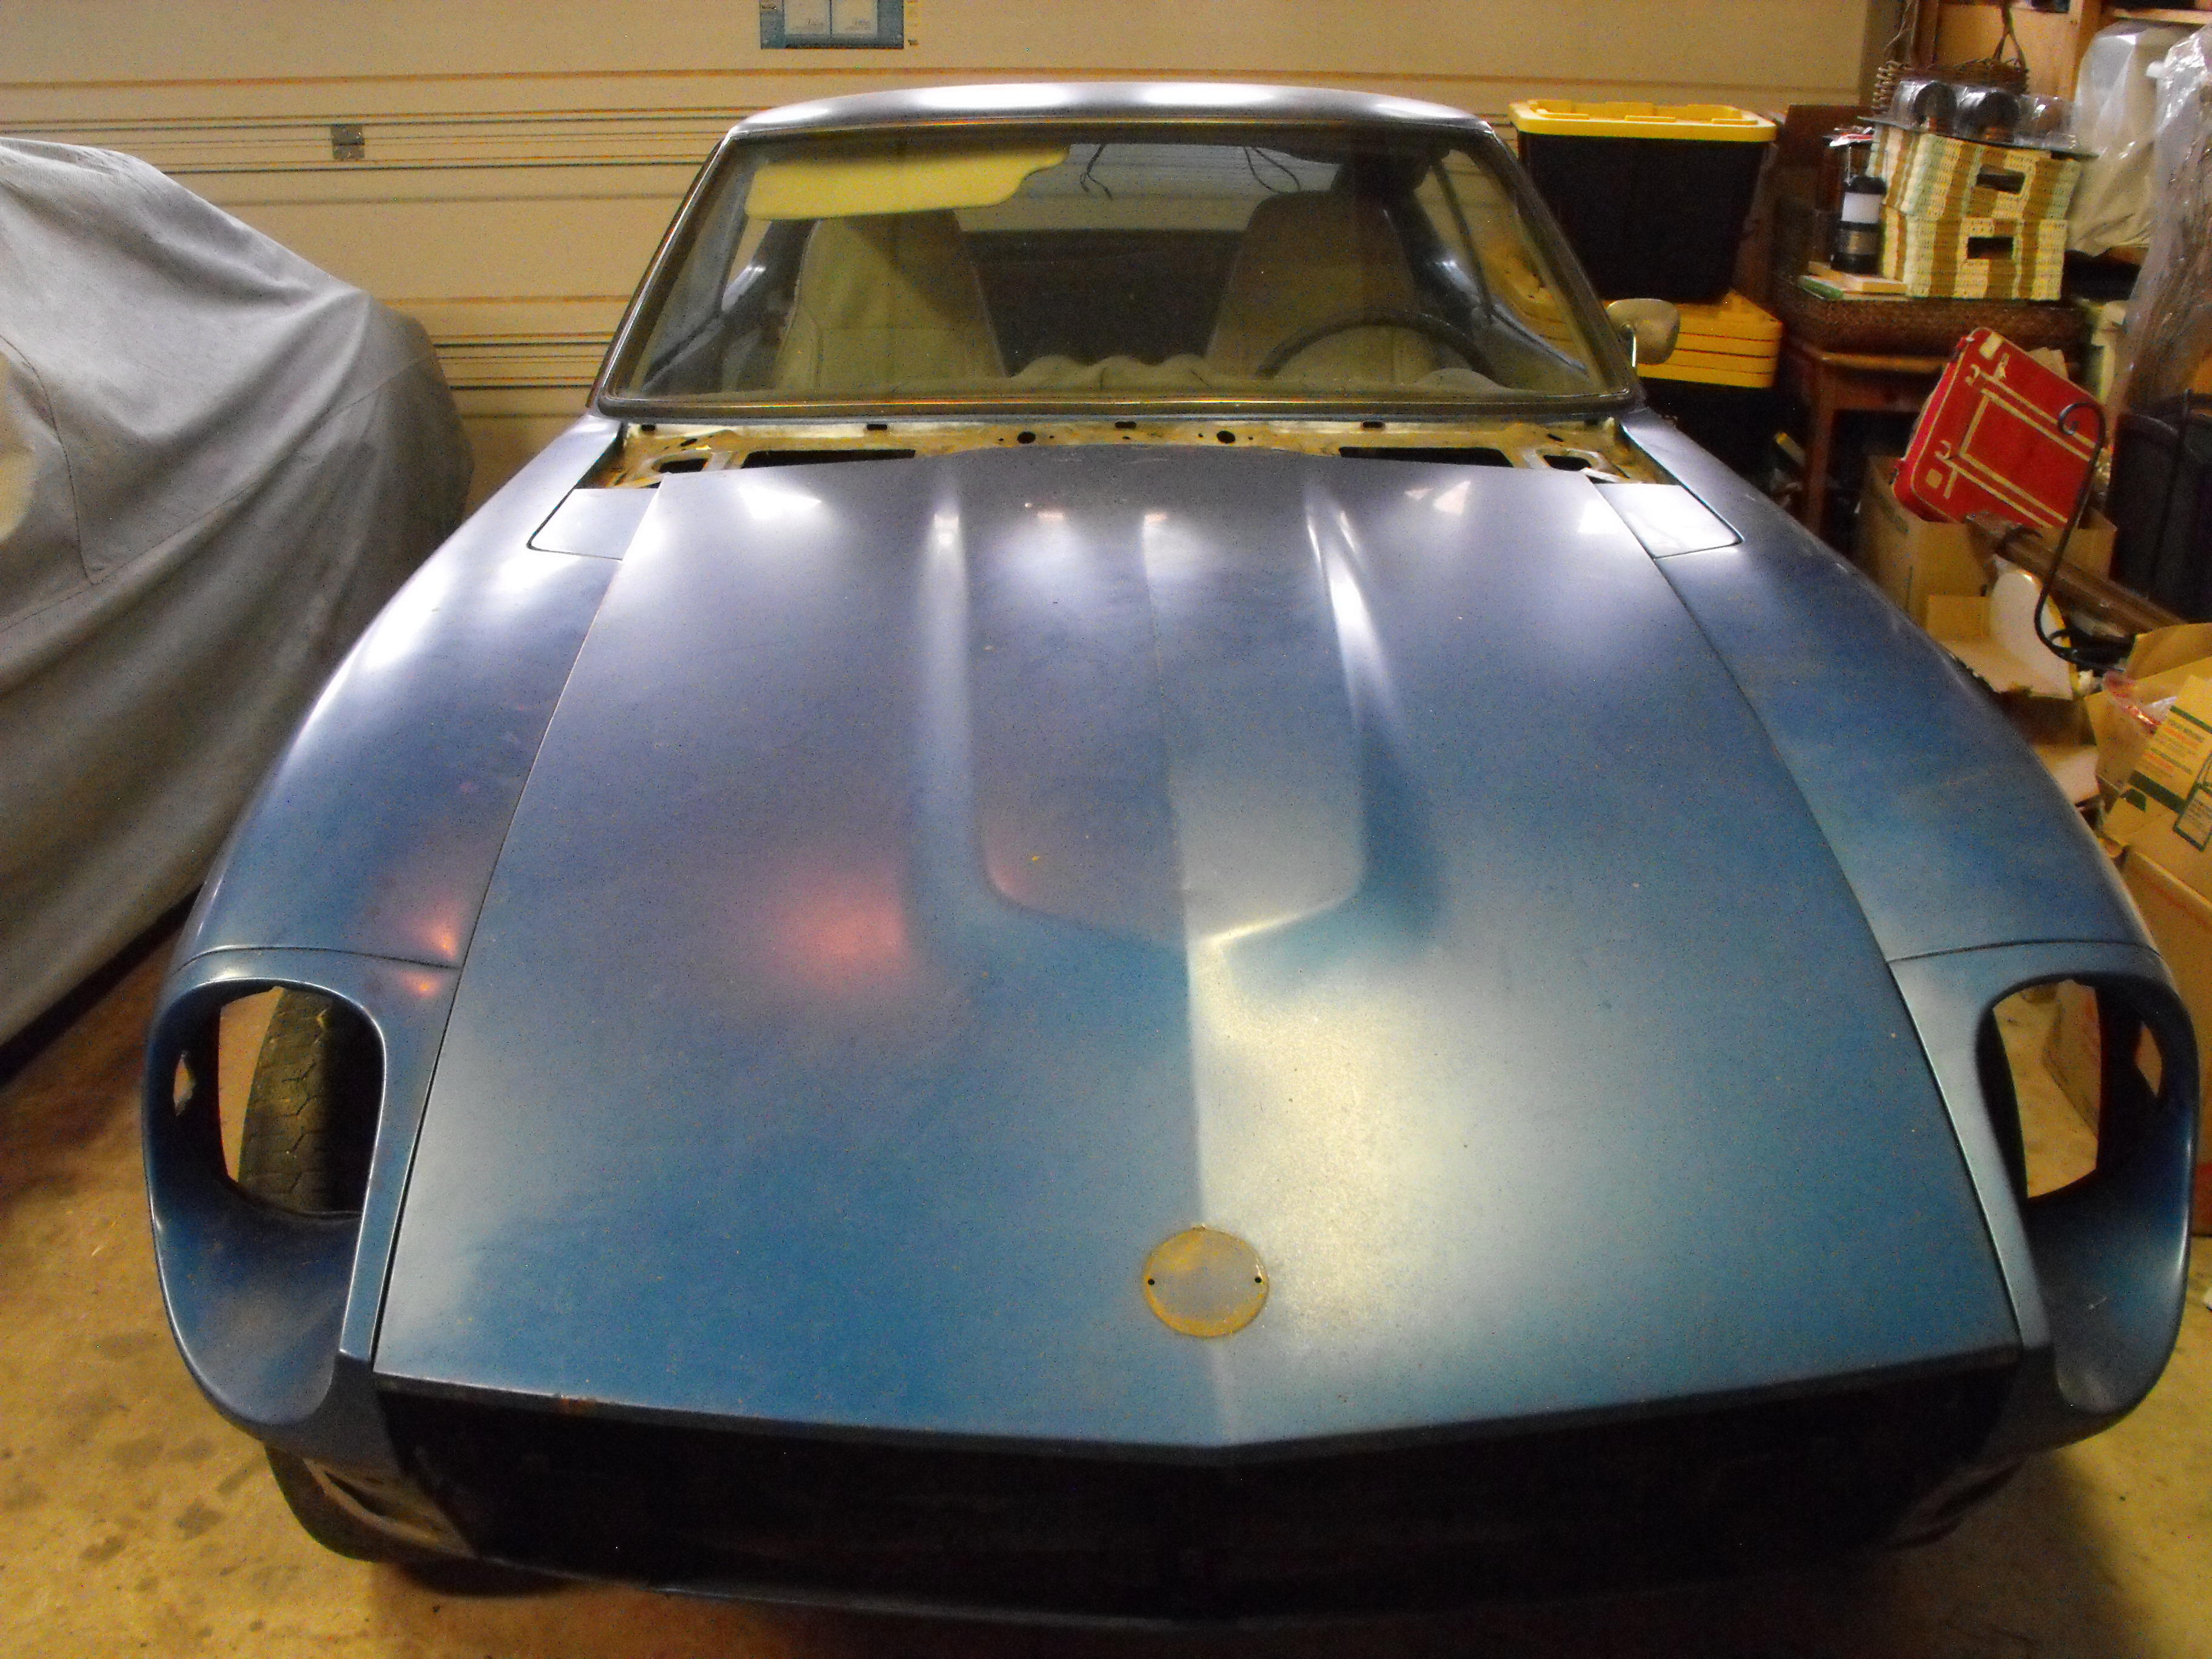
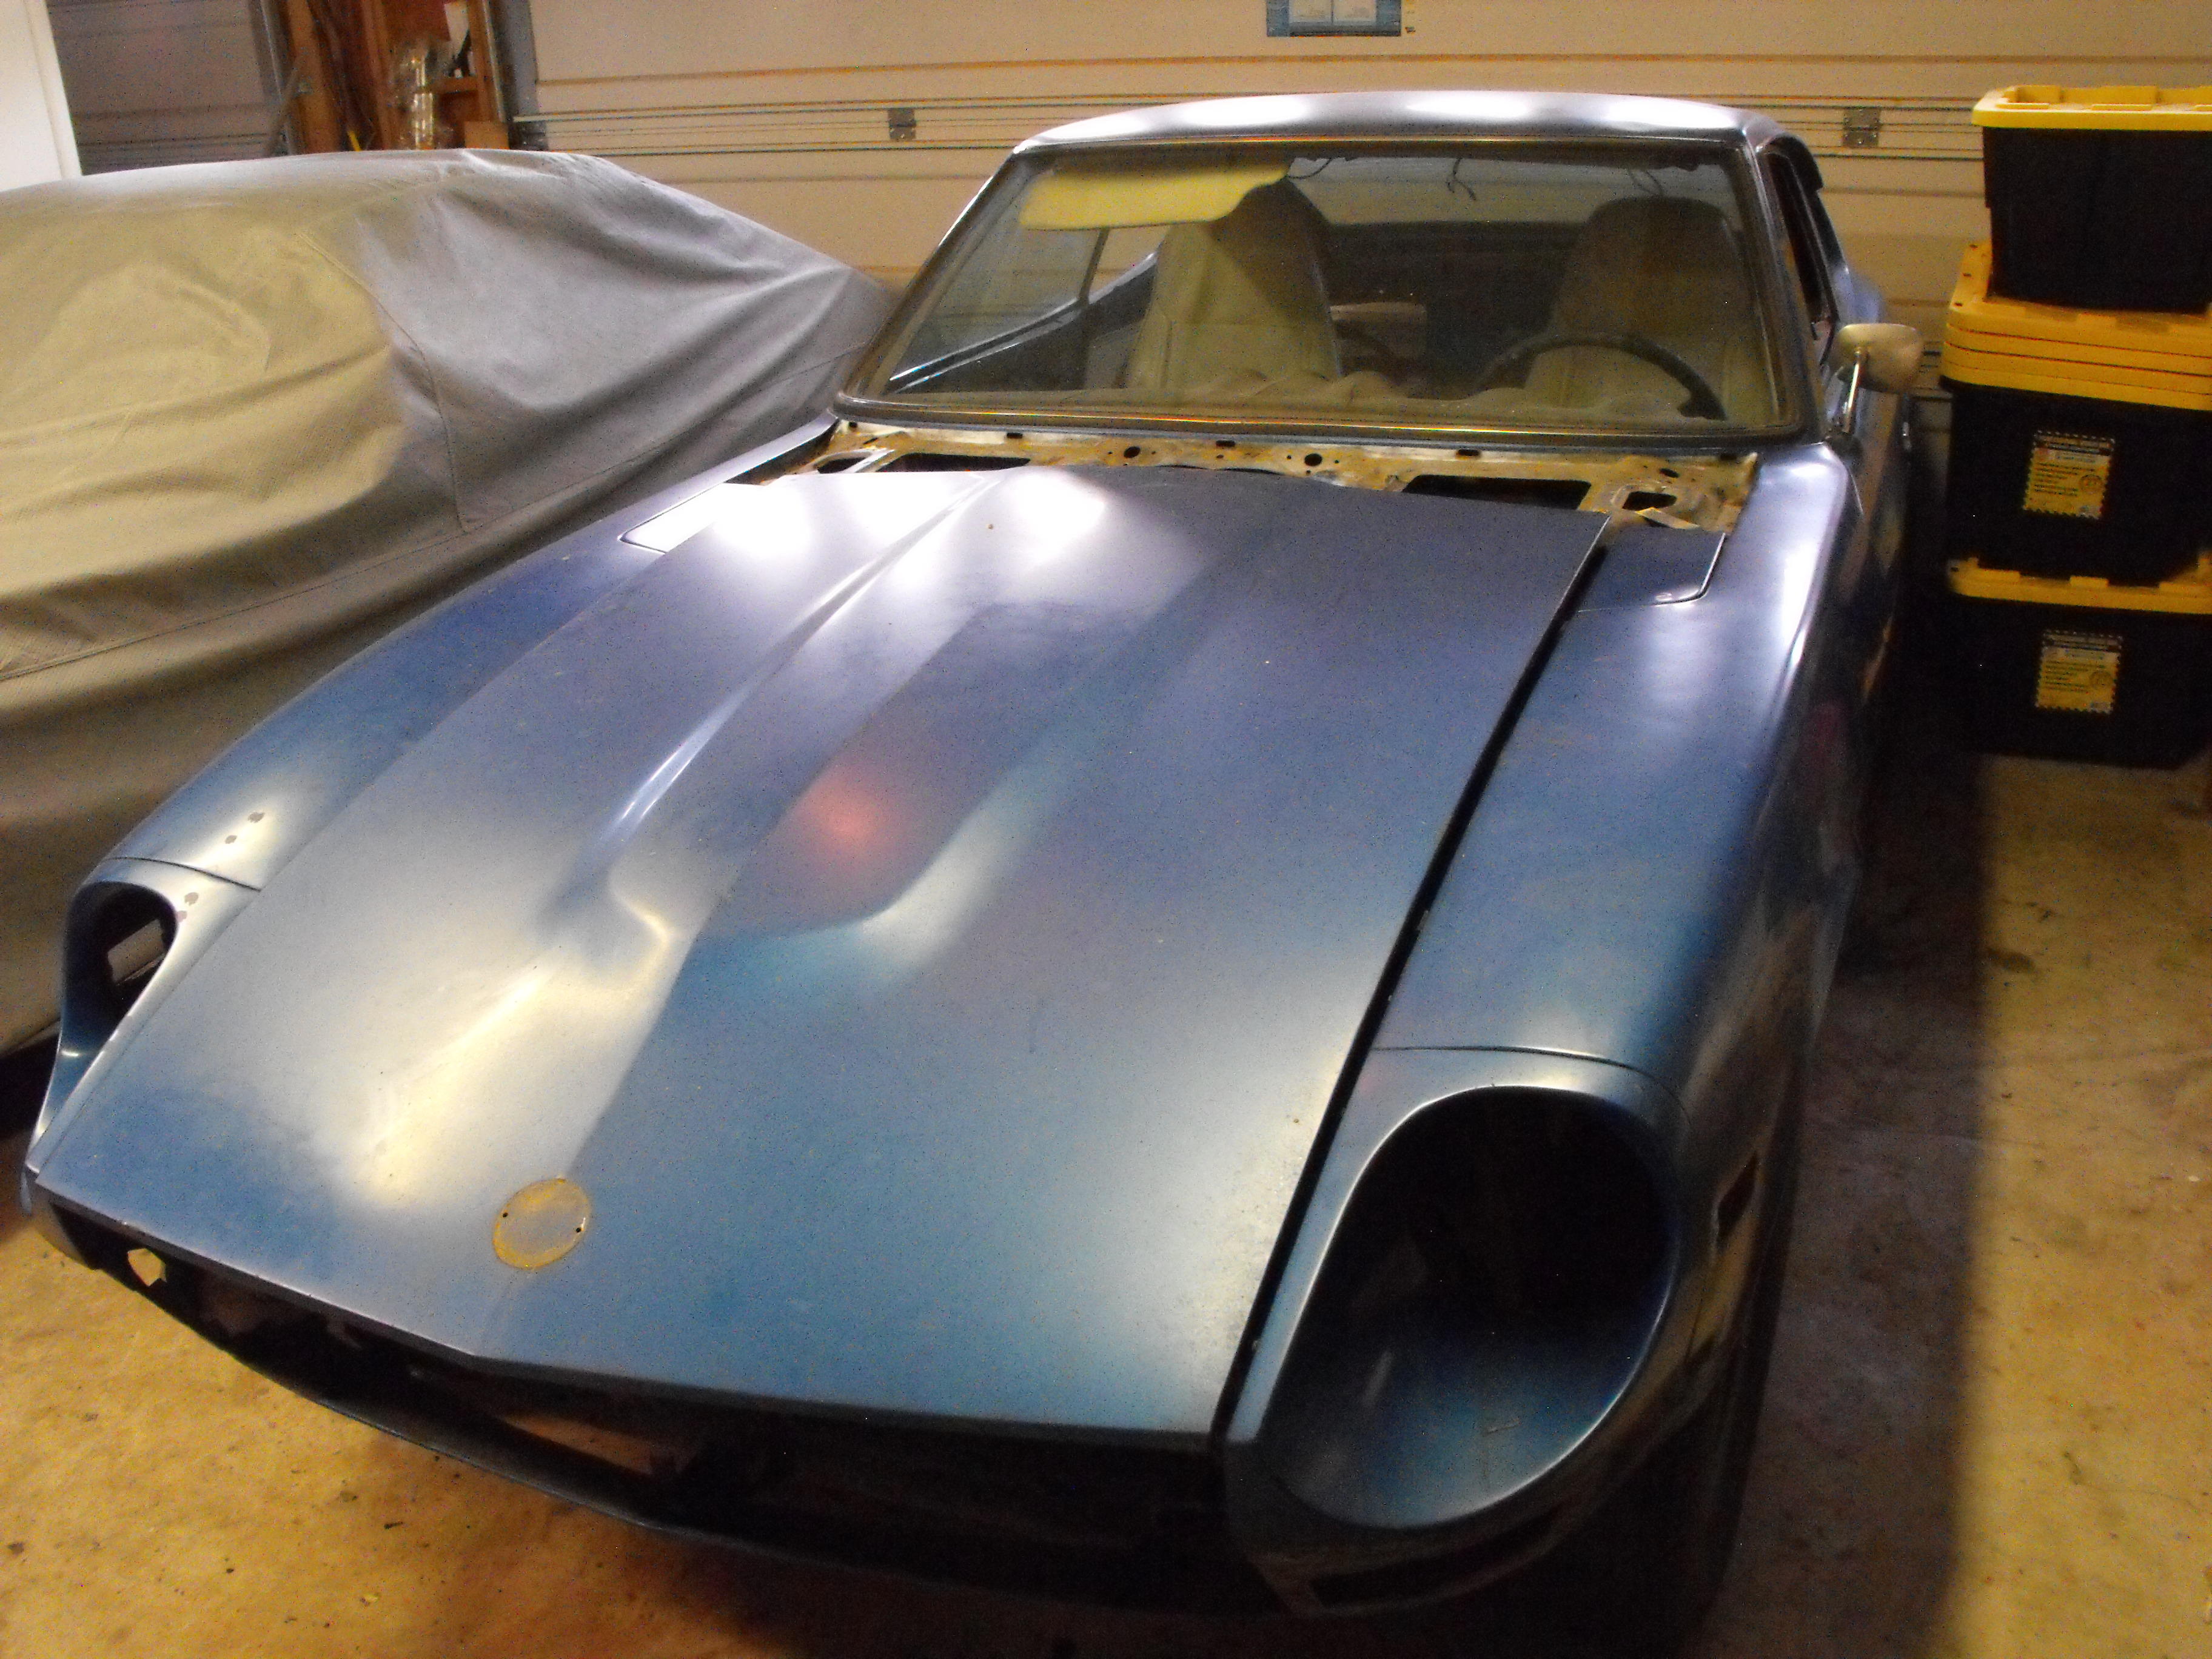
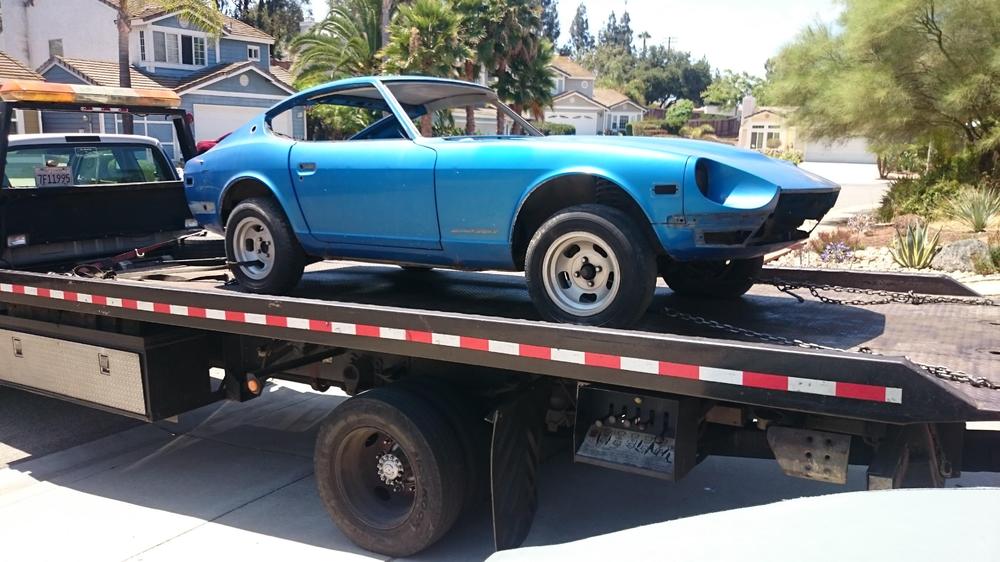
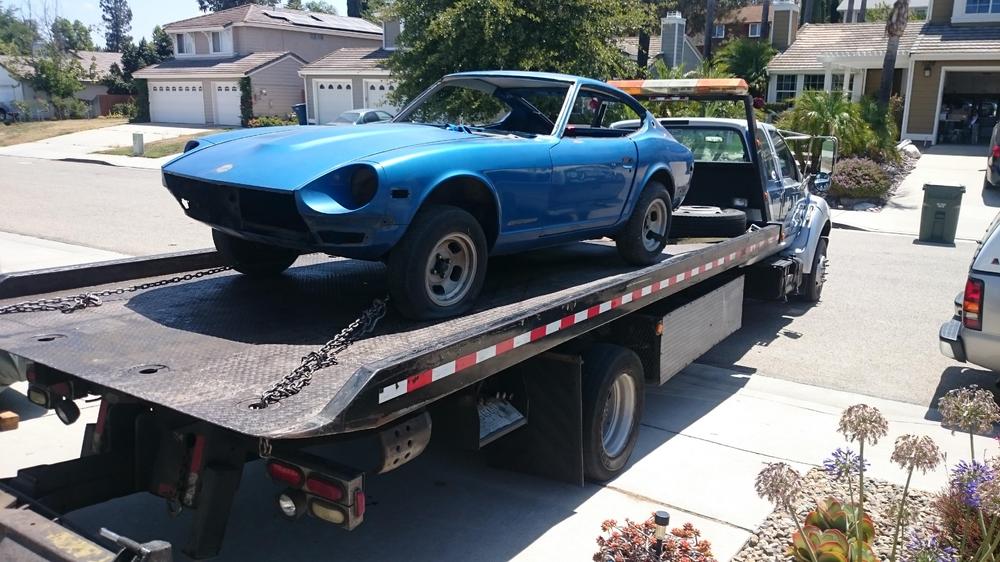
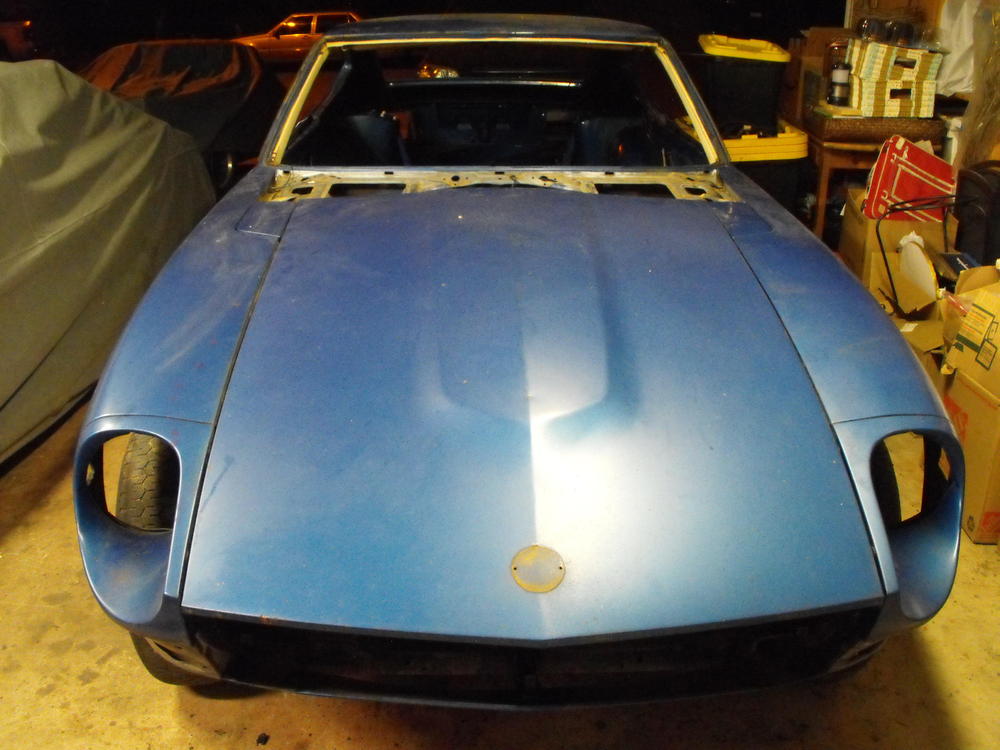
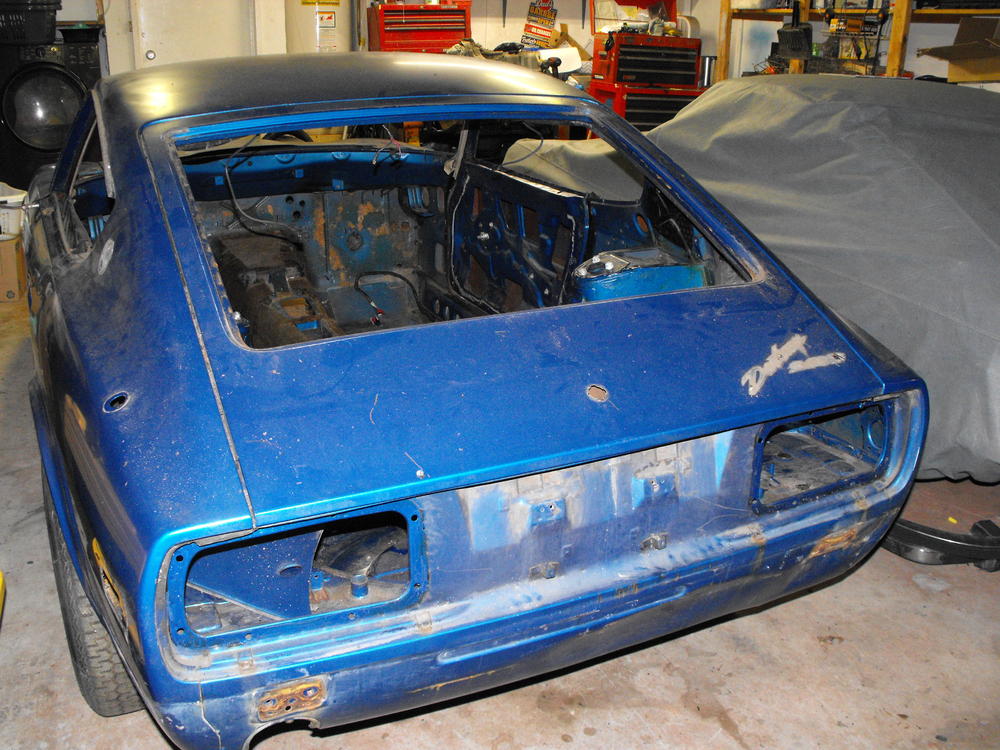
I have the car completely stripped now and will ship this off to Miguel on Thursday. The interior is actually pretty clean and the paint looks nice inside. Once it's at Miguel's, we will remove the suspension and put the car on some custom roller stands that mount to the body so that the car can be moved around easy while it is at the shop. This will also allow me to bring the suspension parts back home and get them powder coated and the nuts and bolts replated while the body work and paint are being done. That way, when the painted body comes back to my place, the suspension parts will be ready. I plan on doing a lot of part prep while the body is at Miguel's. I did wipe the engine bay down a bit, but it is still pretty dirty. Miguel will eventually blast the engine compartment so no need to waste too much time cleaning it up. Pics are below. Pics are nice to have. Just noticed I need to pull those black caps off of the shock towers before I ship this off.


-
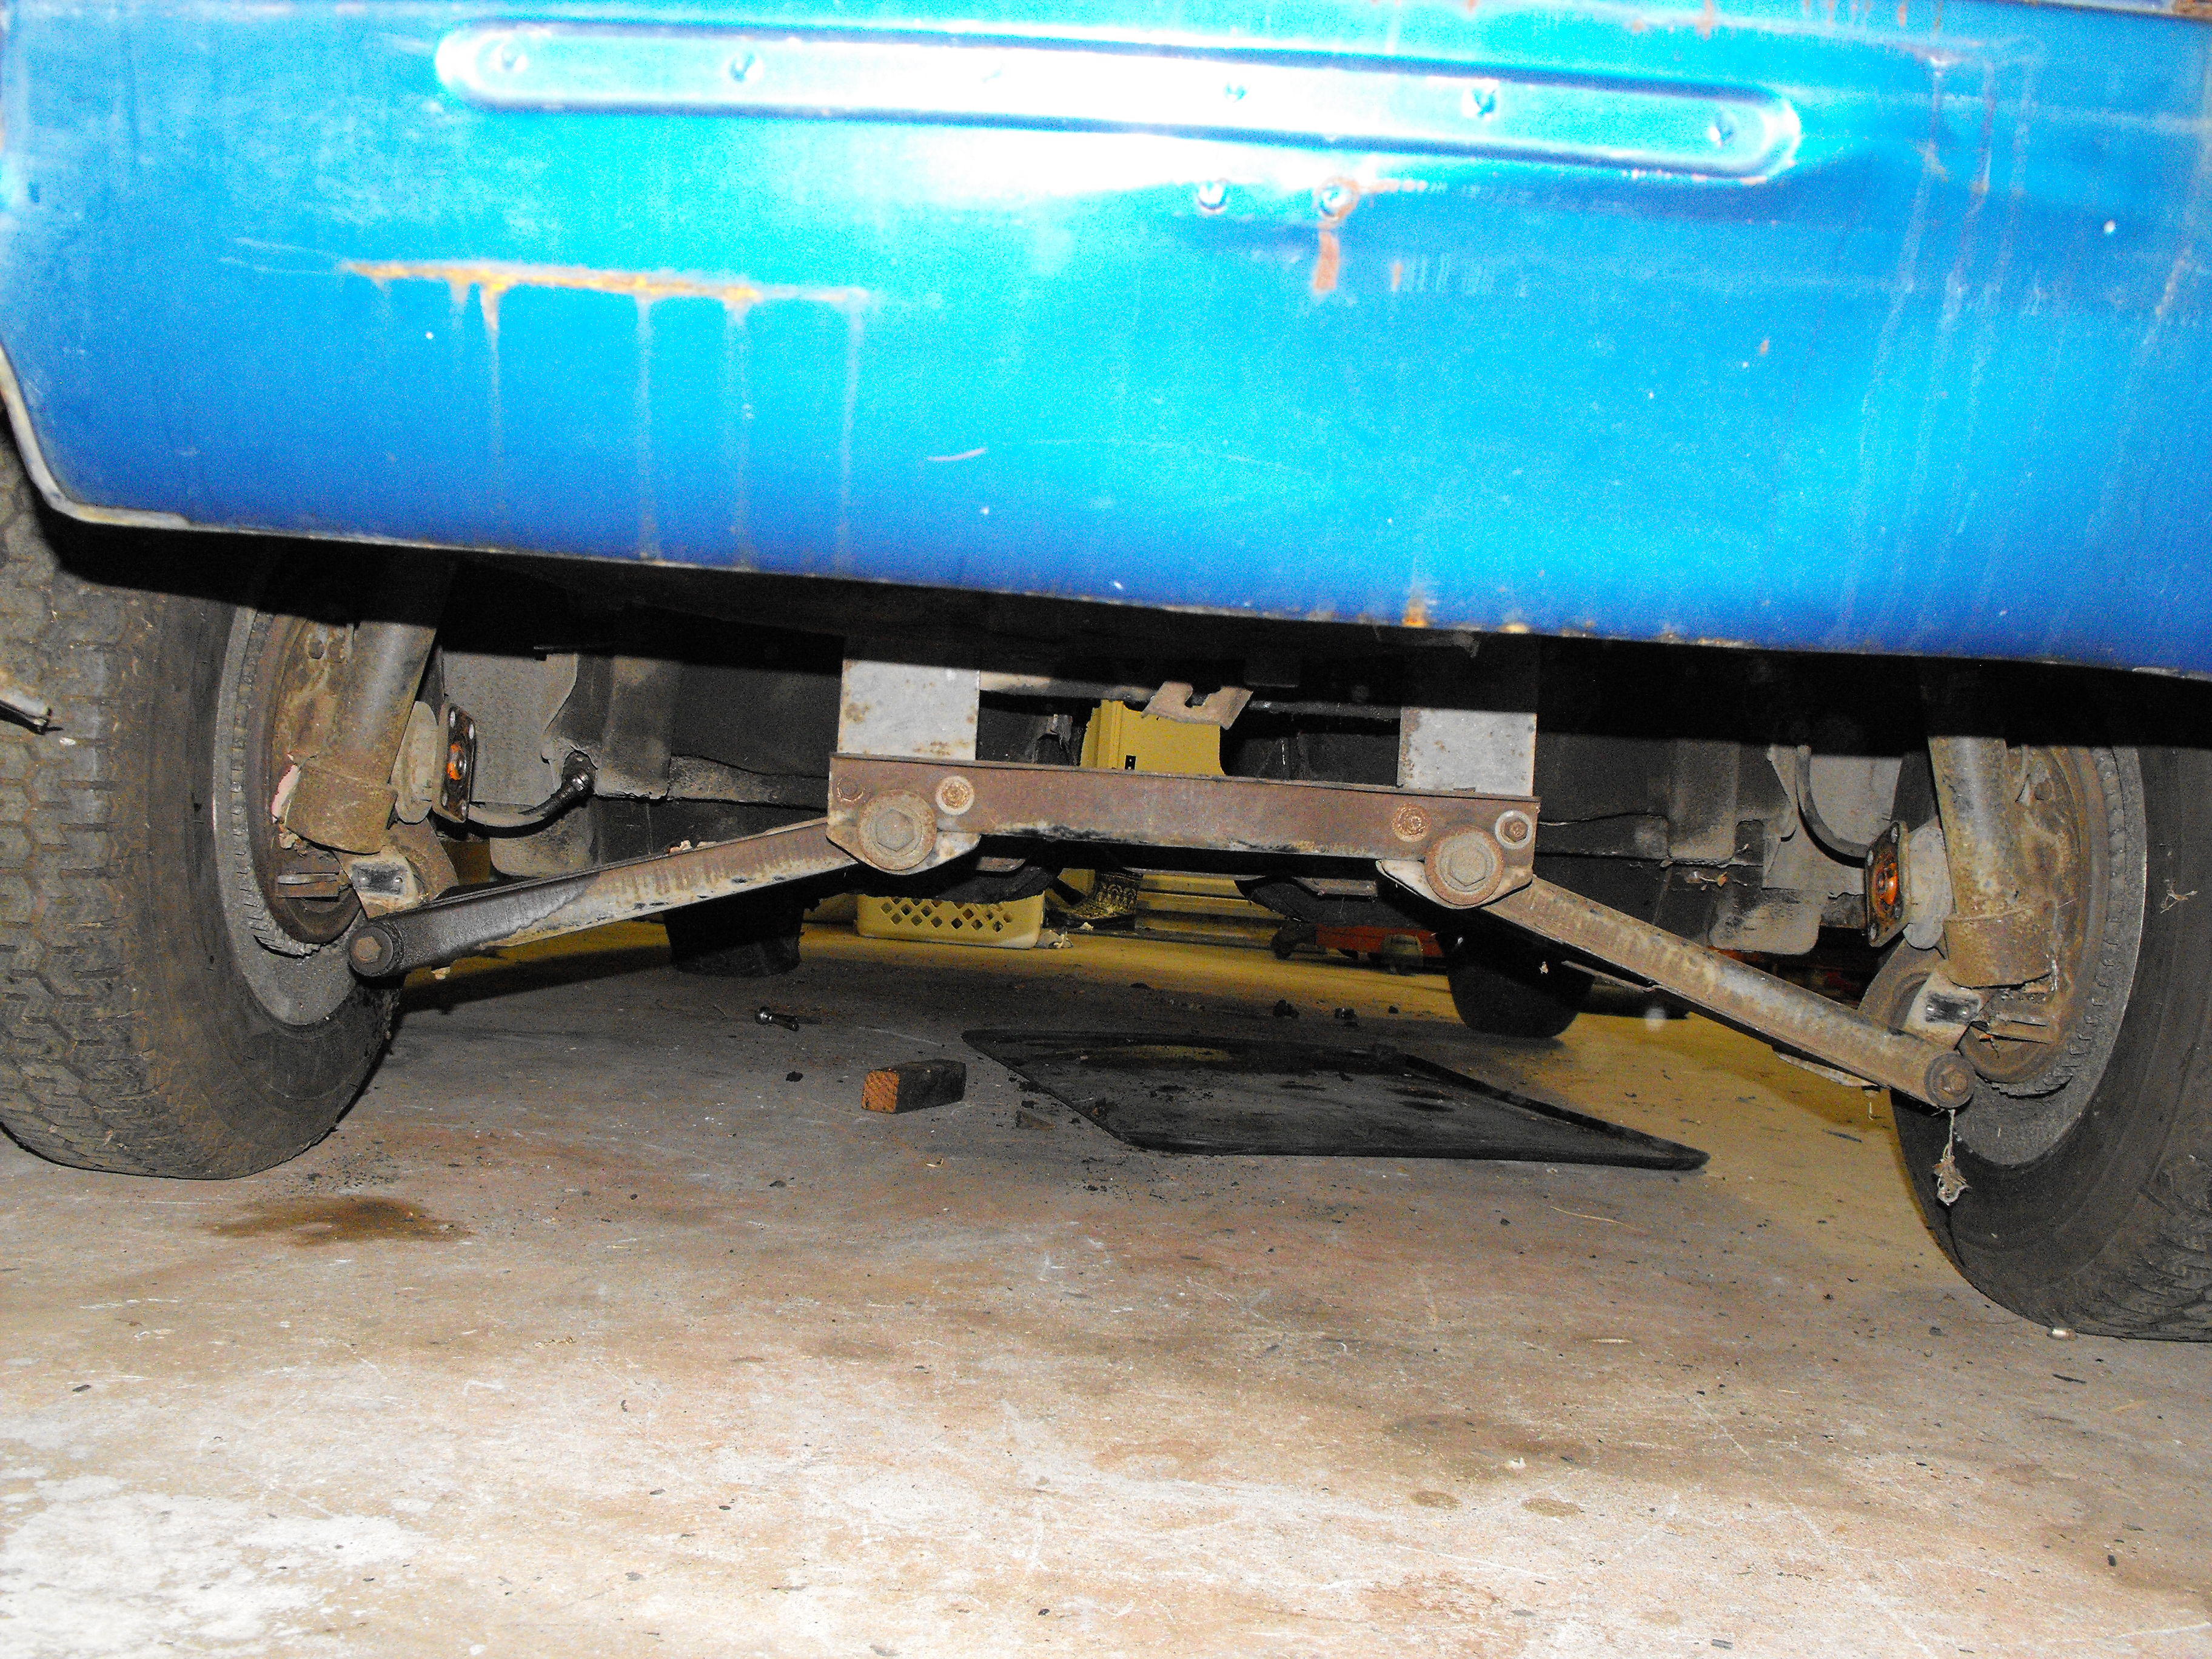
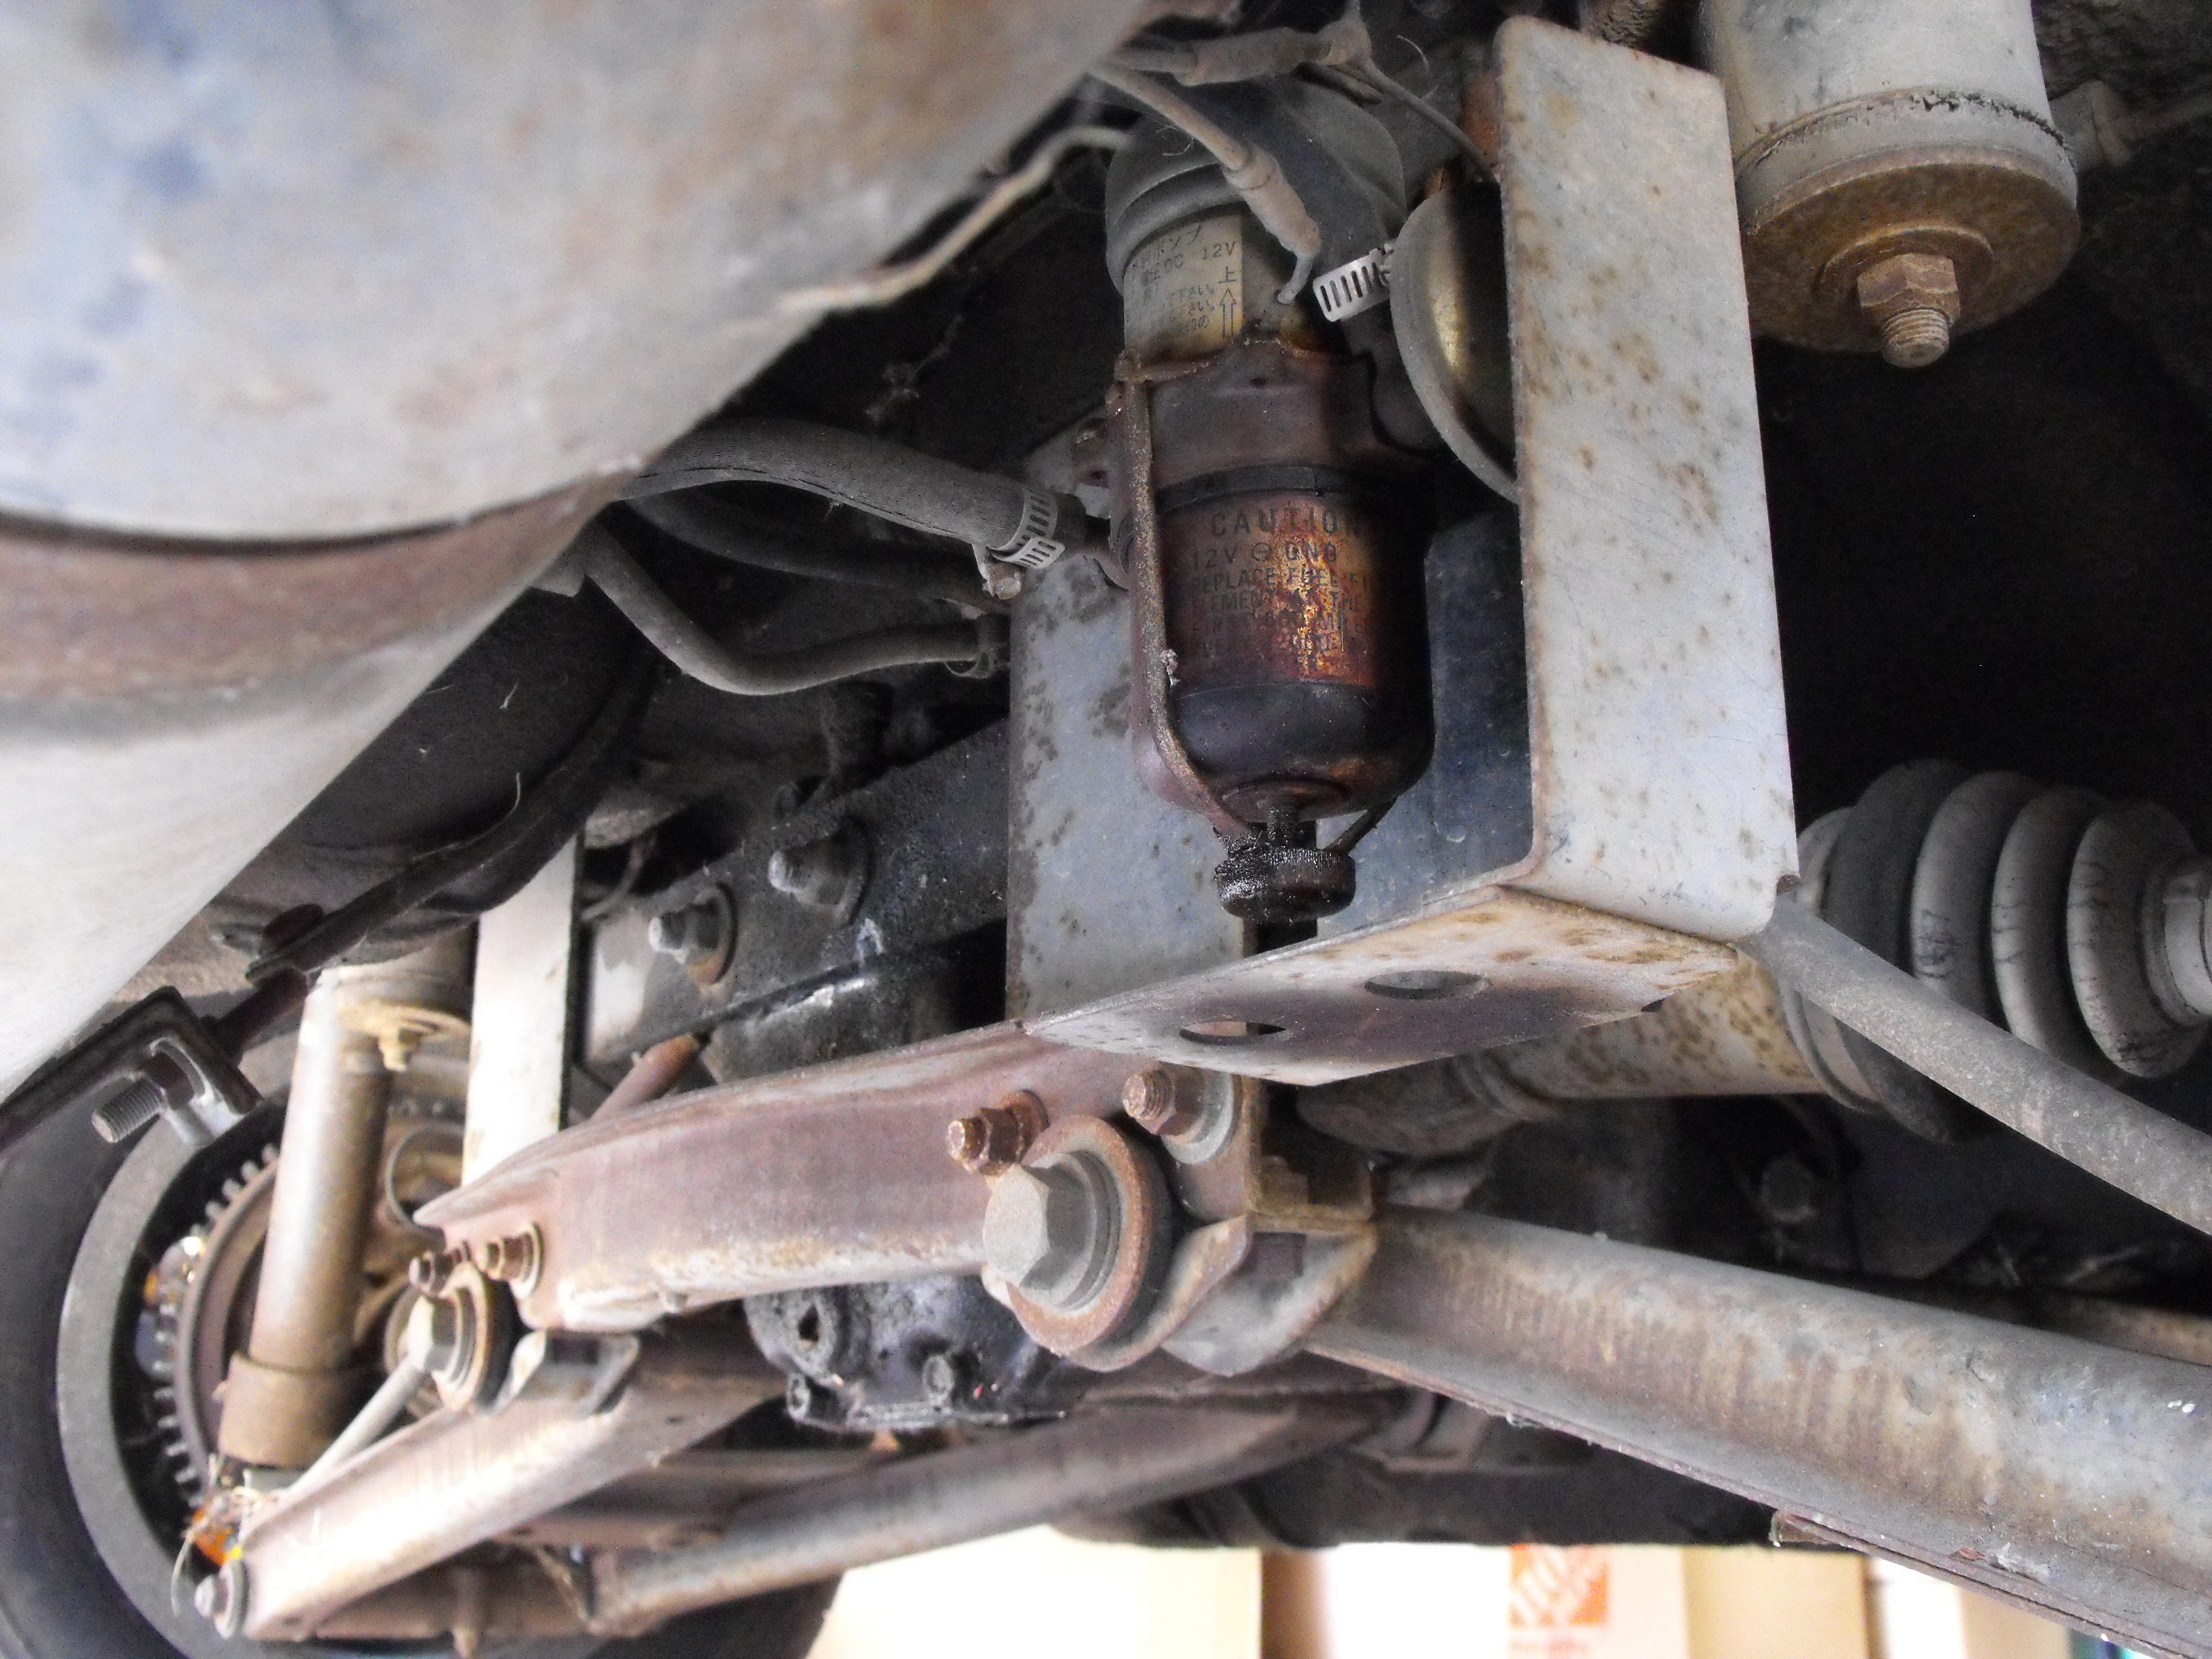
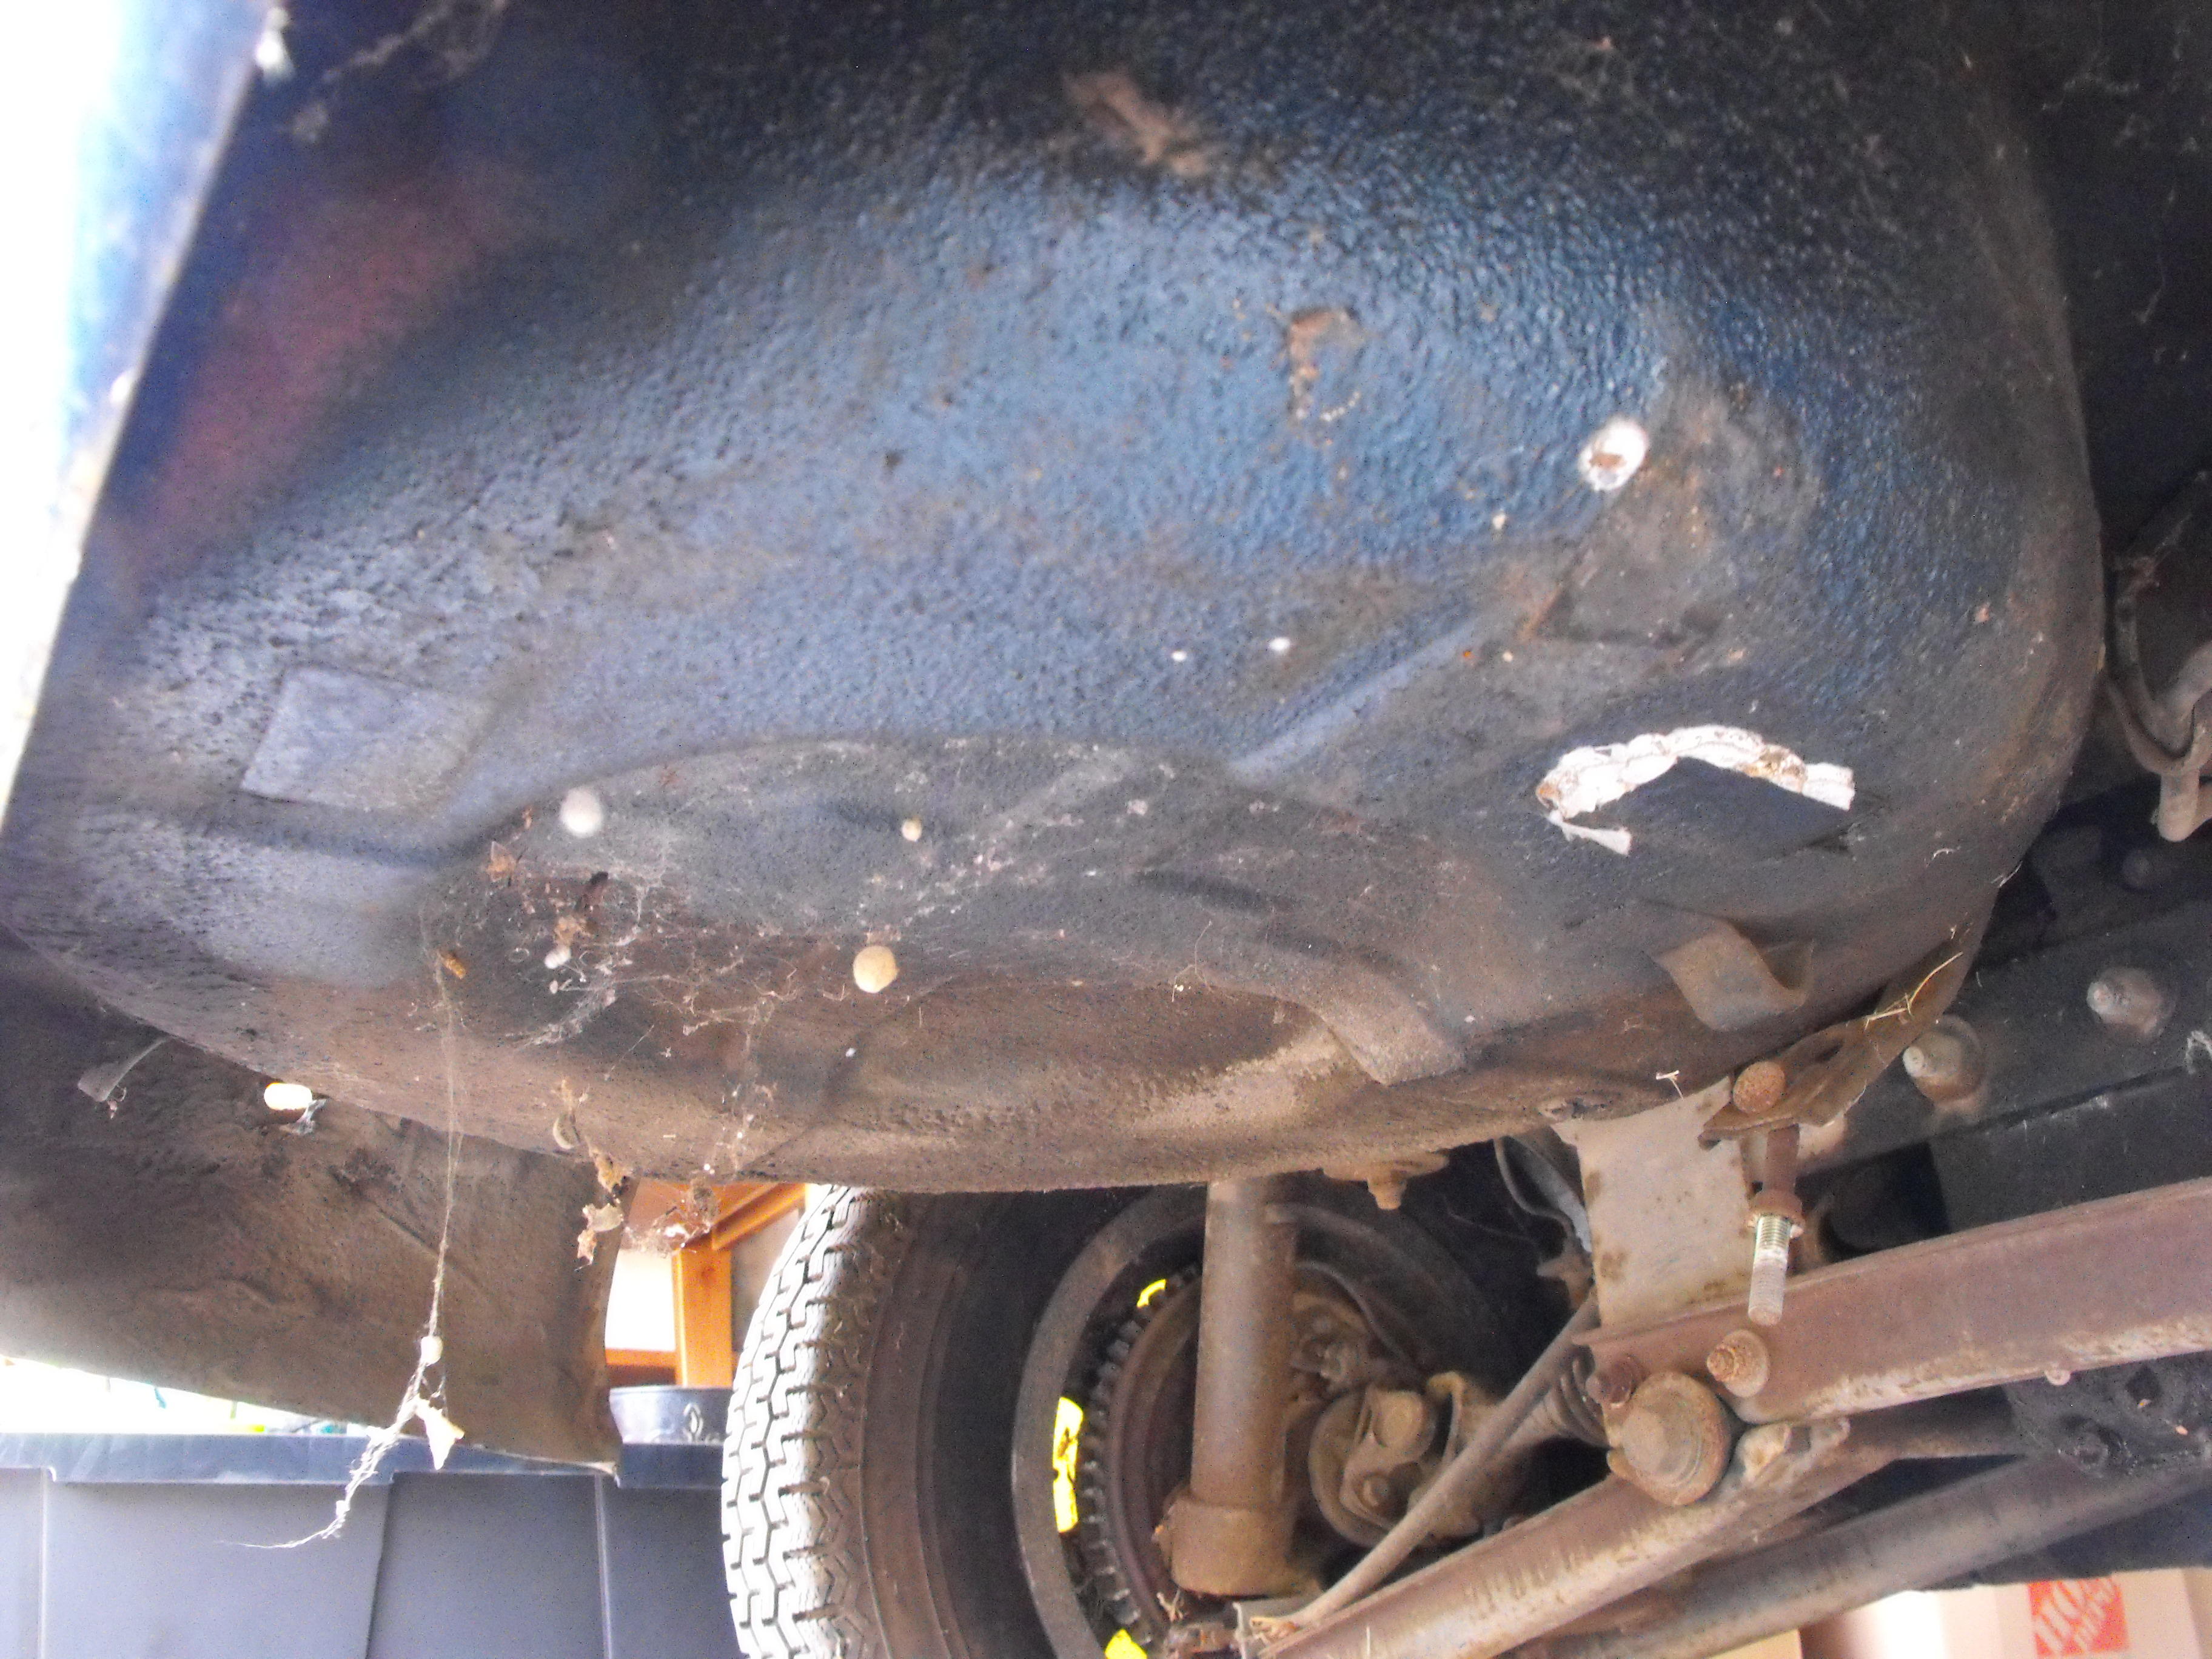
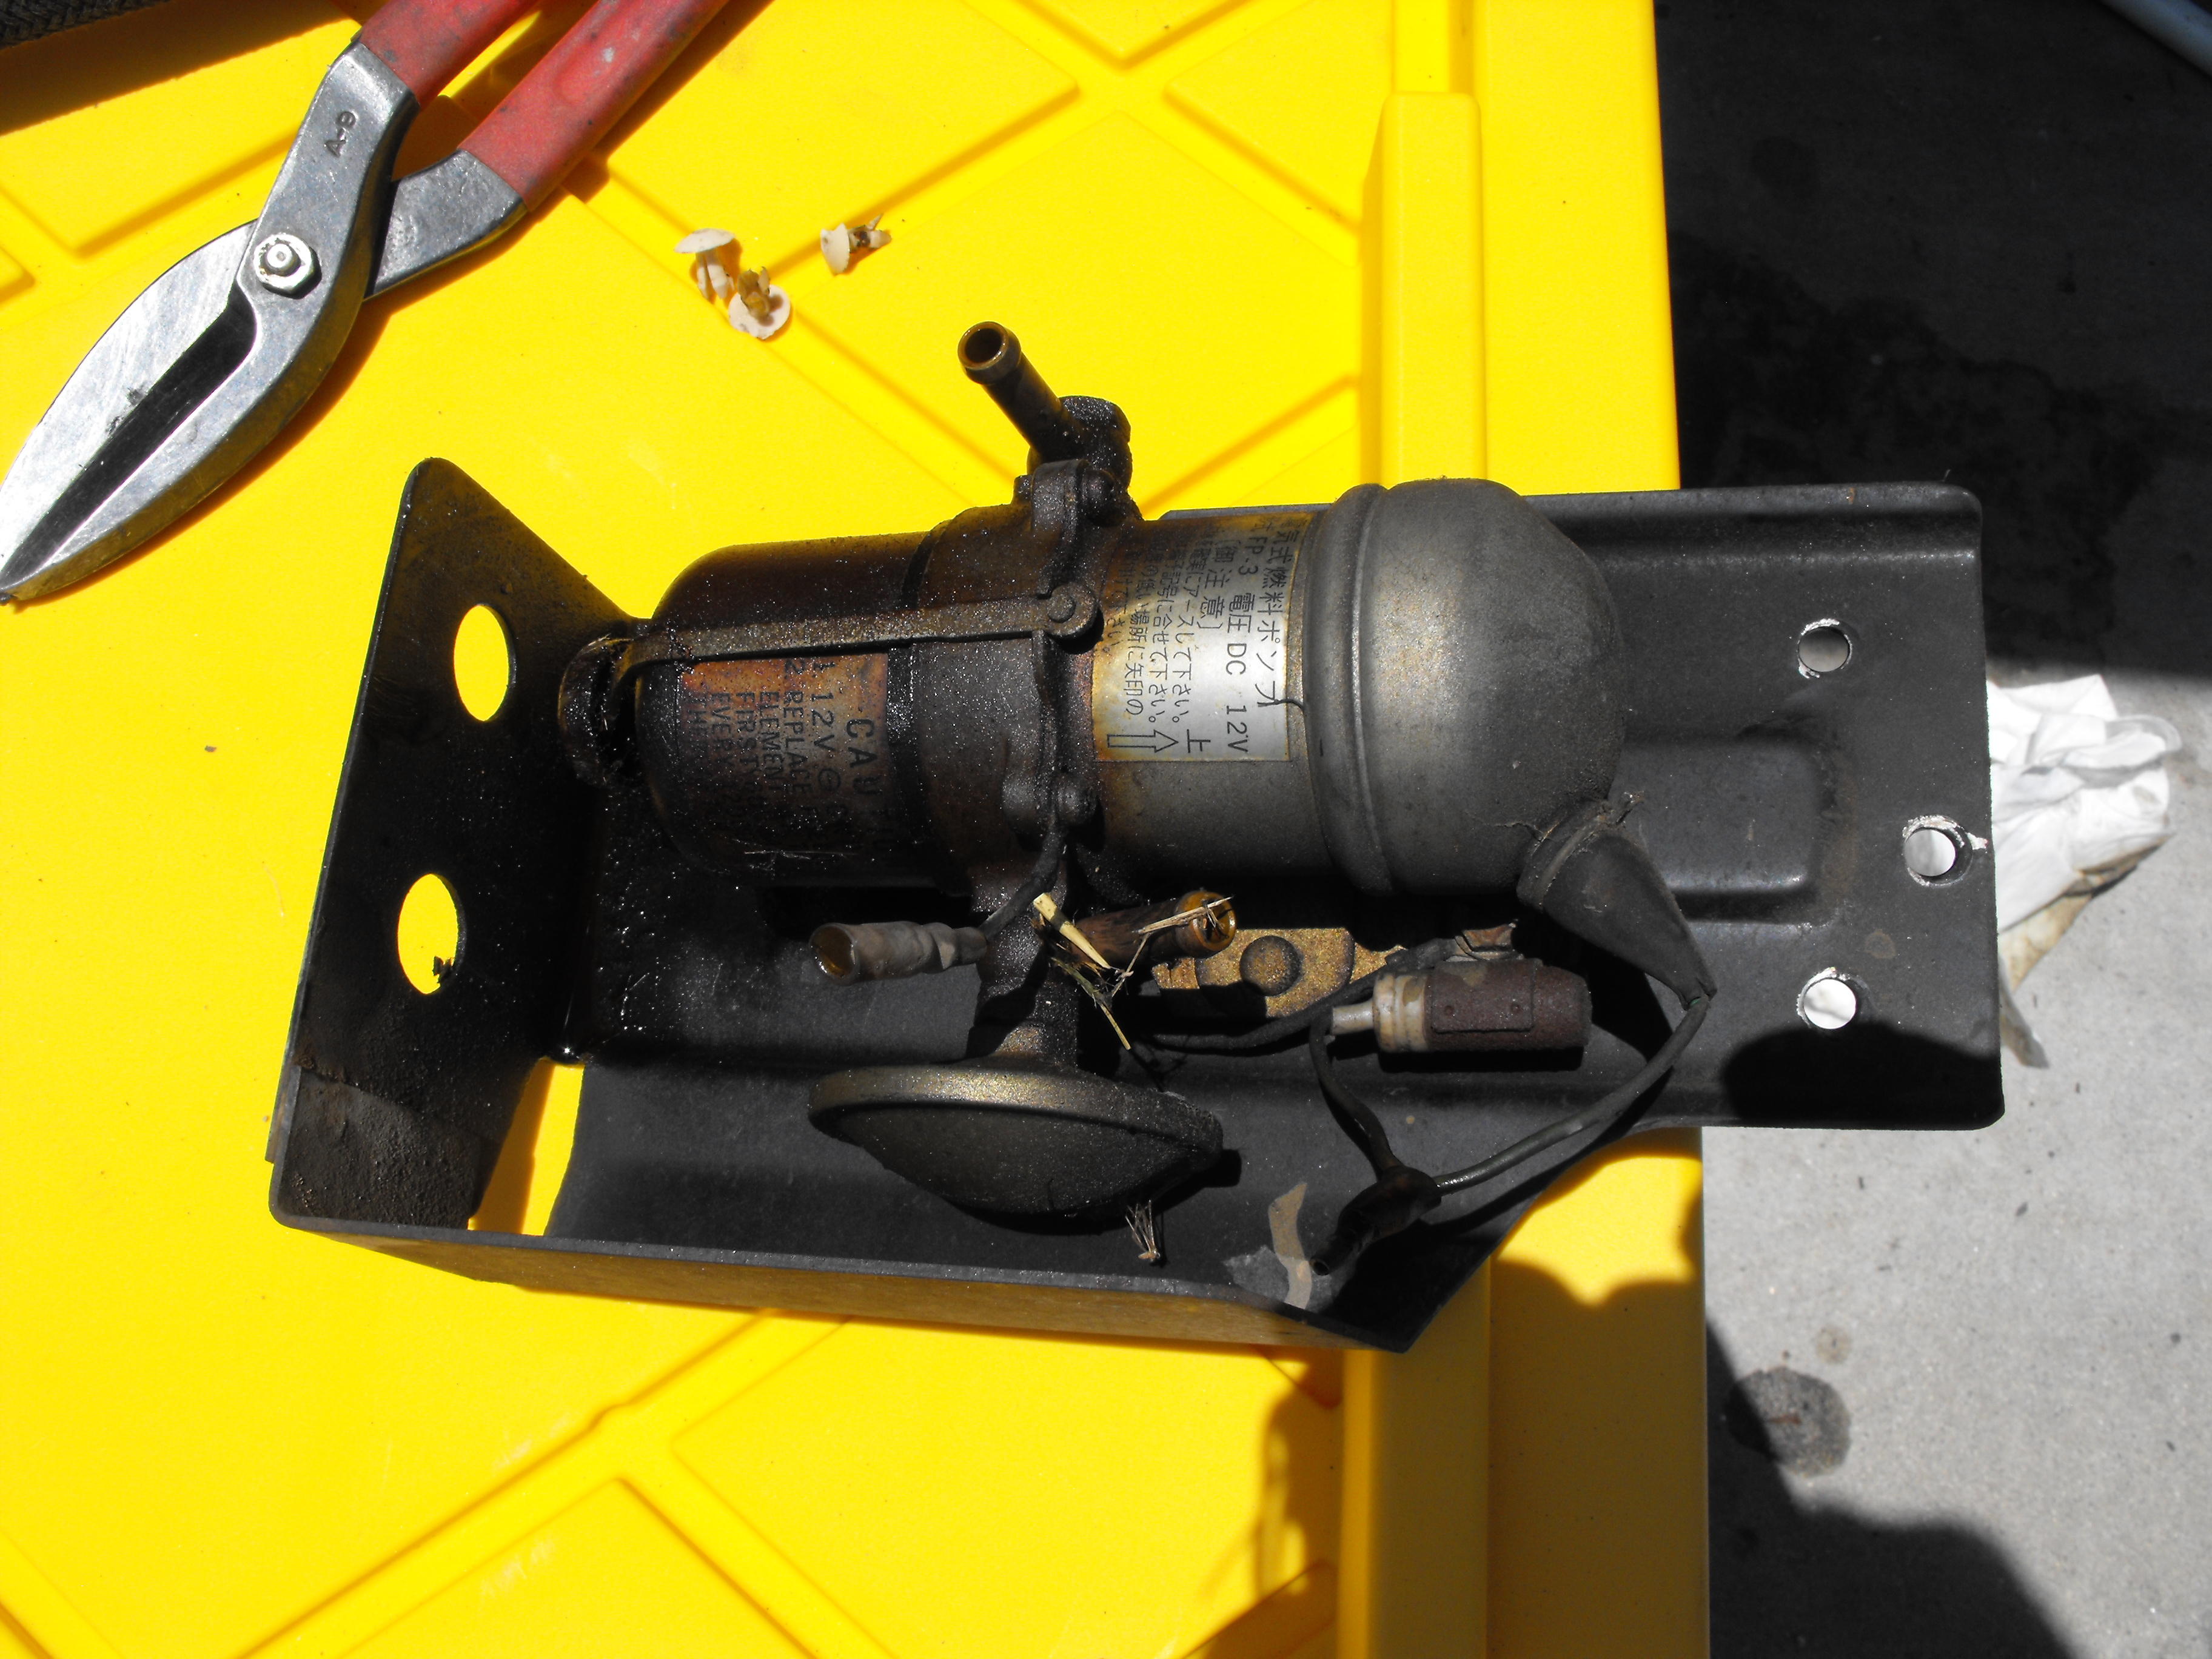
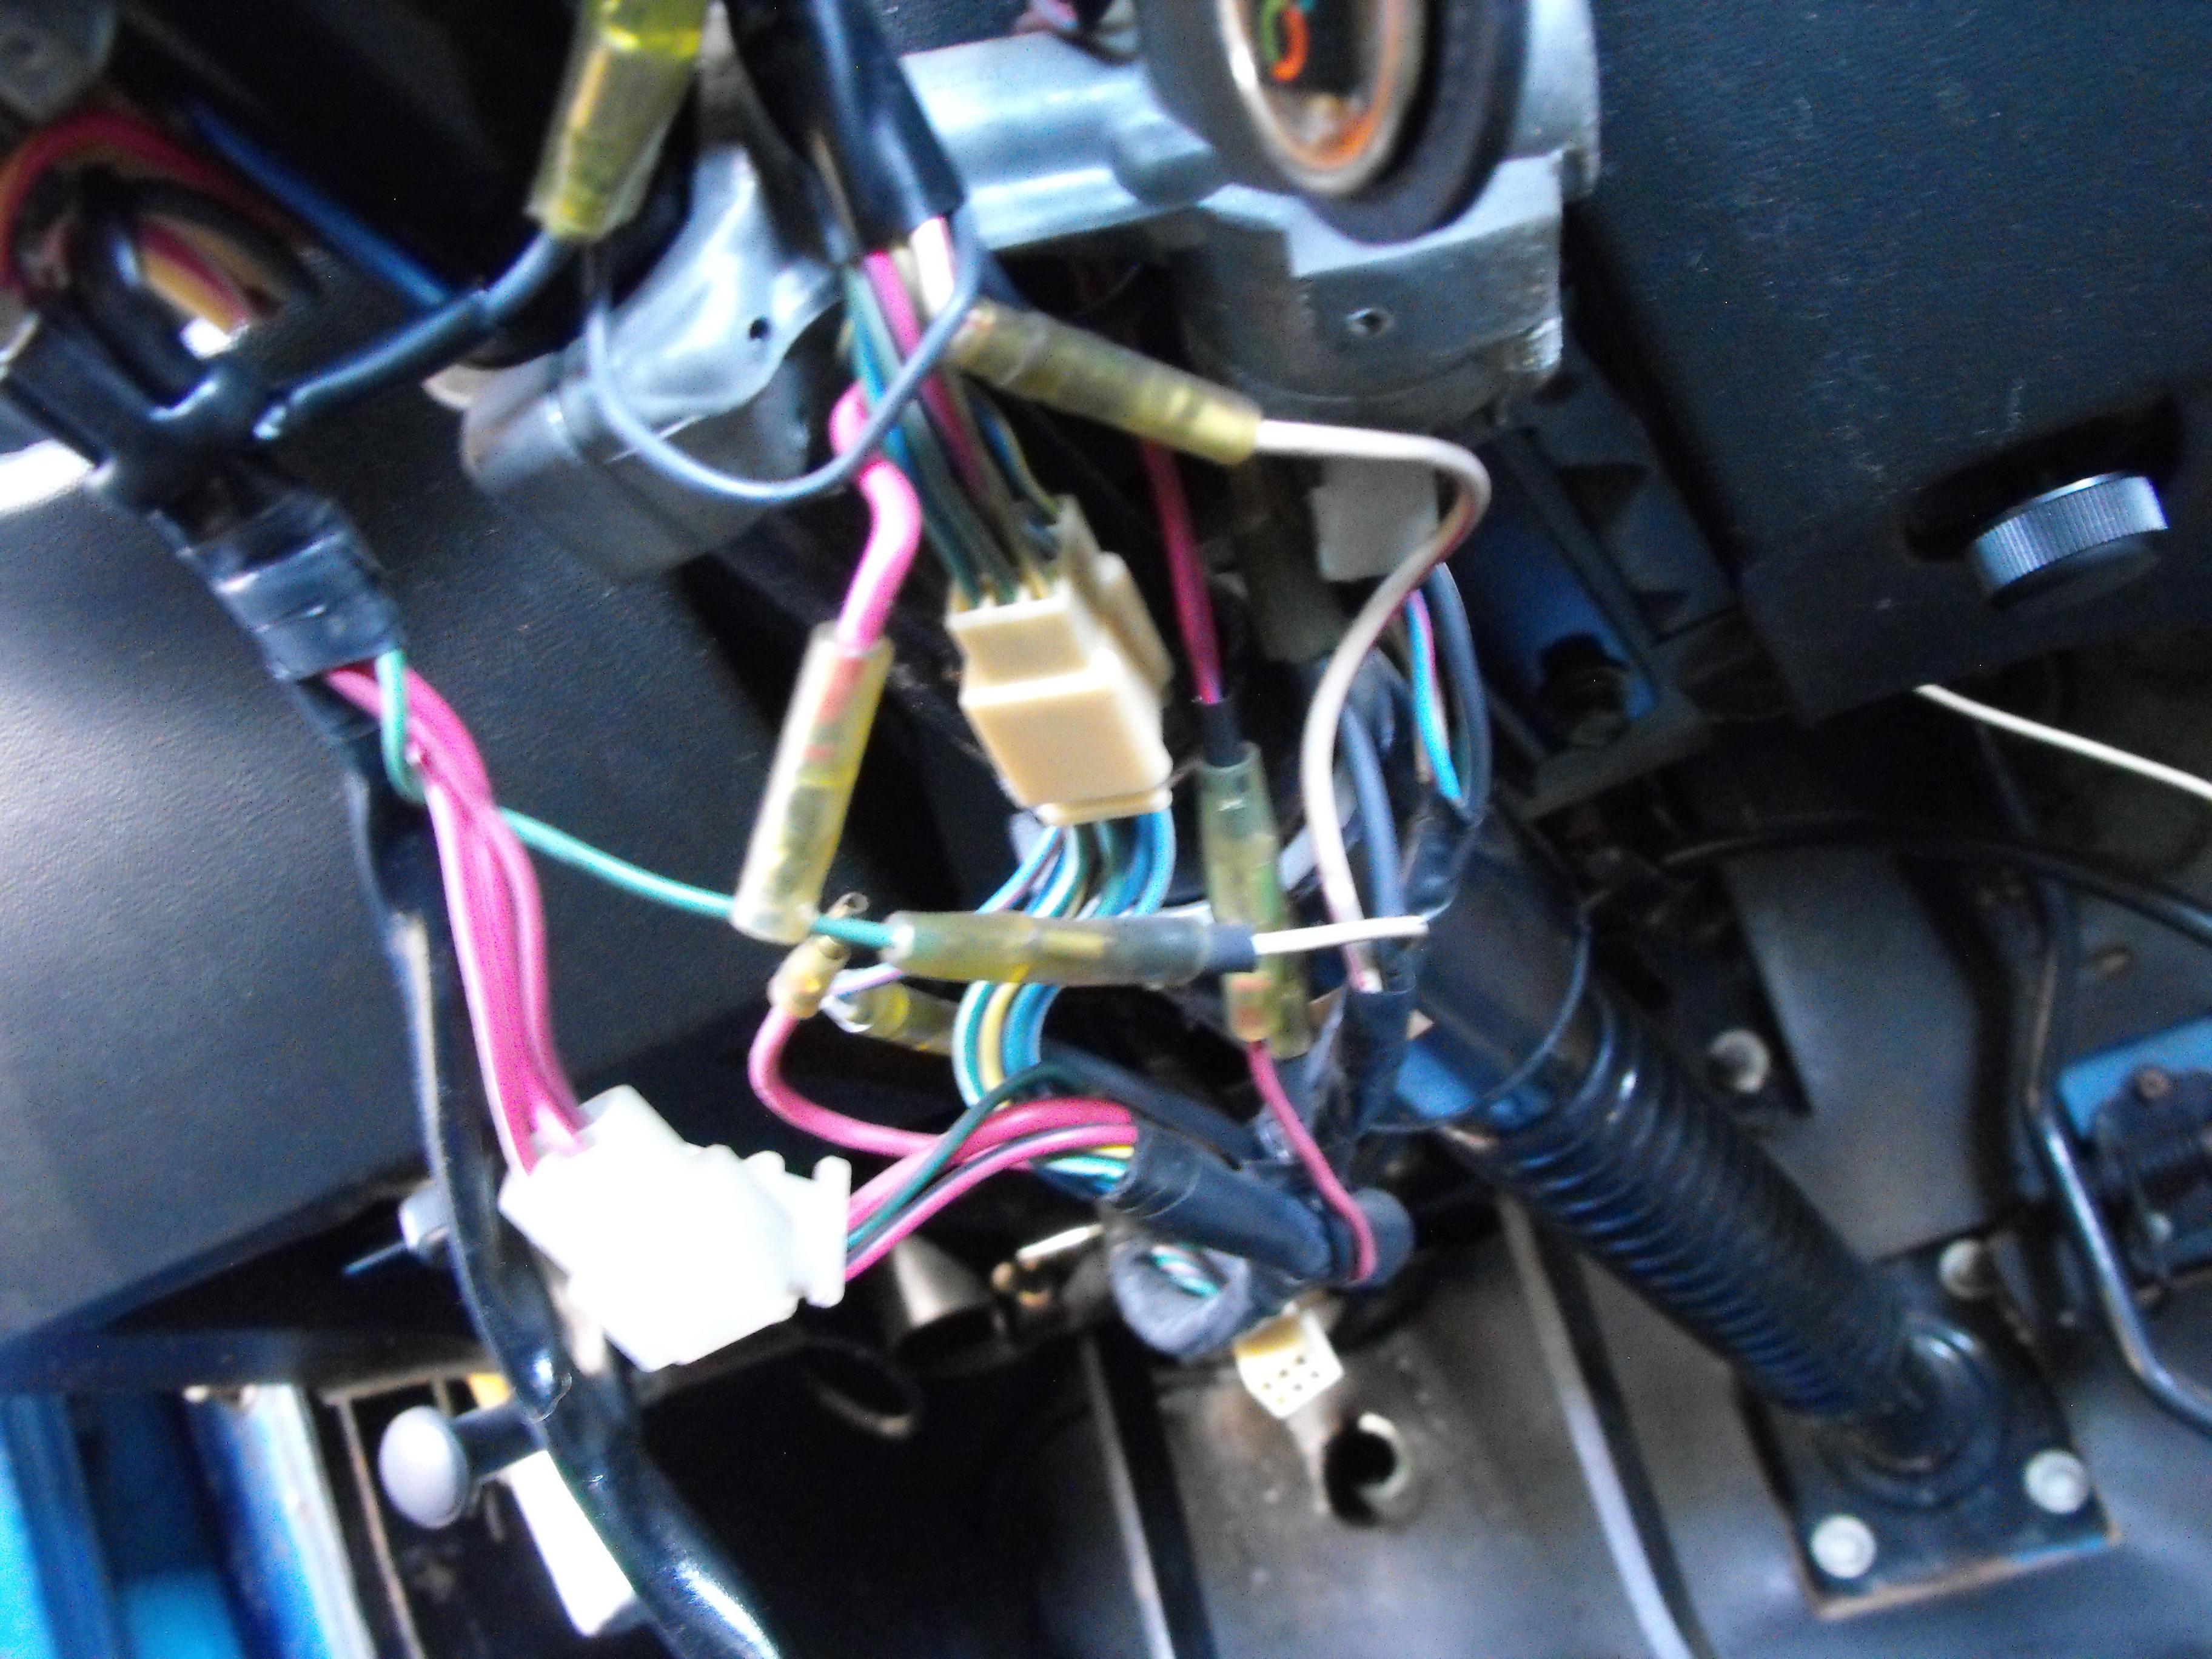
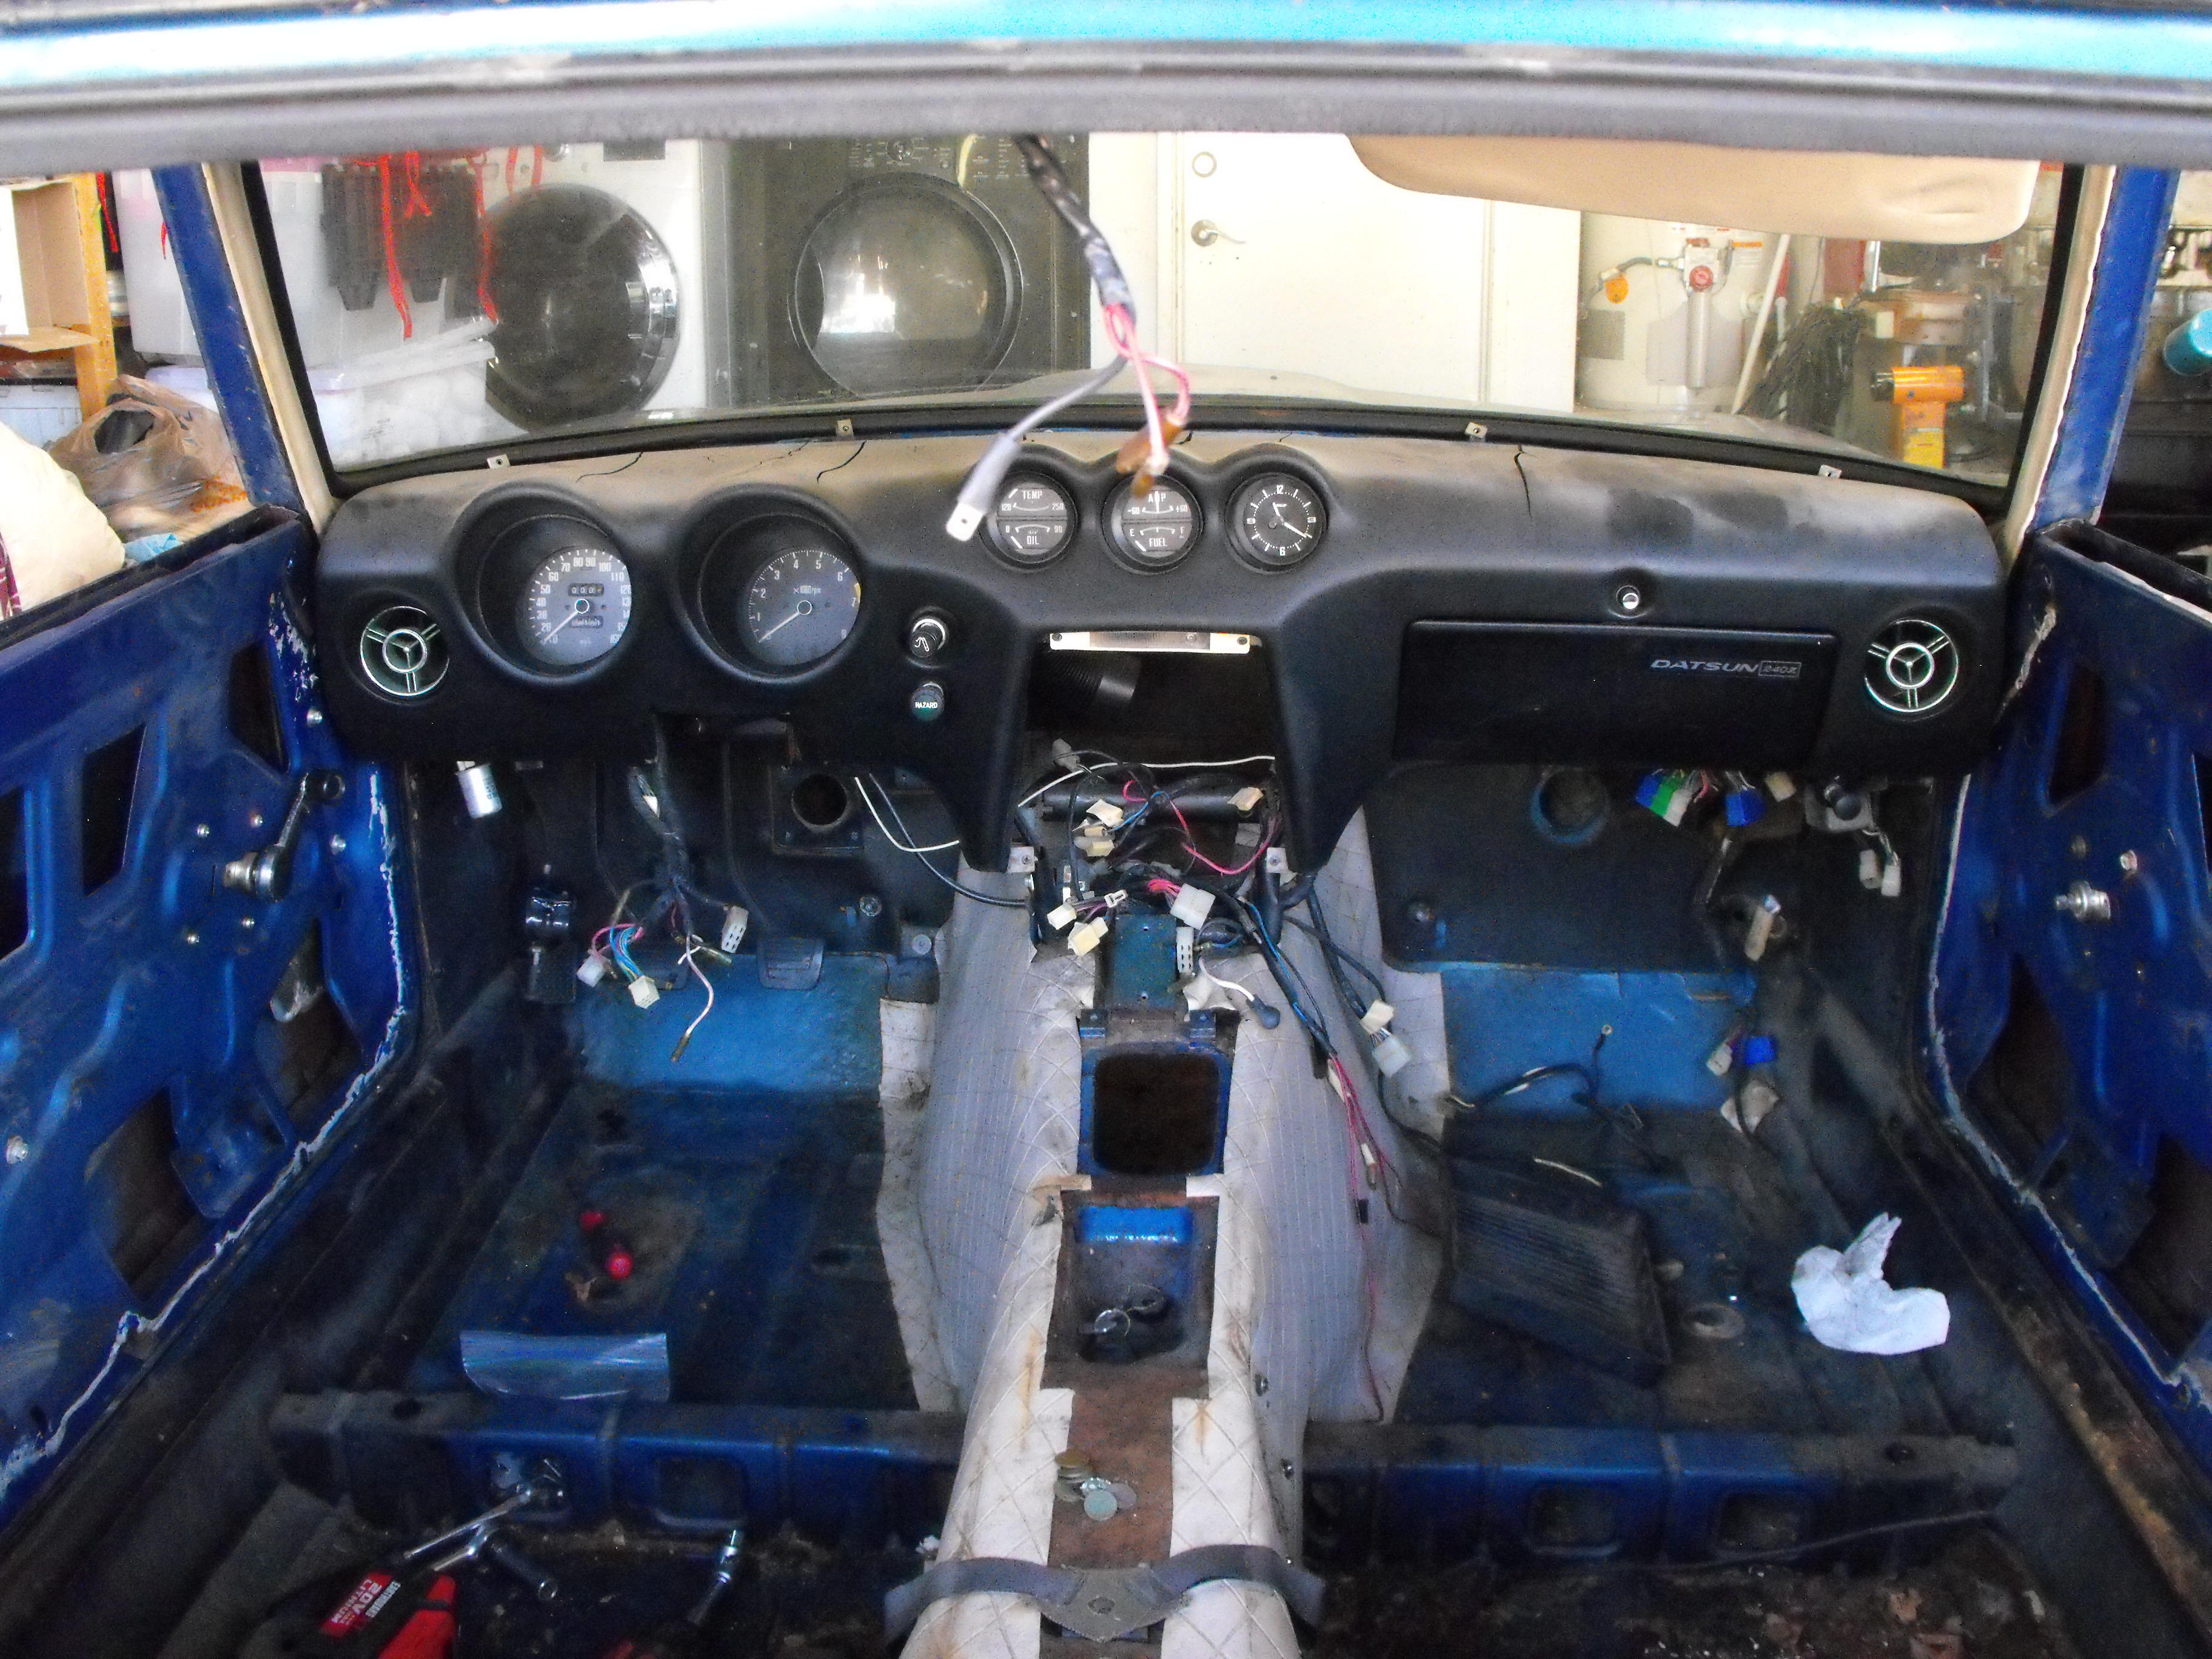
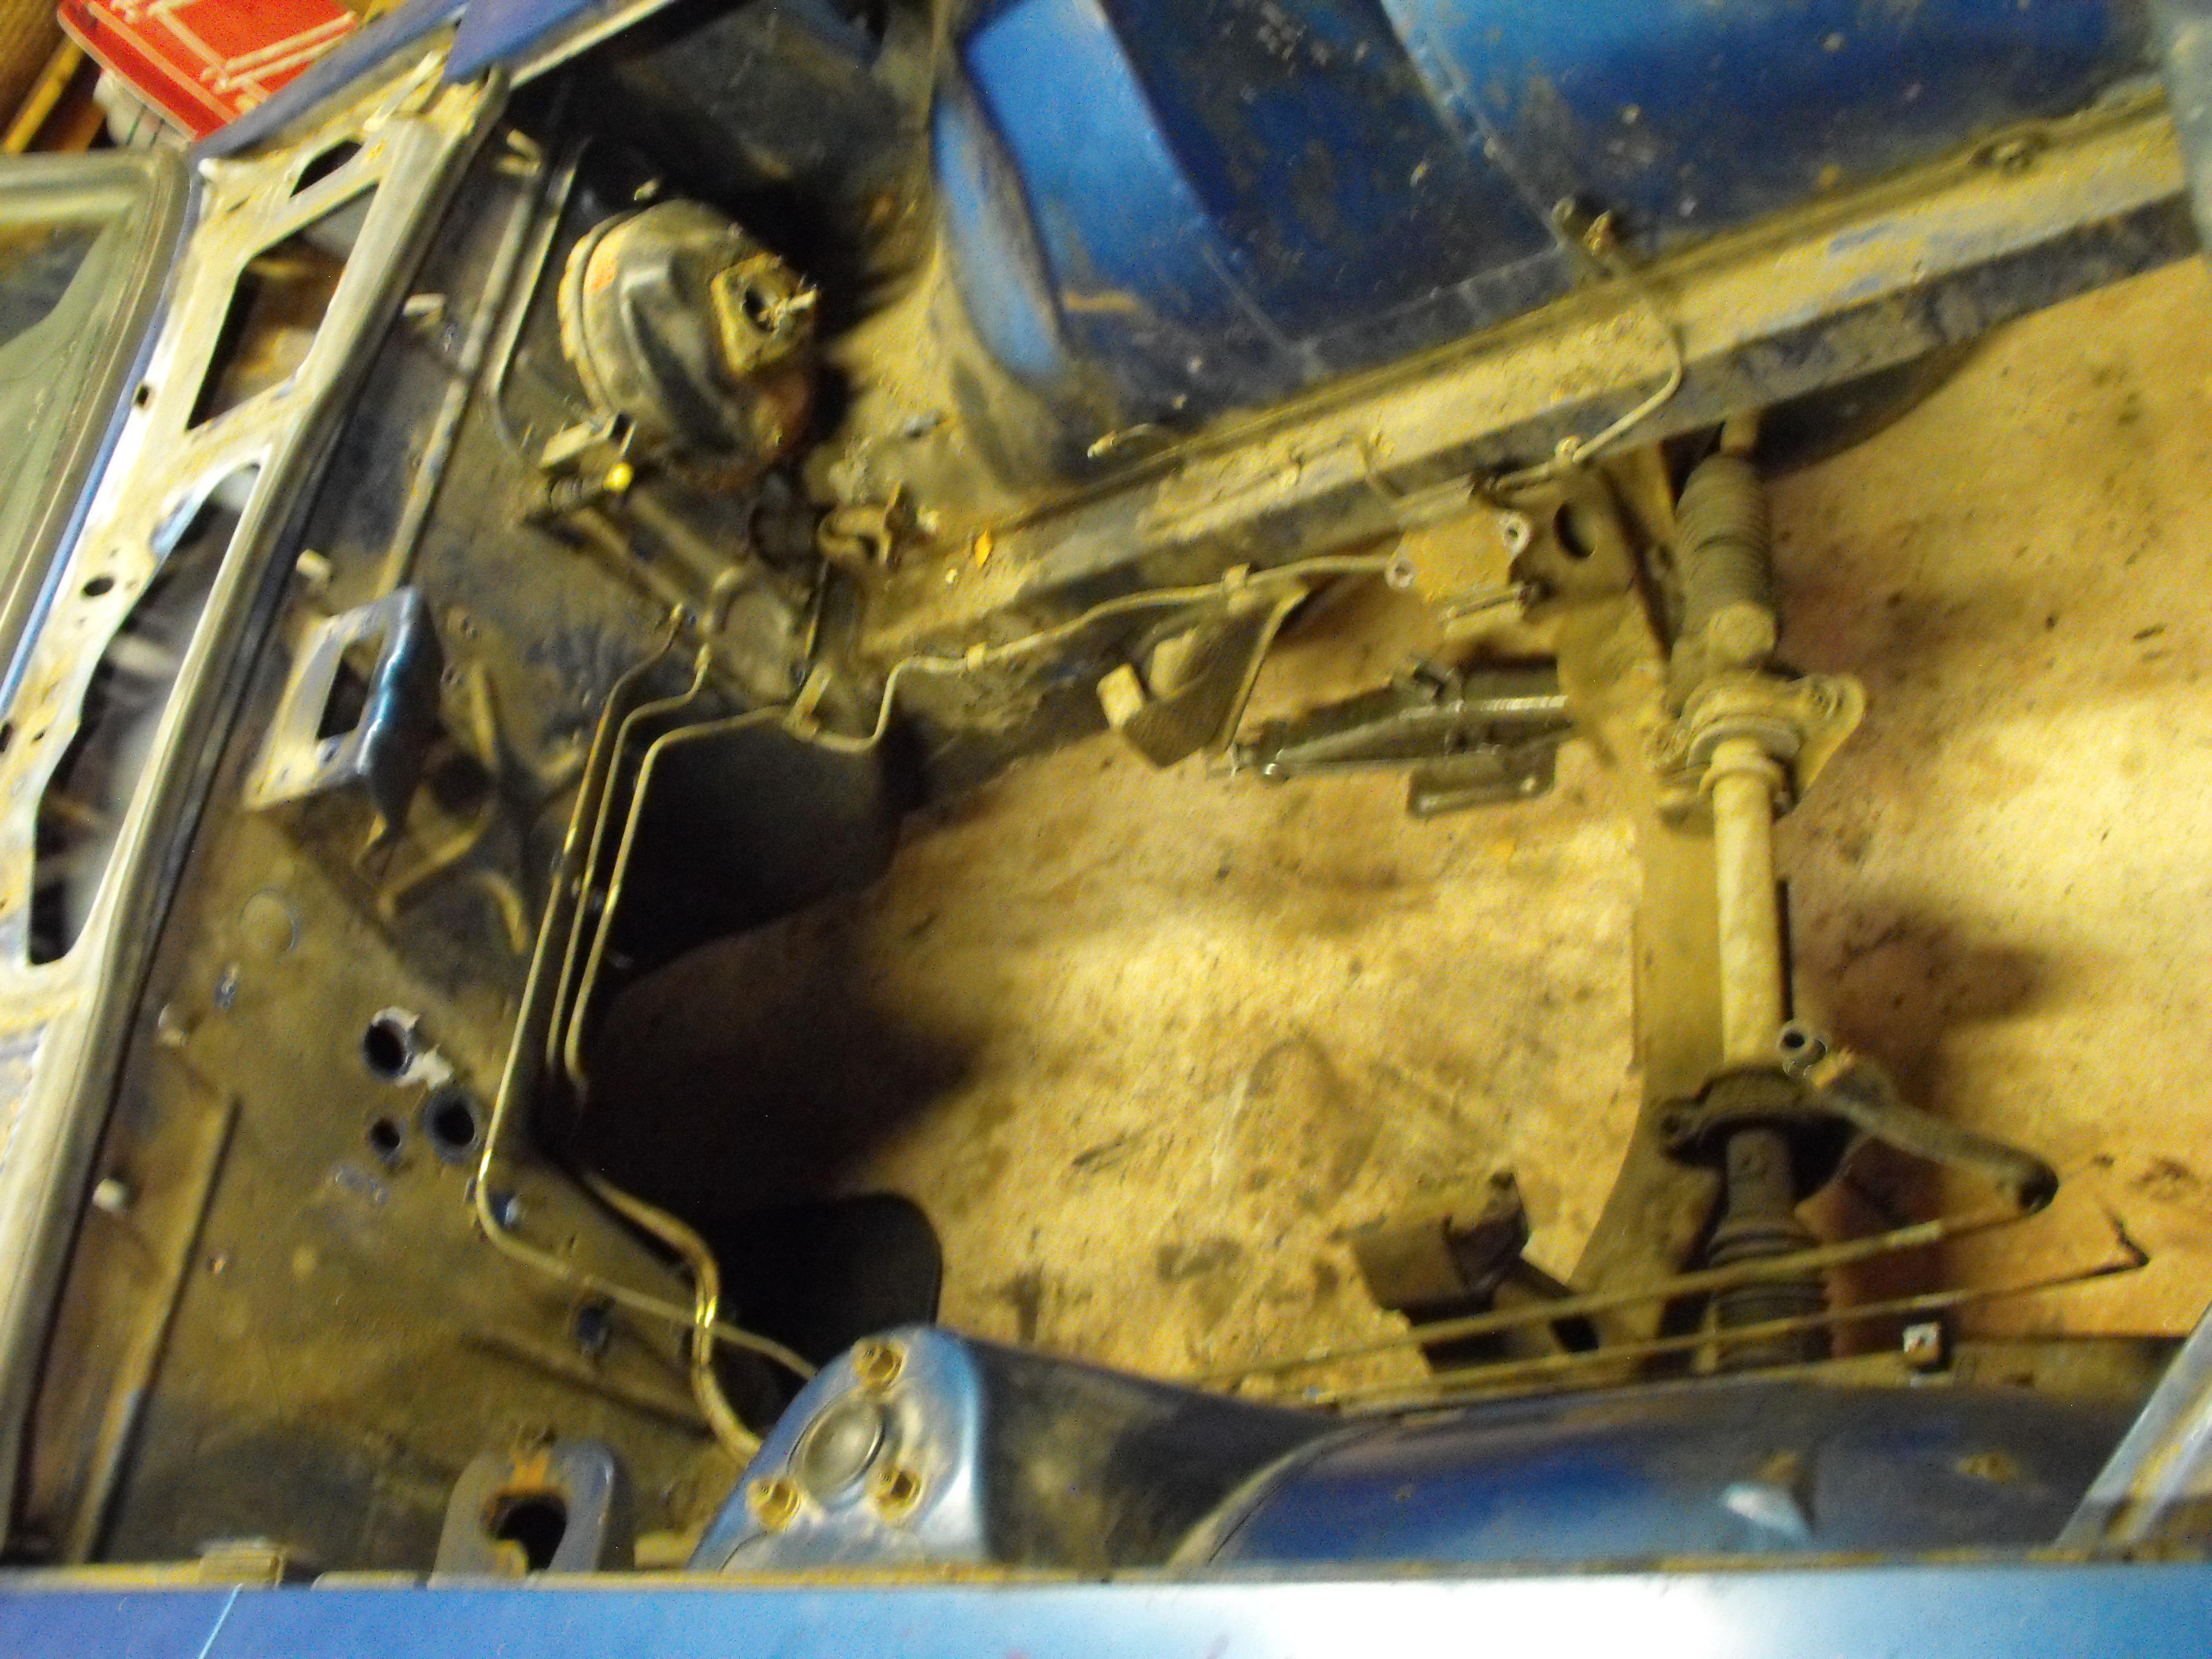
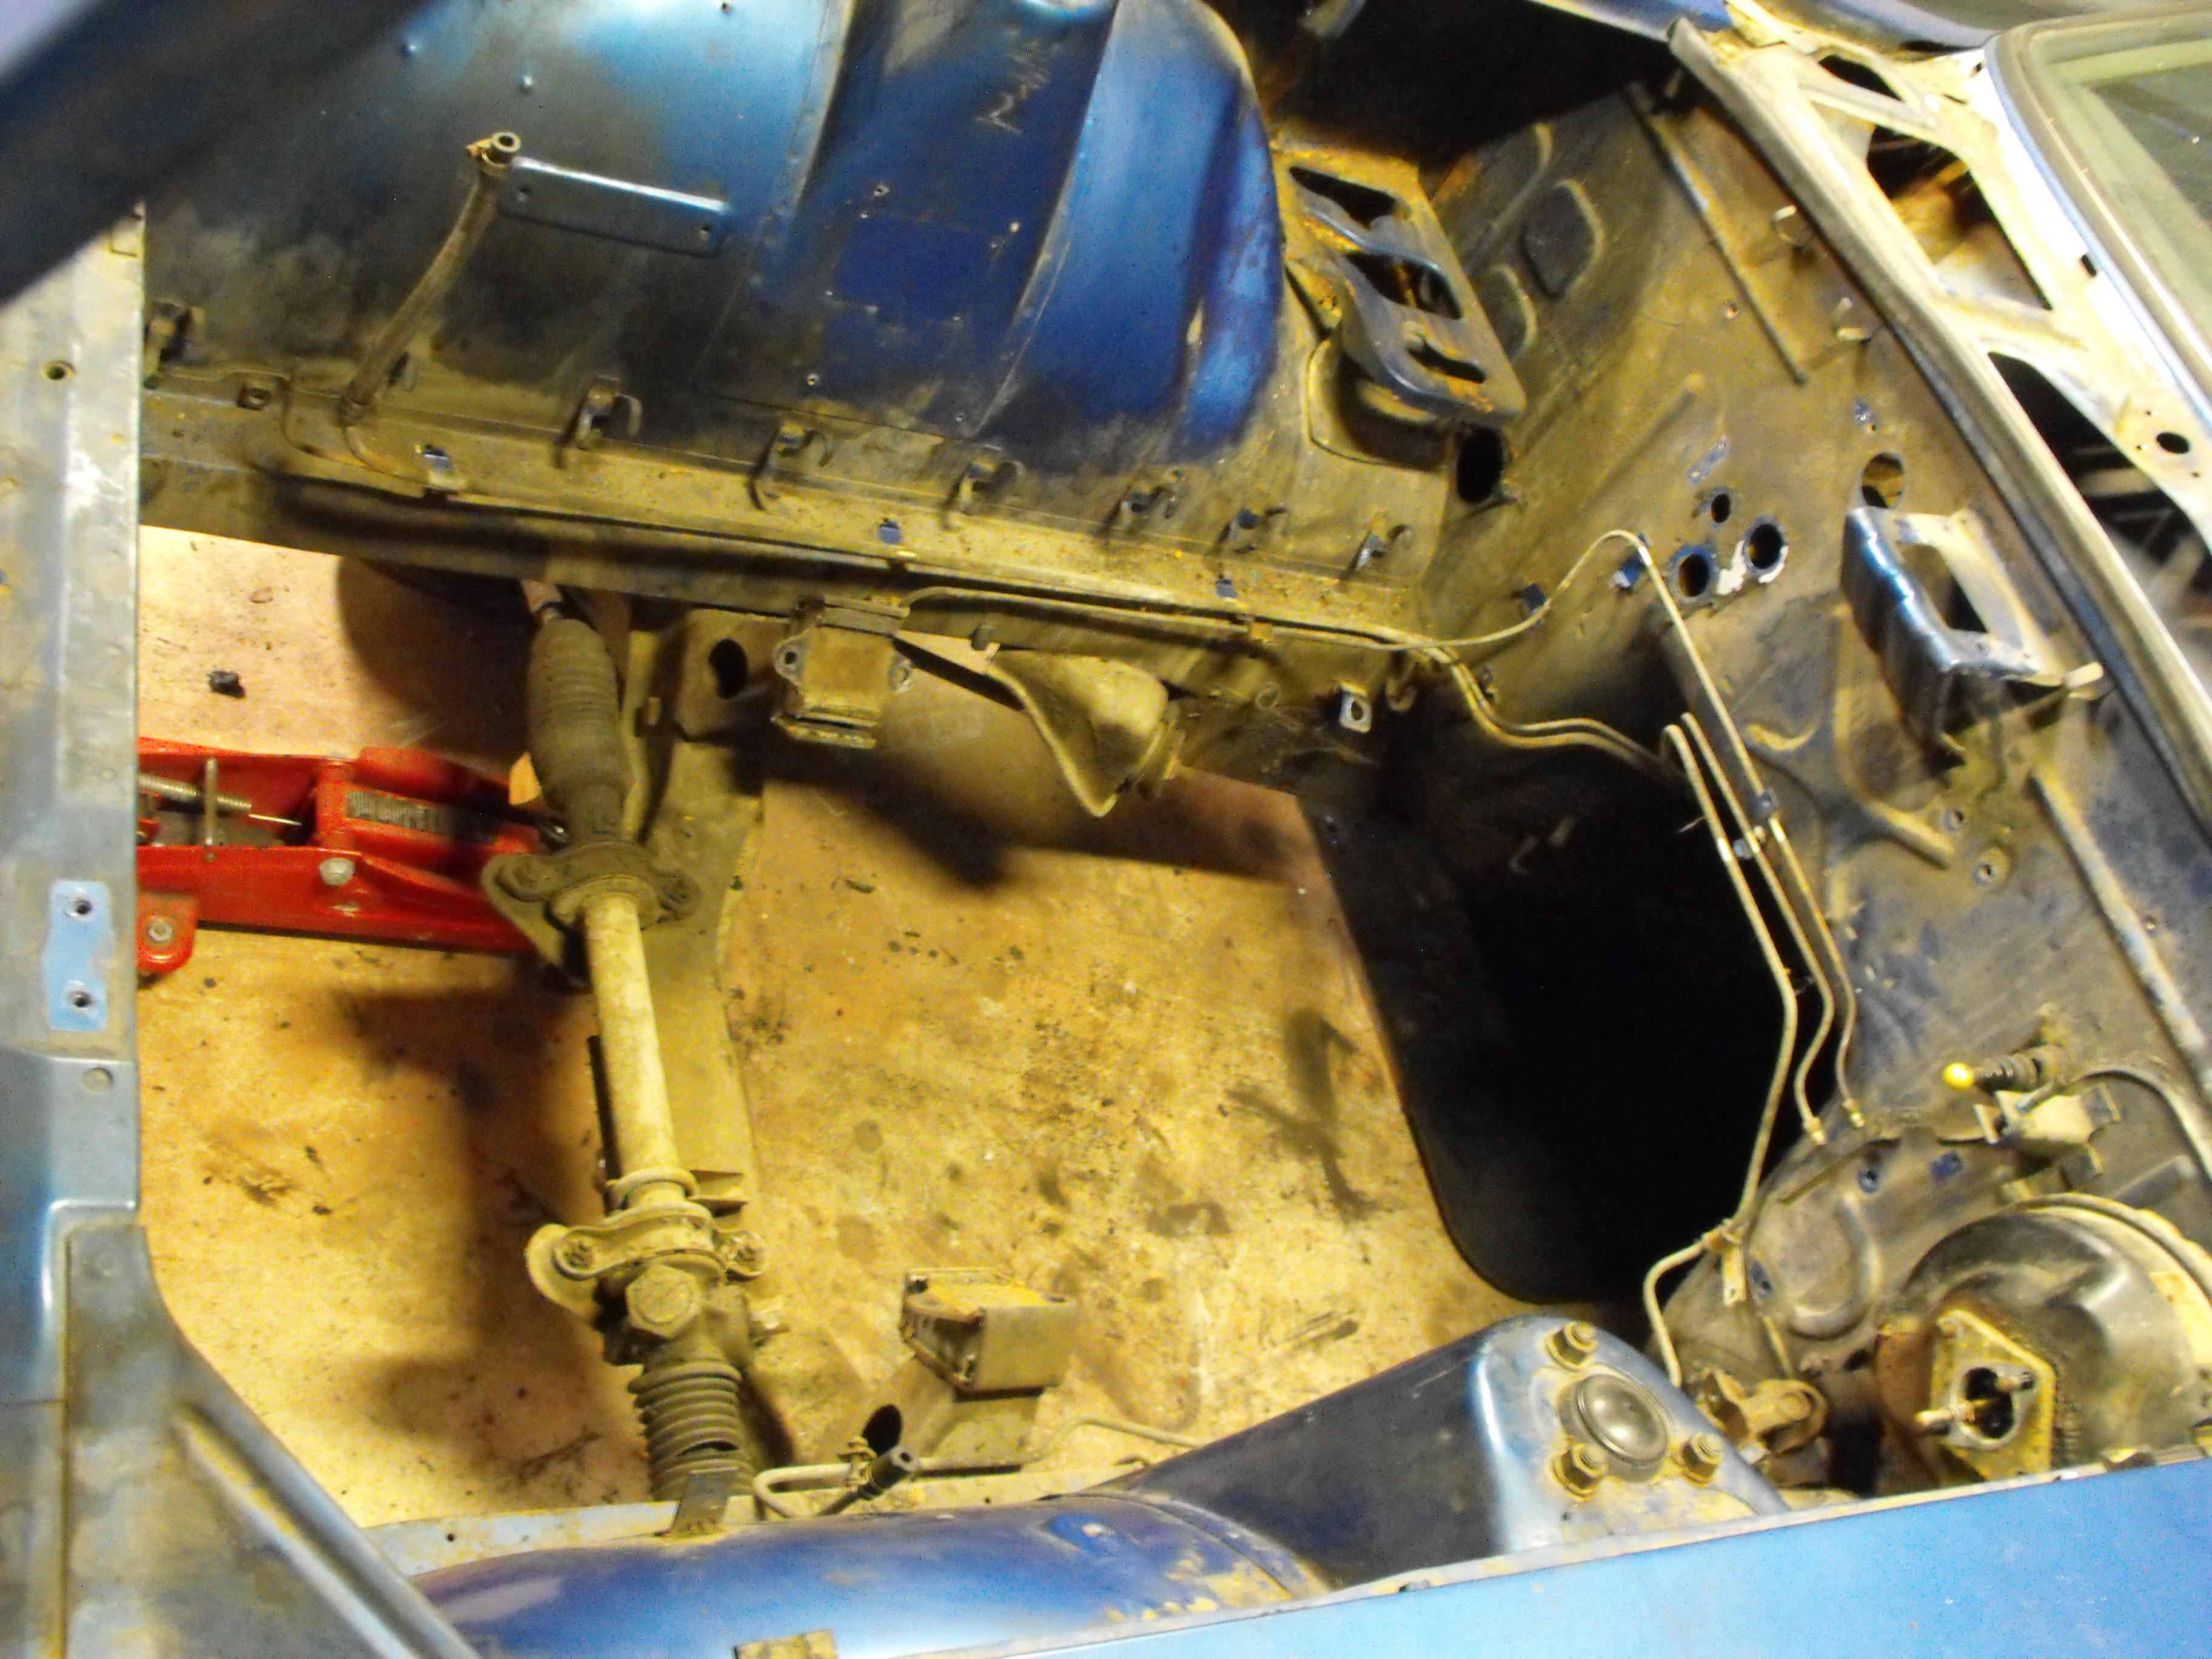
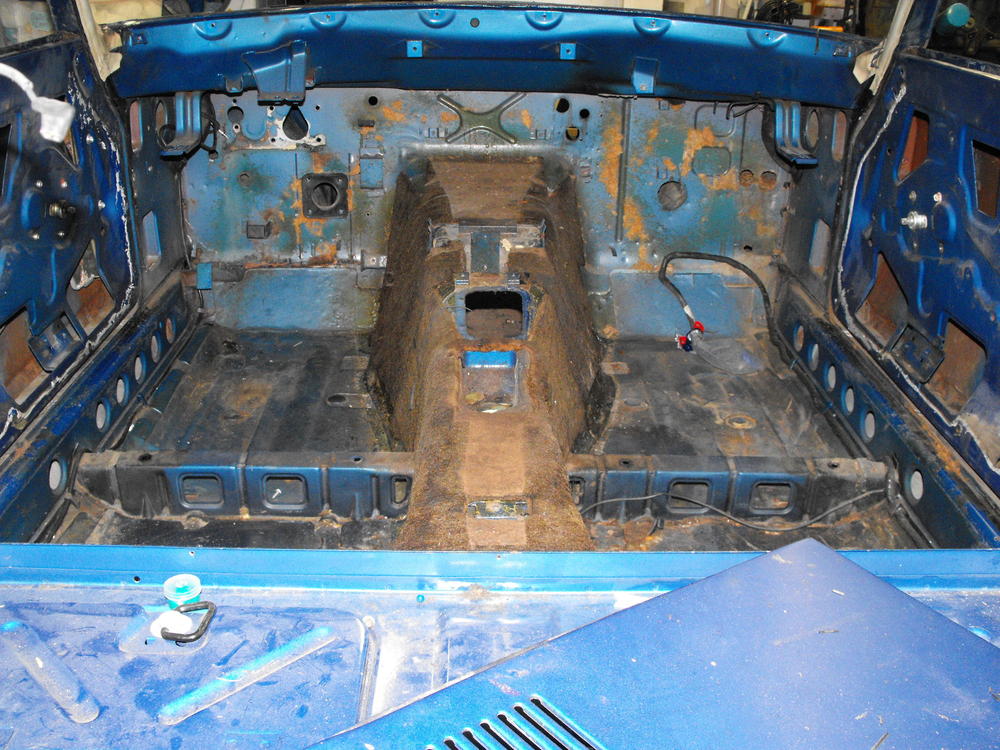
Got a lot of stuff removed last Thursday and today. Got the Fuel tank, fuel pump, hoses, diff, half-shafts, trans tunnel fuel and brake lines, seats and steering column removed, among other things. Took some good pics of the fuel pump since that is unique to the '73 (as opposed to the '70-72). Also took some good pics of the steering column wires because, as we know, the green wire connects to the white wire. Now I just have to remove the dash, front and rear glass and interior vinyl and that will be it for the part removal. I will clean things up and get most of the grease and dirt off before I transport the body to Miguel. I am hoping I can get this to the paint shop this Thursday. The underside was pretty dirty with caked oil, so that may take a bit of time. It's interesting to follow all the Flat Top 'banter'. It will make the final results all the more exciting once it is complete. @CHL240Z, Yes, I am keeping Miguel busy. My white Z is down there already. Now it will have company.


-
My only experience with the flat tops is that I had a '73 with them on and they ran great, even in bad traffic on the 5 Freeway. Hard for me to complain when I have only had a good experience with them.
-
The only shop I know that might be available would be zcargarage.com up in San Jose. Currently, I am pretty booked and would not be available until sometime next year. Also, I know Les at Classic Datsun Motorsports in Vista is pretty booked as well. For reference: a restoration that looks like it just left the factory will most likely be in the $30K to $100K range, dependent on the current condition of the car. Also, it takes a little time and can be 6 months to 2 years to complete.
-
Should not be a problem putting the trans on with the engine in place. I have done it several times before when replacing a leaky rear seal on an engine. I use a couple scissors jacks on a plastic 'oil drip tray' and carefully slide the assembly forward once it is at the right height. Make sure the trans housing and mating engine block are parallel. Also, you might have to rotate the drive shaft back and forth to get the transmission splines to insert into the clutch plate splines as you slide the transmission in.
-
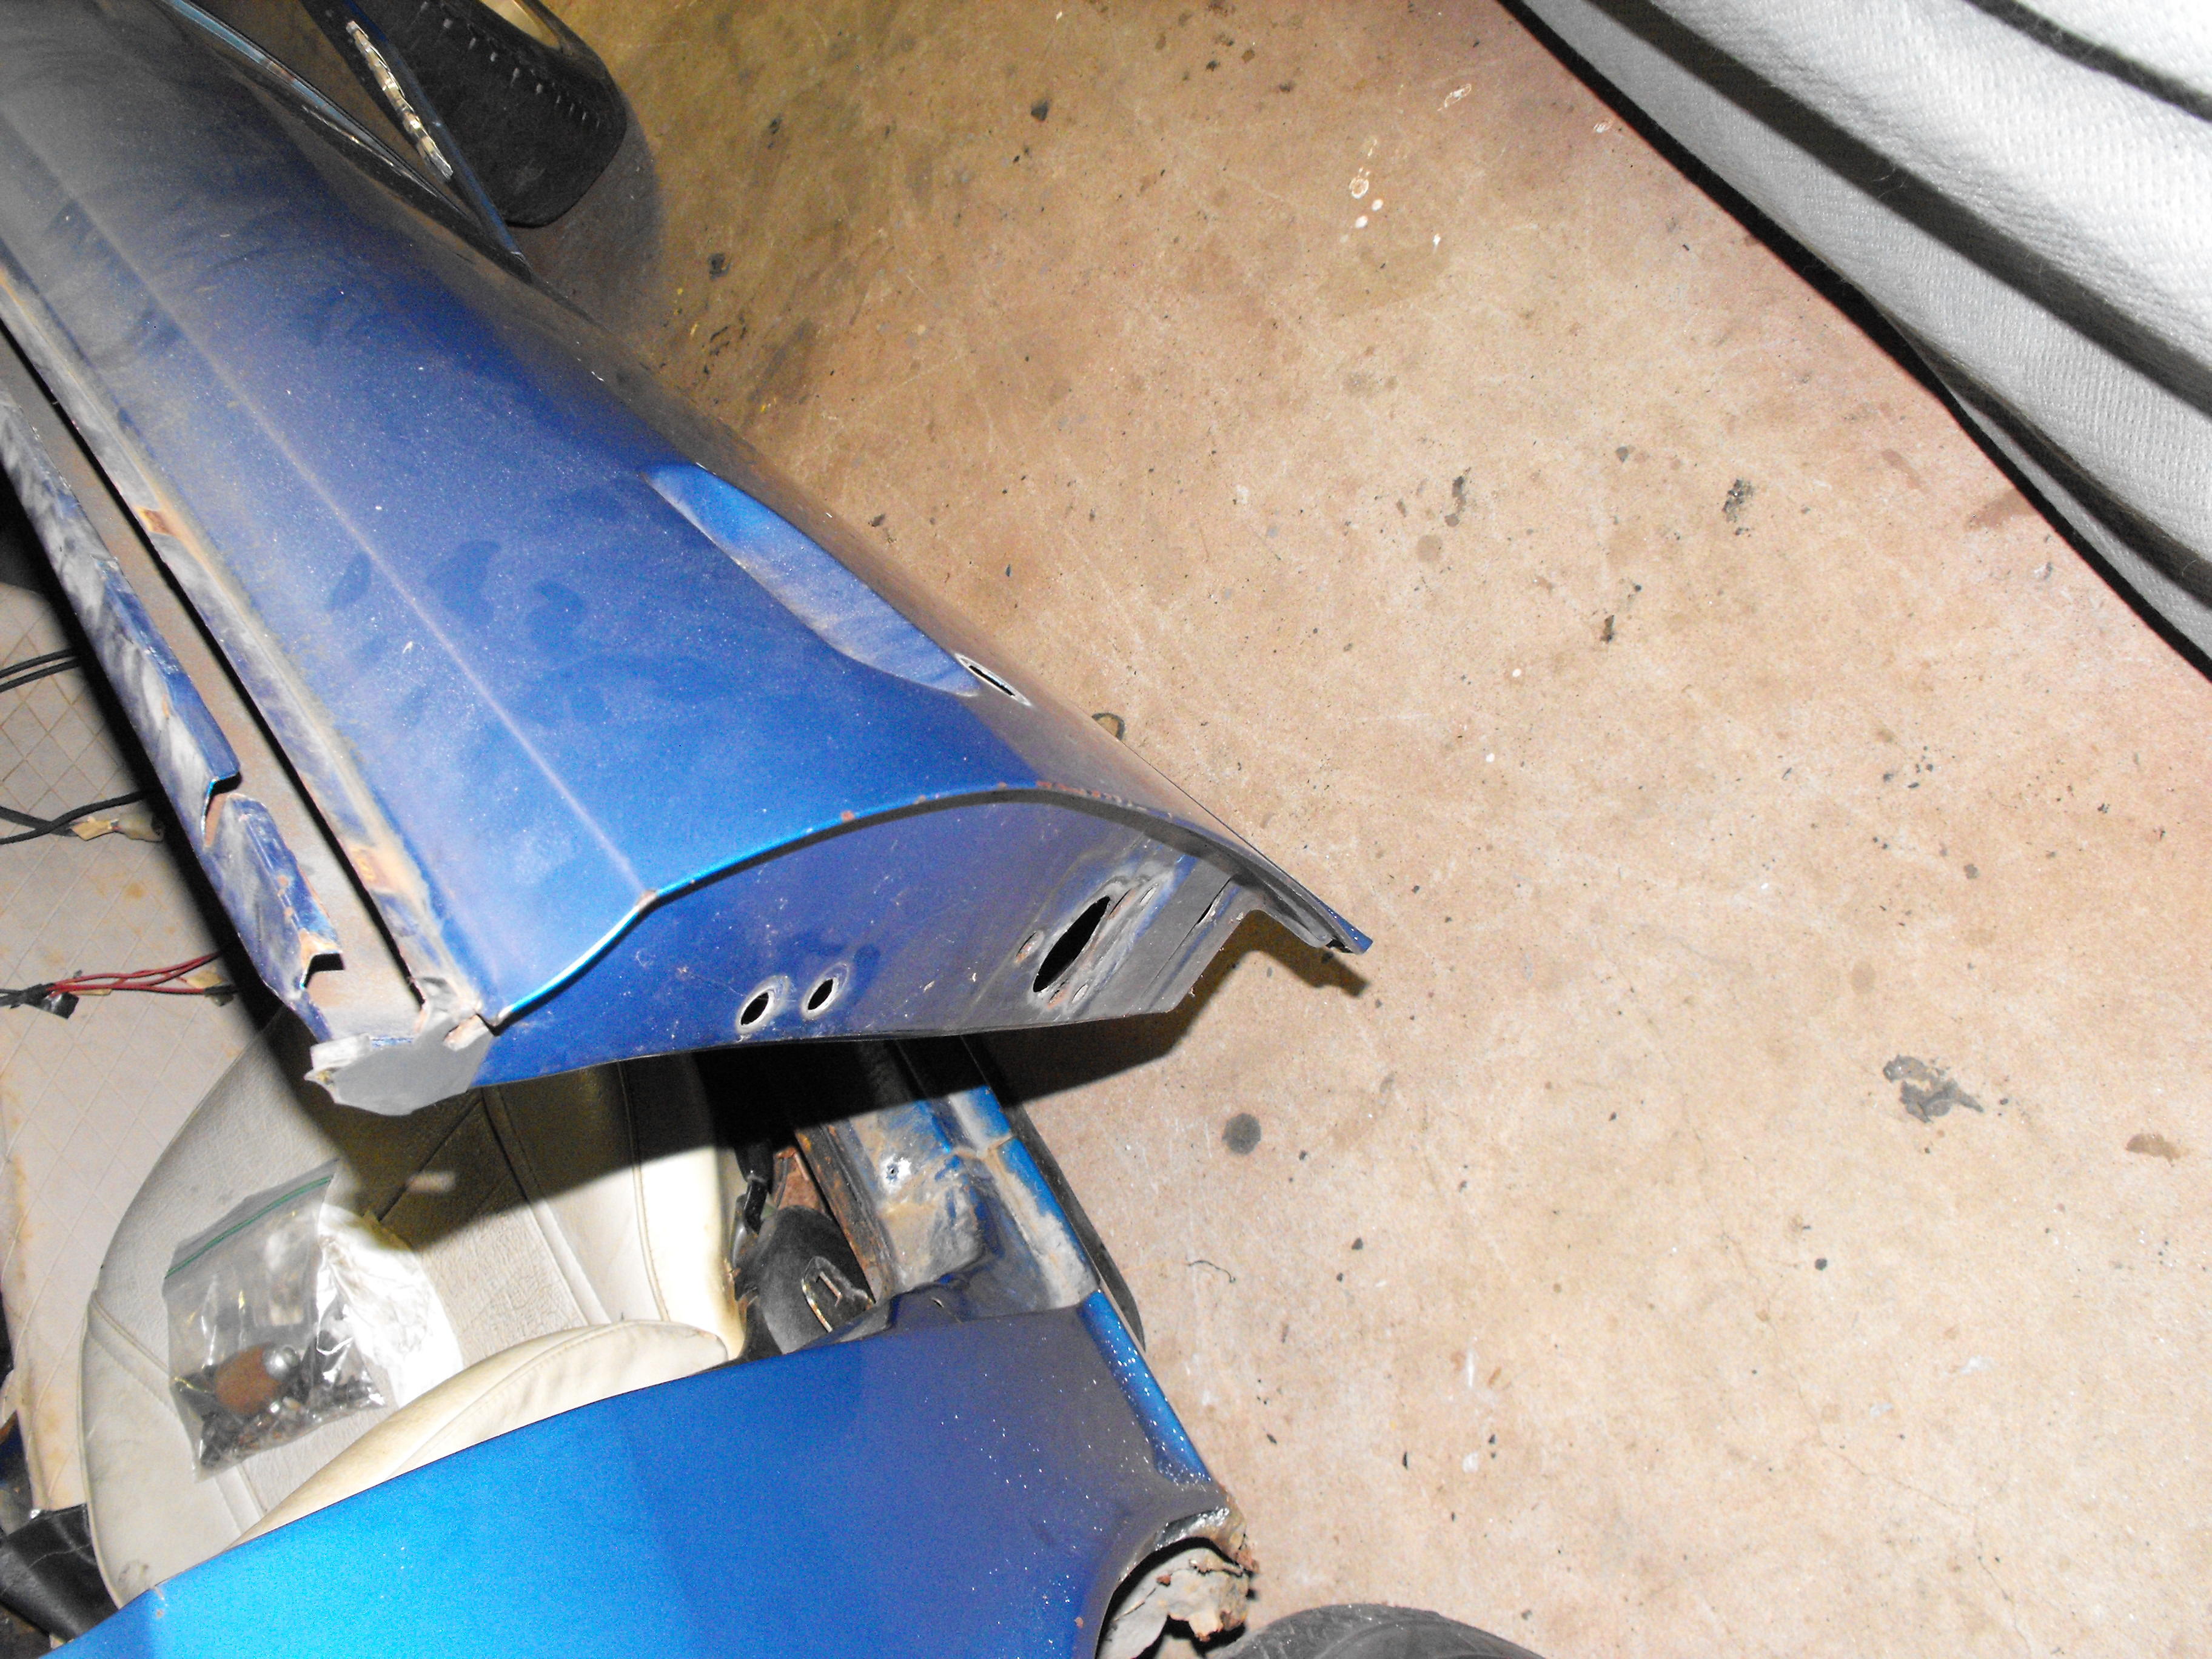
Continued the part removal process. Removed the Transmission and drive shaft. Also started removing door hardware and windows. I may be able to get this off to the paint shop by next week. That would be nice since the paint job is the long pole in the process. Paint will take about 4-5 months. Will work on motor re-furb, and undercarriage parts while body is at the body/paint shop.


-
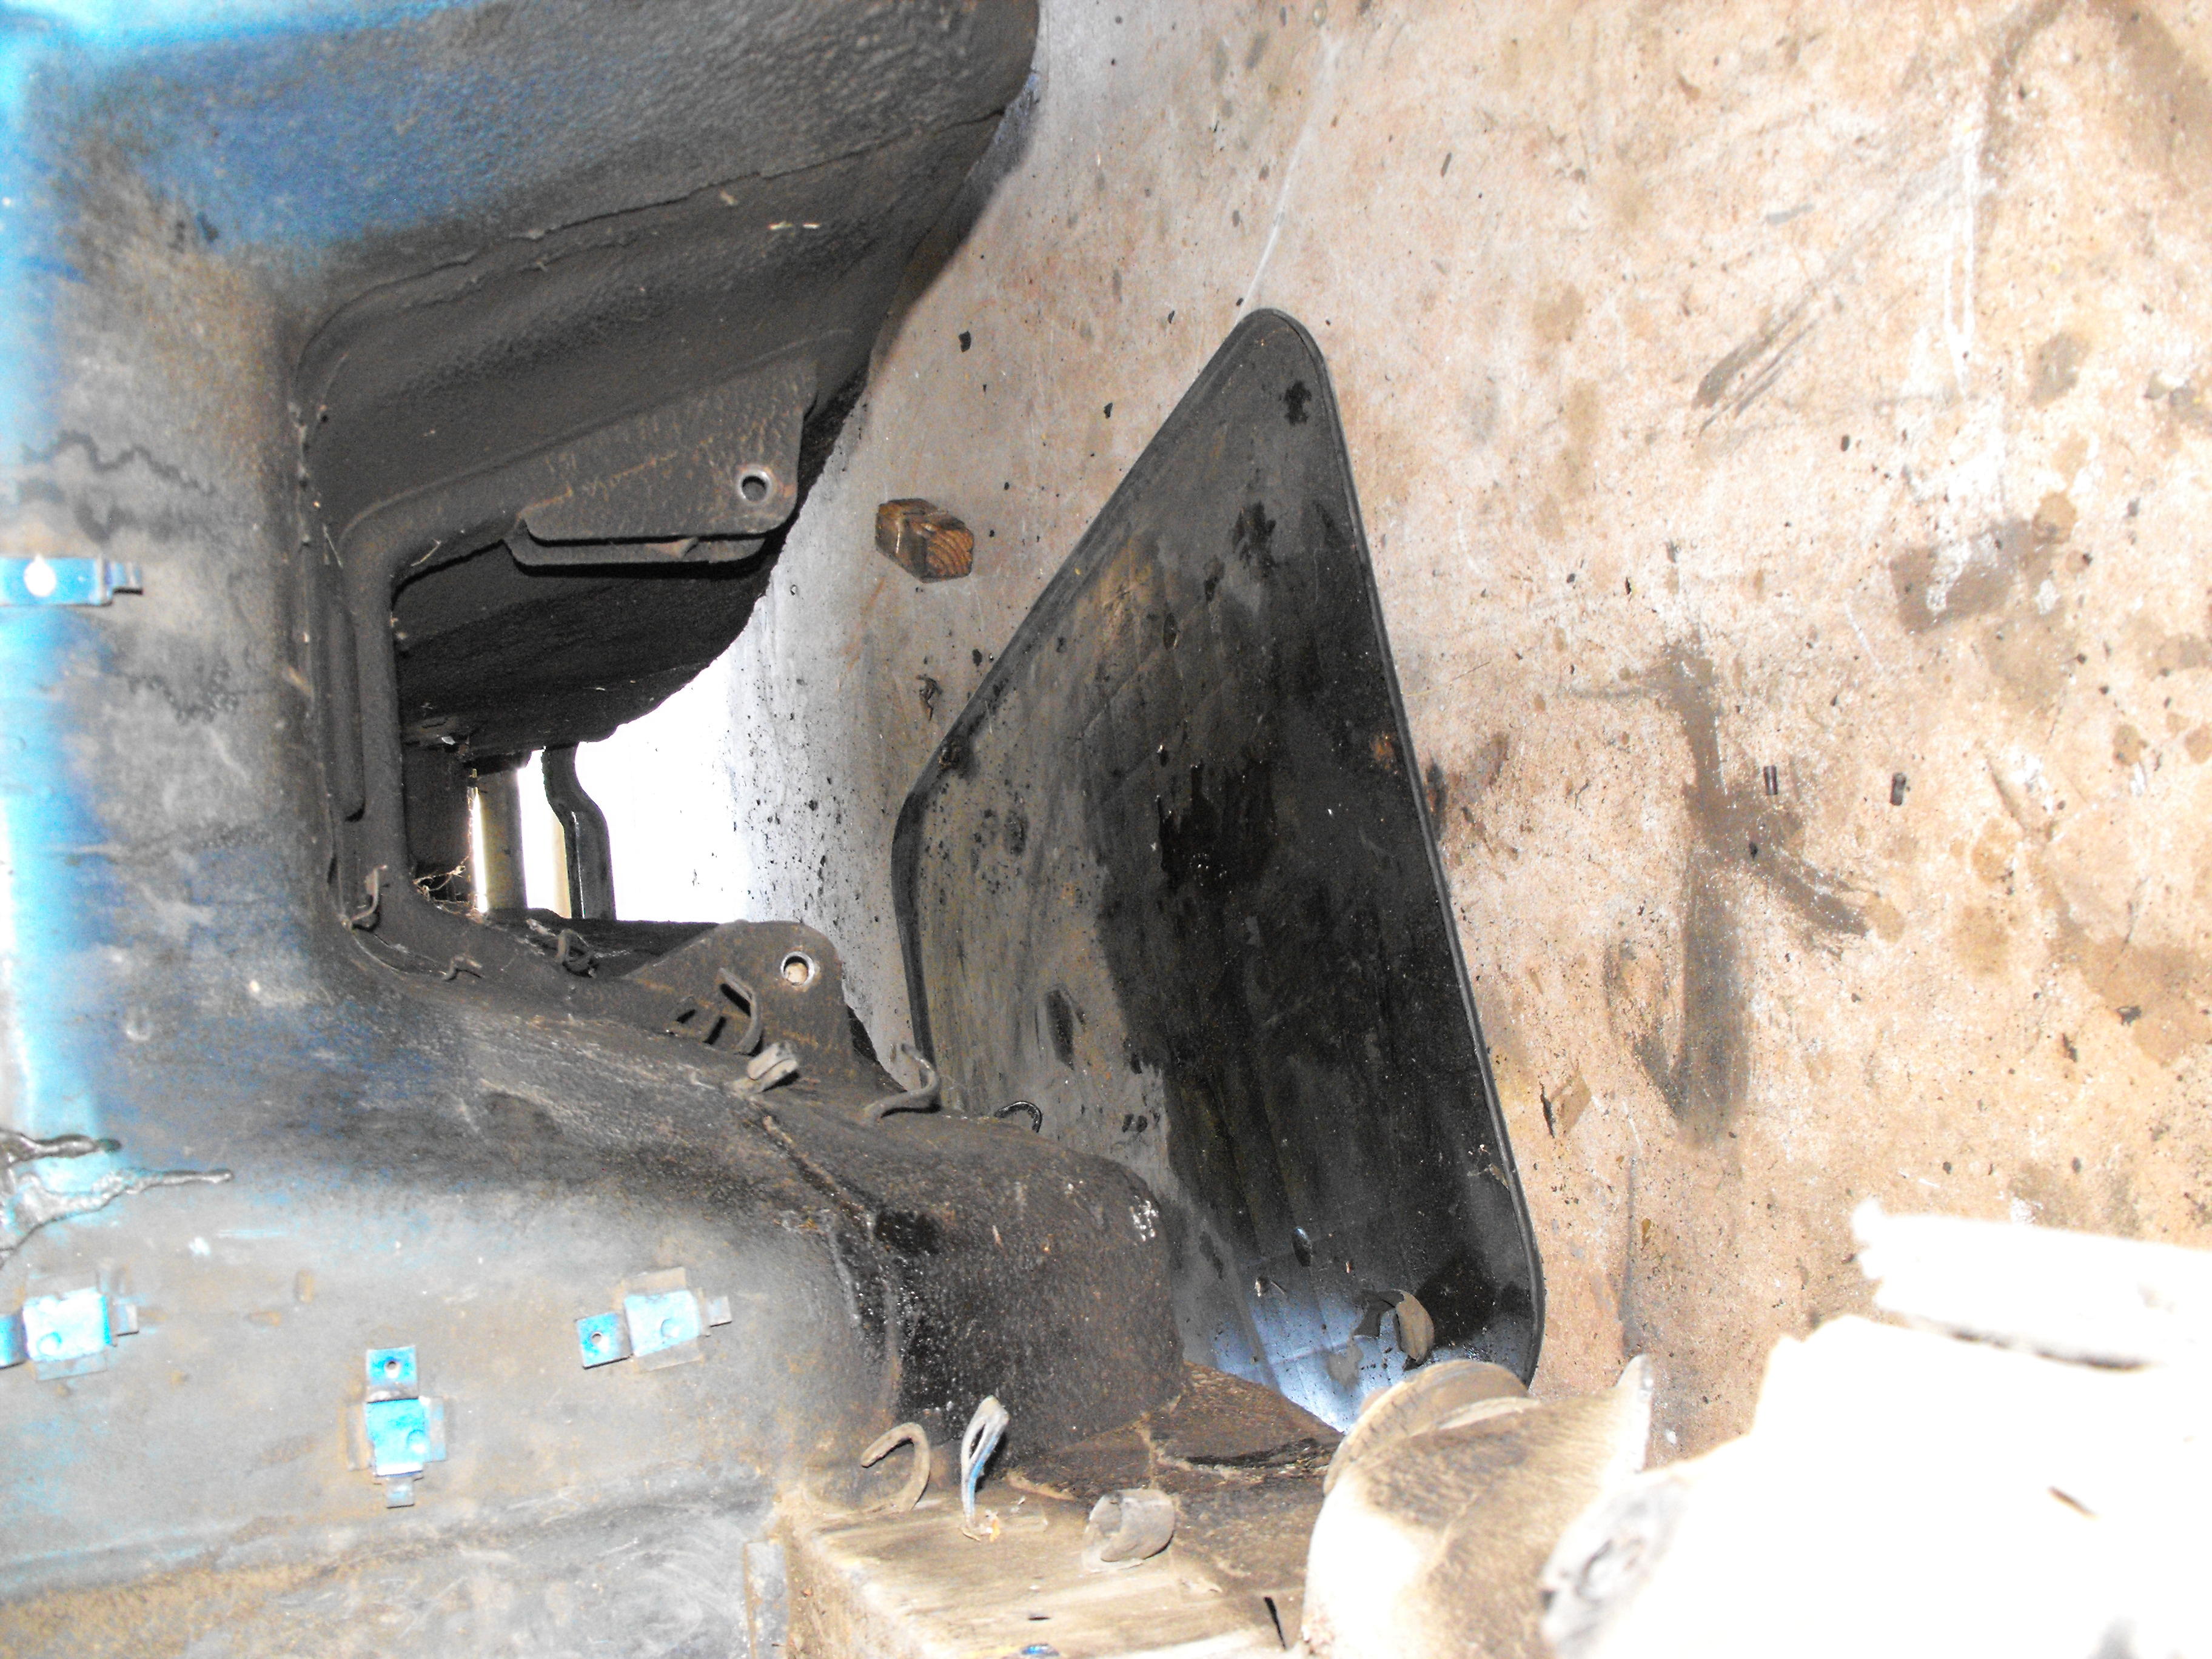
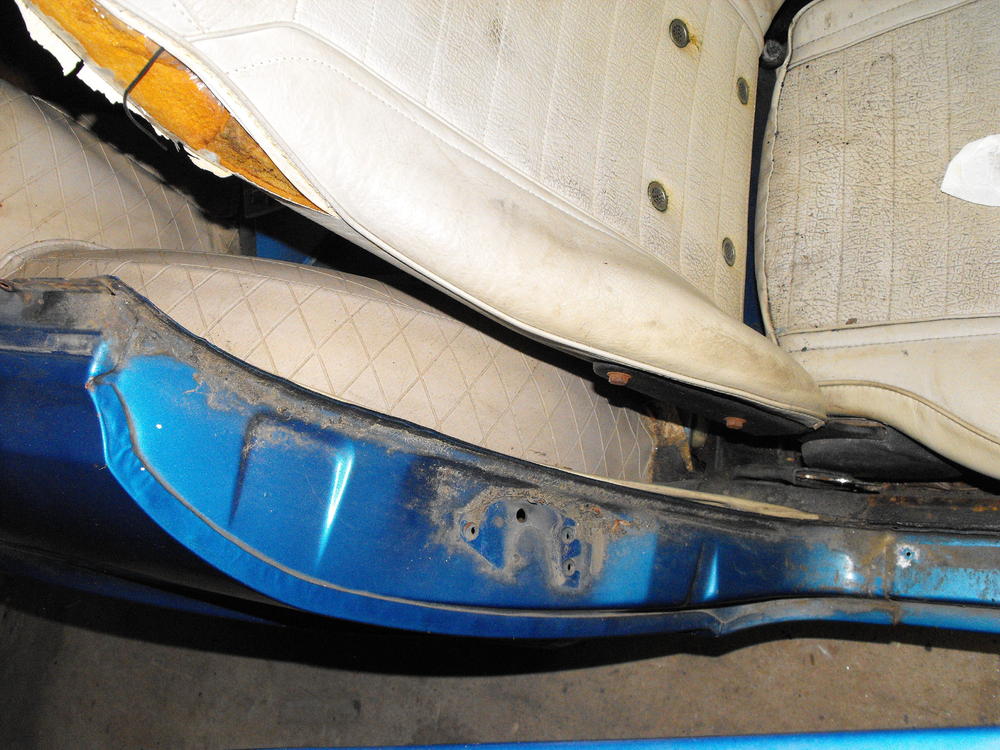
Yes, the left side has that one pan head screw. That is factory. My guess is that the pan head has a lower profile than the hex head. Also, there is no washer. My bet is that this was originally intended to be a hex also, but the hex contacted the cowl in this location, so they had to switch to a lower profile screw head. That's my theory for now unless otherwise corrected.
-
OK, just sent him the question. Just edited above...fan is wrong also, it should be metal. Air cleaner is wrong, should not have summer winter feature. I doubt this is a numbers match.
-
I wonder if he knows what matching numbers really means? The valve cover and fan are from a later model. Also, I own S/N 2614, just 13 units behind this one.
-
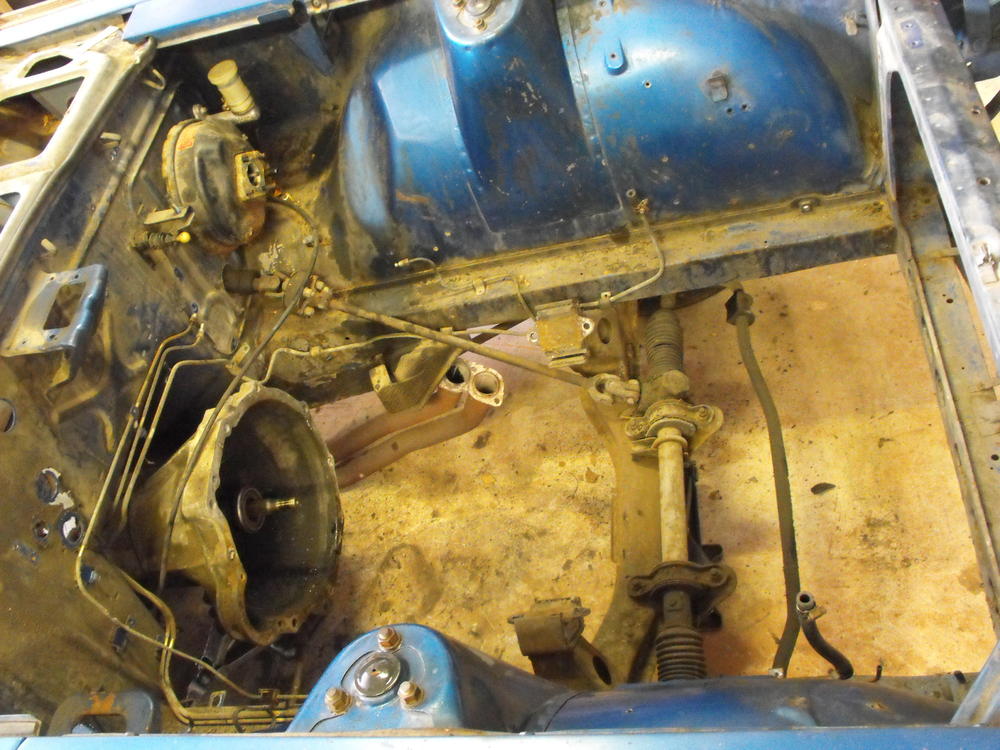
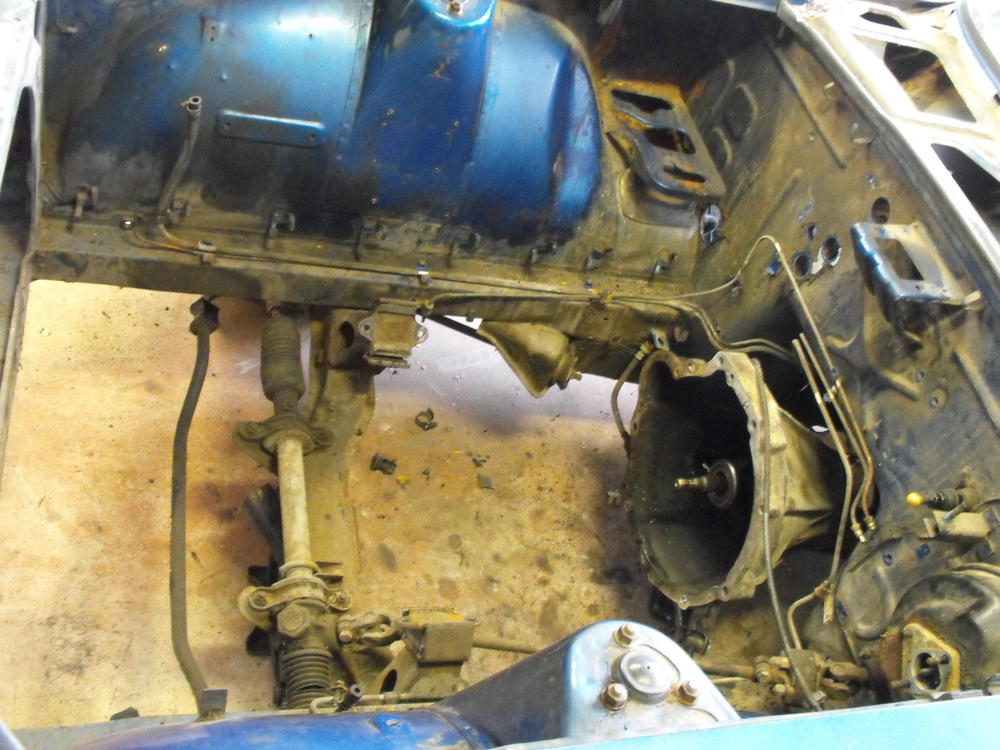
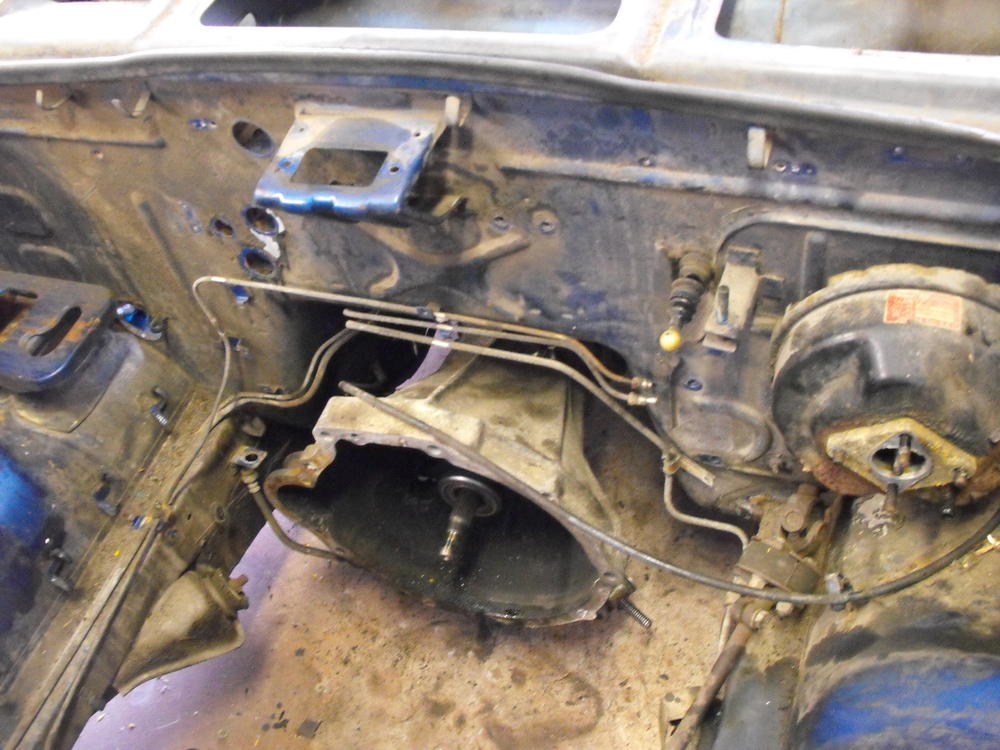
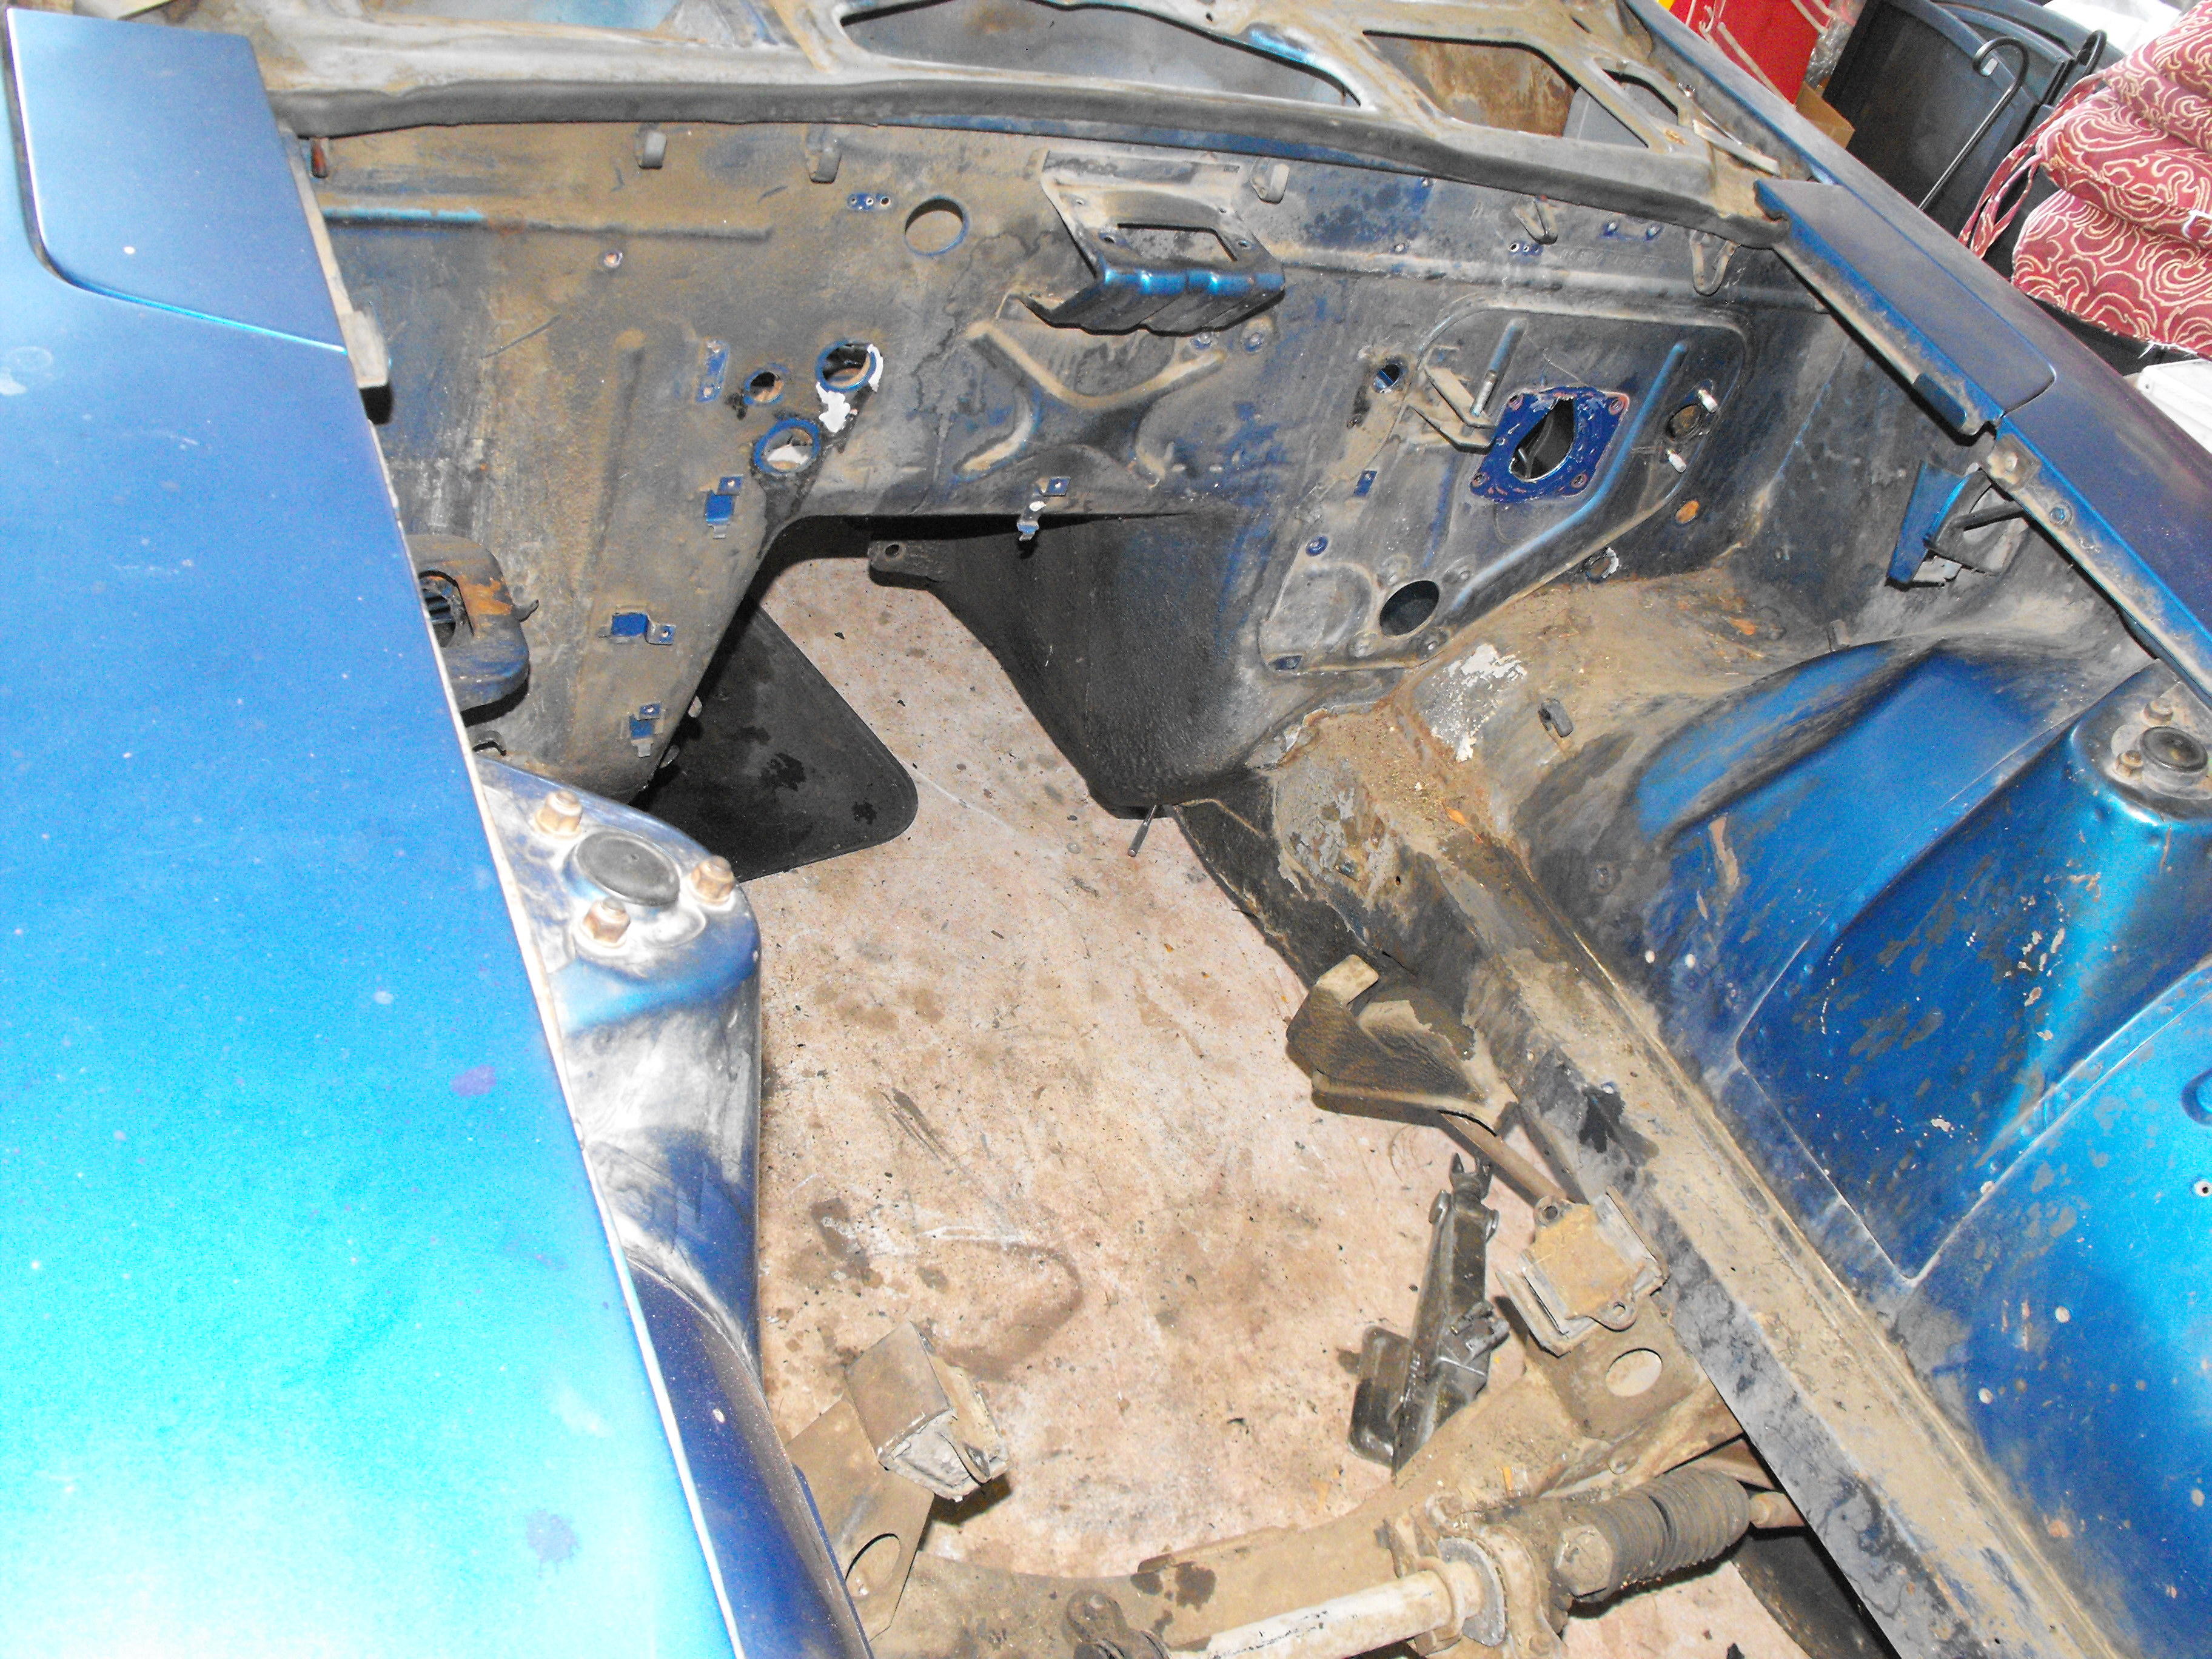
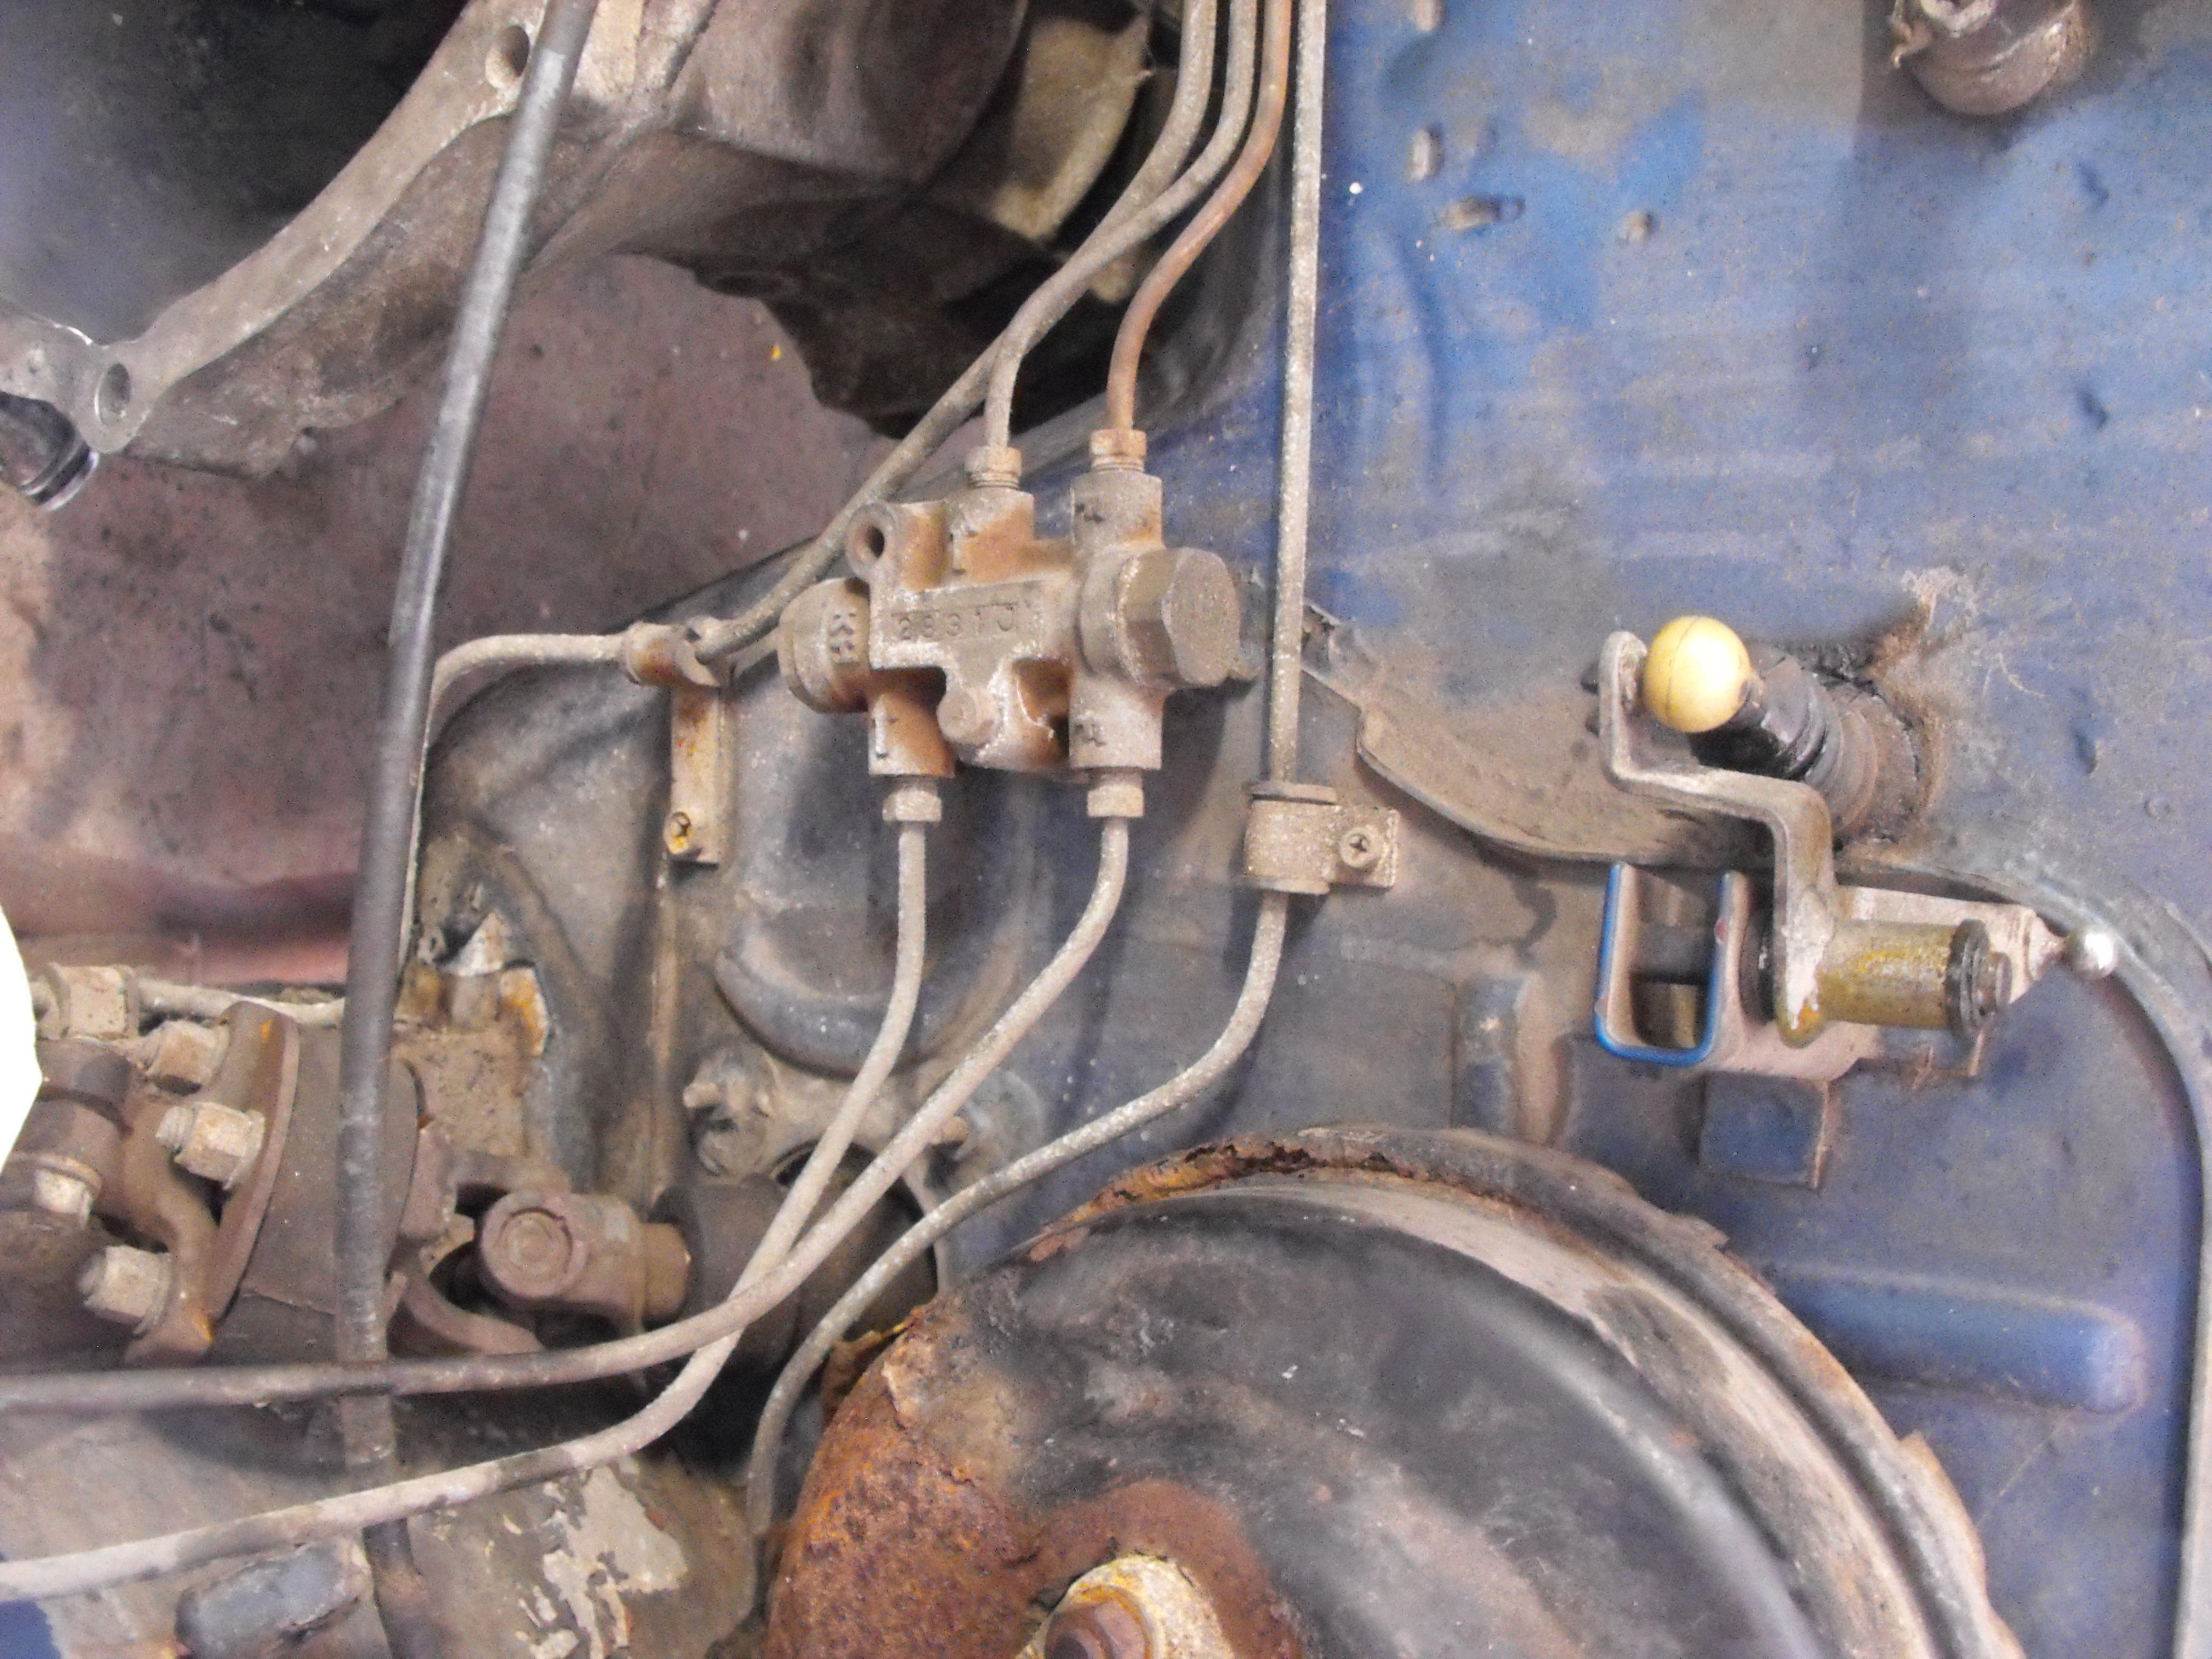
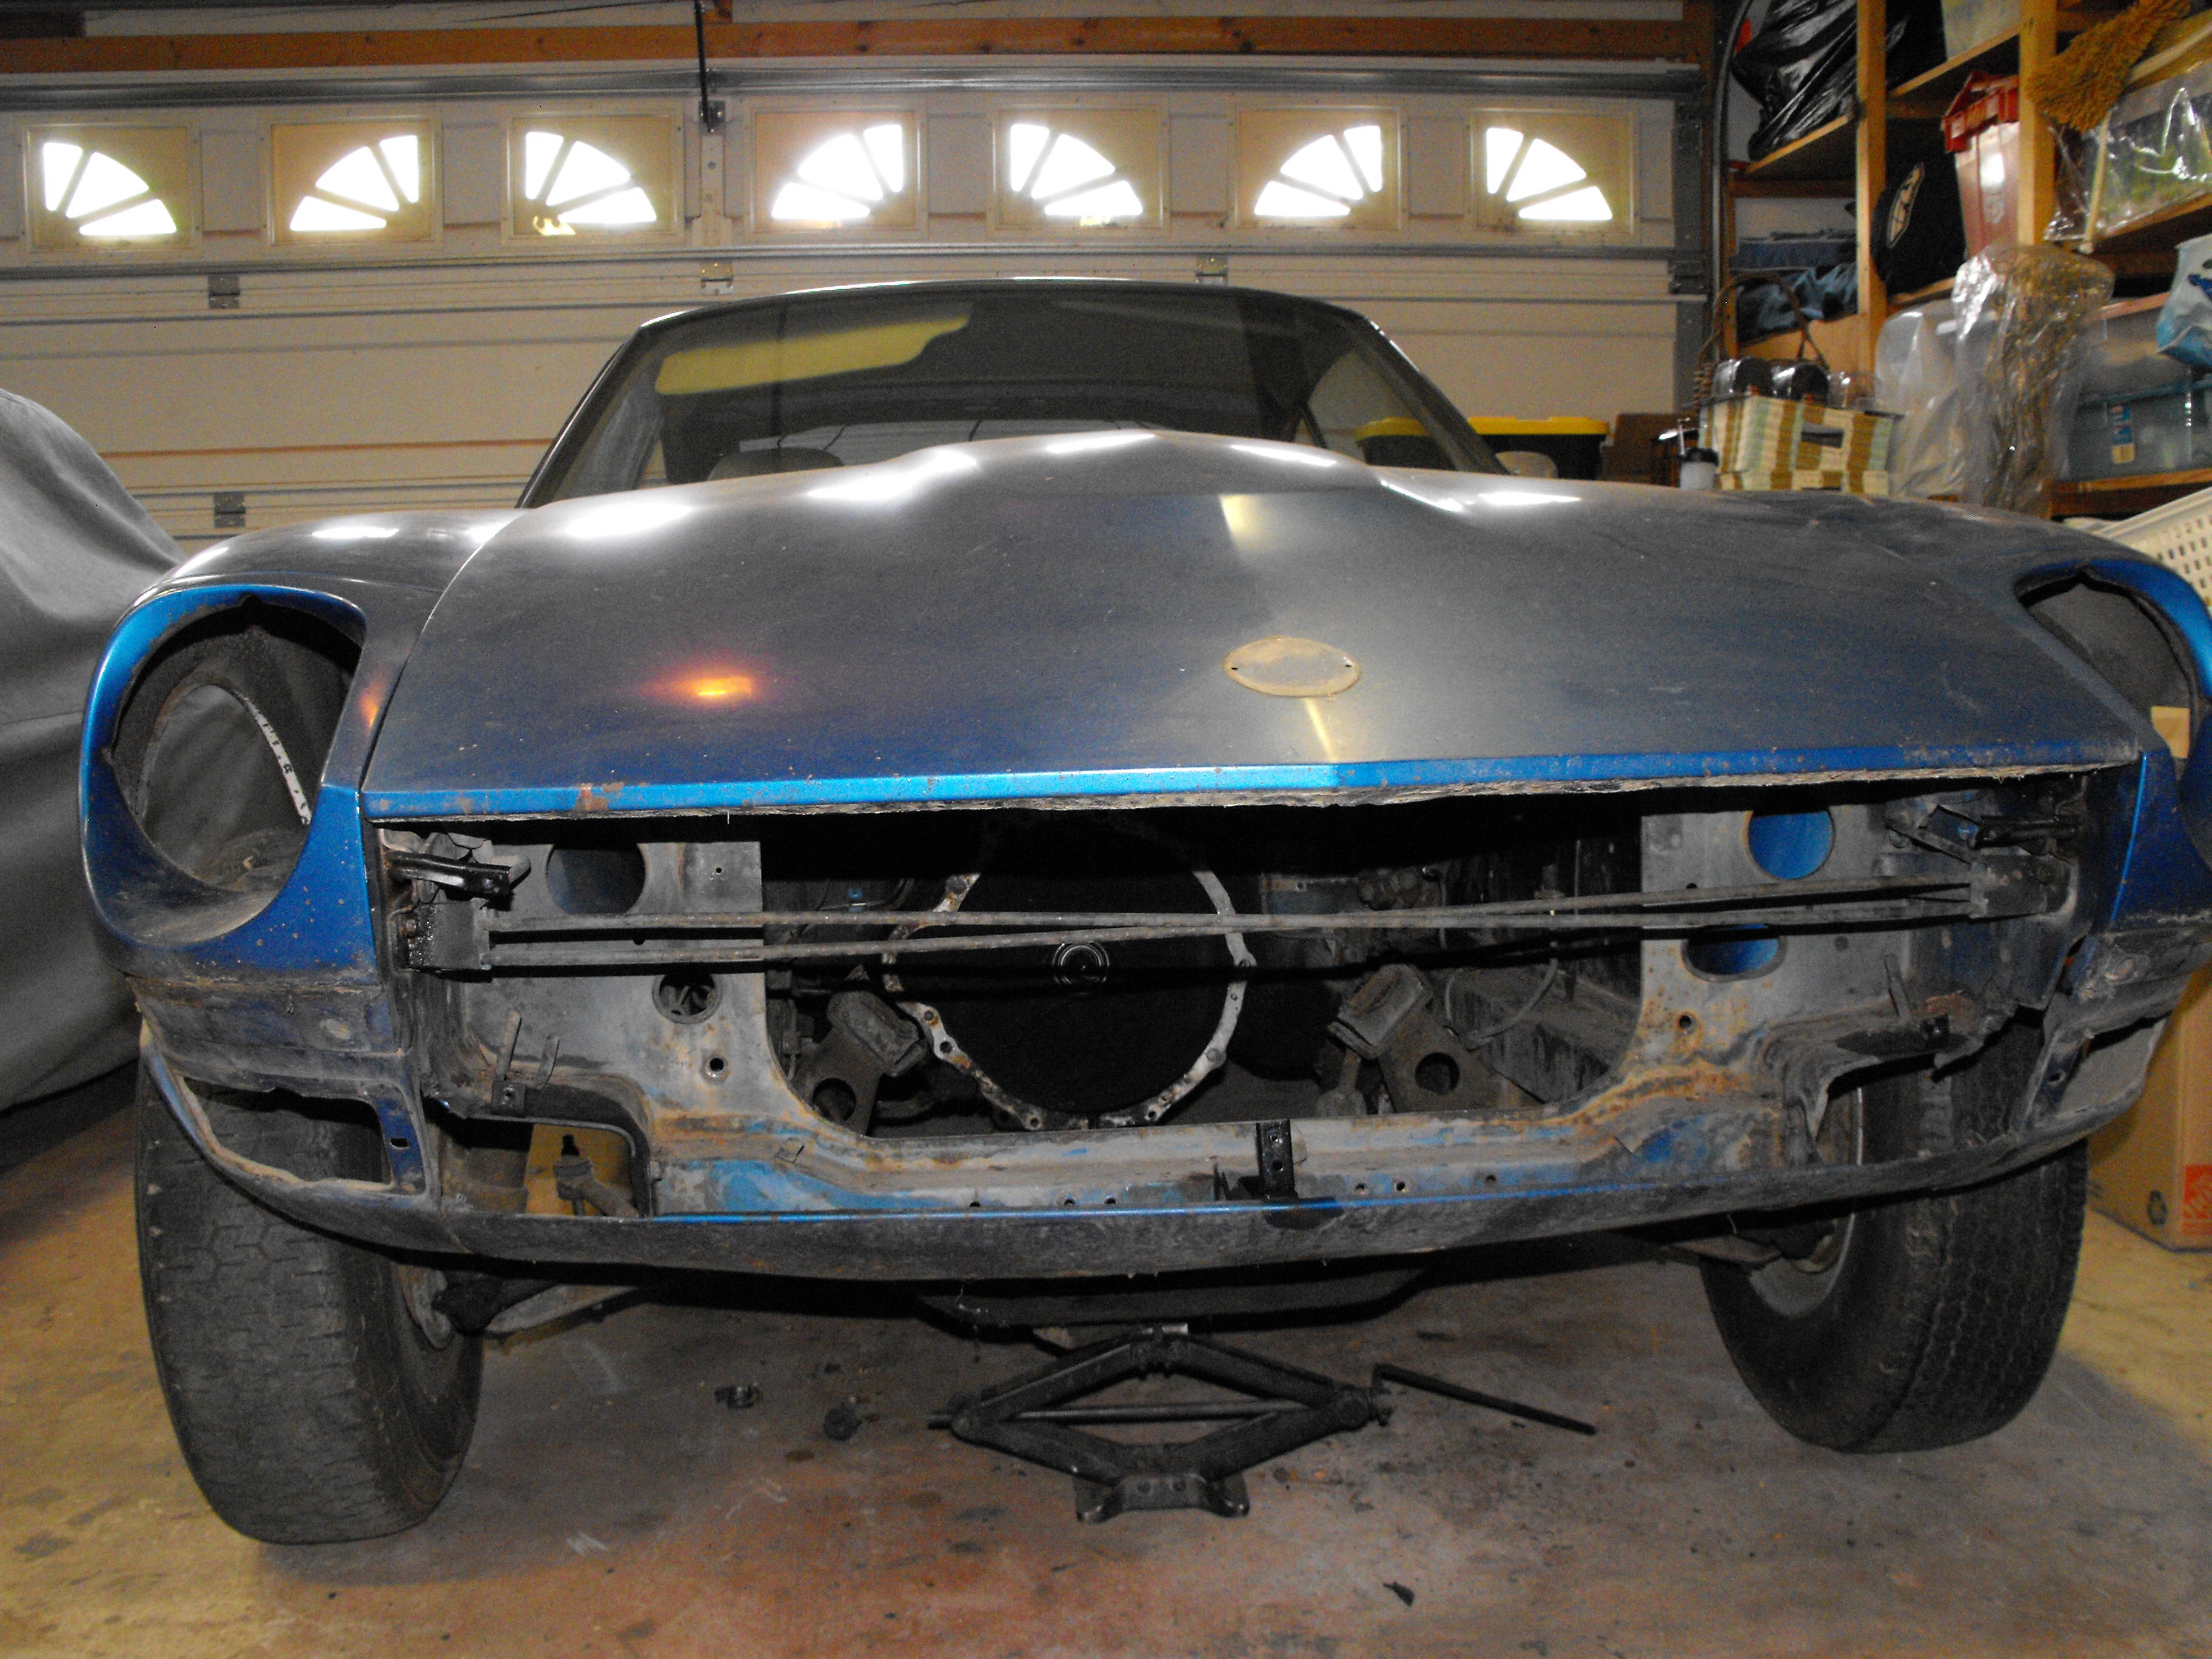
Spent a little more time removing parts today. It was pretty dog gone hot here so I opted not to mess with the transmission today. Instead, I removed the front end bumper assembly and lights. Also removed some of the brake components in the engine compartment. I did a quick wipe with de-greaser on the engine bay fenders and they clean up pretty nice. Will clean up a bit more once I get all of the brake lines out. Here are the latest pics.