motorman7
 Subscriber
-
Joined
-
Last visited
Everything posted by motorman7
-
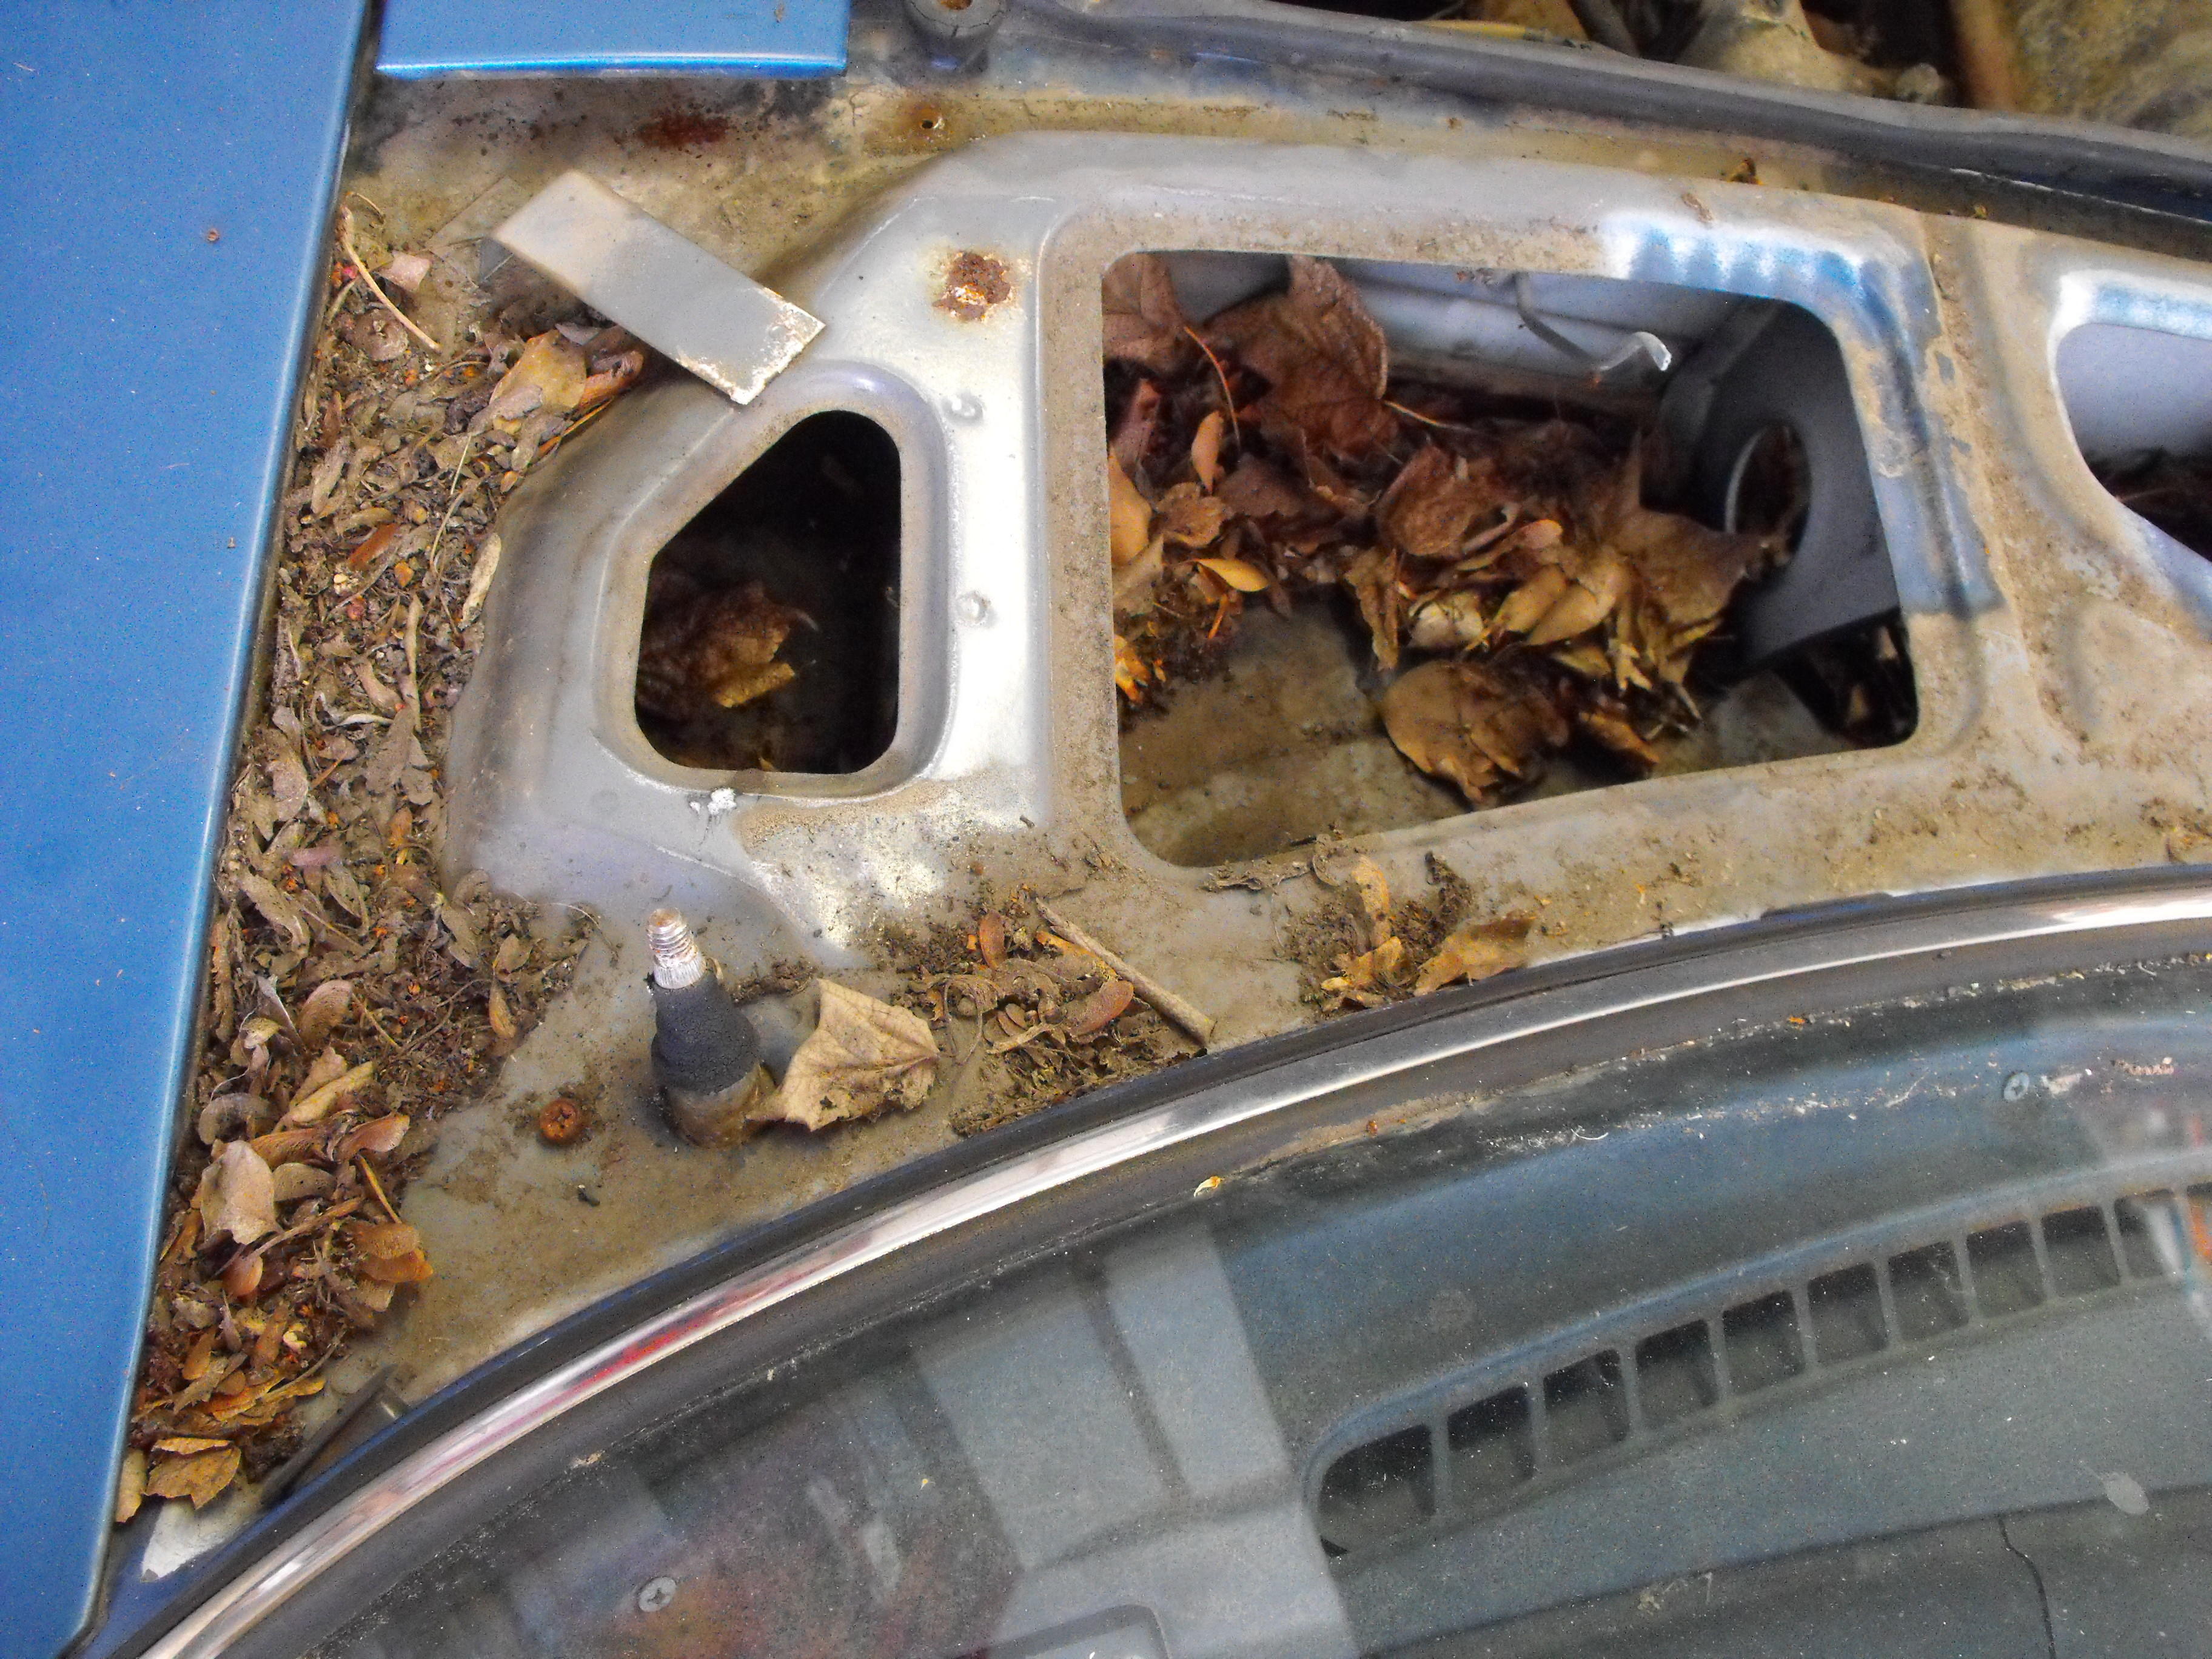
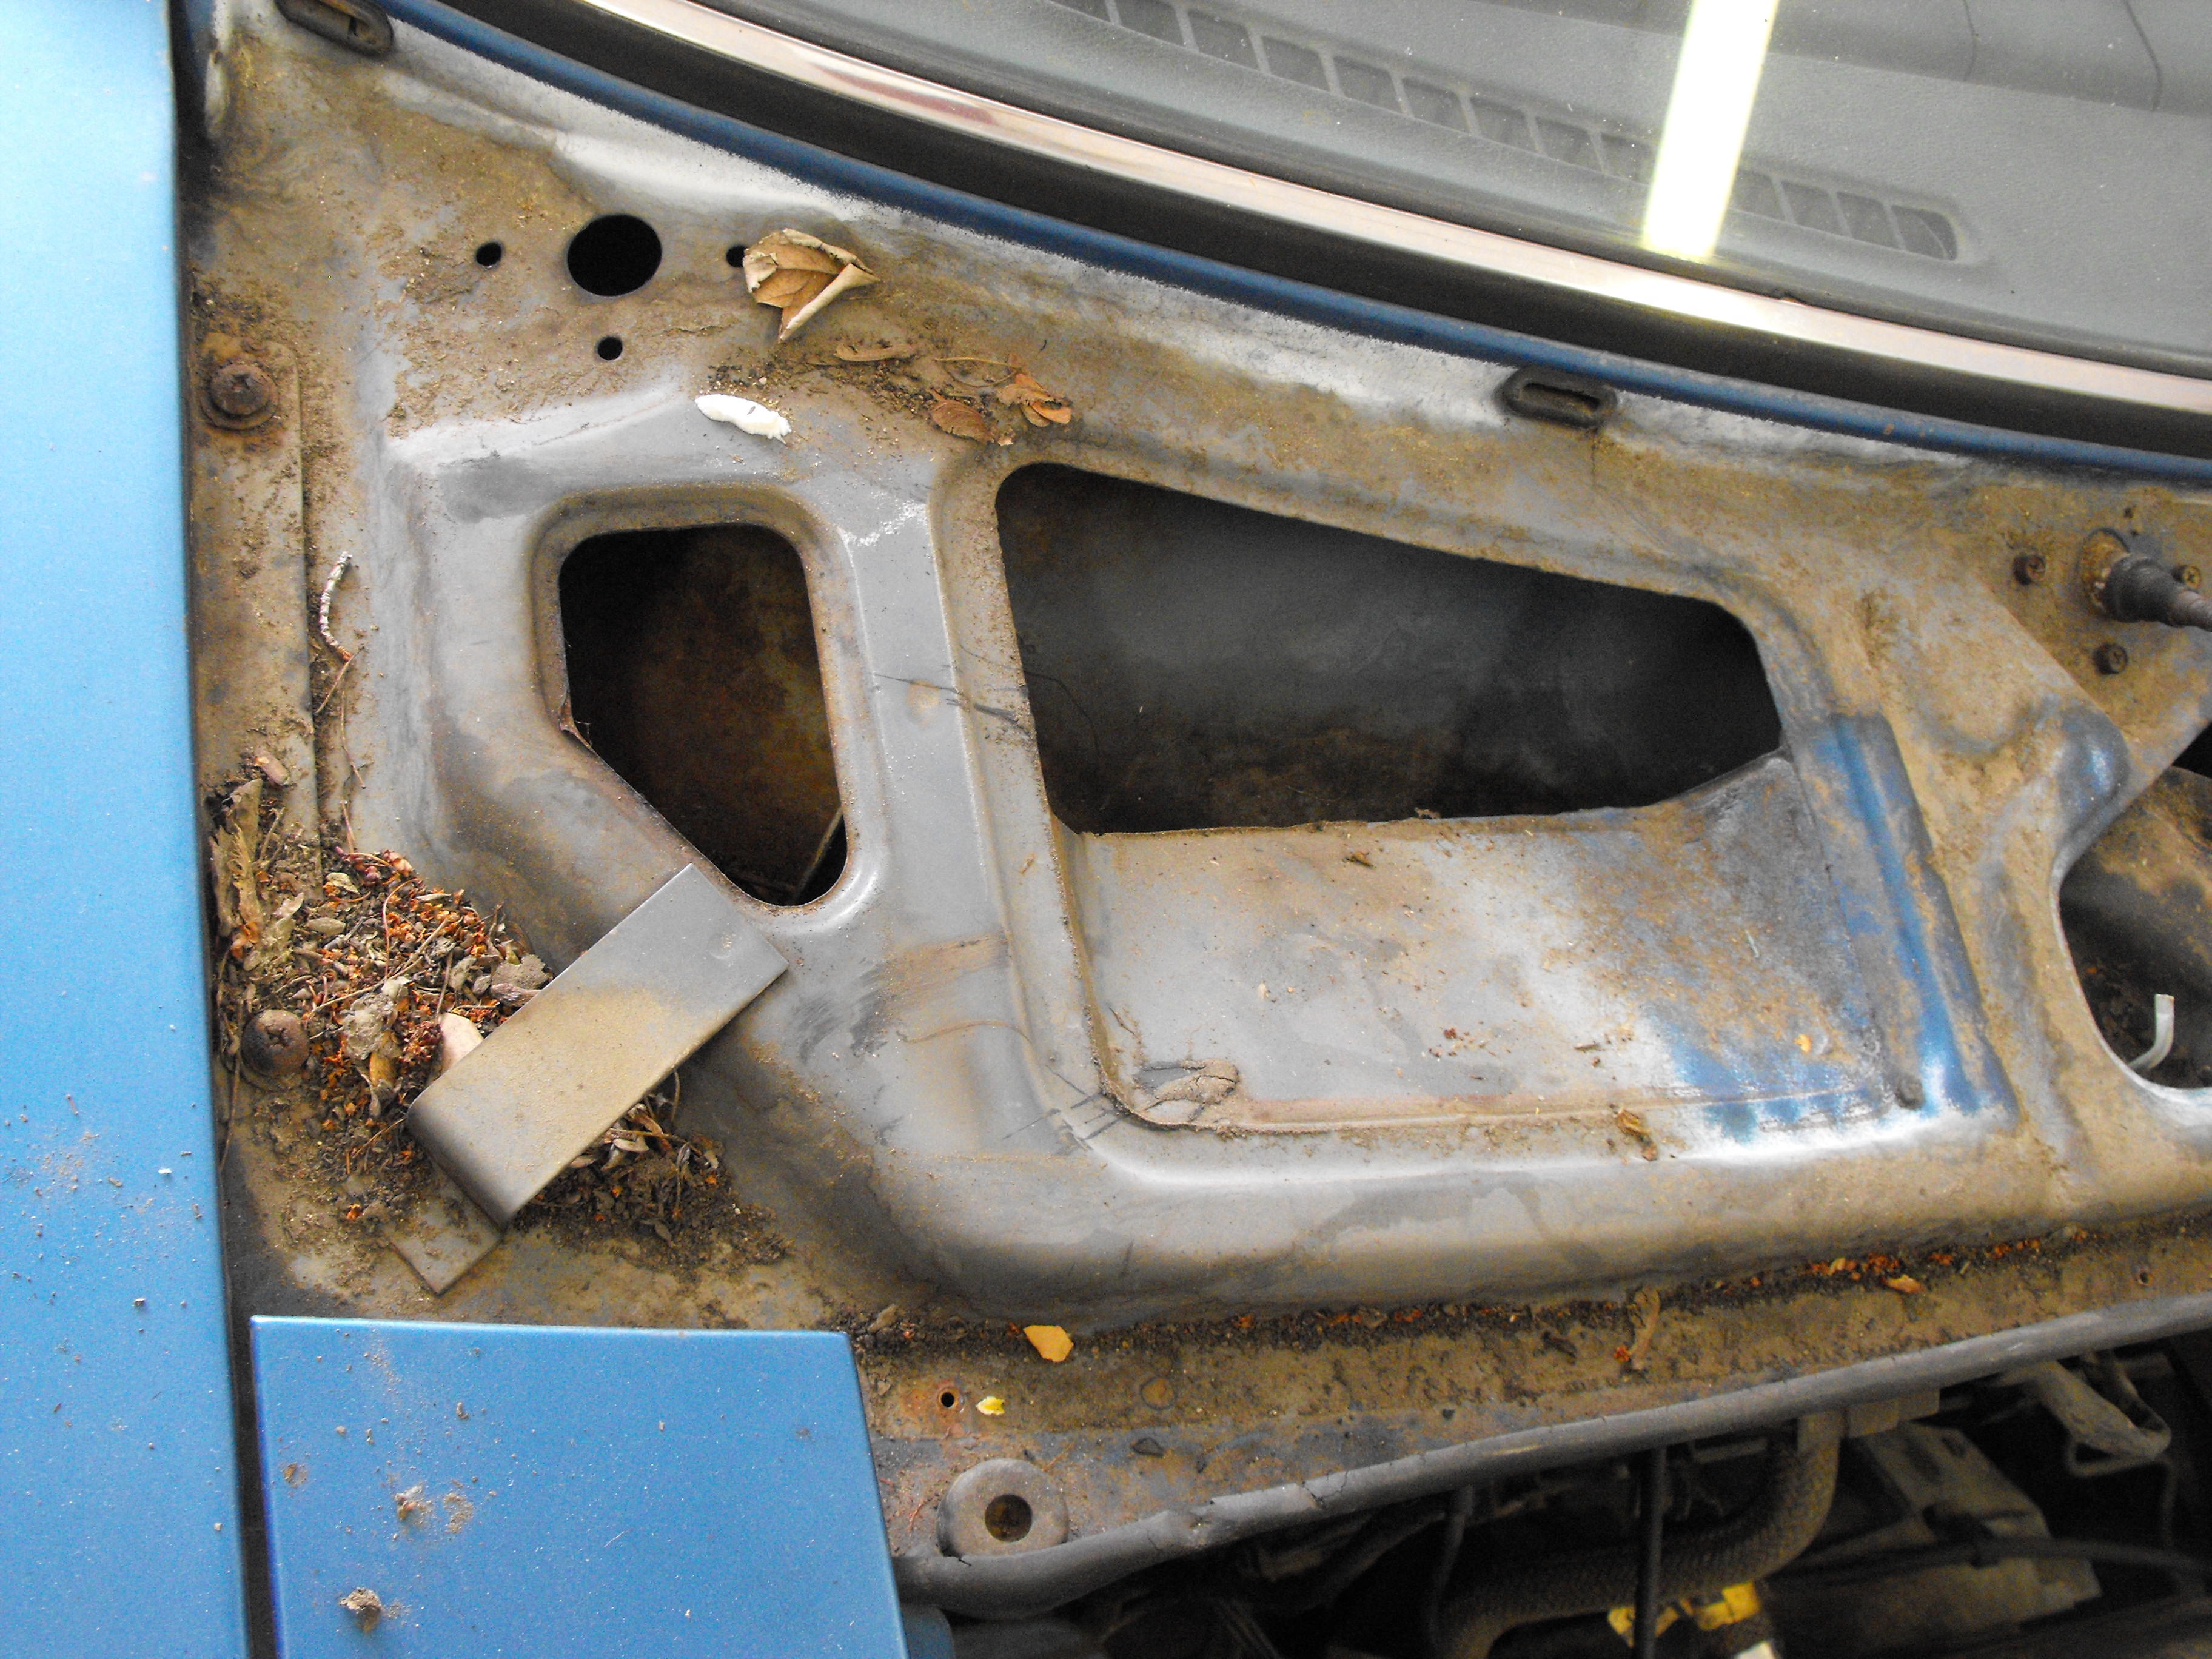
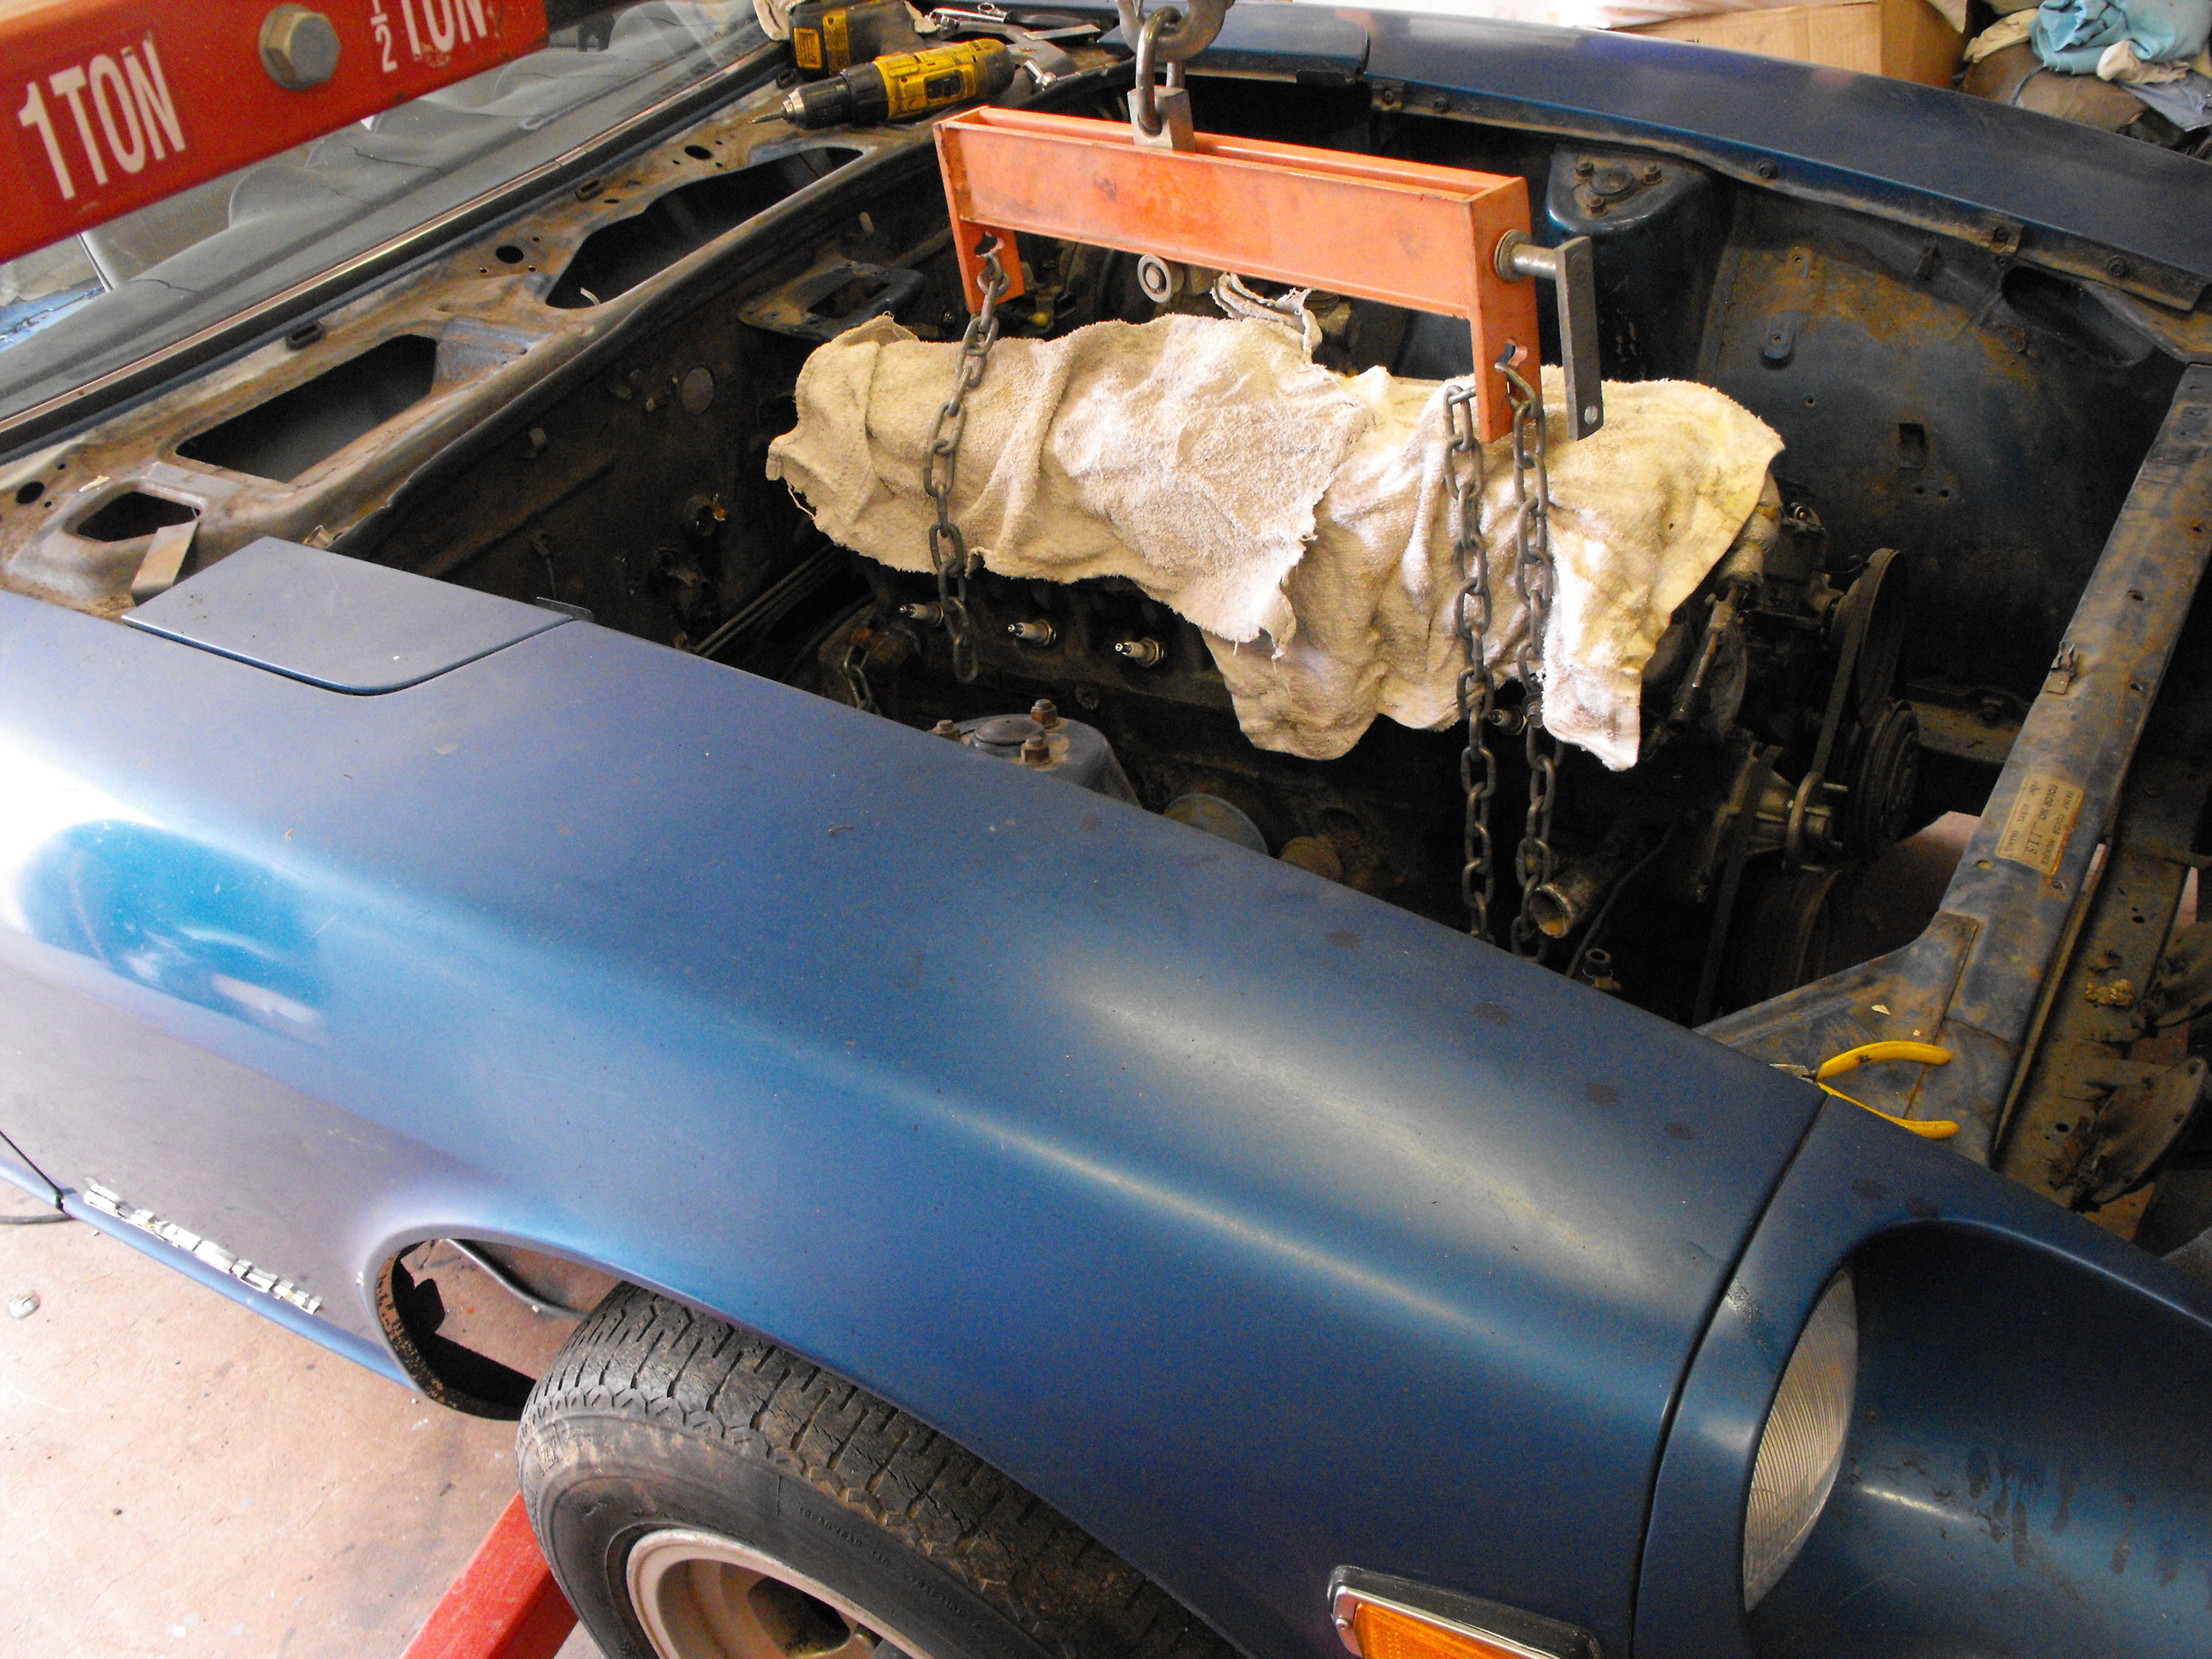
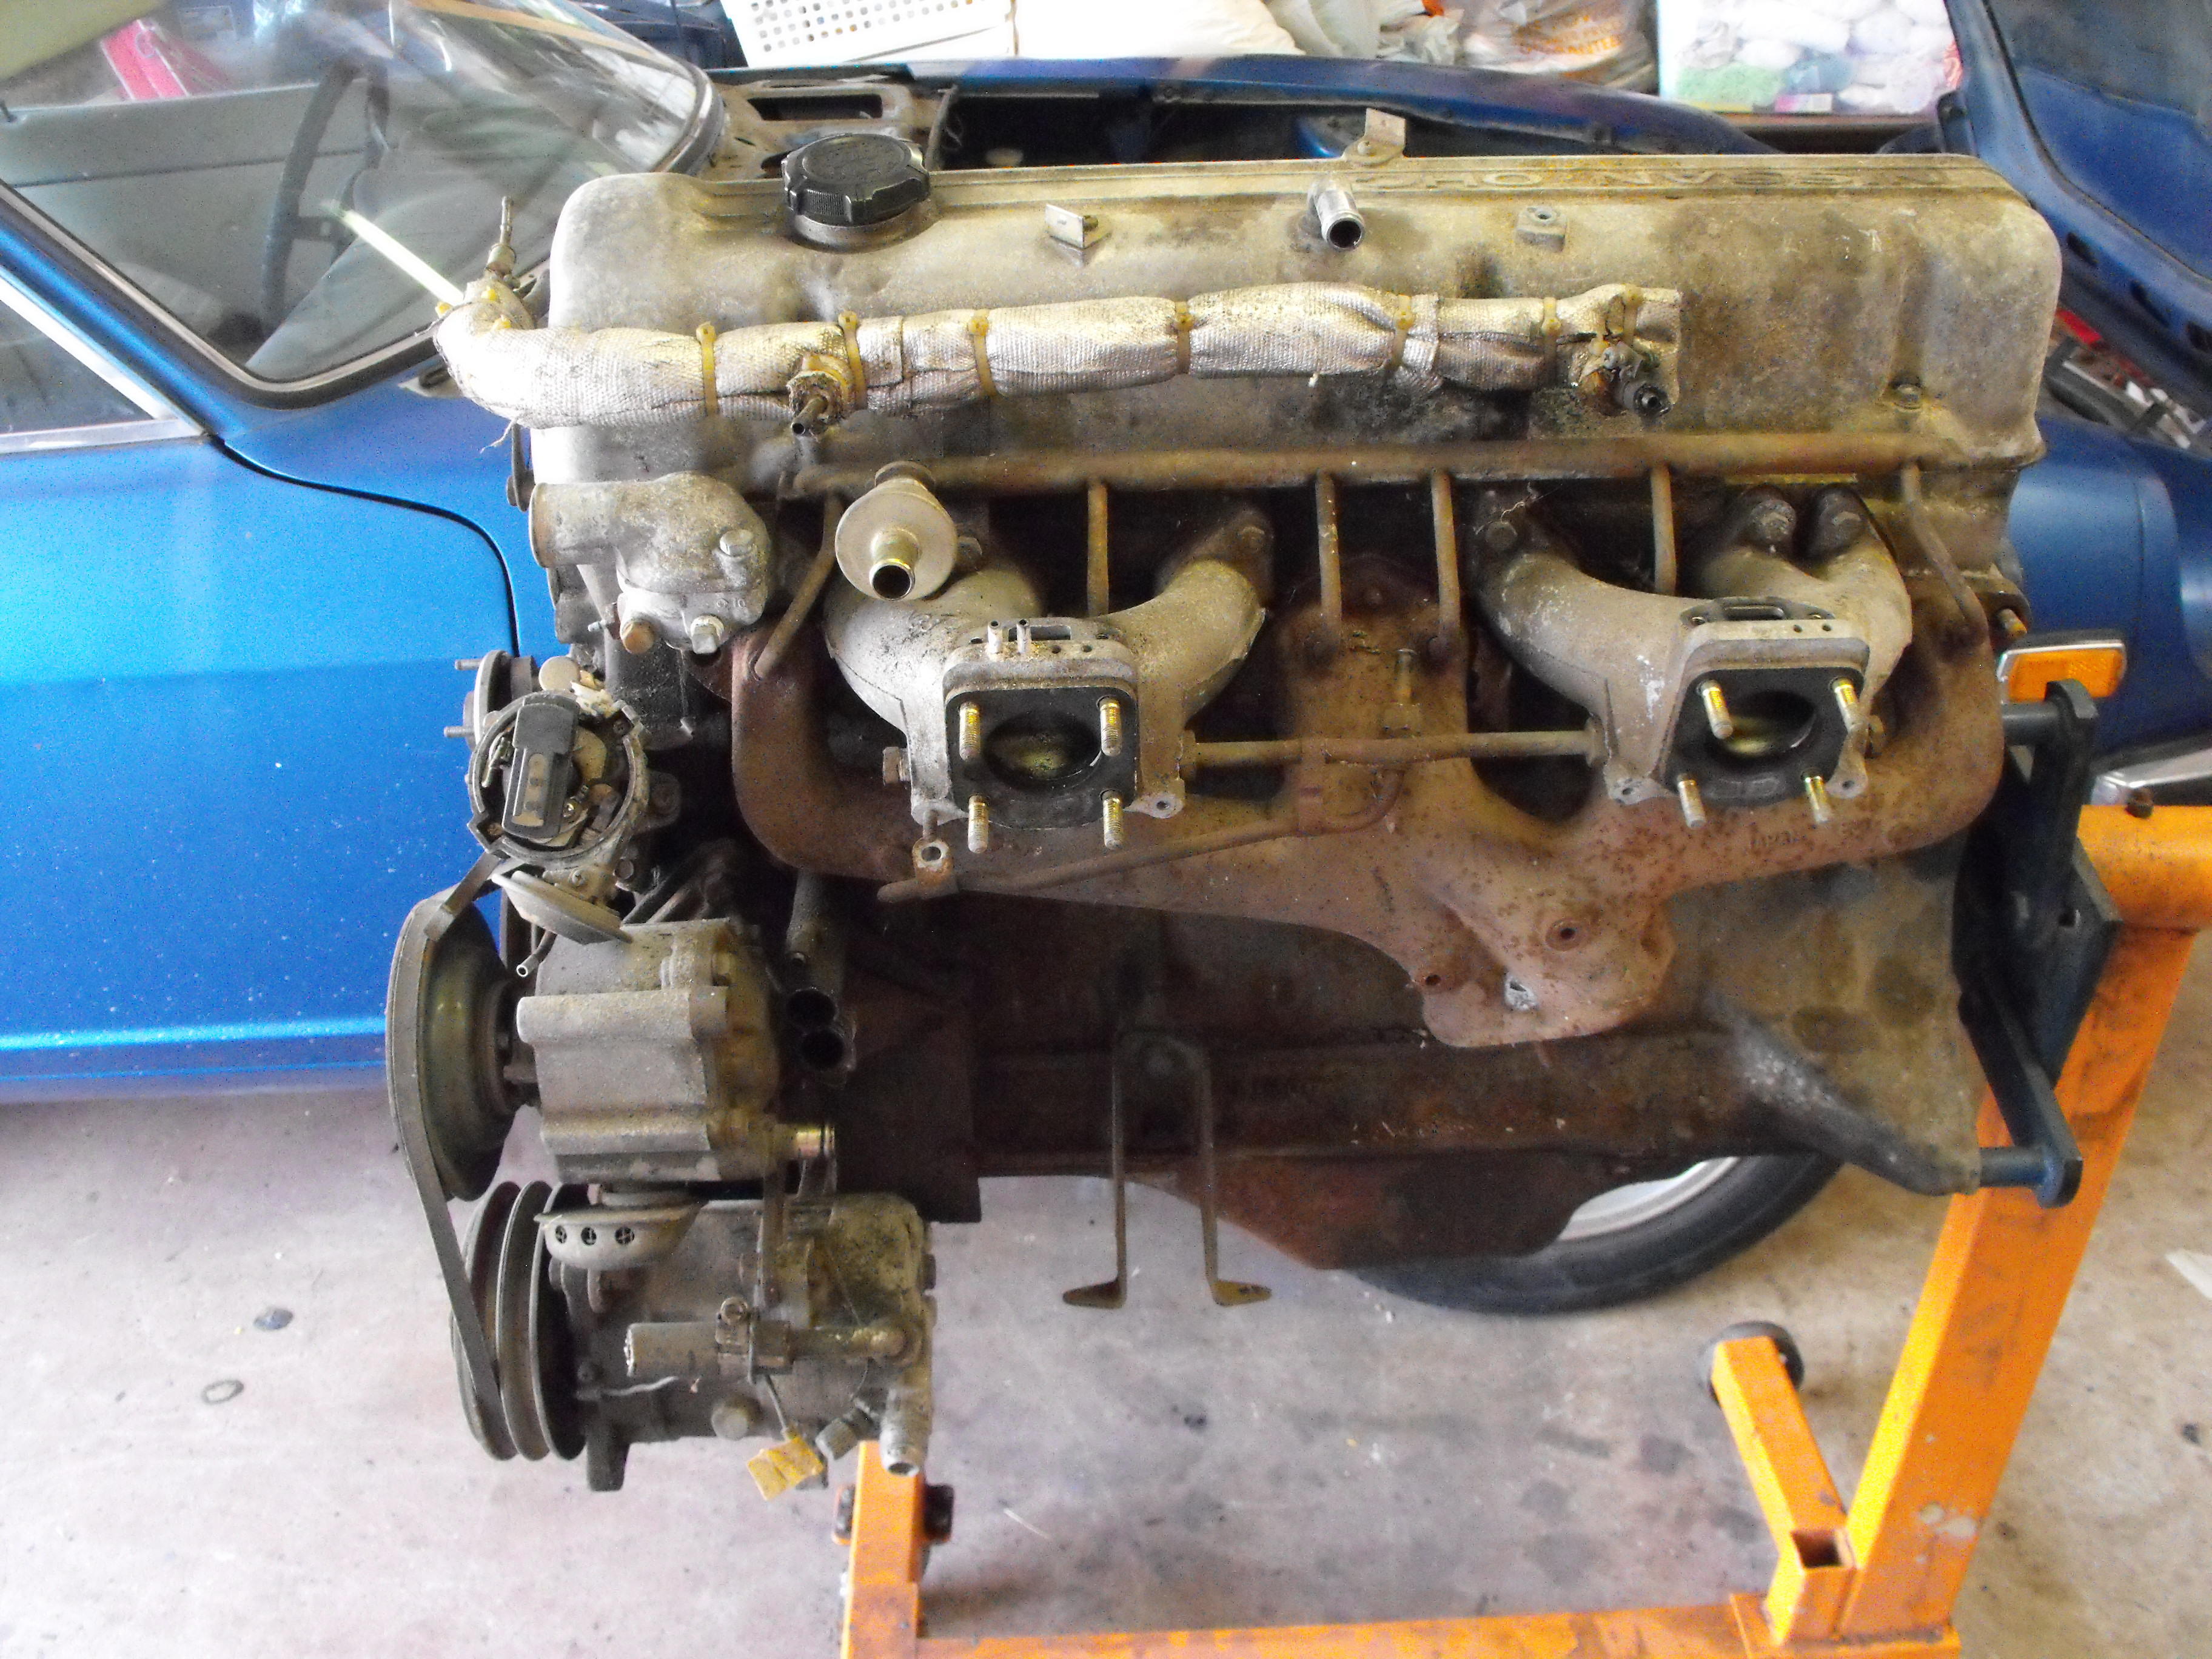
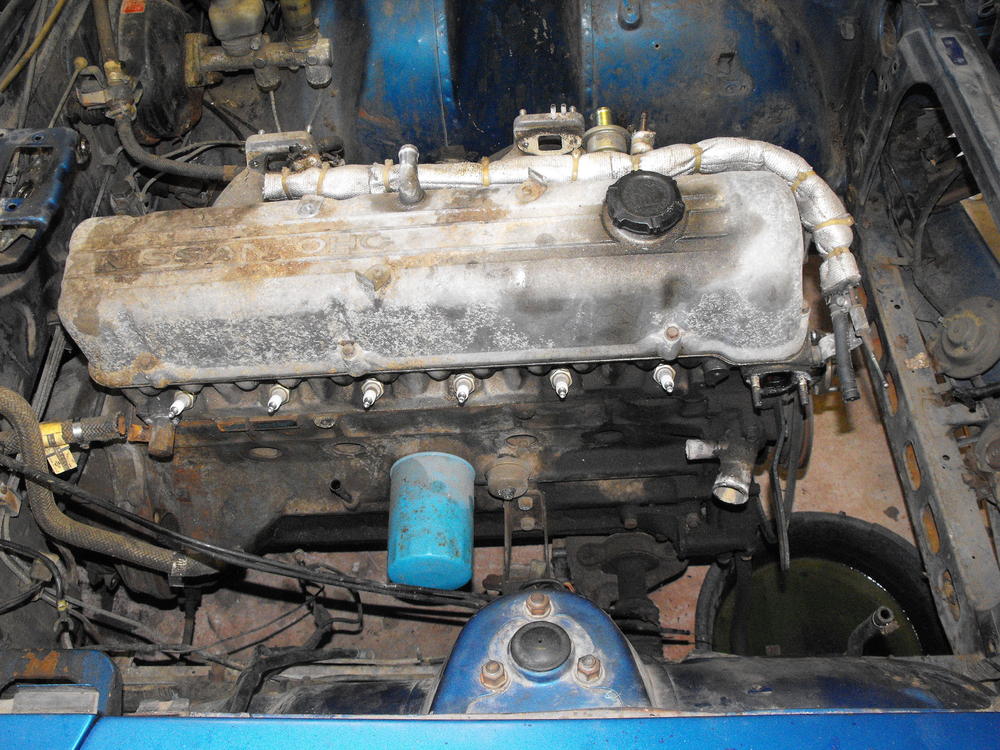
 Hi Guy, good to hear from you again. Yes, having a great painter is a huge help. It is the only way that I will do the cars now. Got some more parts off of the interior of the car. Also got the engine harness out and the engine out. Will take out the trans, diff and brake and fuel lines next. Also got the wiper arms and wiper motor out. I am guessing the car was parked somewhere close to a tree at one time. That Z CSI comes in handy. If i knew my trees better, I could tell you what kind of tree it was . ?


-
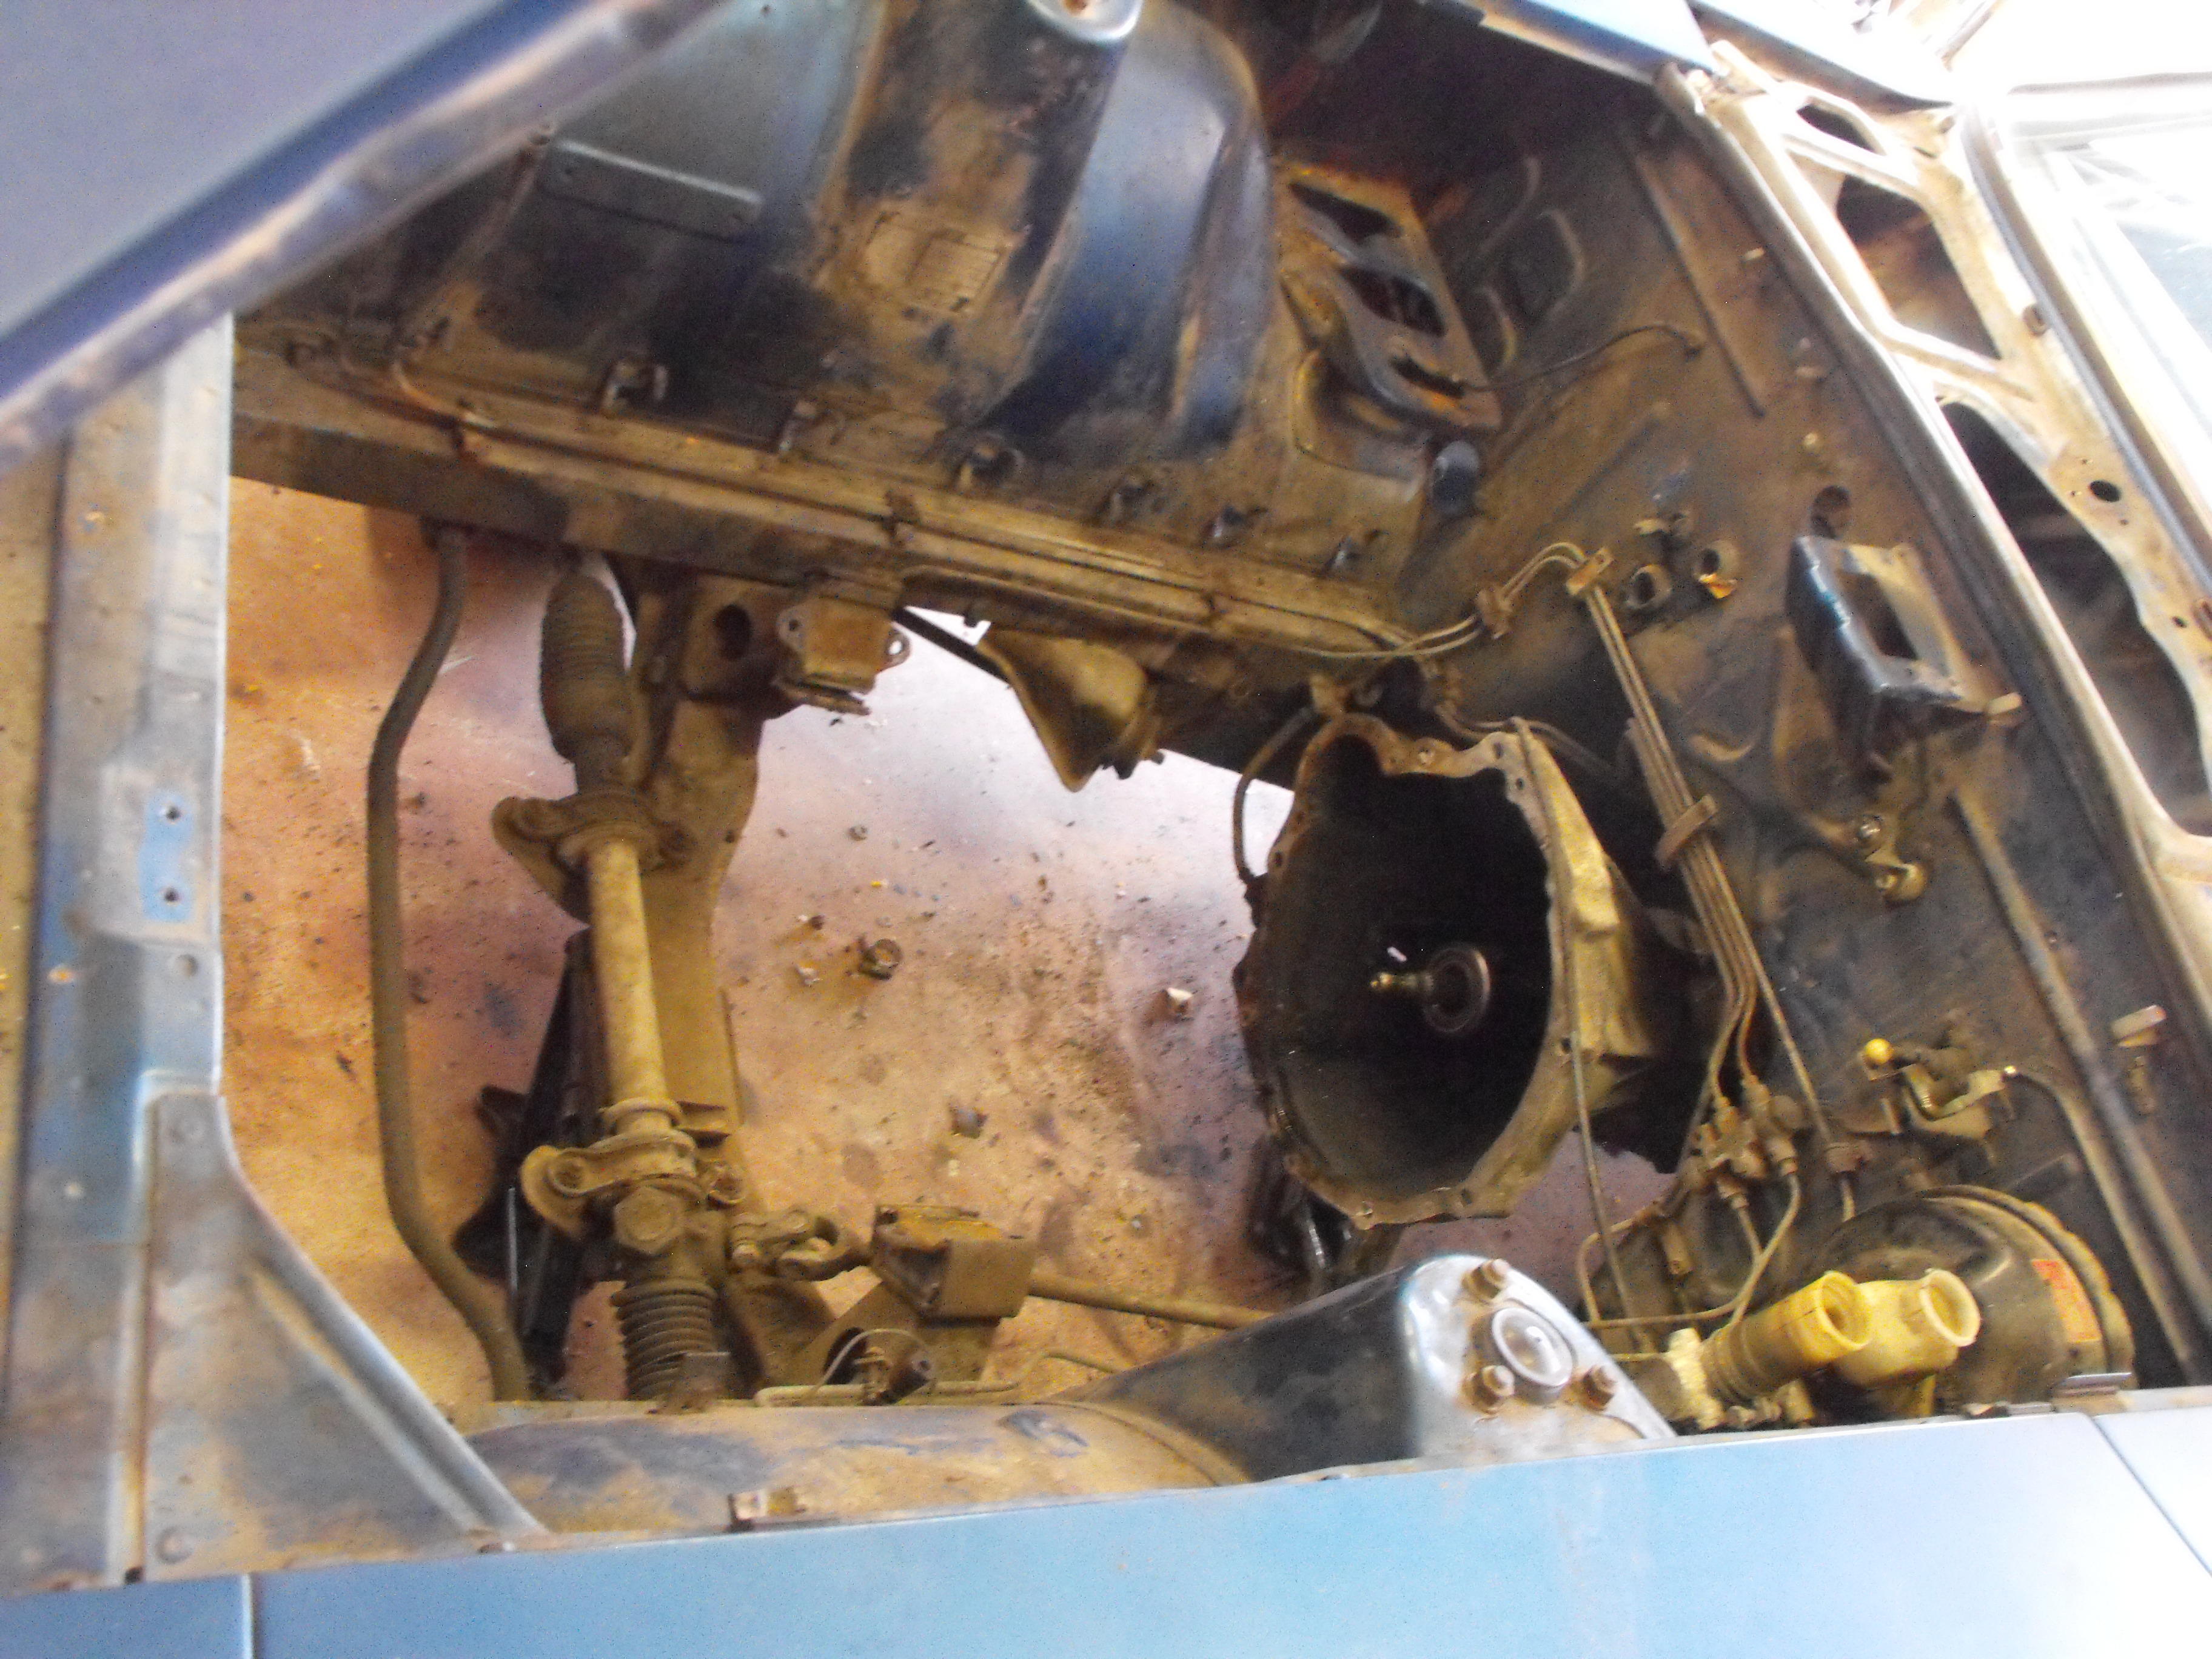
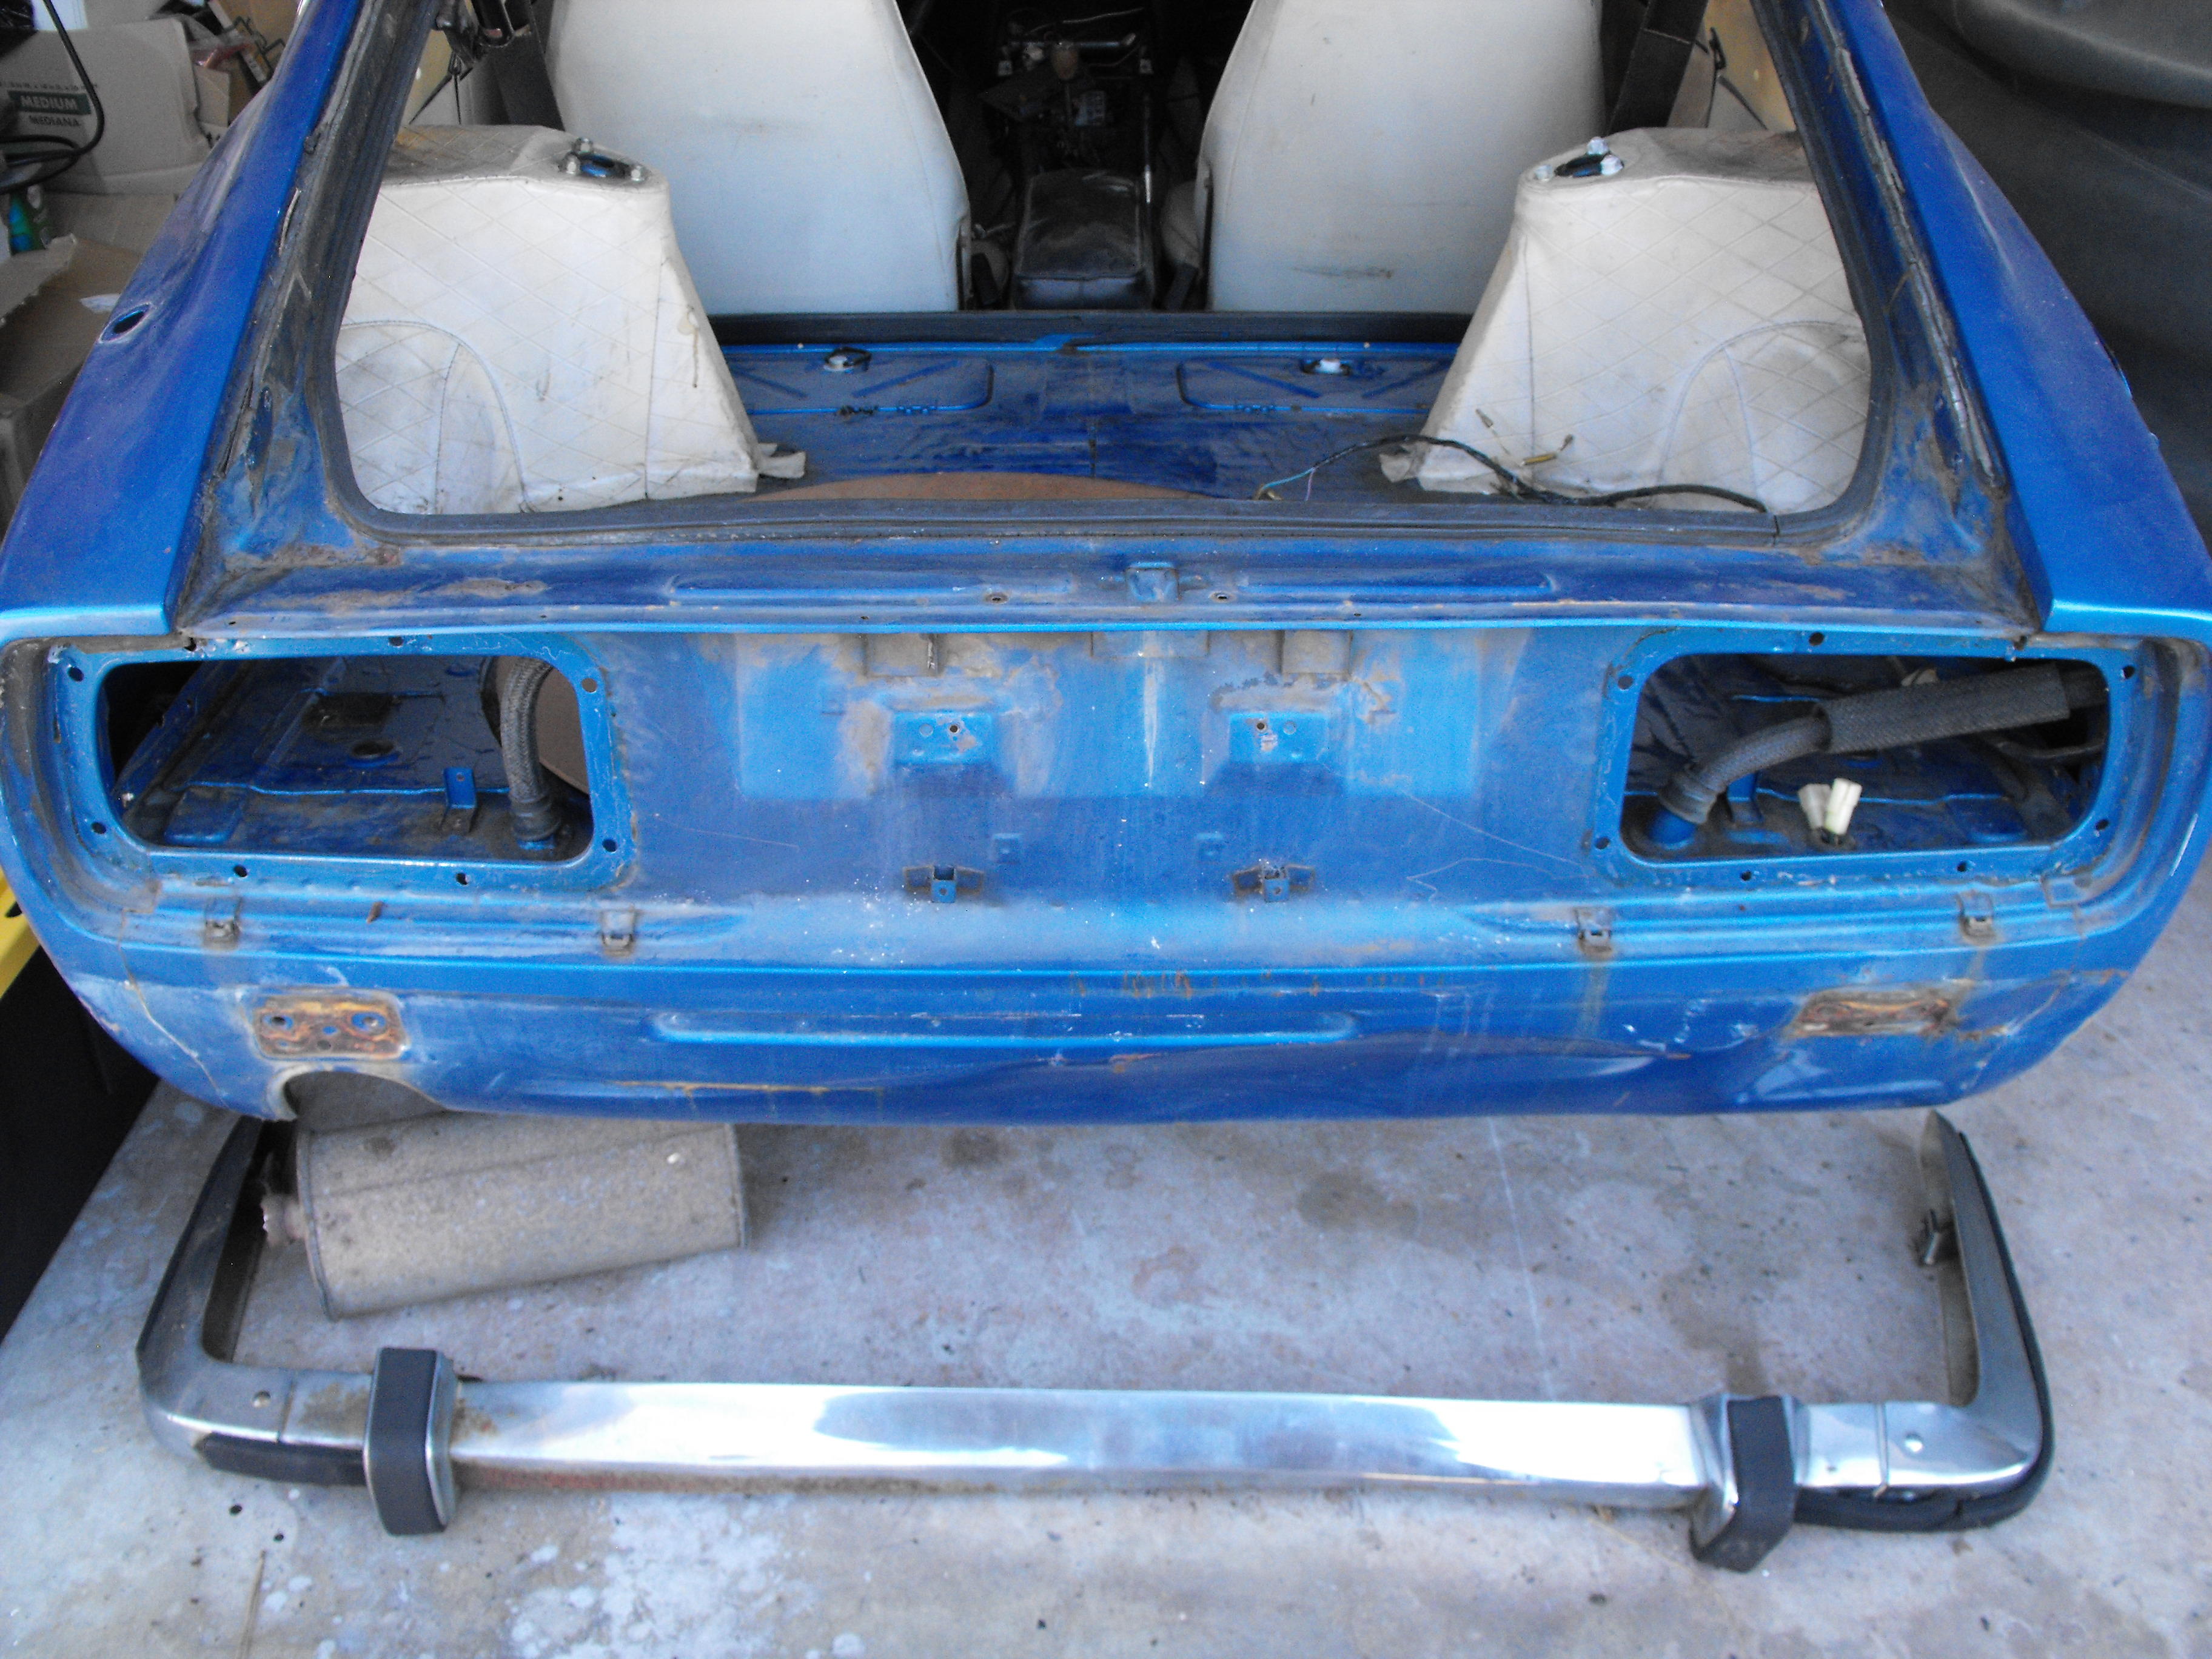
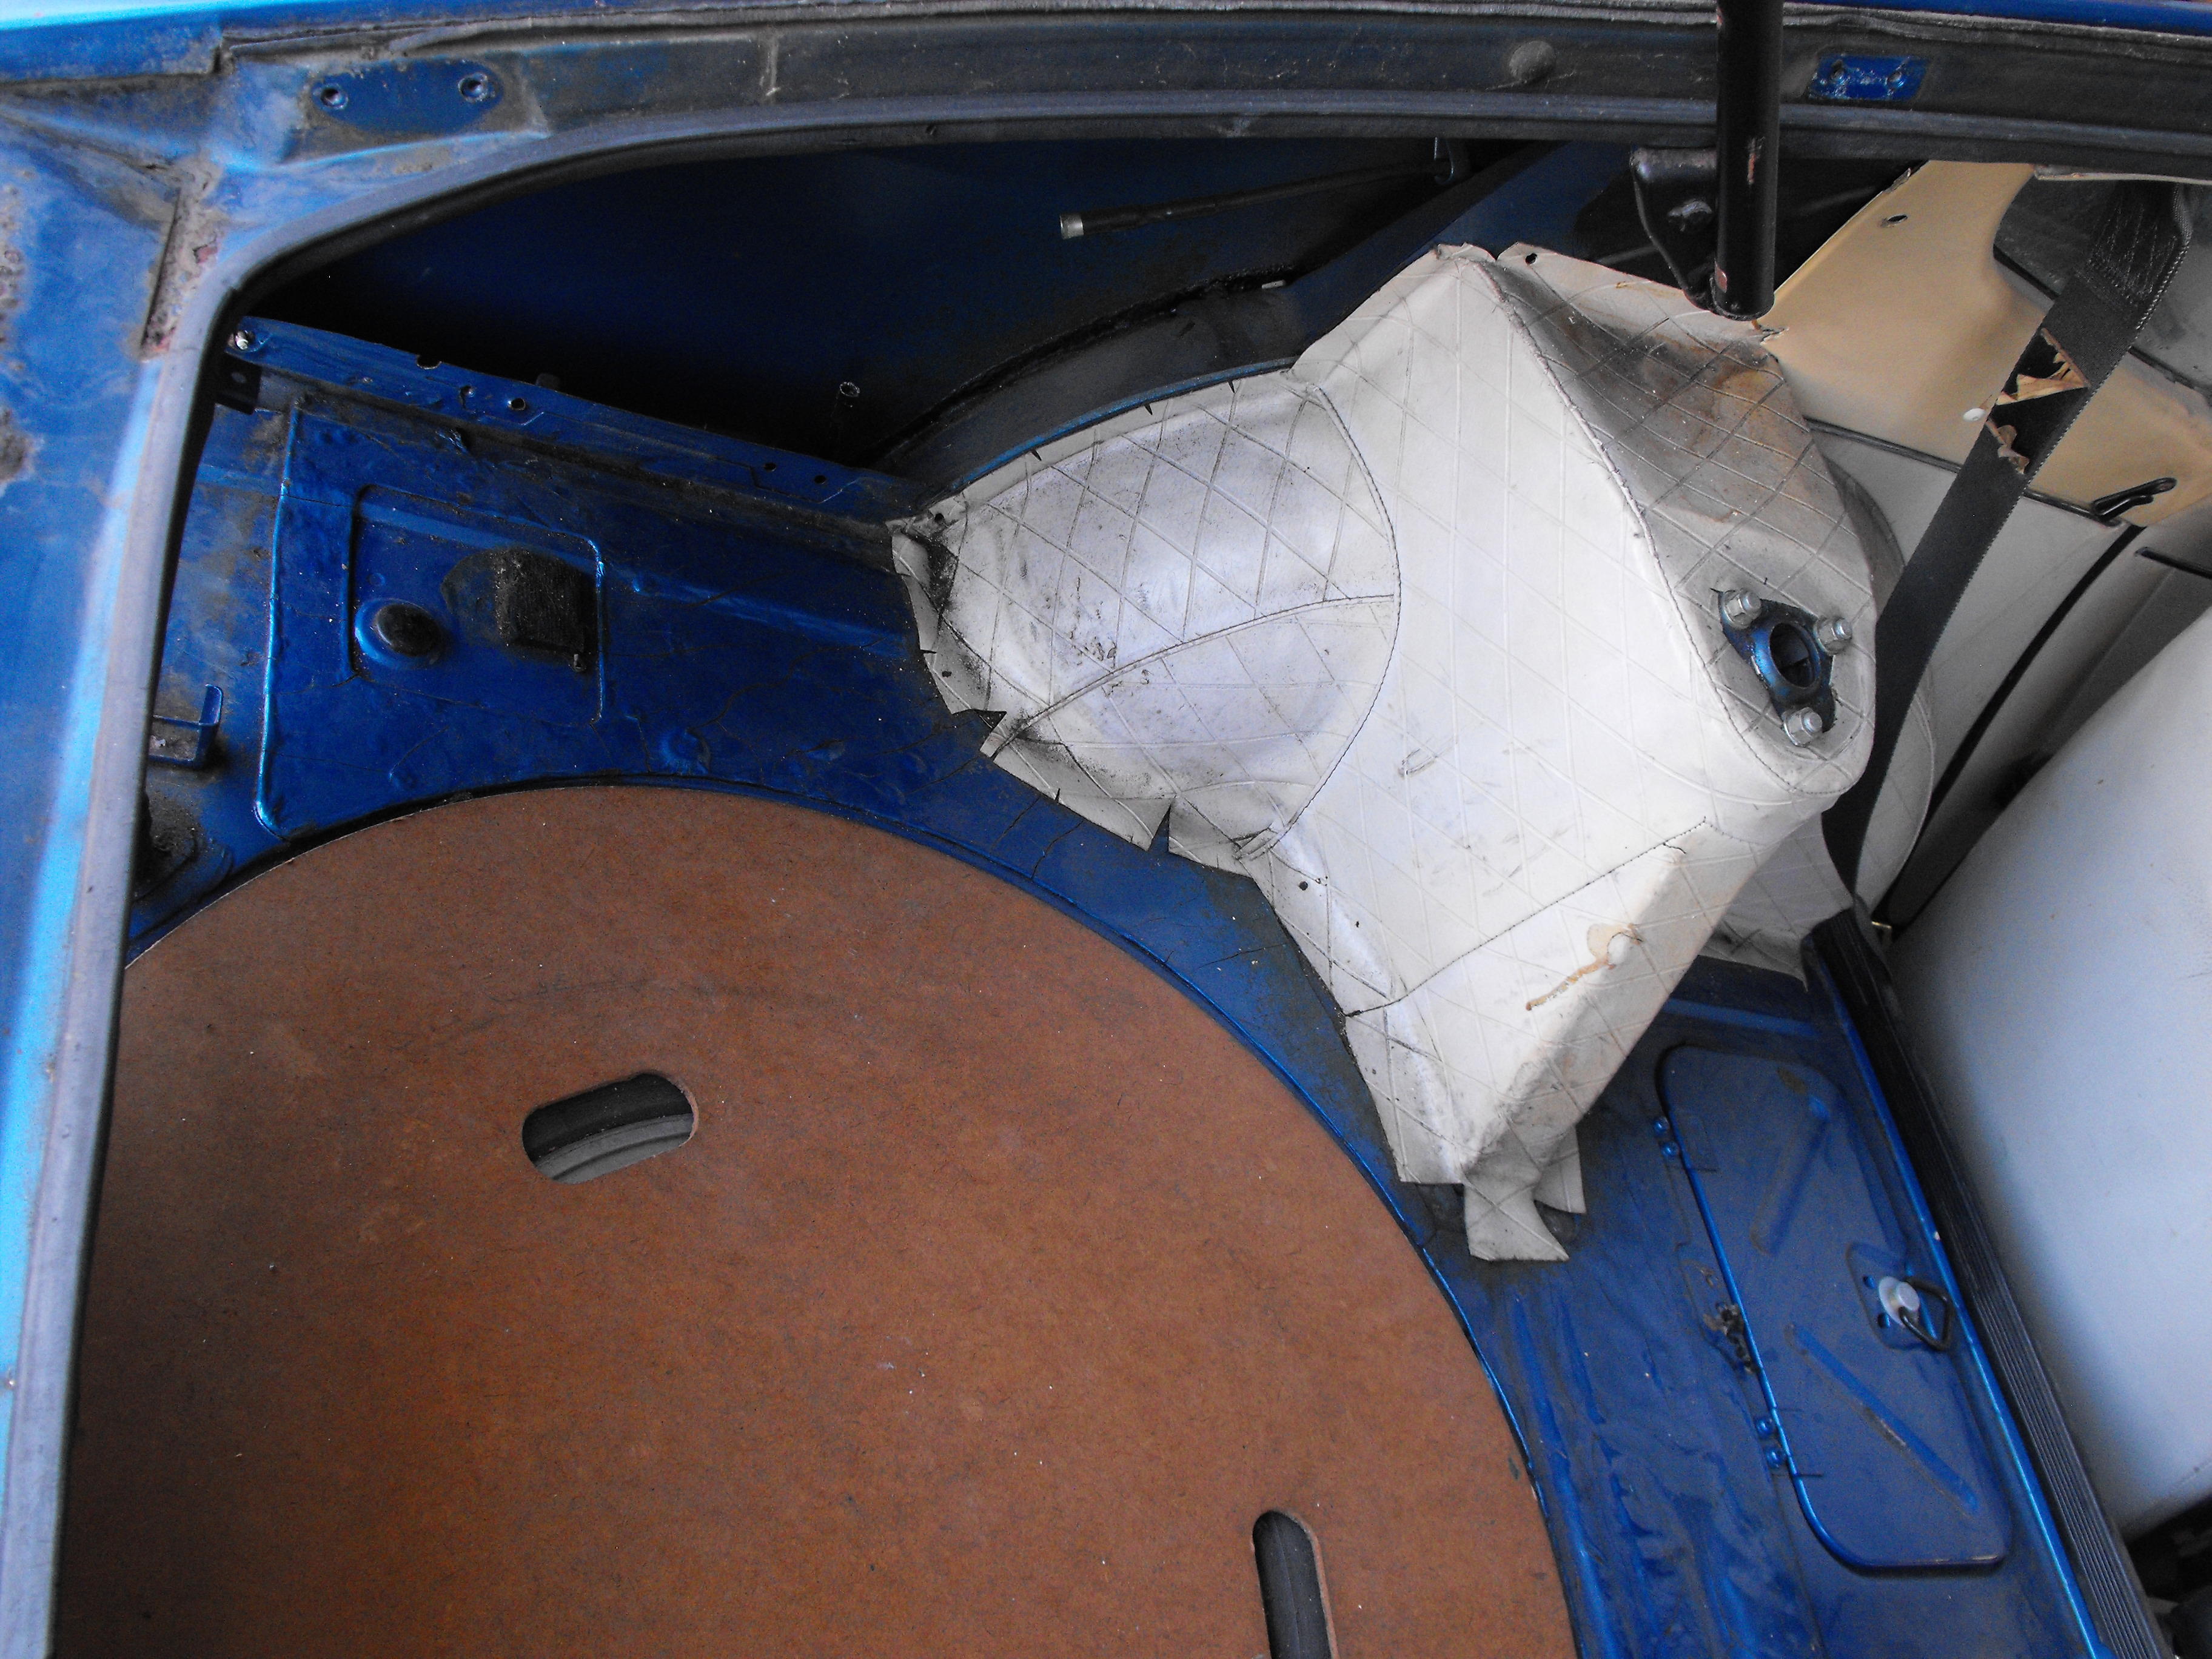
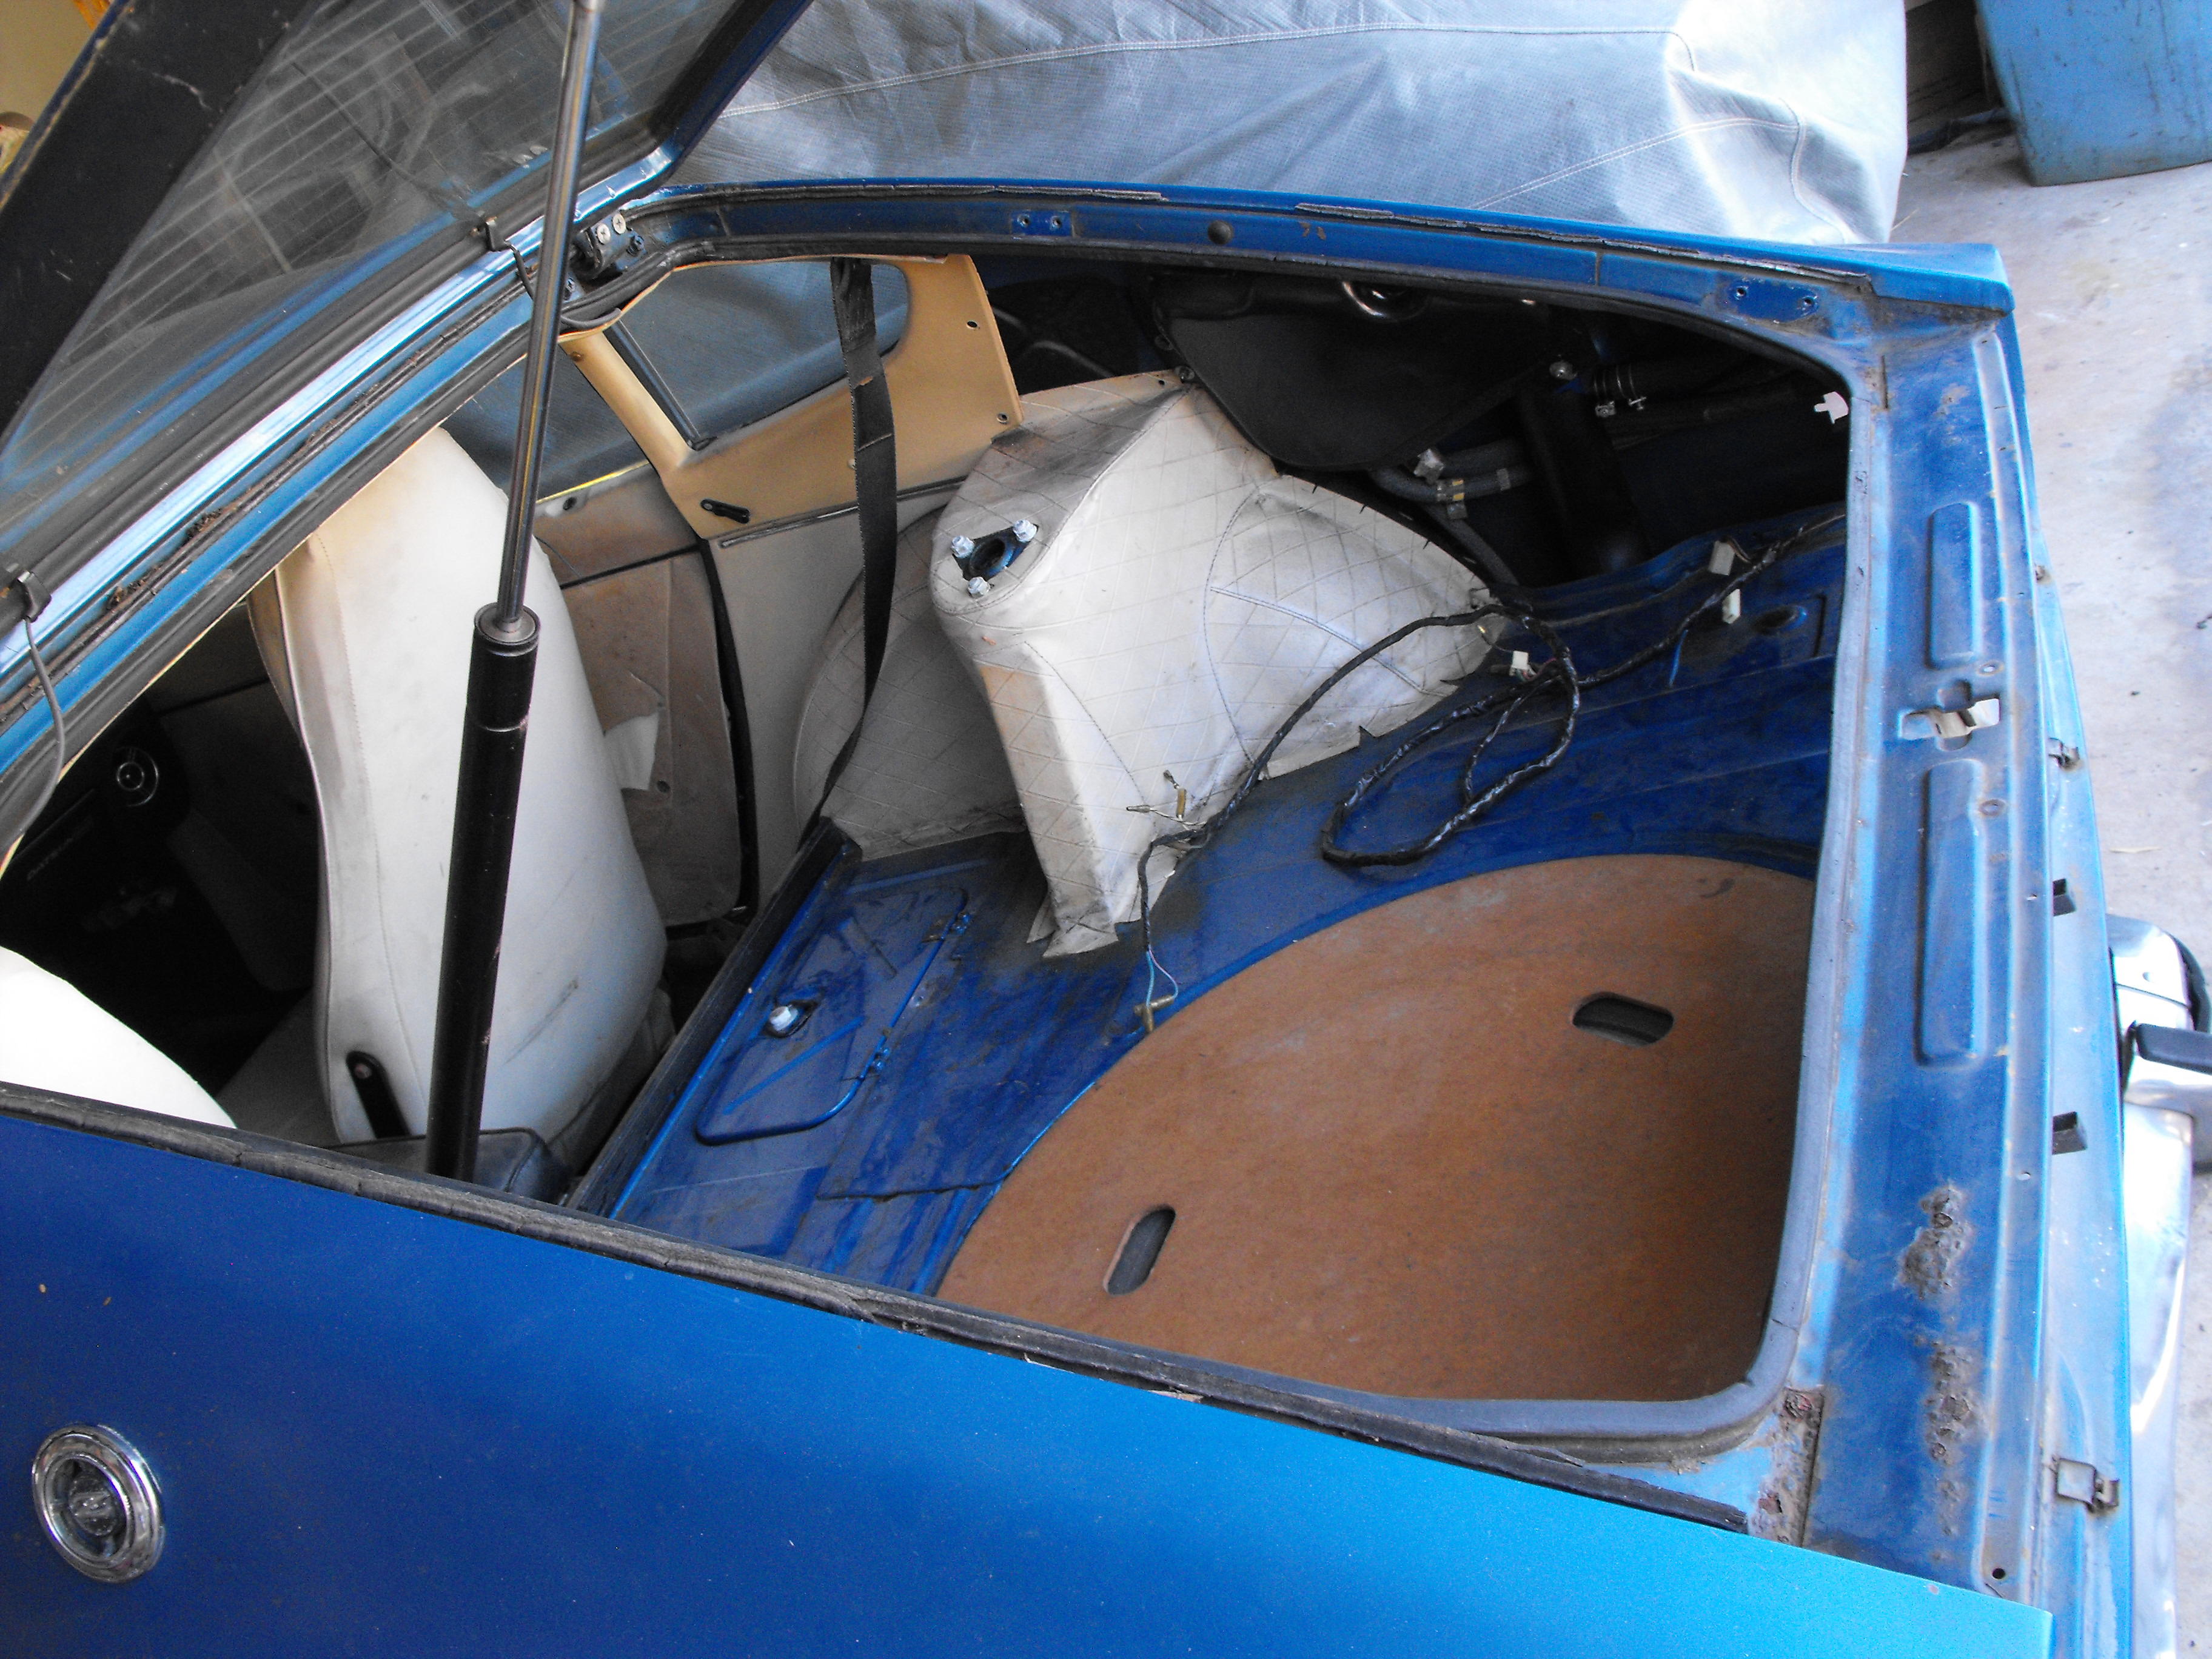
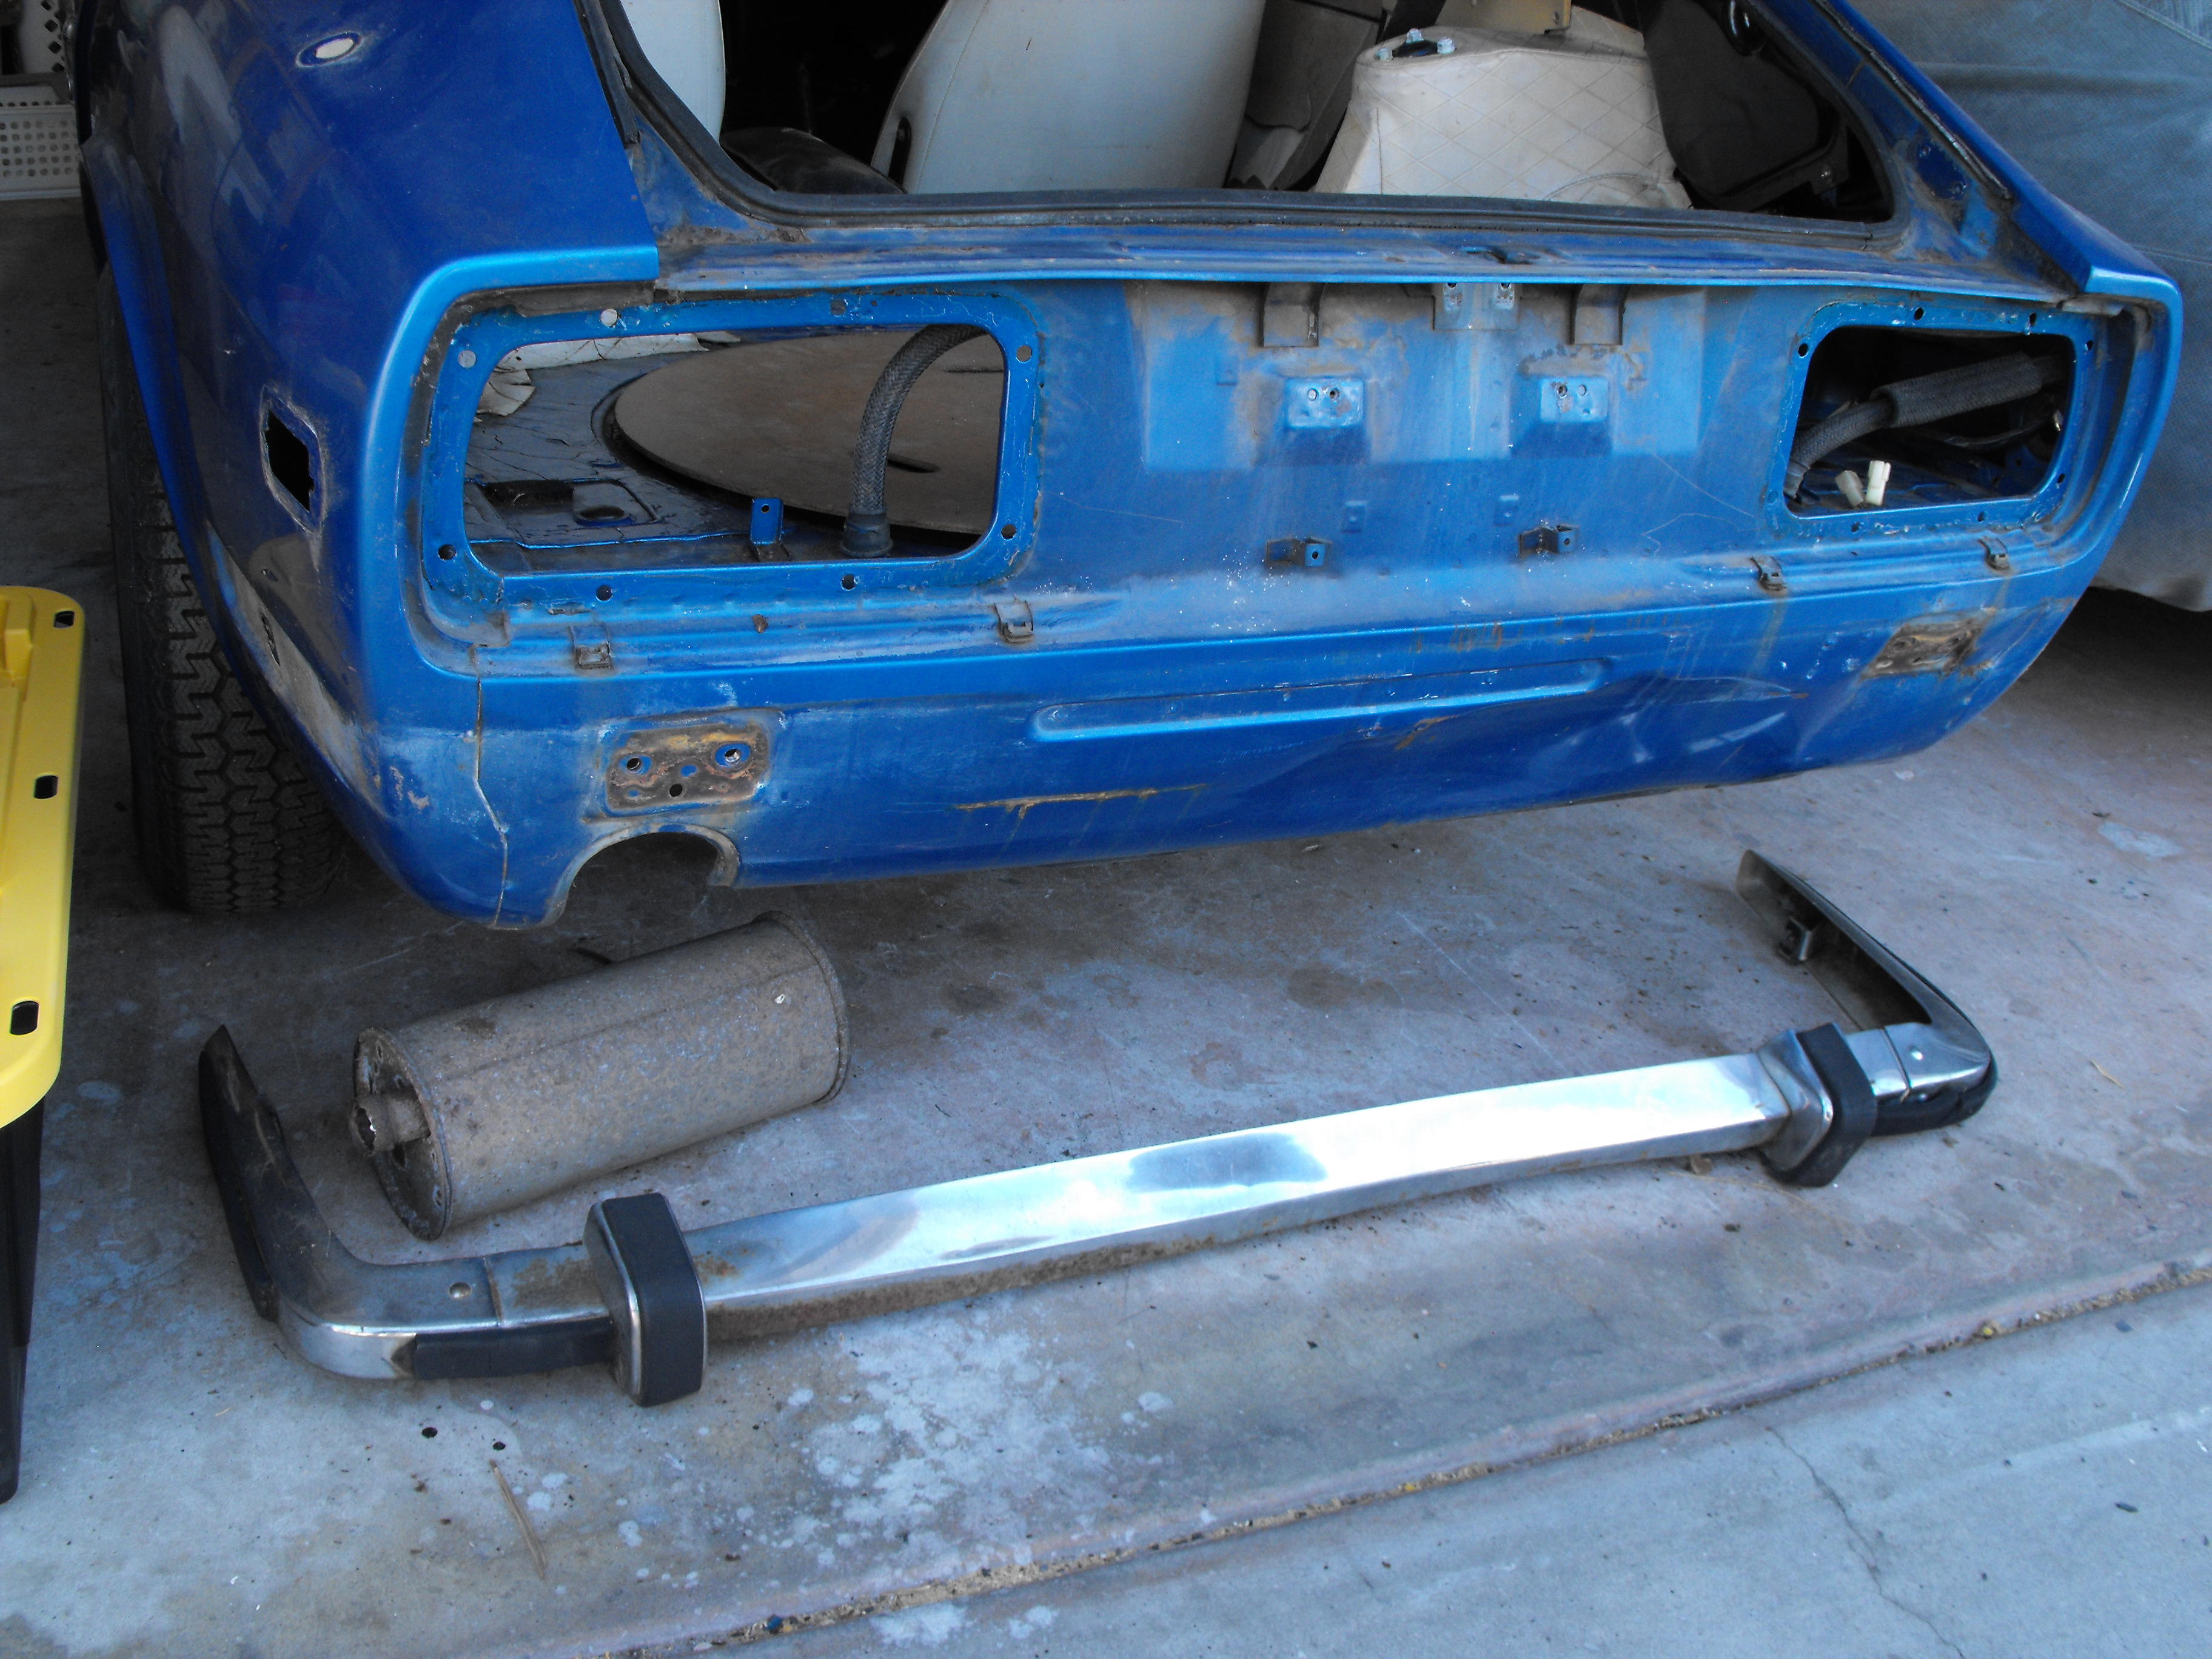
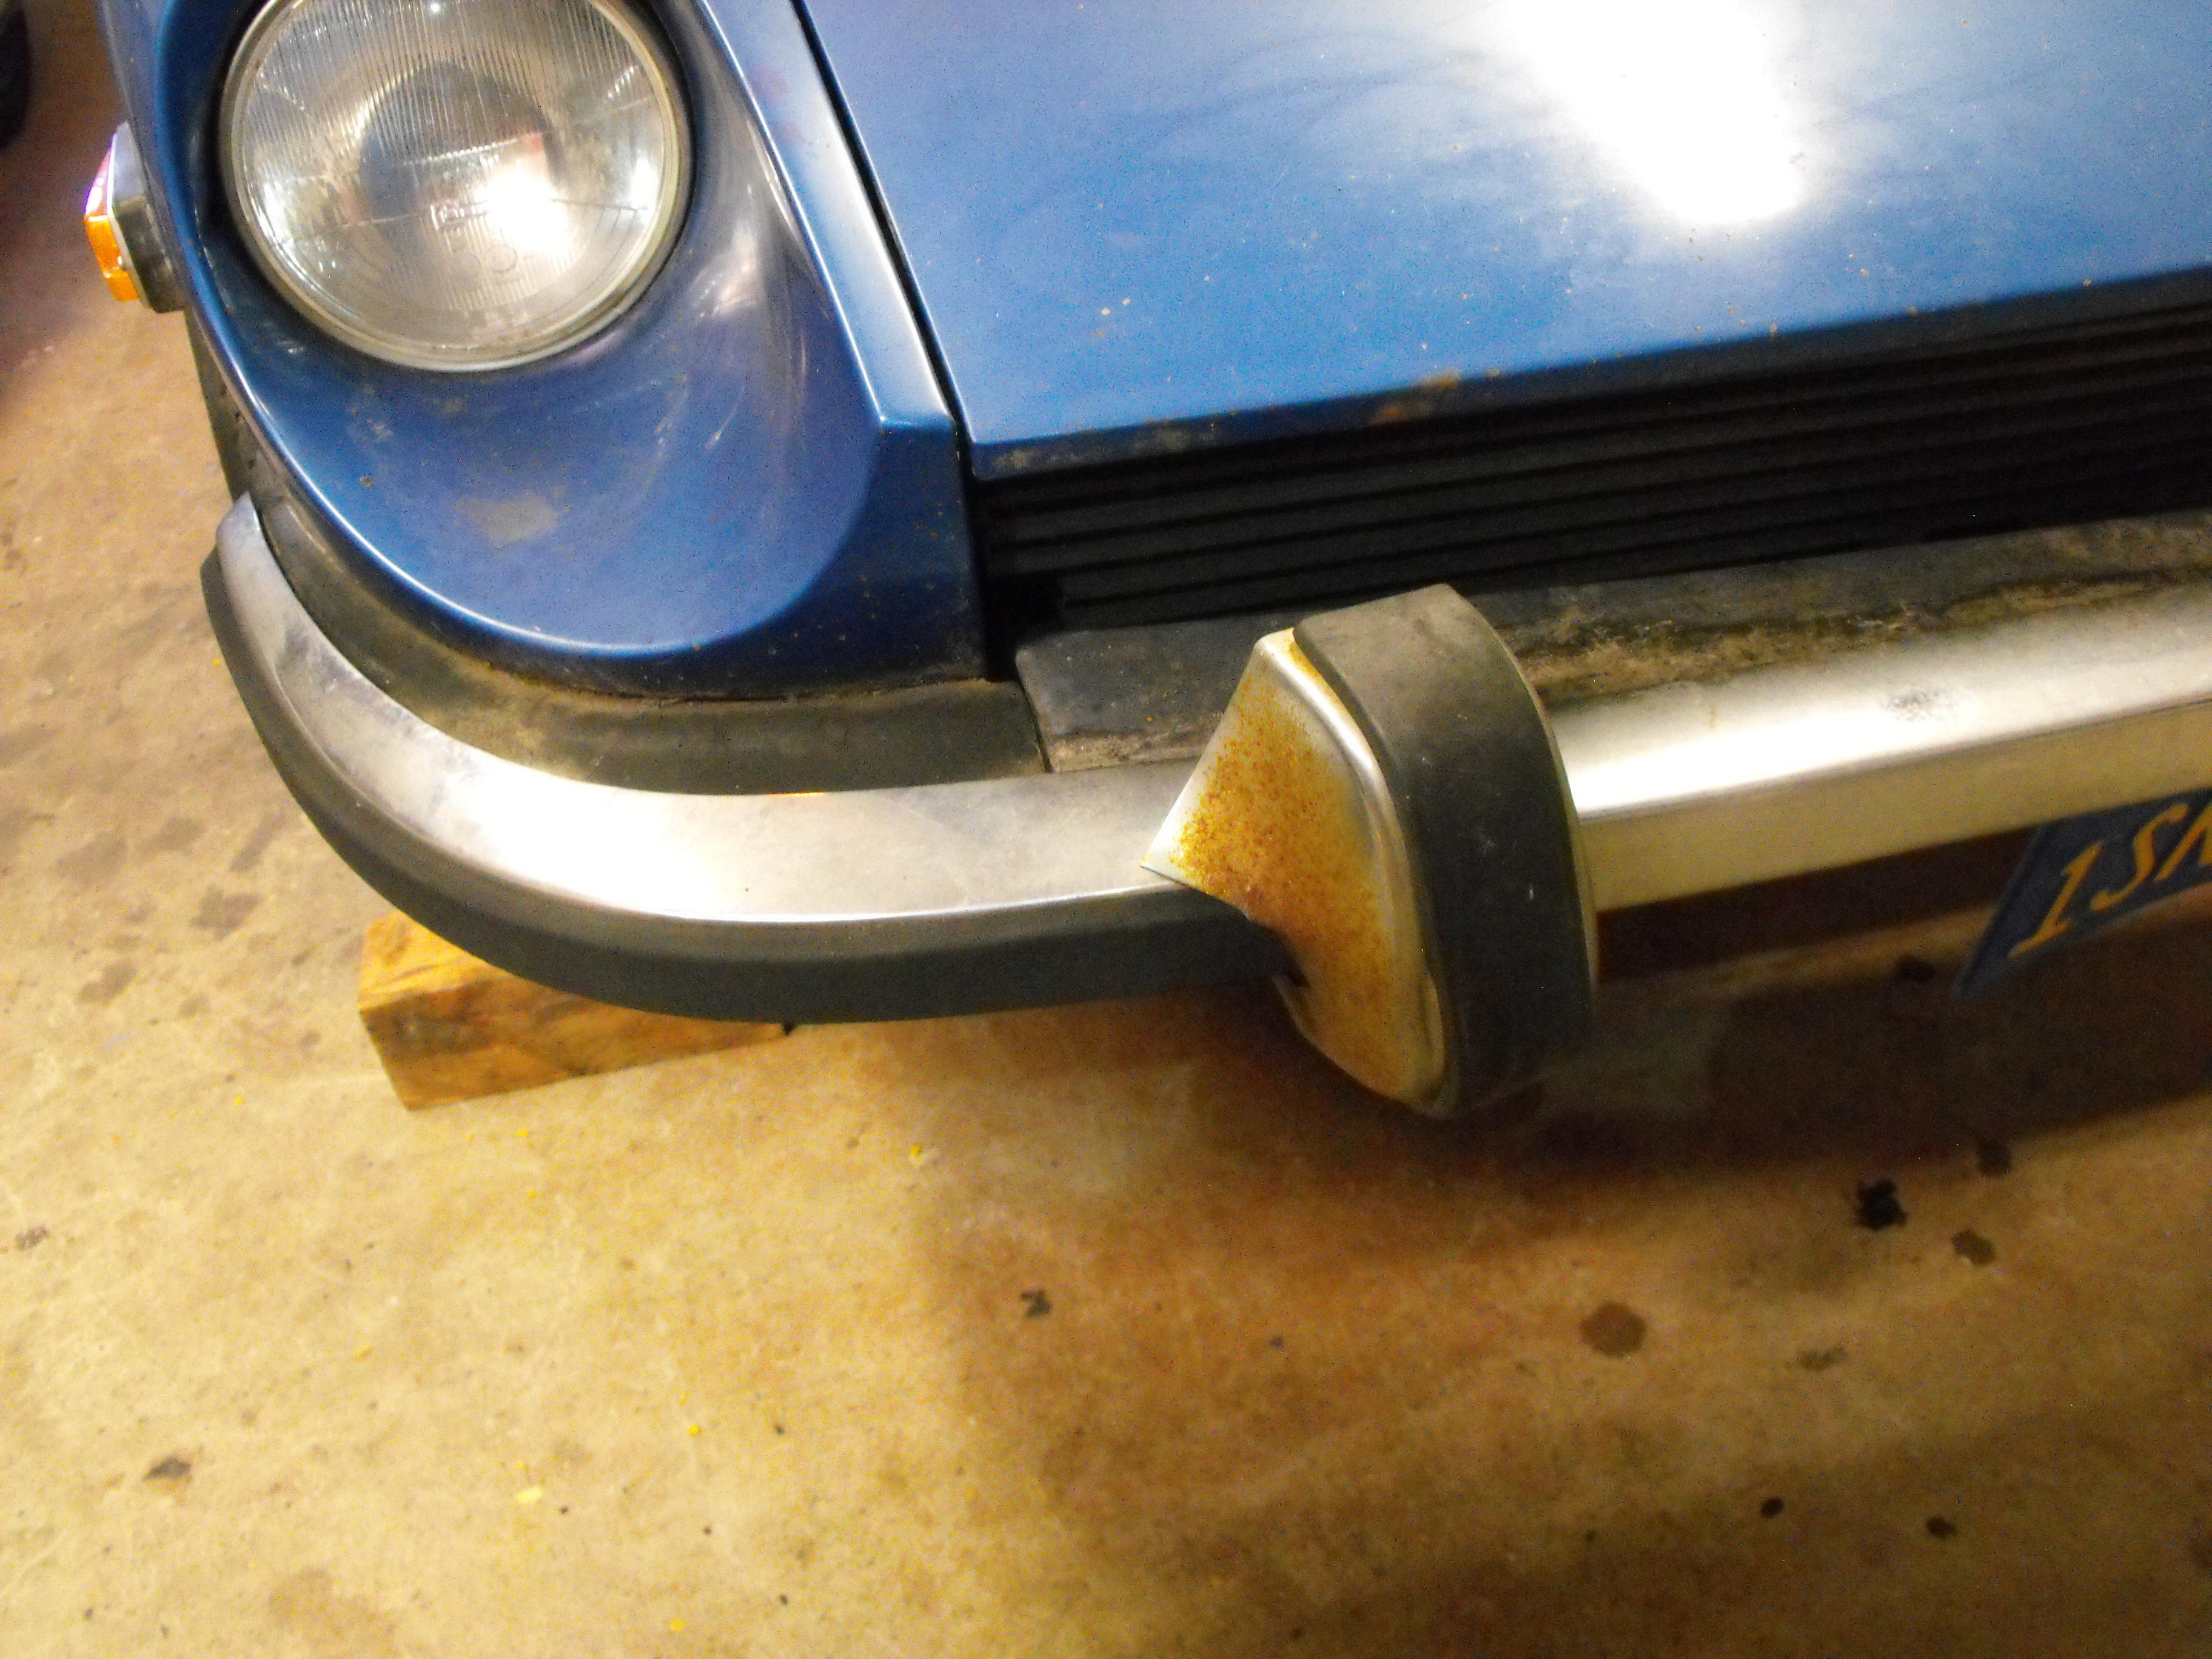
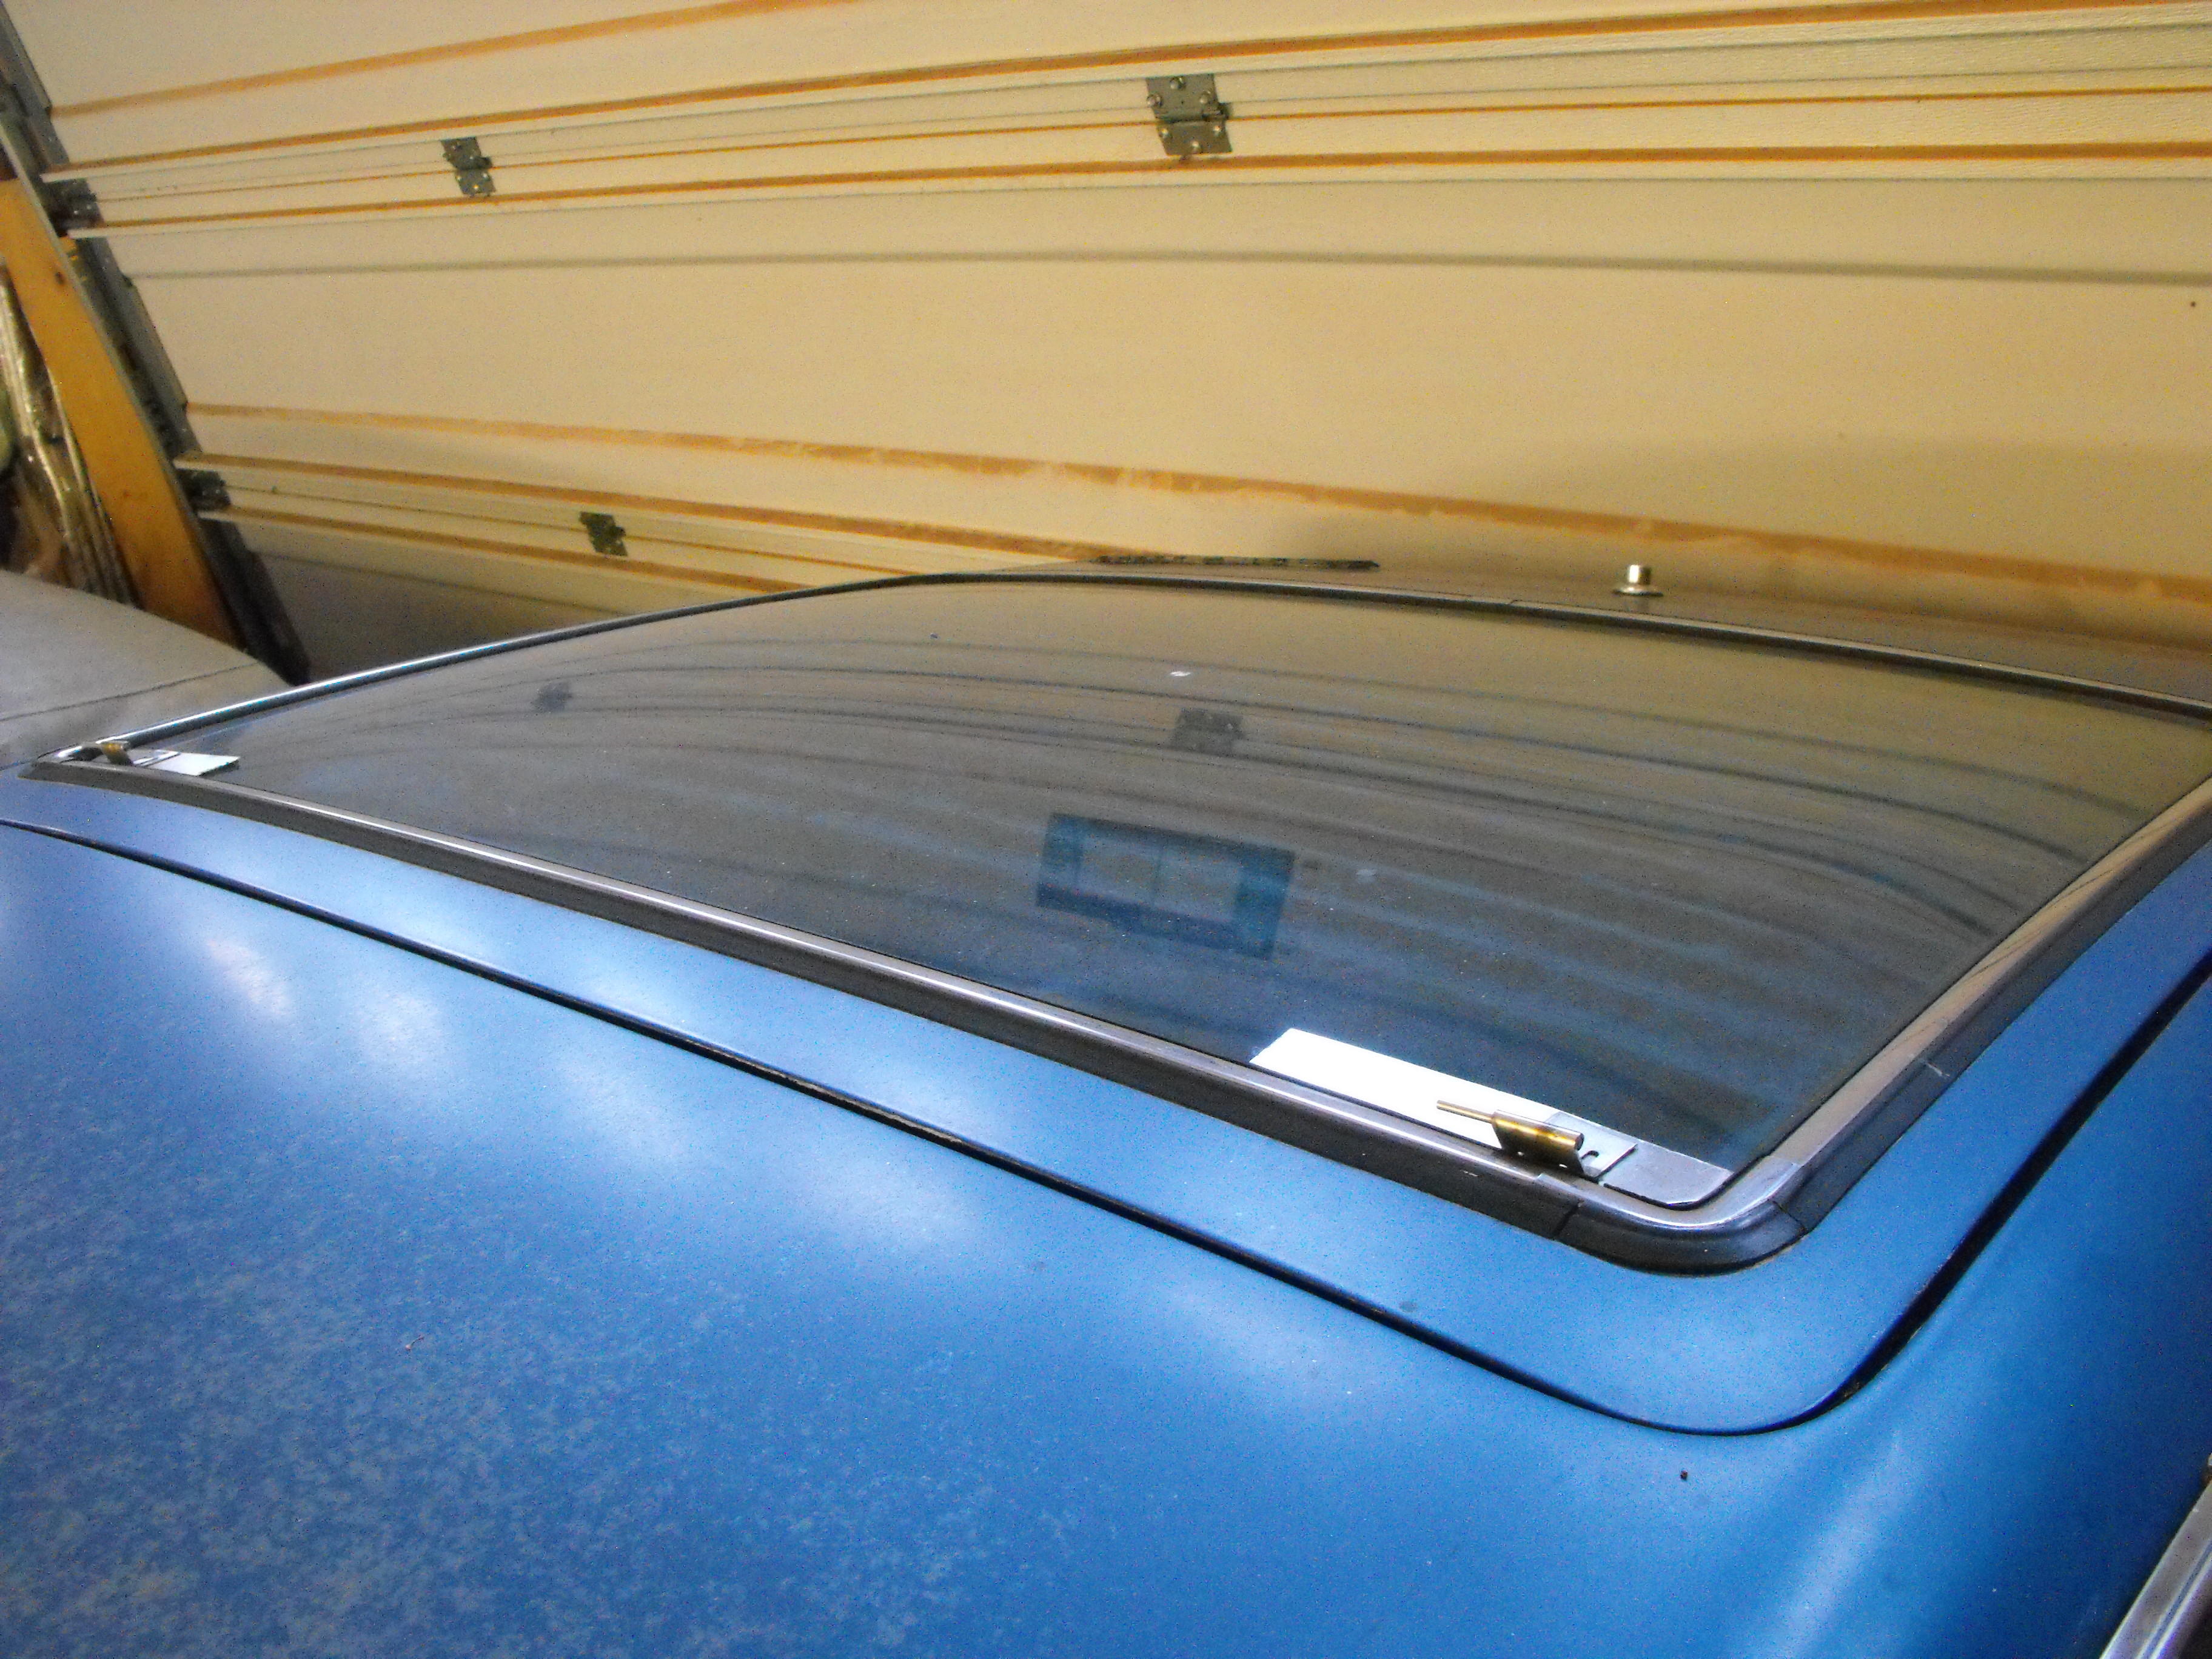
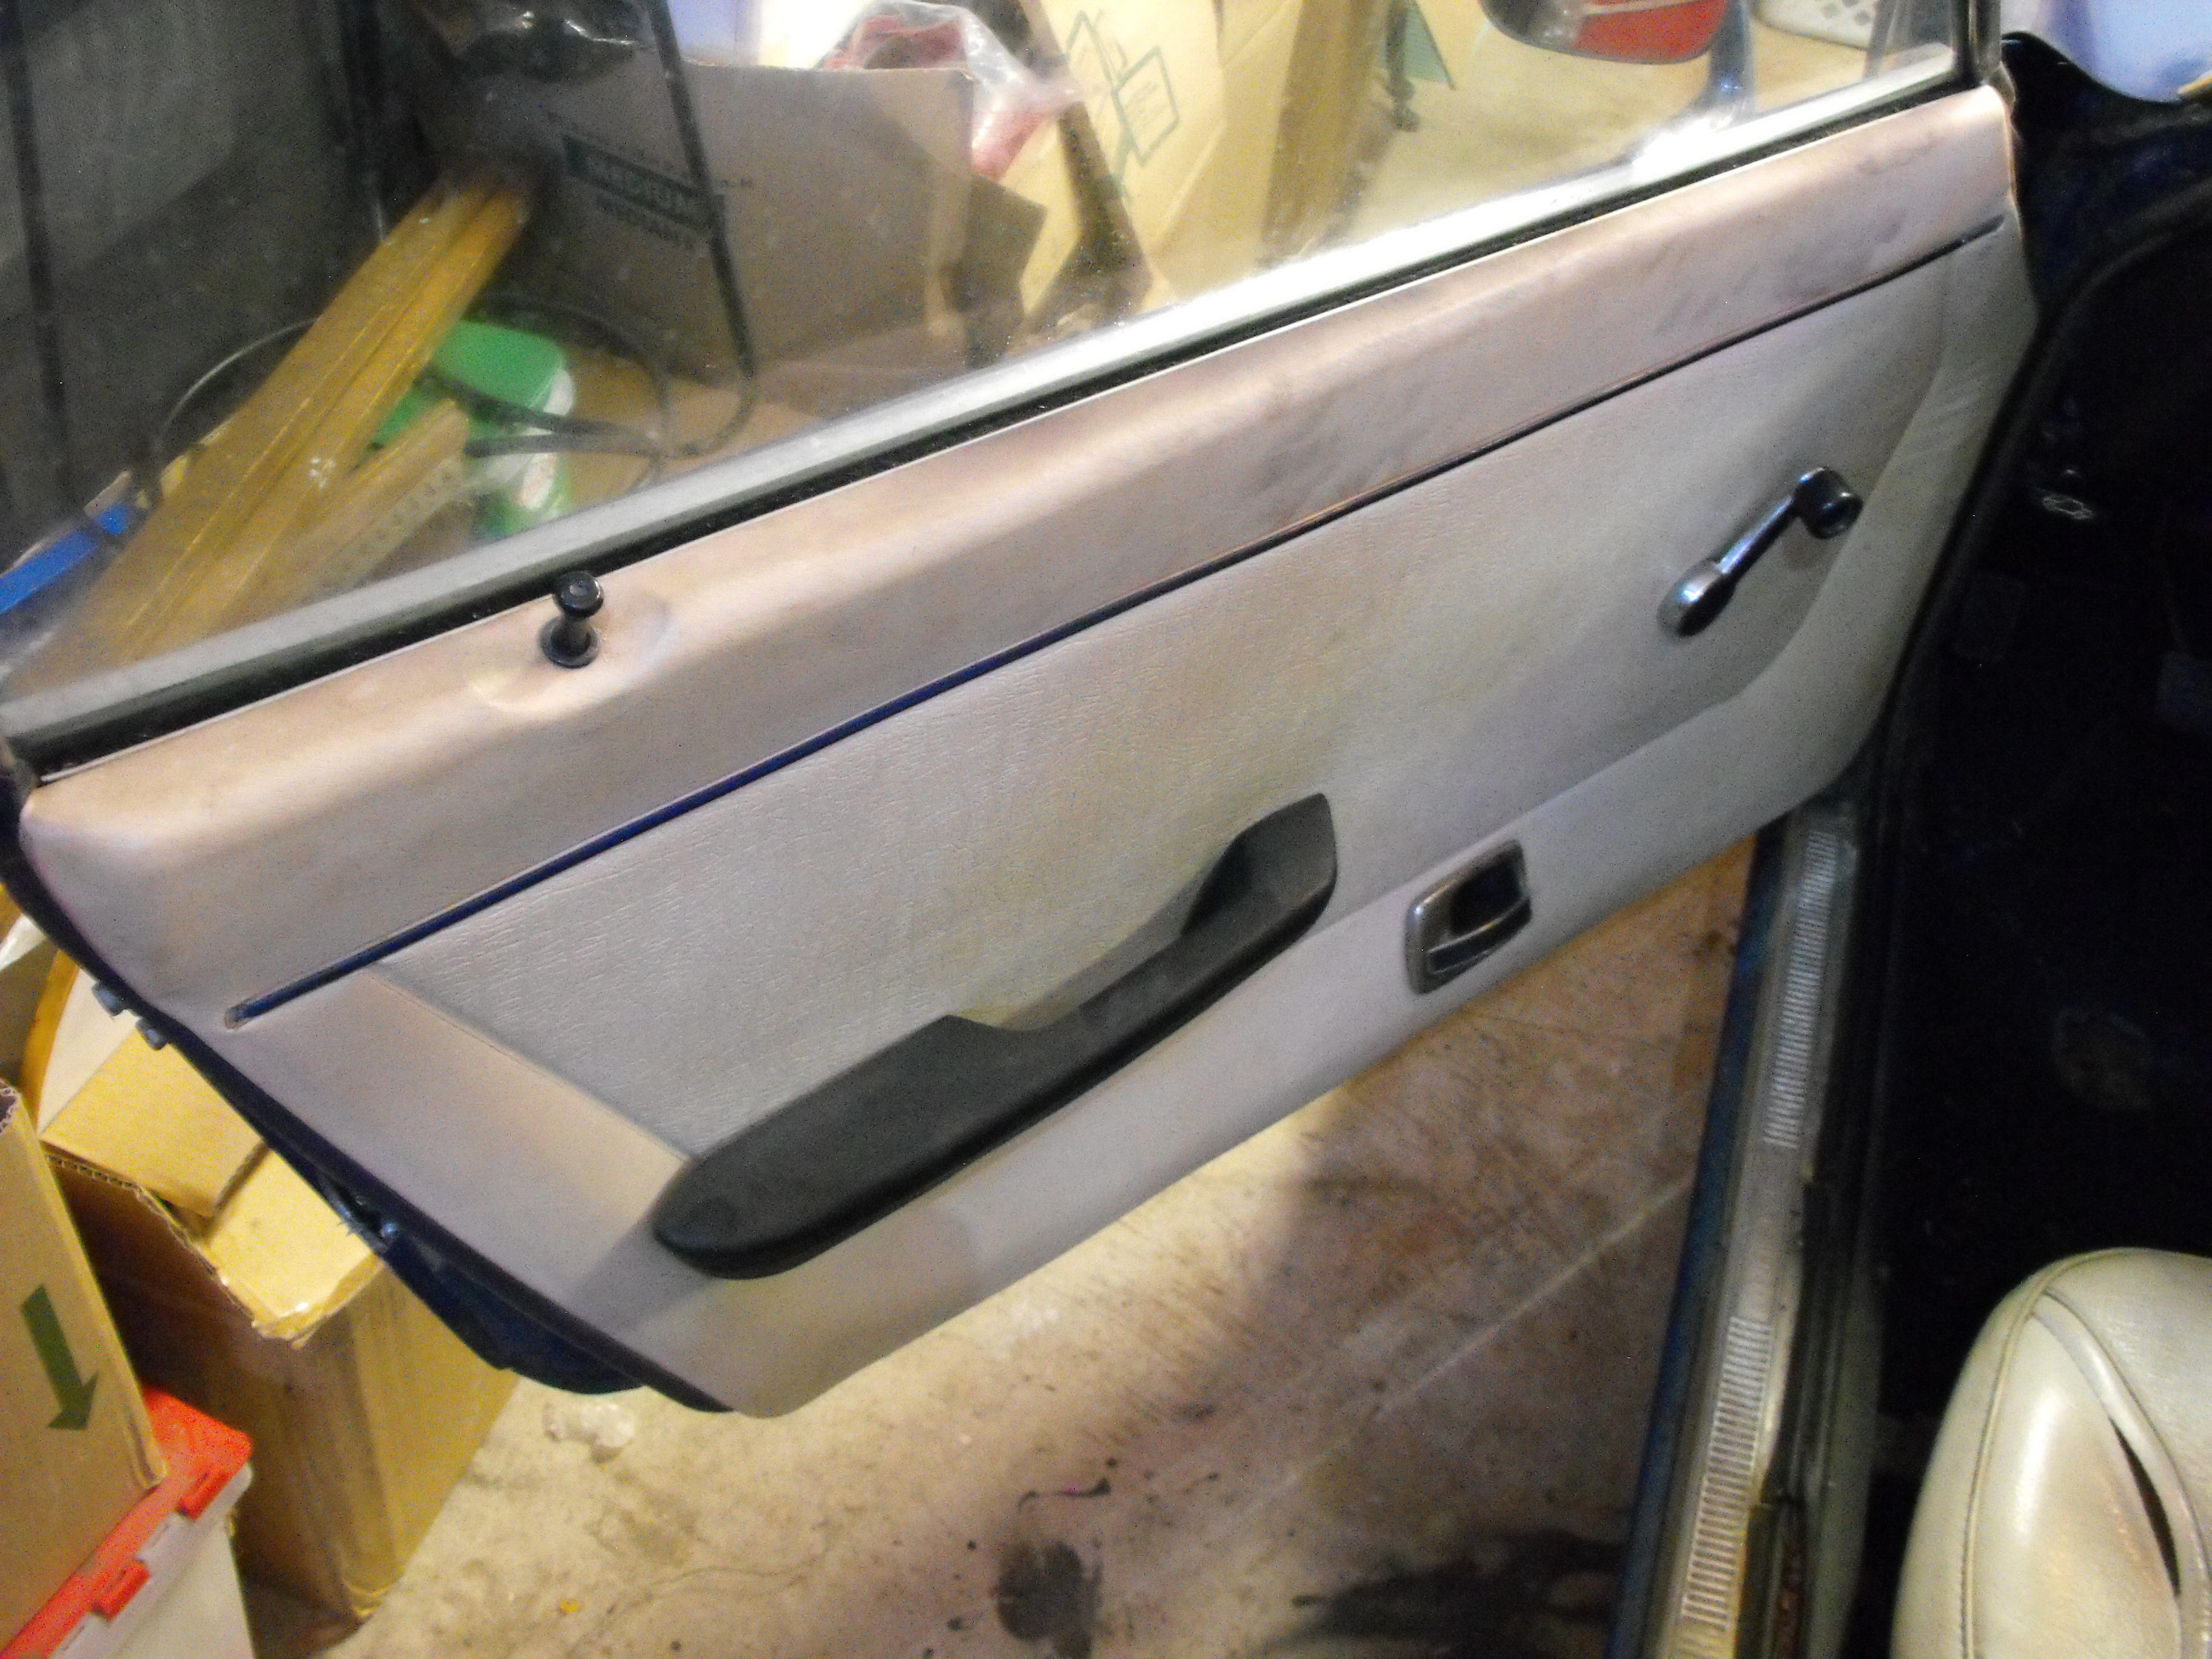
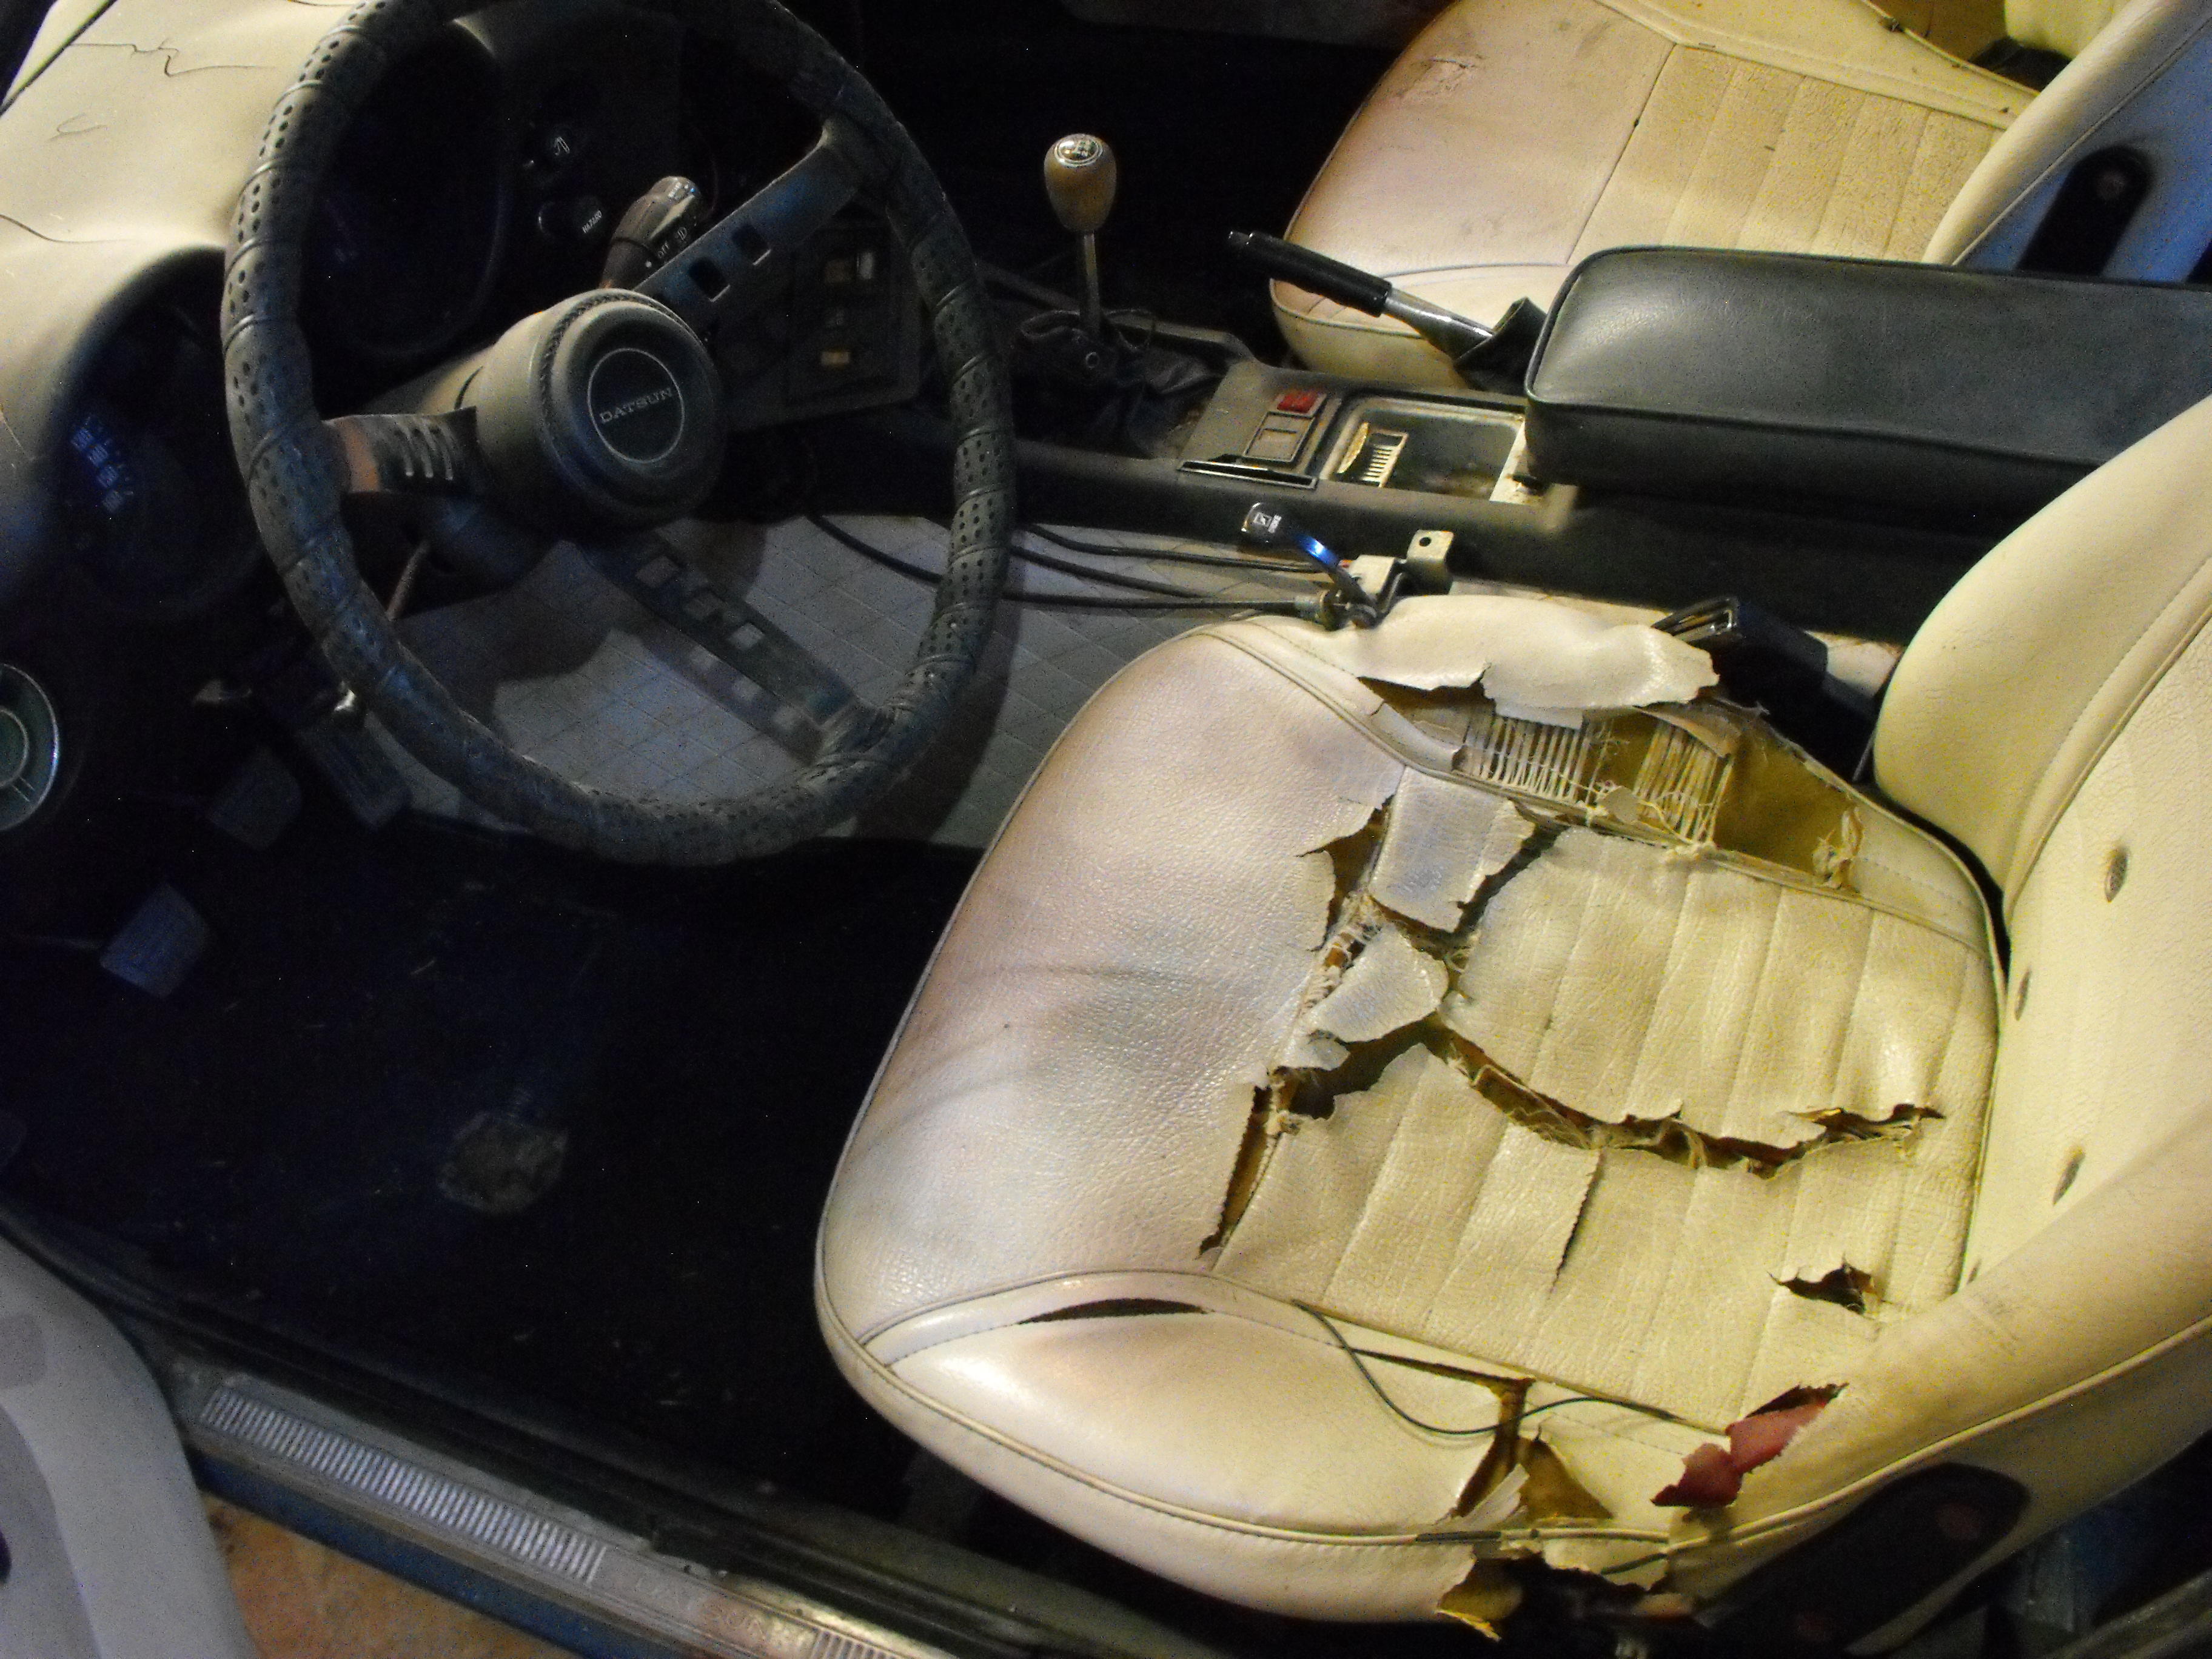
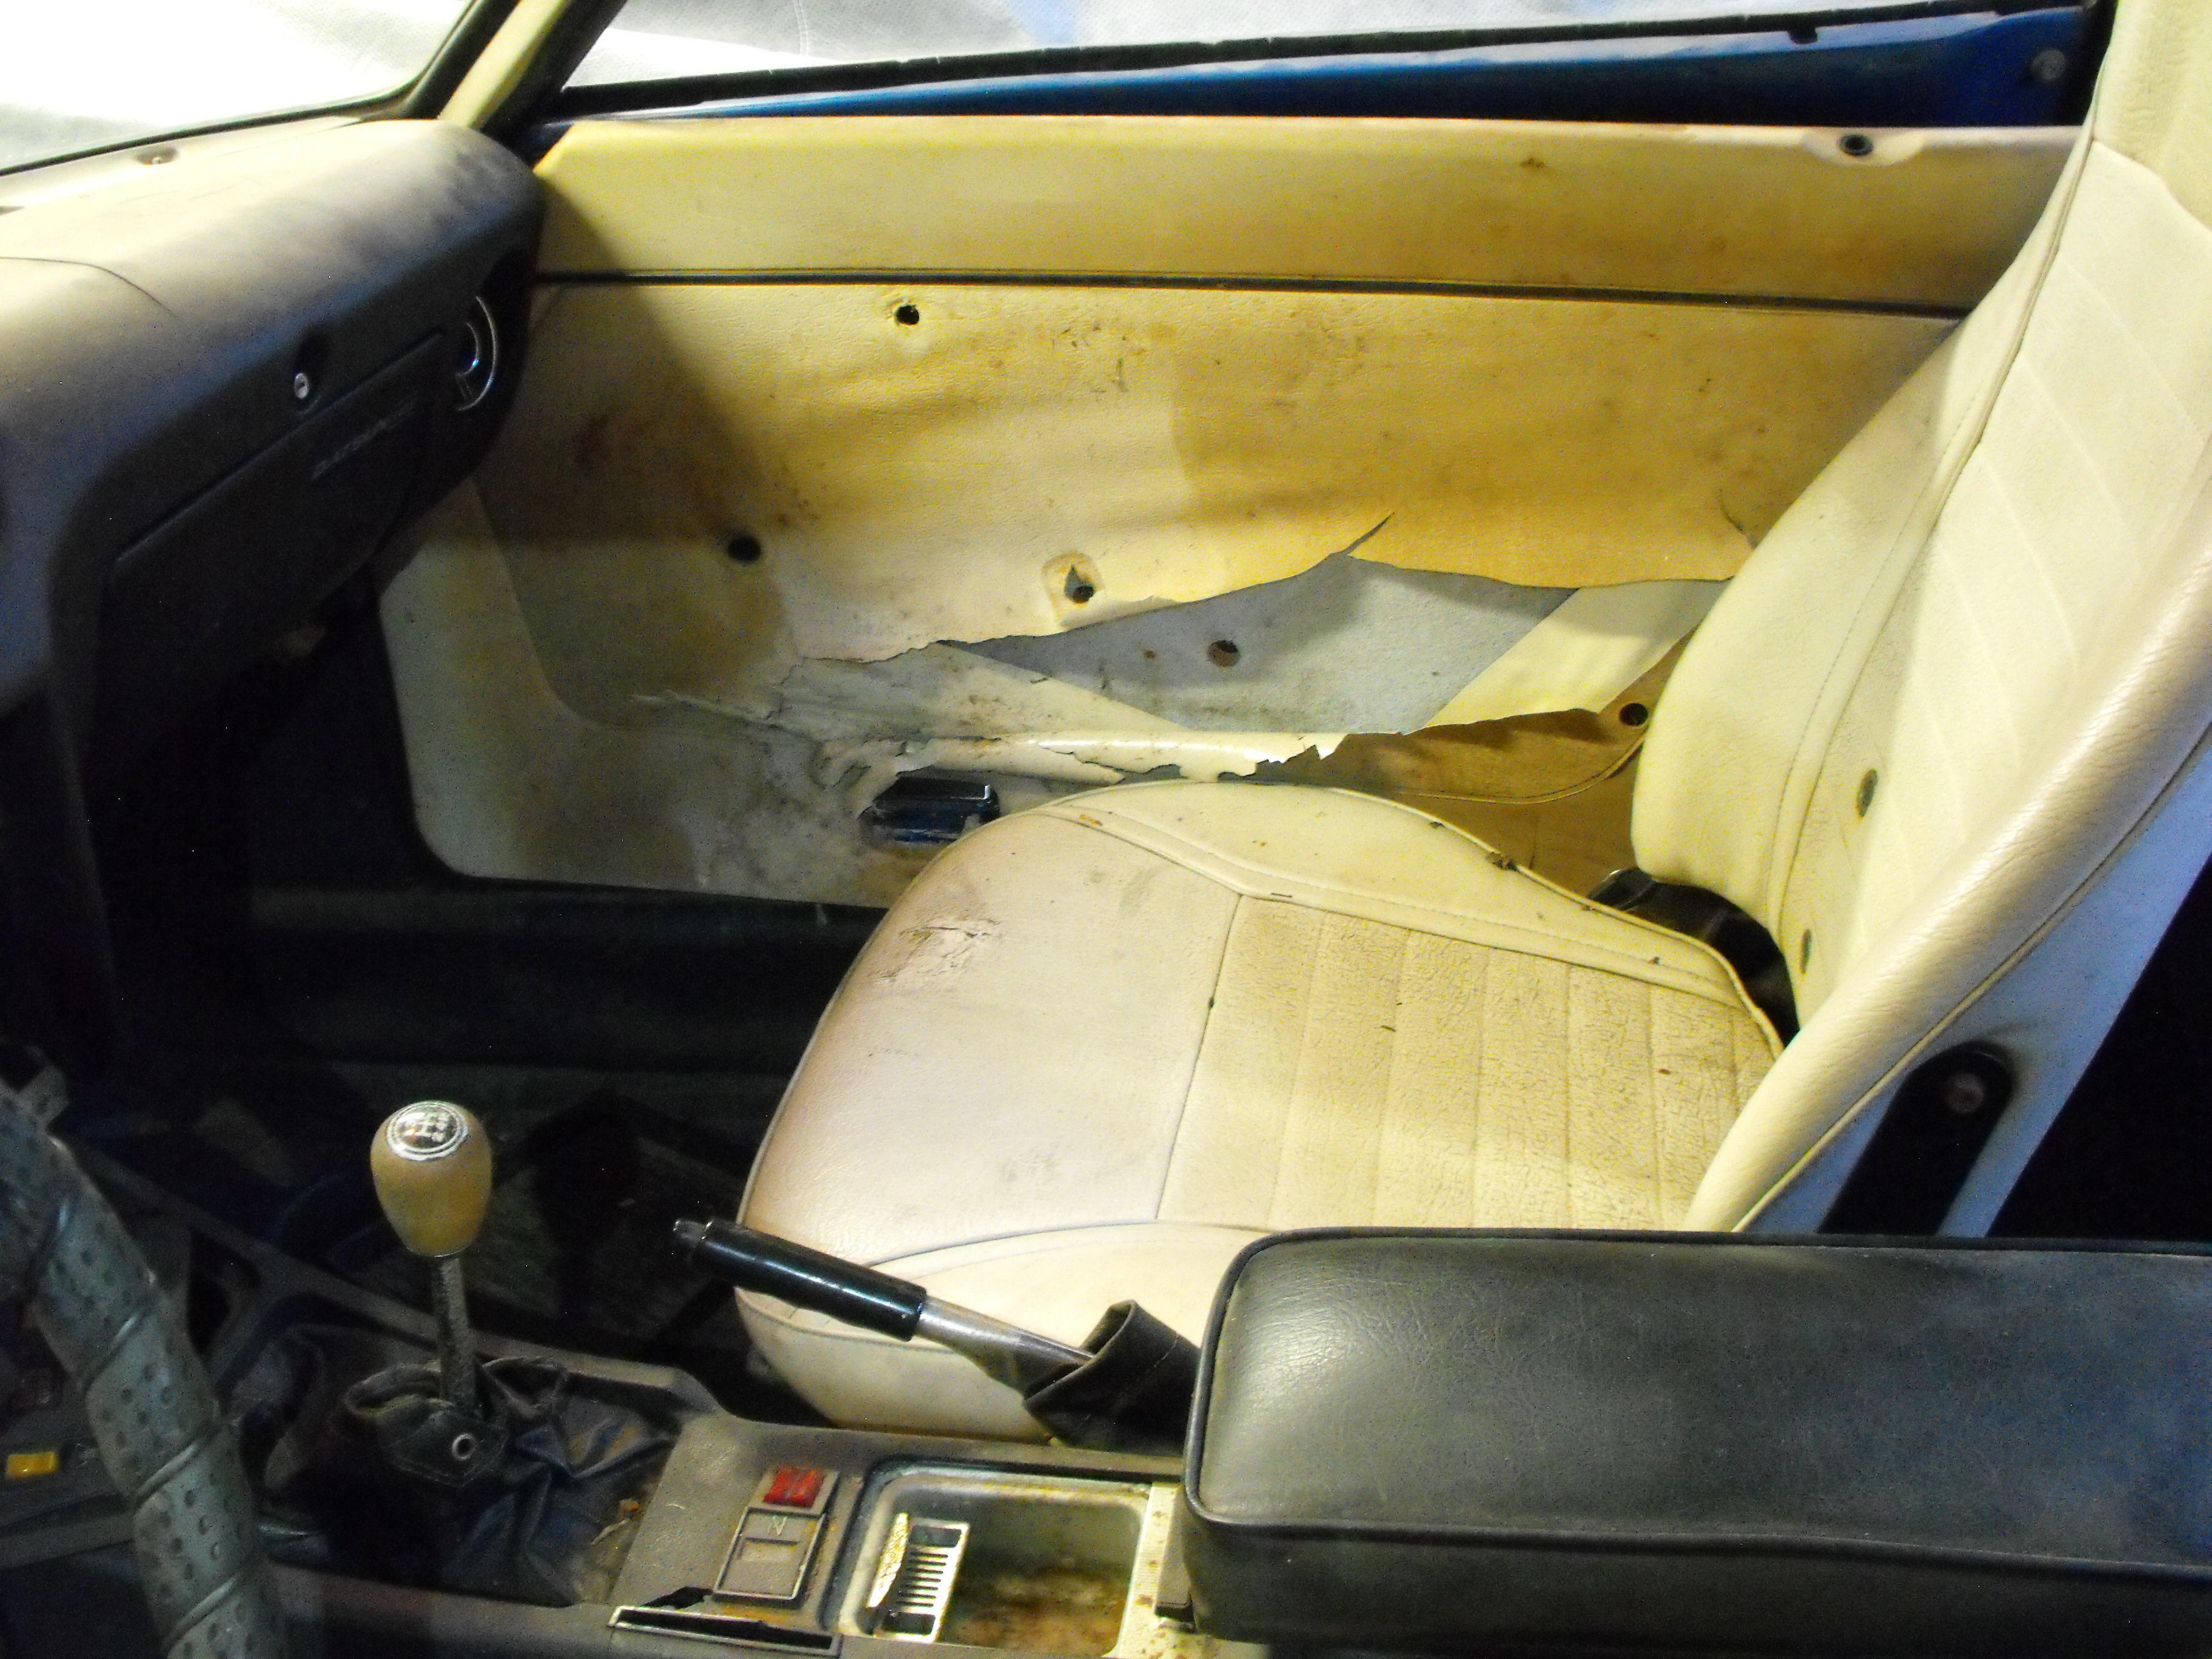
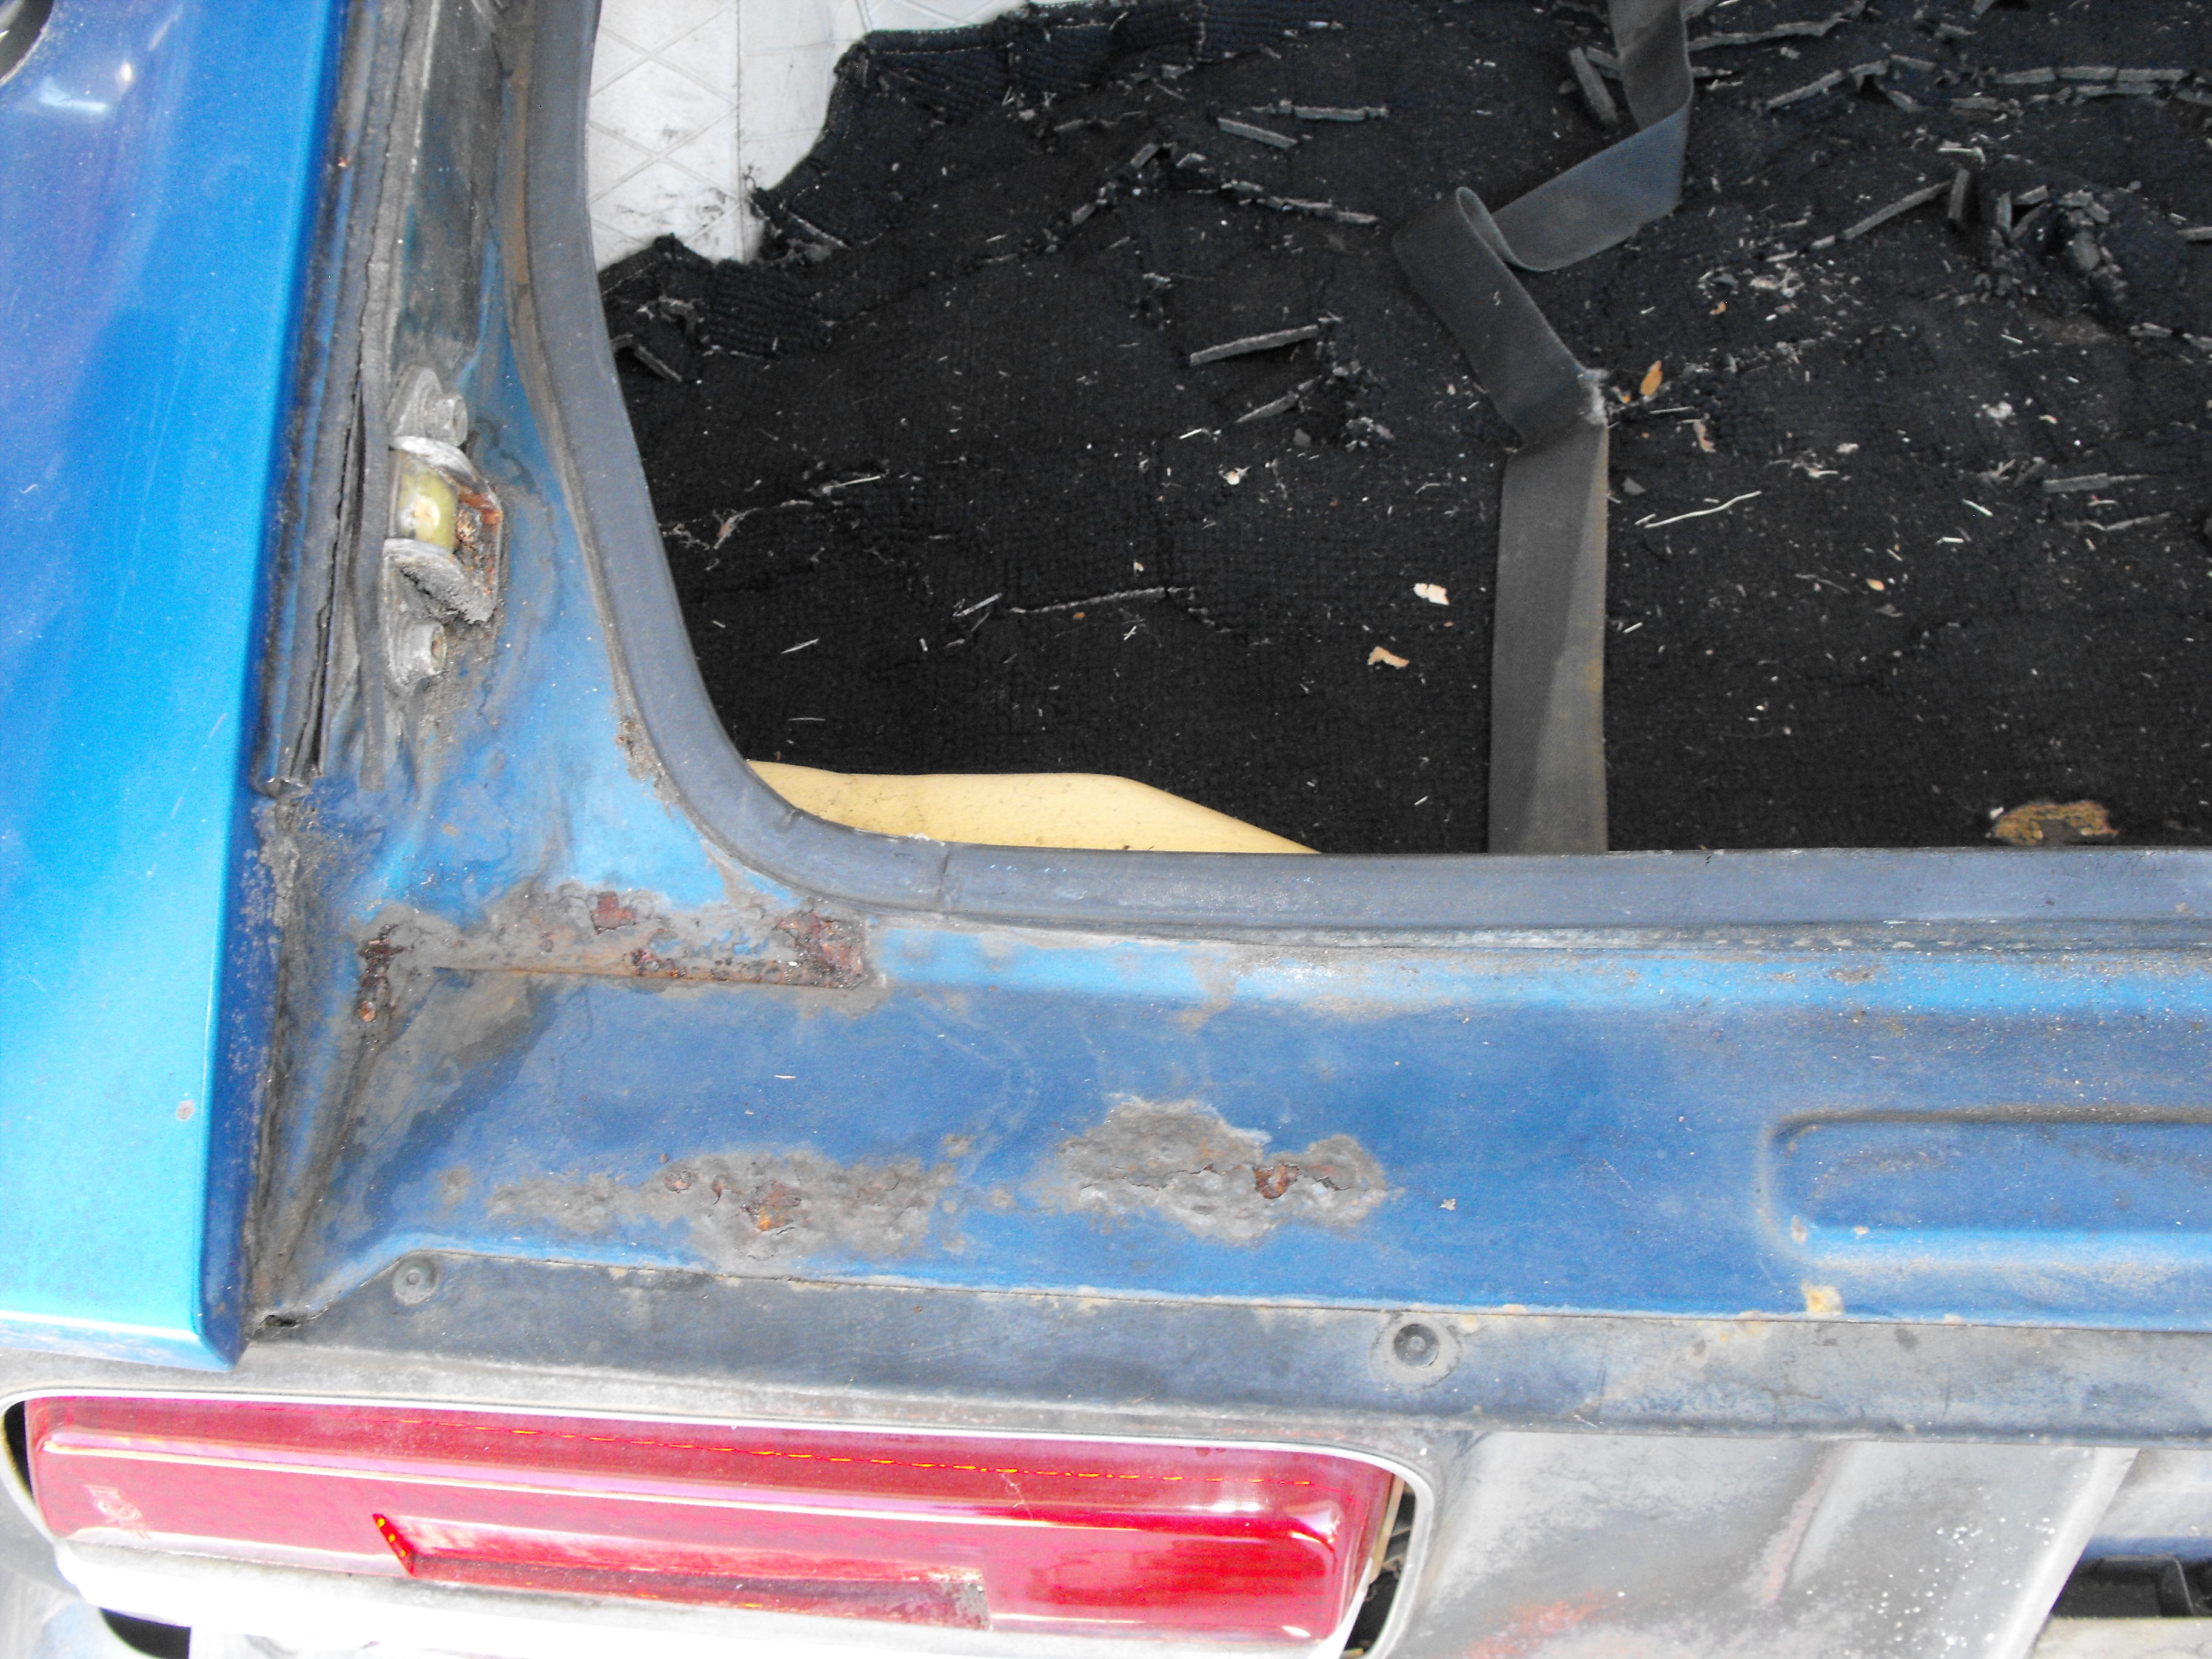
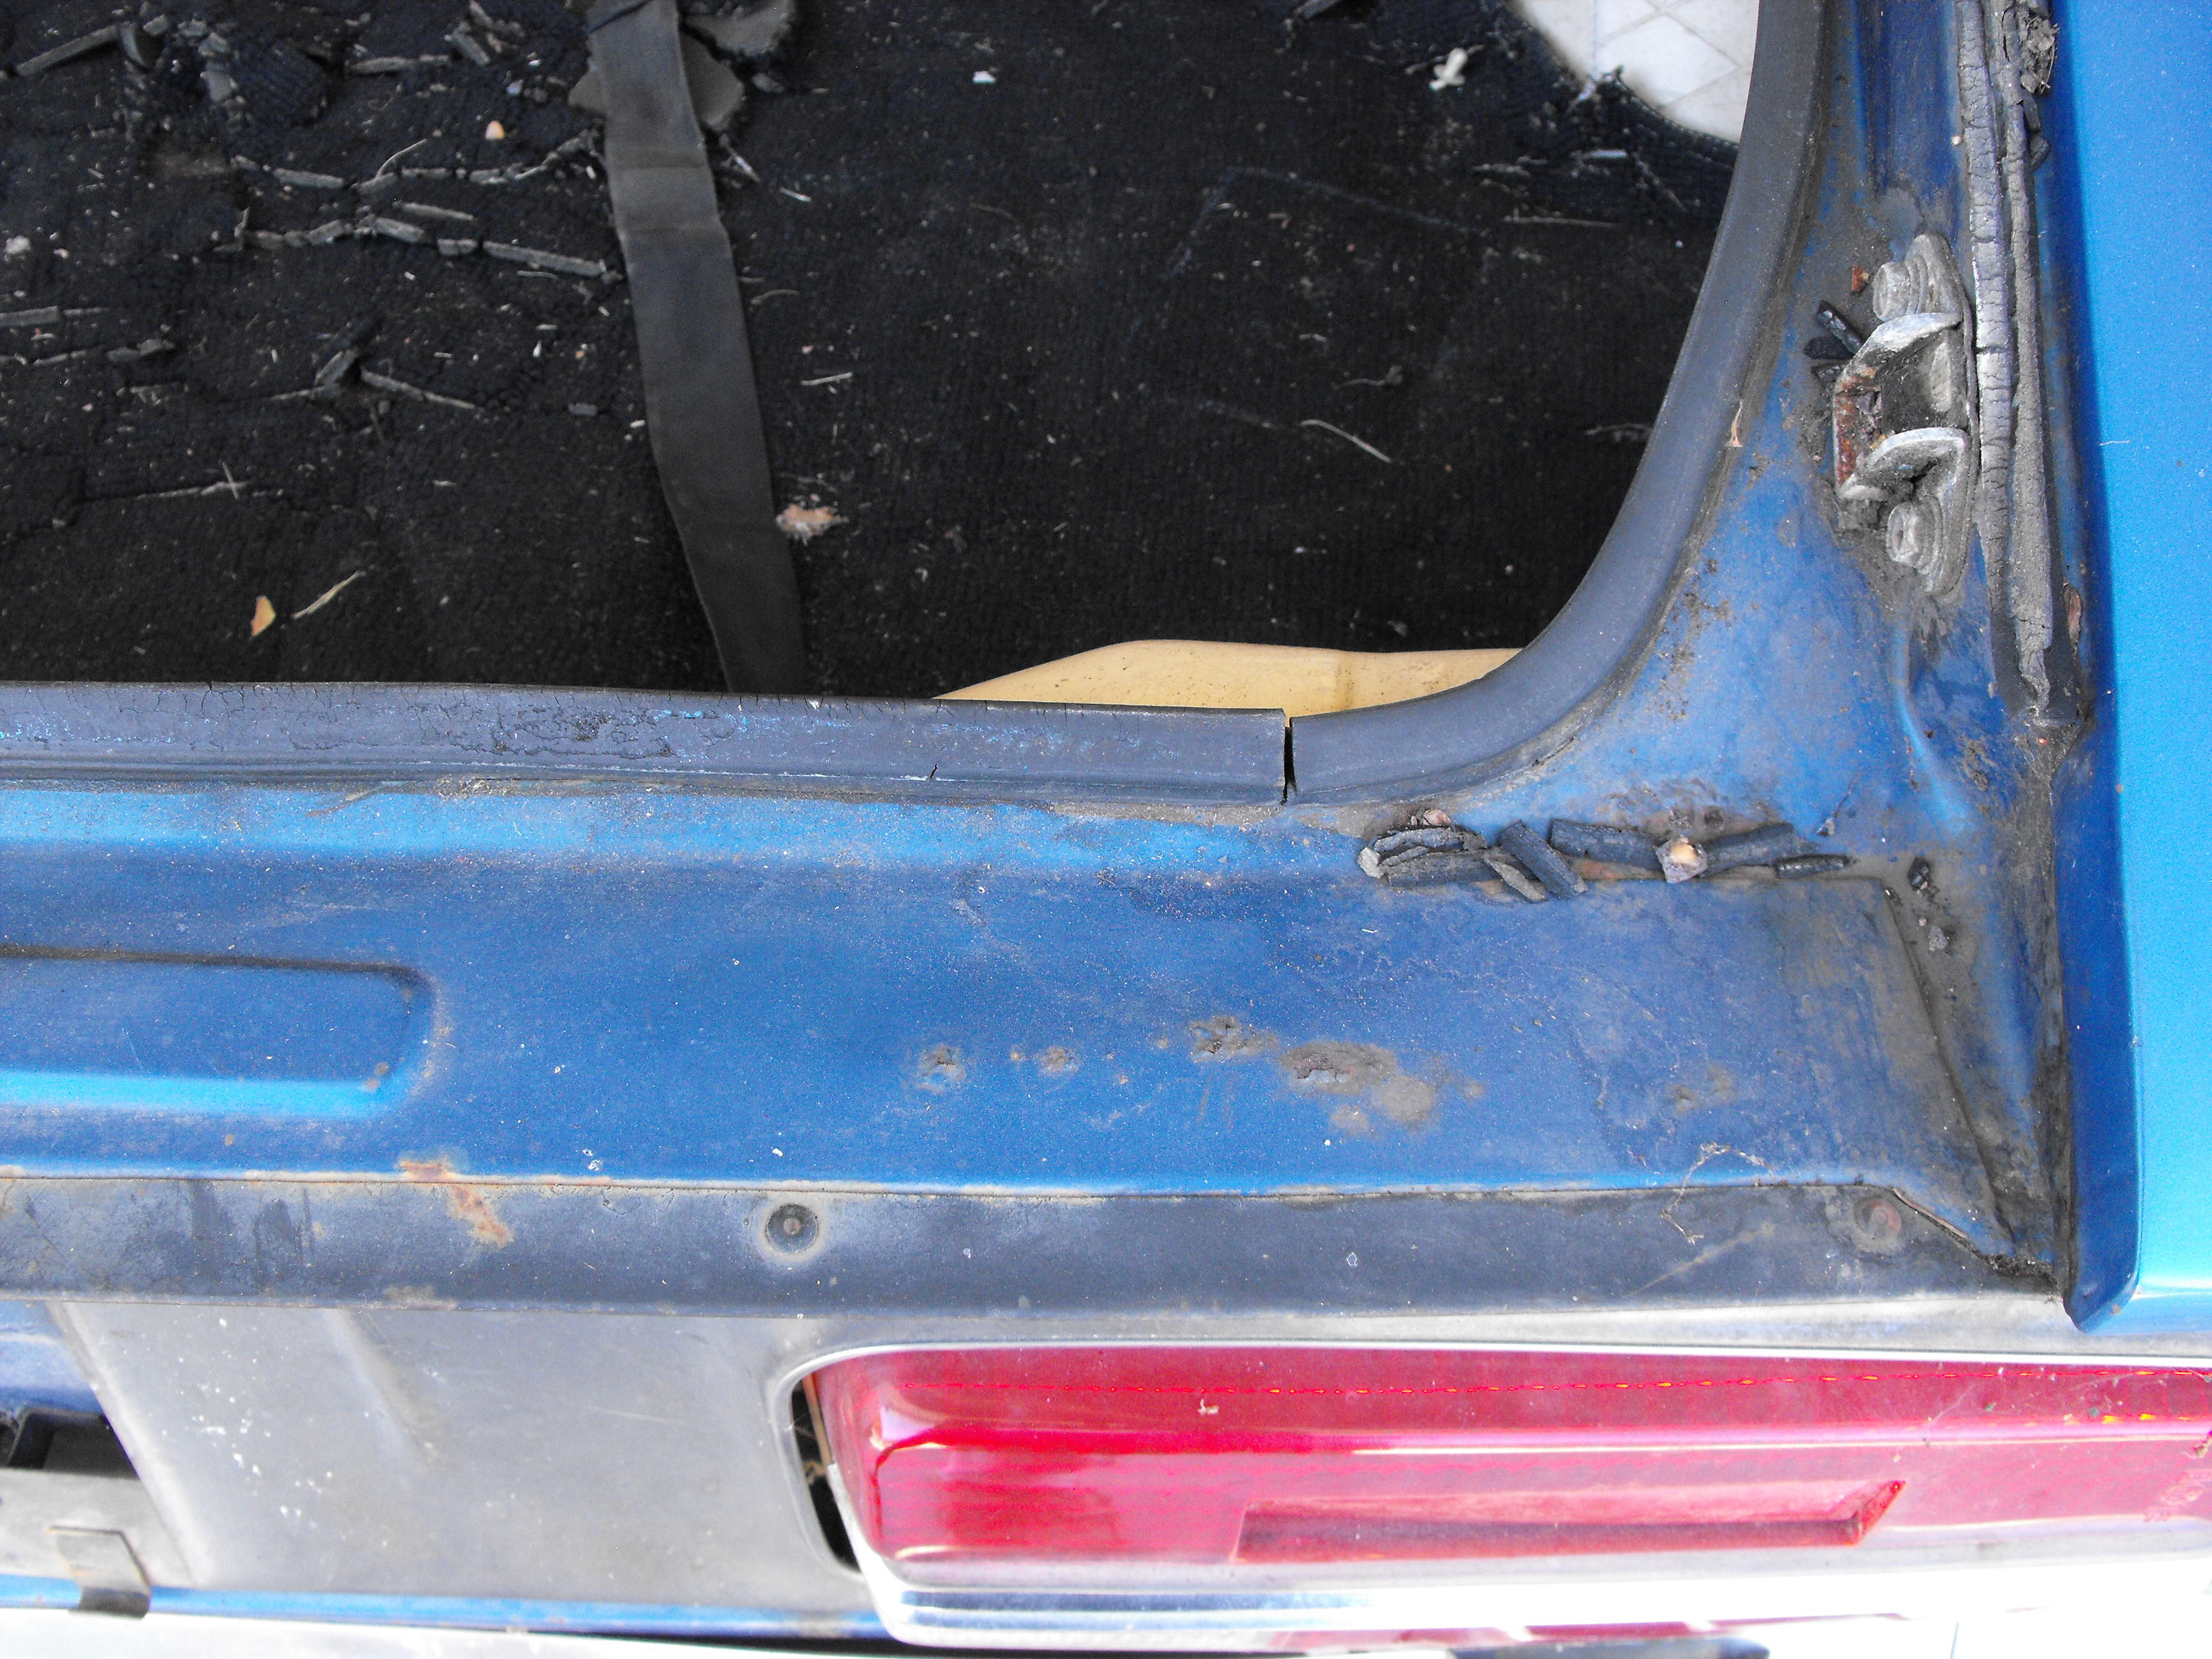
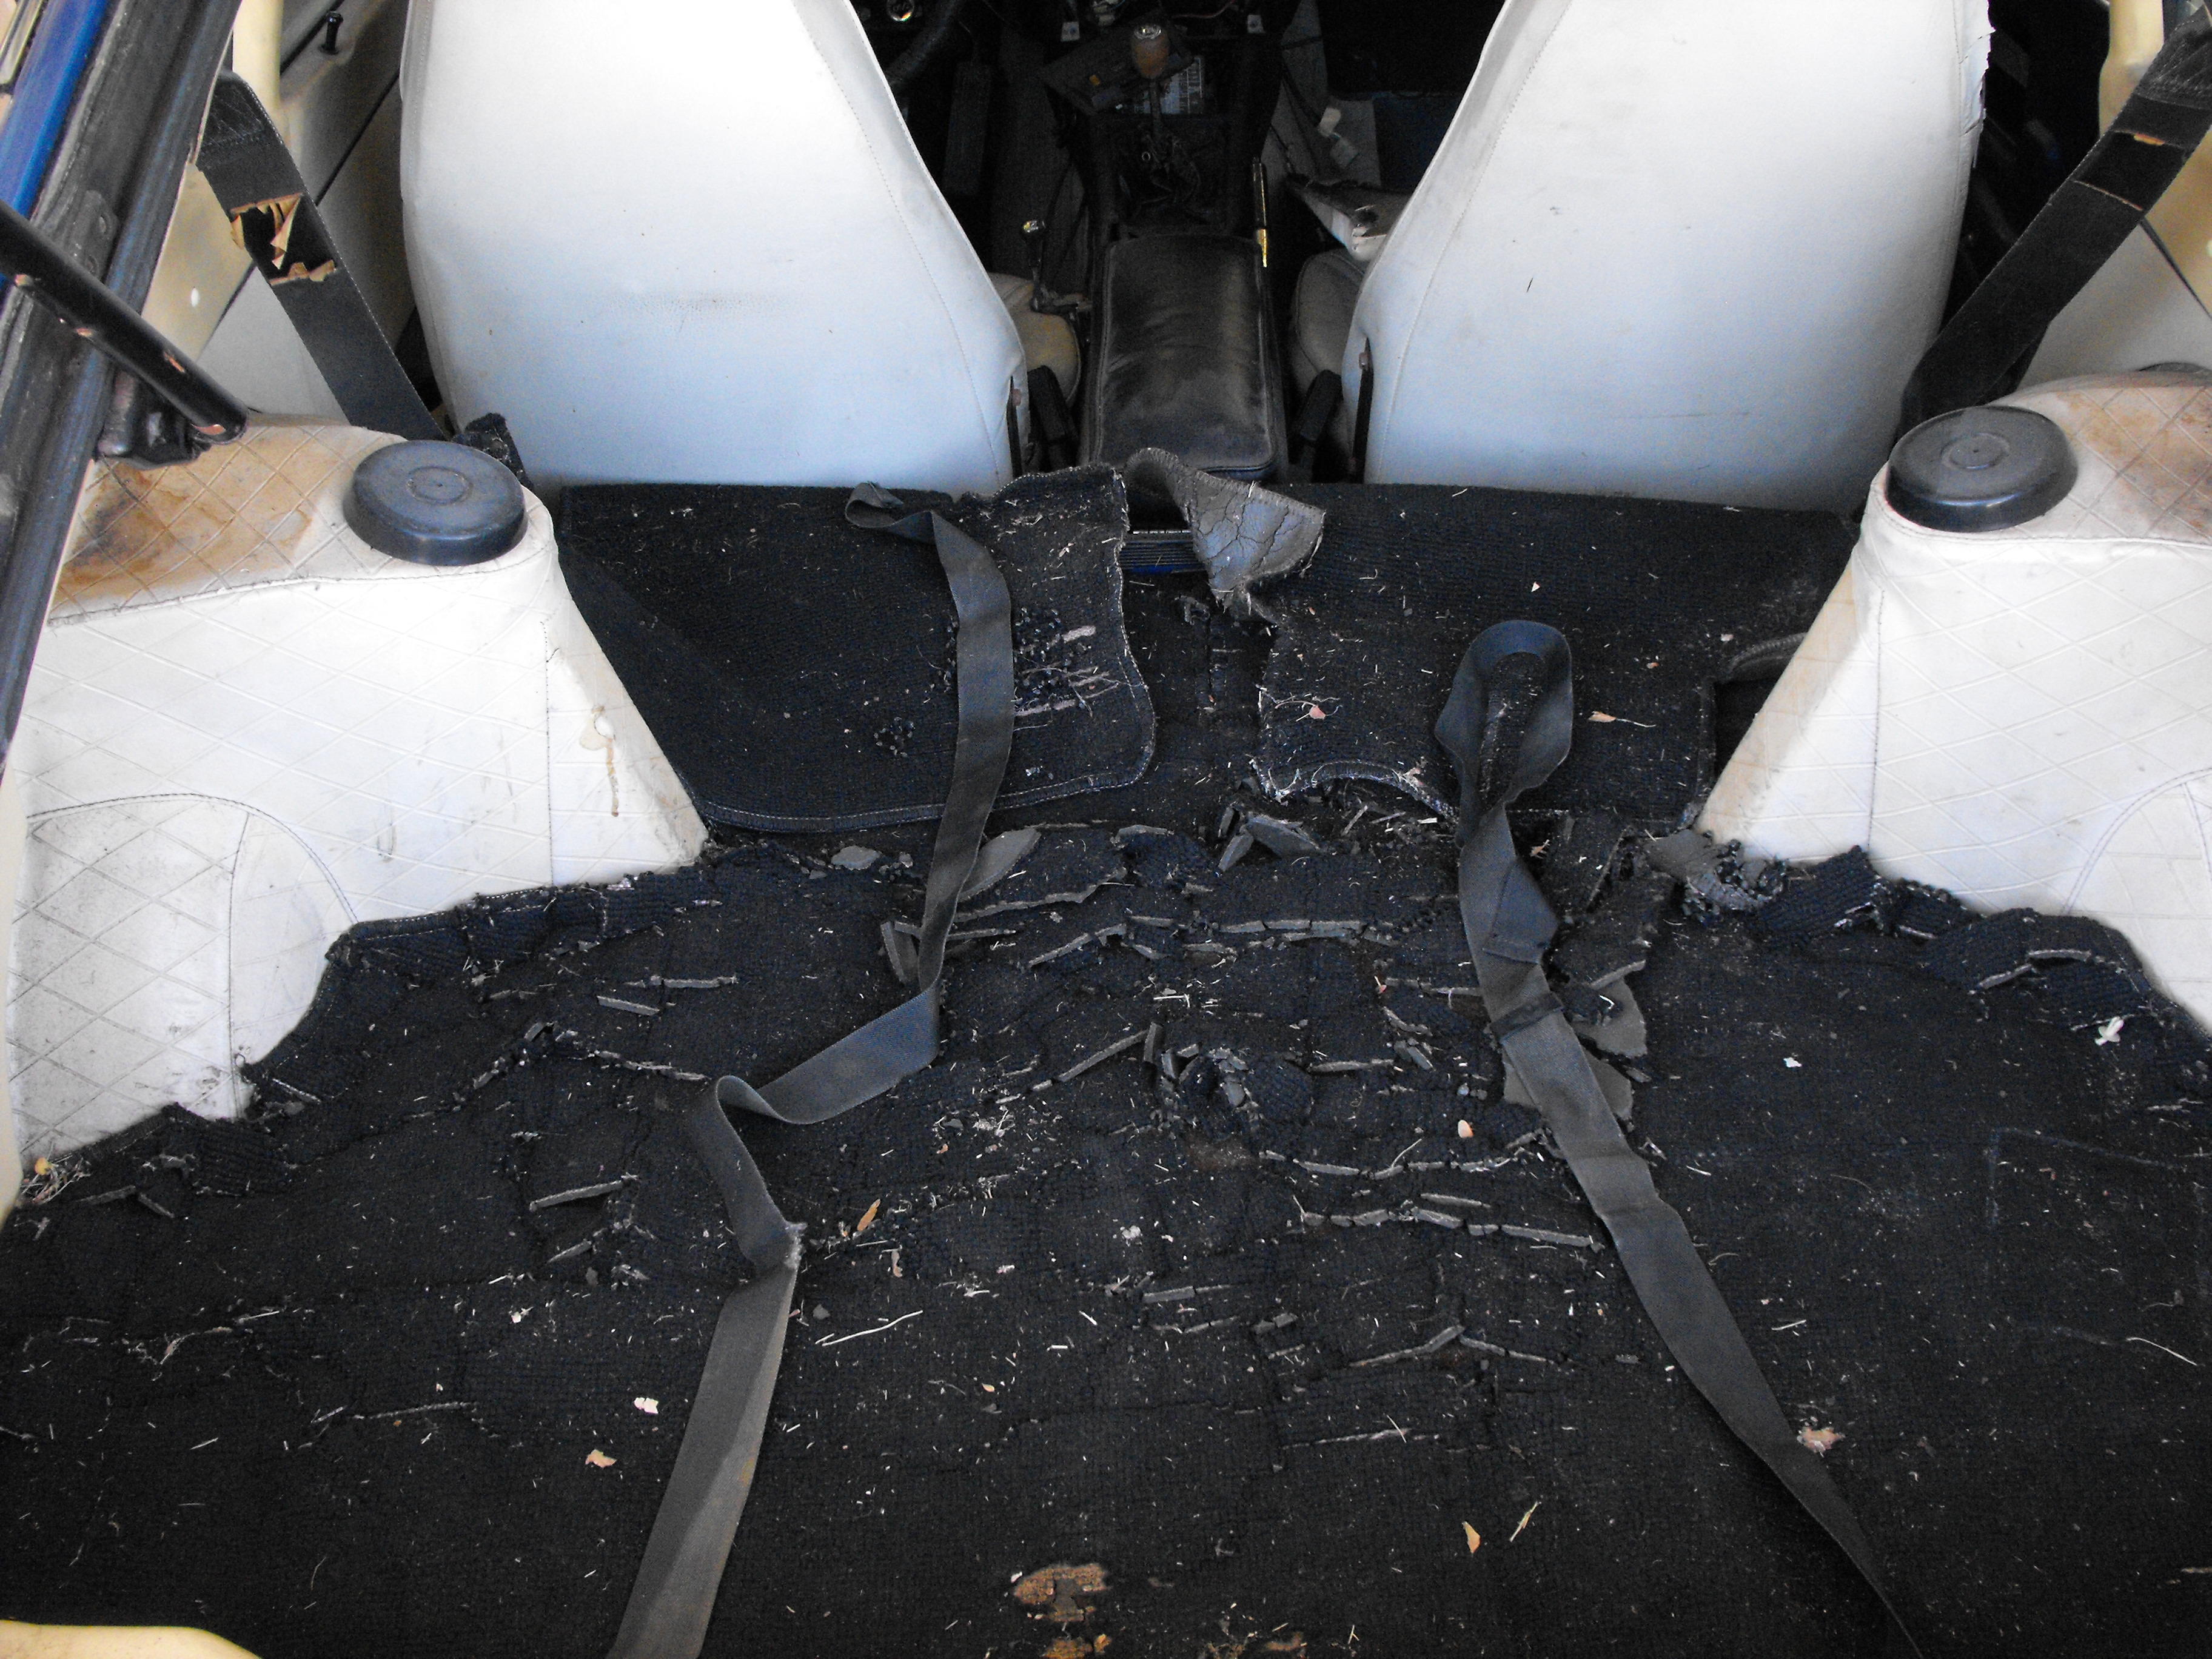
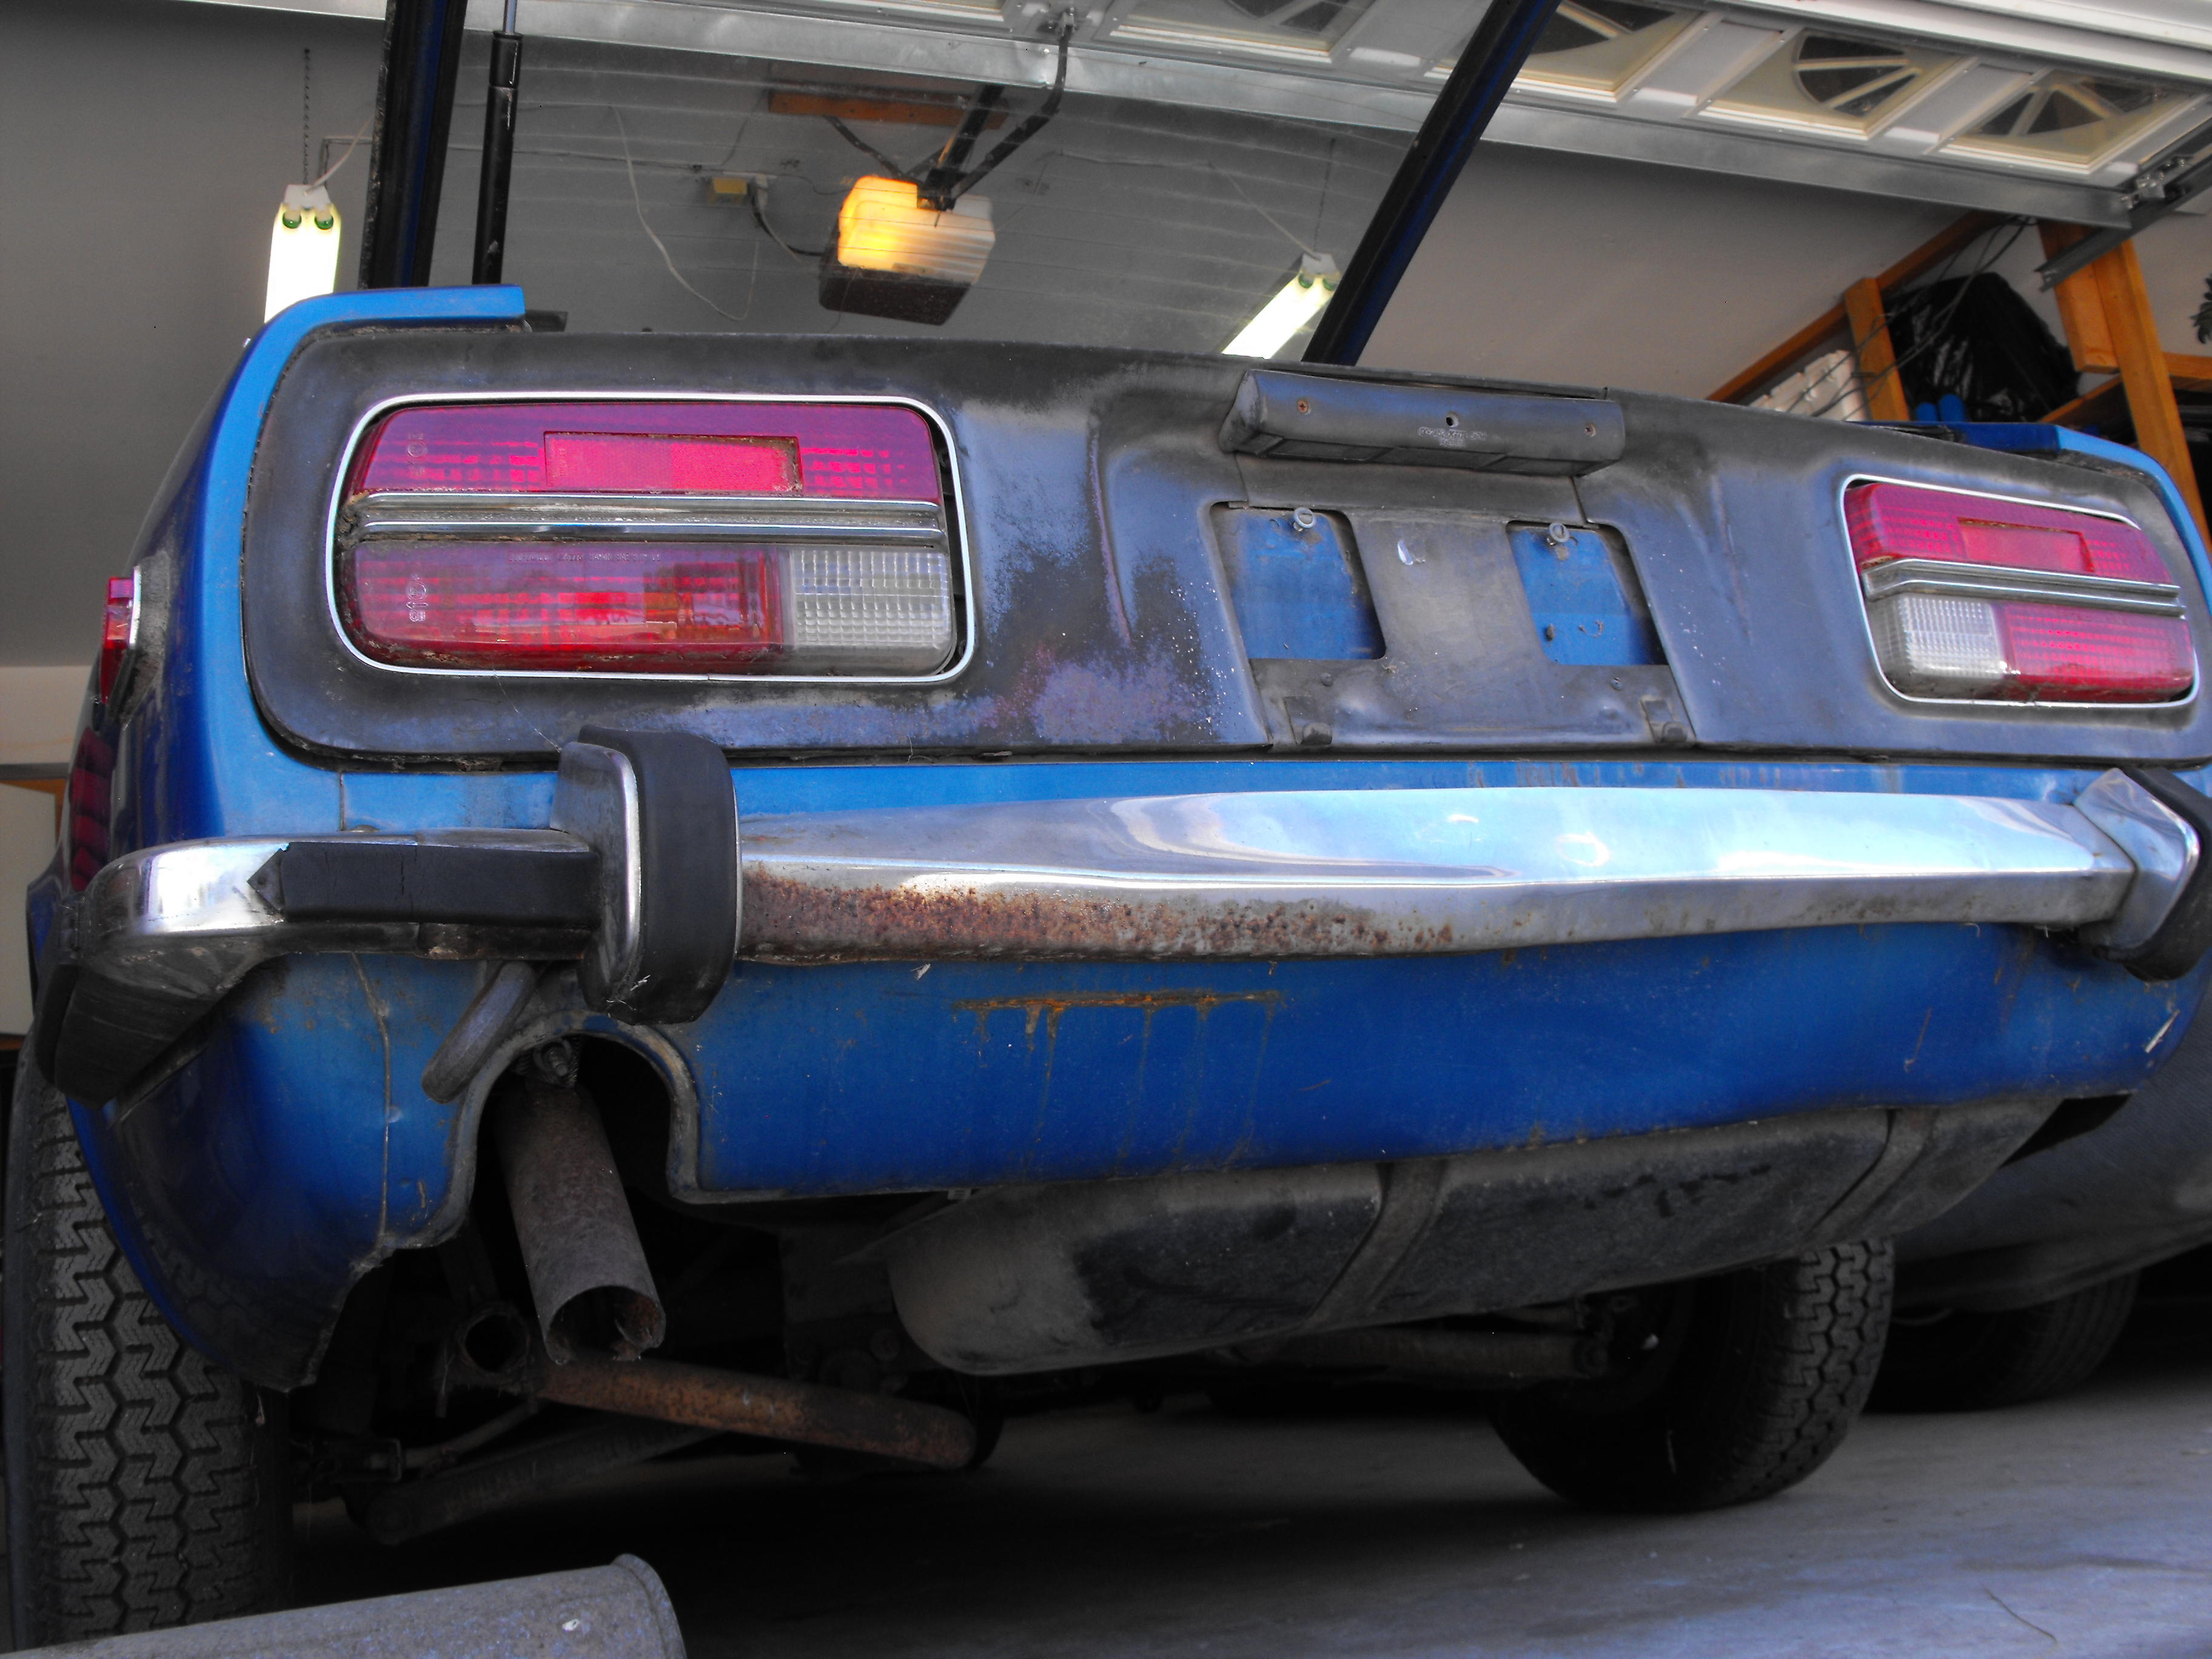
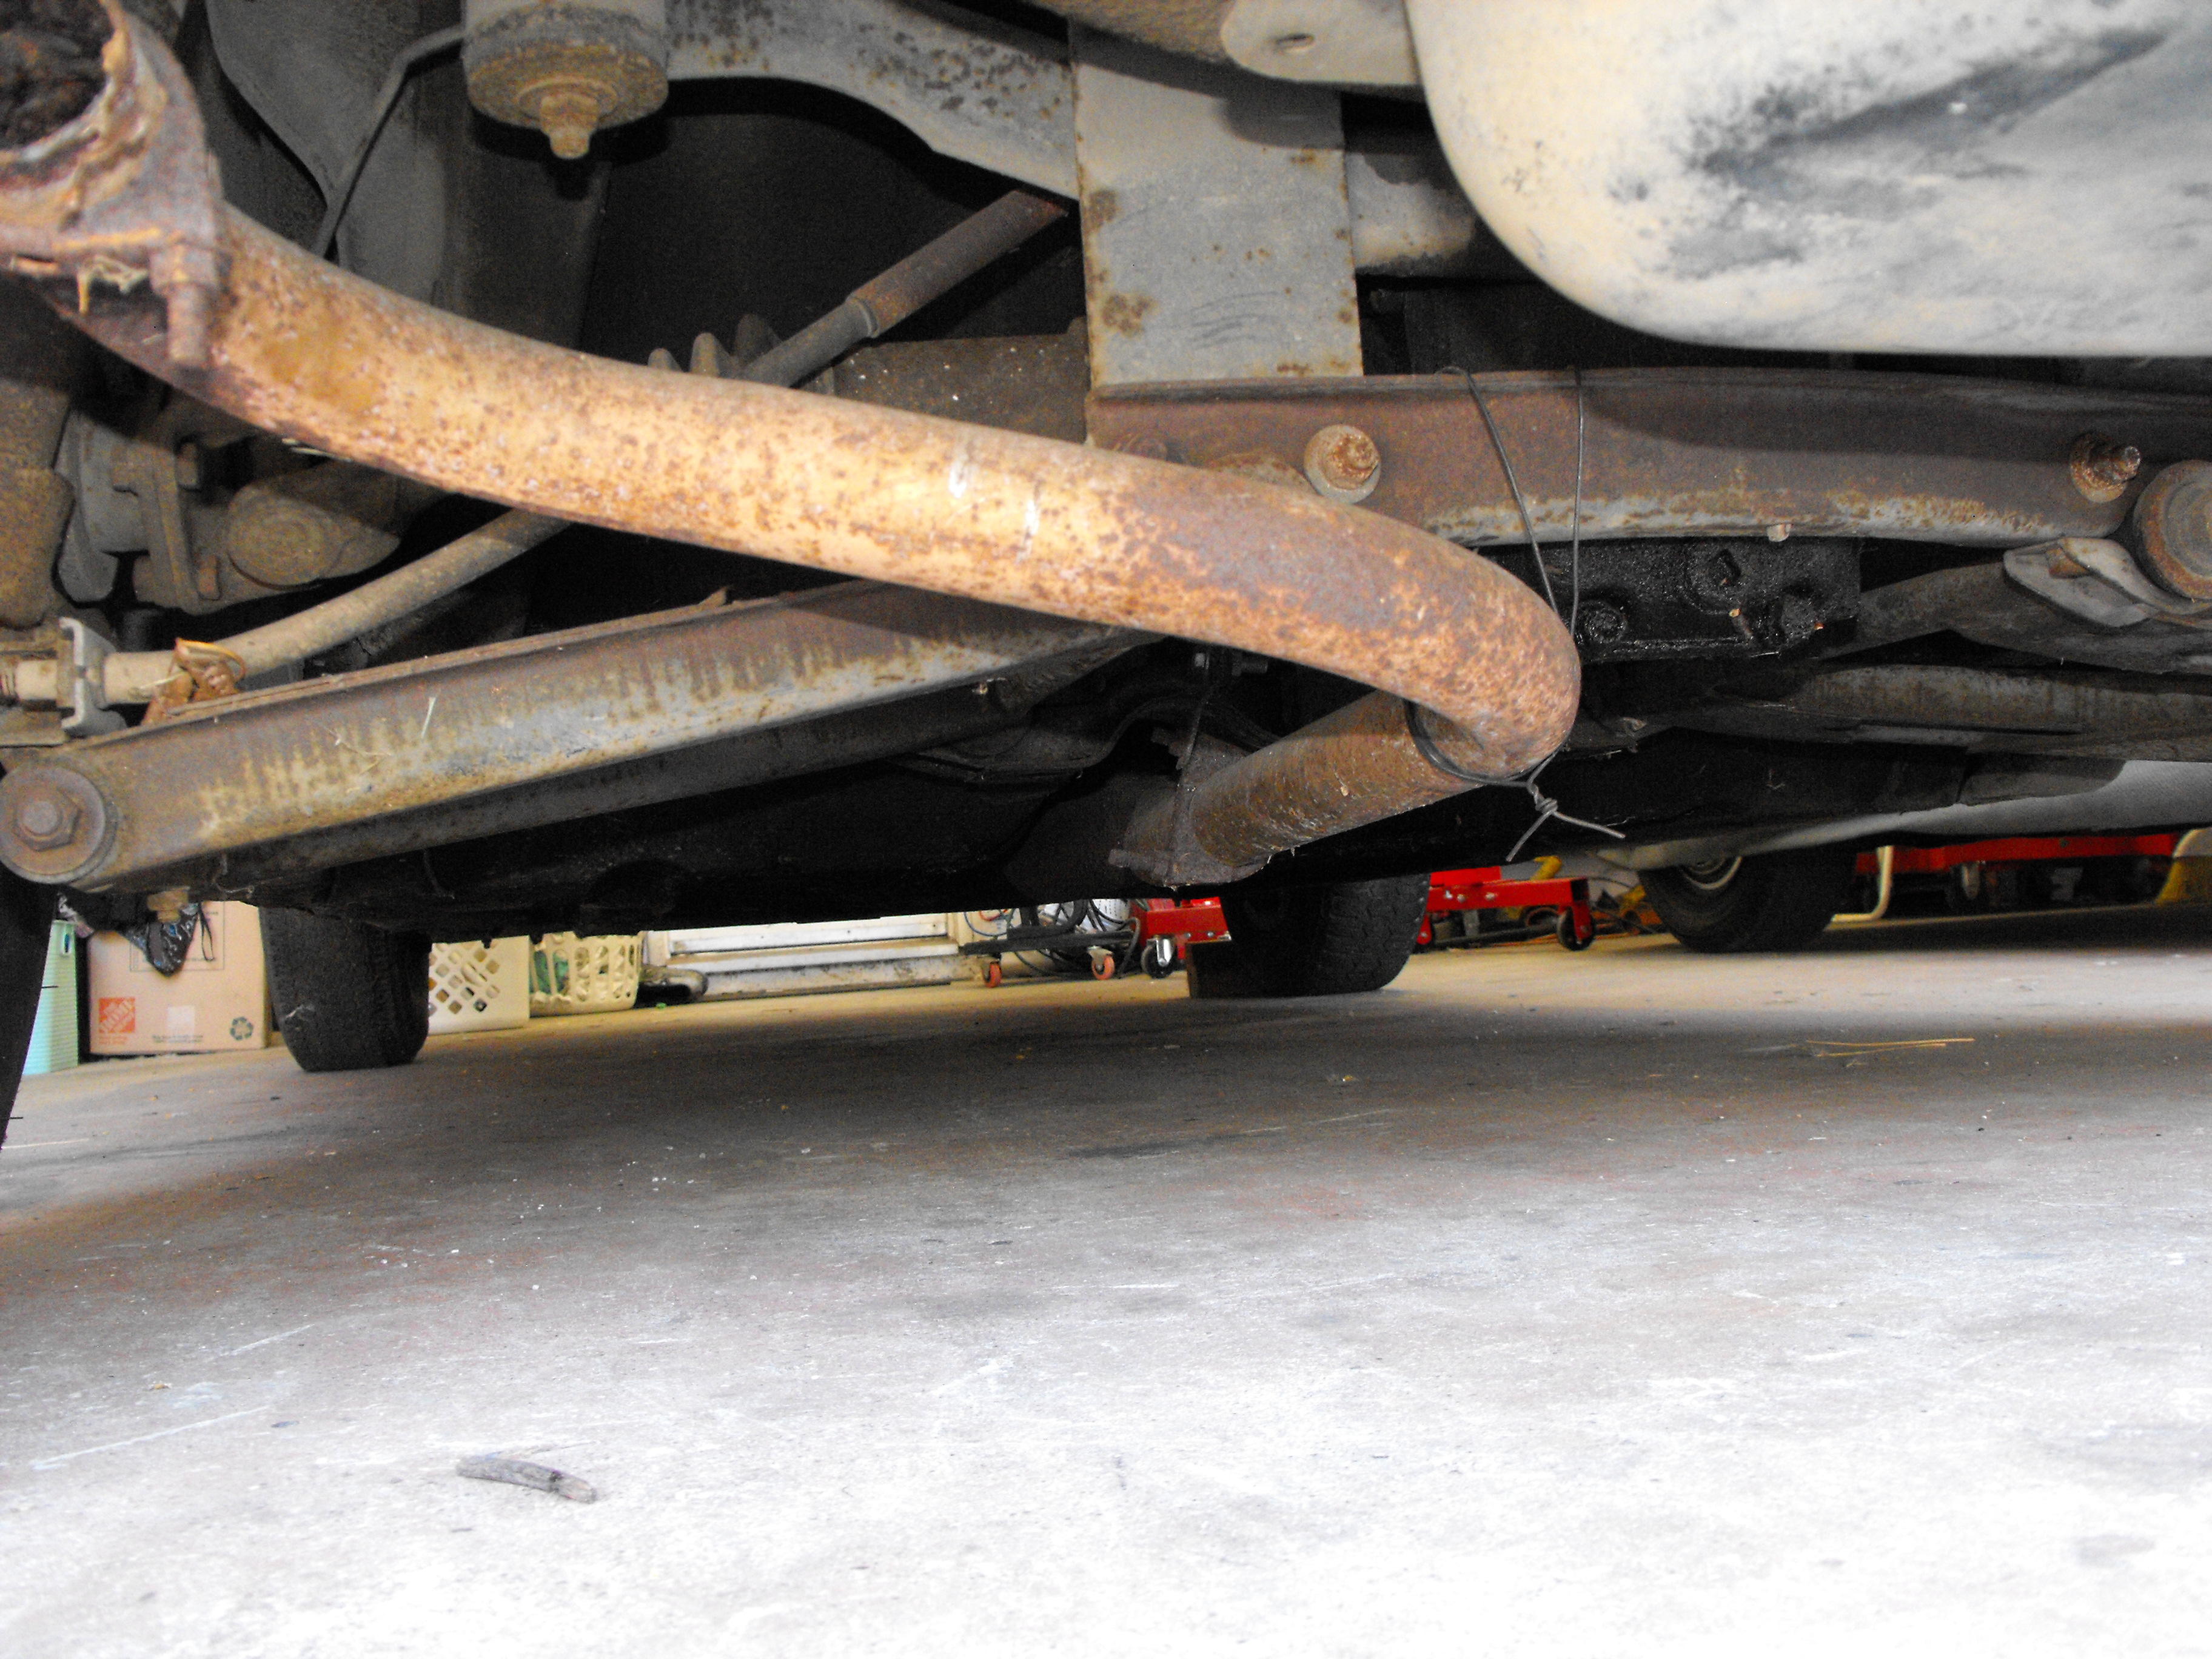
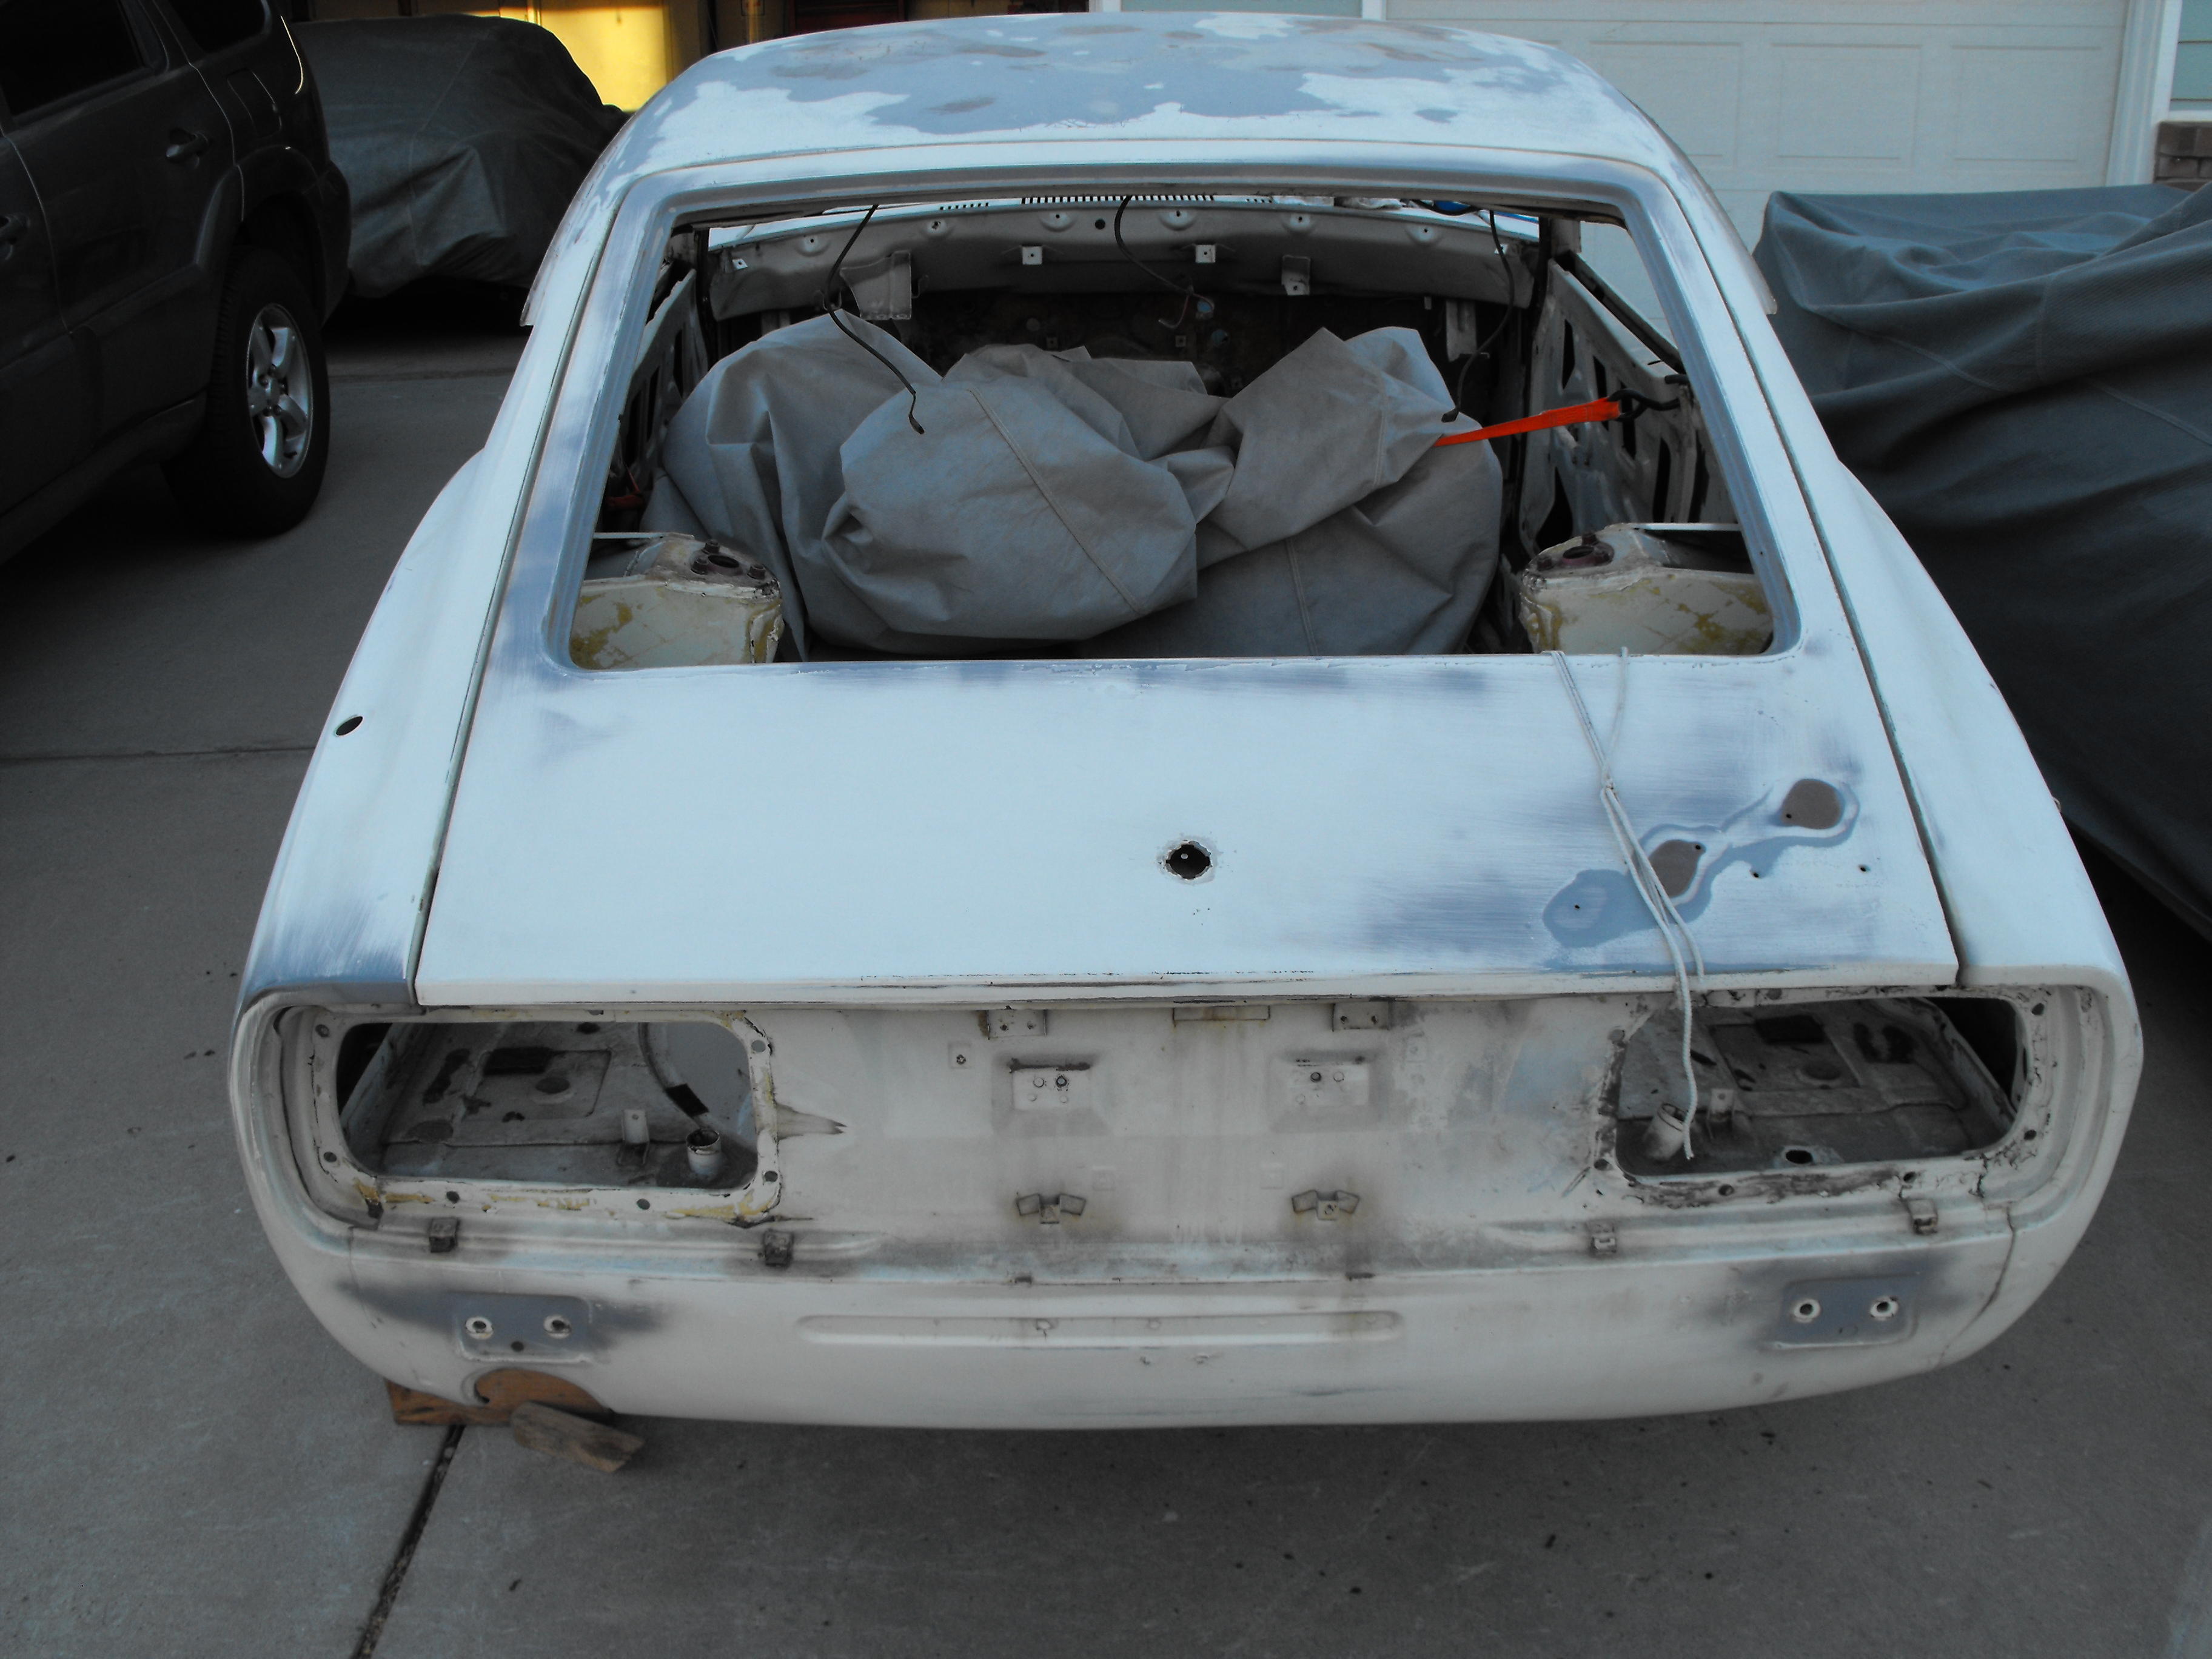
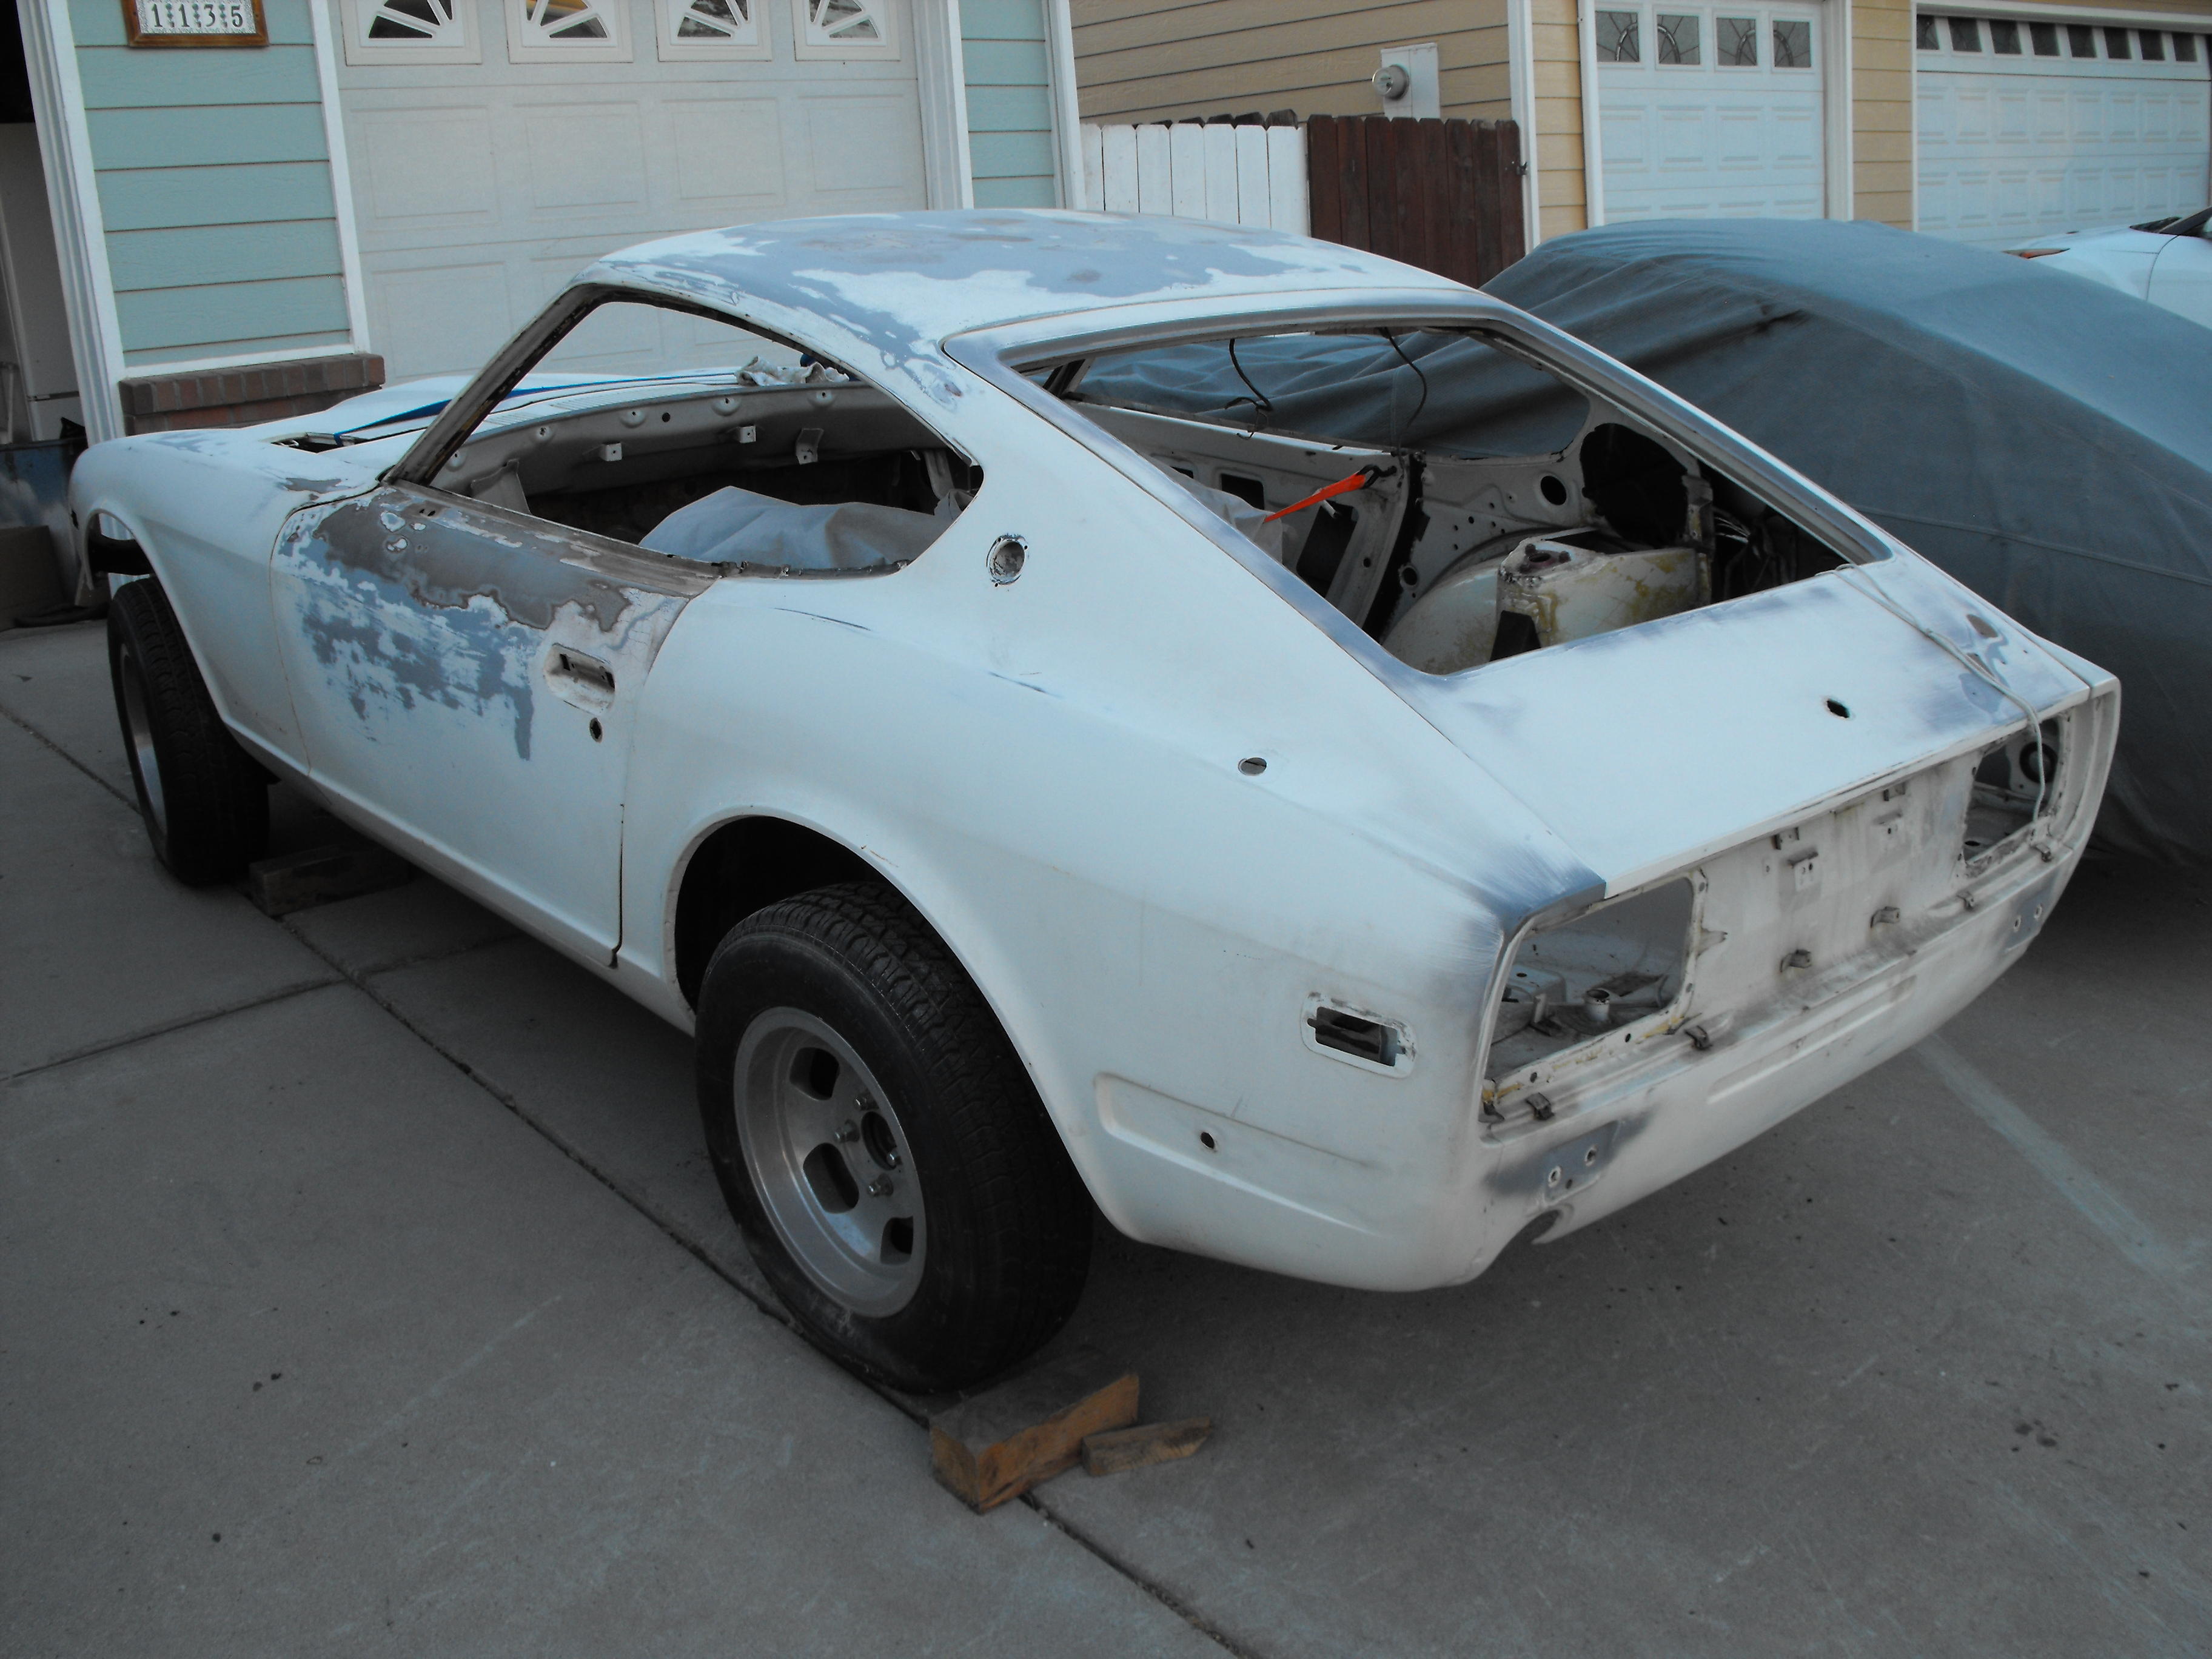
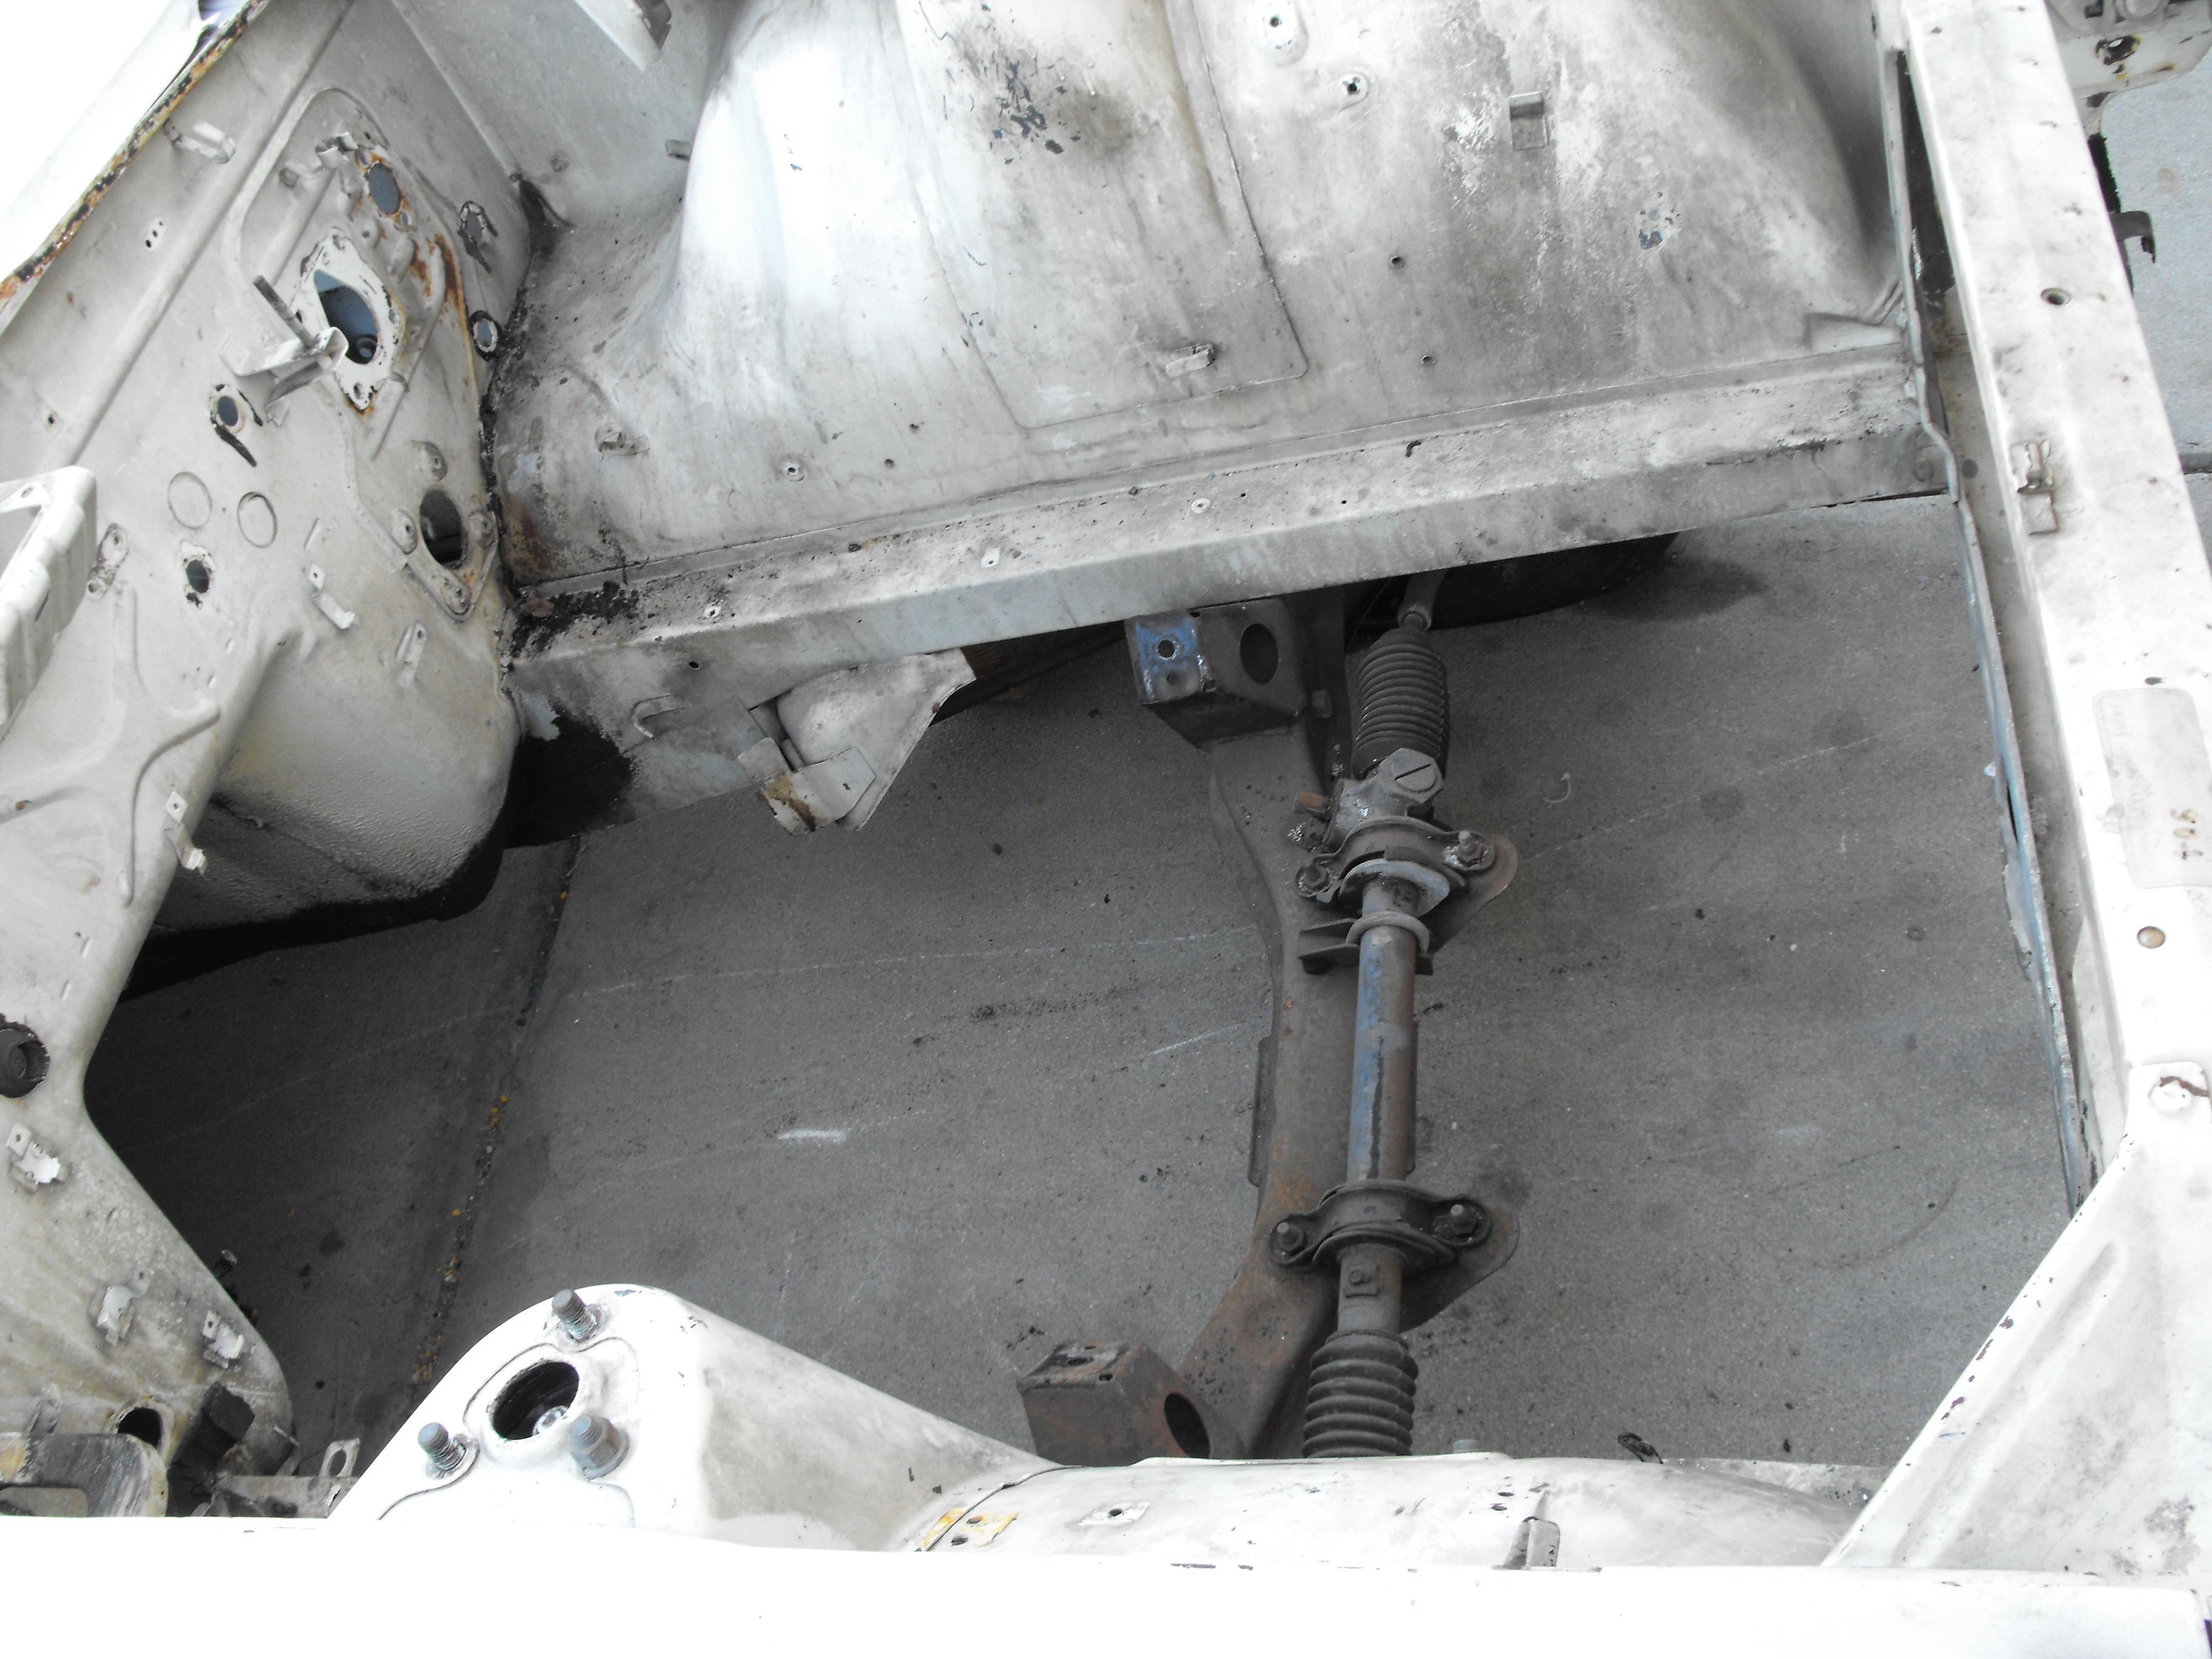
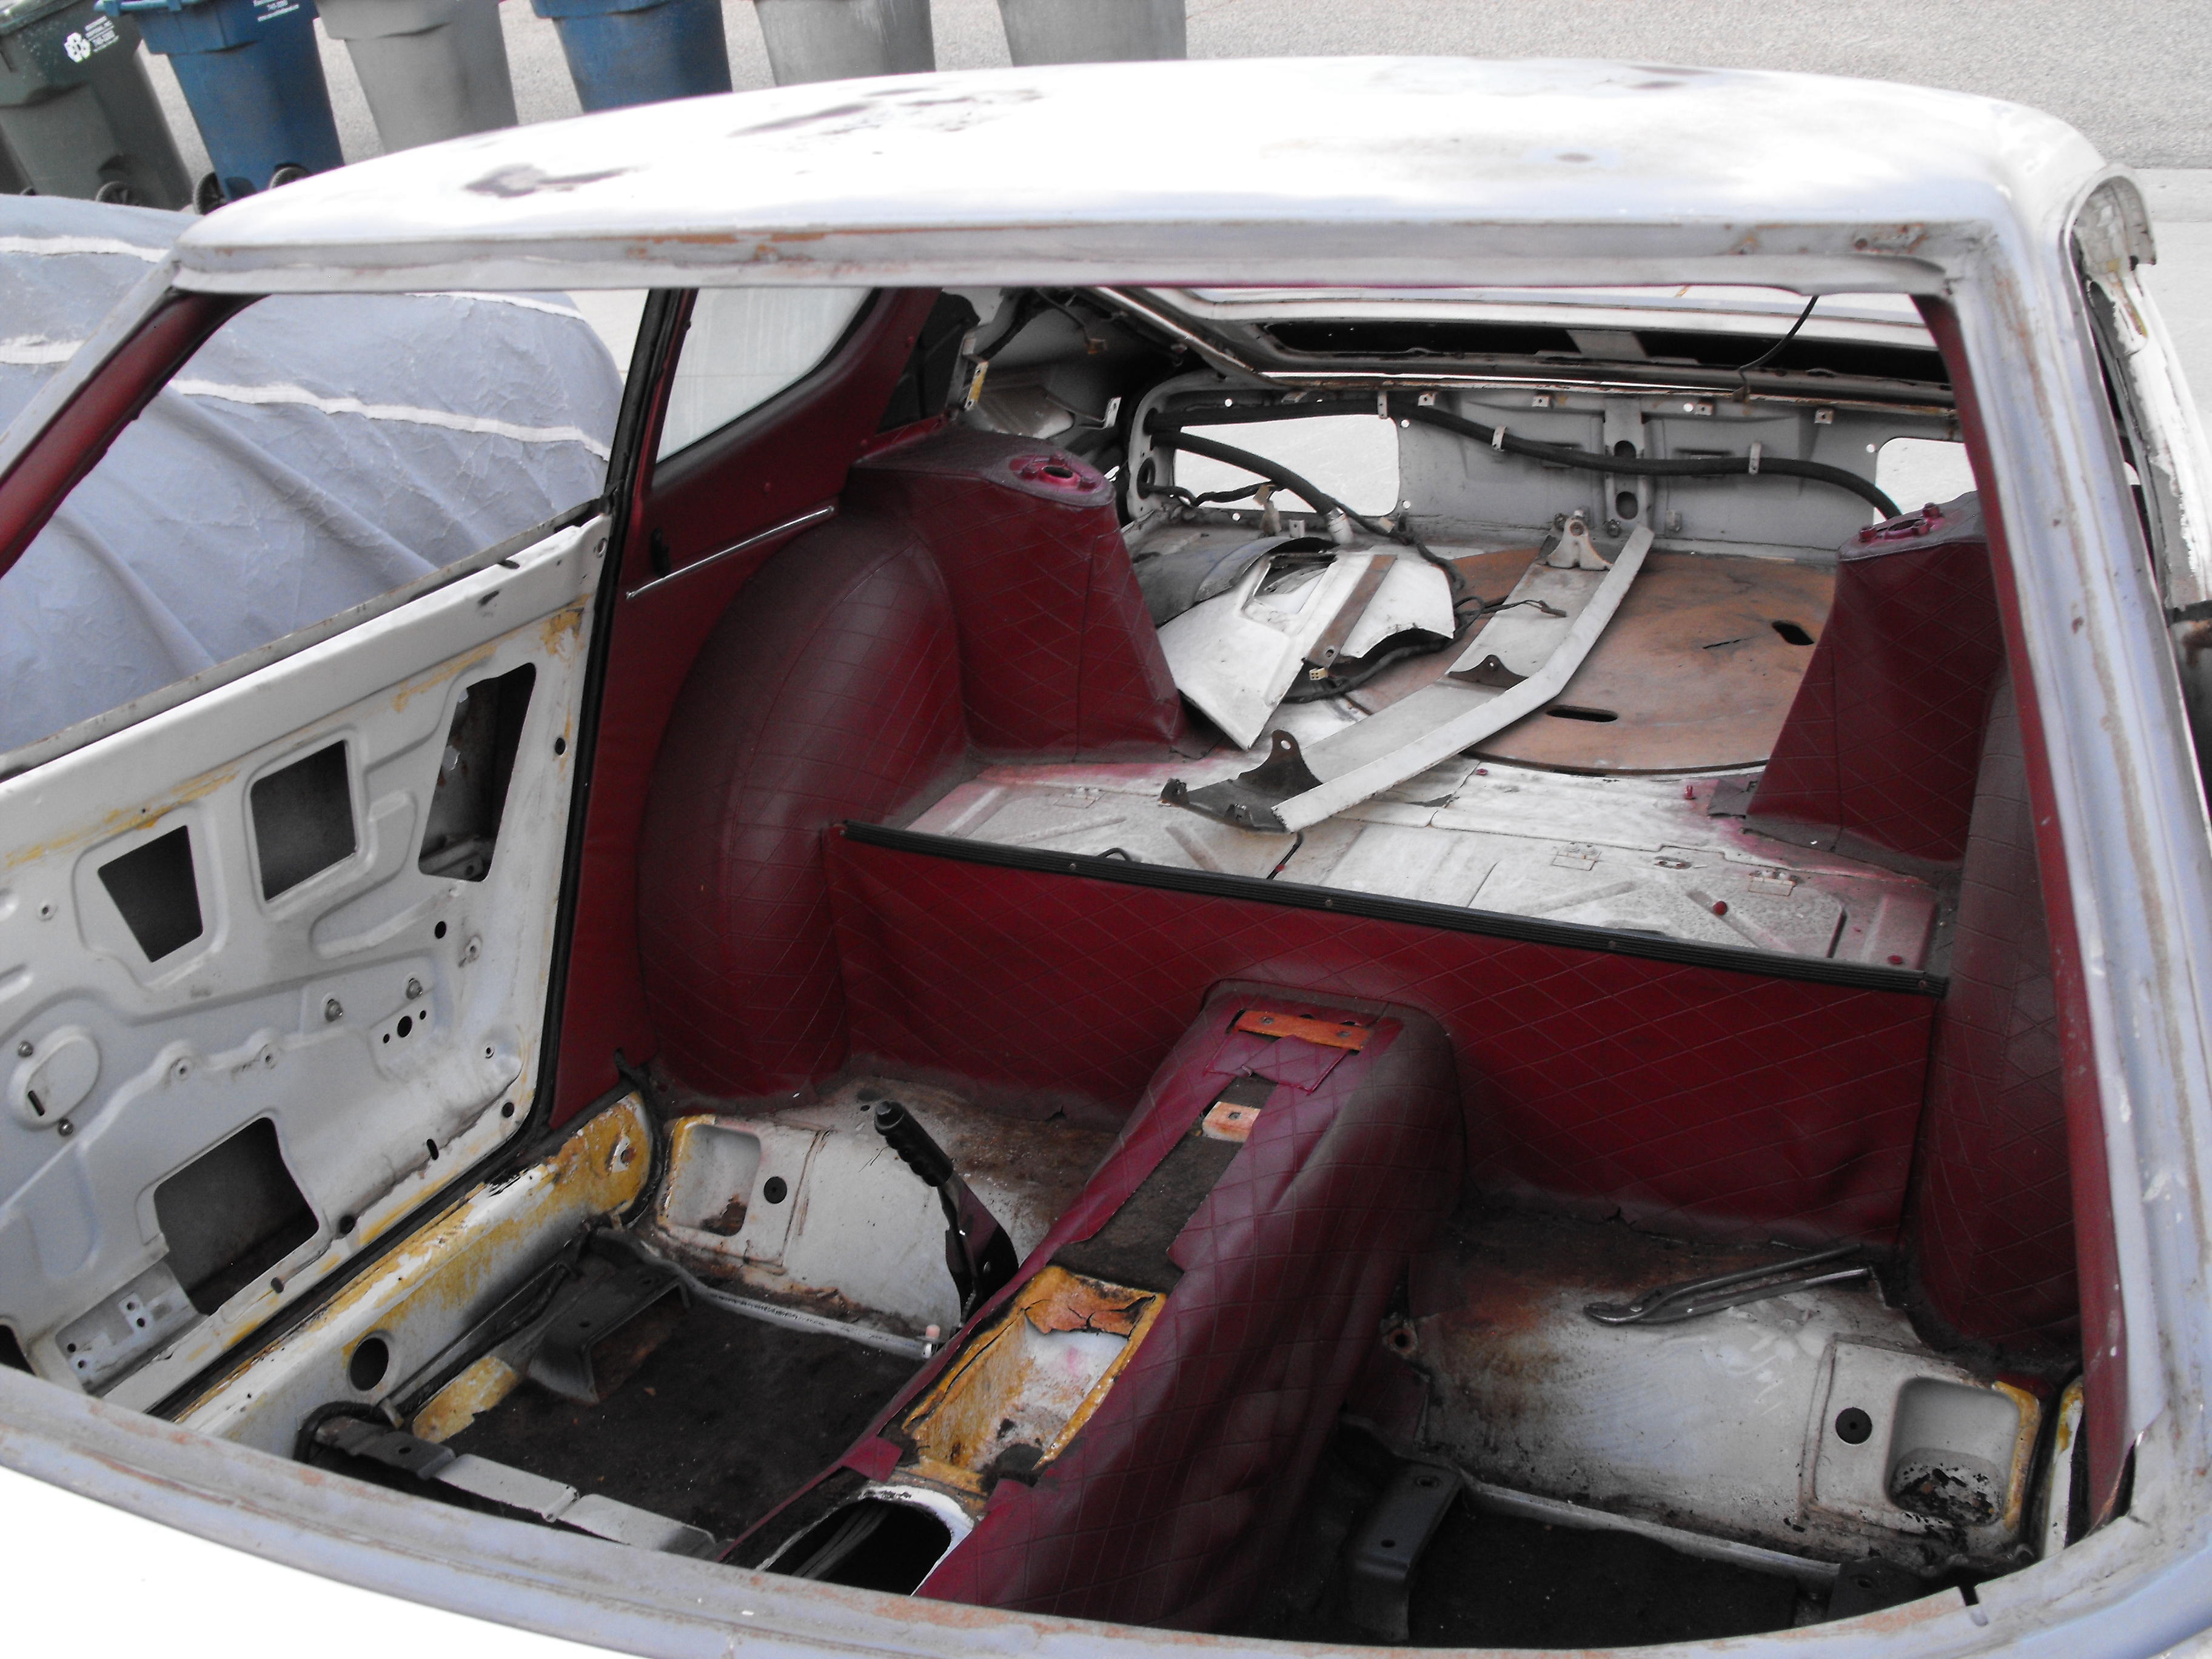
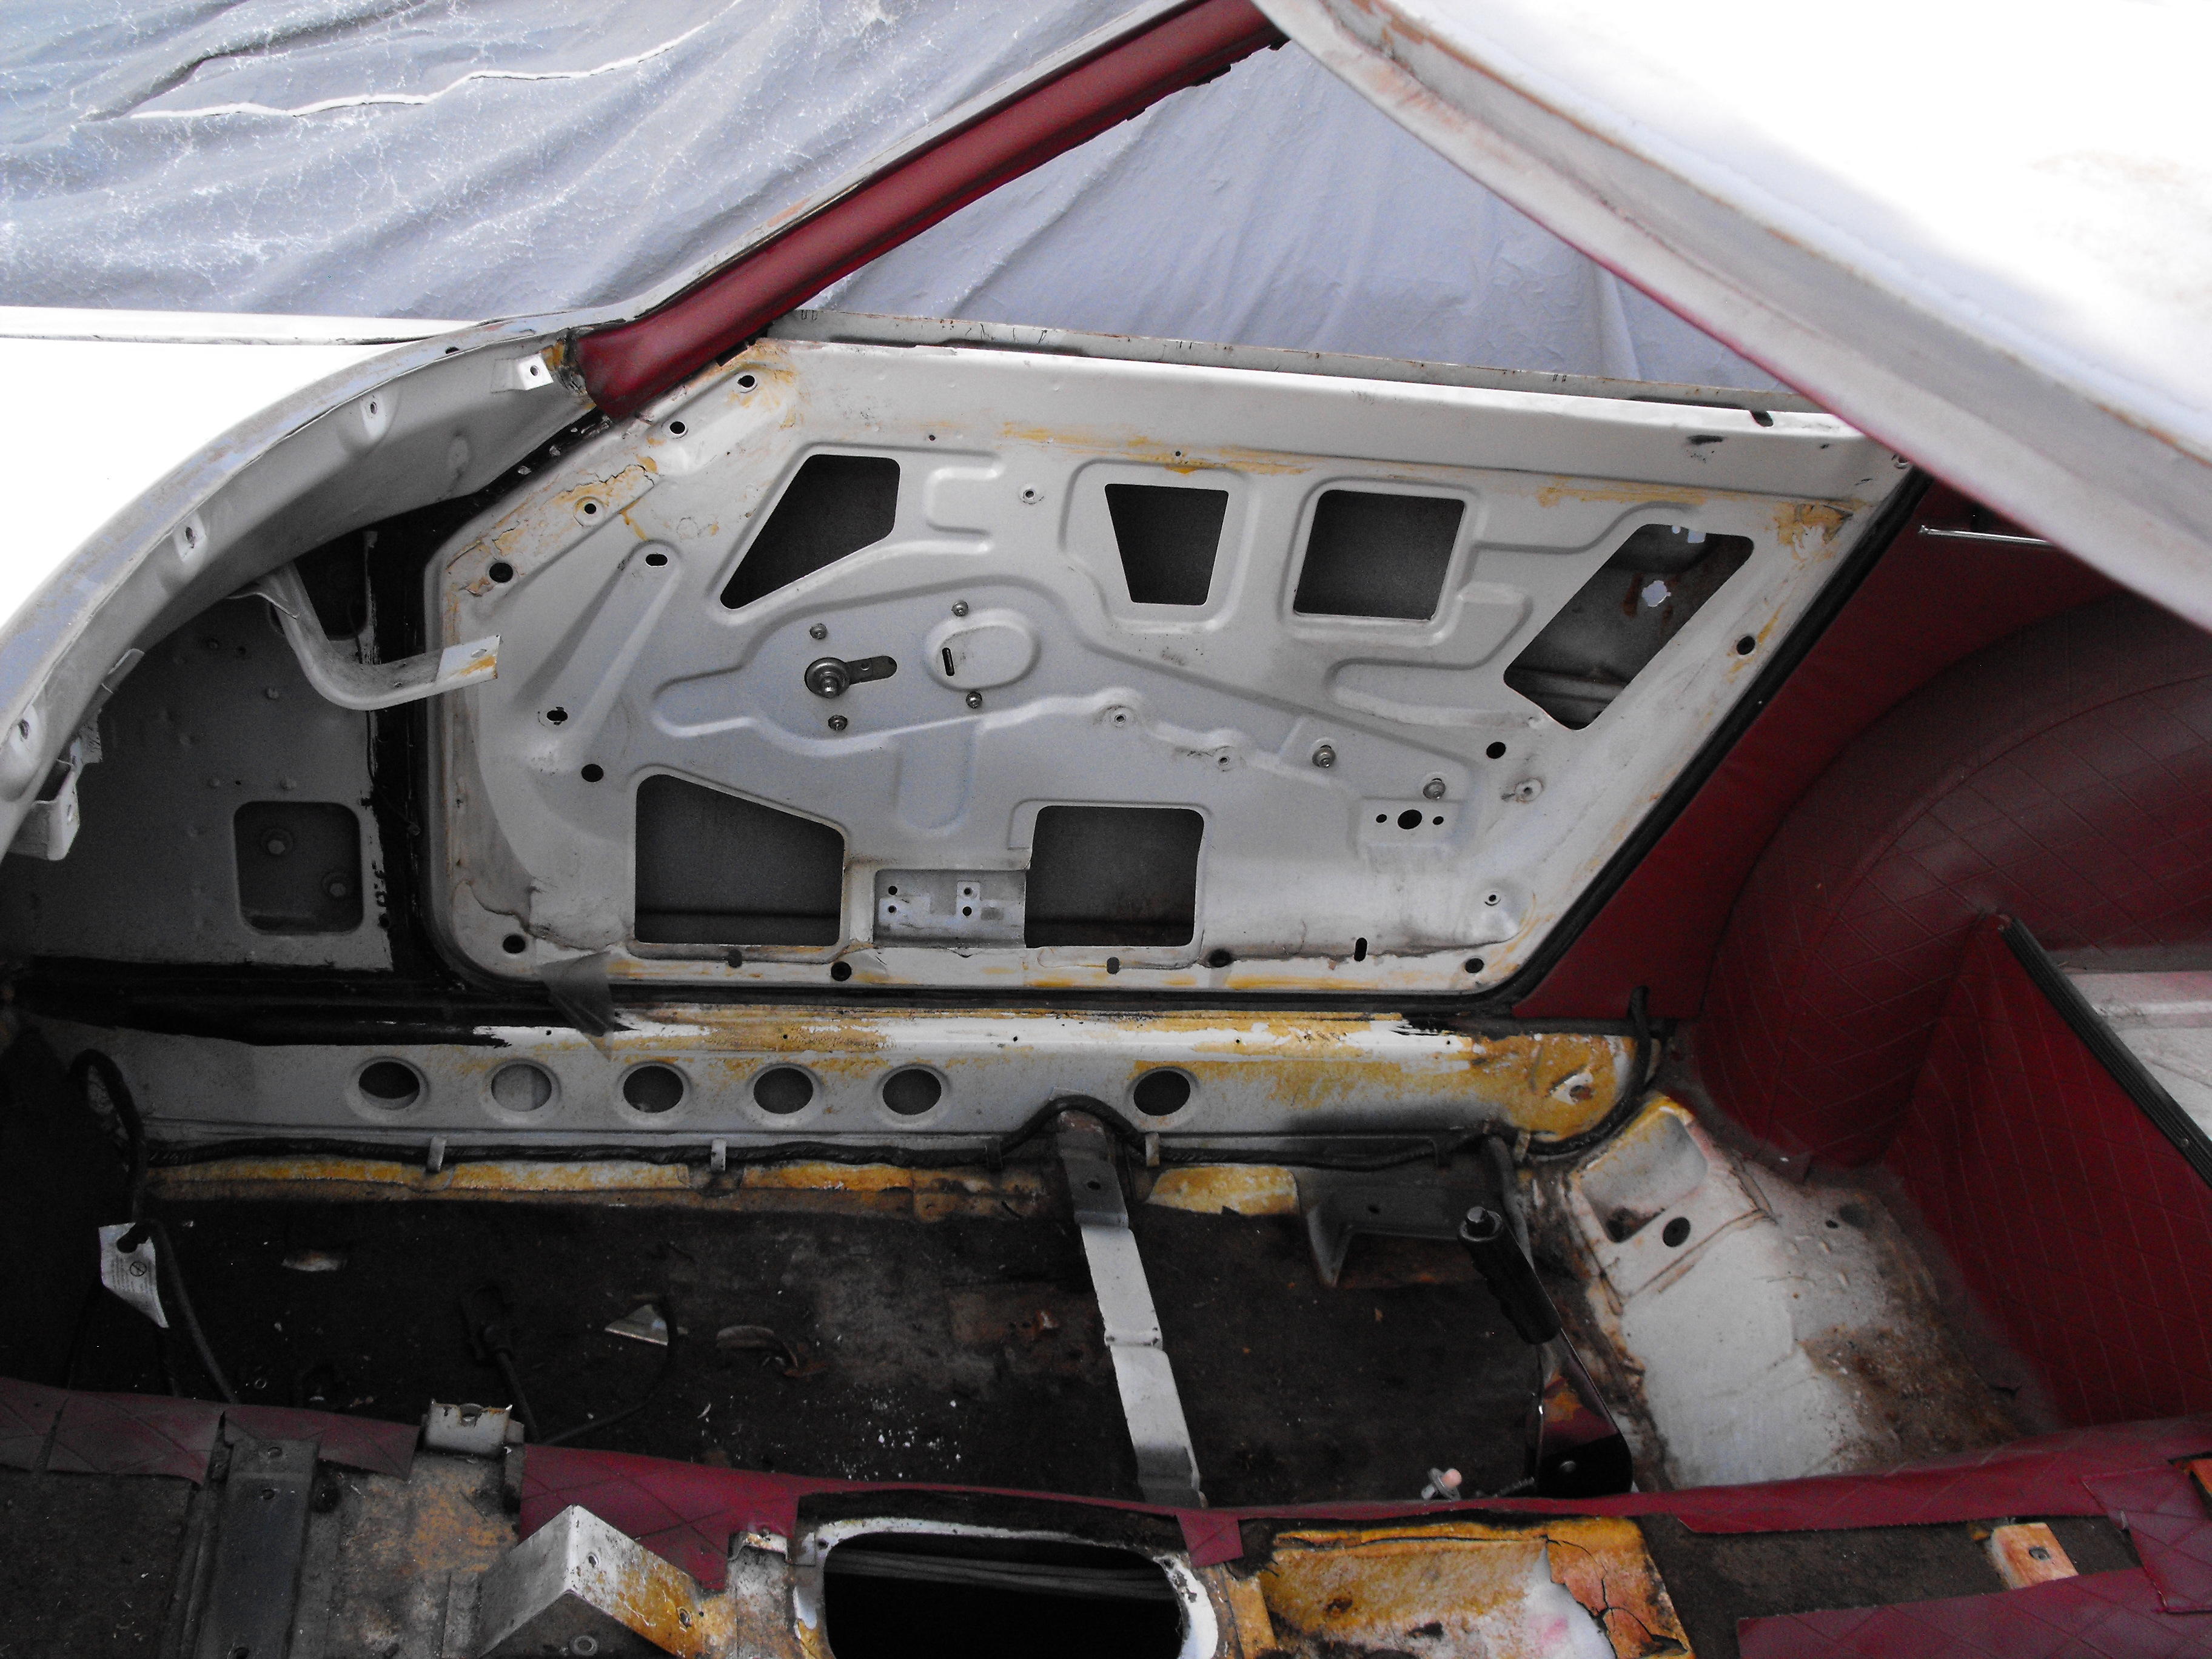
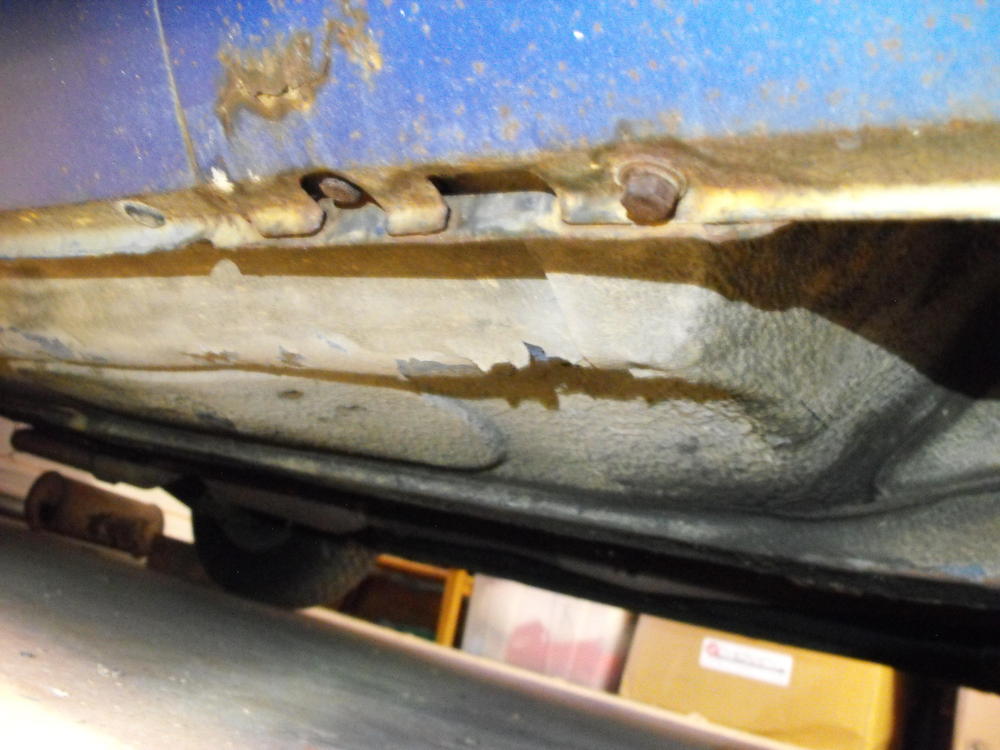
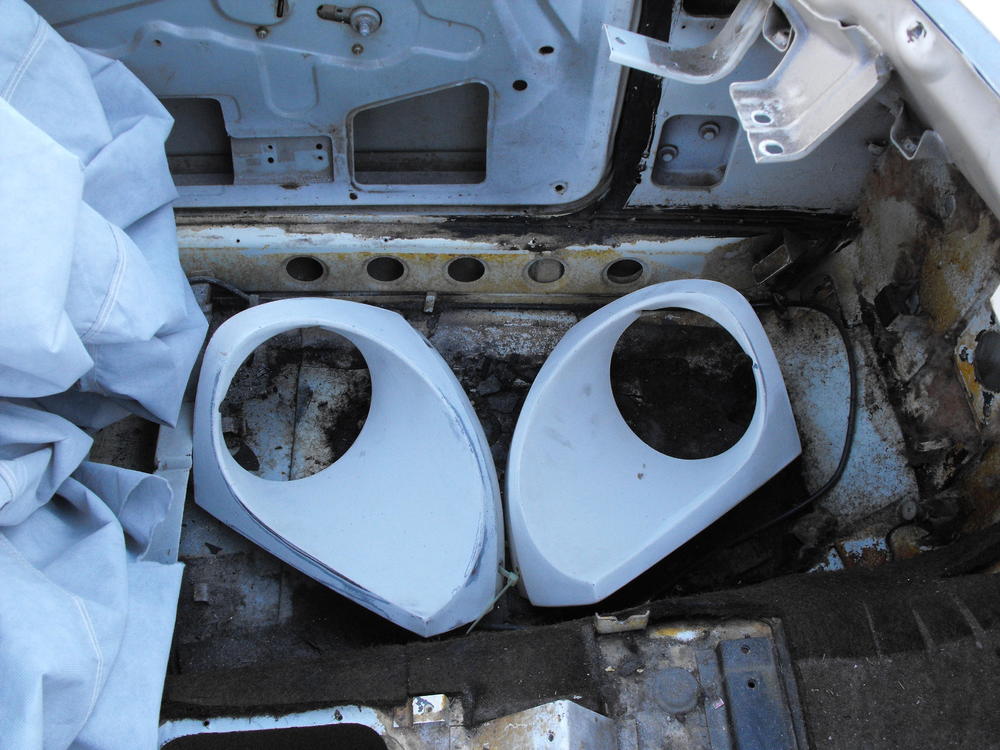
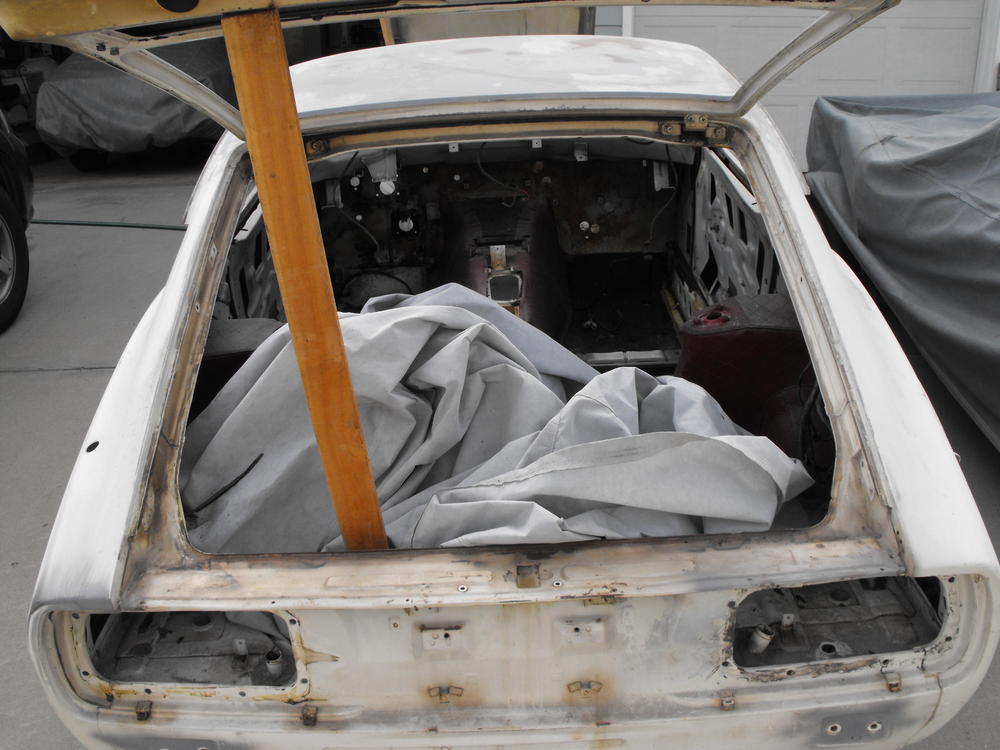
Got the radiator and AC evaporator out then started working on the back end. This actually cleaned up pretty nice, and the bumper and rear end damage do not look too bad. All the interior panels will need to be replaced though. They are as fragile as egg shells. The rear tail lights are in very nice shape. Here are some pics from the disassembly.


-
The car is actually an early 1973 with a build date of 10/72. The SN is 125678. Also, I think @jayhawk mentioned that he drilled the holes in the firewall for the AC so I am wondering if it is more an aftermarket AC and not a dealer installed AC. Perhaps he can comment after vacation. For this restoration, we will be removing the AC. That makes things a little bit easier. I was not aware of the difference in the flat tops from '73 to '74. I will have to look into that when I start re-assembly. I will definitely be consulting you and @Zup when I move to the clean and restore phase. Thanks!
-
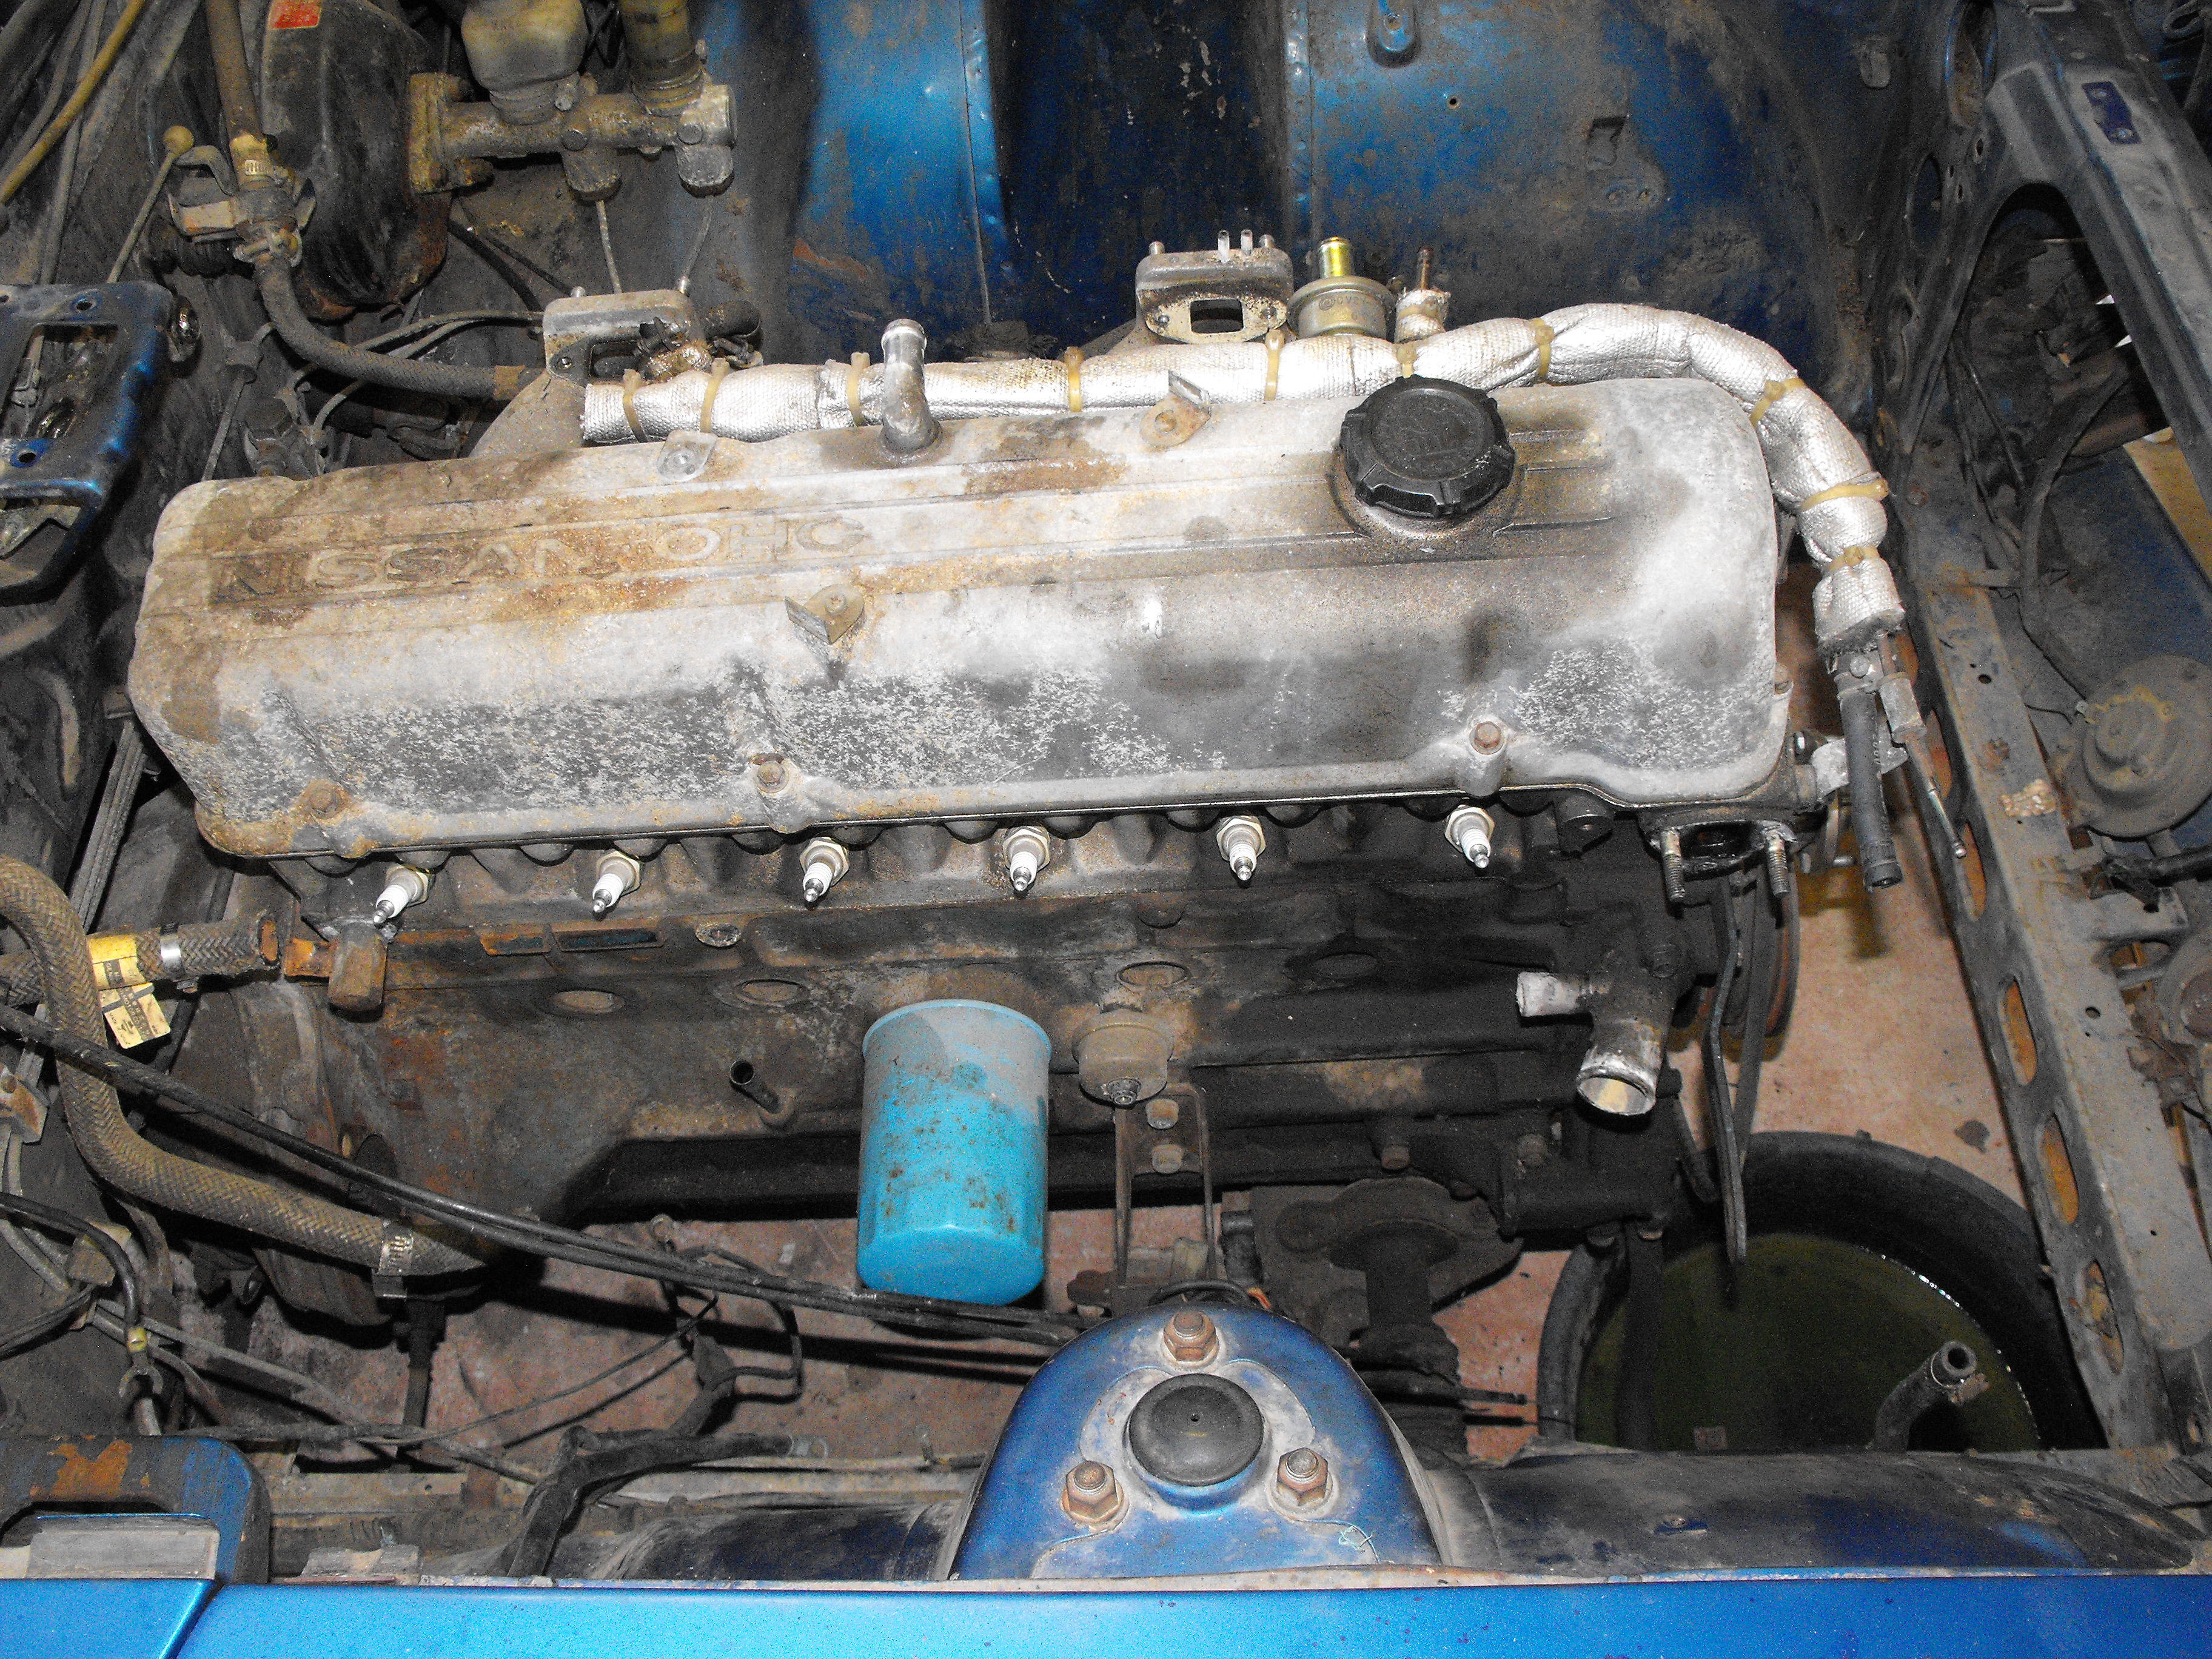
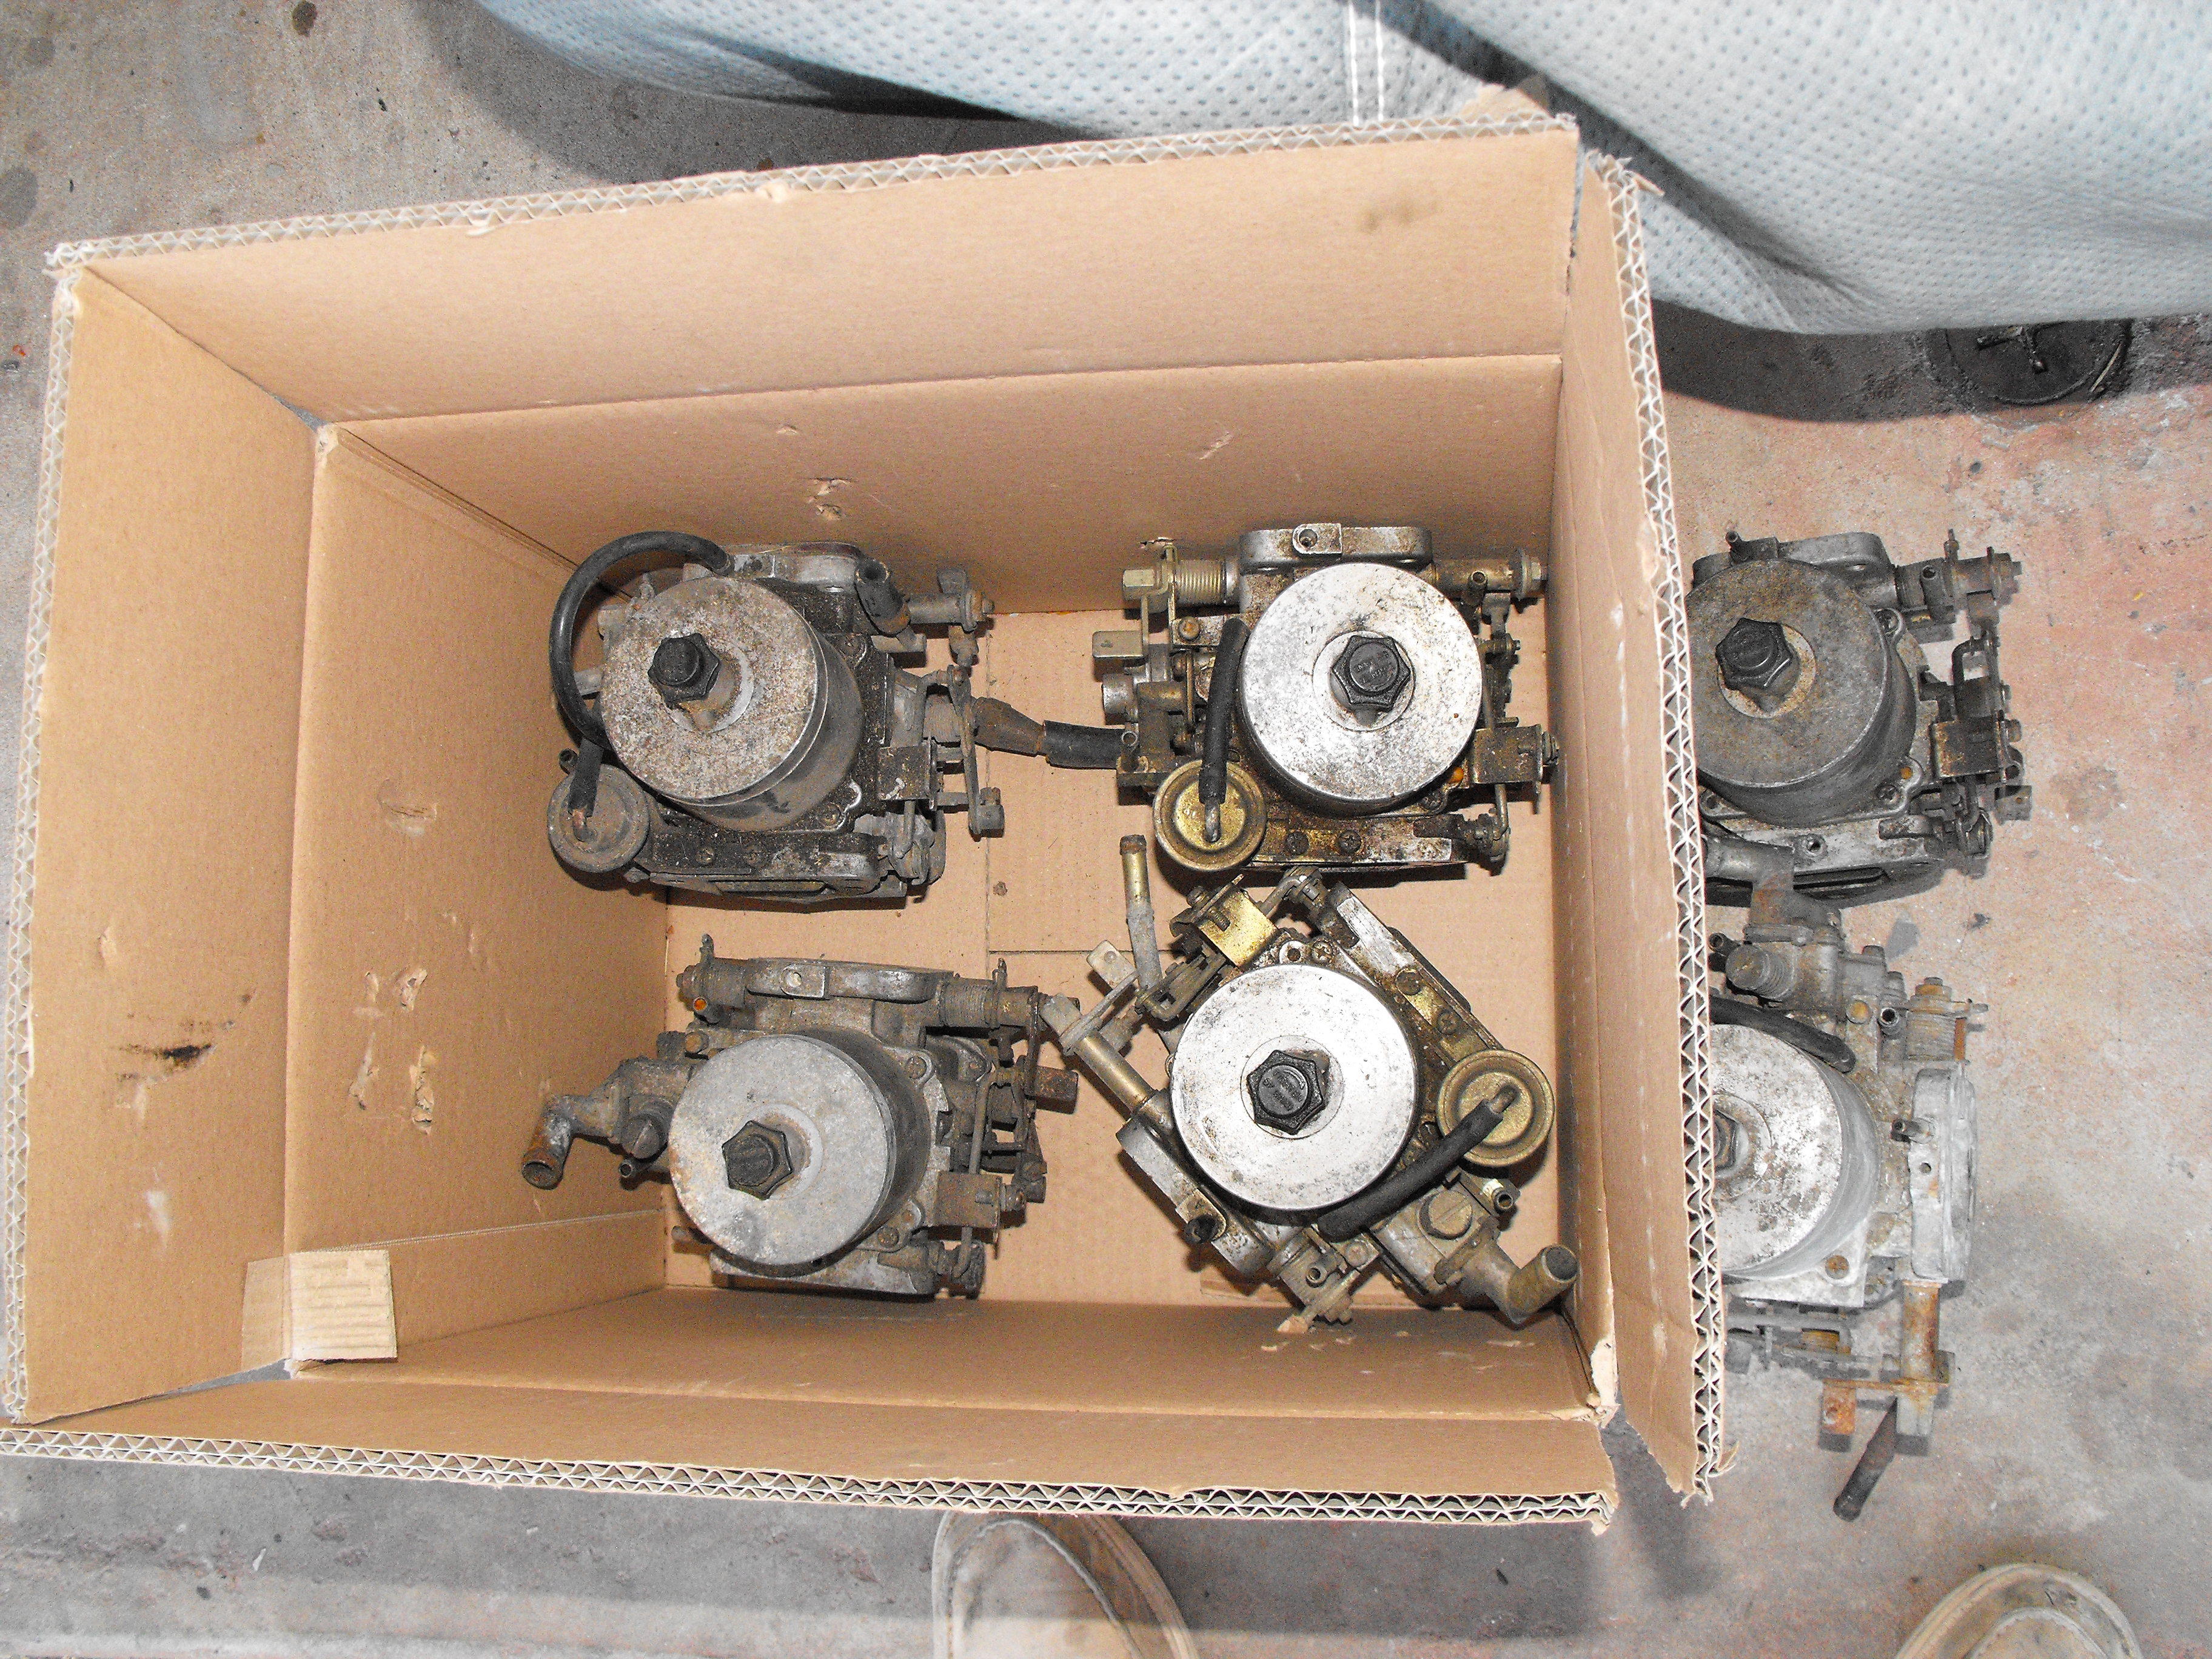
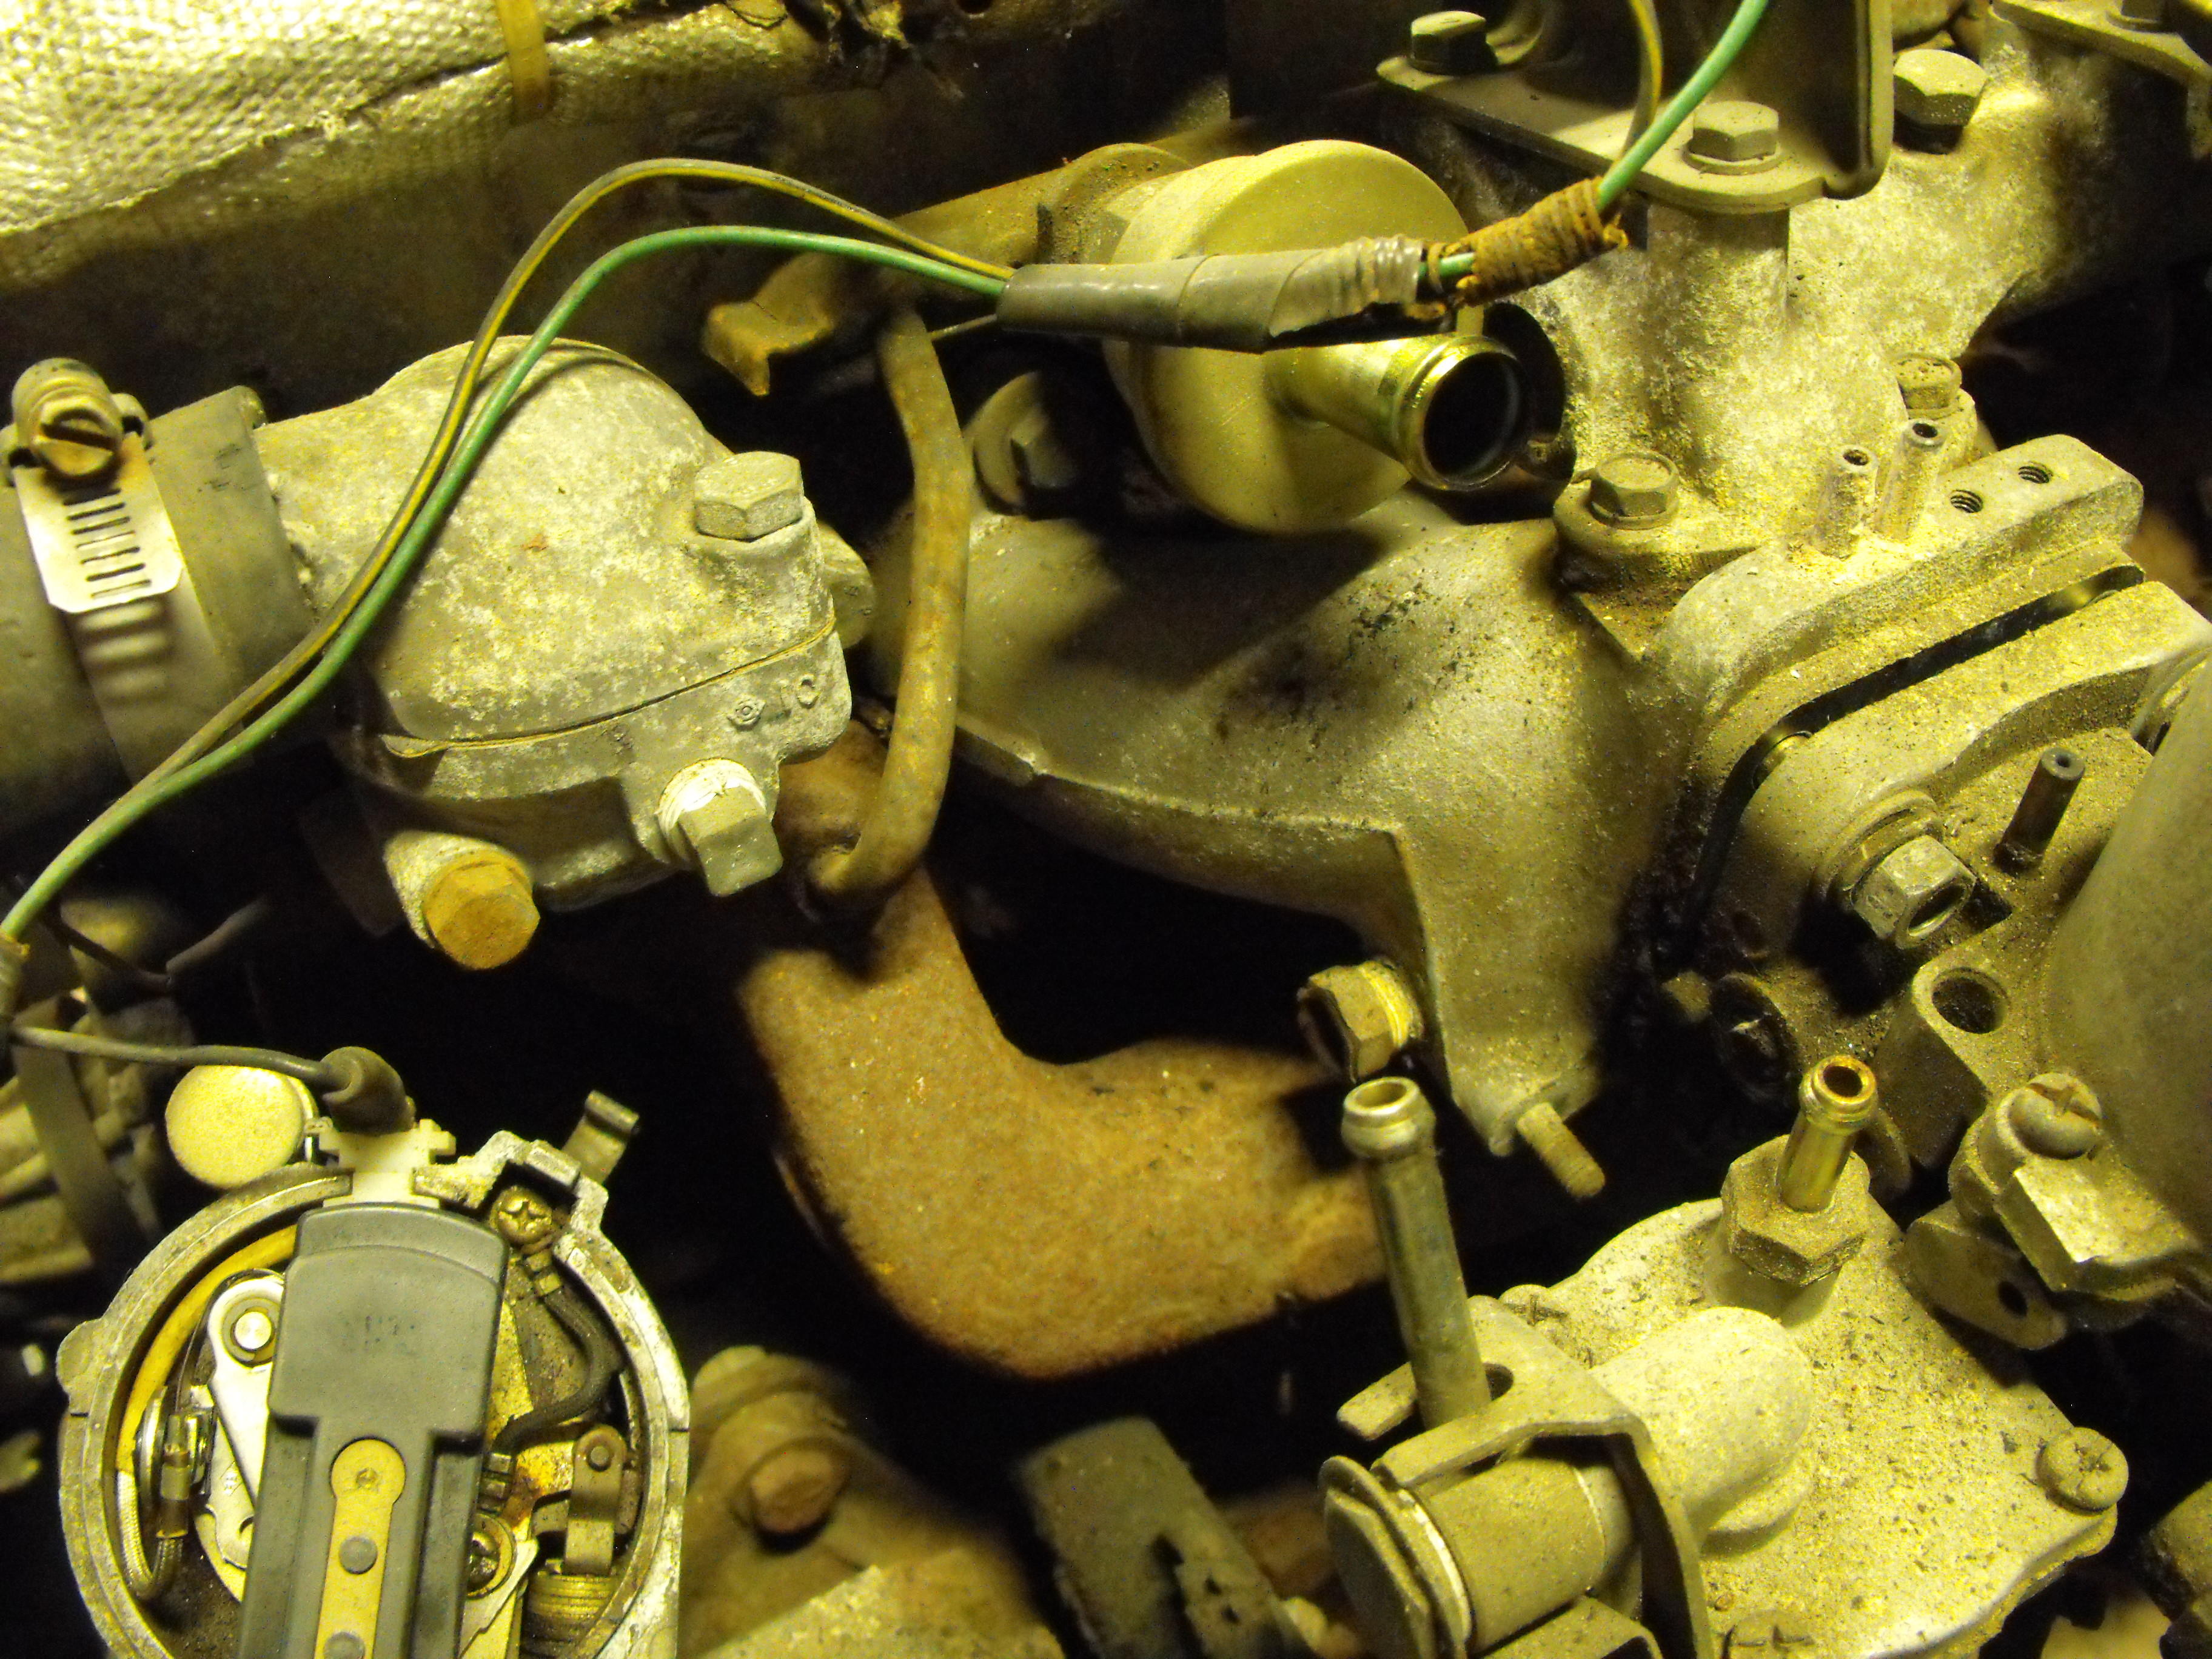
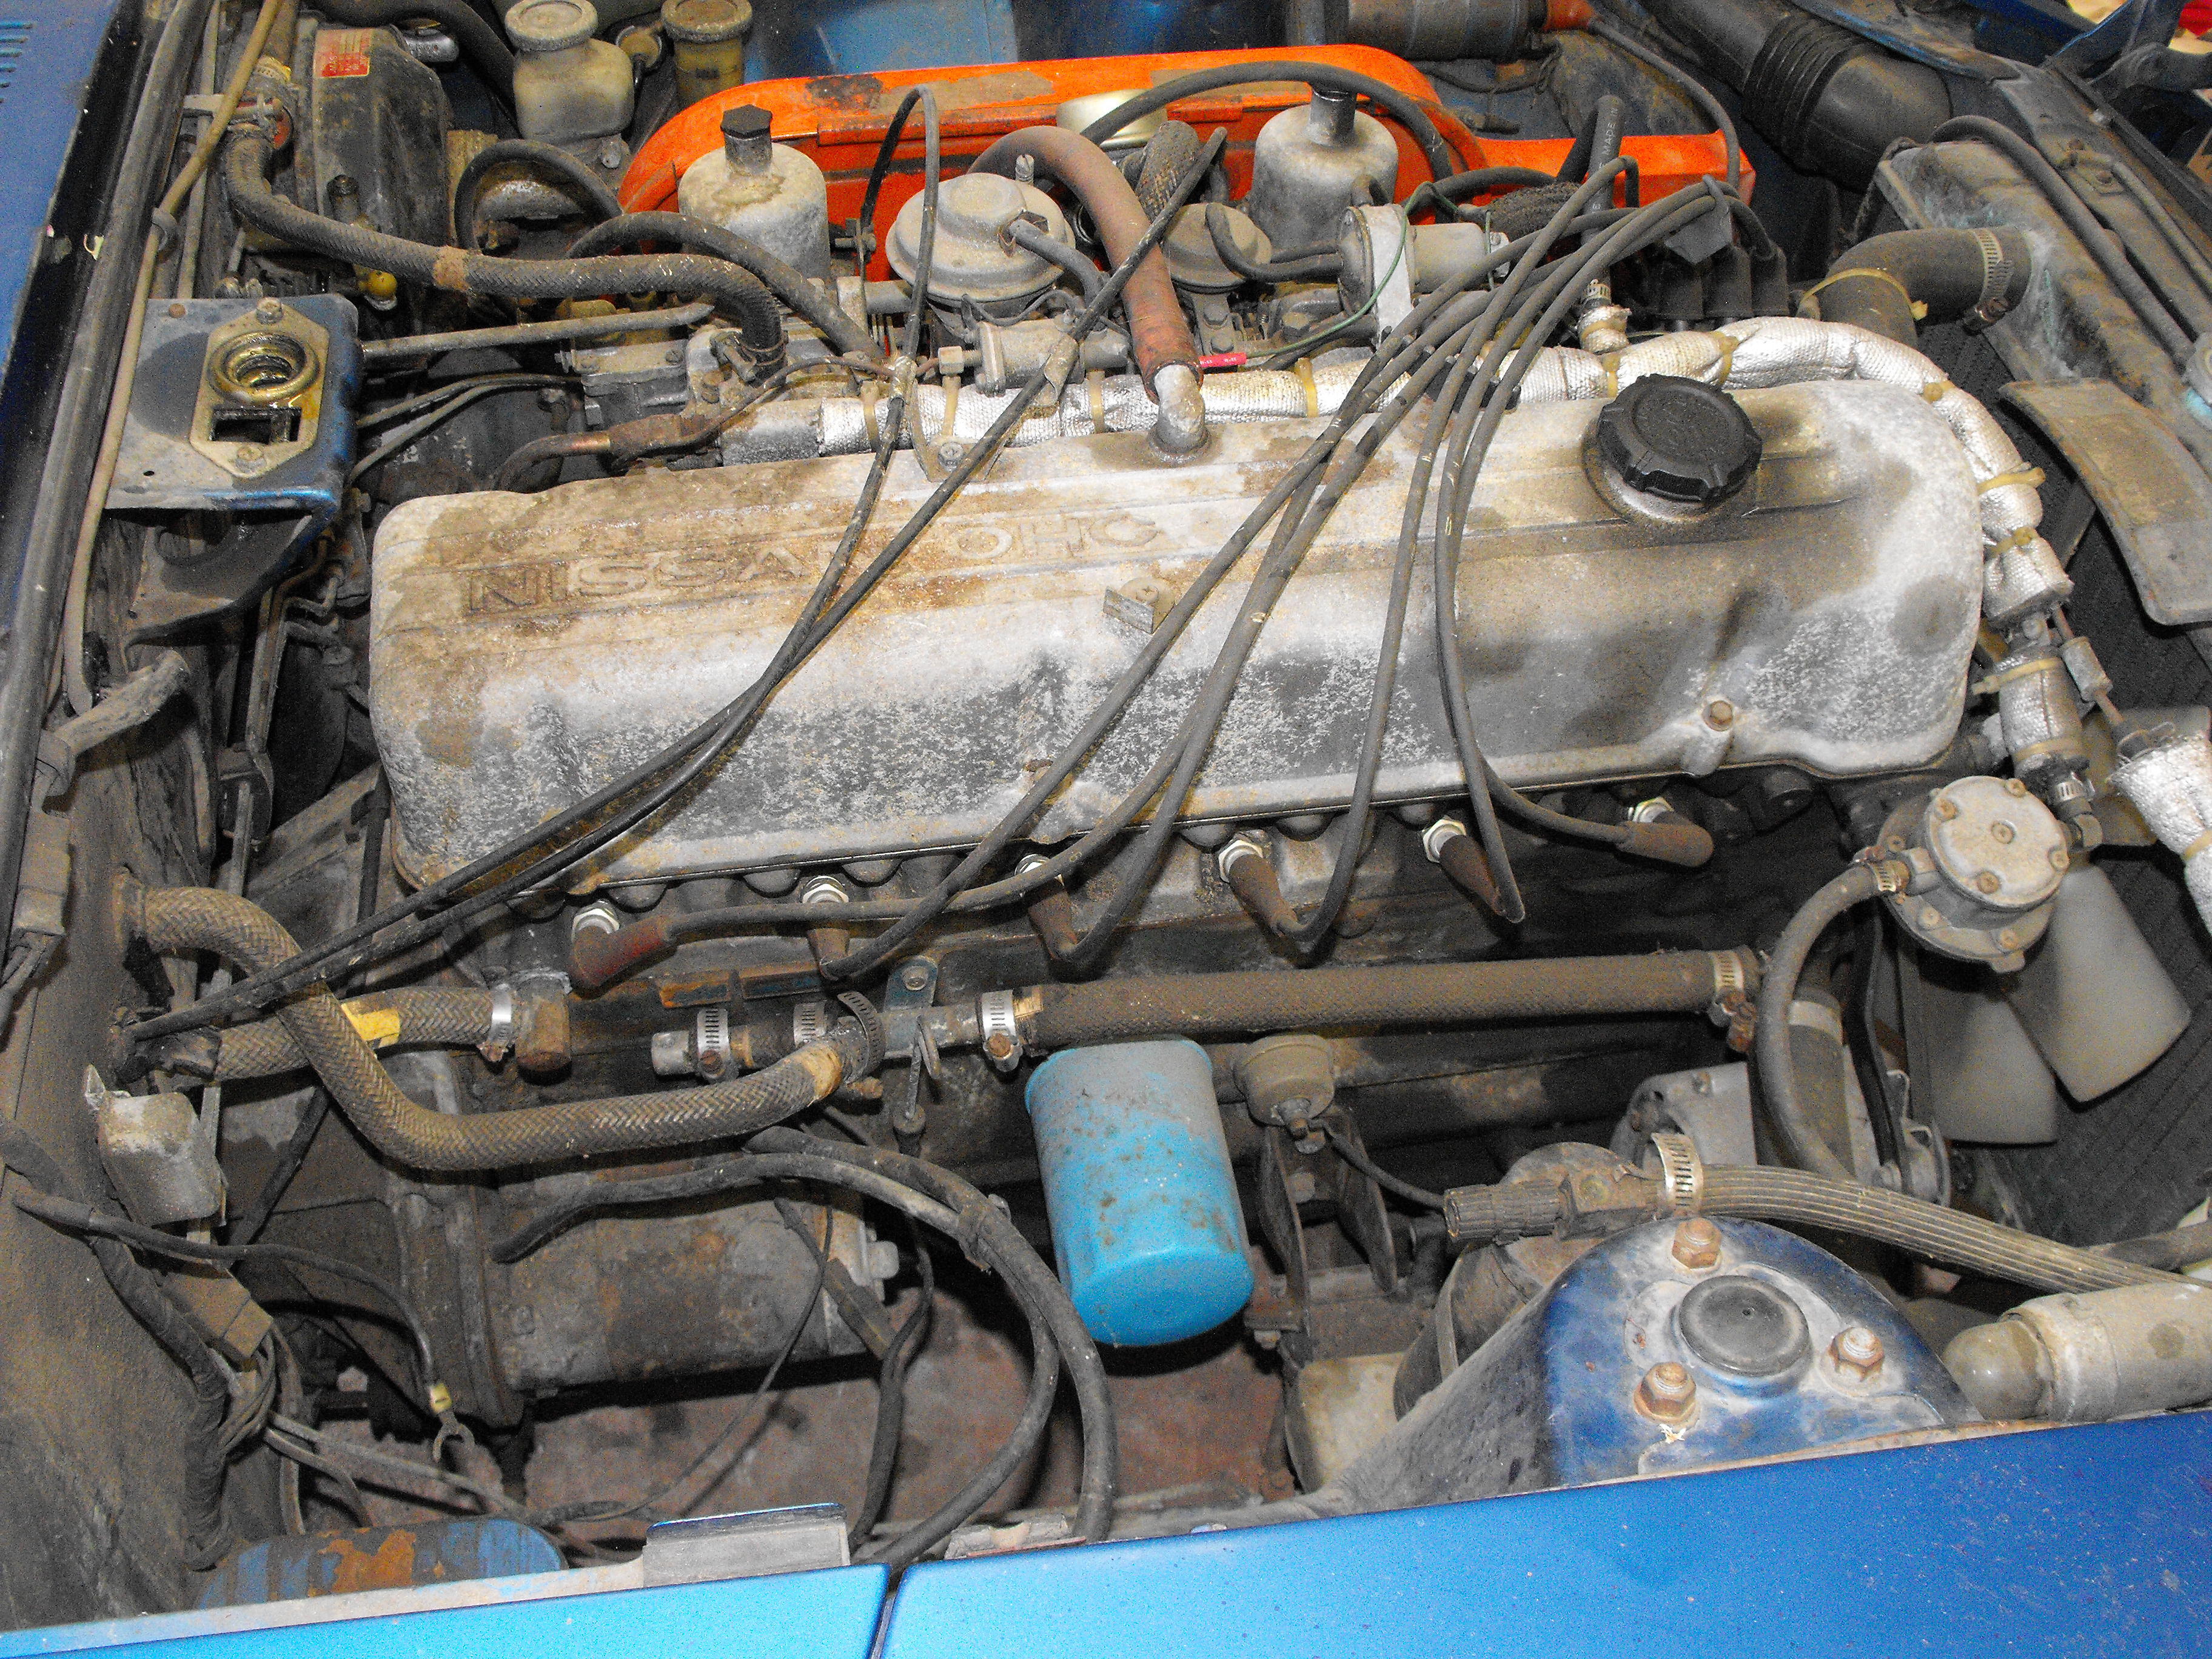
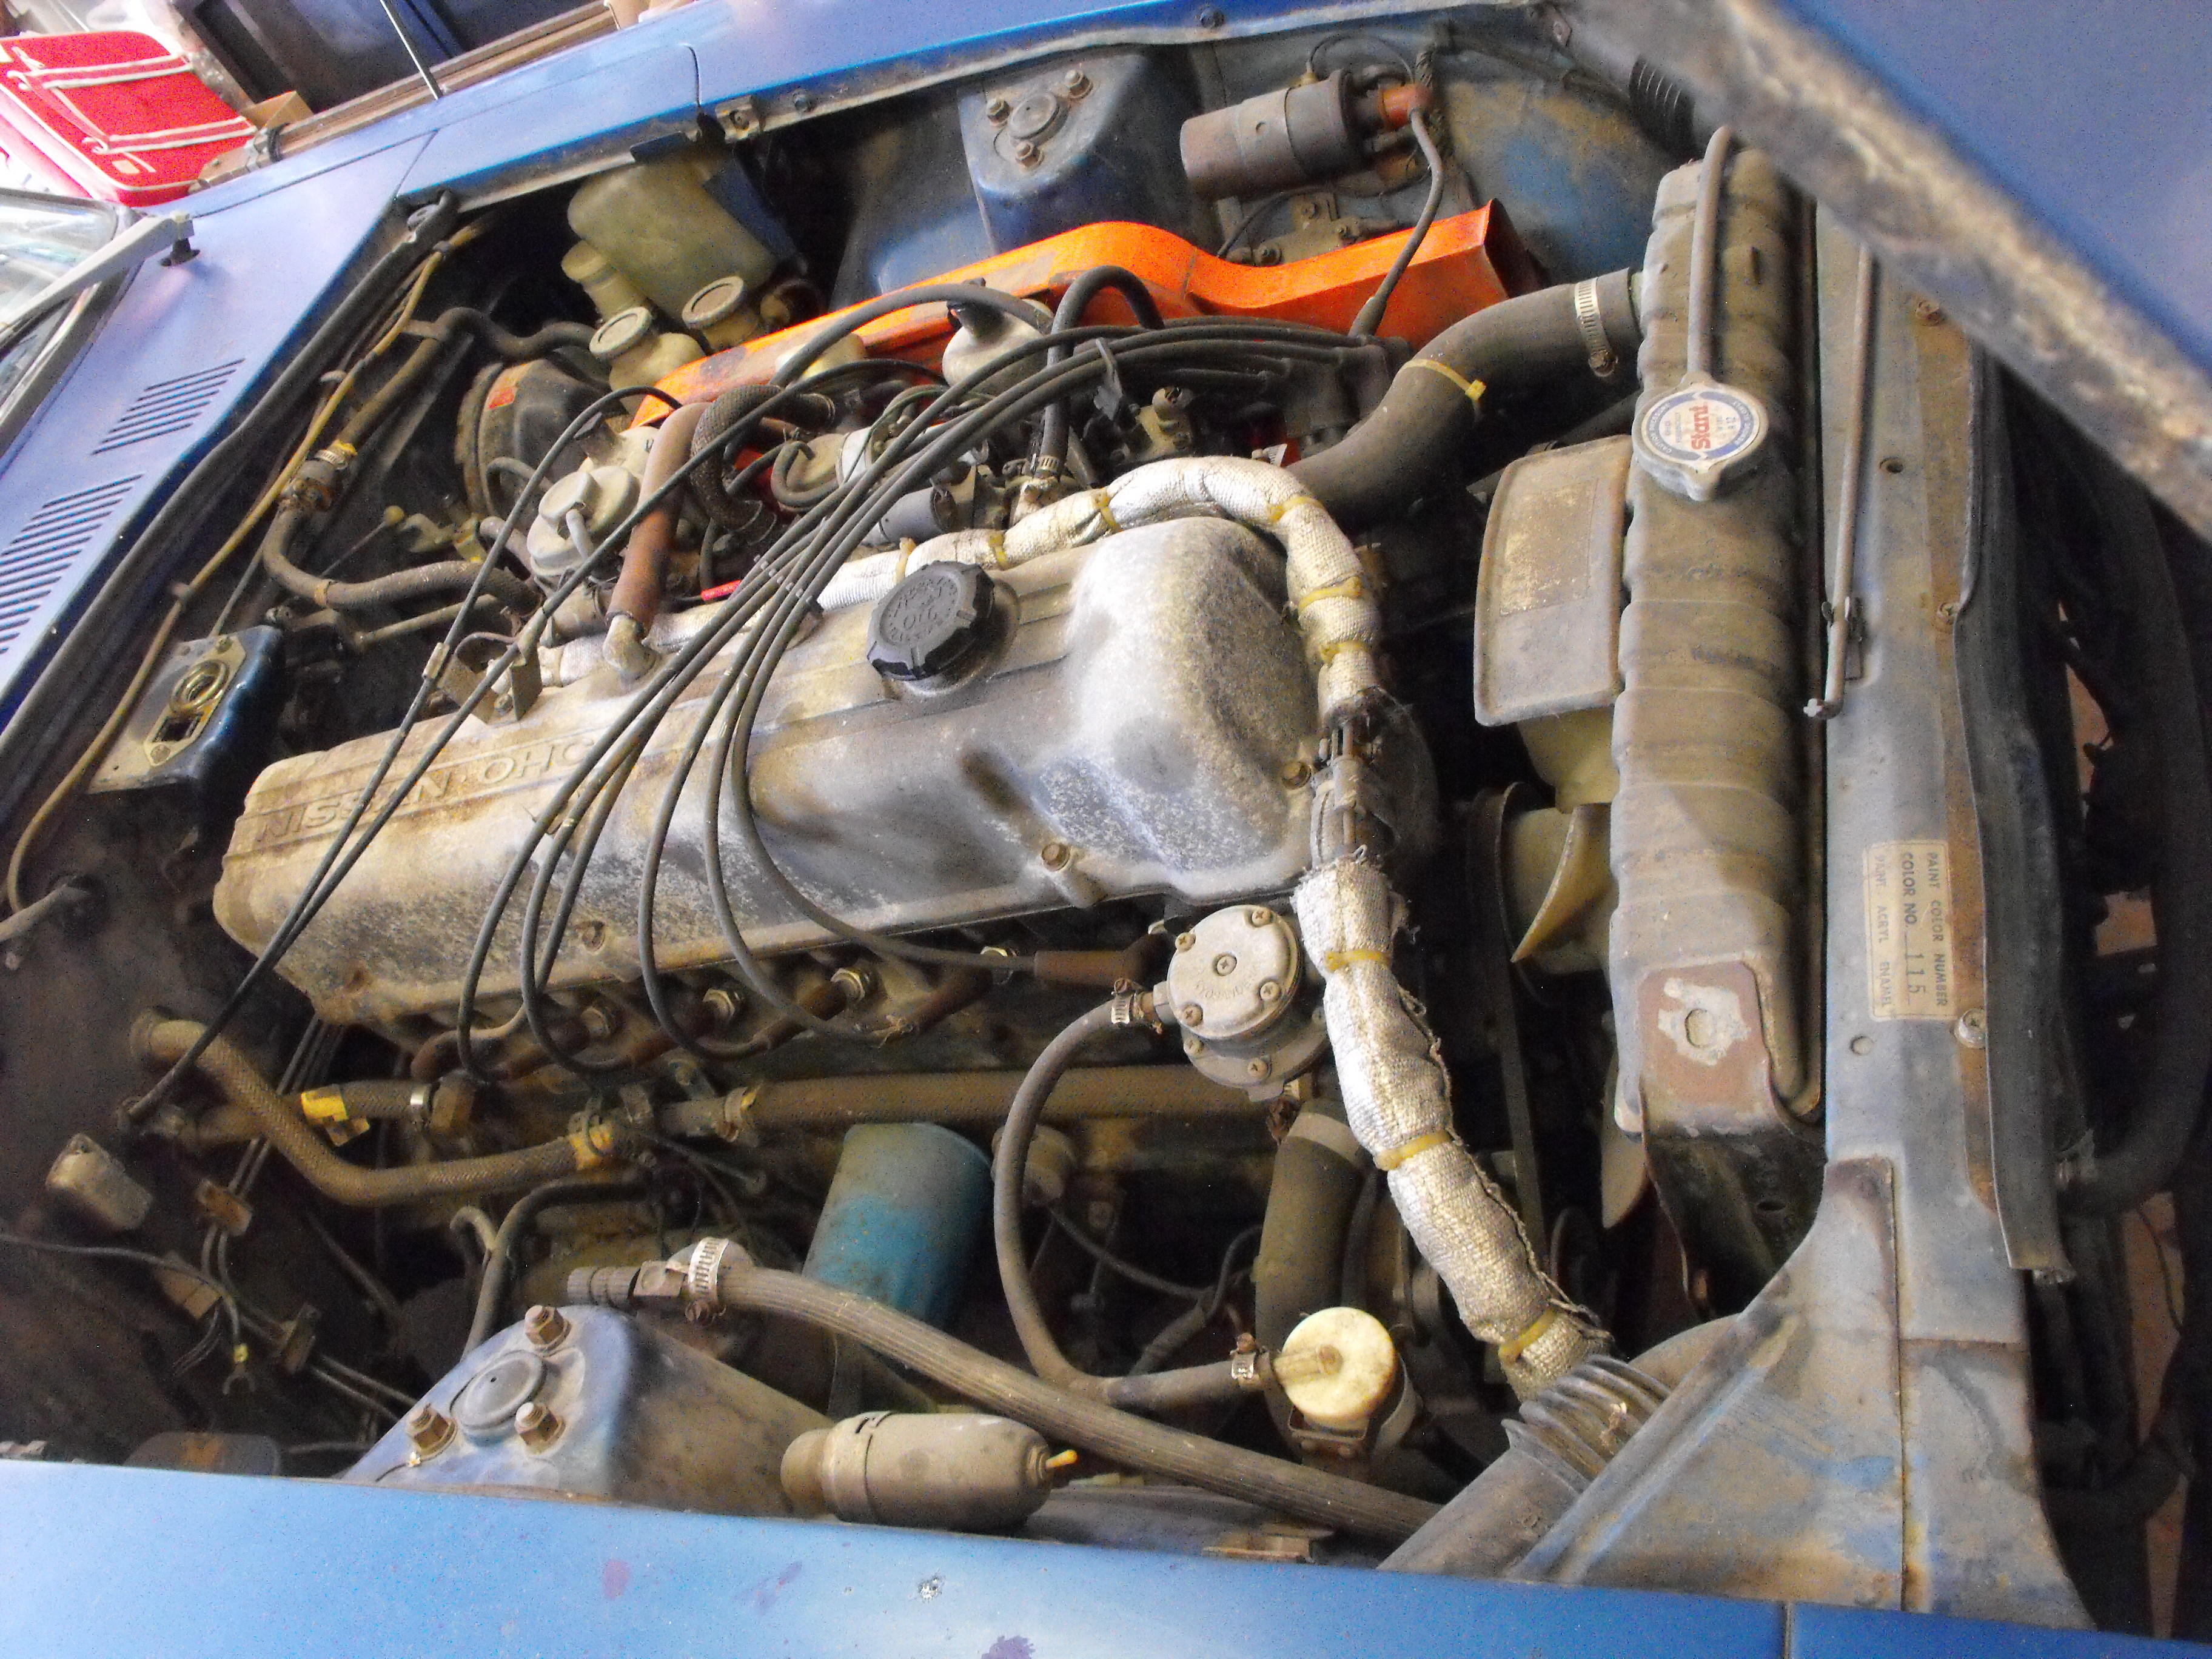
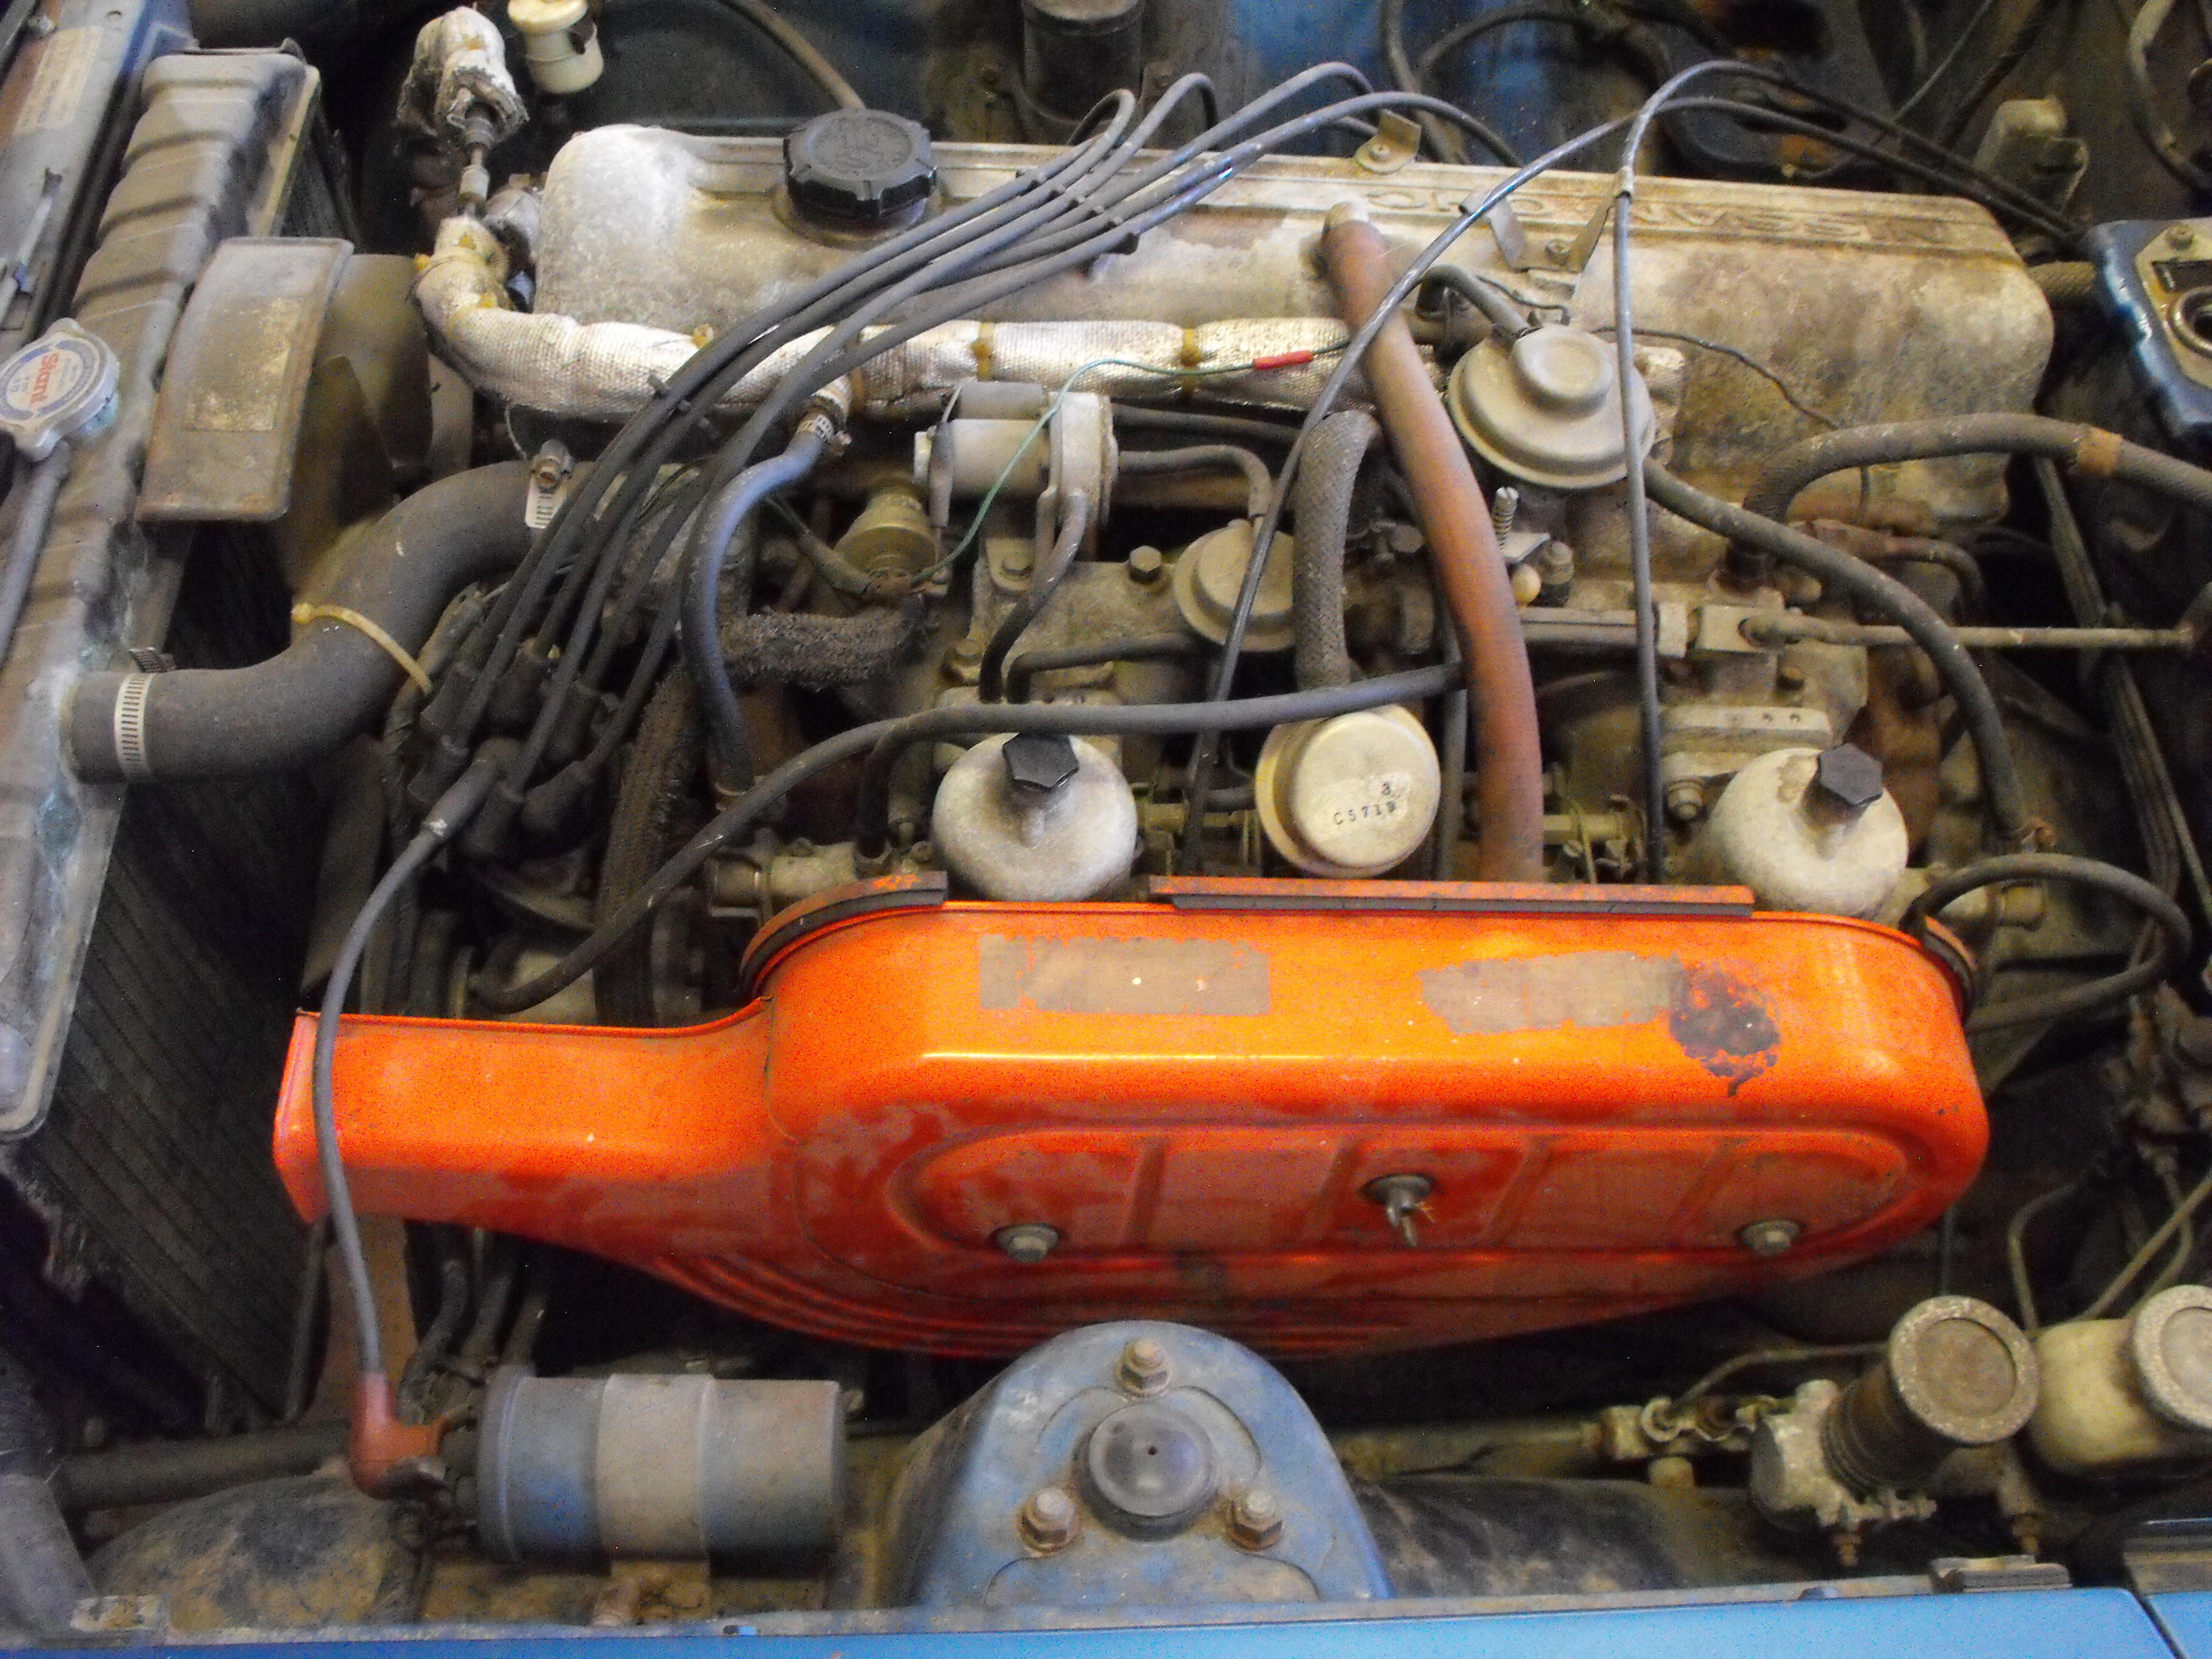
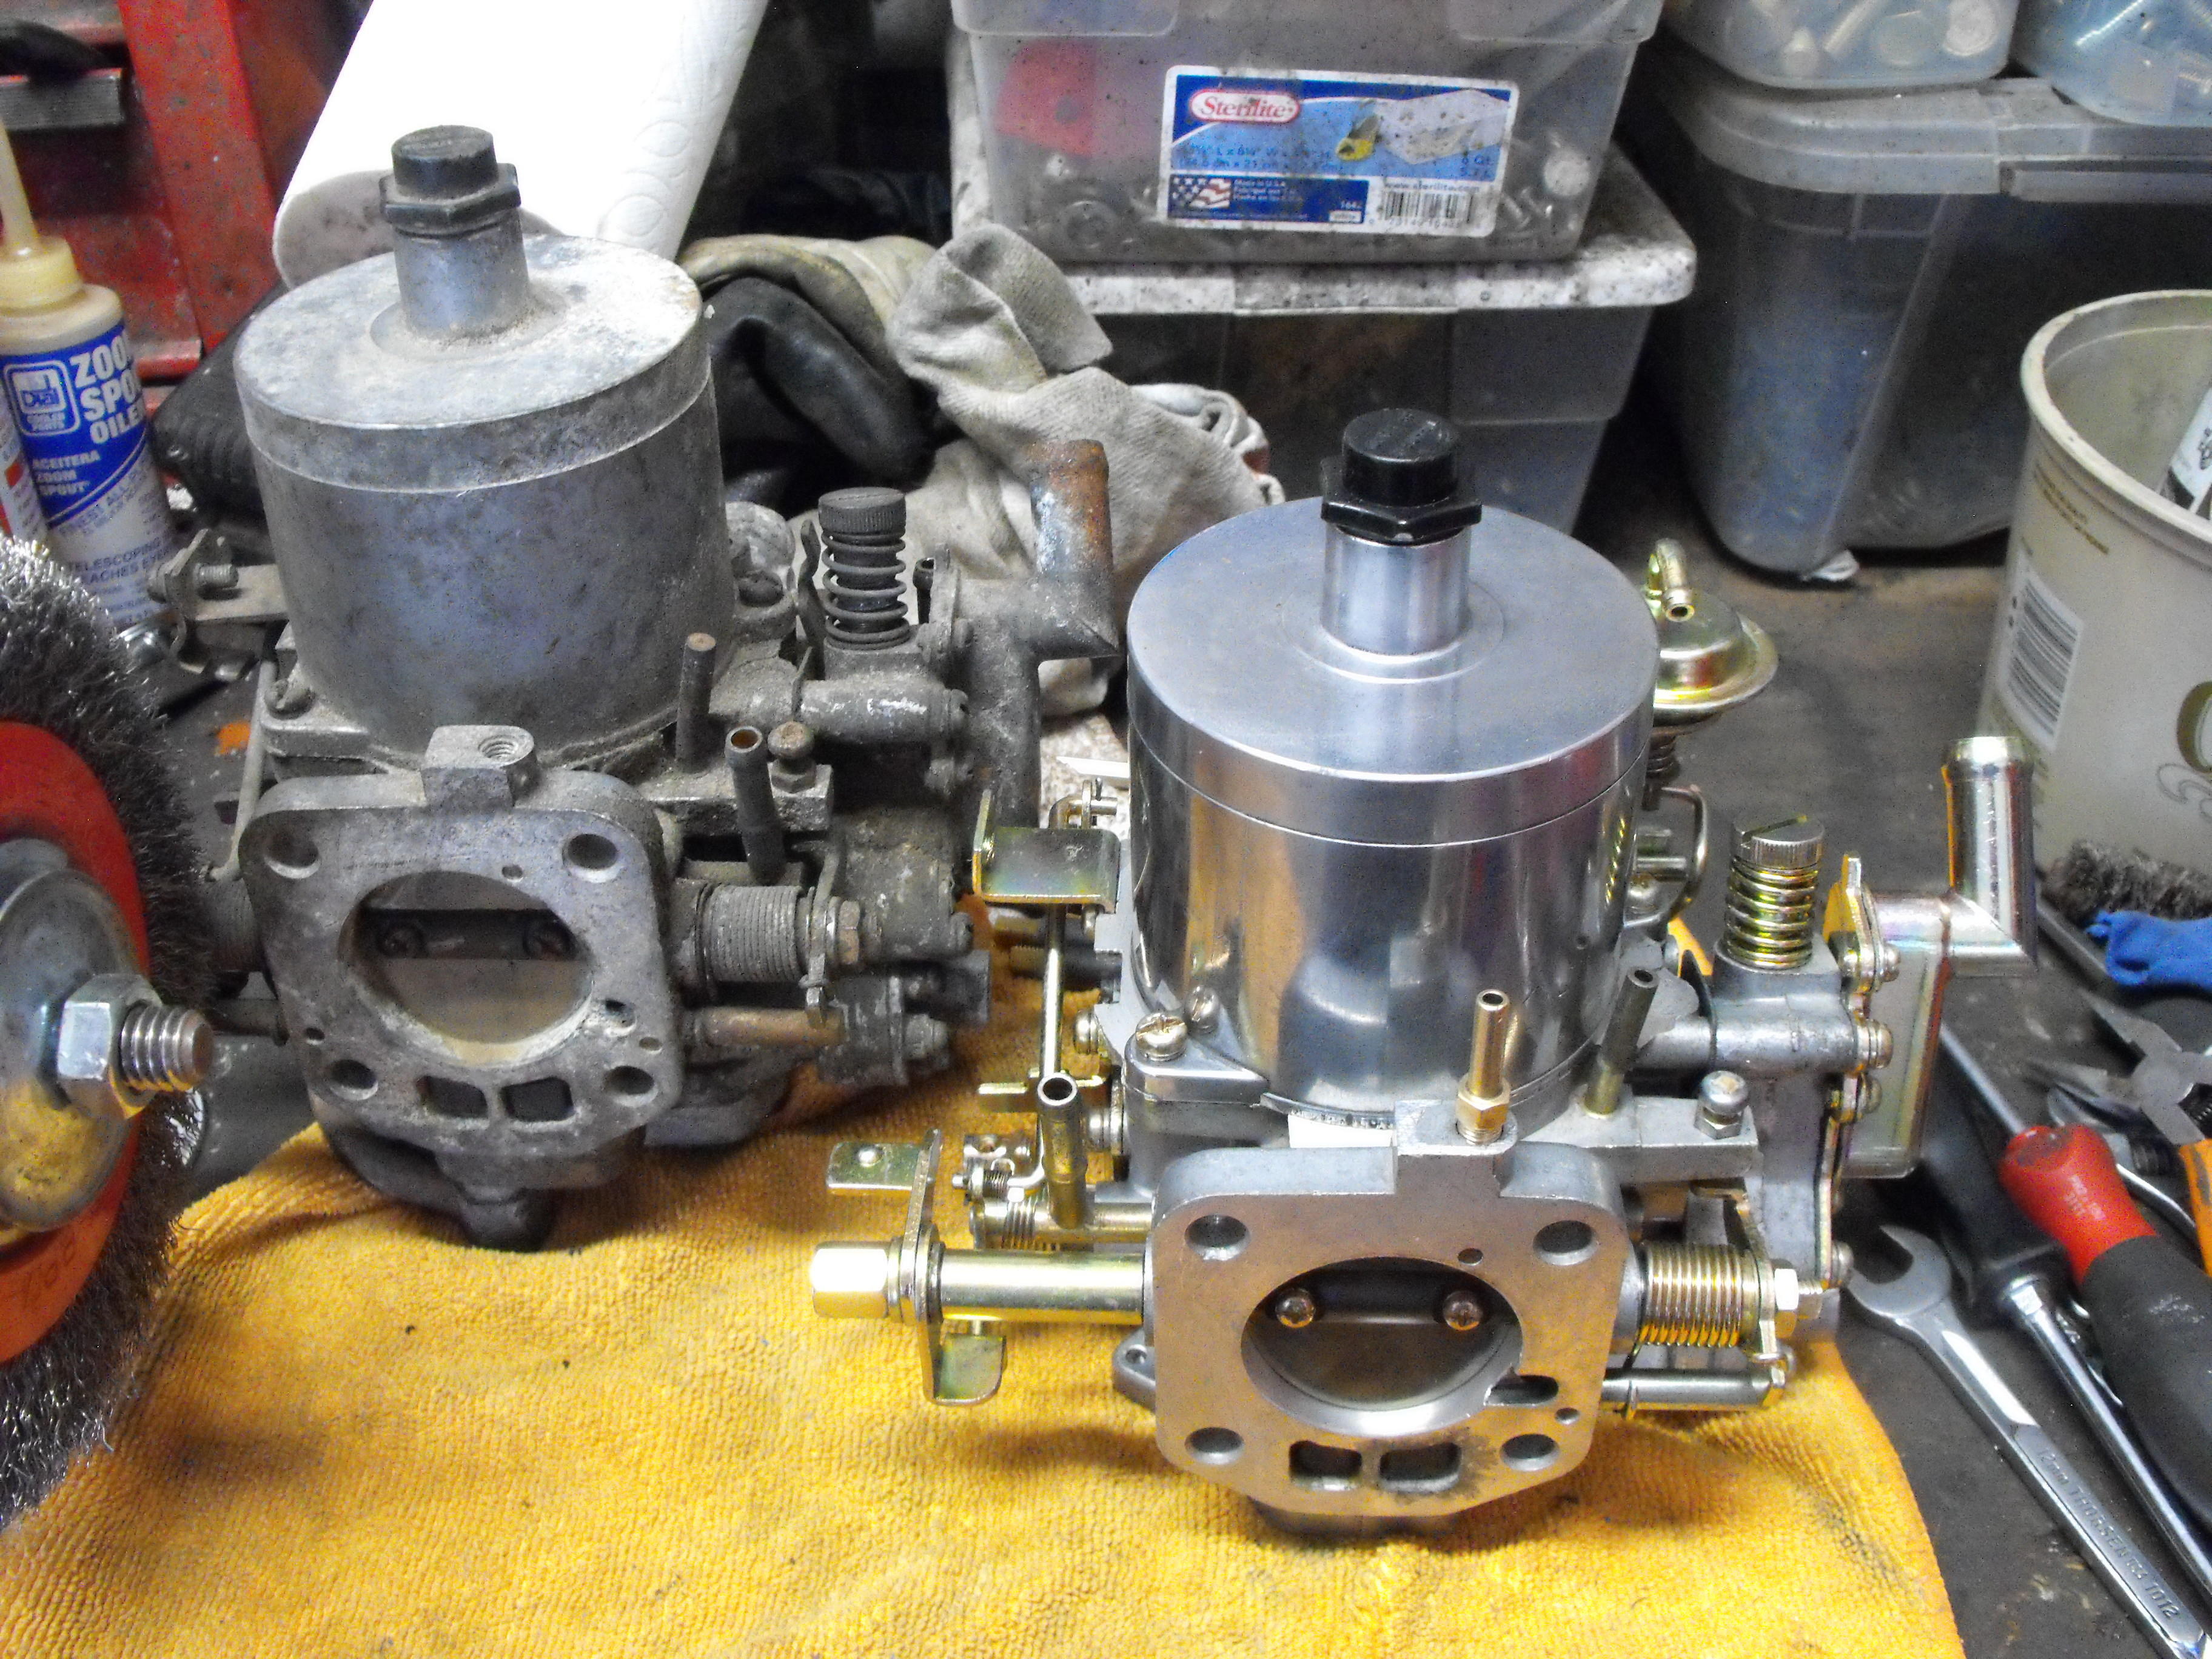
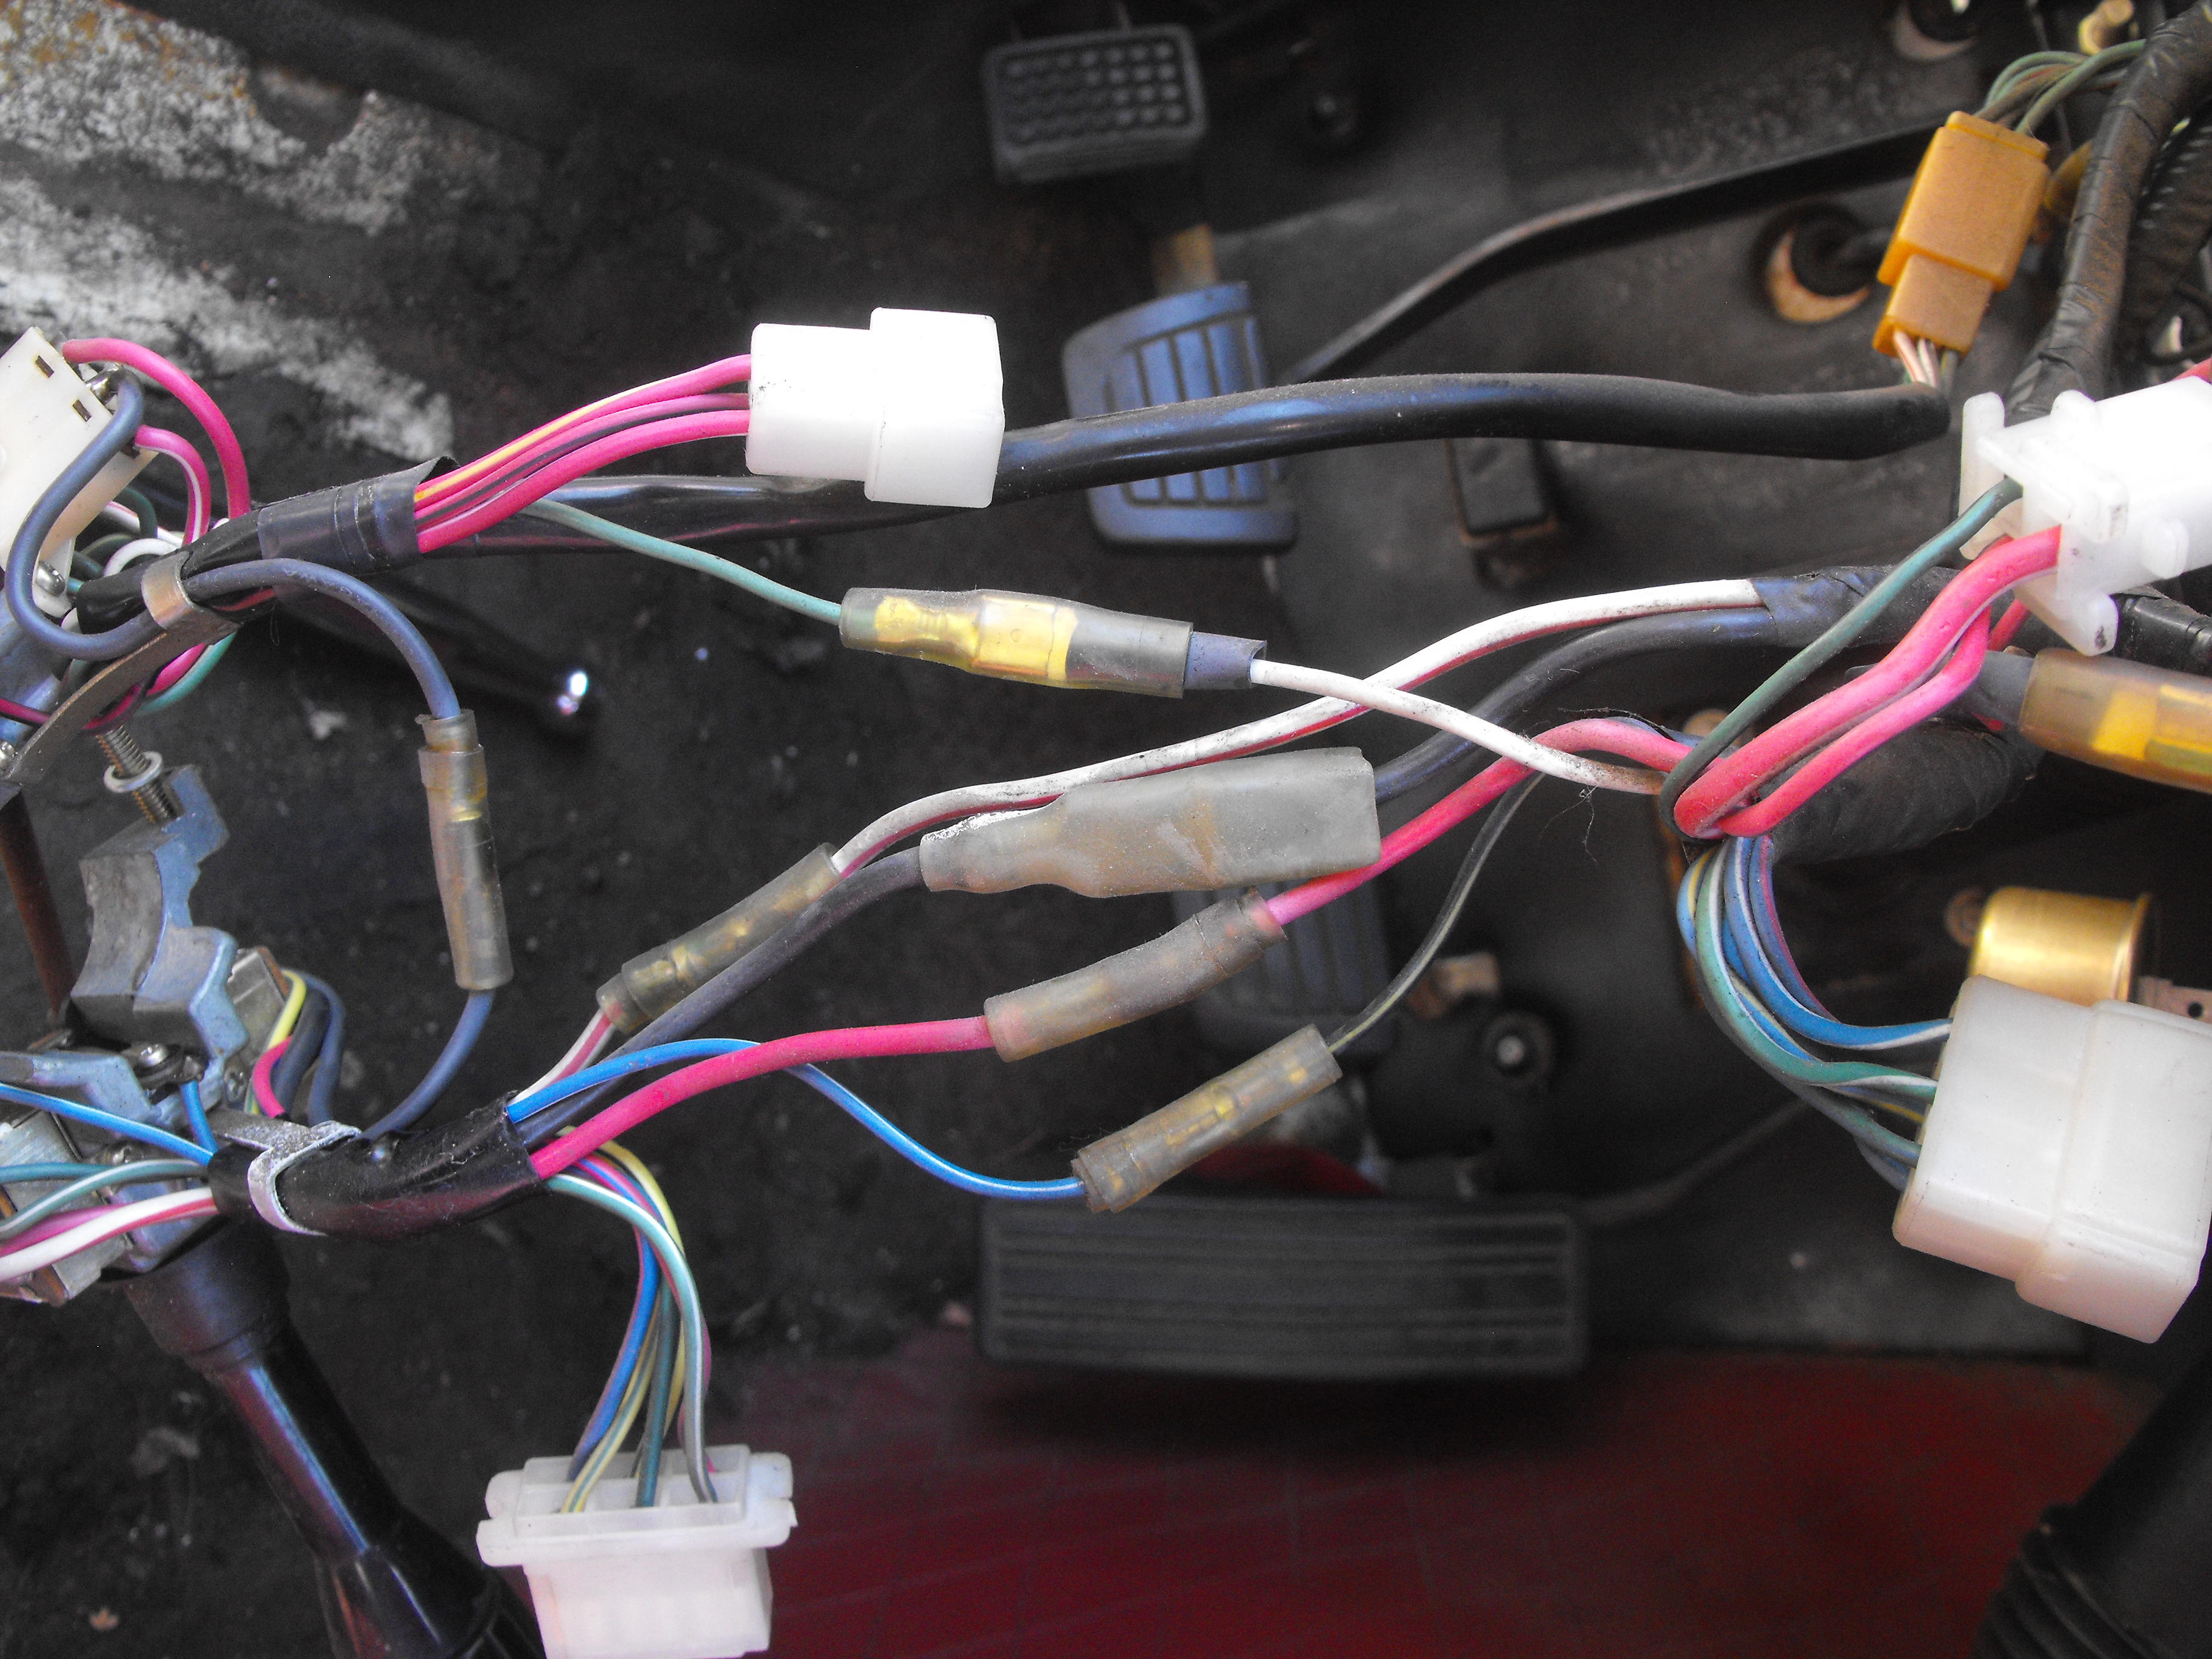
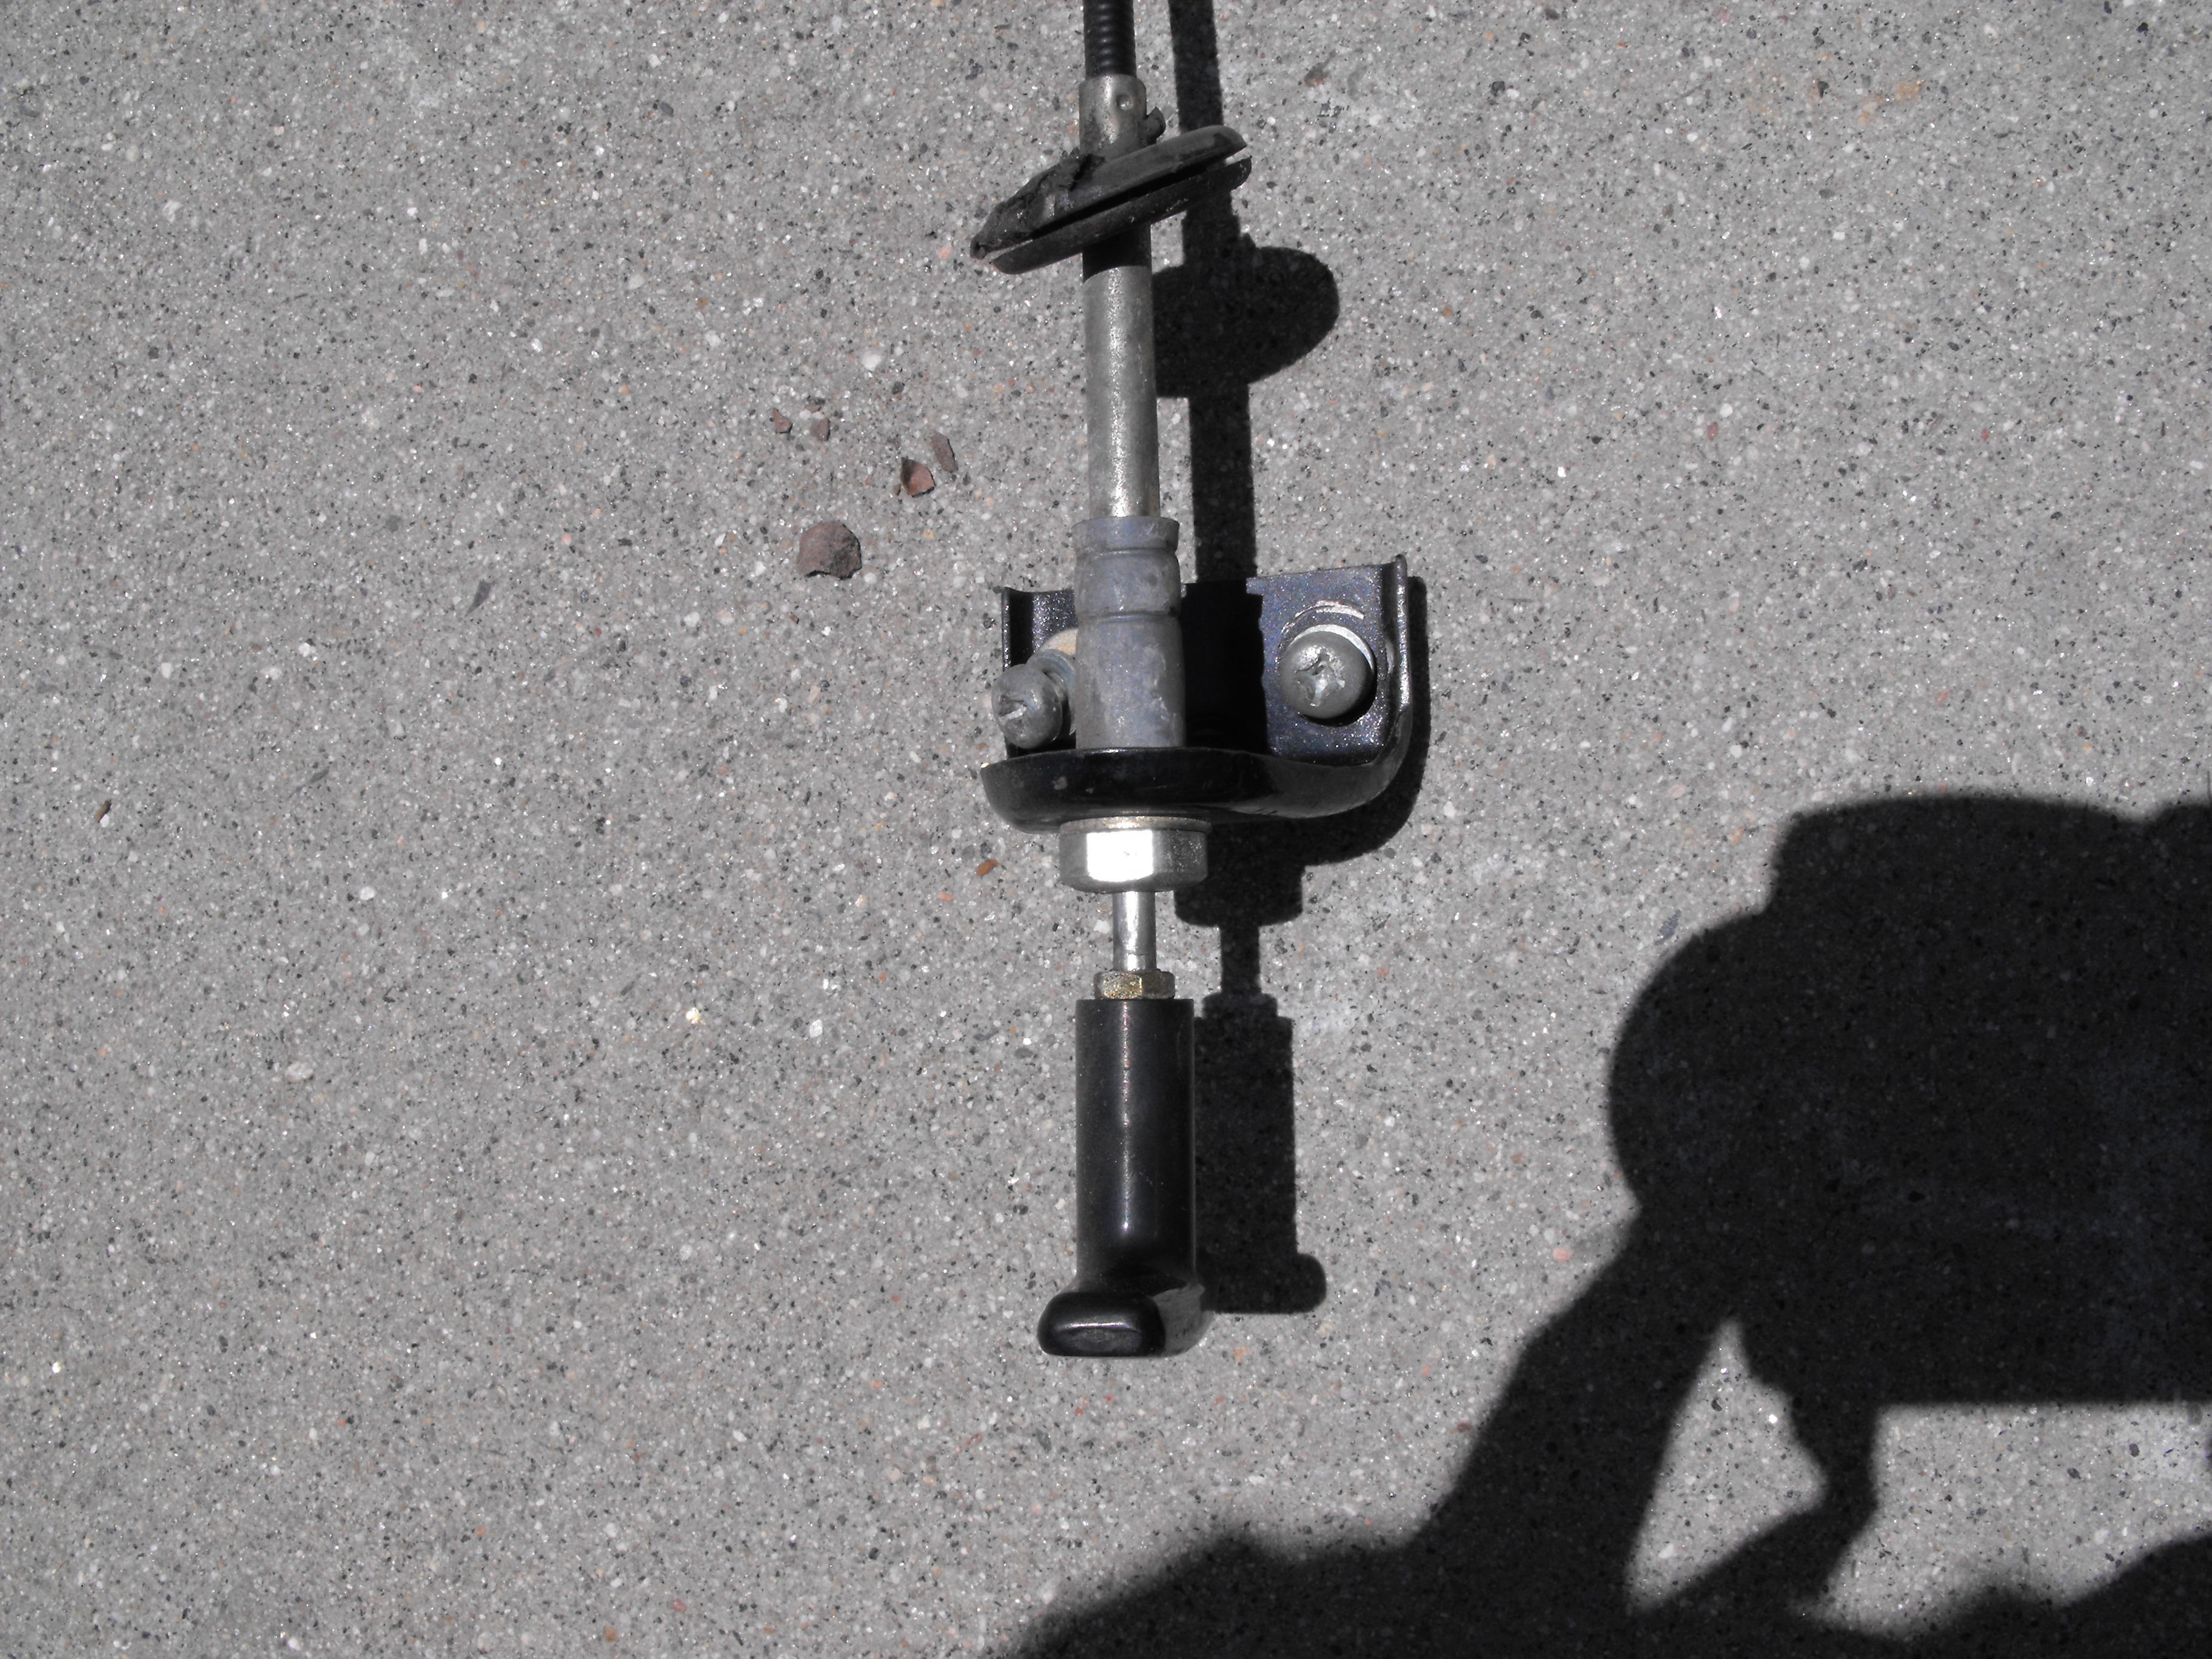
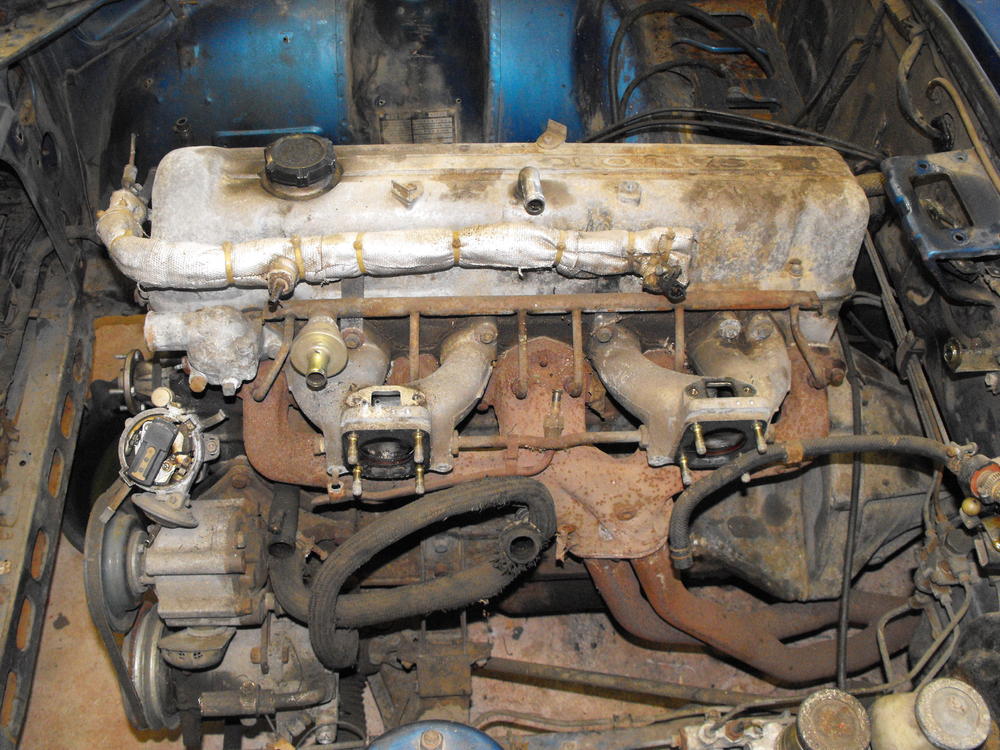
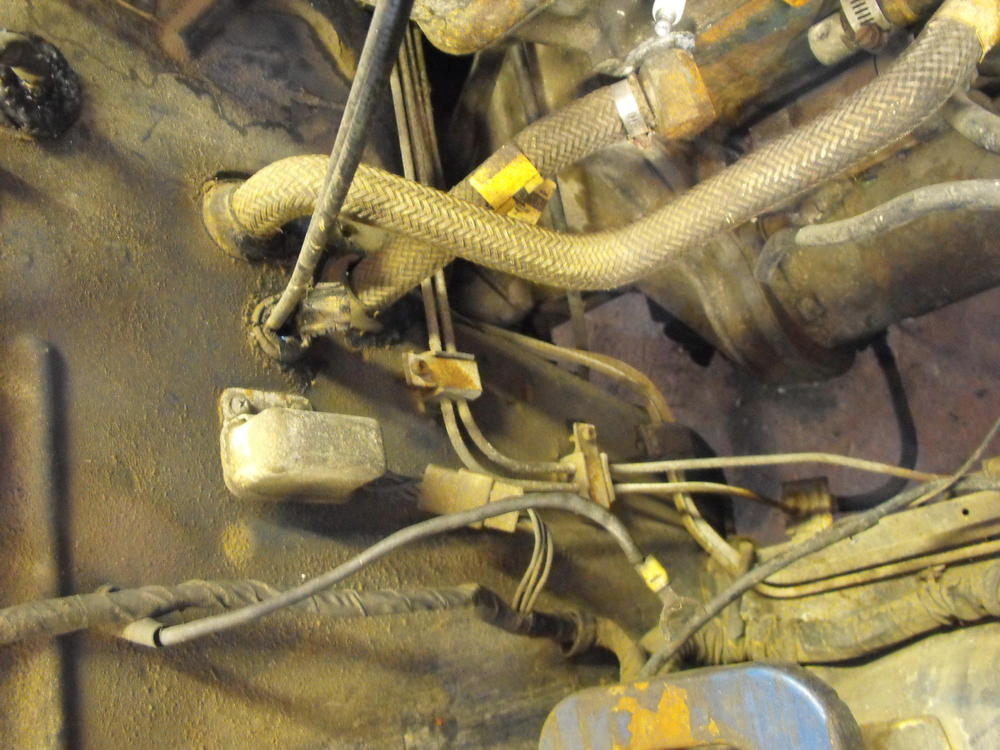
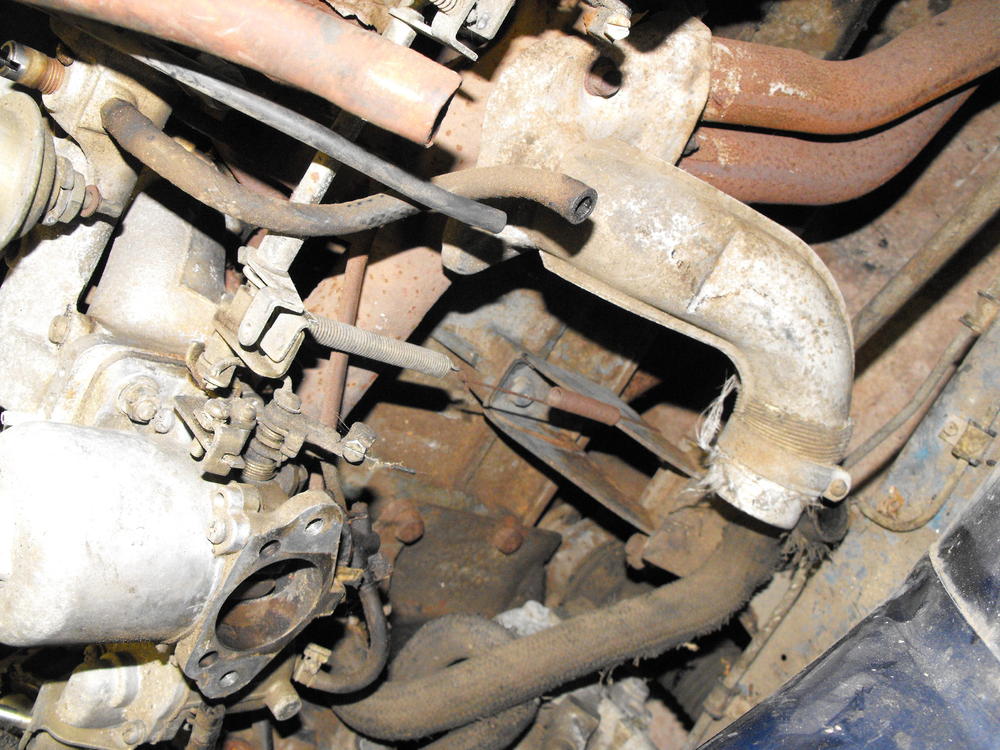
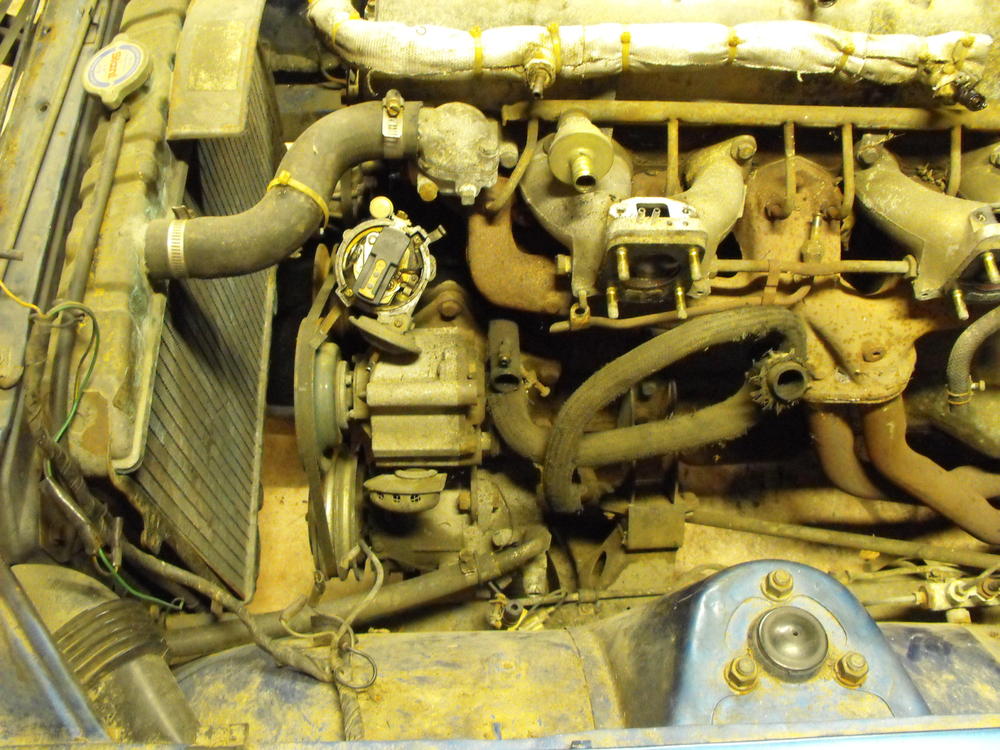
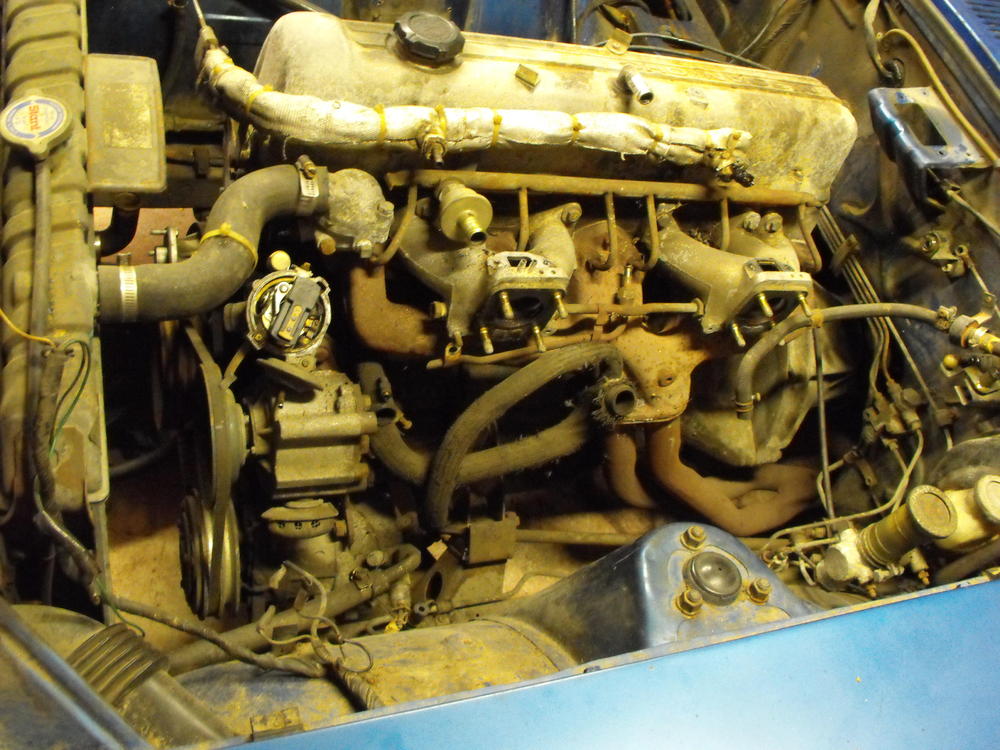
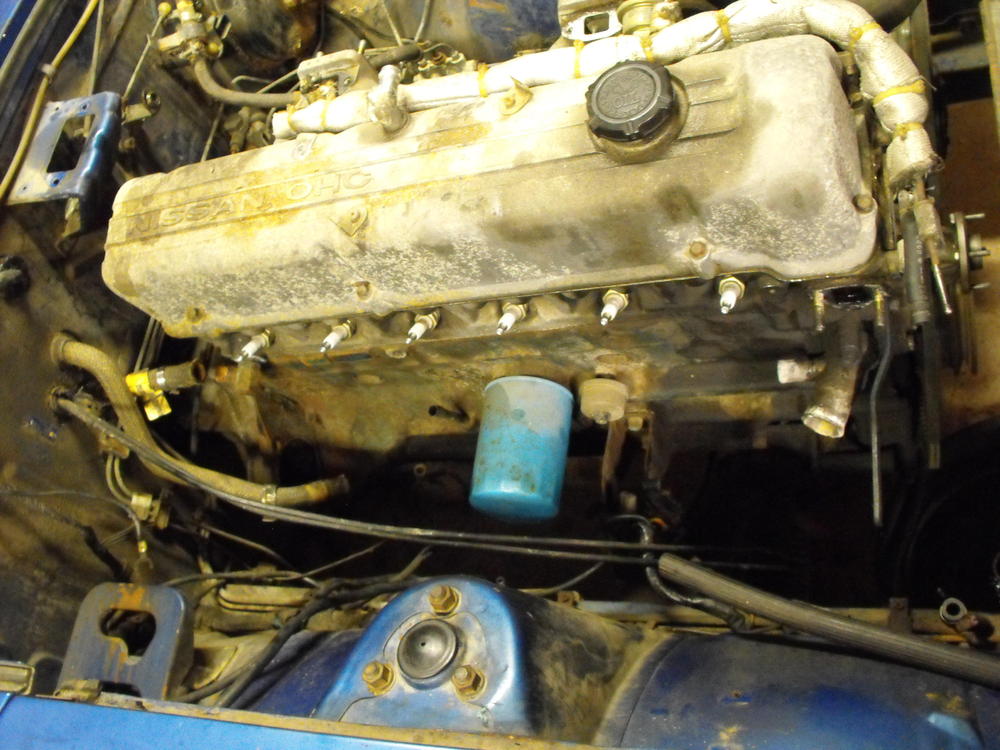
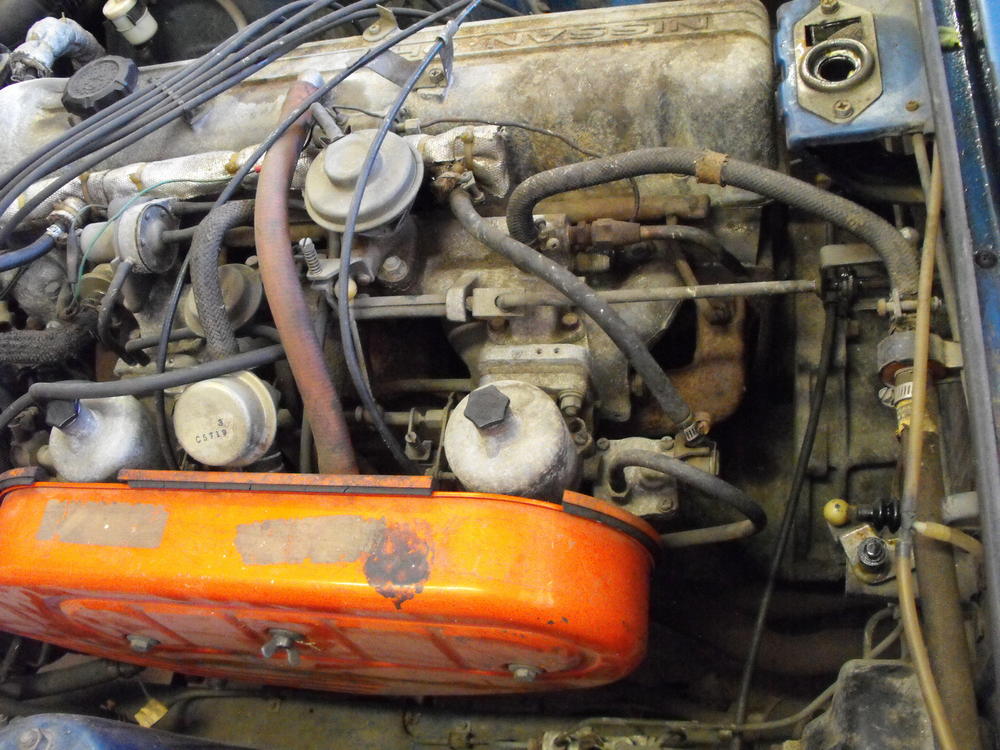
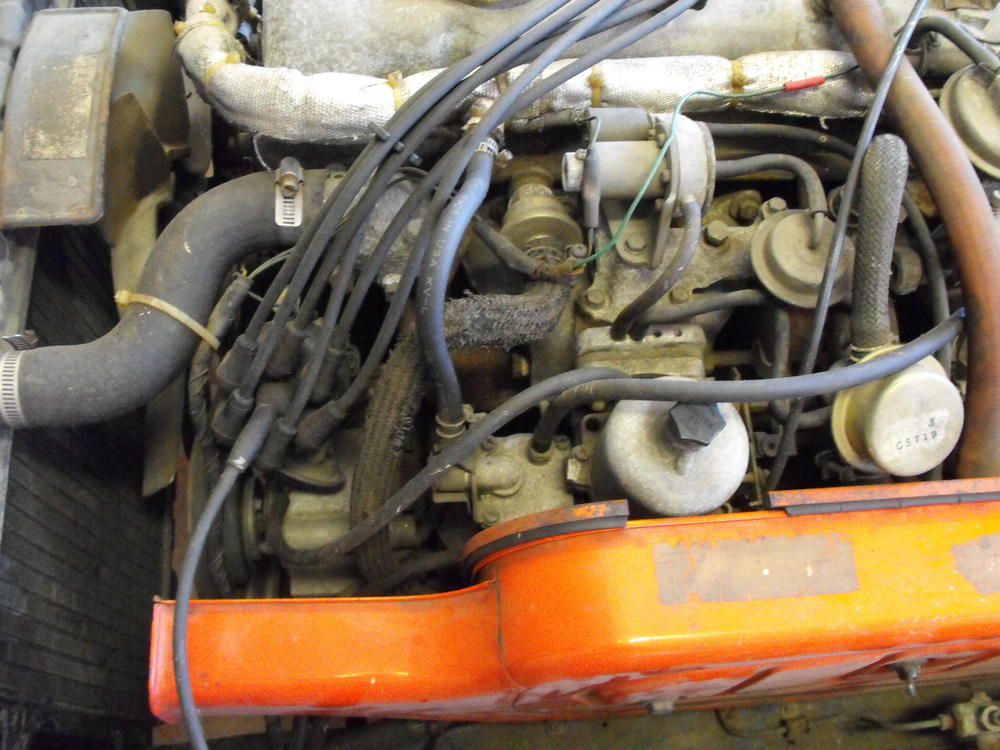
Ahhhh...good to see the the car owner here. @jayhawk stopped by today and dropped off a six pack for me, a six pack of flat tops that is, See pics below. Two are the originals and the other four are spares. I will look into those a bit later. I began the motor tear-down this evening so that I can pull the motor. Things went pretty well, so I am hoping to have the motor out this weekend. It always amazes me what I will find during the tear down. Some of the amusing finds include the double spring set-up attached to the SU, missing fast idle linkage, capped off heater lines, and unique '73 tubes going to nowhere (pics below). It's amazing what you can hide behind a large air cleaner and a set of SU's. Anyway, not a big problem. We will get these fixed when we get to the assembly portion. For now, I want to get the motor out and then move to the interior disassembly.


-
Thanks for the comments everyone. It should be a fun build. The owner will be stopping by on Monday with a number of original parts that he has purchased for the restoration. I think he said he has an original radio along with the original set of flat tops and a number of other parts. That will definitely help. Maybe he even has a shift knob ? . Will post as things progress.
-
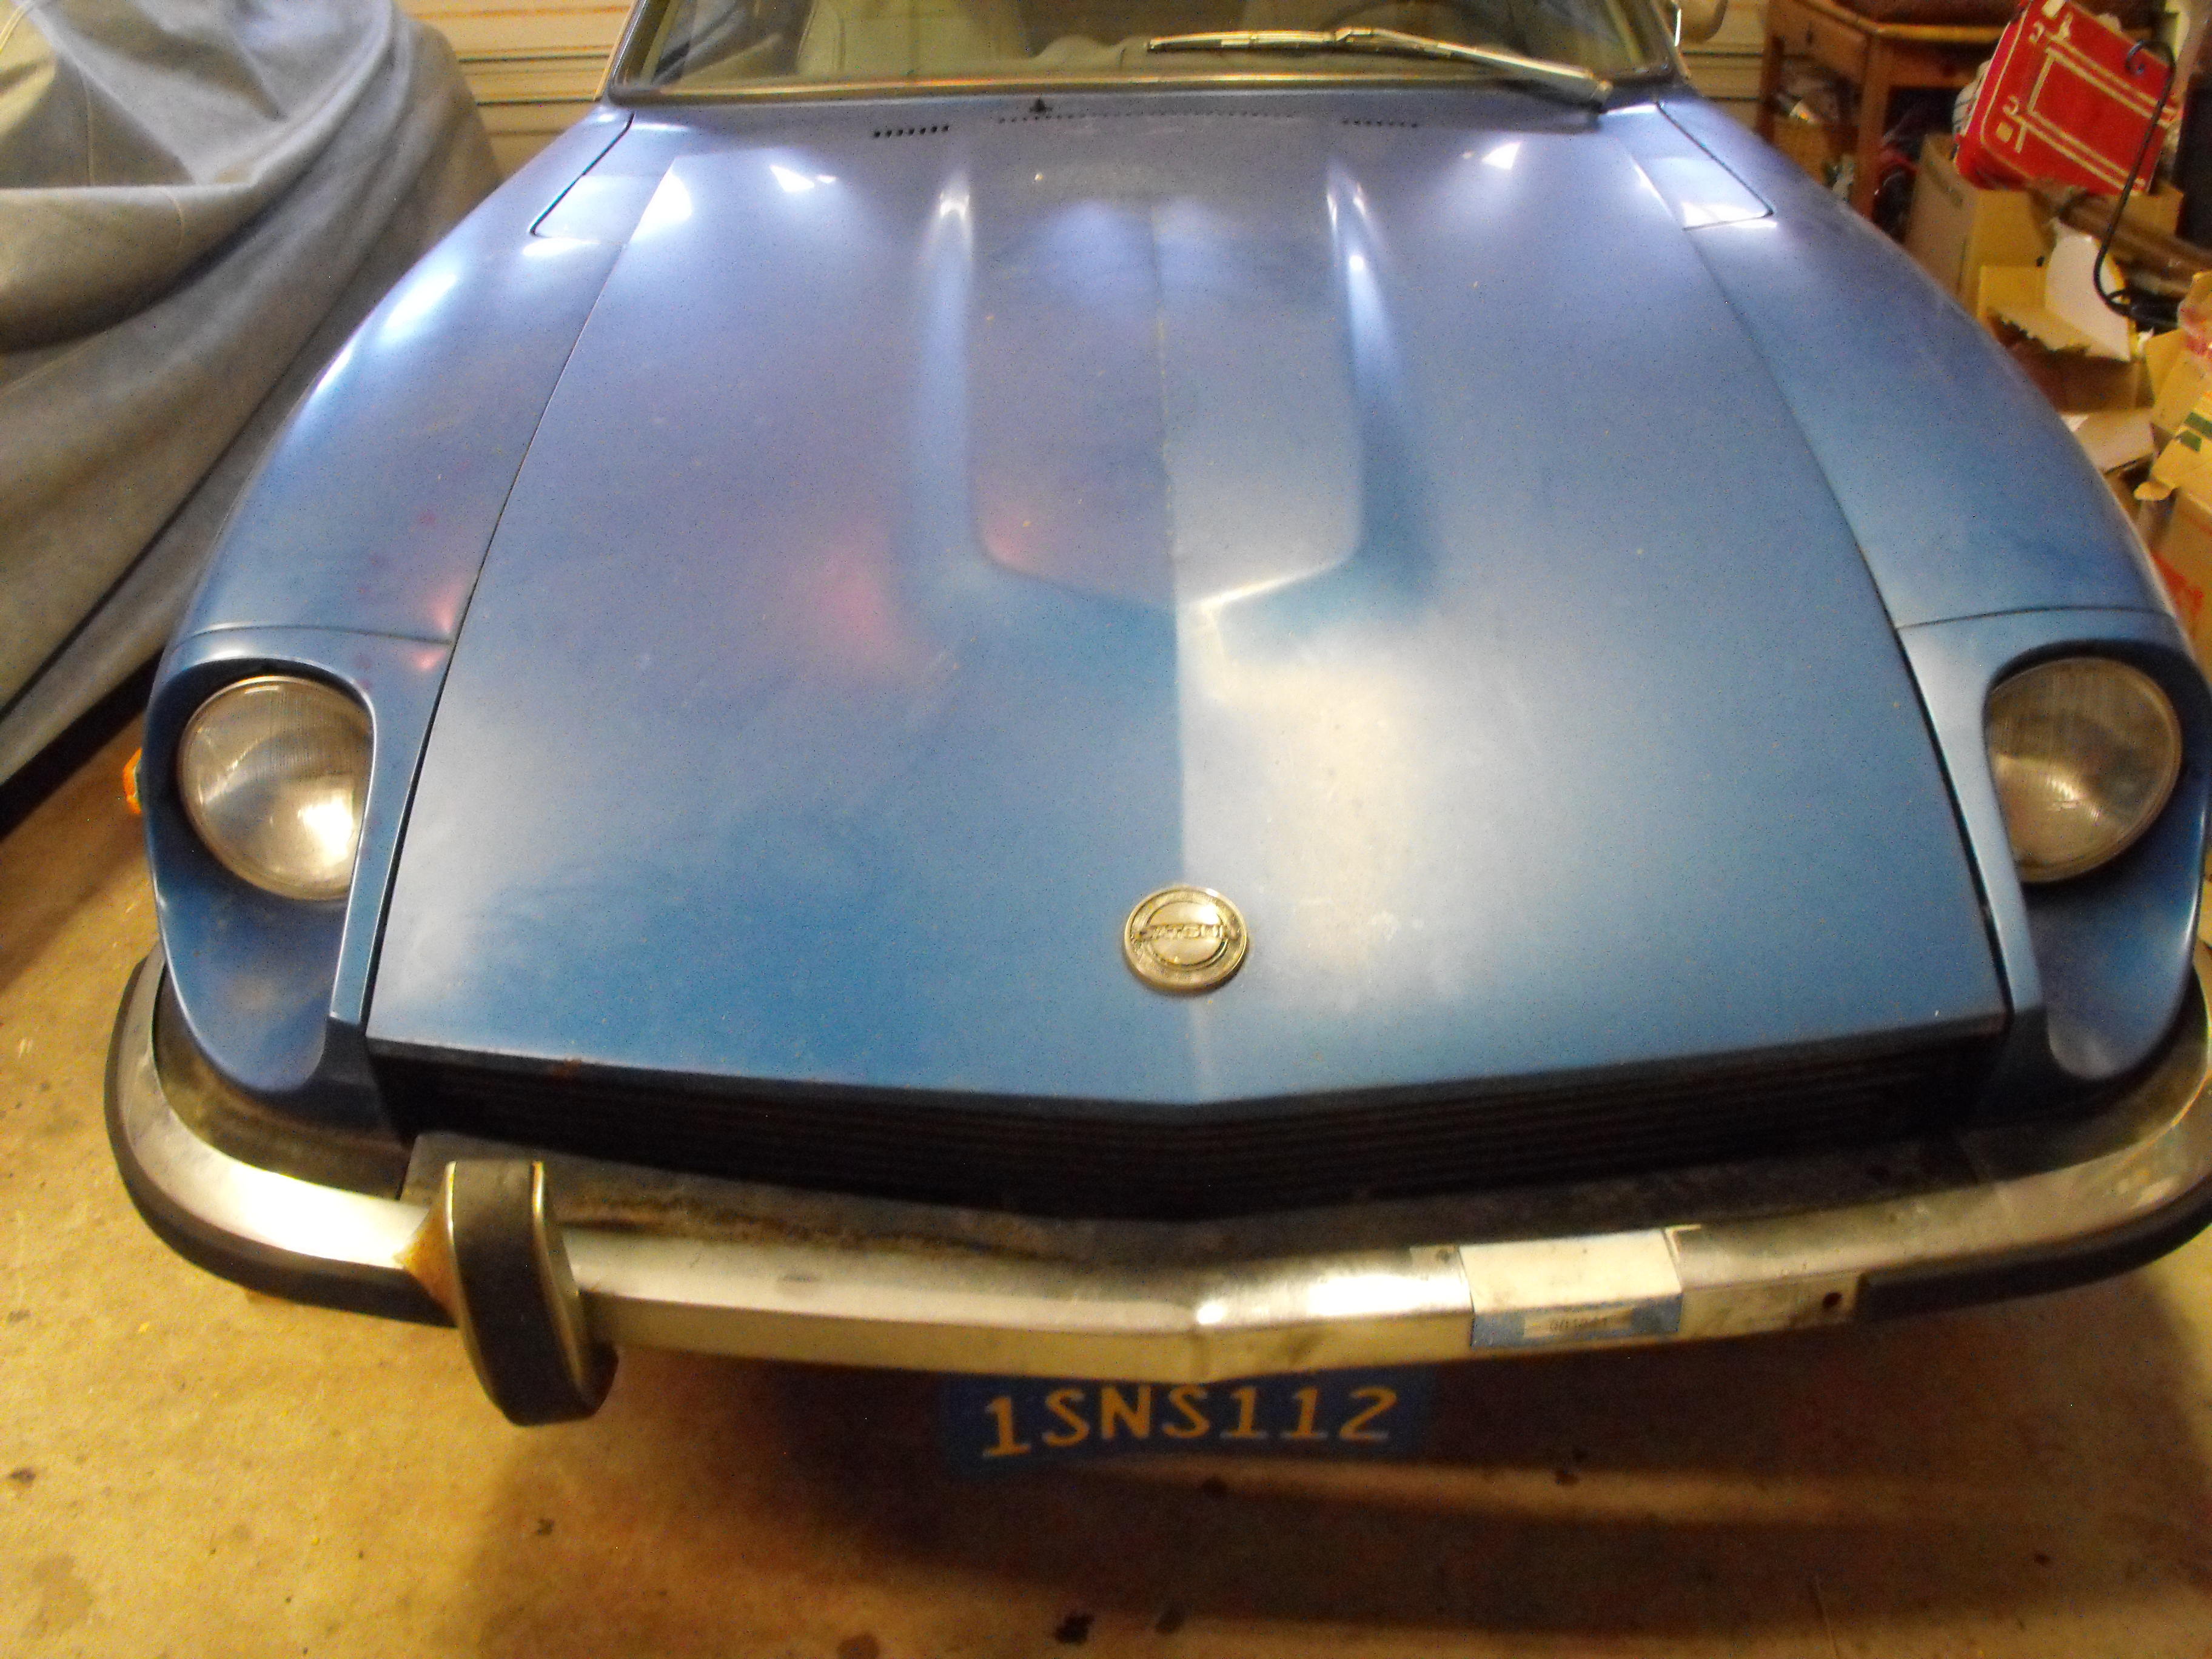
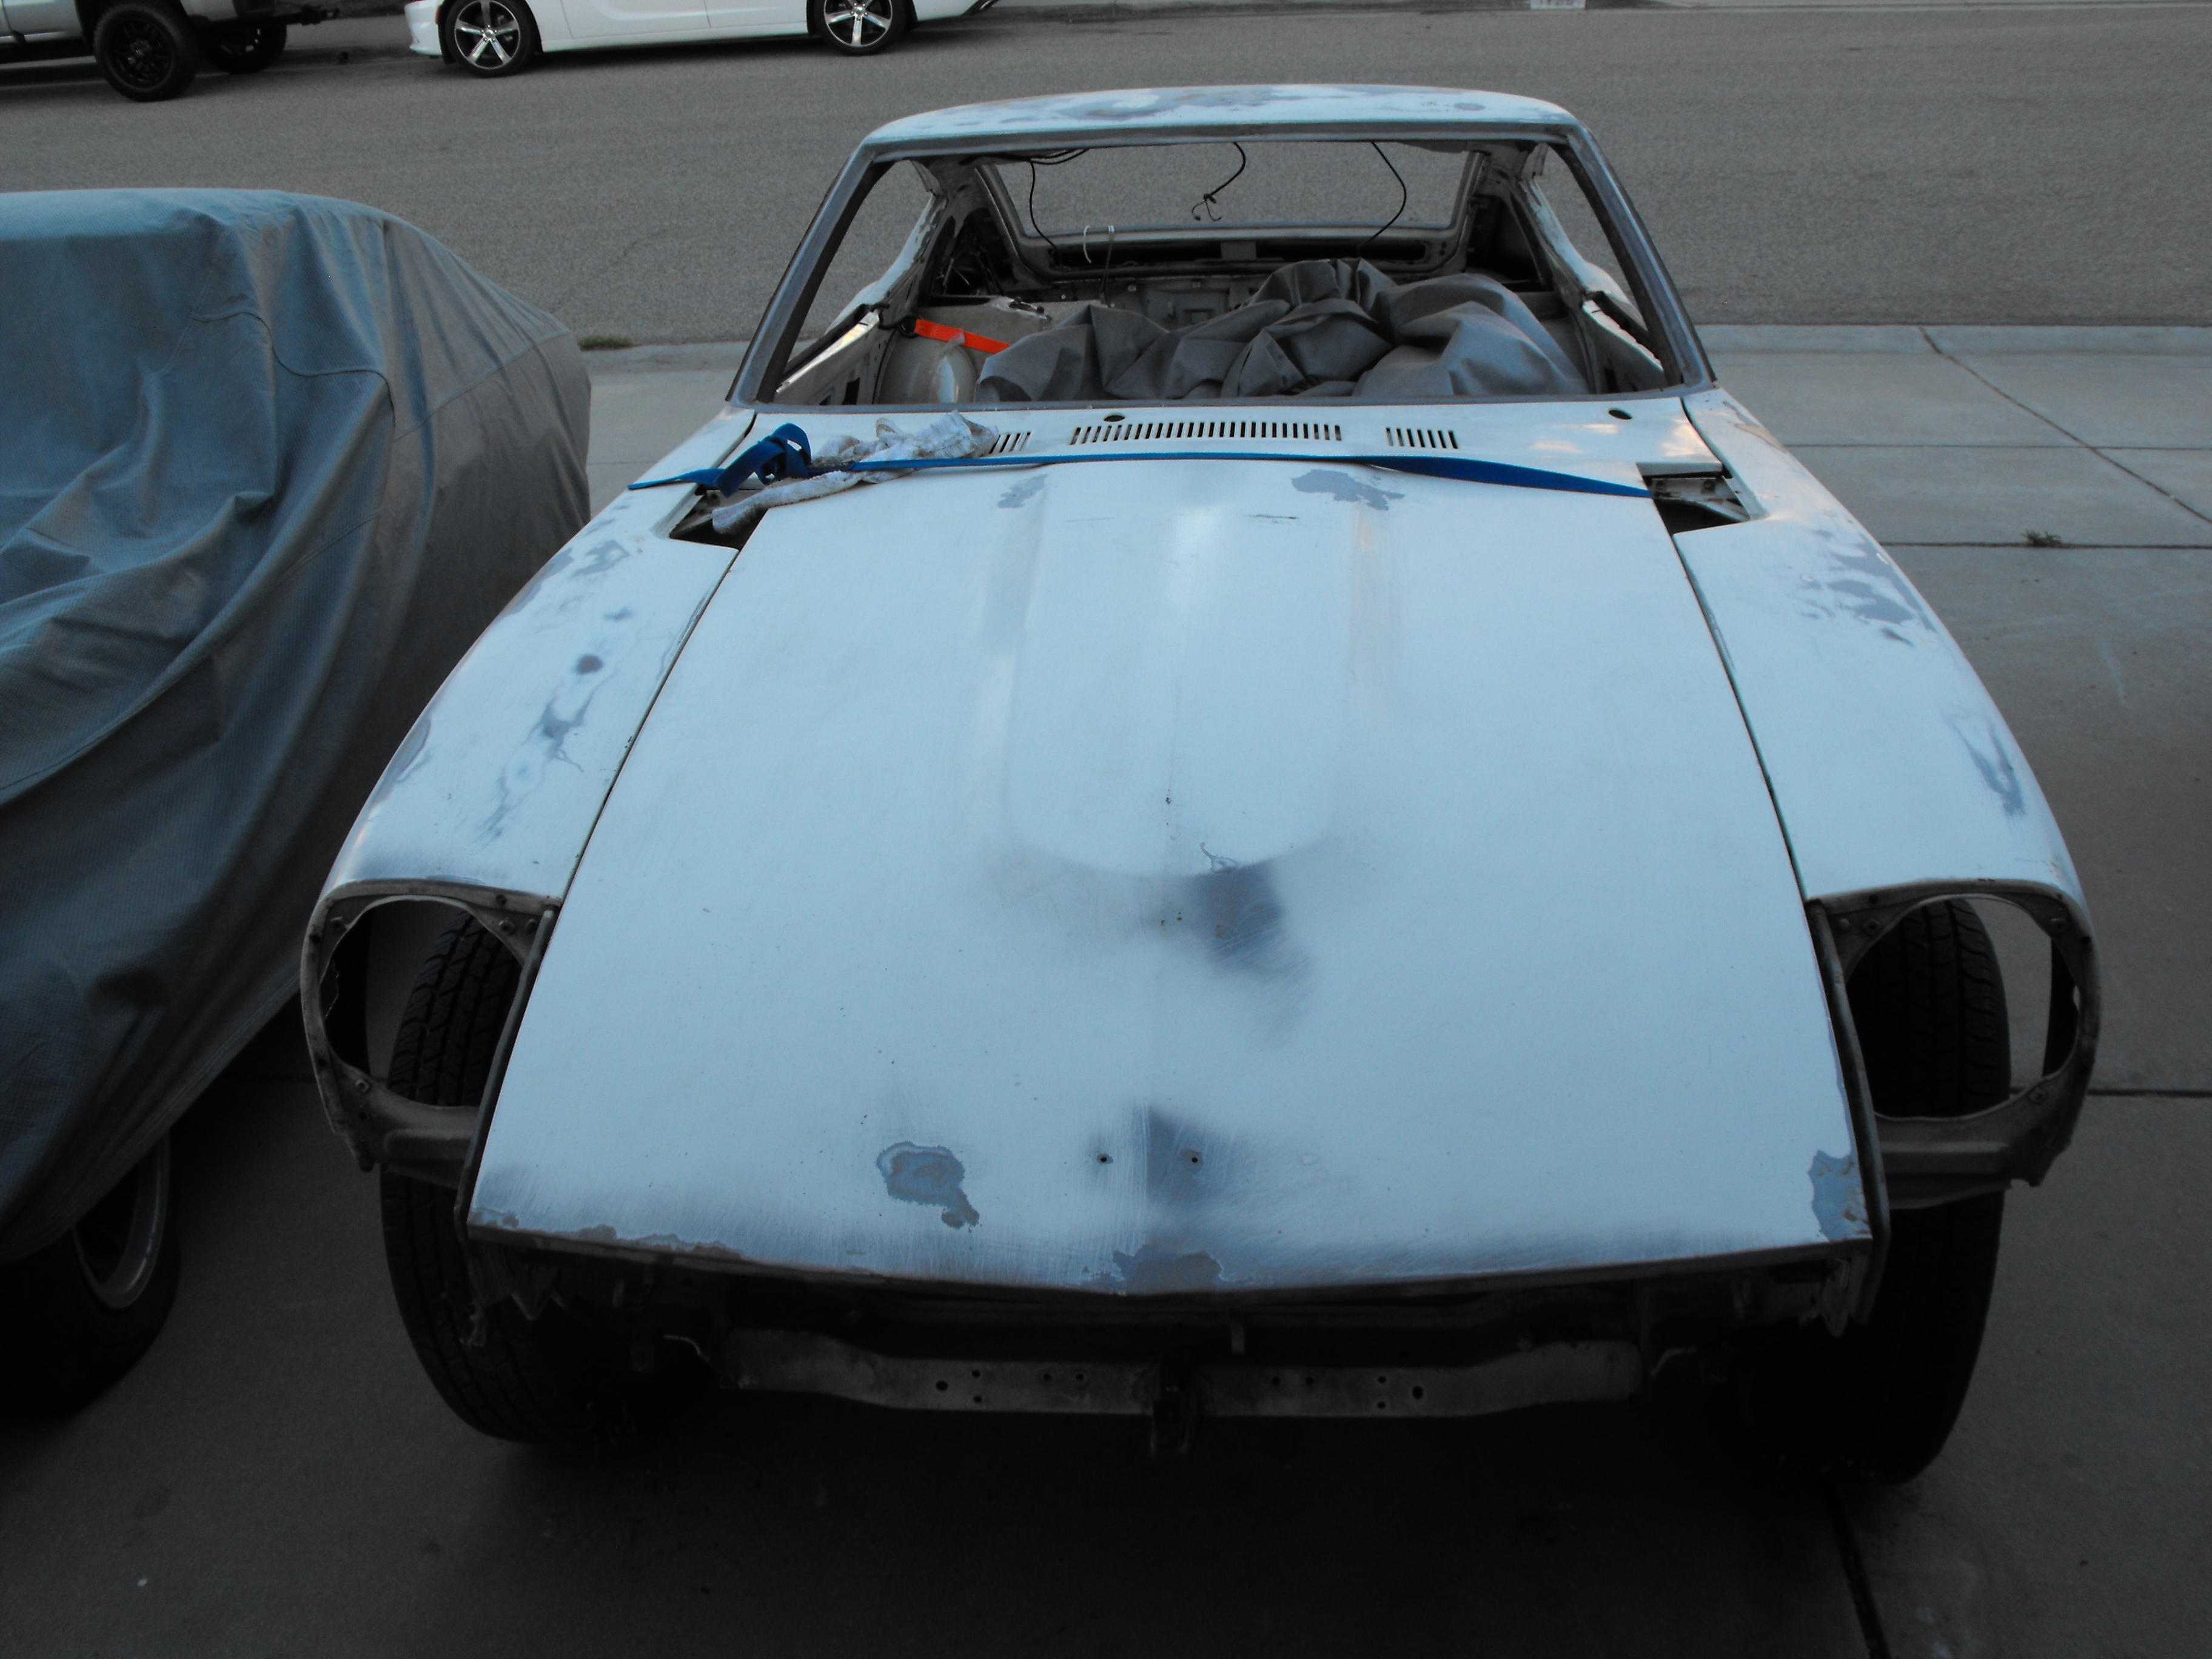
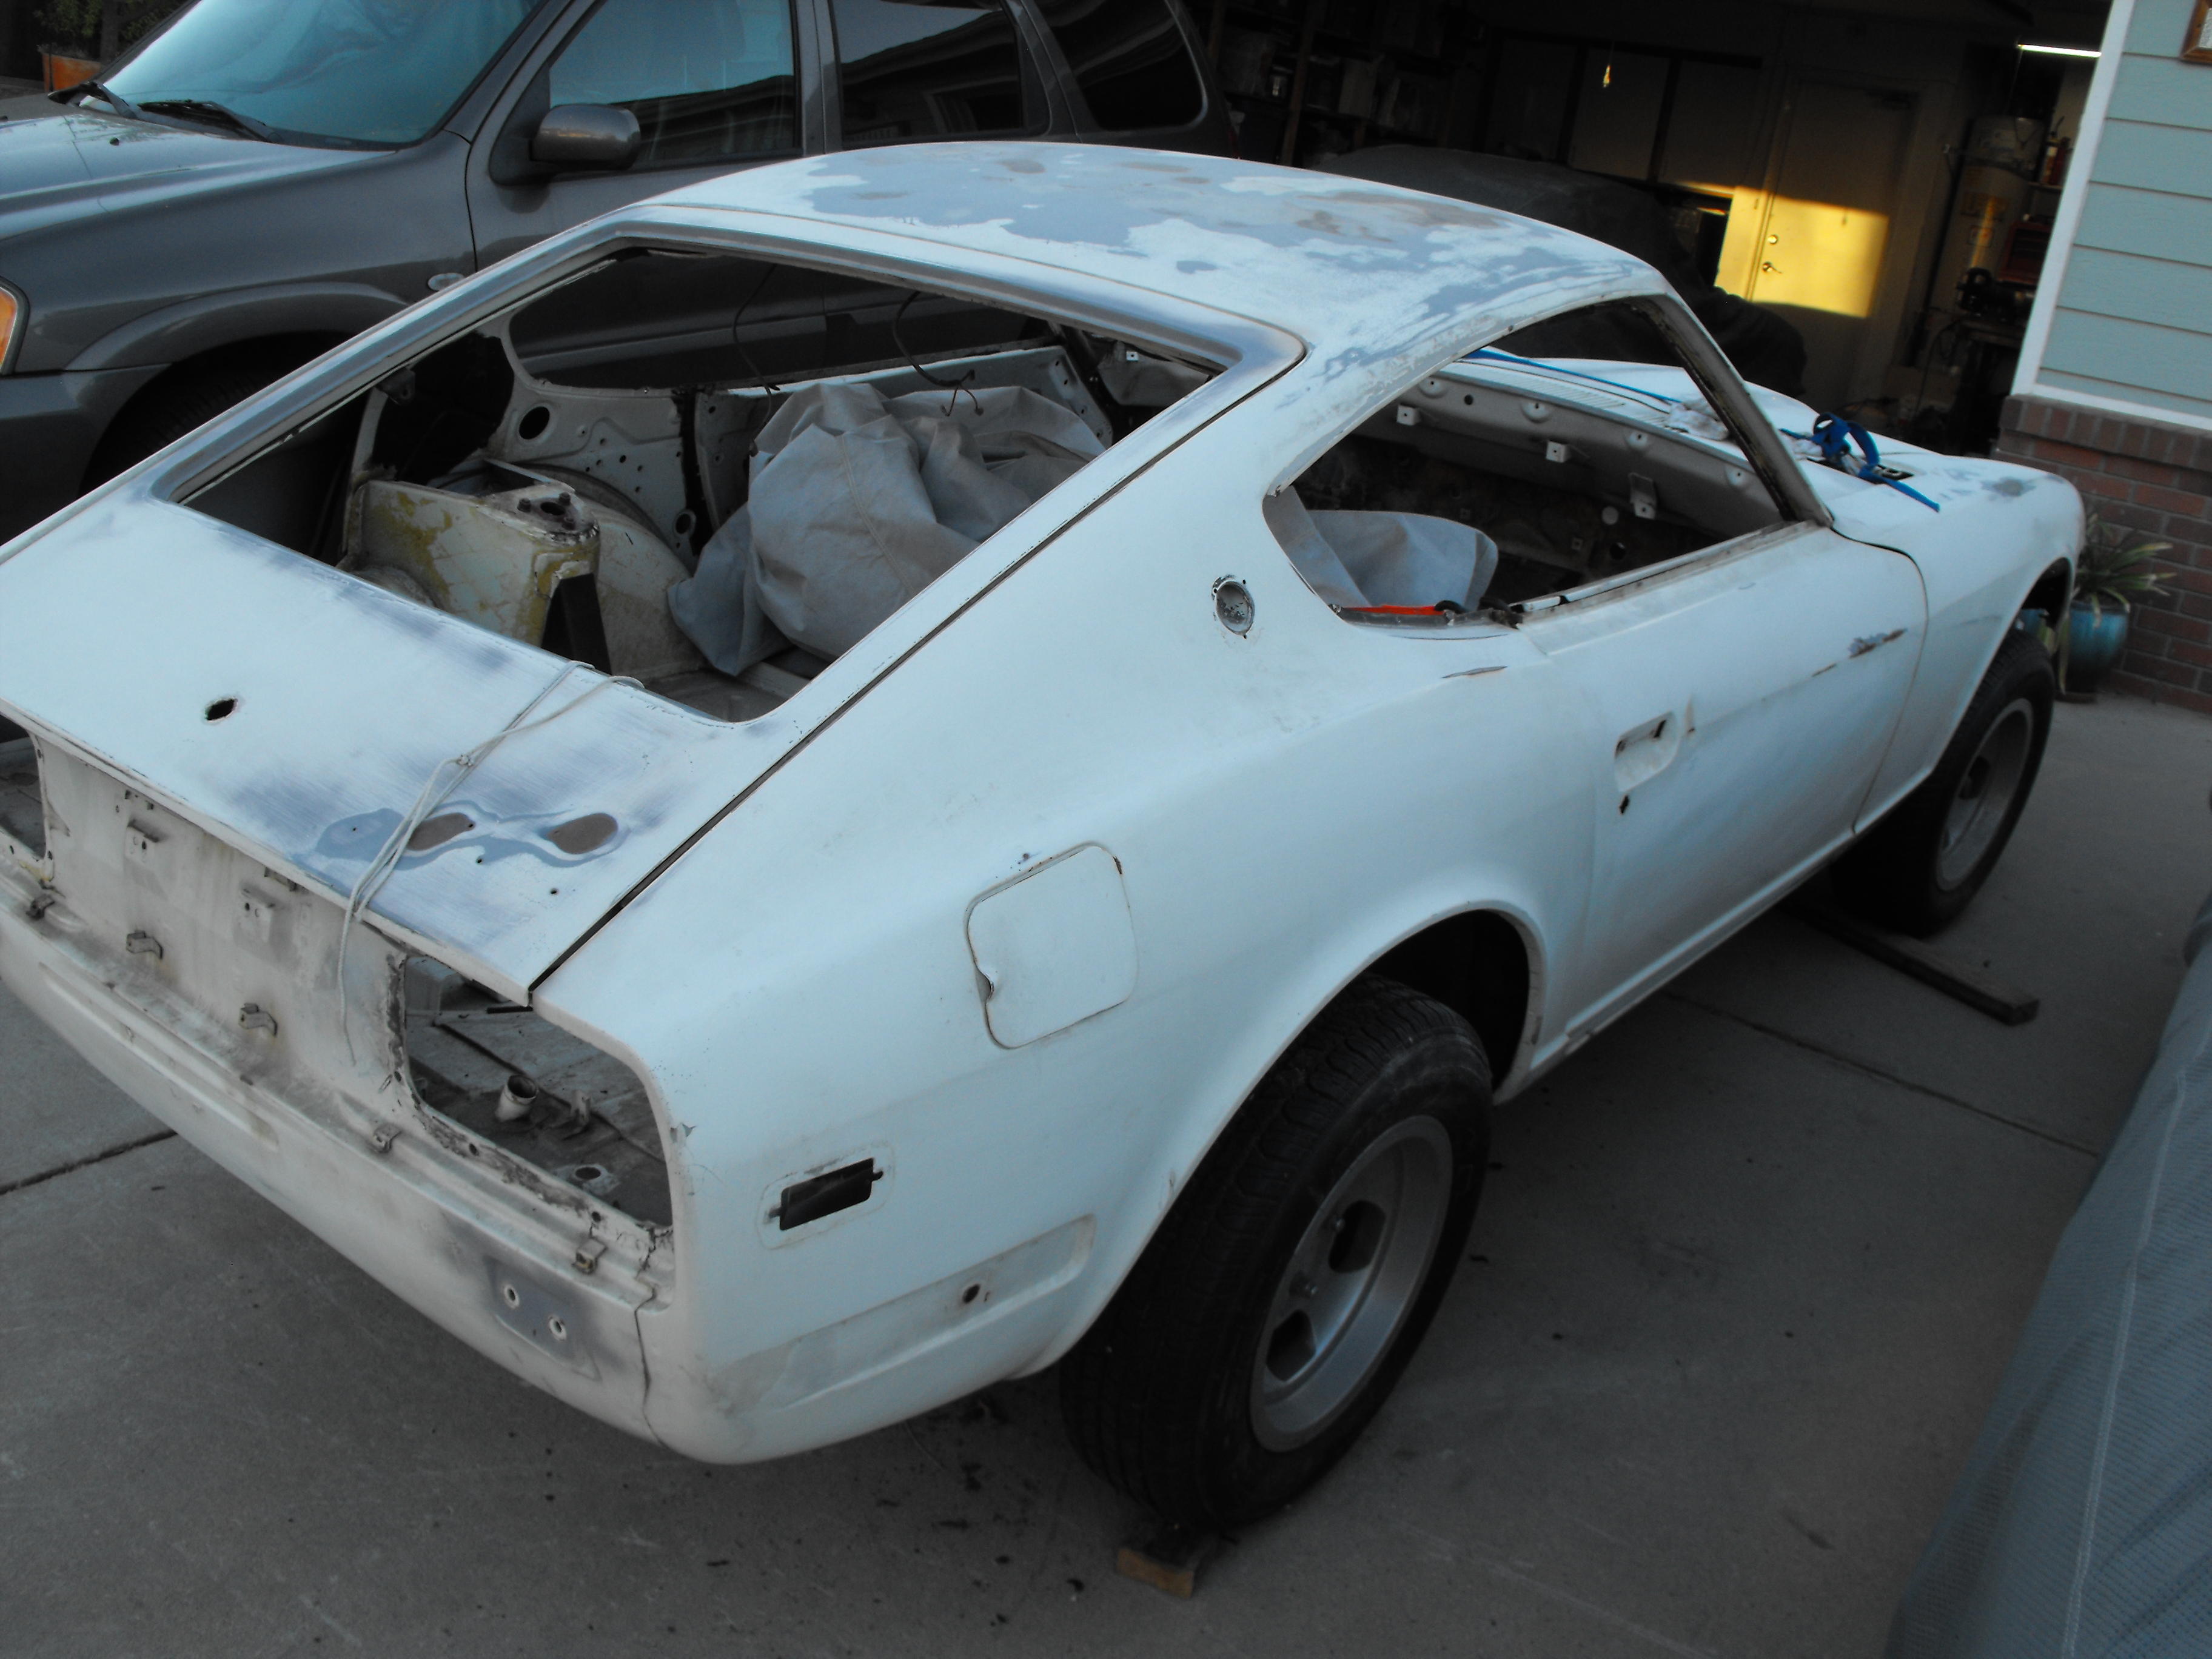
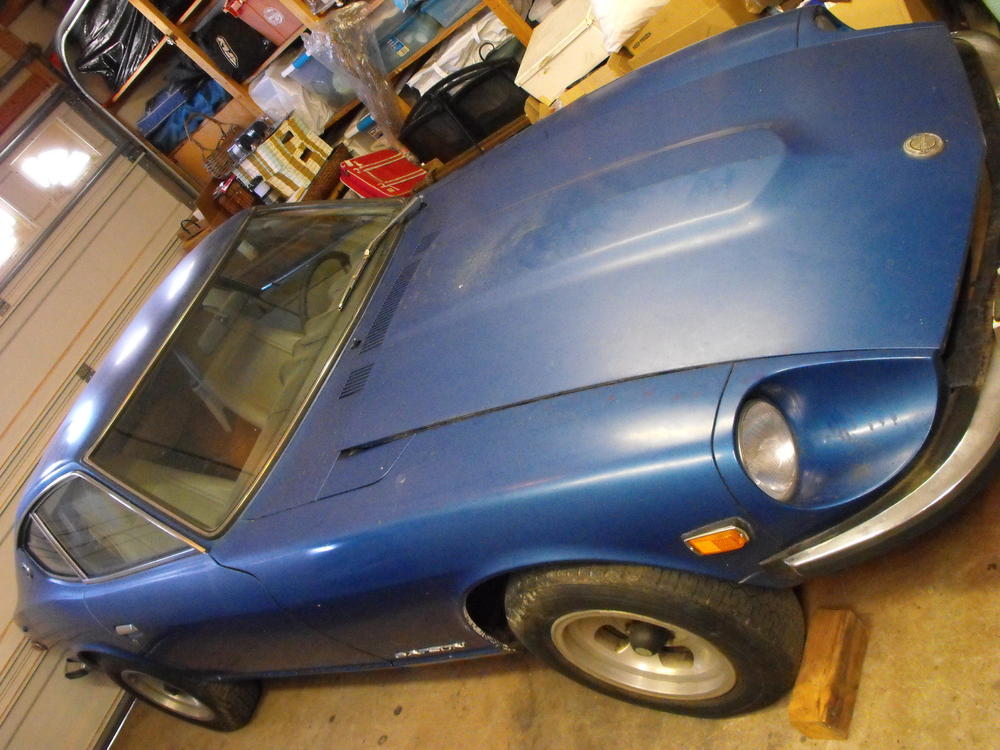
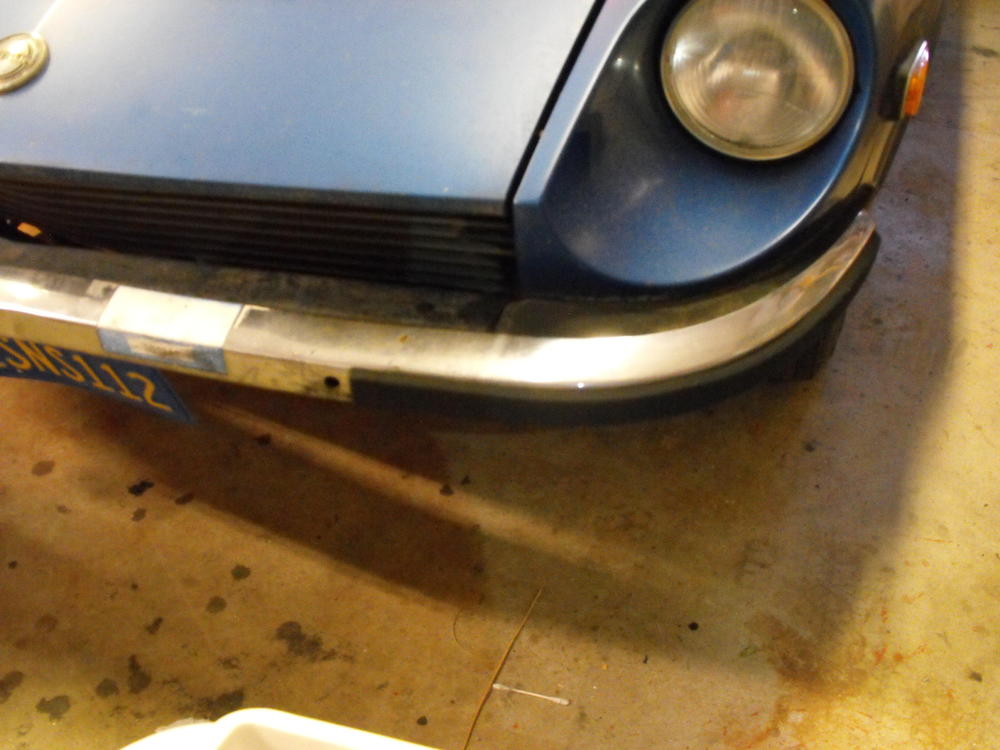
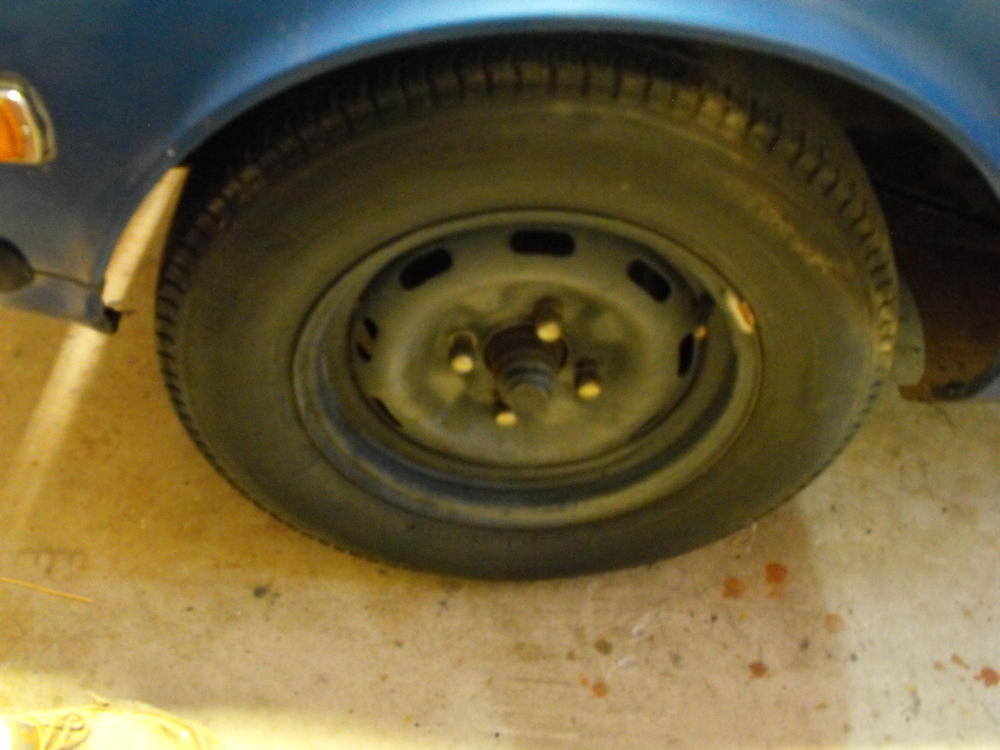
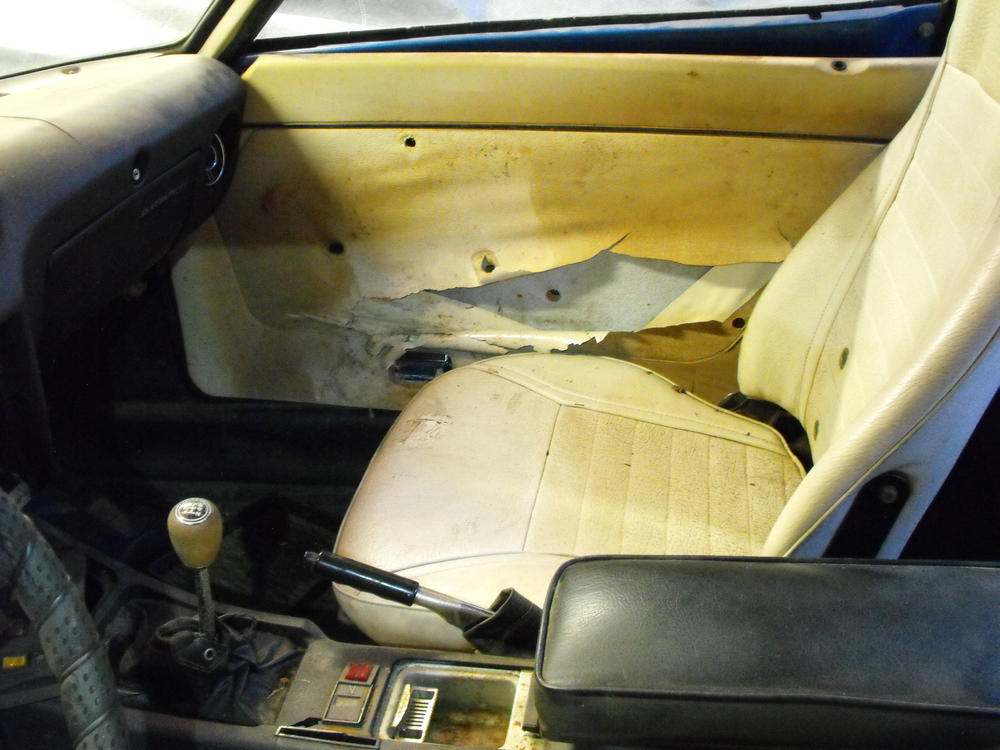
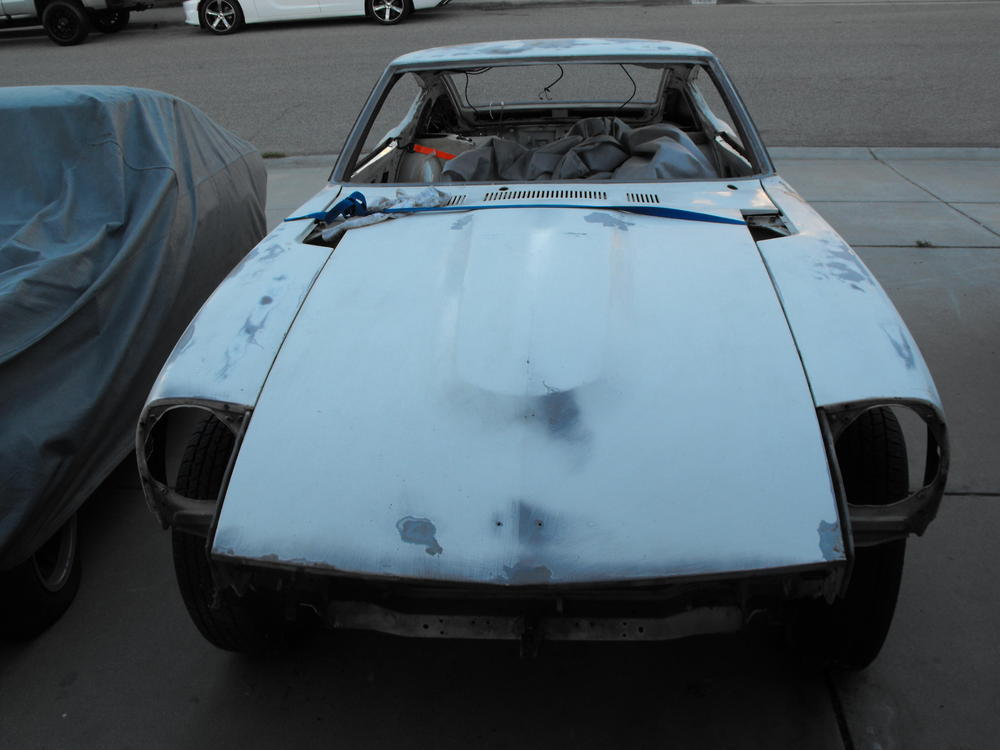
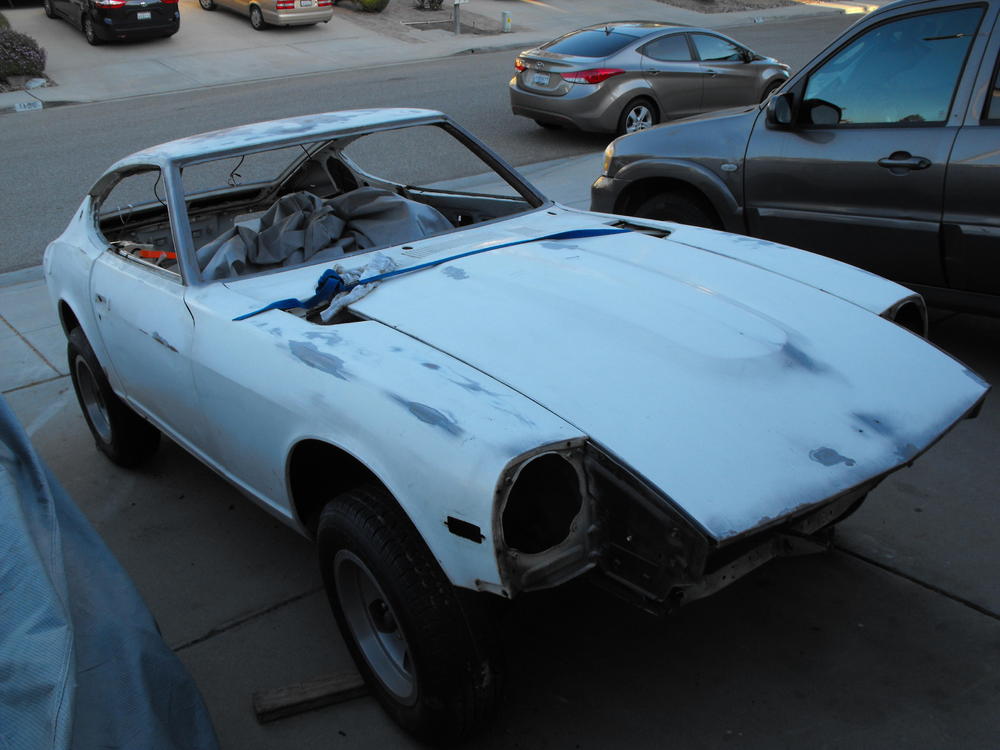
Well, the last restoration went so well I think it's time to do another one. I am actually restoring this '73 240Z for a gentleman up in the Bay Area. He is the original owner of the Z and a friend of the Orange Z owner whose car I recently completed. We will pretty much go through the same process and restore this one to it's original condition including the original flat tops. Actually the flat tops are one of the first things we discussed on the phone and I was thrilled that he wanted to have those put back on (I would have a hard time restoring a '73 and putting on the round tops). So, attached are some pics of what we have to work with. I will document things here as the project progresses.


-
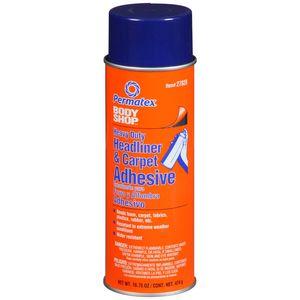
Personally, I prefer the permatex adhesive shown below. I do not like the 3M adhesive. The permatex is much stronger and sets up faster. 3M took way too long to set and never really held that well when hardened.
-
Interesting car there. I noticed that you did not say motor was matching numbers. That would be a big item when it comes to price. The motor appears to have been out at one time since the motor mount bolts are installed with one facing down and the other facing up. That is kind of funny actually. Odd that the whole balance tube is stripped; Fast Idle control and everything, not just smog. The thing that is really bugging me in the pics is the dash. It is not original as the grain looks way too coarse and does not match the glove box door. Perhaps it is a 'Just Dashes' dash. I don't think it is a cap from the pics, but hard to tell. In it's favor, the car does have a lot of original stuff (seats, muffler, Paint (?)) and looks great. Given the above items, I would say the car is worth somewhere between $20K to $35K. The low number would be if the engine is not matching numbers. High end is if motor is matching numbers and paint is real nice. Just my opinion....feel free to ignore.
-
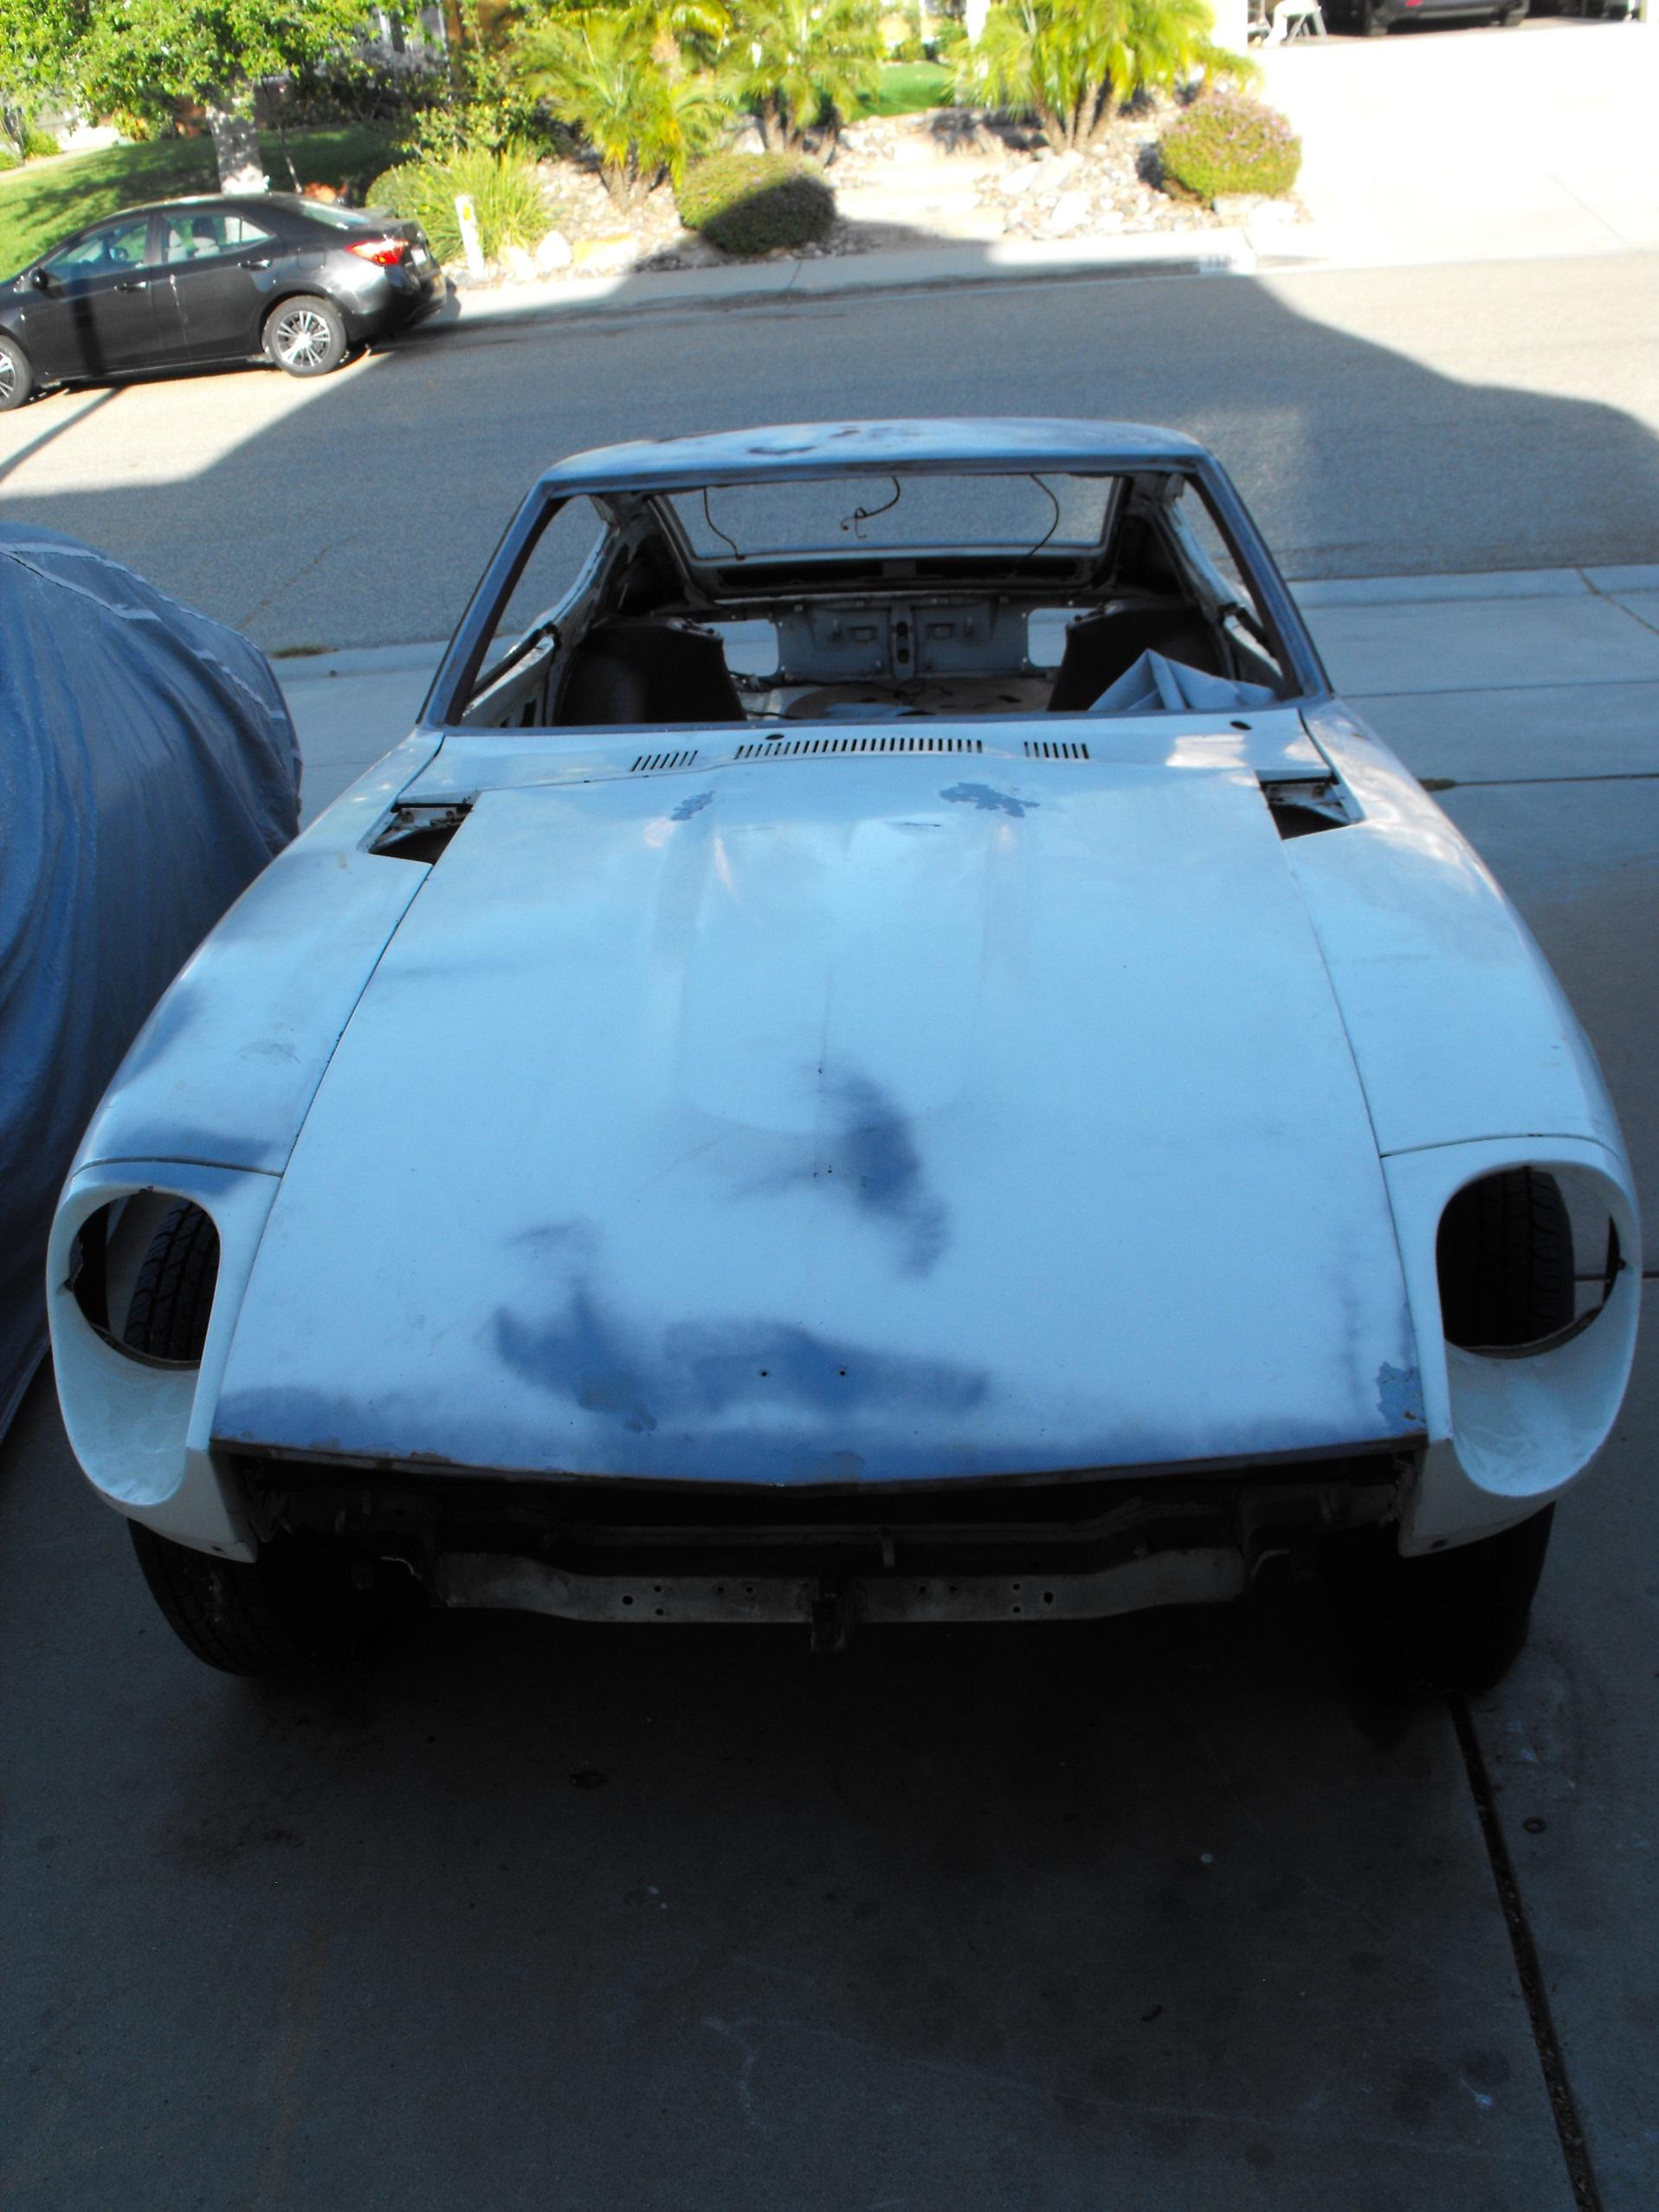
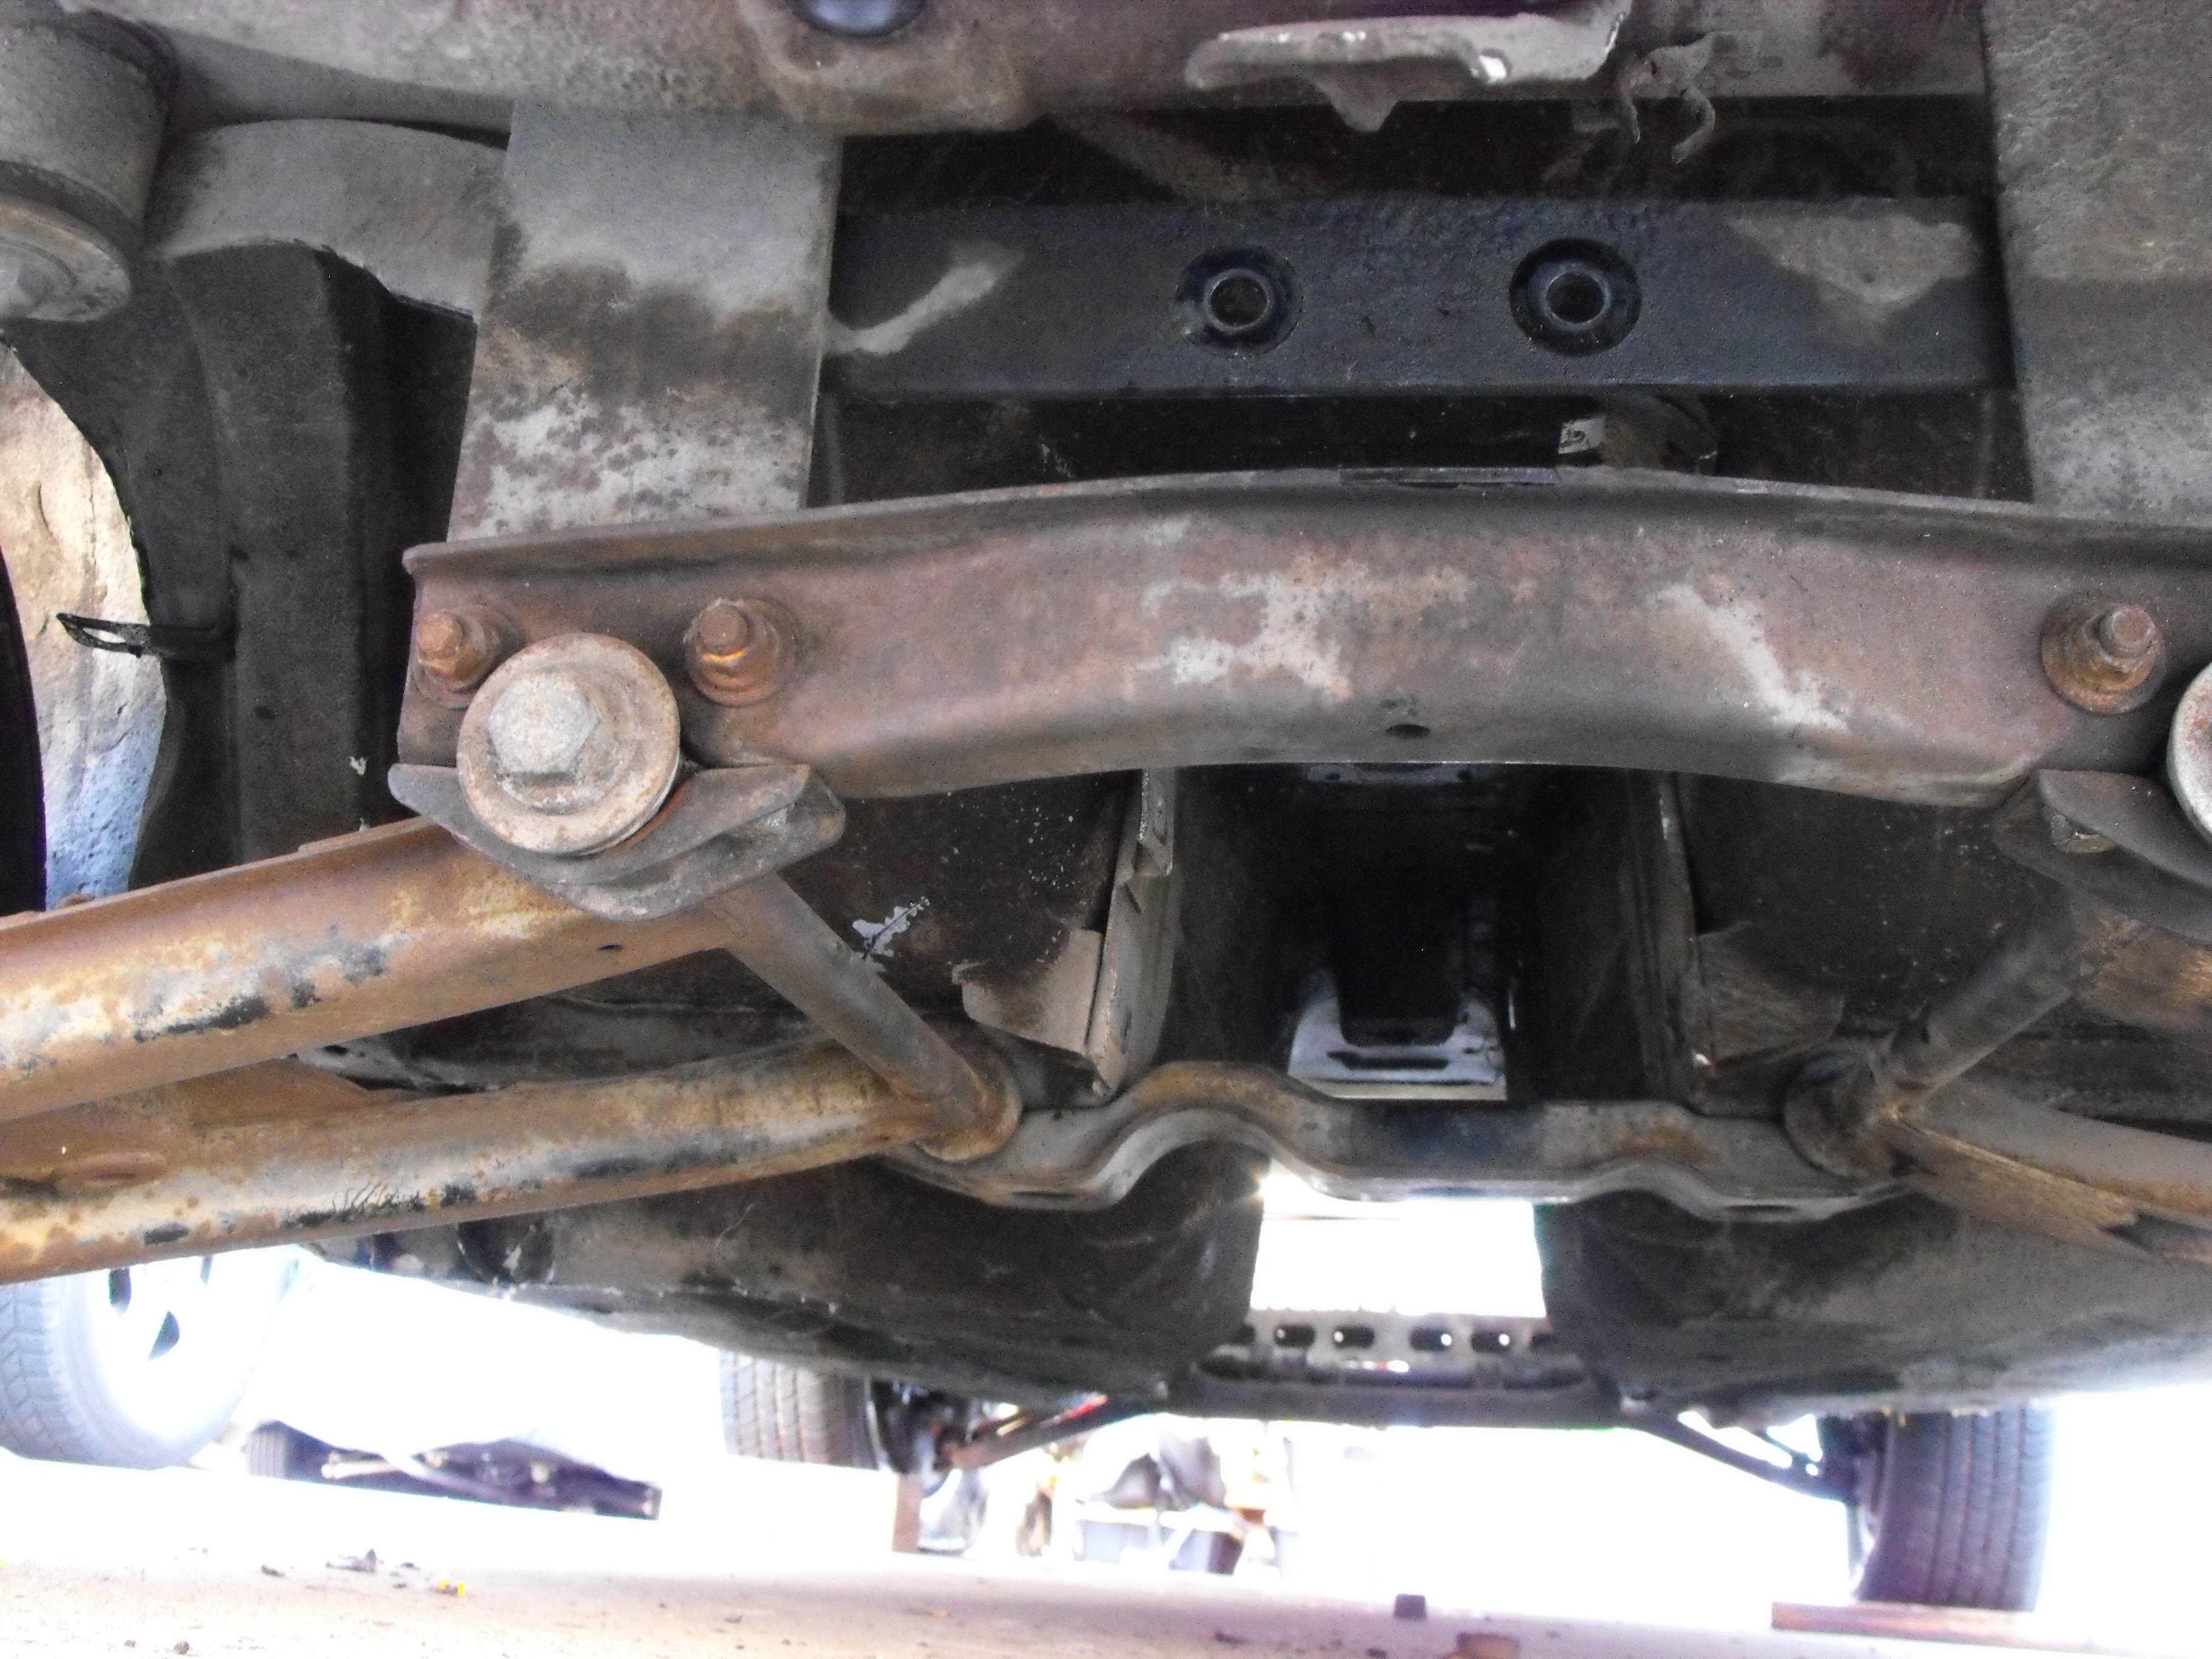
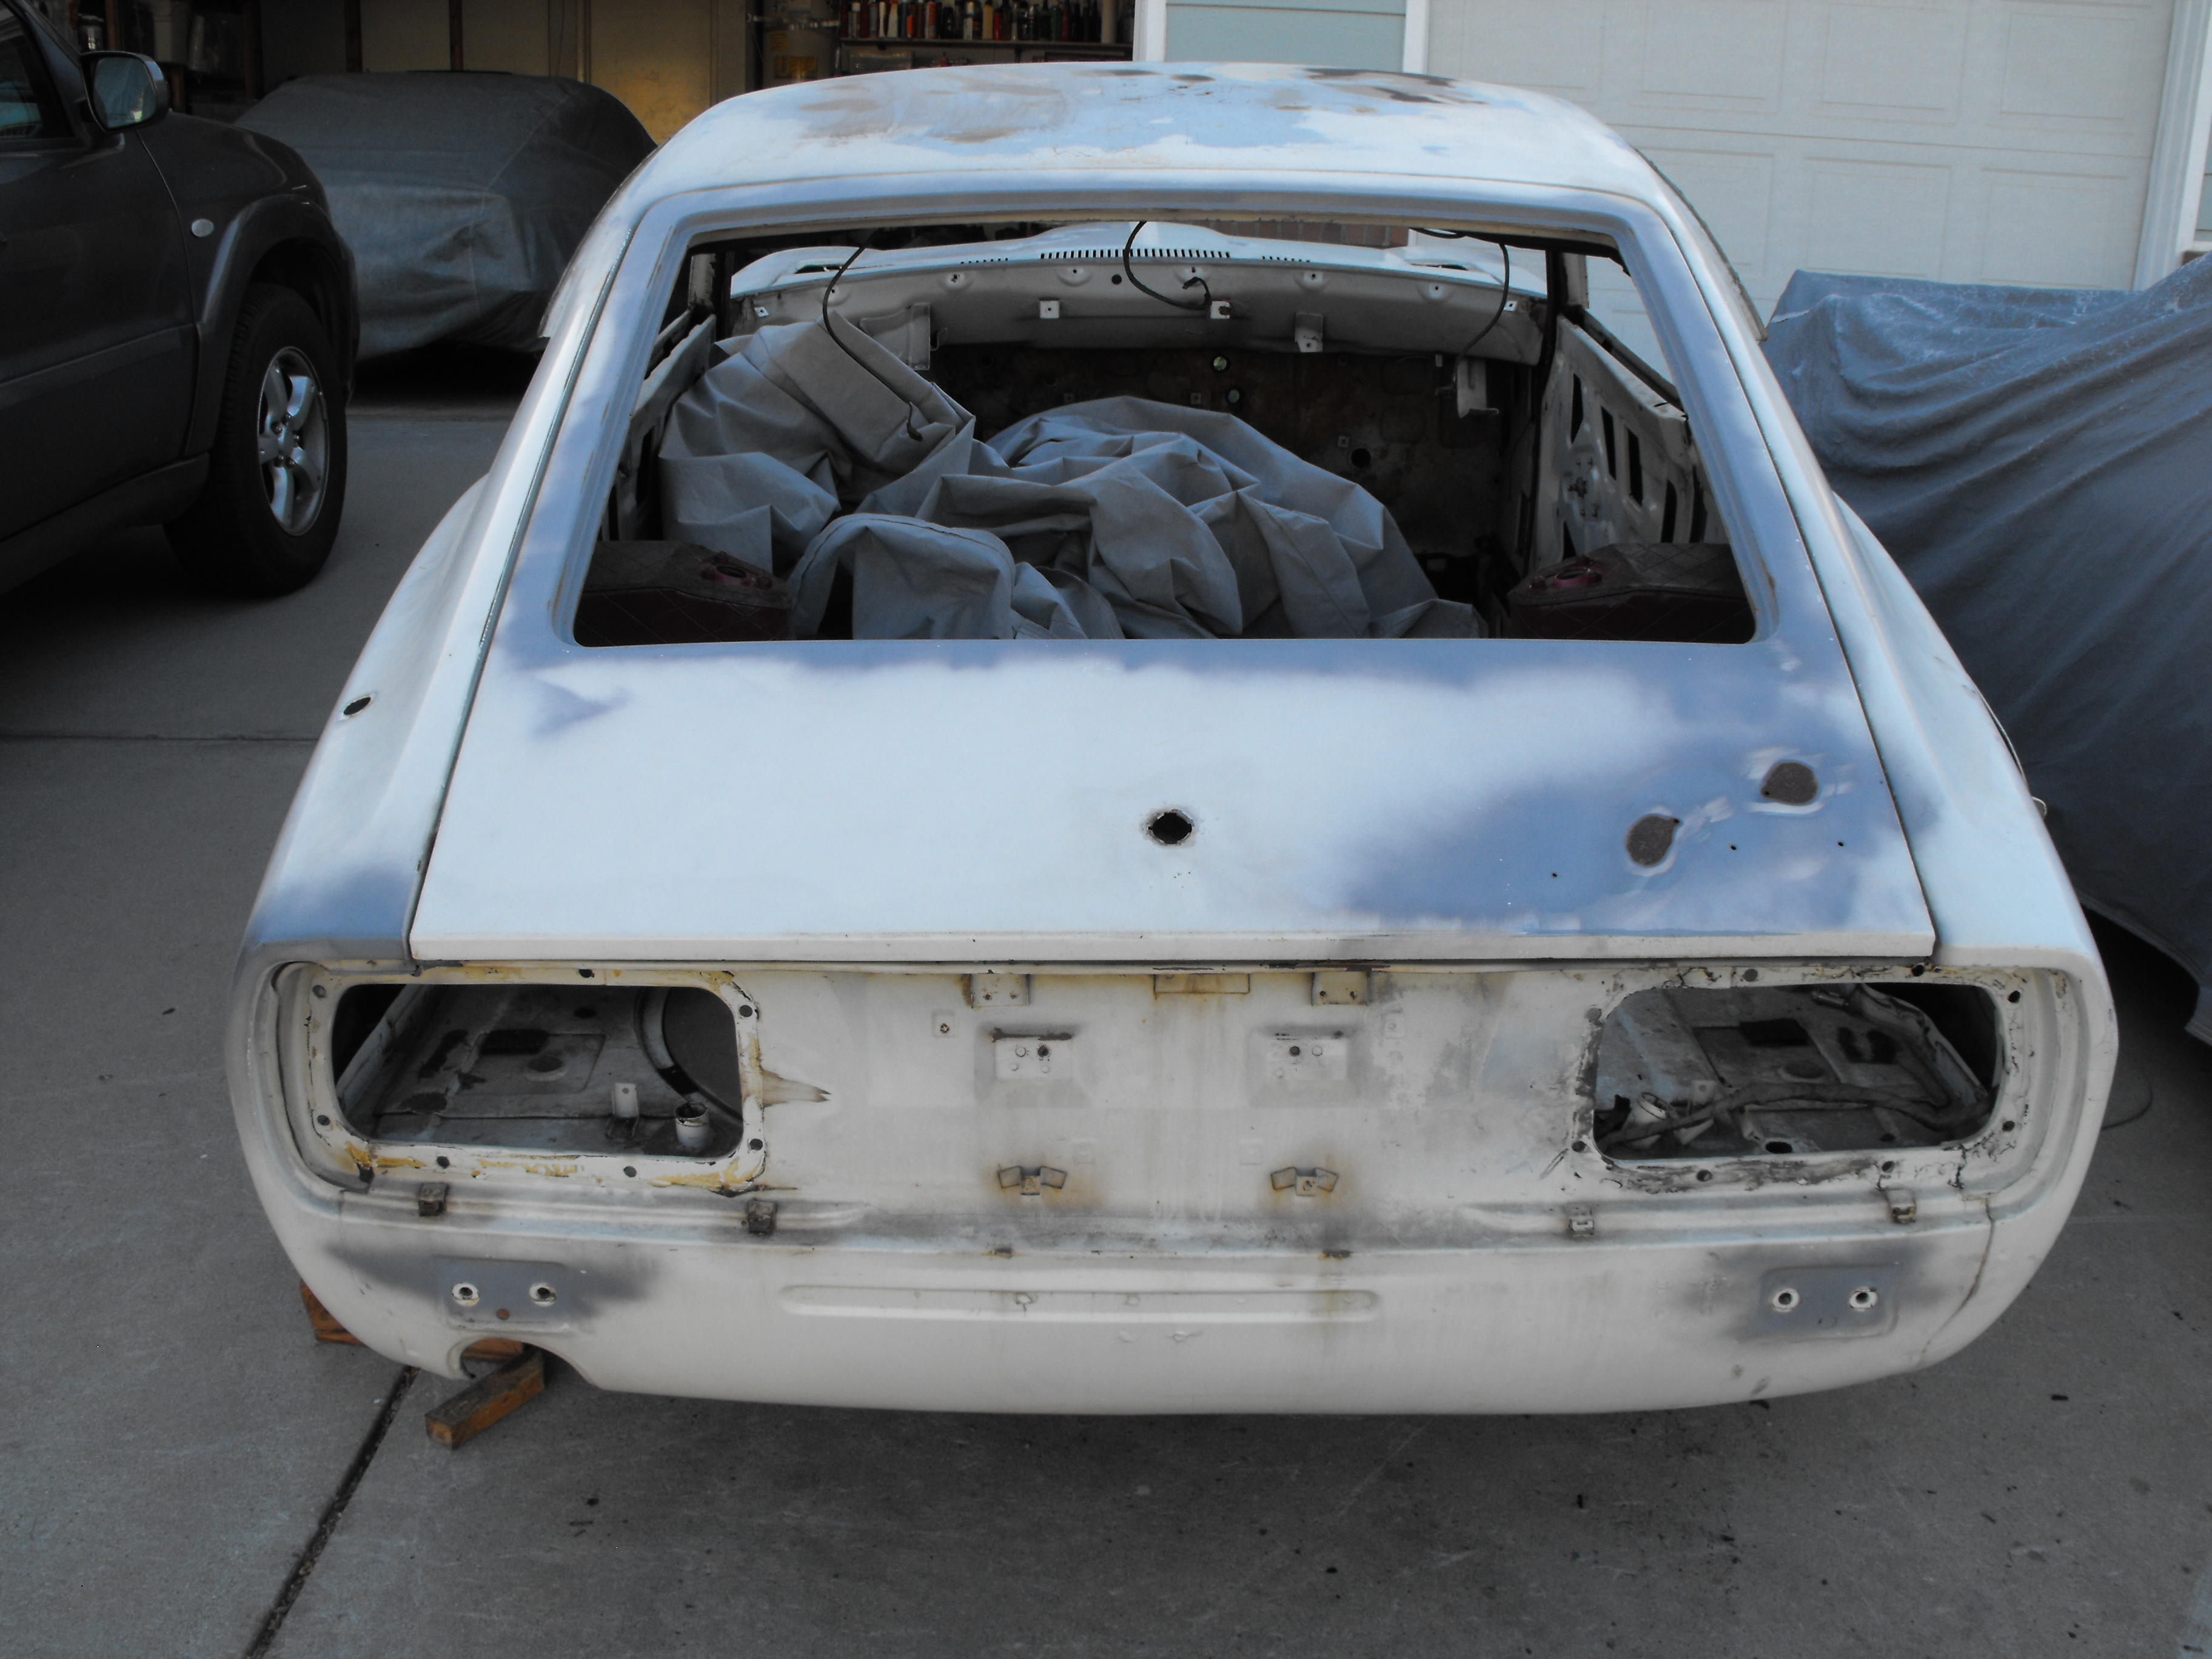
Well, I think I am done sanding. I was planning on taking this down further, but I think Miguel with his equipment and liquids can do in 2 hours what will take me 20 hours by hand sanding. So, I will send this off to the body/ paint shop and start work on the engine. Here are a few final shots of the car before Miguel gets it. My hauler will be here tomorrow at noon for pick-up. Once it is at Miguel's, I will take off the front and rear suspension and we will put this on rollers. That way I can clean the suspension up while this is in the shop.


-
More sanding....this is the boring part of the project. It was windy out today so had to use custom hood and hatch props.

-
Thanks, I will need one also, so waiting to hear some feedback.
-
Bump....any reviews on these? Looks like a better option than Just Dashes. The texture appears to be the same as Just Dashes and not the original style. Hard to tell the difference though unless you get up close pics.
-
Thanks! The styling matches the front of the house. I am pretty happy with how it turned out. I am guessing my wife may want several more. Since I am using up all the garage space, she wants storage space.
-
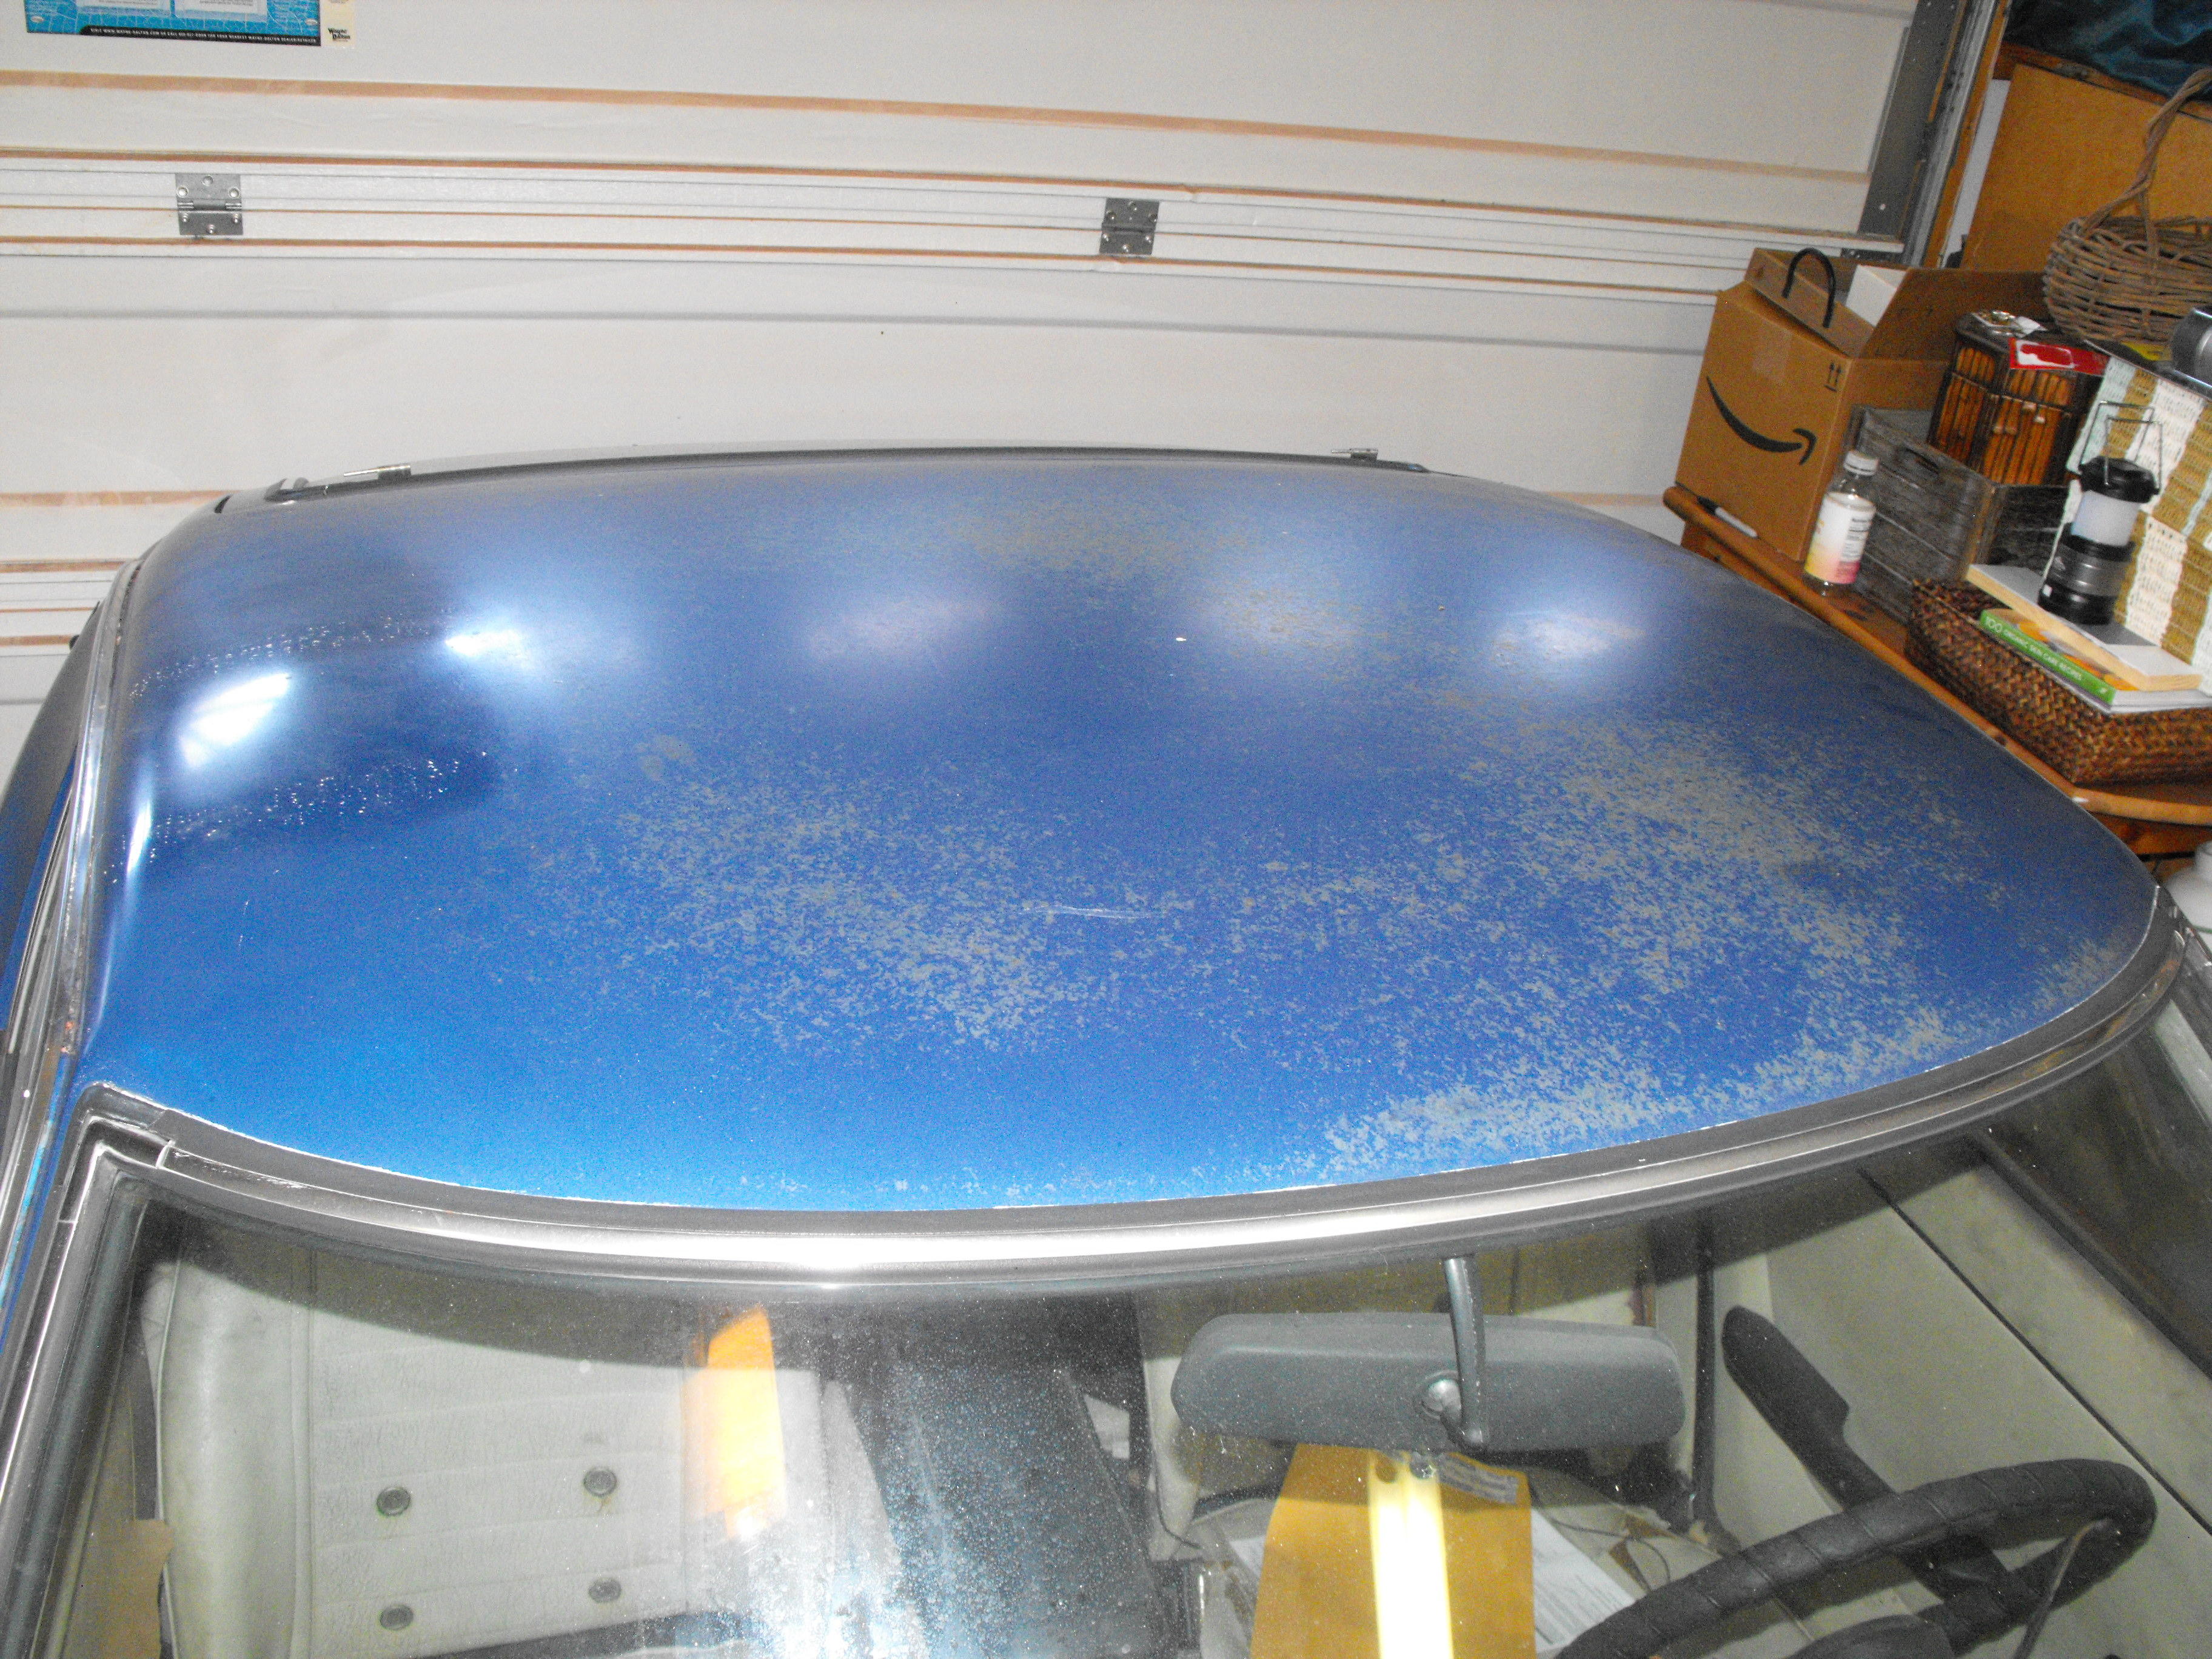
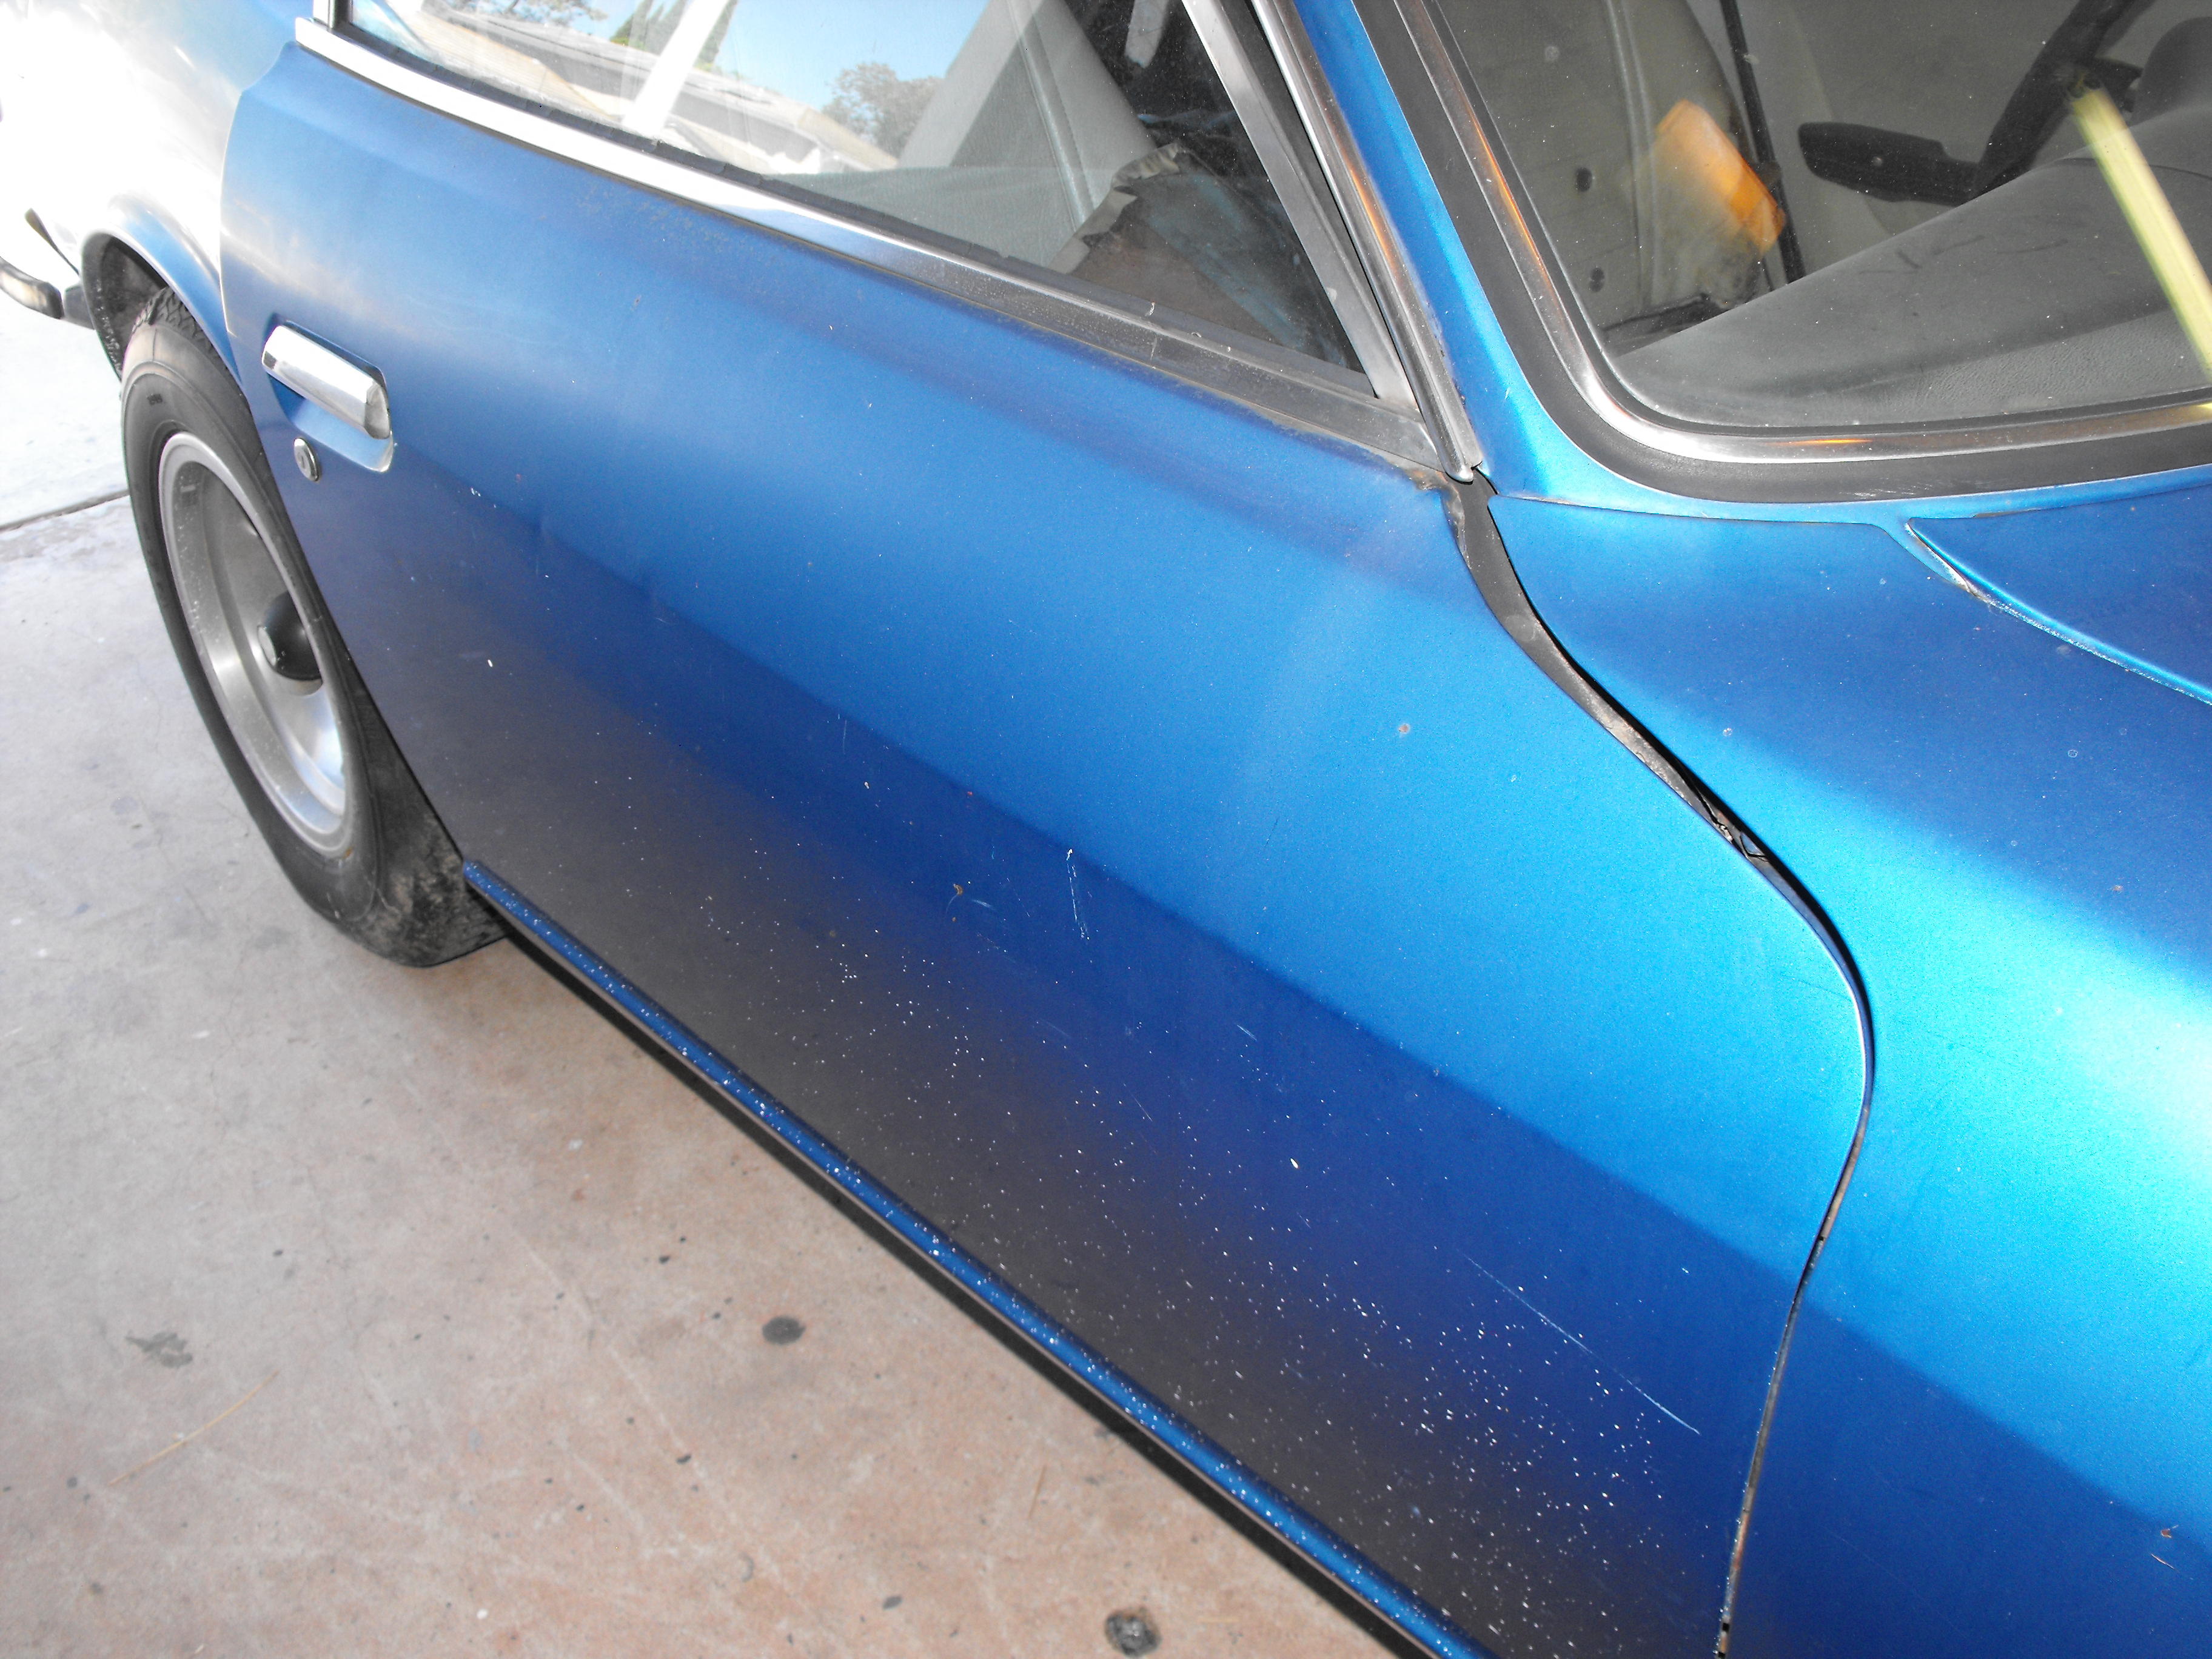
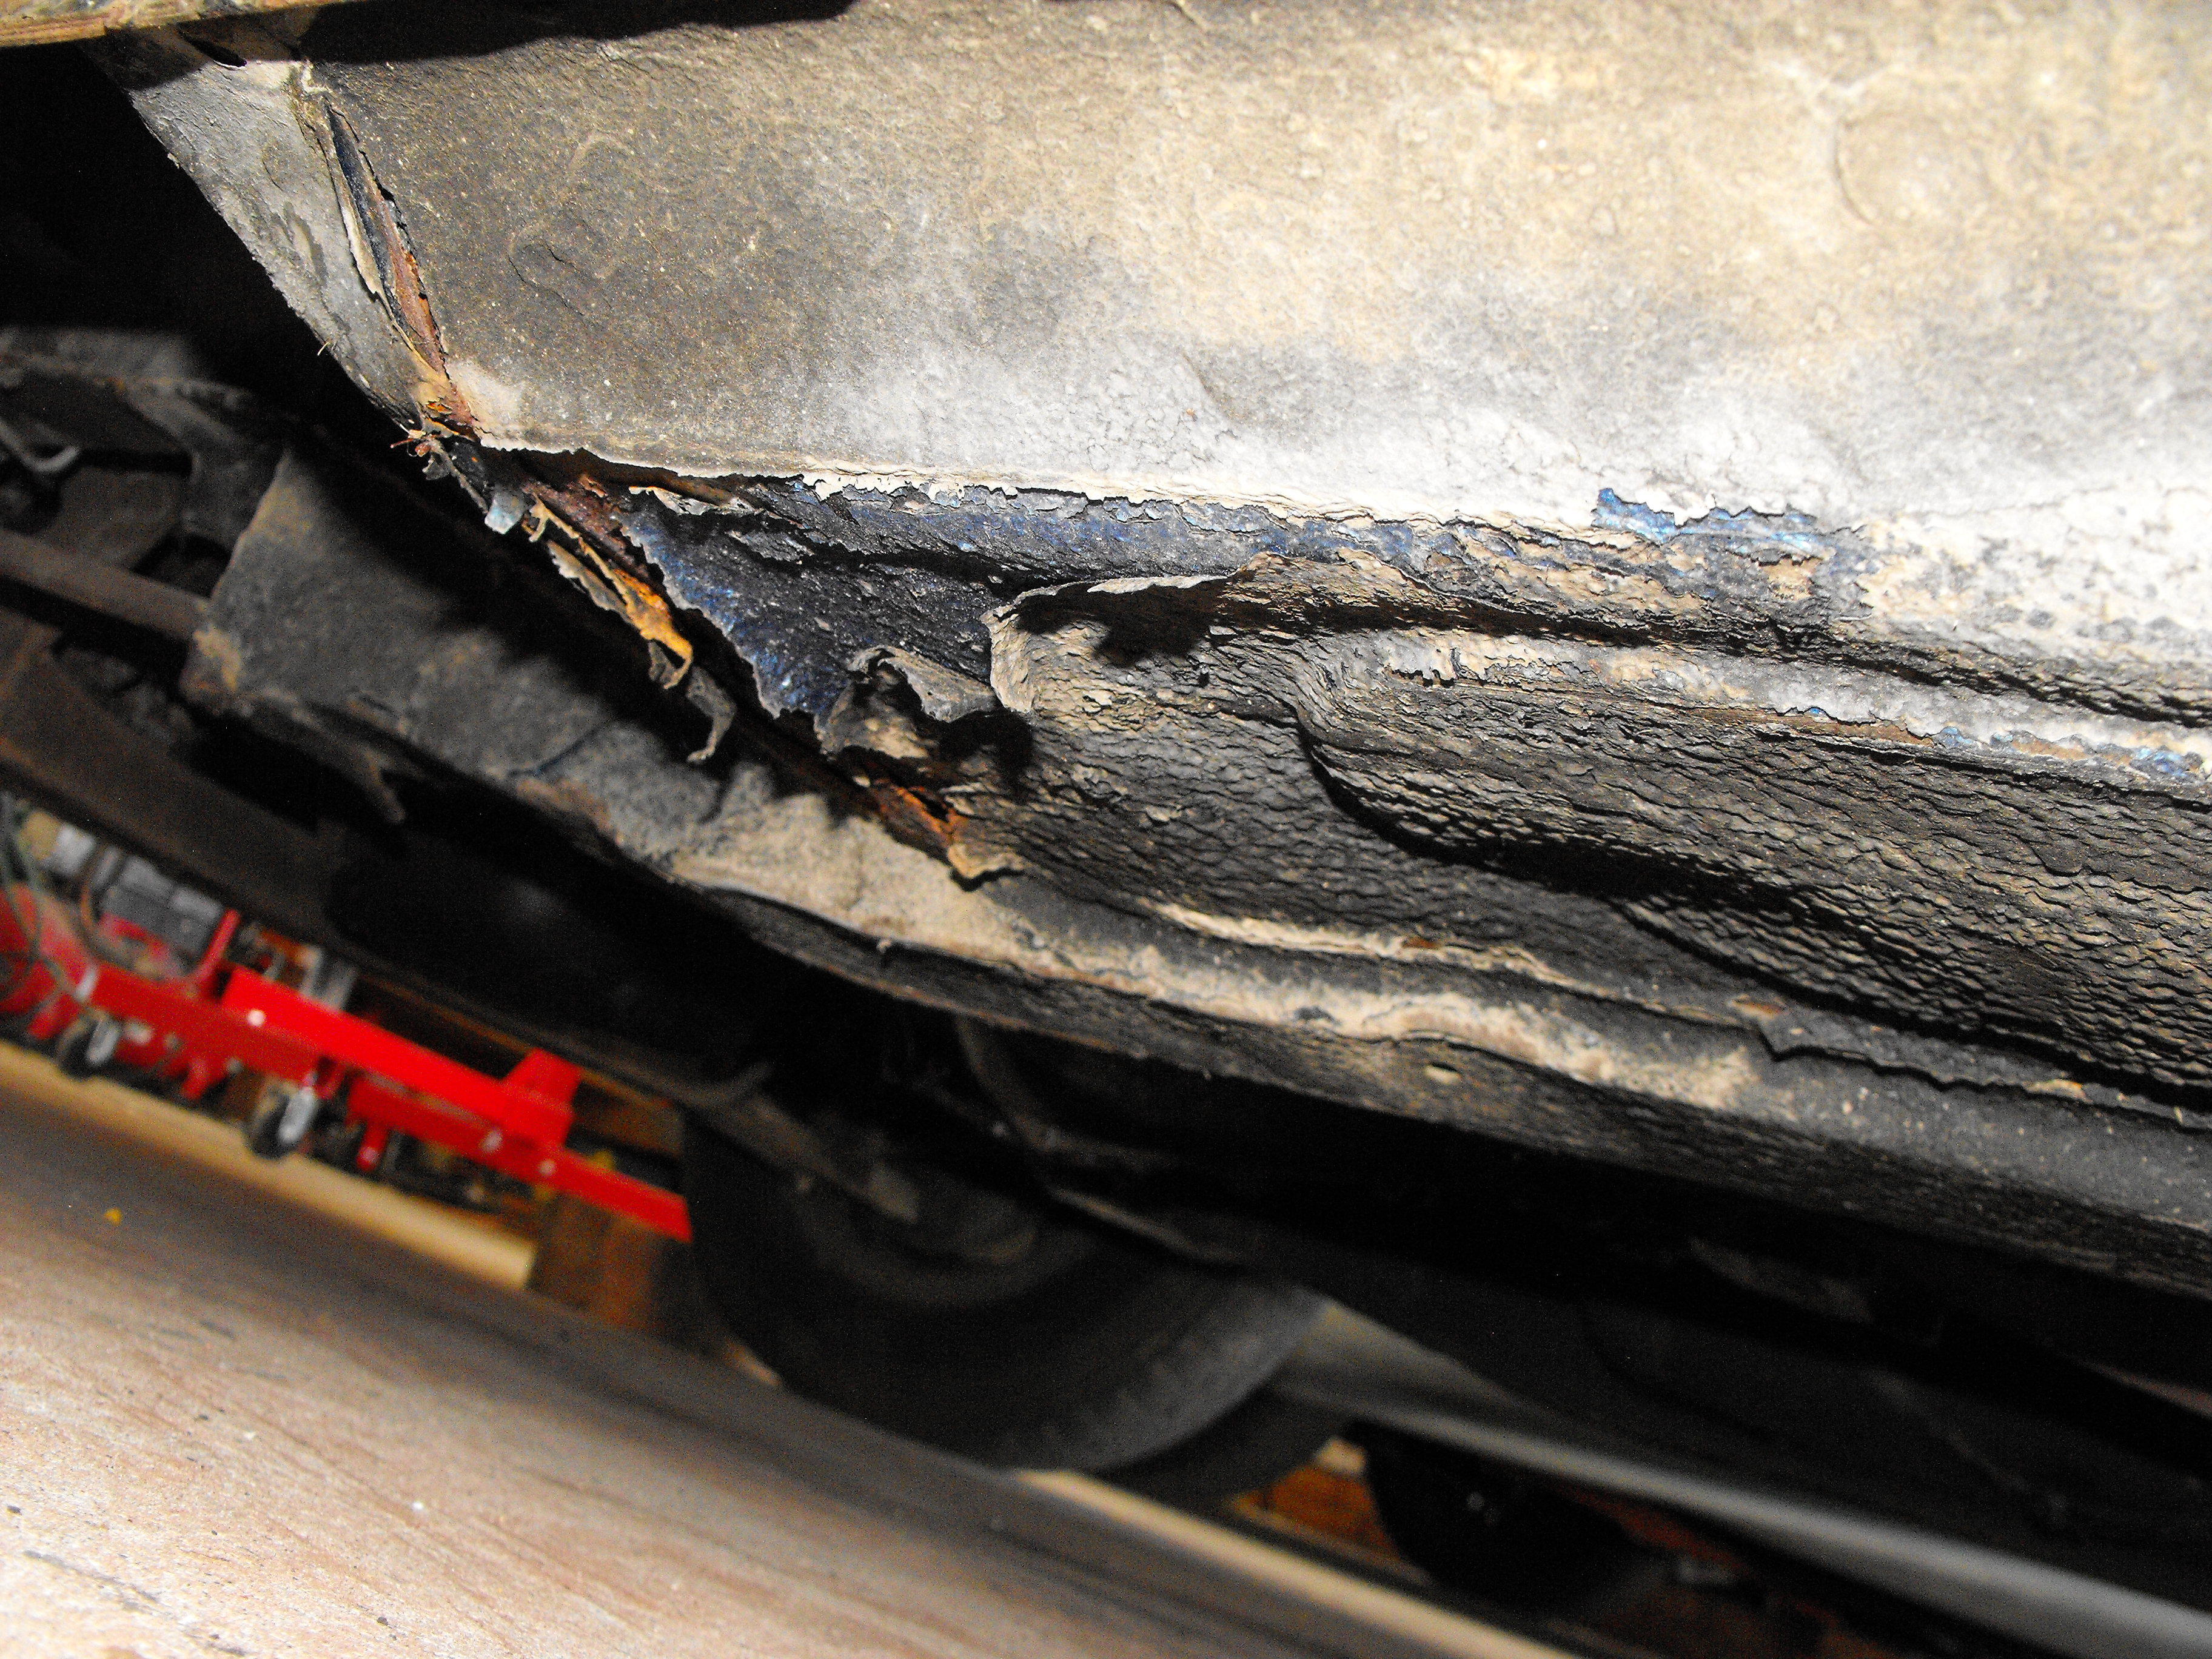
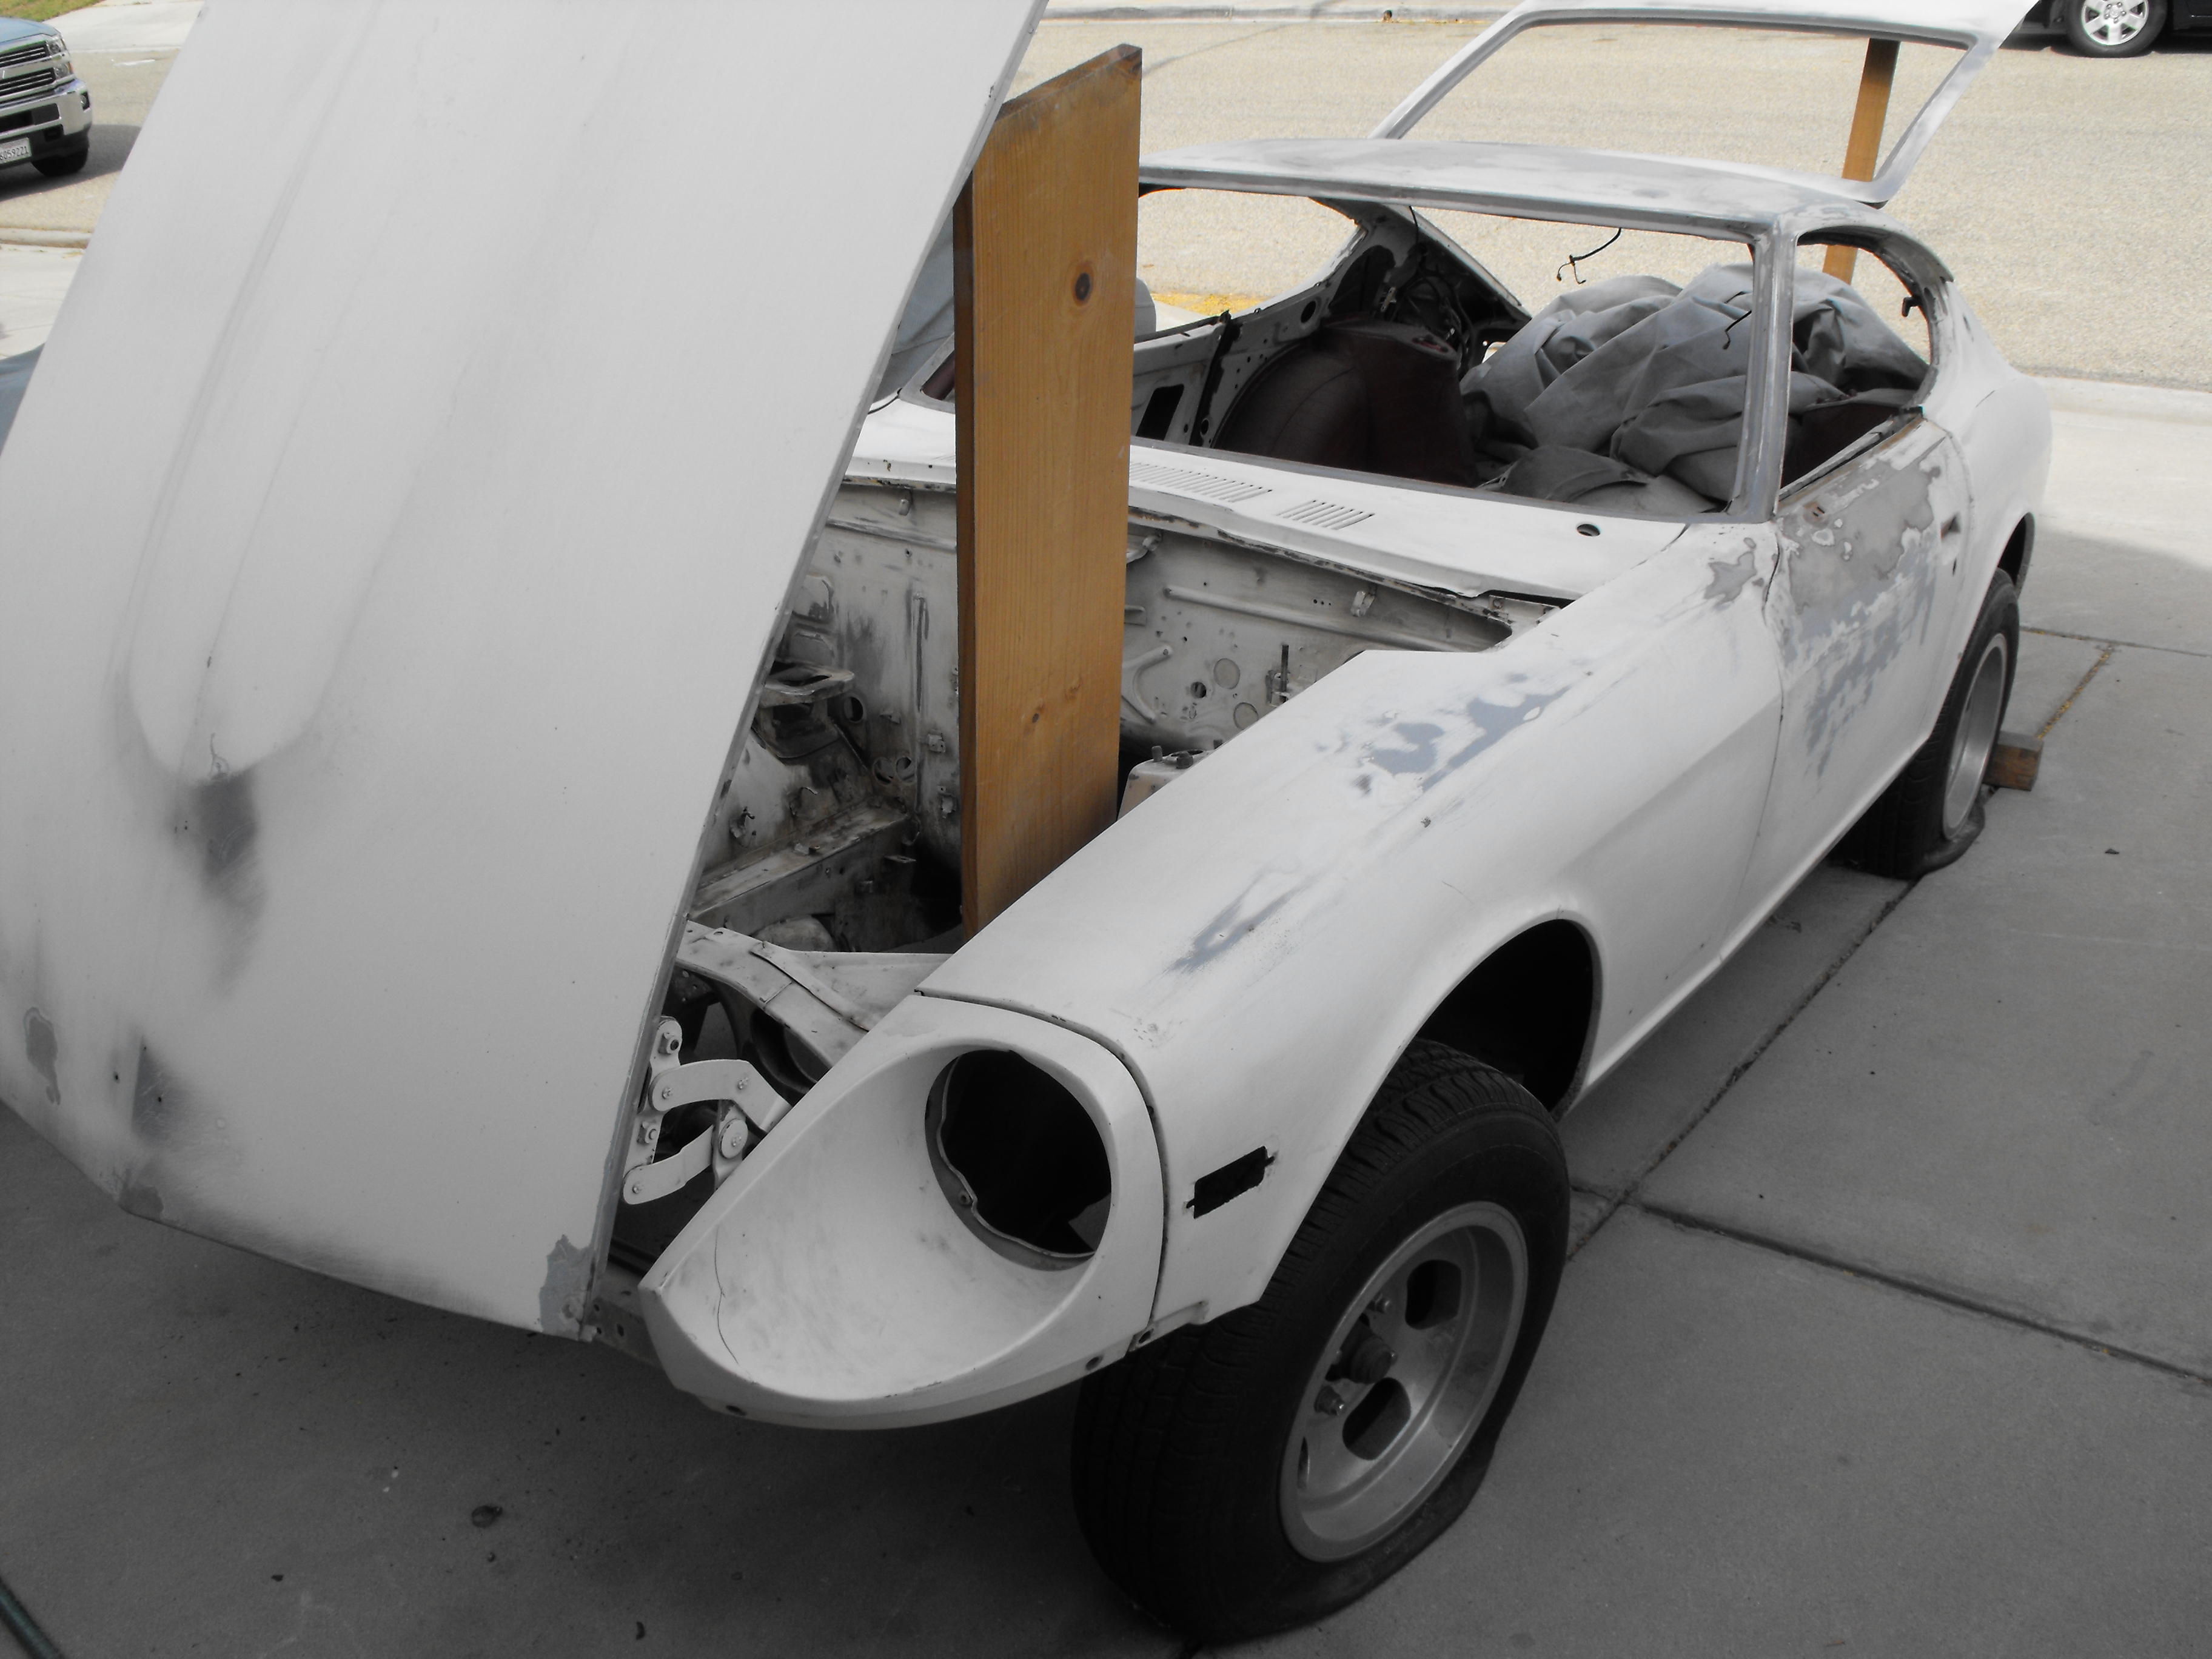
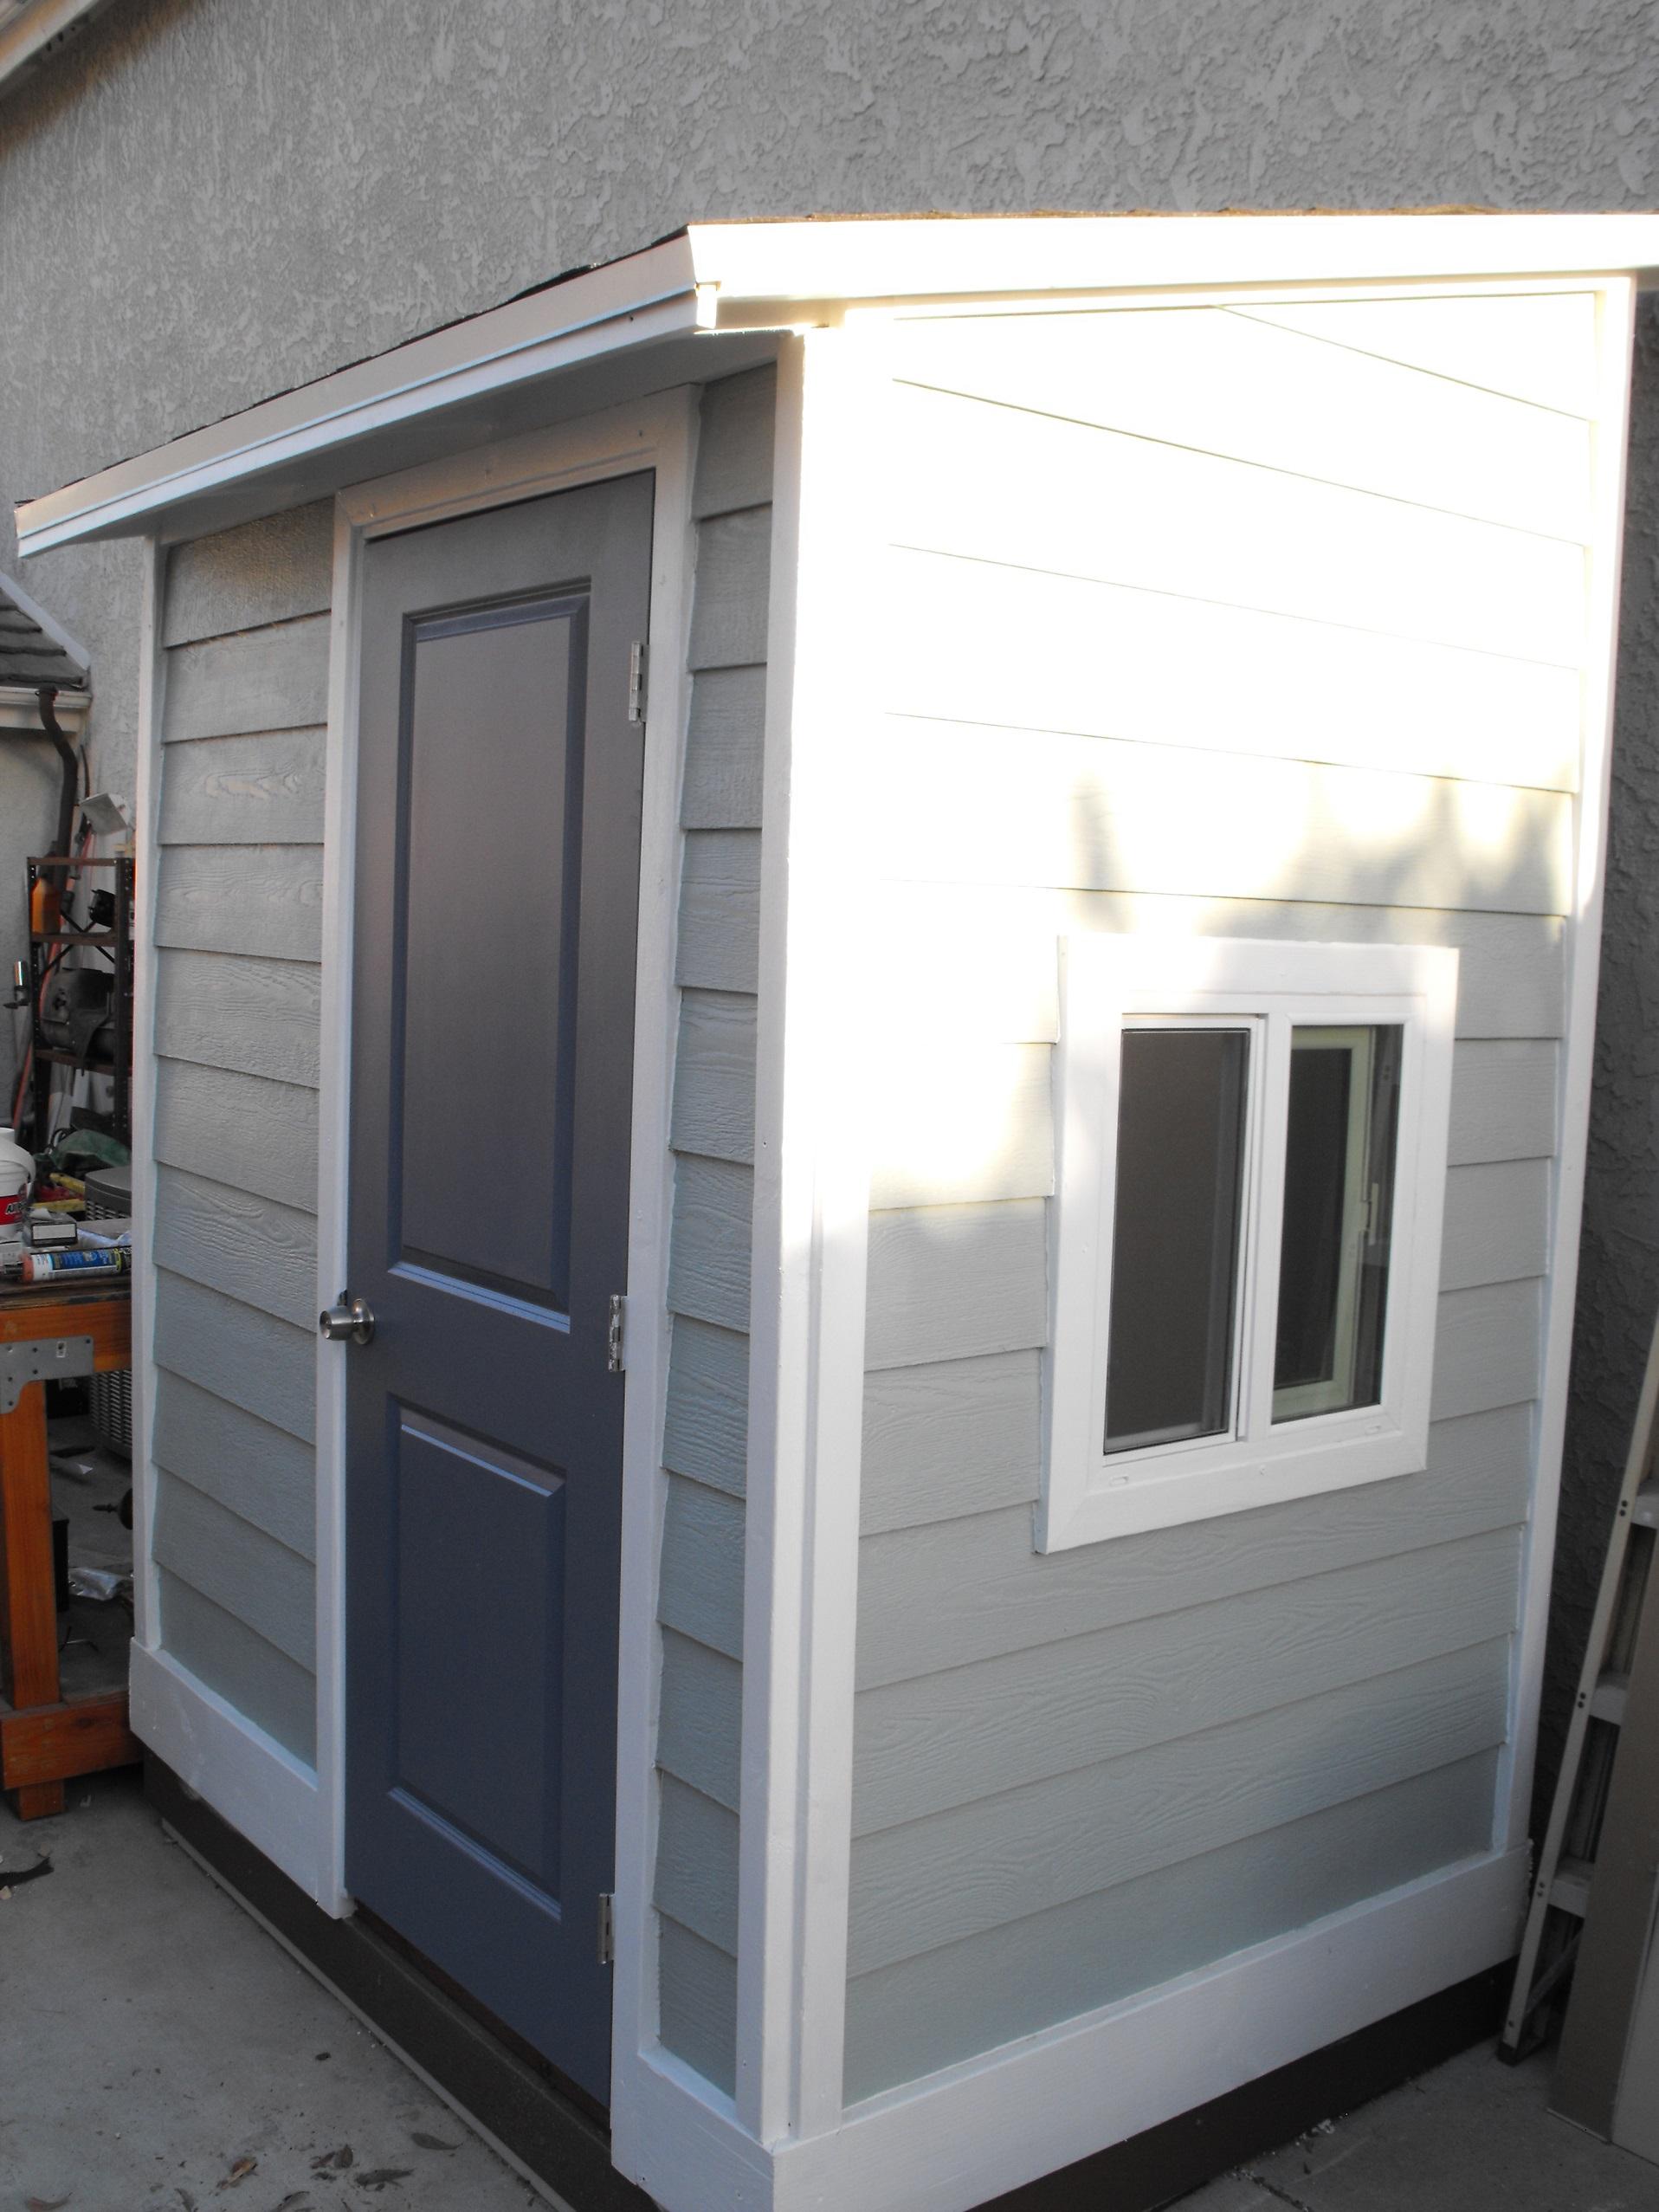
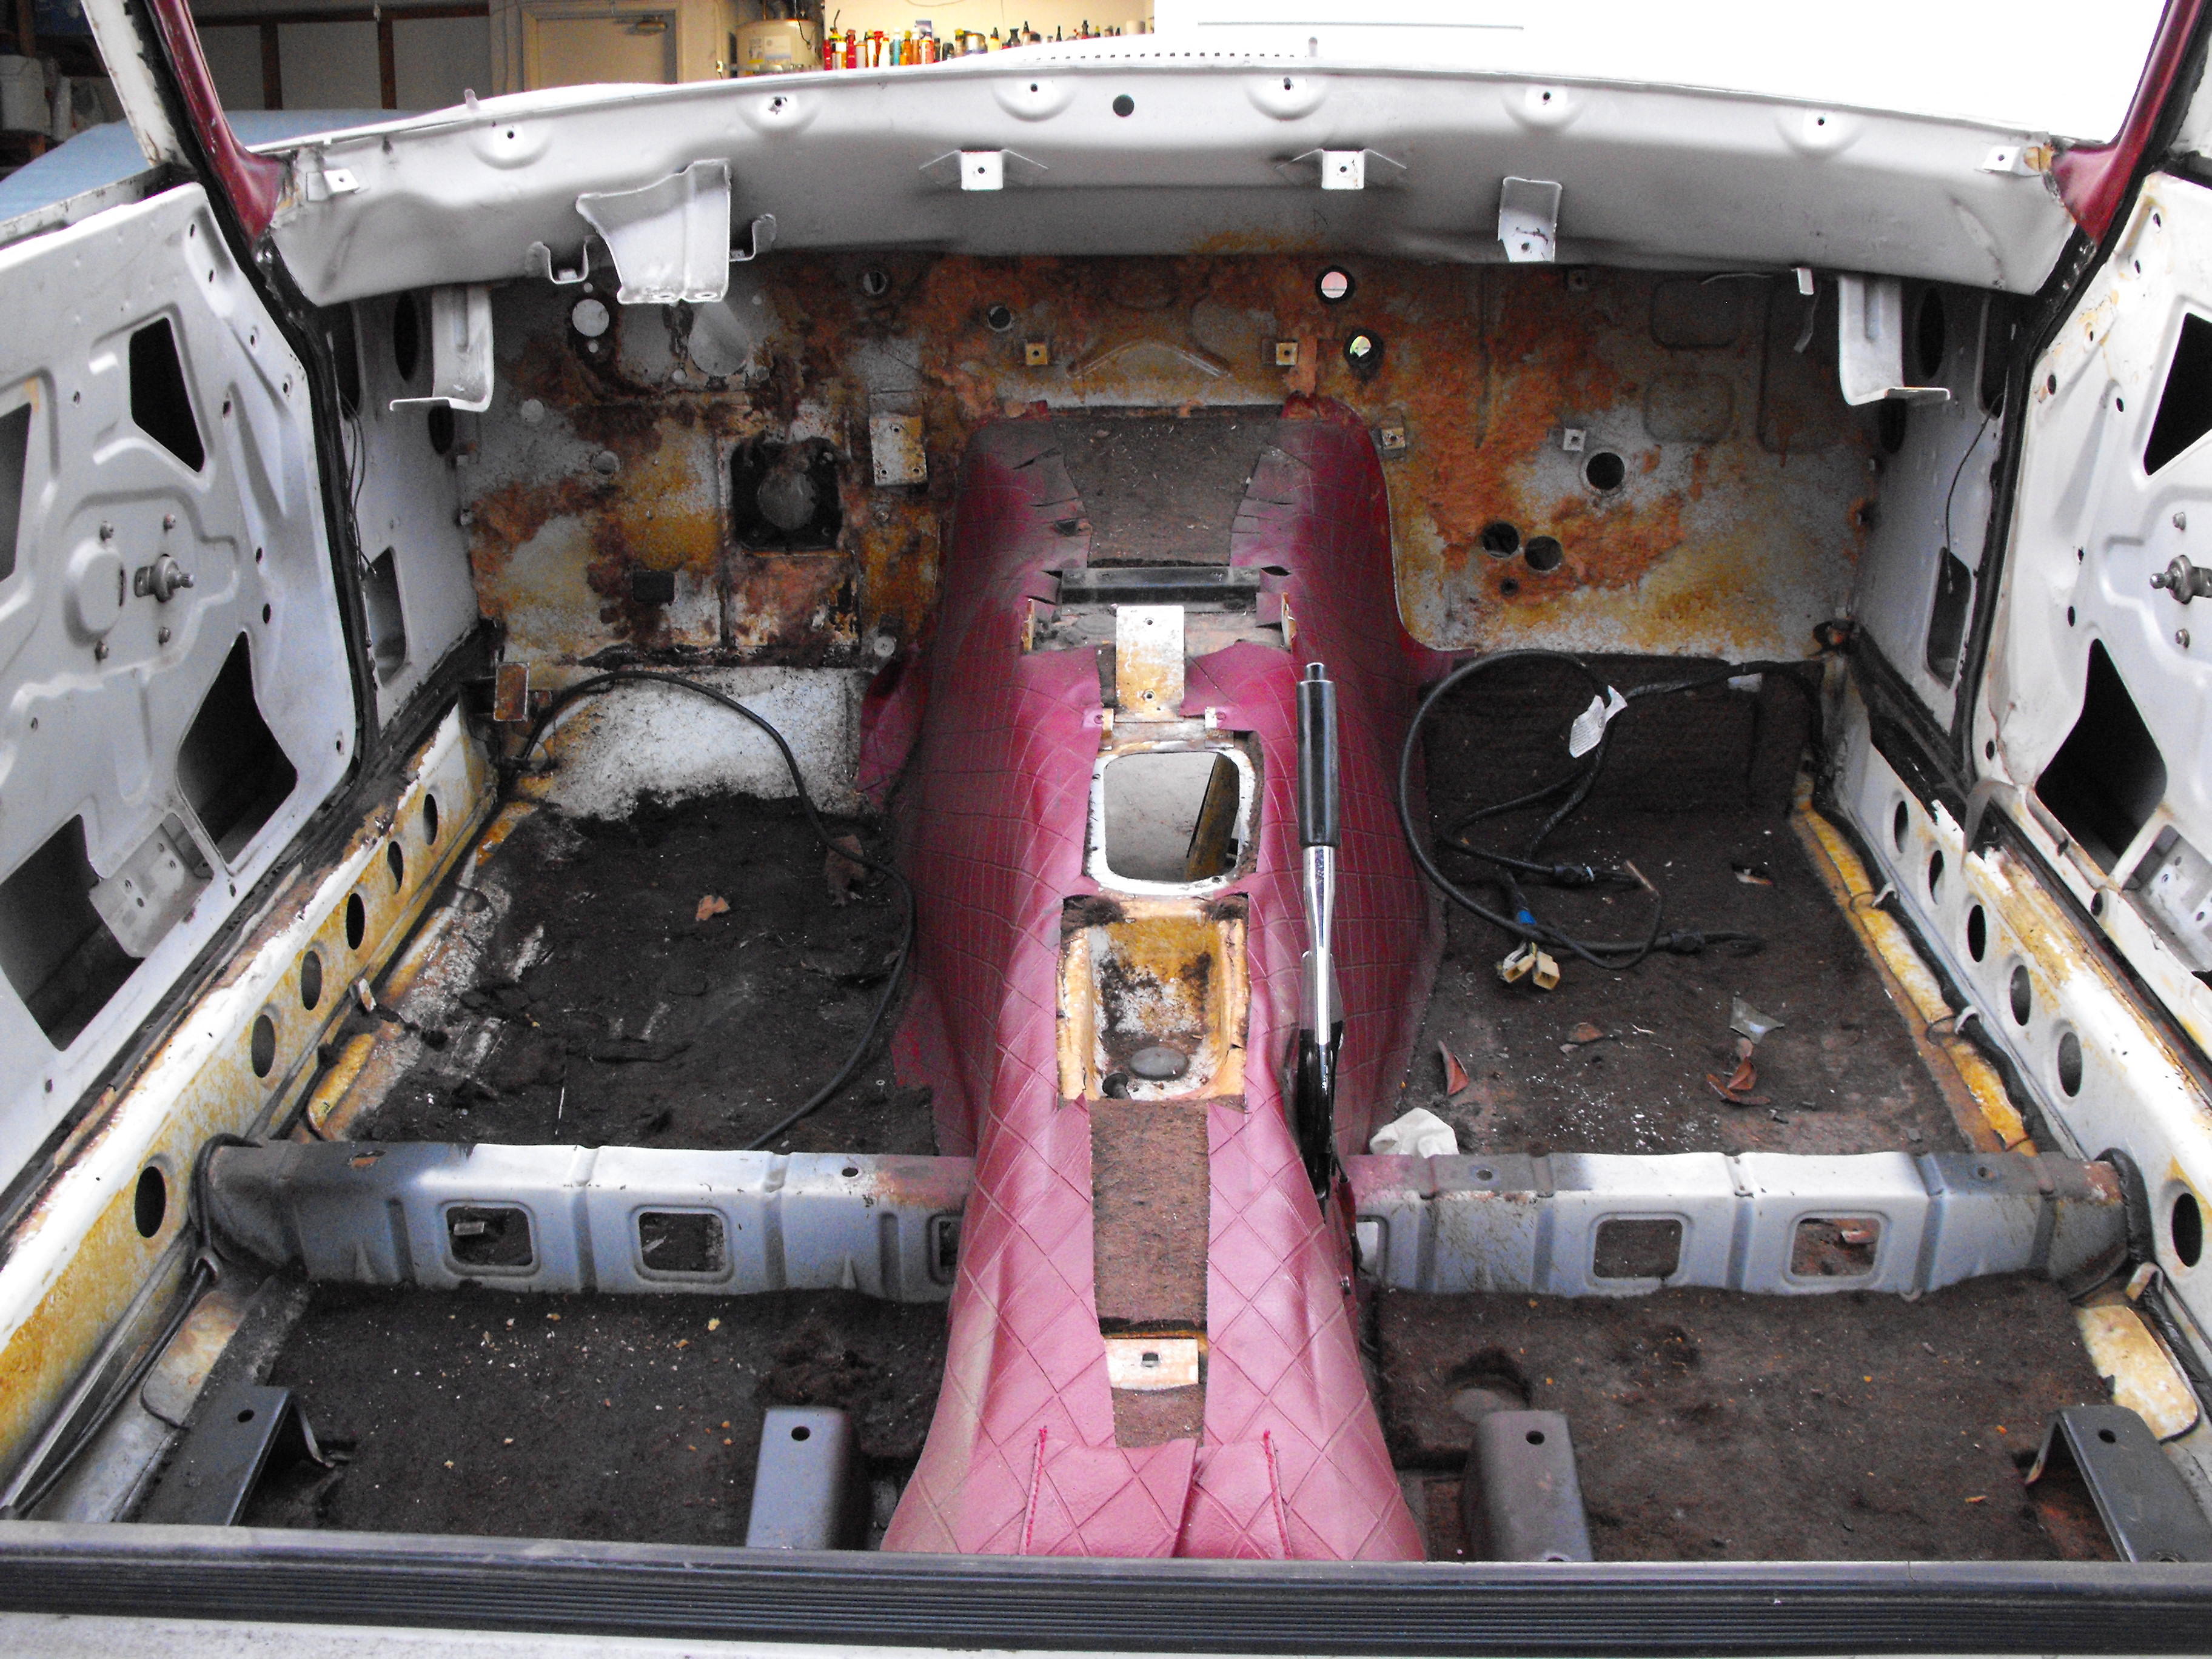
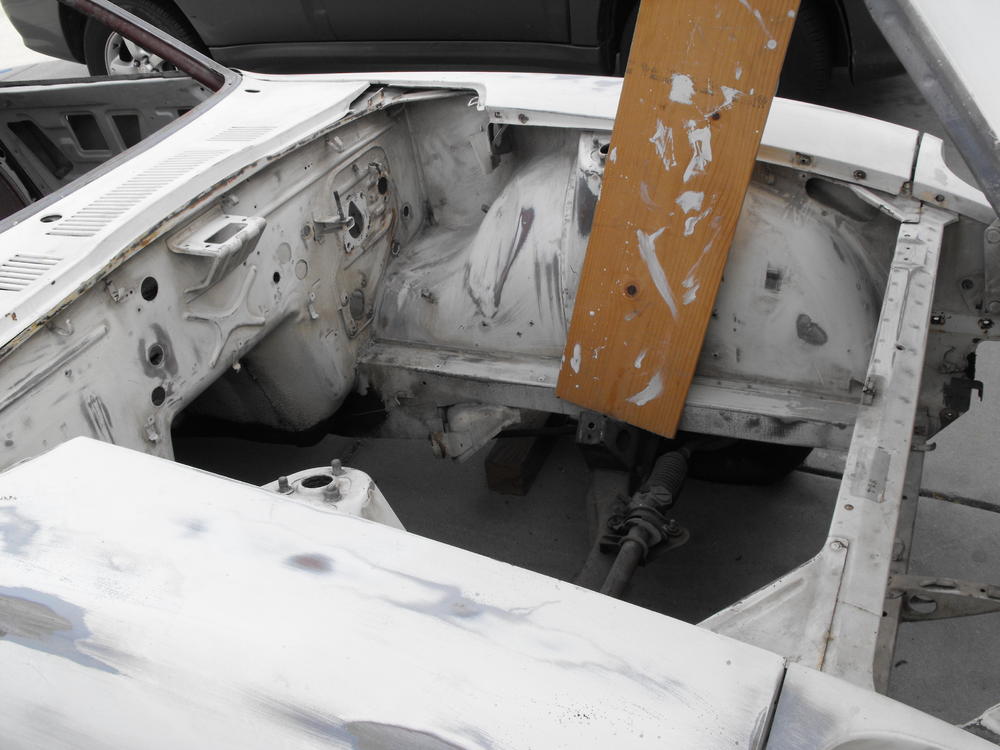
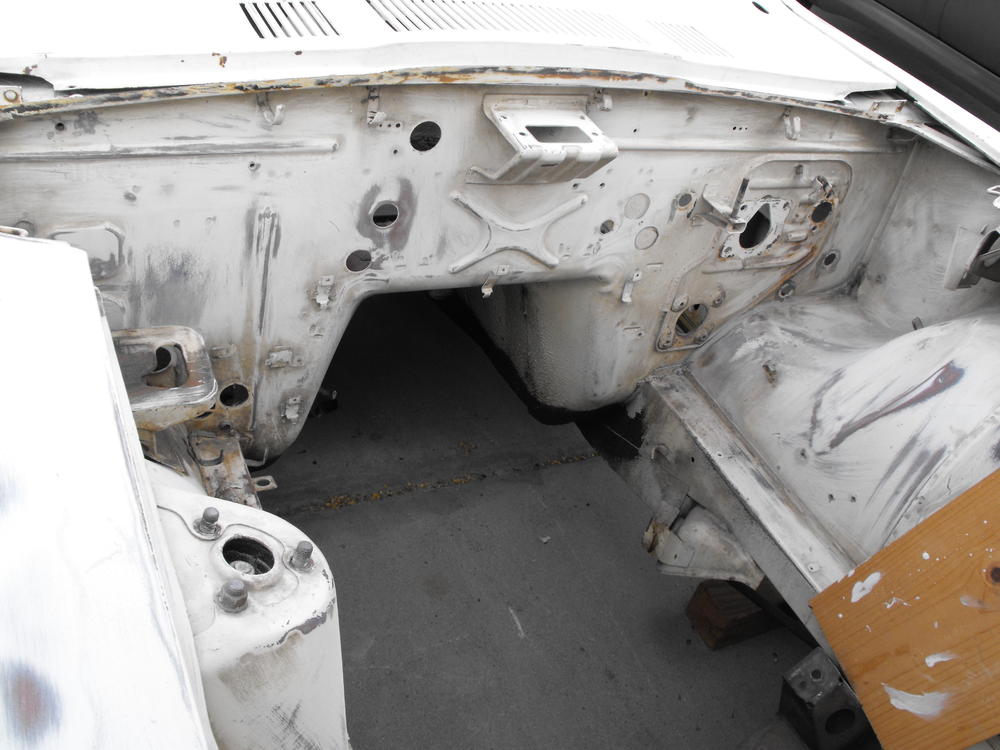
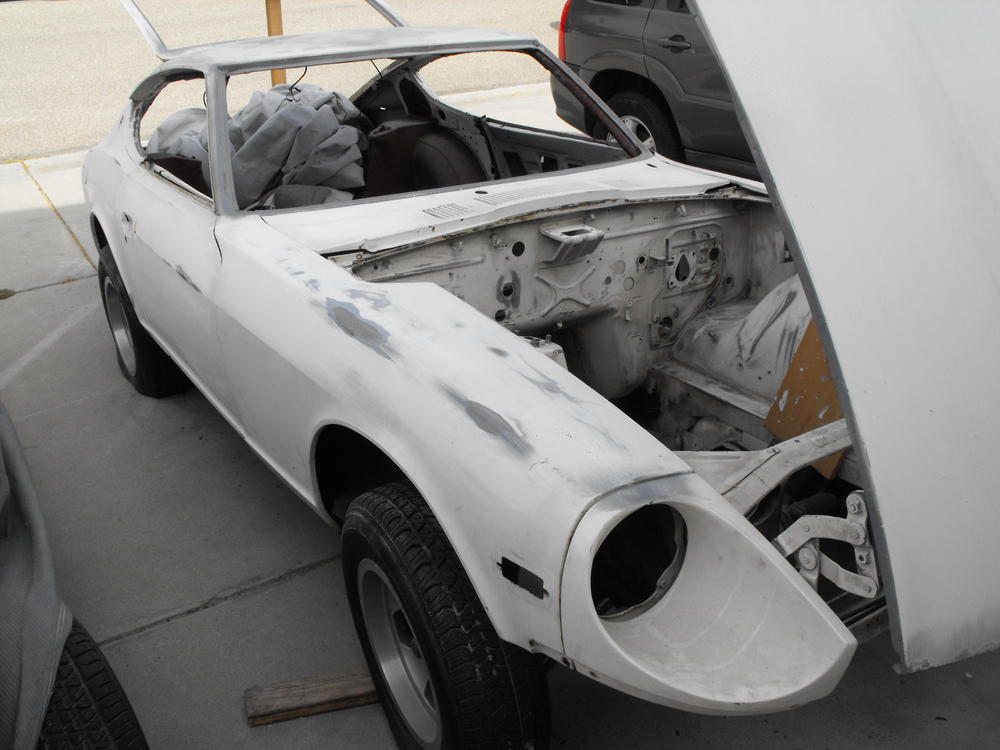
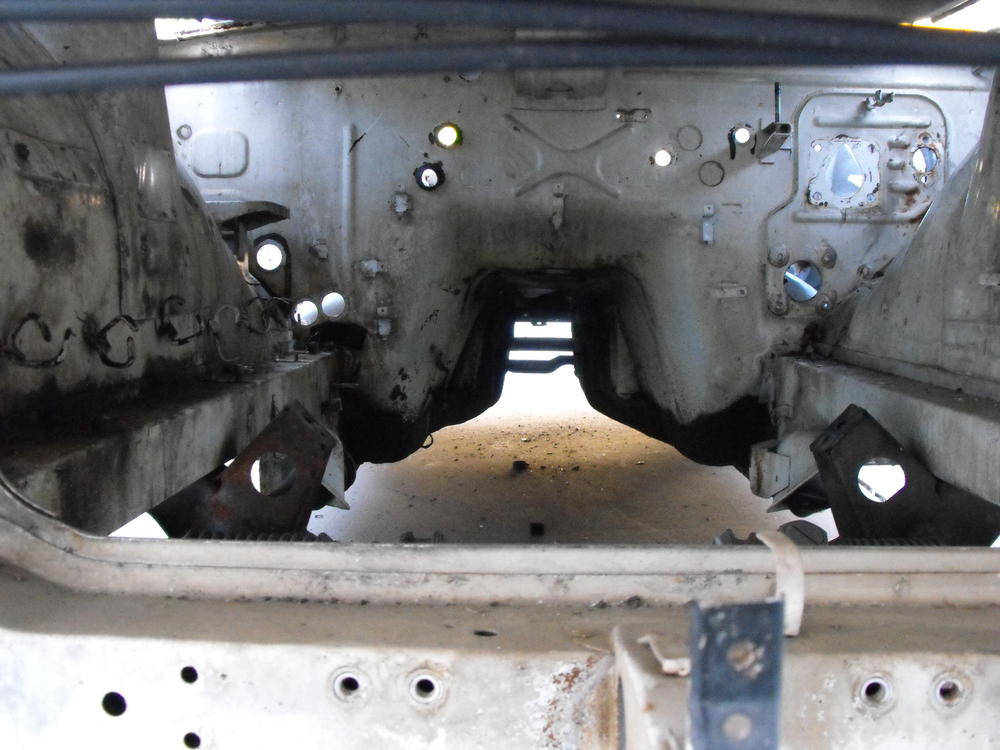
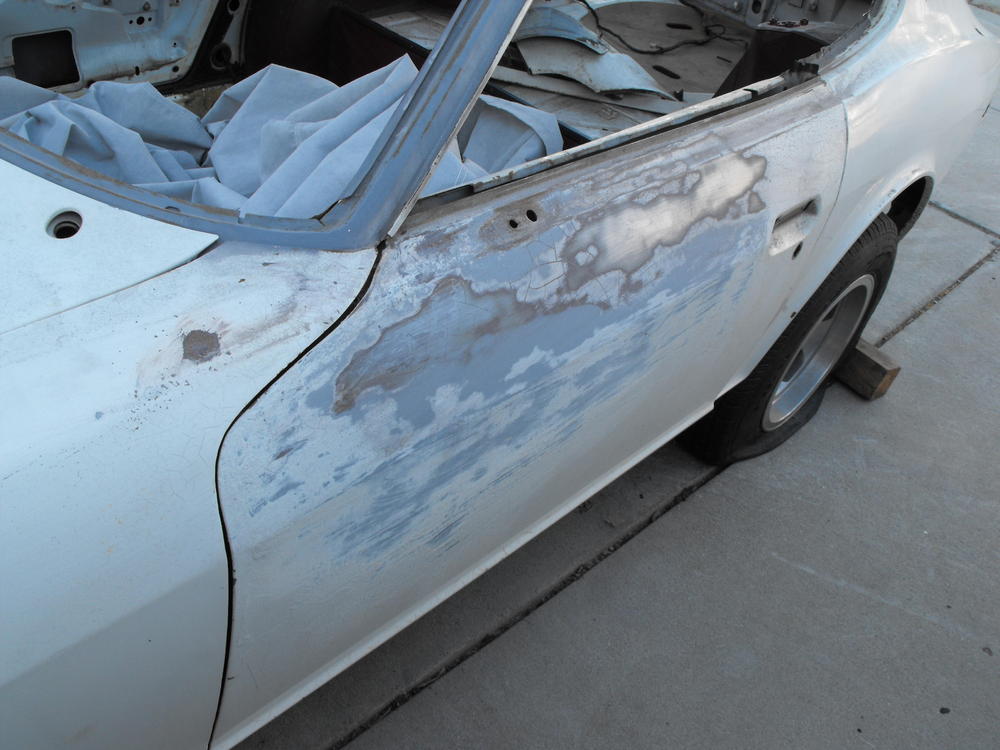
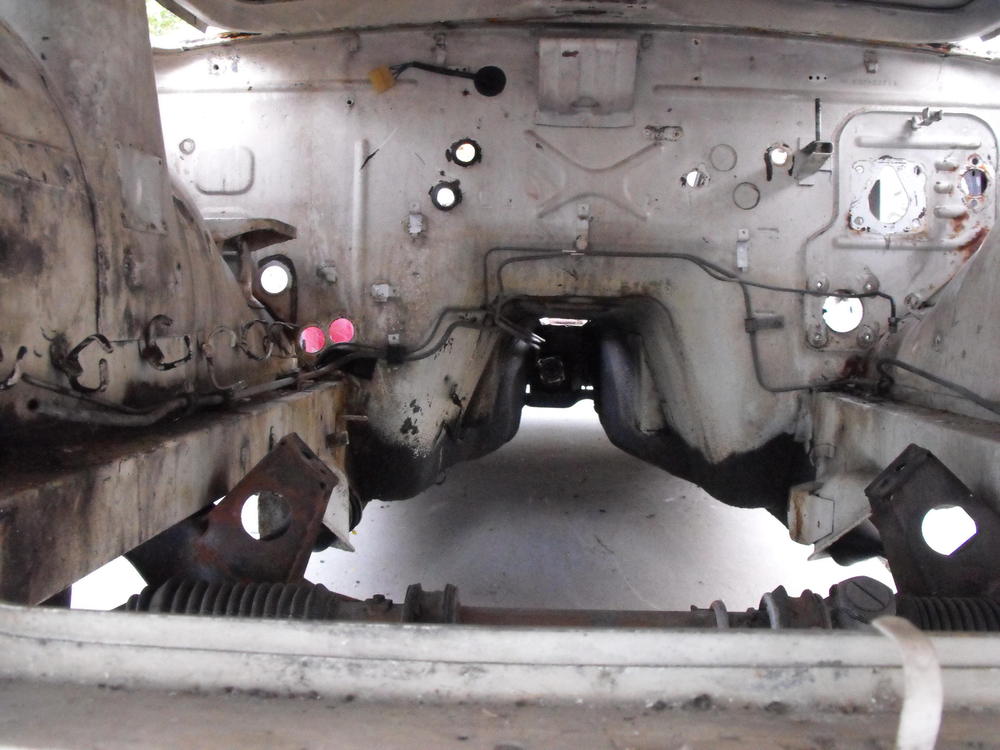
I finished the 'tear down' and will now start sanding the entire car using 80 grit sand paper. I will pretty much sand off all of the paint down to the metal over the entire car. After that it will be off to Miguel's for body work and paint. Tear down went very well and did not break a single bolt. Everything looks to be in pretty good condition, so I am very happy with the hardware. It looks like the car was hit near the drivers side door, so I will be curious to see what that looks like as I start sanding. Will probably be sanding off and on over the next two to three weeks, then we will ship her out. Attached are some pics. Also added a pic of the back yard shed I built.....to store my boxes of car parts of course. And yes, the shed even has a sky light, insulation and drywall per my wife's direction. I guess she wants me to be comfortable if the need ever arises that I need to sleep in there ?.


-
Yes, that was Genius! I am very impressed. Not that it matters, but I would recommend that you keep the entire system in tact and keep the air injectors on and the smog system operational. I still have this on my '70 and it runs wonderfully, never any problems. Unless you plan on racing the car, I would leave them on. Also, I think it adds to the value of the car. For what it's worth, I have always felt that if the owner had no problem removing the smog system from a car, what else has been modified or changed. It's just the beginning. When looking for a Z that I would purchase personally, I always look for the smog system. If it's gone, I'm gone.
-
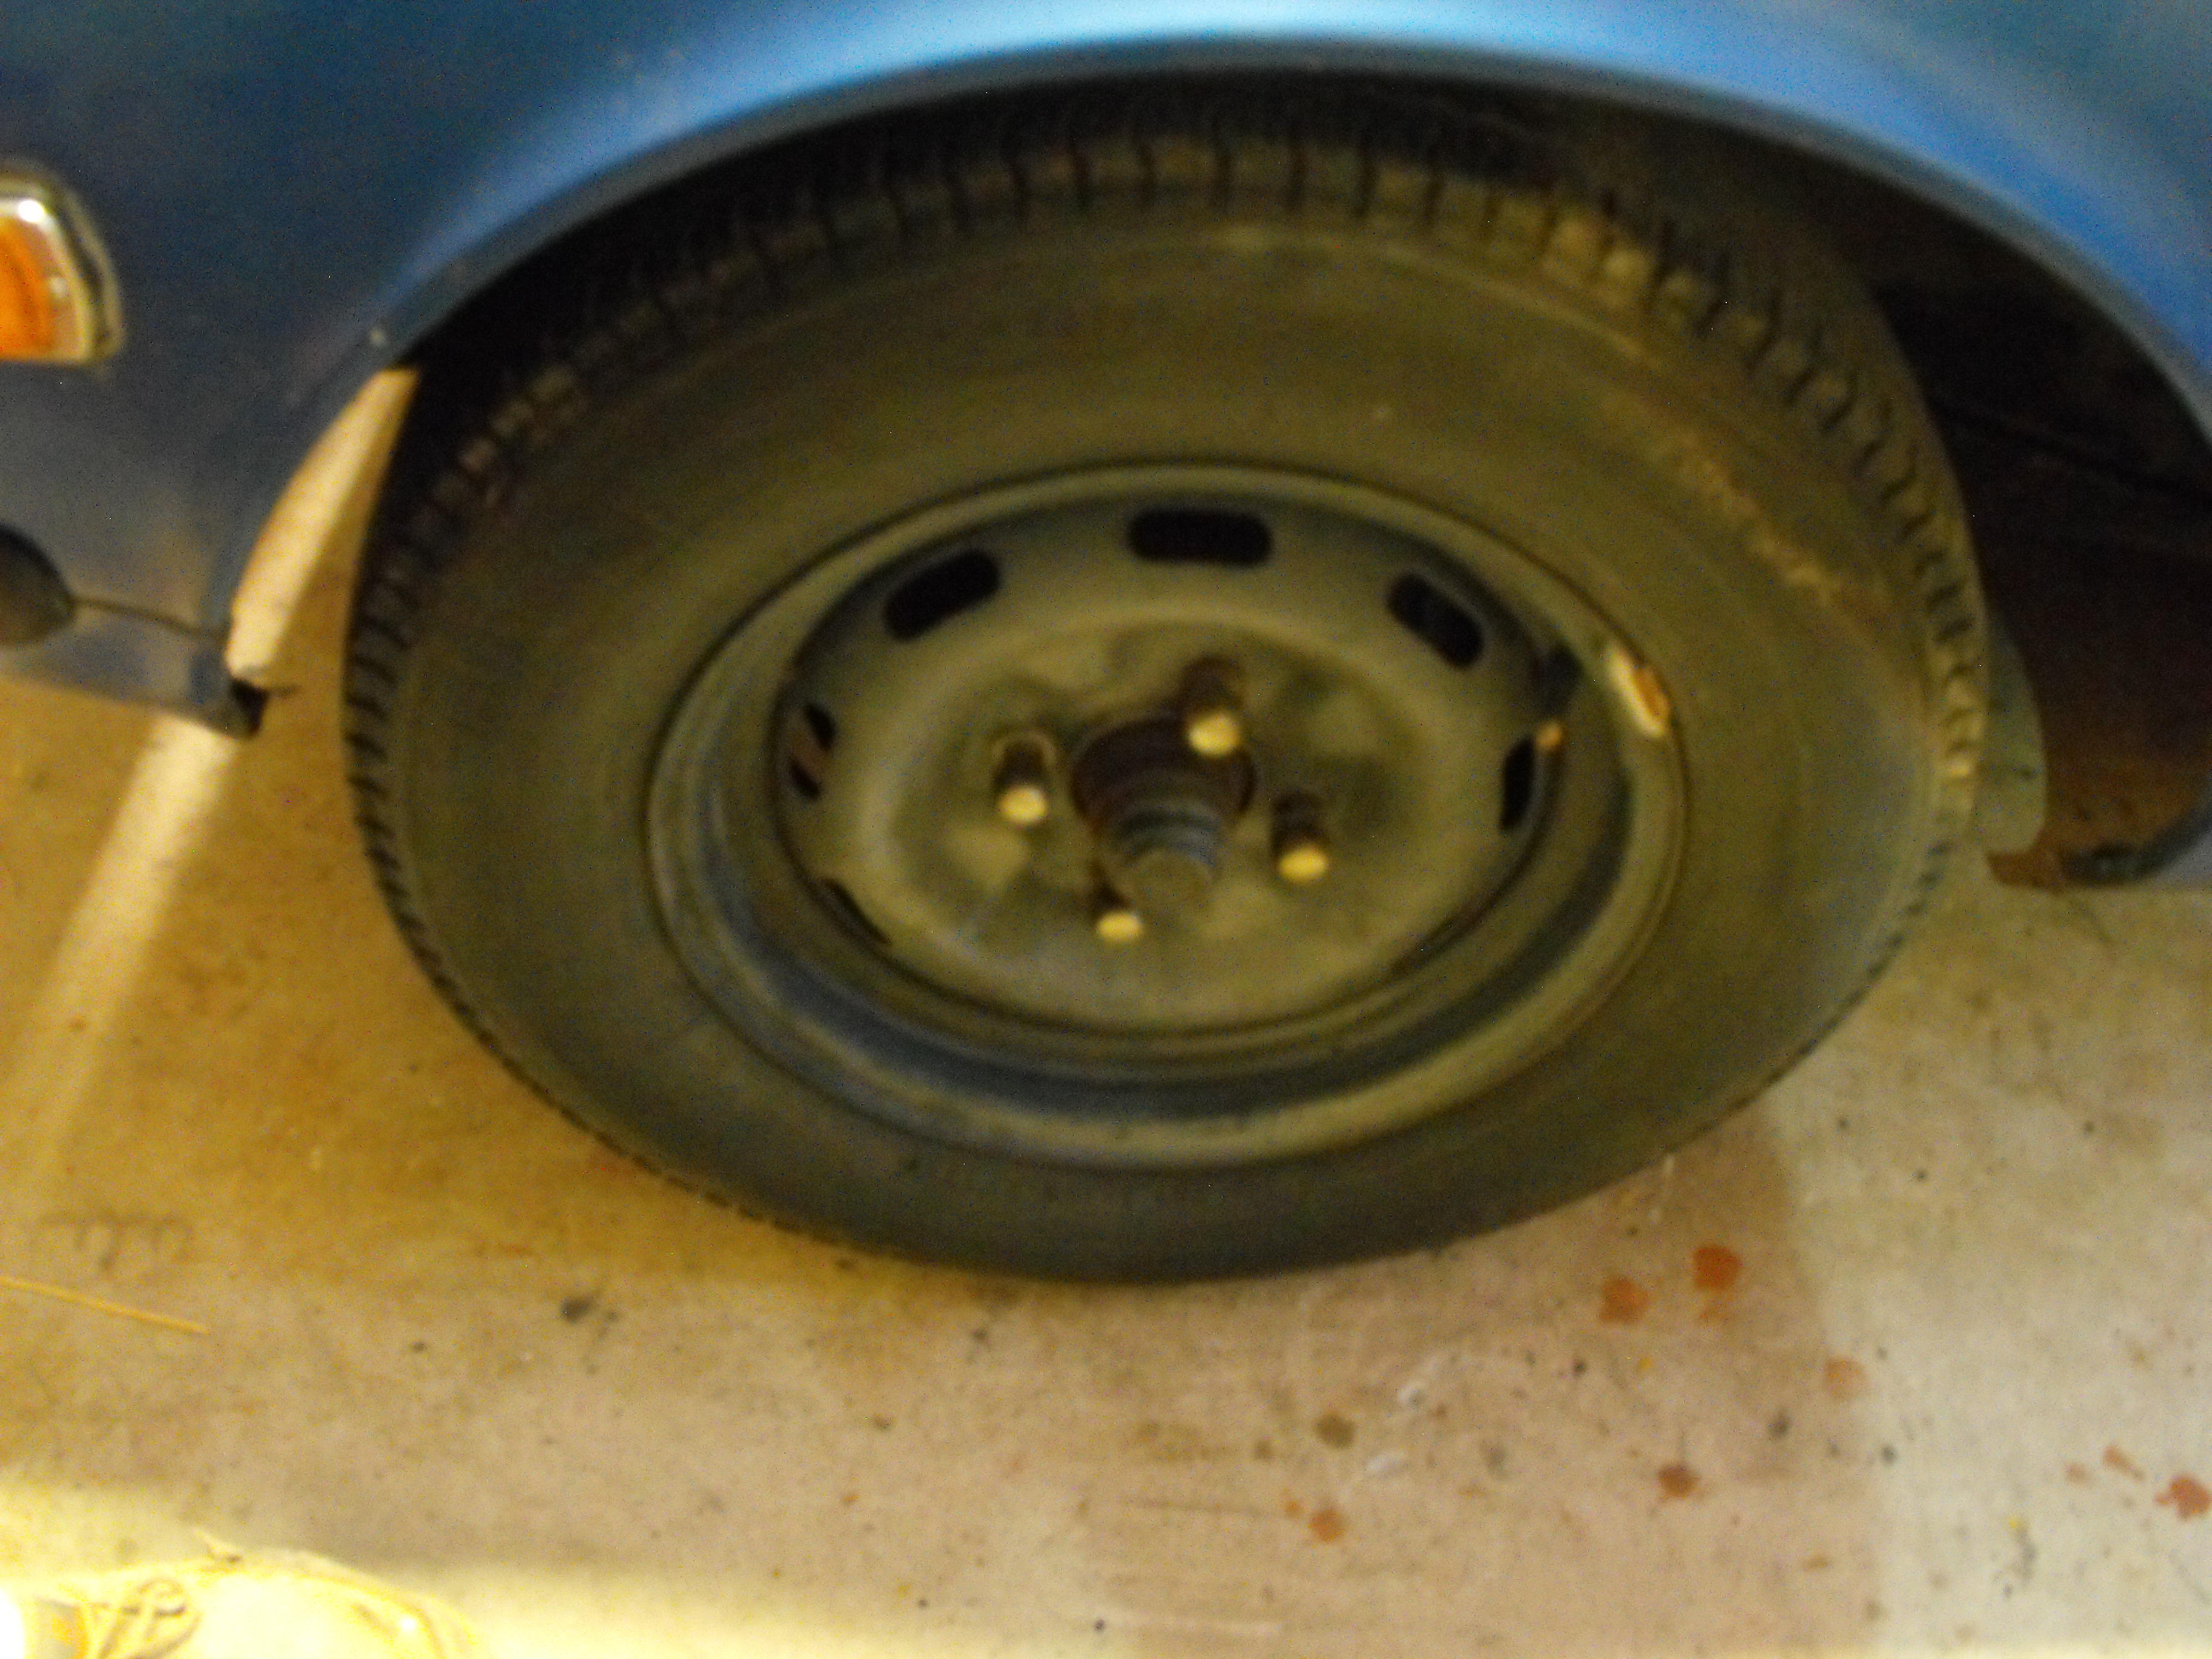
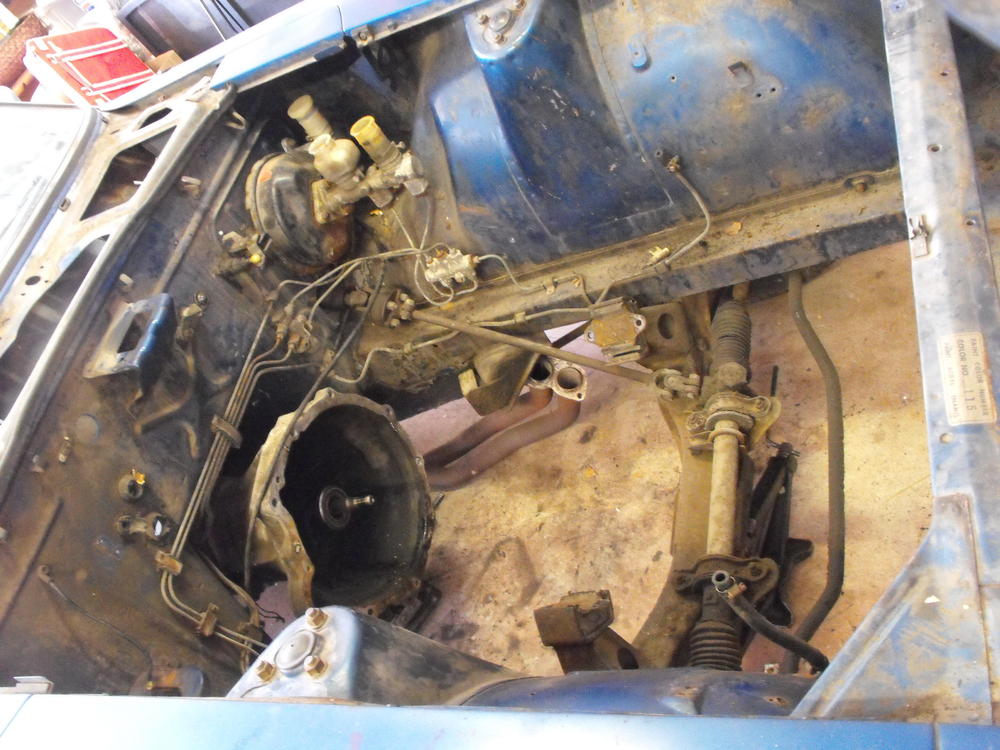
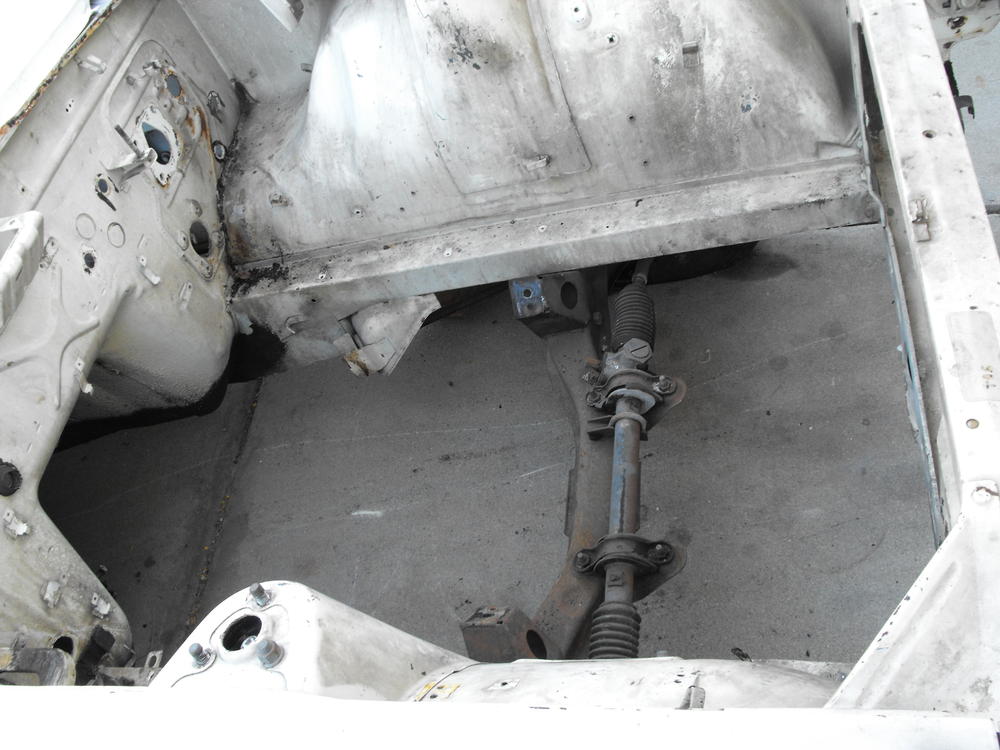
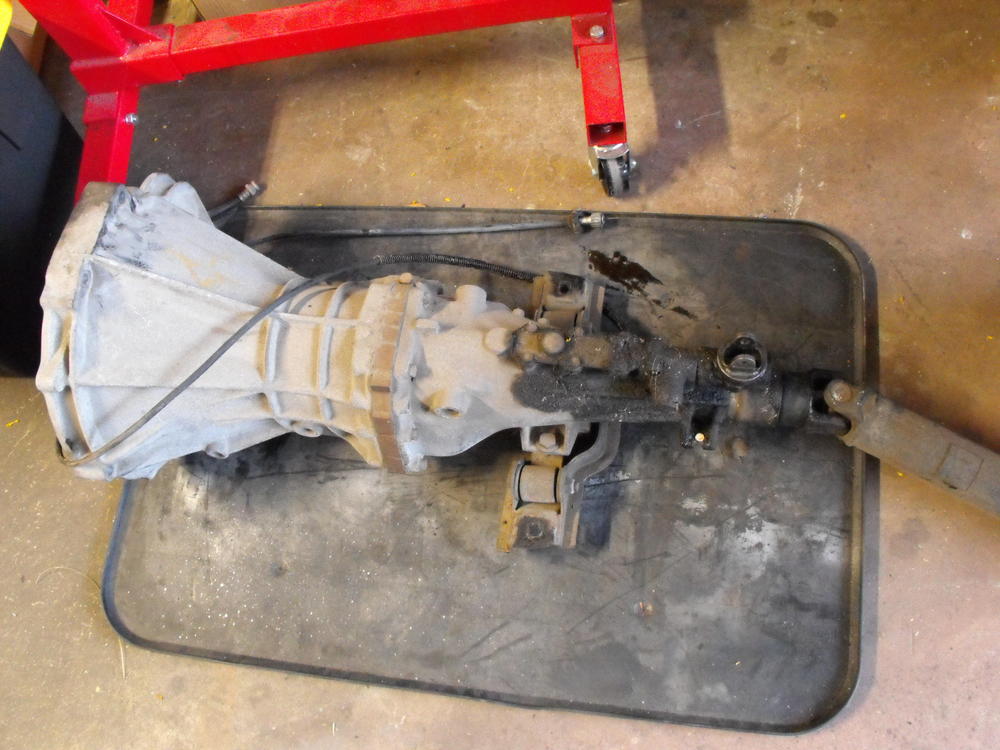
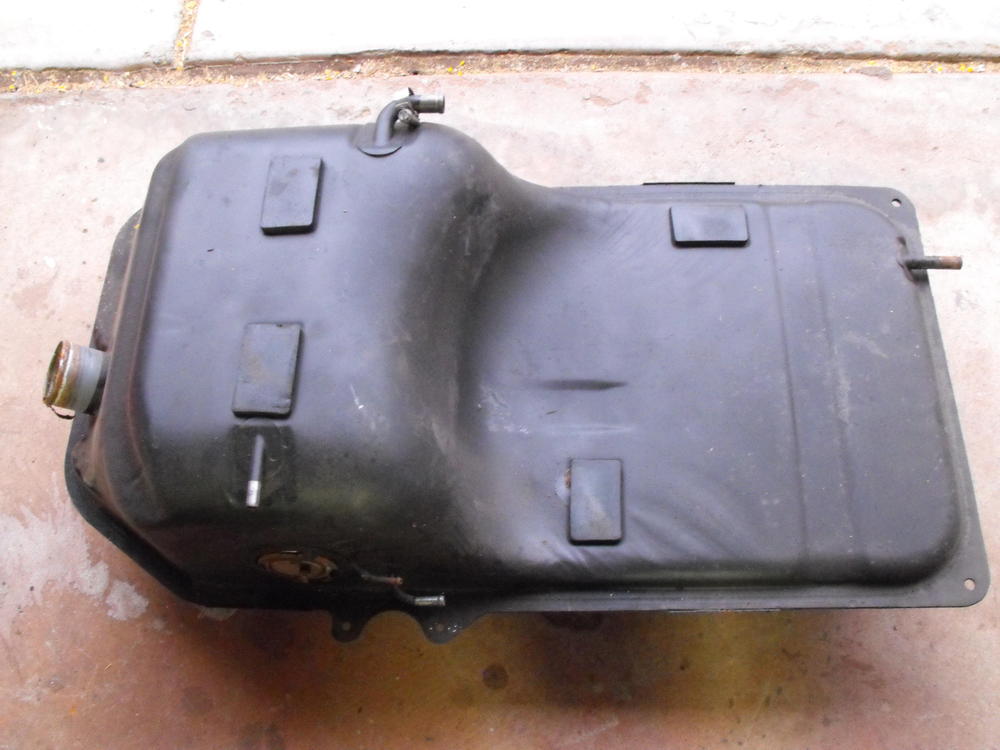
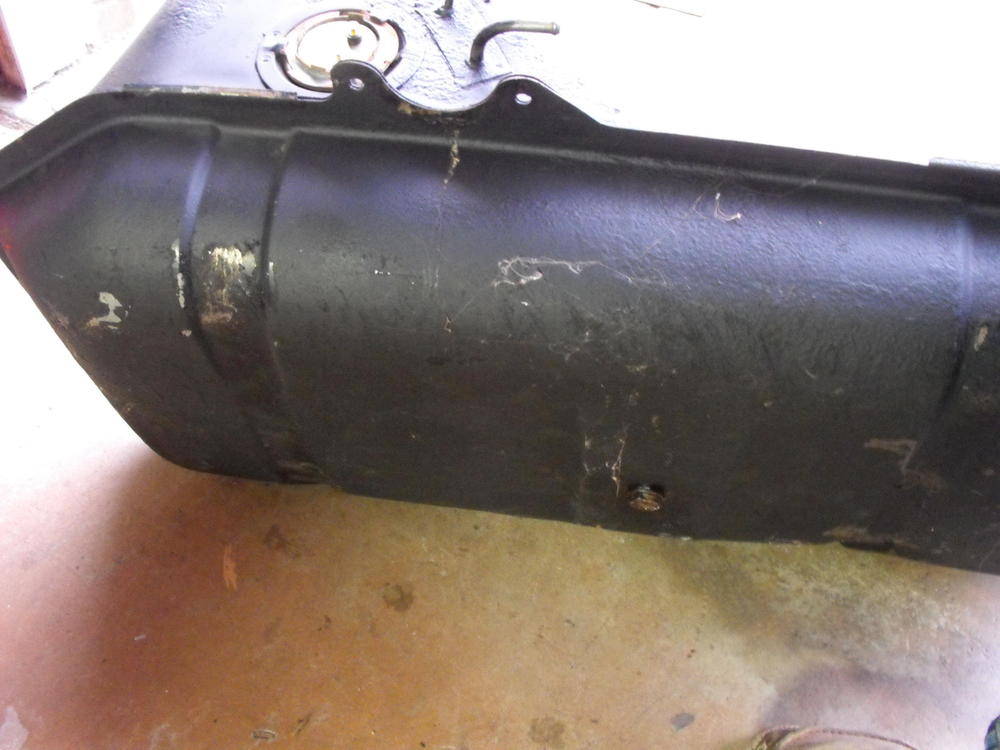
More tear down pics. Got the trans and fuel tank out. Fuel tank looks almost brand new. I wonder if that was replaced. This has really been easy to tear down...not a single broken rusted bolt (I probably just jinxed it with that statement)


-
My roadster is currently on display in the Petersen museum in LA. There are some nice pics from some car sites on the links below. http://www.turnology.com/news/the-petersen-automotive-museum-is-turning-japanese/ https://www.roadandtrack.com/car-culture/car-design/a20884634/the-deepest-dive-into-jdm-rarities-youll-ever-take/ https://www.topgear.com/car-news/classic/these-amazing-classic-japanese-cars-are-going-display#3 https://www.hagerty.com/articles-videos/articles/2018/05/25/japanese-auto-industry-at-the-petersen-museum#viewGallery/image-full/38 https://jalopnik.com/check-out-the-incredible-and-rare-japanese-cars-at-the-1826336863
-
True, seems like there are never enough pictures, and never pics of the exact item you are looking for. I do have quite the library of pics here now. I would bet that I have over 10K pics of 240Z's in some form of disassembly. That always helps.
-
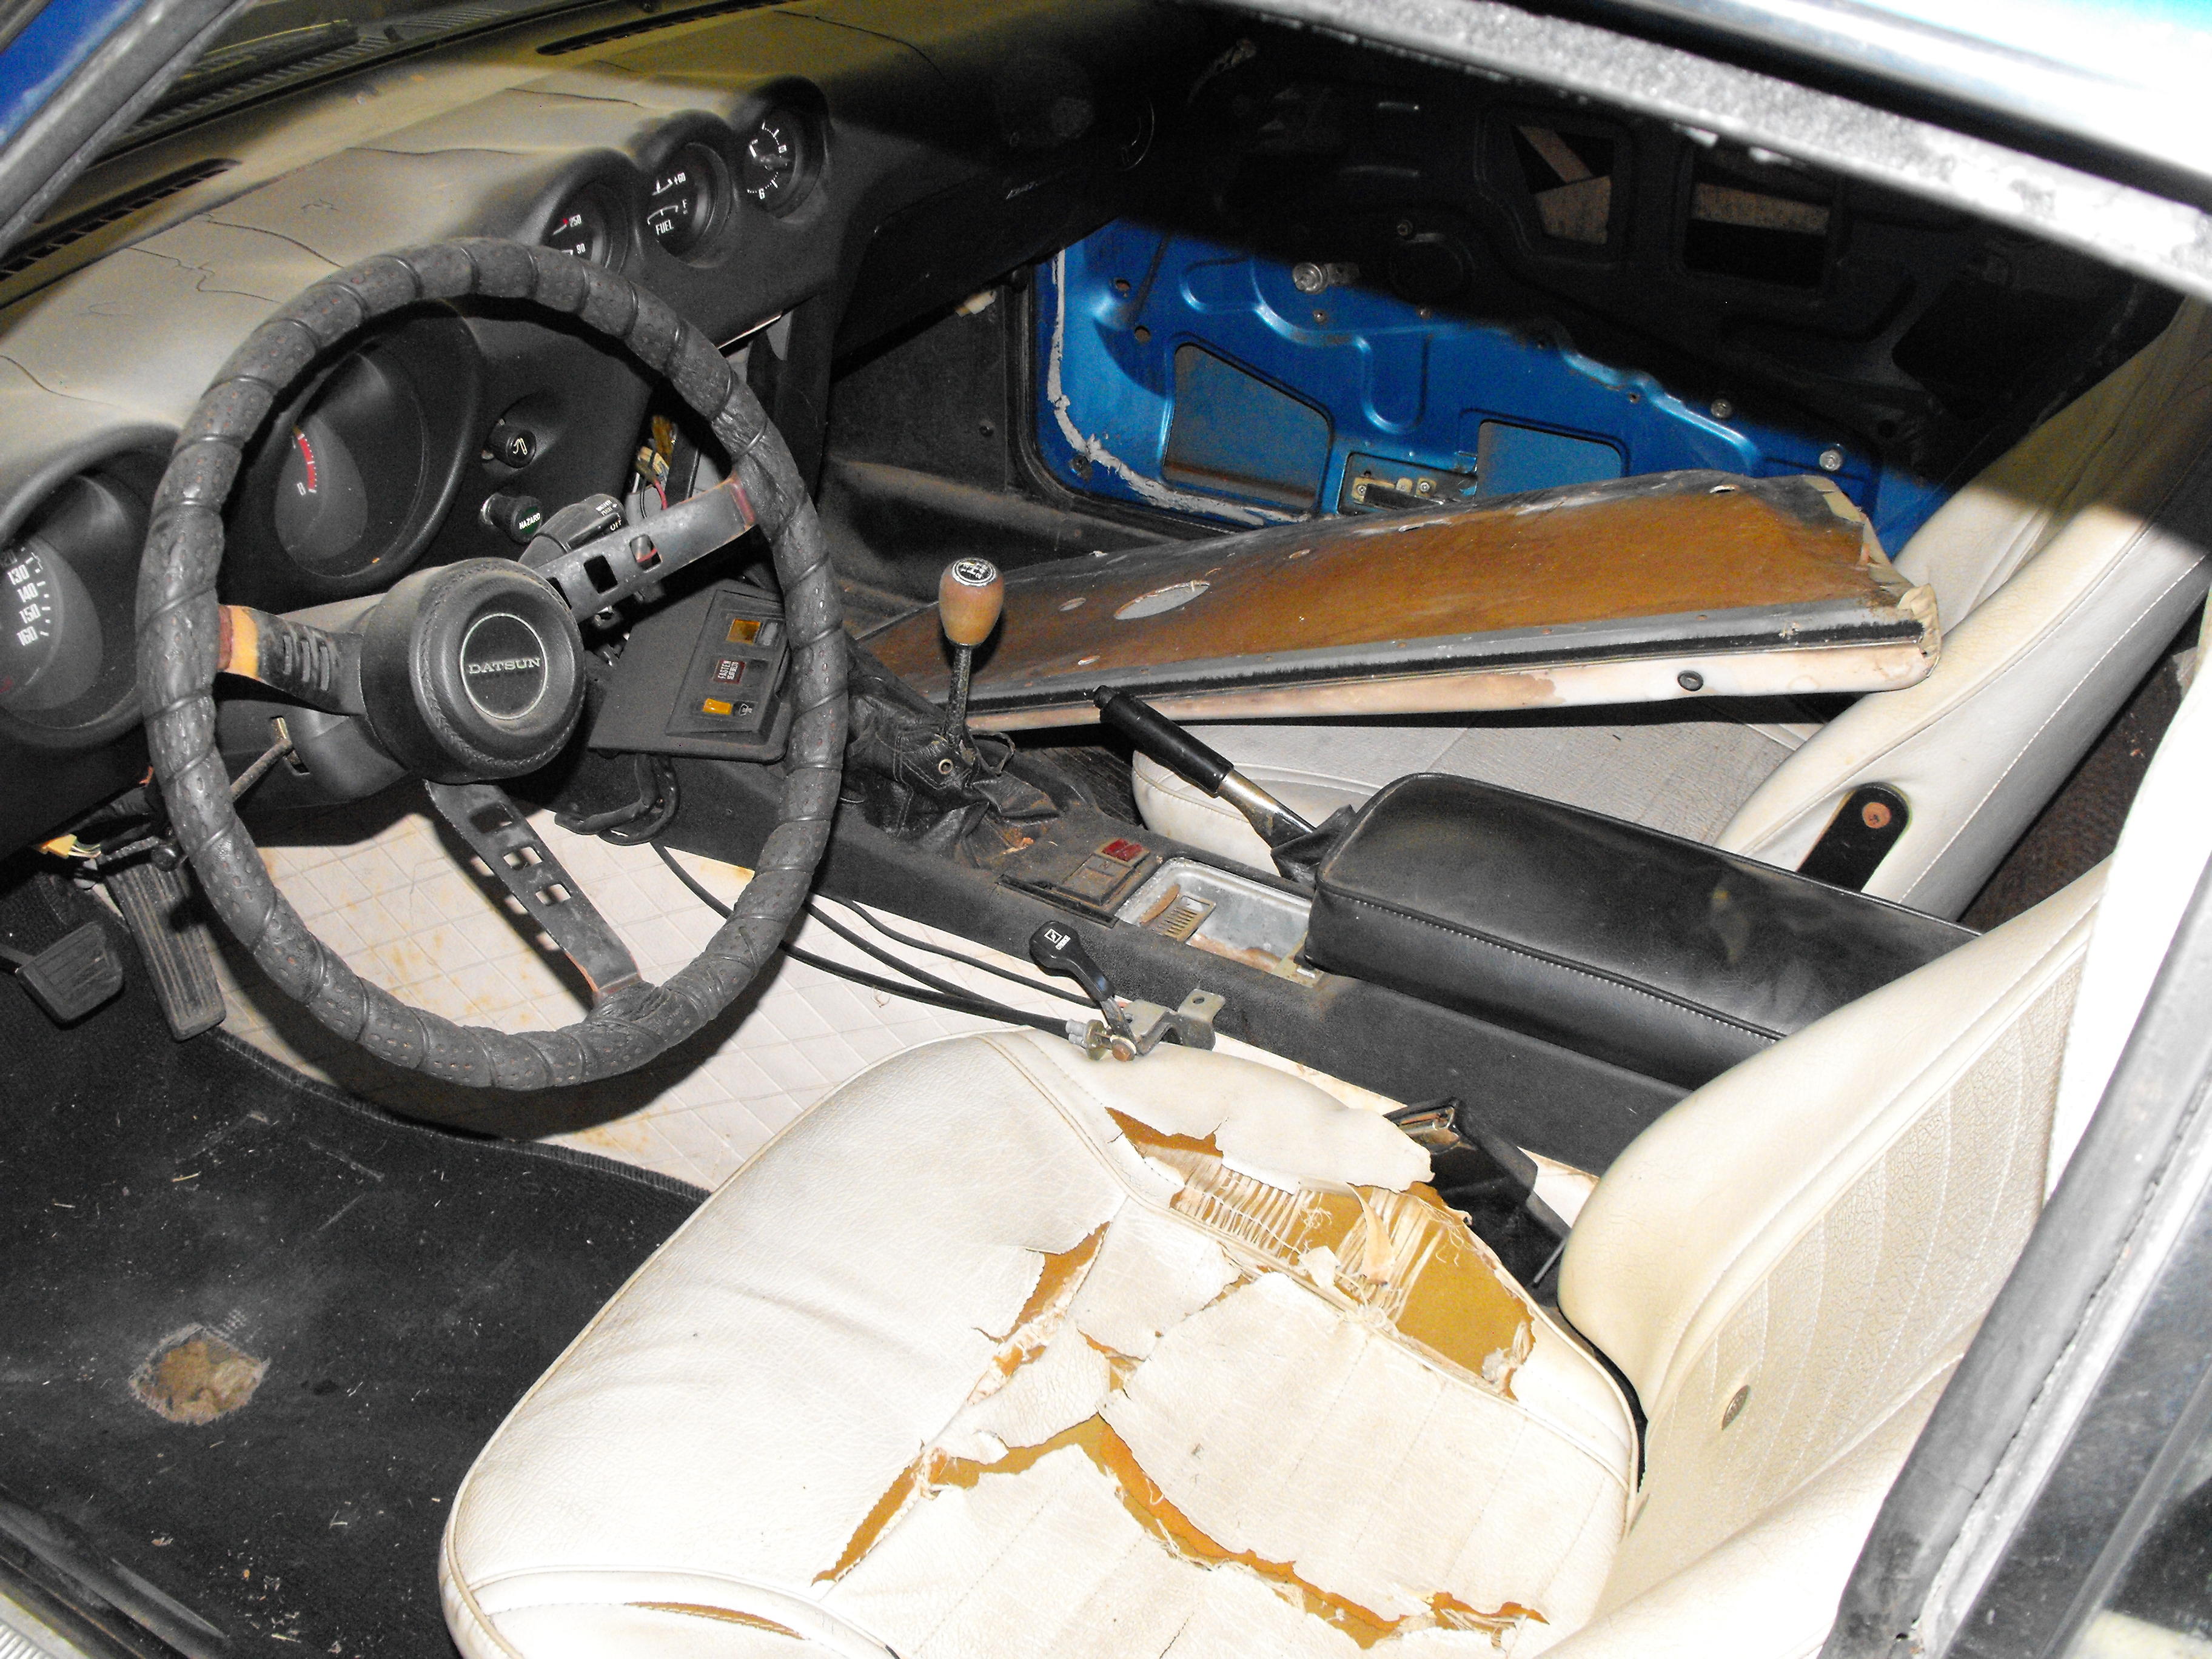
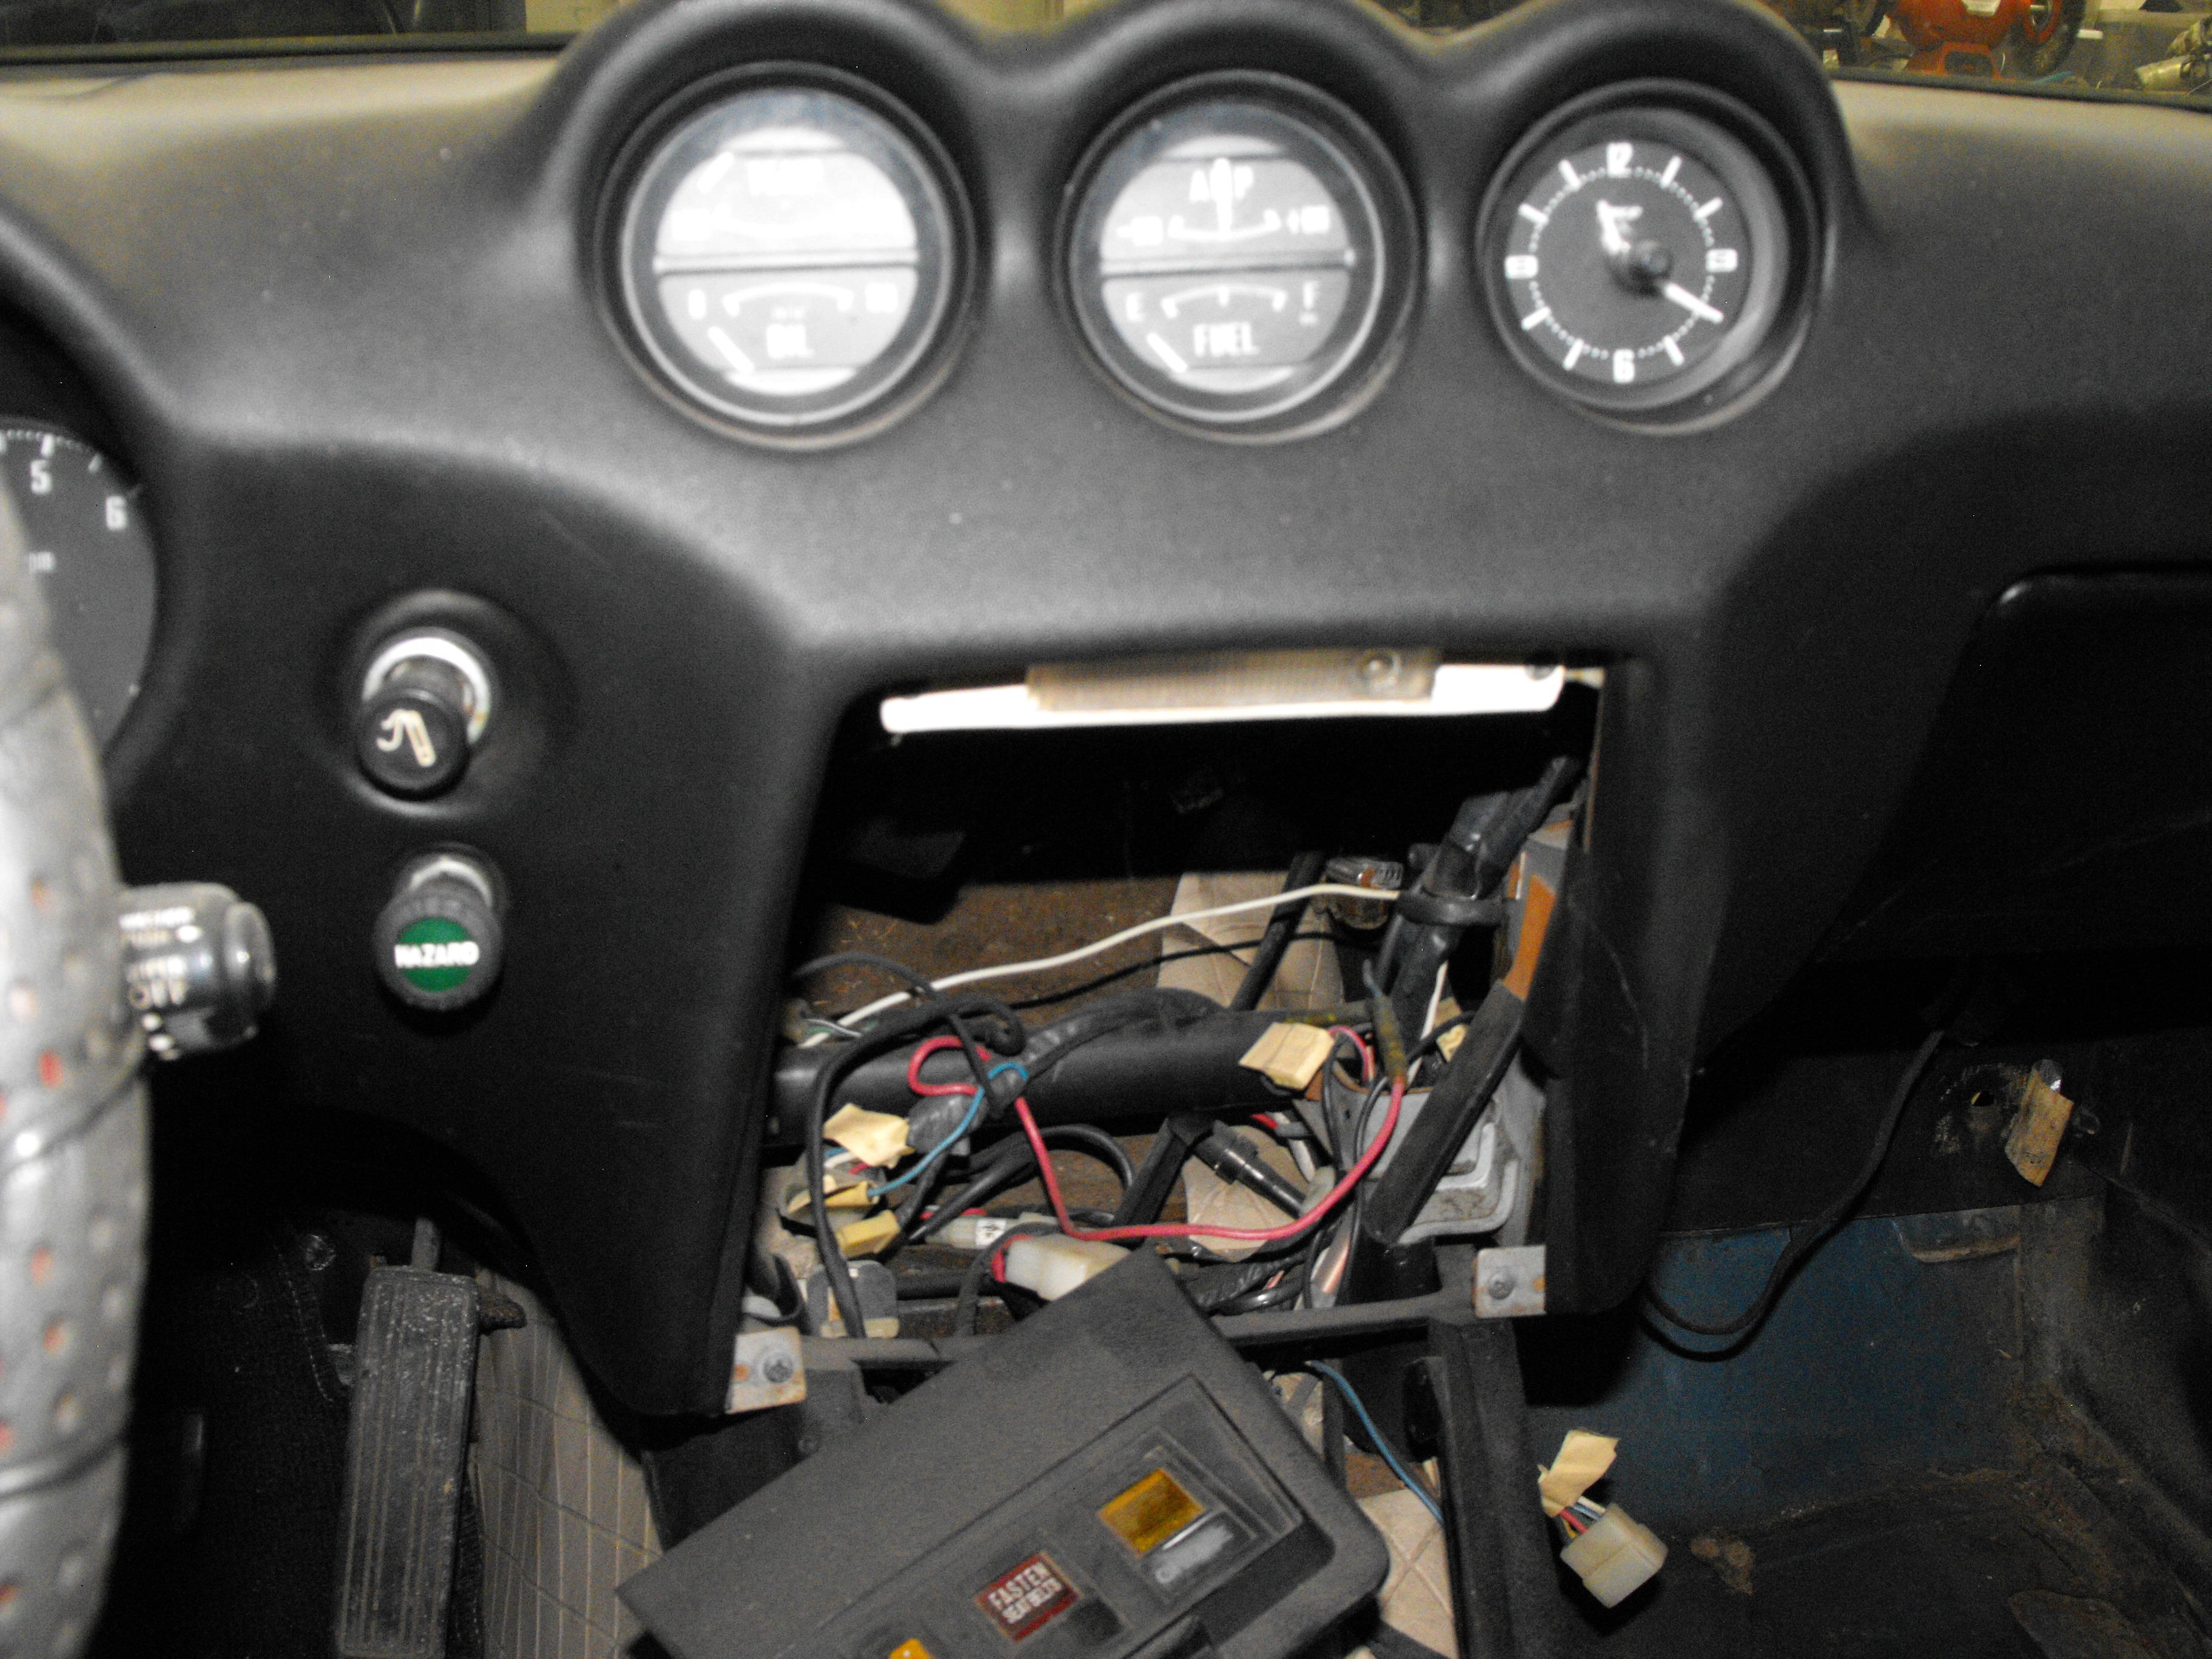
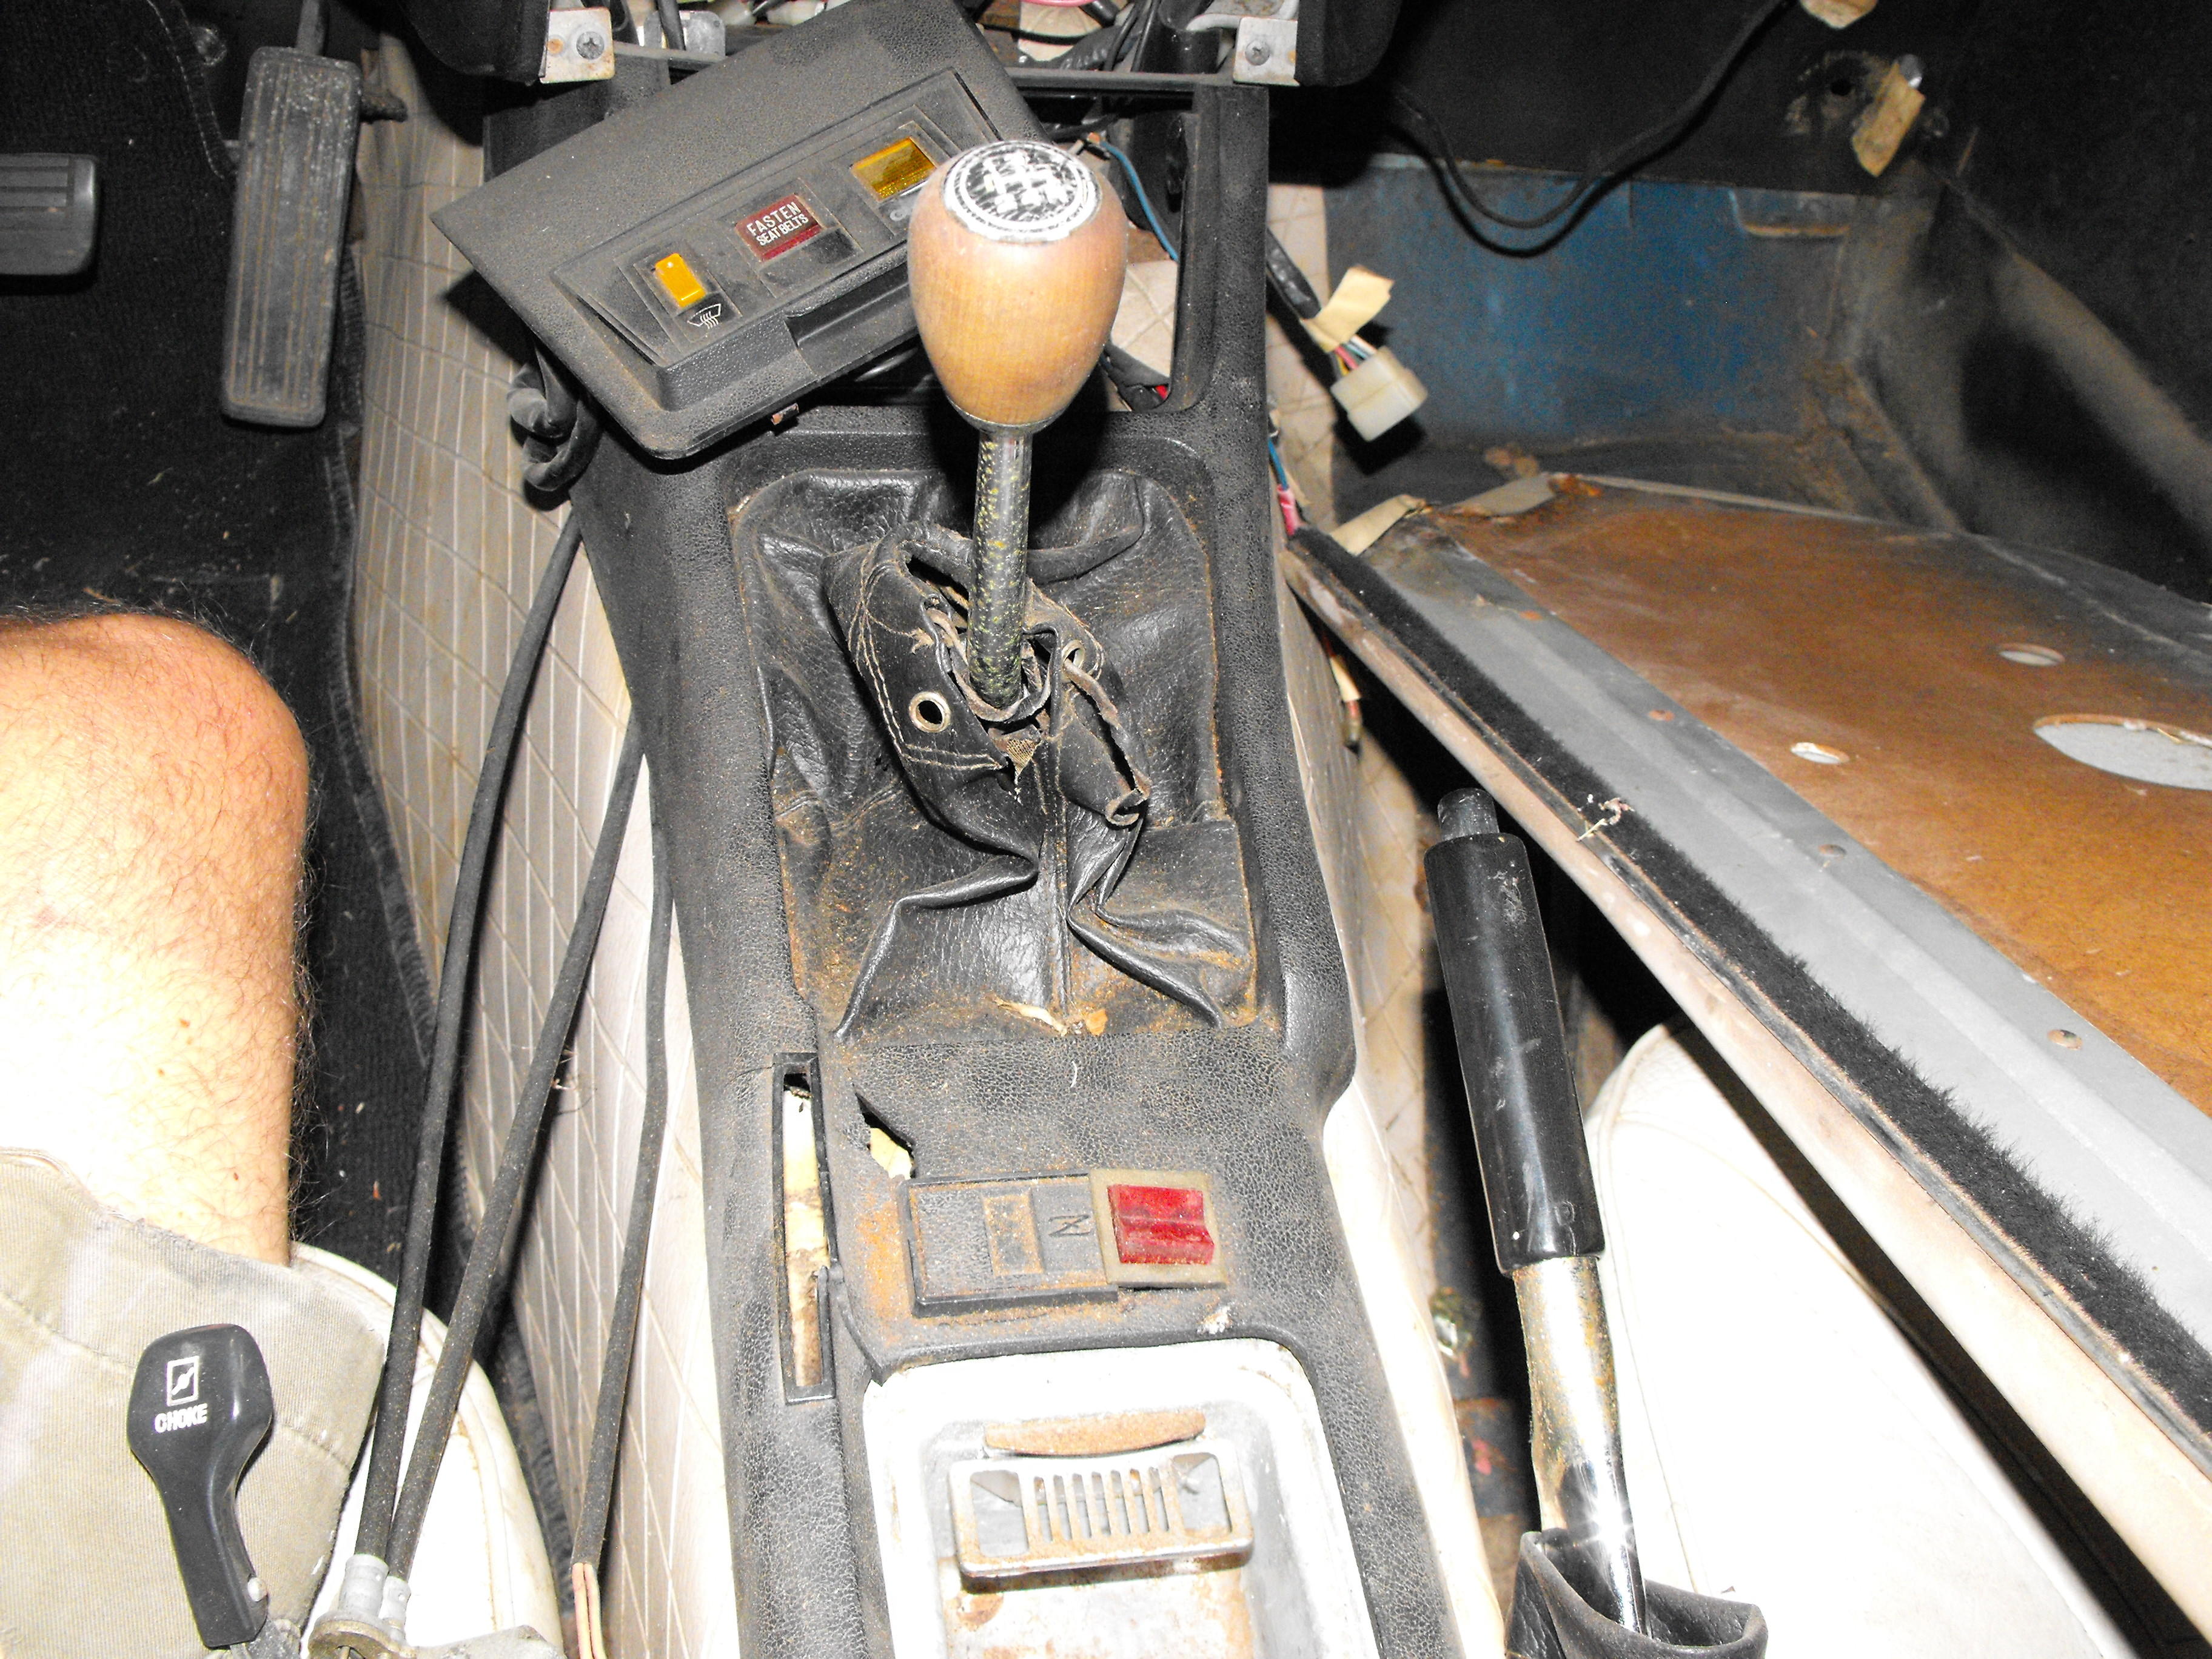
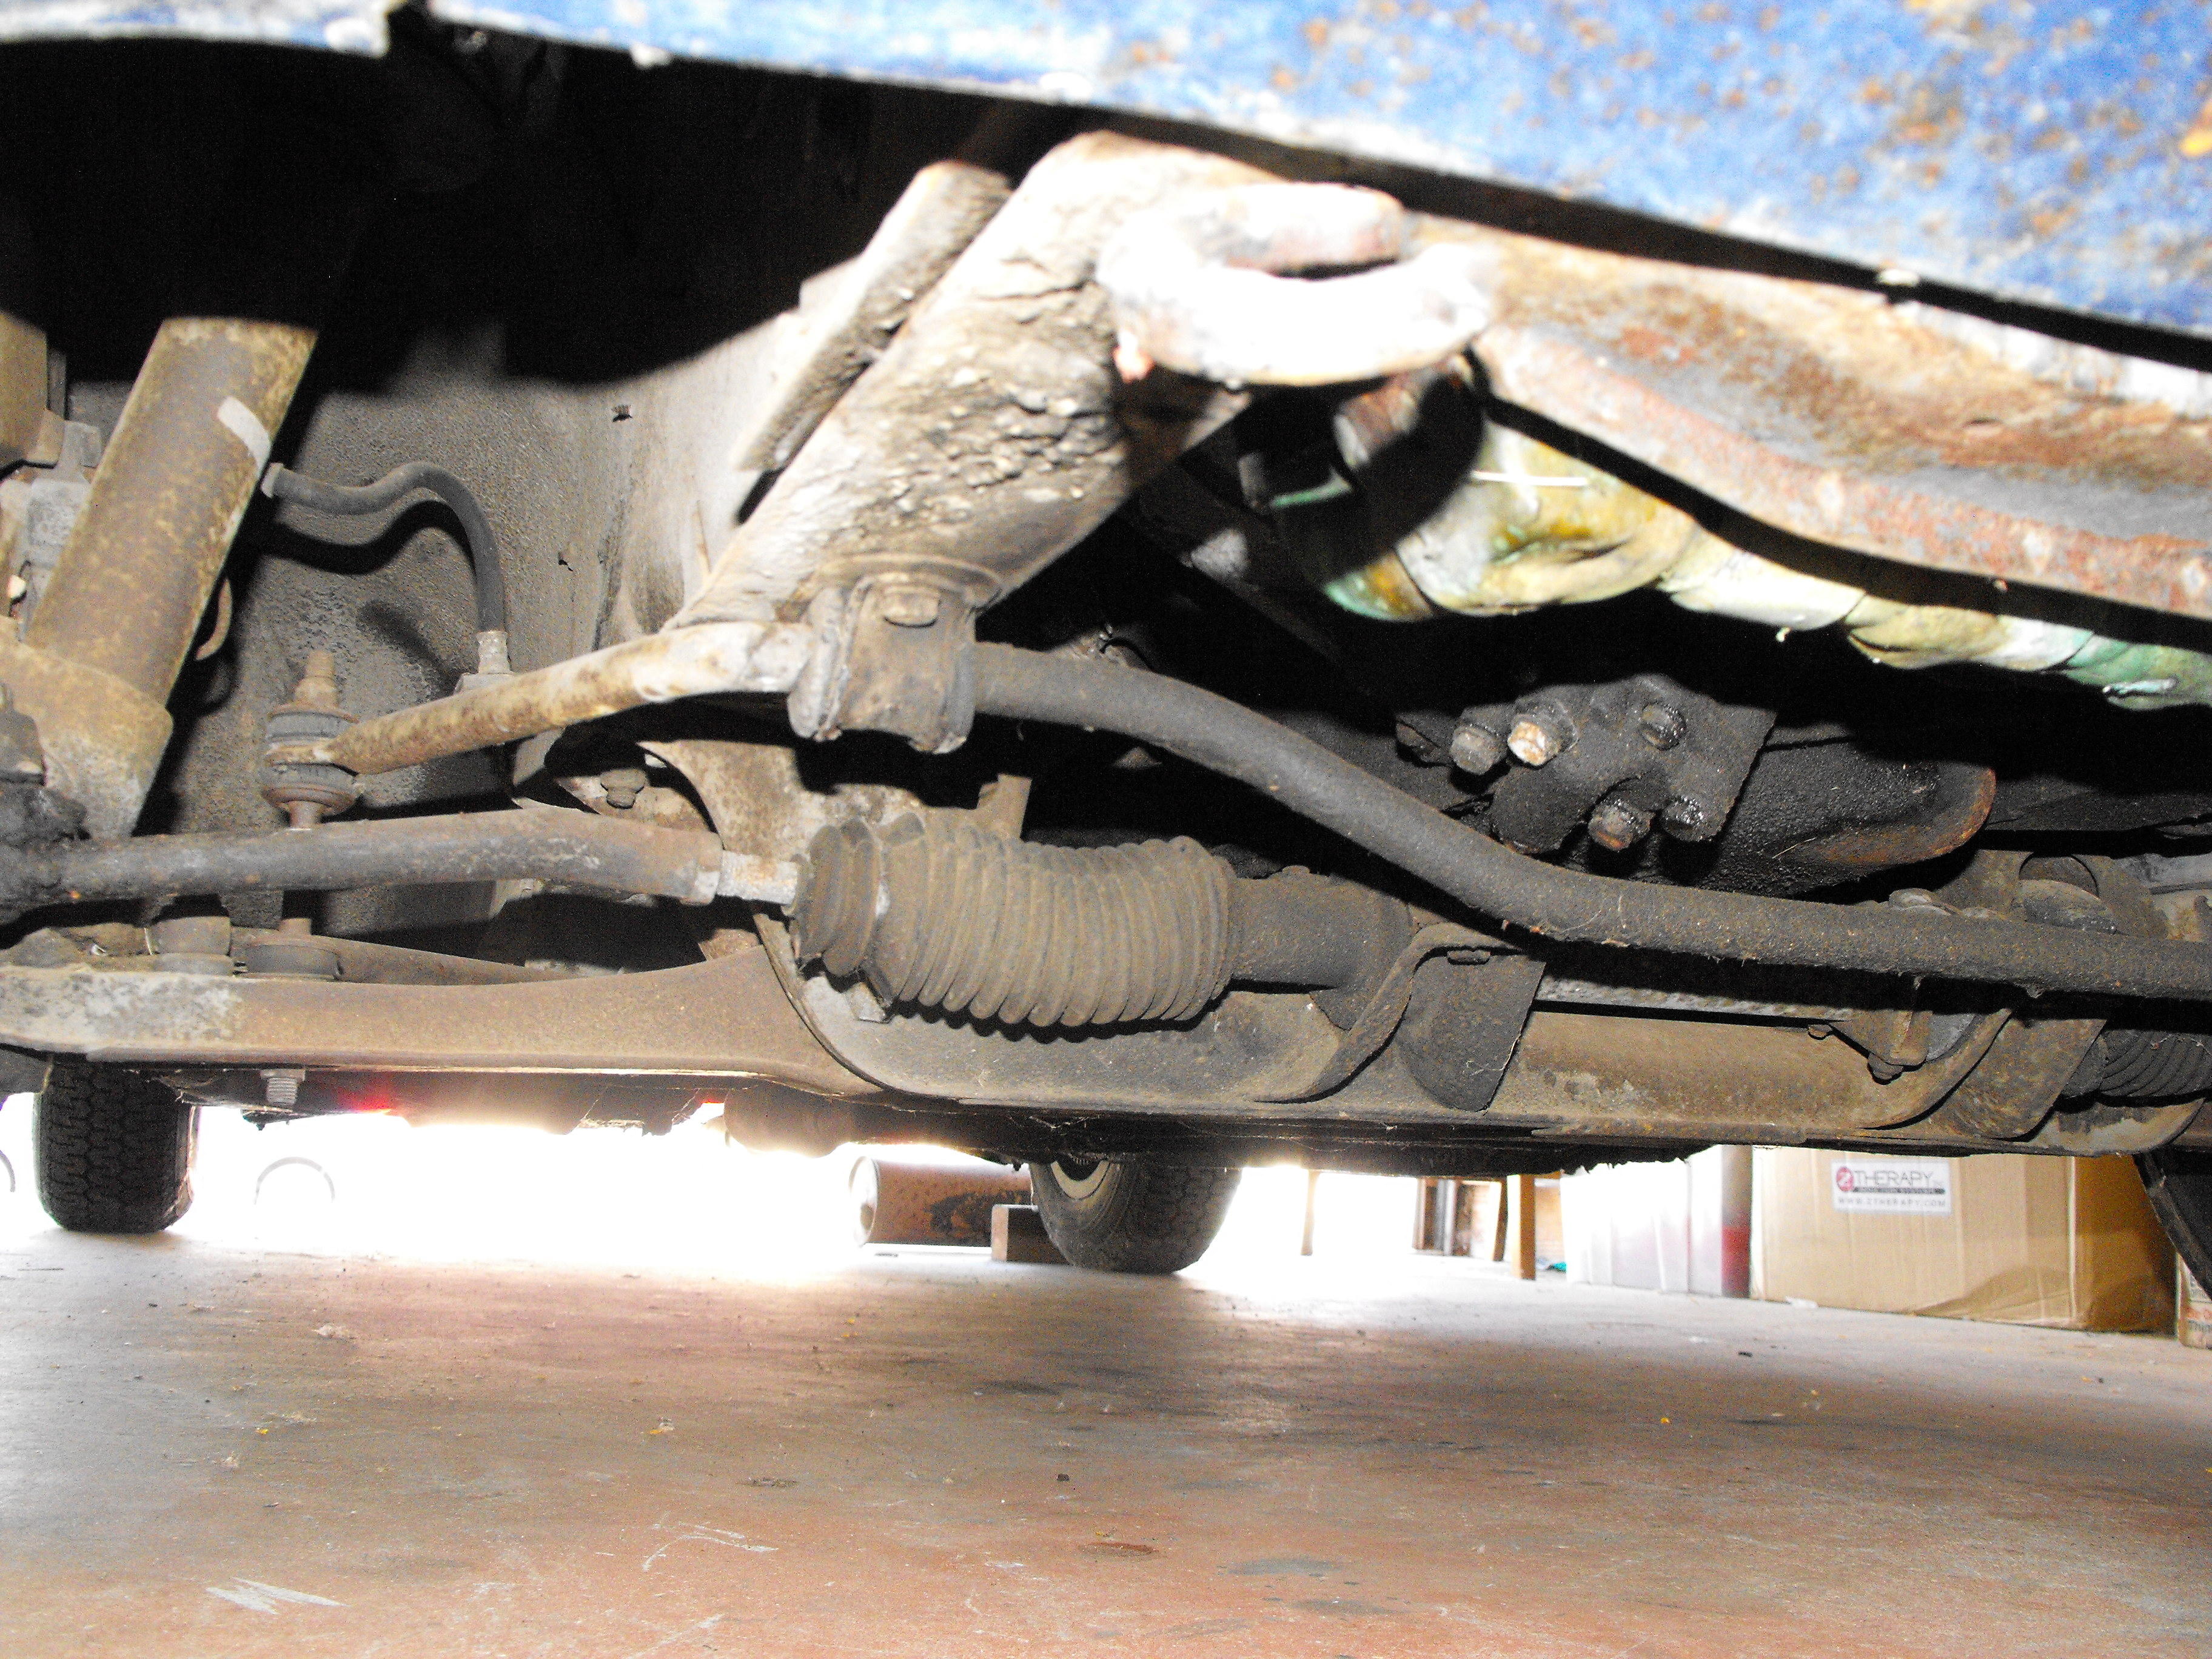
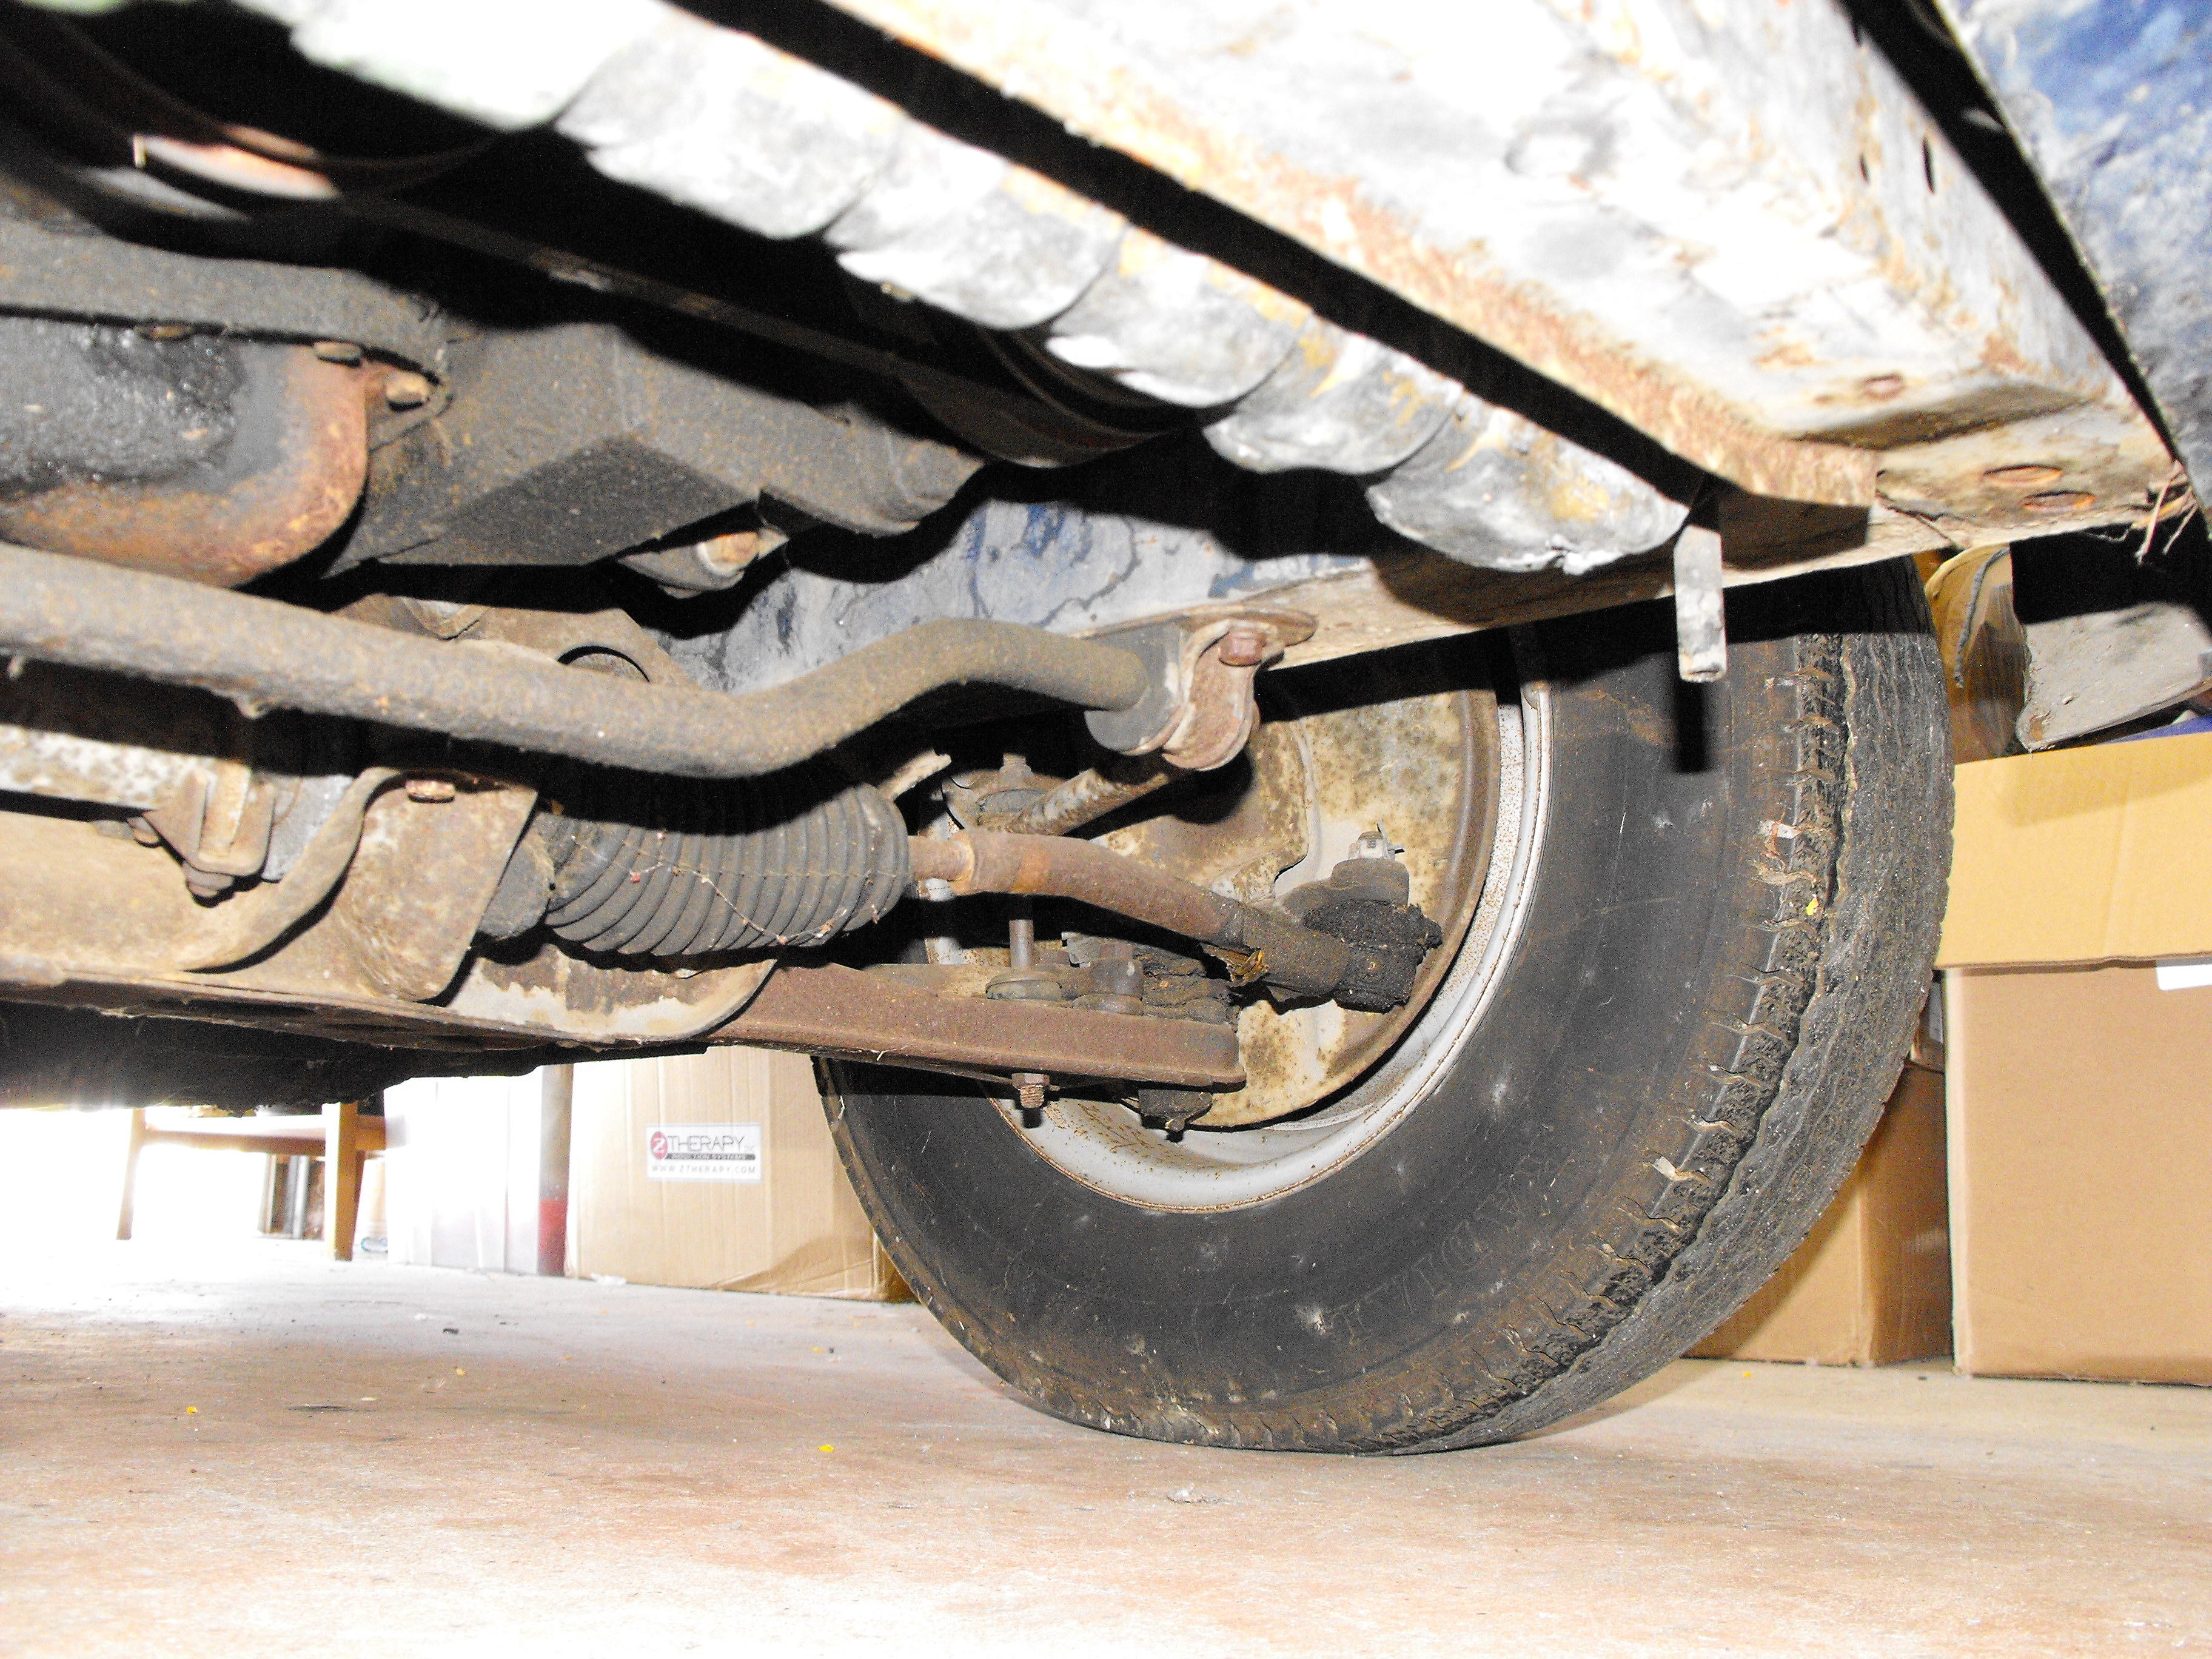
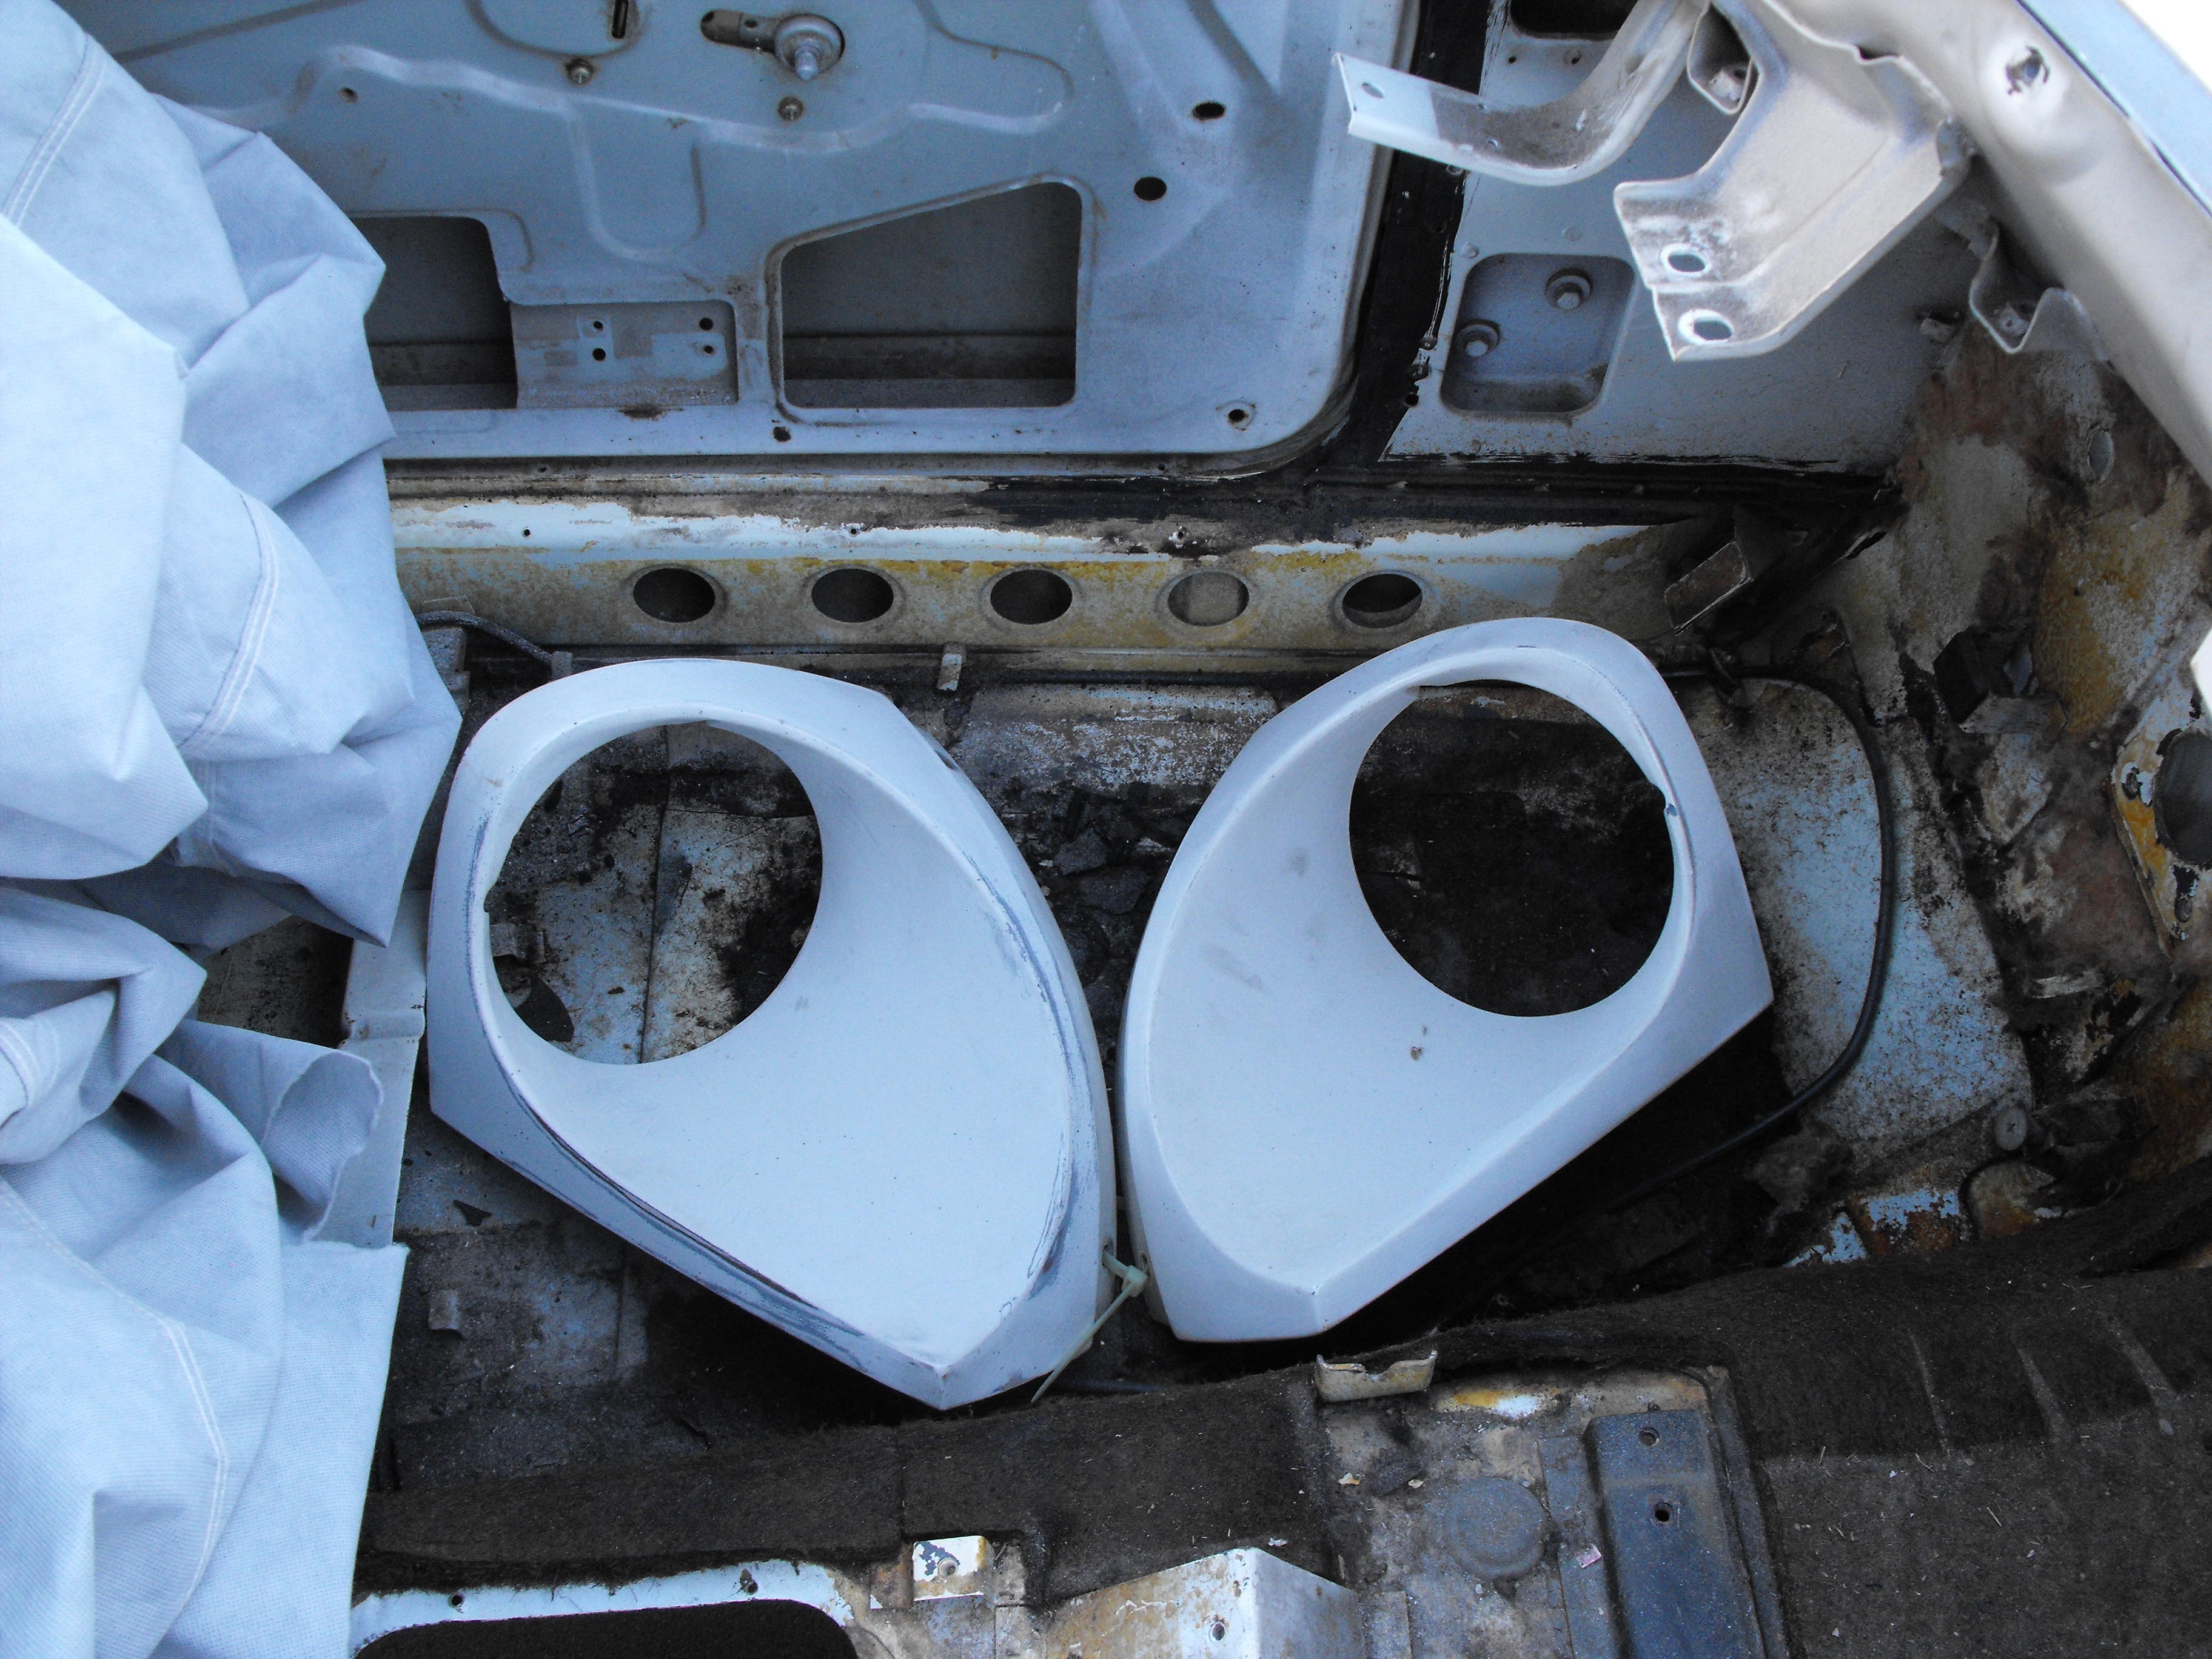
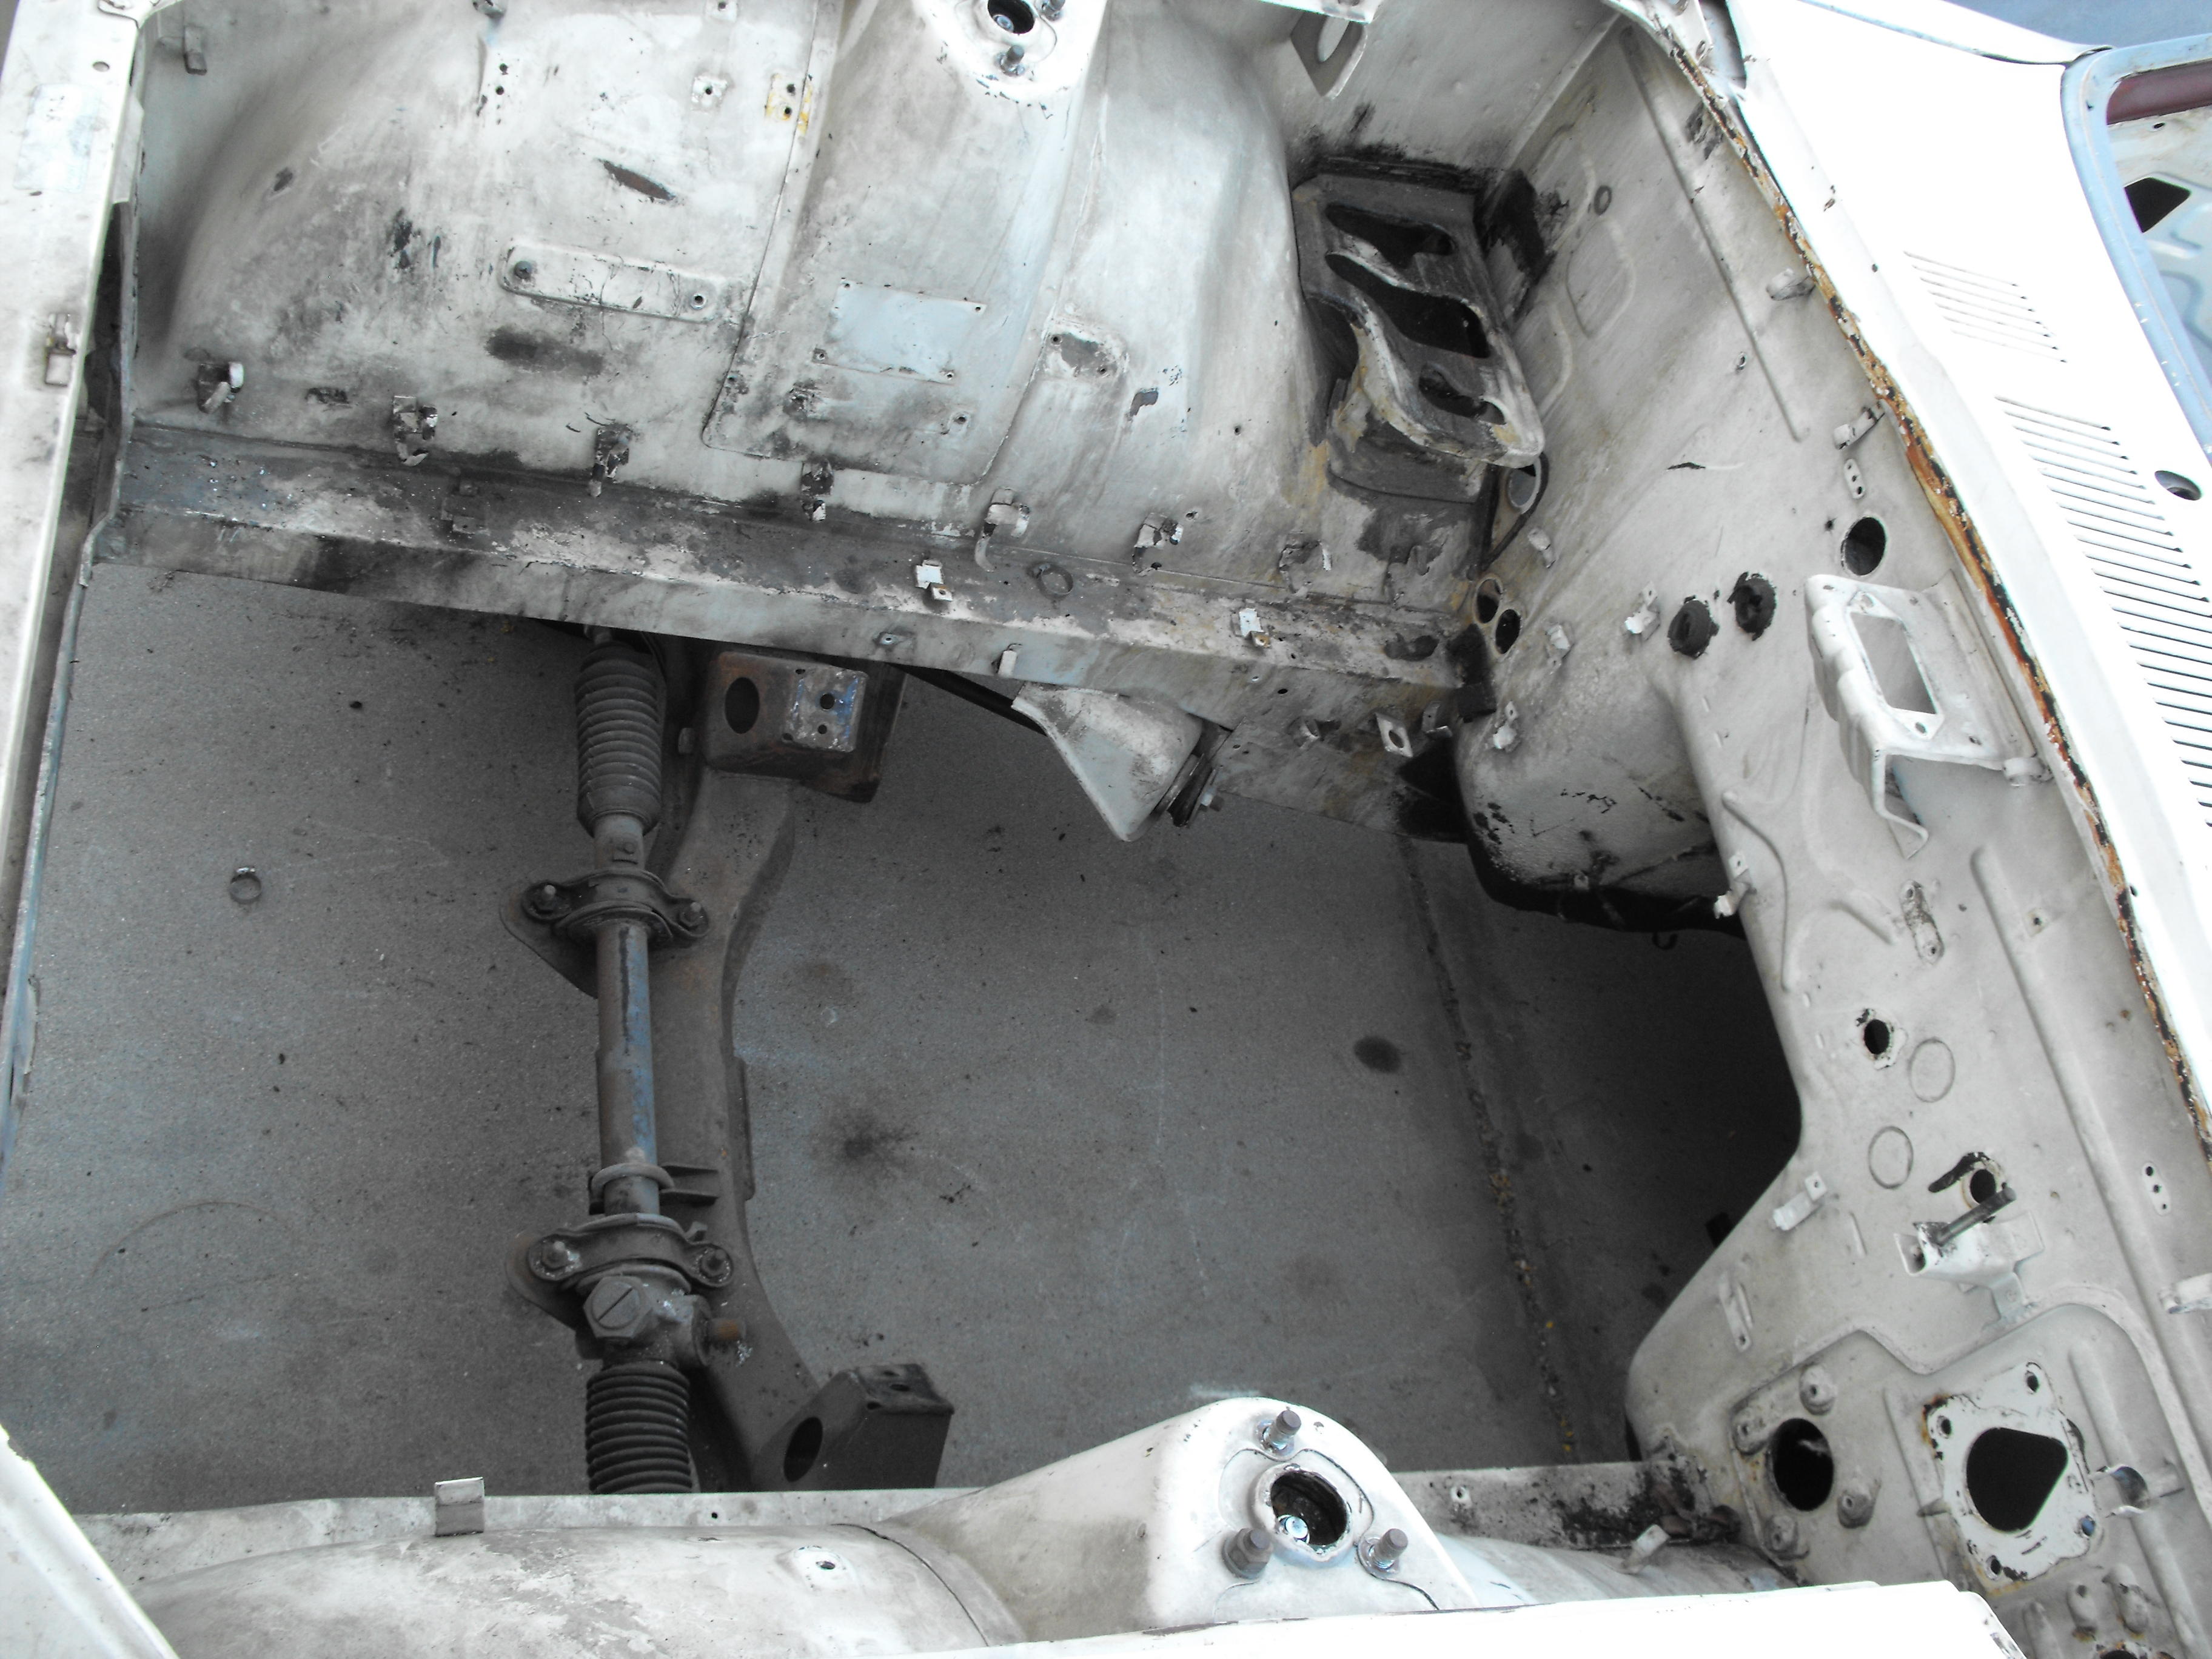
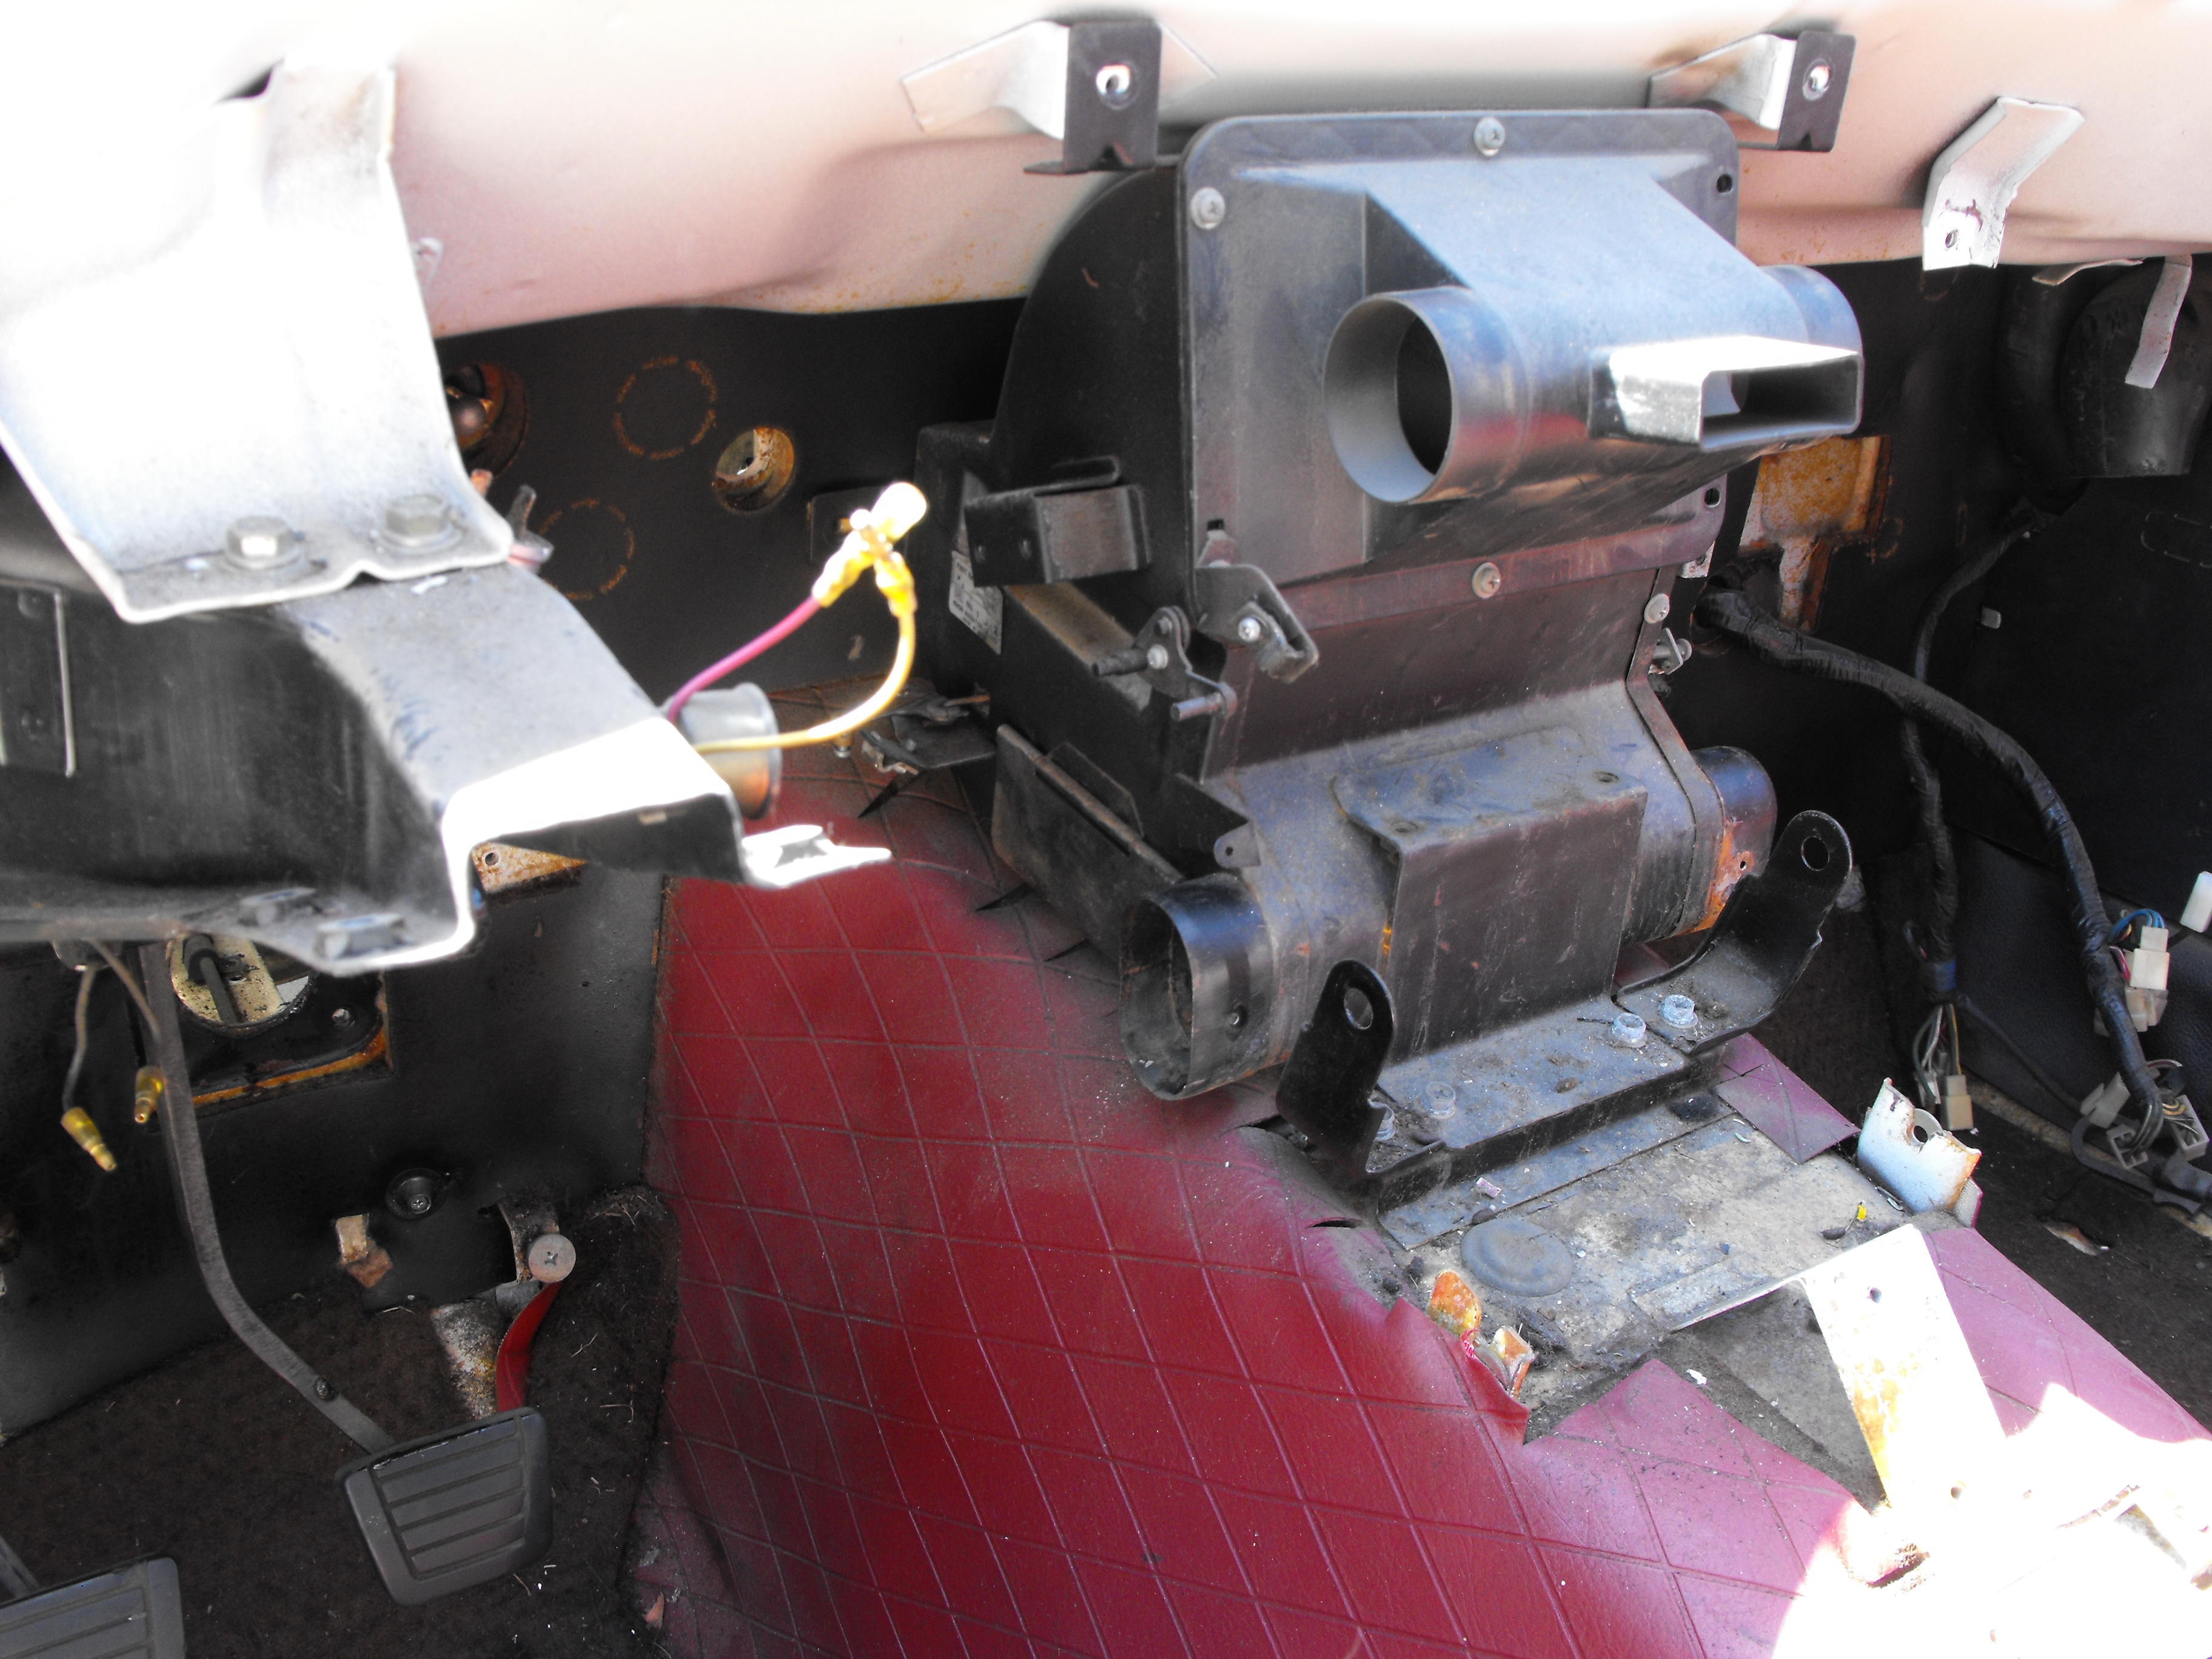
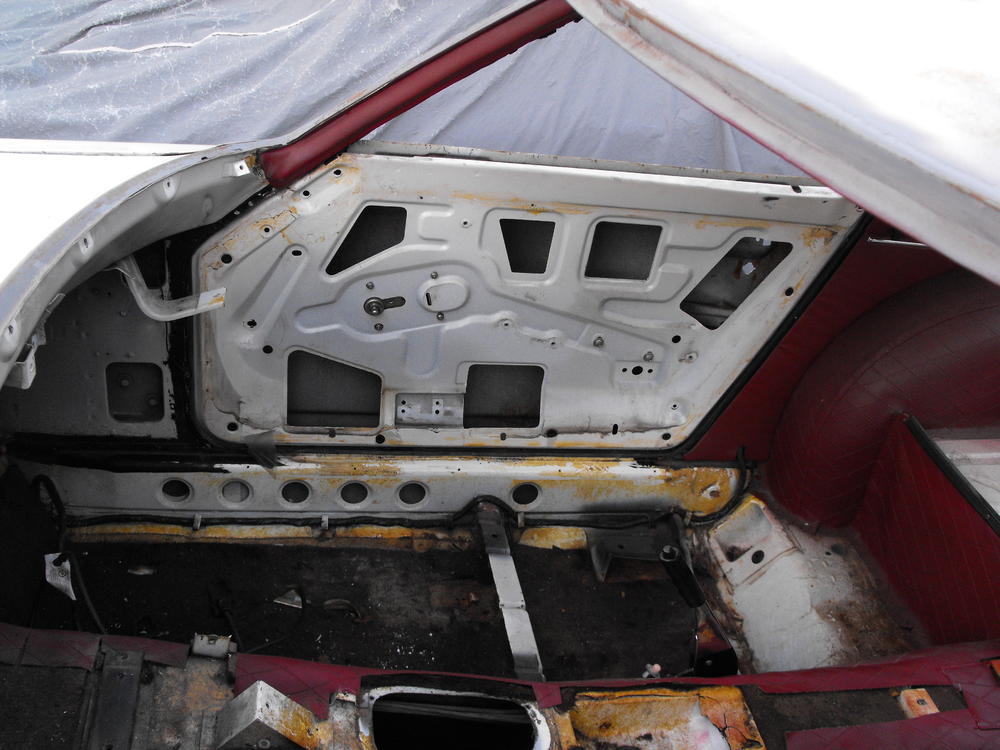
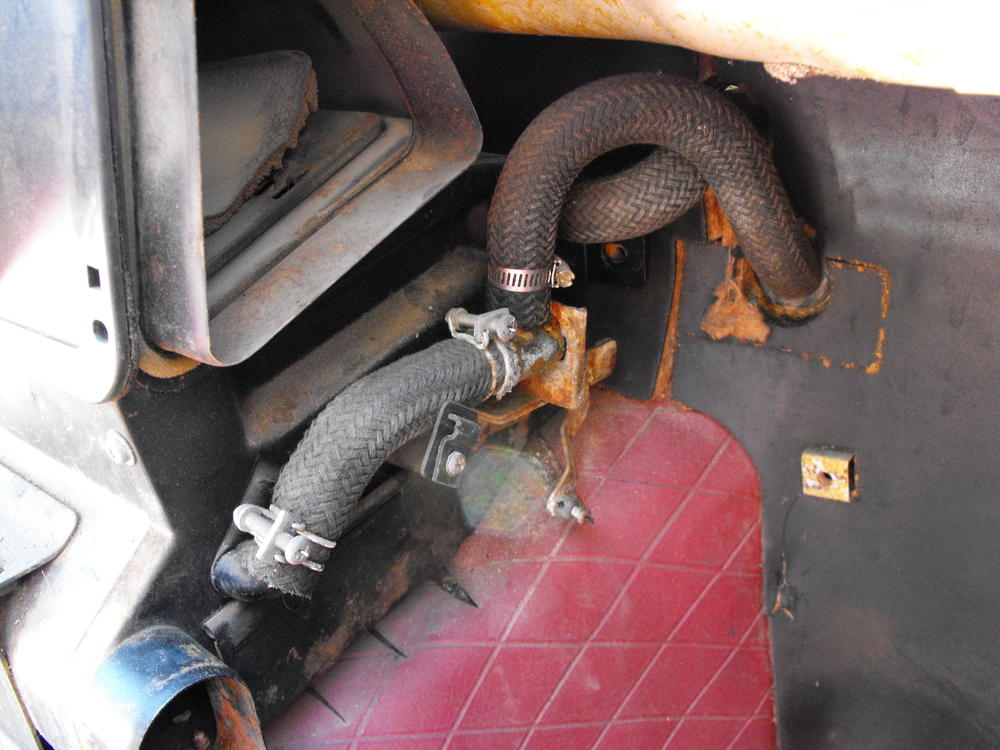
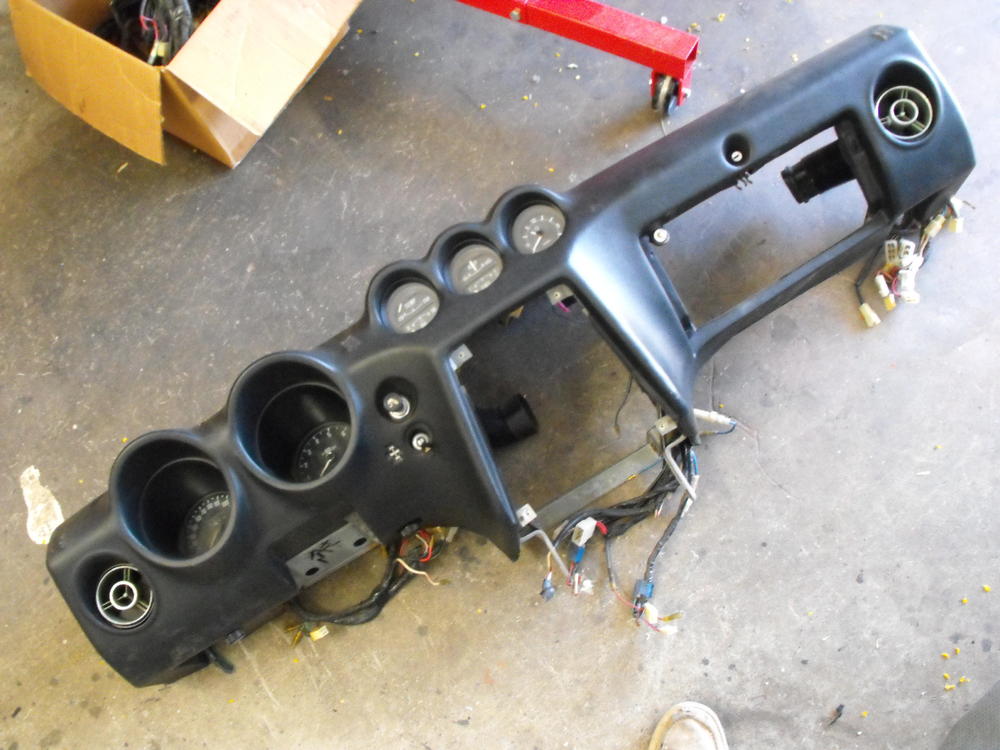
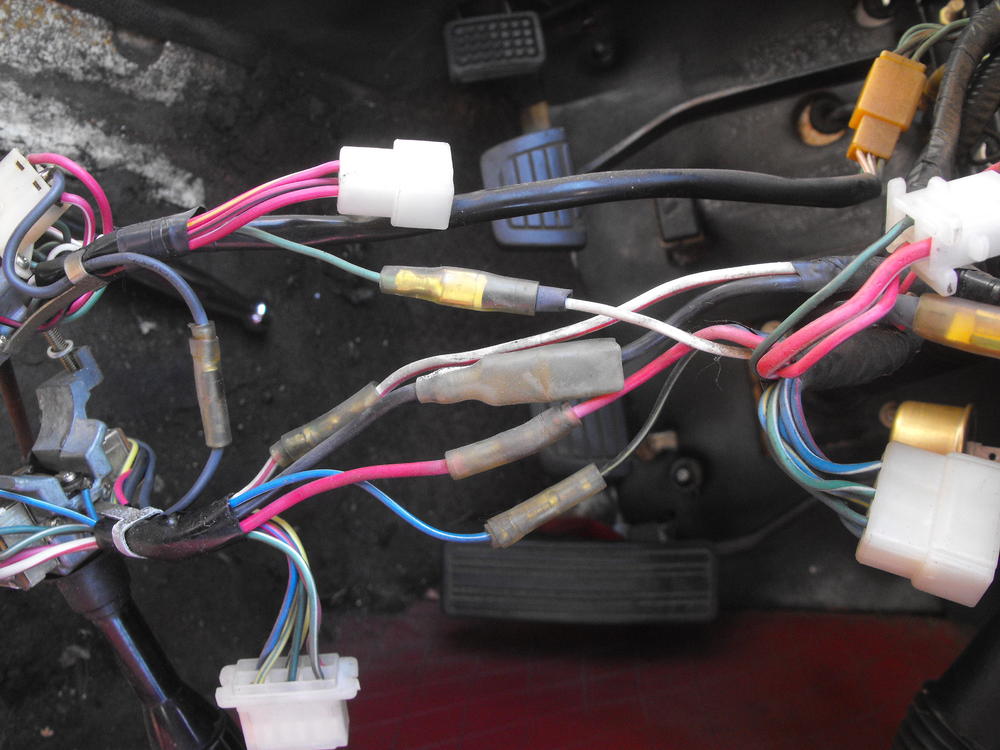
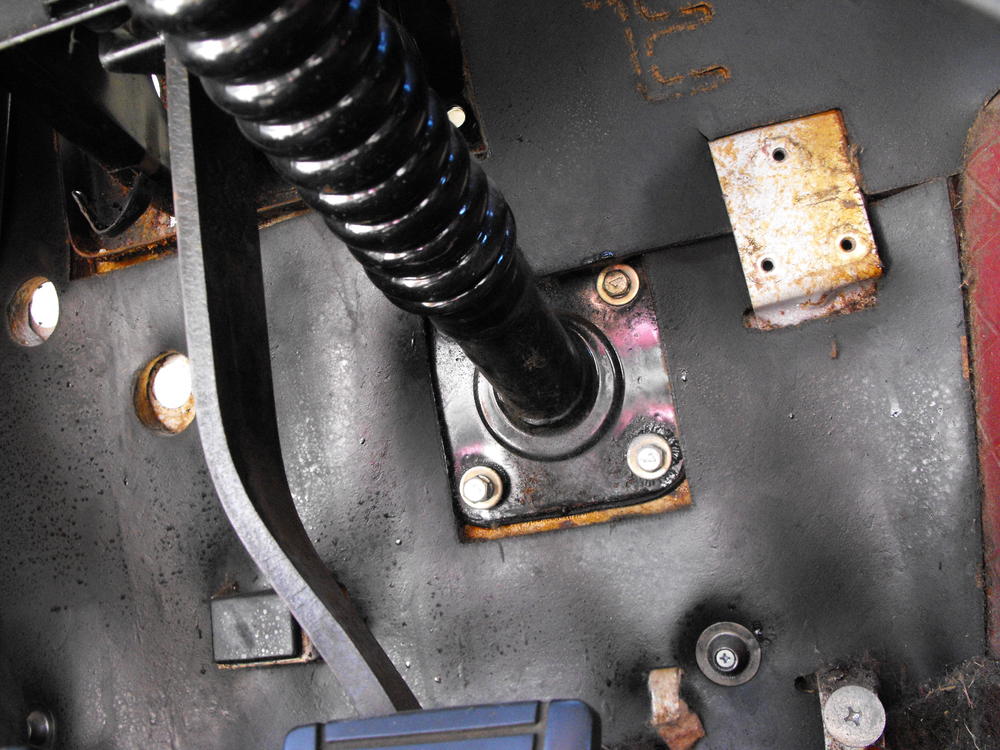
Continued tear down of the white car, taking detail pics along the way. Definitely had to take pics of the headlight switch and turn signal wiring because you know that I will remember that the white wire connects to the green wire, and the black/white wire connects to the blue/white wire ?. I did get the dash out and heater and fan out. Also nice to see the original heater hoses with the wire clamps on them. Also got the door hardware stripped. Here are a few pics. With another 4 hours I can probably have this completely stripped and ready for sanding.

-
Will do, thanks!
-
I'll be there! Just got the plane tix and reserved hotel spot. Wife coming as well since we will be spending time with family out there. Looking forward to seeing everyone....and the Z's of course ☺️
-
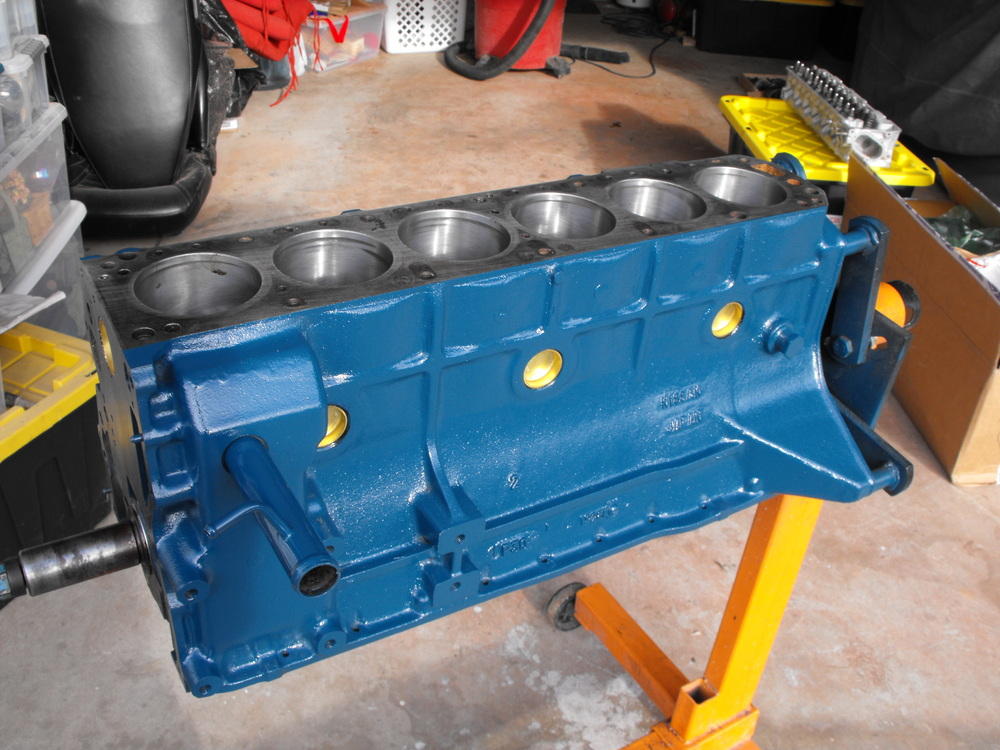
I think it is all in the lighting. The pics below are the same block, just with different light. Also, in the third pic, you can see that the original bracket color matches the block color. I have also sprayed Les Canaday's paint next to the California Datsun color and there is no detectable difference. Pics of the block under sunlight are even lighter.

-
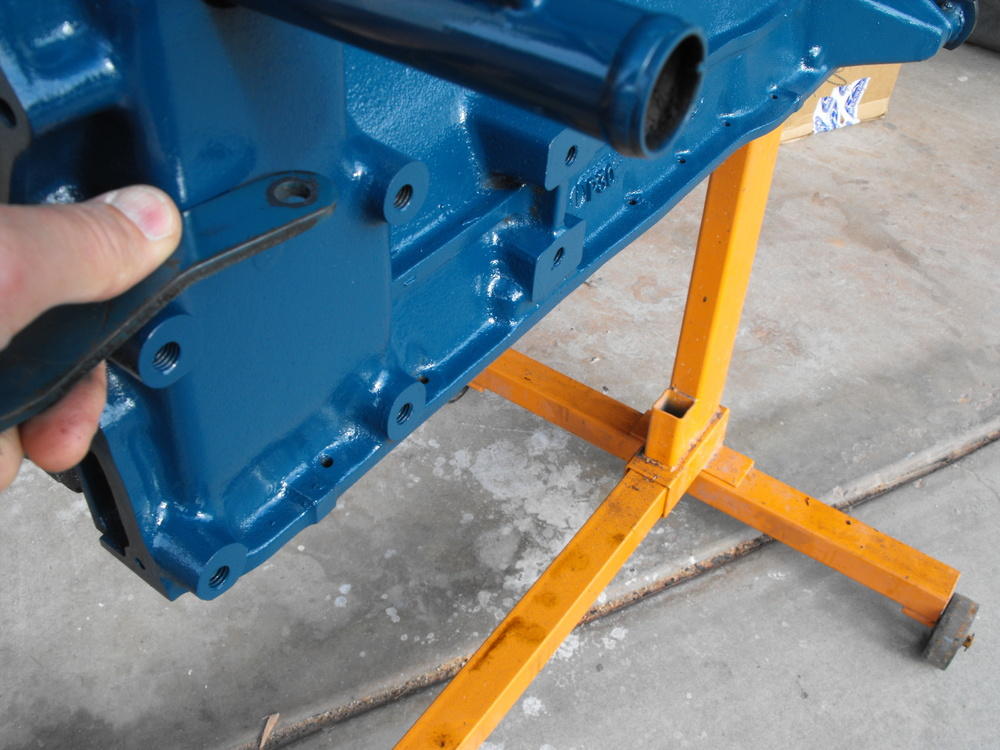
Looks Awesome! Gotta love that weldment on the oil pan, very unique to the early Z's.
-
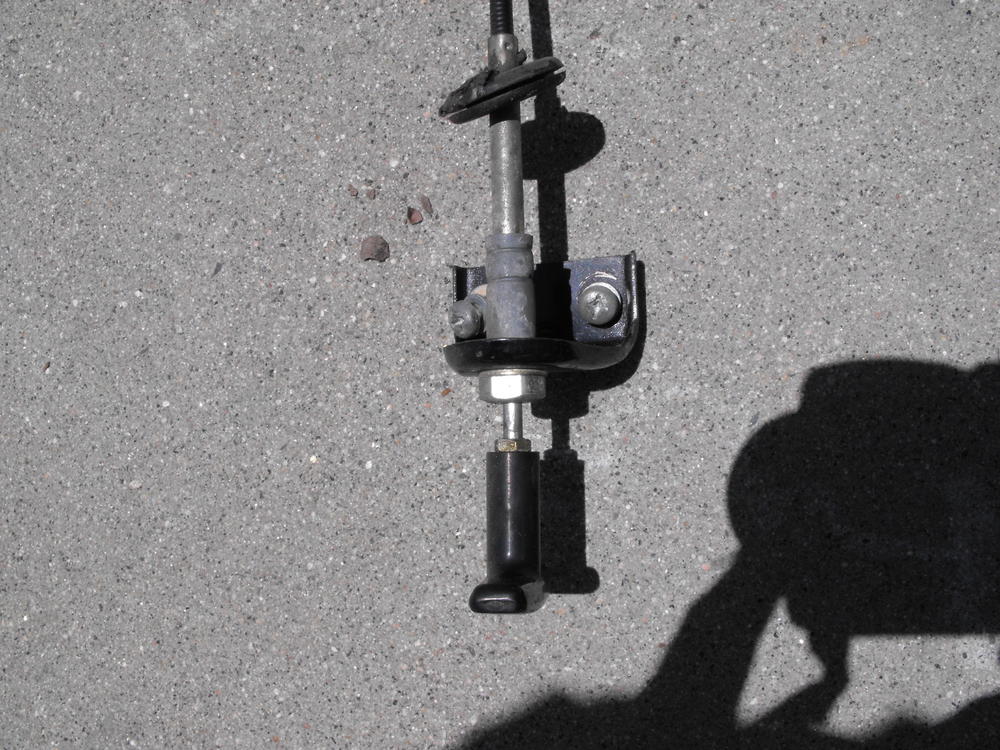
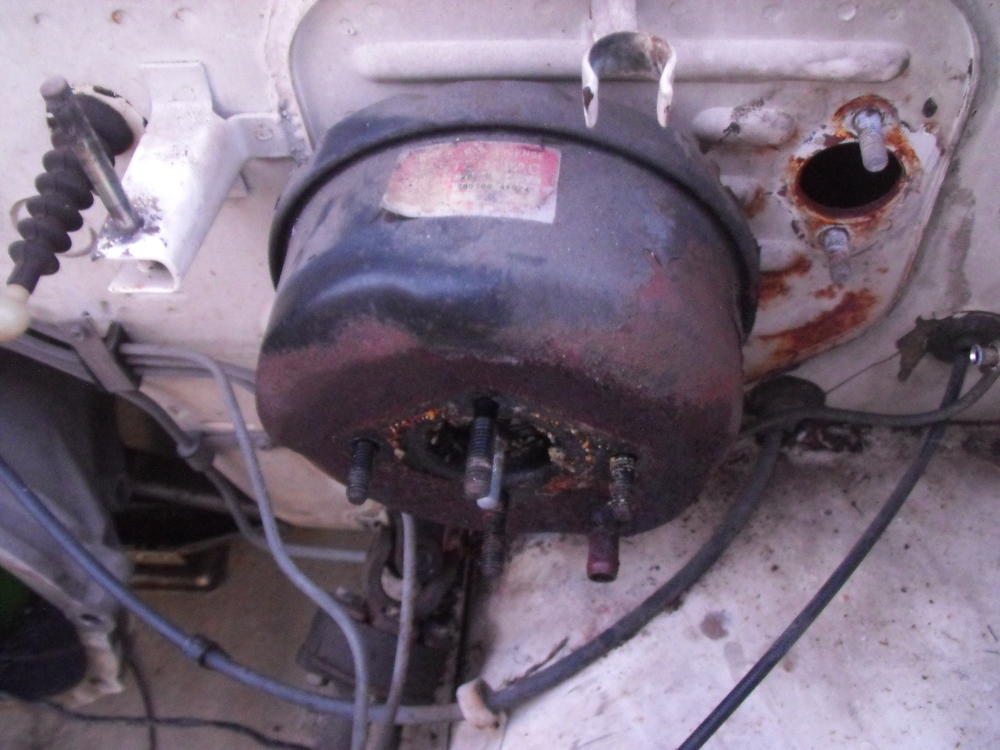
Here is the brake booster pic. Needs to be cleaned up a bit.
-
Yes...bills are paid, wife is pretty much 'retired' (she volunteers a lot), so we are doing fine. I know my wife's concern is that she feels that I spend more time with my cars than her. She refers to my cars as 'The Mistresses'. I think my wife is OK with me getting the cars because it means she can spend more money on the house. Whenever she wants something done on the house, like a room remodel, new tile, and the like, she just has to say, 'You spent money on the cars, so I want to spend money on the house'. For her, the cars are leverage.