motorman7
 Subscriber
-
Posts
2,198 -
Joined
-
Last visited
-
Days Won
56
Content Type
Profiles
Knowledge Base
Zcar Wiki
Forums
Gallery
Events
Downloads
Store
Blogs
Collections
Classifieds
Everything posted by motorman7
-
I put a vote in for the E12-80. I had a Petronix installed by the PO on my 71 daily driver and got a lot of misfires over 4K RPM. A friend recommended the E12-80, so I picked one up from the junk yard for $35. I can now rev the motor till she blows I guess, no misfires up to 7K. I am guessing that there is a lot of variability in the Petronix due to the spacing of the magnets with Hall effects sensor.
-
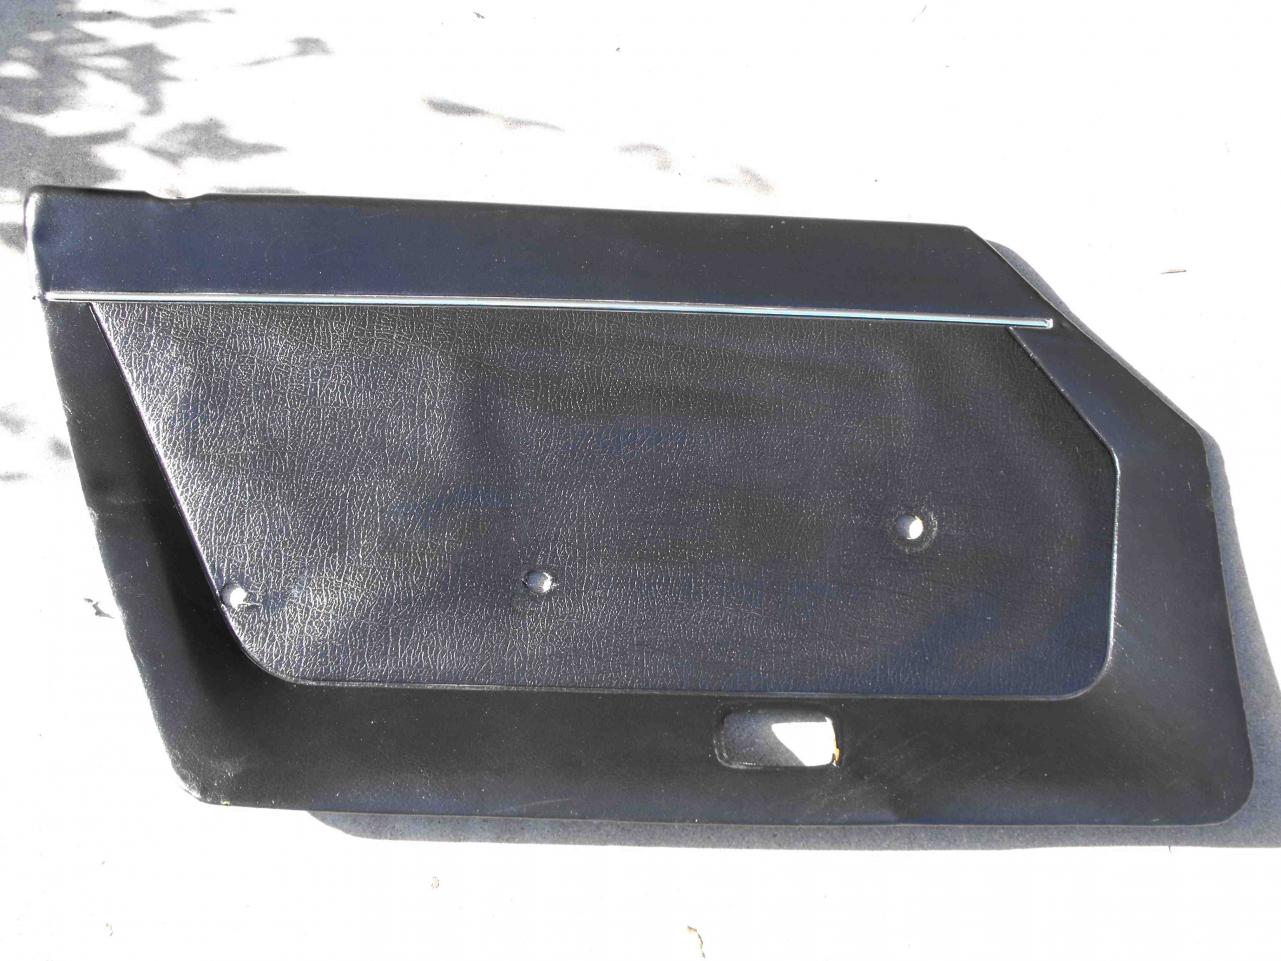
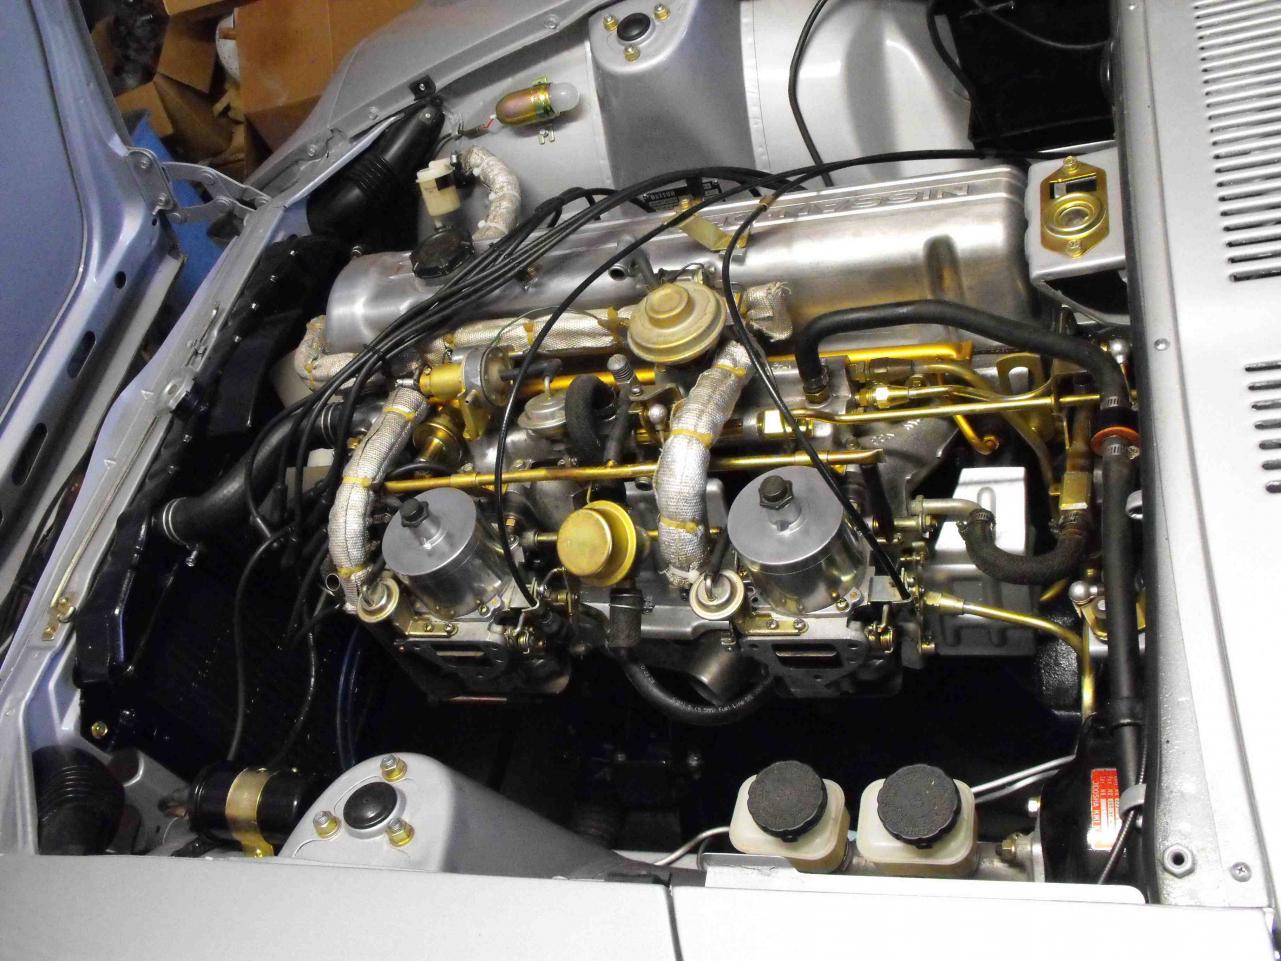
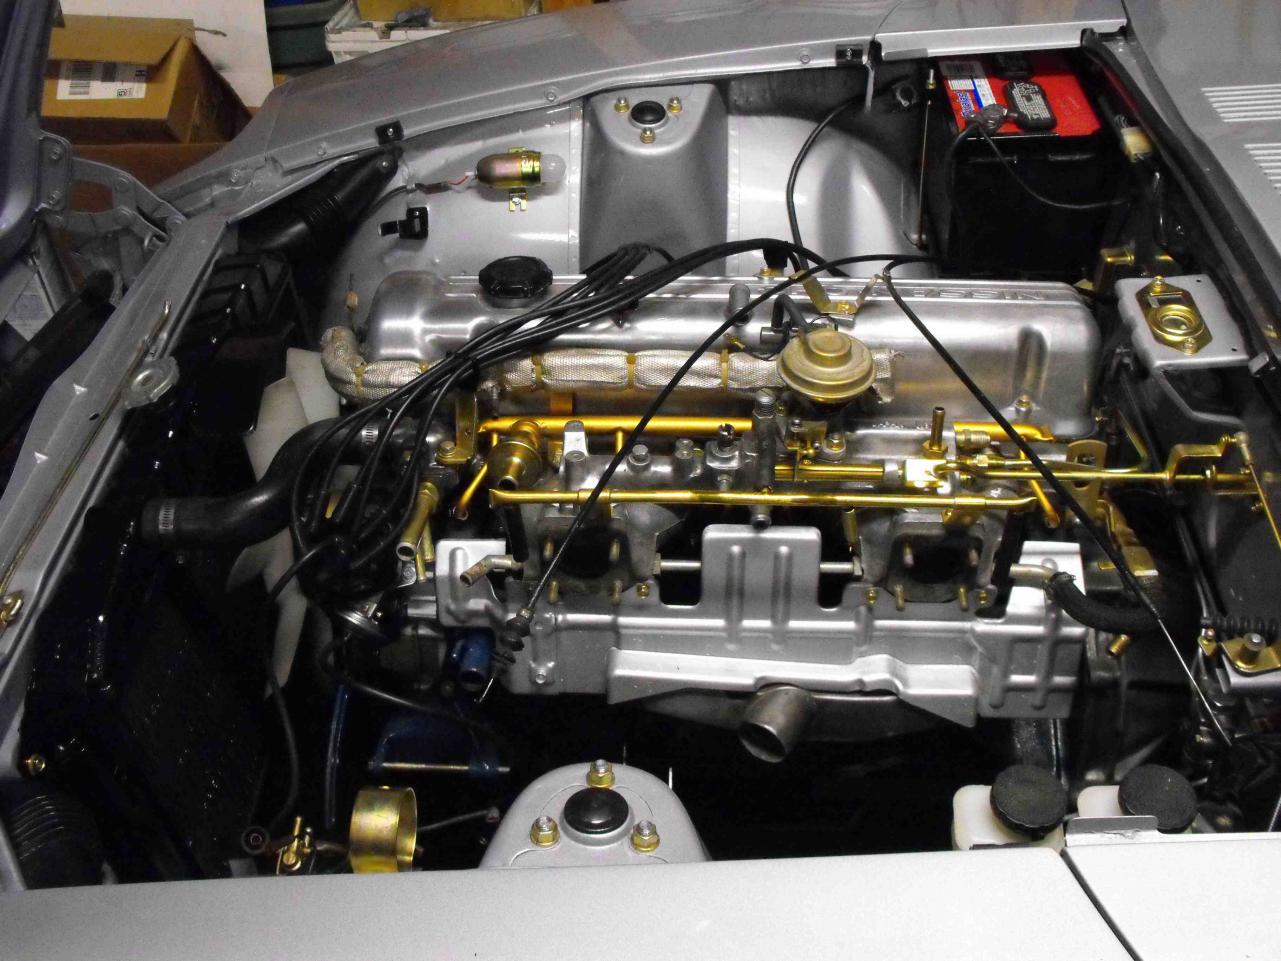
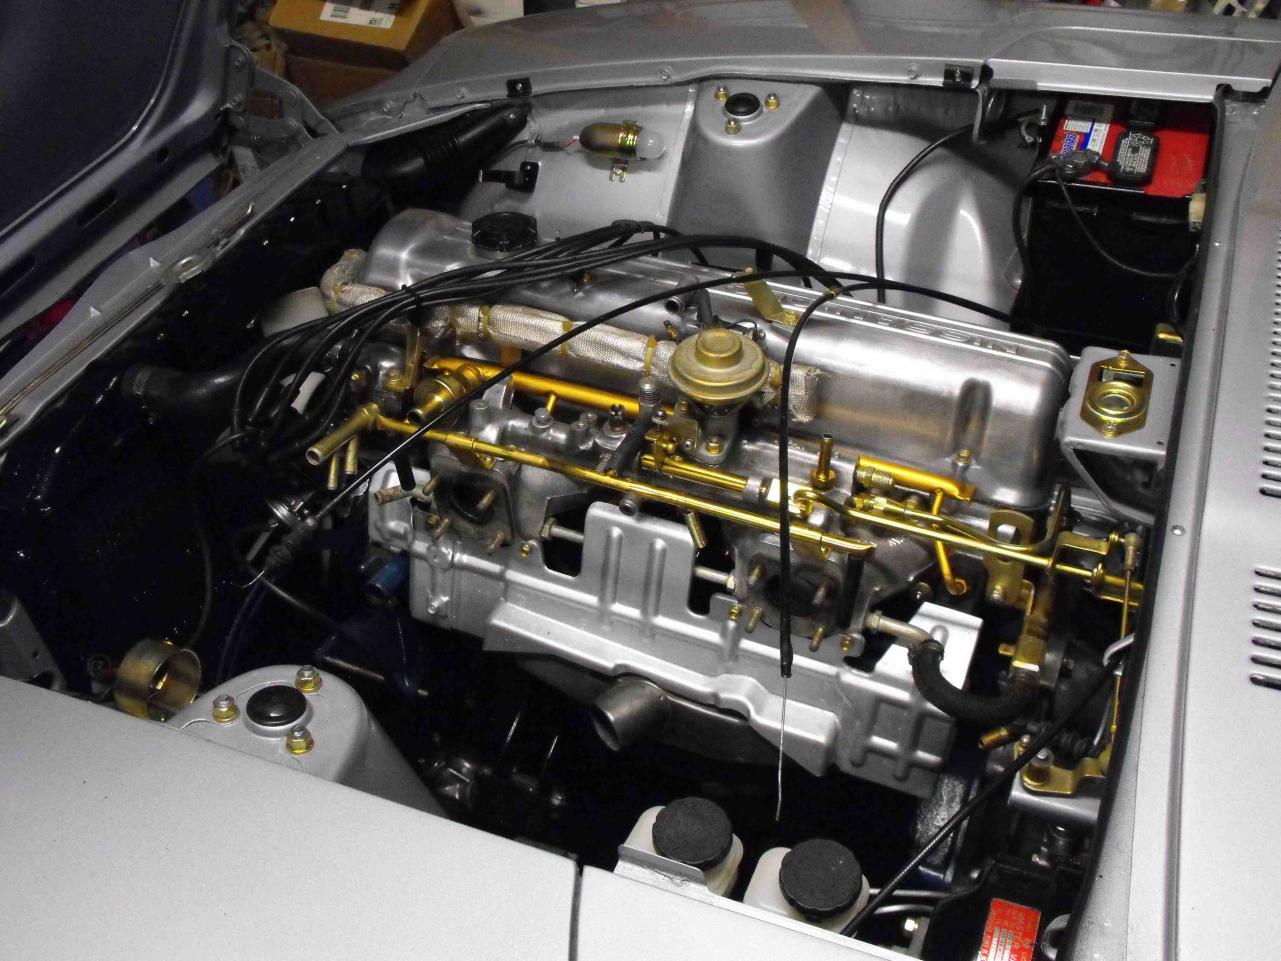
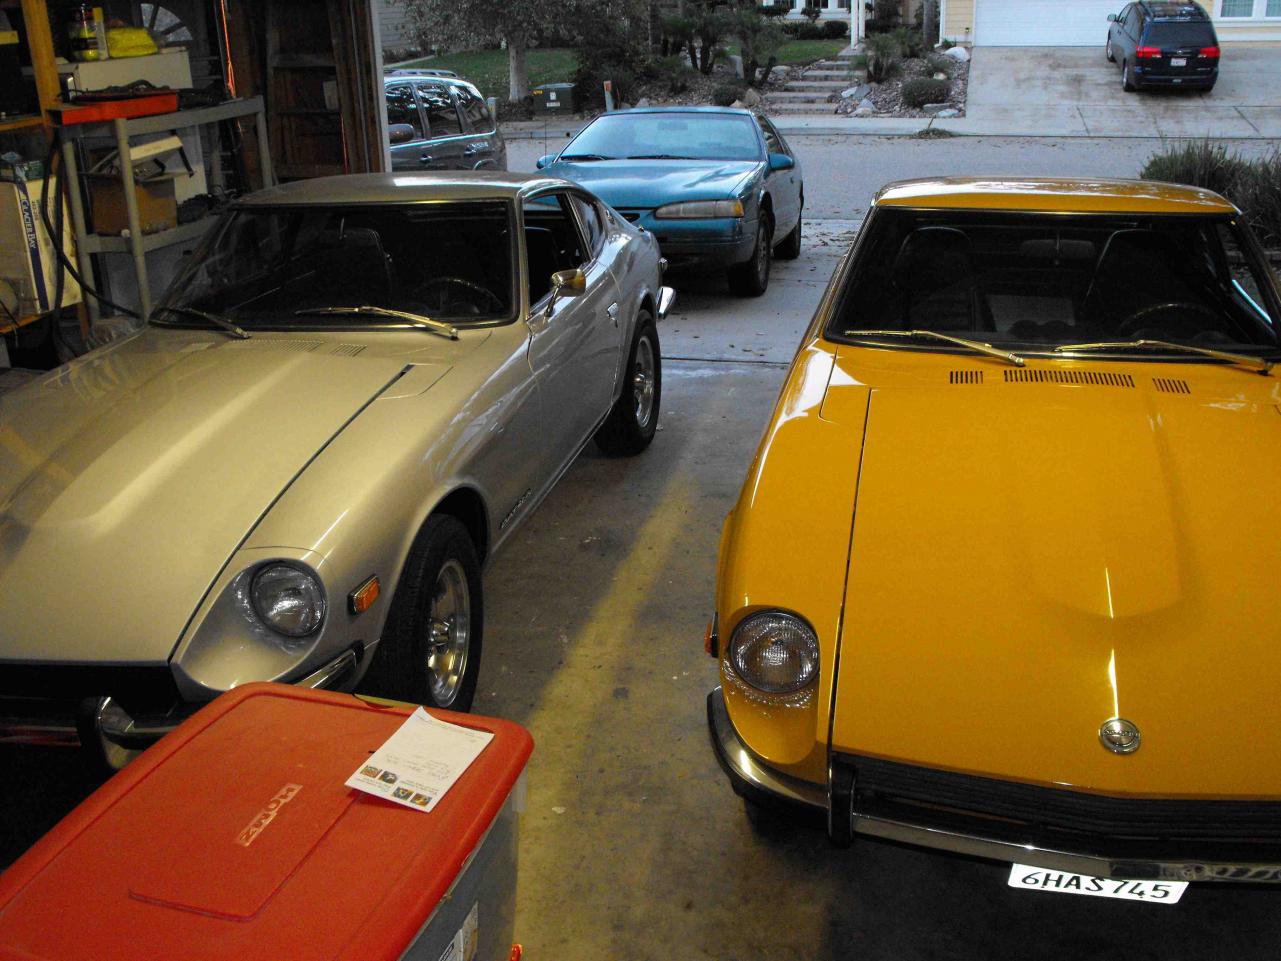
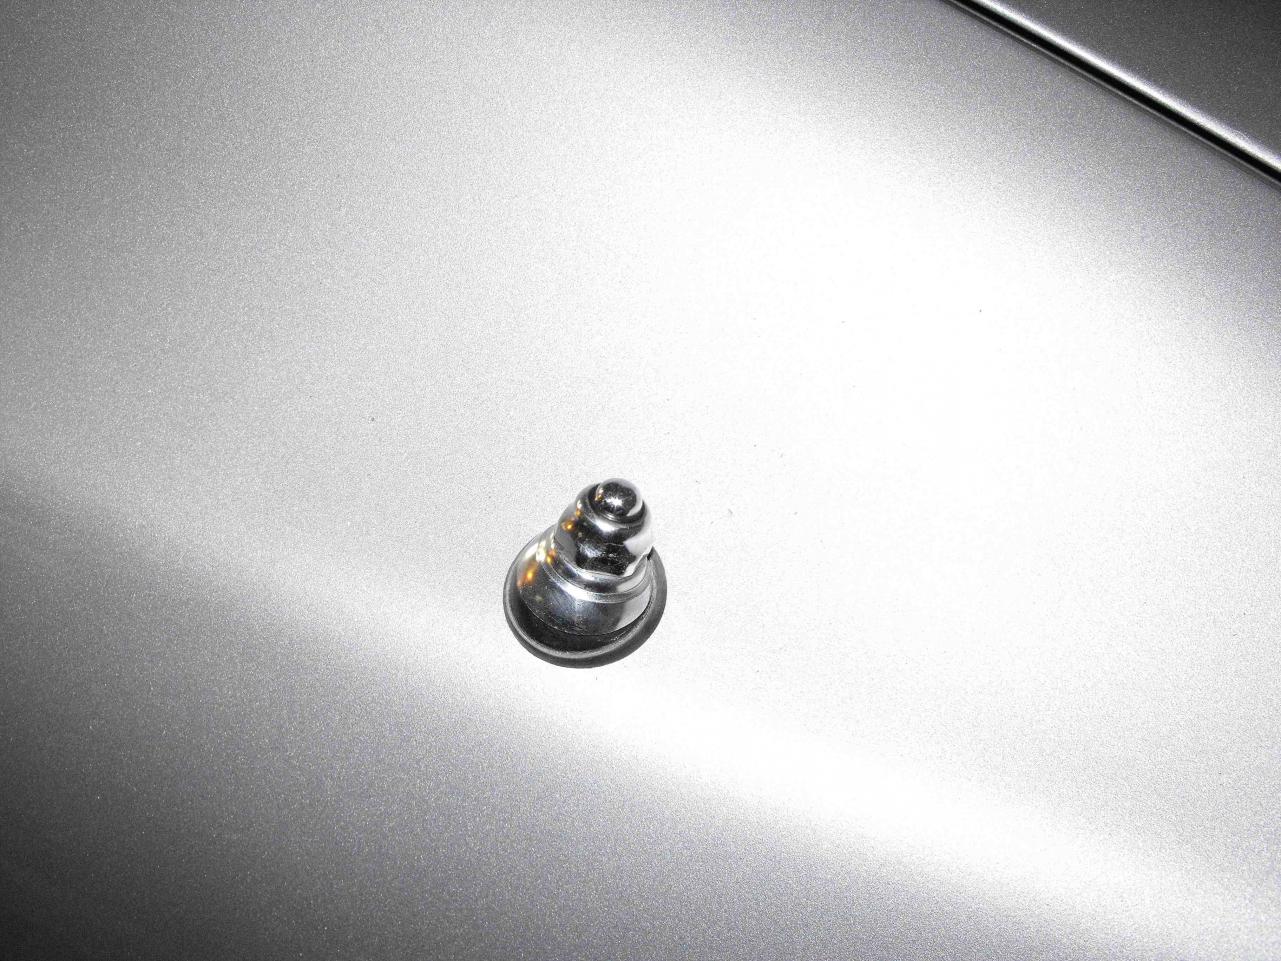
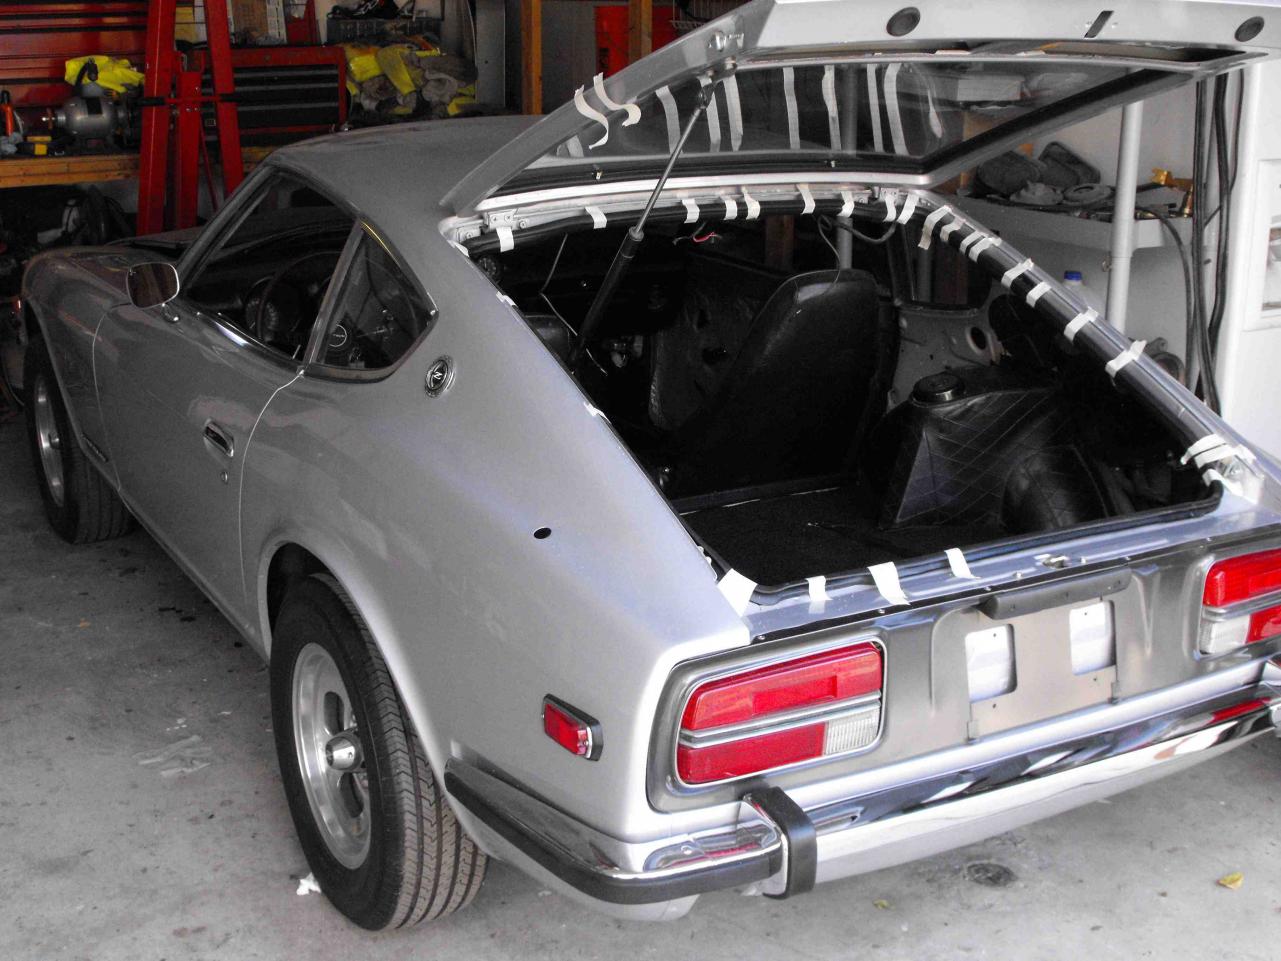
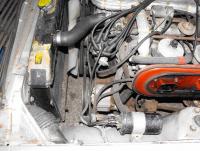
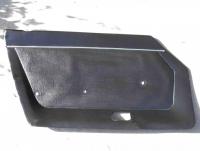
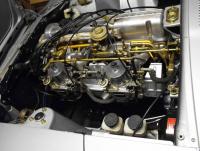
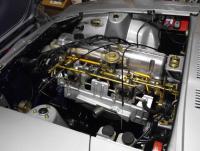
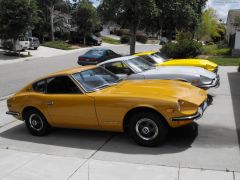
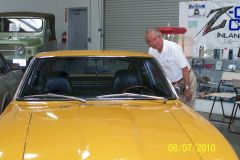
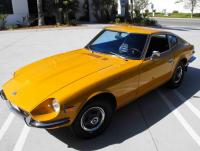
Thanks David, not sure if I want to do another '73. The plumbing for the flat tops is a bear. I think my next venture will be to the dark side. I want to put an LS1 in the yellow Z. Finally got the drivers side door panel on. It is really in great condition-very happy about that. That was one of the best things about this car was the interior, except for the carpet. I held off putting on the panel because I broke the rod that goes from the door handle to the 'unlock' mechanism. Not sure how I did that. So, I went to visit Les at Classic Datsun, and of course he had one. He also had some other hard to find parts like a new smog hose that I really needed. It's great to have his shop so close. Spent $85 there on parts, but $20 was for the yellow Z, so the grand total has now climbed up to $5429. Now, this is something that always happens when you are putting a car back together. I was trying to find where I had placed the screw that secures the coil in the bracket. I checked all my labeled baggies, extra parts drawers, shelves, boxes, under rags and such. Over the course of 3 weeks, I am sure I spent over 30 minutes looking for that screw. Anyway, finally gave up and bought a replacement screw from home depot. I put a yellow chromate finish on it and installed the coil. Now to hook up the coil wires. So I go to my picture file of all my 'before' pics to confirm the wiring. As I am looking at the picture, I notice there is a hole where the screw should be.:stupid: There was no screw there in the first place. The other thing that happens all the time; could not find the little cable that goes from the solenoid to the wiring harness. Again, spent at least 20 mins looking for that thing. So, I get a used one from Les when I was at his shop (he actually gave it to me for free since it was in bad shape). I get home and start to fix it up to put it on the car, and what do you know, I find my cable under the zincing crock pot. Of course, I never would have found it had I not picked up one from Les. Not sure why stuff like that happens. Anyway, got all the fuel hoses on and most of the plumbing attached. Put the balance tube parts on. Only thing I need to do now is get on the Air box and heater hoses and I am ready to fire it up. Air box needs a bit of work though so may take another week. Eventually I would like to get all wire clamps in the engine bay. Right now it is a mix of wire and standard clamps. Also would like to get all braided hose, but some of that is near impossible to find. Anyway, here is the progress. One more thing I am going through big time here is not sure if I can actually sell this now. I love it and it looks really nice in my garage.


-
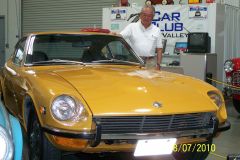
That's a beauty! Love the color, nicely done. Congrats! Rich
-
That's a good point, didn't think of that. I am thinking that I will spray some of my high temp clear enamel over the stuff as well to minimize any debris or flaking. May have to put warning labels under the hood. You know how things are here in the state of California.
-
Wow, Per that document, that insulation is asbestos inside and out. Guess I'll need to keep the hood closed when not working on the motor. That should help
-
The insulation and zip ties are all the original parts. I just used a little Windex to clean the insulation. ( I wonder if there is asbestos in that stuff. I will make sure not to eat it or chew on it ) The zip ties are just real old. They are kind of vanilla colored in person. I was thinking of replacing them with new ones, but really haven't searched to see if they are available. I think I will just leave them as they are for now. Although, if I could find some NOS ties in good/white condition I would probably replace them.
-
Glad you asked. There are actually several reasons for going with the flat tops. 1. I want to keep the car as original as financially feasible. 2. I like the fact that they are somewhat rare as most people have ditched them in place of the round tops. 3. I used this car for about 6 months with the flat tops as my daily driver and did not have any problems once I got the needles set right, so I am happy with their operation ( I figured the needles out in the first couple weeks of driving). 4. I think that insulation stuff is a unique and odd engineering solution to the vapor lock issue. (I would have done something different like adding vents to the service doors to improve air flow in the engine compartment). So that's why the flat tops.
-
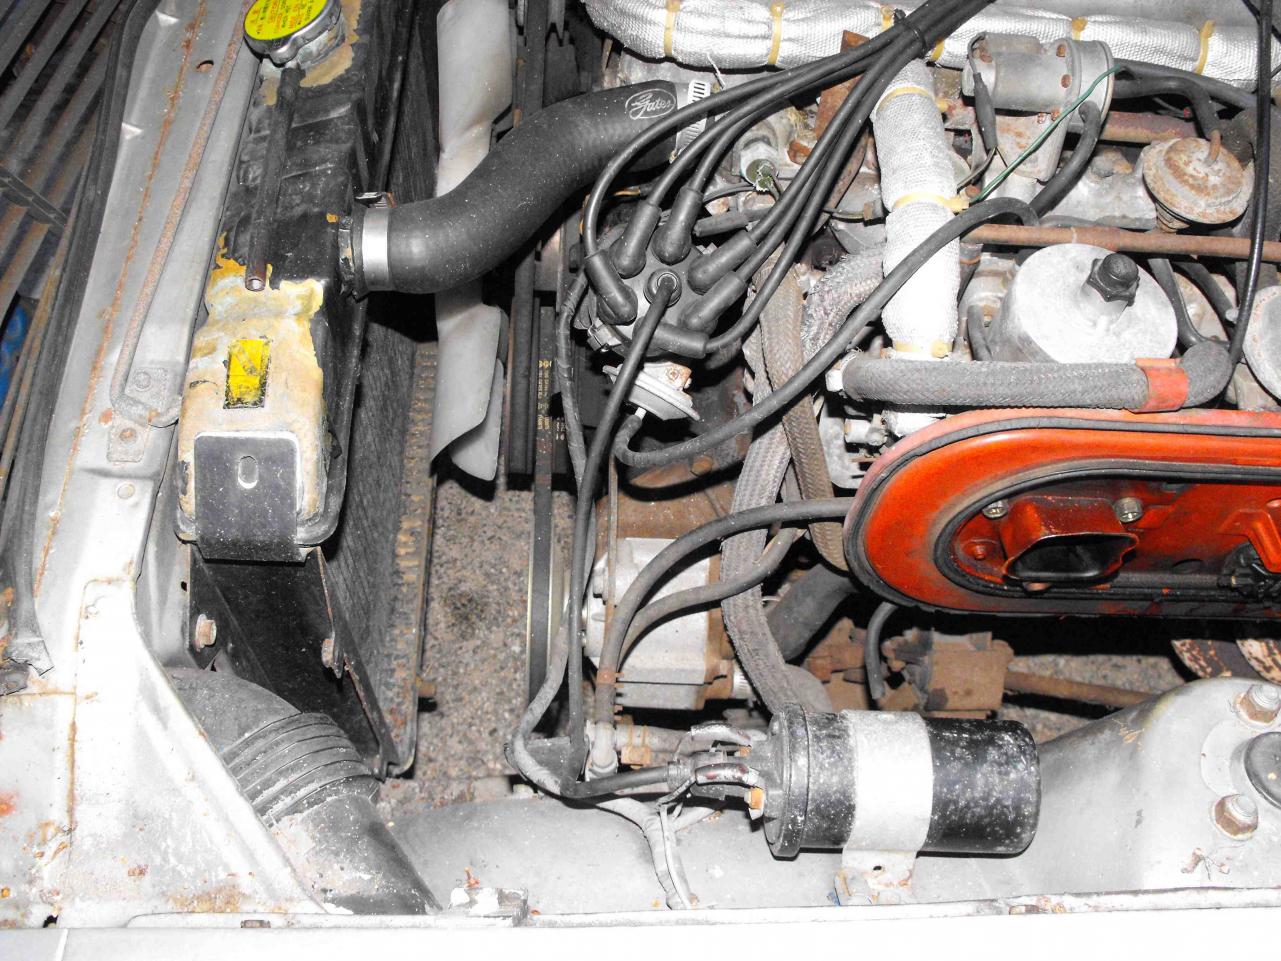
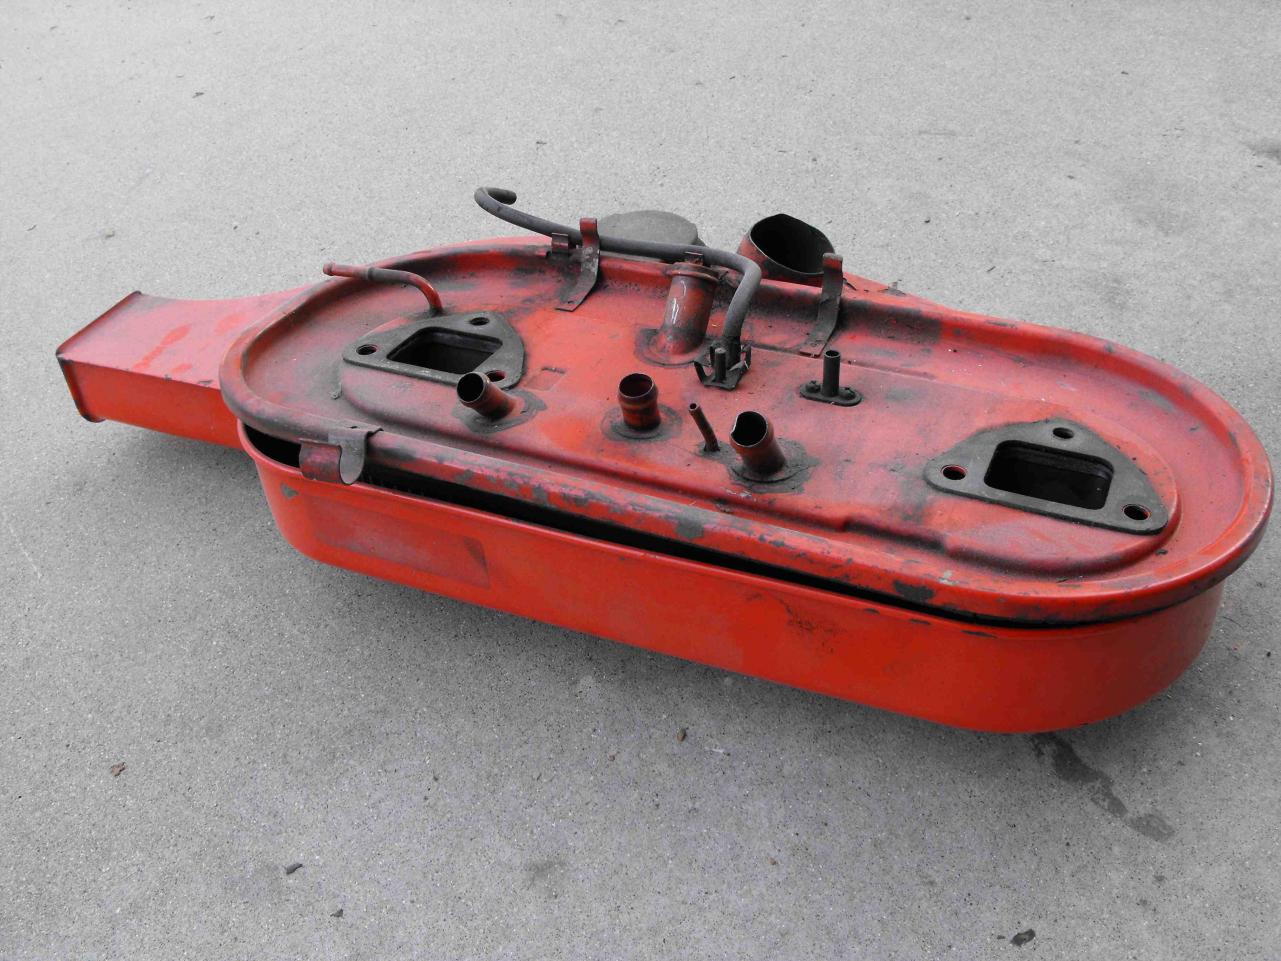
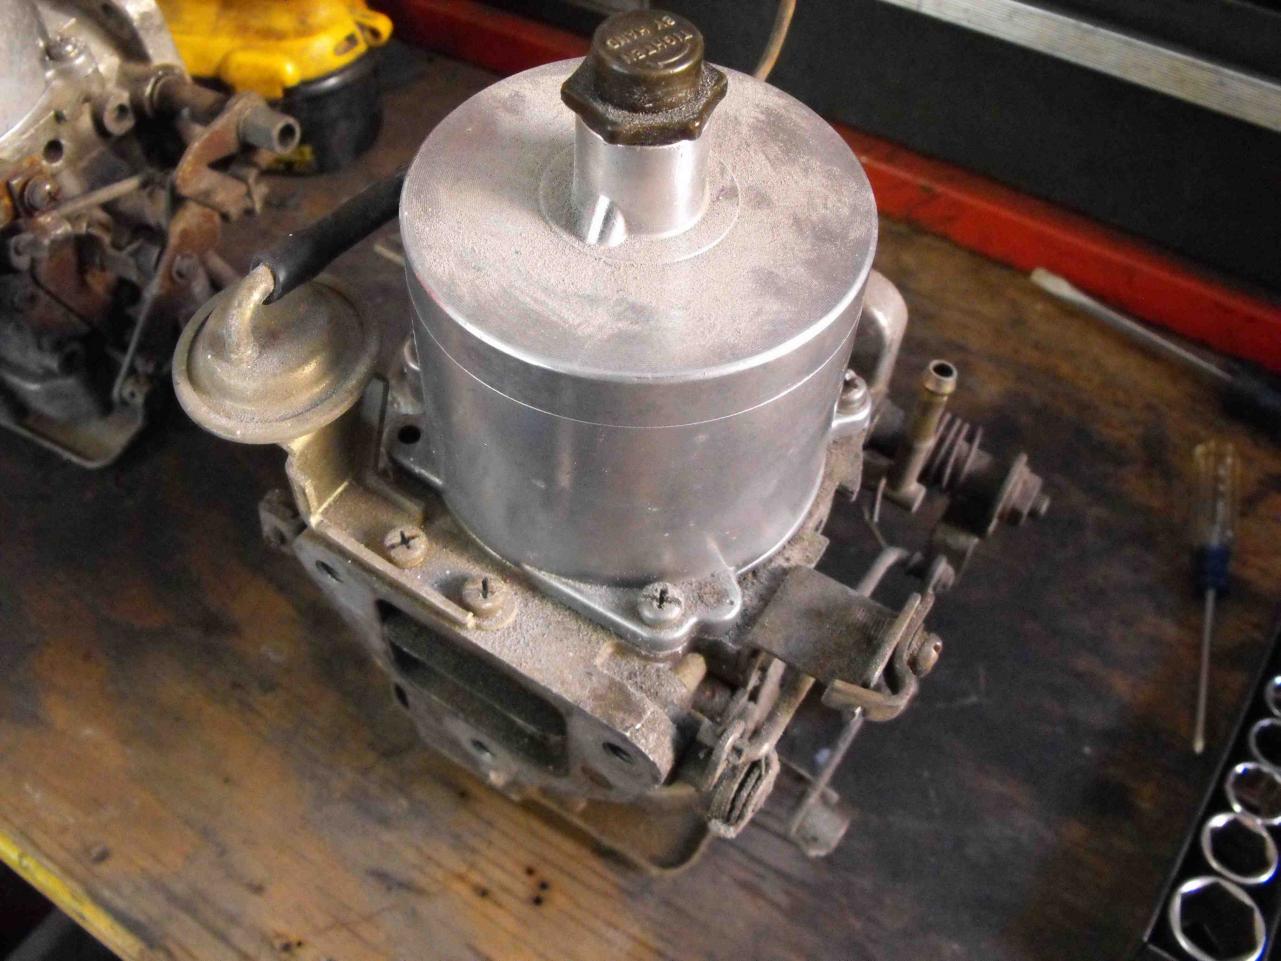
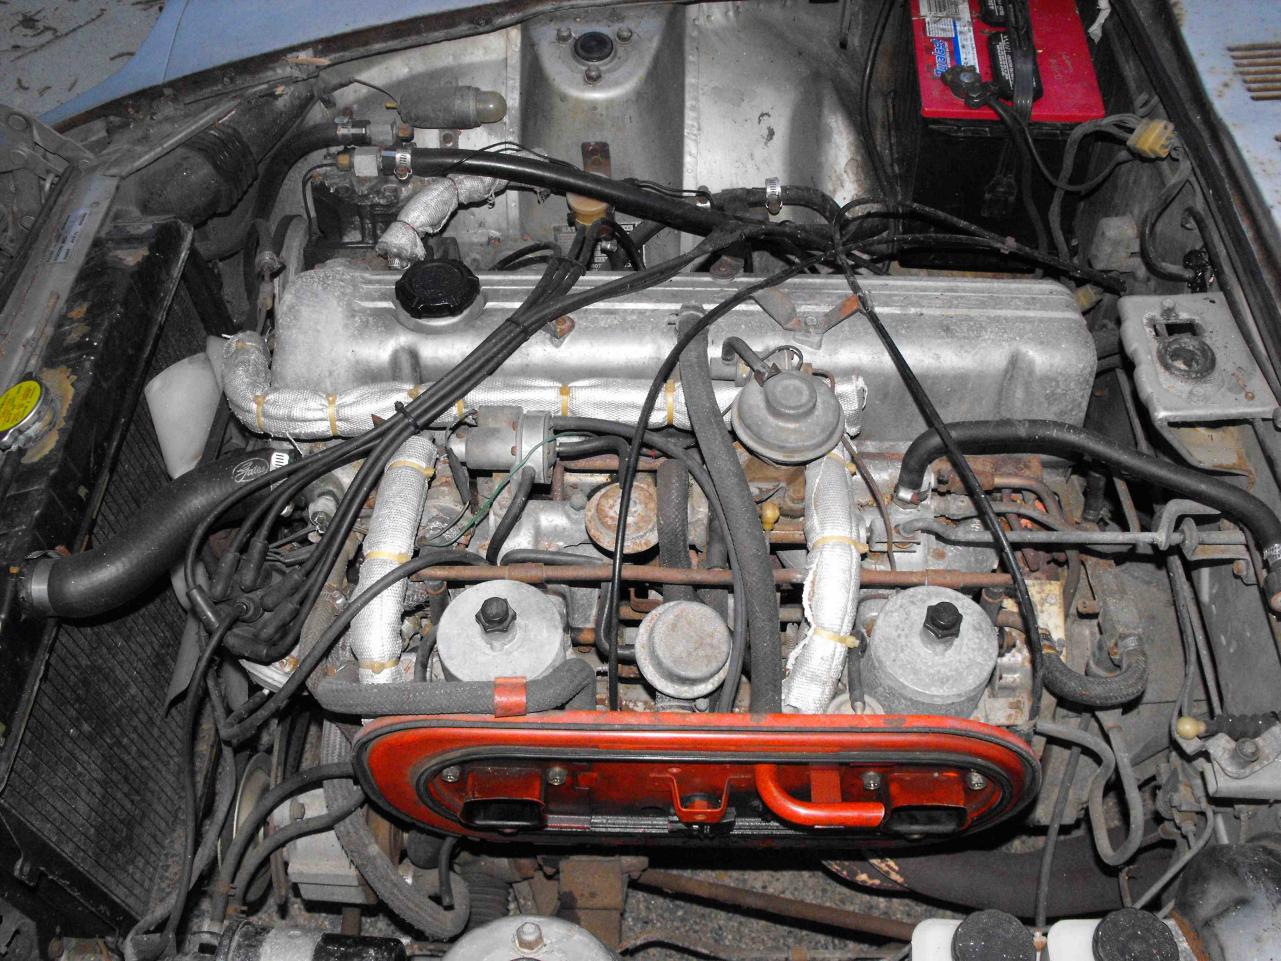
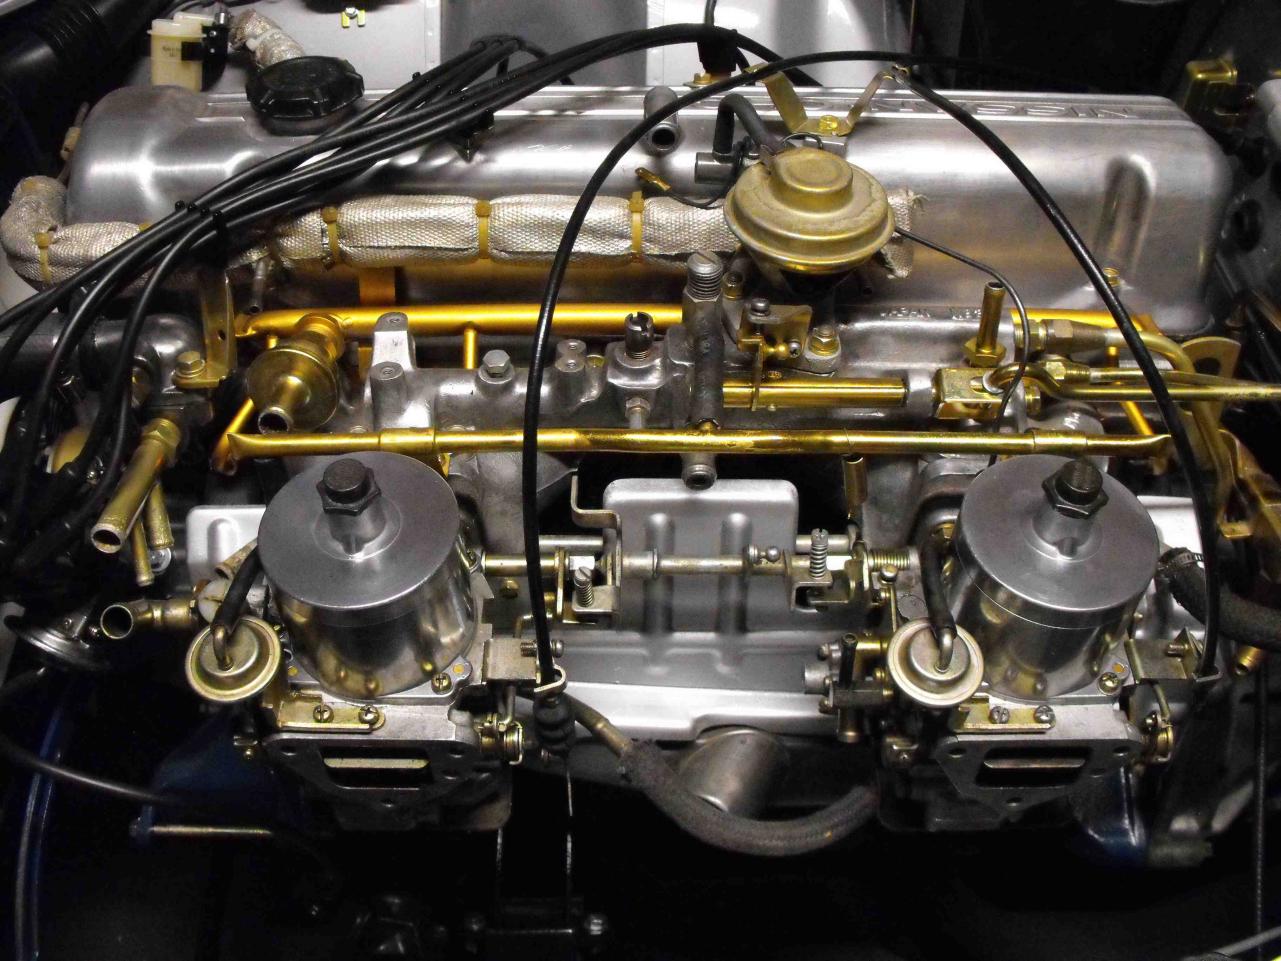
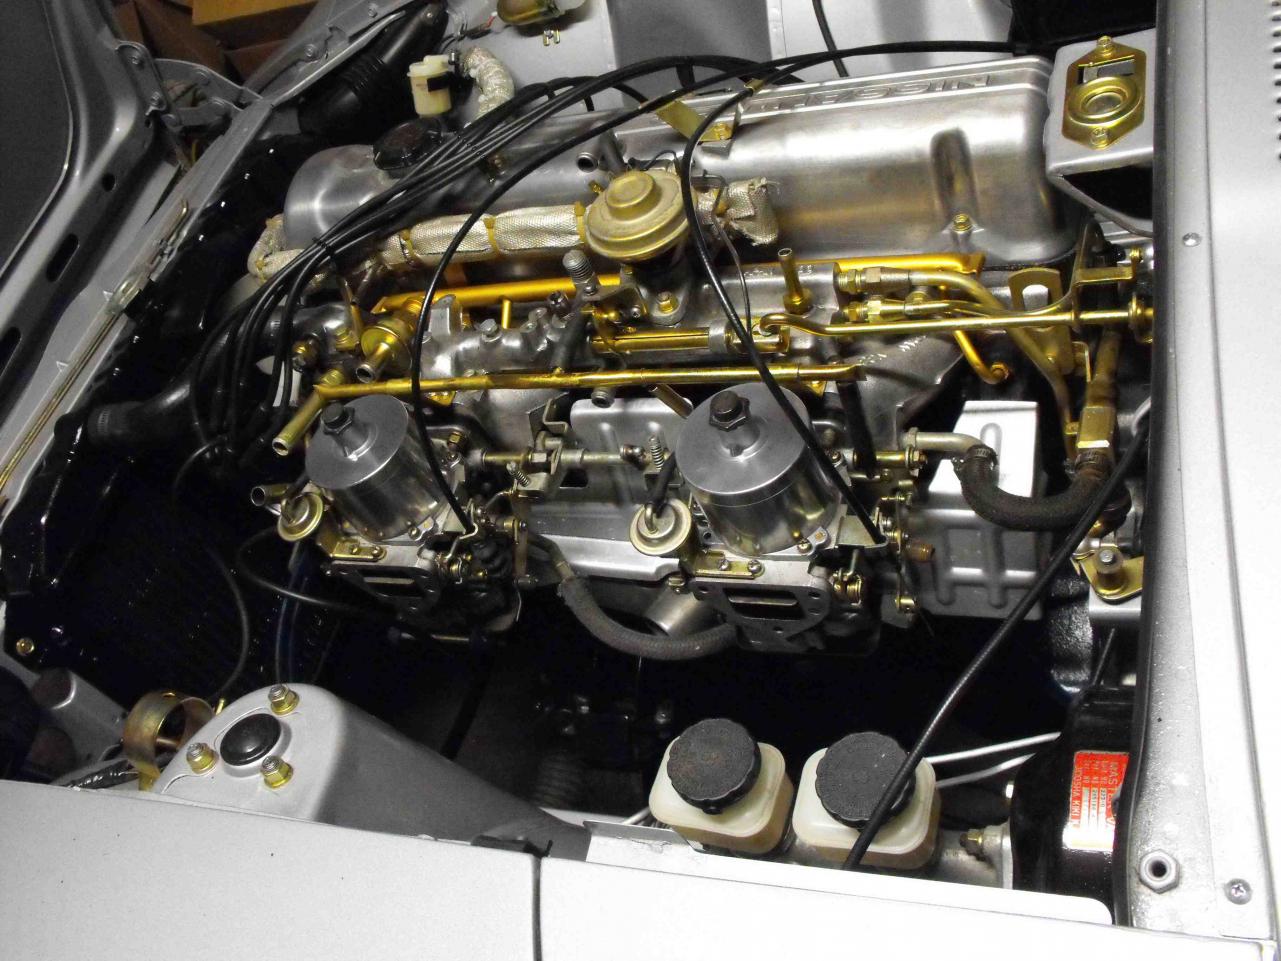
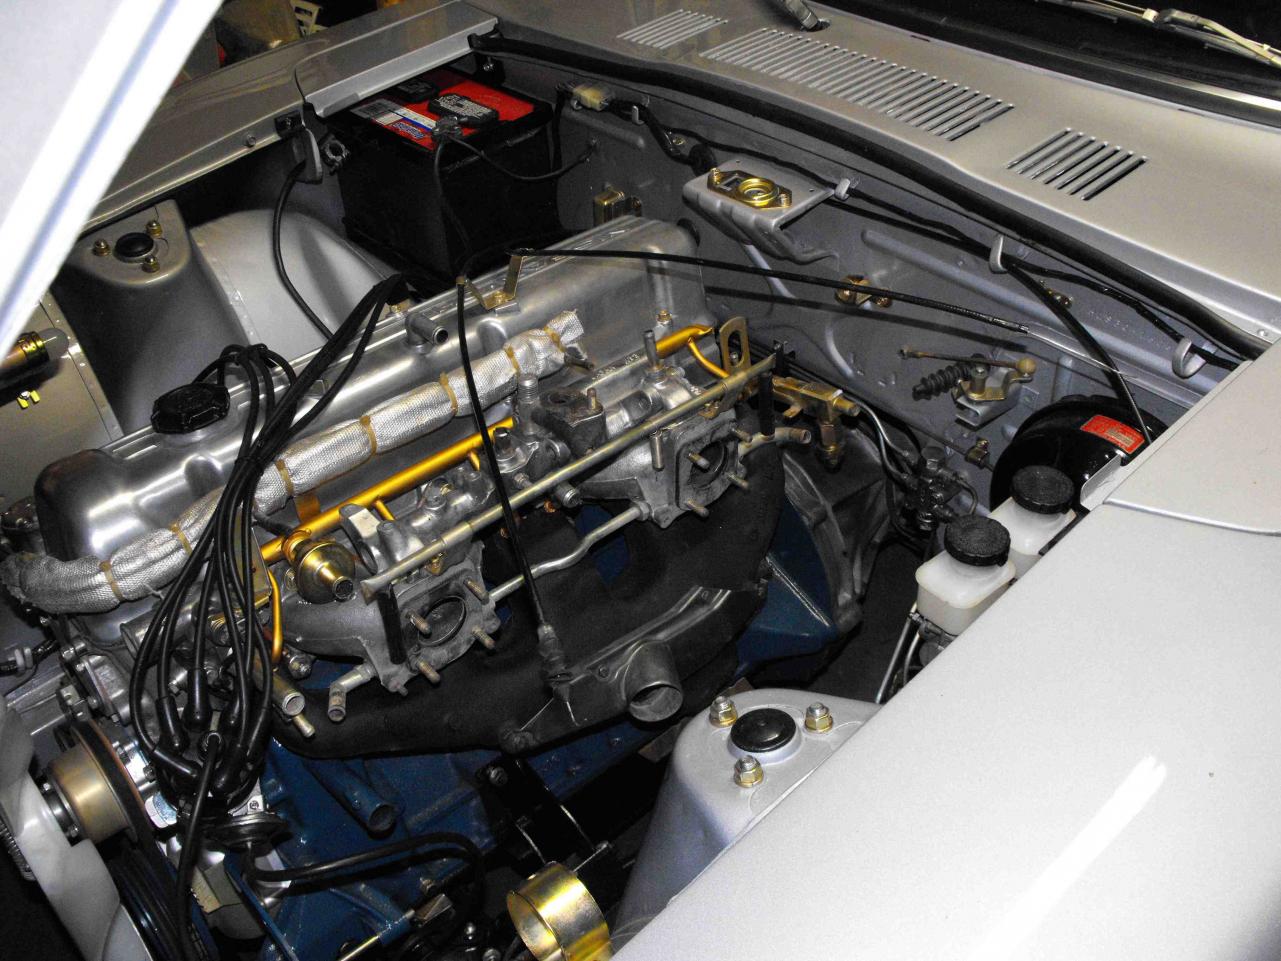
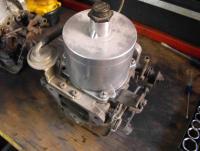
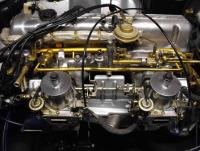
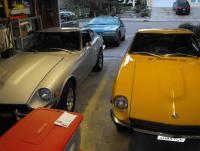
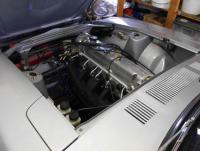
Carbs are just about ready to install which is great news. I picked up a pair of sweet looking flattops from 'grnsky' for just $20, such a deal:classic:. (My old ones would have required quite a bit of work to prep - but I will keep them as spares). The zinc looked good on the new ones, so no reason to re-zinc. I just cleaned them up with a little lacquer thinner and Nevr Dull. I polished the domes and then mounted the carbs temporarily in place. I want to re-zinc the bar in the center before I do the final install. Its nice to see the progress. Attached is a picture of the old carbs and the original engine bay. Also picked up some small parts from MSA. I got 10 black interior rivets, some plug wire clips and the door lock knobs. Total with shipping was $42. Total cost is now at $5364

-
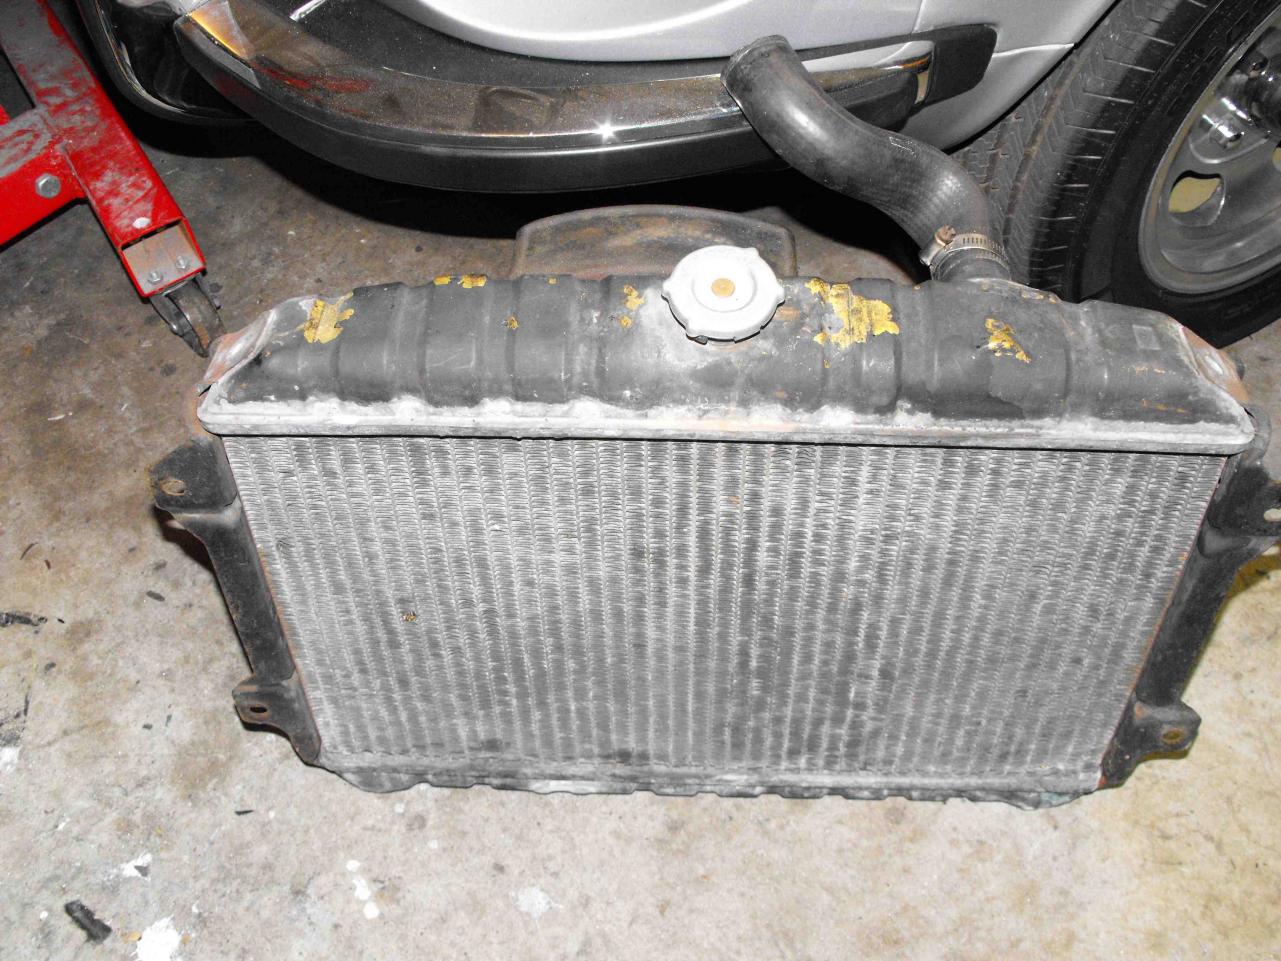
Spent most of the day zincing parts for the intake manifold. Boy, there is a lot of tubing on this baby. Guess that's why most people dont care for the flat tops. Will clean up the carbs in the next day or two and hopefully have them on by this weekend. Also got the radiator painted and in. It's progressing. Got the '70 back from the Museum. Sadly, the DHM will be closing it's doors by the the end of January 2011:disappoin. Very happy to have the 70 back, I missed it.

-
Thanks for all the kind words and support everyone. I can't wait to get this up and running, and it is oh so close. I should have some extra days off over the holidays so I can make a lot of progress then. I'll keep posting progress. Thanks Again, Rich
-
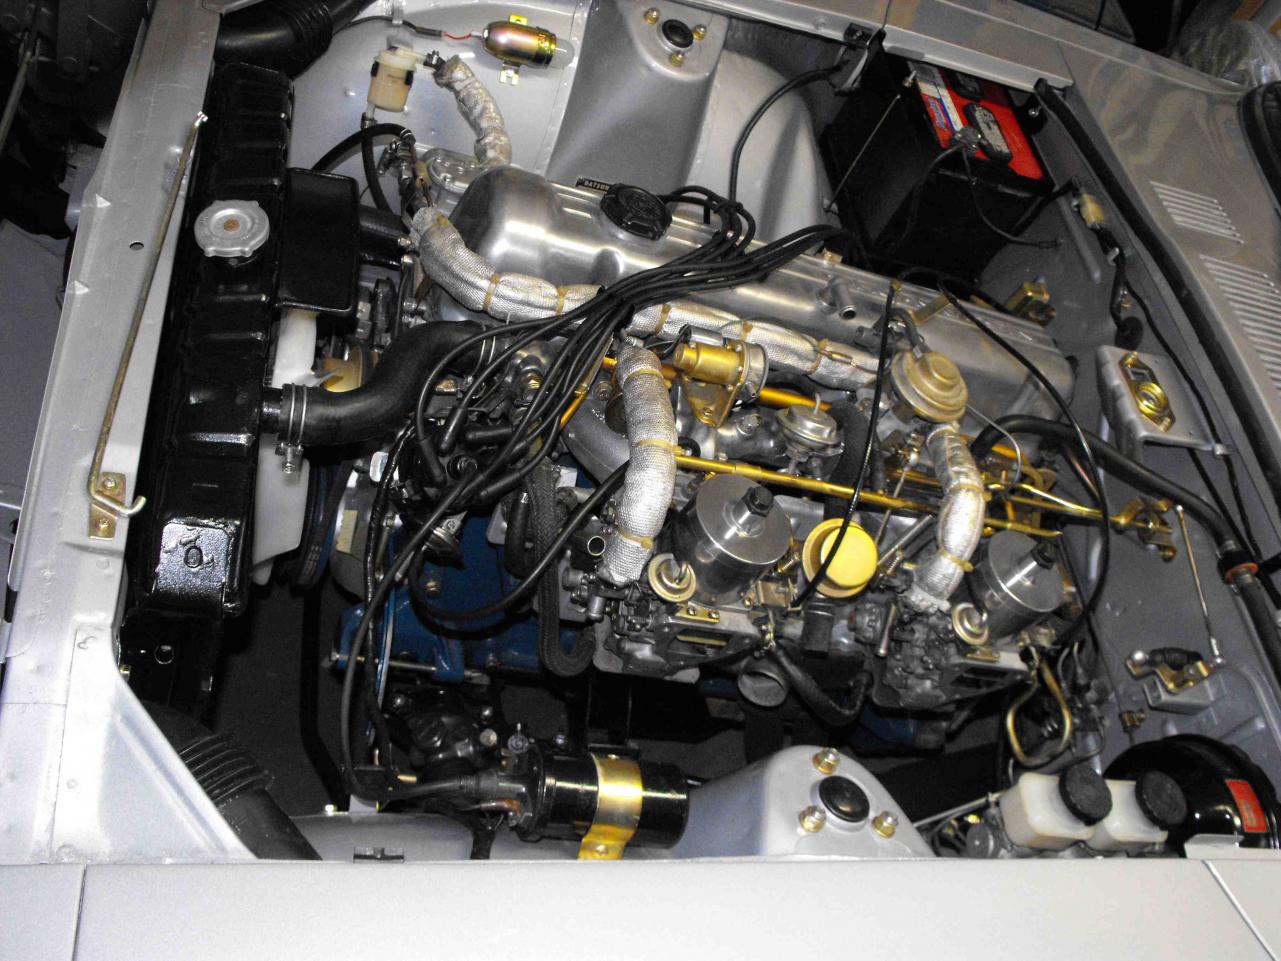
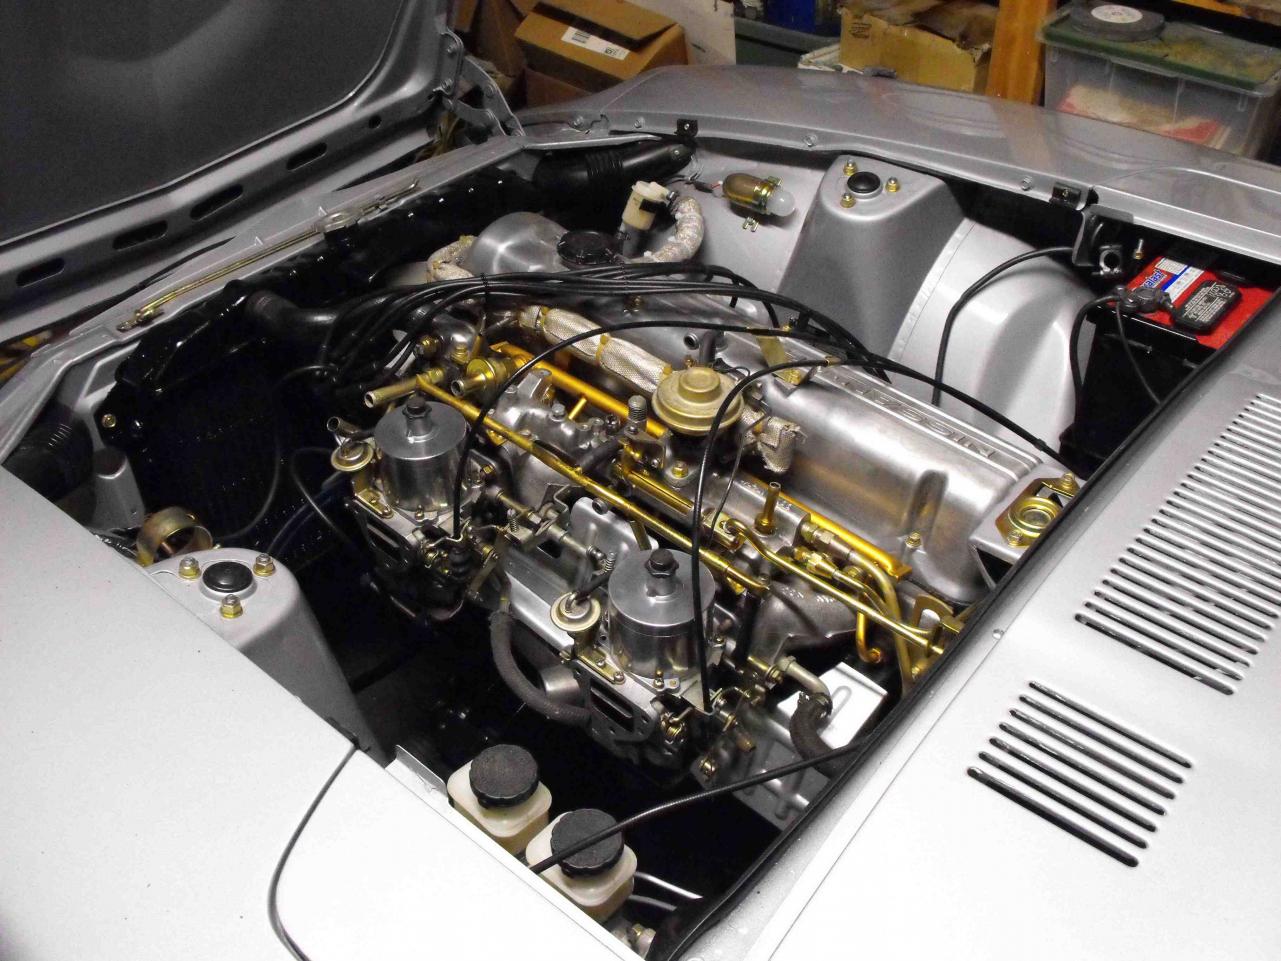
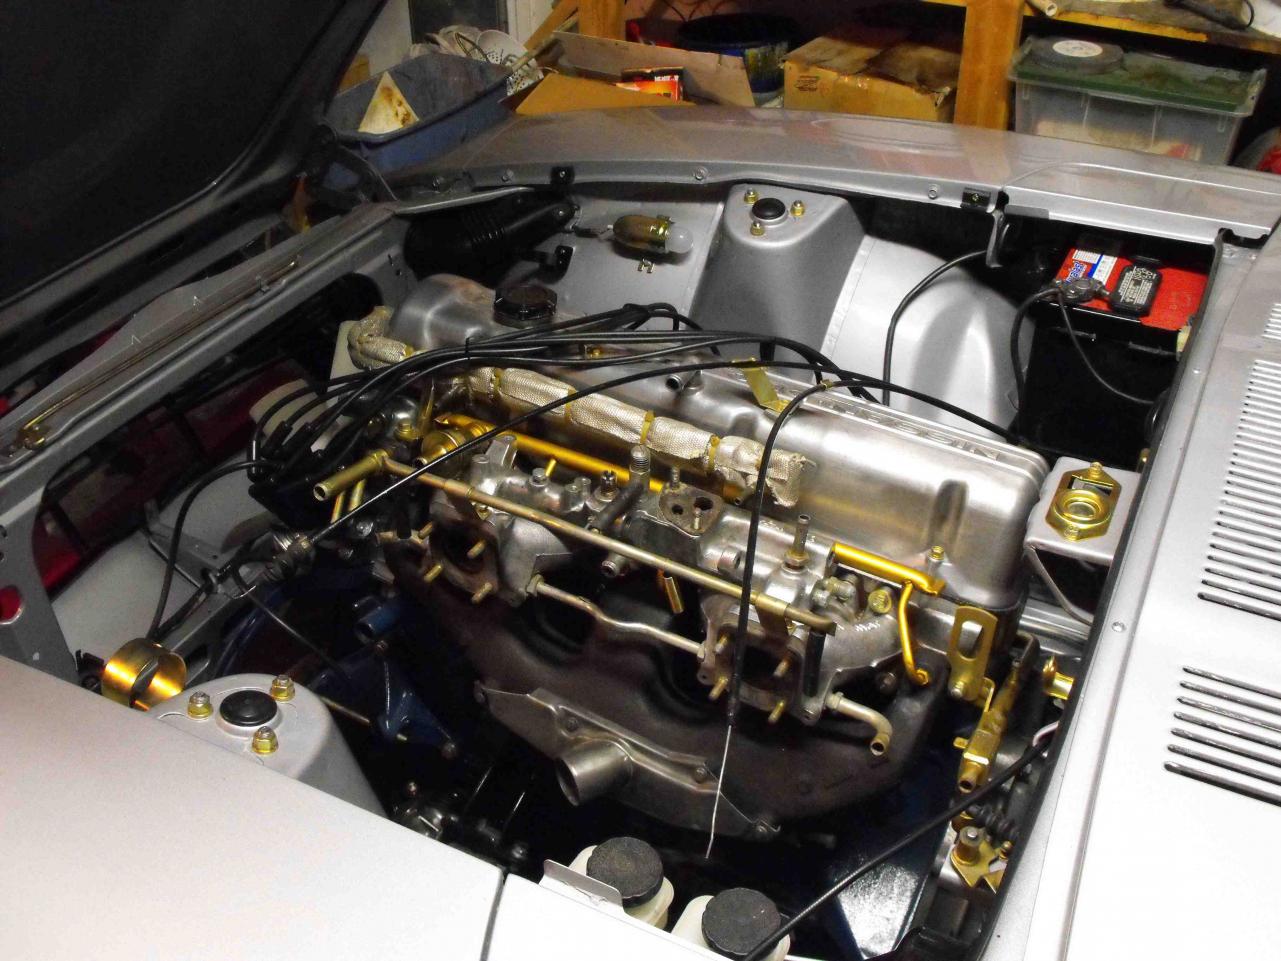
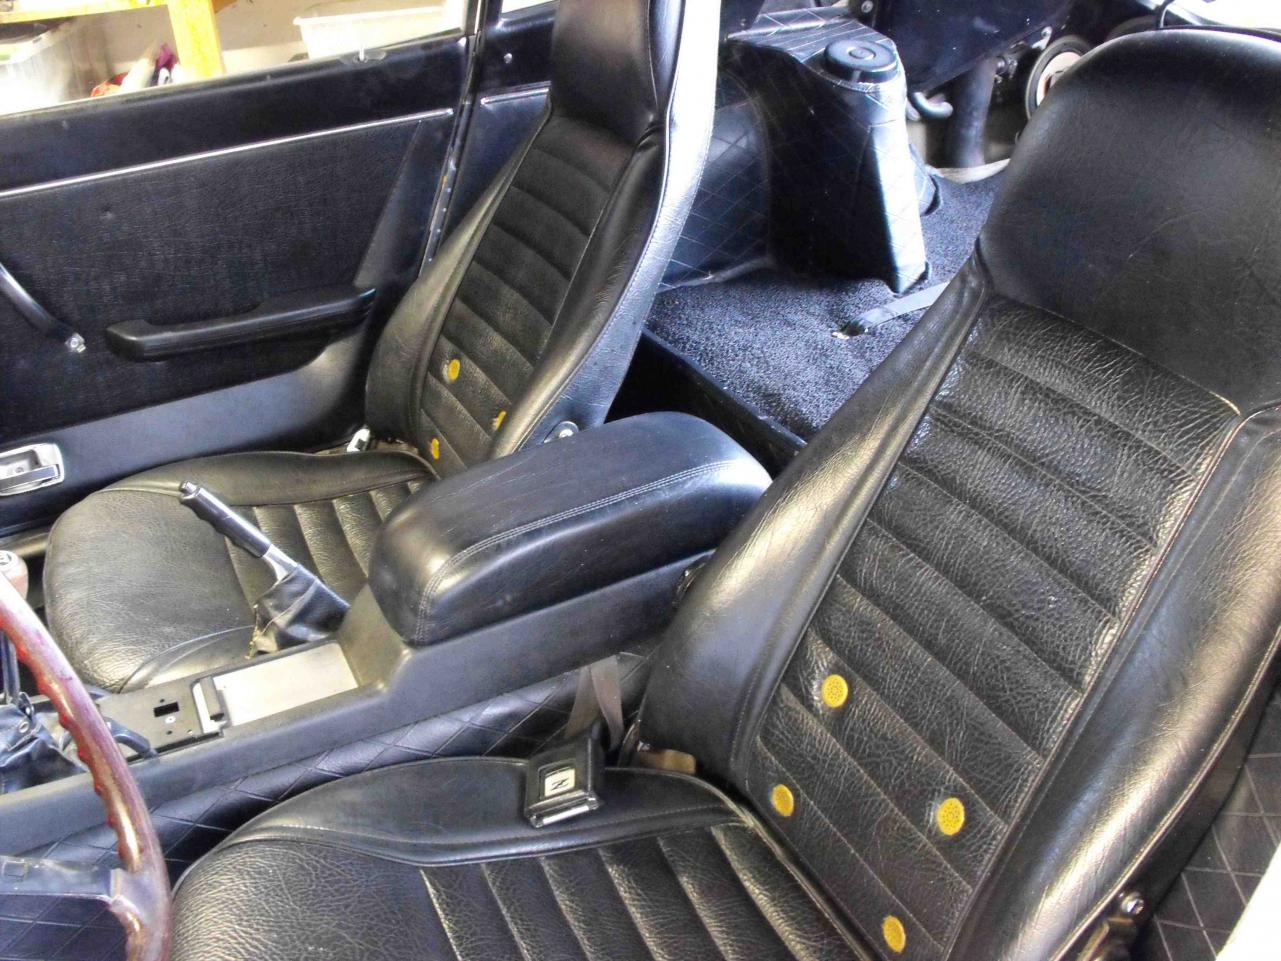
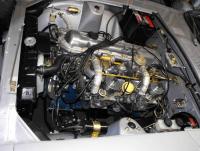
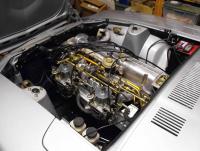
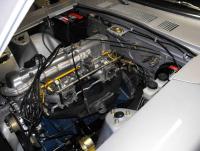
Wow, It's starting to get pretty close to being finished. If I absolutely had to, I could have it running in less than a day. Just need to finish up the carbs, smog stuff and exhaust and a little bit of interior stuff. I'm guessing in two weeks or less that I have it up and running. I need to re-zinc a number of the carb and intake parts. I got most of the interior parts in. They were really in great condition, so that was a big help. Only had one panel crack to remedy on the passengers quarter panel plastic. The rest was very clean. I will need to get some new rivets from MSA. Some rivets did not do well in the disassembly process. Also lost someof those elusive rivet center pins. I put the electric antenna in. I was able to cycle it up and down a couple times with my power supply to make sure it worked. The PO gave me two elec antennas in a box. One worked the other didn't. So cleaned and lubed the good one and installed it in the back. Made sure I had a good ground connection to the body. The big event was putting in the exhaust and intake manifold. I wanted to put in a new air galley, but could not locate one. MSA said they would not have any for a couple months, and I did not want to wait that long. So, I got some high temp paint ($8) that looked close to the zinc and will go with that for now. It's a little bright, but hopefully it will tone down in time. I should be able to zinc the other carb parts and assemble in the next week or so. I love the fuel line insulation. I plan on installing it all back on the car along with the flat tops. It's so retro and not something you see every day. Got a much needed radiator from Cam, another classiczcar member who actually has more Z's than me. We had a great time talking Z's. I could of stayed there for a couple hours checking out cars and parts but had the wife with me and needed to finish Christmas shopping. Got the Radiator for $65. Also picked up a longer drive shaft to put on the yellow Z. Total cost for the silver resto is now $5302. (This does not include gas money for hunting down part)


-
-
-
-
That's a nice looking car. Always nice to have an extra Z to play around with. Congrats and have fun. Rich
-
No air galley's at MSA :disappoin
-
The drivers side floor of my '73 is slightly lifted due to PO's bad jack placement. I have tried both the rubber mallet, and the standard hammer and 2X4 method with little success. The steering wheel and dash make it hard to get a good whack at it. I am thinking perhaps a 3lb sledge and 2X4 may work better. I like the secured 2X4 idea. I will need to look at the drain hole plugs and see if I can rig something that will work without making new holes. Maybe even the seat support lip could be used. Thanks for the tip.
-
MSA shows them in stock. I think I will order mine from there. I spoke with them before about these and they mentioned that they obtain them from a Japanese supplier that makes other parts for Nissan. I also think they have the best price, unless you can find one on e-bay. Not sure where to get those new. You can get the clips zinced at a number of local shops. The rubber is a challenge. I have always cleaned up the old rubber. May have to go to the junk yard for those. For the fuel lines, typically I clean them with Scotch brite (just enough to make them look clean) then put a clear hi-heat enamel over them. If you are super serious and industrious, you can remove them completely and get them re-zinced also. Personally I do my own zinc and love it. It gives me a lot of control over the process and I can do it any time I want. Rainman-Thanks for the kudos -The car is coming along well.
-
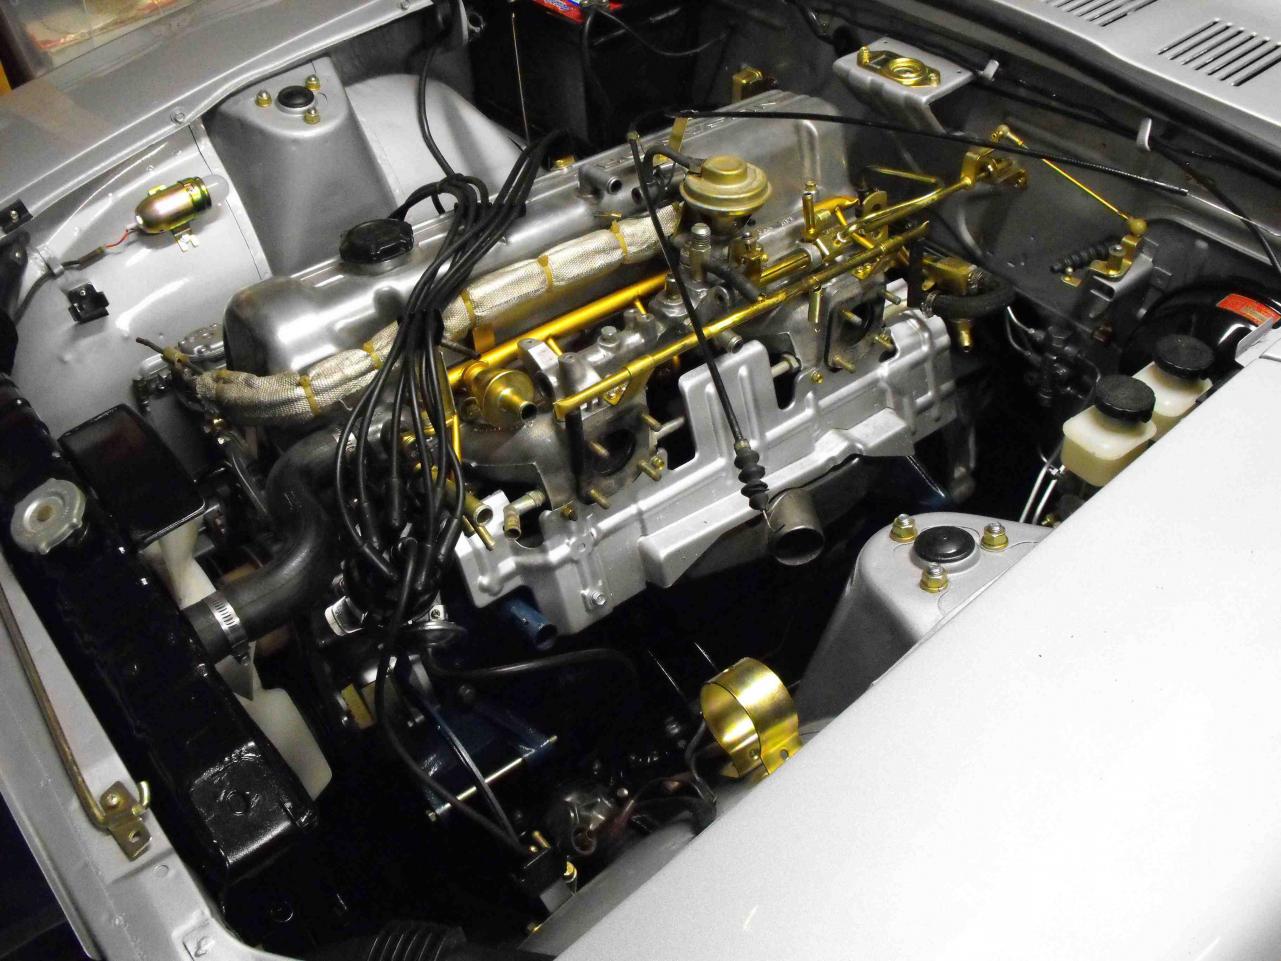
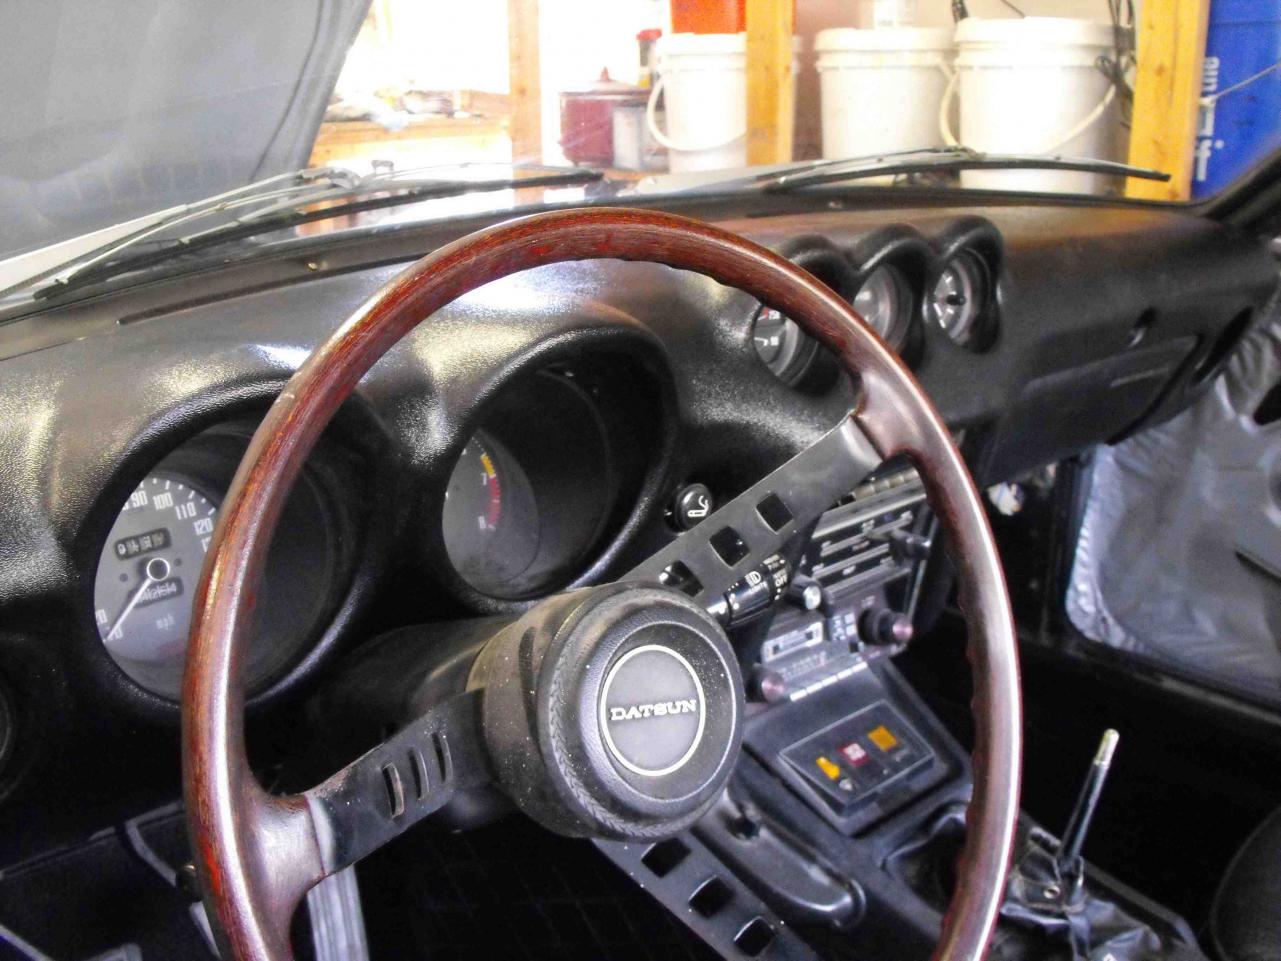
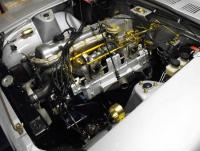
Started doing some of the interior items. I put on a full dash cap from MSA. It looks nice and clean but seems to be a bit glossier than the original. It makes the glove box look a little dull. I will look into putting some Lexol conditioner on it to see if that brightens up the glove box. It was pretty easy to install. I used a razor blade to flatten the high spots. I lightly sanded the dash and the underside of the dashcap as directed. The fit was very good. The only part that needed help was the portion that goes around the radio. I used two pieces of wood wedged against the seat to hold that part of the plastic in while the glue dried. I started do the weather stripping. A huge thanks to the person that suggested masking tape to hold the stuff in place. That works very well. In spite of the masking tape, weatherstripping is still a big pain to do. The only part I like about it, other than the elimination of the exhaust smell, is peeling the glue from my fingers when I'm done . I got the passengers side door completed and panel in. I re-did the clear cover plastic under the panel using the bag from the dash cap. It is a nice thick plastic. Used the old brittle and torn plastic as a template for the new stuff. Secured the clear plastic with the weather-stripping glue. In the engine bay, I have been waffling on the air galley. One part of me wants to use the yellow zinc paint as it is much cheaper and easier. The other side of me says I need to get a new air galley. Still really not decided yet, but I am leaning to the new air galley. They are such a pain to remove...I tried already with the wrenches. May need a blow torch if I go in that direction. As for now, the galley is painted with POR high temp silver. Still need to get a few parts, but haven't bought anythng lately (put the dash cap cost in earlier). Total cost is still at $5229.


-
Black Dragon sells the door handles for cheaper than you can re-Chrome them. http://www.blackdragonauto.com/features/z/ZDHO.htm
-
Lots of advice here. The one I like best is having the machine shop straighten it for $40 bucks. That would be well worth the money spent. I say that based on experience with my MSA 6 into 1 headers on my '71. Nice pipes, but the number 5 tube had a small 1/16"-1/8" gap when checked for straightness. I put in an extra gasket to span the gap and installed the headers. After a few weeks, the gasket blew through and I had a small exhaust leak. Time to take it apart again. I ended up welding a bead around the number 5 tube flange and filing it till it was flush with the other tubes. This has worked well without blowing through. I think you have to make this interface flush before you install. I would not count on the bolts to straighten the flange. Might work with aluminum, not with steel. Just my thoughts. Rich
-
Nice video...thanks for sharing Carl. It was also nice to meet Matsuo when he was out here at the DHM. He is a very impressive individual, very innovative. Funny, at the start of the video I thought the car was mine. Nissan did a photo shoot with my car and the 40th anniversary Z that included some driving shots. Looked like the exact same set-up, except I forgot they requested the Panasports for the shoot. I much prefer the hubcaps on it now. Also, I am pretty sure I met Omar at the 2009 JCCS show. He thought my car was also from the restoration program. If I am not mistaken, he lives up near the Orange County area in CA.

-
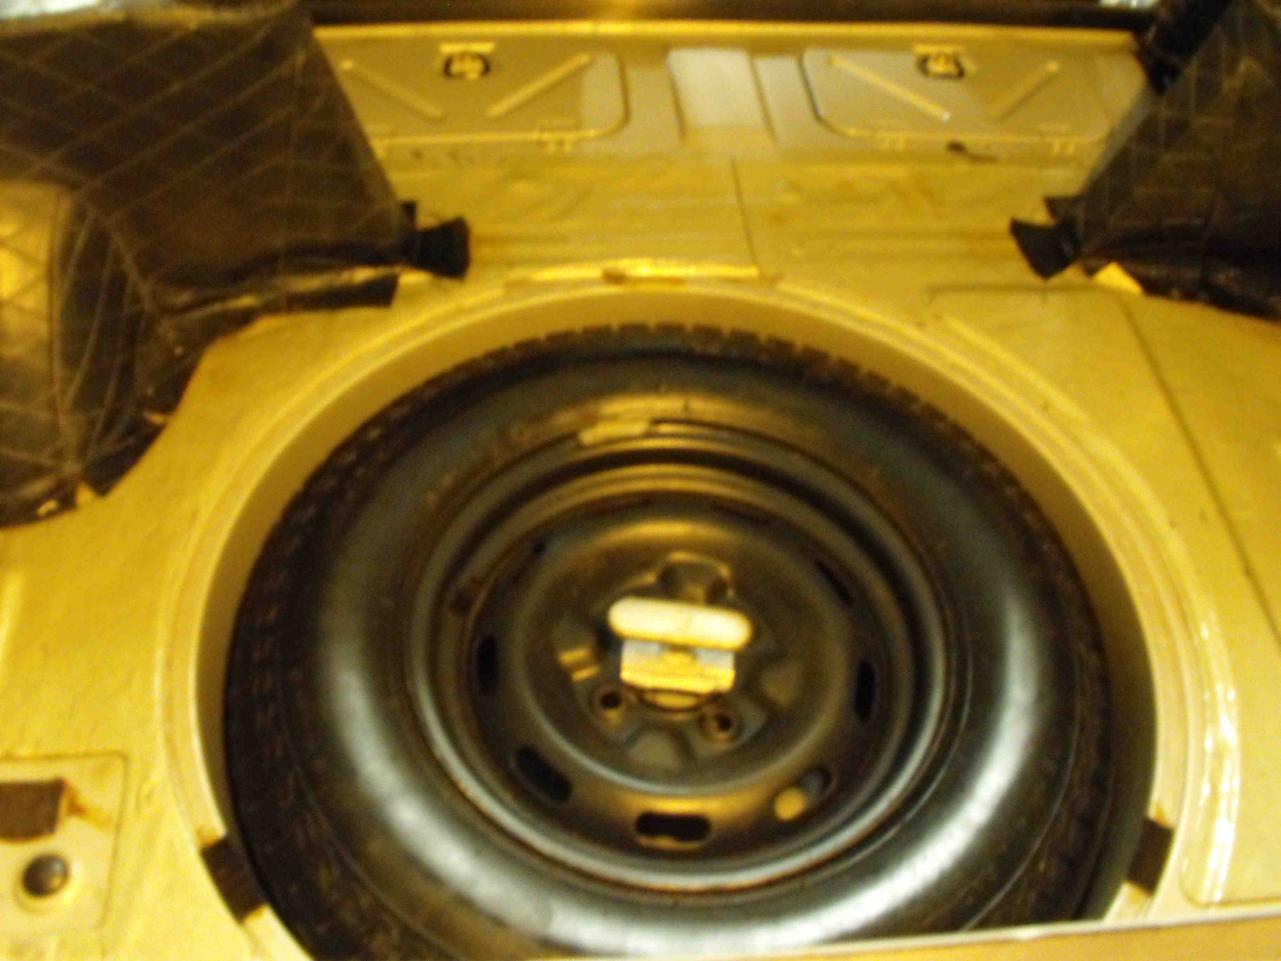
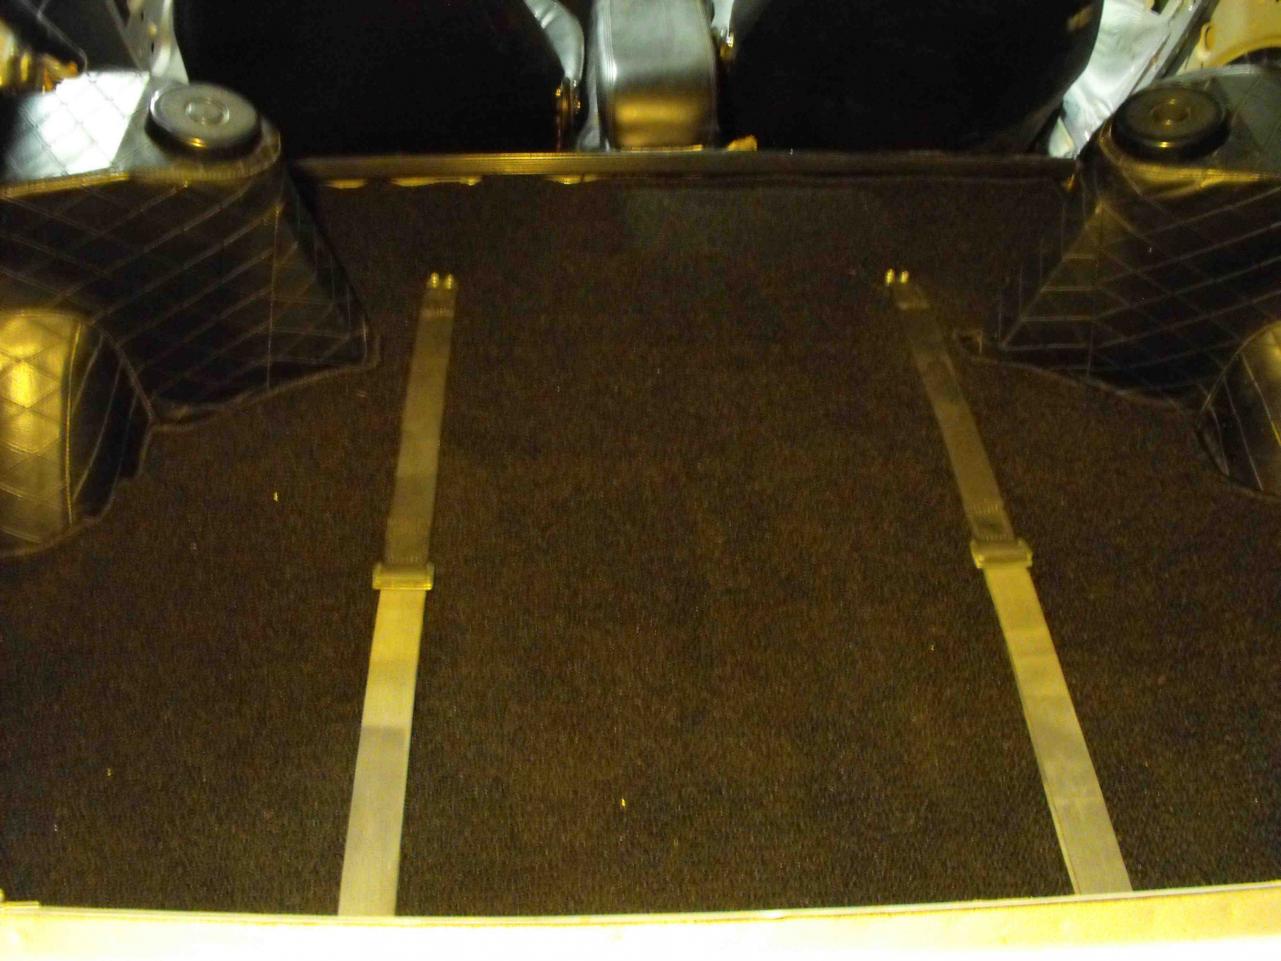
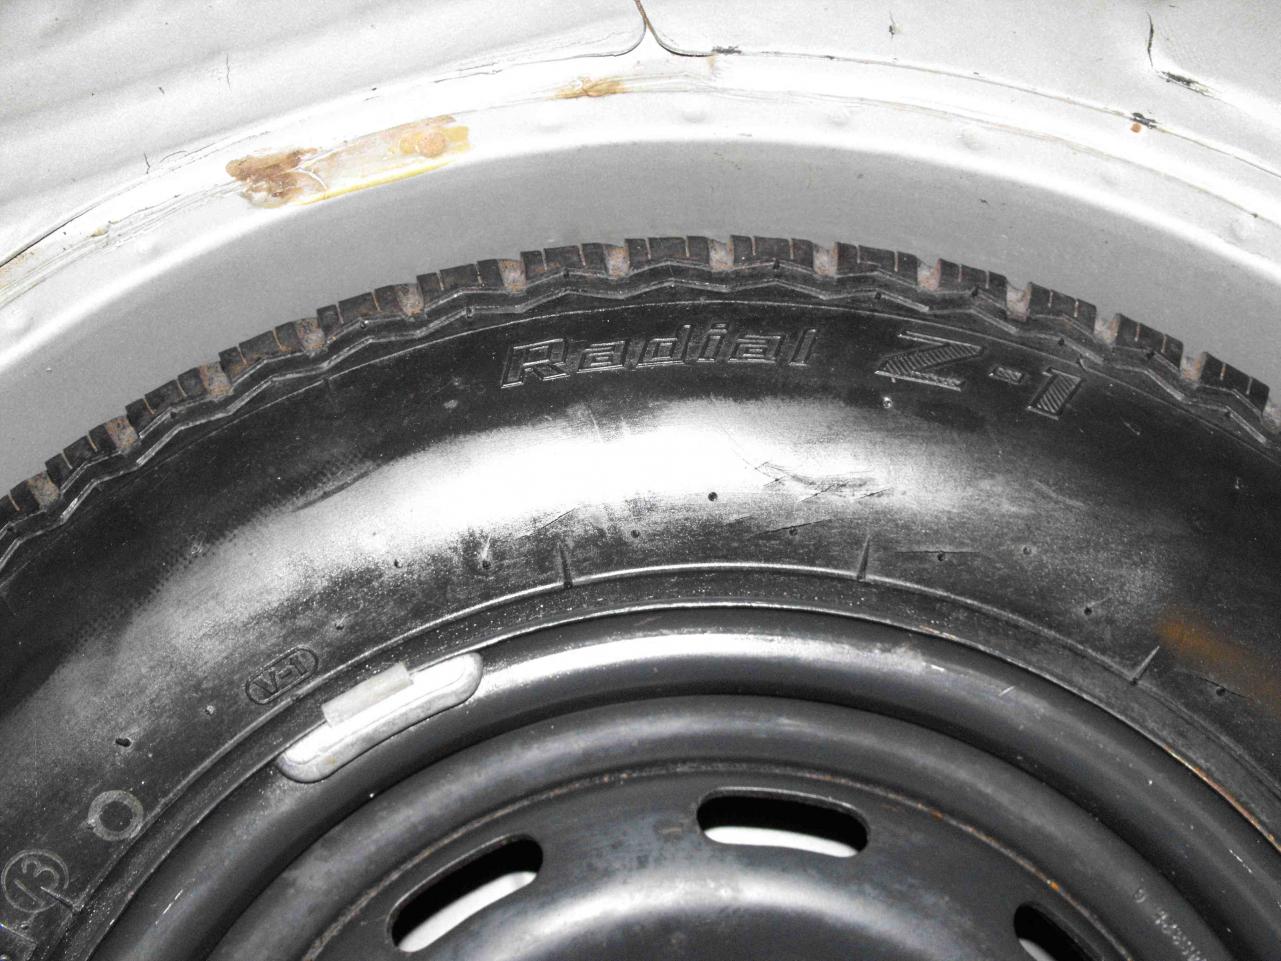
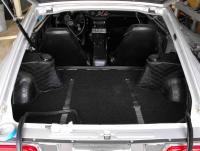
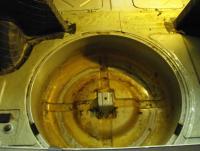
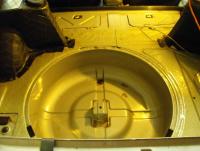
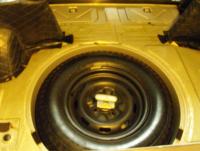
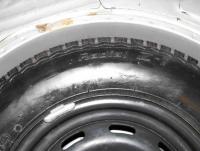
Cleaned up the spare tire area and installed the rear carpet. There was a lot of that horse hair stuff to clean up. Put in the carpet for the rear deck and the passenger side. Will get to the drivers side this weekend. The rear carpet did not have the cutout for the turnbuckle at the aft most end, but that worked out OK. I loosened the buckles and tucked the carpet under the buckle to secure it. The two cloth belts are a bit faded. May talk to my wife and see if she can dye them for me. This spare is probably pretty old. Toyo Z-1 14/175 series with Rayon cords.

-
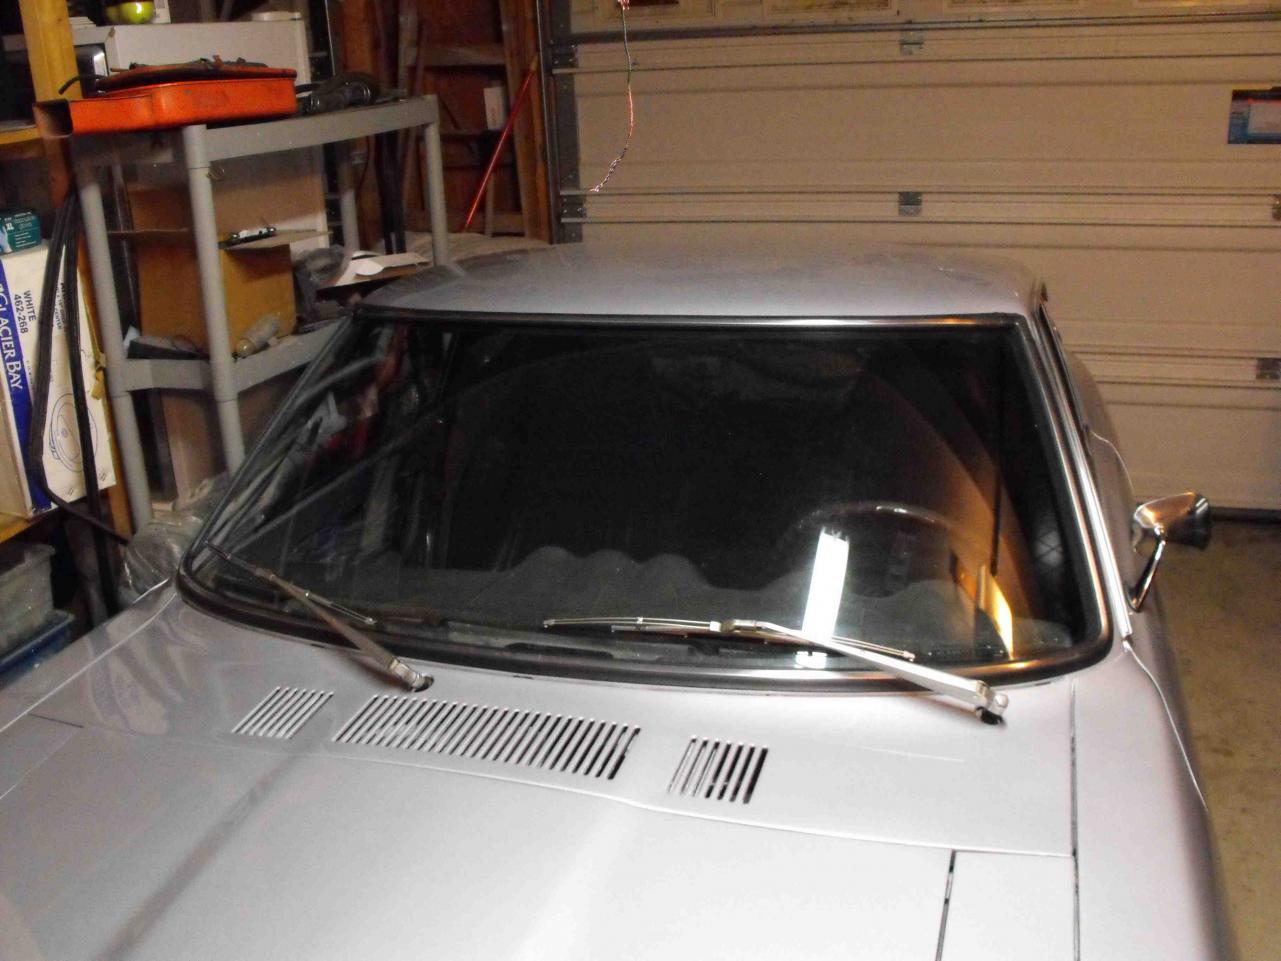
Hi Grant, The windshield rubber is from the complete gasket kit that I purchased from Black Dragon. The cost is about $200 and include almost all of the gaskets for the car. I got the same kit for my yellow one. Only thing I don't like on the yellow Z is the tight door seal. Takes some effort to close. This is a newer kit and the door gaskets are packeaged different than the rest of the kit. I am hoping these are improved. I will know in a couple weeks when I get to them.
-
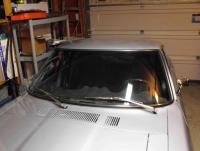
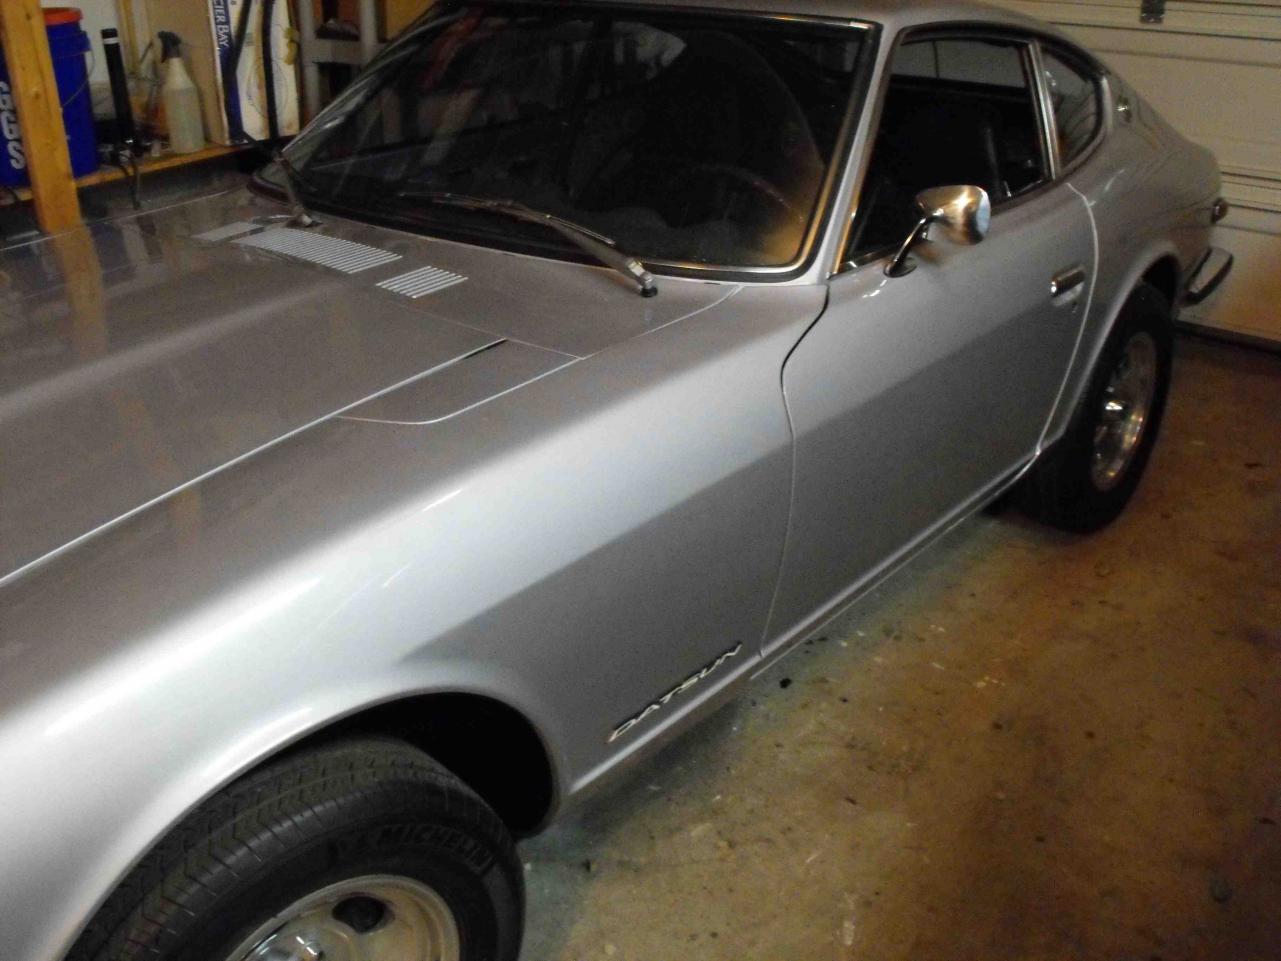
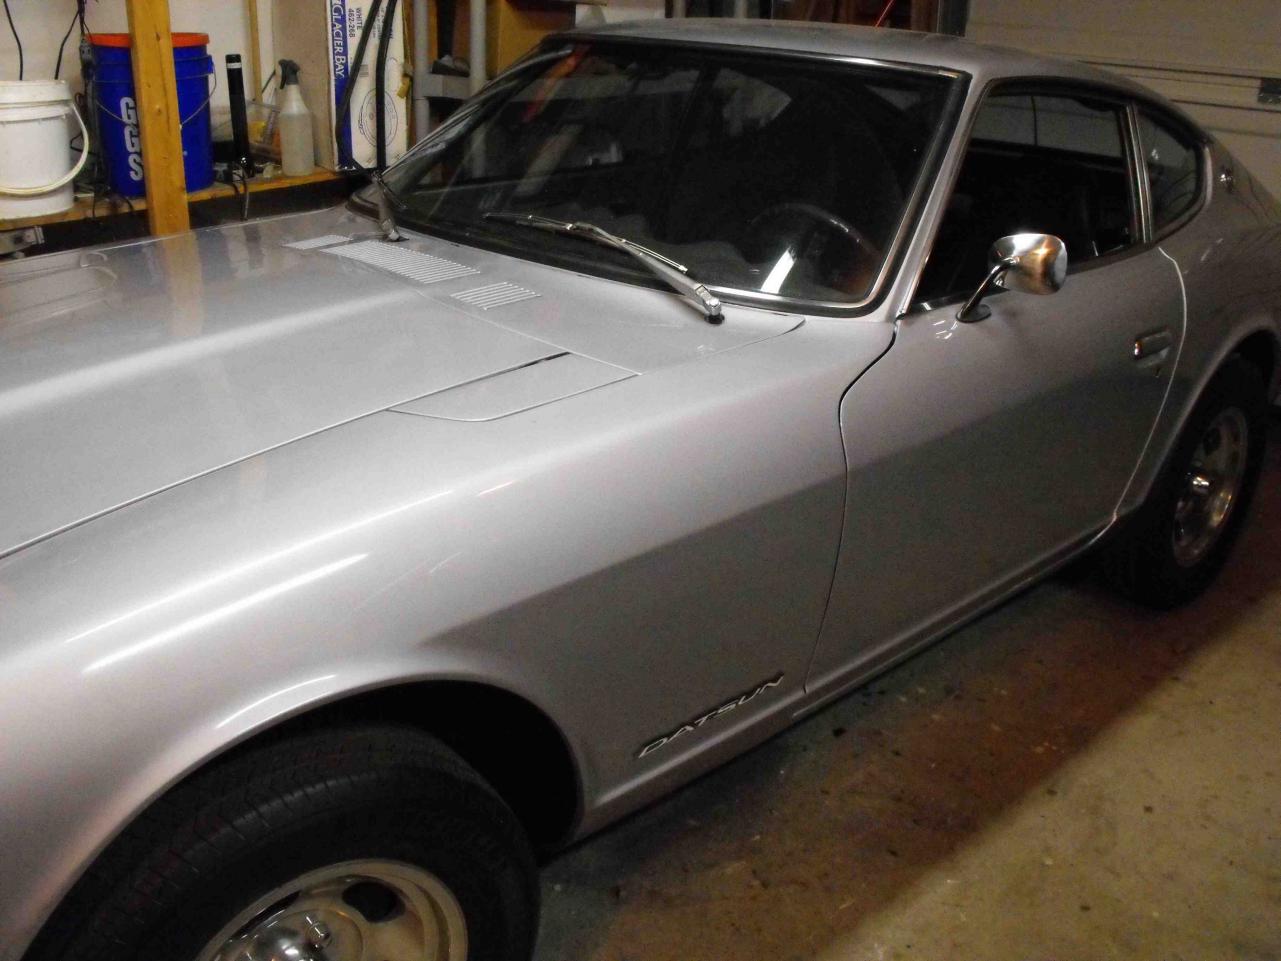
Finally got a chance to work on the car again. With moving the in-laws, fixing up the rental house, and celebrating the 25th wedding anniversary with a nice eight day get-away, haven't had much time to get anything done on the car in the last four weeks. Now that all this is done, I can finally get back to work here. I did go to the SoCalRoc Show on Saturday, 27 Nov. I love the roadsters. I took second in the Z category with my yellow Z, so that was nice. Getting back to the '73 refreshtoration, I got the windshiled in. It was a piece of cake. Had my son help me put it in place and the rest I was able to do myself. I have installed two windshields and two rear hatch glasses and feel pretty comfortable with the process. It did not take that long either. Maybe 2 hours total to put in the glass and the stainless strips. Also got the windshield wipers on and a side emblem. Still a lot to do but it's nice to get back to work on the car.