motorman7
 Subscriber
-
Posts
2,198 -
Joined
-
Last visited
-
Days Won
56
Content Type
Profiles
Knowledge Base
Zcar Wiki
Forums
Gallery
Events
Downloads
Store
Blogs
Collections
Classifieds
Everything posted by motorman7
-
8th Annual ZCCIV Datsun/Nissan Auto Show Sunday, May 30th, 2010 from 10:00AM to 2:00PM Gates open at 9:00AM at Quality Nissan 41895 Motor Car Parkway Temecula CA 92591 Public Welcome to View Cars on Display Music by "DJ" Ray A Raffle with multiple prizes will be conducted Vendors, Products, suppliers and Technicians on site All Years of Datsun/Nissan/Infiniti models are eligible for registration Each Pre-registered entrant will receive a "Goodie Bag", one (1) T-shirt one (1) raffle ticket, one (1) lunch ticket and one (1) votoing form Awards are by "People's Choice" $35.00 after May 15 http://www.zcciv.com/carshow/
-
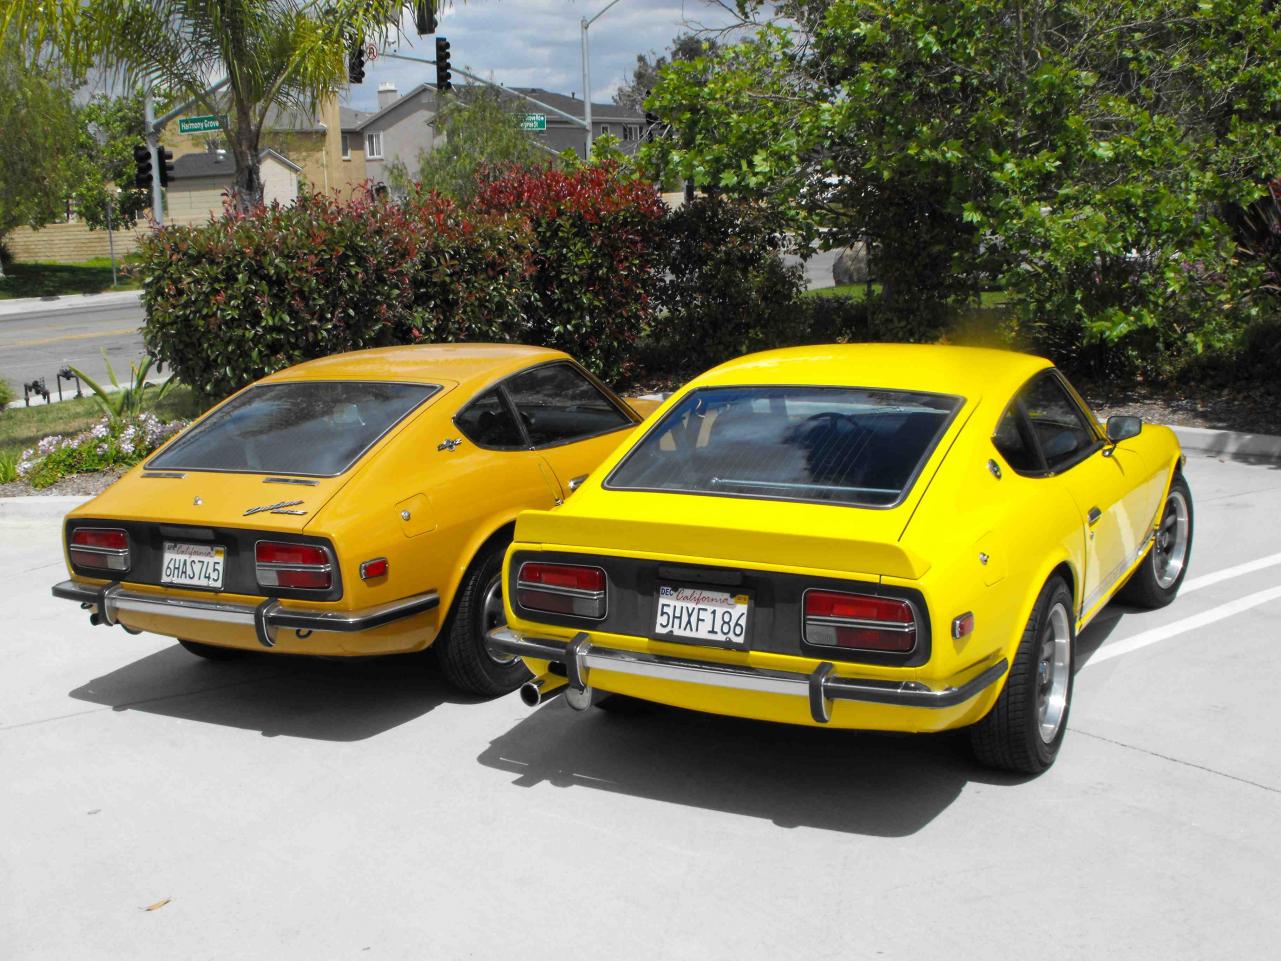
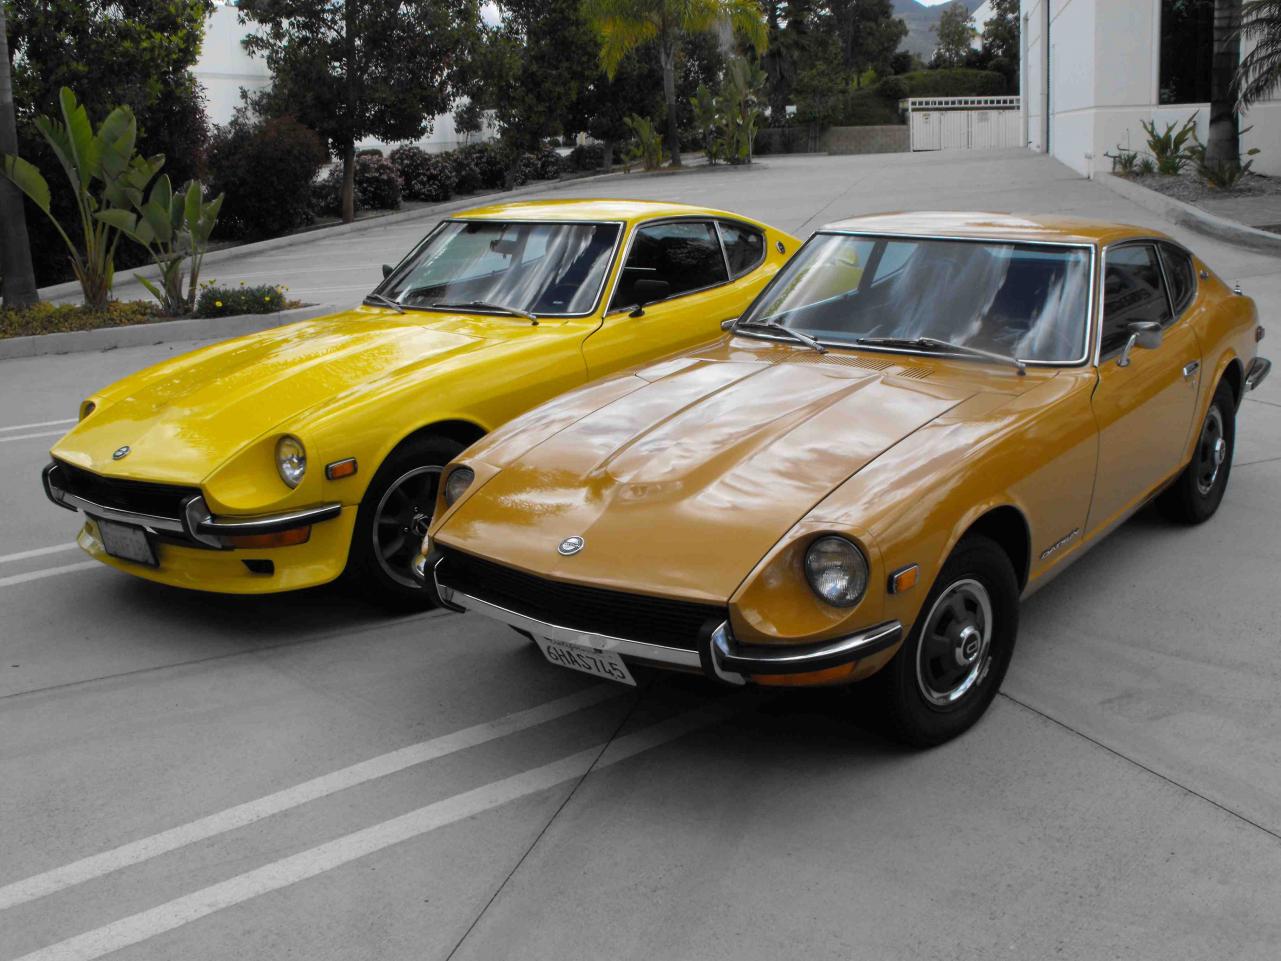
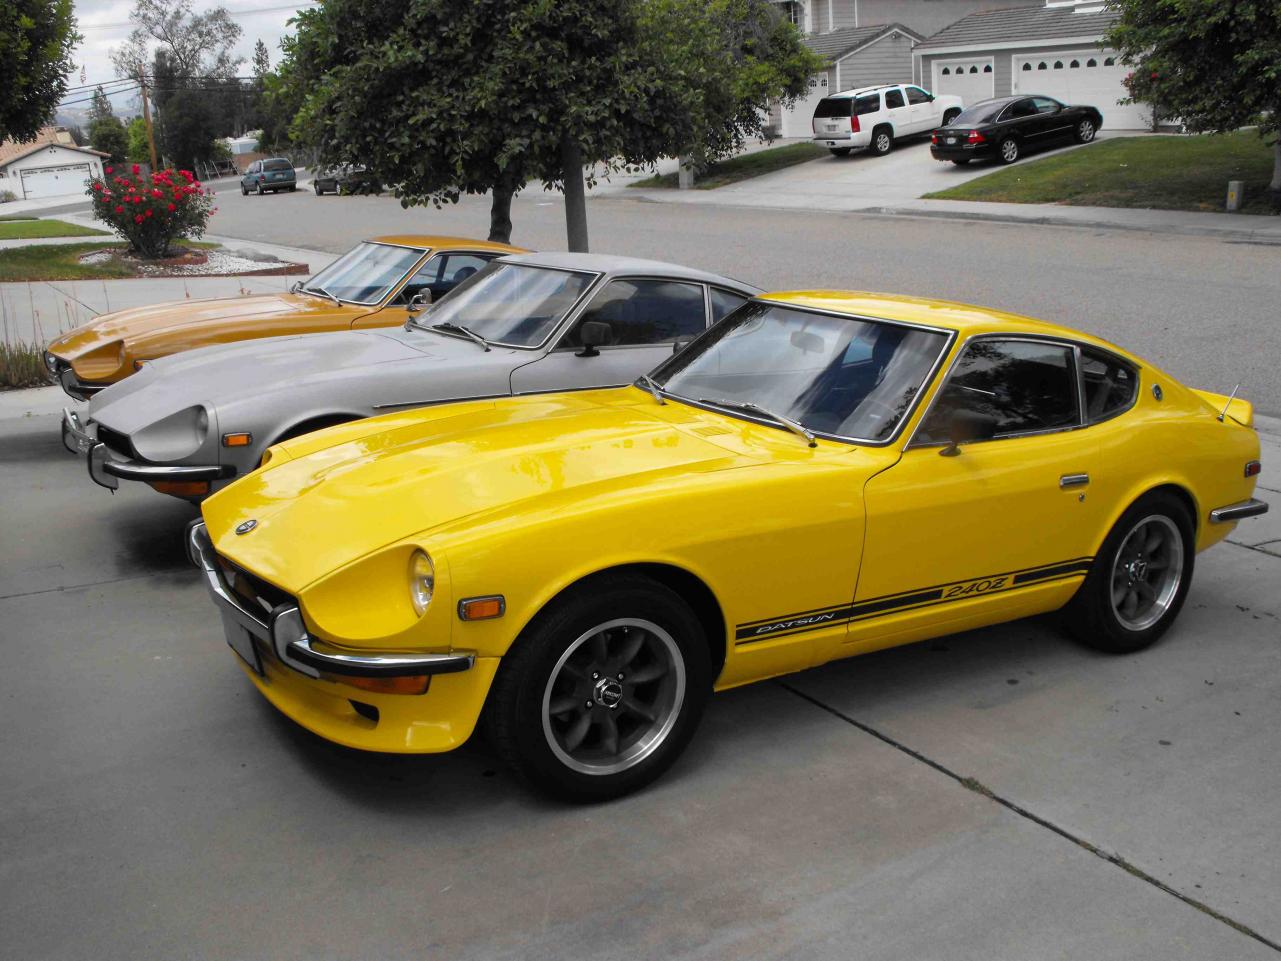
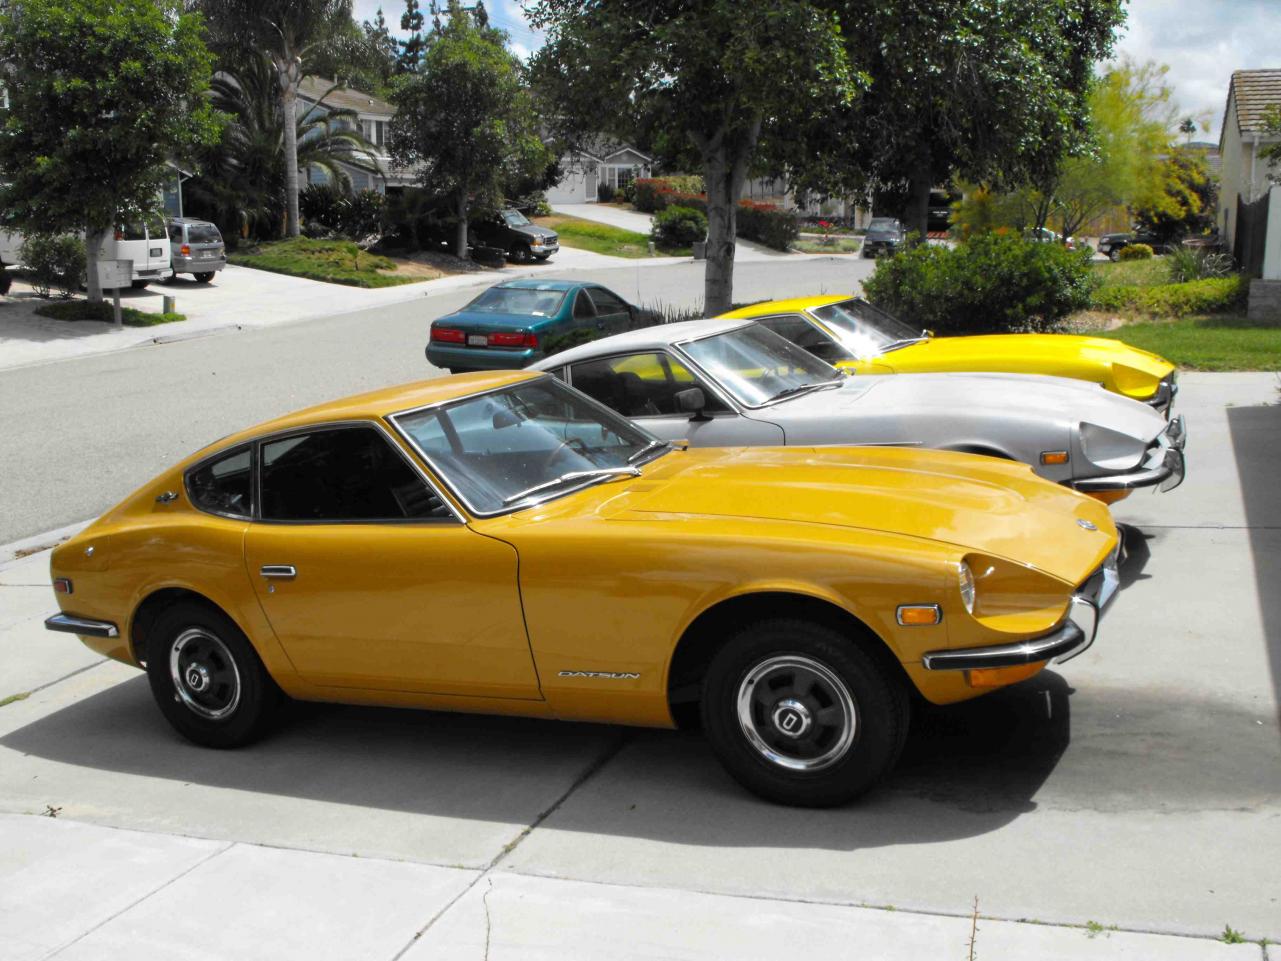
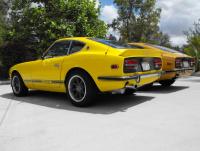
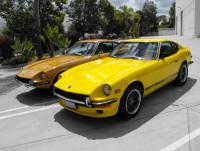
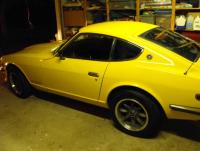
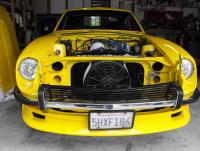
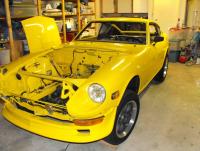
Thanks for the feedback everyone. Actually, the '71 is the yellow one and the '73 is the silver. Give me a year and the silver '73 will look every bit as nice as the '71. We'll start that project in a couple months here and keep that one original.
-
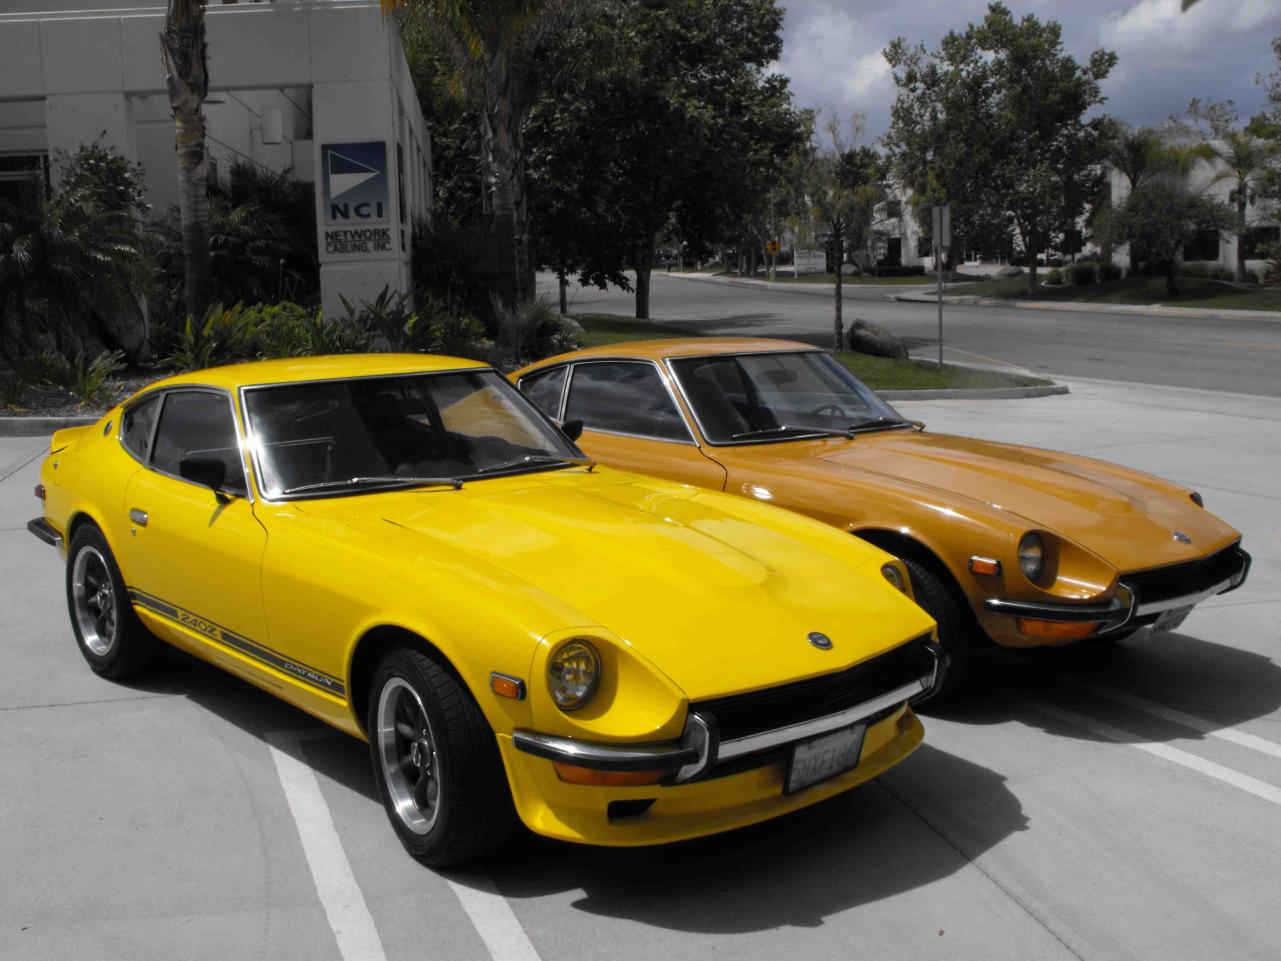
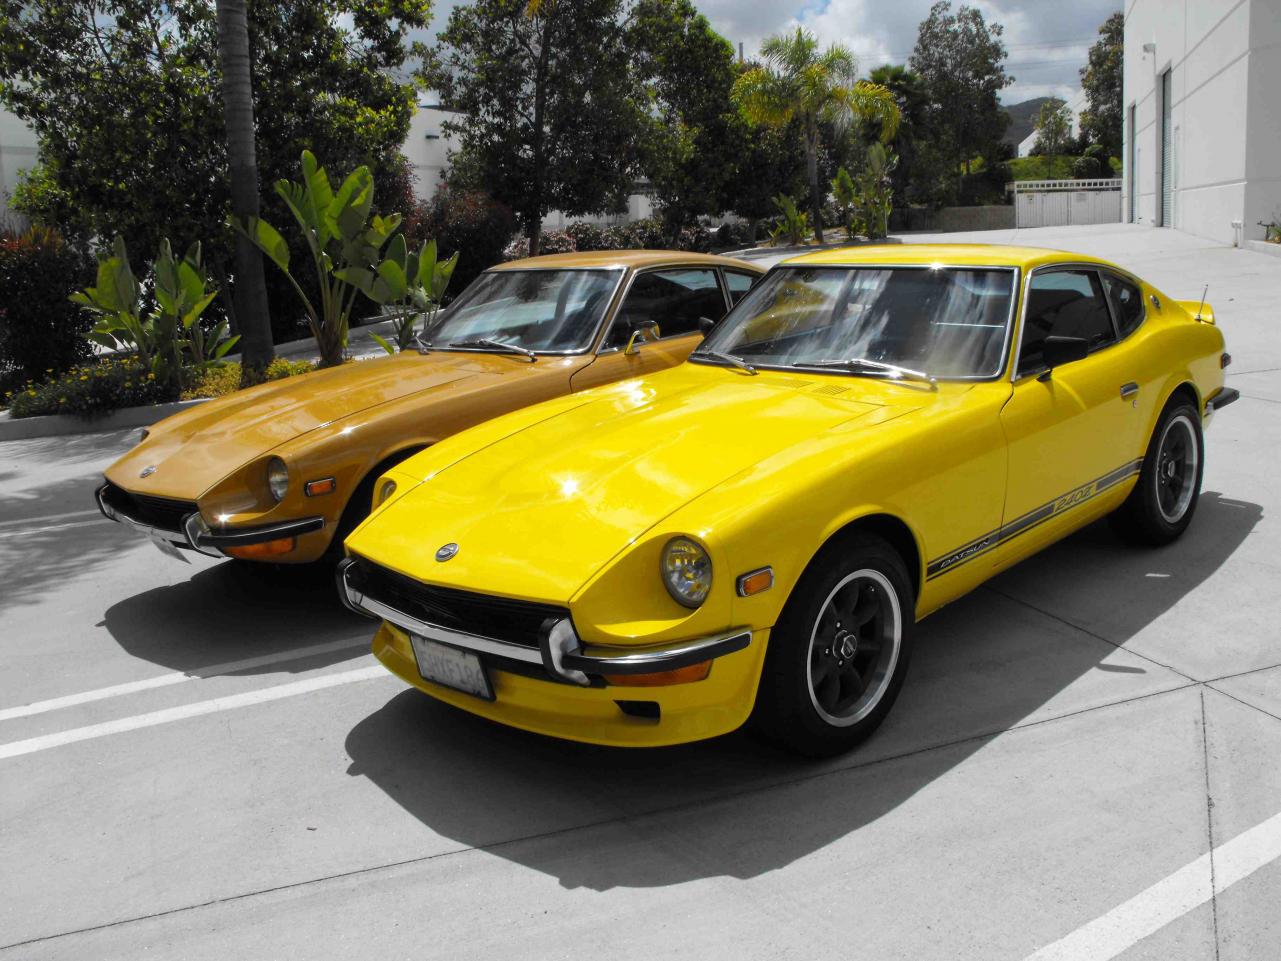
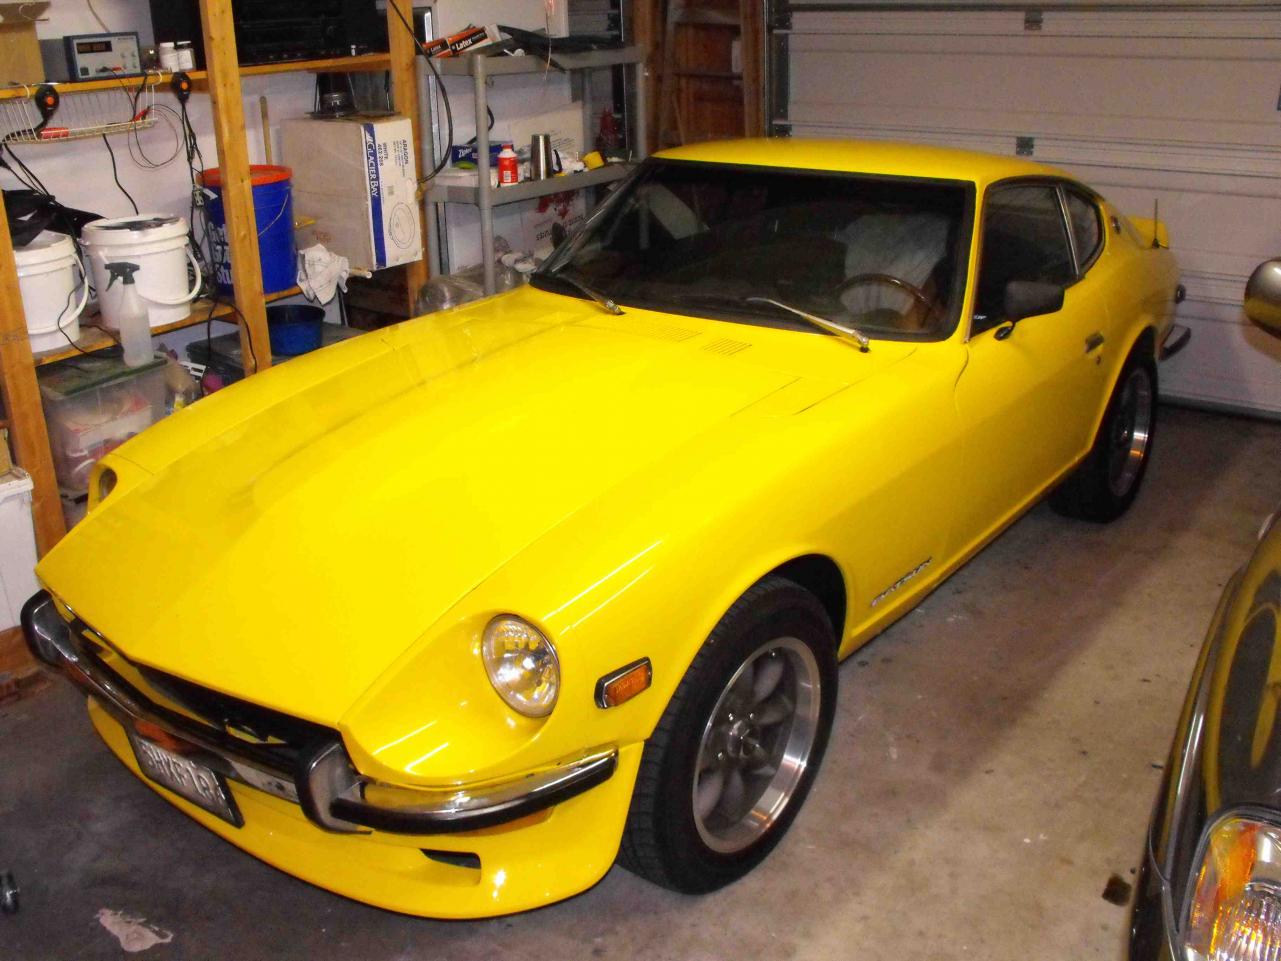
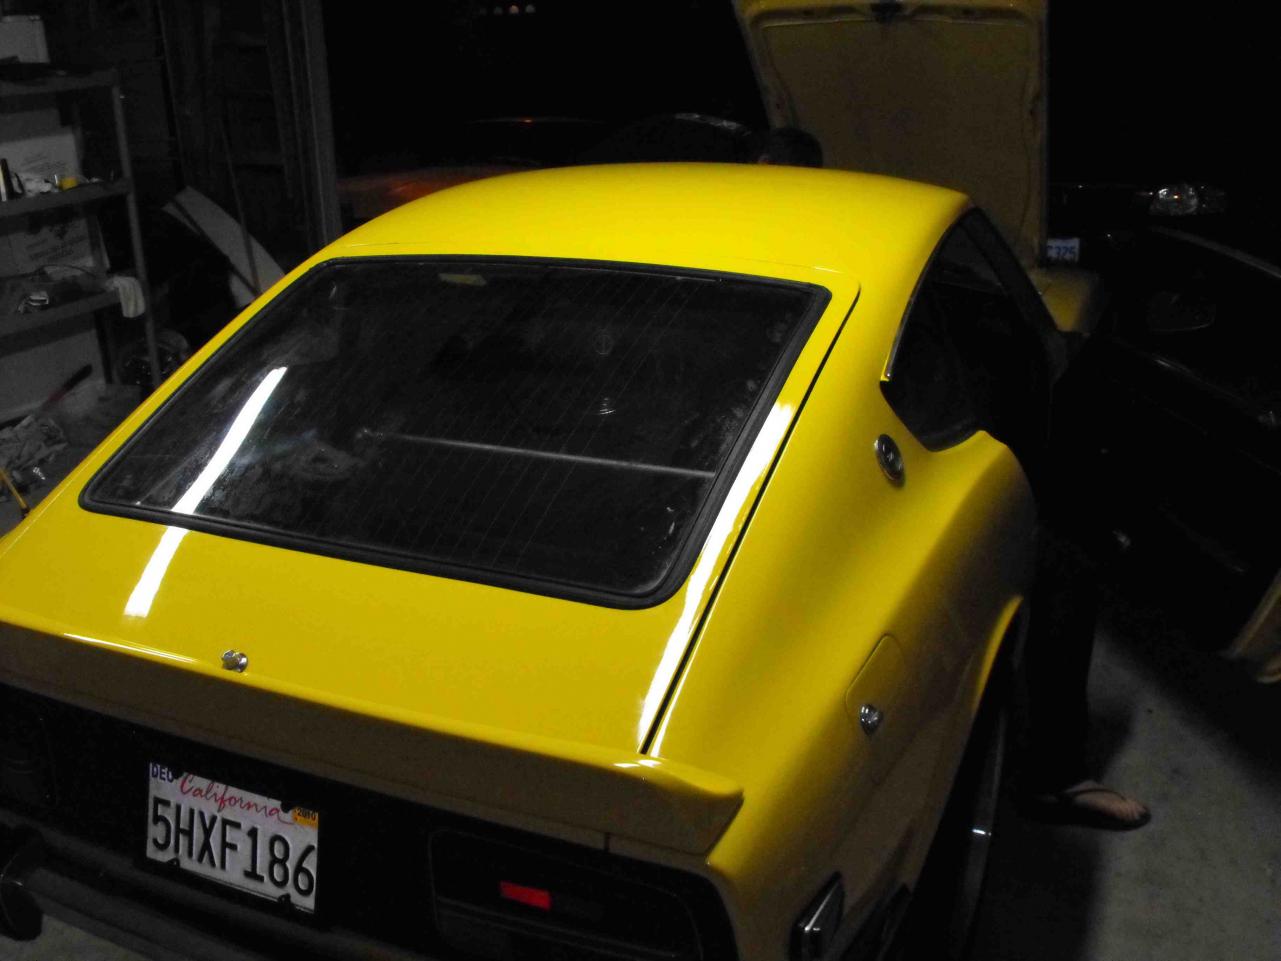
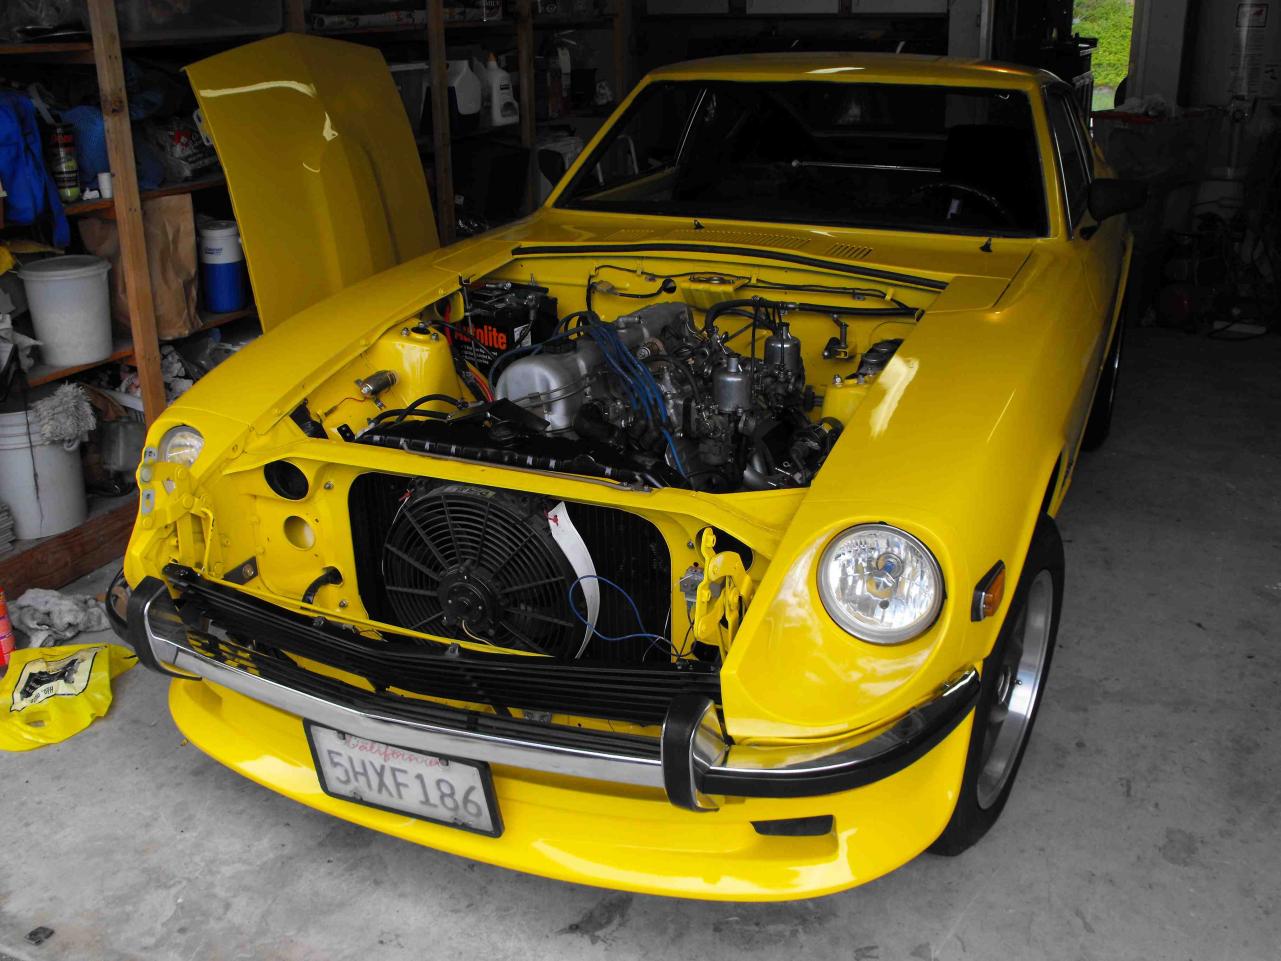
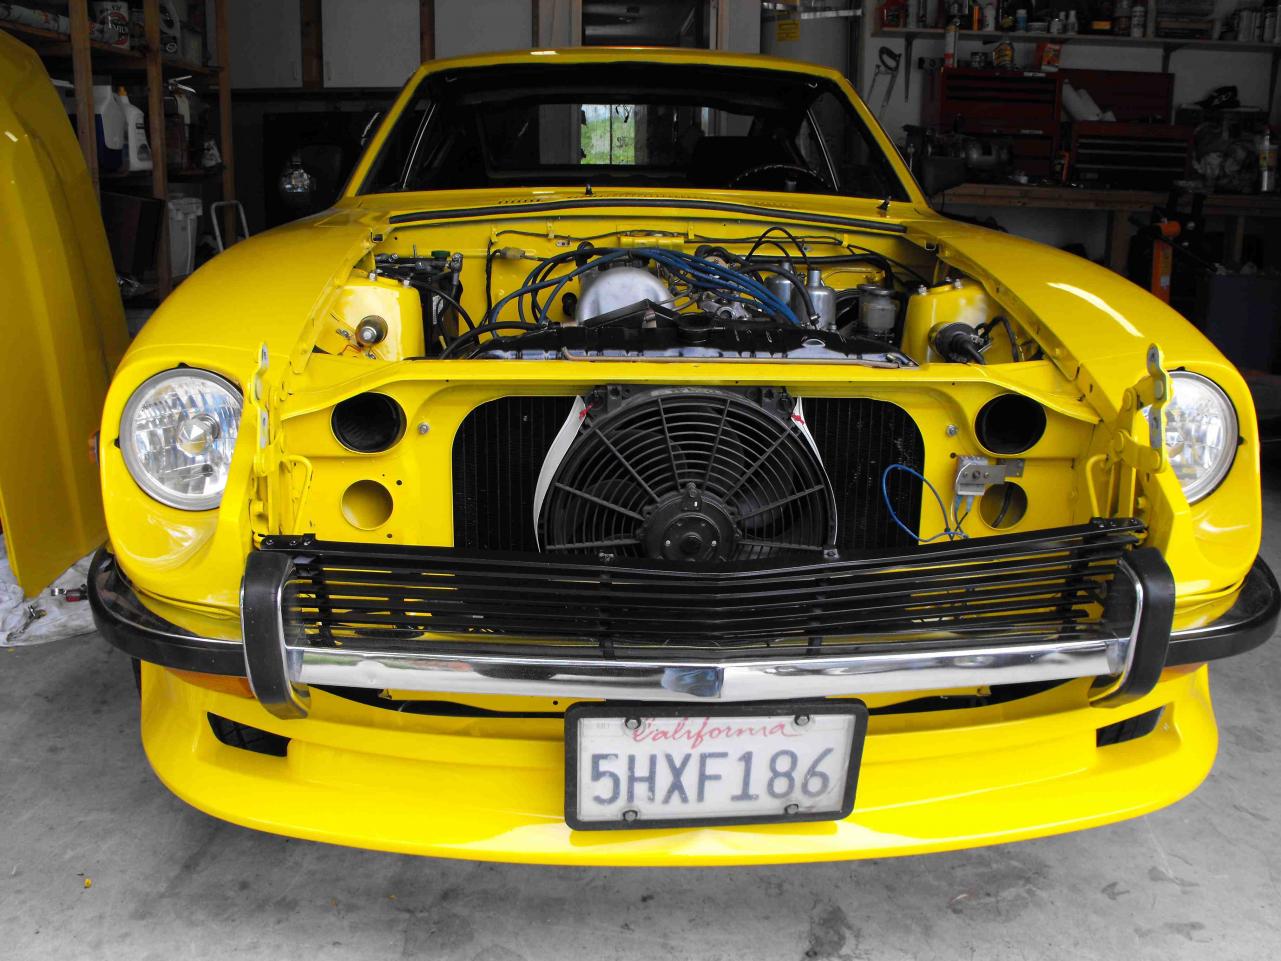
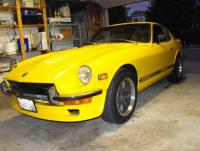
Time for the photo shoot


-
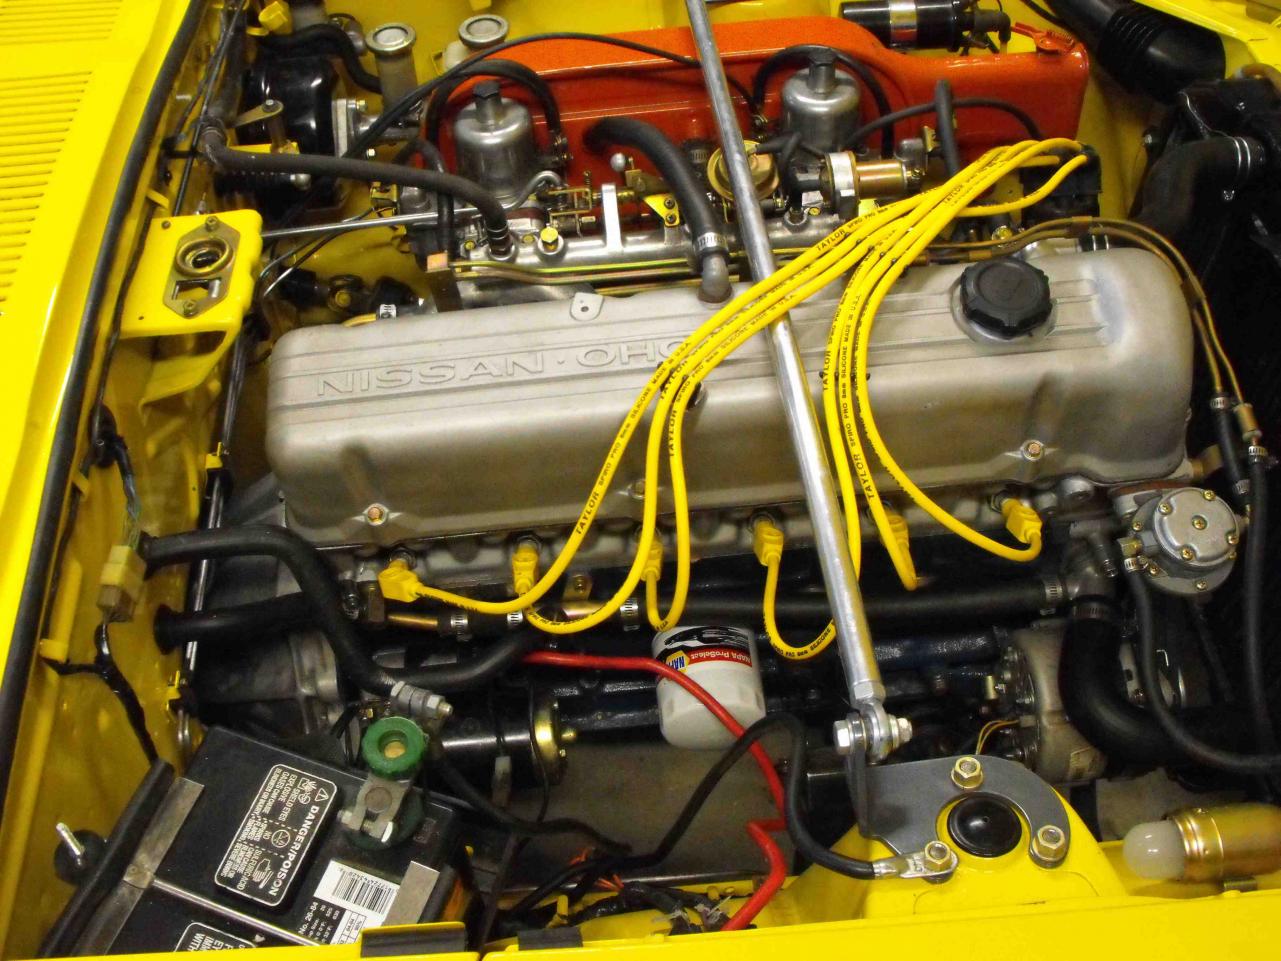
Float height is critical, especially at idle. With the height correct, the idle is smooth as silk, when they are off, the idle is rough. That is usually a good indicator. Got this from Arne's Blog. This is what I do to check float level. Thanks Arne! "So rather than trying (once again) the traditional methods of checking the float level, I tried something I'd read about a while back. I pulled the fuel hose from the bottom of the float bowl and connected a piece of clear tubing instead. Left the other end of the clear tube open, but ran it up and alongside the float bowl. Then I cranked the engine over (coil wire disconnected) to operate the fuel pump and fill the float bowls. The fuel fills the tube also, and you can physically see how full the bowls get. No guesswork. I've got several manuals that say the actual fuel level should be 23 mm from the top of the bowl, but don't give any clue as to how you might measure this. But with the tube I can see it. I did the rear carb first, it was close, about 2 mm low. Adjusted and rechecked, got it right first time. Moved on the the front carb, and found that the level there was at least 10-12 mm low! Took two rechecks to get it correct. Once that was done, the rest of the carb settings were easy. The results were very good. The car runs great under most all conditions now. No signs of being lean, runs clean and smooth now."
-
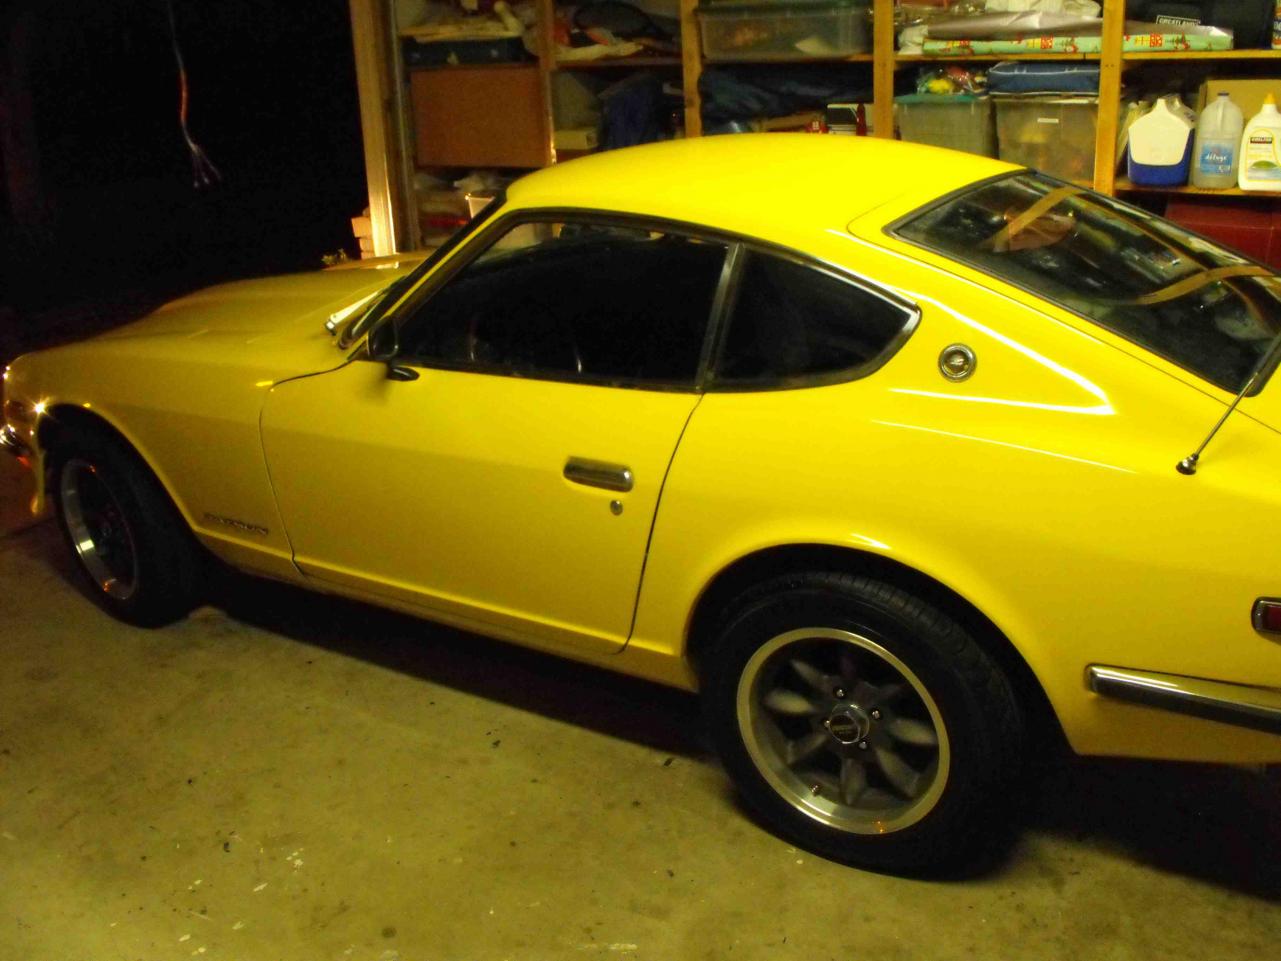
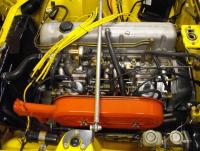
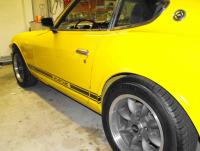
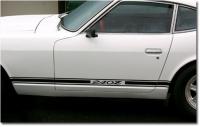
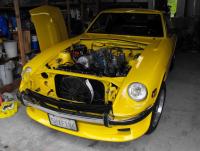
I know, I love them. They were sitting in Les Canaday's shop (CDM) and I thought "I need to have those". I asked him if they were for sale, and he said he really wasn't sure. They were originally for his car. After a couple months, he decided to go a different route on his car so he called me and asked if I wanted them. I said "YES" and was there the next day to buy them before he could change his mind. I originally got the rims for my '70, but after having them on there for a while decided it wasn't the right thing to do. The '70 had hubcaps for 39 years, it should stay that way. So, now they reside on the yellow car. I like the combo. I like the look of the side stripe, it ties in the wheels better. I am not too happy with my installation of them though. There are a couple bubbles that I didn't get out. Putting on the stripes is definitely a two person job, One person to keep it straight and the other to smooth the imperfections. Also wish I would have read Bob's post earlier about the correct stripes. I ordered the ones I have from MSA before I read his post :disappoin I may re-do these at a later date. Will leave them as is for now. I really dig the spark plug wires. Very nice complement to the engine
-
Got some way cool Taylor yellow spark plug wires from a guy named.... Taylor, go figure. Thanks Randy! They look great. Put the side stripes on today, not bad. I am happy with the look. I think I am almost done with this. I would like to take some nice photos in the sunlight this weekend and then I'll probably end this thread. Thanks for all the help everyone.

-
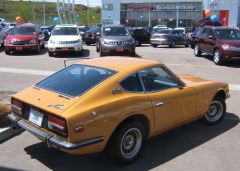 Wow!..that looks like my car. Is that original paint? It looks like it. Very nice:classic:
 -

my first attempt at weather stripping...what a train wreck
motorman7 replied to BTF/PTM's topic in Open Discussions
The frustrating thing is that my rear hatch weather stripping looked great for about 3 days...then I don't know what happened. Seems most of the edges rolled over toward the inside and now need to be glued down again. How does that happen? -
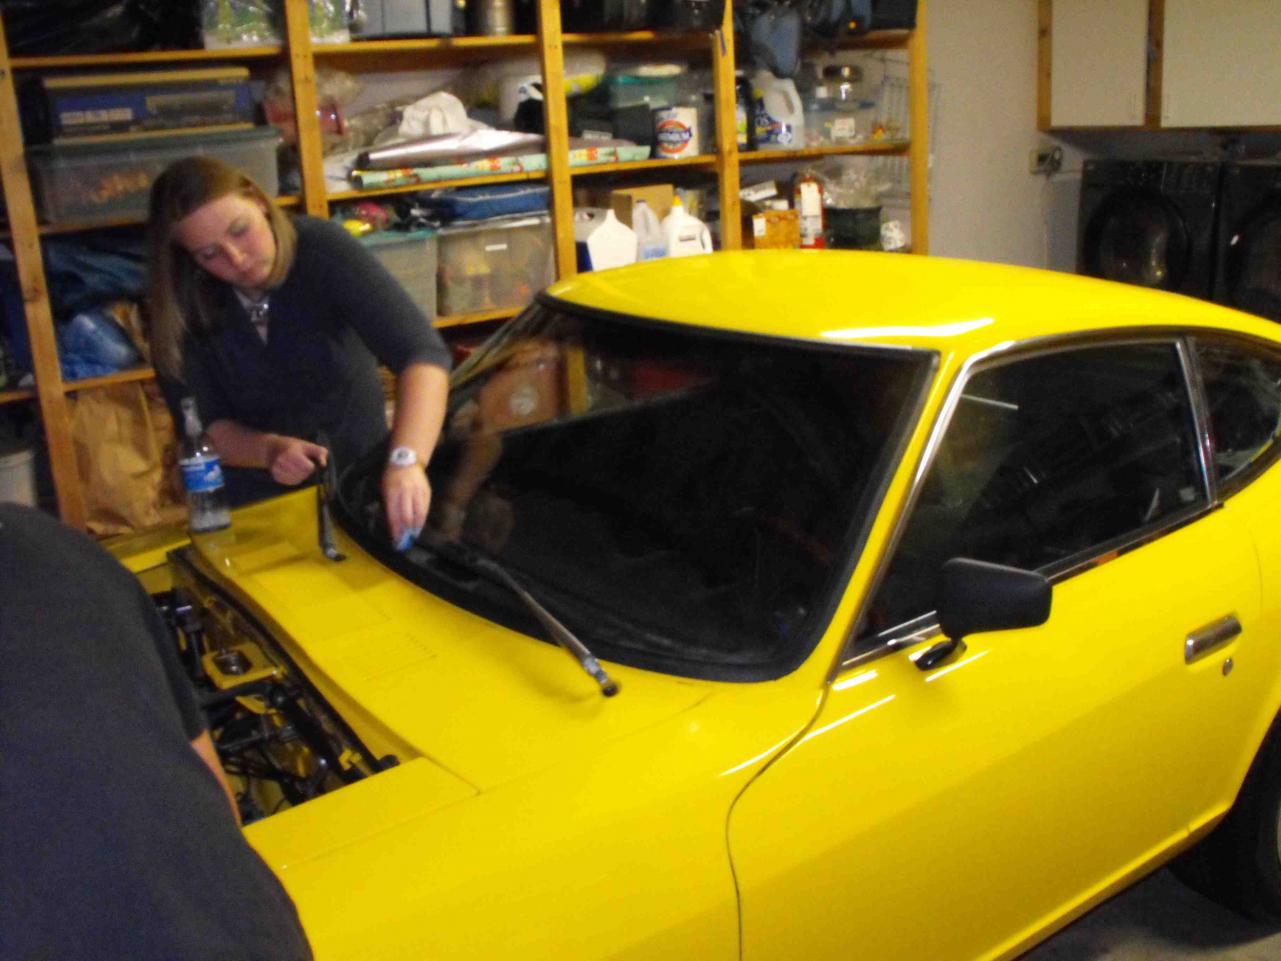
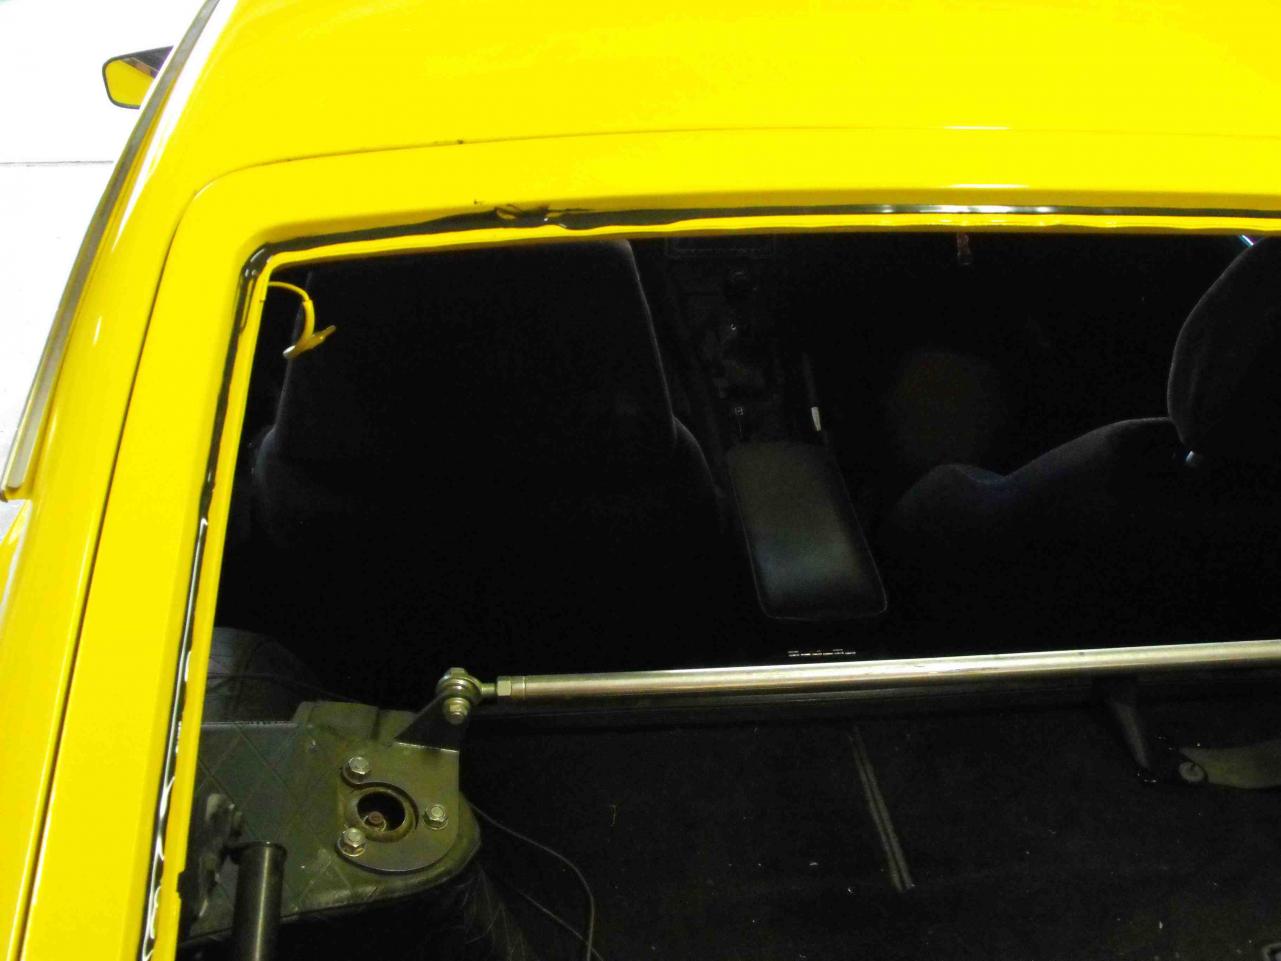
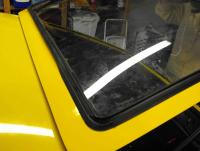
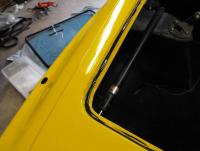
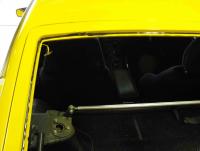
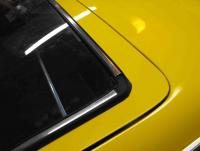
The front windshield was the exact same process, no trim. The only difference was that I started at the bottom middle, moving towards the drivers side, and once I was half way around (at the top middle), it got a difficult to do my zipper technique. So I went back to the bottom middle and pulled the cord and zippered along the passenger side and then up. This went very smooth. Once I moved past the lower passenger corner, the windshield settled into place. The rest zipped easy. Once I was finished, my daughter cleaned the glass. I put the trim in several days later. It was not that difficult, but again took a process. I slide the trim edge that was on the paint side into the groove. I used a small round shaft screwdriver to roll the glass side edge of the rubber over the trim. My guess is that this process works well wih new rubber. The process may be different if an older gasket were used


-
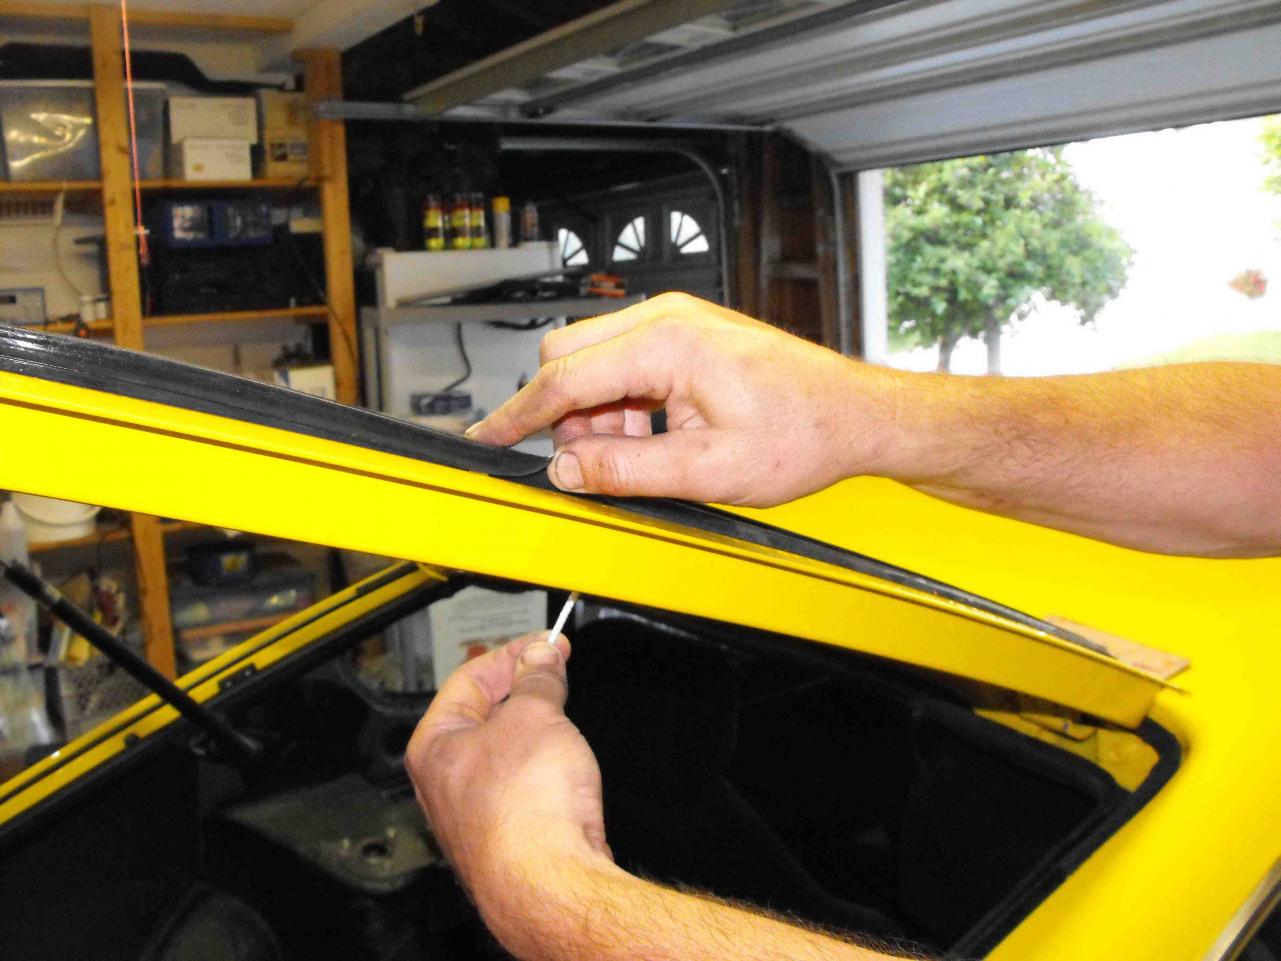
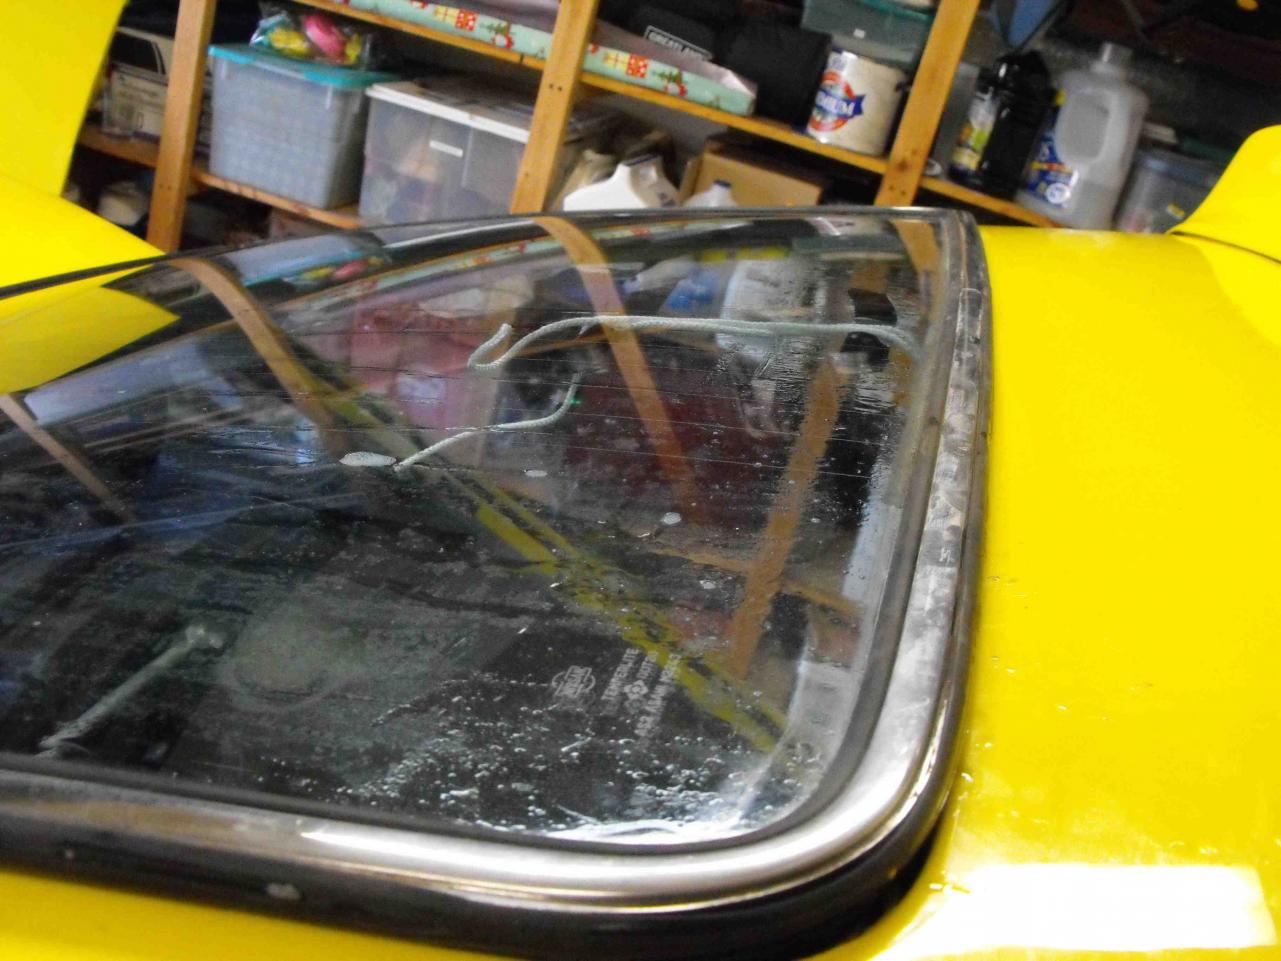
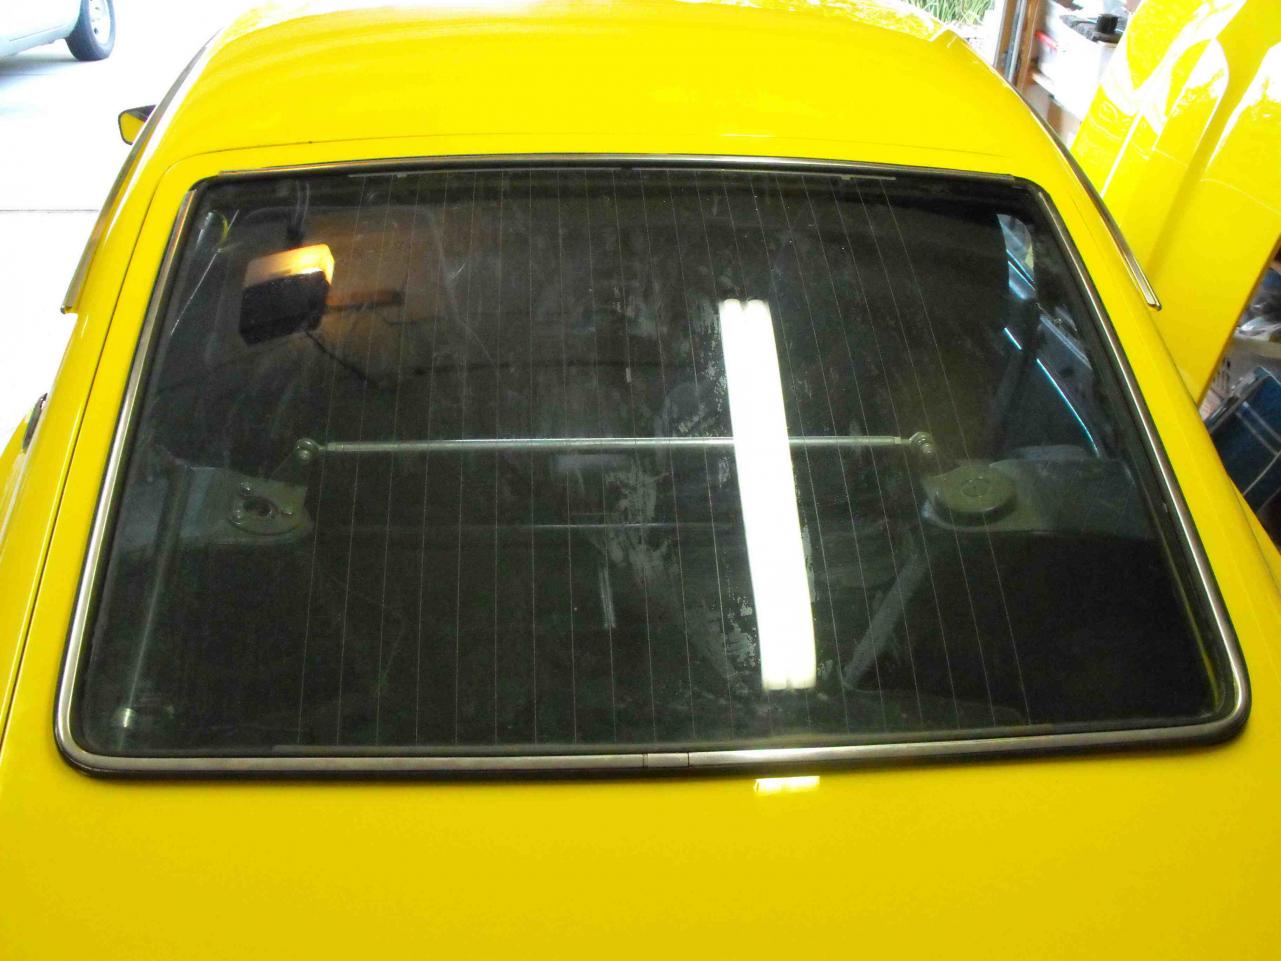
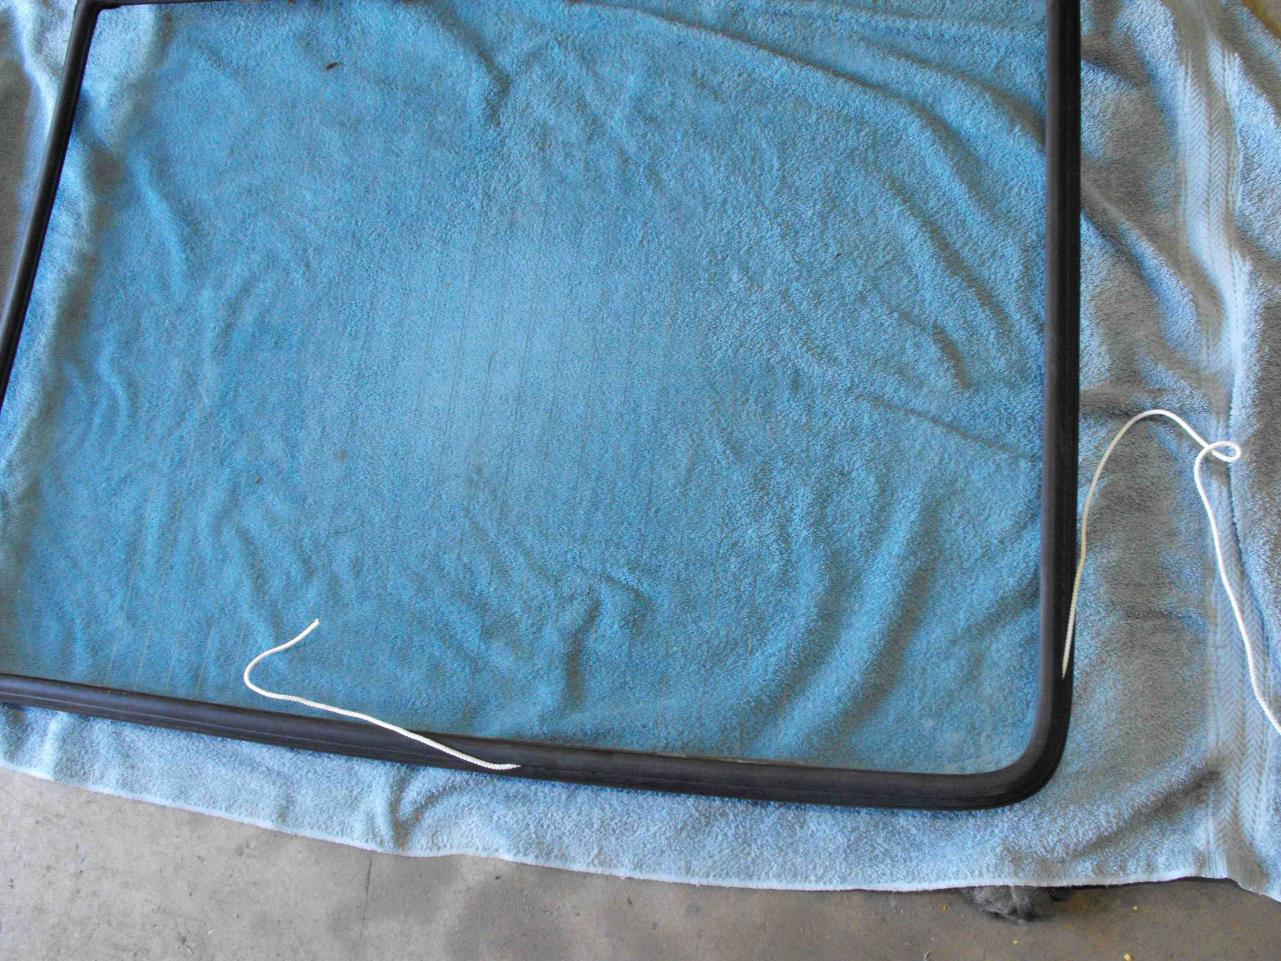
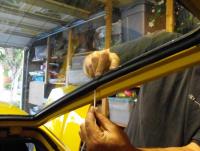
This is where things got tricky. I undid the rope on the inside and started pulling it along so that the inner lip would move over the pinchweld. This part on the inside was easy. The problem was getting the outside flap out of the groove and onto the flat portion of the hatch. The rubber flap wanted to fold over and stay in the groove where the sealant was. I had to try and lift it out of there and get it to lay flat on the flat portion of the hatch (hopefully that makes sense). Anyway, This did not work well. I would get 6" done, then lose 2"; 2" done then lose 5". After a frustrating 15 minutes of getting nowhere, I took out the metal trim. With the trim out, things were way easier. I slid my thumb along the top edge to get the flap onto the body while pulling the string underneath. ( I could not do this with the trim in because it made the rubber too stiff) This worked just like a zipper and went pretty fast. After I was about half way around, the glass settled into place. The rest of the install was easy, I just zipped it in.


-
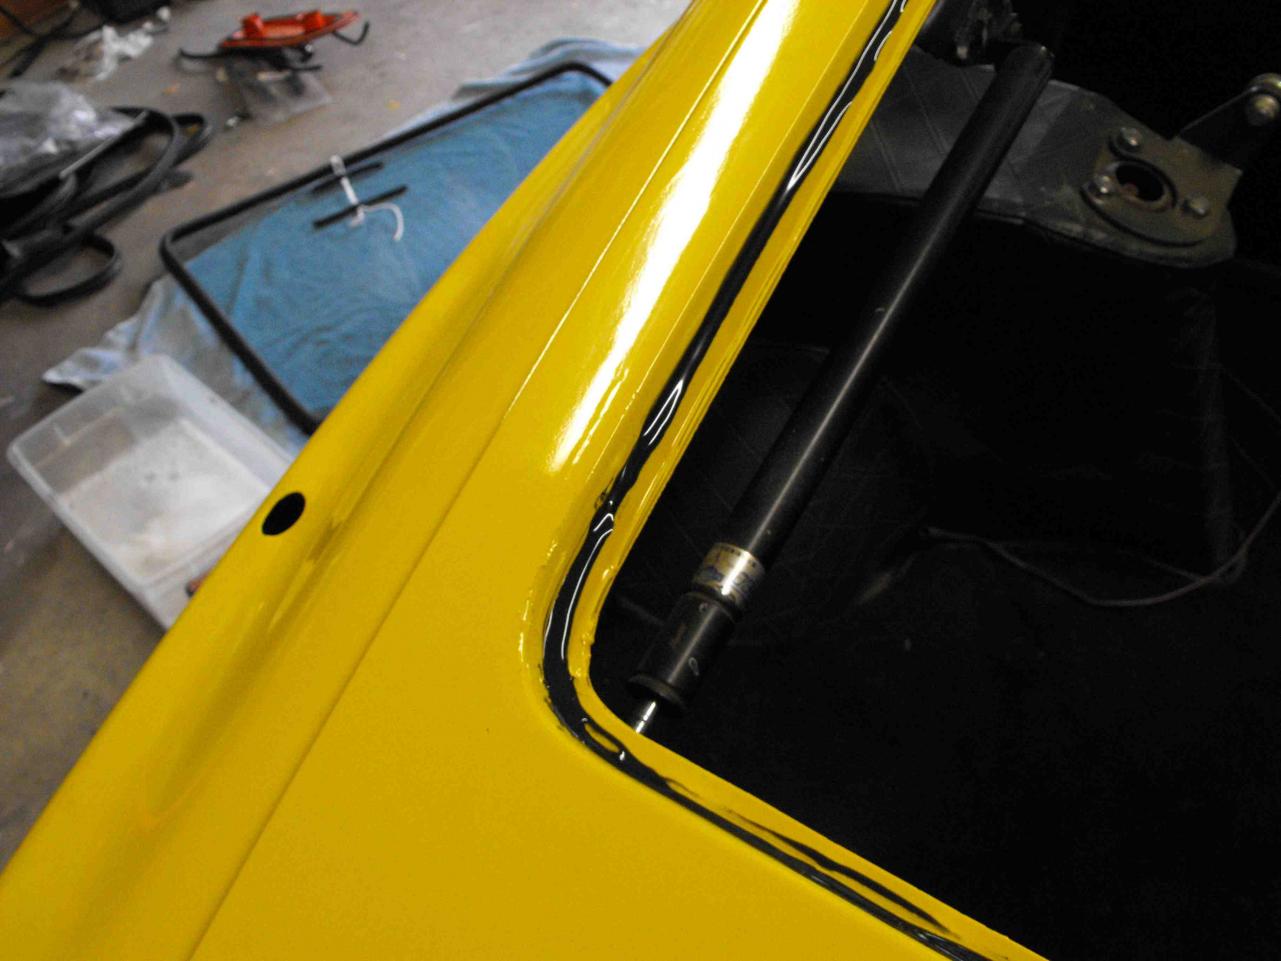
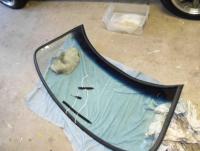
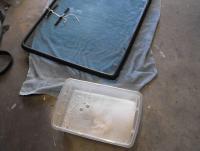
Next, I put the sealant in the hatch groove as shown in the pics.I then made a tub of warm soapy water (dish soap) and soaked the rubber and glass edge with a rag. I then placed the soaped window and rubber onto the hatch.


-
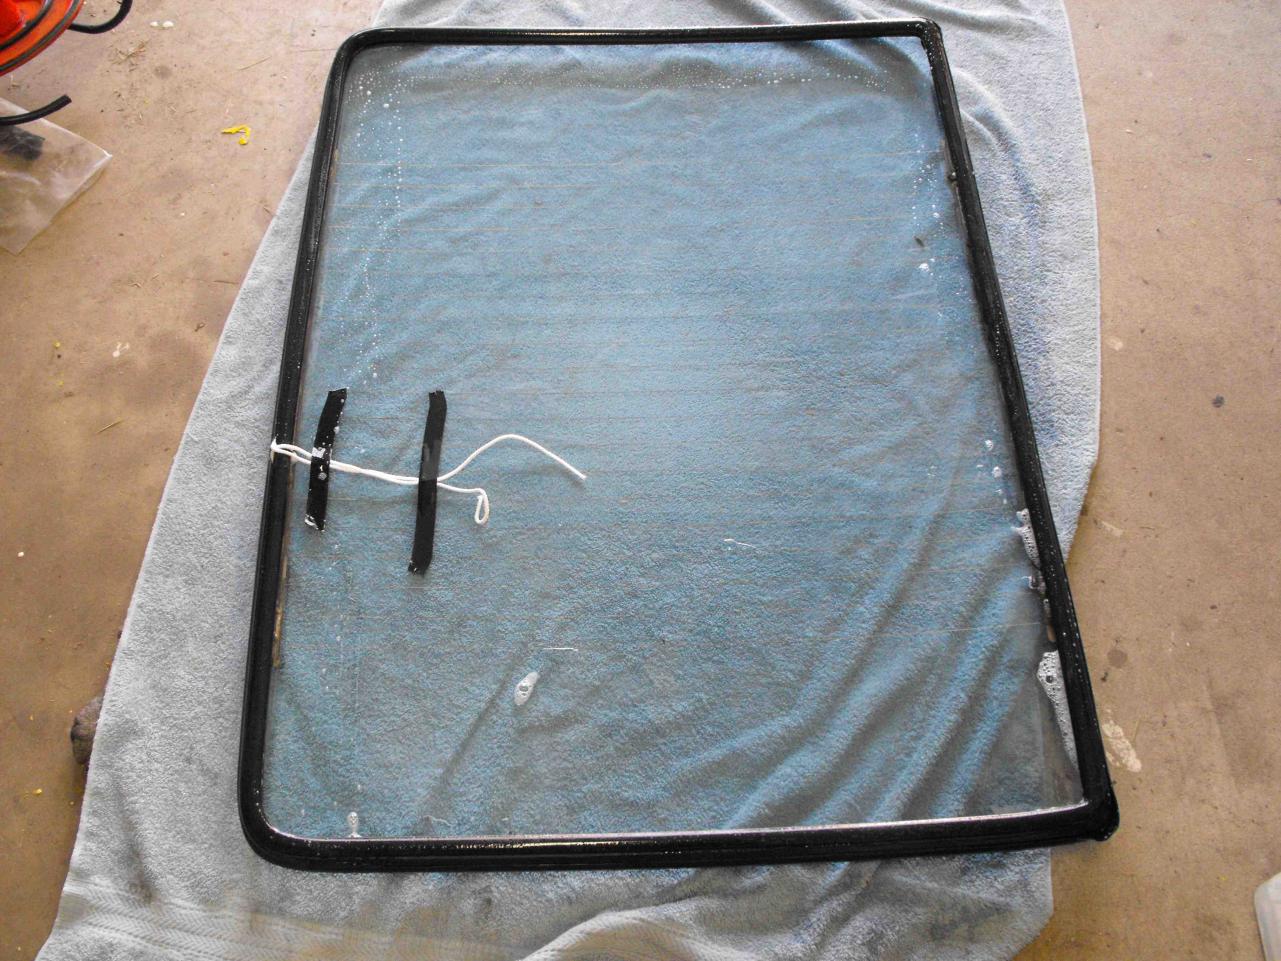
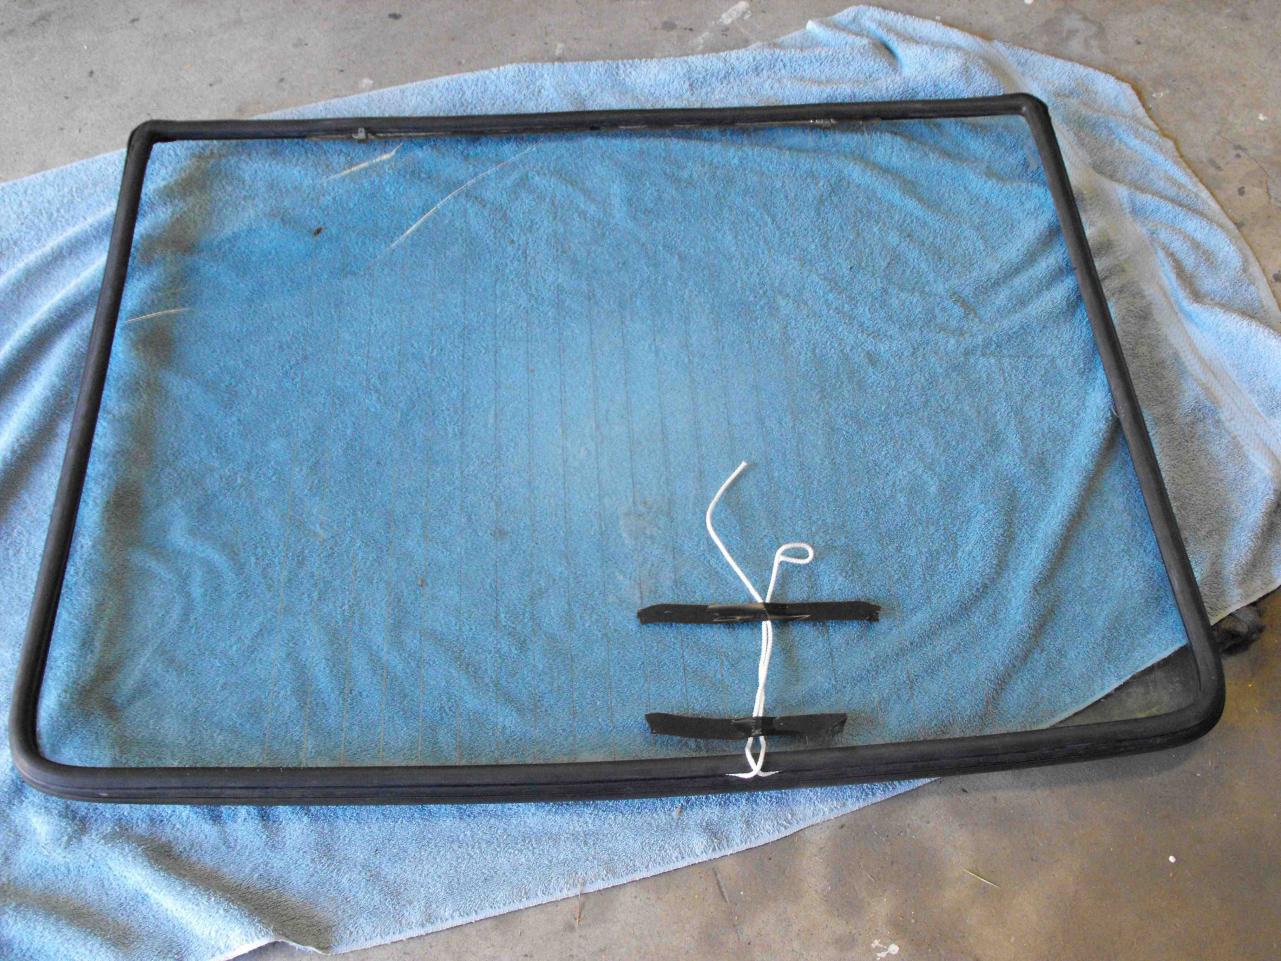
Part 1 (I will do this post in several parts because of pics) I would like to preface this install by saying this is what worked for me. I used the summary by 'rubrbulits' as my step by step guide, but ended up making alterations. I installed a PPG windshield using new Black Dragon Rubber that was made in Thailand . The rubber was very pliable and fit to the glass well. I started off with the rear hatch glass, because I felt that would be good to practice on. I put the rubber around the glass and put in the metal trim except for the corners. I figured I would put those on after the install. Everything fit well at this point. I then inserted the cord into the groove, all the way around. I overlapped the ends by about six inches. I taped the ends to the inside of the glass.


-
my first attempt at weather stripping...what a train wreck
motorman7 replied to BTF/PTM's topic in Open Discussions
I hate putting in weatherstripping. It was easier to put in the windshield and rear hatch glass. -
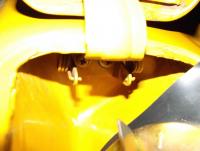
I wasn't aware of that. It's very hard to see in there. All I could really see were the two coils. Did not realize they were connected.
-
Hi Mike, I was wondering if HLS30-00237 had the springs. Also, I wonder if this is like the air cleaner decal issue where some early cars had them and some did not. Part shortages my guess.
-
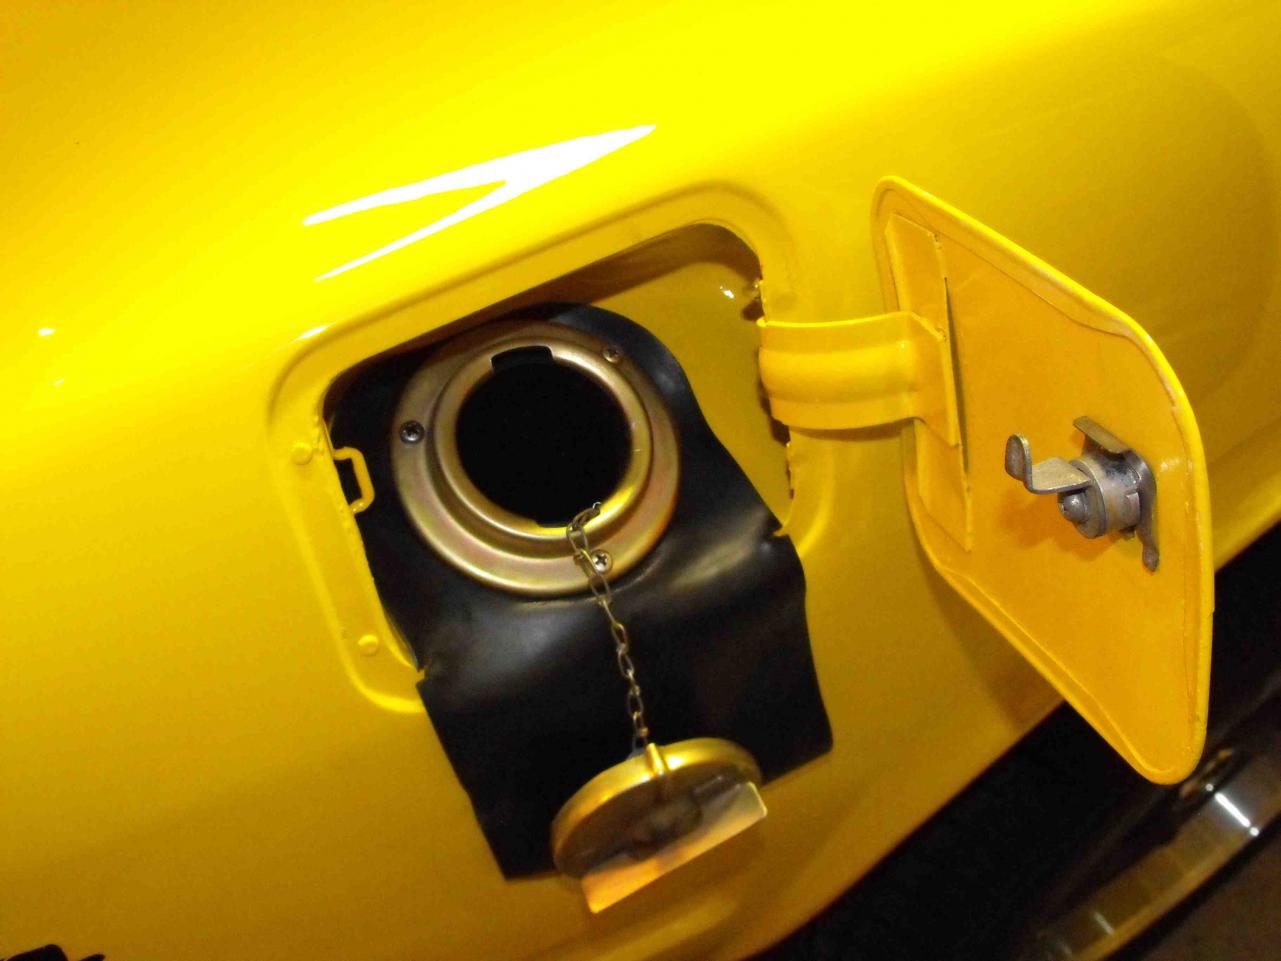
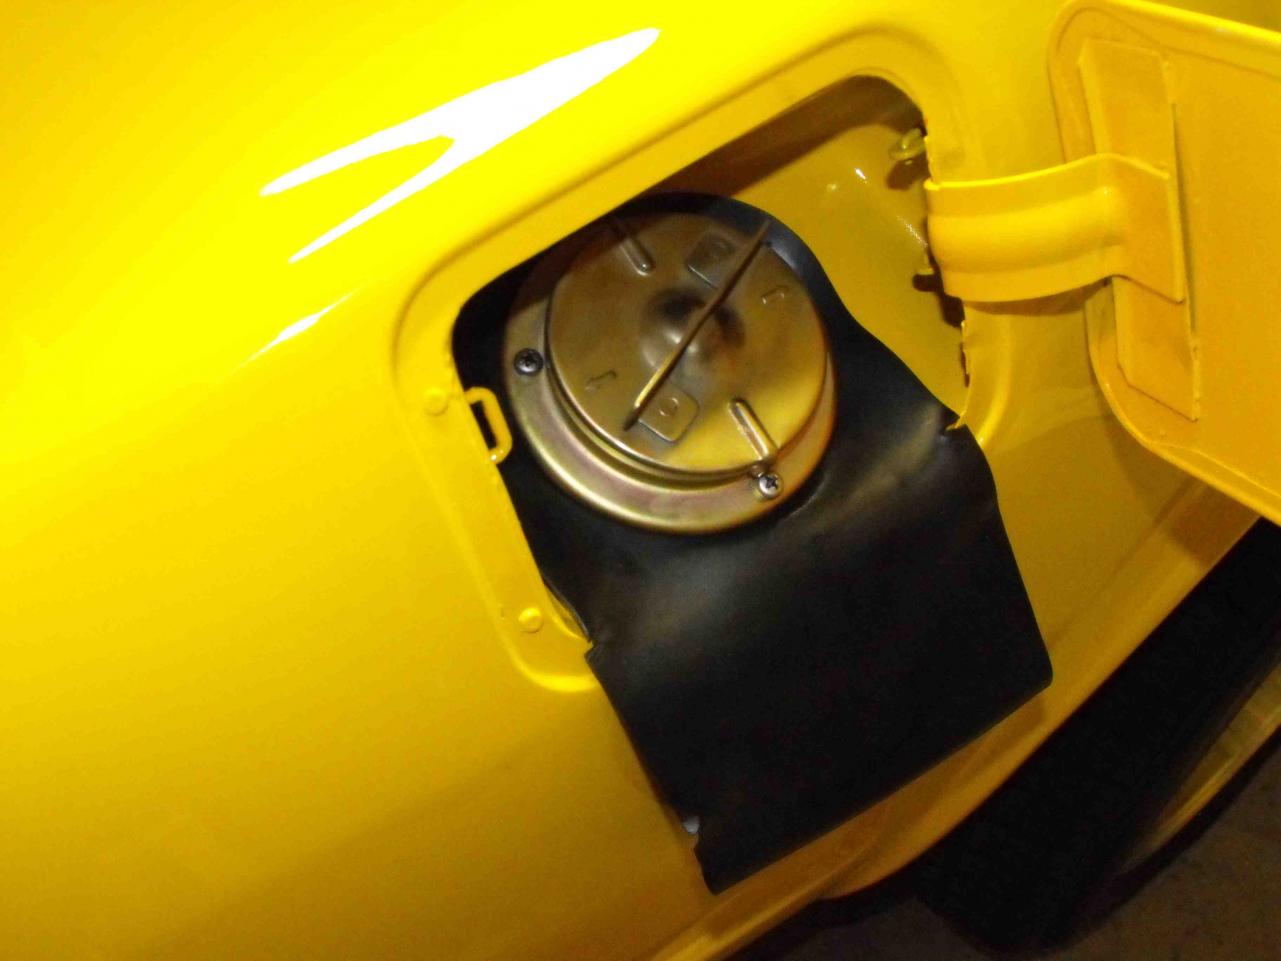
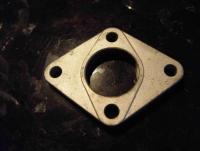
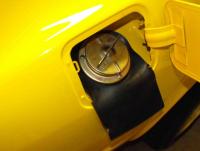
HLS30-2614 has 2 springs on the fuel door. One above the metal arc and one below...looks like 3 coils each
-
That is really a good idea. As of now, I don't have any of the rear interior parts in. Gives me a good reason to take my time on that. I still have only half of the door weather stripping in. The part by the windows is not in yet (I put in the old weather stripping for now. Will put in the new single piece later this week). I filled up this AM and drove into work and didn't notice any exhaust, but I will continue to monitor. The only thing I could smell was the new high temp POR paint that was on the headers. That will go away in time. Then I can focus on exhuast fumes. I will detail the glass install on the "windshield install" thread. That way all of the info will be in one area. I took about 20 pics of the install and it wasn't too bad once I got into a rhythm. Took me about 1.5 hours total to get the front and back in. The sides of the car look a little plain. I am thinking of putting on the side stripe instead of the Datsun emblem.
-
Will be taking it to work tomorrow. Took lots of pics of the window install. Will blog that at a later date. Still lots of small stuff to put in, but it's roadworthy :classic:


-
OK, Rear glass is in! Had to remove the metal trim to get it in. Will post pics later. Going for the front windshield now OK, front is in. Nothing cracked or broken. Will do the metal trim some other day. Time to bleed brakes.
-
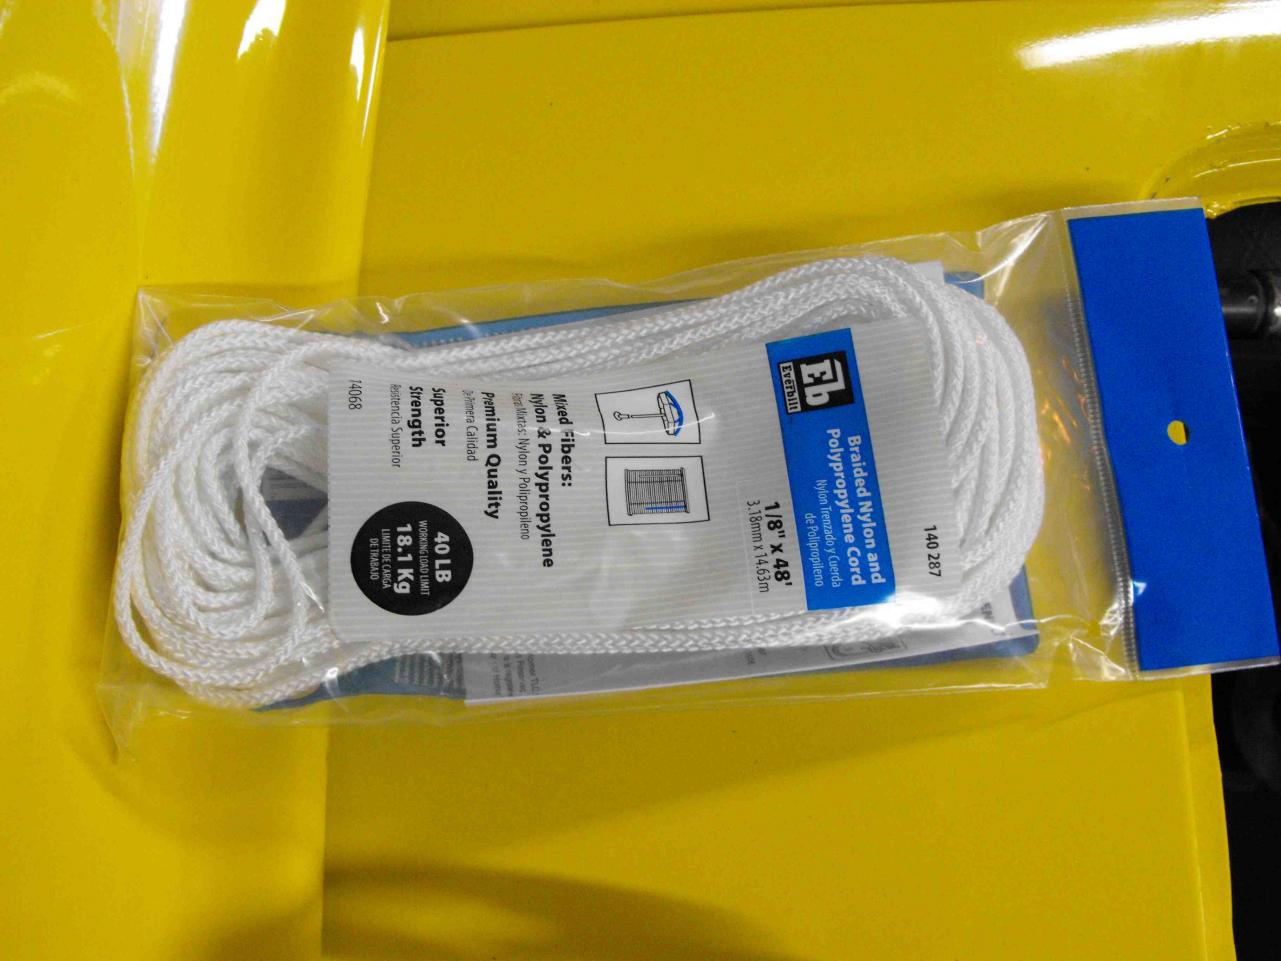
Wow, just got a quote from "Budget Auto Glass" to install the two windows. Told them I had all the parts and new molding. $150 for the rear, $215 to install the front. These people are insane I think I am going to install this myself tonight, I will do the back first. I already have the molding and the metal pieces installed. Will go to home depot and get my 1/4" string and give is a shot. If the back goes well, I will try the front. Then, all that is needed is to bleed the brakes and install the hood and it is drivable. I still have interior panels to put on, but that can wait. Would have been farther along, but broke a bolt off while installing the pressure plate. Dumb mistake, put the clutch plate in backwards :stupid:. Then to make matters worse, I broke my easy out bit off while trying to extract the remaining bolt piece in the flywheel. Took me 1.5 hours to finally get it out. What a pain. Anyway, hope I get this thing going to tonight. My '73 (daily driver) is not doing so well. Front Hitachi is flooding. It drives OK at speed, but idles terribly. I think it will take less time to finish the '71 than fix the '73.
-
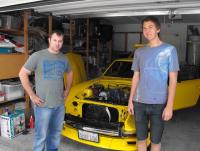
Got a lot done today. Must say I really appreciate the help from the Z friends here. Special thanks to Dave in Oregon who sent me the shim for the booster and master cylinder. I greatly appreciate the part. Also, Thanks to Loren/FrankenstienZ for helping with assembly today. Also had my son working. If I had the windows in I'd be drivin this to work tomorrow. Will post more tomorrow. Rich
-
Thanks. I am planning on doing doors and weatherstrip on Thursday. Then Trans and engine on Saturday. Sunday will be what I don't get done on those two days. Would sure be nice to be driving it this Sunday, but I think that is a bit optimistic. Will depend on how much free time I can find.
-
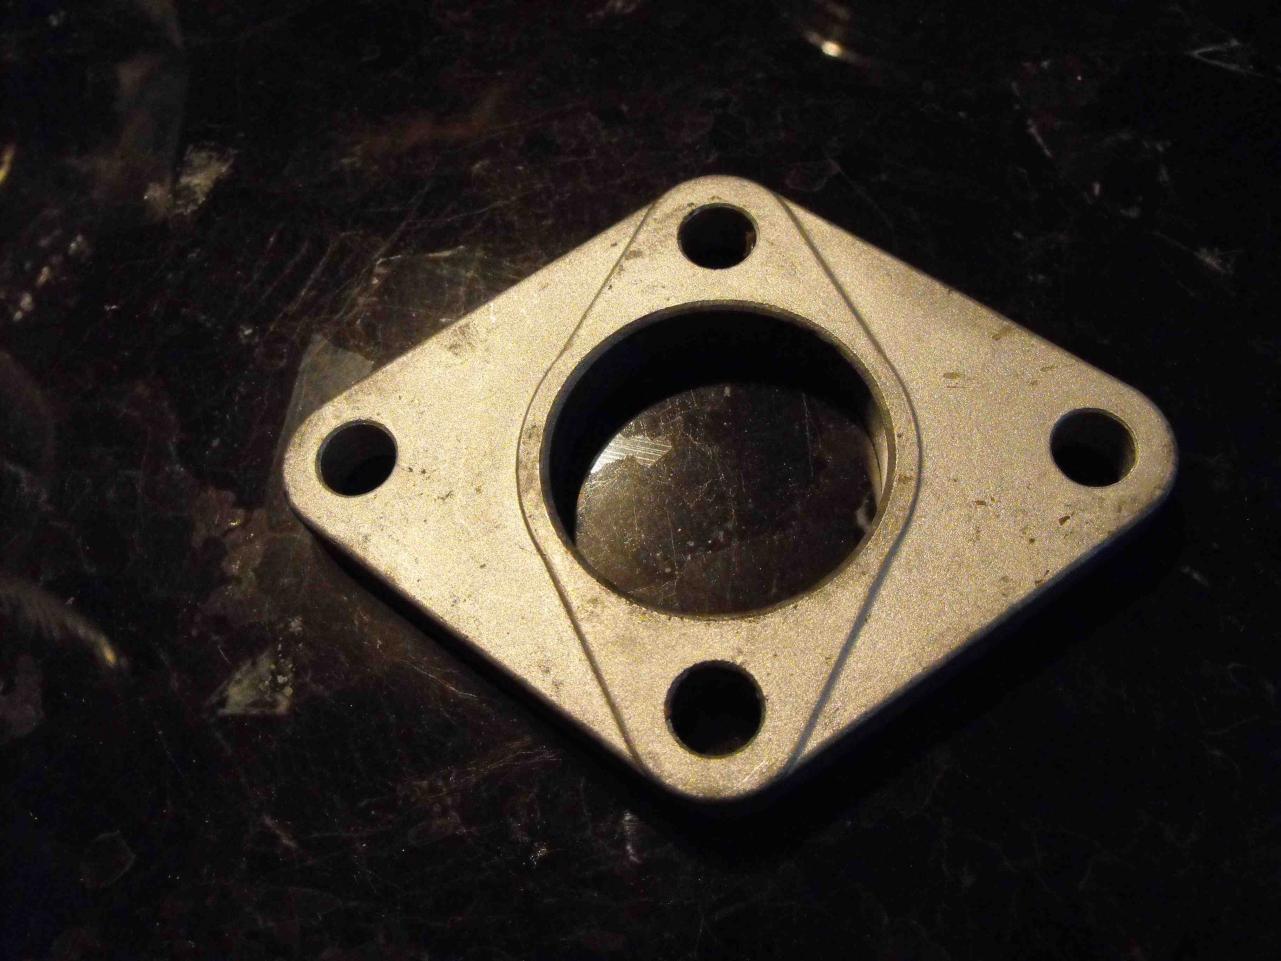
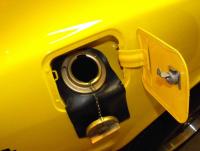
That would be great Lance. I nicked a corner of the door with my ring. Hate it when that happens. I got some more stuff put on. Got the fuel tank in and all the lines hooked up. Put in the gas cap and the bumper. I love the gas cap. Got that for $5 on e-bay and zinced it myself. It came out well. David: If you get that guys number let me know. Thanks!!
-
If anybody has an extra one of these, please contact me. I can pay via paypal. Used is fine. Thanks, Rich
-
It's been very frustrating with the glass. I have called at least 8 different shops. Most will not install on 'older' cars. I had to call Les at CDM to finally find someone who would. I also found one other and the price was the same, conditions the same...I bring it there.