motorman7
 Subscriber
-
Joined
-
Last visited
Everything posted by motorman7
-
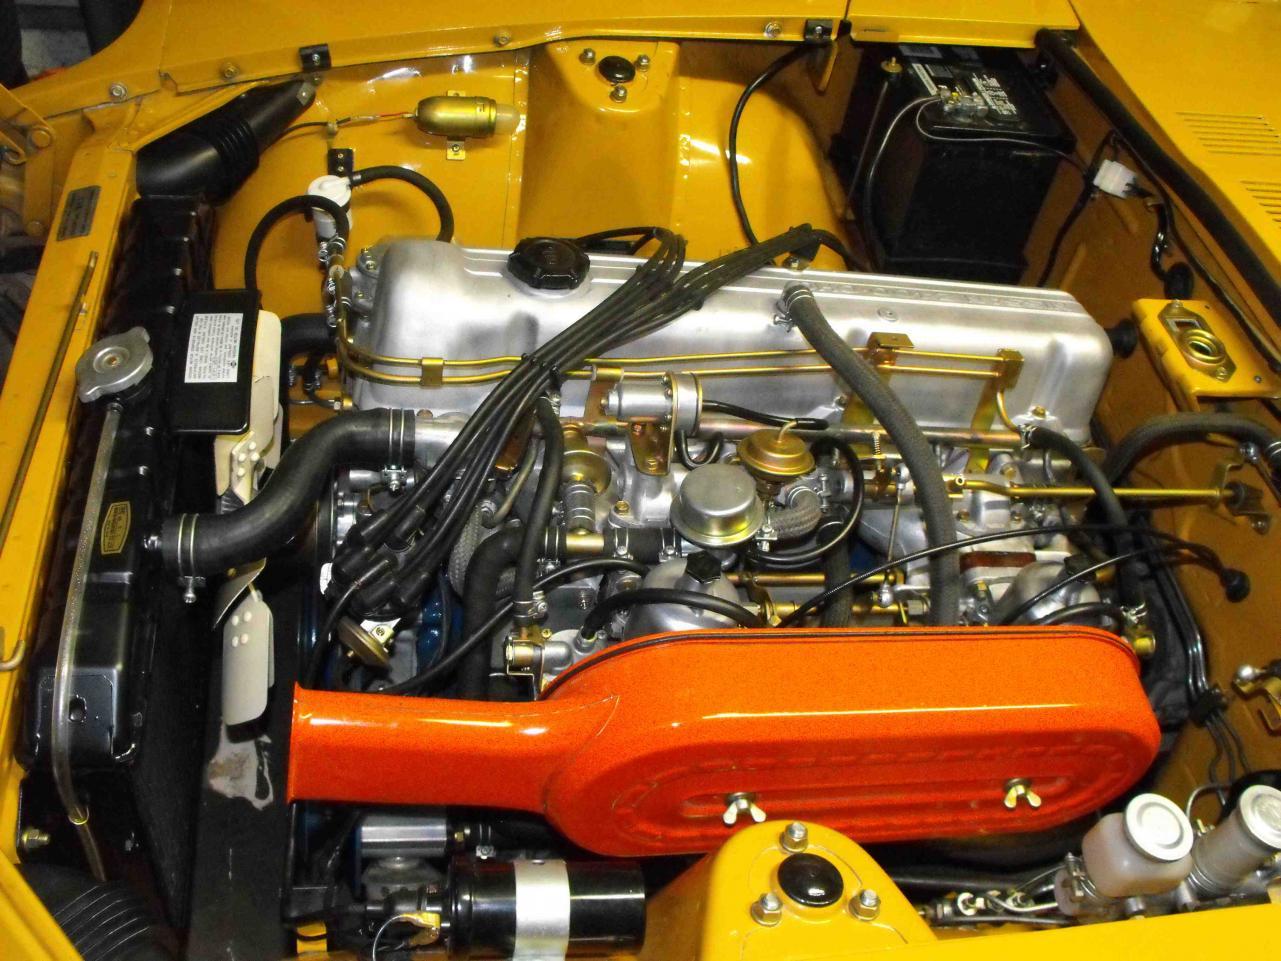
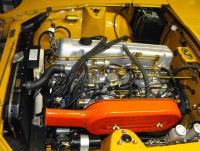
 I have to say Dave, I was a little taken a back at your comments regarding driving habits...until I looked at what you were driving. Yes, I must say, I would drive your motor much different than I drive mine. I posted our engines both below just for reference. I would most likely drive engine A as you explained and engine B as I explained. I guess it's just a matter of reference and personal preference. Best Regards, Rich
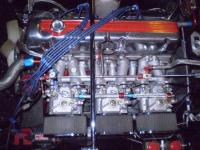
-
Dude, that is too funny! First off, you have to question anyone who starts off their instructions with "These are a performance engine". What a riot. I would find myself in disagreement with a number of his statements. Not sure I would want to do the blow the smoke out the back end trick. Personally, I agree with what Moritz has said. Rarely do I shift above 3K unless I'm at a freeway on ramp light or doing some spirited driving. Used Firefox to read the article. IE did not work
-
Aaahh, I'm jealous! That definitely is a beautiful drive. Drove it once in a '67 datsun roadster which was great. Drove it again in a U-Haul towing a van in the winter; not so nice. Your trip brings back memories of when I drove my parents Z from LA to Idaho in 1984. It was a gorgeous drive. Especially Northern California and Oregon. Best of luck for the rest of the trip, Rich
-
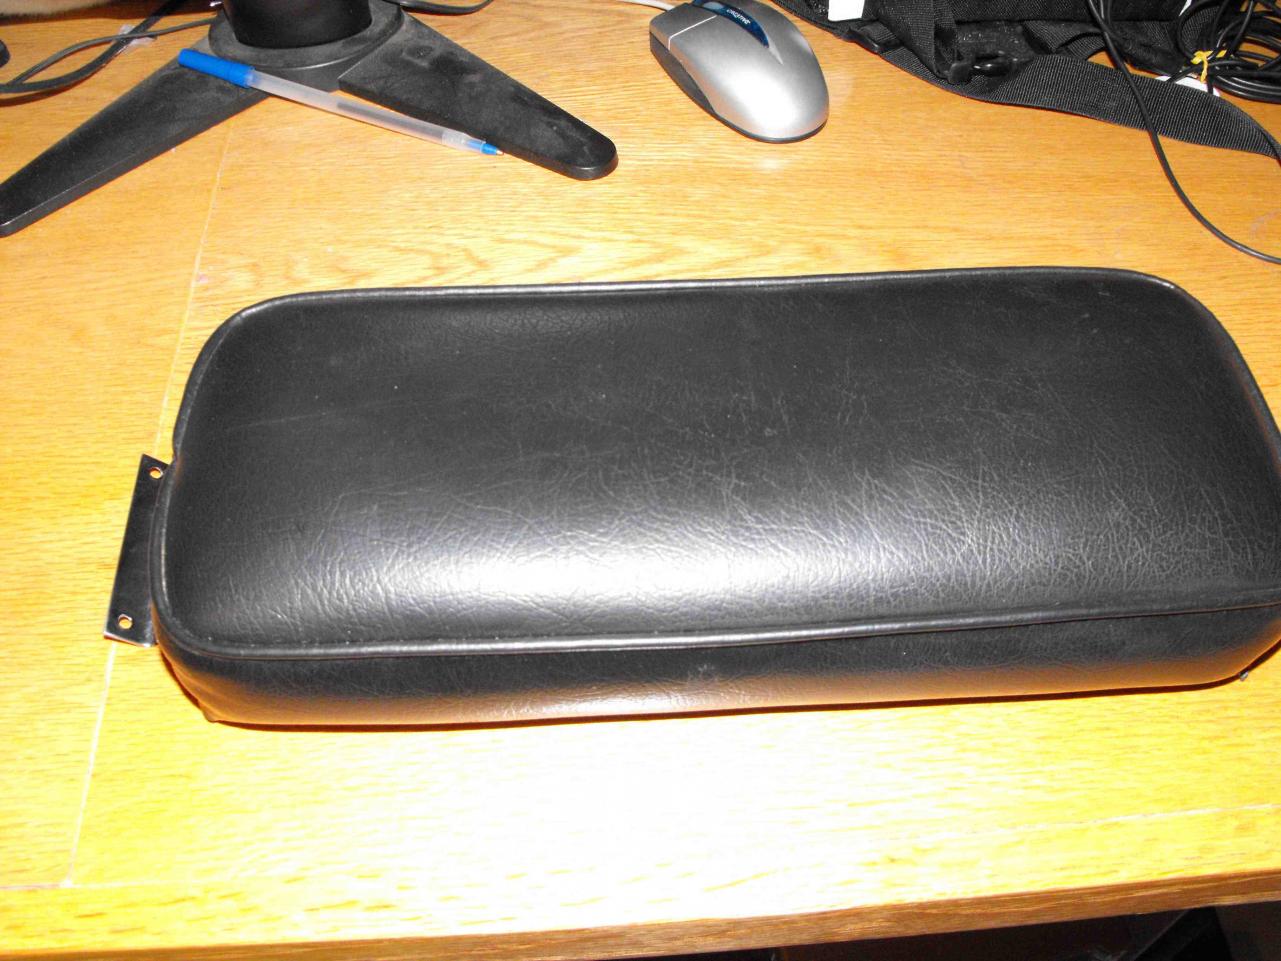
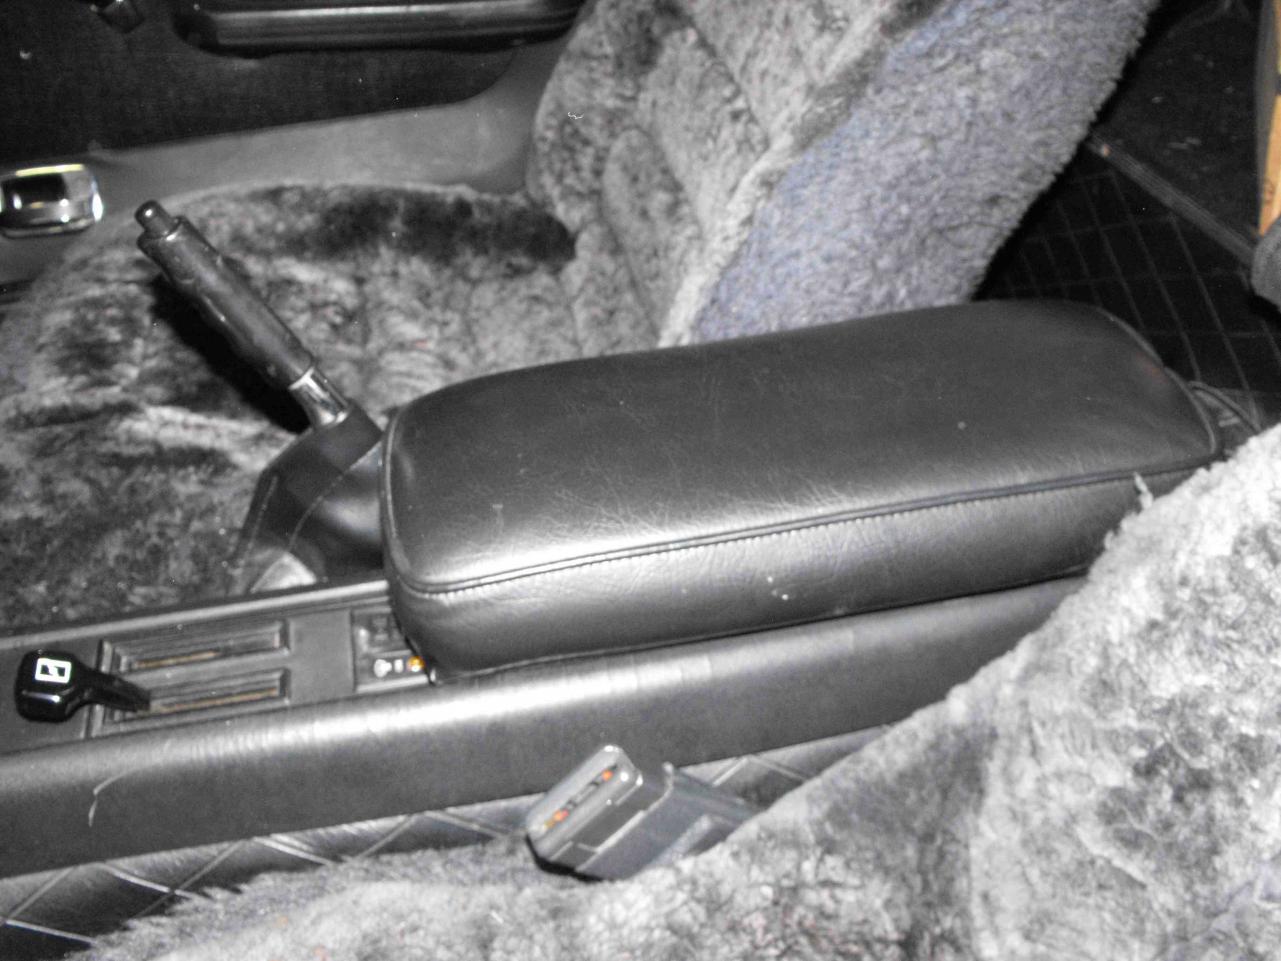
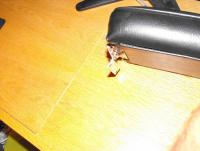
The pad mounts on the inside rib of the console. You can see in the middle picture at the top that the mounting hinge piece has a bend to match the console inside rib. I think this is visually much nicer and mechanically better. My dad installed the pad with machine screw and nut; no problem stripping out. Rich
-
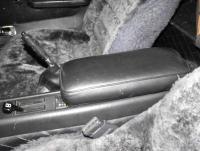
Thanks for the info Dan. I really like the pad. It is a nice arm rest while driving. Also, it is the first thing my arm rests on when getting into the car.
-
Thanks for the tire education. That is a big help.. OK..sorry for hi-jacking the thread. Now back to 920 gold......I love my 920 gold.
-
Does anyone know the history of these Center Console Arm Rests? Are they after market items? Still available? I am relocating the pad from my 70Z console to the 71 Z console because I really like it and I drive the 71 every day. (Not to mention, the JCCS judge gave me the evil eye on my 70Z indicating it wasn't a stock part). Also saw the pad on this photo, but this pad looks a bit taller and nicer than mine. http://www.classiczcars.com/forums/album.php?albumid=177 Thanks, Rich

-
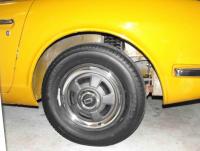
AAhh, that's right. The 70 series should have clued me in. The glove compartment decal specifies the 175SR14. I'm thinking the 'S' is a 78 series tire. I did notice the rim had the black front and the silver back. Now I am wondering which tire on the car has the original spare rim. Then again, I am sure there are much important things to consider. Thanks for the input. Rich
-
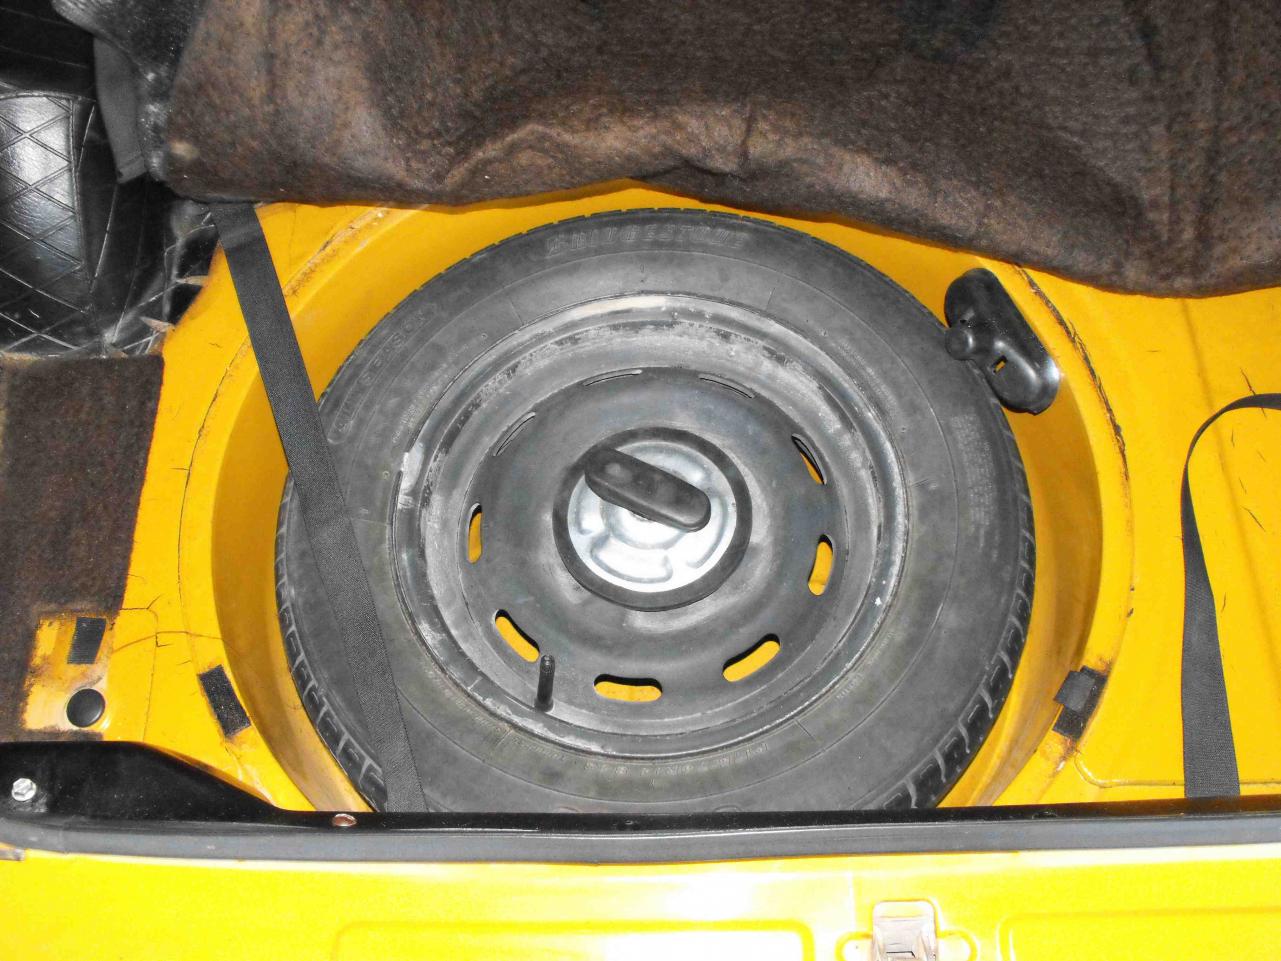
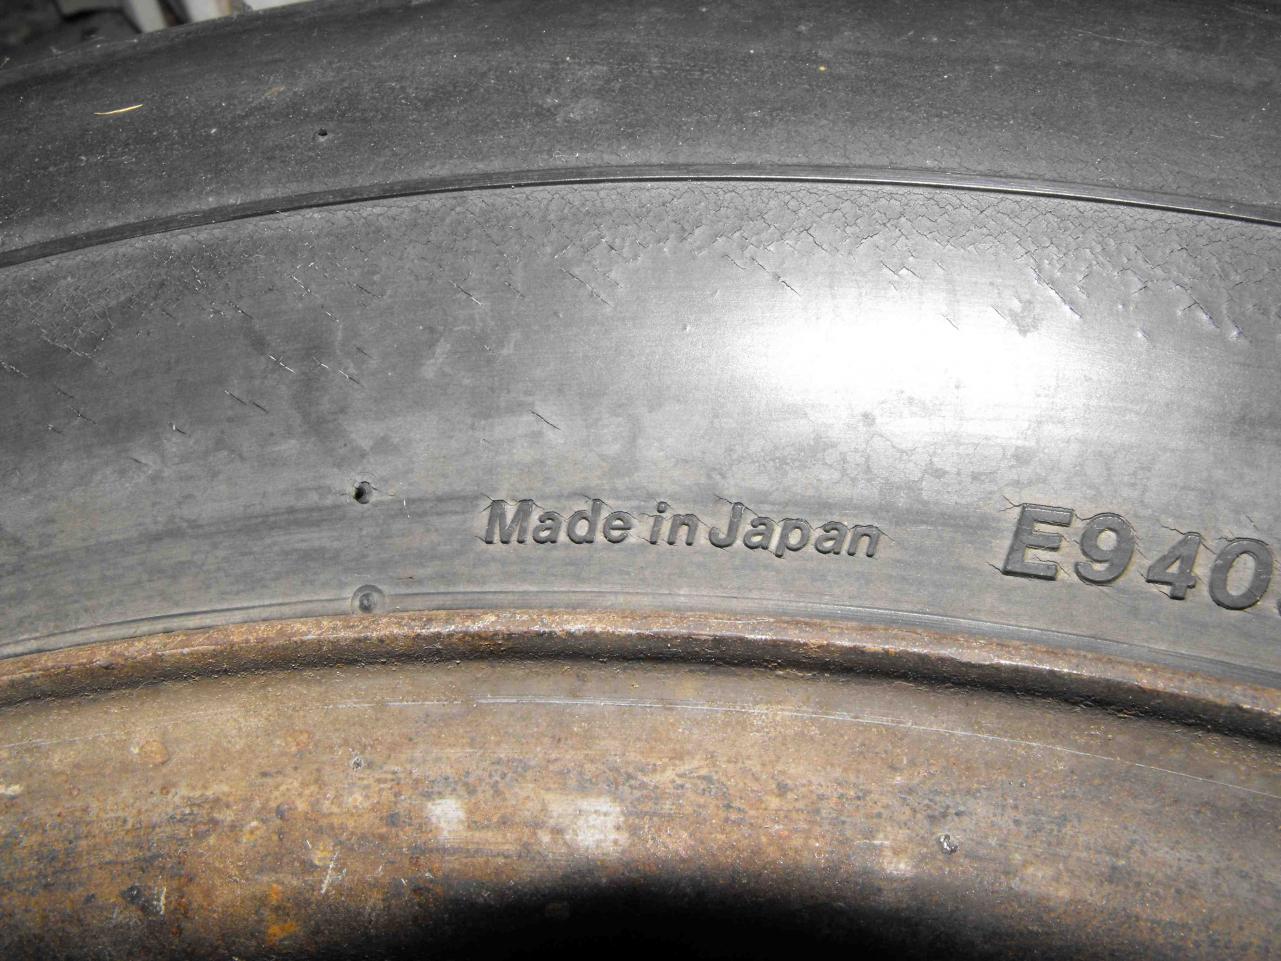
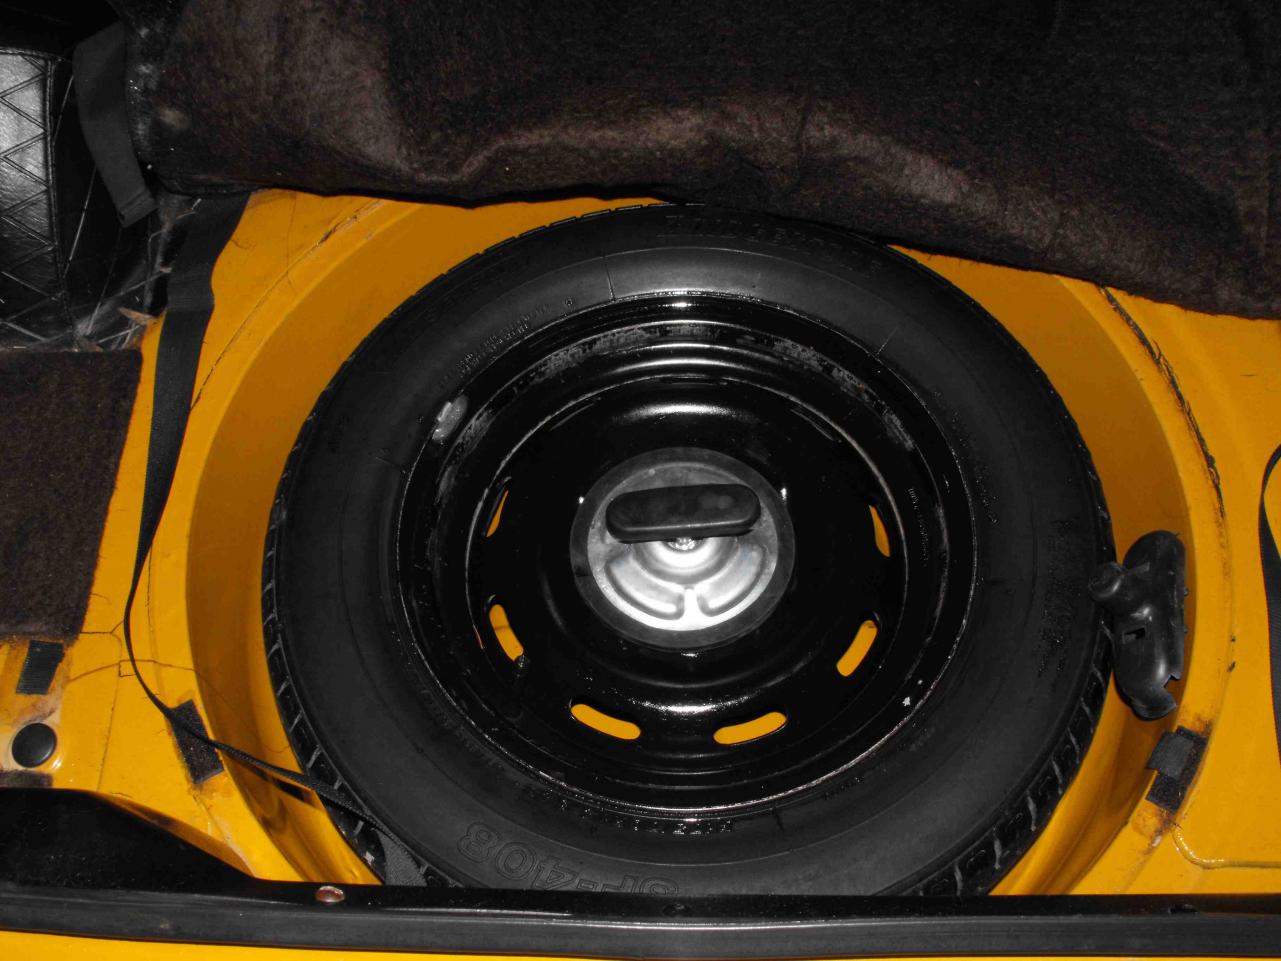
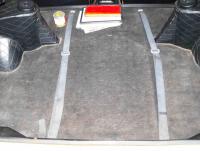
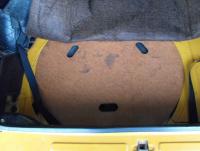
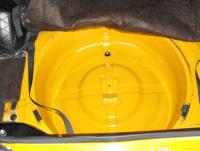
Boy, I was a bit overly optimistic. Looks like Dad was in here way before me. I thought the cover looked pretty funny, almost like a smiley face, but not smiling. I think that was on 180 degrees out as there was an arrow on it pointing aft and the flat on the forward end. Fits better with the flat towards the back and I am guessing the arrow should point forward (unless you drive in reverse most of the time). I found an old Bridgestone tire in there. Looks like it may be one of the original 175/70/14s as it was a bit worn. I like the made in Japan emblem there. You can see the Hubcap scrapes on the rim and the location of the old tire weights. Lots of padding hair in the bottom so I cleaned that out. The paint looks real nice as well. There was a bit of stray glue in the area but no rust. I cleaned up the tire a bit and re-assembled everything. That was fun. Anyone know what that black plastic thing is? Rich


-
It was on Nov 8th in 2008. Will be Nov 7th in 2009. Still hope you can make it :-)
-
You've sparked my curiosity now. I am betting the spare tire compartment of my 70Z has never been touched or opened. I'll check it tonite and post pictures. Also, just a few quick thoughts on the 920 gold as mine is still the original paint. It looks great in the sunlight and under flourescent lighting, but not so pretty in shade or normal light. In the sunshine or flourescent it is a beautiful shade of orange. In shade or normal lighting it looks almost tan, like an army camouflage tan. Much prefer the sunshine. Rich
-
It's getting harder and harder to keep them looking original, especially with parts not being available. Some things were really very cool. I really like the braided hose that the cars came with. Unfortunately, I changed mine out for the trip from Idaho to CA. I need to getsome for my 70Z when Espirit comes out with them. Guess I have a mental list of things that need to get corrected. The battery cable is another item.
-
Interesting Article on the JCCS Show. This was my third year in attendance, my first with an entry. My 70Z took 3rd in the Original Class at the show; behind the 1959 Datsun shown in the pic (1st) and a Mazda RX3 (2nd). I would be a bit more excited about that, but the sad thing is that most of the 360 cars at show were not original. Most are modified and alot are seriously modified. I must be getting old here. As a teen I'd modify my trucks and cars as soon as I bought them; headers, mild cams, high CFM carbs. Now I want them the way they came from the factory. Aaaah, age and nostalgia. Just my 2 cents. Rich
-
Wow, when is the last time that engine has been running? Your smog pump is missing, but not needed for the car to run. Most of the caps are OK, my only concern would be the vacuum and parts that dampen the carb linkage return. You can get a Petronix electronic ignition set-up for that pretty cheap, and it's easy to install. New plug wires would be good of course as well as new plugs. Read the theads on engine start-up after long periods of non-operation. Good luck! Rich
-
Congrats on getting the car up and rolling again. It's been enjoyable reading about your travels. Rich
-
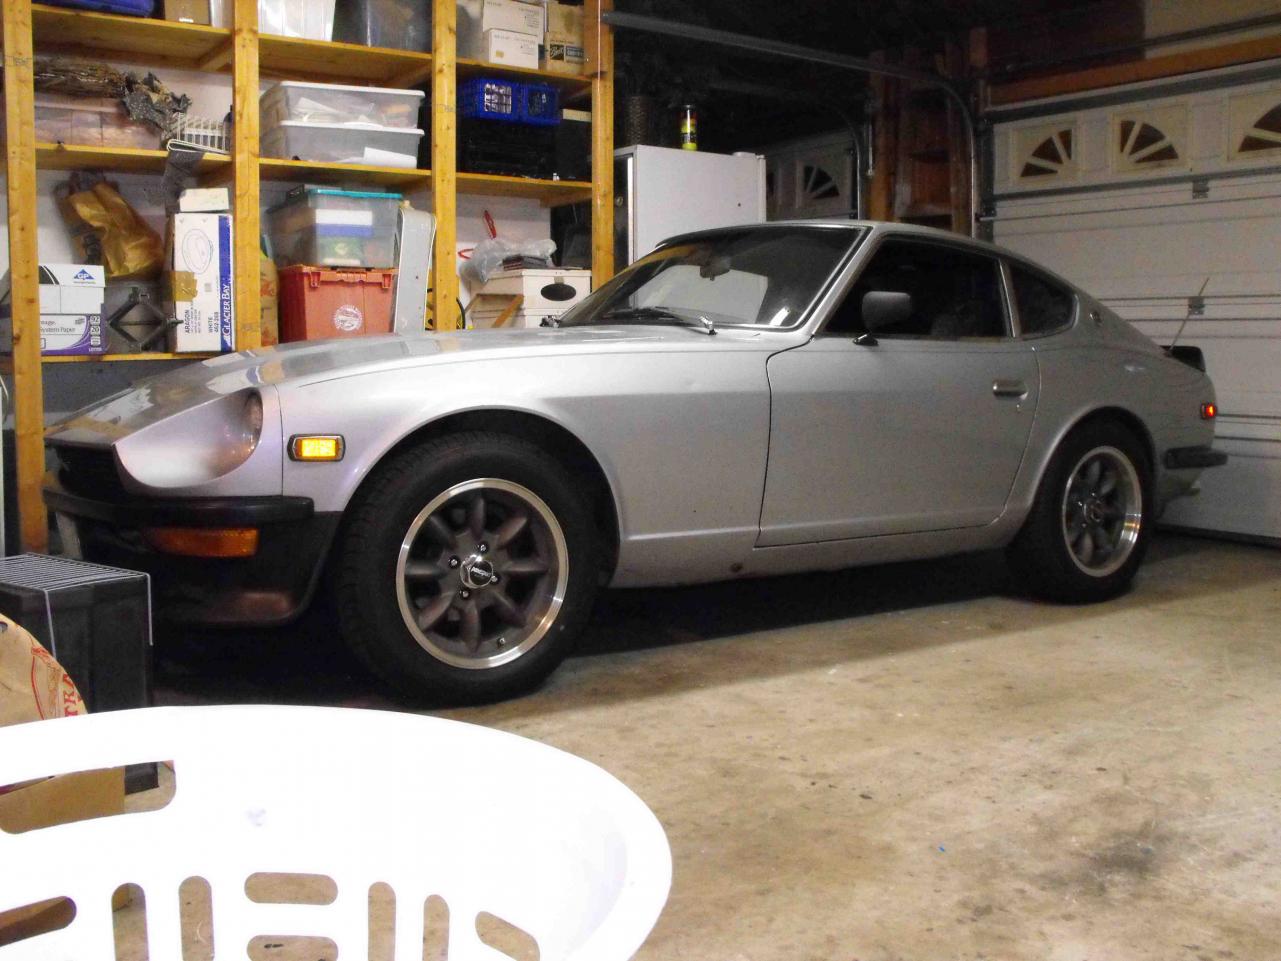
Hi Matt, Just did a check on my two Z's here. Both are equipped with stock springs (both nearly 40 years old). The Silver Z has the Illumina's with 205/60/16 tires. The Gold Z has stock shocks (1 year old) and 185/70/14 tires. I measured at the same location you did for both cars. On the Gold, the height is 5 5/8". On the Silver the height is 6 1/4". The difference in height is definitely a result of the difference in tire size. Not sure if the shocks impact the height at all. Regarding the car bottoming out, I would say it is definitely the shocks. 25 years ago, I drove the Gold Z up to Idaho for my folks and it was the sweetest drive of my life. It was the perfect road trip. I drove it back from Idaho last April and it was pure misery. The shocks were toast. It was like driving a boat. Add 50 mile an hour winds along the Columbia River and you have a recipe for disaster. The car bottomed out numerous times on the 1200 mile trip. Due to the shocks being so bad we did not take the car much above 60 mph. Once back in San Diego, I installed the new shocks and it was like a new car. The ride is soft compared to the Illumina's, but definitely a great improvement in the handling and no bottoming out at all; even with two people. Attached are some pics of the ride height for both cars. Rich

-
I have a pair that are like those on e-bay for my 3/70 Z
-
I personally prefer a thin film of silicon on the gasket, both sides. Too much and I dont think you get even pressure on the gasket when torquing. No RTV and the inconsistencies of the metal (warp, pits) may lead to small leaks.
-
Thanks for the history! What a beginning it was. Five months later they produced this beauty. Rich

-
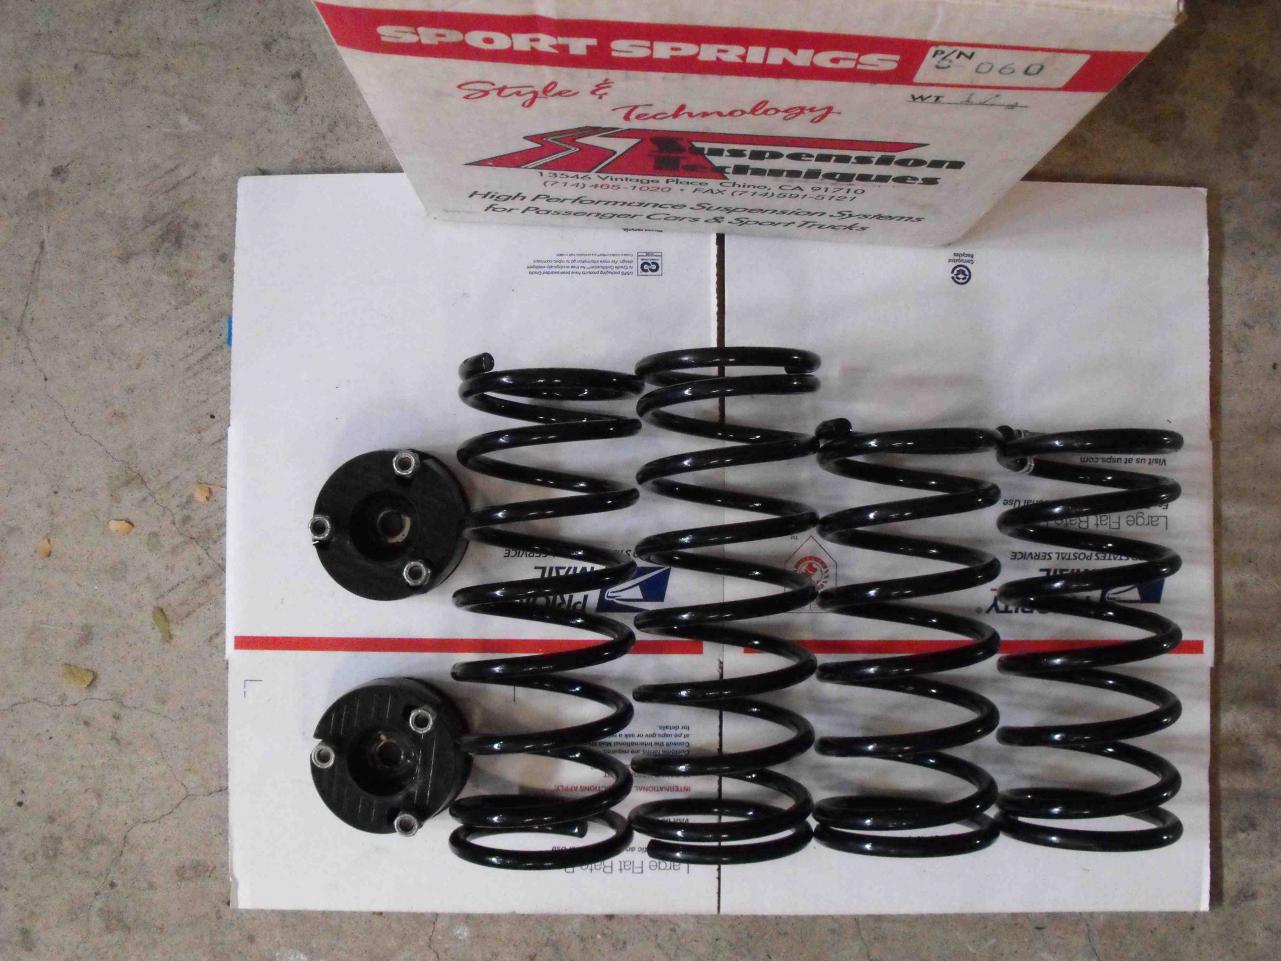
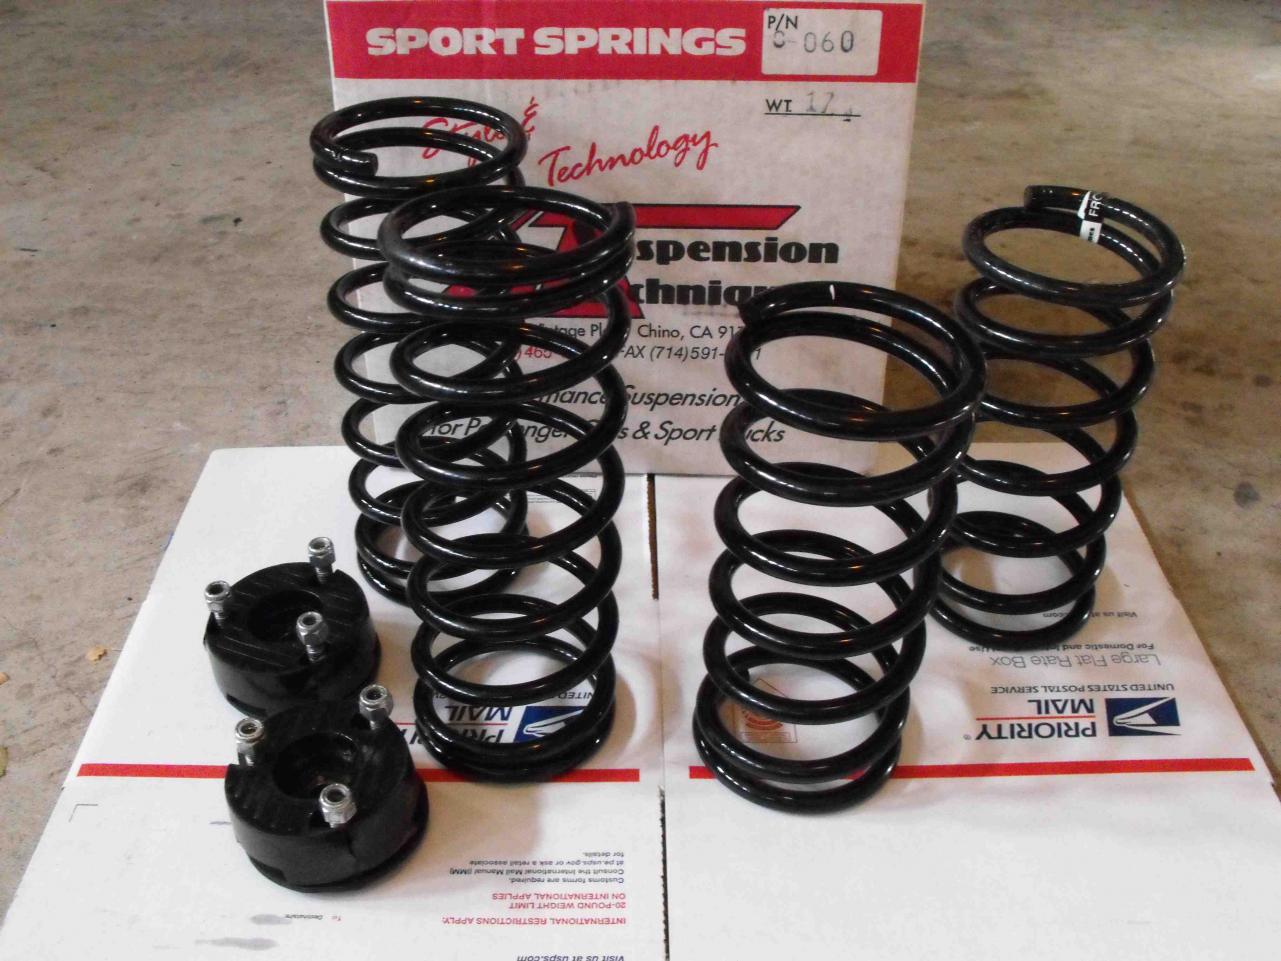
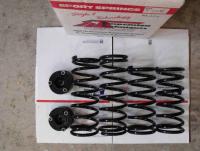
ST Springs with 2" spacer


-
That is sad to hear. I get pretty attached to my cars so I sort of know how you feel. Spring would probably be a better a time. Hopefully by then the economy will pick up a bit more. Best Regards, Rich
-
OOPs!...didn't catch that. As Emily Latella would say..."Nevermind"
-
Looking forward to seeing your car again! Trying to decide whether to go Panasports or Hubcaps here. Rich
-
I need to do this on my '70 one of these days. Look forward to seeing the rest of the project. Rich
-
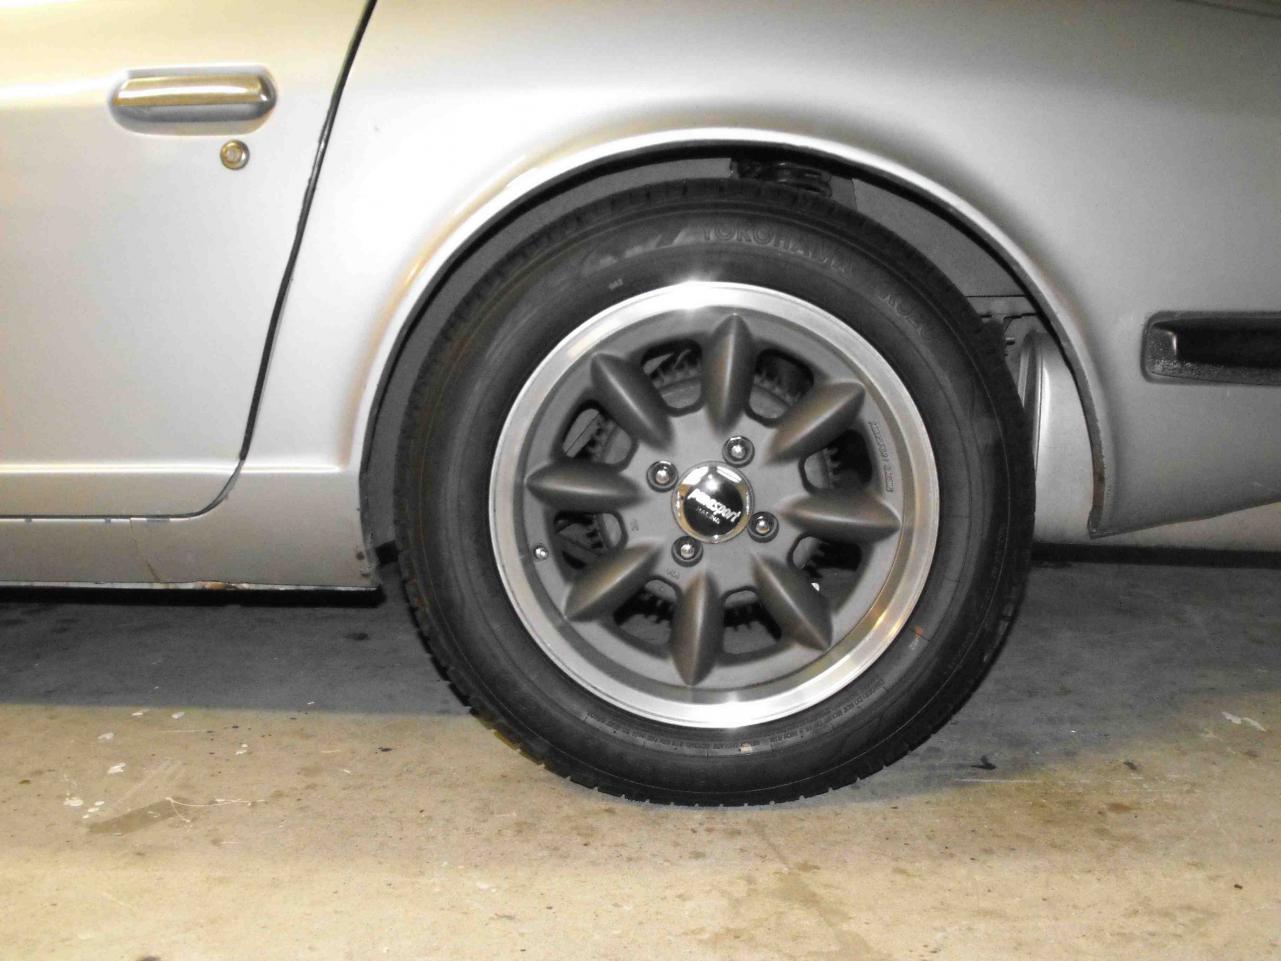
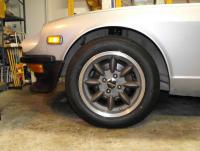
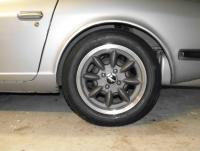
Boy I have a lot to say on this issue. One other factor that must be considered is the tires and rims that accompany the spring shock set-up. These also play an important factor in the ride and handling of the car. Another factor is personal preference, of course. I think my son and I are at opposite ends of the spectrum. He wants a car that rides on rails around the race track, and I want a car that I can drive everyday without getting beat up. Over the last month I have done one tire set change out, and 4 spring configuration changes (yes, that equates to 16 spring swap outs. I am pretty good at it now). All this was done in the effort to produce a decent ride for my daily driver, a 1971 240Z with an L26, 5 speed and LSD. I was looking for something that was both comfortable and yet sporty. The initial configuration was the Tokico Illumina adjustable struts, Tokico 5020 Springs,195/50 Yokohama H4’s(AA traction Rating) on Konig 14†rewinds, 1†diameter Anti-sway bars front and rear, and front and rear shock tower support bars. In this configuration, the handling of the car was incredible. I could rip around corners way faster than I thought possible and the tires would not chirp or make a sound. The car remained flat and had no problem doing more than double the posted speed limits around turns. The ride was like that of a go kart, very stiff. The negative of this set-up is that I spent most of my time trying to dodge potholes and maneuver around speed bumps during everyday driving. On speed bumps, I would get the occasional scrapping. Bumpy roads were brutal . On some speed bumps, I would bottom out, so had to be very careful in parking lots. So, the car was great down the backroads, but not practical as a daily driver. The first change, and very significant, was the tire/rim change. I replaced the 14†Konig Rewind set-up with 16†Panasports and 205/60 Yokahama YK520’s (A traction Rating). This was a big improvement as I no longer had to dodge the speed bumps. They also softened the ride up a bit. In spirited driving, however, I could here the tires groan a bit and also felt a bit of mush that I did not feel with the earlier set-up. I also liked the final 5th gear drive ratio for freeway driving. With the ~15% Diameter increase I now am doing about 2800 RPM and 80 MPH (Typical CA freeway speed). This is pretty nice for gas mileage I am thinking. The Konig set-up was doing 70 at 2800 RPM. In spite of the improvements, I still wanted a softer ride. So, I decided to take off the Tokico springs and put on some Suspension Techniques (ST) Sport Springs. While putting on the ST springs, I was a little spooked by the loose fit of the springs on the fully expanded strut on the fronts. So, I ended up running the ST rear springs in the front (They fit better) and keeping the Tokico springs in the rear. This was not much different than the four Tokico’s and offered no improvement. After getting some reassurance on the ST spring fit, I installed all 4 on the car. The front of the car sat about the same height as the Tokico’s but the rears sat way low, about 2†lower. The top half of the tire was hidden in the wheel well (wrong springs?). This definitely would not do, so I put in a two inch spacer to get the rear height correct. With this configuration, the ride was a bit softer than the Tokico’s, but not much. Still not what I wanted. Found myself still dodging potholes and large bumps. Finally, I opted for the stock springs in this set-up. This is what I want! Soft enough to drive every day, but solid enough to take a spirited drive down the long windy roads. It is a very nice compromise. In addition, I can now use the adjustability of the Illumina’s. On all the previous set-ups, I had them on the softest setting (1) . Now I can dial them in. I currently have the fronts set at 3 and rears on 2. So, just thought I’d share my thoughts on this for anyone interested.