motorman7
 Subscriber
-
Joined
-
Last visited
Everything posted by motorman7
-
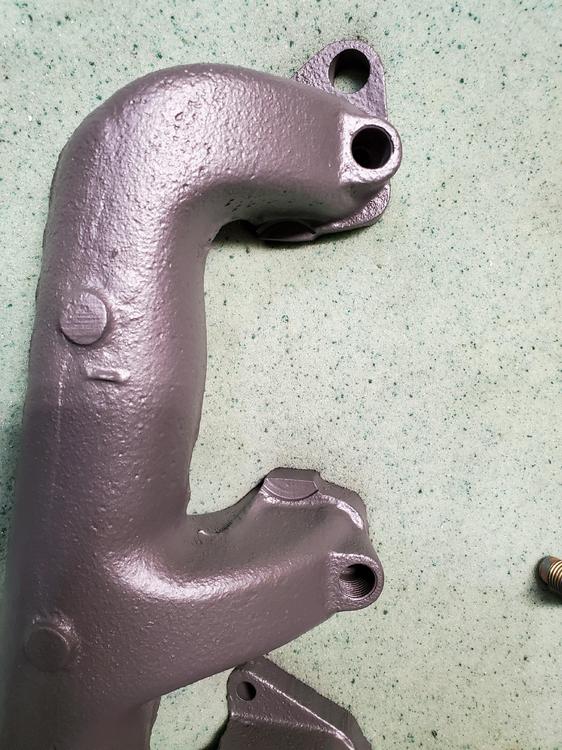
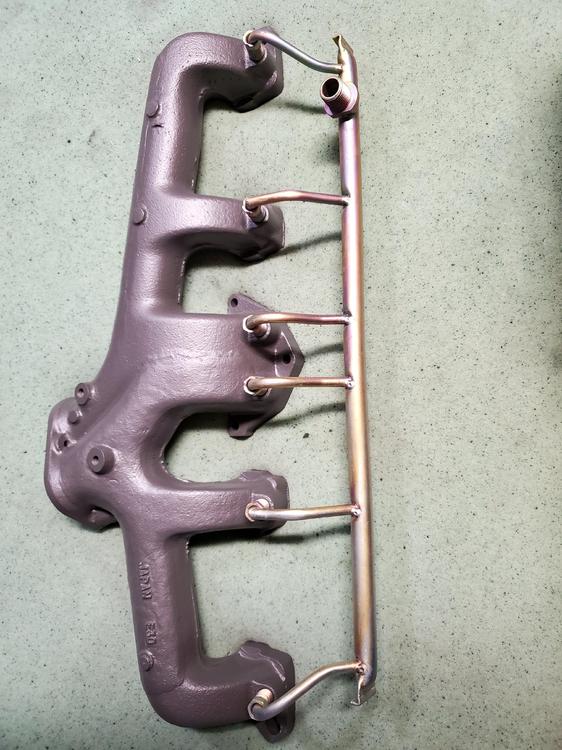
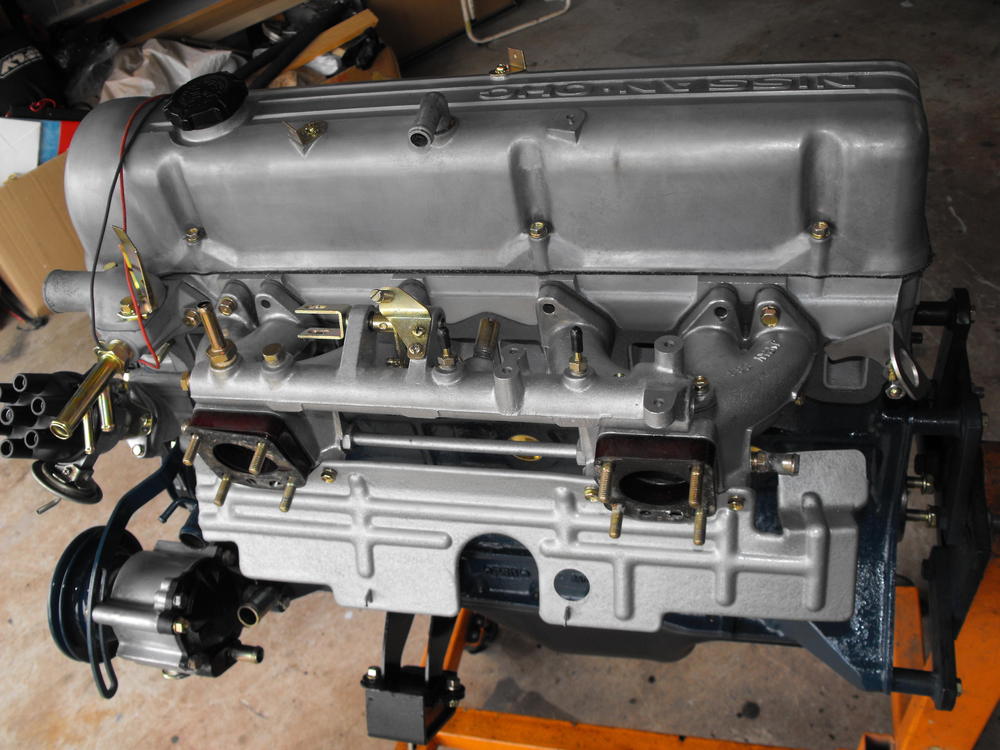
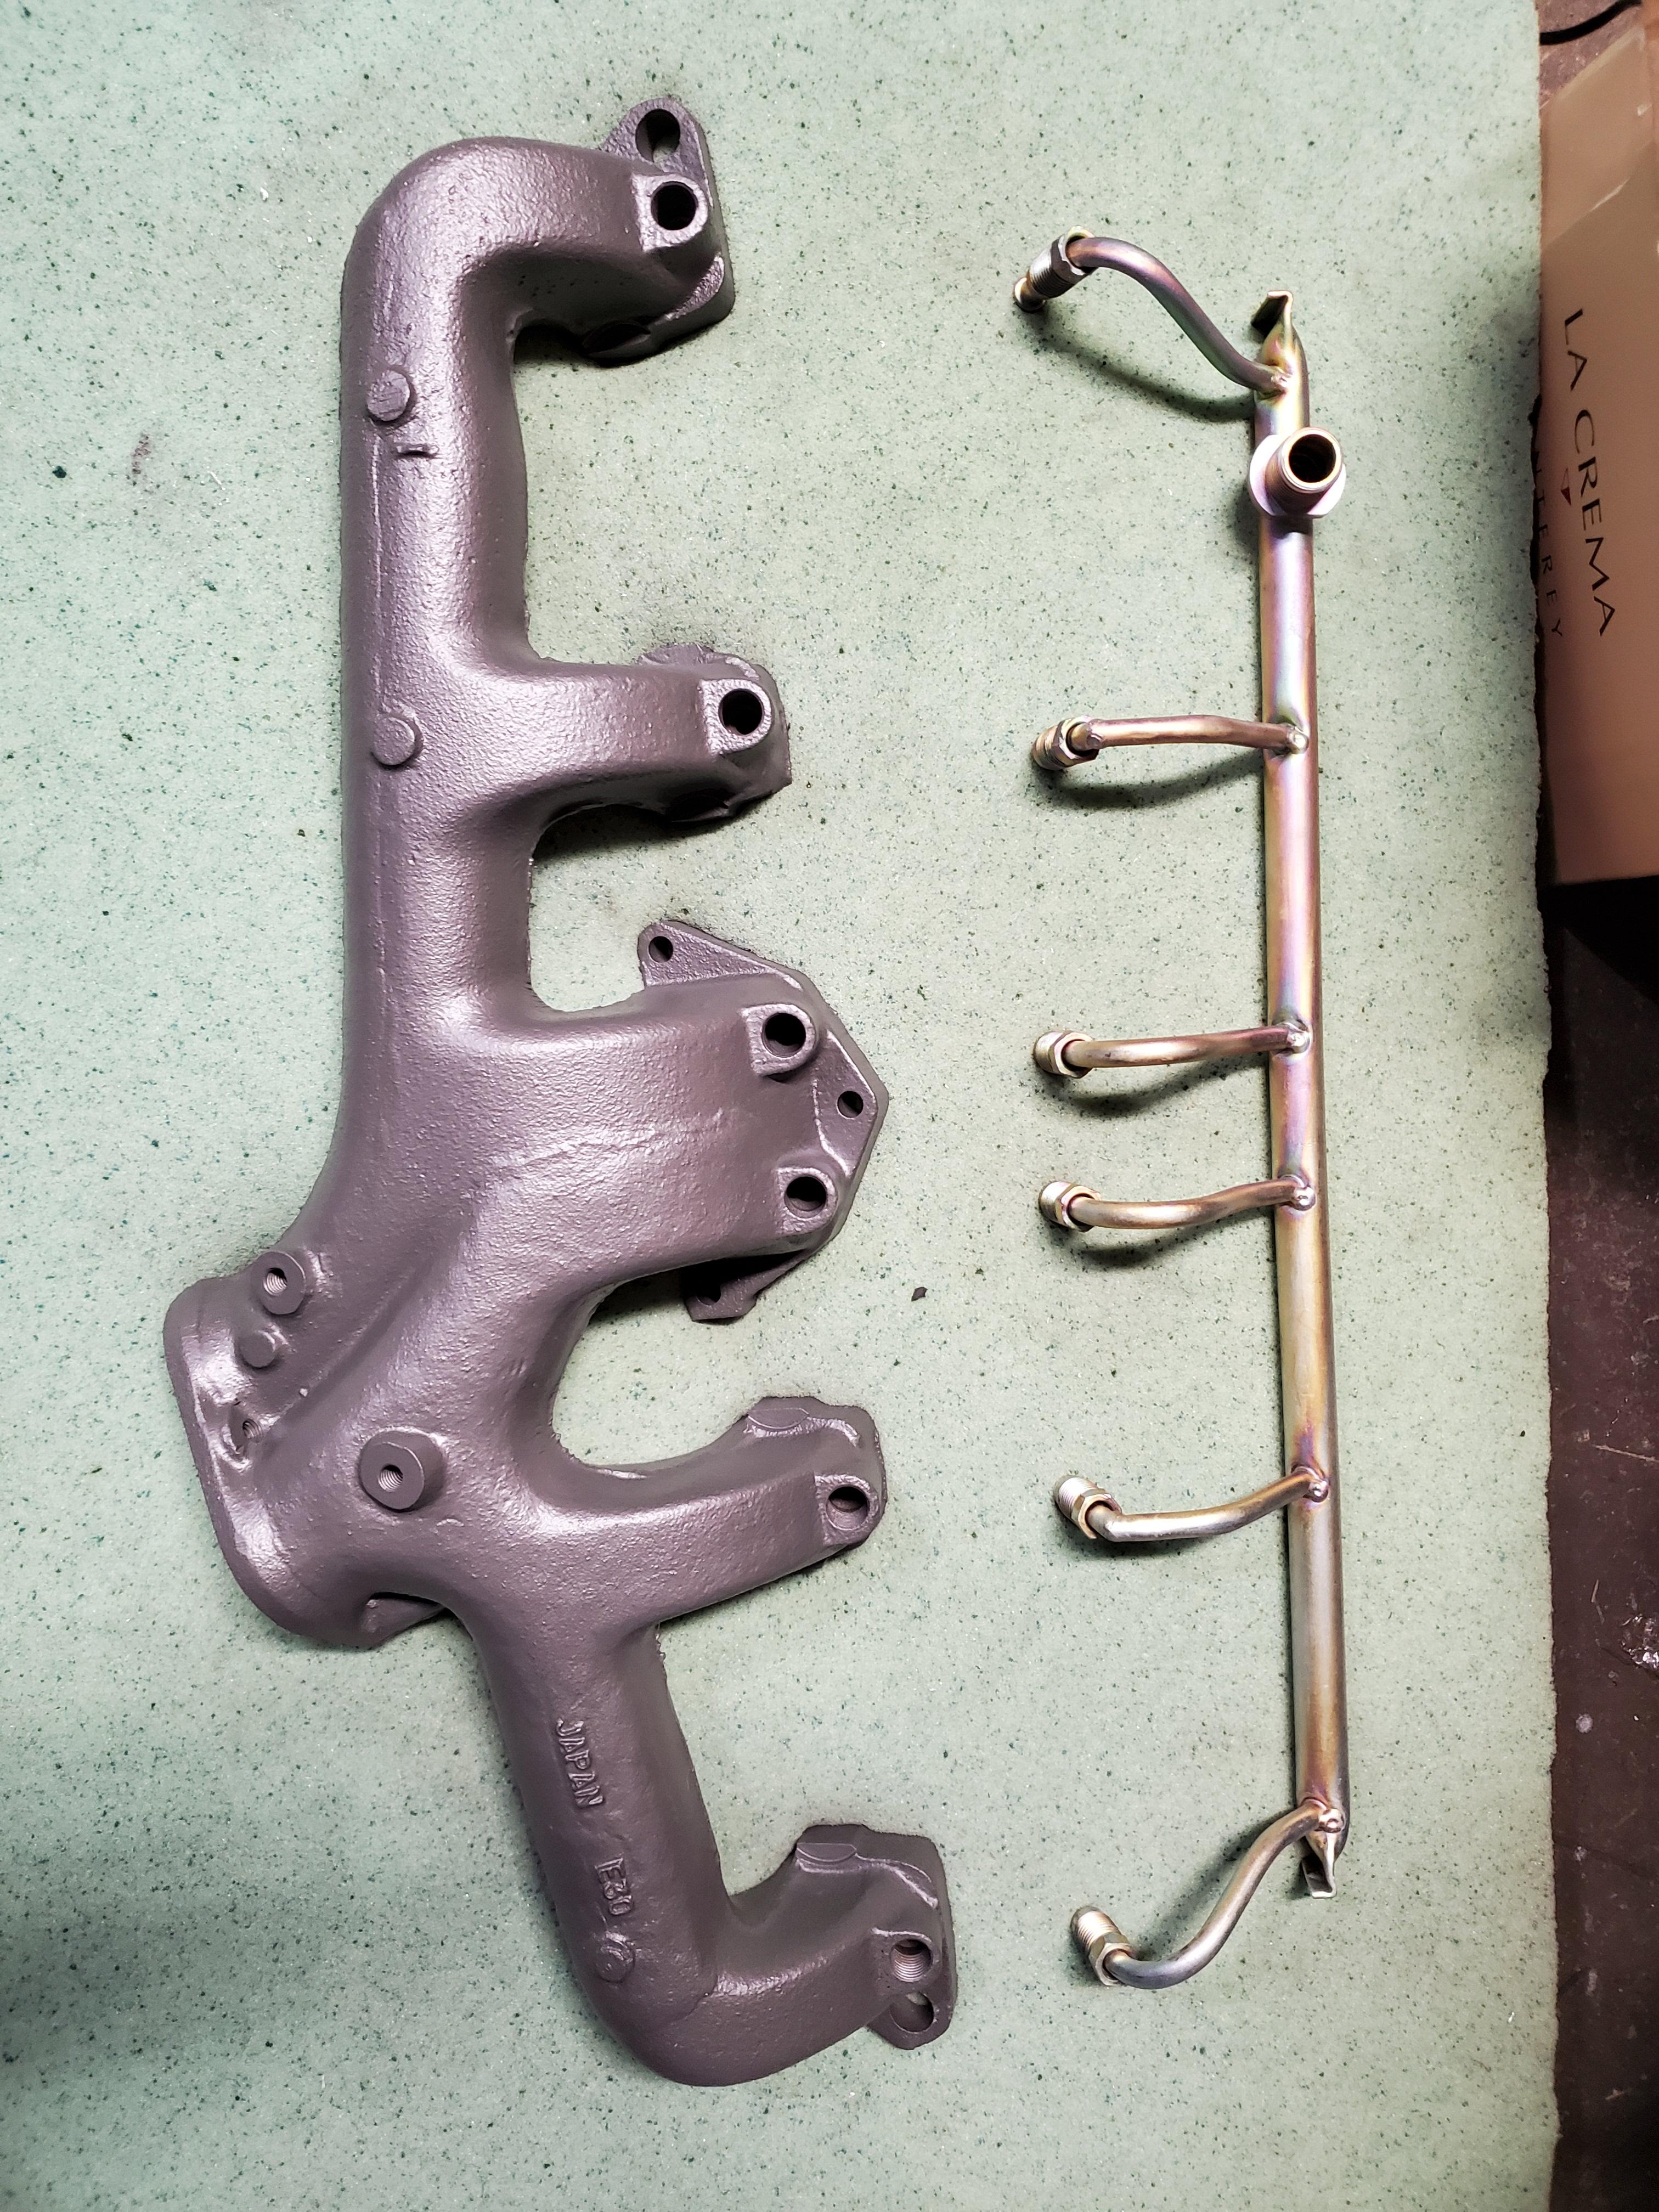
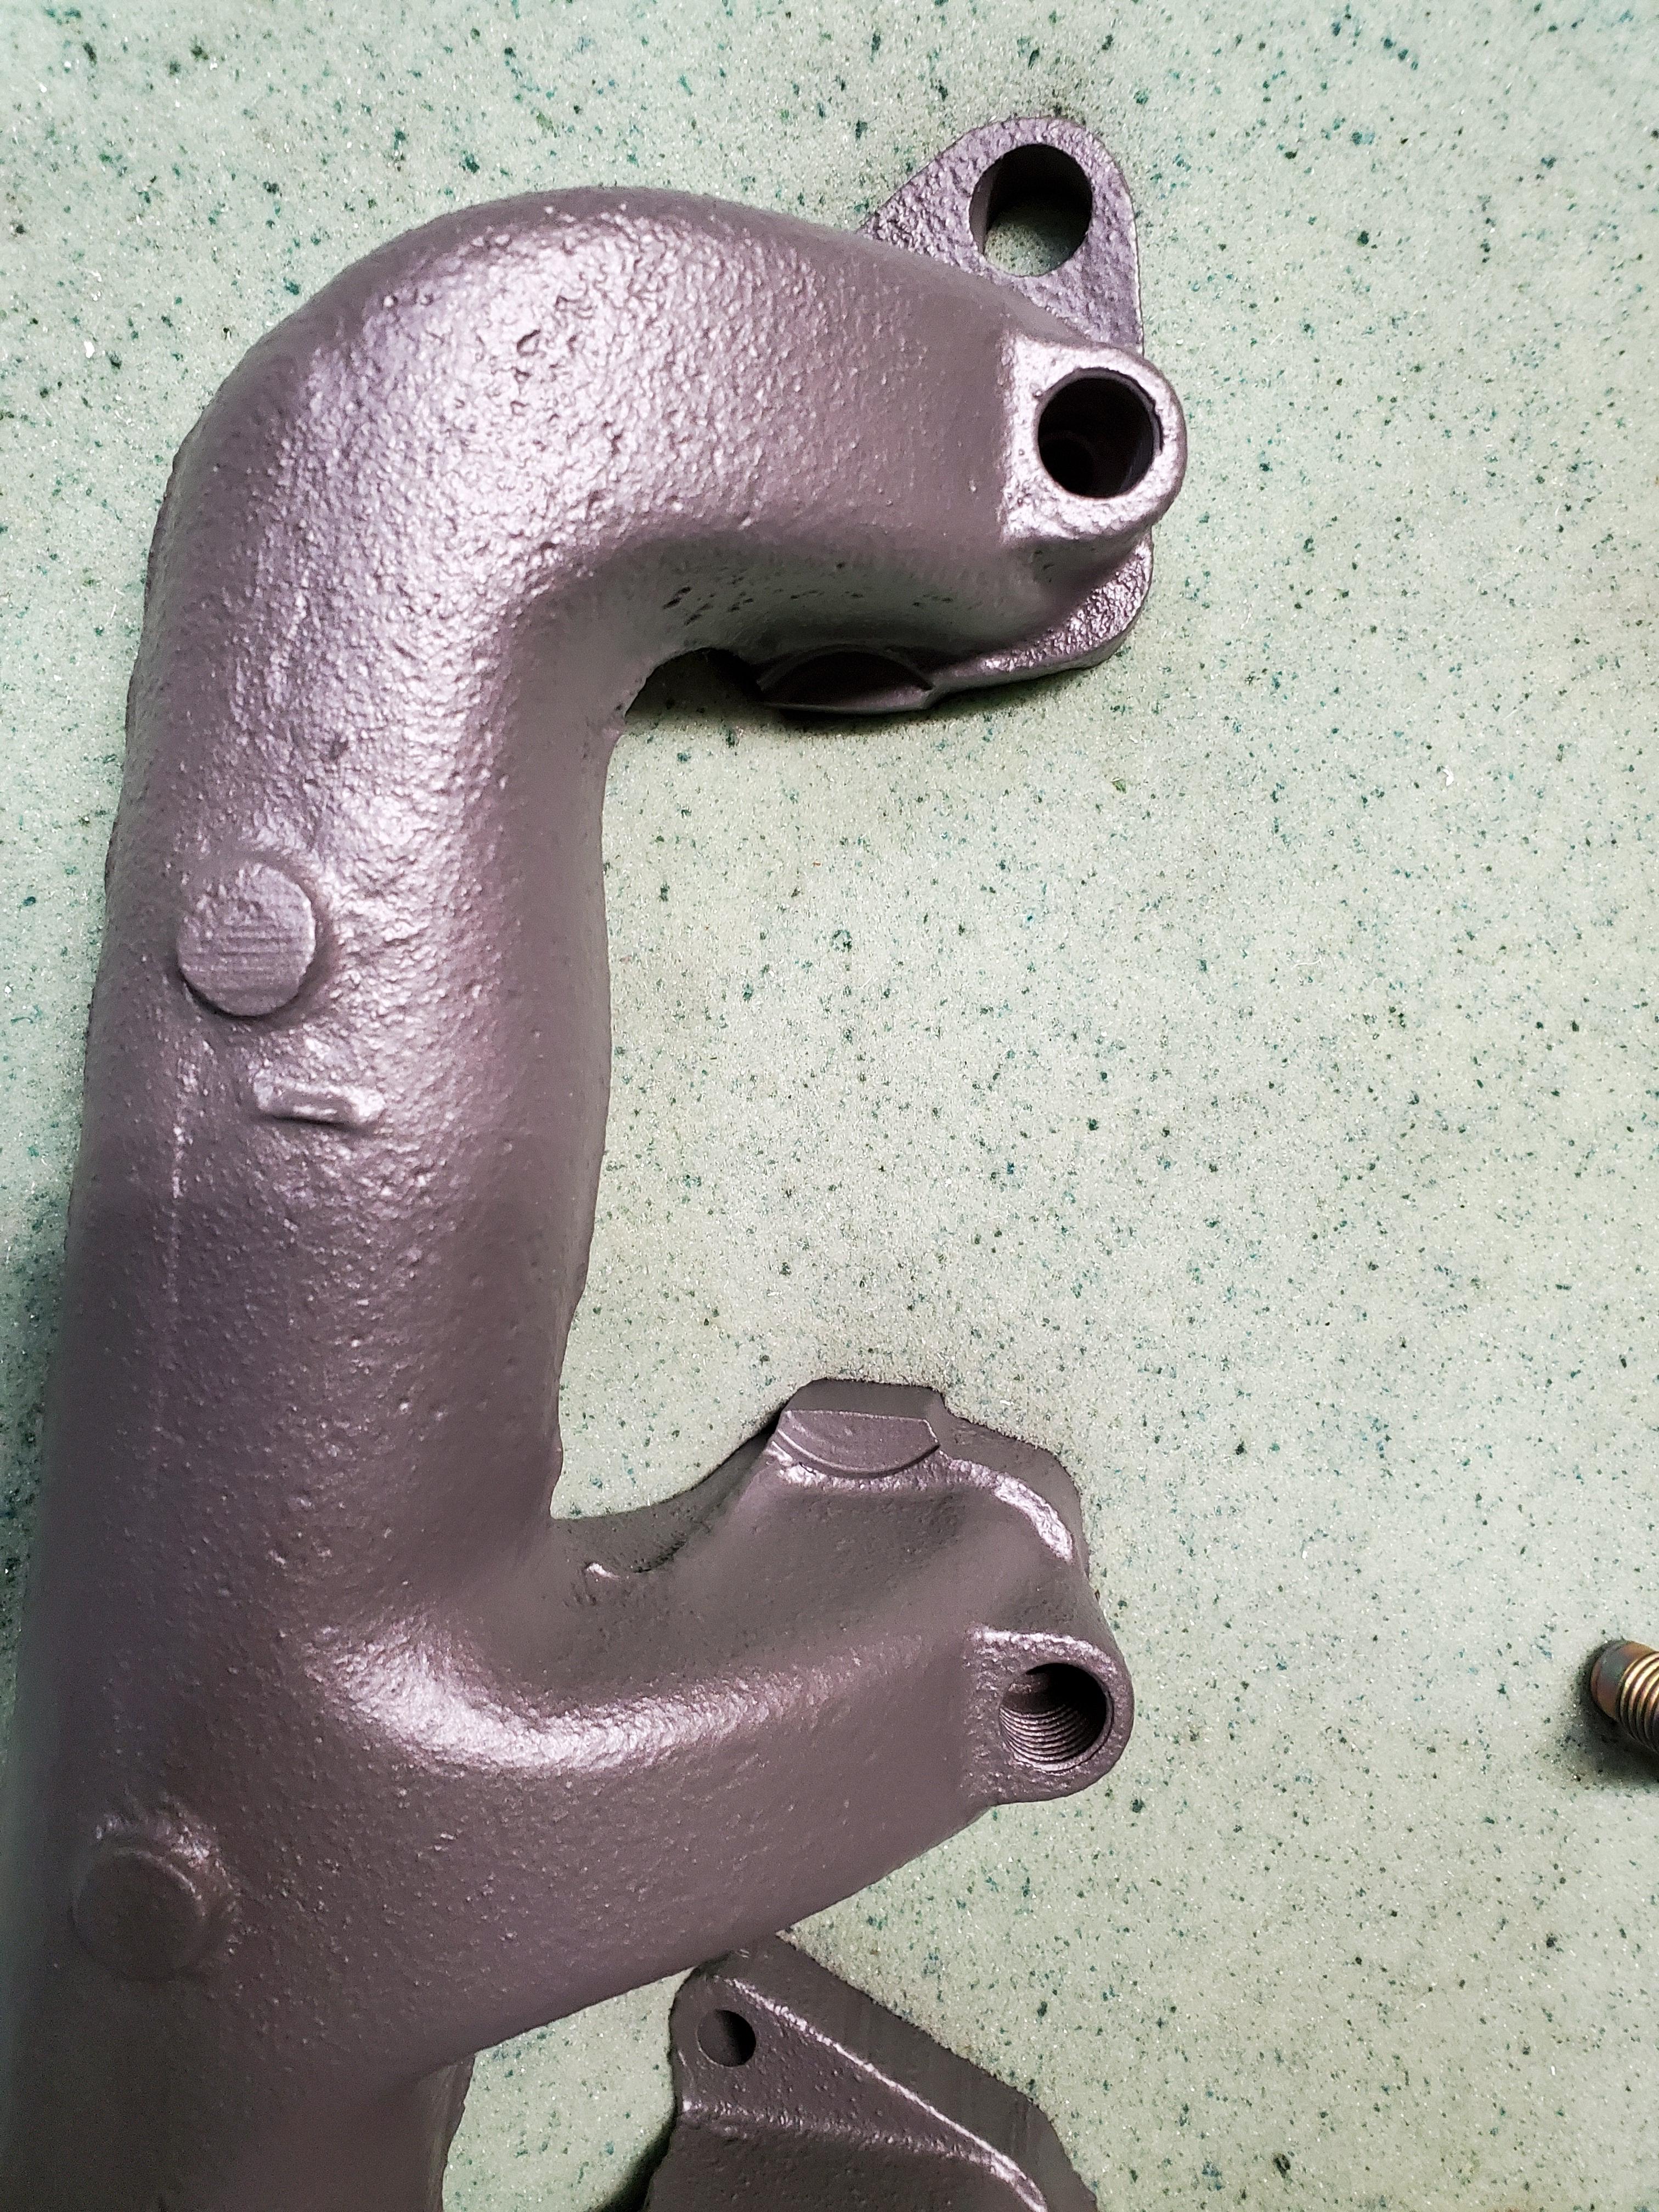
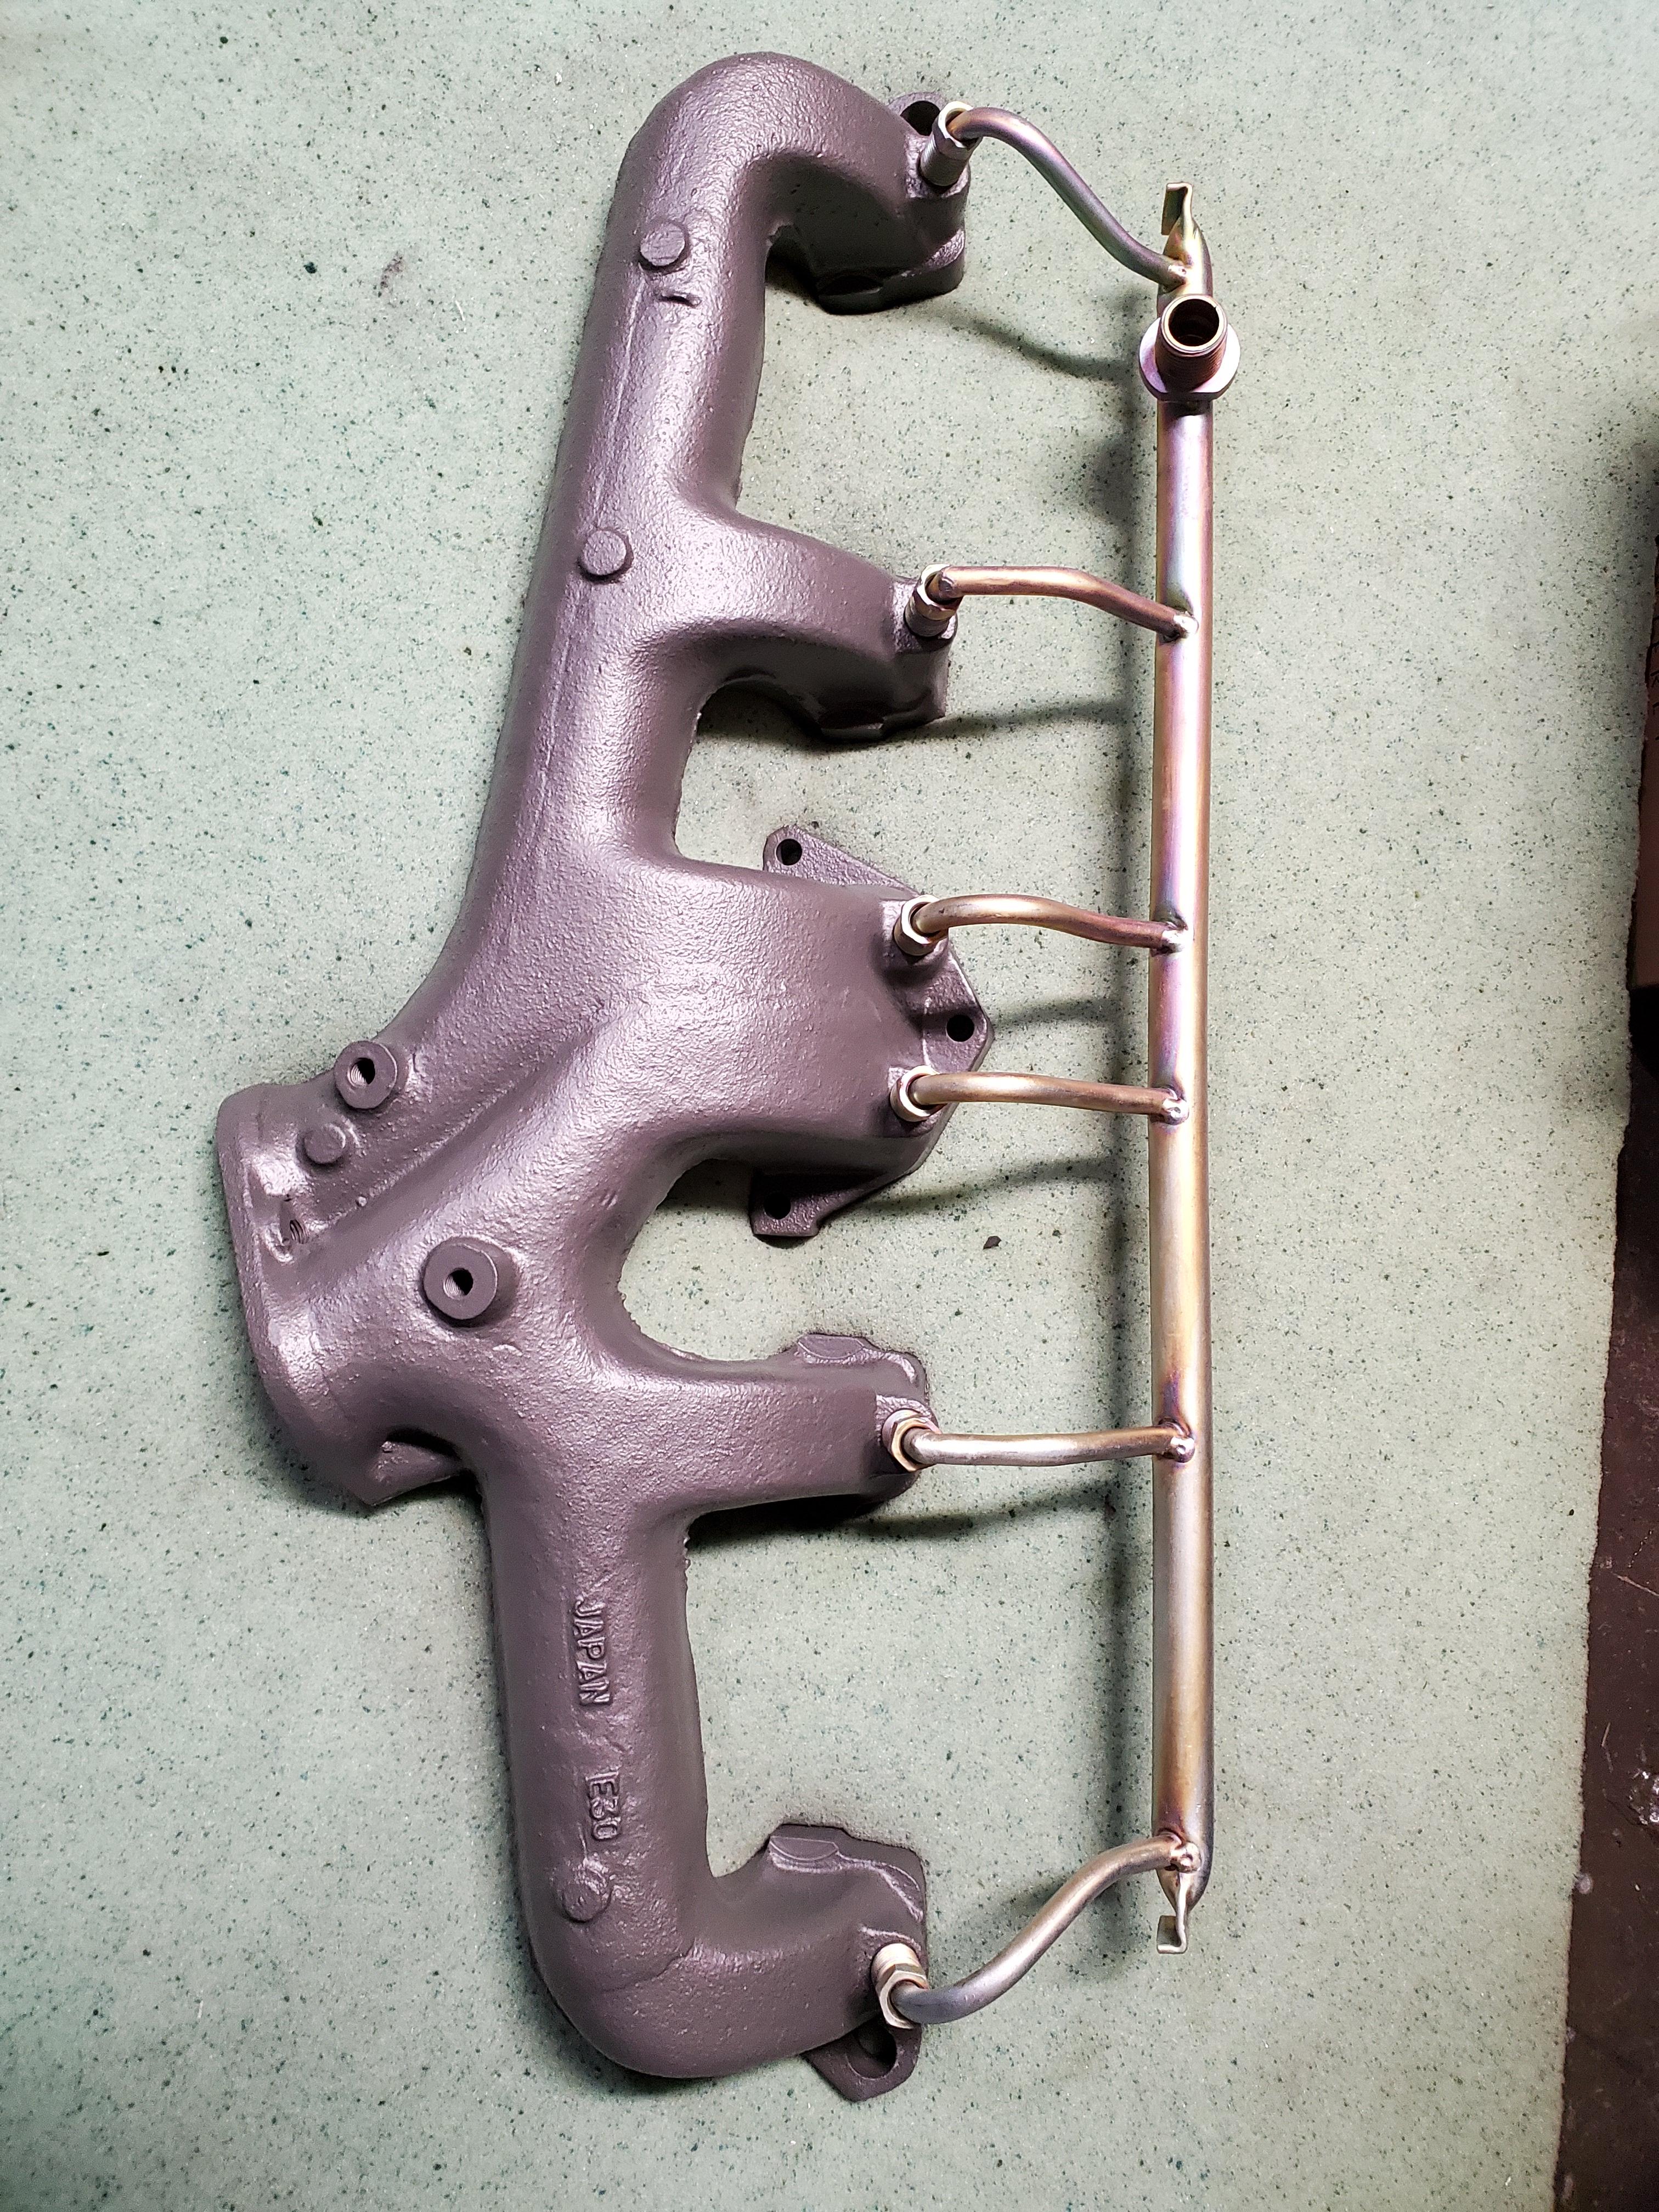
 Got the exhaust manifold back with ceramic coating. Also picked up an air galley from JDM-Car-Parts.com. Will tap the ports and loosely install. Will do final install when motor is in car.

-
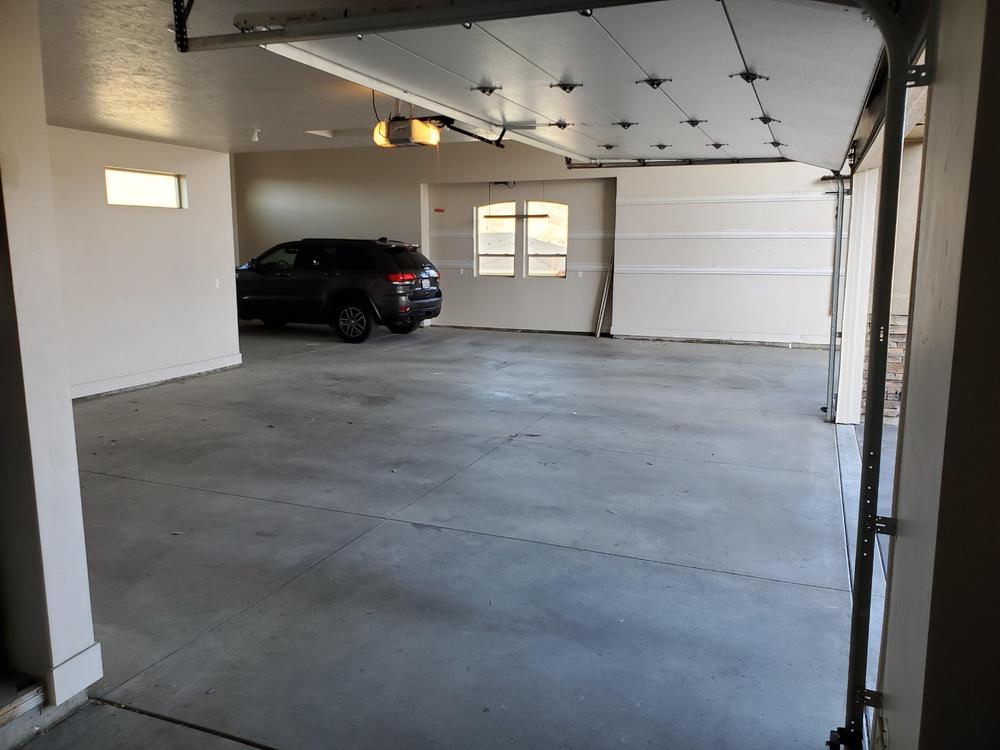
I am guessing at least 12 feet high. There is a lot of empty space up there.
-
Yes, I am thinking that I can even get a lift in their. That would be nice. Also looking very forward to retirement. So much to do out there.
-
Funny, hadn't thought of that term. Actually, I like it from the standpoint that its' intention is to build up a societies anti-bodies naturally. The science is that there may be a larger percentage of deaths in the short term, but in the long term there will be an overall greater society resistance due to the extensive exposure and fewer death in the long run. (percent is appropriate in this case as the population sizes are very different between the US and UK). Honestly, I don' think you can escape it. Between Costco, Ralphs, family, etc....we are just too connected as a people. Yes, this has crossed my mind as well, fabricated by some Gen-Xer worried about not receiving social security as they get older. Also thought it might be a ploy developed by the 1% at Davos to get the Fed Rate down to 0% so they can borrow Billions and charge 3% to the masses. 3% of billions is a lot of money. (Just thought I would increase my use of percentages here ?) OR.....don't get me started.
-
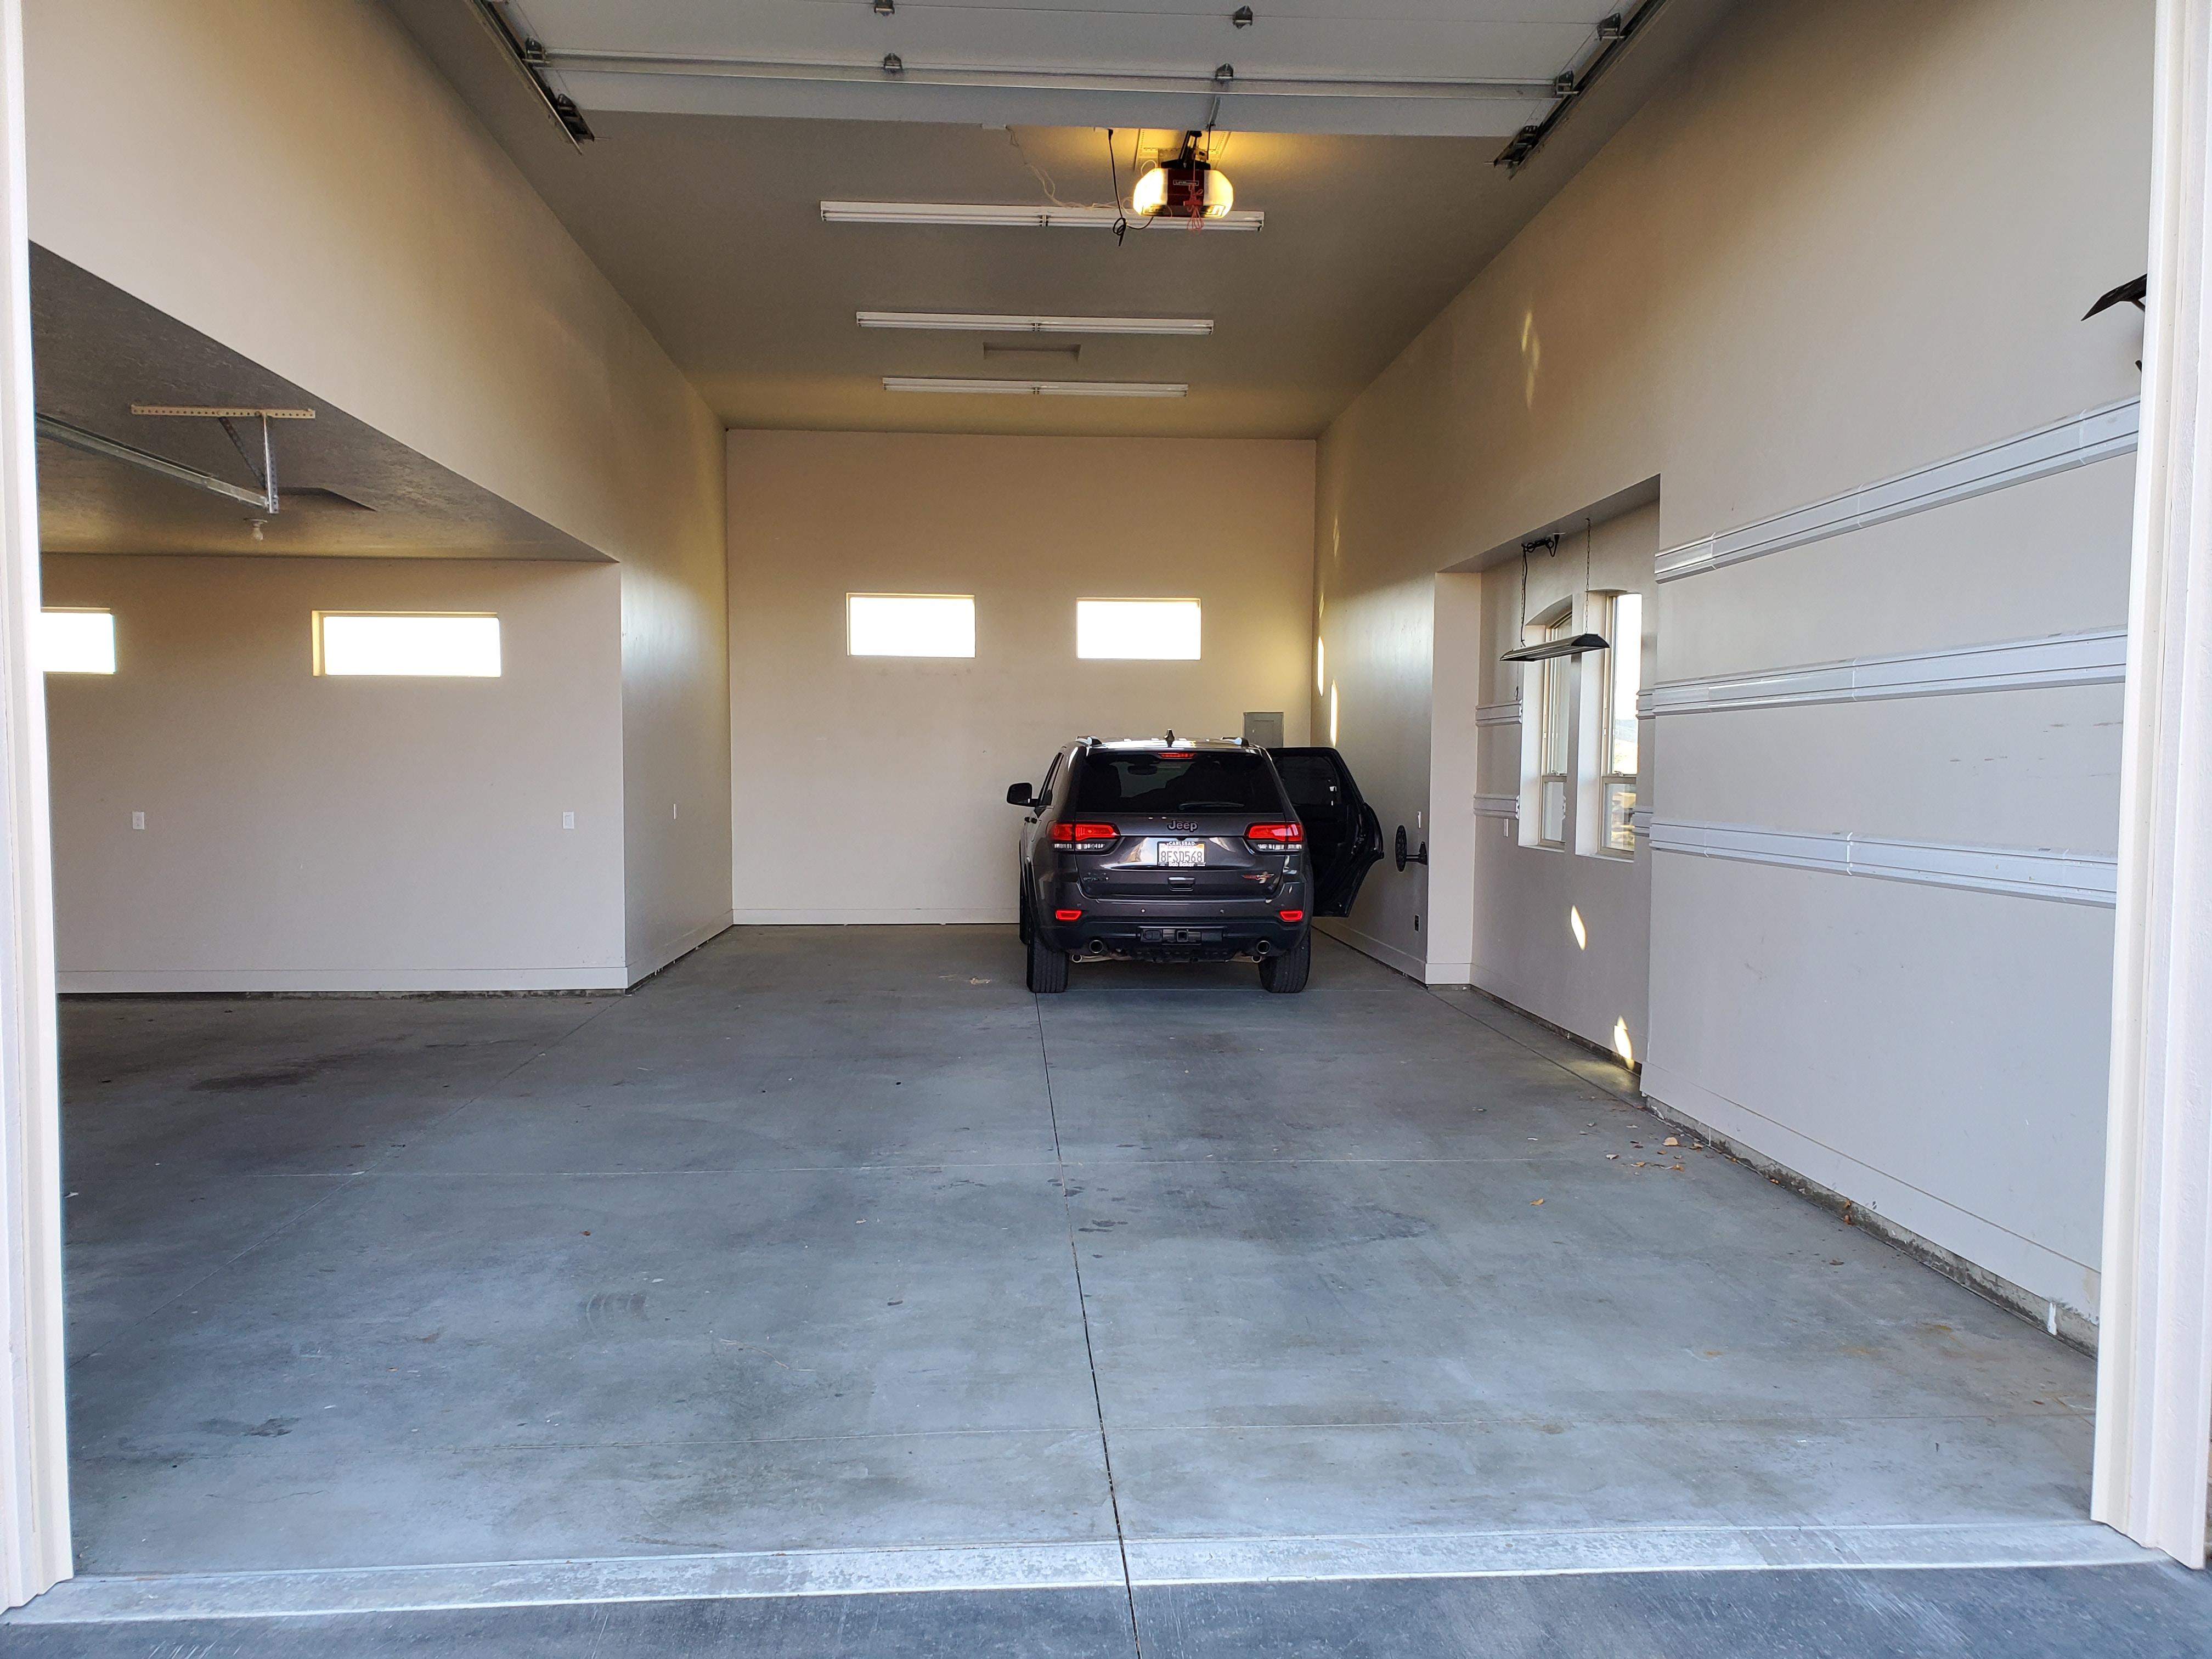
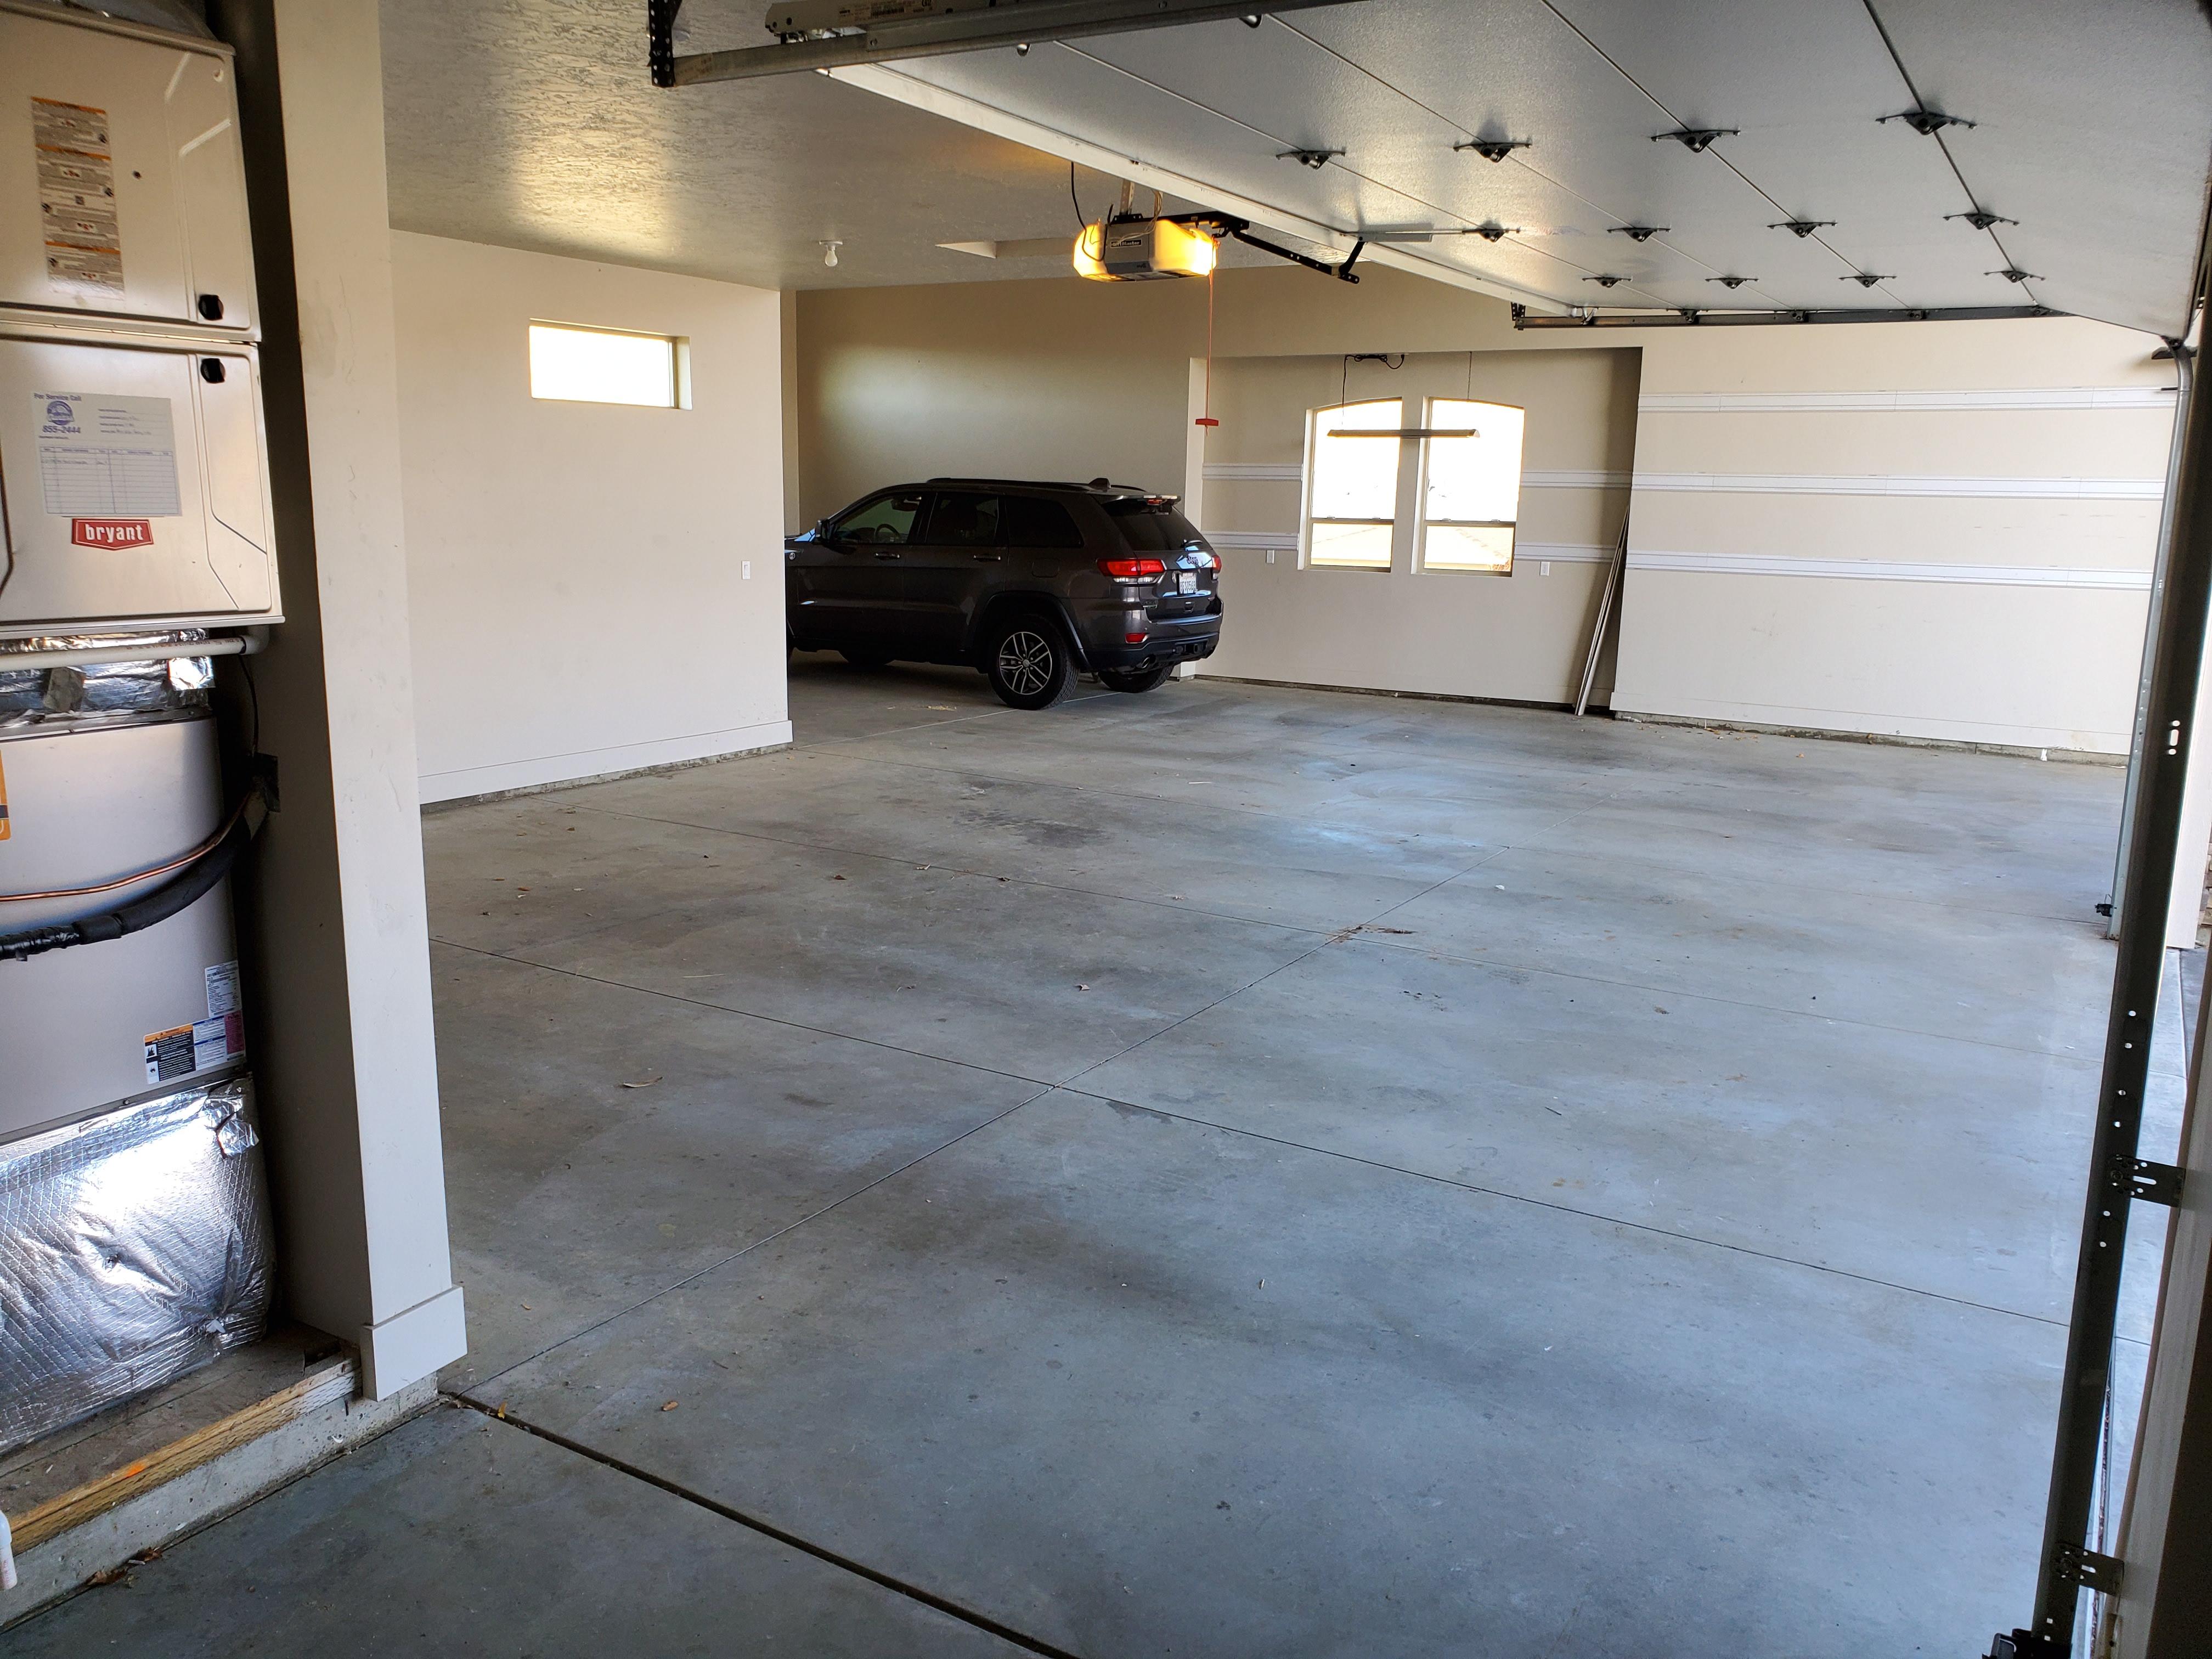
Boy, that garage is just absolutely fabulous, very jealous here. Thought I would share a couple pictures of my future garage here. Wife and I bought a place in Boise Idaho and are renting it out until we are ready to retire which is probably about a year and a half from now. Garage has 1500 sq-ft of space and a large RV section. Pretty sure I can fit all of my cars in here. Our Jeep Grand Cherokee looks kind of small in there.


-
Definitely caution is in order and I think the awareness of the virus spread will also help reduce flu deaths which will be an added benefit. Regarding exponential growth, I think the exponential growth is in test kits and testing, not new cases (although that is growing as well). I am in complete agreement with the John Hopkins professor who stated the the number of cases in the US is actually in the 50K to 500K range, and I would lean to the high side. The coronavirus has gone pretty much unchecked in the US for the last 3 months and with such a connected society, it is hard for me to believe the that the number is just in the low thousands. My personal opinion is that a large number of people have had it and moved on, thinking they had the flu. I would also contend that a number of the 8200 flu deaths this year were actually coronavirus deaths, just not tested. The media is just catching up really. Yes, it is a novel virus and has sadly killed a significant number of people, I do however question our response. It will be interesting the follow the UK's data versus the US data. Personally, I think they are using the best approach for the long term, but time will tell.
-
Personally, I think the media uses percentages to confuse the masses. My use of absolute numbers was very purposeful and intentional and a true reflection of reality. If two people have died of coronavirus and and one more dies what will sell more newspapers or make a better headline: 1) Coranavirus deaths in the US increase by 50% in one day! or 2) One more individual has succumbed to the coronavirus? The use of percentages should always put you on alert. Also, when you see high percentages, typically your sample size is small. When you read about companies growing by large percentages, the first thing that you should notice is that it is a small company. I don't mean to sound so heartless, and I am in the demographic that needs to be a bit more cautious, and I have been. However, I live by the data....this is also why I don't gamble or play the lottery among other things.
-
Unfortunately in all this, I am an engineer and am trained to just look at stats and data. Having looked at the data, the whole Coronavirus scare makes no sense to me. To date (March 15) for all of 2020 (Approximately 75 days) there are 60 Coronavirus deaths in the US. Meanwhile in the US for all of 2020 there have been roughly: 8,200 Flu related deaths. 9,800 suicides 7,500 Automobile accident deaths 14,300 Opioid related deaths. Also, Coronavirus is no more deadly than the flu for people under 65 based on data from China an South Korea. Cases are not 'spiking', they are just getting more test kits and are now able to differentiate between flu and coronaviris. Coronavirus has been spreading unchecked for the last 3 months in the US without significant damage. Most people have passed it off as the flu before the hype reached full swing. The number in the US infected ranges anywhere from 50K to 500K according to a John Hopkins professor. I would agree with that number to the high side on this. I think Boris Johnson of the UK is the only individual that gives me hope for sanity in this crazy world. Personally, my bet is that the coronavirus will mutate into the shadovirus. This is the virus that will make us all afraid of our own shadows. Cure will be to avoid direct sunshine and all lights inside your home. Just my thoughts. OK, back into isolation
-
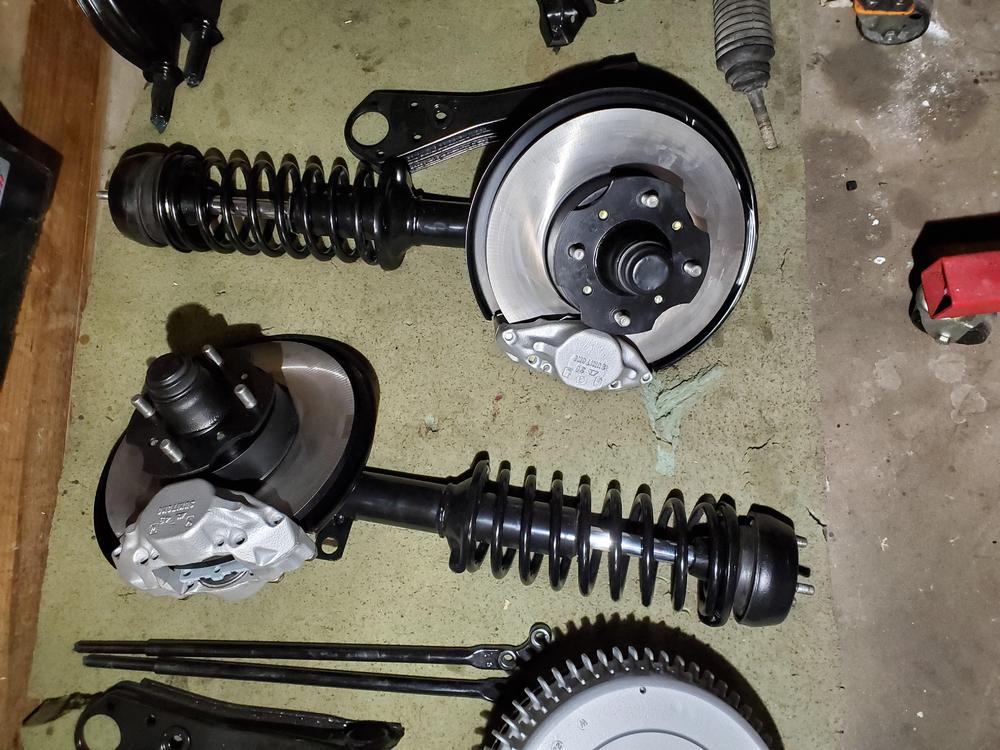
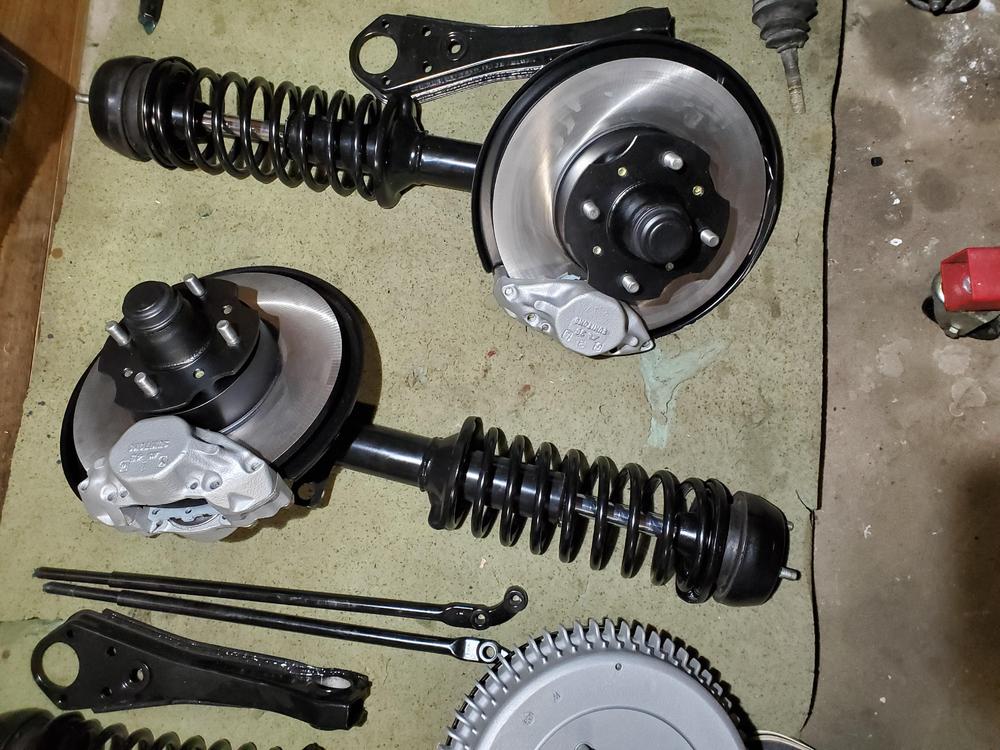
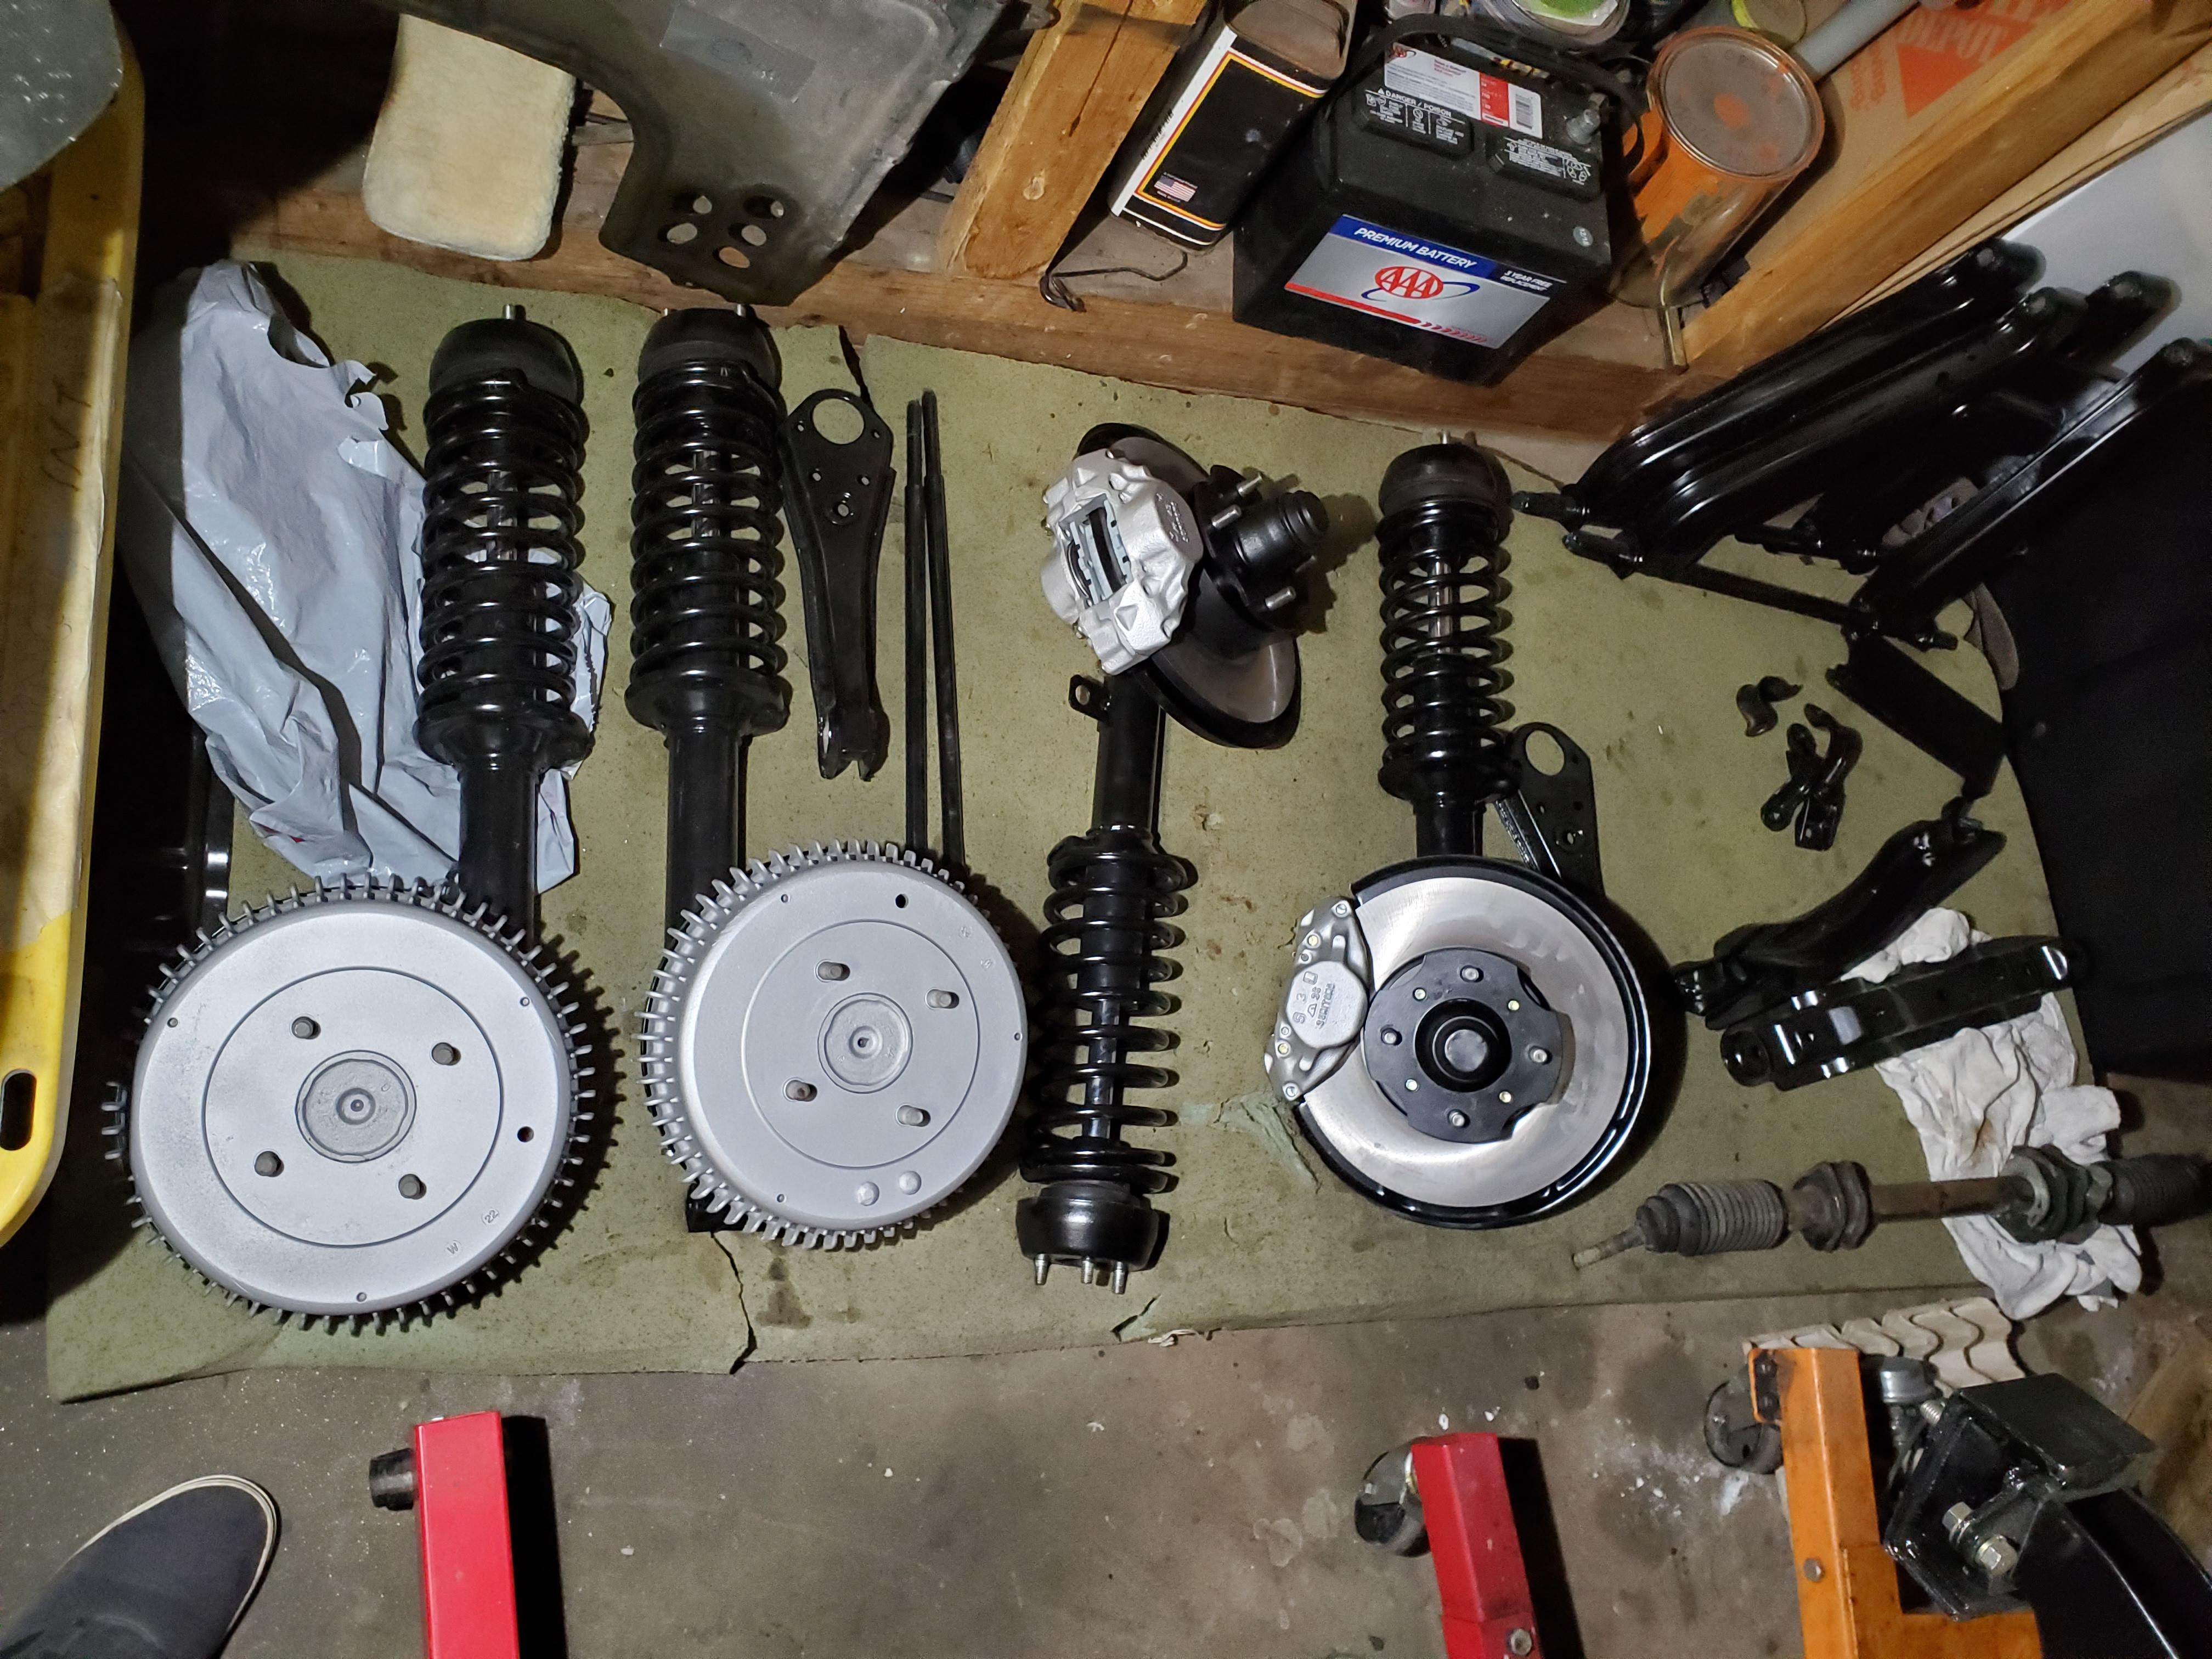
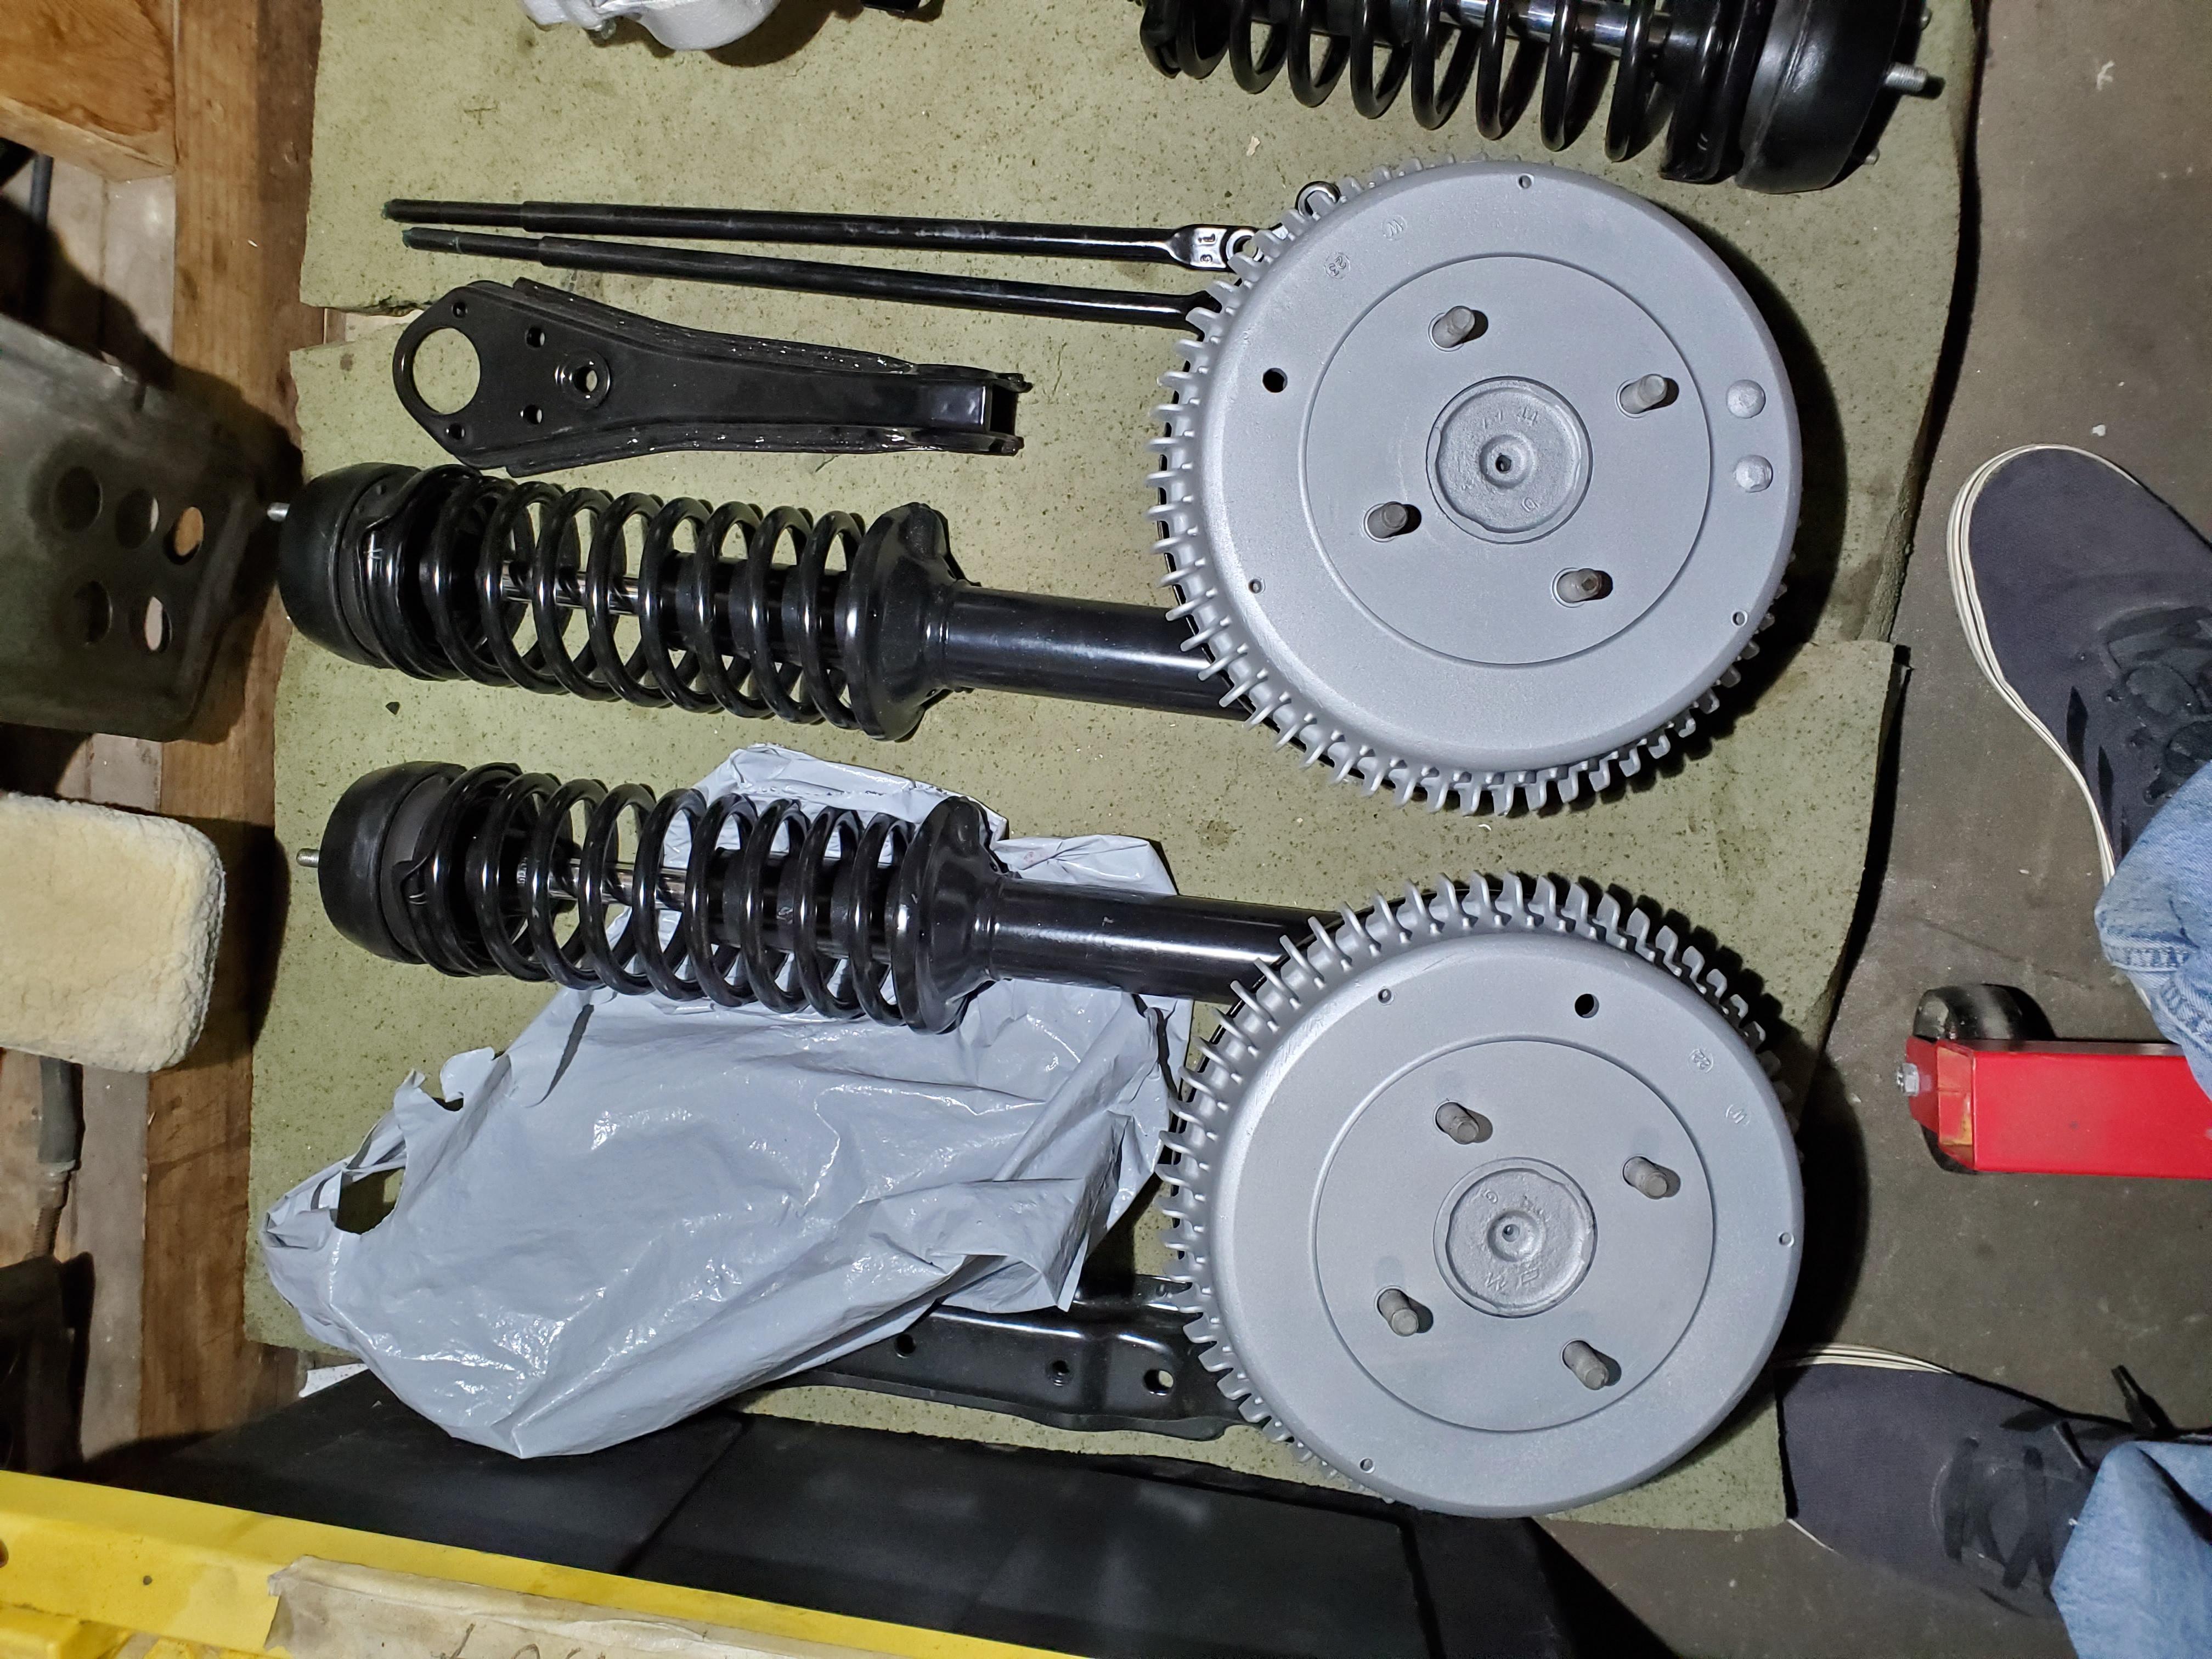
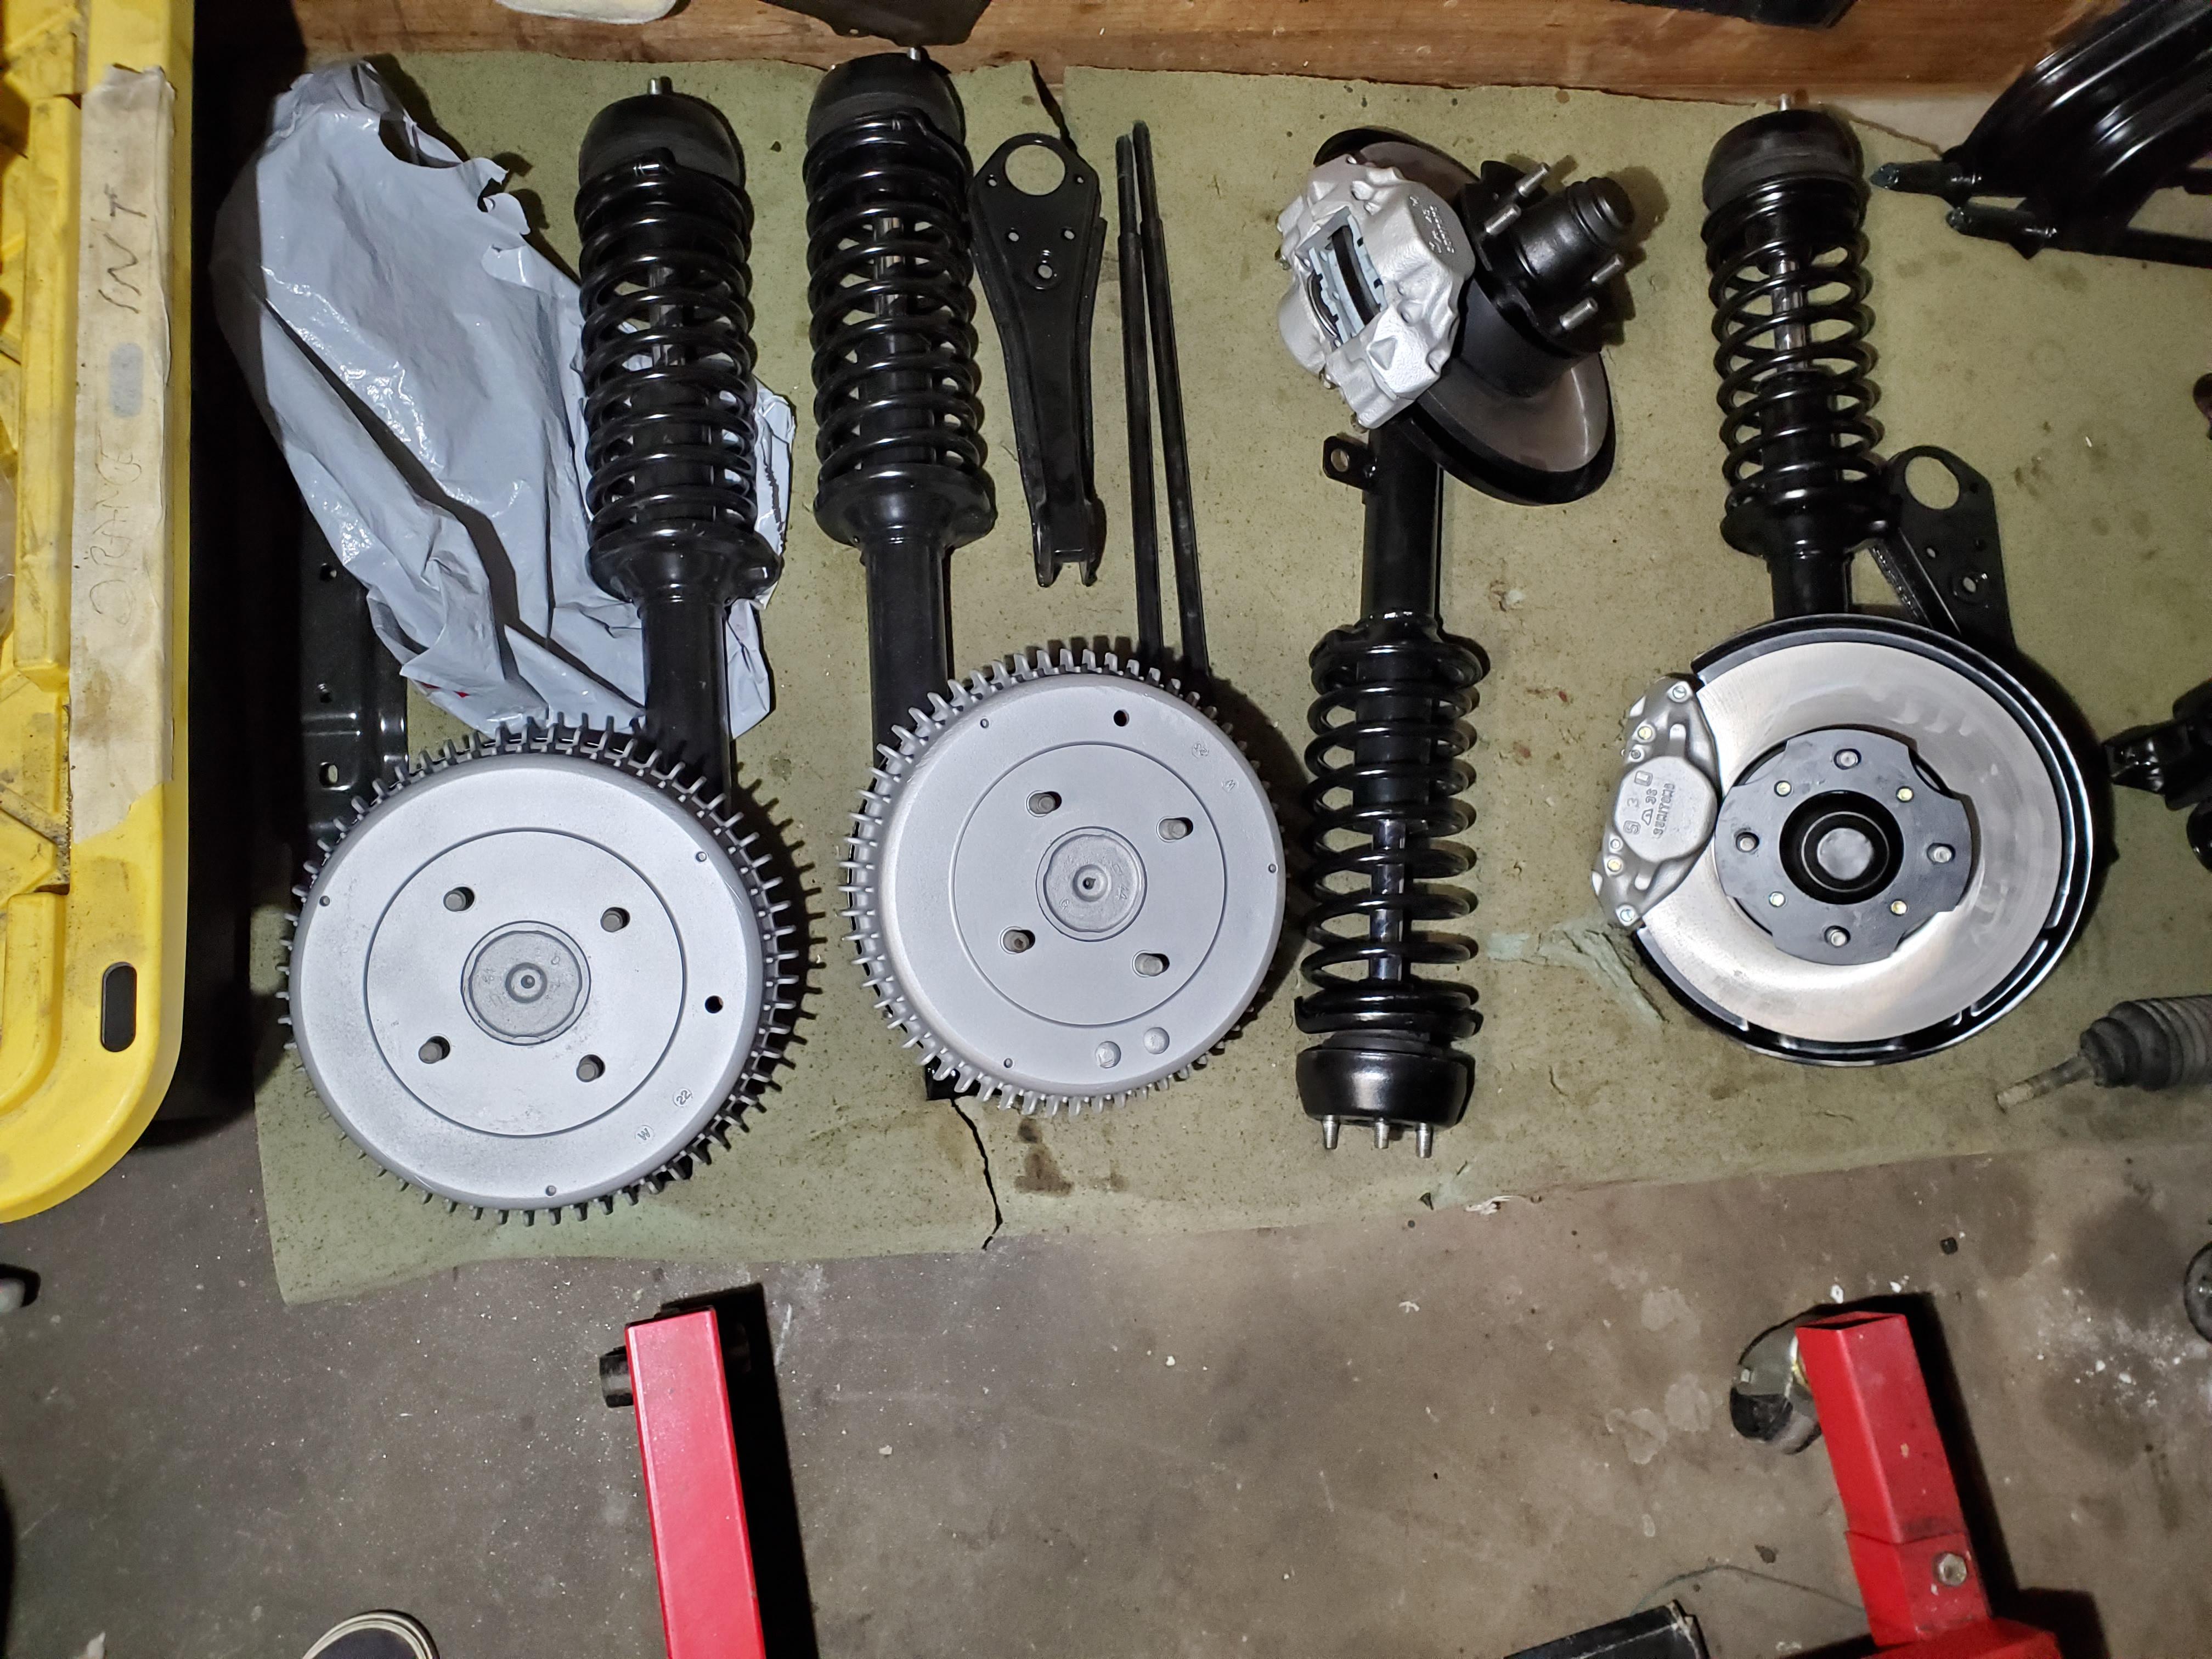
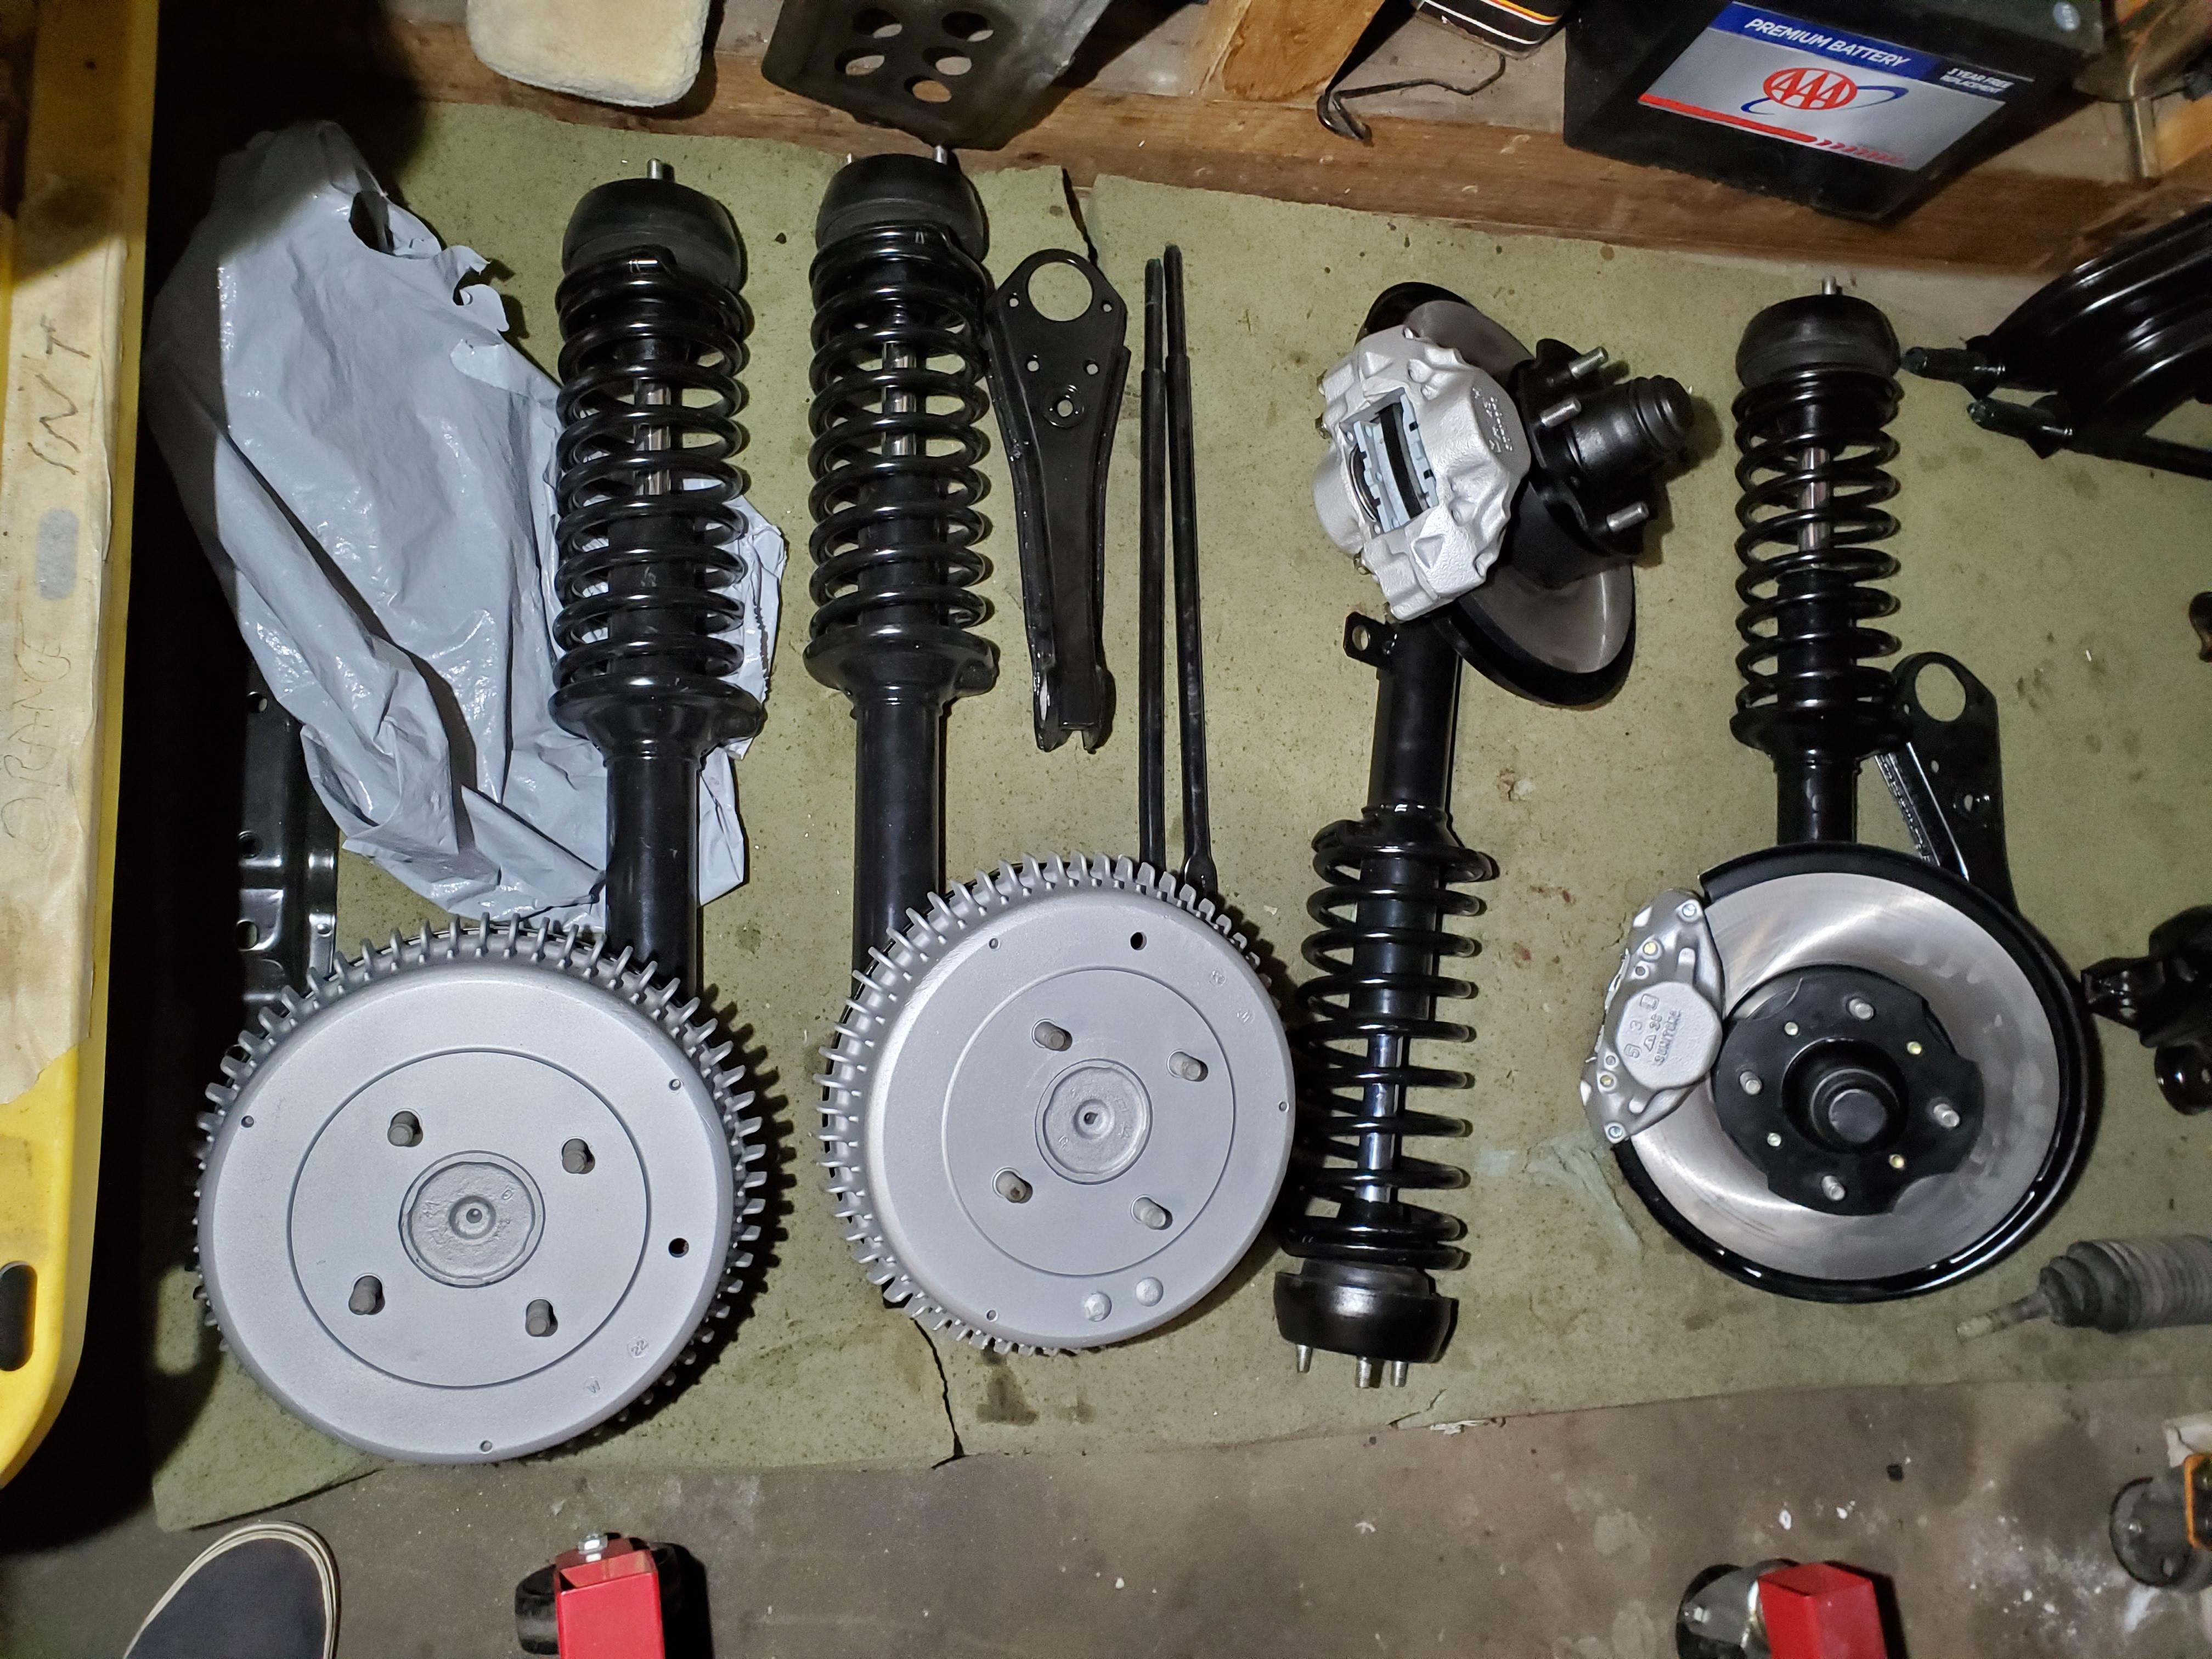
Finally got my struts finished up......now I just need a body to attach them to. Calipers are rebuilt, all new pads and shoes.


-
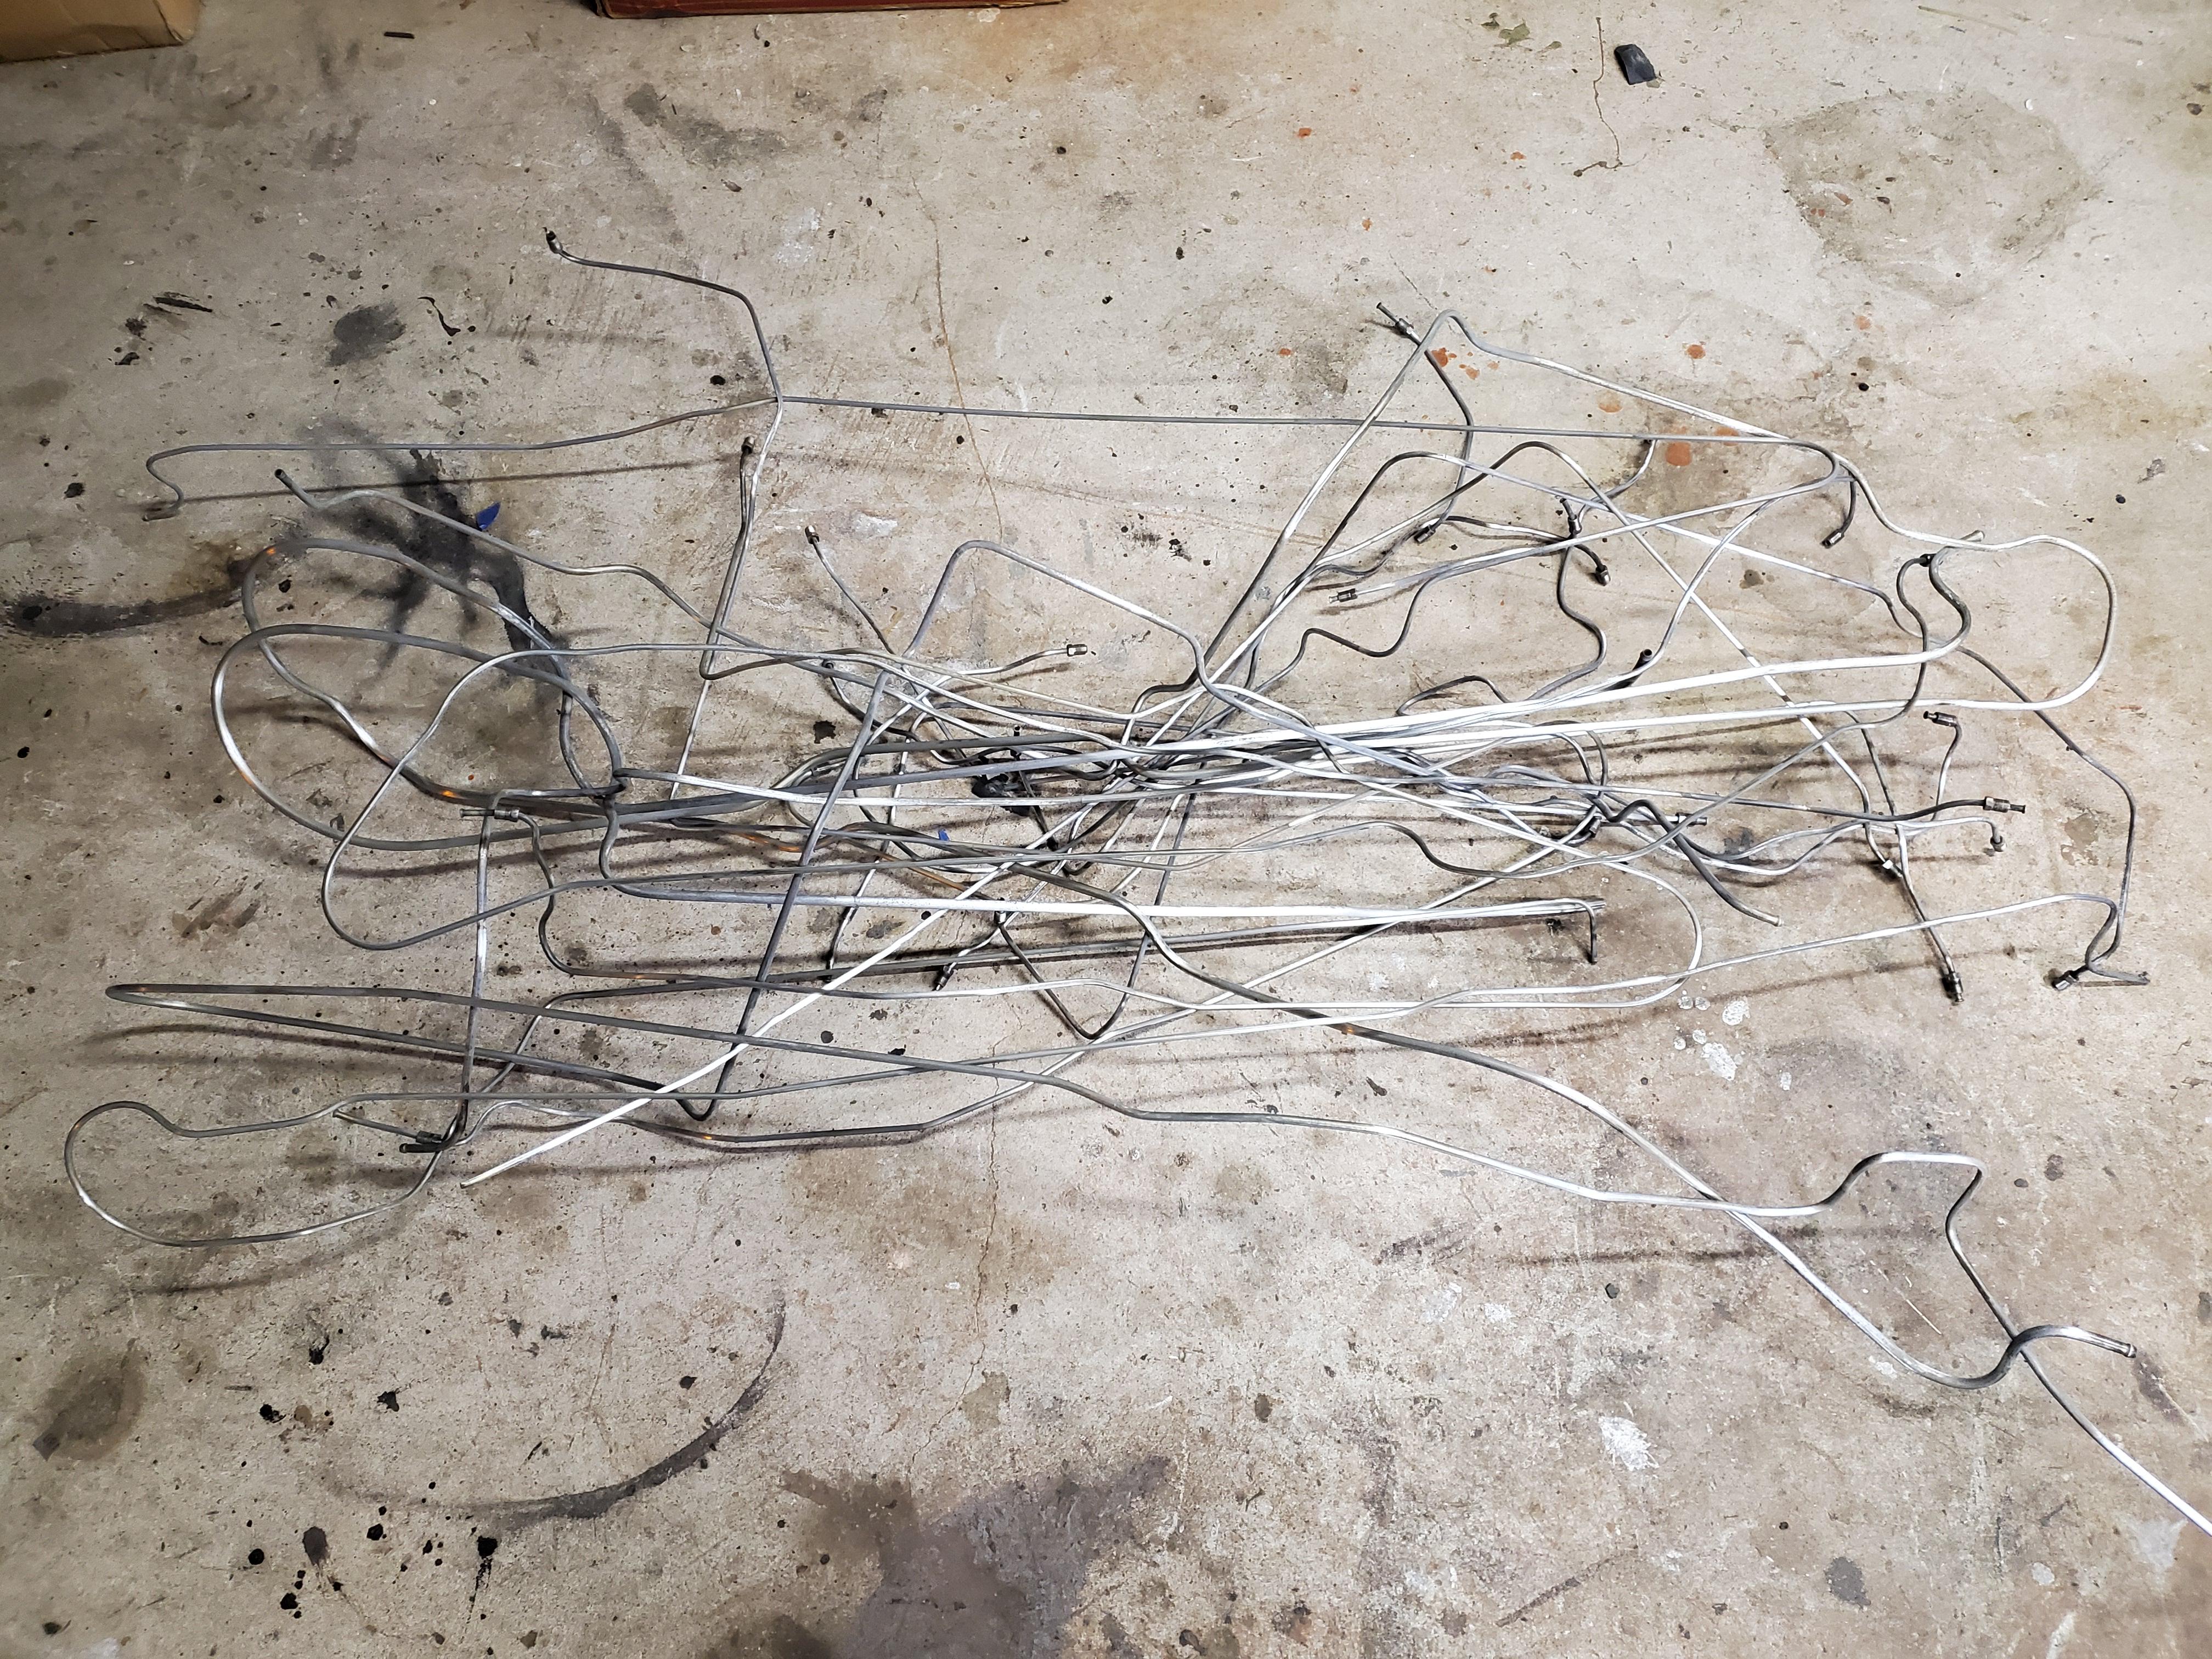
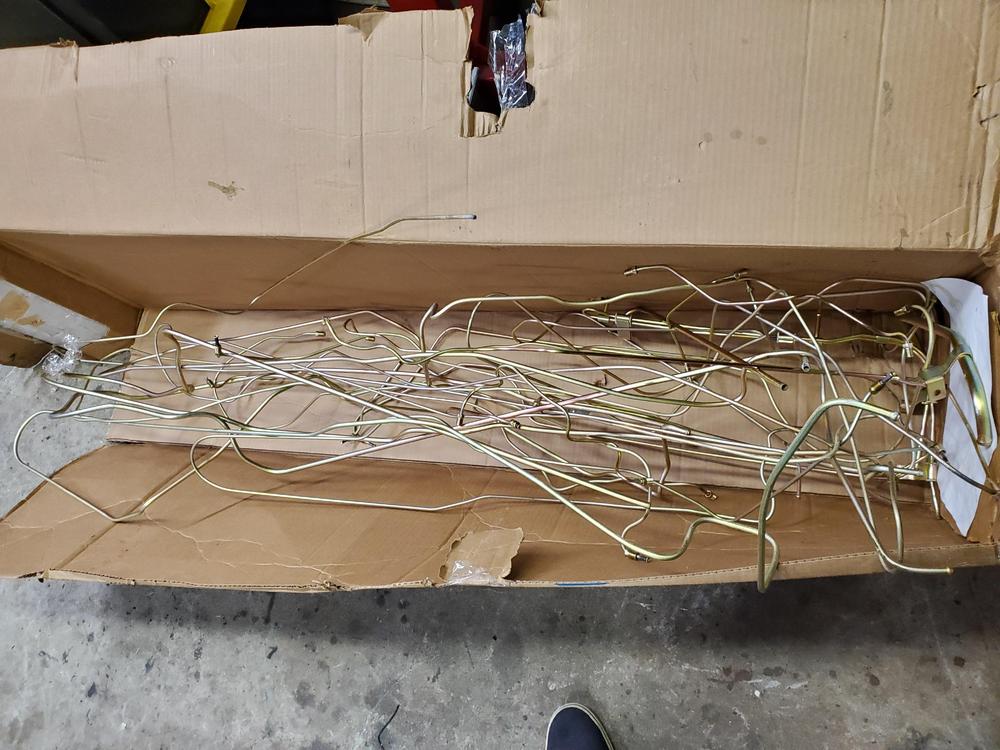
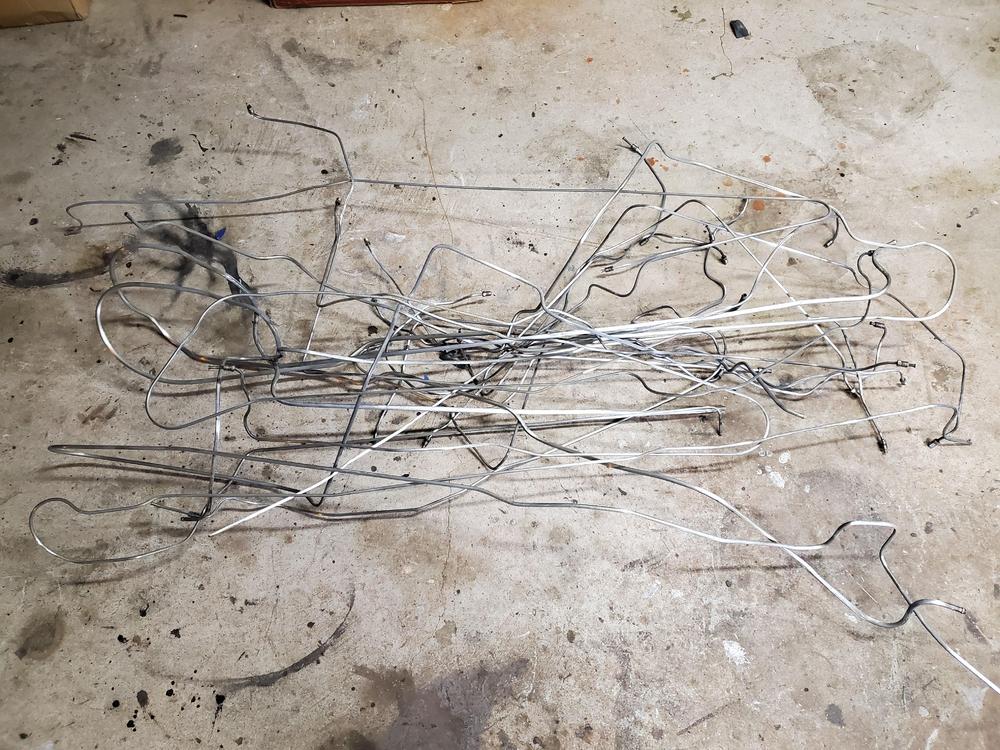
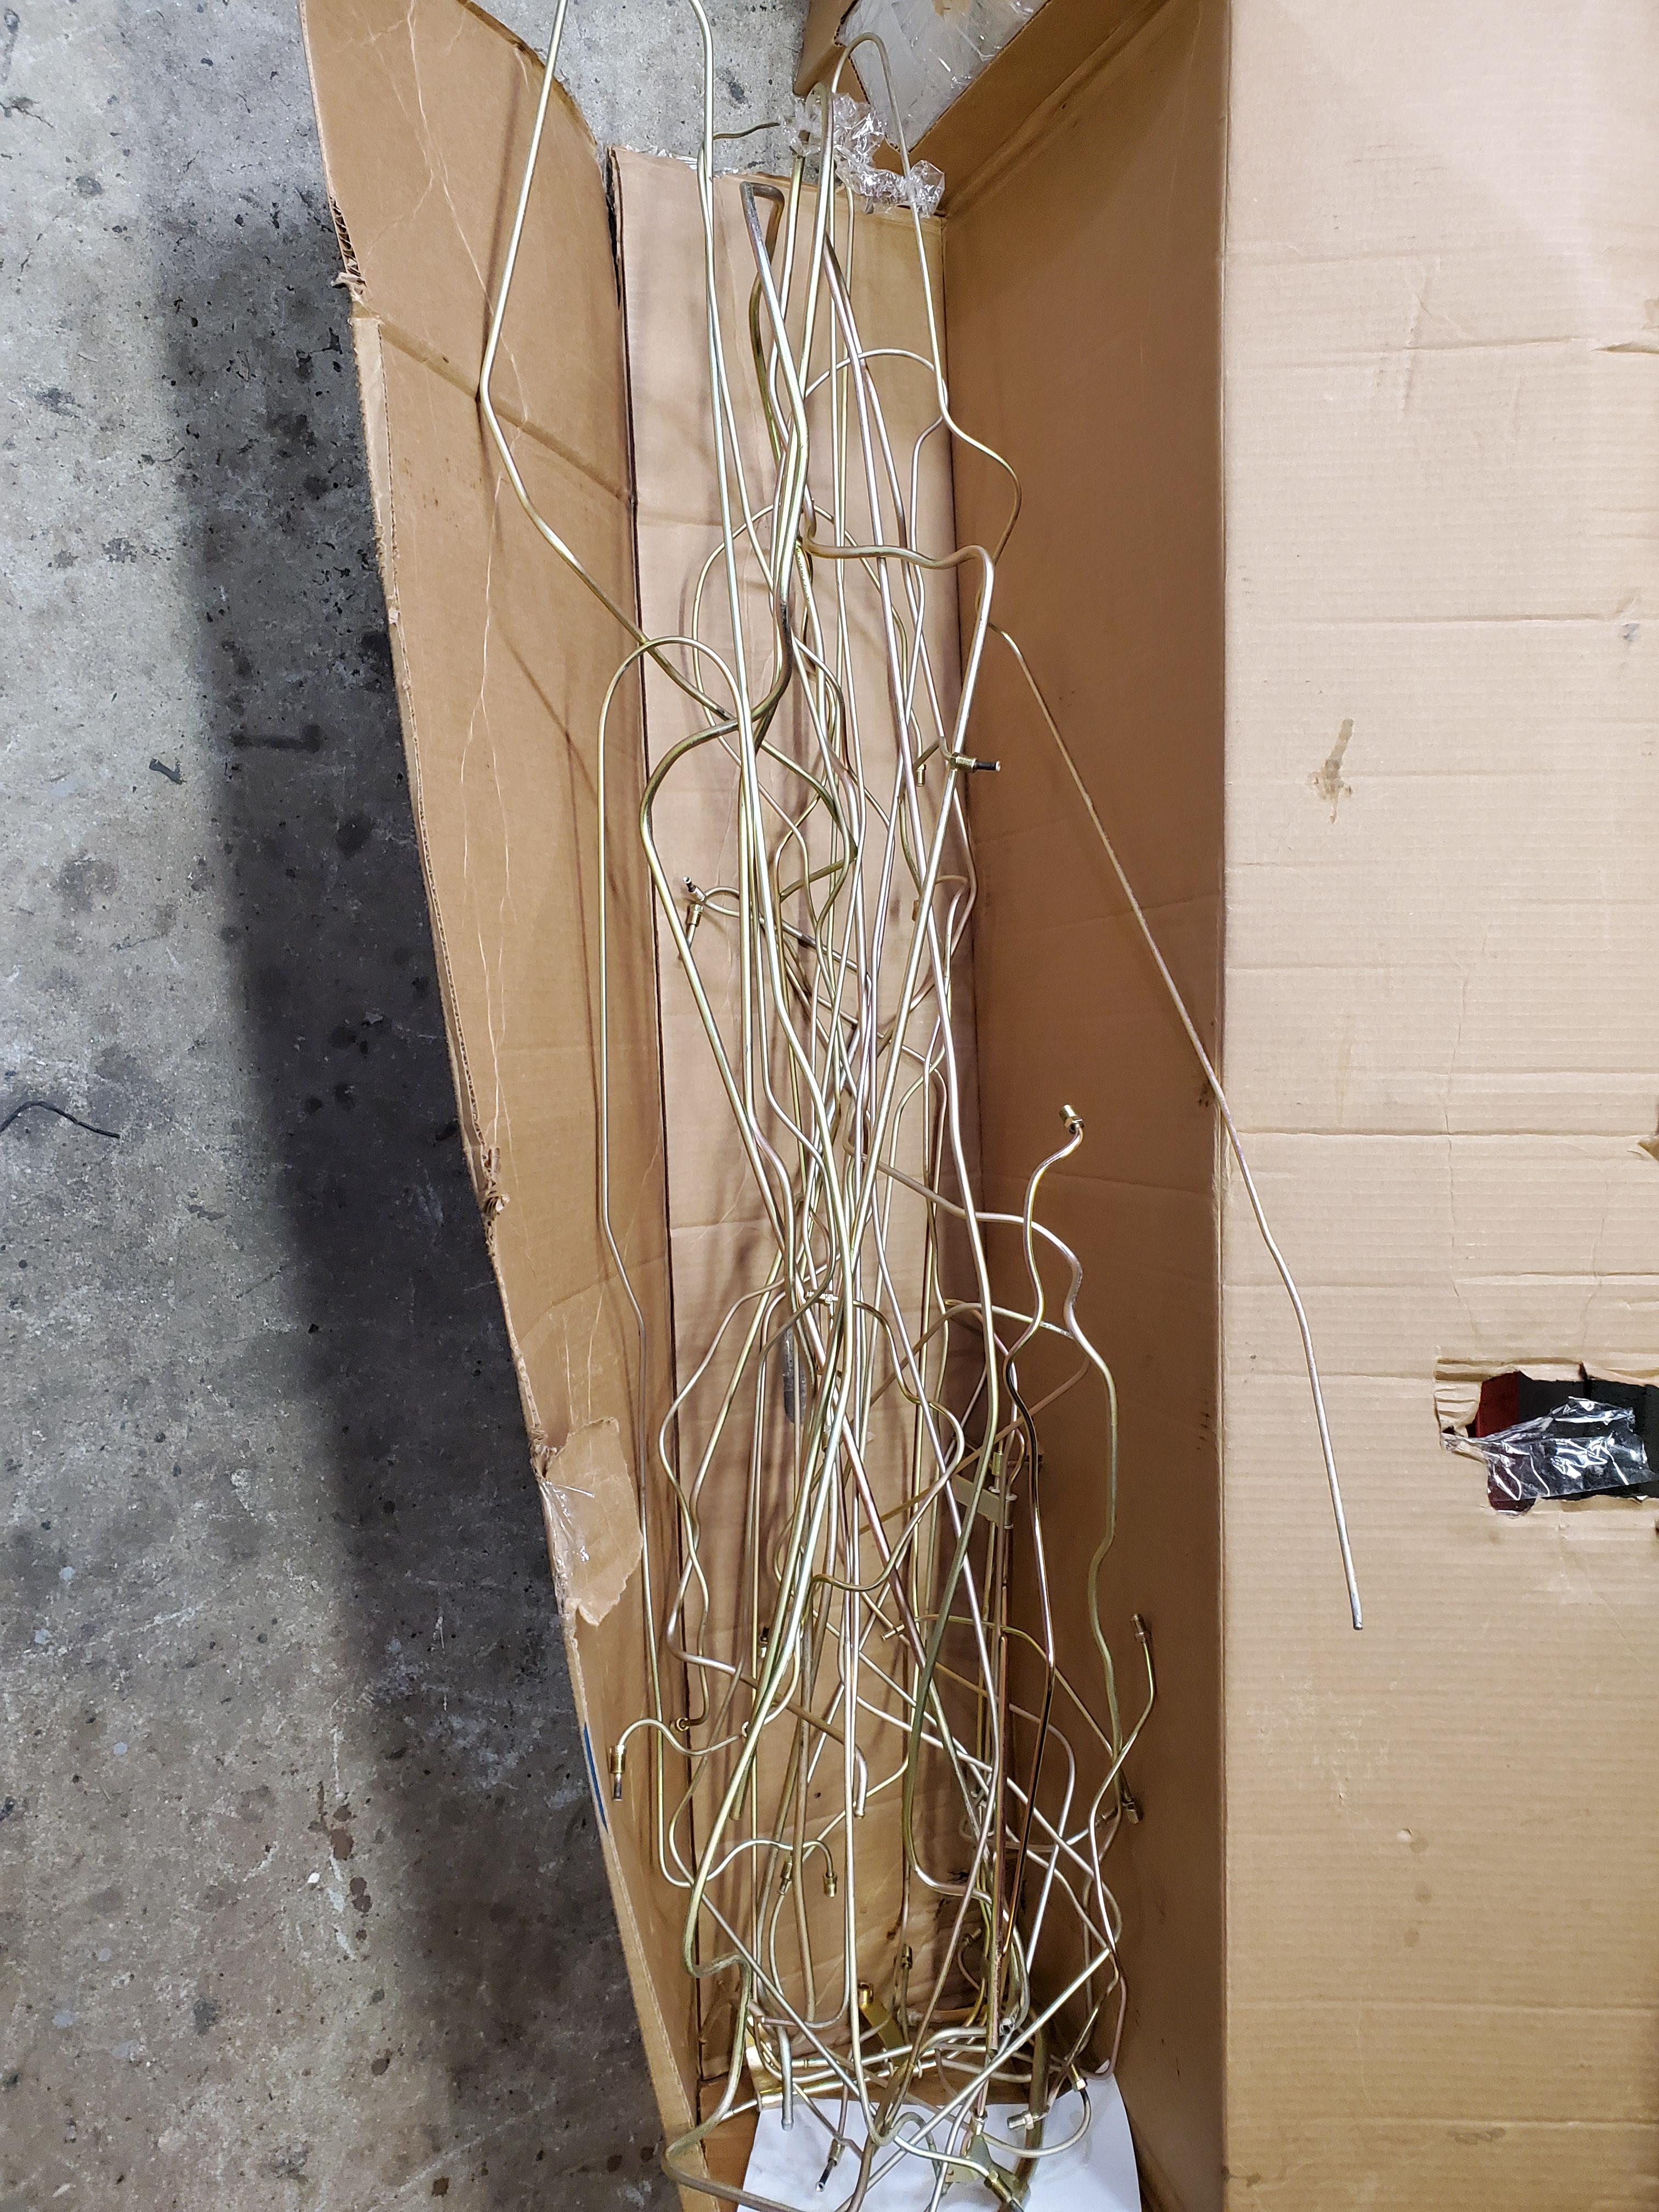
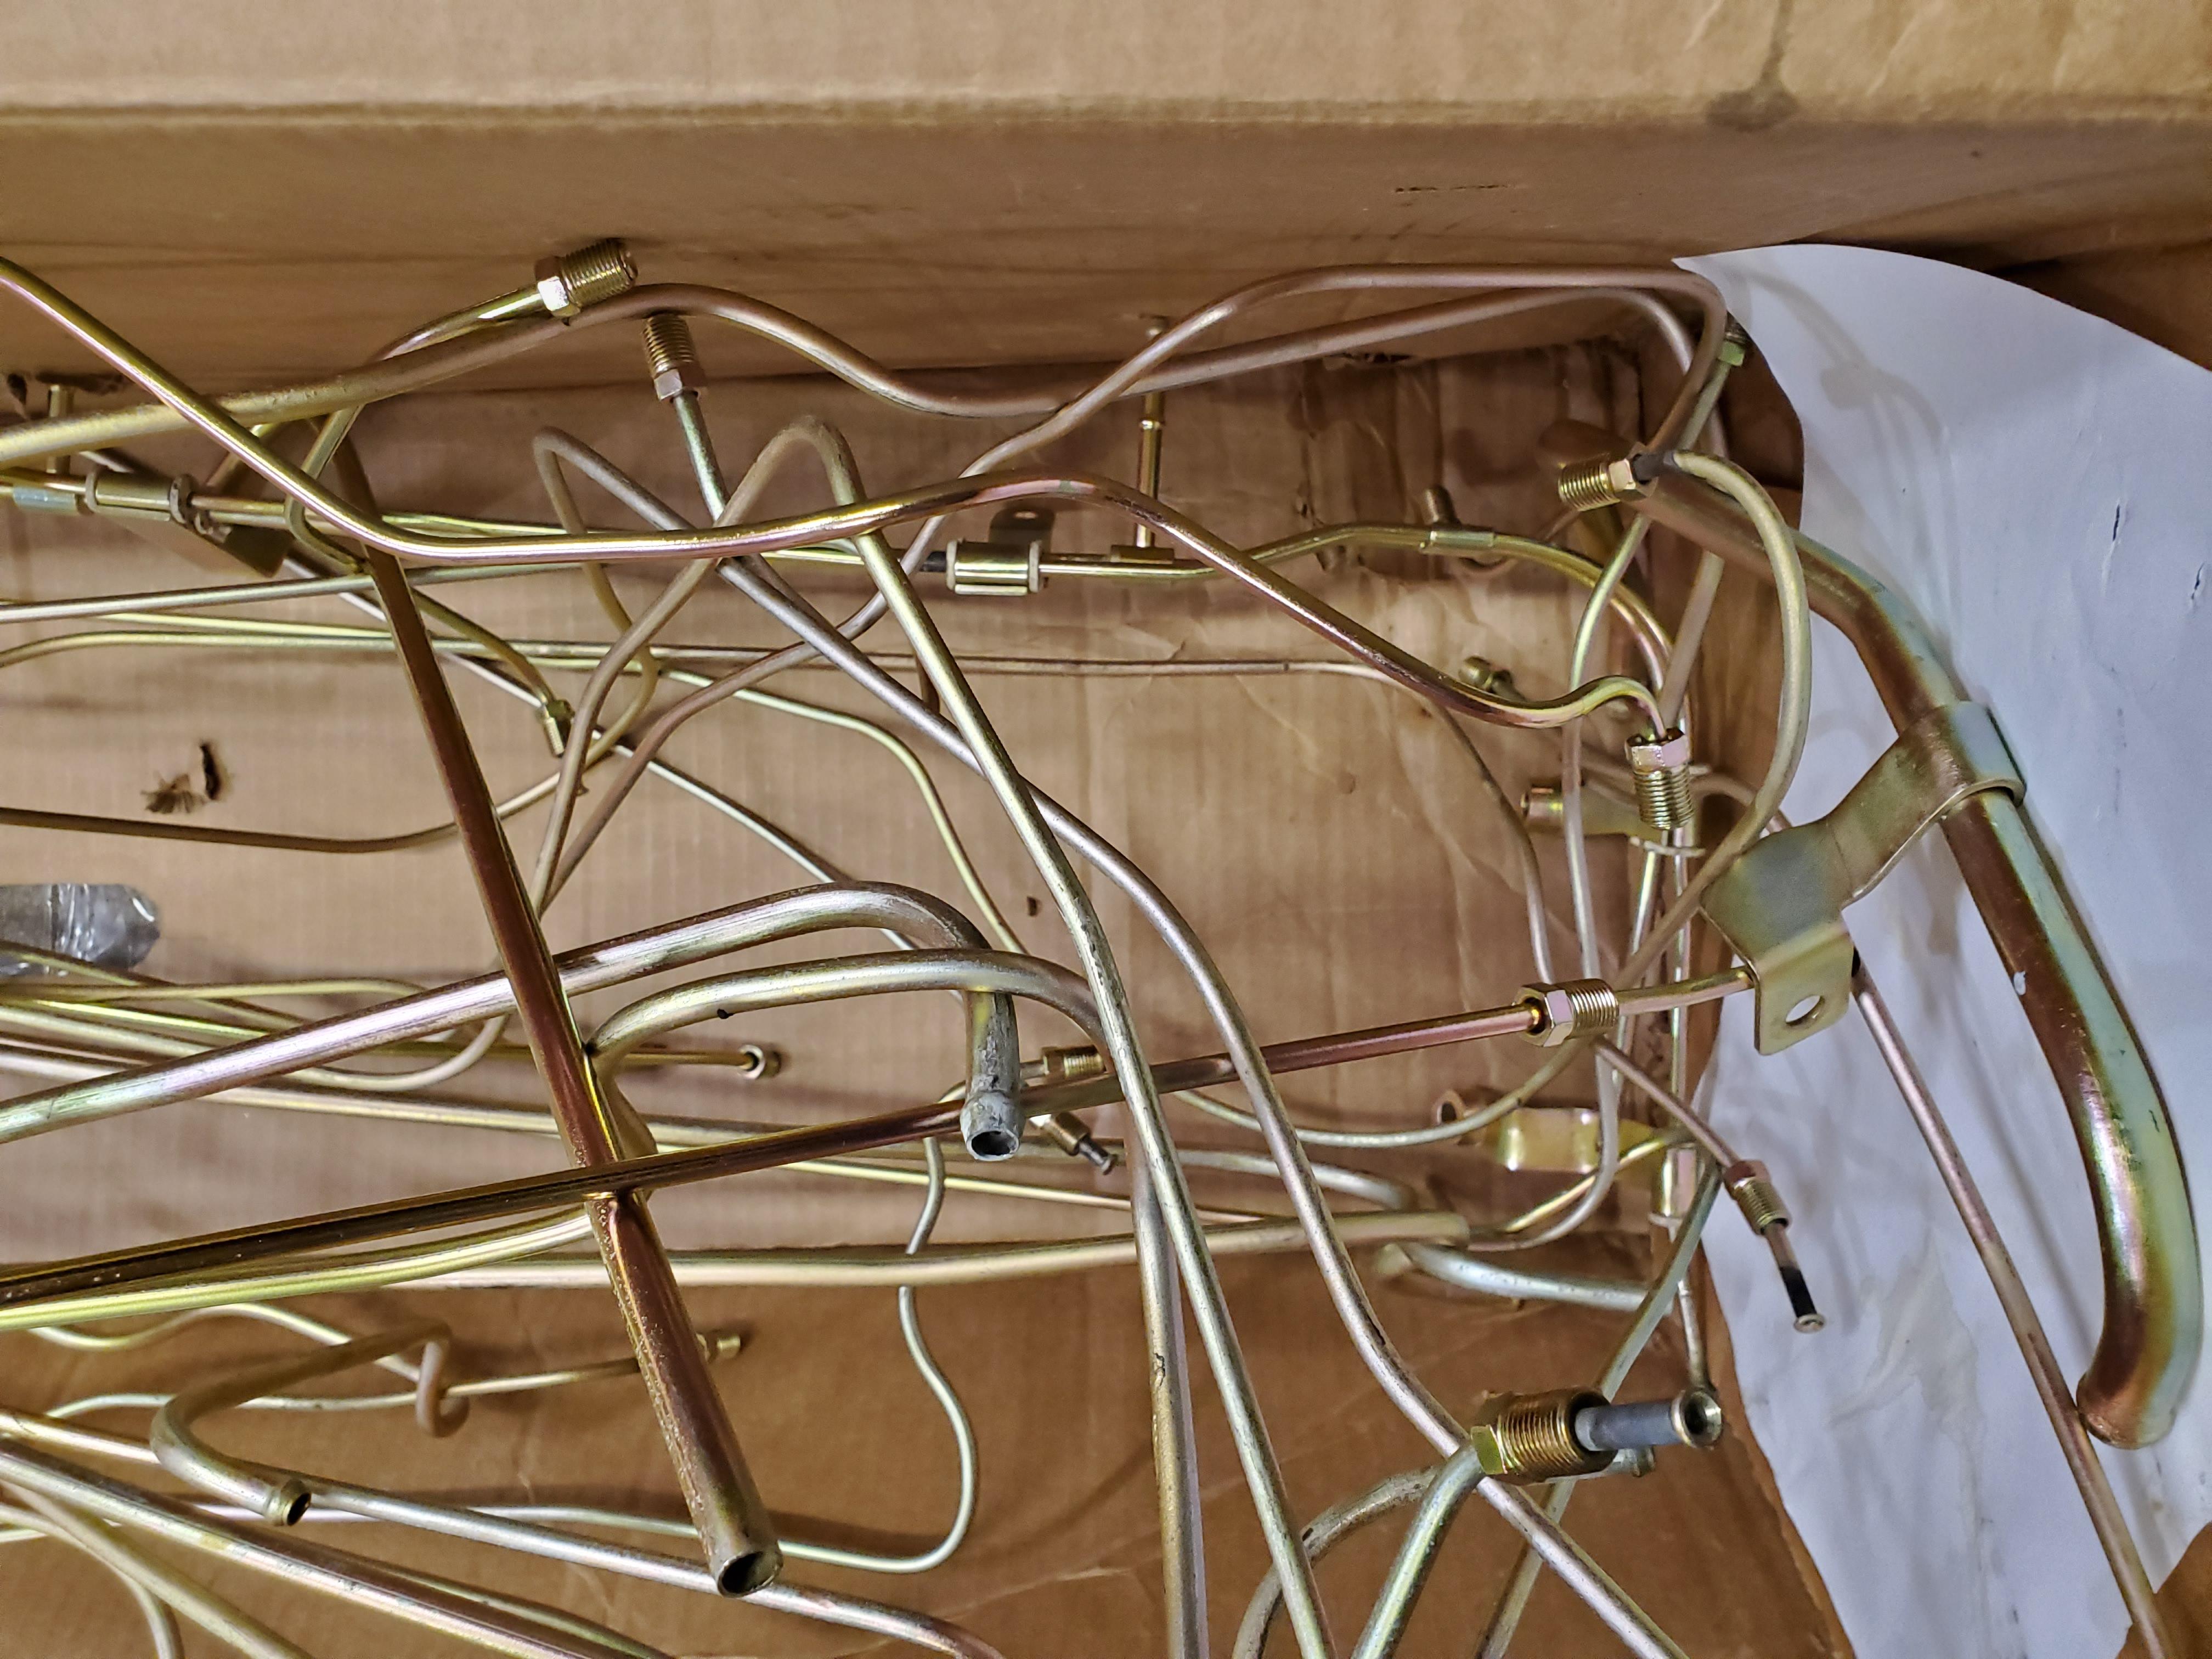
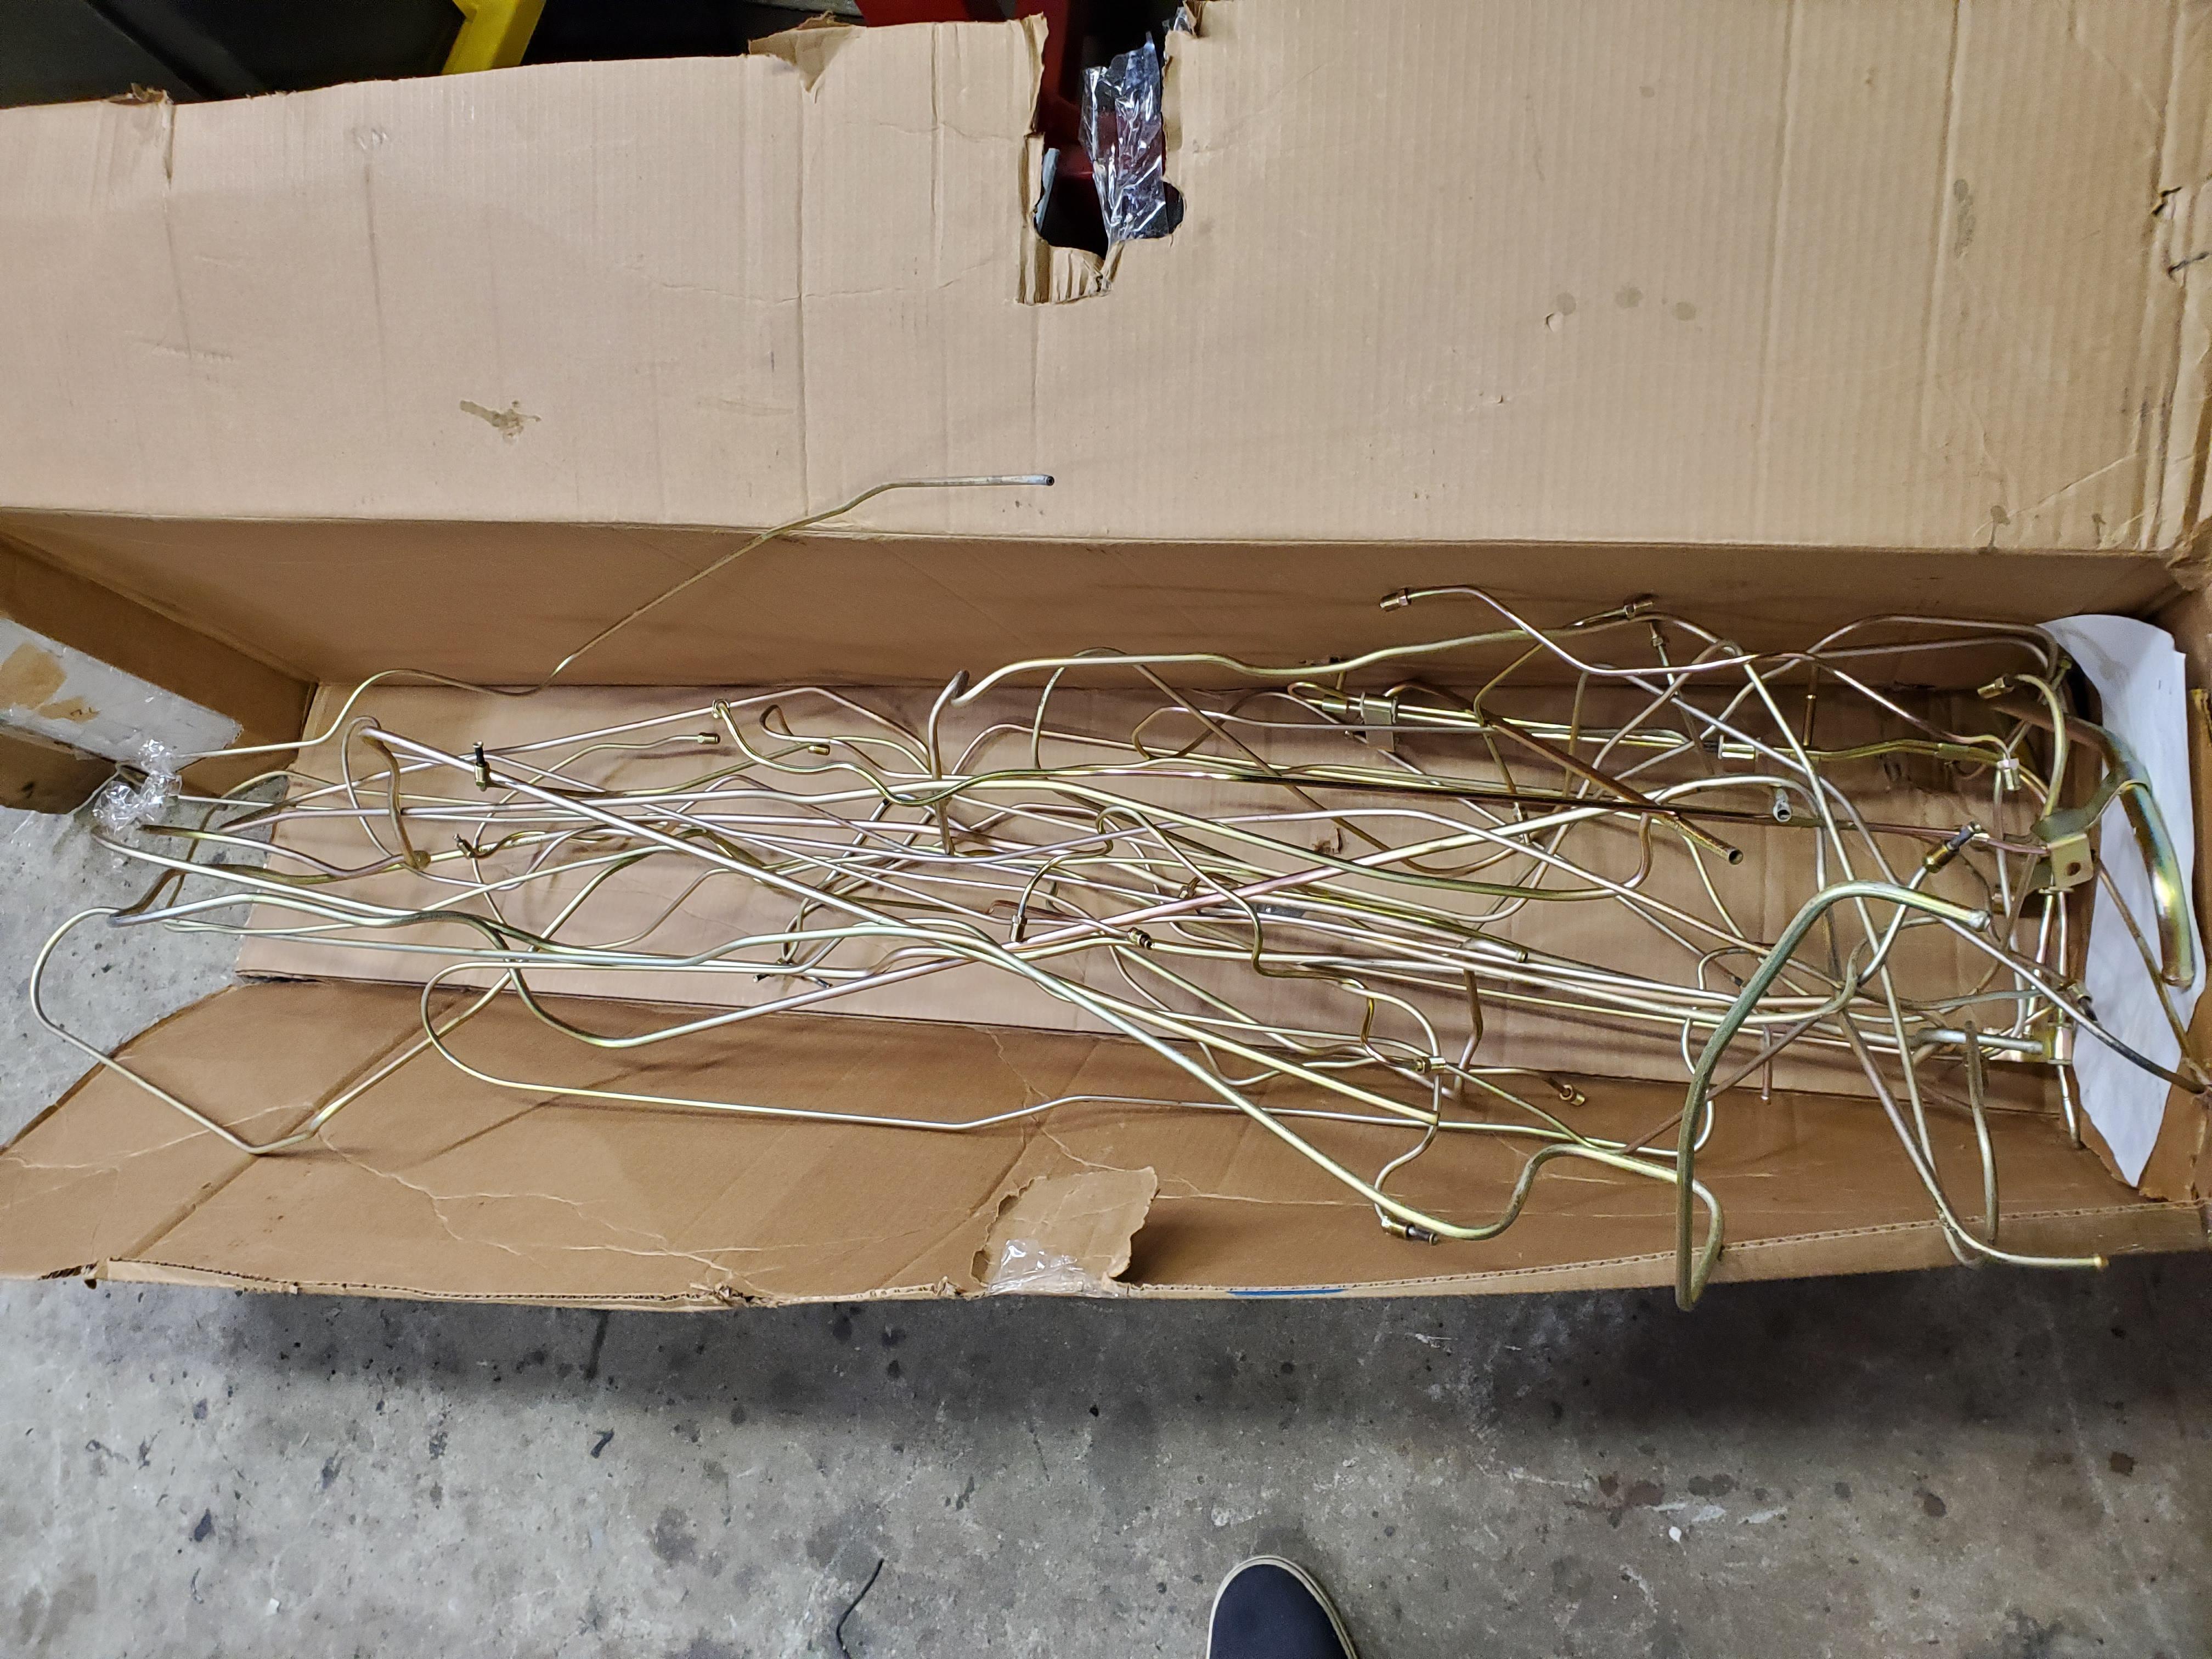
For prep, it was mostly wire wheel on the end fittings and any overspray that was on the tubes. I used 220 grit sandpaper on the tubes themselves till the tubes were mostly clean. It's best if you can use a 6 foot box so the tubes only have to bend in half. Bending into thirds because you only have a 4 foot box is tricky and not recommended. the bends end up being where the engine to trans area is and there are lots of bends there already , so gets confusing. Also, when you straighten the tubes, the plating will crack in the bend area when you straighten them. You can touch this are up with gold paint. With the bend in the tunnel, it is not super noticeable. These tubes will be 'Rack plated' so don't send your bulk parts (nuts and bolts) with the tubes, send bulk parts separately. There is a Lot charge for the Rack plating, so you can add a few extra tubes and it's essentially free. The tubes in the picture are for two cars. Also, very thrilled with how the plating turned out. Coloring, rainbow and brightness appear to be just perfect.
-
Fuel and brake lines came back from Sav-On Plating. Parts look awesome and cost was very reasonable.


-
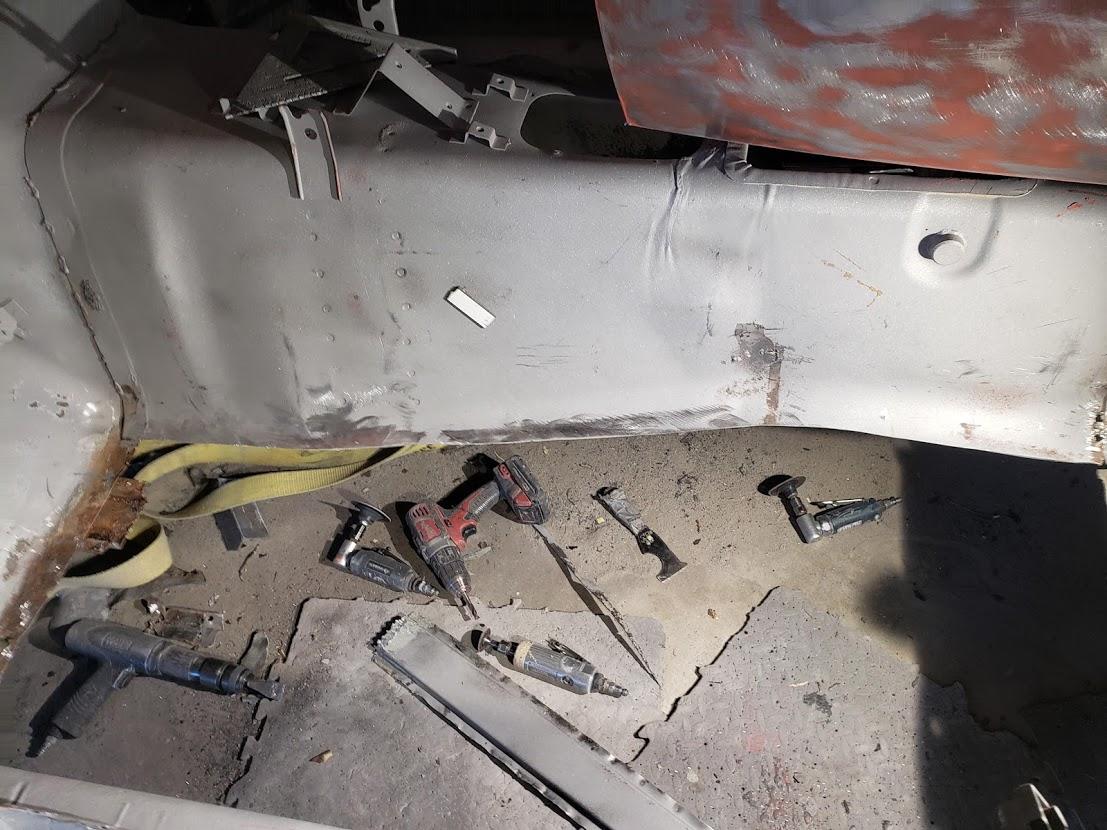
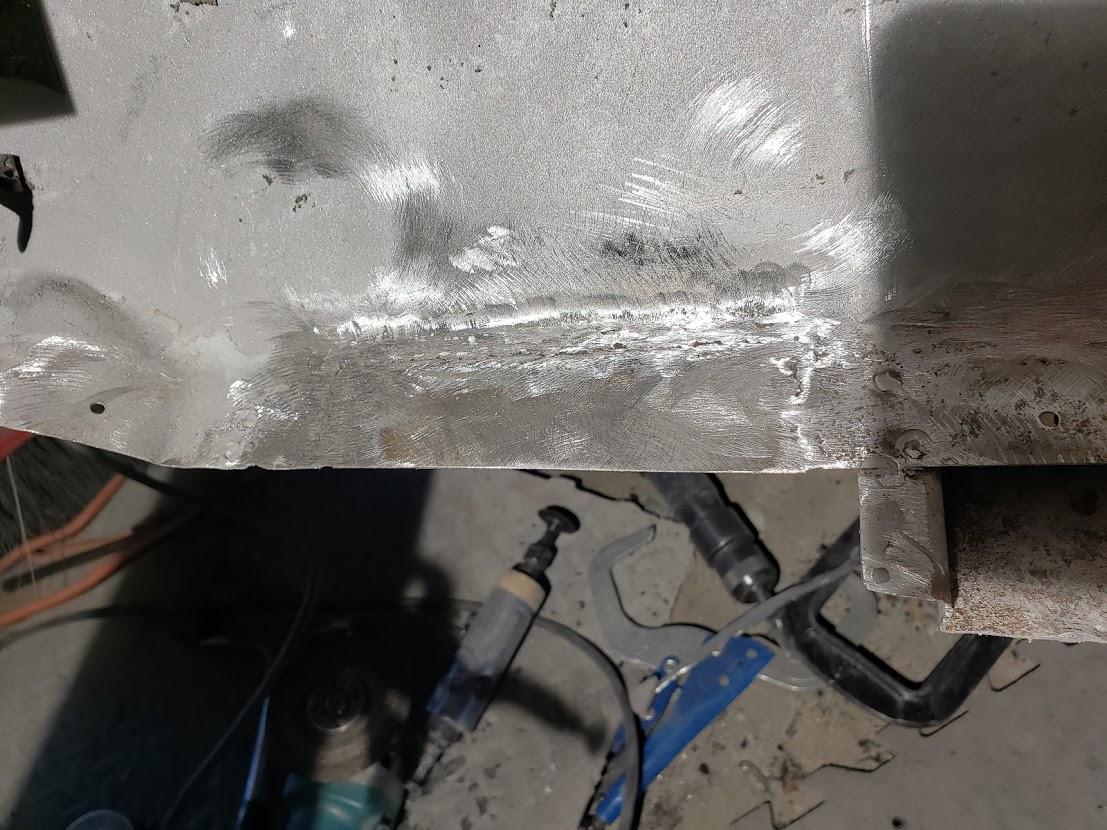
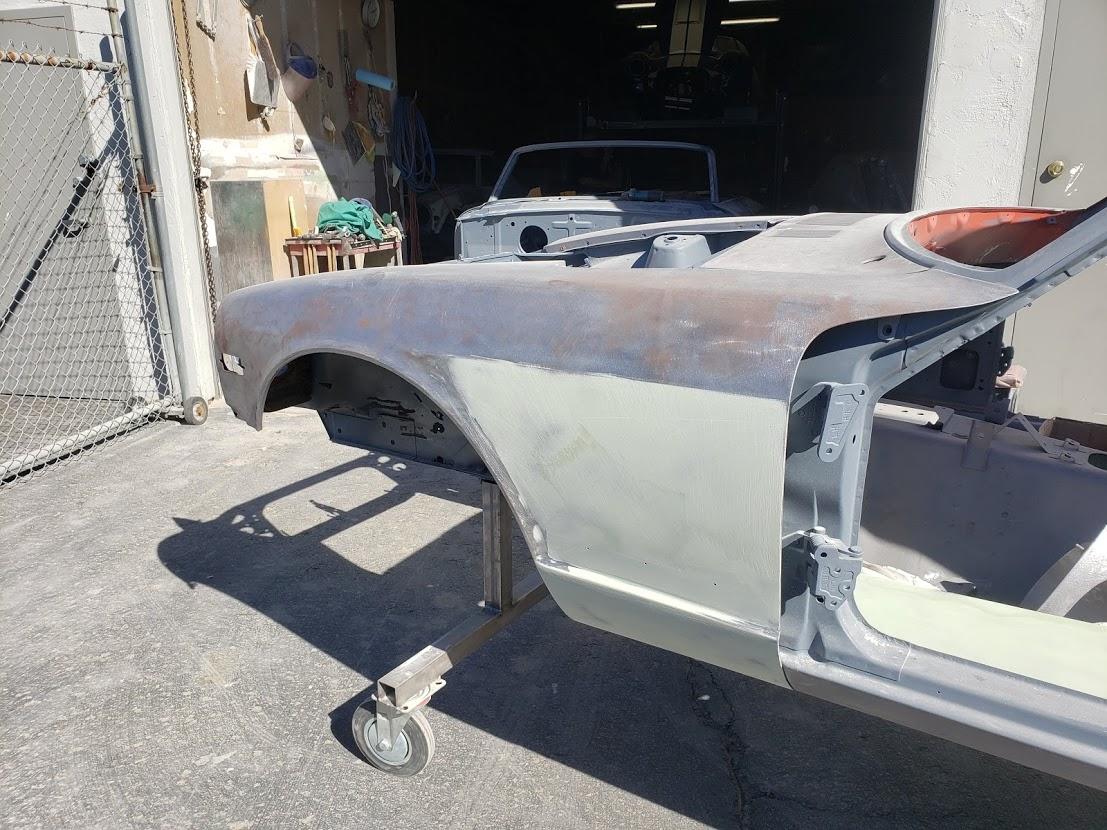
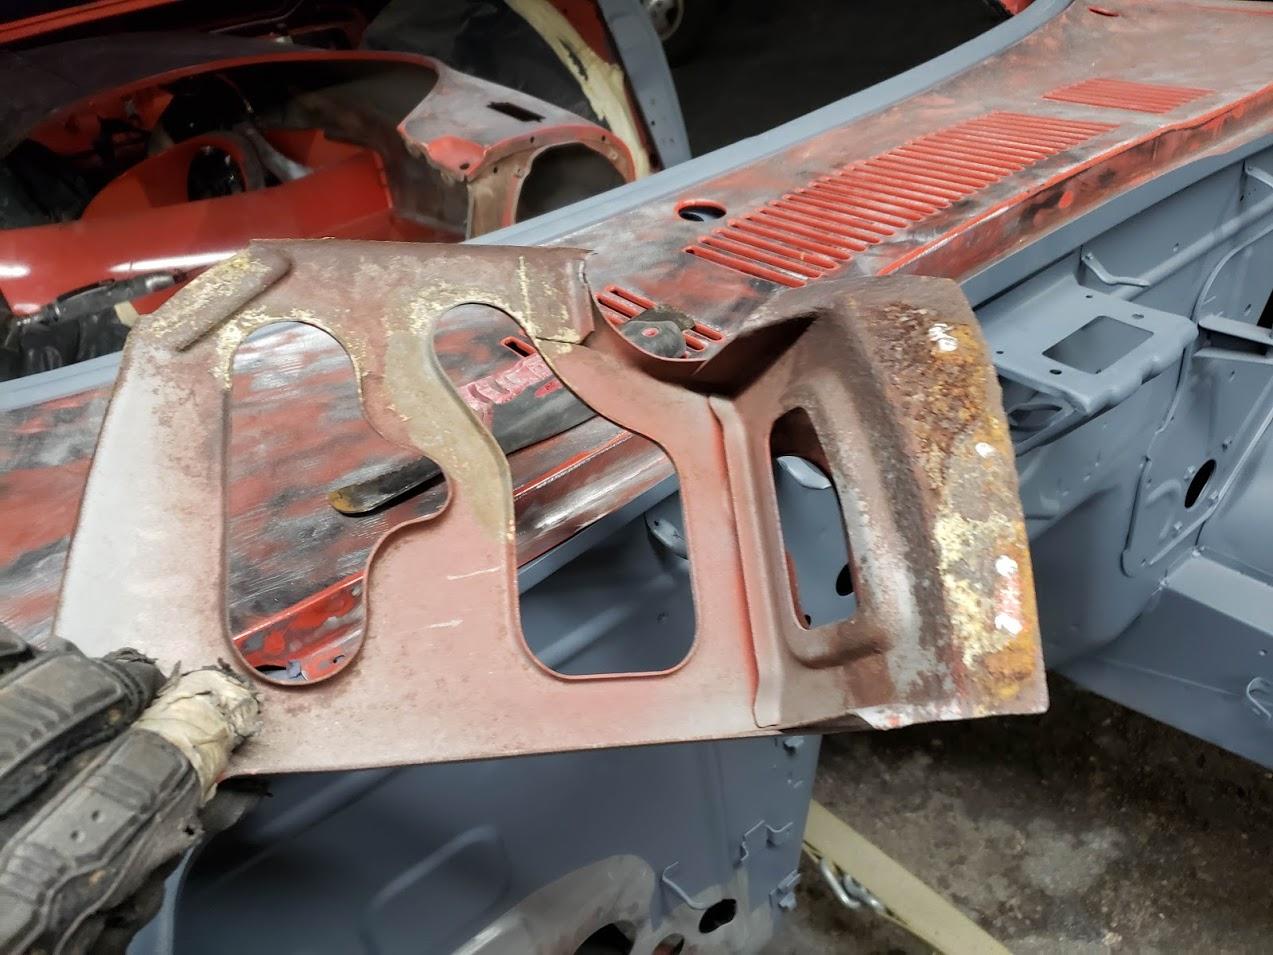
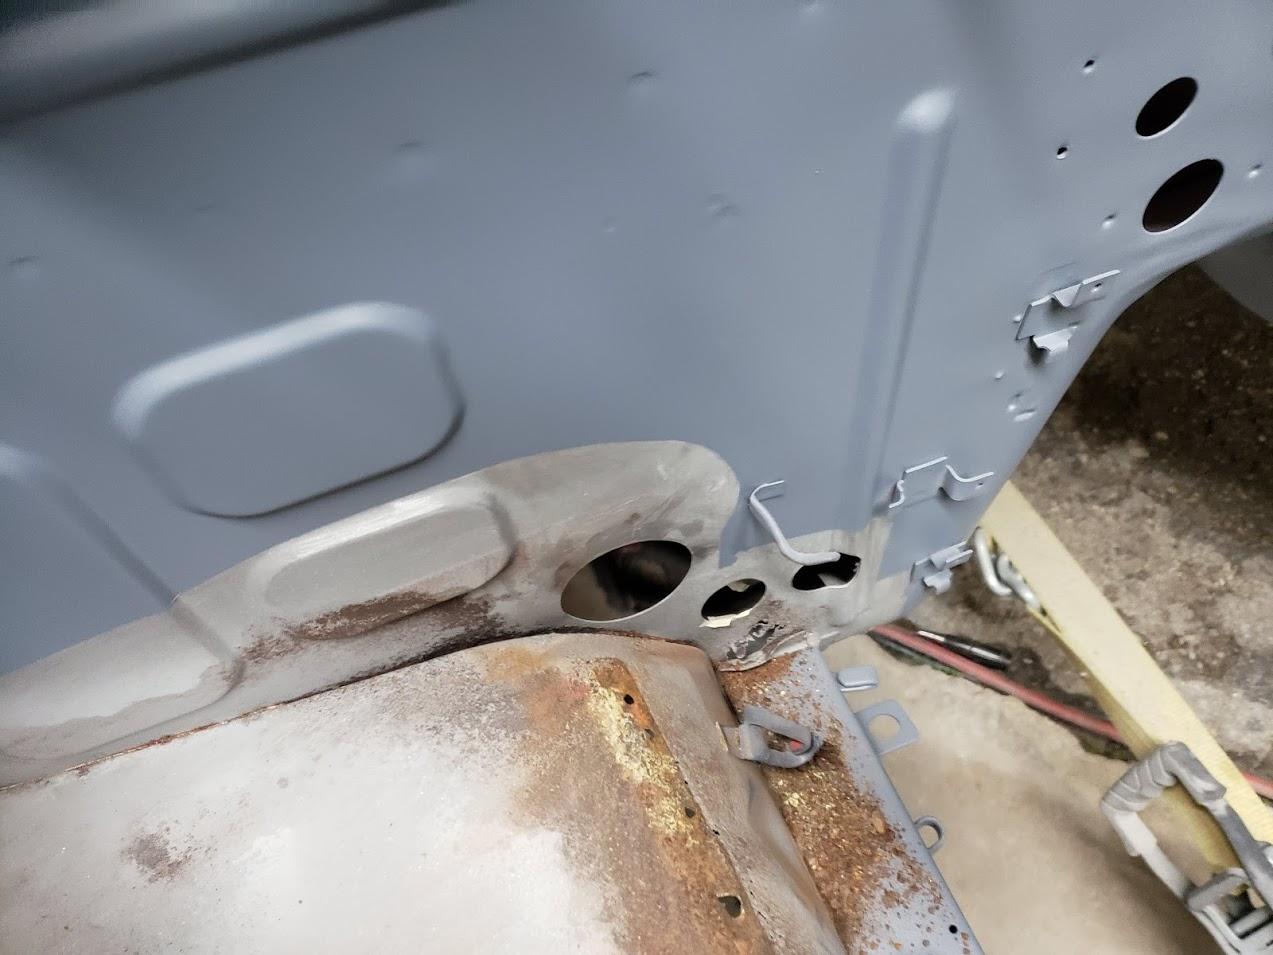
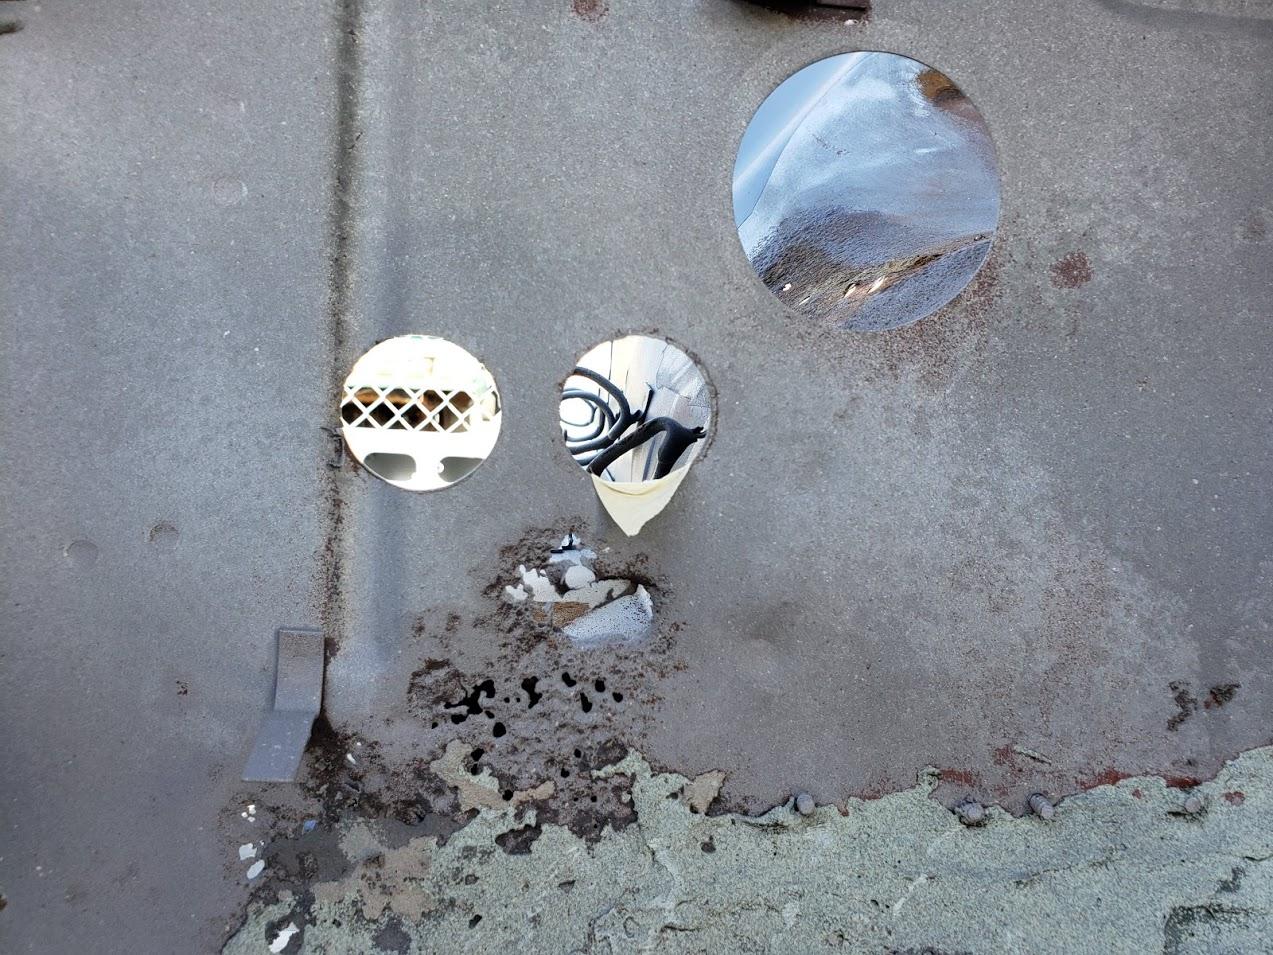
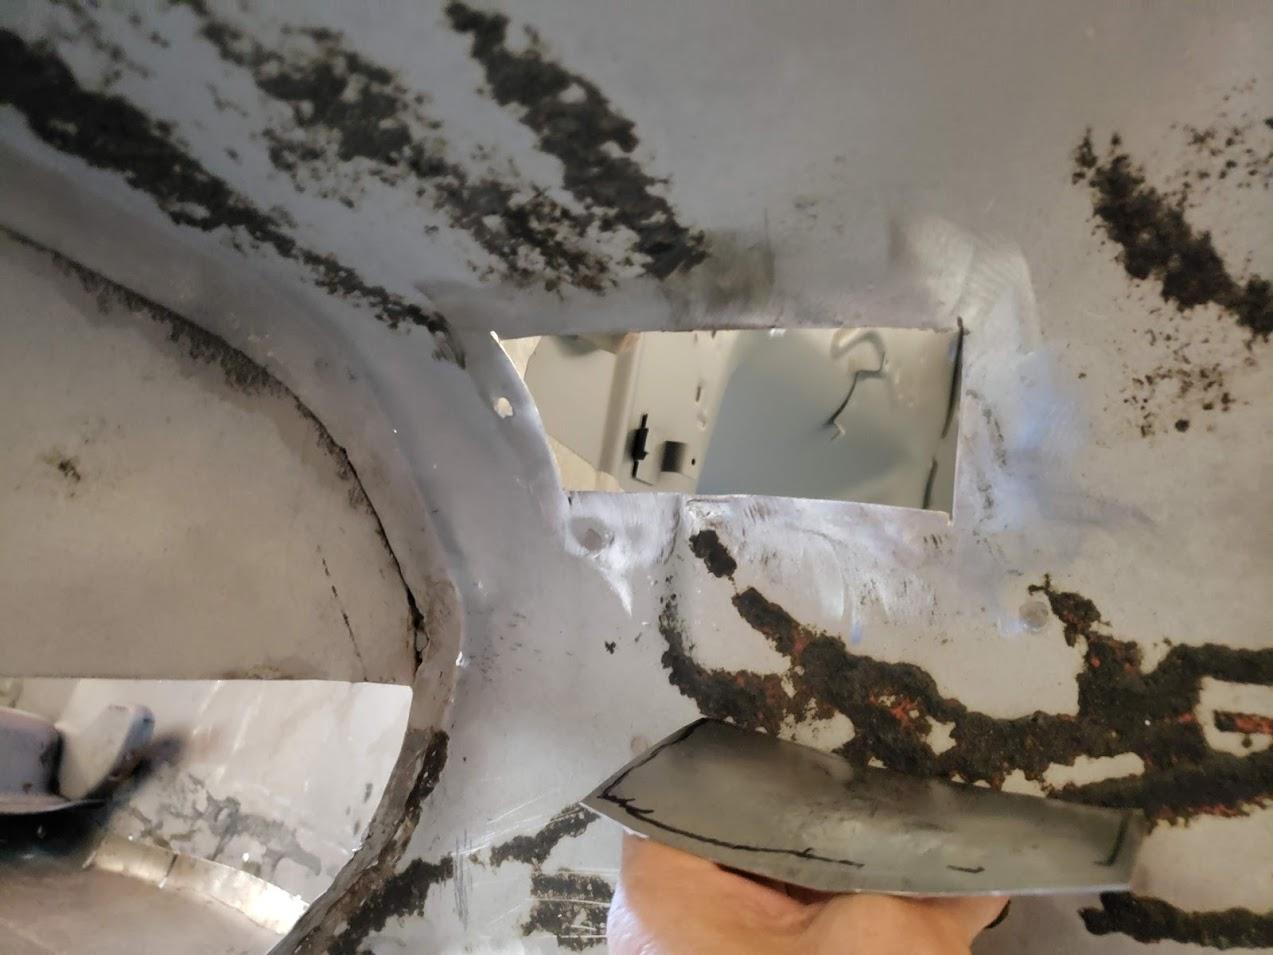
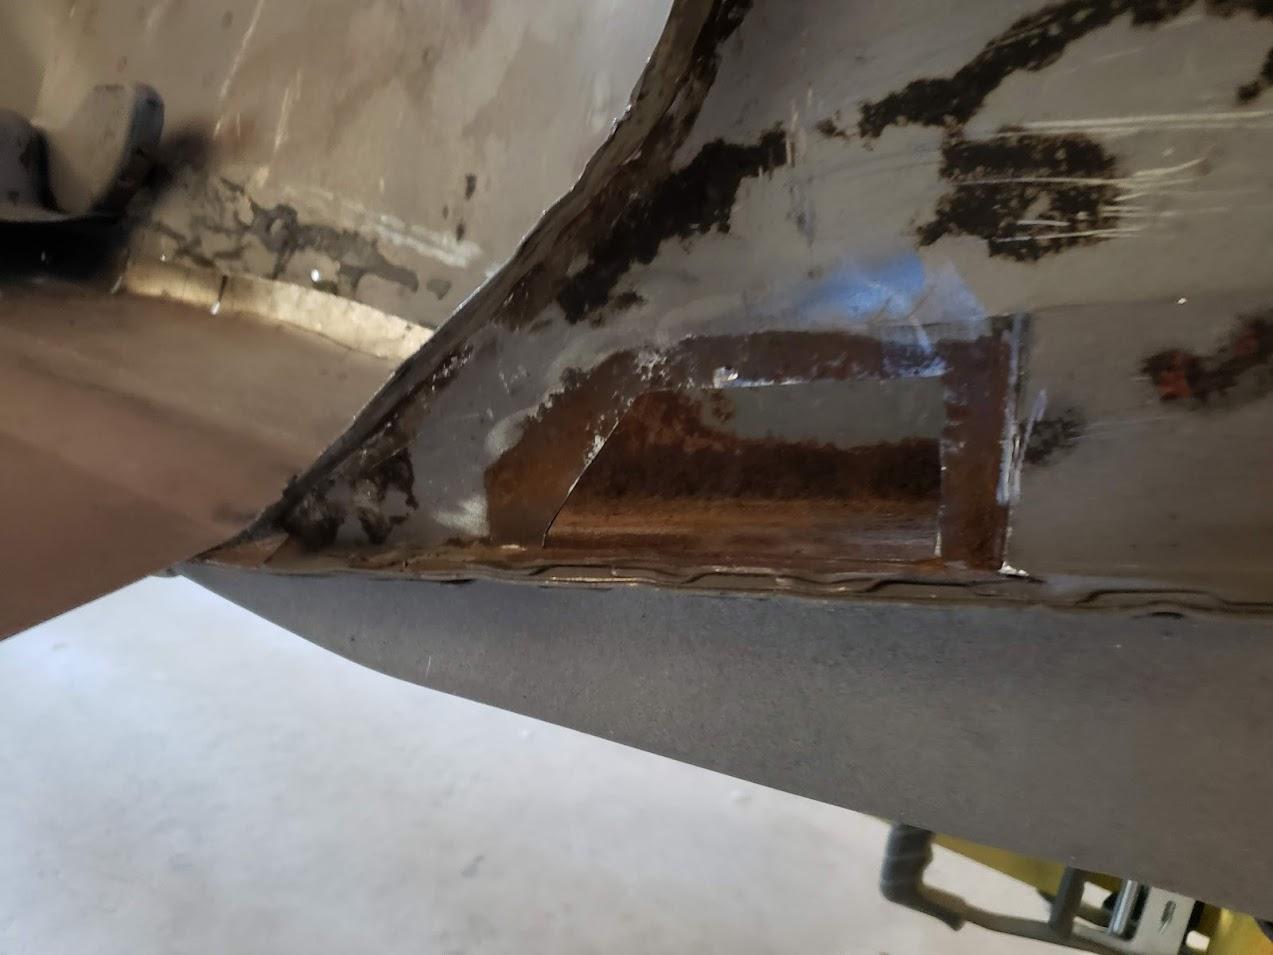
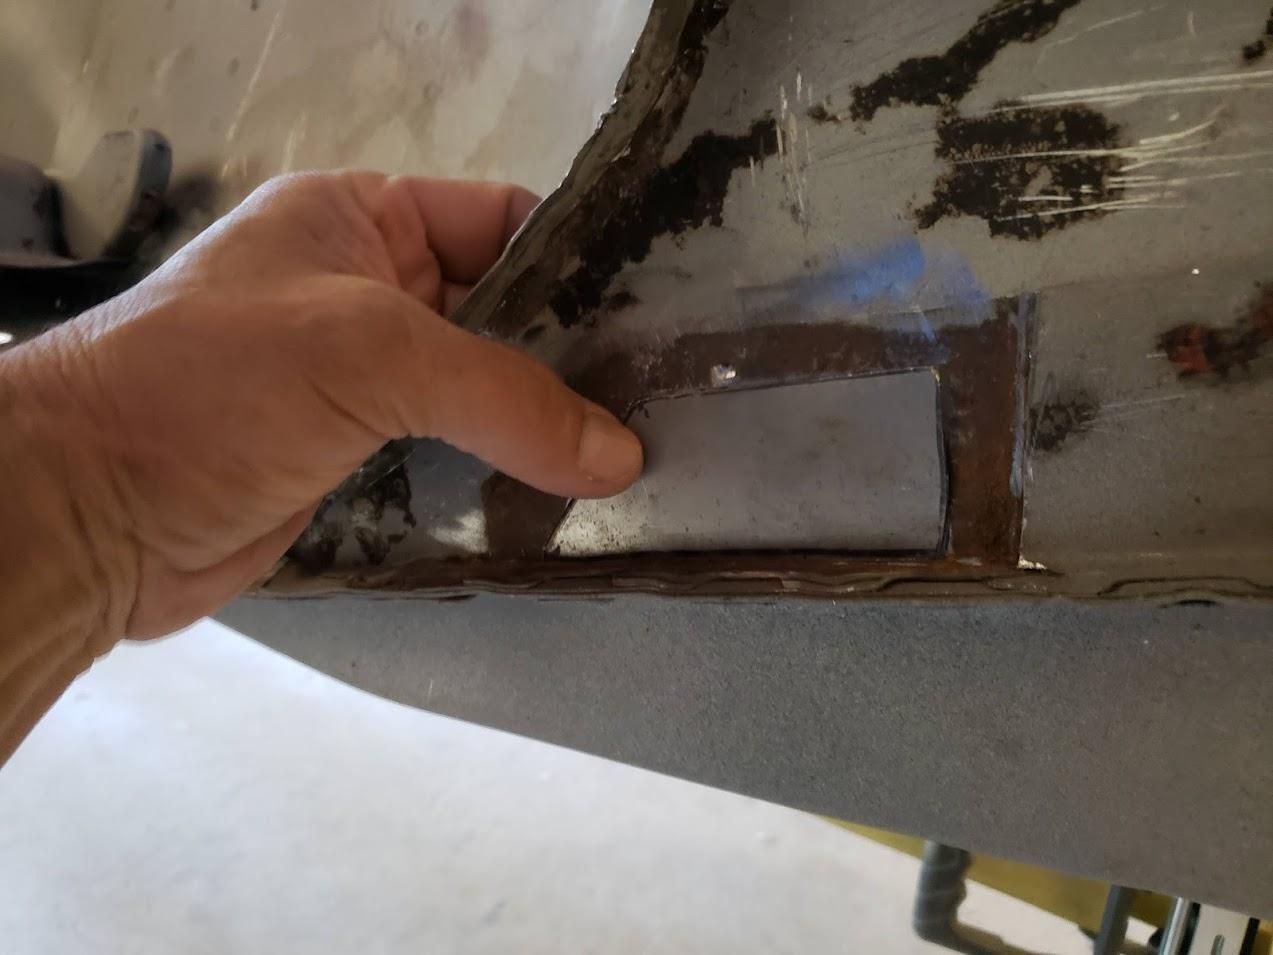
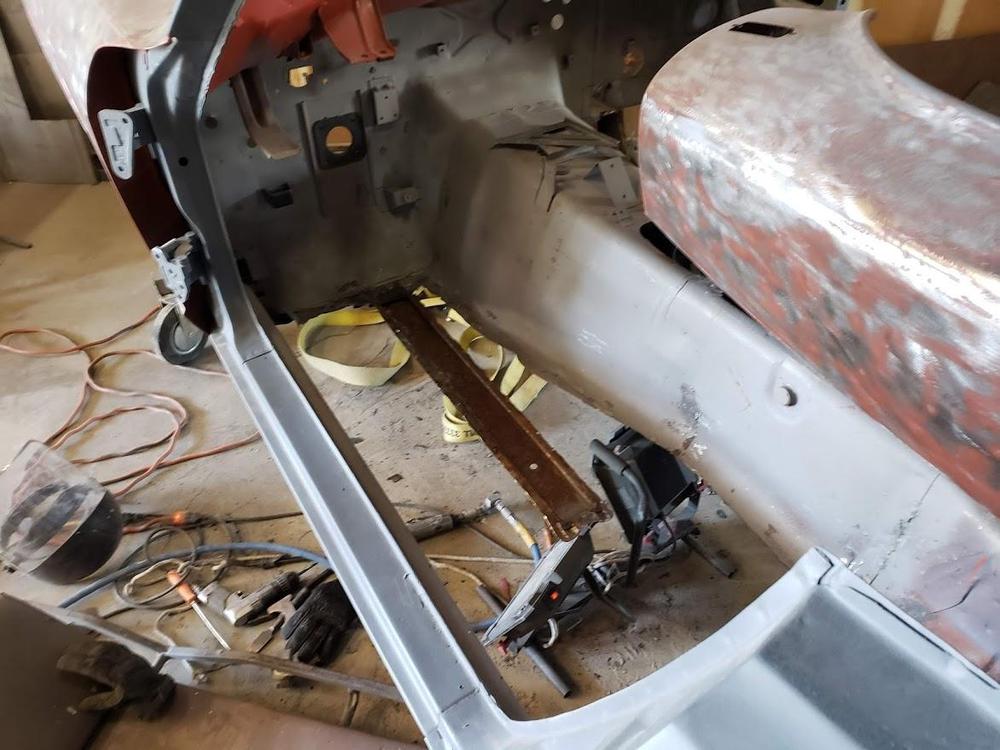
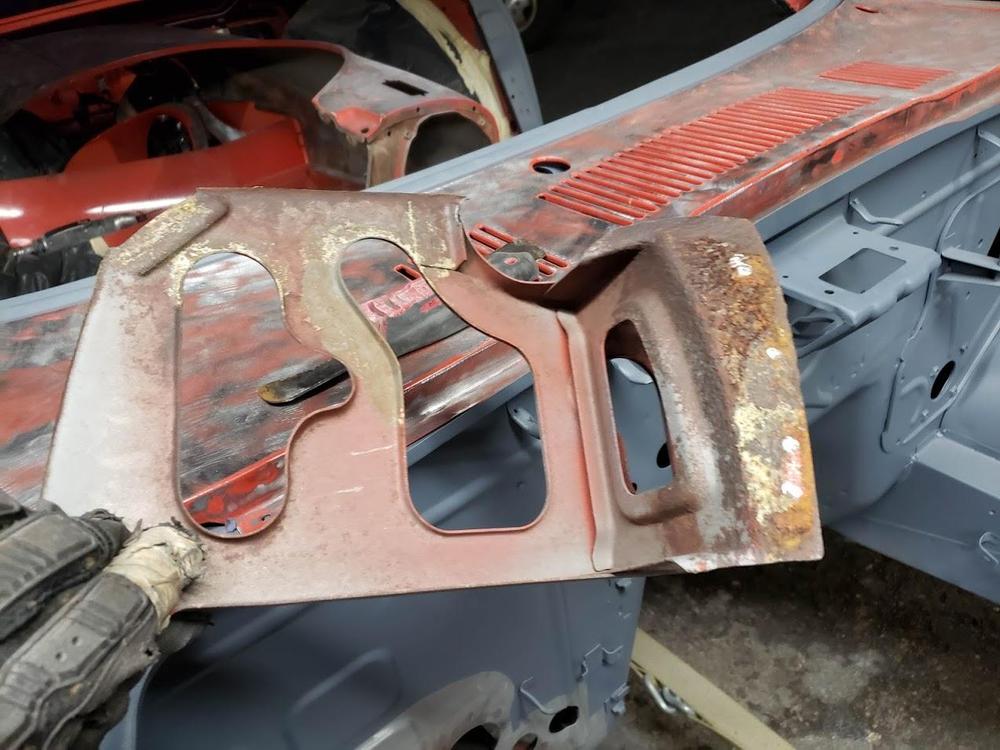
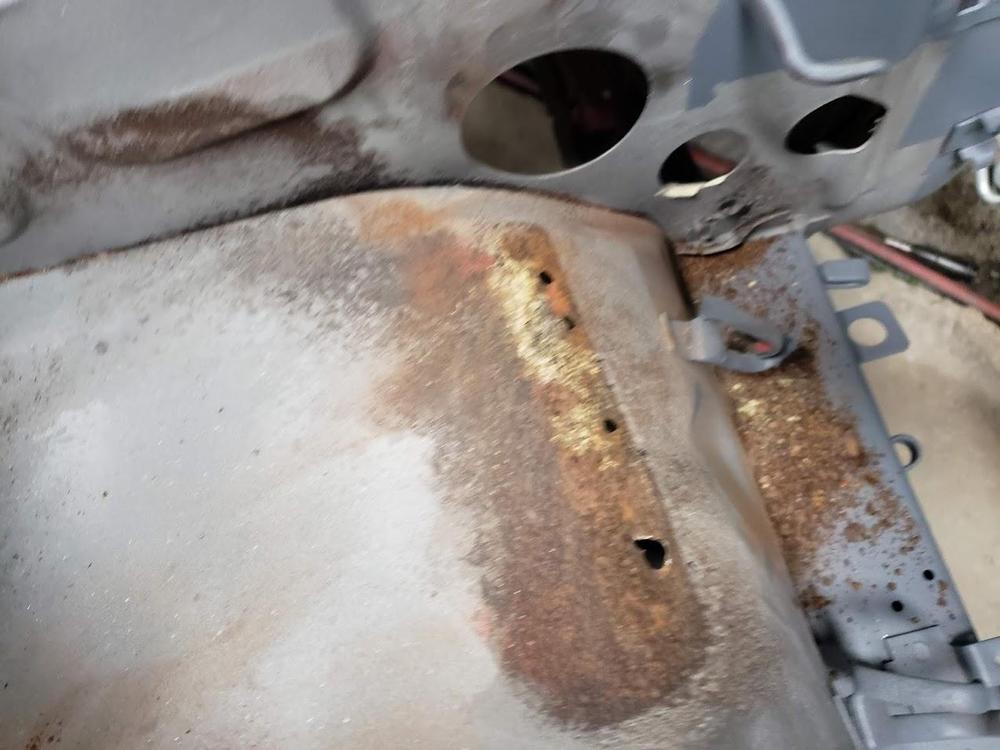
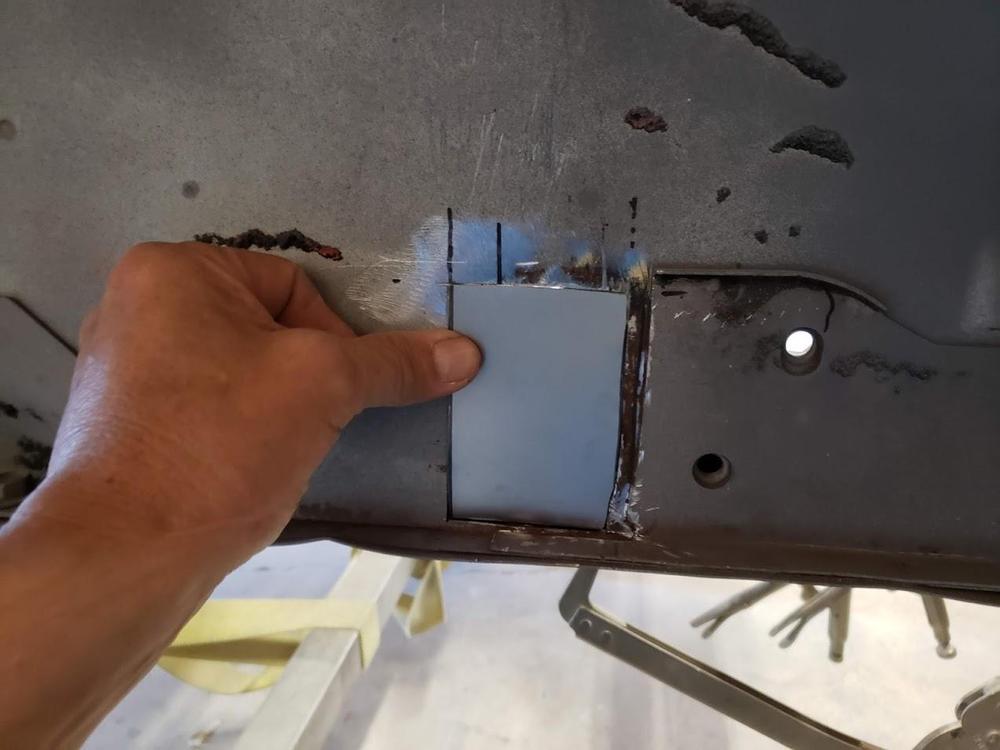
Yes, I didn't realize that the floor pan was so bad. It was covered up with Dynamat on top and undercoating on the bottom. The rust in the frame rails was obviously pretty bad as well and not visible until it was opened up. For the previous restorations, the body and paint work was almost exactly 1/3 the cost of the total restoration cost. For this one it will be more....almost half I am guessing. Fortunately, the owner has a good number of parts on hand which should make things go easier.
-
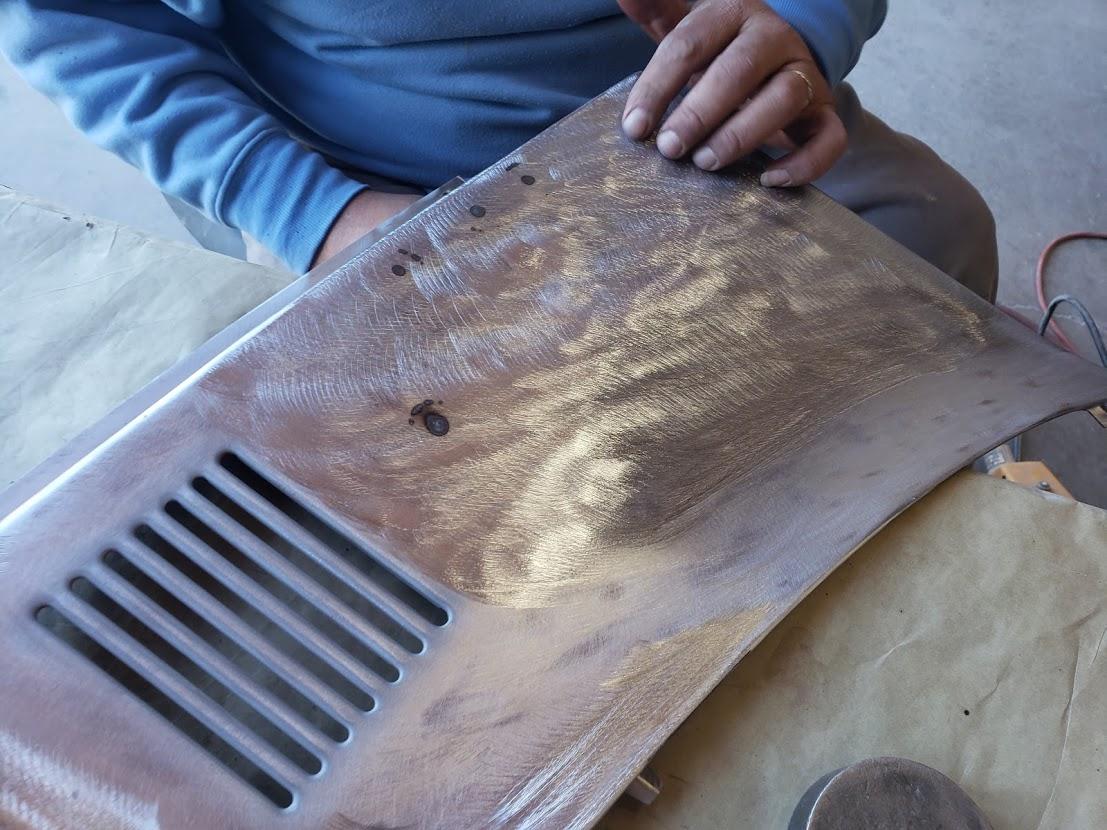
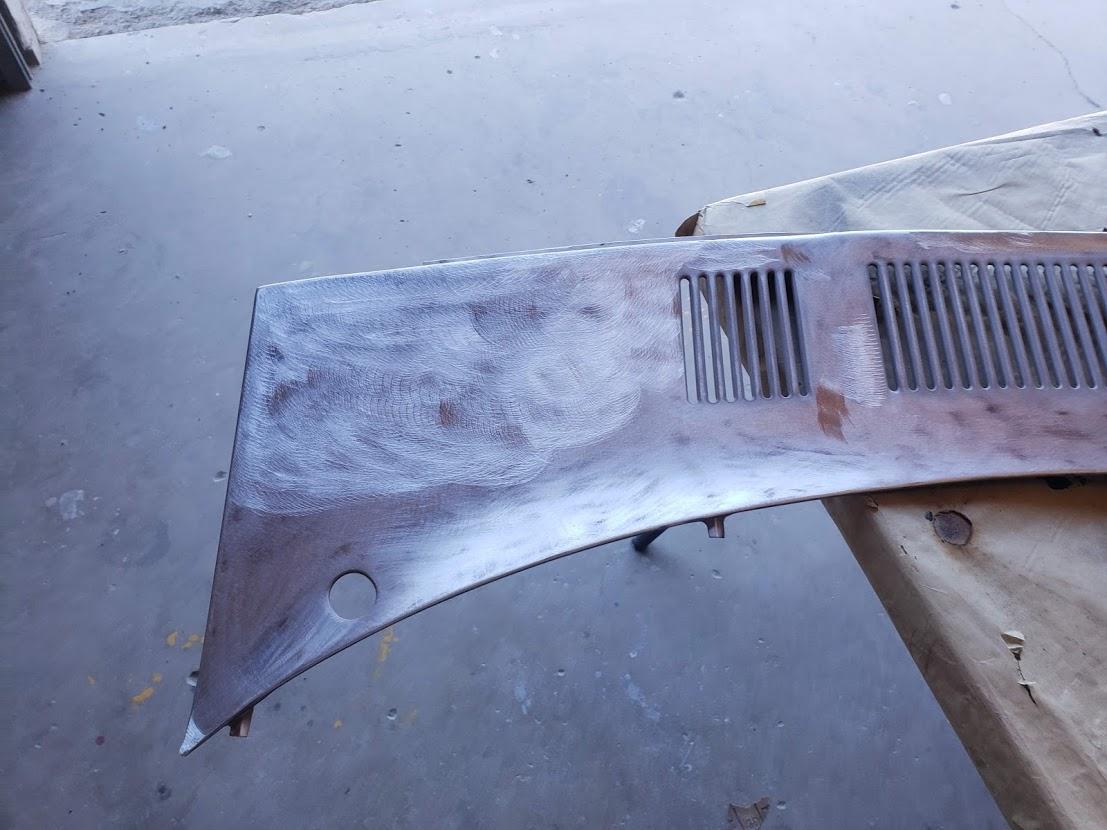
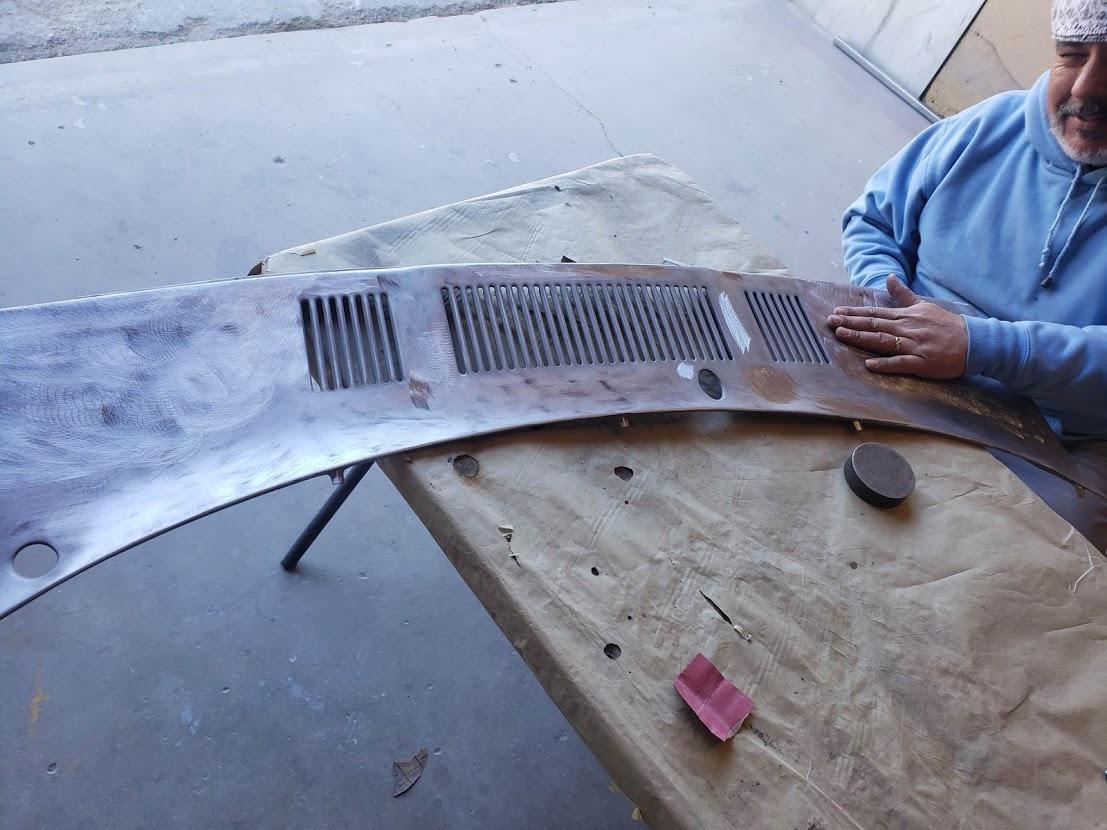
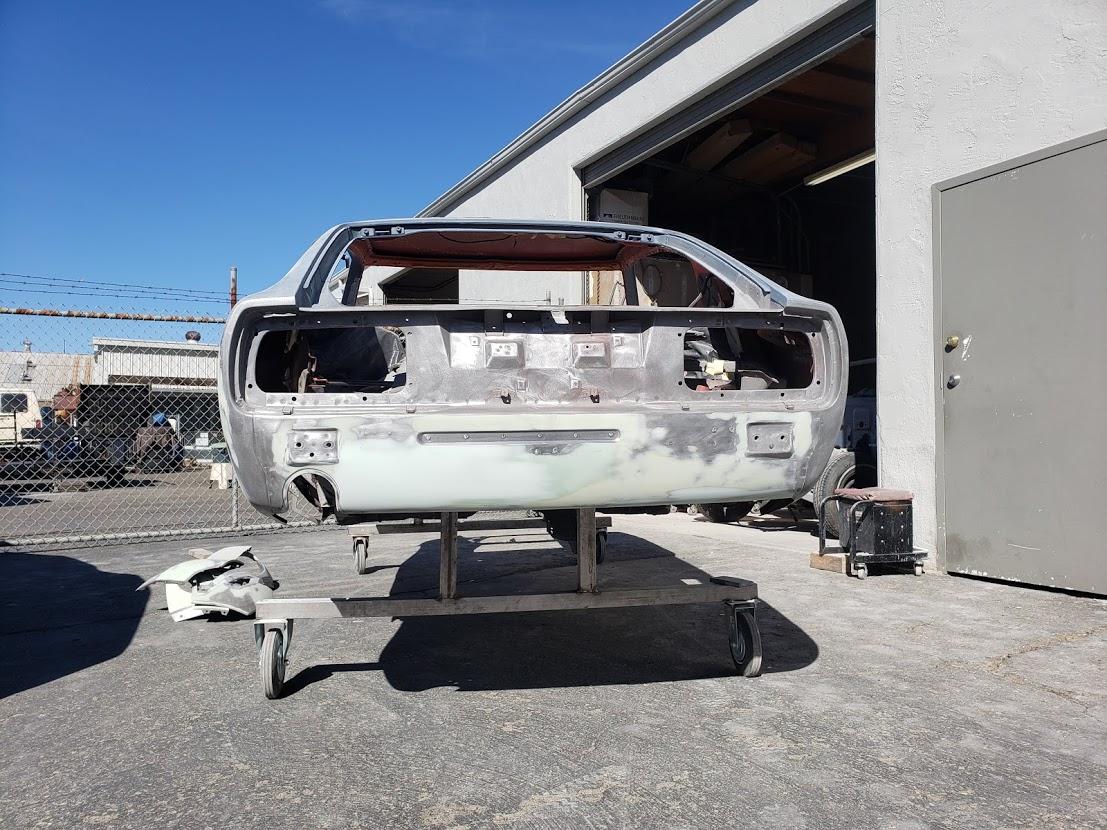
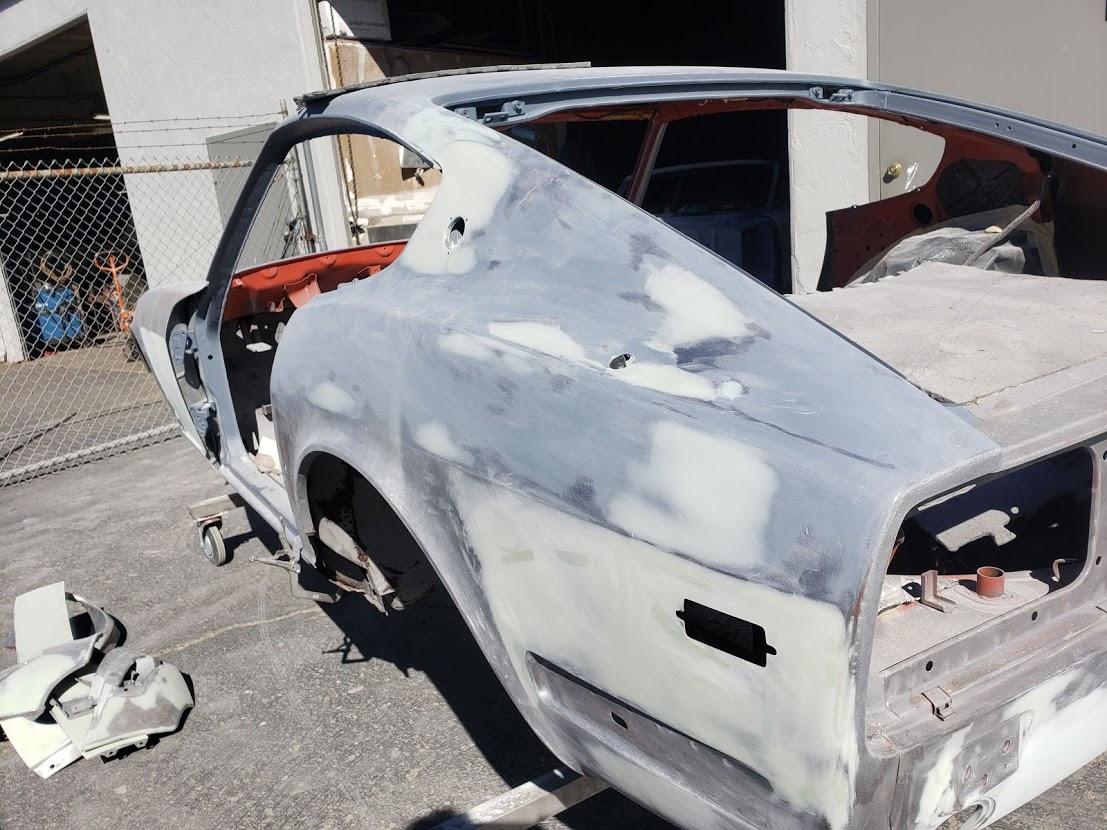
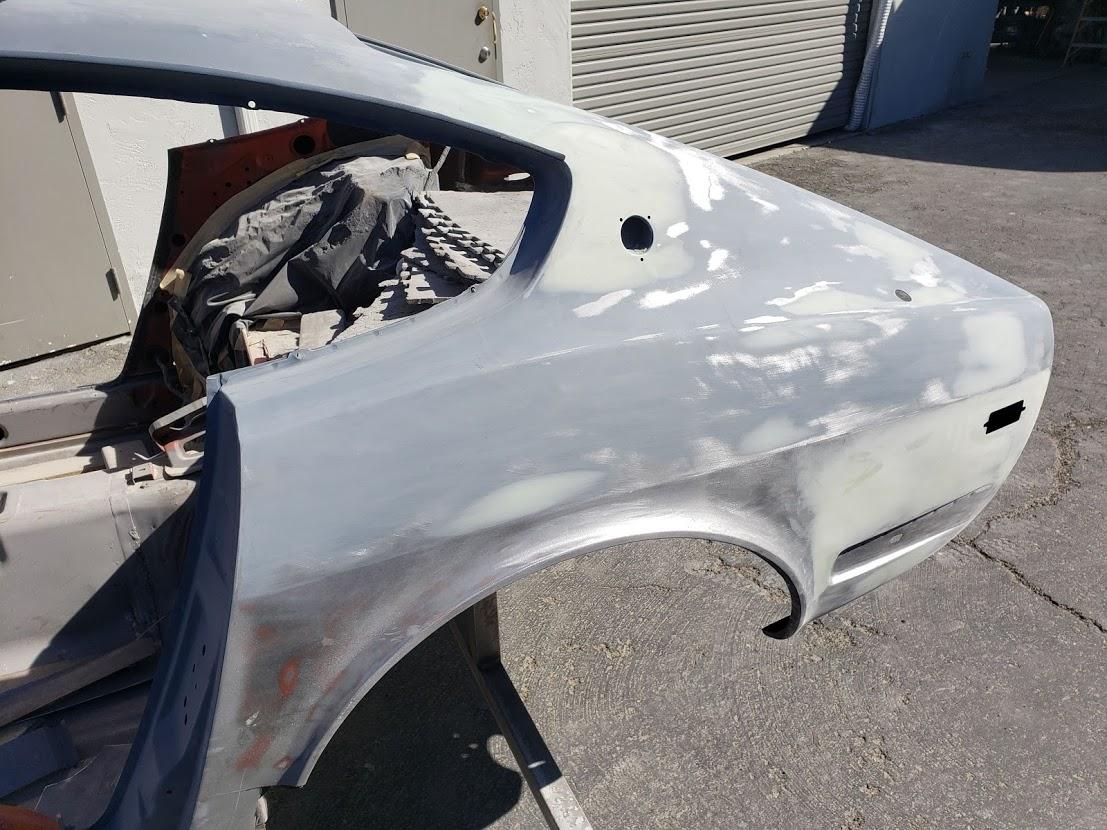
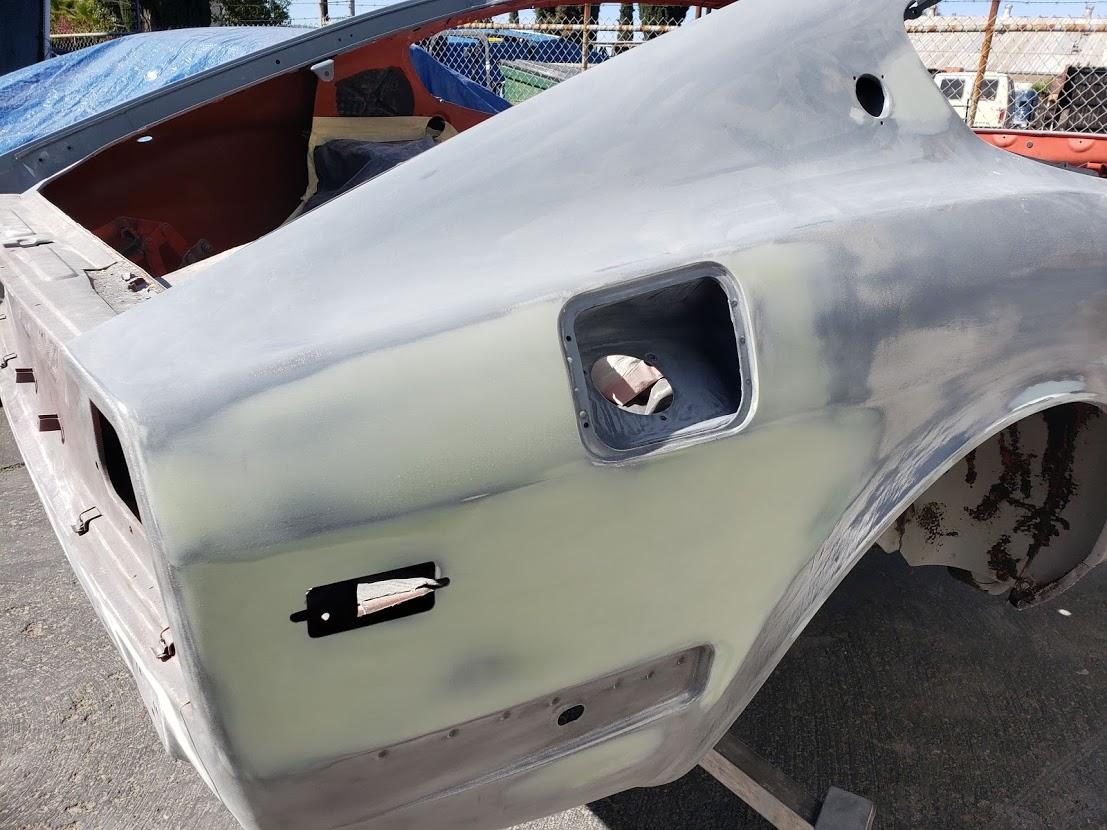
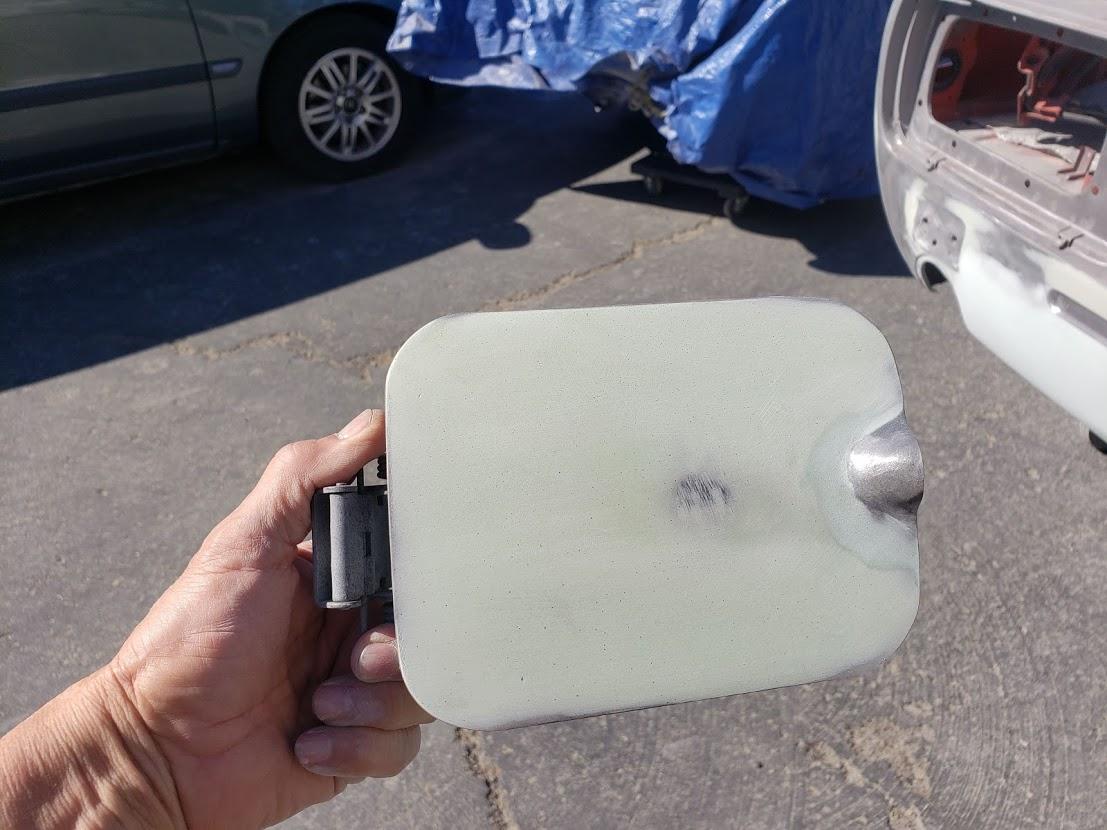
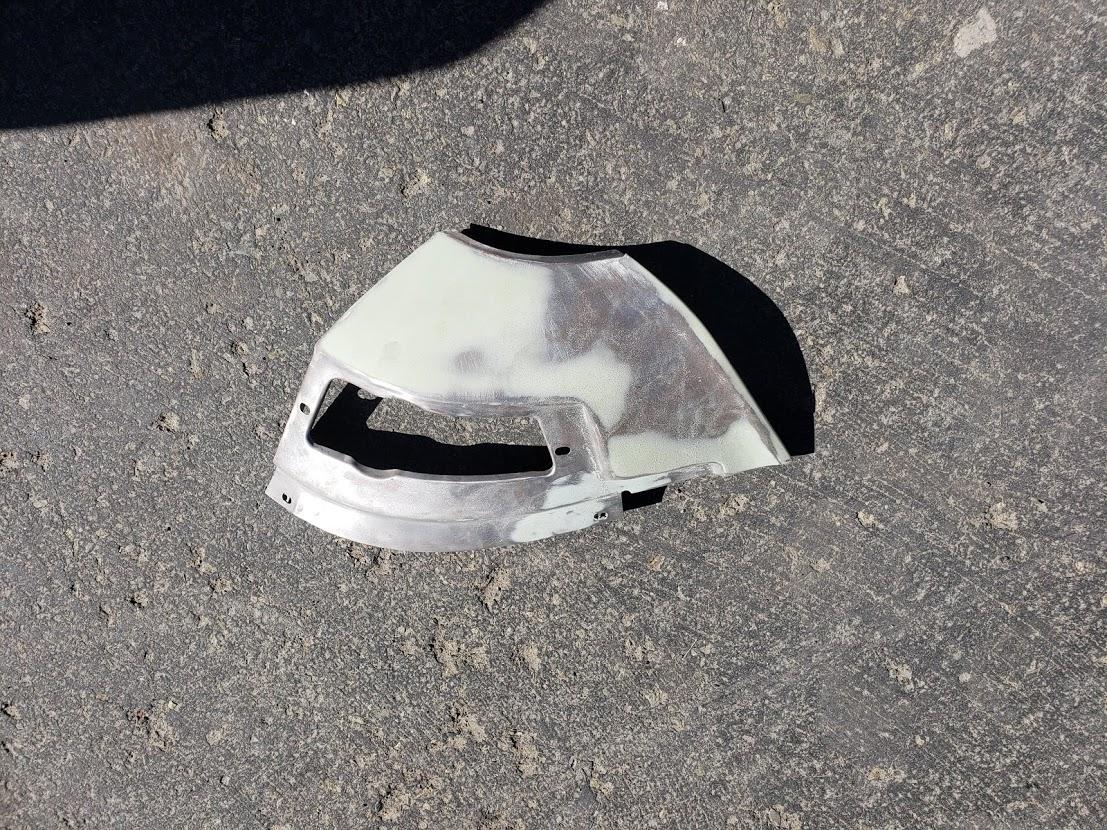
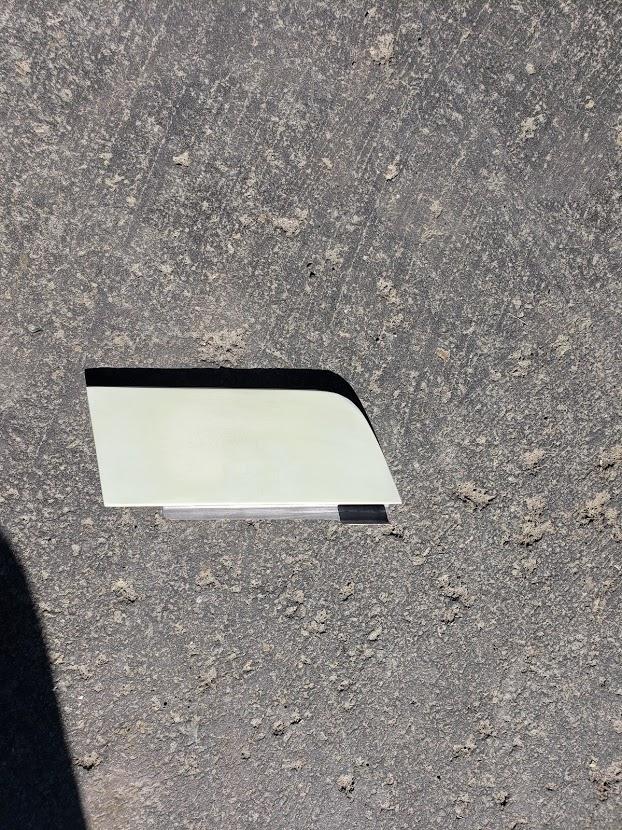
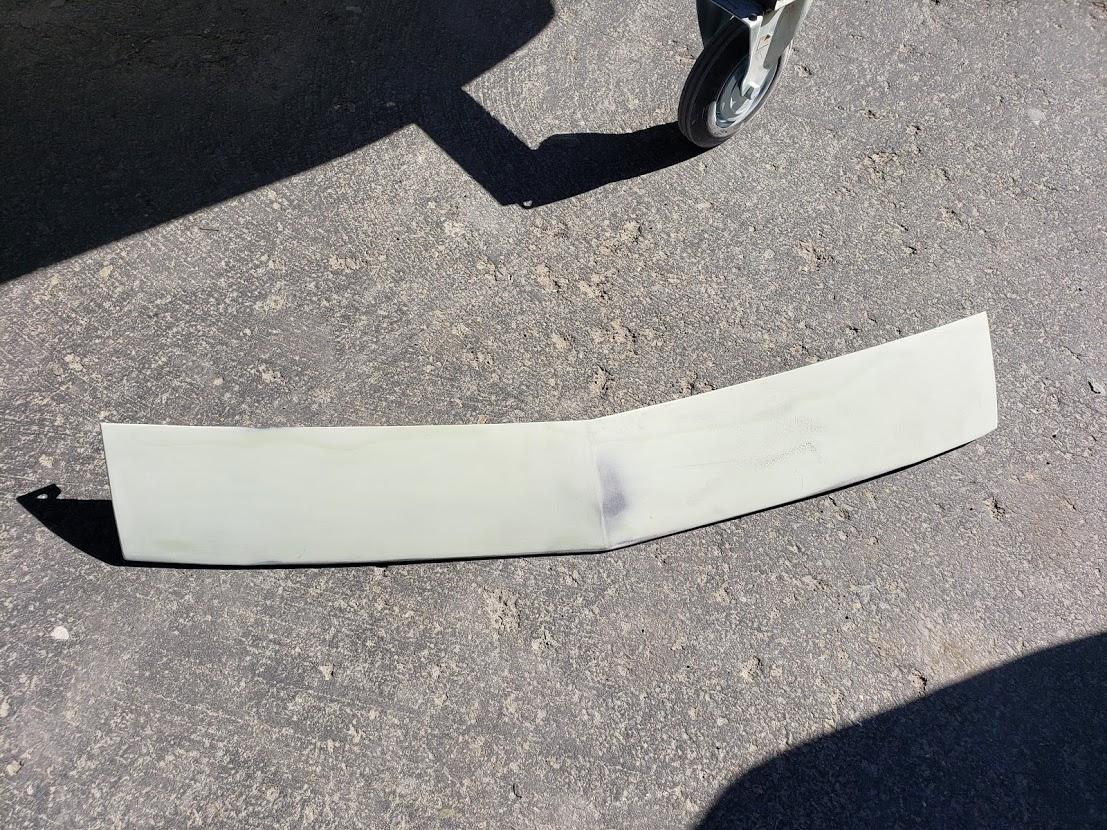
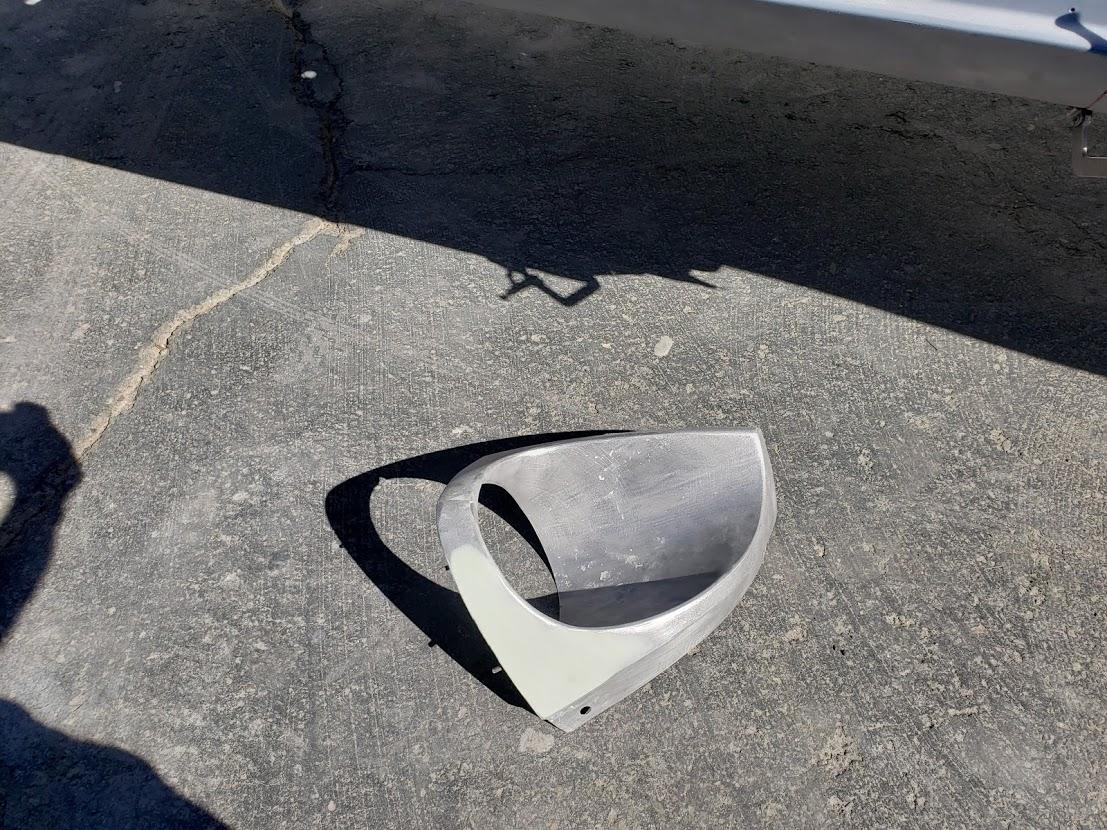
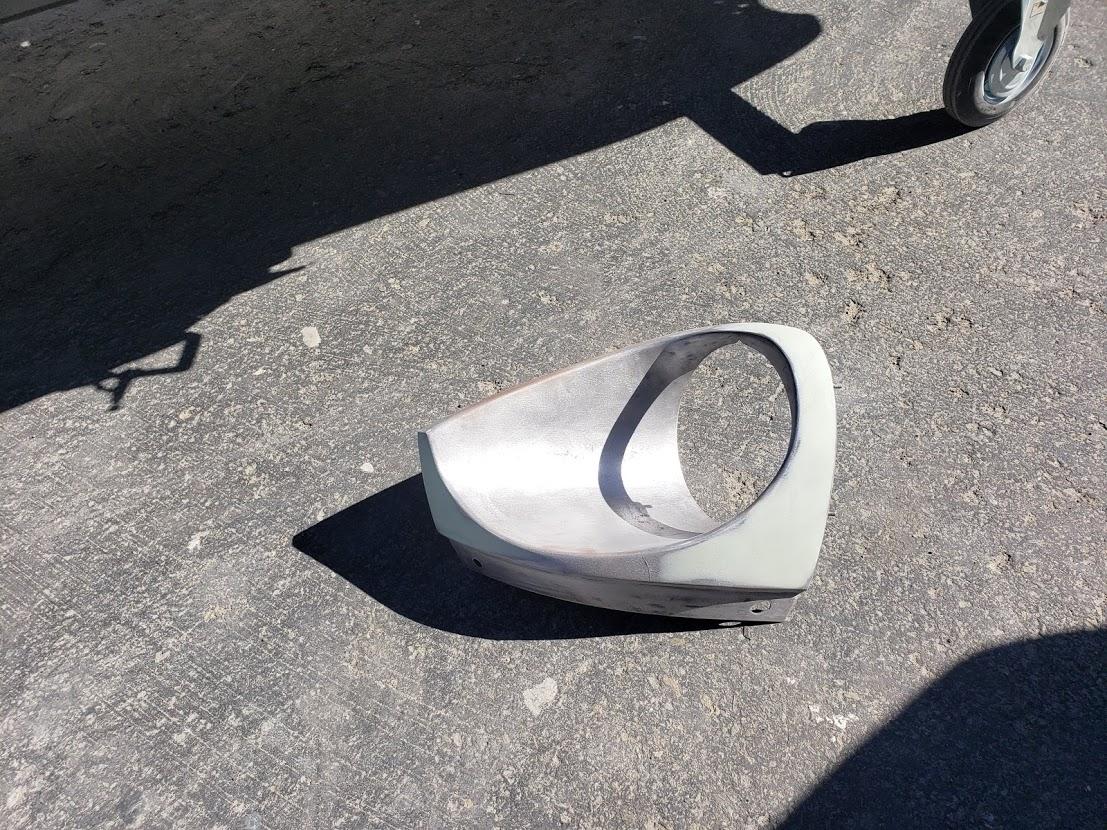
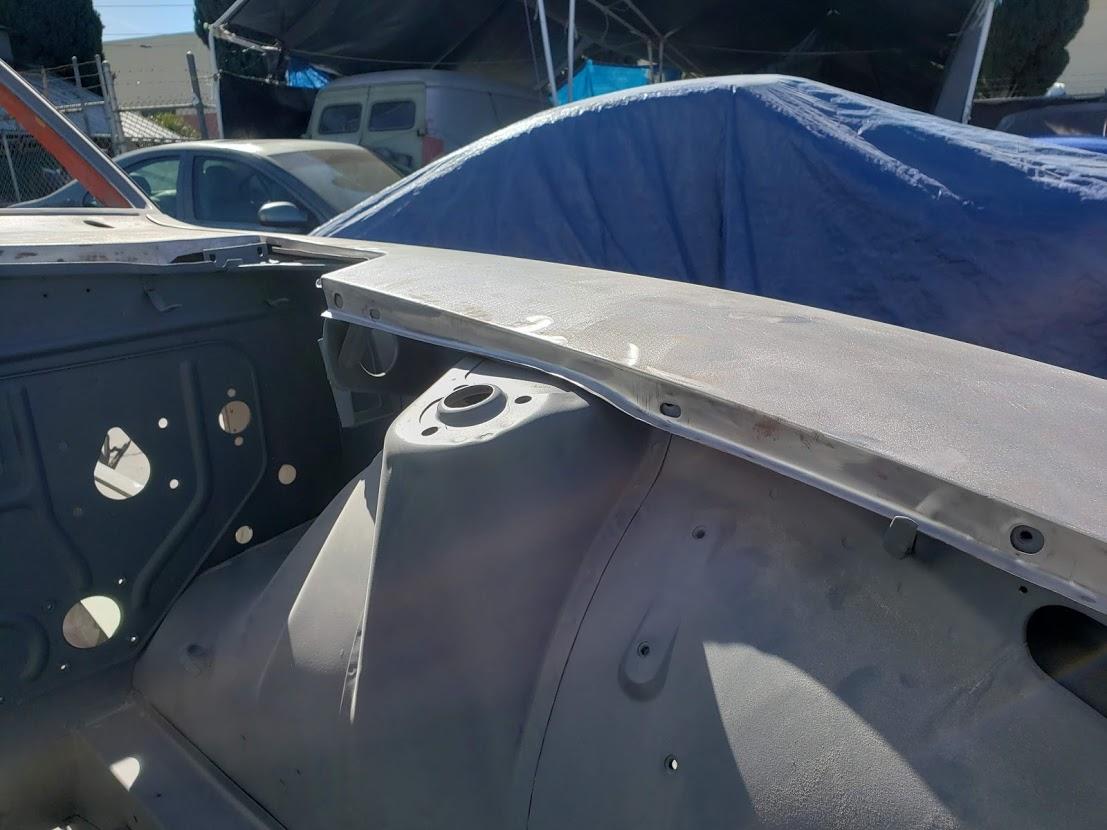
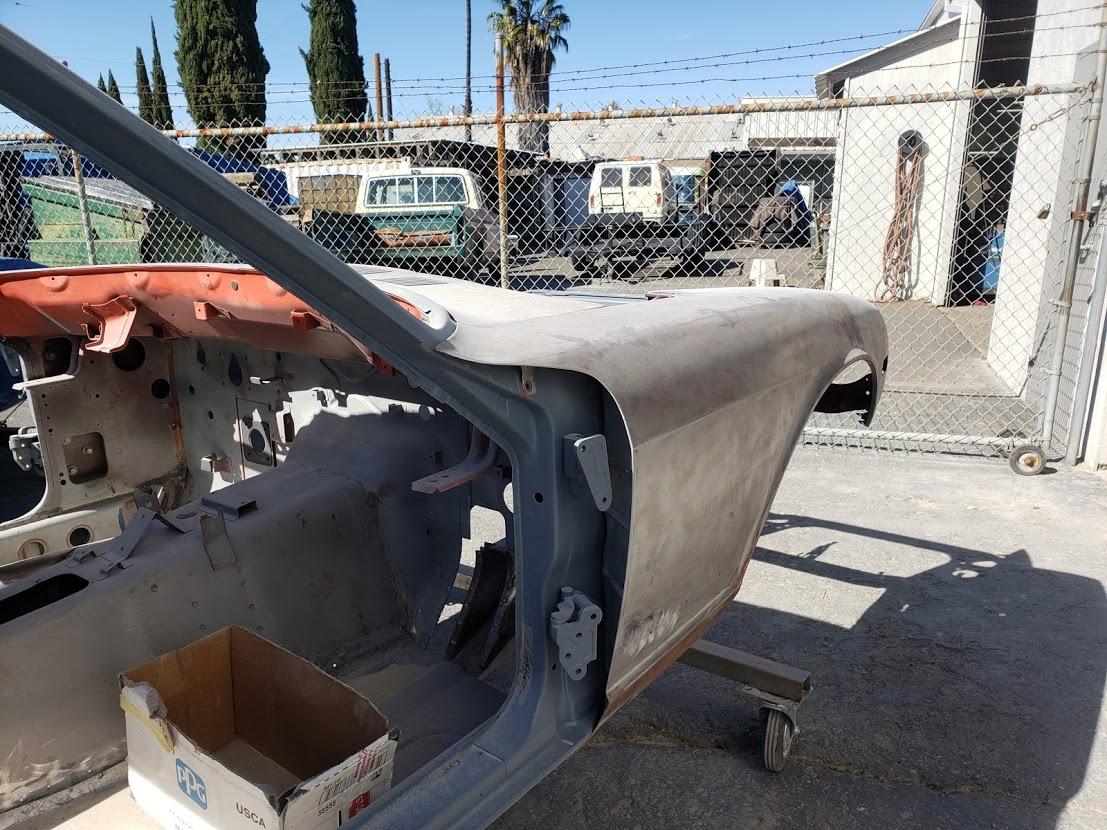
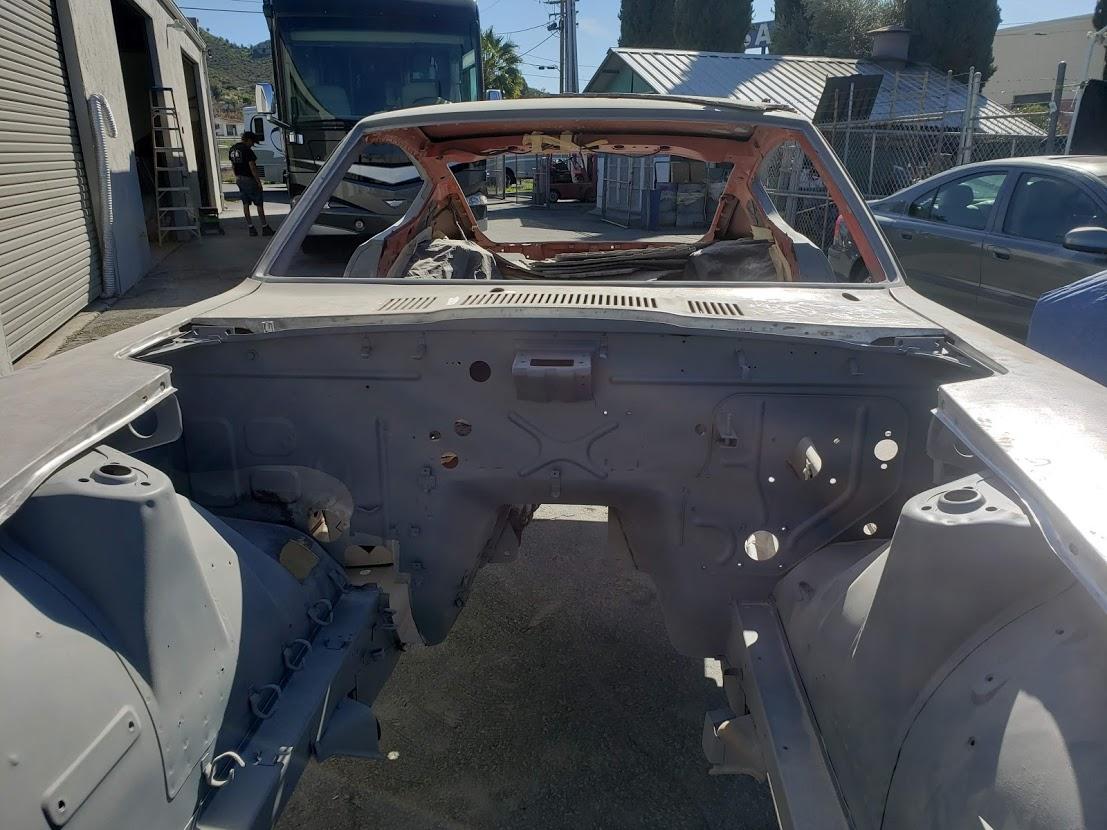
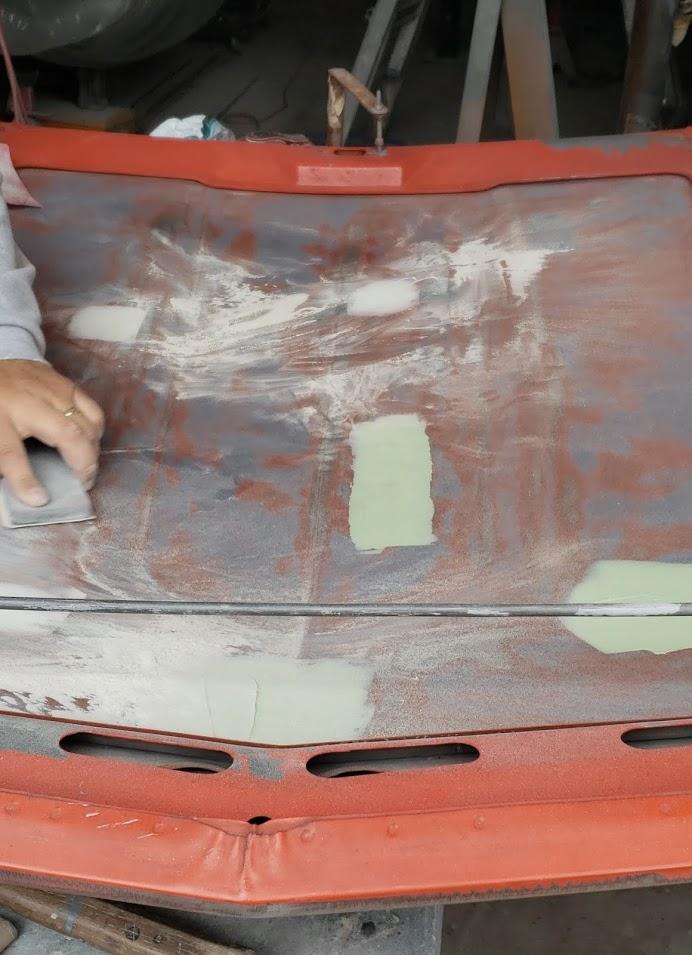
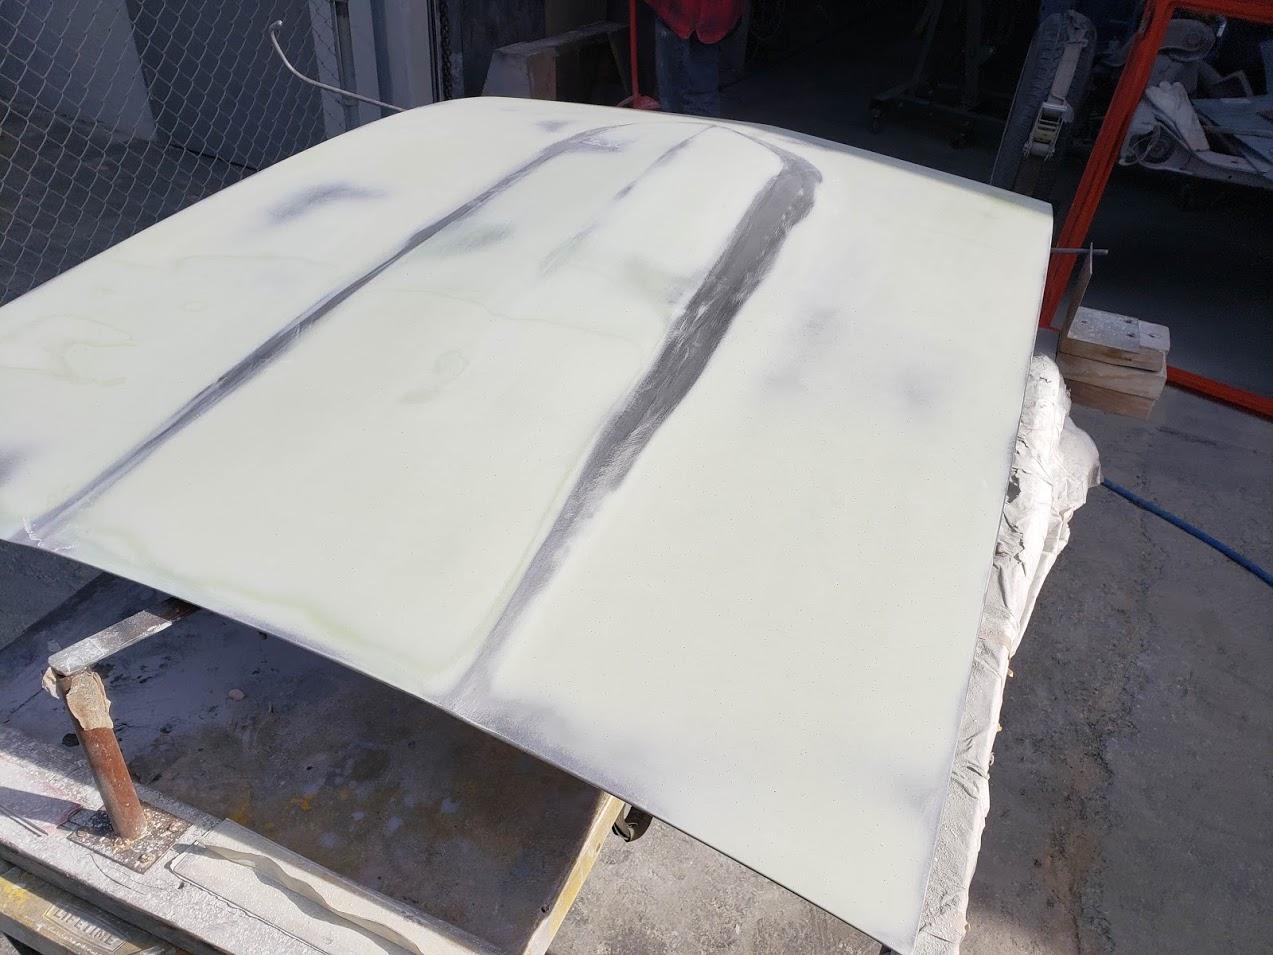
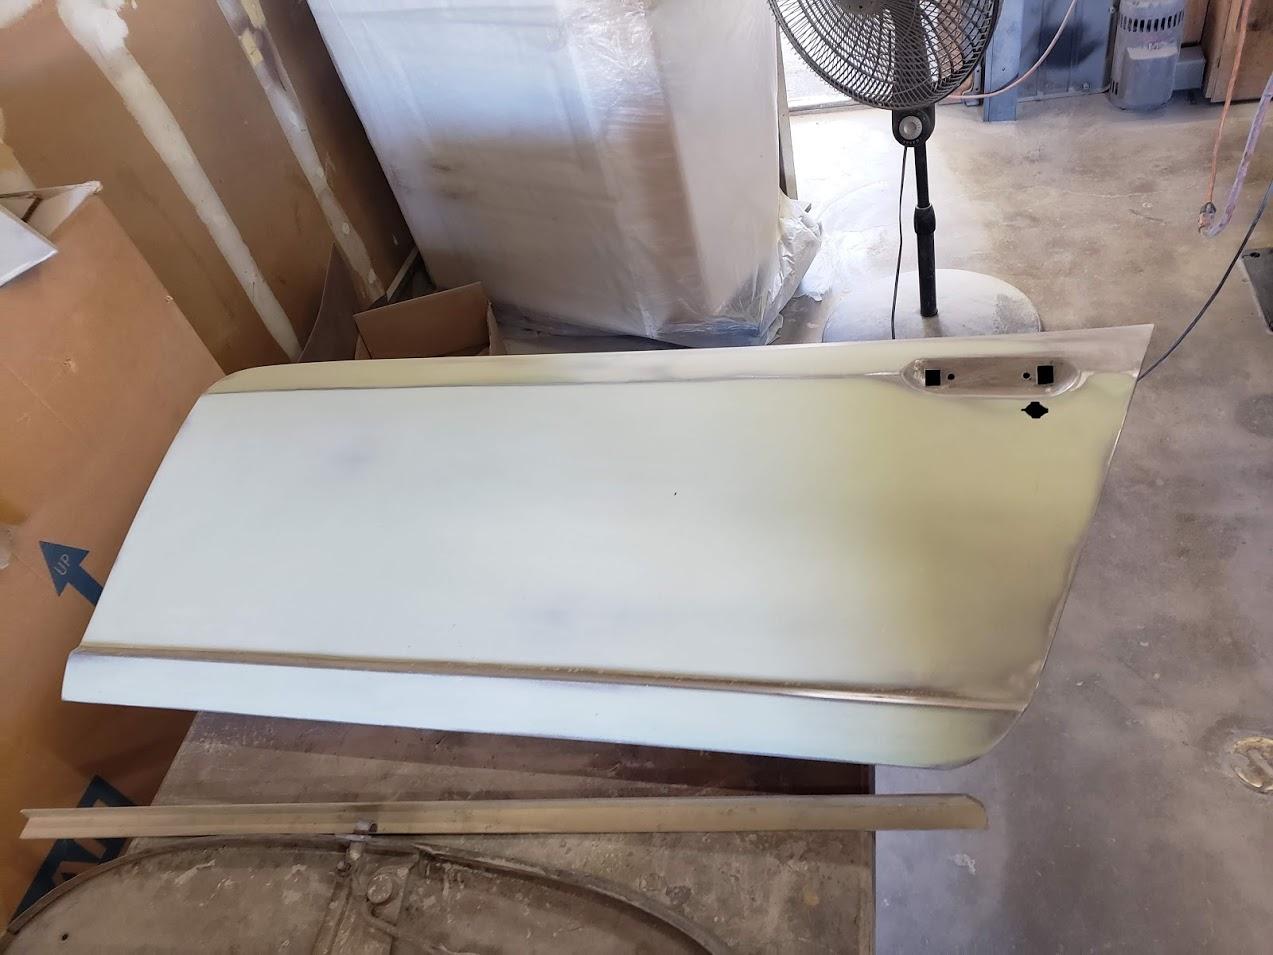
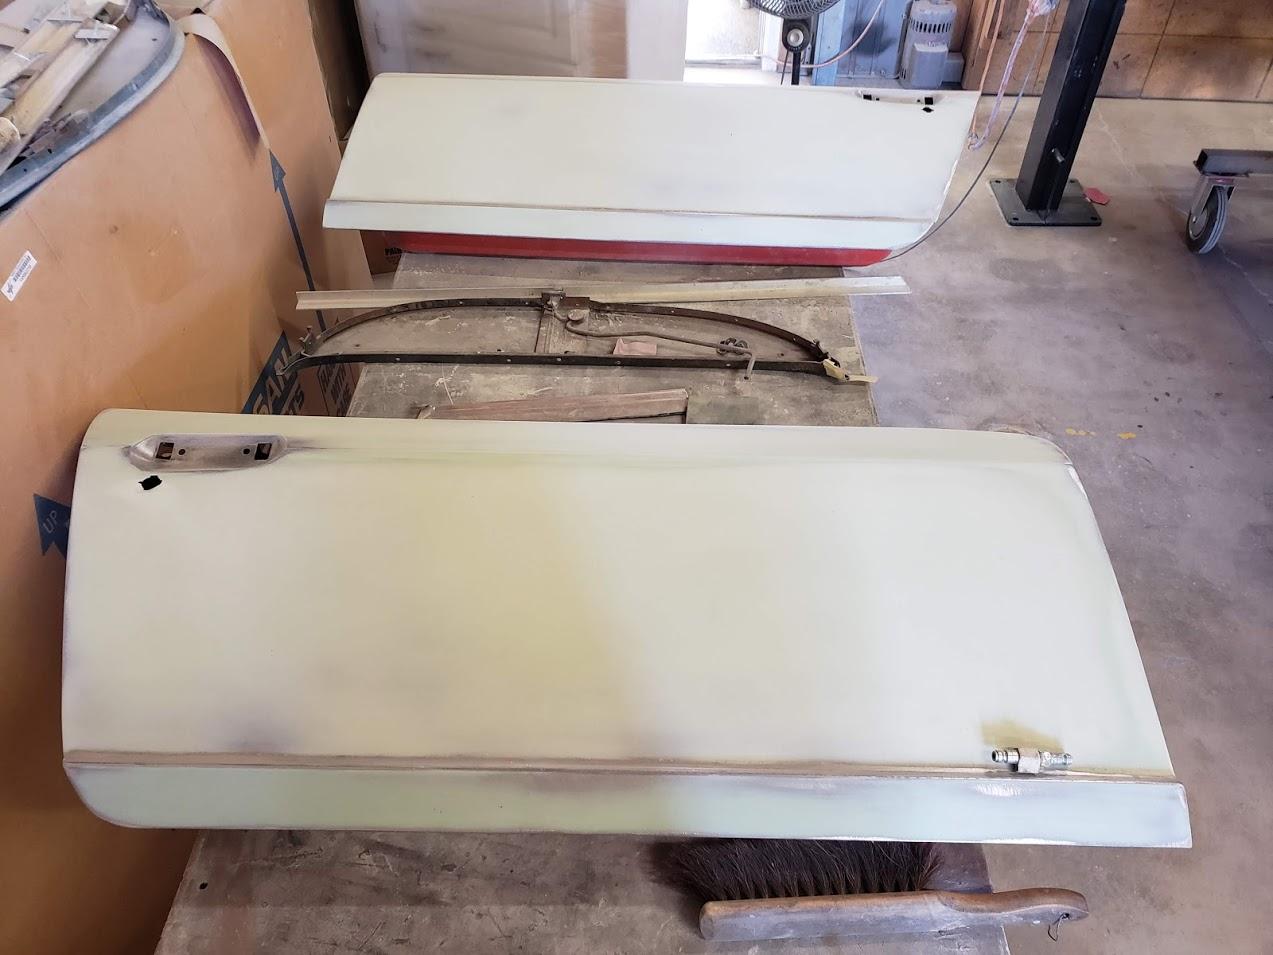
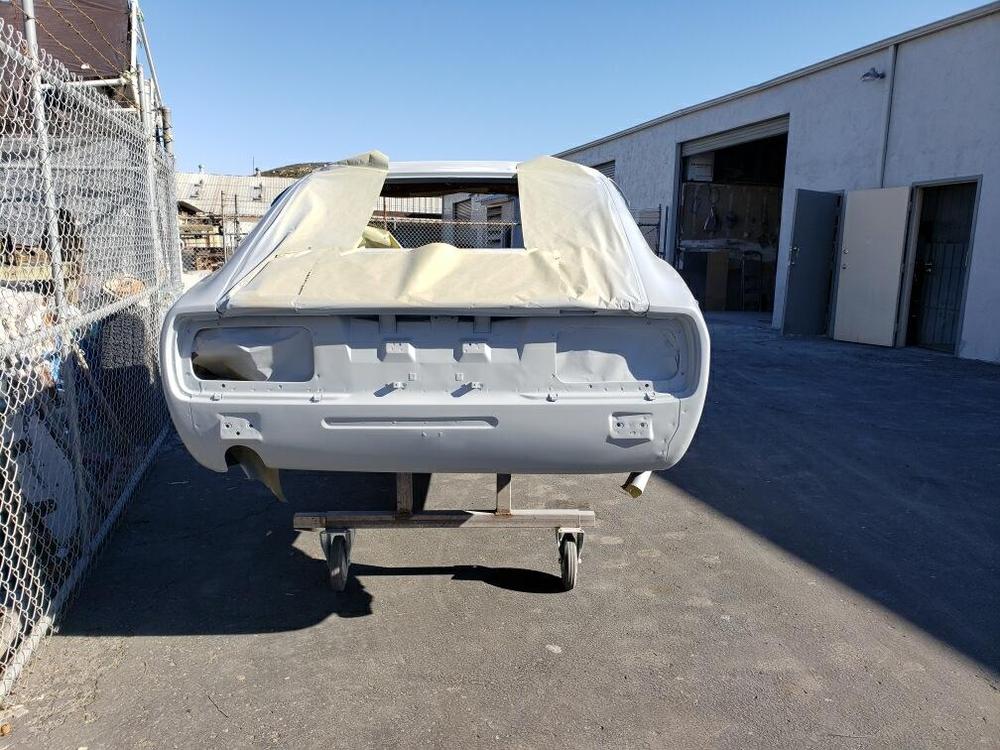
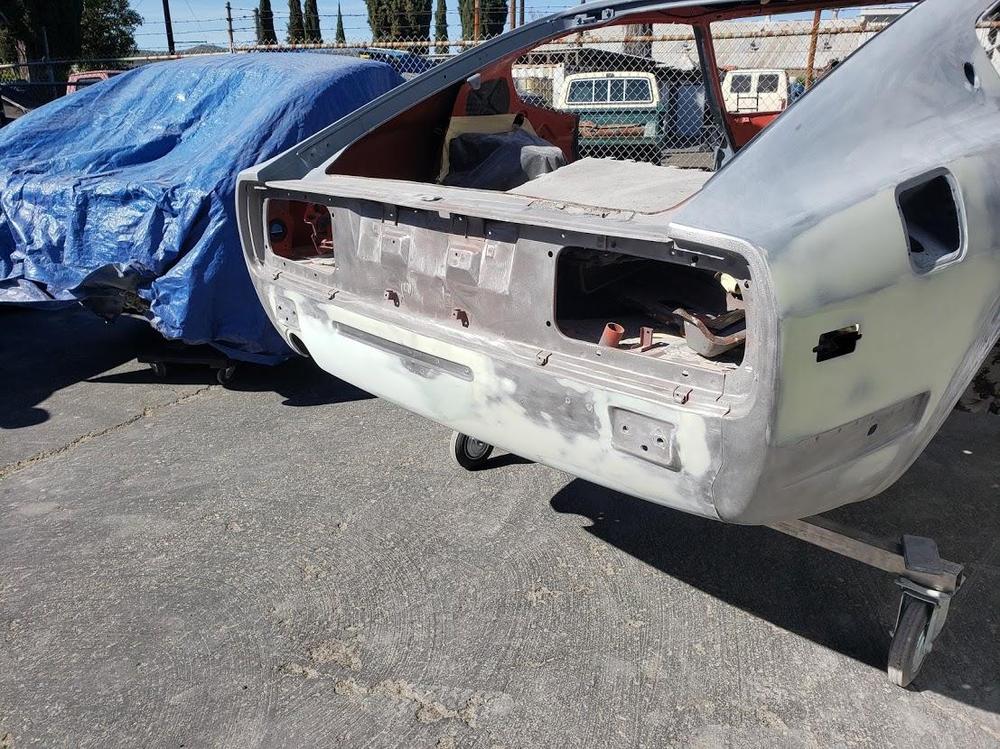
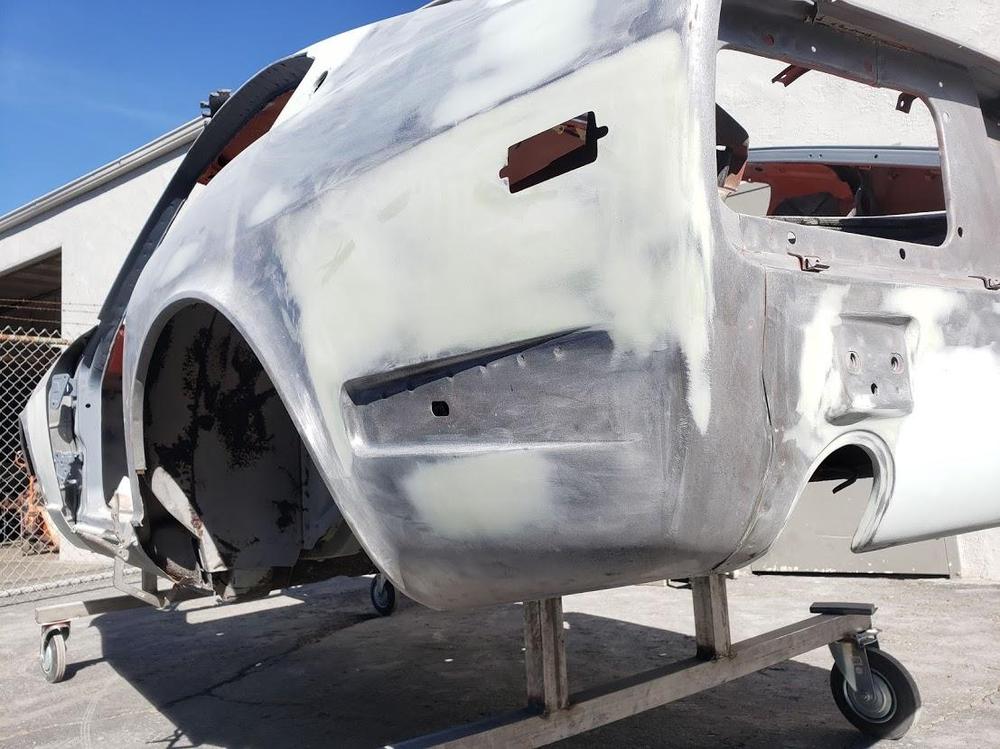
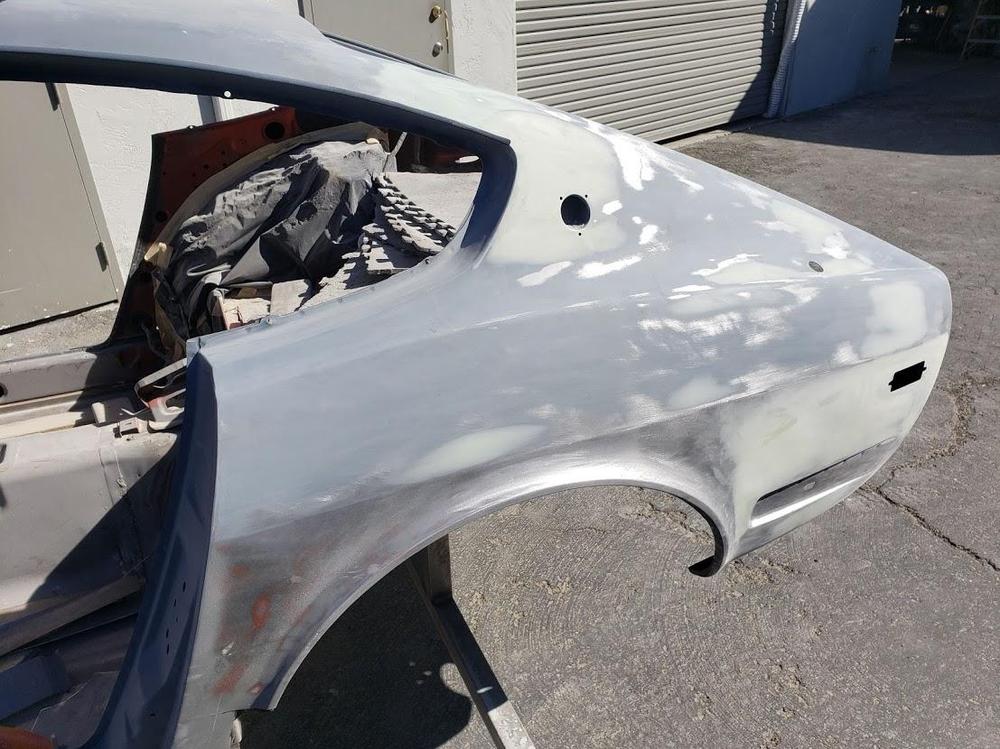
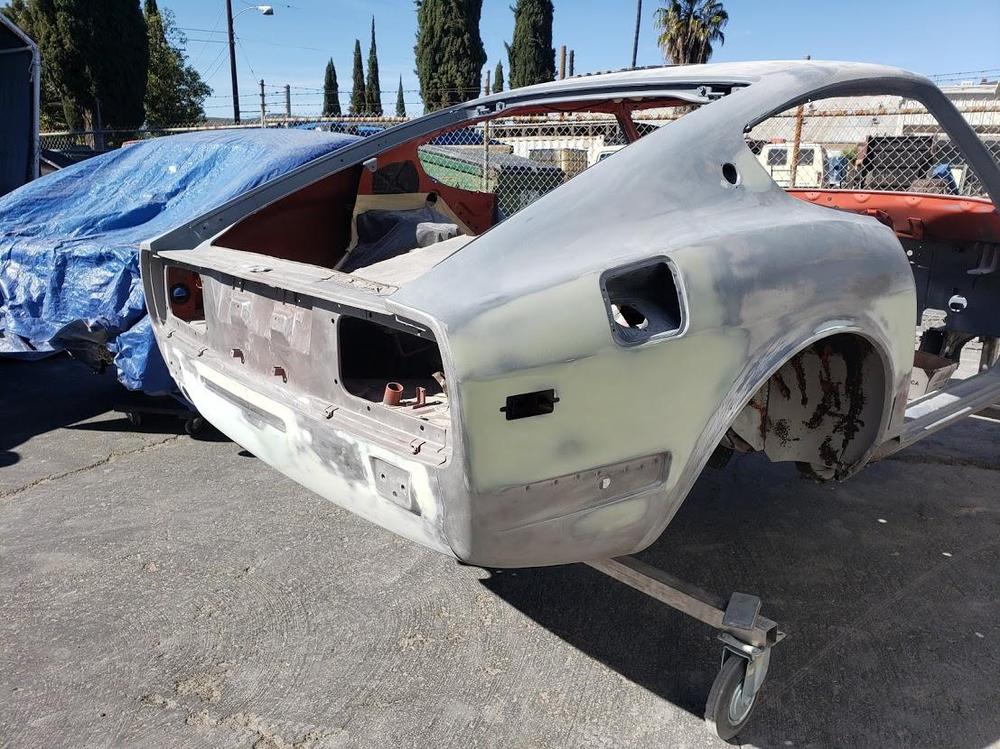
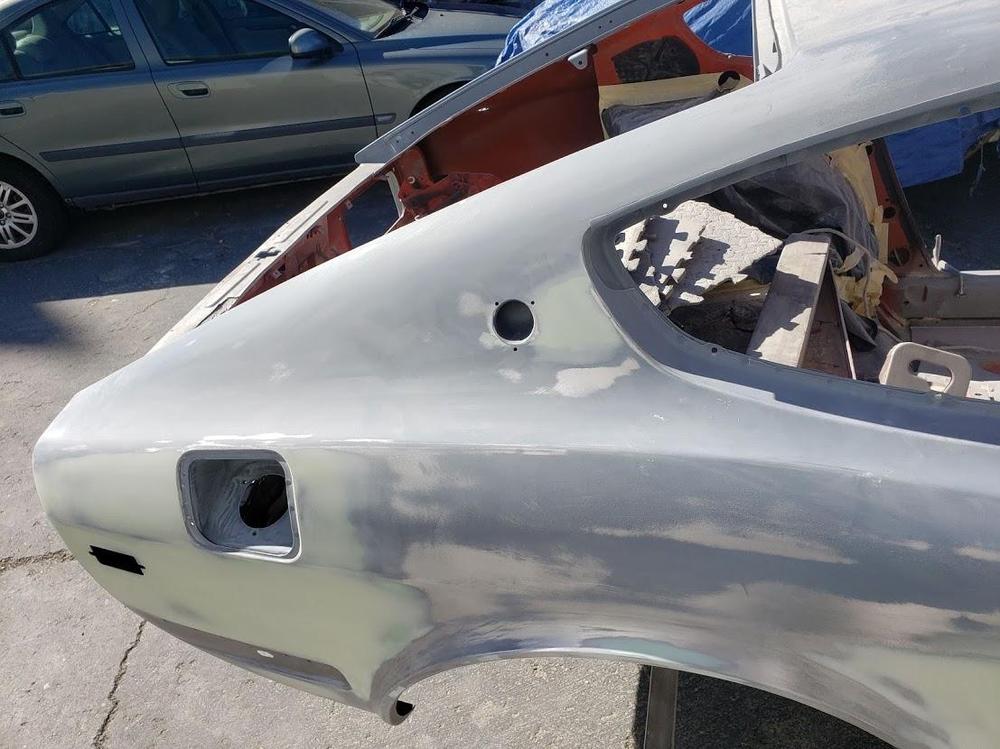
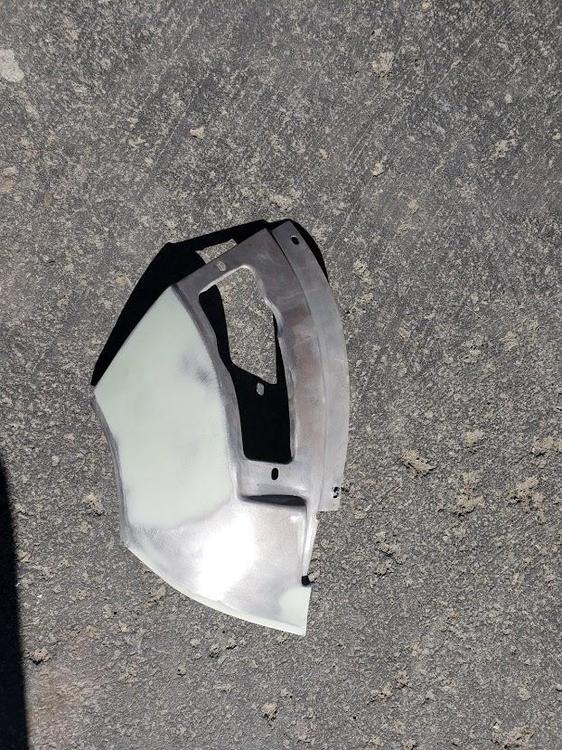
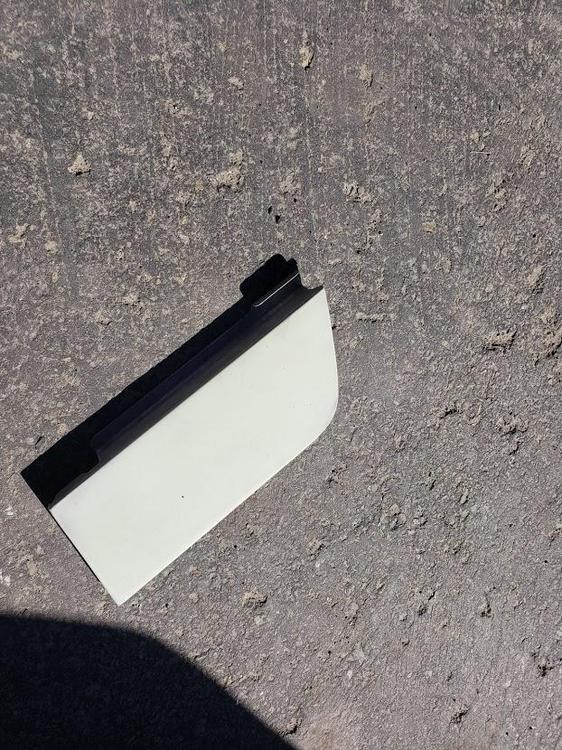
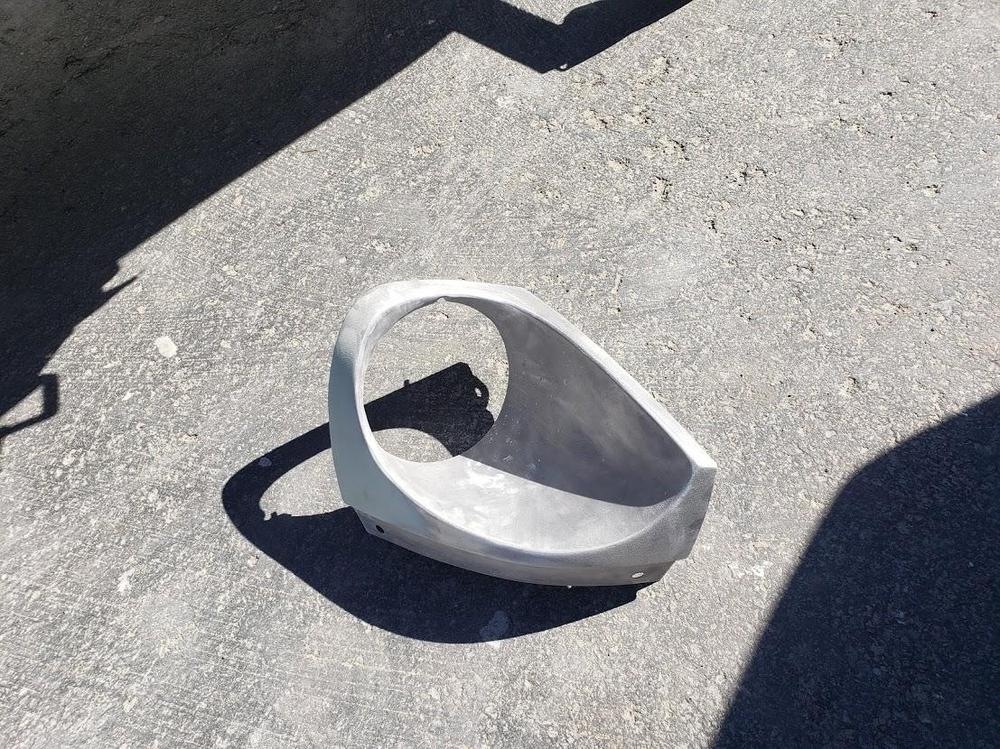
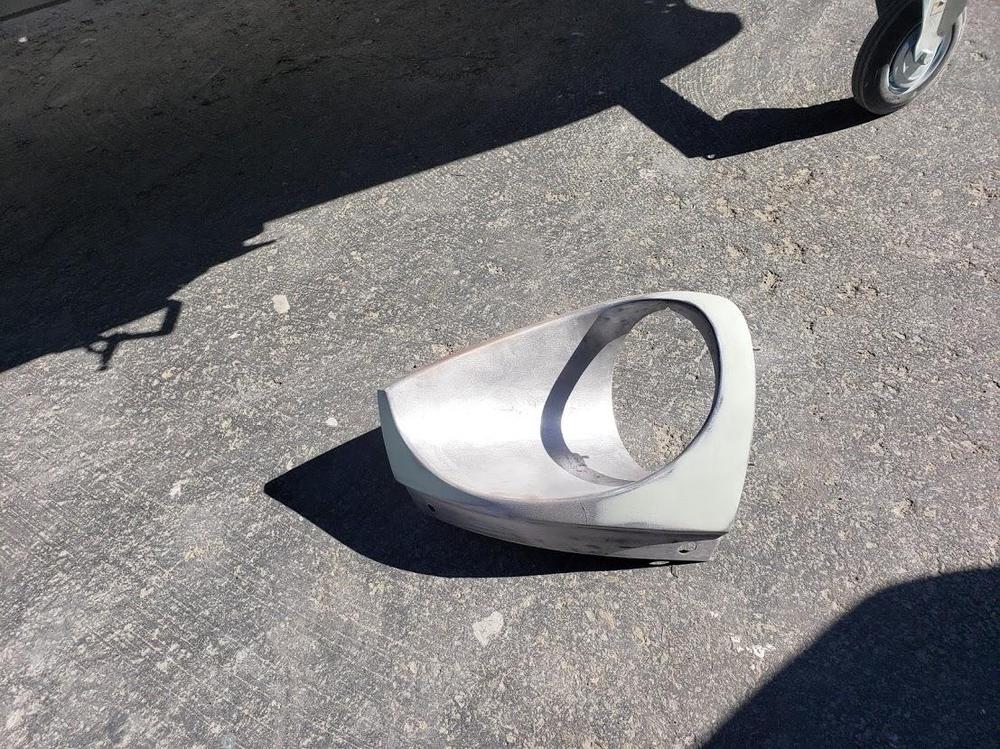
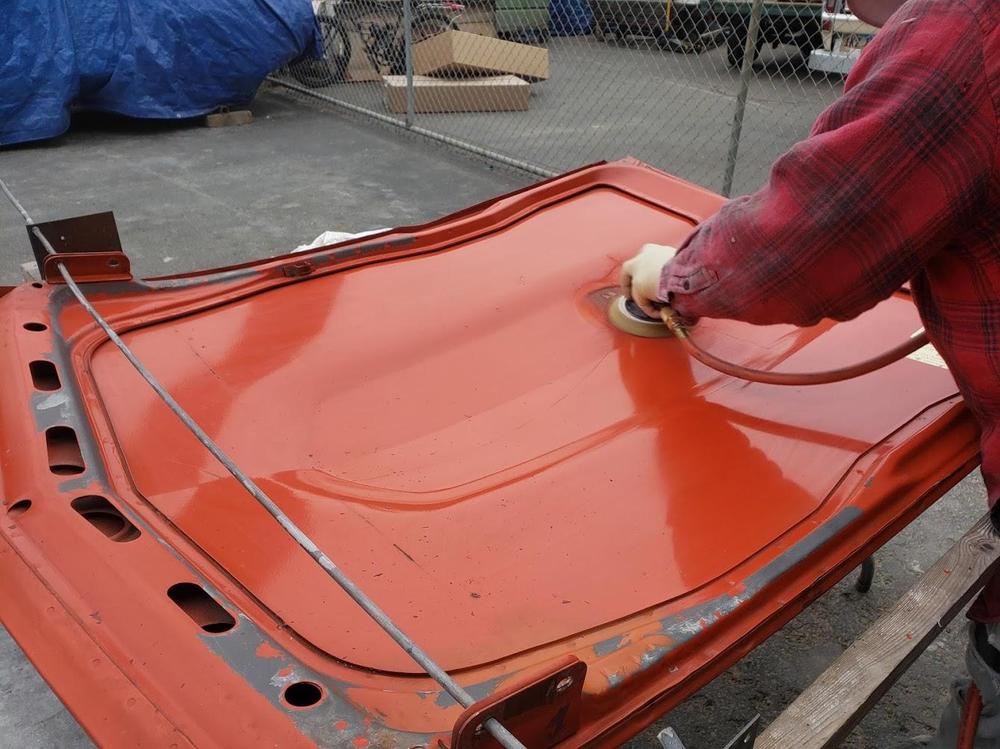
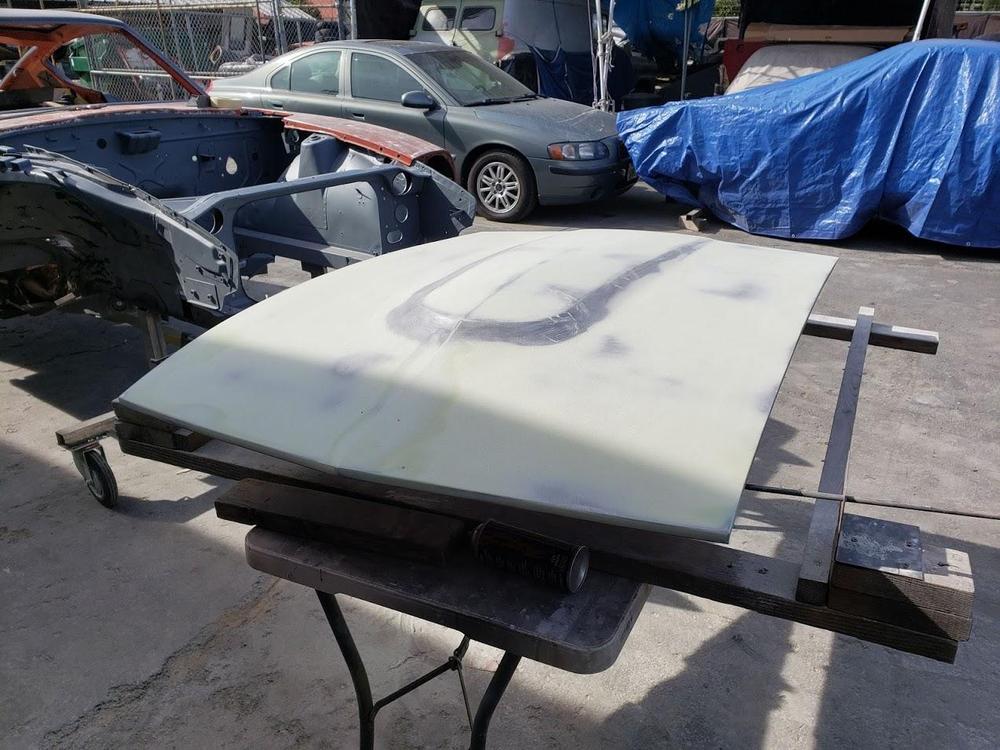
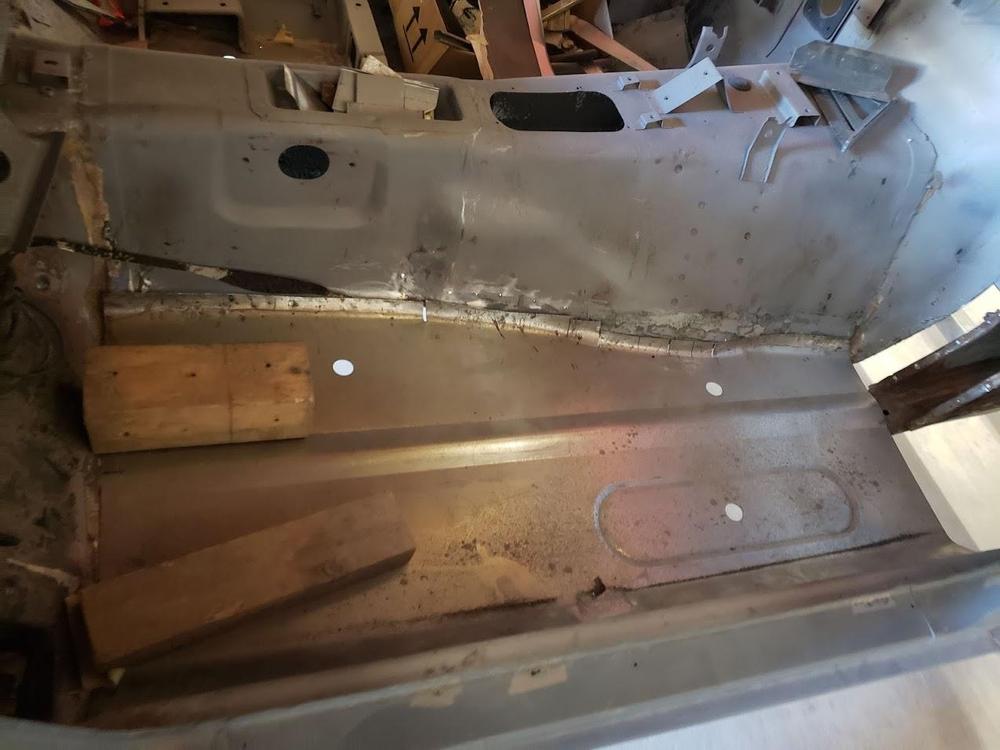
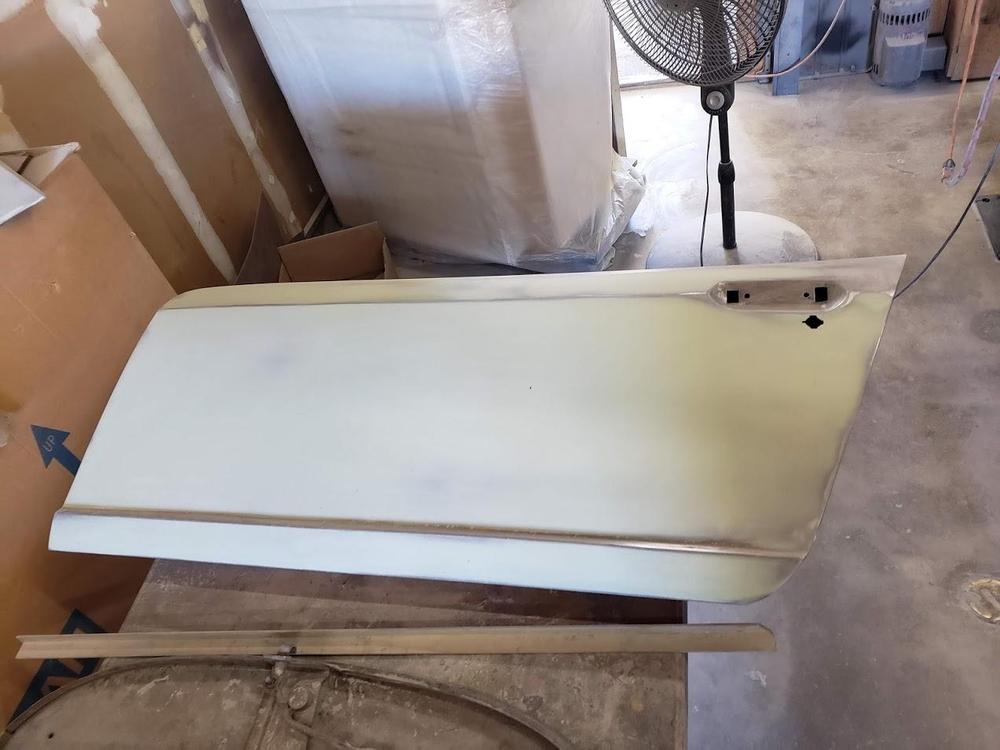
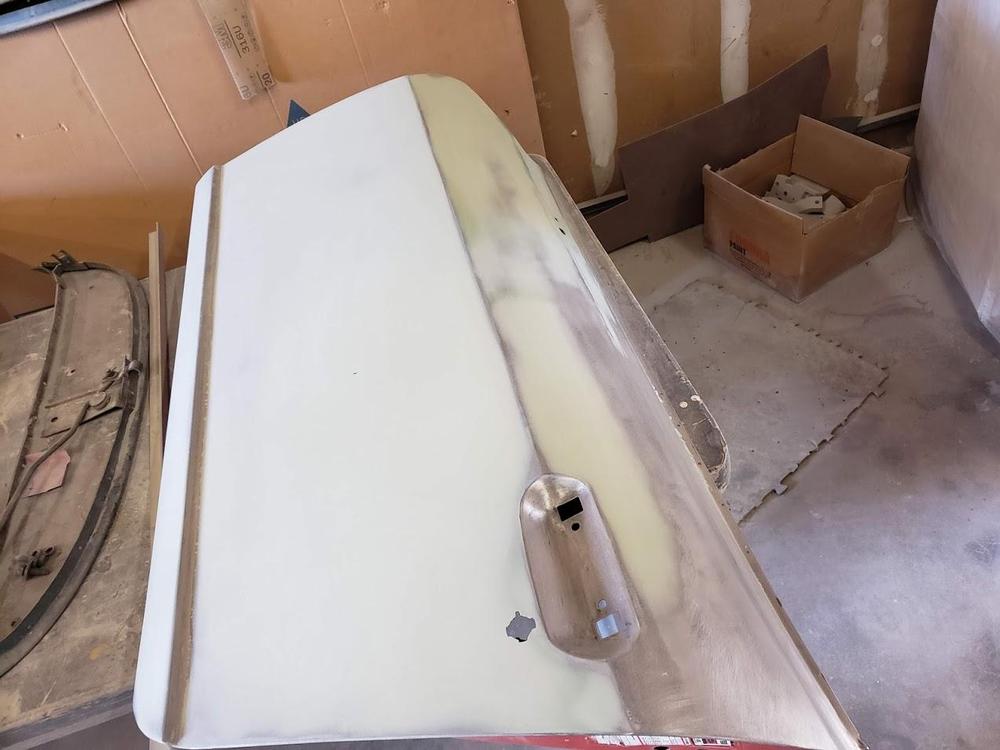
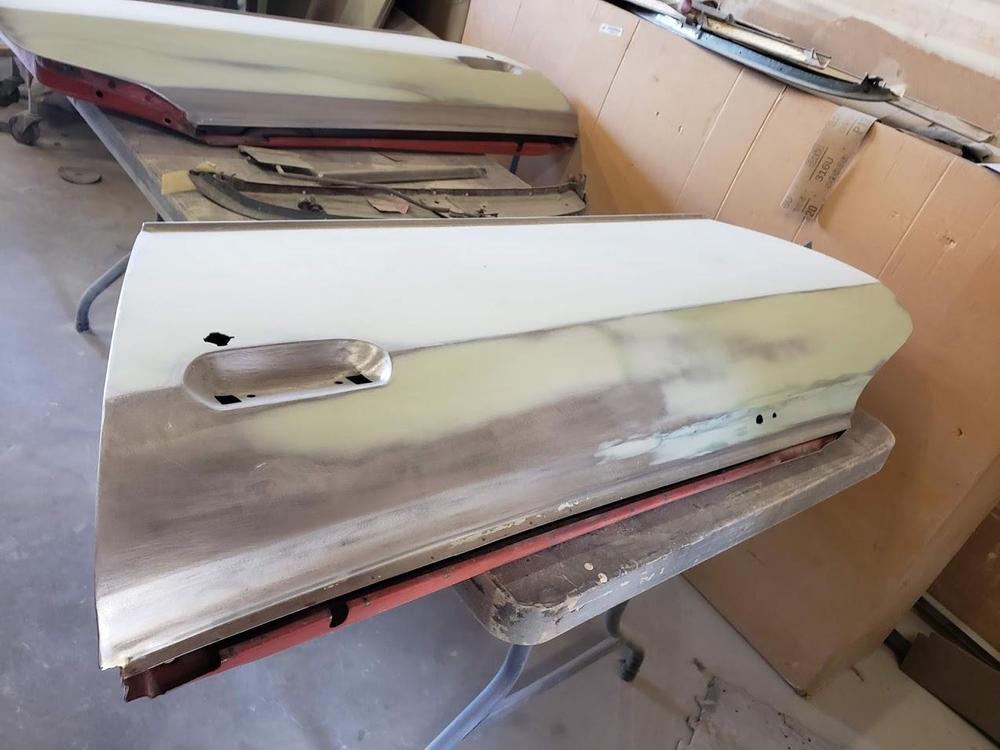
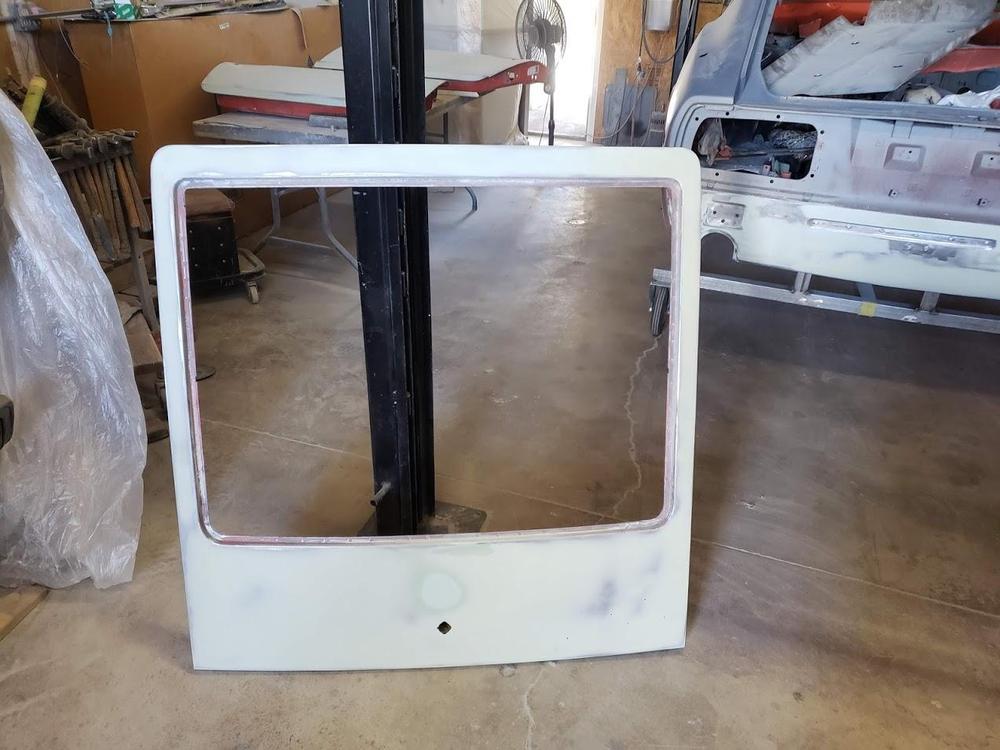
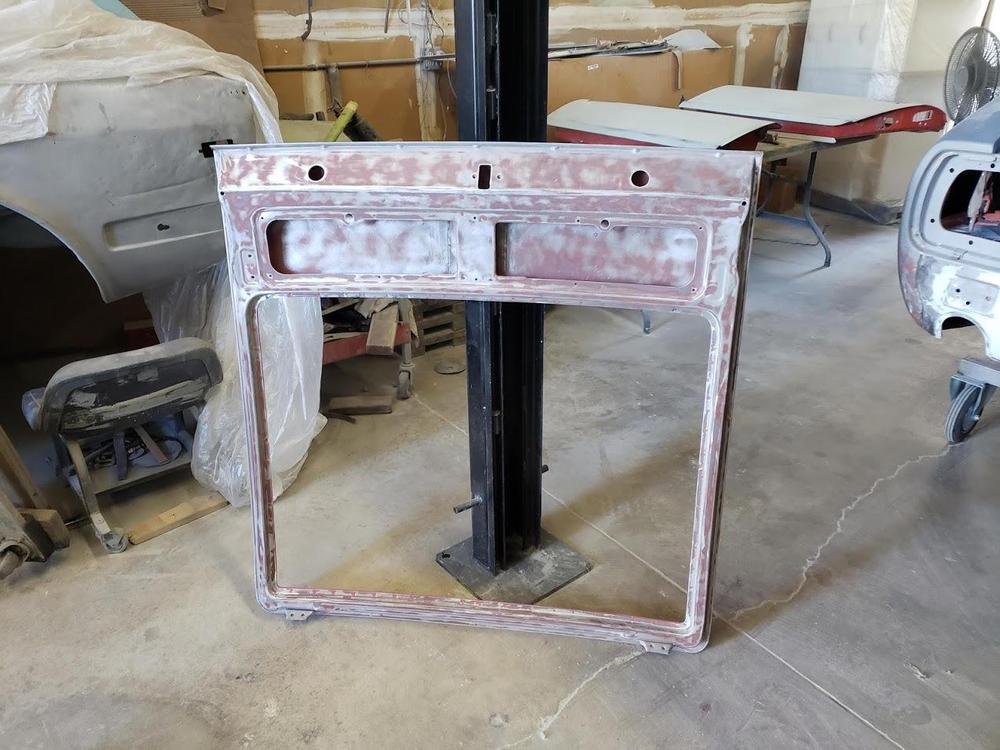
A few pics from the paint shop. This is the final primer. After it dries thoroughly shop will do final block sand and then paint white
.thumb.jpg.989392f433eeae03f331fde92528b467.jpg)
.thumb.jpg.7573725d00ecee31a15276a27f527c35.jpg)
.thumb.jpg.79ce04d052478460ddc32f63ecddb02c.jpg)

-
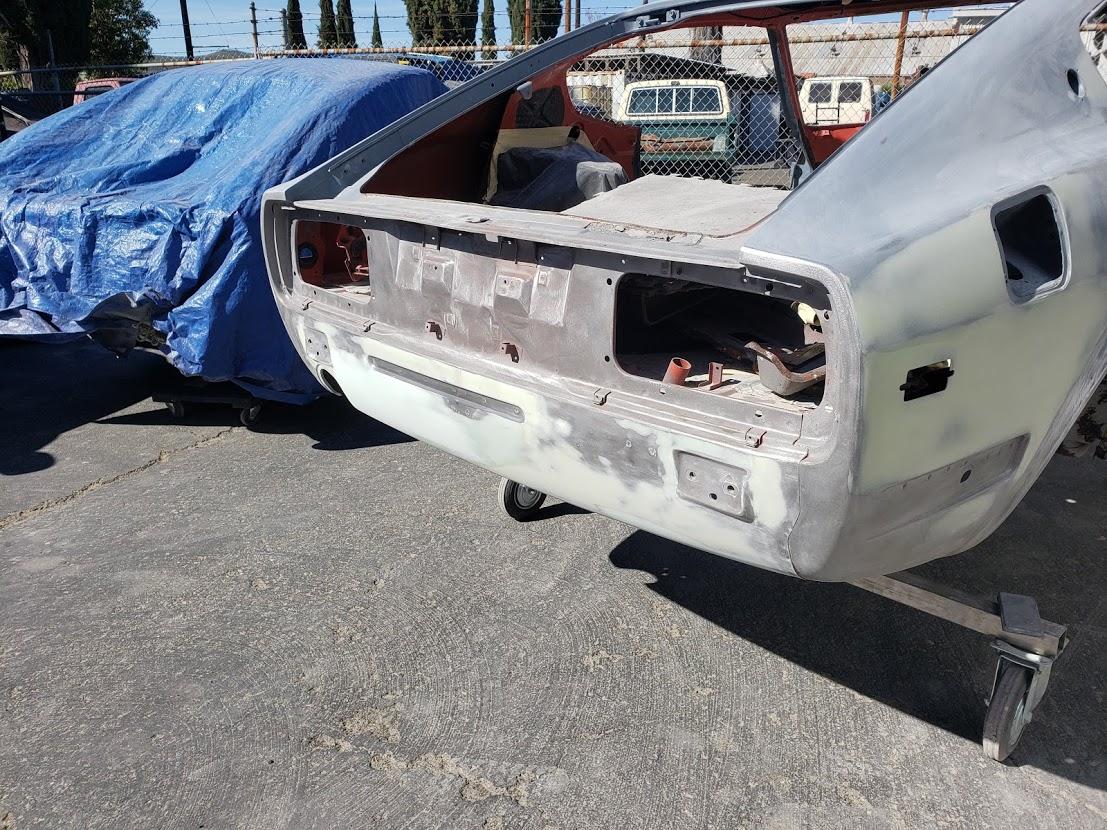
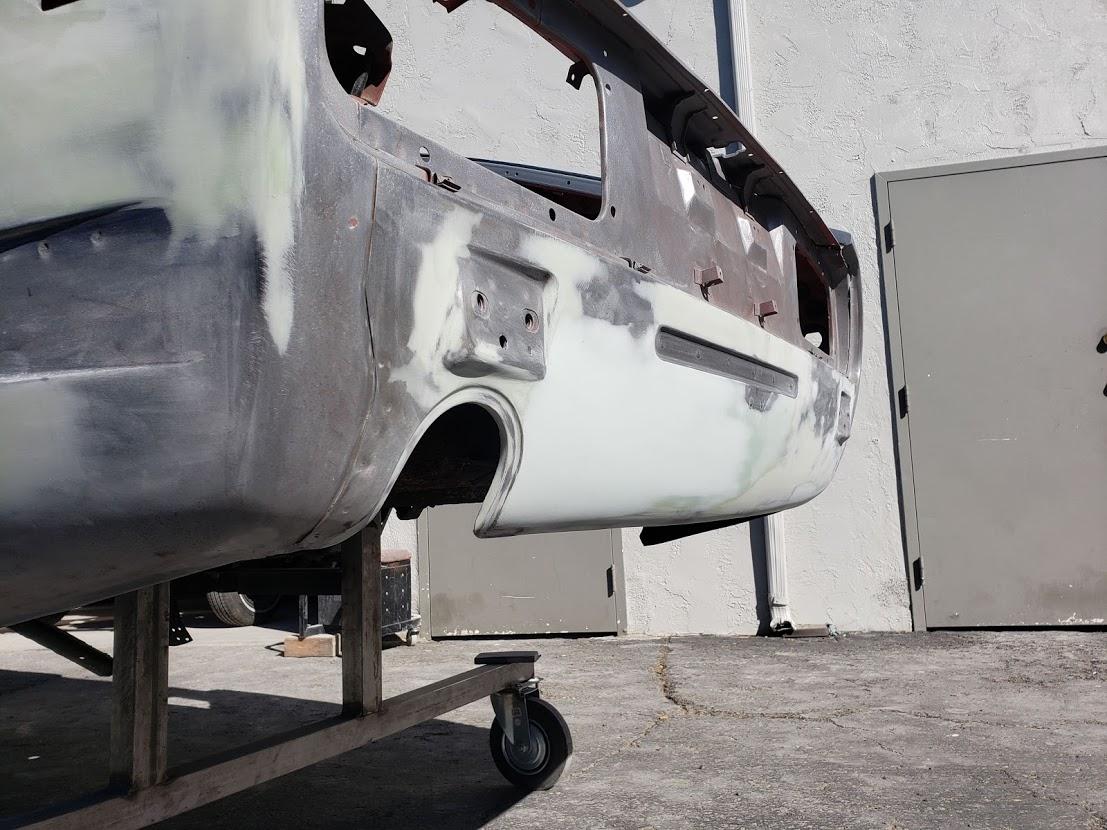
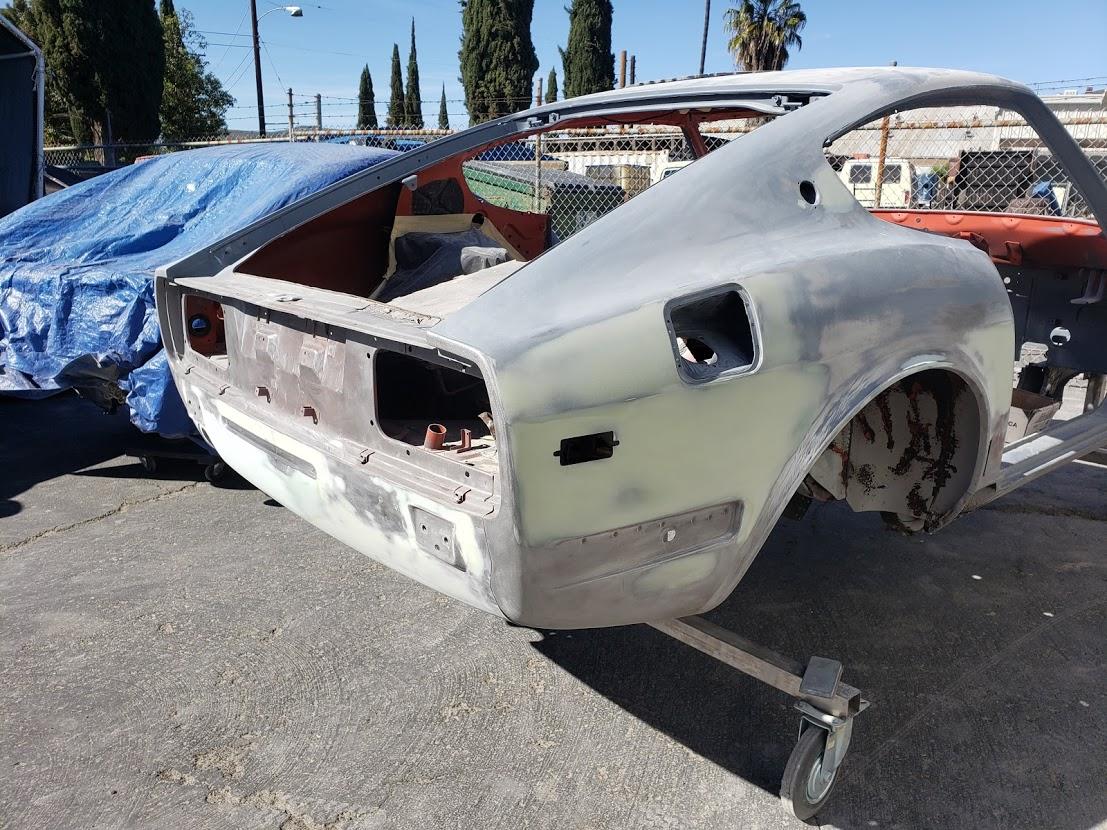
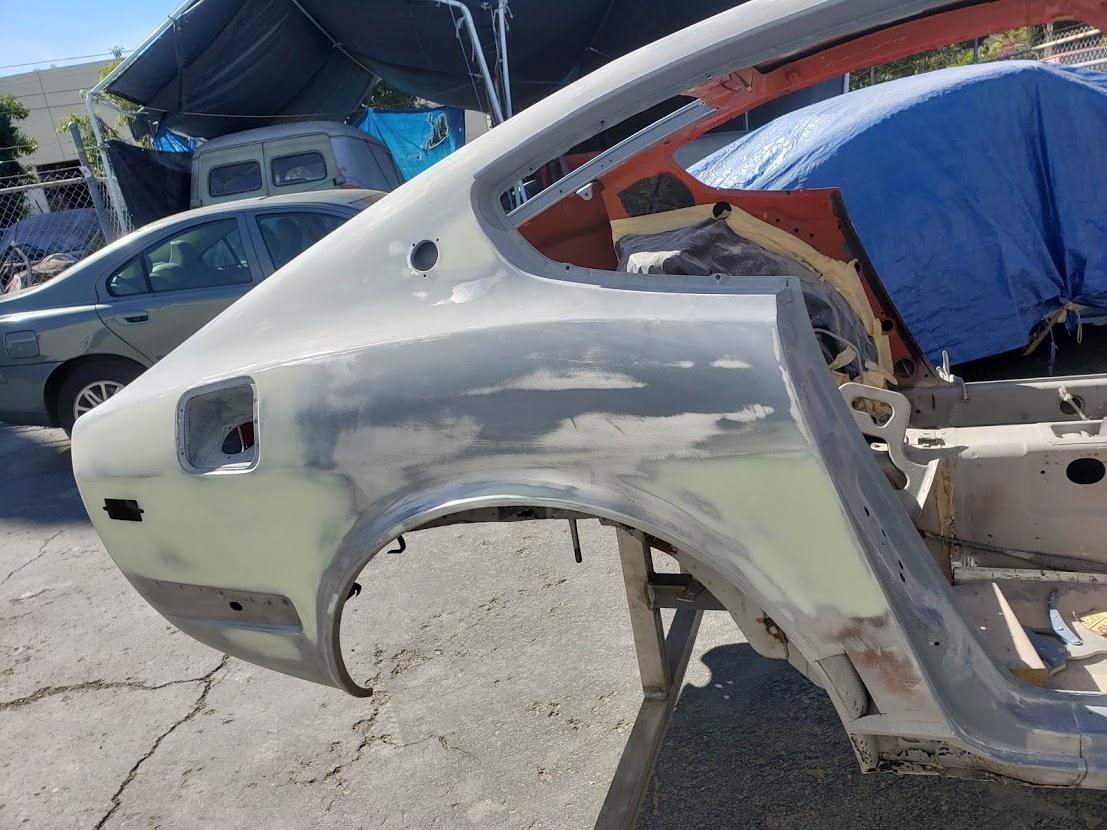
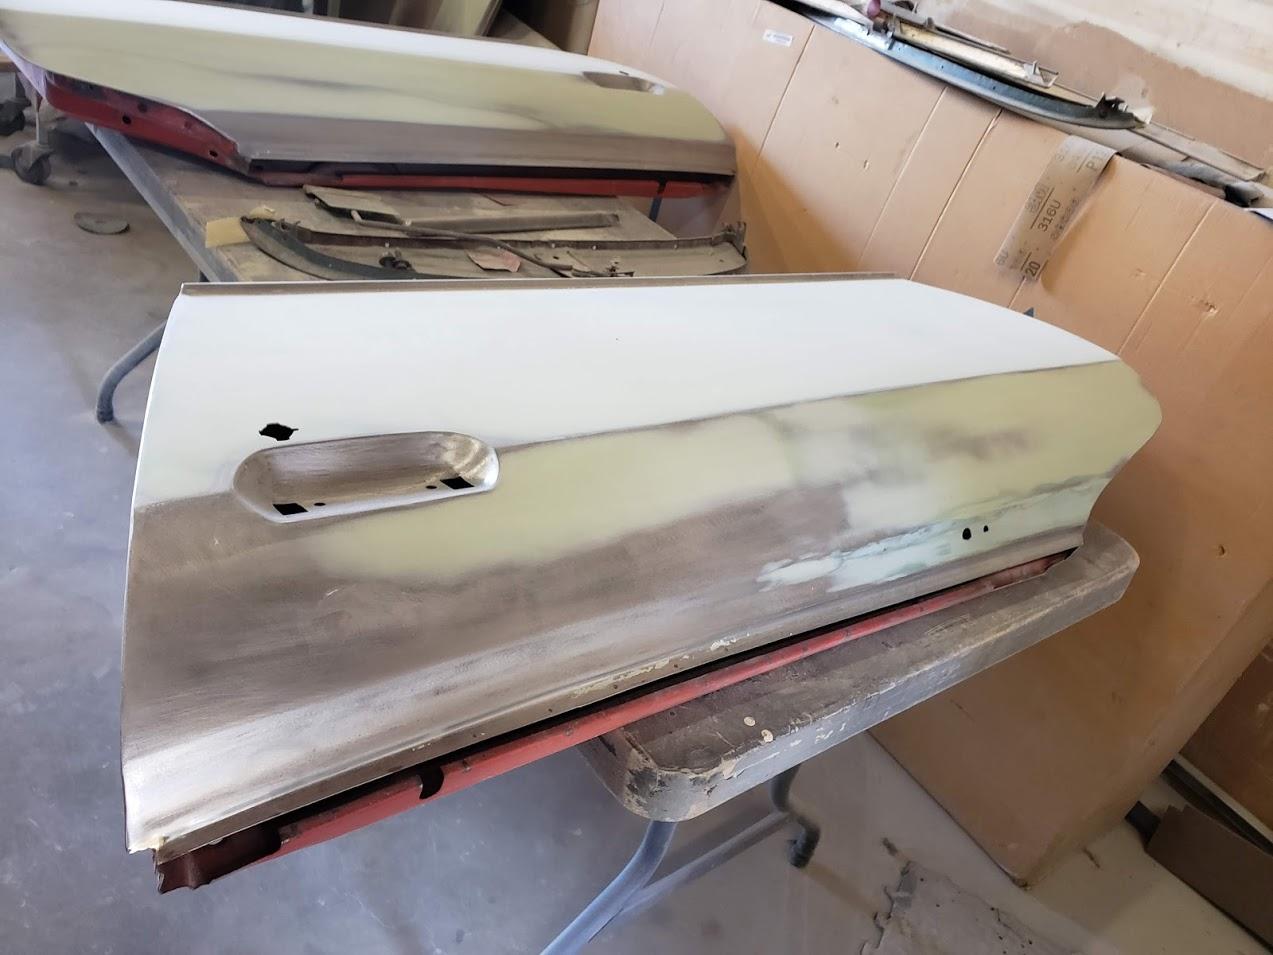
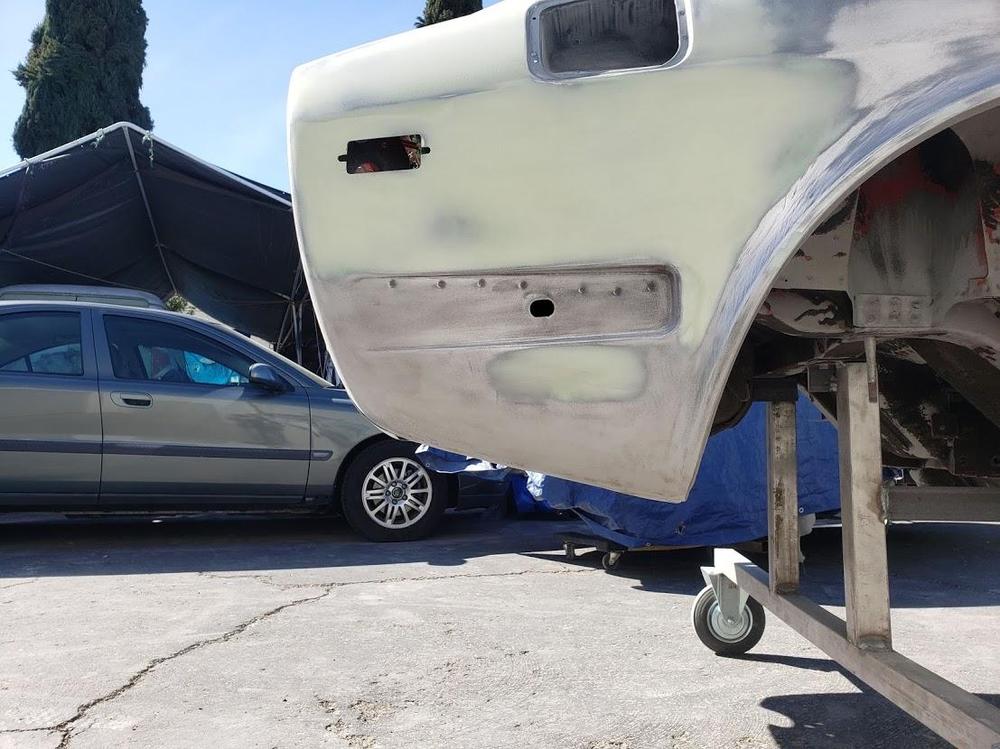
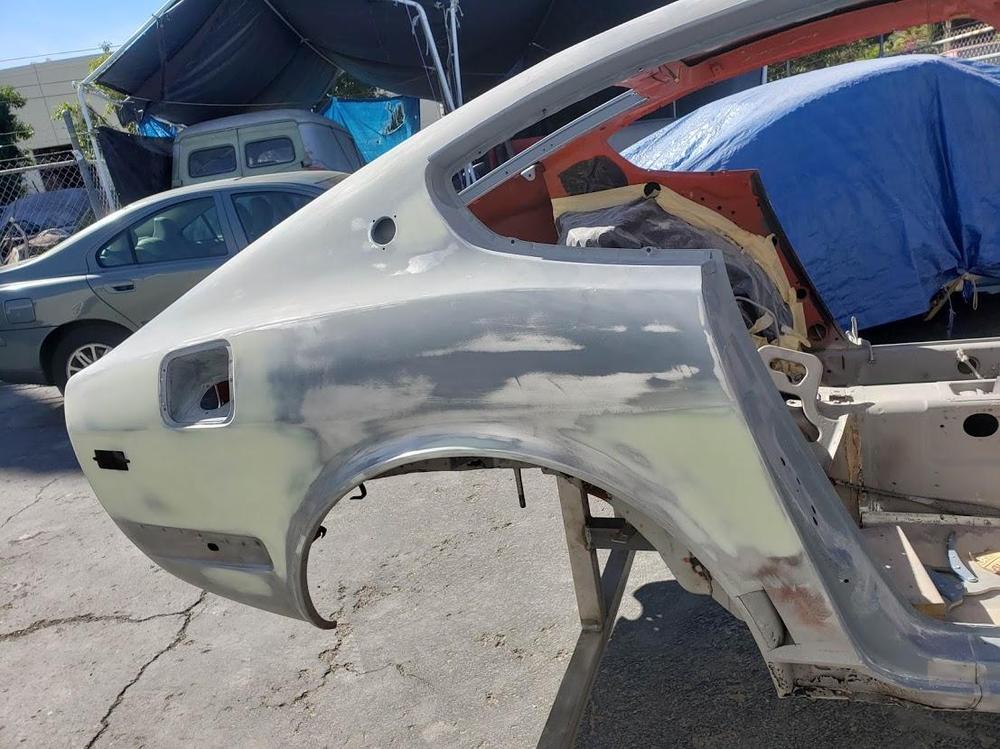
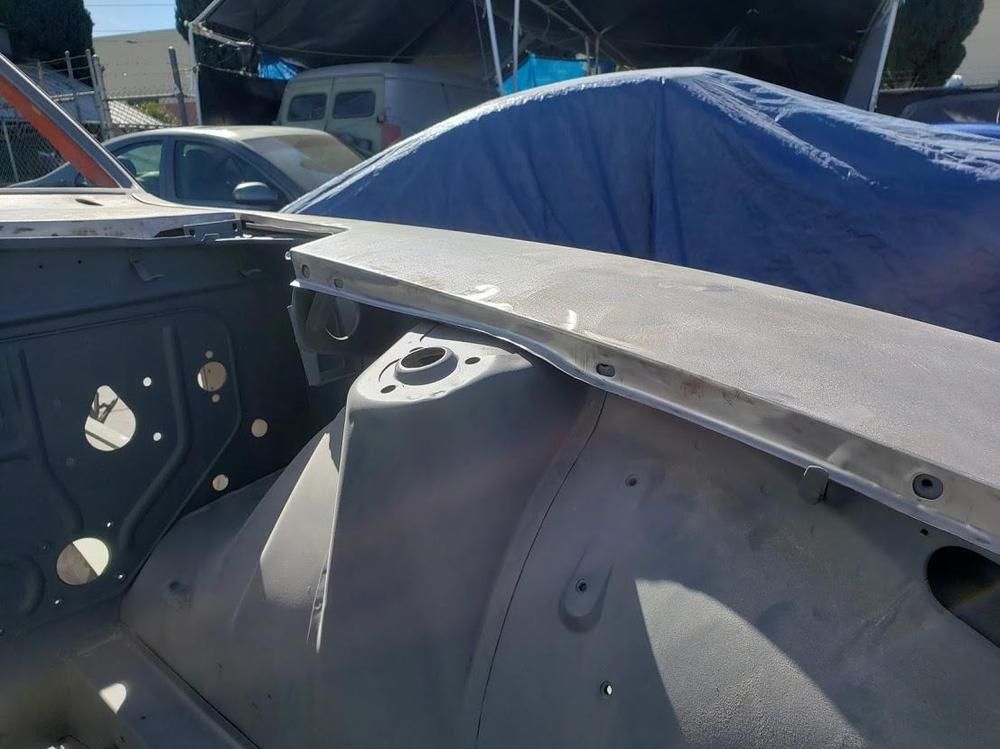
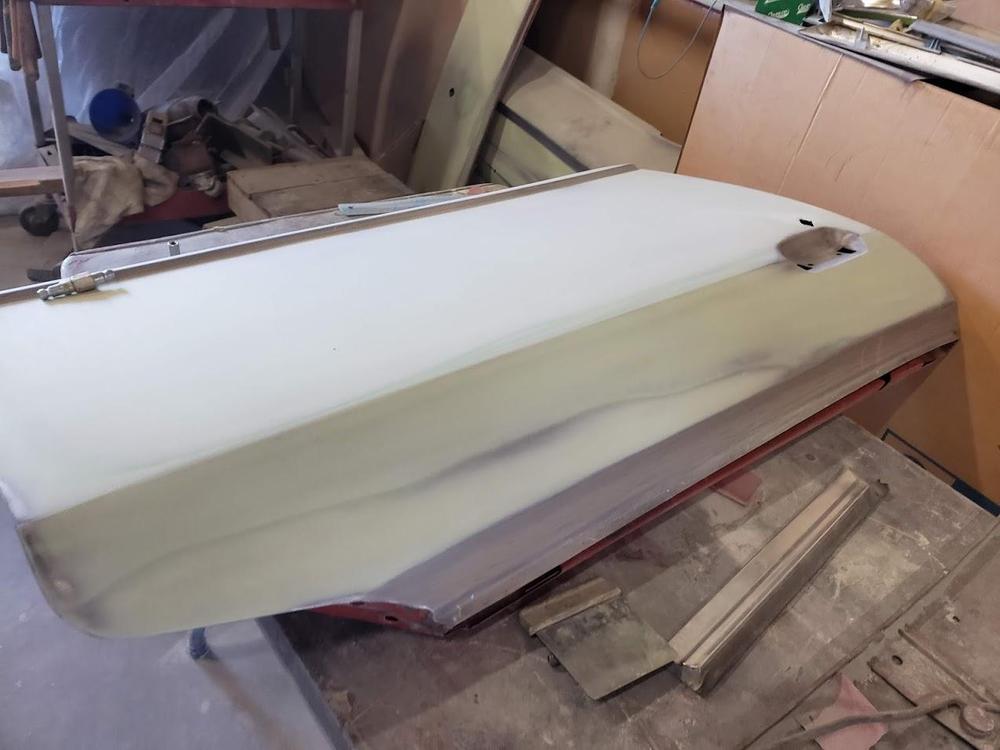
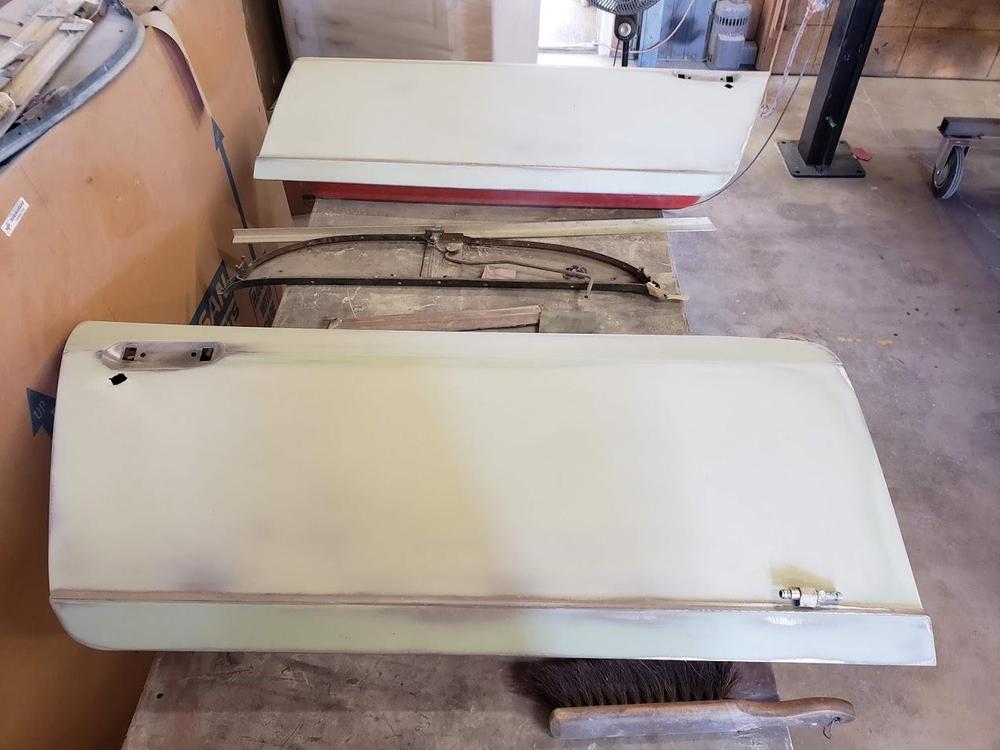
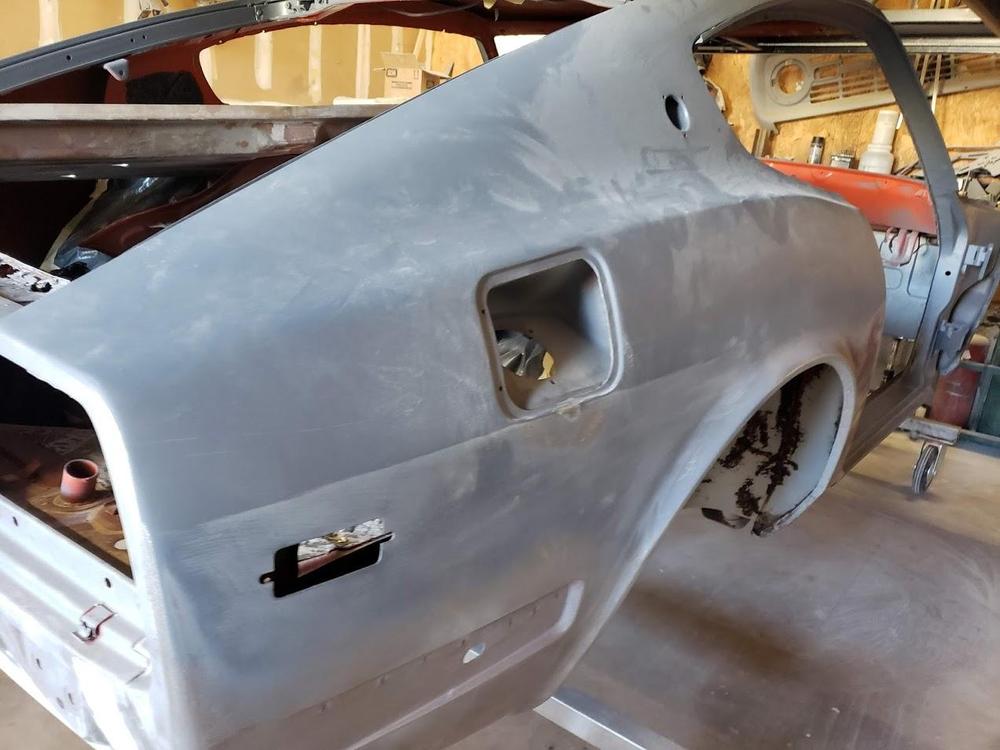
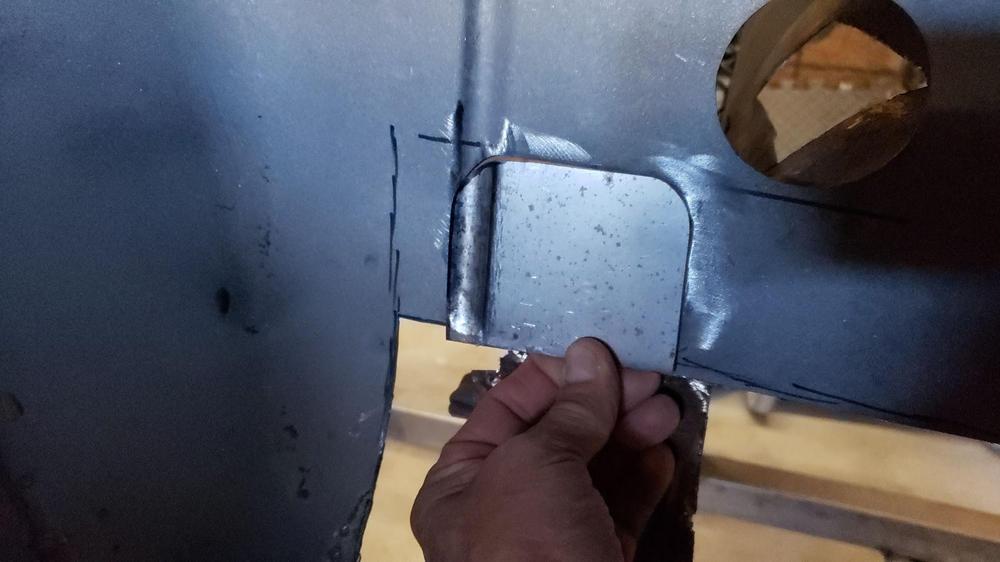
More pics from the paint shop.


-
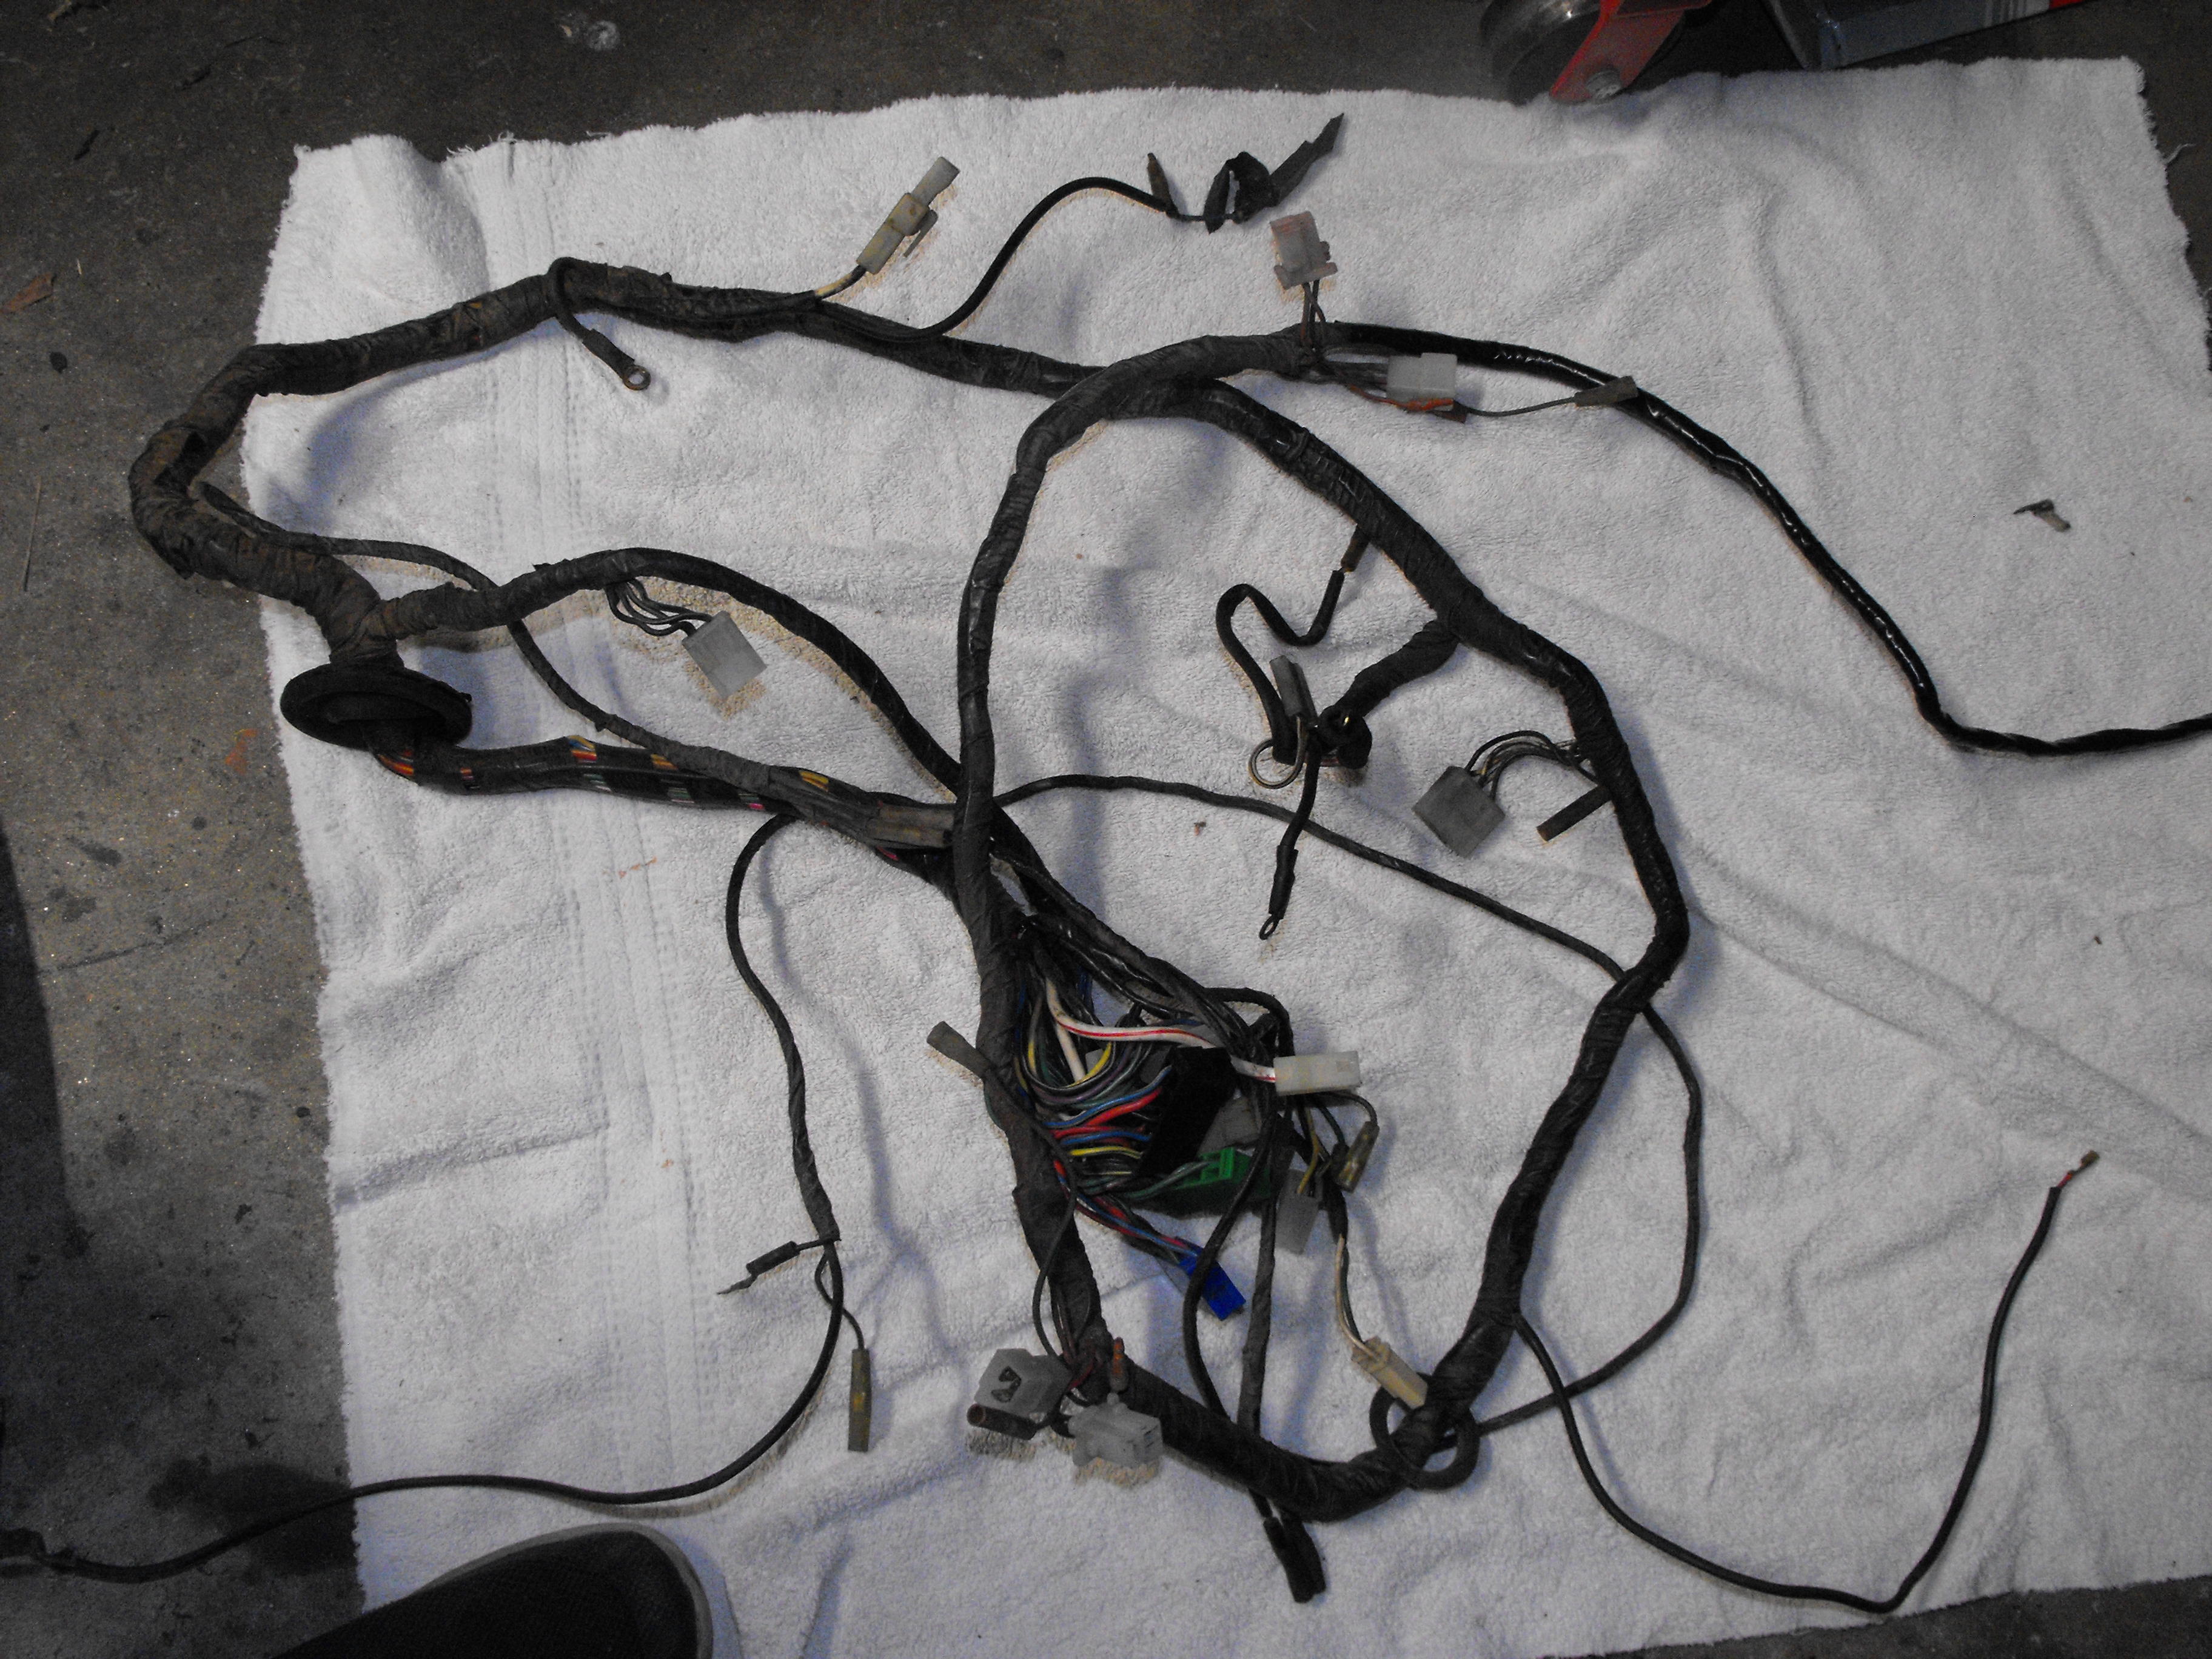
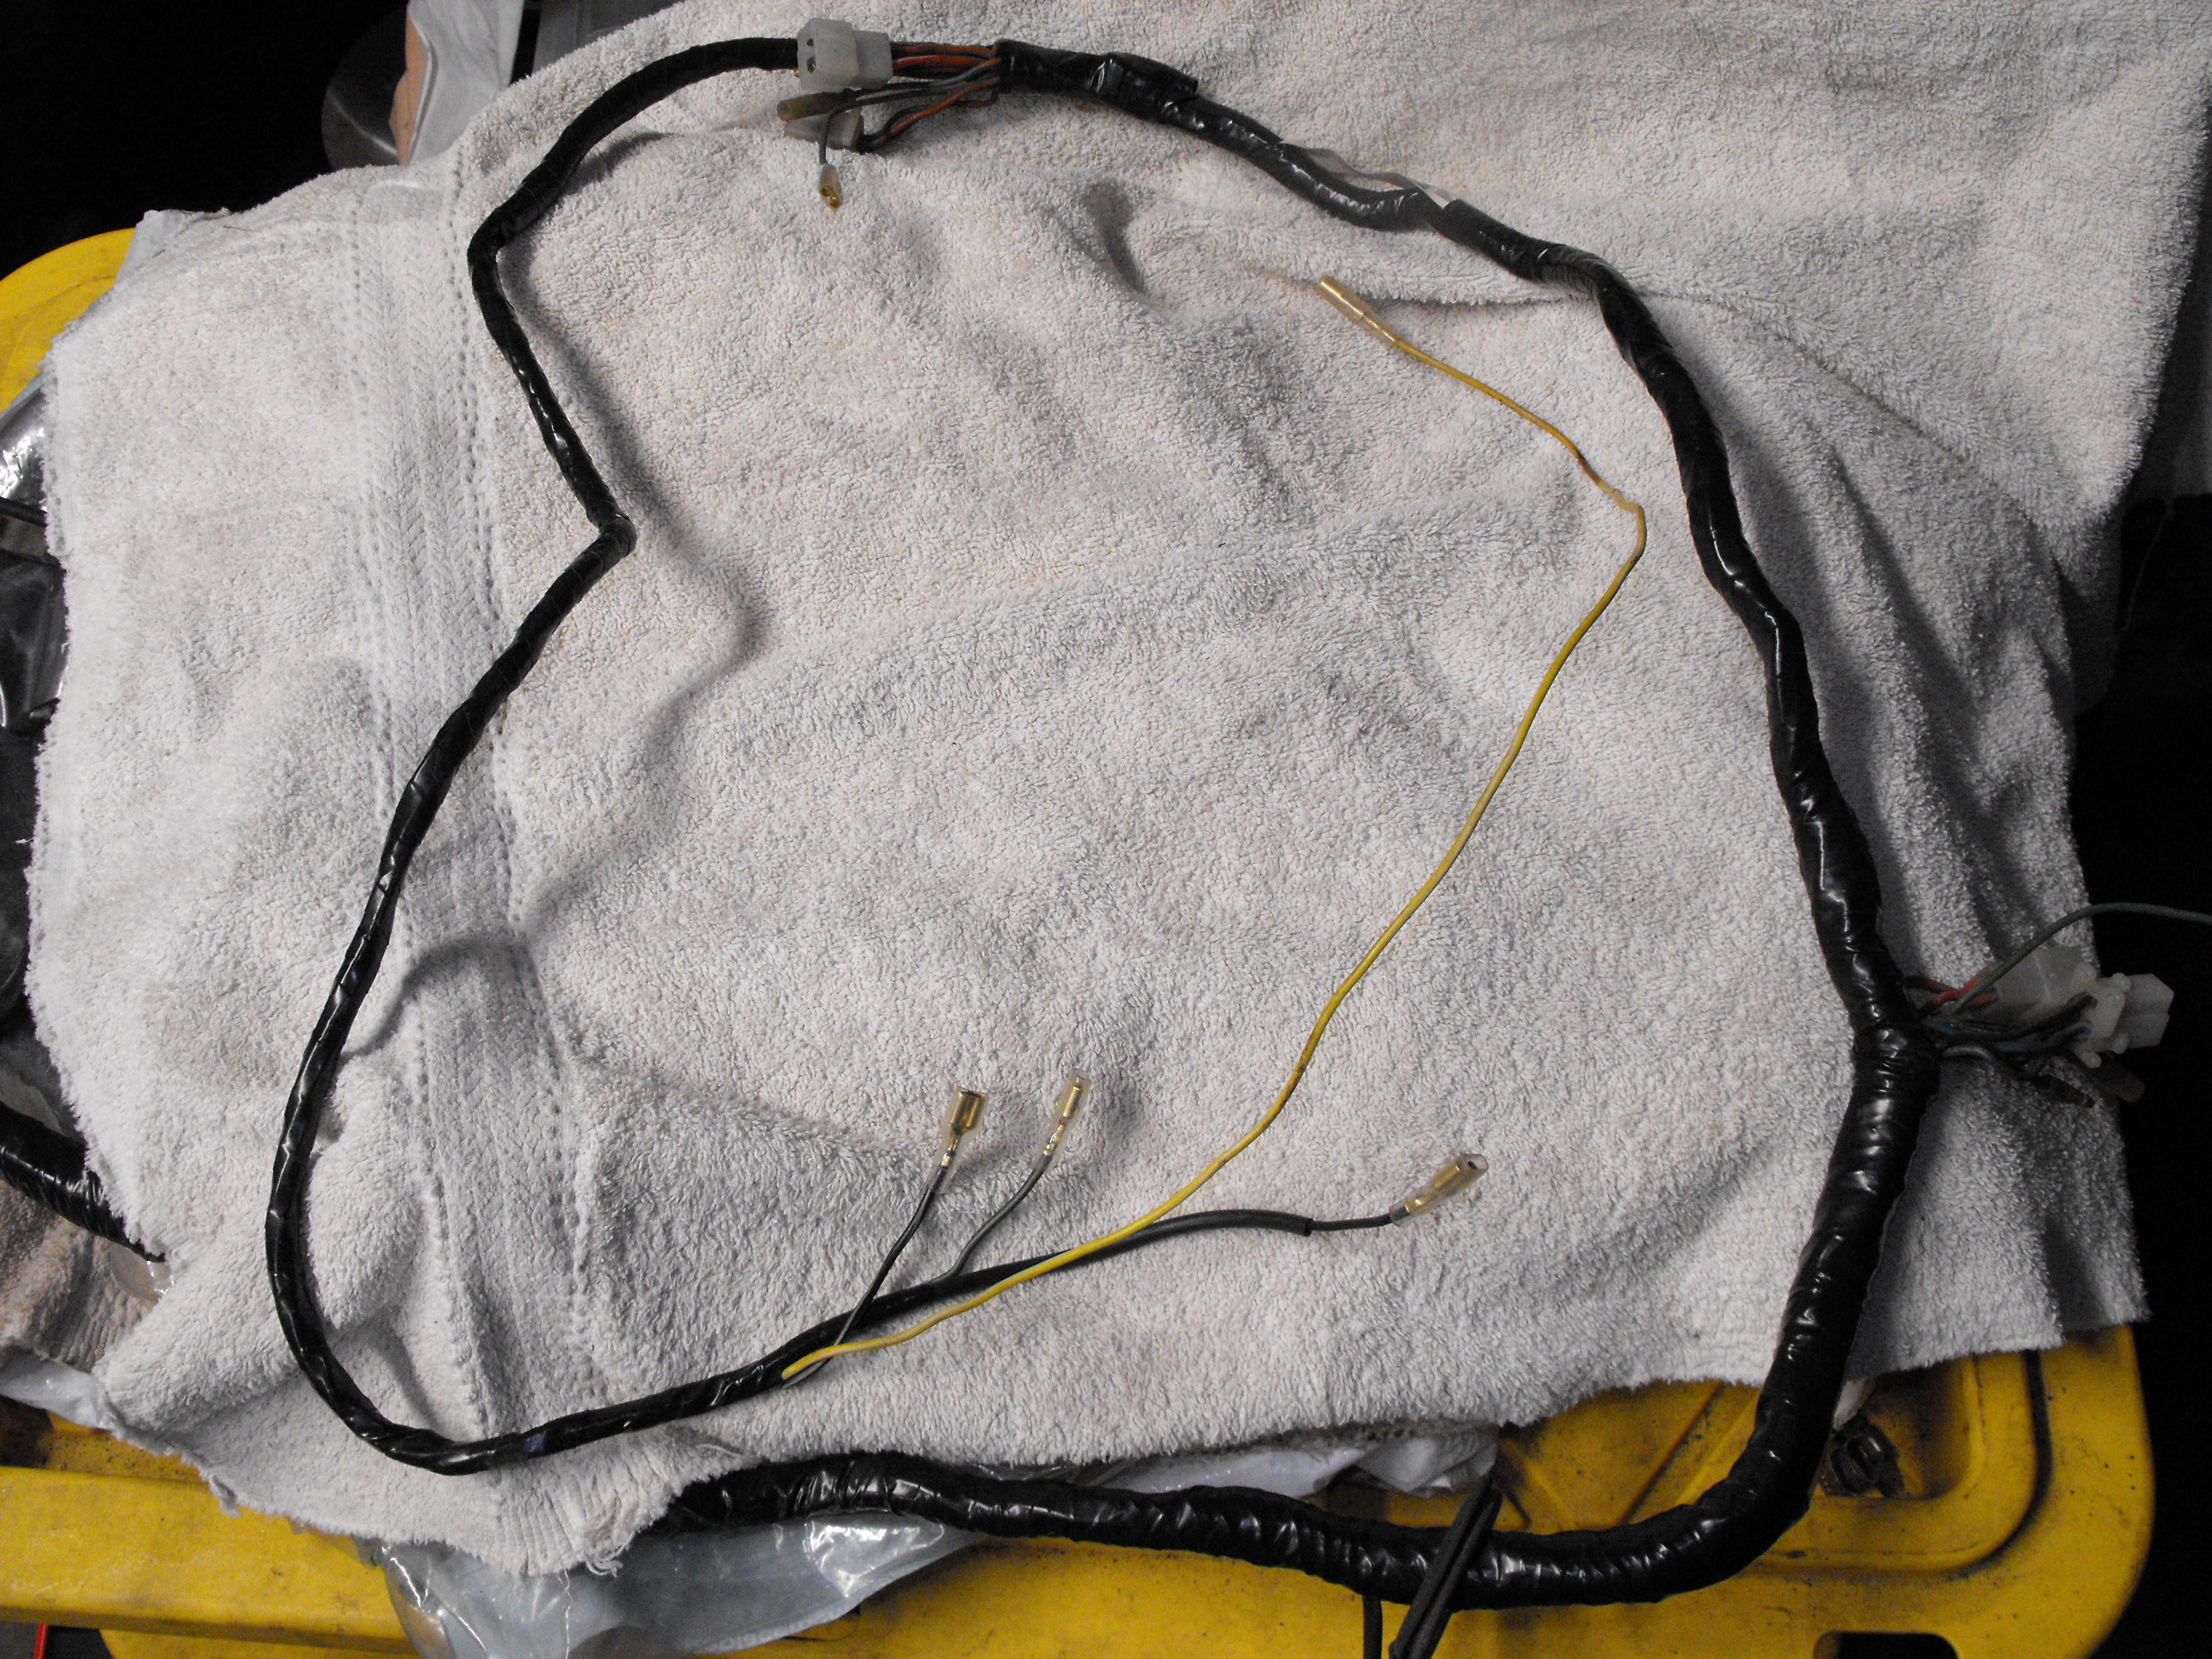
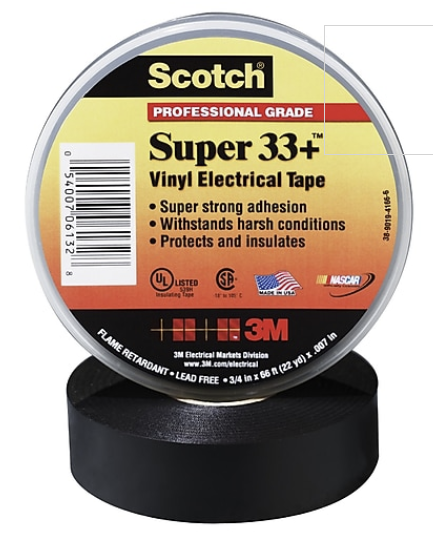
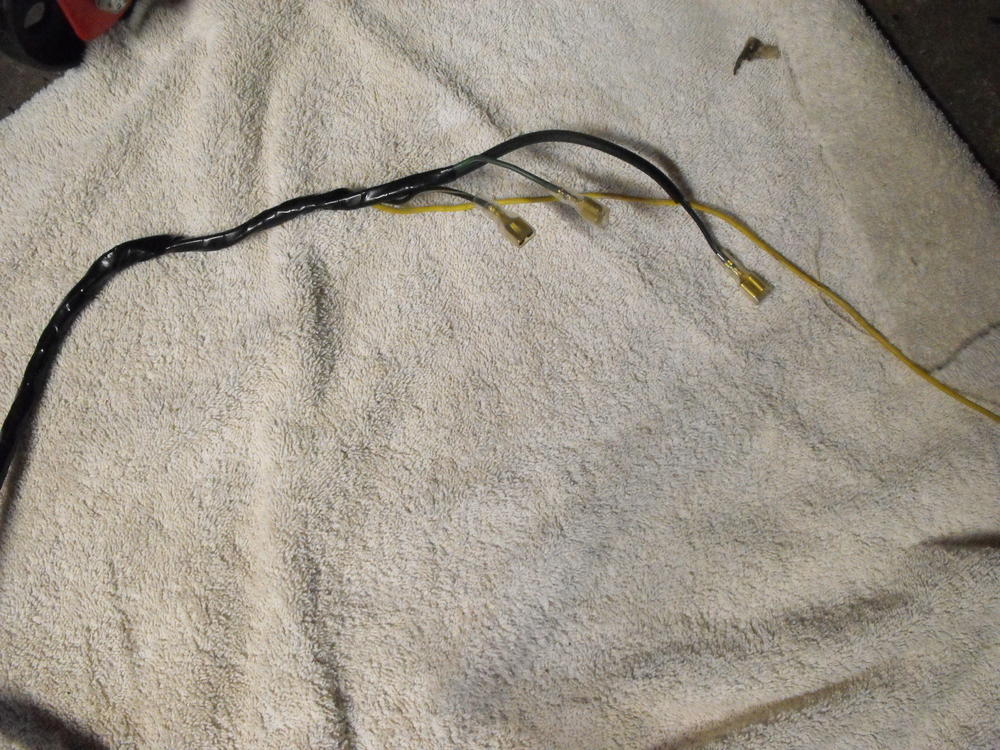
I used the Scotch 33+ electrical tape. First I cleaned the original wrap with paint thinner, let dry, then did the wrap with about 50% overlap. I did remove some of the original tape that was in bad condition, but for the most part, aside from the dirt and oil, it was in pretty good condition. The 'shinyness' of the tape was actually very similar to the original wrap. In fact I had to pay pretty close attention during the wrap as it was almost indistinguishable from the original.
-
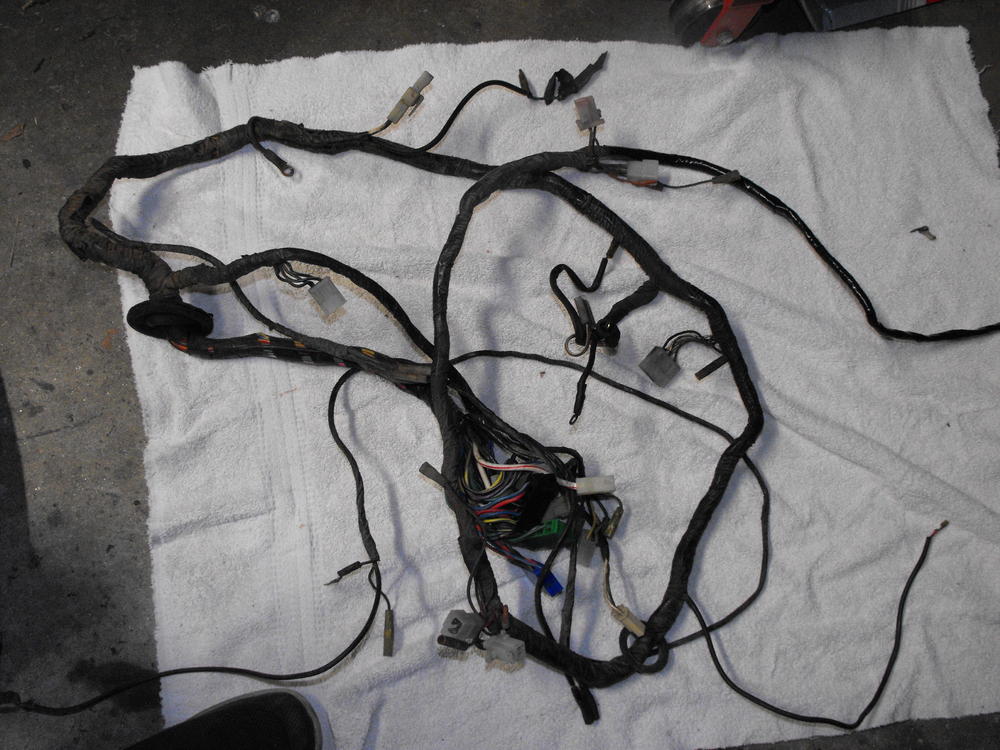
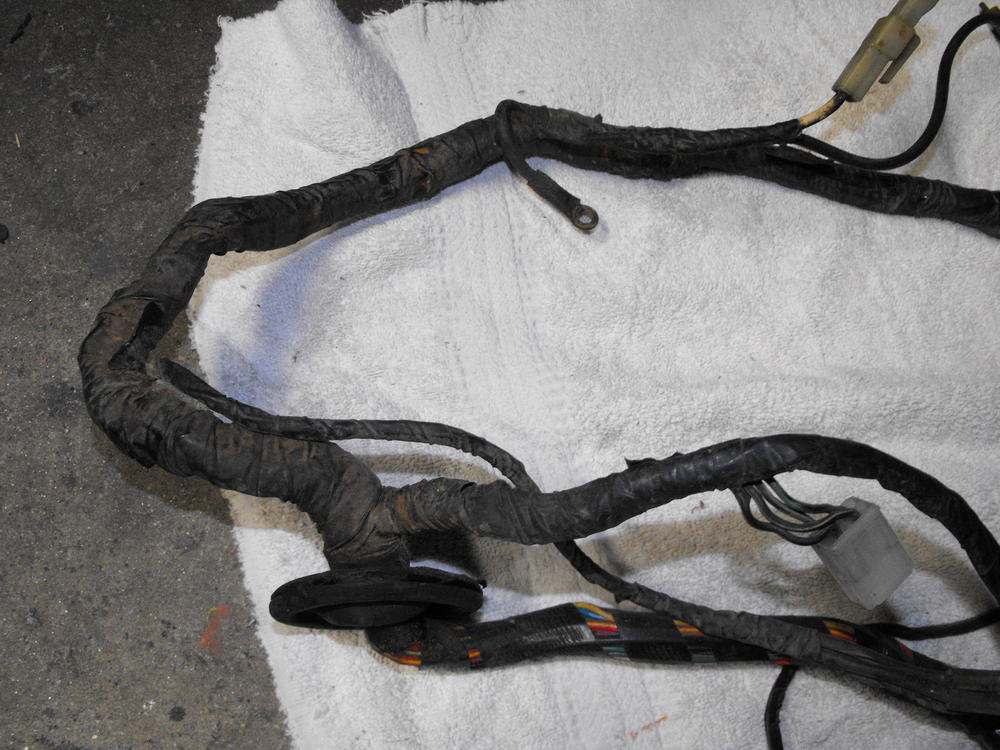
Cleaning up the engine electrical harness here. There was the usual dirt and oil, but also some orange overspray that had to be re-moved. Replaced most of the terminals and yellowed covers with new terminals and covers from vintage connections: http://www.vintageconnections.com/. Also, re-wrapped the harness with new tape.


-
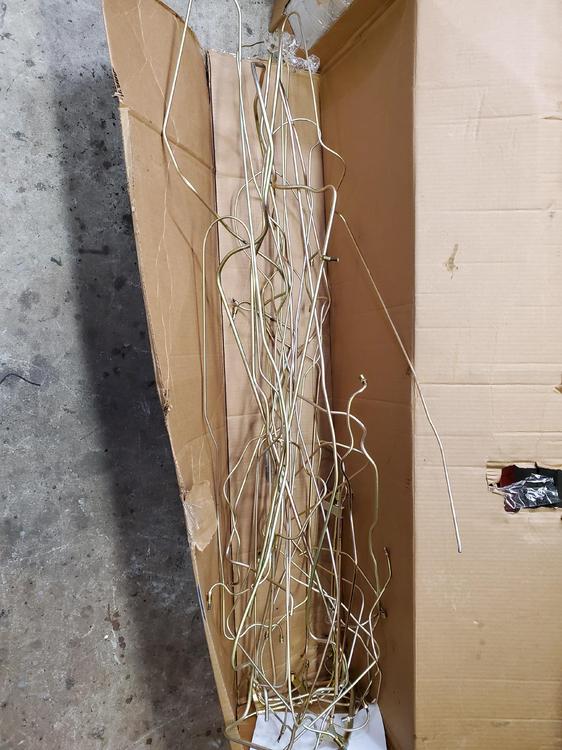
Bad news, good news on the tube plating. Turns out that the local plating shop was not able to accommodate the tubes in their 5 foot long tanks due to the 'Anode configuration'. So, I went back and picked up all the tubes and figured I would send them to Sav-On plating. They are the ones that do my batch plating for the smaller parts. They do a great job with very nice results. So, after chasing down a large box here at work, I shipped the tubes off to the plater. The good news here is that in spite of the added shipping charges, $75 each way, the cost to do all of the tubes using their rack plating set-up is just $165. I was paying double that for my local plater on the long tubes and I did not care for their work as much. So, turns out, I should get nicely plated tubes for just a little less than what i was paying my not so good local plater.
-
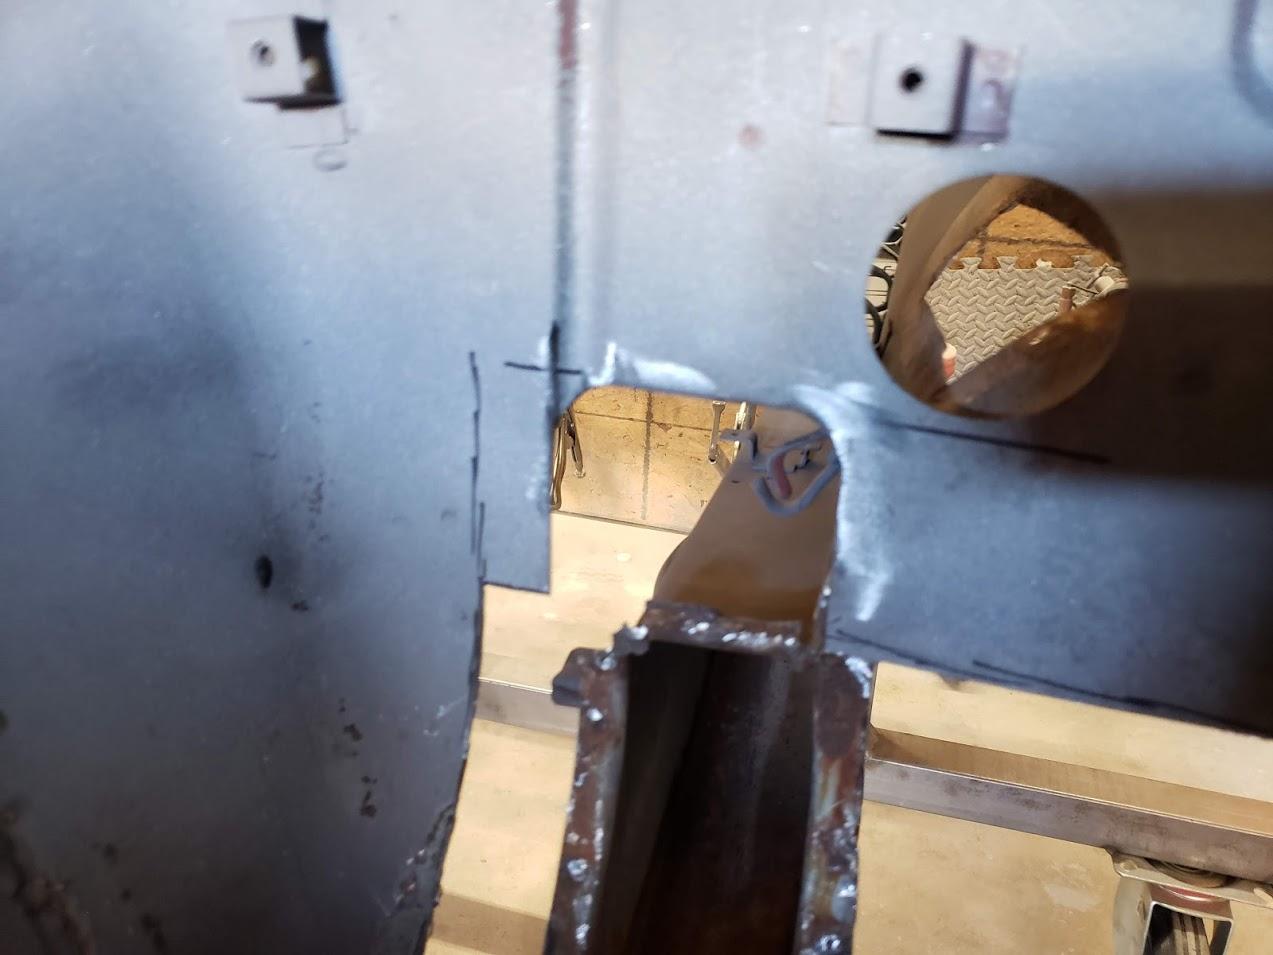
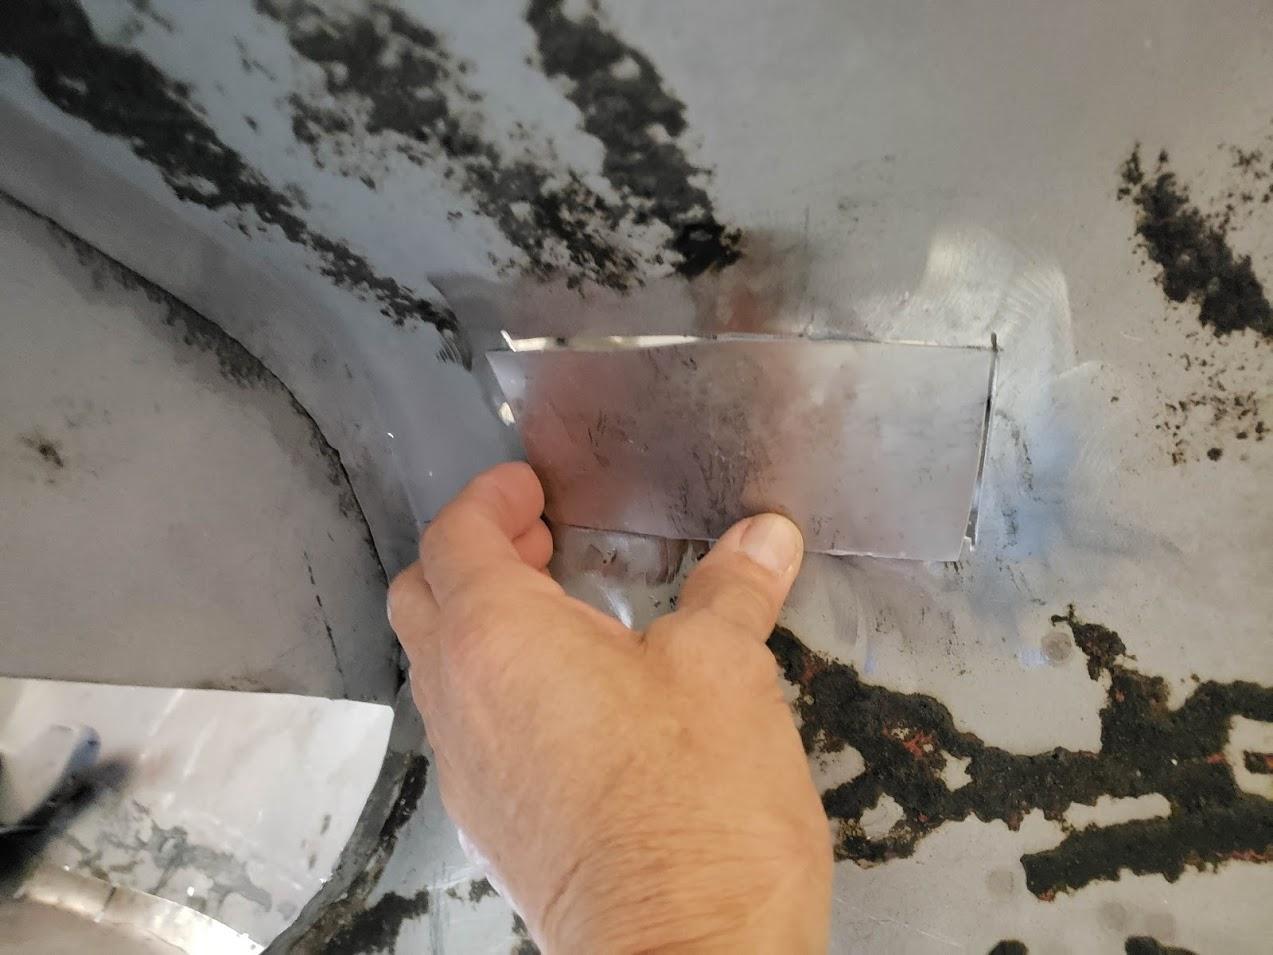
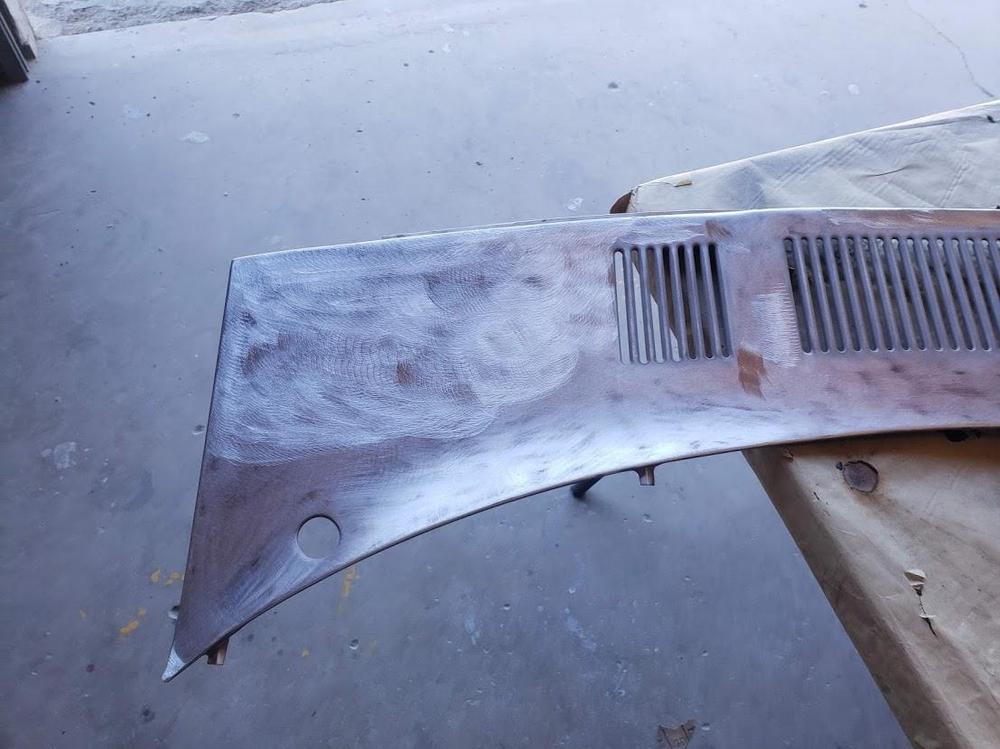
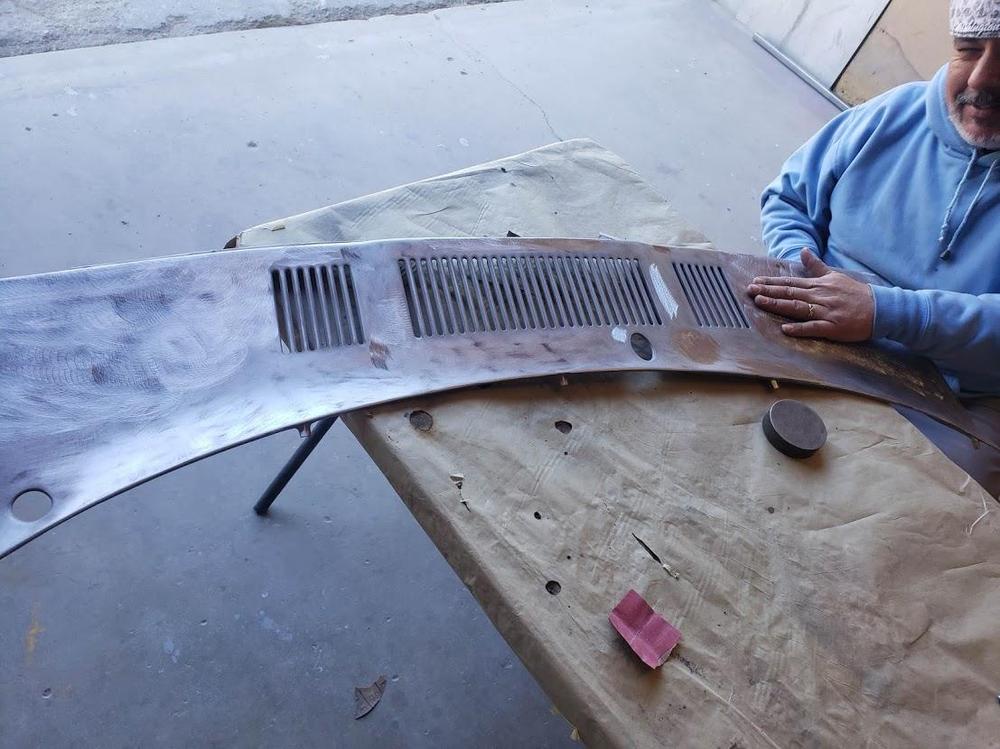
Updates from the Body/paint shop shop.


-
Had a similar issue where the car would idle very high then low and oscillate back and forth with high and low RPM, gas pedal non-responsive. Problem was a large open hole in the back of the balance tube where one of the fittings (PCV?) was missing. Once I plugged it, she ran like a champ.
-
I used the wire wheel on the end fittings. 220 grit to clean and sand the tubing. There was some undercoating and overspray on the tubing also. I used the wire wheel on those portions.
-
Gee, this almost looks artistic with the stains on my garage floor. Fuel and brake lines cleaned, sanded and prepped for plating. New plater has larger tanks so the long lines are just loosely bent in half instead of thirds. This works better as the bend in is now in the trans tunnel area.
-
Yes. I think he also has a nice place on the west coast along with a warehouse of cars out here.
-
I am pretty sure he has the largest Z collection on the planet and a lot of nice cars. Personally I think he is a pretty upright guy.
-
Decals are not missing, just never attached. Most of the early cars did not have the decals, mine included. Asked my dad who purchased it new in '70 and he said it never had any. Interesting
-
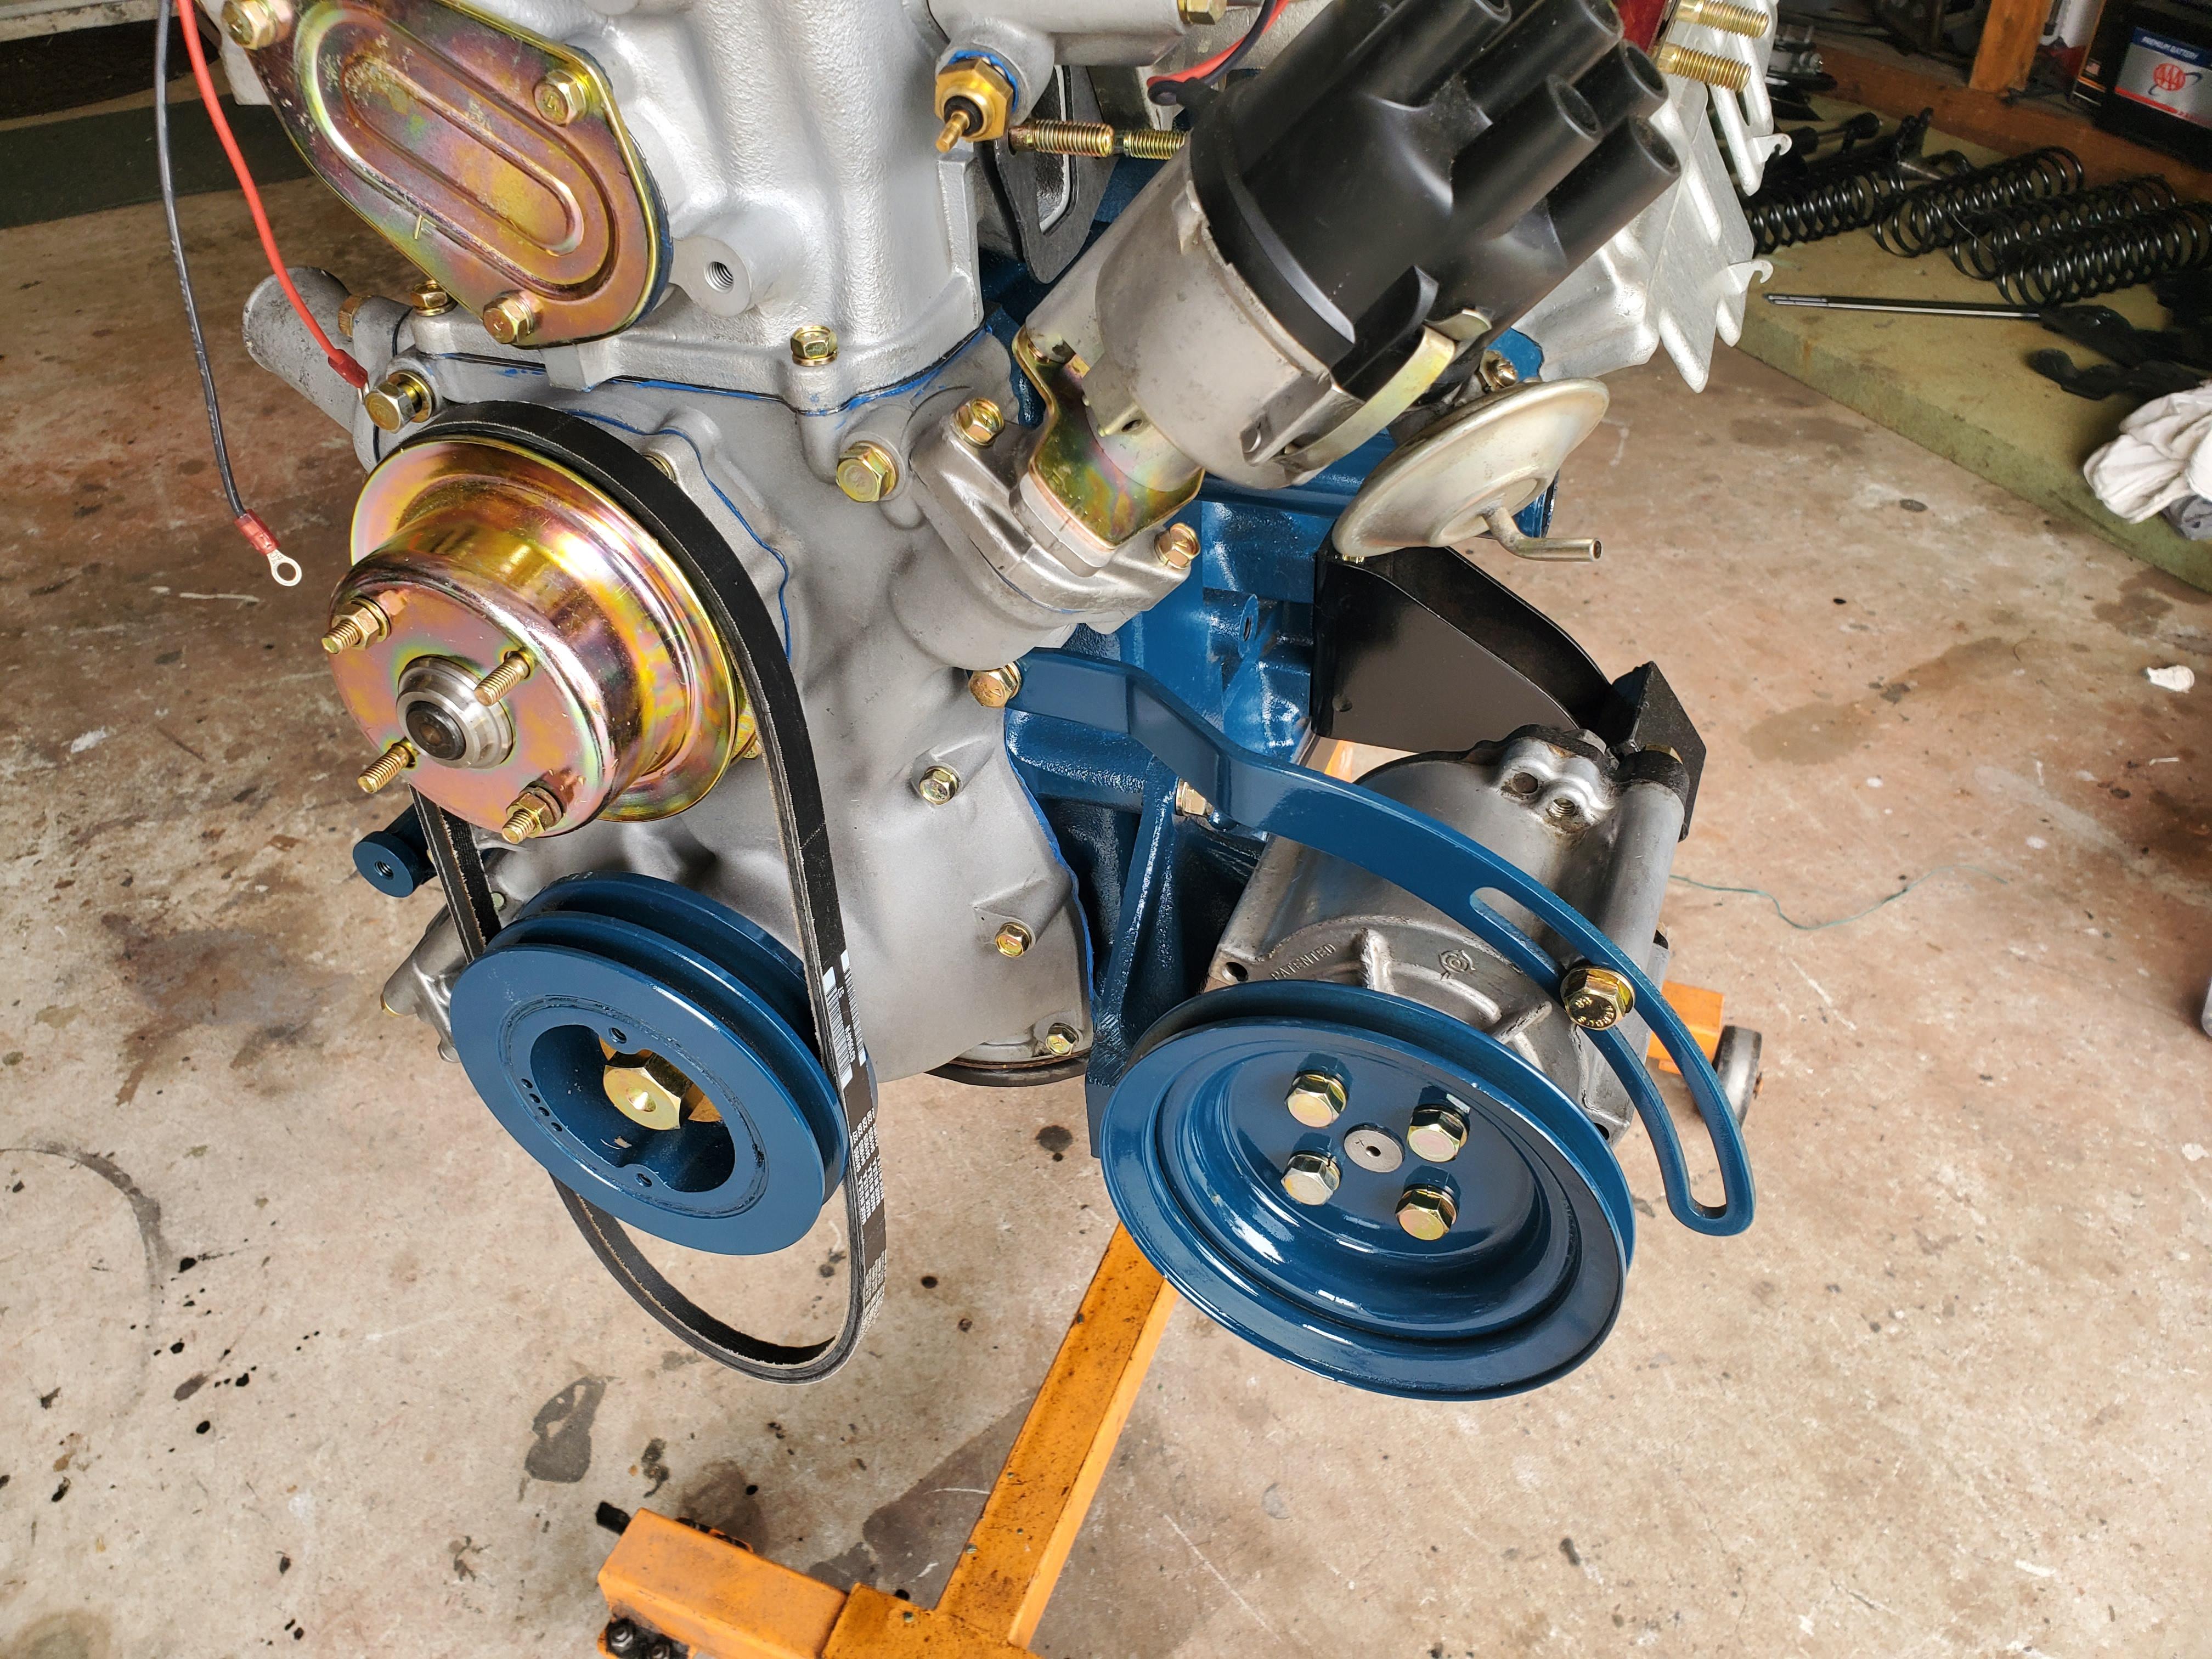
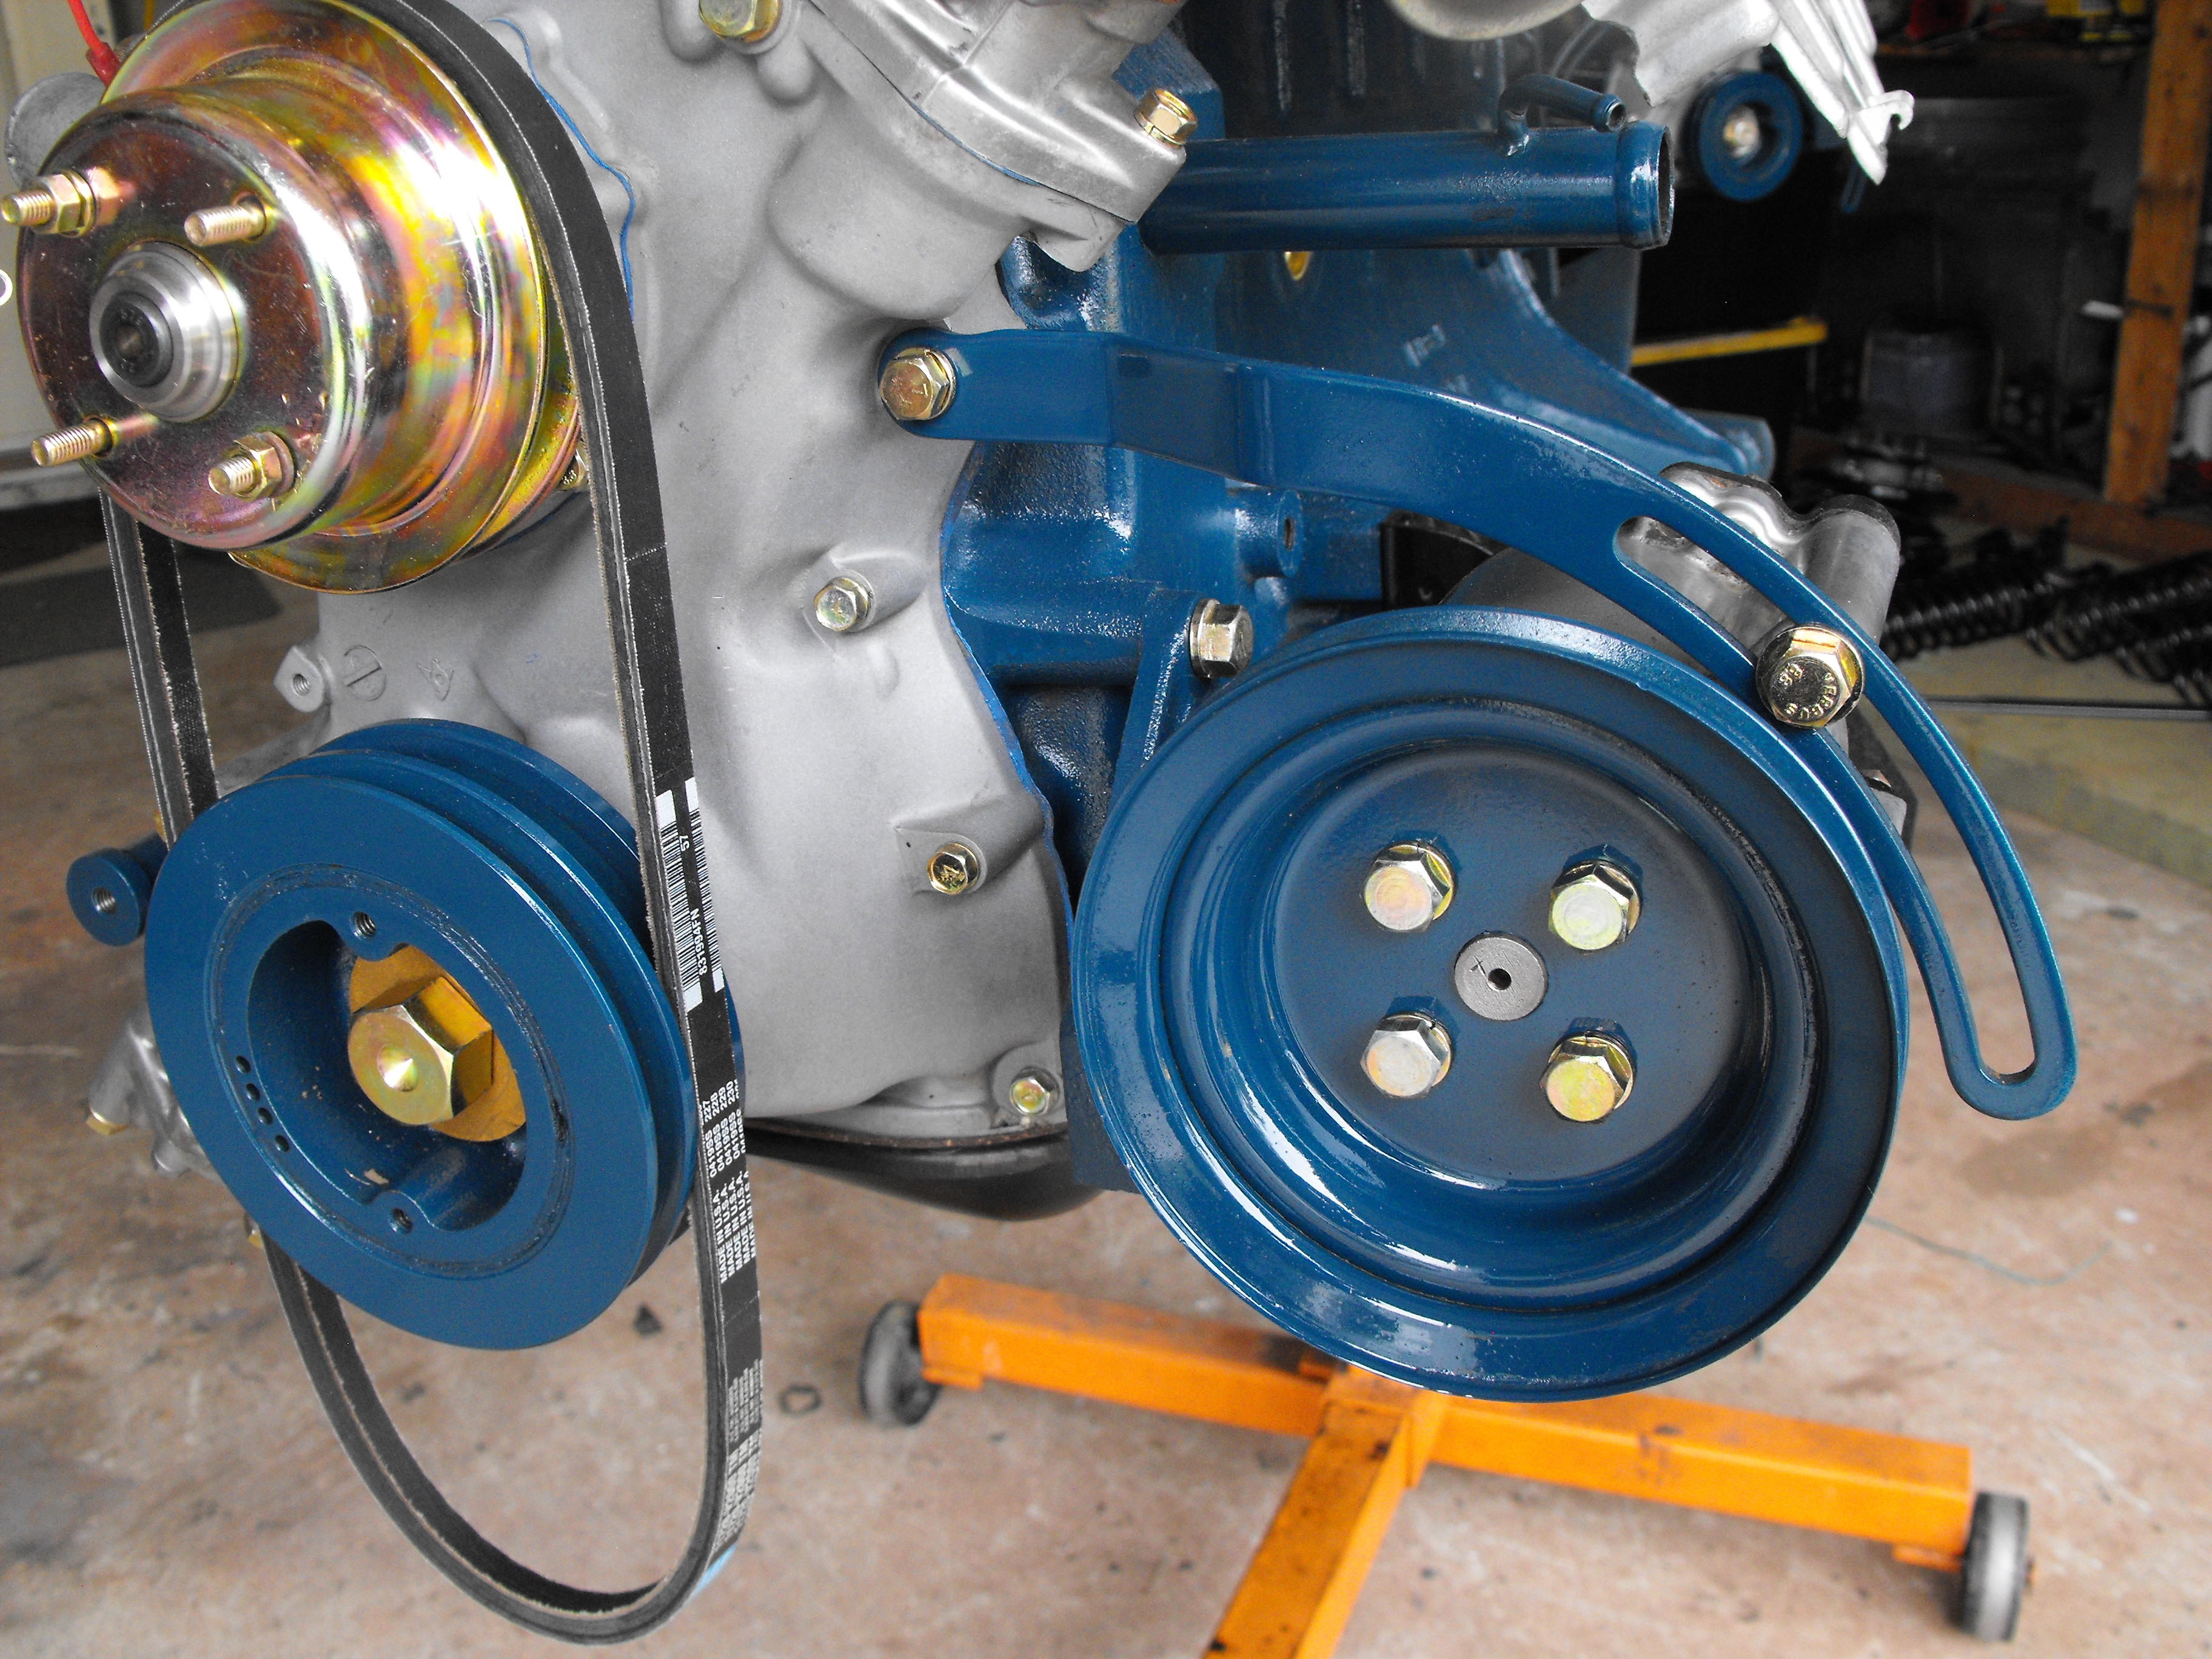
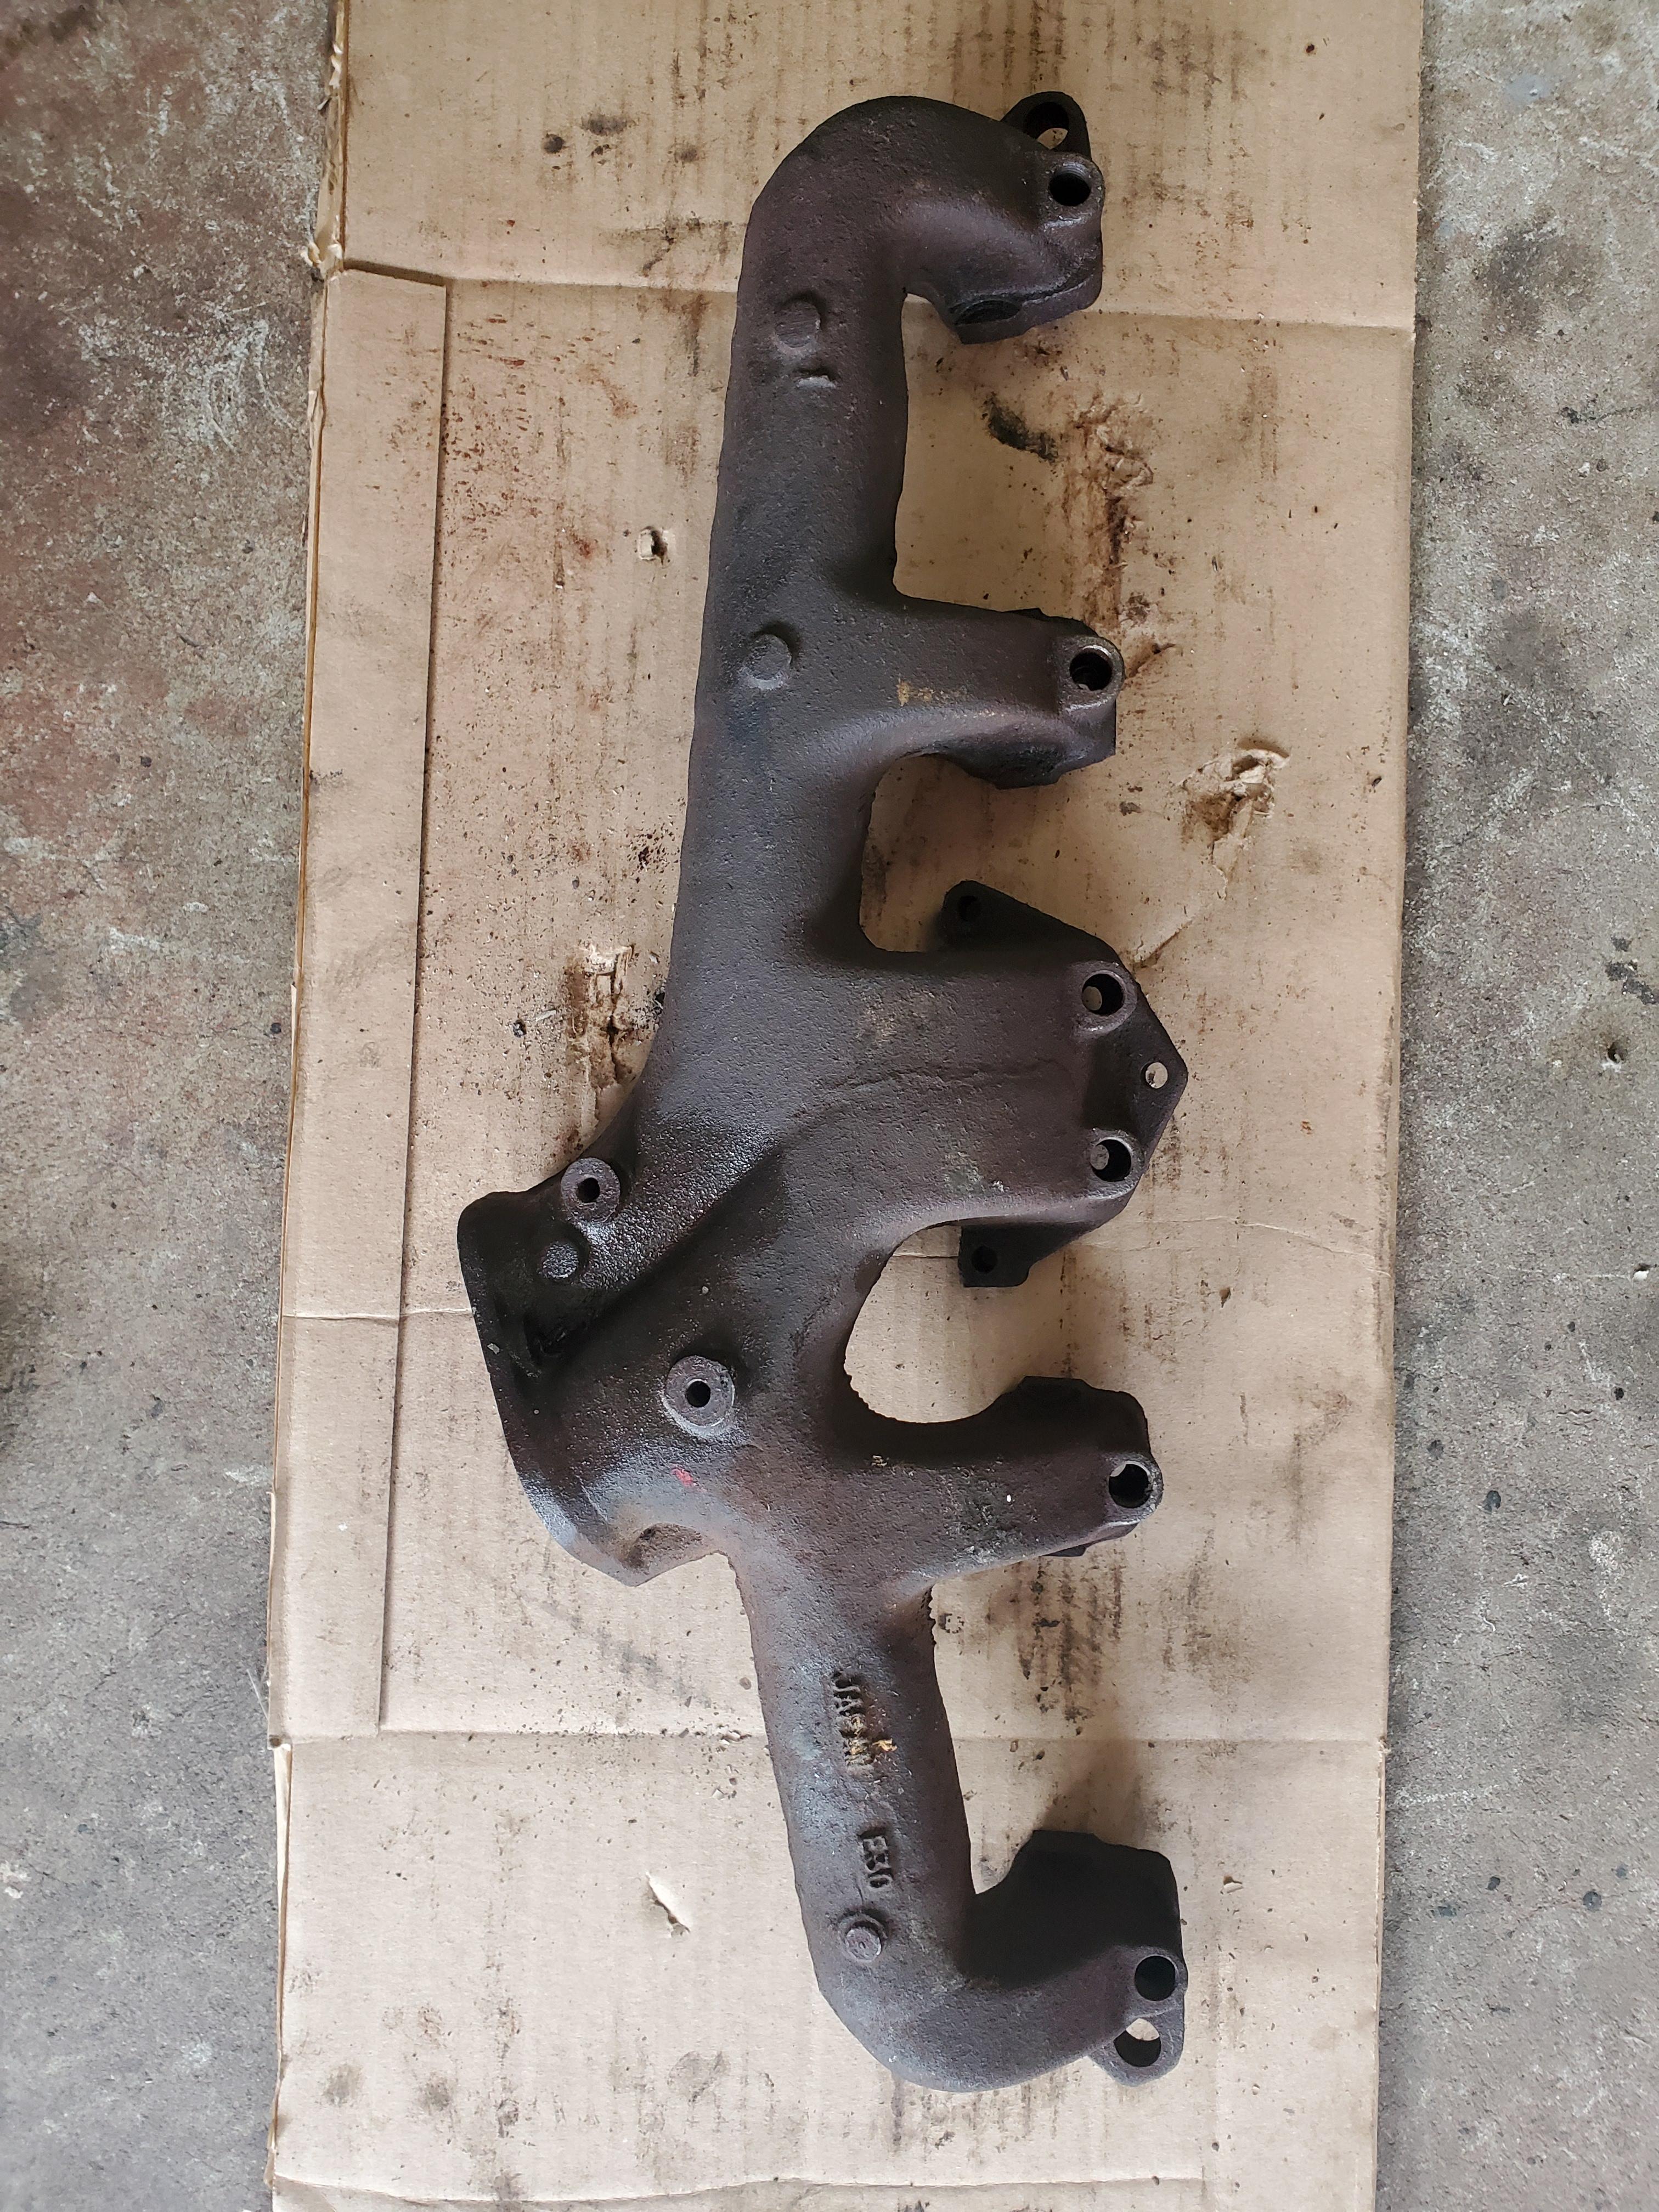
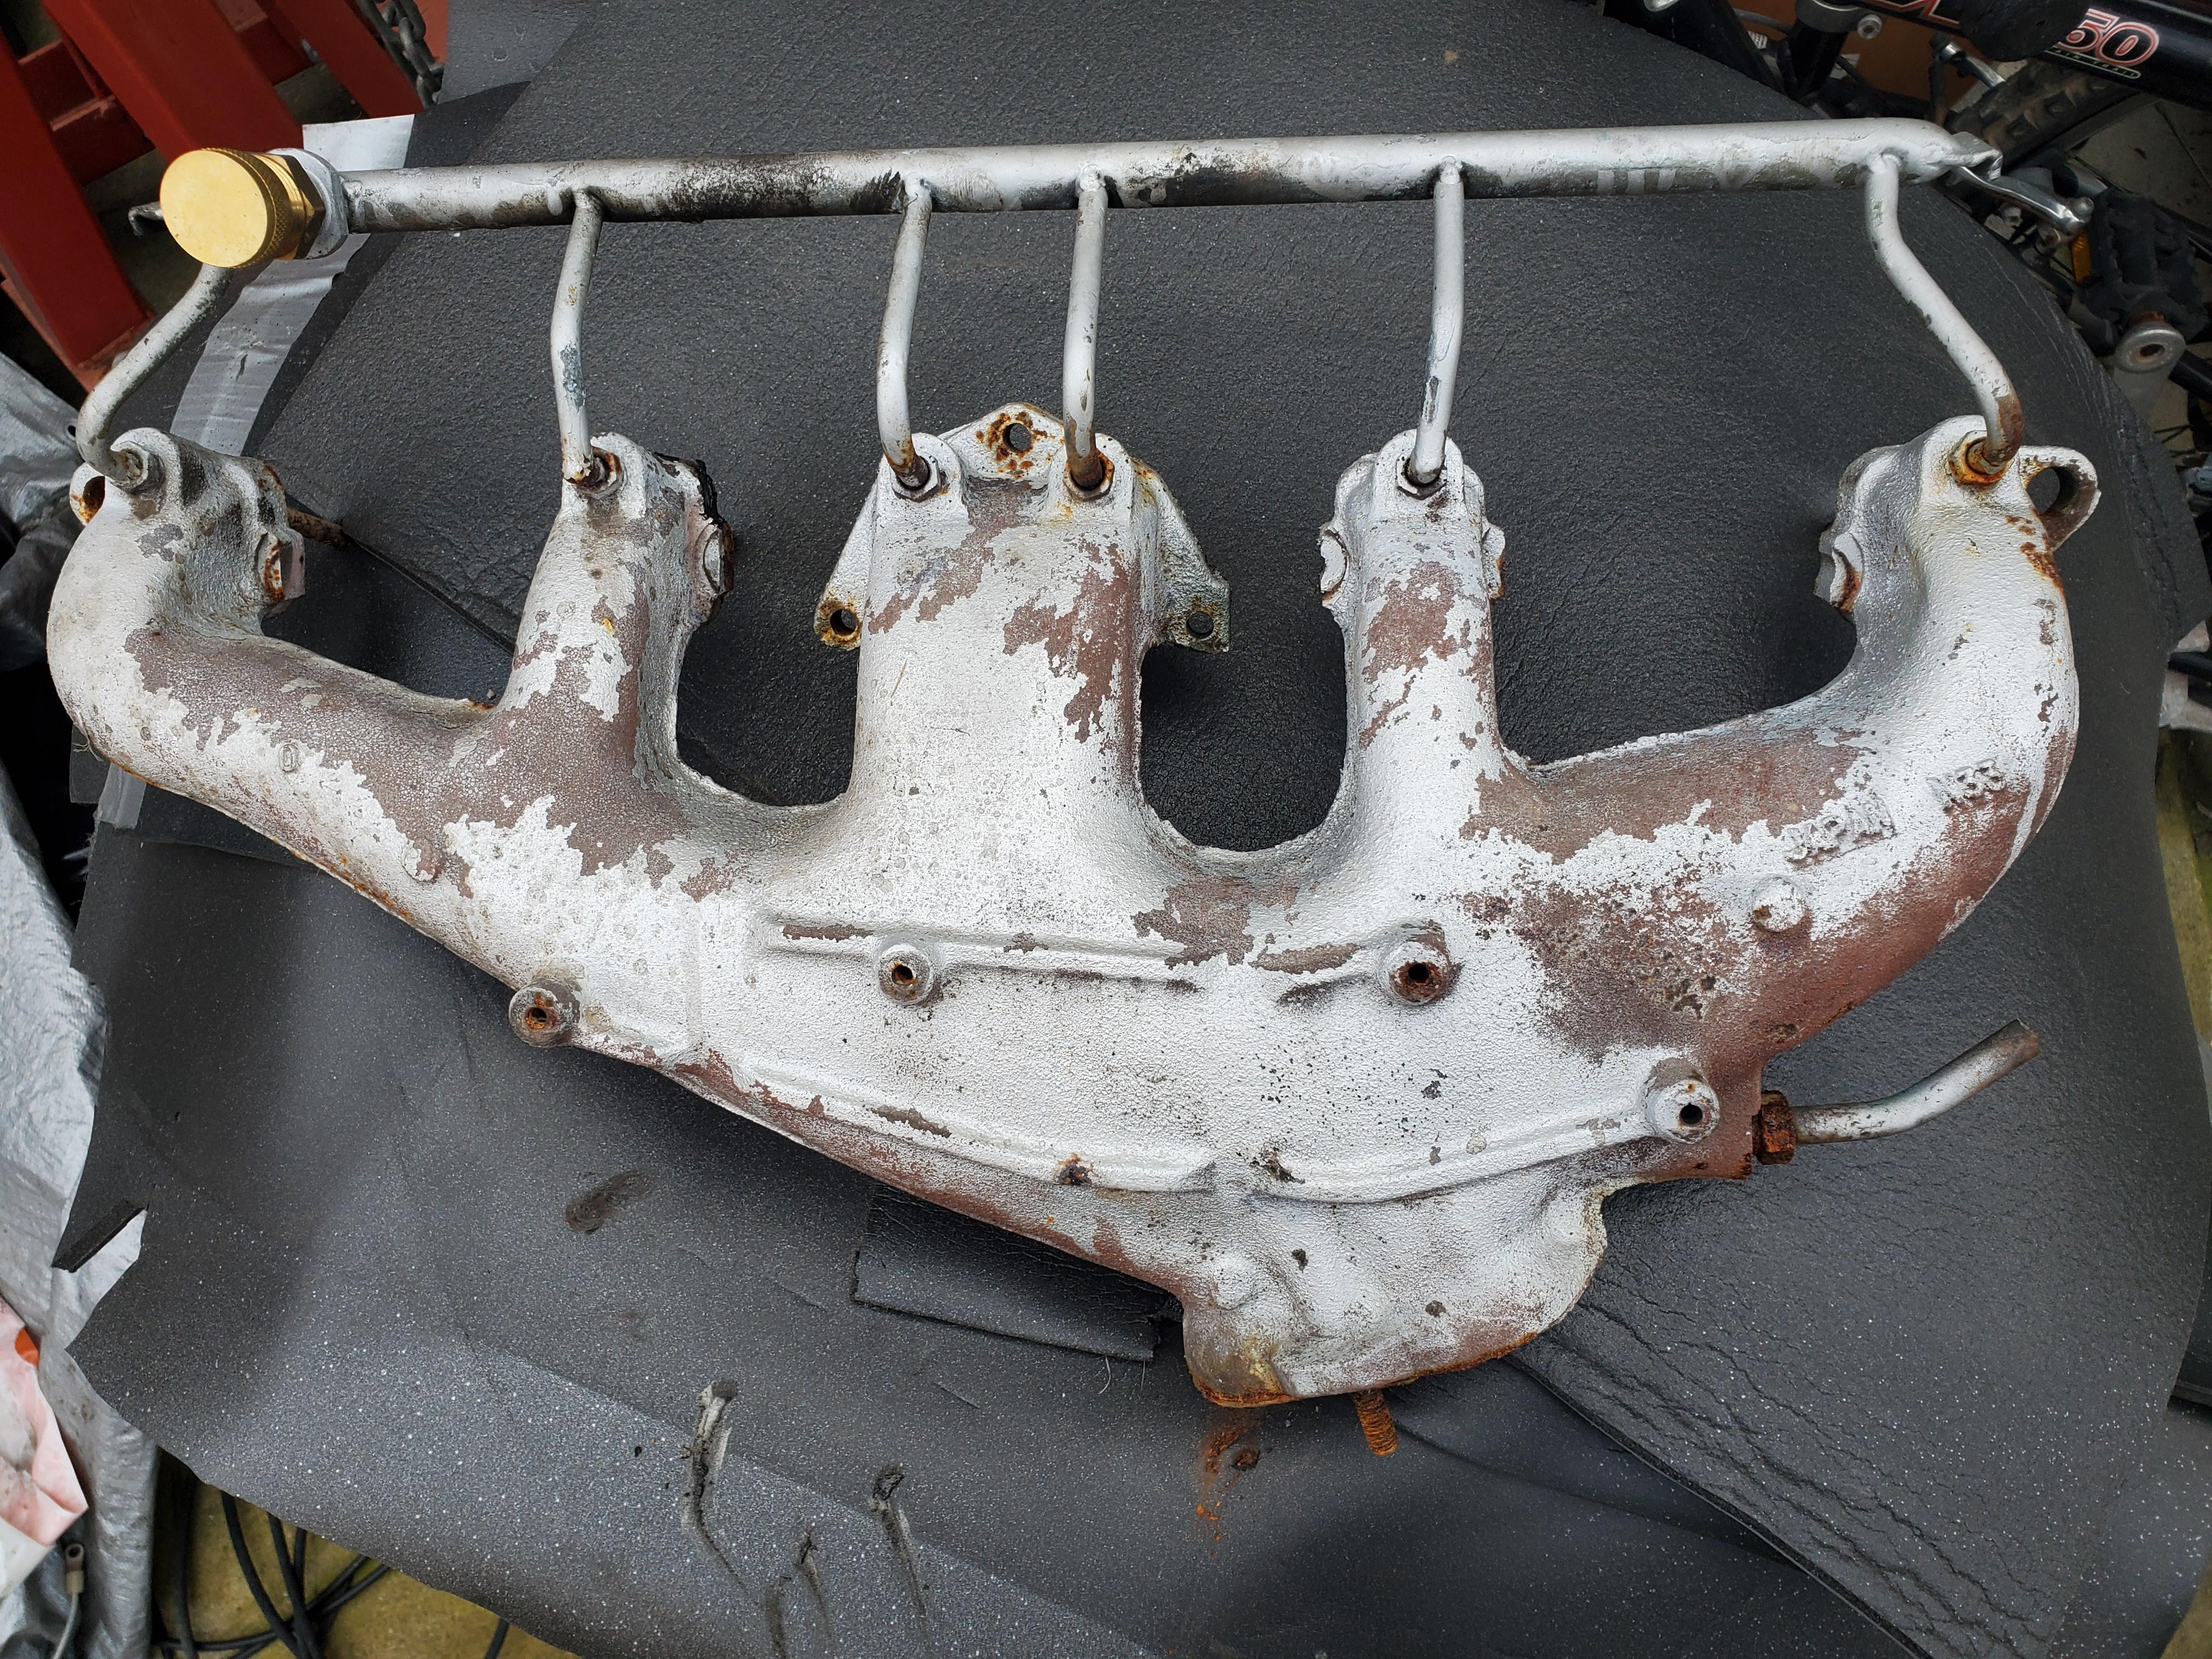
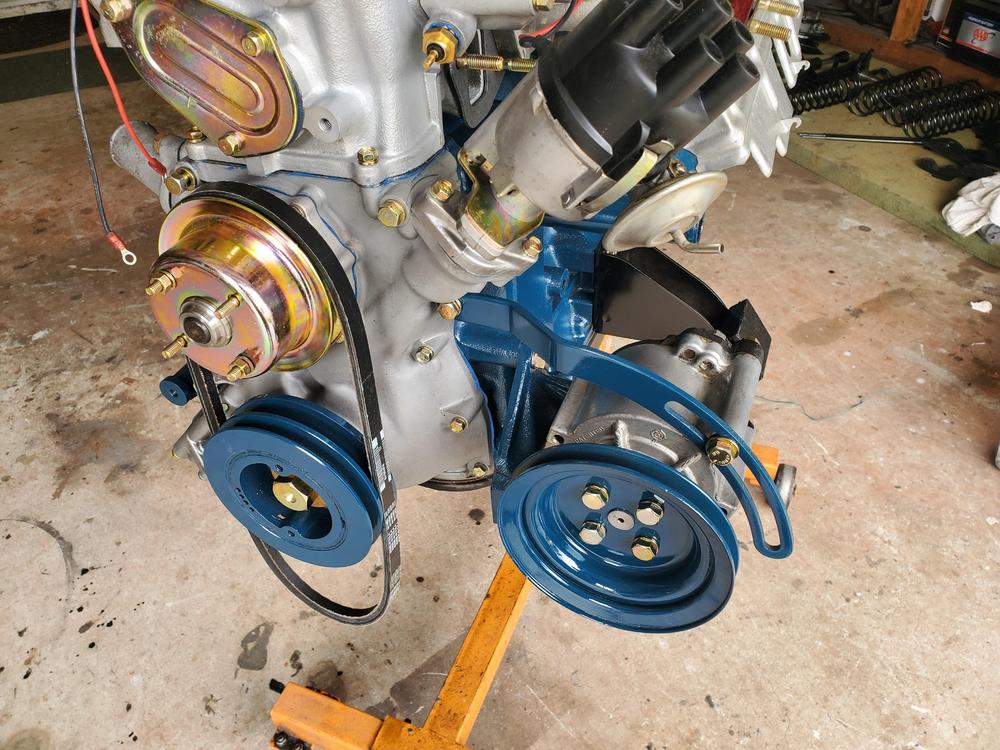
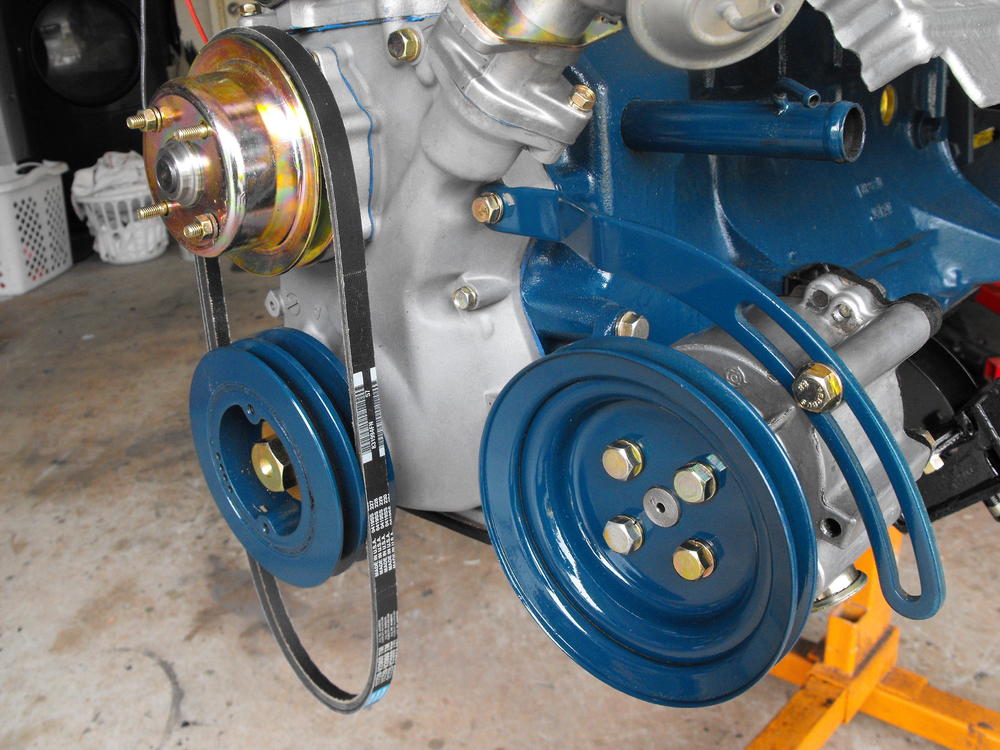
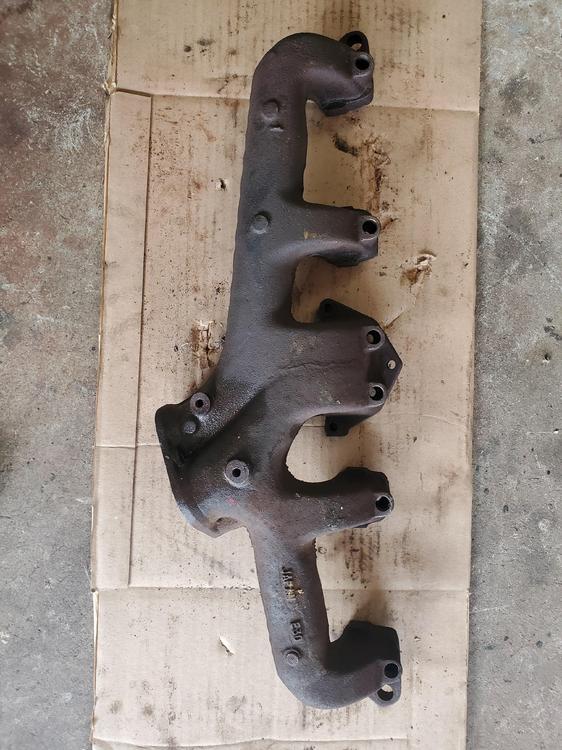
Back from a short vacation, so did a little more work on Orange here. Cleaned and lubed the smog pump and painted the pulley and bracket. Attached those to the block. Spent a little time removing the smog rail from an E30 exhaust manifold which I will use in place of the big old '73 manifold. This works better (visually) with the SUs that will be installed. That way it will look more like a complete '72 motor (It is a '72 build date). Also, I think the smaller manifold will not transmit as much heat to the carbs. Will send it off to get ceramic coating this week. I put on the intake and balance tube loosely. Will secure once motor is put in actual car.


.jpg.9928a1bc7a7099615603d410beb4decc.jpg)
.jpg.8a1dceca4248beb61960fbe18f244e3c.jpg)
.jpg.ee53e9025b9eddf24a22799d41fac52a.jpg)