motorman7
Supporting Member
-
Joined
-
Last visited
Everything posted by motorman7
-
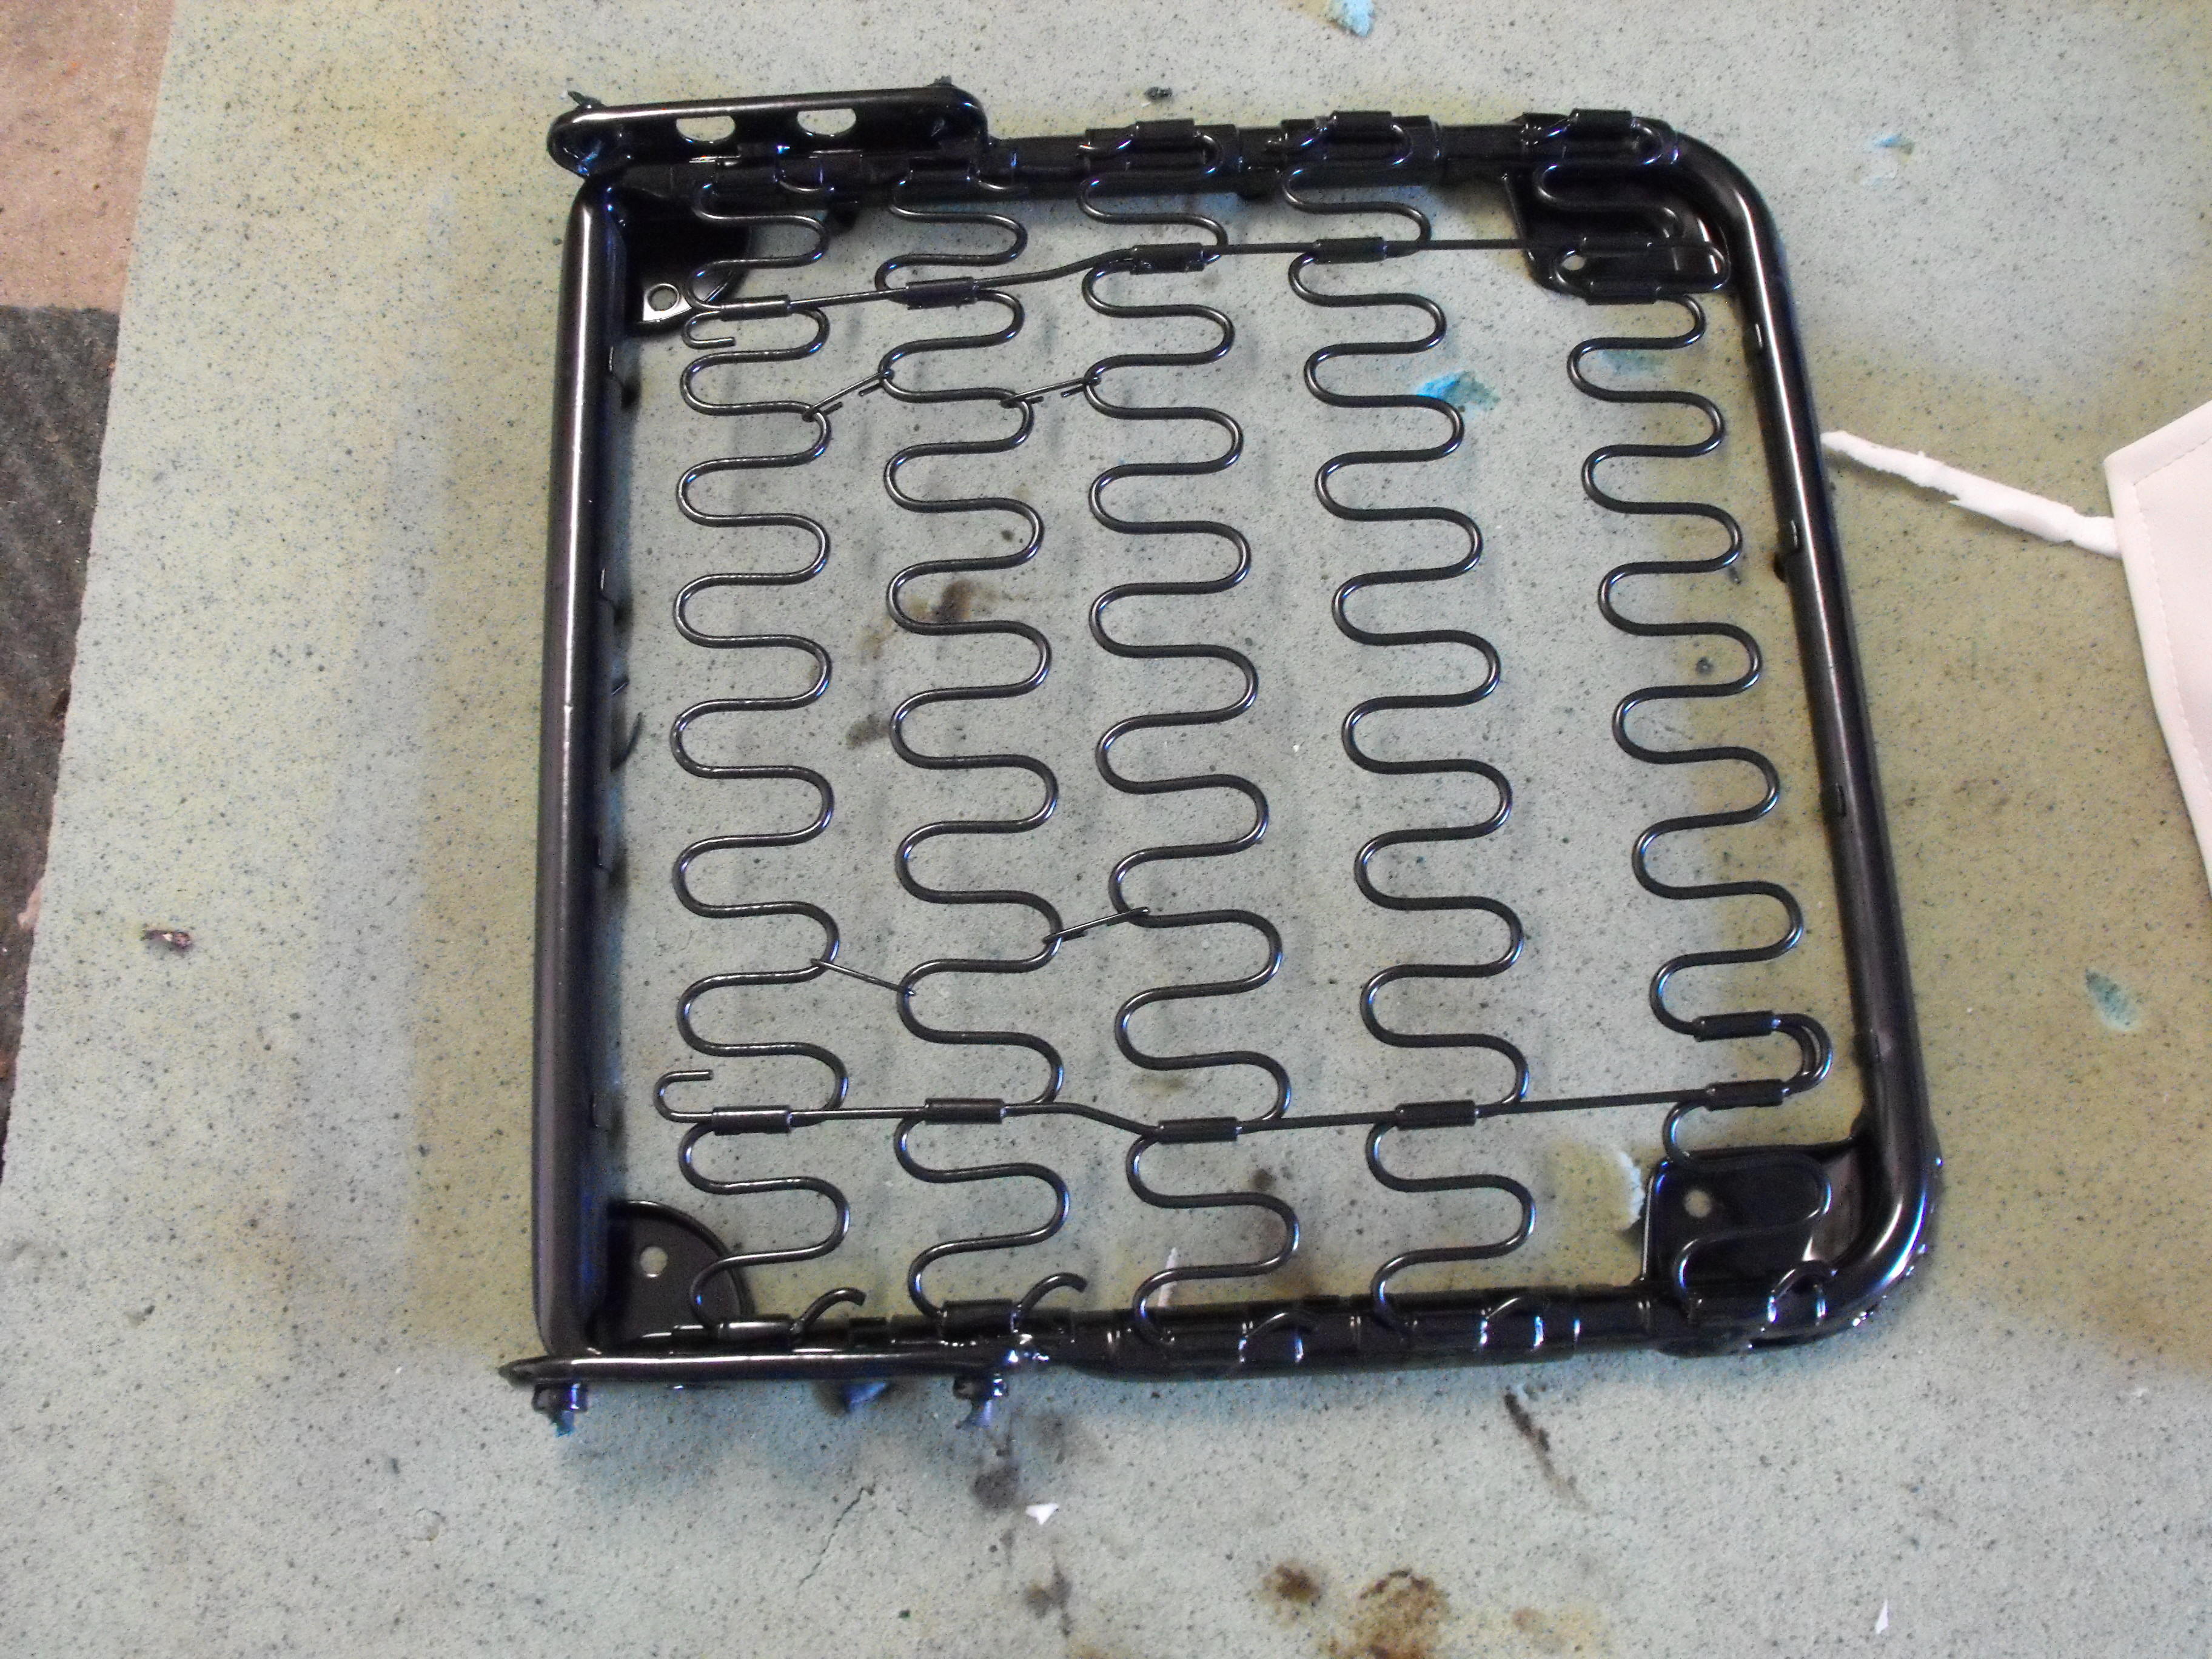
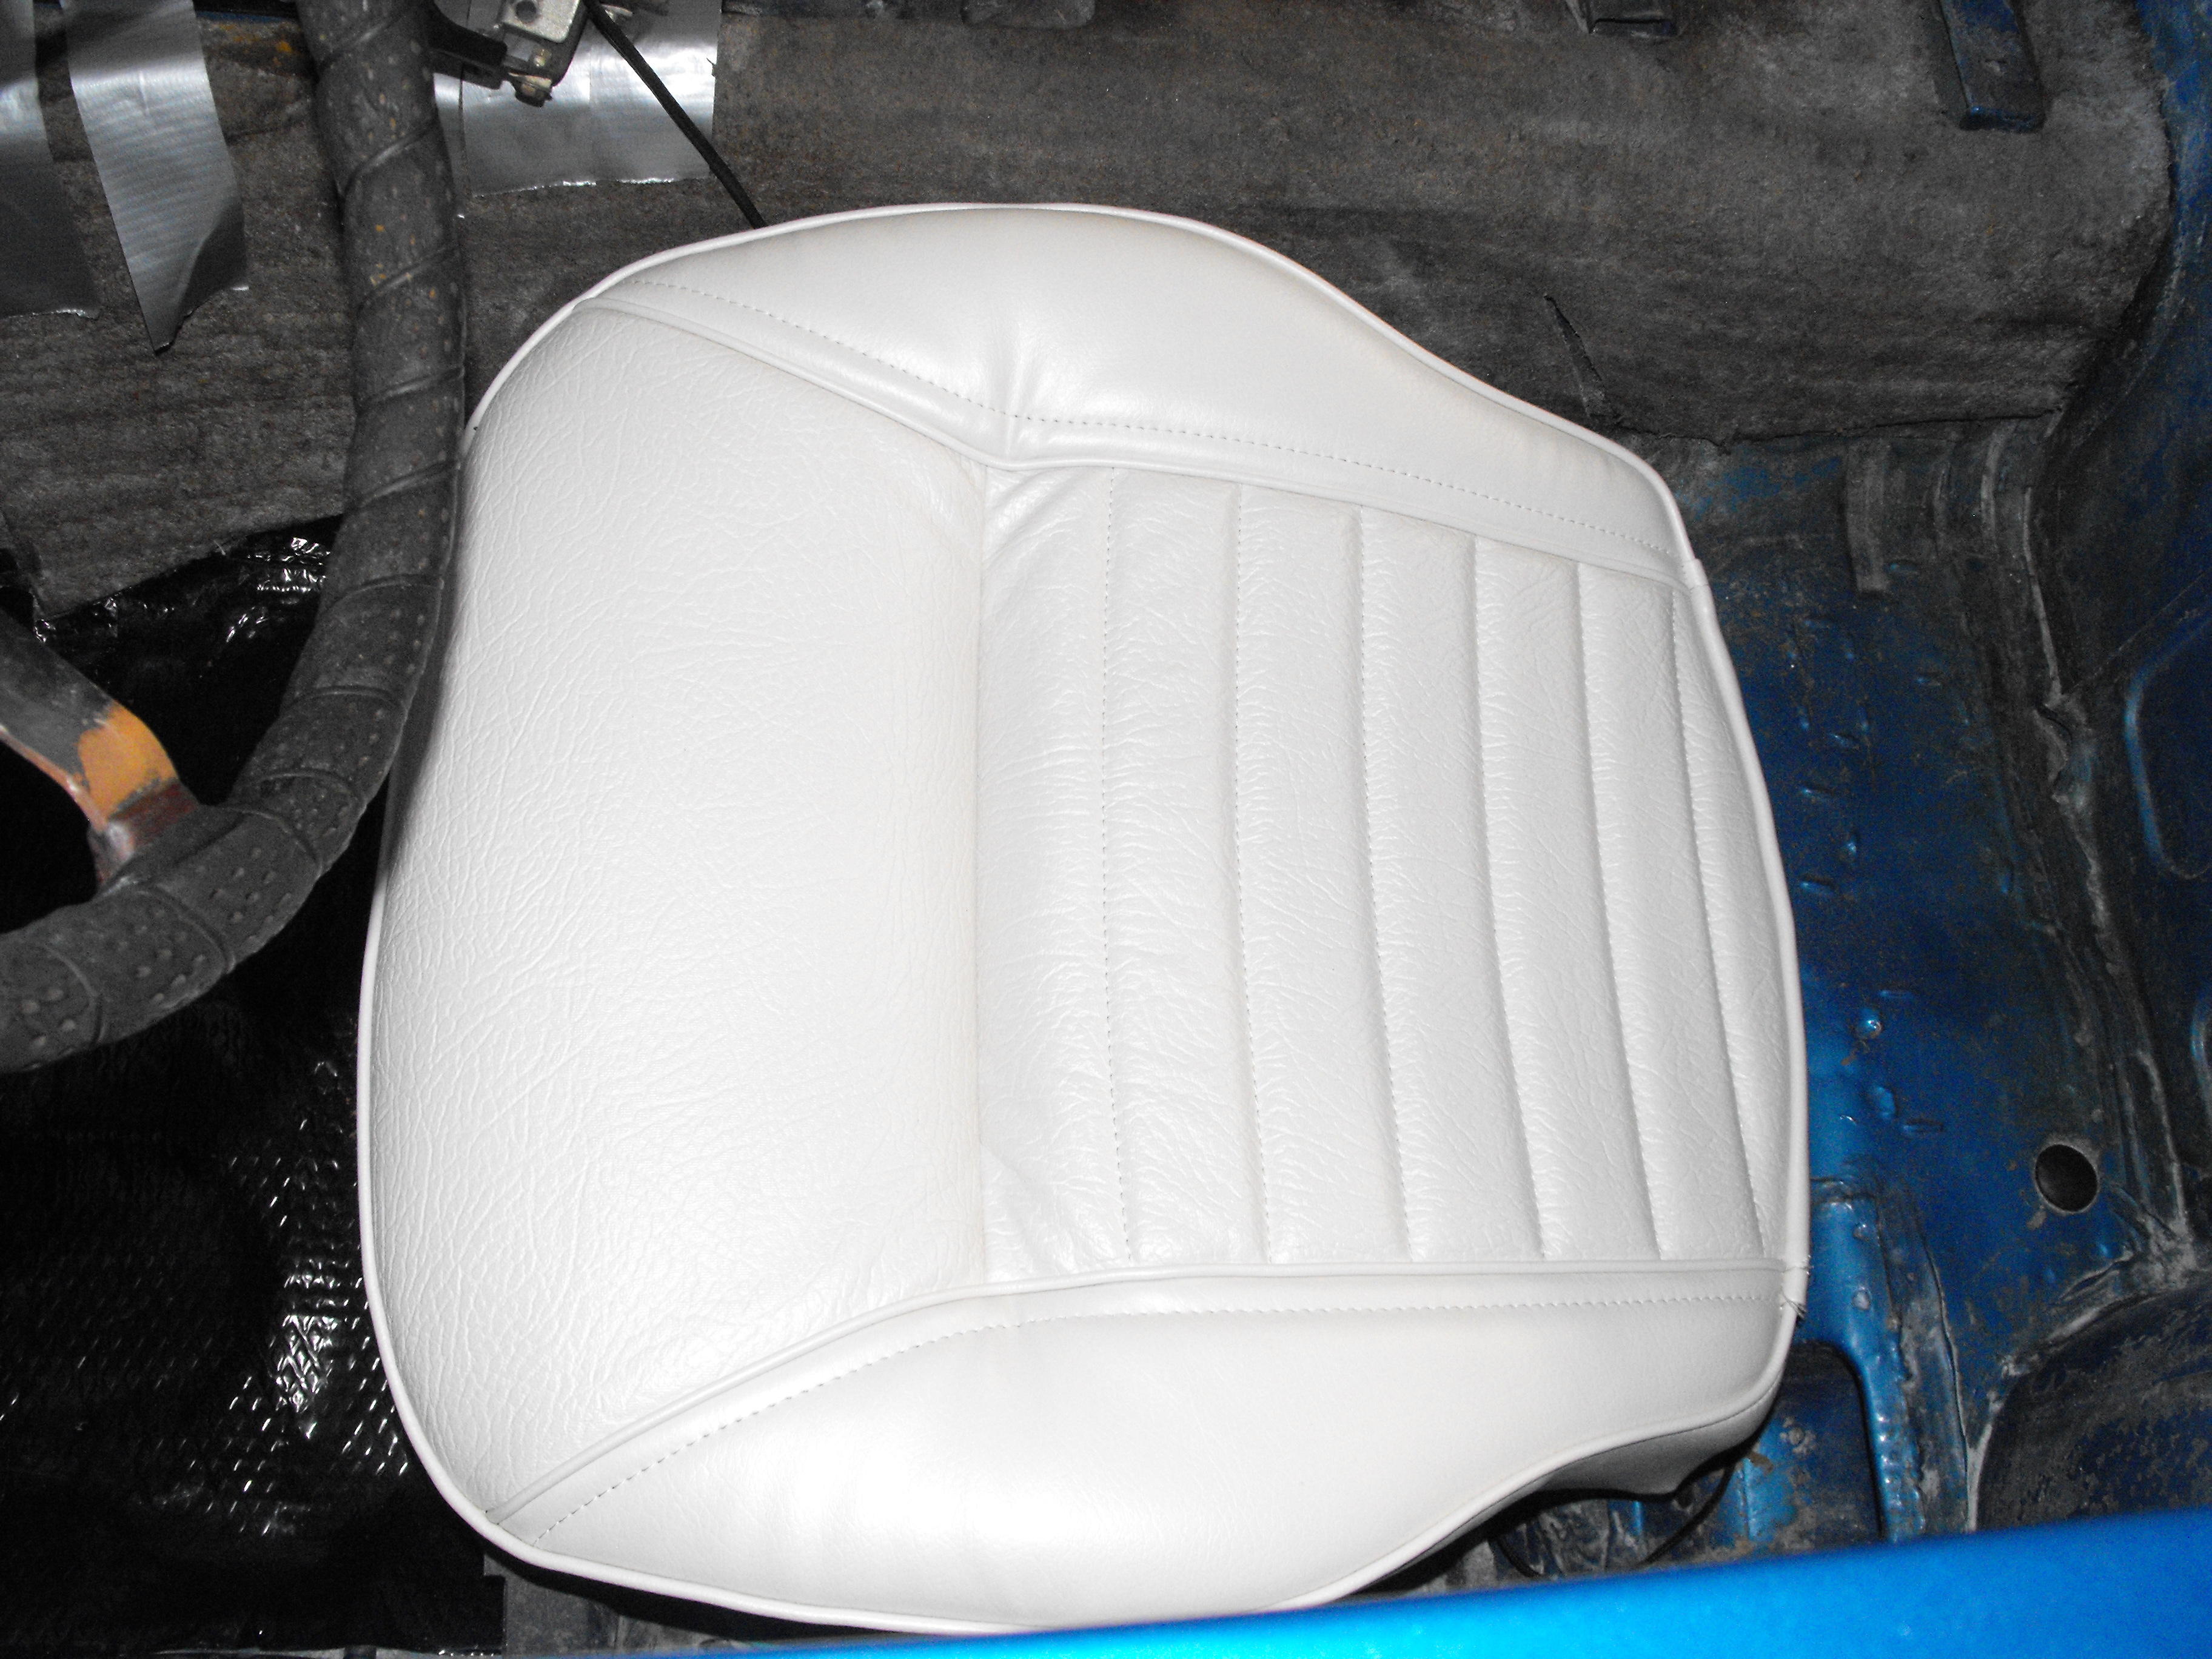
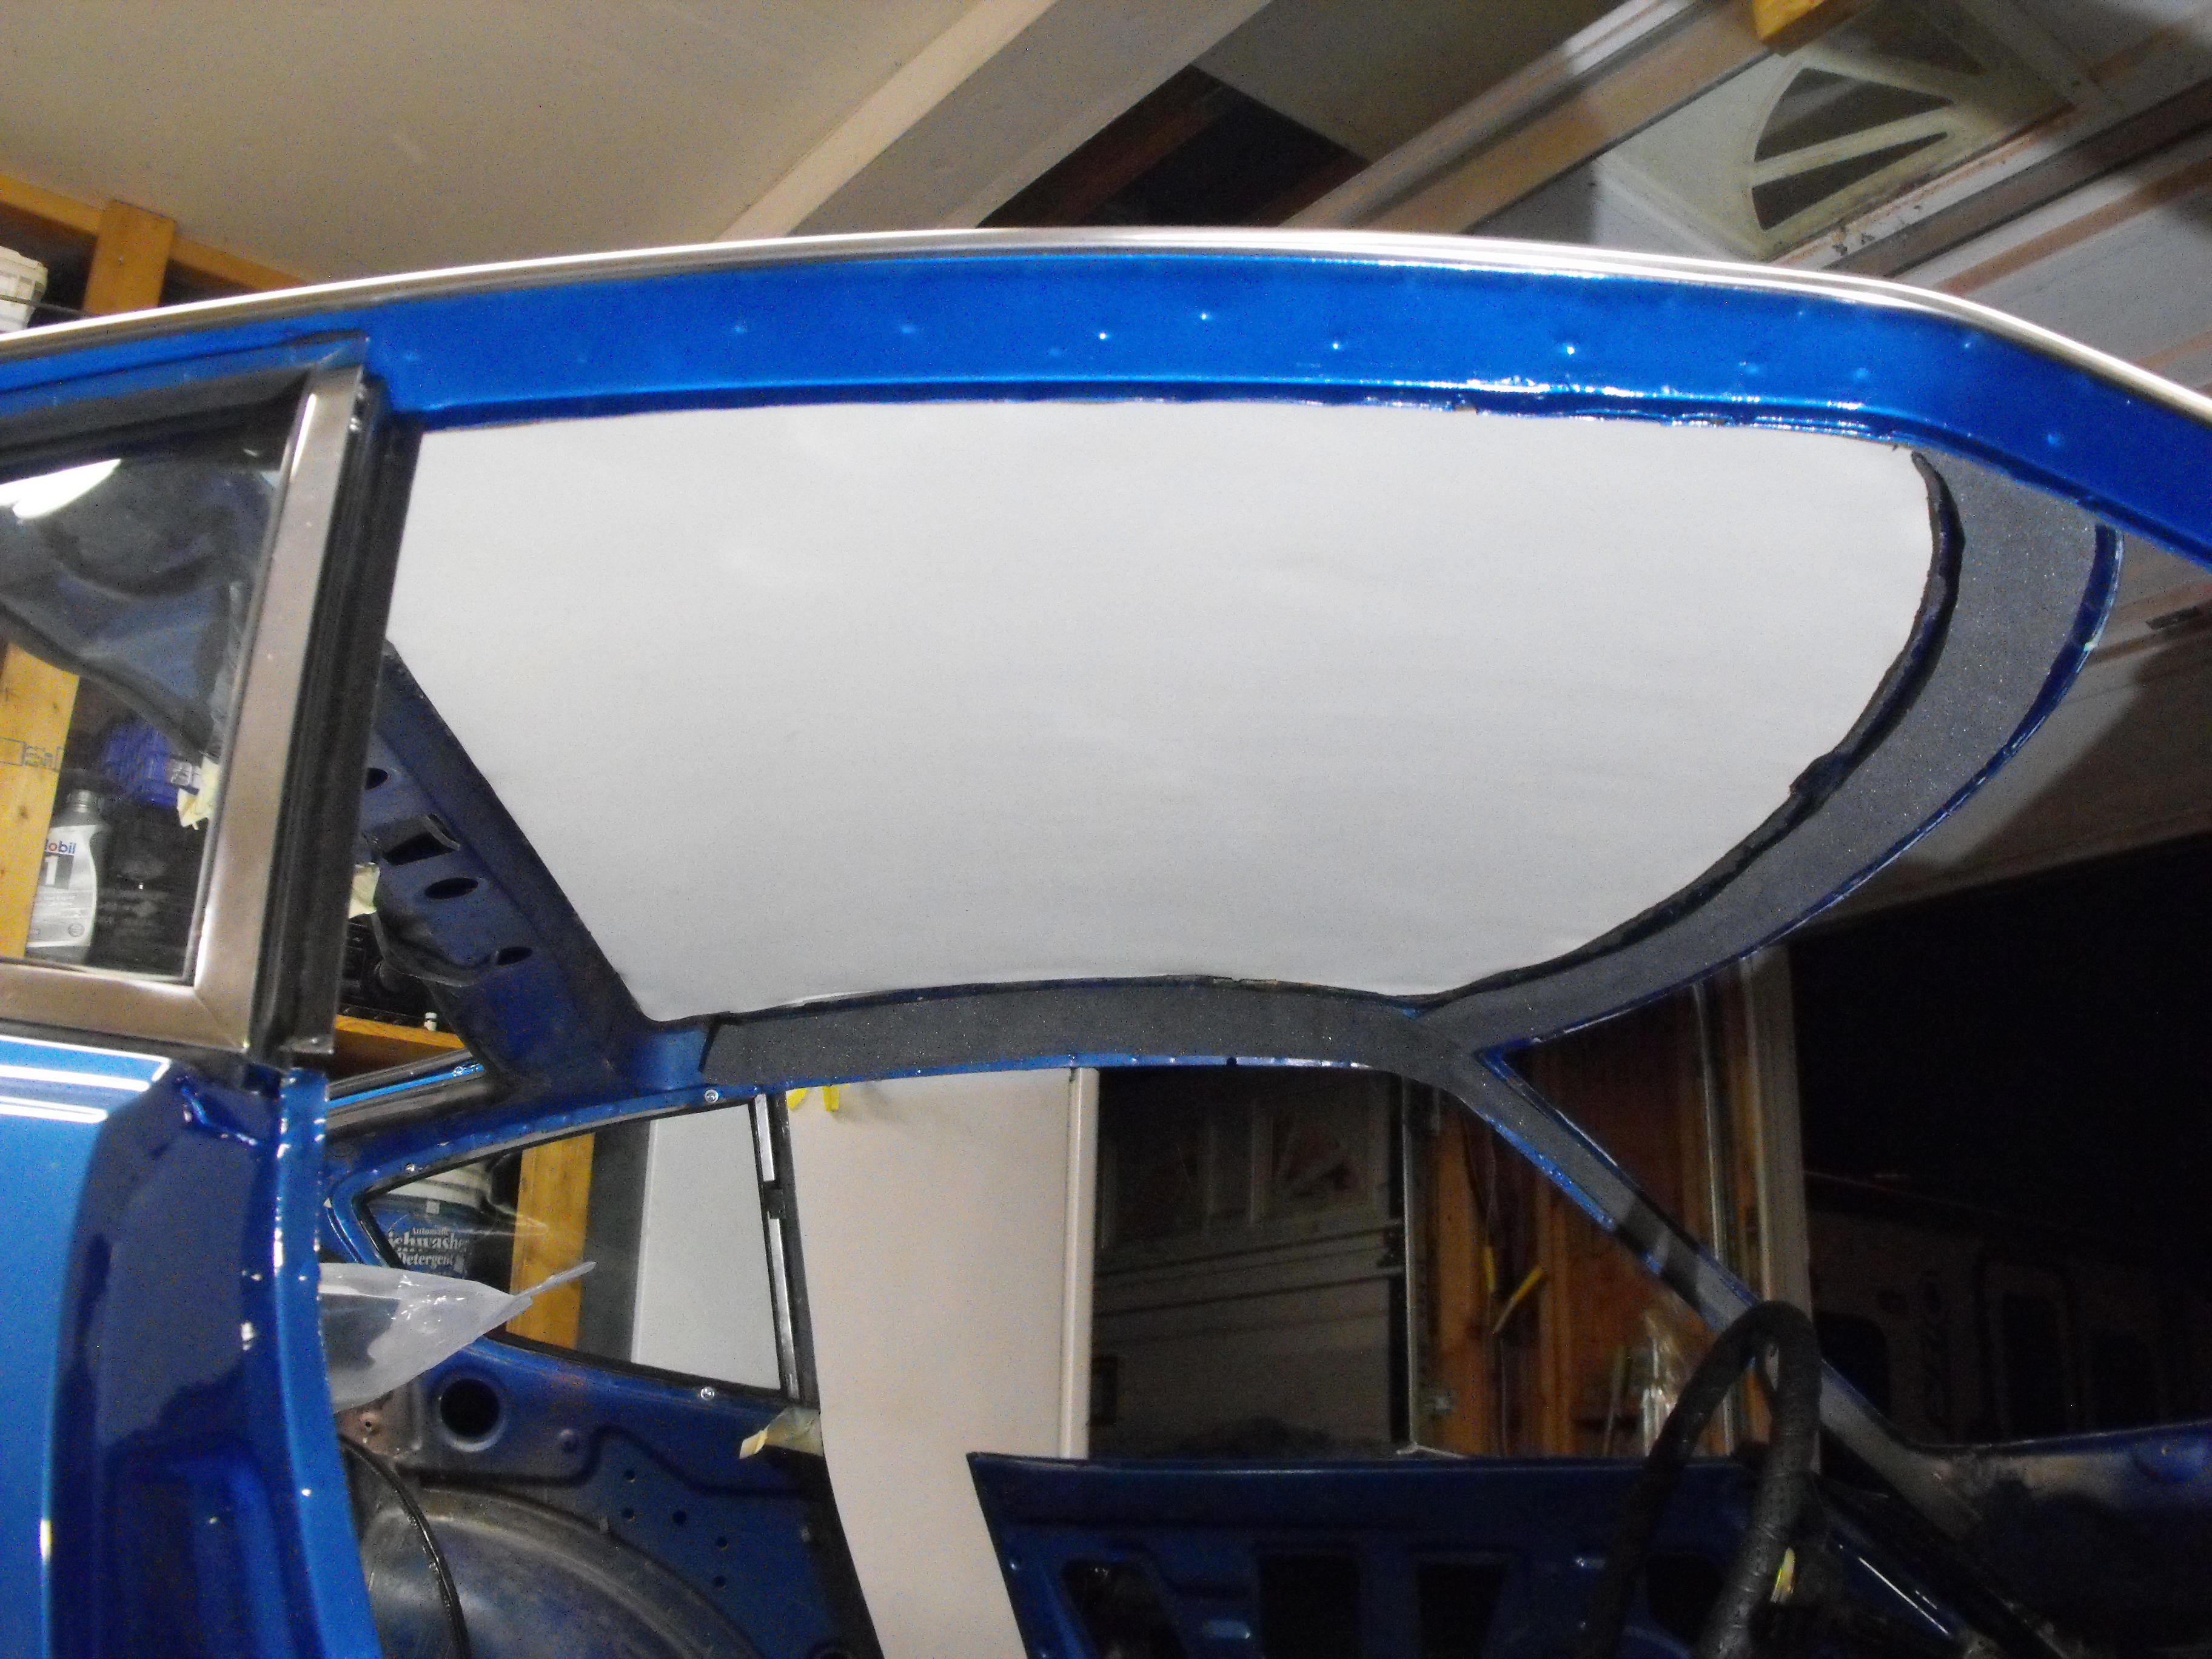
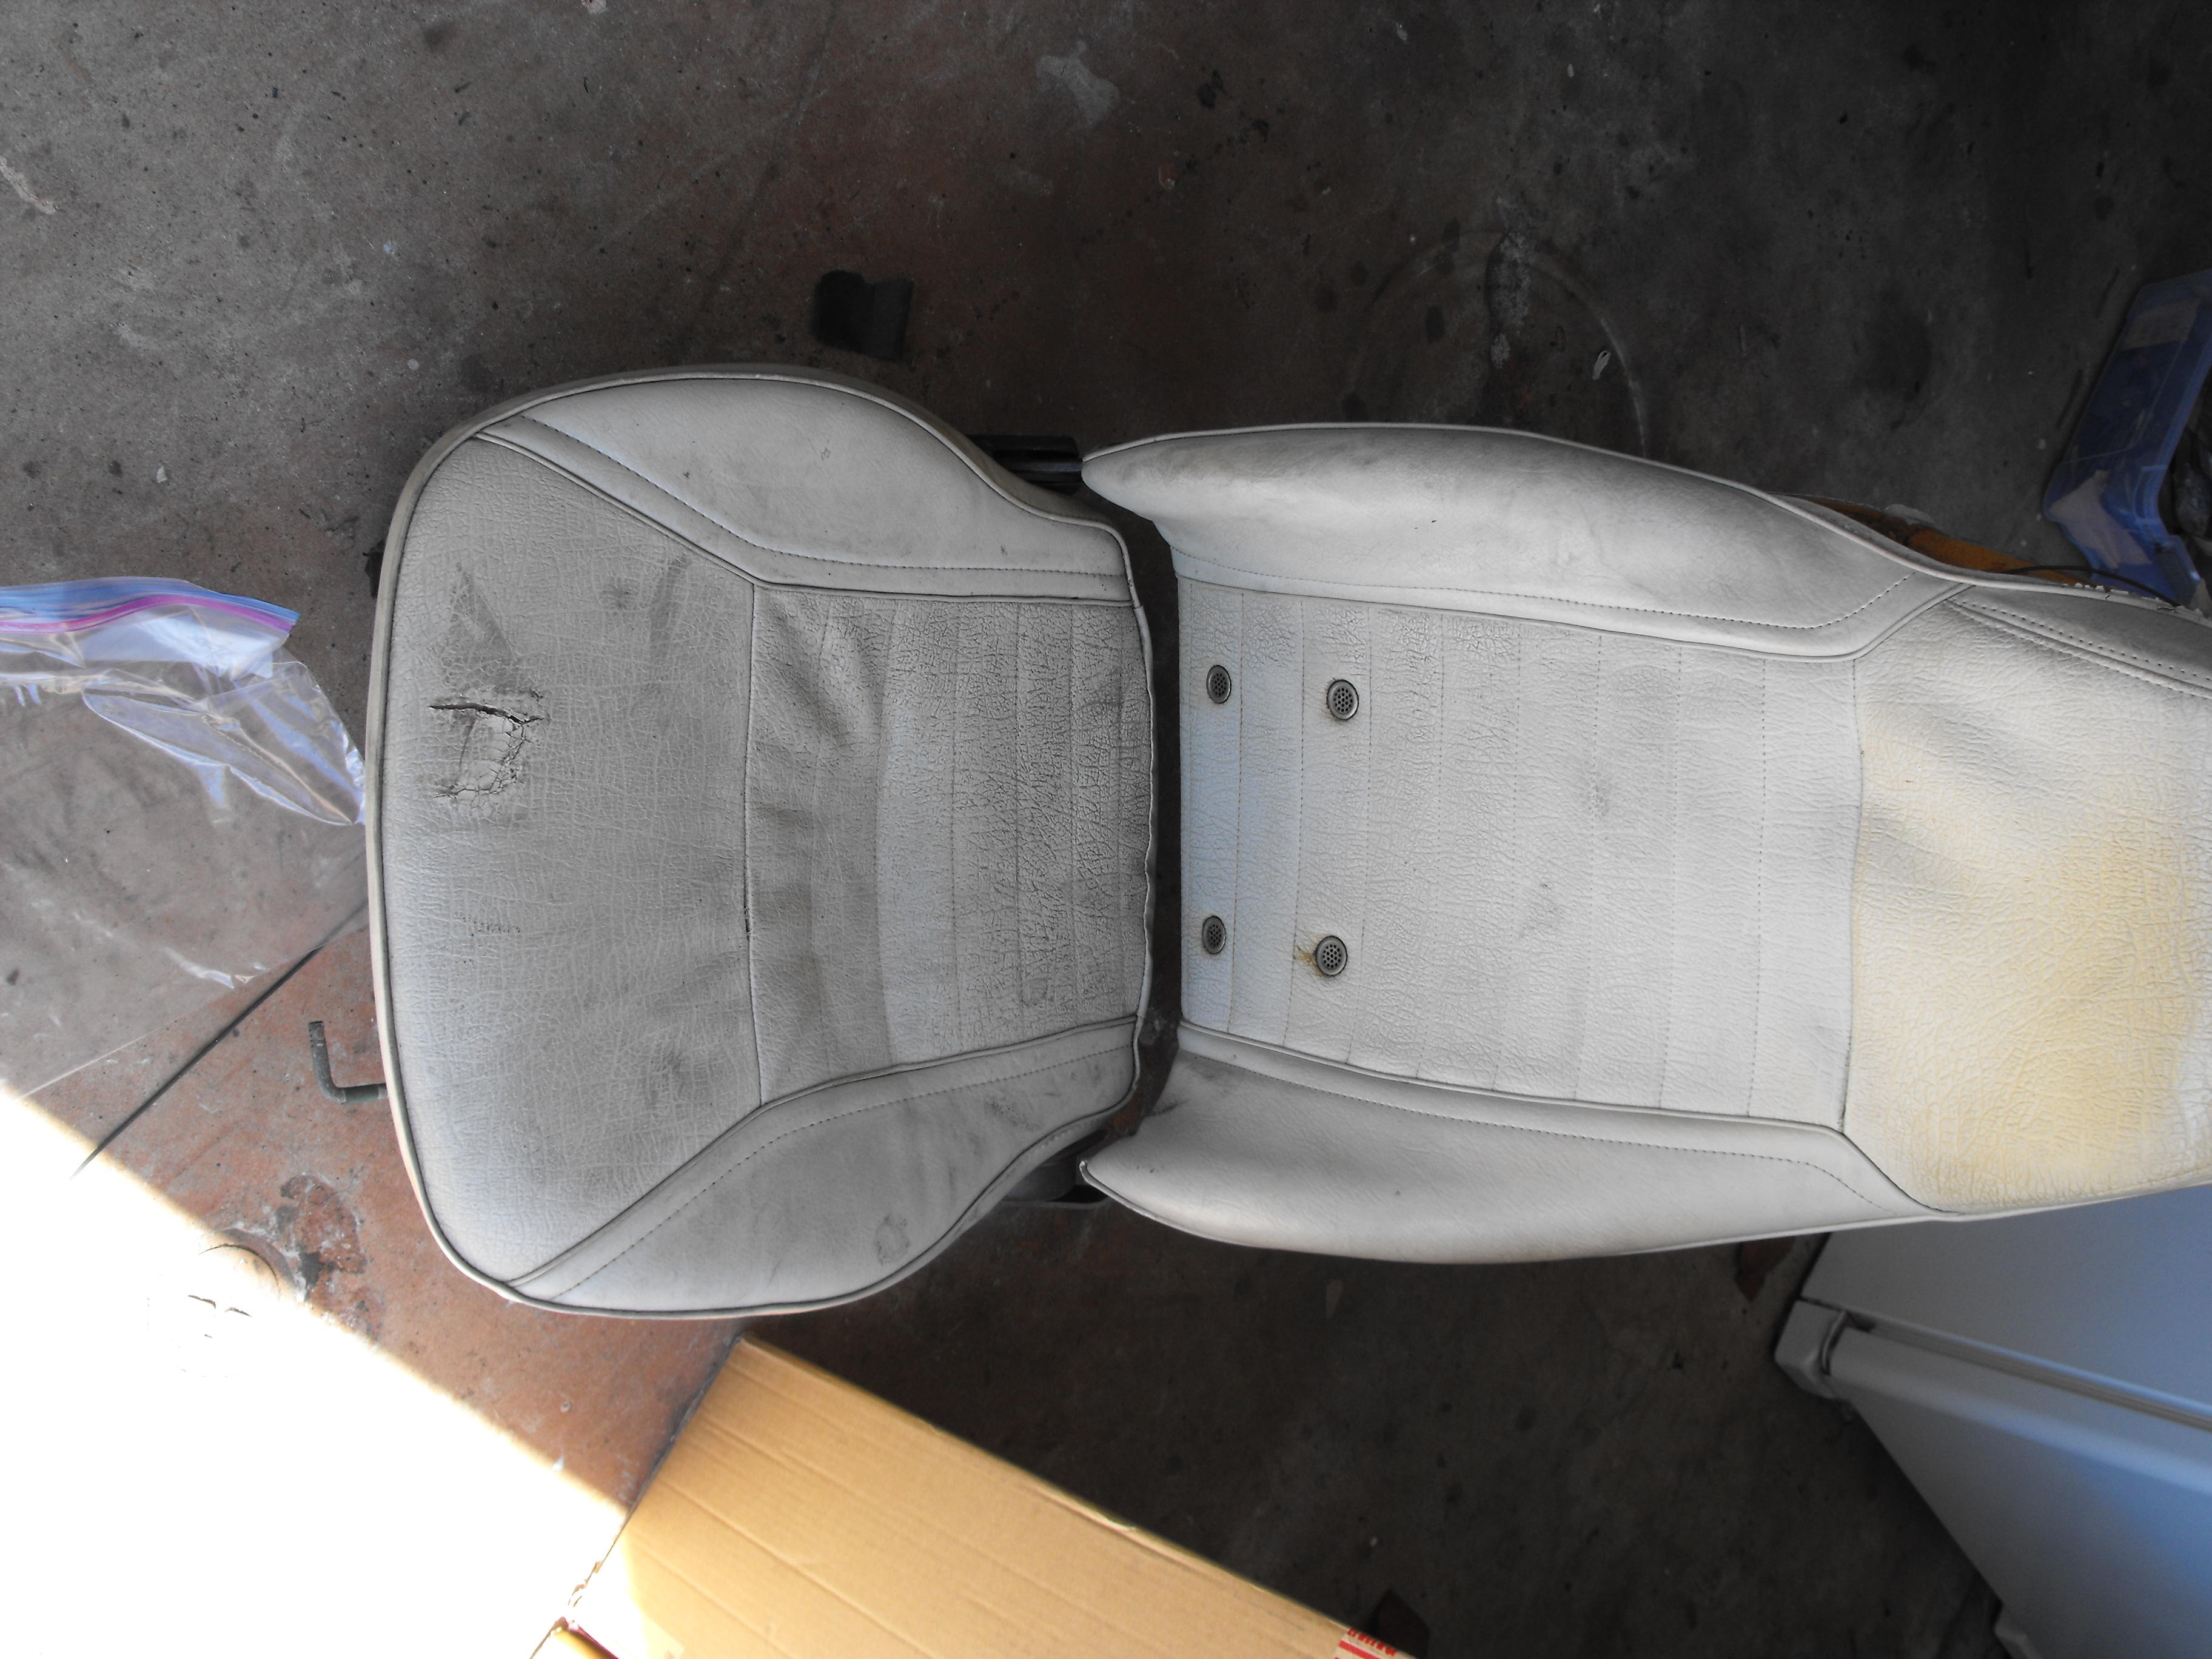
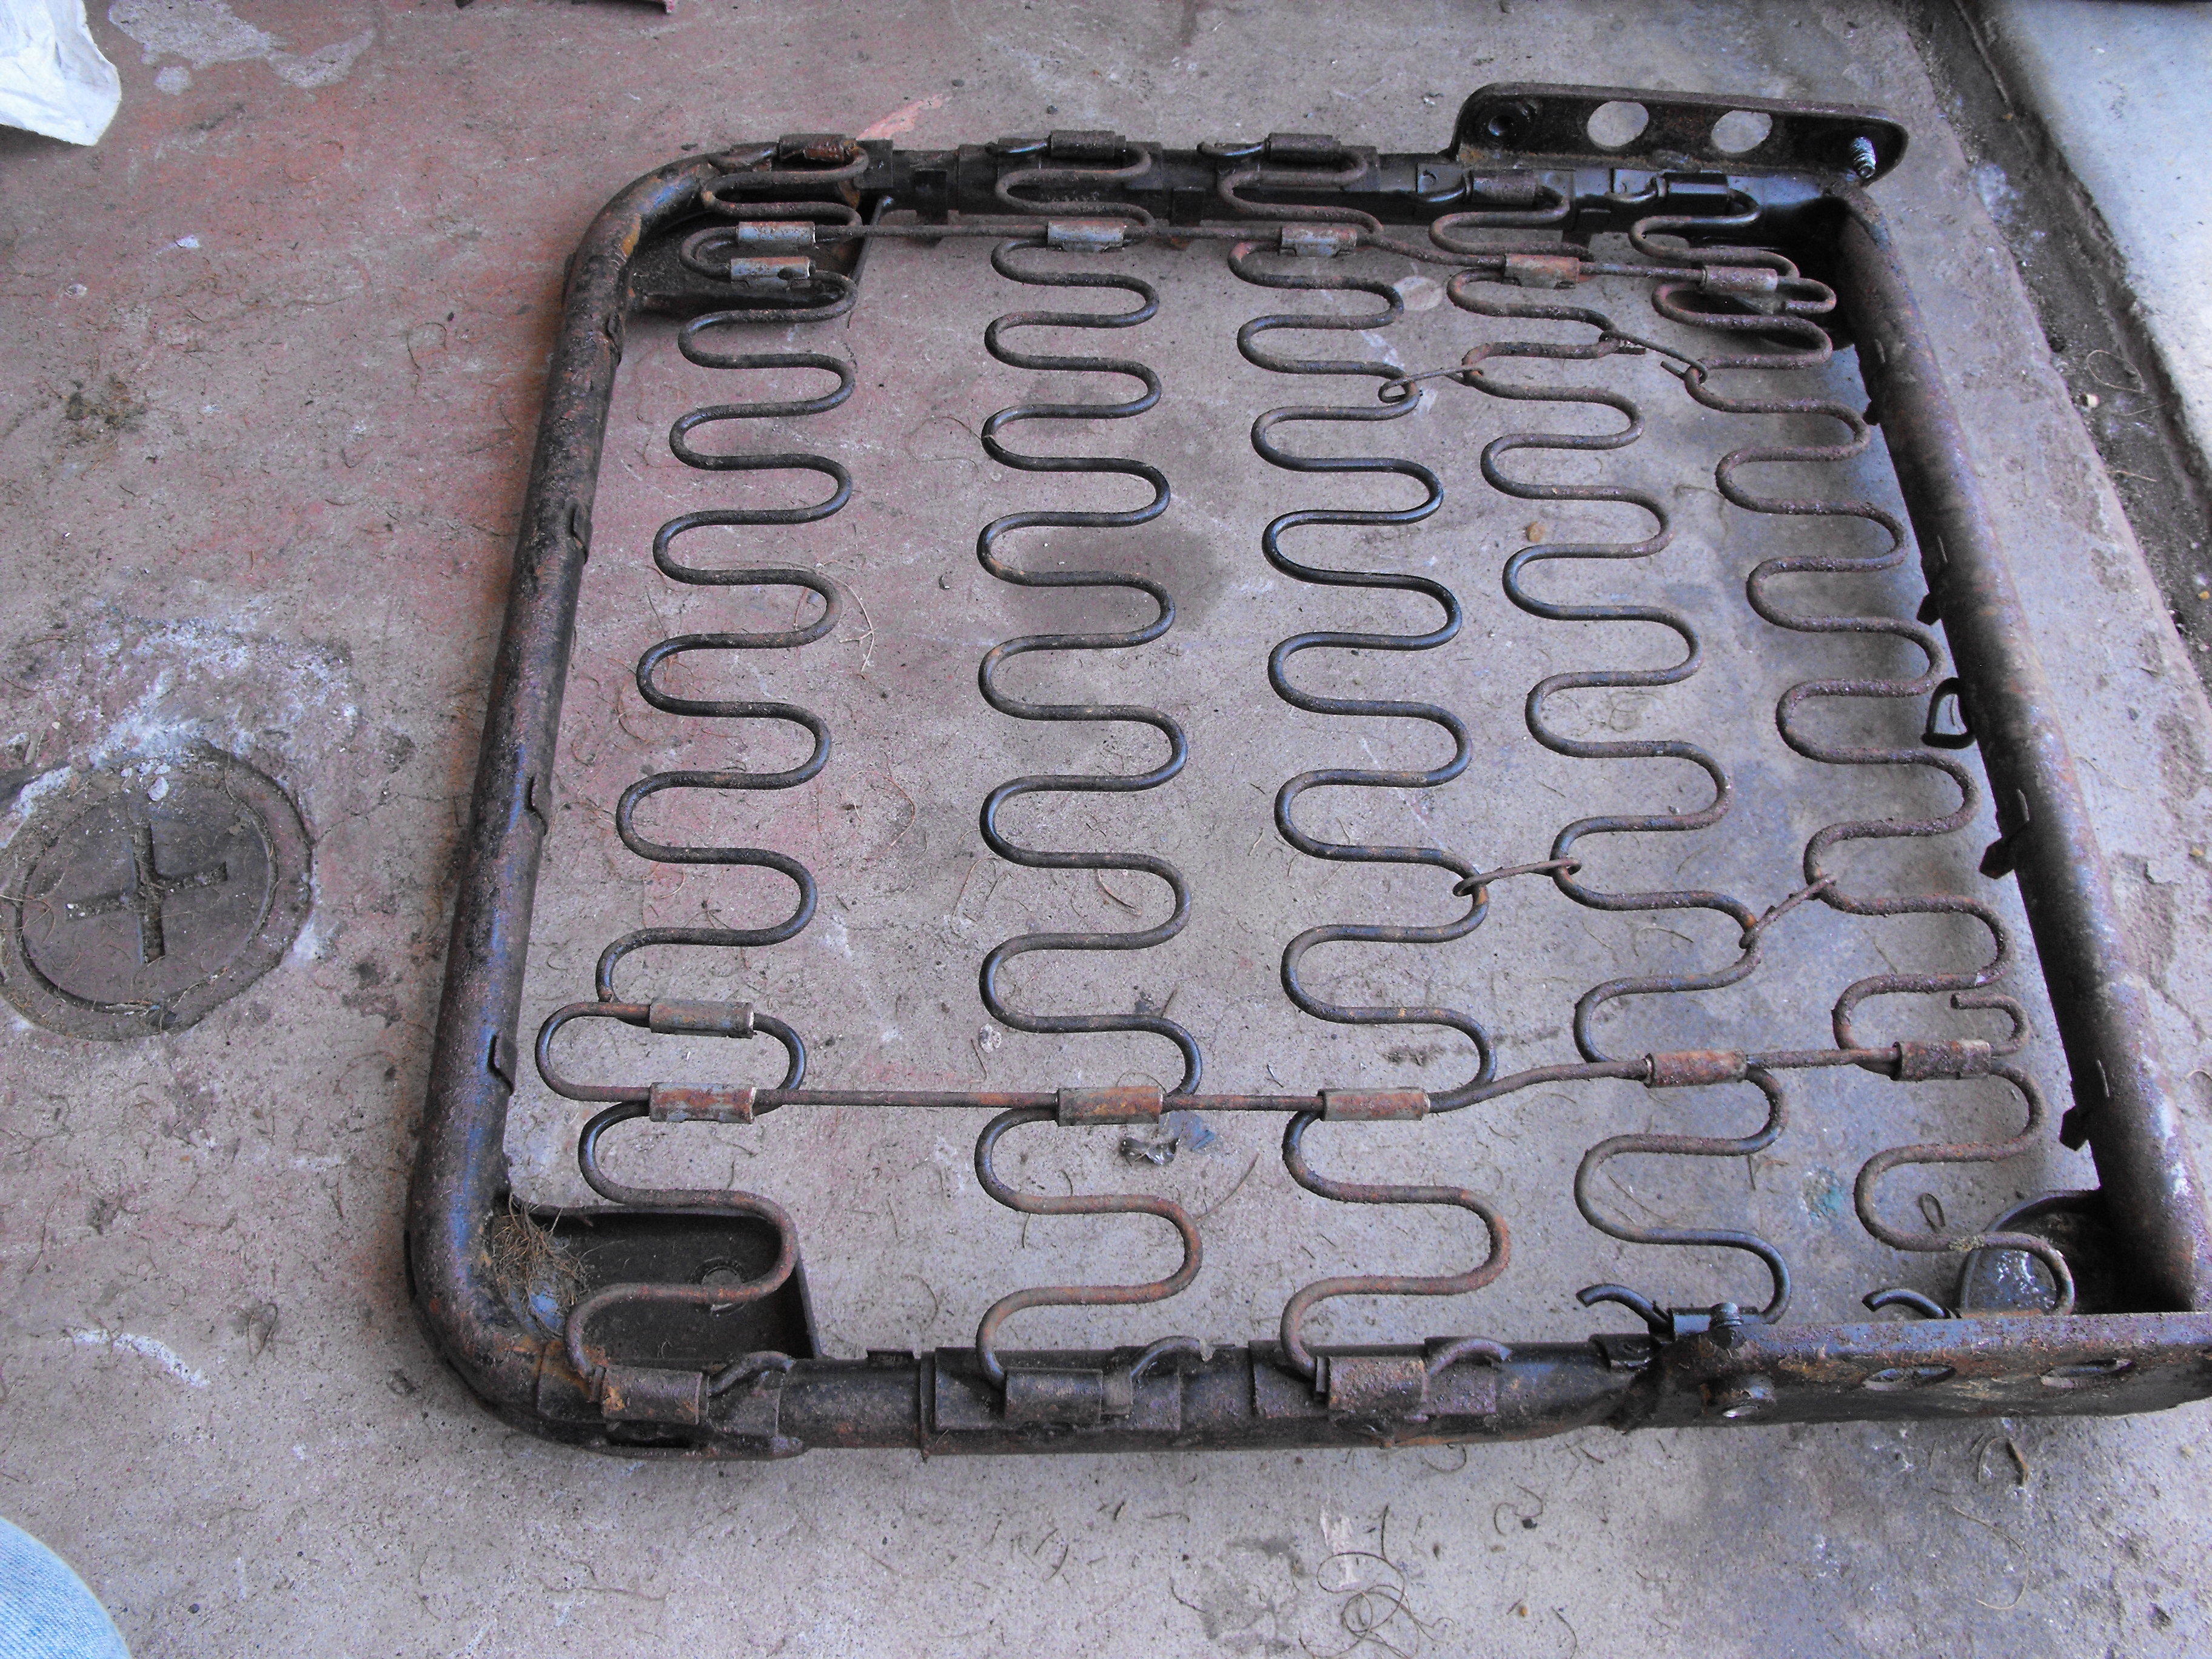
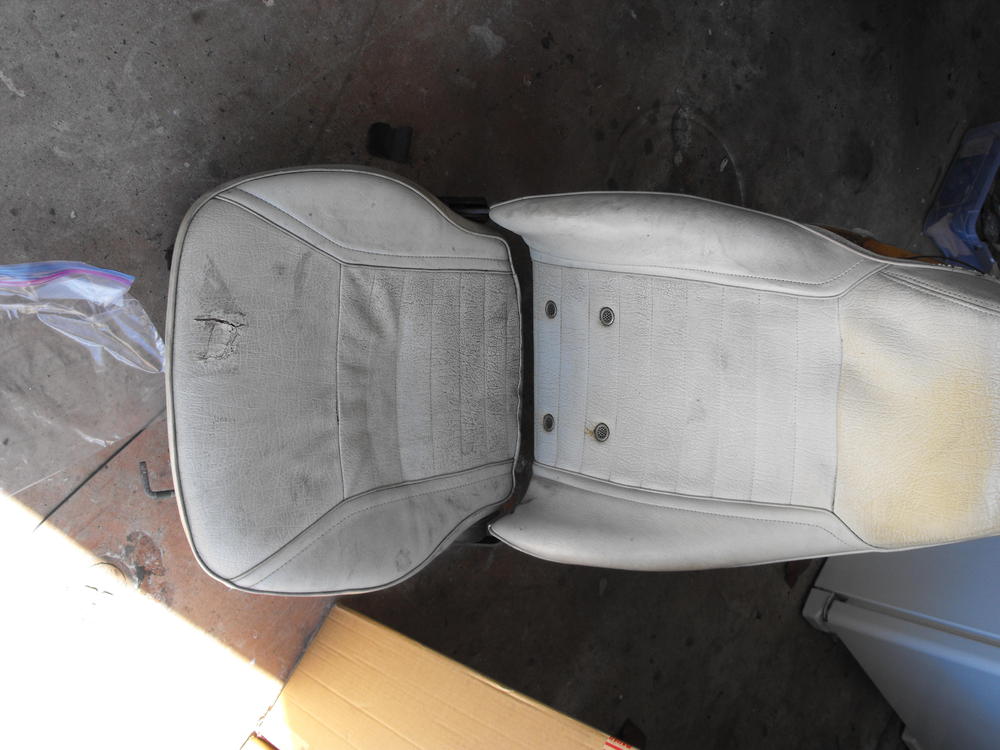
Started a little upholstery work. Funny thing is that I actually enjoyed it. Never thought I would say that about upholstery. Of course, I only did the easy stuff today. Got the two bottom seat cushions done. Also got the headliner in and the window frame foam. Working with White, so need to keep the hands very clean. Seat cushion base was just $15 to powdercoat.....such a deal.


-
Thanks...and will check out some of their other parts.
-
Yes, perhaps a little too hard. Thanks for the feedback. Will have to order that part then and shelve my pretty re-creation.
-
Ahhhh....perhaps this is a part that needs to be bought then to get the correct wire gauge. The old wire did not look very good....outer jacket was burned through in the middle and wire exposed.
-
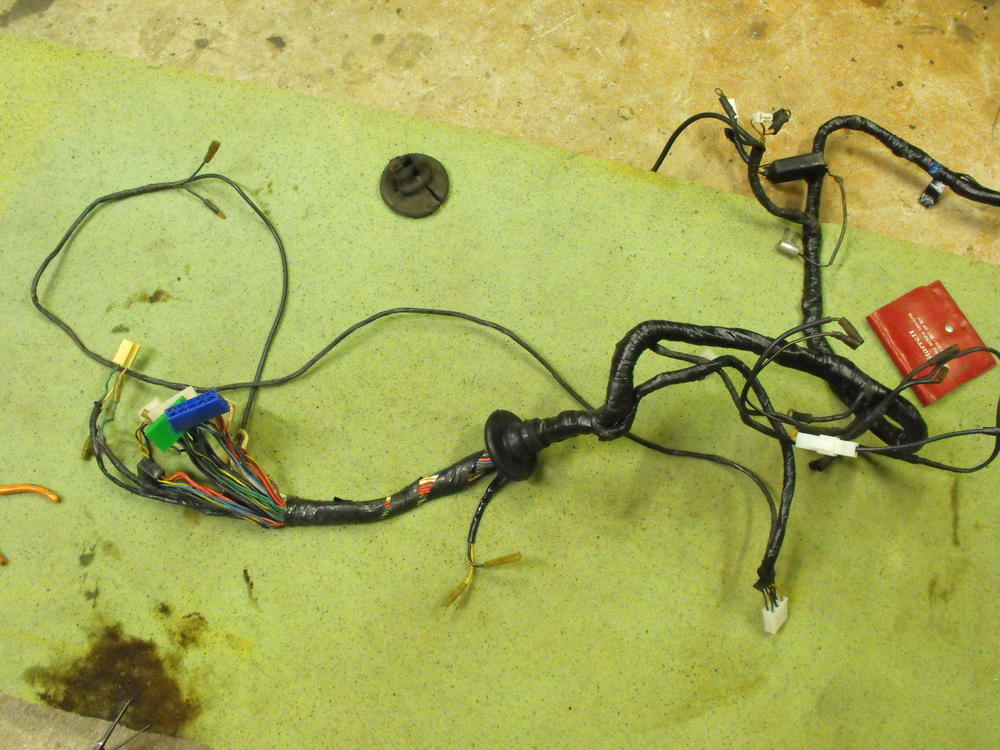
Hi Carl, good to see you here! I re-created the detachable portion. New connector, terminal and wire. Installed new connector housing and cleaned the blade connection on the main harness side. It's actually visible in the top harness picture except for the eyelet part is clipped off on the right side of the pic.
-
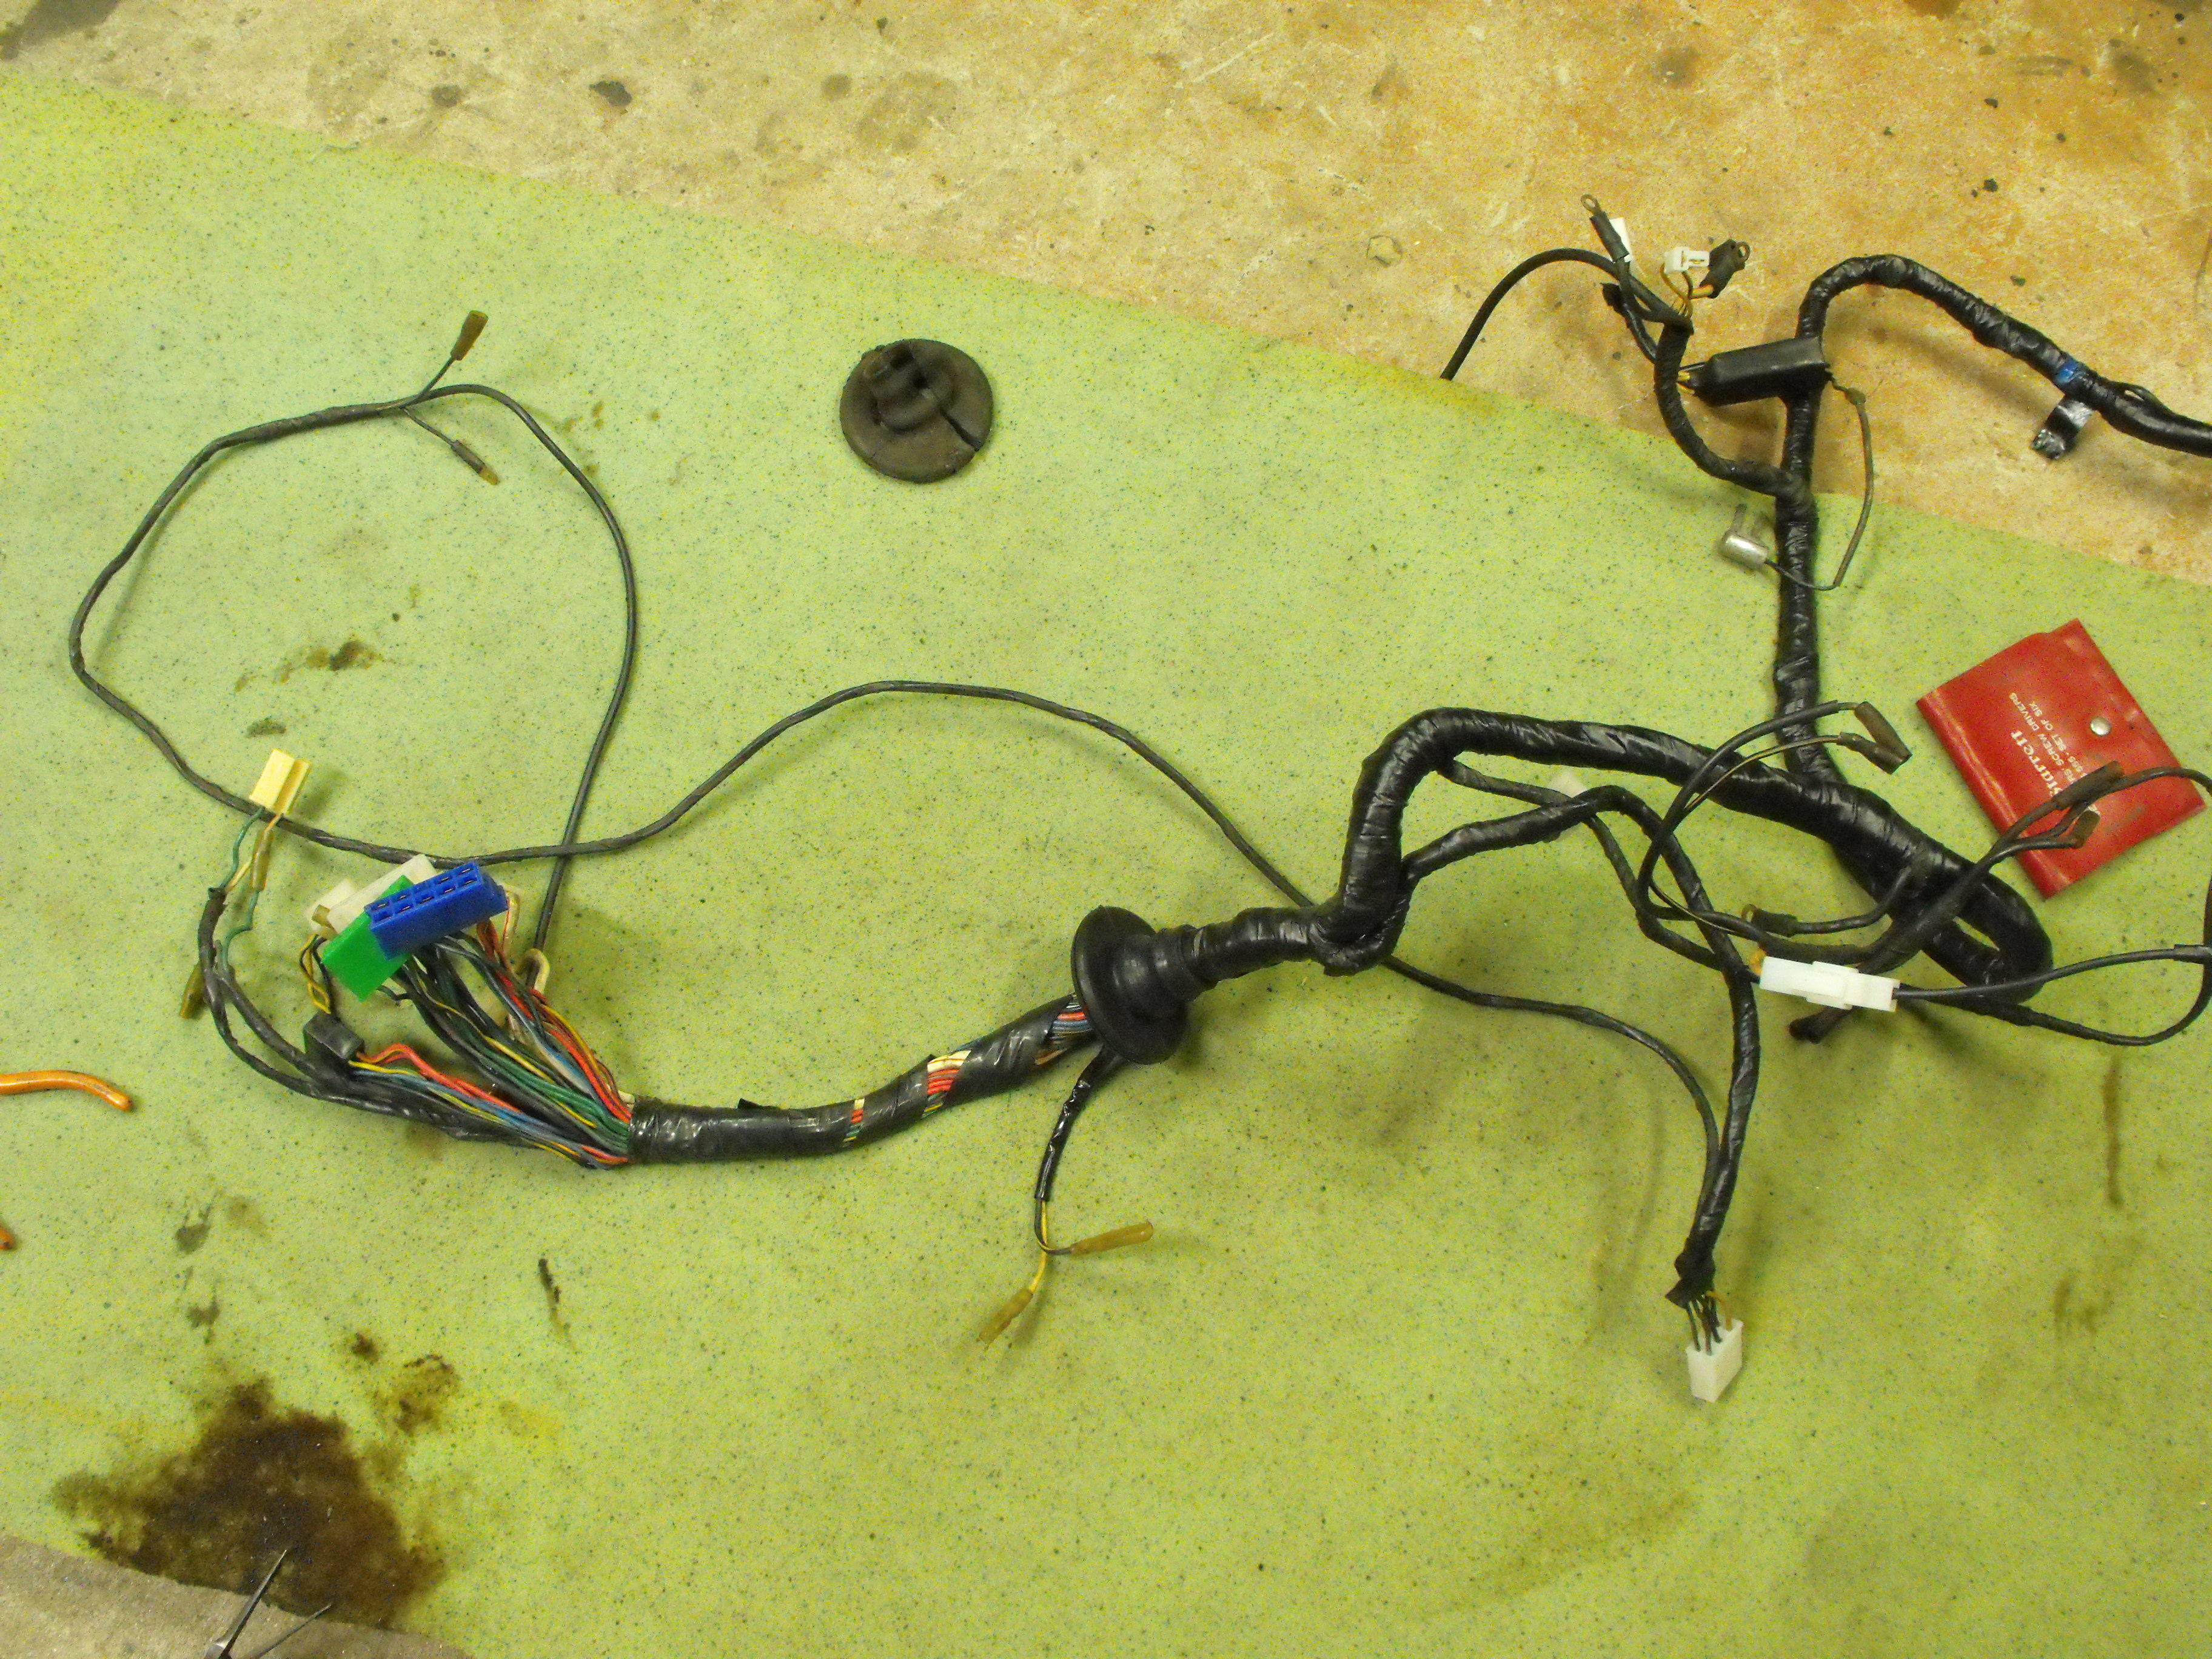
I cleaned the electrical harness first with Windex to remove most of the dirt and then with a rag that had paint thinner on it to remove oils. After that, I re-wrapped the harness over the original wrap as the wrap was in fairly good condition. (I have also done harnesses where I have removed the original wrap because it was in bad shape or had a short and I had to re-route wires). I used Hi-temp black electrical tape over the original wrap. I started at the small end and finished at the large end. I replaced all of the engine area connectors with new connectors from vintageconnections.com . For the singe blade and bullet connectors, I clipped off the old terminal as close to the back of the terminal as possible and replaced with new crimped on terminals and covers. For the 2, 4 and 6 pin connectors I did pretty much the same. So essentially, all the terminations are about an 1/8" shorter than the original with the old terminals clipped off, but that really is not noticeable when the harness is in place. The process on the larger connectors involves unlocking the terminal from the connector and sliding it out of the connector body. I then clip off the old terminal, then strip a small part of the wire end and crimp on a new terminal. I then slide that terminal into the new connector making sure I keep the same location. It's easier that way. I don't think the headlight connectors are available at vintage connections so these were not changed, but these were in pretty good shape anyway since they are inside a cover. Also, the fuseable link was pretty bad so I just re-created it with a new larger diam stranded wire. Will have to get one of those someday. Just always used the Starretts. Thanks
-
The small red pack of Starrett precision screwdrivers. I use a very small screwdriver to release the terminal from the connector block. There are probably 'official' tools for doing that, but the small blade screwdriver does the trick, lifting the locking feature of the terminal.
-
Good guess. Believe me, I was very tempted to do that and then wrap the boot with tape, but that never turns out well. Eventually the tape gives way and the split shows. So, to get the boot on, I was able to slide the blue connector and the white connector through the boot by turning them sideways and sliding/pushing them through. I also applied a little heat with a hair dryer to make the rubber a bit more pliable during this operation. At this point, the number of wires now passing through the boot will not let the other large connectors fit through the hole. So, next I put all the smaller connector wires through the boot which left just the large black connector and large green connector remaining. At this point, starting with the black connector, I removed each wired terminal from the connector housing and passed the wire through the boot, then re-inserted each wire terminal back into the connector housing. I did this for all the wires starting with the black connector then finishing up with the green. the last few wires of the green connector were pretty snug passing through the boot, but eventually I got them all through. Such a pain, but much better than cutting the boot. I know, It looks so much better with the black. There is also some small writing in gold on the wires but I will rotate the wires so they are on the underside and not highly visible. Thanks!
-
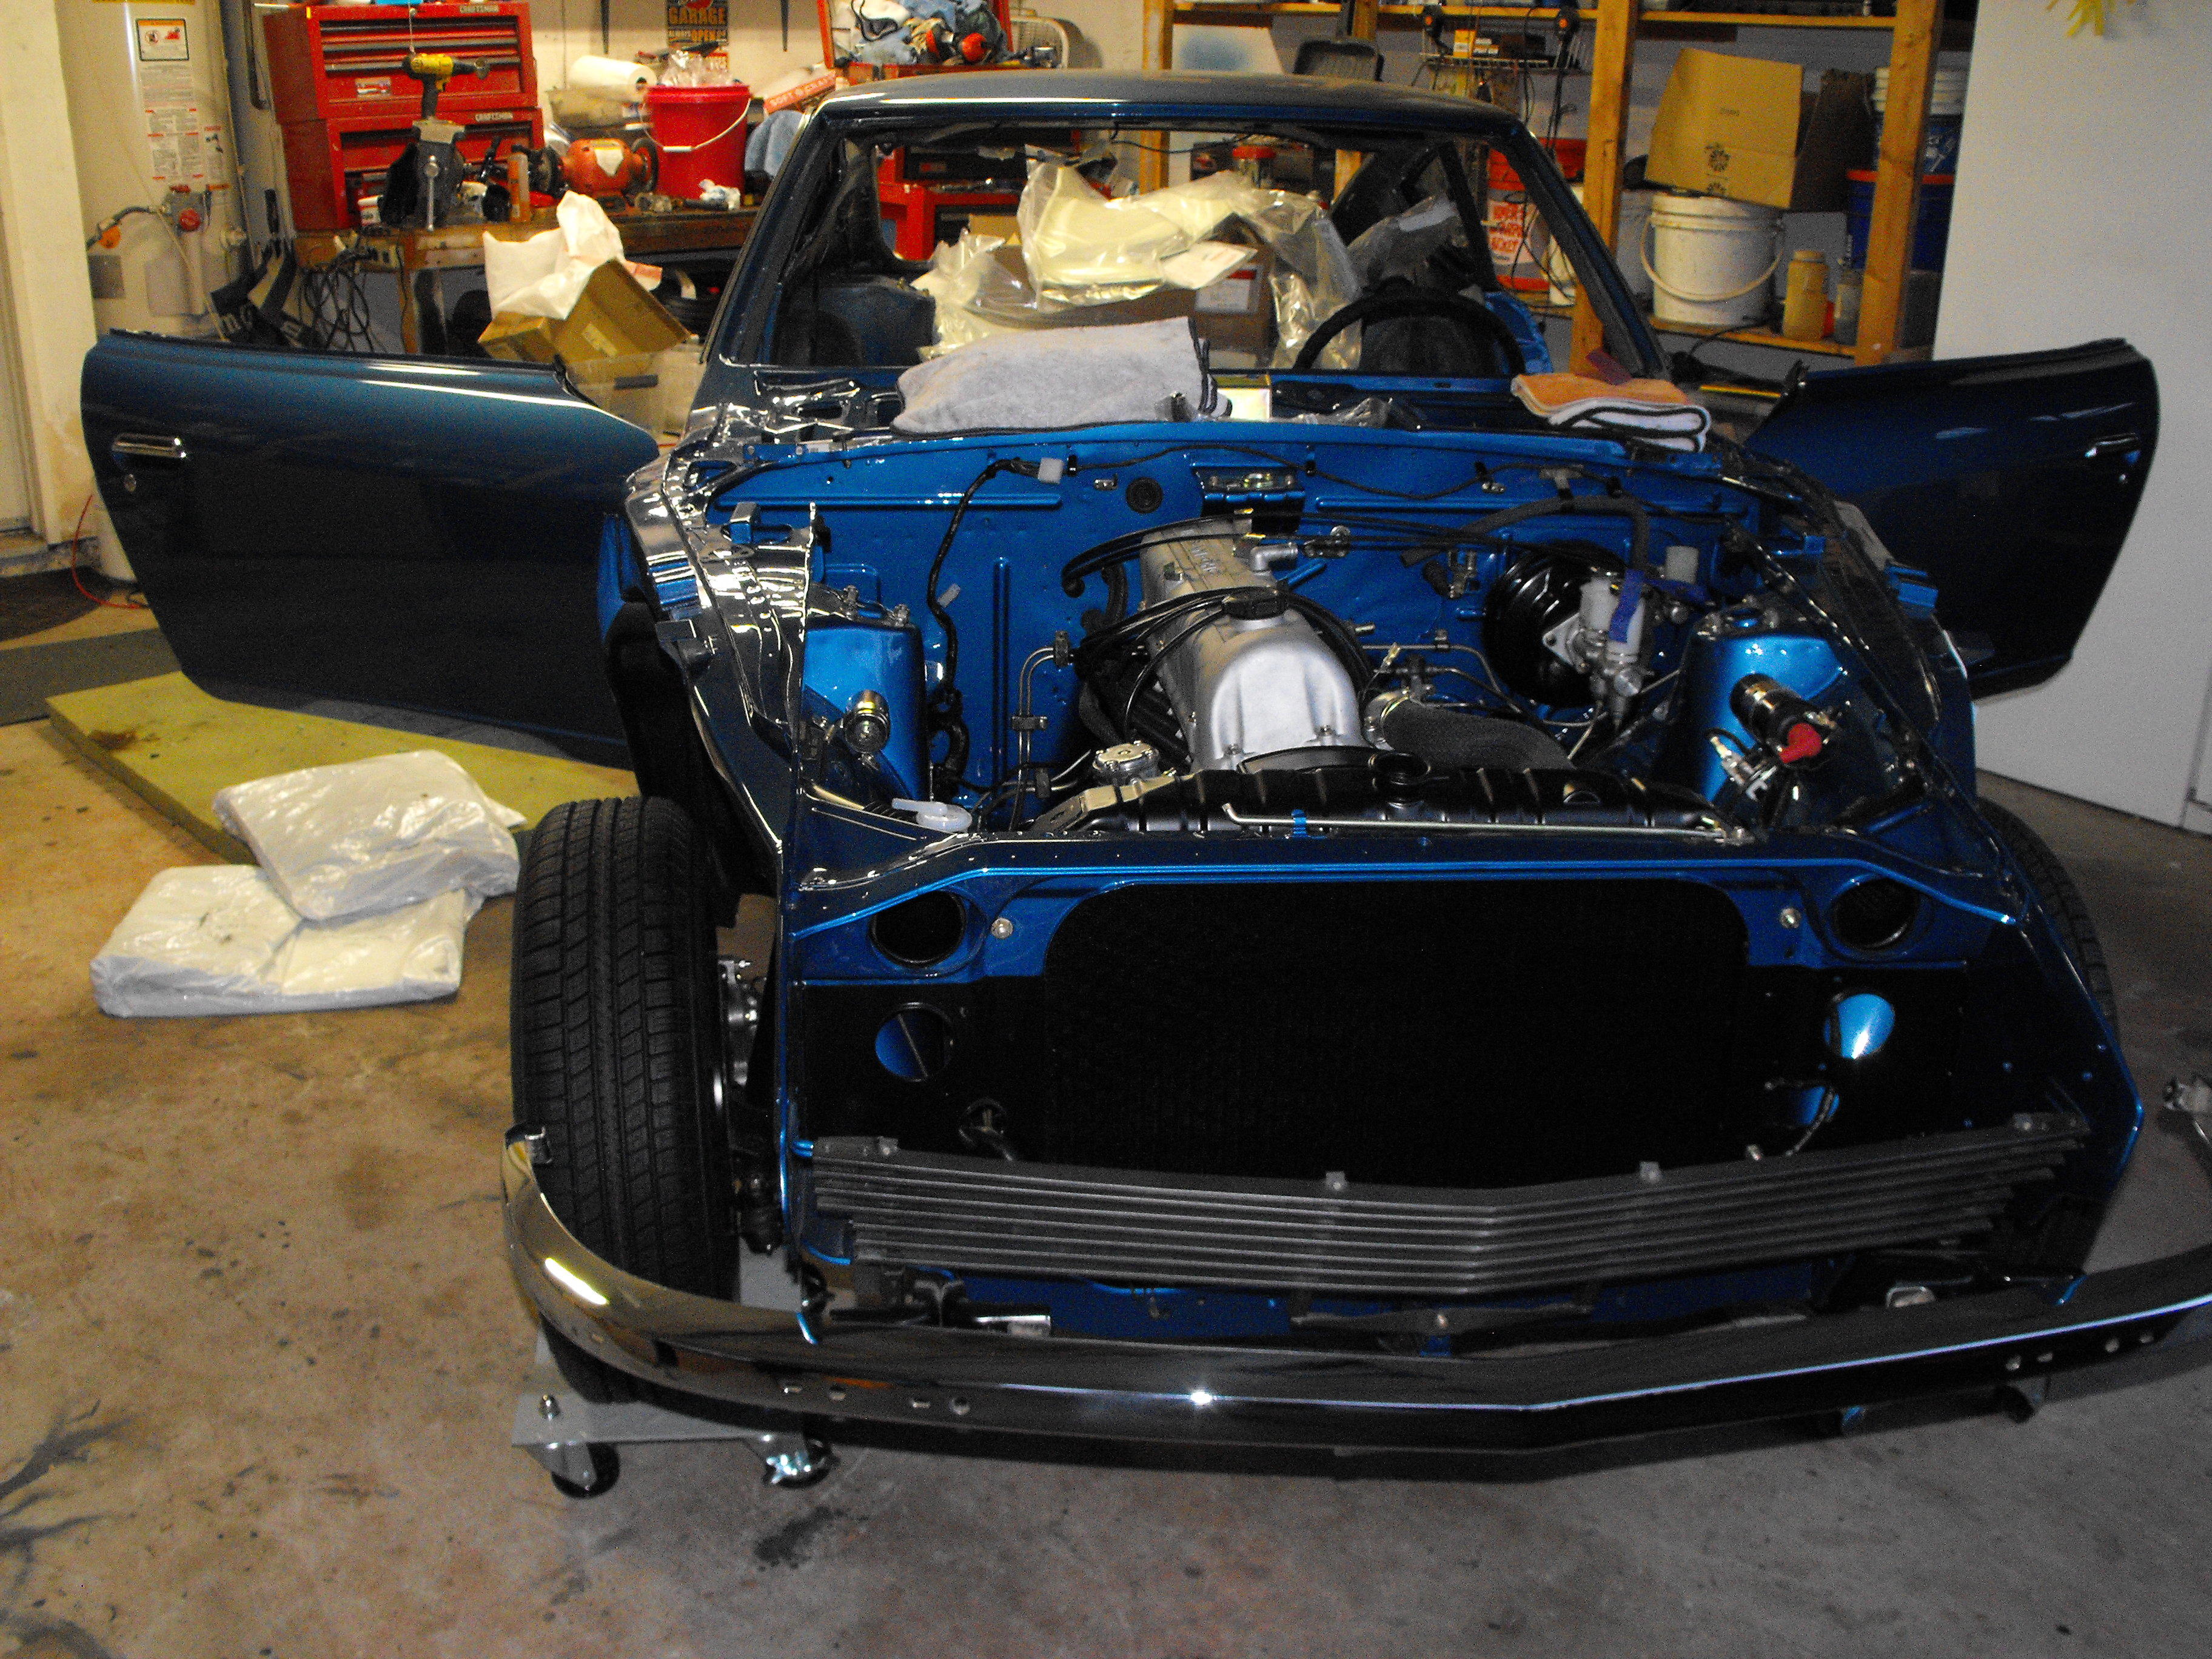
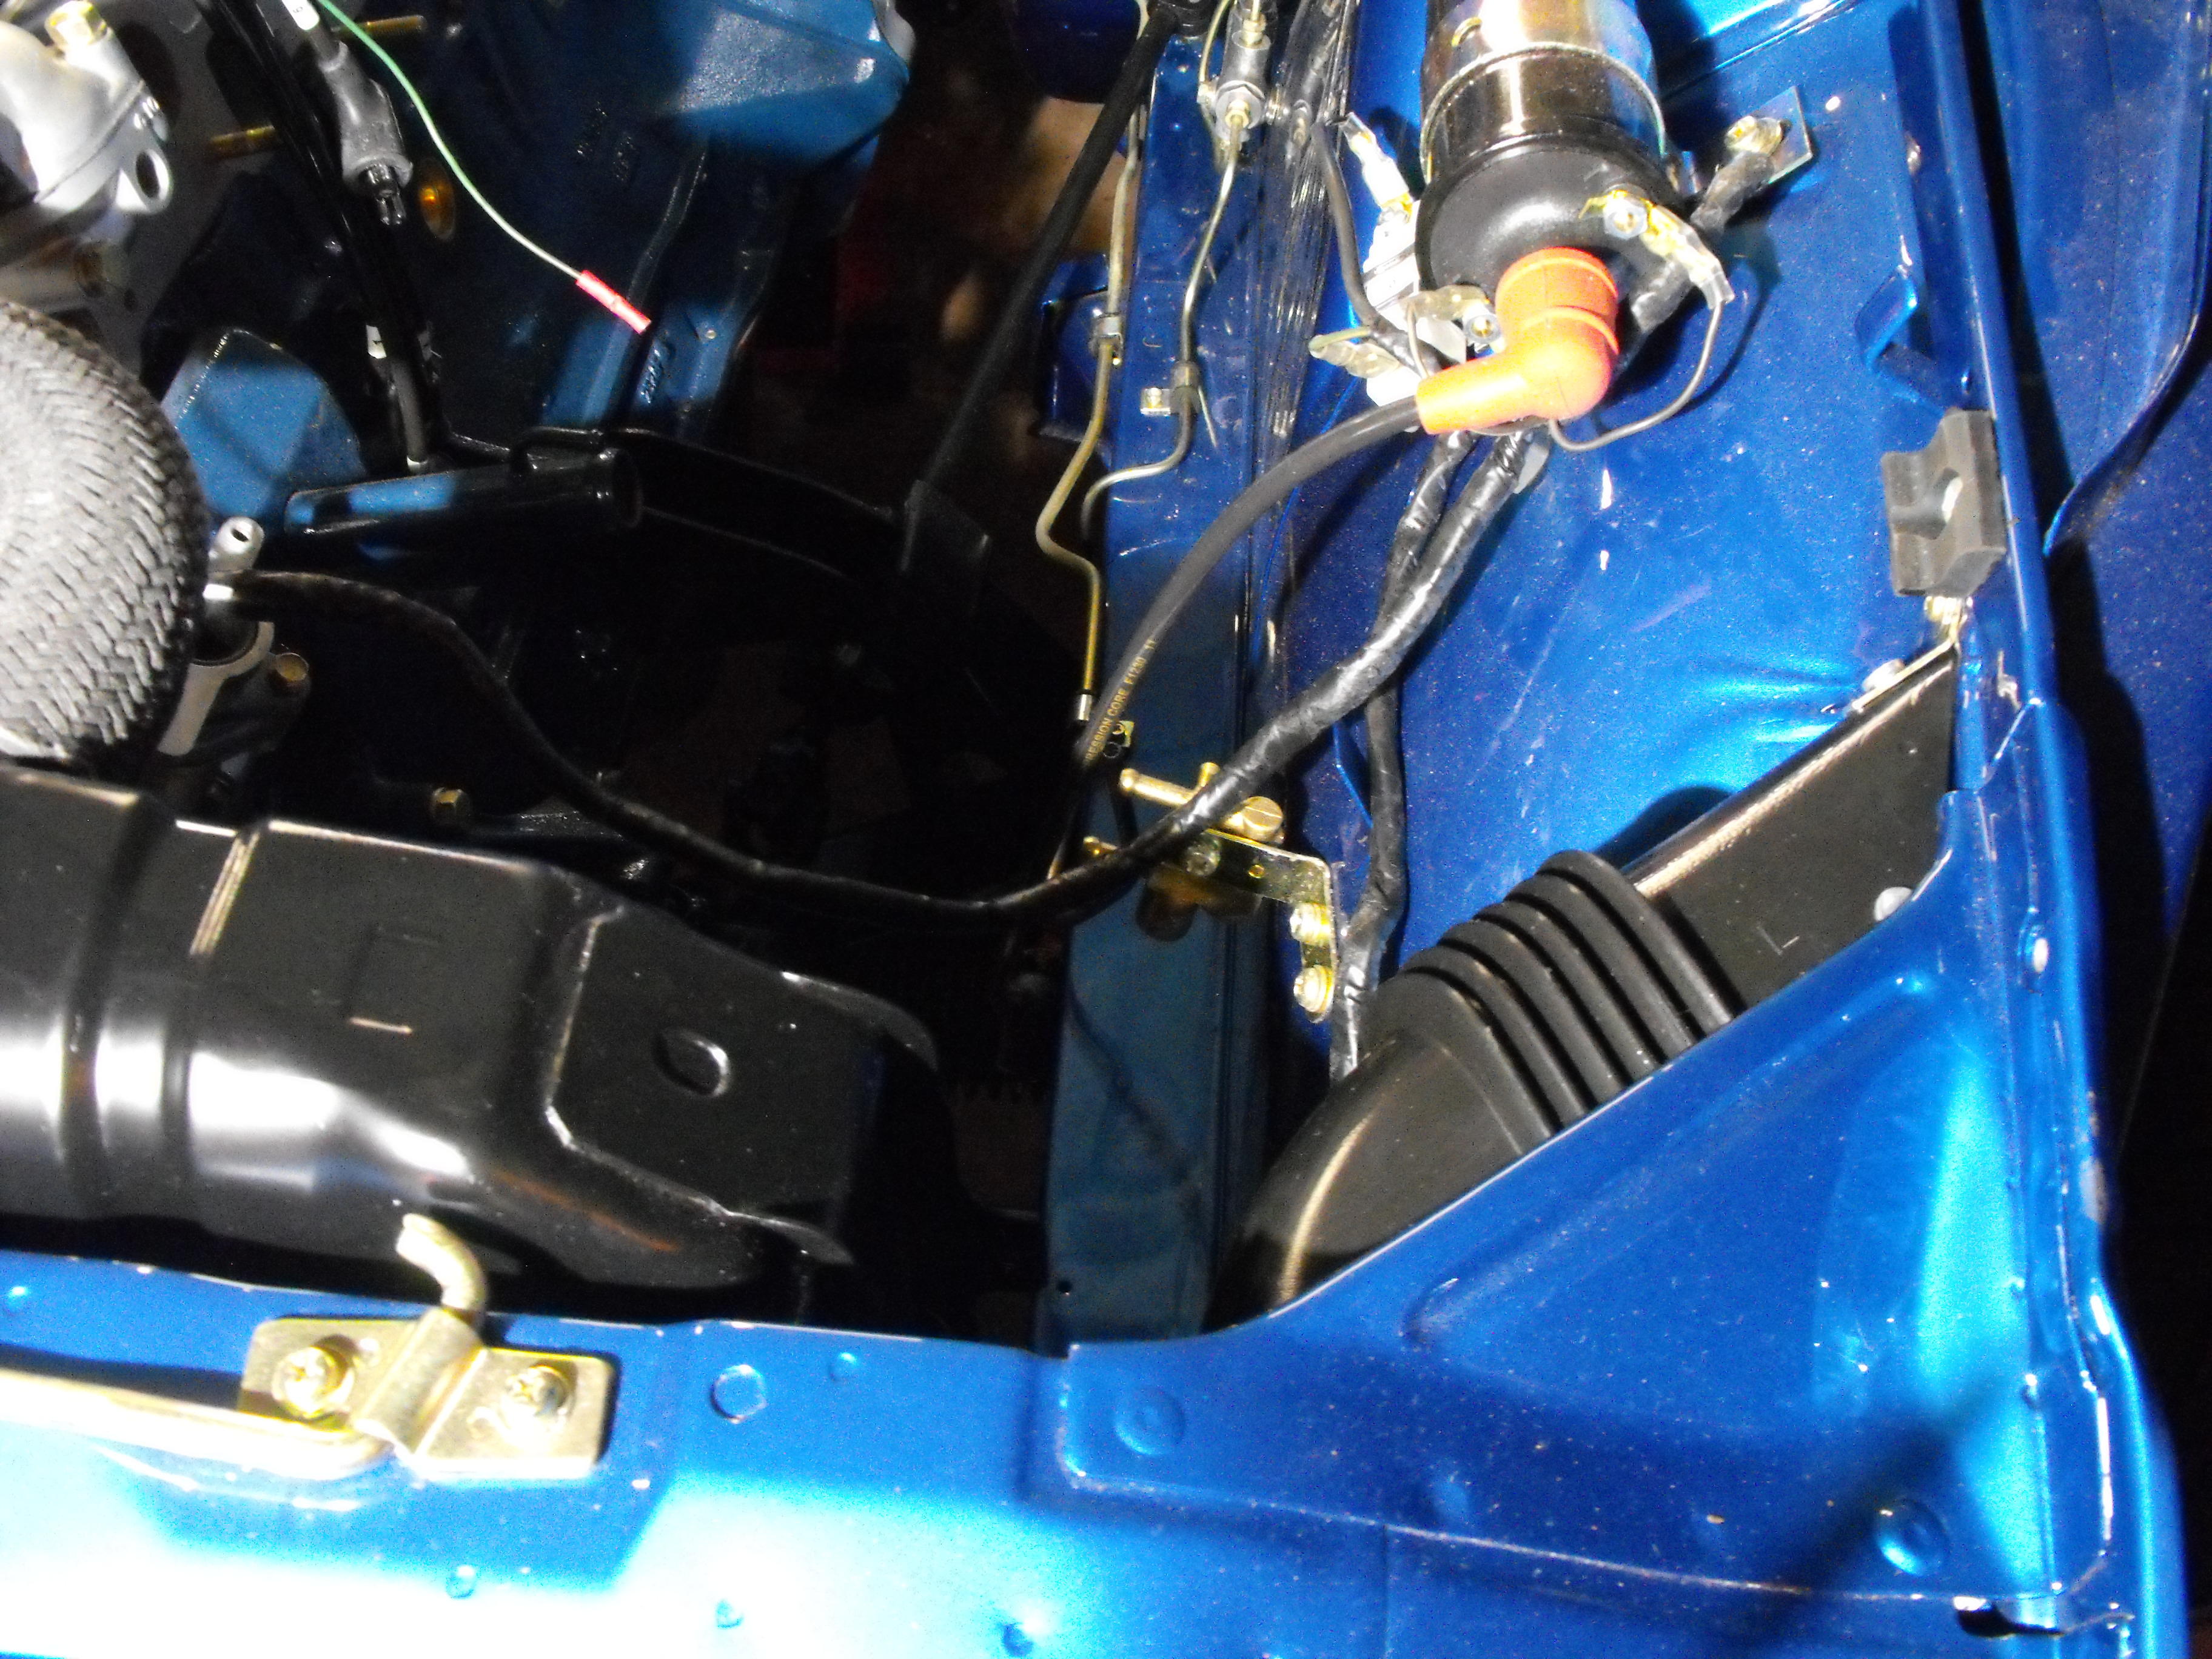
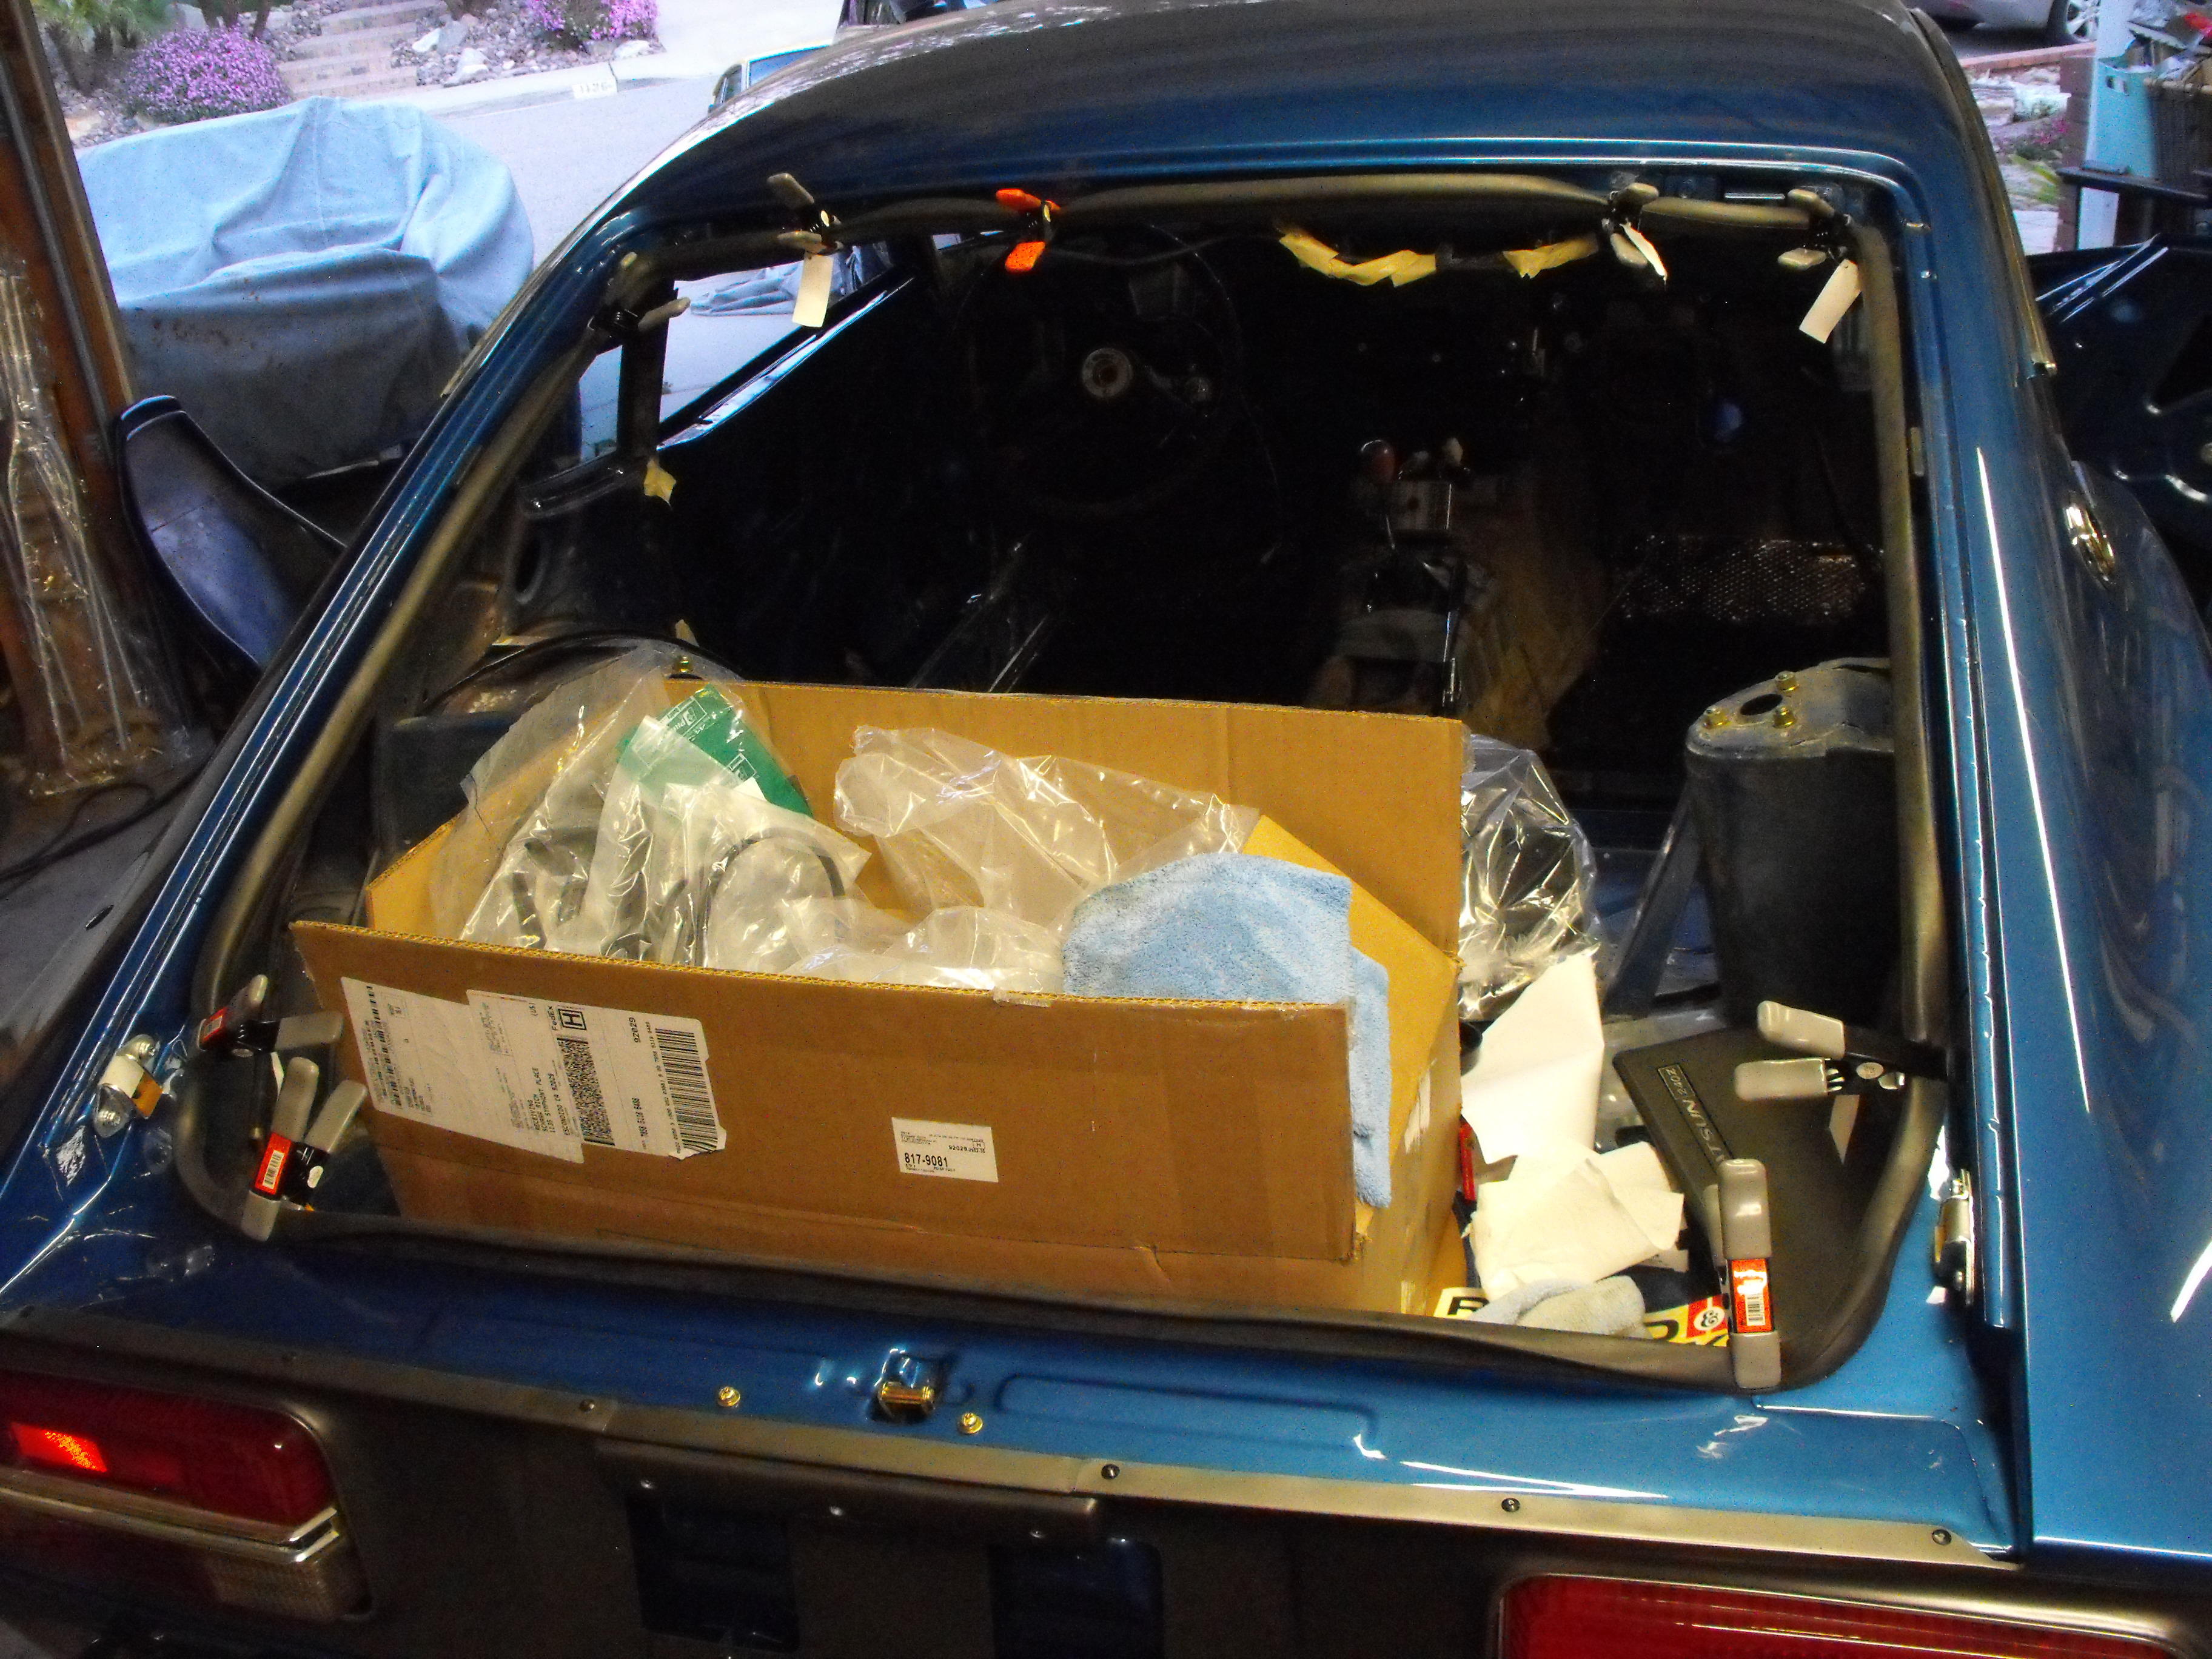
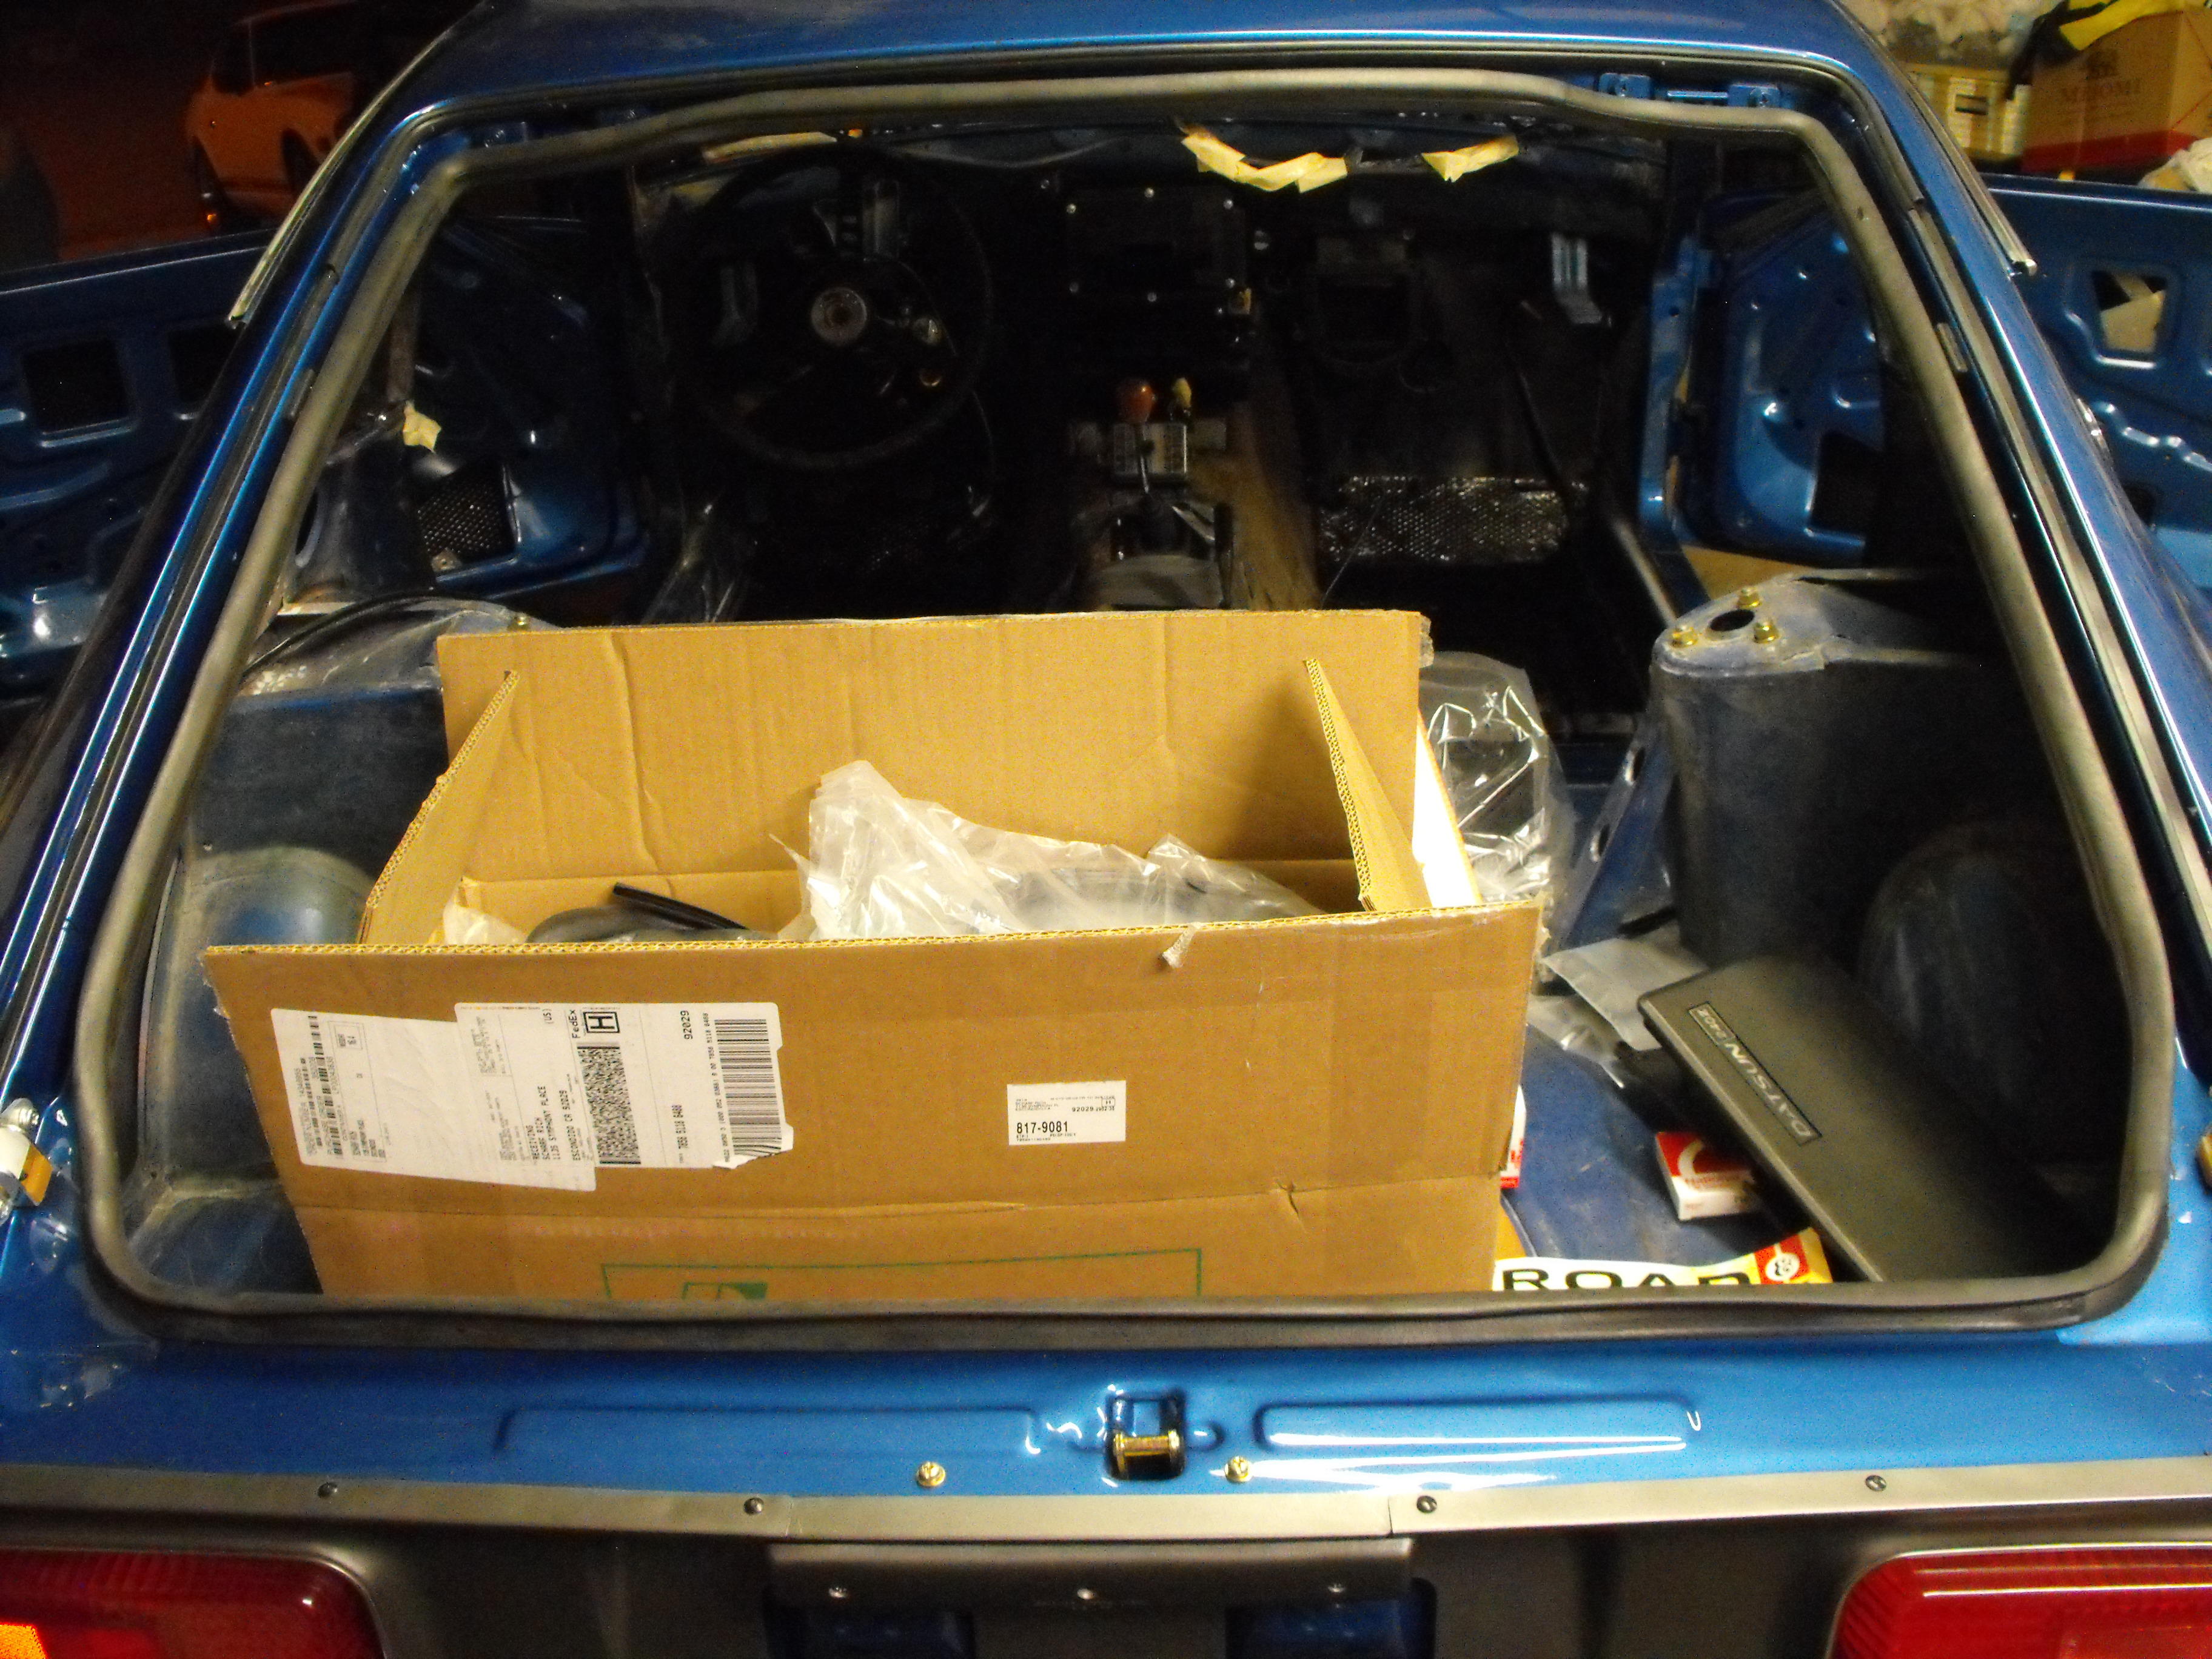
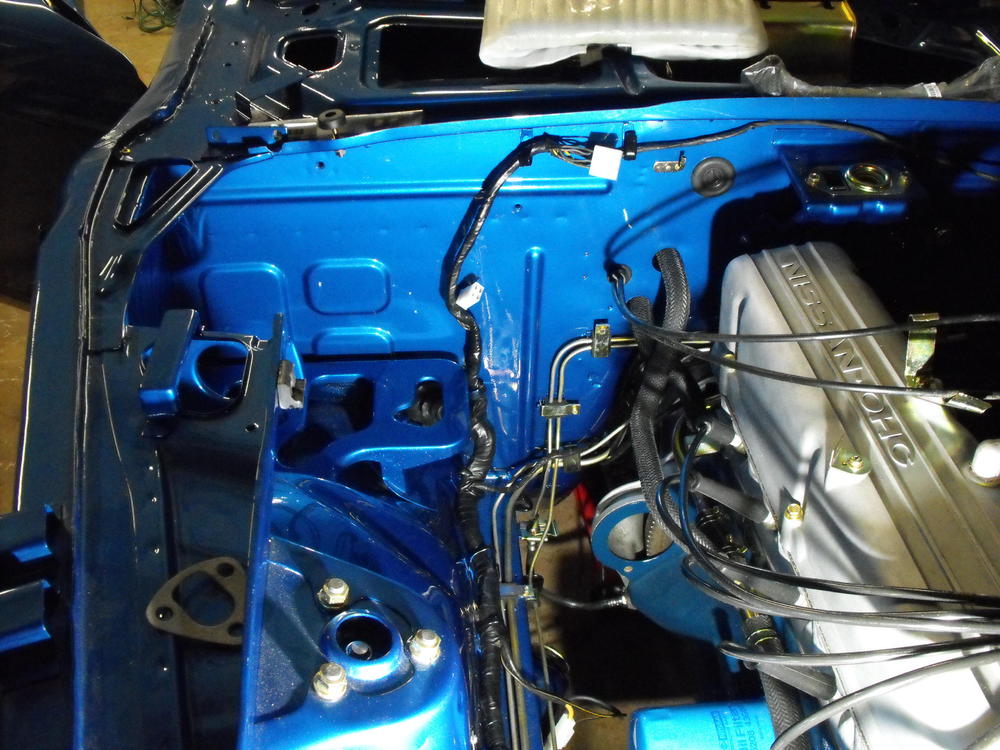
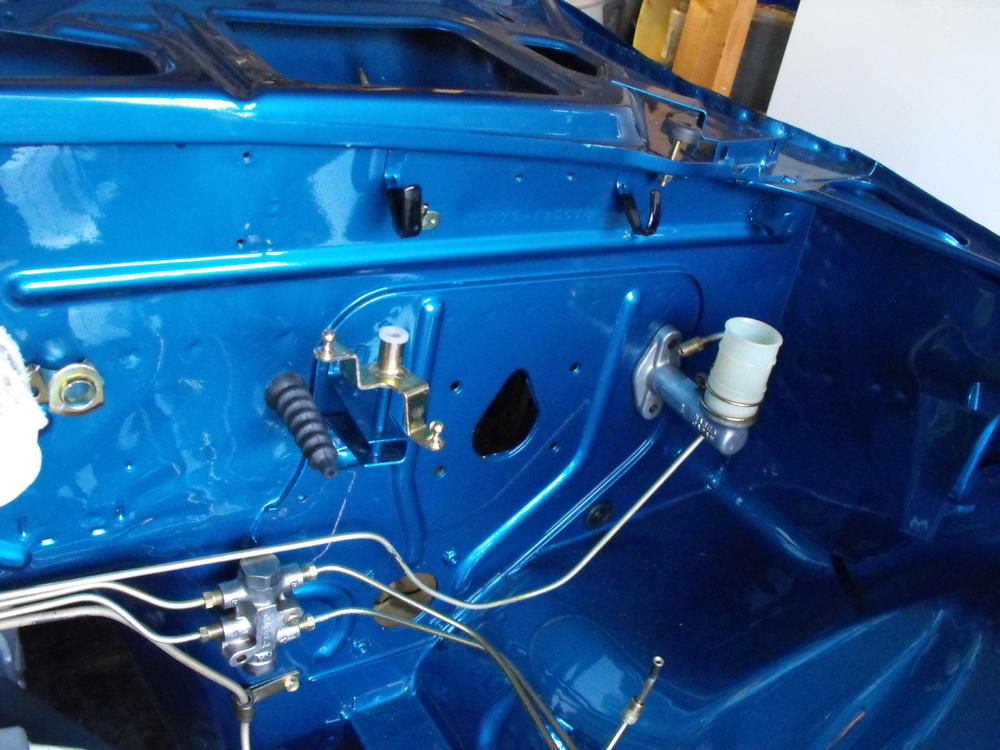
Got the electrical harness cleaned up and replaced most of the connectors. Got the new elec harness firewall boot on. You will never guess how I got the boot on (there is a hint in the picture). All those large connectors have to fit through that 1 inch diameter hole. You can't slide it over from the opposite side because there is a very large connector near the voltage regulator. Will post details on that tomorrow. Car is a bit dusty in the pics. Got the vent air ducts and braided hoses in from Jay at jdm-car-parts.com. They look awesome as always. Now to look for some wire clamps on ebay. Got the heater housing cleaned and painted and installed that along with the fan. Also got the bottom seat frame back from the powder coater. Will post pics of those later.


-
-
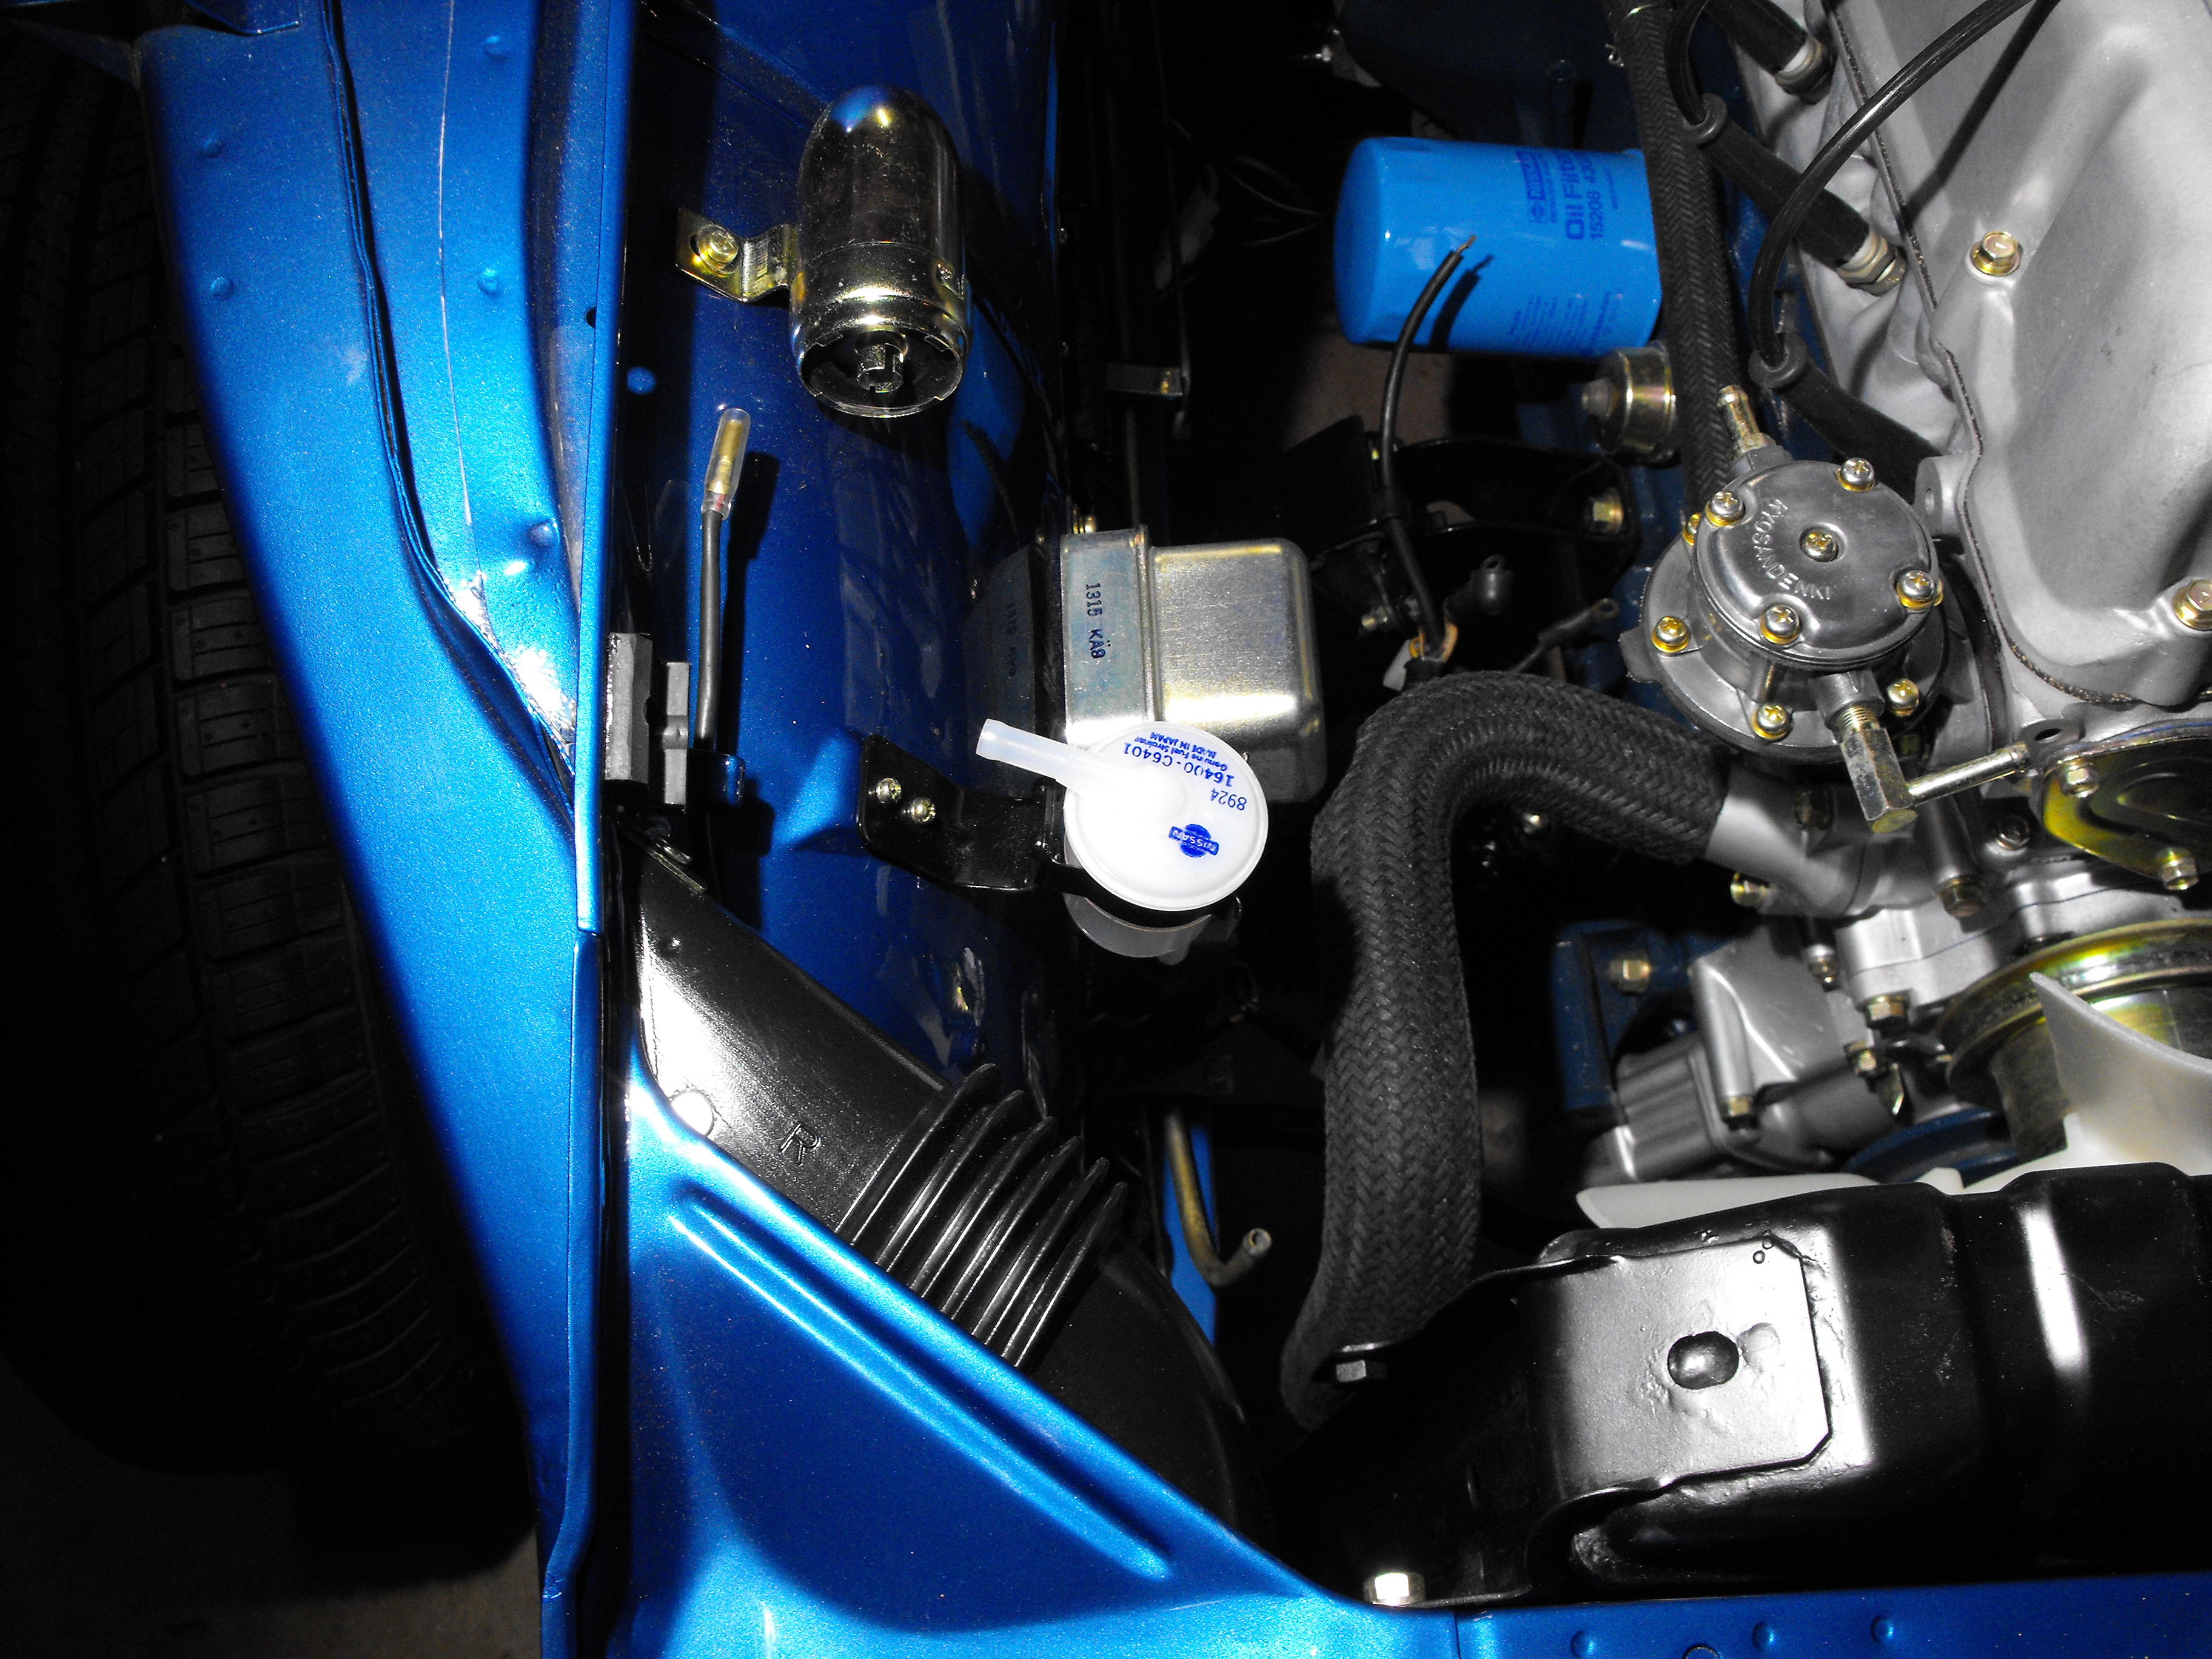
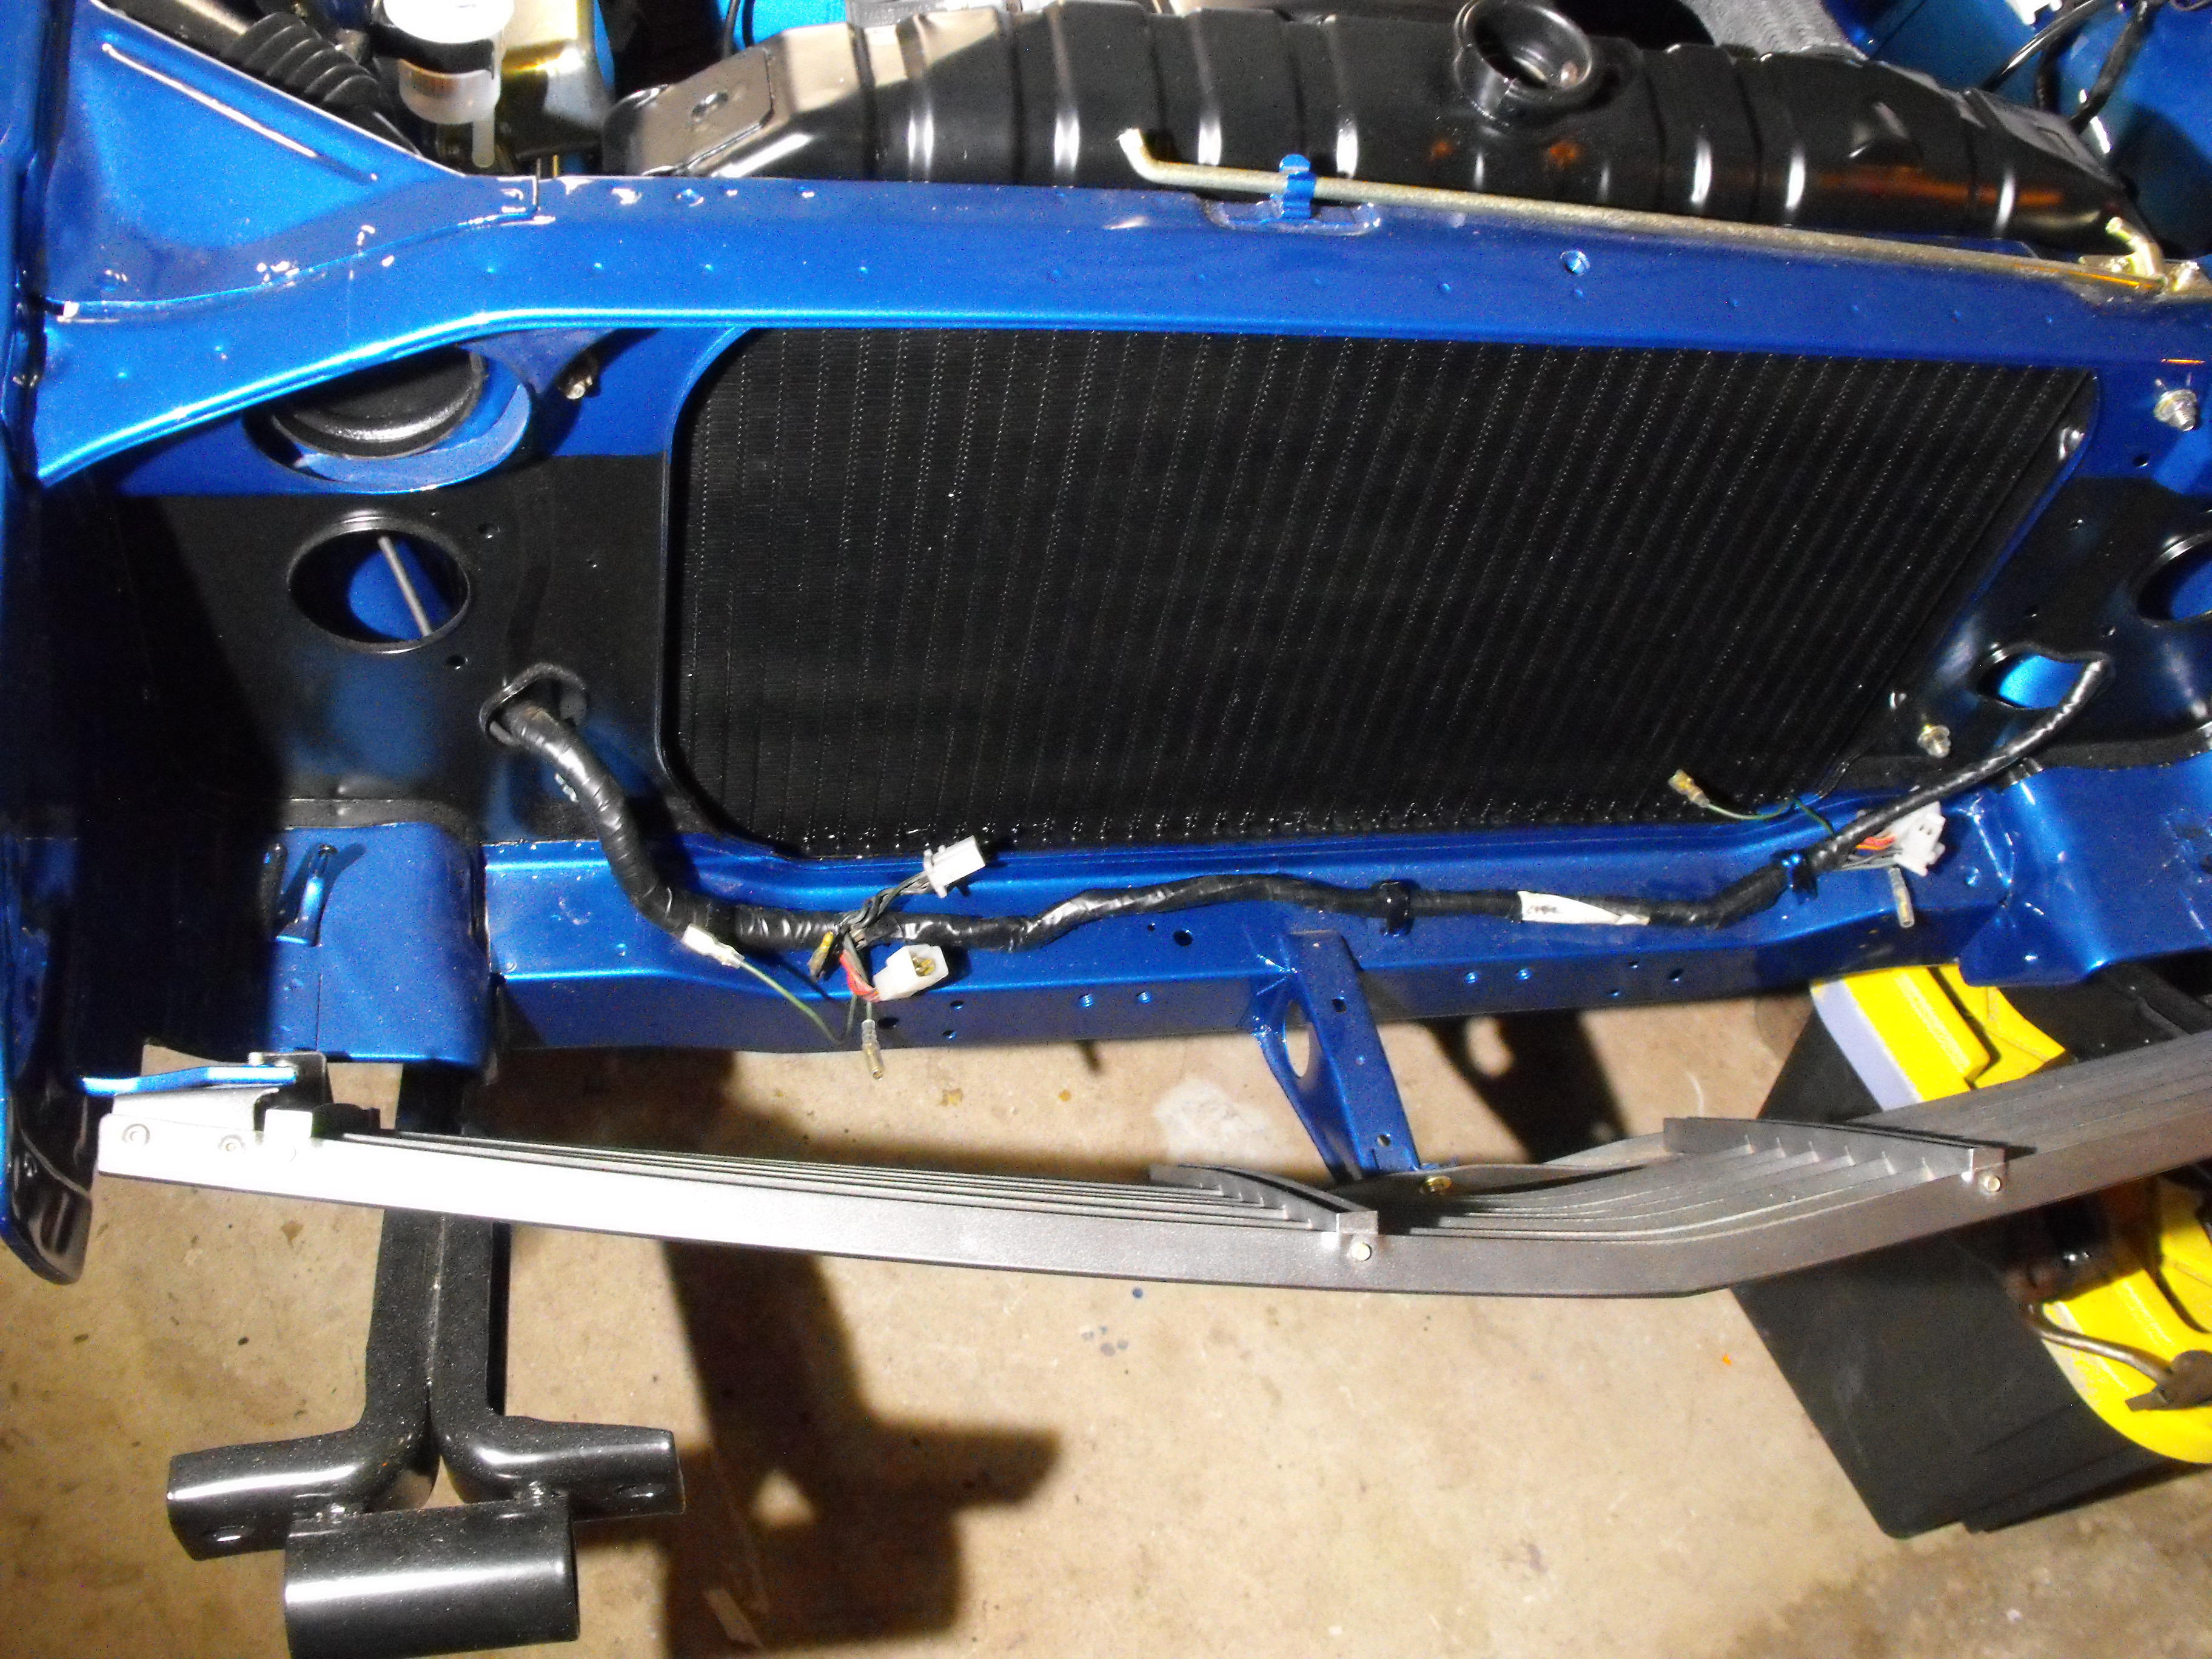
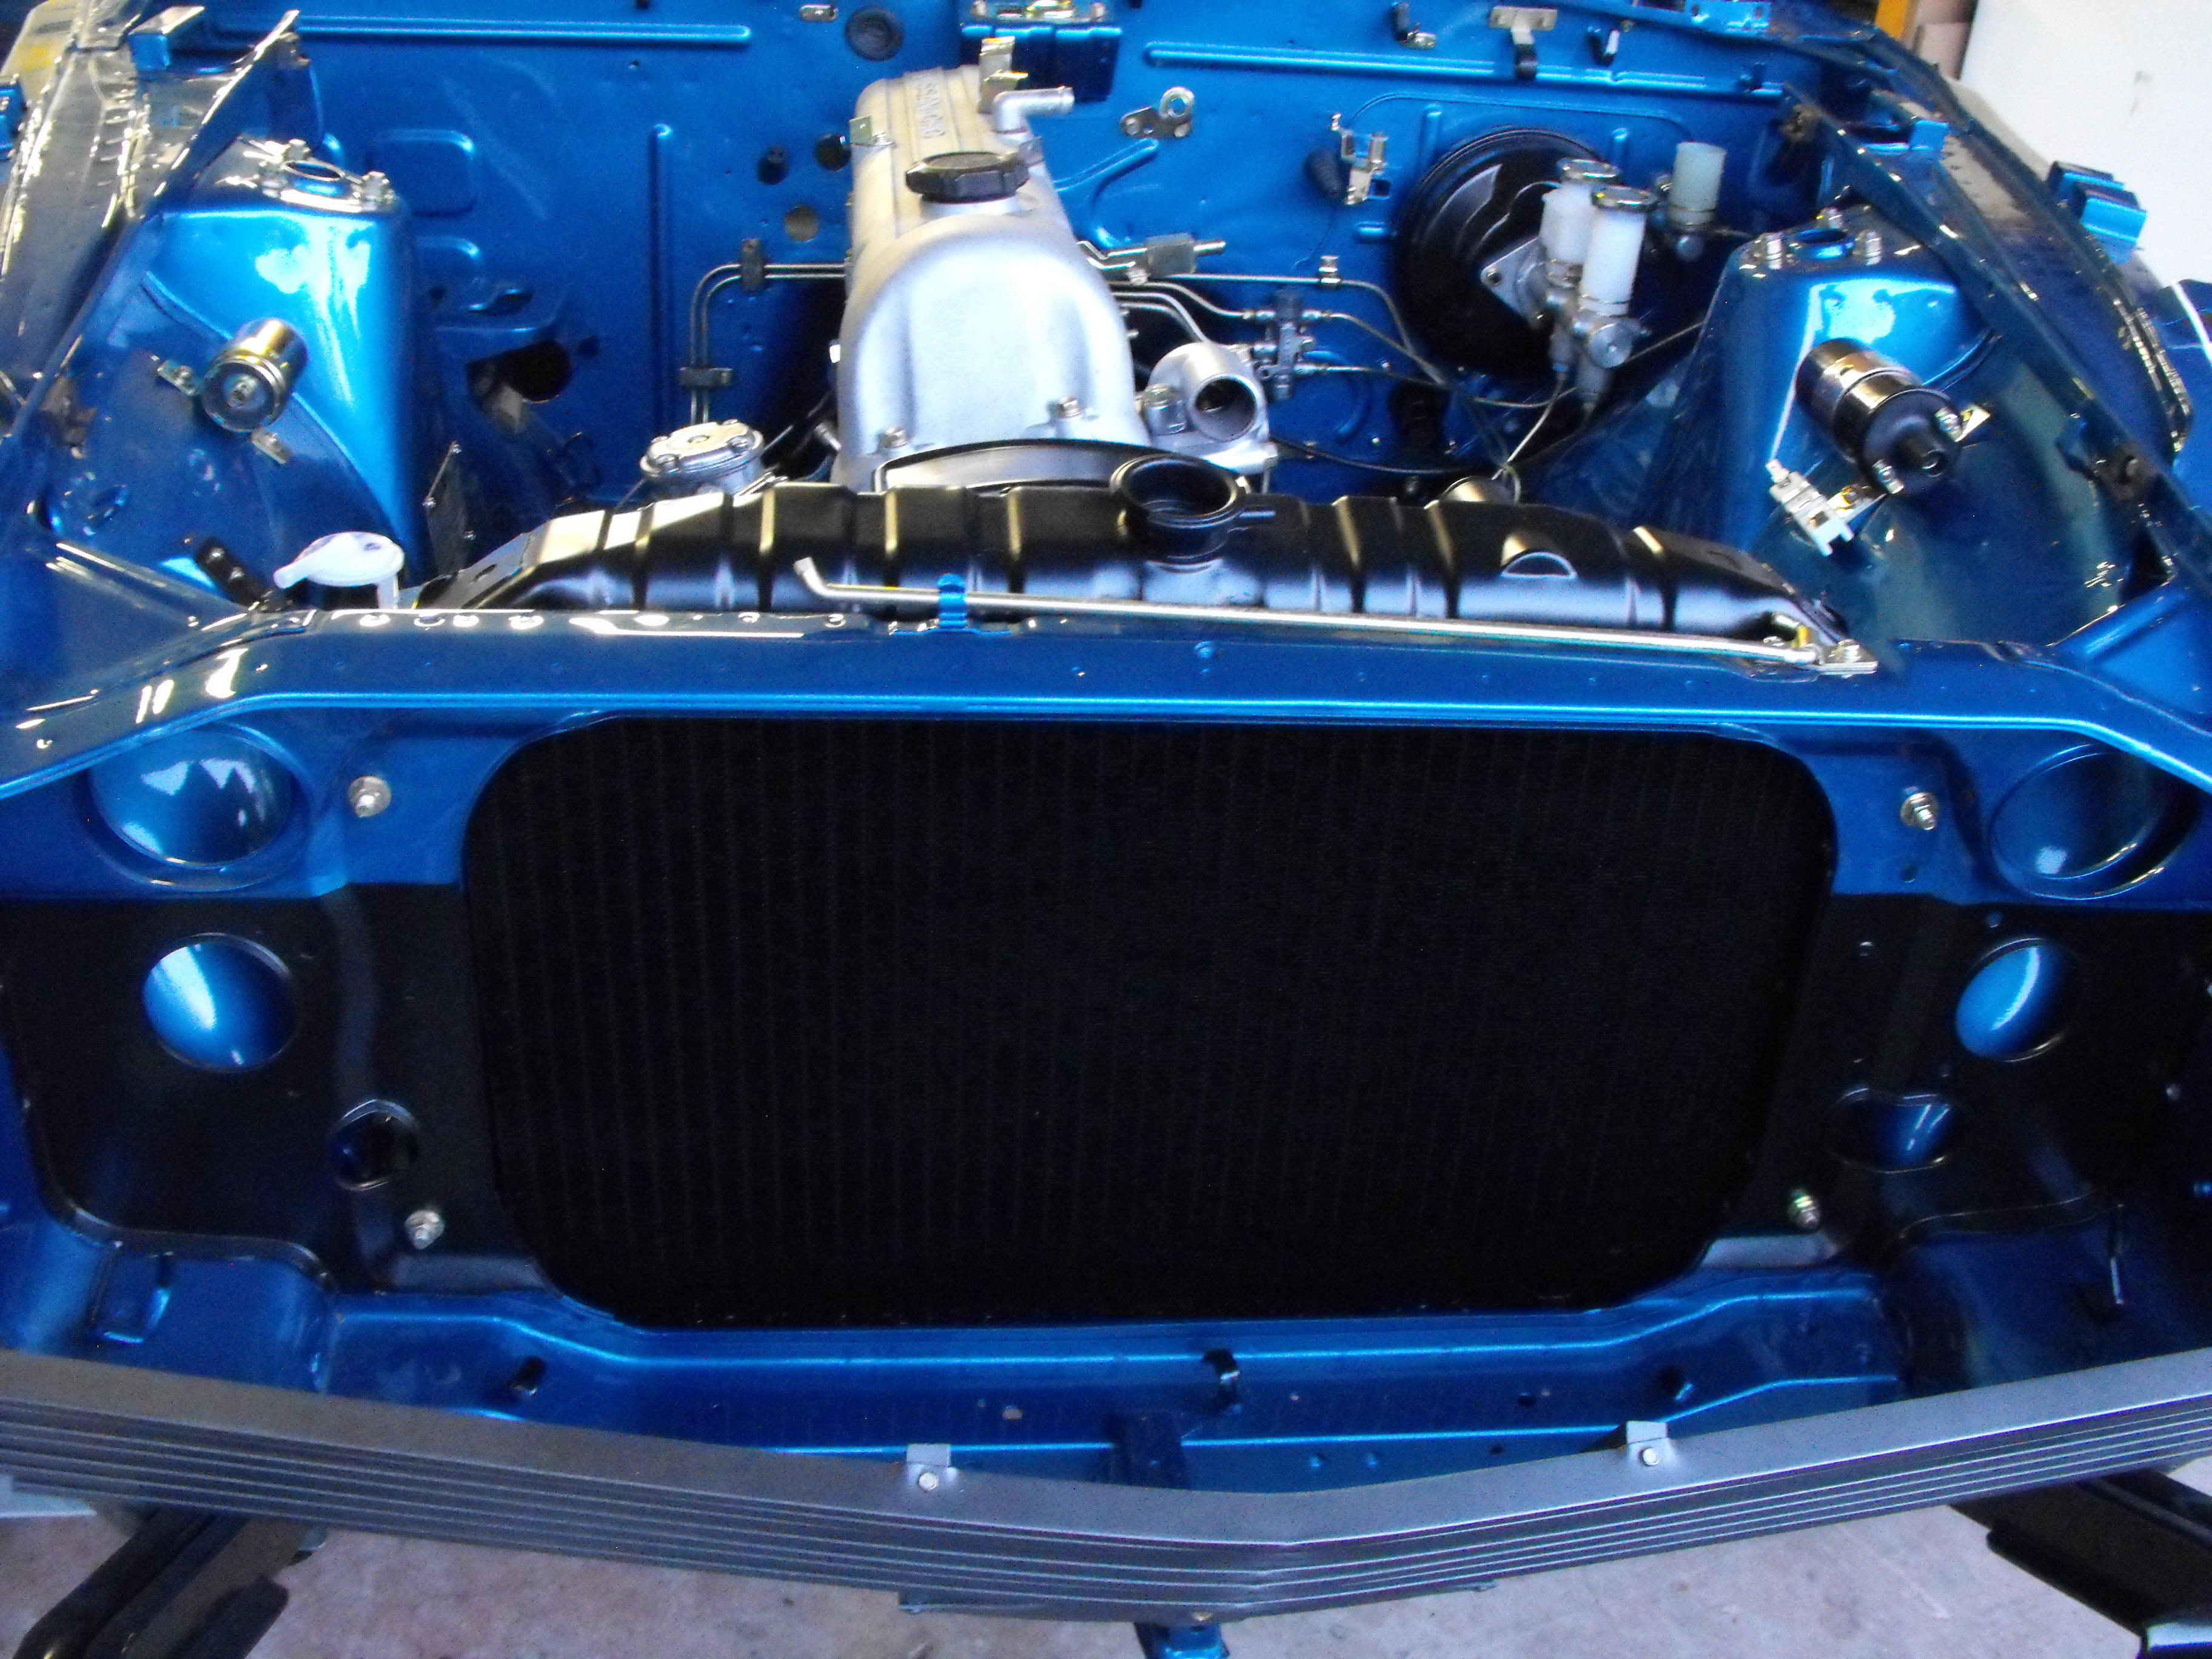
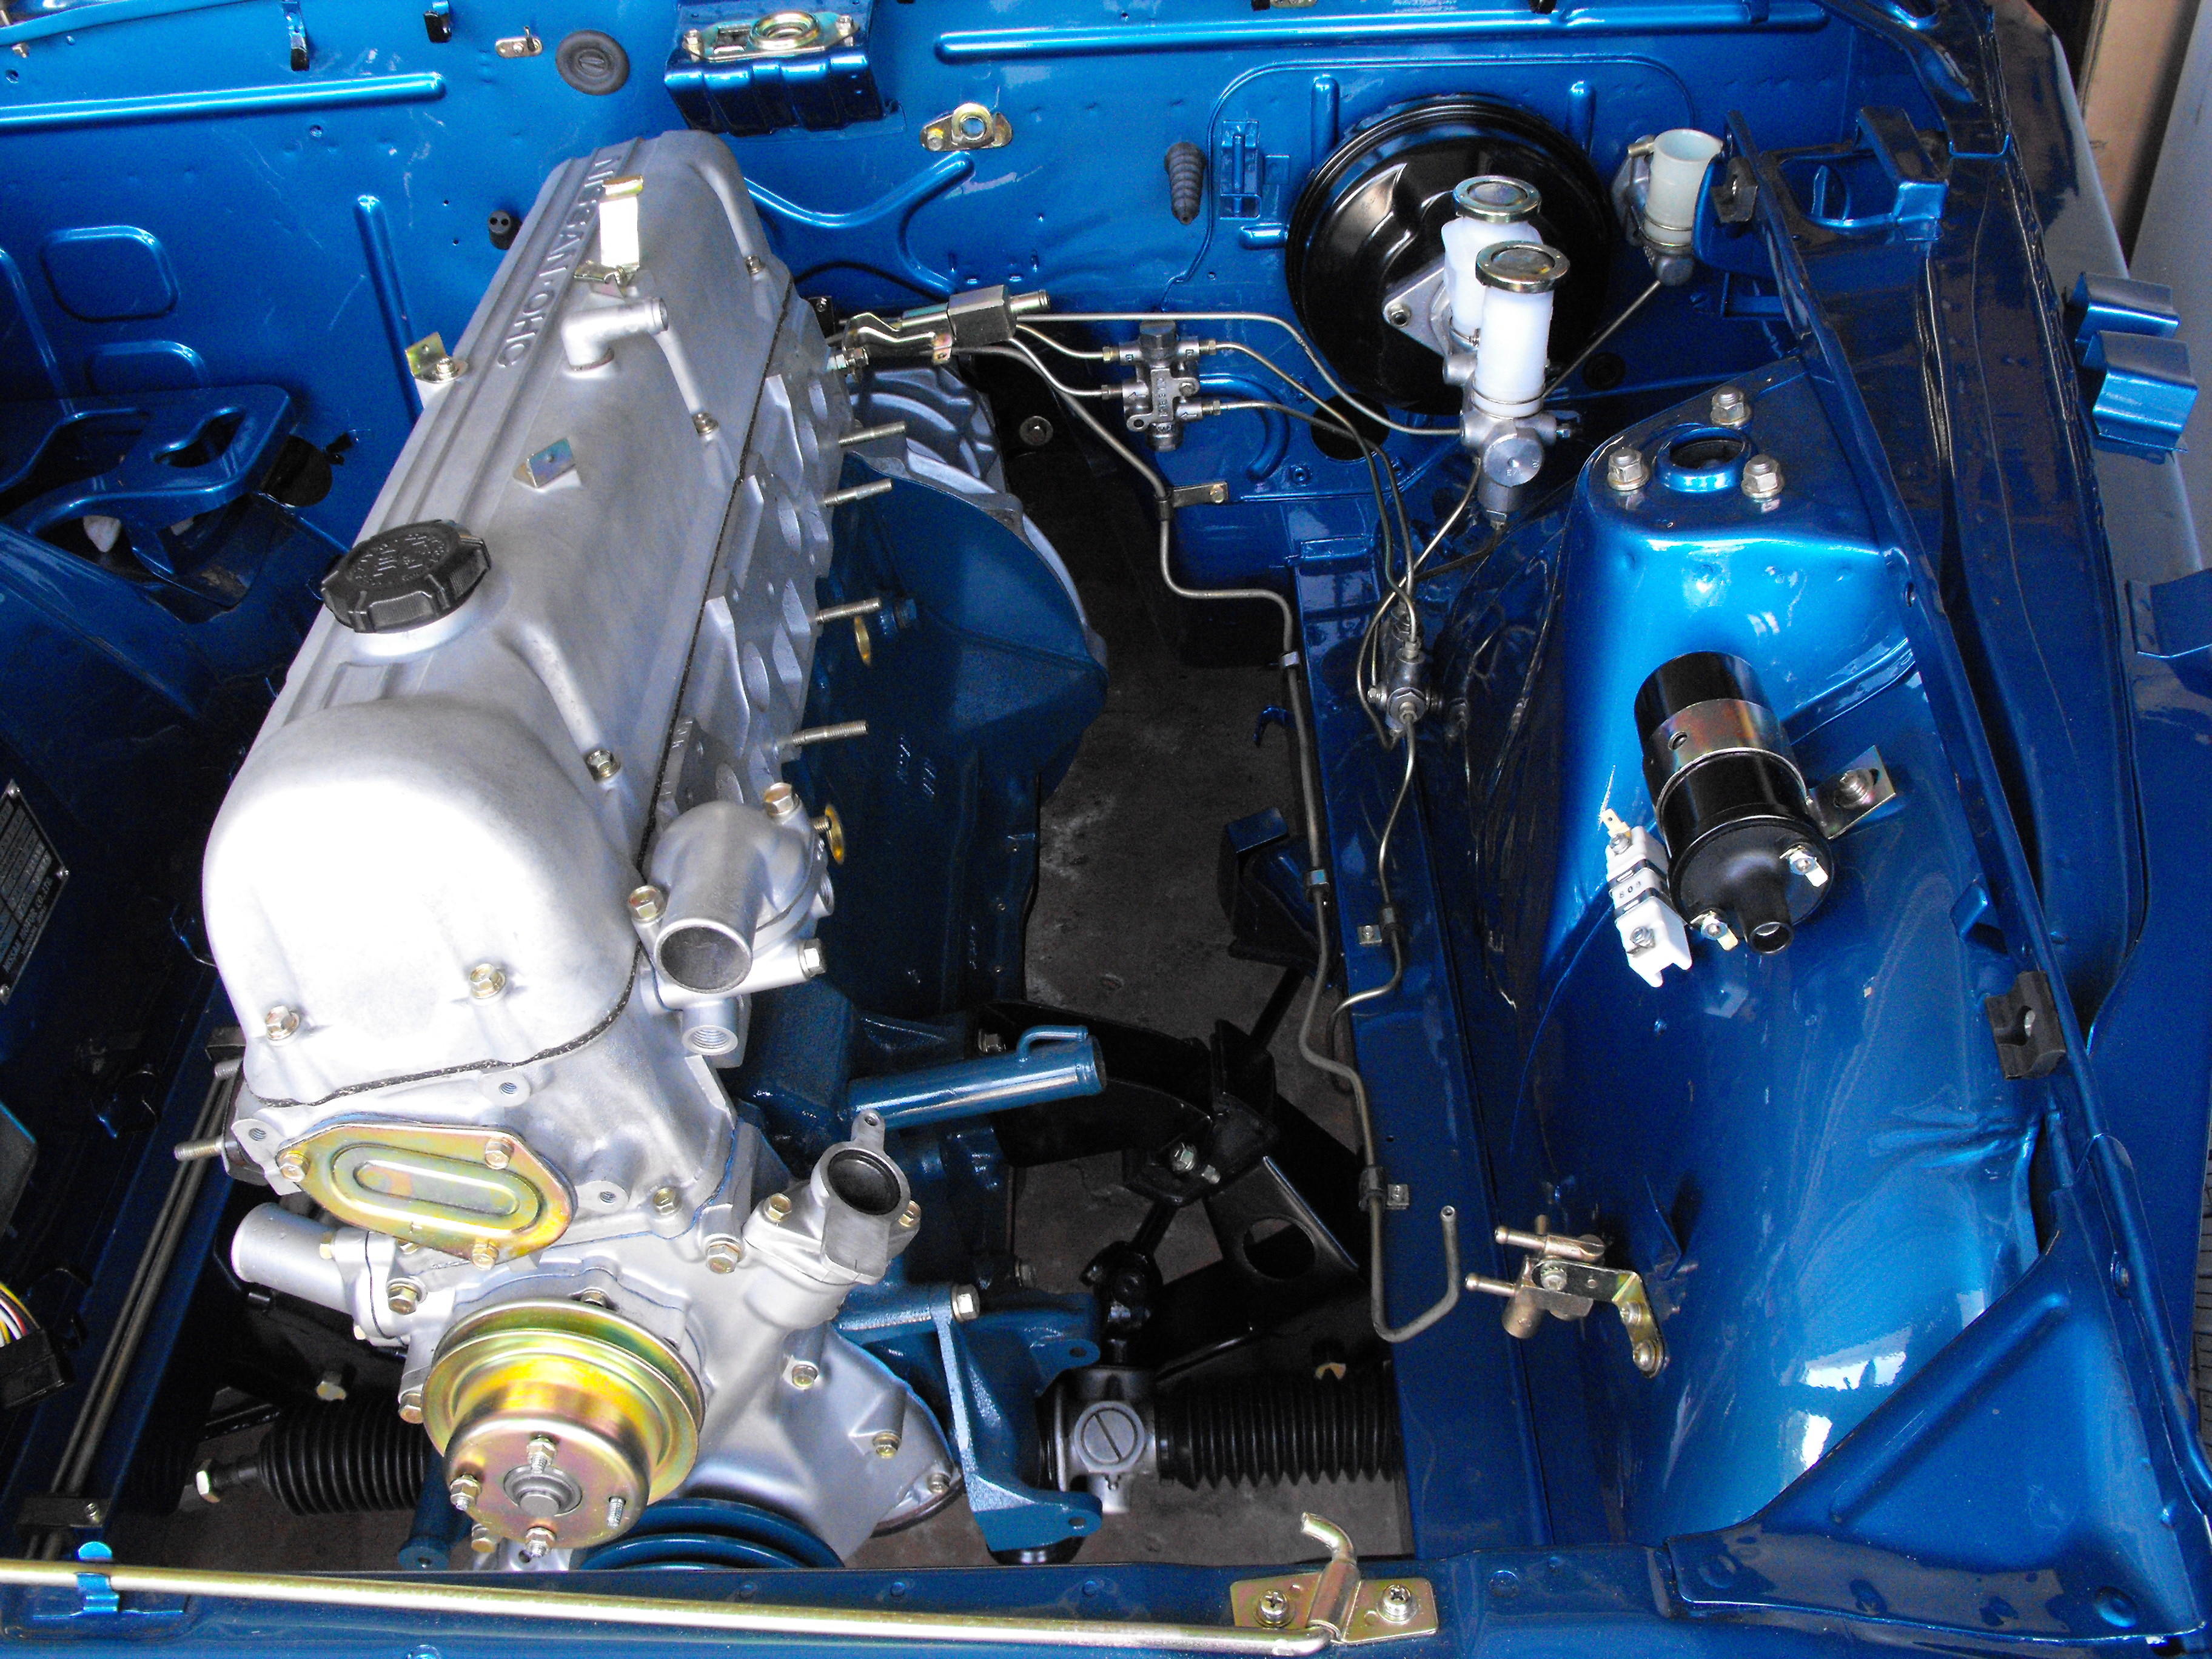
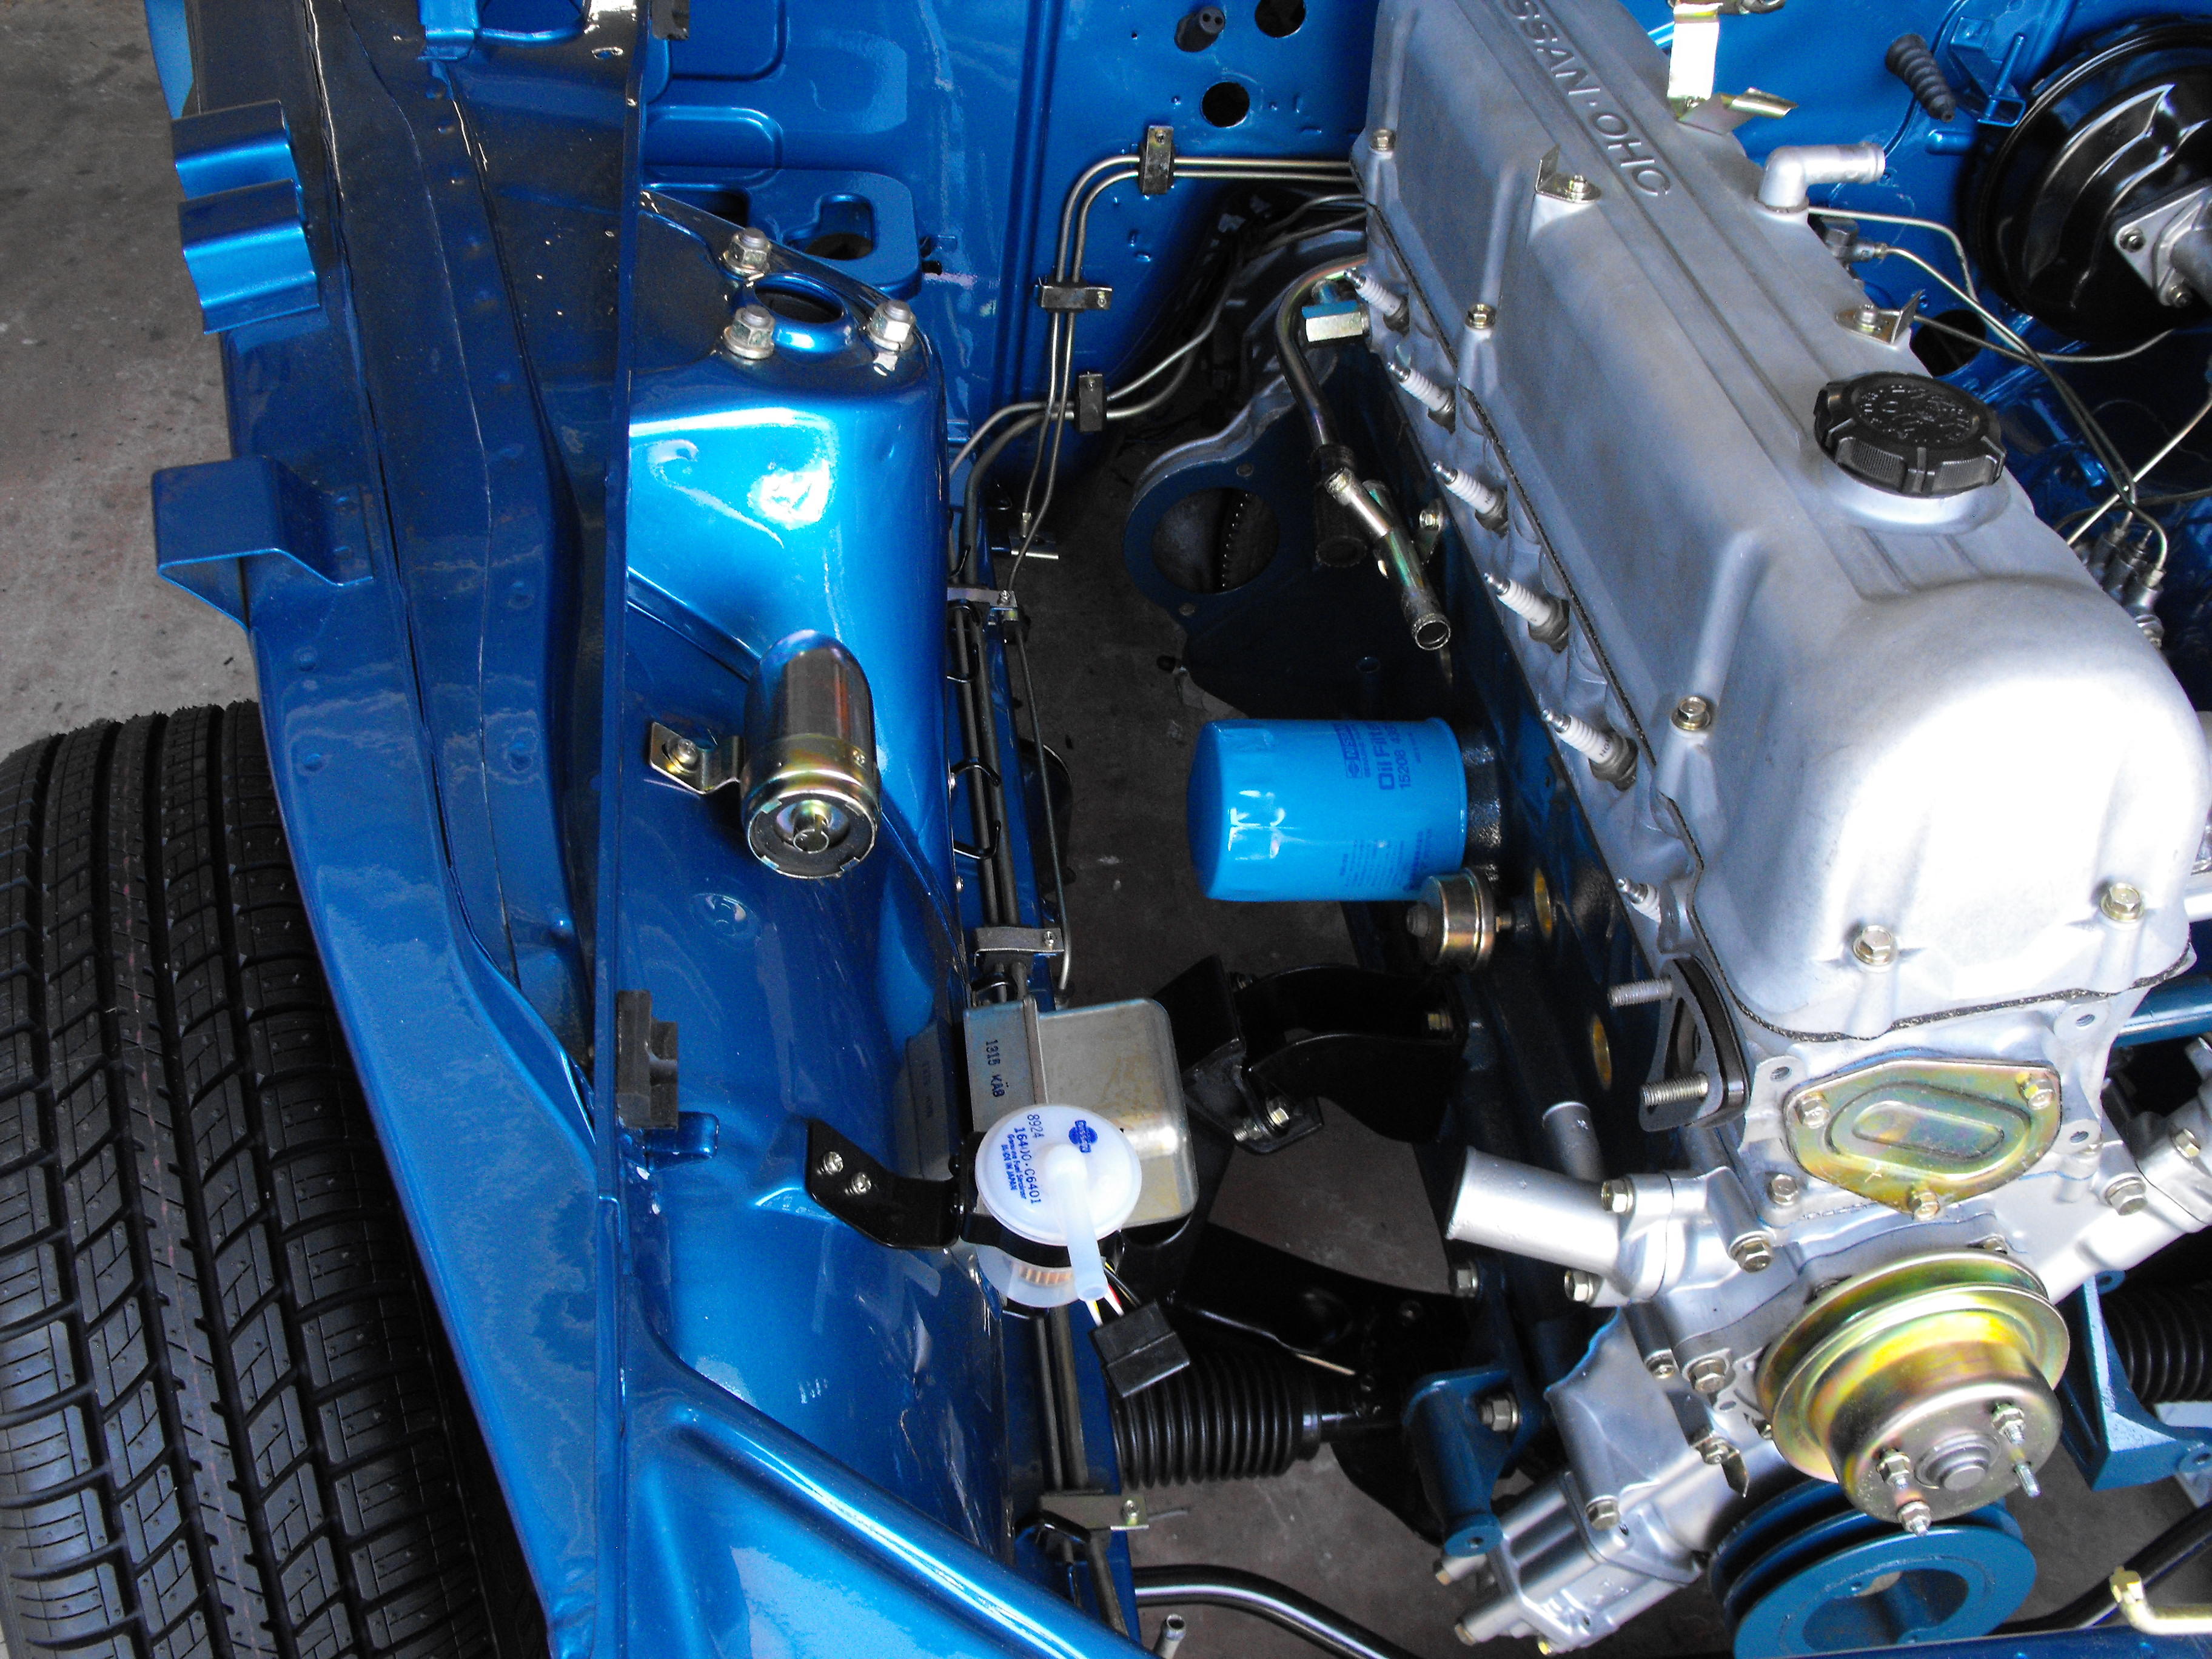
Got the radiator re-cored with a heavy duty 3-row core. Installed radiator, fan clutch and fan. Also cleaned up fuel pump and installed that. I am picking up the hatch tomorrow, so figured I would put in the hatch weather stripping. My favorite part of dointg the weather stripping is peeling the glue off of my fingers afterwards....very entertaining. Ordered the engine compartment braided hoses from Jay at jdm-car-parts.com. Those should arrive in the next day or two. Also cleaned up the electrical harness. Will install that once I get the new harness firewall boot.


-
Yes, the paint does not seem to be the best quality. There are a number of photos that show a lot of orange peel texture. The shot under the hood with the decal looks pretty orange peeled as well, among others.
-
Looks like it is up in Oakland, California being sold by a dealer. That makes me think it would be available for inspection.
-
Nice looking car, but the dash is a bit odd. Would be nice to have a little history on that.
-
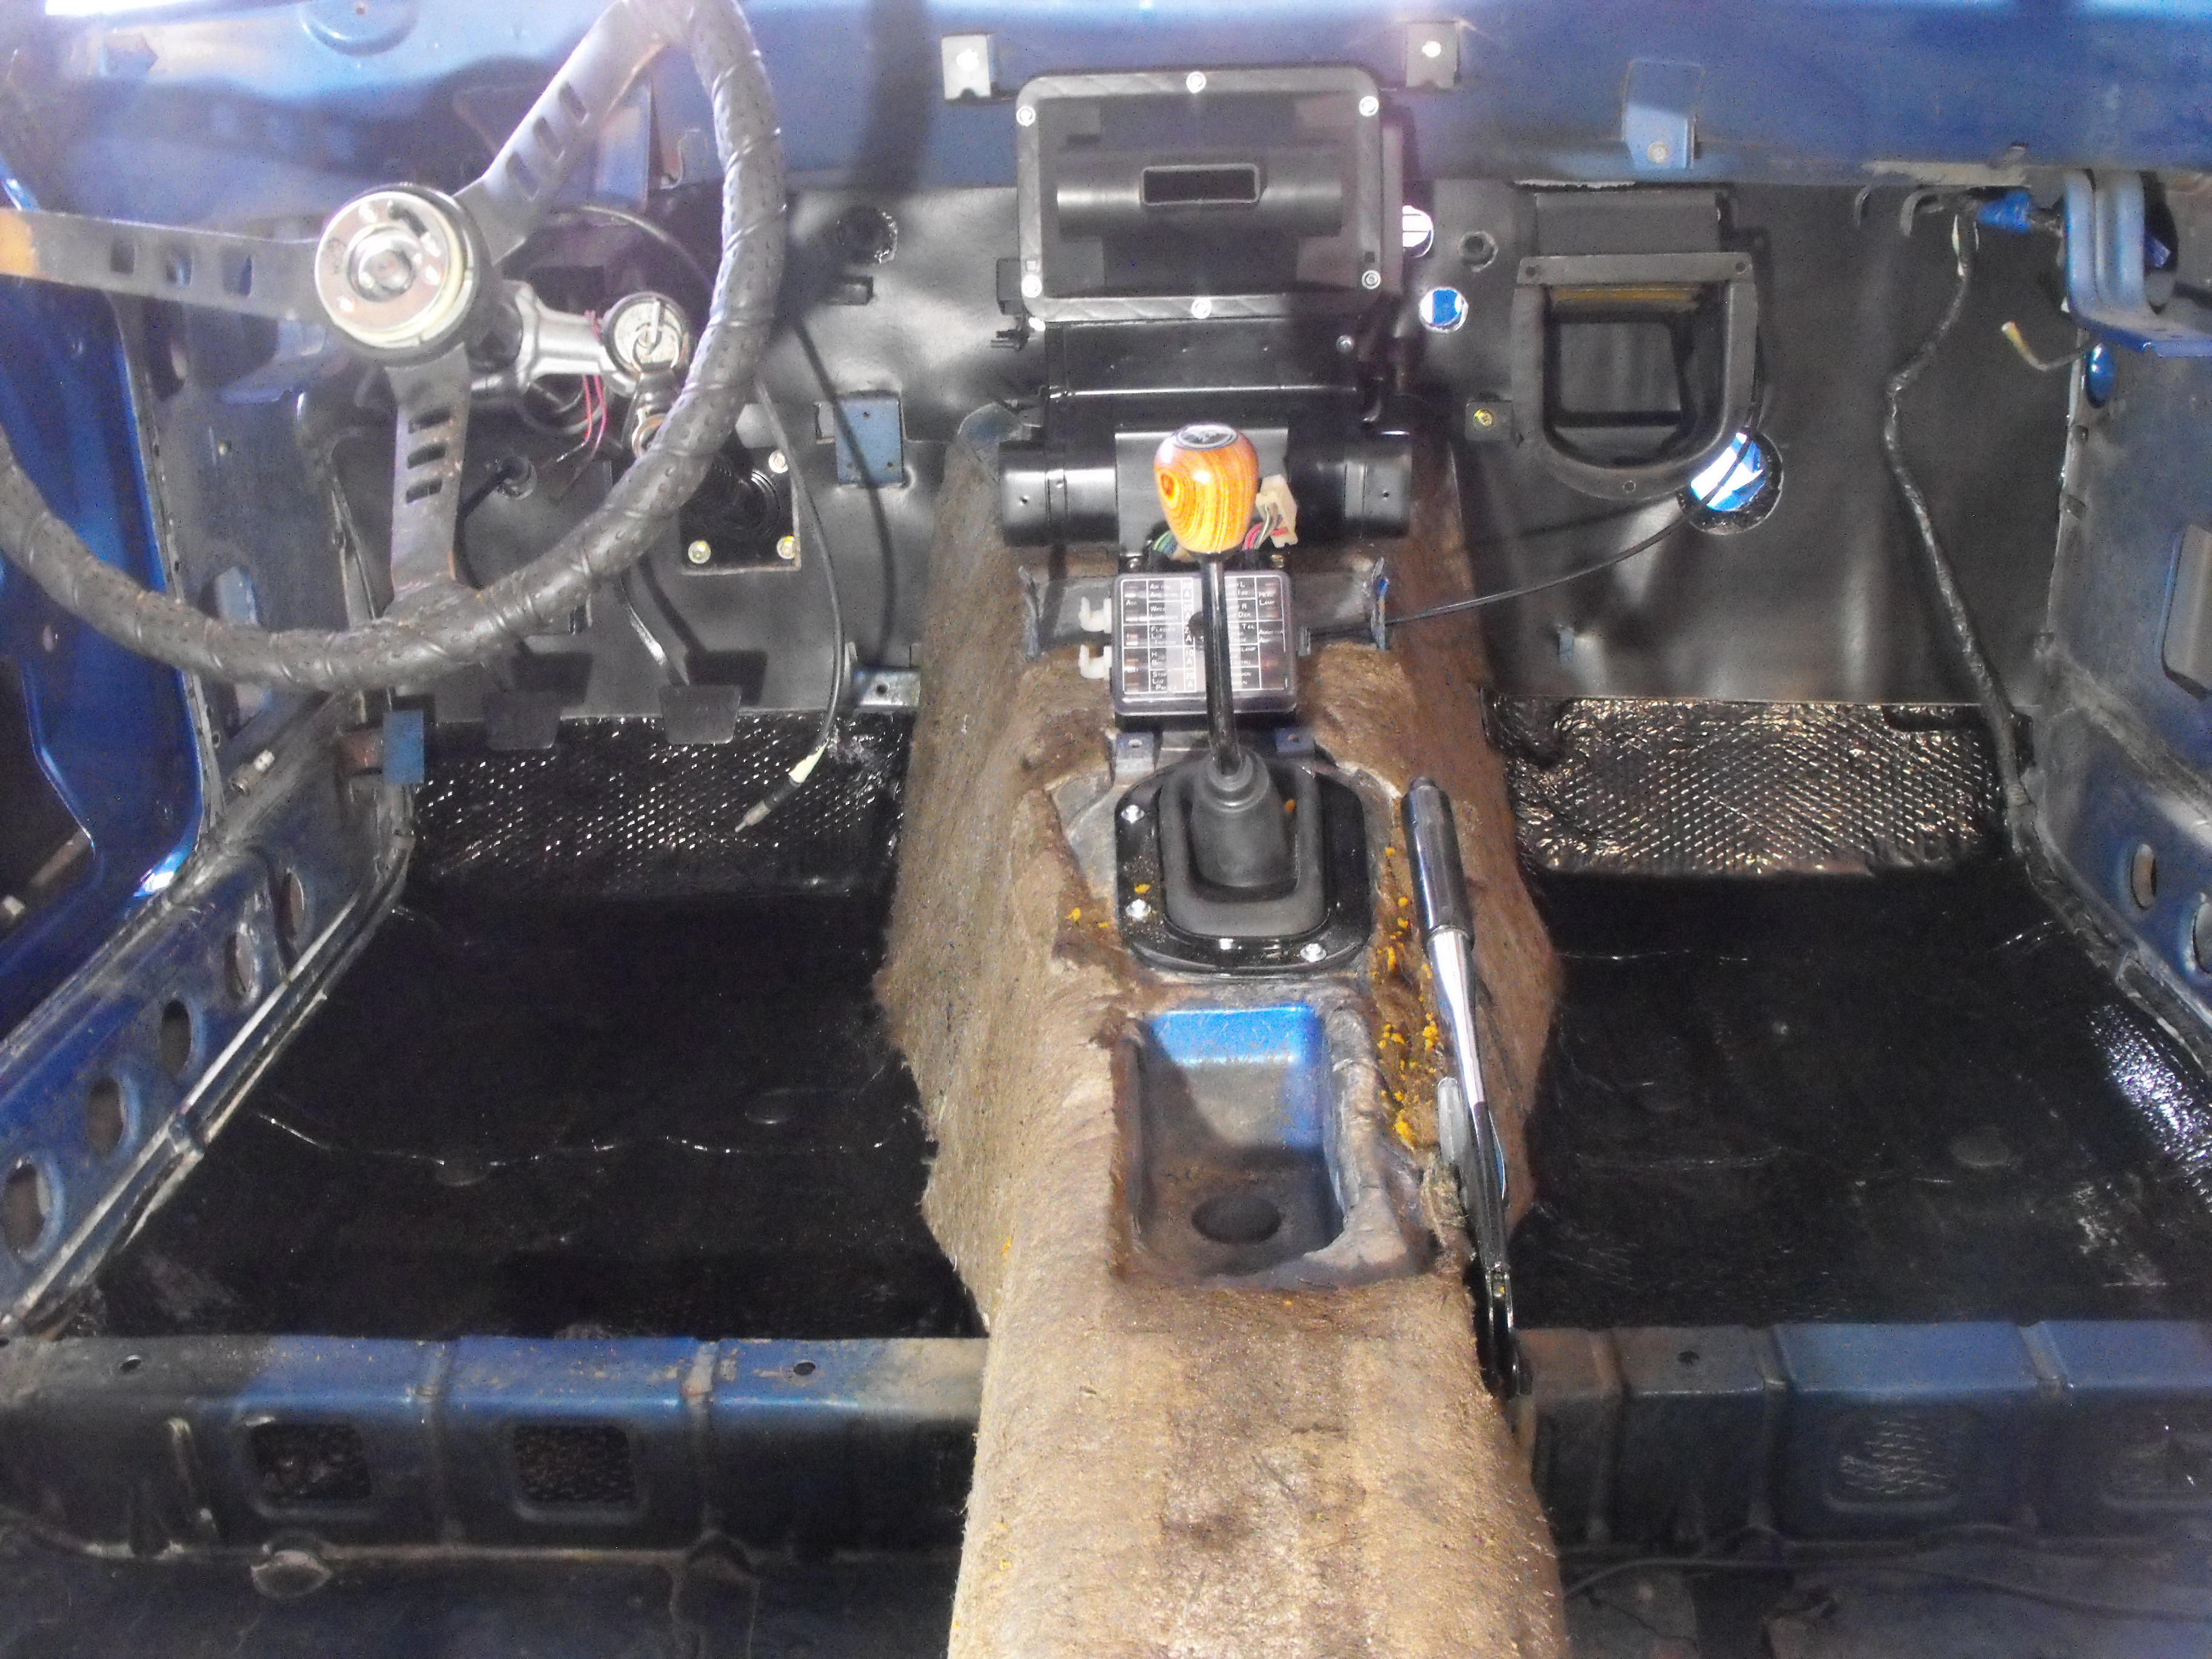
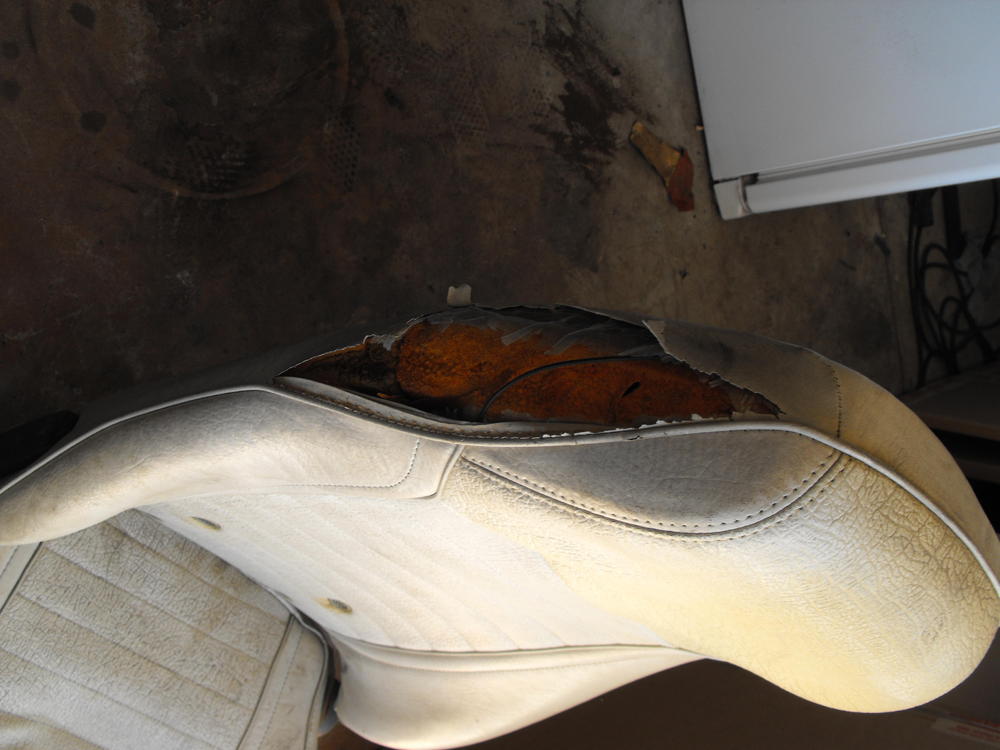
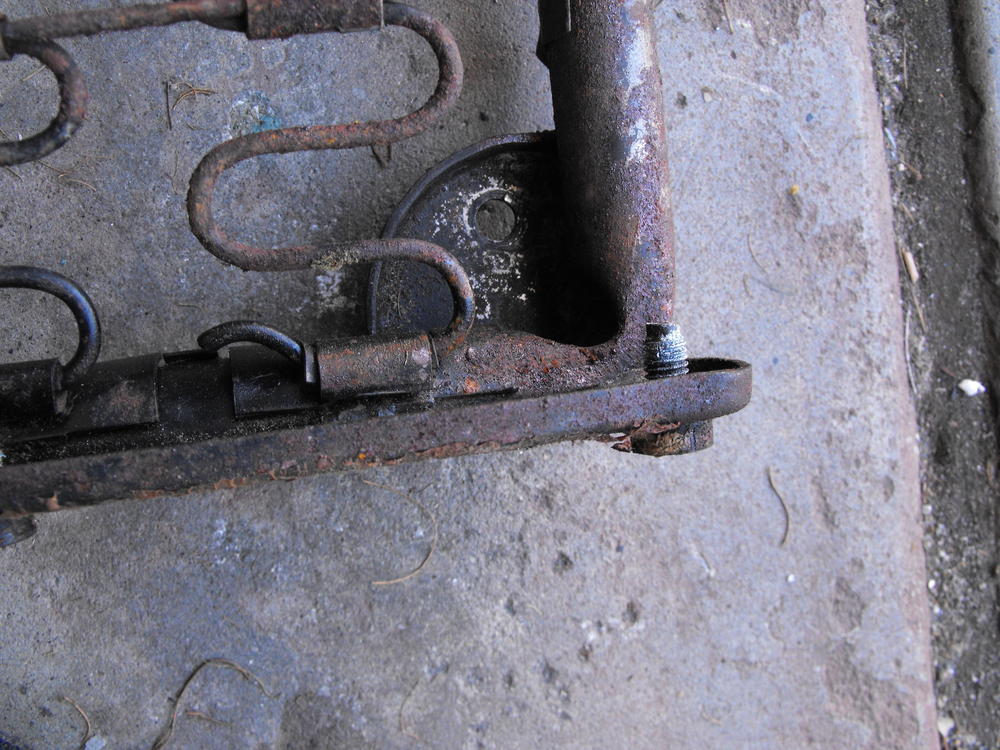
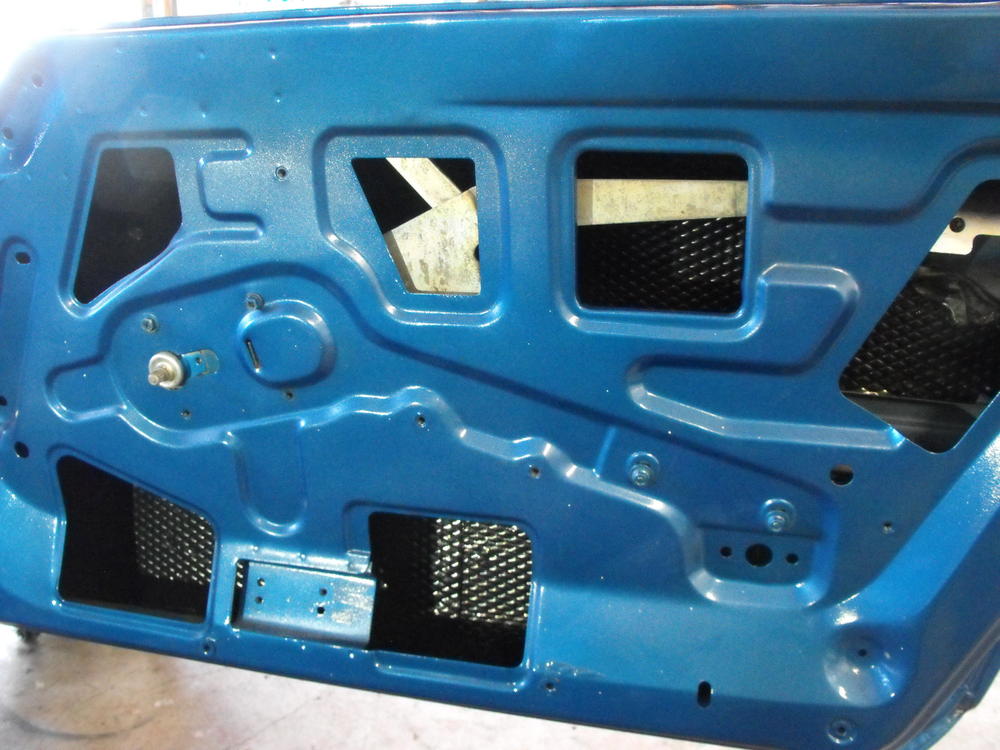
Made some more progress this week. Got the soundproofing in on the doors, firewall and the front floors. I used the Noico mat because I like the weight and flex of the material. It makes a huge difference in the interior sound level when the car is running. I also like the feel and sound of the doors when they close with the Noico mat. Without the mat, the doors have that tinny 'tink' sound when you open and close them (drives me up the wall). With the Noico mat installed, the sound is like a modern car. You get the solid, deep 'thunk' when you close the door. On my yellow Z, I have the mat in the drivers door and nothing in the passenger door just for demo purposes. People are pretty amazed at the the difference in sound. Started the heater and fan install, got the shifter installed along with a new rubber boot. Also got the handbrake installed. Cleaned and installed the speedo cable and then disassembled the seats. That was a task. The lower bolts were rusted in pretty good and I had to drill the head off of three of them. After that, used the vise grips to thread the 'headless' flat head' screw out the far side of the fitting. The rear frame of the seat was pretty corroded, so I will drop that off at the powder coater tomorrow along with the stock rims that I picked up last week. I removed the old interior vinyl around the door pillars and roof headliner. All the new vinyl is in along with the seat foam and vinyl. I was tempted to install the headliner today, but will wait till I am a little bit farther along. The snow white interior will probably pick up marks pretty easy so I will definitely be careful with it. Here are a few pics..


-
Thanks Guy! The profits are used to support my Z habit......I probably need to go to rehab.
-
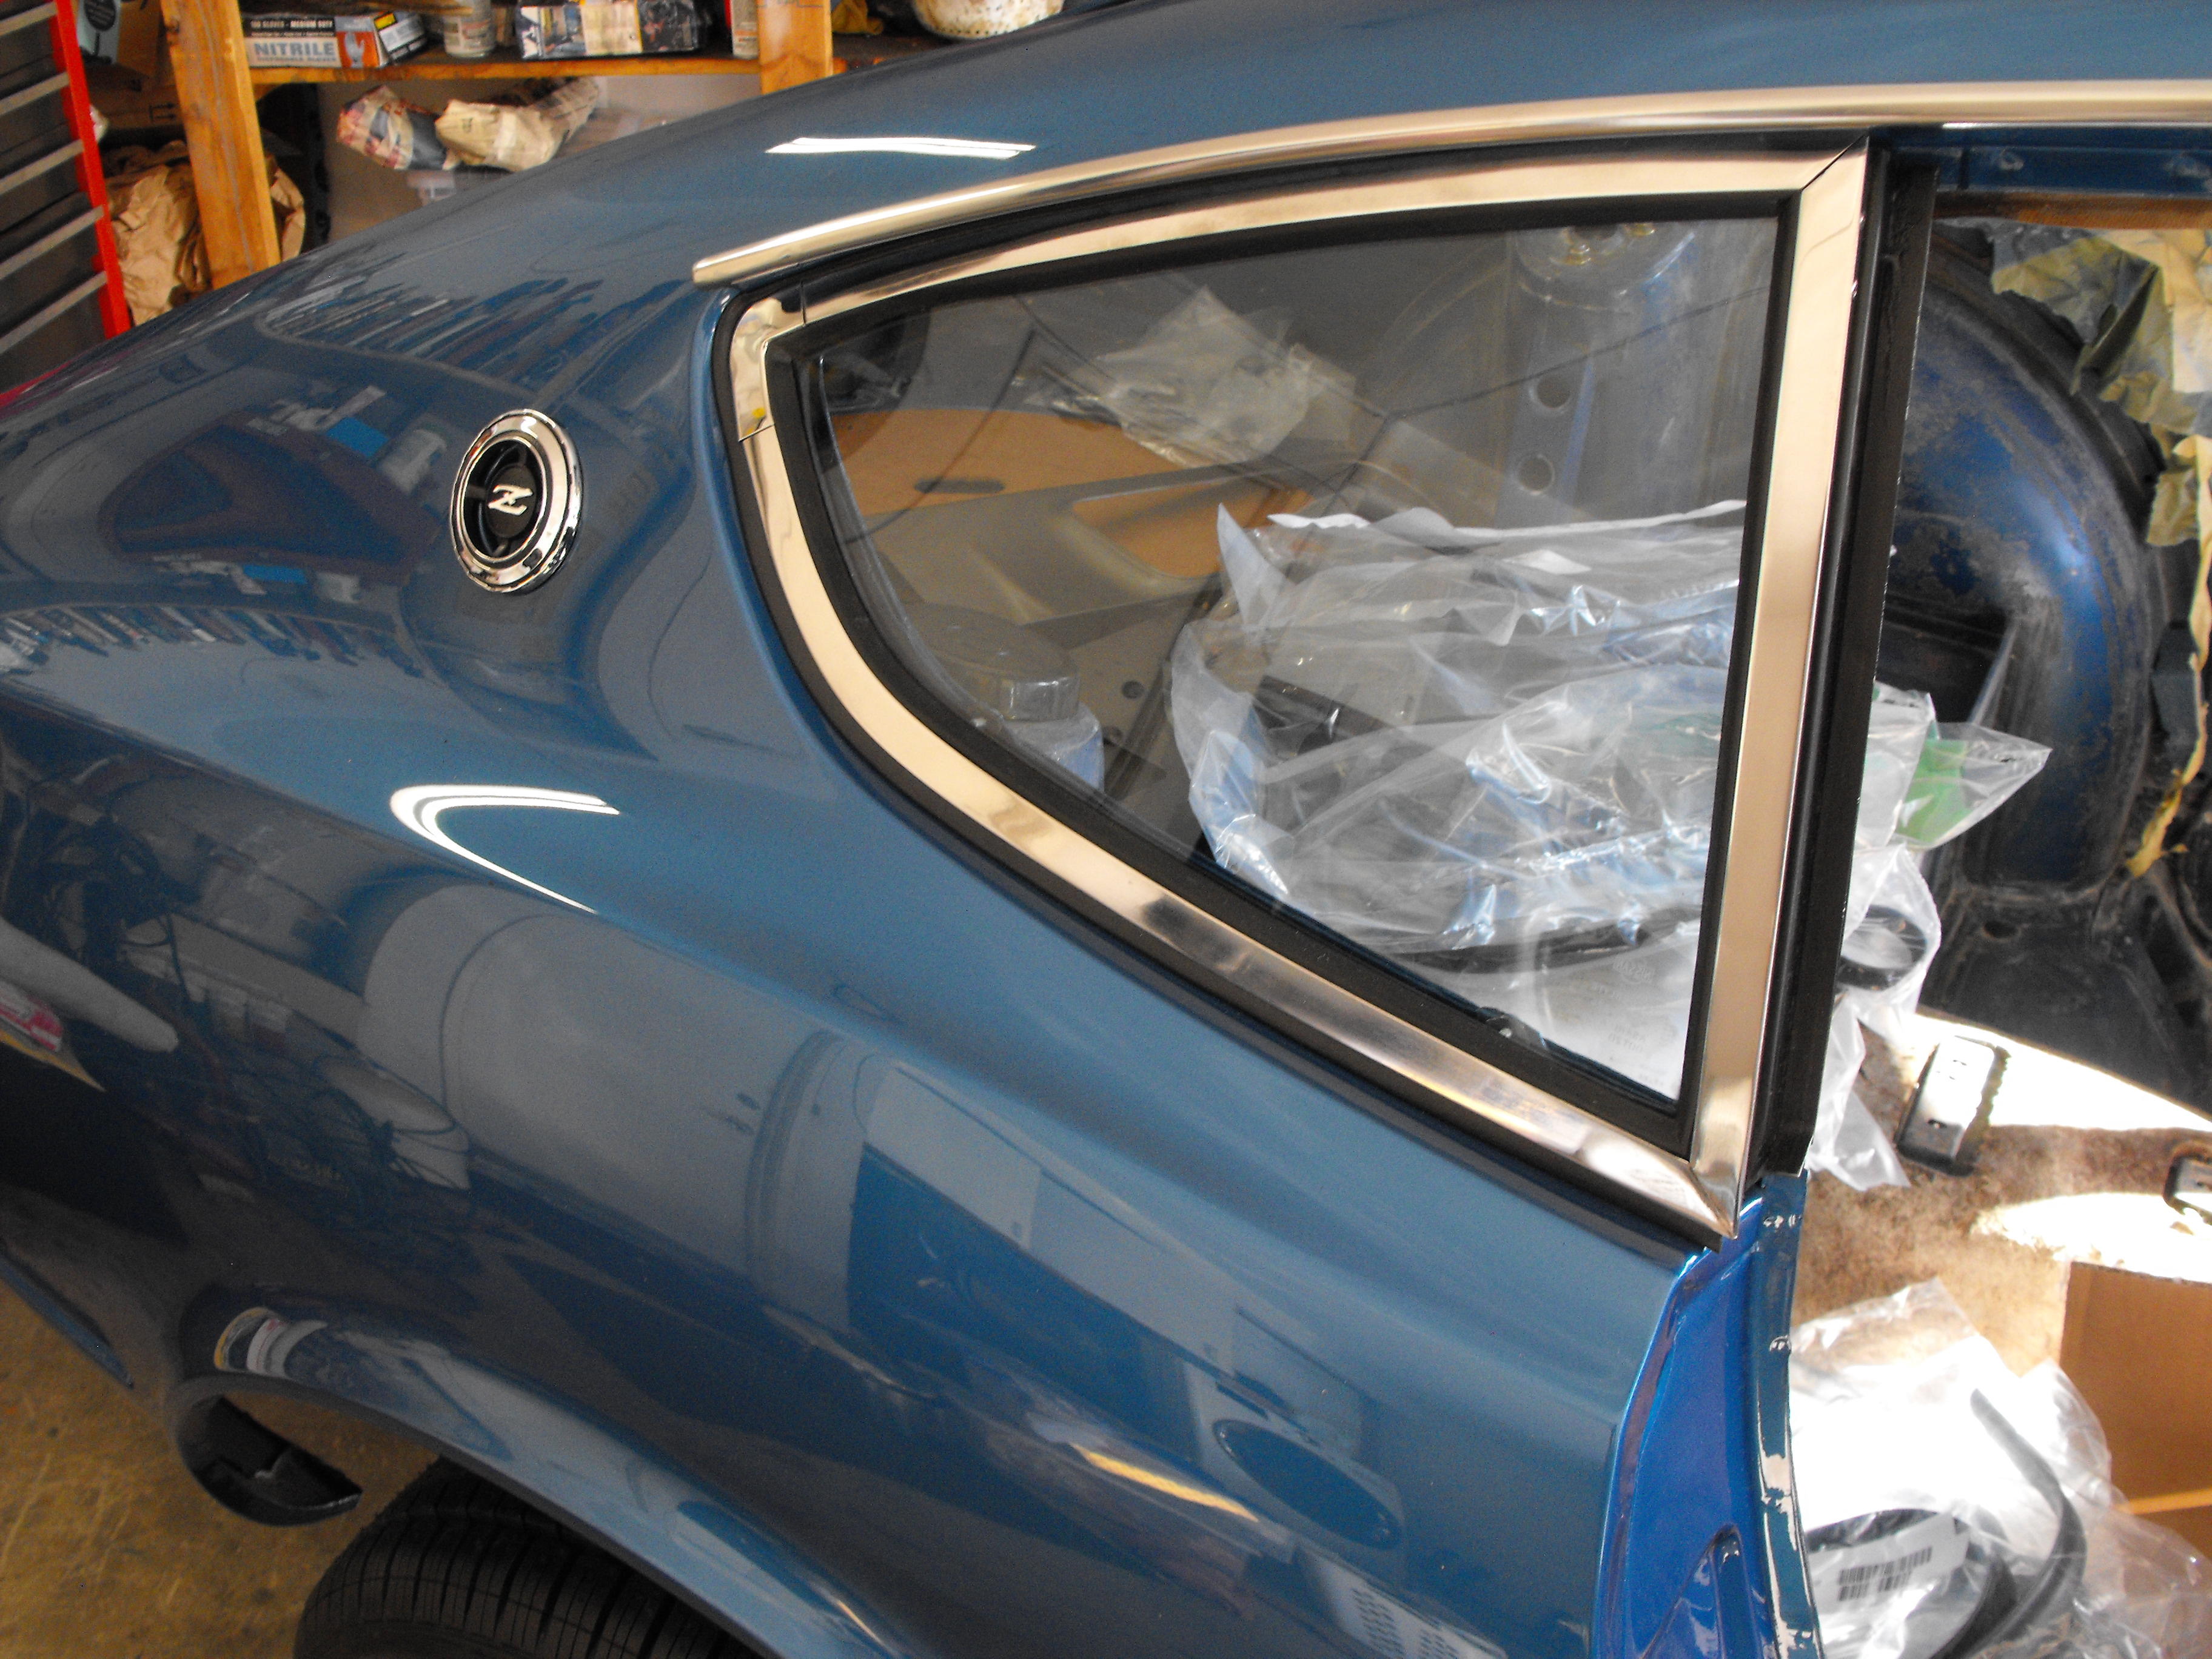
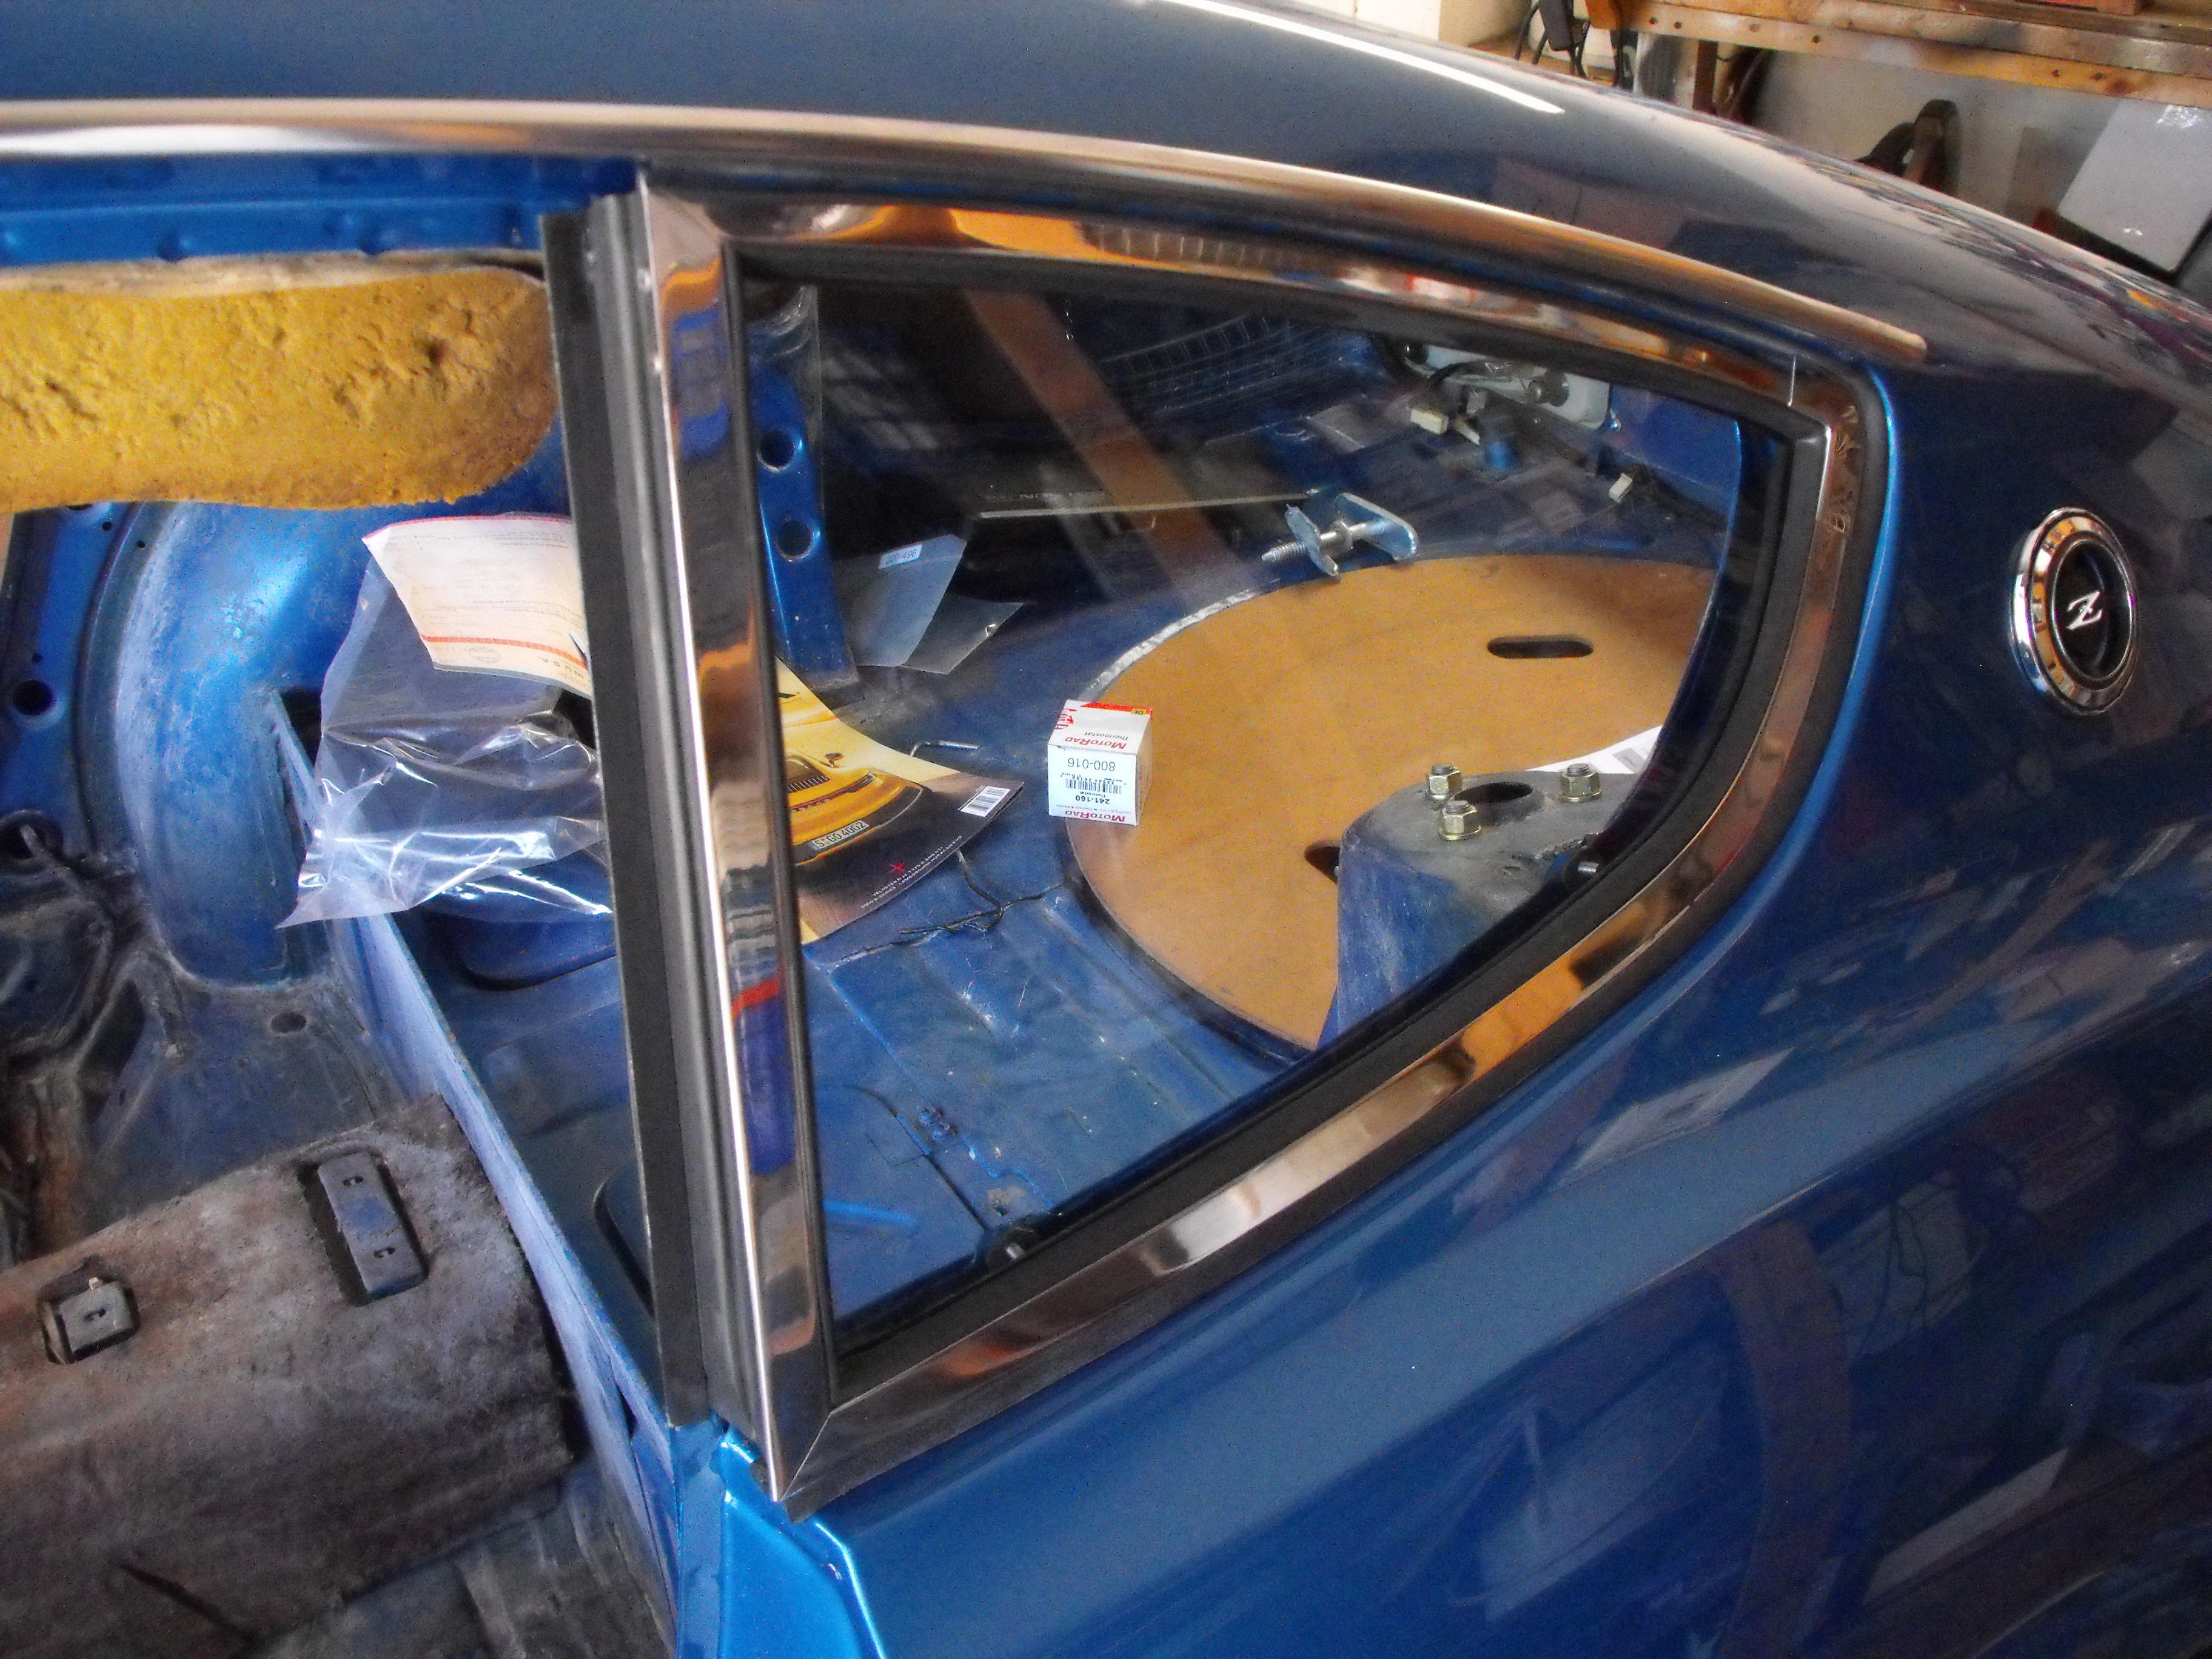
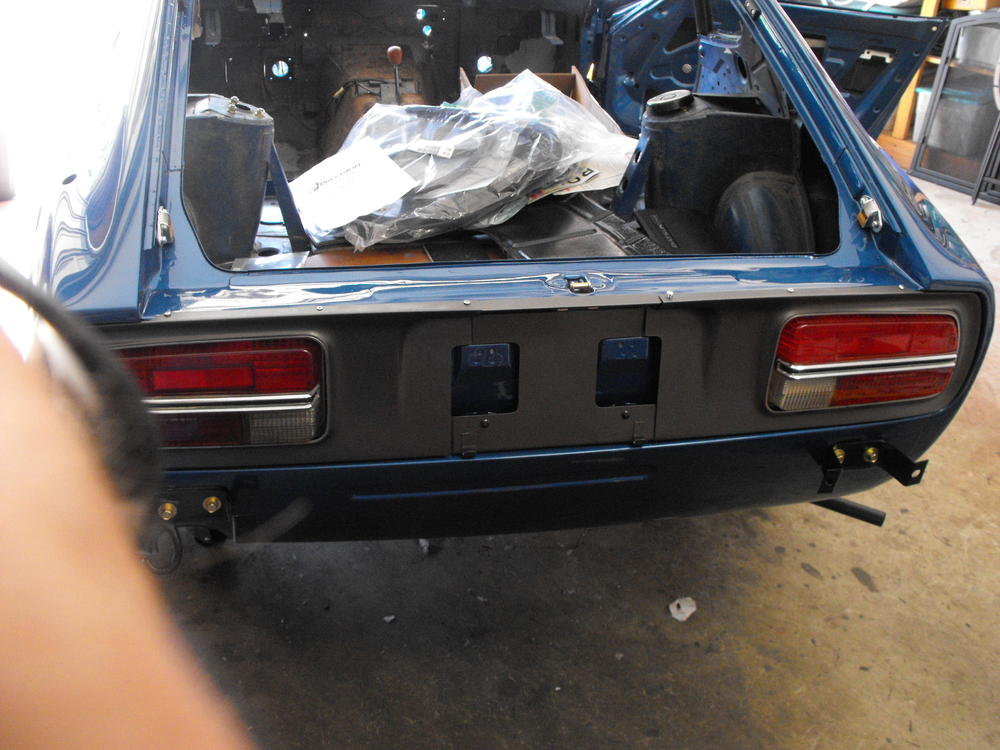
Got the rear quarter windows cleaned up and installed. Also have the rear panel finisher temporarily installed with some small screws (Yes, I think that is my finger). Waiting for my small rivets to come in. Started work on the front firewall as well. It's starting to look like a car. Will probably get going on the doors next.


-
It's not. Pretty sure they use the same mirror as the Z cars. Glad you have that home and best of luck with the restoration. Those are such great looking cars.
-
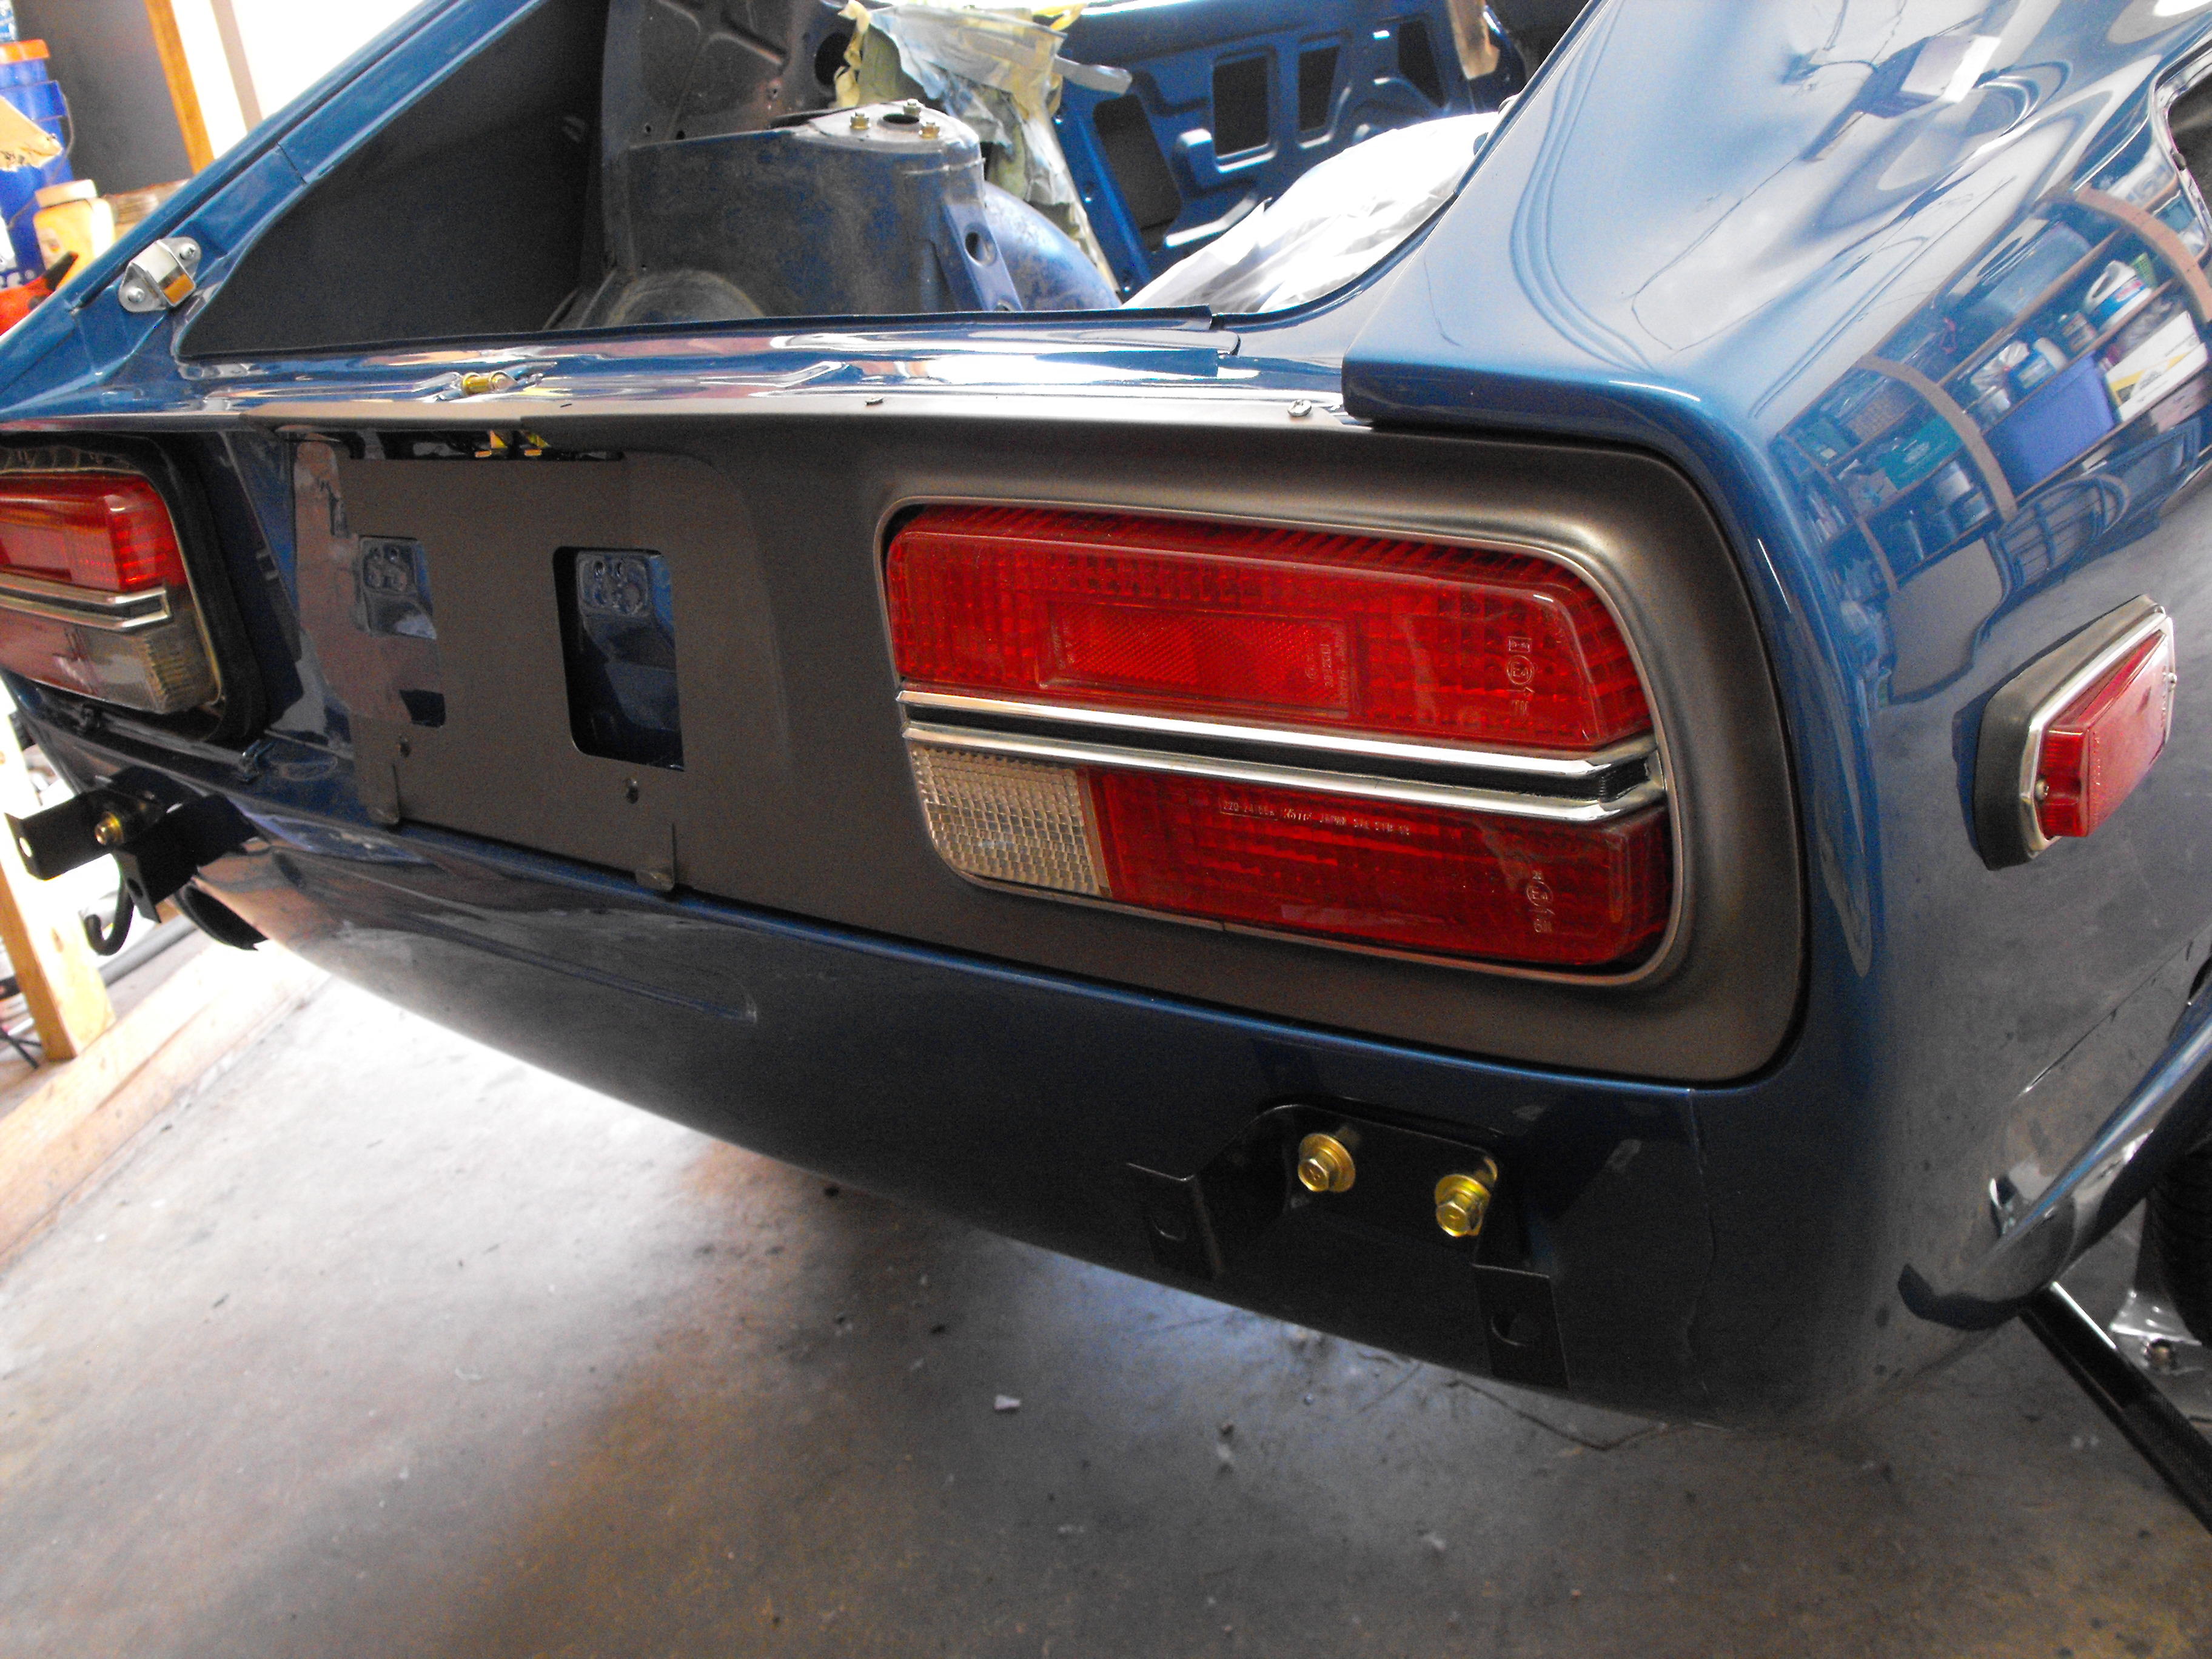
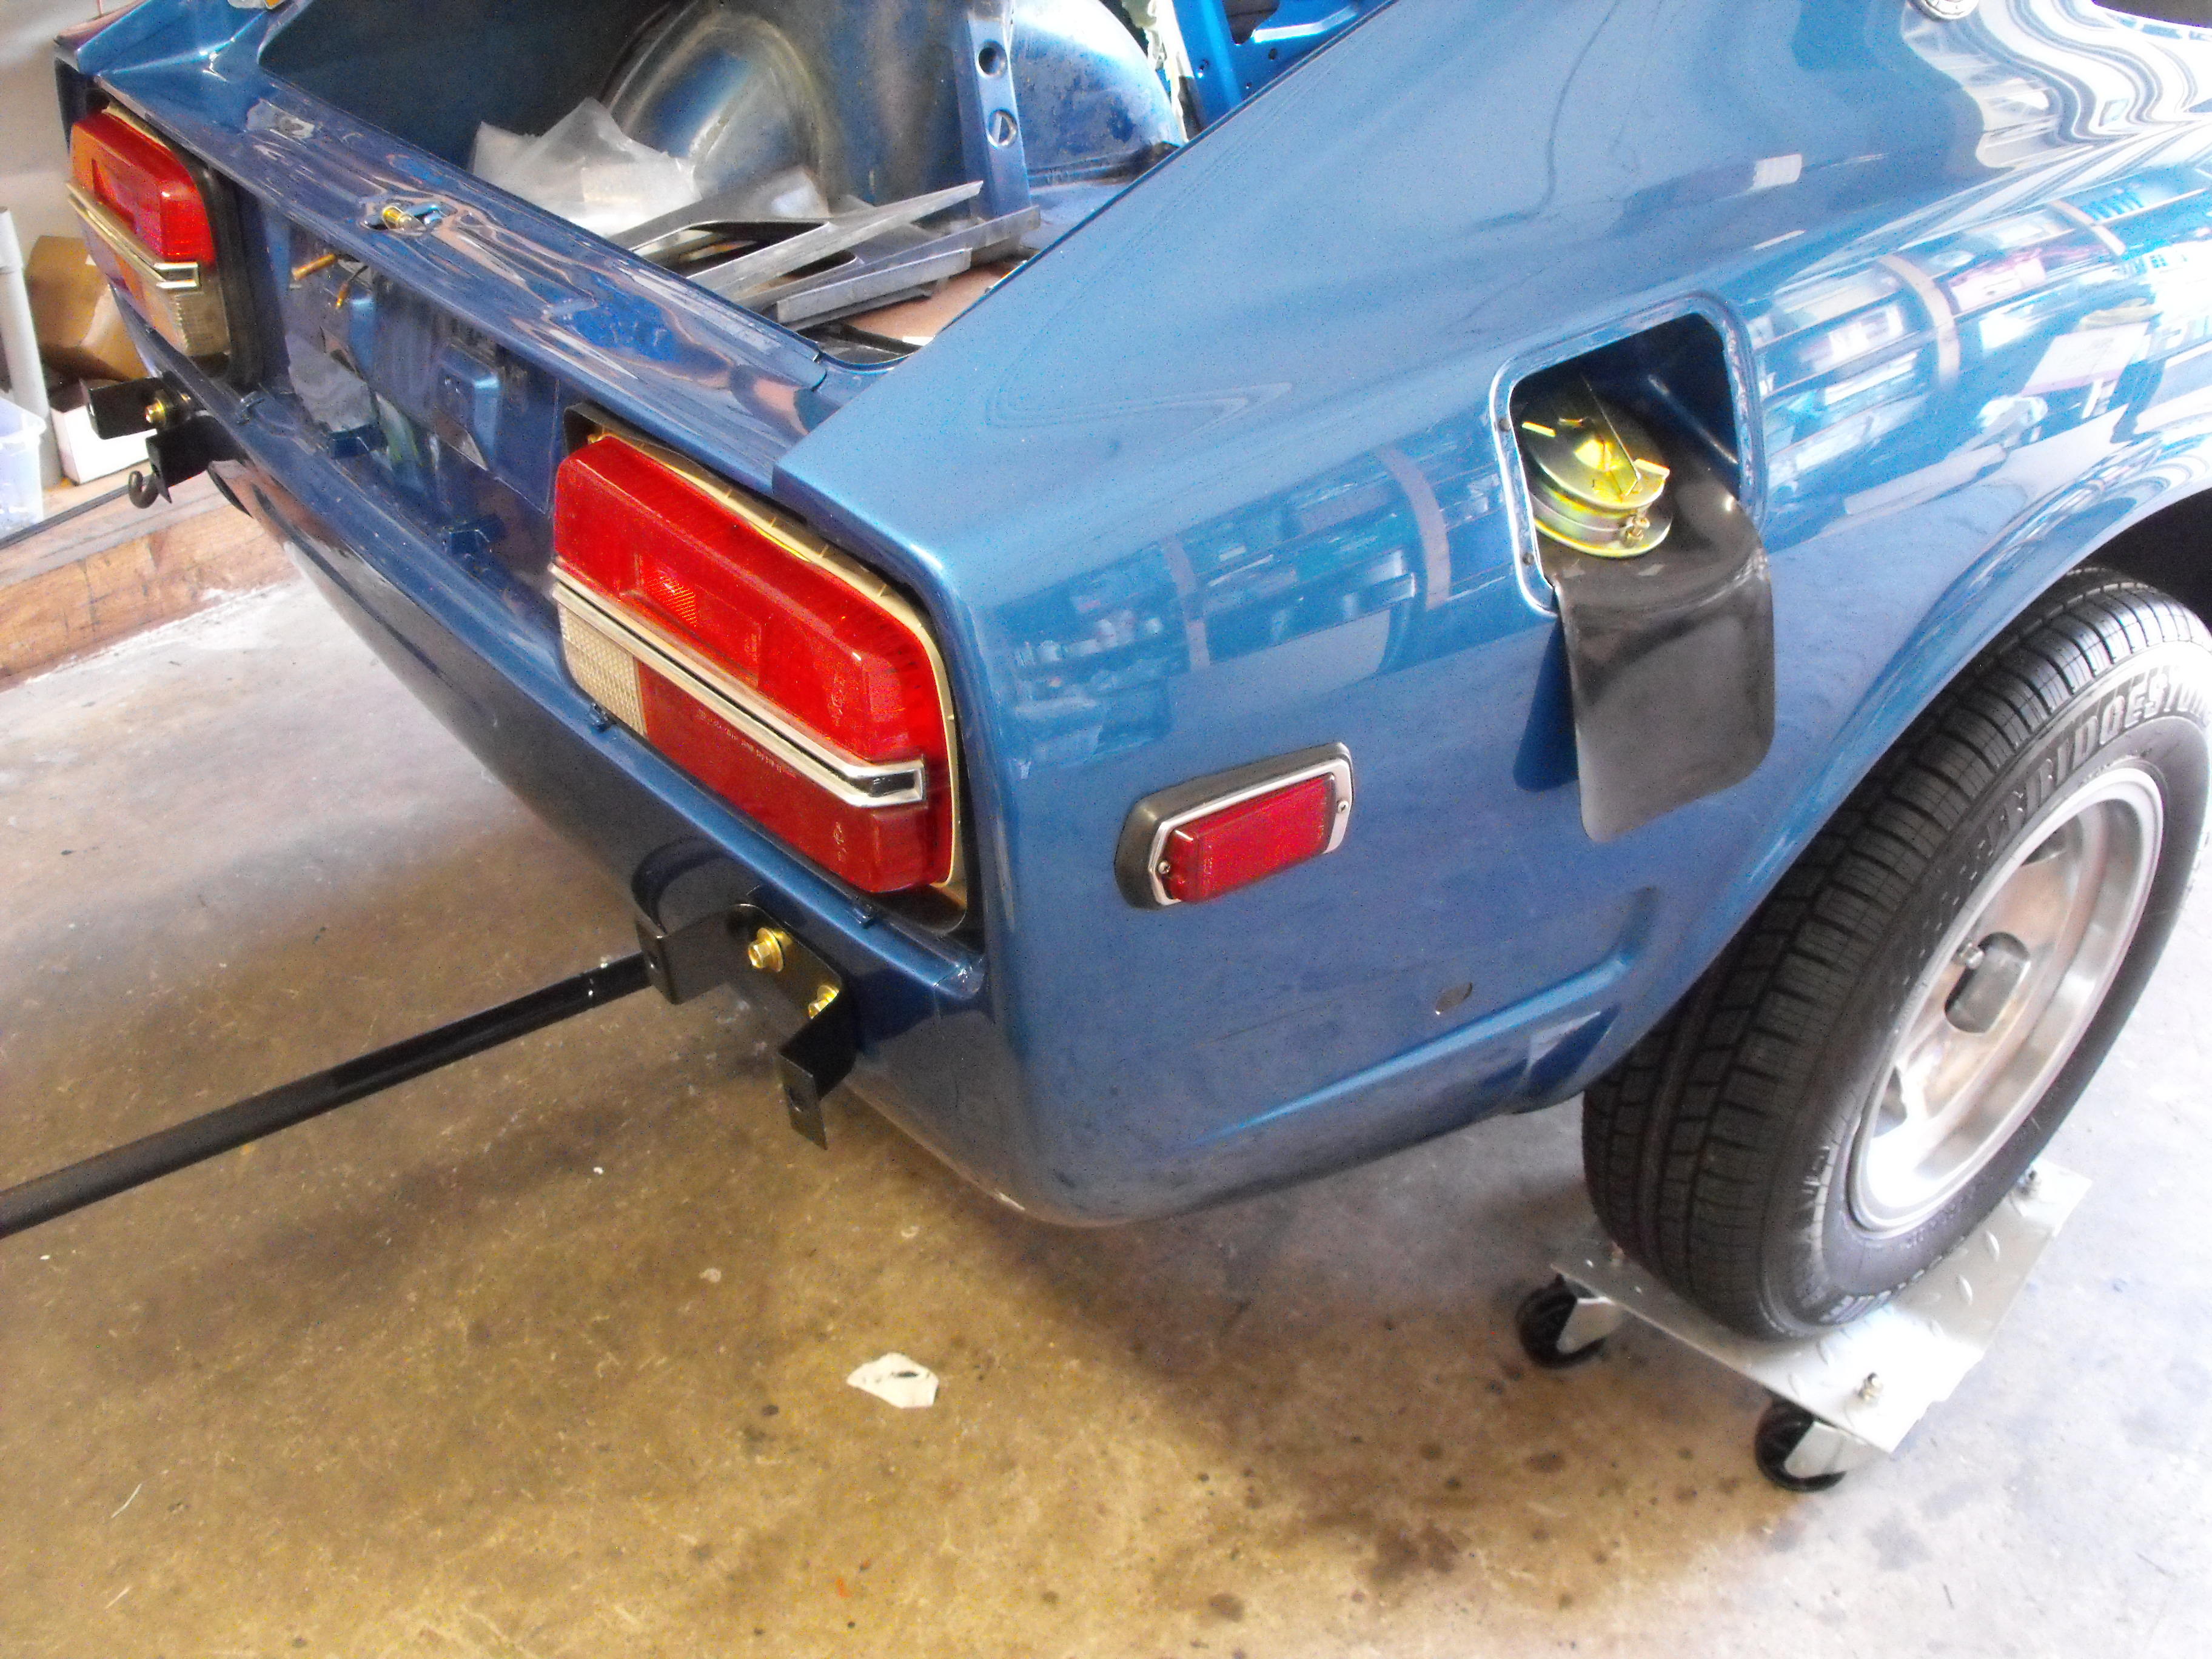
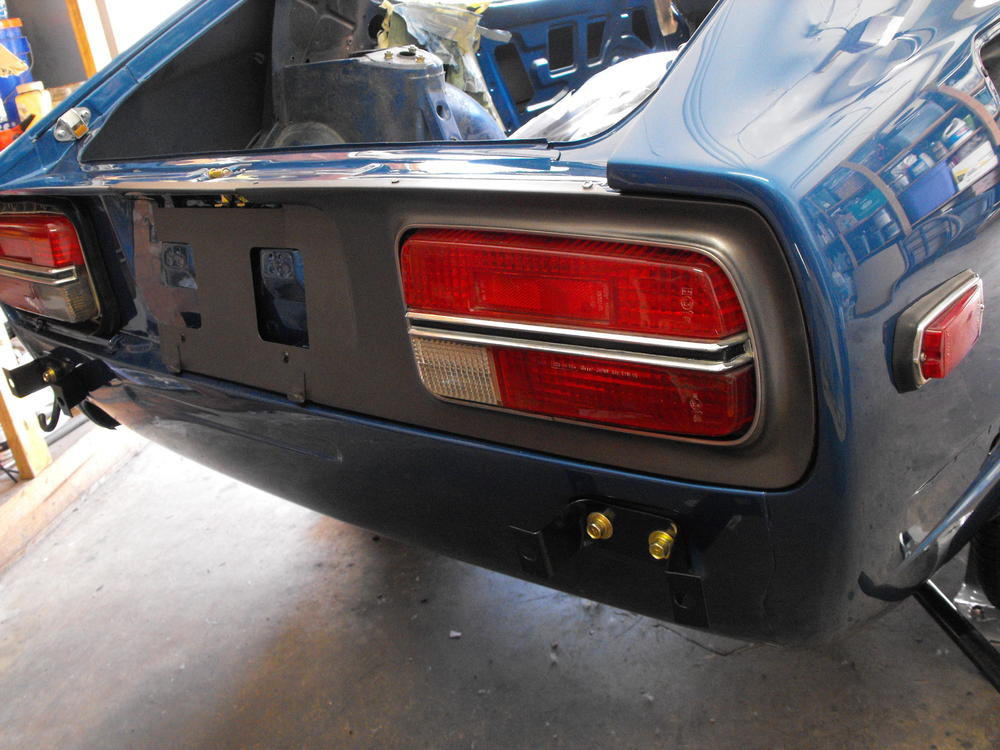
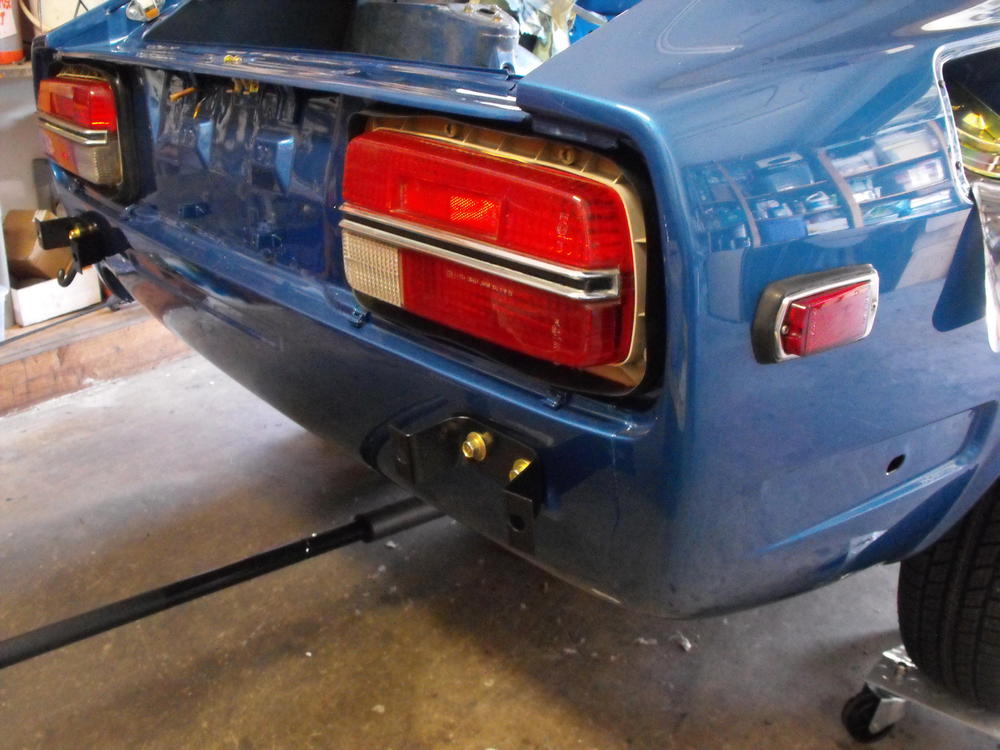
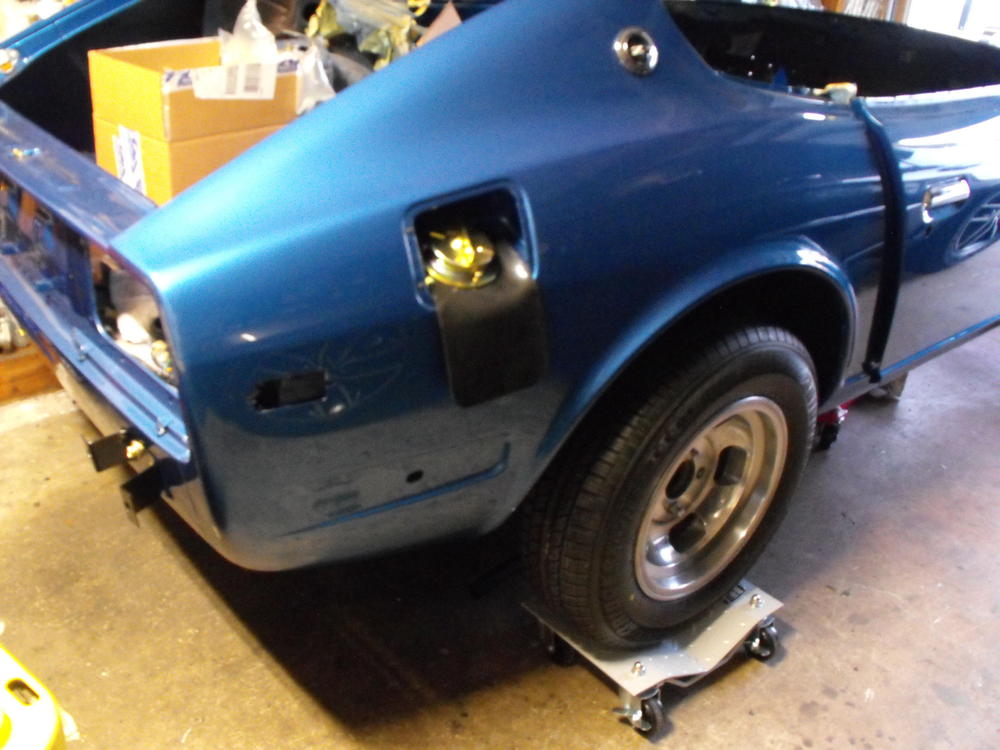
Got a few more items in. Got the rear tail lights in along with the side markers.


-
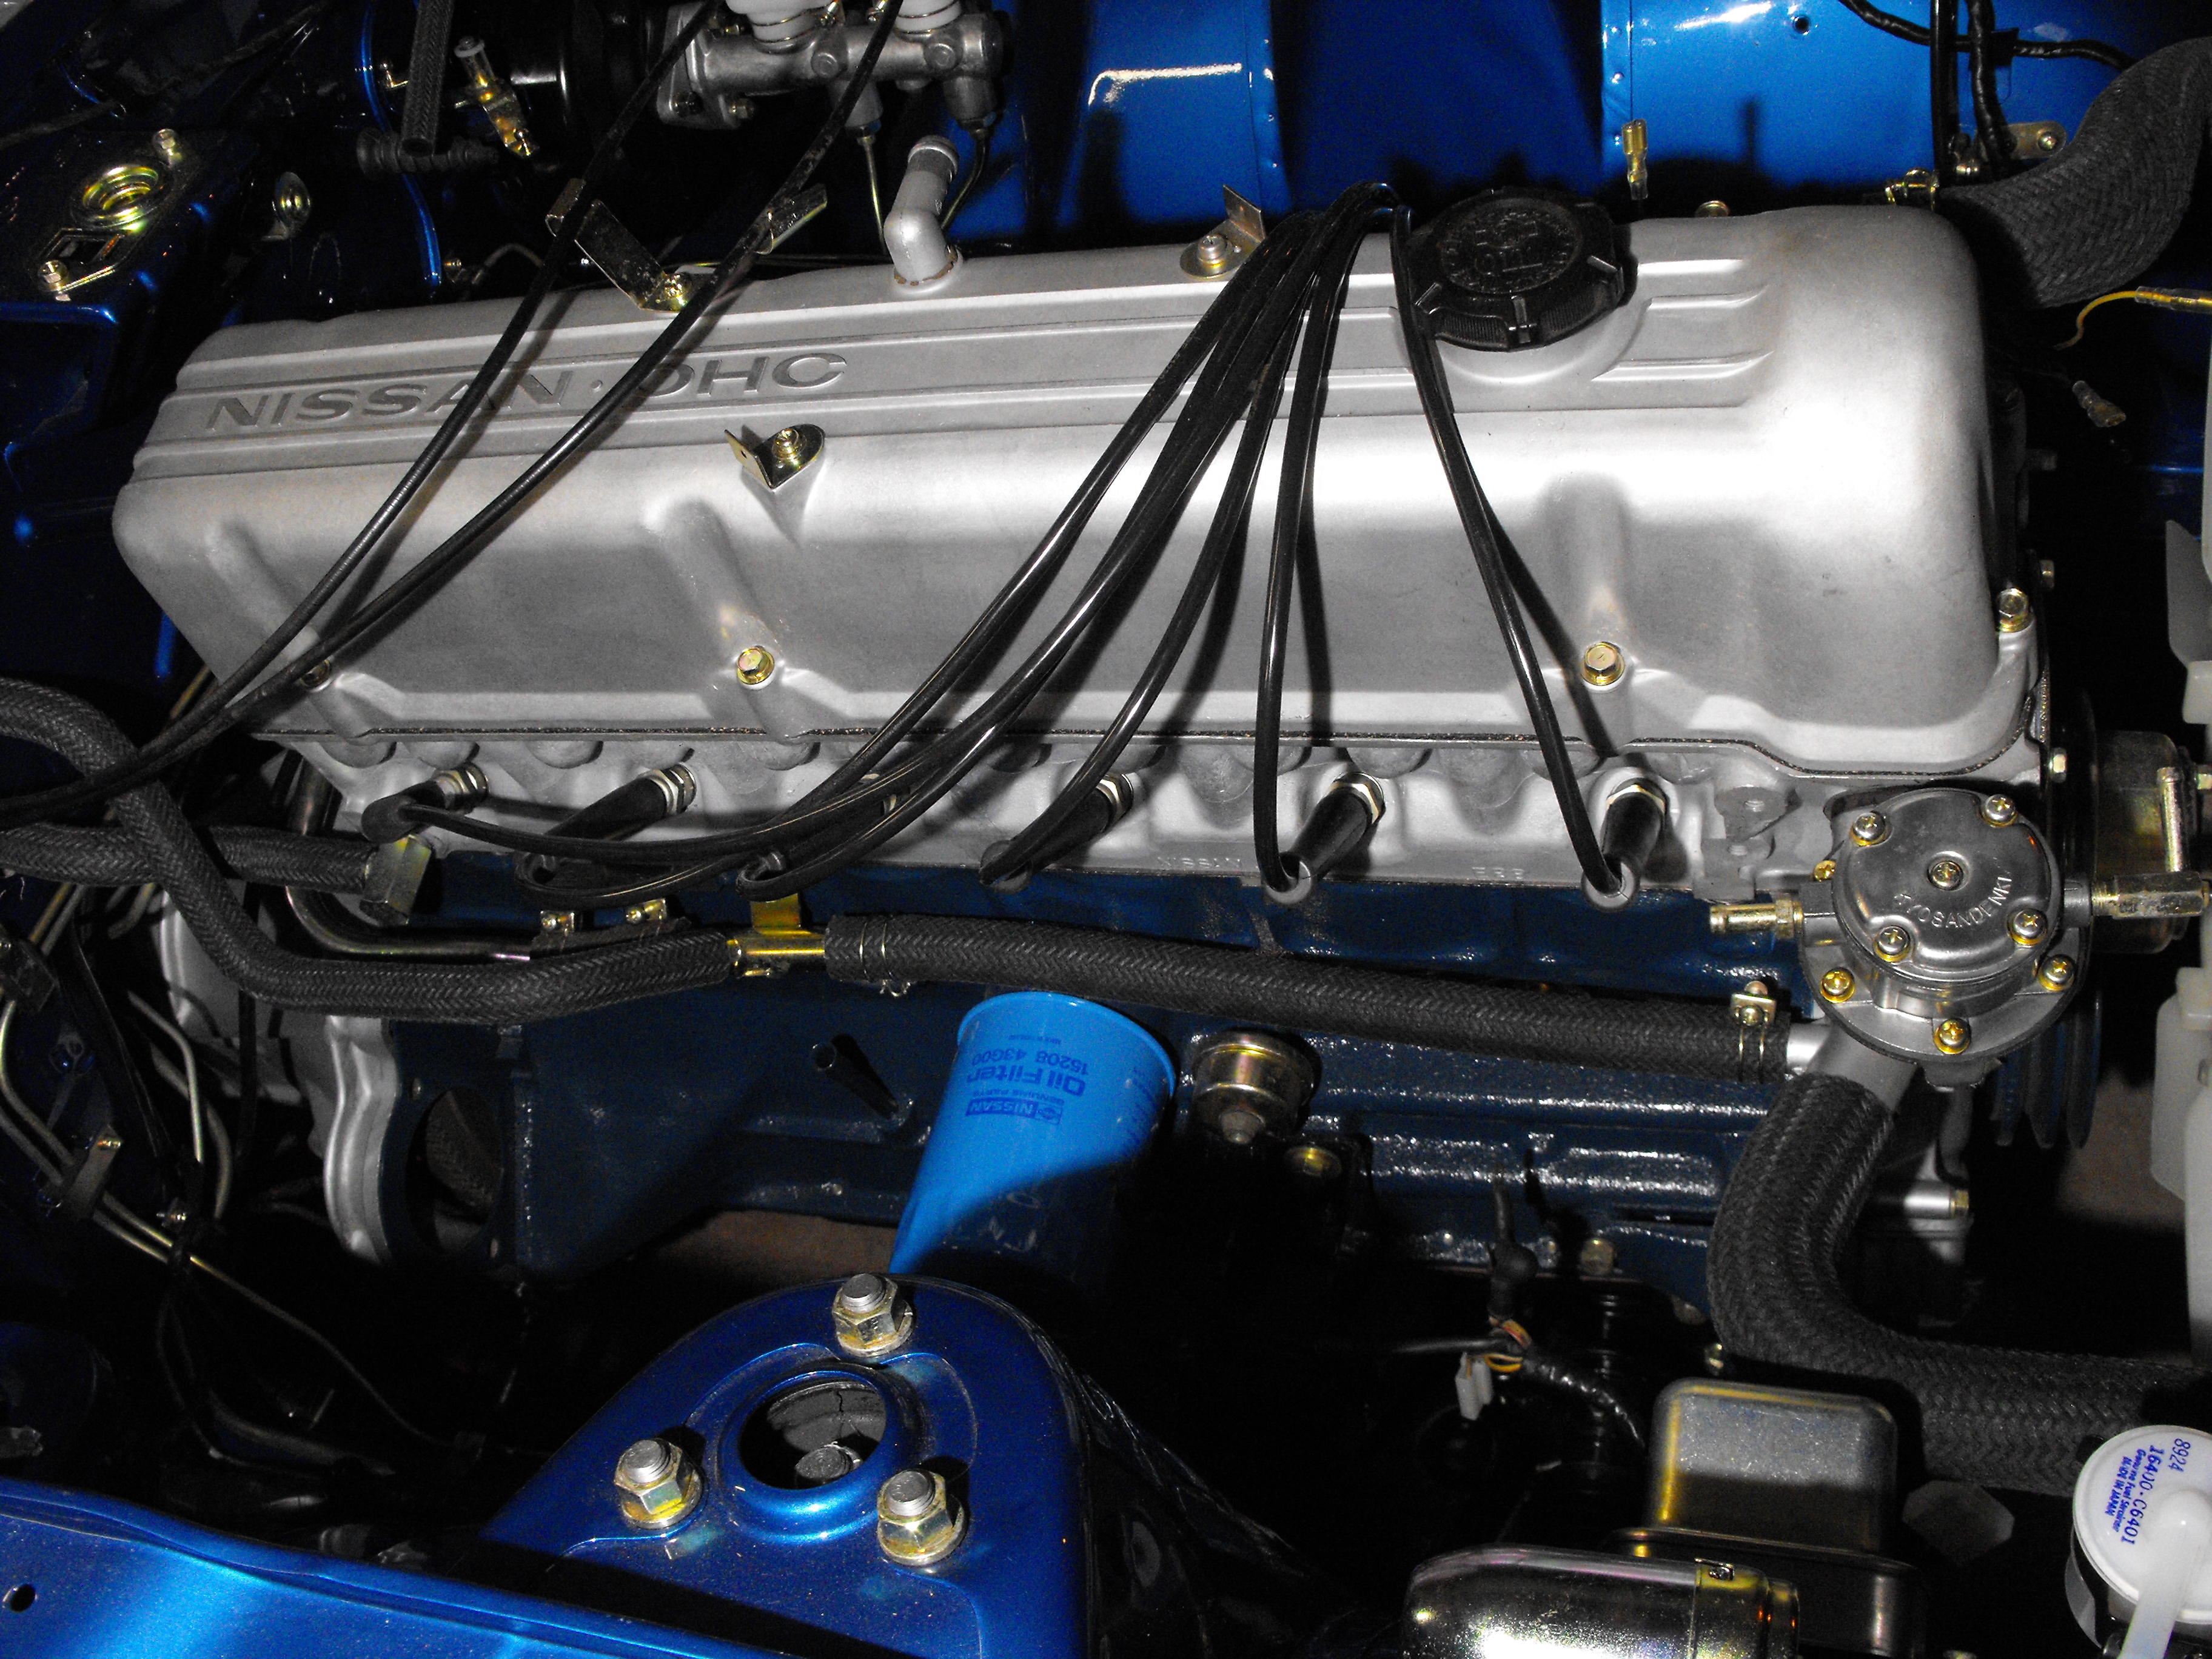
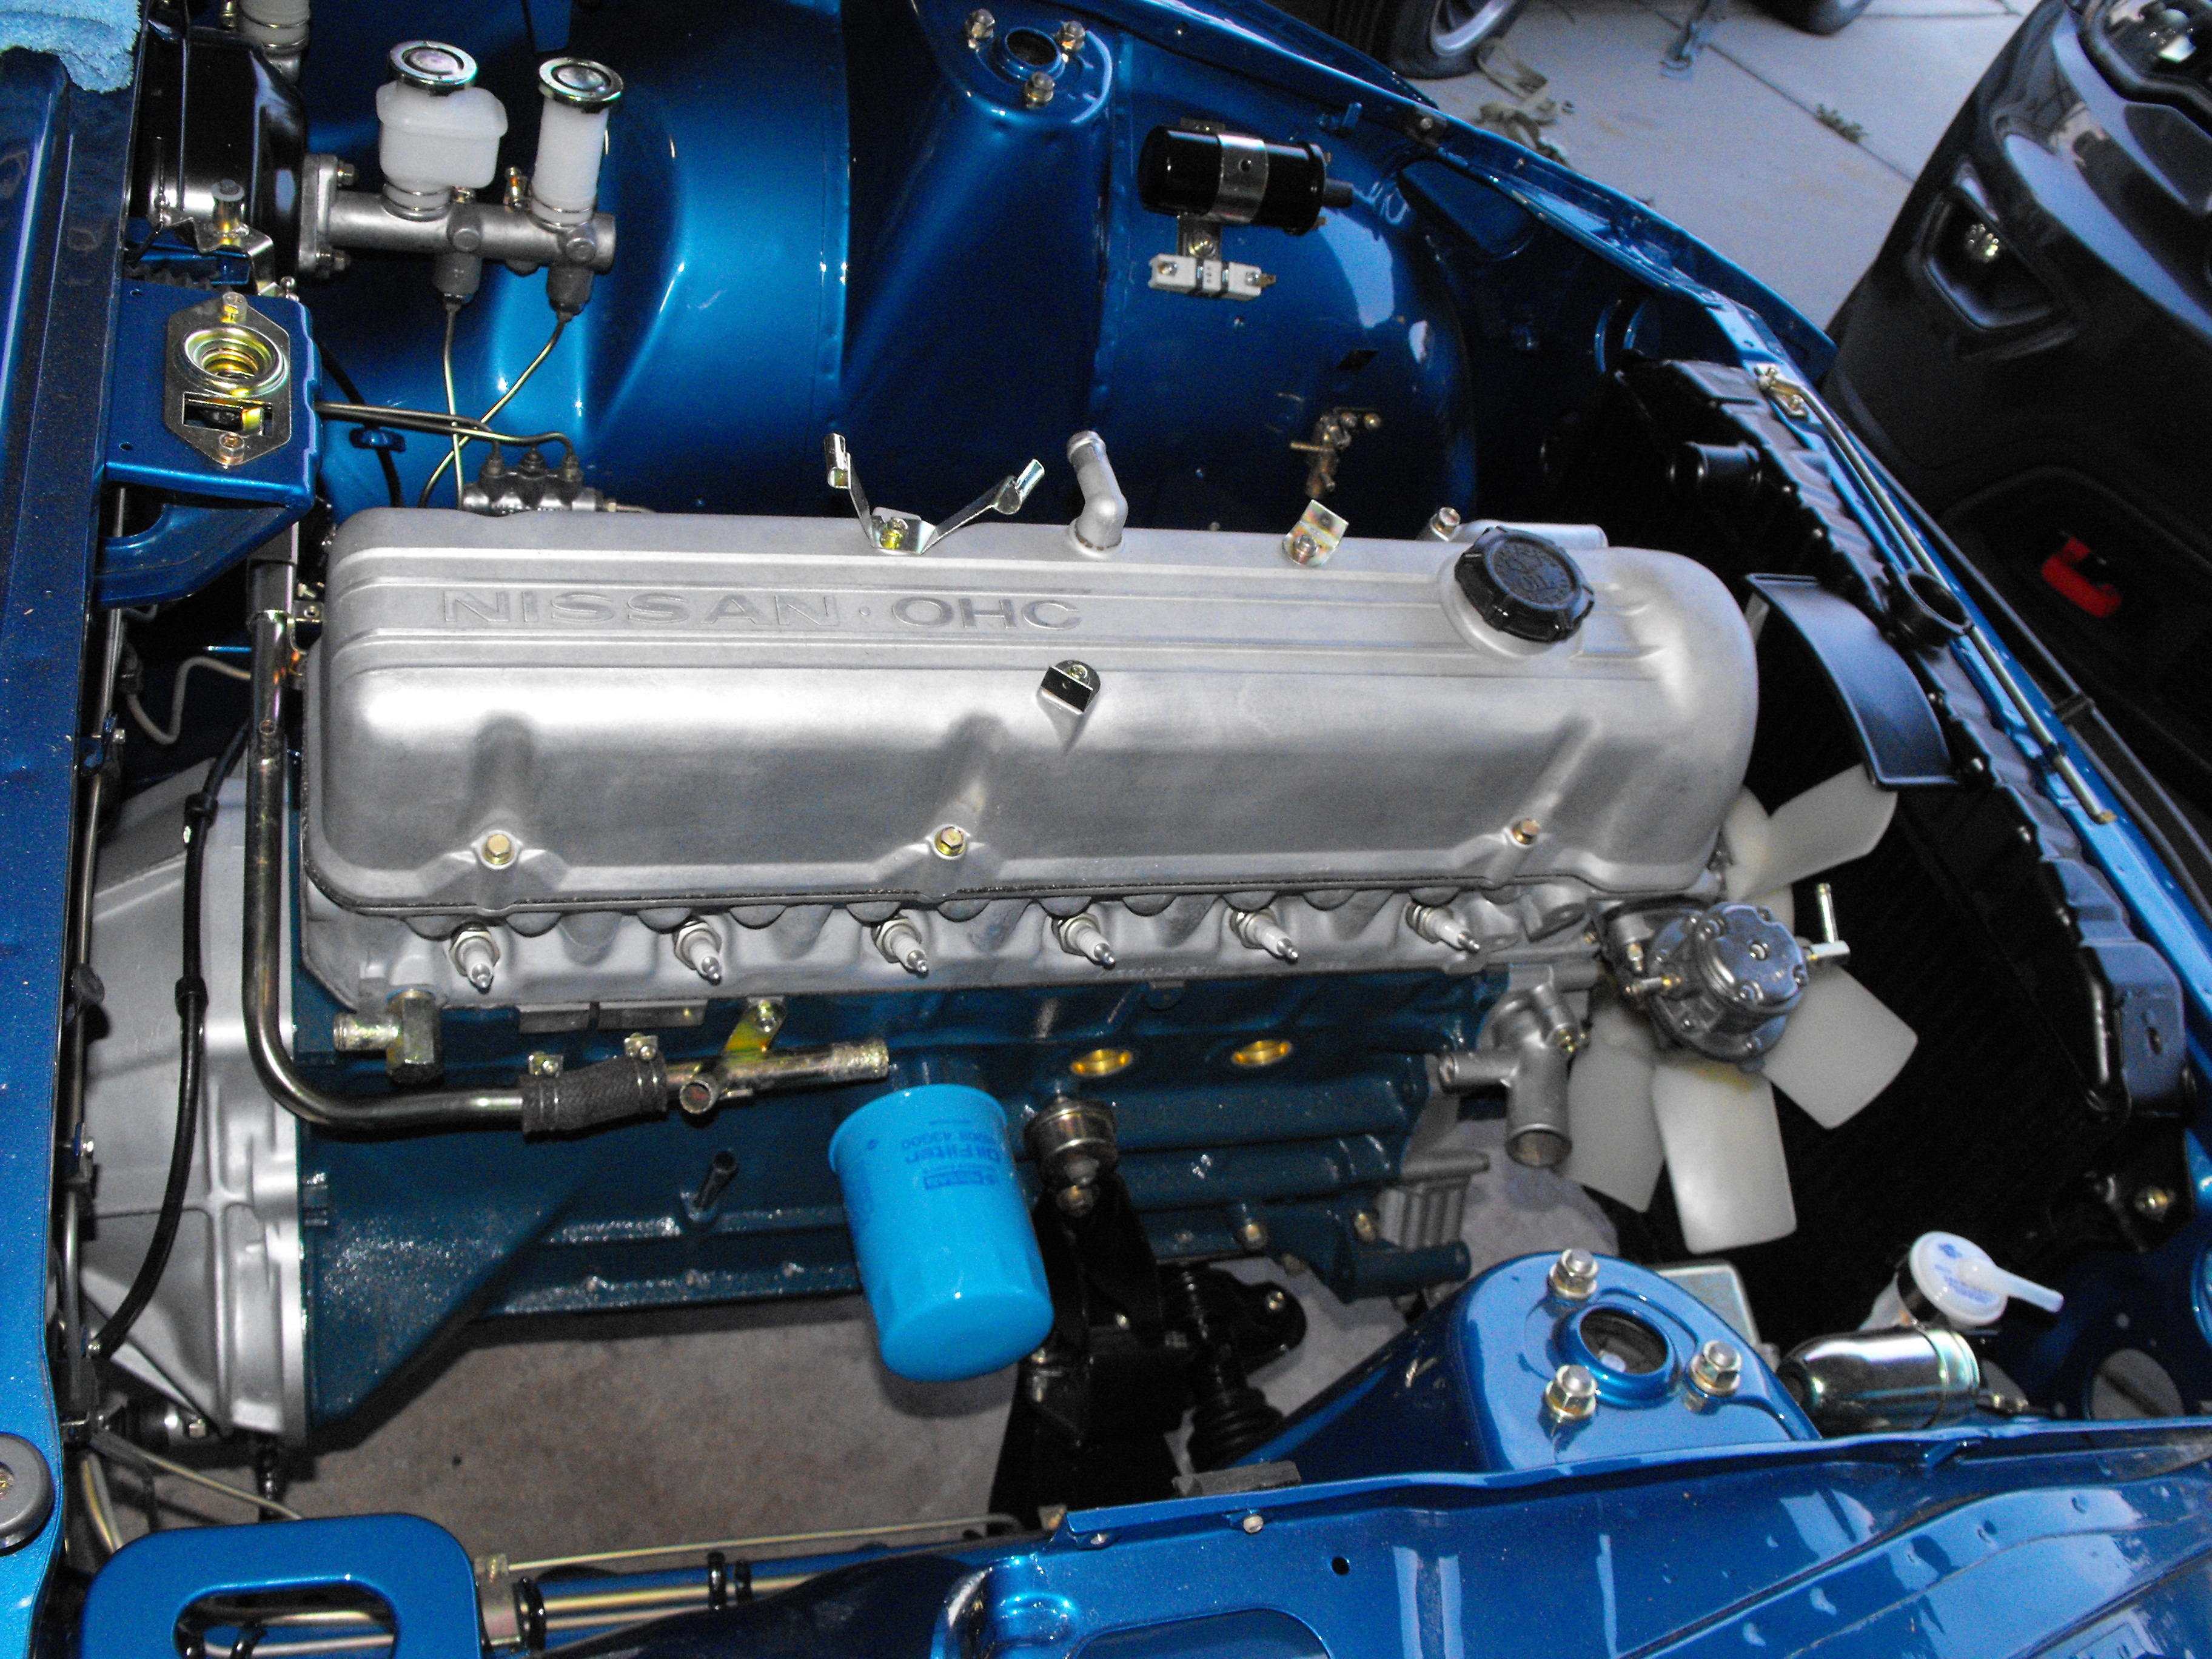
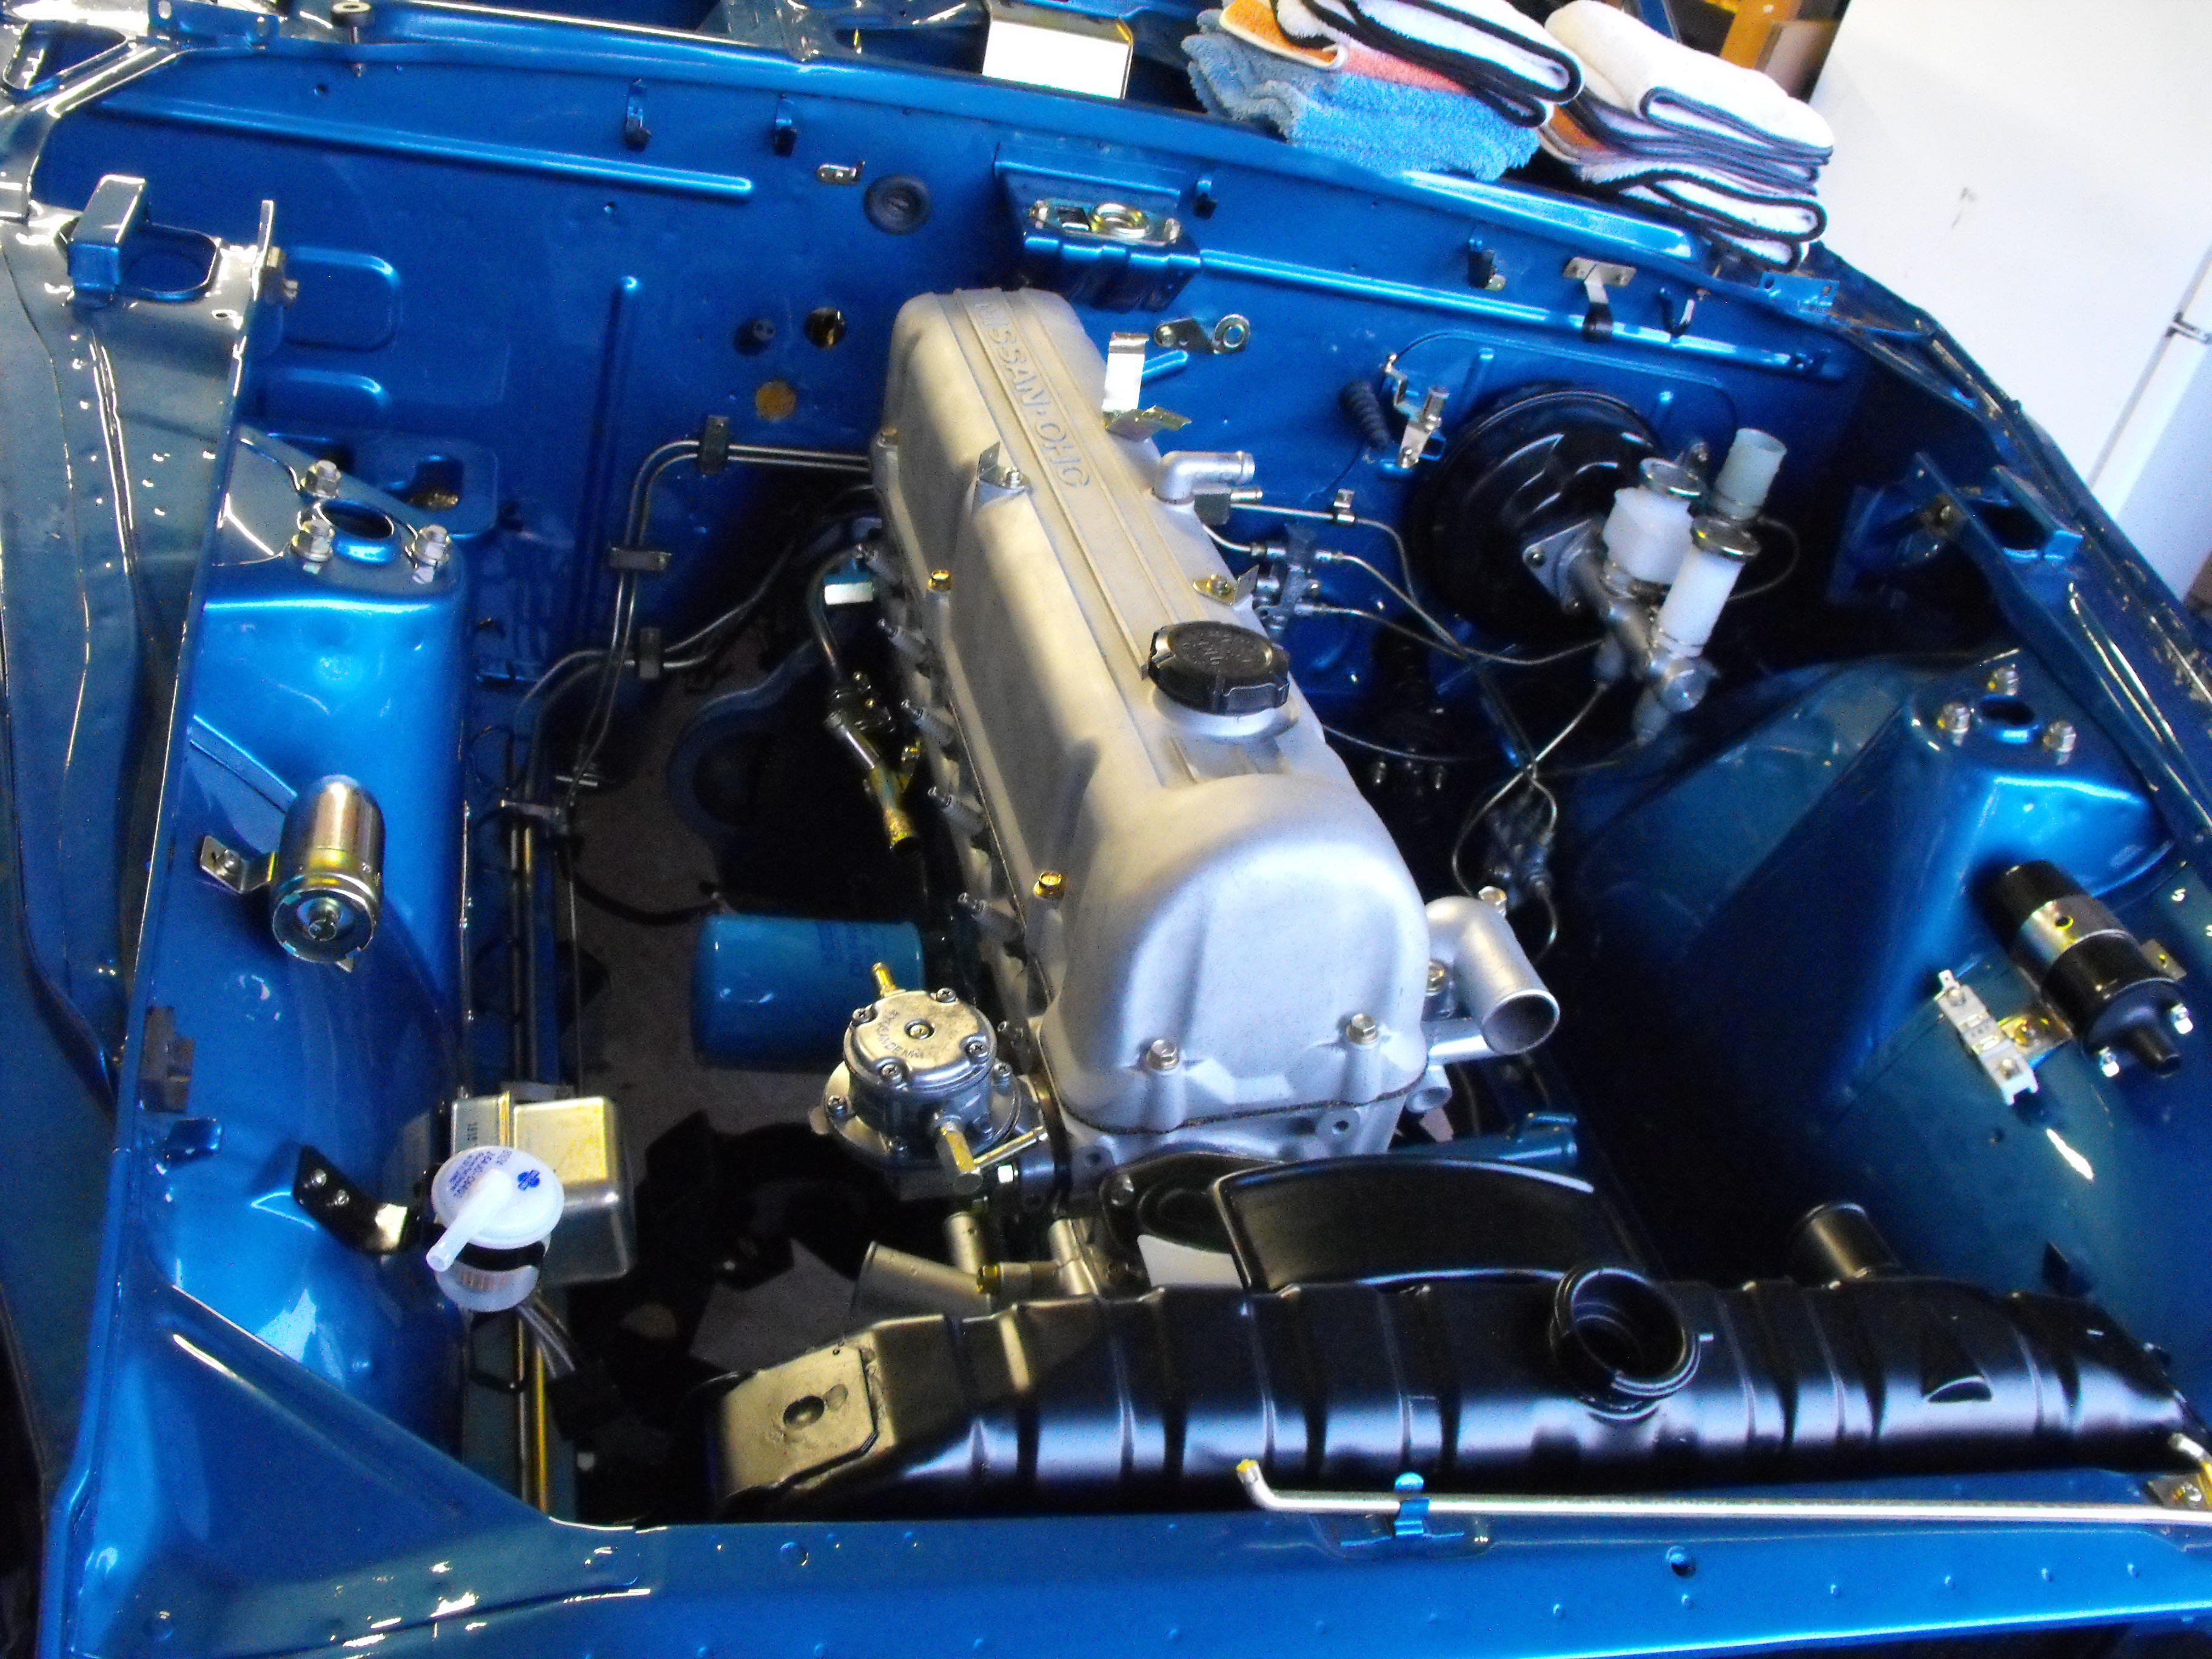
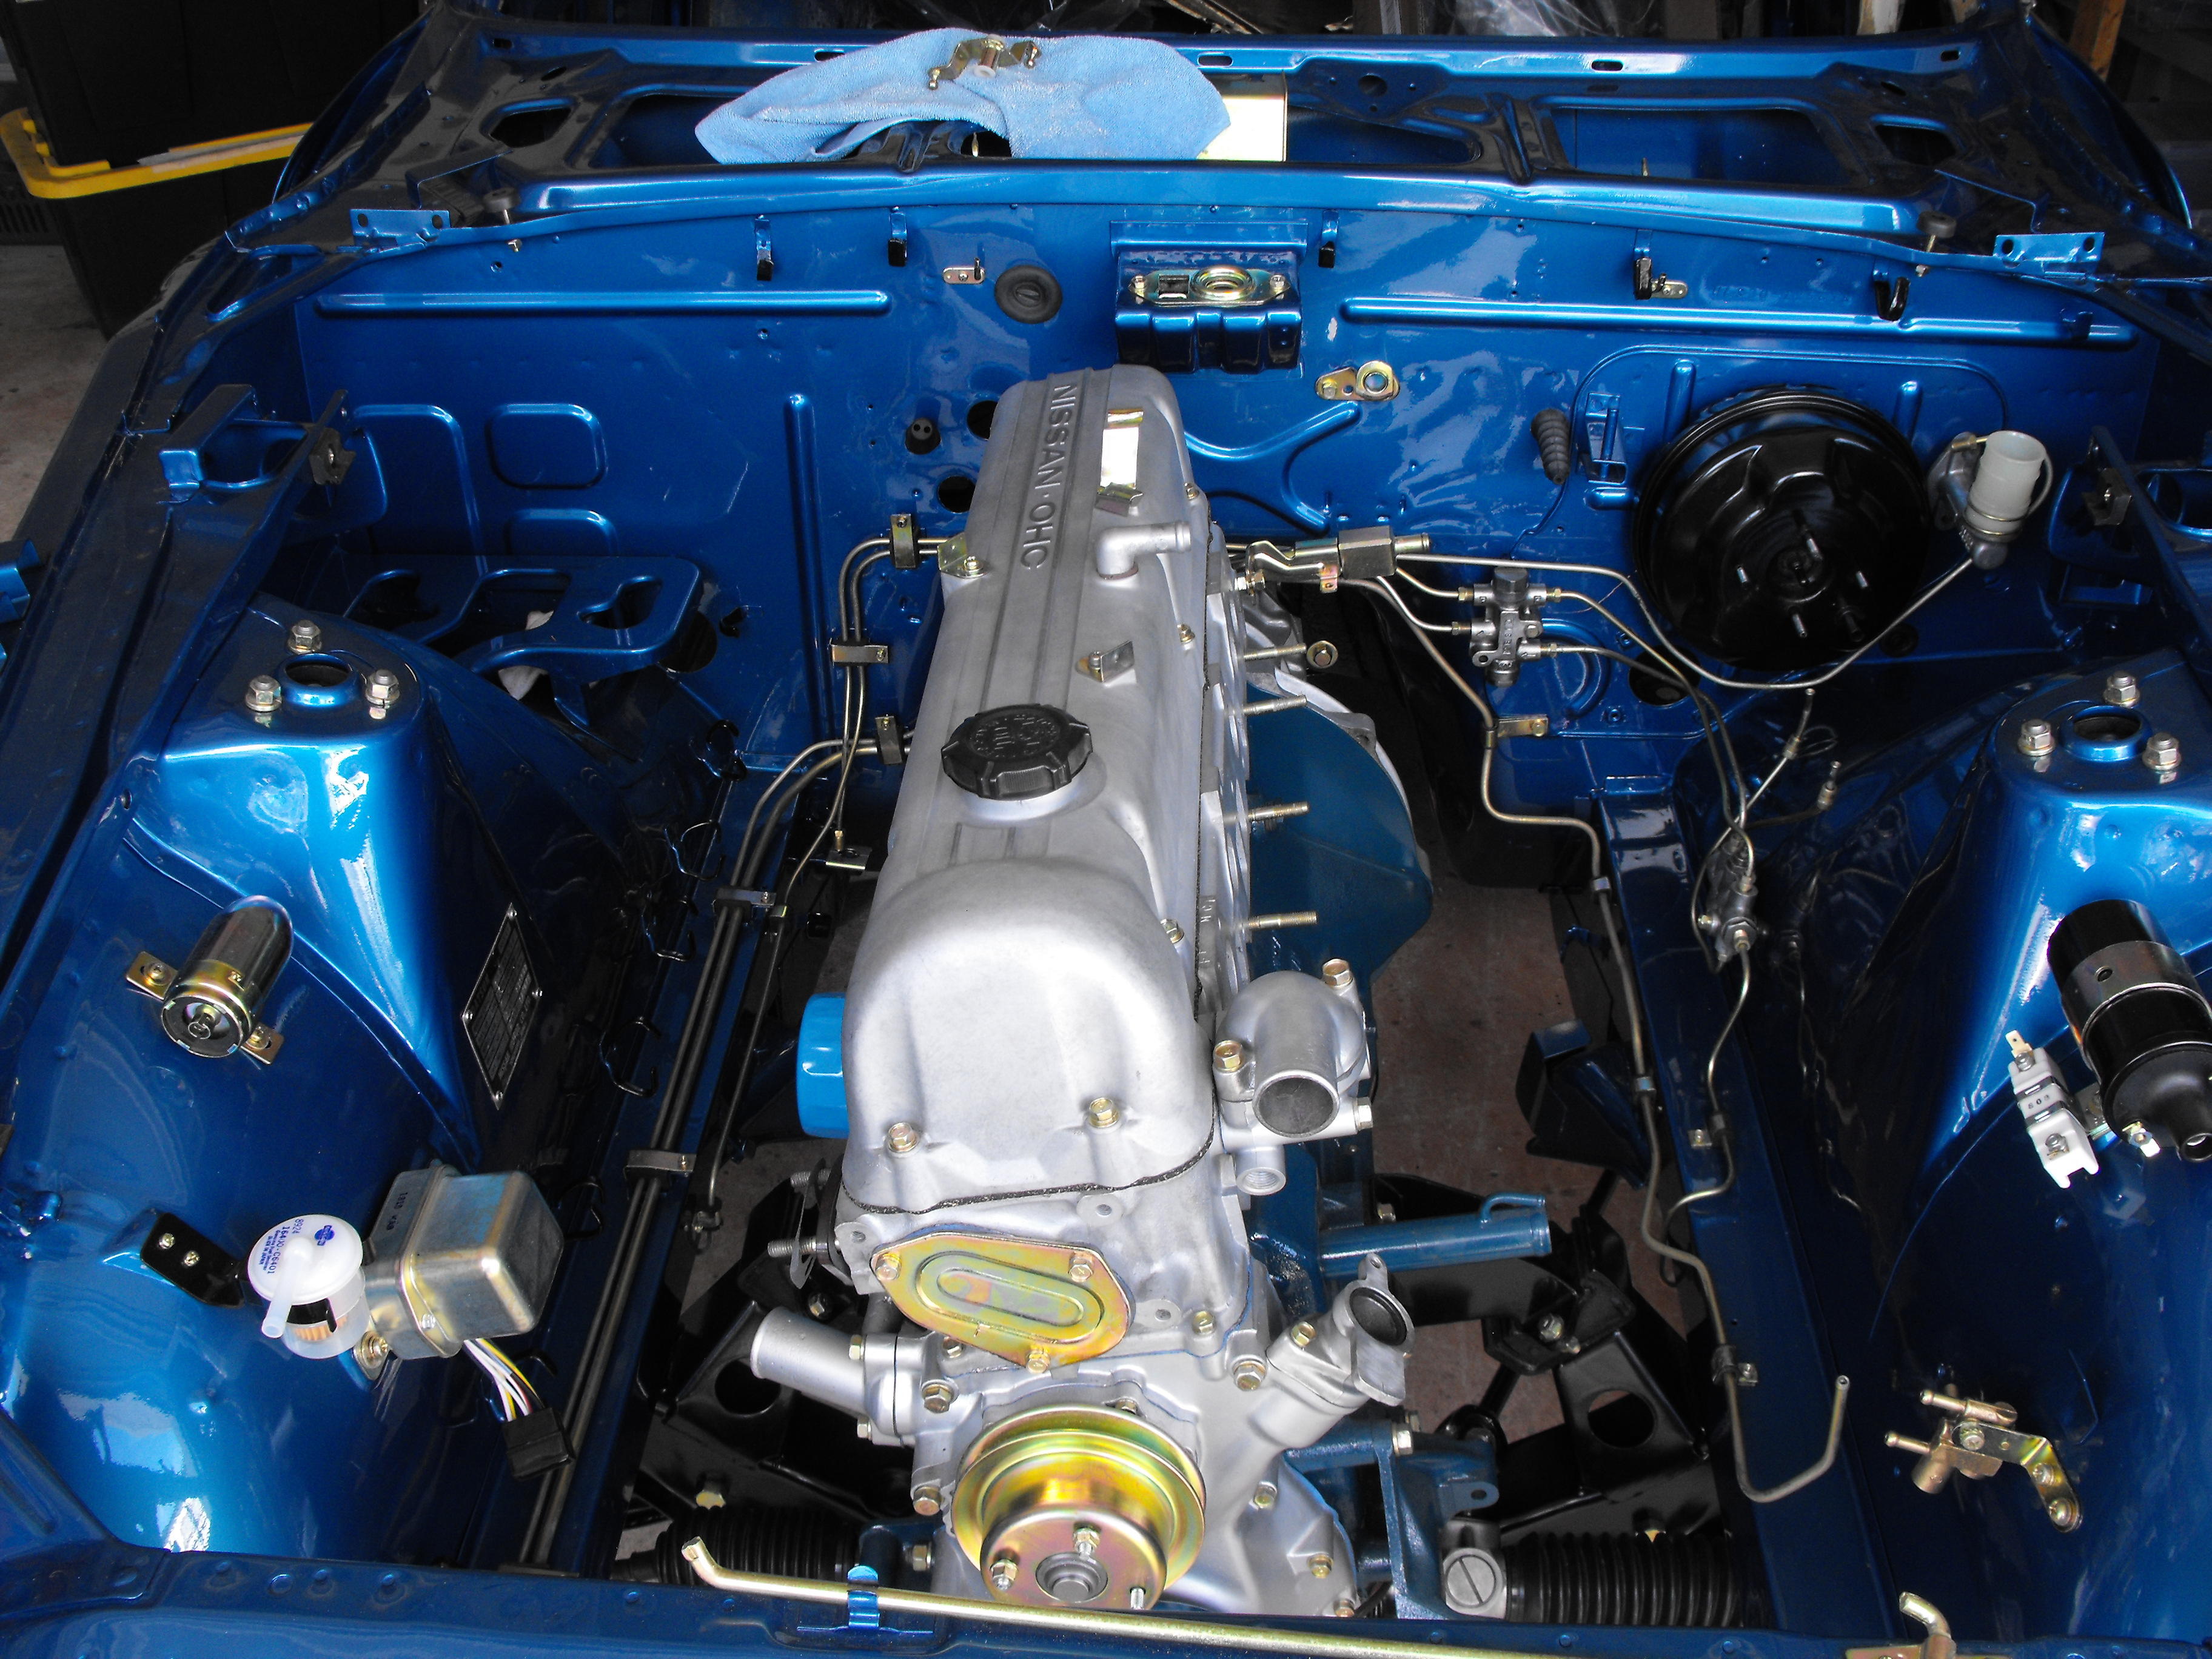
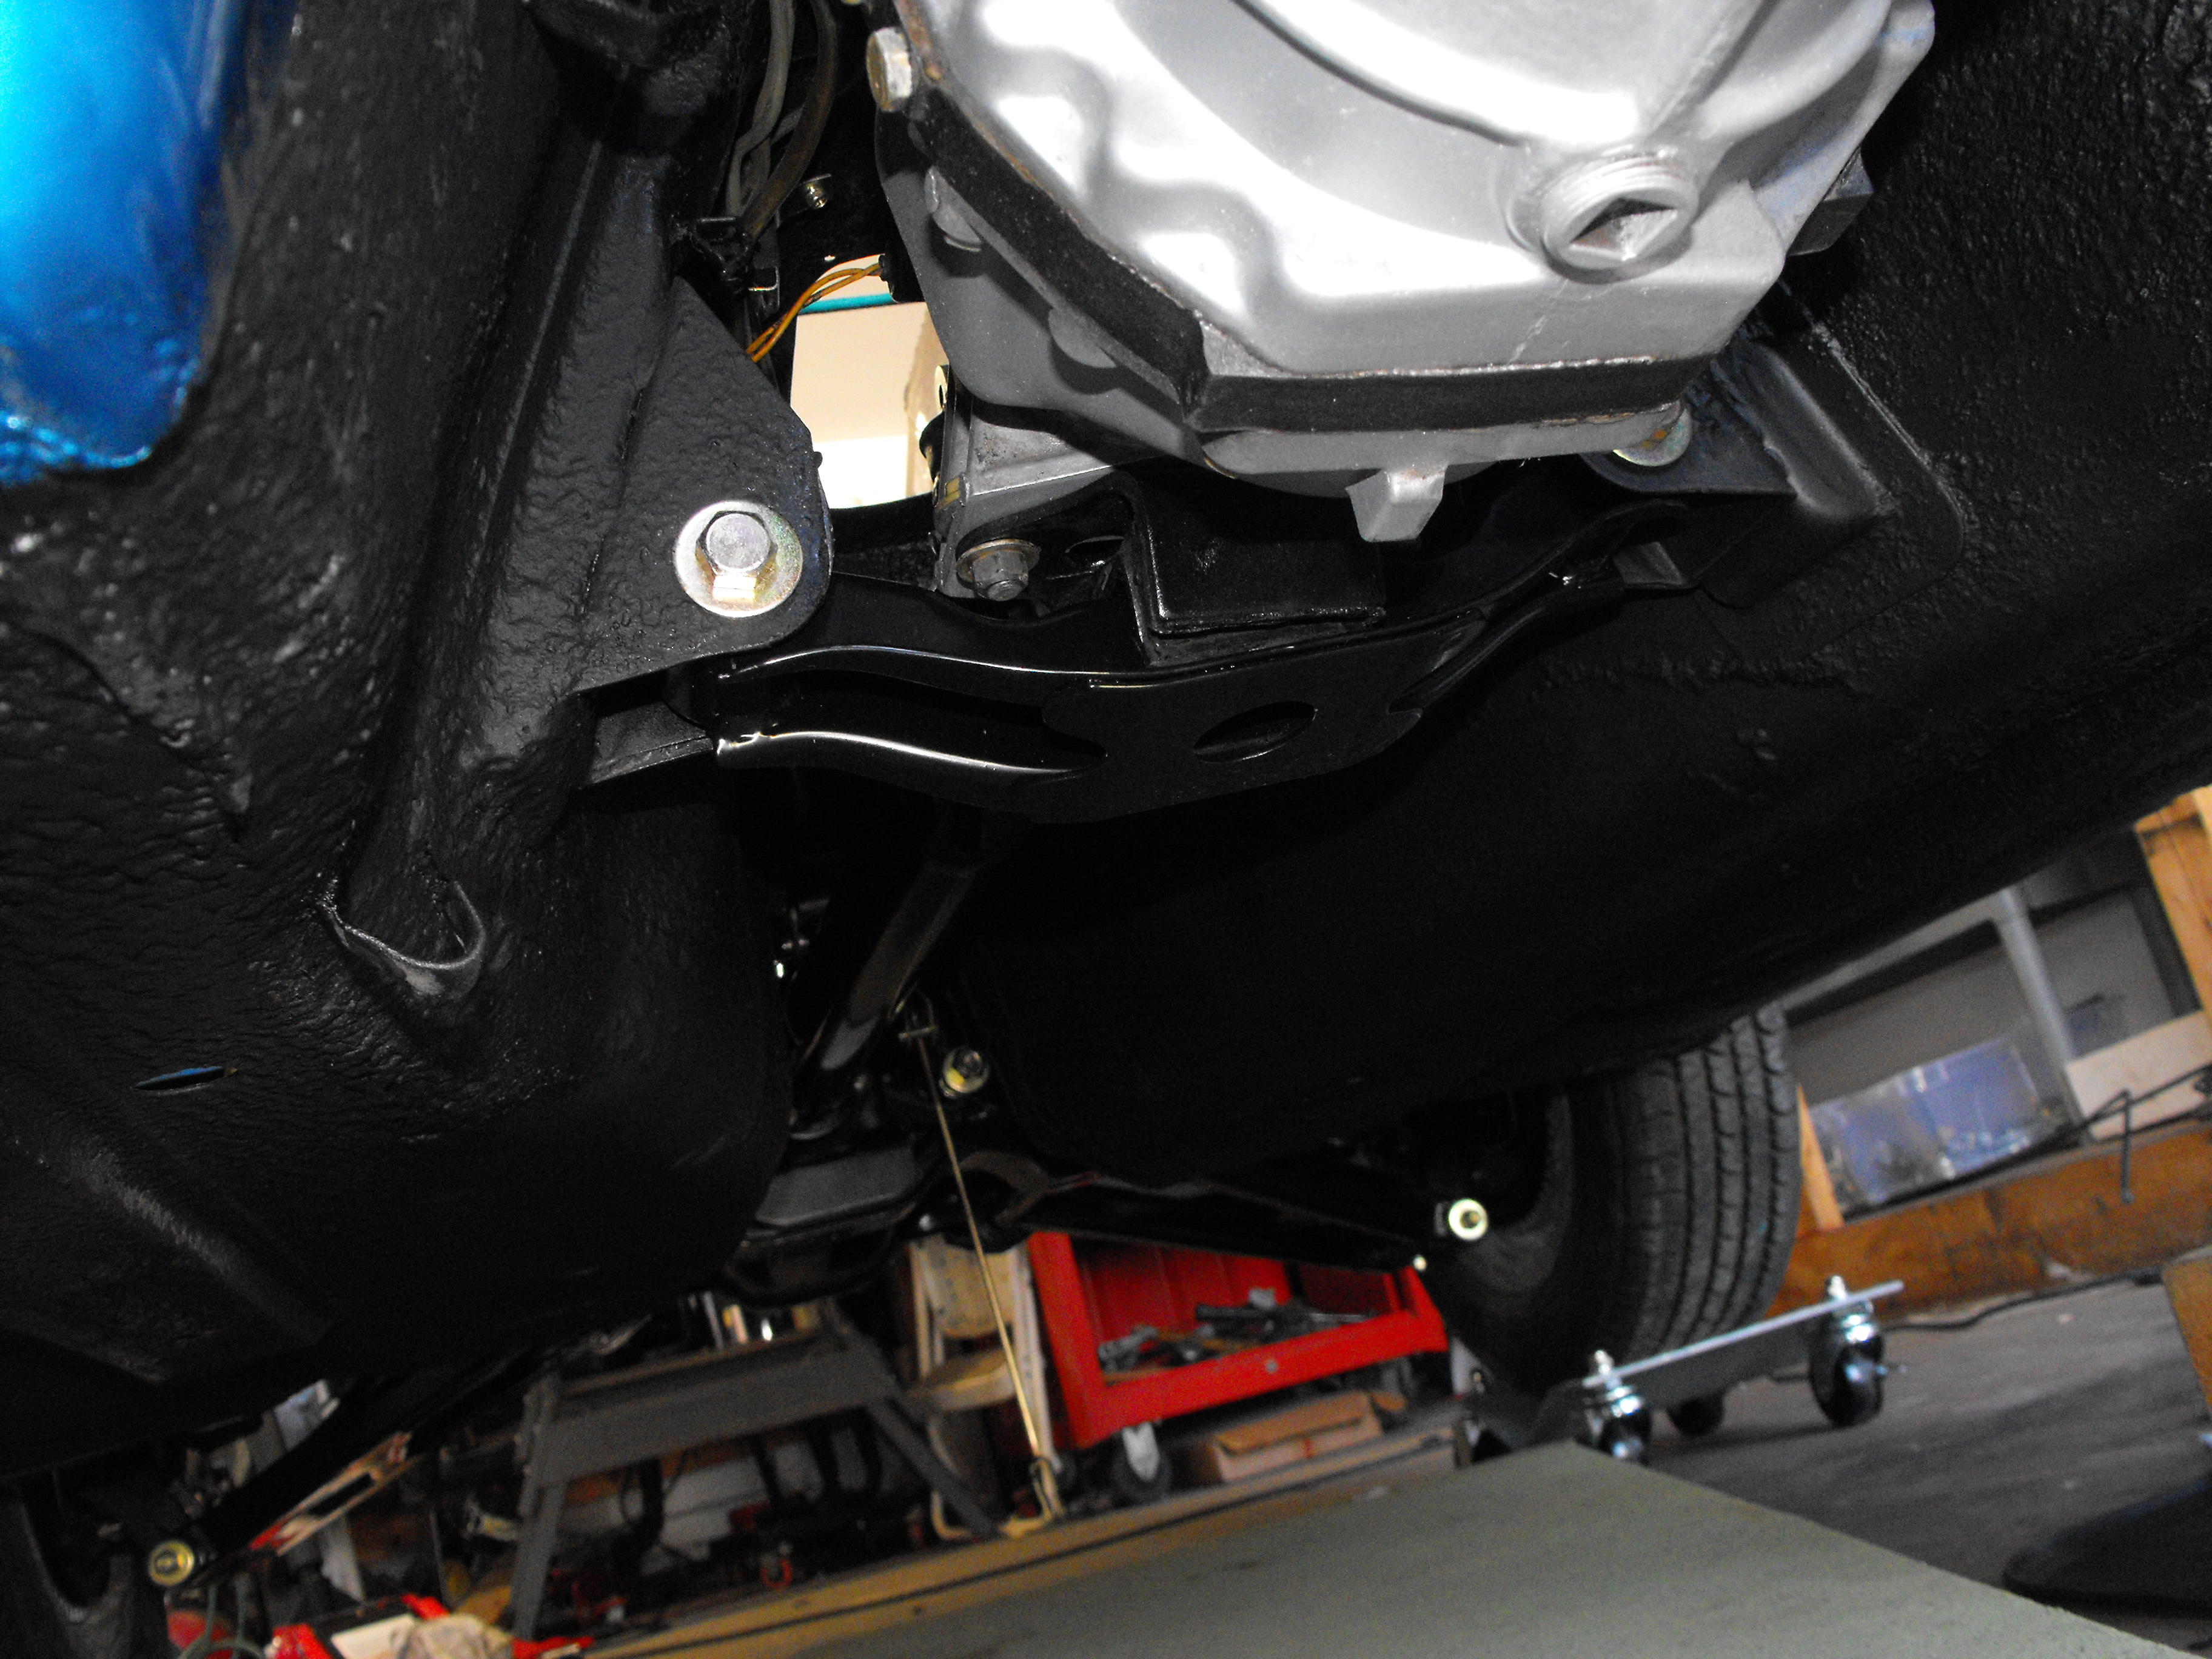
Got the motor in yesterday. Was great to have @jayhawkstop by and lend a hand.


-
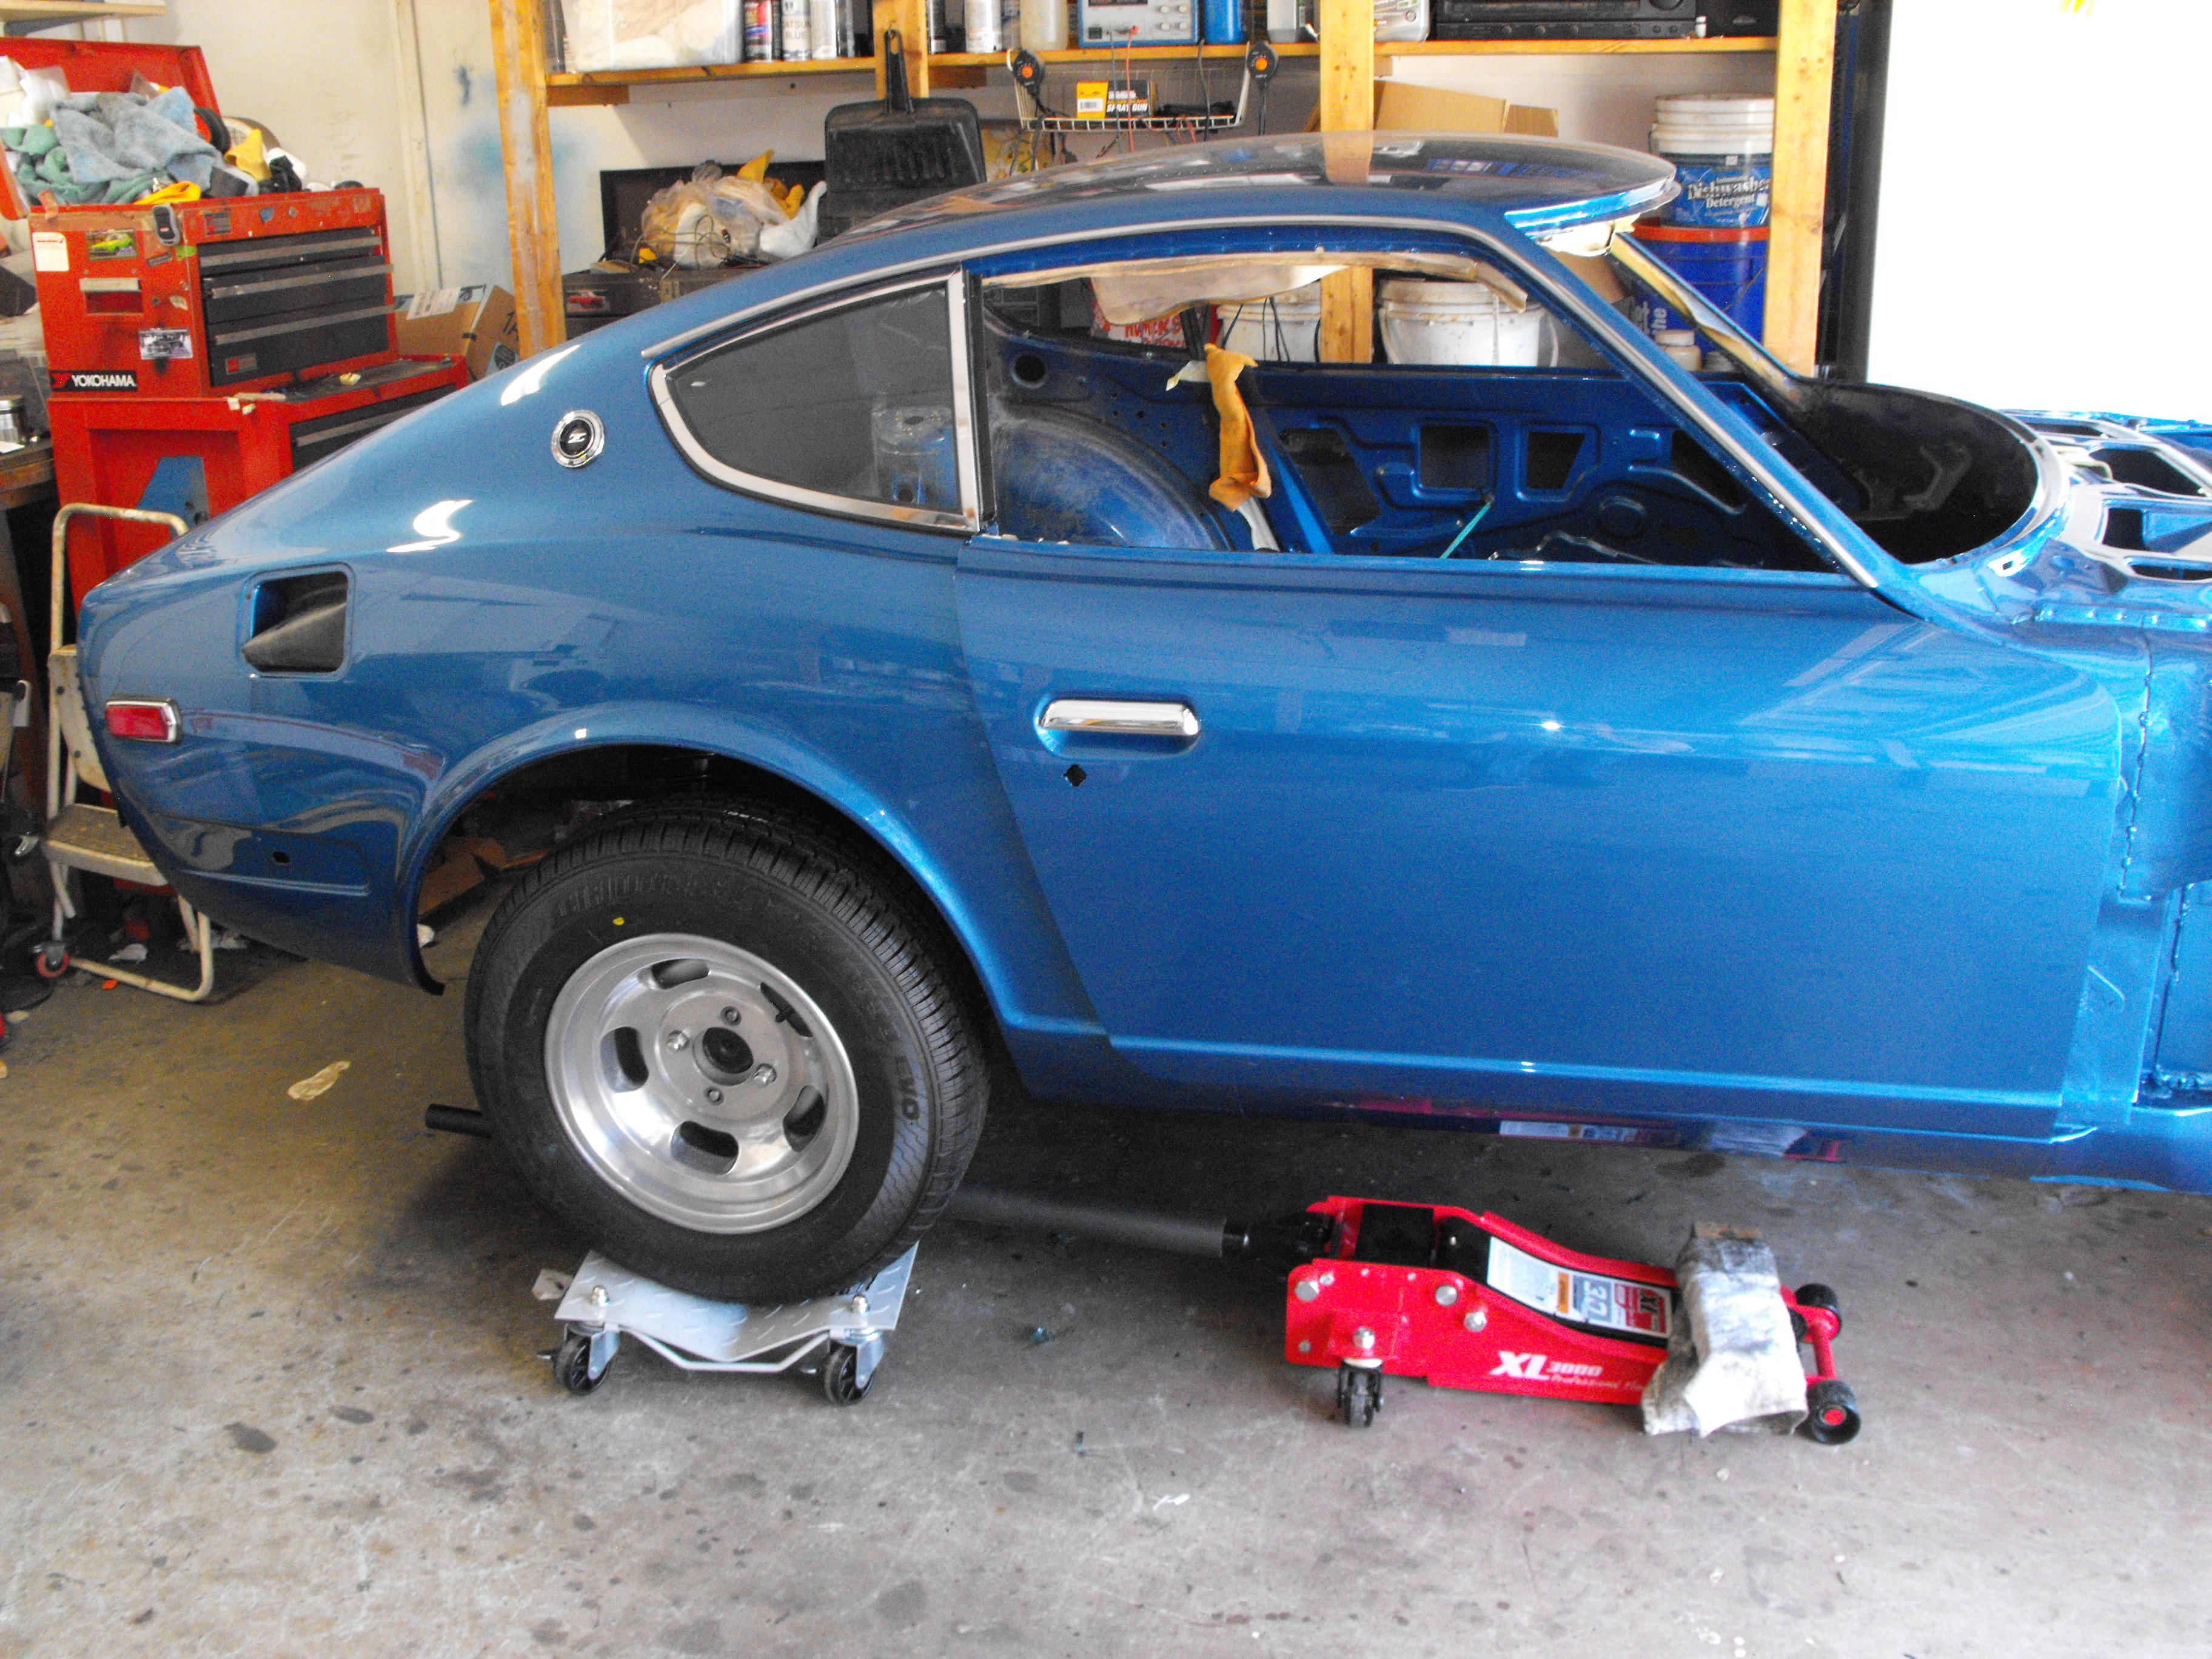
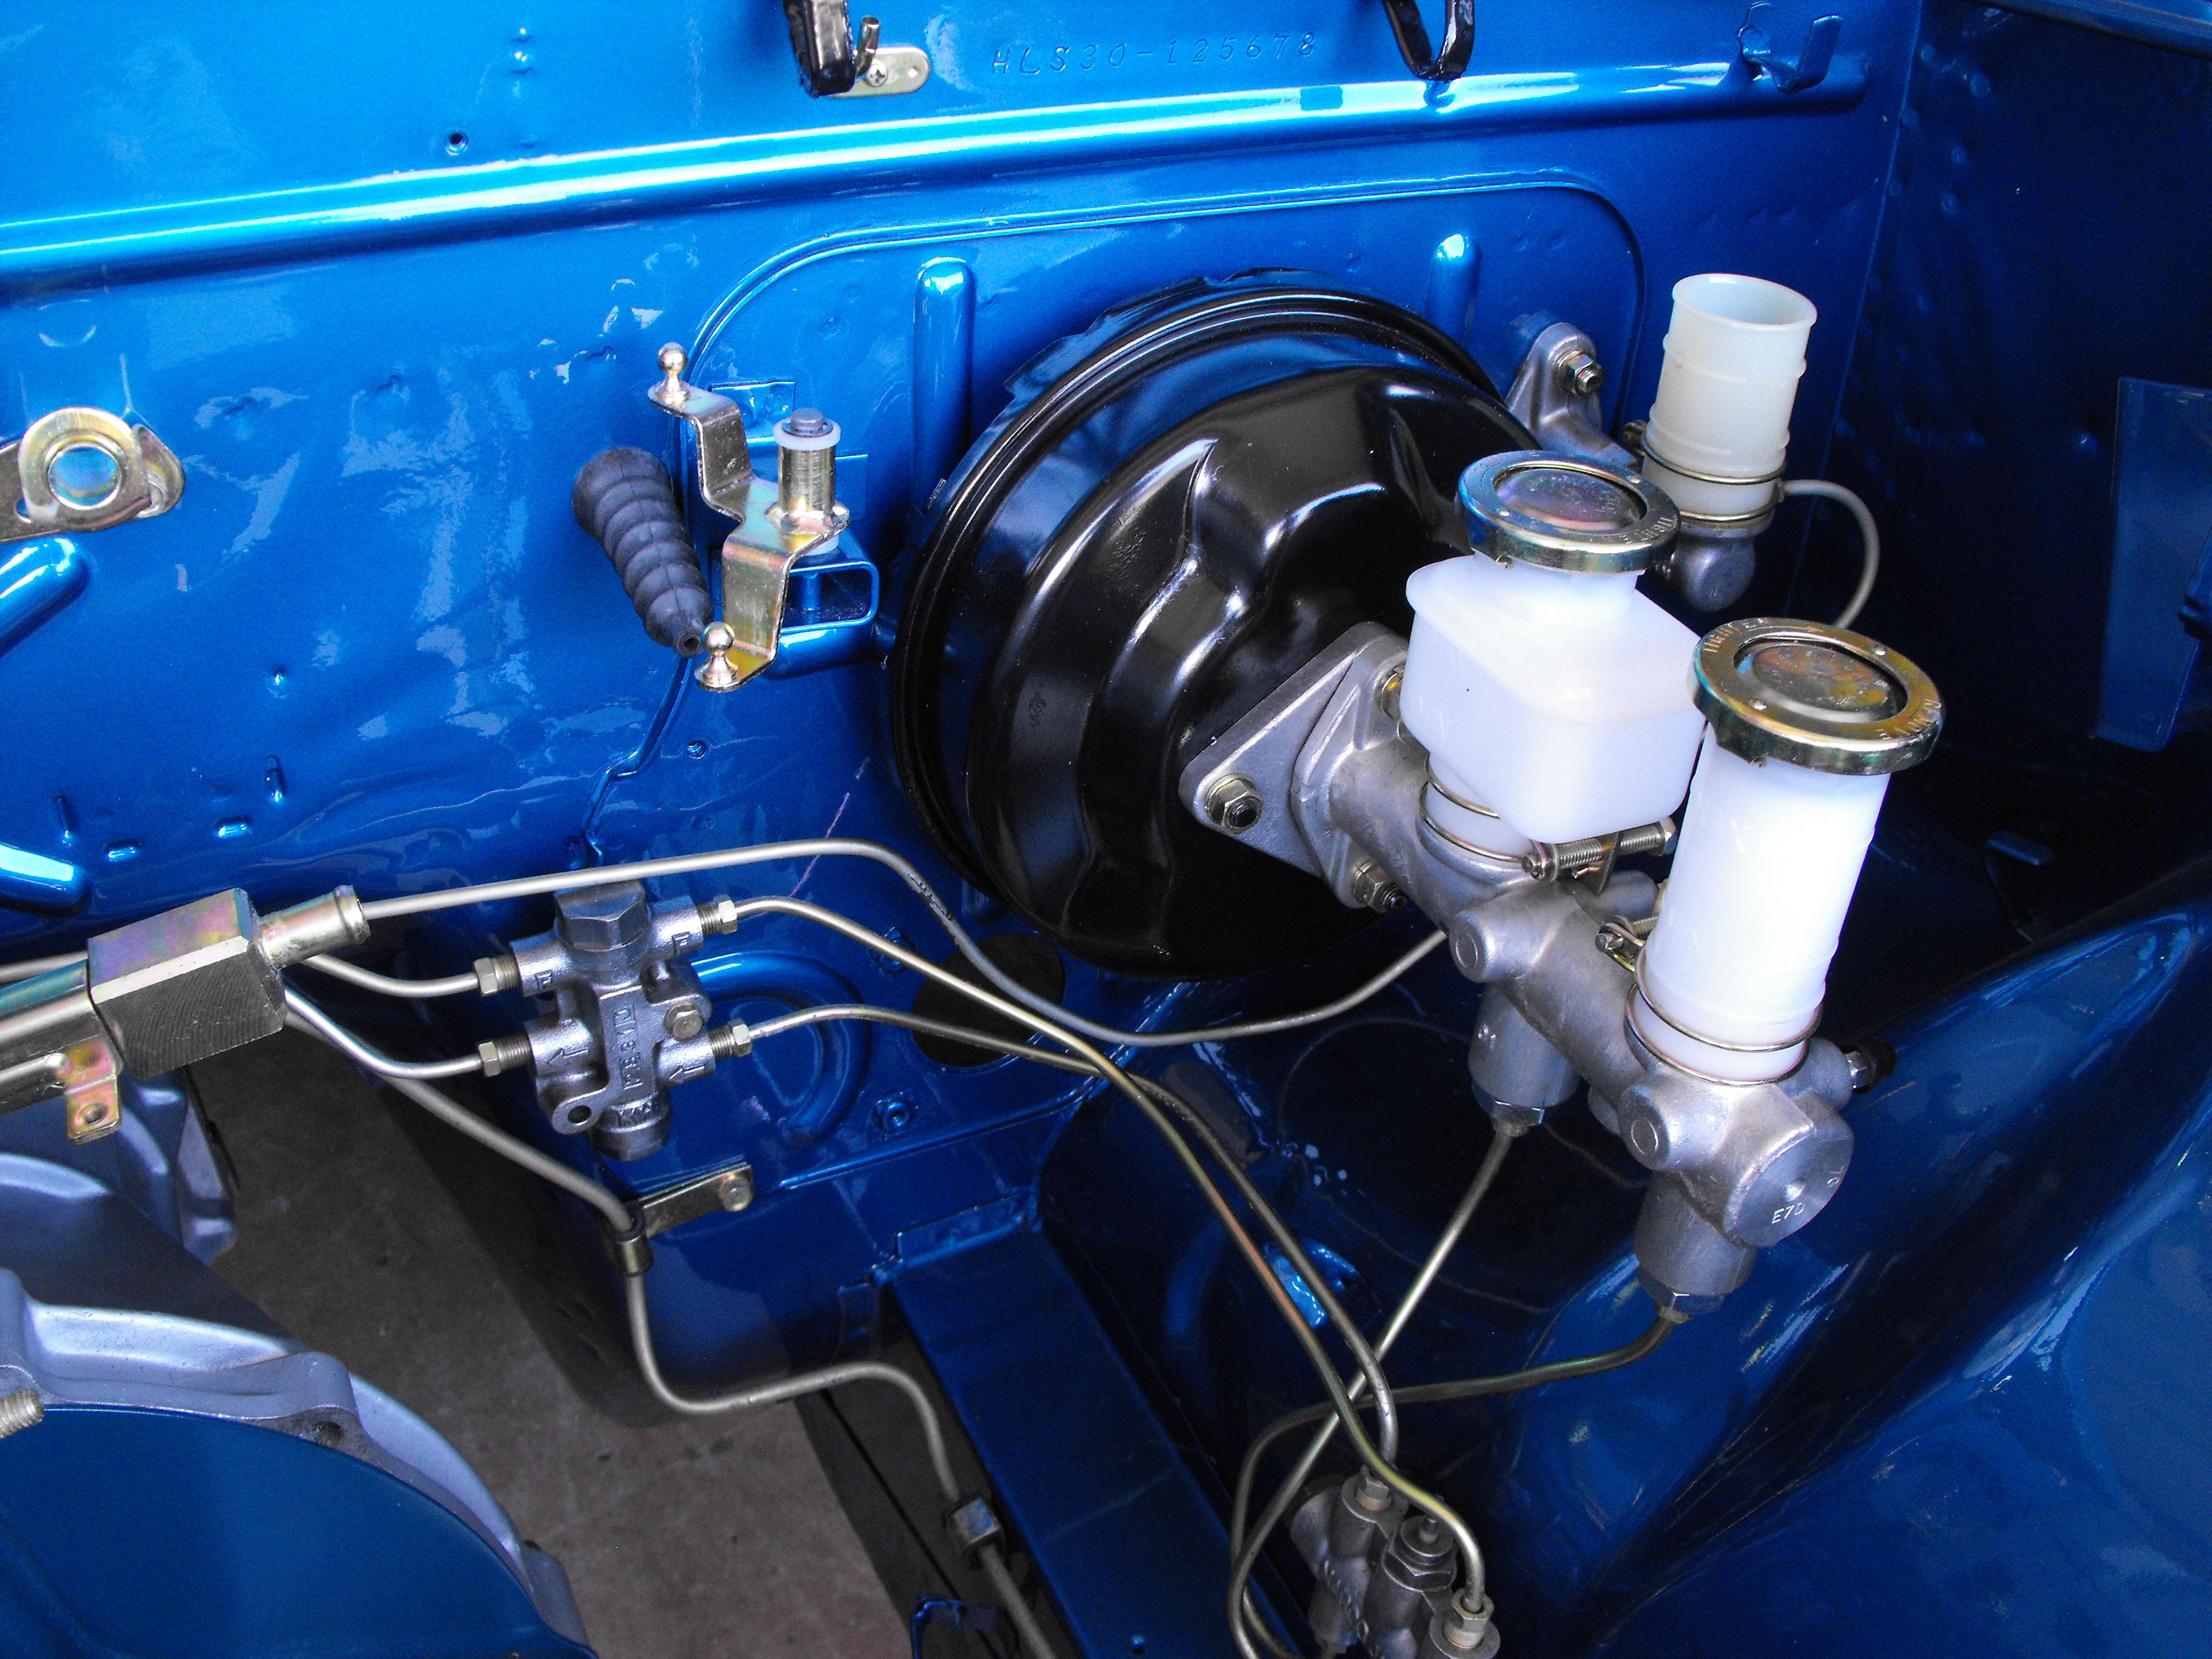
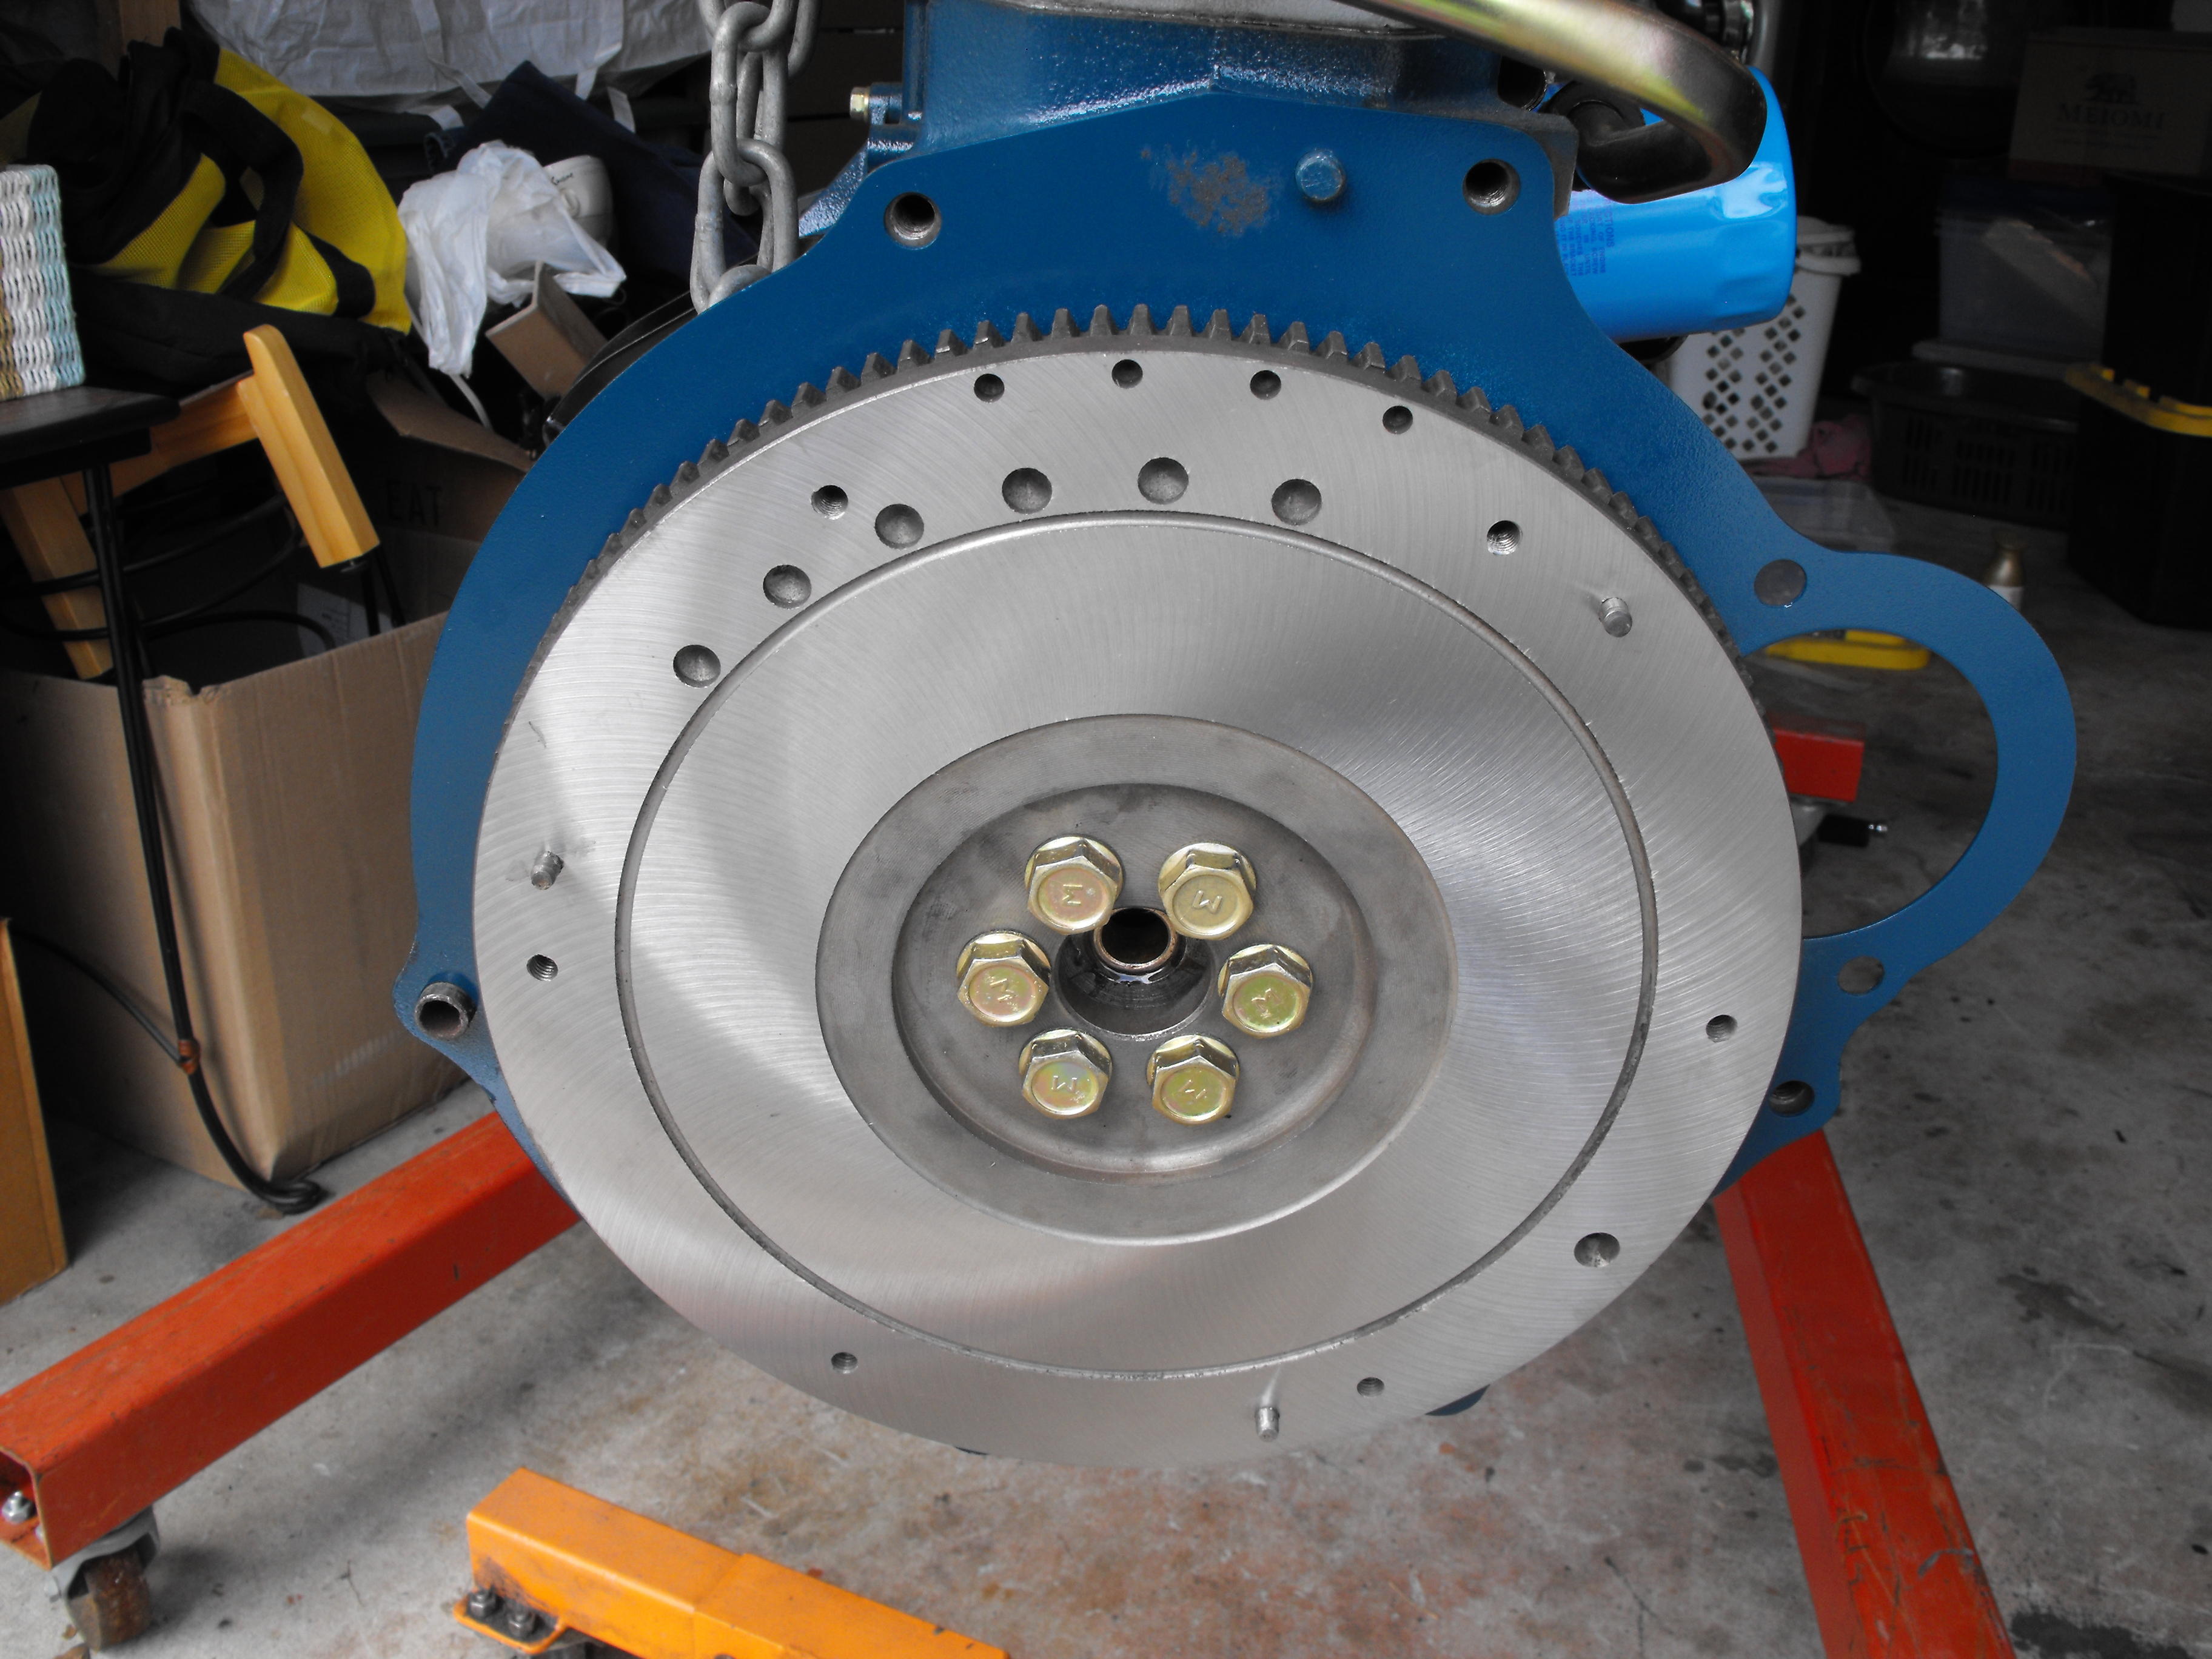
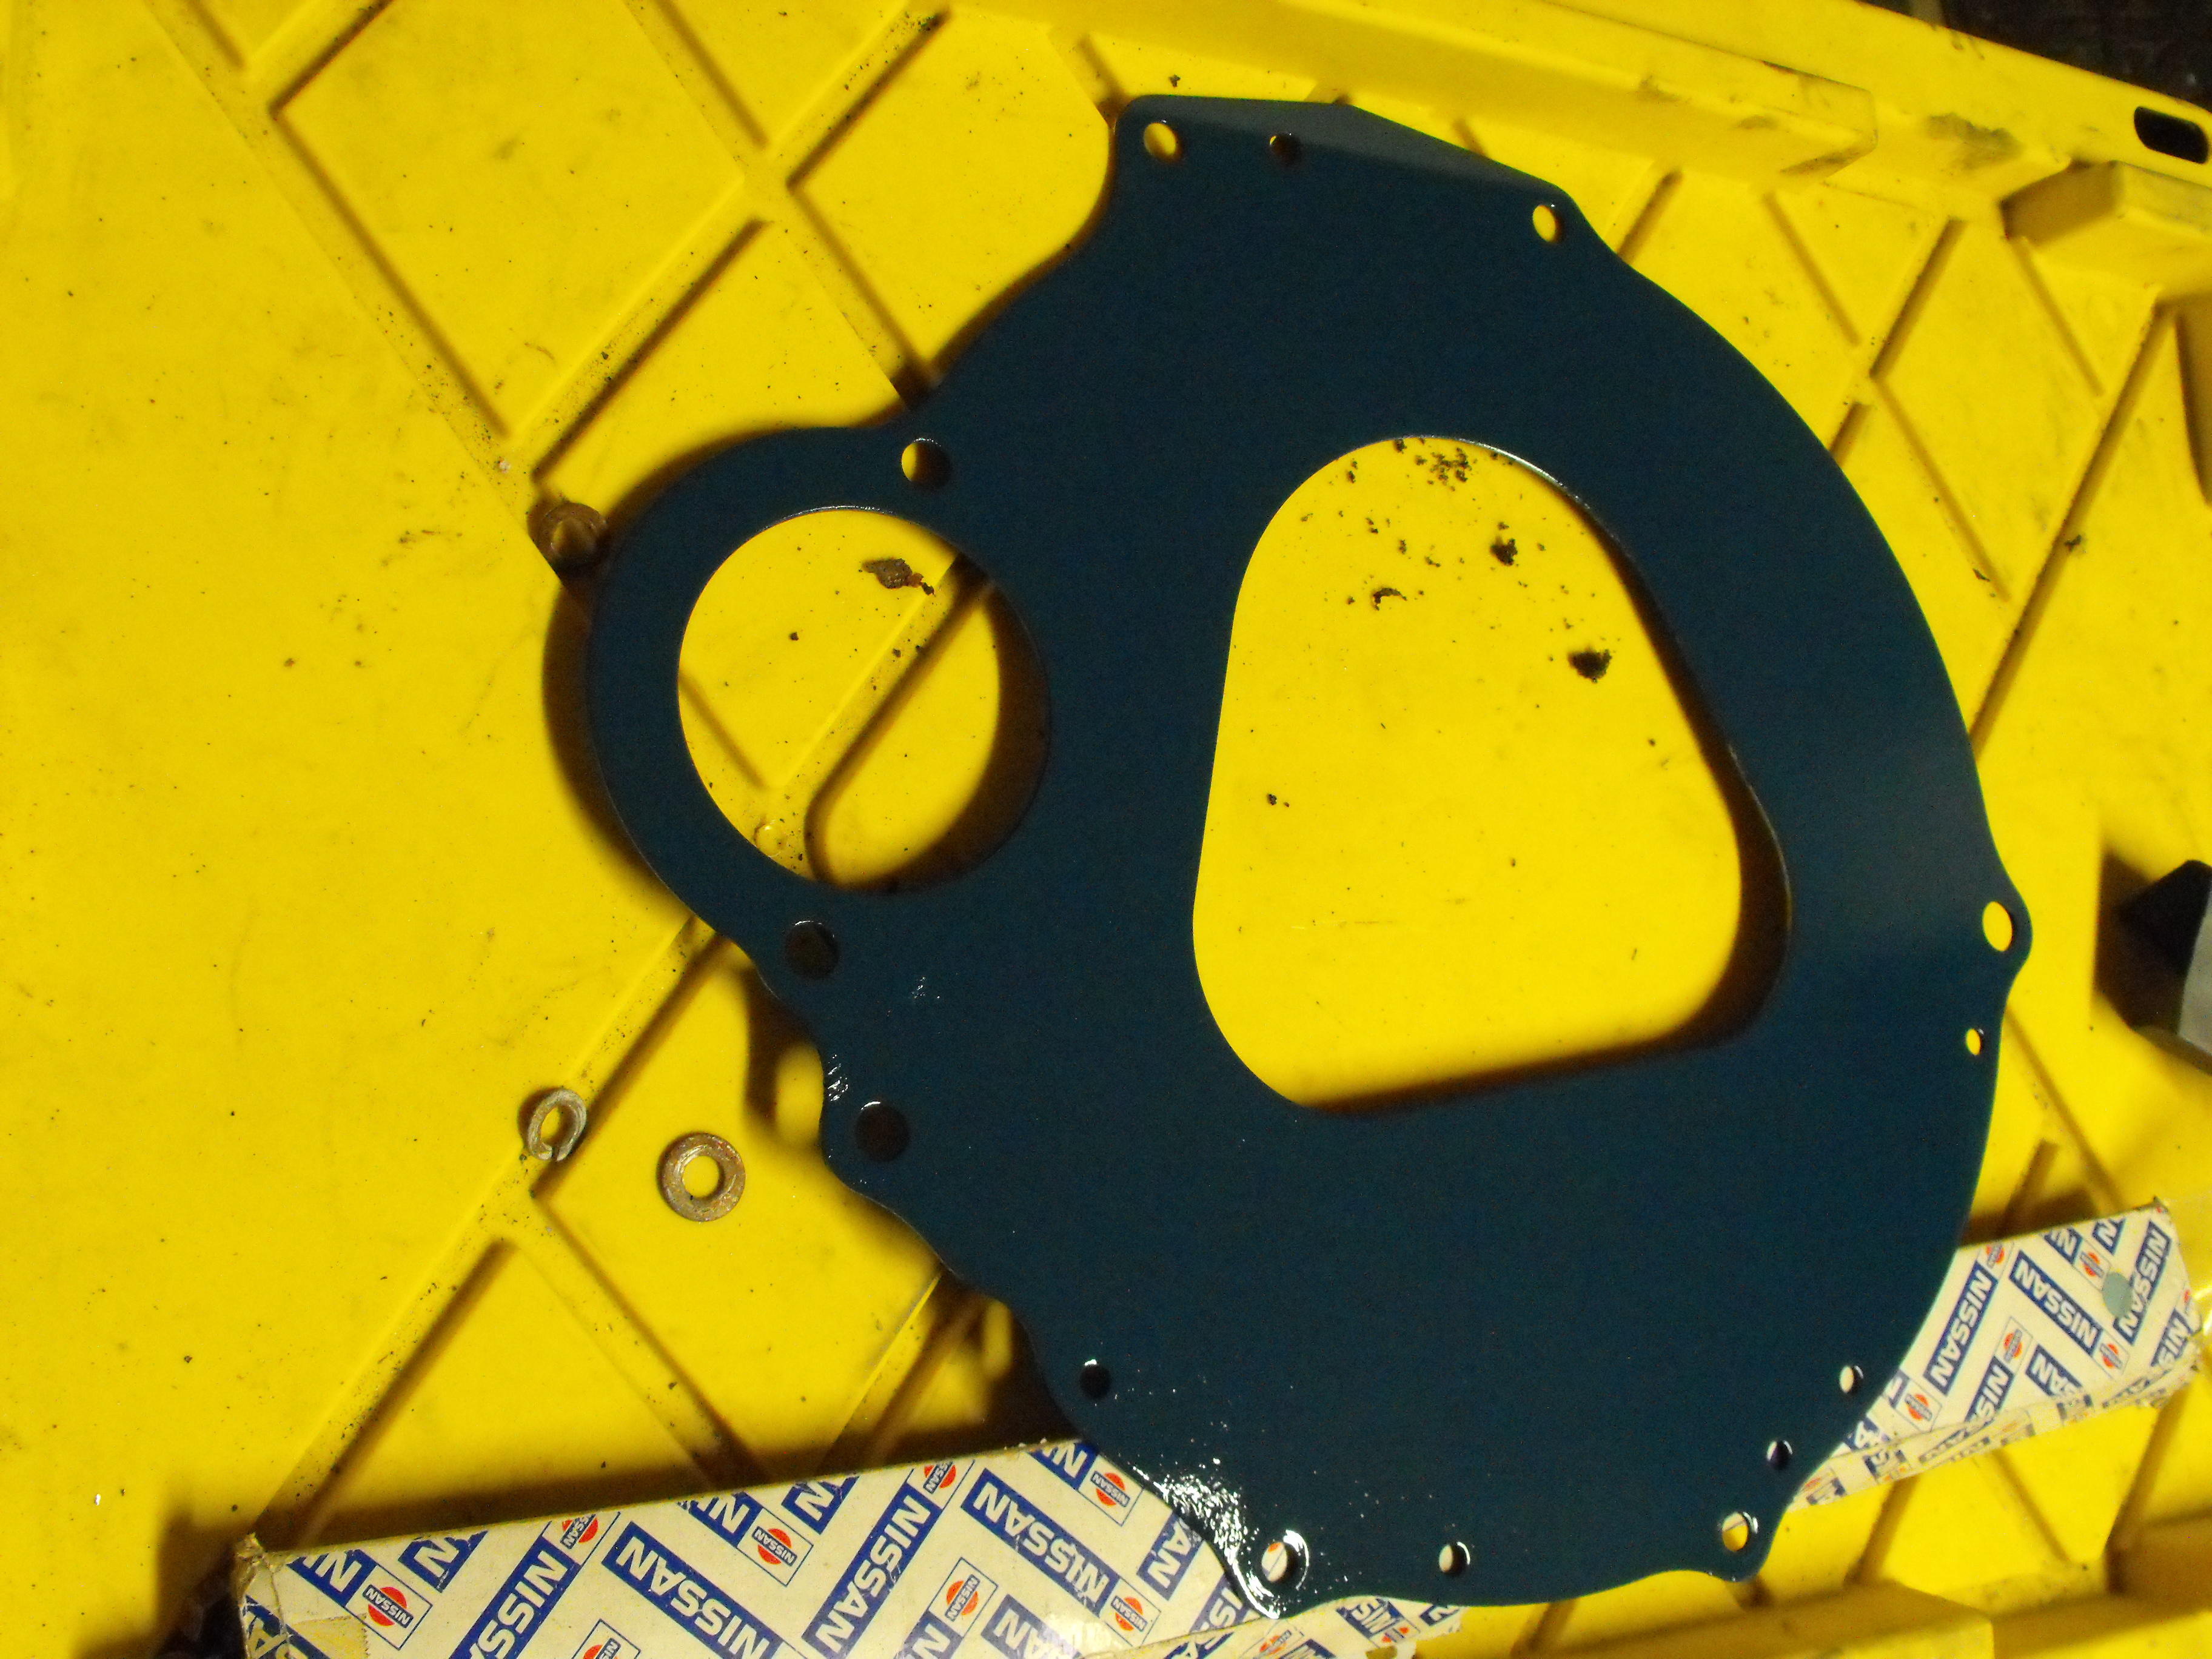
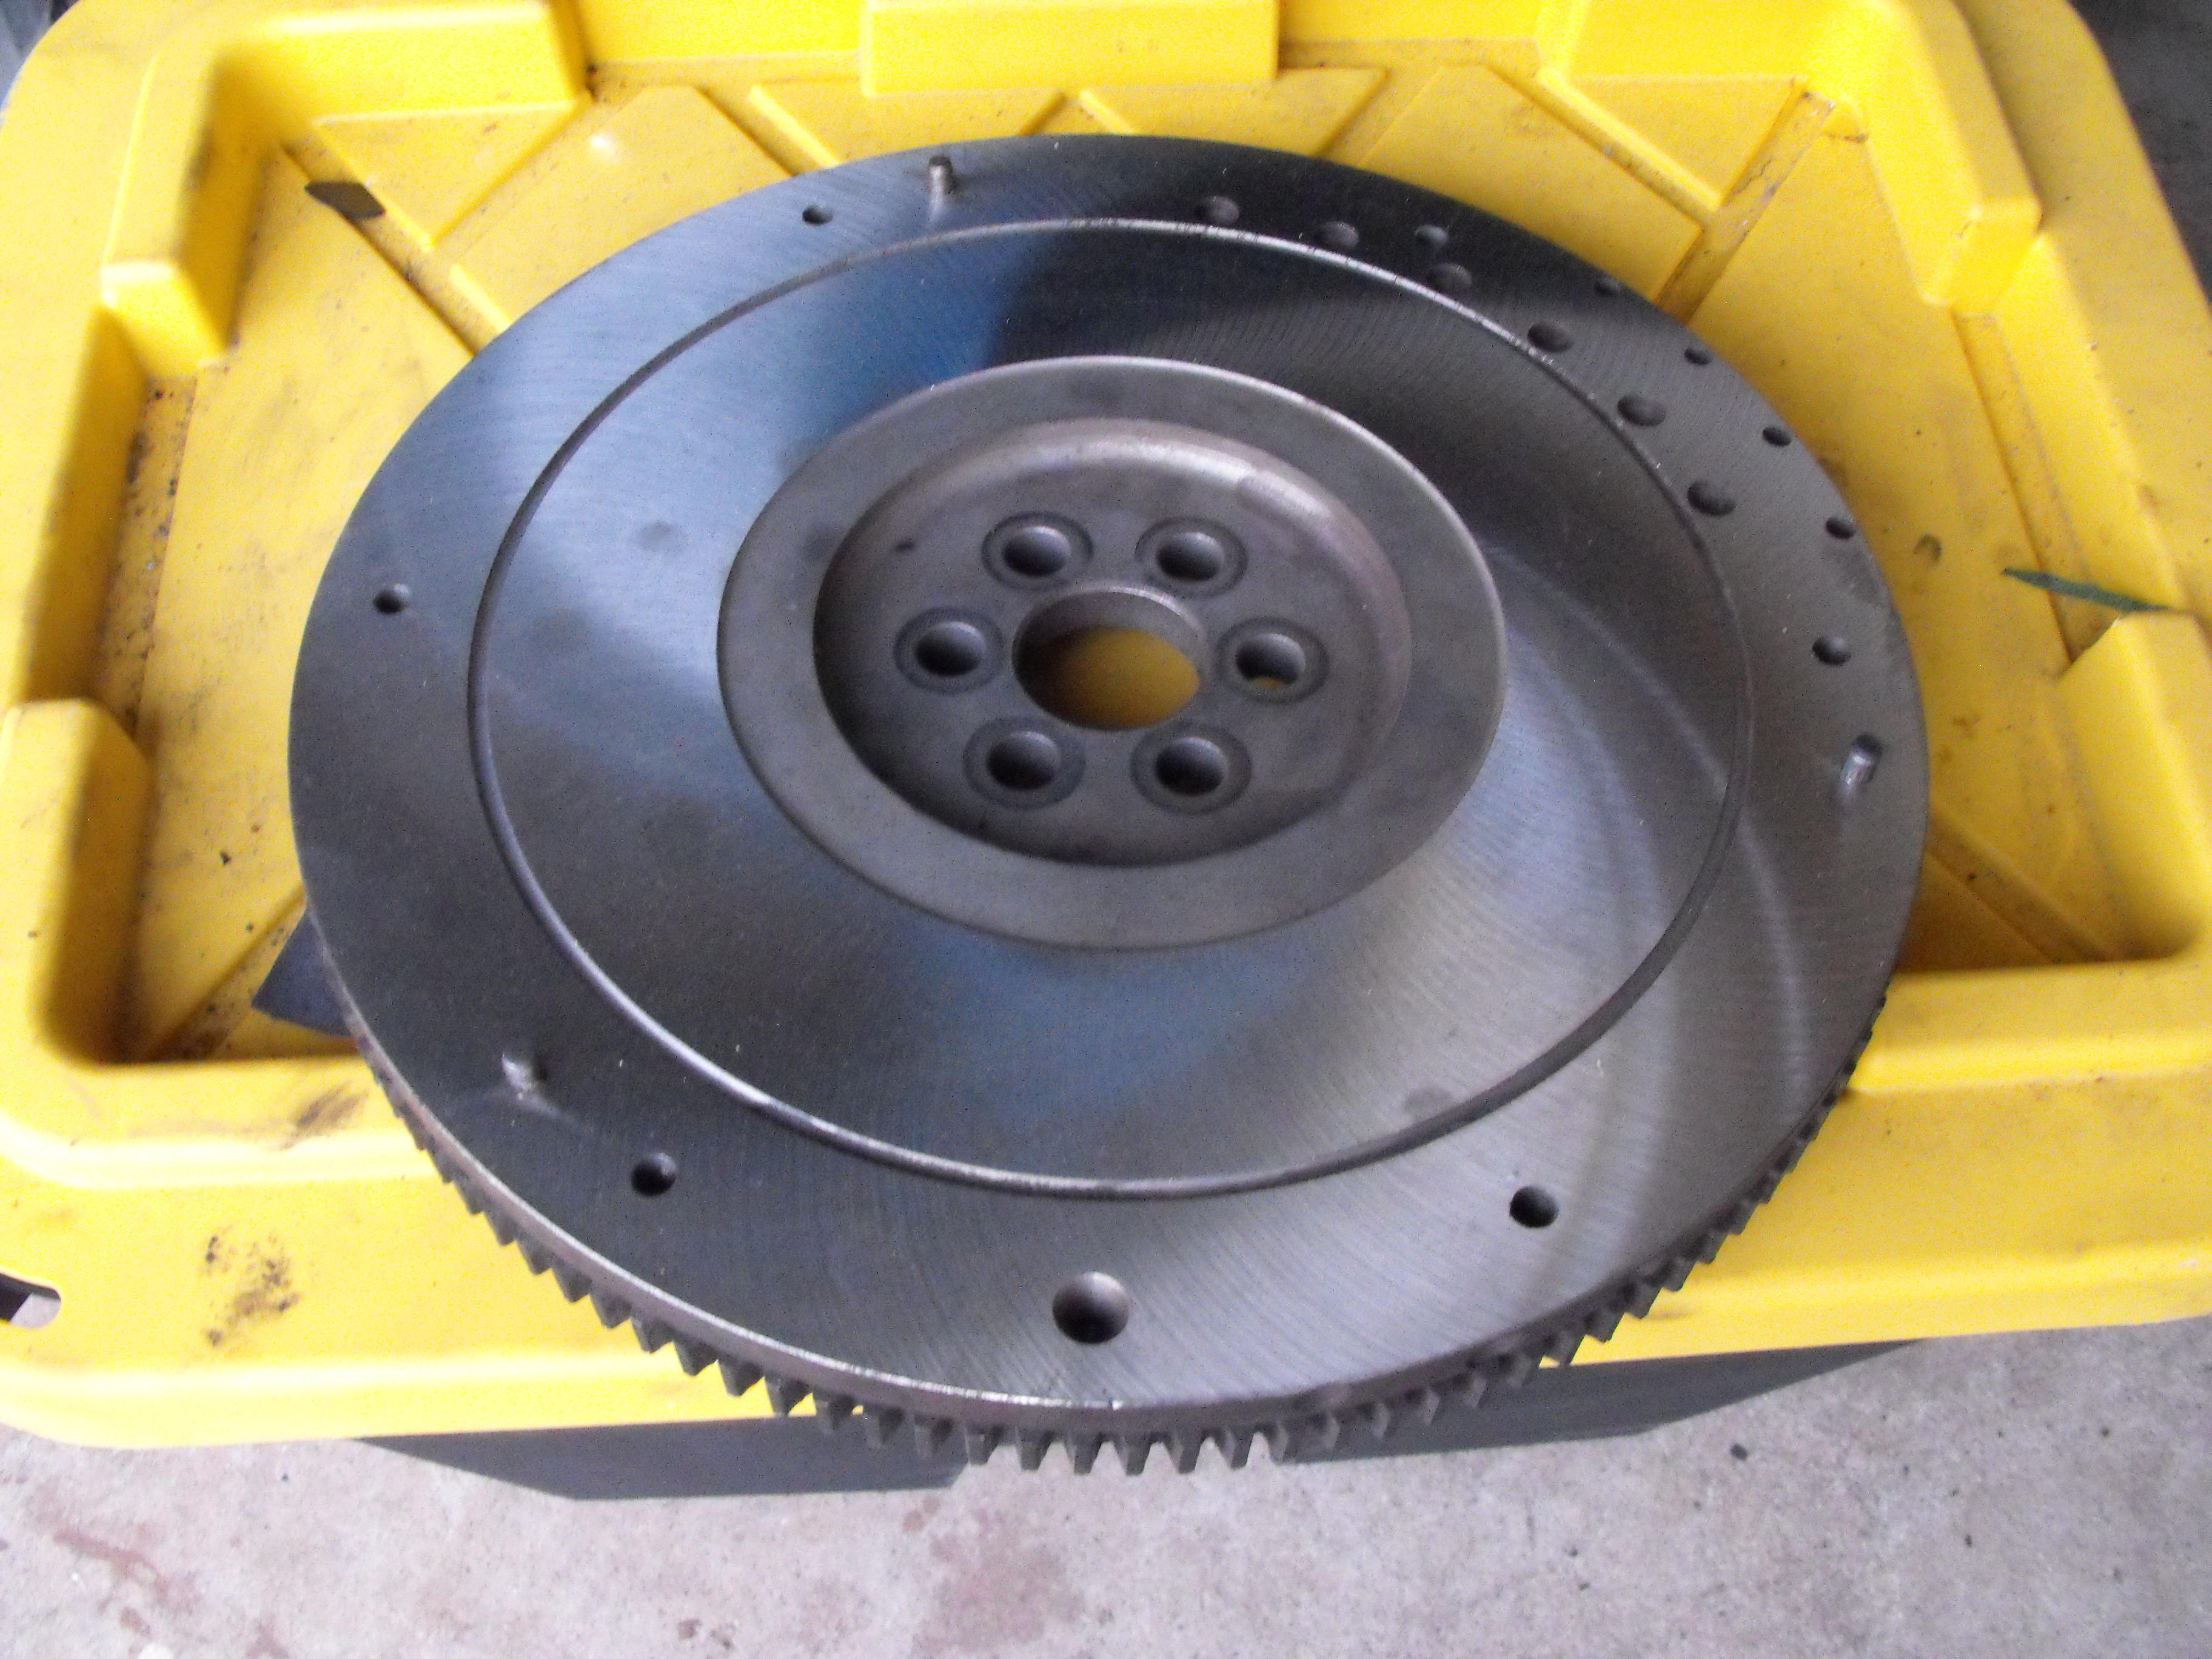
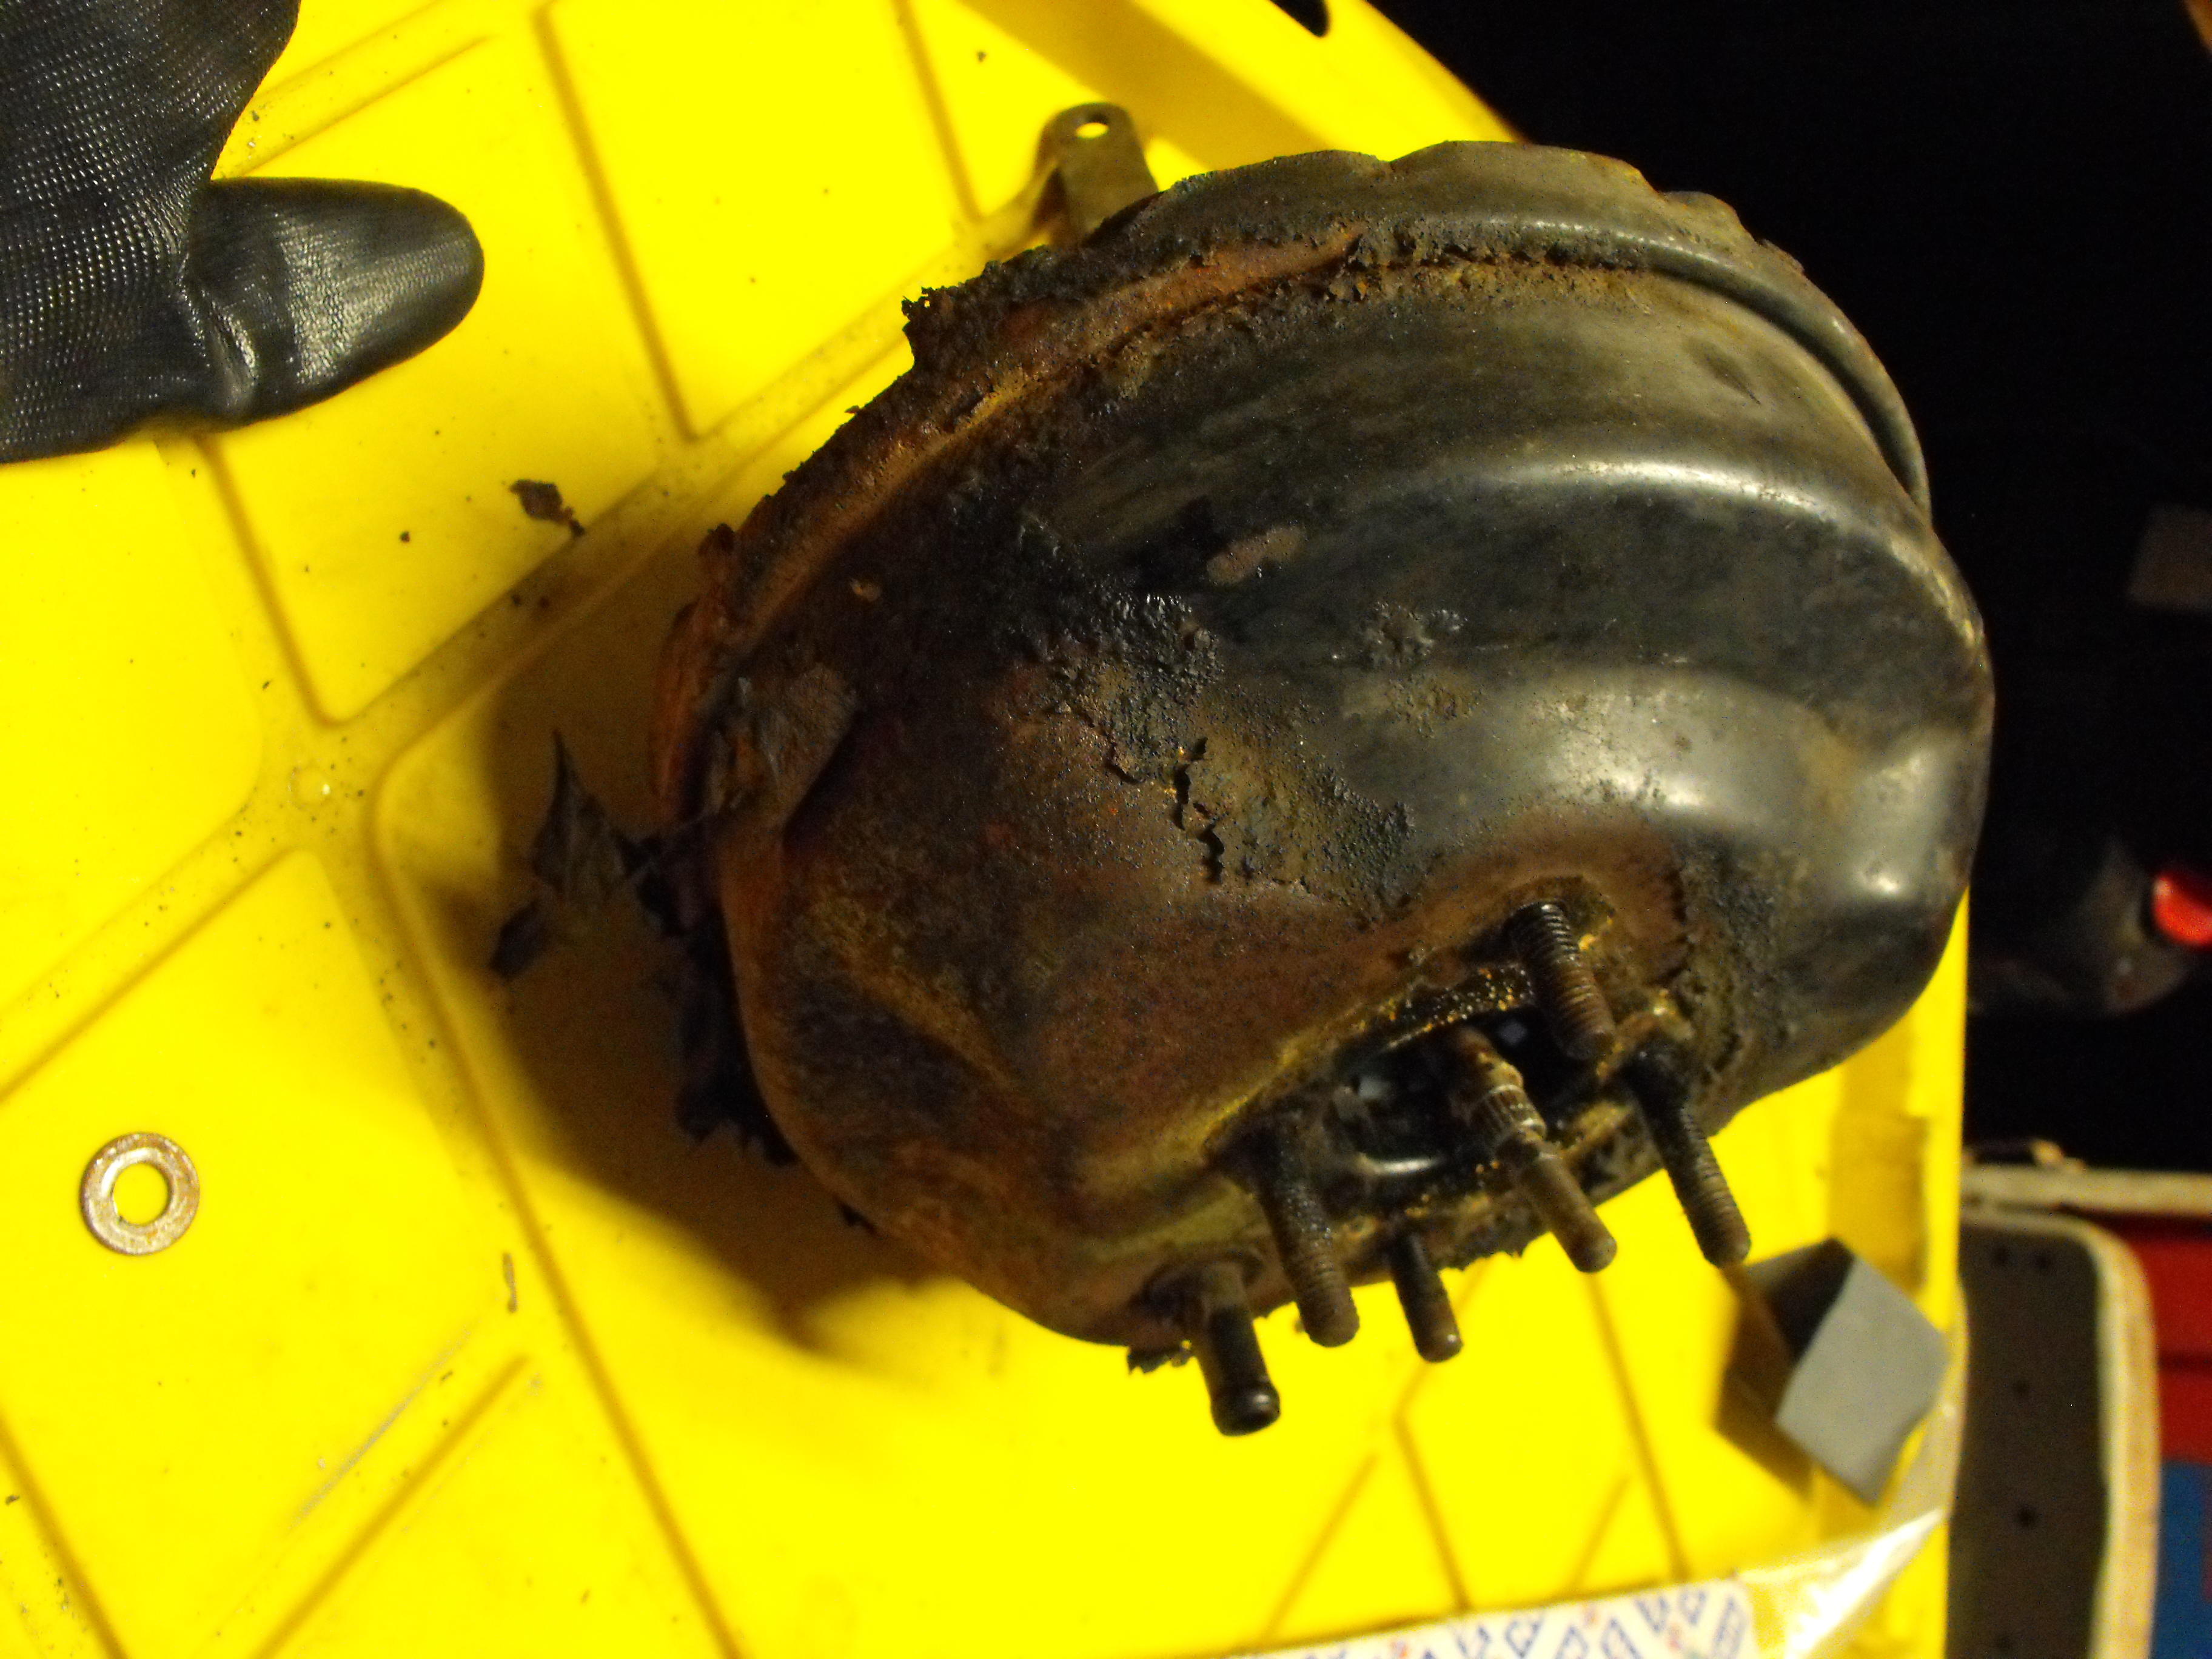
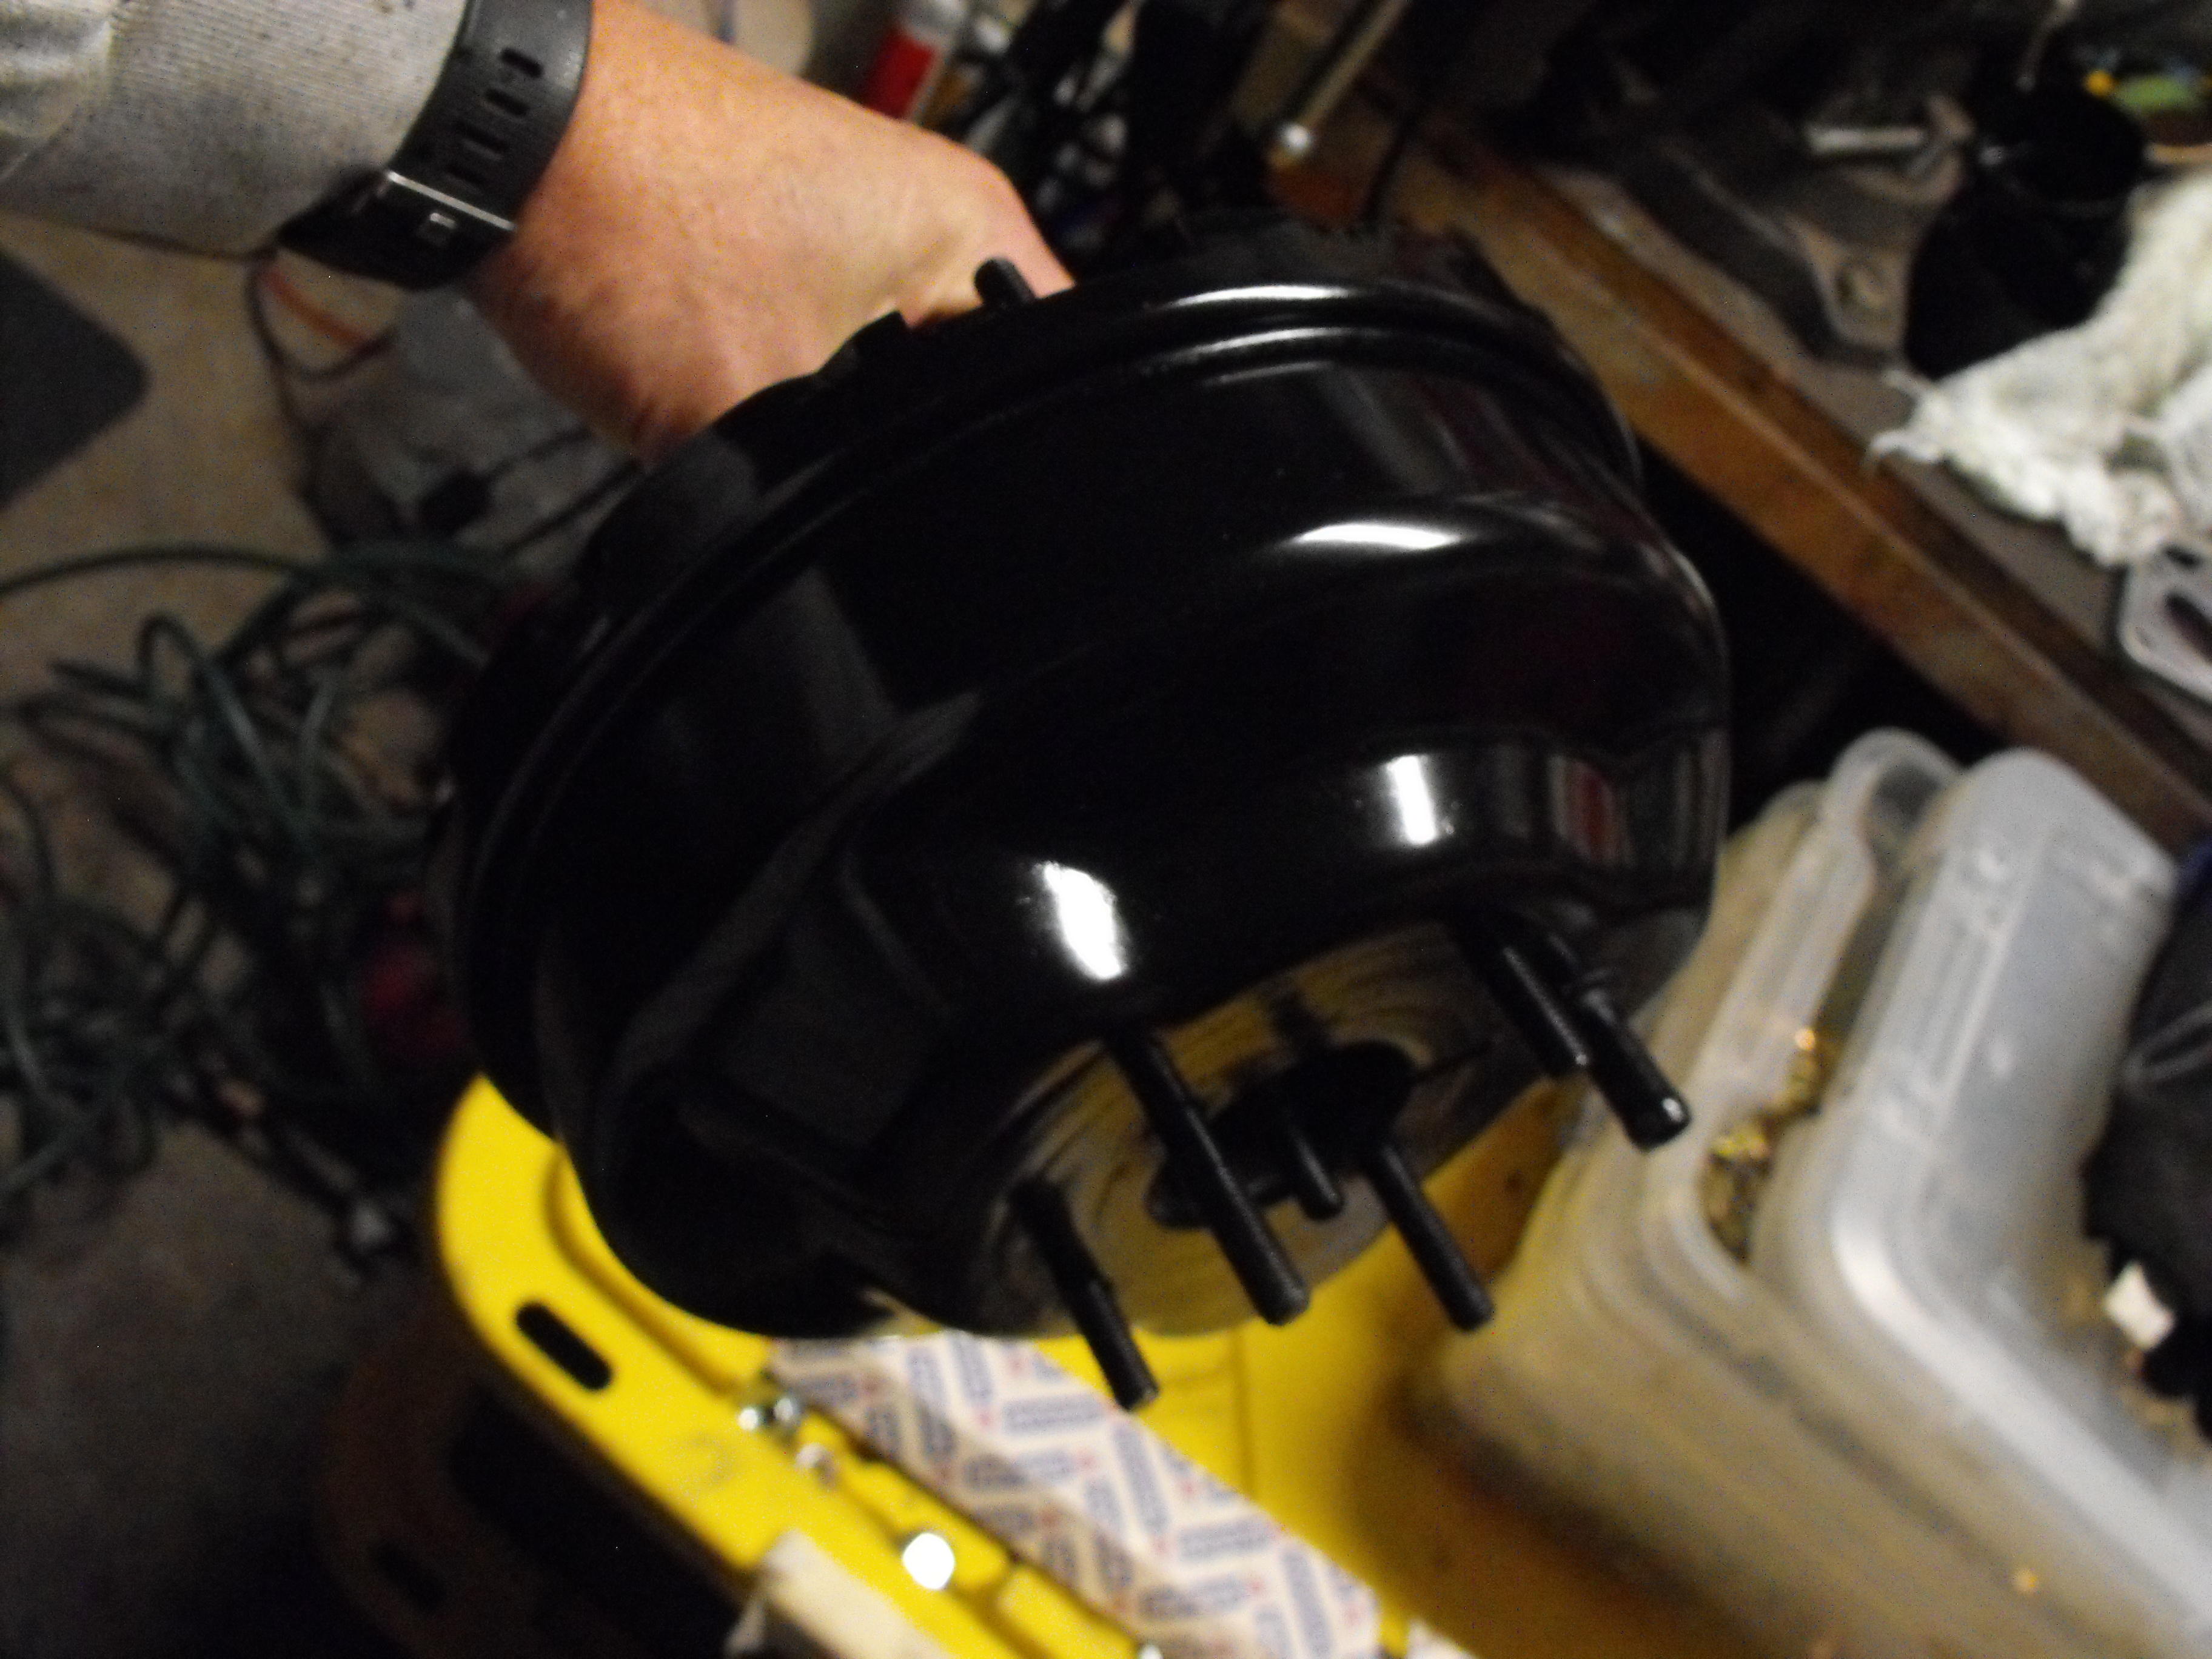
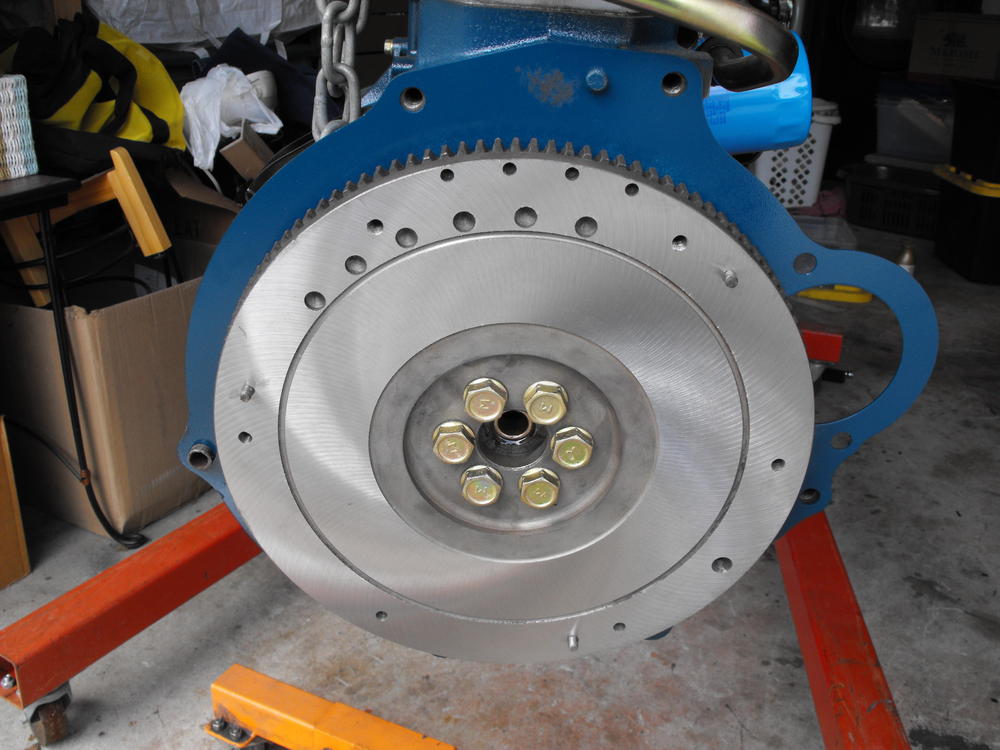
Got a few more bits and pieces done, prepping for the engine install on Saturday. Got the transmission cover cleaned and painted. Also got the Flywheel surfaced. I finished polishing the two rear mags and got the Bridgestones mounted. Installed those on the rear. Cleaned up the clutch master cylinder and cleaned up the Brake booster. Really looking forward to getting the motor in. @jayhawk is going to drop by and help out with that. Motor should look pretty nice once in the engine bay


-
Two reasons really: One, I have always done it this way. I actually find it pretty easy to do it this way and can usually do the whole process by myself. The only tricky part is the final mate in getting the trans shaft splines to line up with the clutch plate splines. Usually just a little rocking of the motor does the trick. Also, I am not lifting as much weight. Second, my garage ceiling is a bit low and not really sure if I can get the height I need when the two are mated. I can touch my garage ceiling when standing on my toes, so maybe its 8.5 feet high. I haven't tried it, so I can't say for sure, but I am thinking it would be an issue. My driveway is sloped, so that wouldn't work as an alternate location. Would have to move to the street to get flat surface and not really sure that I want to do that, cause then I have to push it up hill into the garage.
-
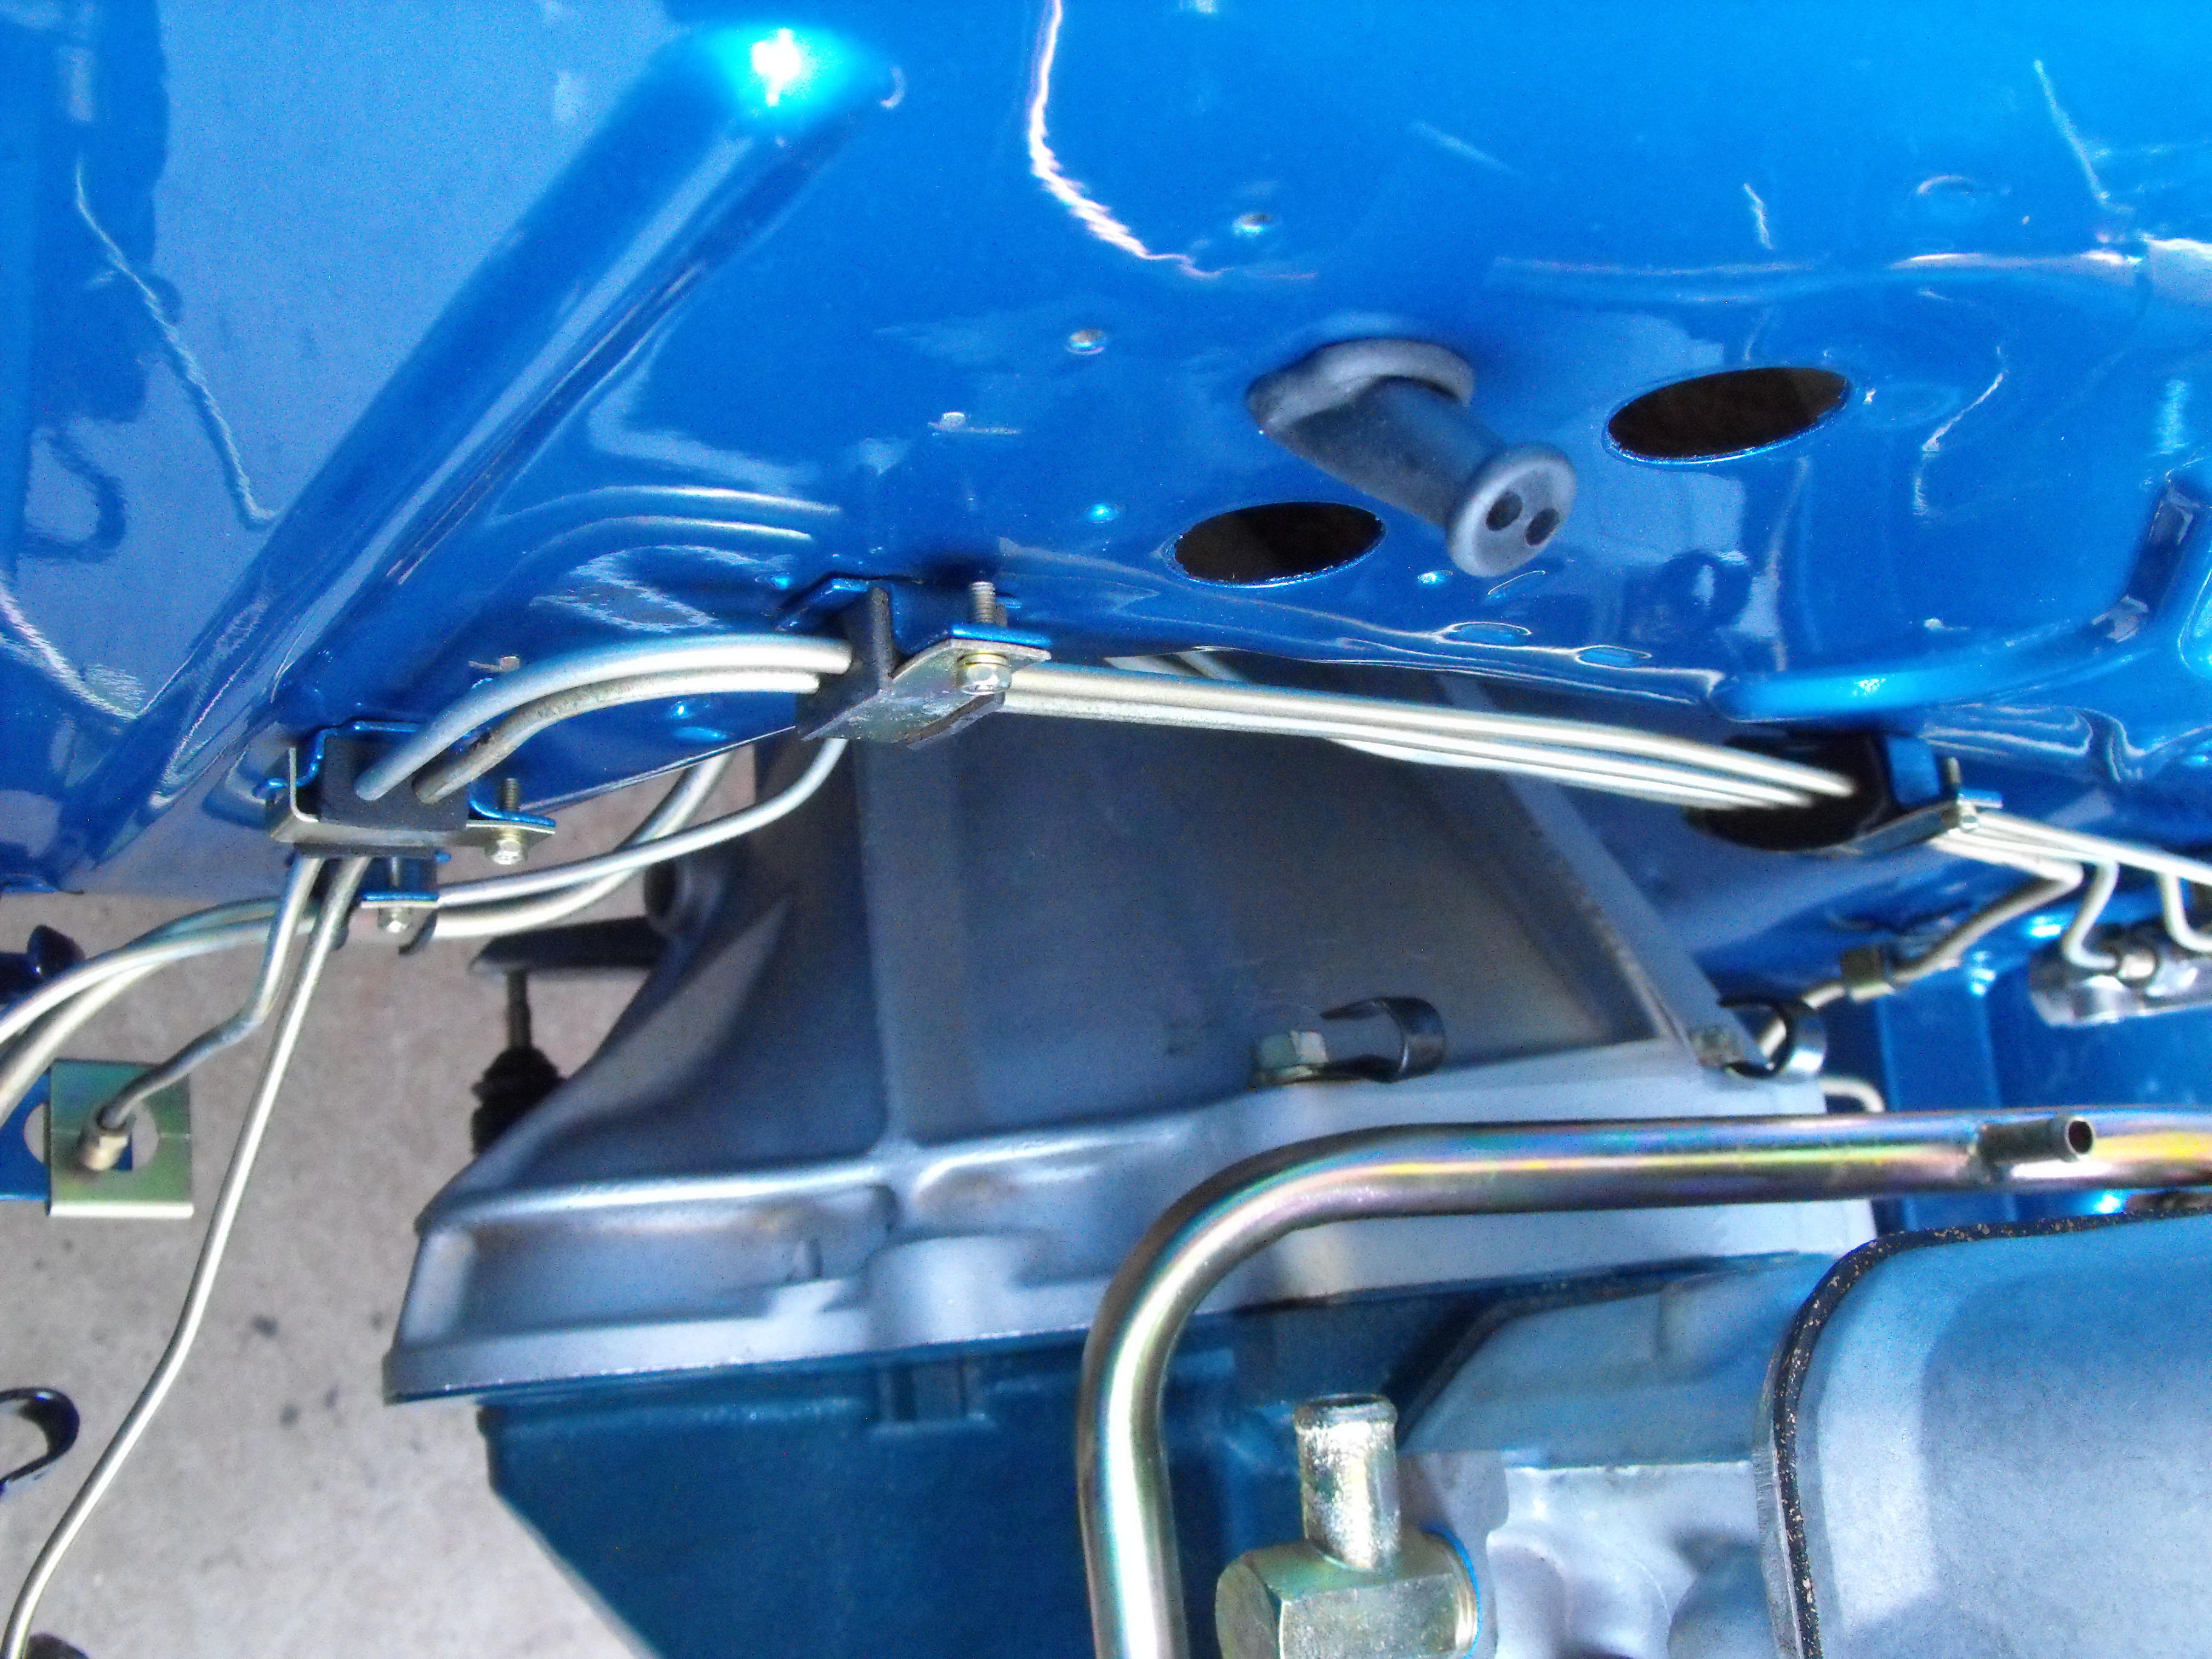
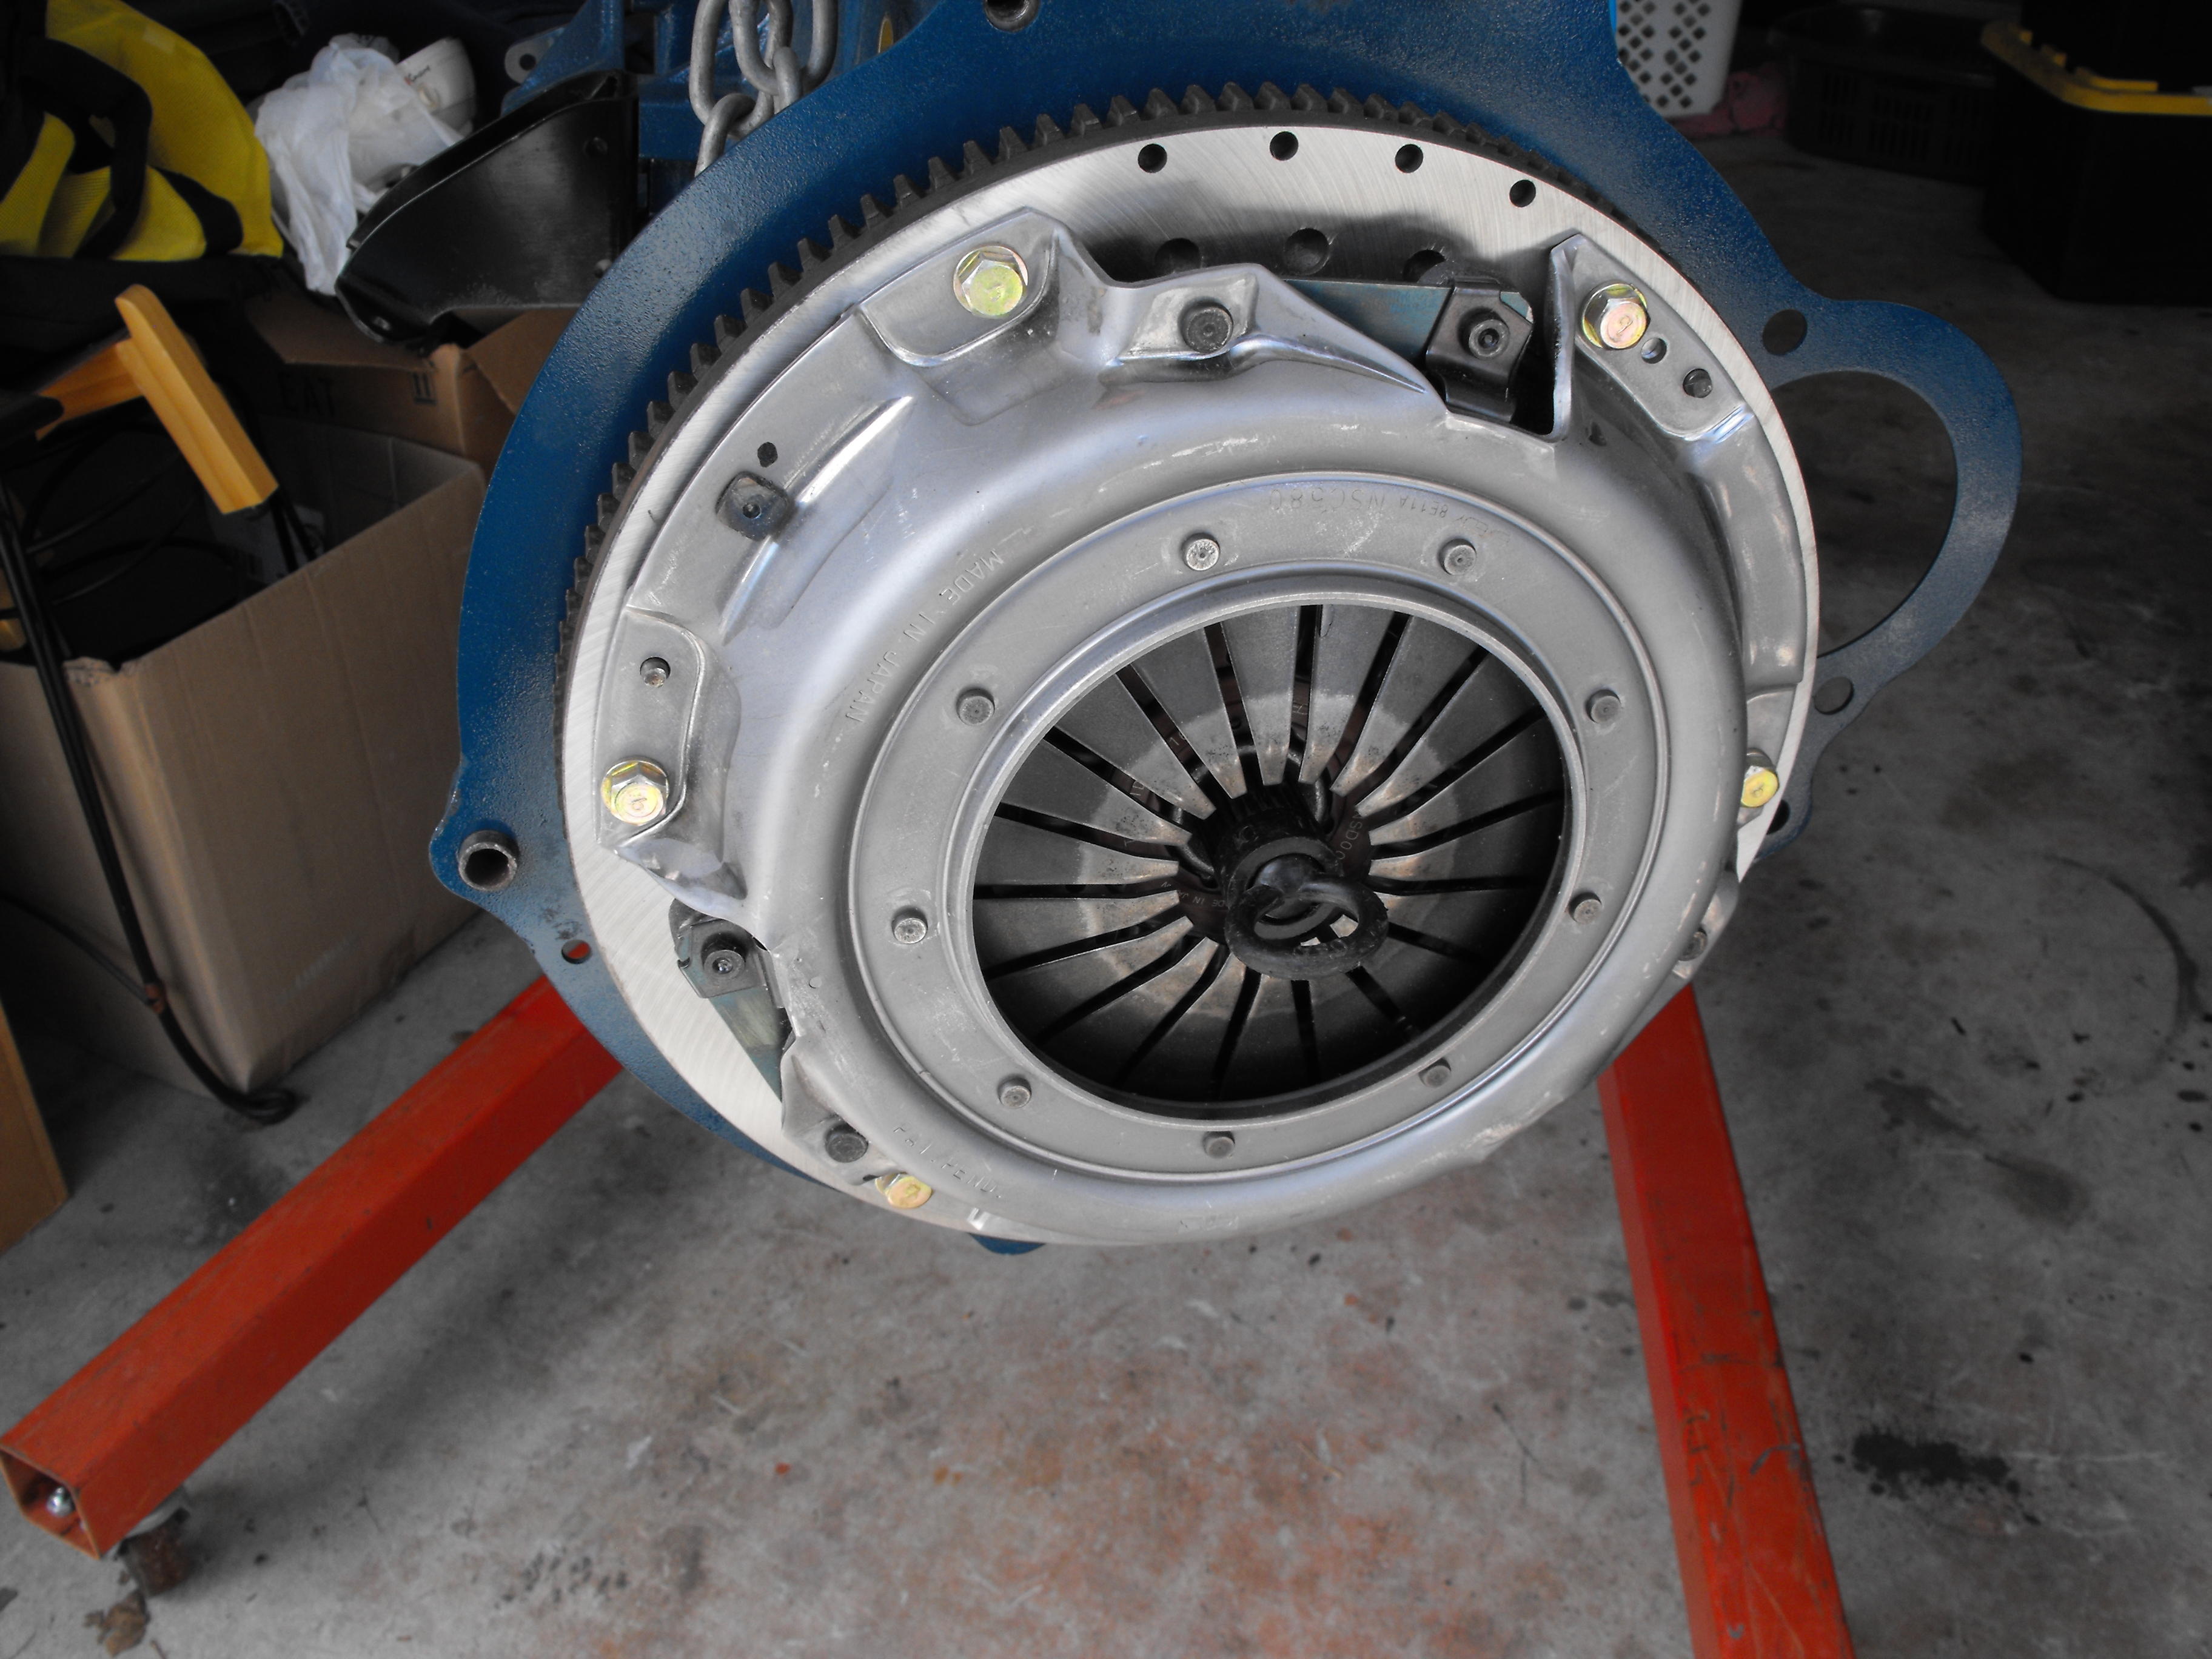
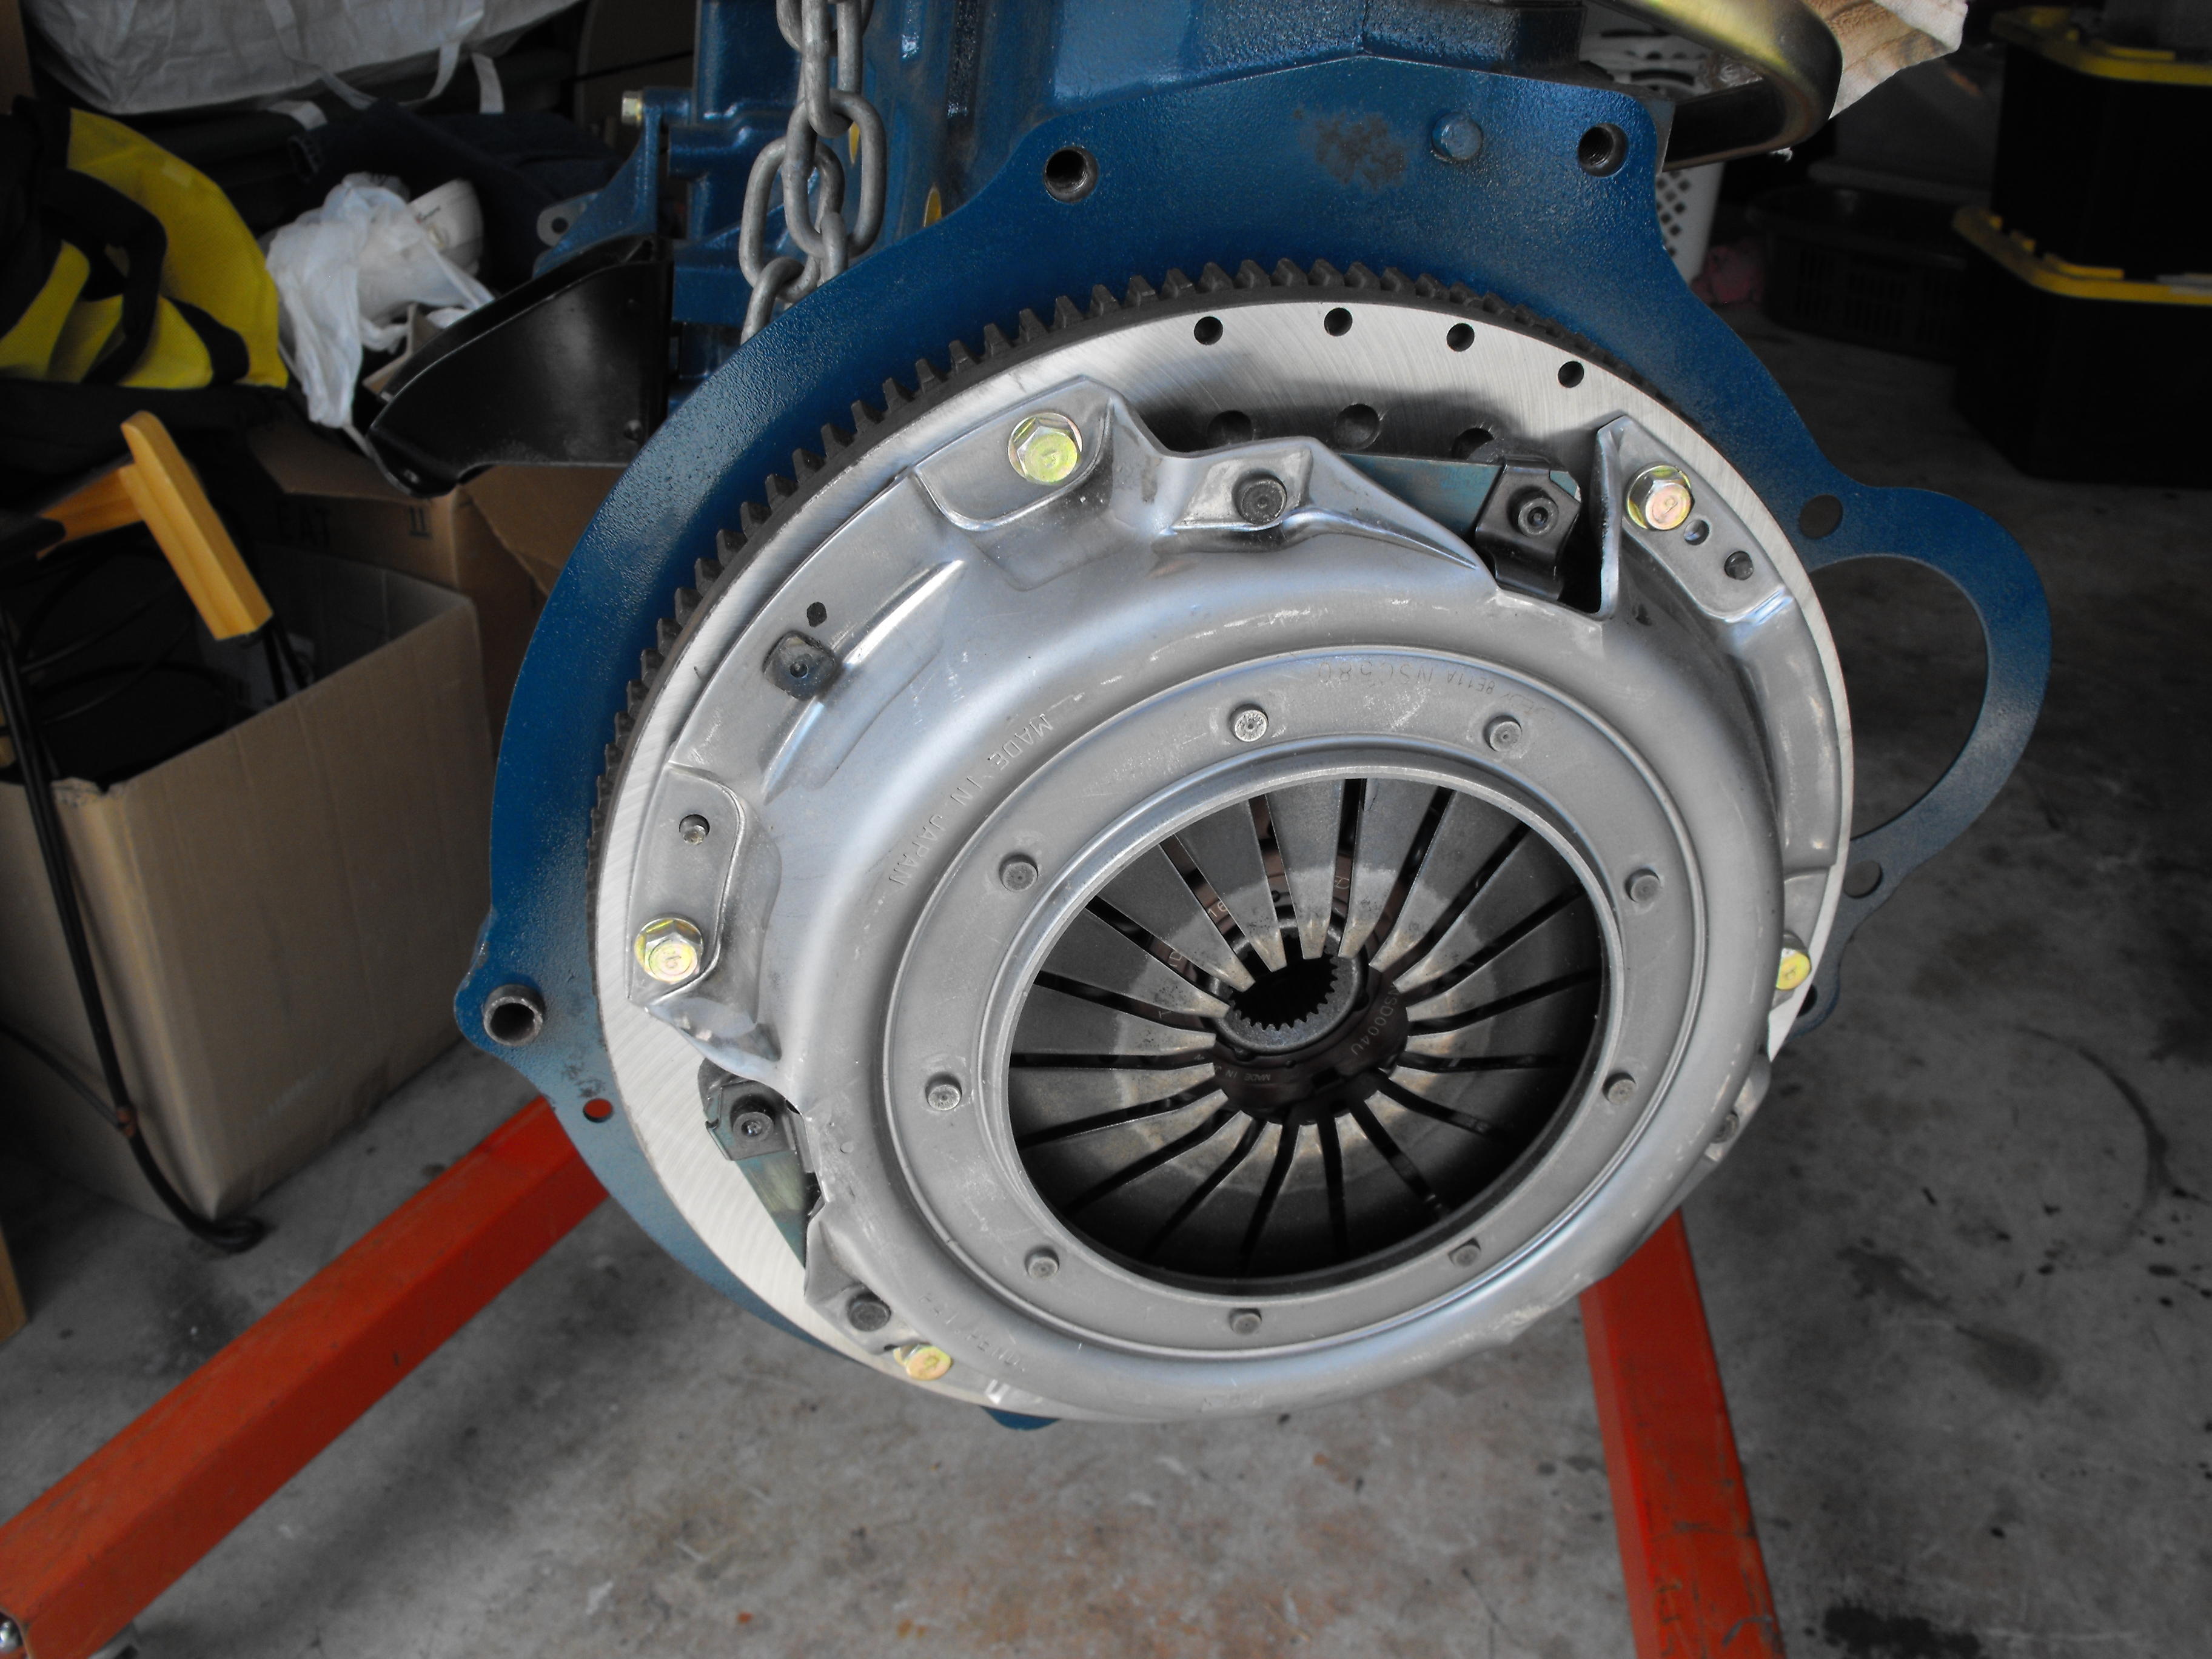
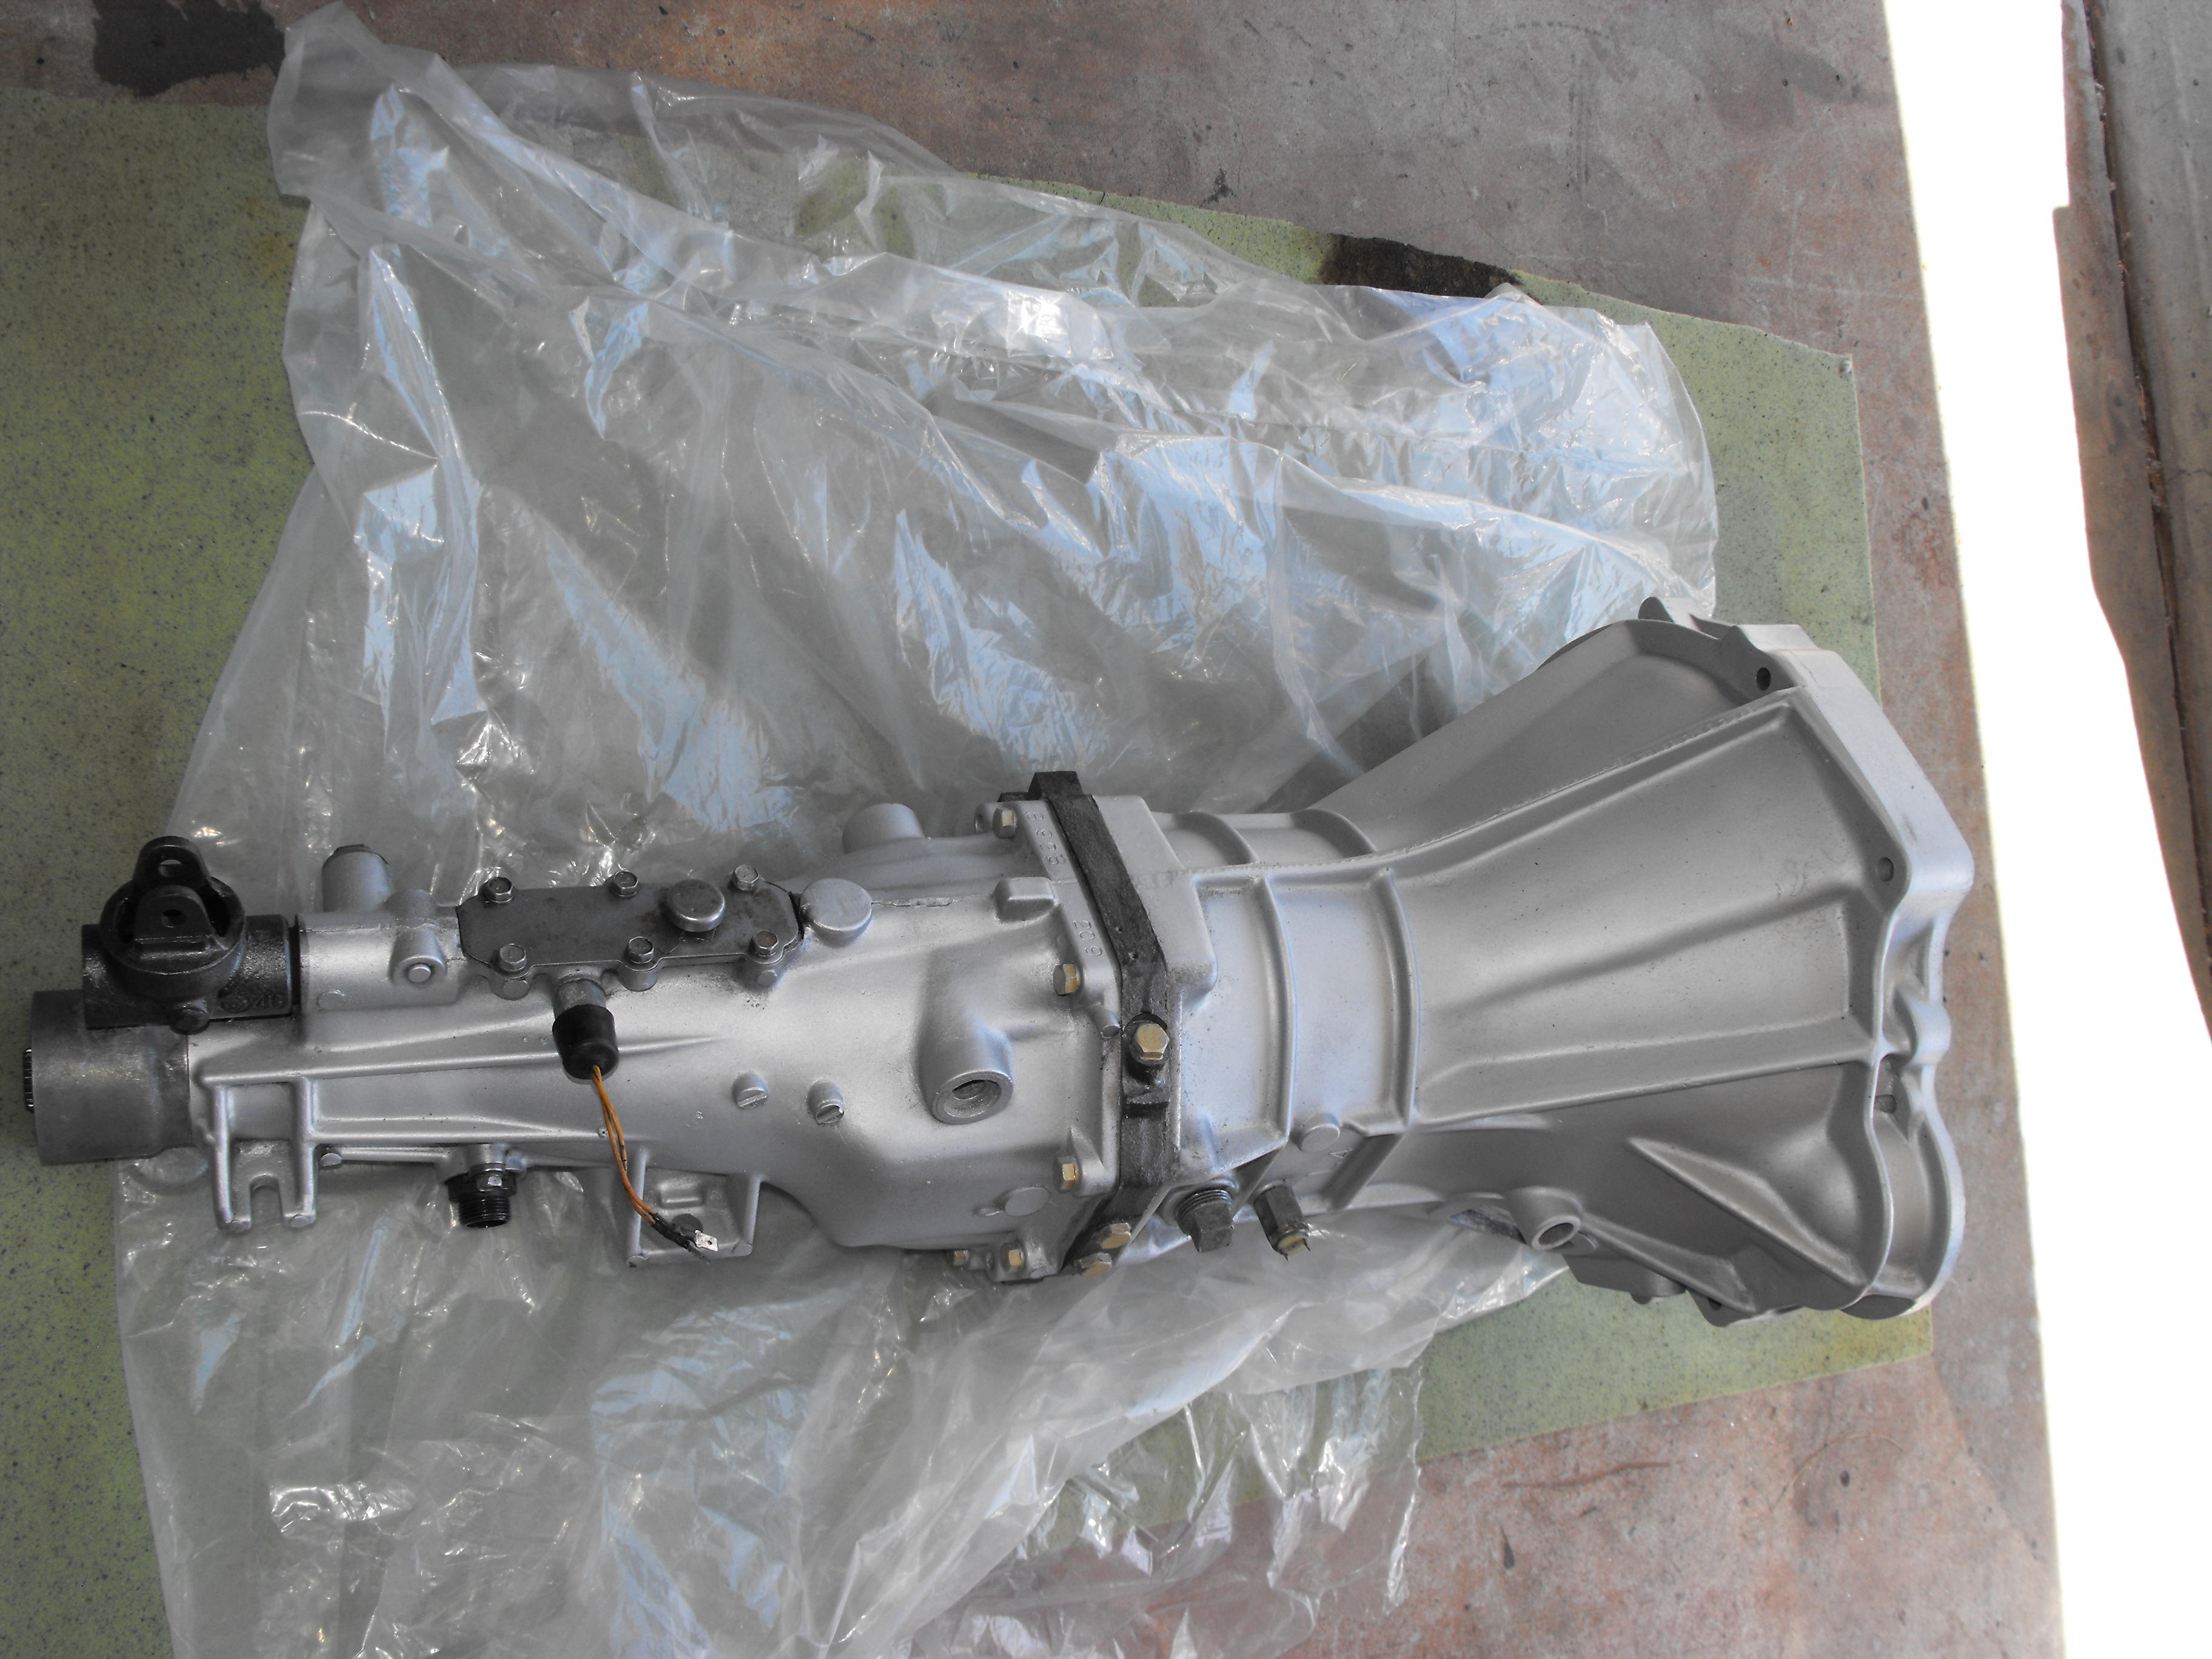
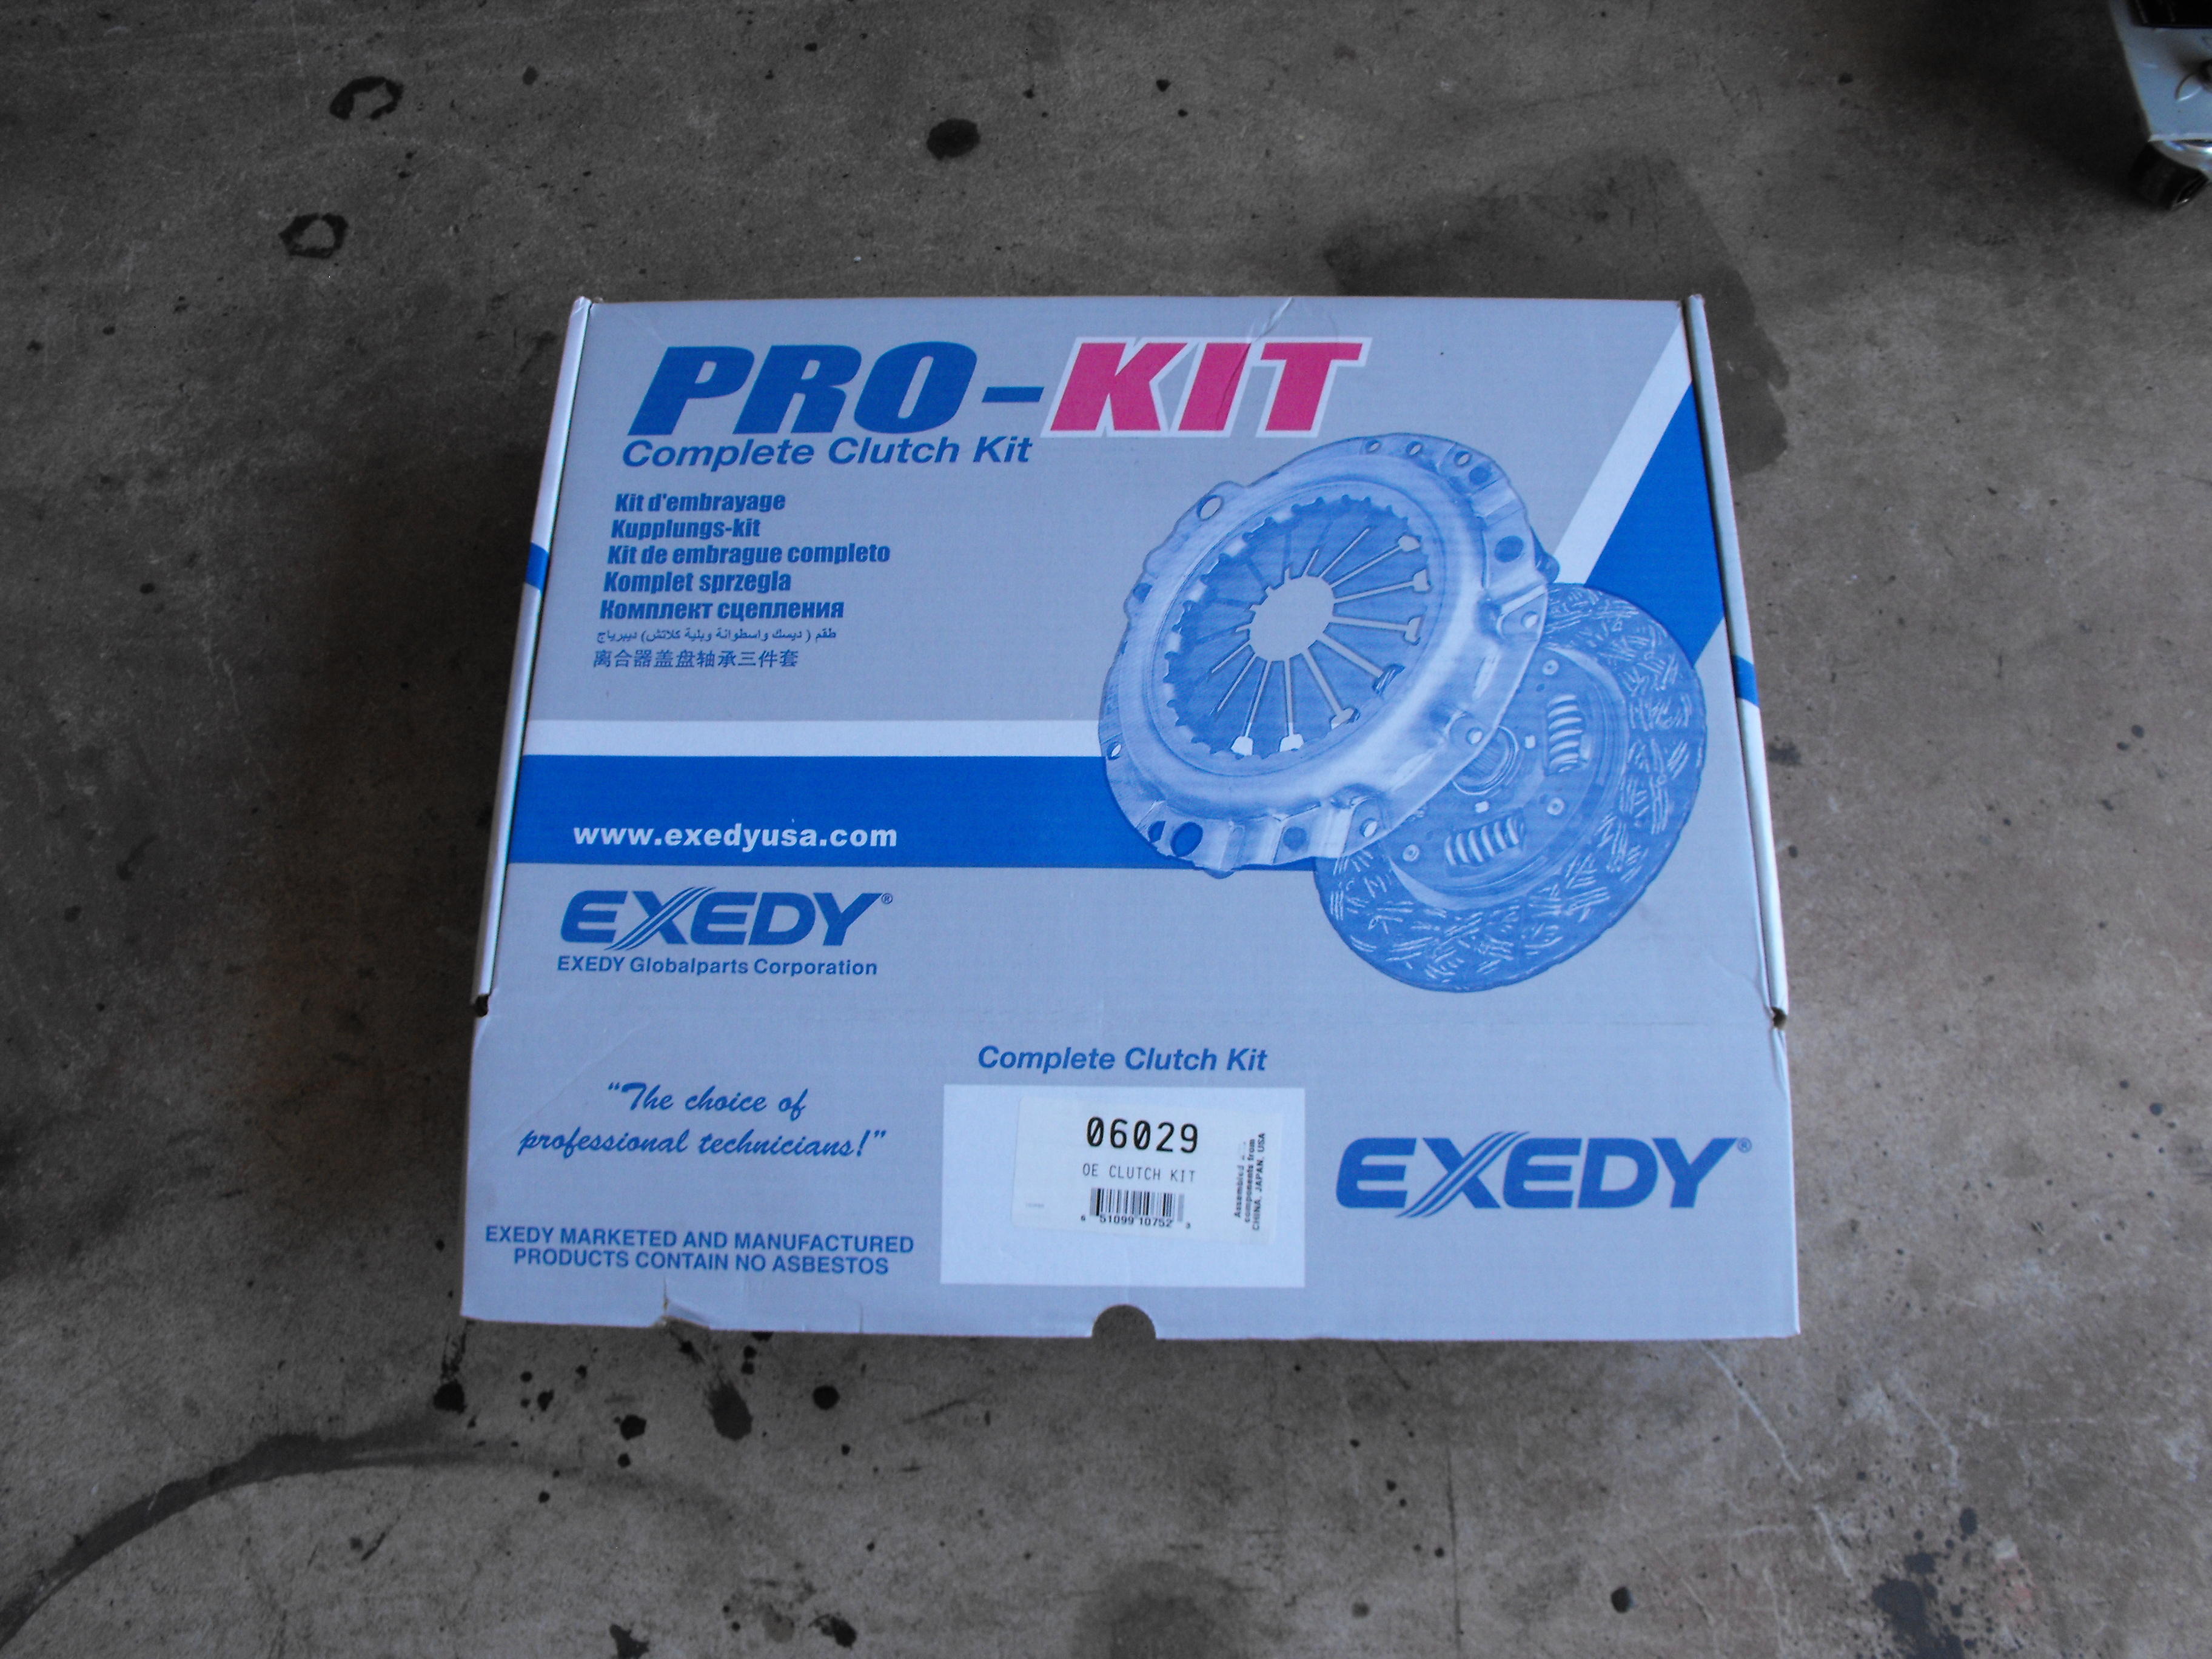
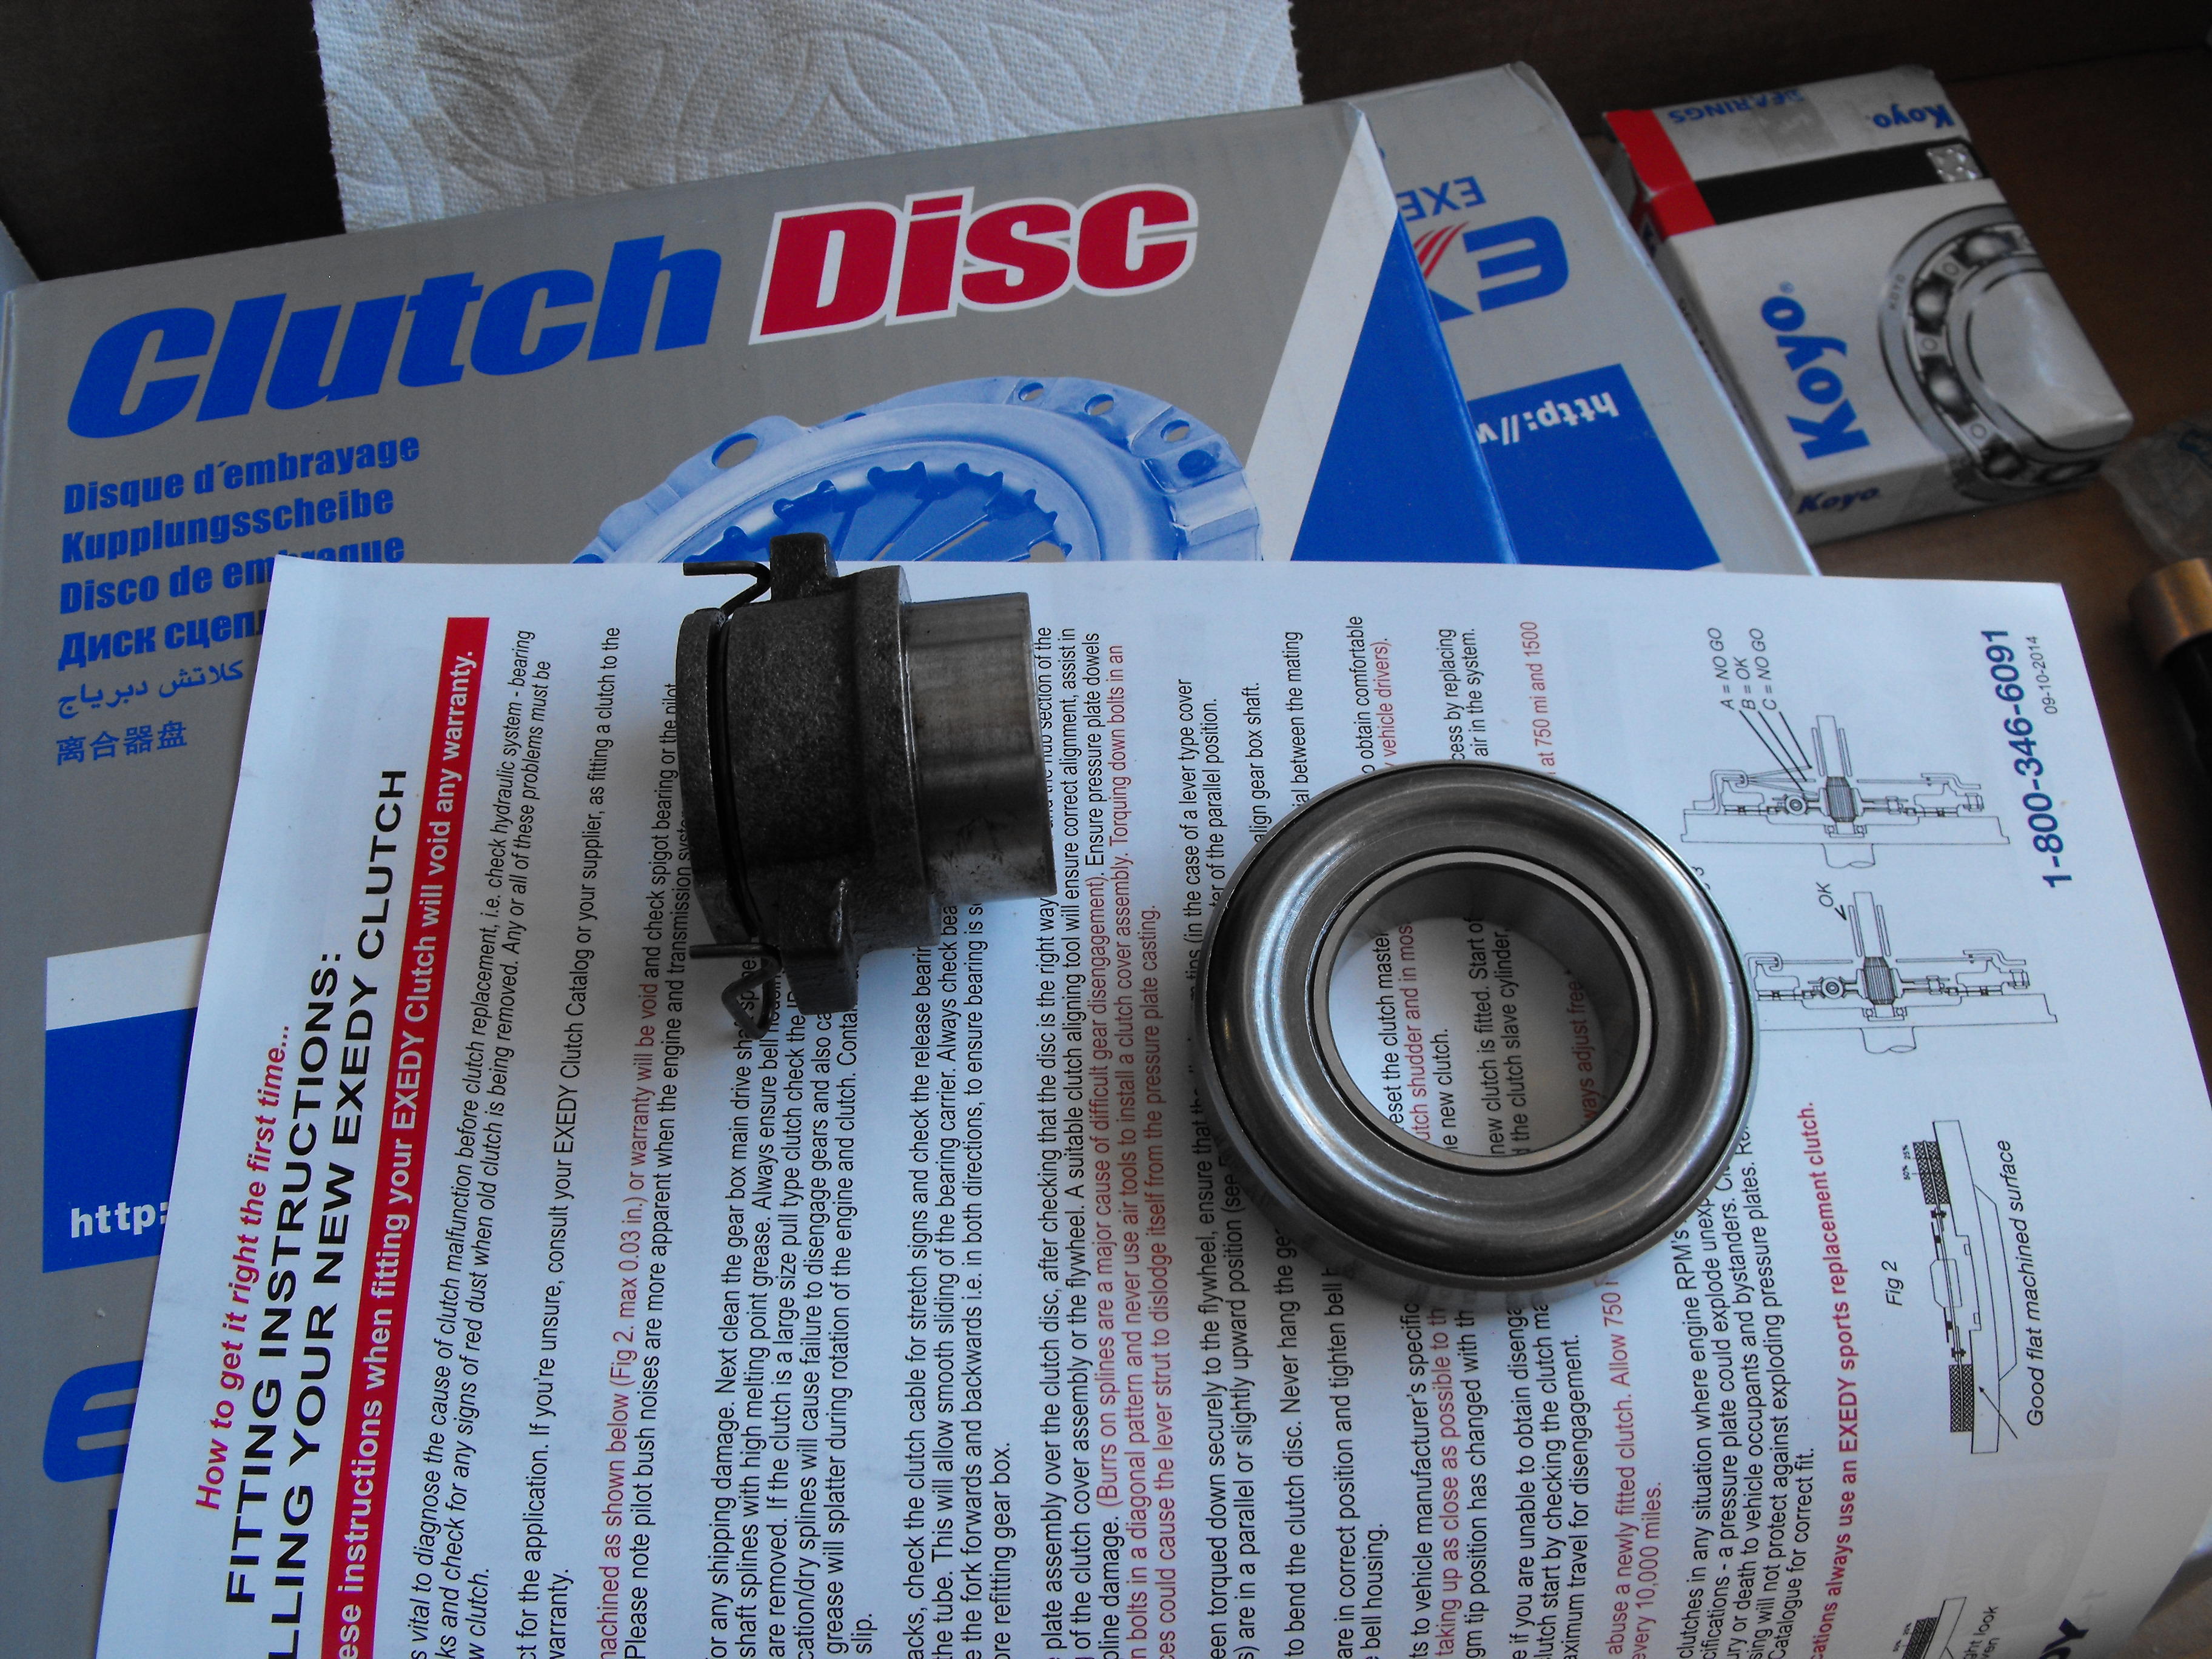
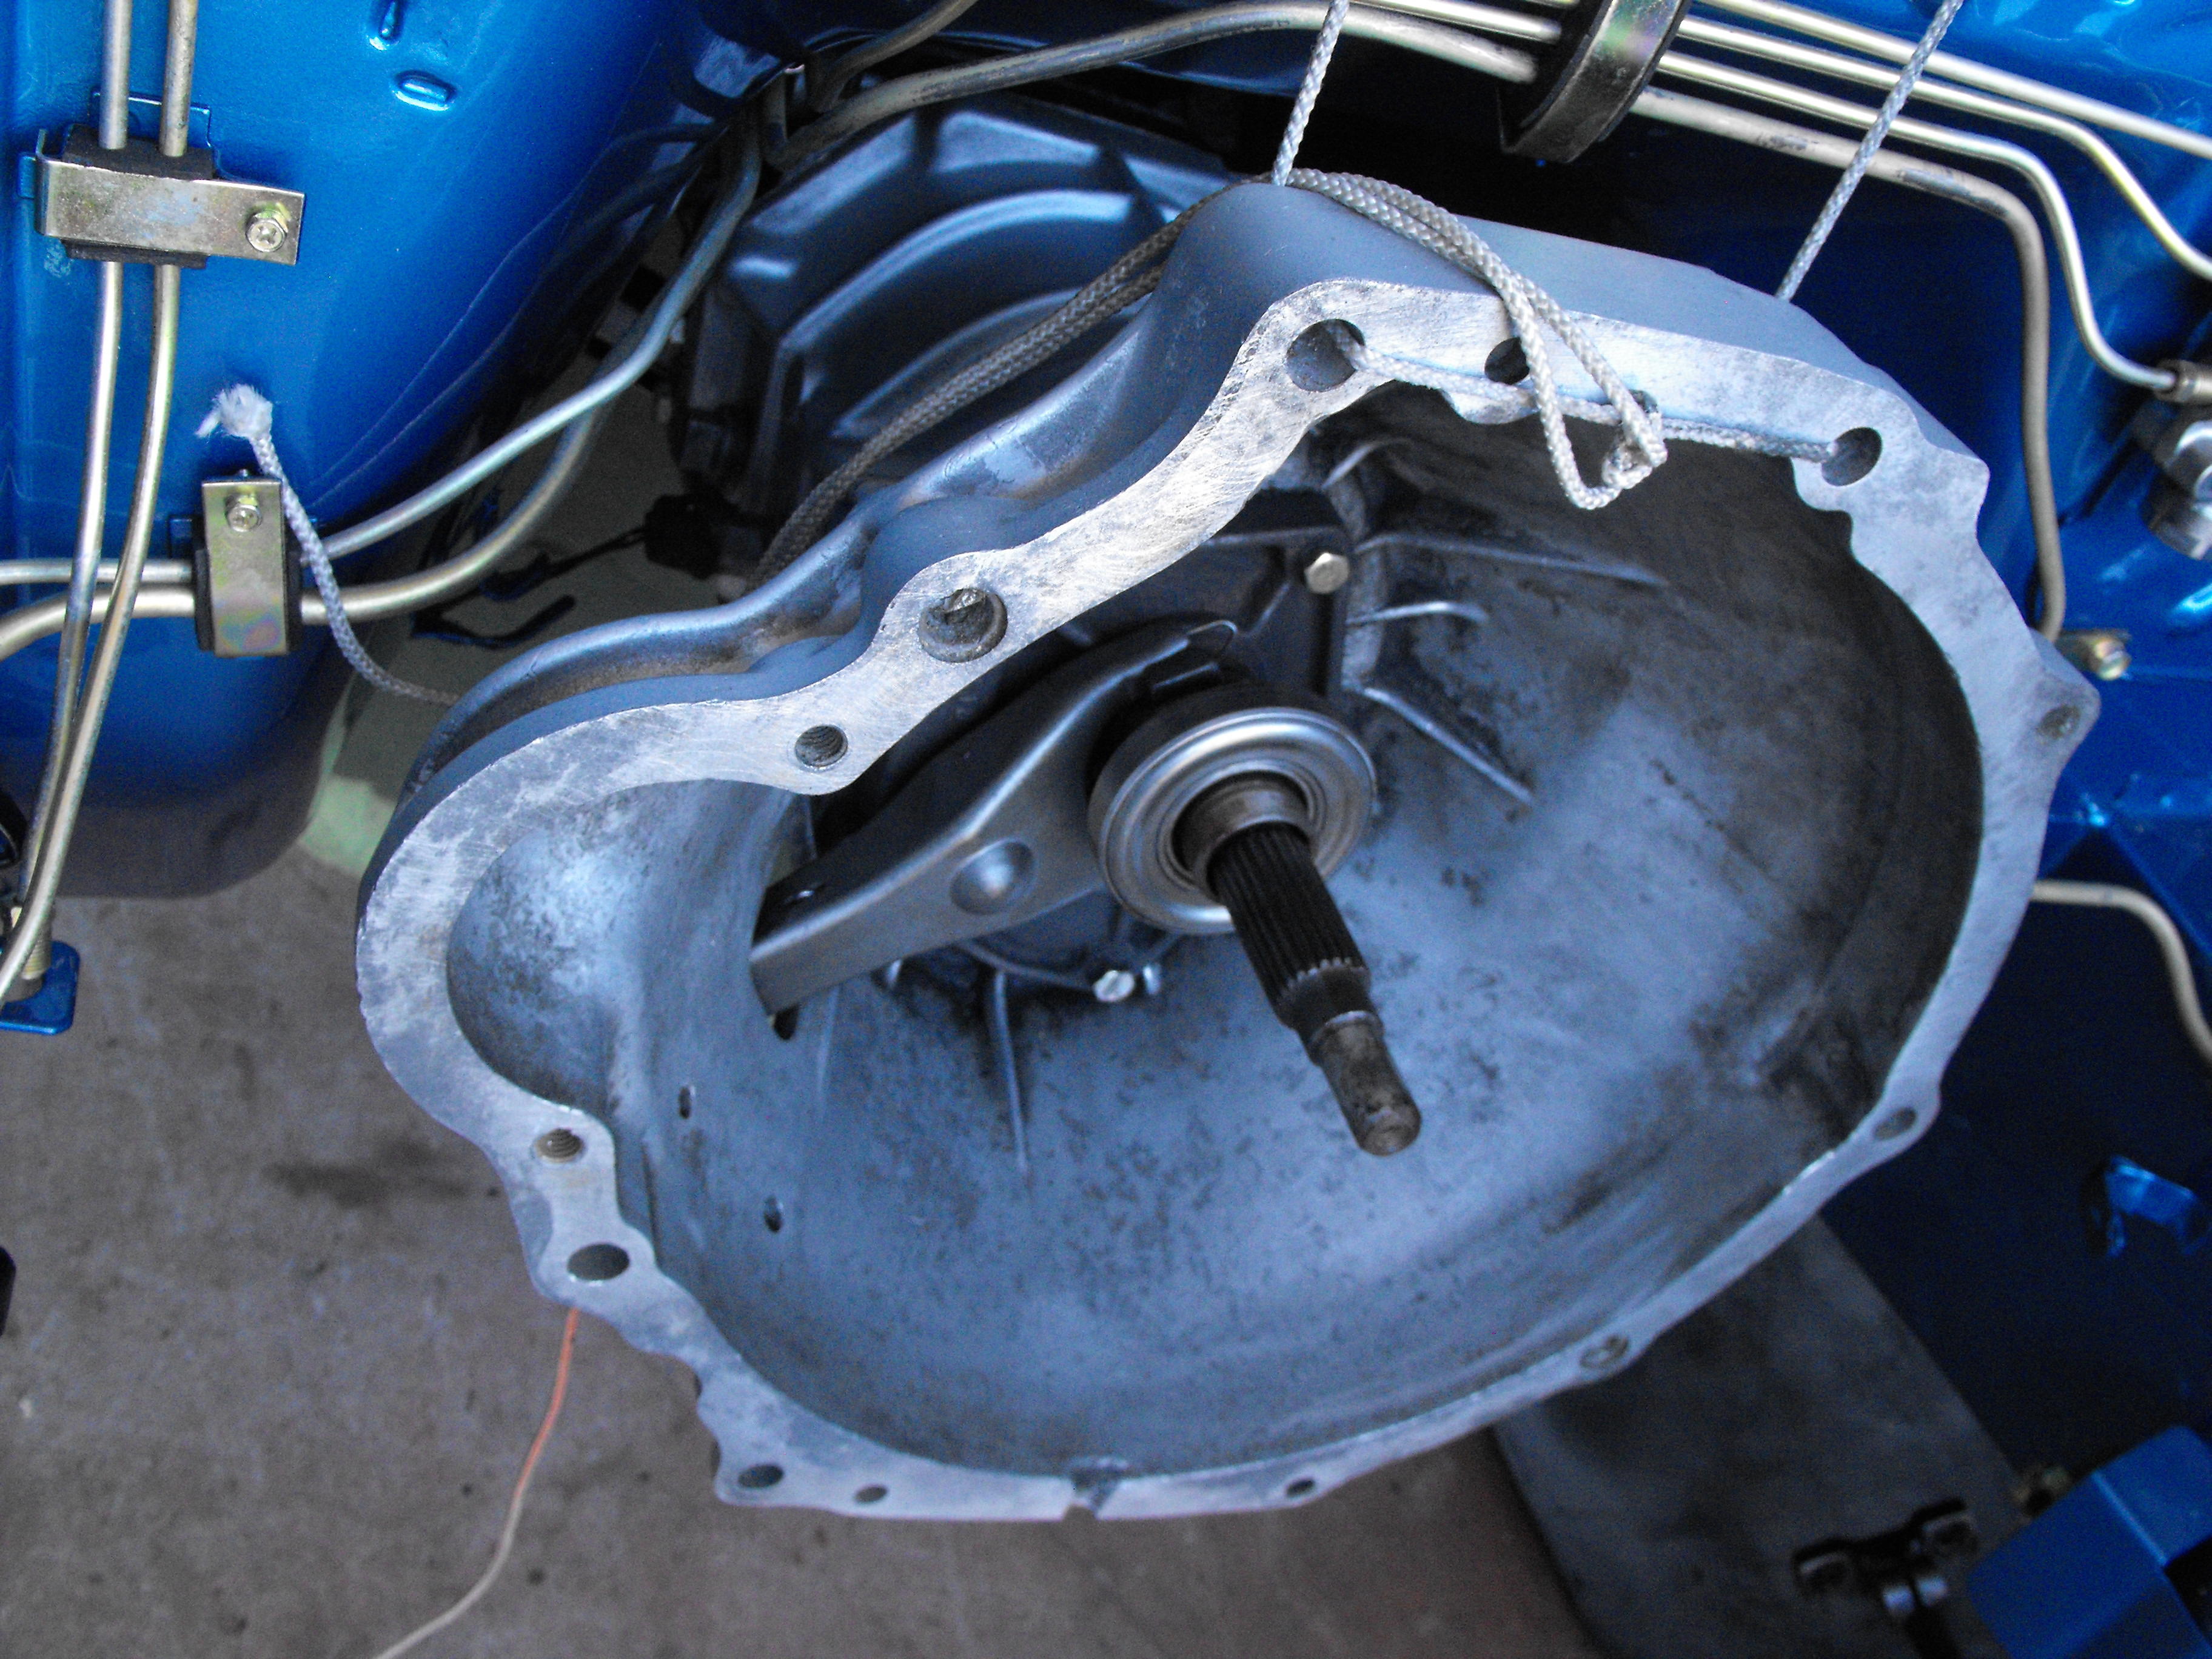
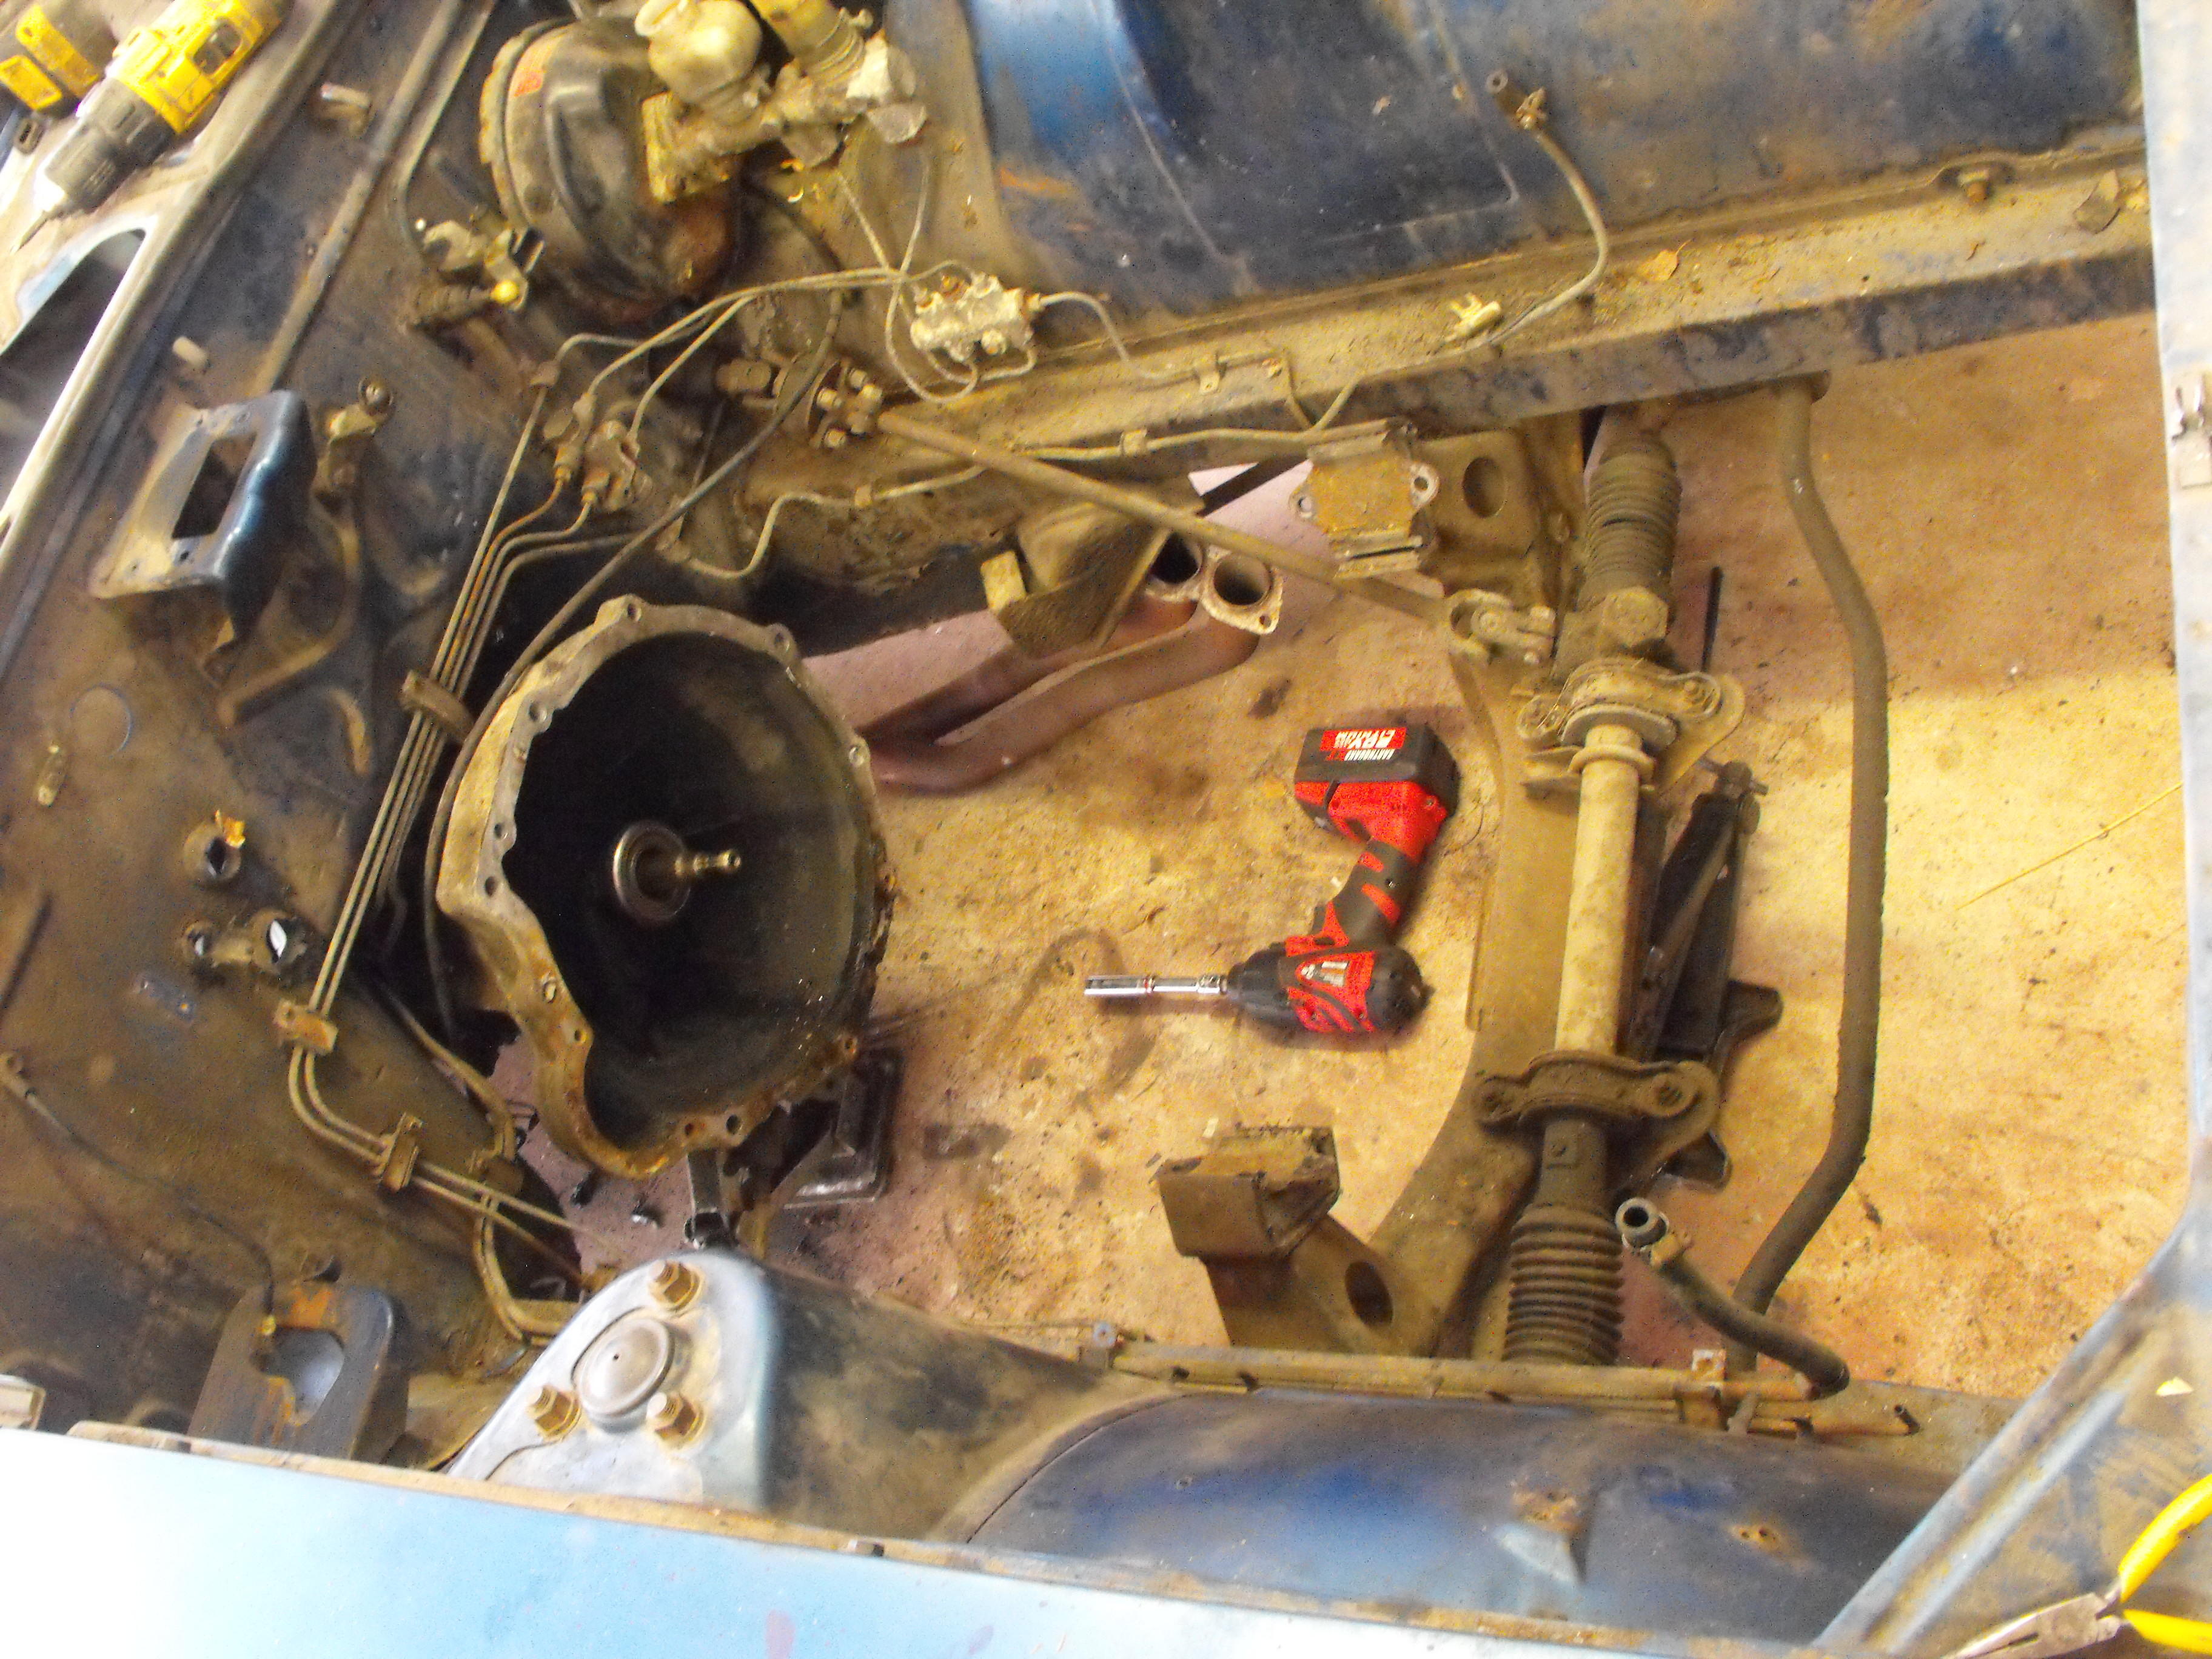
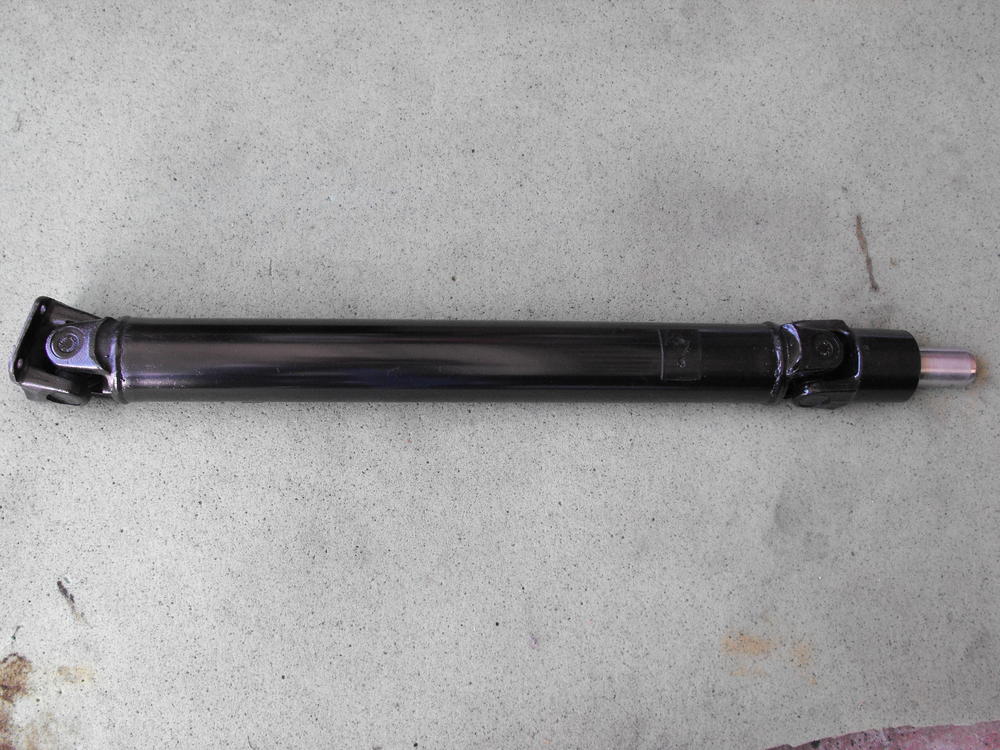
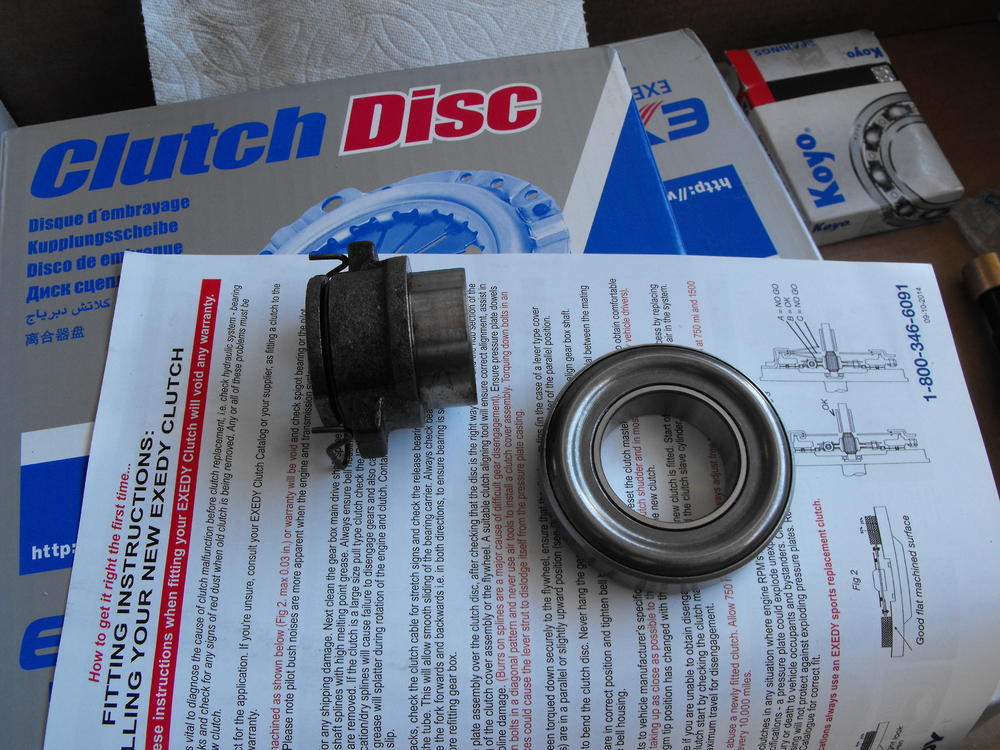
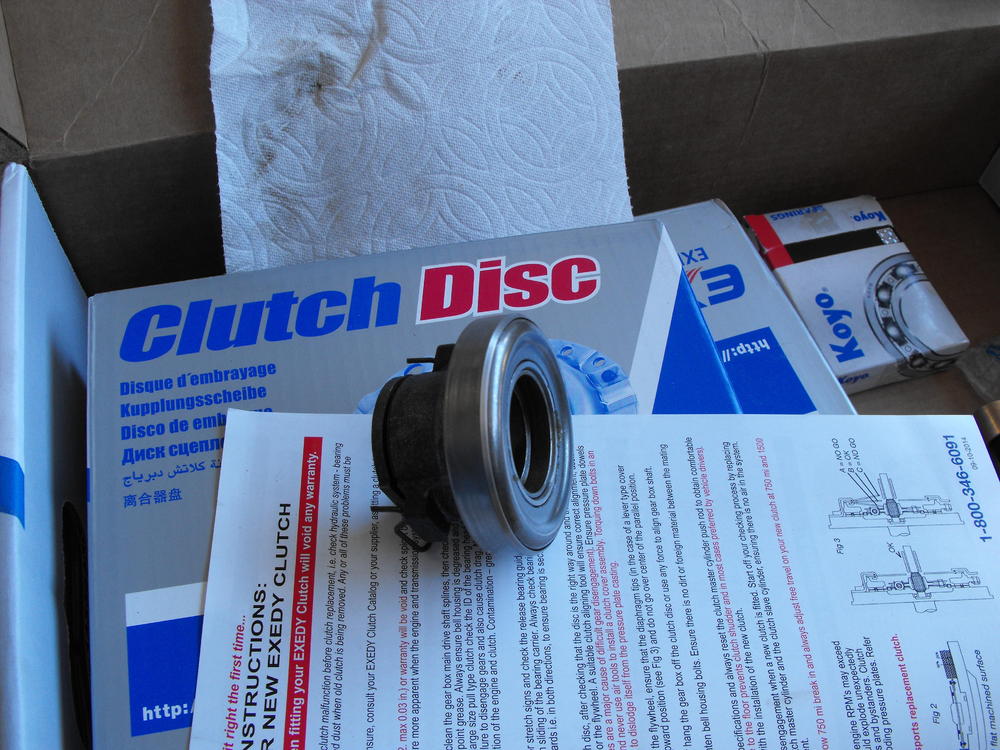
I actually tried this (may have read it on one of your posts on a different thread) but I experienced mixed success. The RTV stayed put on some items and not on others. Not sure why that was. Your 'in house' tumbling is probably a big help since you can see if the RTV held or not. Got the transmission and drive shaft cleaned up and installed. Also picked up an Exedy Clutch kit from Rockauto. Installed the throwout bearing on the sleeve and installed on the transmission along with the fork. I will drop the motor in next weekend. Had to throw in an engine bay before pic just for reference.


-
Glad you have the car stored. Some of those roadster parts are getting crazy expensive....more expensive than Z parts. The stainless trim on the sides looks nice. Other than the bumpers and the hood dent, not bad.
-
Yes, boots are banded and painted black. Sprayed with Dupli-color 'Dark Shadow Gray' then clear coat 'matte clear'. Yes, I will use this for the rear finisher panel. Car will retain the original dealer supplied mags, but I do also use this for hub caps. Les Cannady at Classic Datsun Motorsports used to sell this custom made, but he says it is no longer available due to California paint standards. The Dark Shadow Gray and matte clear is now what he currently uses. It is pretty close to the original.