motorman7
 Subscriber
-
Posts
2,198 -
Joined
-
Last visited
-
Days Won
56
Content Type
Profiles
Knowledge Base
Zcar Wiki
Forums
Gallery
Events
Downloads
Store
Blogs
Collections
Classifieds
Everything posted by motorman7
-
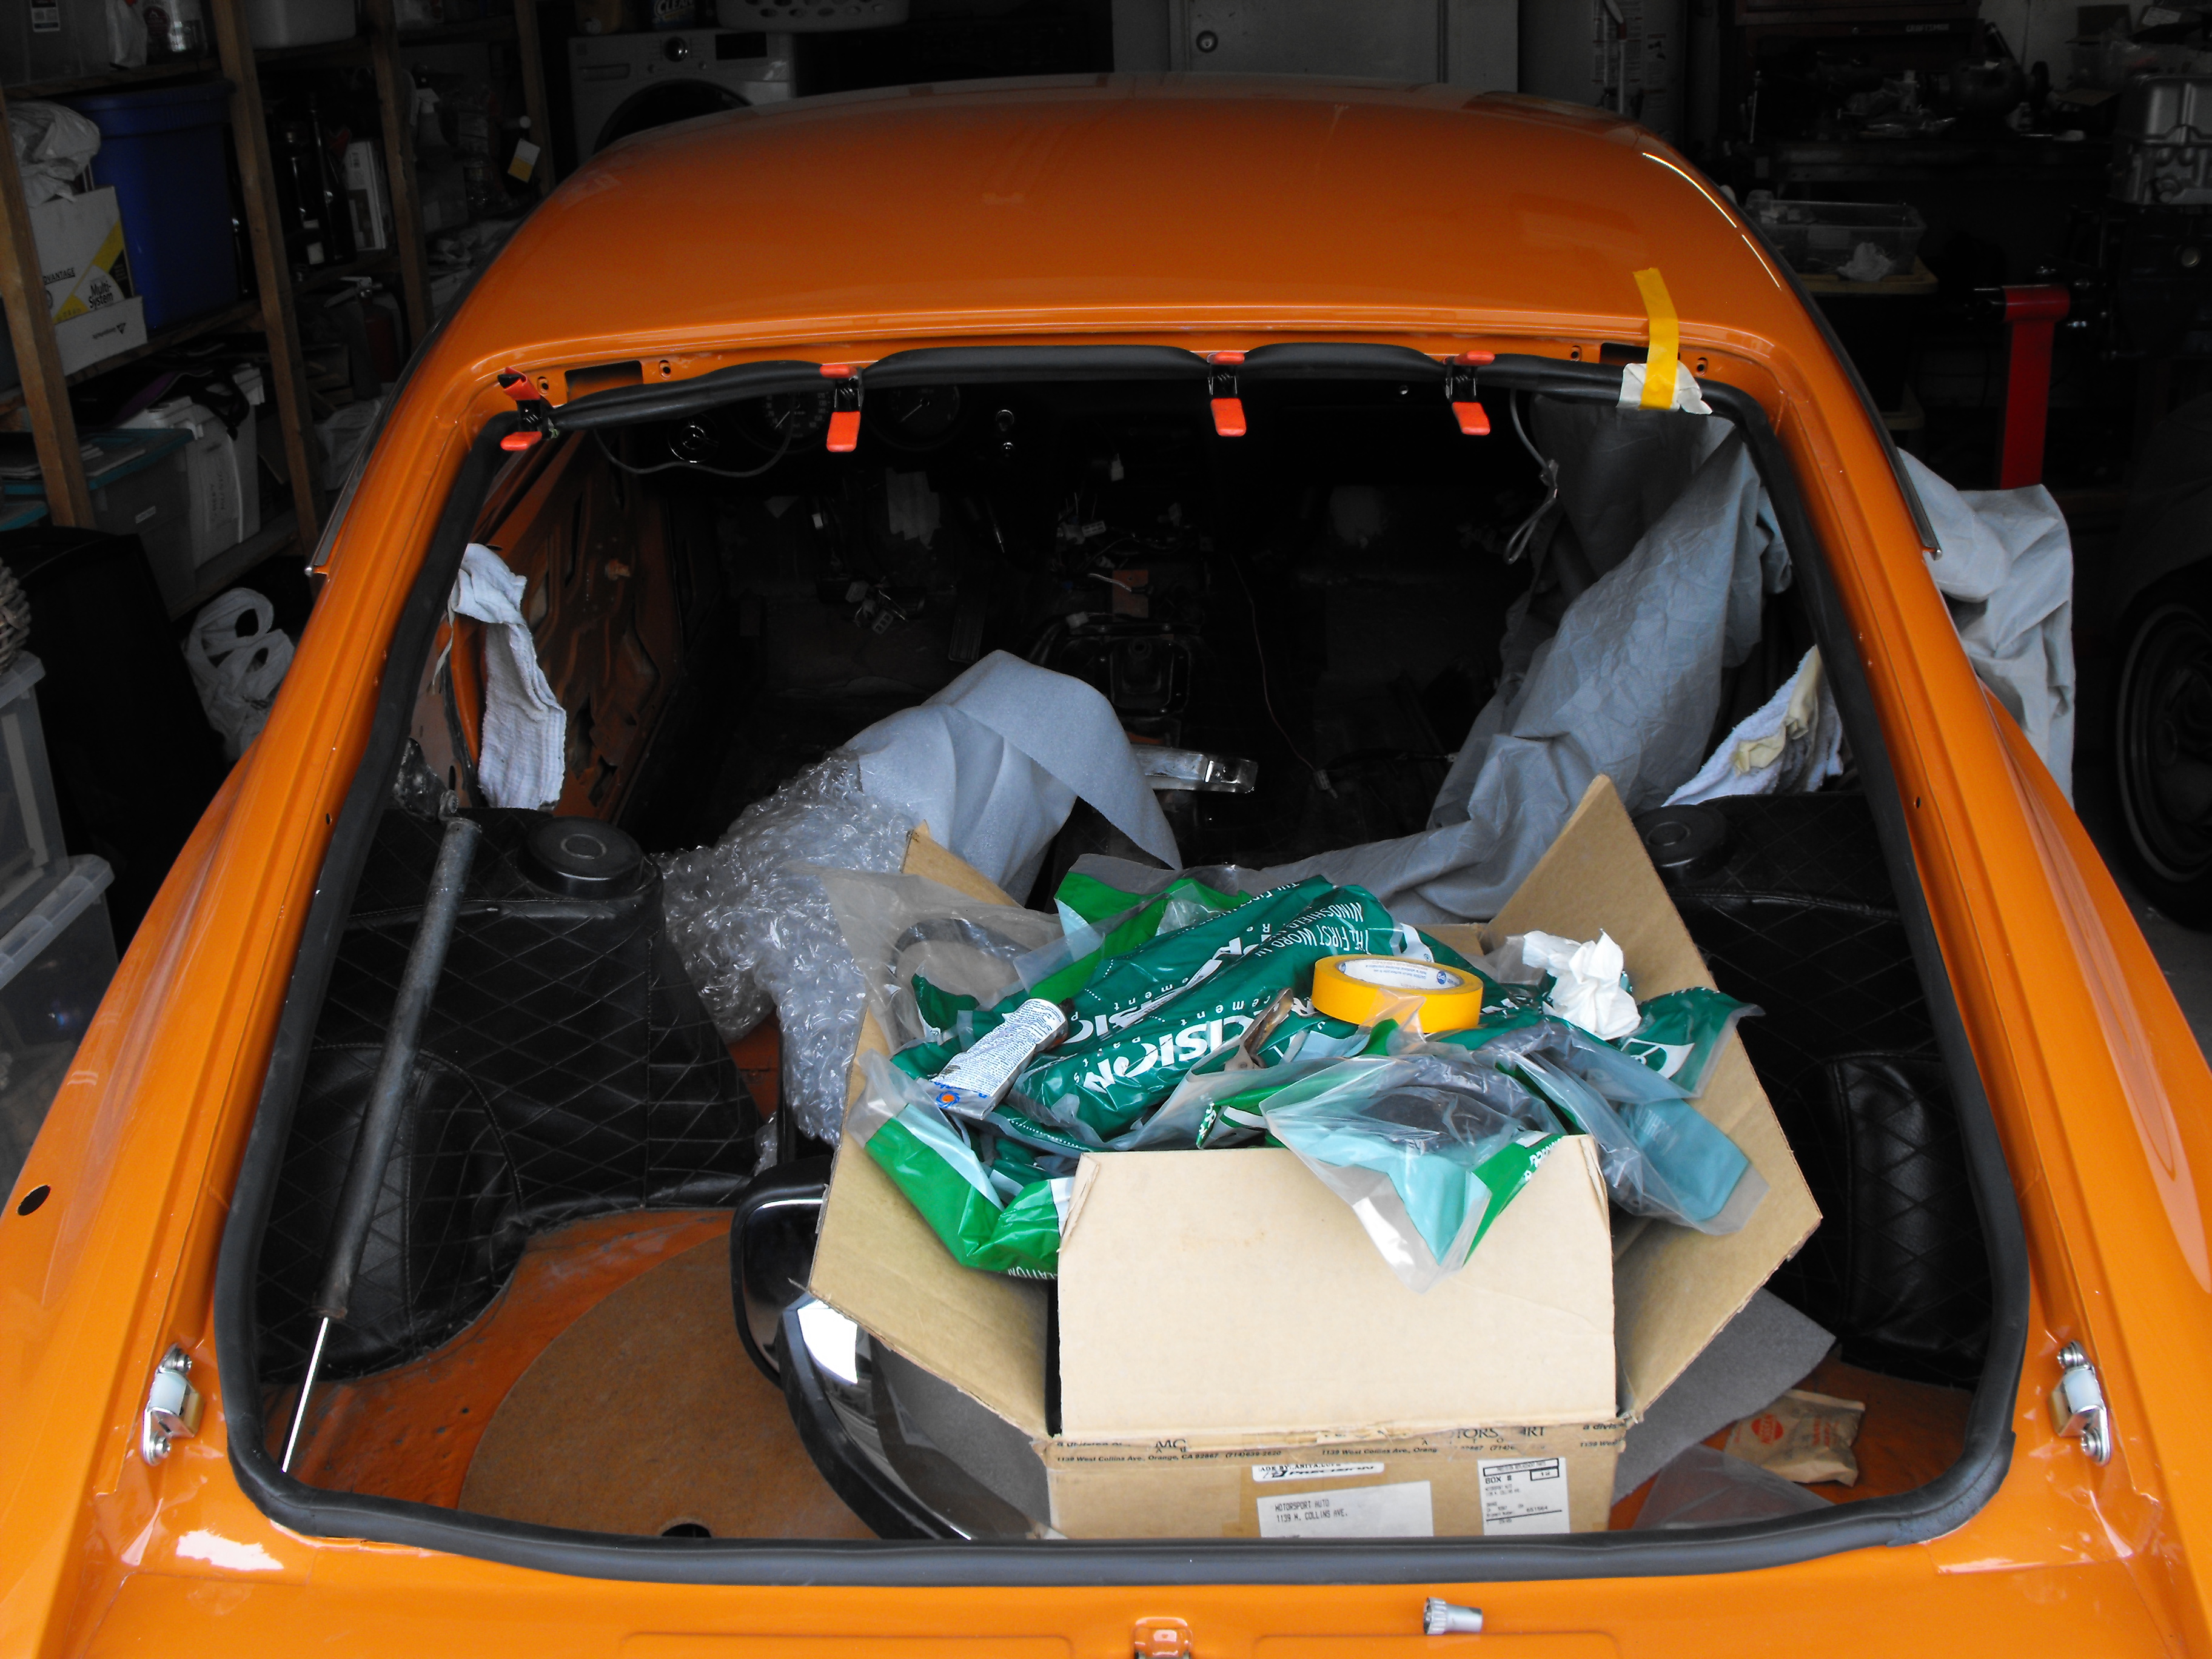
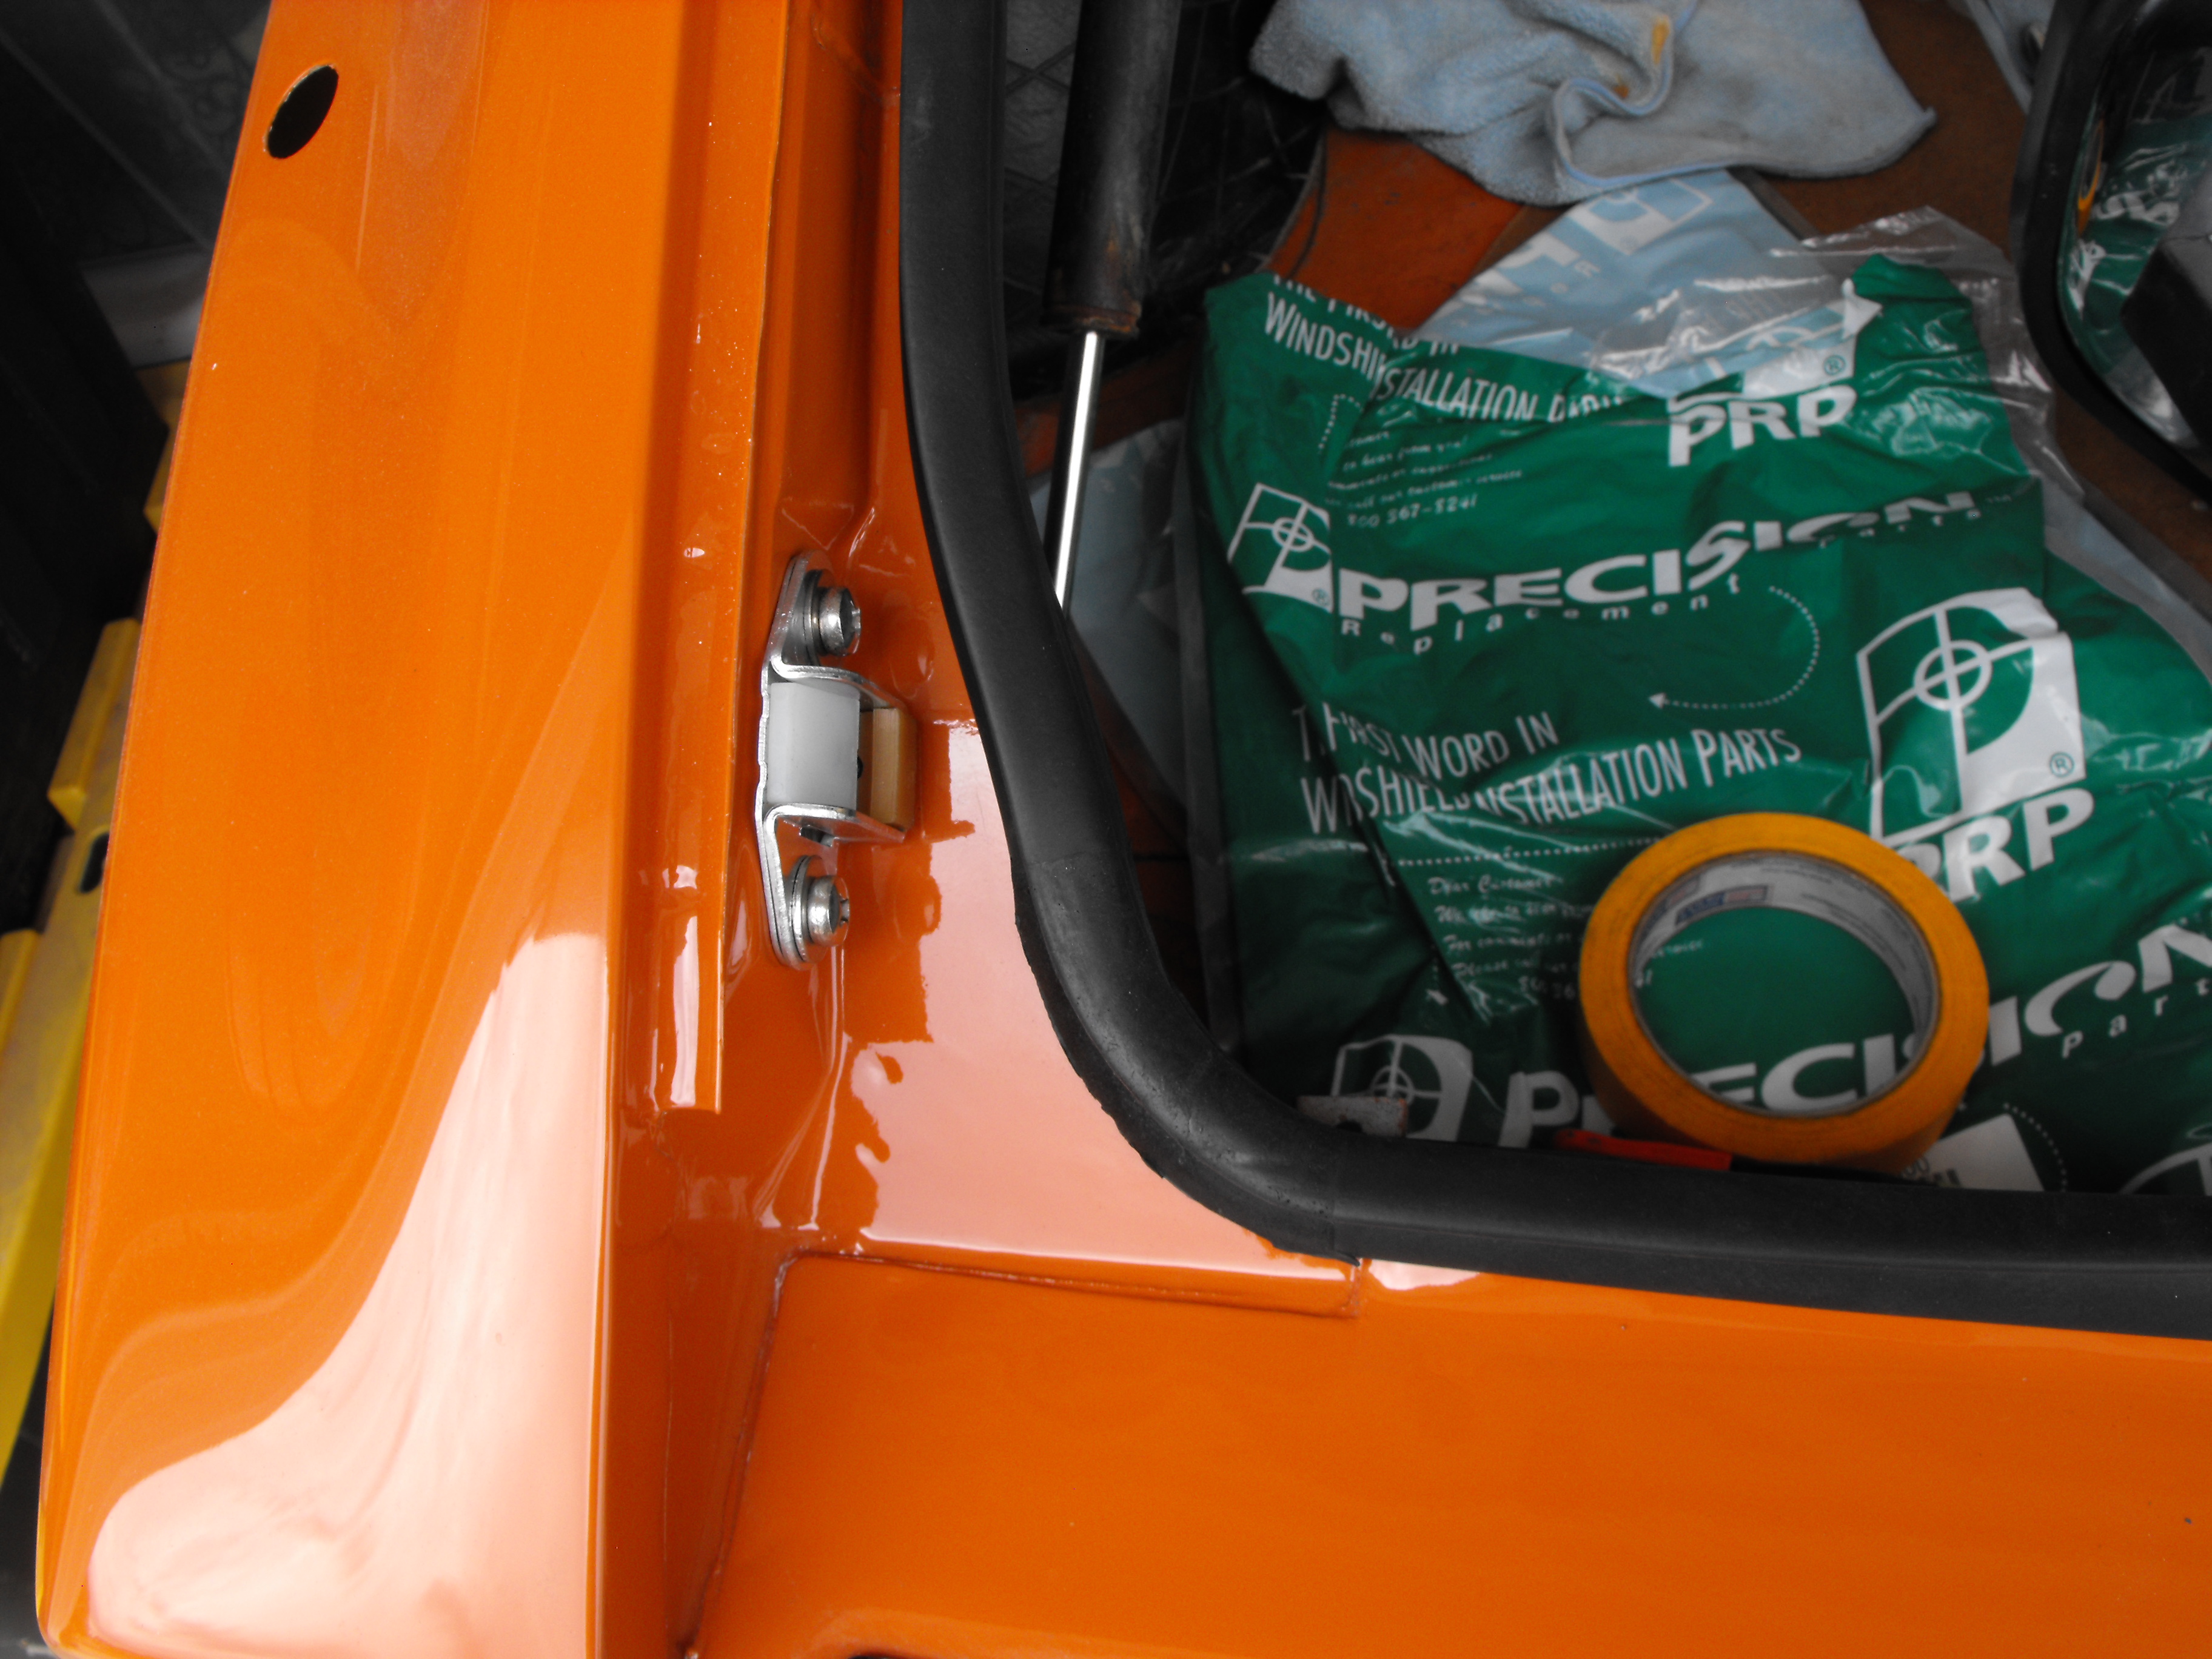
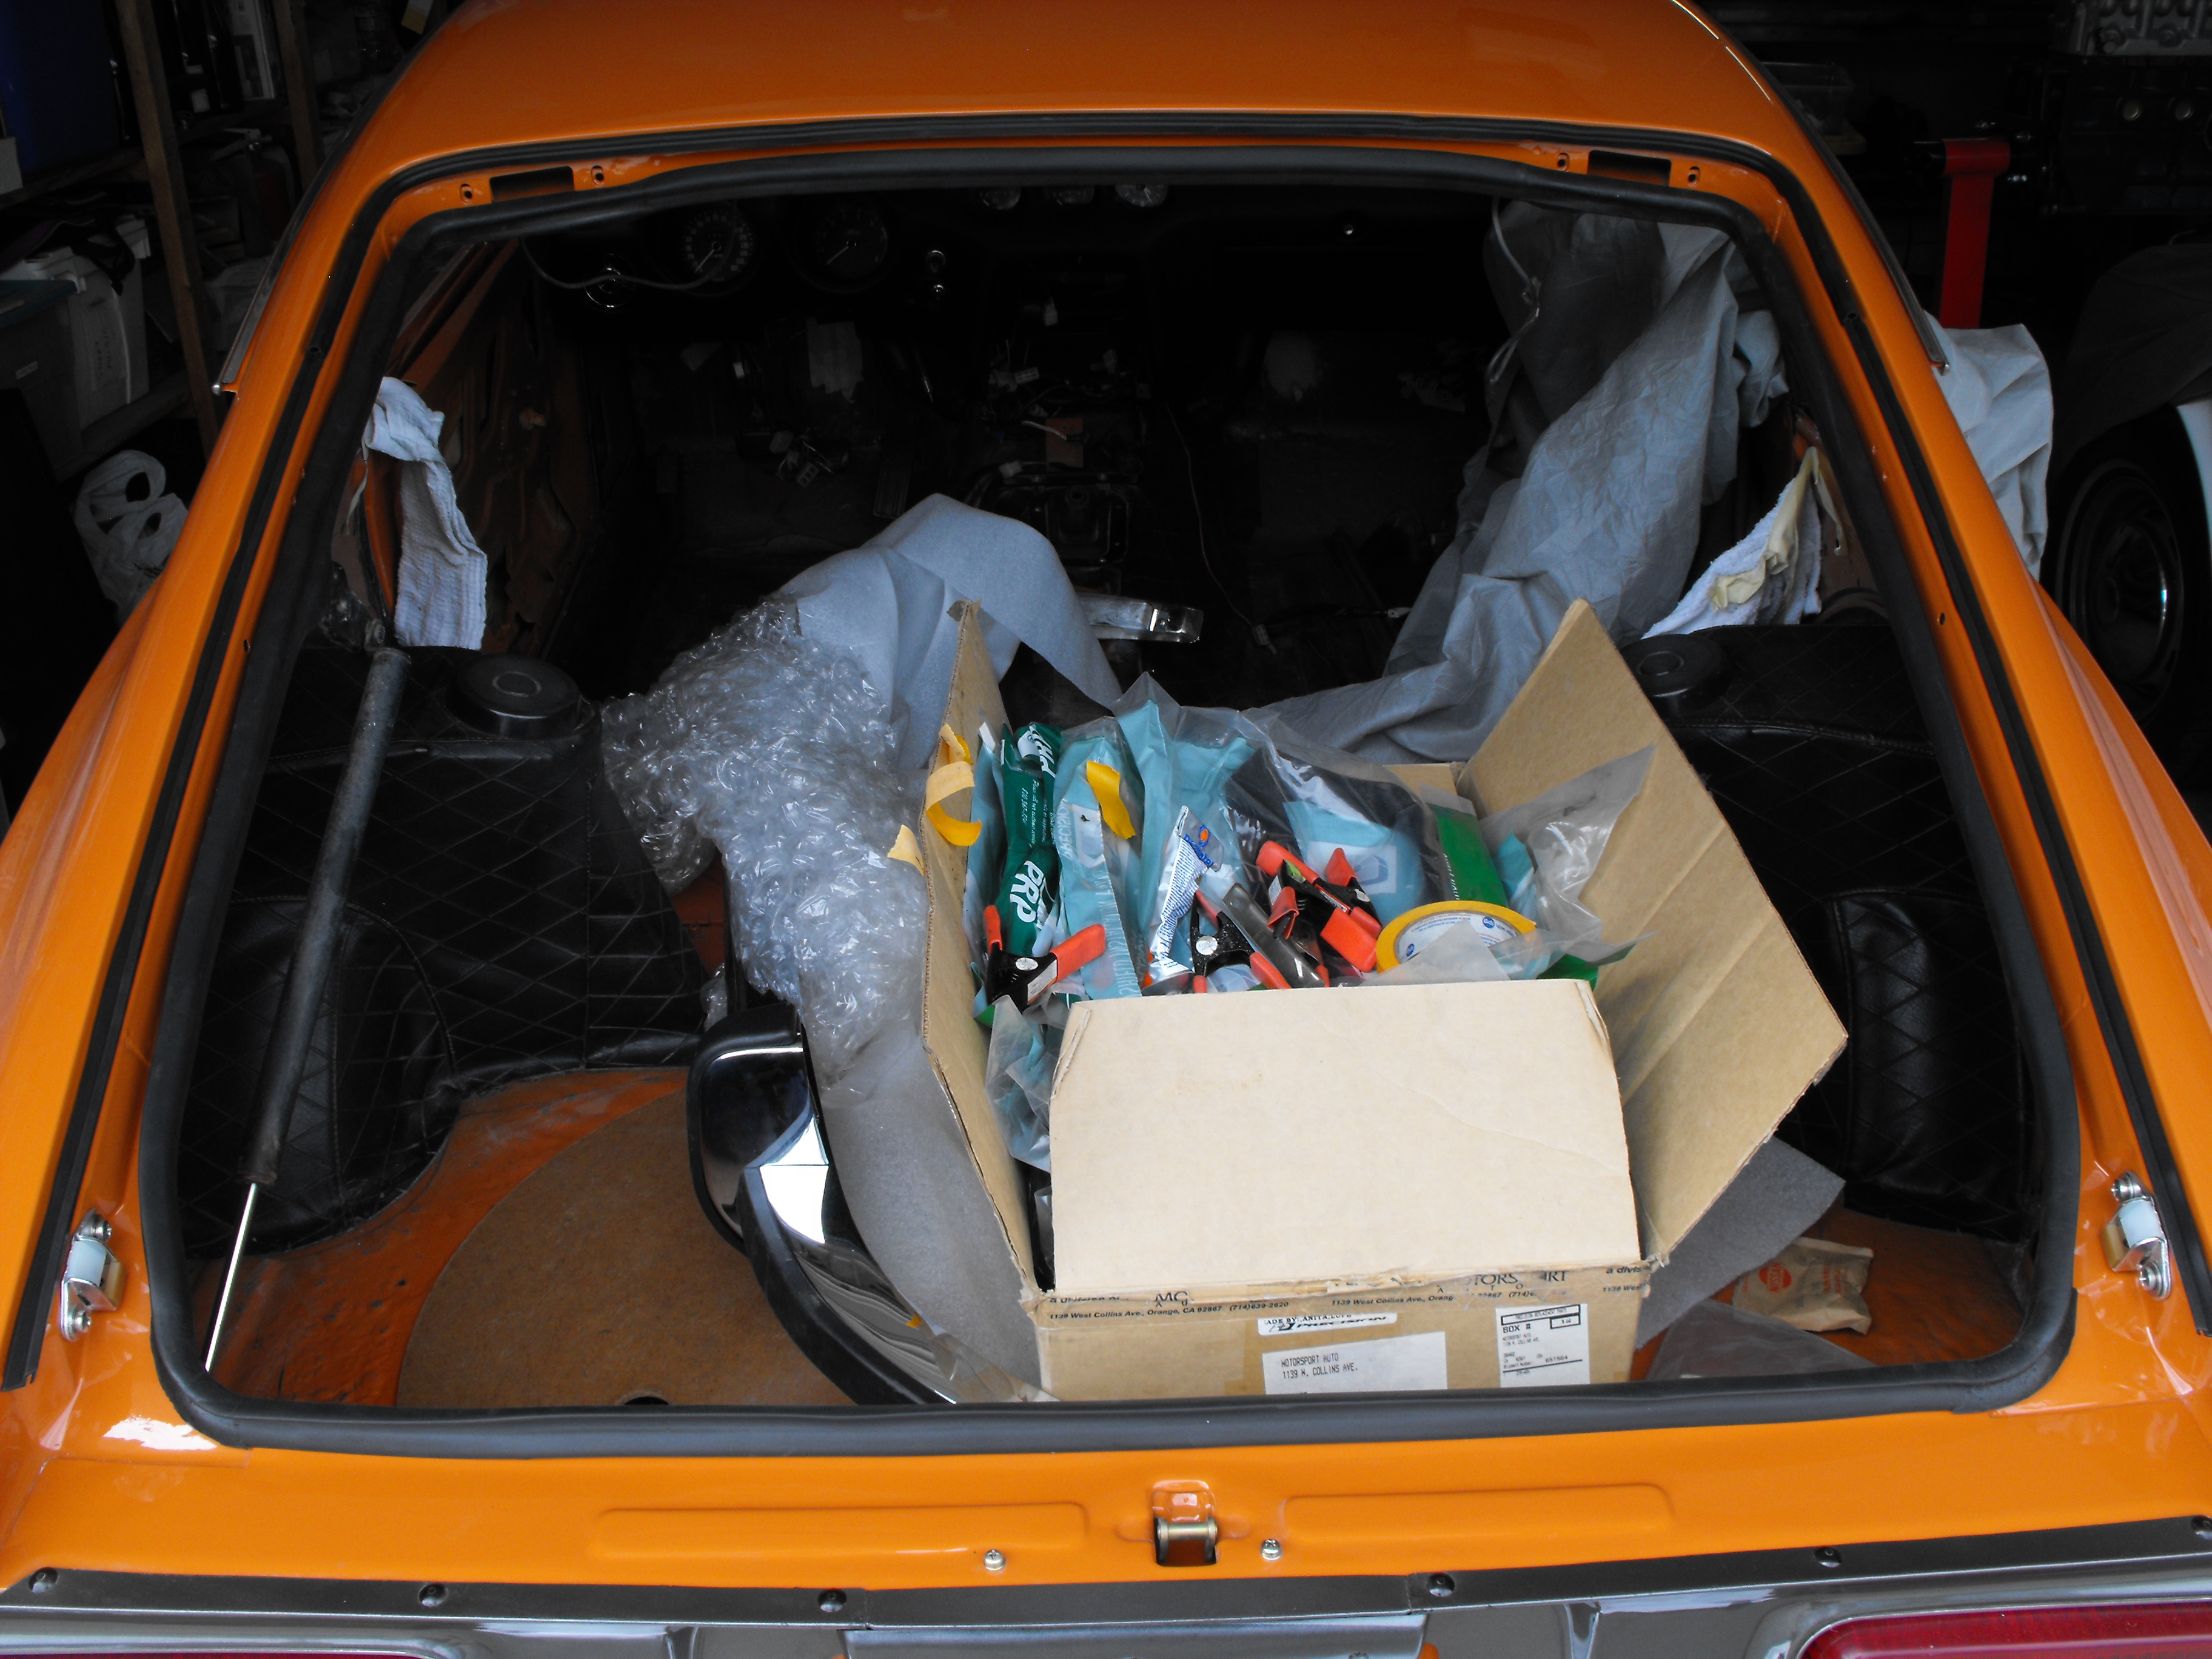
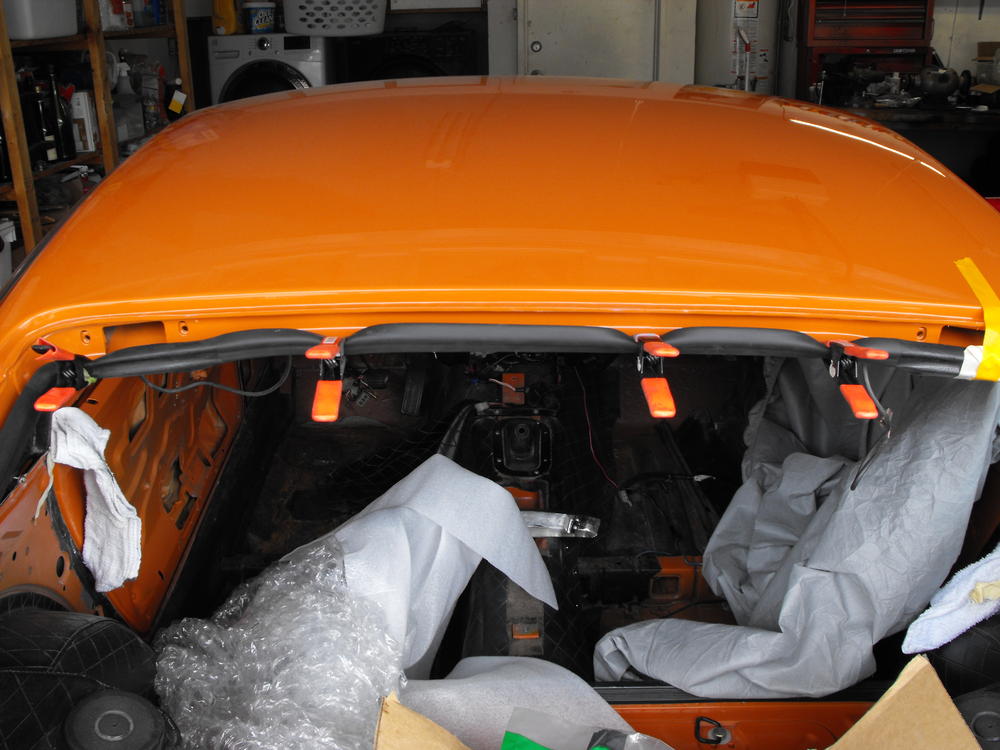
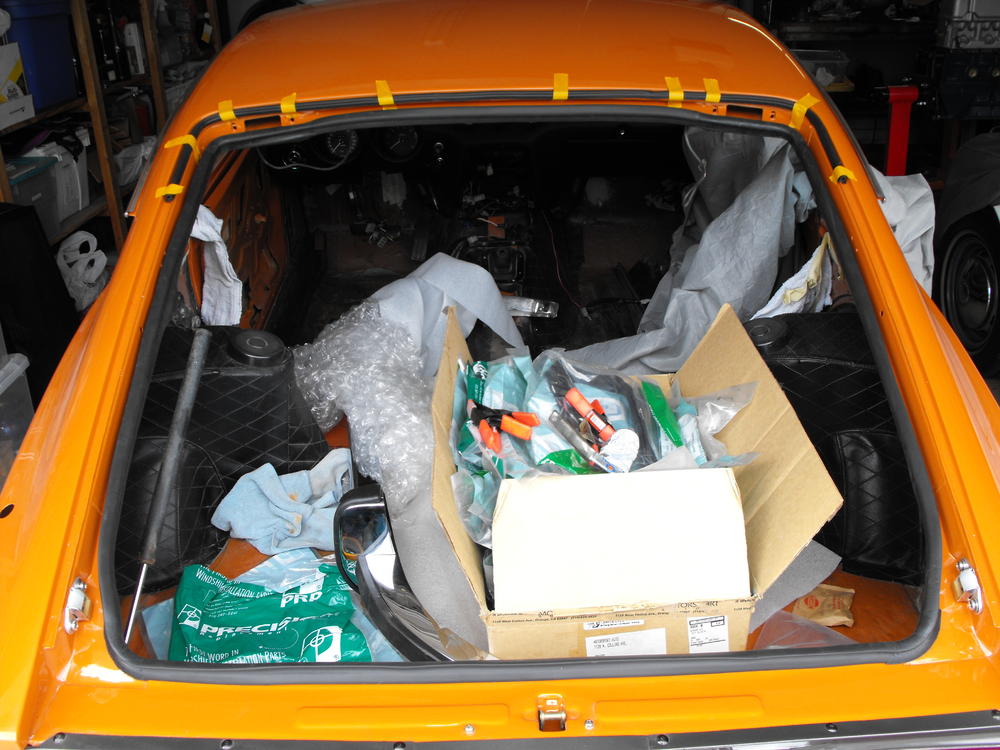
I installed the drivers side rear window same as the passenger side. Also polished and installed the rain gutter molding on both sides. I installed the hatch weather stripping. As always, I hate putting in weatherstripping but this was one of the easier installs since the hatch was removed. I think I will do this on all future hatch weatherstripping, it made the job so much easier. The other thing I did differently was install the weatherstripping without glue first. Then I went along foot by foot applying the glue to the installed weatherstripping. Using the clamps and tape to keep things in place was also a big help. These work well to keep everything secure and nicely aligned. Started clean-up and paint on the shock tower components. I should be able to get those installed today once I finish a few home items.


-
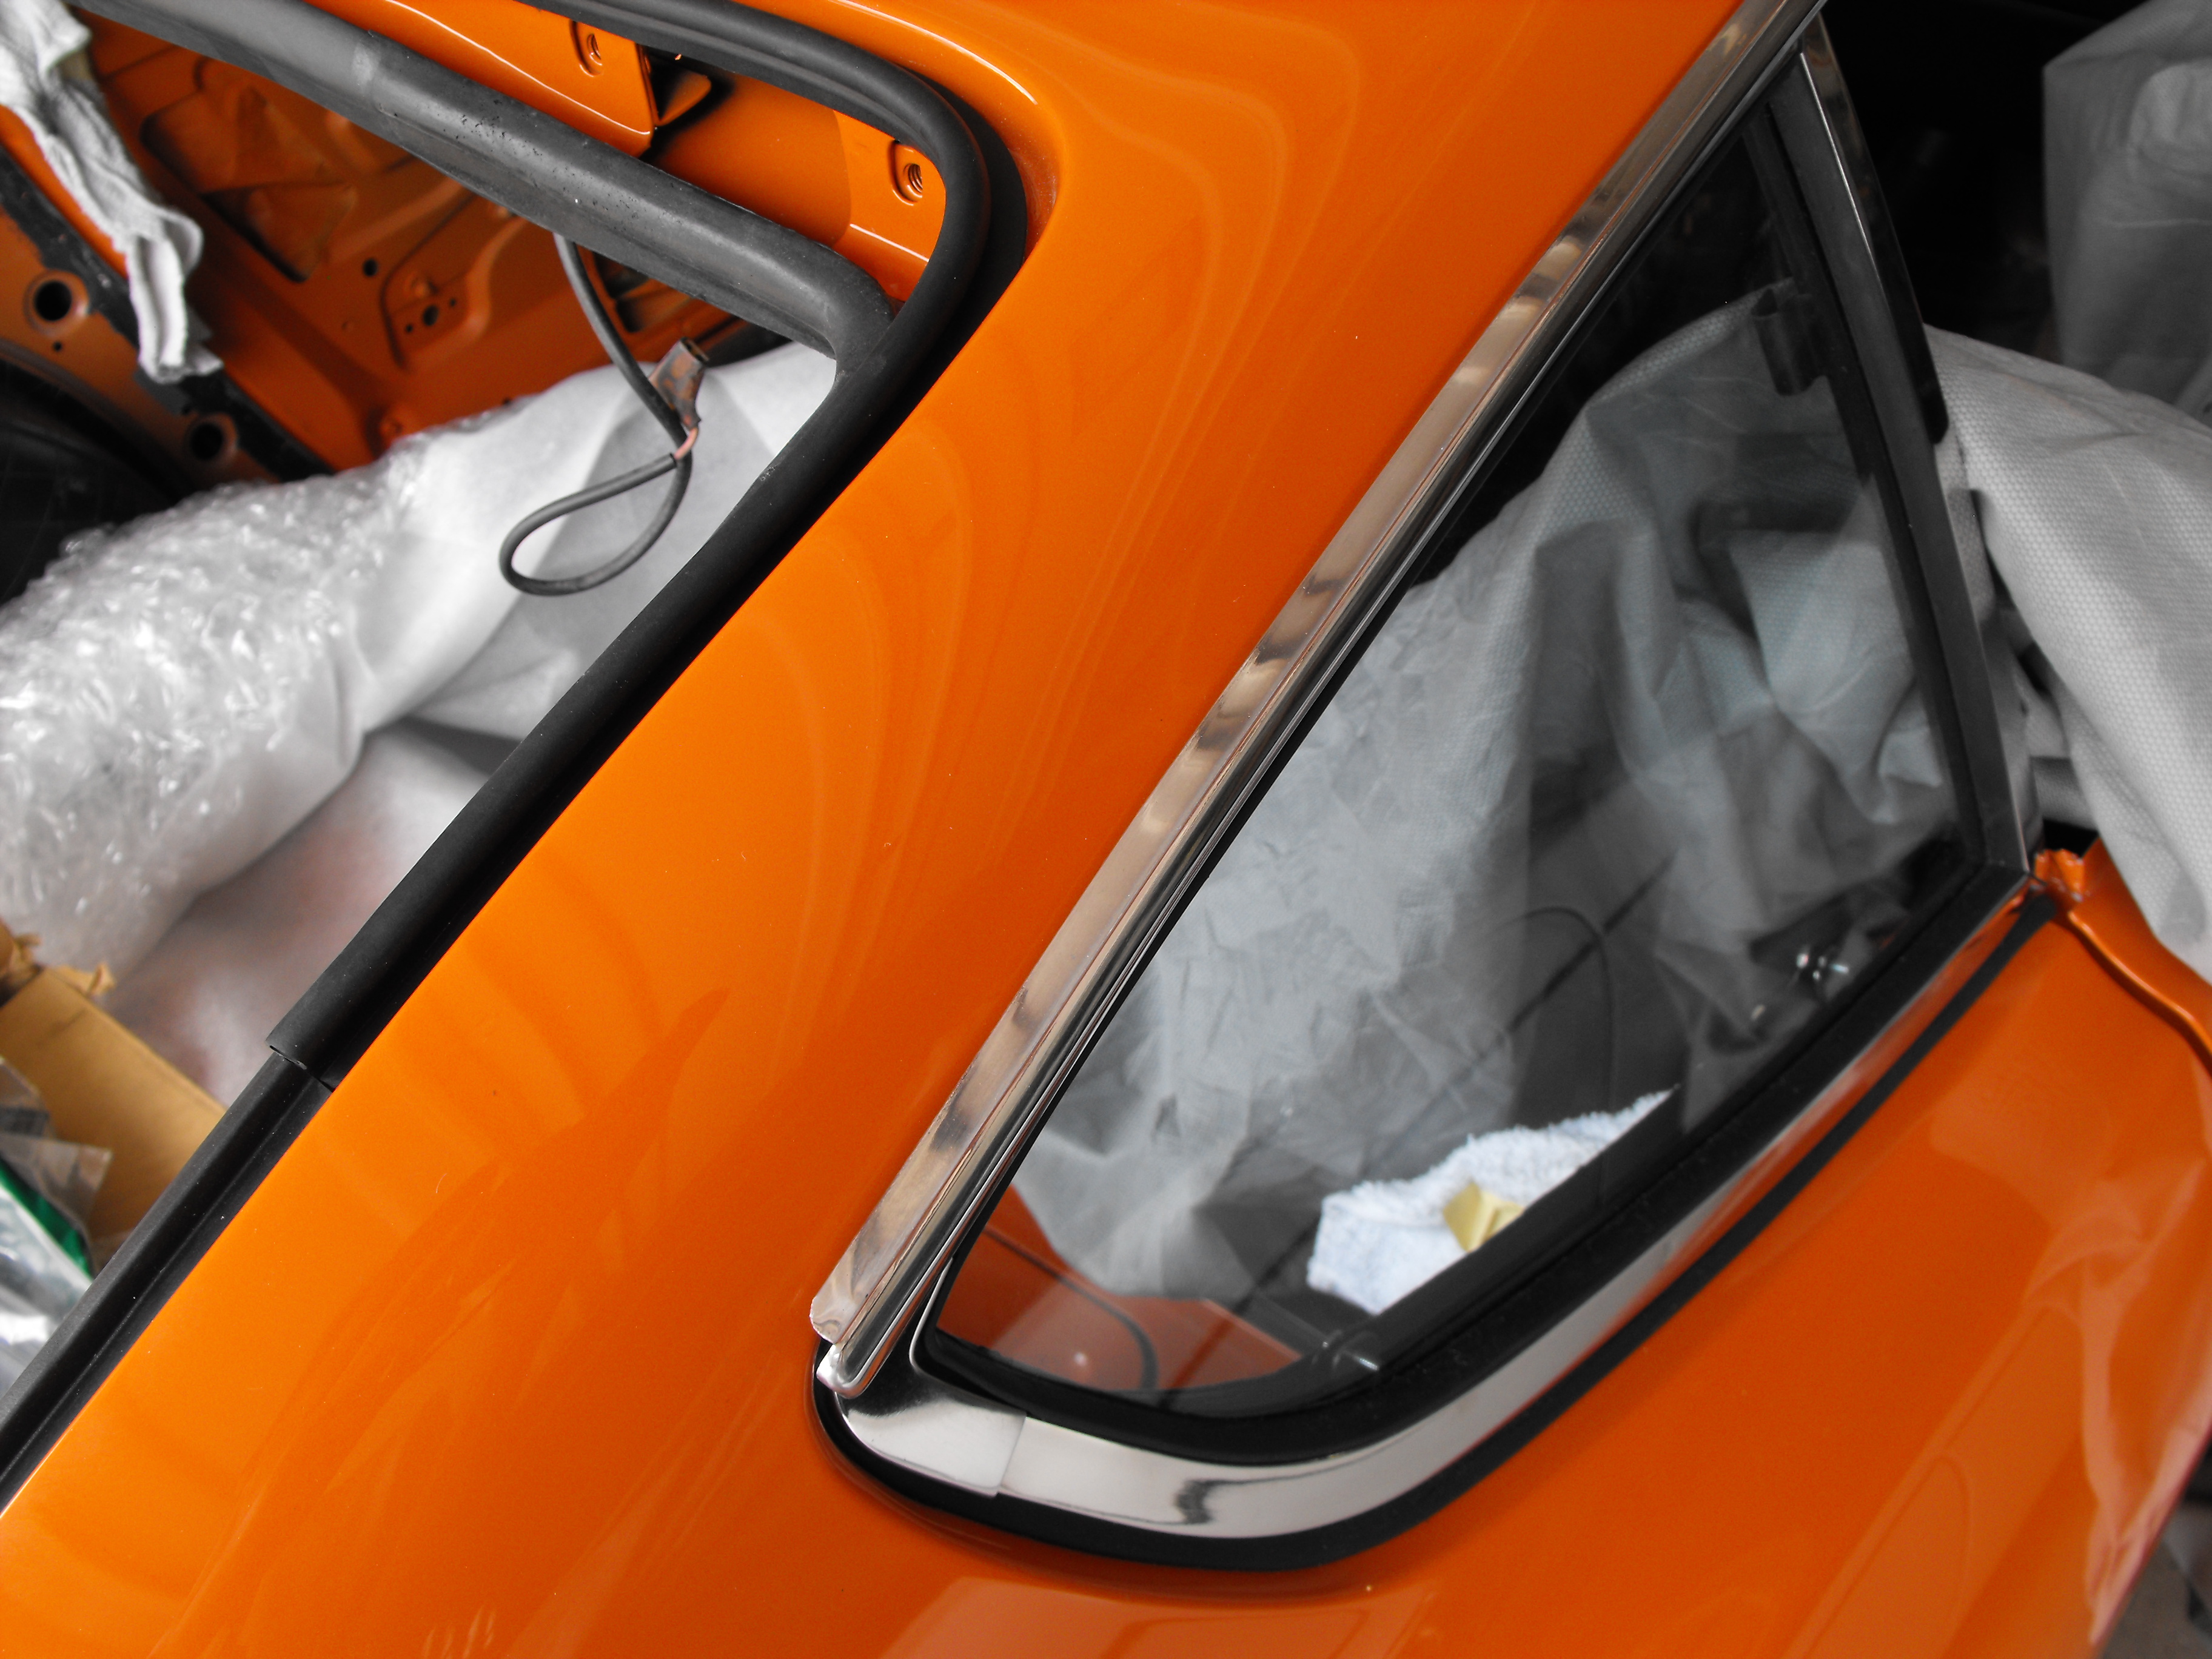
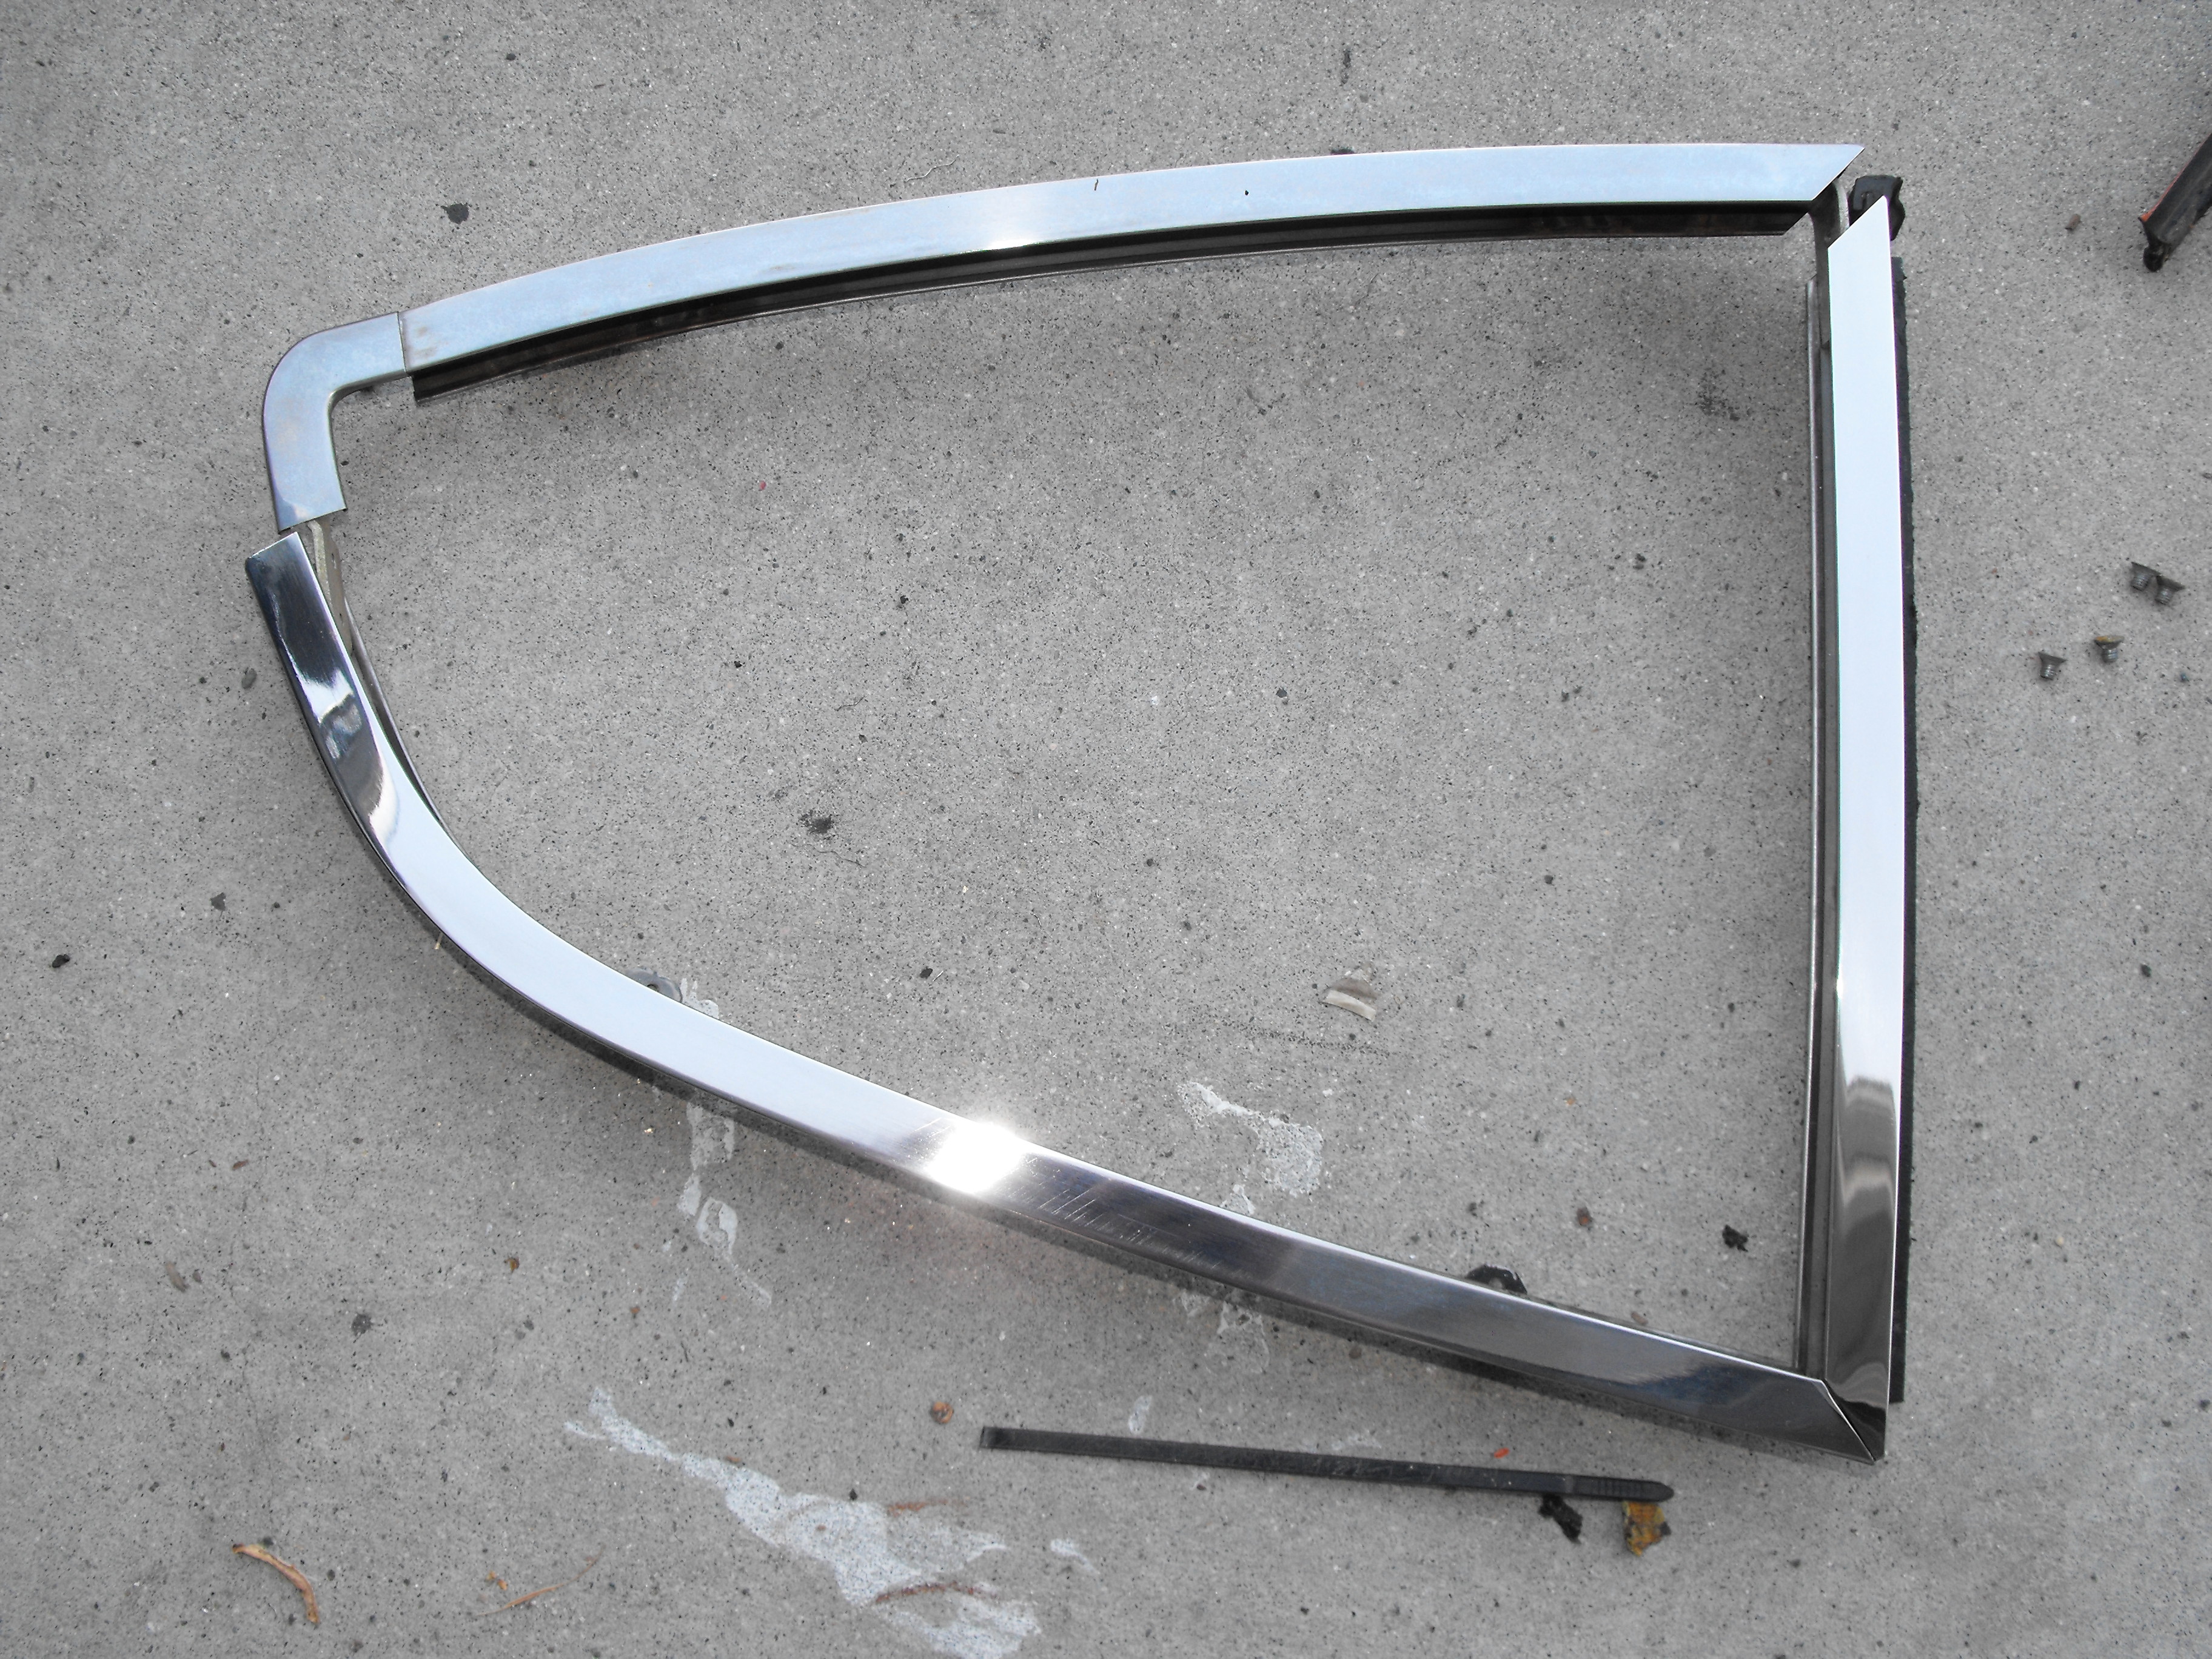
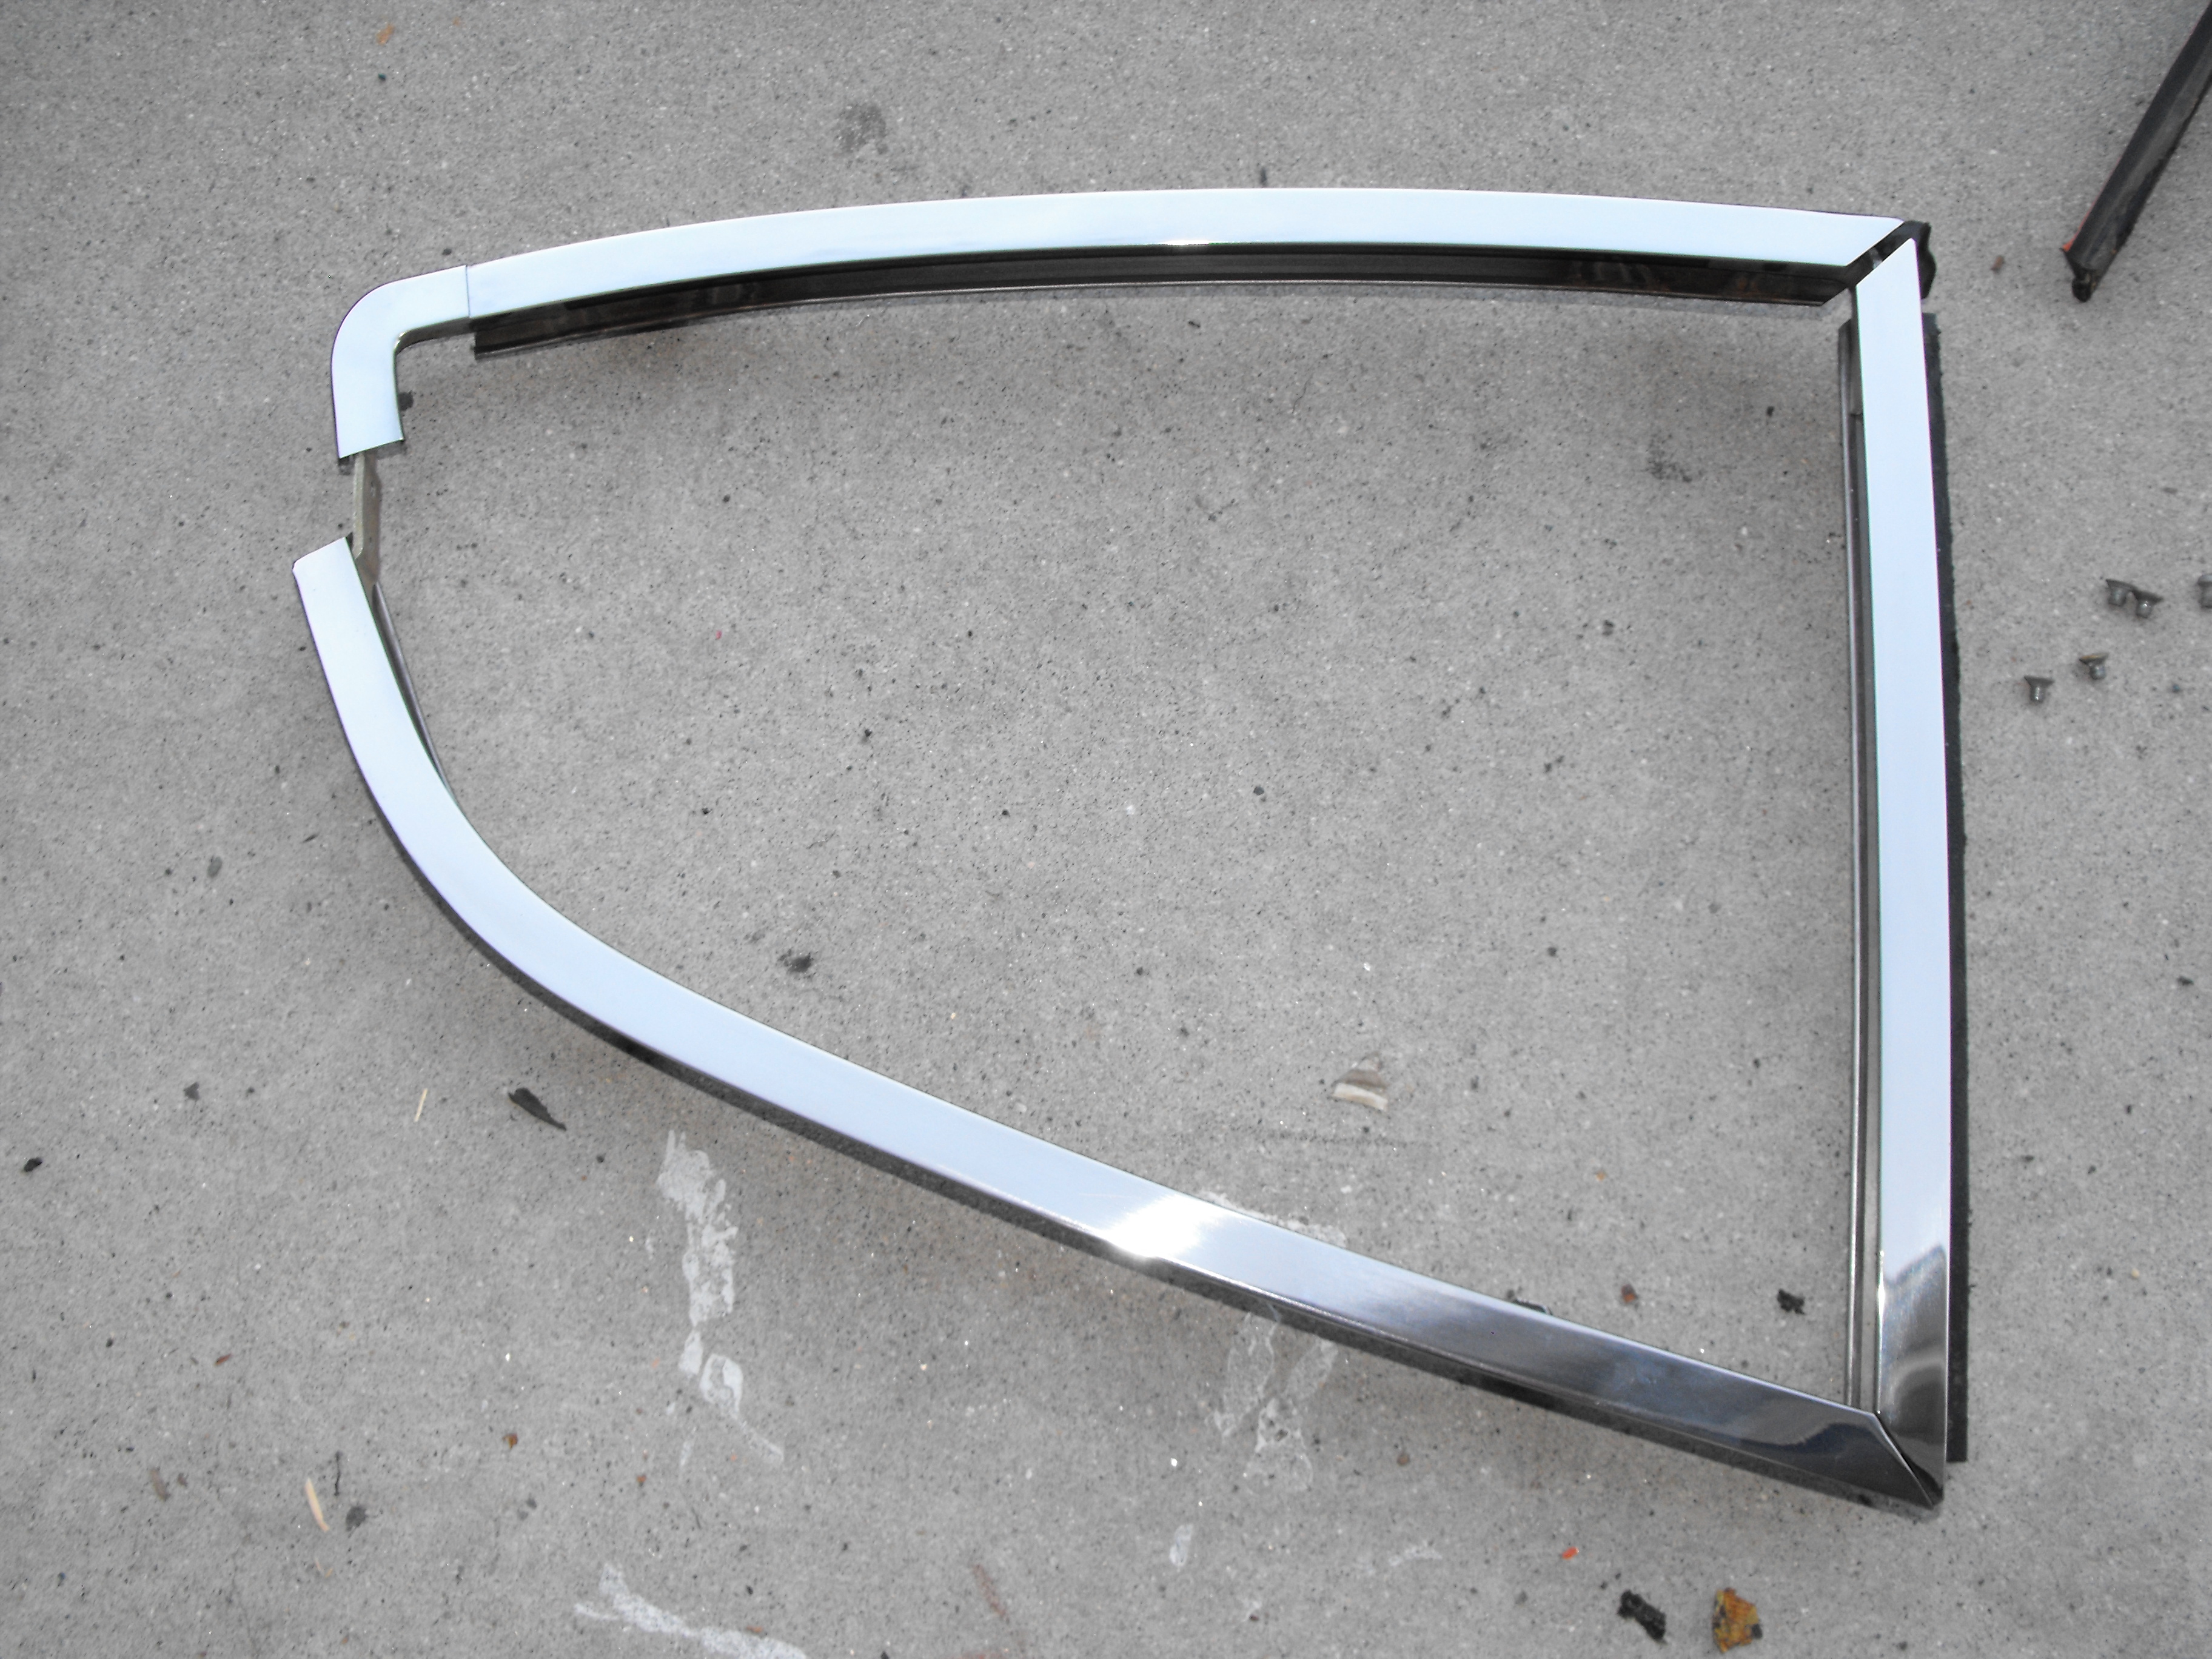
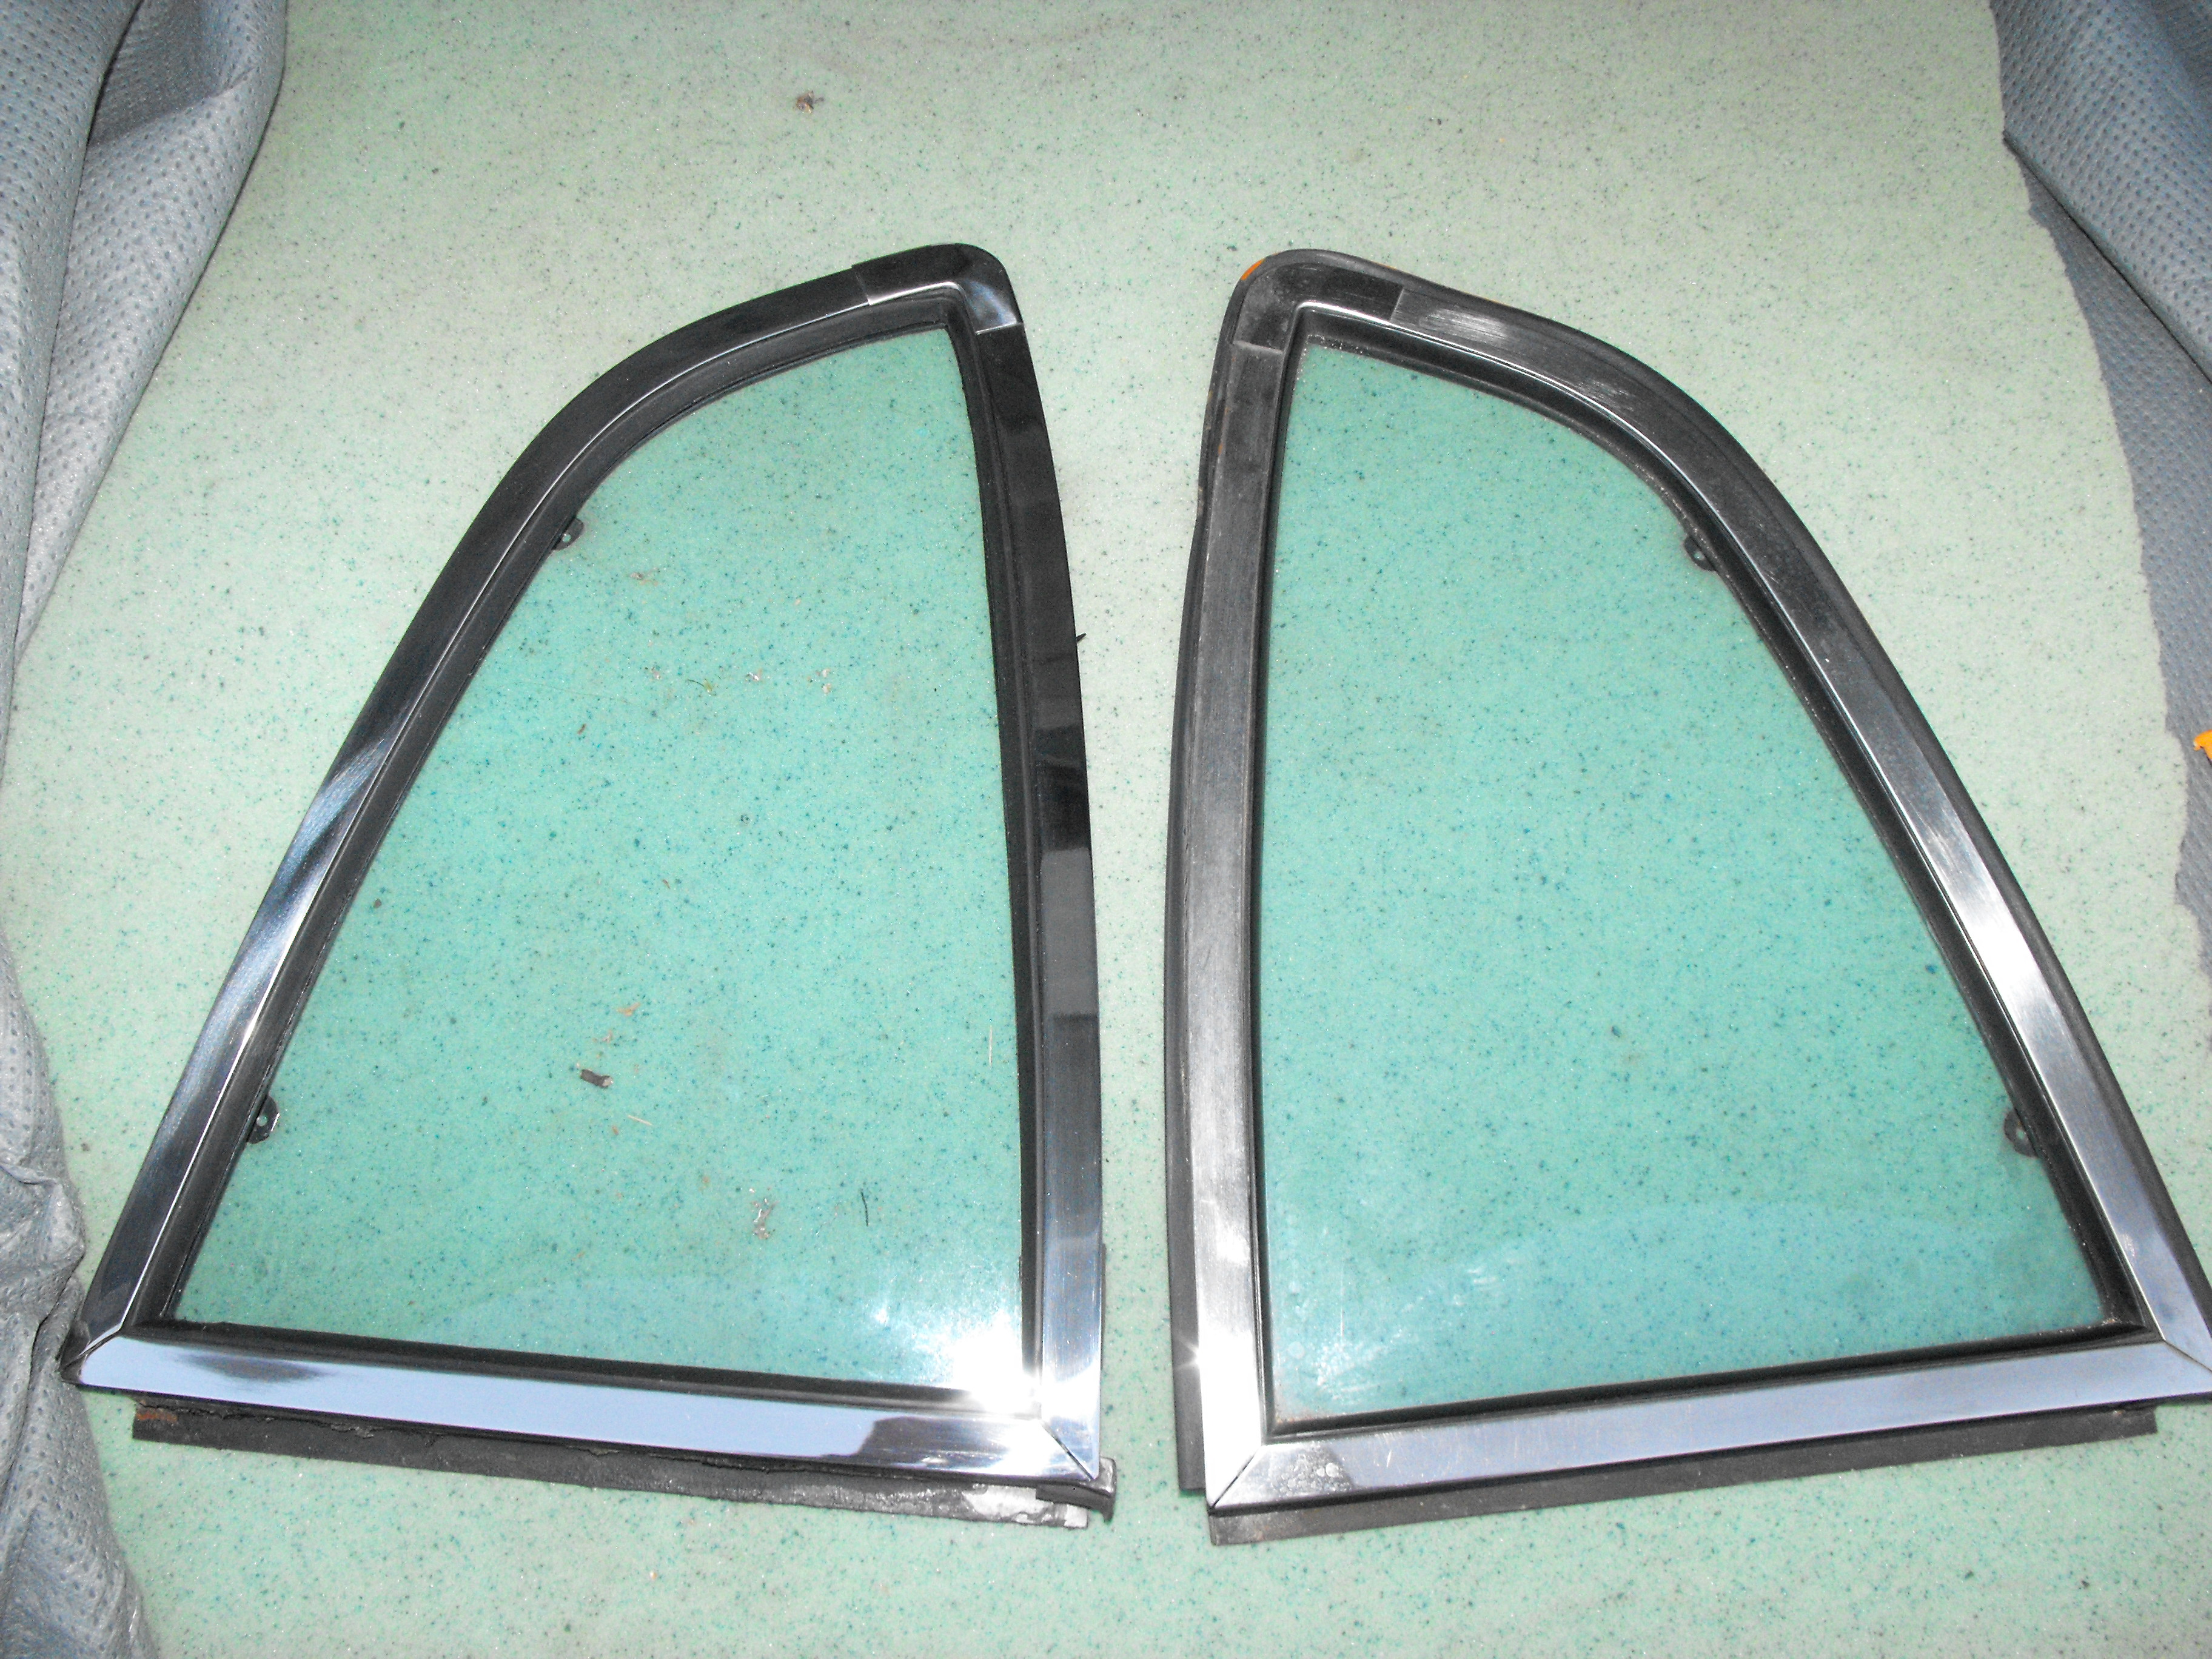
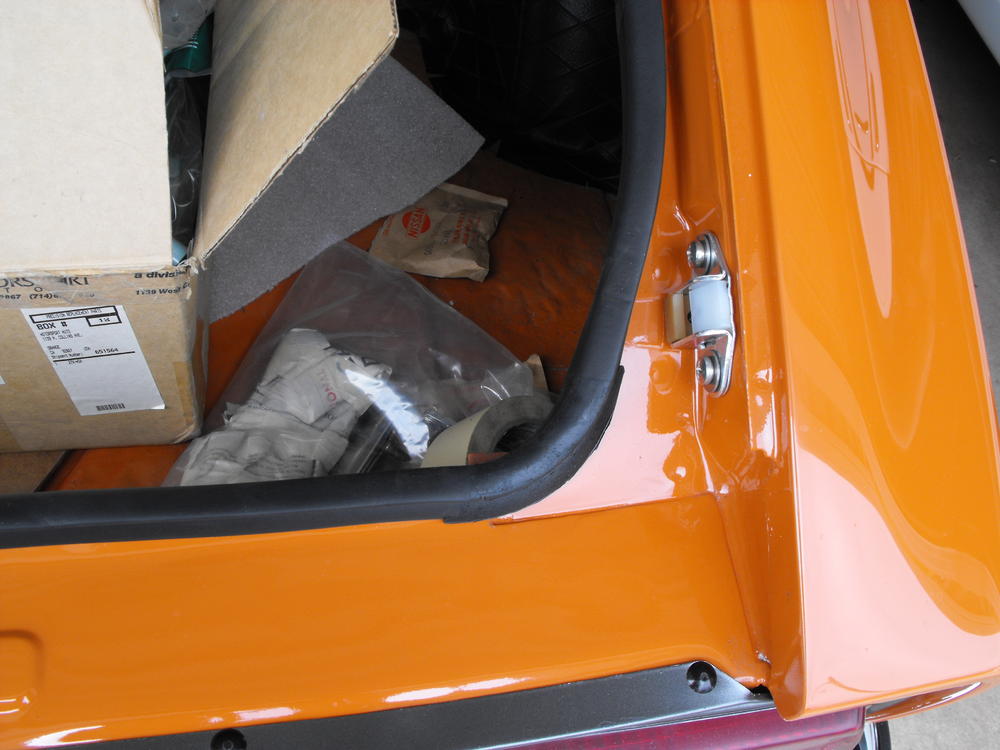
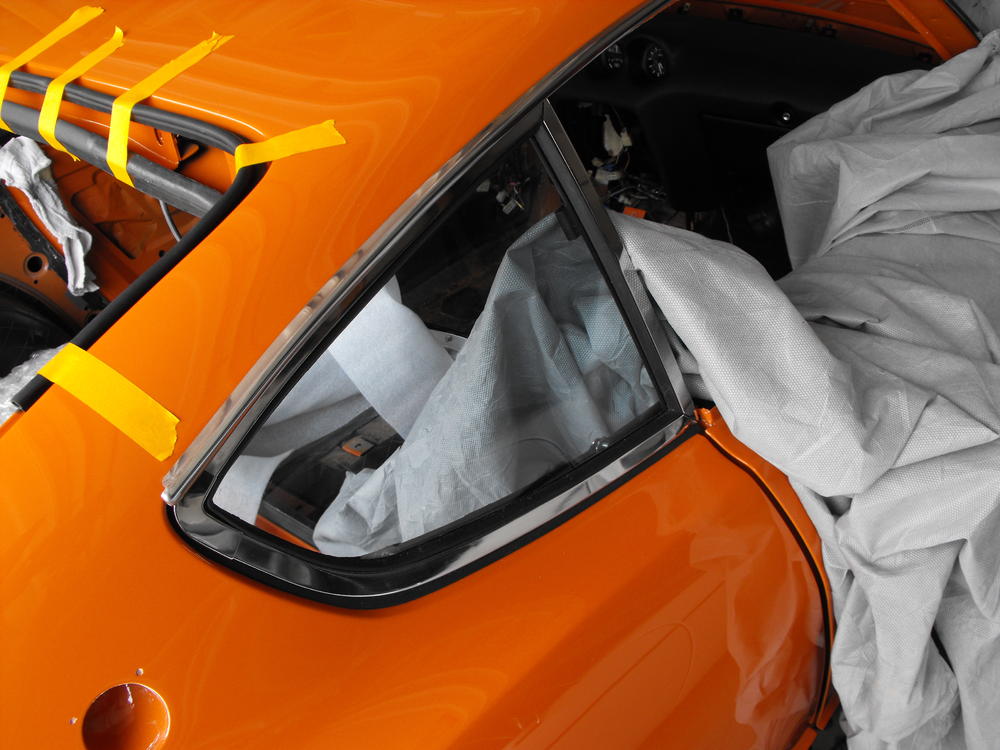
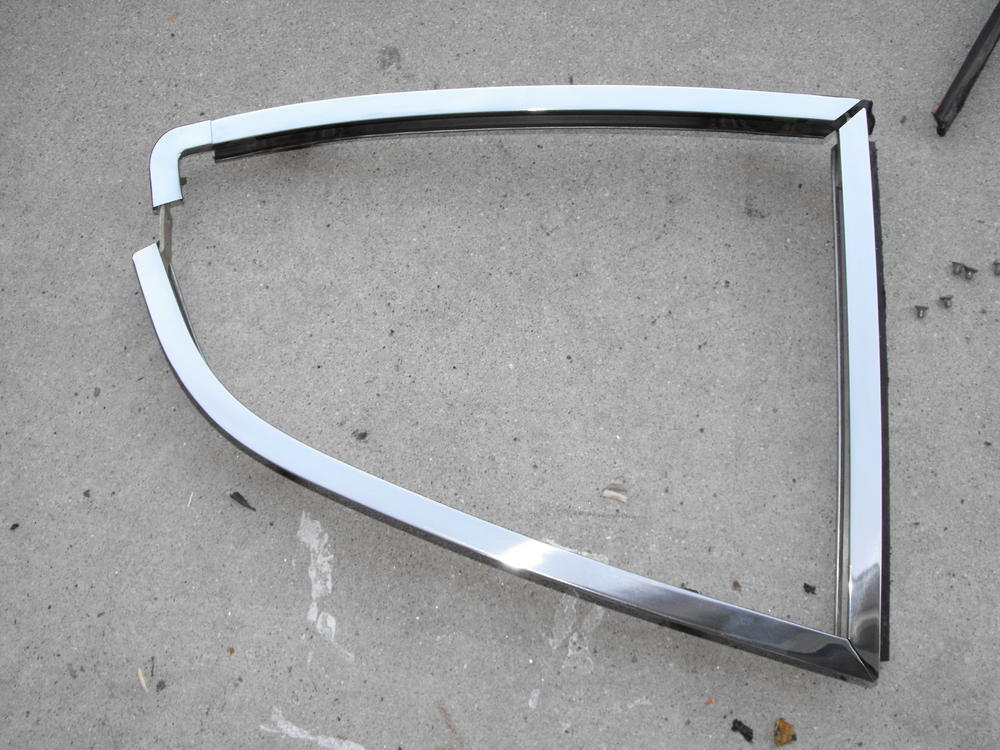
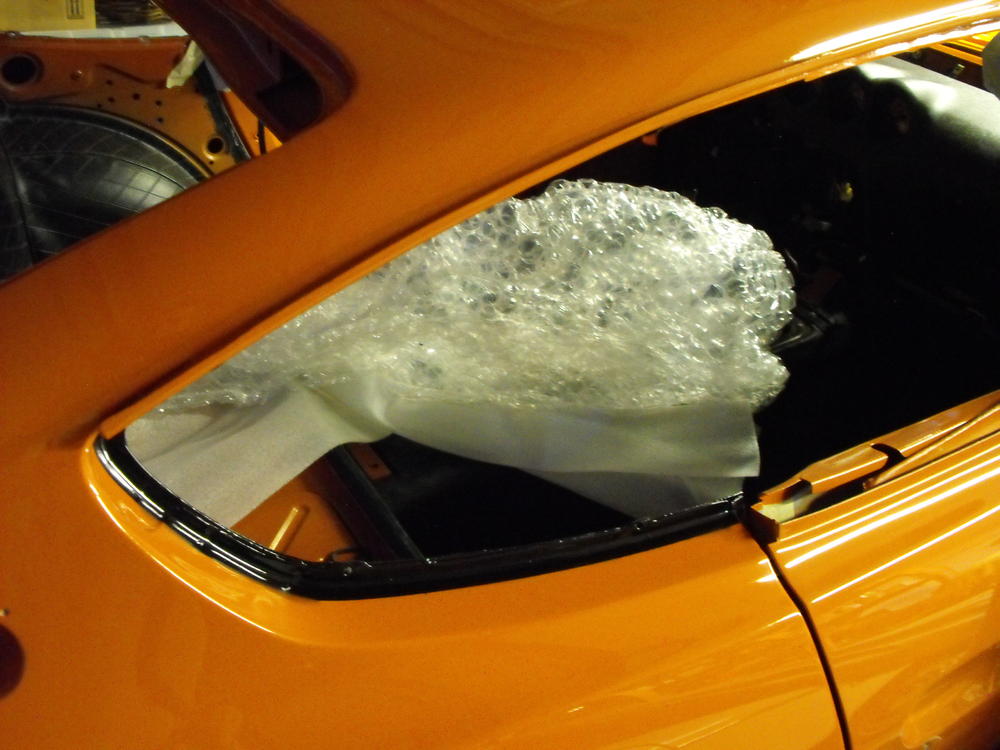
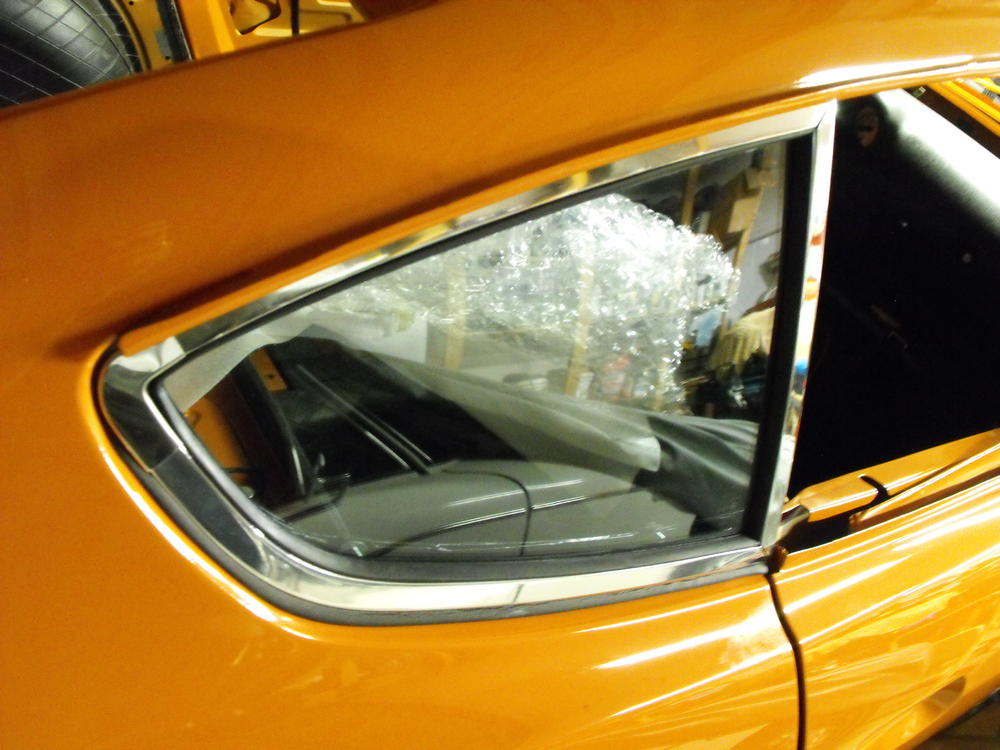
Installed the passenger side quarter window. I buffed out the frame on the polishing wheel to give it a nice shine. You can see the difference in the first and third pics. The polish takes out some of the very small scratches. I remembered to paint the inside frame area satin black before installing the window (I forgot to do this on my '71 and it looks goofy, one of those things I need to go back and fix). I installed all new weather stripping and new 4mm screws. It's actually a fairly easy install.


-
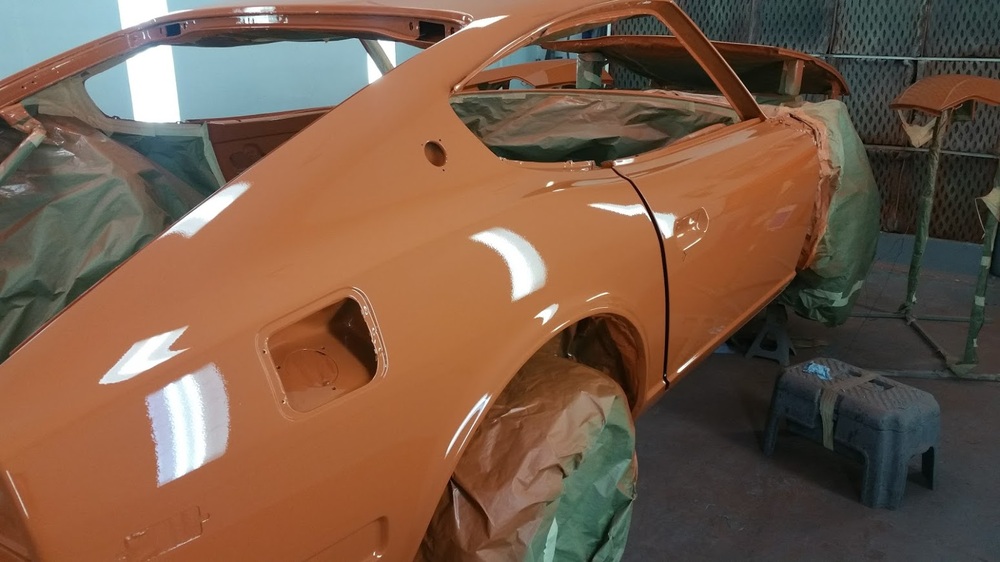
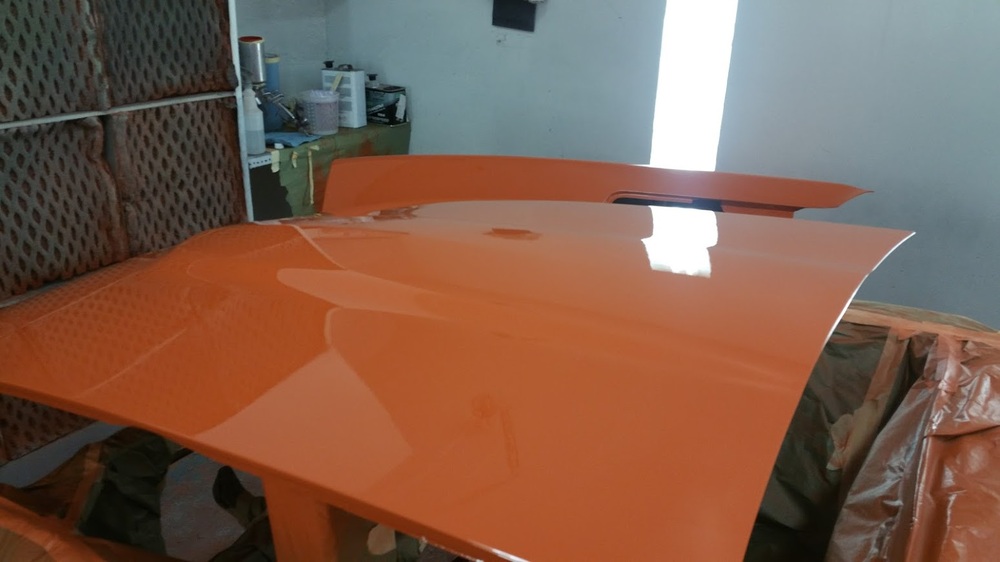
You are right. My '70 still has the original single stage paint and it never looked this good. The '70 even has a few paint runs in the engine compartment and the overall paint has a slight ripple or 'smooth orange peelish' texture to it. (Not sure what you really call that finish) I was at the San Marino Motor Classic Car show a couple month ago with my orange '71 240Z and one of the judges commented that he was very impressed that I was able to produce the 'smooth orange peelish' texture of the original Z paint on my car. Unfortunately, I had to tell him that the texture was actually the result of my mediocre painting skills and not what I was shooting for. Smooth as glass is what I was trying to achieve.
-
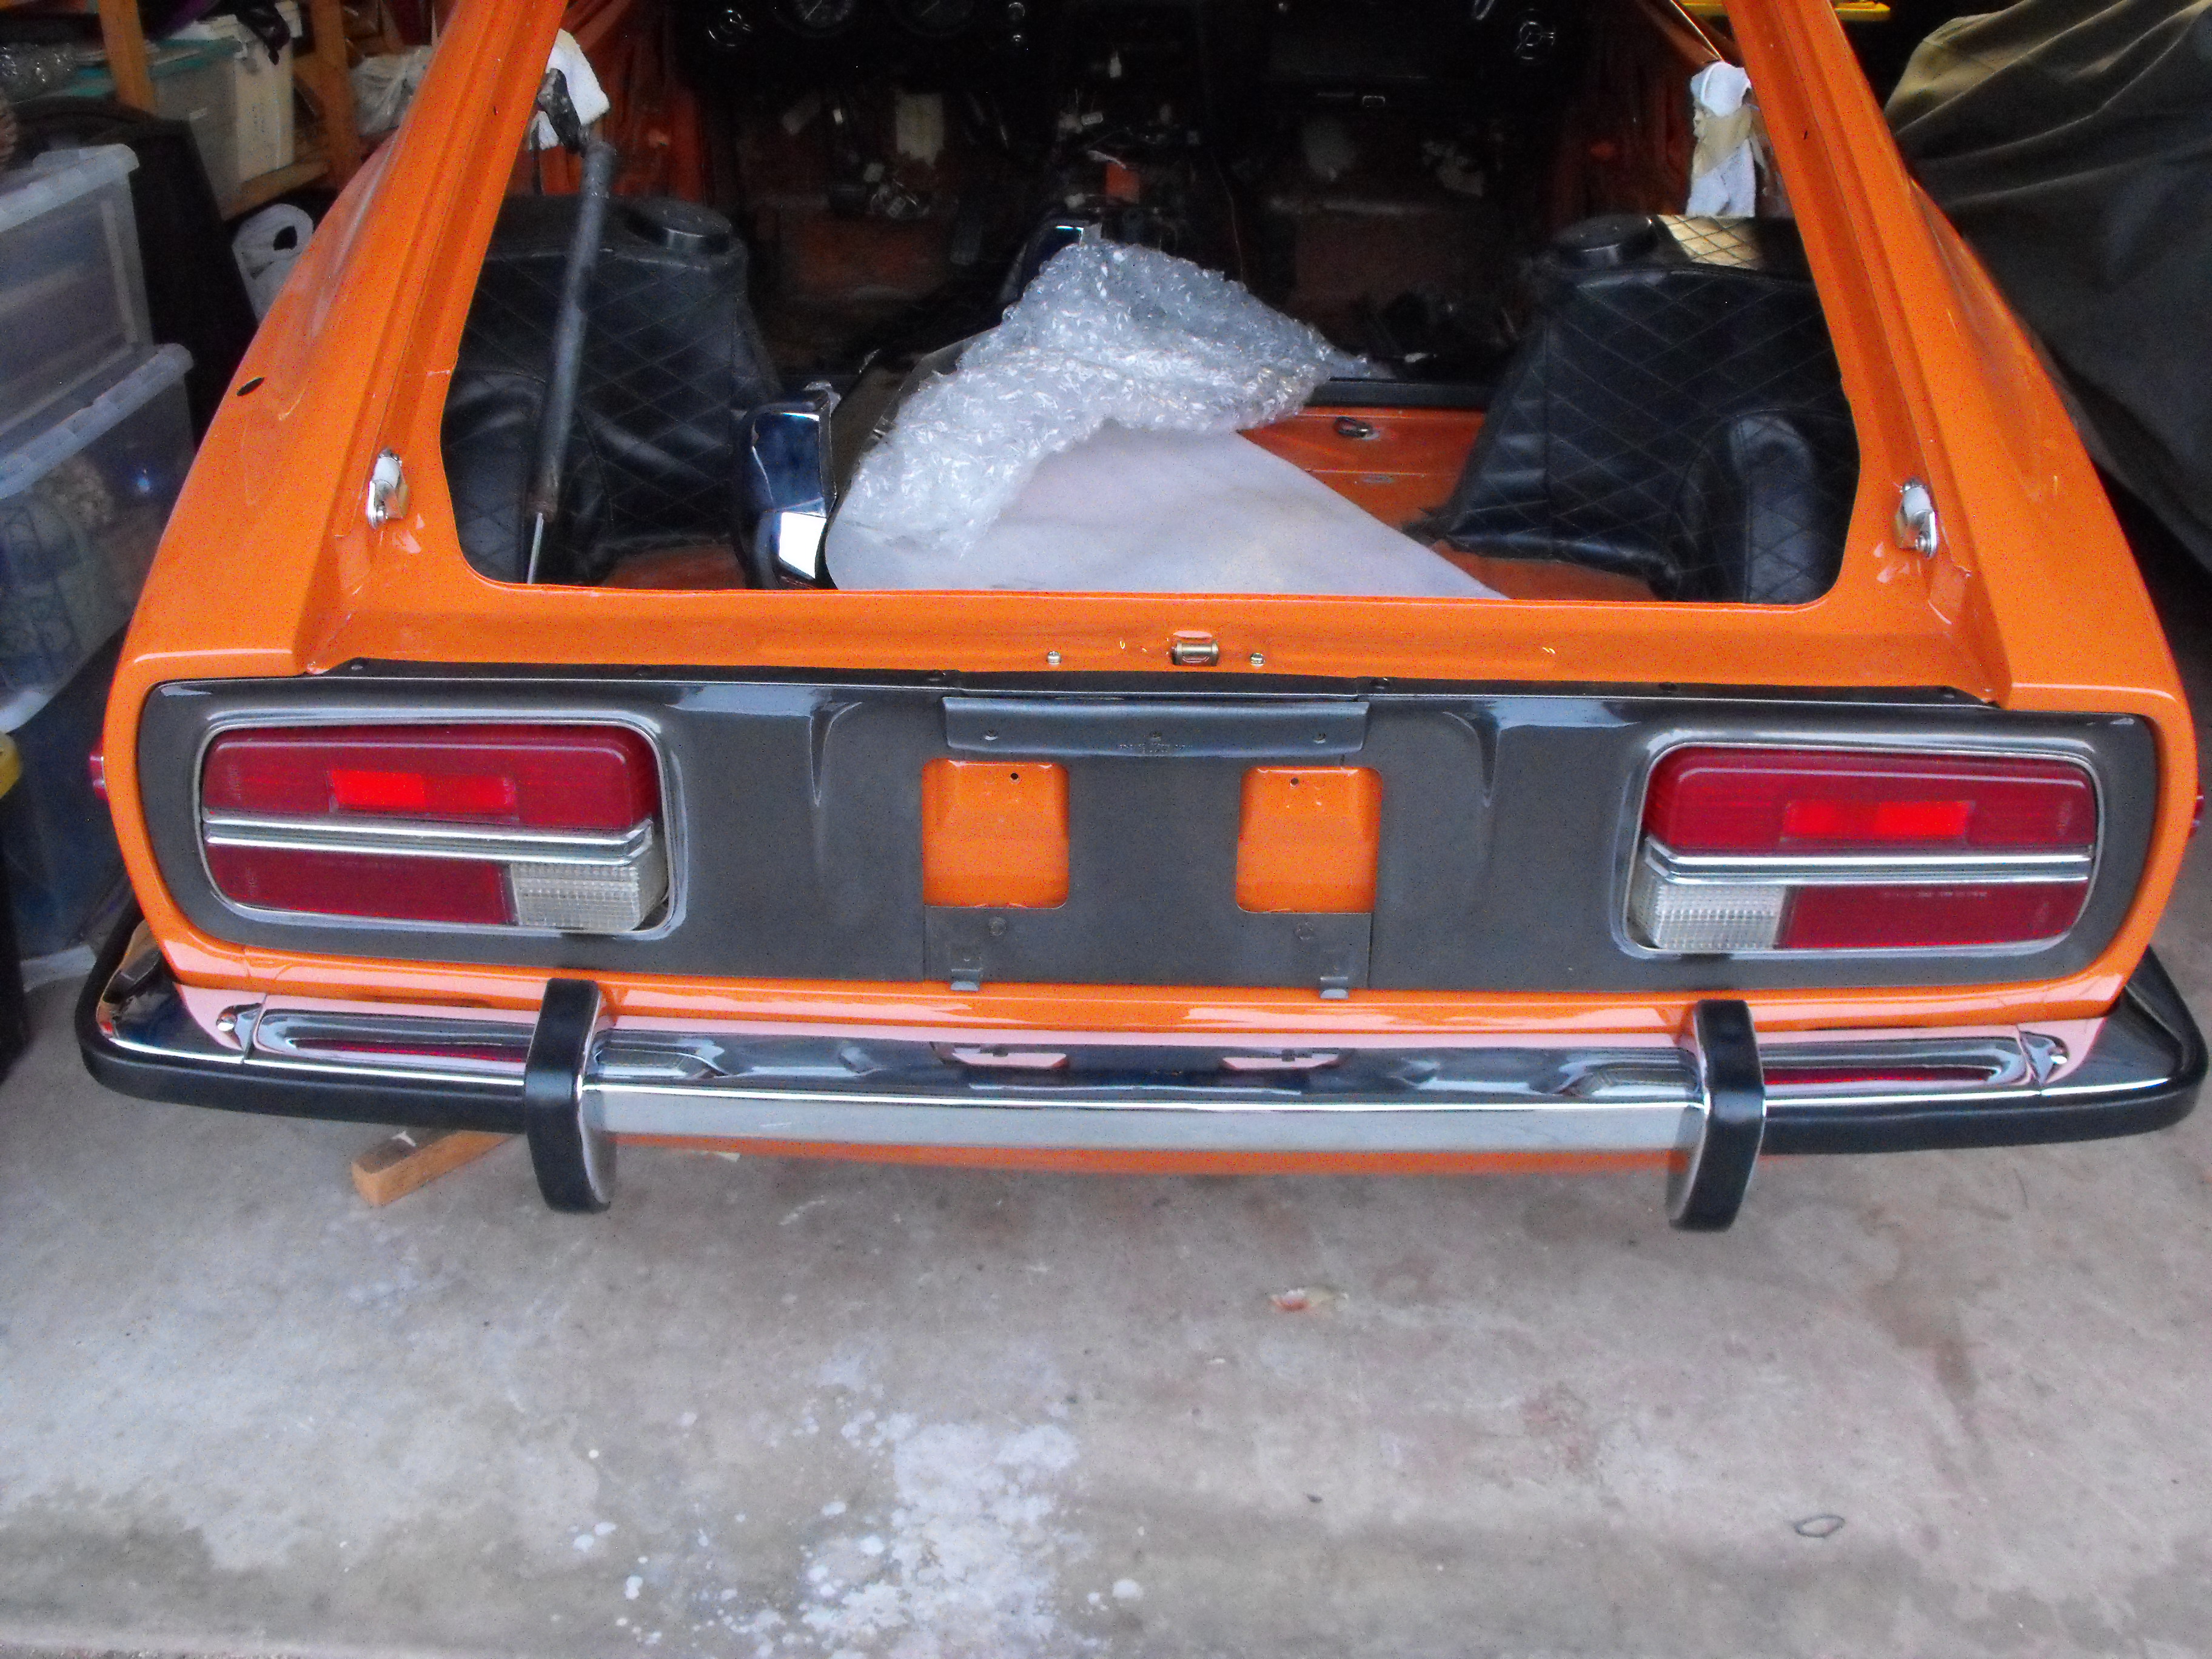
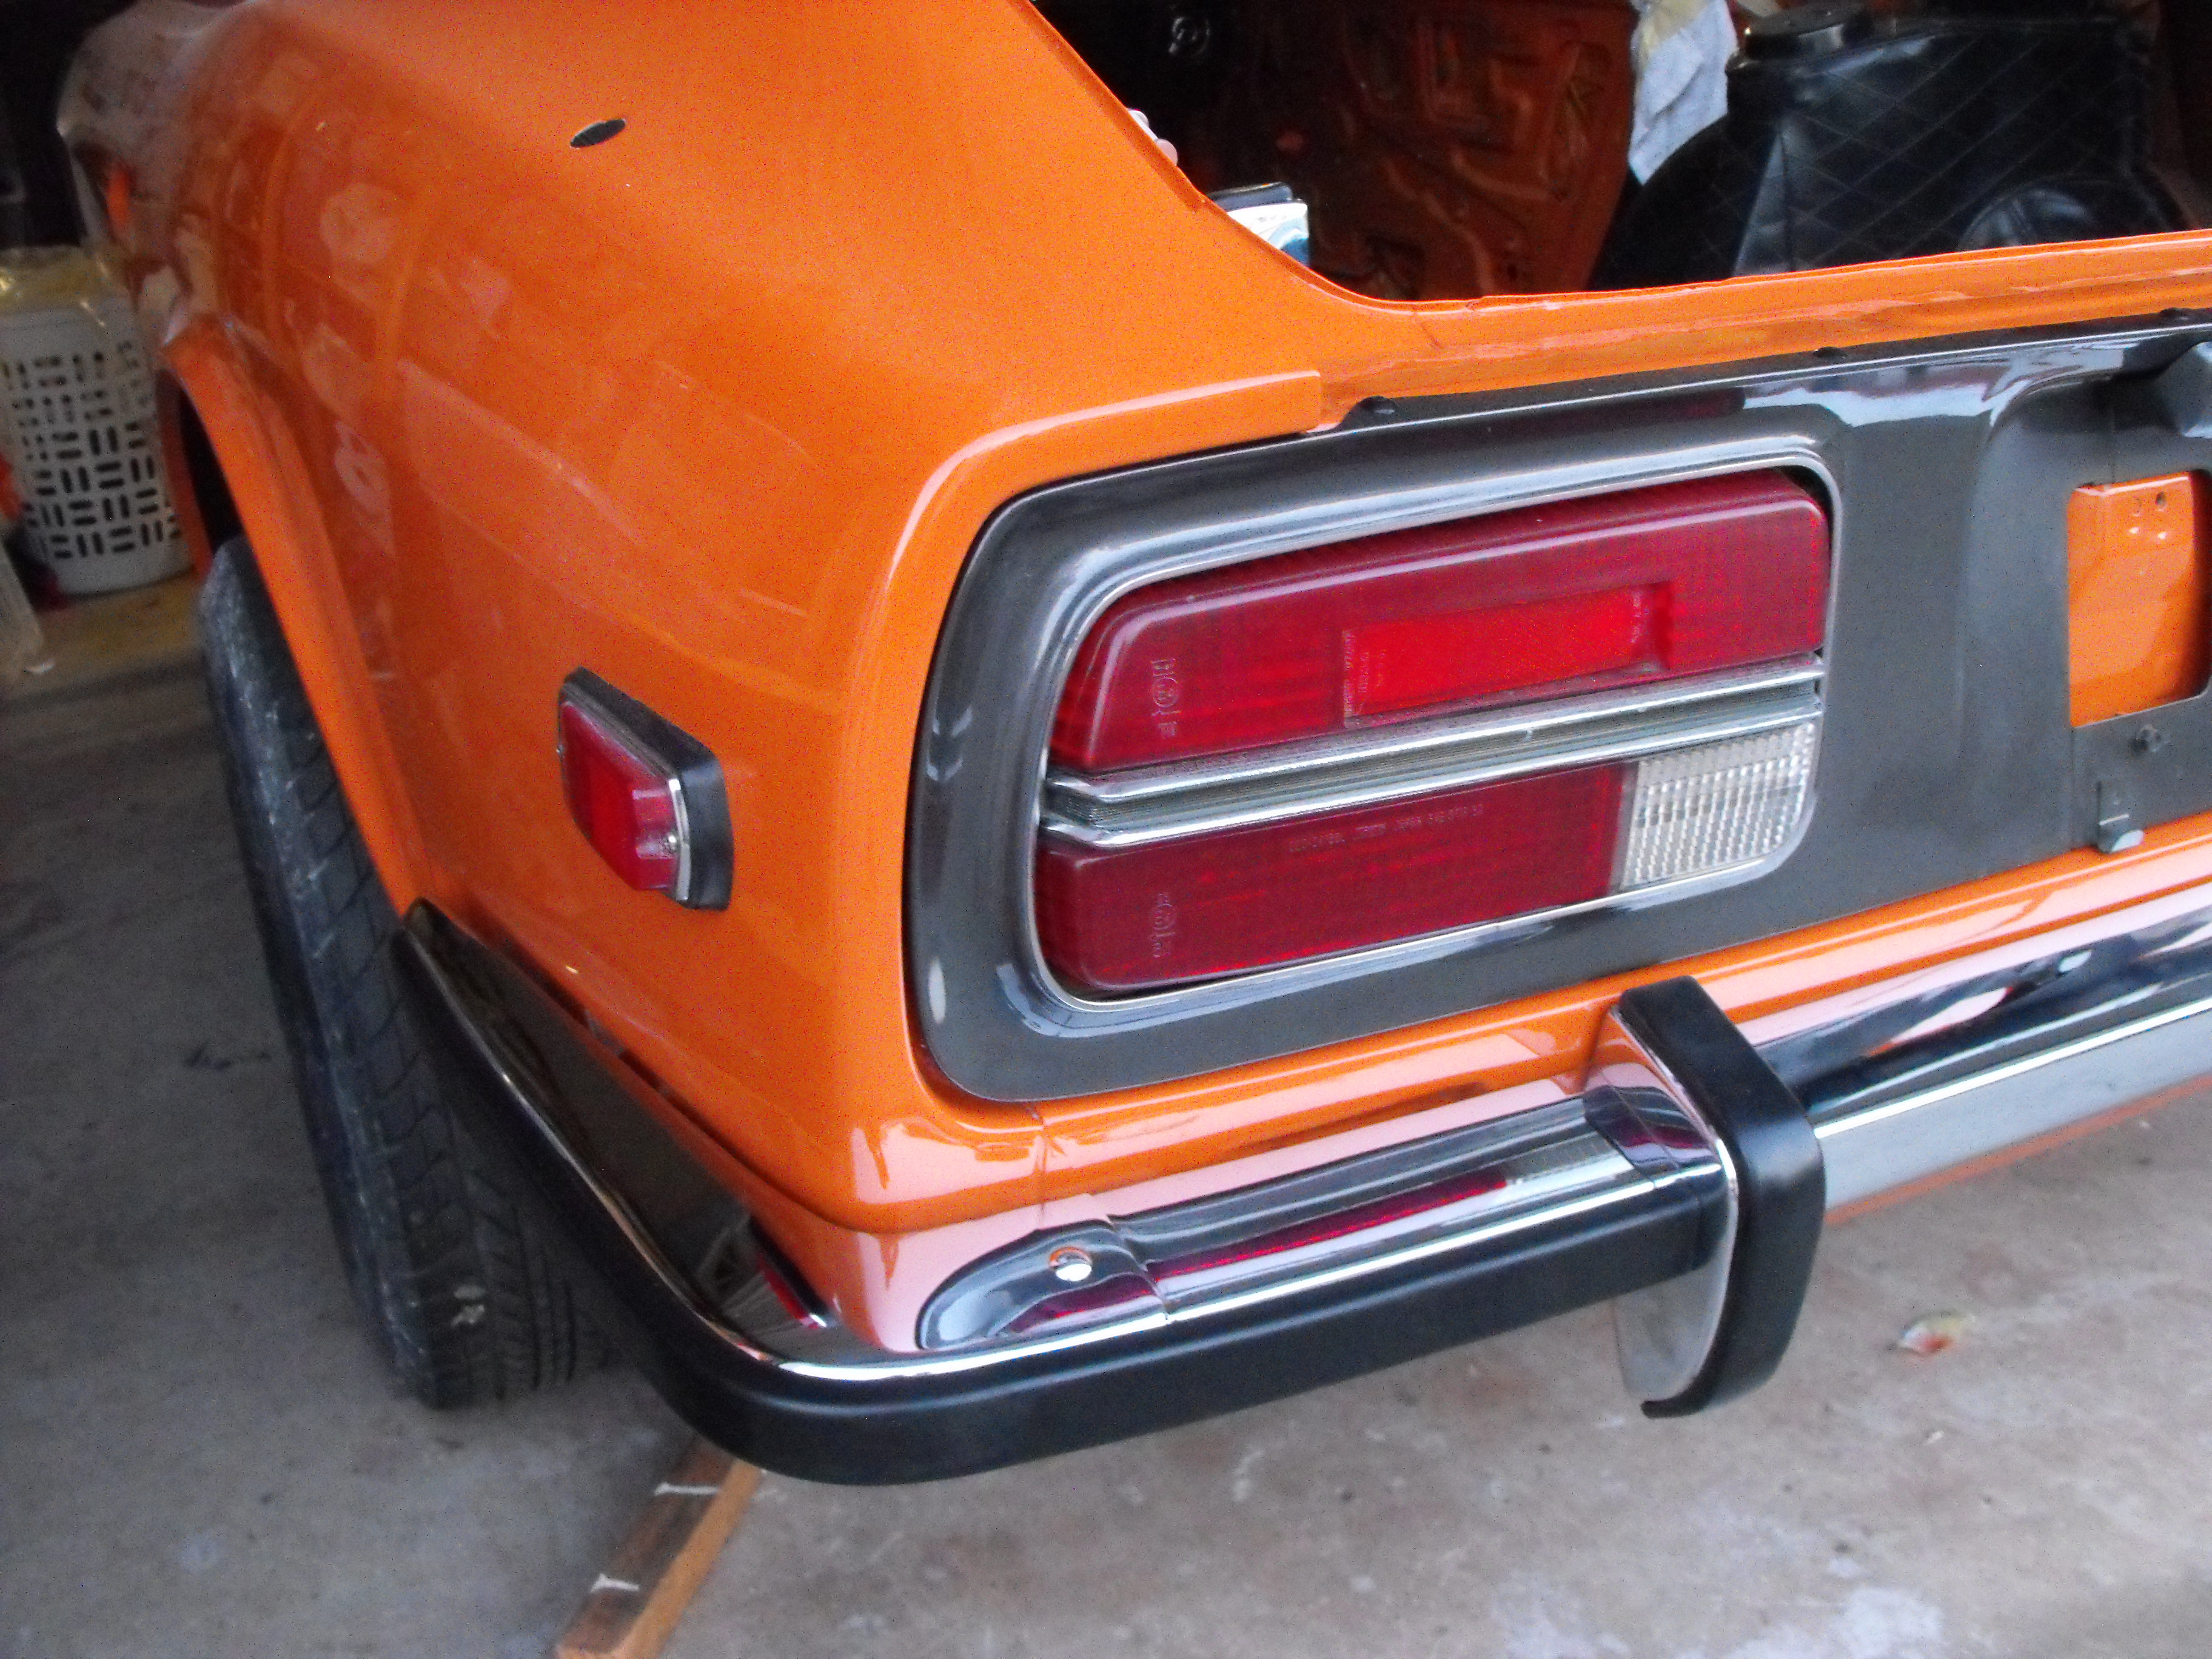
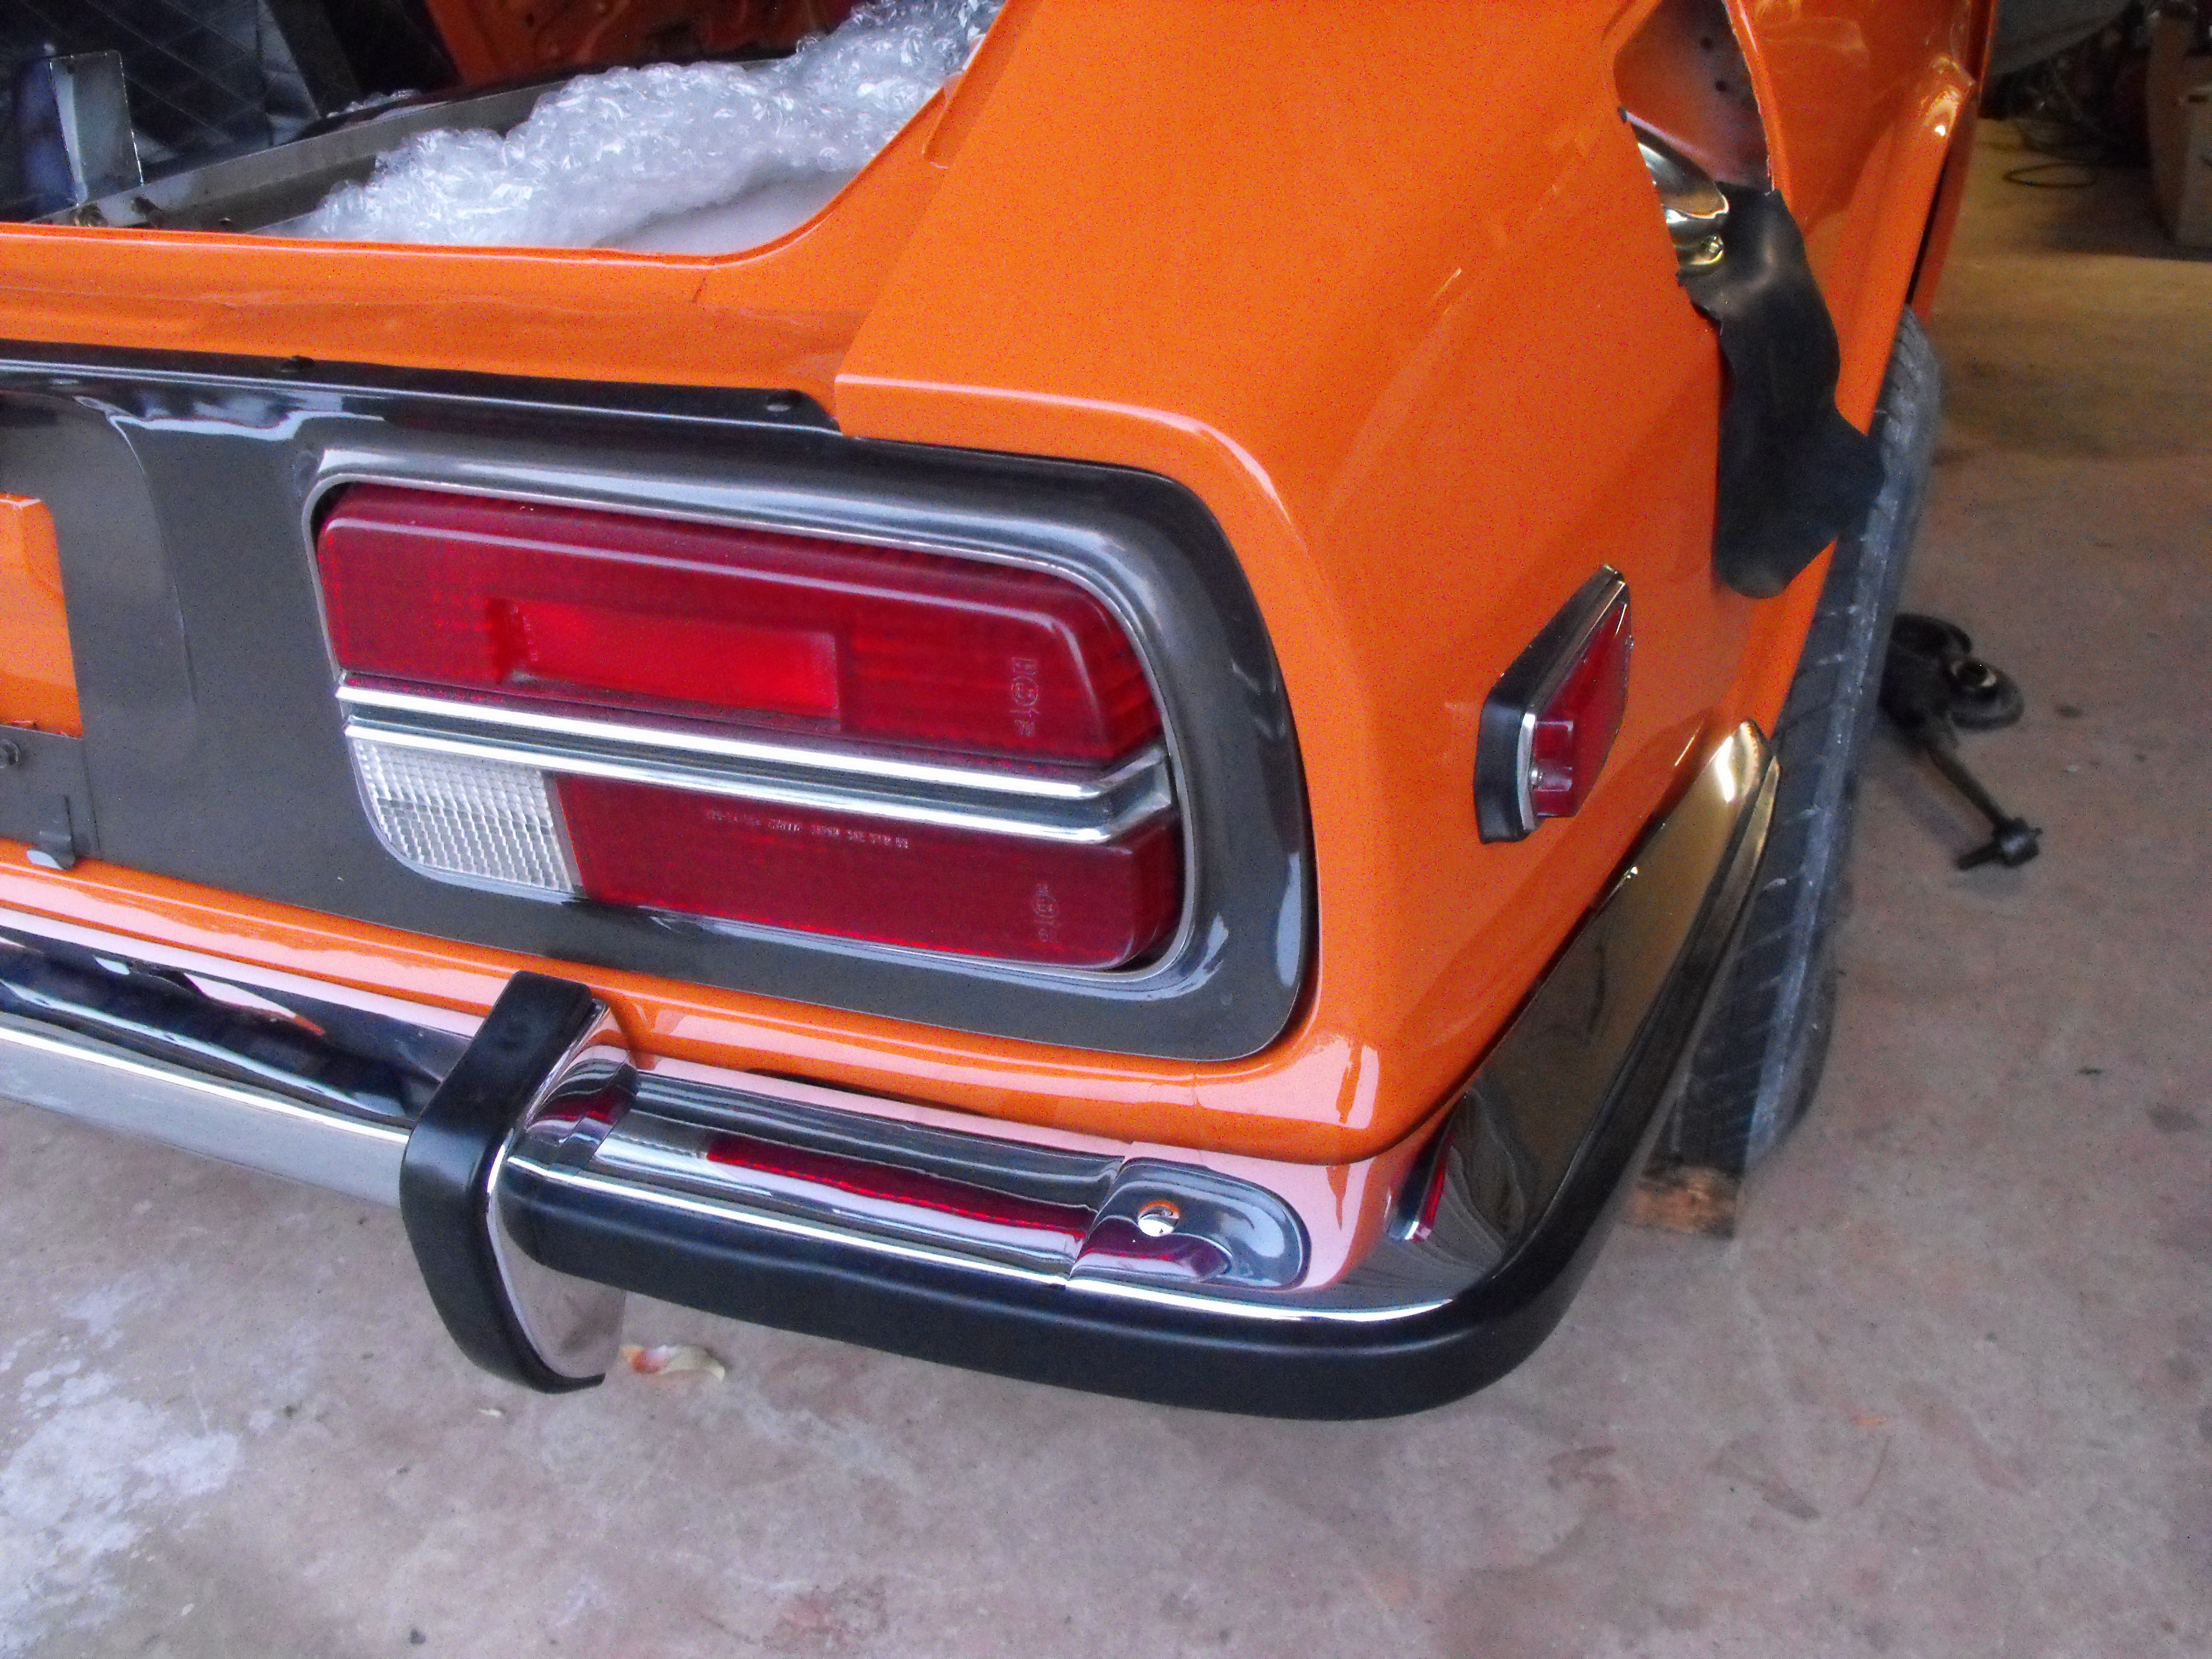
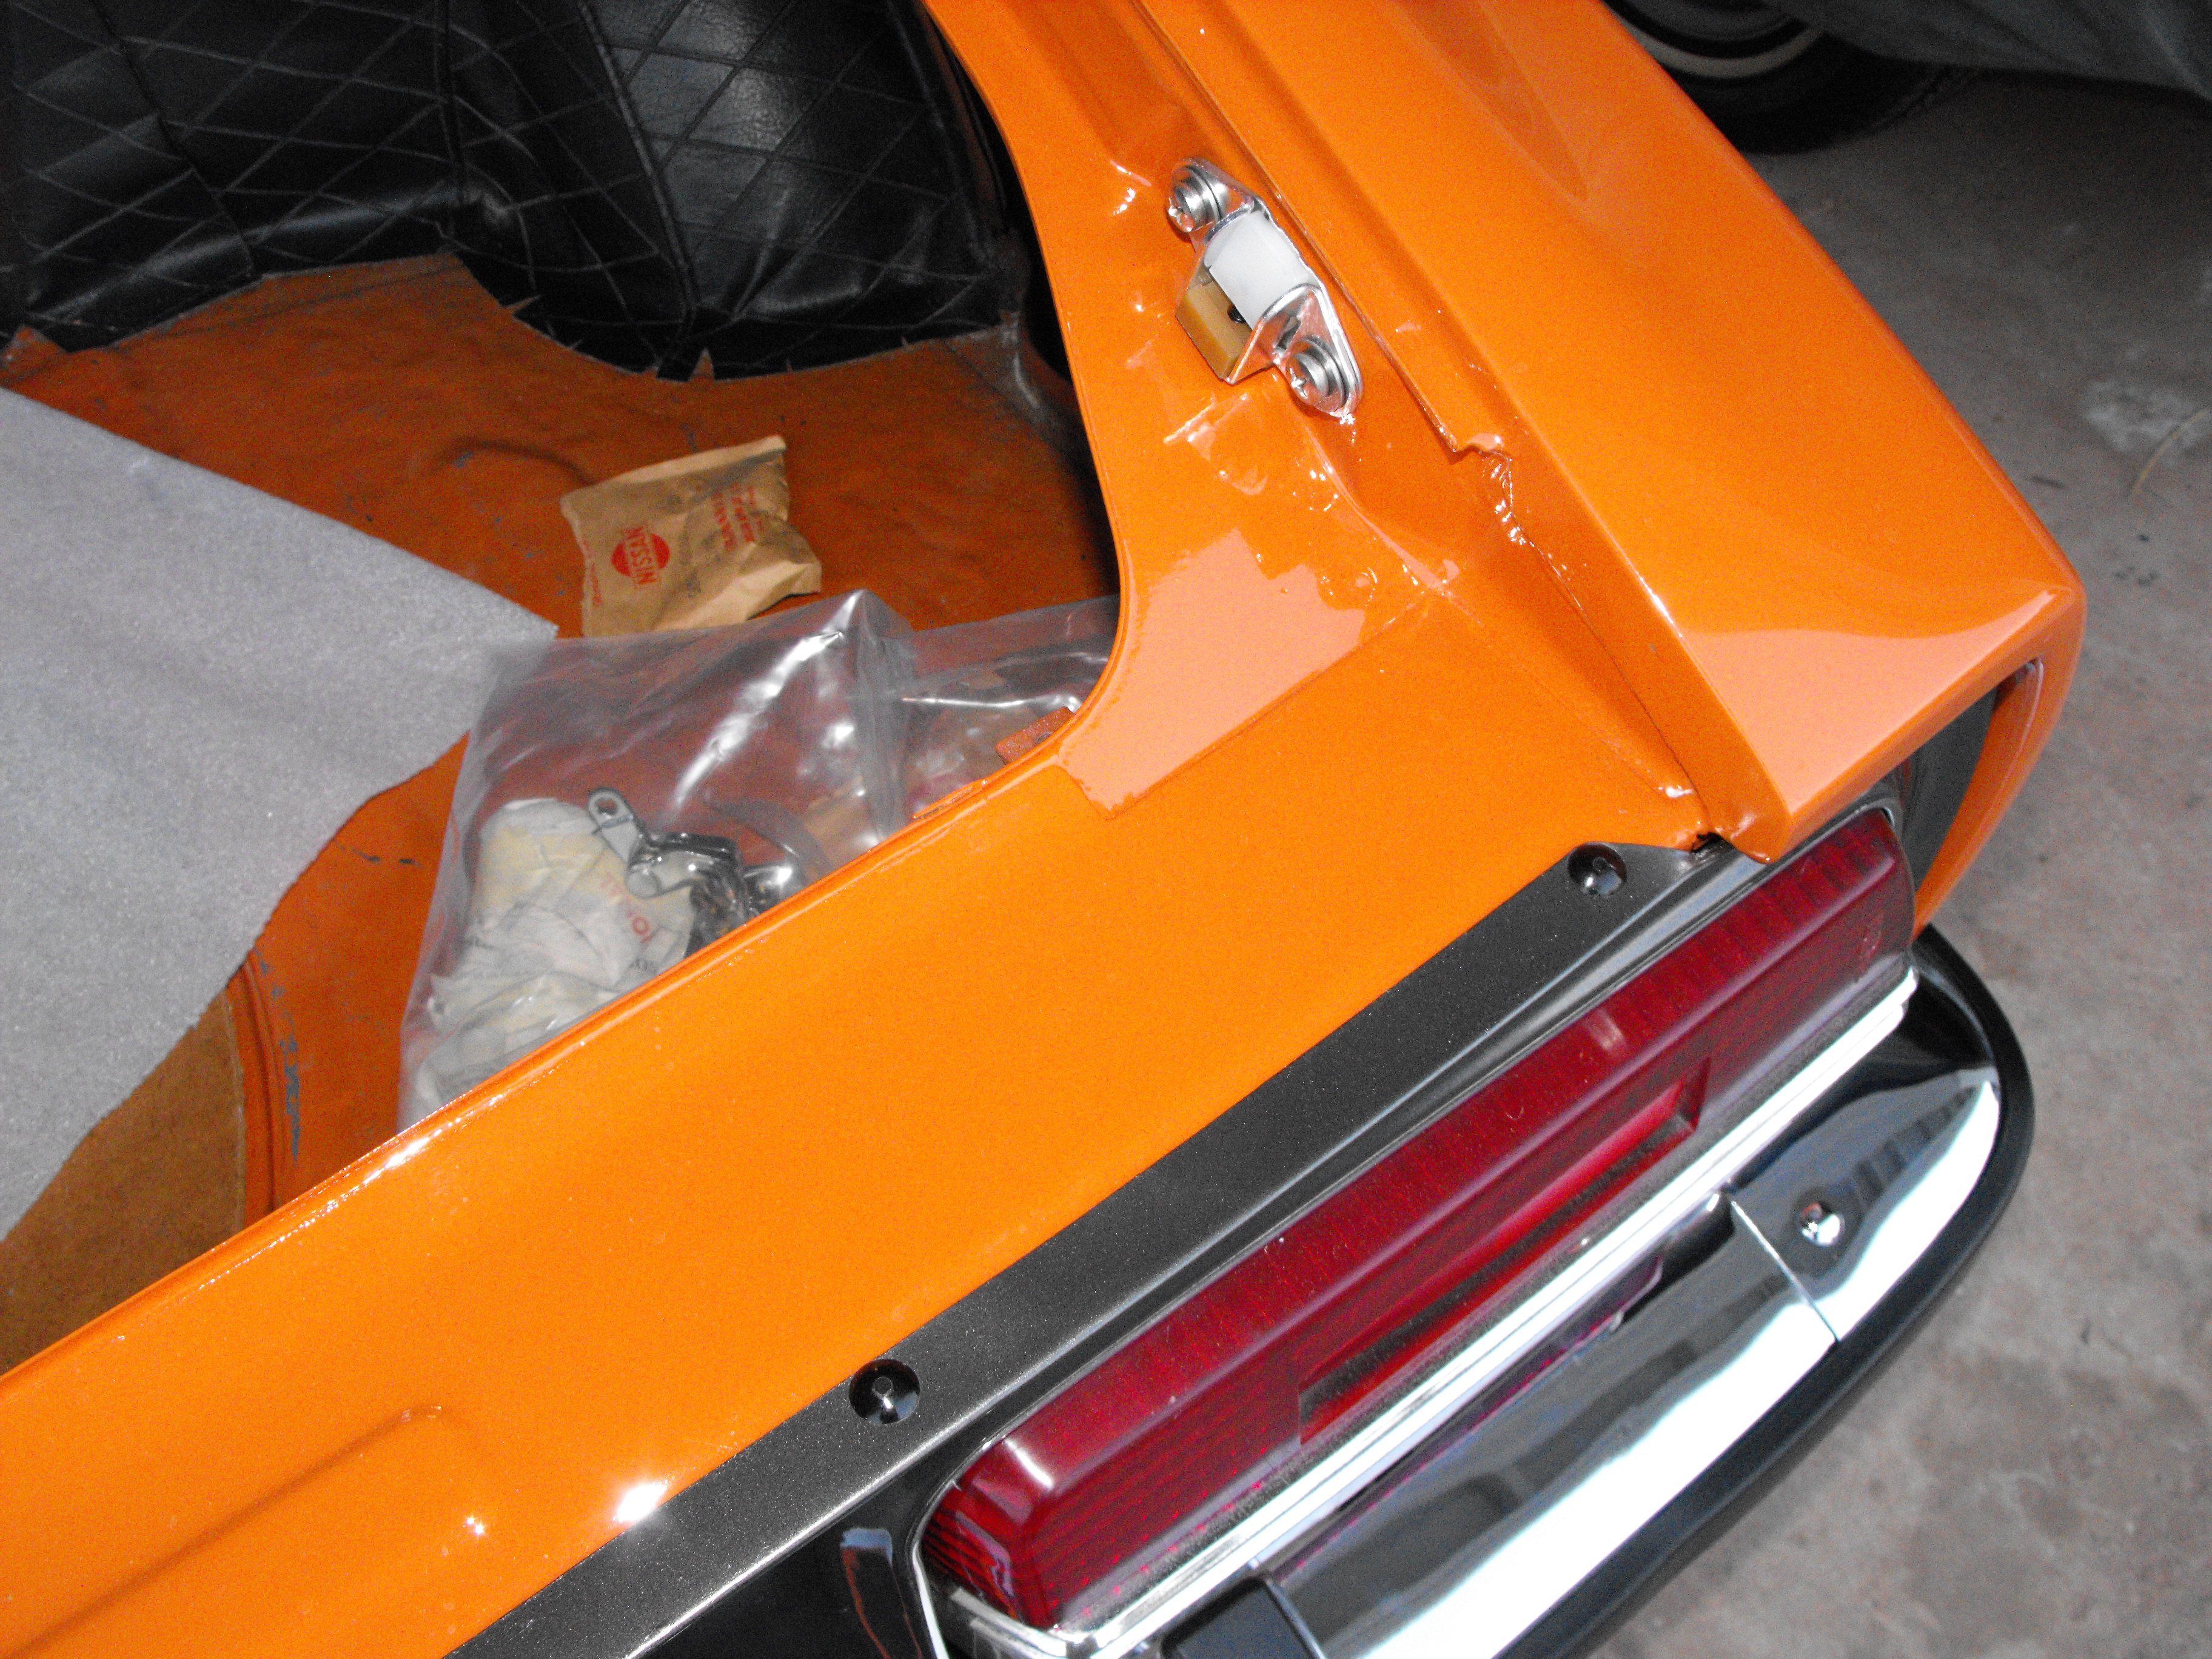
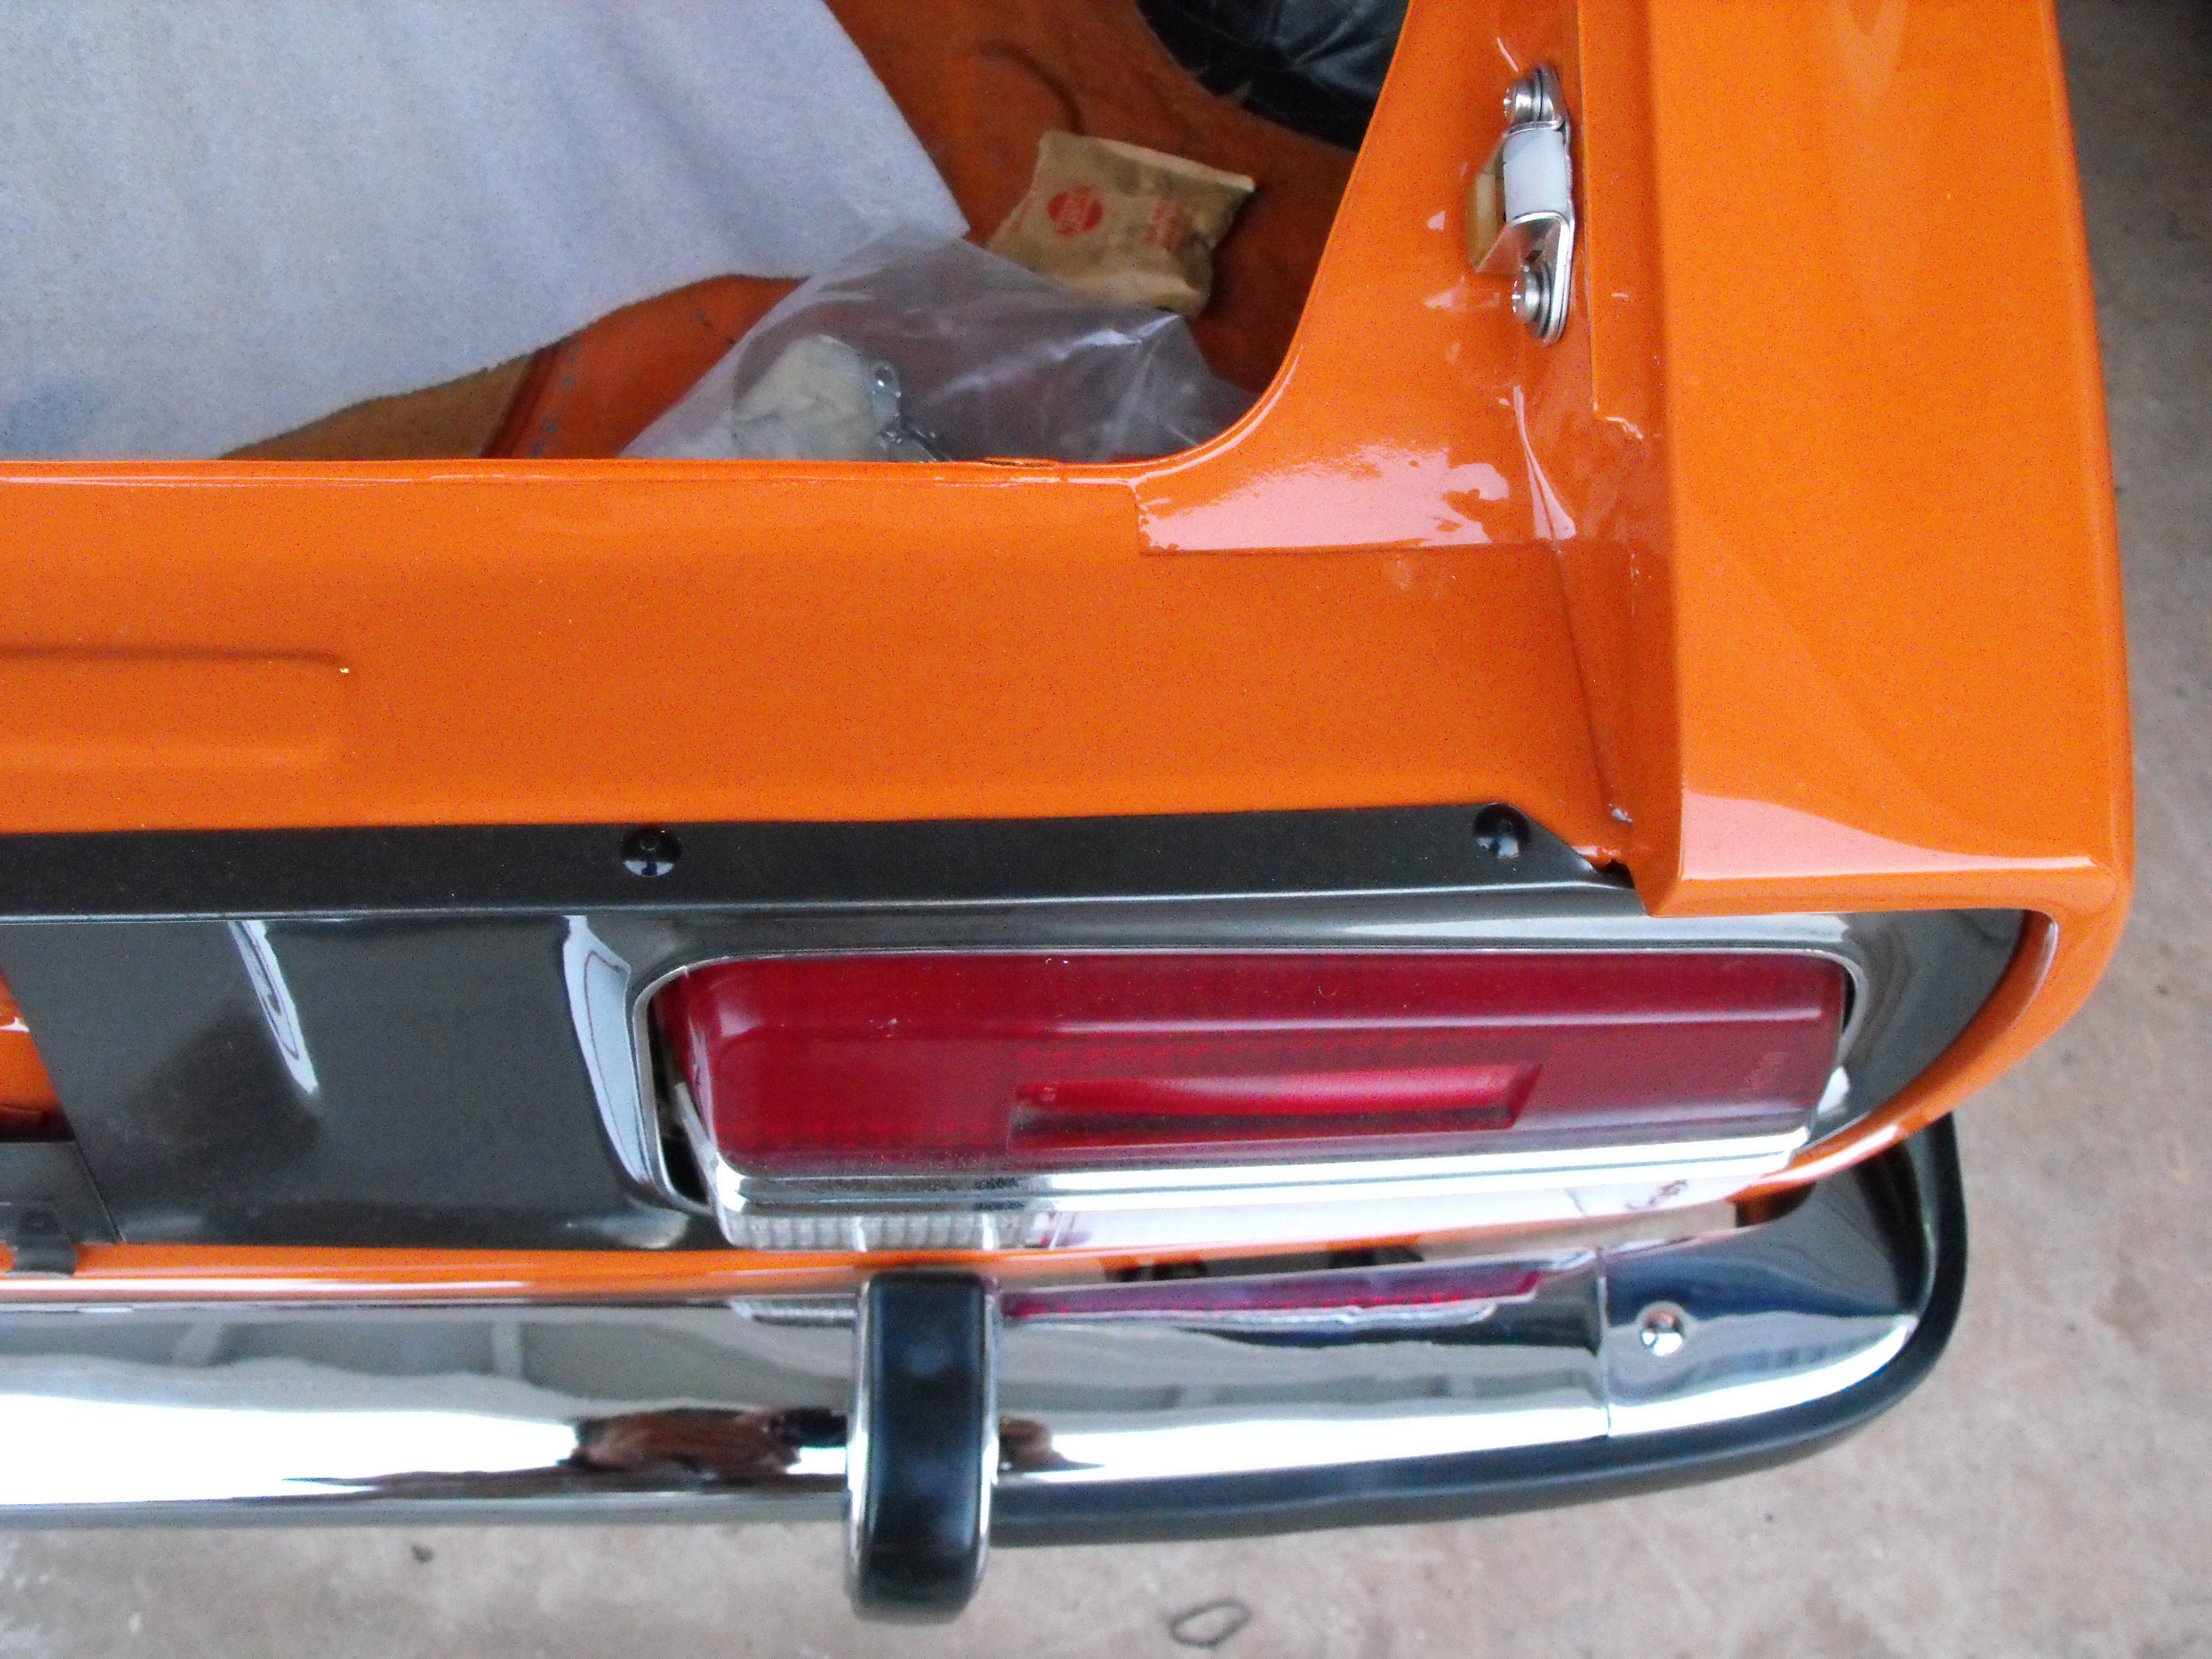
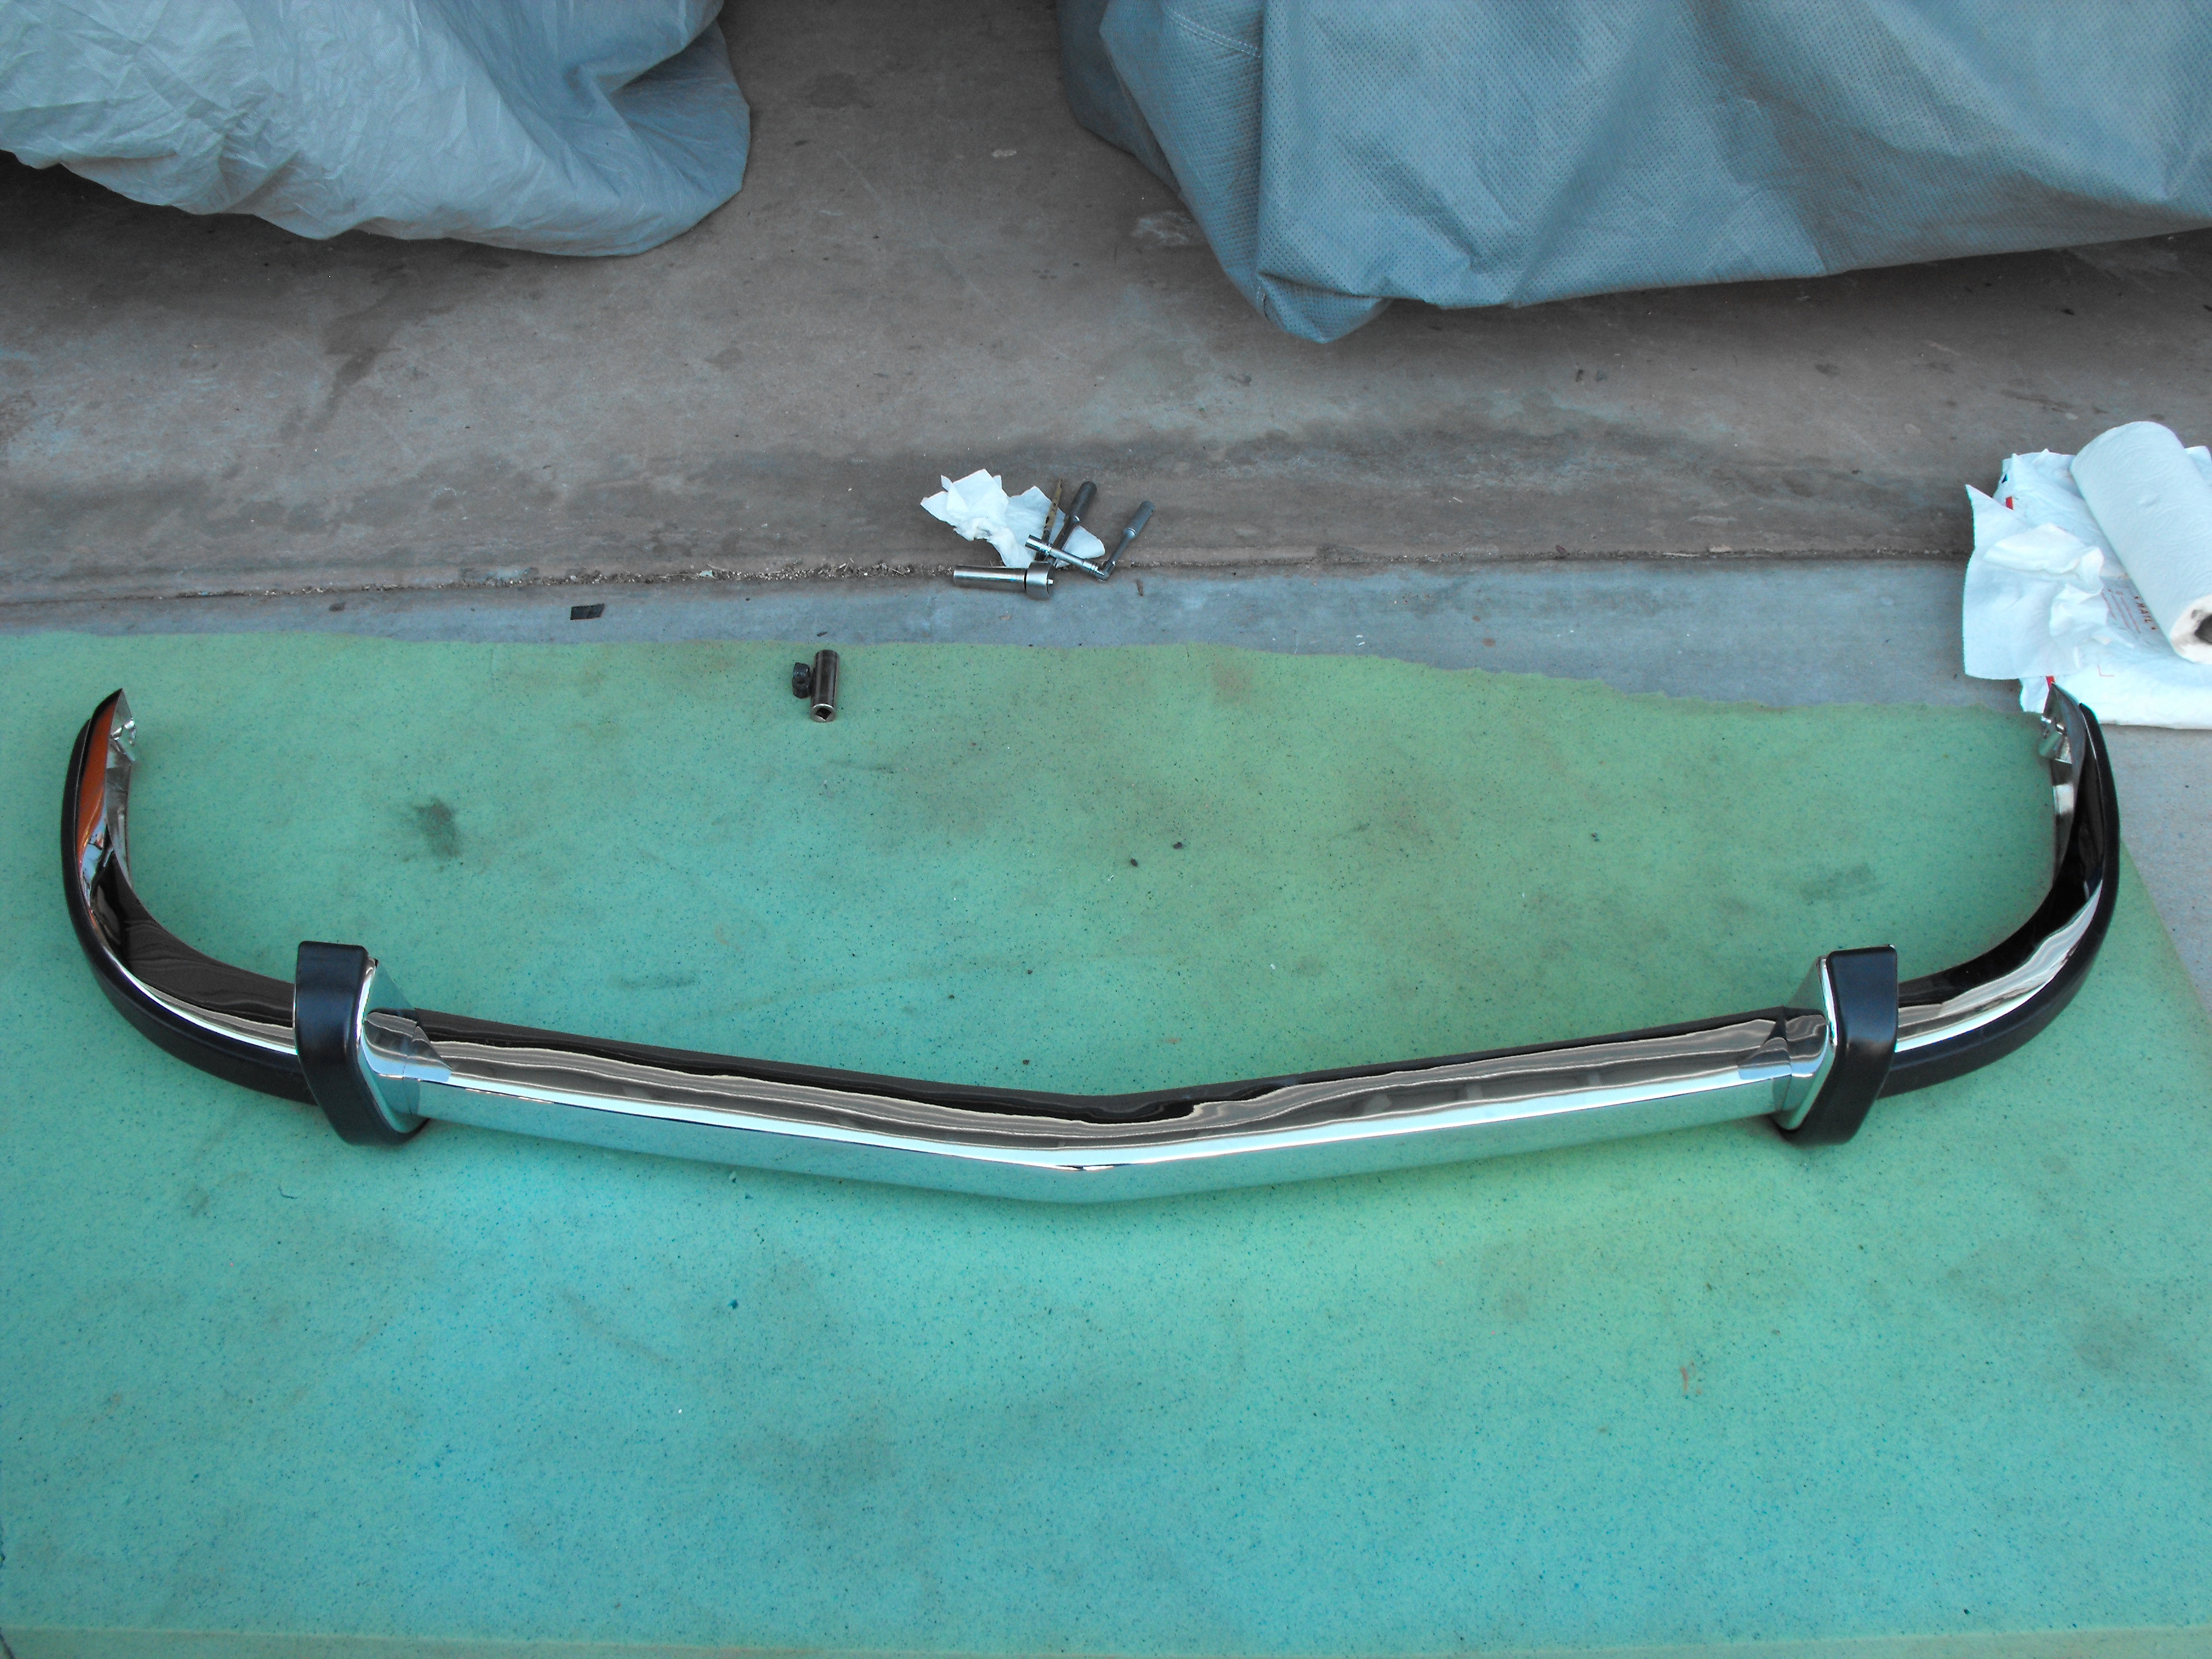
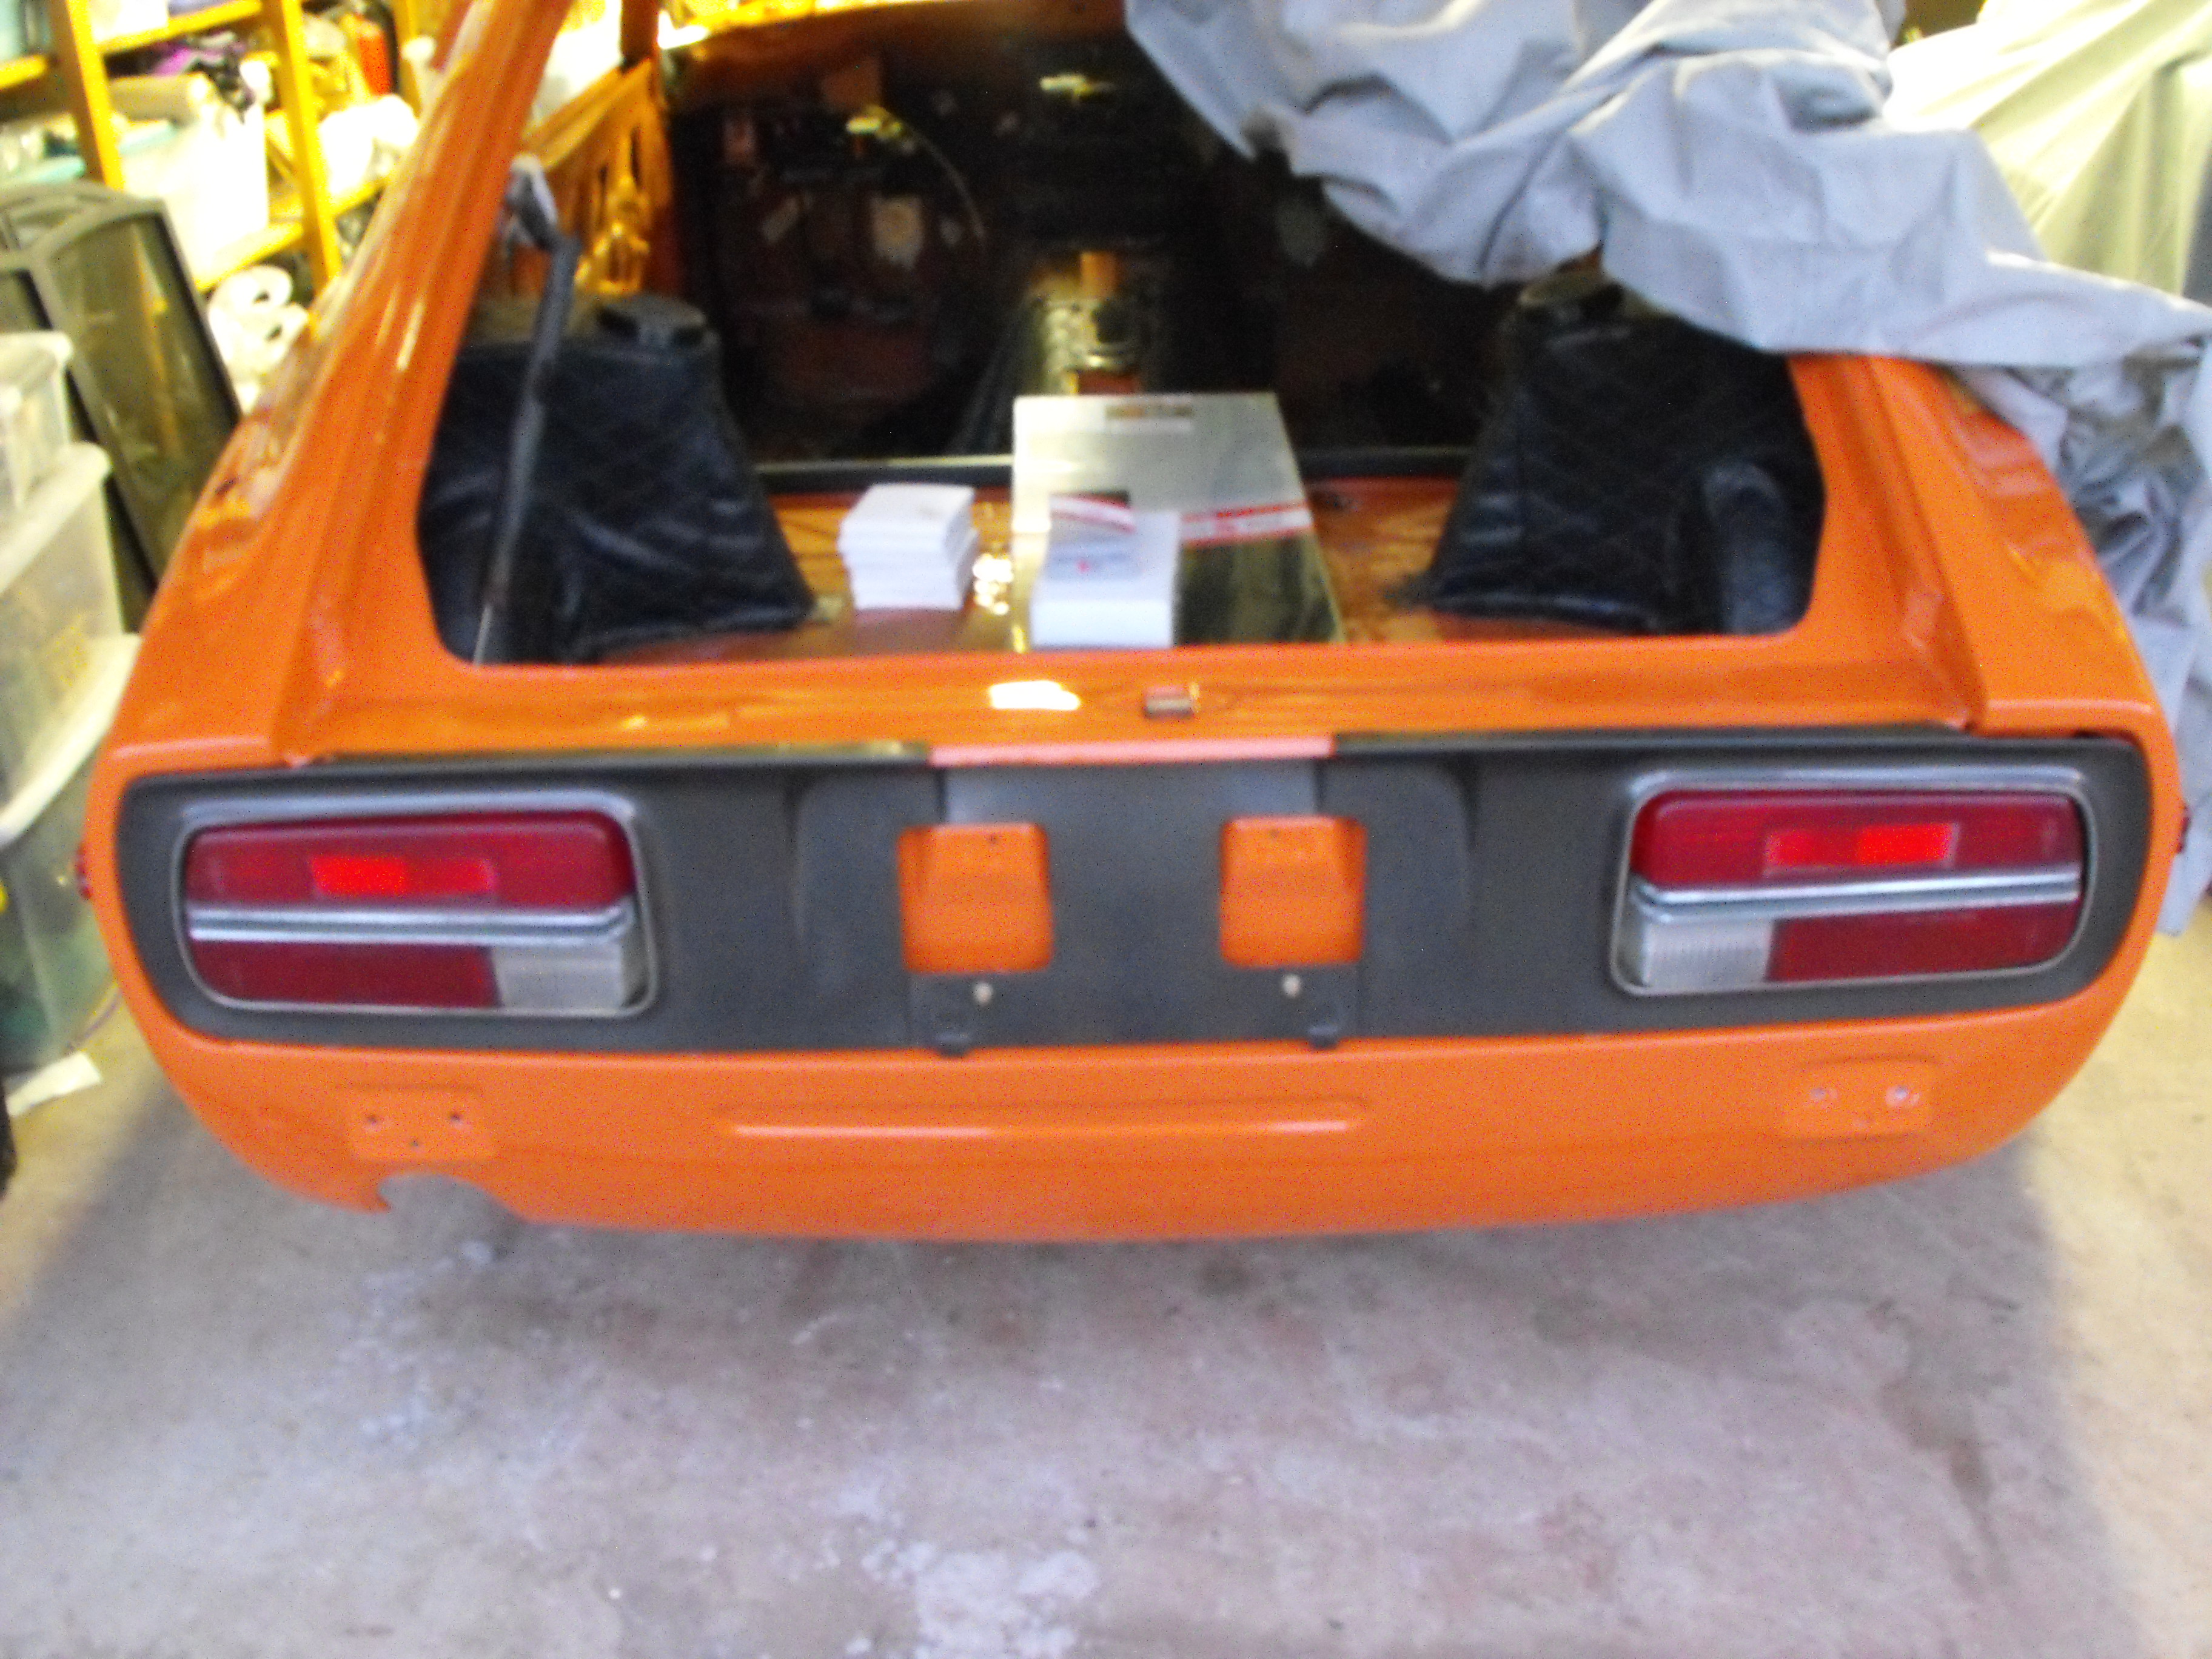
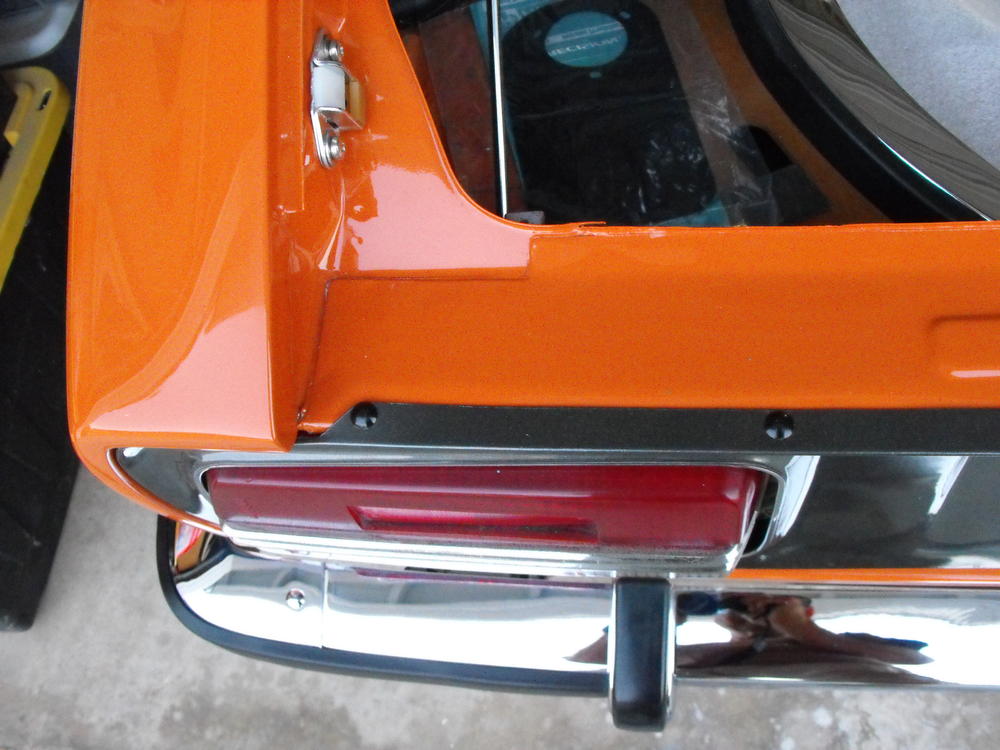
Took a short break to visit my mom up in Idaho. That is always nice since mom always spoils me with great food. She is almost 79 and still cuts her own wood with a chainsaw. Pretty impressive. Now back to the task at hand, and the fun part, assembling the car. I had just a little time so I put the rear bumper on the car. Pics are below.


-
I did not take out the plastic for the door hardware. The only concern there would be the part that goes through the center of the plastic. It seemed to plate well enough. The acids won't effect the plastic or rubber. It will just not plate where the rubber is in direct contact with the metal
-
Yes, that is the primer that is under the paint. I will touch that up with orange paint before I put the fenders on.
-
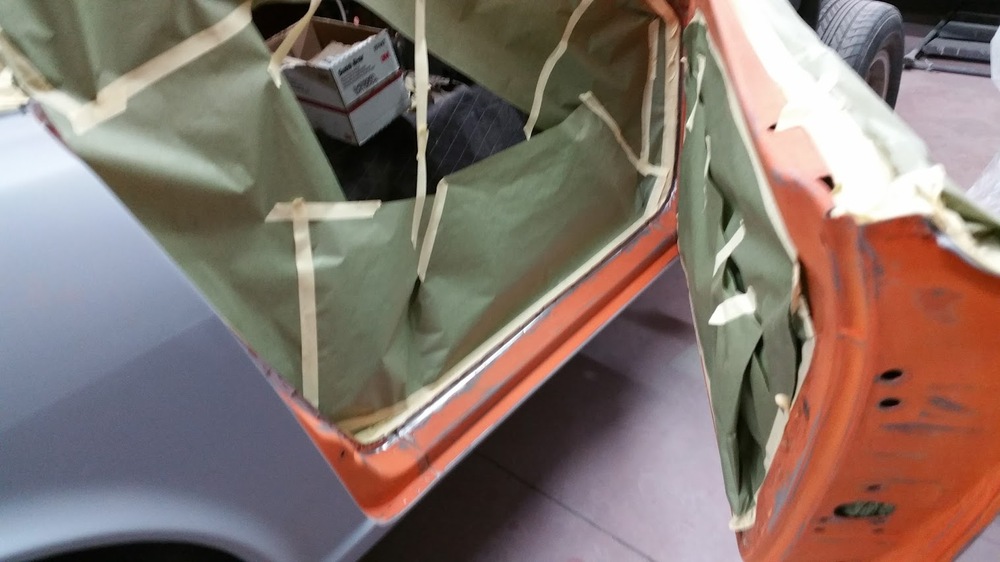
Door jams, hatch area, and engine bay first. Best when car is mostly disassembled. This is what my paint shop did. Pics on this link near bottom of page 7
-
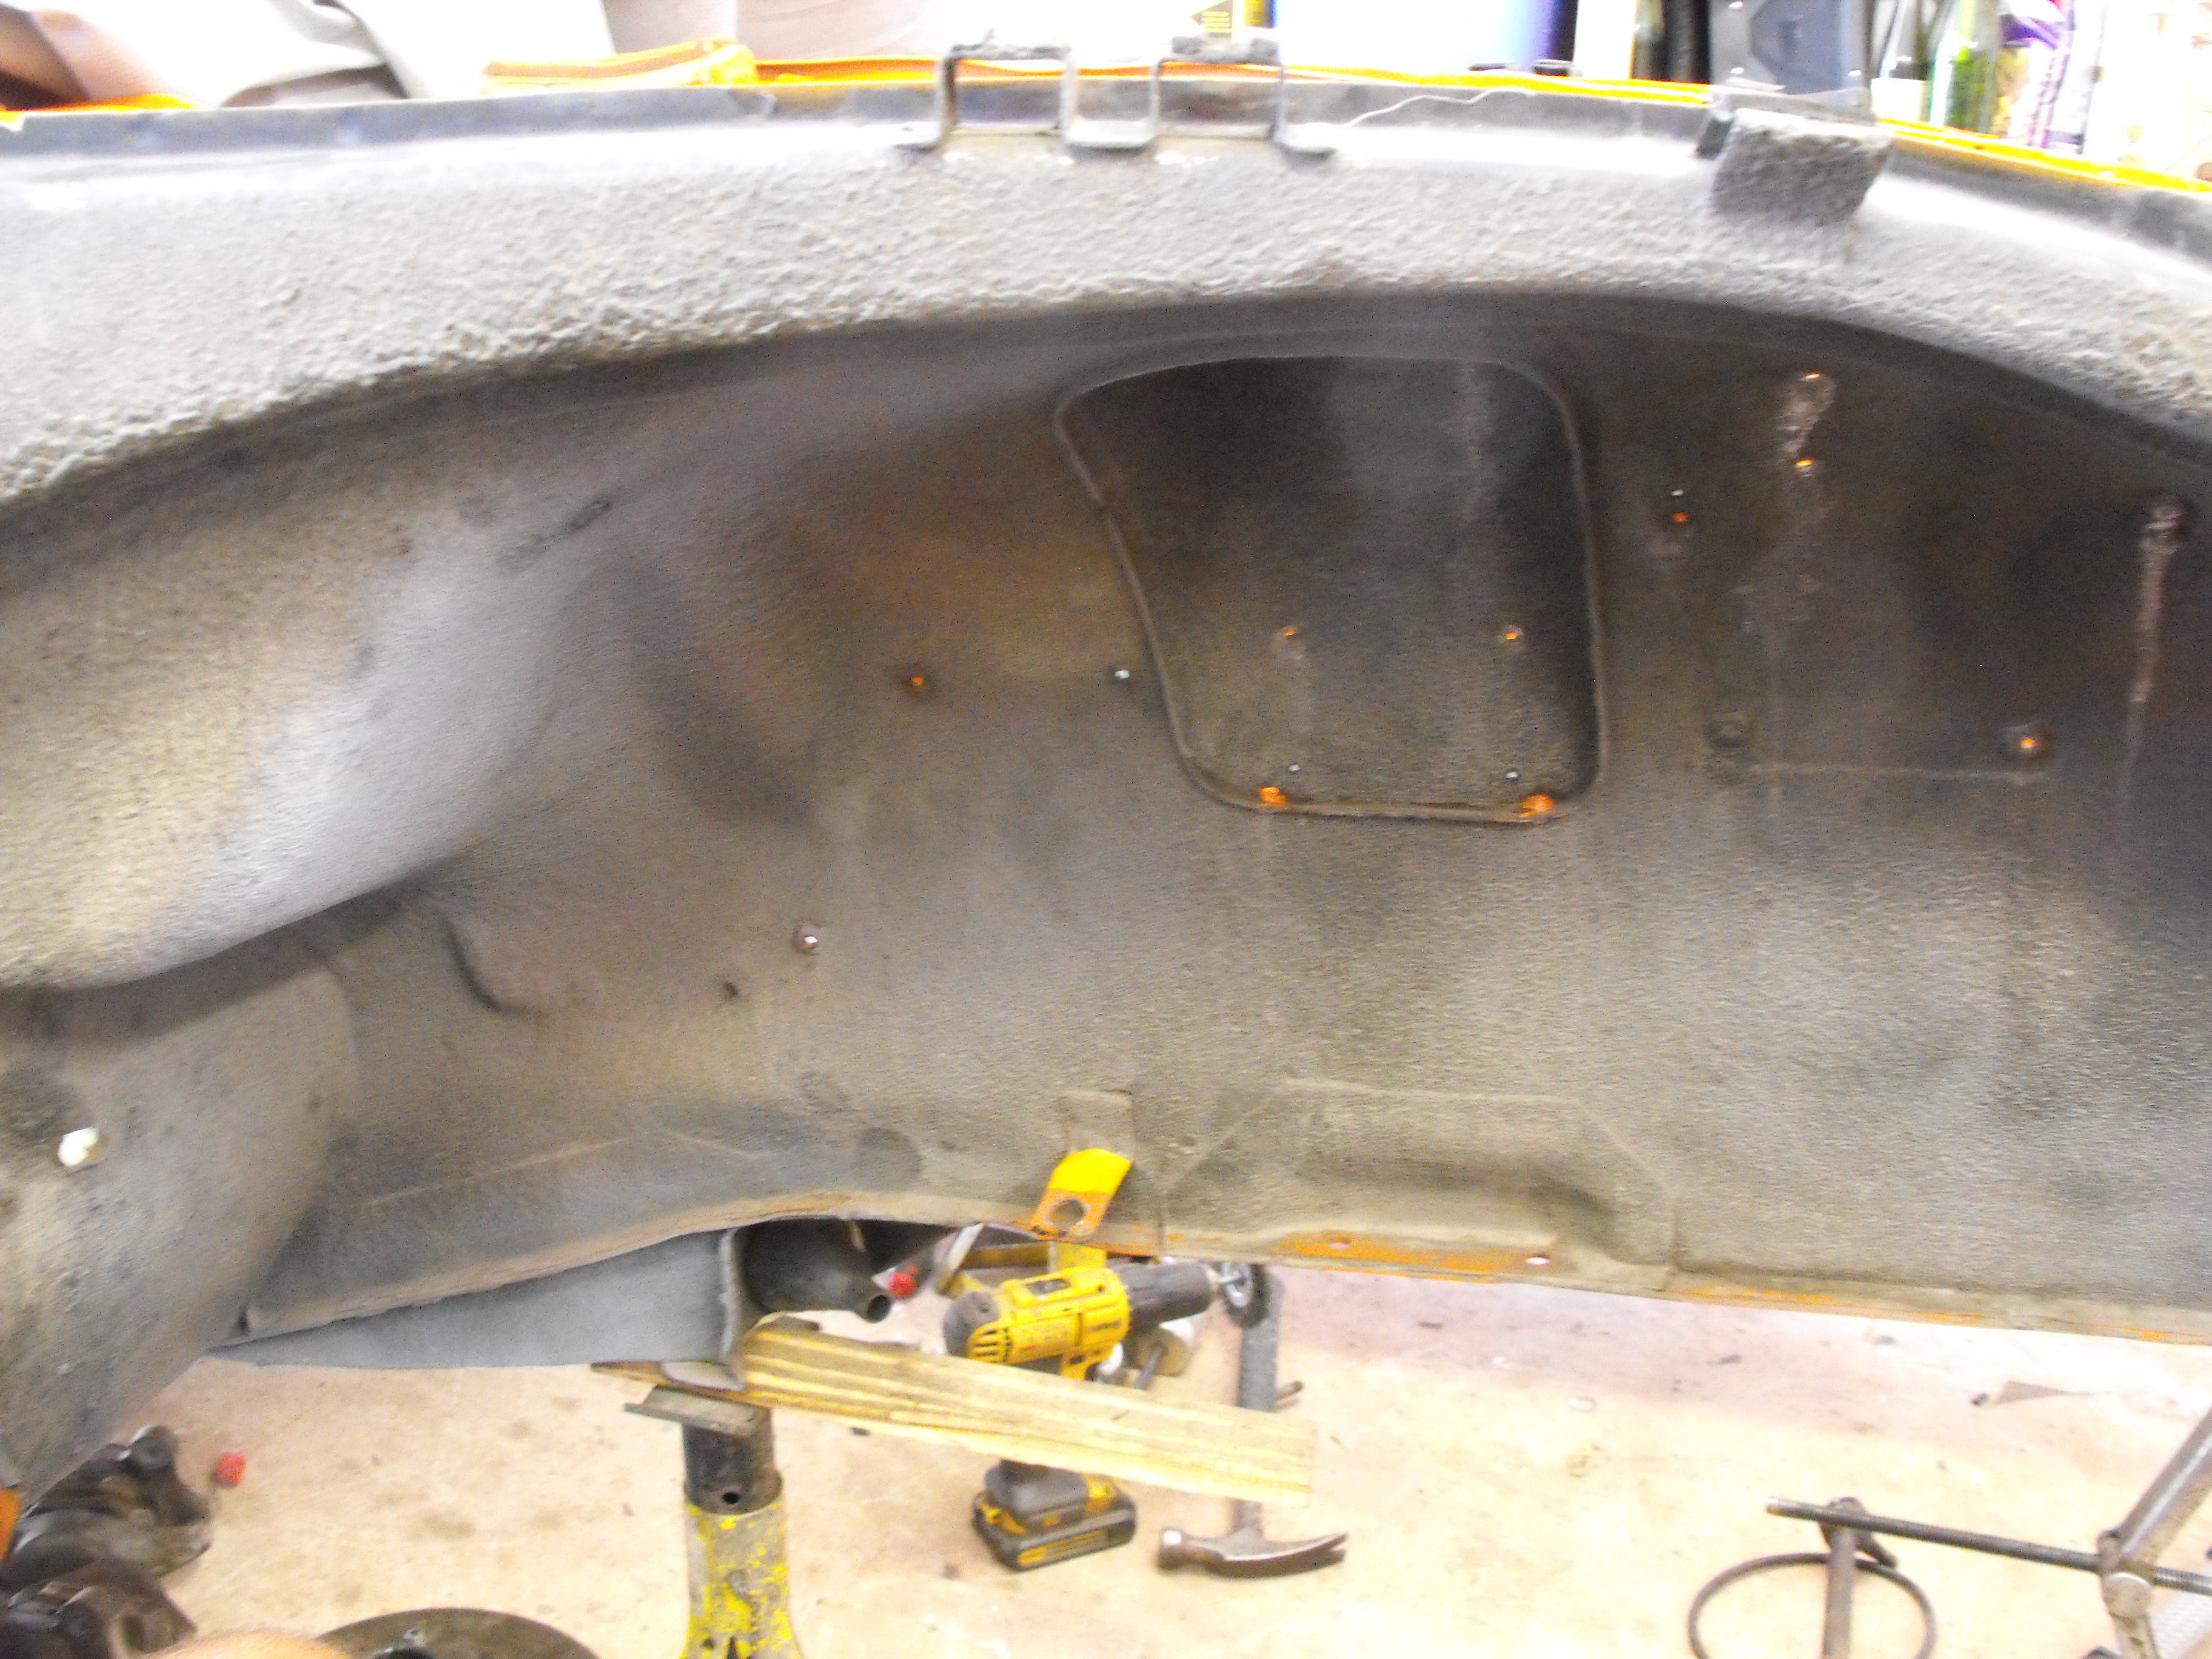
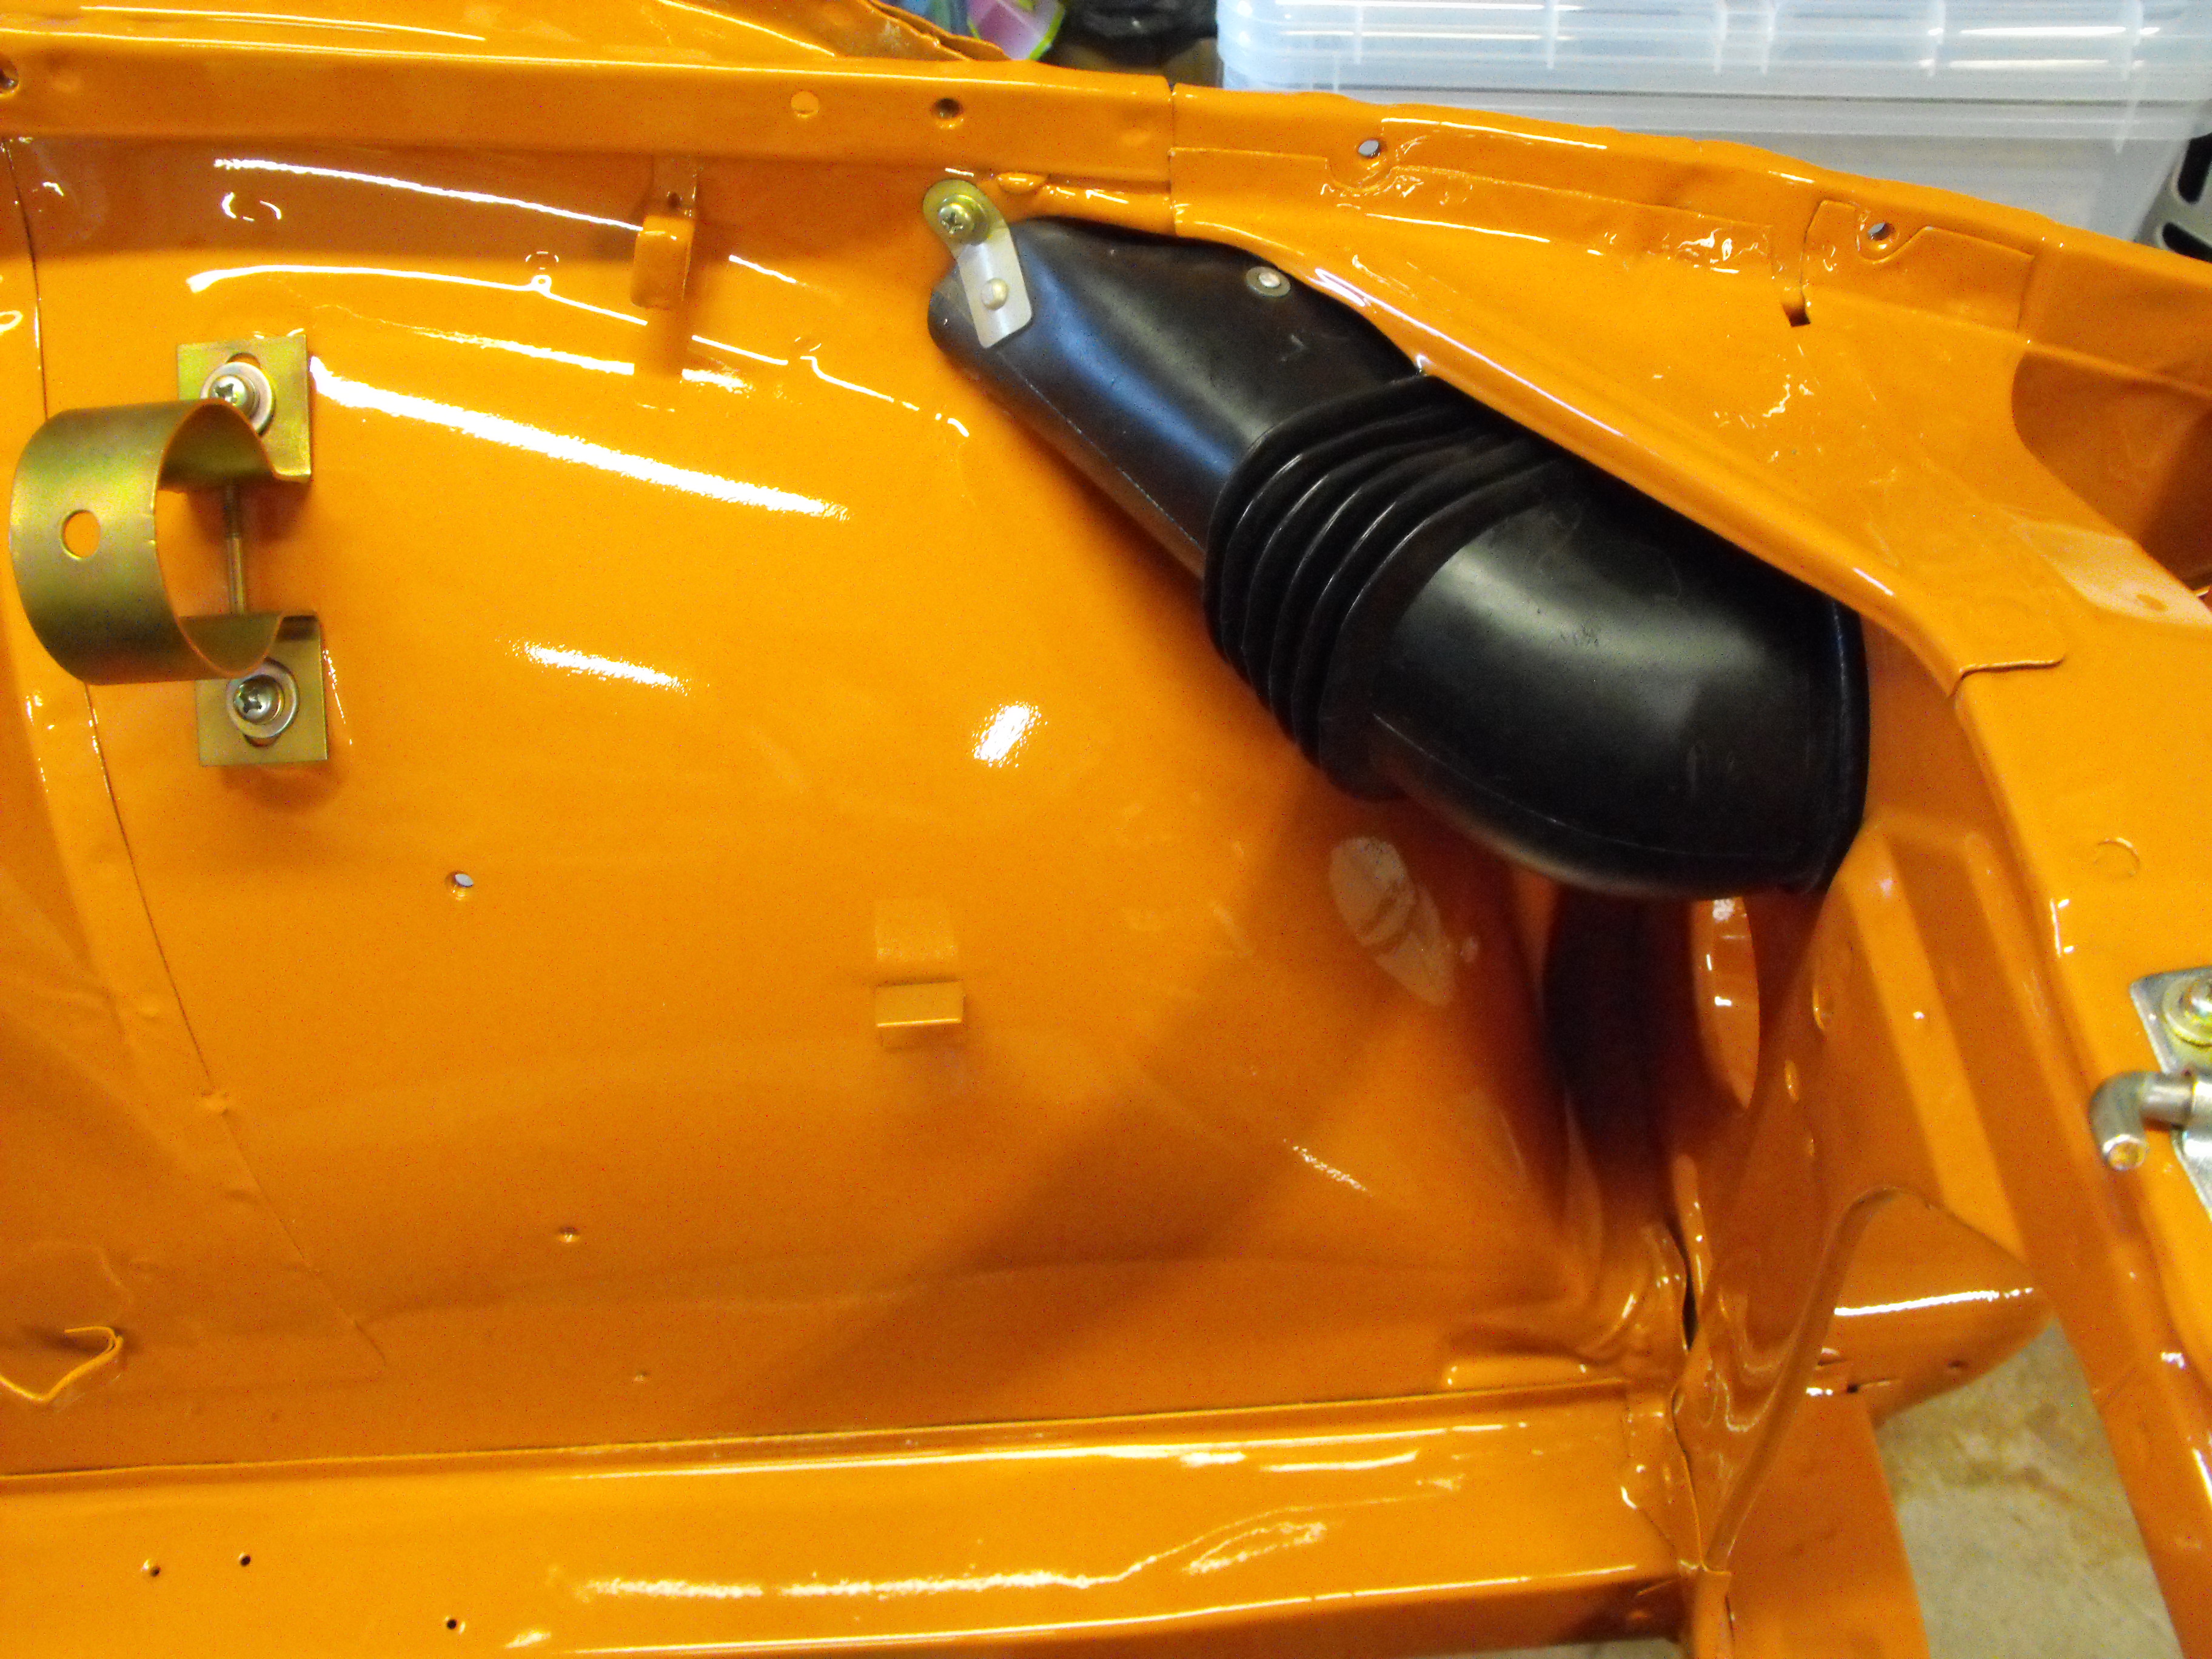
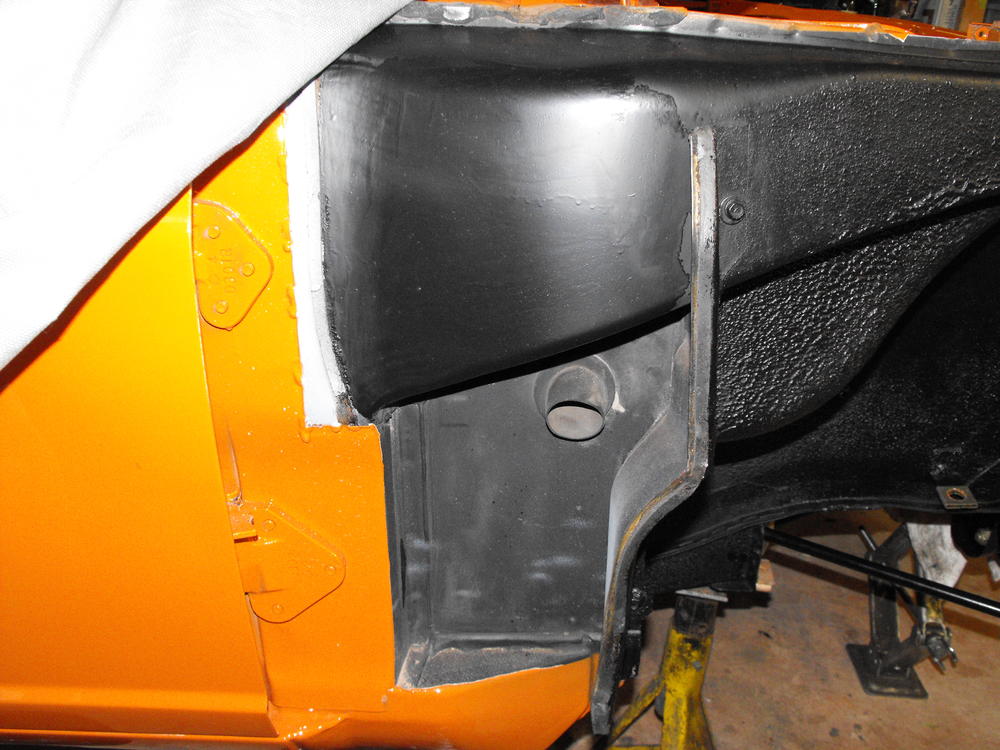
Hi Charles, Here are the pics of the right and left cowl drains.

-
You piqued my curiosity, so I had to dig up the reference.....here it is on the link below. This is the statement from page 9 of the NASA study. (In spite of this, I still prefer to use them) "The lockwasher serves as a spring while the bolt is being tightened. However, the washer is normally flat by the time the bolt is fully torqued. At this time it is equivalent to a solid flat washer, and its locking ability is nonexistent. In summary, a Iockwasher of this type is useless for locking." https://ntrs.nasa.gov/archive/nasa/casi.ntrs.nasa.gov/19900009424.pdf
-
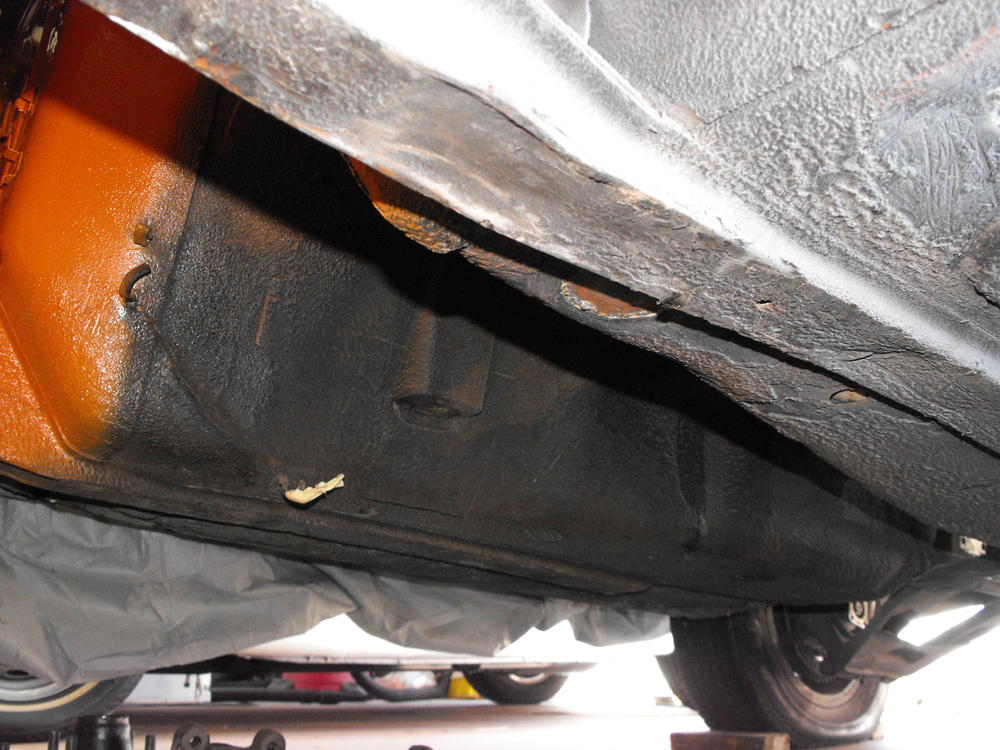
Aaahhh, now I know what you are referring to (I think...the grayish stuff on the black panel). No, that is closed cell foam. This provides the seal between the 'vertical' panel and the fender and goes down the length of the panel. I also use it on the two mounting platforms that are on the top section (Where the air duct is) that provide fender support.
-
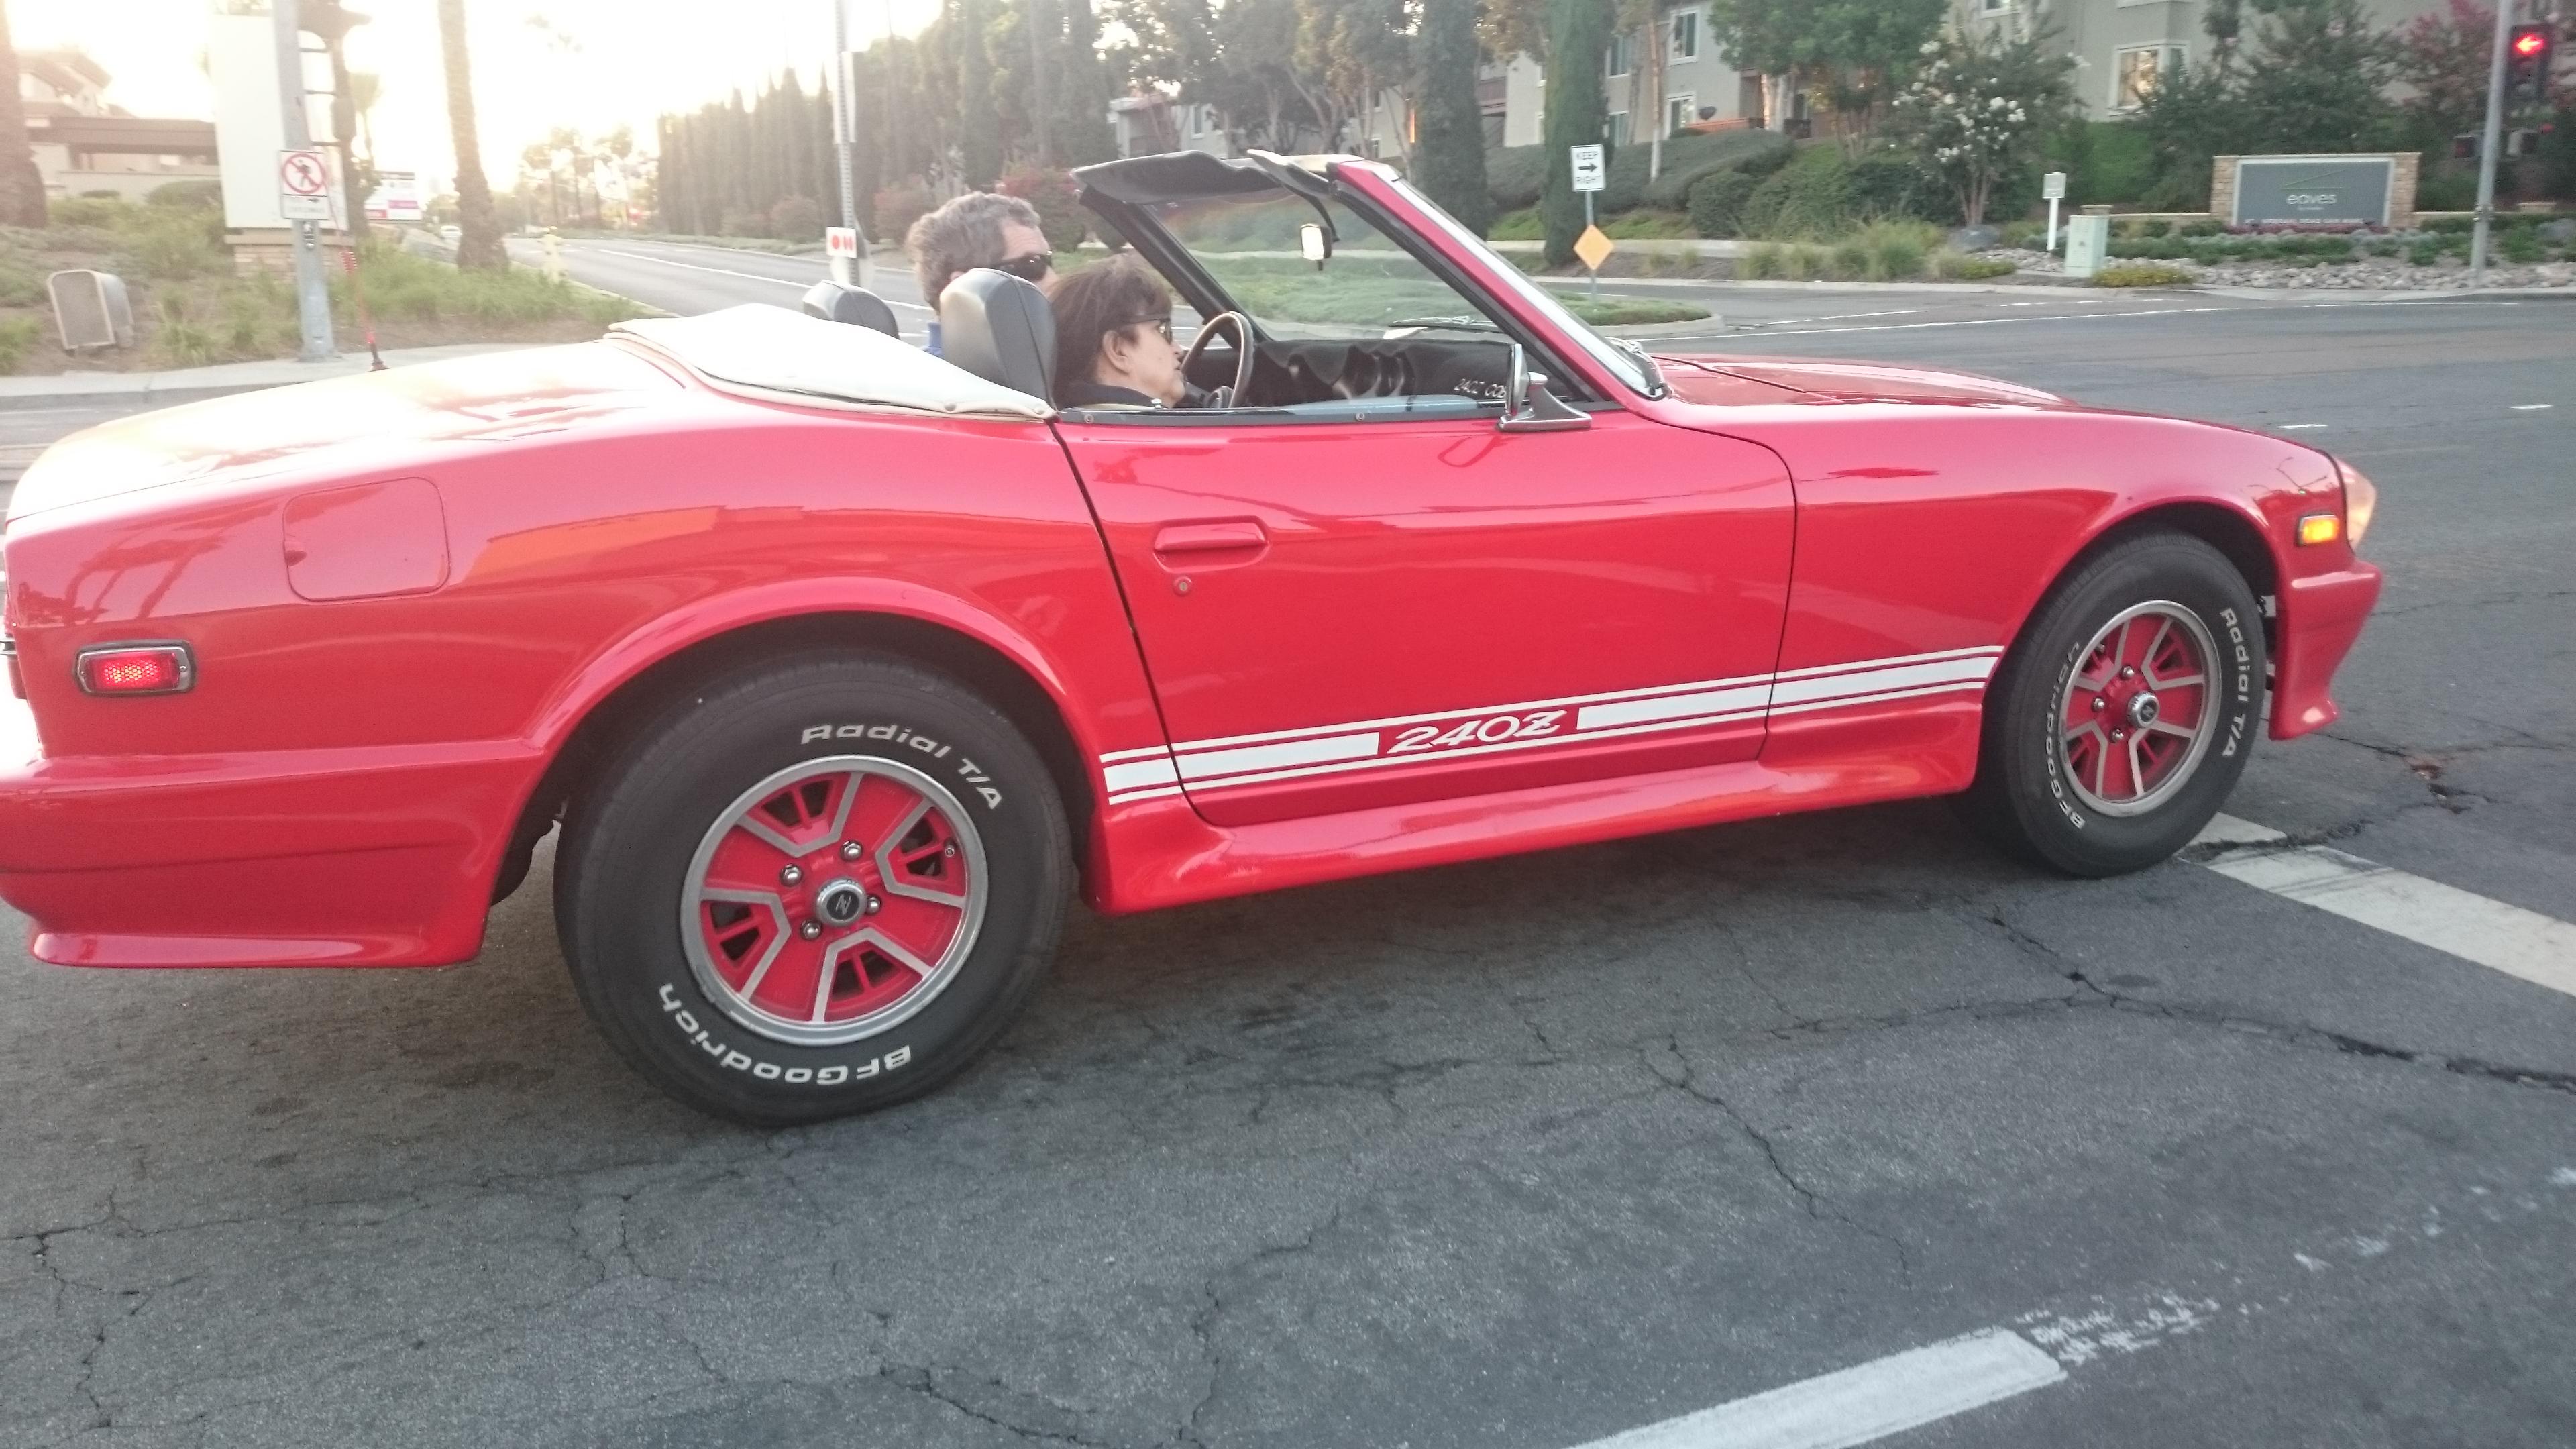
I pulled up next to this 1972 240Z last Saturday. This is probably one of the best looking convertible Z's I have seen. Most look pretty bad. This one at least is reasonable. Anyway, just had to take a pic before the light changed. I would like to see what the undercarriage support looks like.

-
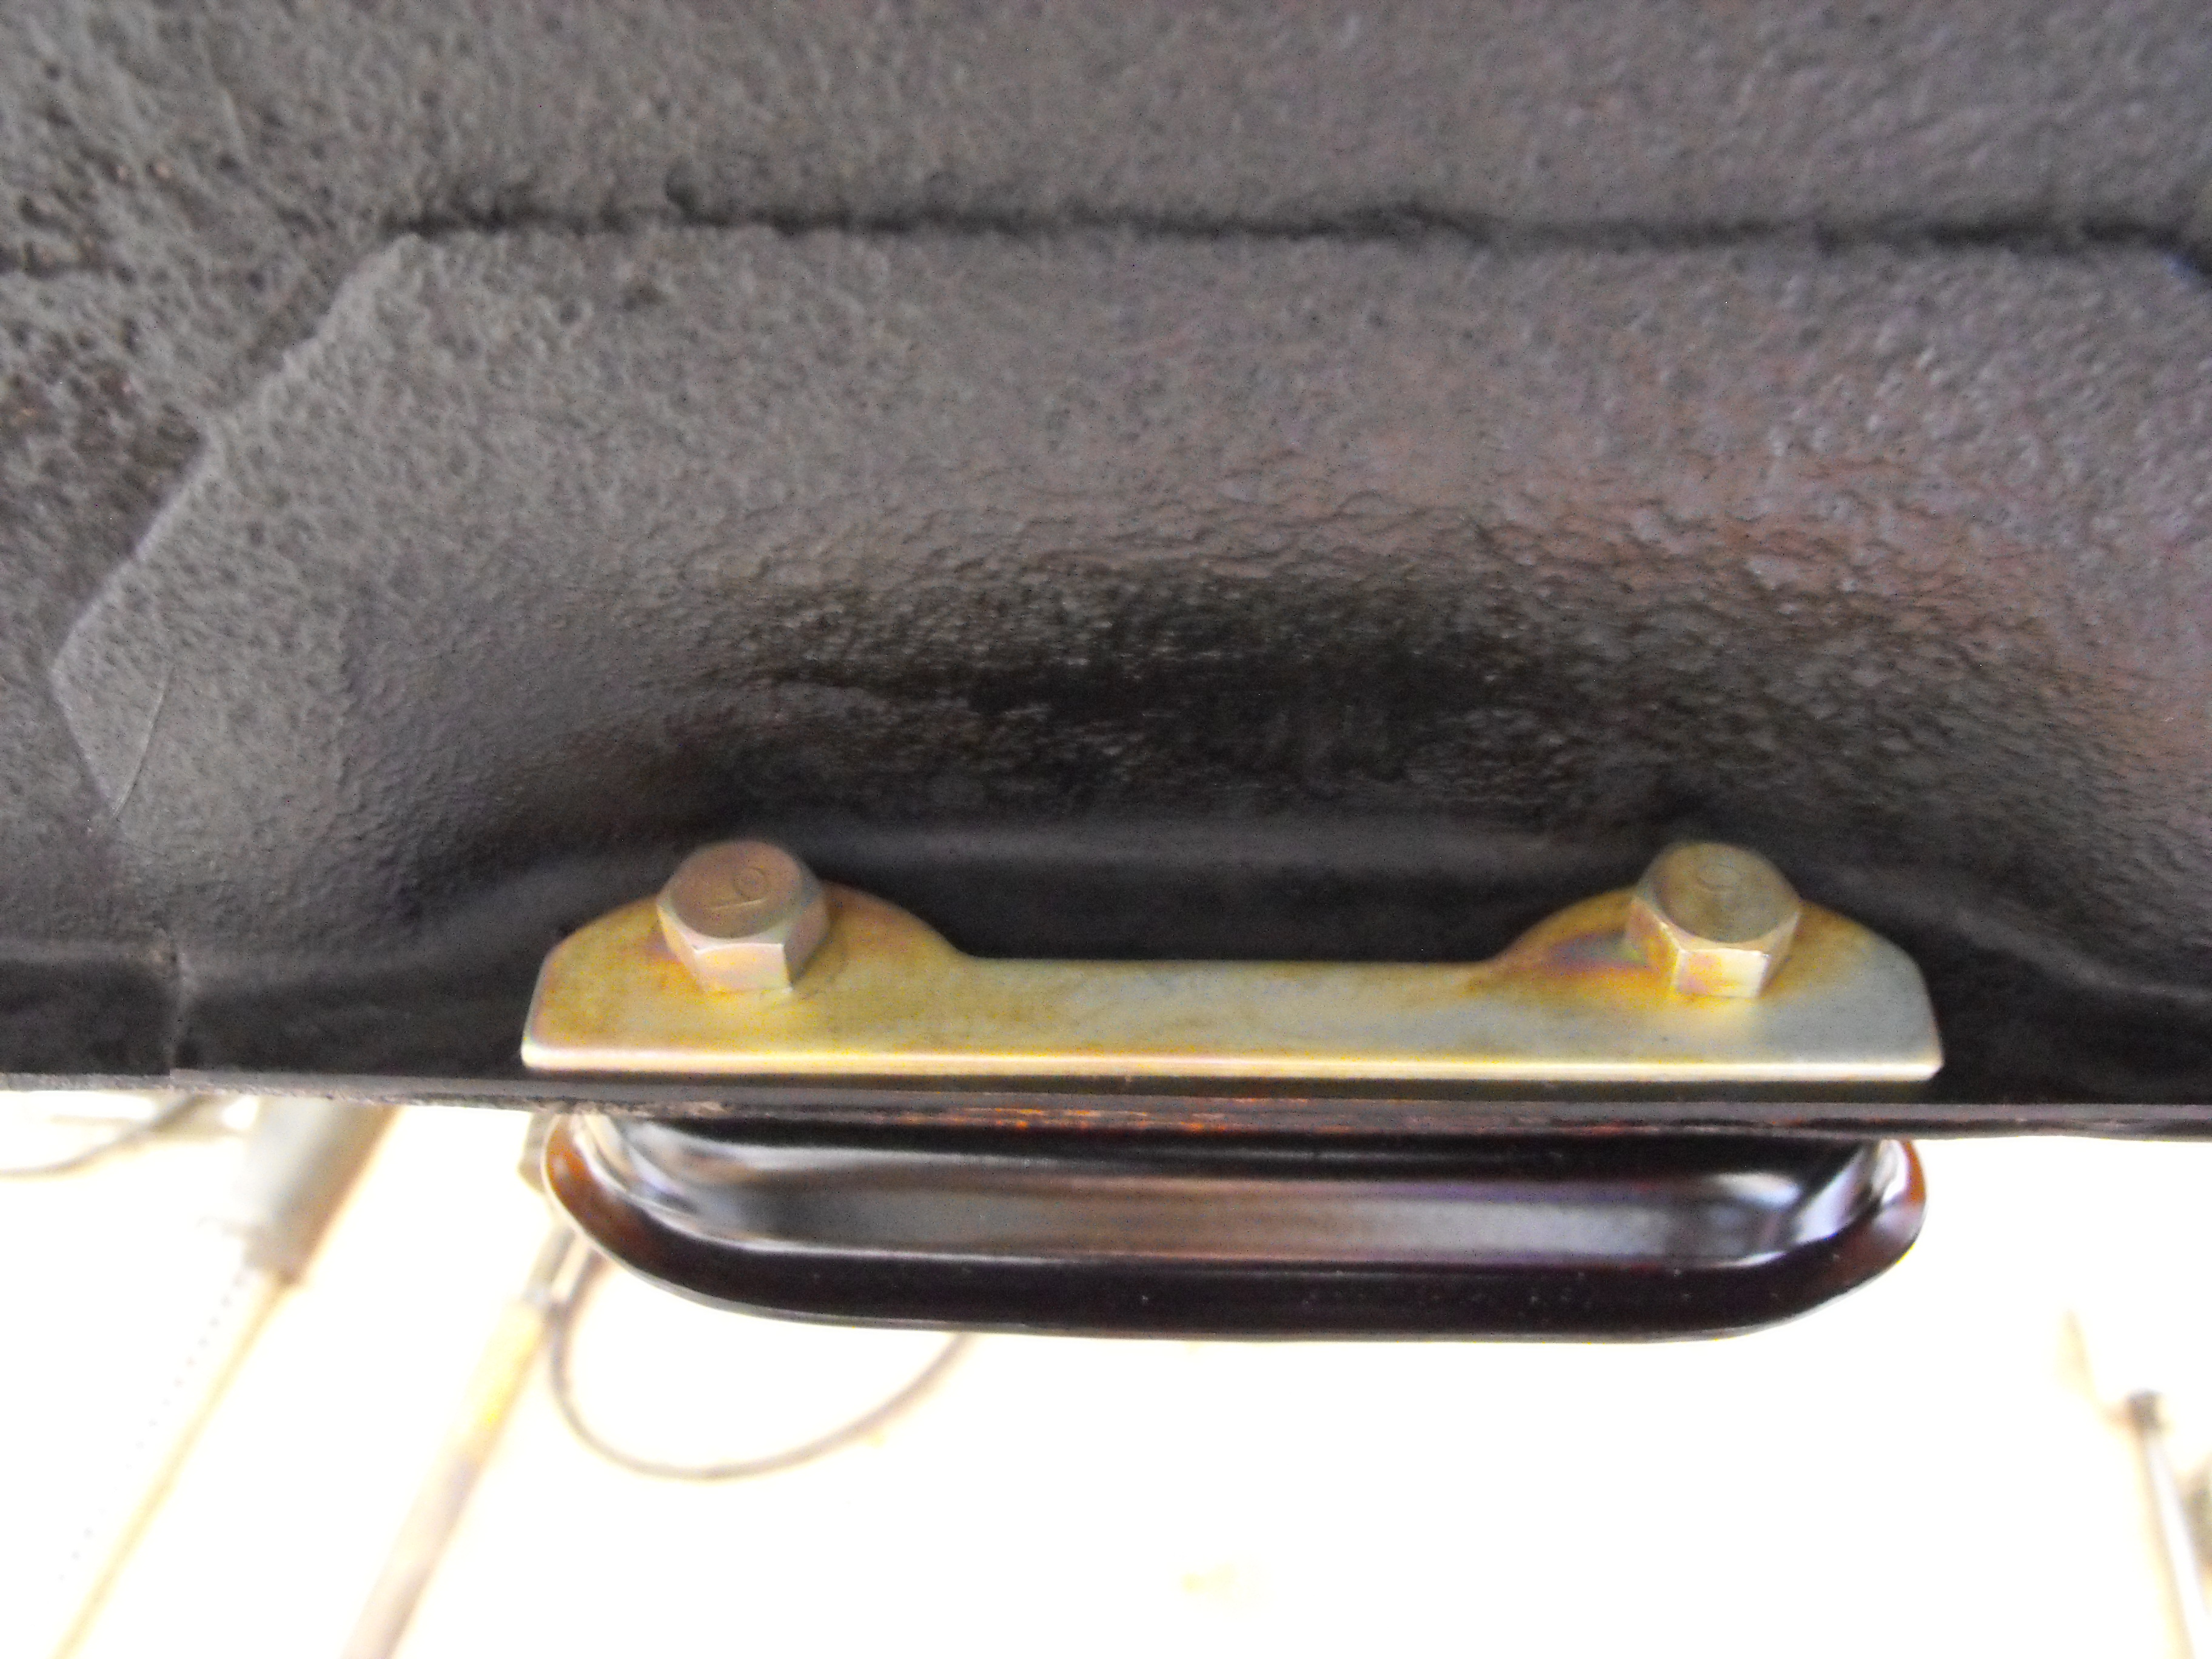
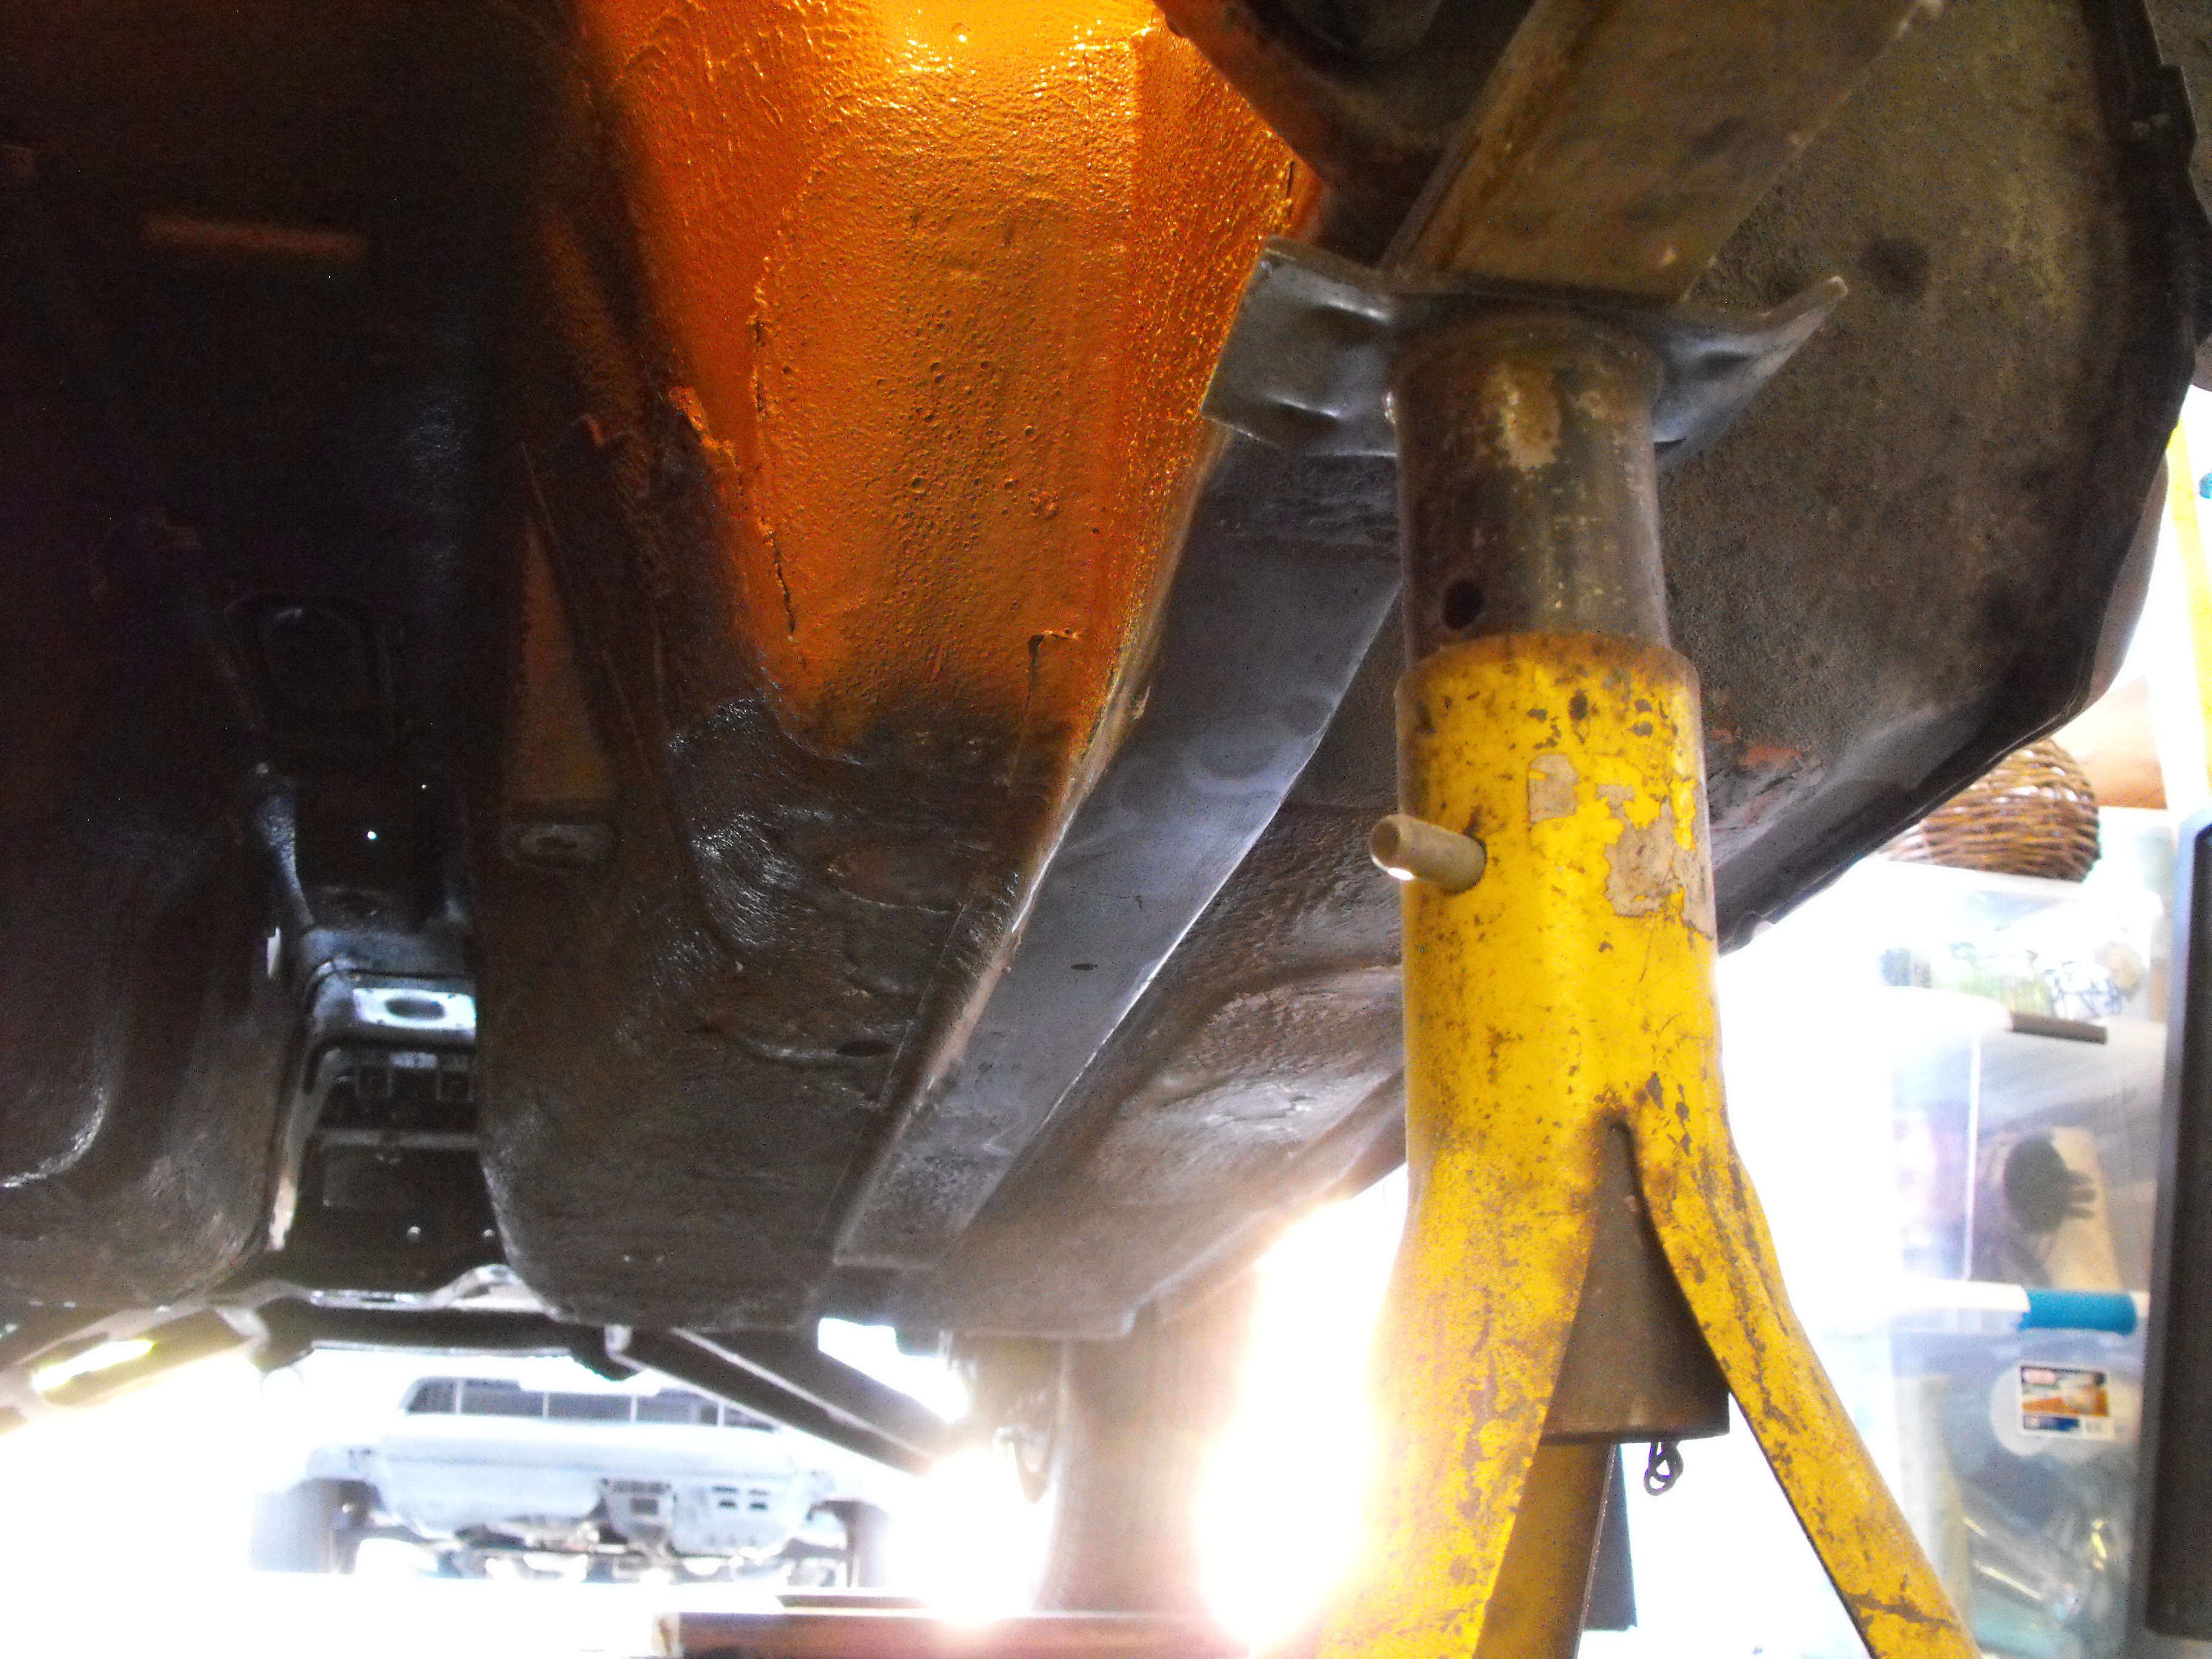
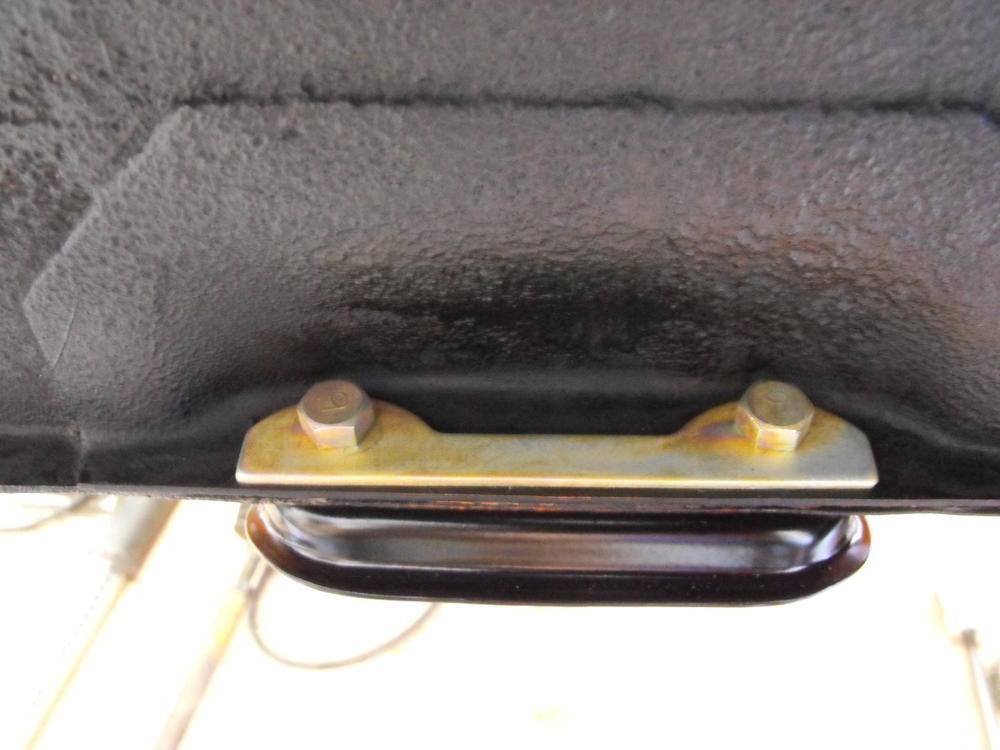
I will take a picture of that tonight and post it here. I think the area has turned out very nice and is well protected, better than stock. The POR-15 is pretty solid when it comes to metal protection. Not sure what dum dum is. Is that spell check? Yes, the cross-member bolts that hold the steering mechanism has lock nuts. I guess it would be redundant to have a lock washer with a lock nut. A regular washer could go in that location. Personally, I think any nut or bolt that need to be tightened/torqued, should have a washer under it. For the bolts with nuts, I will hold the bolt still with an end wrench and torque the nut which has the washer under it. The washer provides a nice bearing surface and also prevent the hex shape from digging into the metal, creating a round circle under the nut. The split washers do dig into the surface but that area is under the washer so it is somewhat protected. Ideally, the optimal set-up would be a flat washer with a lock nut. On a side note, I seem to remember reading some NASA report that determined that split lock washers are ineffective in keeping nuts from un-screwing. In spite of the fact that they may not be effective, I still like using them. Probably more out of habit than anything else. Again, I think the bearing surface the washer provides is the more important item.
-
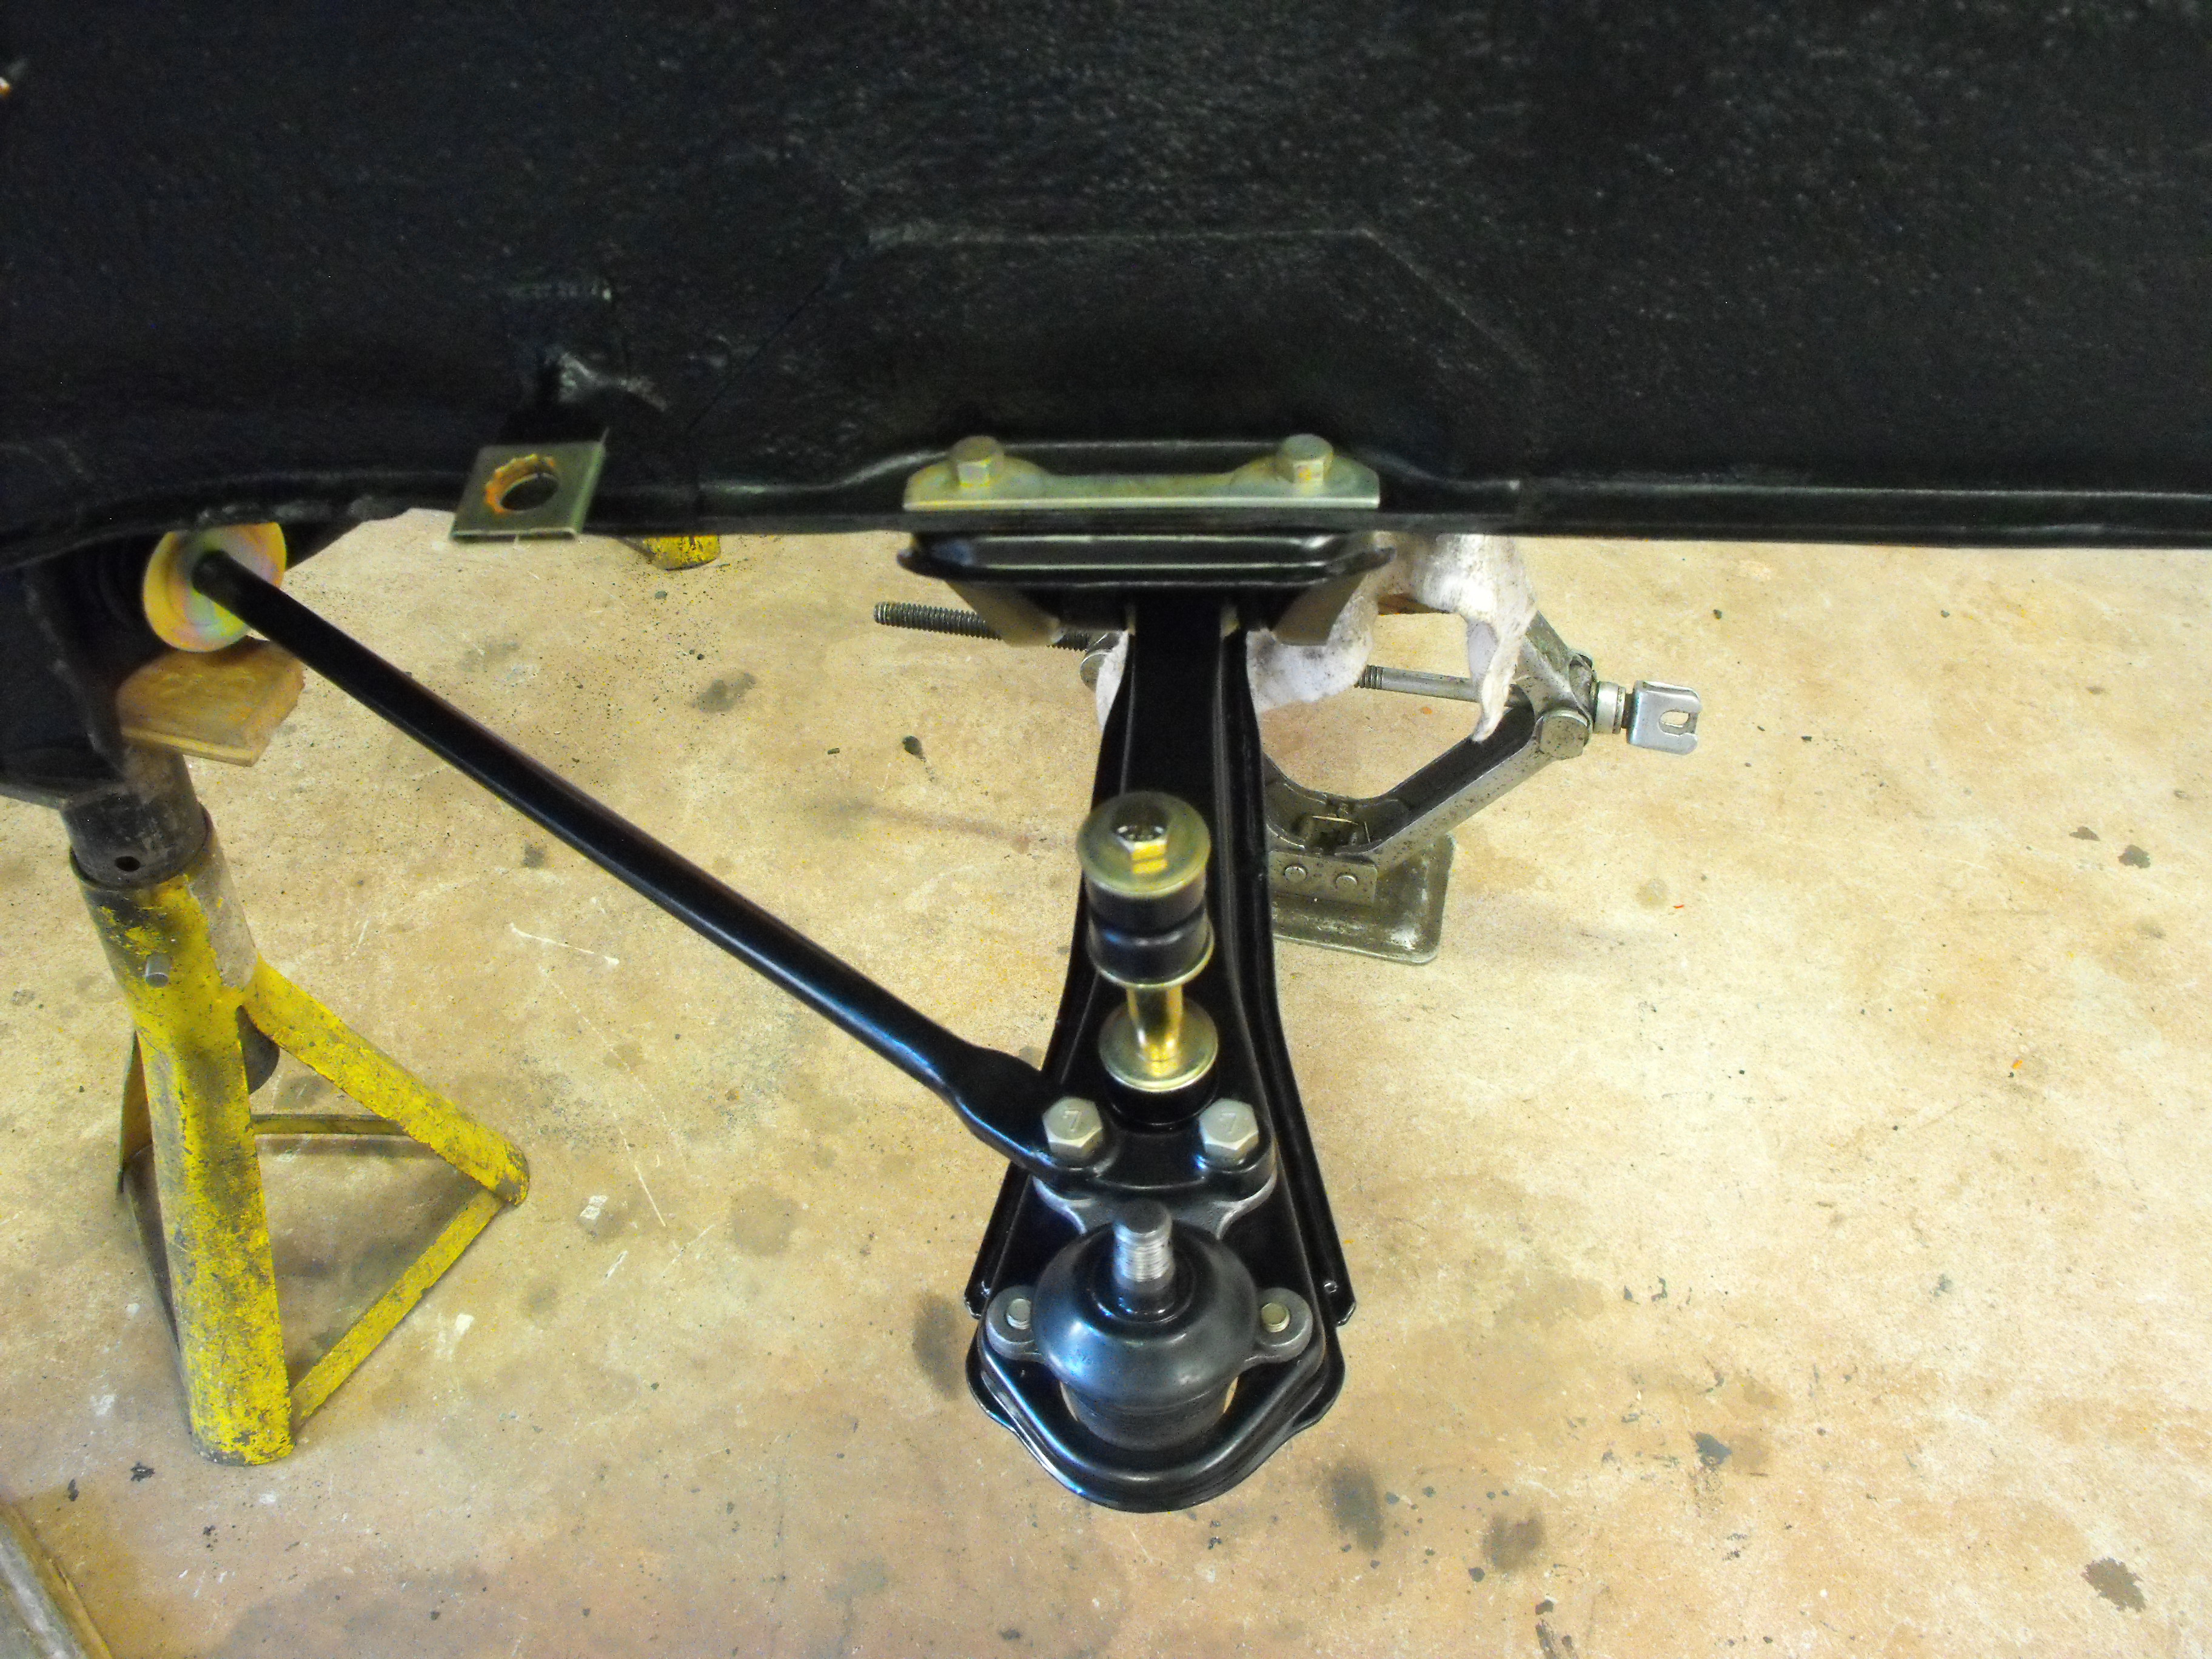
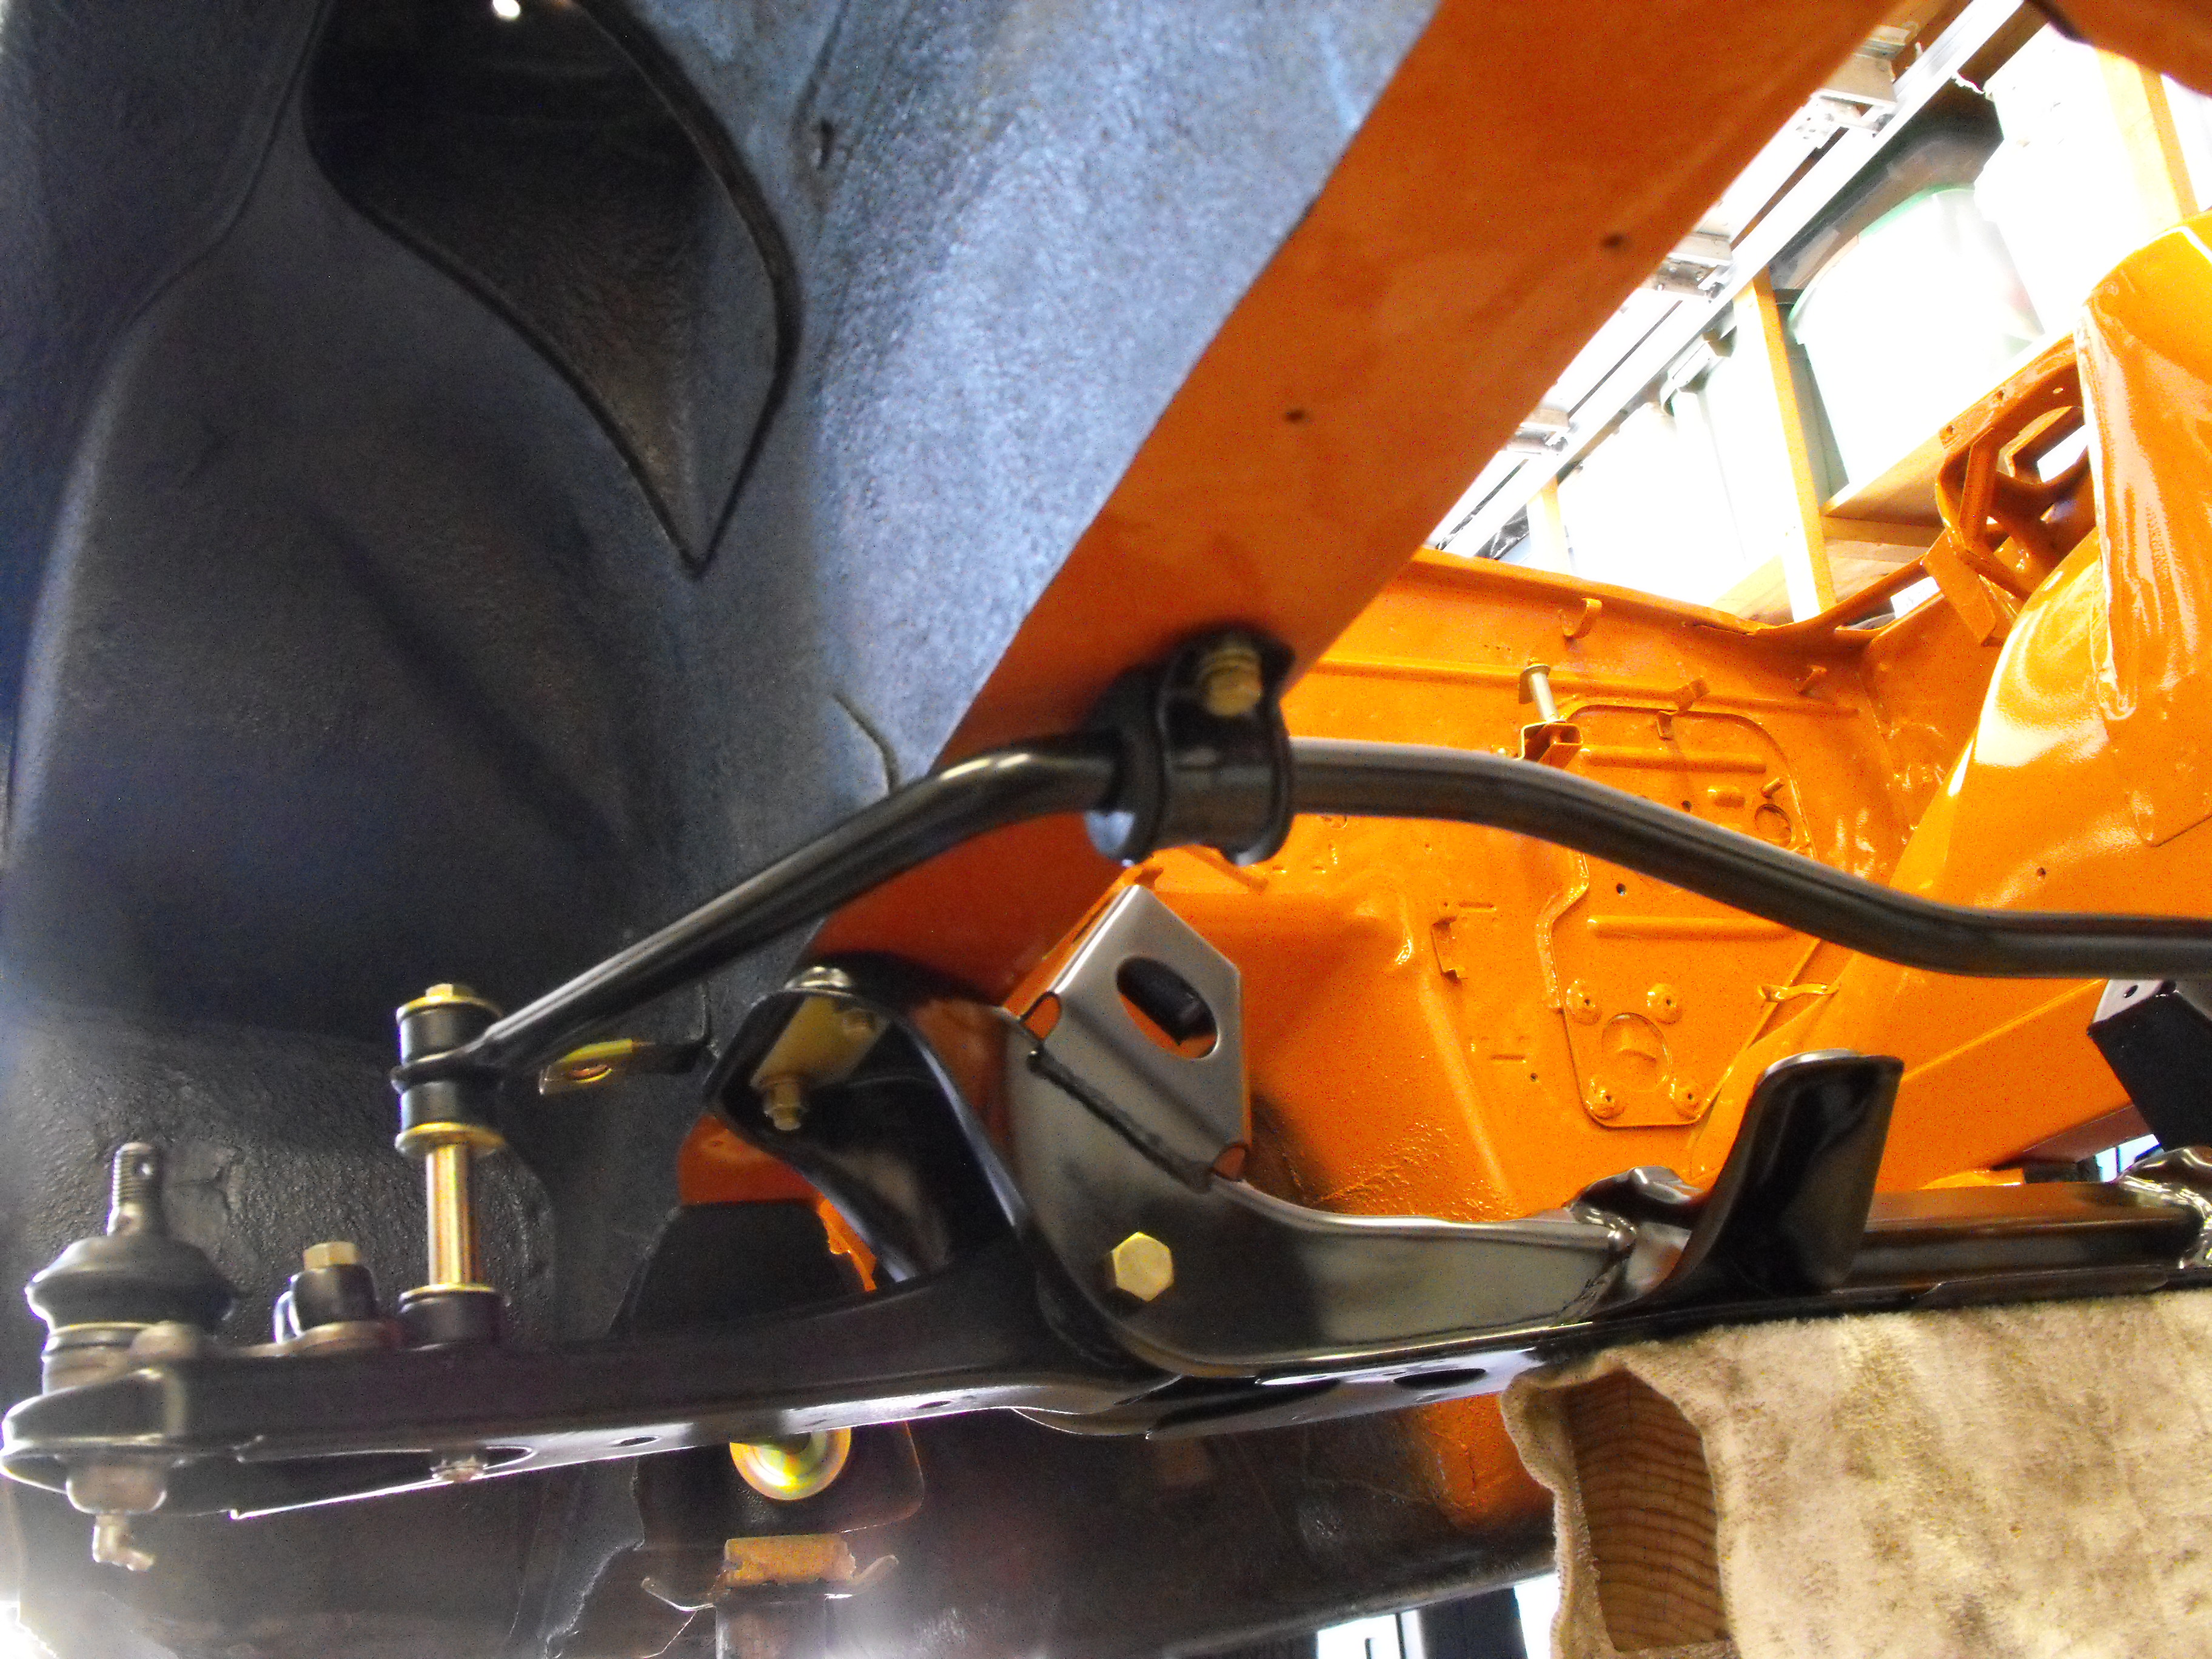
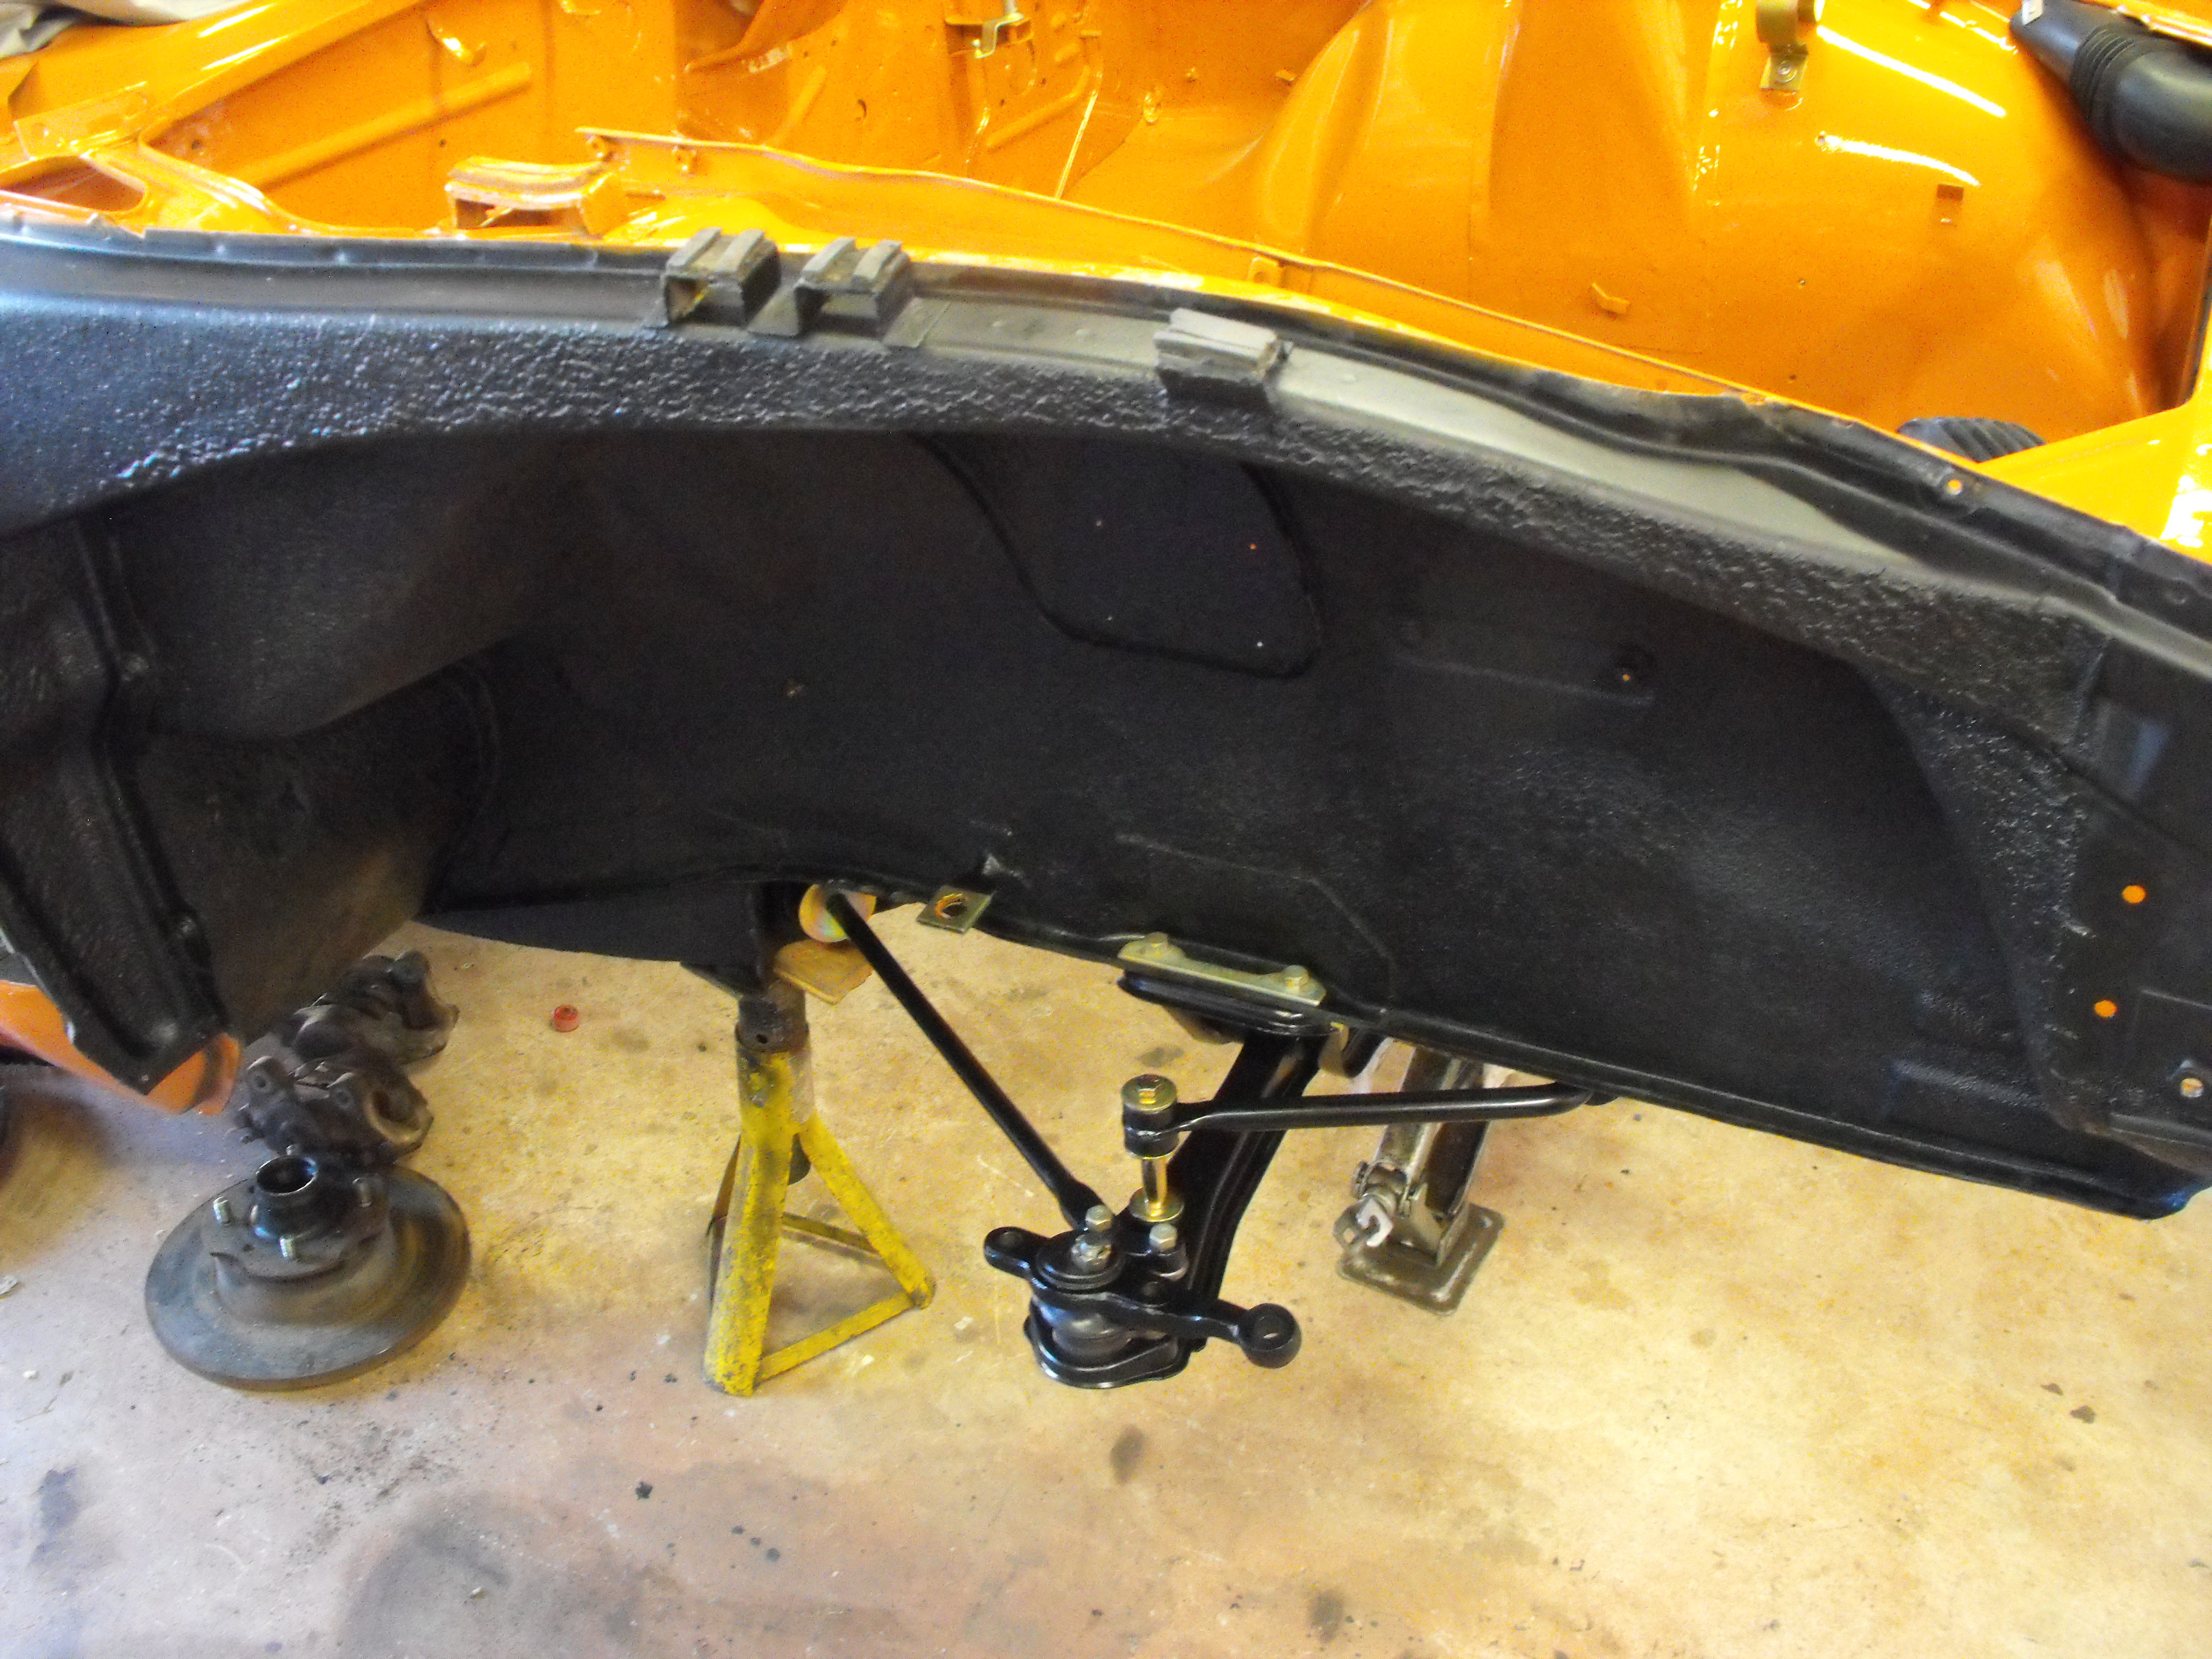
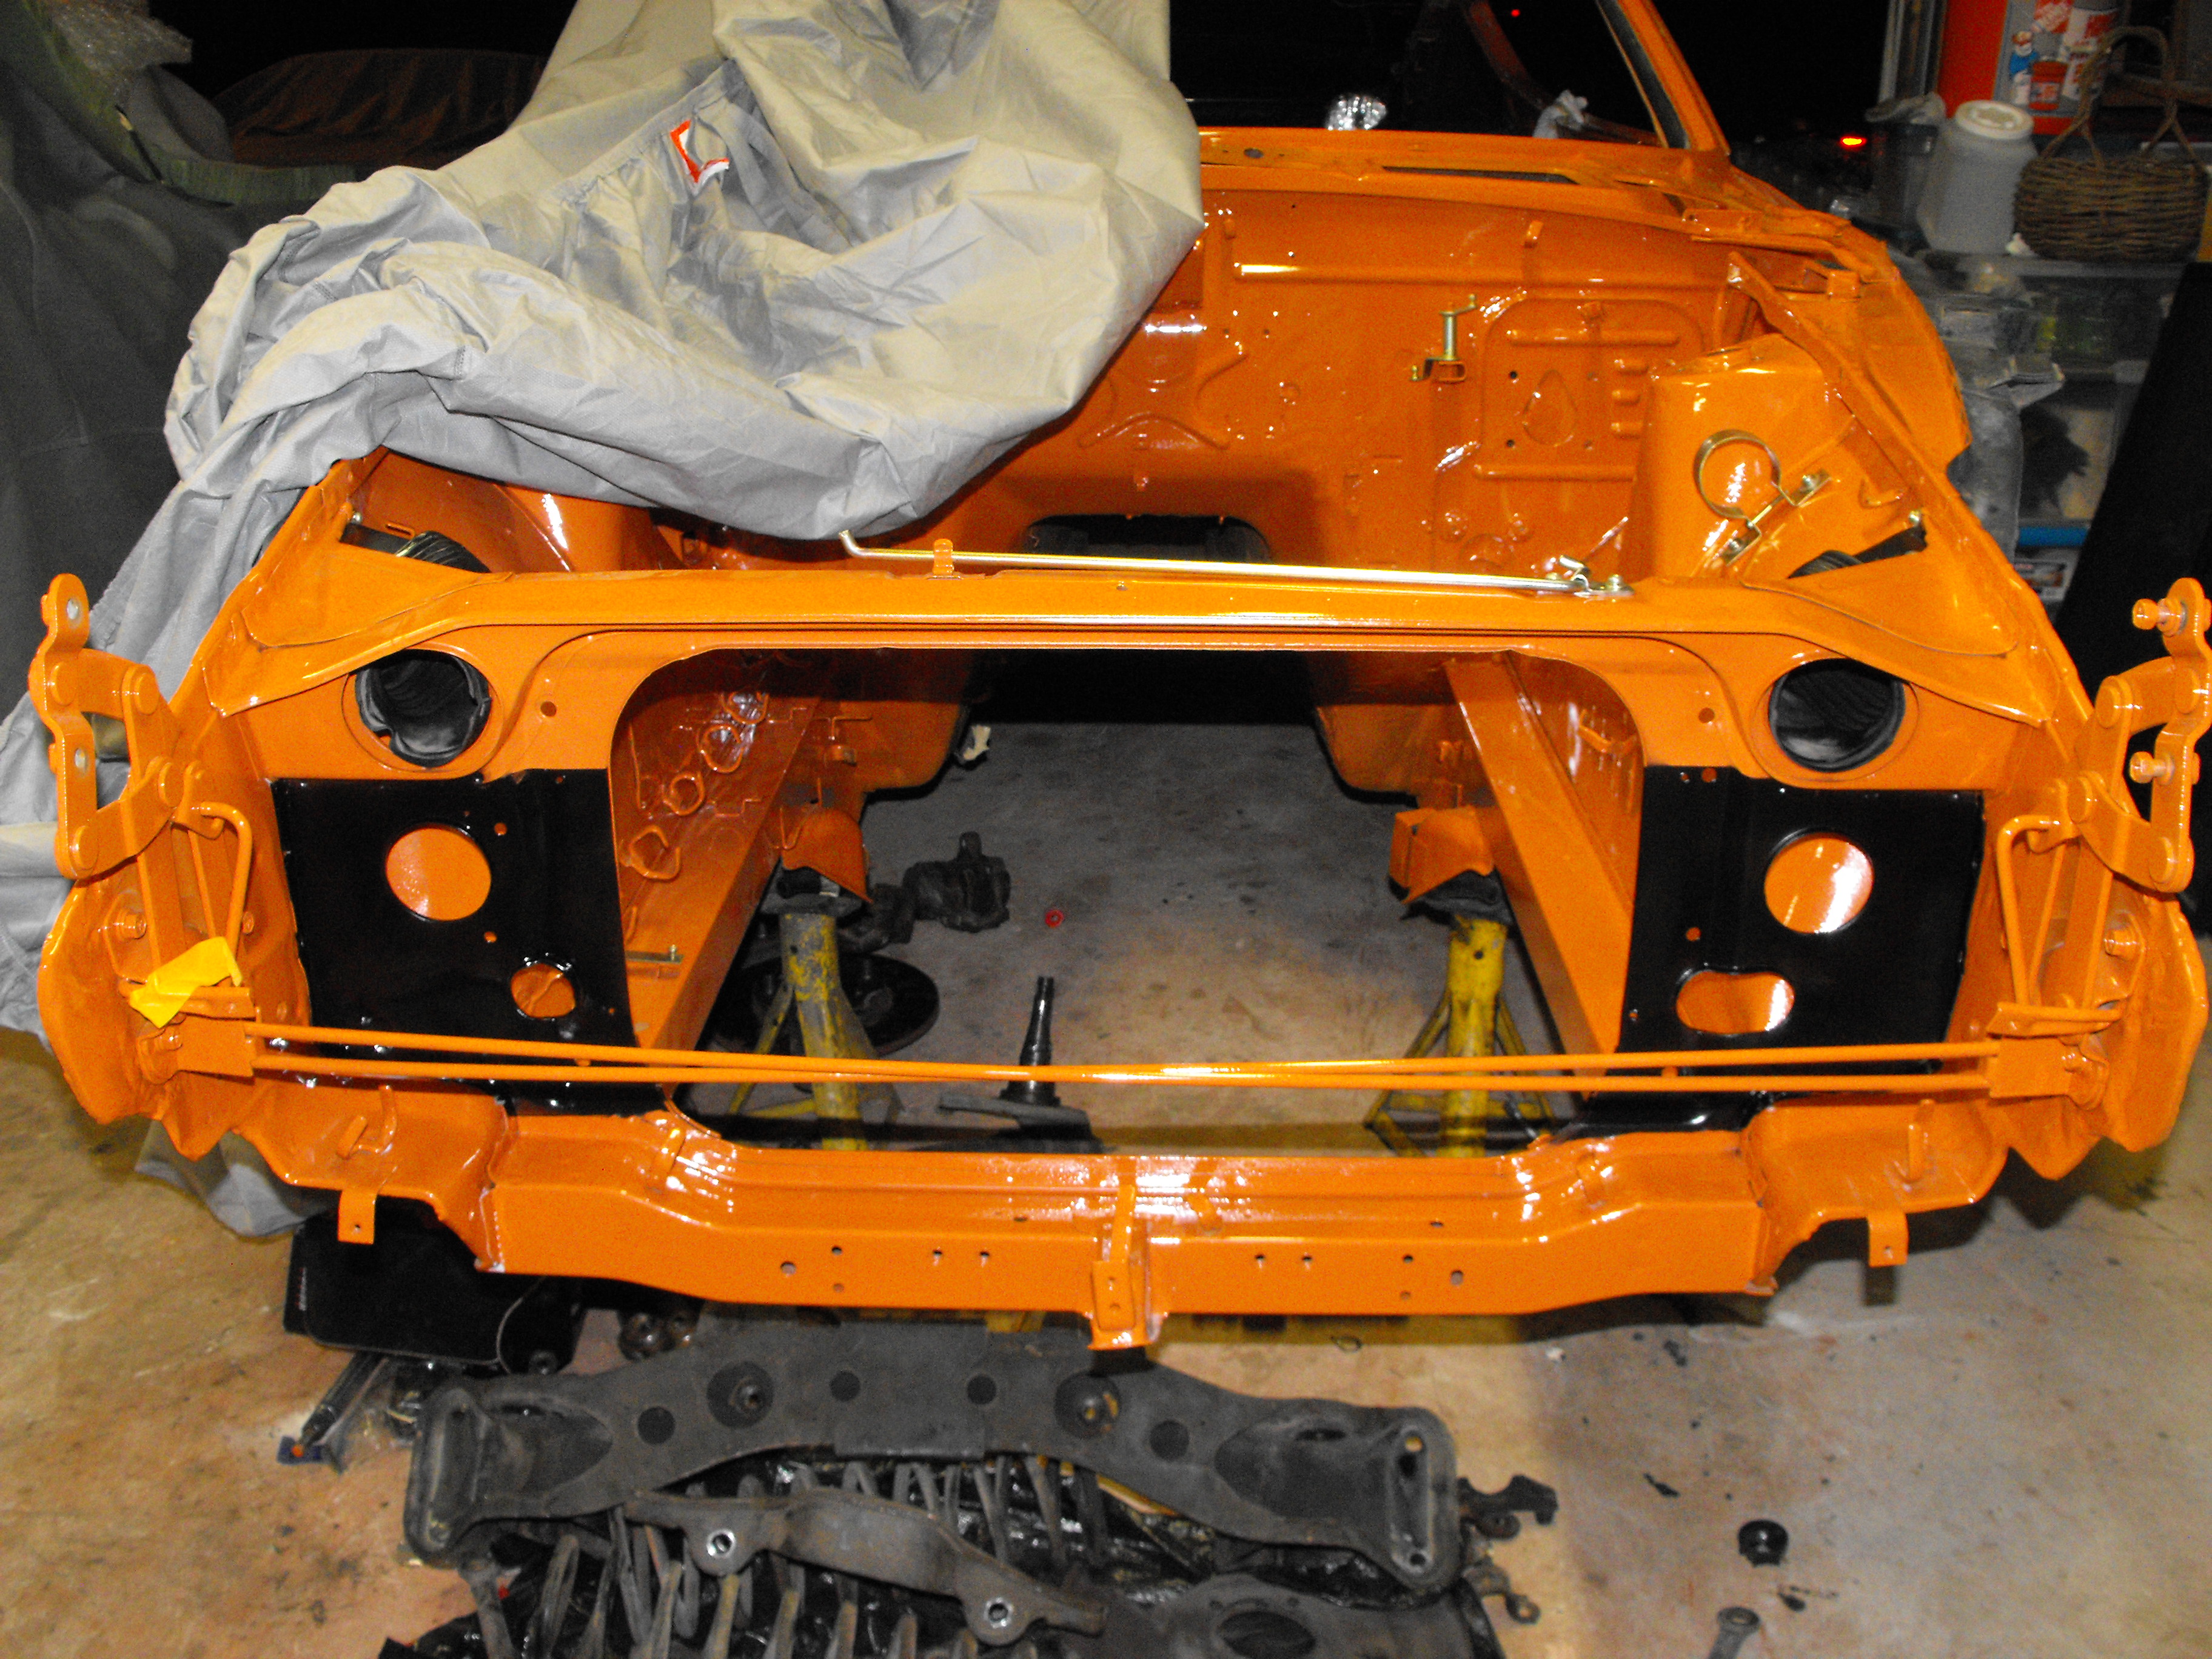
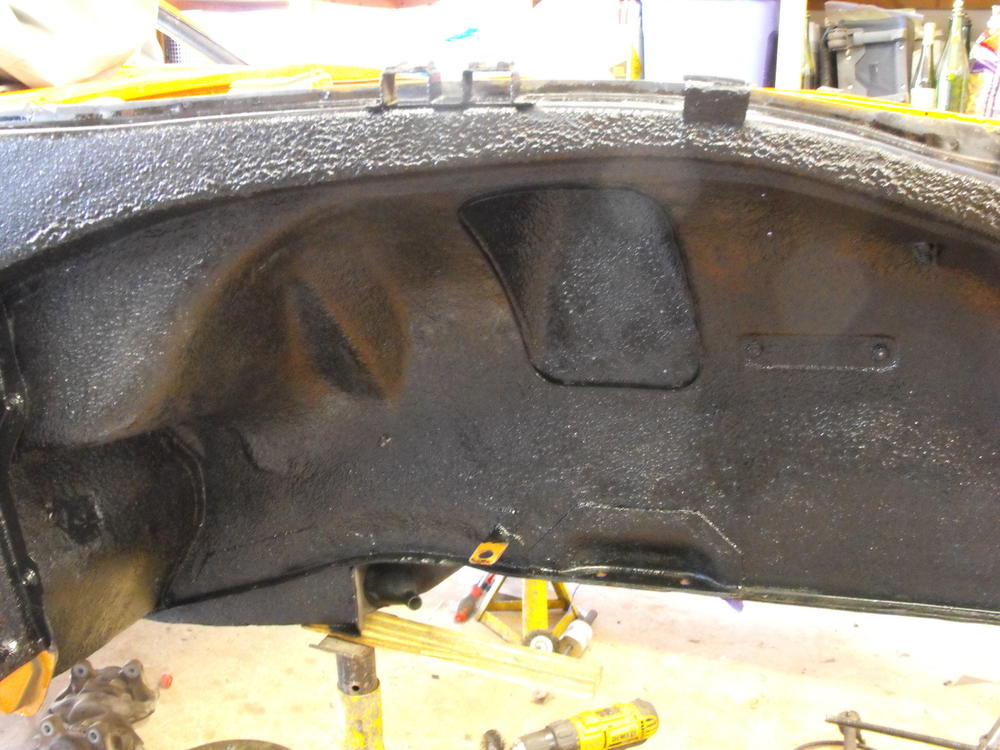
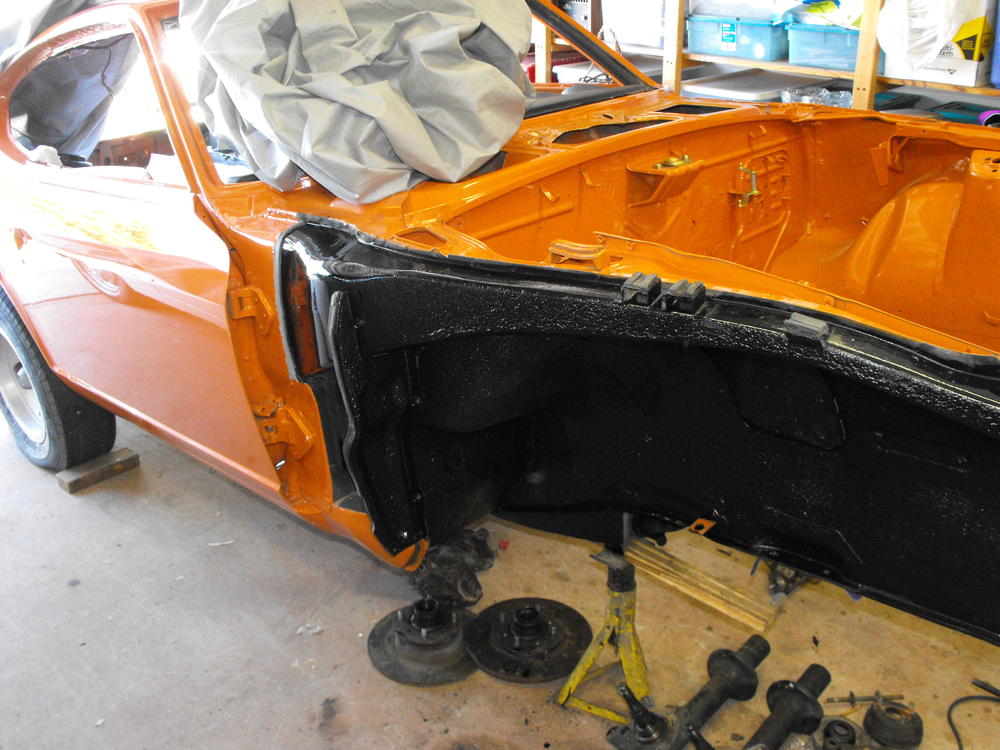
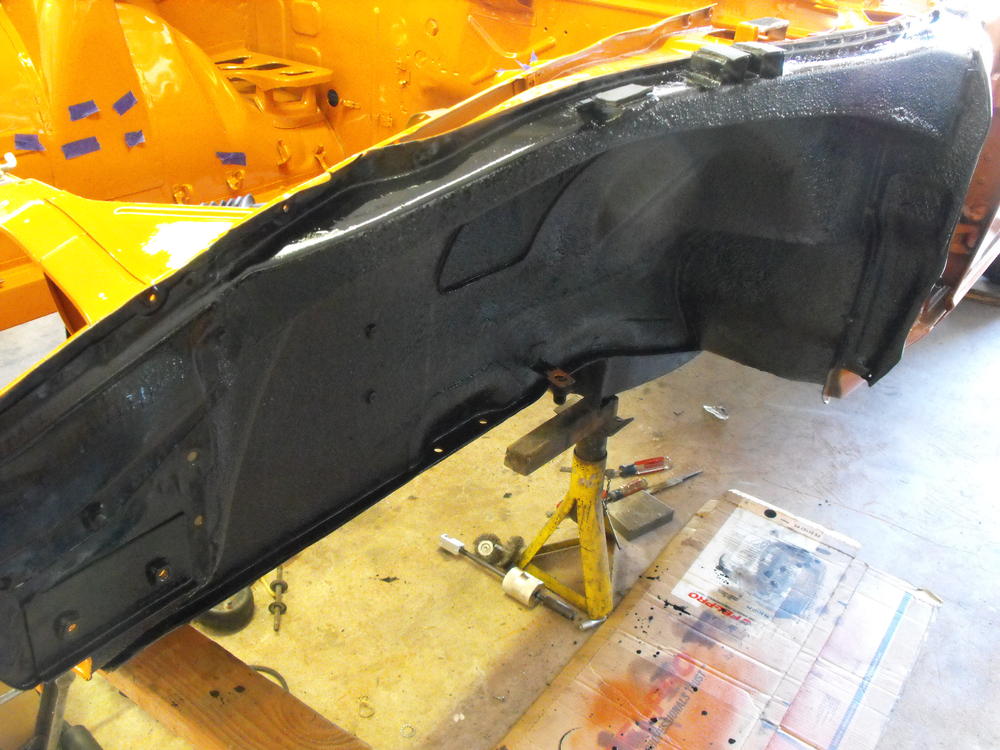
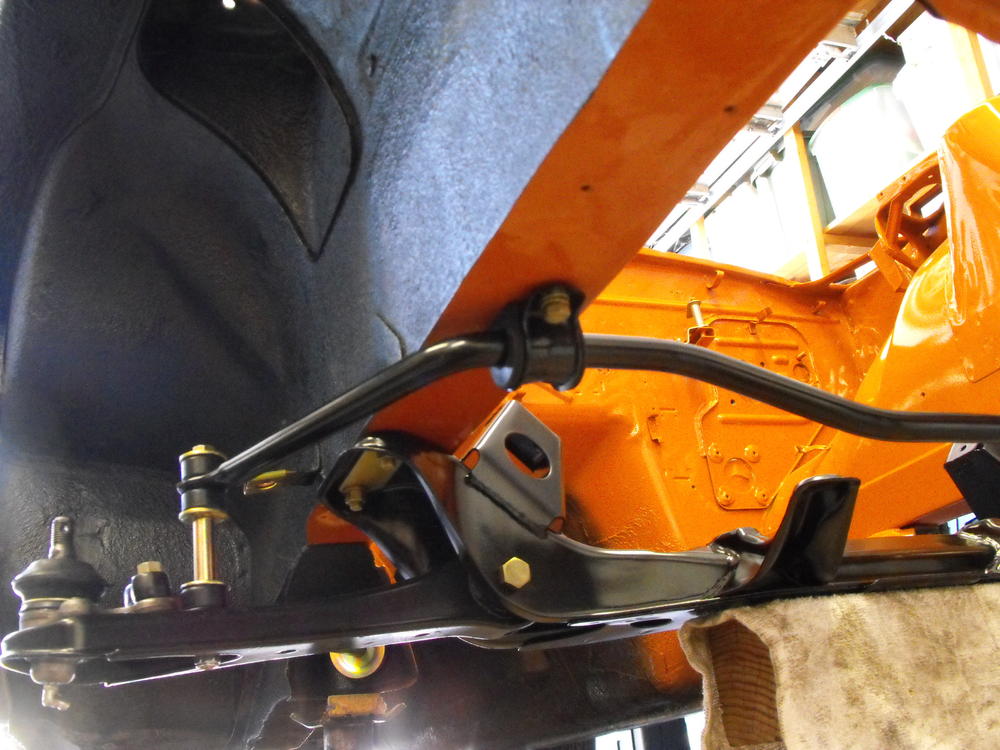
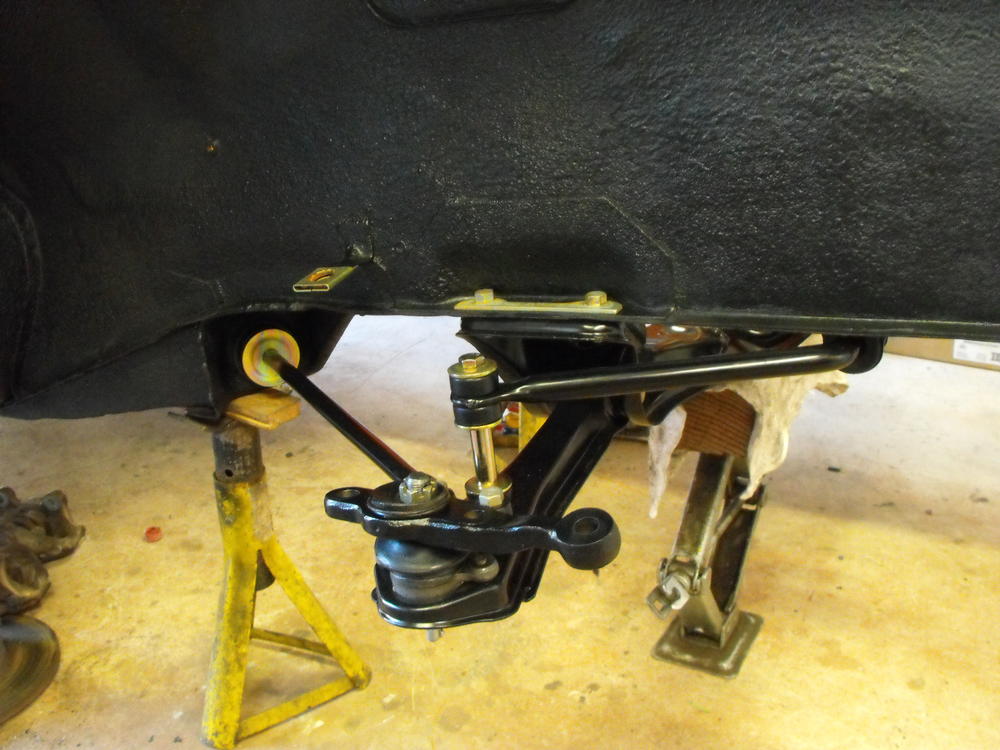
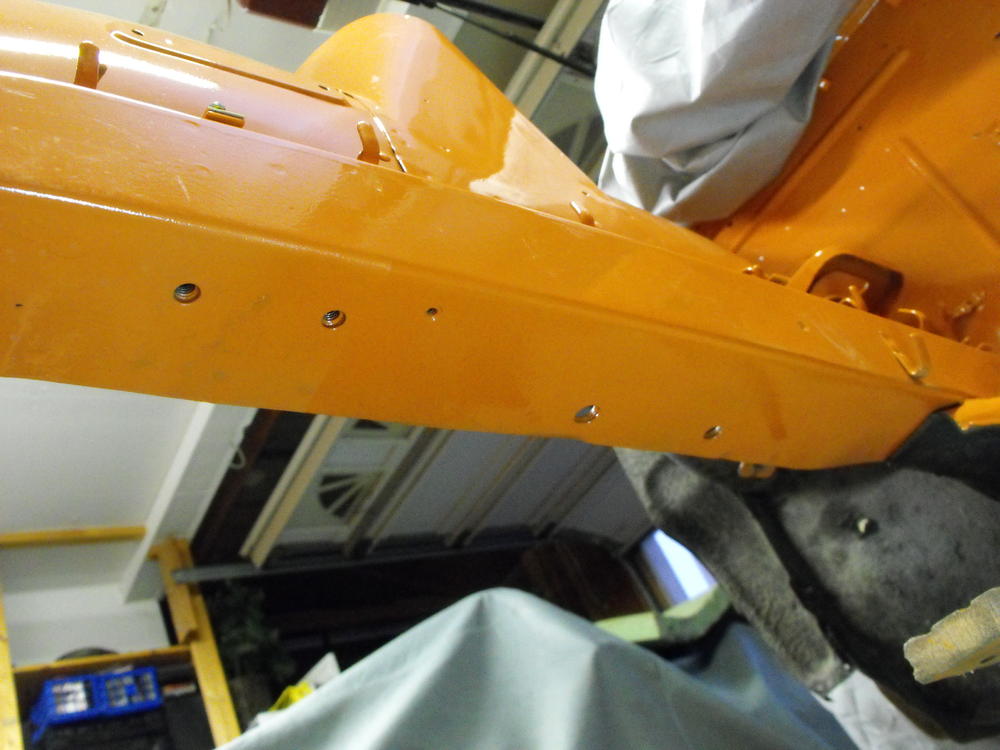
I cleaned up the front wheel wells and installed some of the suspension items this weekend. First I scrubbed the front wheel wells with soap and water and then I cleaned them off with paint thinner. After that, I taped up the holes and painted the entire area with POR-15 to seal everything. After that dried, I installed the front cross-member, the left and right front suspension arms along with the anti-sway bar and T/C rods. Everything went in with the new Energy suspension parts which fit nicely. Pics below


-
Very Nice 1973 here on Craigslist in San Diego. Still has the original flat tops and seat vinyl amidst other parts. Pricey, but impressive. Put some original steel rims on that with hubcaps and it's a pretty sweet ride. https://sandiego.craigslist.org/nsd/cto/d/1973-datsun-240zoriginal/6269971669.html
-
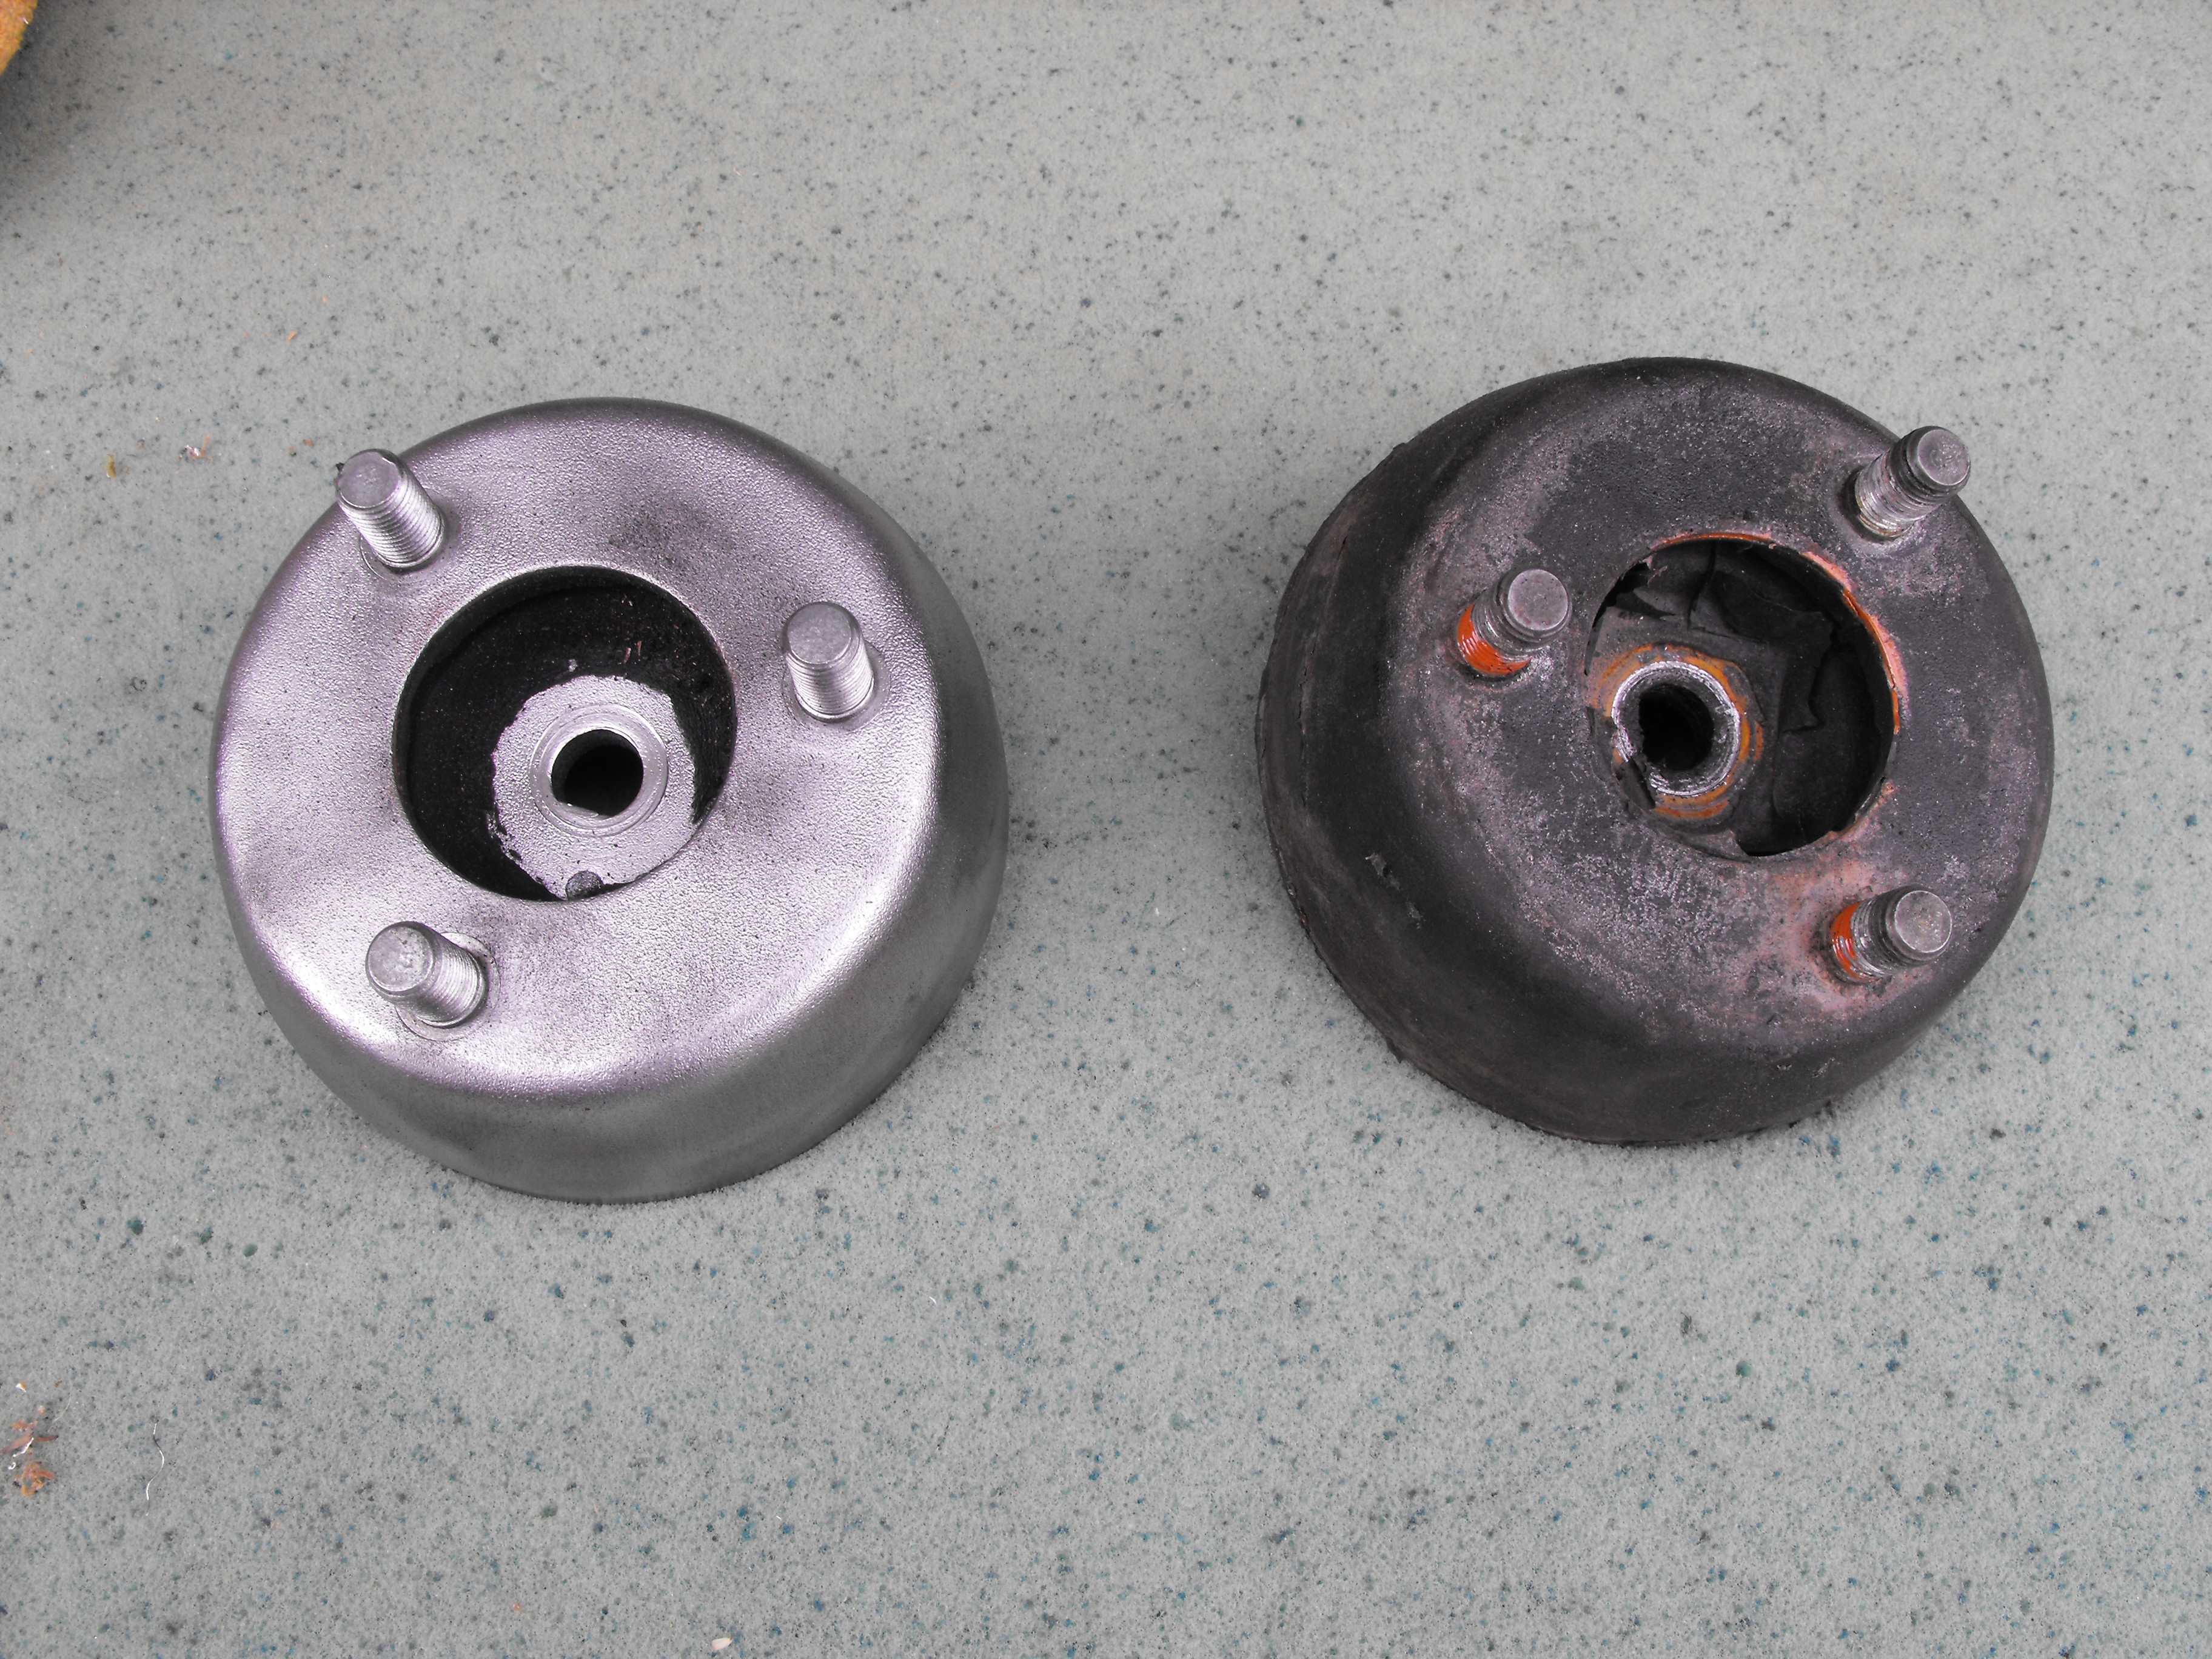
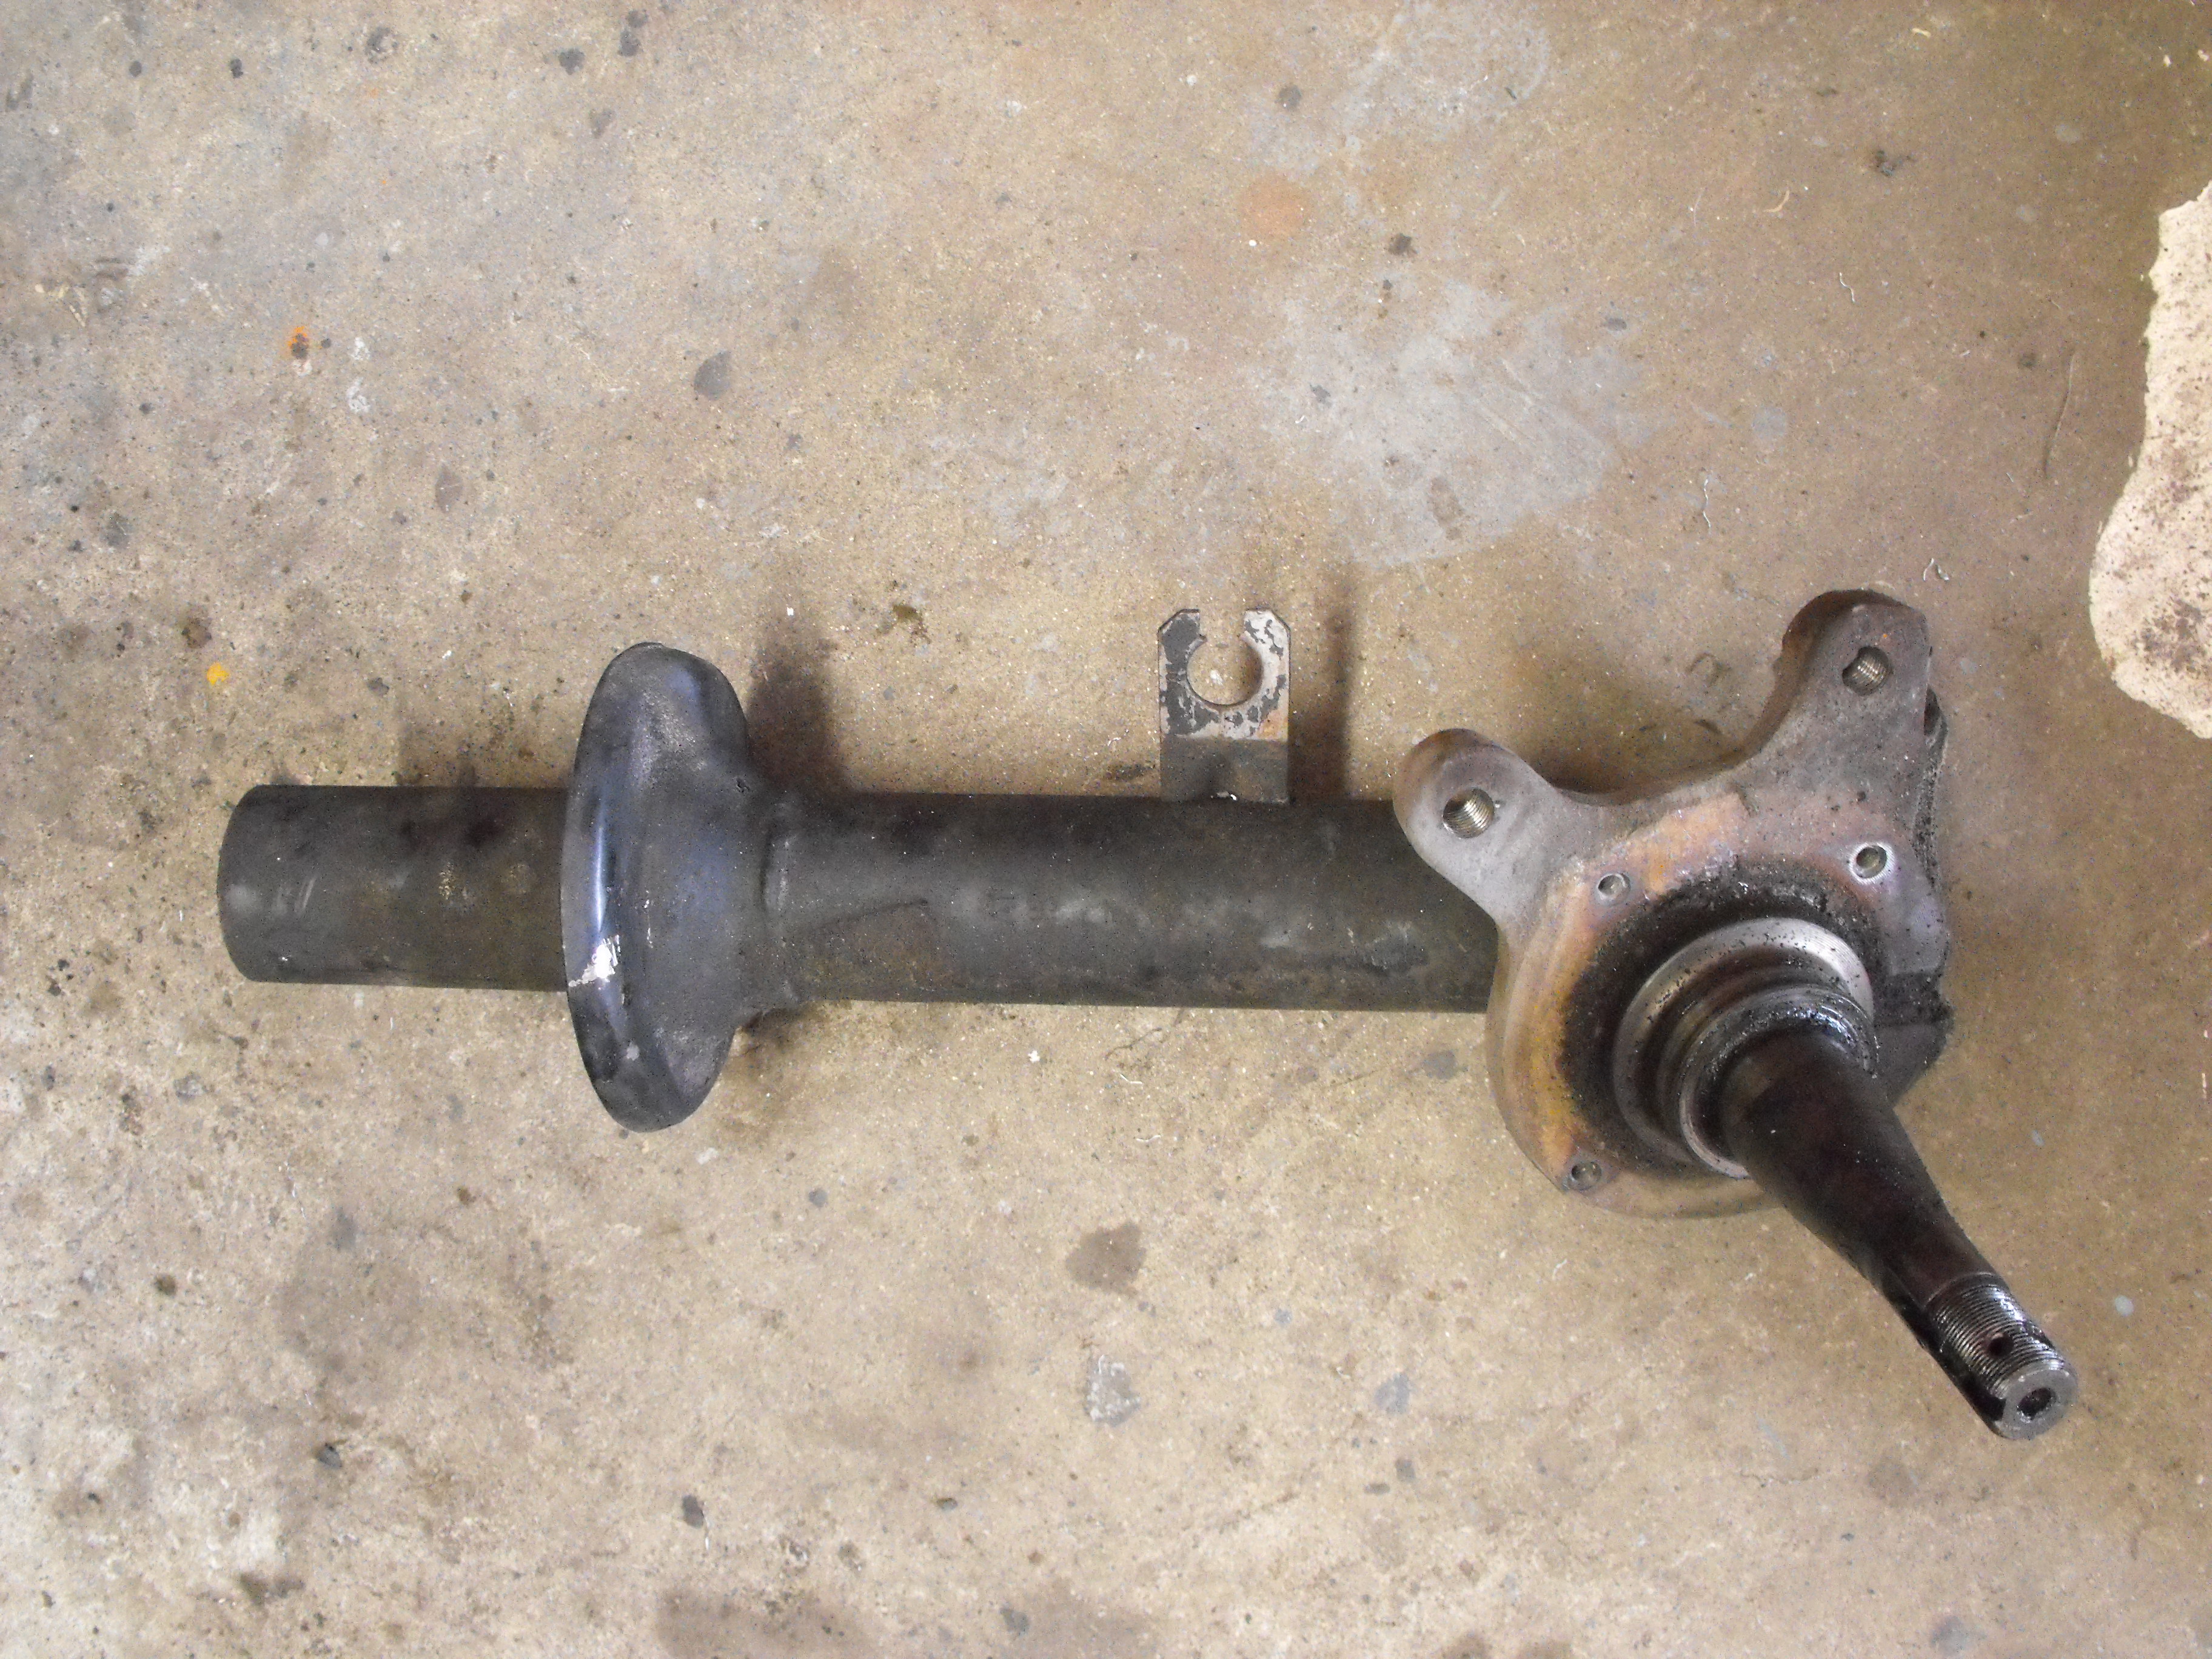
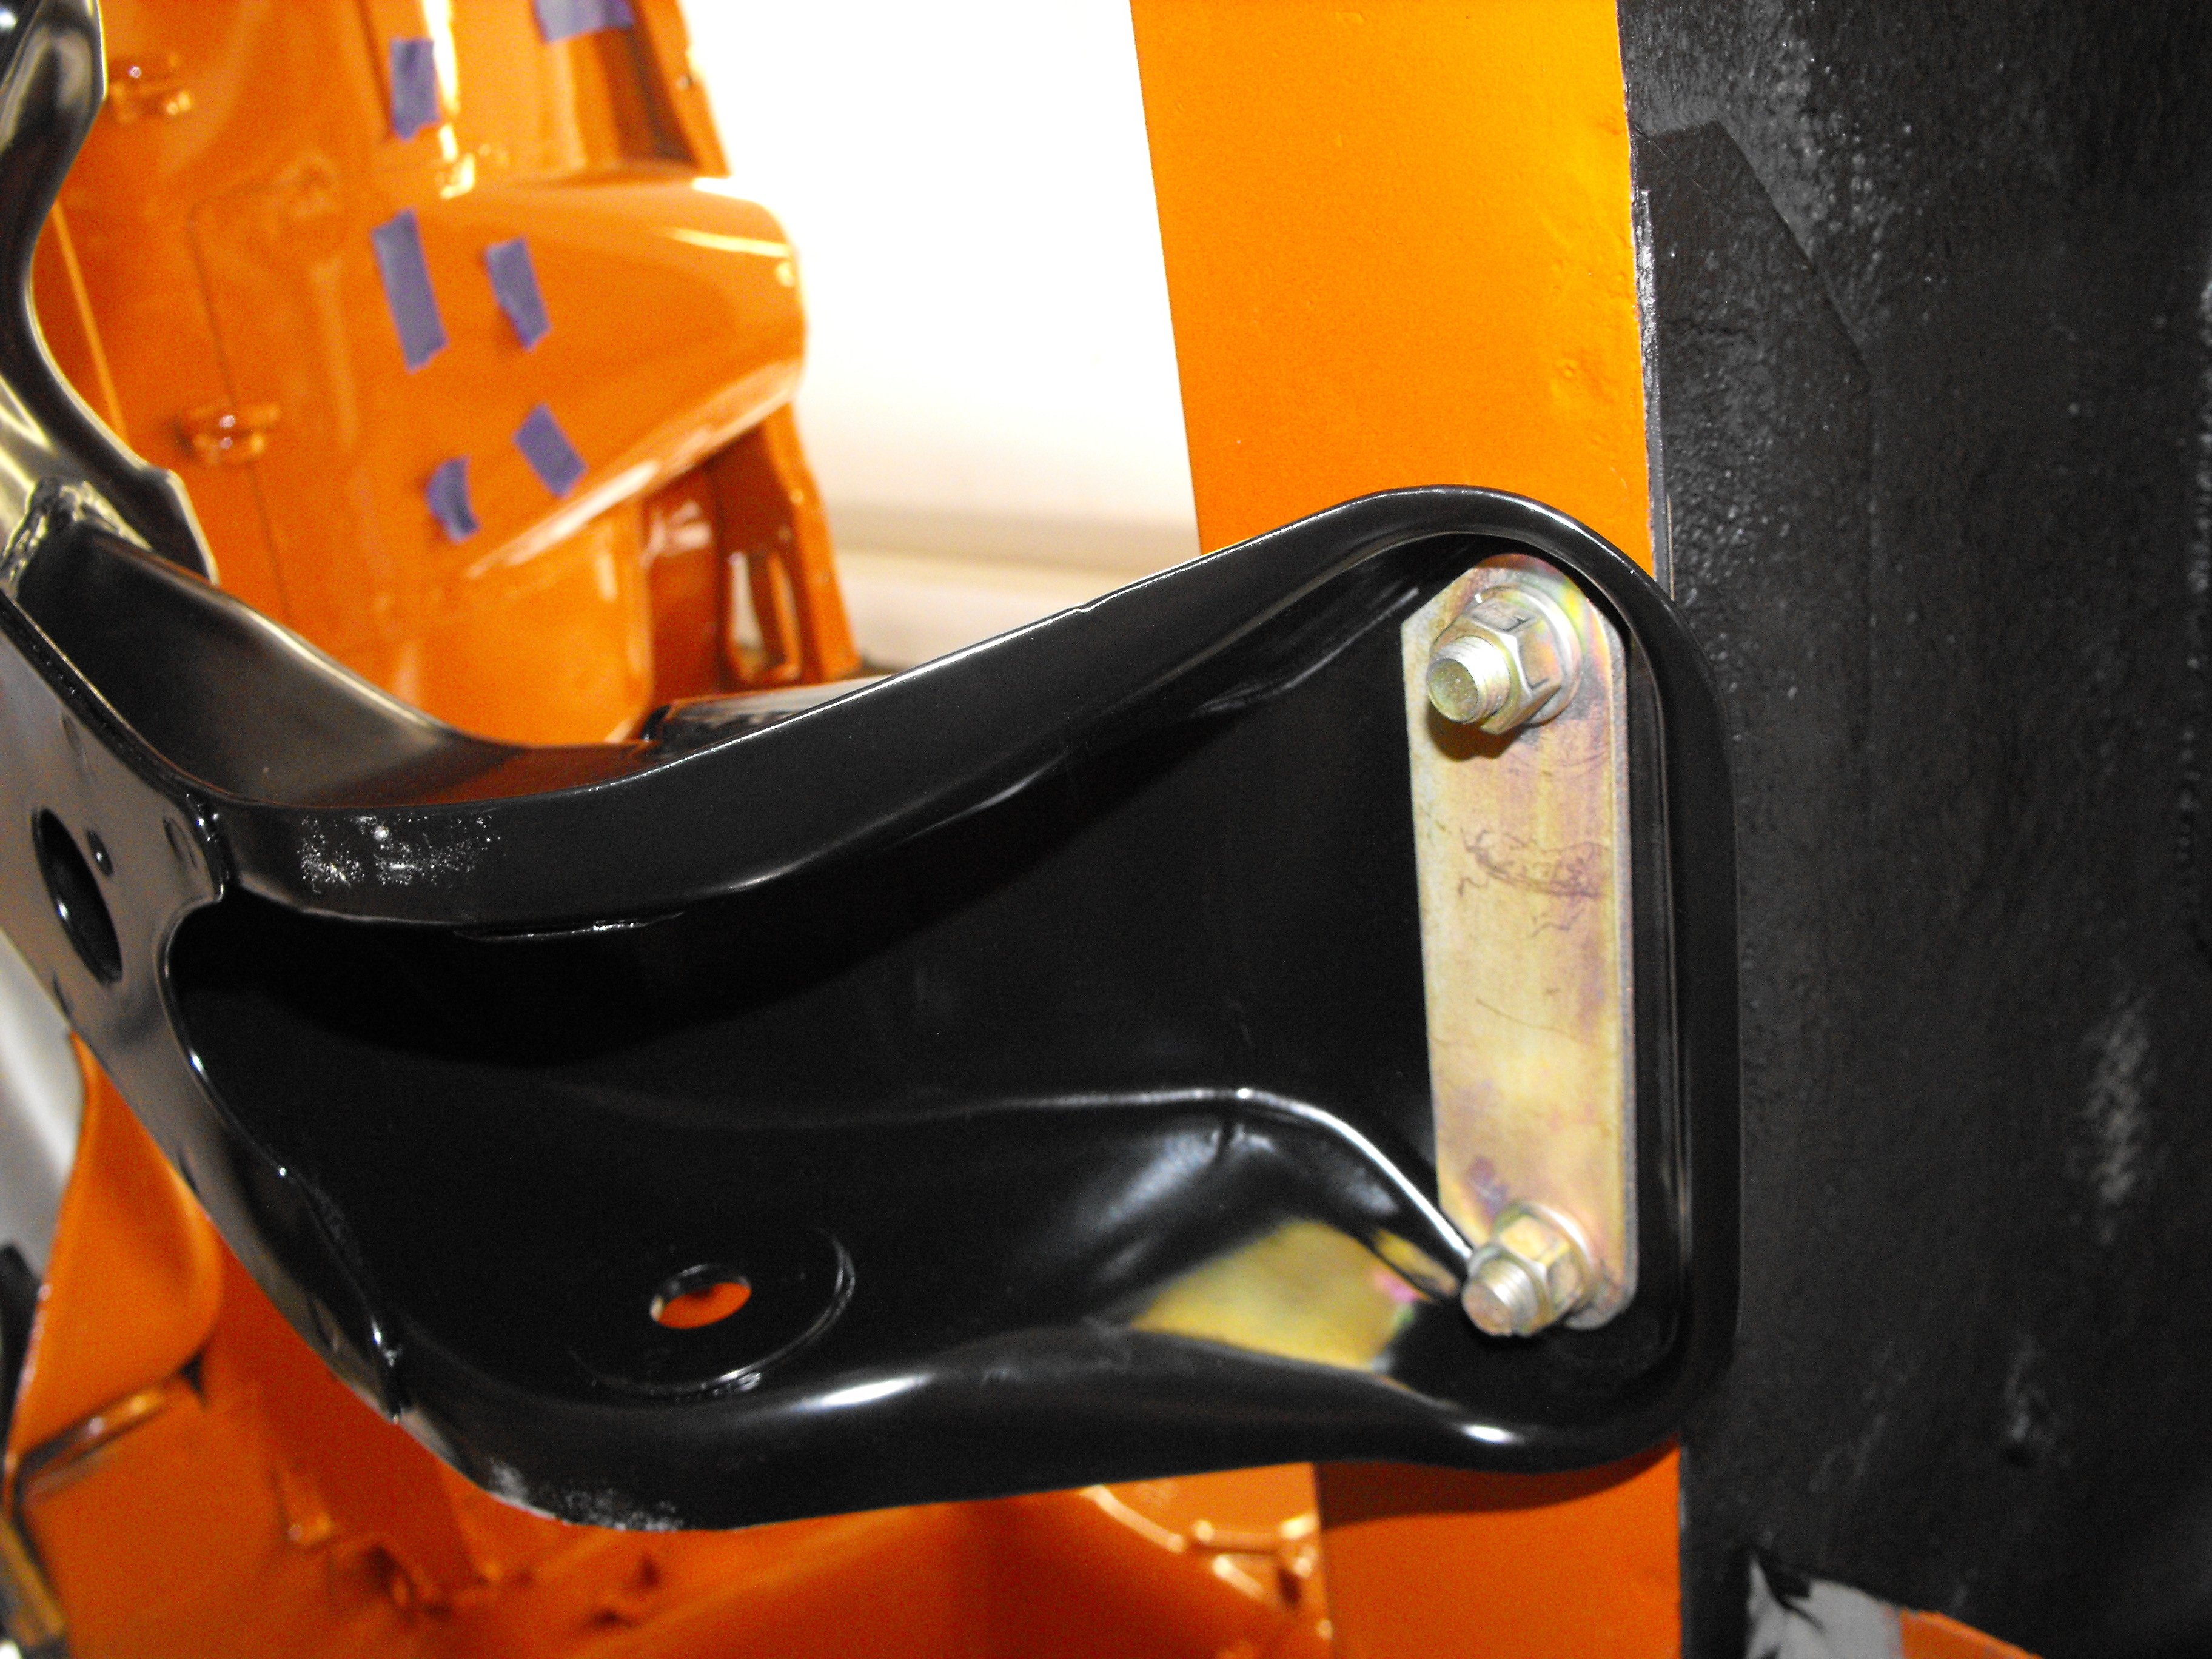
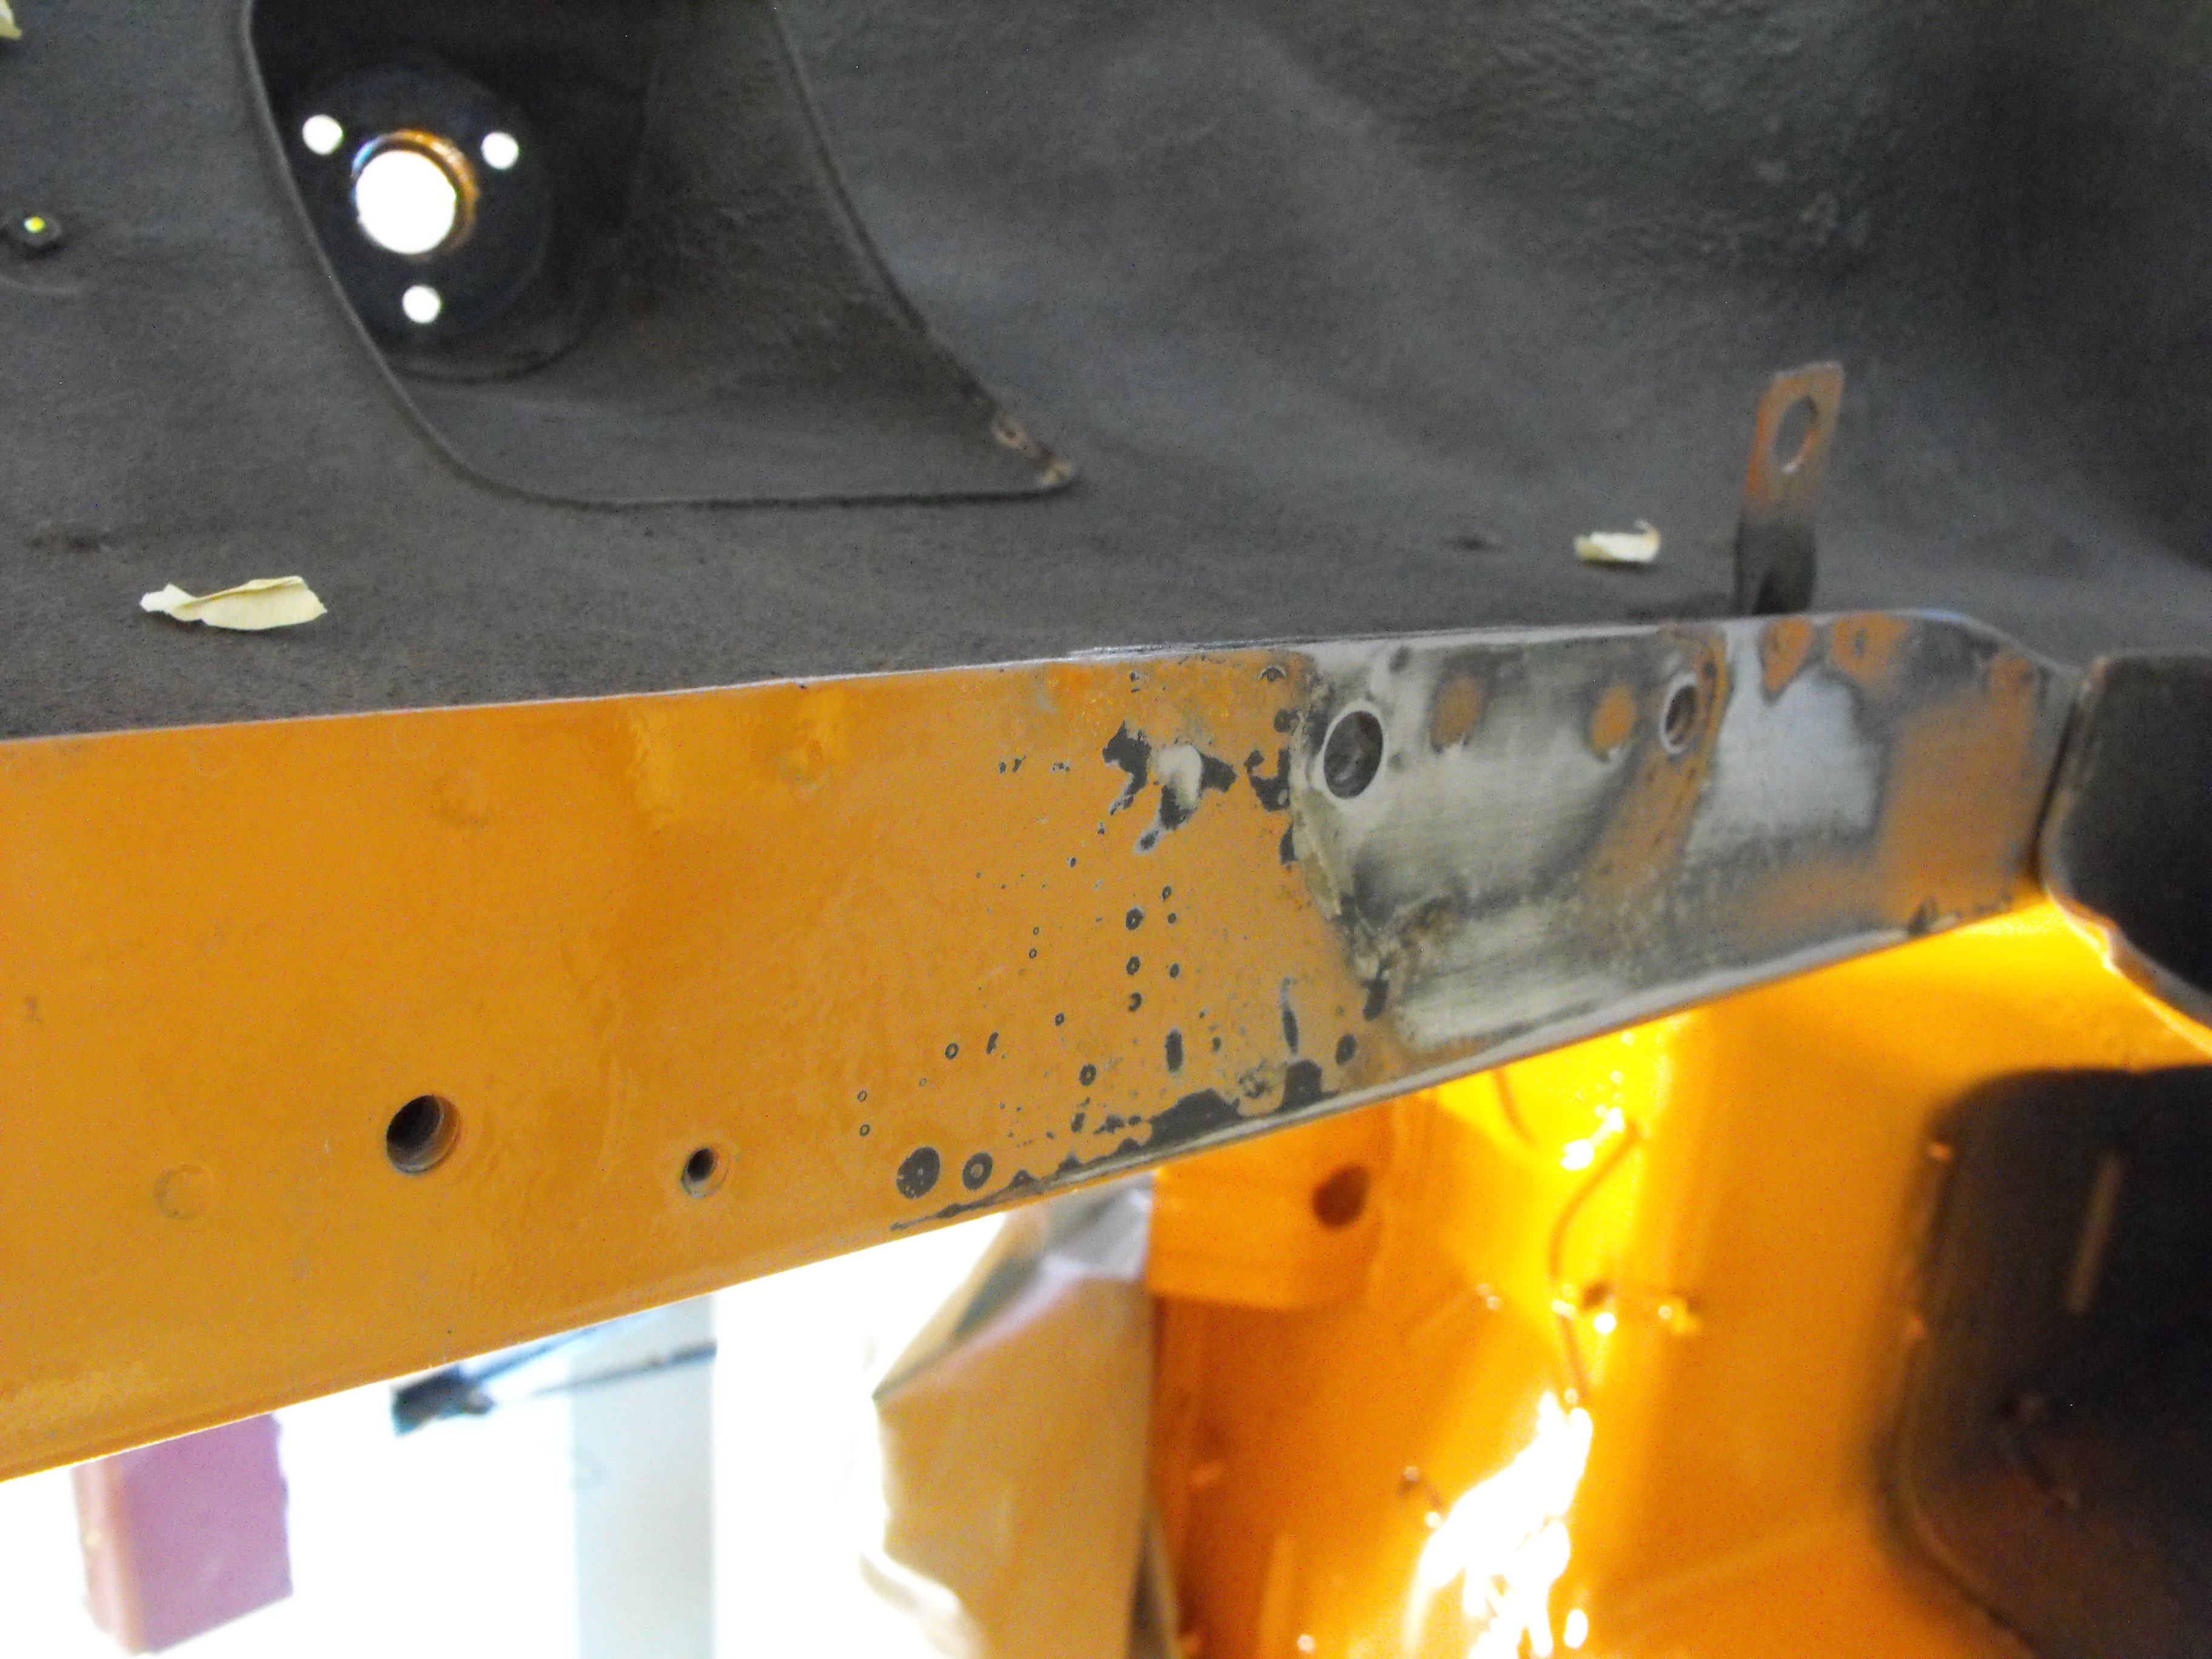
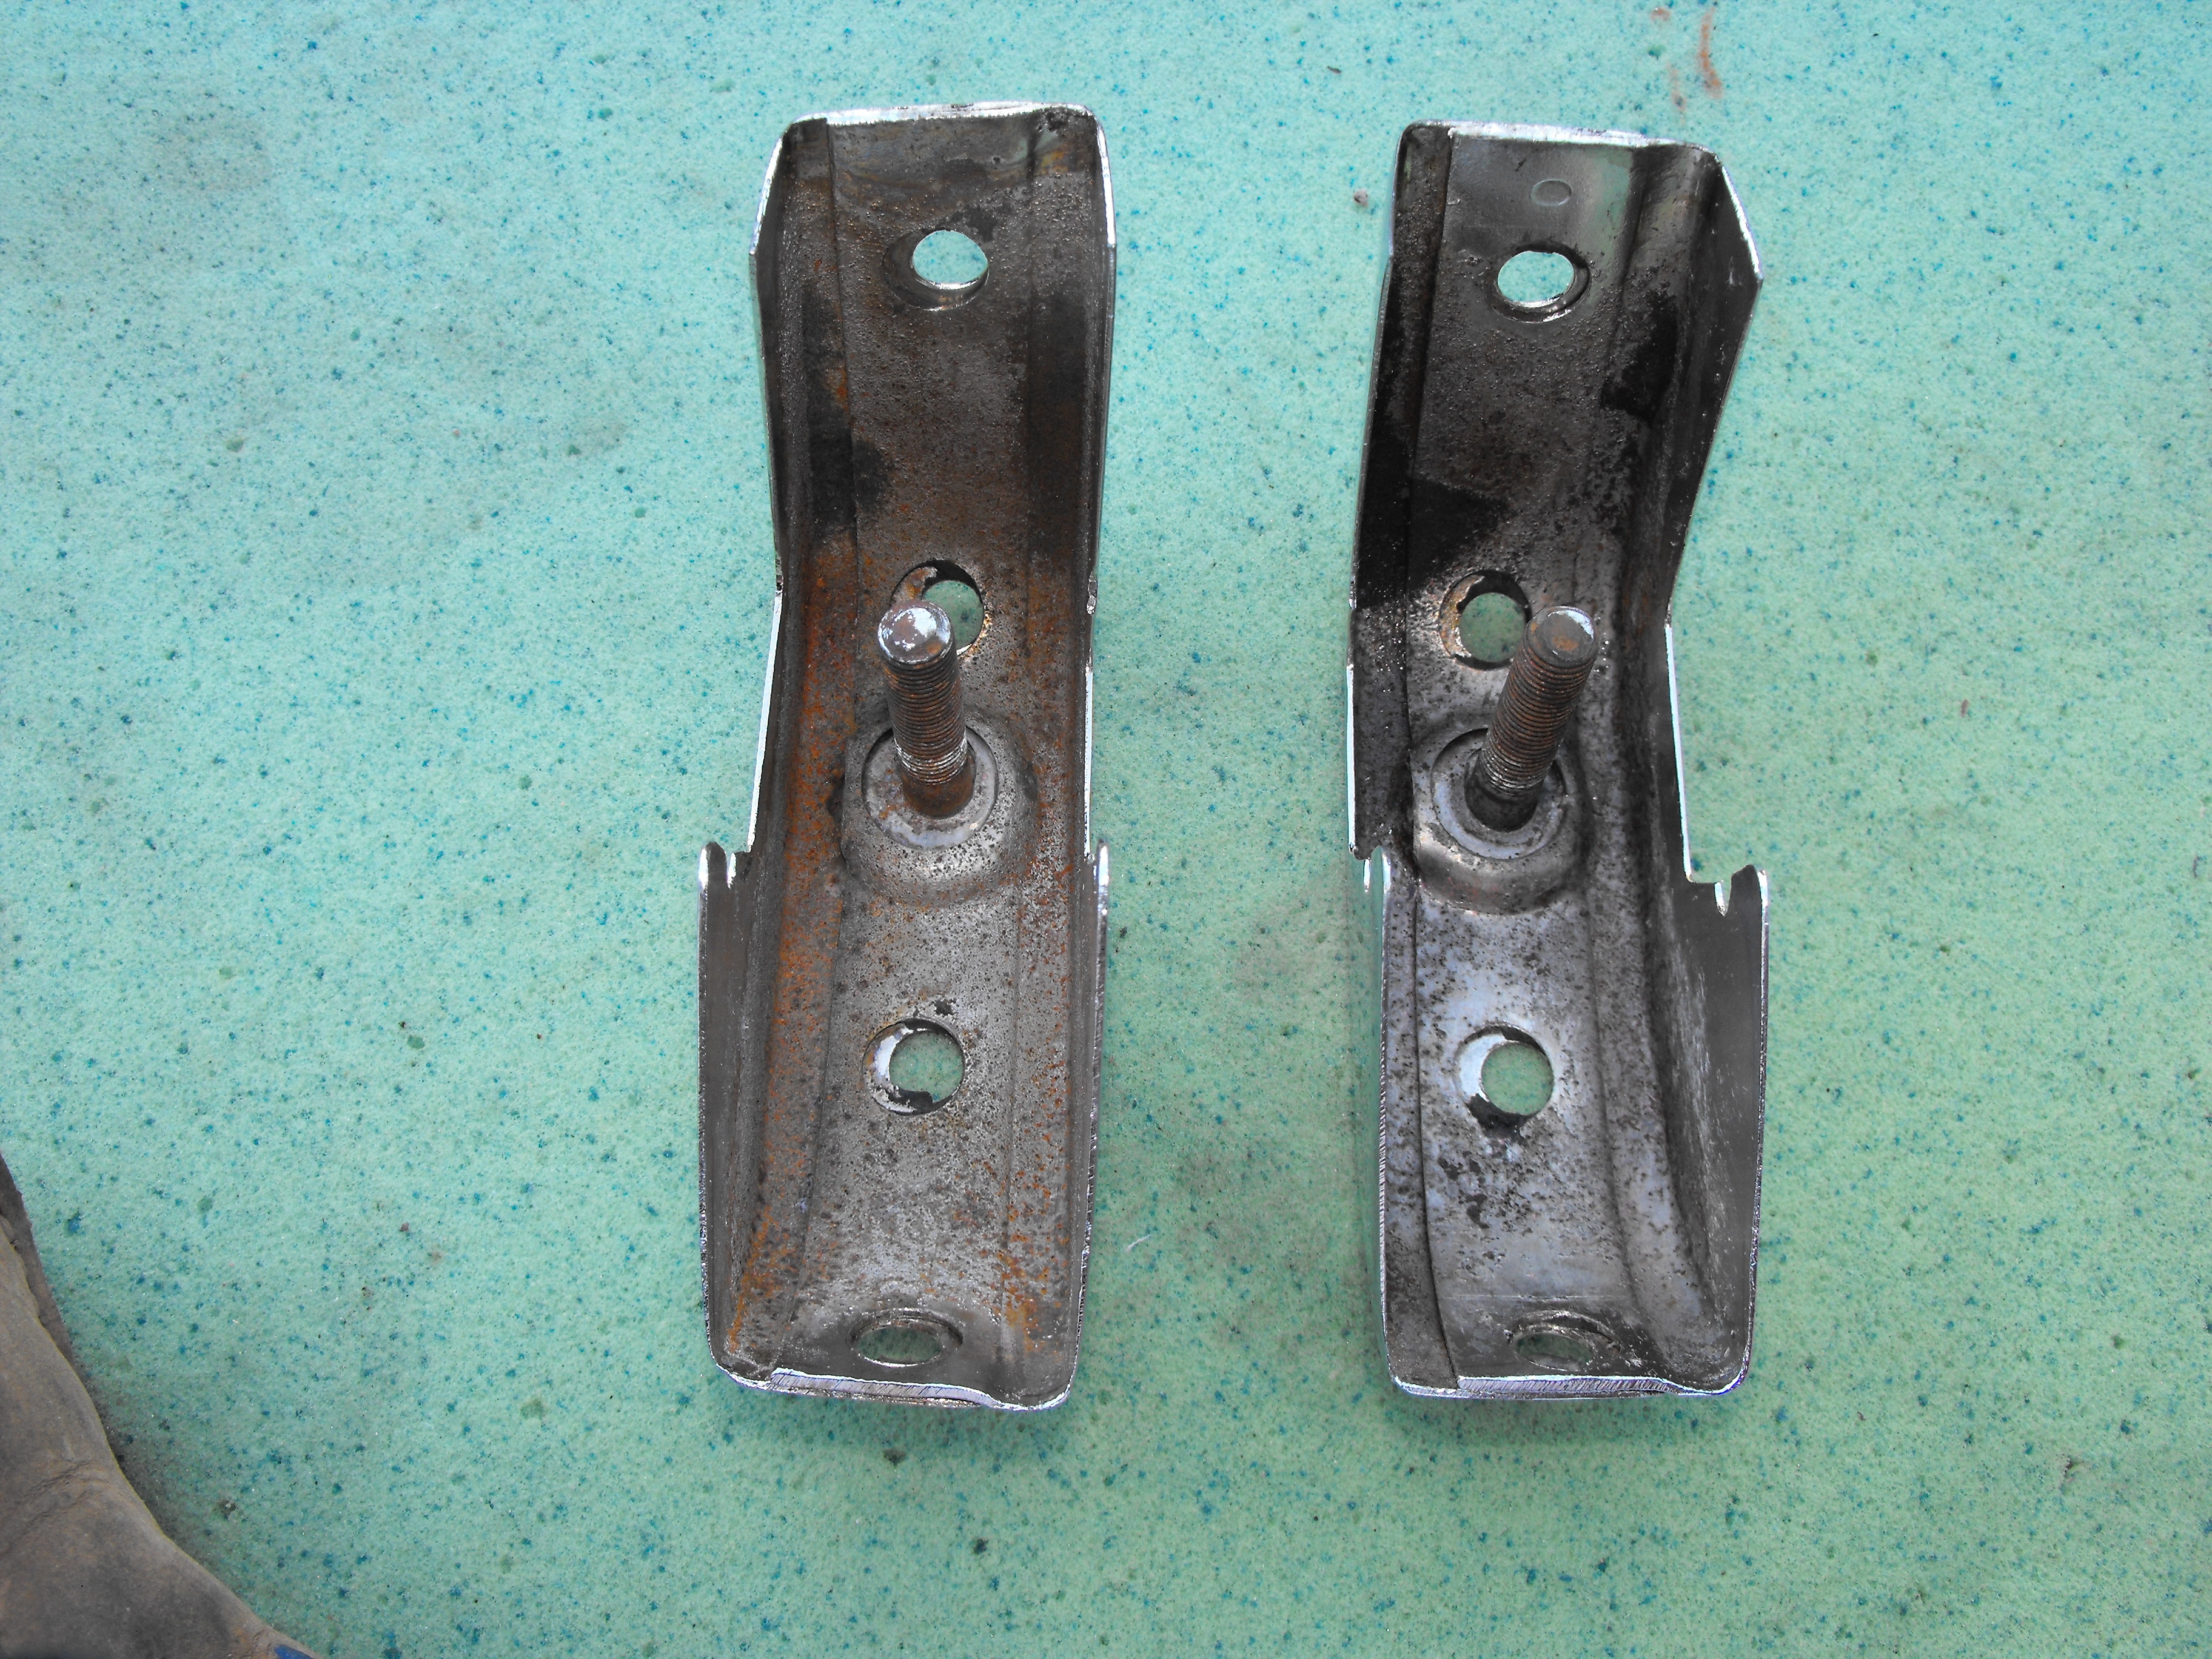
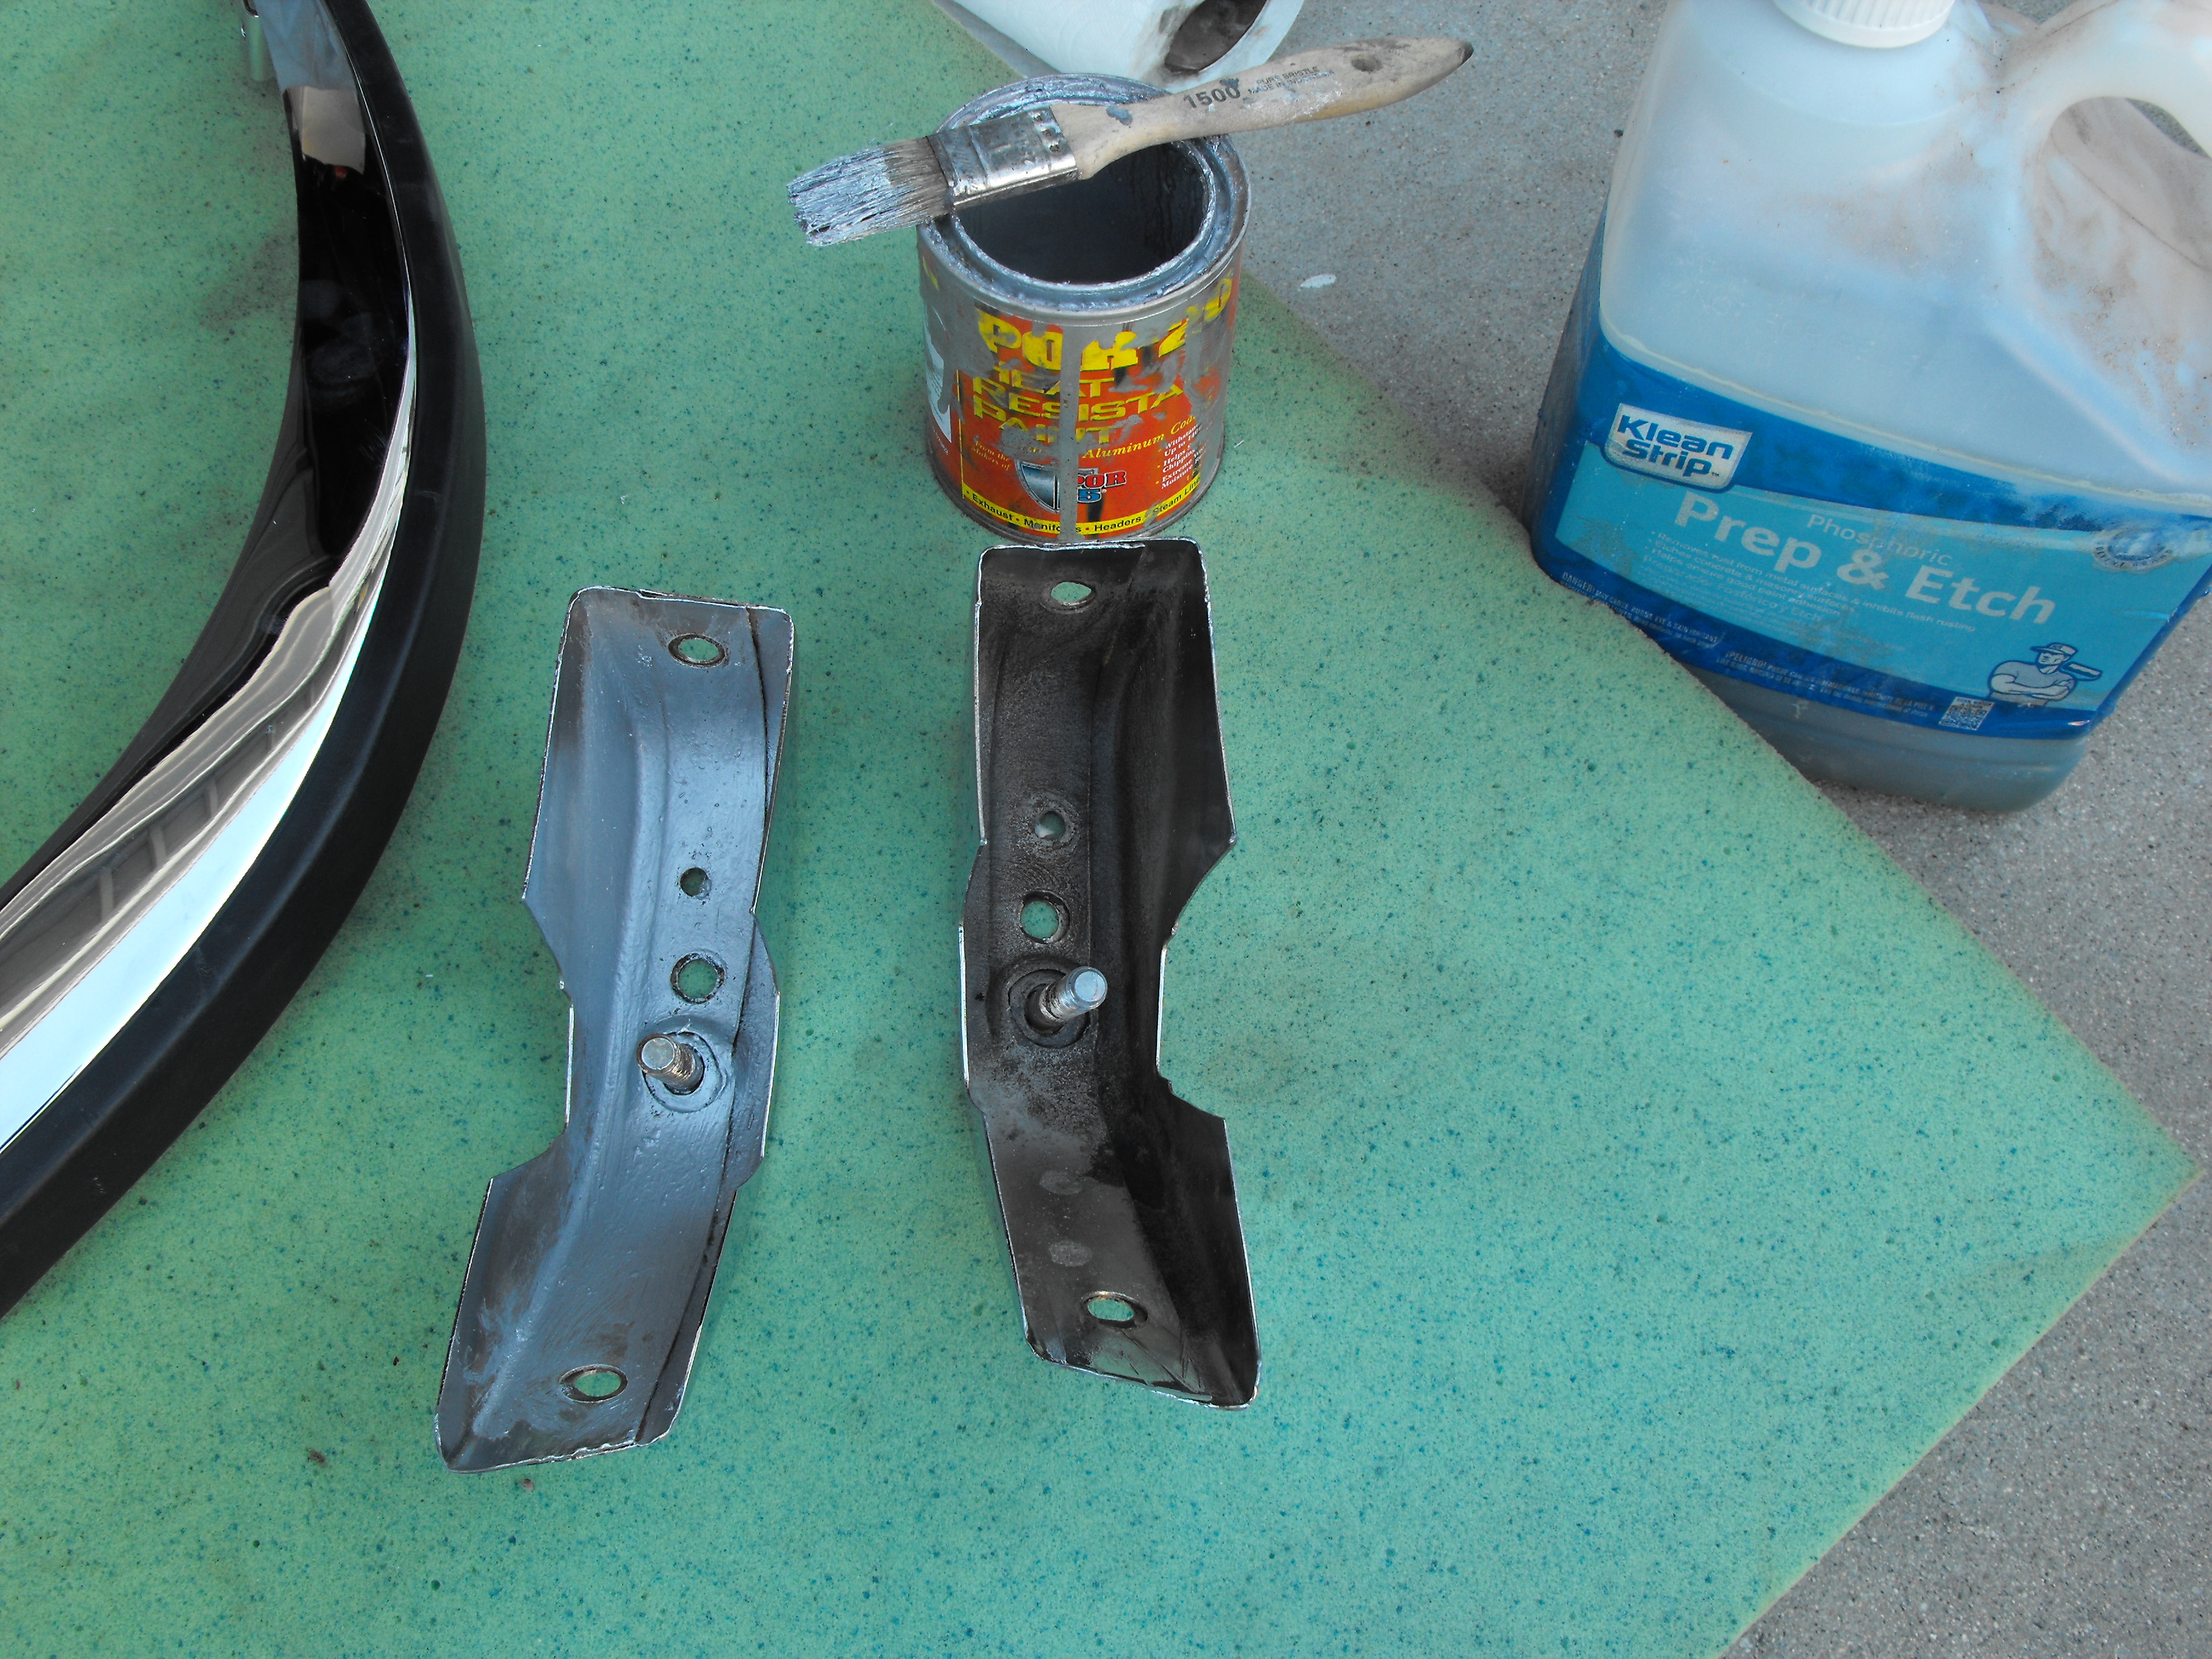
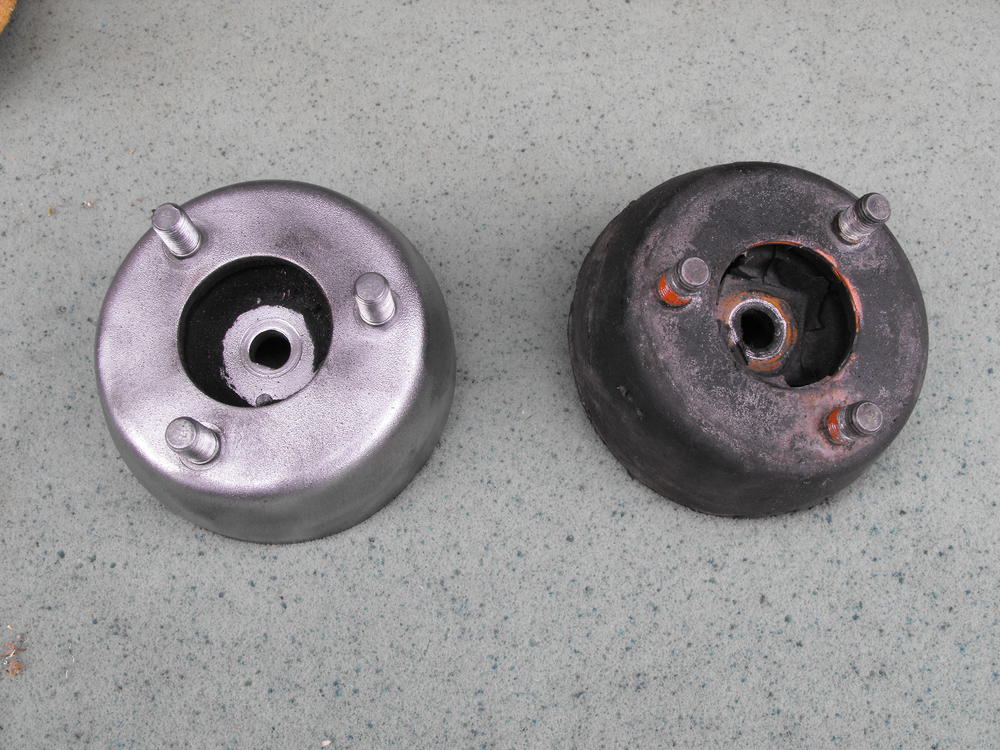
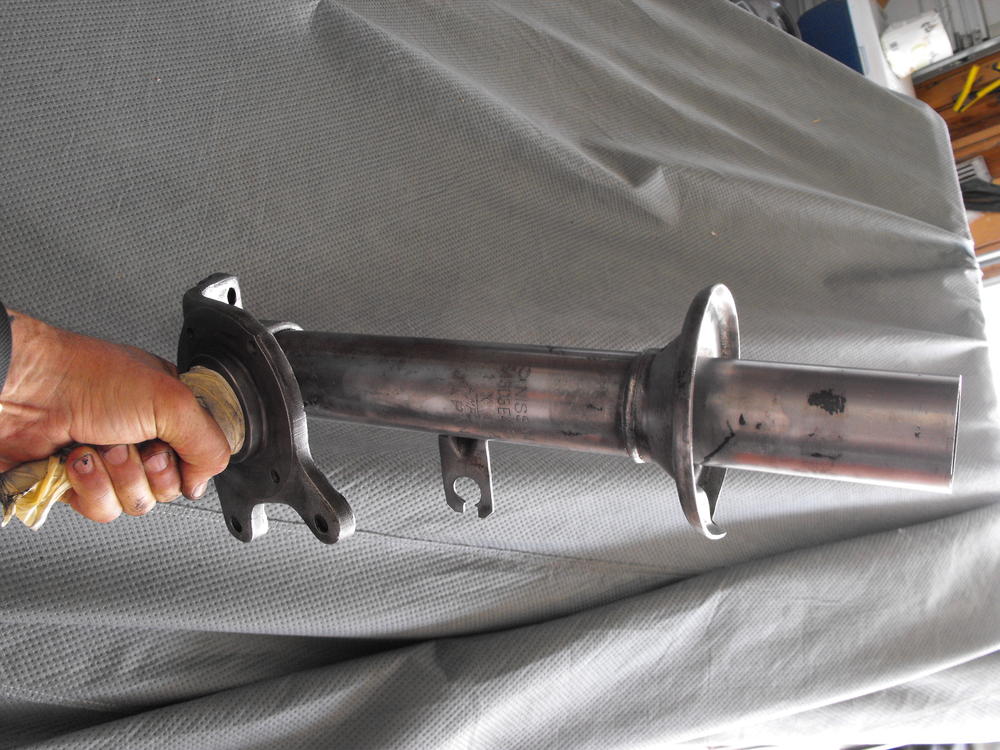
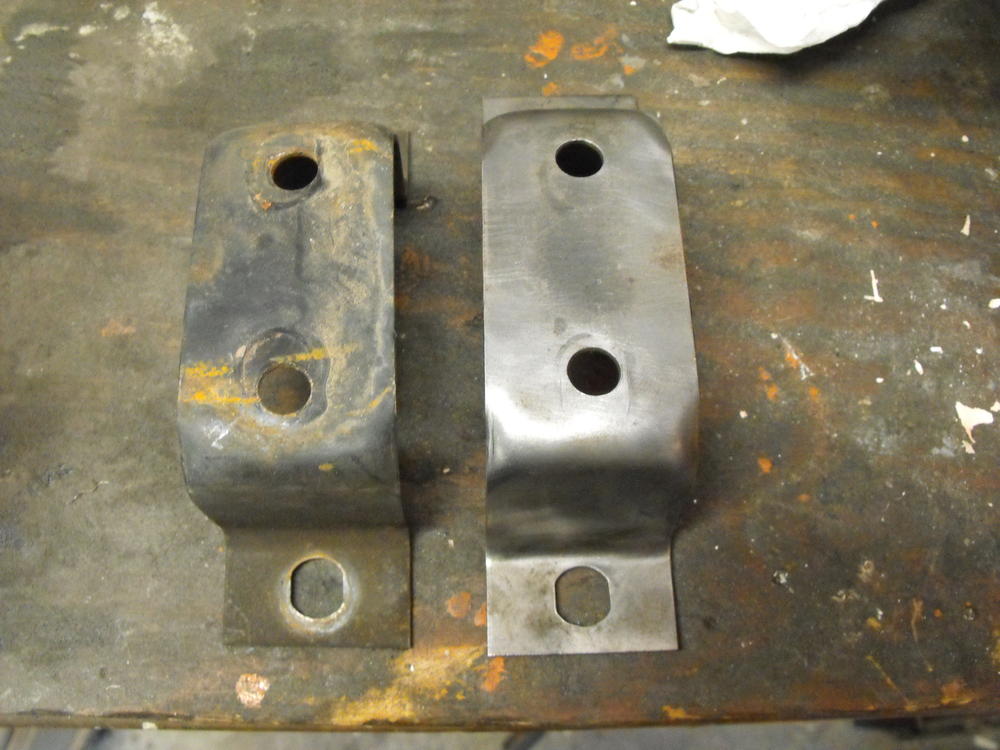
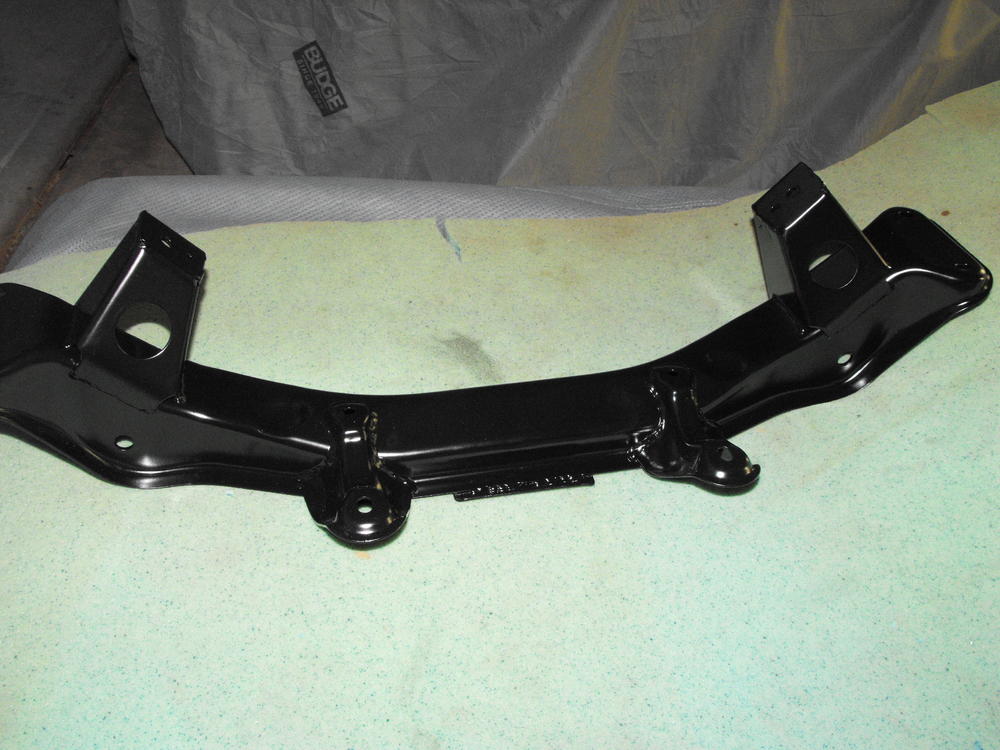
I cleaned up the area where the front suspension support attaches to. After that, I hit it with the touch-up paint. I got the front suspension support and the other front suspension components back from the powdercoater. The parts look great. Can't wait to install these components along with the new Energy suspension rubber. pics below


-
That is a beautiful area you are in. I have been through Roseburg a number of times on my trips north up the 5 and I love it. I also notice that a number or my 2 X 4's from Home Depot are from Roseburg. Again, great area!
-
Thanks again for the compliments. Fortunately, I really love working on the Z's. It is pretty much my hobby and passion. Also, no need for more smog stuff, I have all I need. I mentioned that I look for smog components on a Z only because if it is on the car, most likely the owner(s) have not modified the car too much. If some one removes the smog equipment, most likely they have done a number of other mods as well. I use it mostly as an indicator, not that I am a big smog equipment fan. I like it on my original Z's because it was the standard equipment, but not on my modified.
-
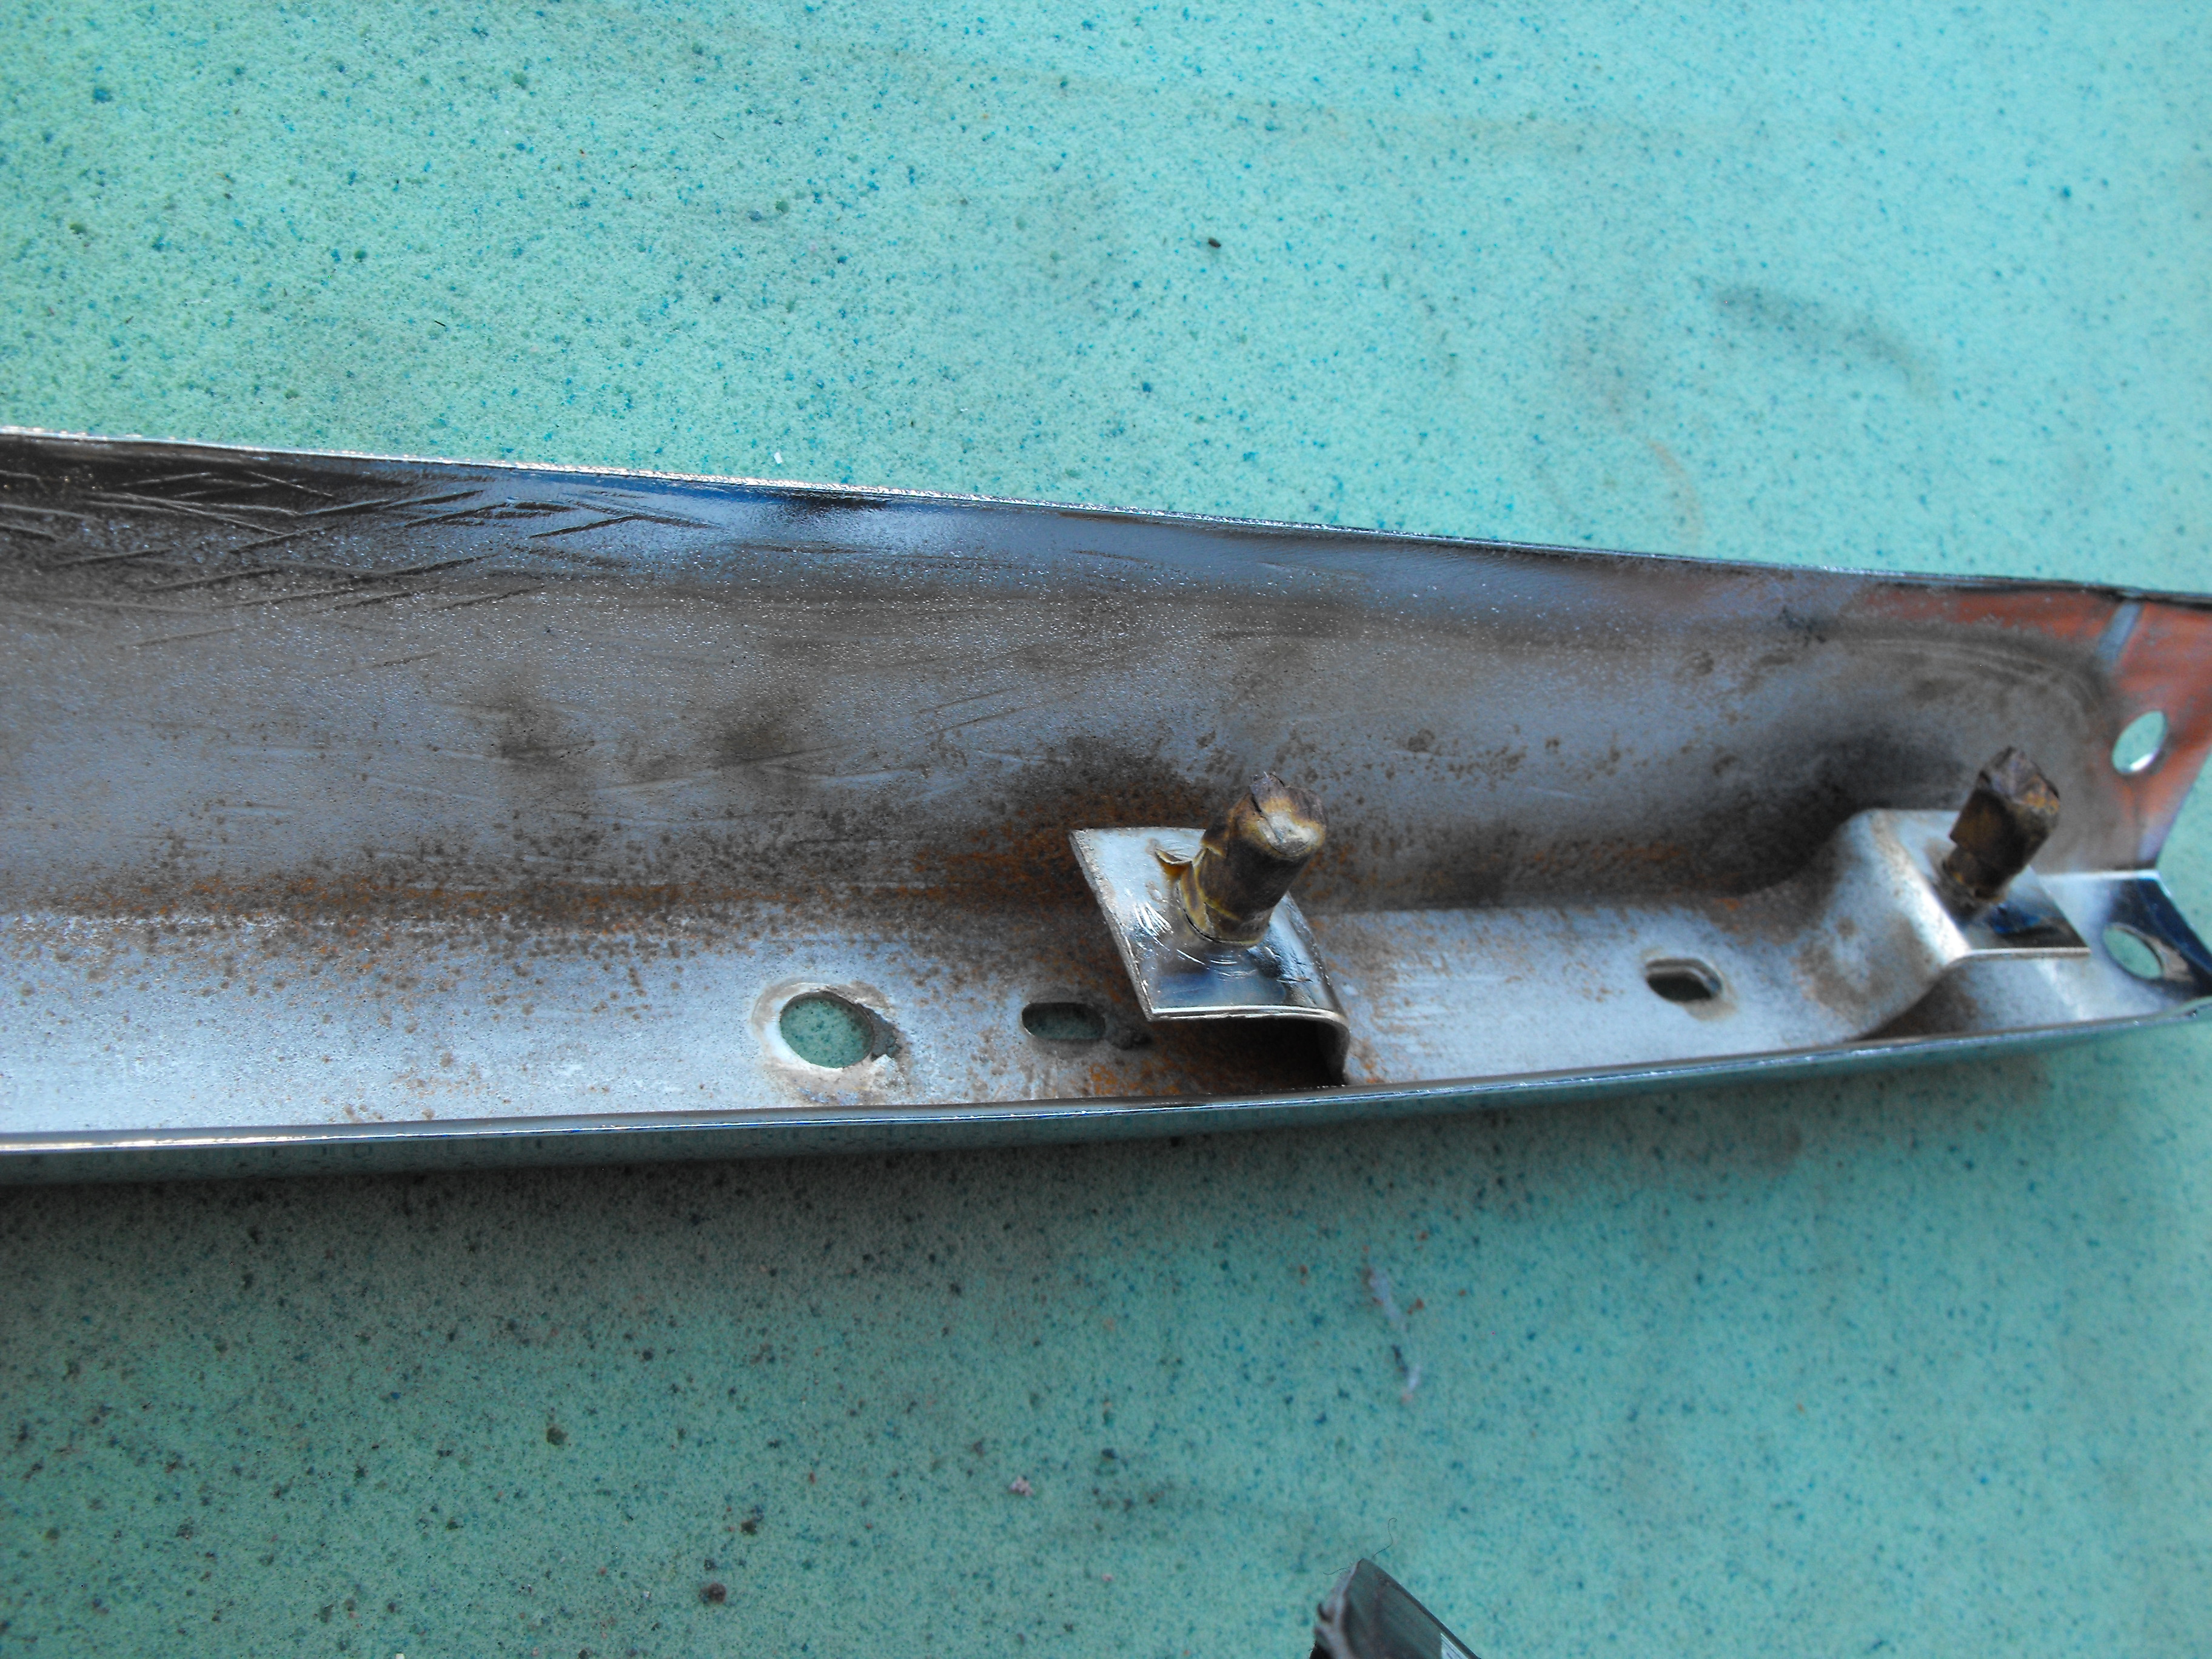
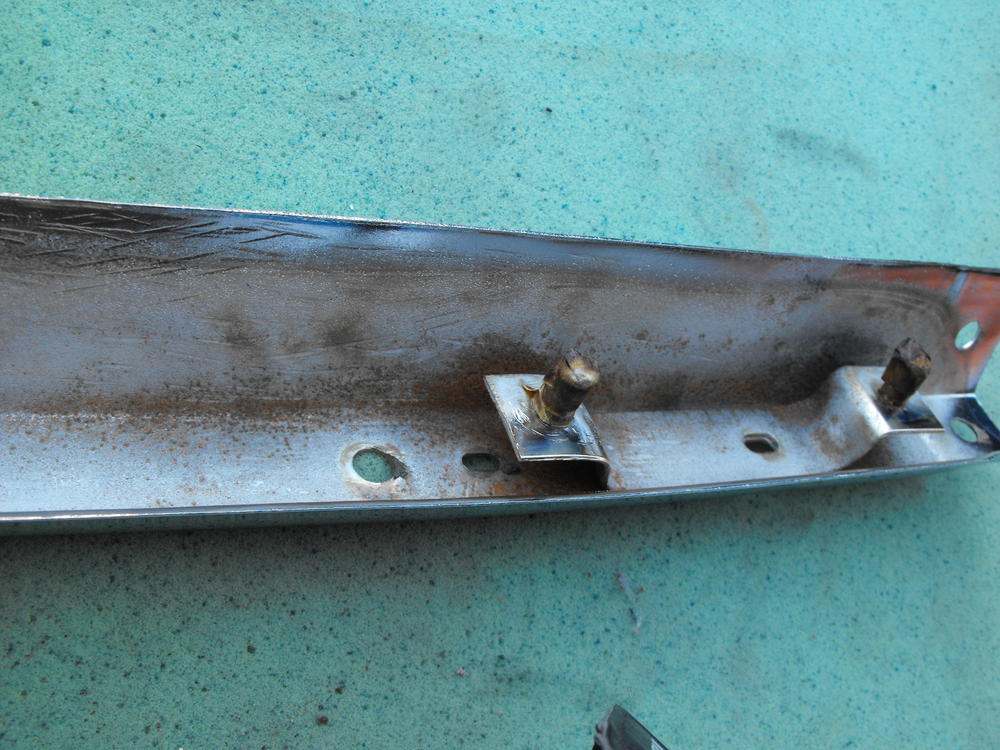
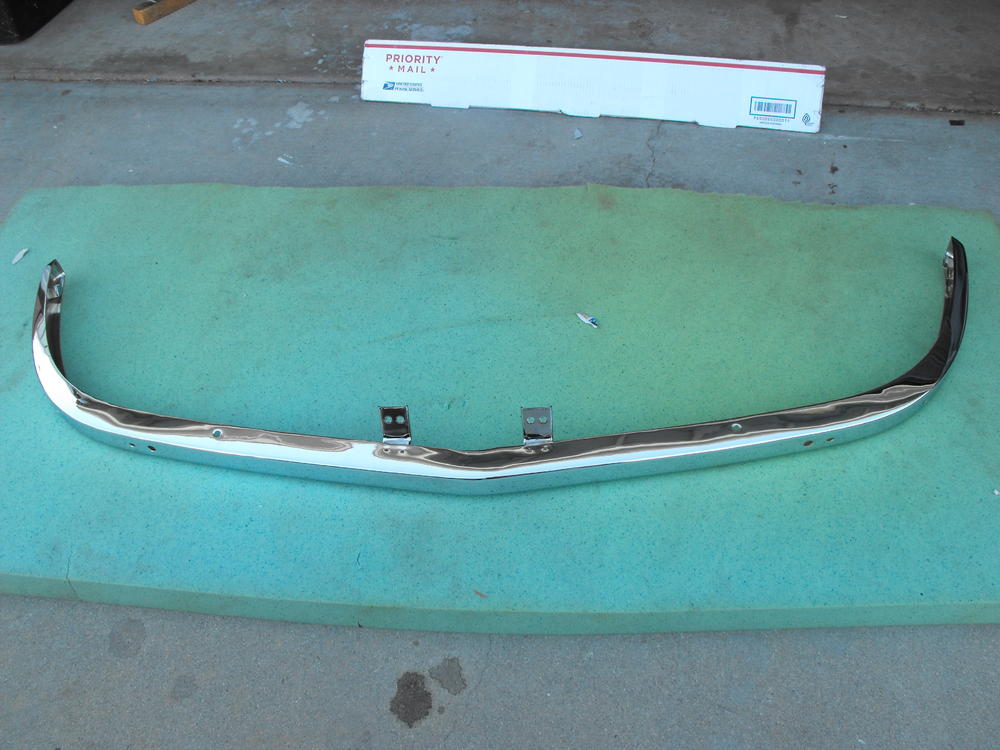
It's only because I'm an engineer and very anal retentive, it's a curse. And, frame rails are pretty much the first thing I look at when checking out a Z. Smog equipment would be the second item. Usually if I see both of those in good shape, then I am interested. That being said: I was checking over the new chromed bumpers and noticed a very light surface rust on the inside (which of course really bugged me!) So I passivated the rust using phosphoric acid (rust turns dark when rinsed with phosphoric acid: converts iron oxide,rust, to ferric phosphate, second pic) , wiped clean and then painted with Silver POR-20. That should remedy the rust. It is pretty much a non-visible area so I just applied the paint to prevent the rust. I am told that most chrome shops recommend that the inside of the bumpers be painted so this should work well.


-
Thanks.....Also, thanks for the source here. I just ordered some for the rails. I looked for spray gun attachments but the tips all seemed to be 1/2" diameter or more. This has a nice small tube for internal access.
-
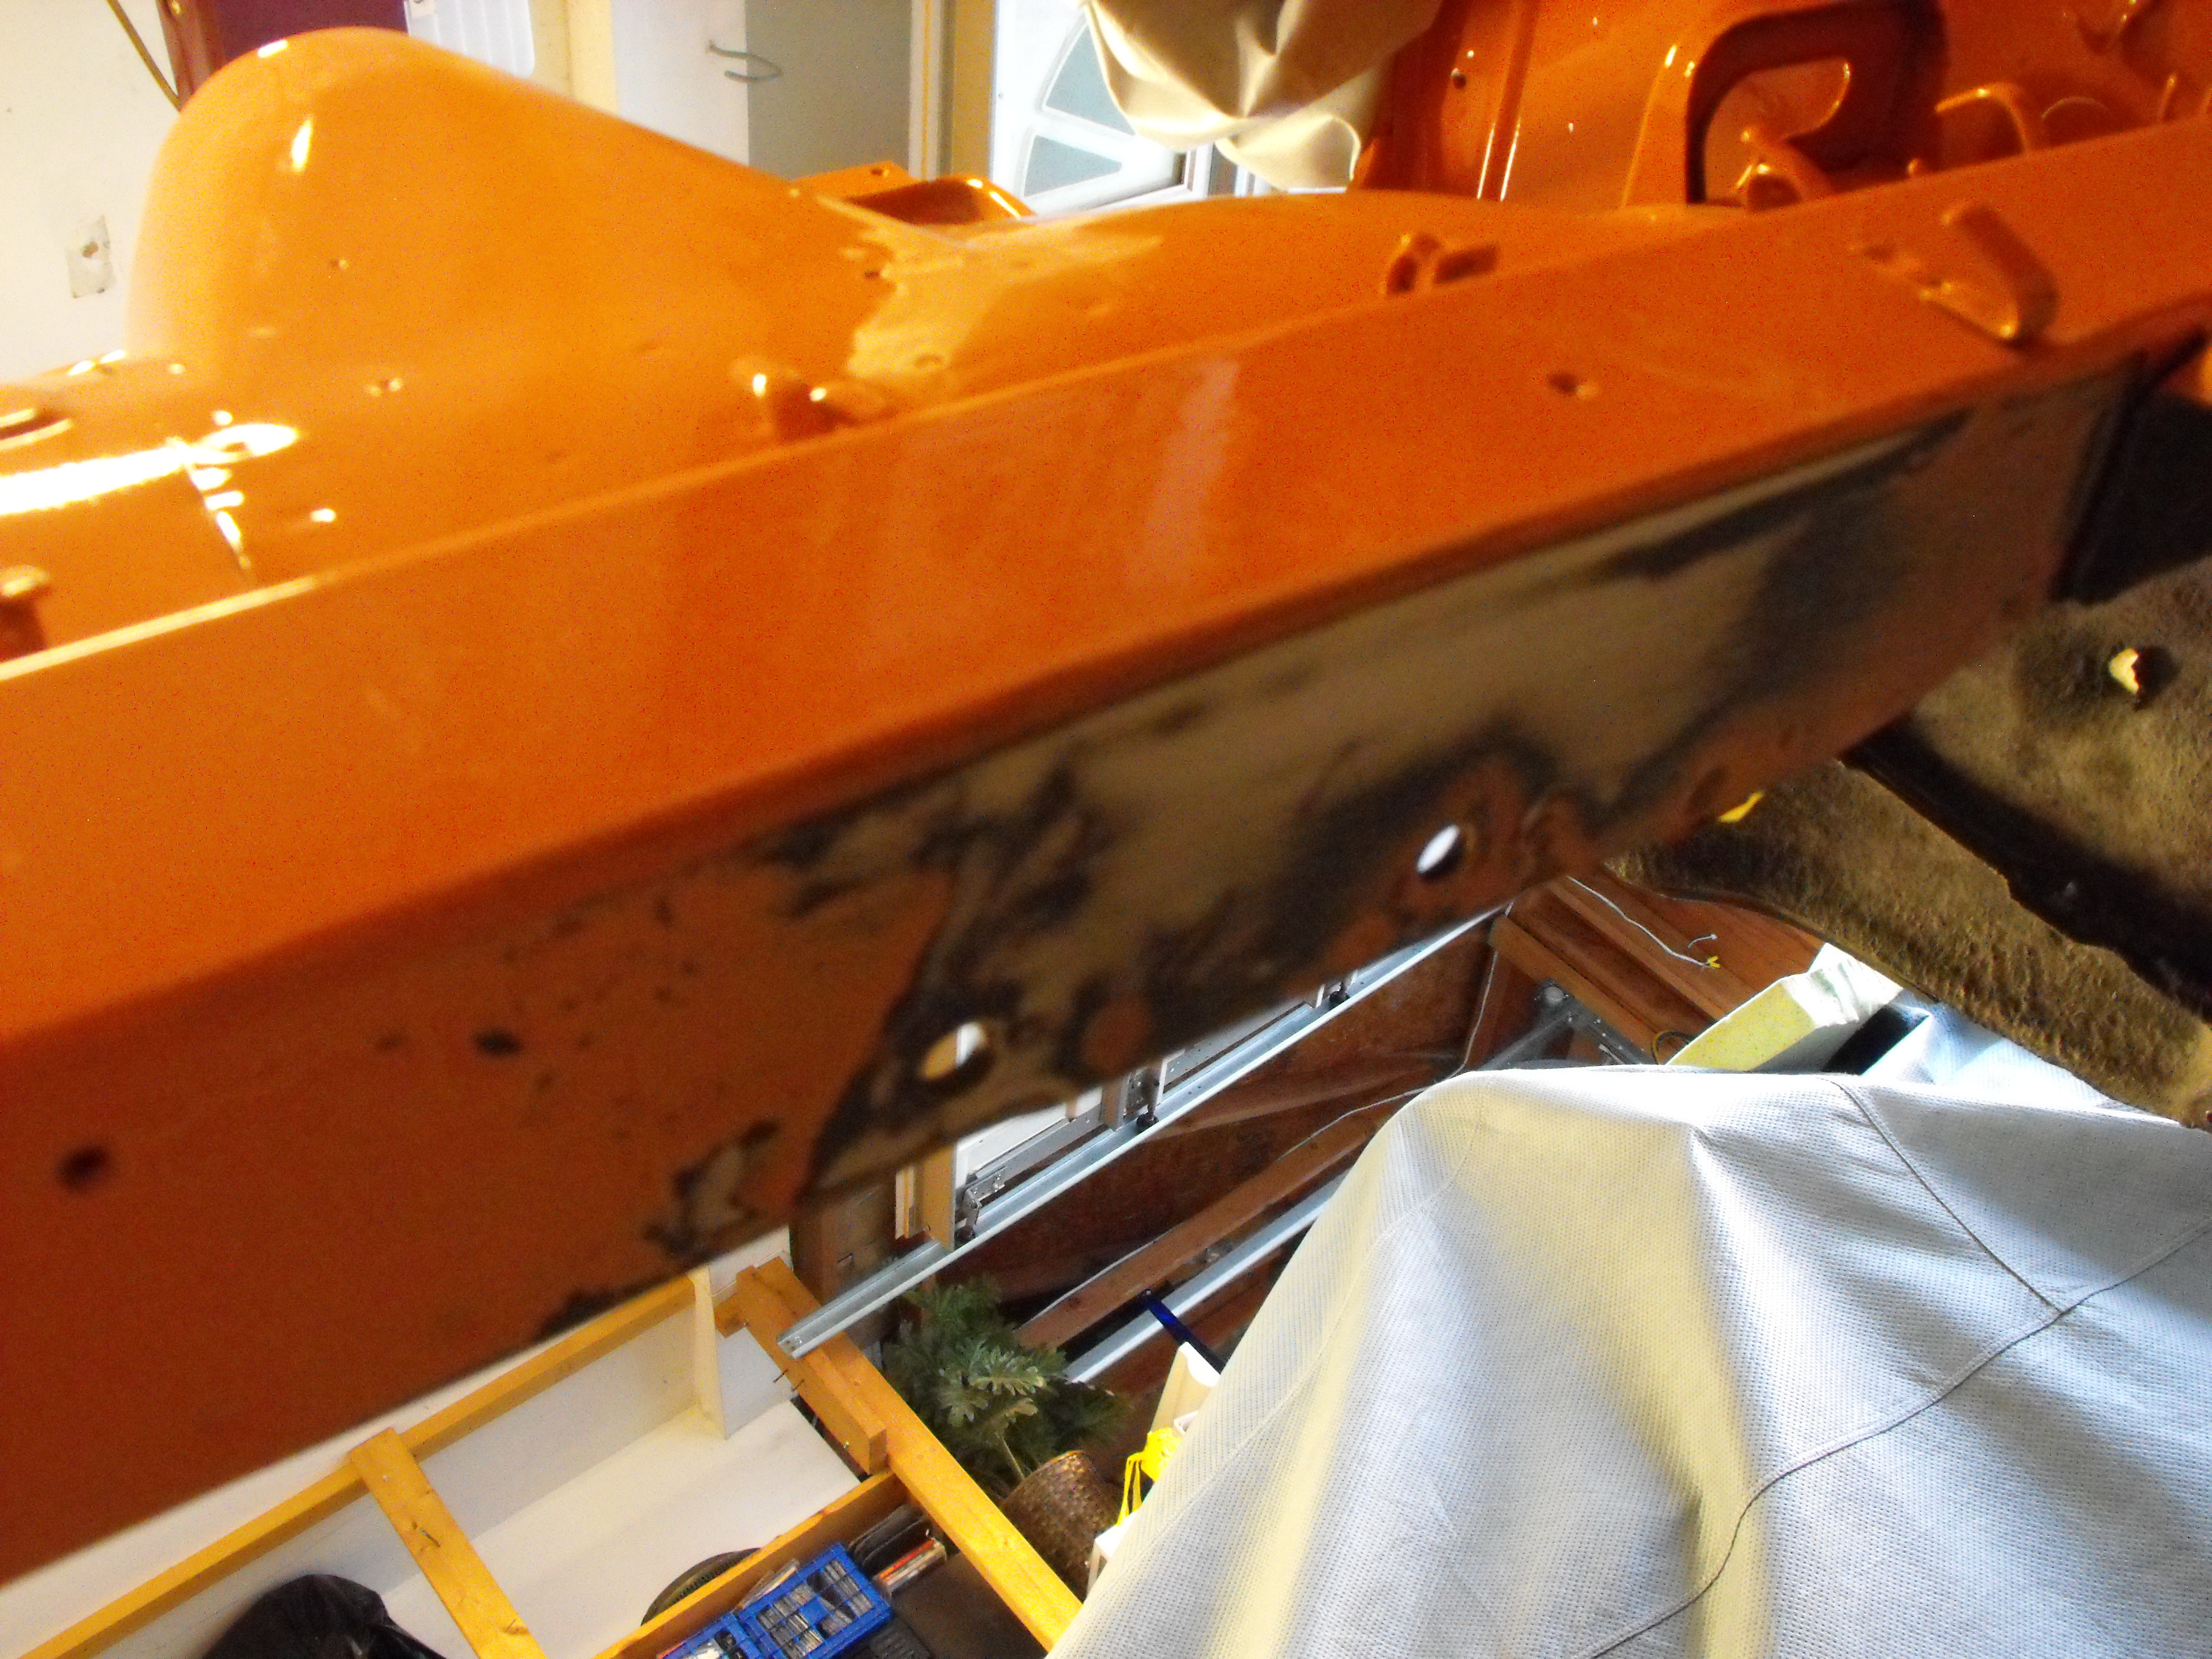
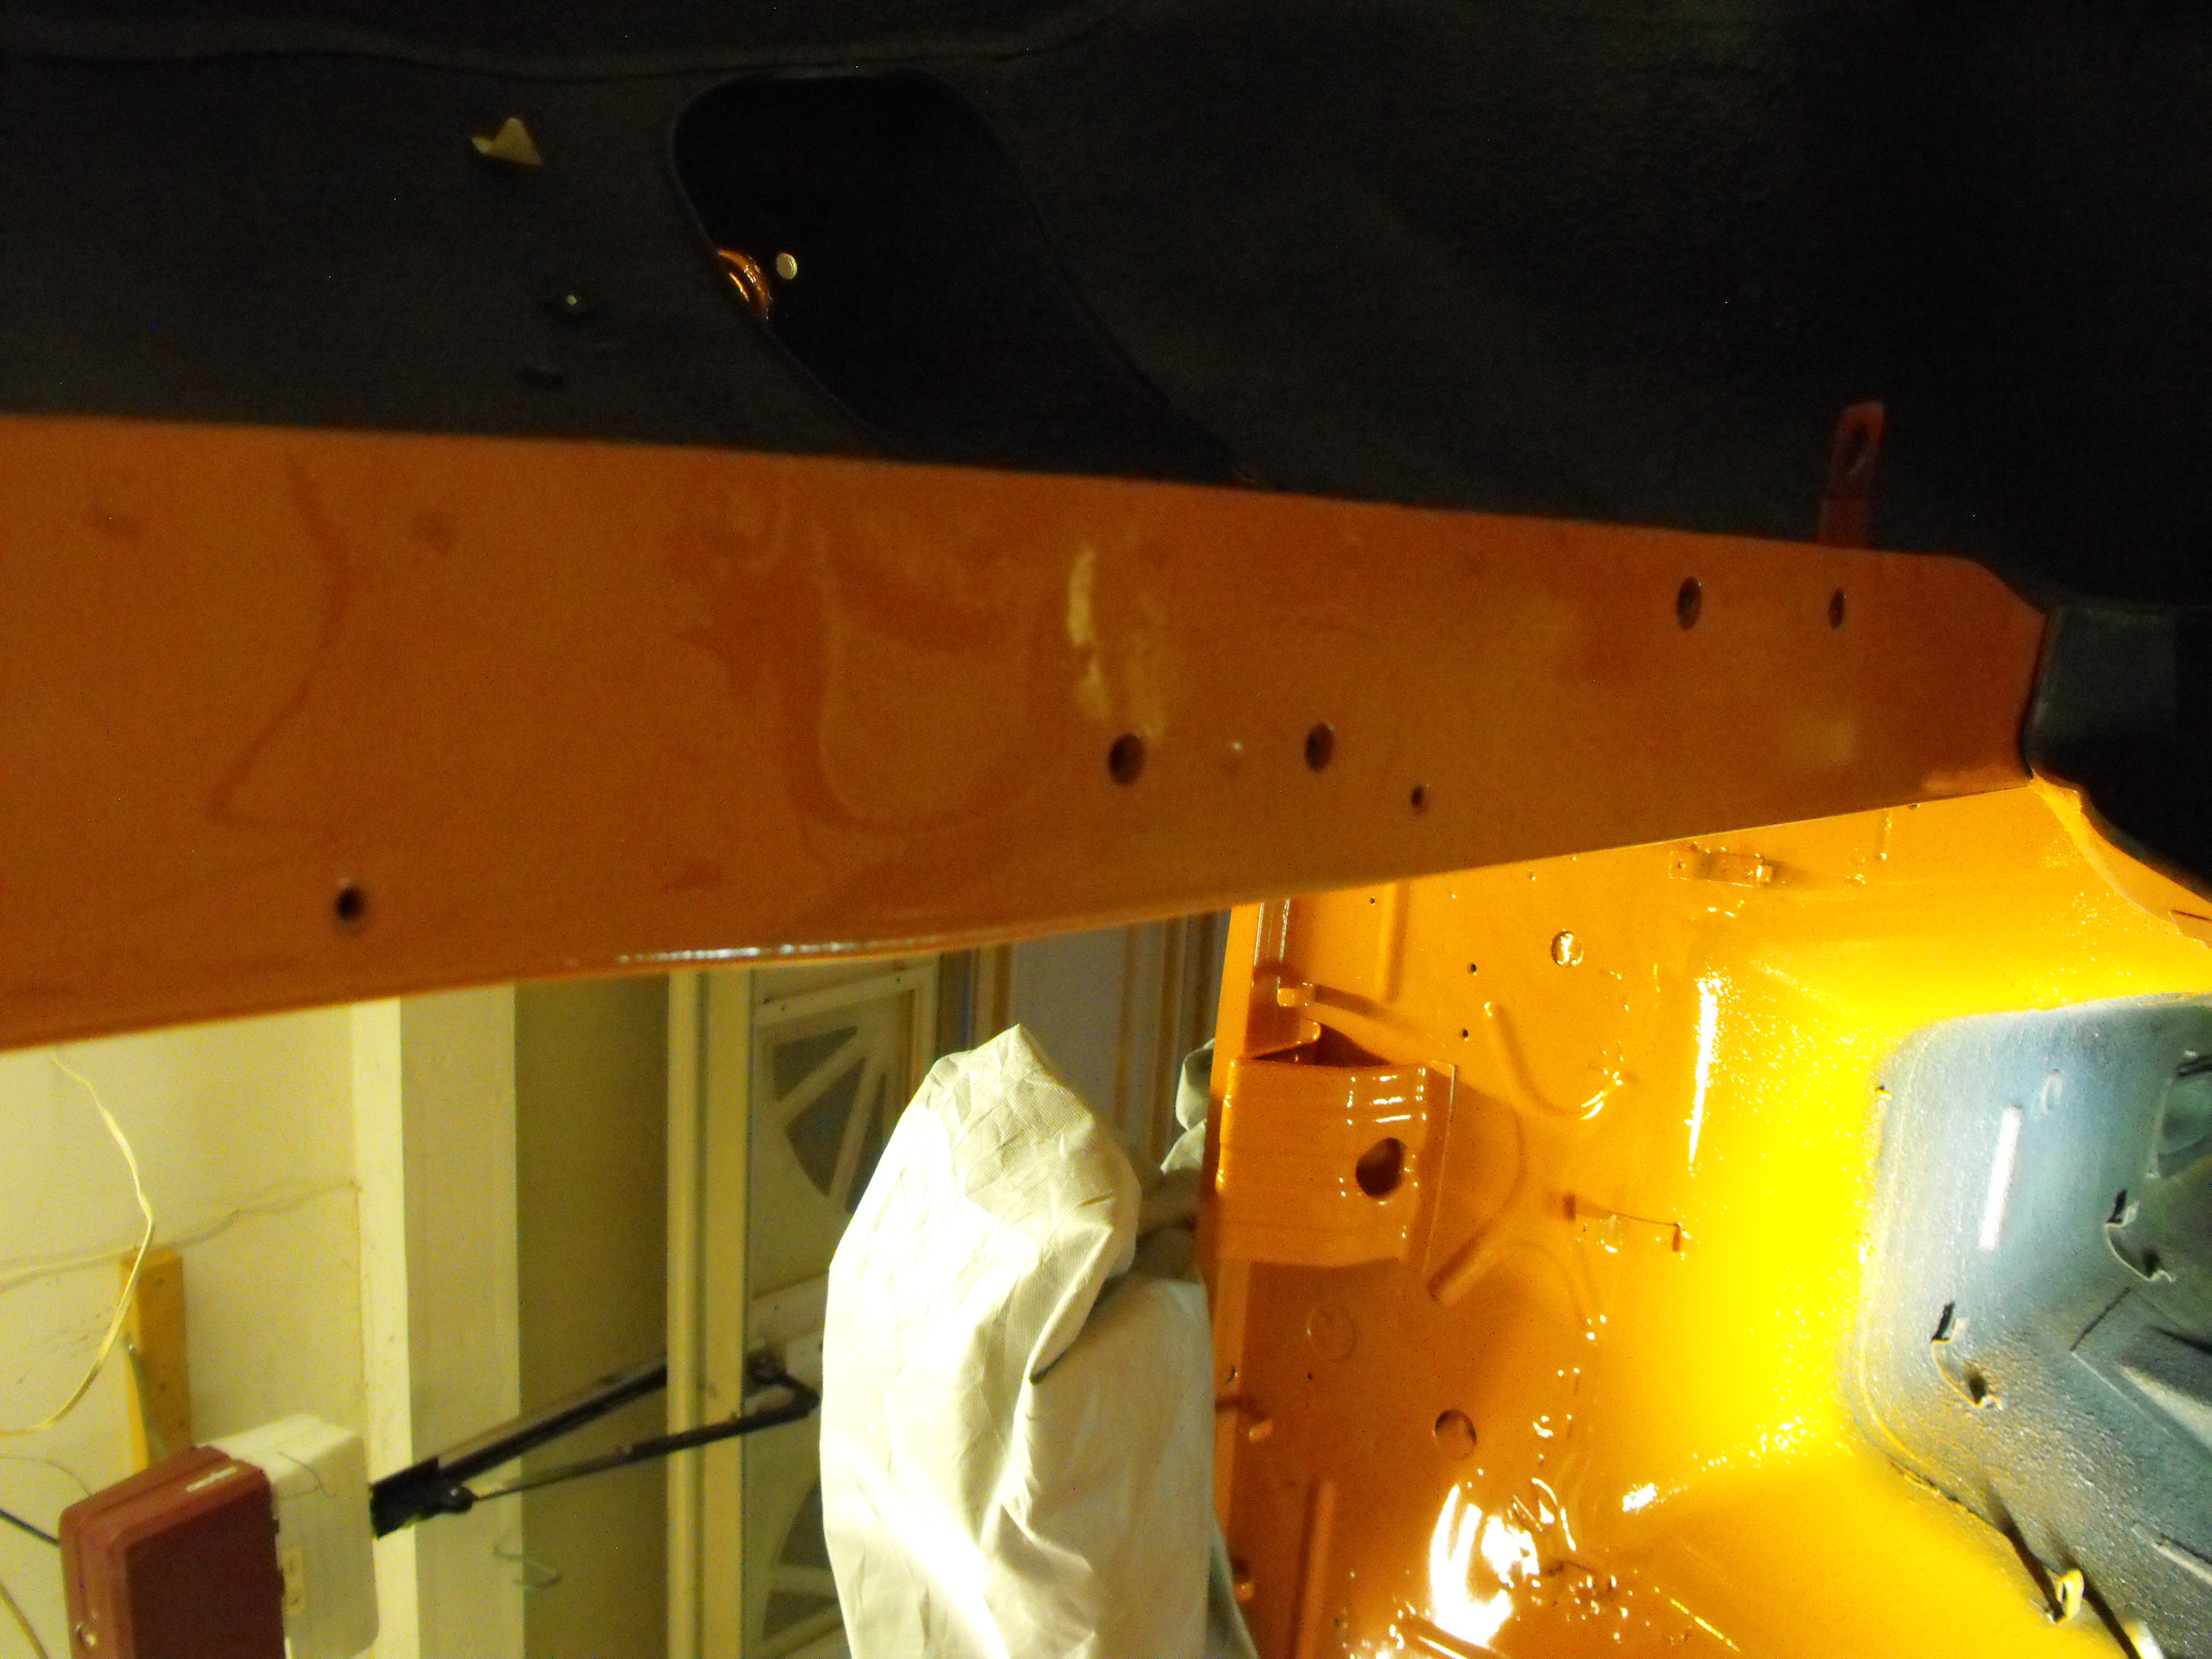
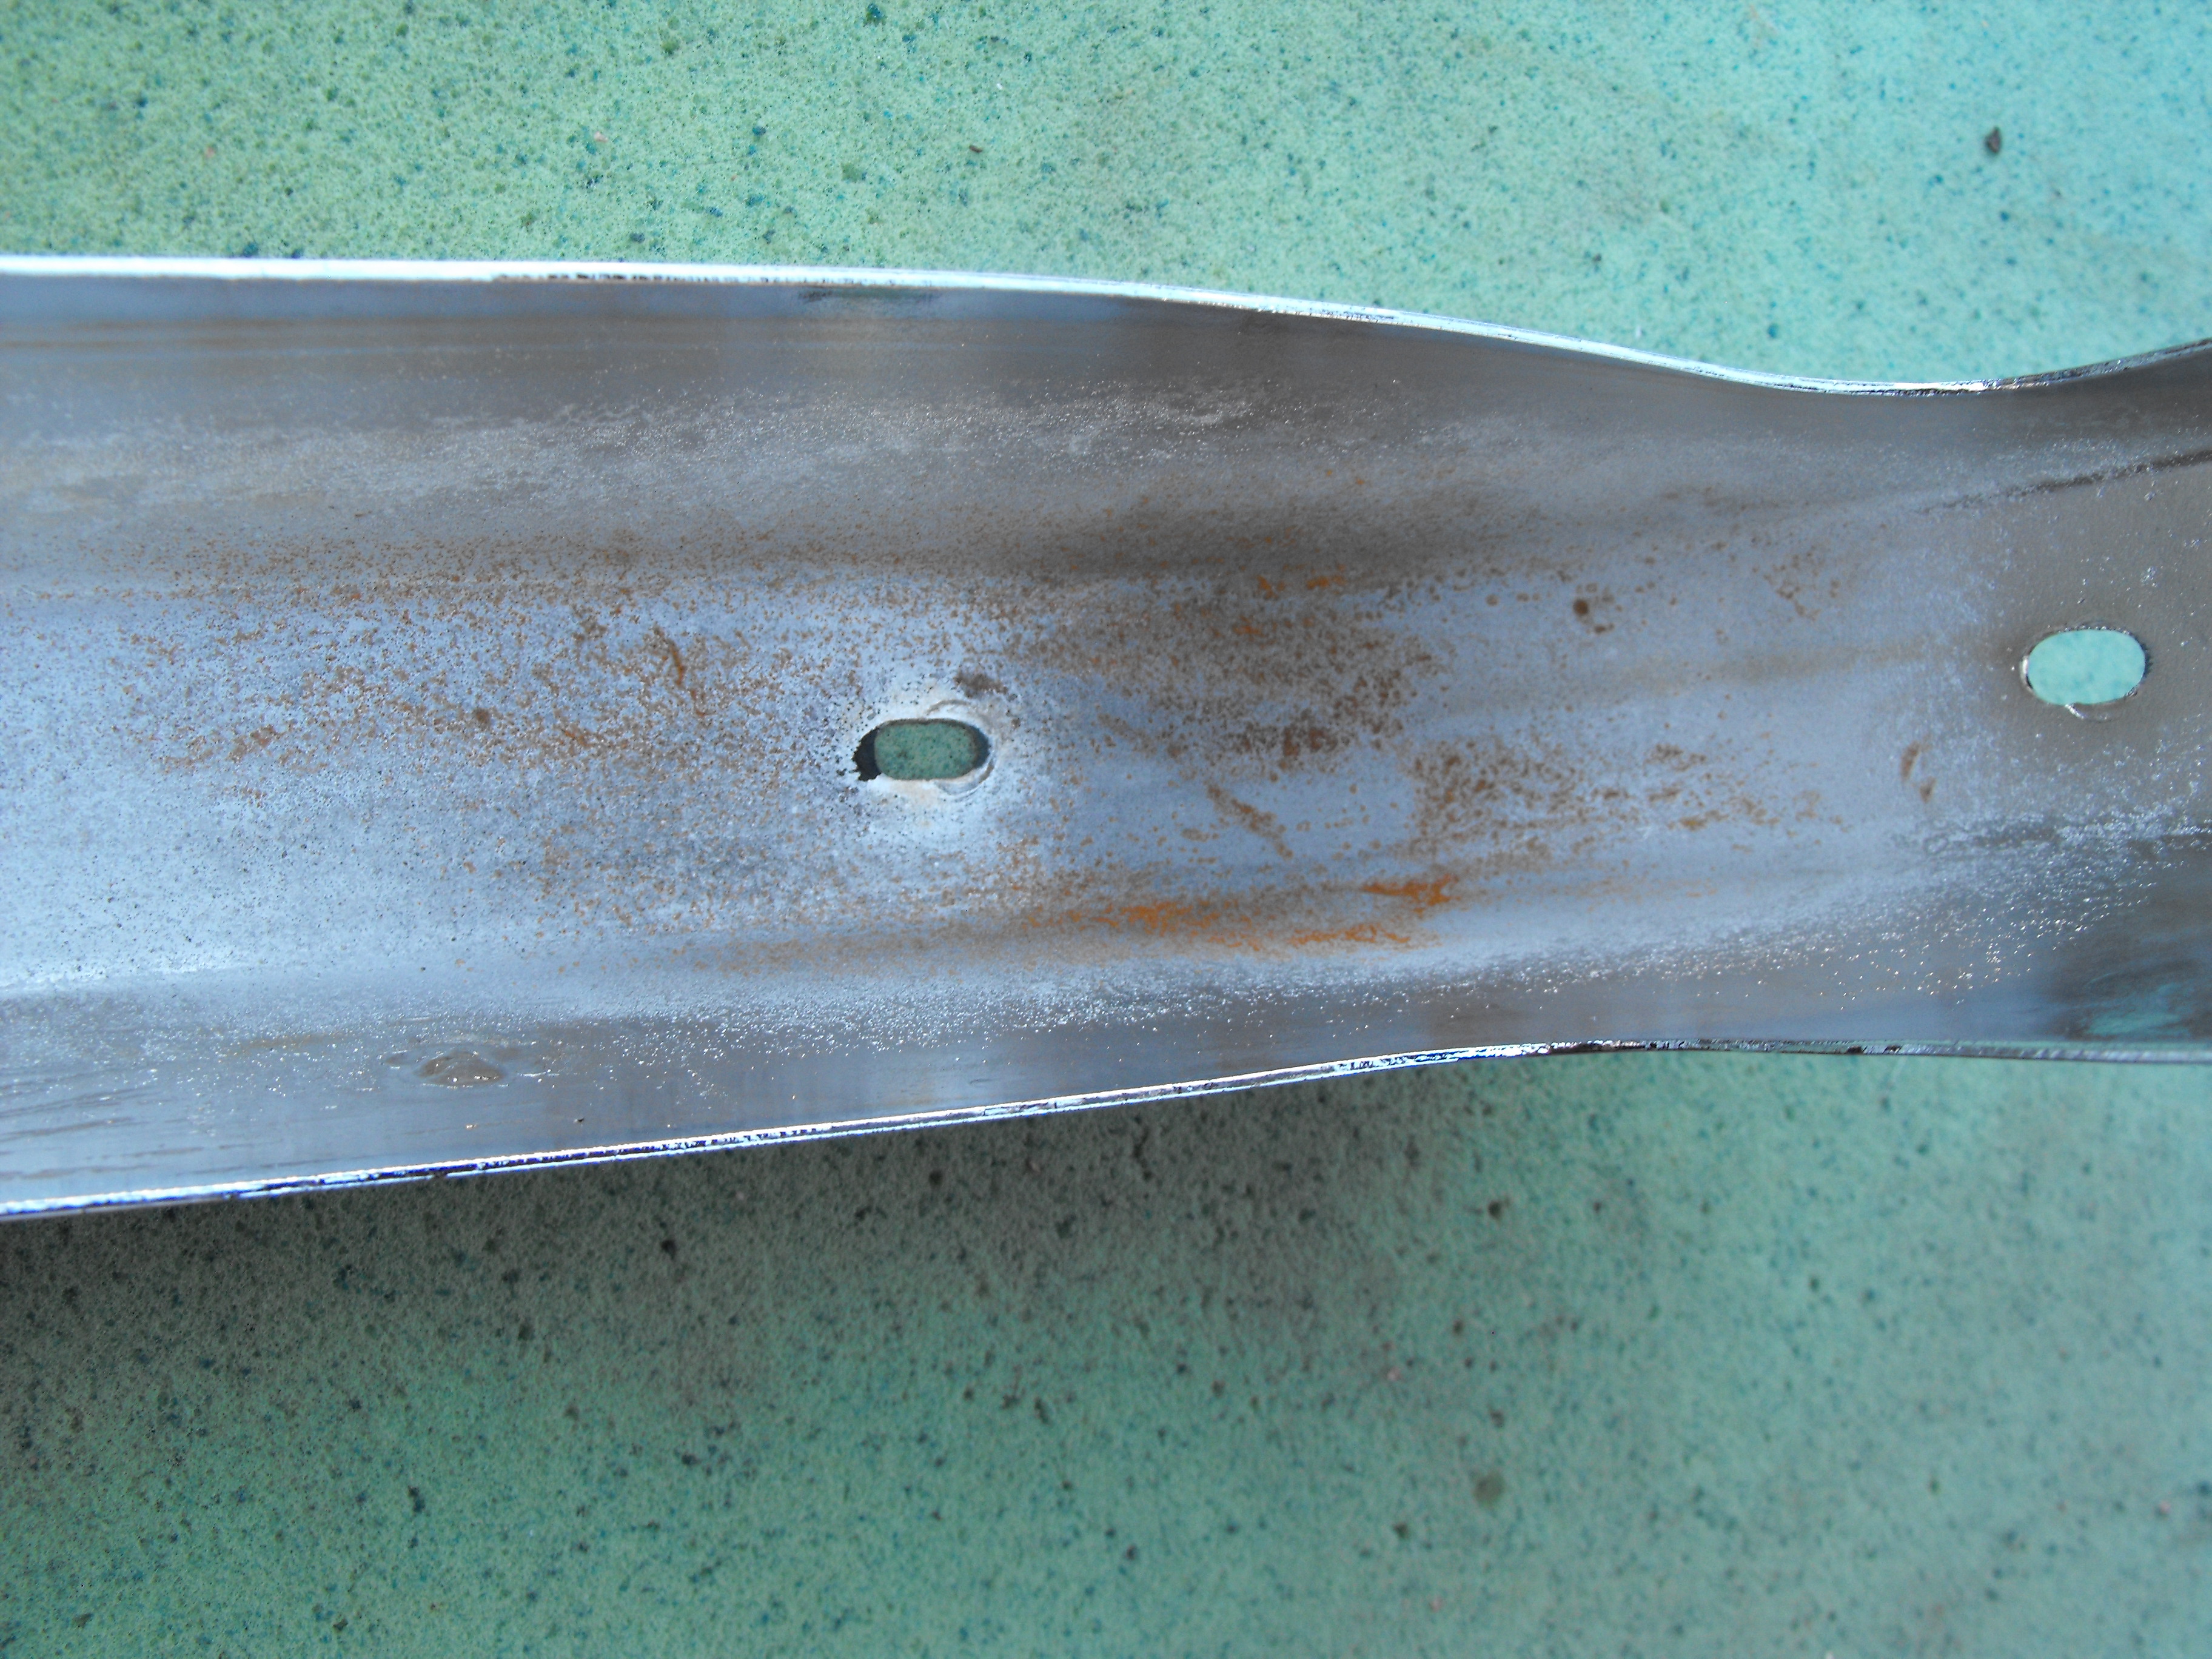
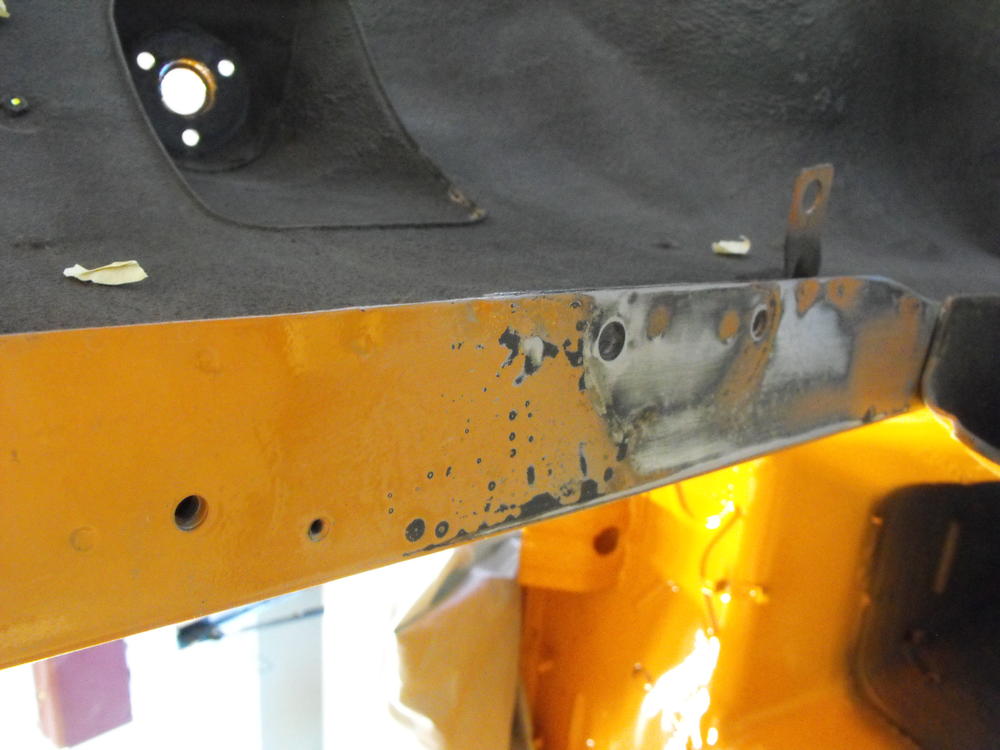
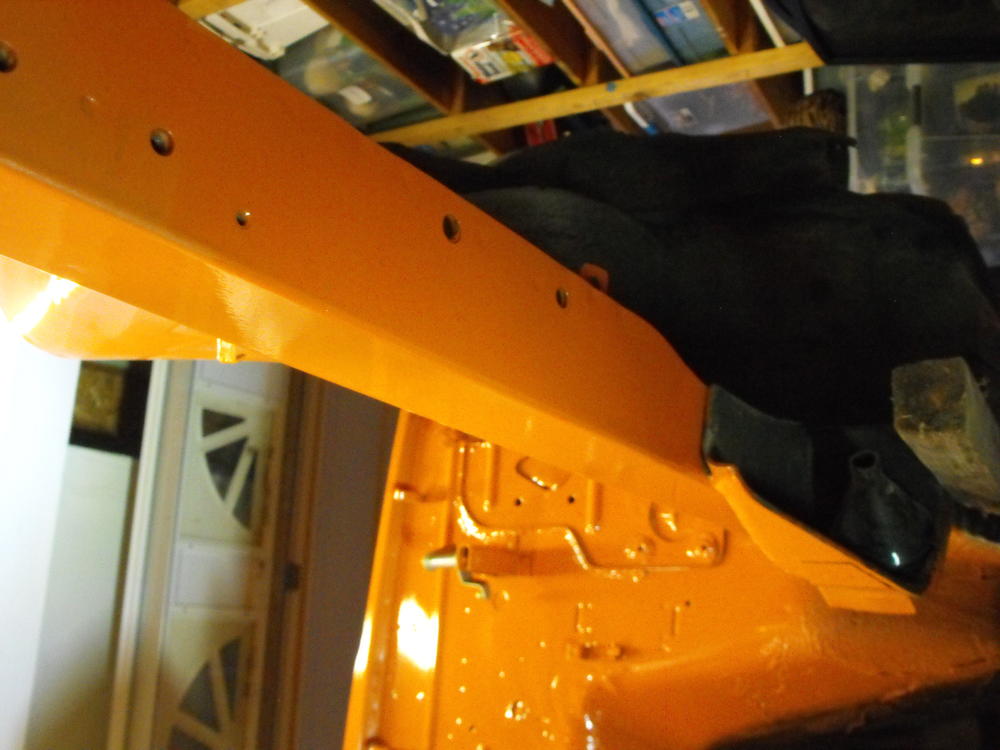
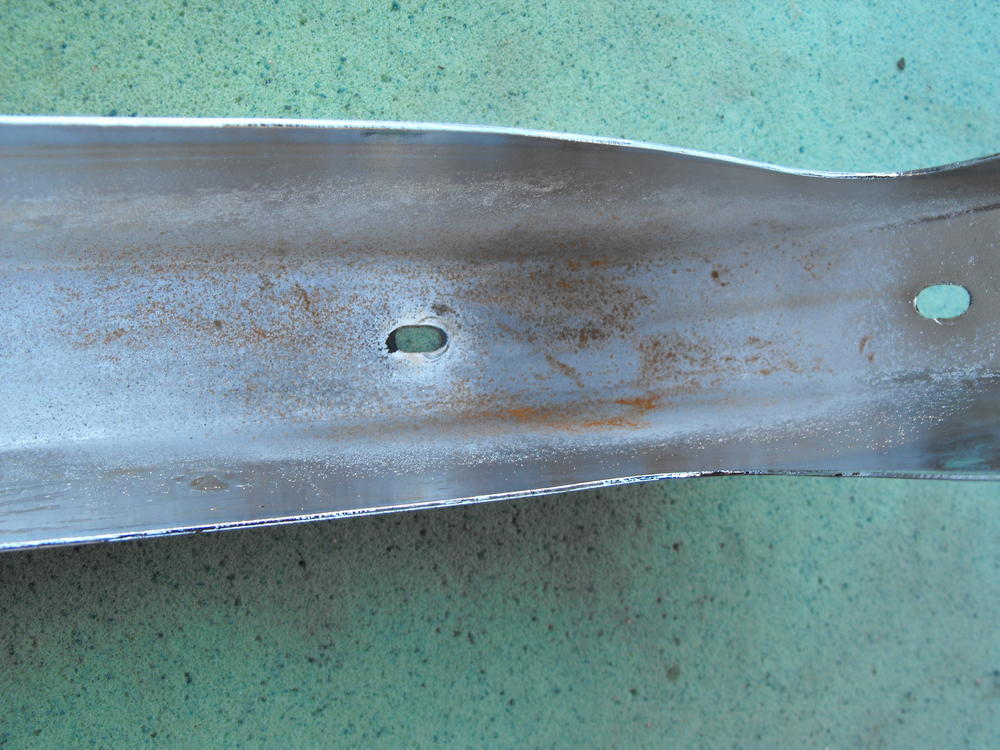
I worked on the drivers side frame rail today. It had a few significant dents, so I used a slide hammer to pull the dents out and then some filler to clean them up. I will use POR-15 on this area and then spray the undercoating on top of that. Pics below are the before pic and the straightened frame rail. Still need to POR-15 and undercoat these.

-
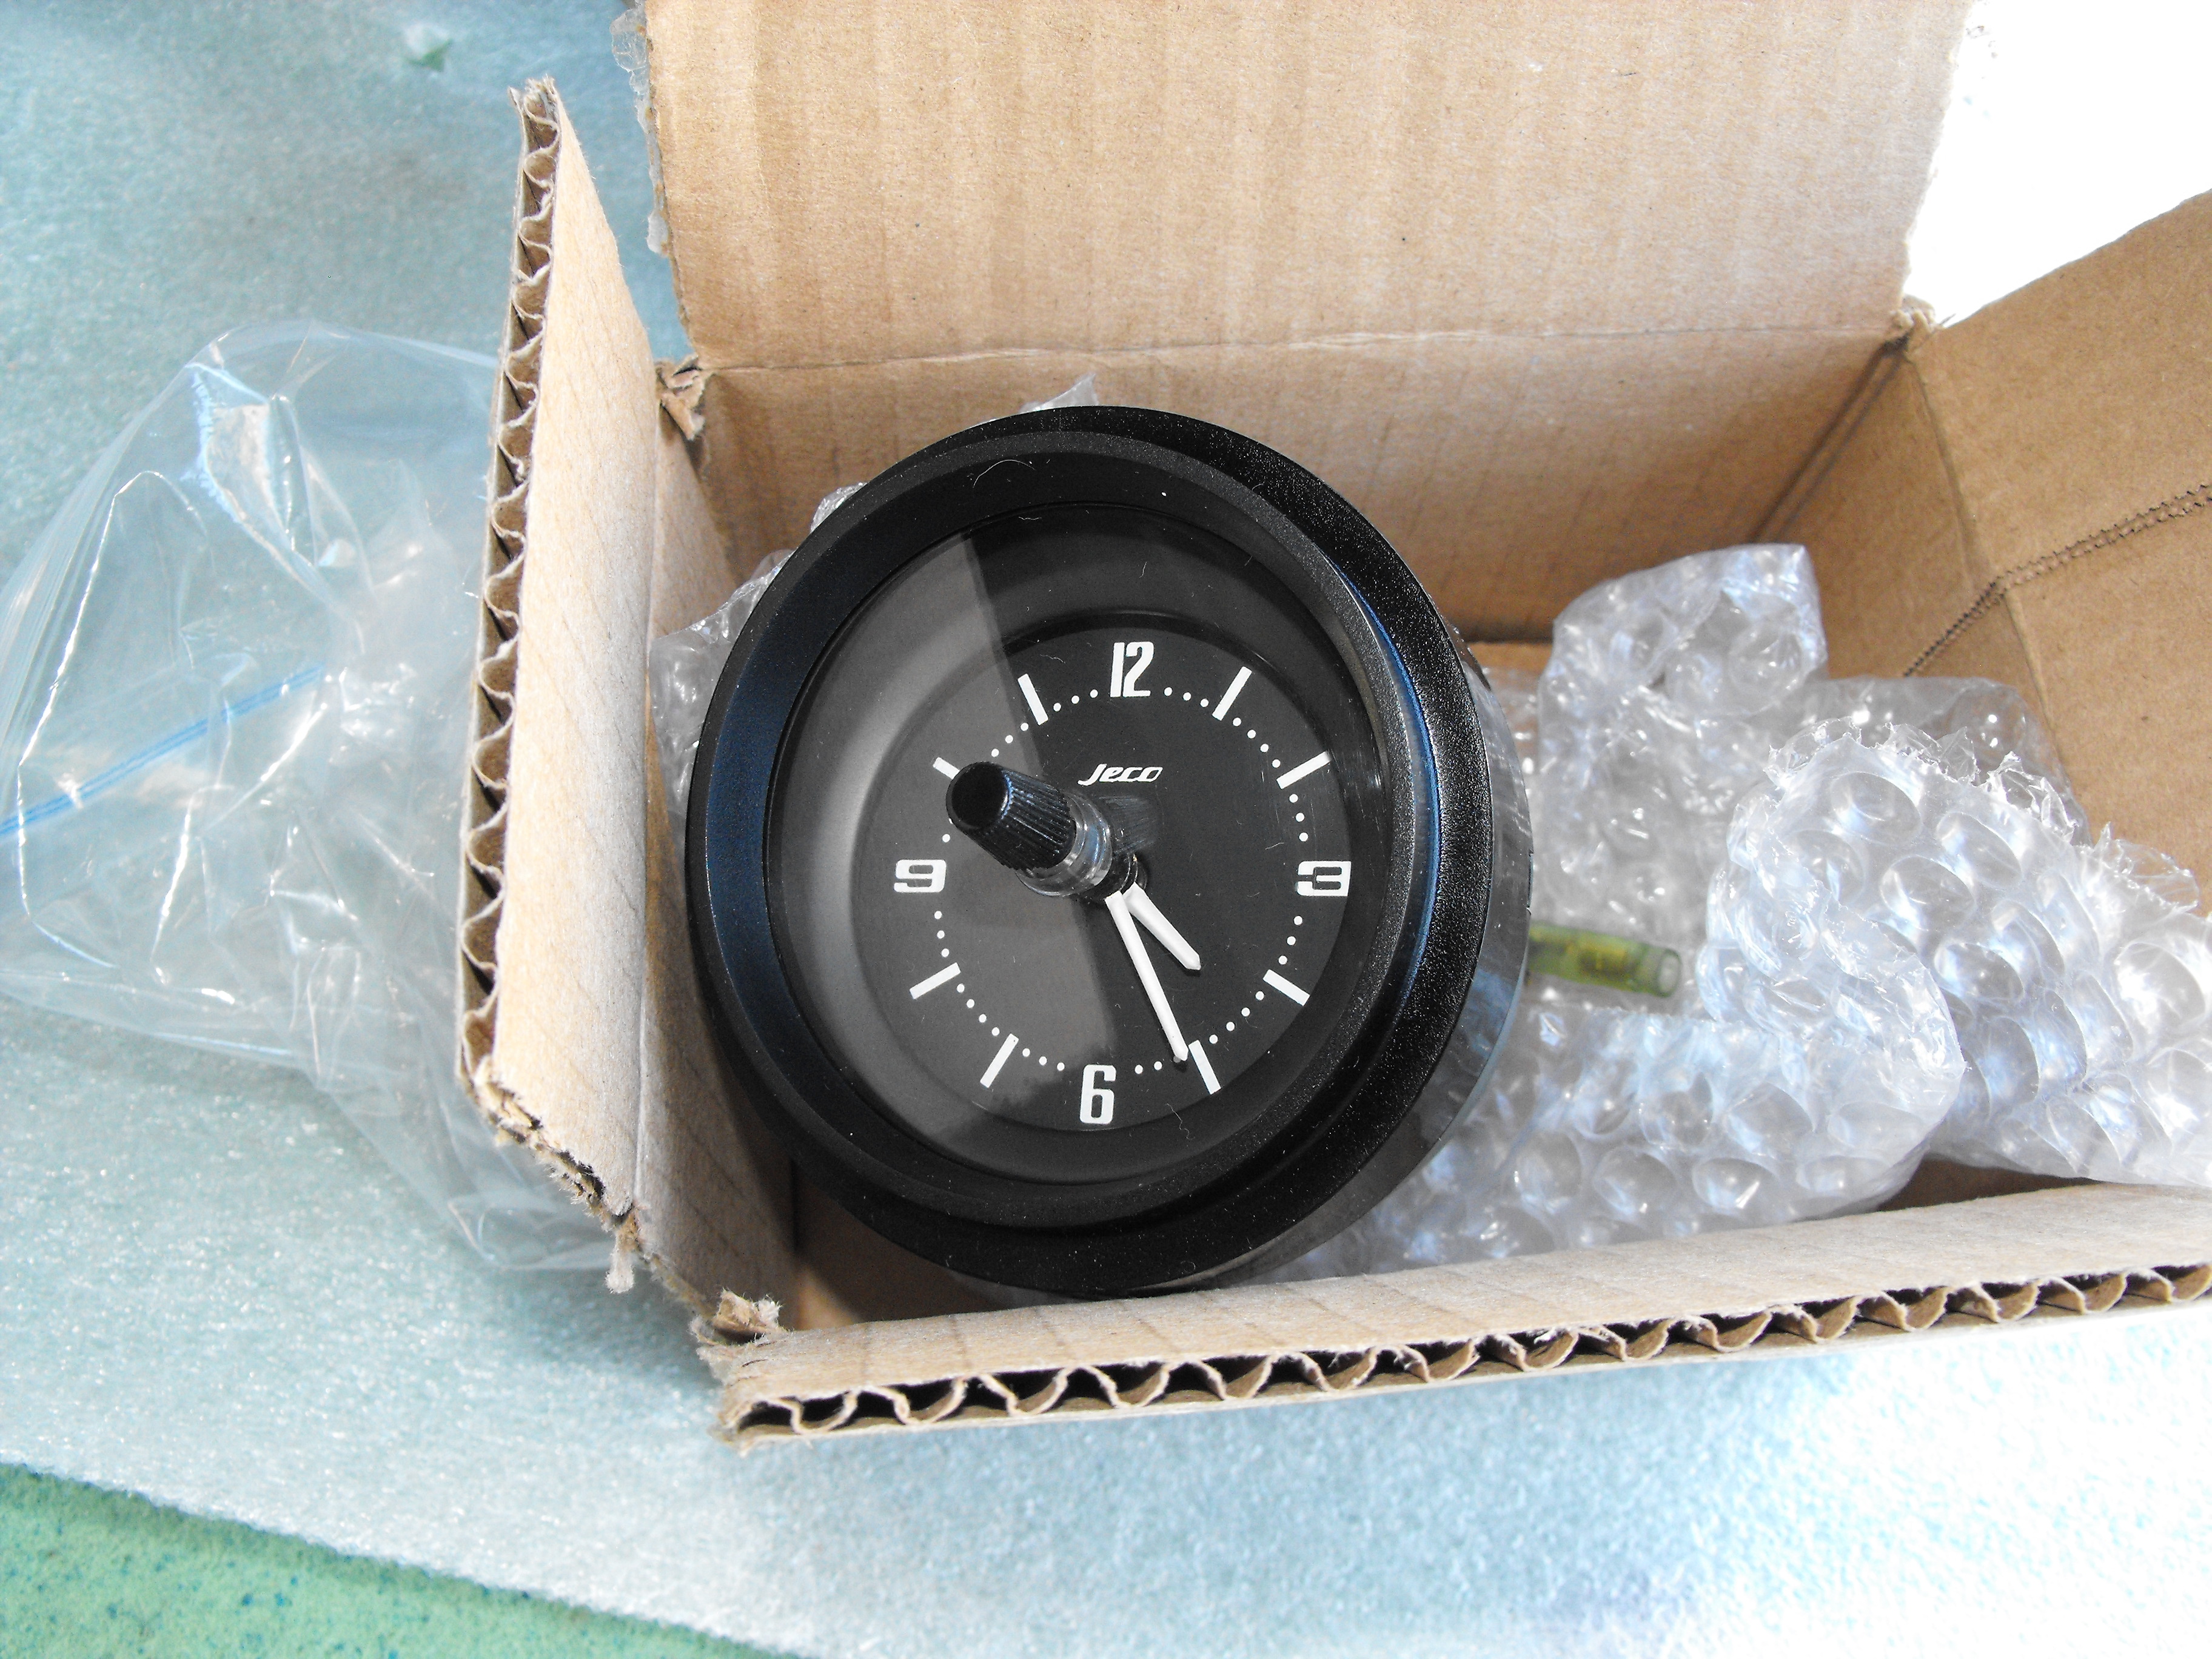
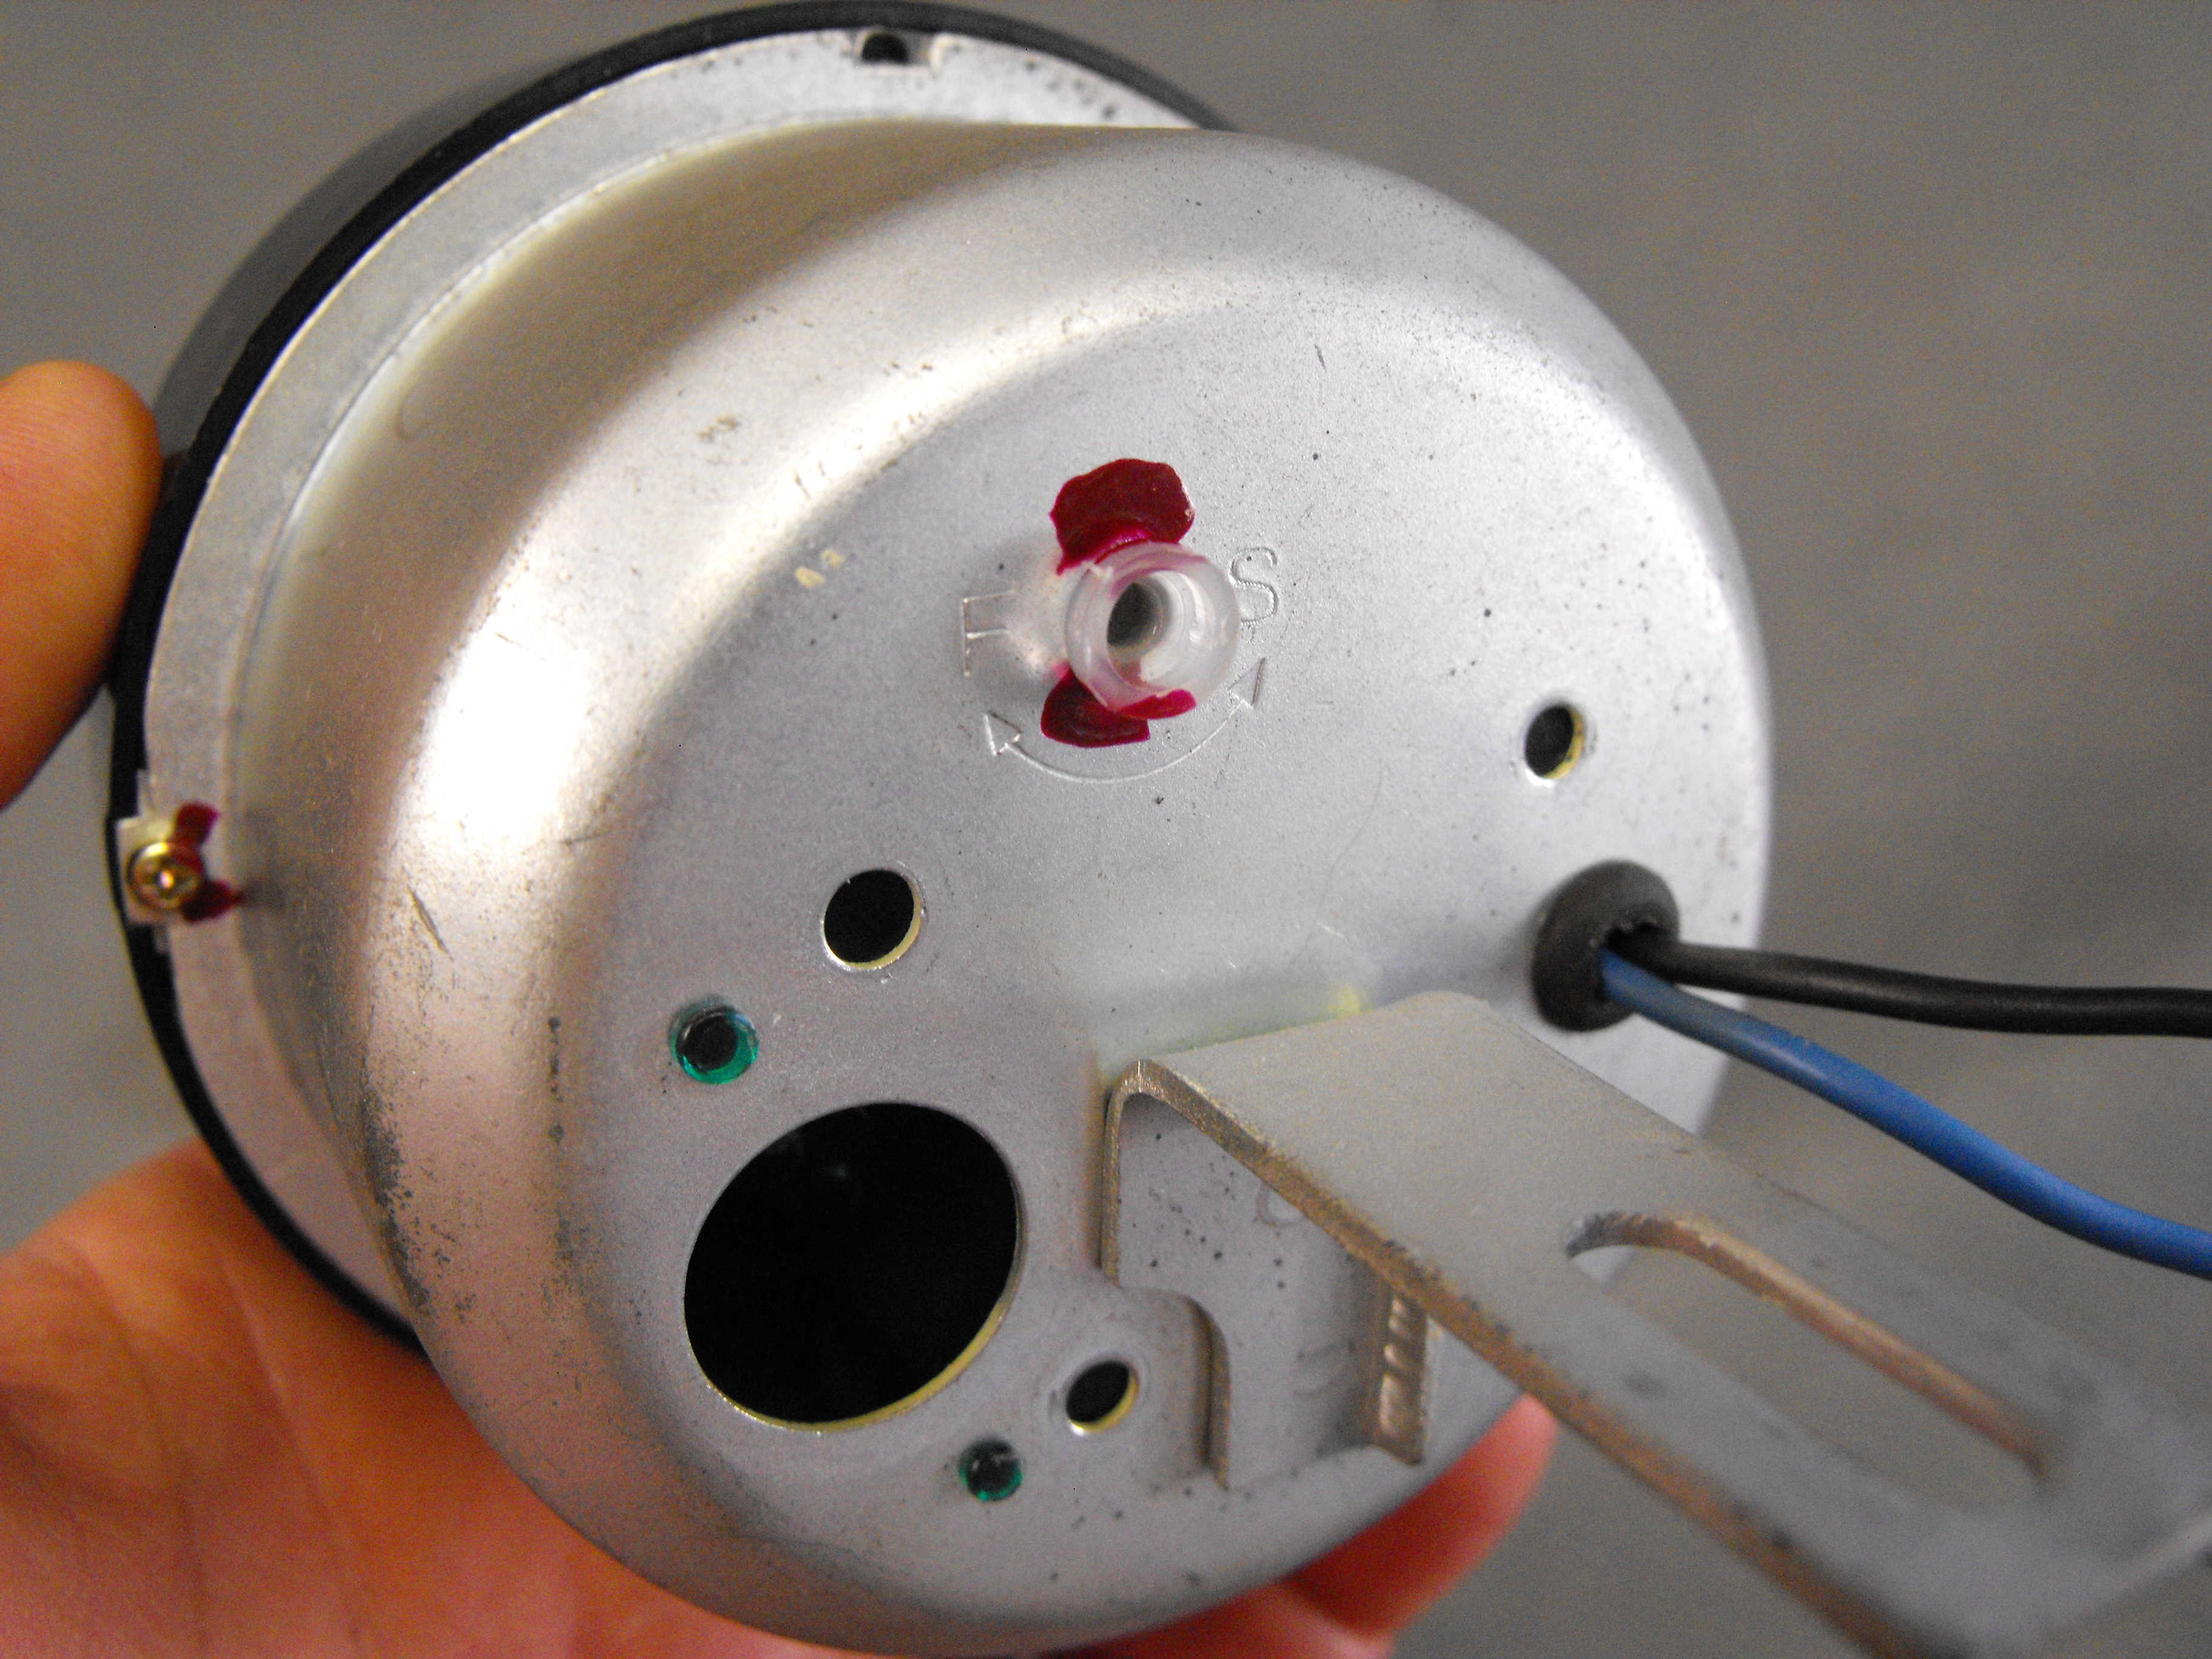
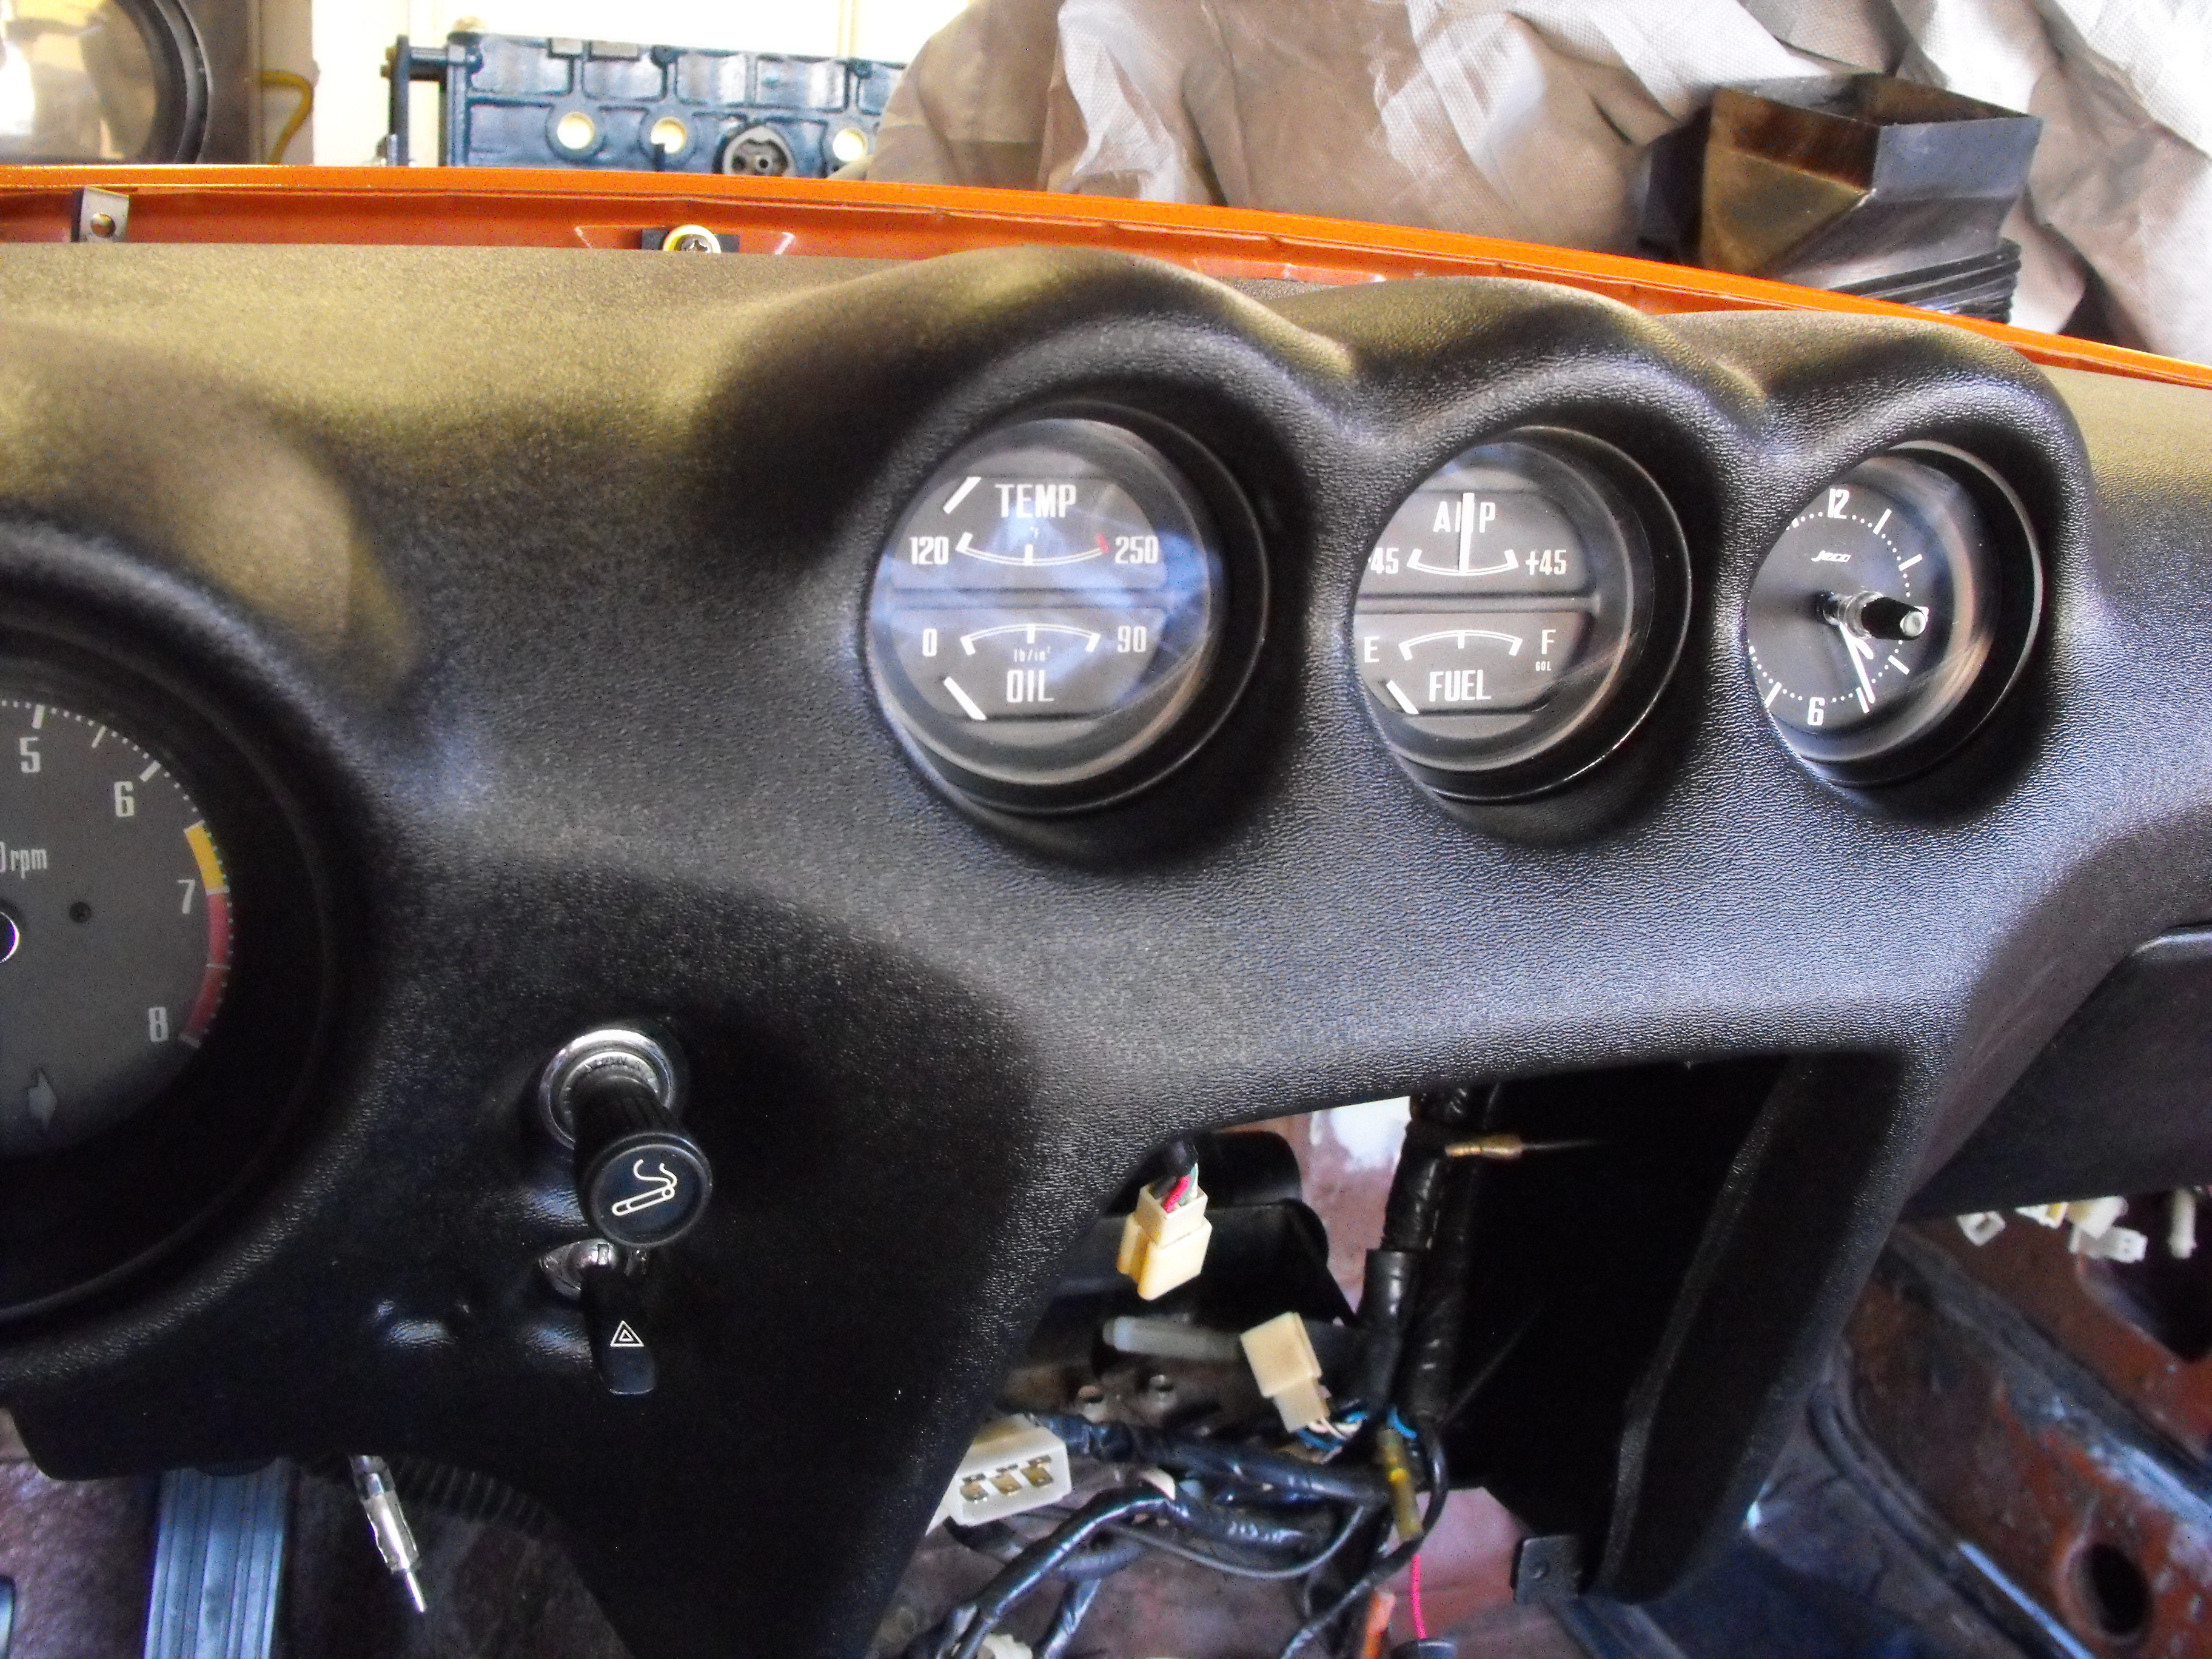
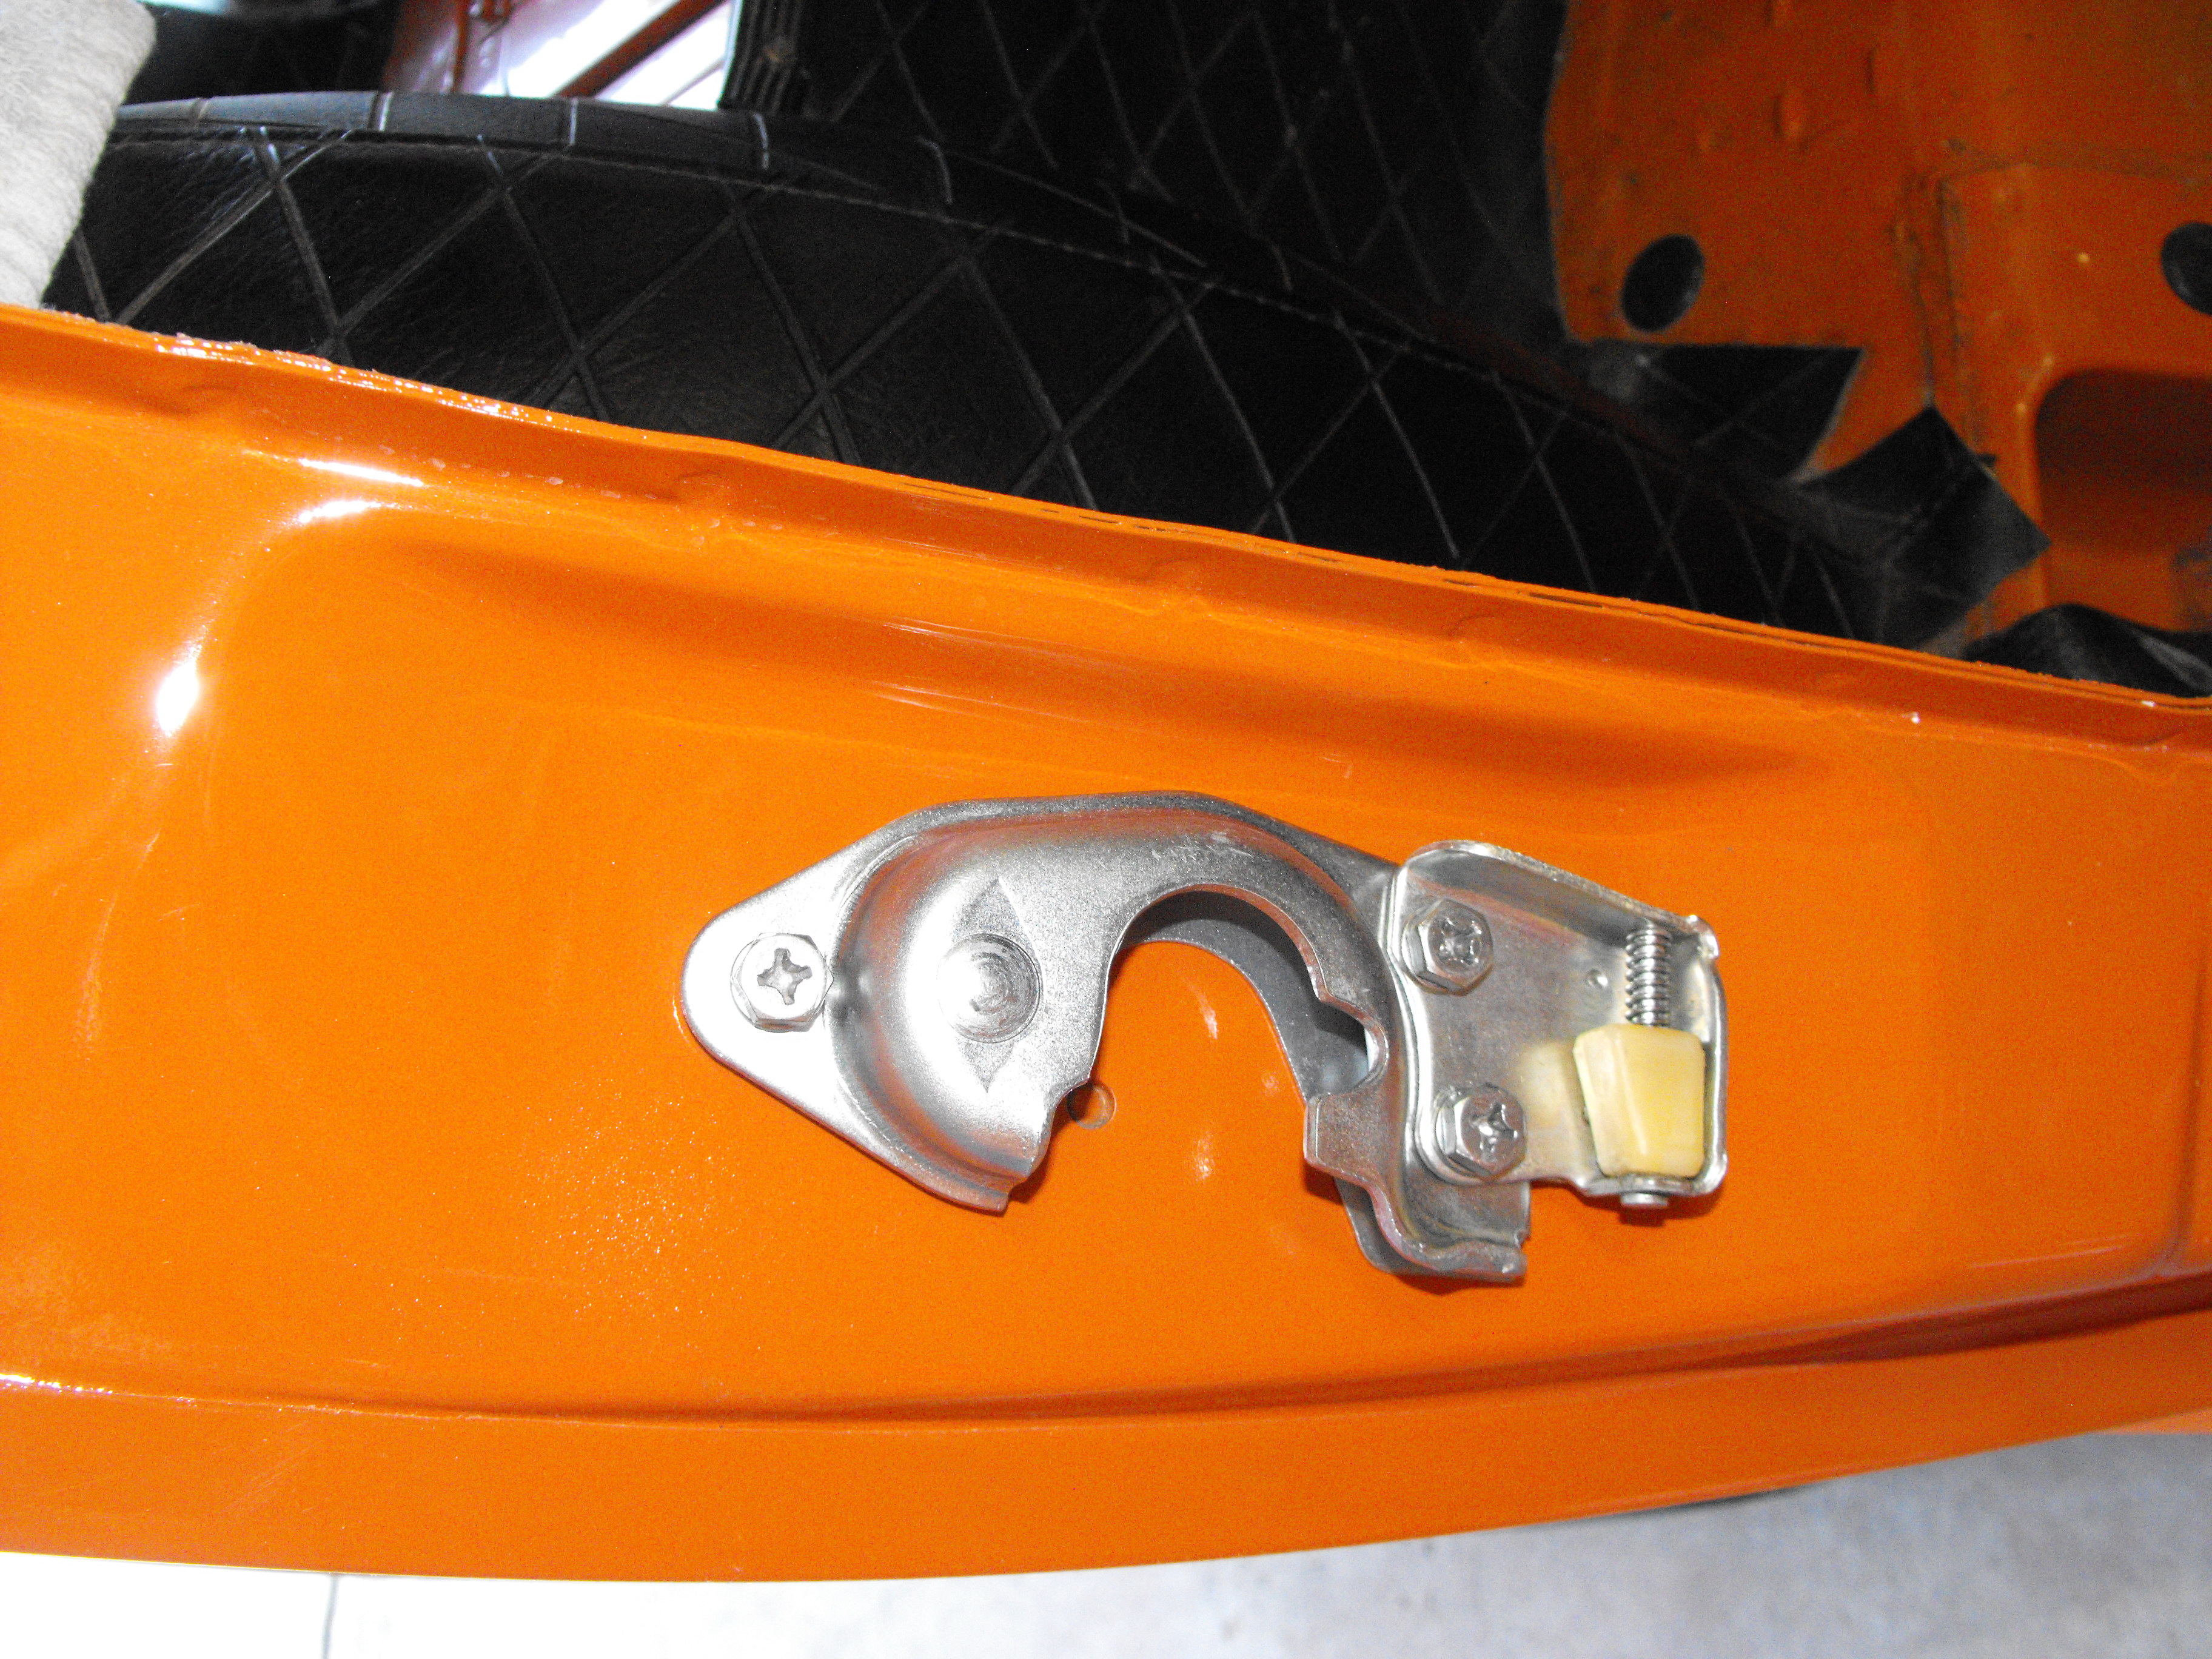
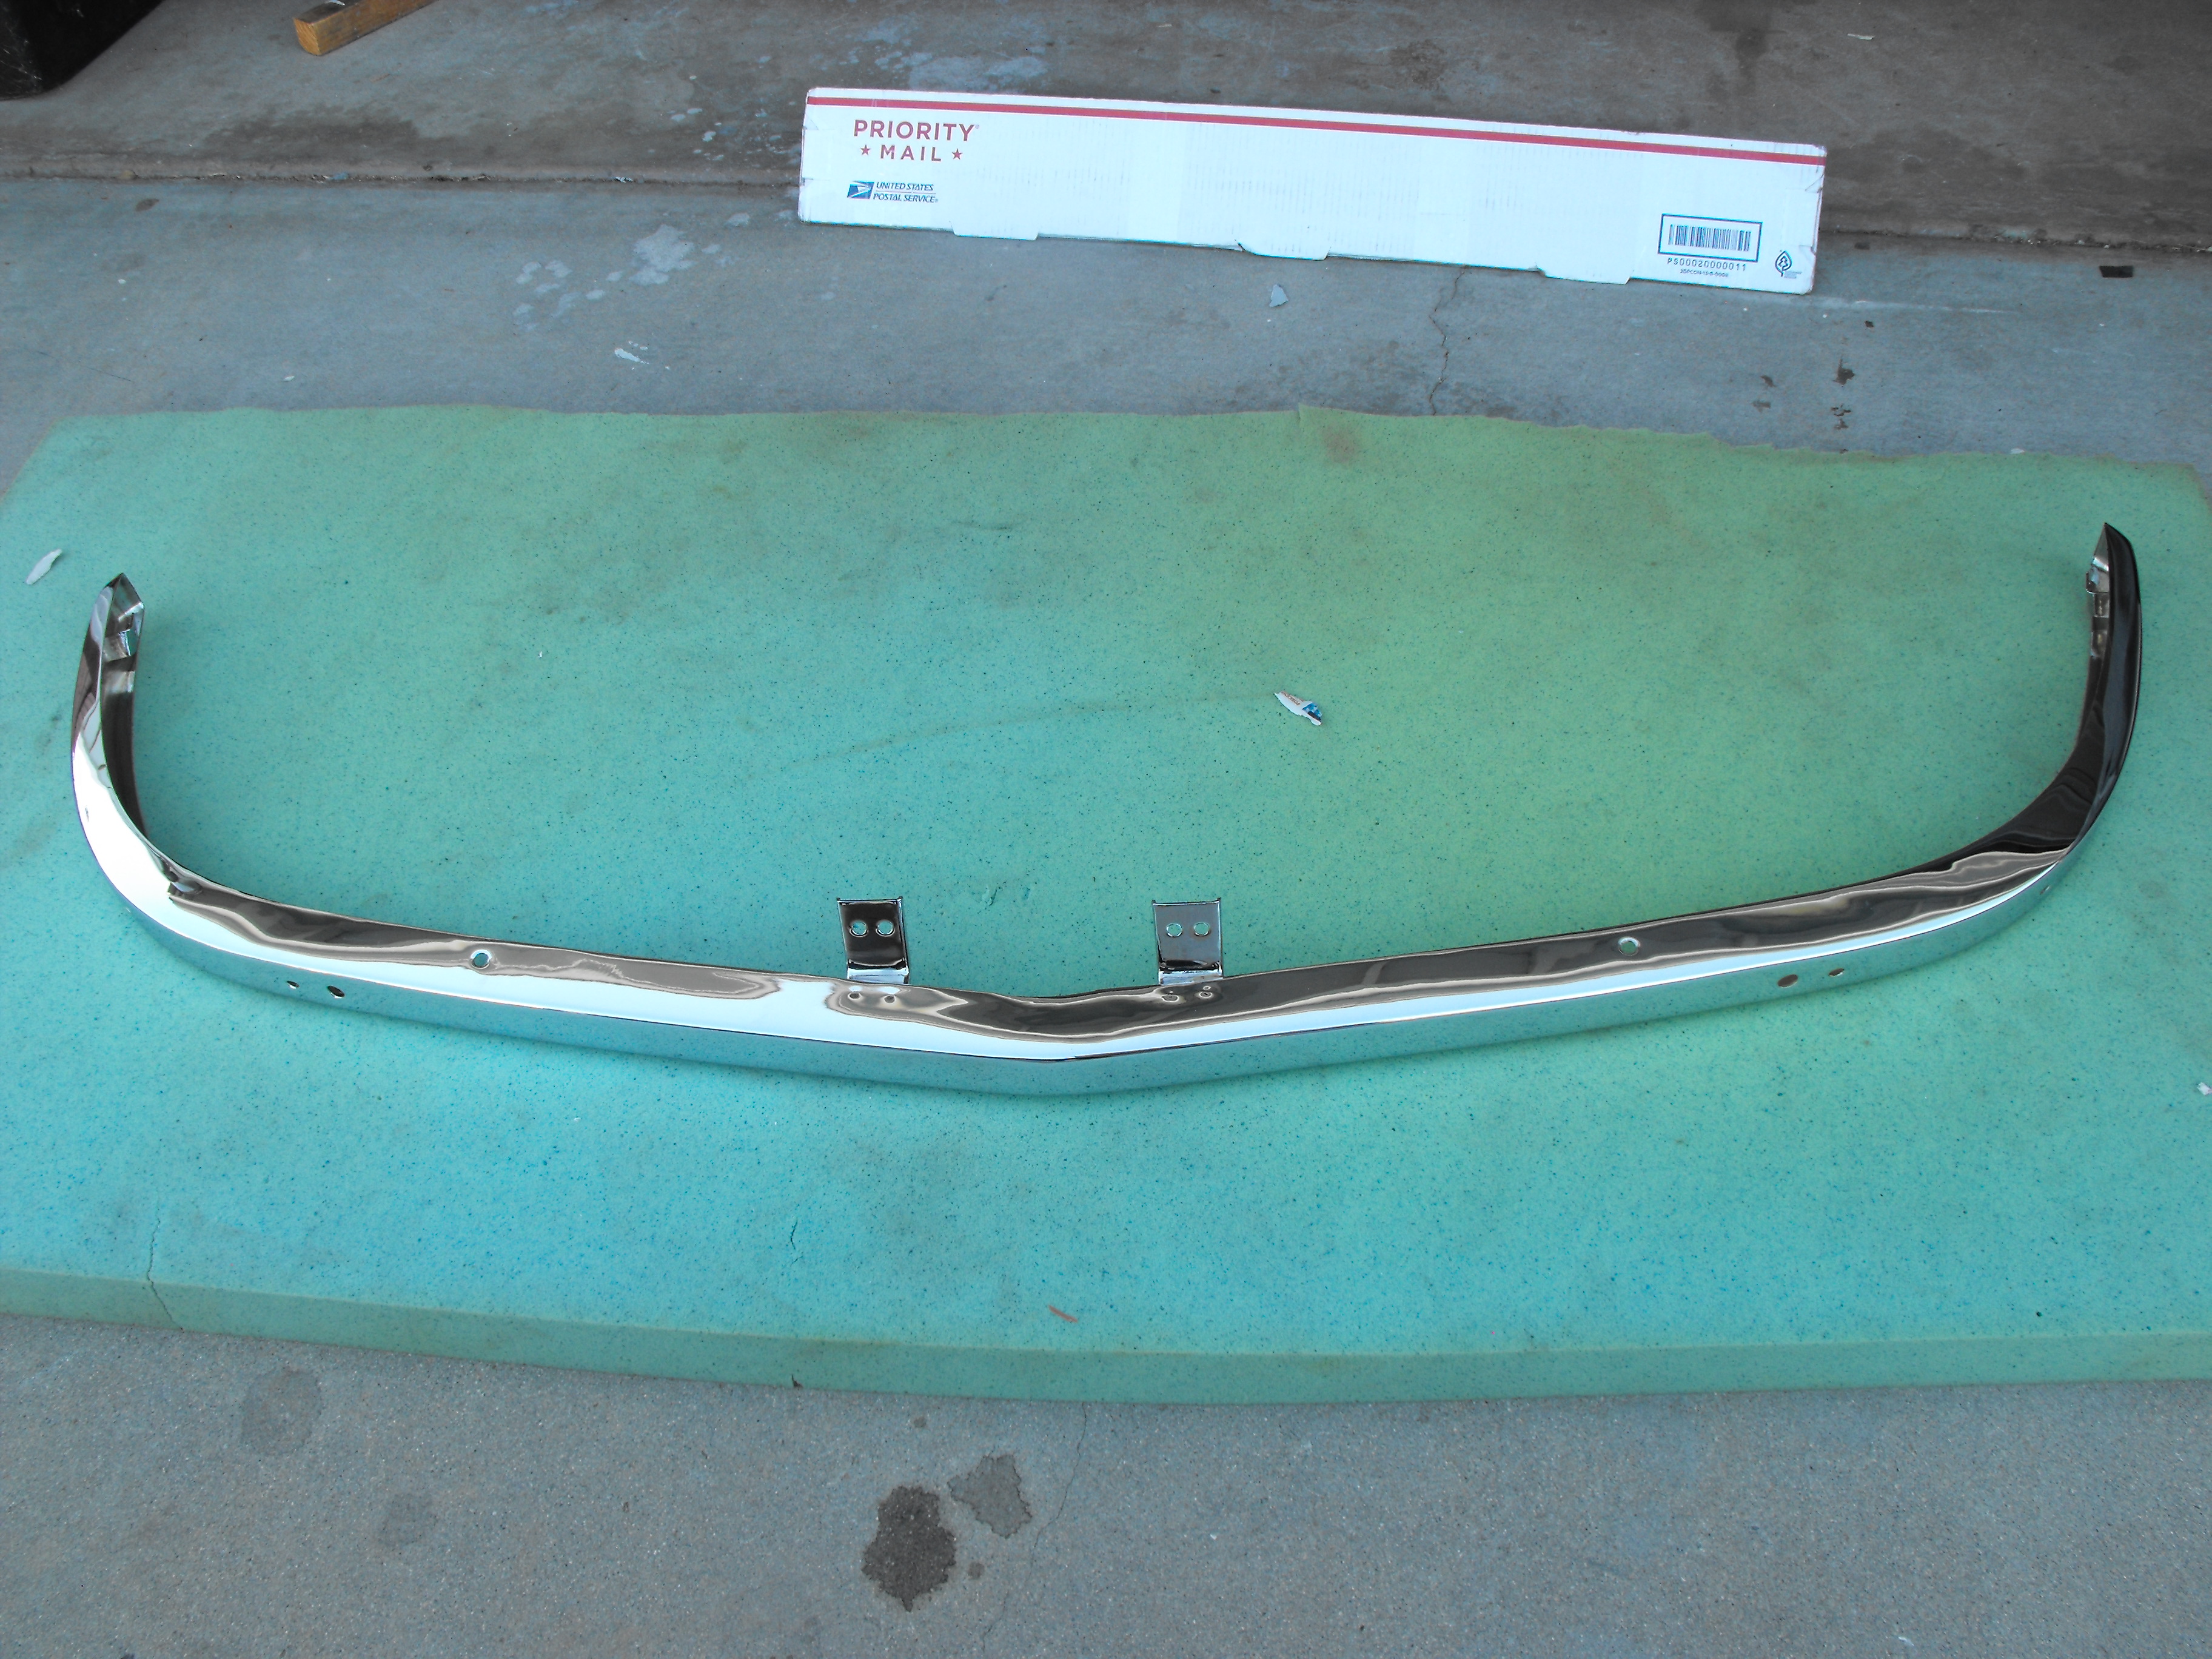
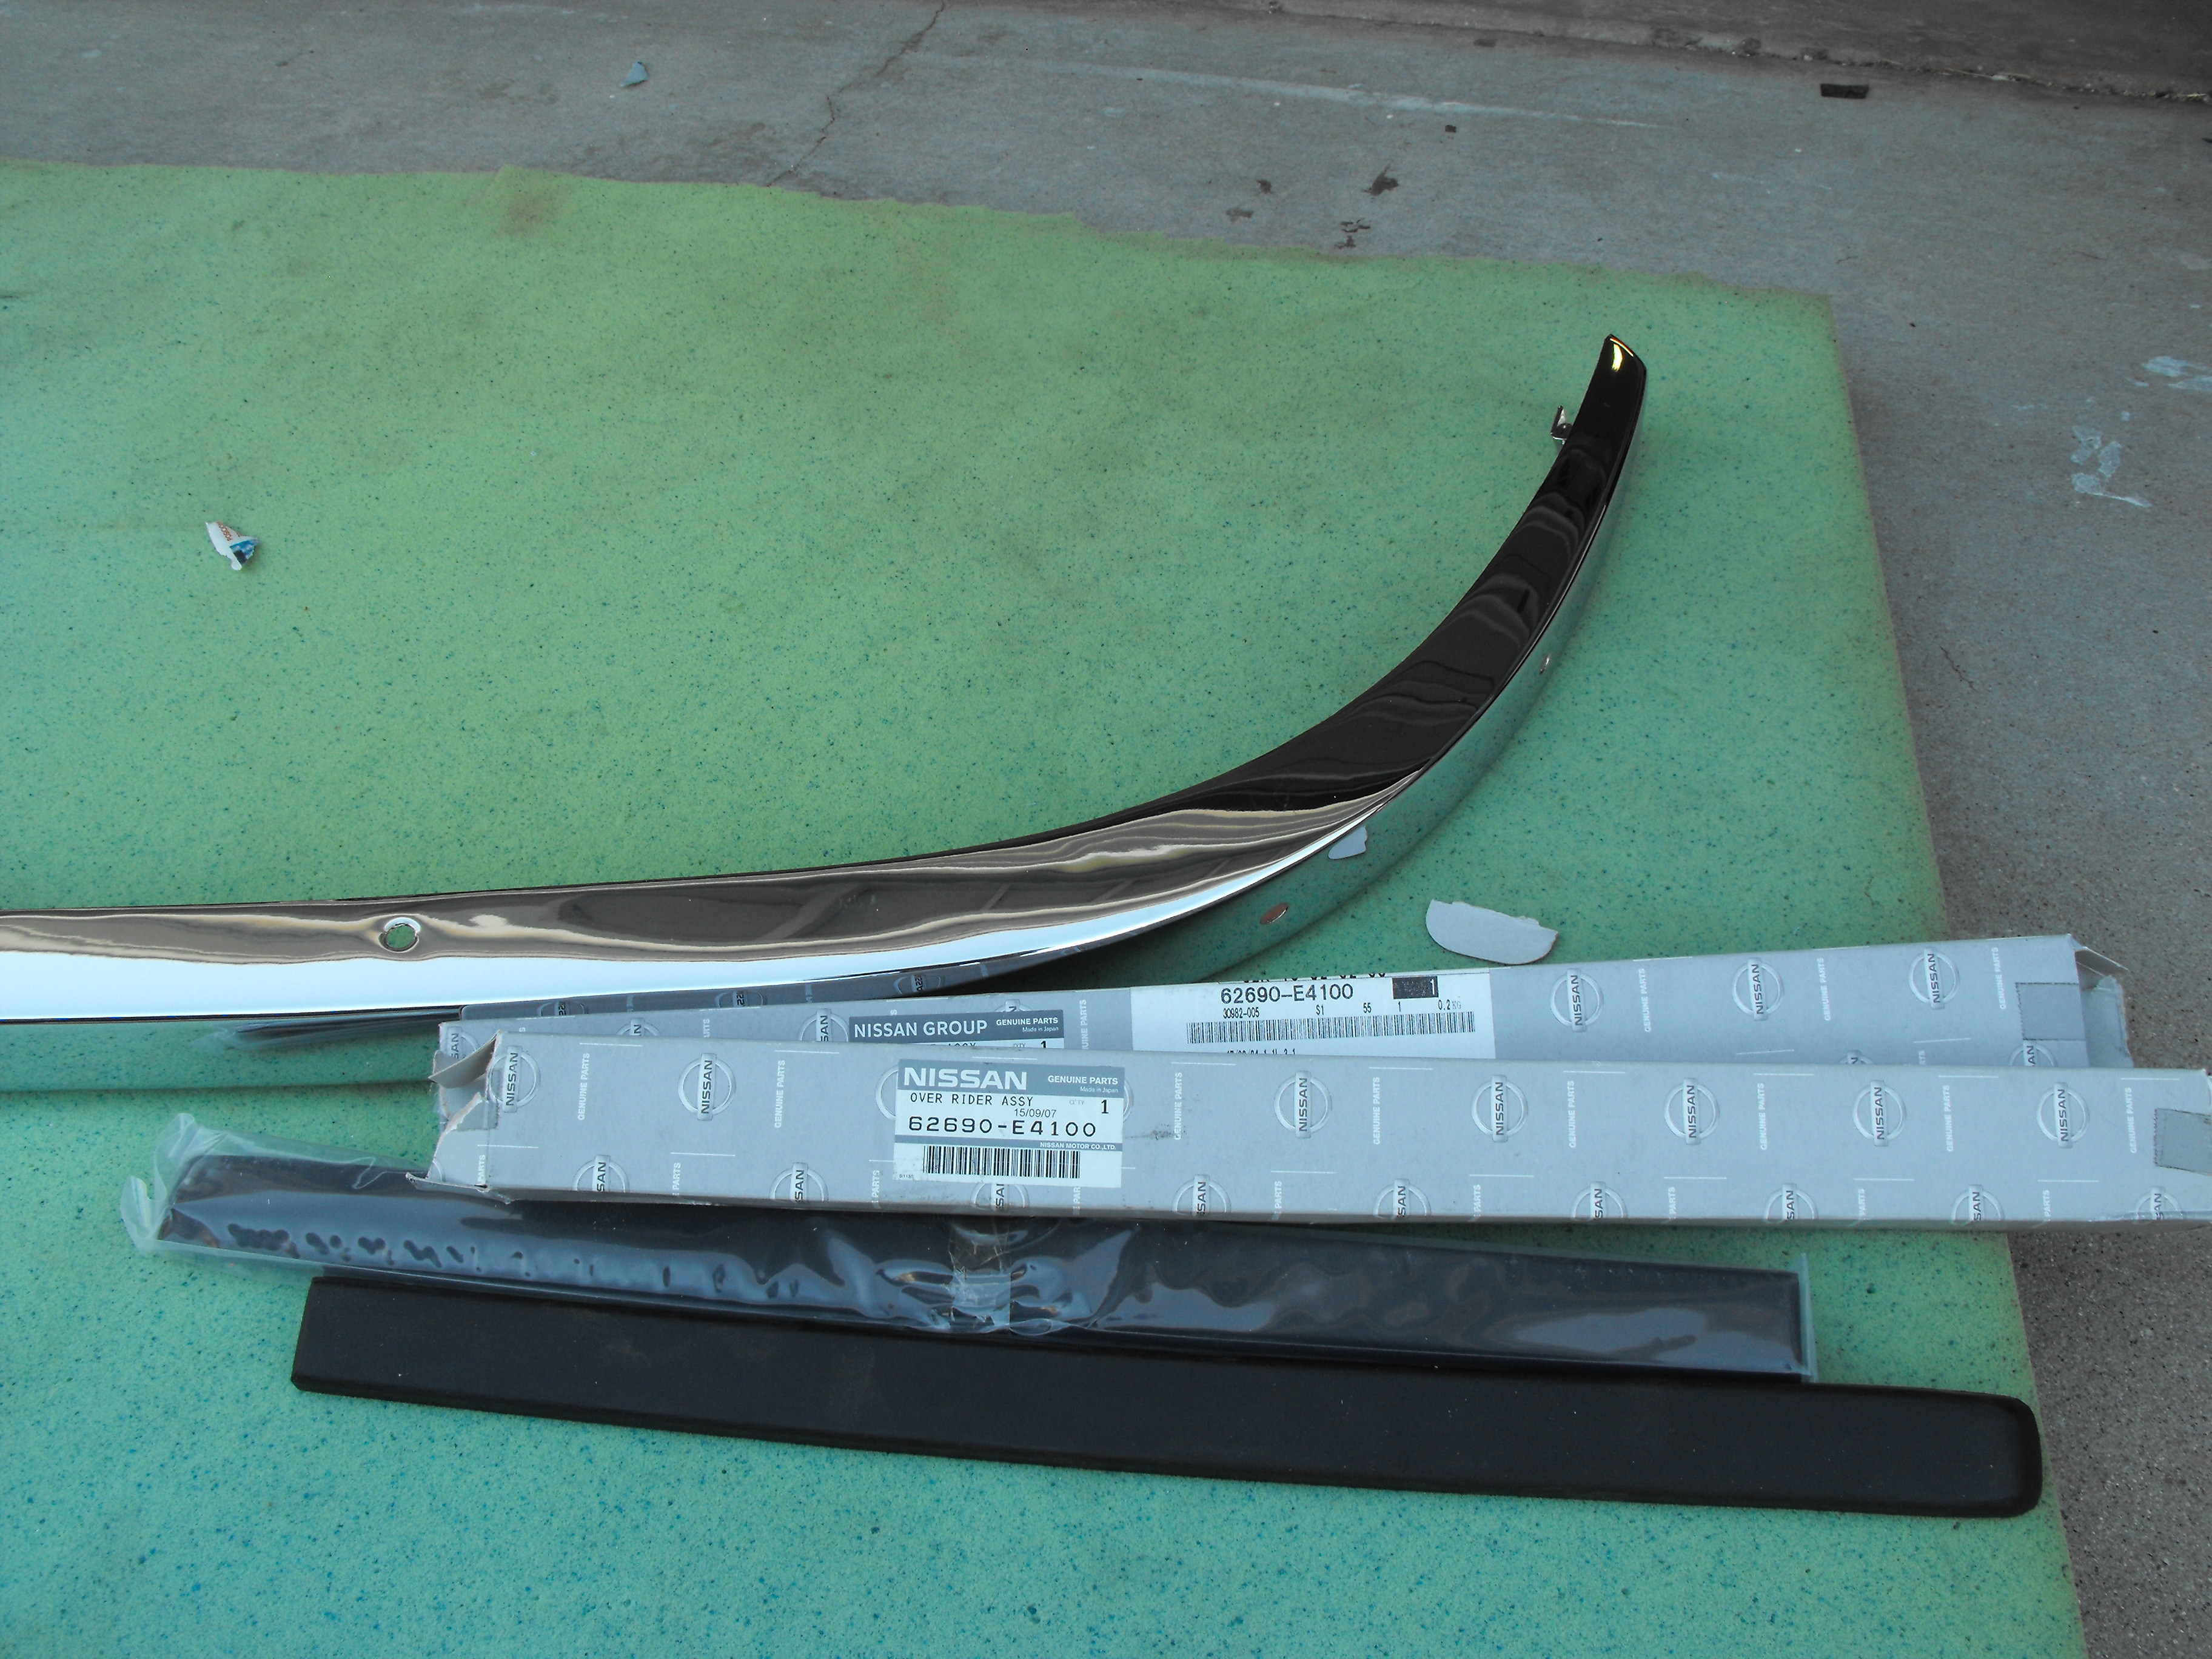
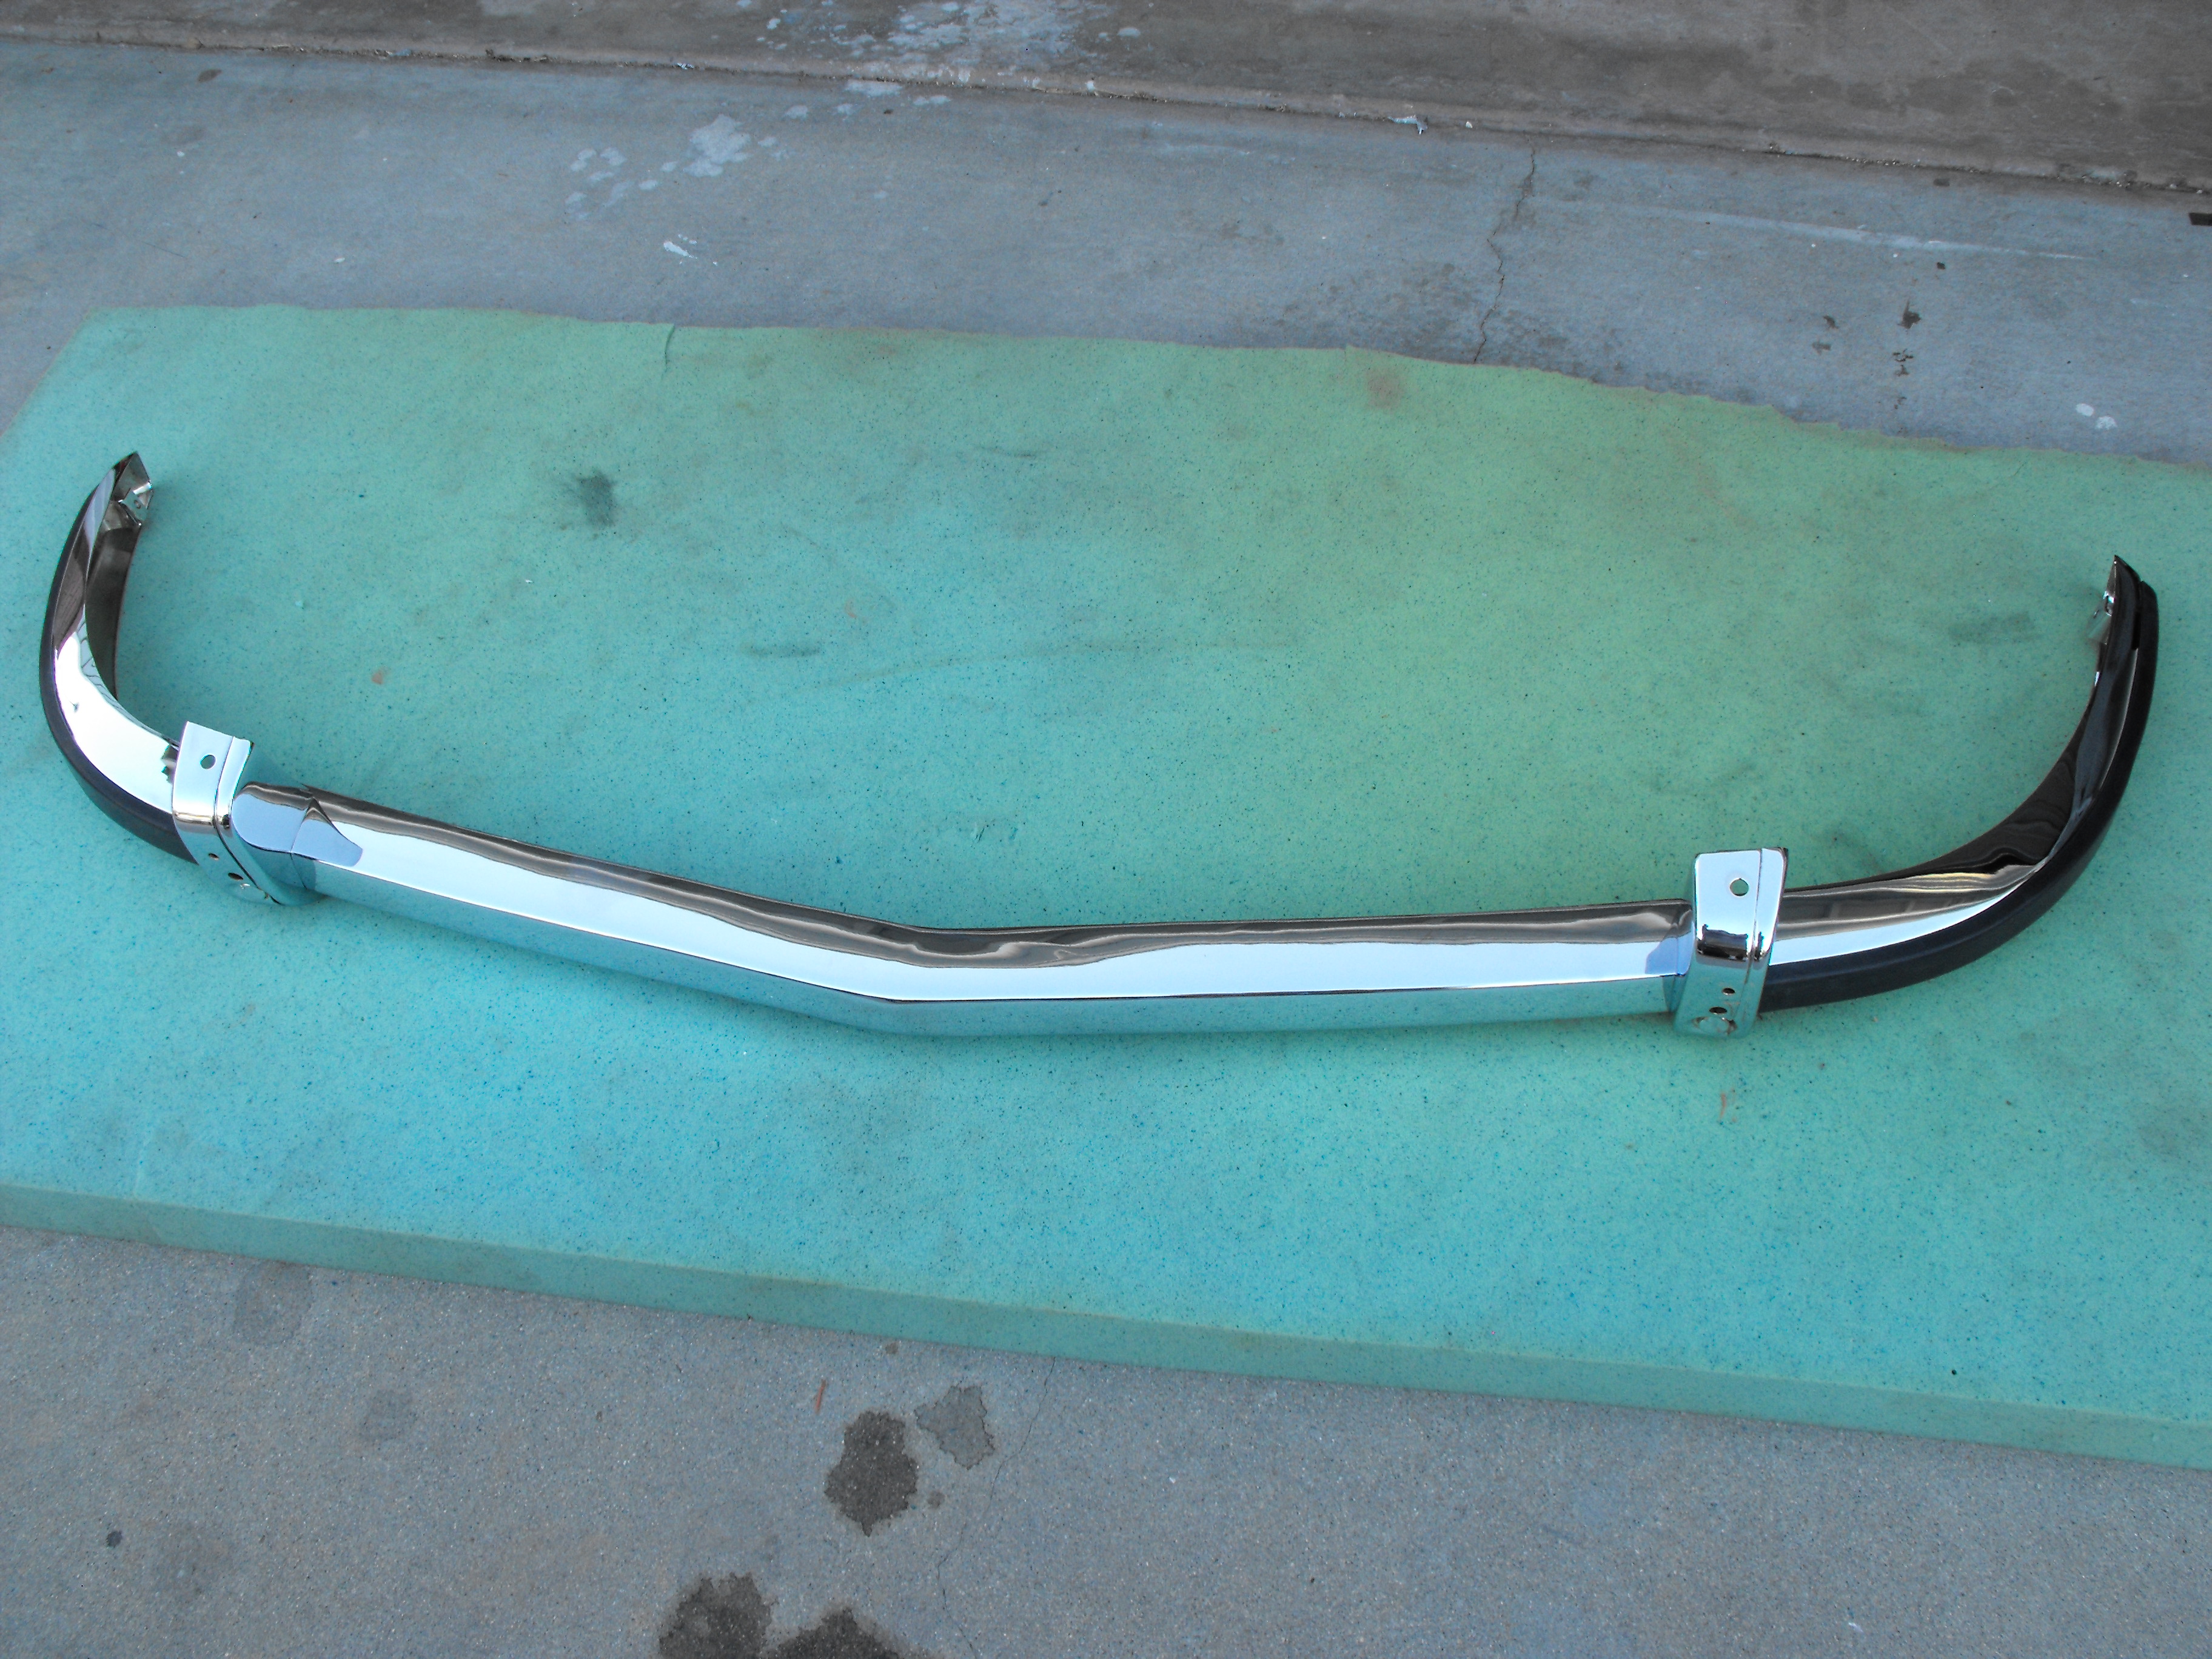
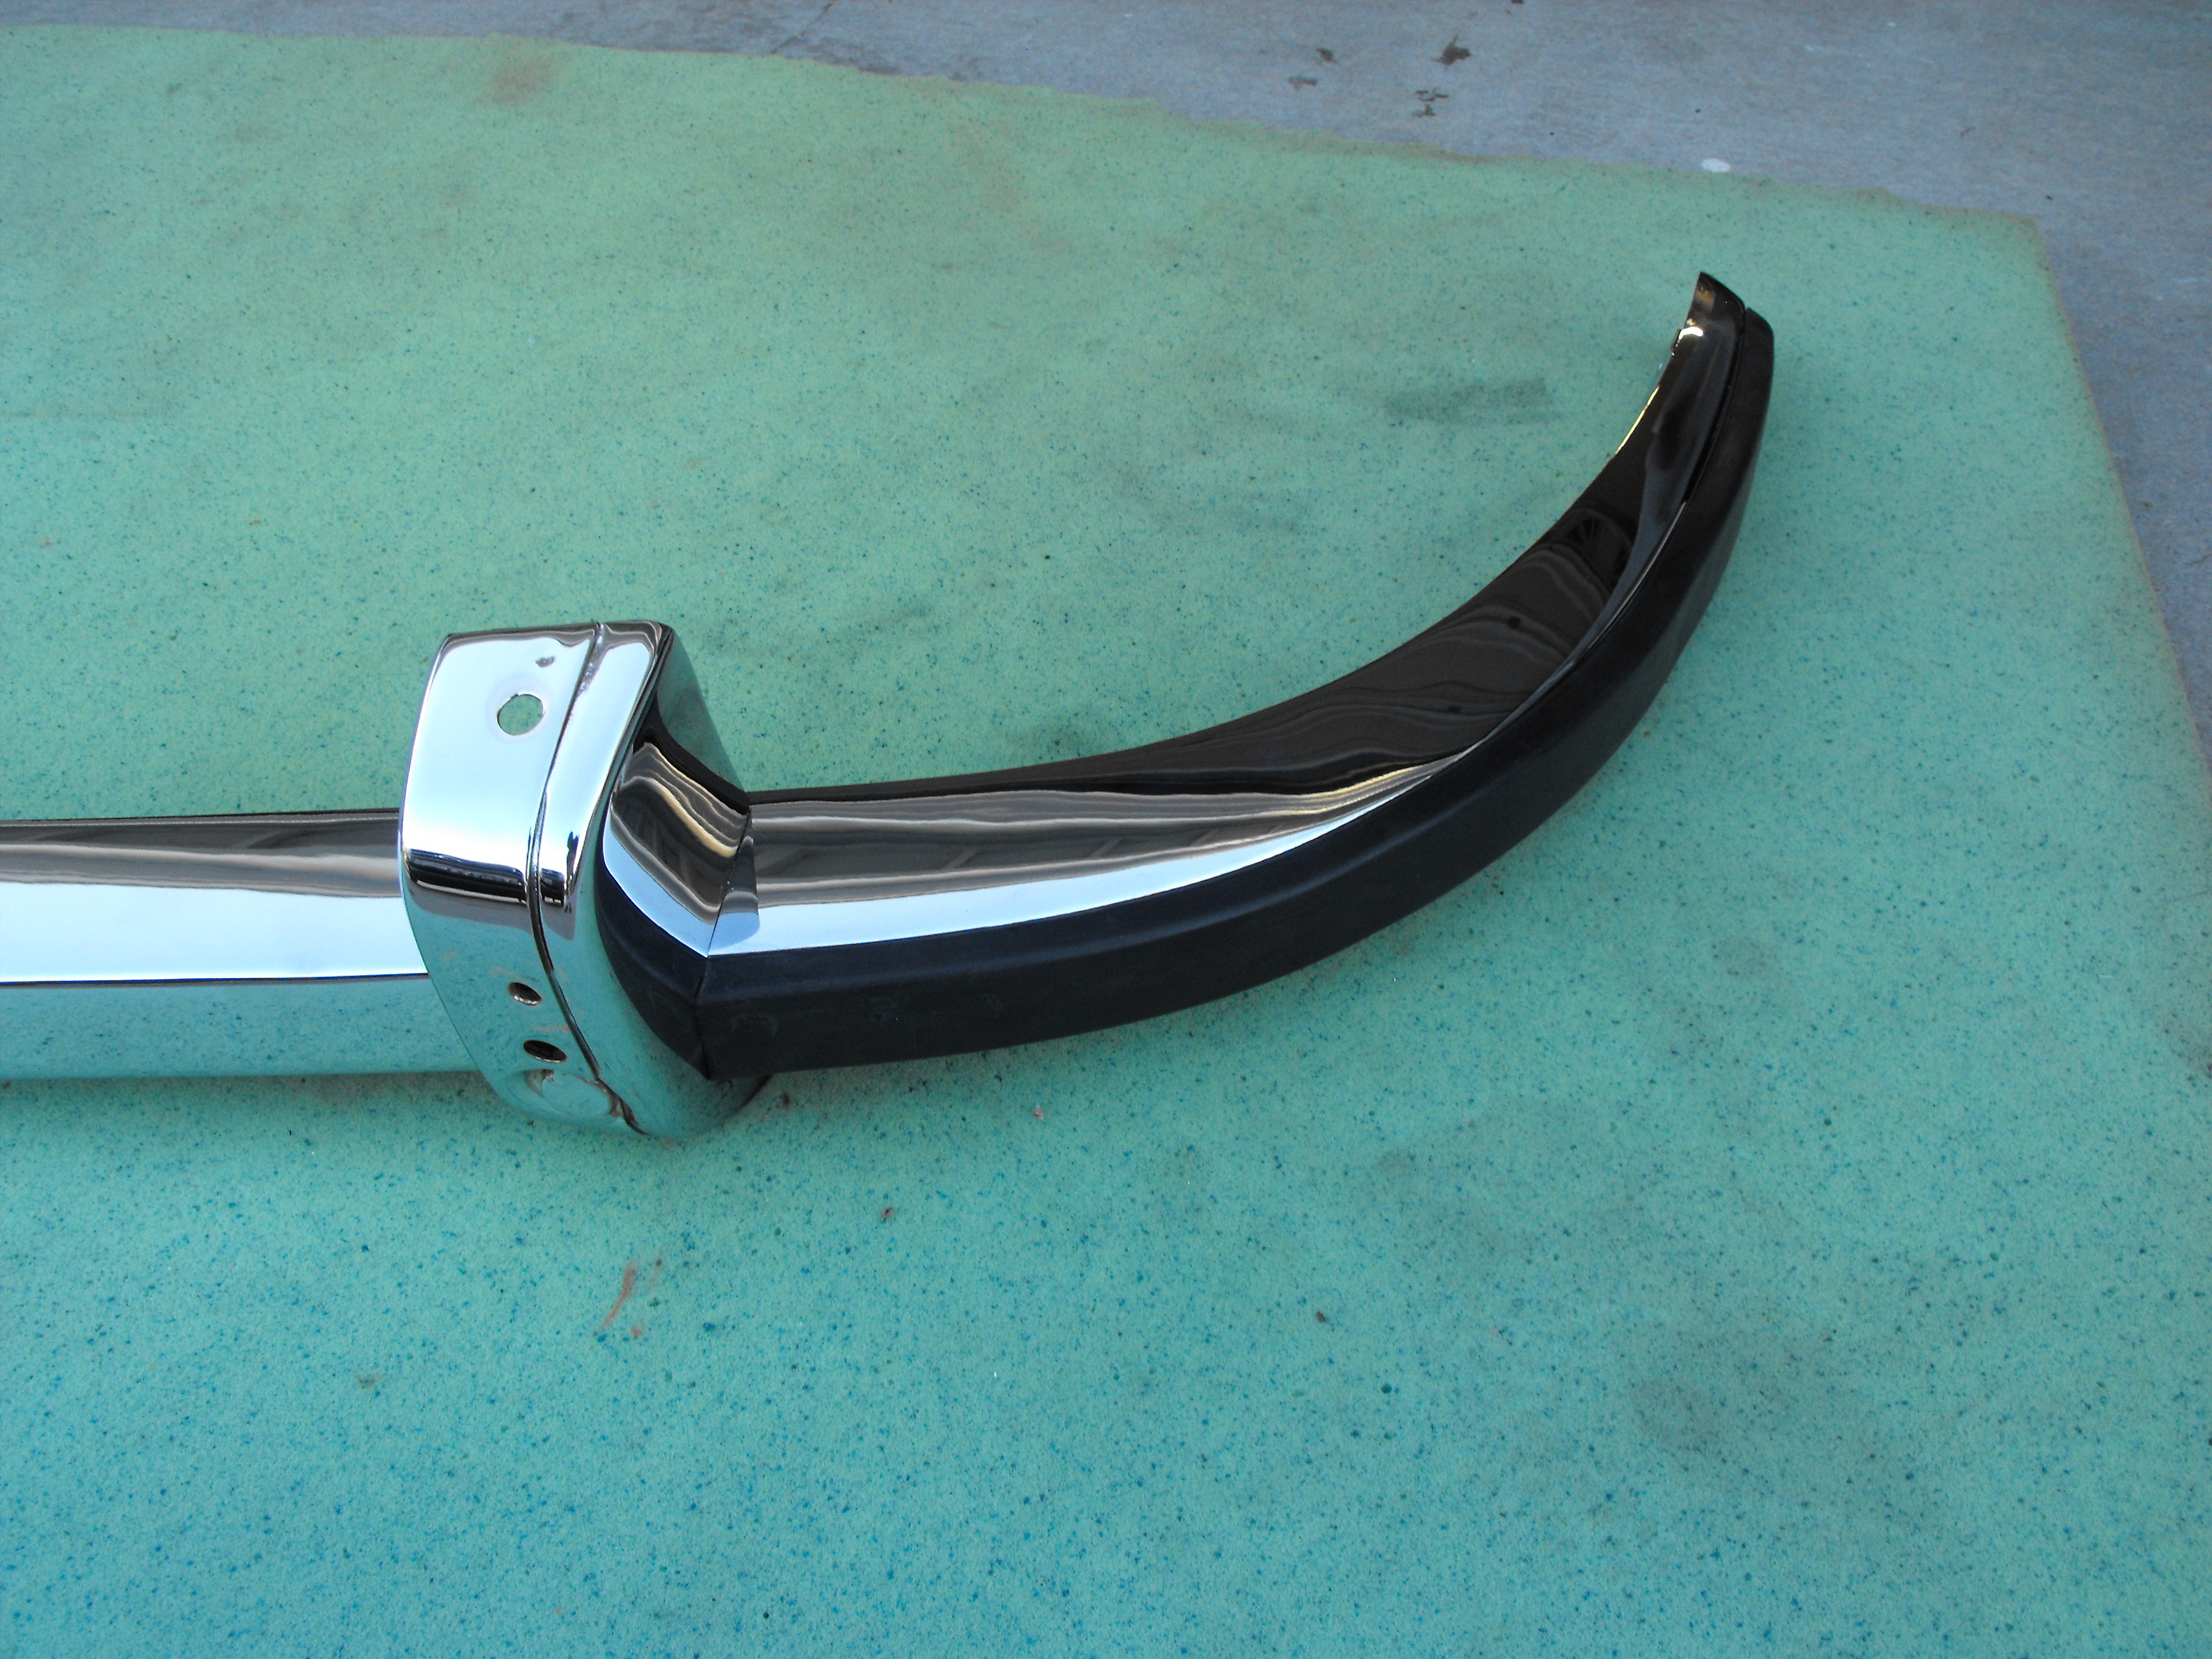
Picked up the clock from the clock repair guy. He really does a great job. I gave him the broken clock over two weeks ago. He installed a quartz mechanism and then monitored the time for almost two weeks to make sure it was EXACT. He even puts marker on the back for the clock speed adjustment which I thought was interesting. He did the clock on my 71 Z and the clock keeps excellent time. Pretty nice for a 240Z. Also installed the clock in the dash. Pics below. Installed the door latches and also installed the outside rubber on the front bumper. The over rider rubber should be in tomorrow. Pics below


-
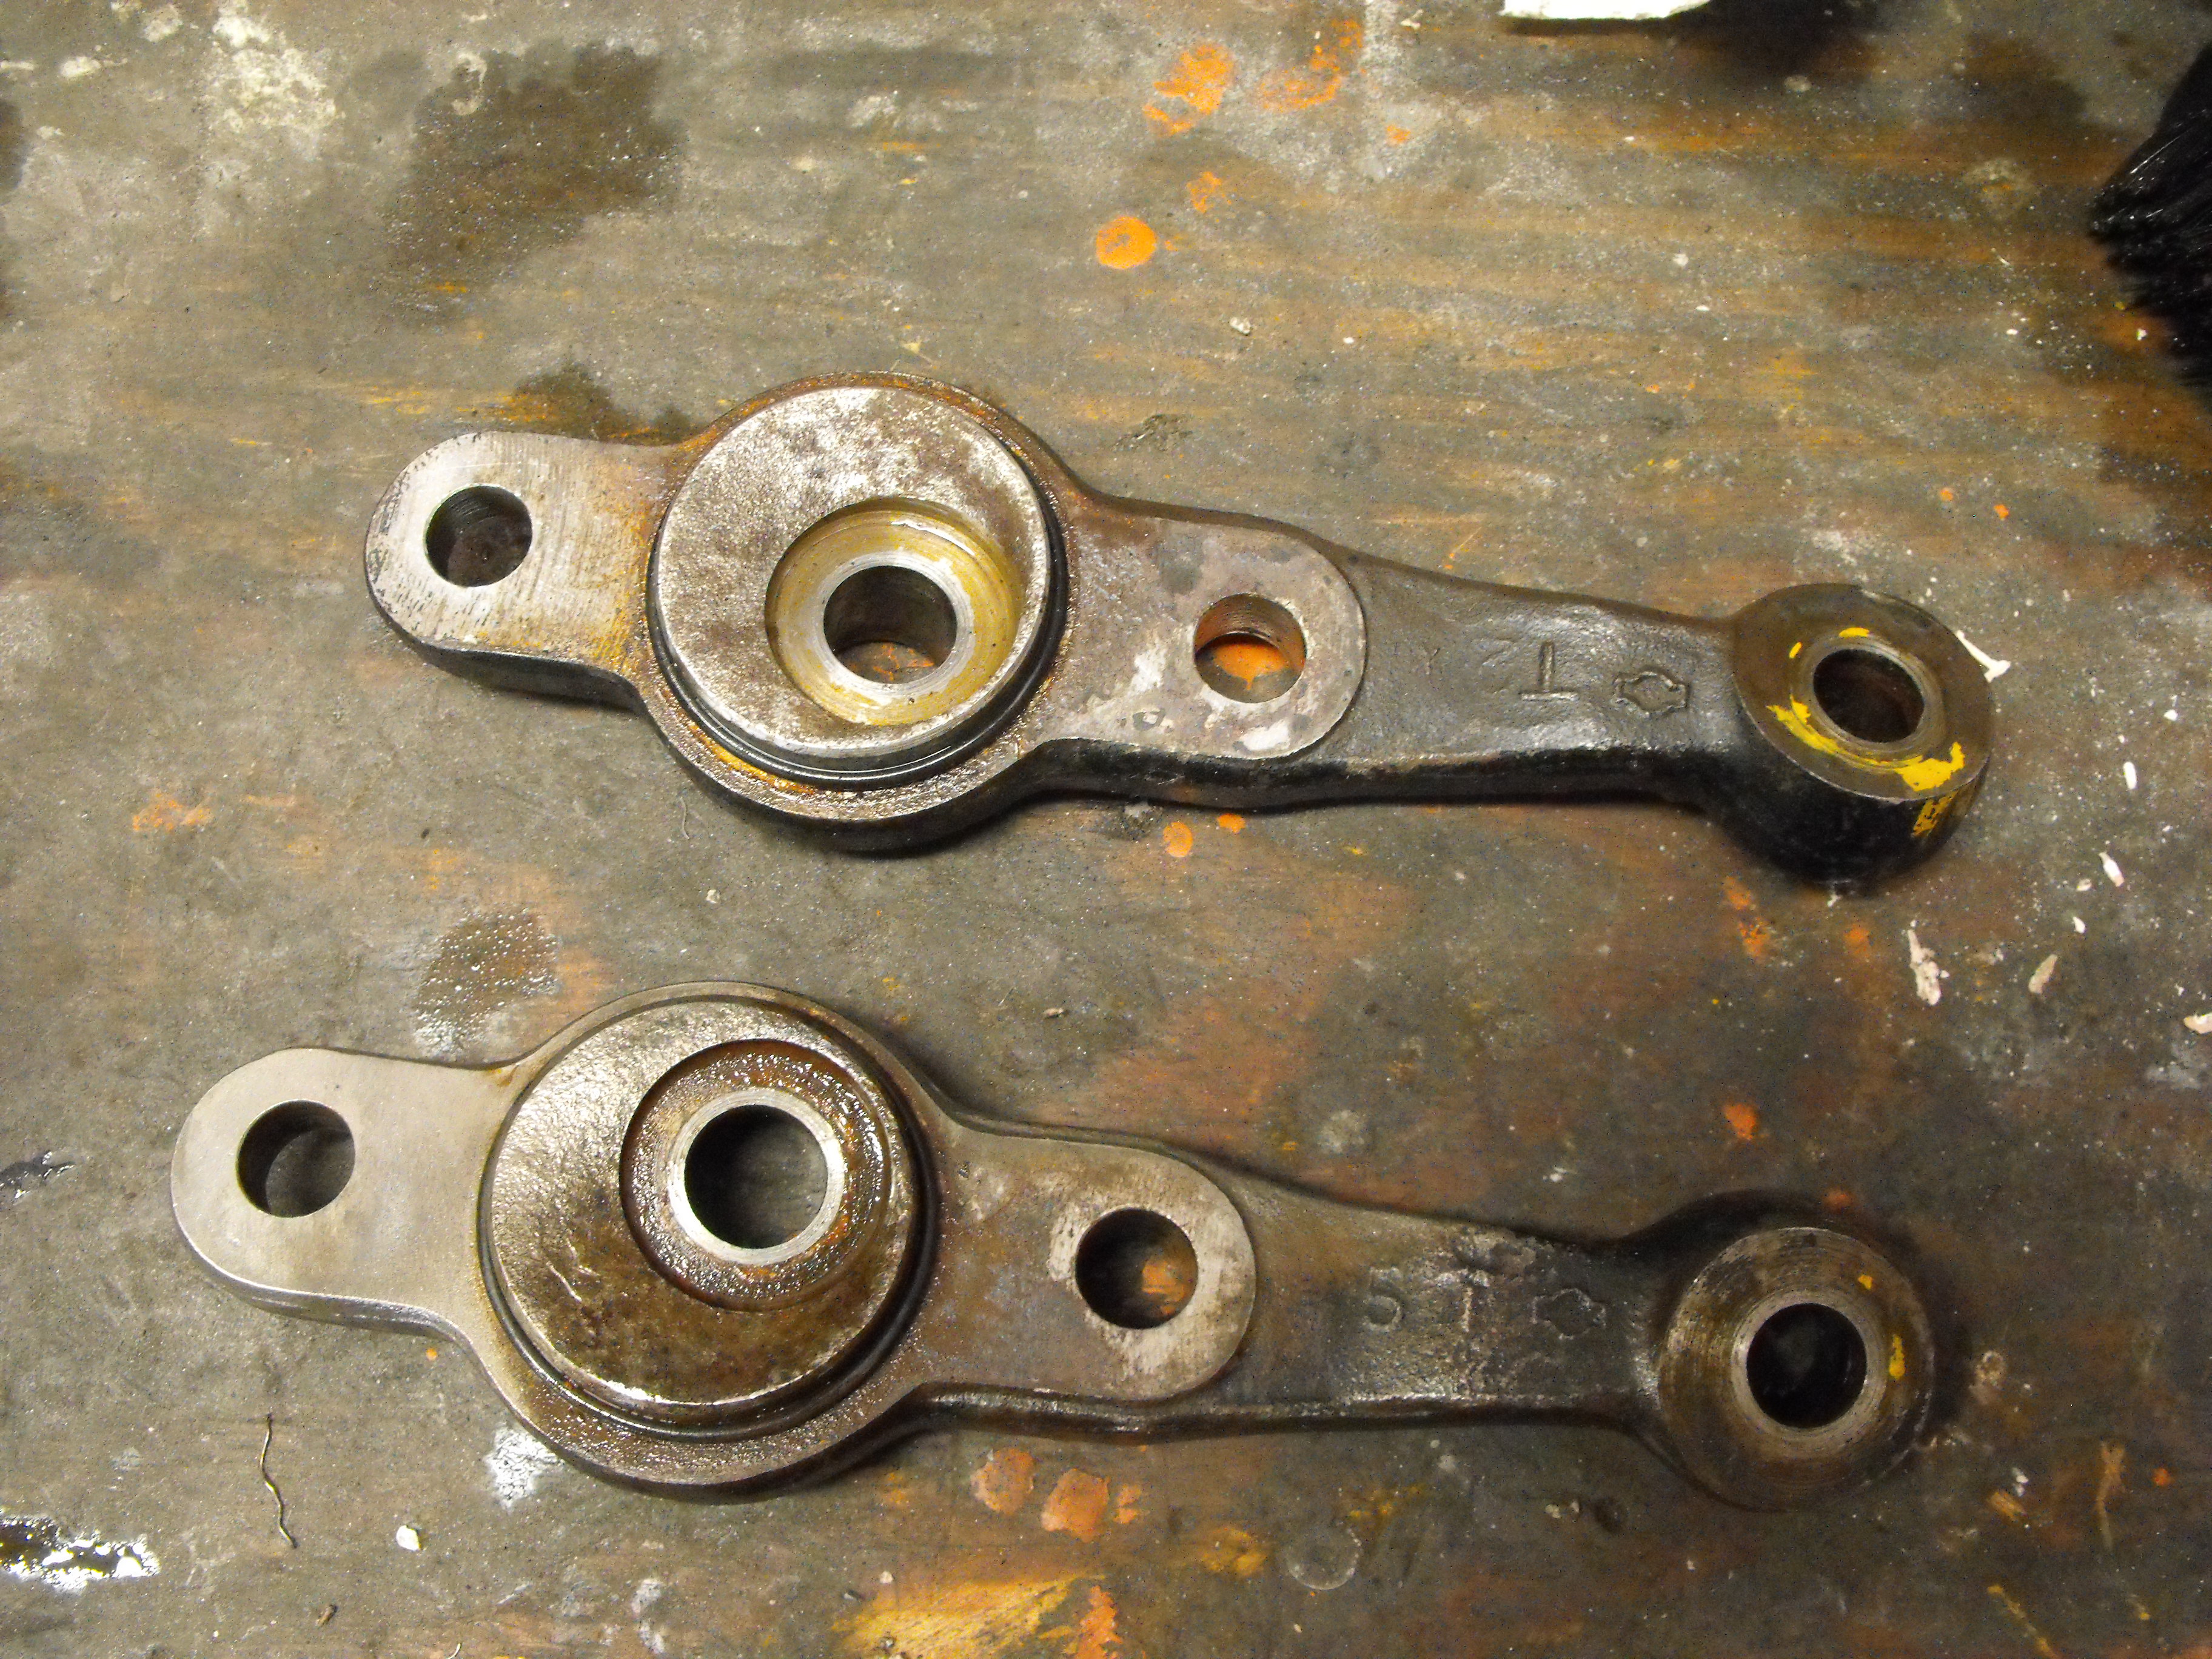
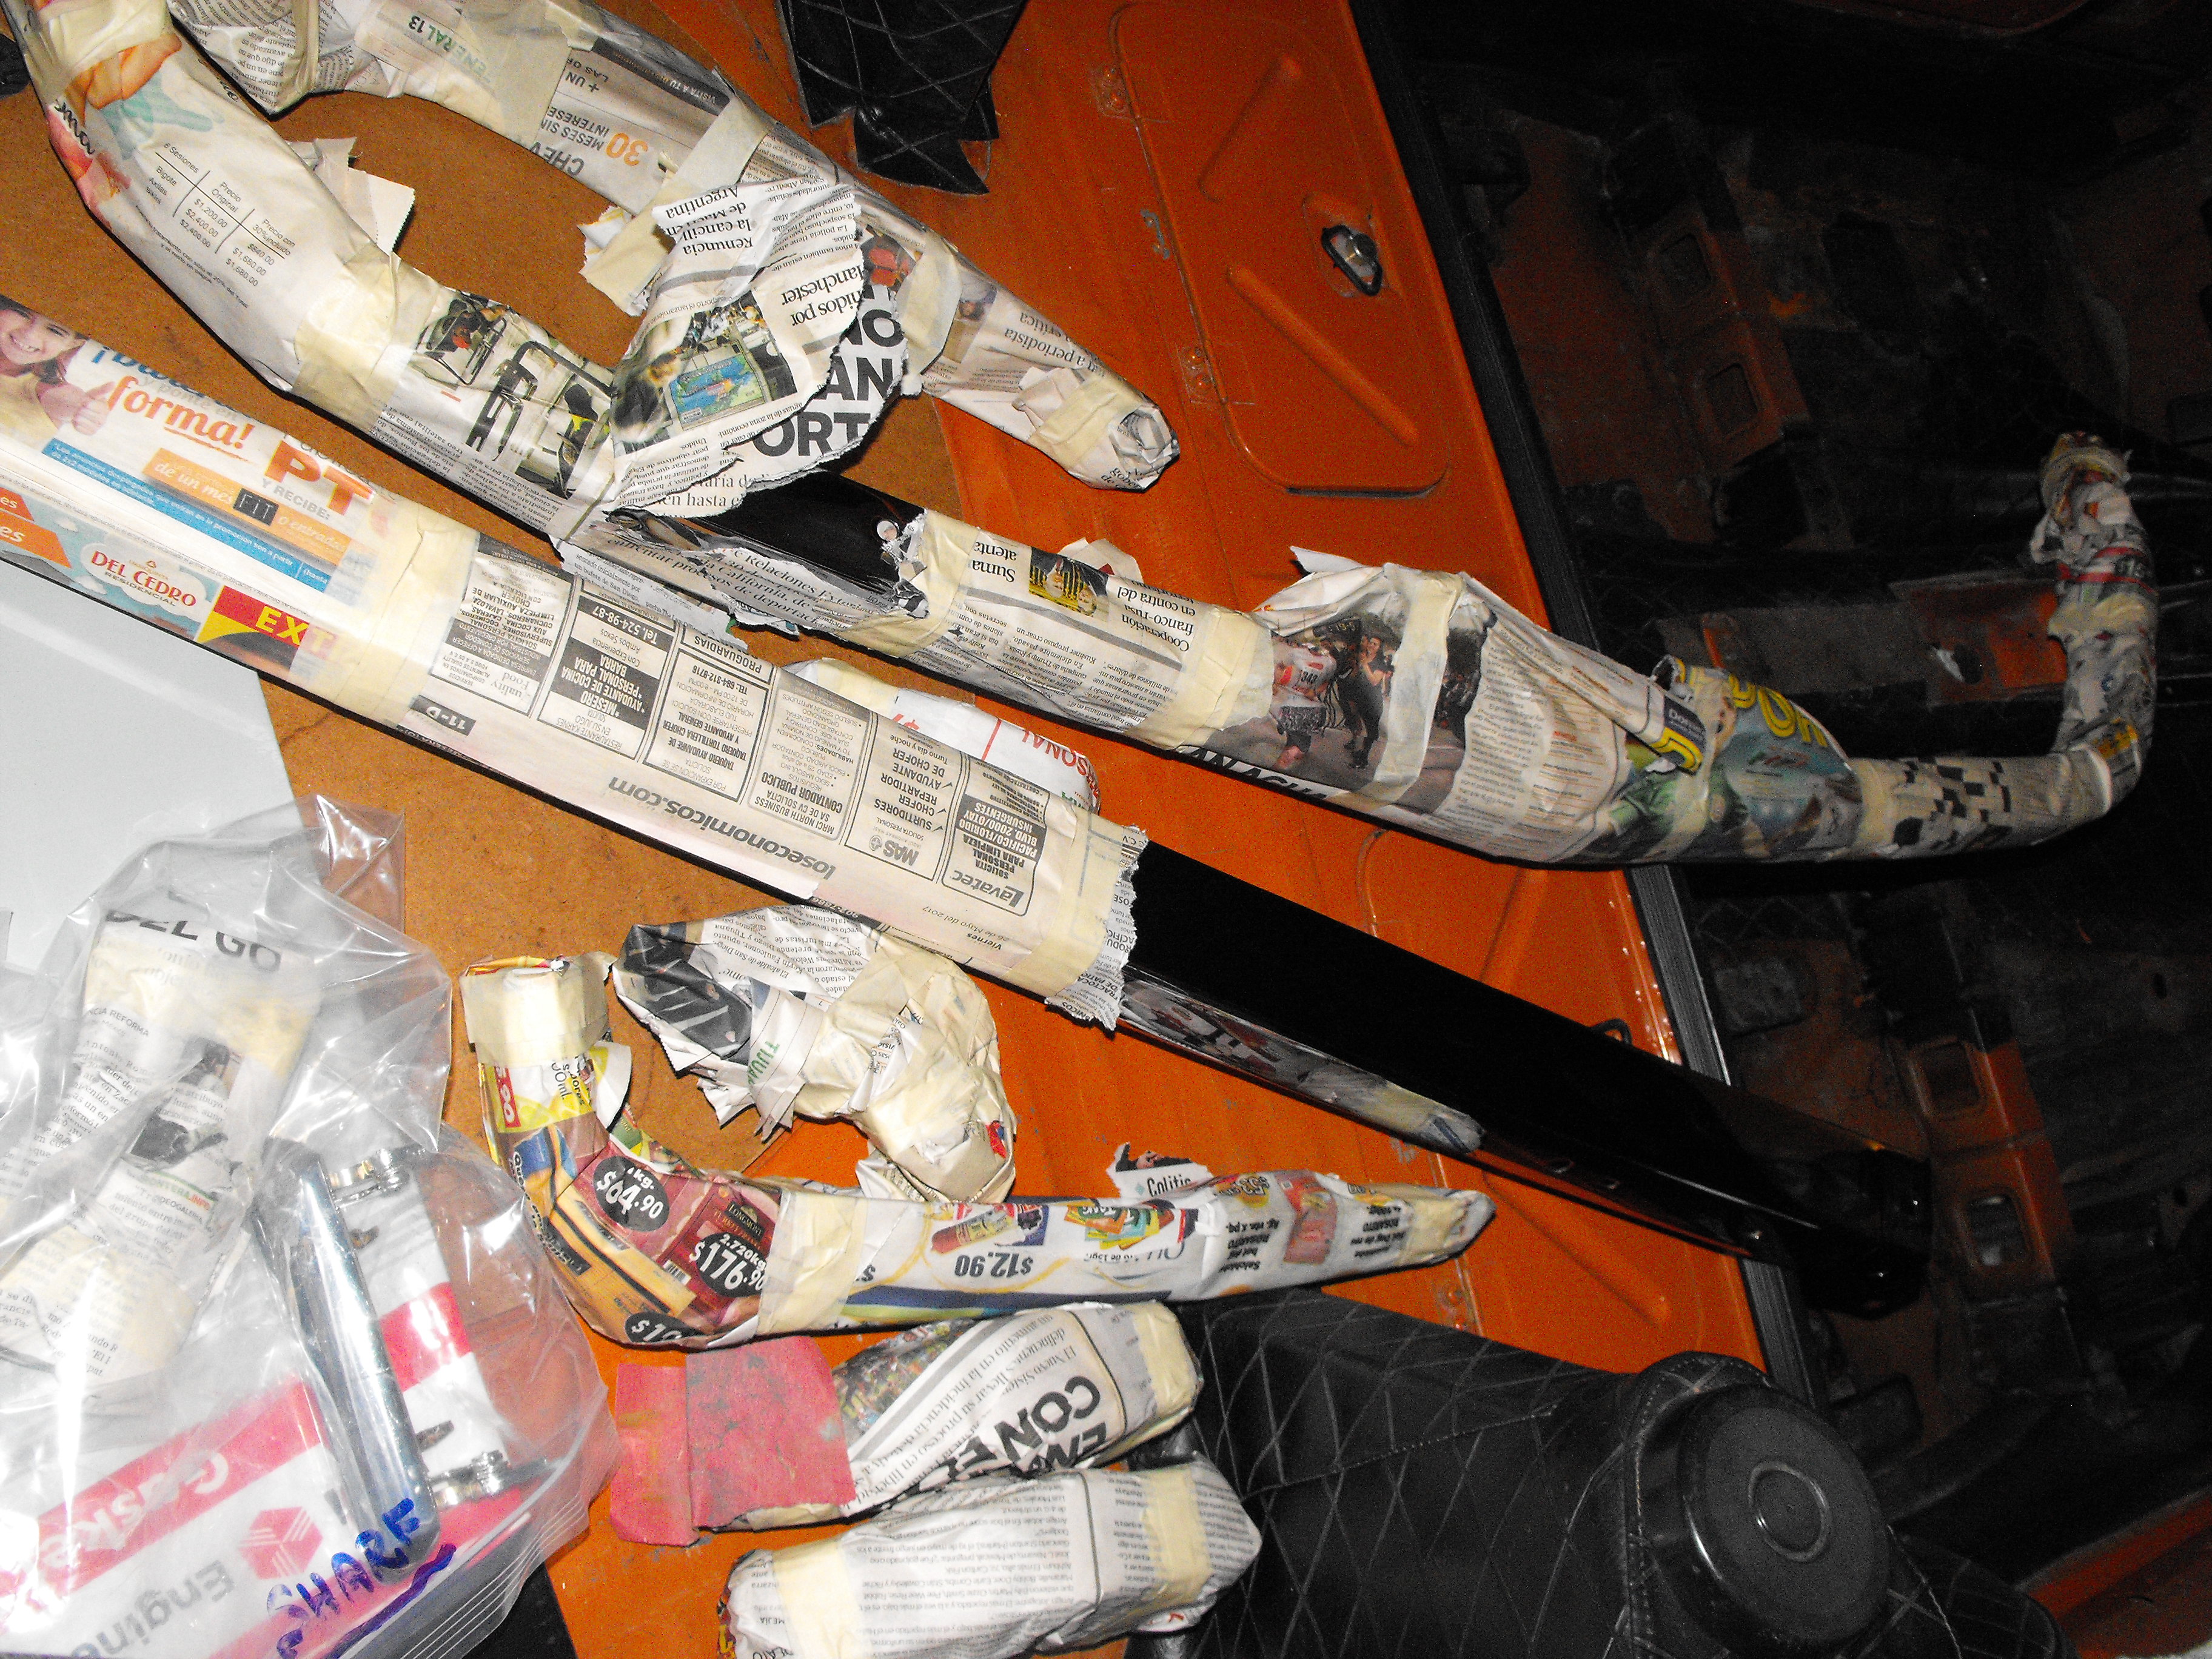
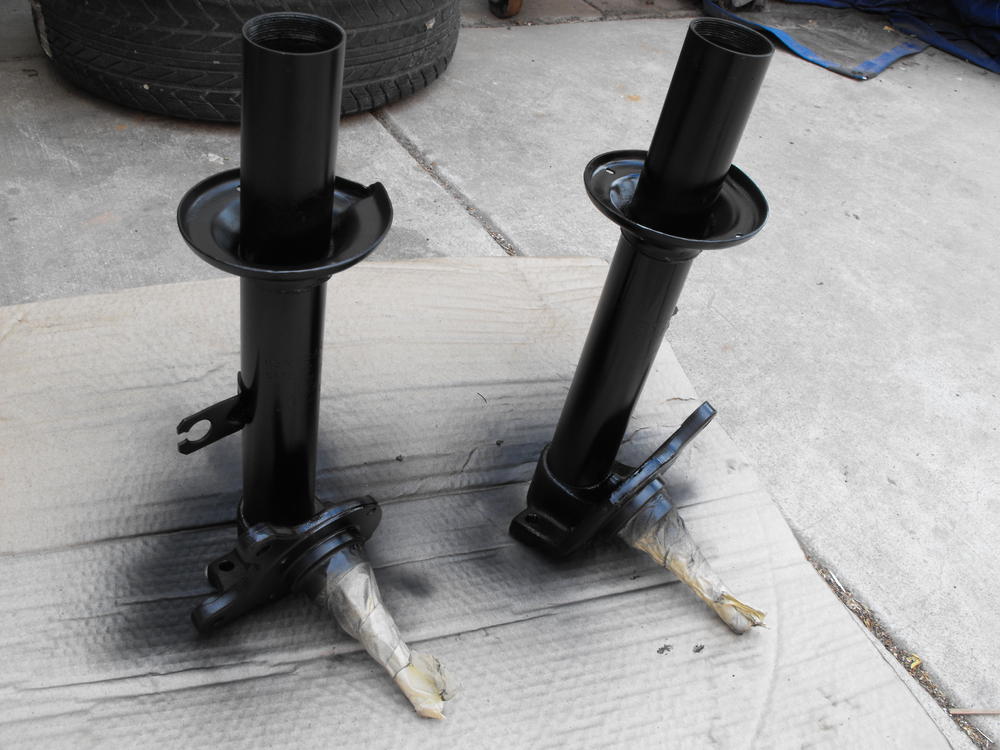
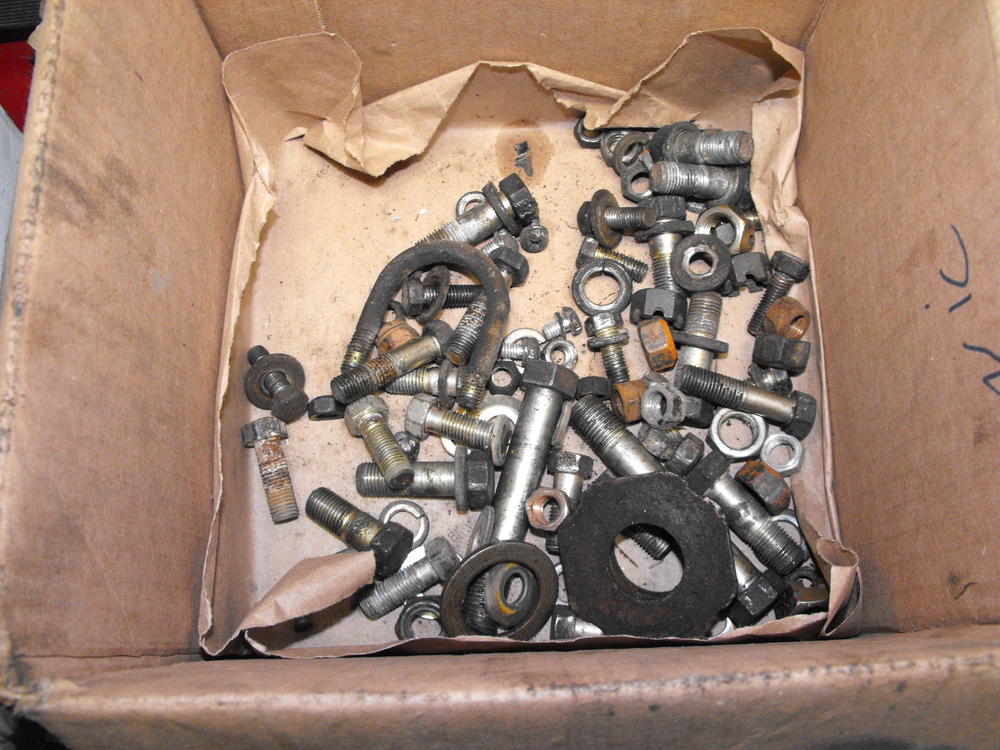
Cleaned up the front suspension area hardware so I can get it plated. Got the chrome back from Pacific Plating. I think I will leave the chrome parts in the wrap for now until I am ready to install it. The new chrome looks so nice!


-
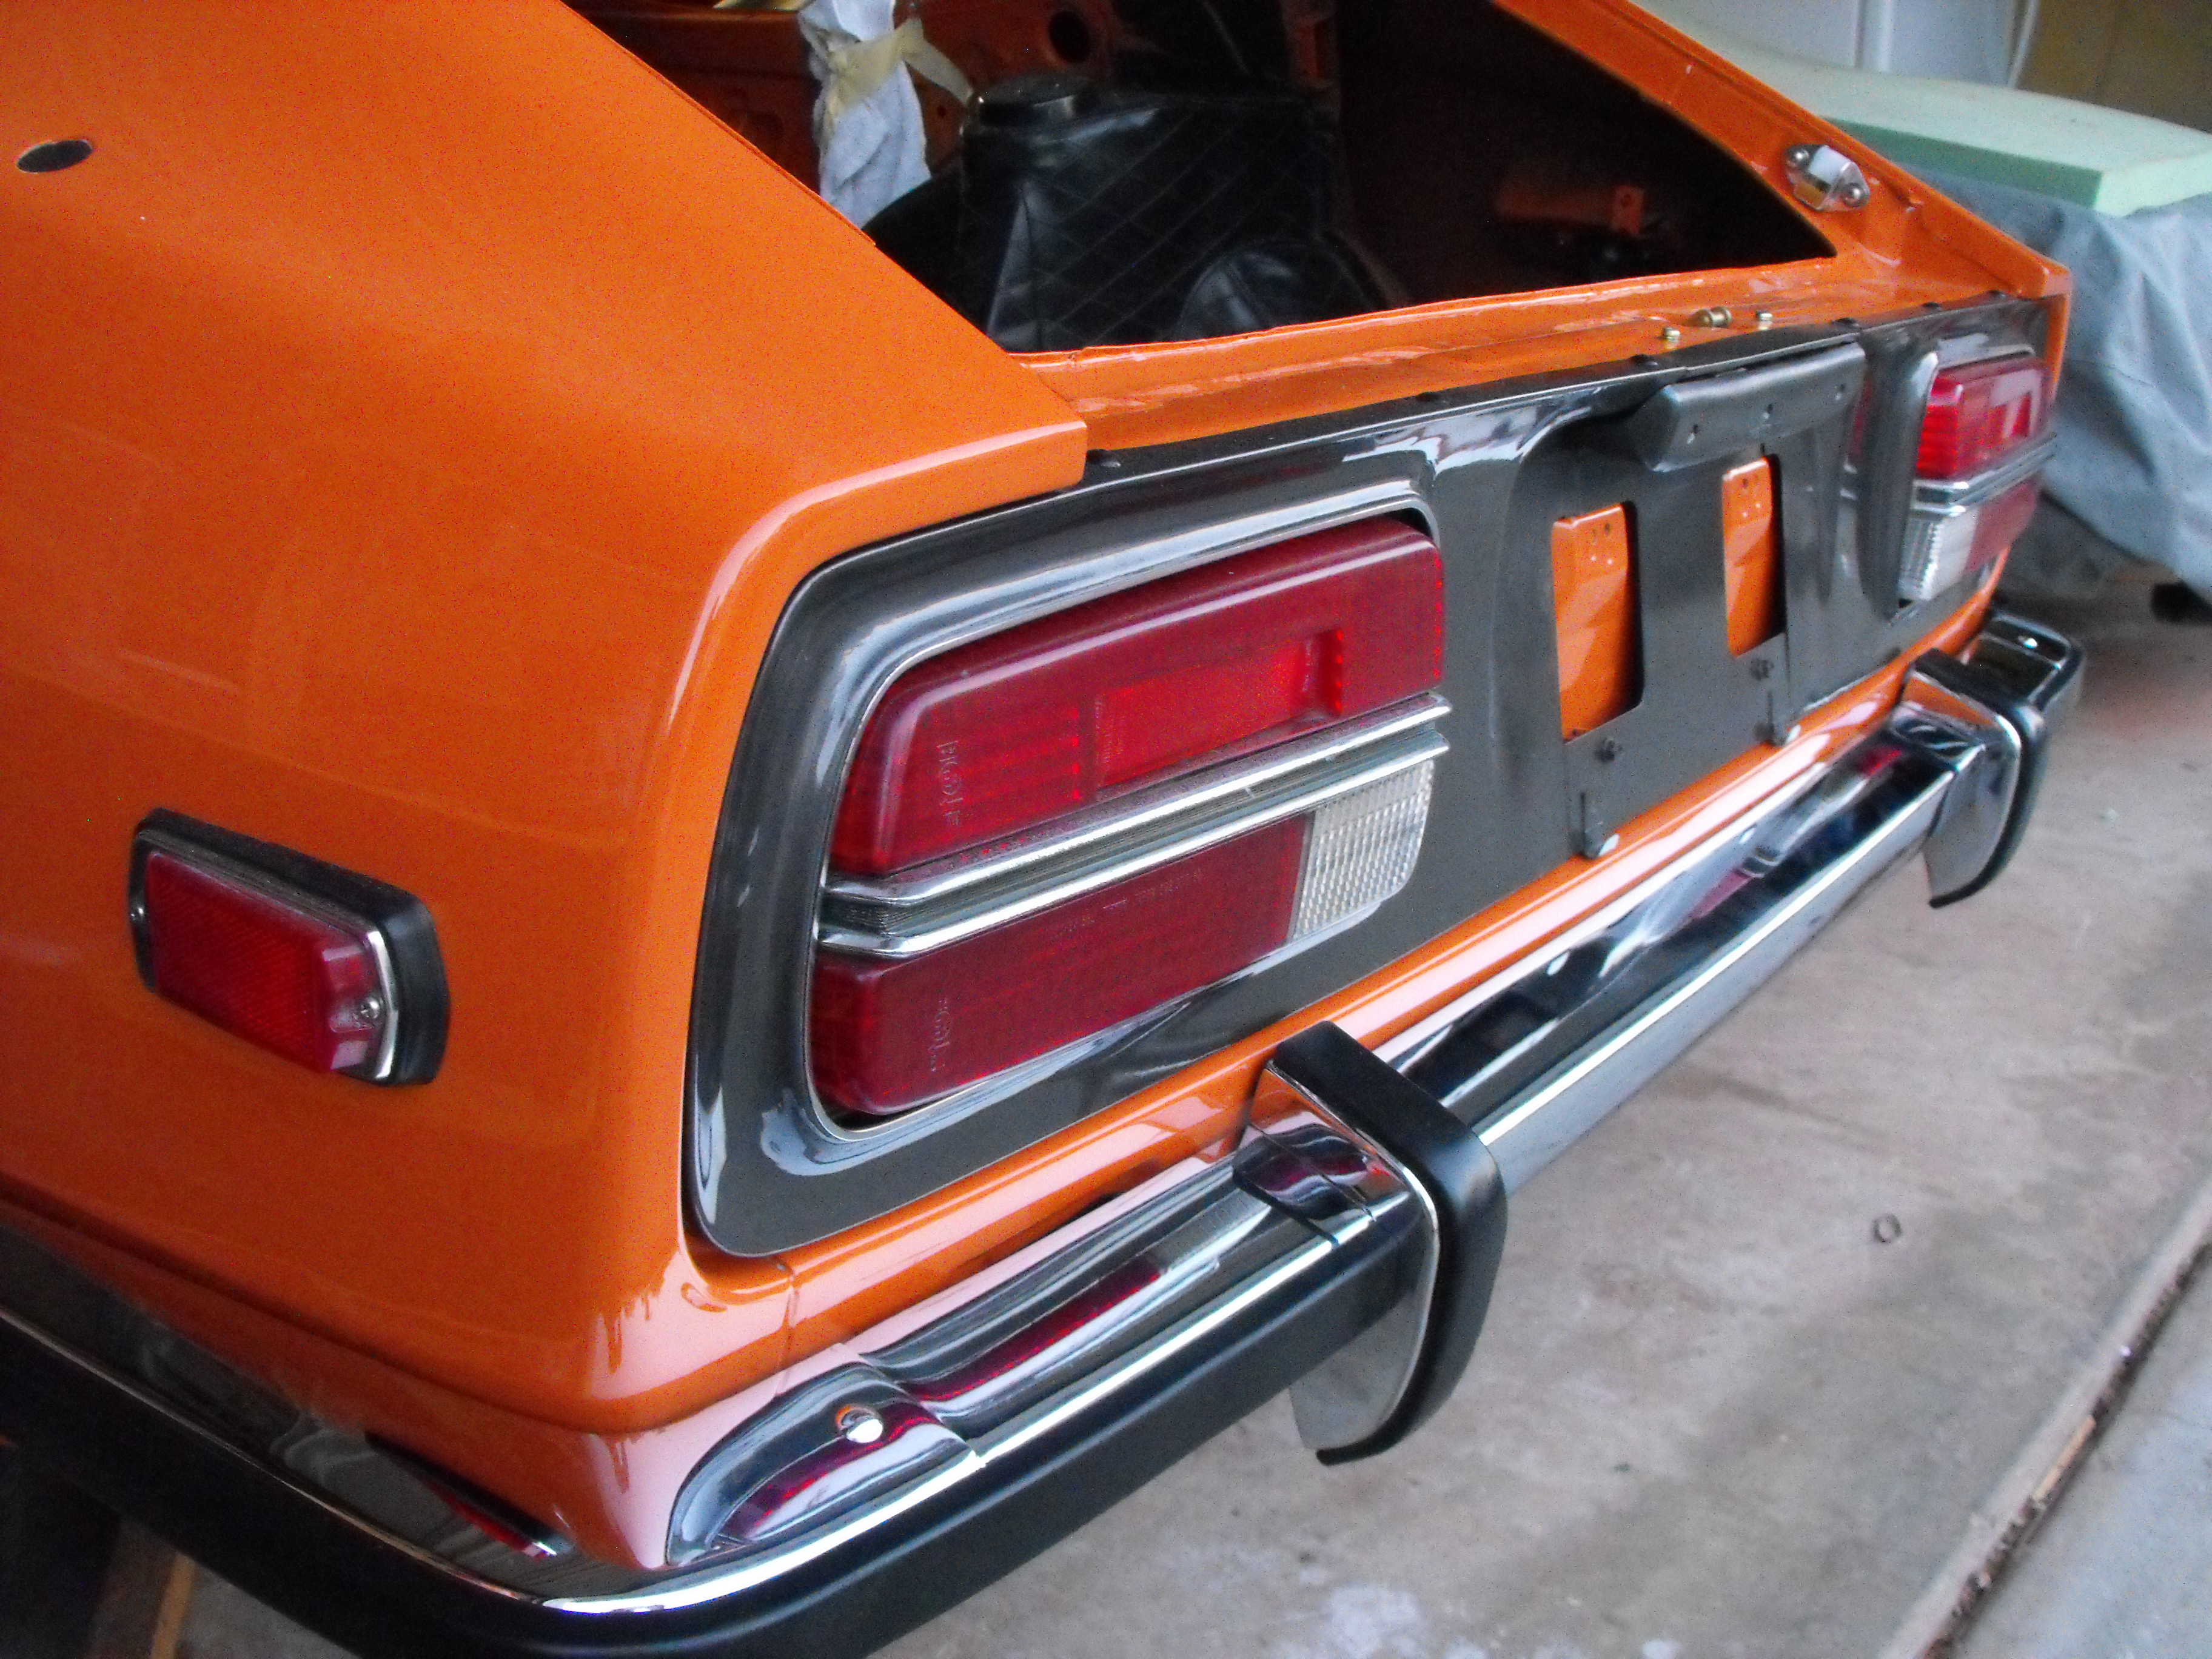
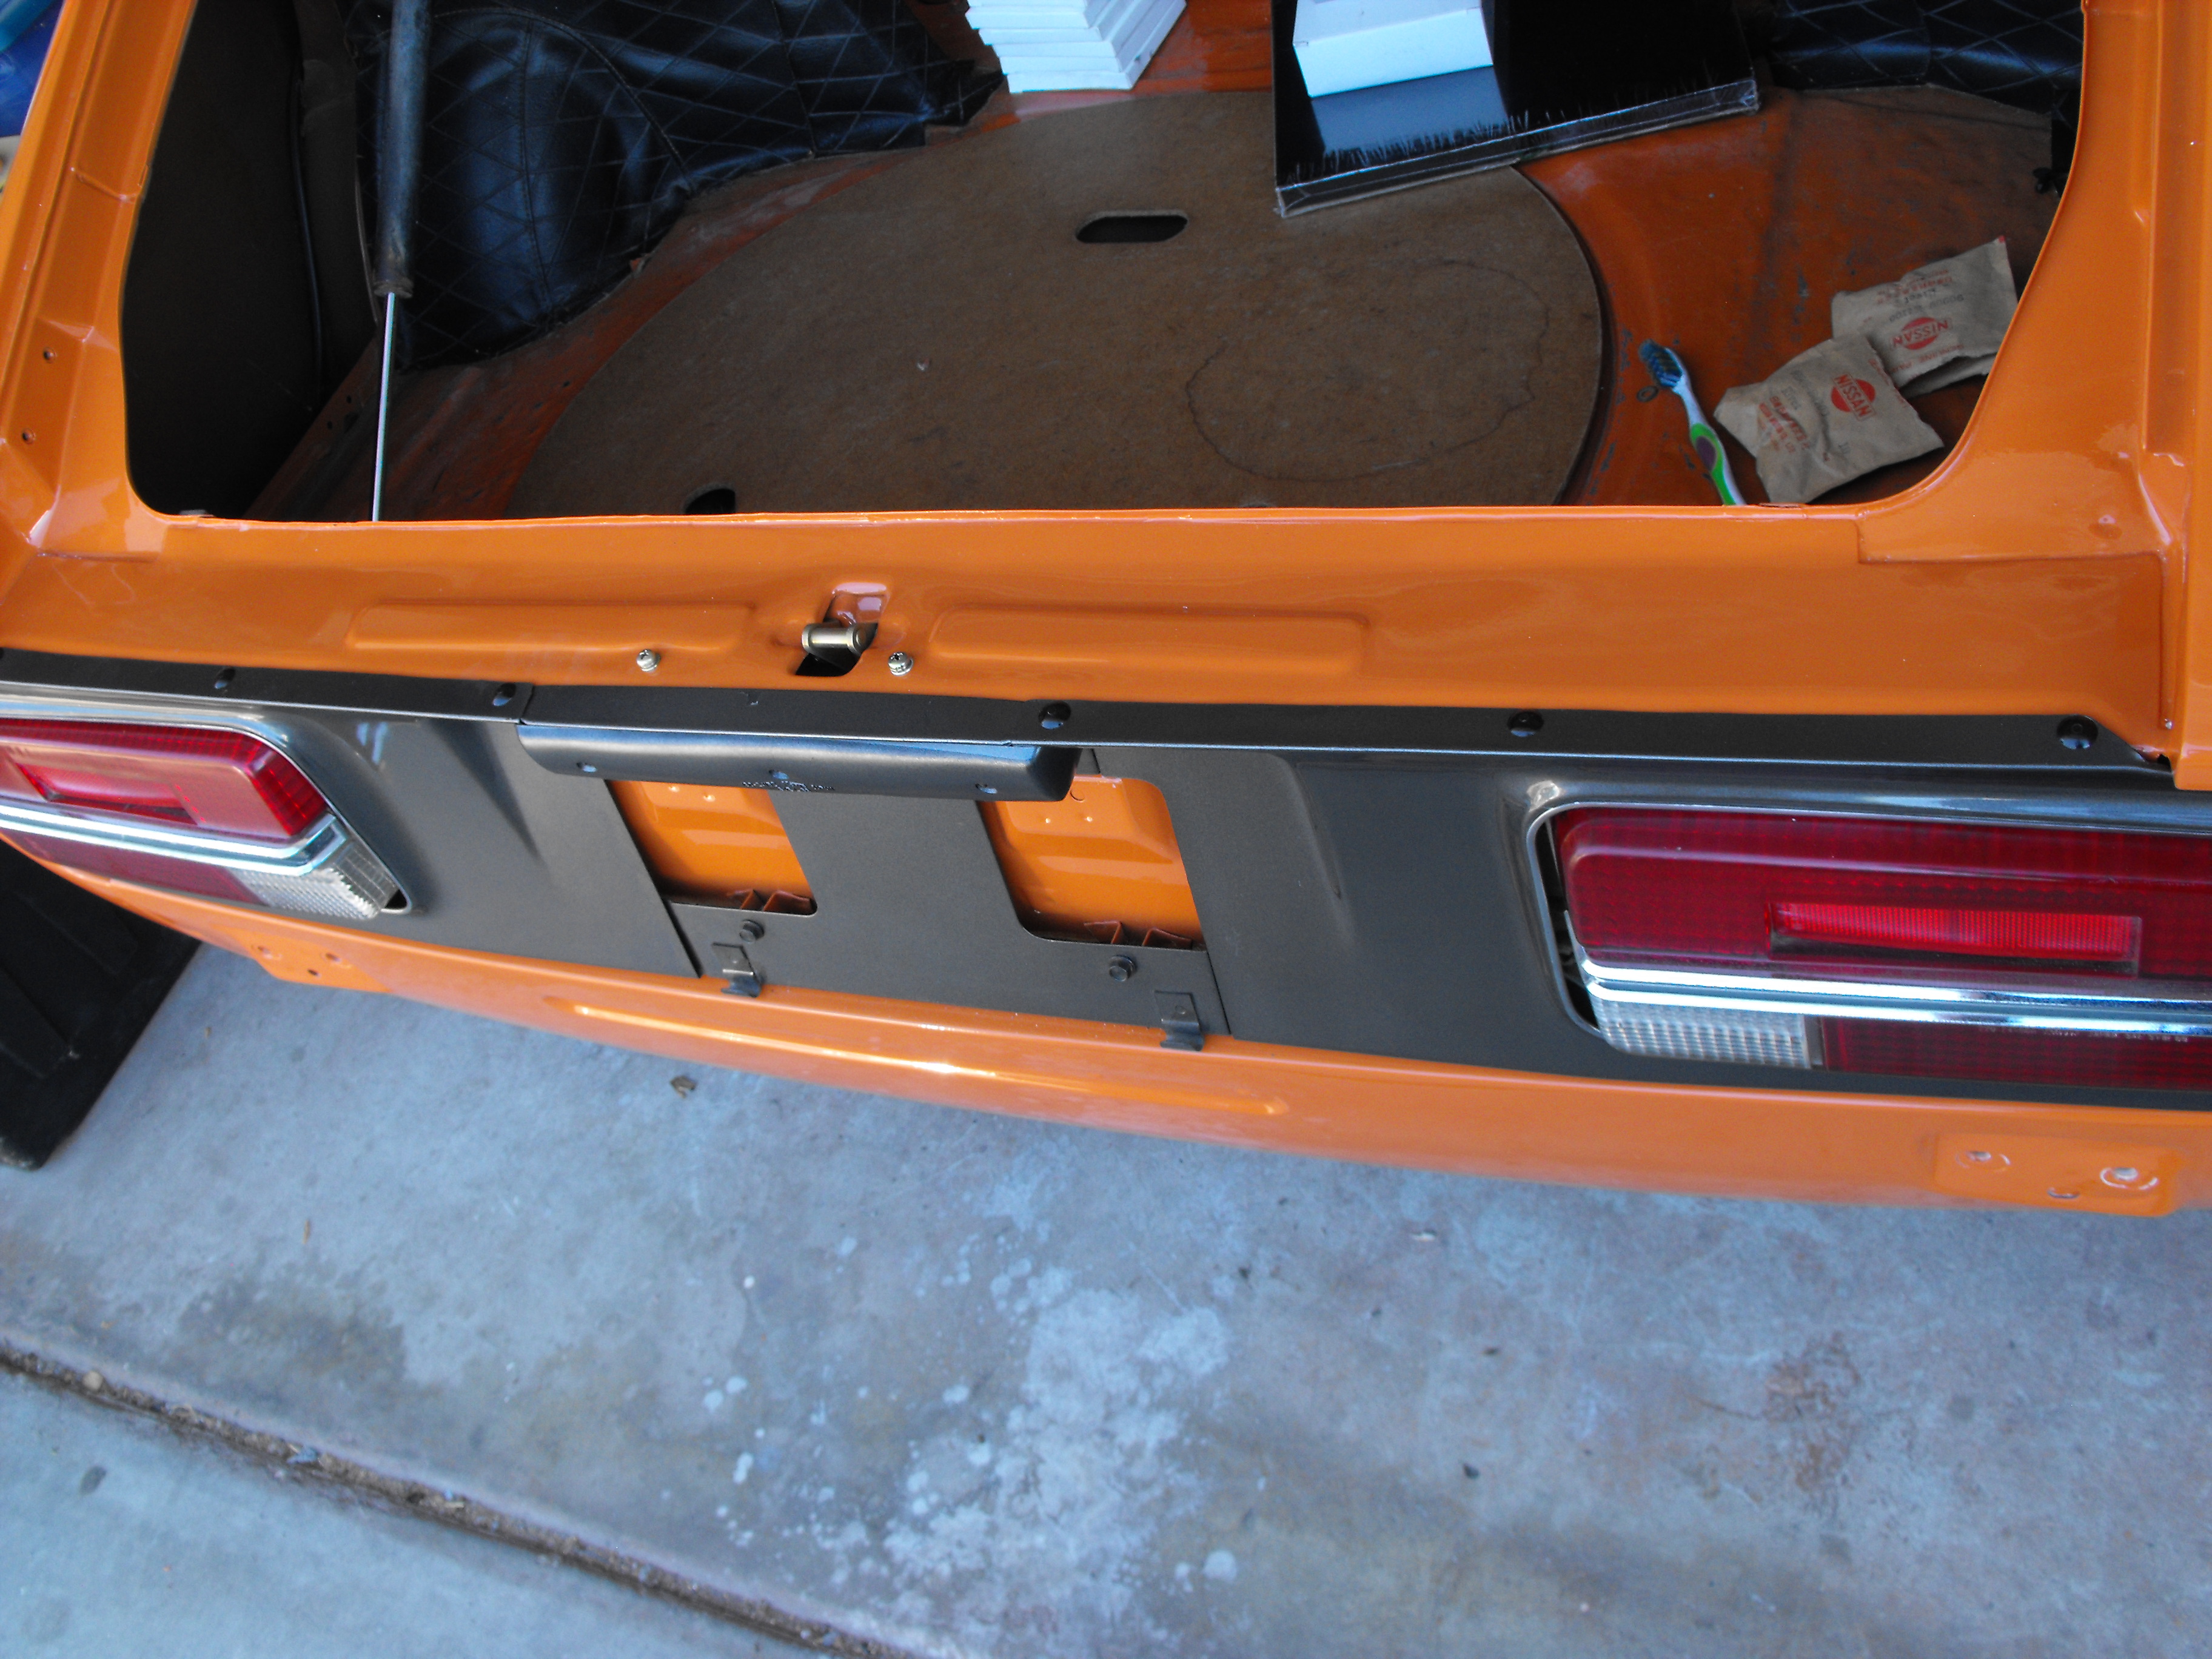
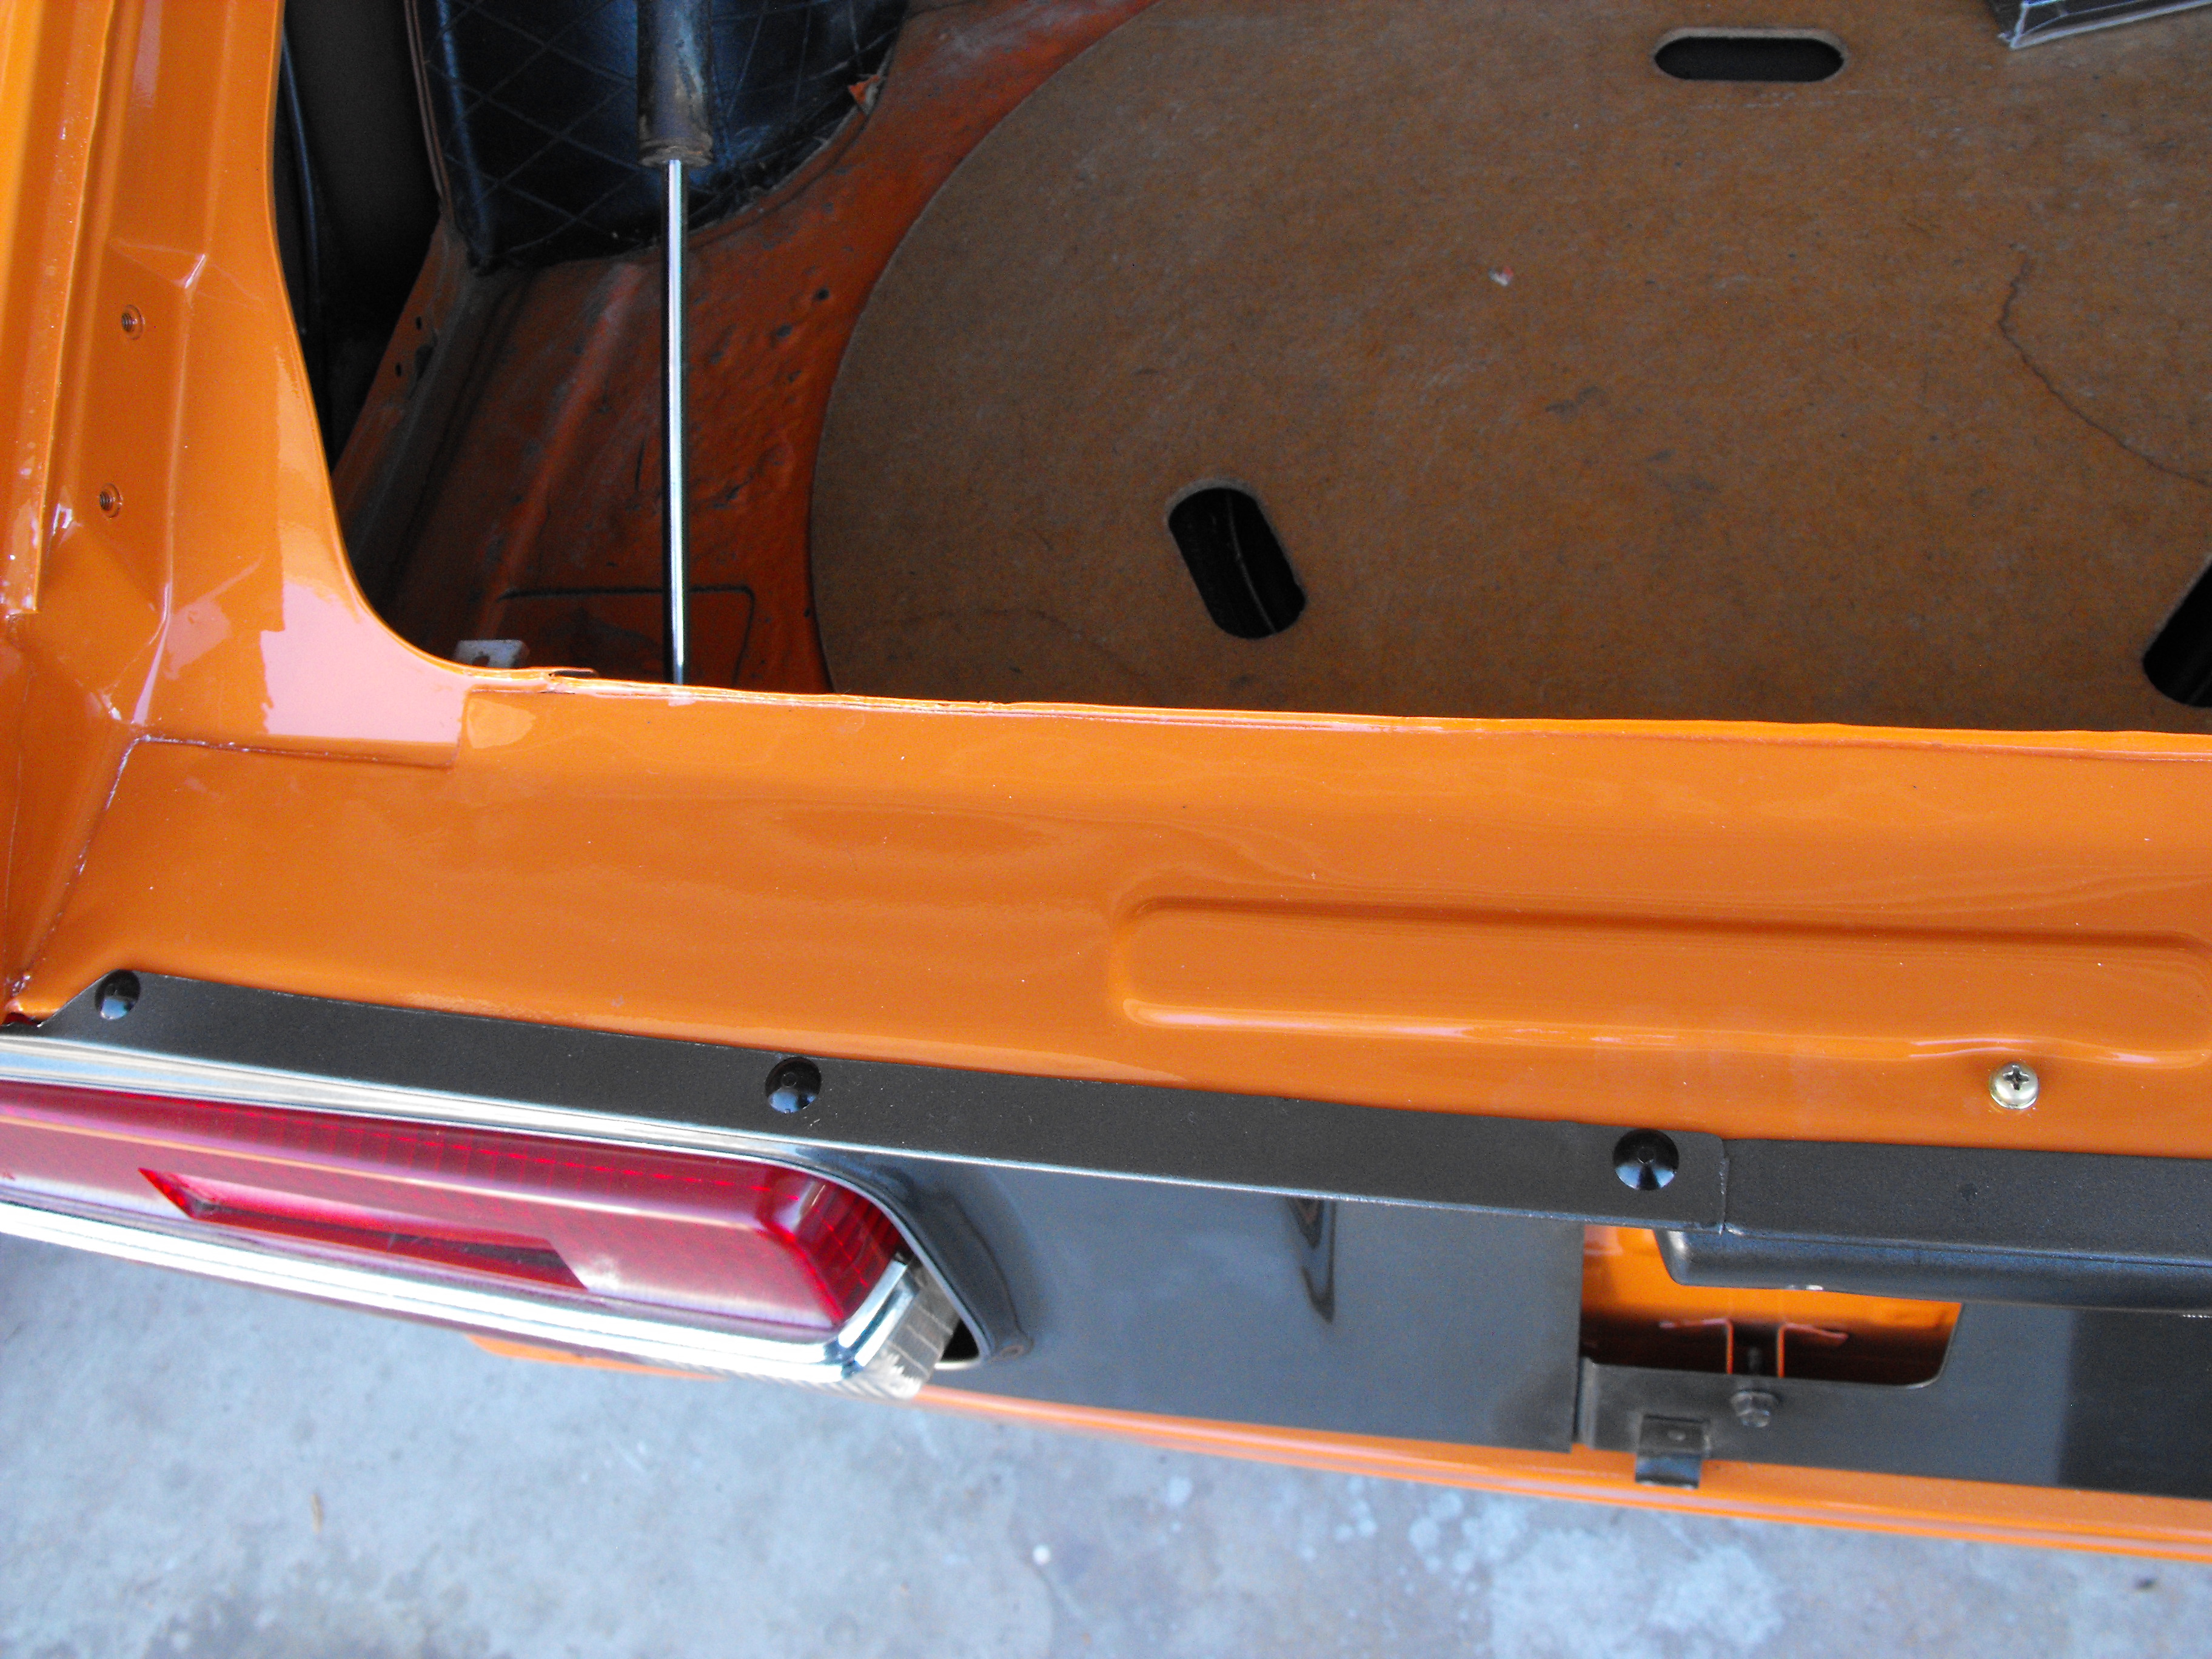
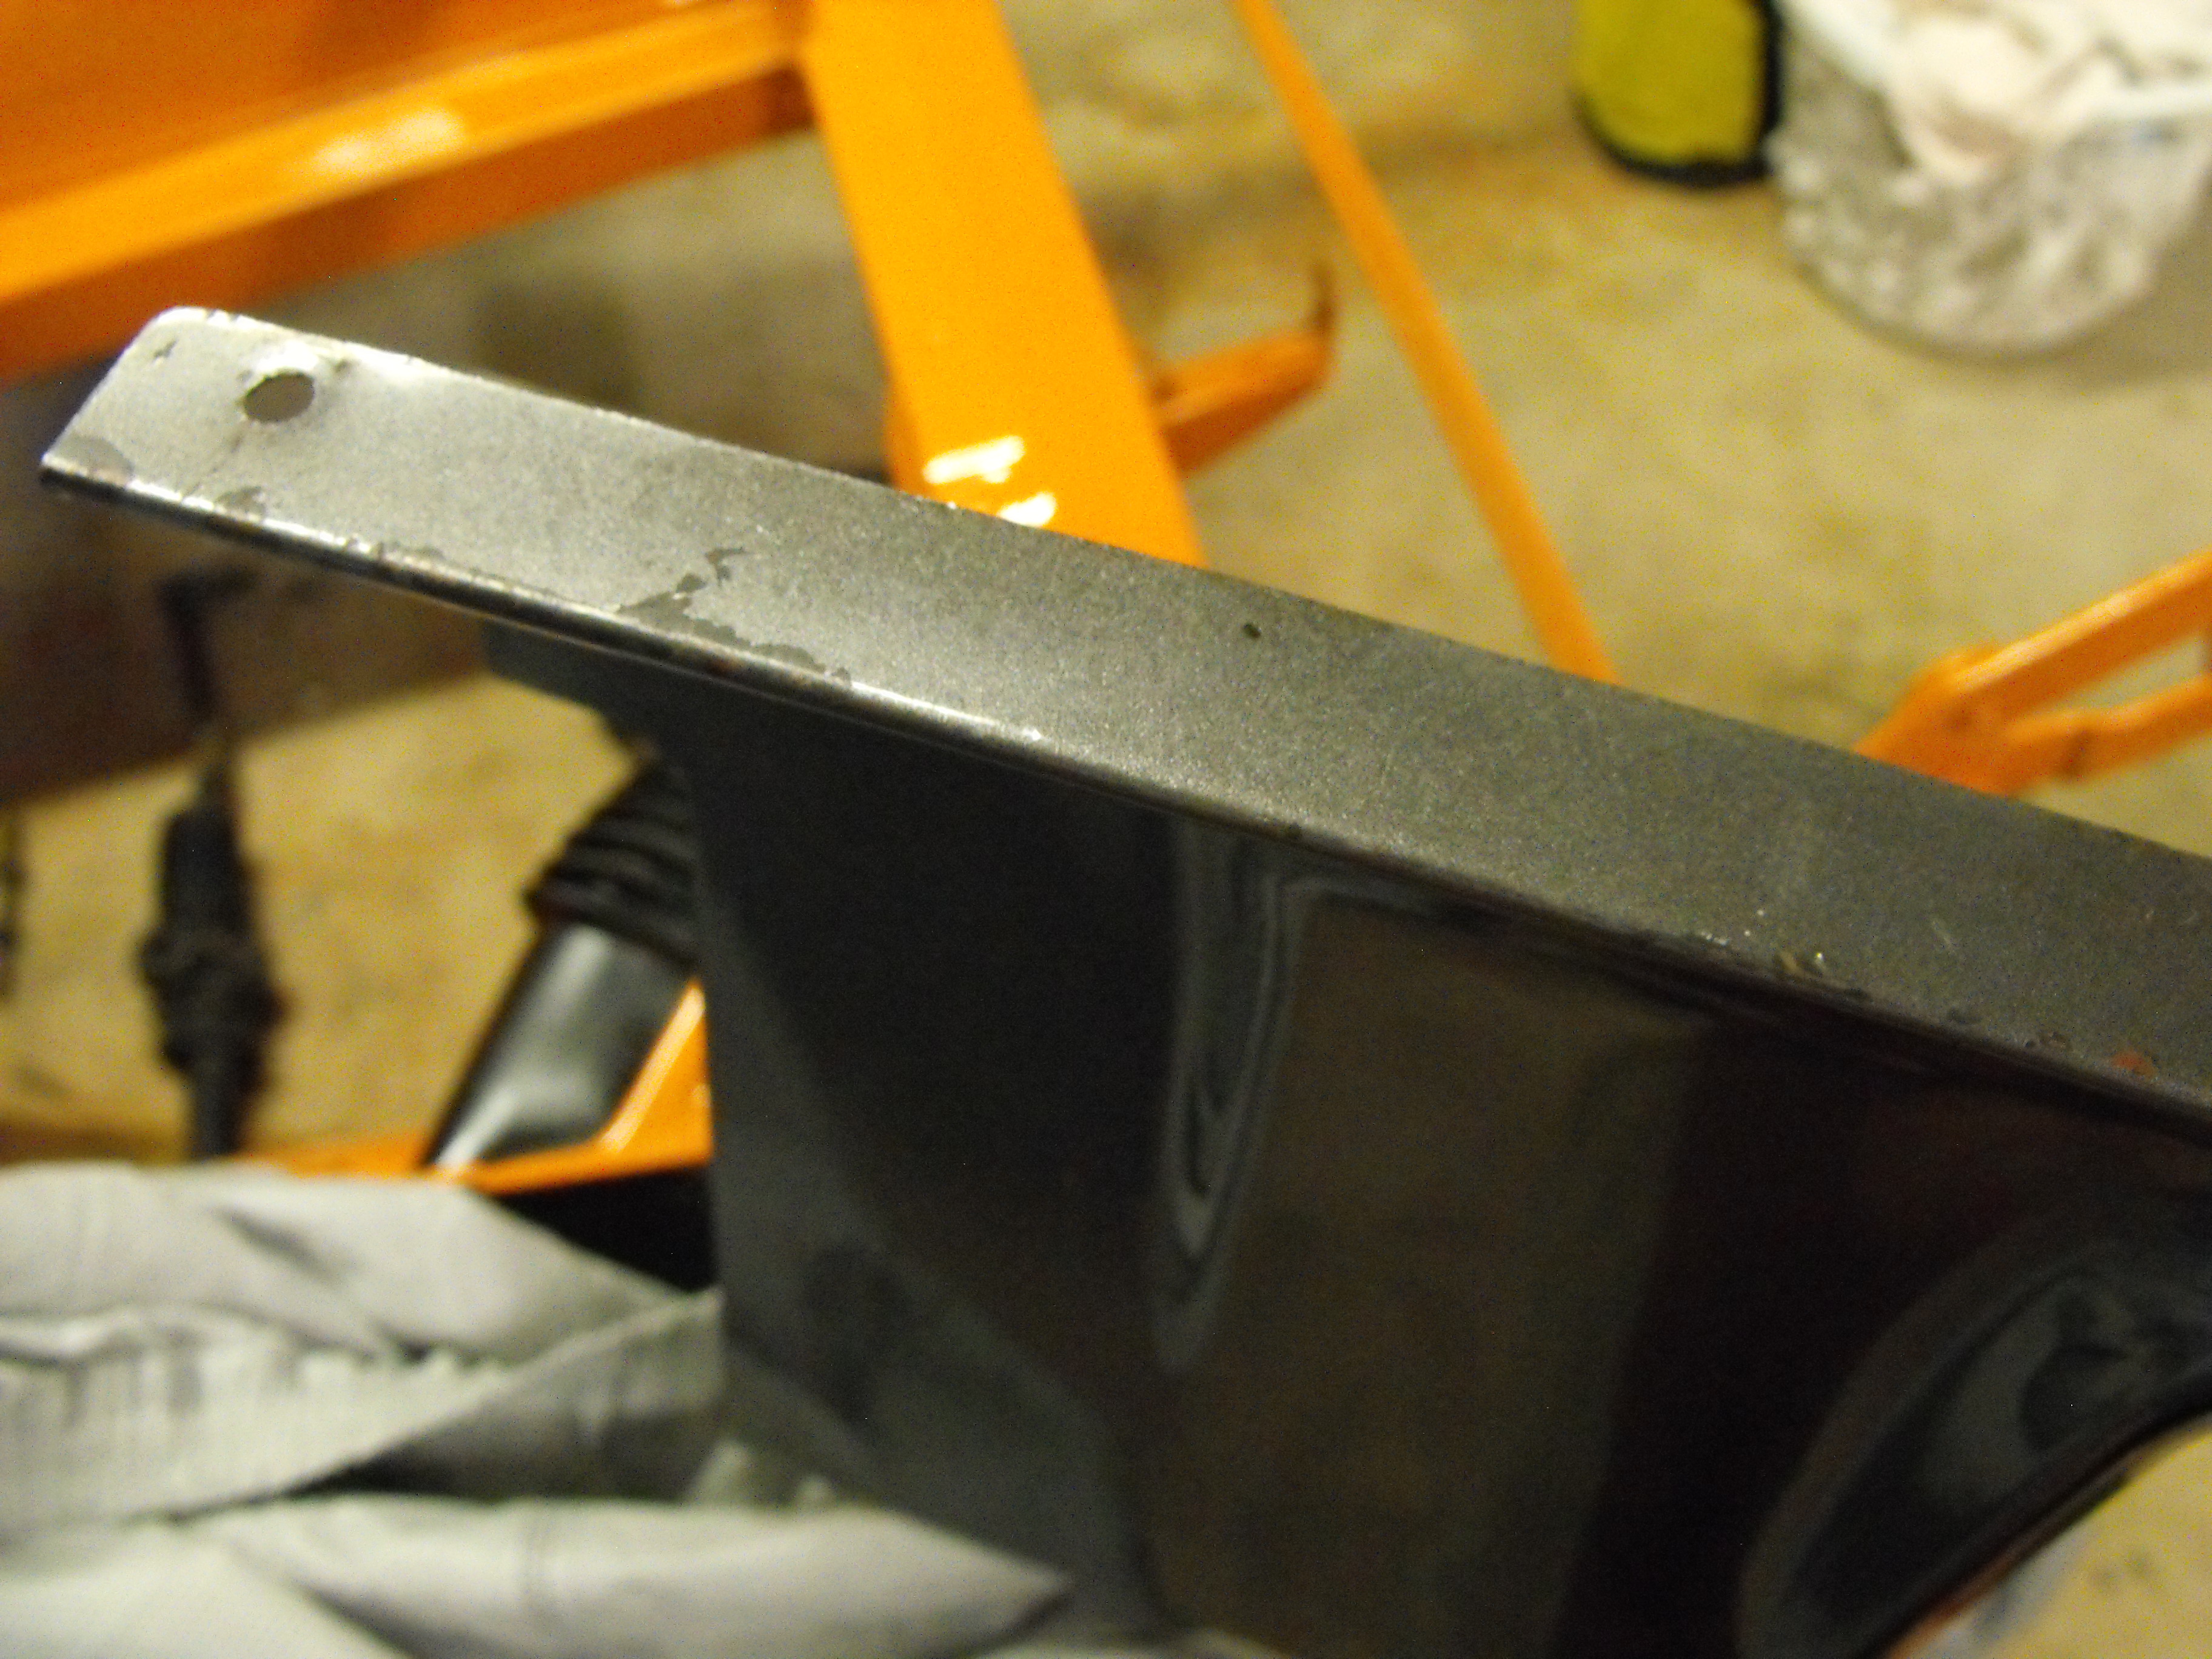
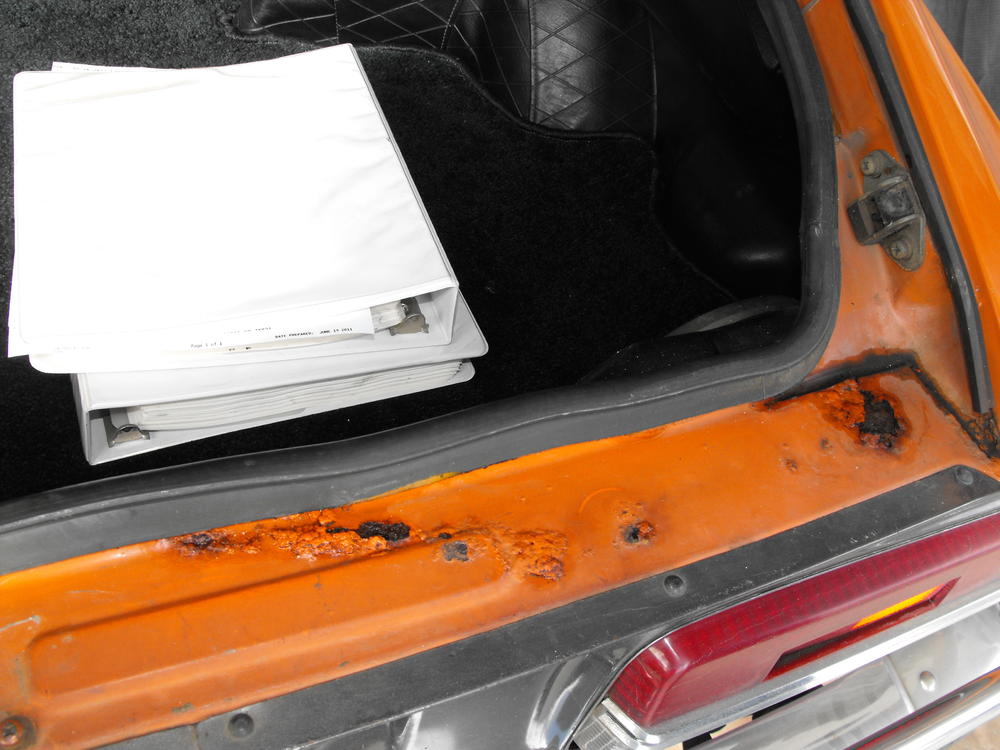
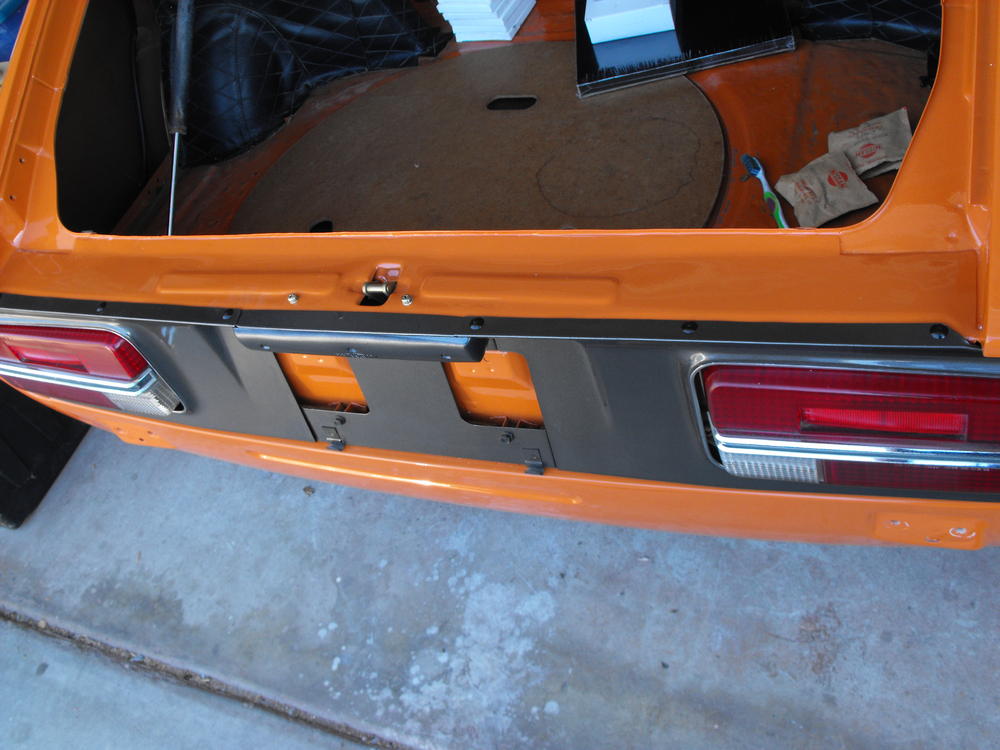
Before and after pics of the aft panel below. I pick up the re-chromed bumpers tomorrow. Those should be nice.


-
I am looking to get a nice set of the stock 14" rims and hubcaps for a 1972 240Z. If they have tires on them as well, that is fine. Send me pics if you have them and we will work out payment from there. Paypal works best. Thanks, Rich
-
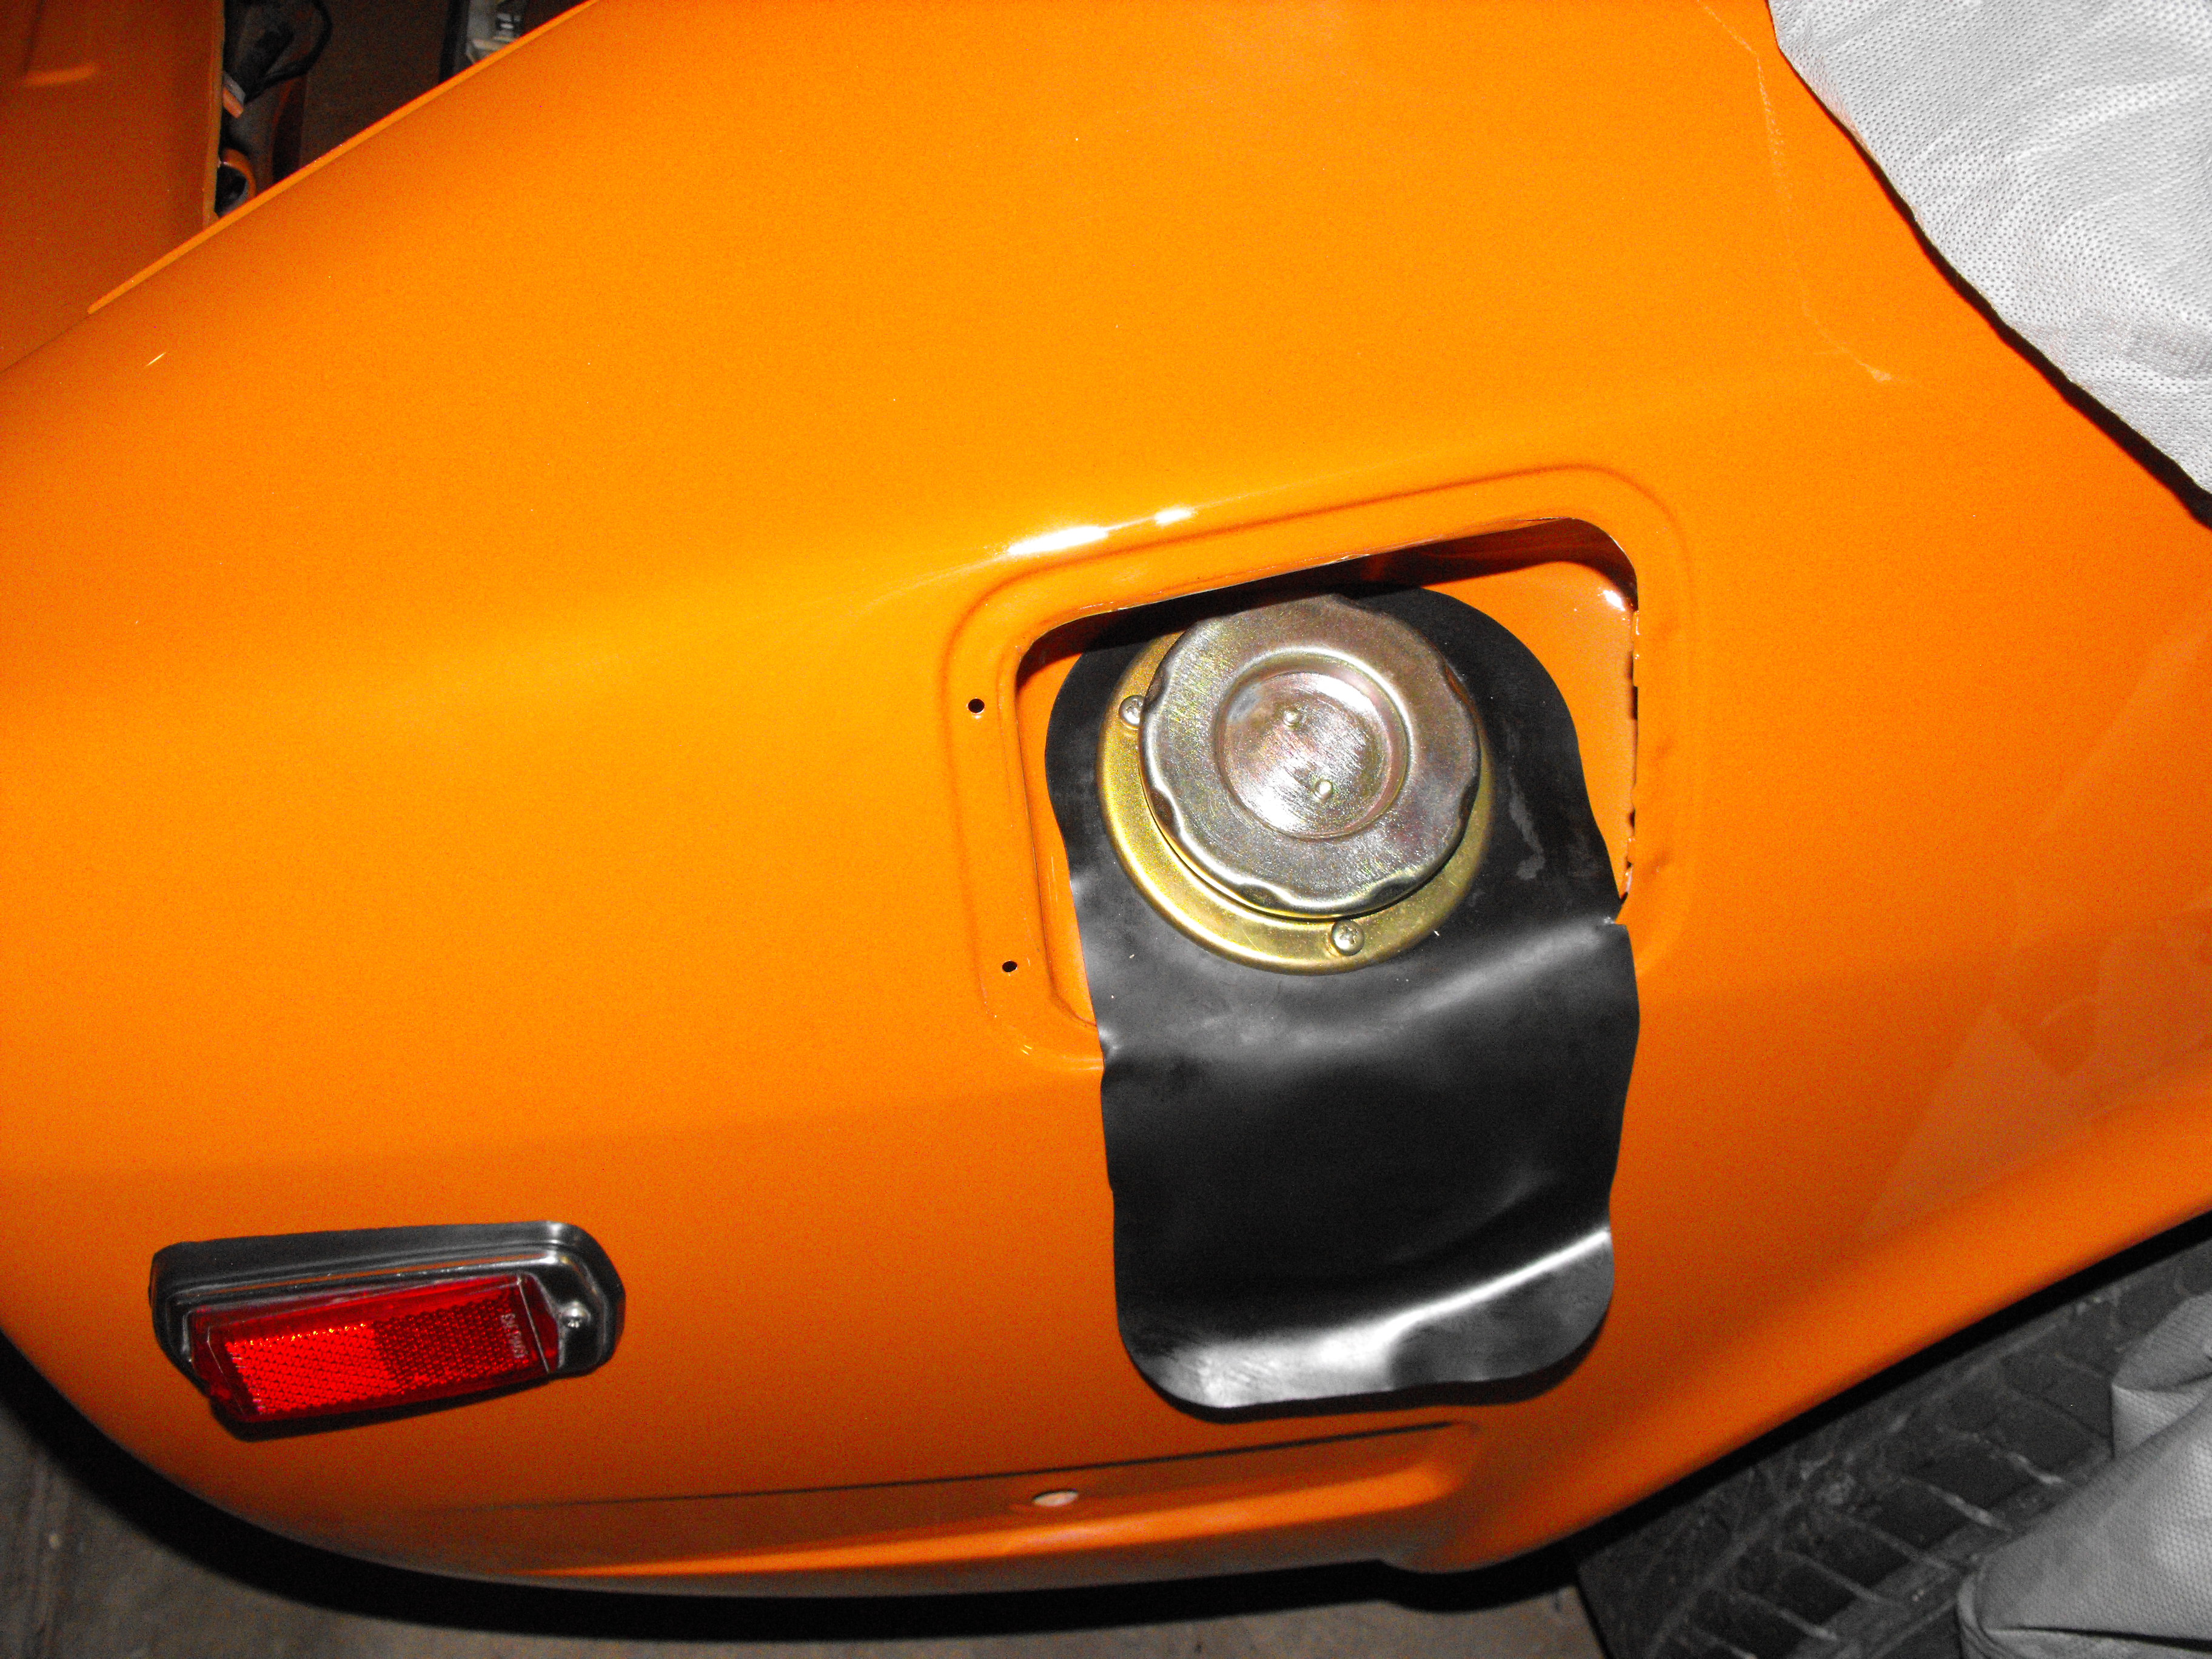
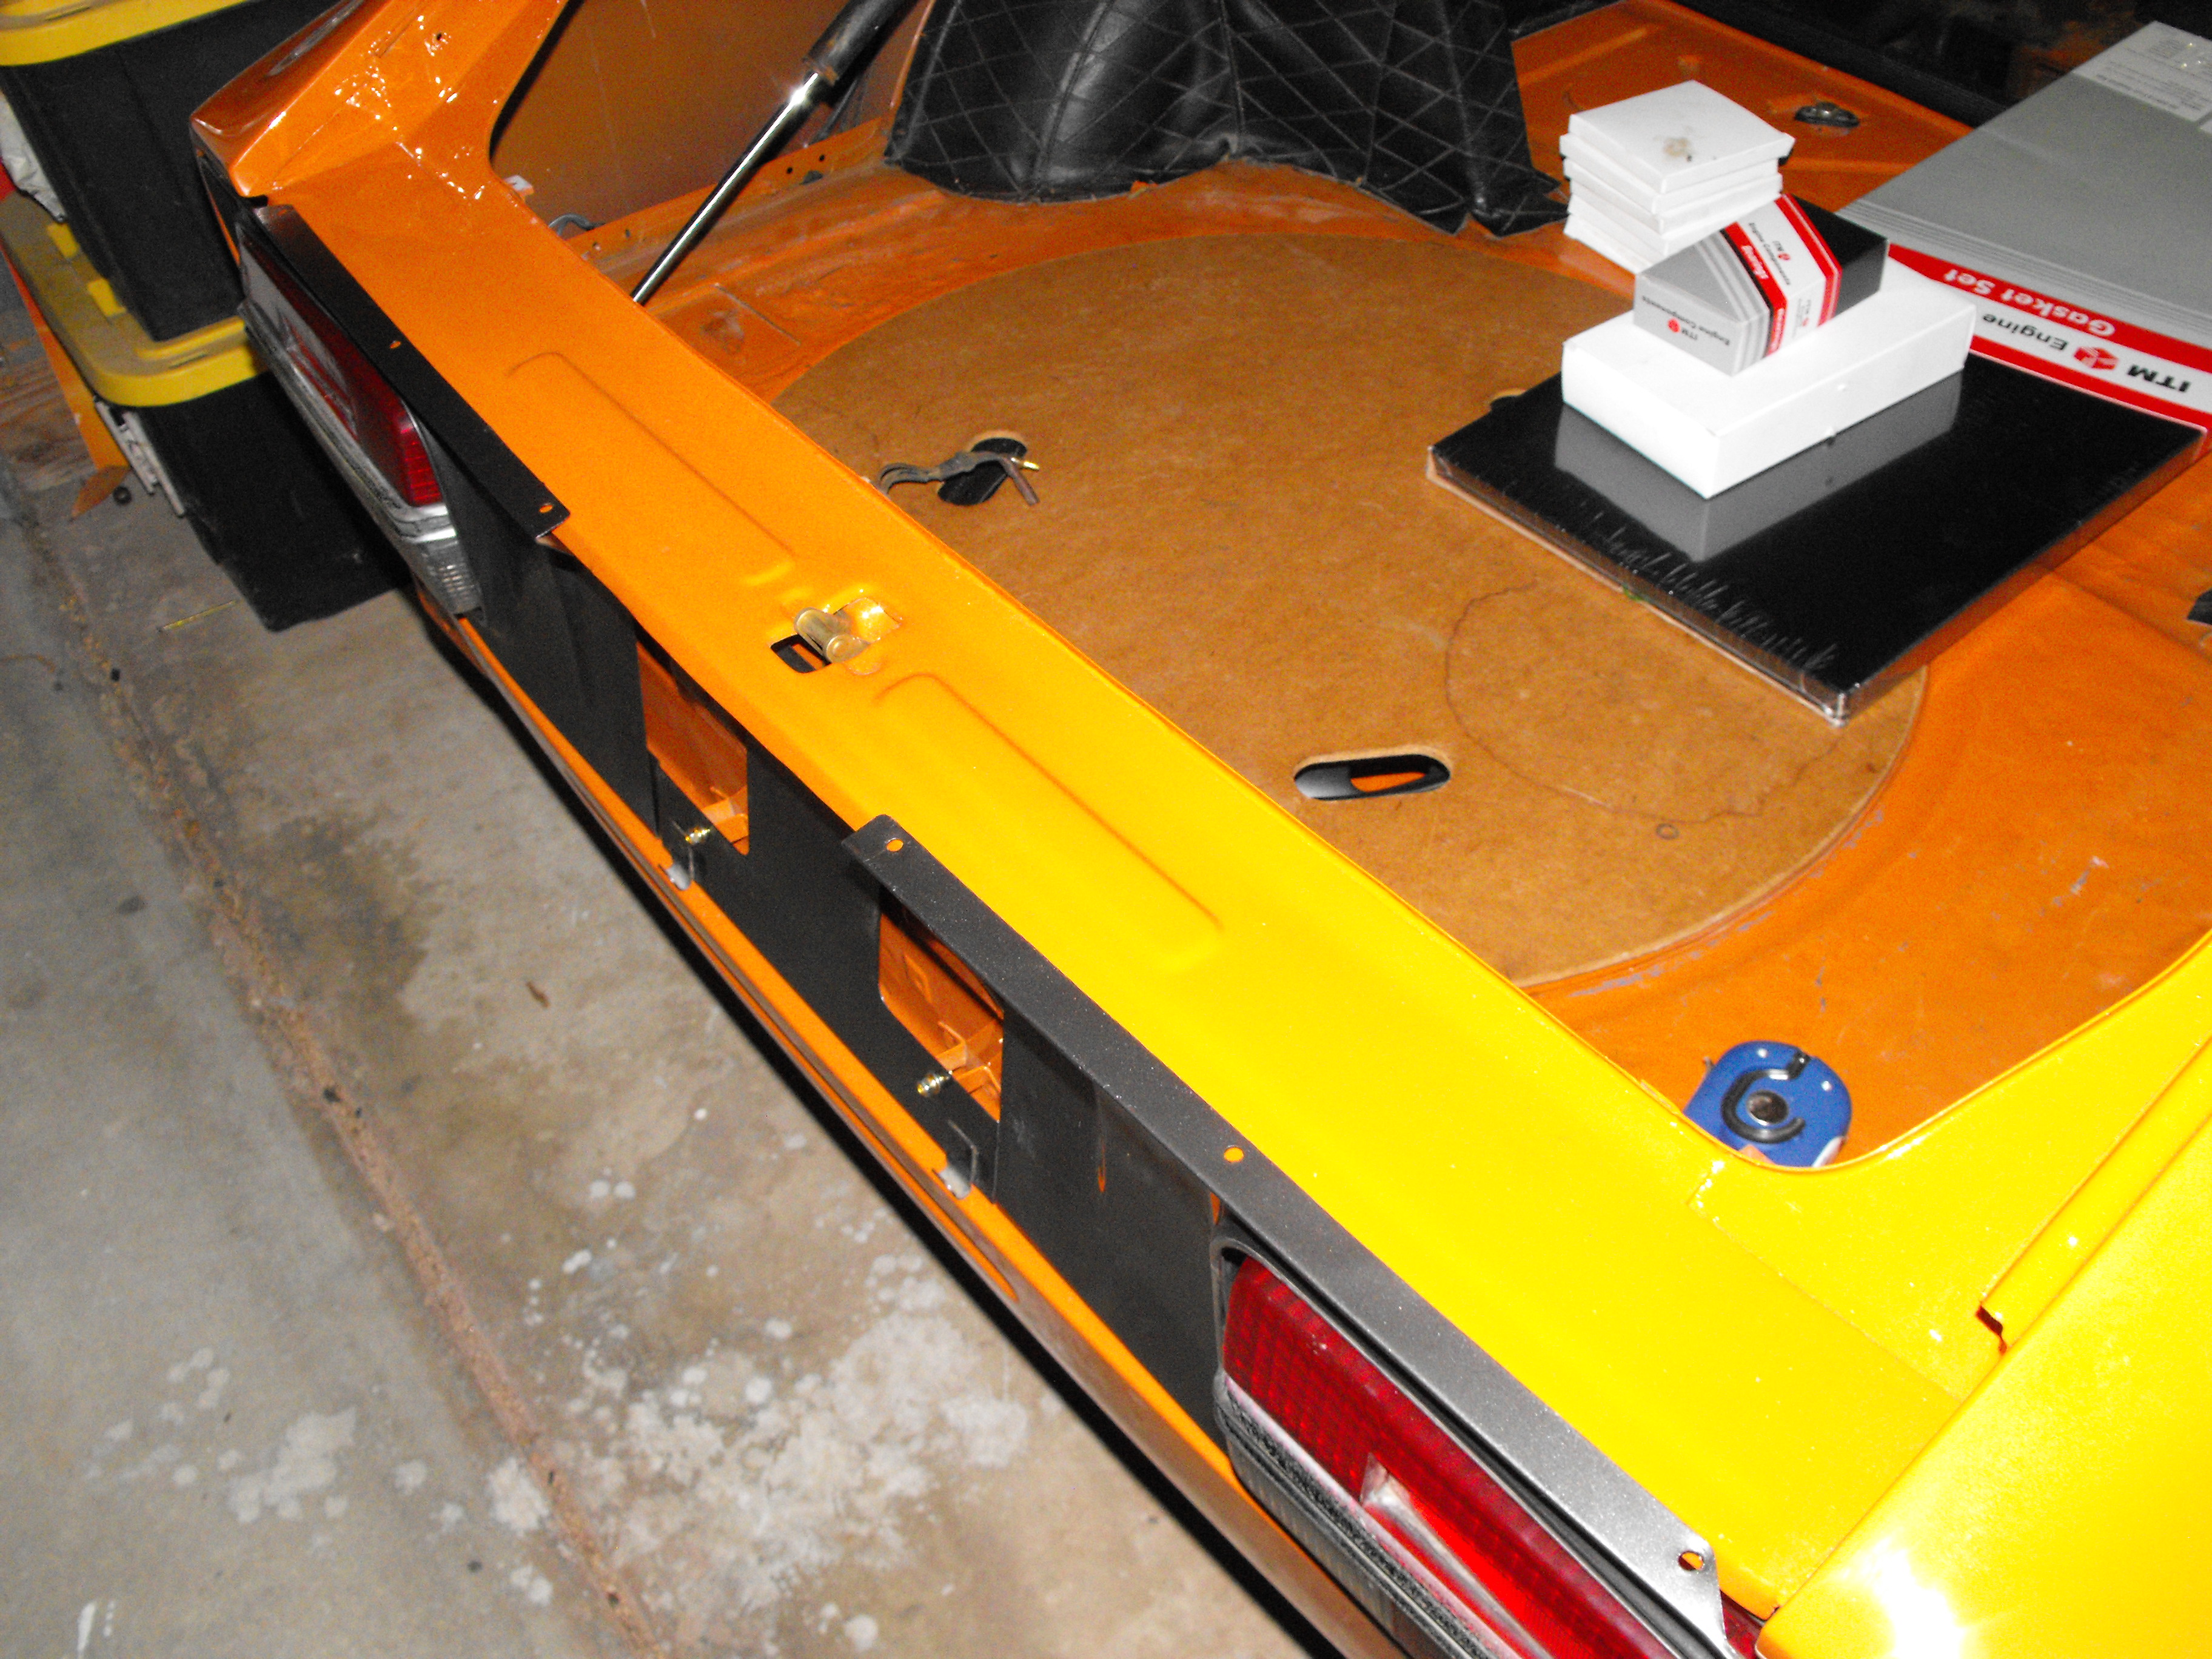
I only get this much done when my wife is out. Otherwise, I end up doing a lot of honeydo's Got a bunch of little things done today. Cleaned the front air ducts and installed those. Touched up scratches on the rear panels and pressed them in place. I noticed the back hatch panel does not have any holes to attach the gray panels. I will have to drill that in order to put the rivets through. I installed the filler tube, flap and gas cap. i may end up getting a new flap for this. There are some small cracks on this flap at the edges. Also painted the front grill panel satin black. Pics below