motorman7
Supporting Member
-
Joined
-
Last visited
Everything posted by motorman7
-
Wife is out for the next couple days so should be able to get lots done. Should have some nice pics by the end of the day, WooHoo!

-
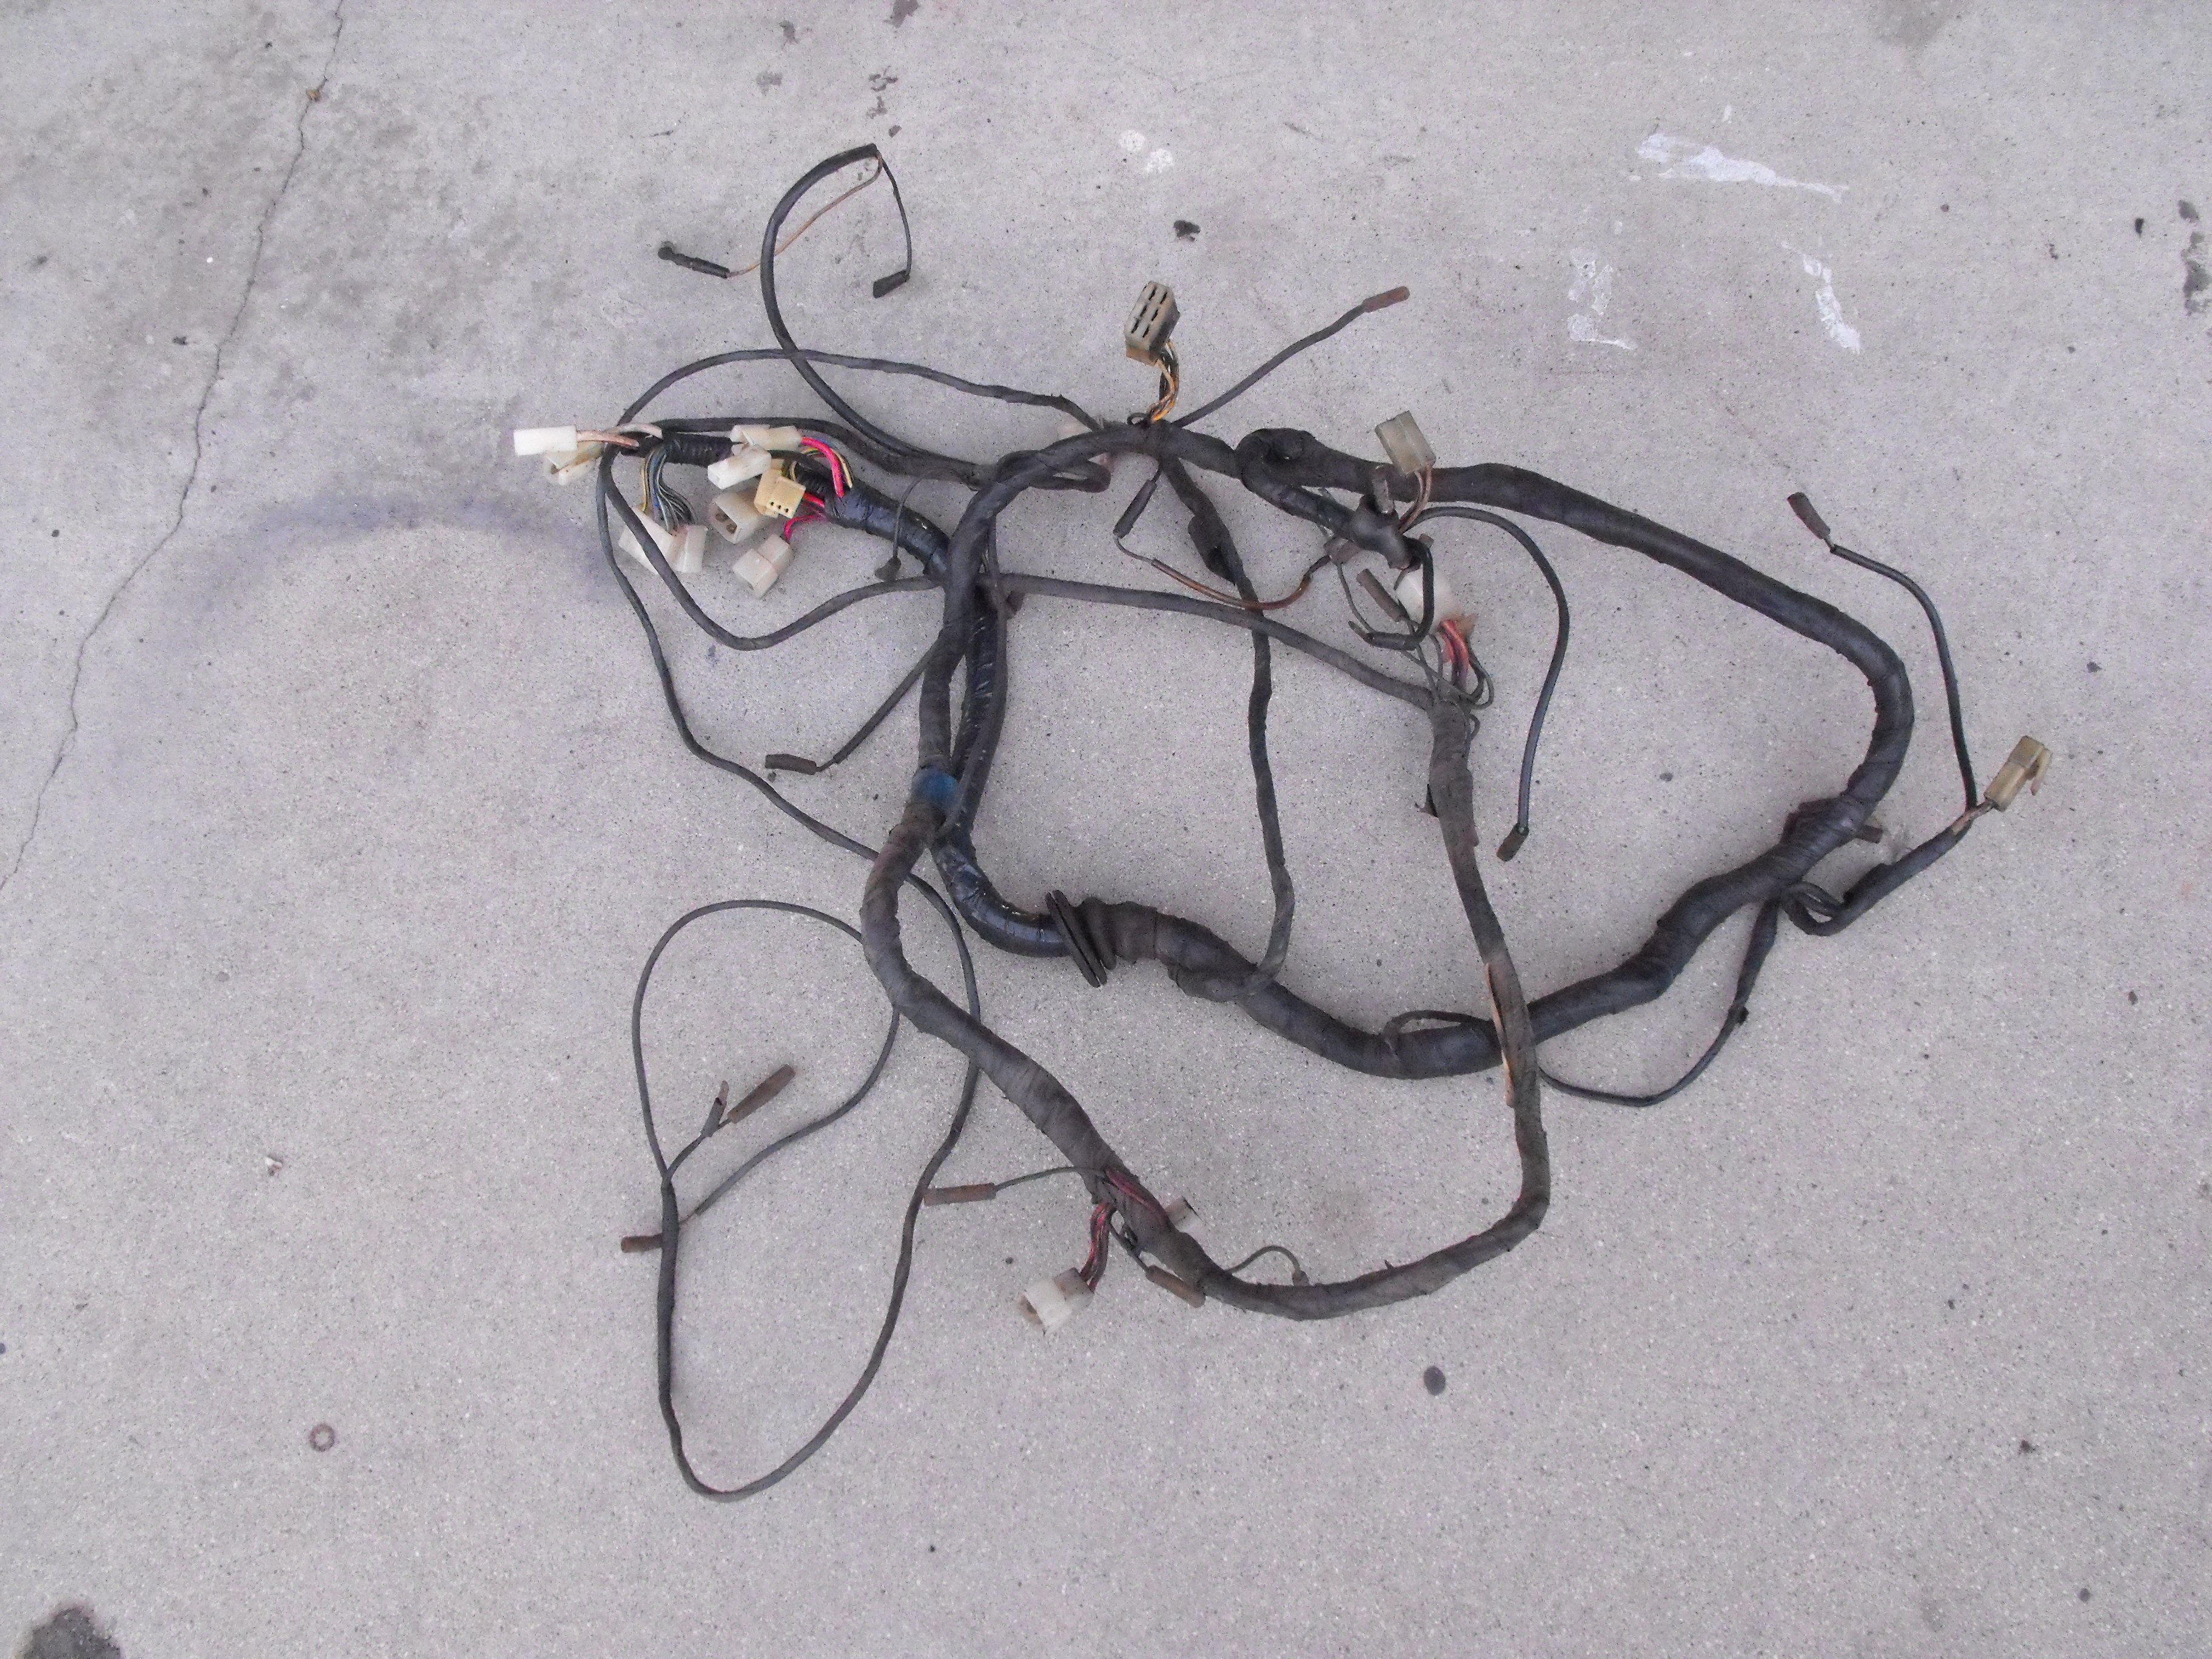
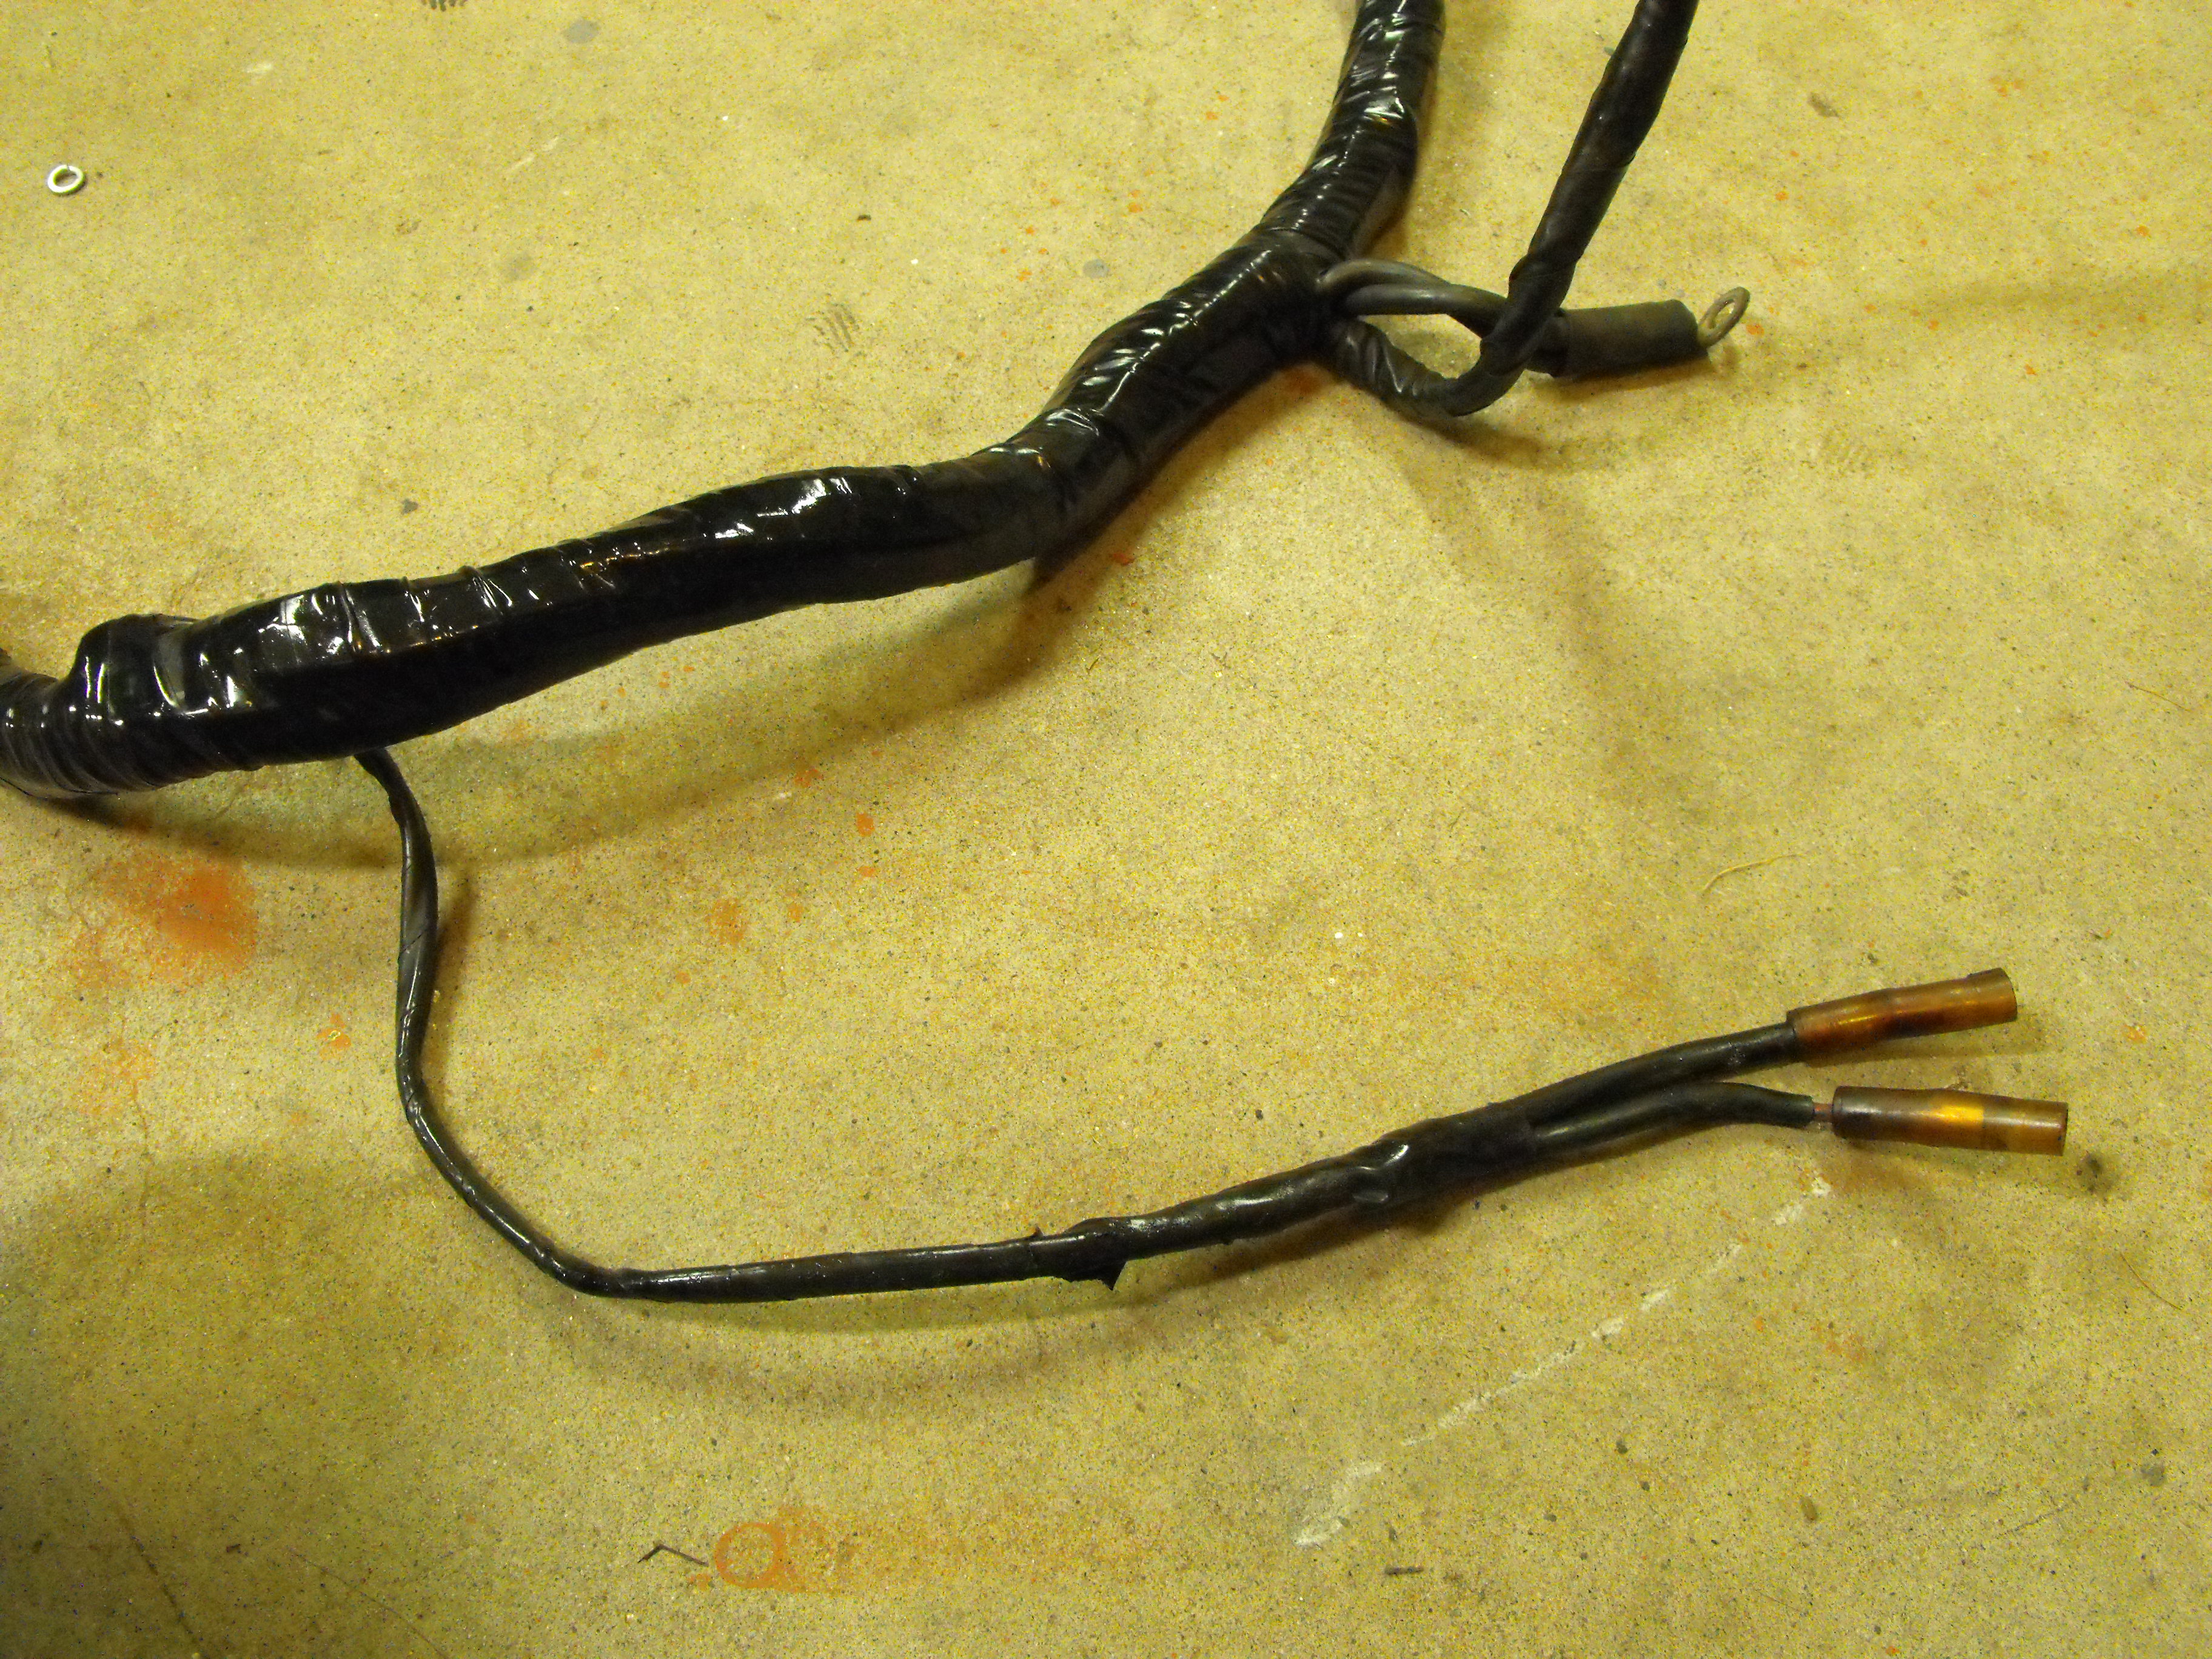
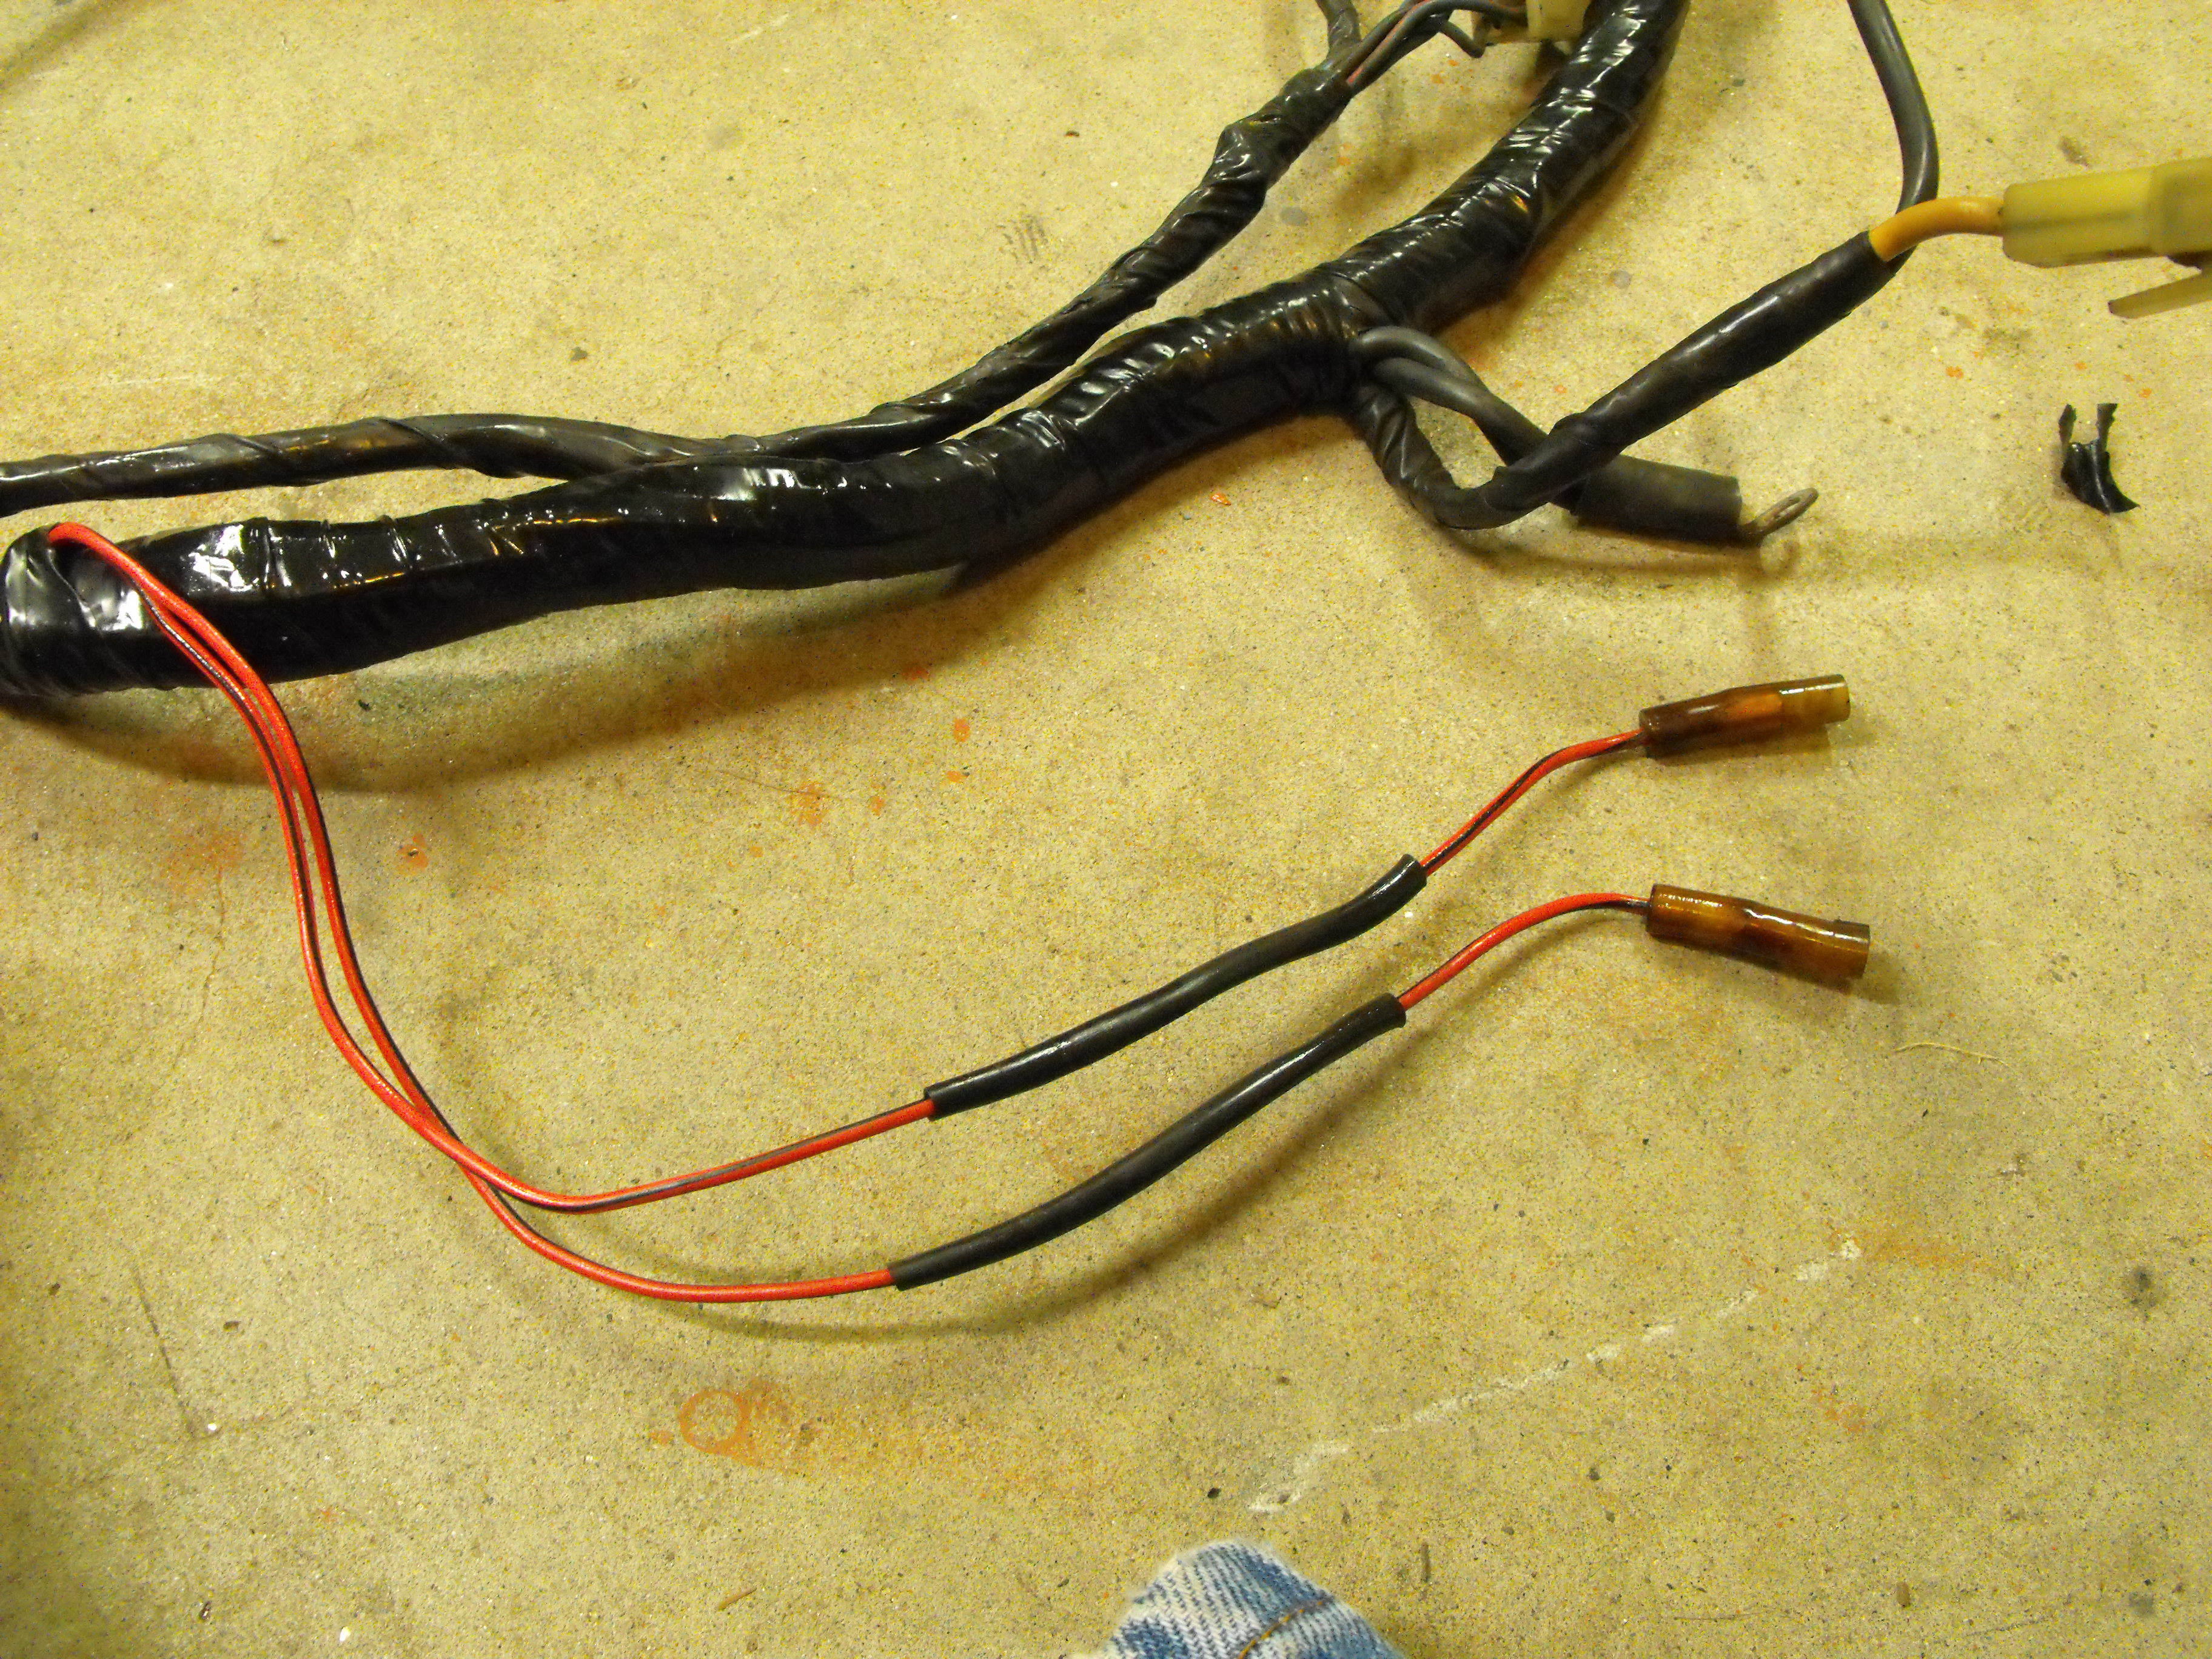
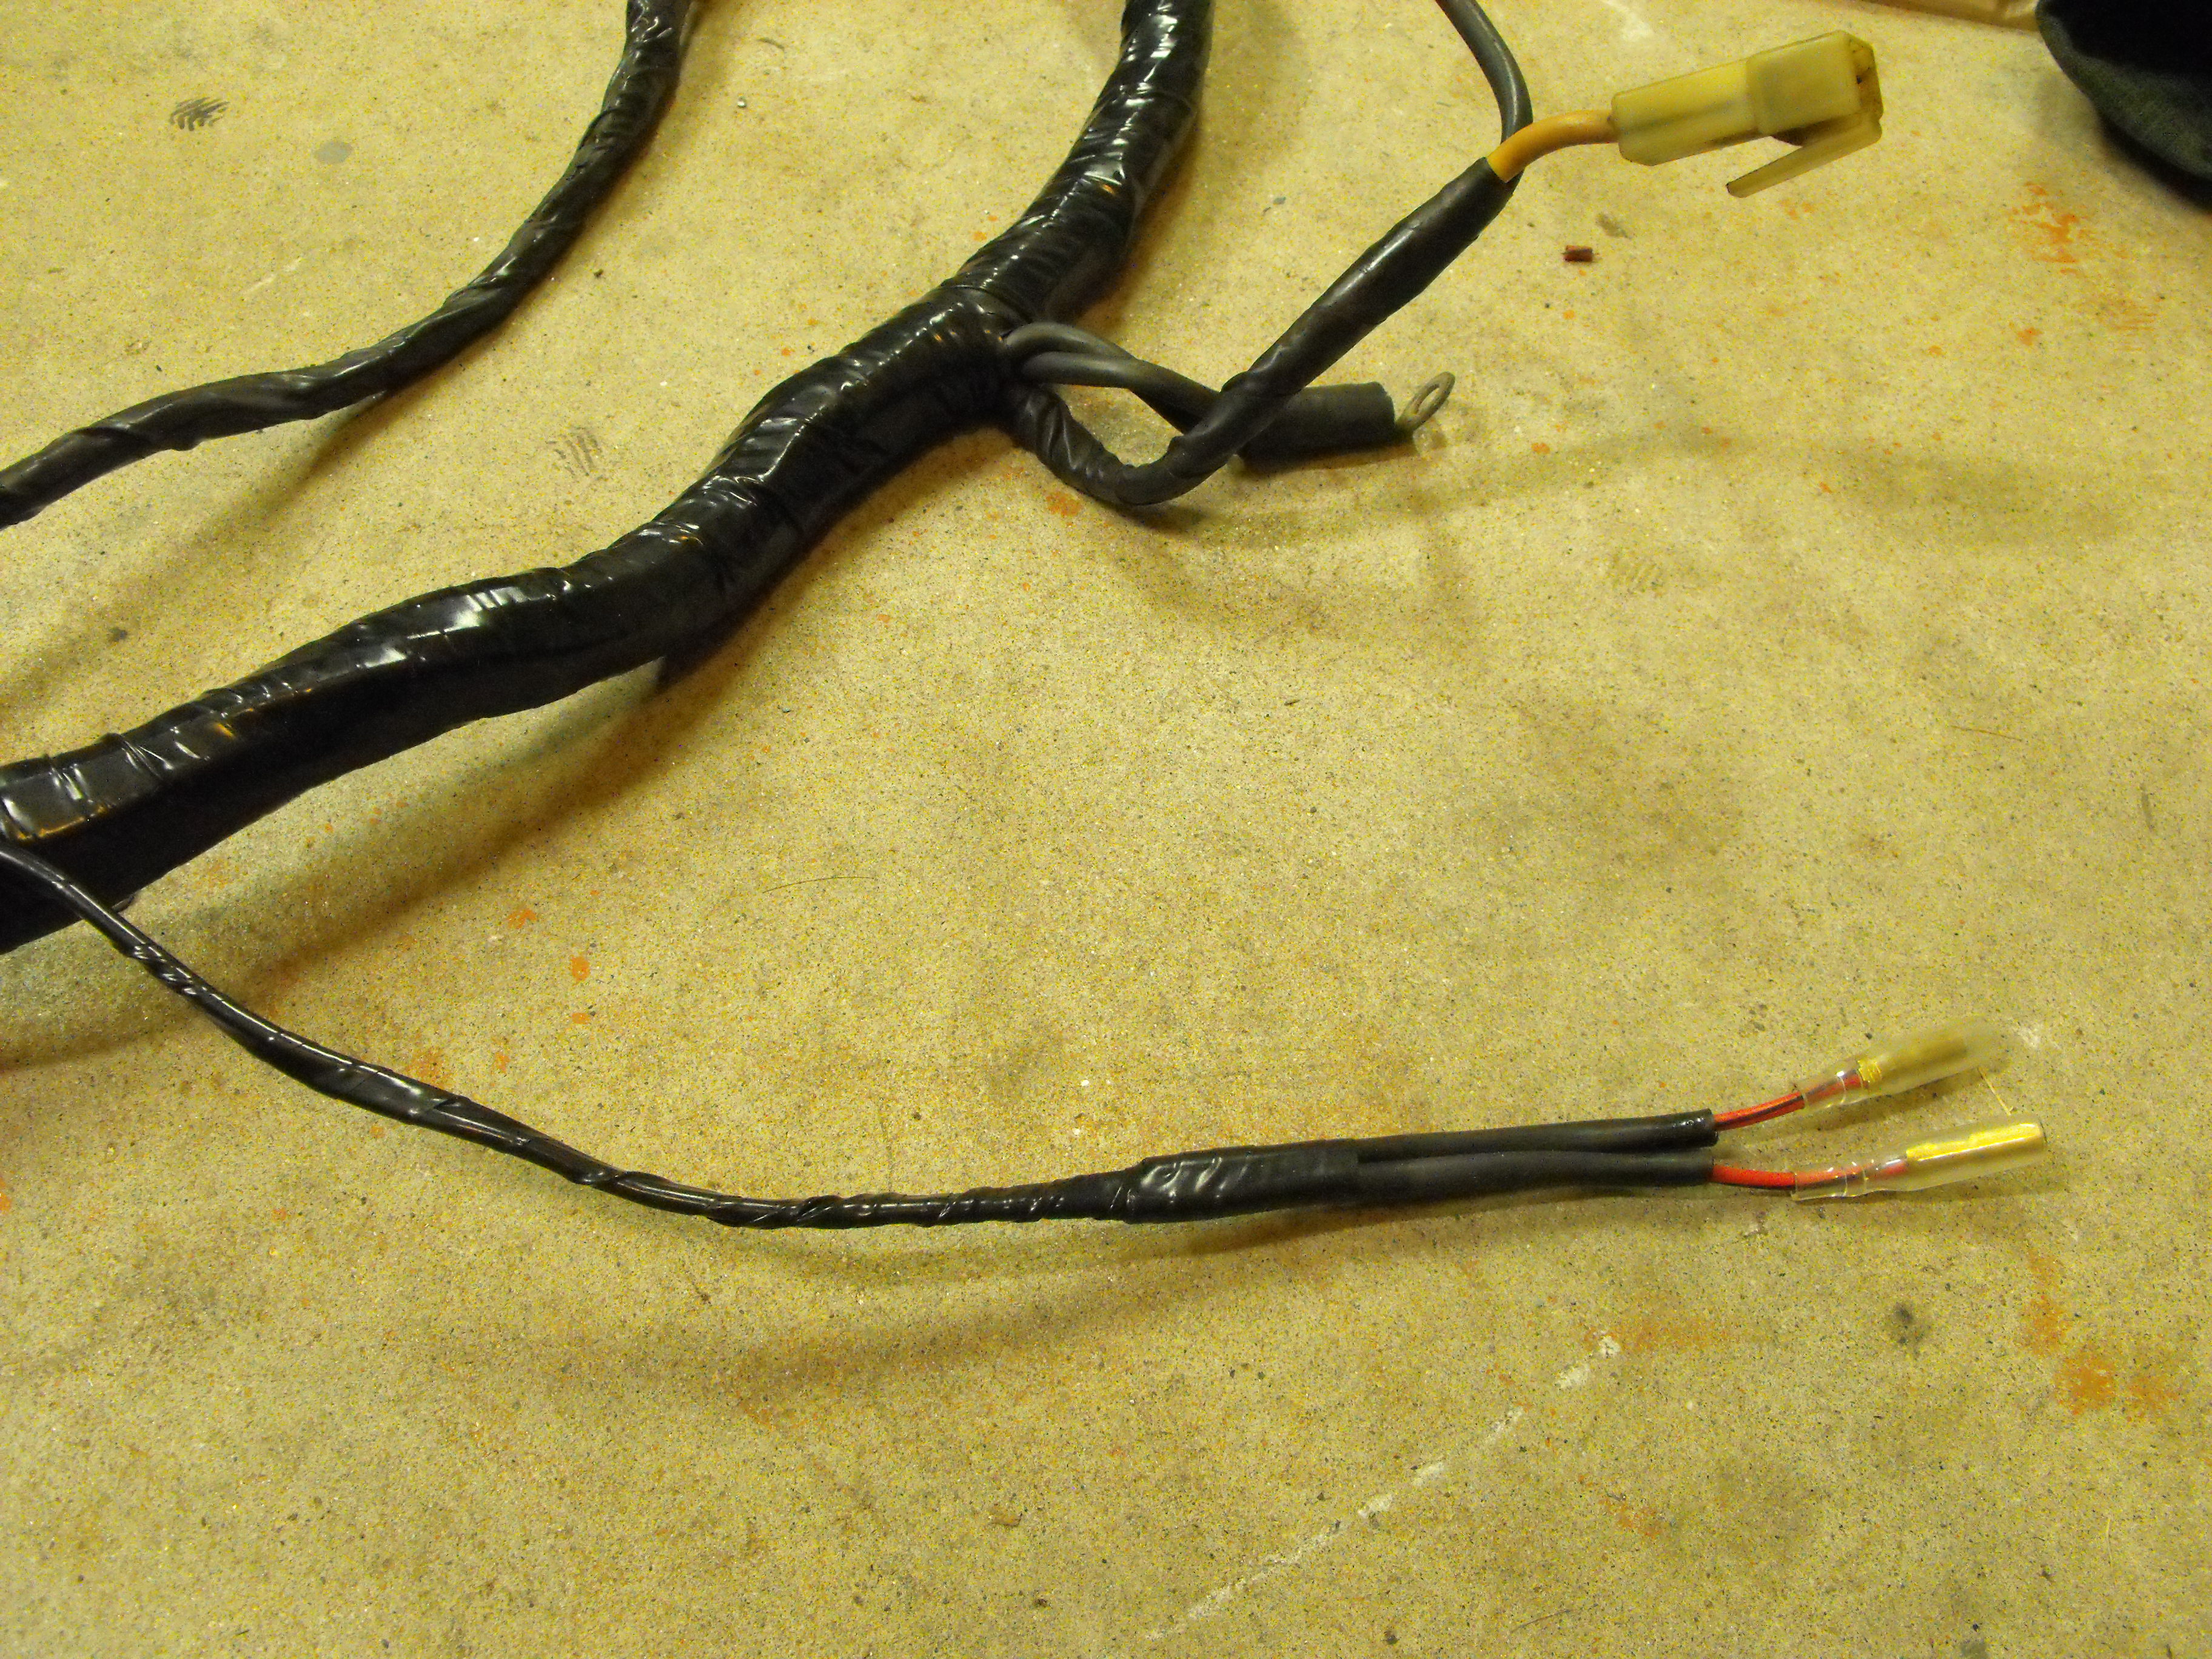
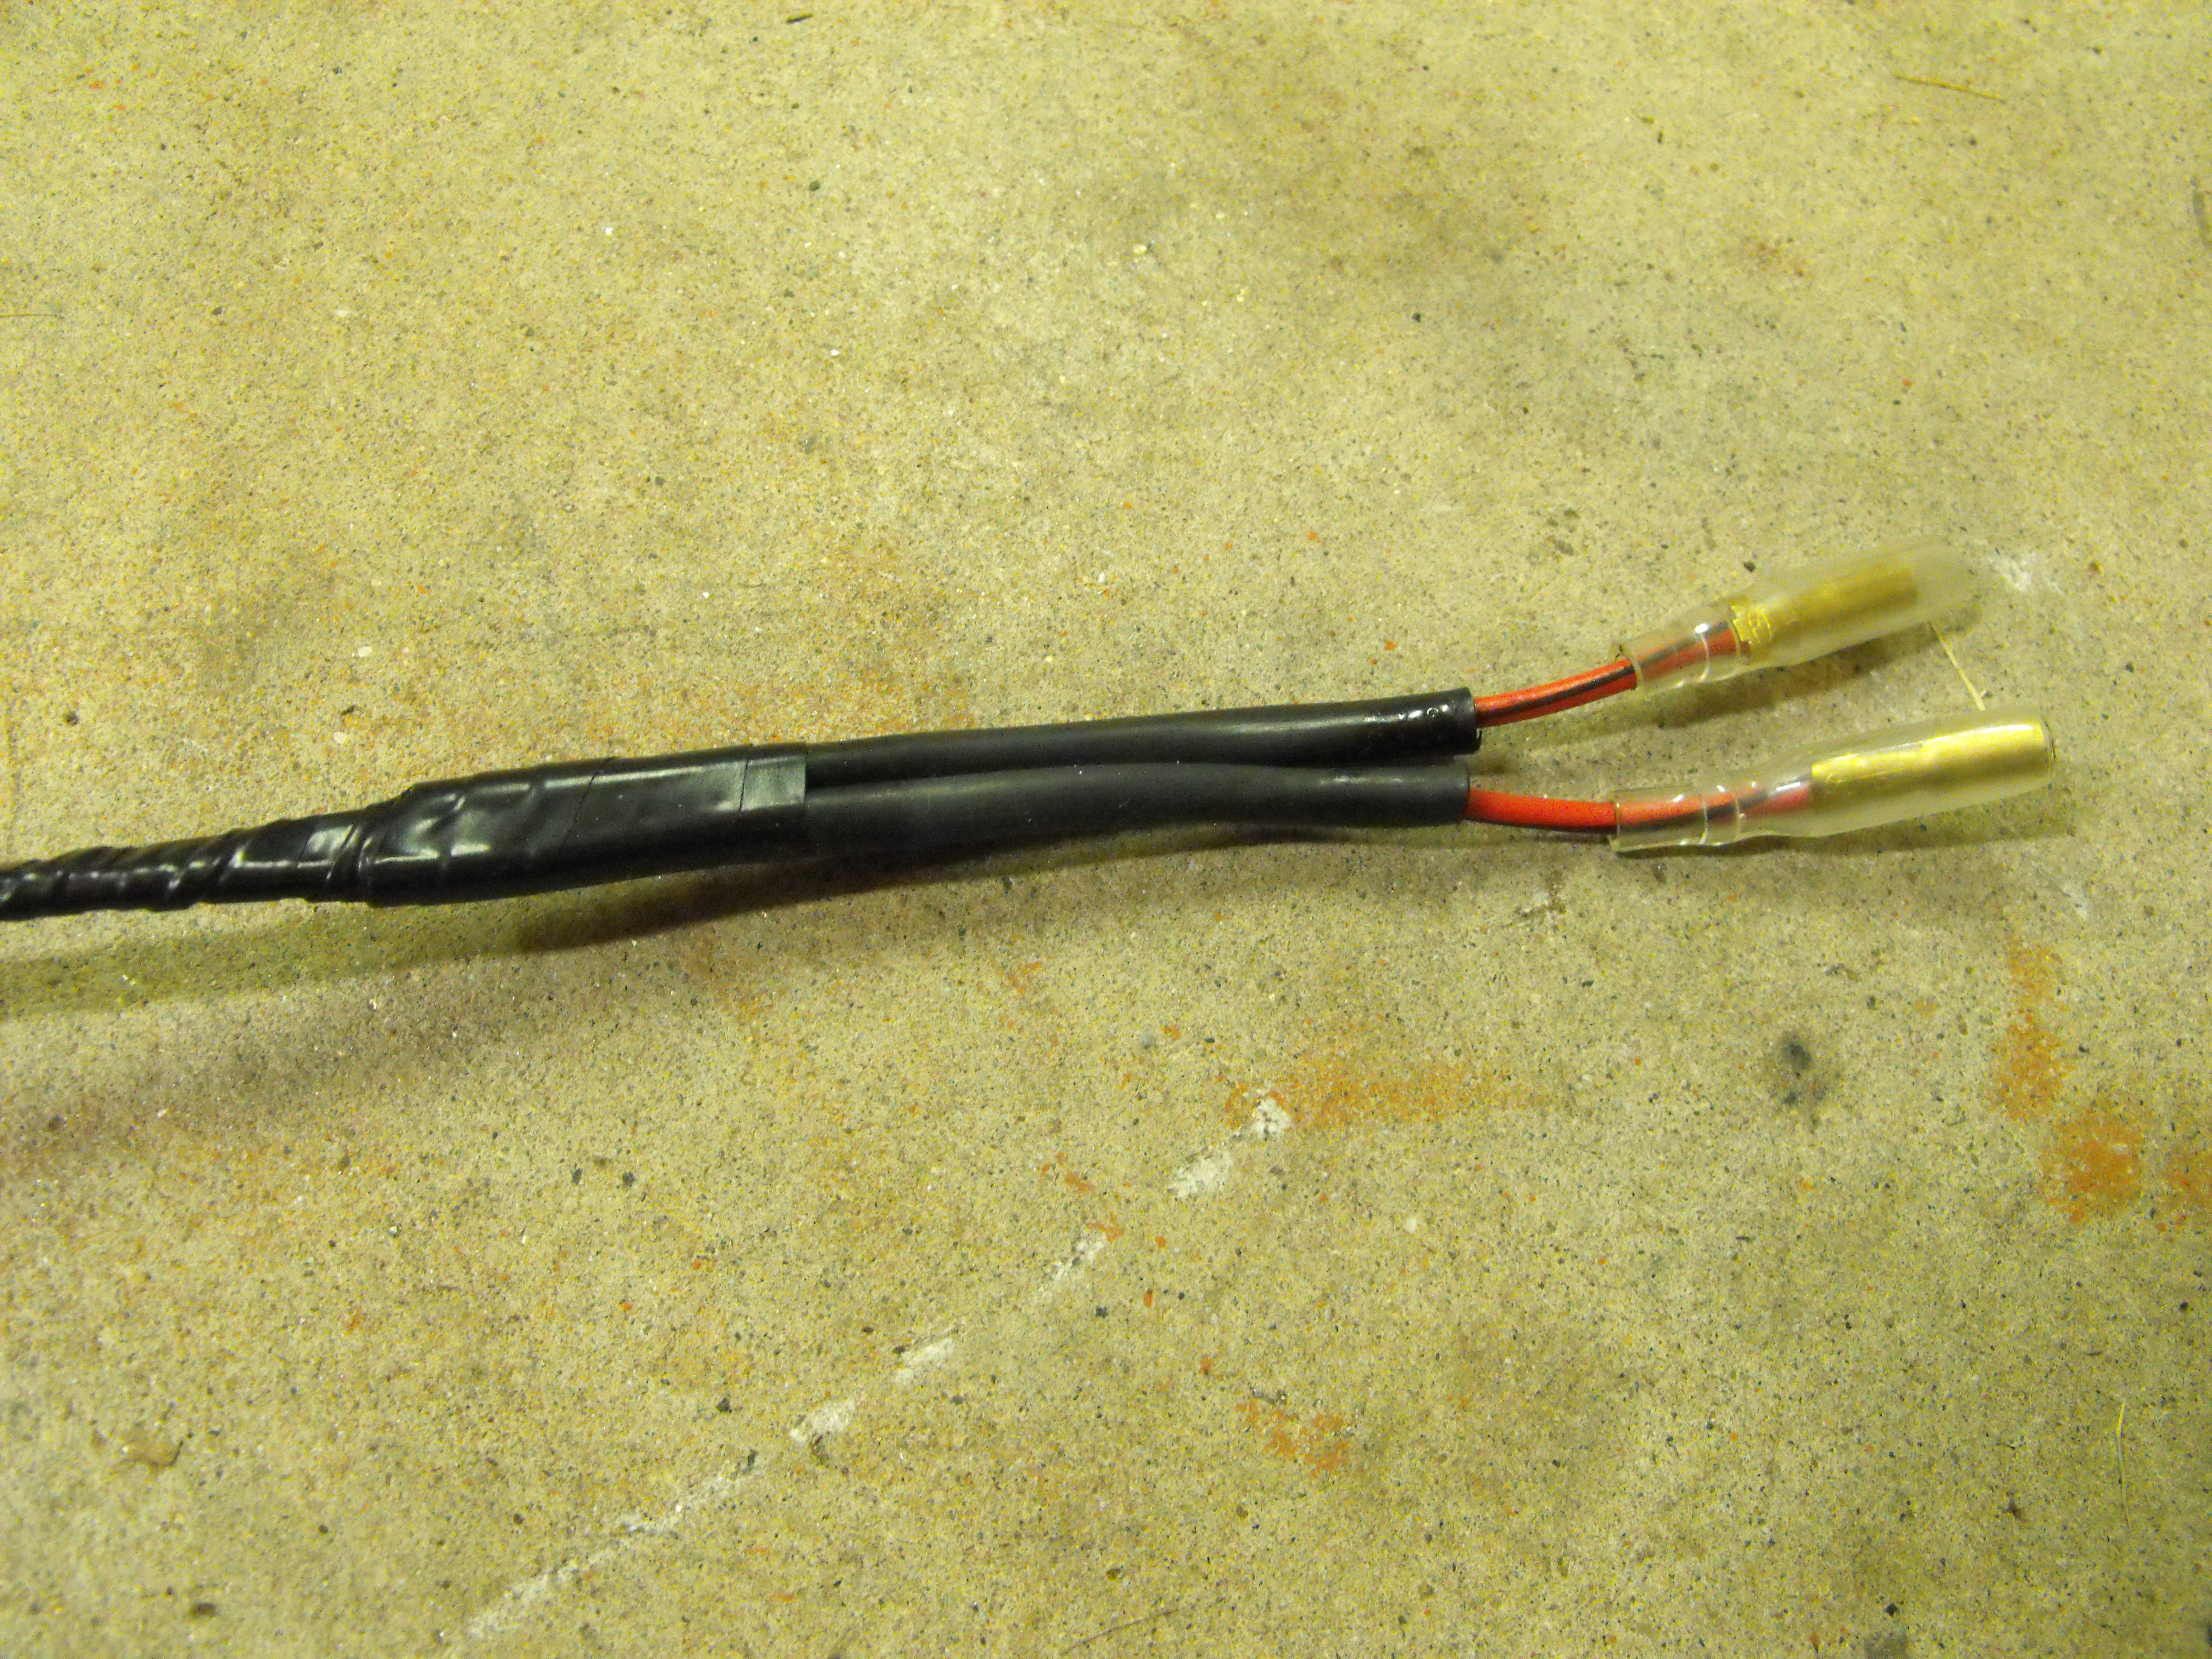
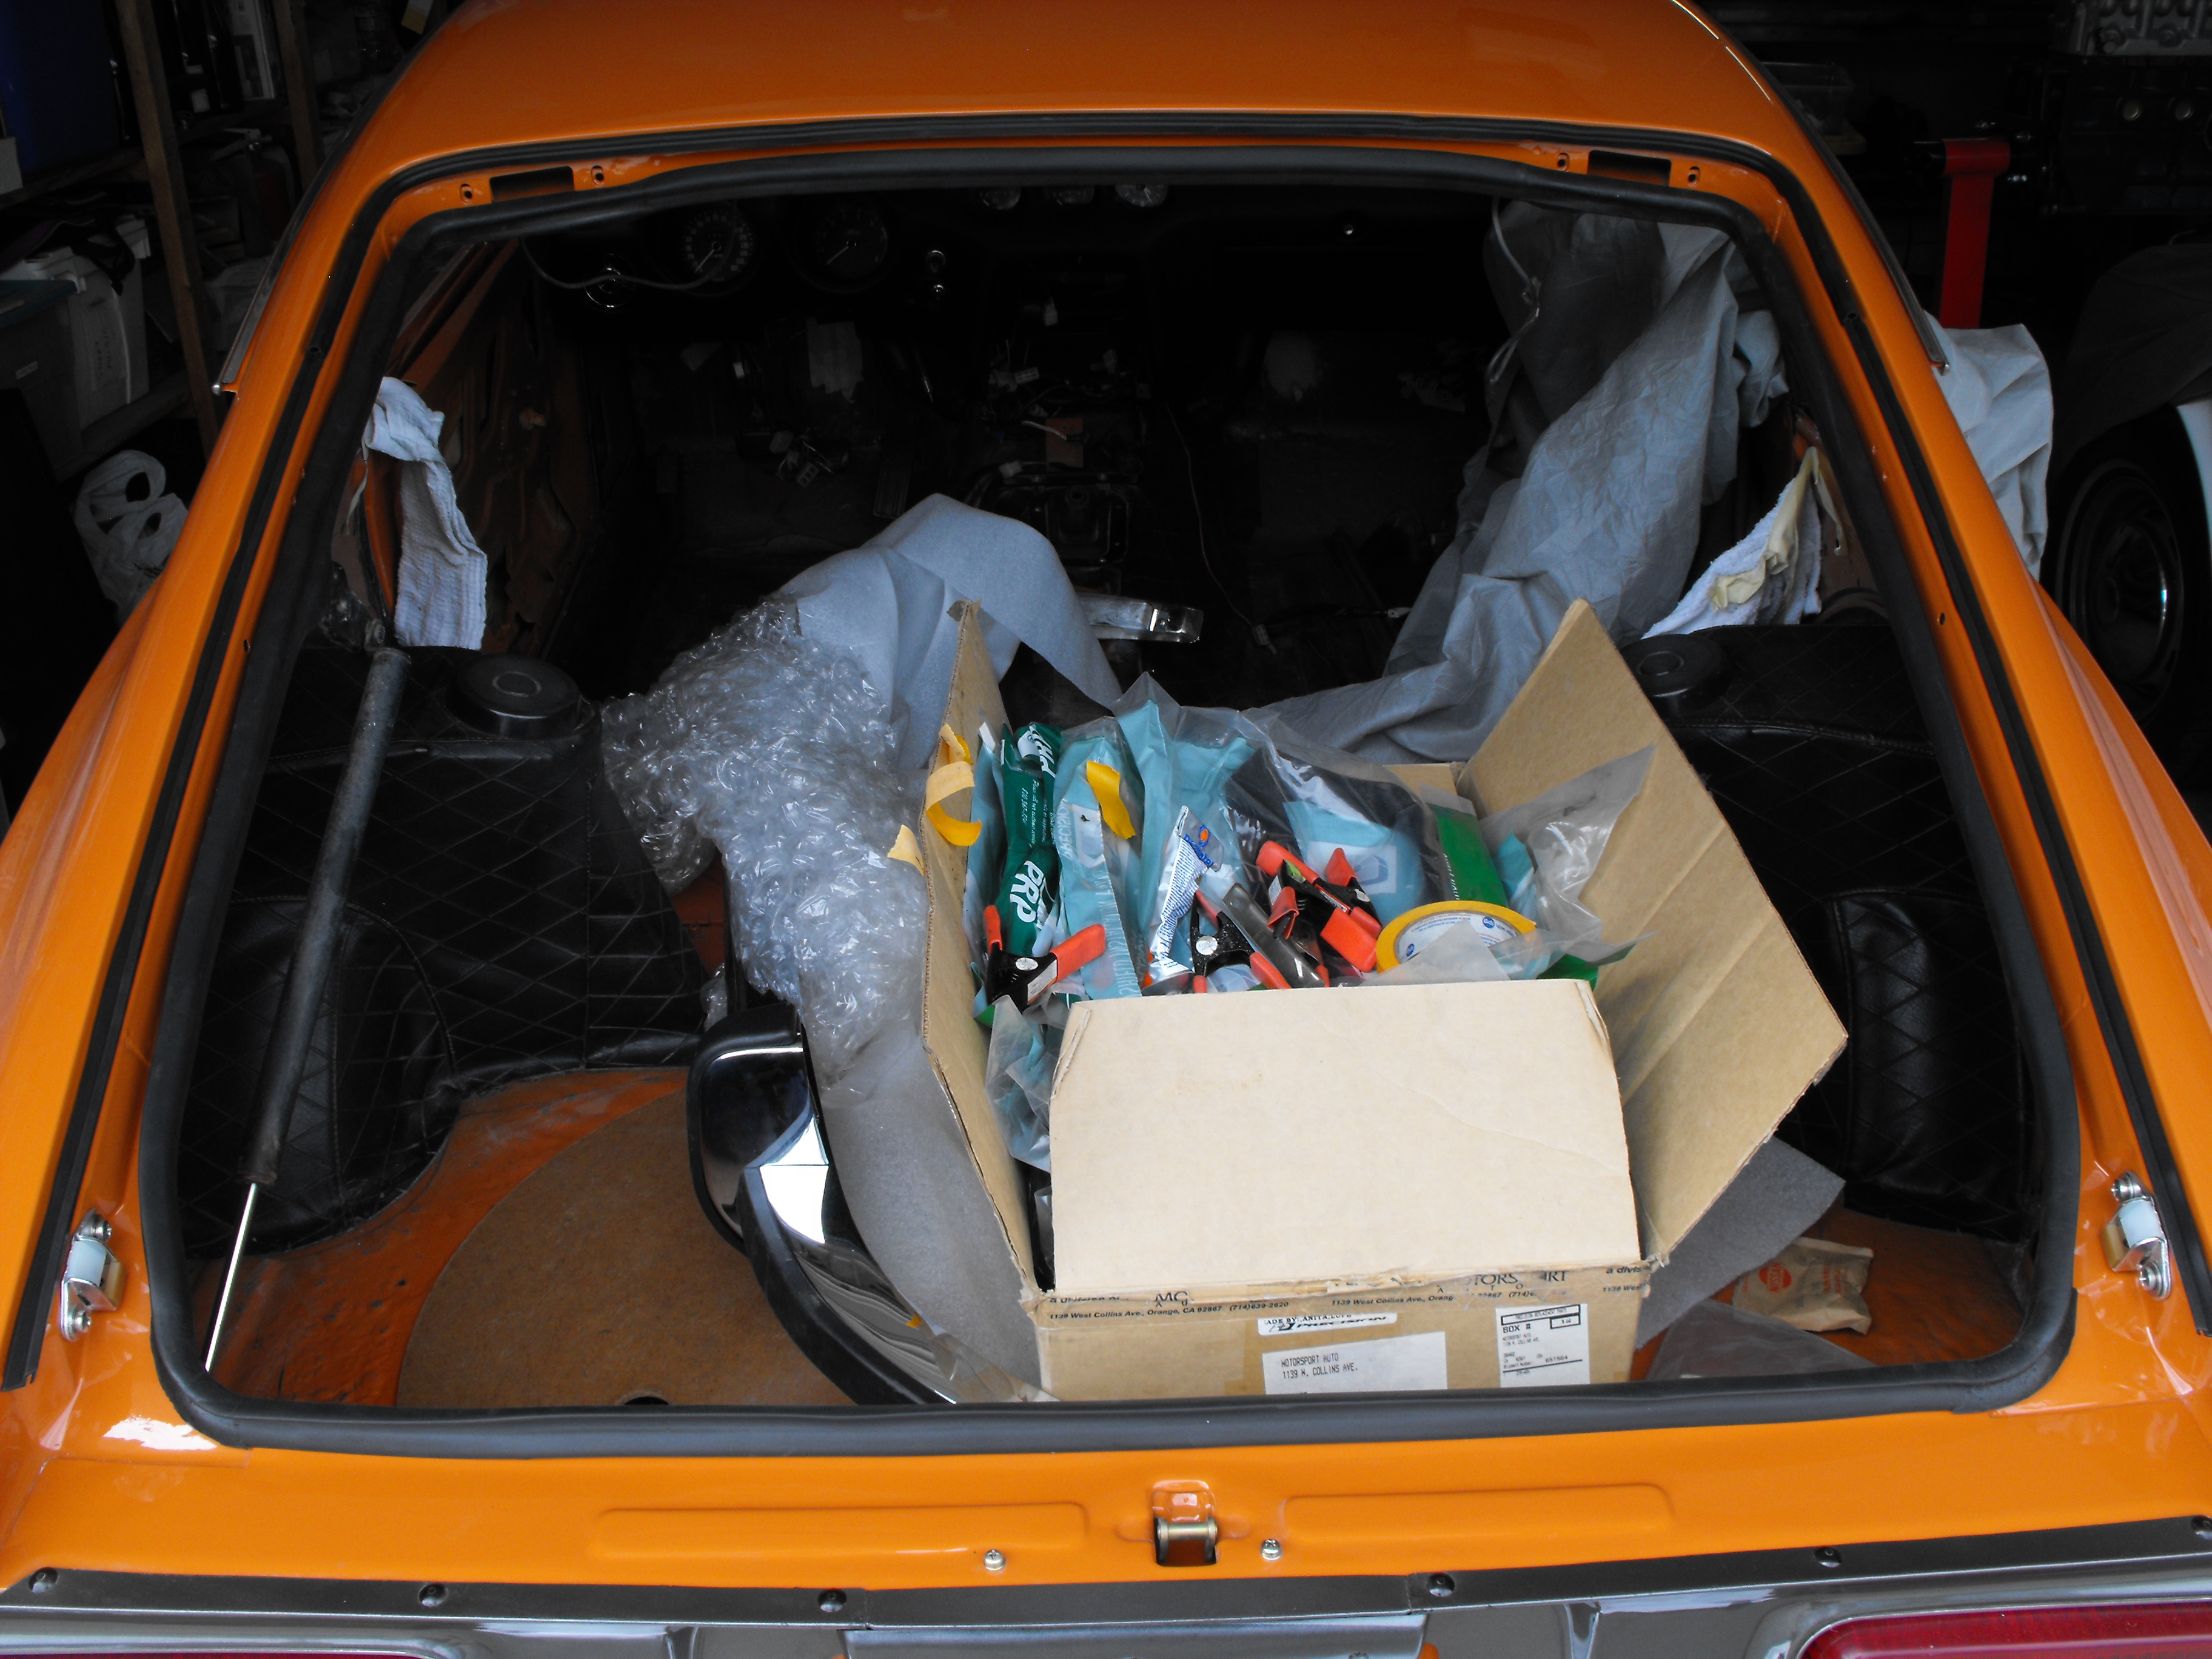
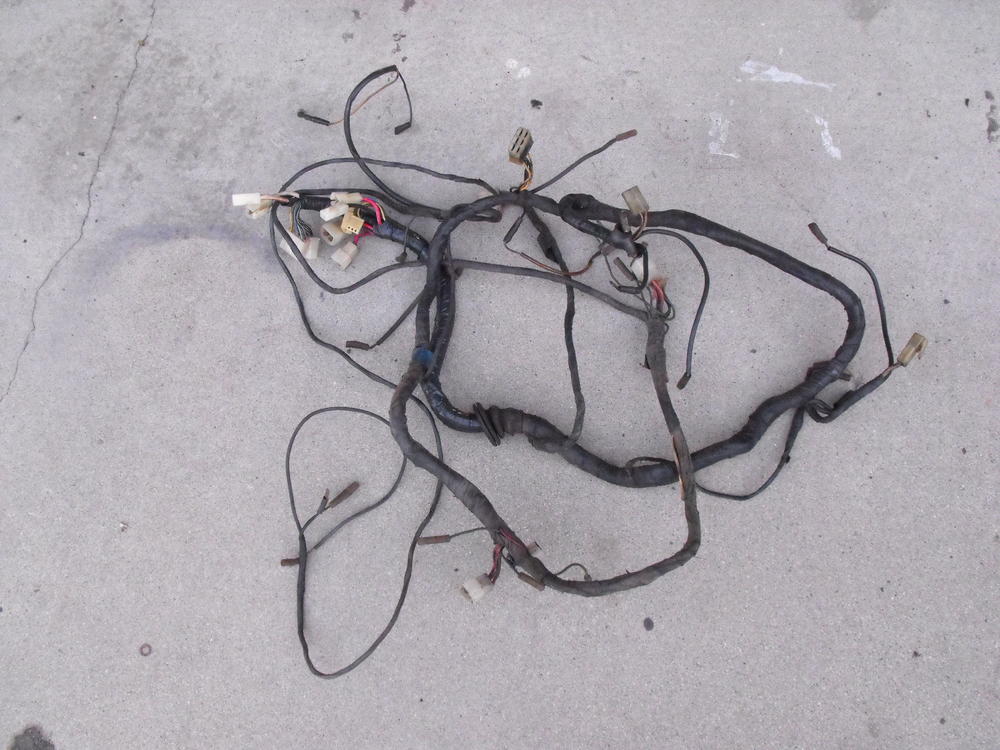
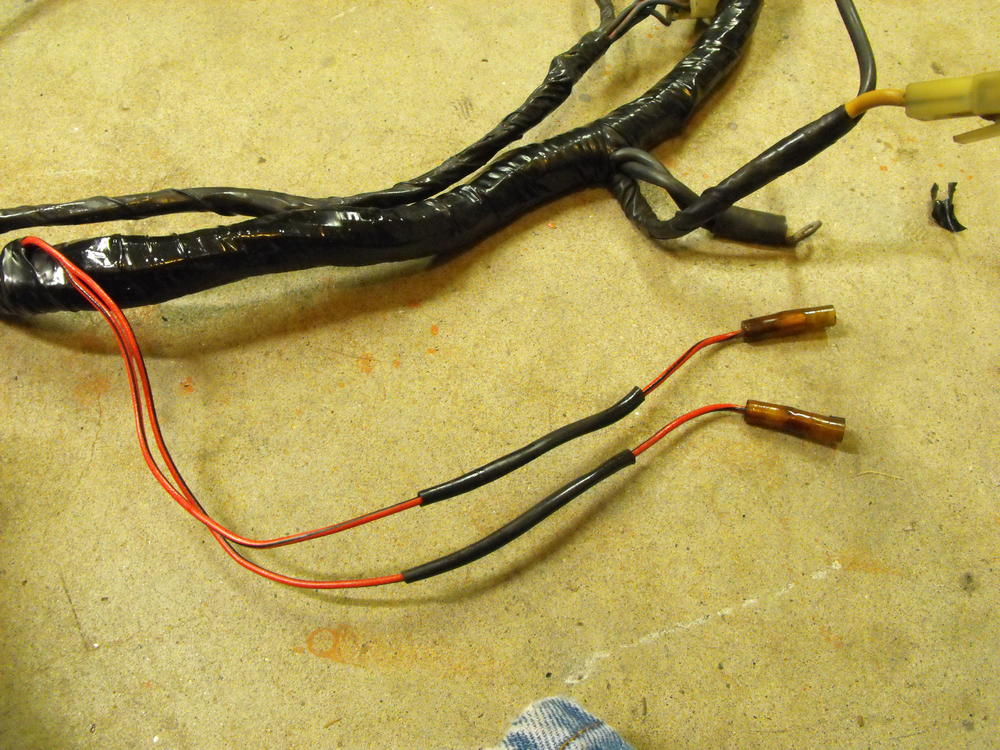
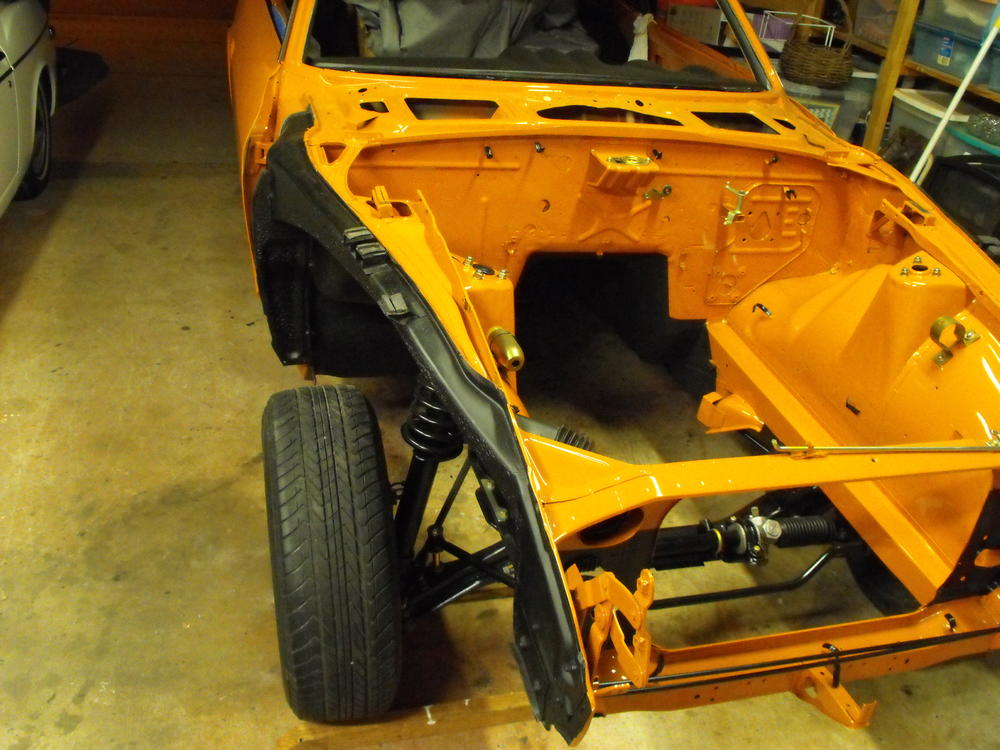
I re-wrapped the engine harness and am starting to change out the visible connectors. I have the bullet connectors, so I have changed those out but need to get the blade connectors and connector housings. I will get the housings from http://vintageconnections.com/. I ordered 4.8mm blades from Amazon. I also started installing the harness in the engine bay. It is easy enough to change out the connectors with the harness installed so I figured I would put it in. Pics below. Also, one before and after pic. I picked up the rear suspension parts from the powder coater yesterday (sorry no pics yet, they are still in the protective wrapping). Will get the zinc fasteners, brackets and tubes tomorrow. Wife will be gone on Sunday and Monday so should be able to get a lot done. Looking forward to that. Should have lots of pics.


-
Yes, thanks for the reminder.
-
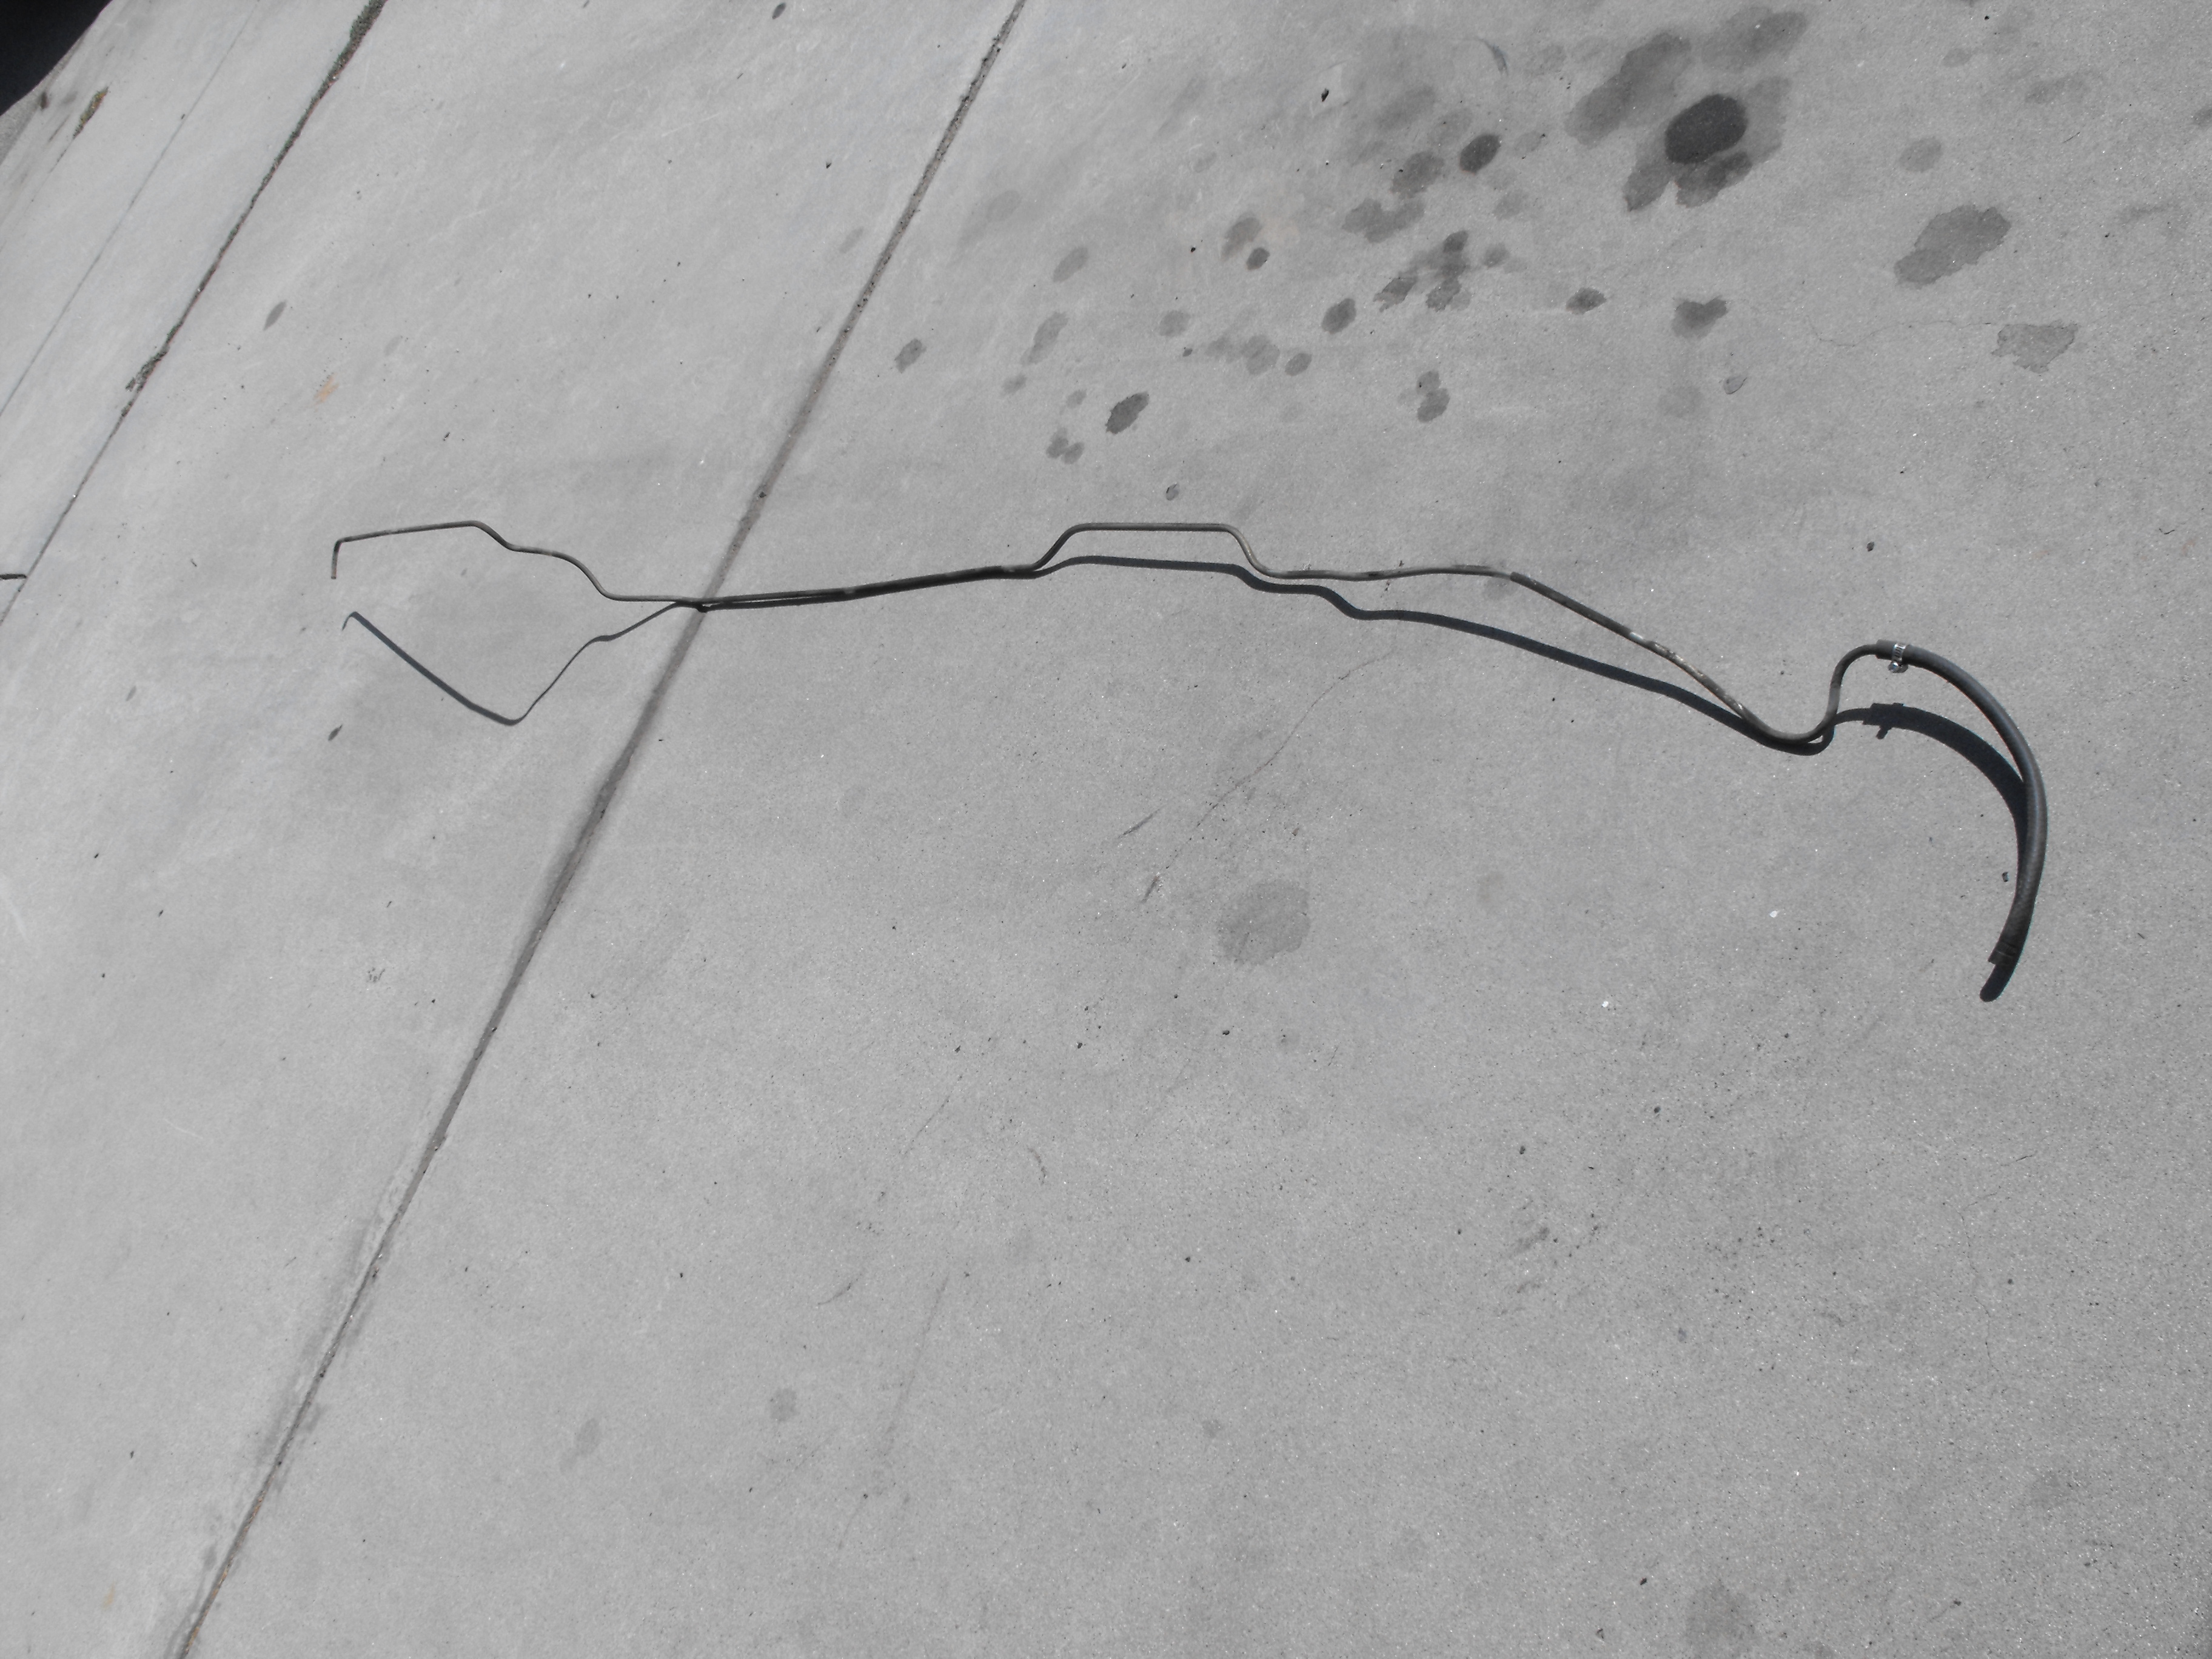
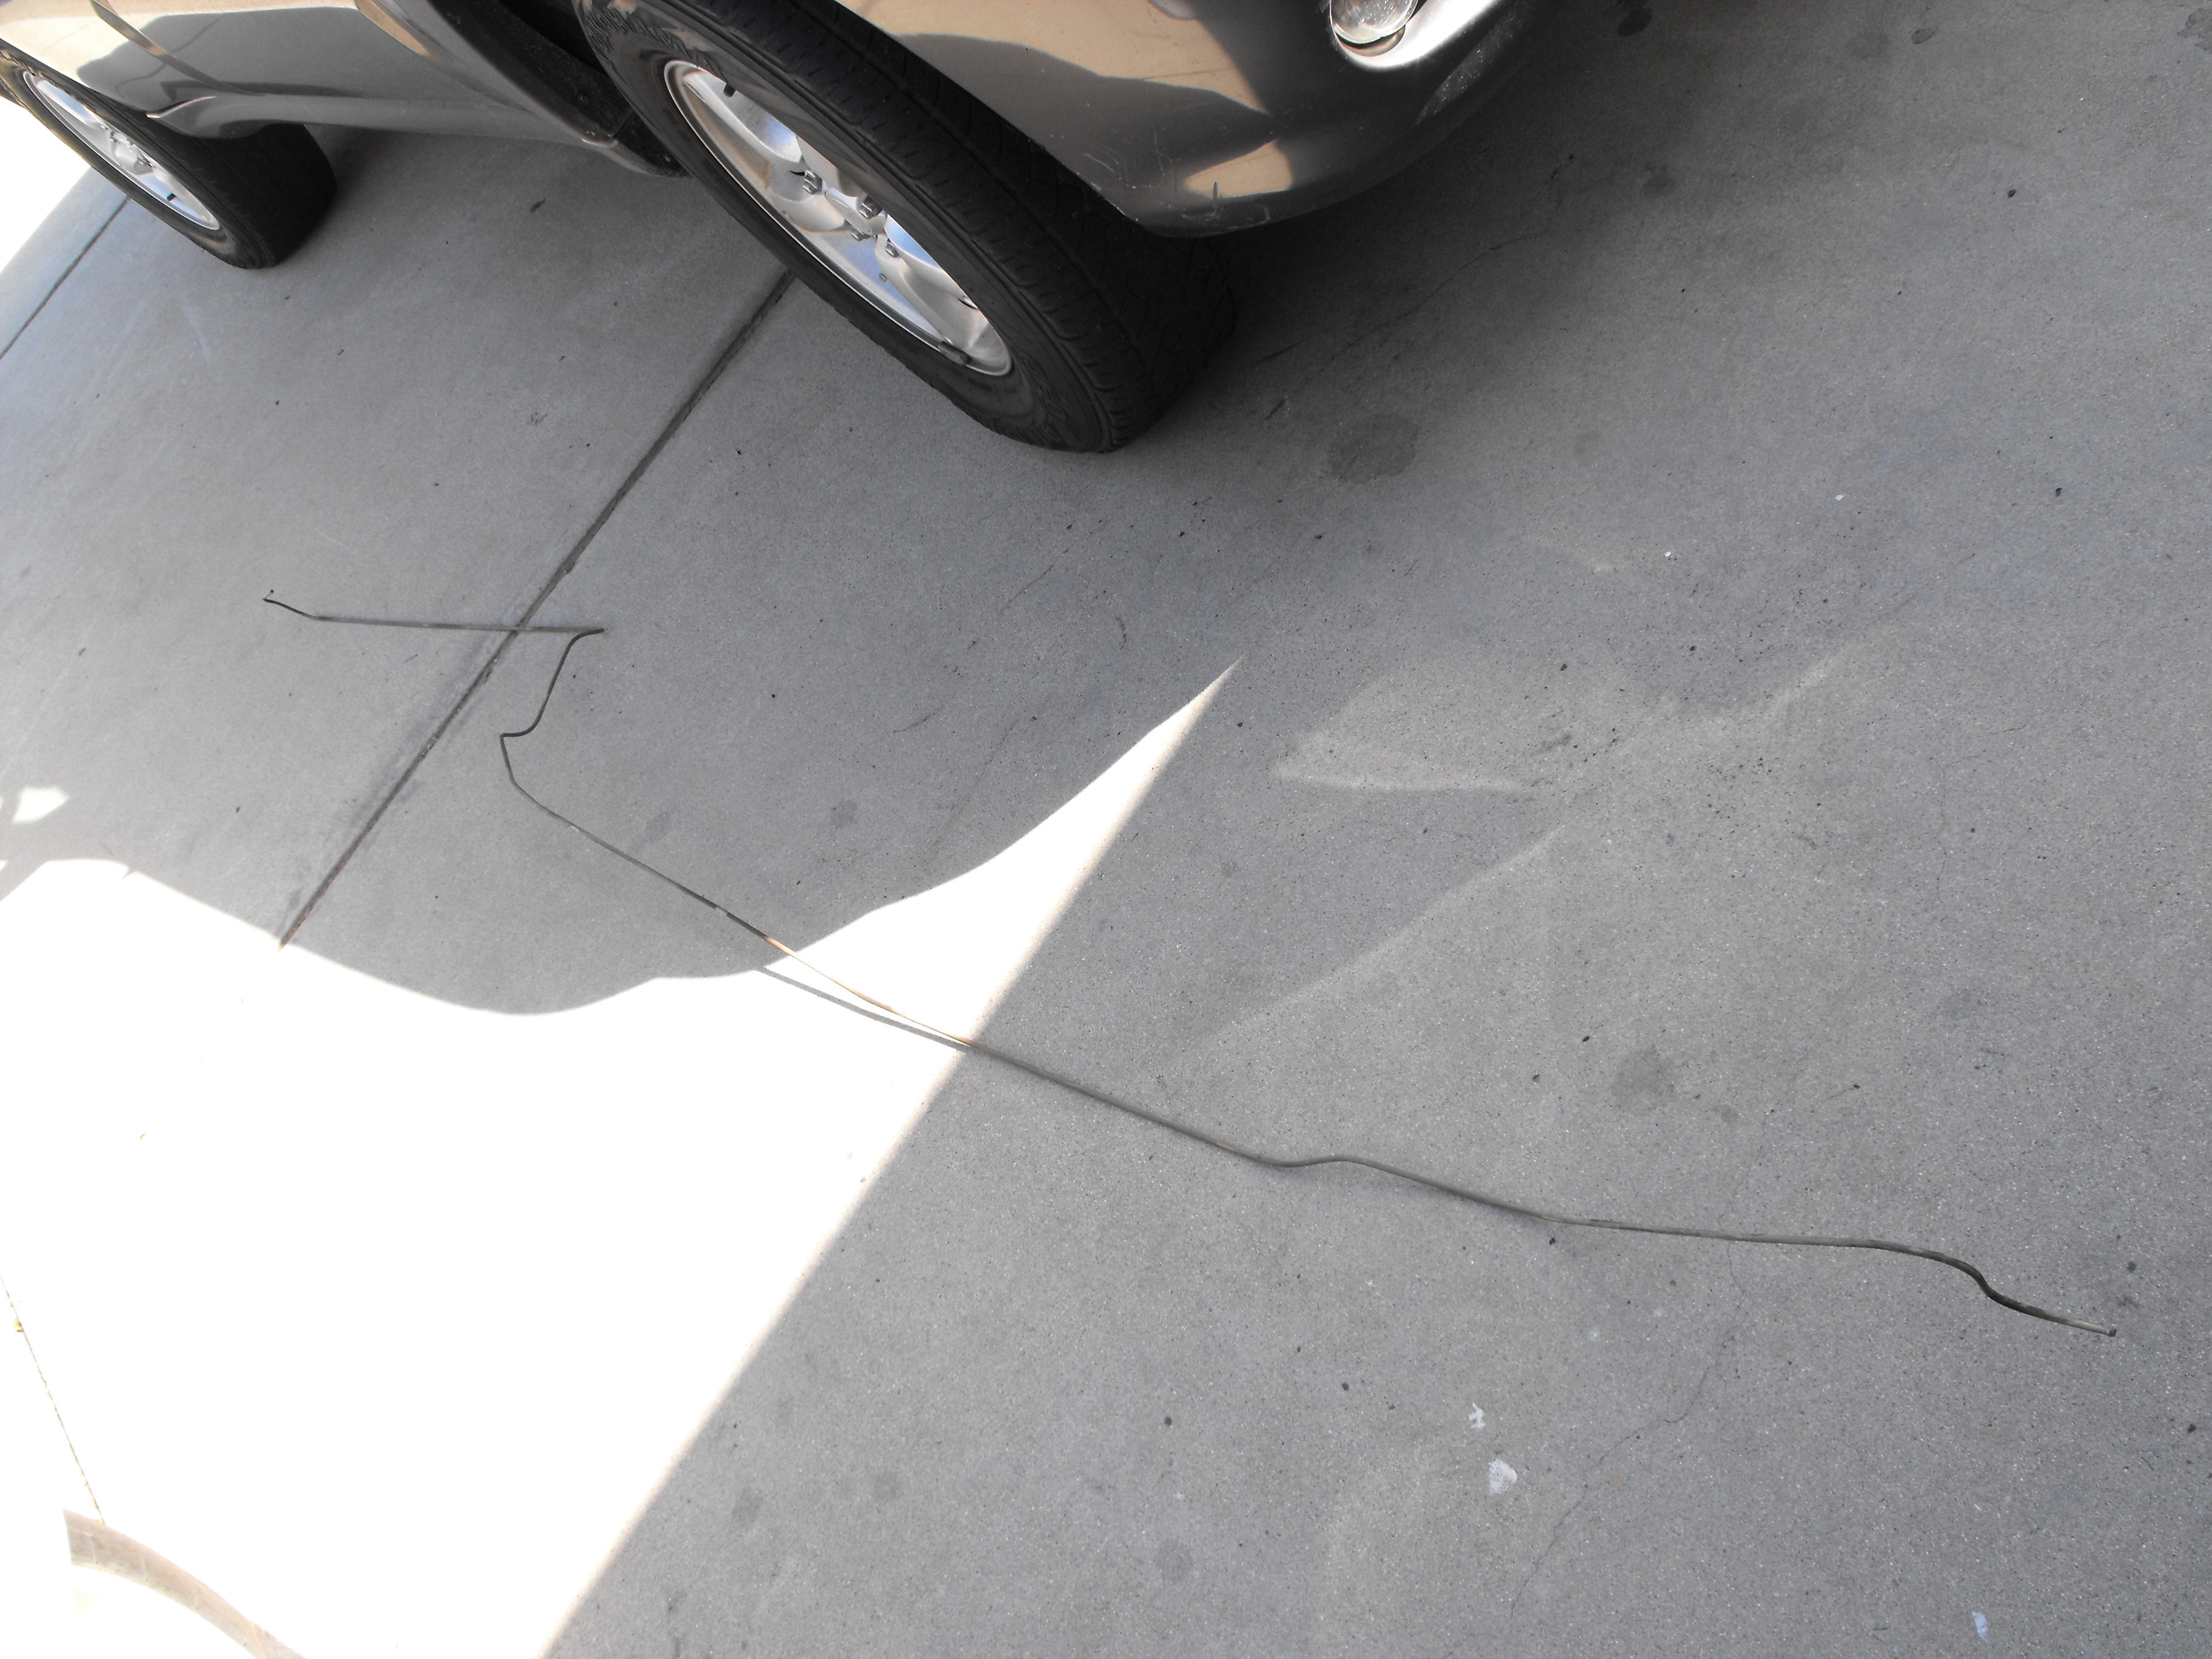
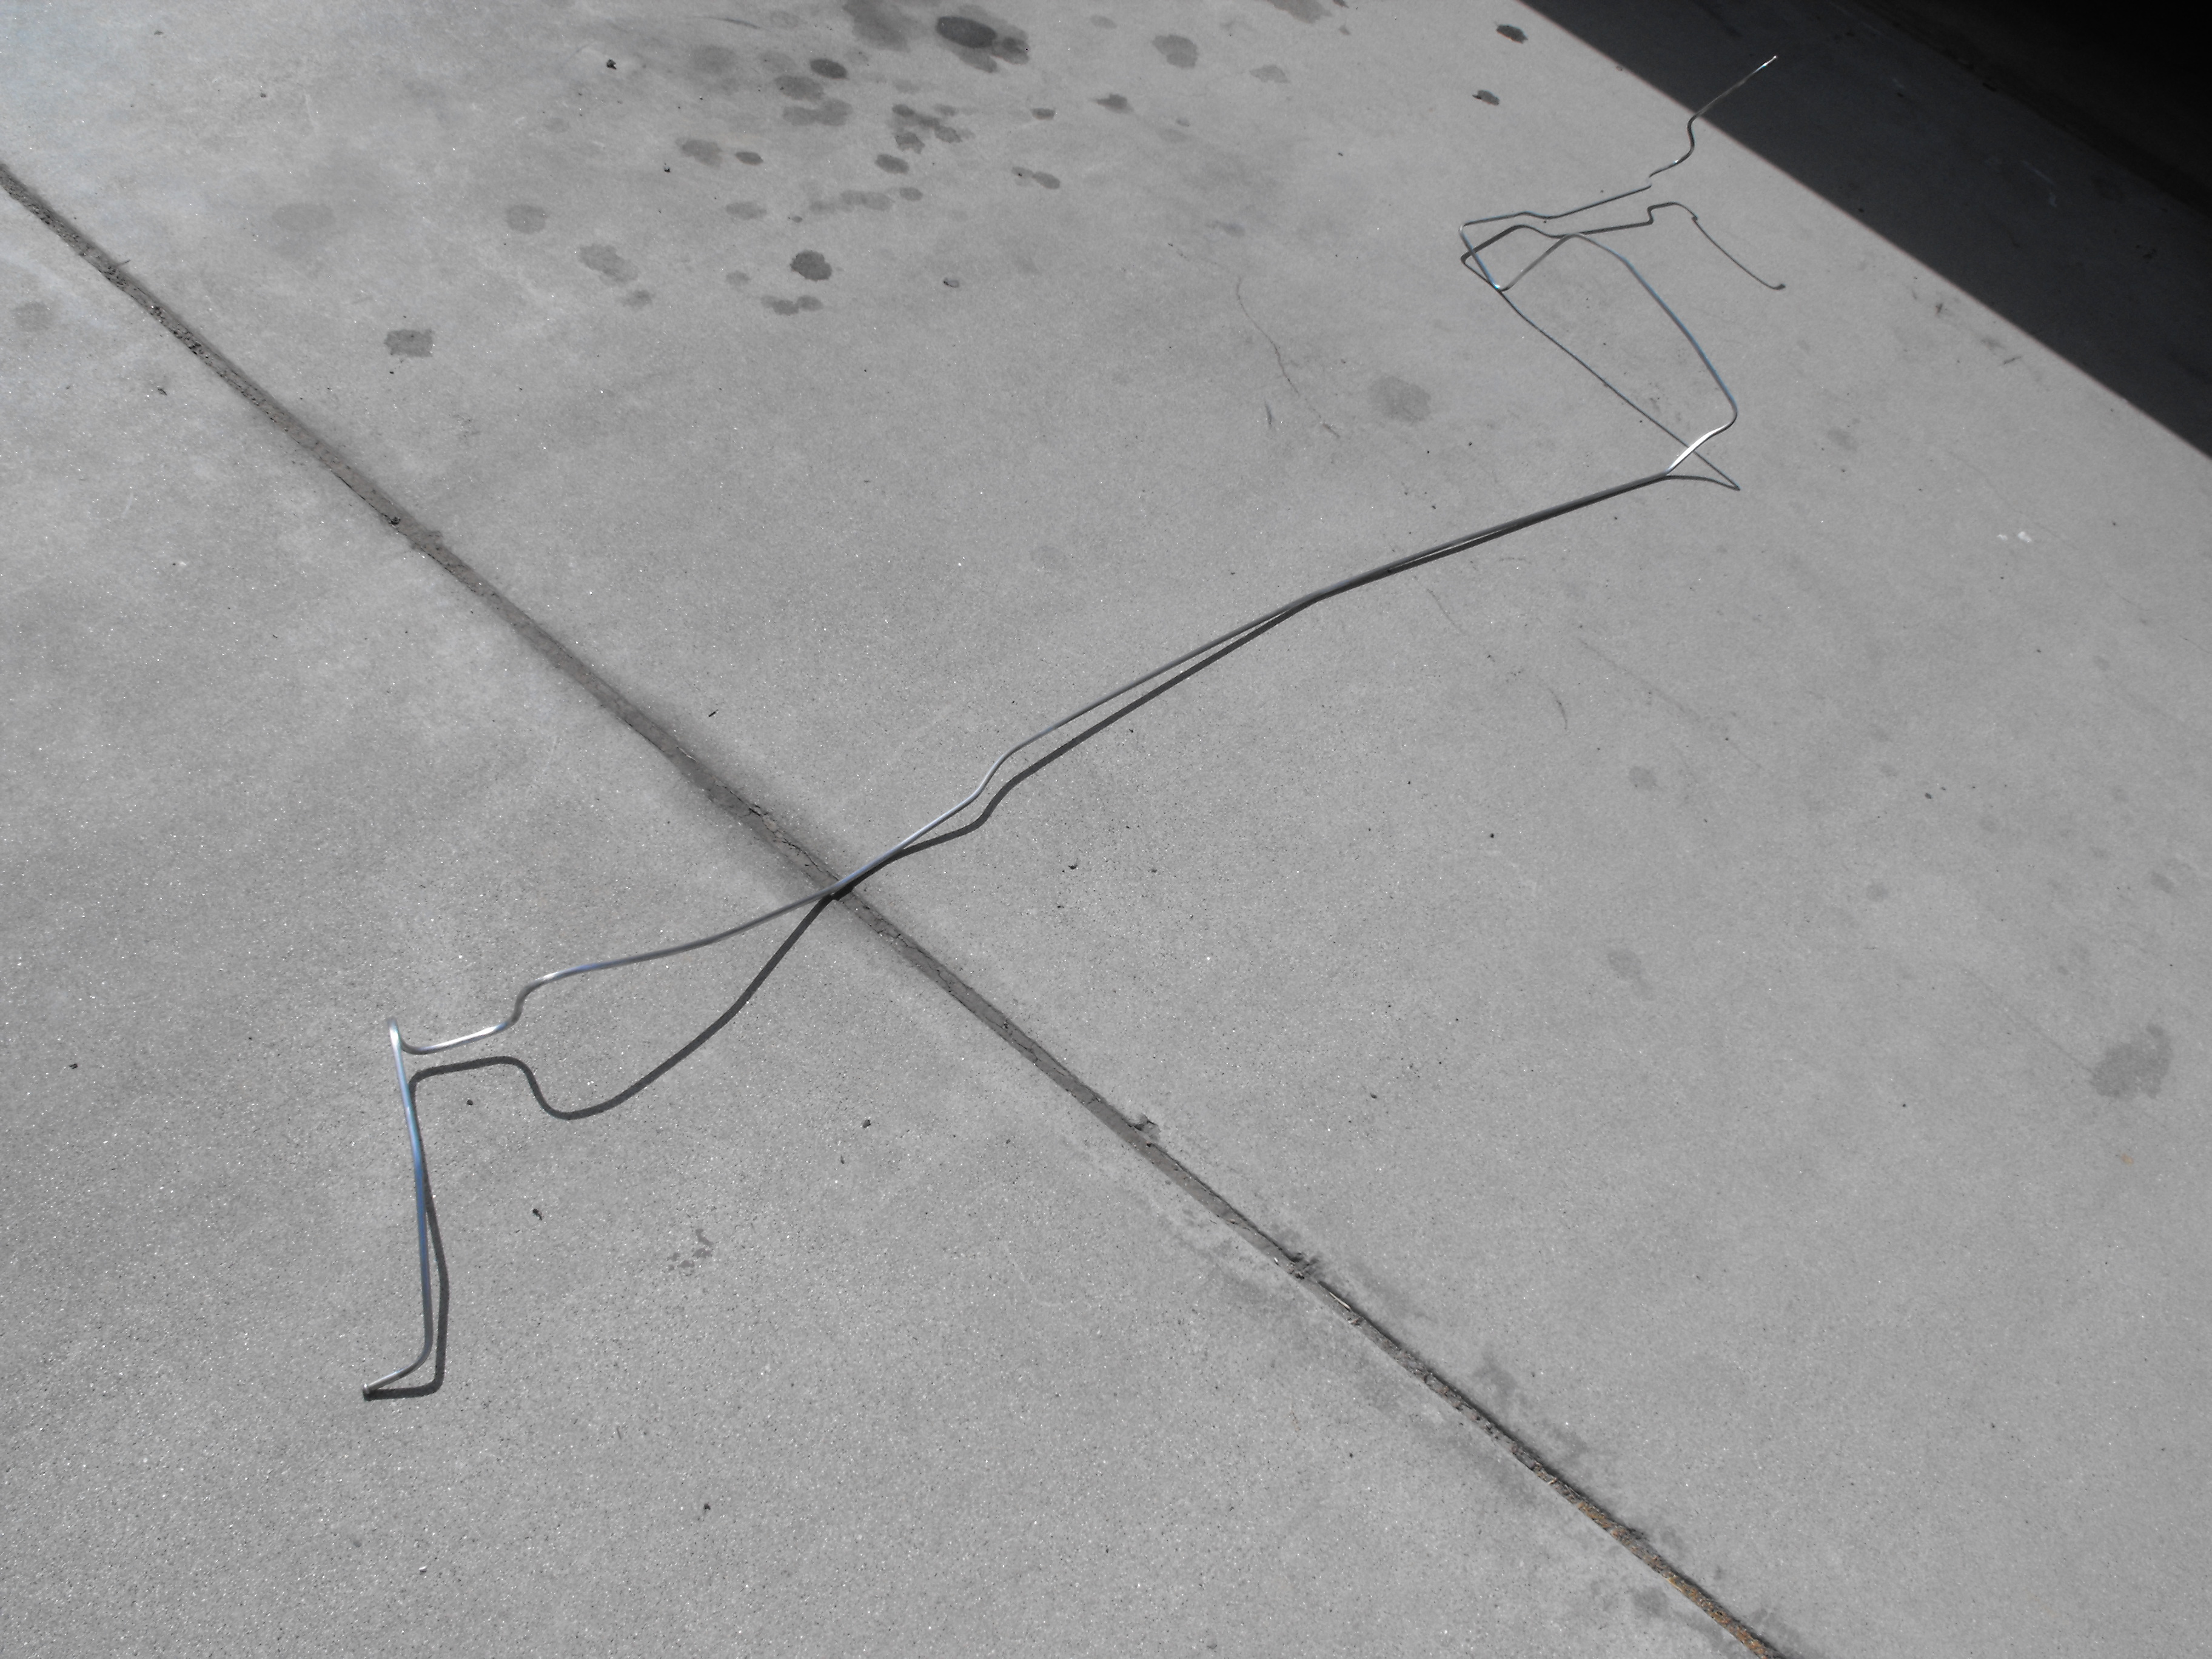
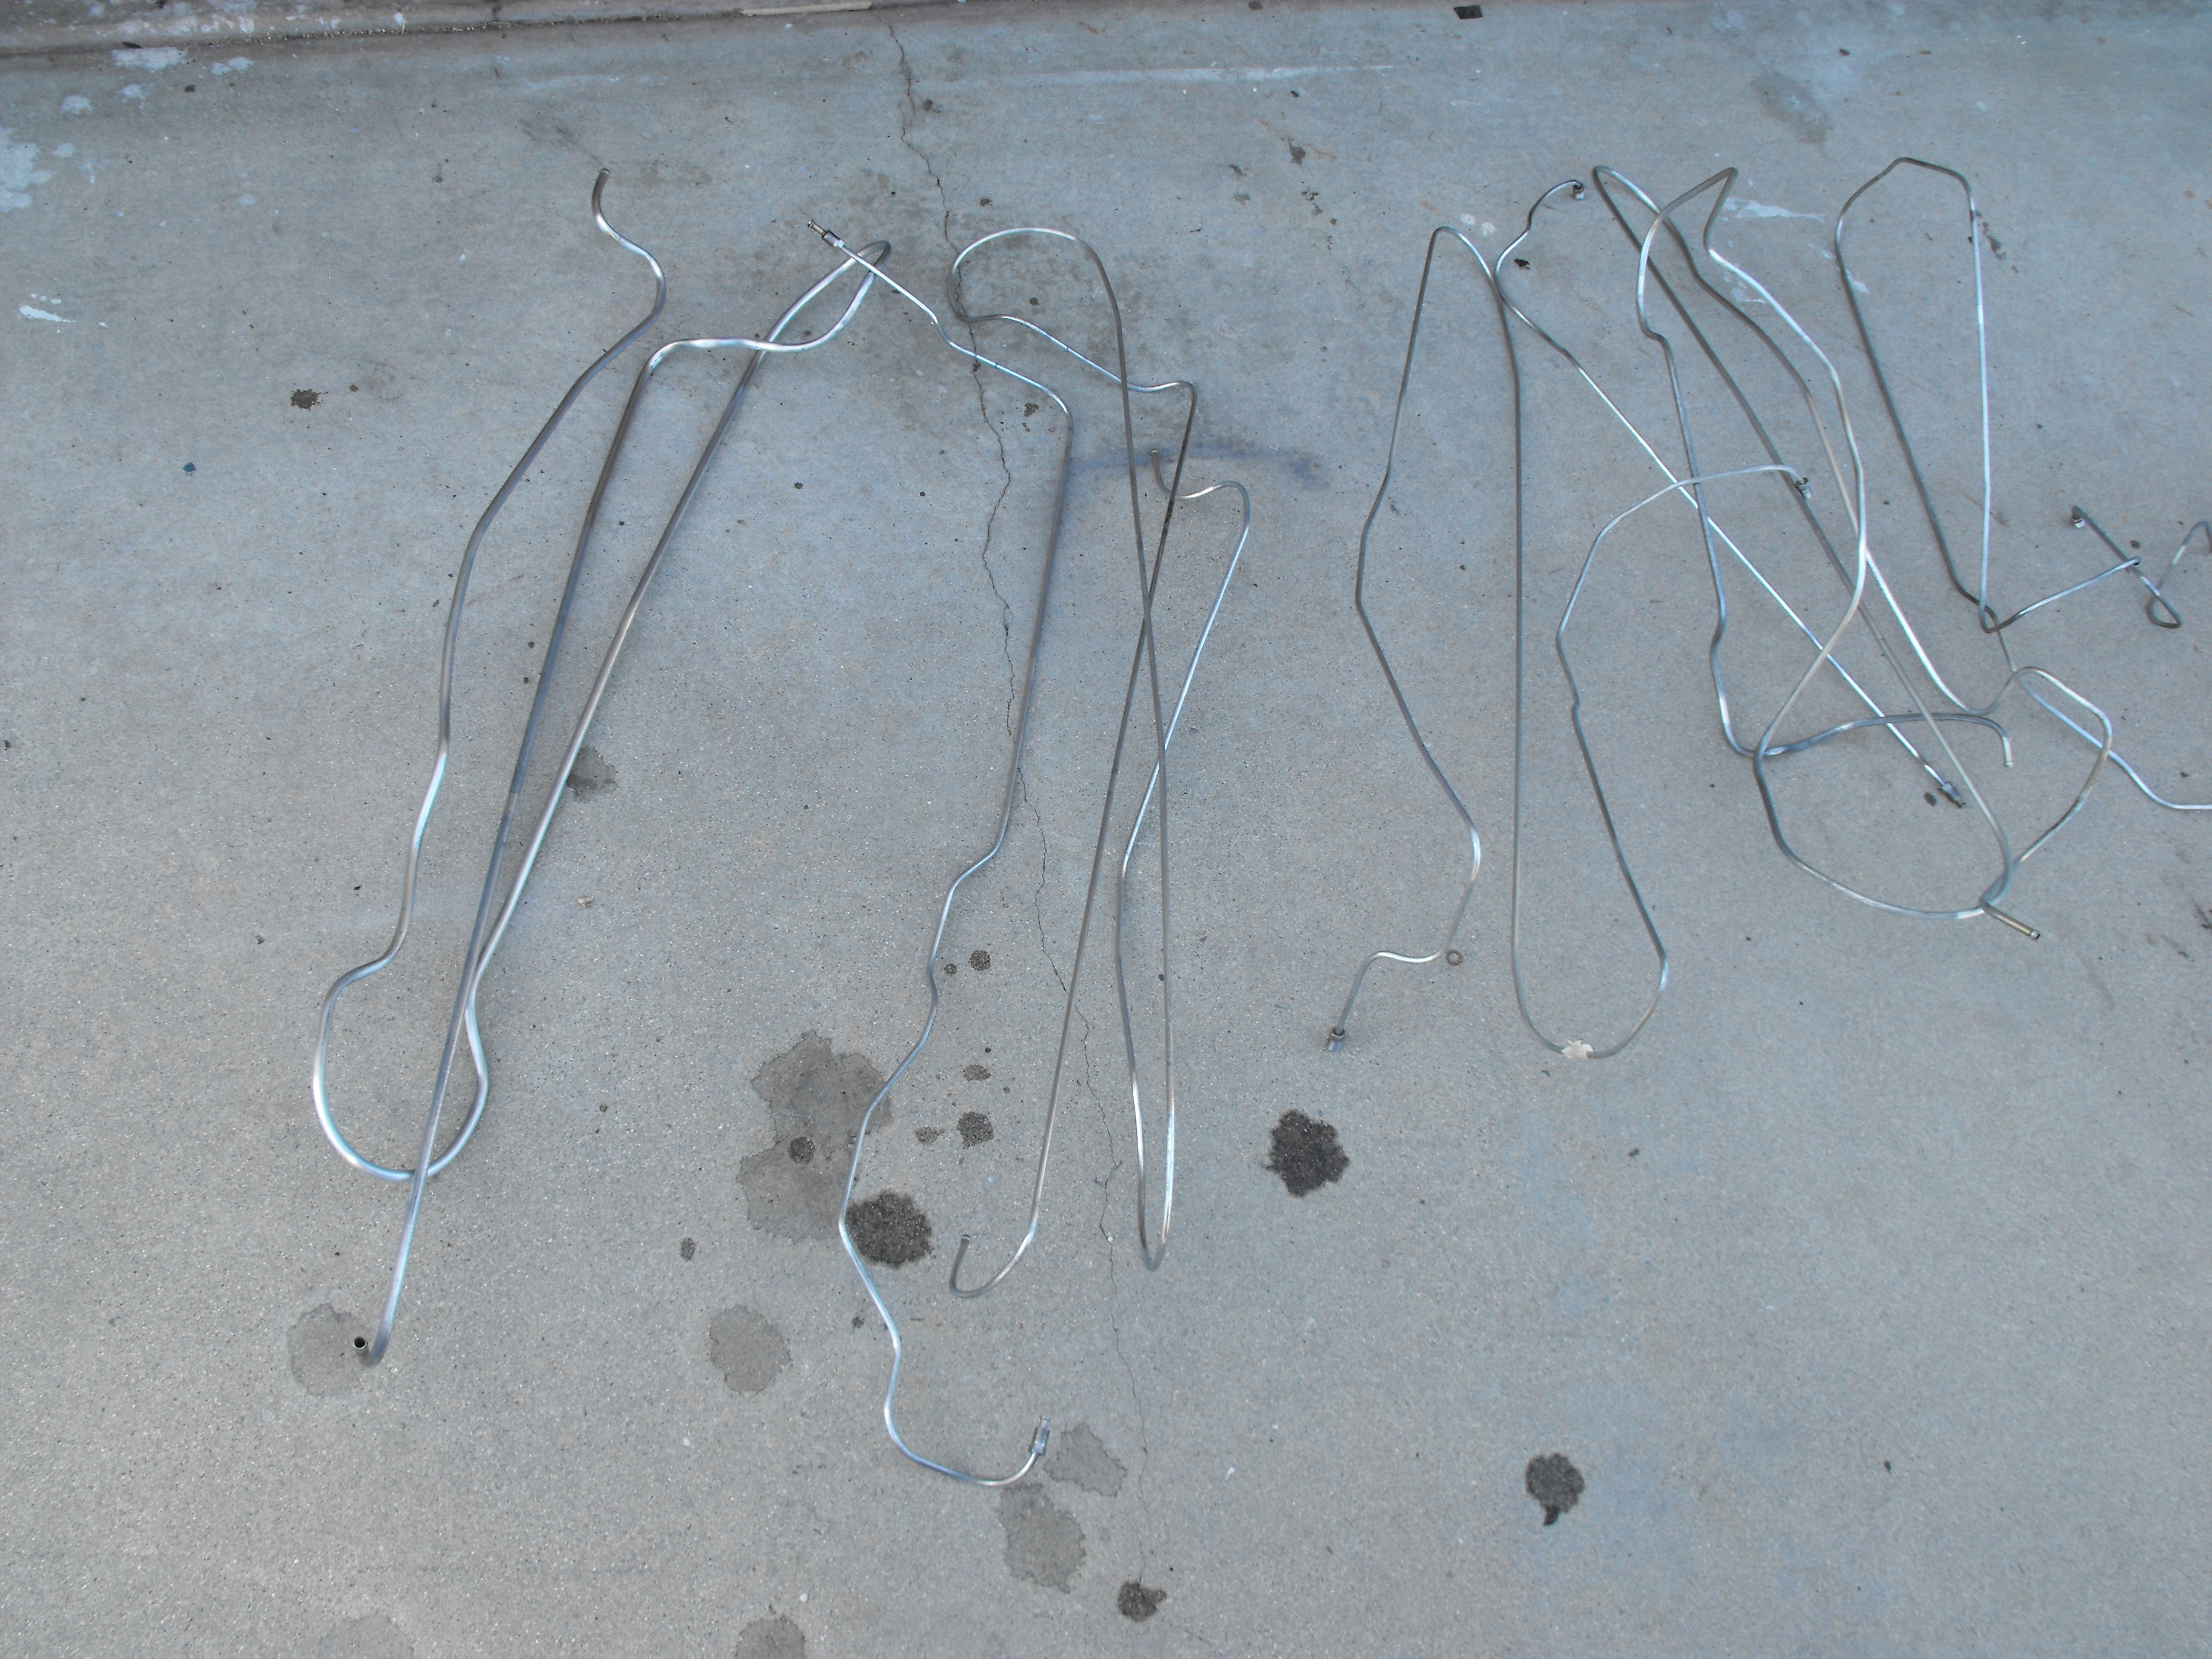
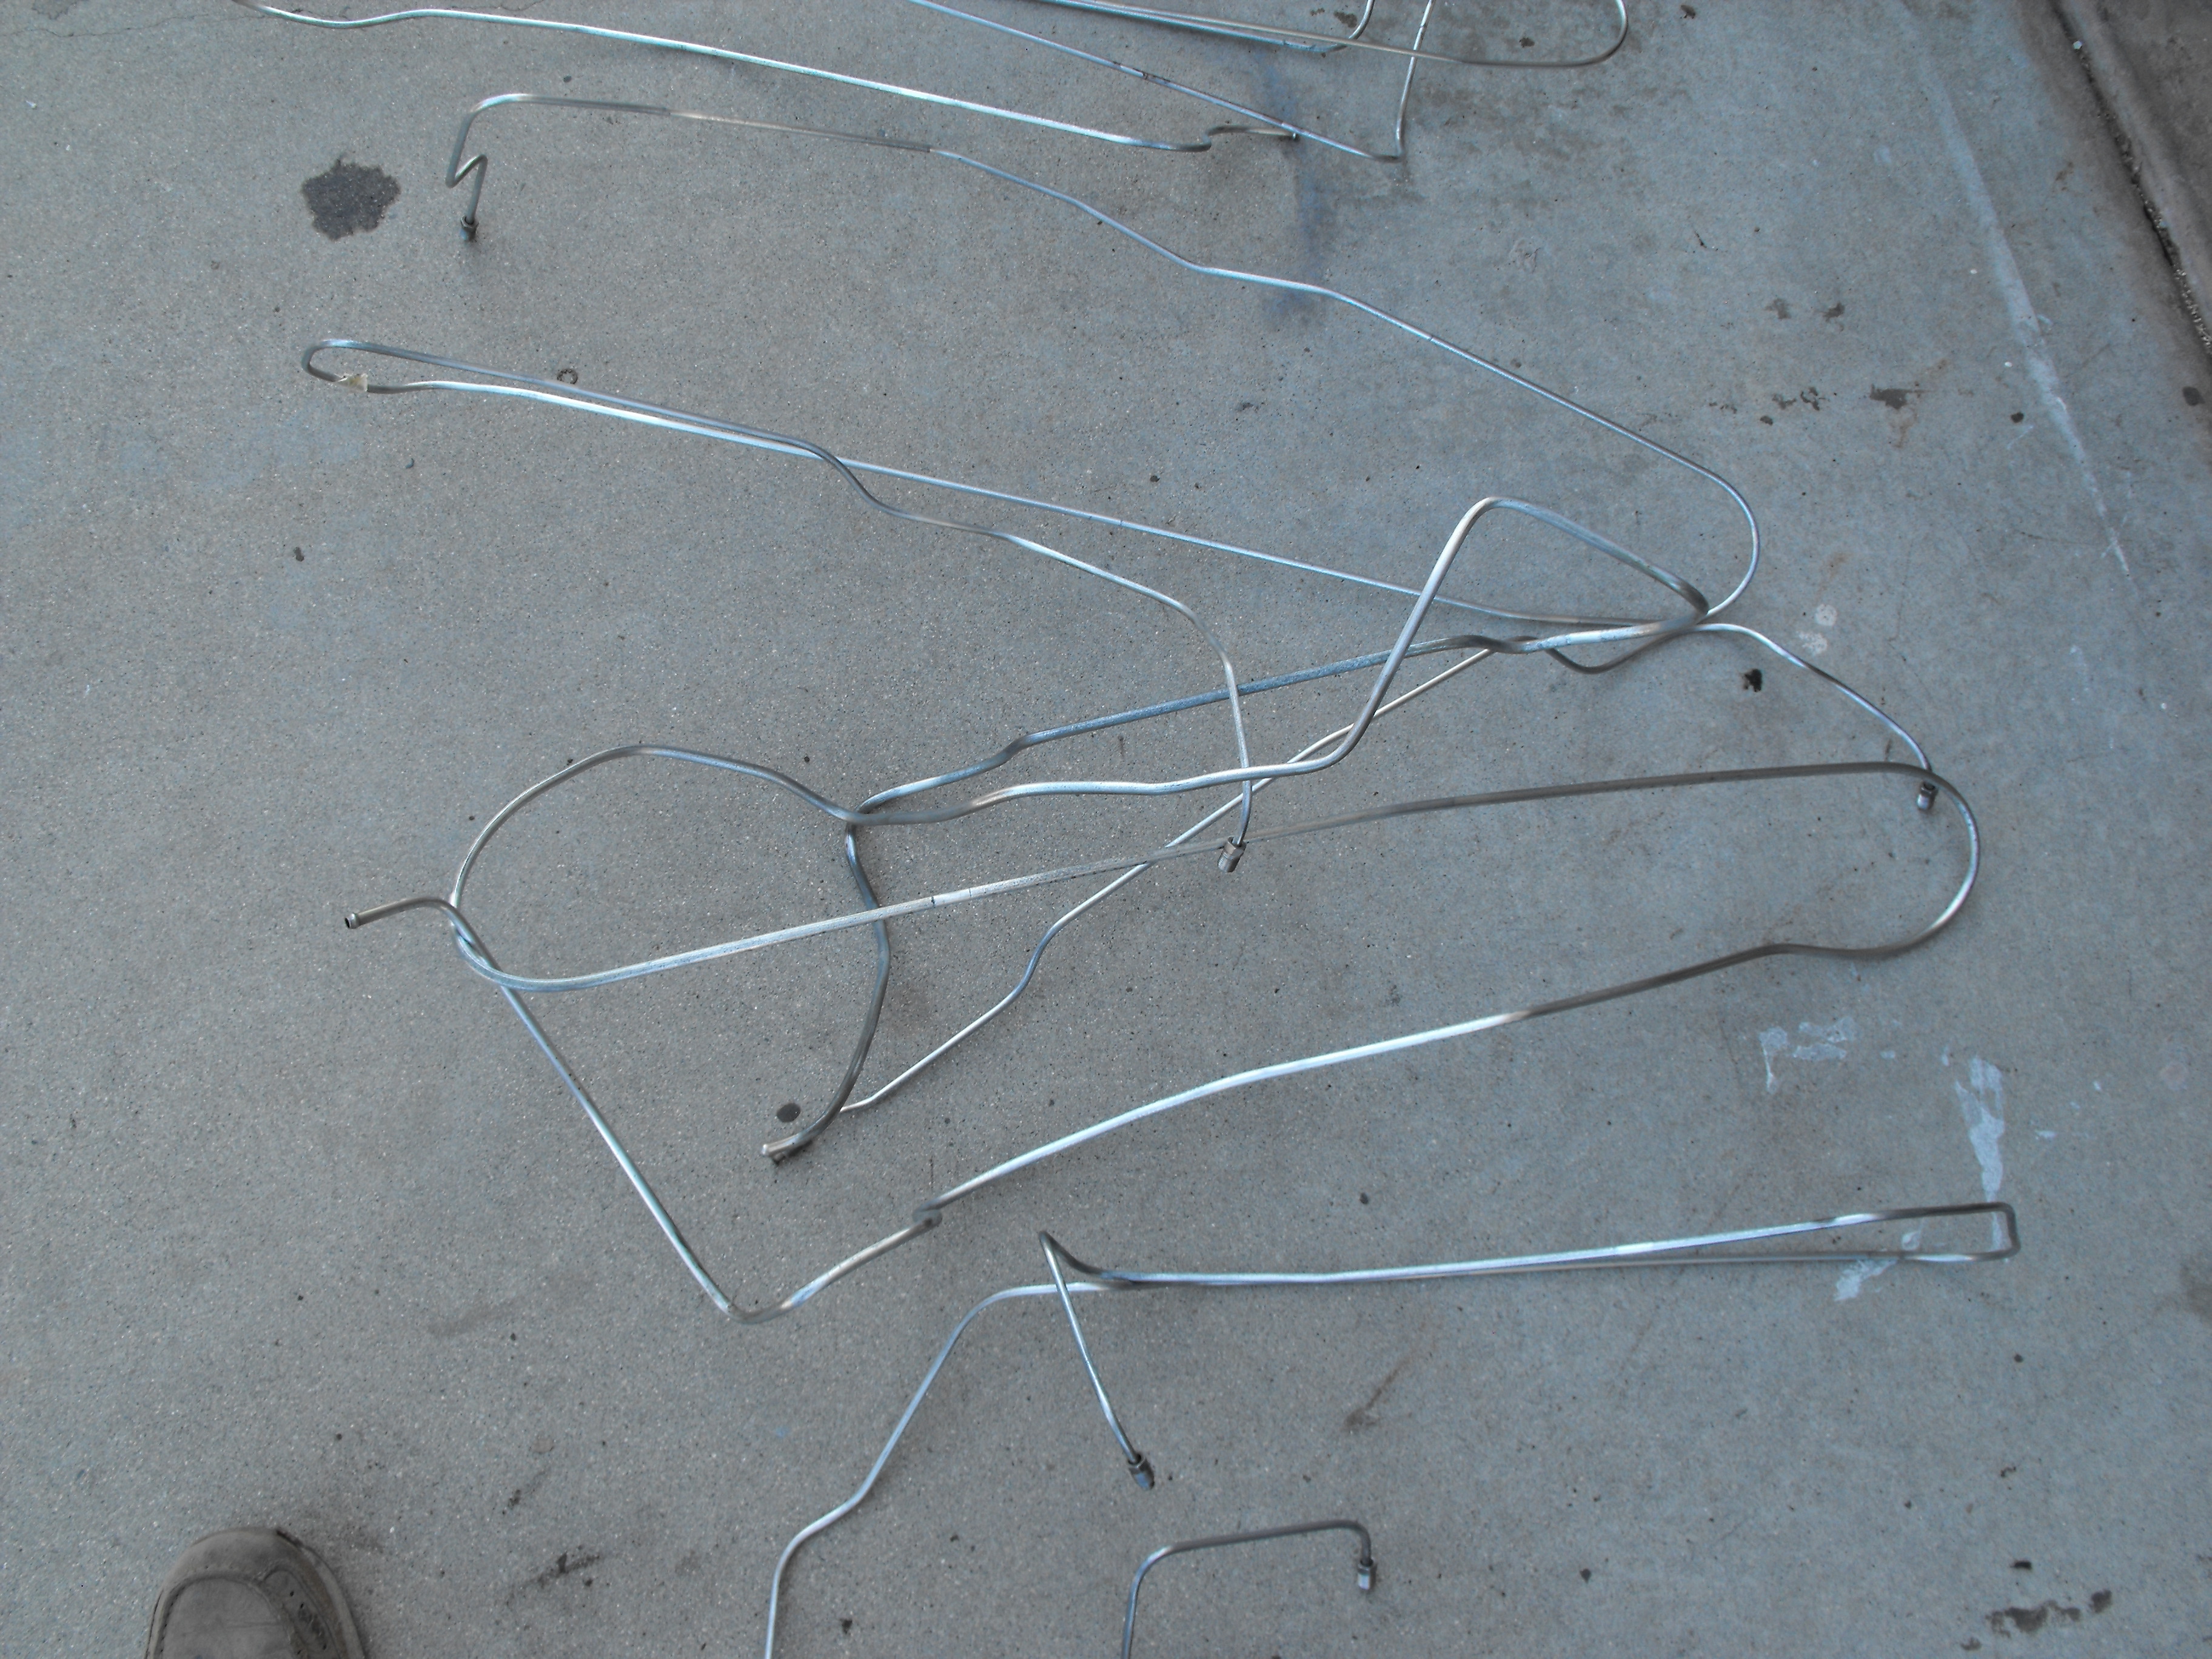
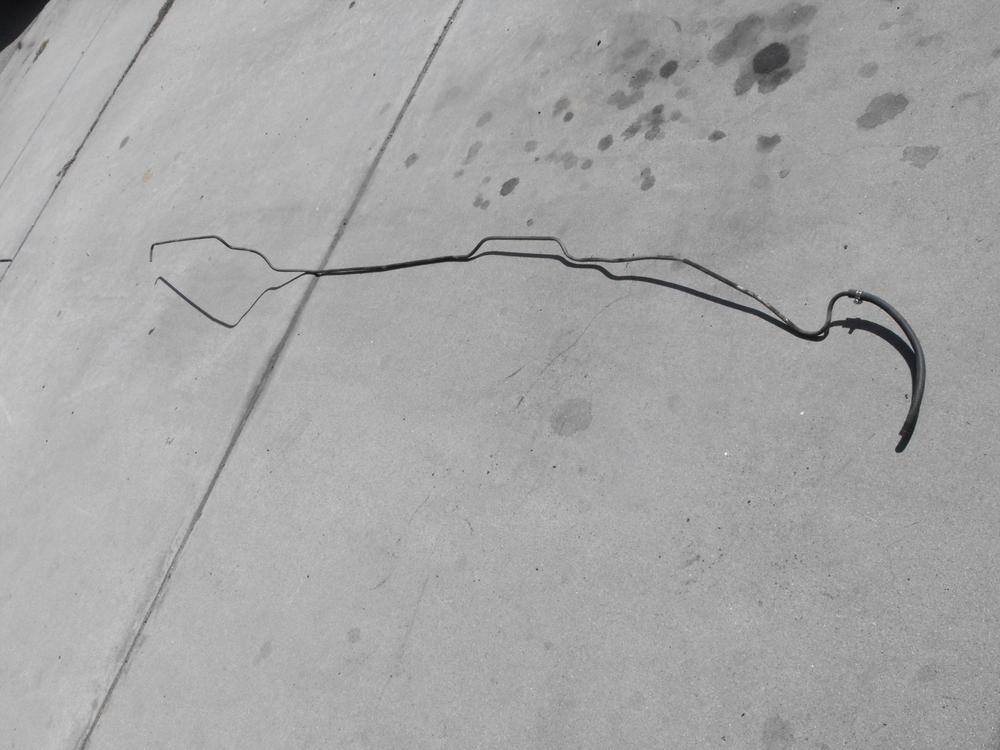
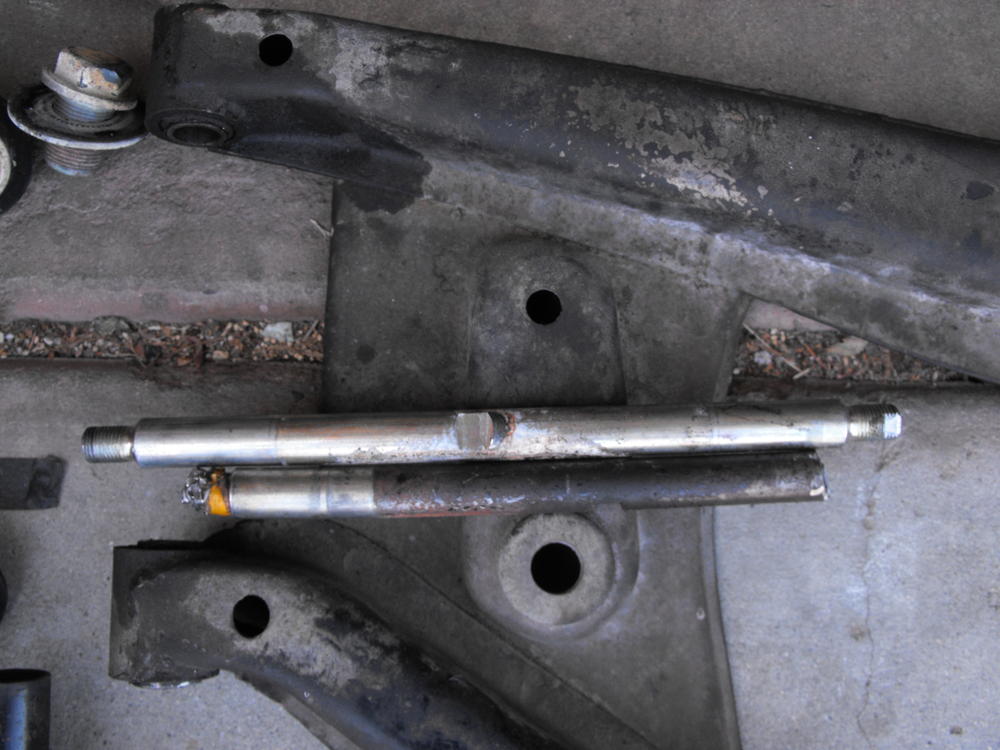
I drilled out the old bushings on the mustache bar and lower control arms. I used a small wire wheel to clean up the inside. Also scraped off the old undercoating from the suspension parts. I will drop these all off at the powder-coater tomorrow AM. I cleaned the outside of the fuel and brake lines in prep for plating. I cleaned the tubes by sanding with 220 sand paper and finishing up with steel wool. That makes for a pretty nice plating surface. Then I add several large radius bends so that the lines will fit in the 40" long plating tanks. Took pics of all the tubes before bending so I can get them back to the correct shape. the long runs needed just 2 bends to fit within the 40" constraint. These should look very nice once they are plated.


-
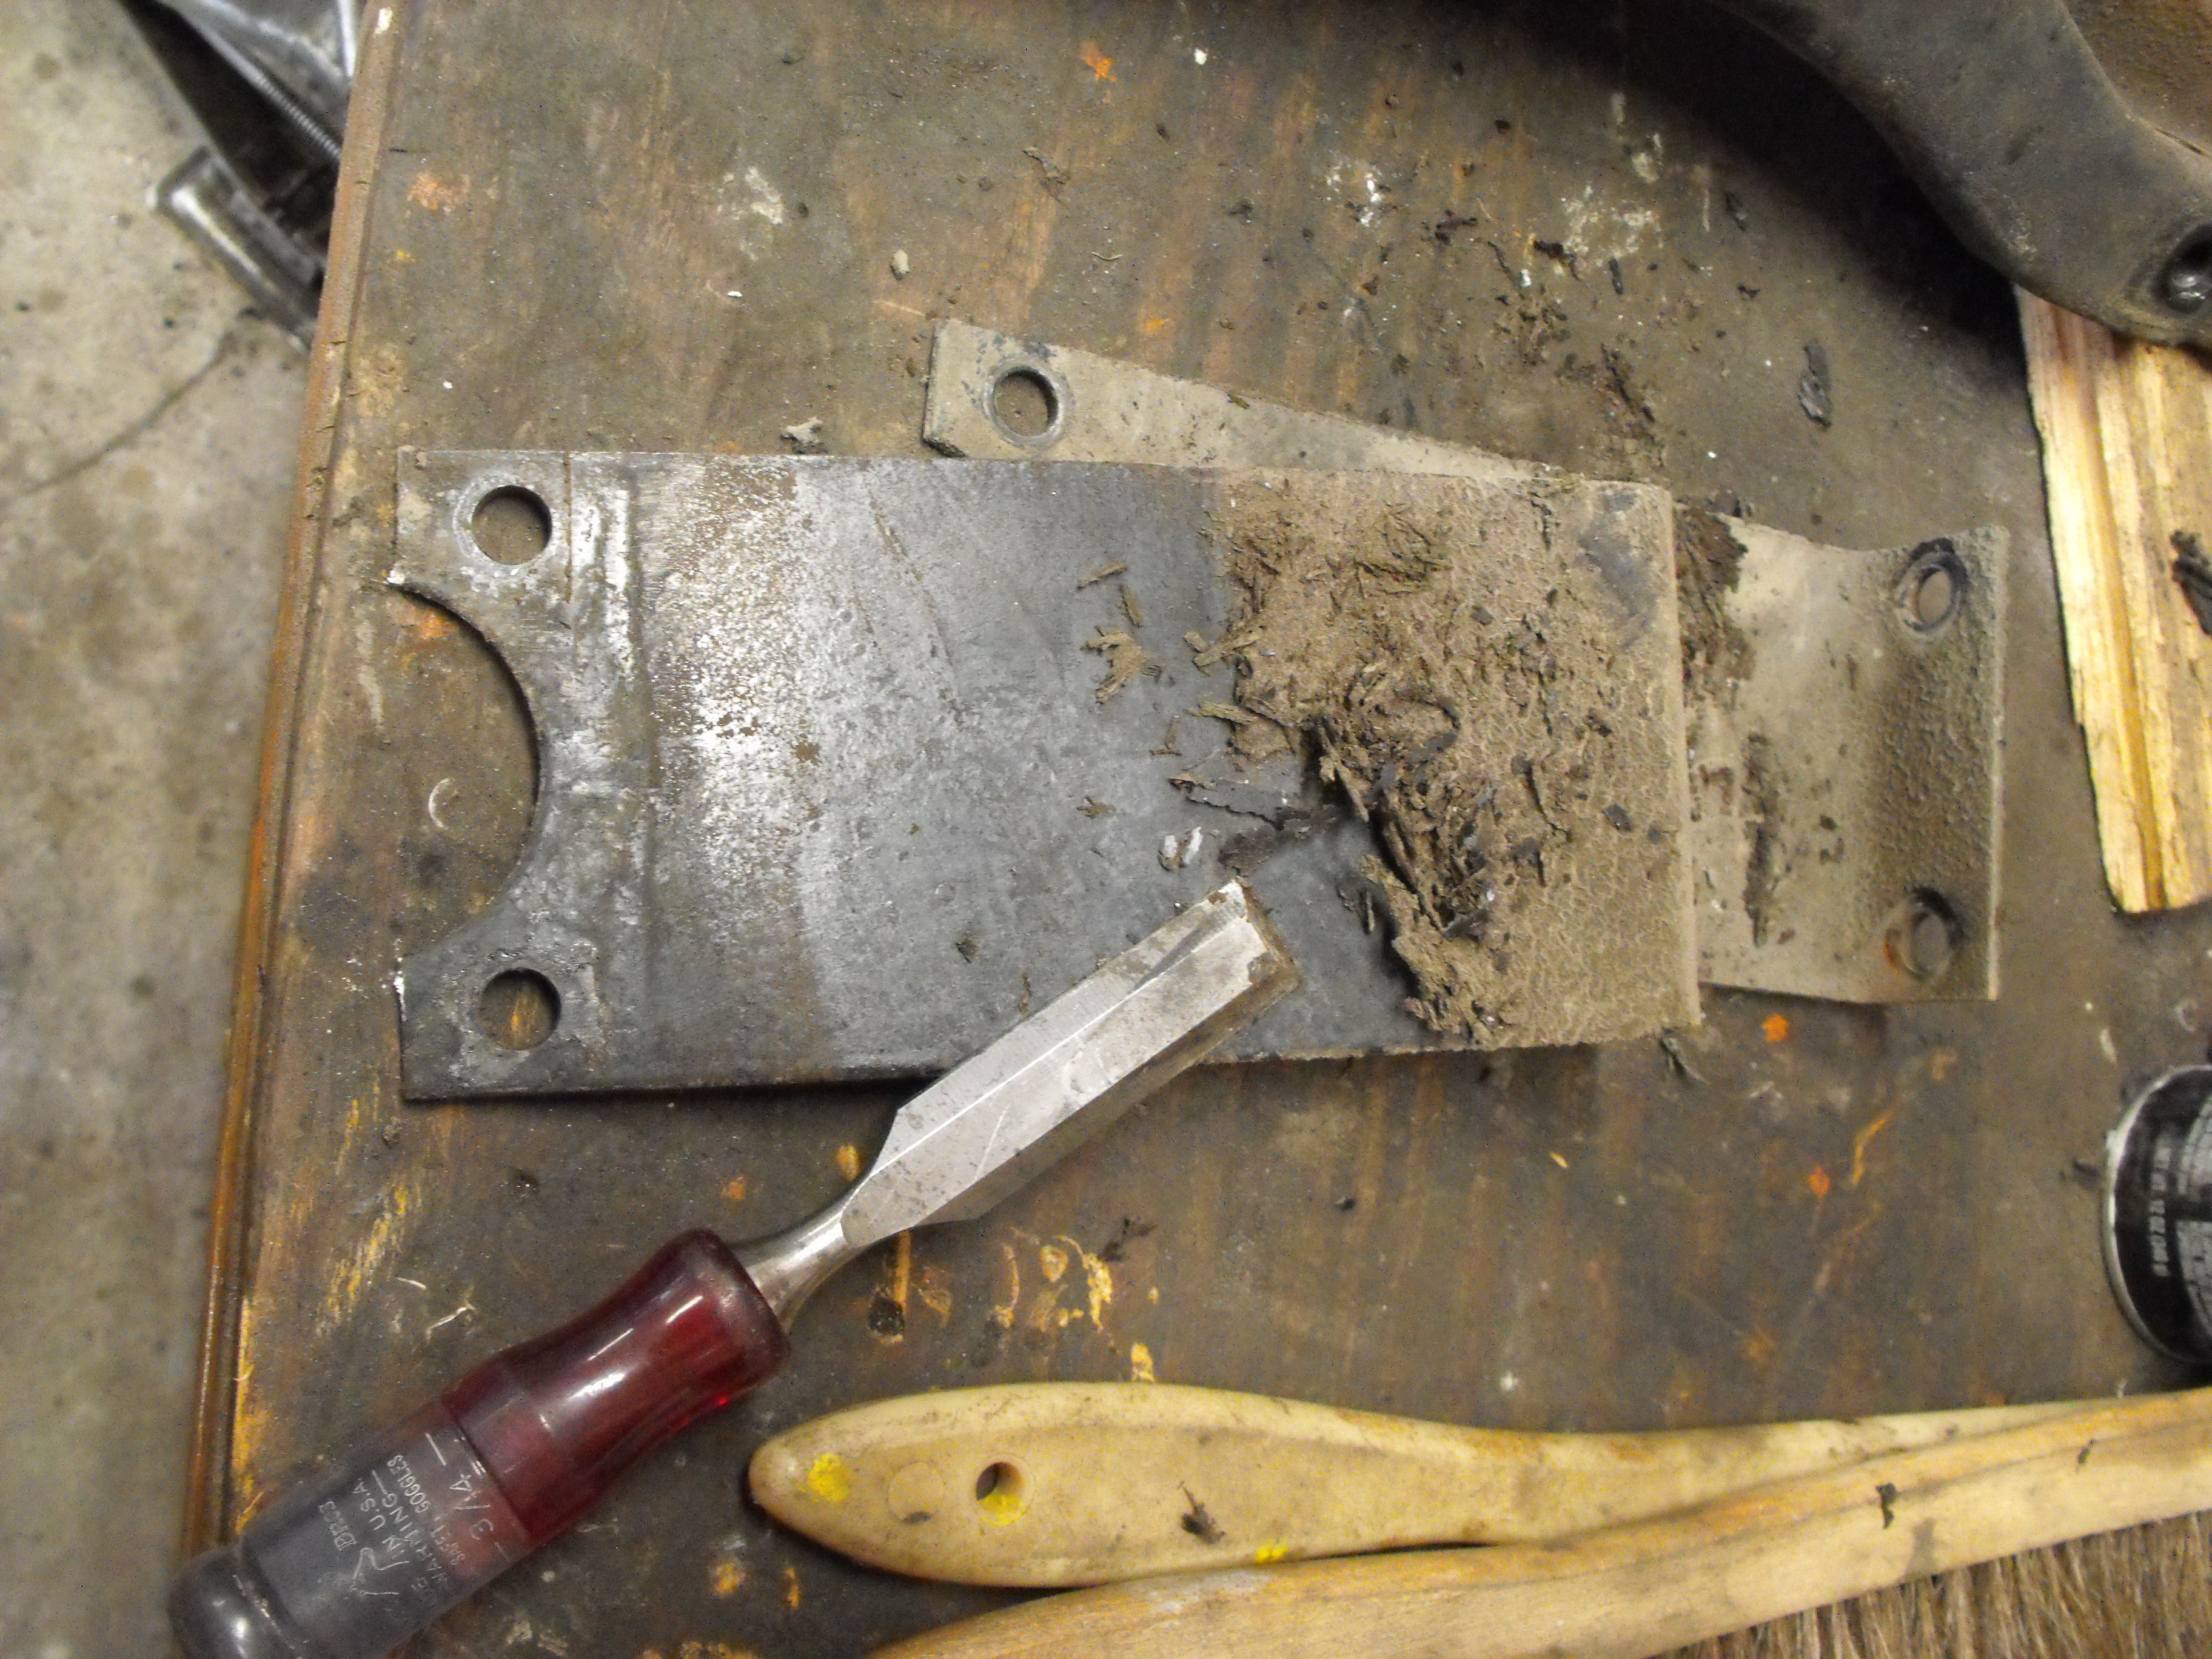
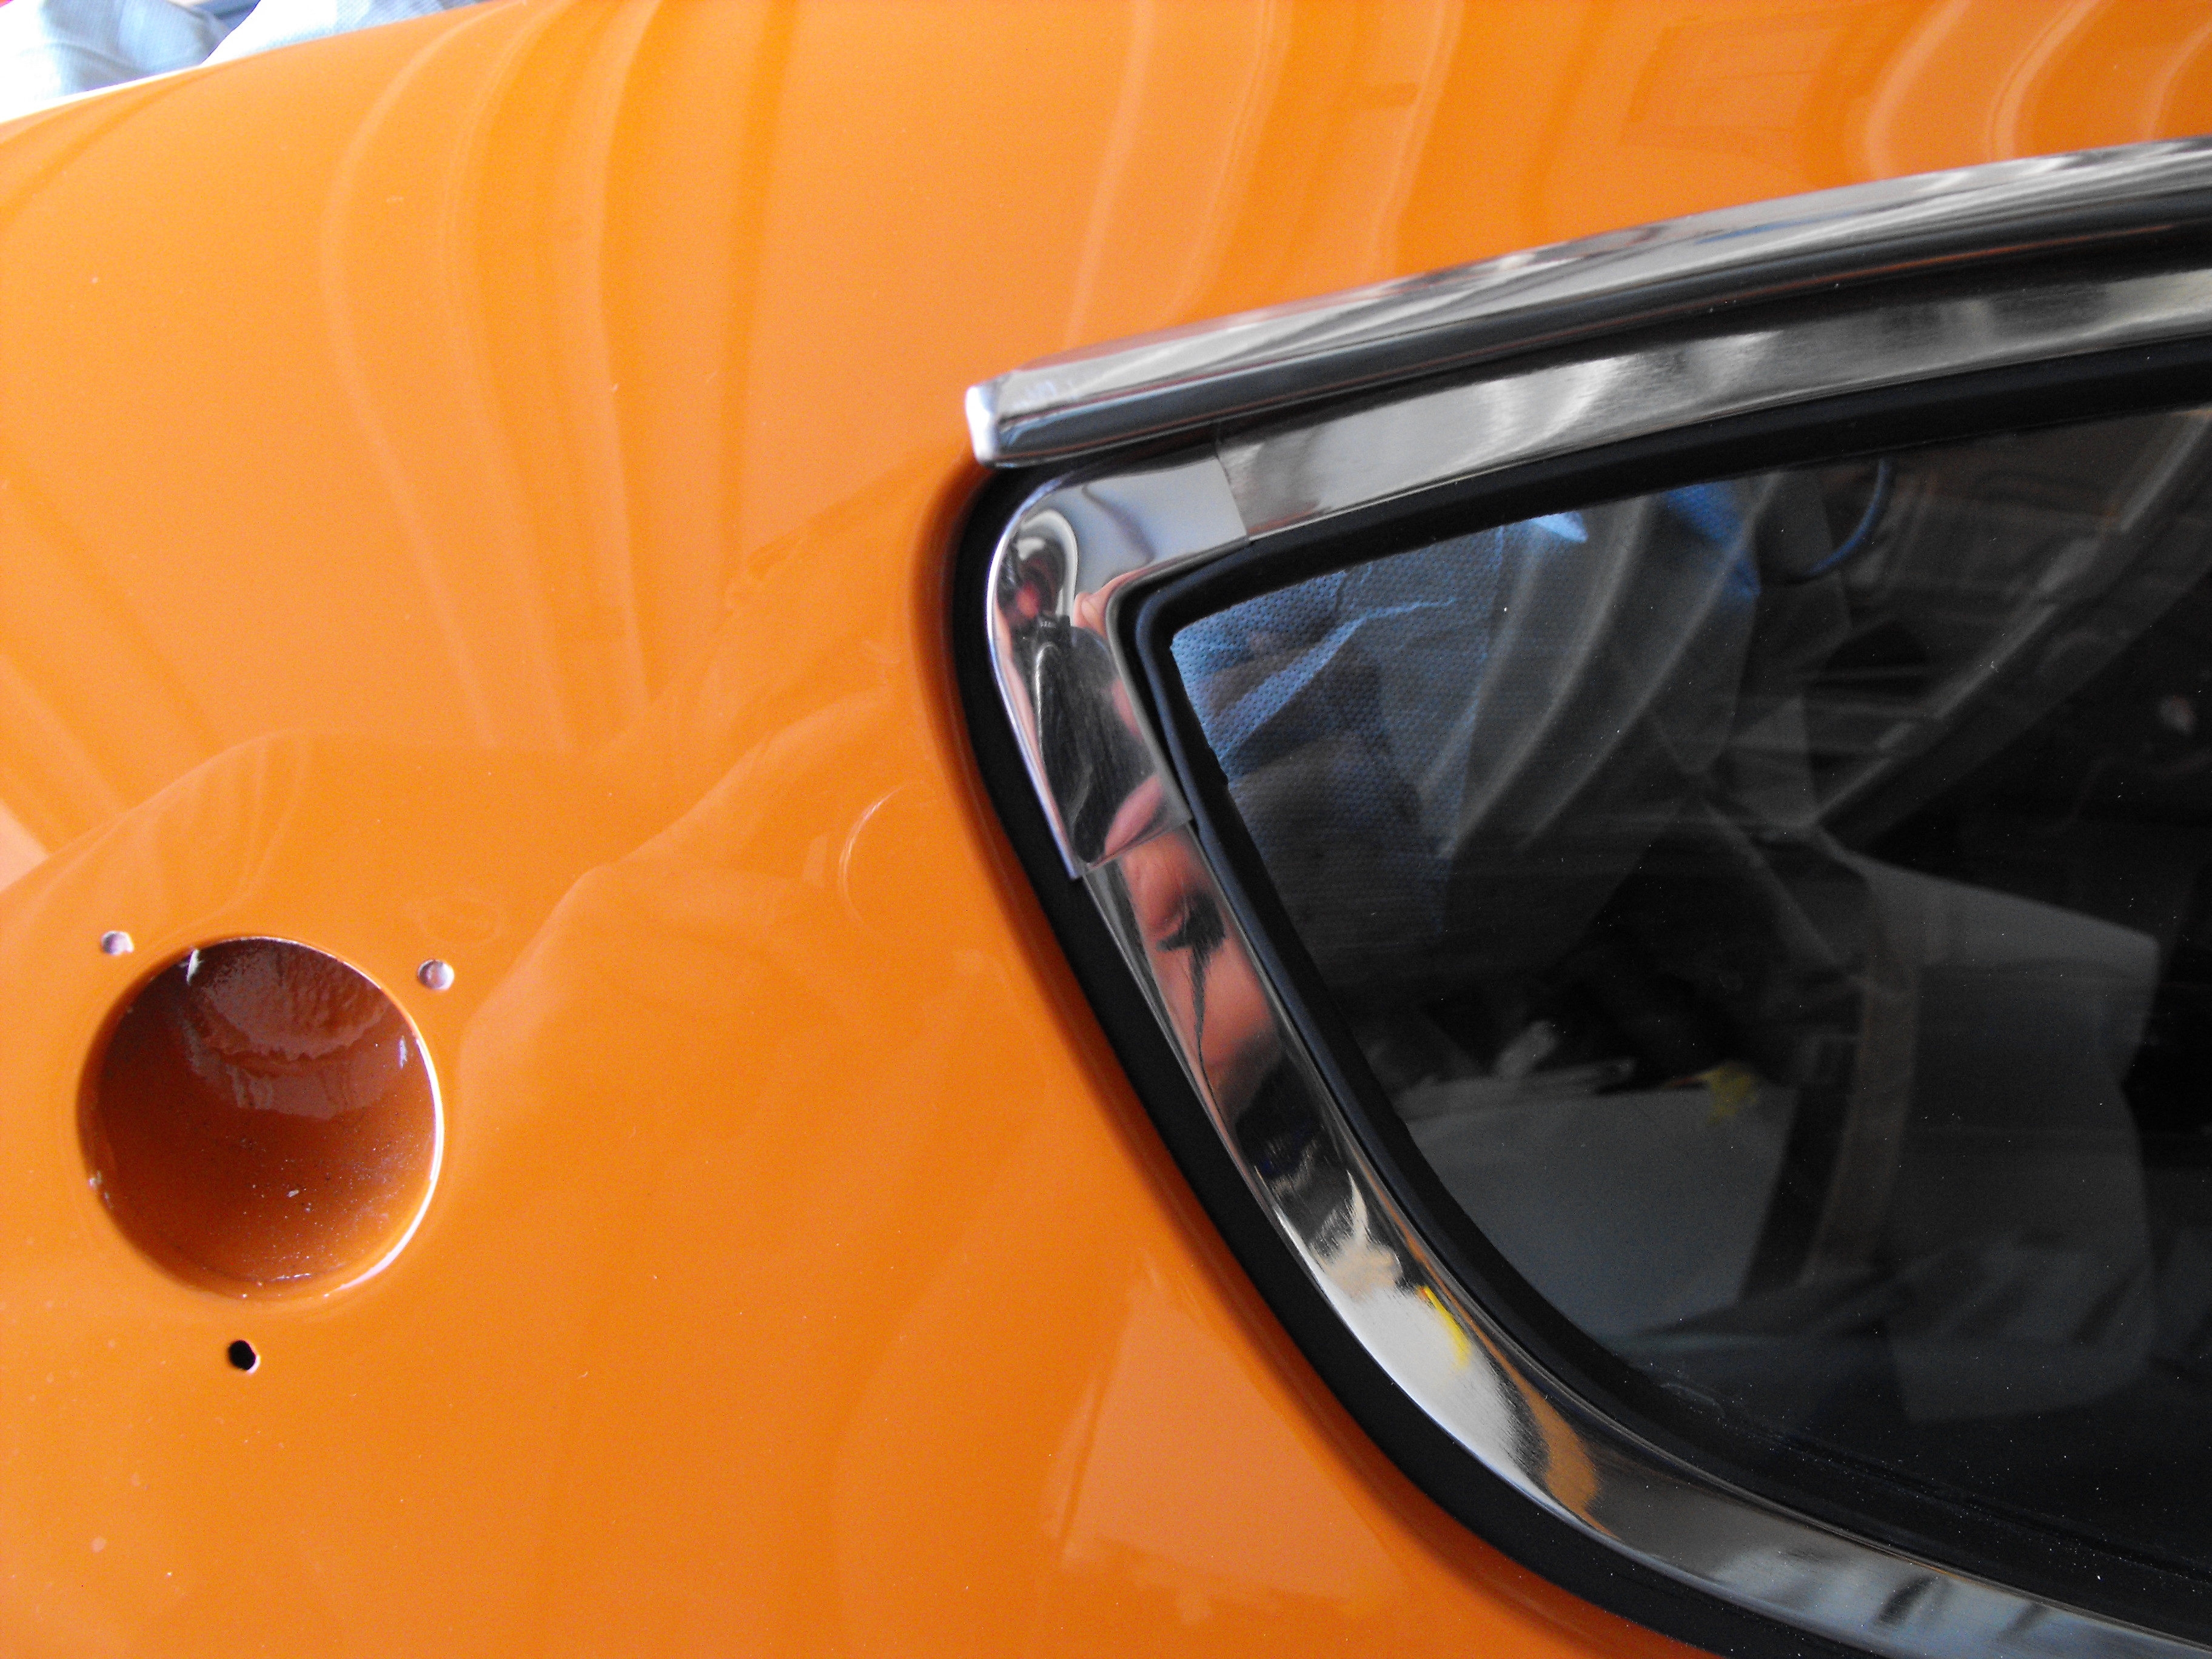
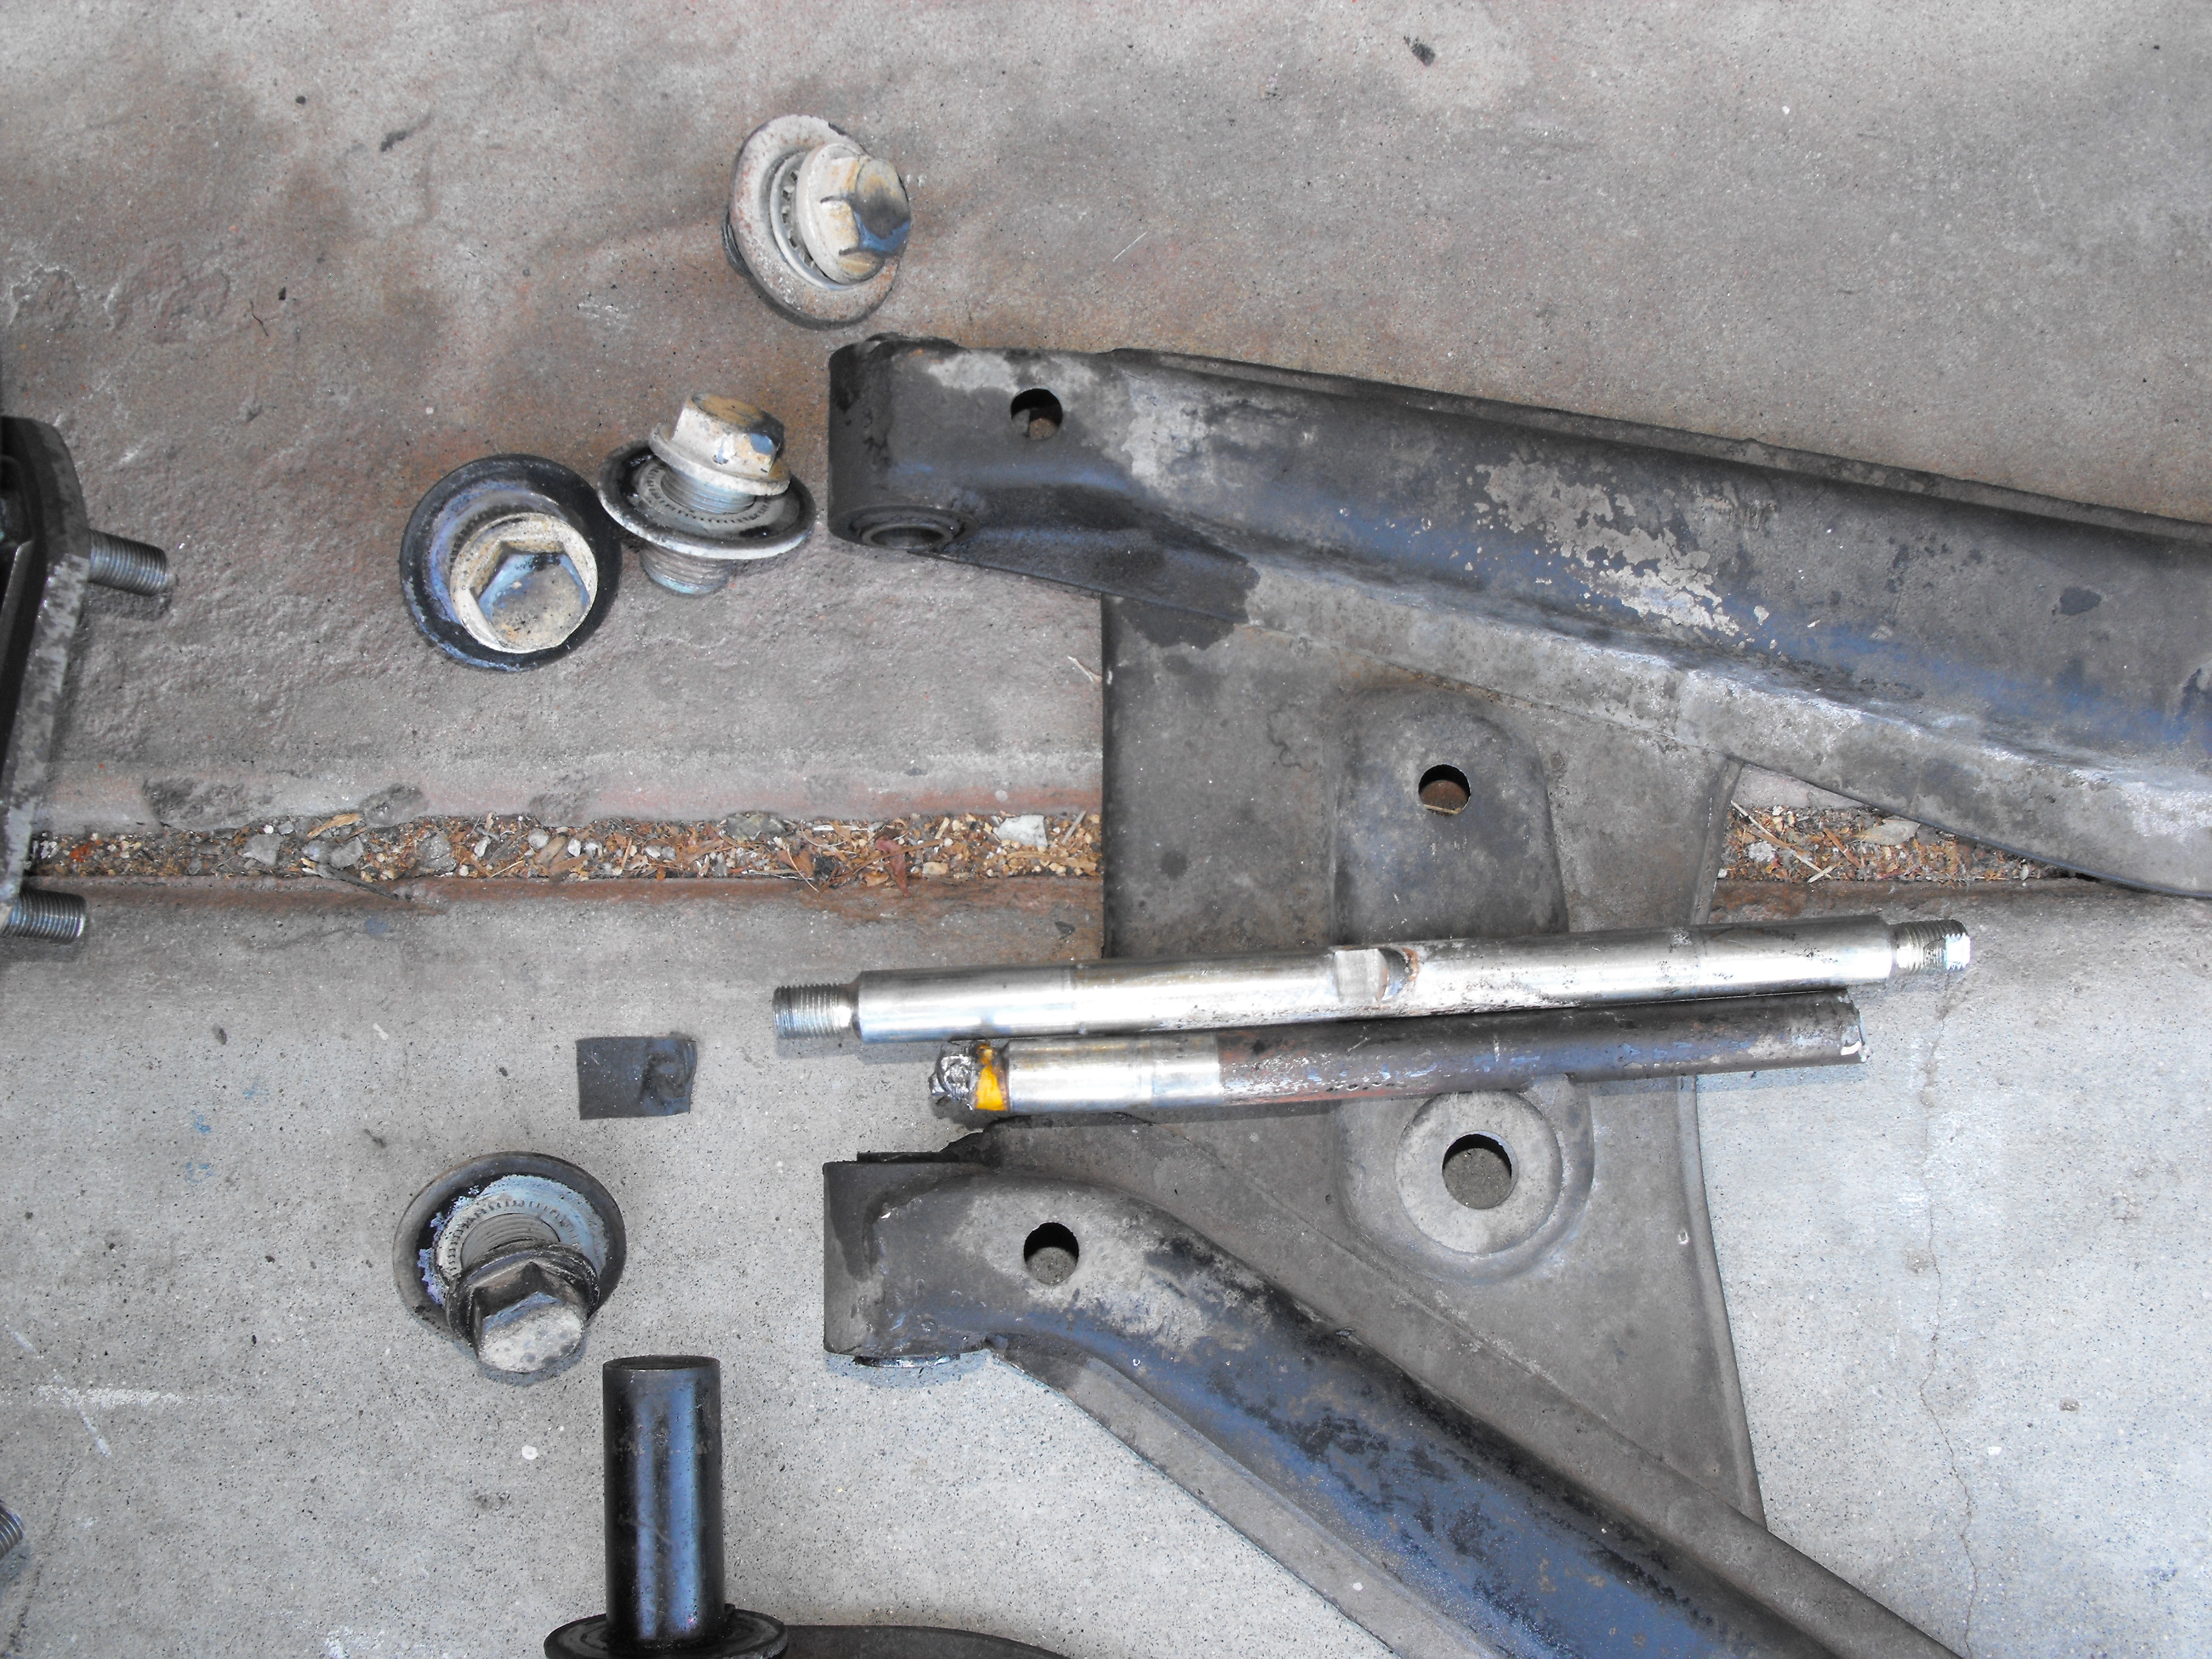
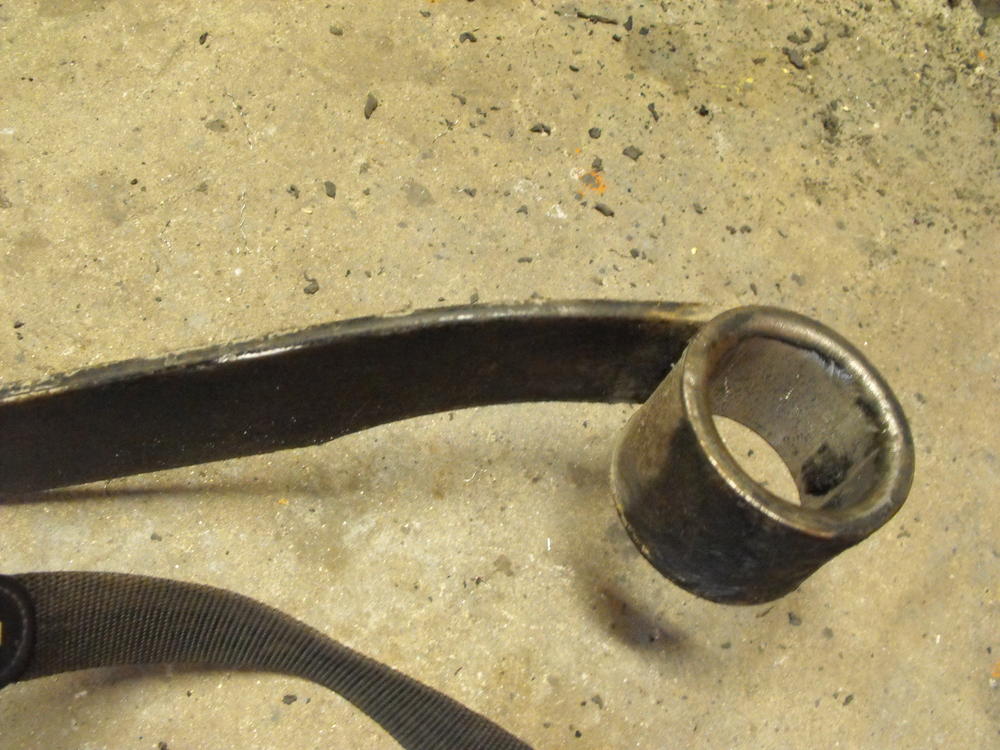
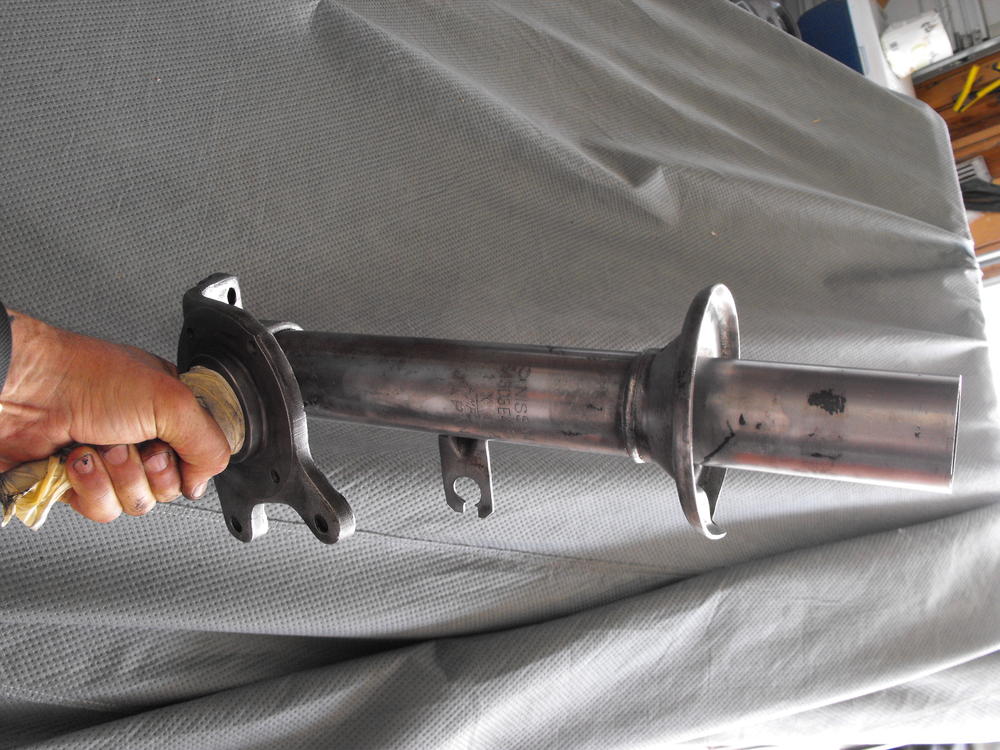
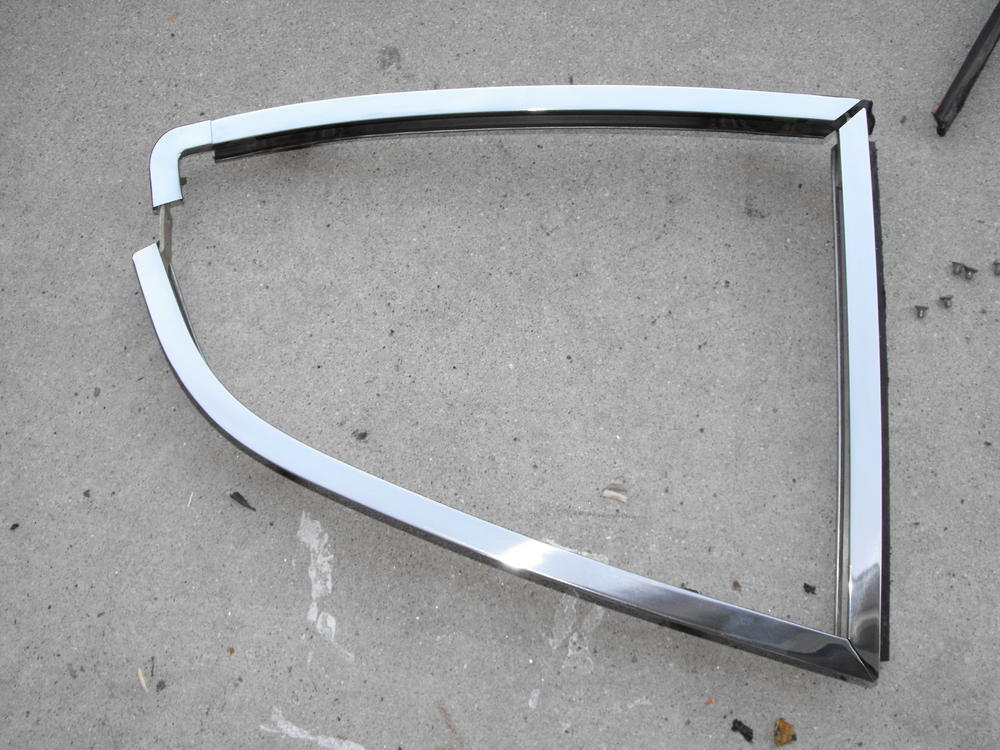
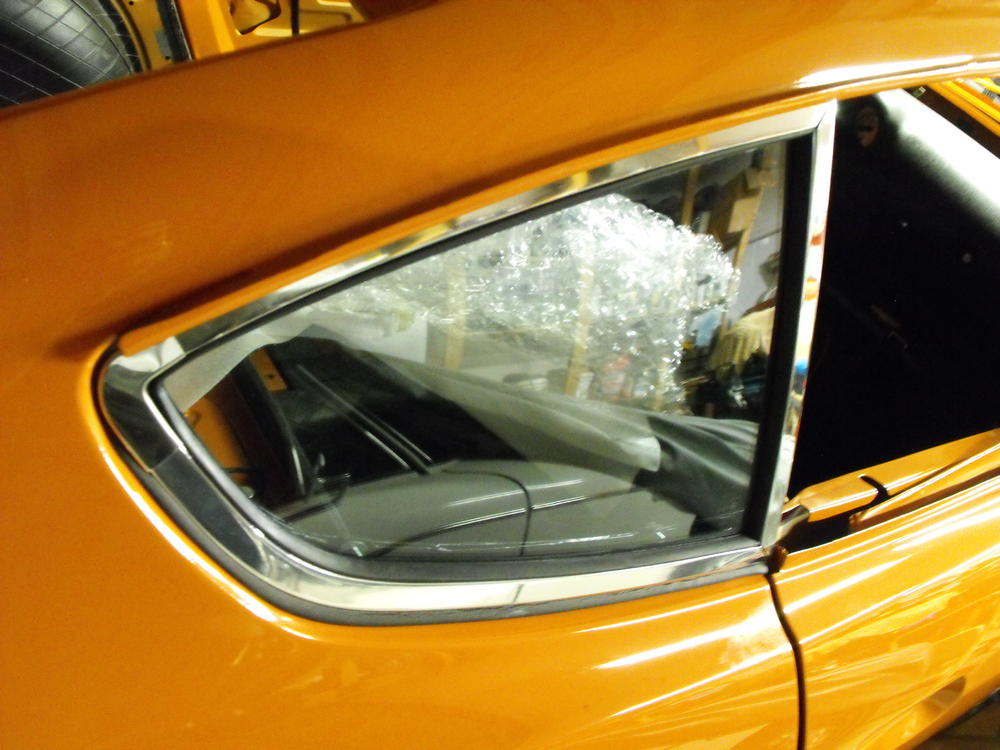
I looked at that corner piece again as the outside gasket did look a bit 'thin' in that area. It looked like the corner piece needed to be inserted a bit more into the frame so I tapped it in and re-assembled and it looks better. I took a pic and added it below. I checked the gap between the window frame and inside panel on my '72 and there looks to be about an 1/8 inch gap between the panel and the frame. As I mentioned before, there is zero gap on my '70. I am wondering if heat and sun exposure causes the panel to either shrink or deform and cause the gap. That might explain why my '70 has no gap and the '72 has a gap as that car has obviously been in the sun. Also, I chickened out on doing the spindle pins myself and took it to the machine shop. I also had them undo the 4 large bolts on the lower A arms. (Those are the ones I broke my torque wrench on so I am guessing I hit them with over 200 foot-lbs without success). They were able to get everything off, but said it was really a pain in the arse and it took some time. Bill, the machine shop lead said they had the metal red hot and put it in a 50 ton press to help with the removal. I asked him what the charge was and he said "you couldn't pay me enough to do that again". He charged just $60 for the work so I went back later and brought him a 6 pack of beer for the extra effort. Just glad I didn't have to do it. I don't have the tools. Anyway, the nice thing is I can get the parts all off to the powder coater and plater this Monday and should have it all installed by next weekend. If I can get that done, it will be time to drop in the motor. I am looking forward to that You can see how torched the large bolts are in the picture below. I will get those cleaned up and replated. Will also order new spindle pins from zcarparts.com


-
So this is an interesting item. I checked the area on my '70 and there is really no need for black paint in this area as the interior plastic panels are all the way up against the window frame. There is no gap, so I cannot see the area that I painted at all. On my '71, there is a significant gap, maybe half an inch, and you can clearly see this area. Now I am wondering why the gap at the window. I will check my '72 when I get home, but that one may have been painted so I am not sure if it is a good reference. My bigger concern now is the gap. Why does the '71 have a gap at the window frame? Did I install the wrong panel? (I do have several sets at home). I was under the impression that the gap was normal as Jay Ataka was the one that brought it to my attention at one of the car shows. Anyway, will have to look into this further.
-
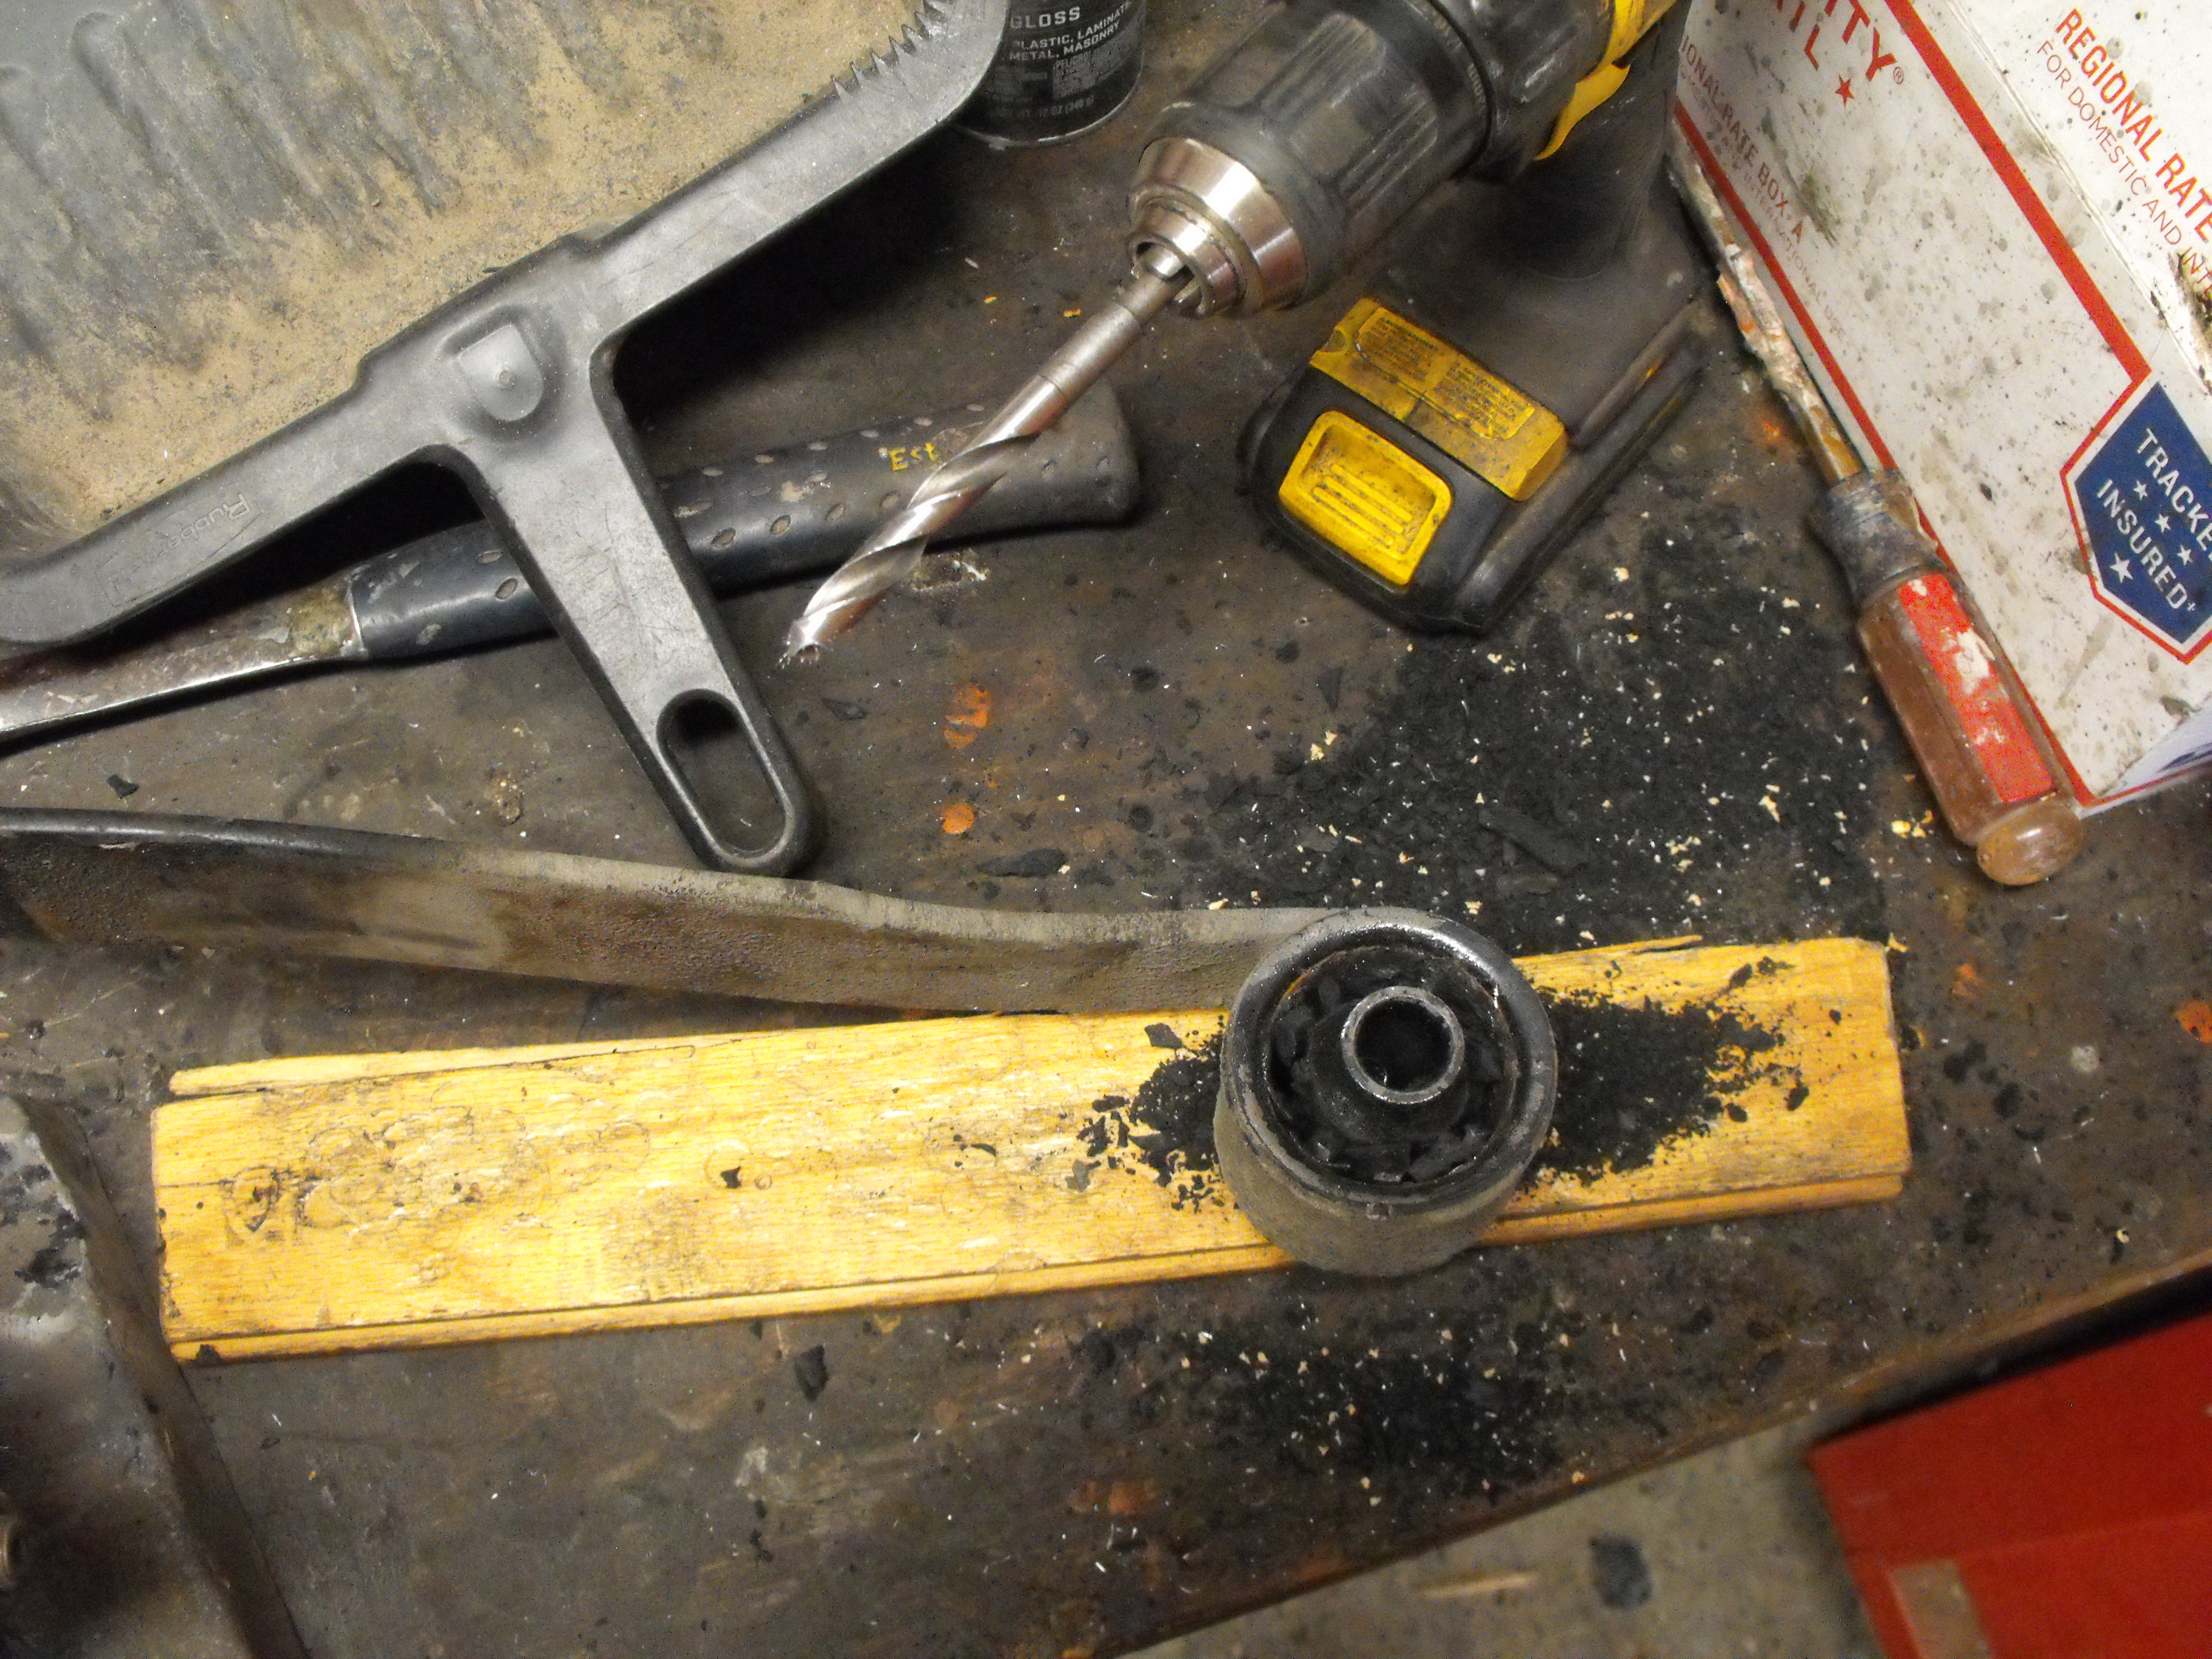
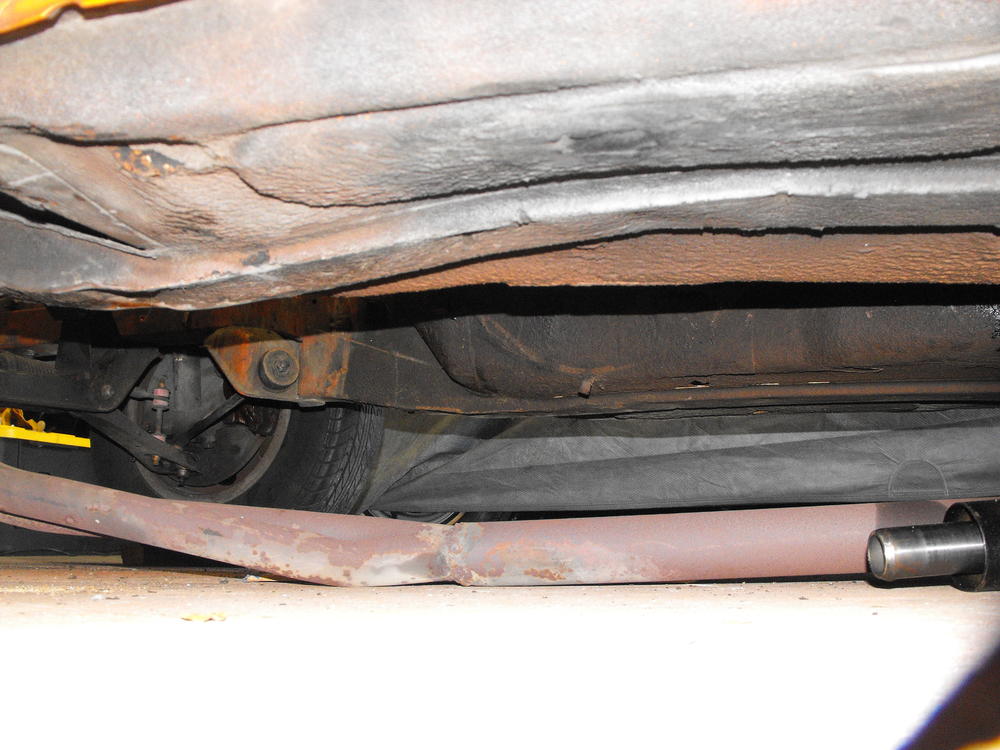
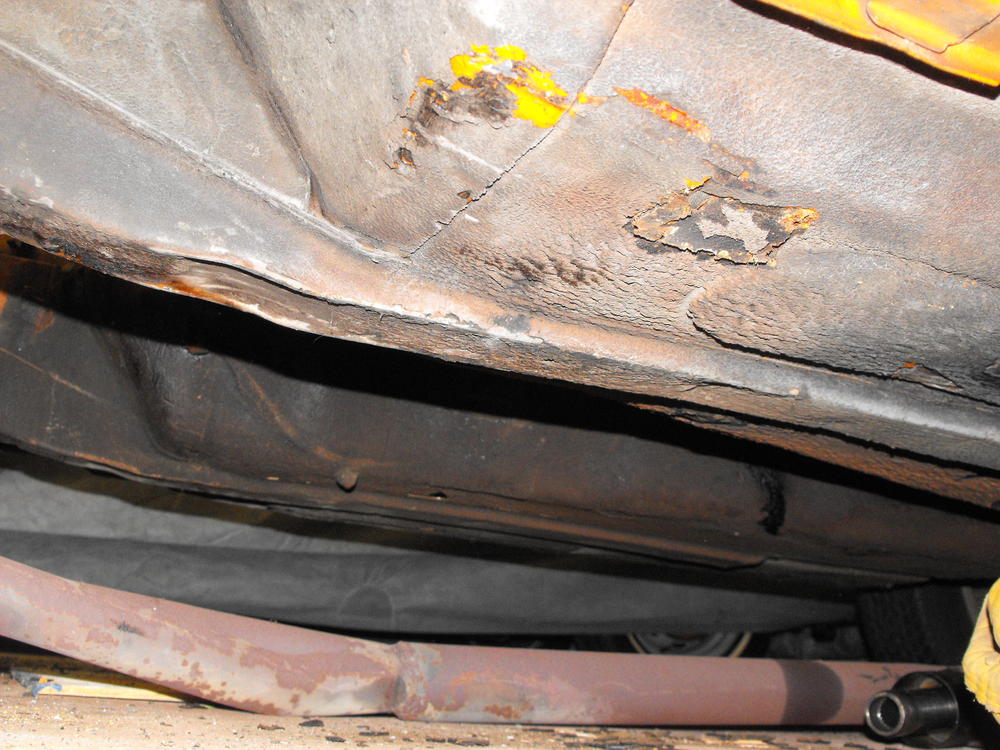
I finished up the undercoating on the forward 2/3 of the car. I went through 2 cans of undercoating pretty quick, but I think everything came out pretty nice (for those people like me that like to crawl around the underside of the car. Now it's time to work on the back. I dropped the front end down on it's tires and lifted the back end. I removed all the suspension items off the rear and started to tear them down. I could not loosen the large 24mm bolts off of the lower suspension arms. In fact, of all things, I broke my 1/2 inch torque wrench trying to get them undone. Never had that happen before. In hindsight, I should have been using a 1/2 inch breaker bar, lesson learned. I think I will take the assemblies to the machine shop tomorrow and see if they can knock those off for me.


-
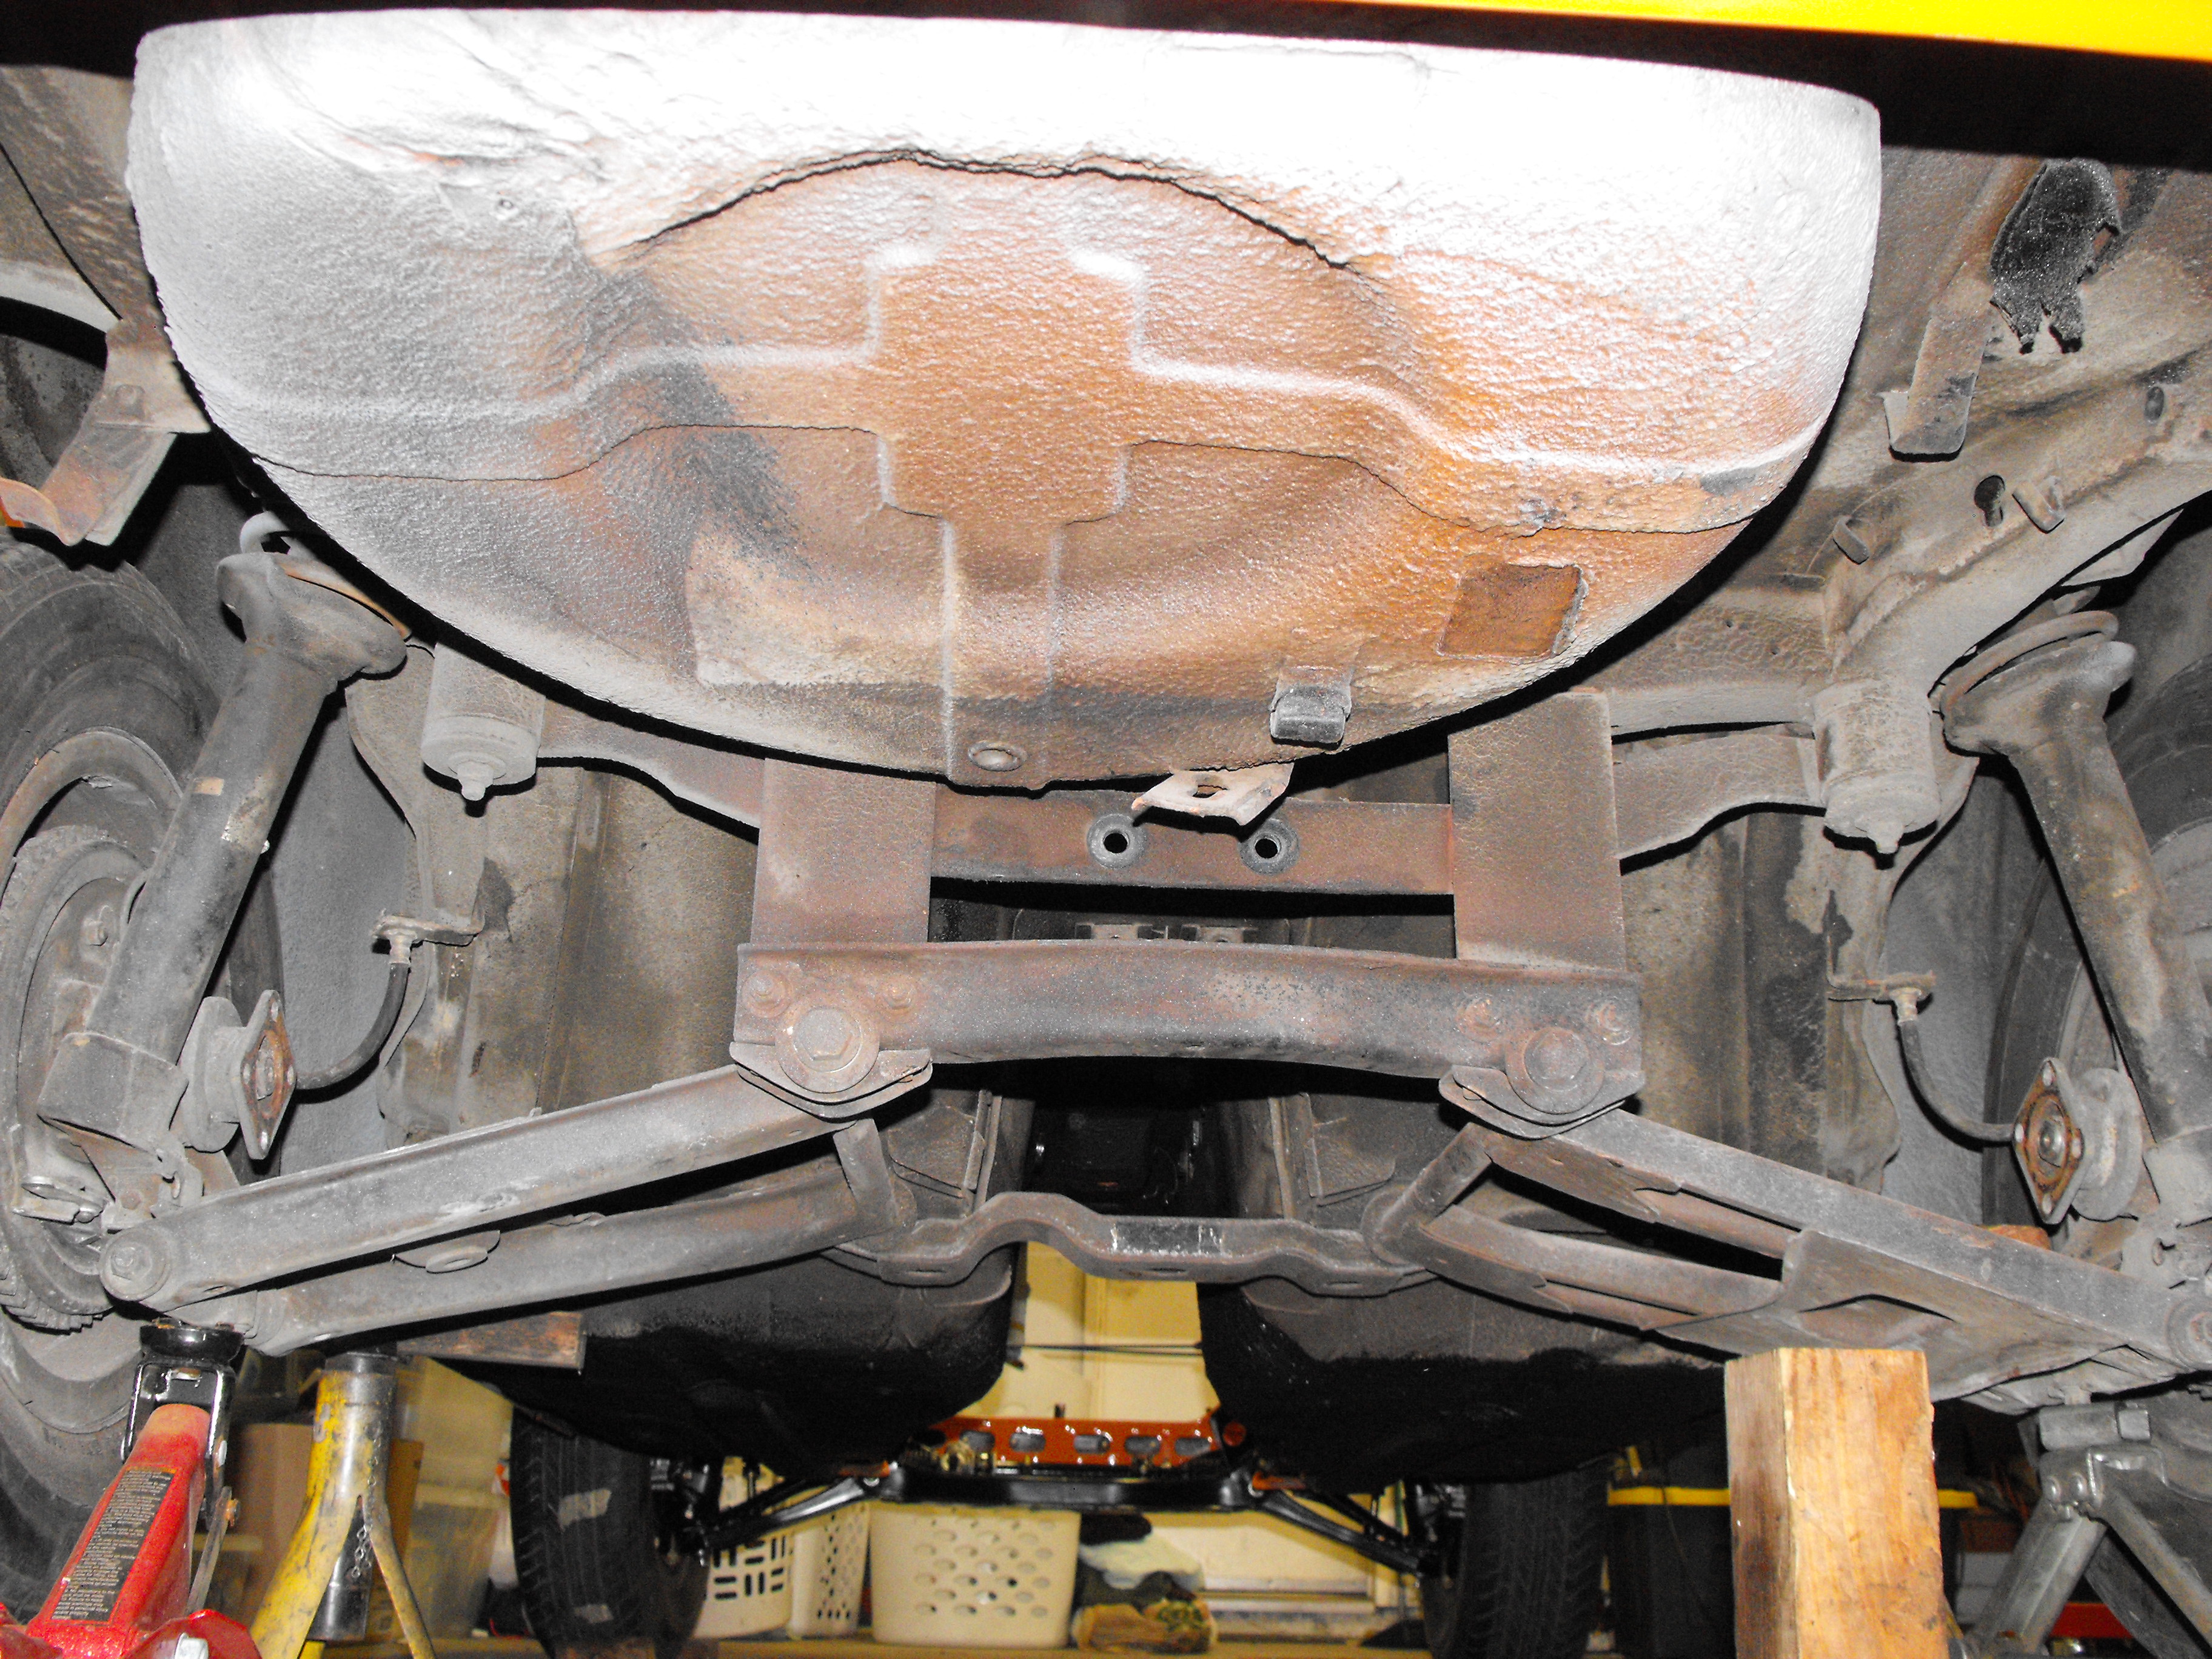
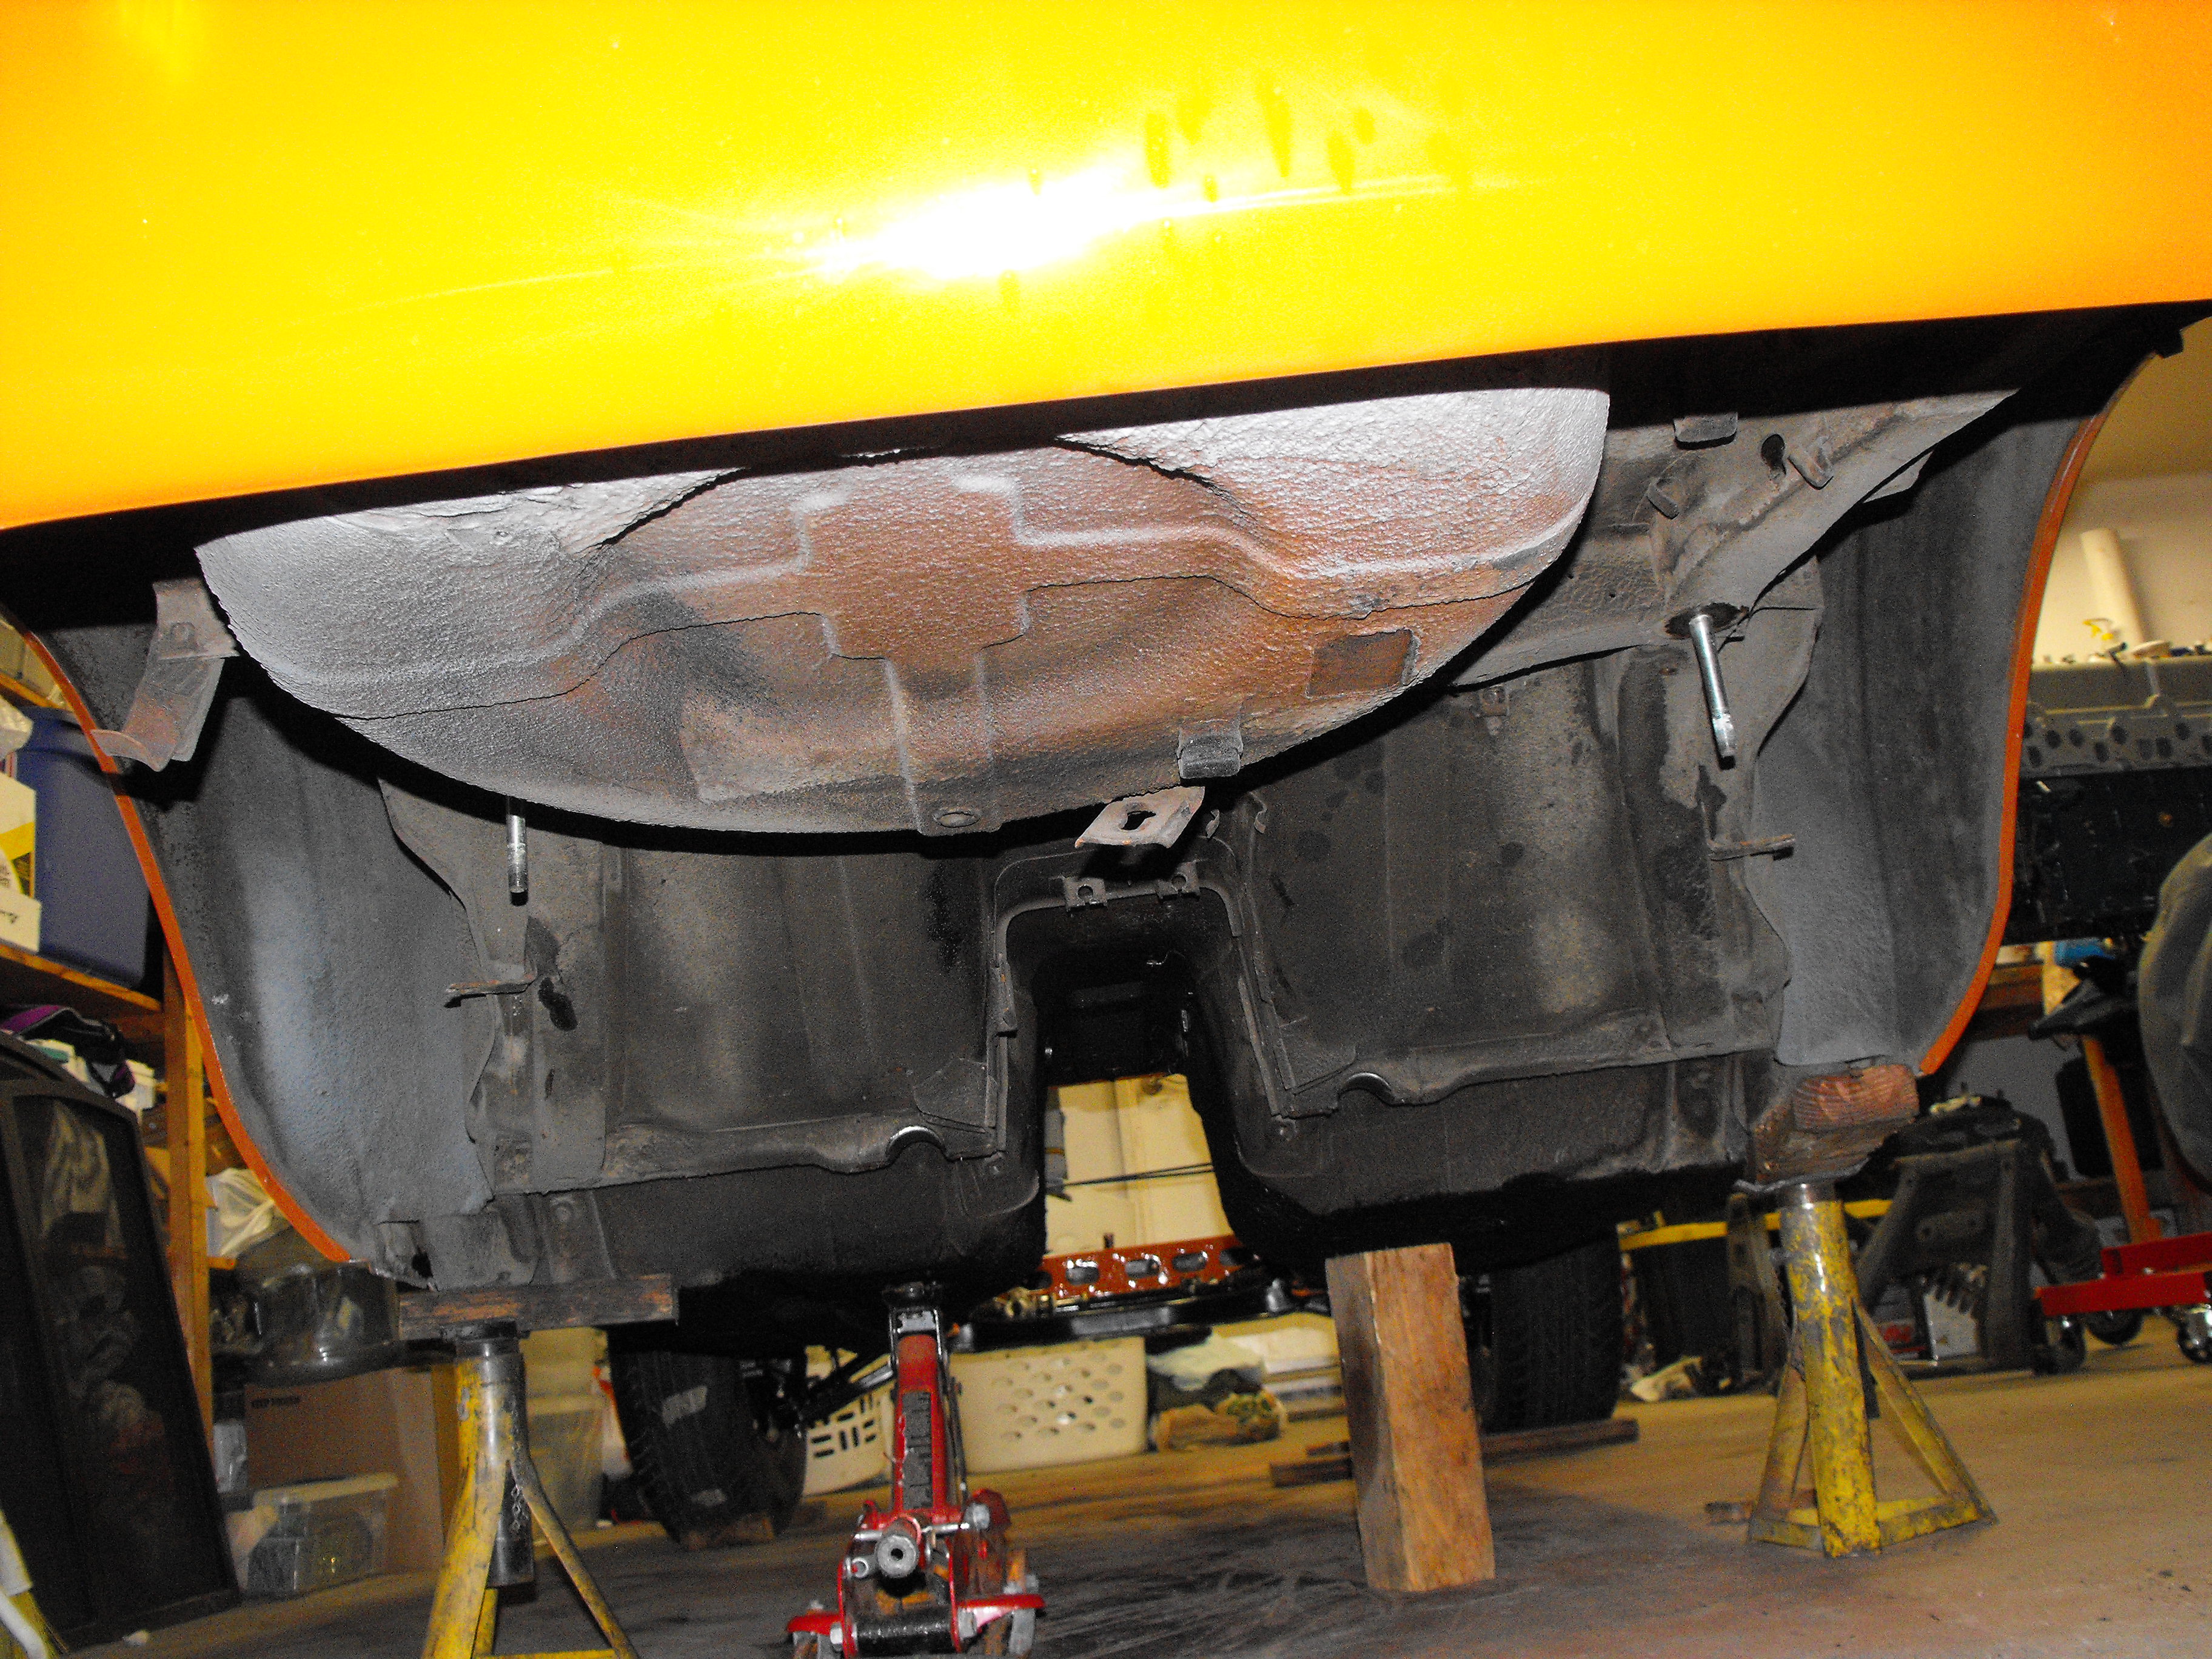
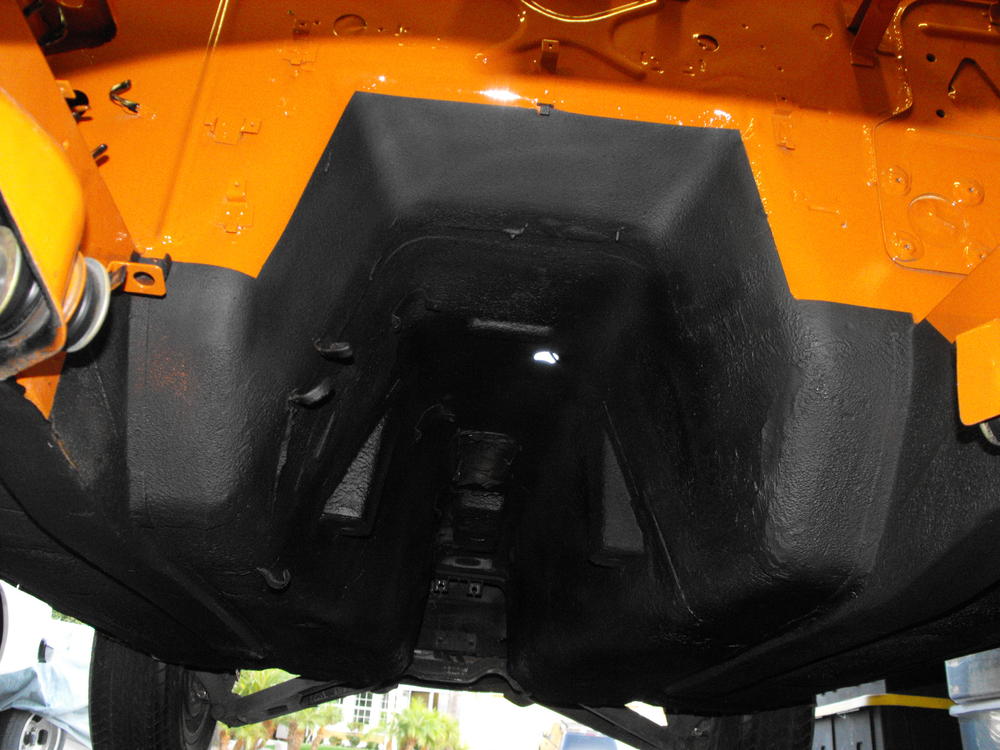
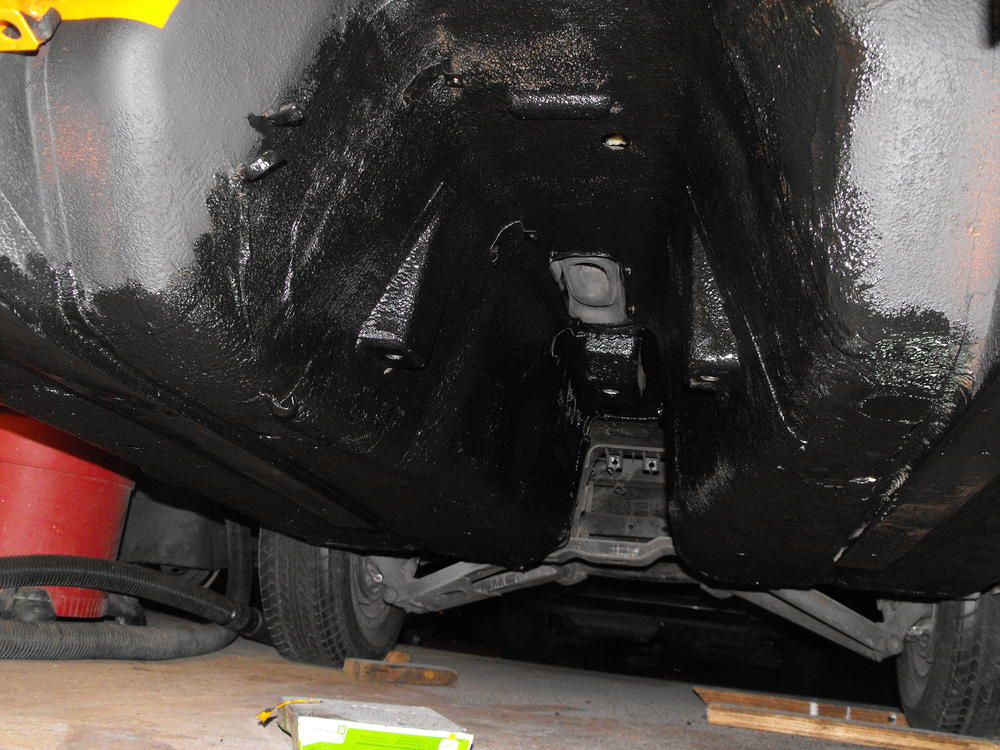
I finished straightening up the frame rails on both sides. After that I cleaned, wire wheel and wire brushed the underside of the car. (I think that is the last of the 'not fun to do' work). Once that was complete I put a coat of POR-15 over the entire underside. It shows up glossy in the pics. I started spraying on the new undercoat but ran out before I even got a third done, so I will have to hit the store on Thursday and get another couple cans. Before and after pics are shown below.


-
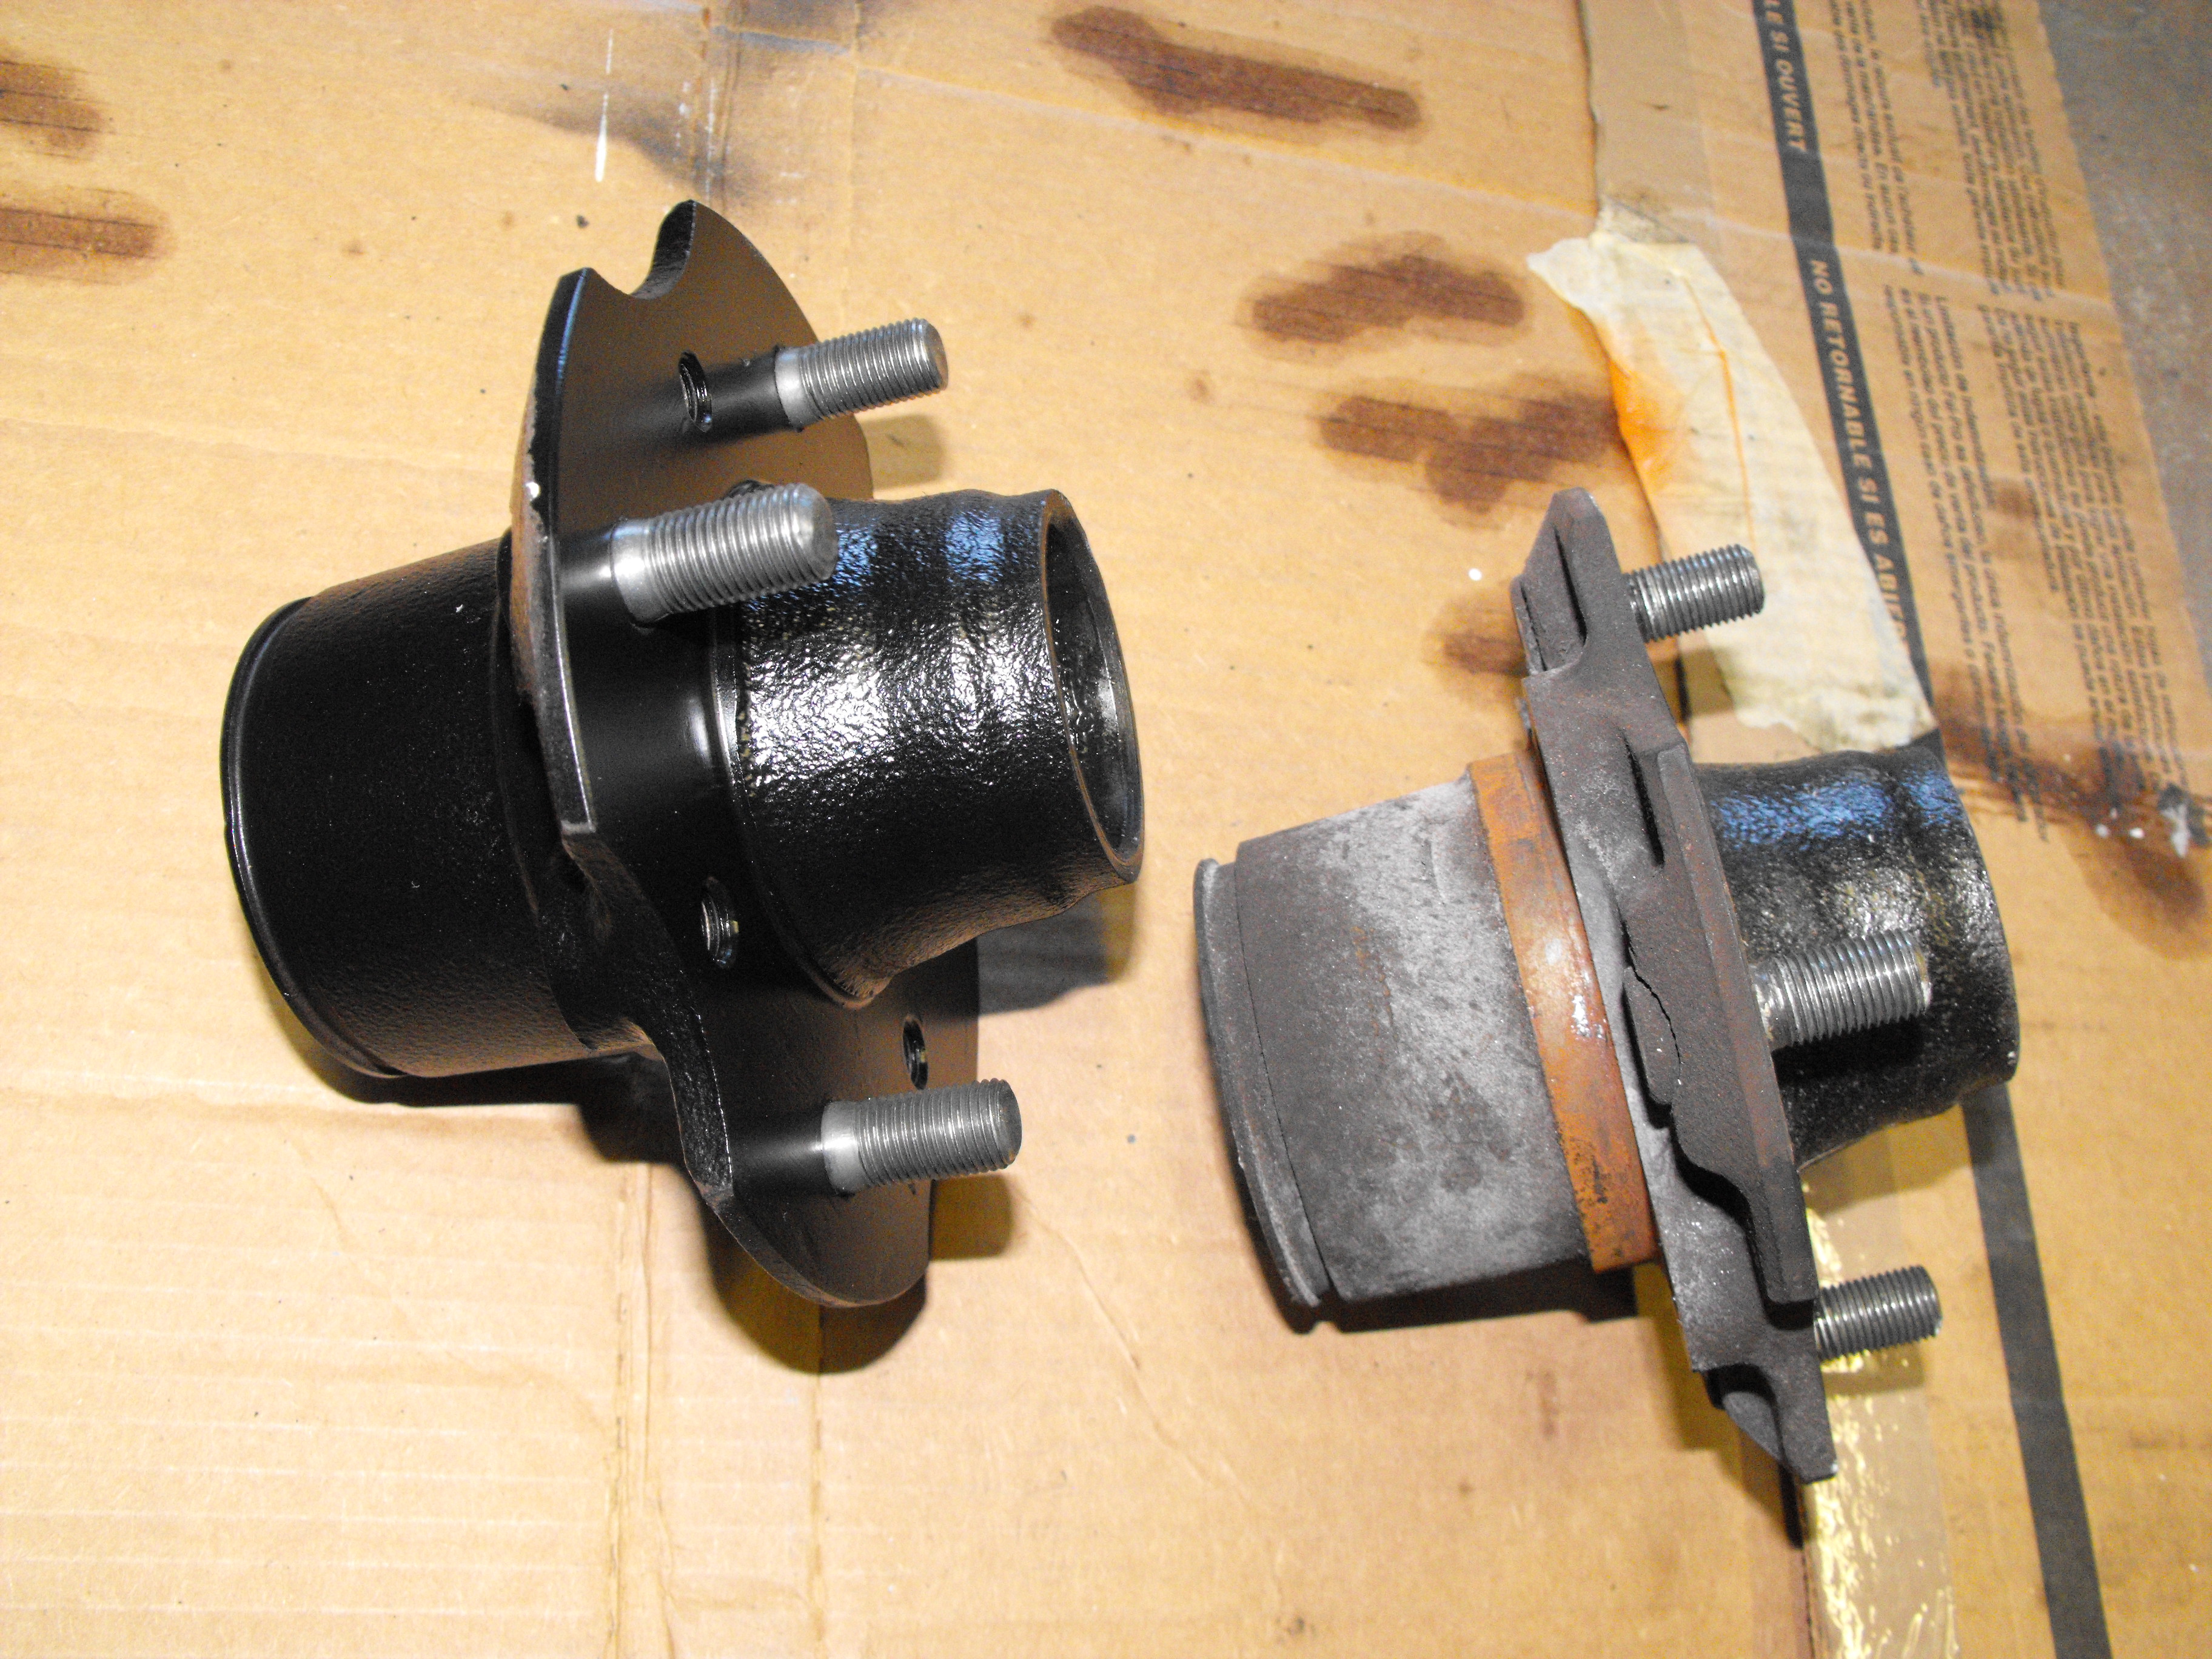
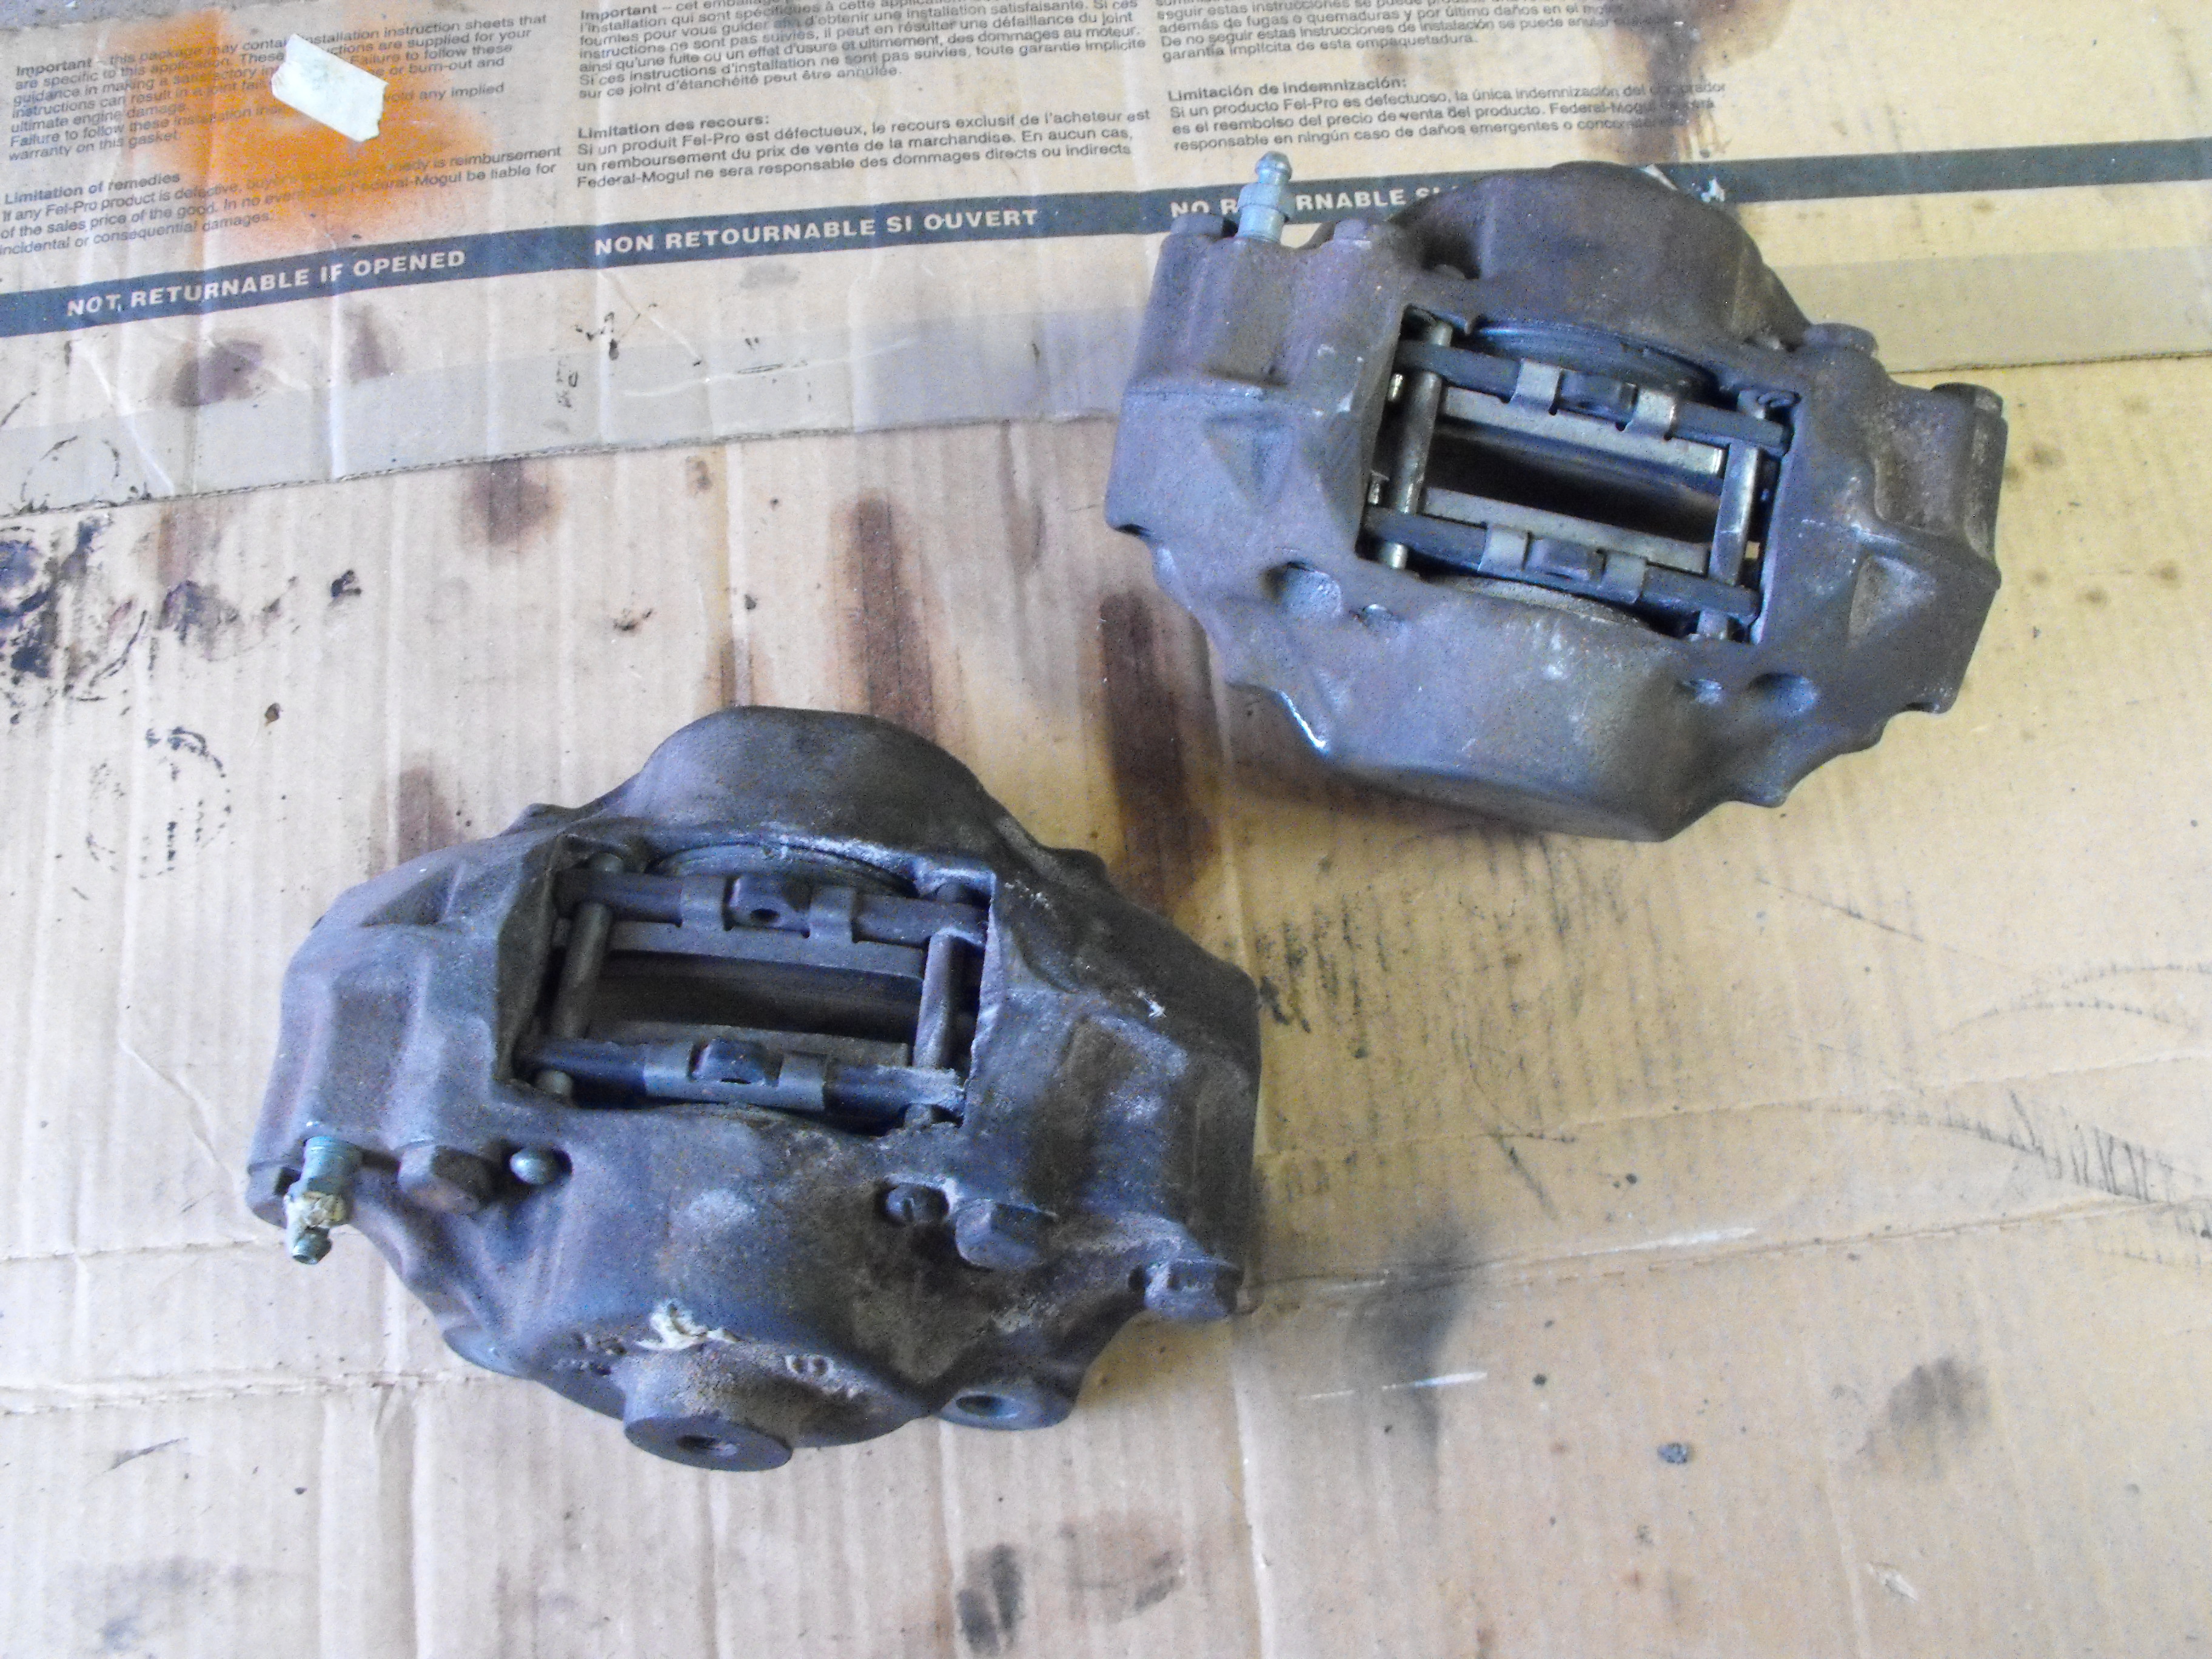
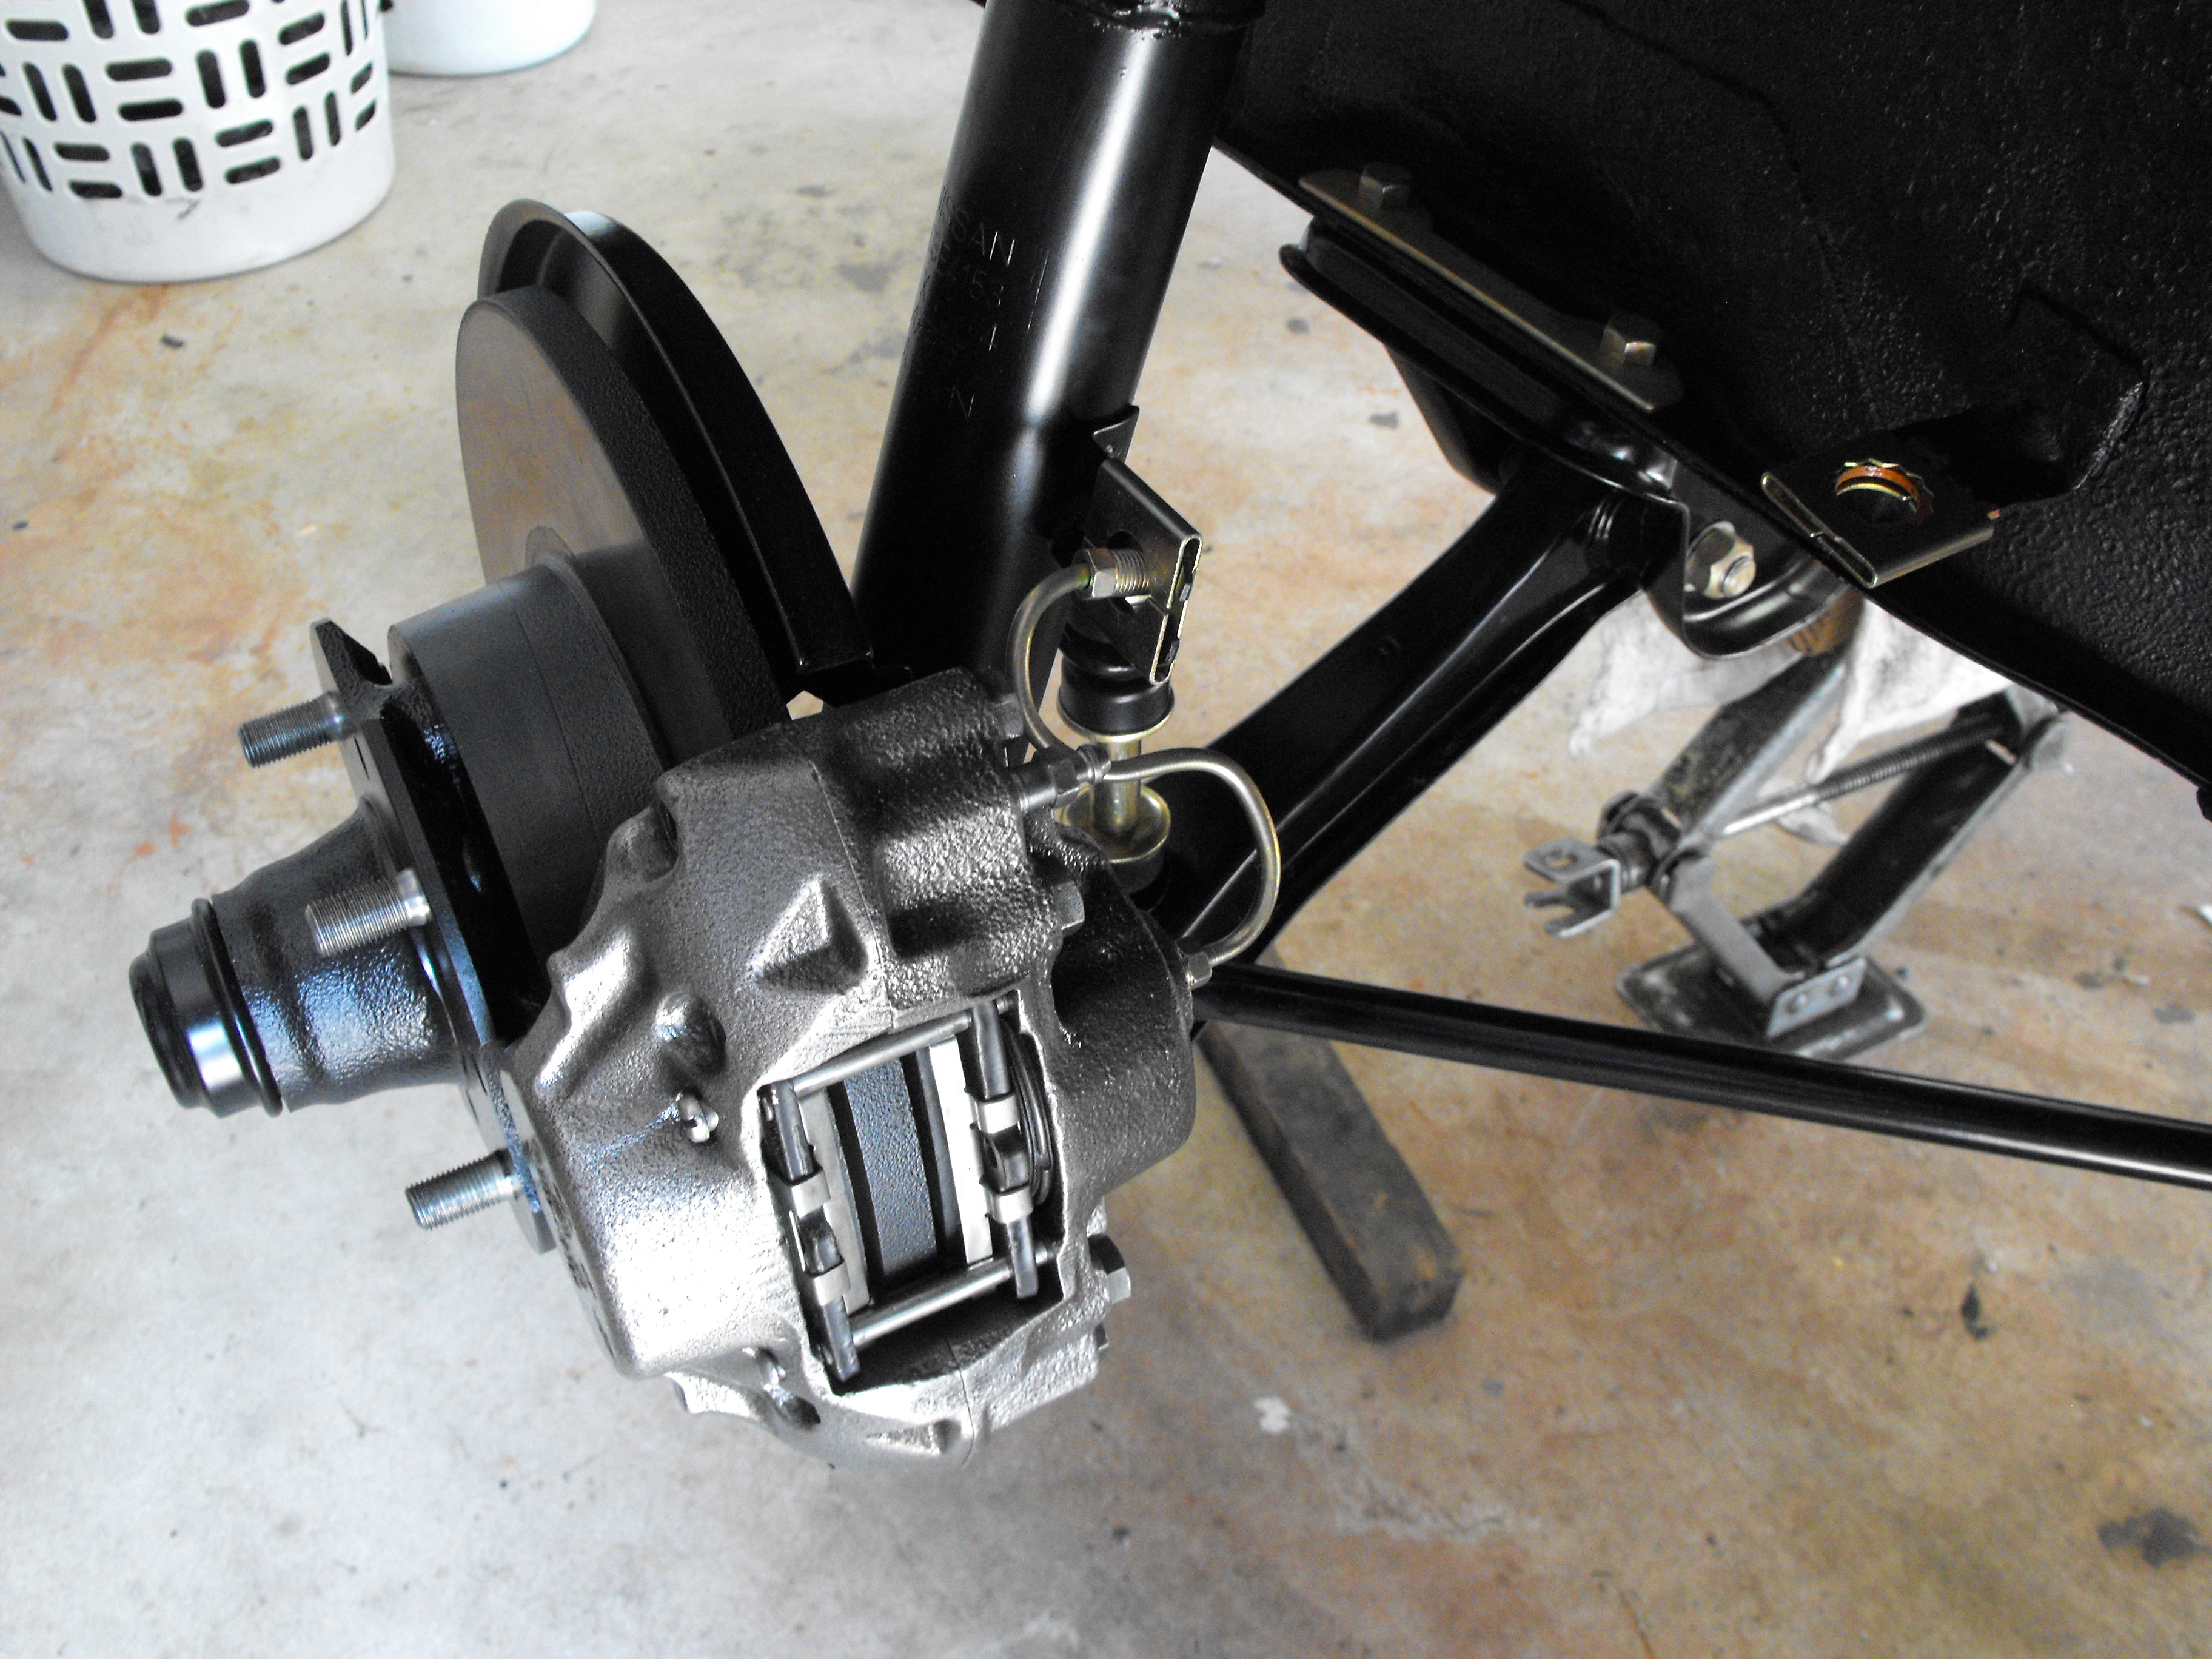
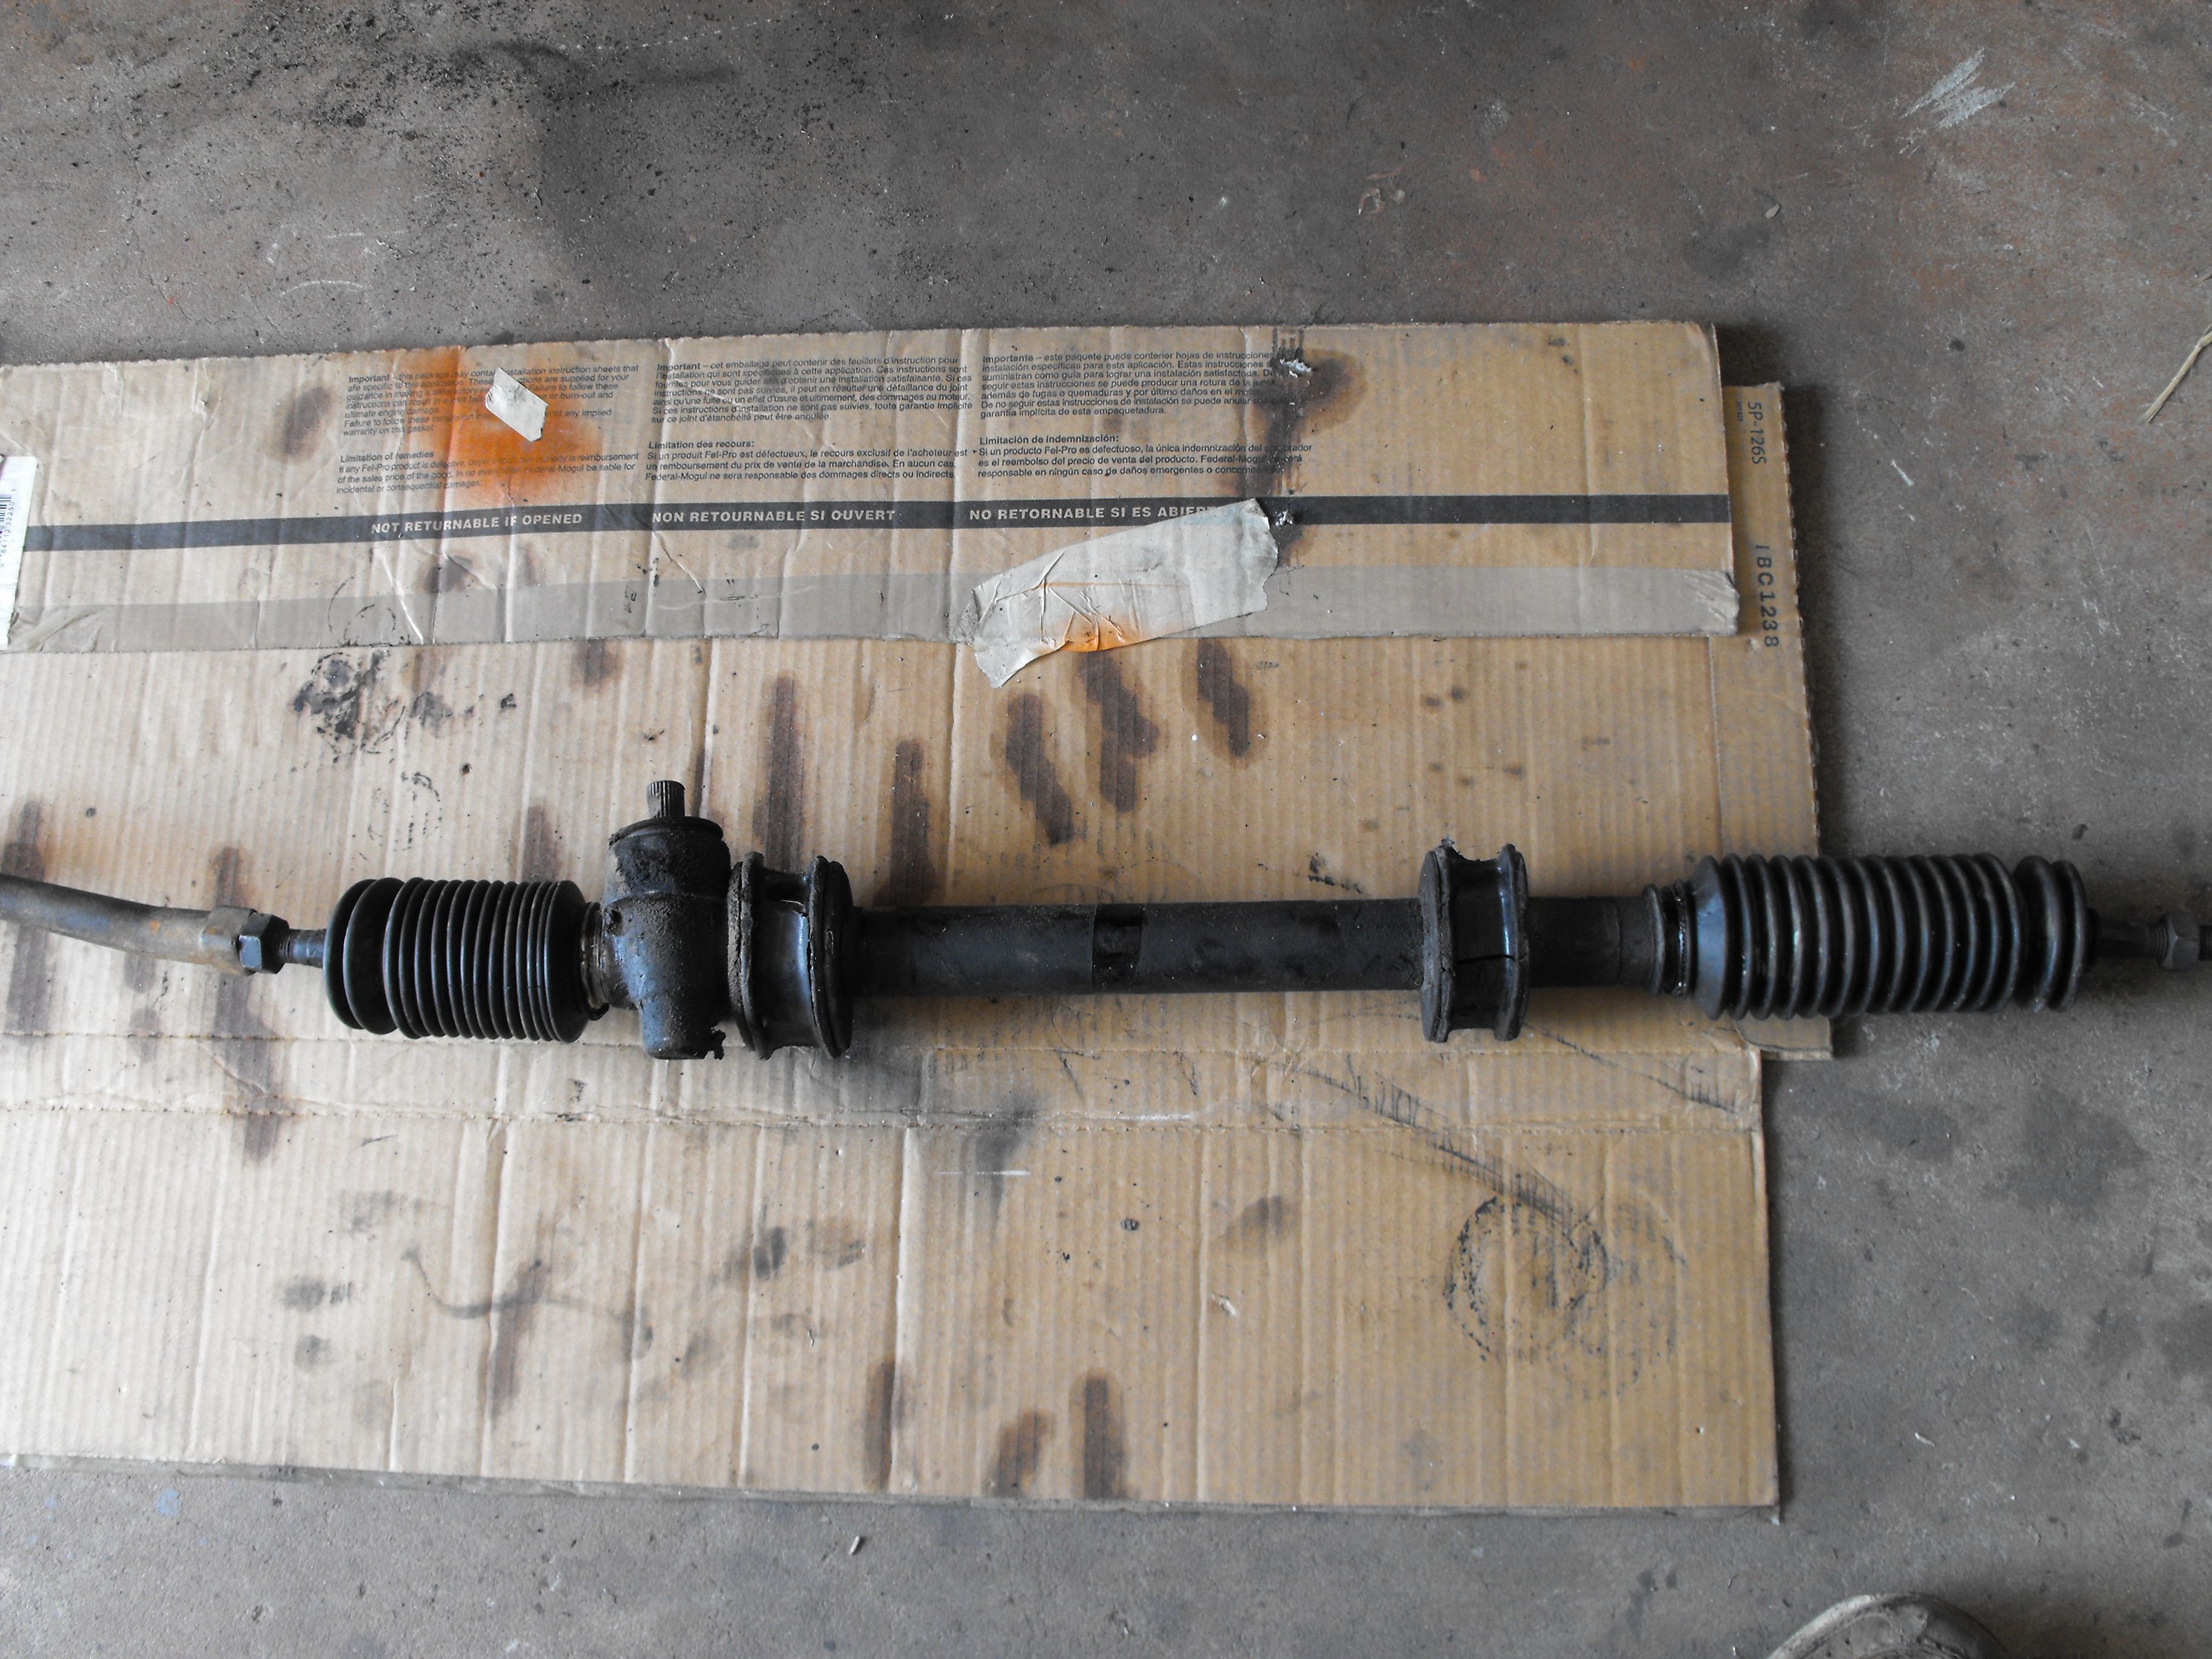
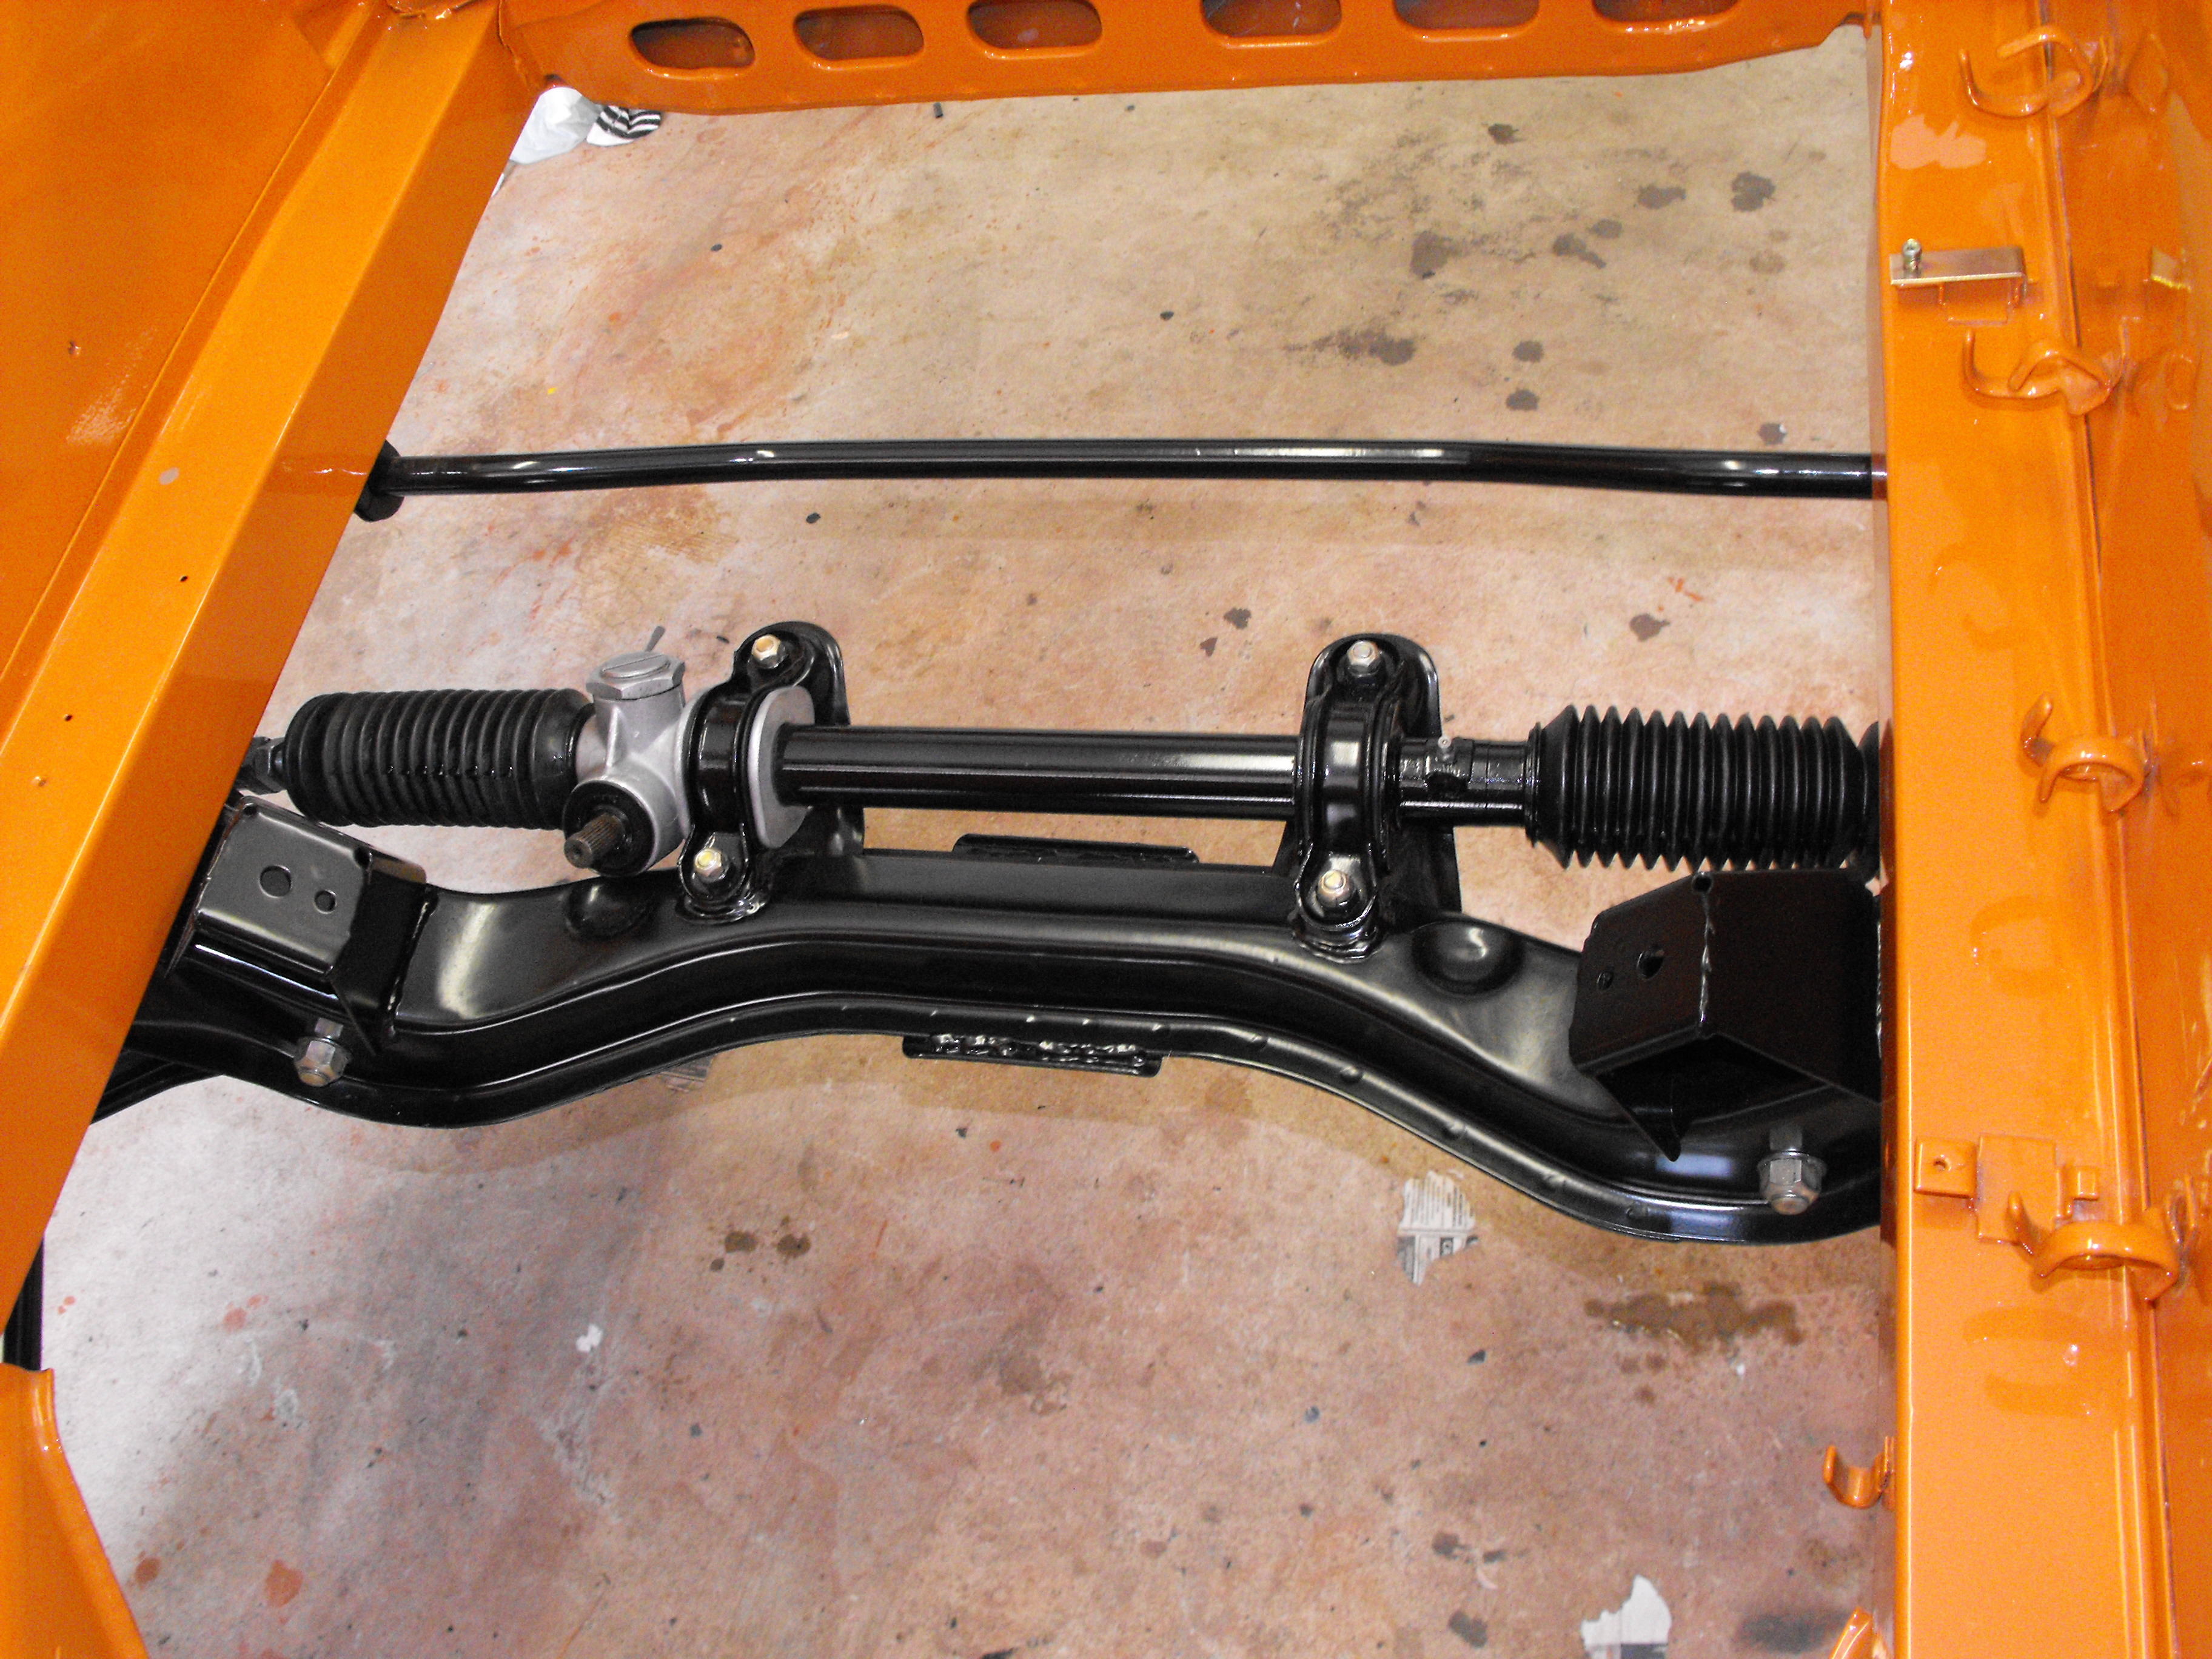
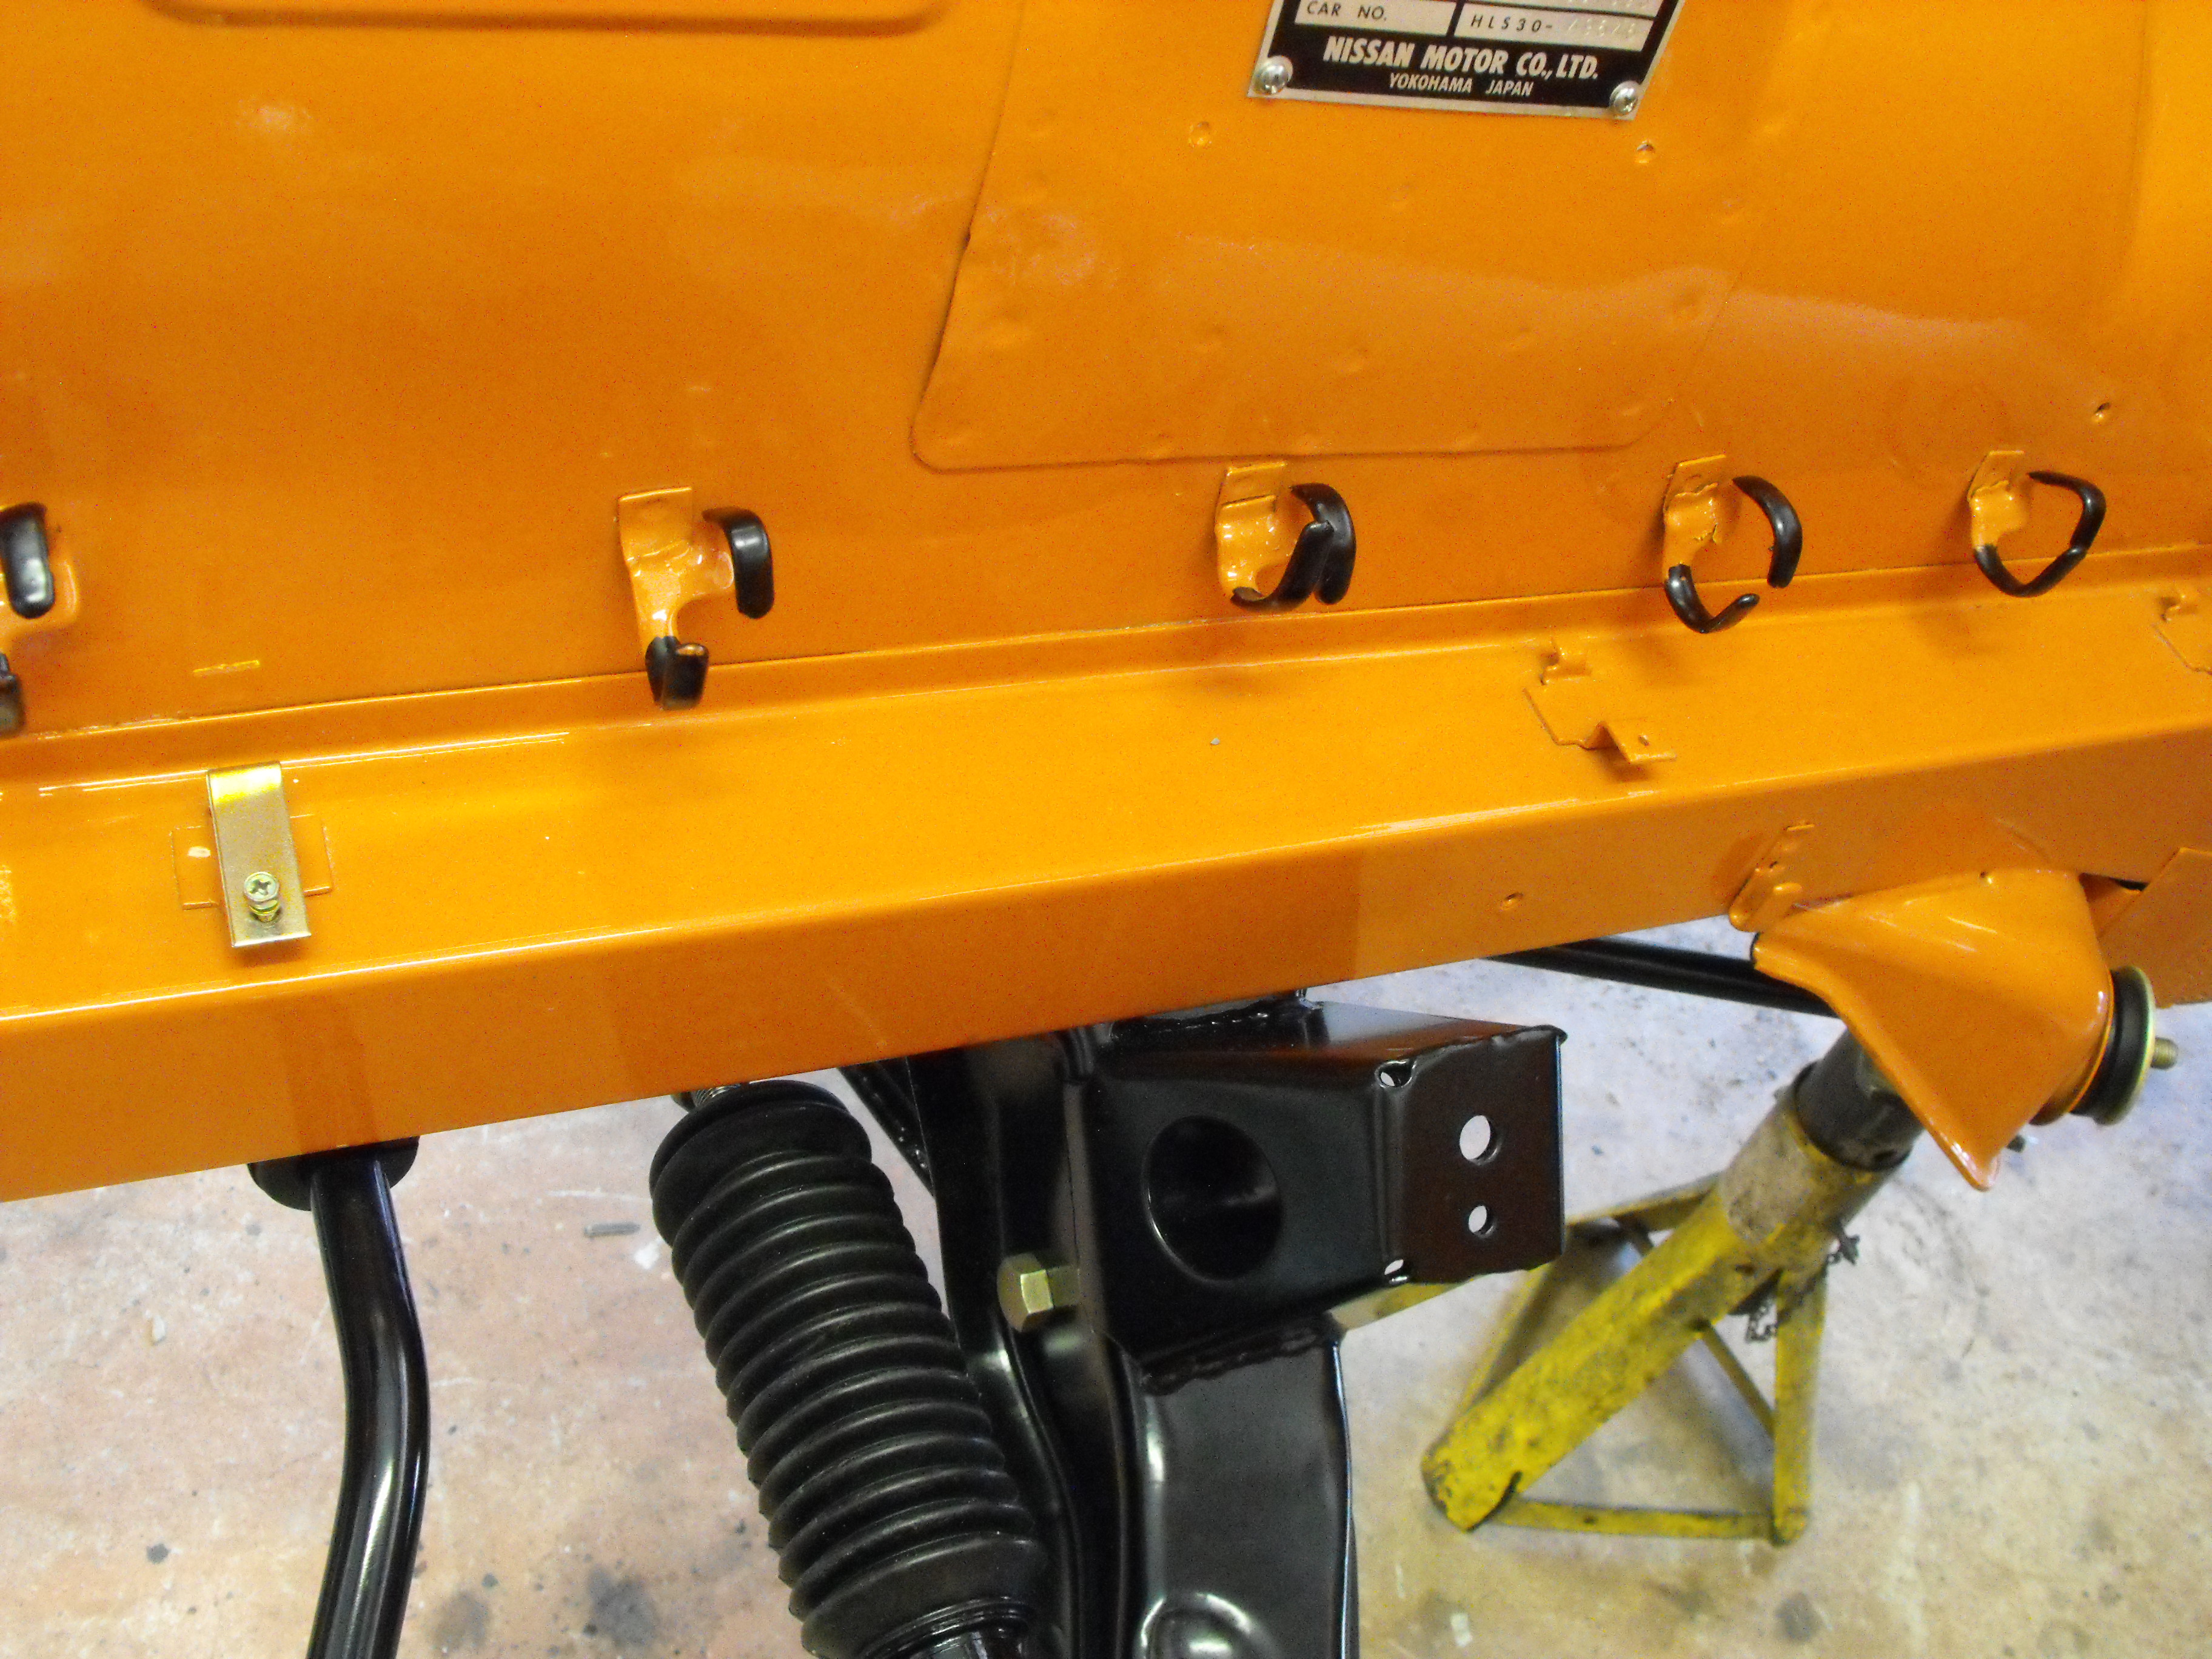
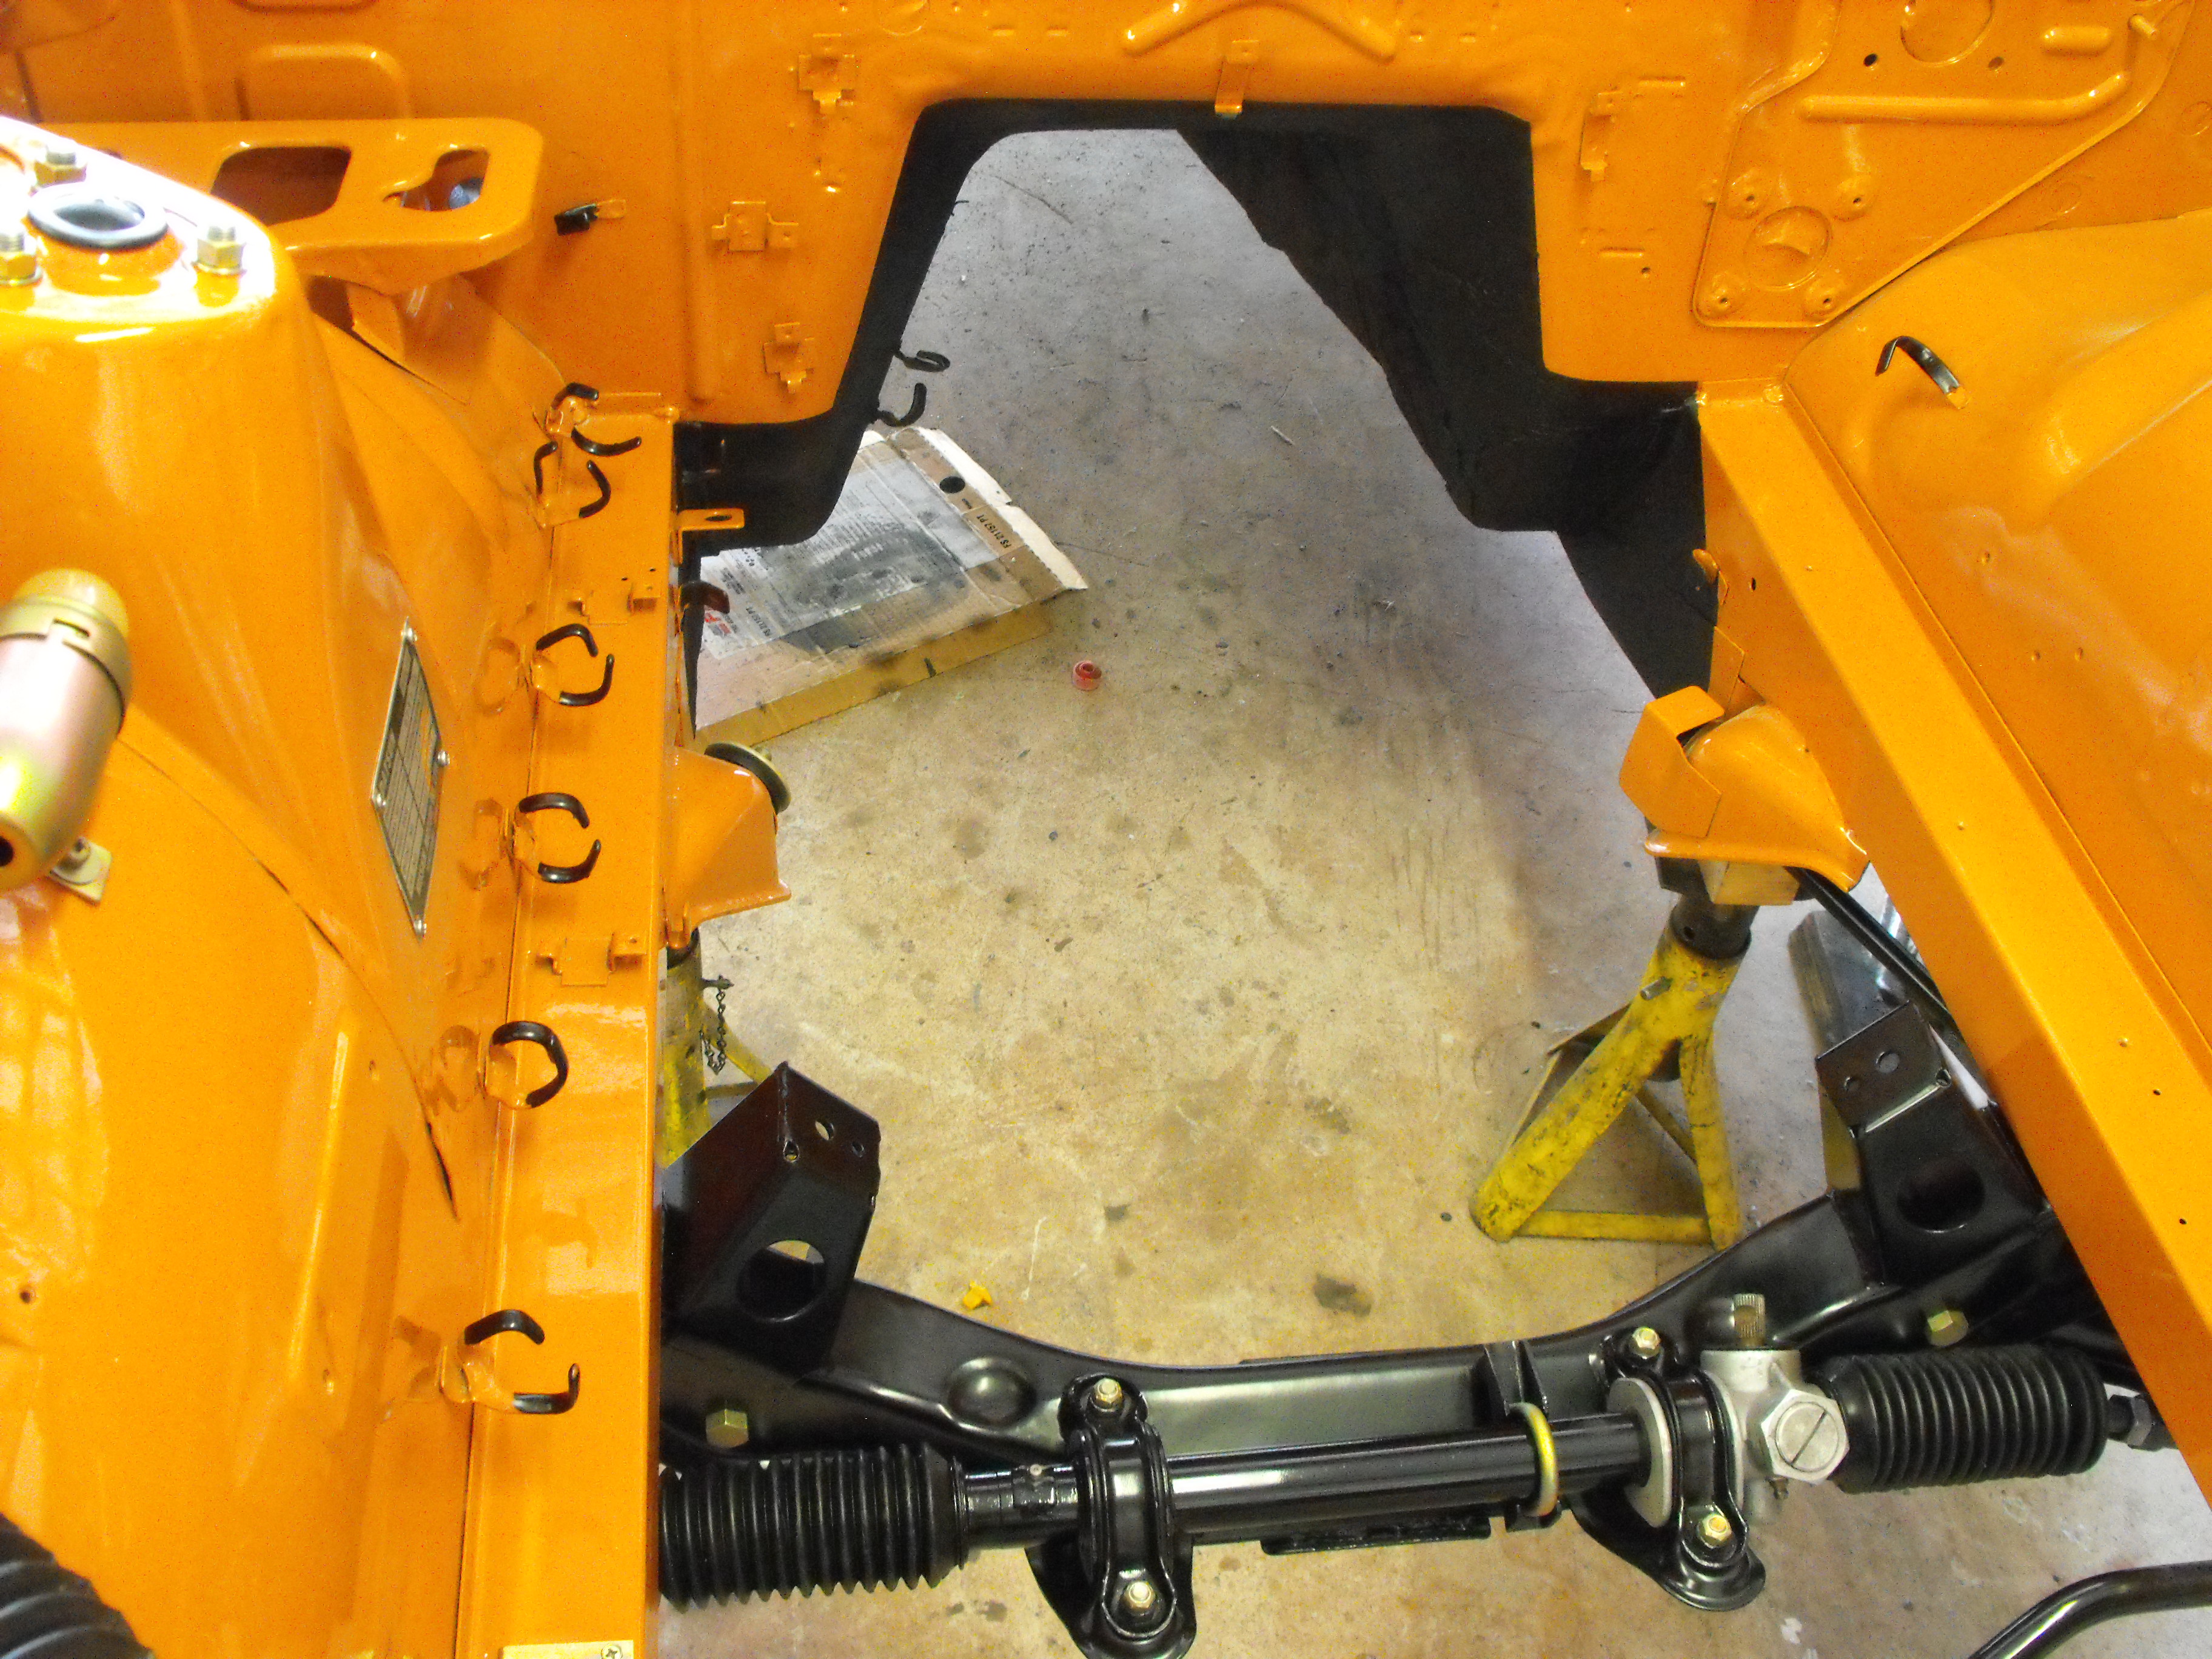
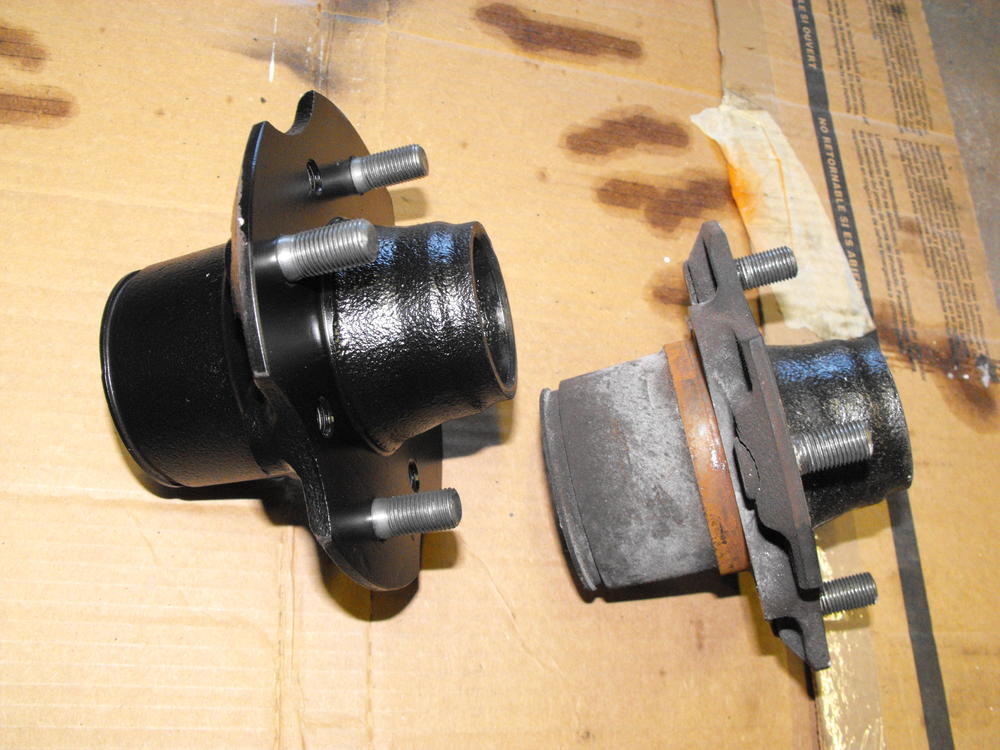
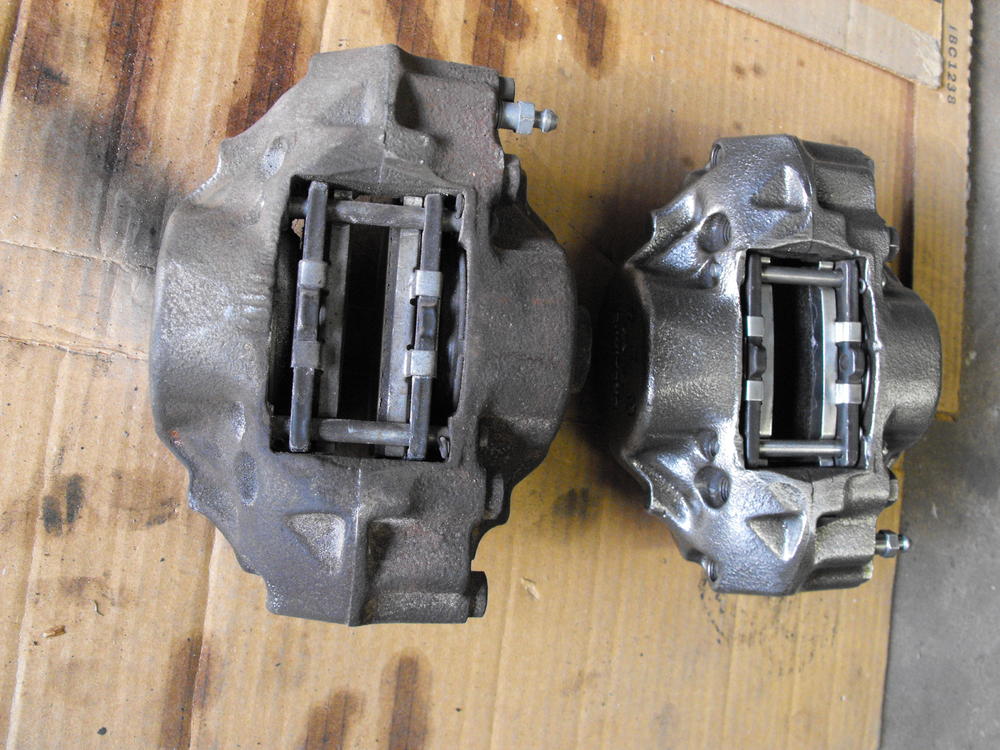
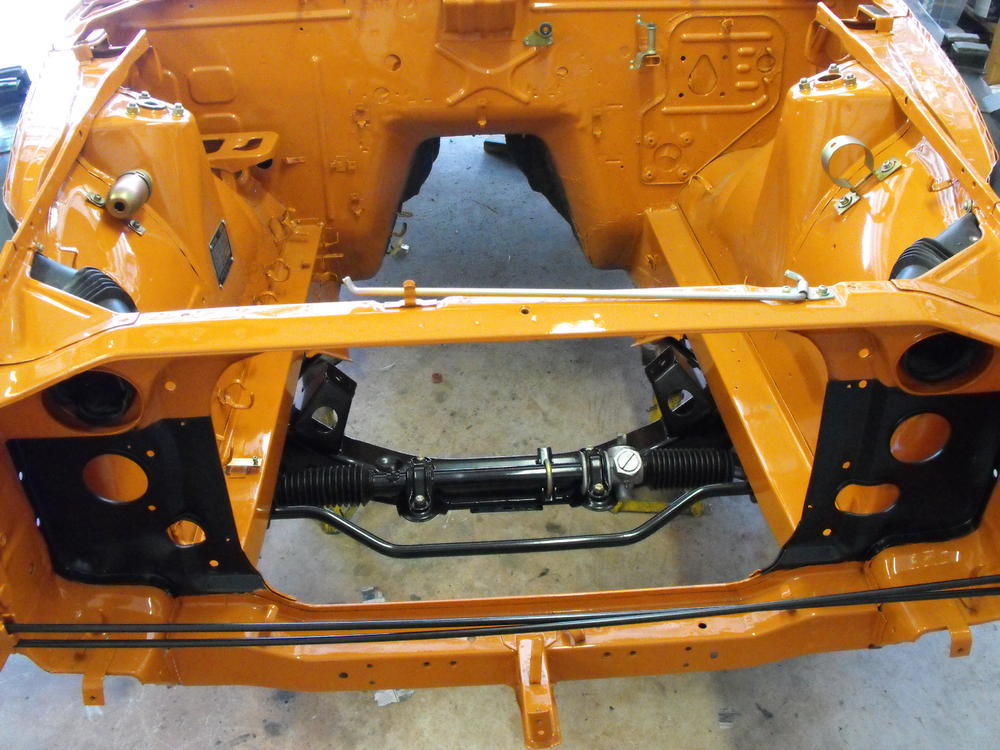
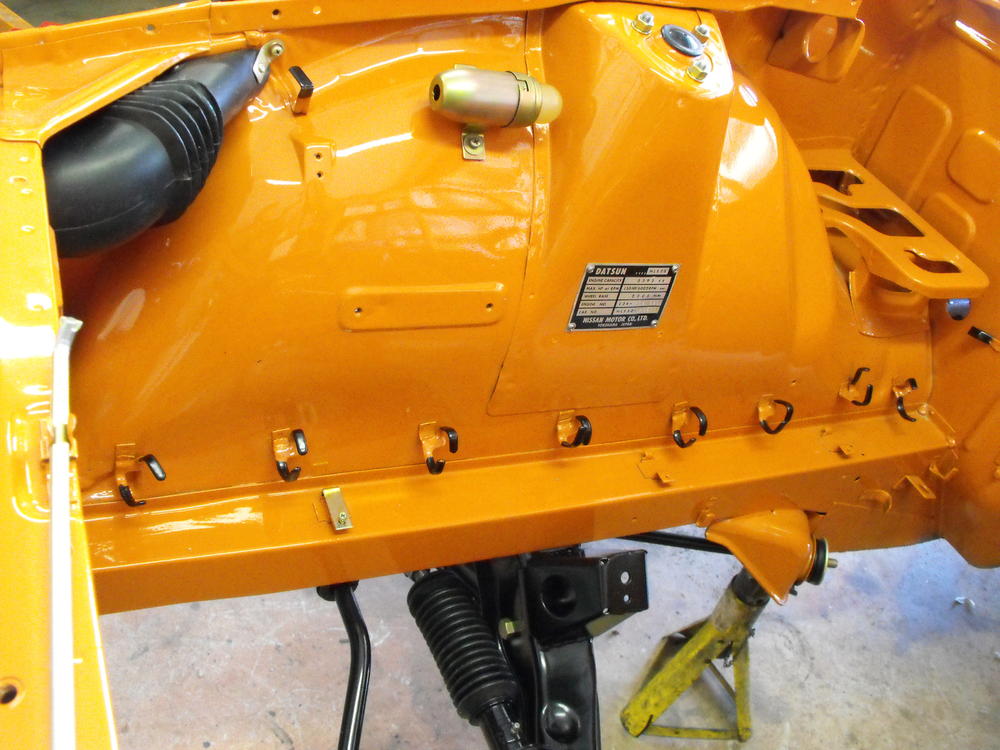
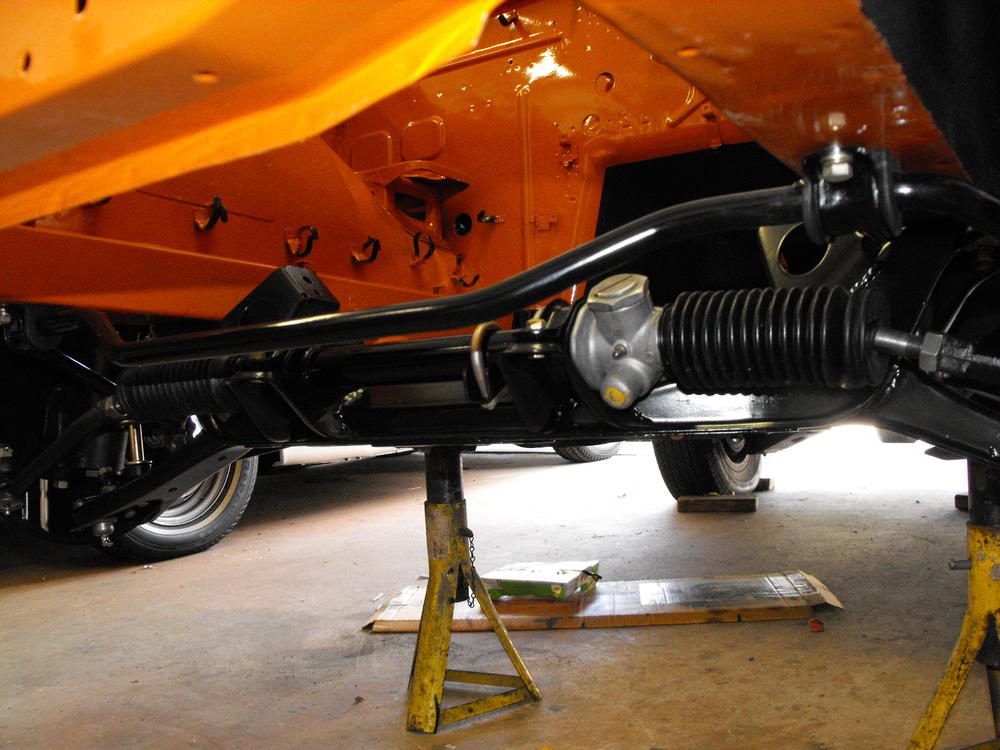
Thanks for the compliments, I appreciate it. The wife is gone today so got a lot done. I got the wheel hubs cleaned up and repacked the bearing before installation. Cleaned up the calipers, I wire wheeled those and then hit them with a clear gloss coat. Cleaned up and re-packed the steering rack, also put in new rubber bushings. Detailed the engine bay by painting the harness tabs black. Also added undercoating to the area that was already undercoated. Pics are below. The before and after caliper pic looks funny. Yes they are the same size, cleaned up one is in the background.


-
5 gallon bucket with about 4 gallons of liquid.
-
I always do a 30 second blue chromate dip before the yellow chromate. The blue chromate helps give the plating the nice rainbow effect and helps the yellow to attach better. I also use the brightener at the start of each plating 'session' or after an hour or two of plating. I usually add about 2 or 3 teaspoons
-
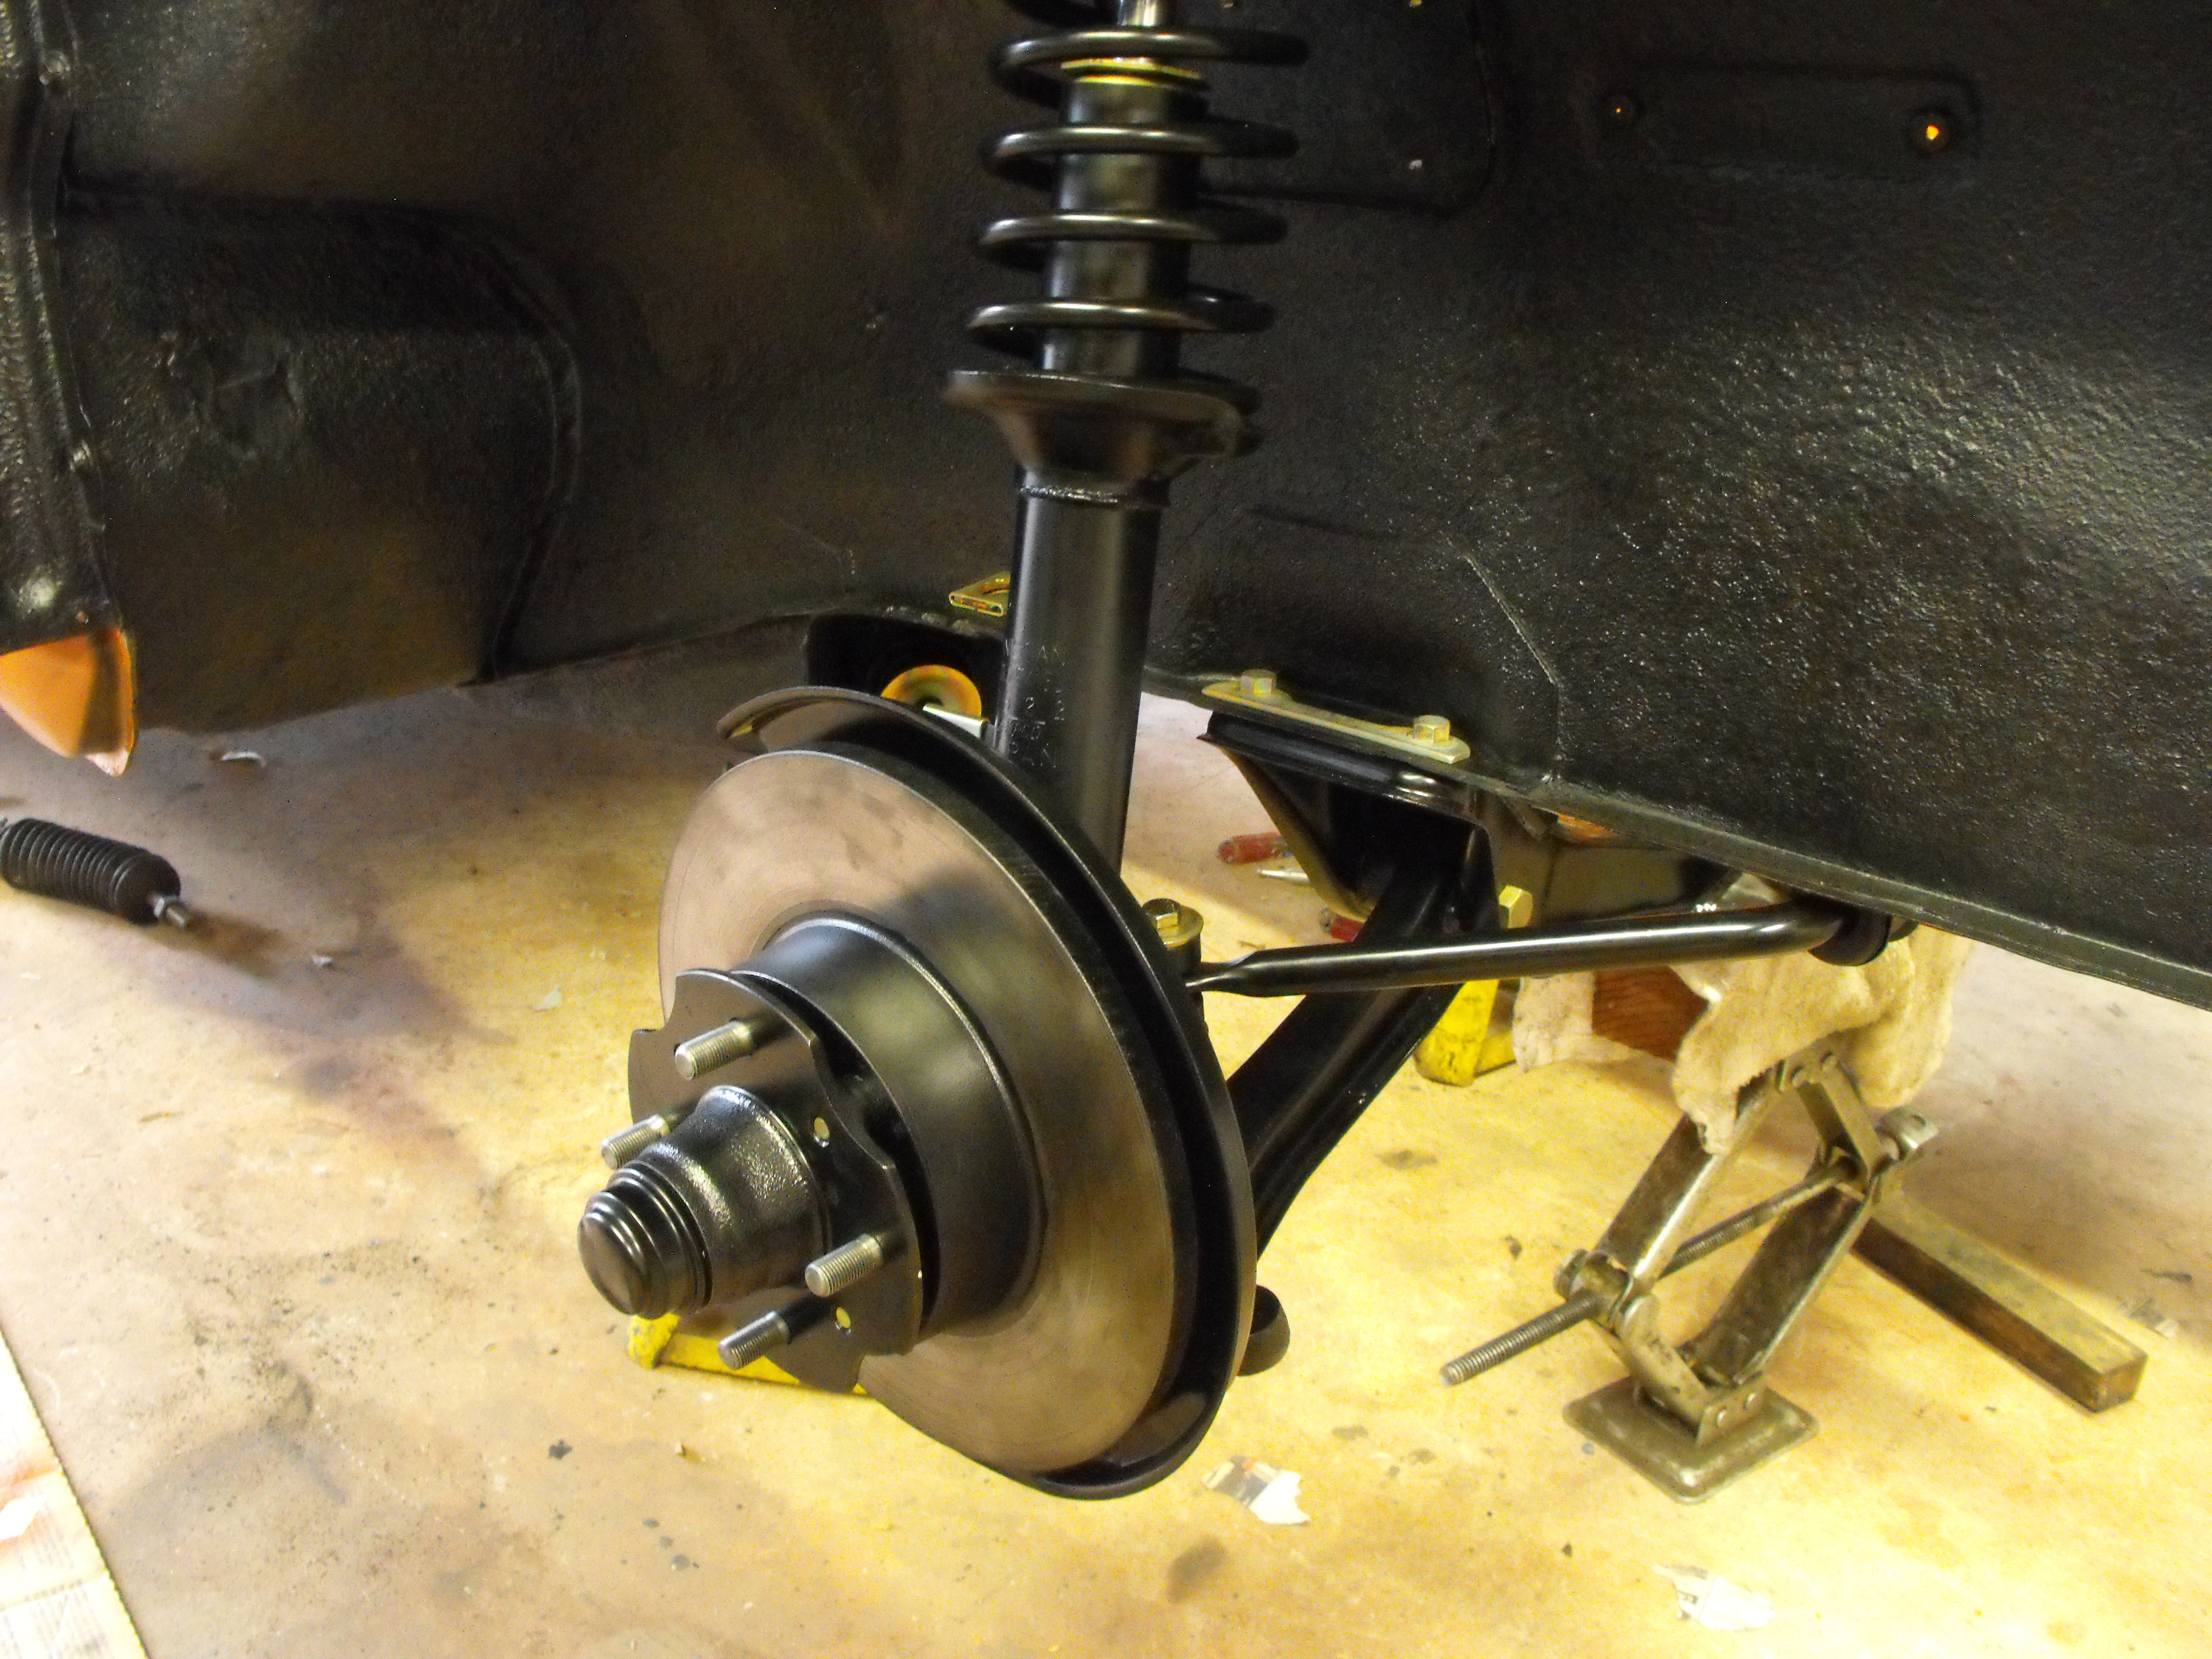
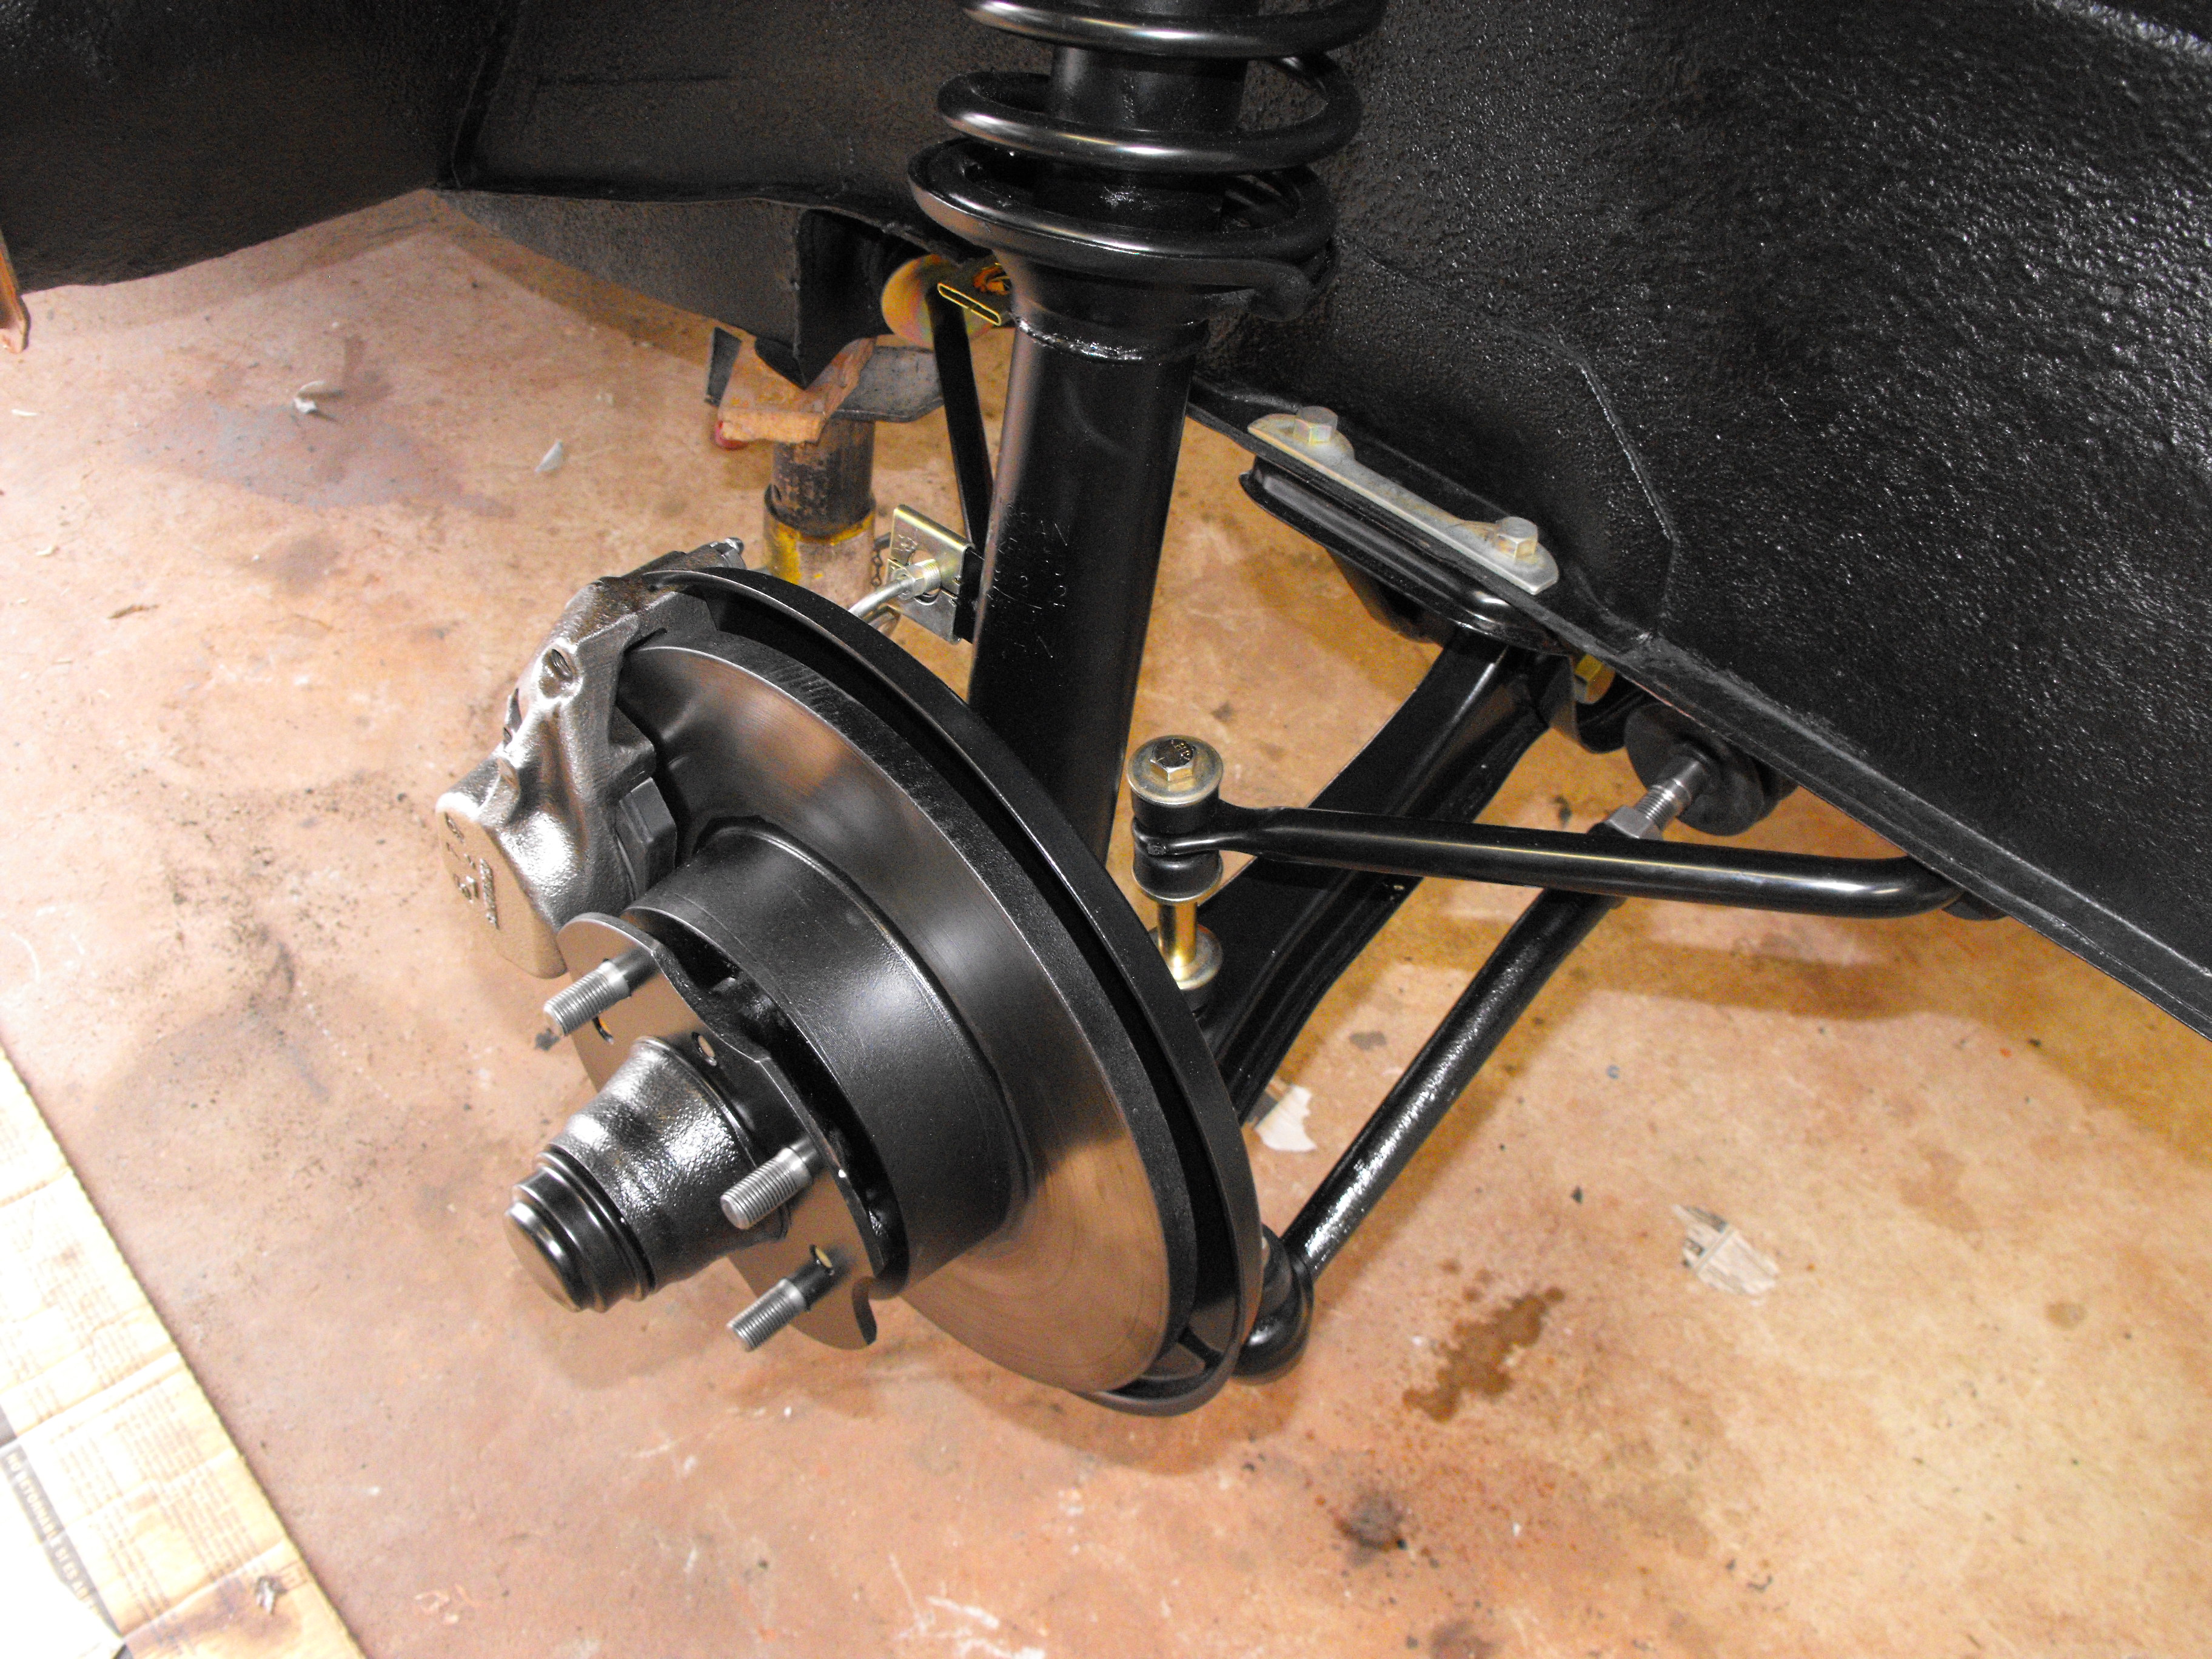
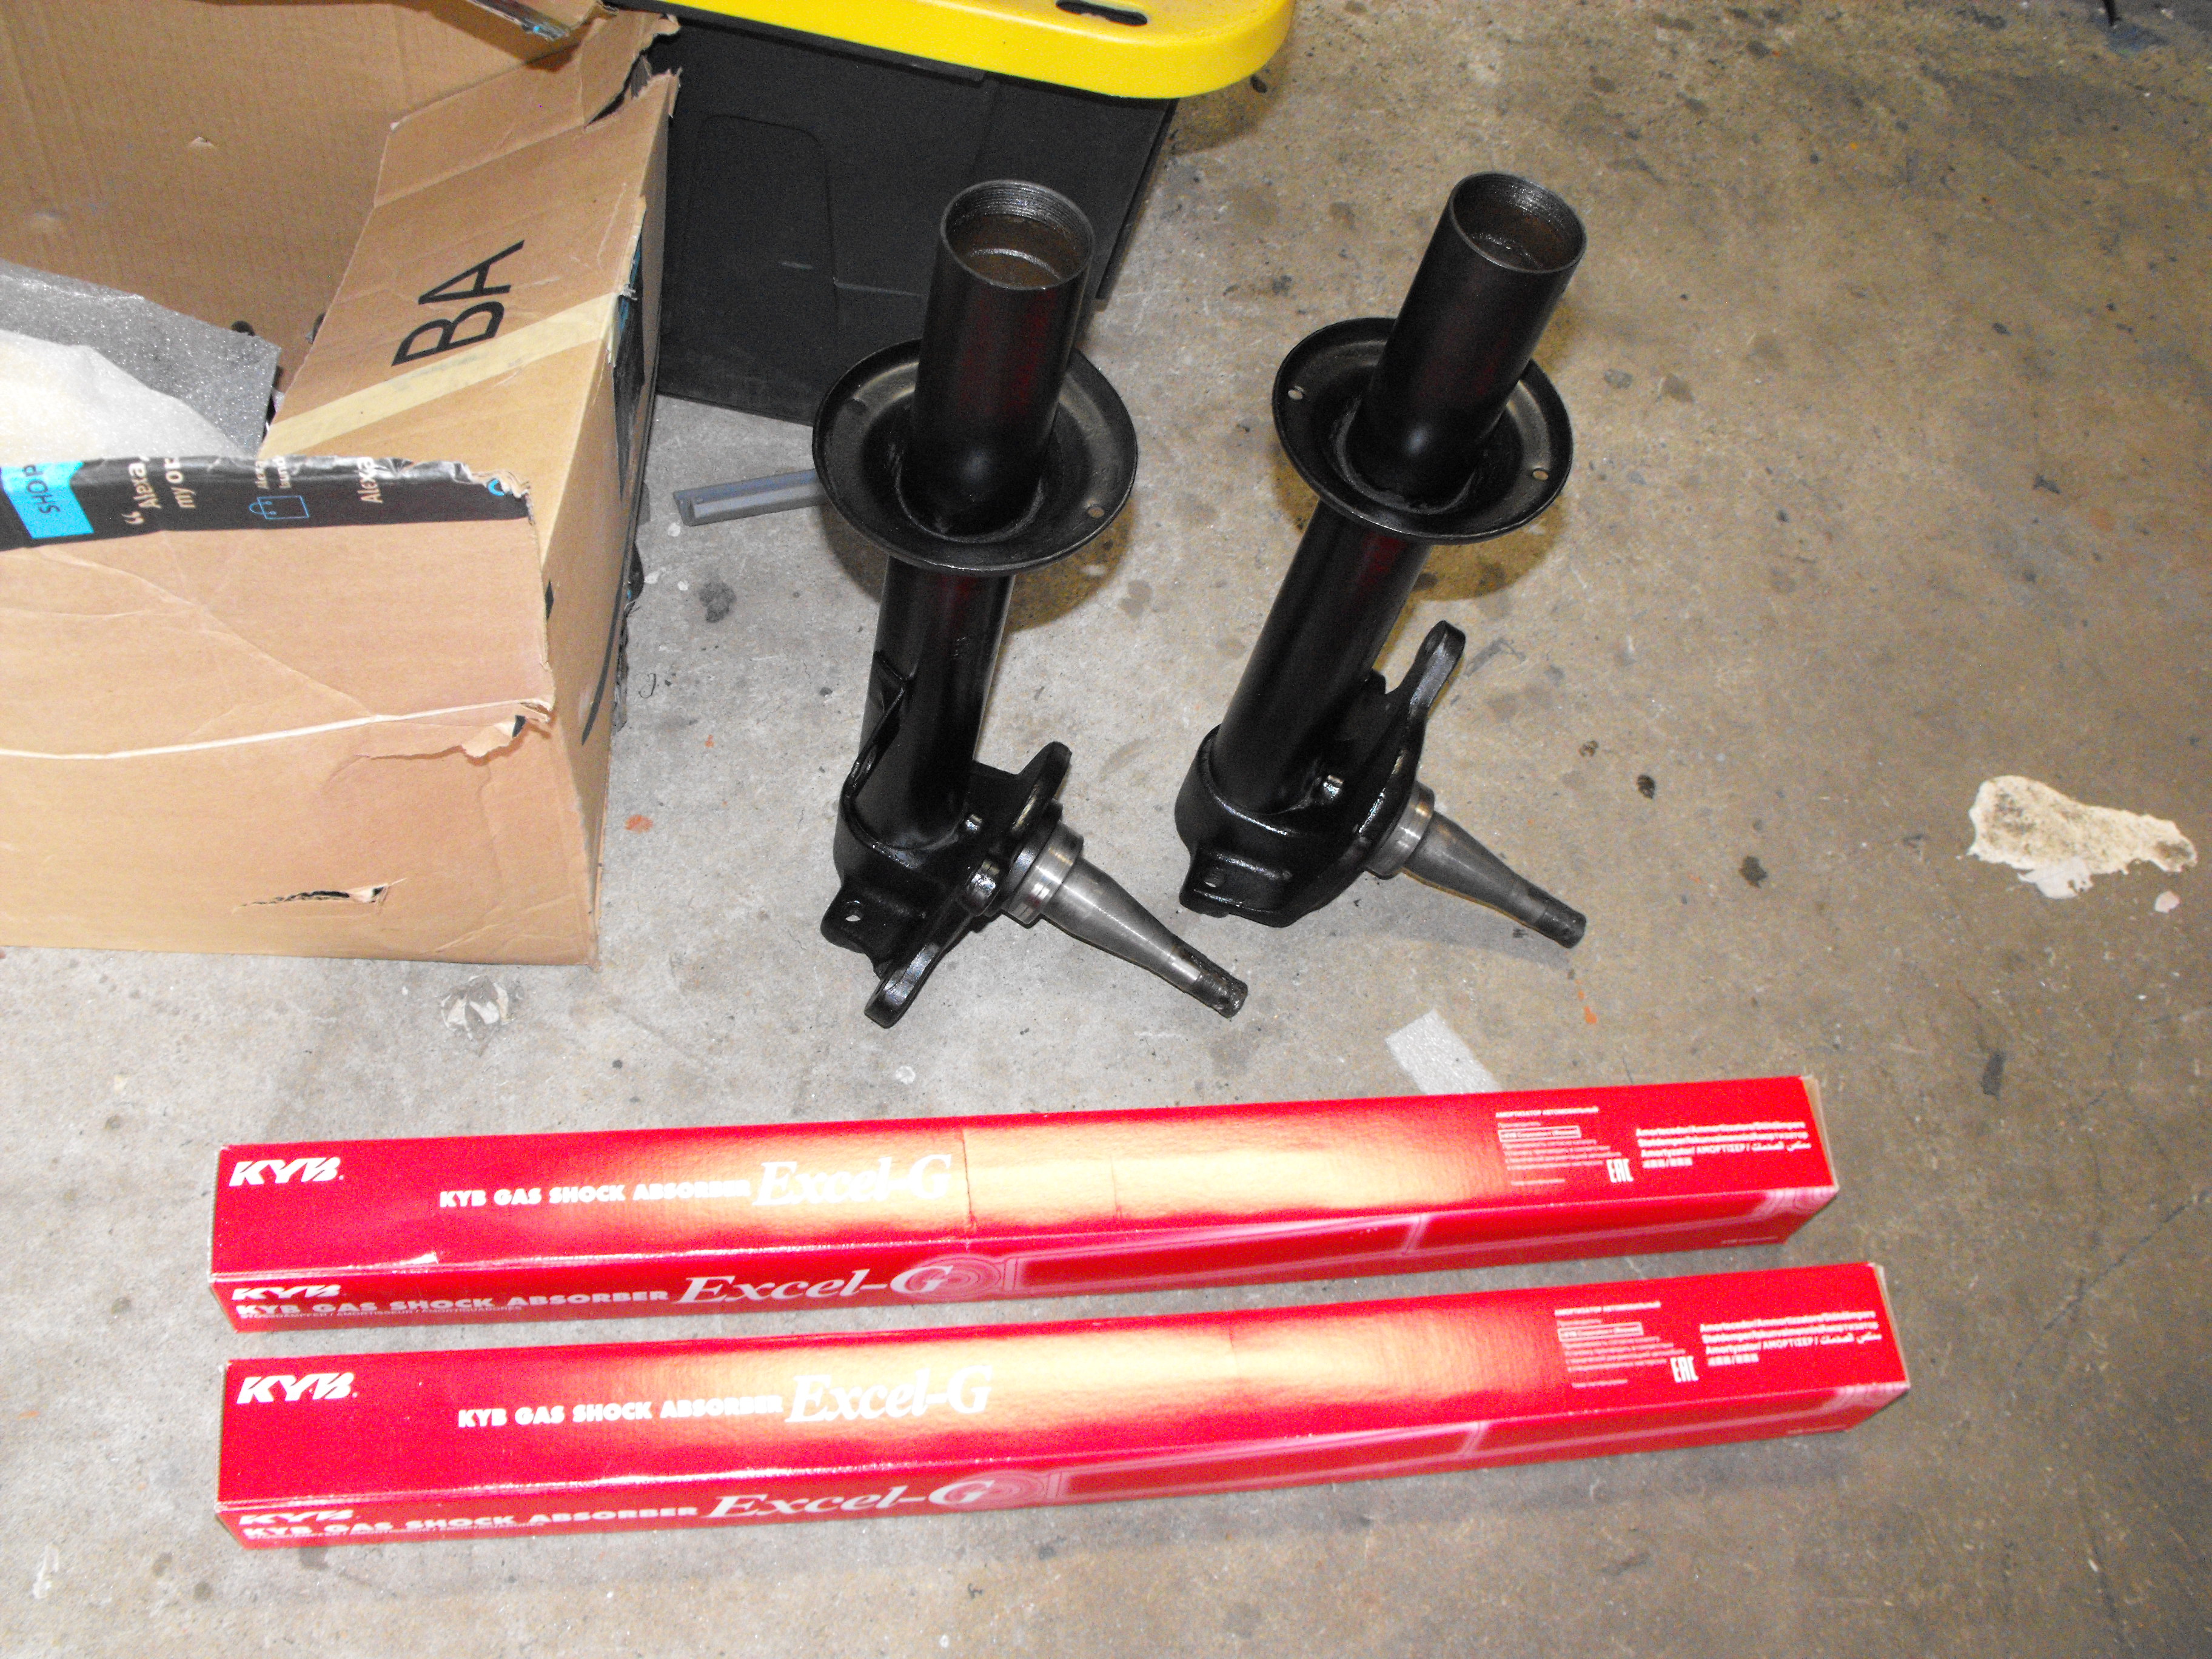
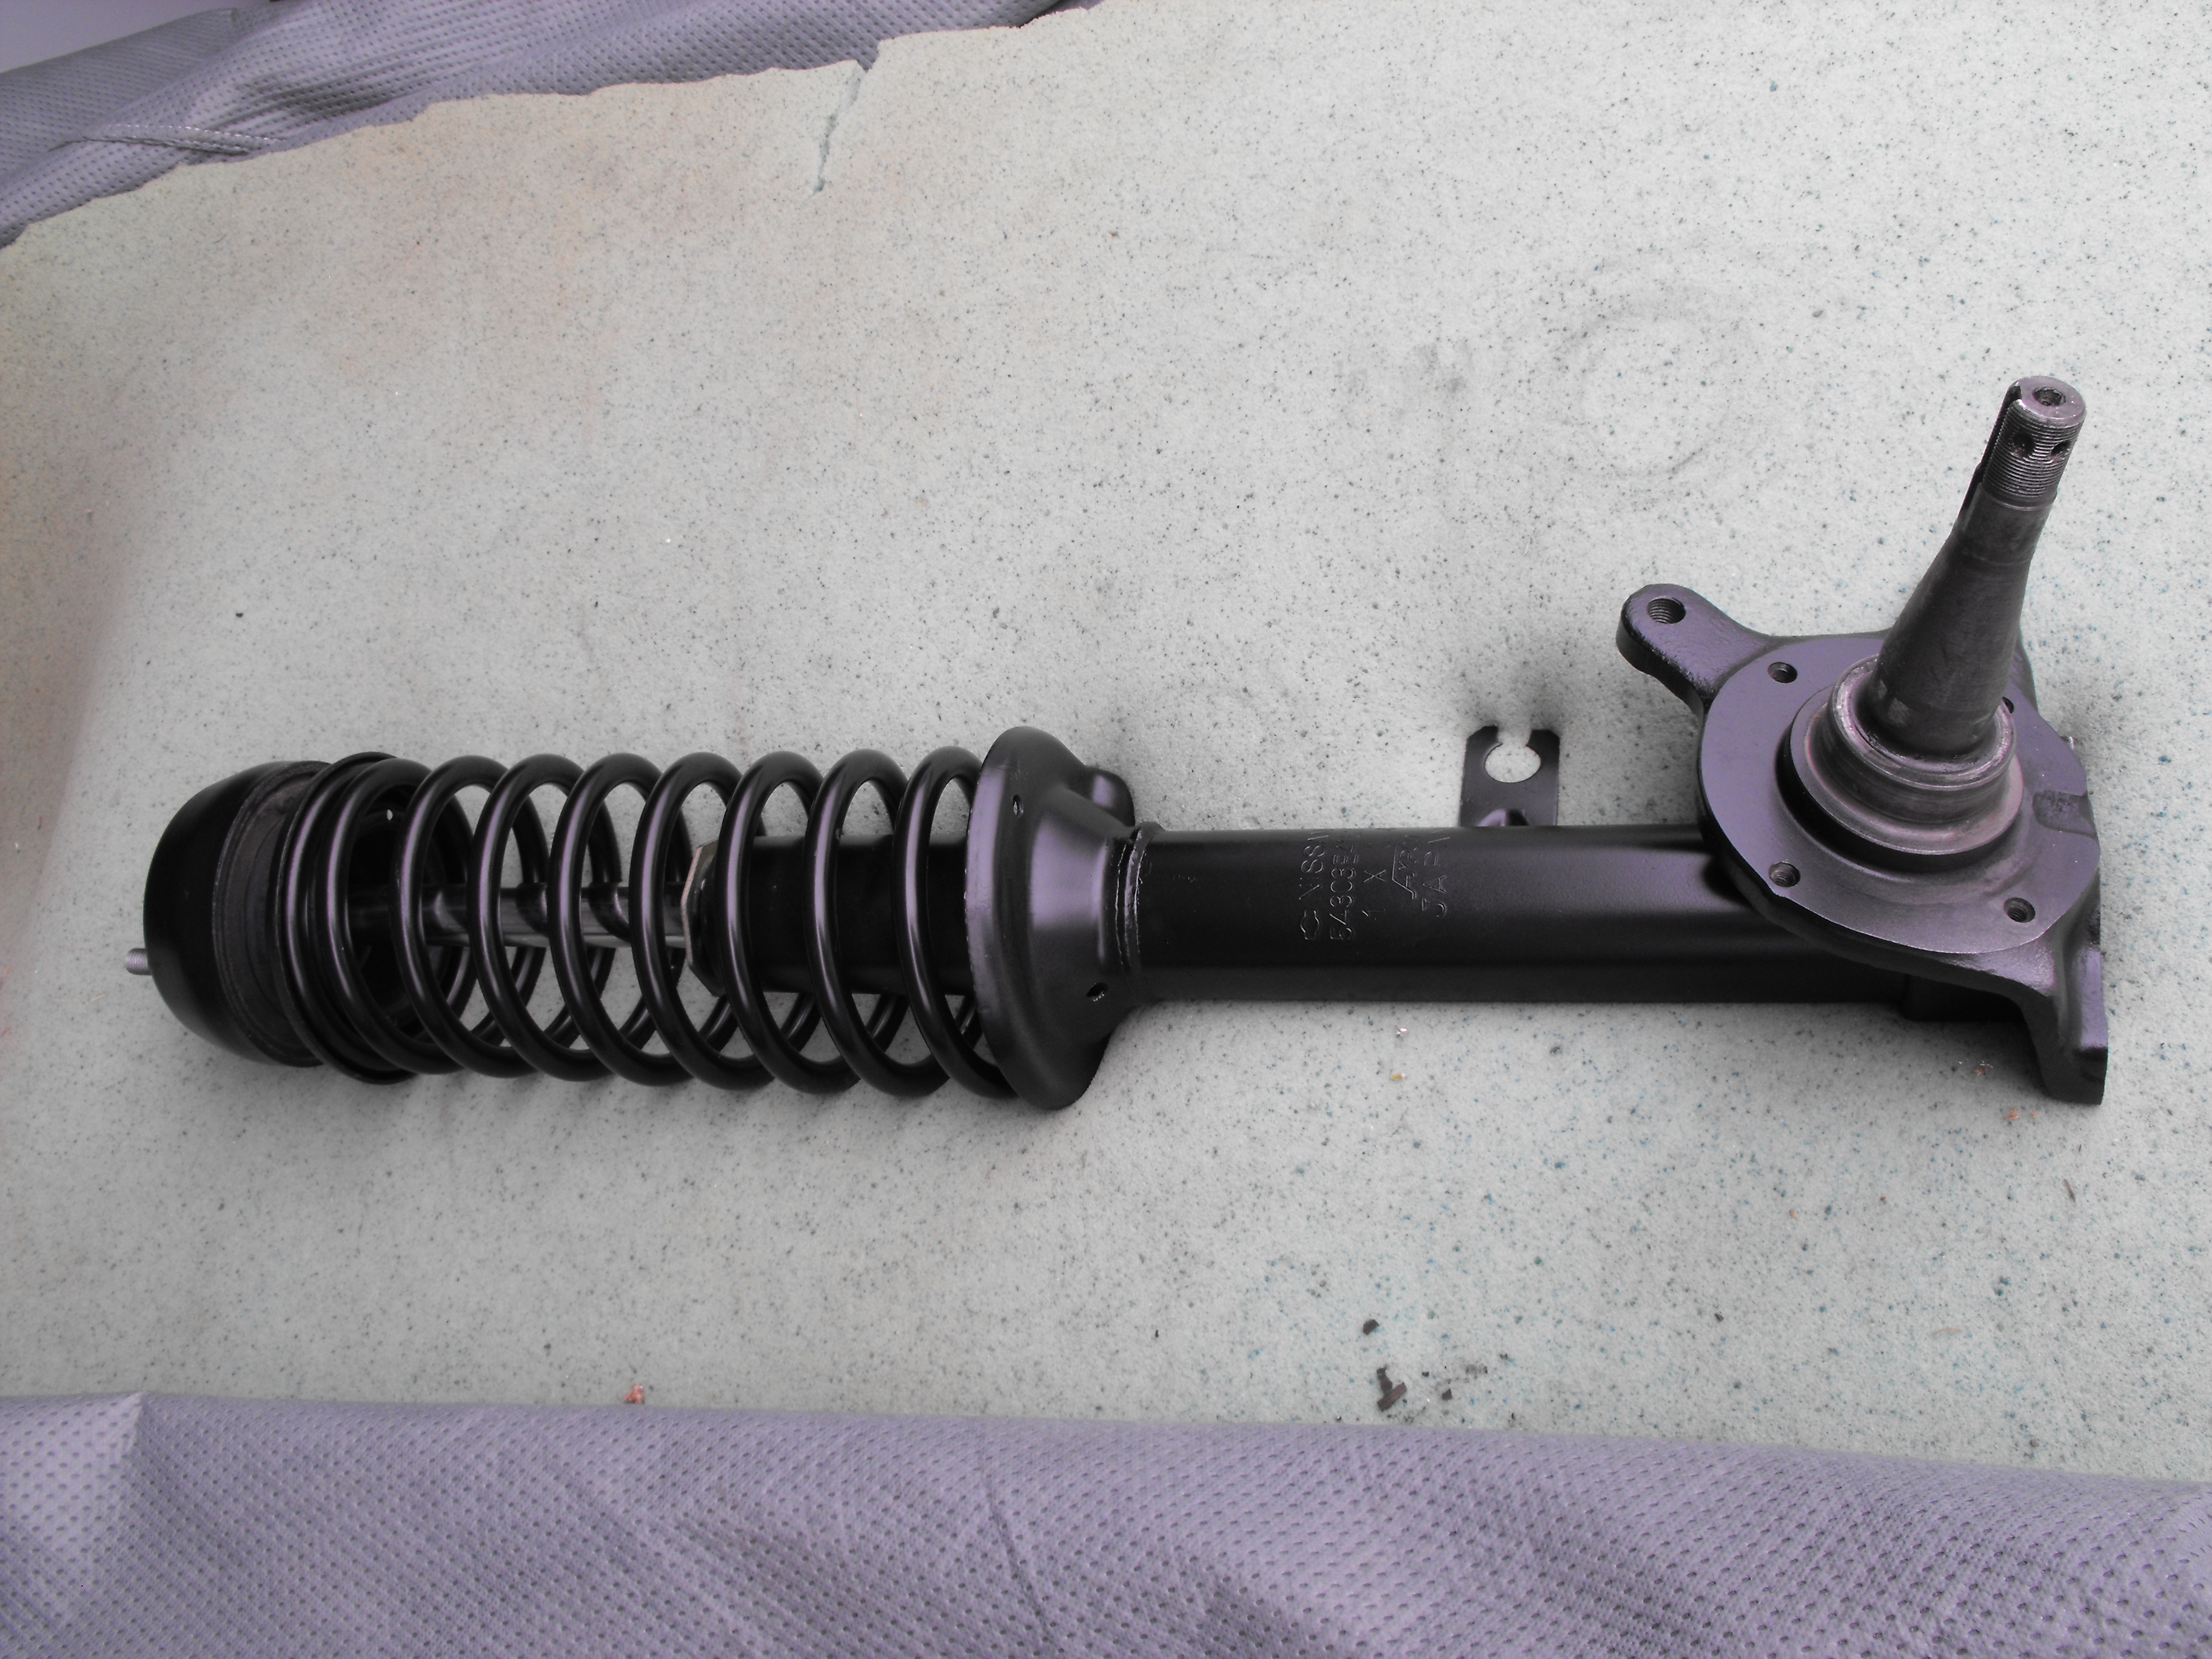
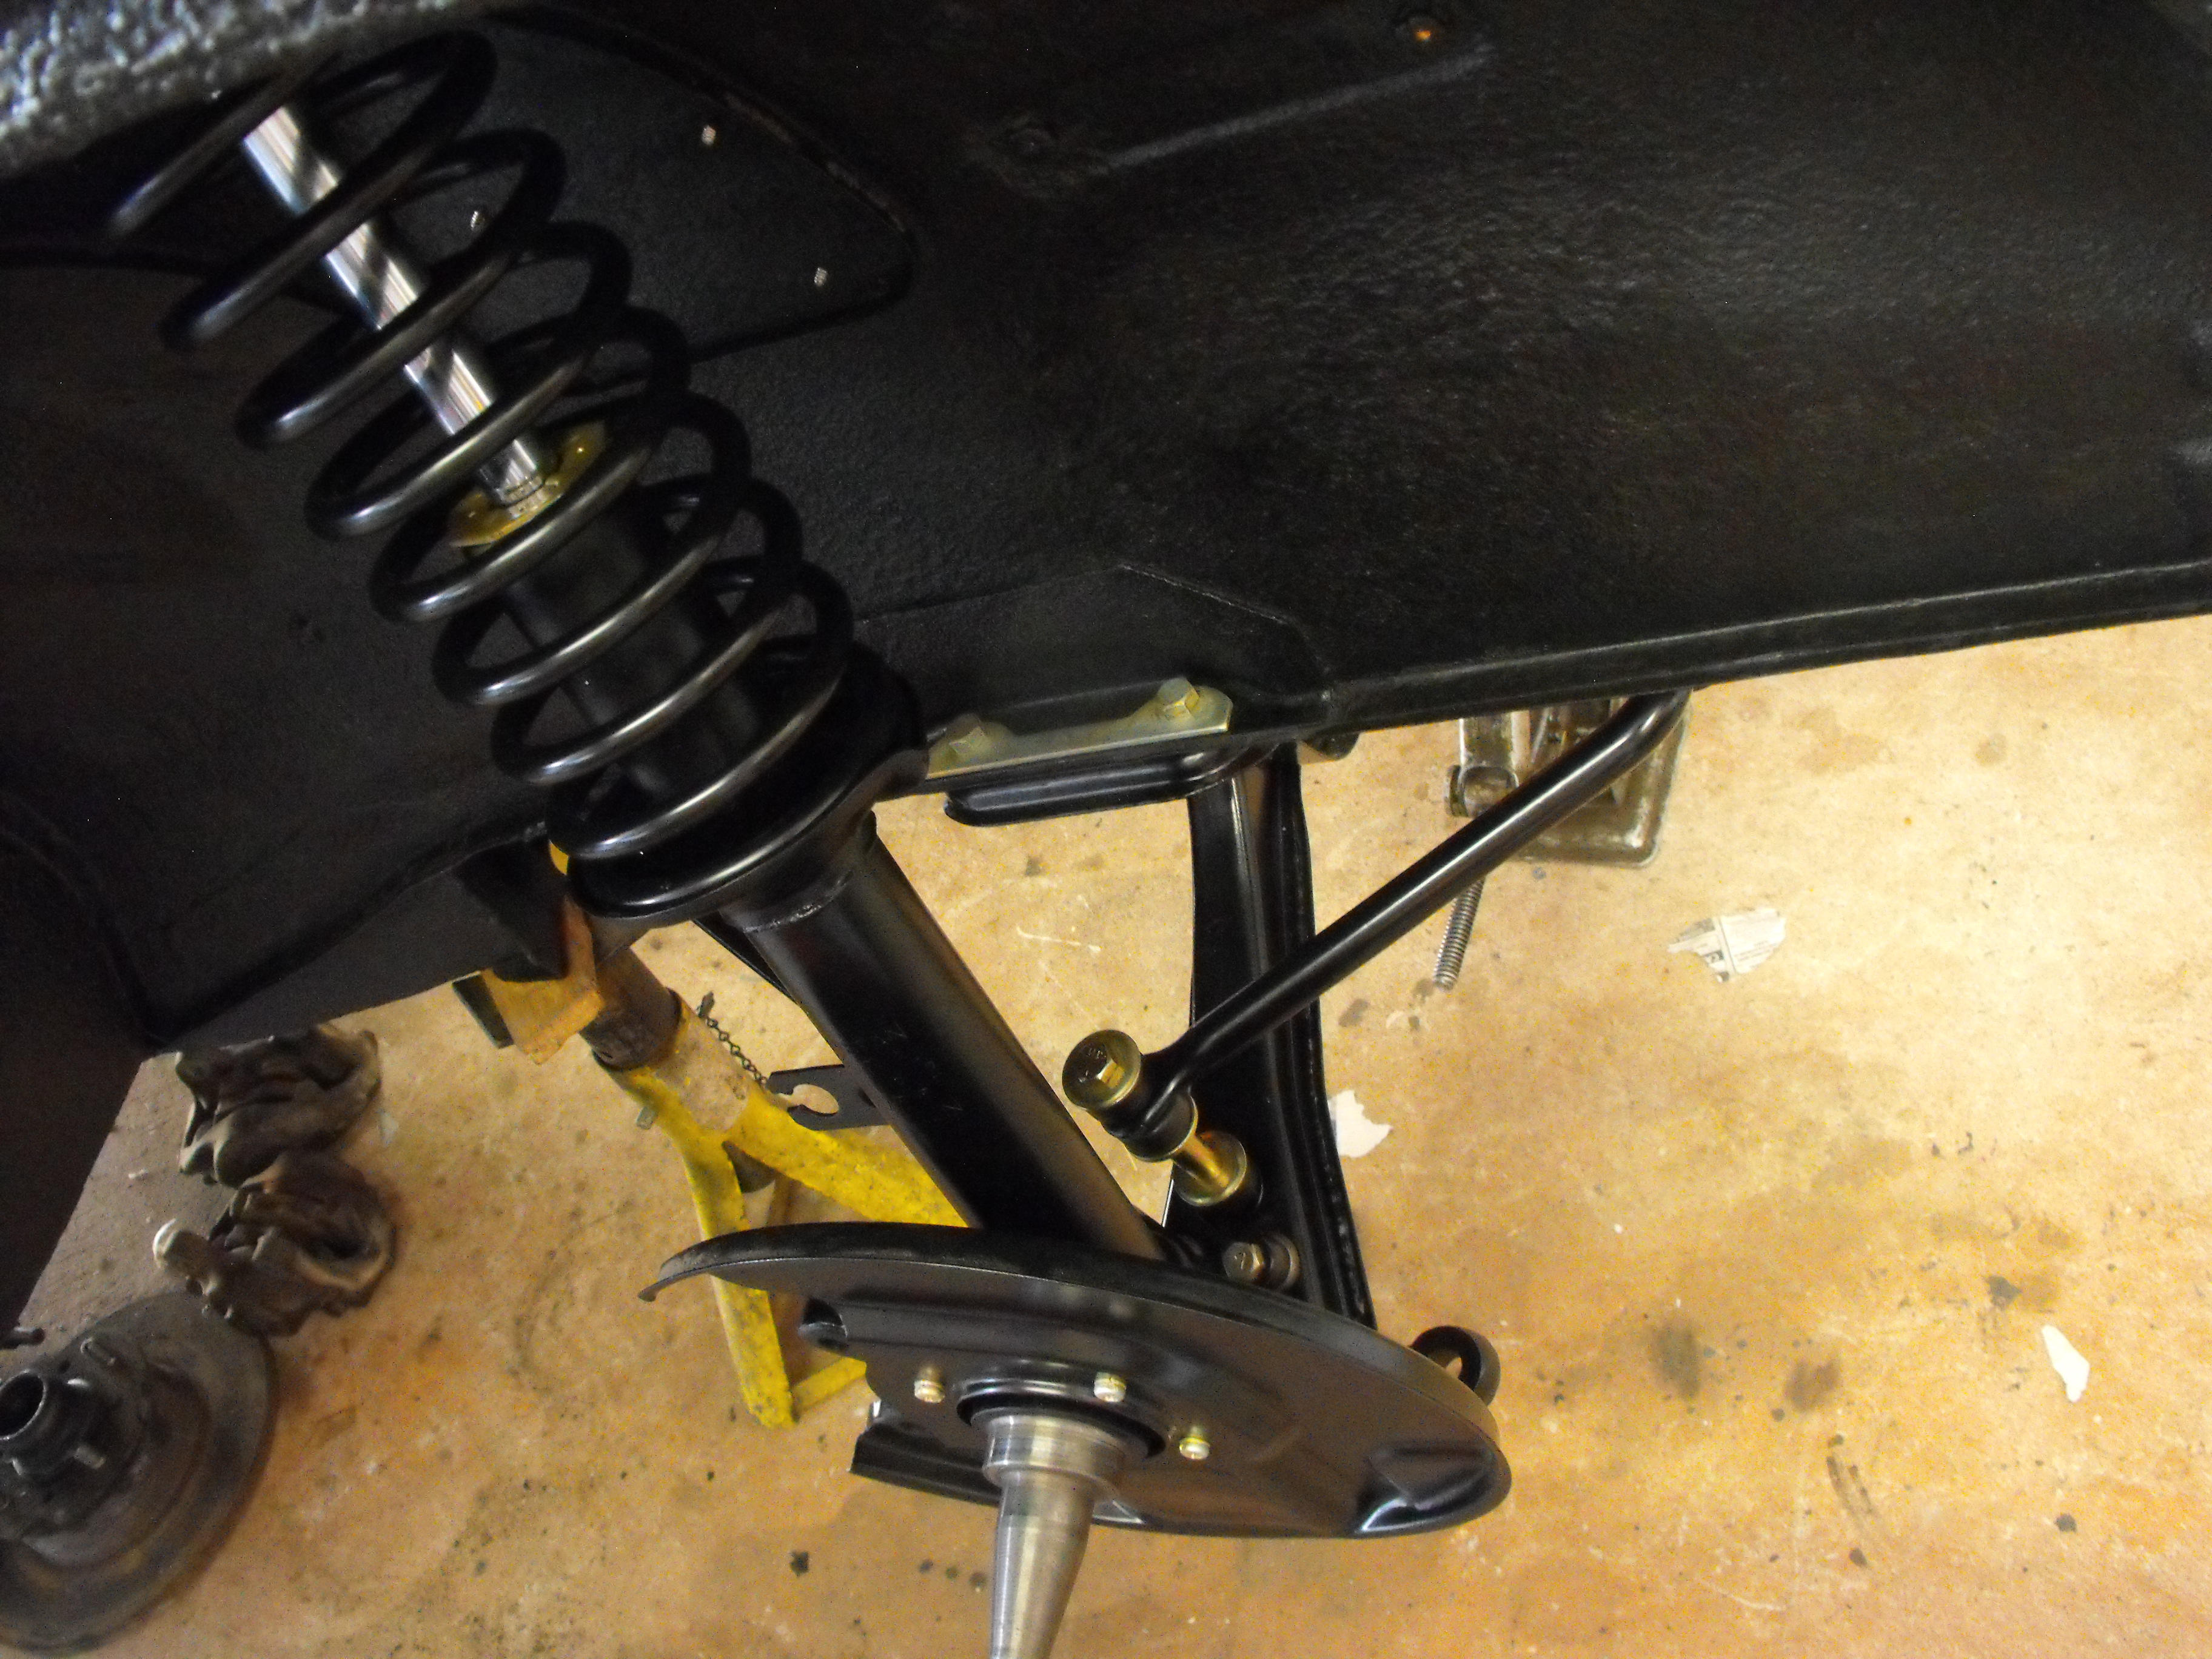
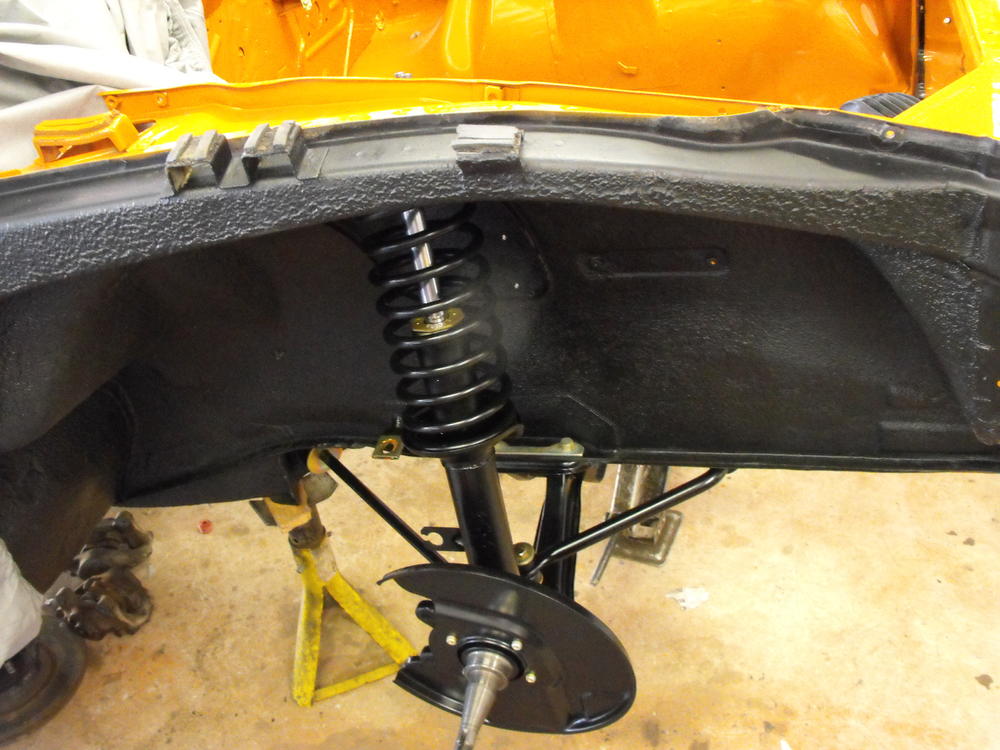
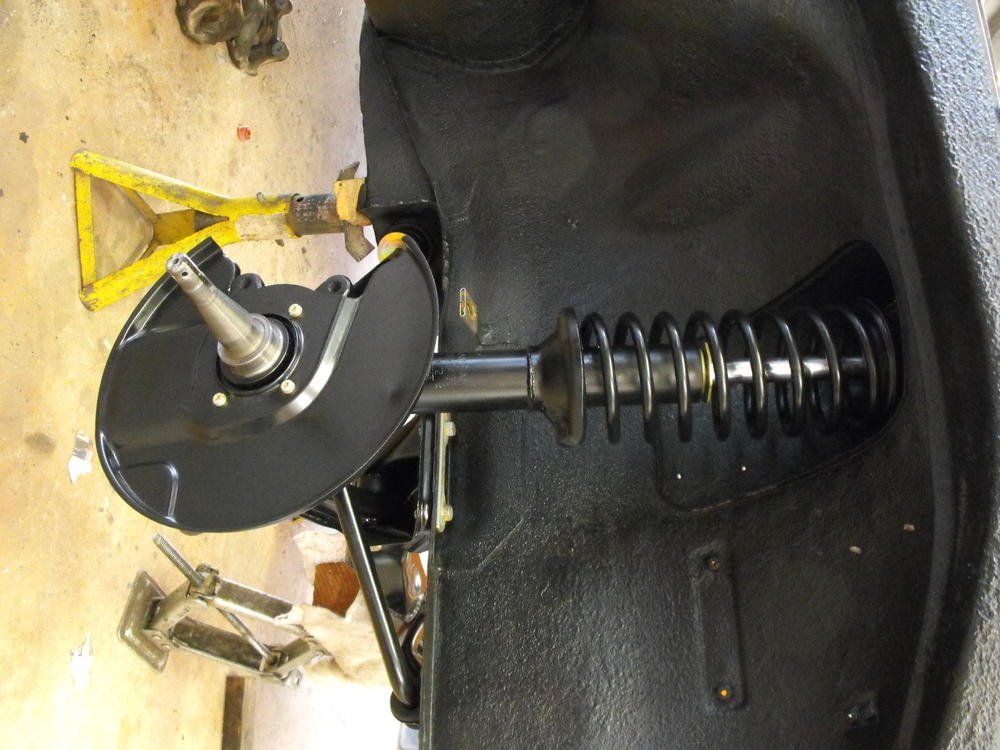
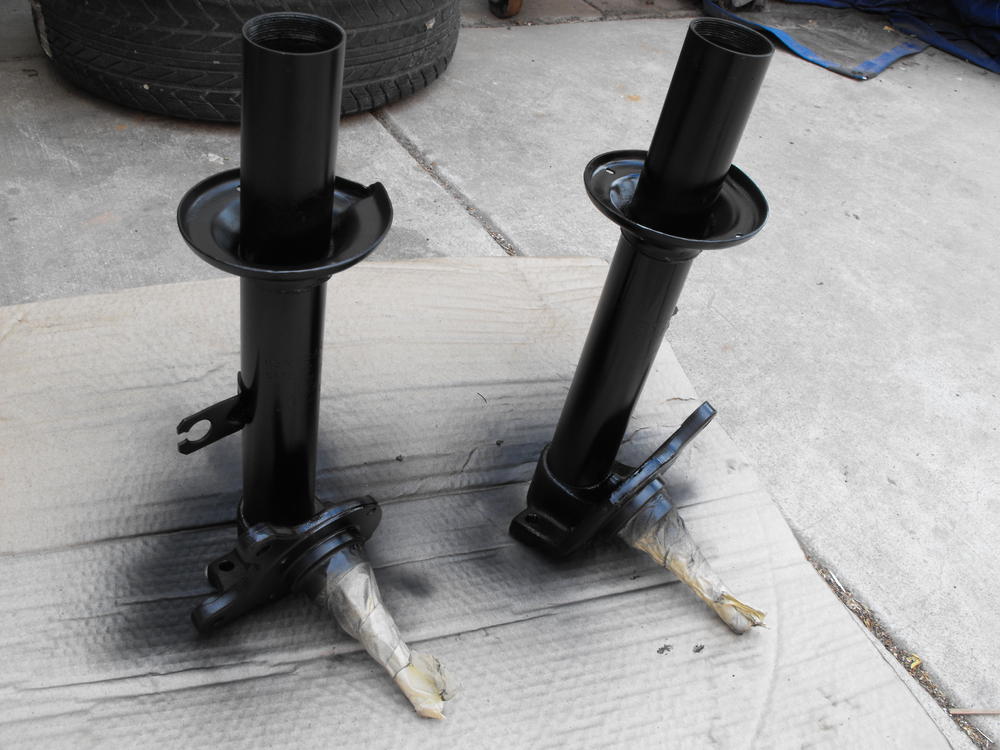
Got the left and right shock struts assembled and installed. I put in new KYB gas struts. I like them a lot and they provide a very nice ride.


-
Yes, the torsion bars are supposed to be matte or satin black. I haven't got to it yet. It is a bit tricky to get out and I do not want to chip the paint. Will probably need to tape up the area and then remove so I do not hurt anything.
-
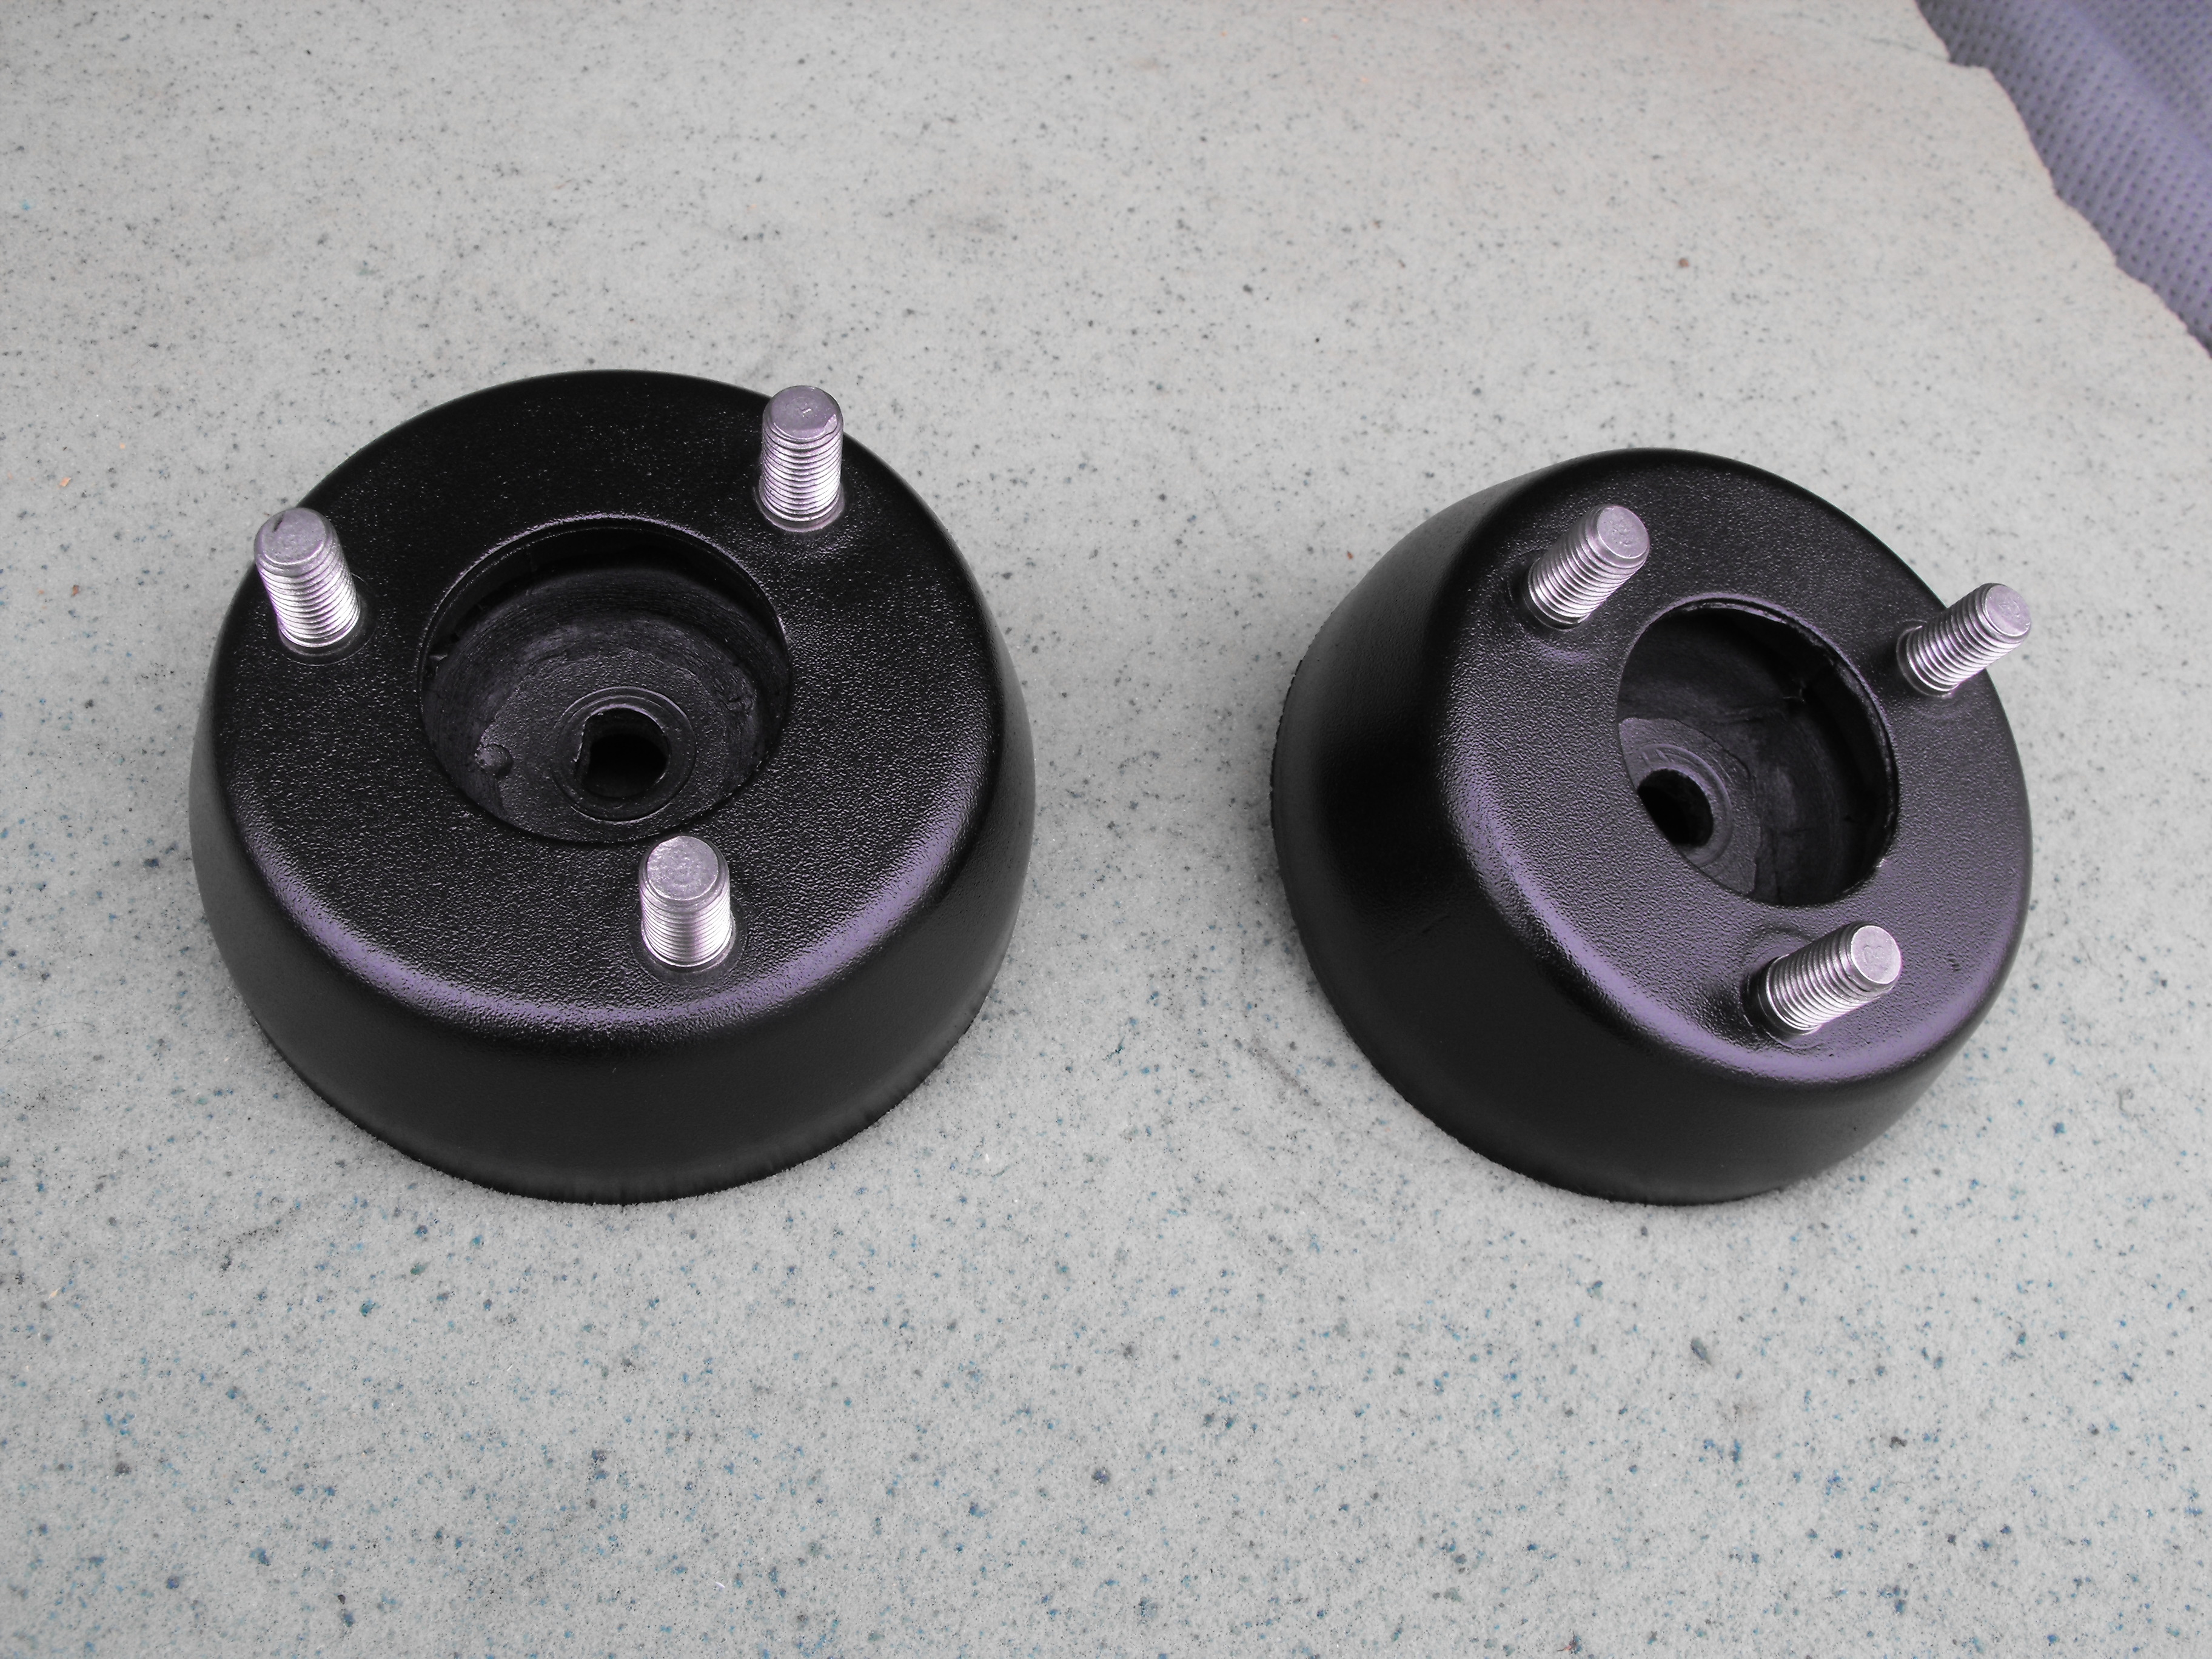
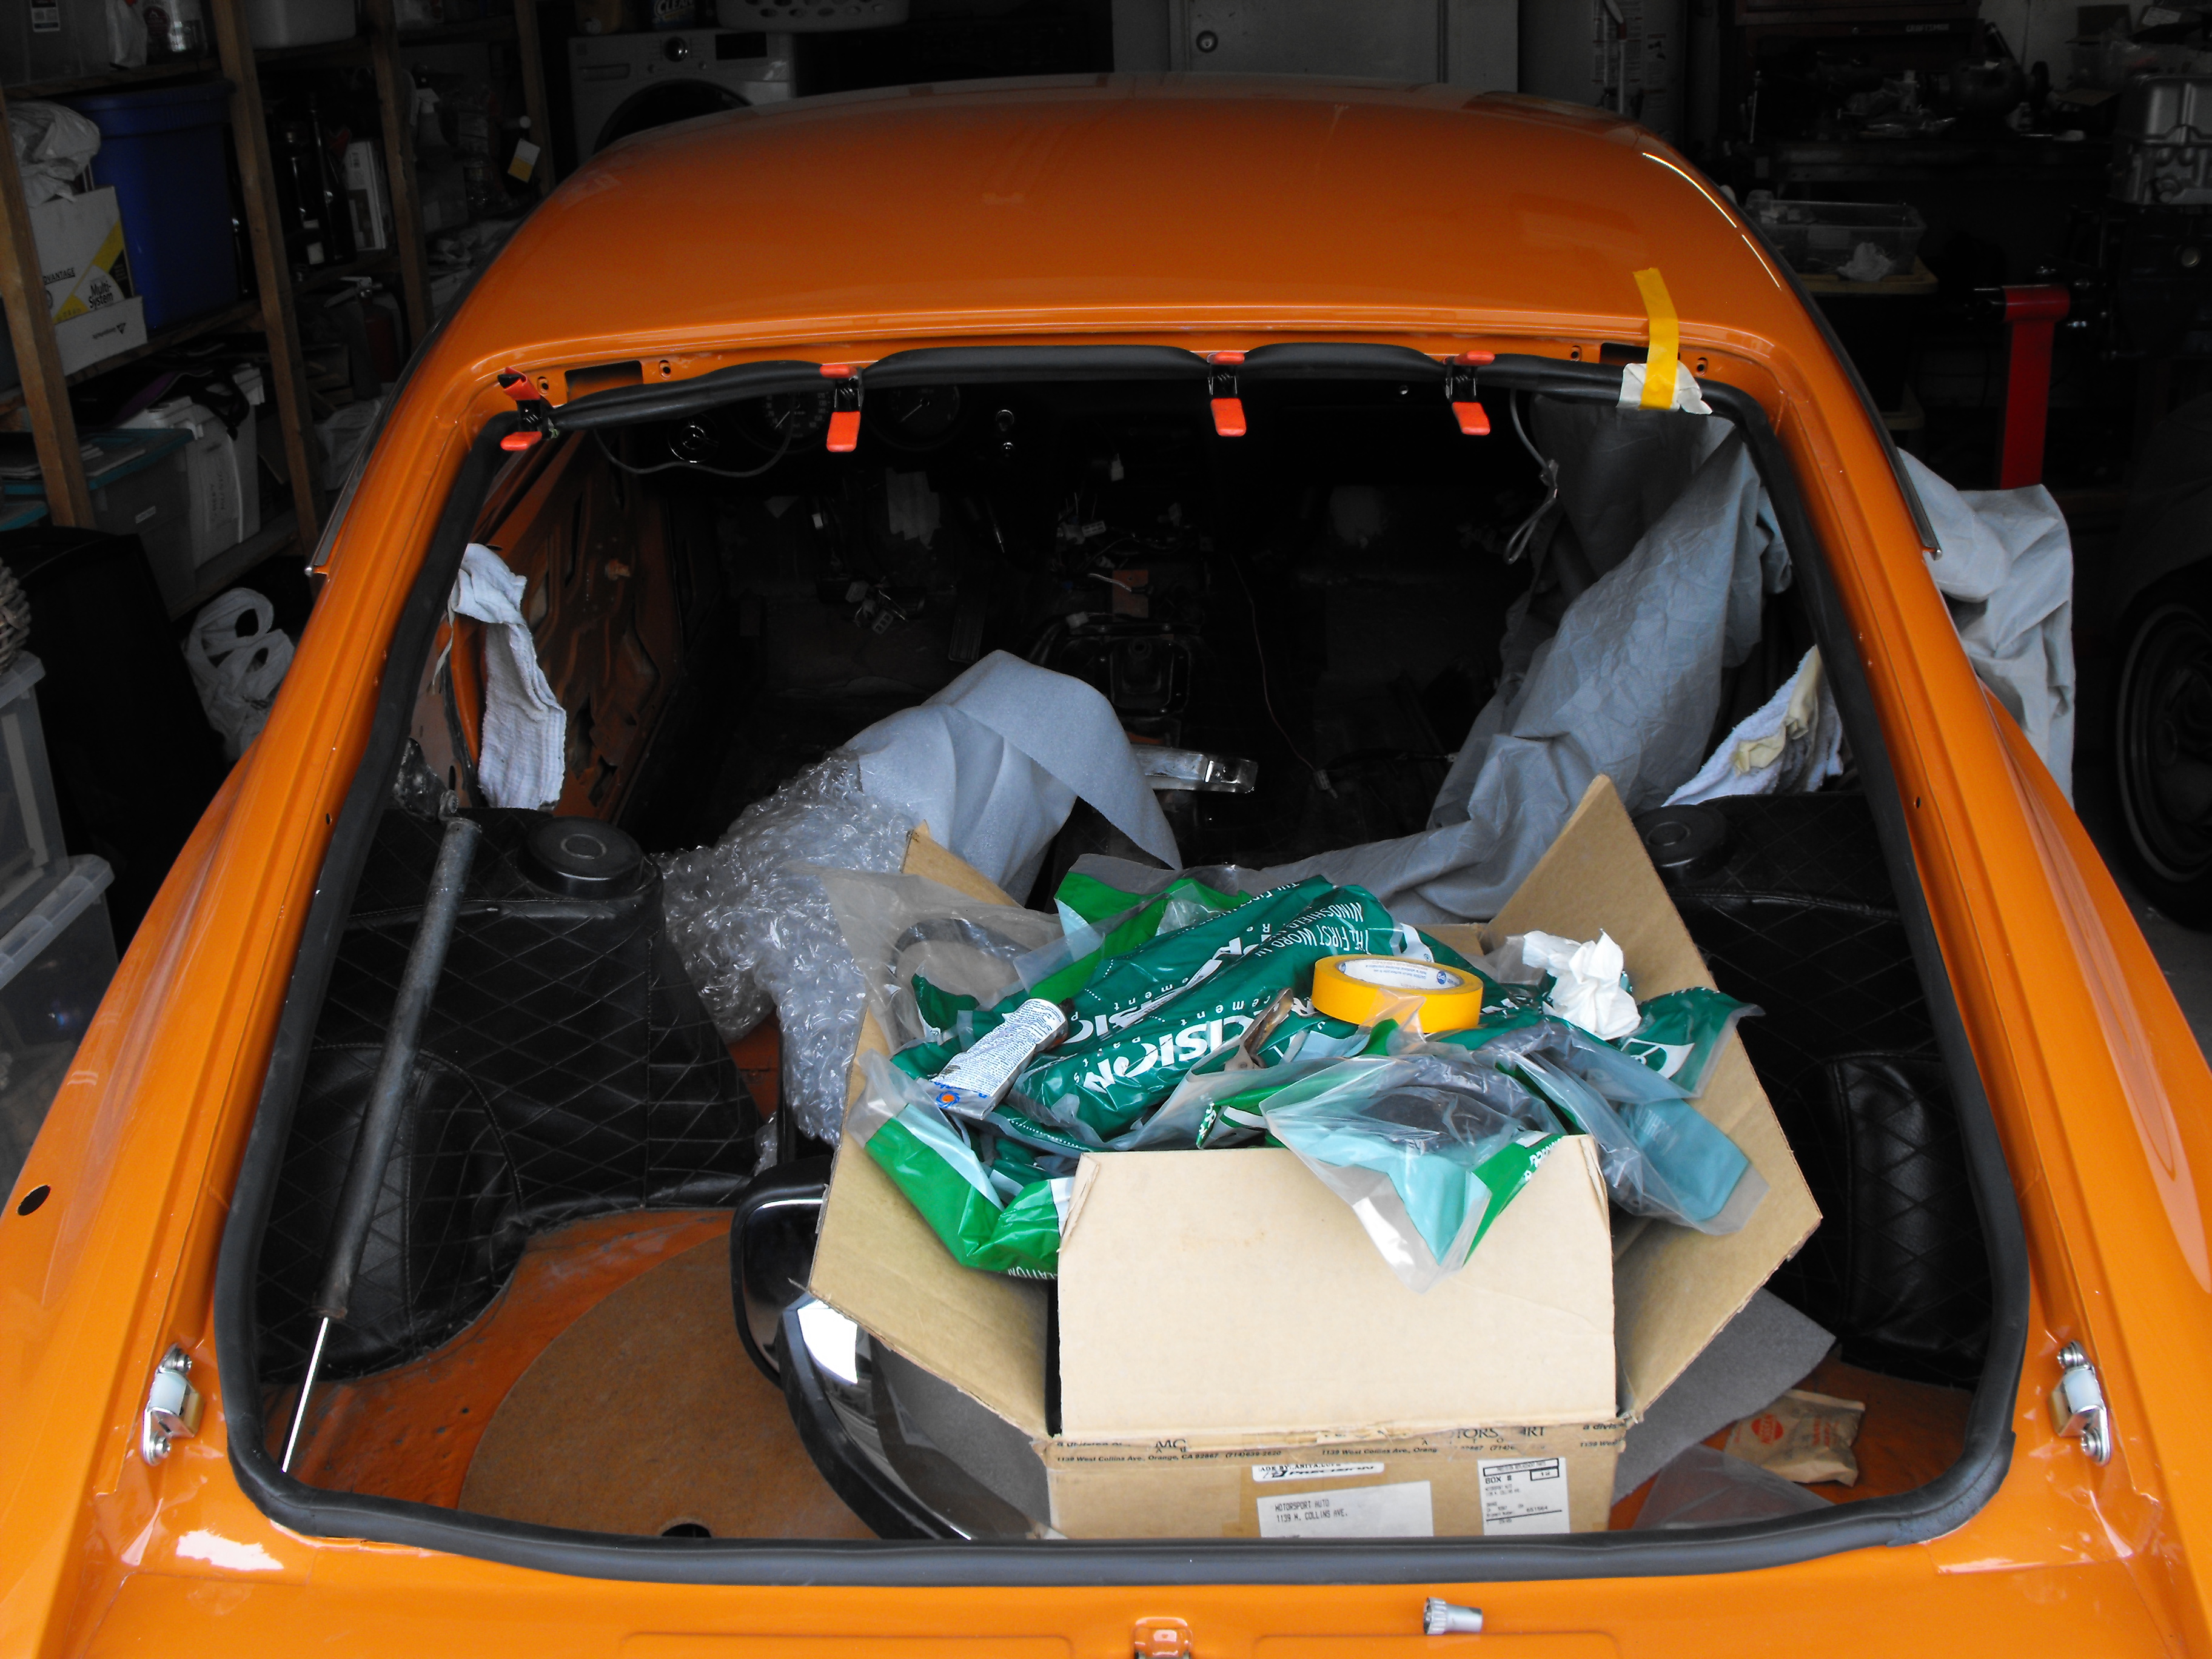
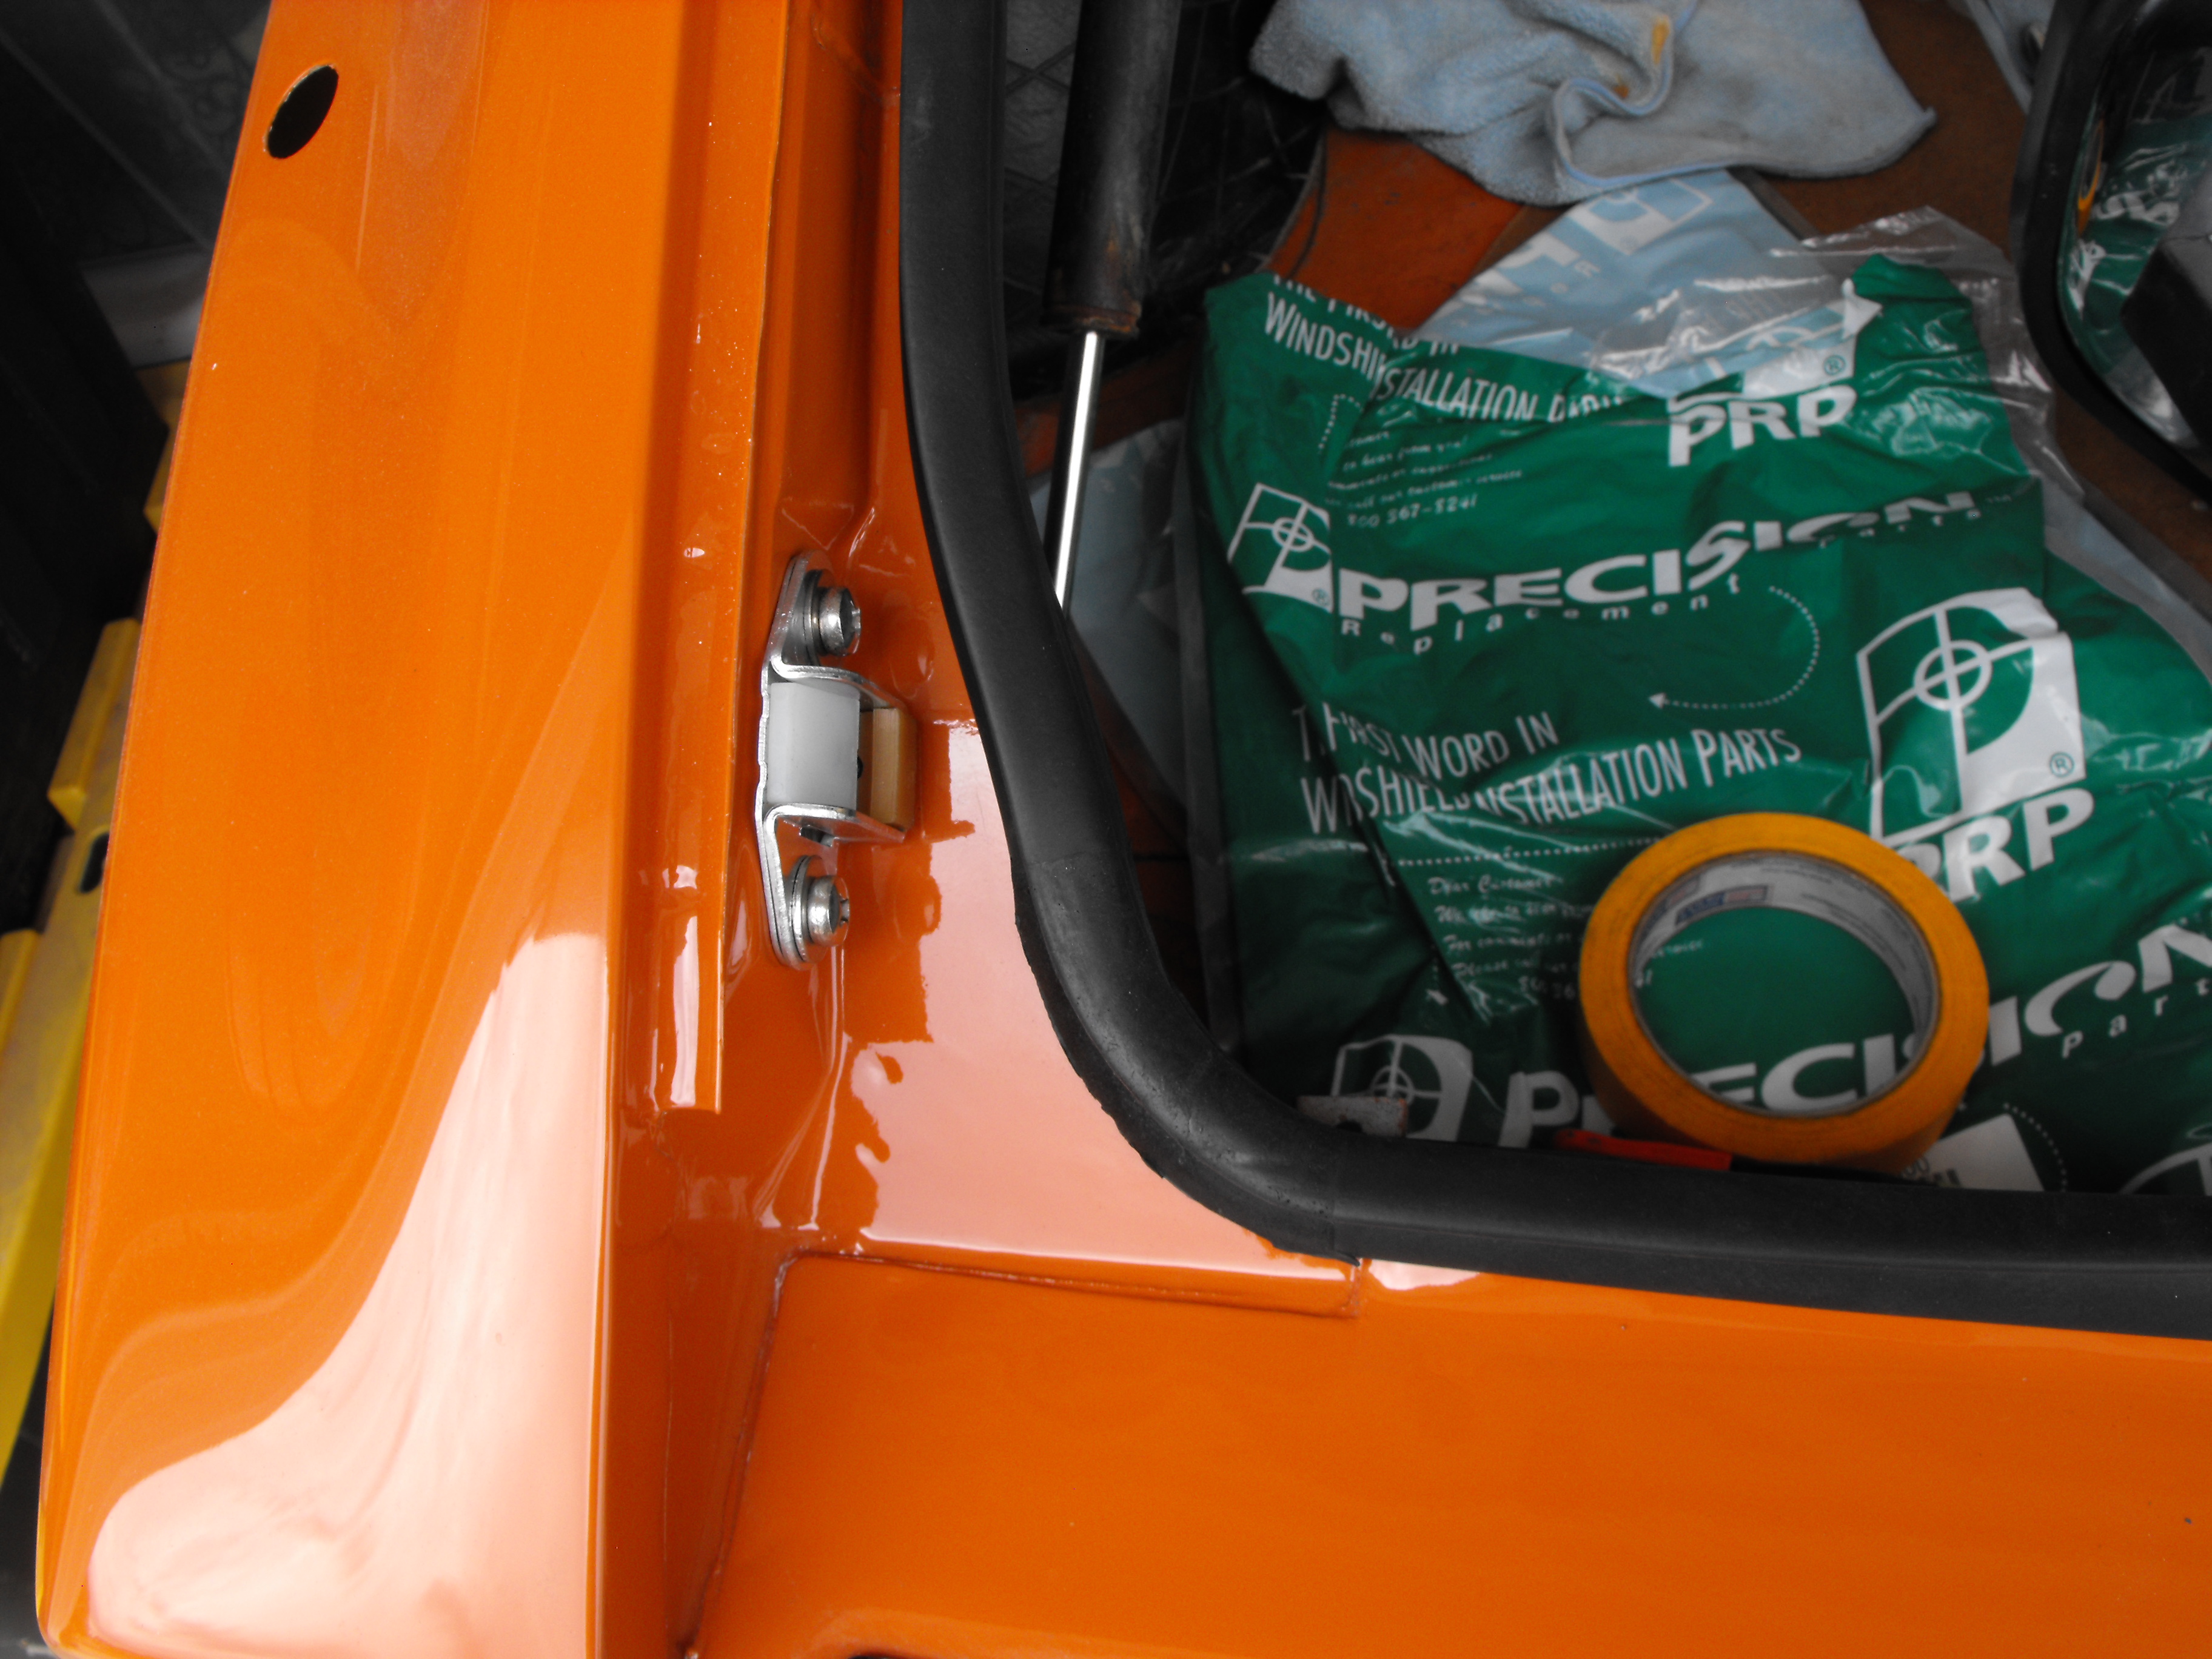
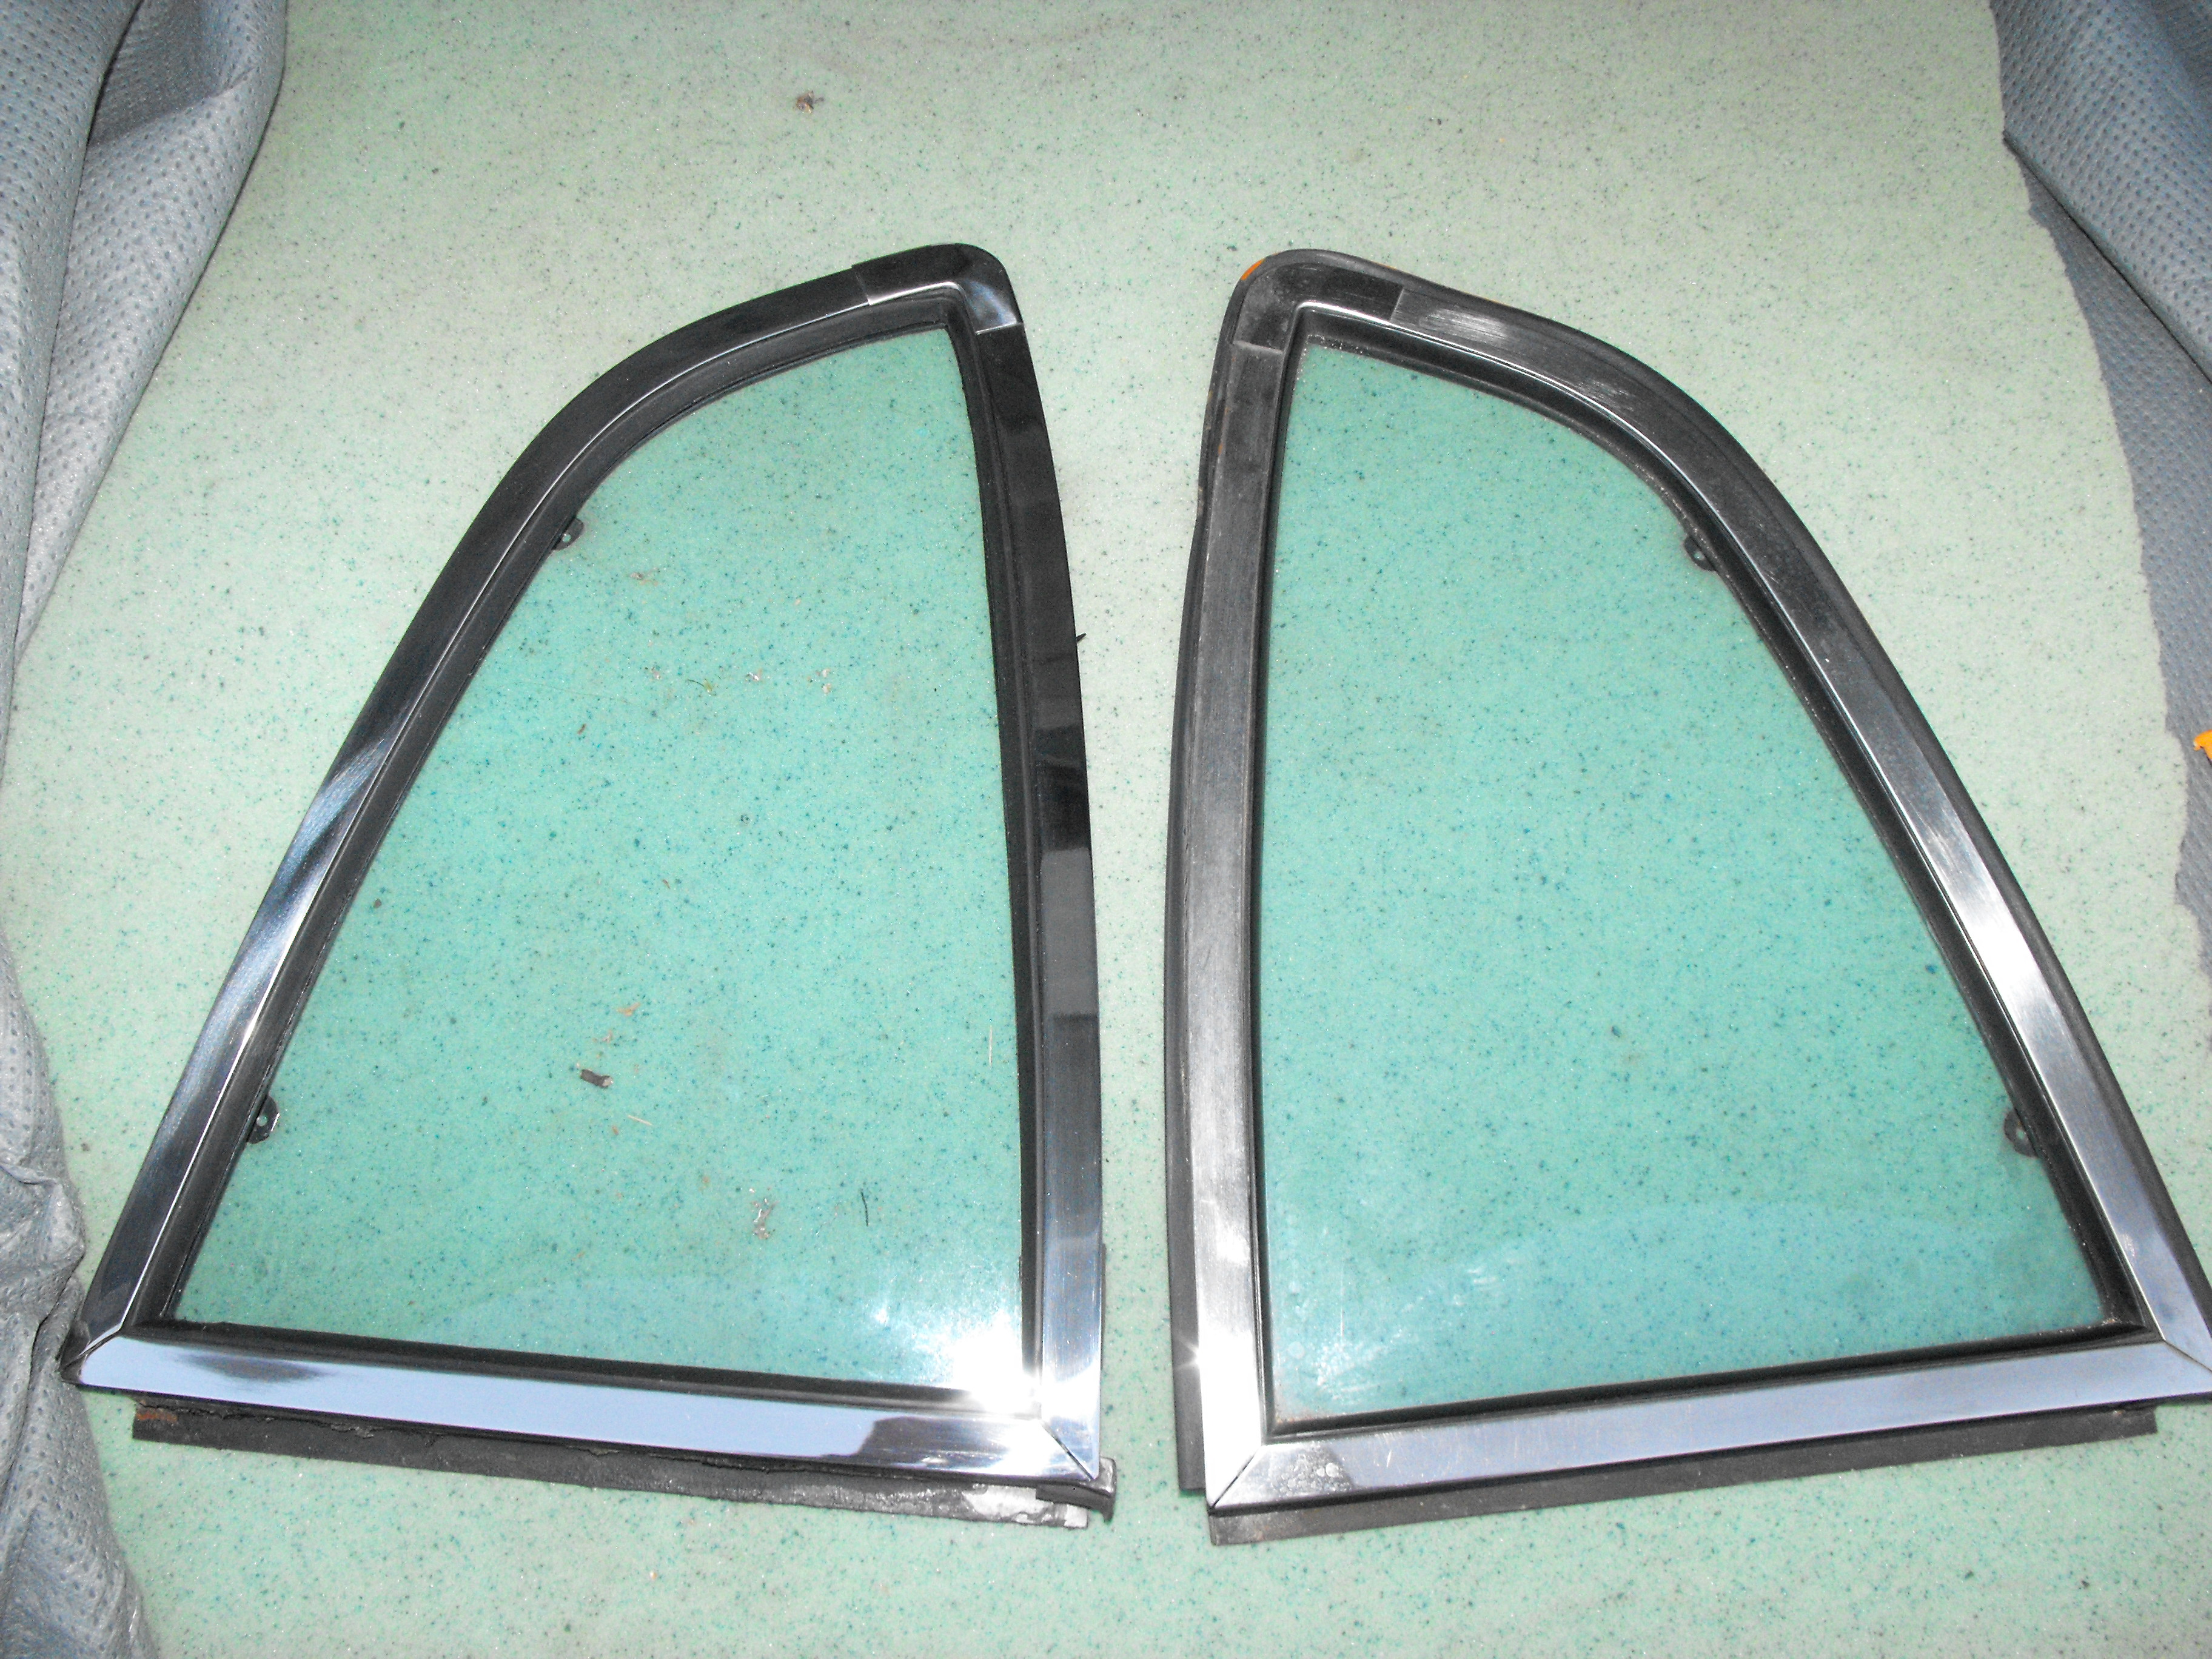
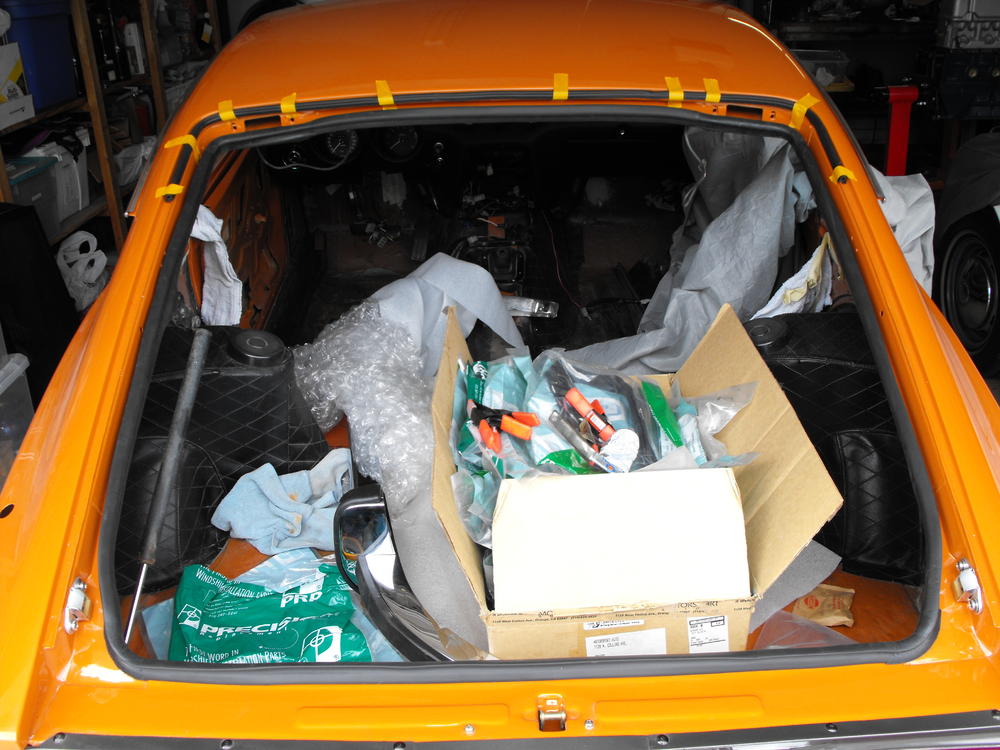
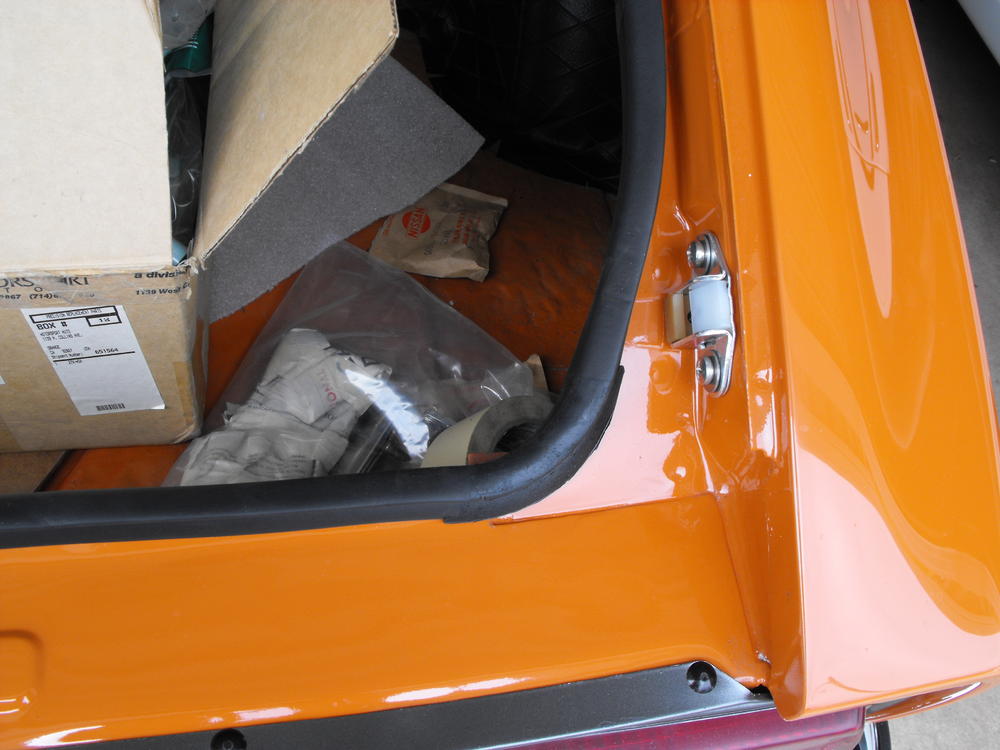
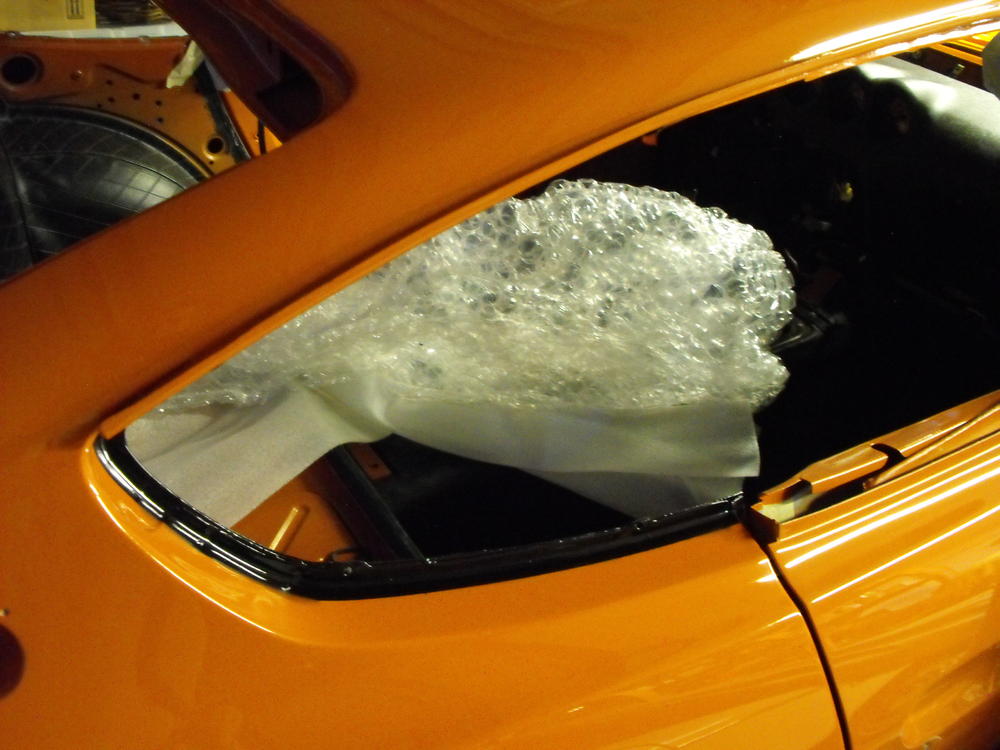
I installed the drivers side rear window same as the passenger side. Also polished and installed the rain gutter molding on both sides. I installed the hatch weather stripping. As always, I hate putting in weatherstripping but this was one of the easier installs since the hatch was removed. I think I will do this on all future hatch weatherstripping, it made the job so much easier. The other thing I did differently was install the weatherstripping without glue first. Then I went along foot by foot applying the glue to the installed weatherstripping. Using the clamps and tape to keep things in place was also a big help. These work well to keep everything secure and nicely aligned. Started clean-up and paint on the shock tower components. I should be able to get those installed today once I finish a few home items.


-
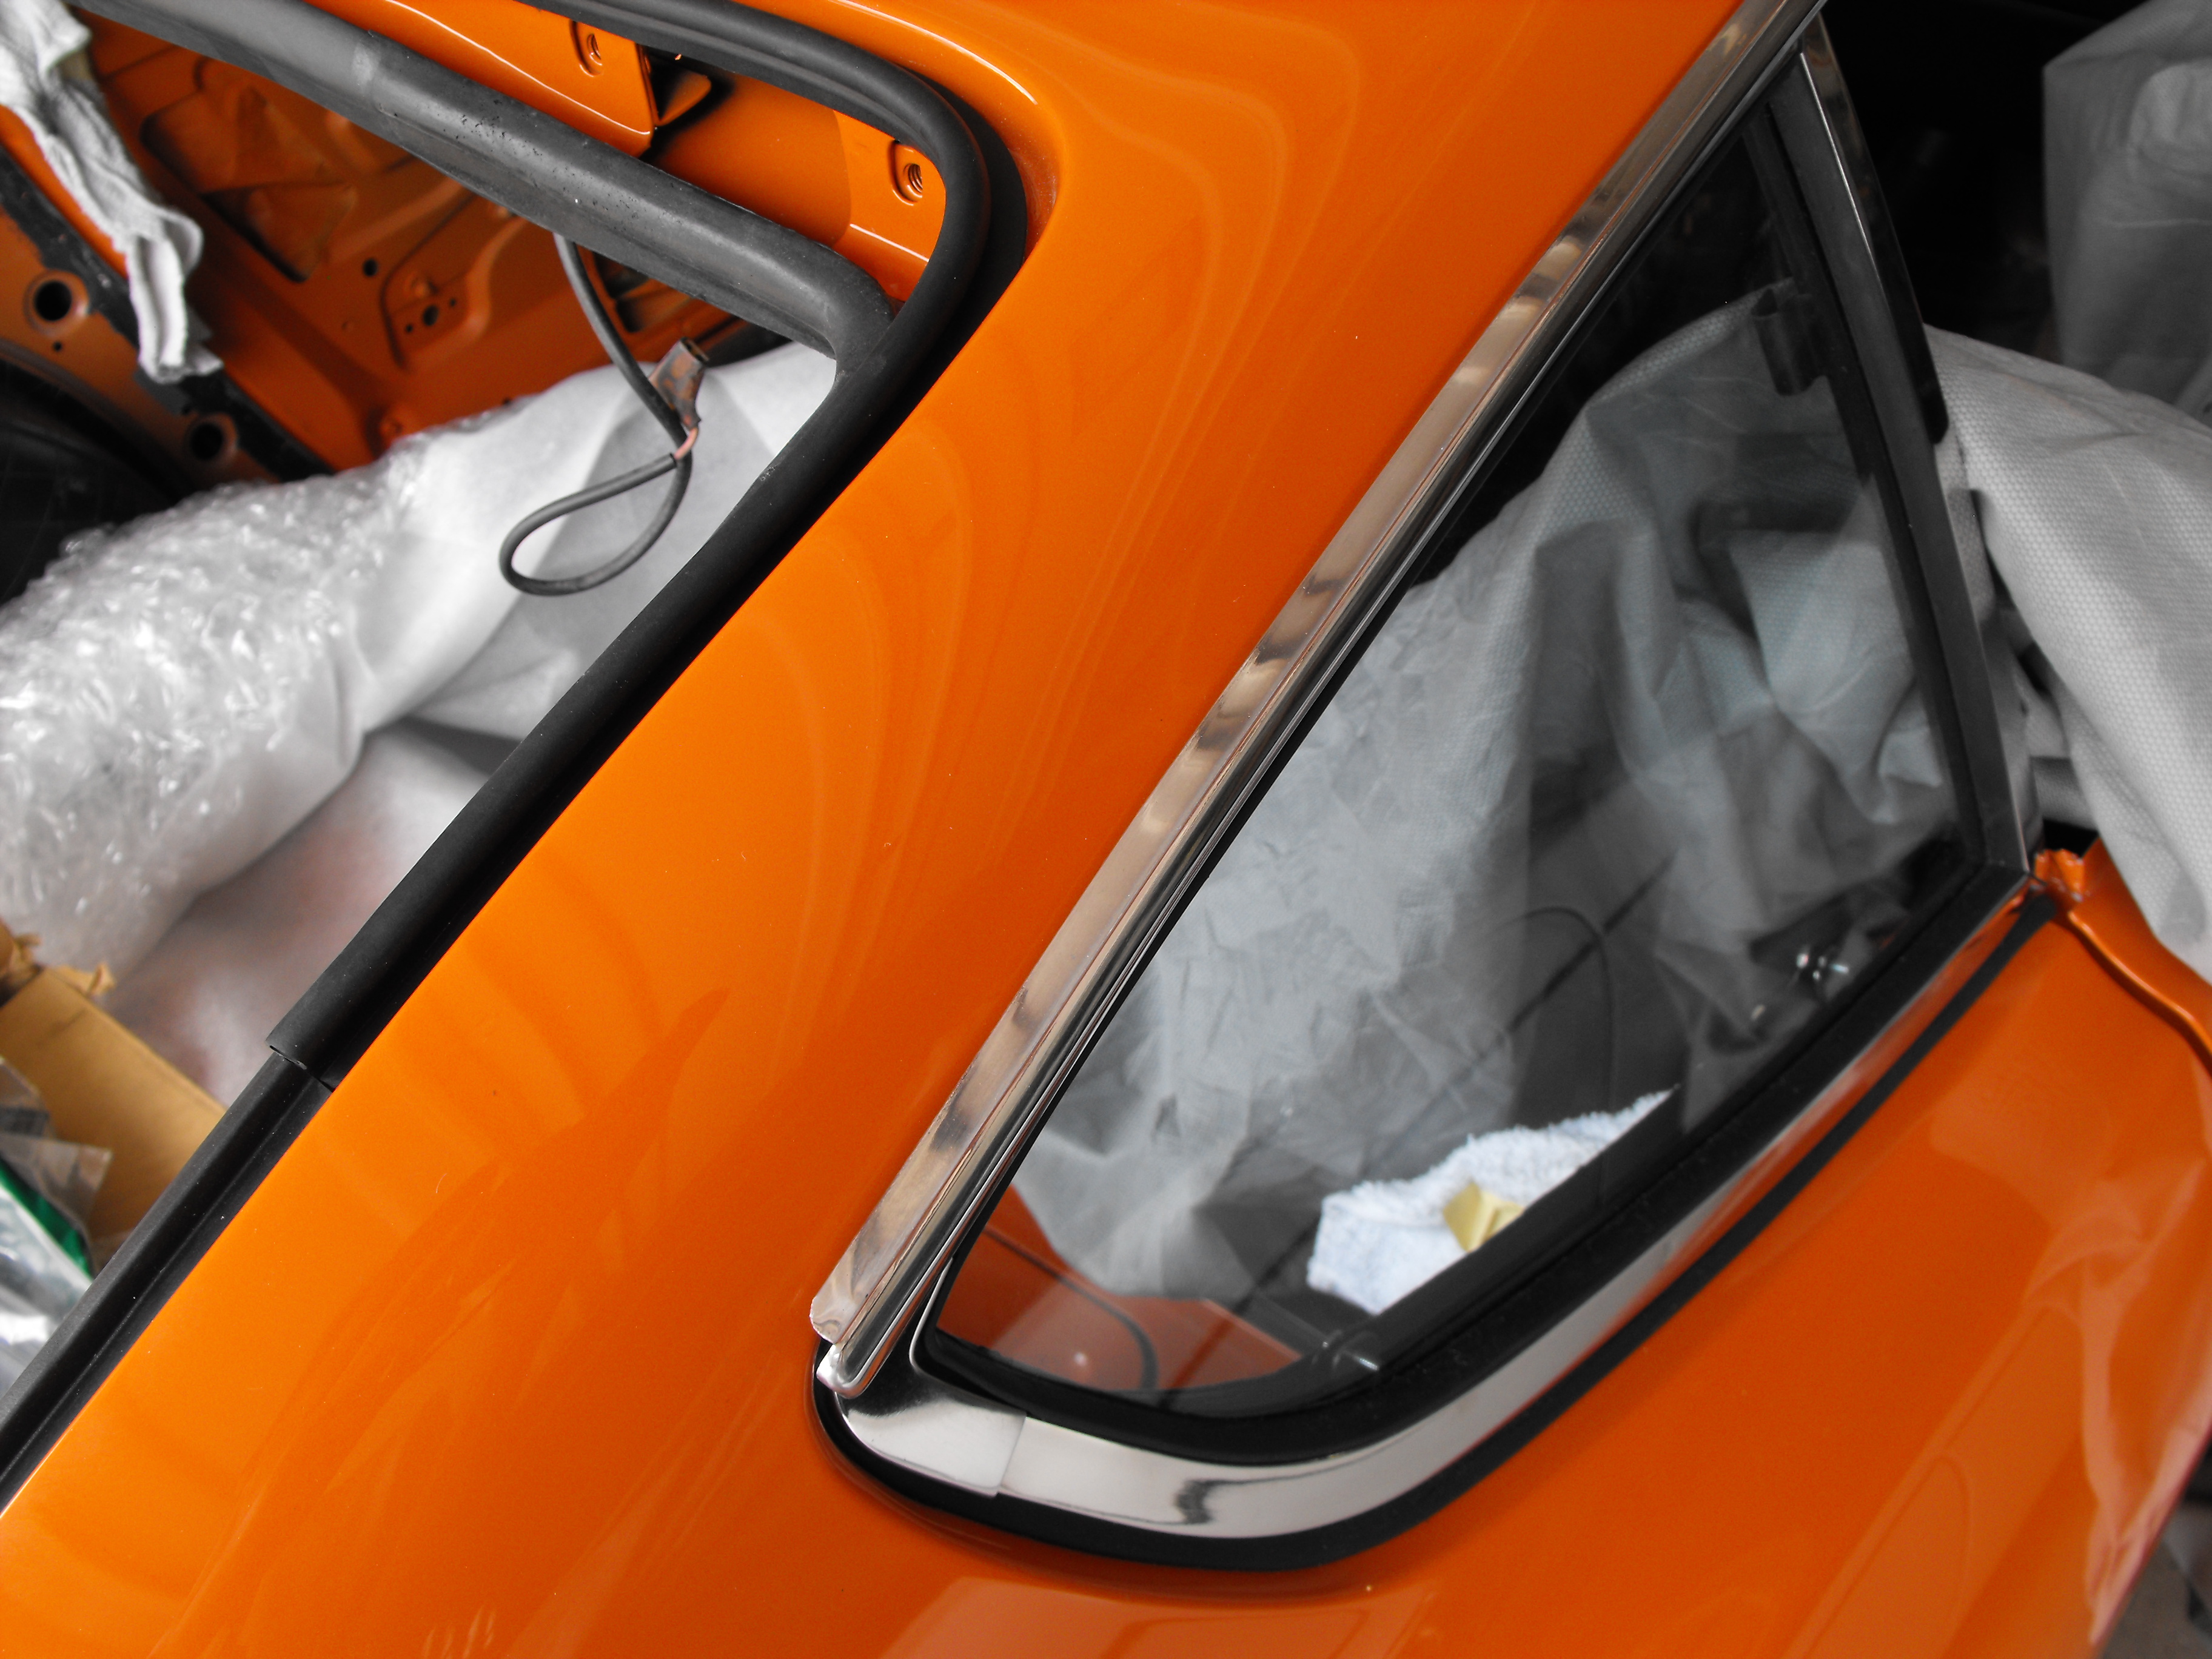
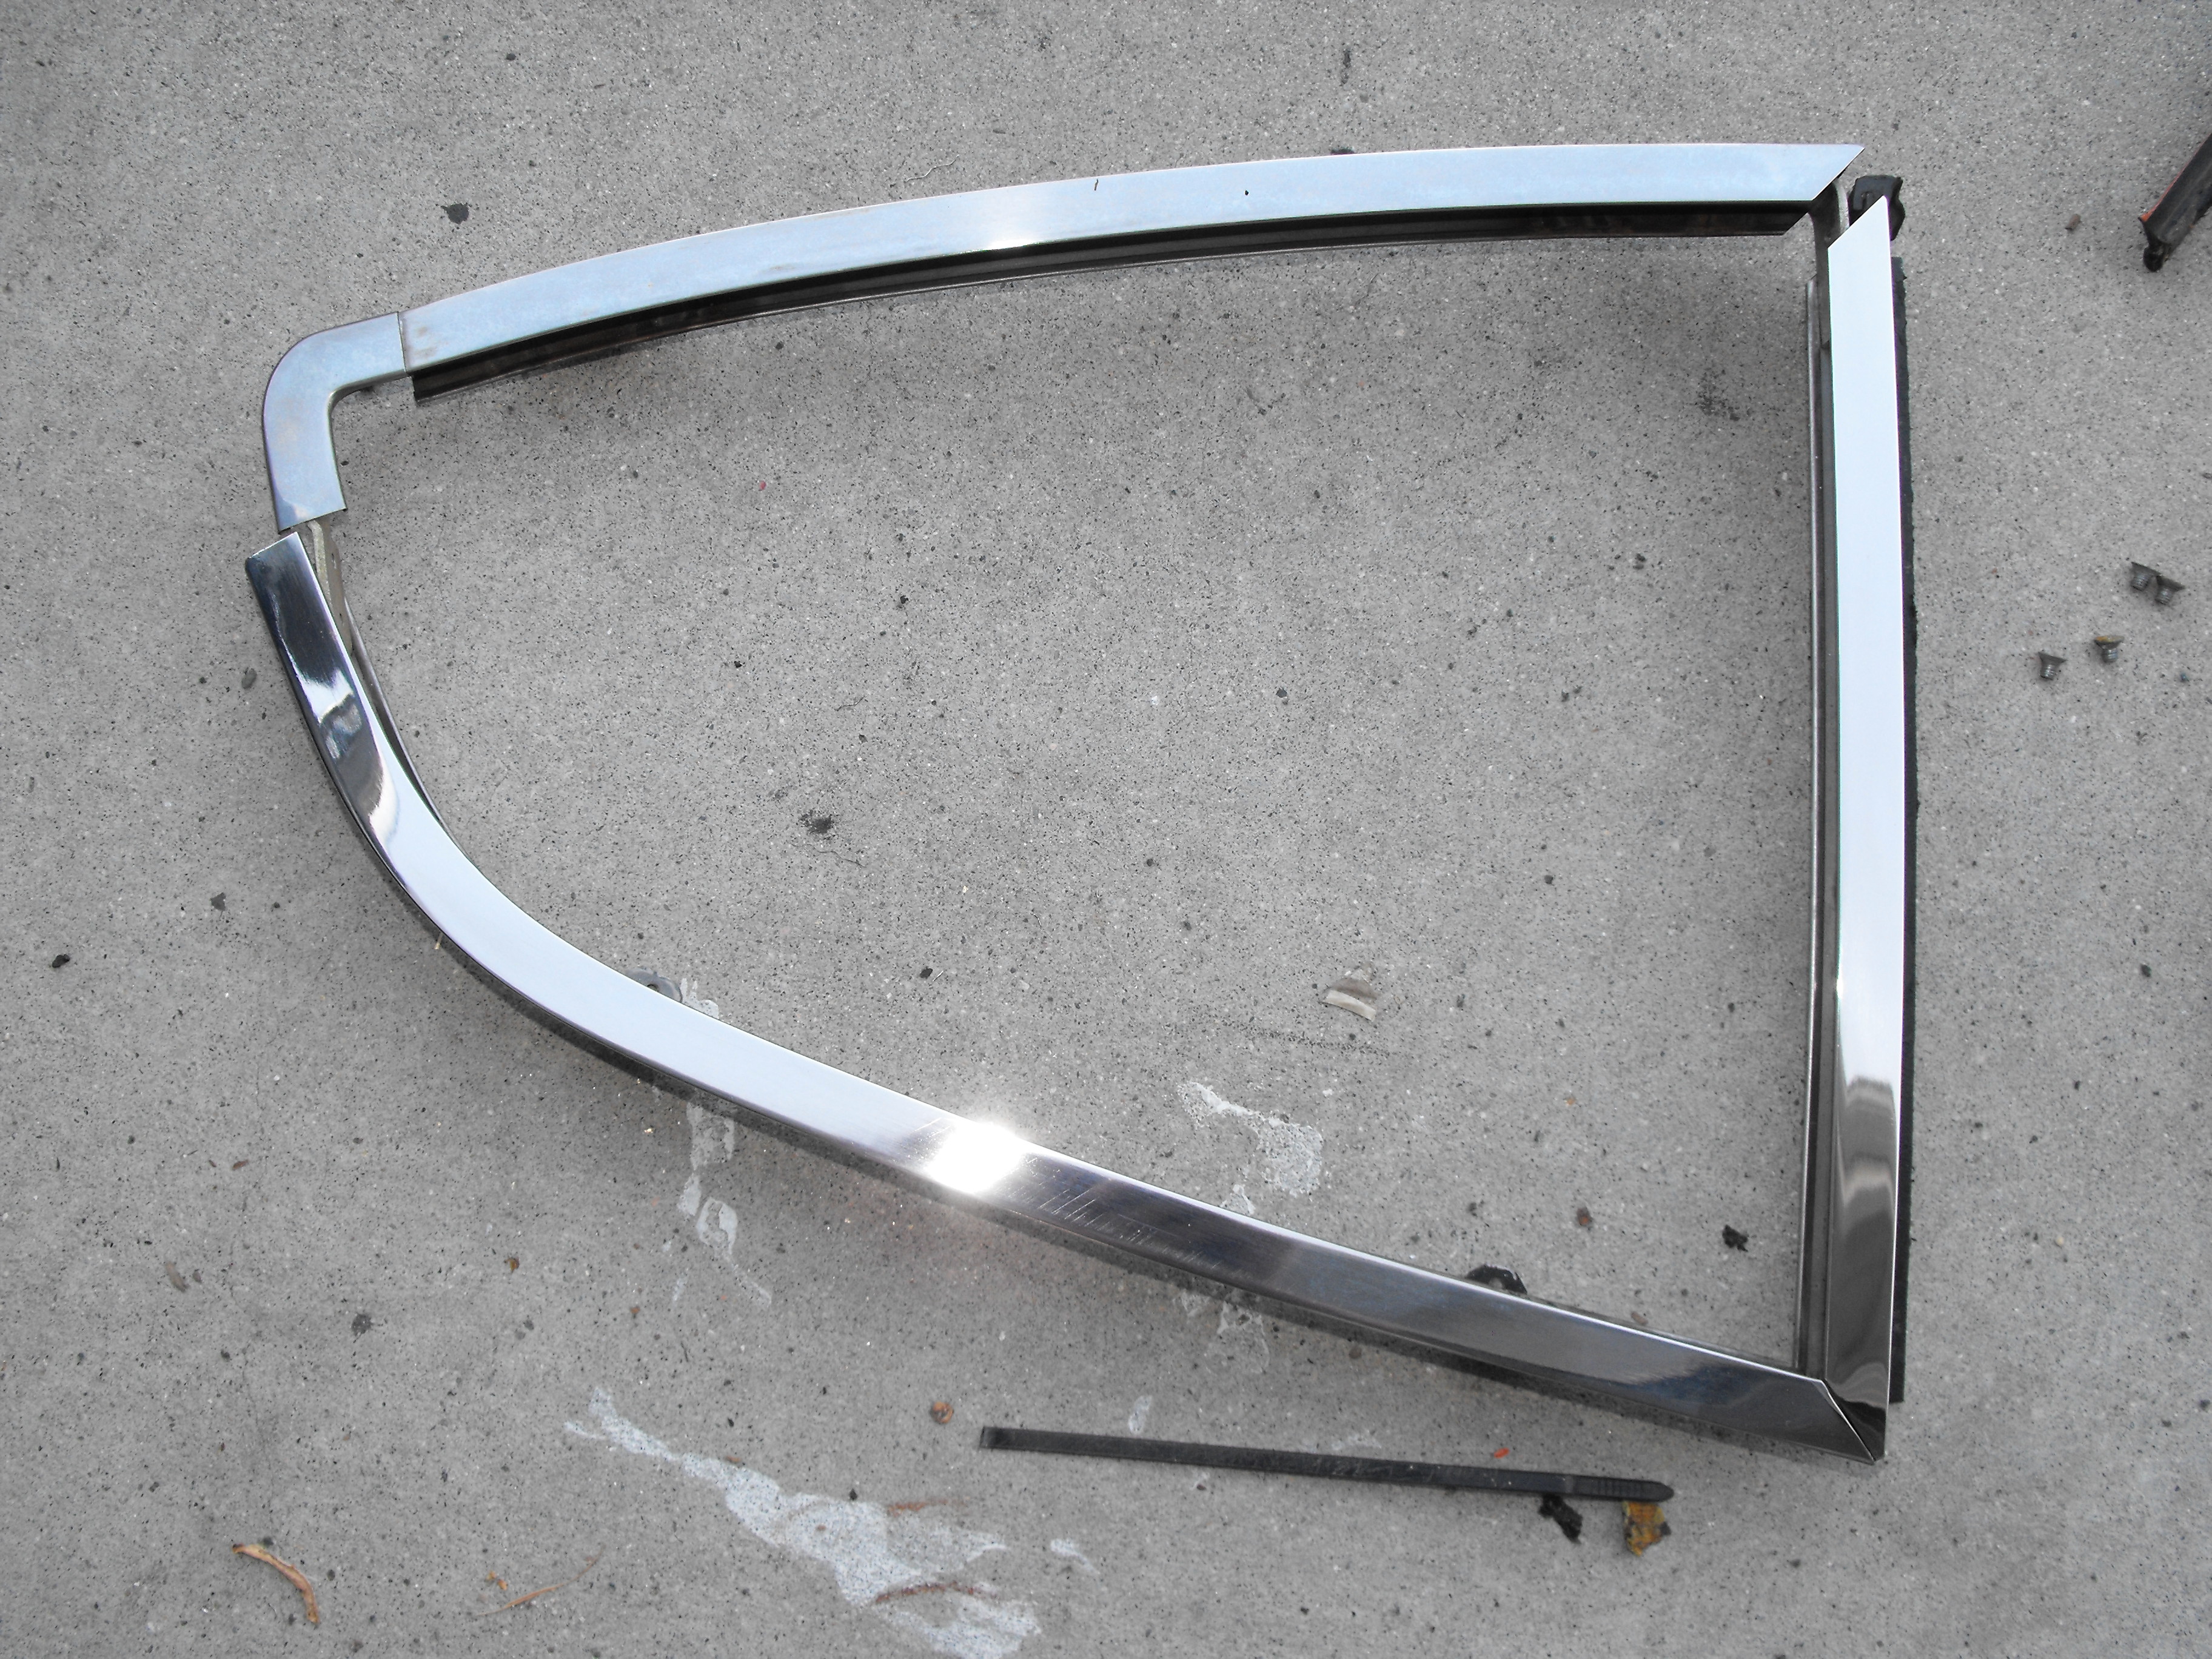
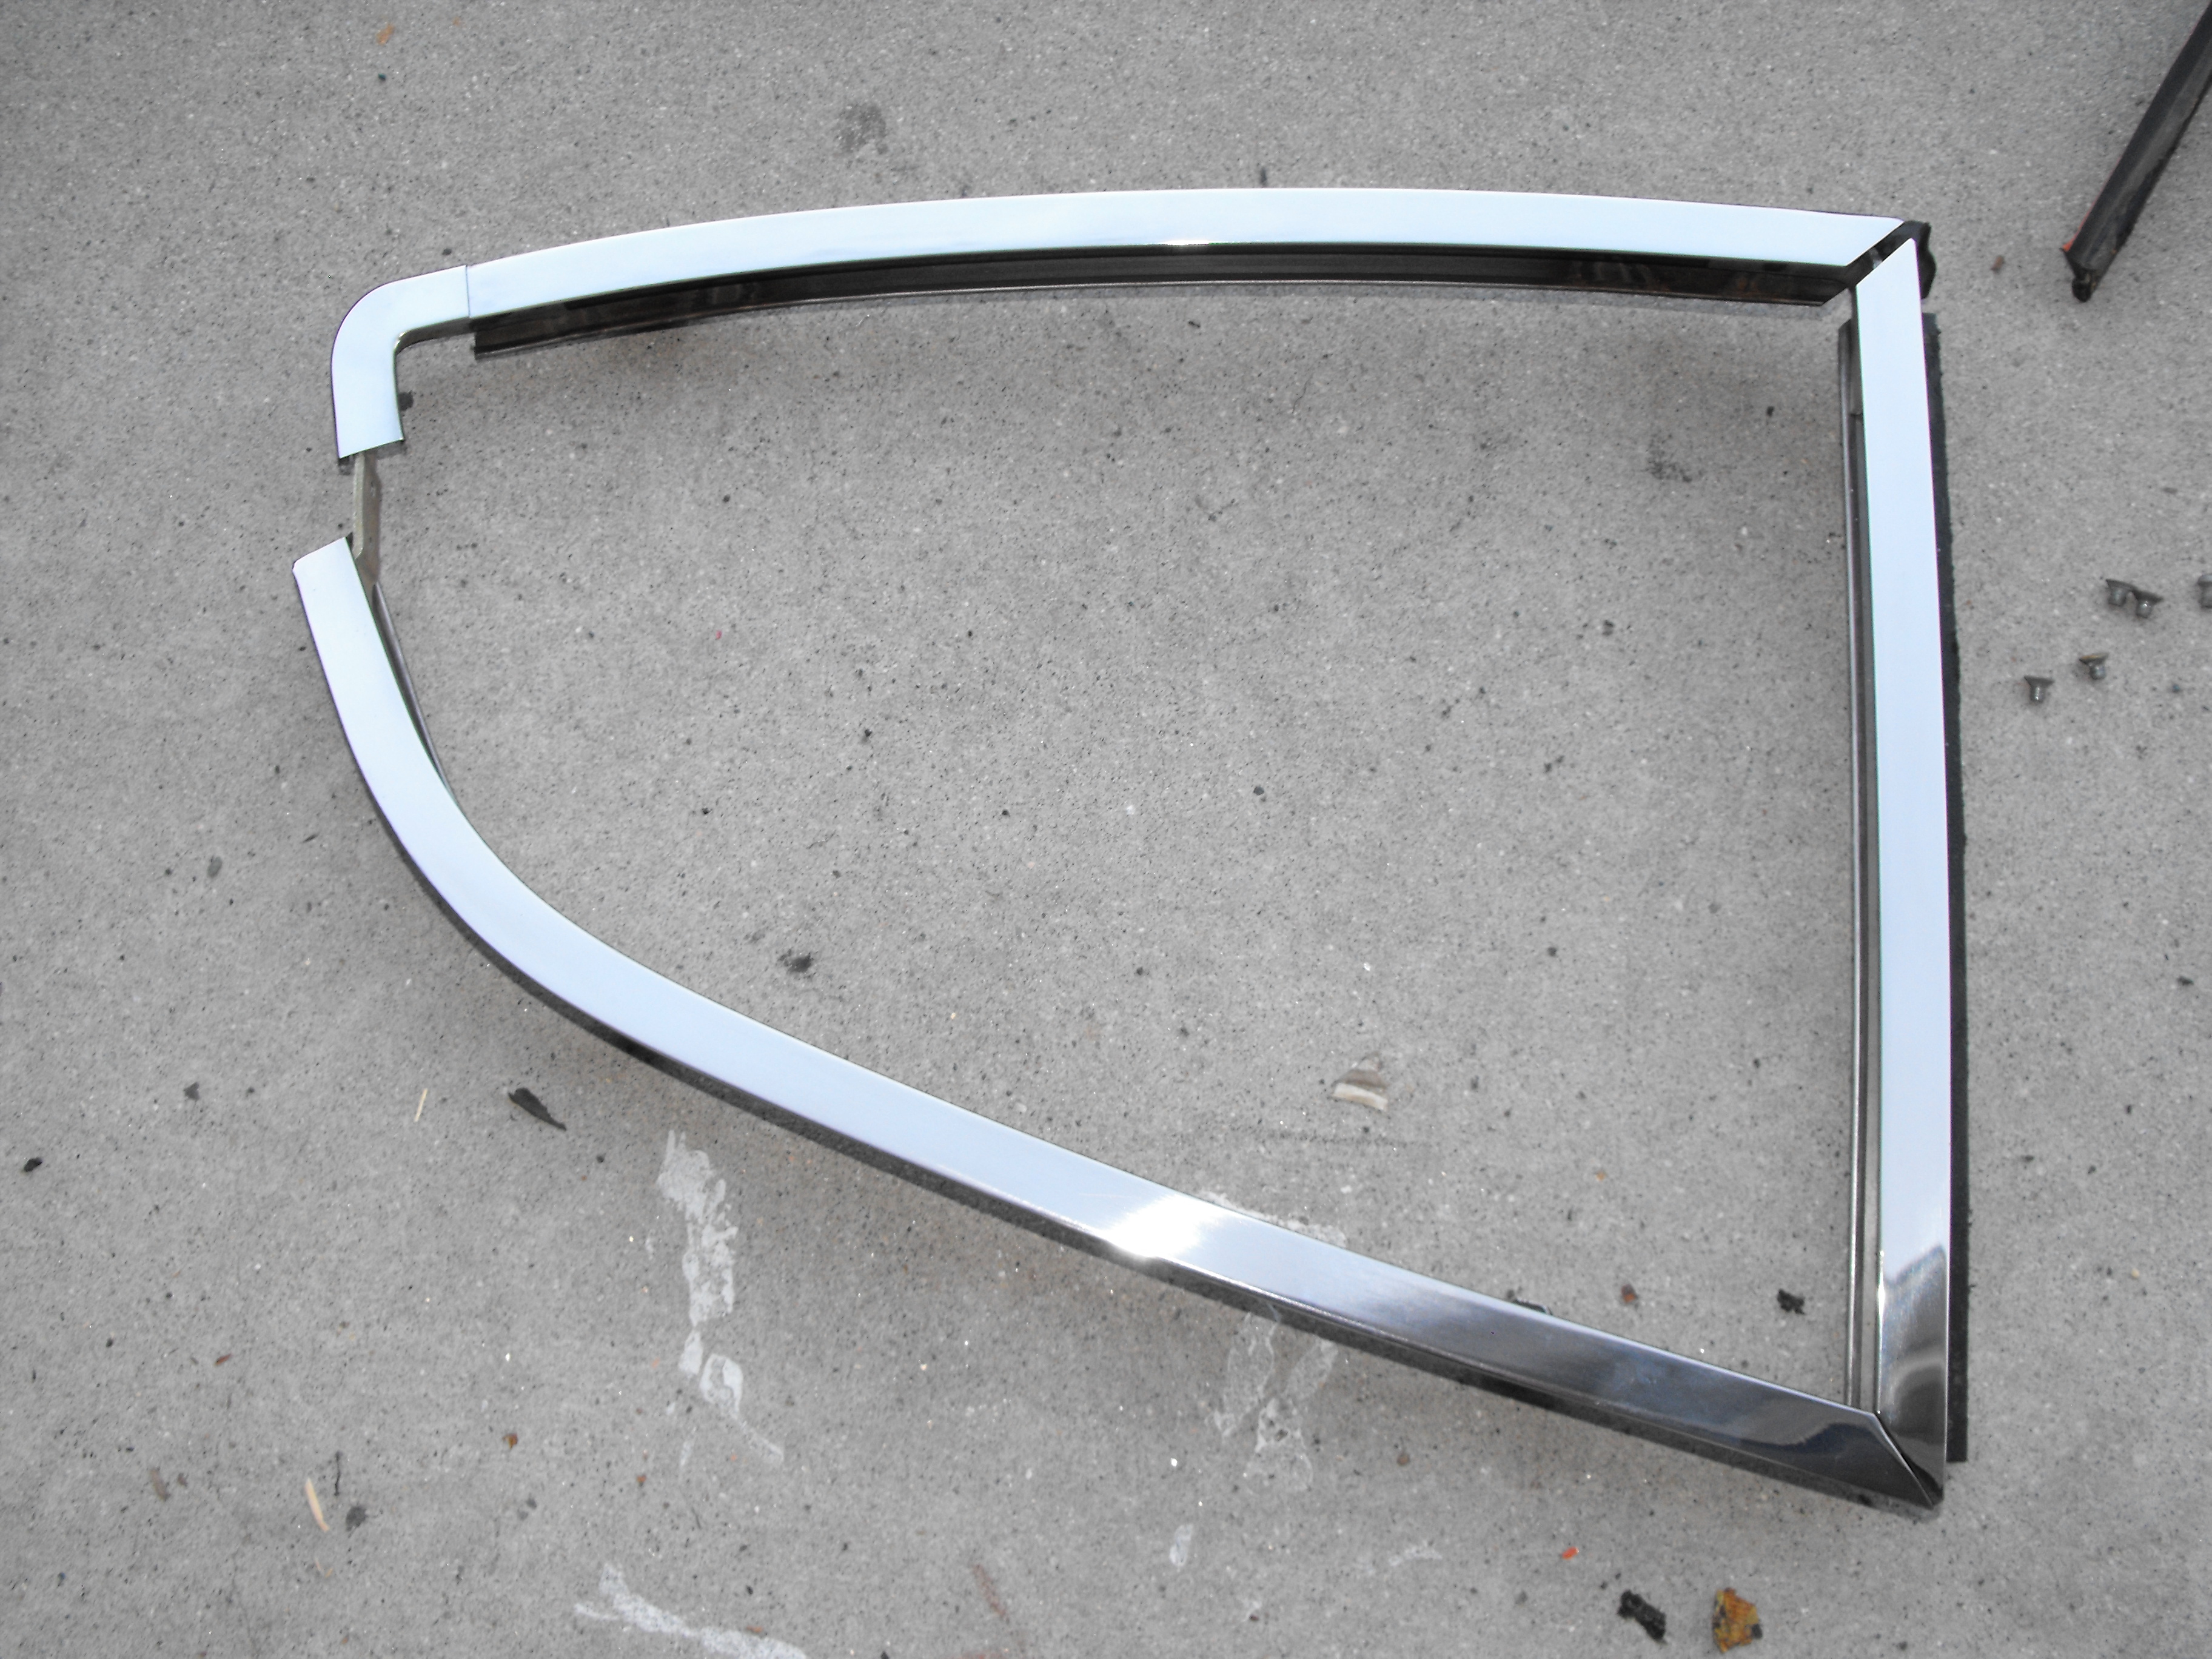
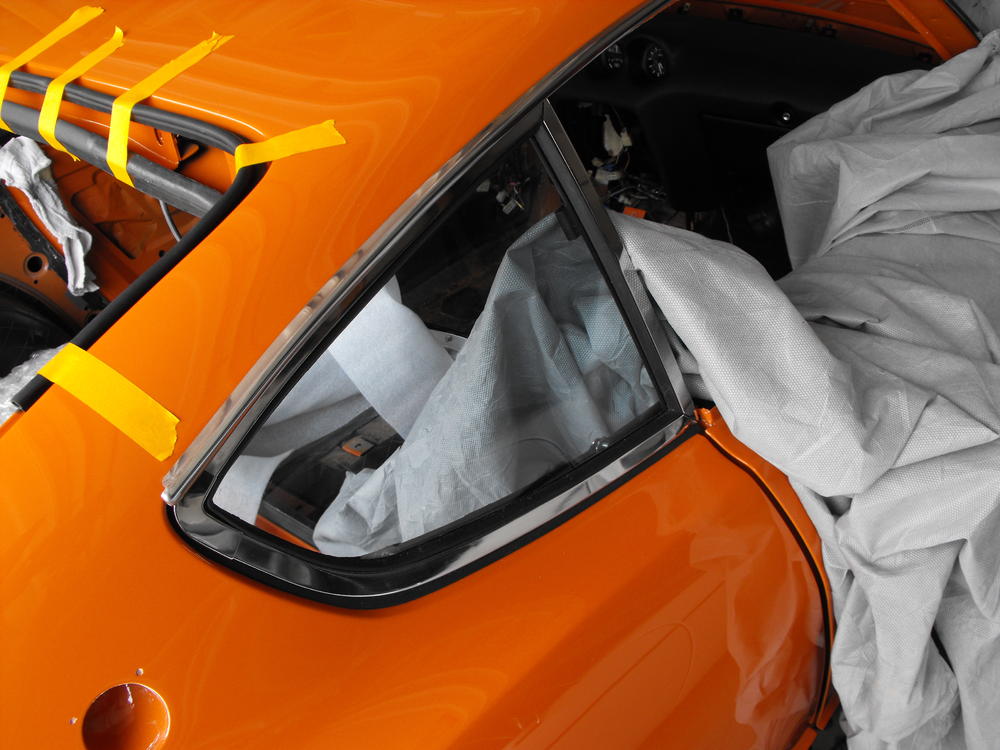
Installed the passenger side quarter window. I buffed out the frame on the polishing wheel to give it a nice shine. You can see the difference in the first and third pics. The polish takes out some of the very small scratches. I remembered to paint the inside frame area satin black before installing the window (I forgot to do this on my '71 and it looks goofy, one of those things I need to go back and fix). I installed all new weather stripping and new 4mm screws. It's actually a fairly easy install.


-
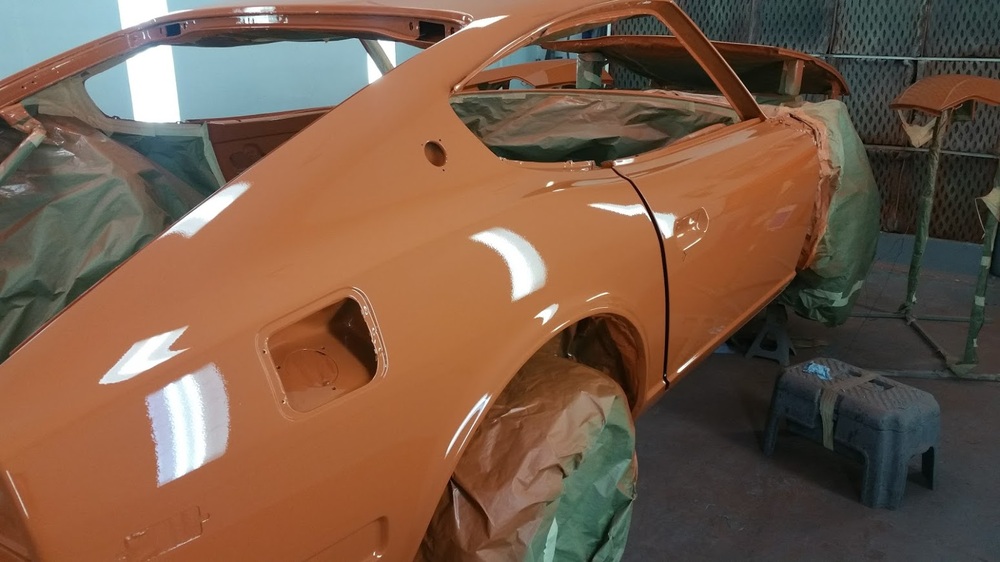
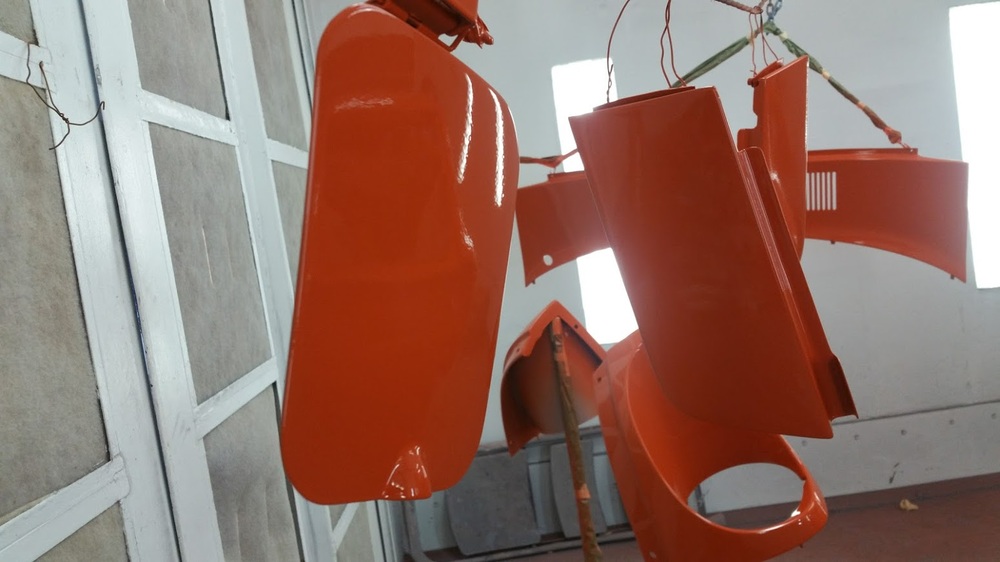
You are right. My '70 still has the original single stage paint and it never looked this good. The '70 even has a few paint runs in the engine compartment and the overall paint has a slight ripple or 'smooth orange peelish' texture to it. (Not sure what you really call that finish) I was at the San Marino Motor Classic Car show a couple month ago with my orange '71 240Z and one of the judges commented that he was very impressed that I was able to produce the 'smooth orange peelish' texture of the original Z paint on my car. Unfortunately, I had to tell him that the texture was actually the result of my mediocre painting skills and not what I was shooting for. Smooth as glass is what I was trying to achieve.
-
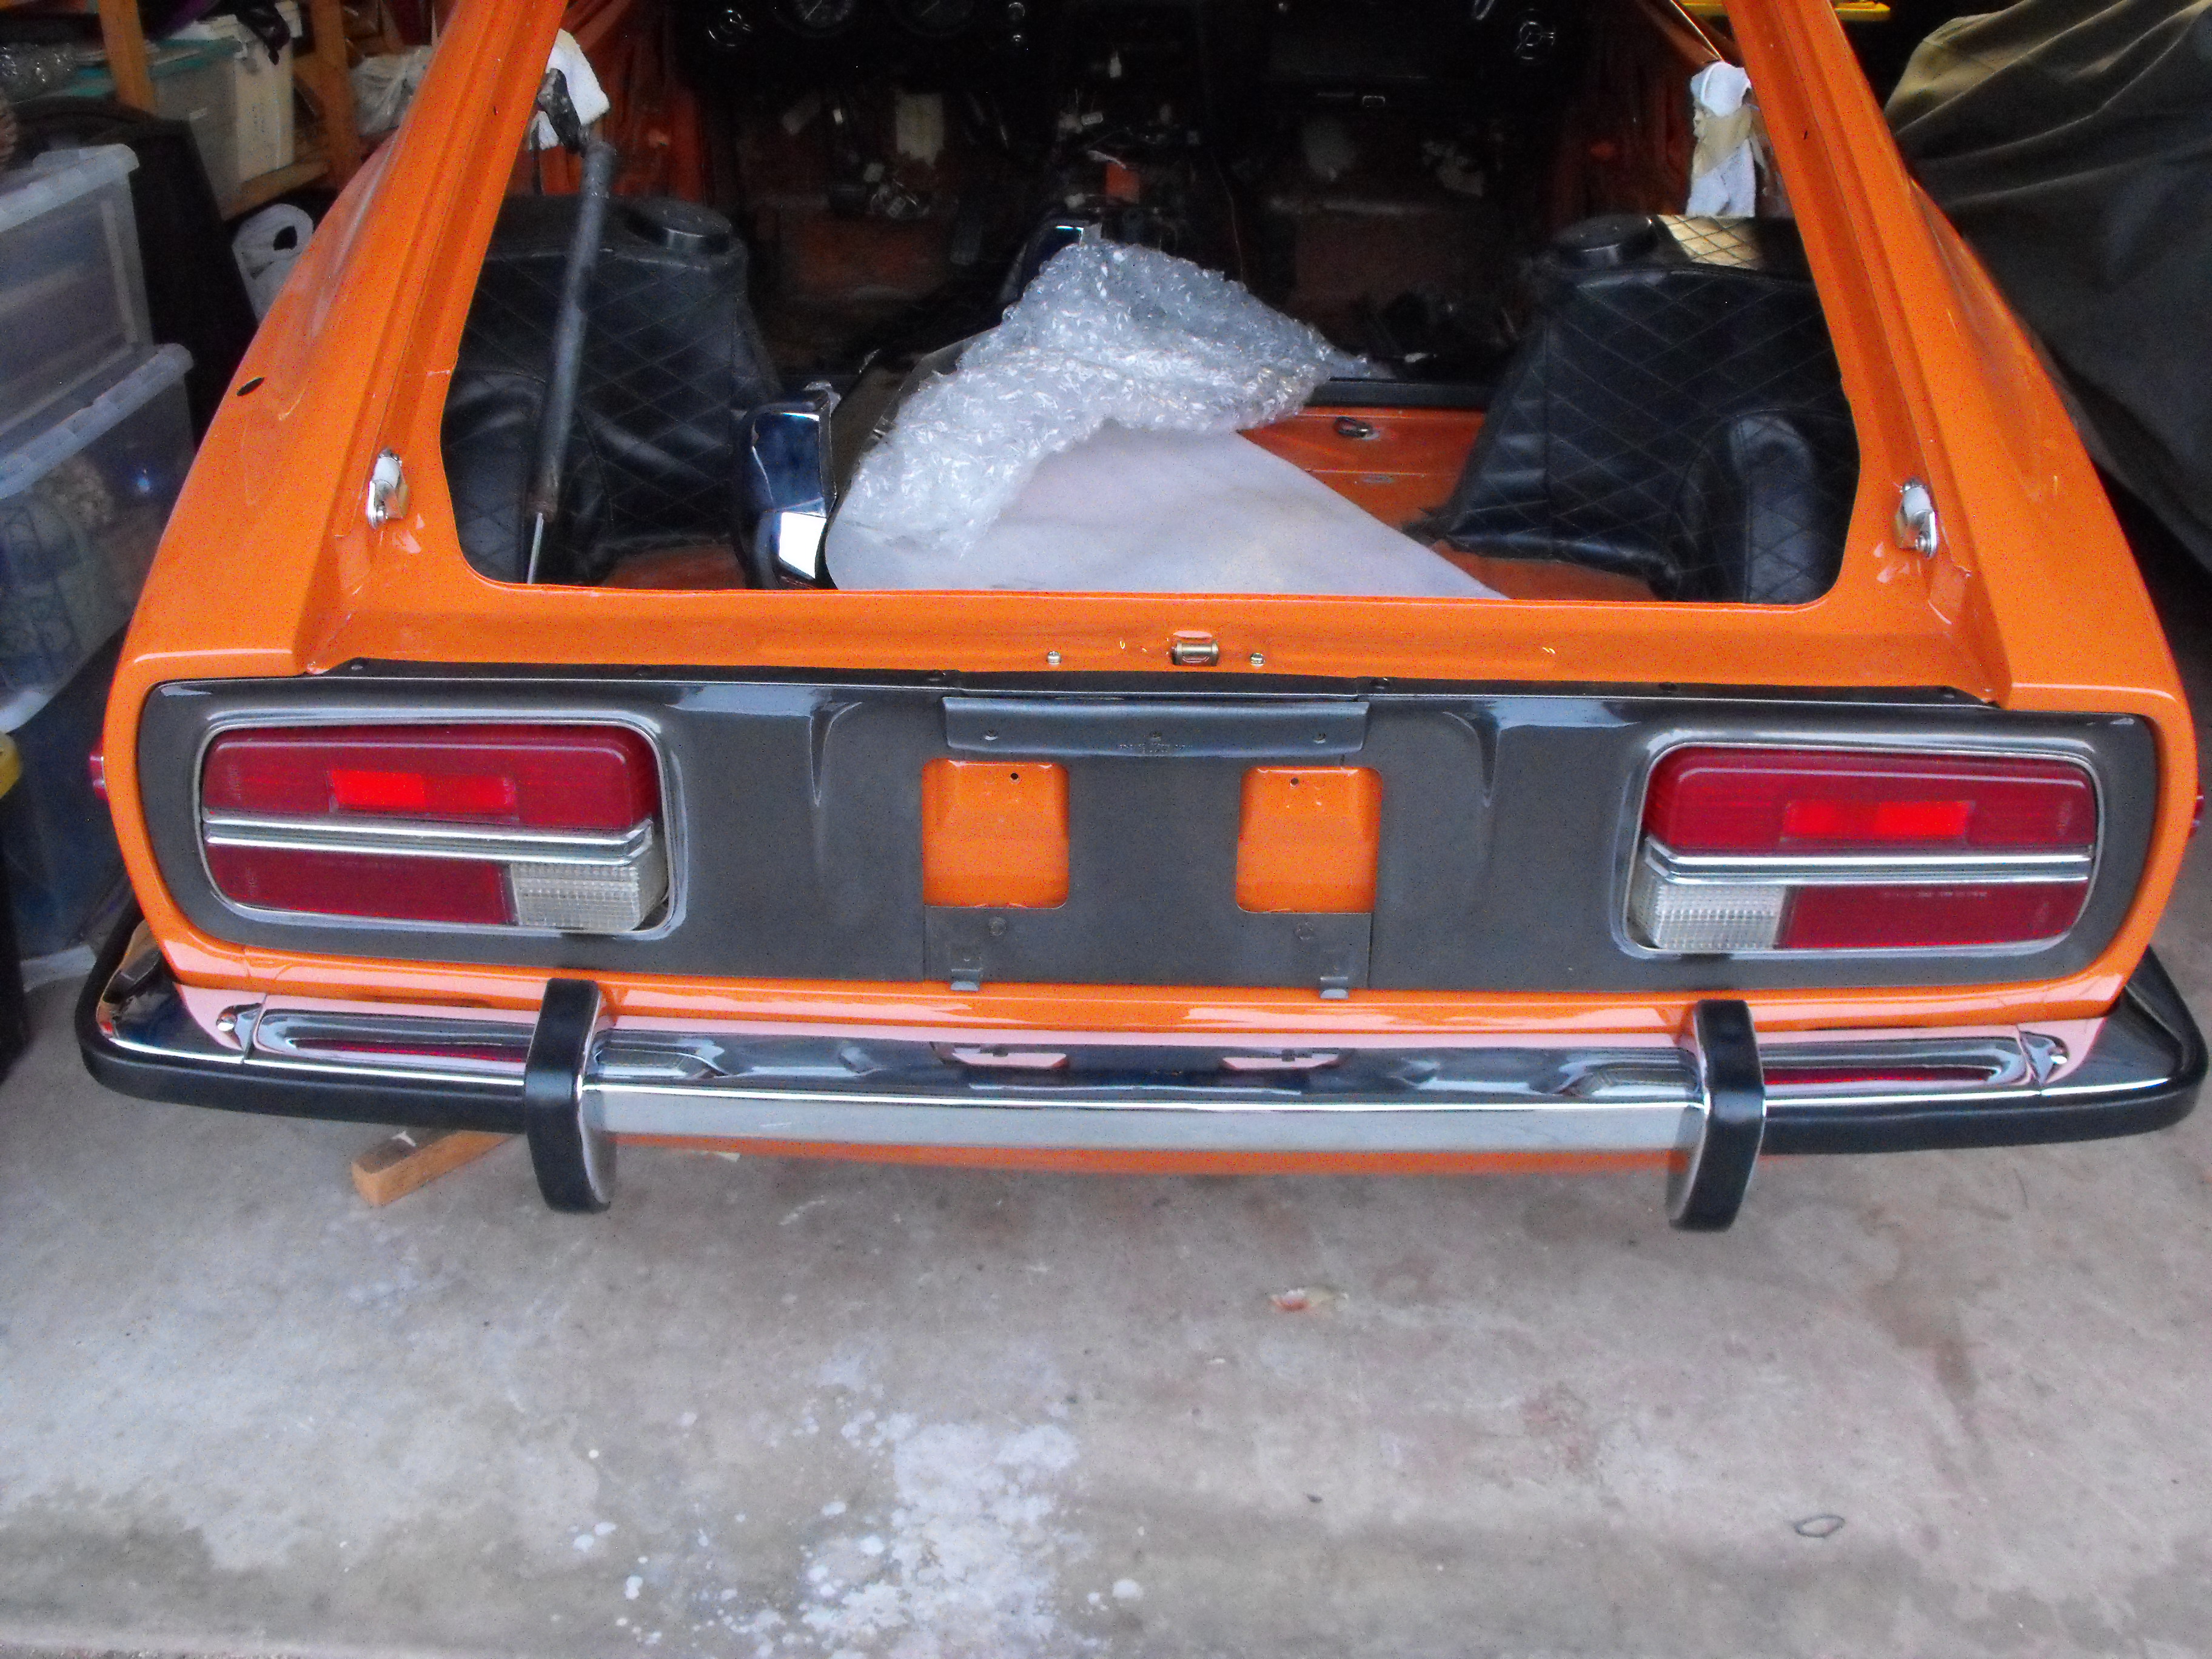
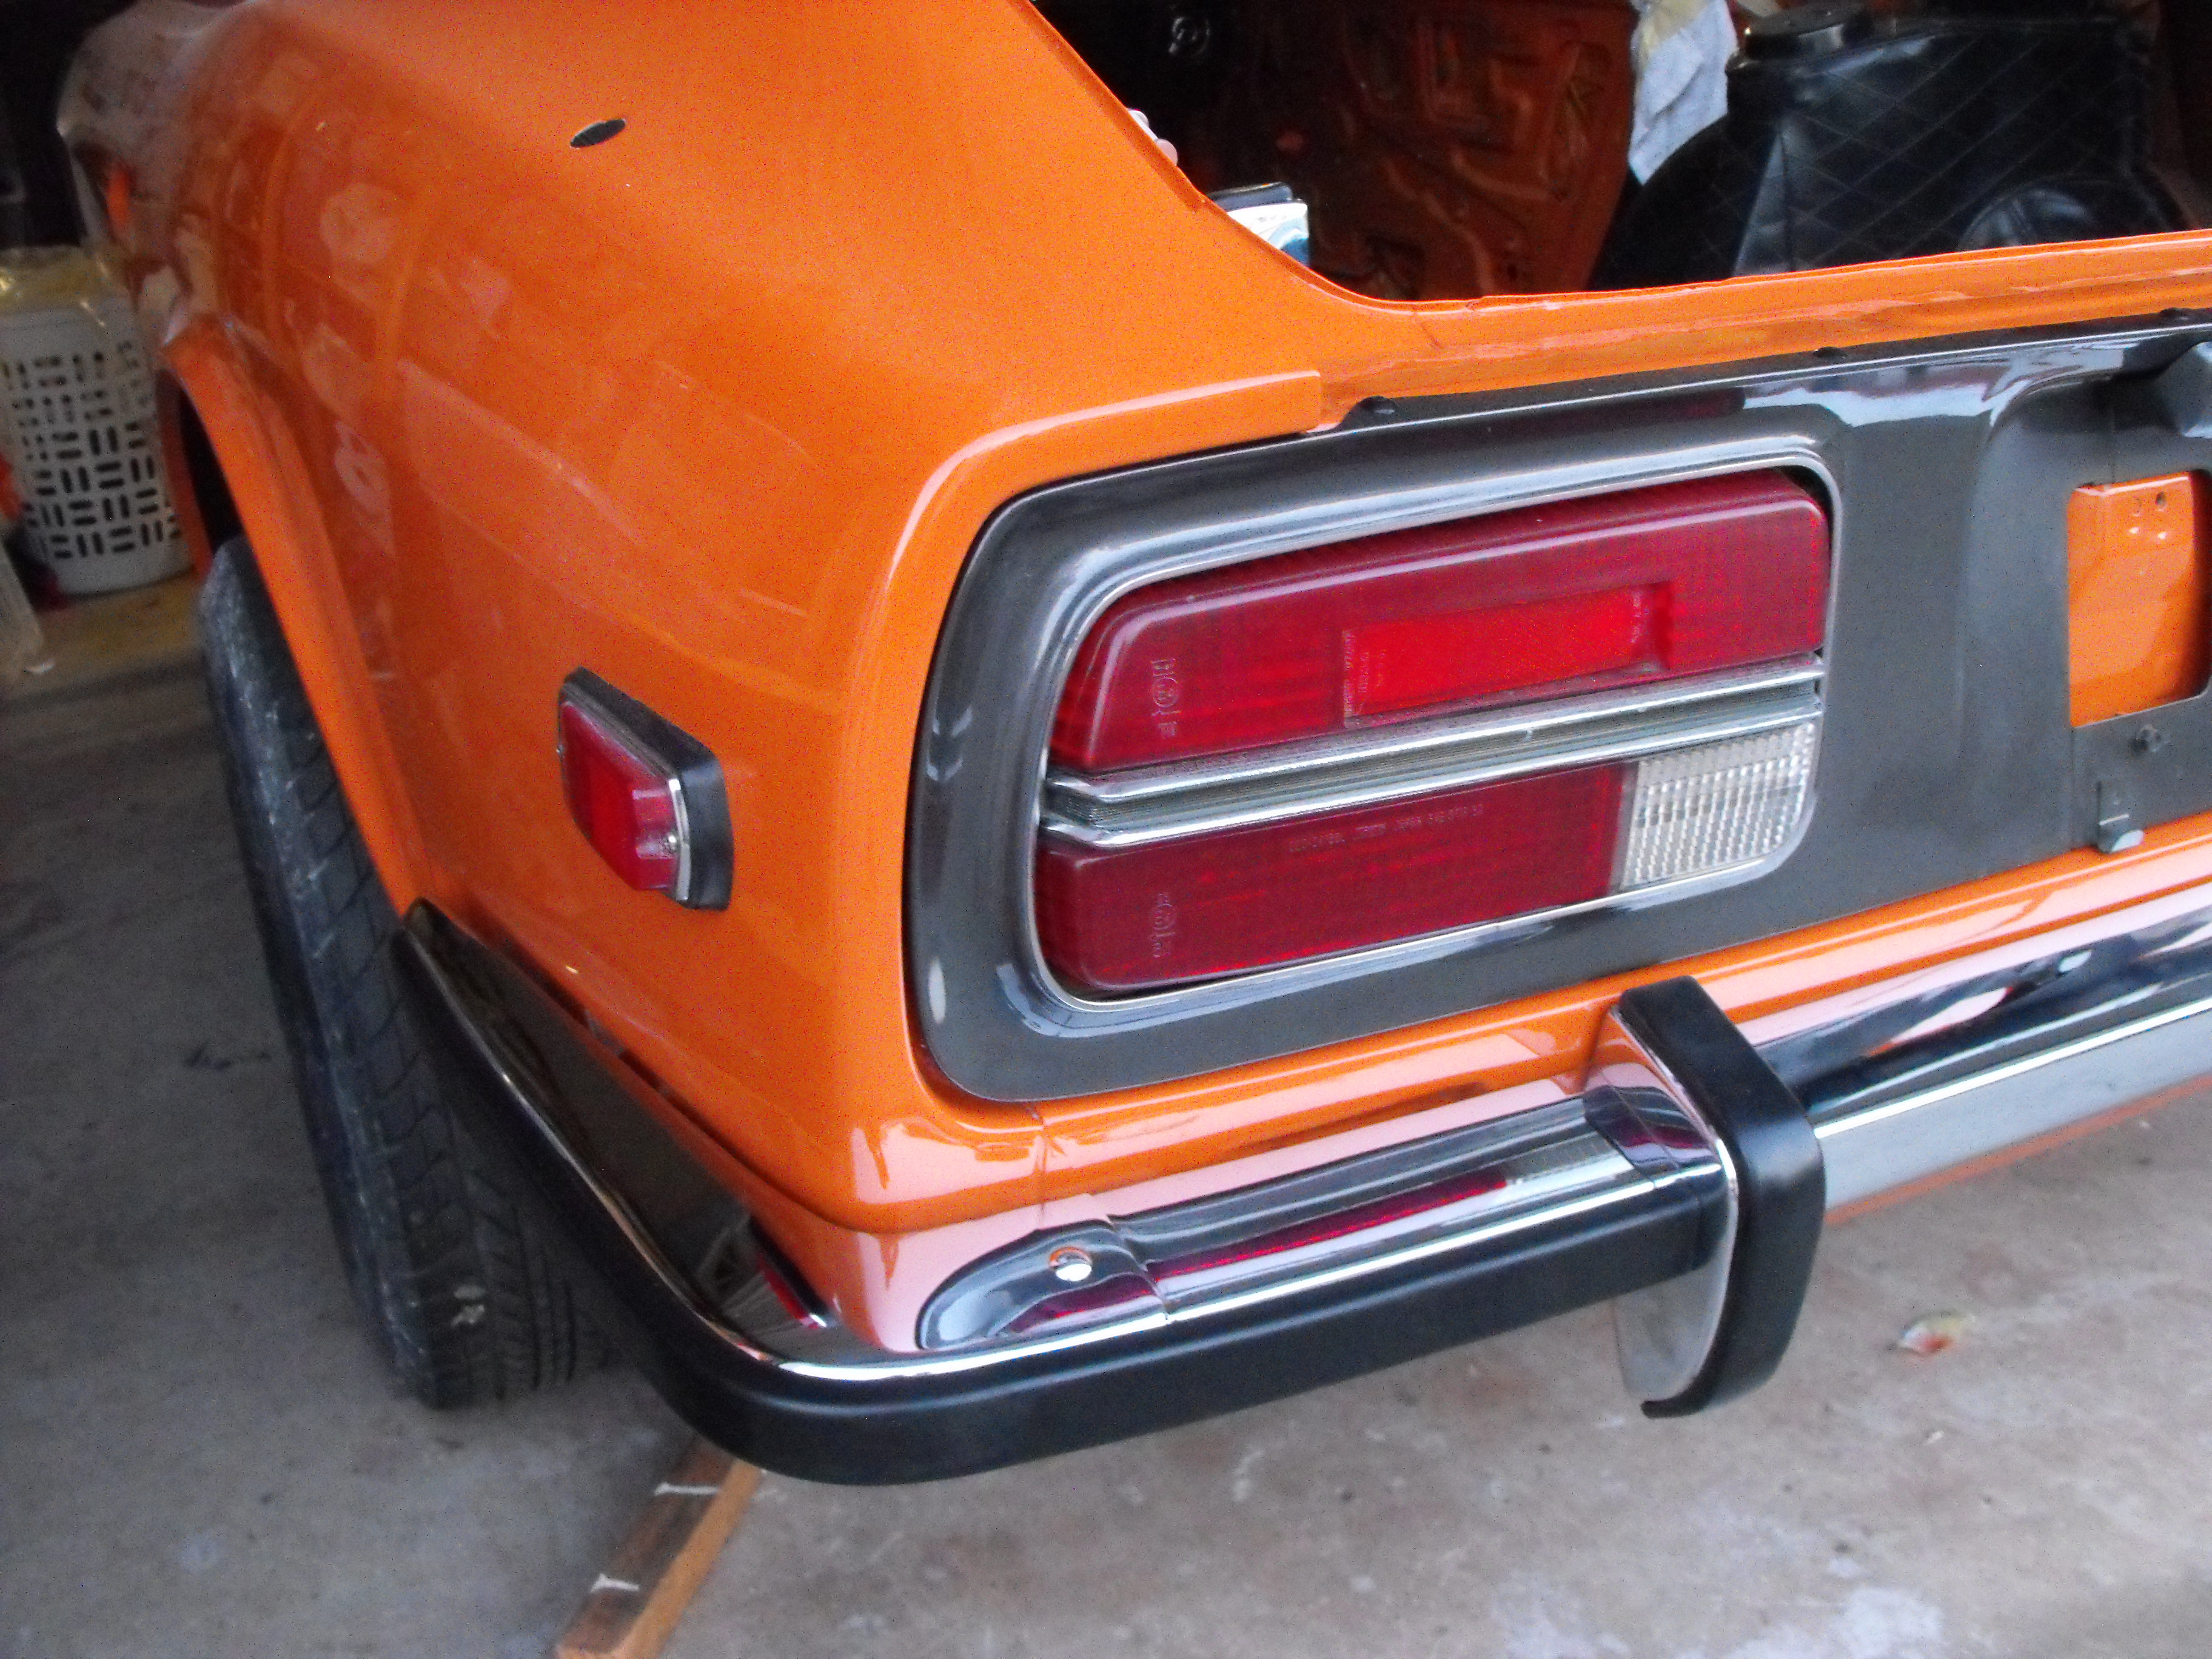
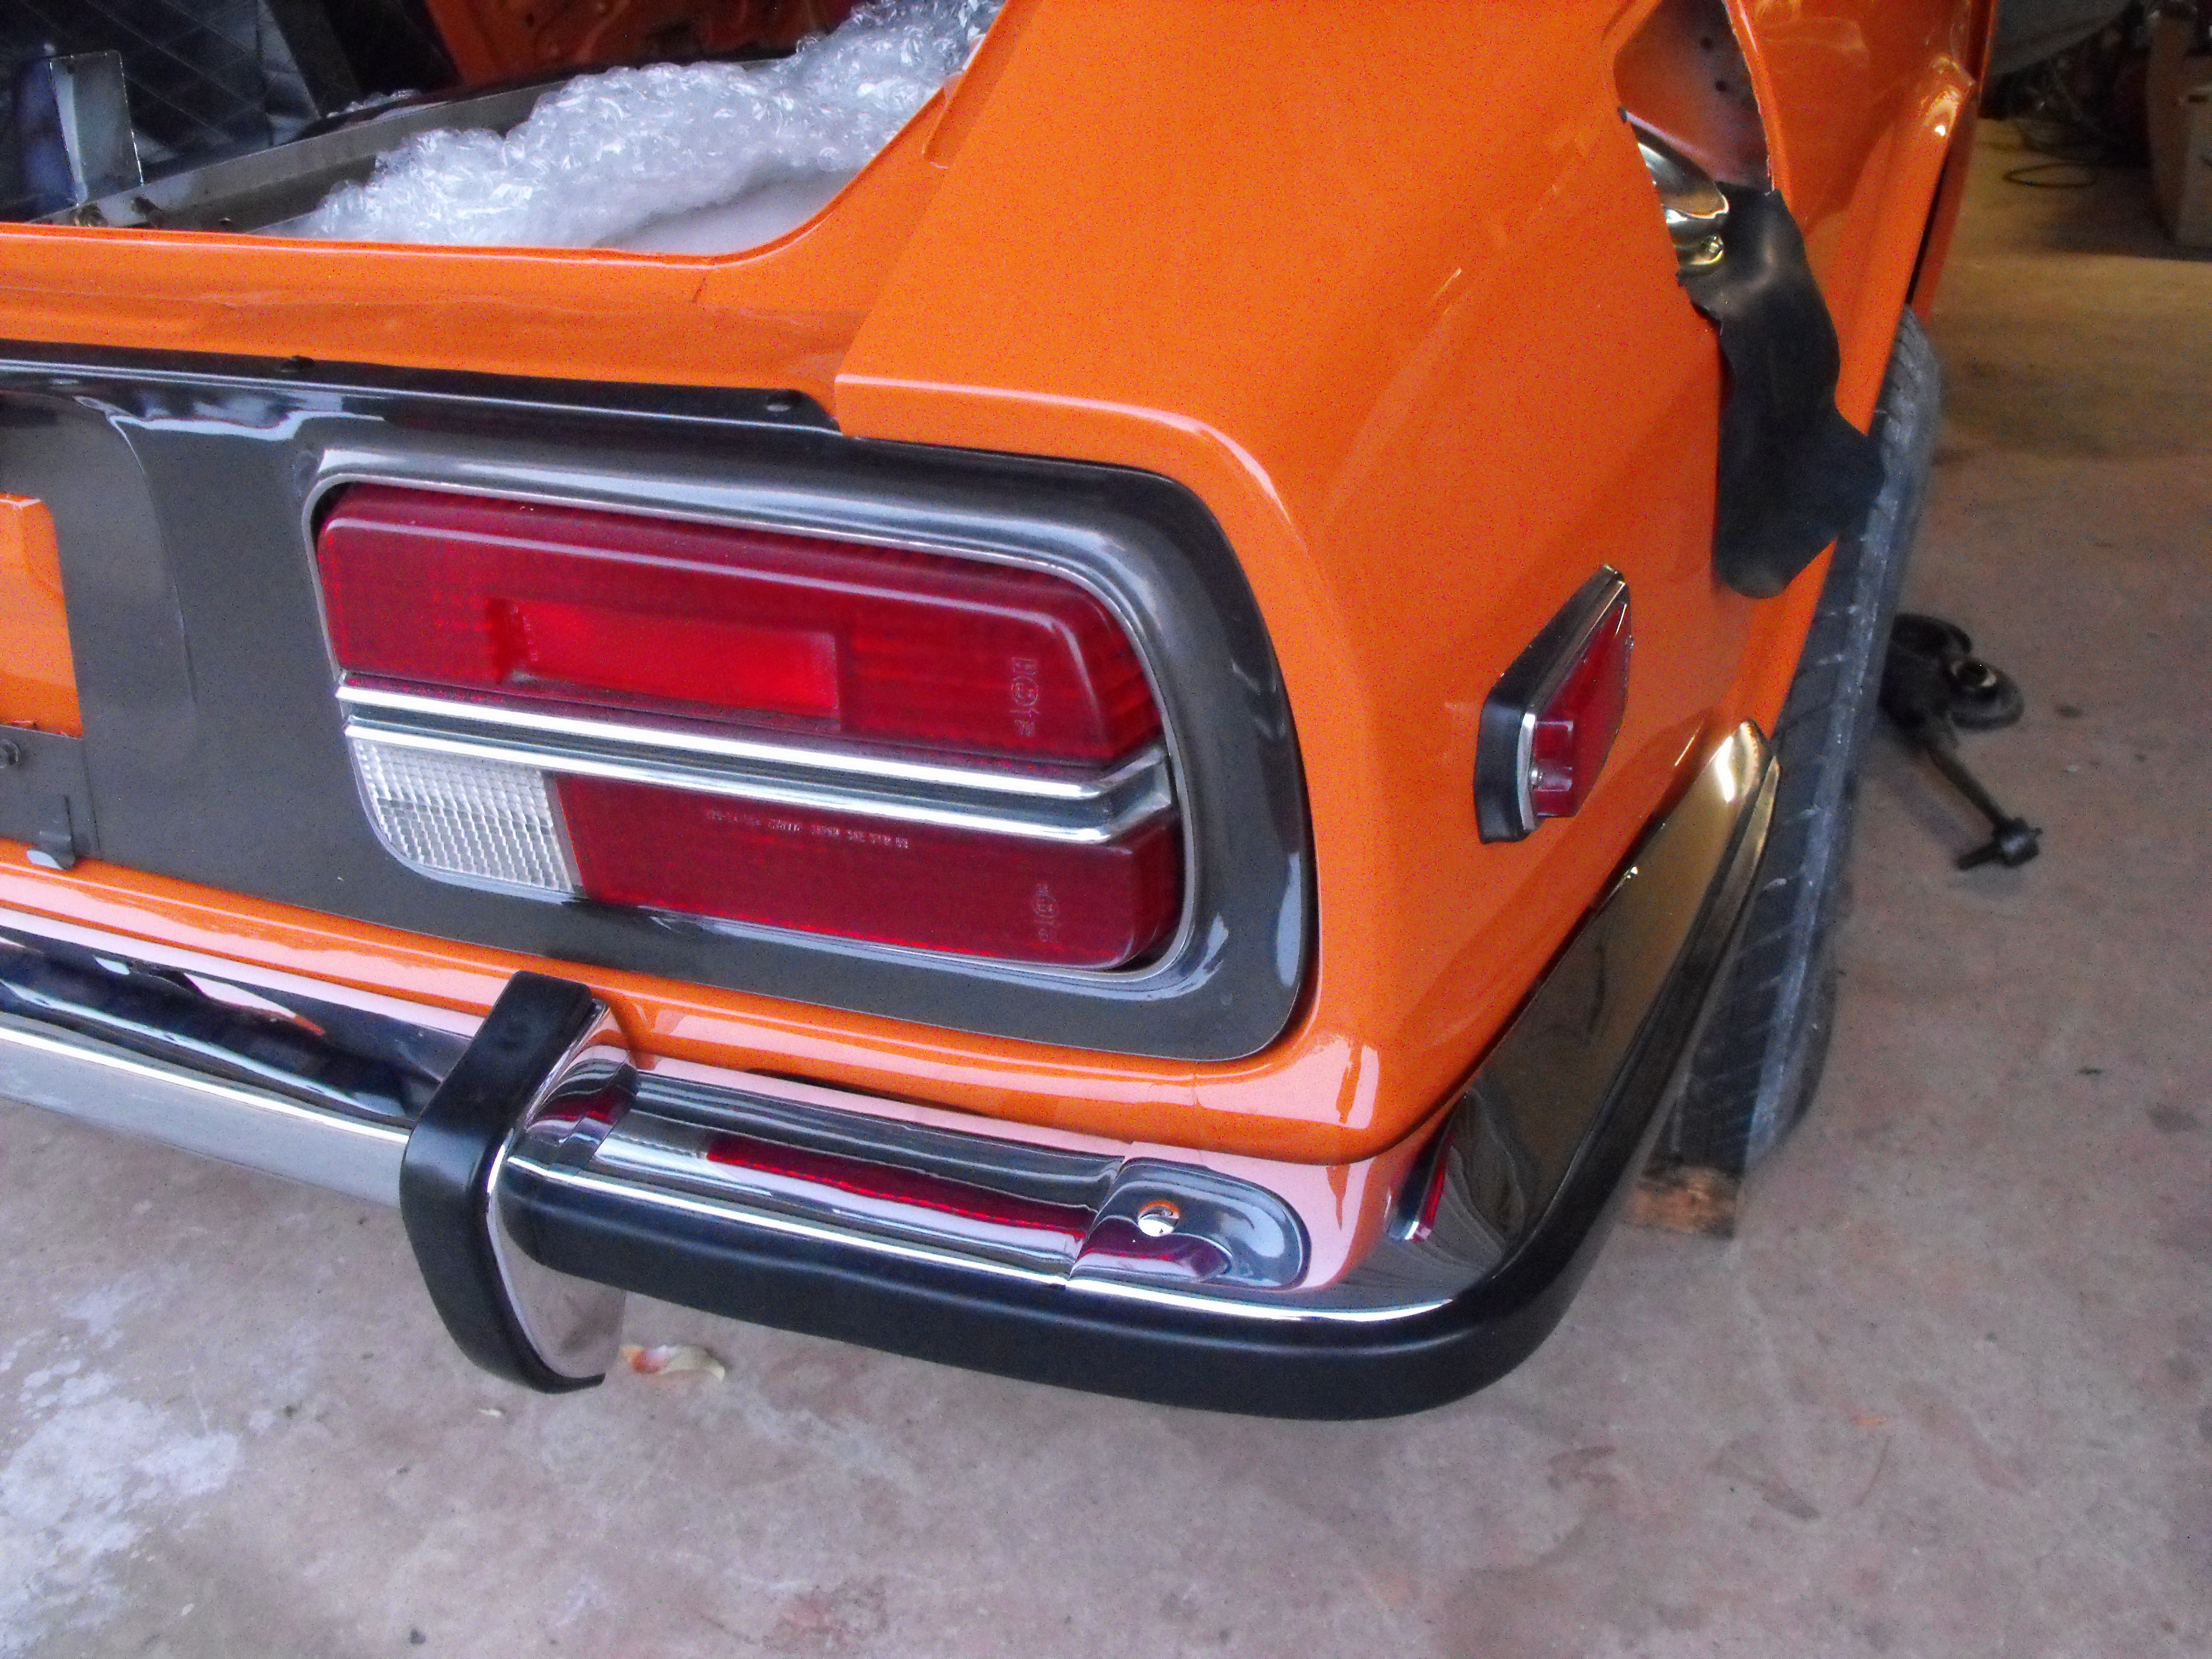
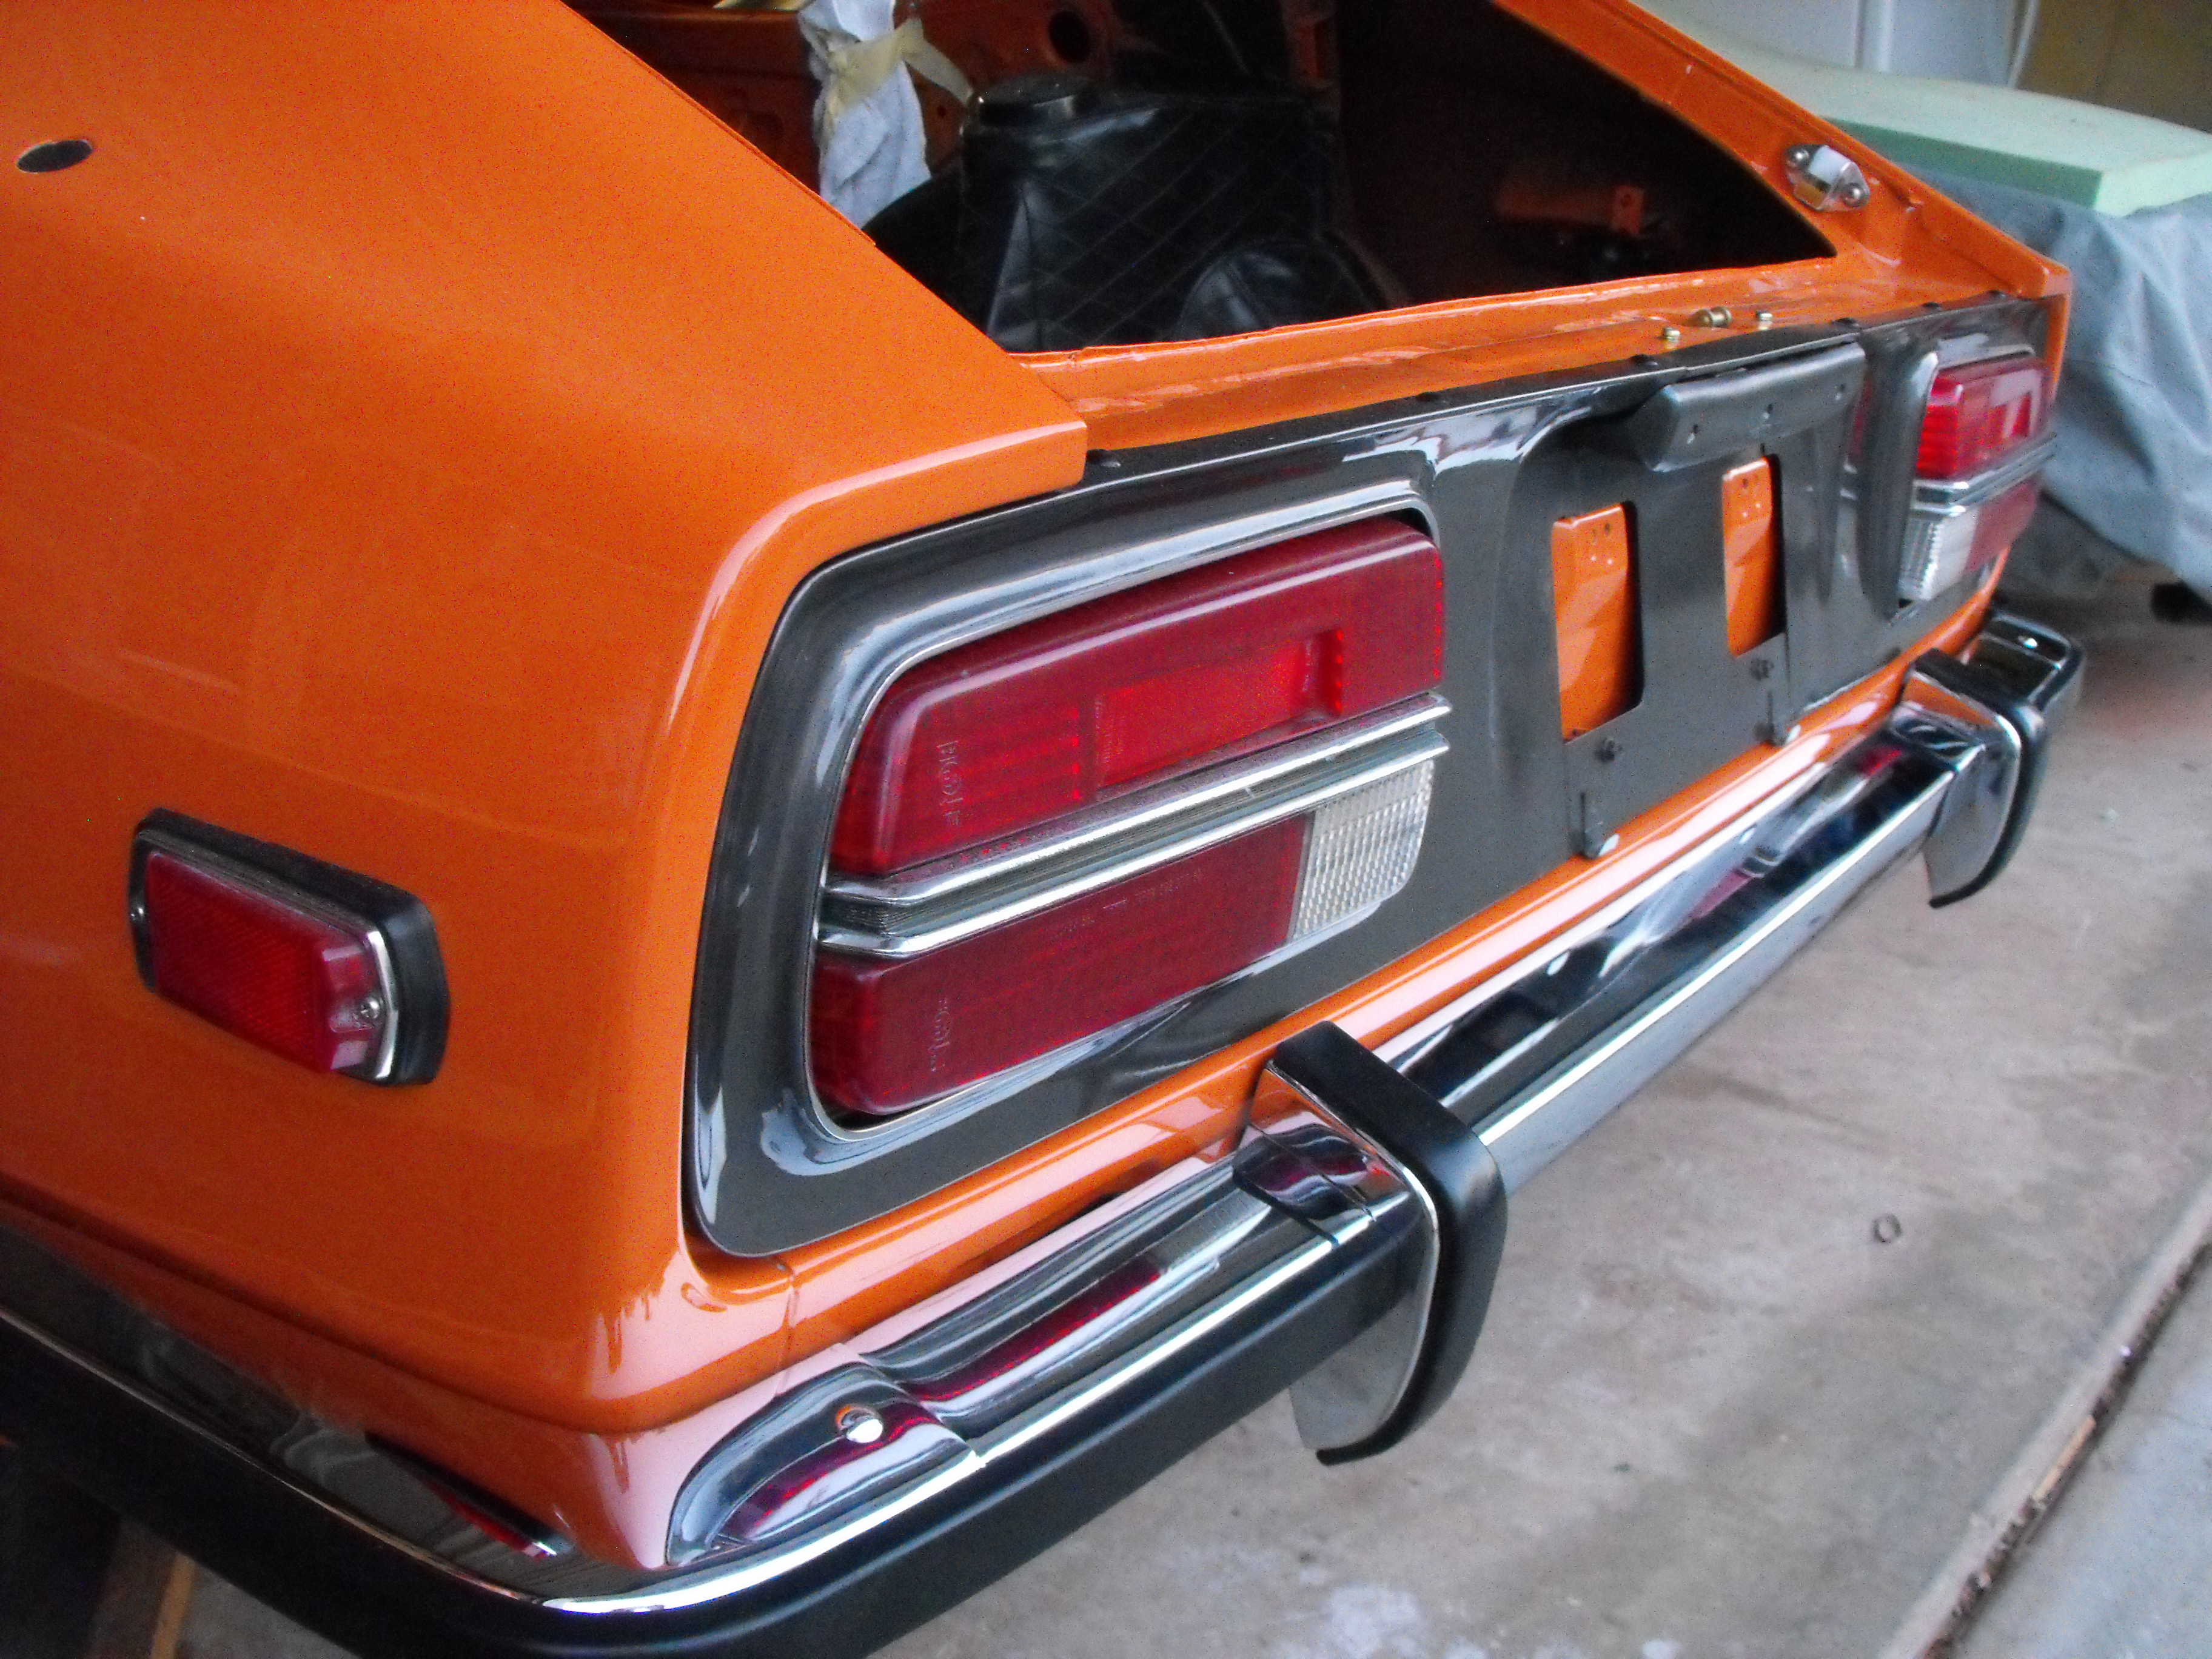
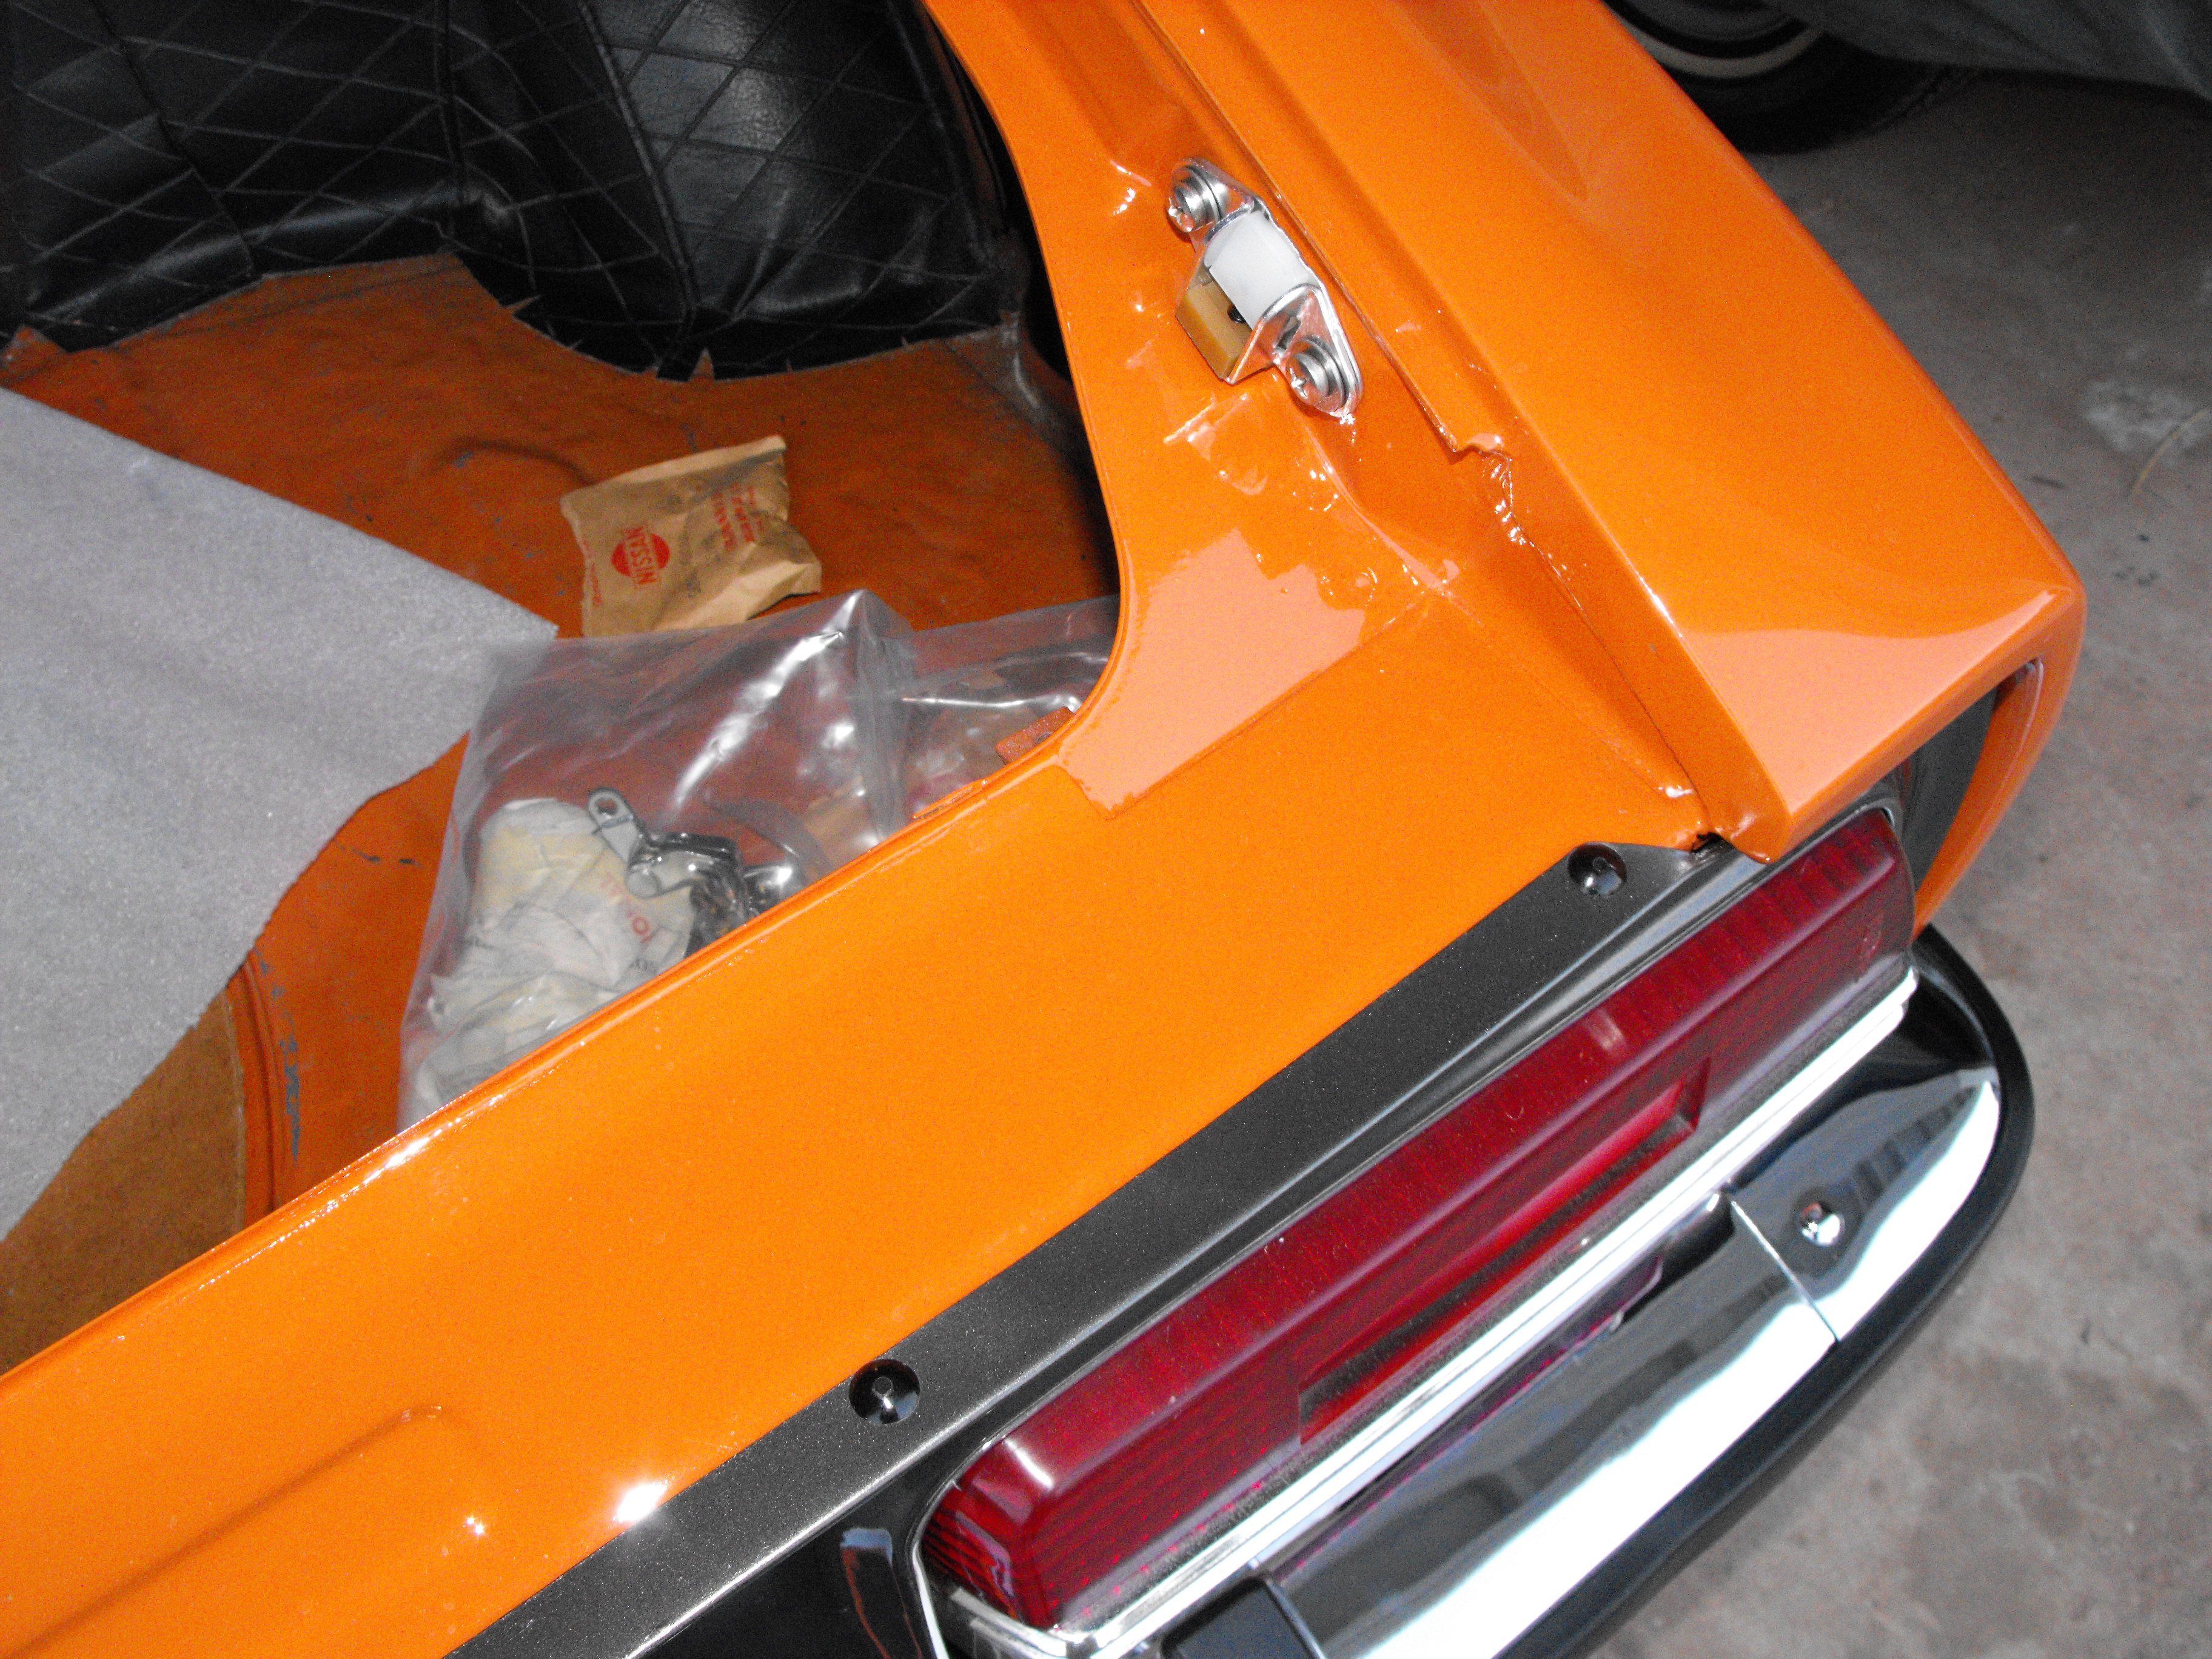
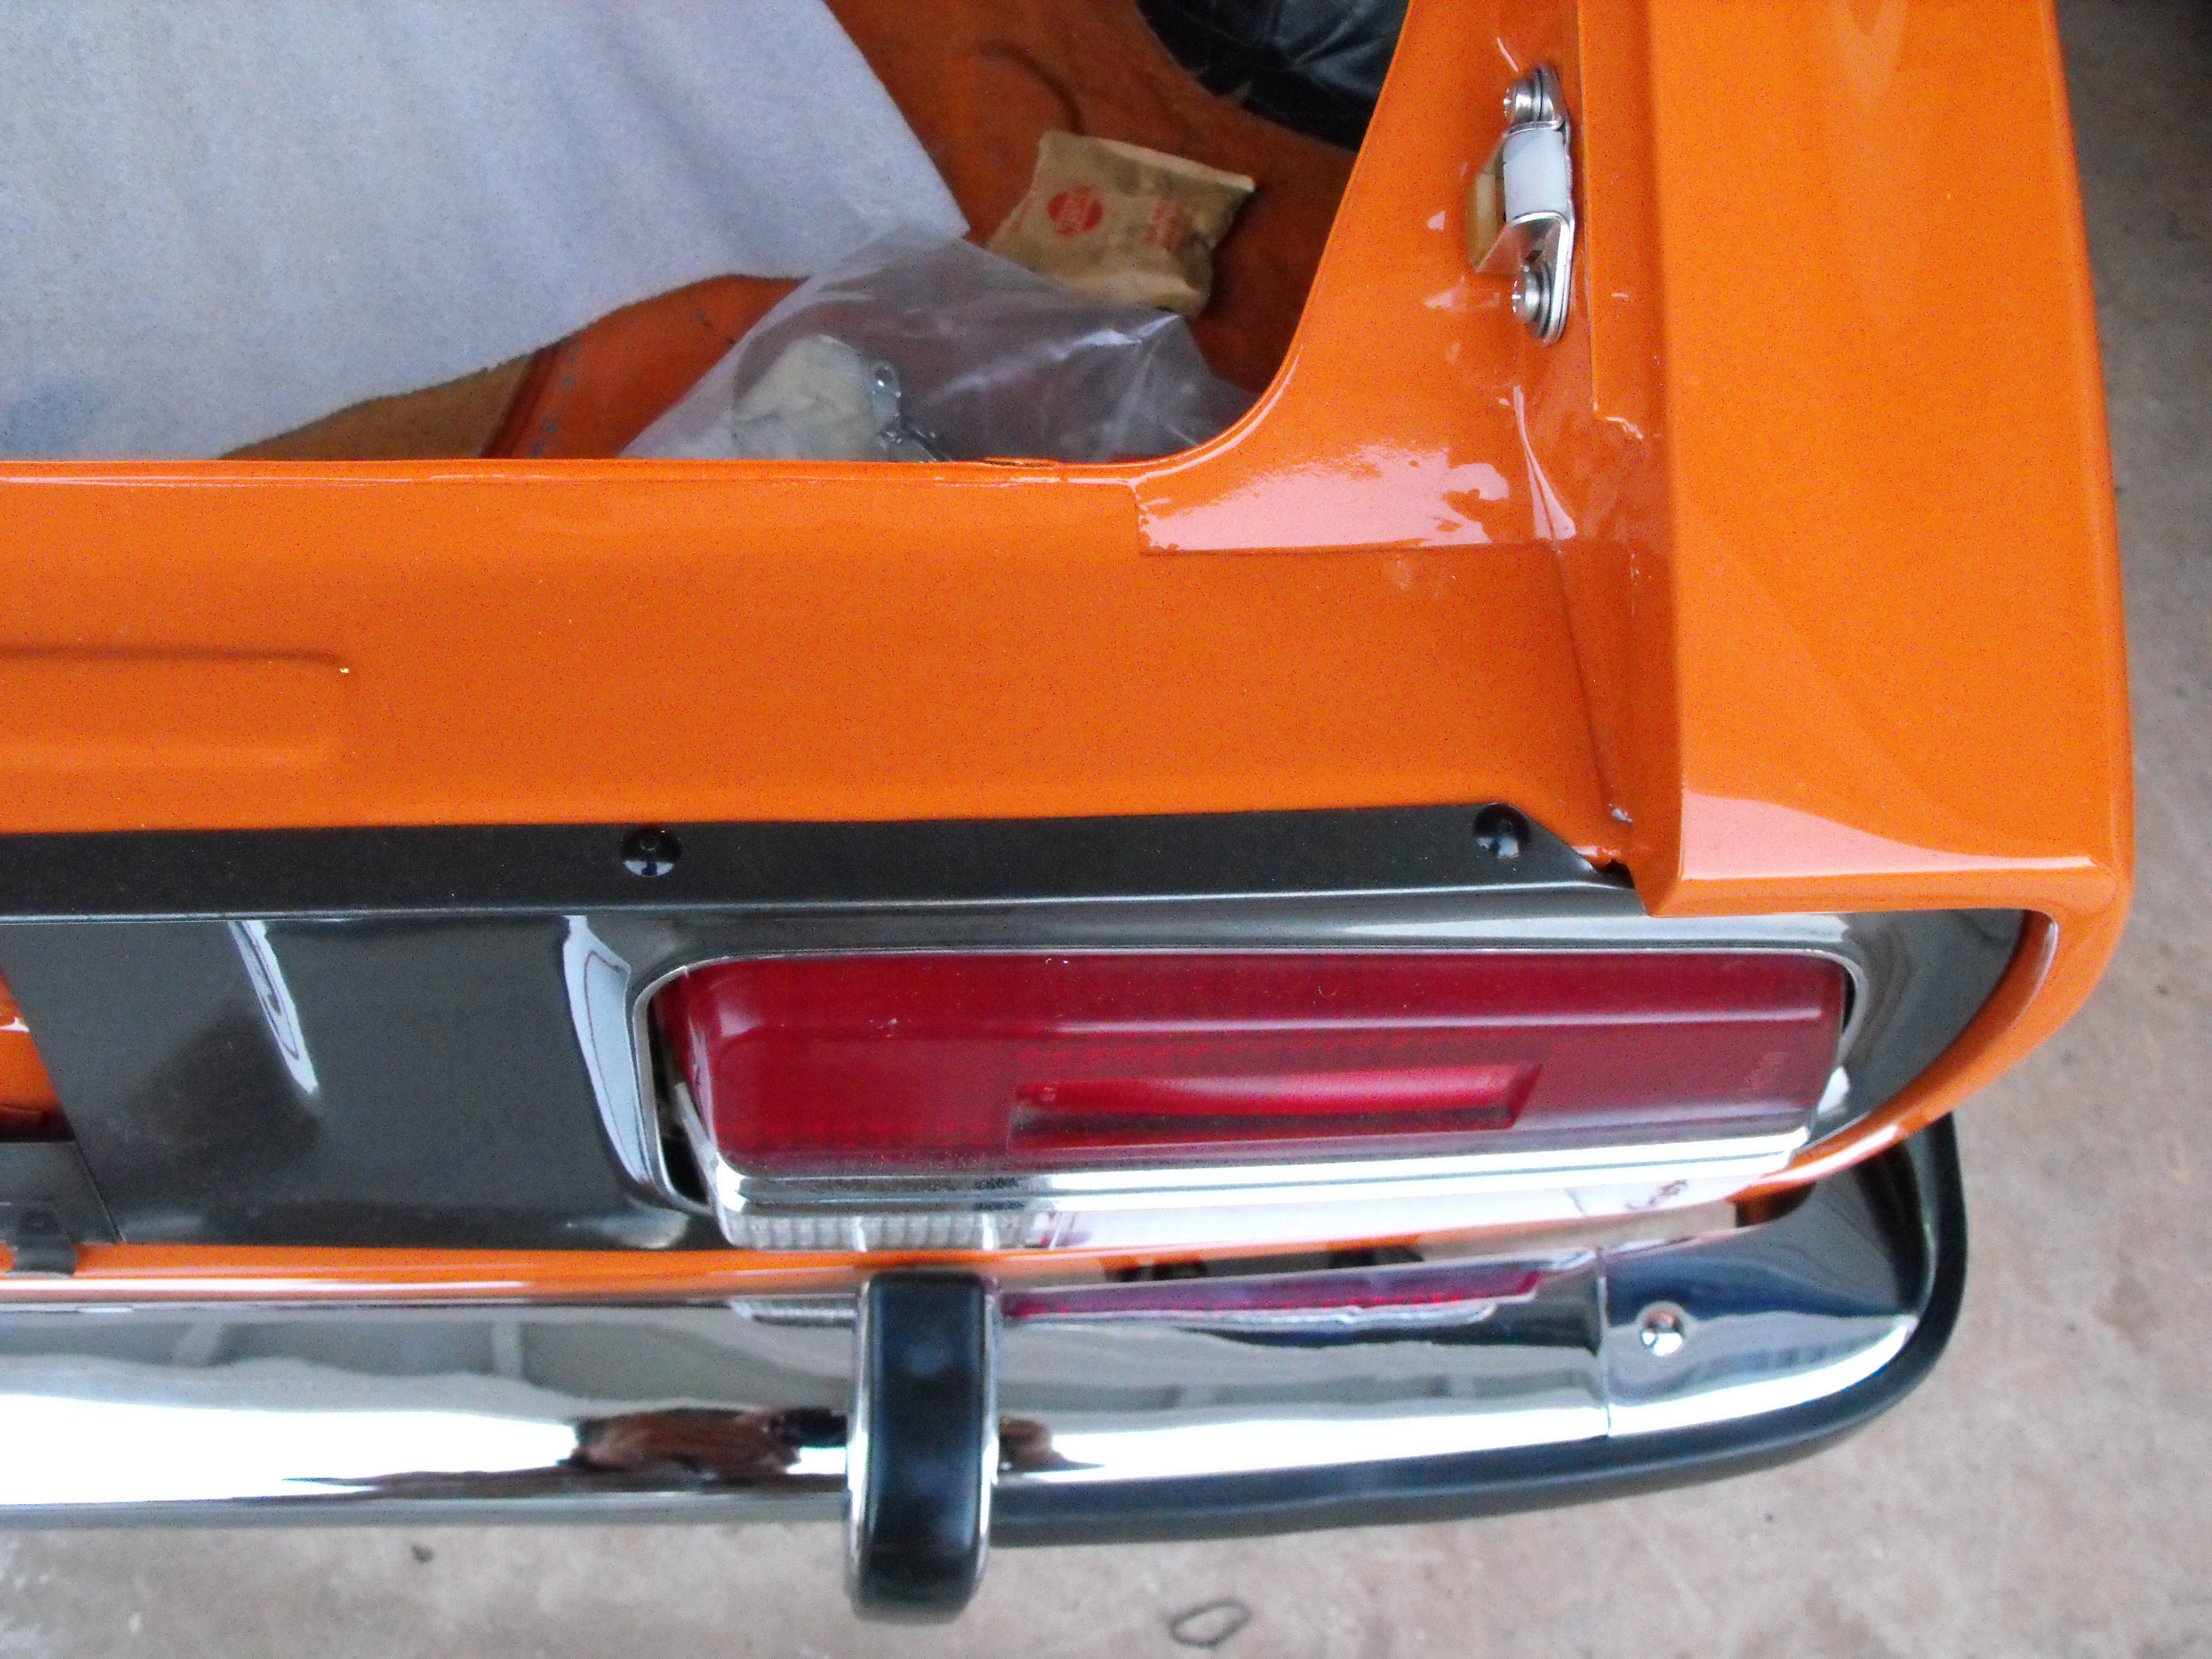
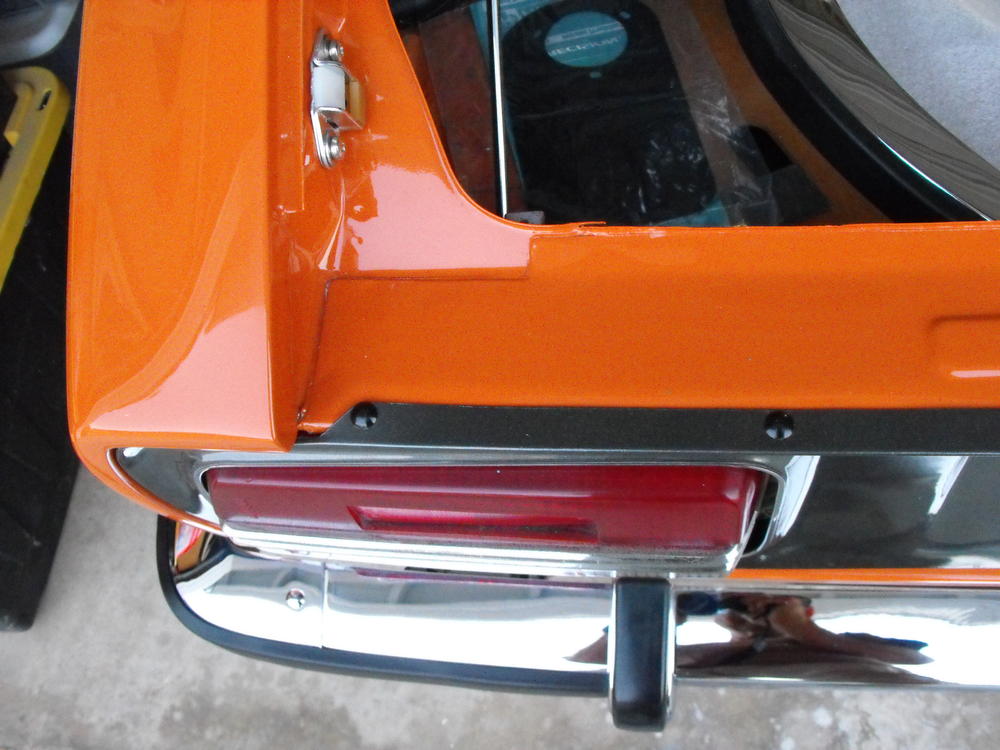
Took a short break to visit my mom up in Idaho. That is always nice since mom always spoils me with great food. She is almost 79 and still cuts her own wood with a chainsaw. Pretty impressive. Now back to the task at hand, and the fun part, assembling the car. I had just a little time so I put the rear bumper on the car. Pics are below.


-
I did not take out the plastic for the door hardware. The only concern there would be the part that goes through the center of the plastic. It seemed to plate well enough. The acids won't effect the plastic or rubber. It will just not plate where the rubber is in direct contact with the metal
-
Yes, that is the primer that is under the paint. I will touch that up with orange paint before I put the fenders on.
-
Door jams, hatch area, and engine bay first. Best when car is mostly disassembled. This is what my paint shop did. Pics on this link near bottom of page 7
-
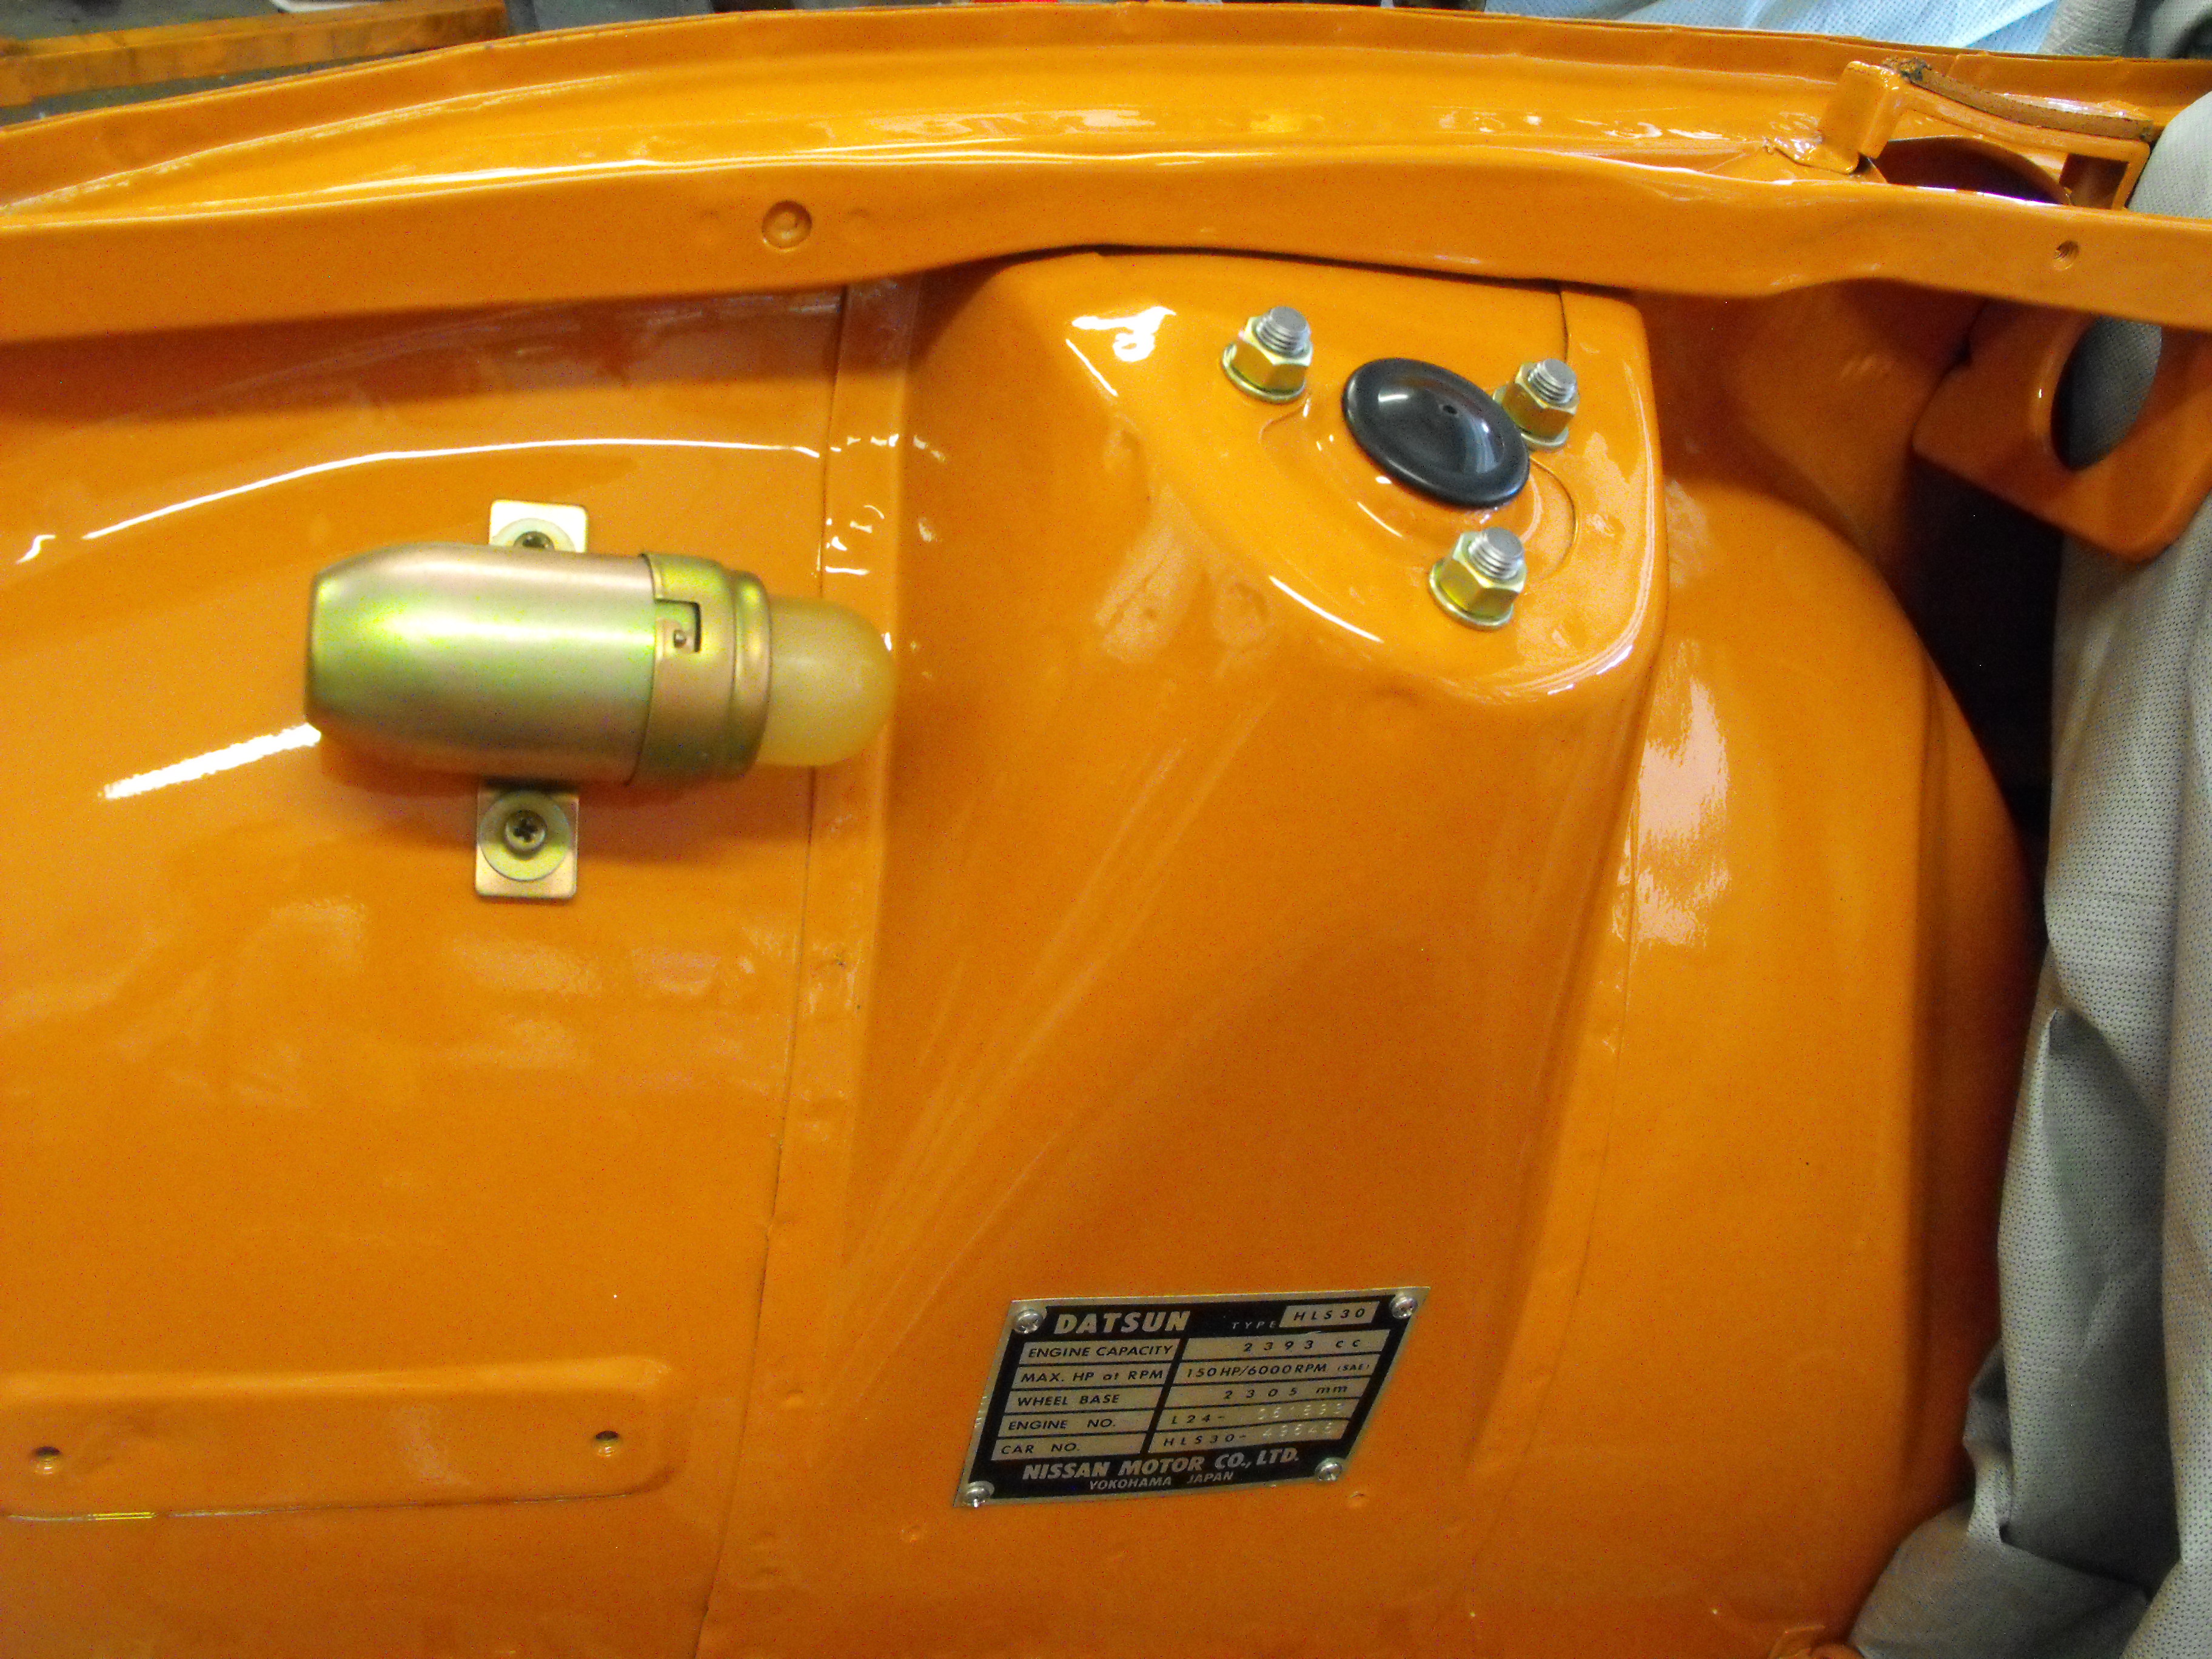
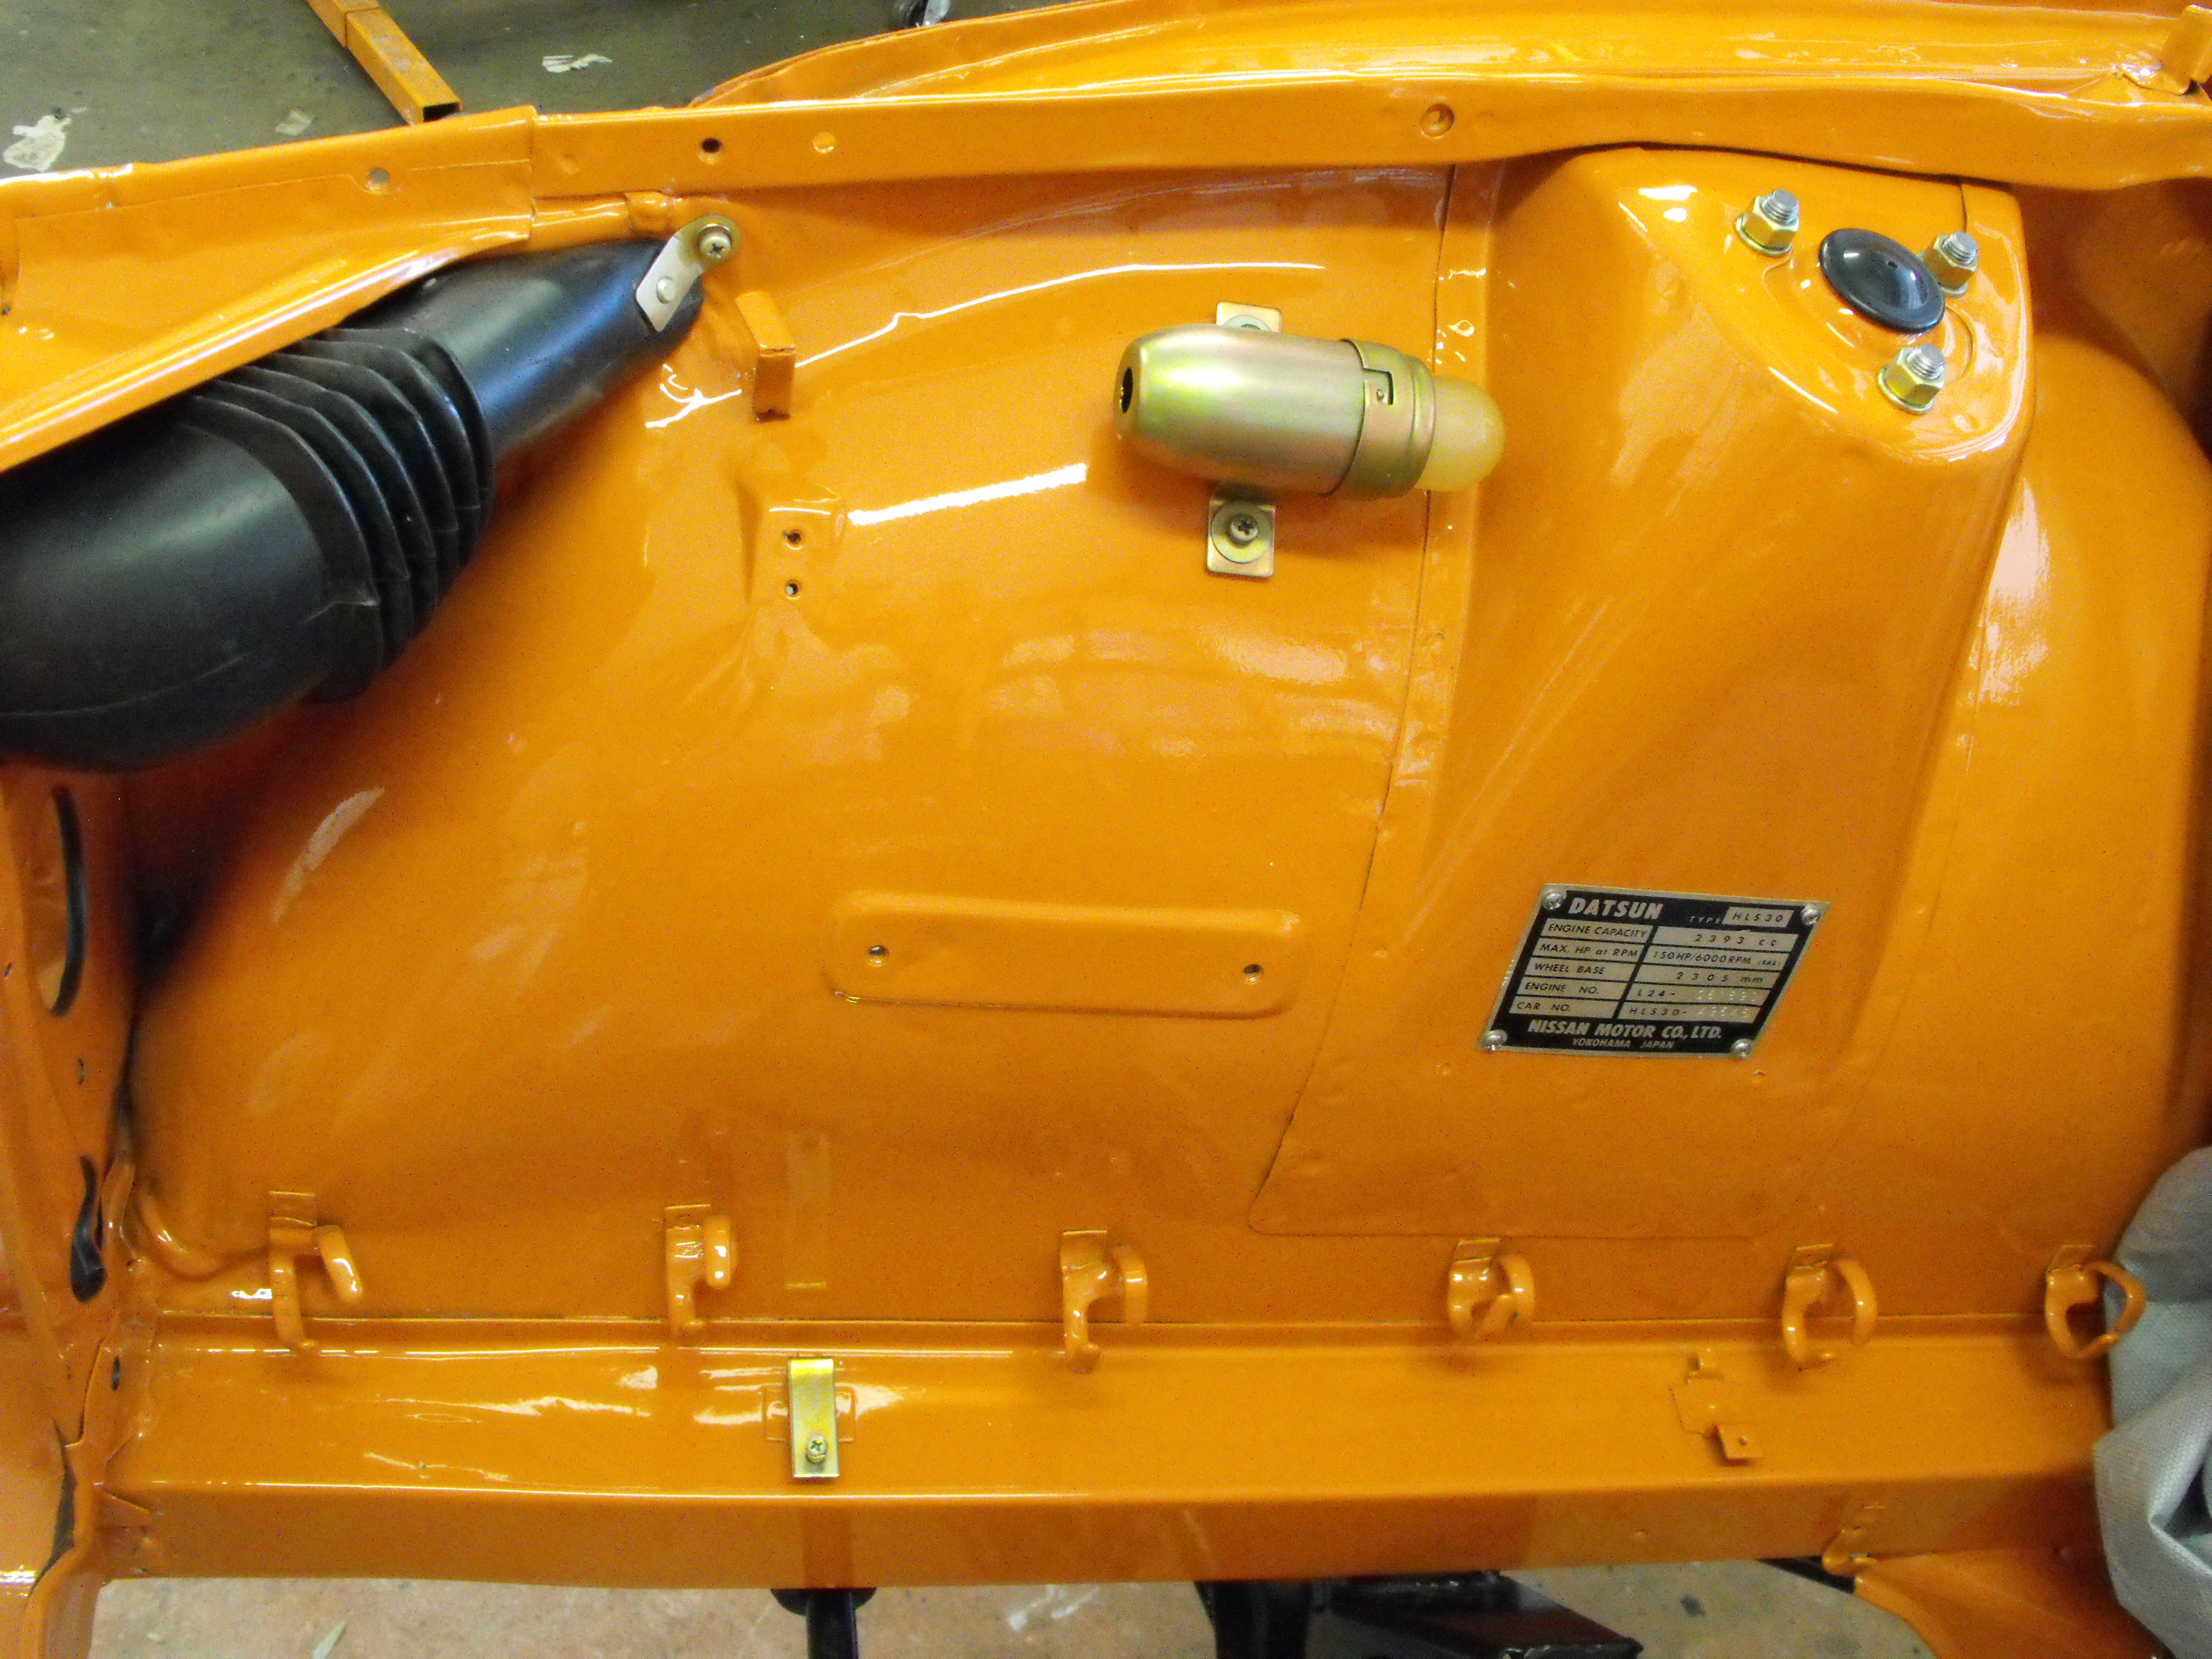
Hi Charles, Here are the pics of the right and left cowl drains.

-
You piqued my curiosity, so I had to dig up the reference.....here it is on the link below. This is the statement from page 9 of the NASA study. (In spite of this, I still prefer to use them) "The lockwasher serves as a spring while the bolt is being tightened. However, the washer is normally flat by the time the bolt is fully torqued. At this time it is equivalent to a solid flat washer, and its locking ability is nonexistent. In summary, a Iockwasher of this type is useless for locking." https://ntrs.nasa.gov/archive/nasa/casi.ntrs.nasa.gov/19900009424.pdf
-
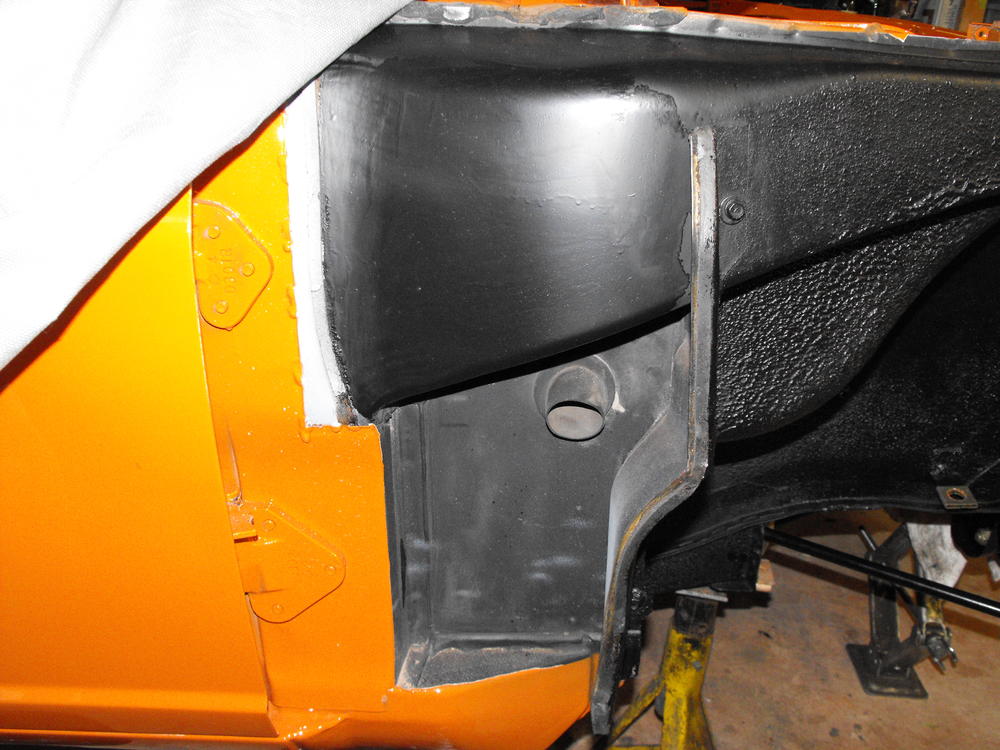
Aaahhh, now I know what you are referring to (I think...the grayish stuff on the black panel). No, that is closed cell foam. This provides the seal between the 'vertical' panel and the fender and goes down the length of the panel. I also use it on the two mounting platforms that are on the top section (Where the air duct is) that provide fender support.
-
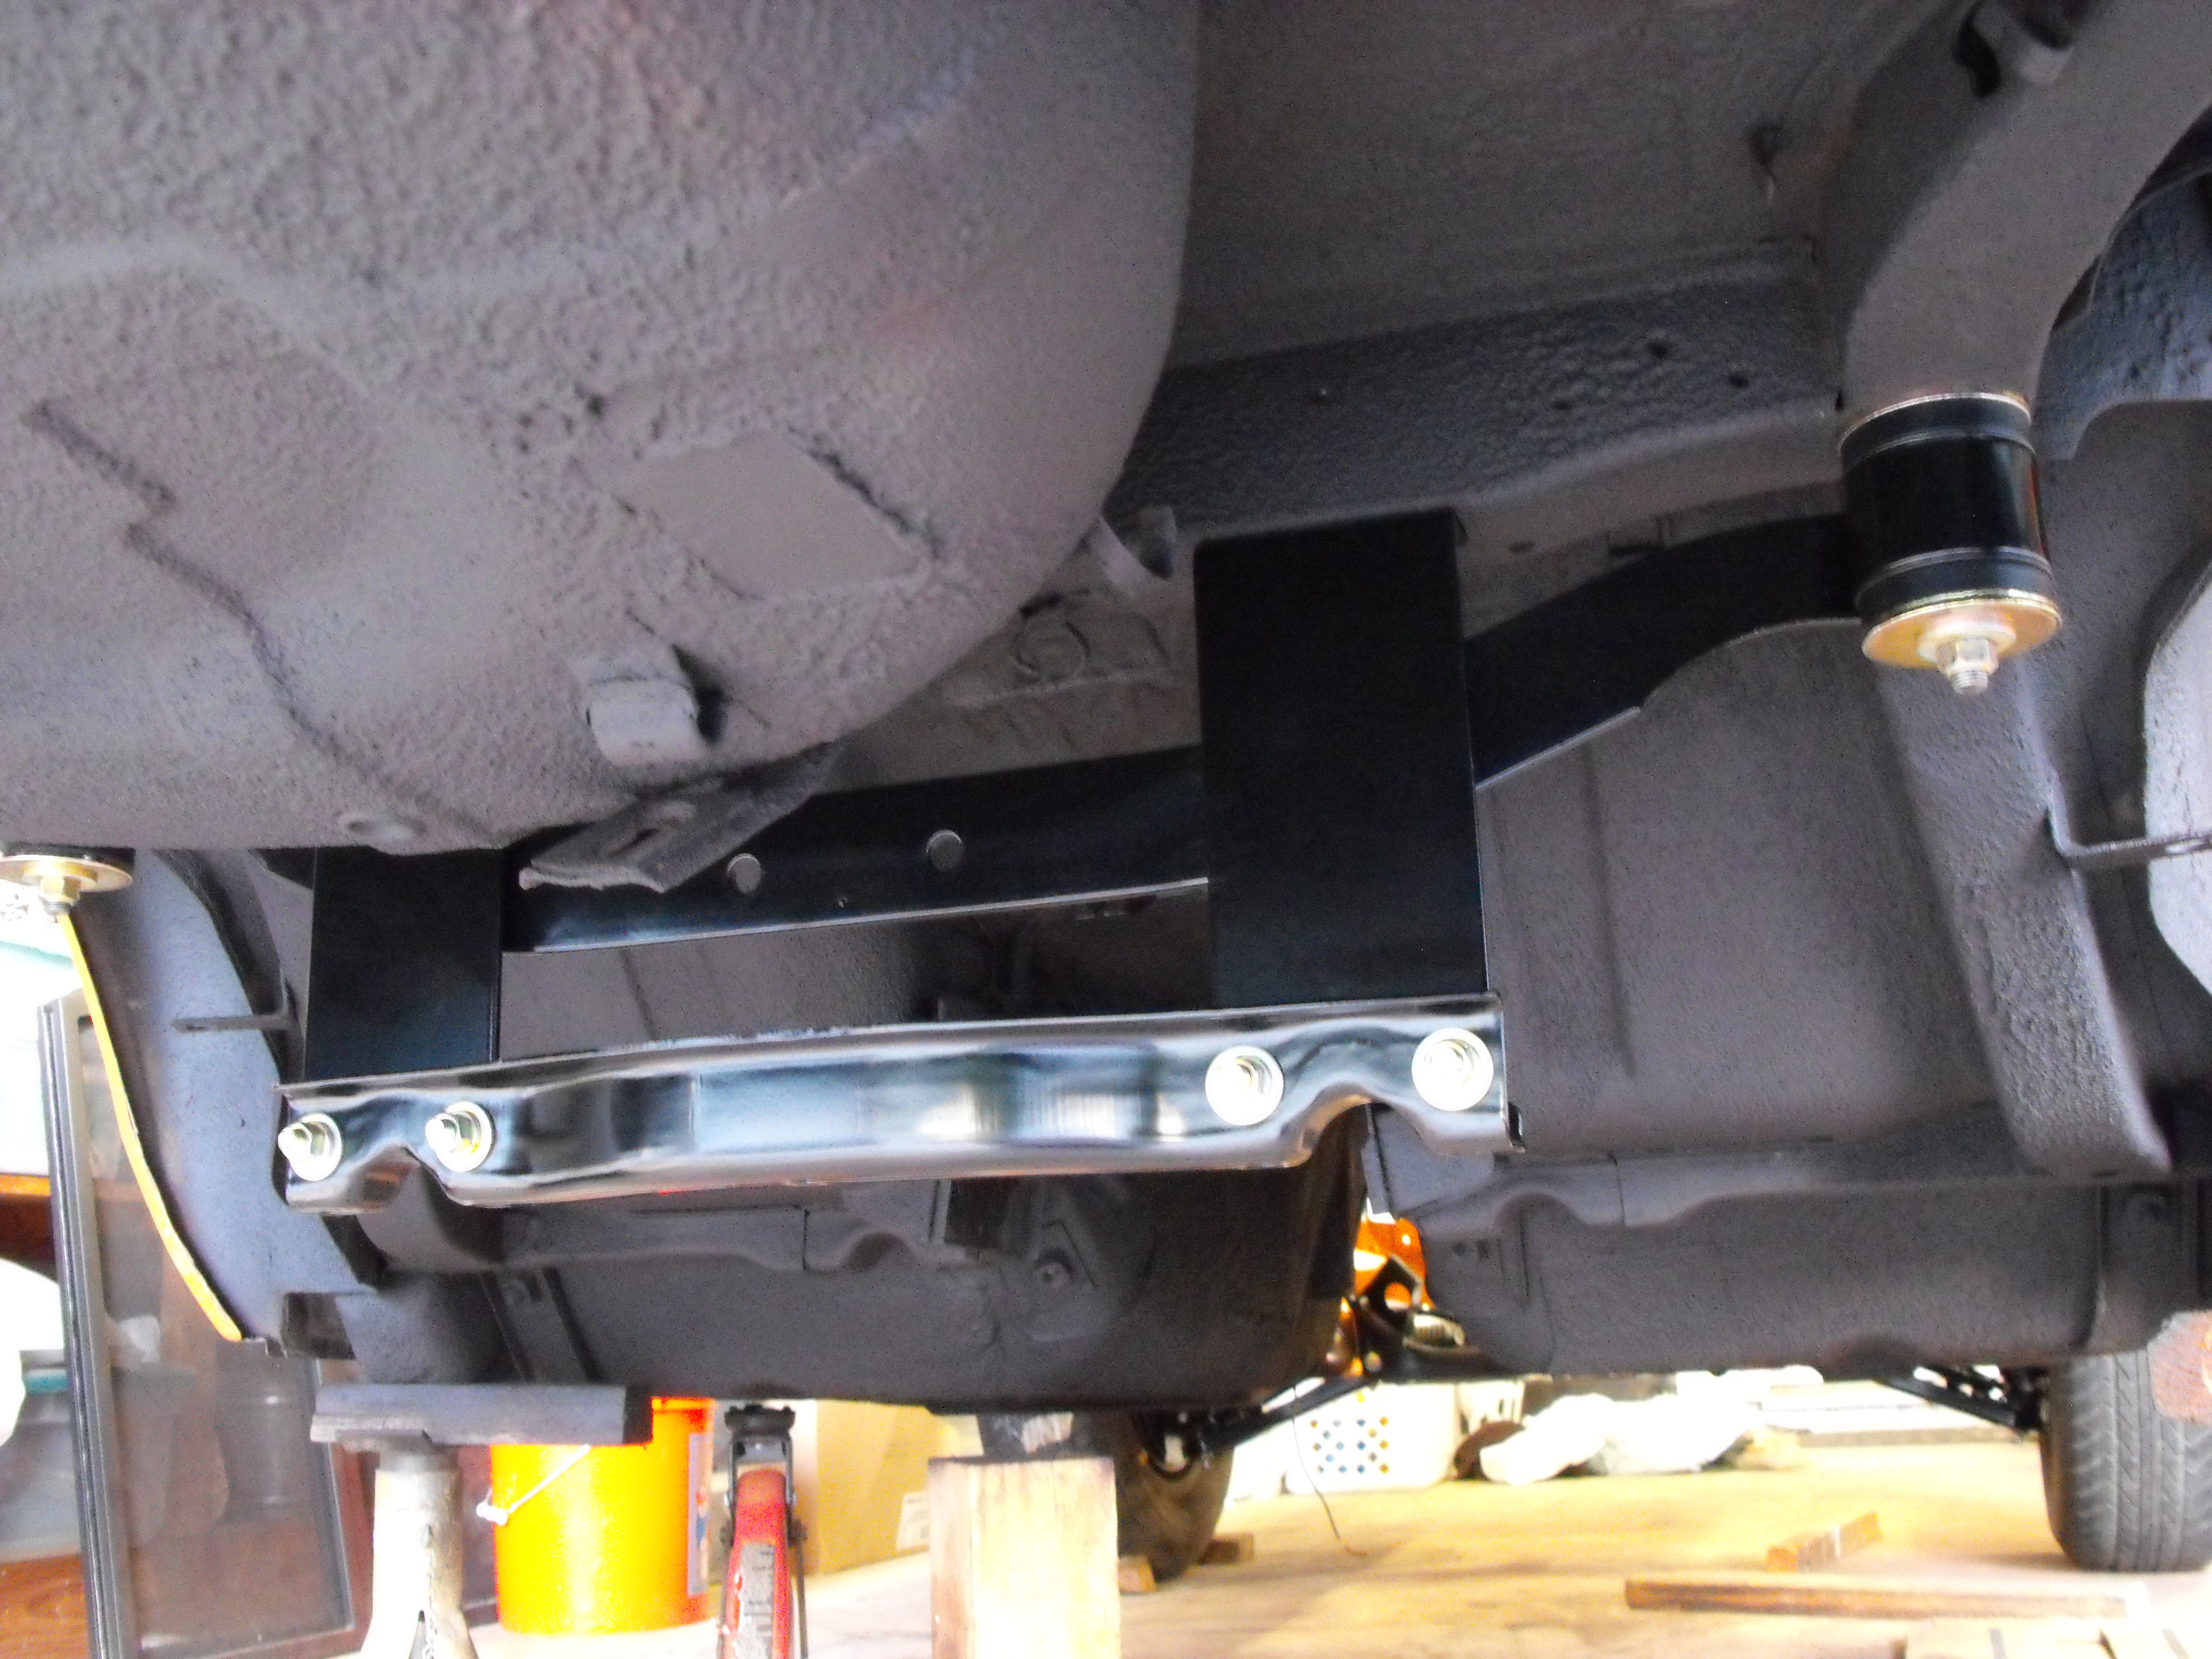
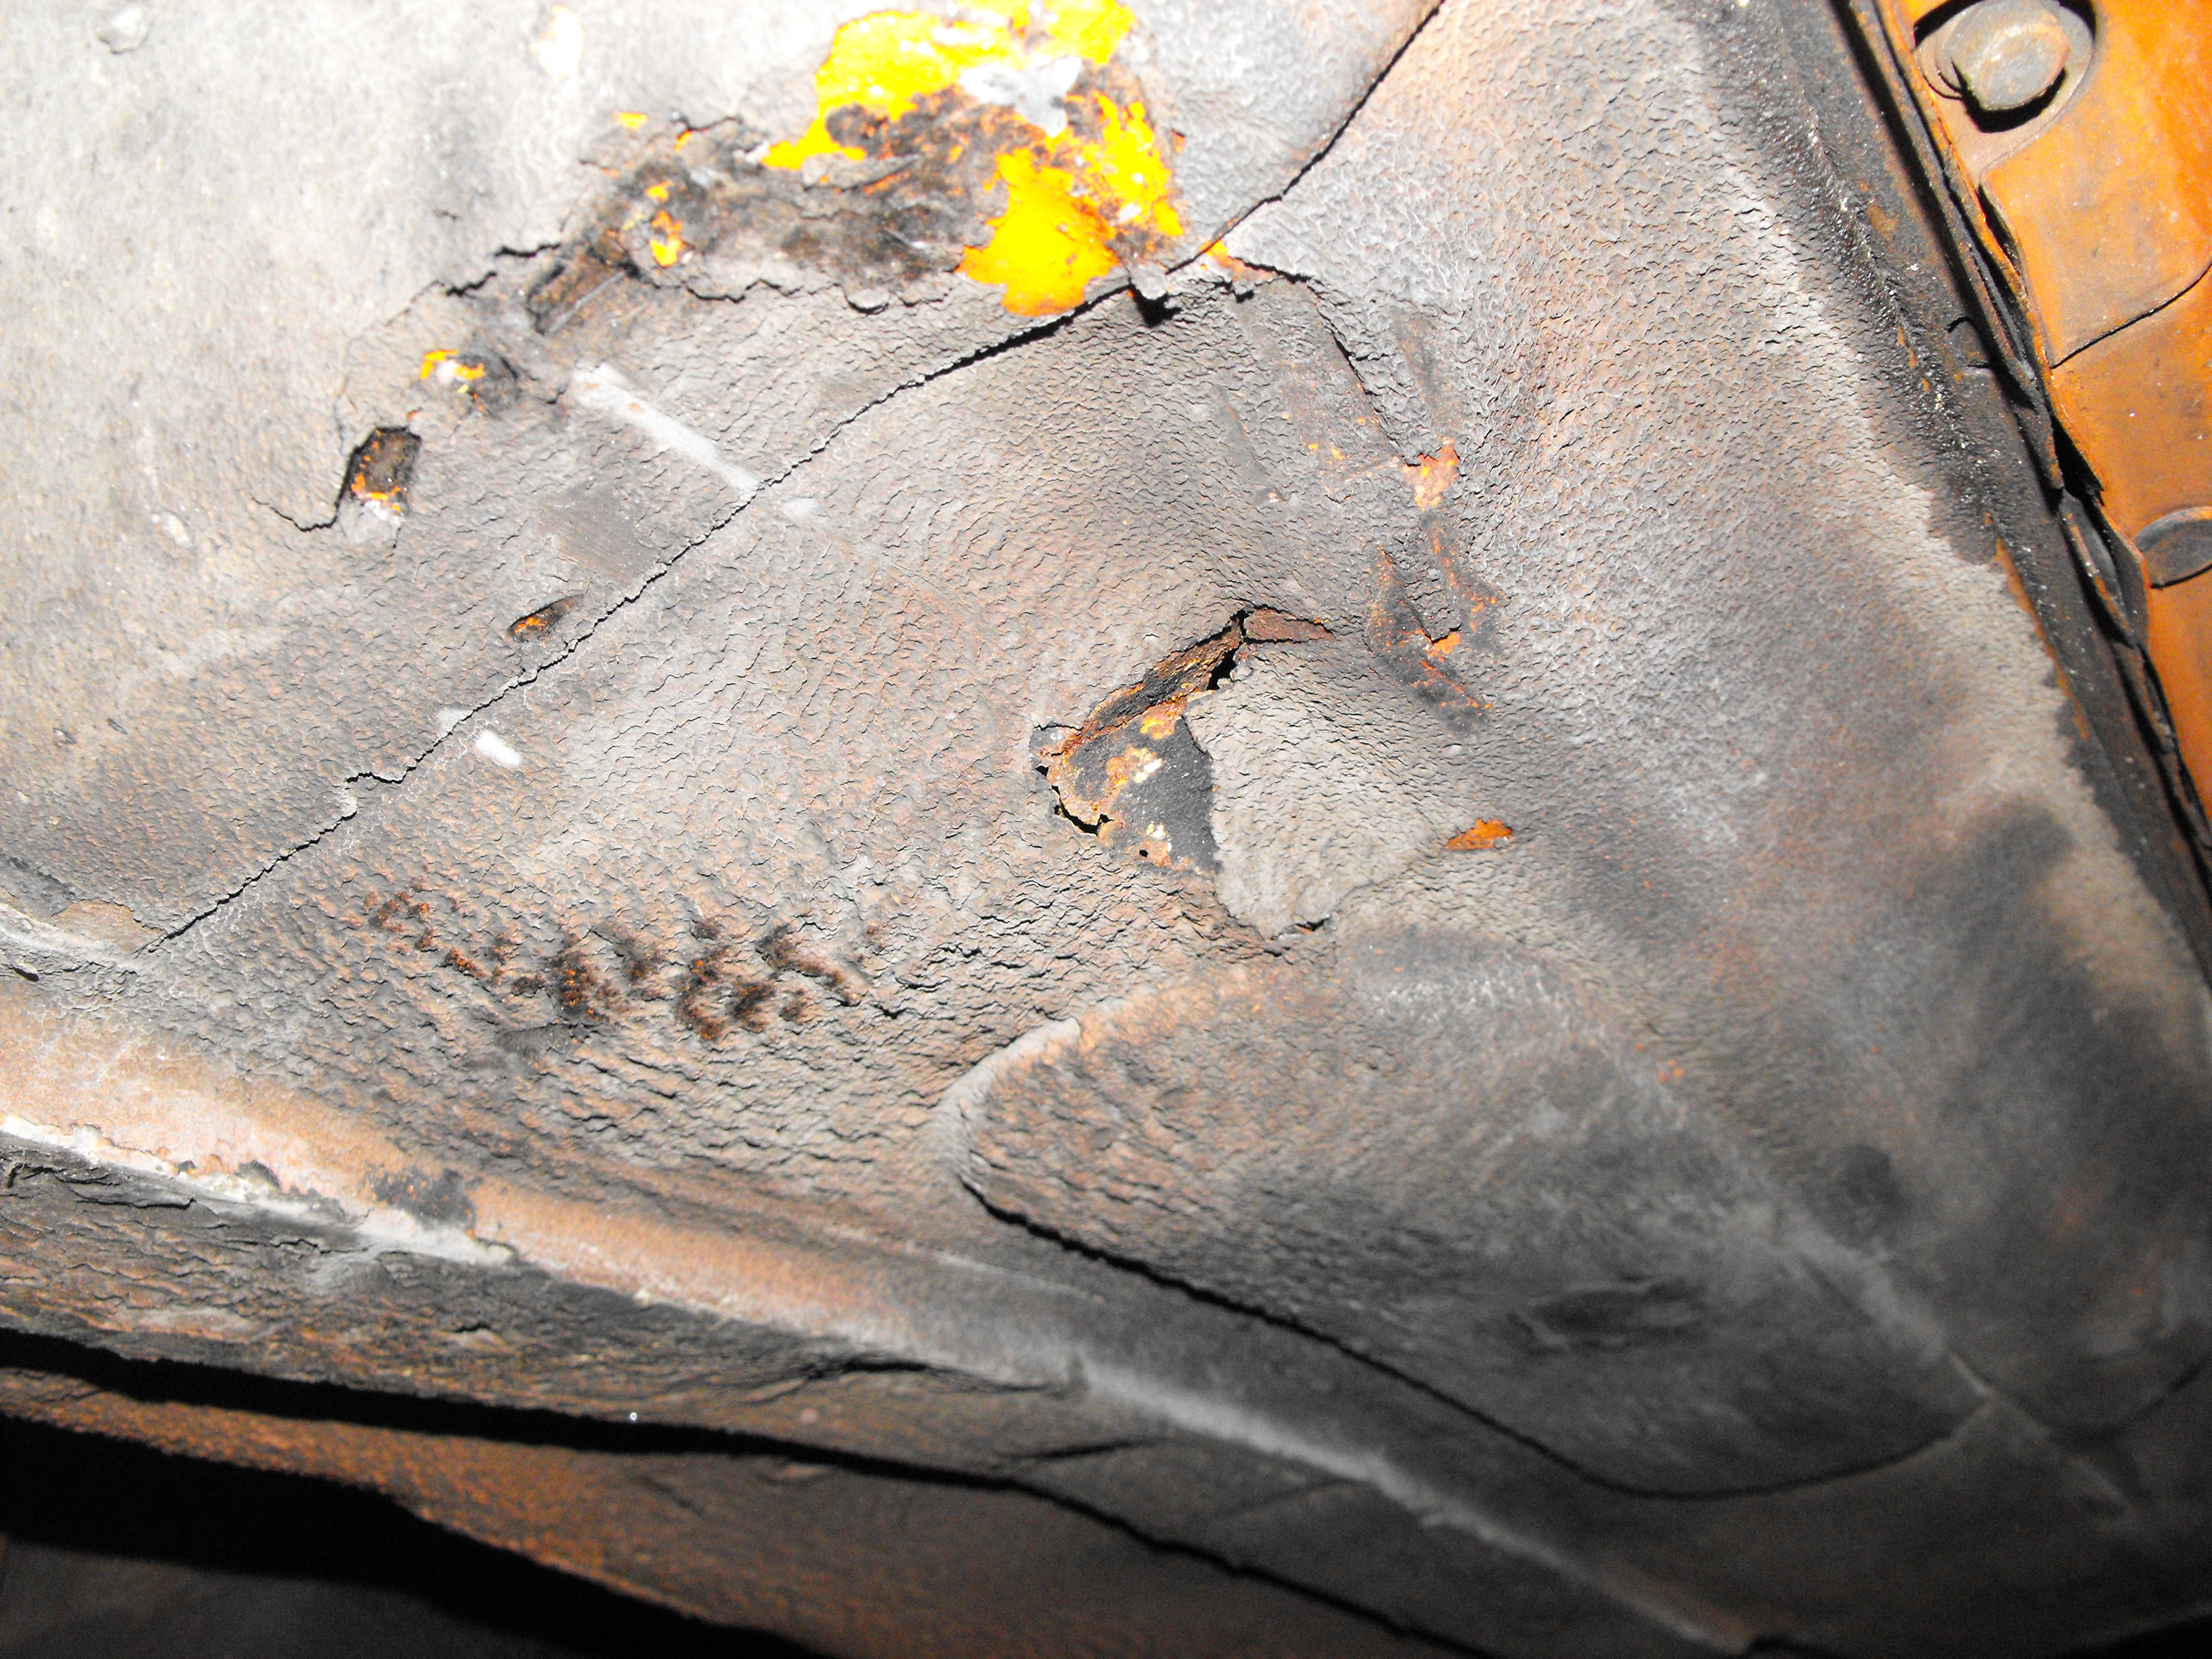
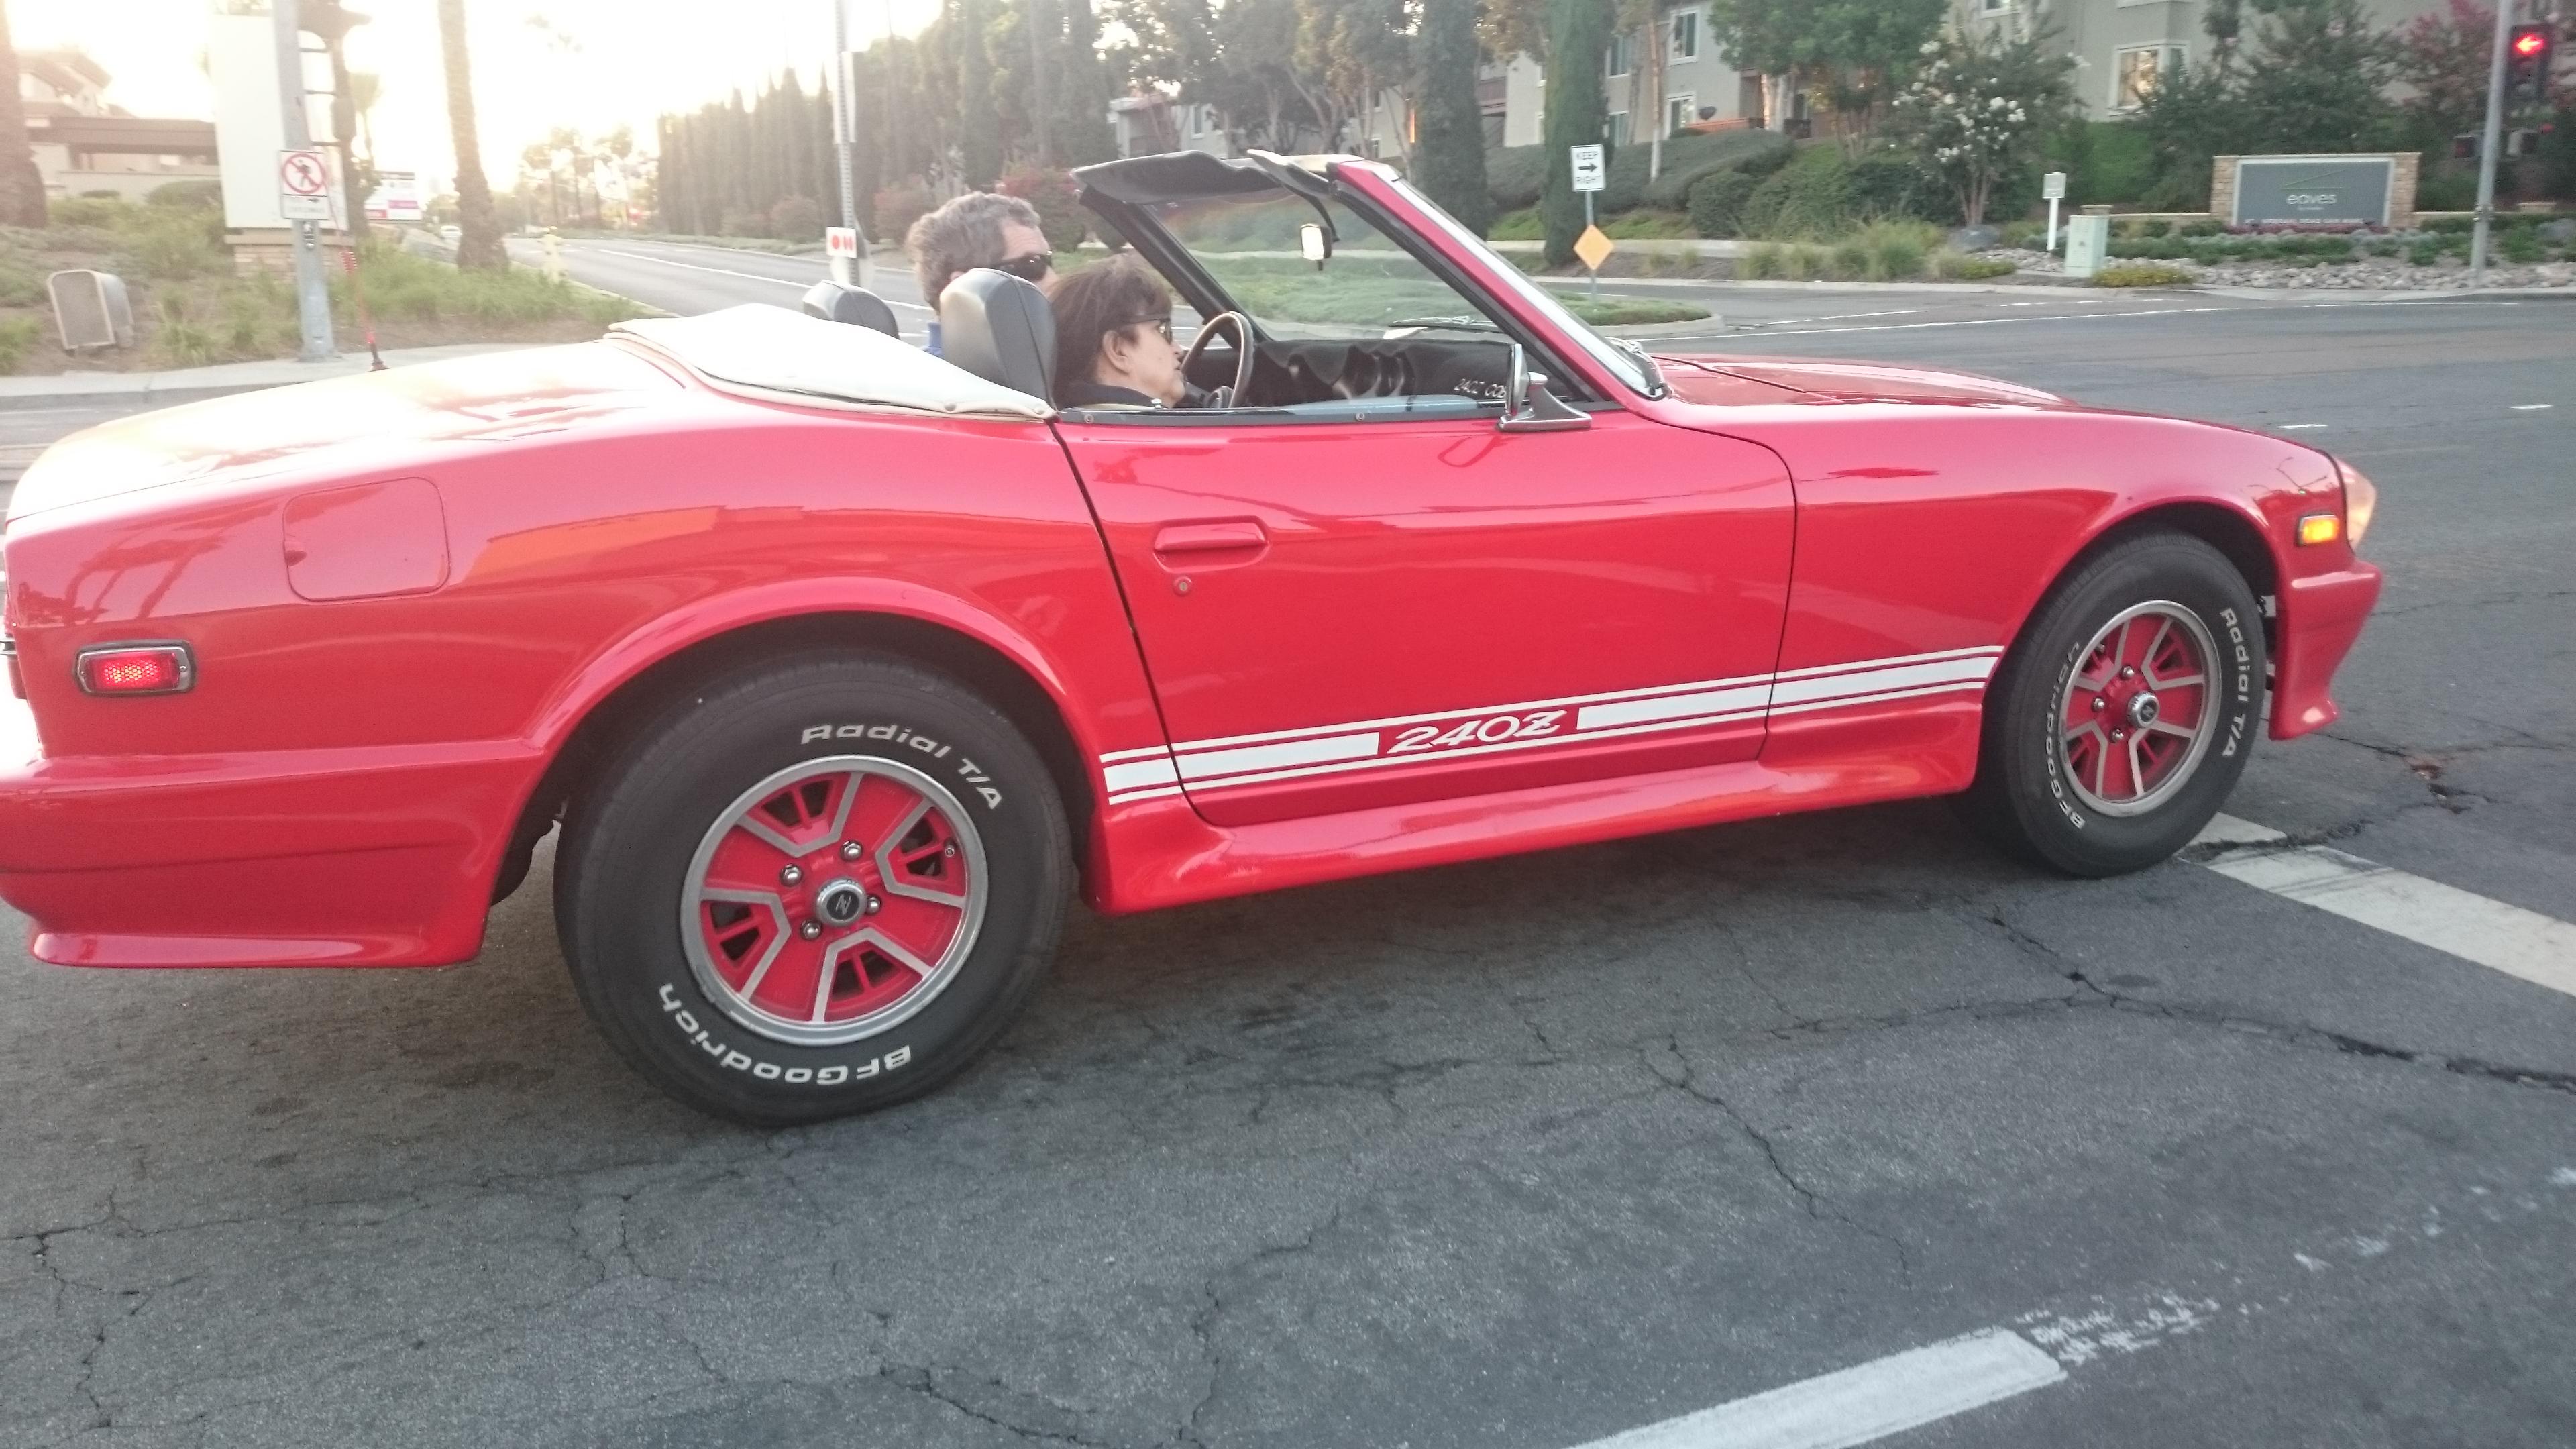
I pulled up next to this 1972 240Z last Saturday. This is probably one of the best looking convertible Z's I have seen. Most look pretty bad. This one at least is reasonable. Anyway, just had to take a pic before the light changed. I would like to see what the undercarriage support looks like.

-
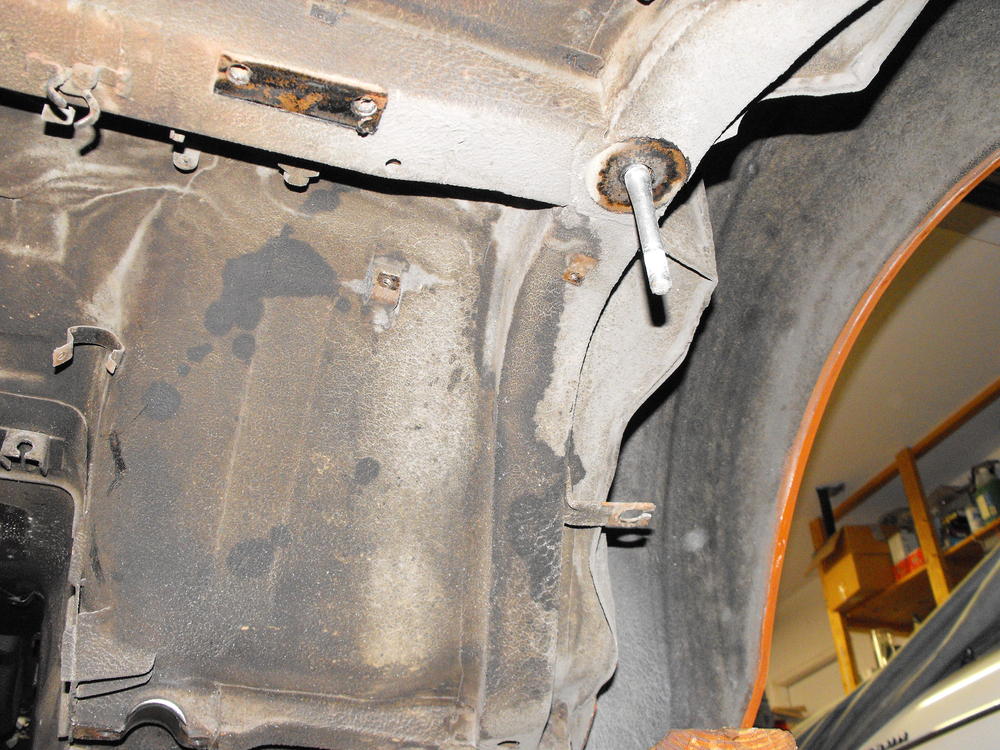
I will take a picture of that tonight and post it here. I think the area has turned out very nice and is well protected, better than stock. The POR-15 is pretty solid when it comes to metal protection. Not sure what dum dum is. Is that spell check? Yes, the cross-member bolts that hold the steering mechanism has lock nuts. I guess it would be redundant to have a lock washer with a lock nut. A regular washer could go in that location. Personally, I think any nut or bolt that need to be tightened/torqued, should have a washer under it. For the bolts with nuts, I will hold the bolt still with an end wrench and torque the nut which has the washer under it. The washer provides a nice bearing surface and also prevent the hex shape from digging into the metal, creating a round circle under the nut. The split washers do dig into the surface but that area is under the washer so it is somewhat protected. Ideally, the optimal set-up would be a flat washer with a lock nut. On a side note, I seem to remember reading some NASA report that determined that split lock washers are ineffective in keeping nuts from un-screwing. In spite of the fact that they may not be effective, I still like using them. Probably more out of habit than anything else. Again, I think the bearing surface the washer provides is the more important item.