motorman7
 Subscriber
-
Joined
-
Last visited
Everything posted by motorman7
-
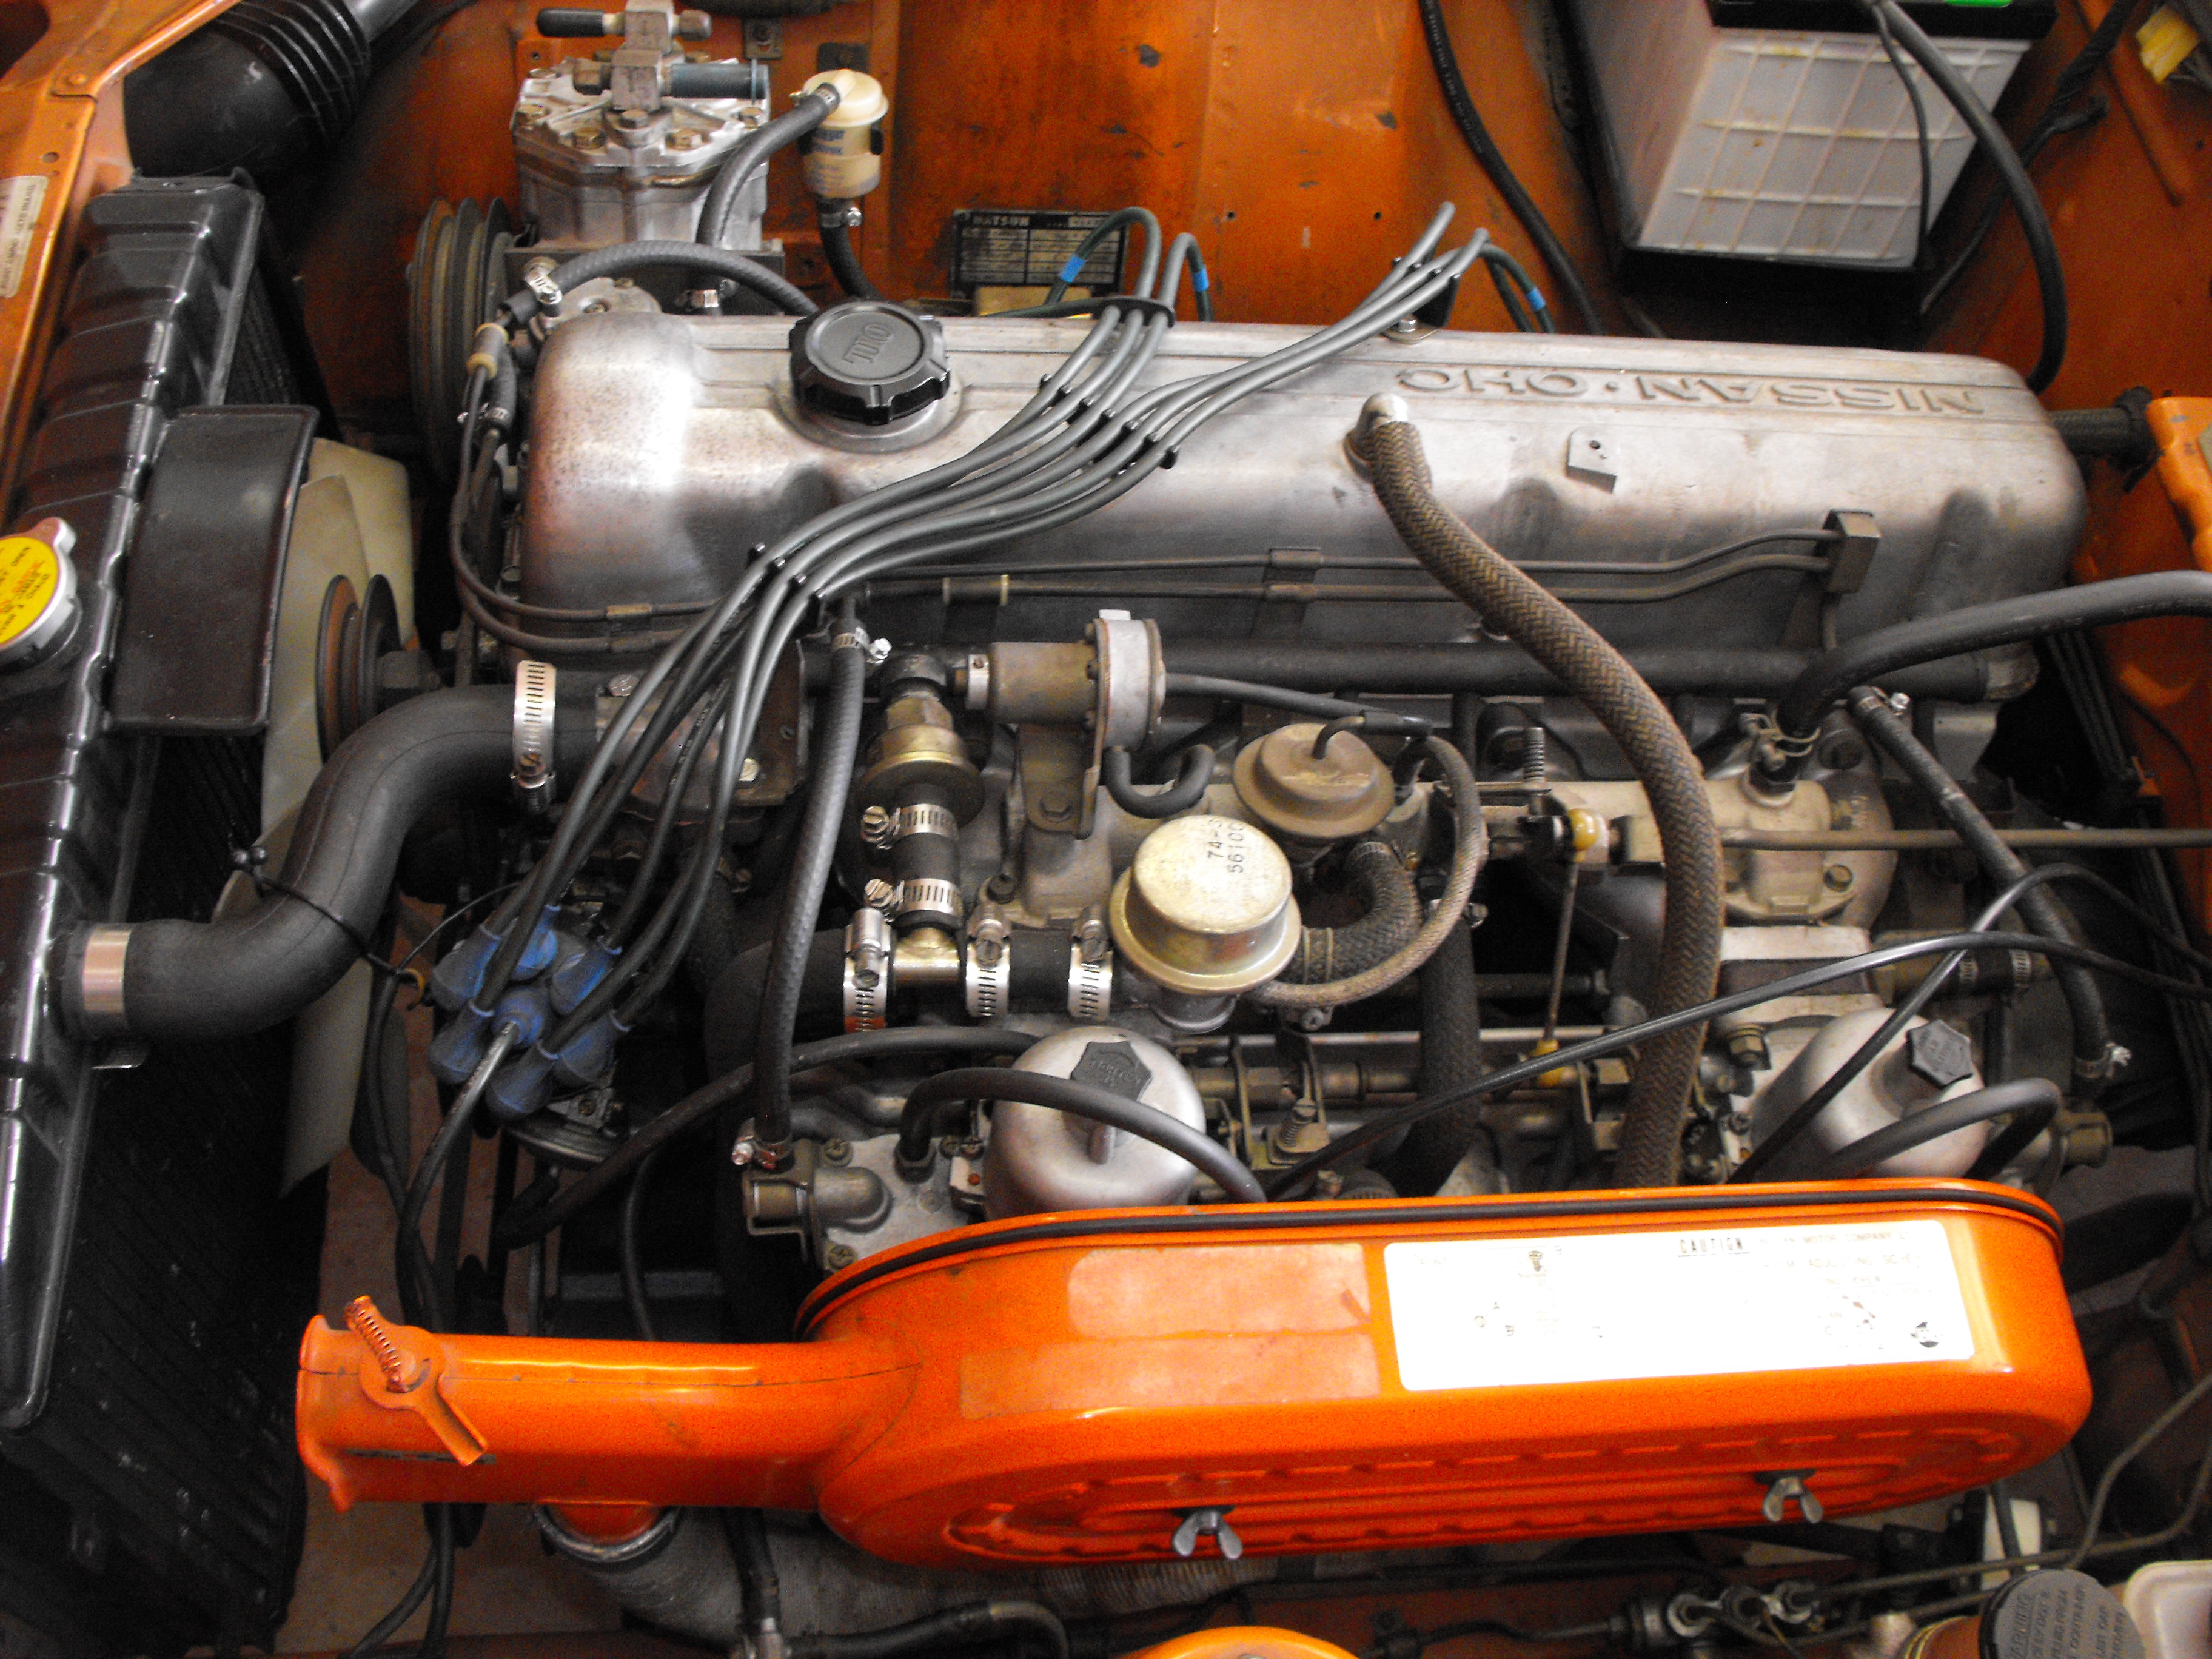
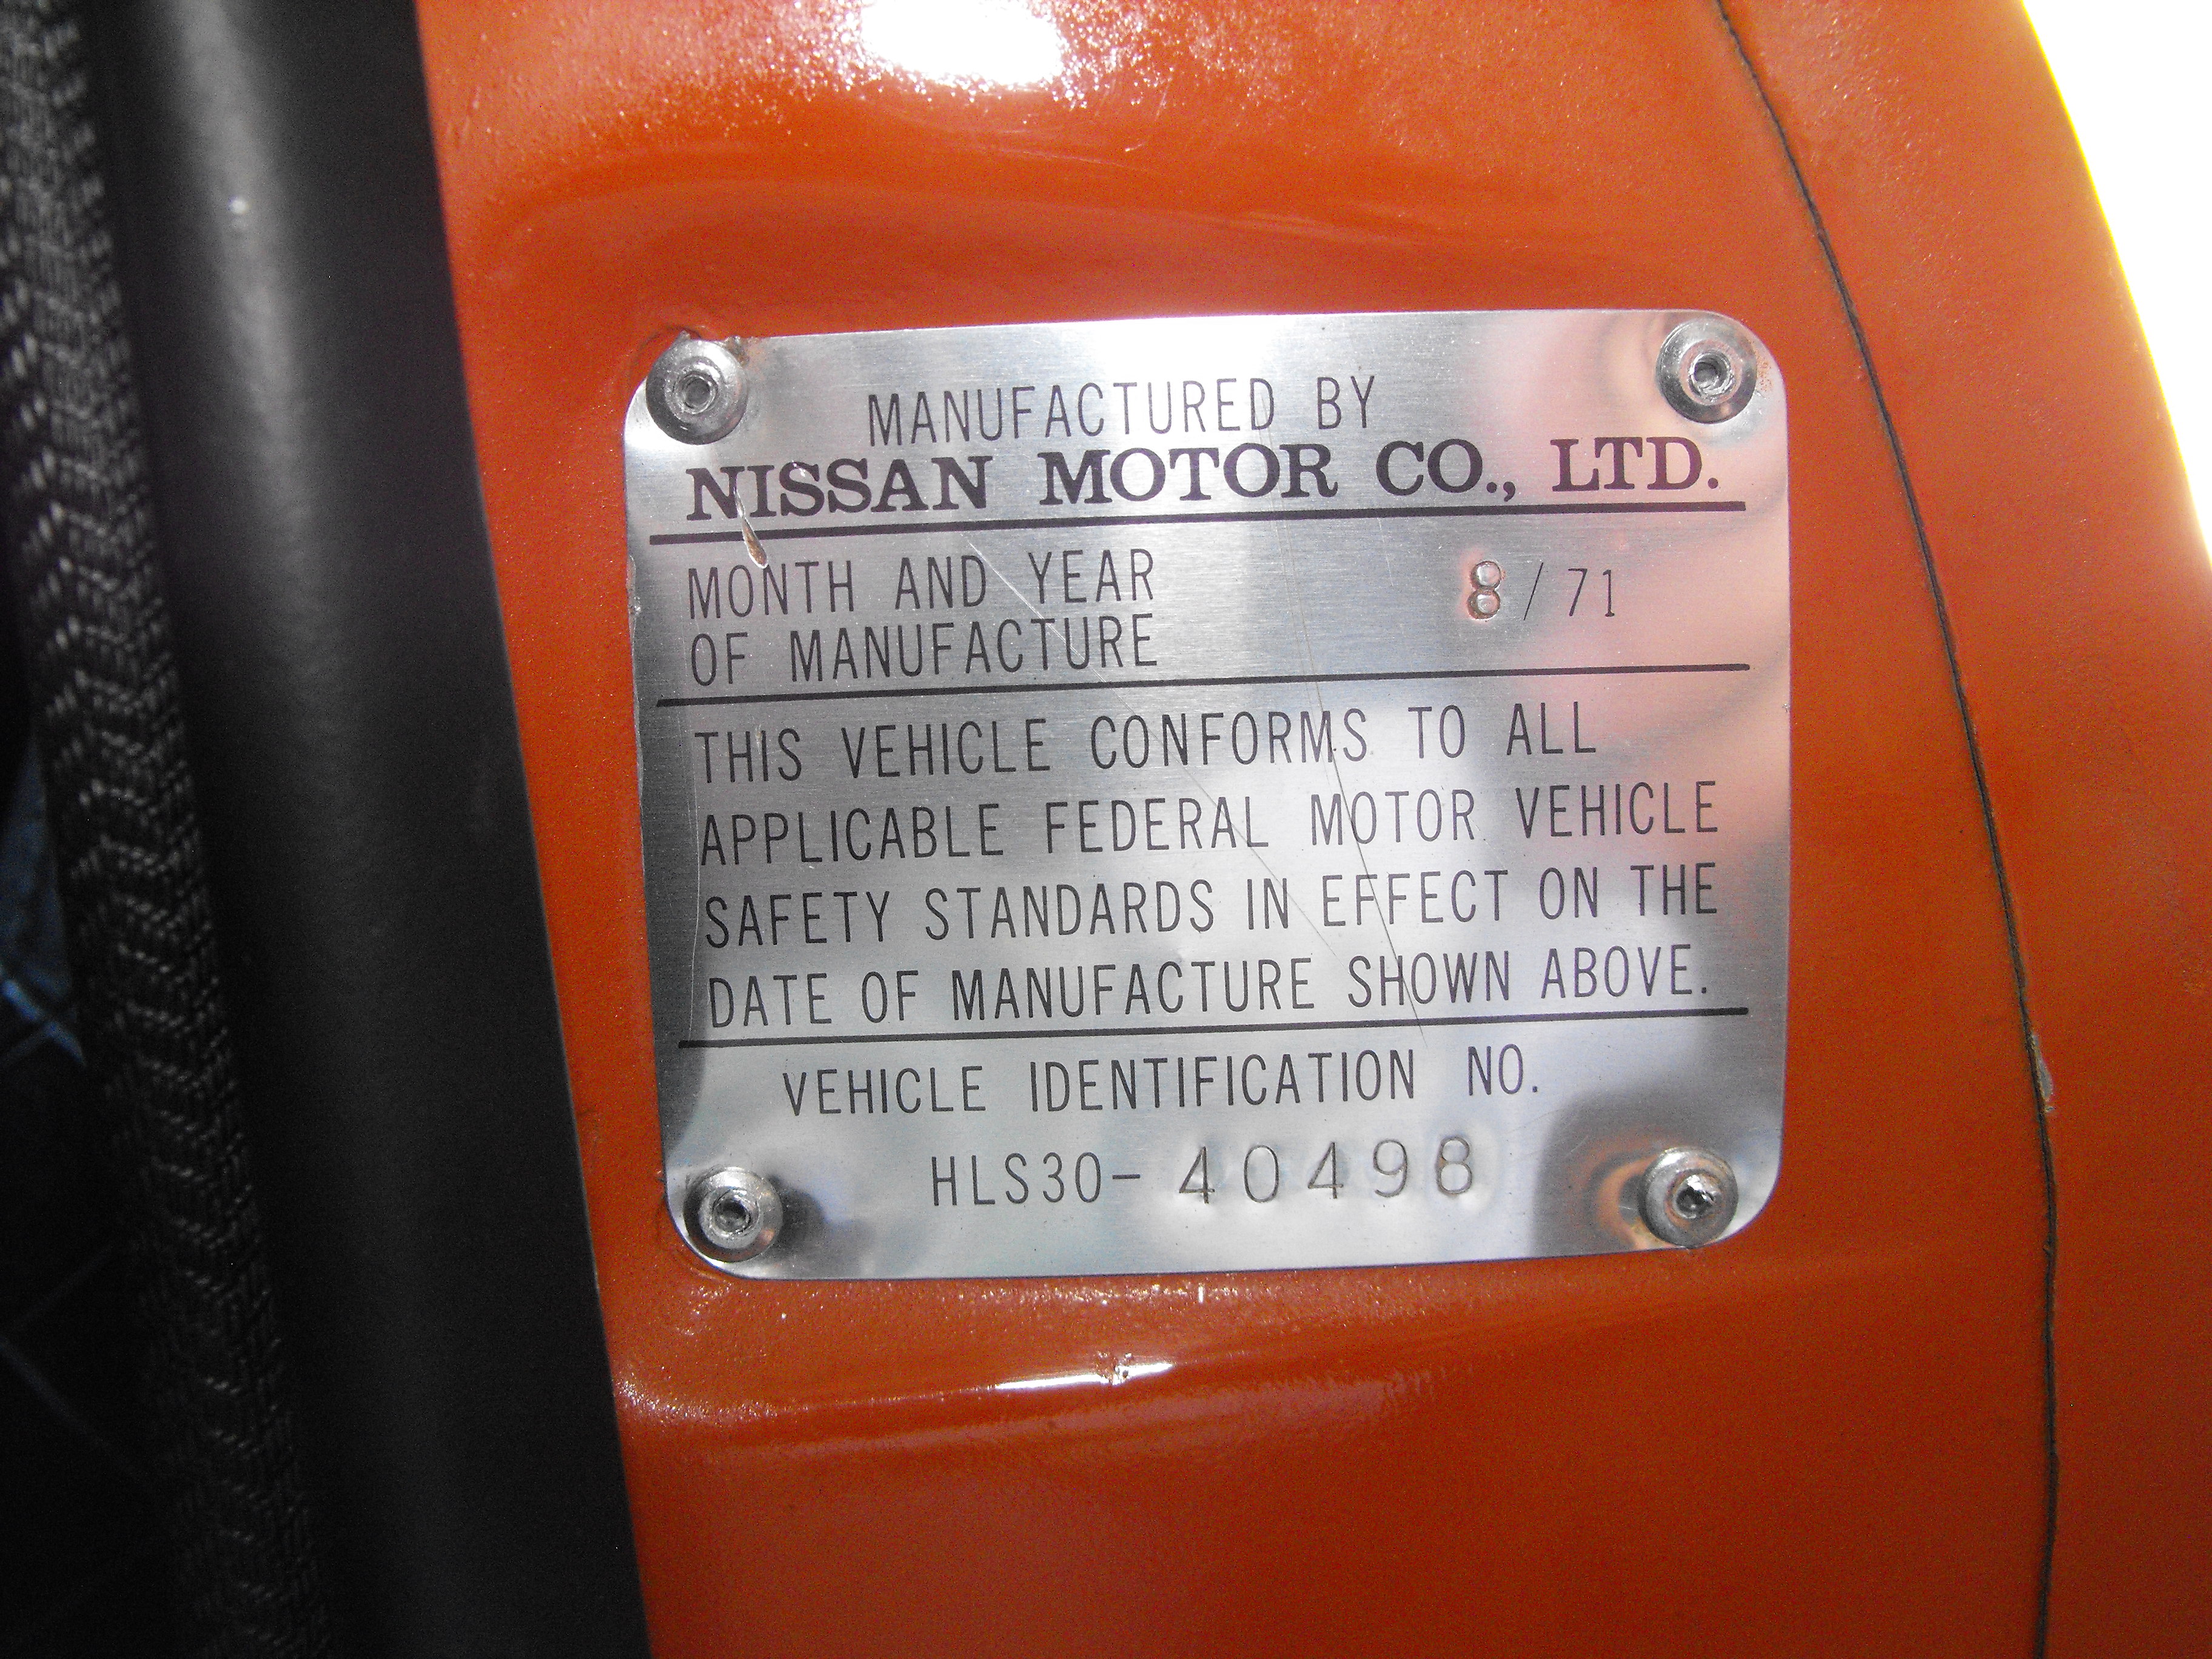
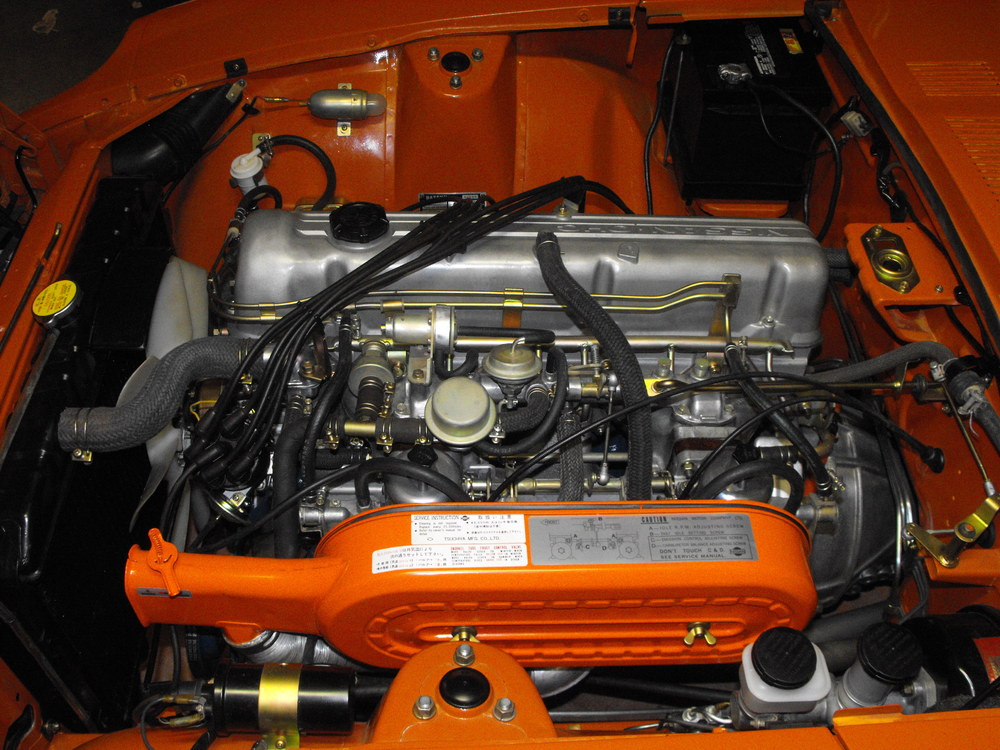
 Fortunately, the owner does not want the A/C in the car car, so I will be removing the compressor. I didn't realize that it was a Yorx compressor...I thought it was a Briggs & Stratton . The weight of that compressor and bracket has got to be near 30 pounds. Hi Dennis, I will check when I get home on the build date and get back to you. I know that it is later in the year.
 -
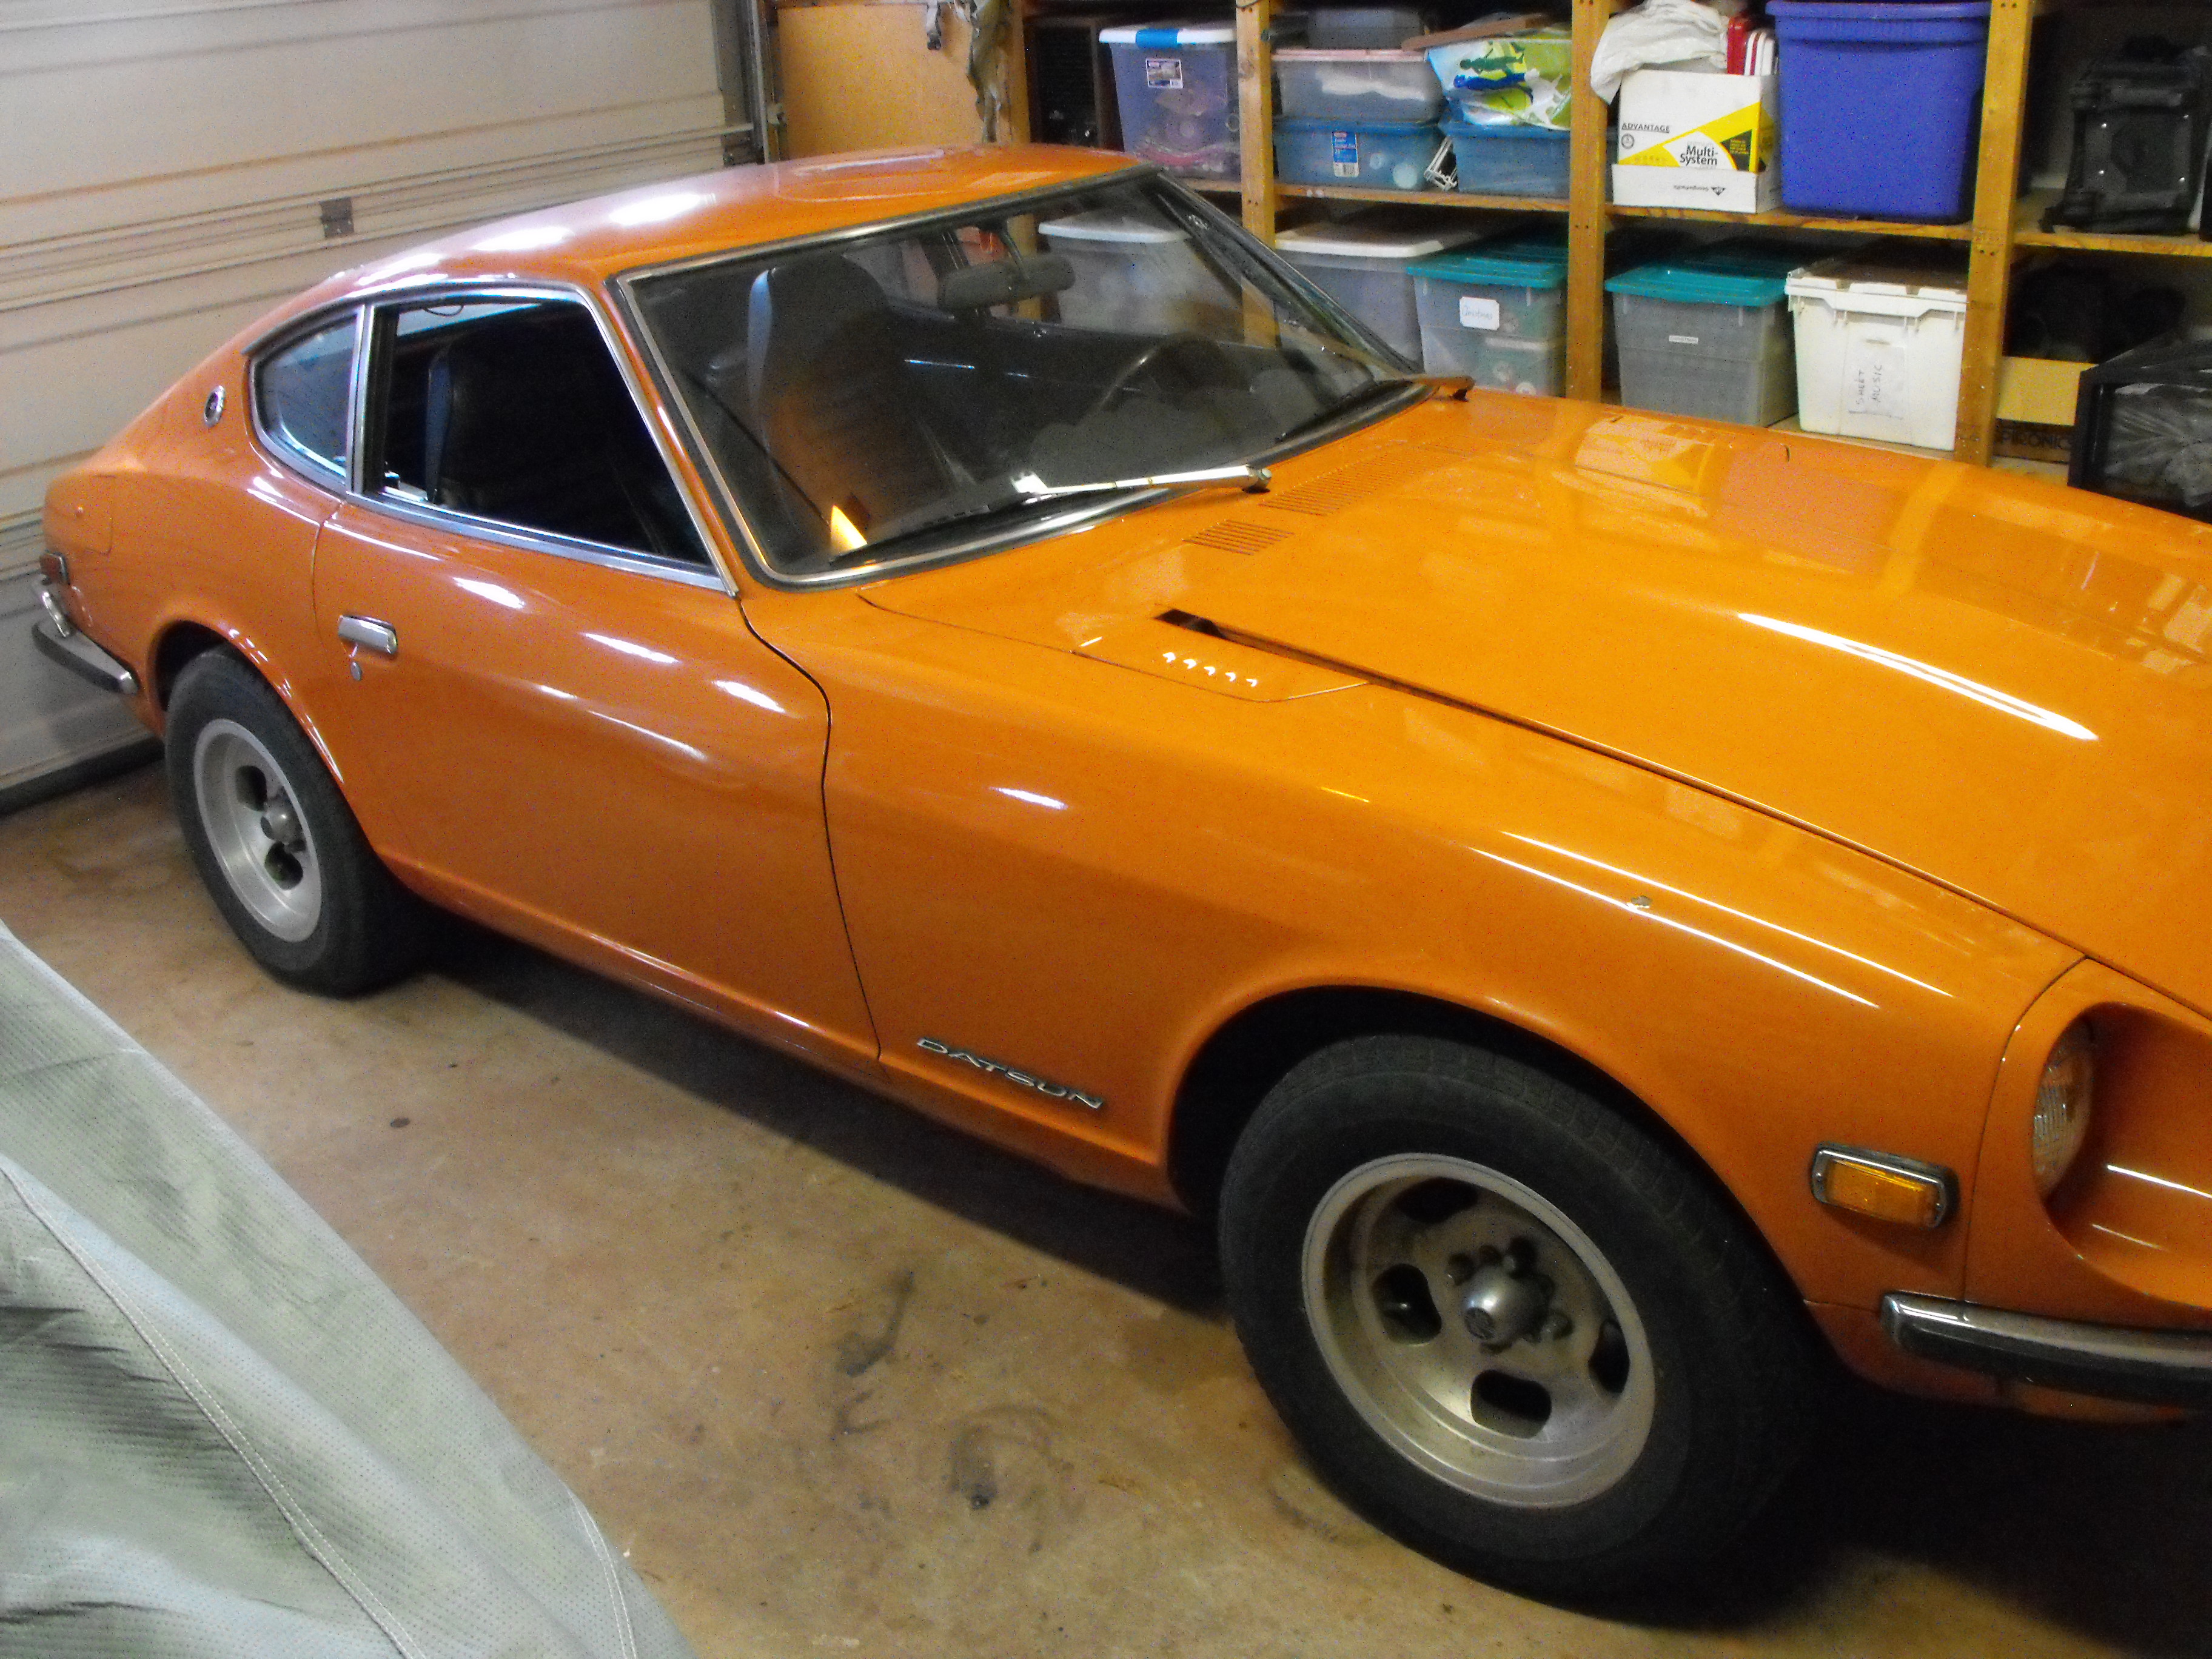
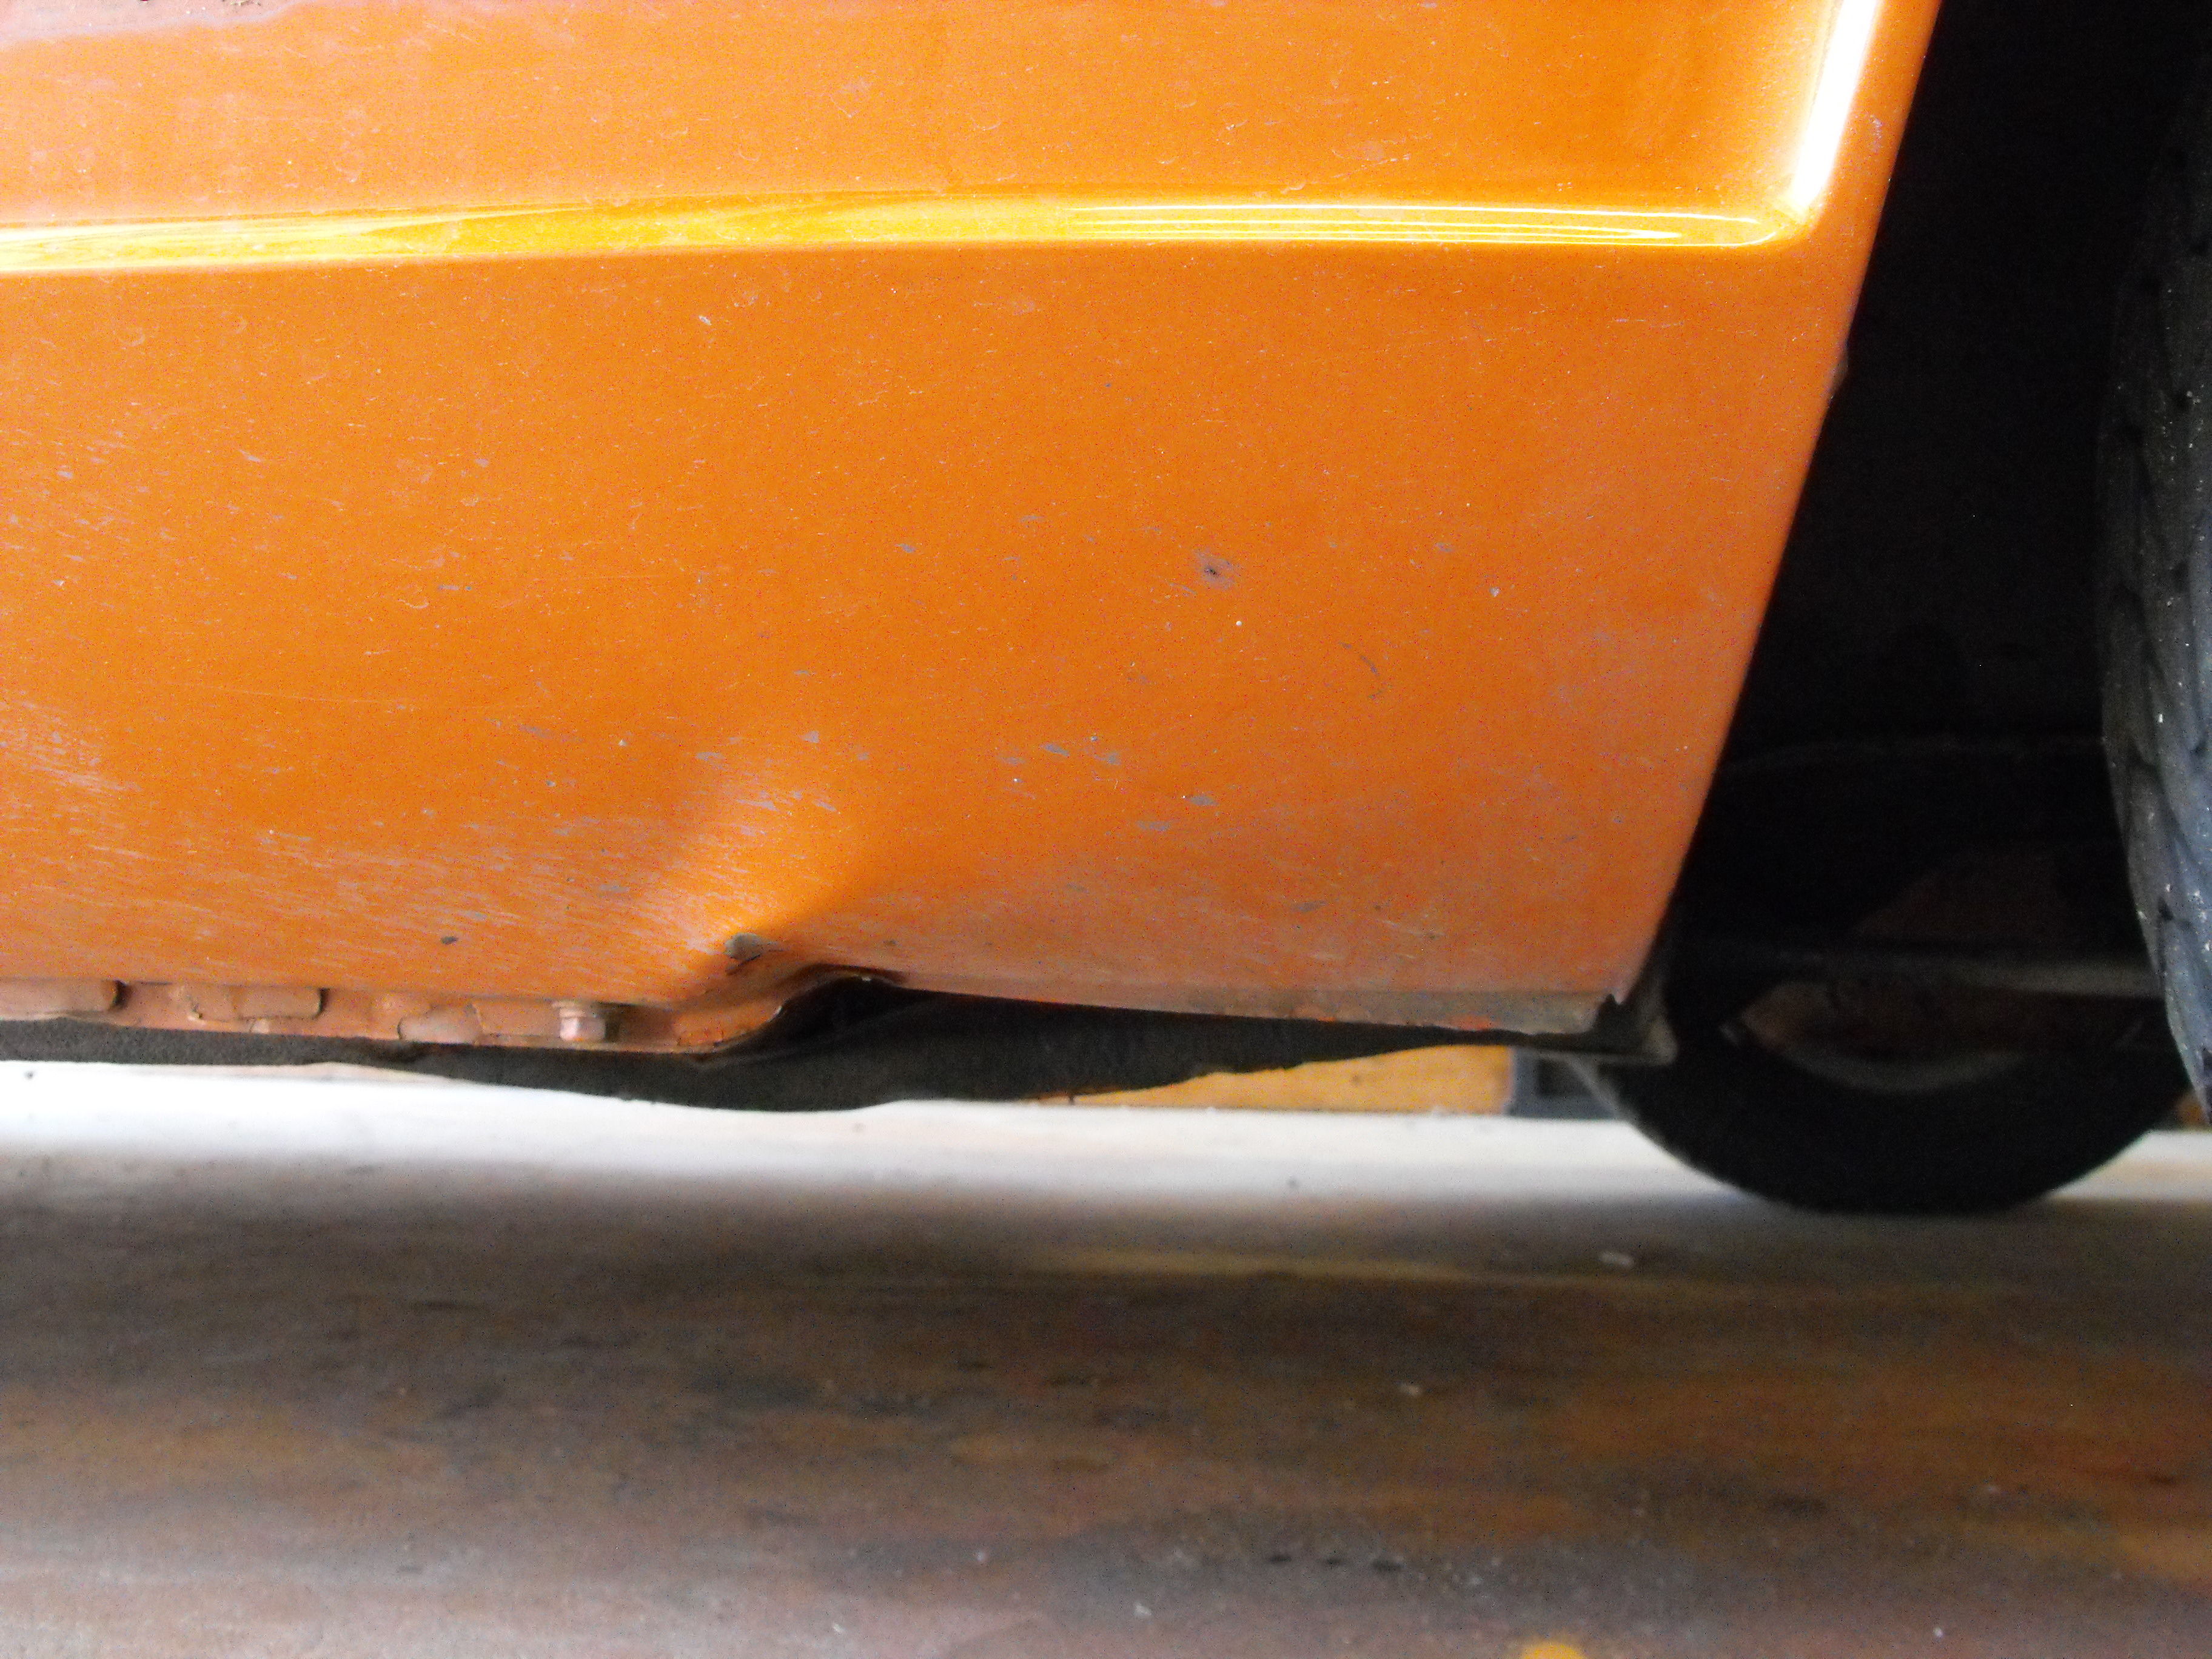
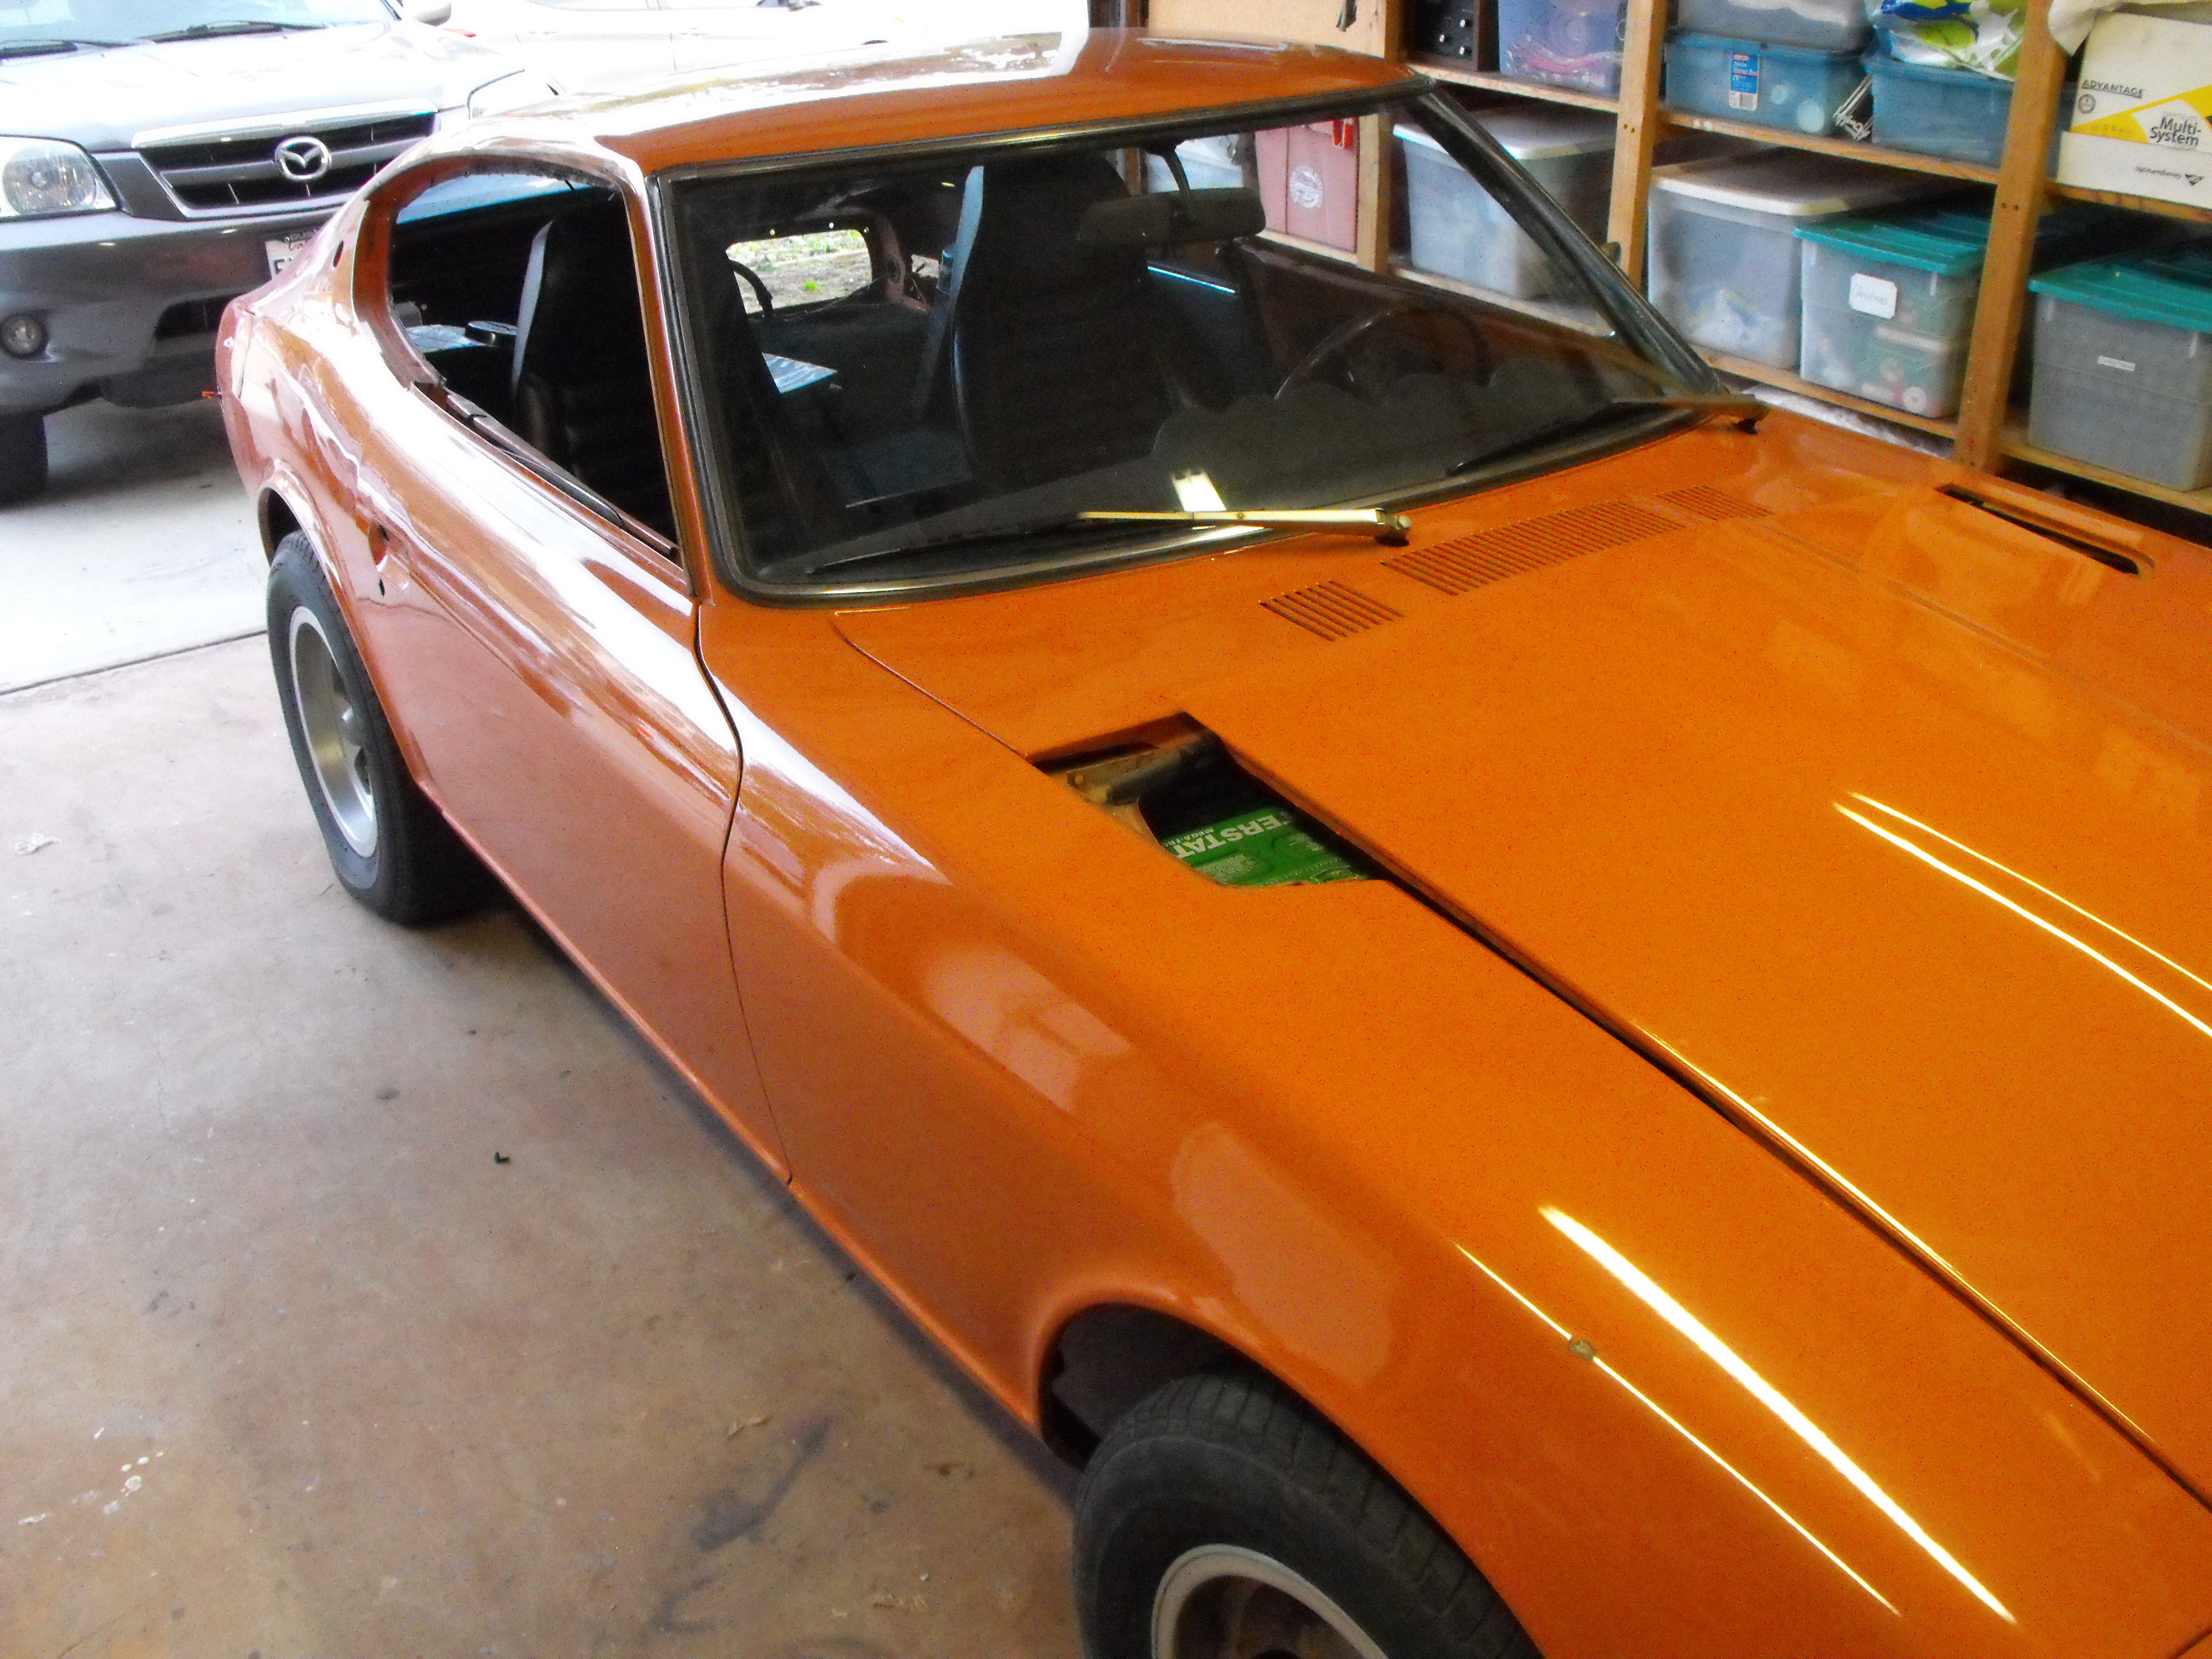
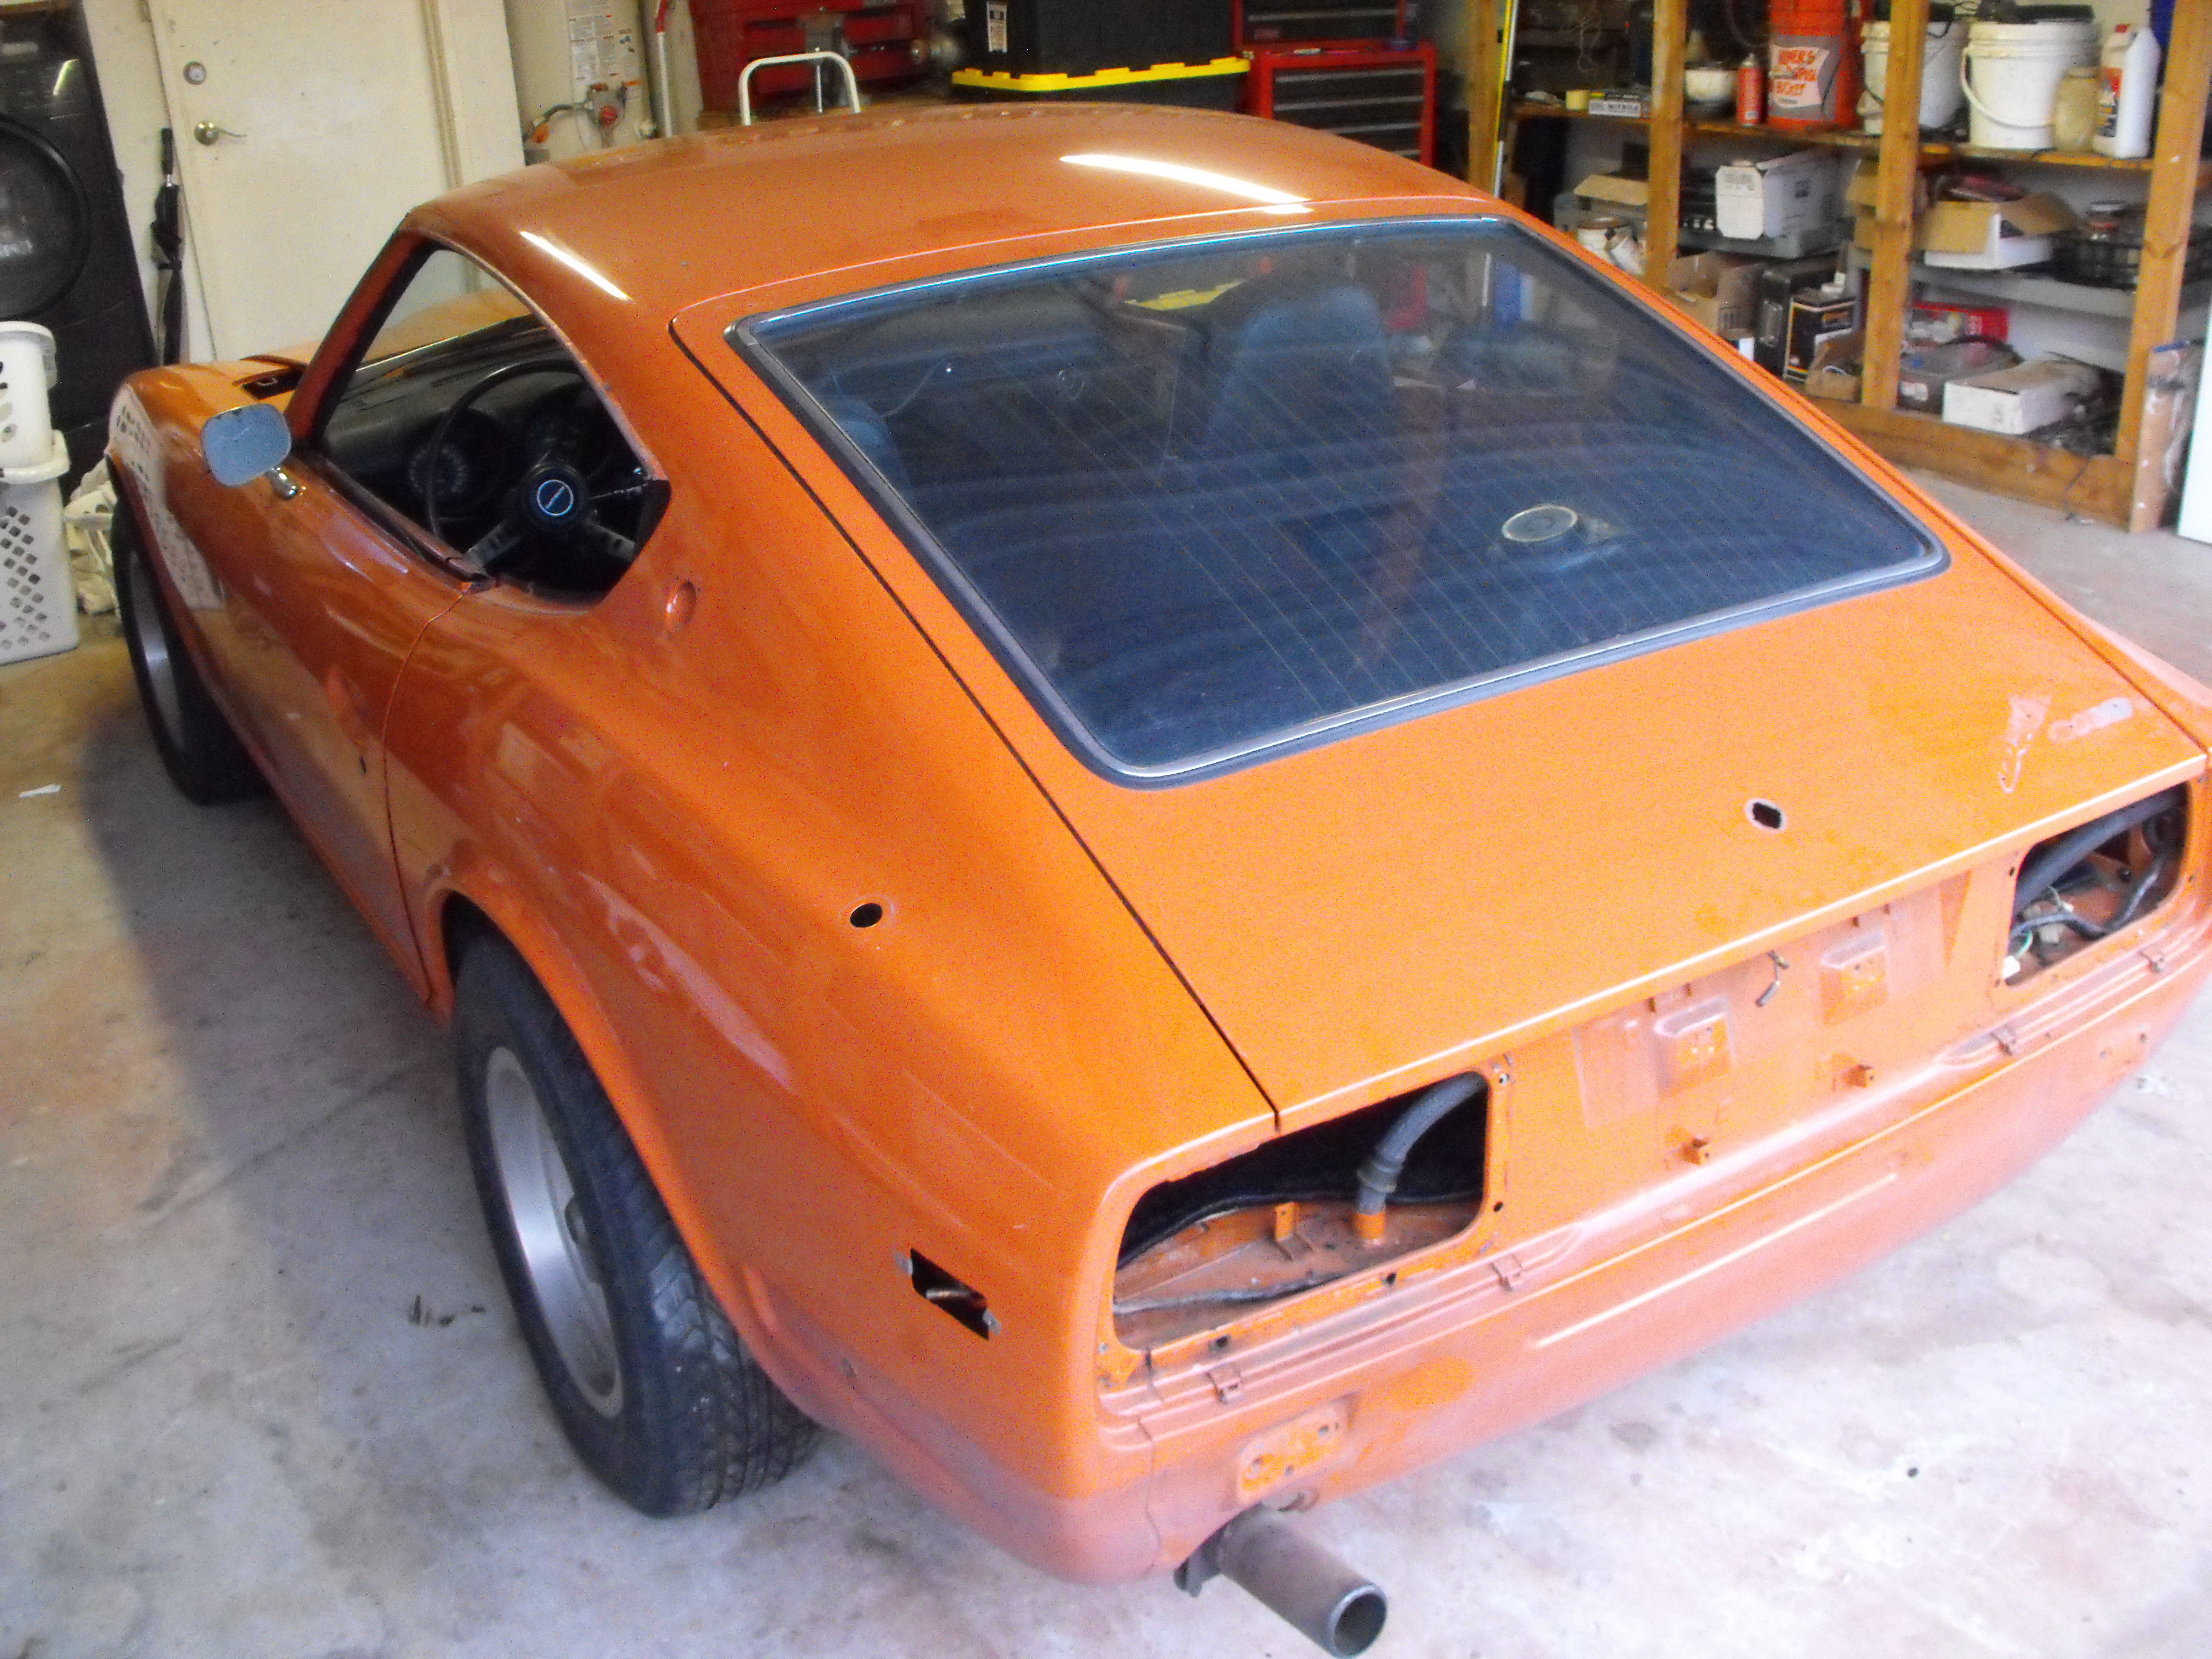
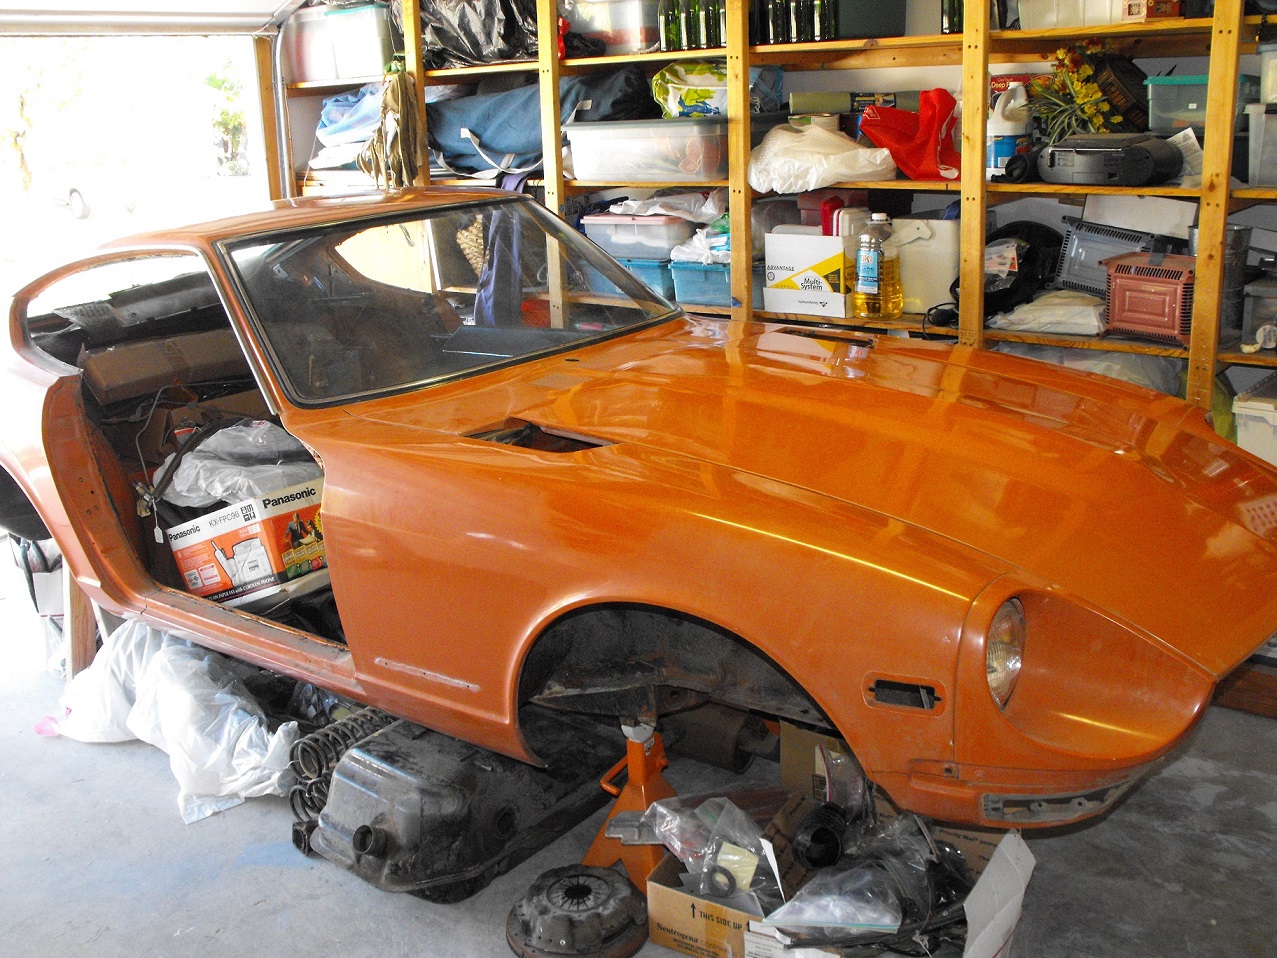
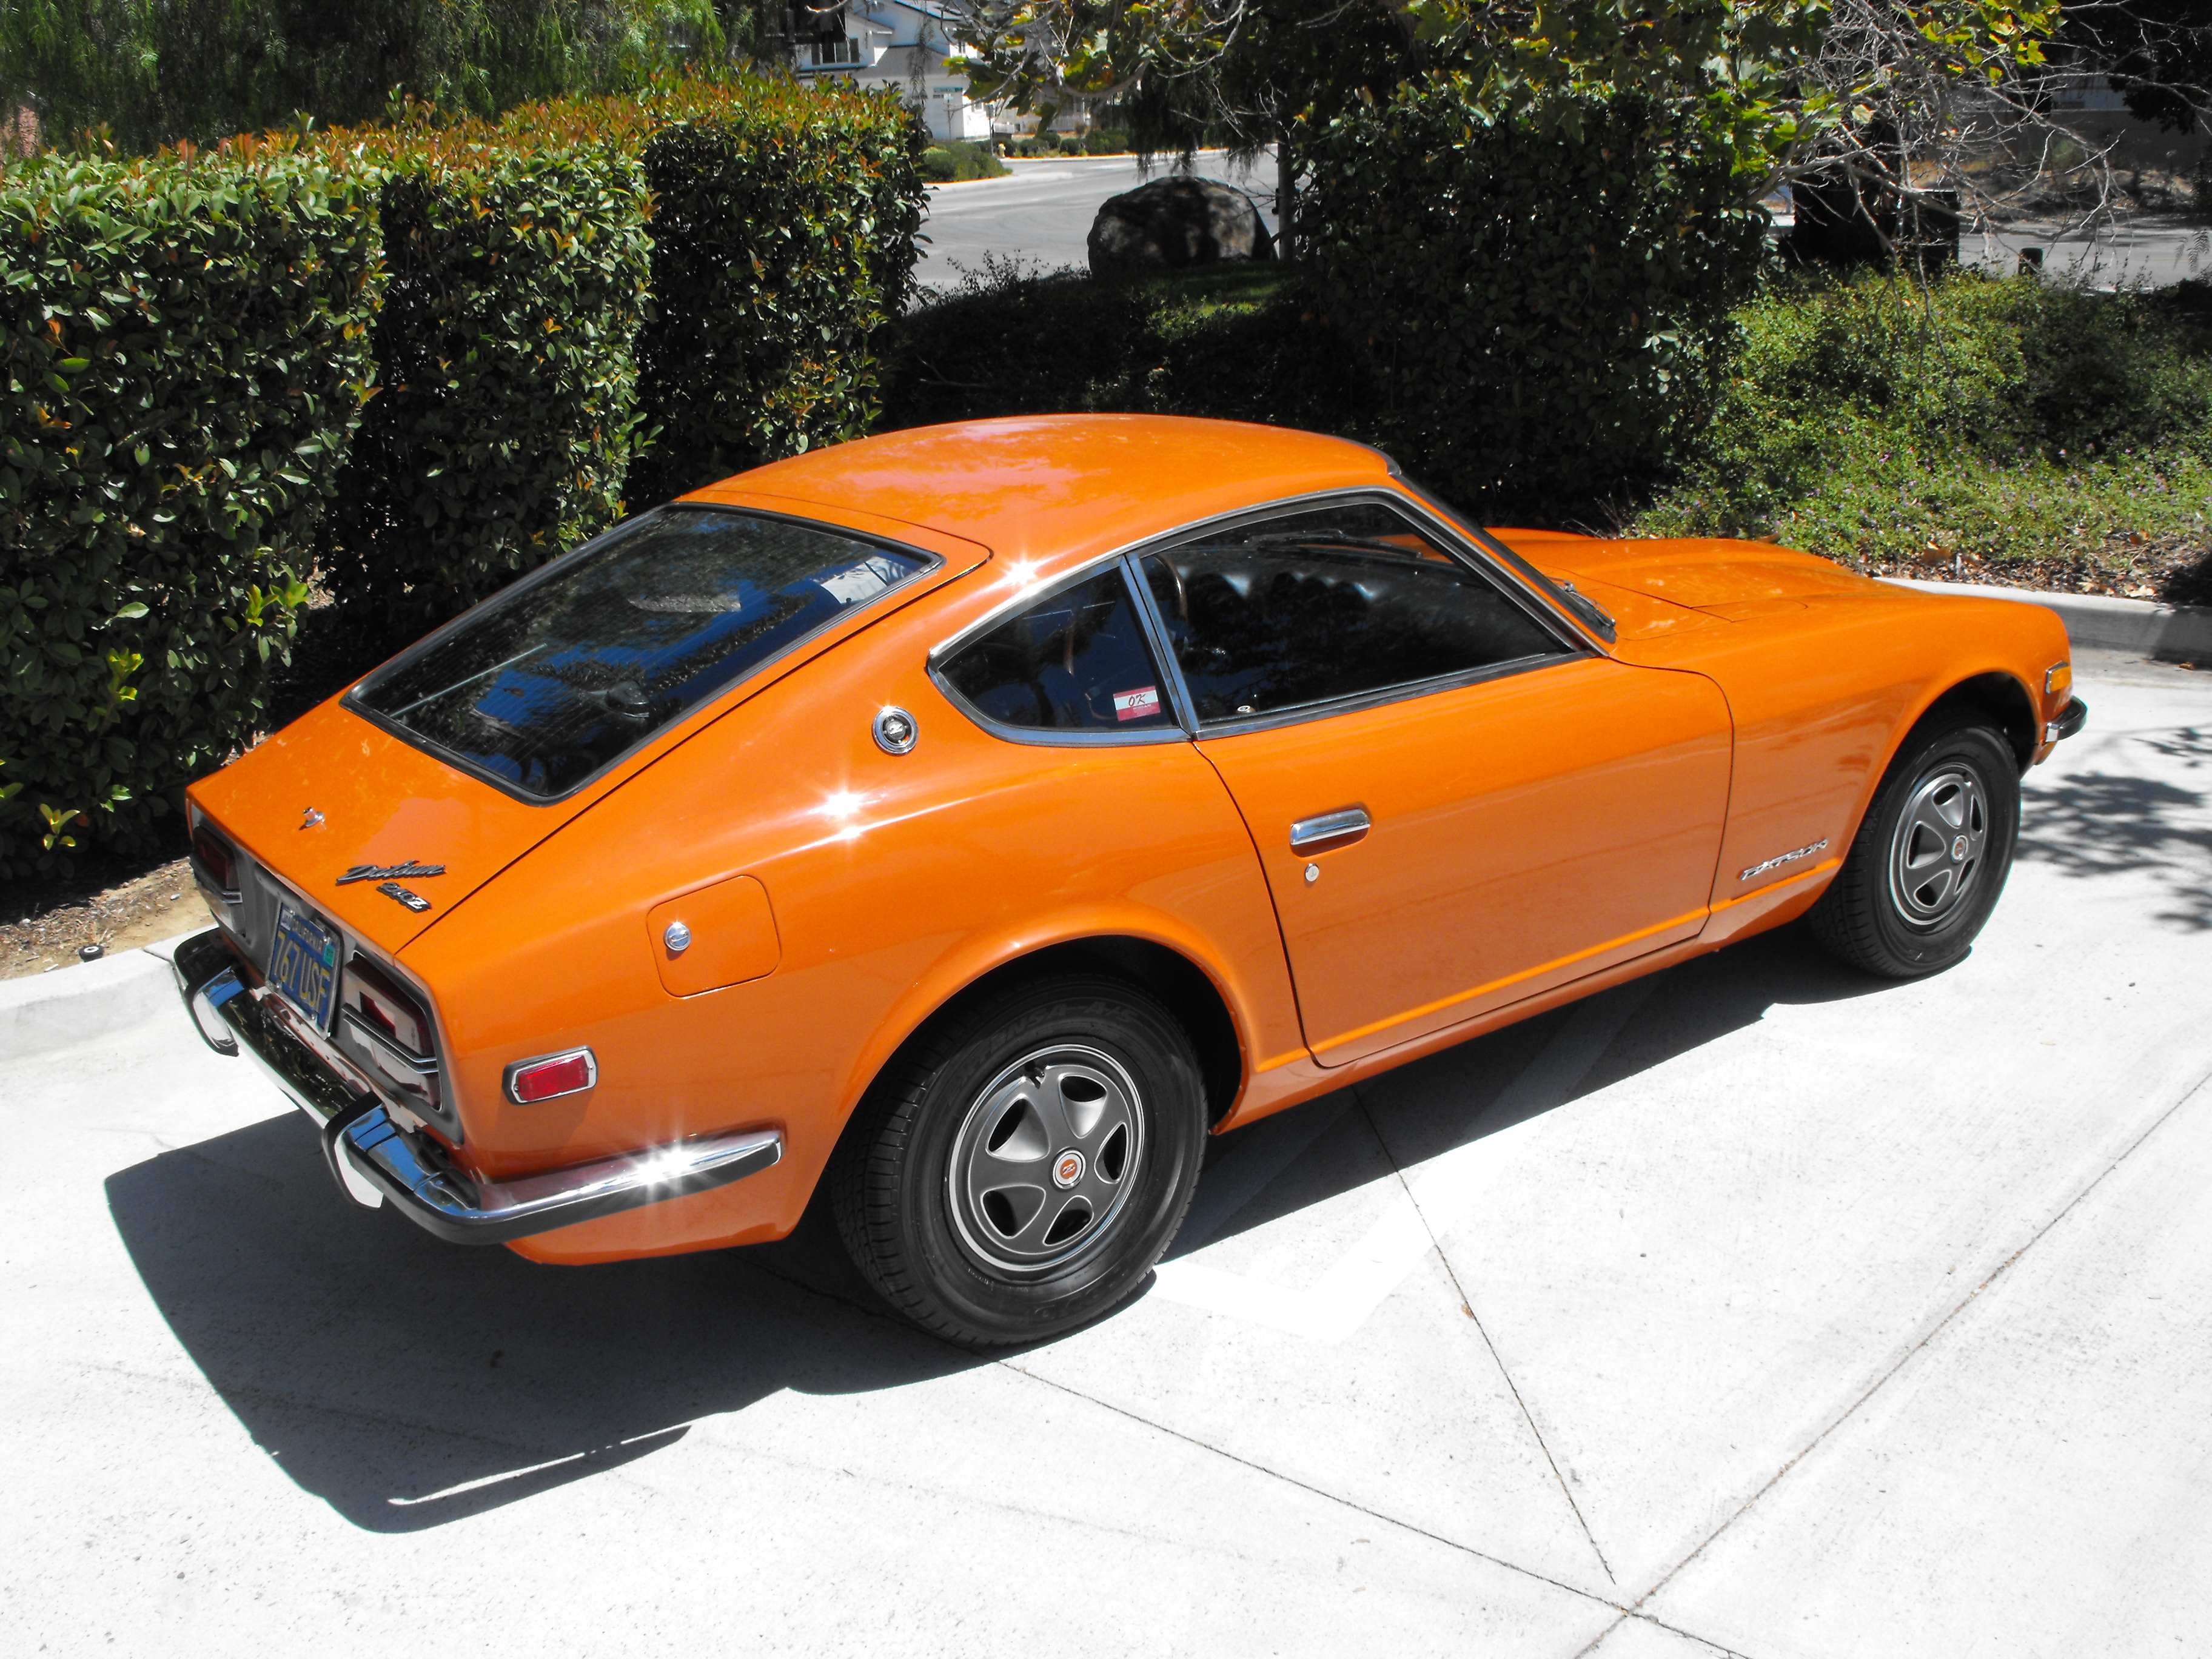
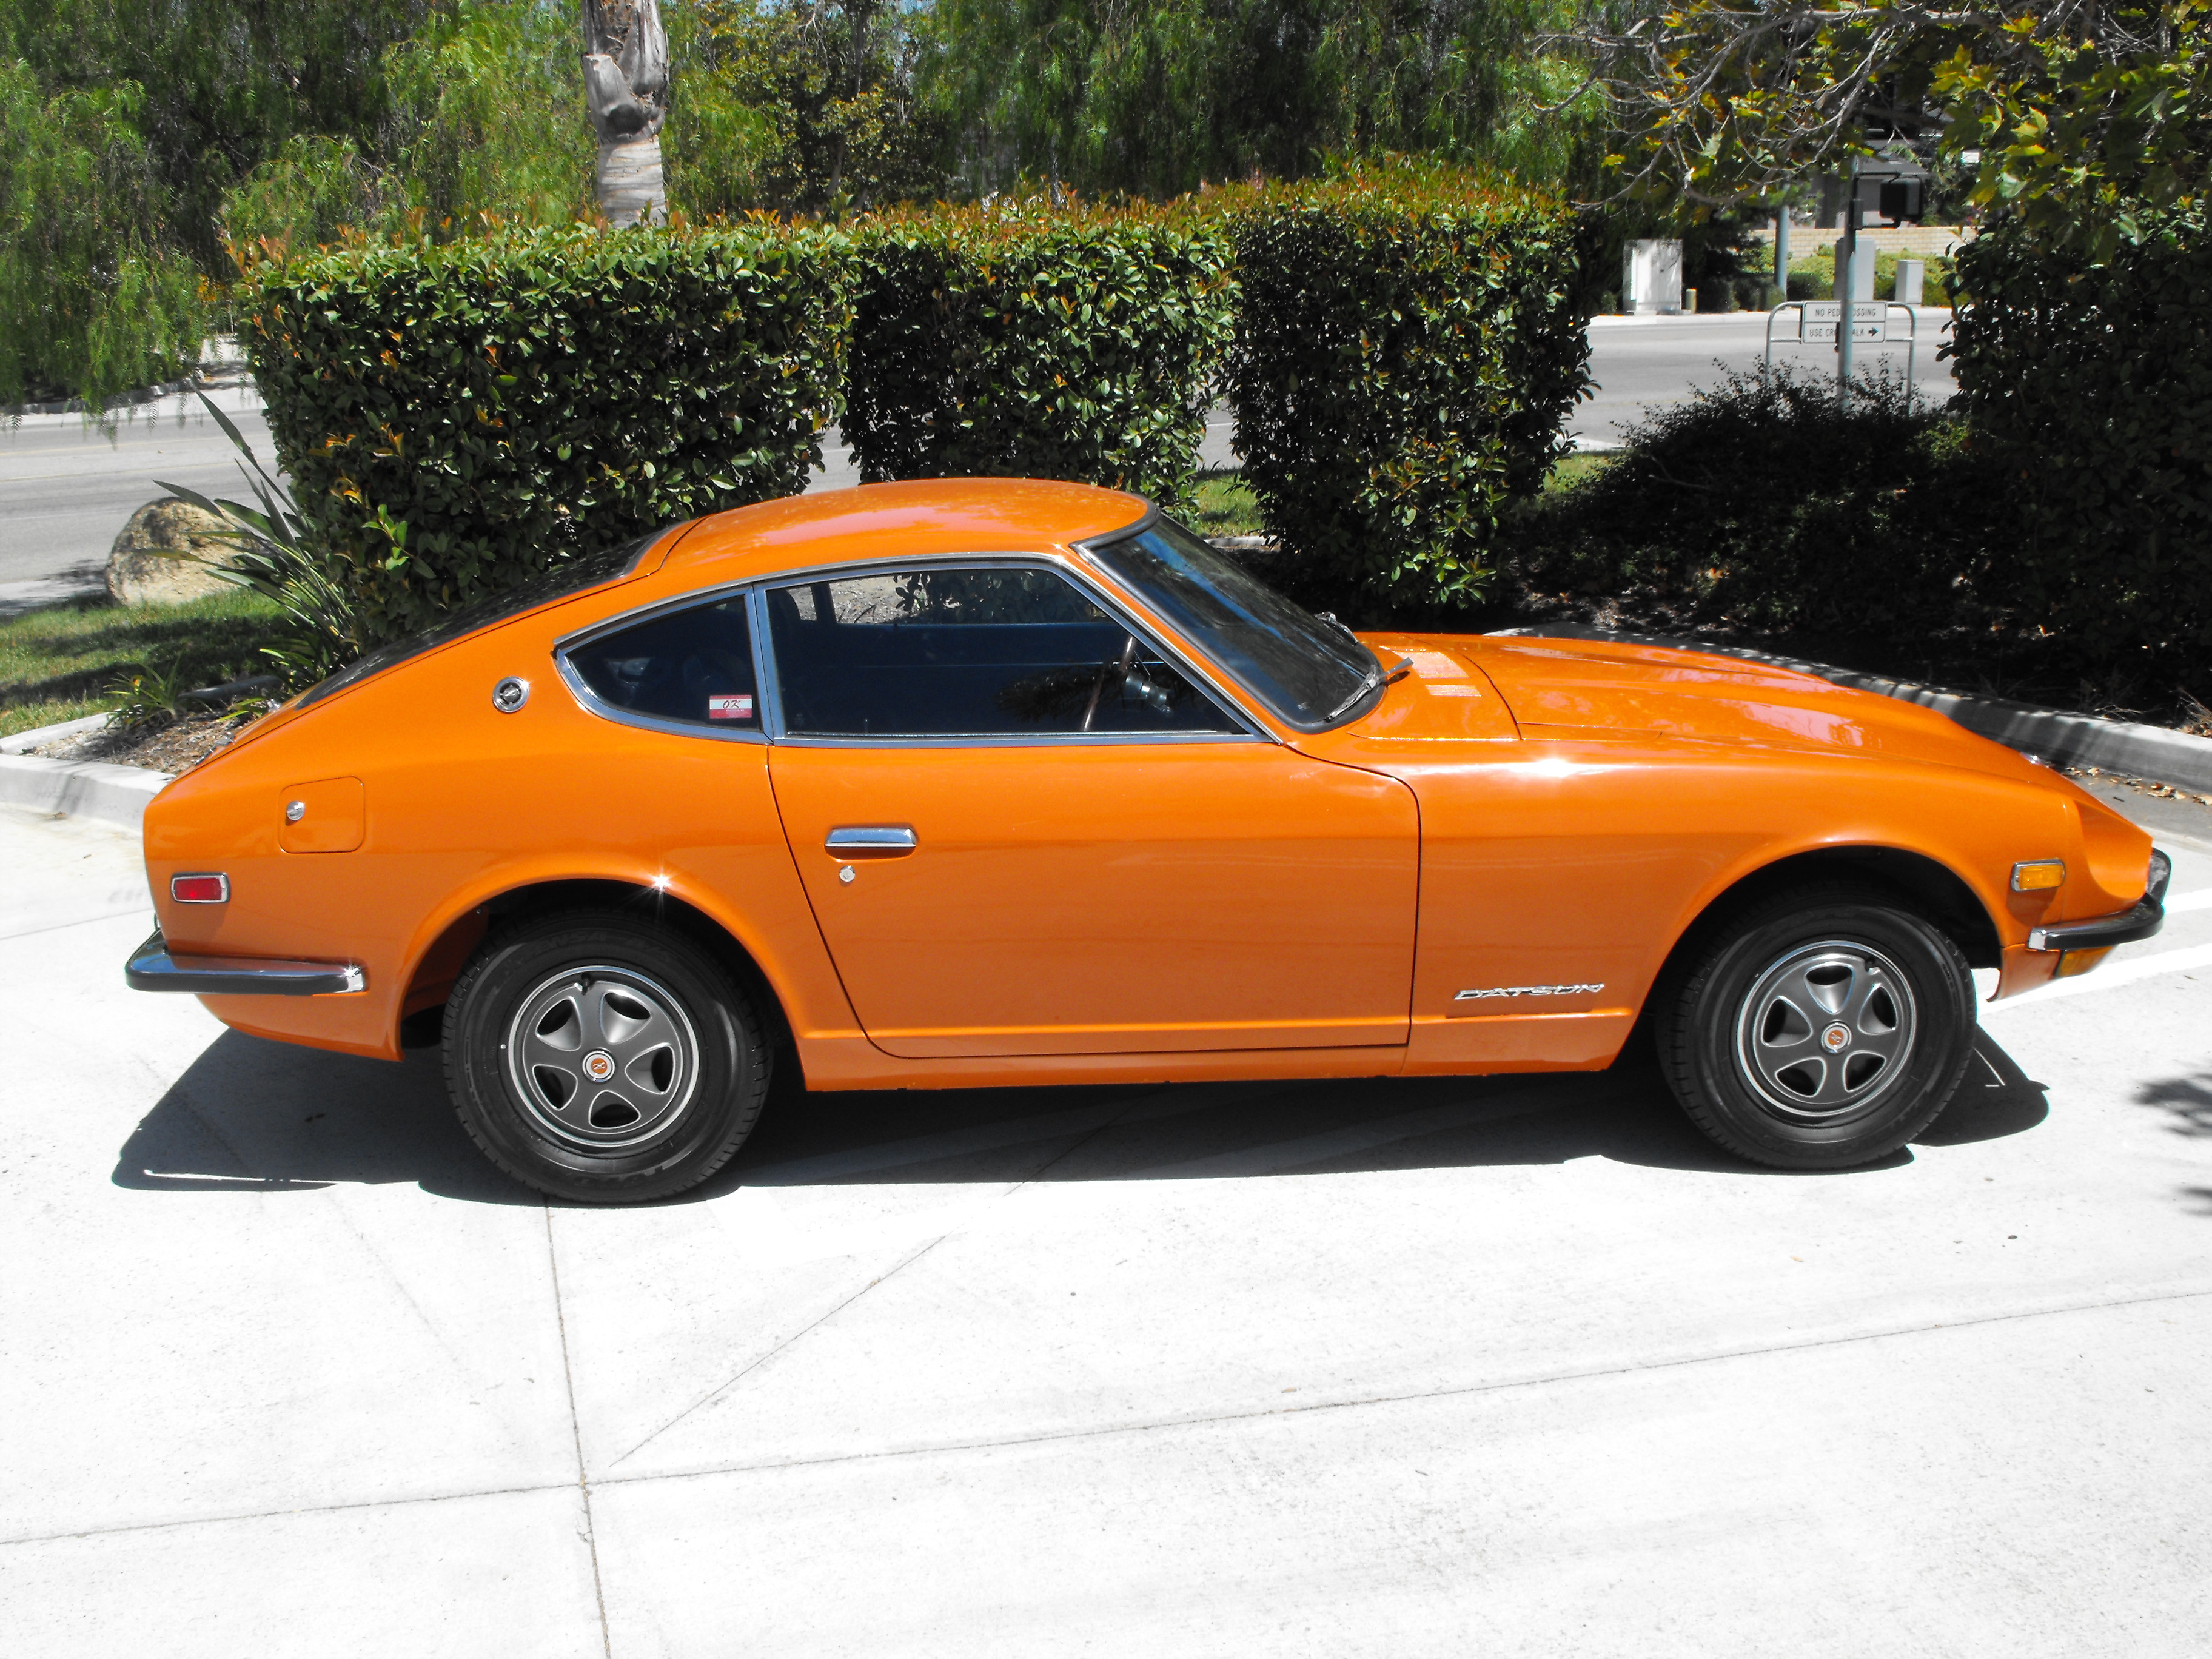
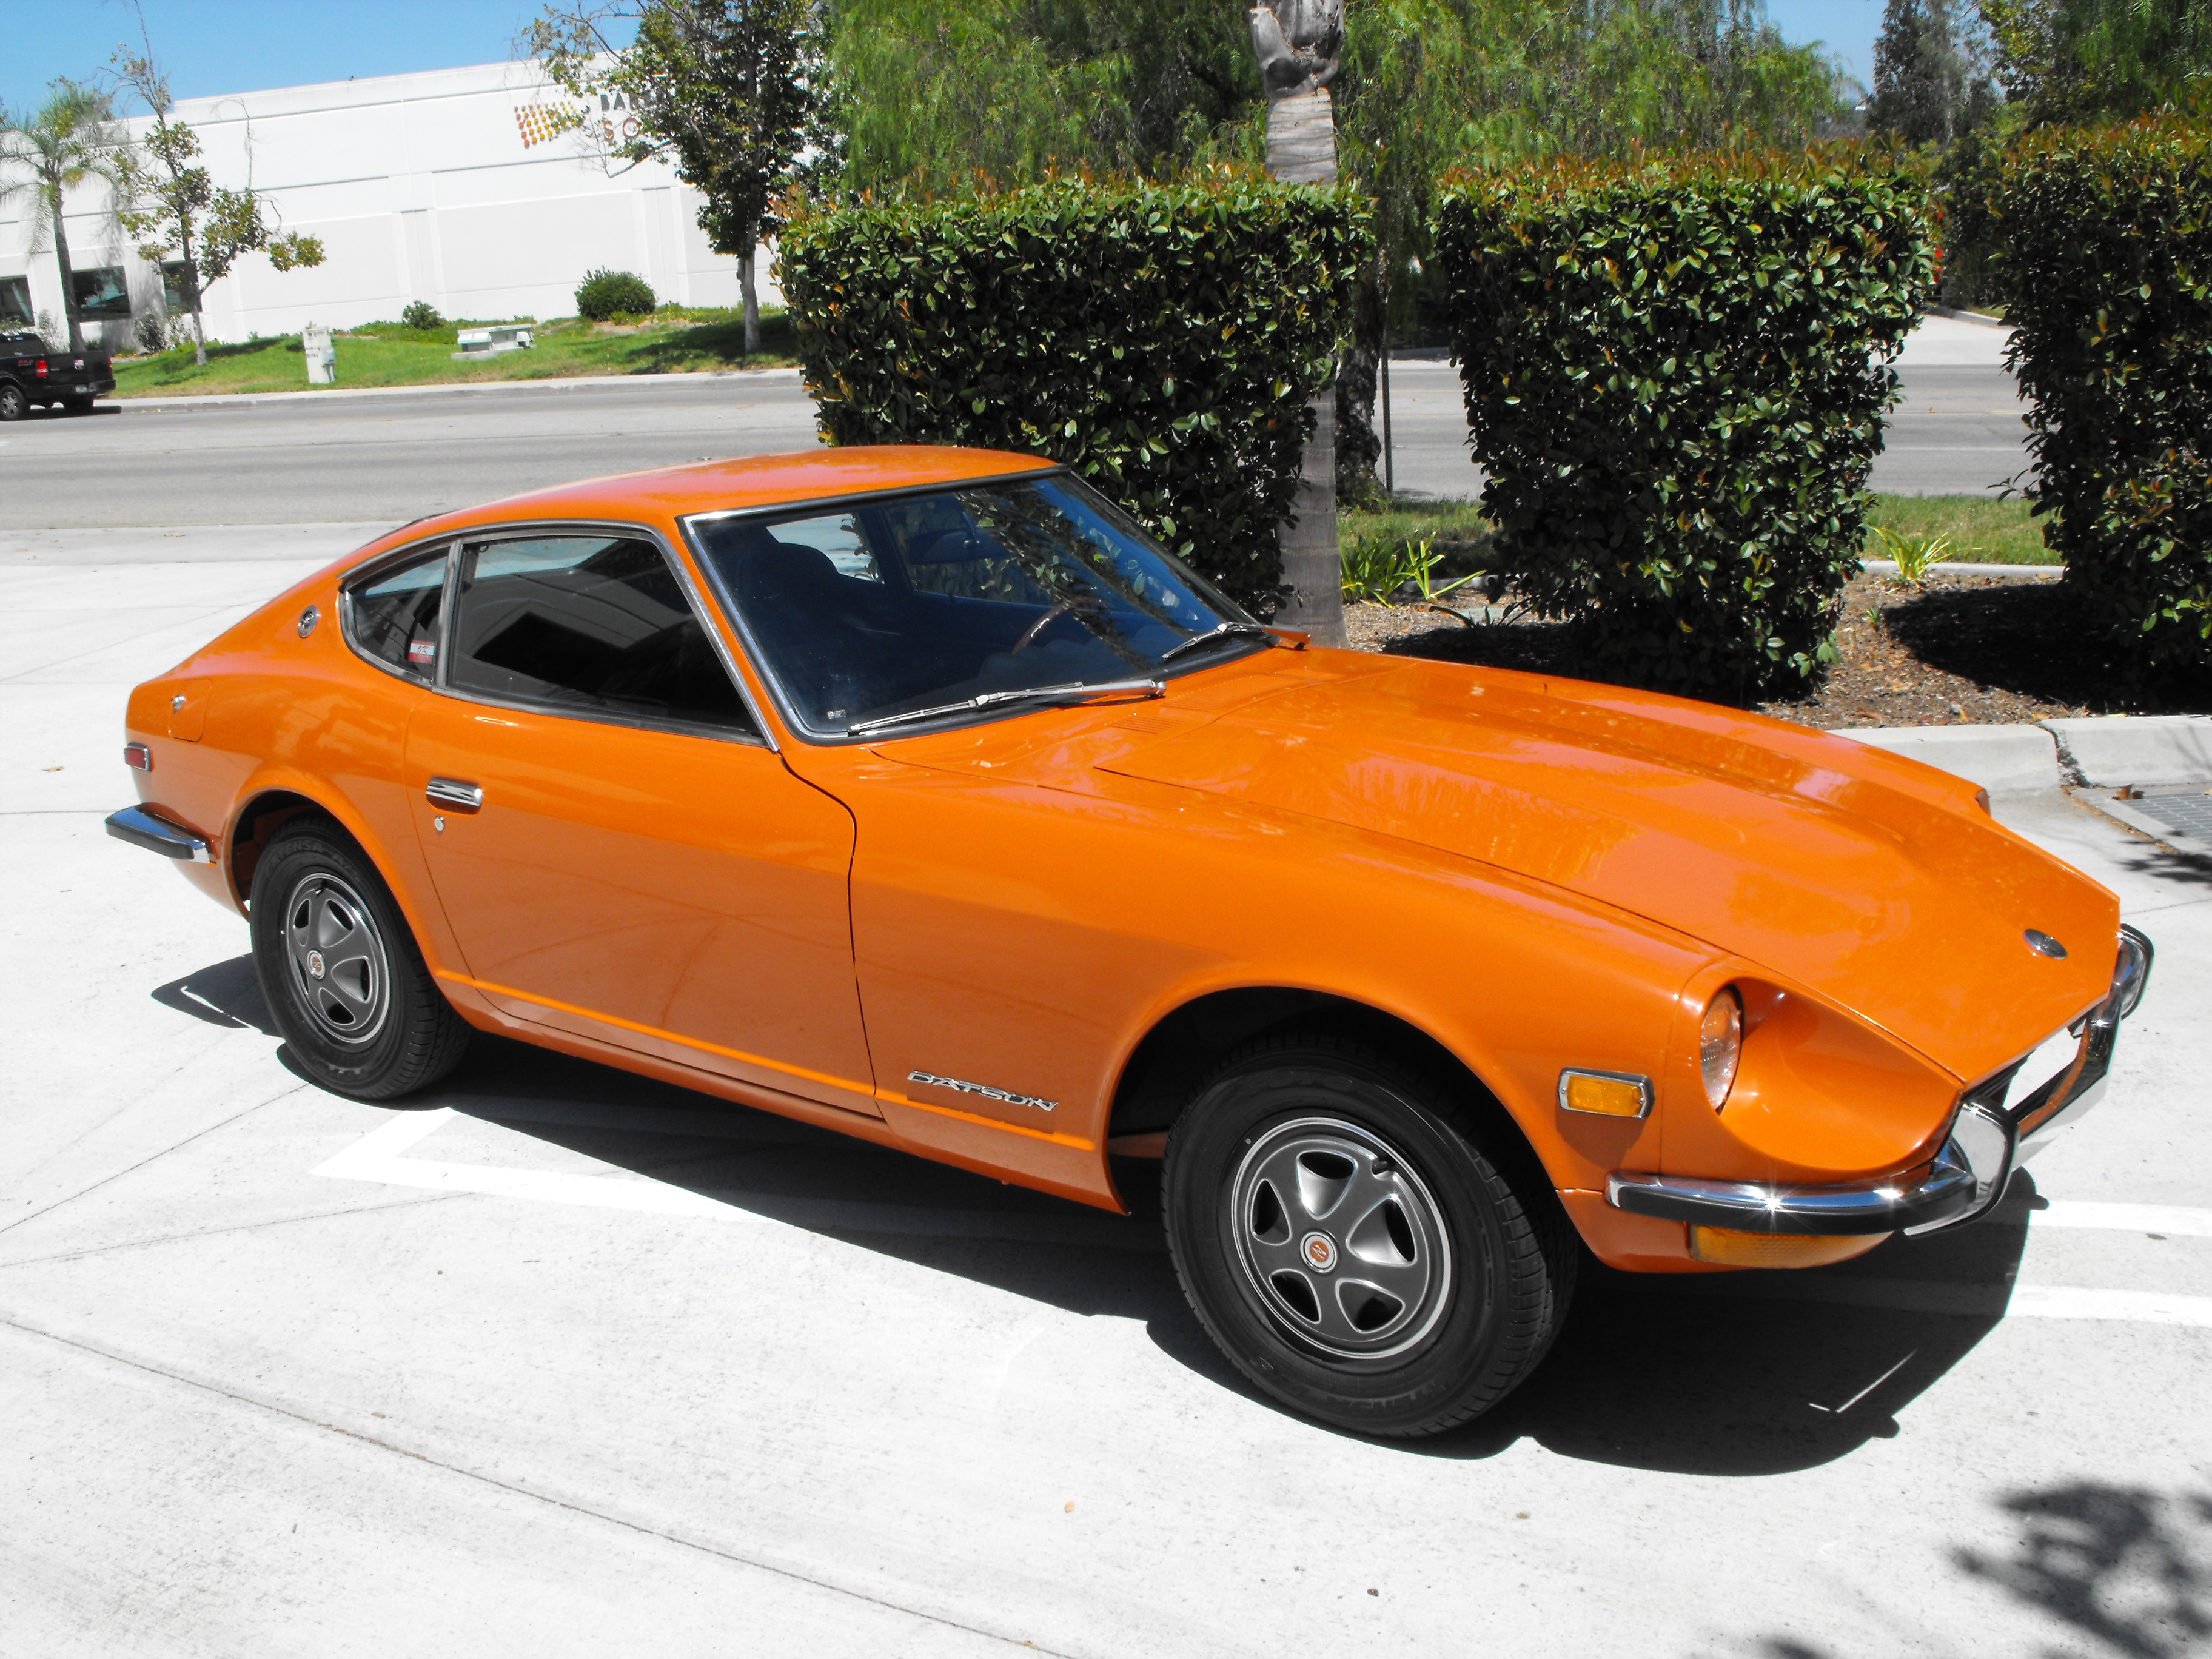
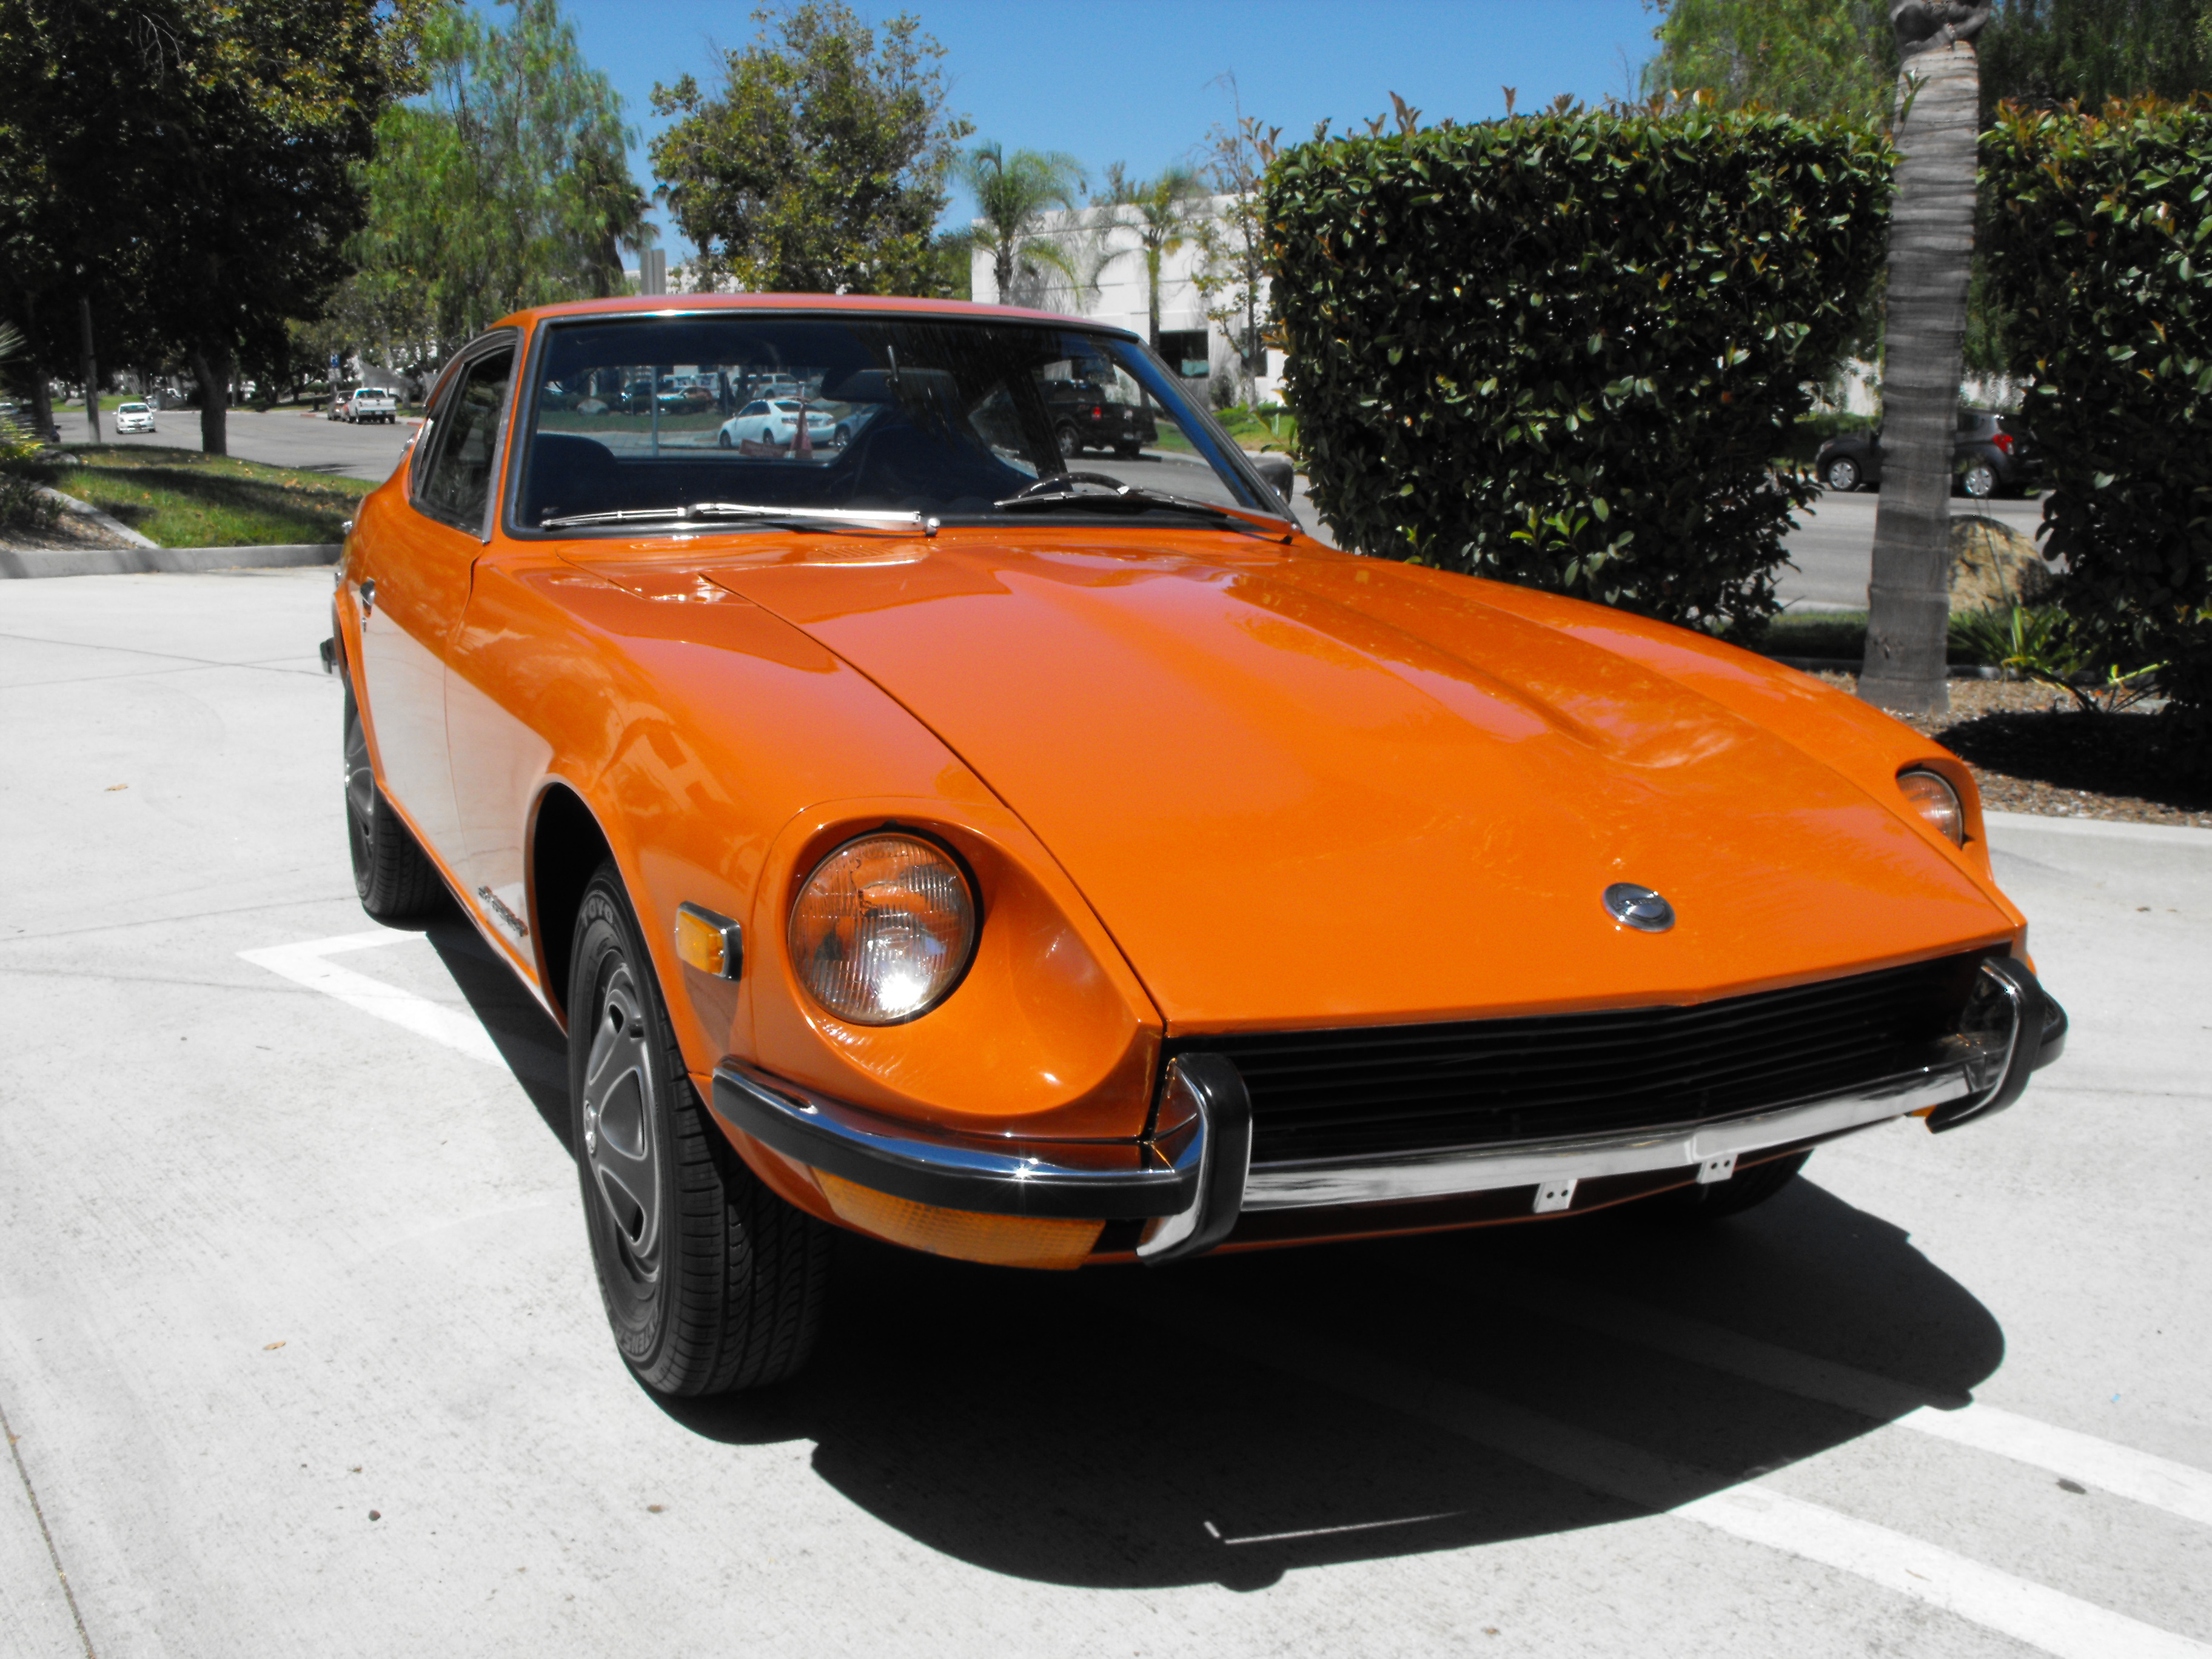
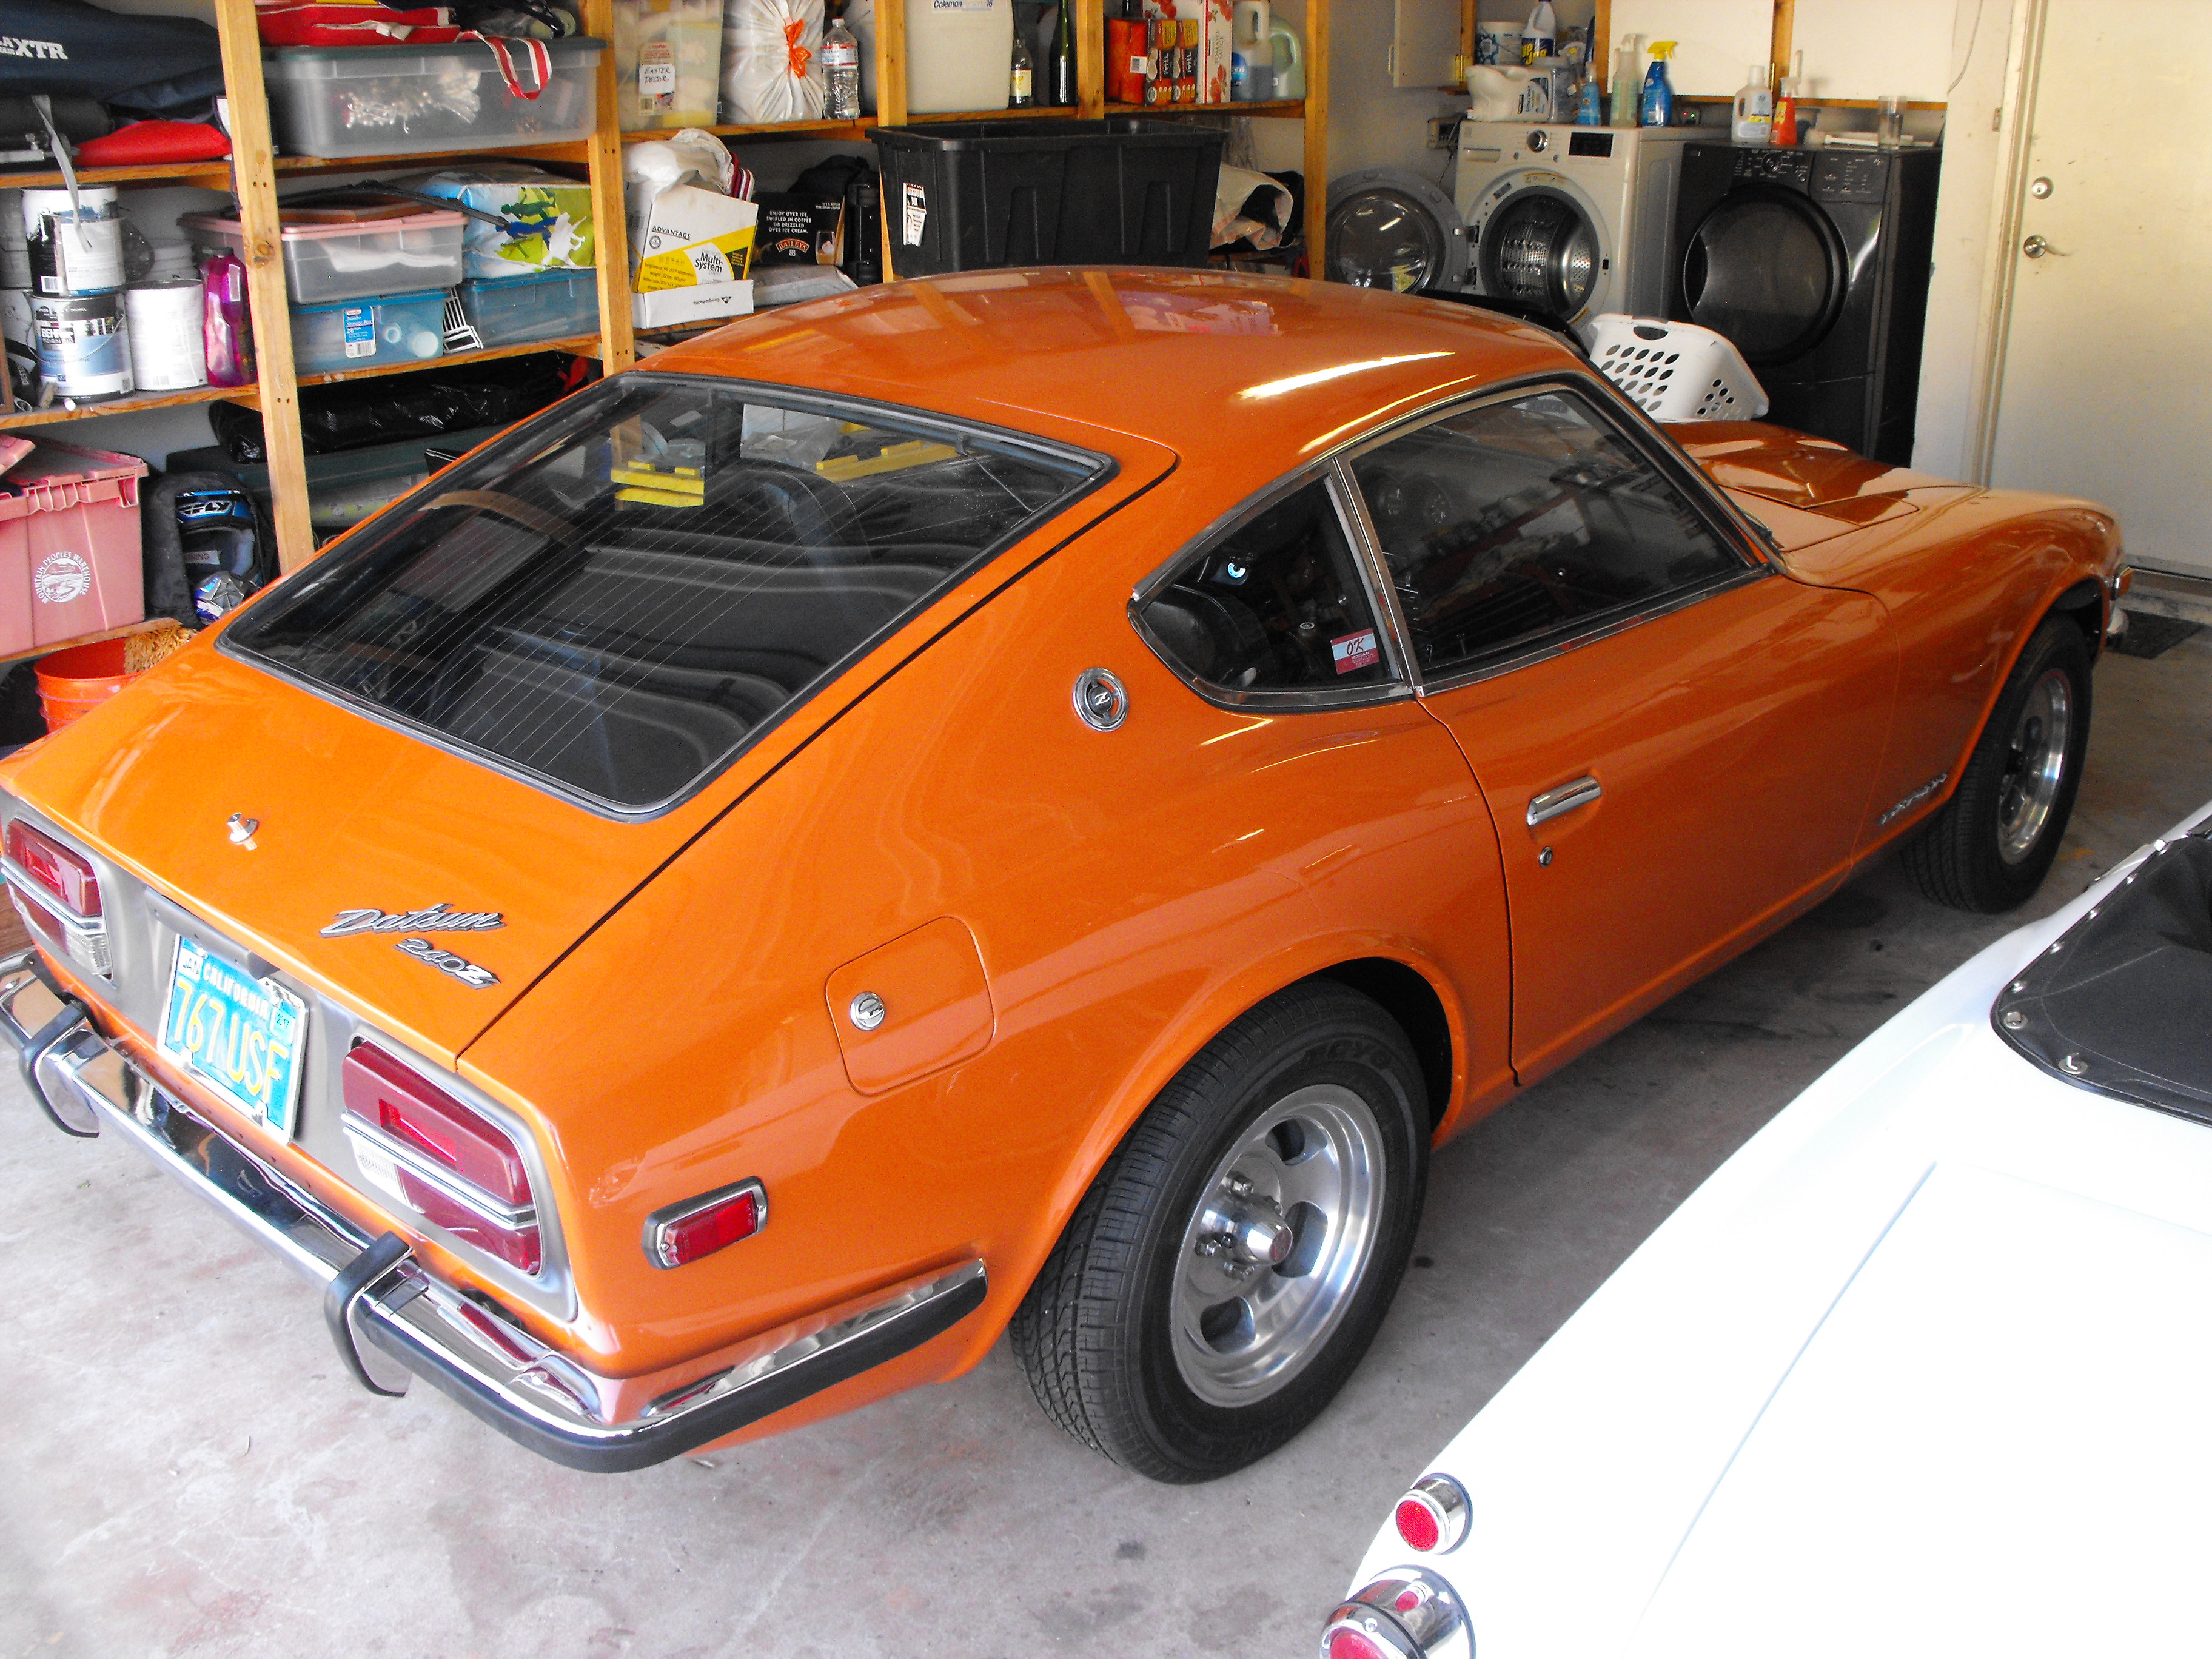
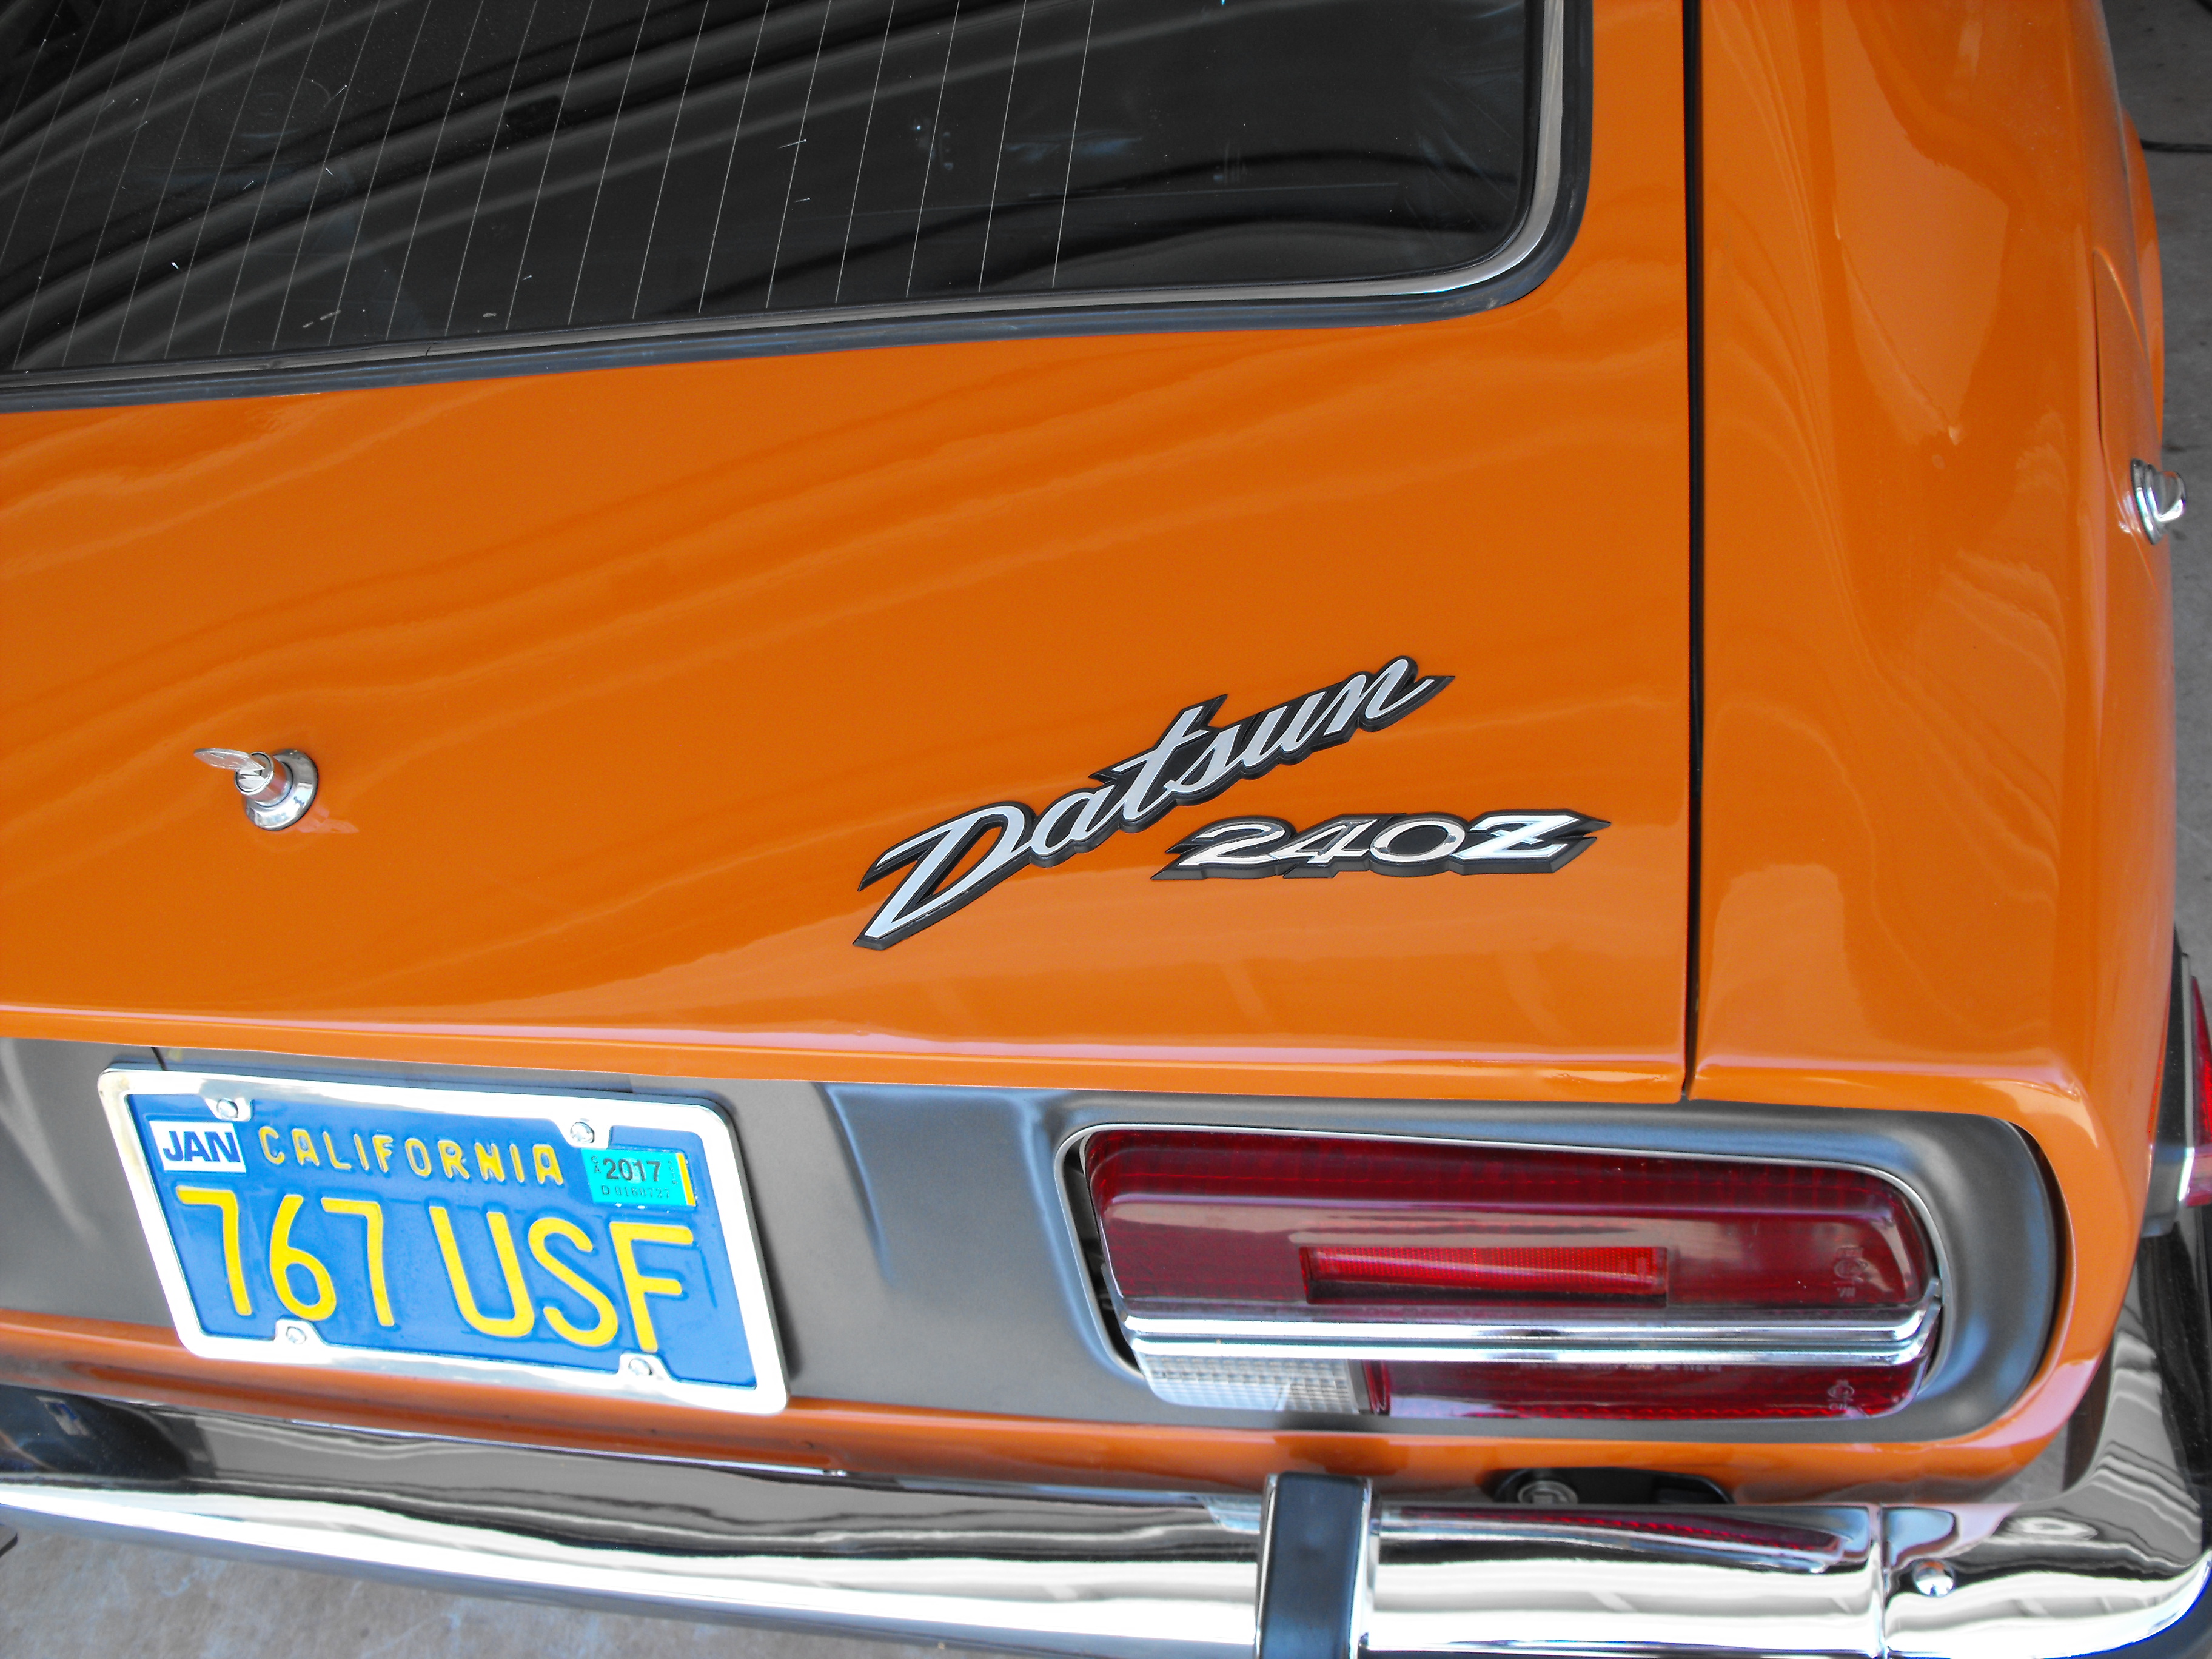
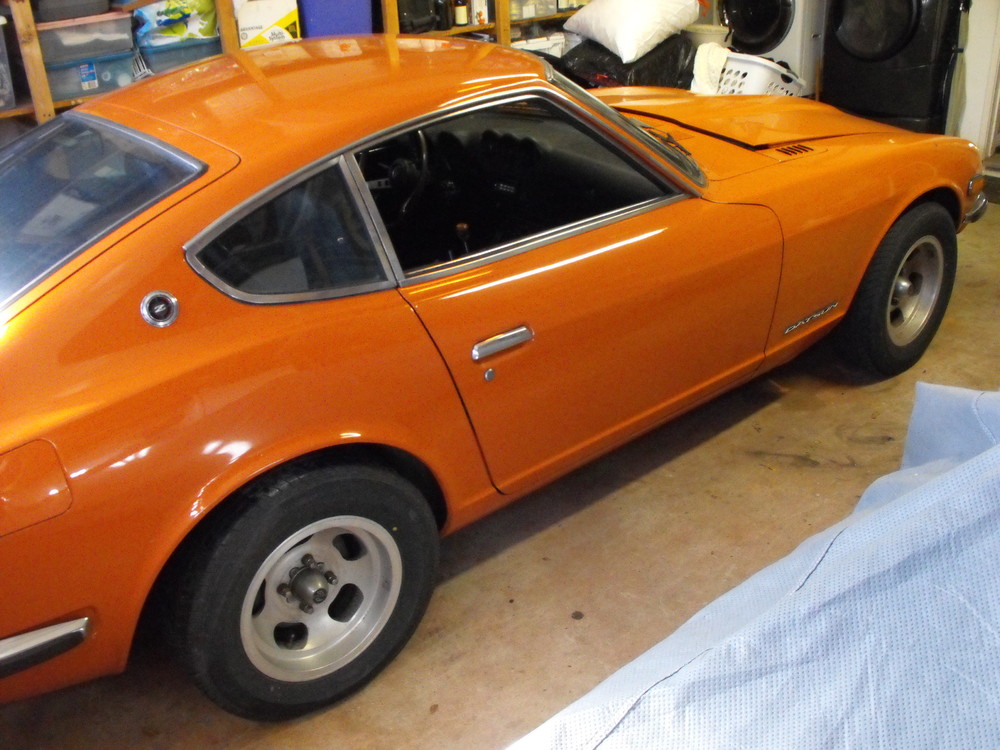
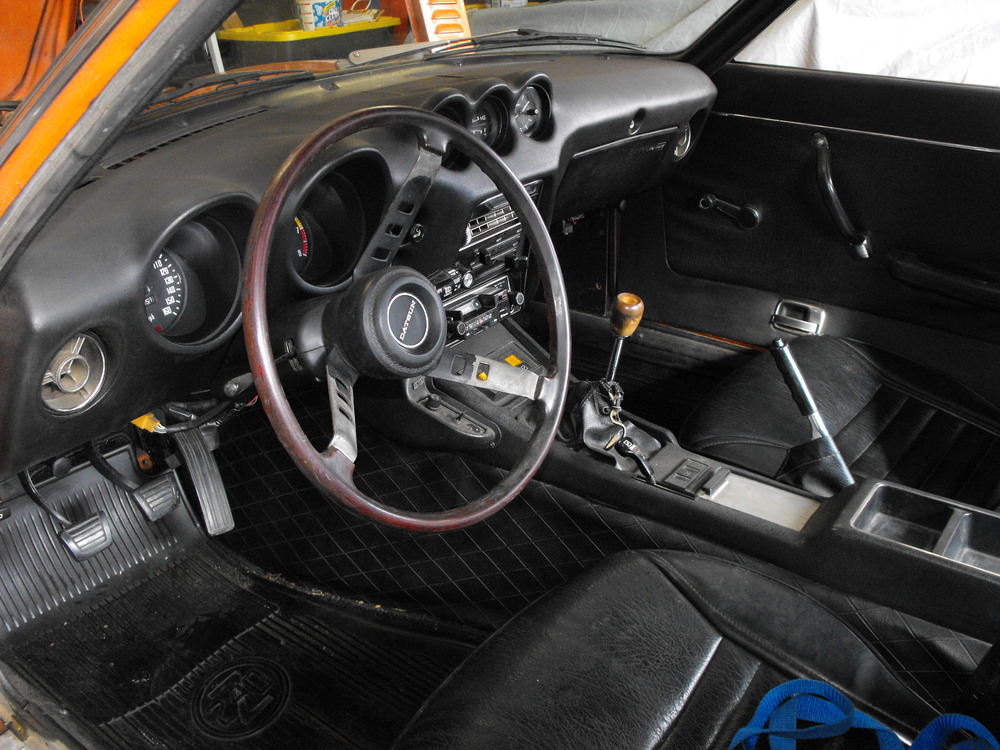
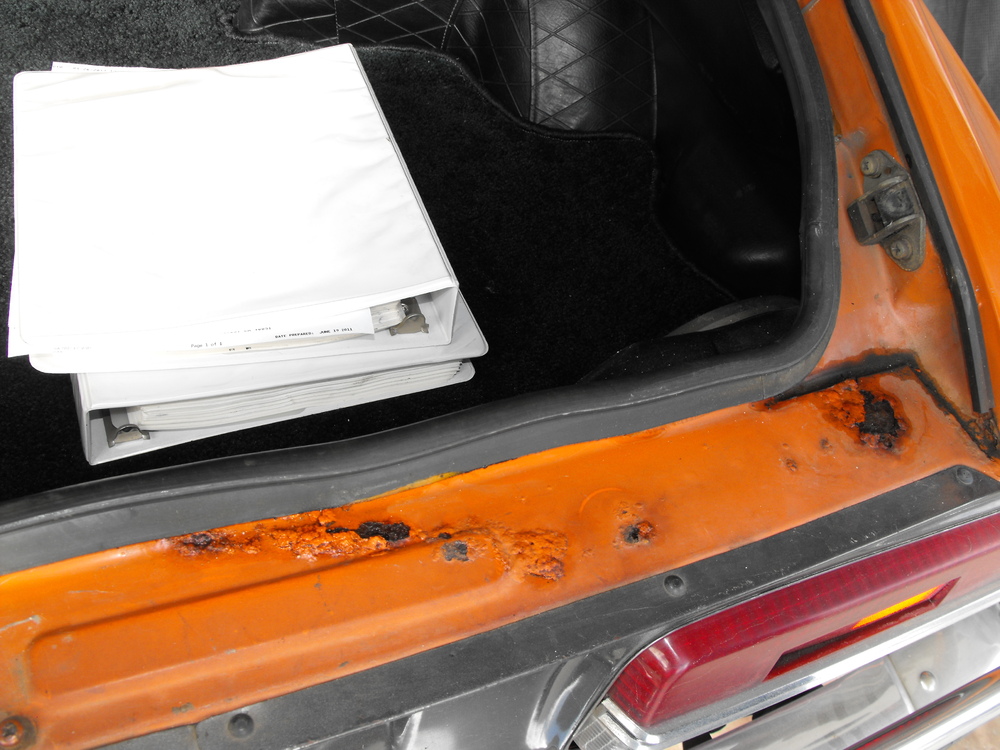
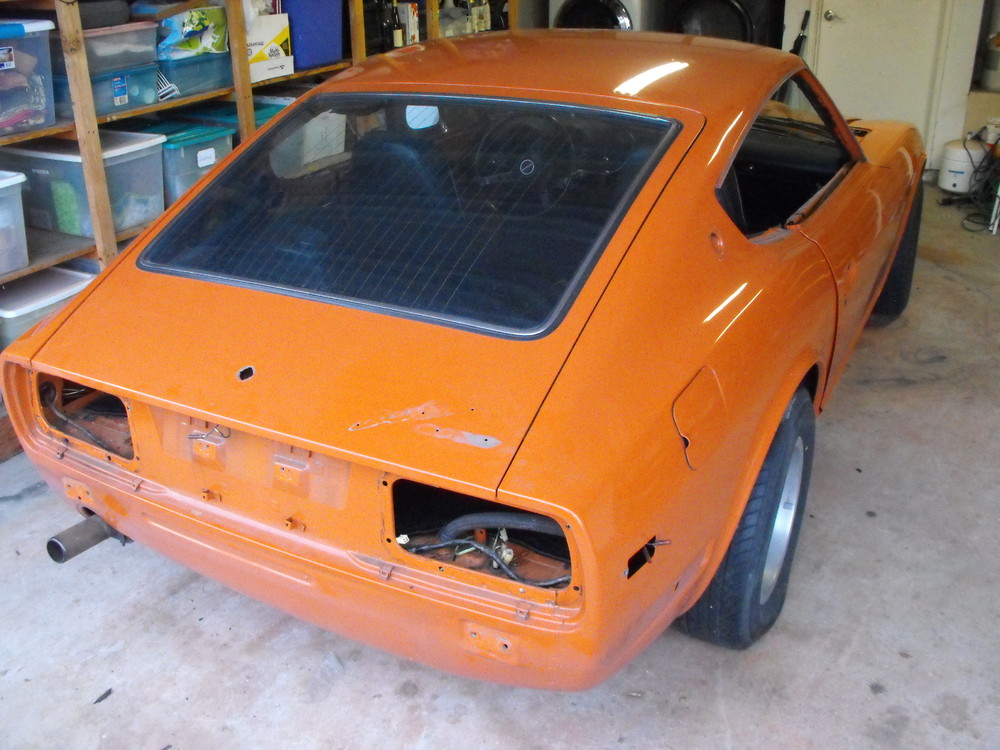
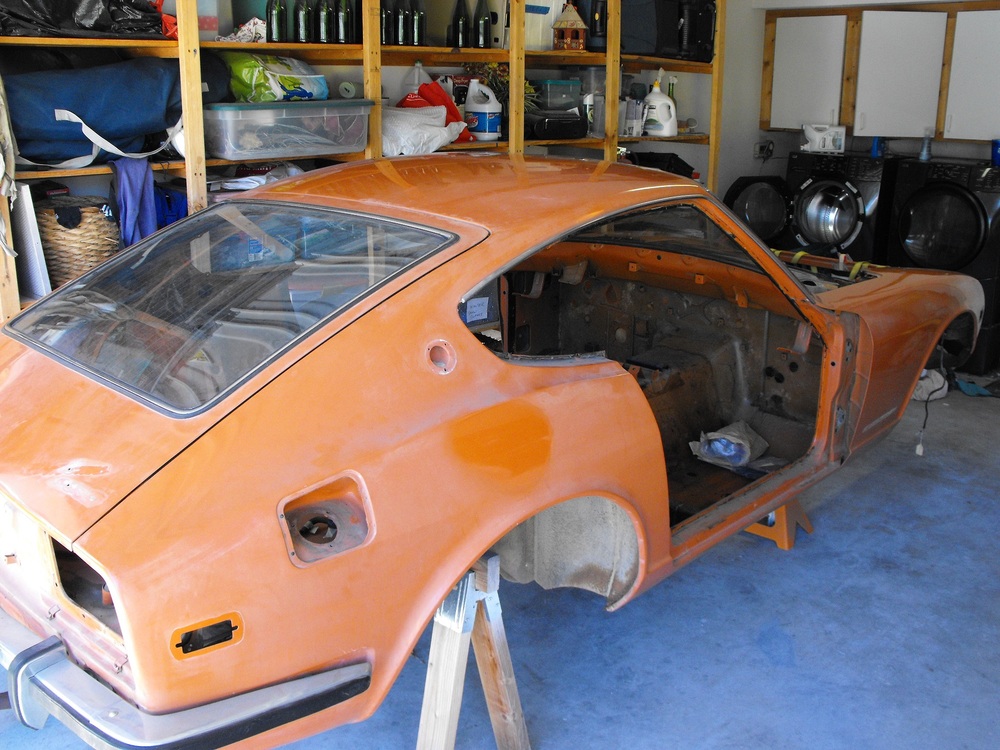
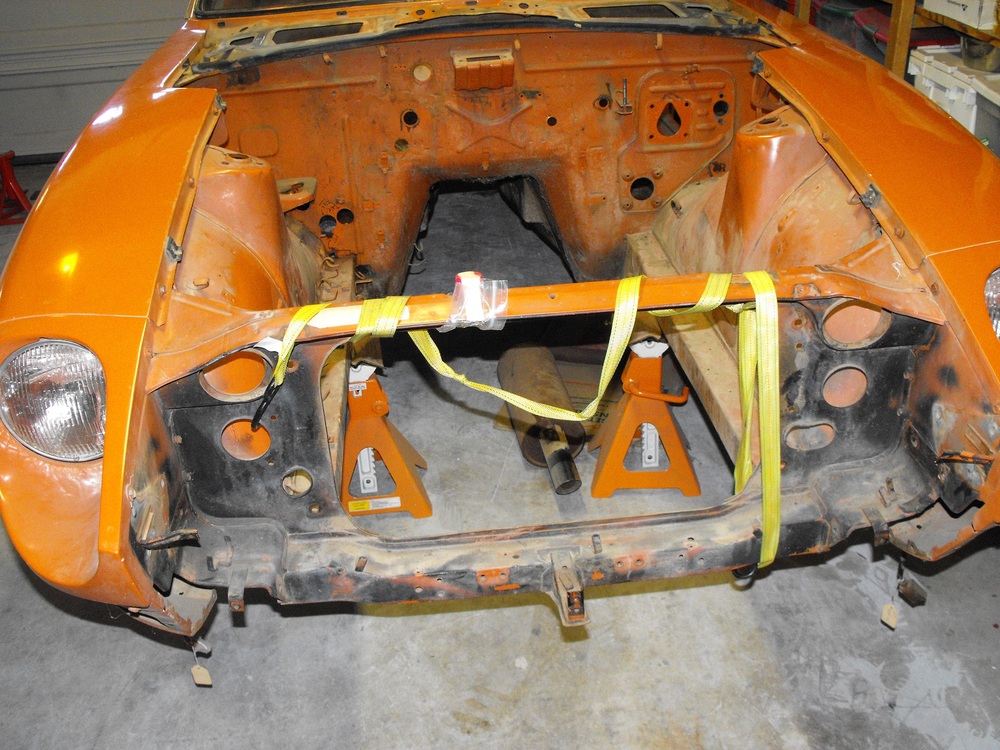
Seems like I just finished restoring my 918 orange 1971 240Z and now I have another one to work on. This one however is a friends car and not mine personally. And coincidentally, this one is also 918 orange. They are virtual twins, although my friends is the series III 1971 while mine is an earlier Series II, so there are a few differences. The serial numbers are off by about 9000 units. Anyway, The car is in pretty reasonable shape and I think it would start with very little effort. It has not run for about 5 years so I definitely will need to go through the fuel lines eventually. The plan here is to document the restoration so that my friend can watch the build as it progresses. The goal is to have it look as nice or better than the one I just finished . The car arrived last Friday and my friend and I went over the vehicle and took a lot of pictures. I will post some of these as time permits. I charged the battery to see what condition the electrical was in. The running lights and headlights were operational and most of the dash lights worked. The engine was able to turn over and the heater fan works. Electrically, everything seems to be in very good working order. It will be nice to not have to mess with the electrical on the car. The next step is to strip the car and prep it for paint. There are a few small dings on the body that will be easy to fix. The underside will be a bit more of a challenge. The frame rails and floor pan are pretty deeply dented in several spots. Also, the back hatch area has some deep rust. I will fix that before it gets sent off to paint. So, I started pulling off parts today. Attached are some pics of the progress. I will post pics as the process continues.


-
http://www.cheatsheet.com/automobiles/the-datsun-240z-one-of-the-greatest-sports-cars-ever-made.html/?ref=YF&yptr=yahoo
-
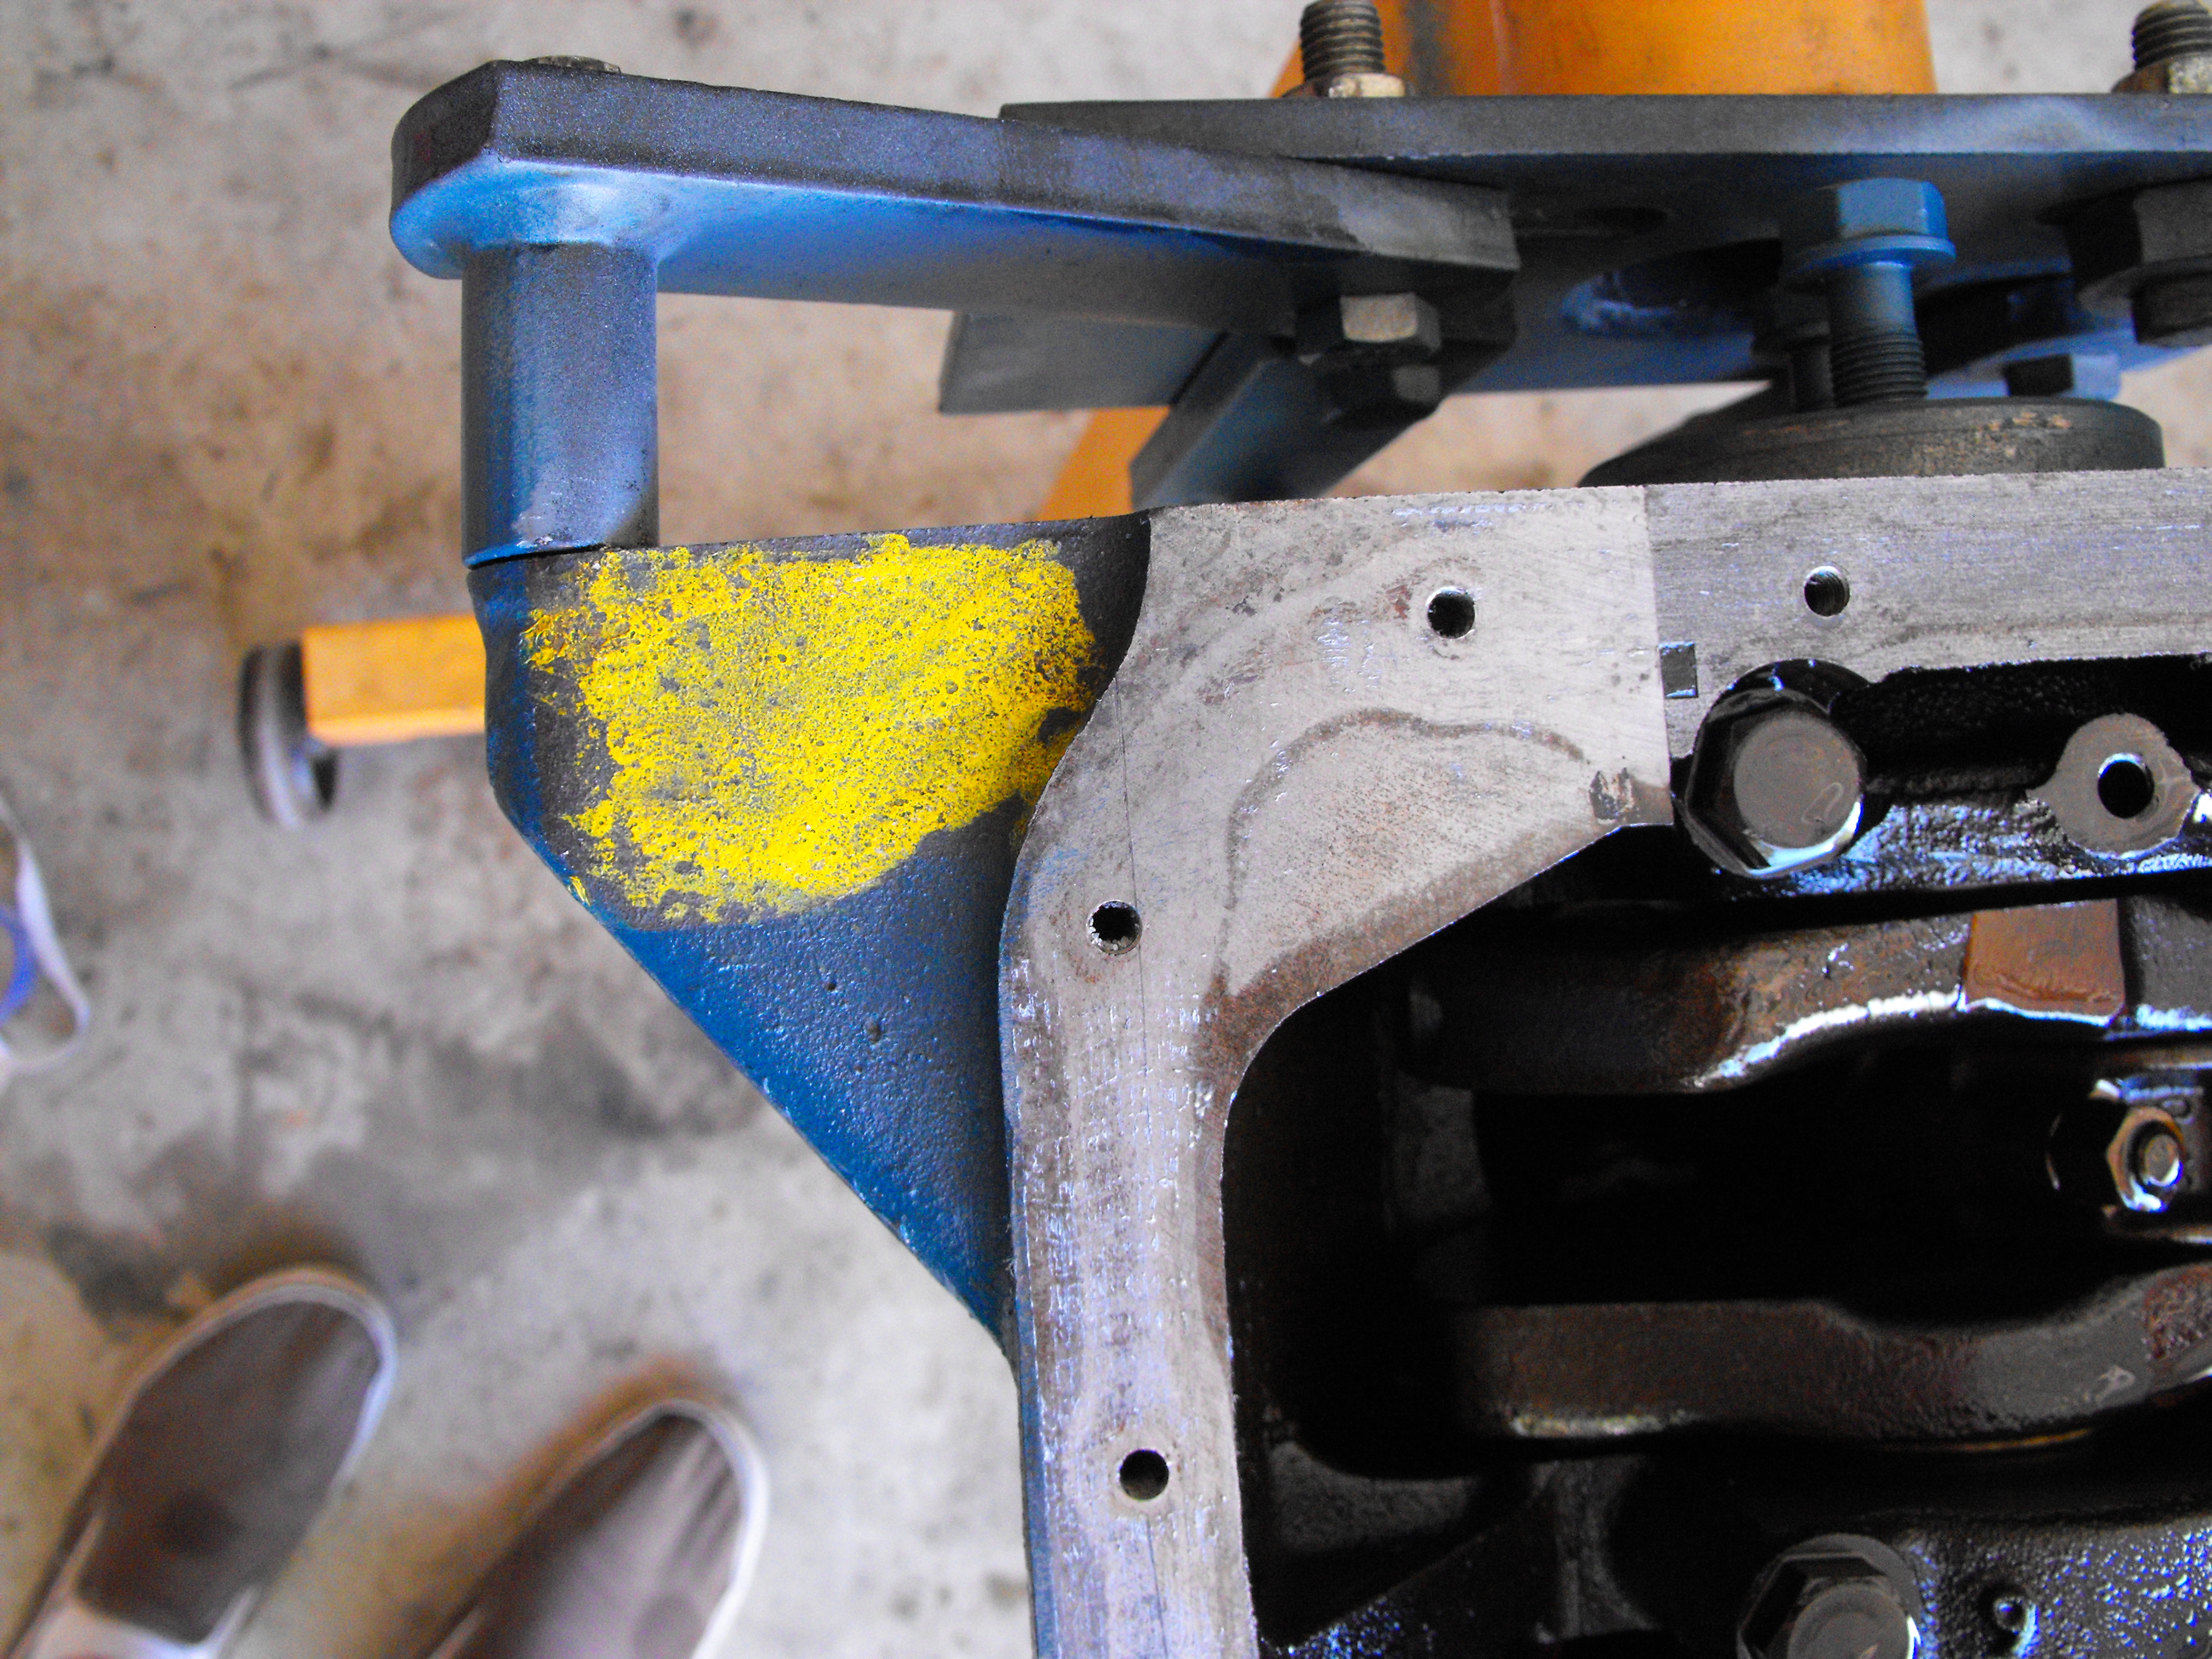
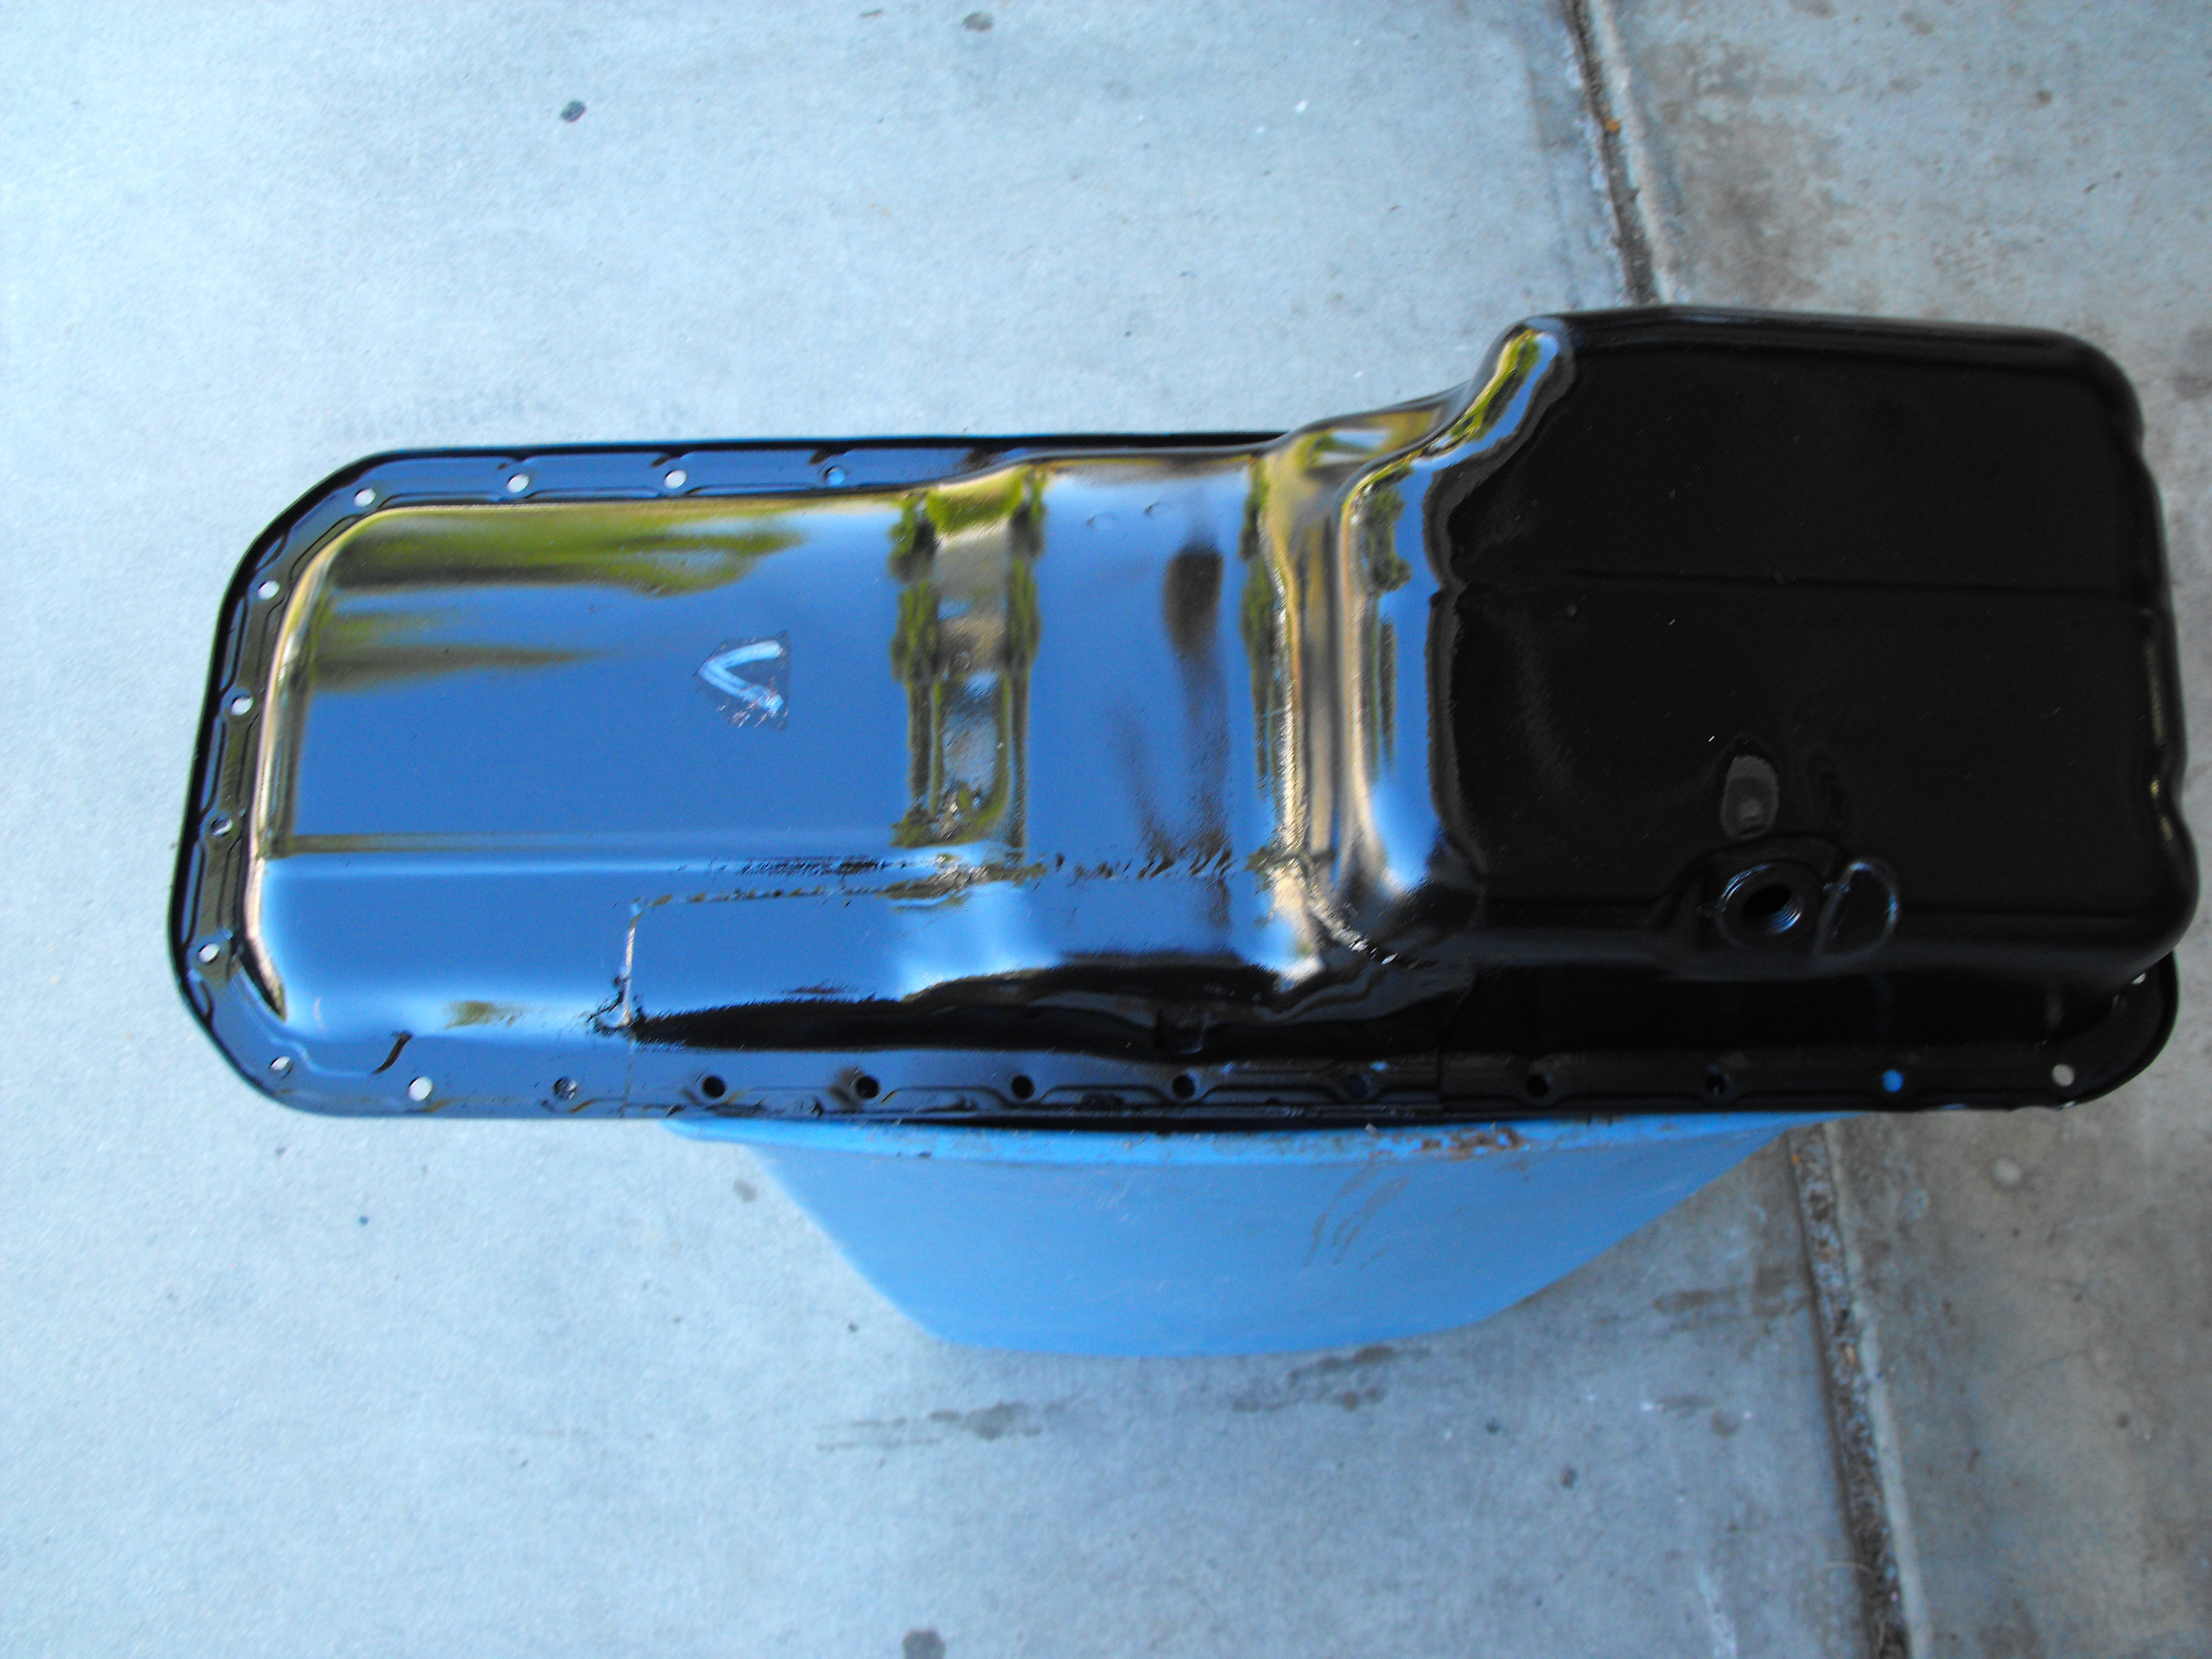
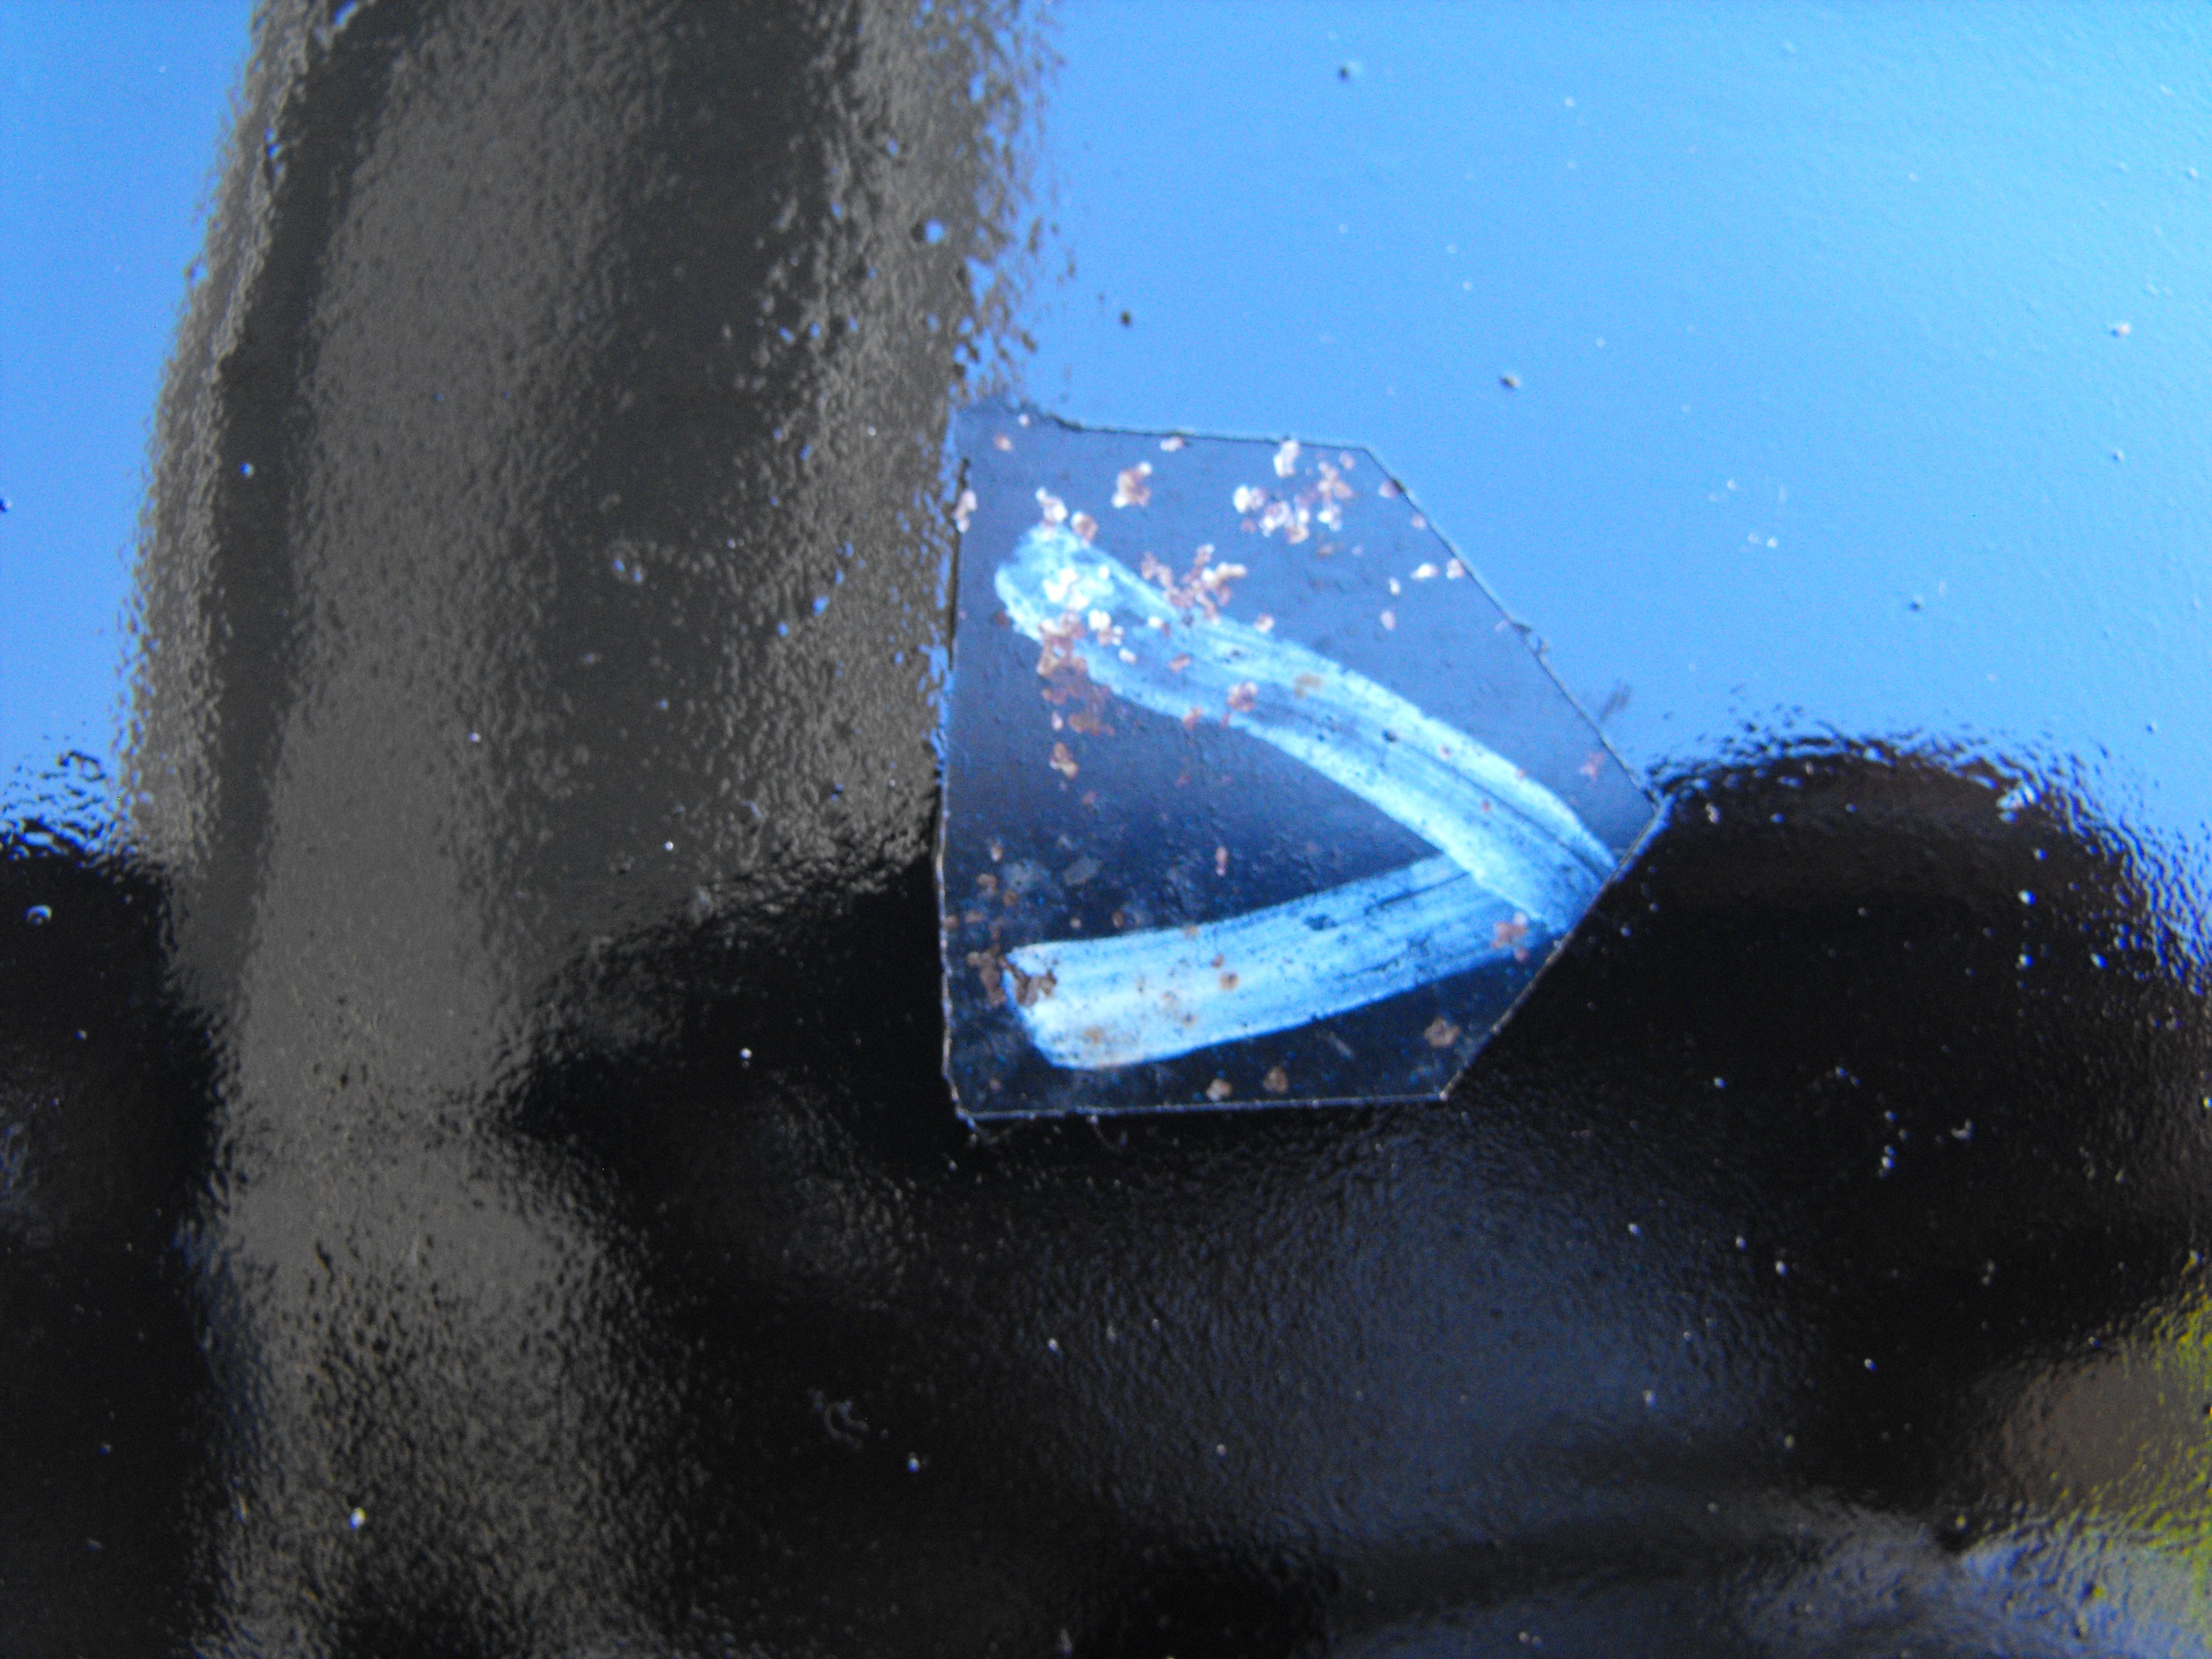
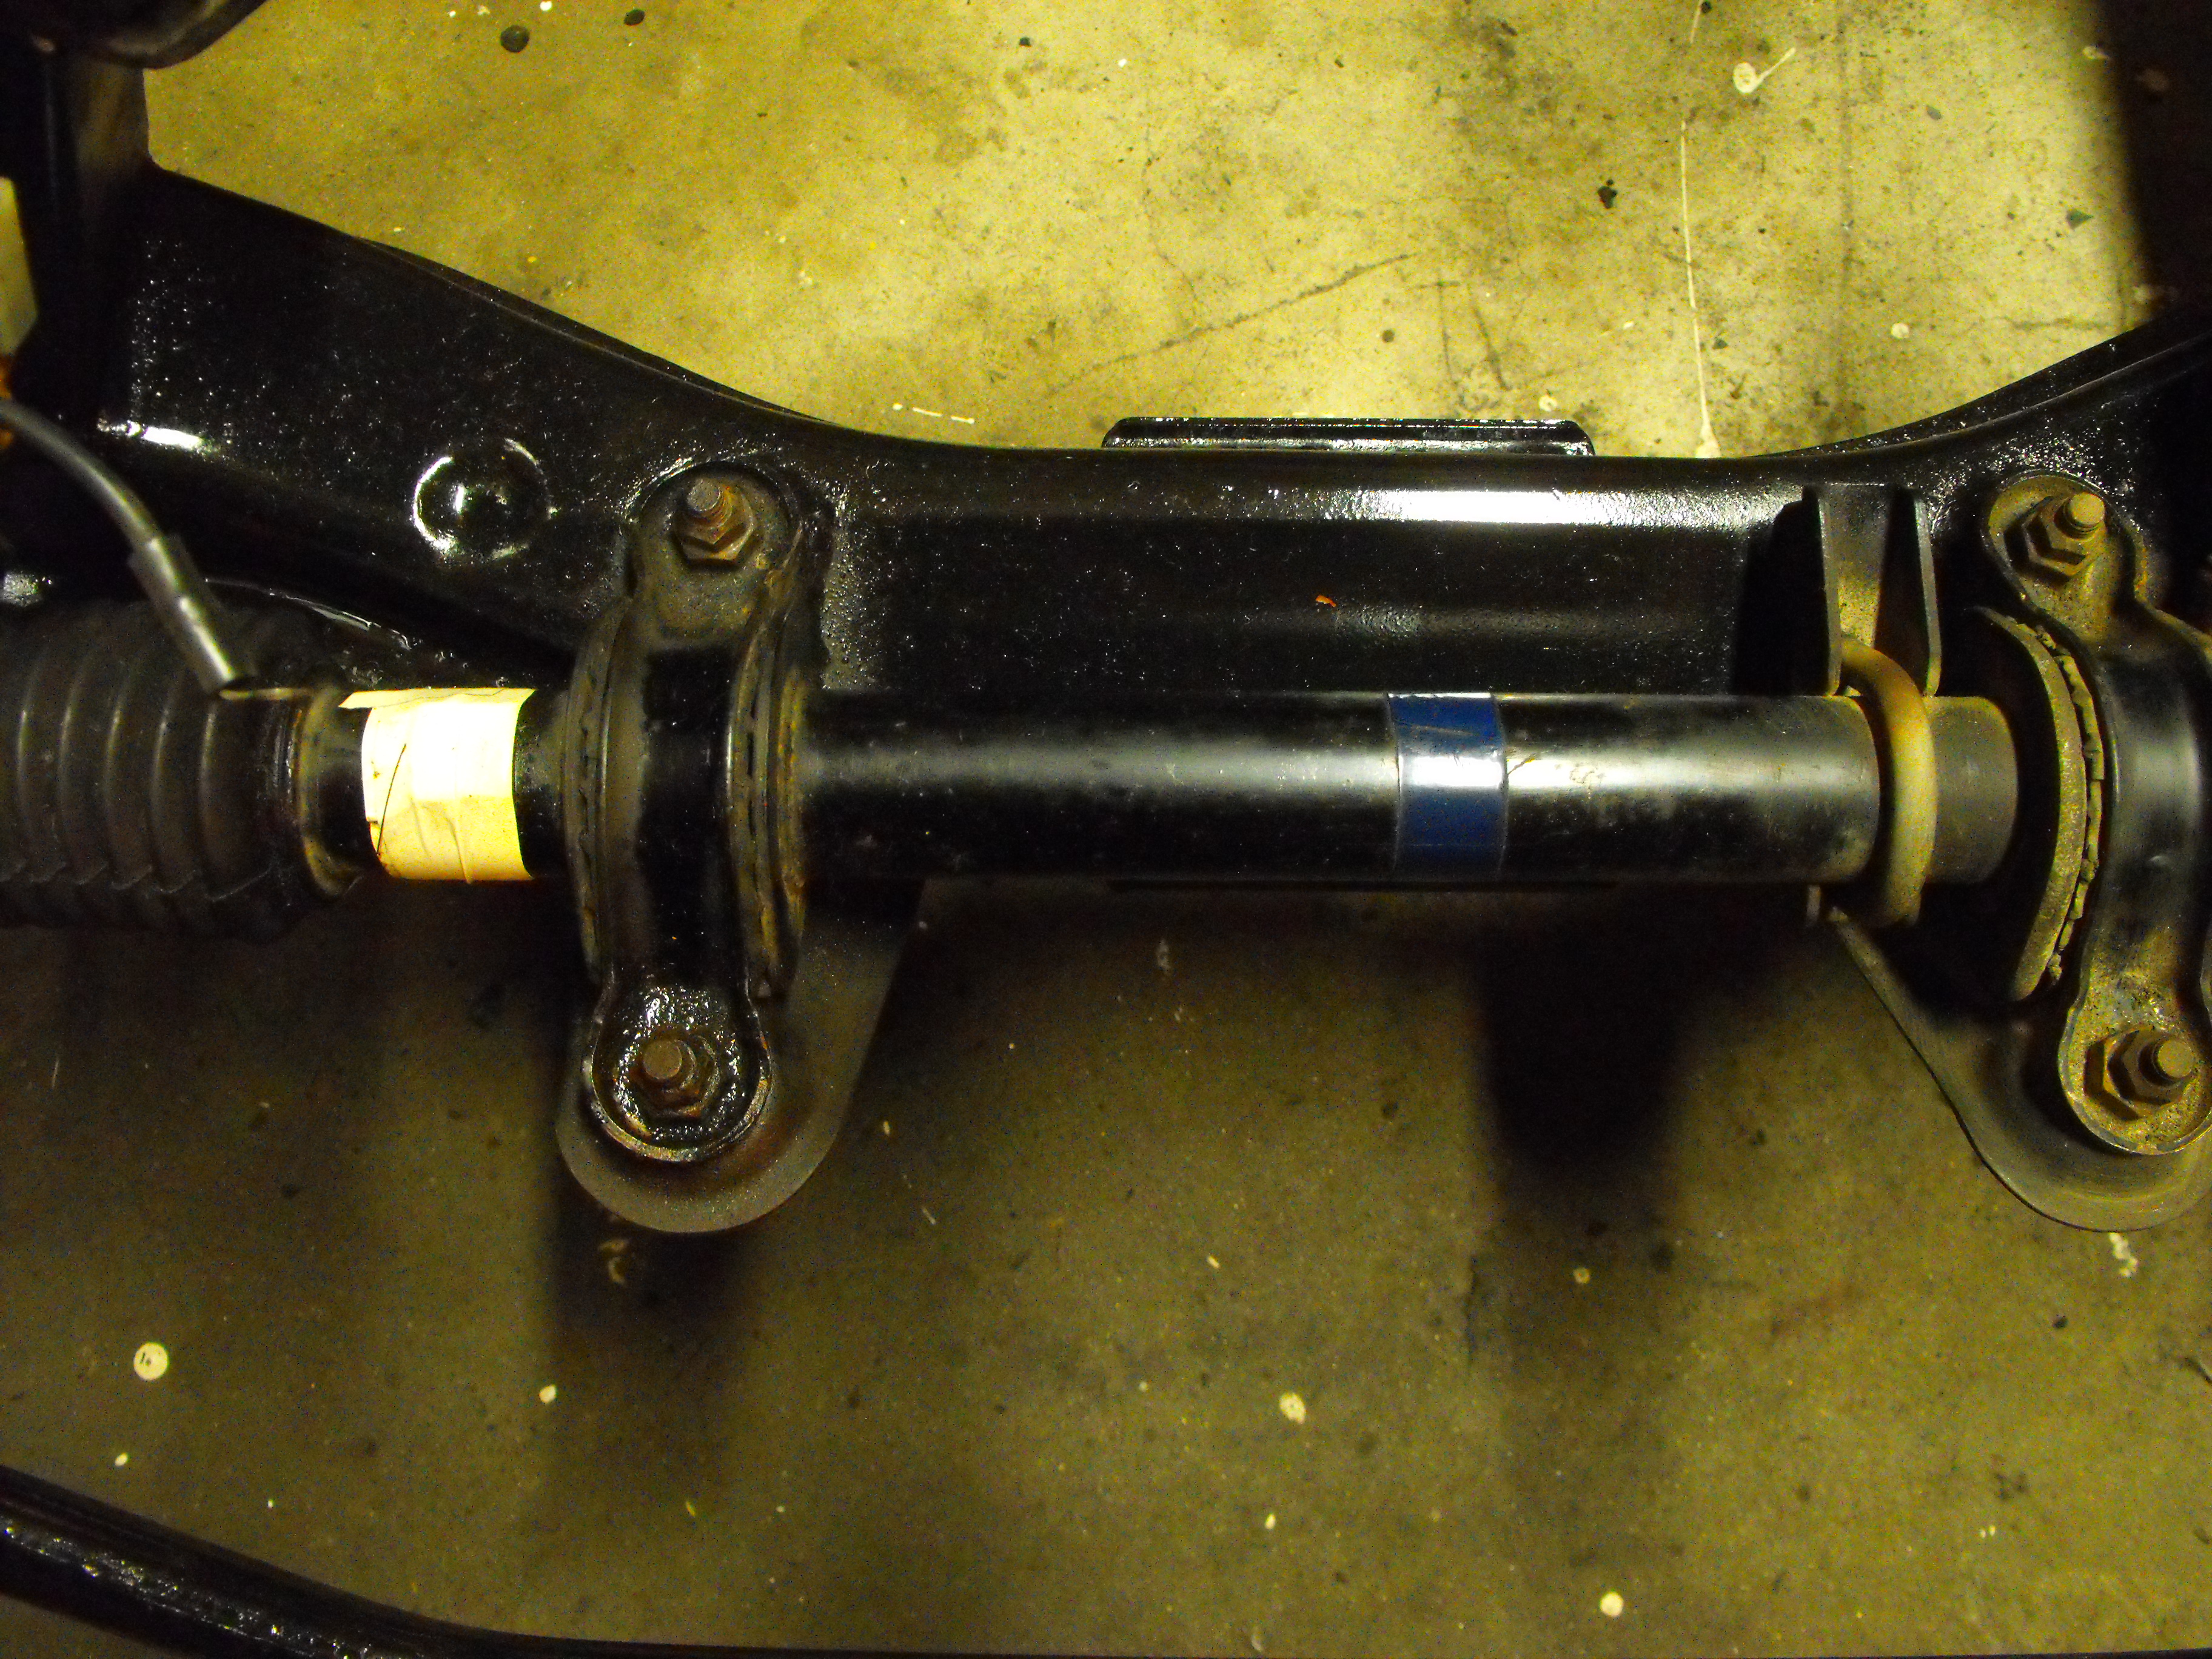
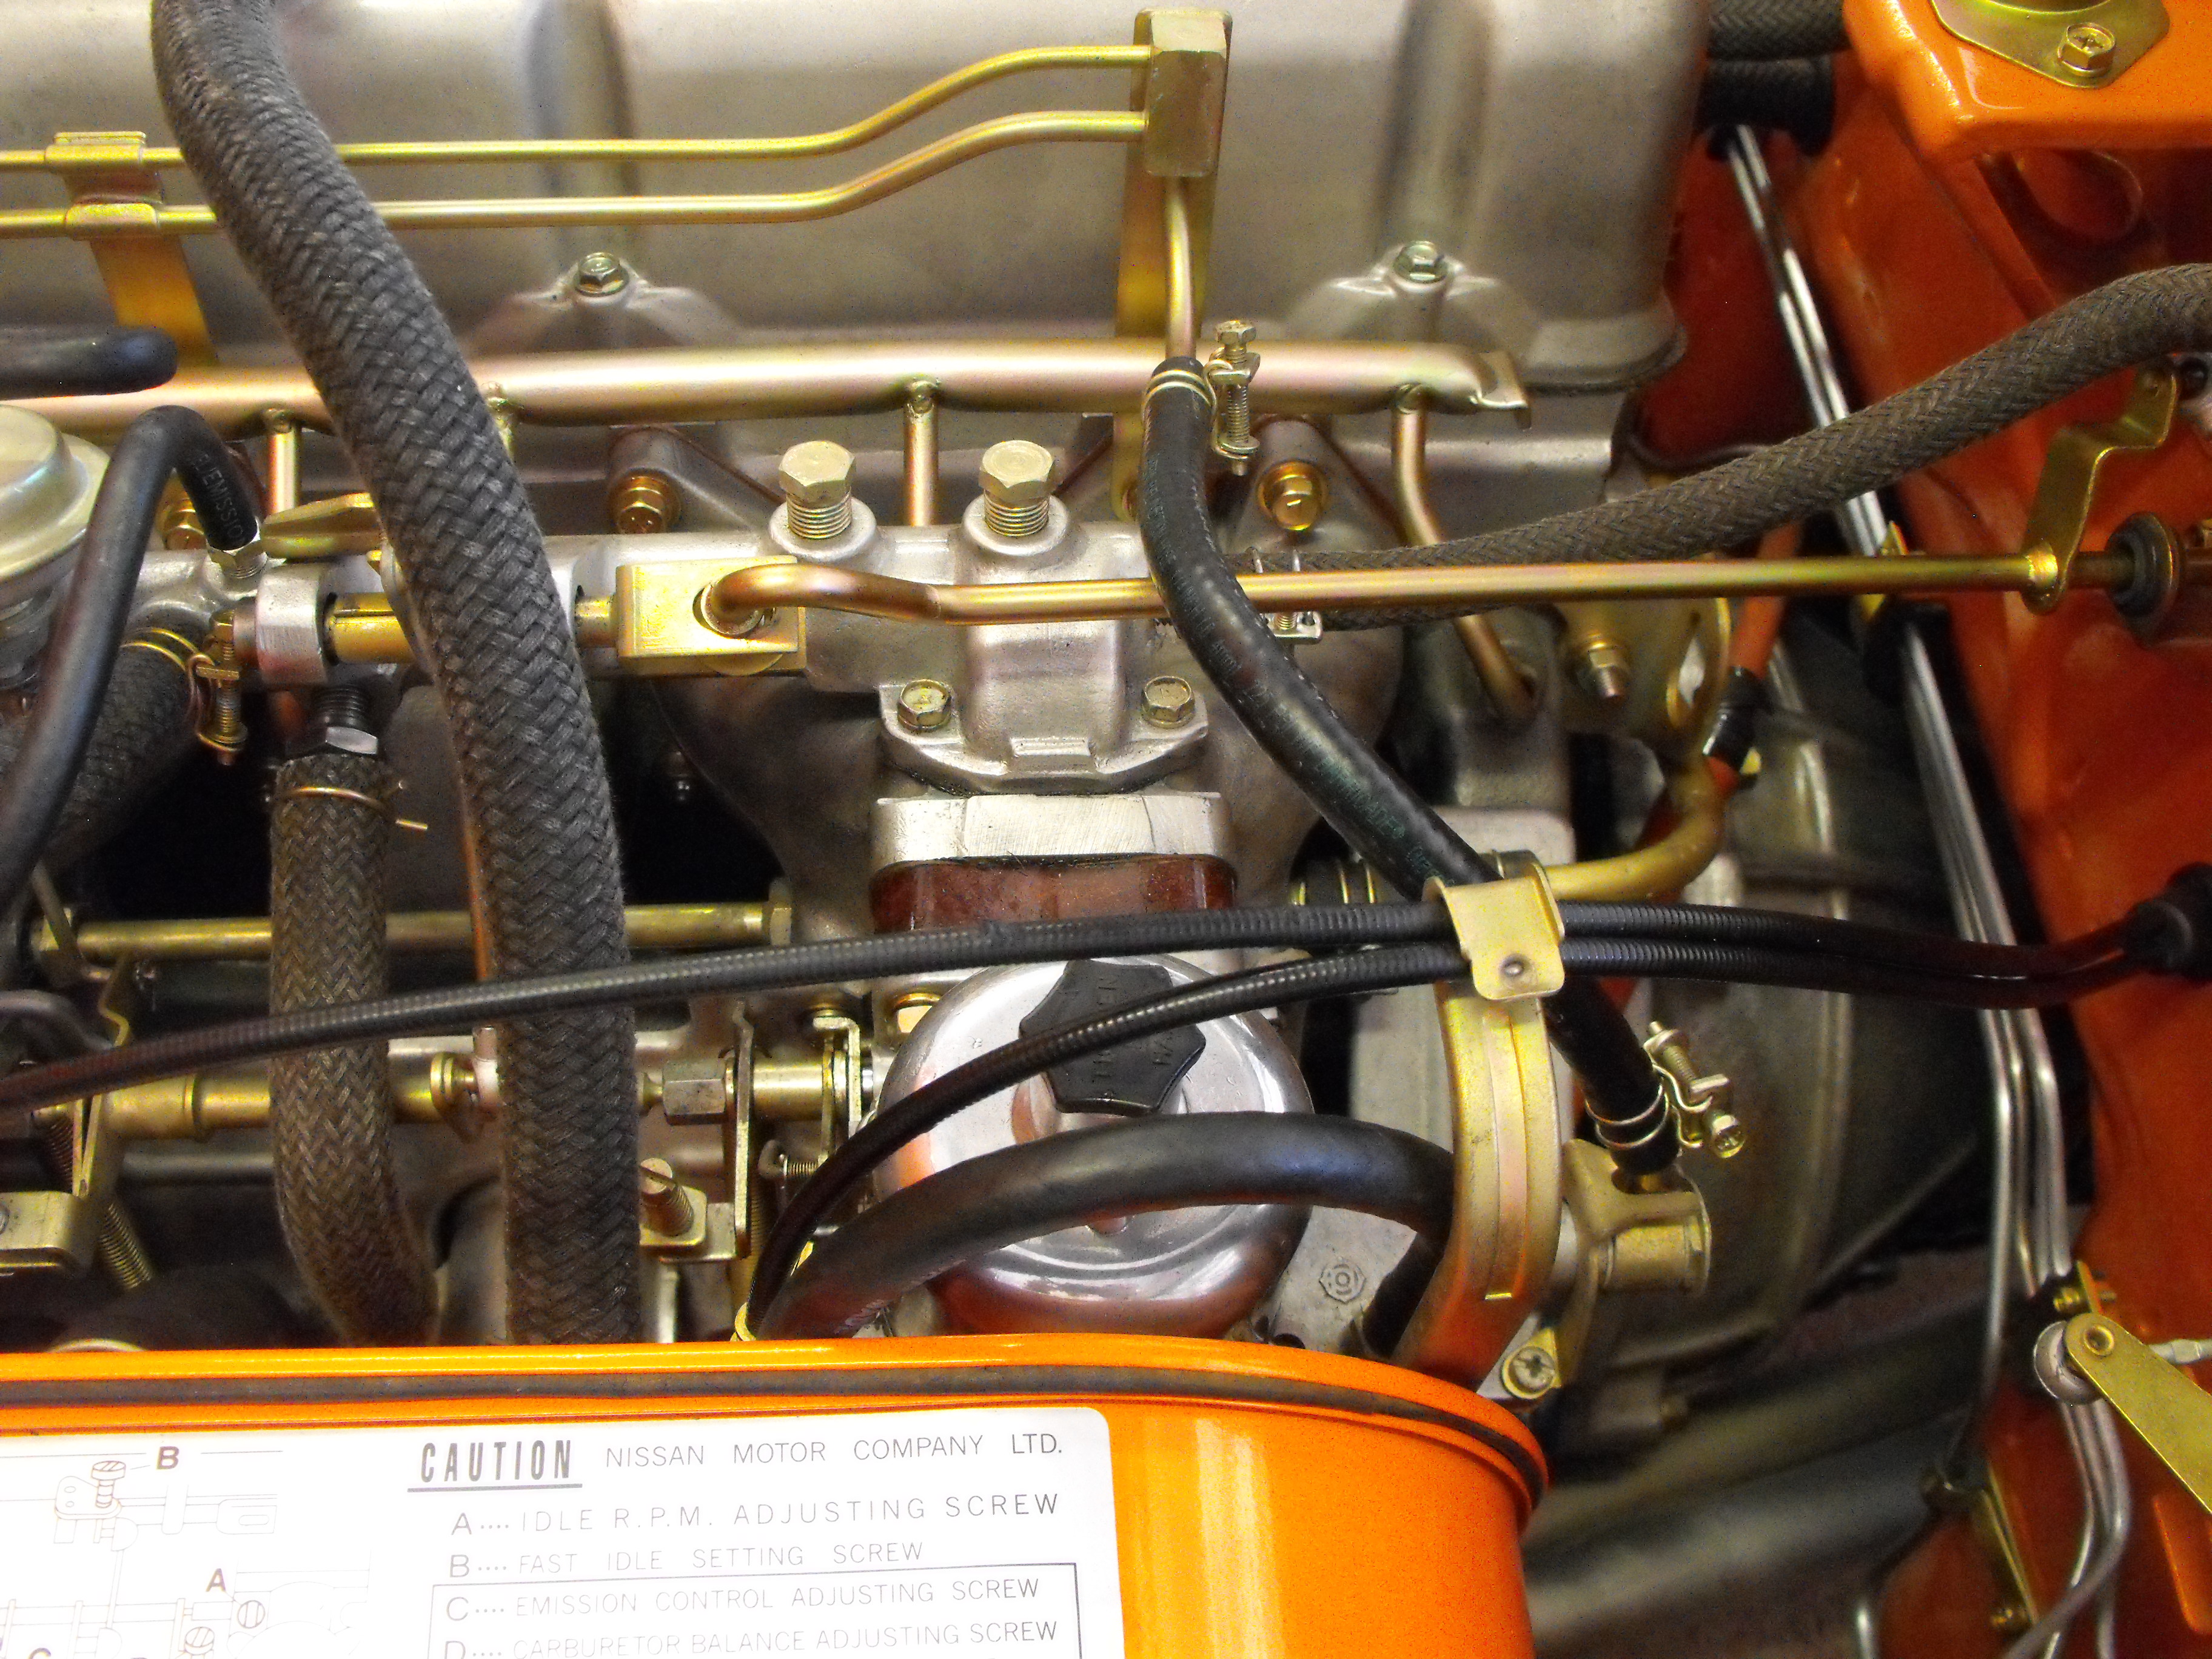
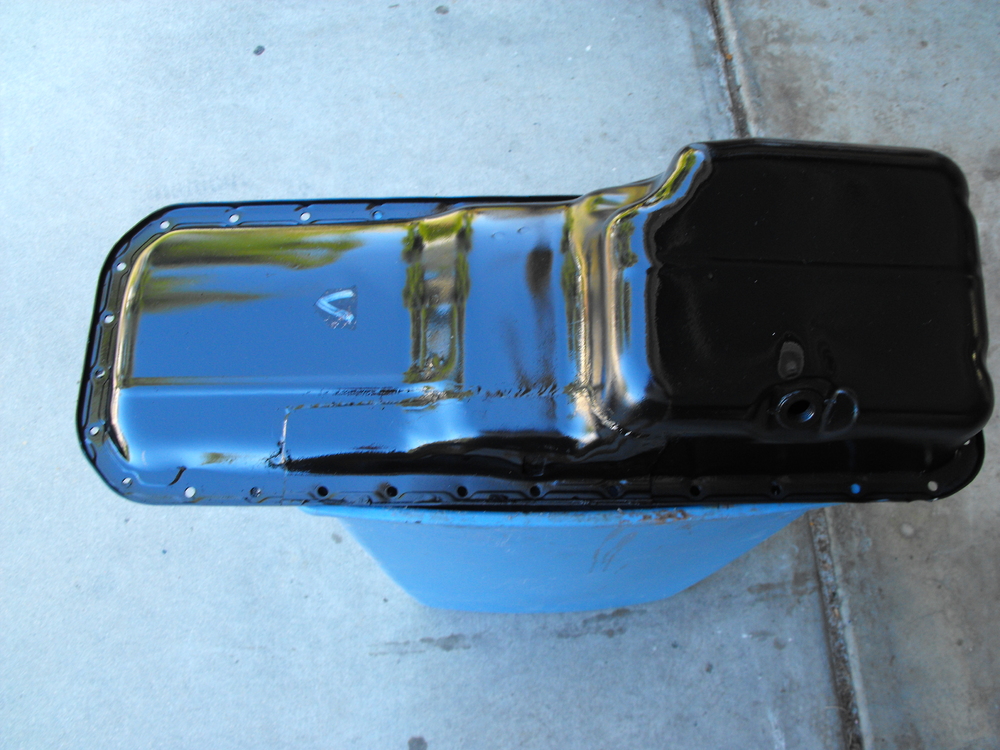
Hi Dan, Here are a few inspection marks that are on my 1970 on the bottom of the motor and steering rack. Rich


-
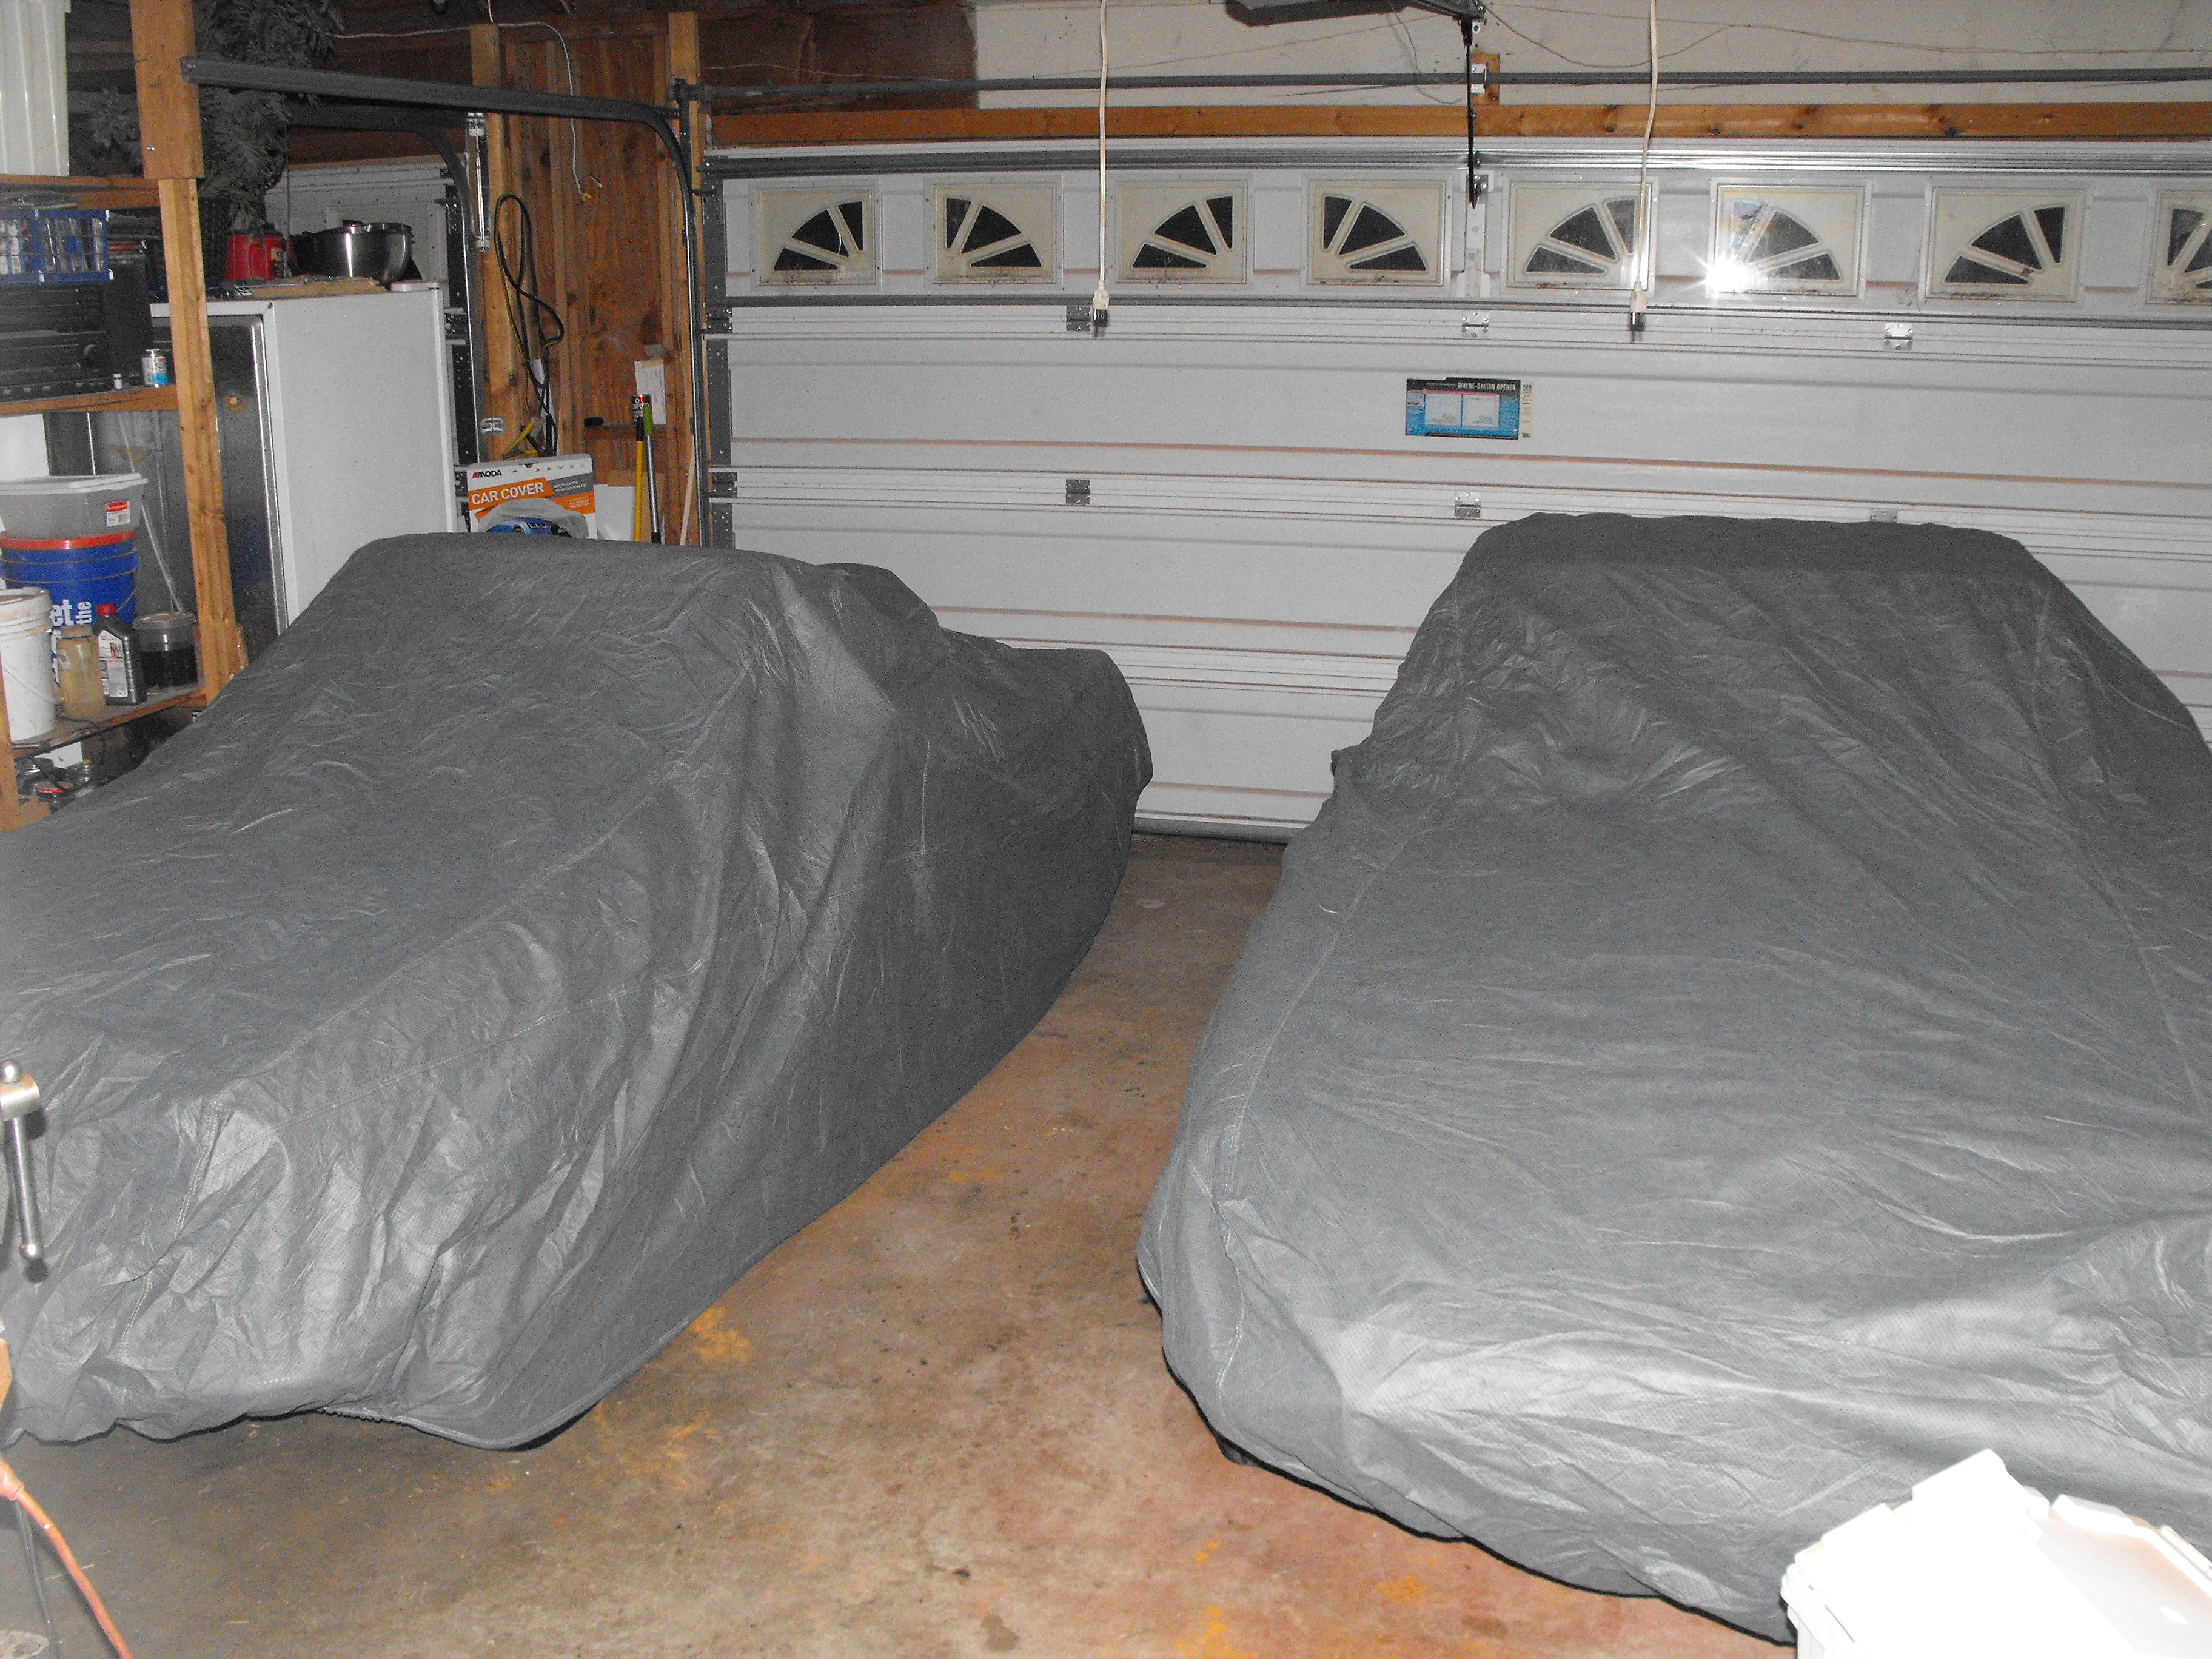
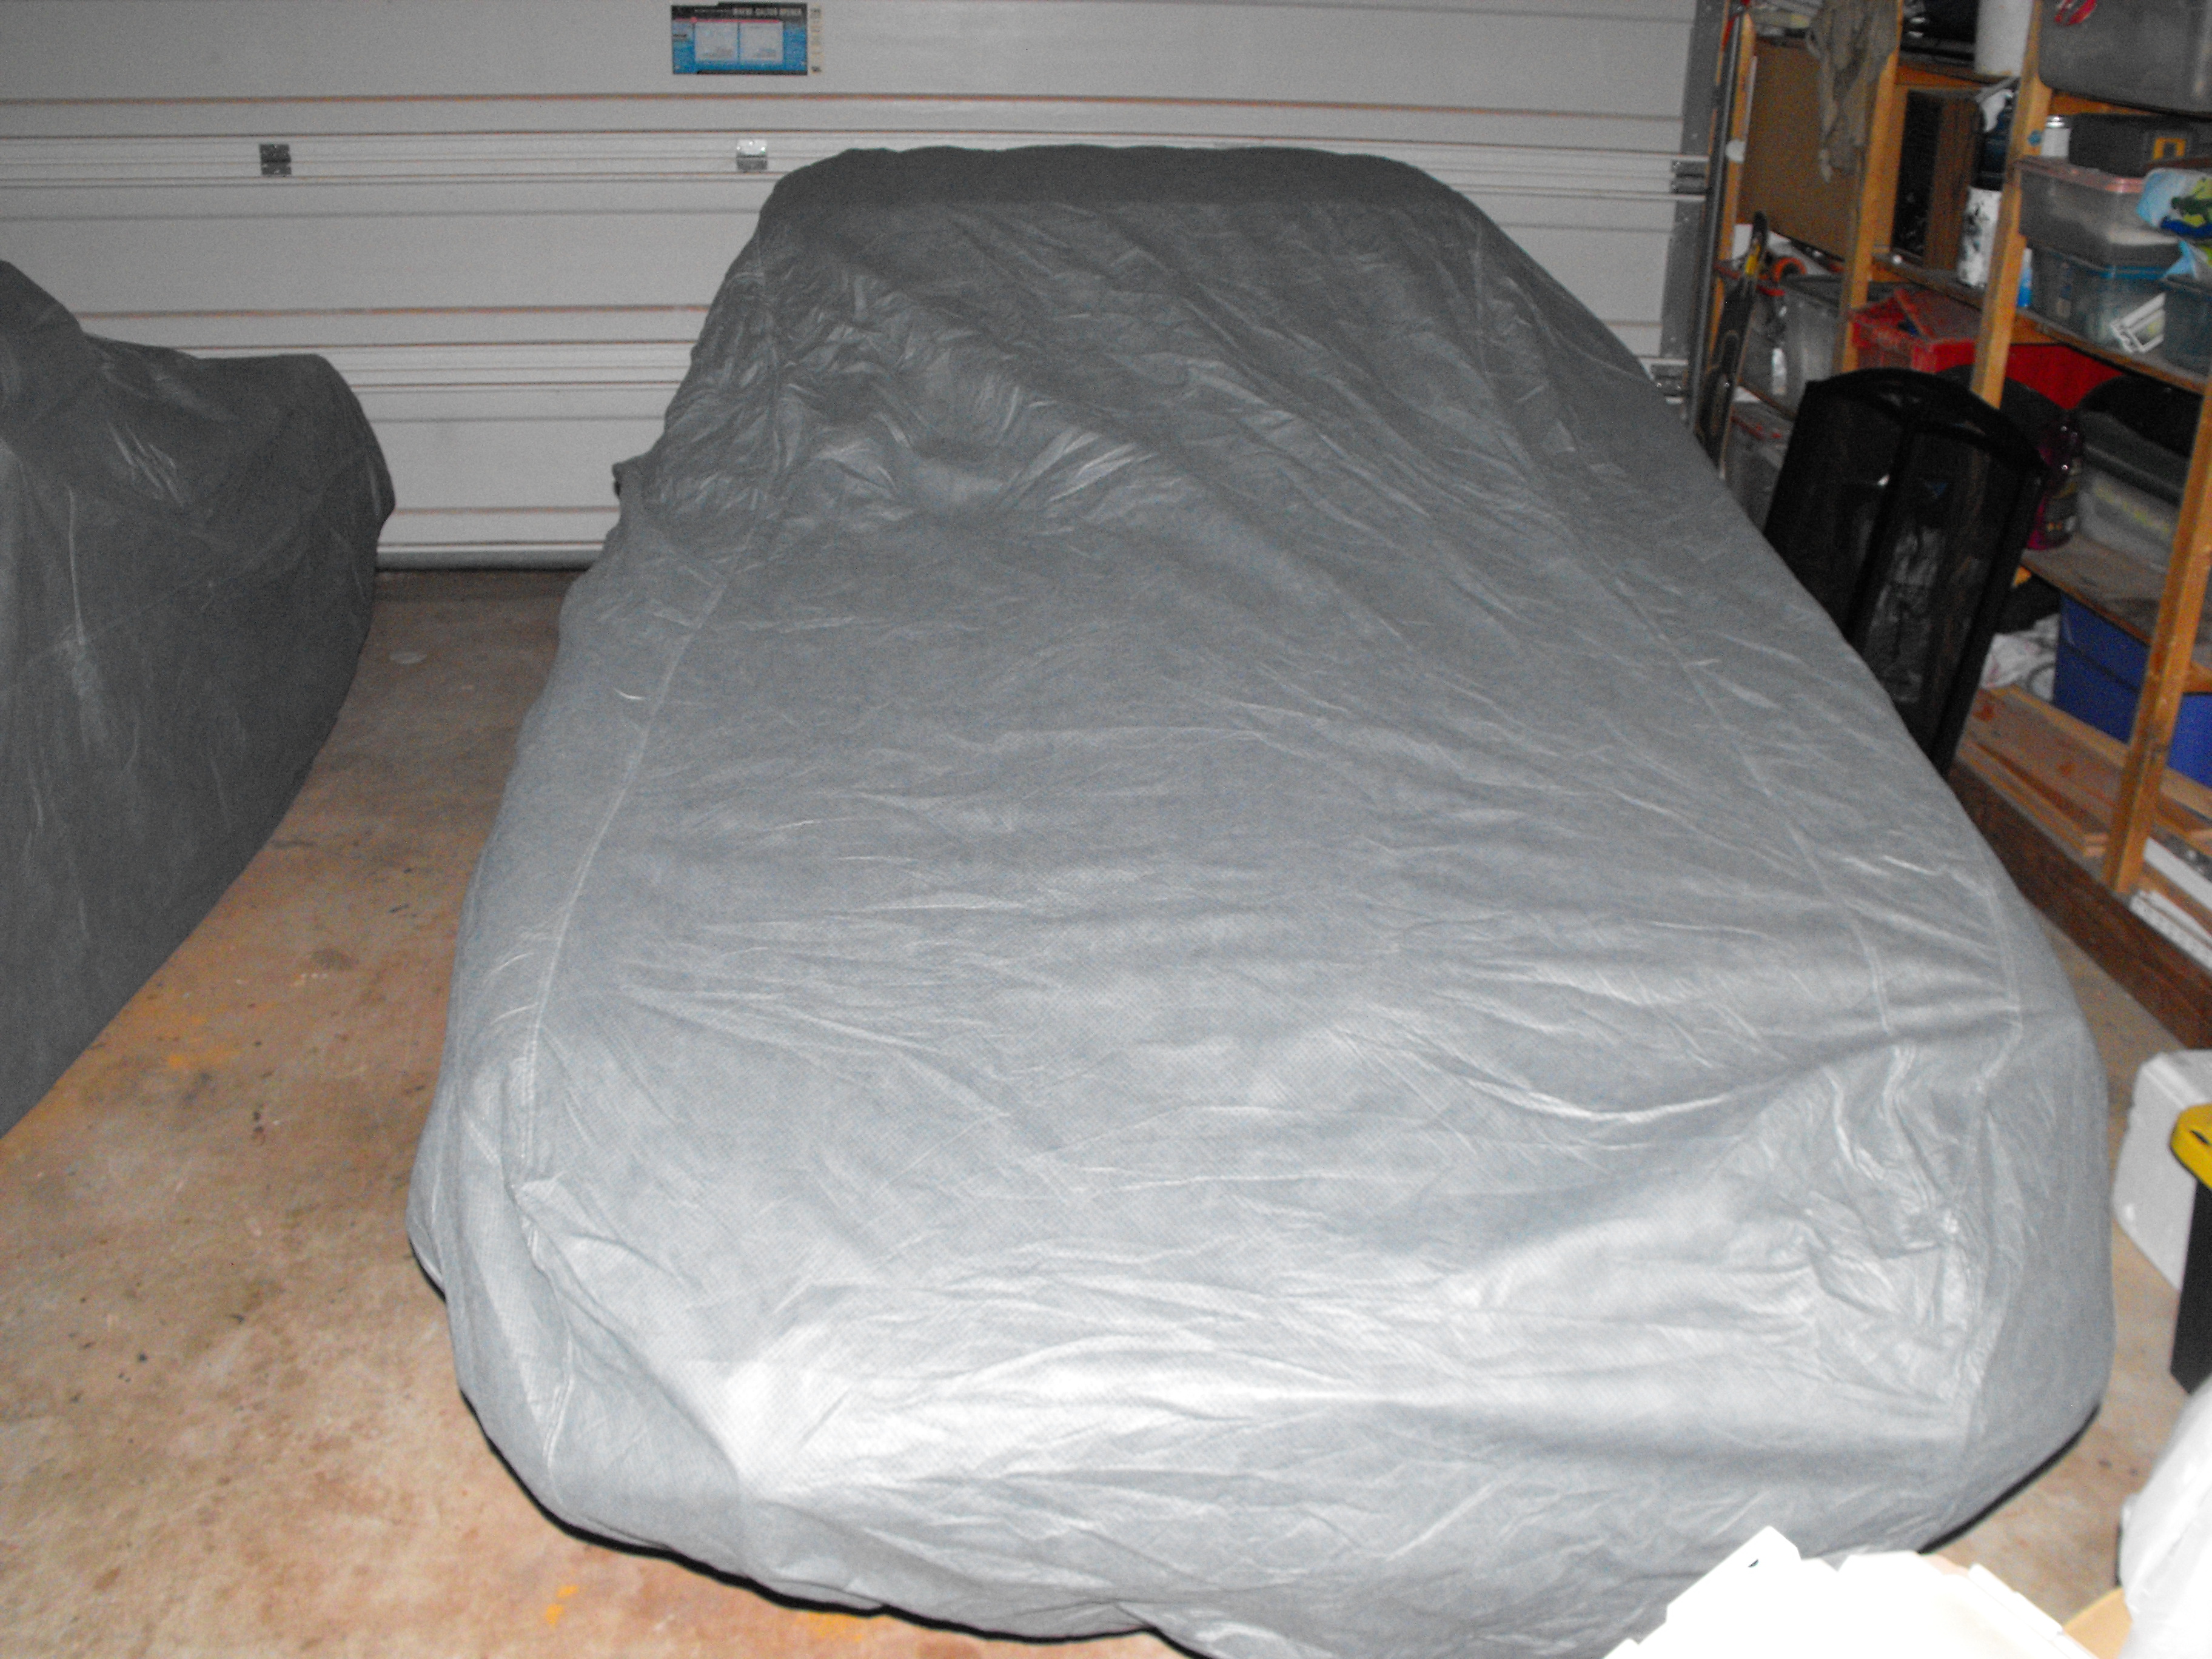
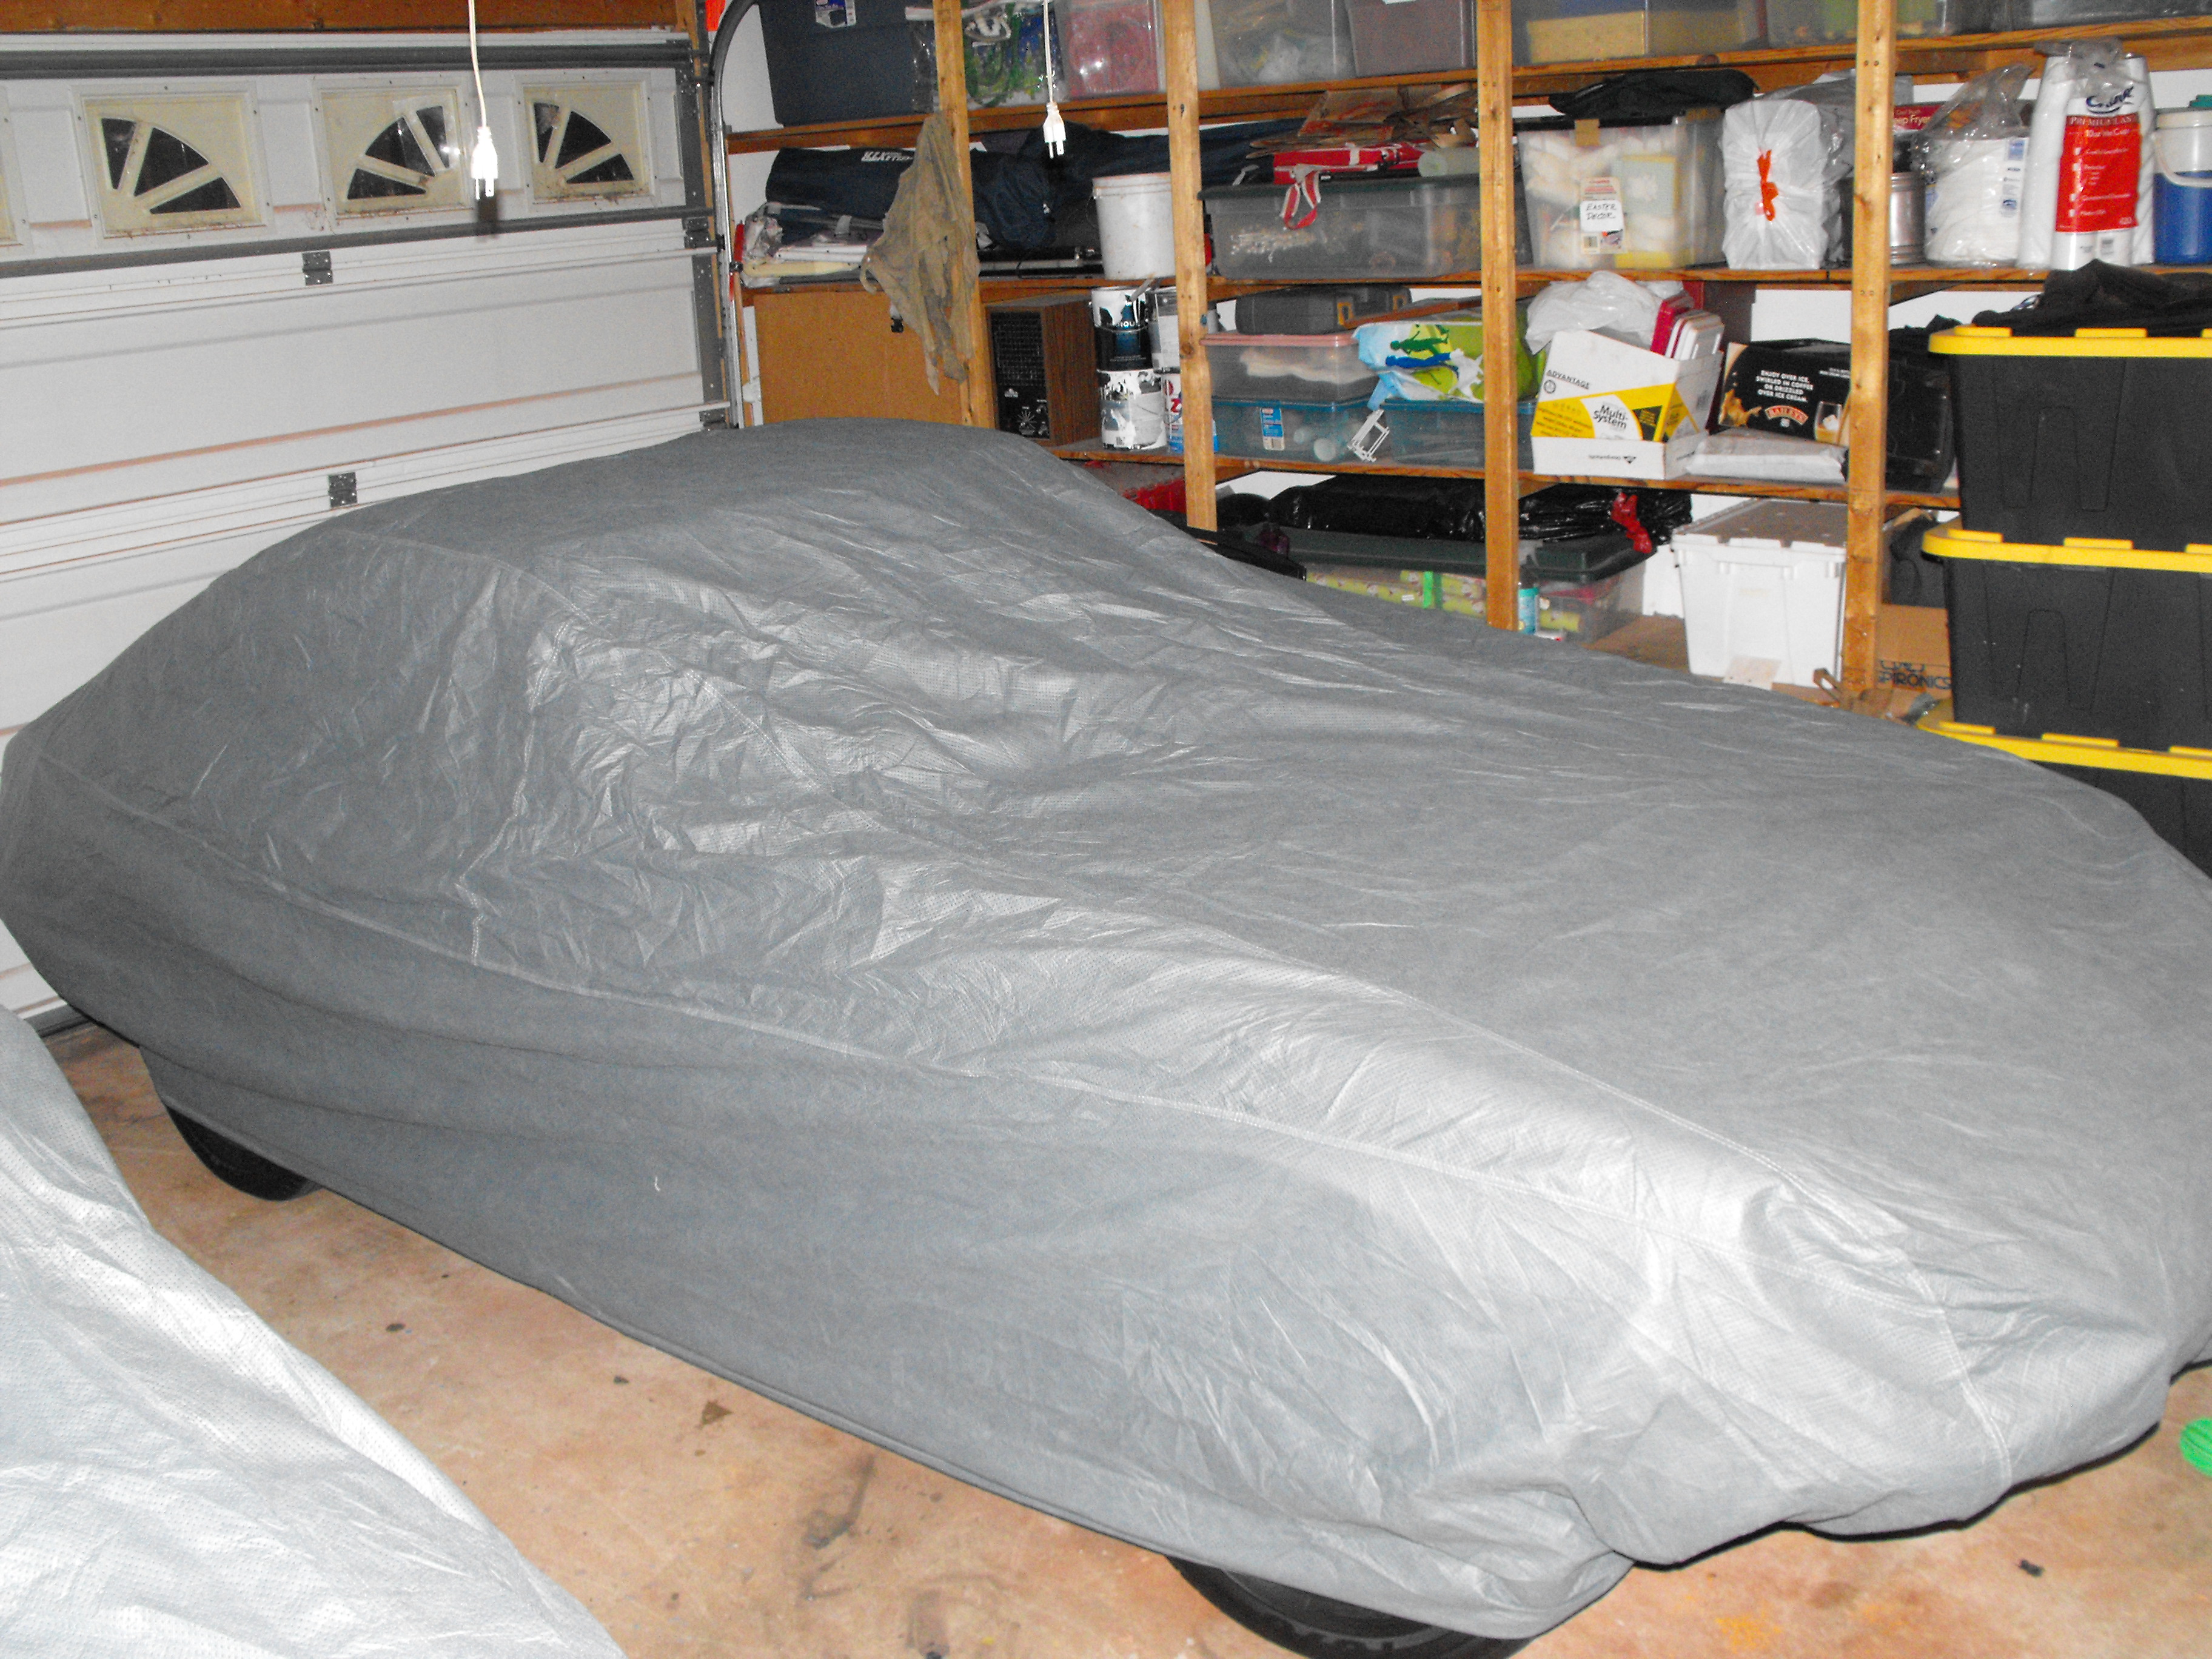
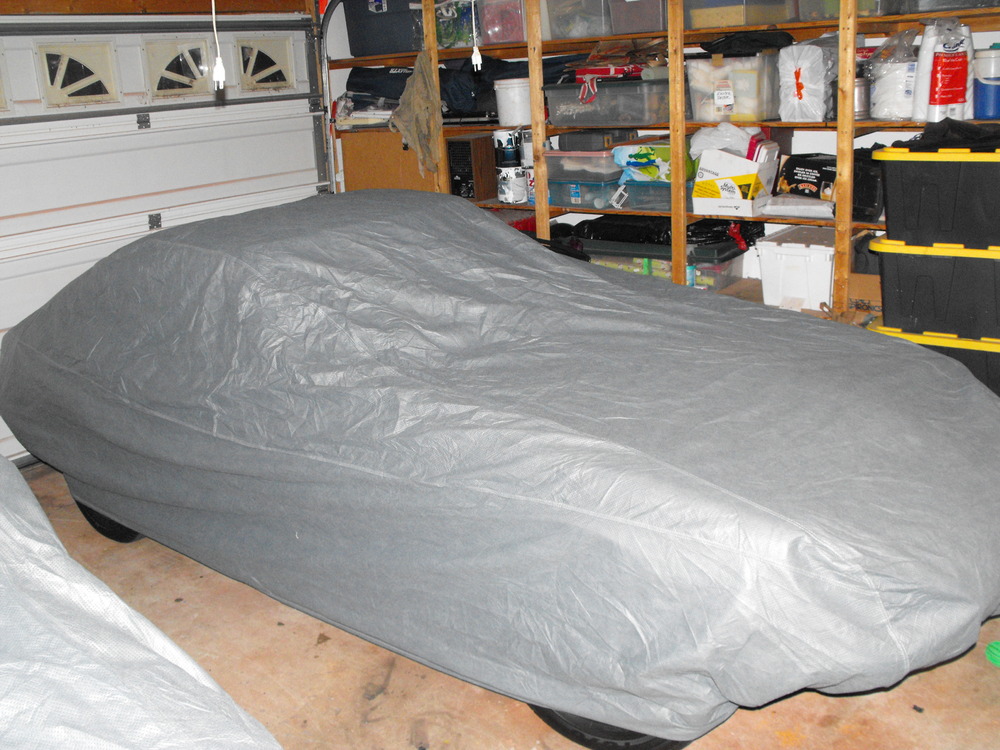
Got this car cover for the 240 at Costco for $28 plus tax. Really happy with the fit and material. Nice for keeping the dust off the car while stored in the garage. Just thought I would pass this along. Works good on the roadster as well.


-
I think he made a wise decision...that is a $15K car in my opinion. I was waiting for the bidding war to begin once I saw the pics.
-
Doubt that it lasts a day at that price
-
It's always nice to see the Z's at the Concours events. Hopefully, we will continue to see more of these in the future. Great job ZULAYTR! Beautiful car
-
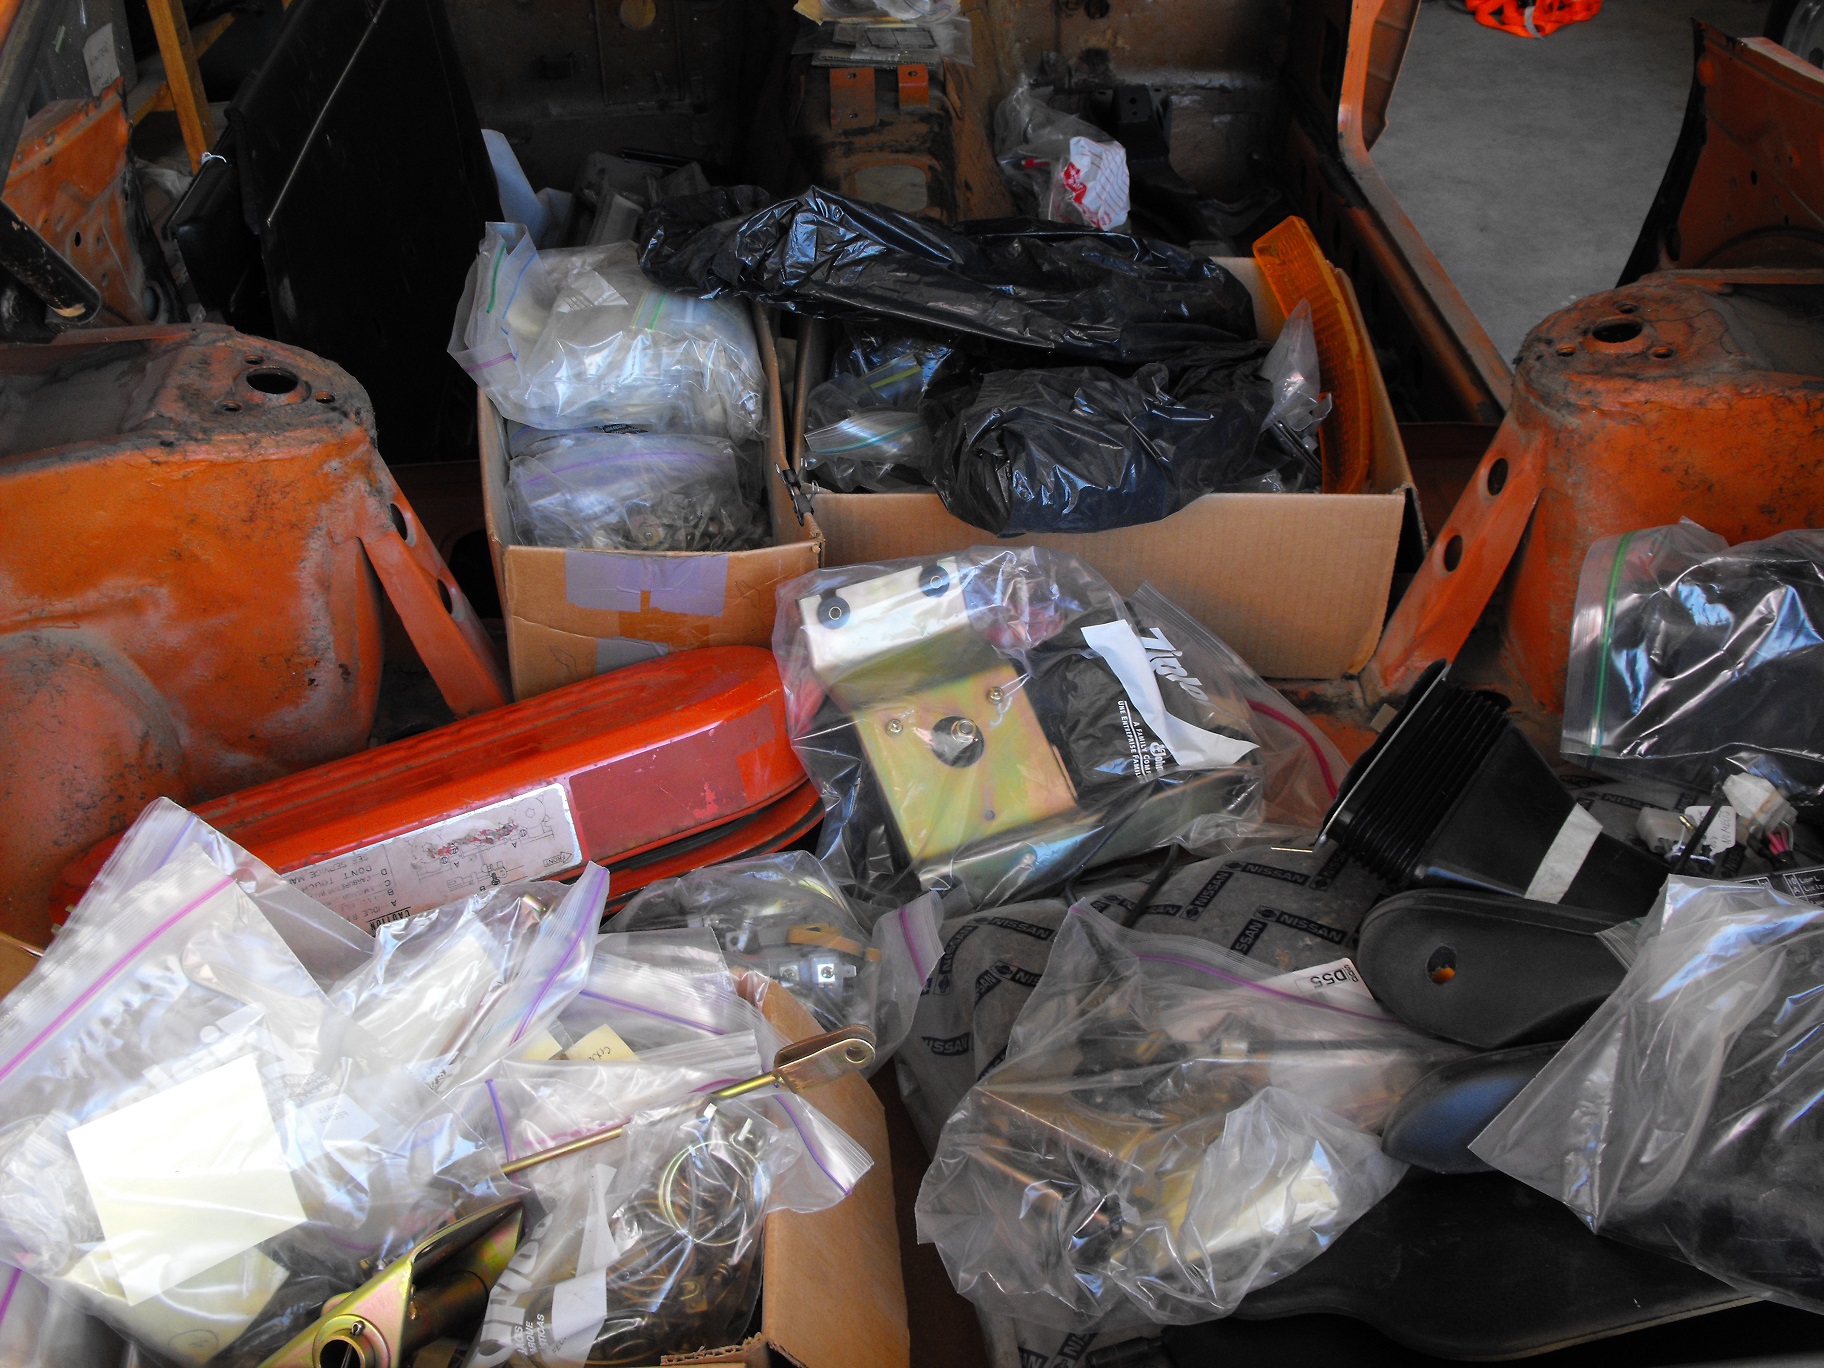
The car was really in good shape and most of the parts were there, so it wasn't that bad. As you can see in the pics, I was given a lot of new parts and most of the nuts and bolts were re-plated already. Made things go fast. My roadster took 5 years to restore. That was not in as good condition. Seems a lot depends on the car condition when doing the resto.
-
Since May of 2015...off and on...so about a year and 4 months
-
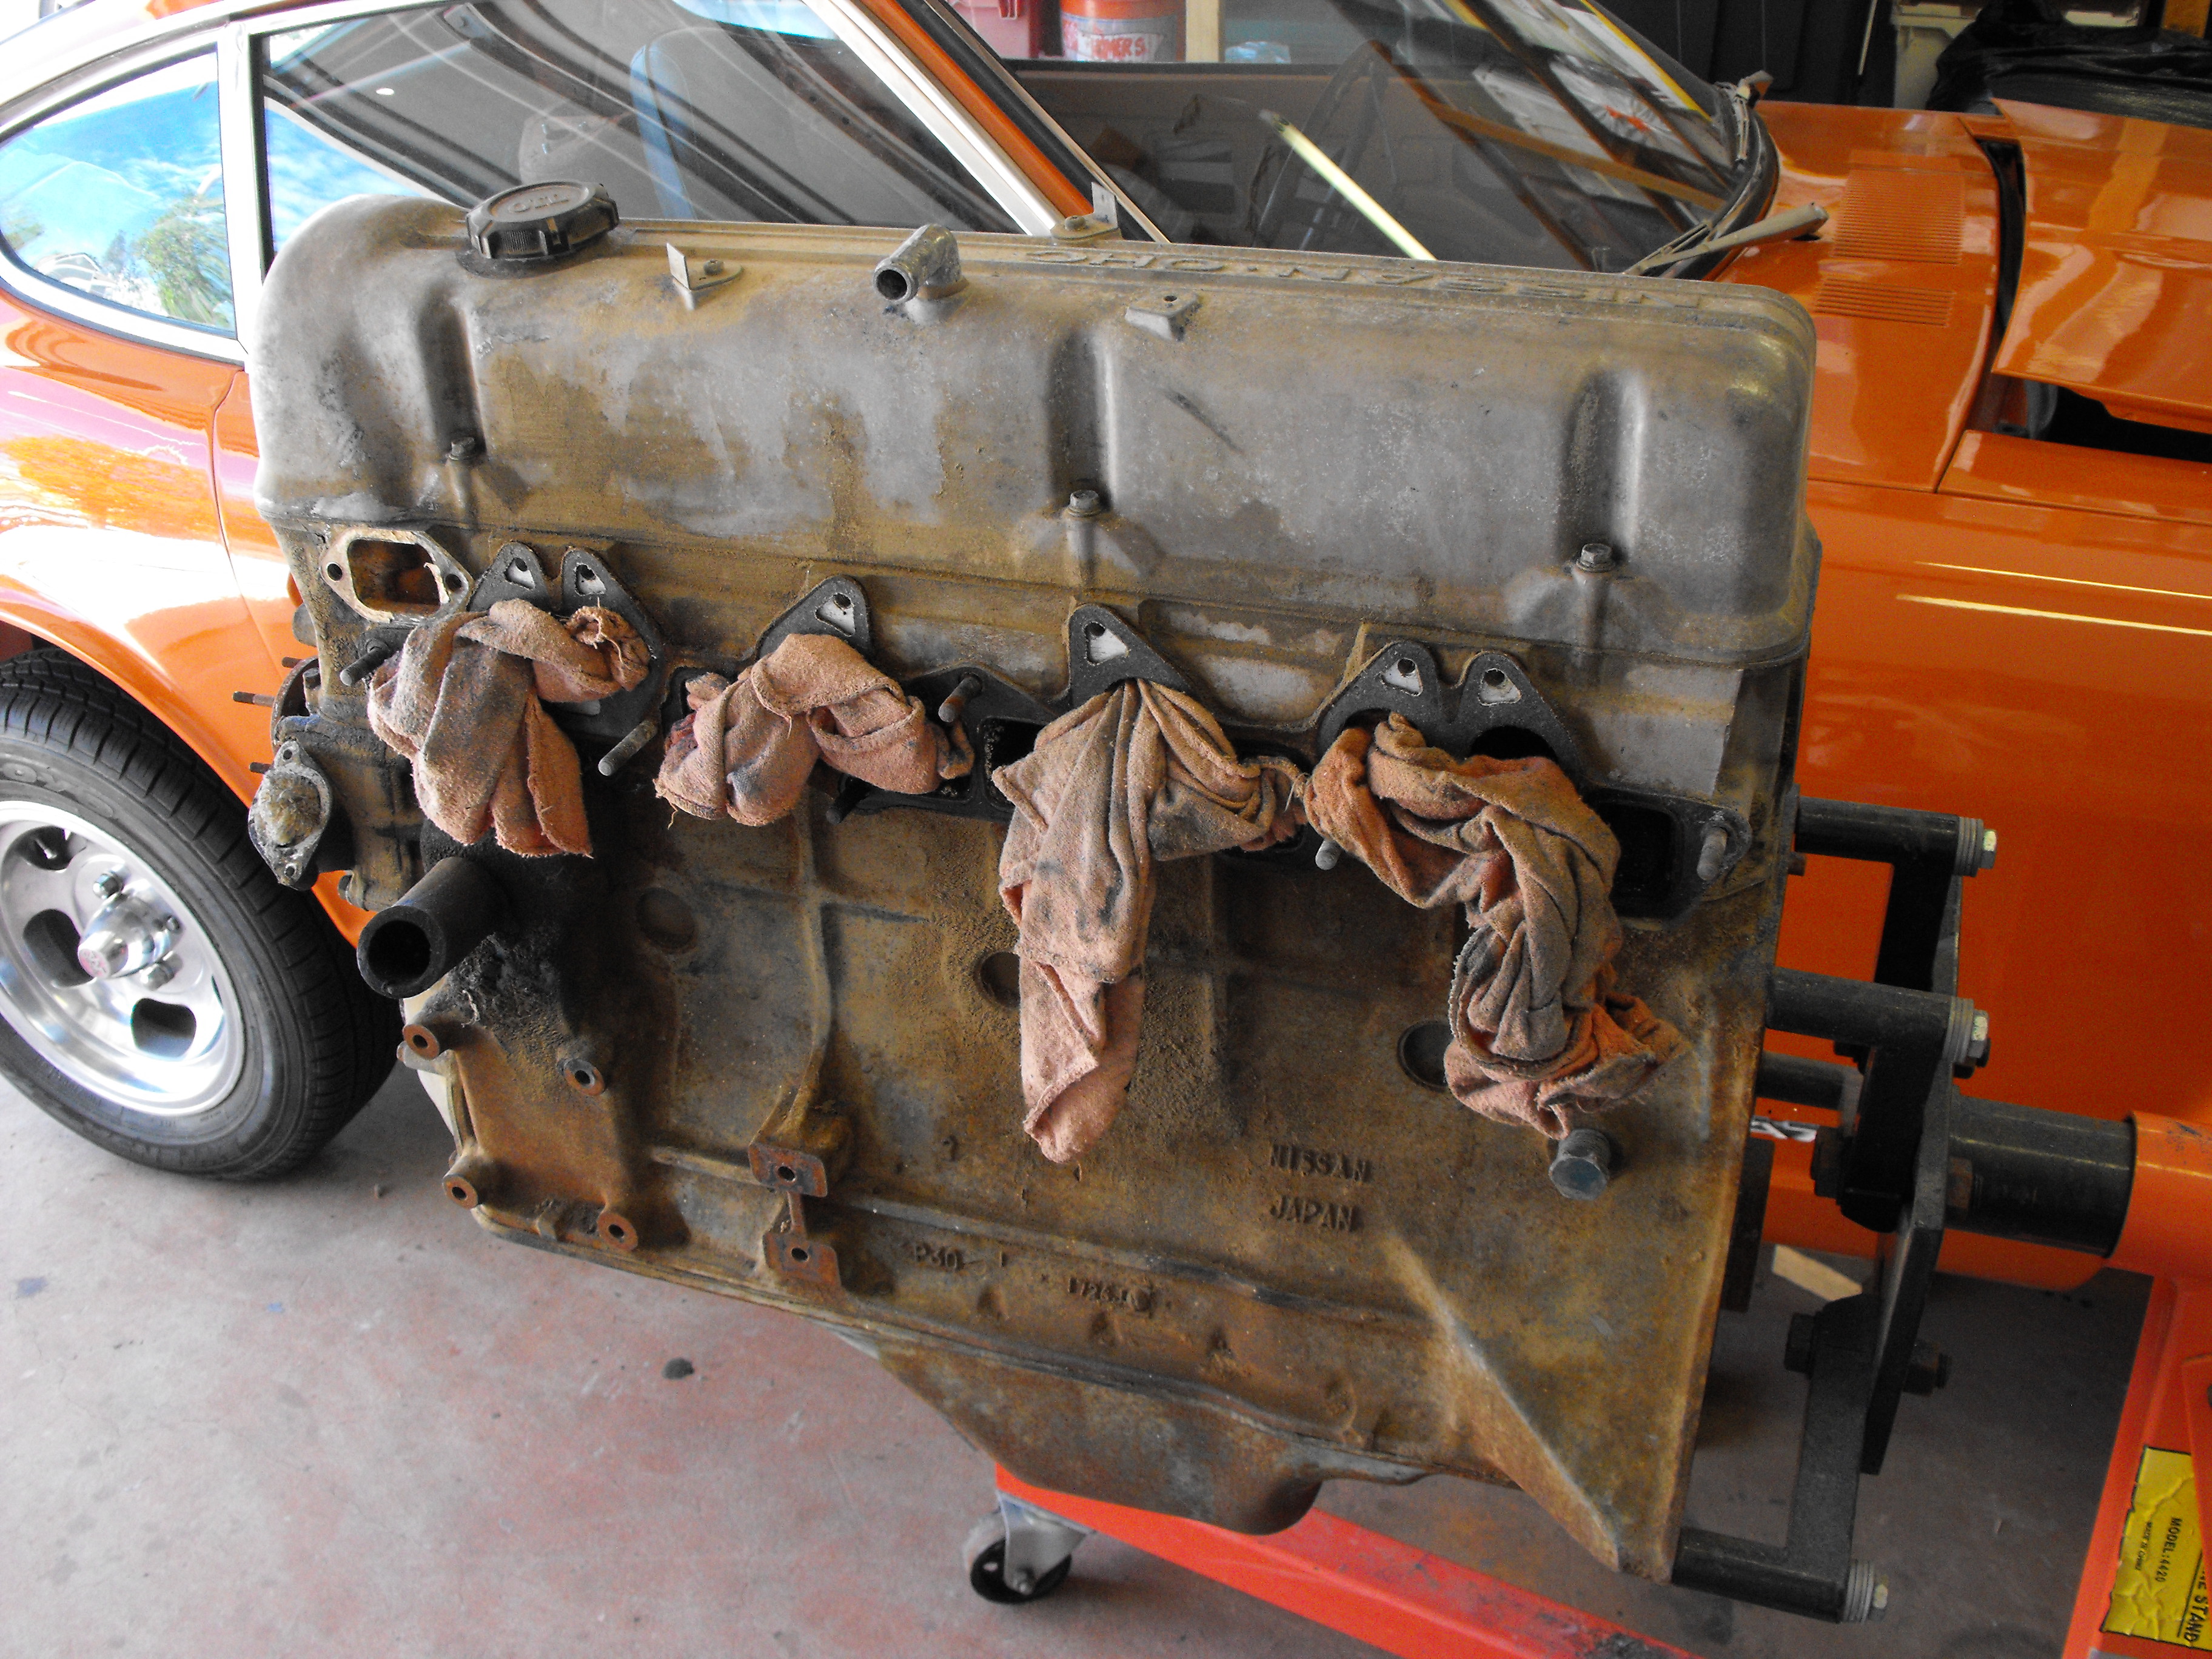
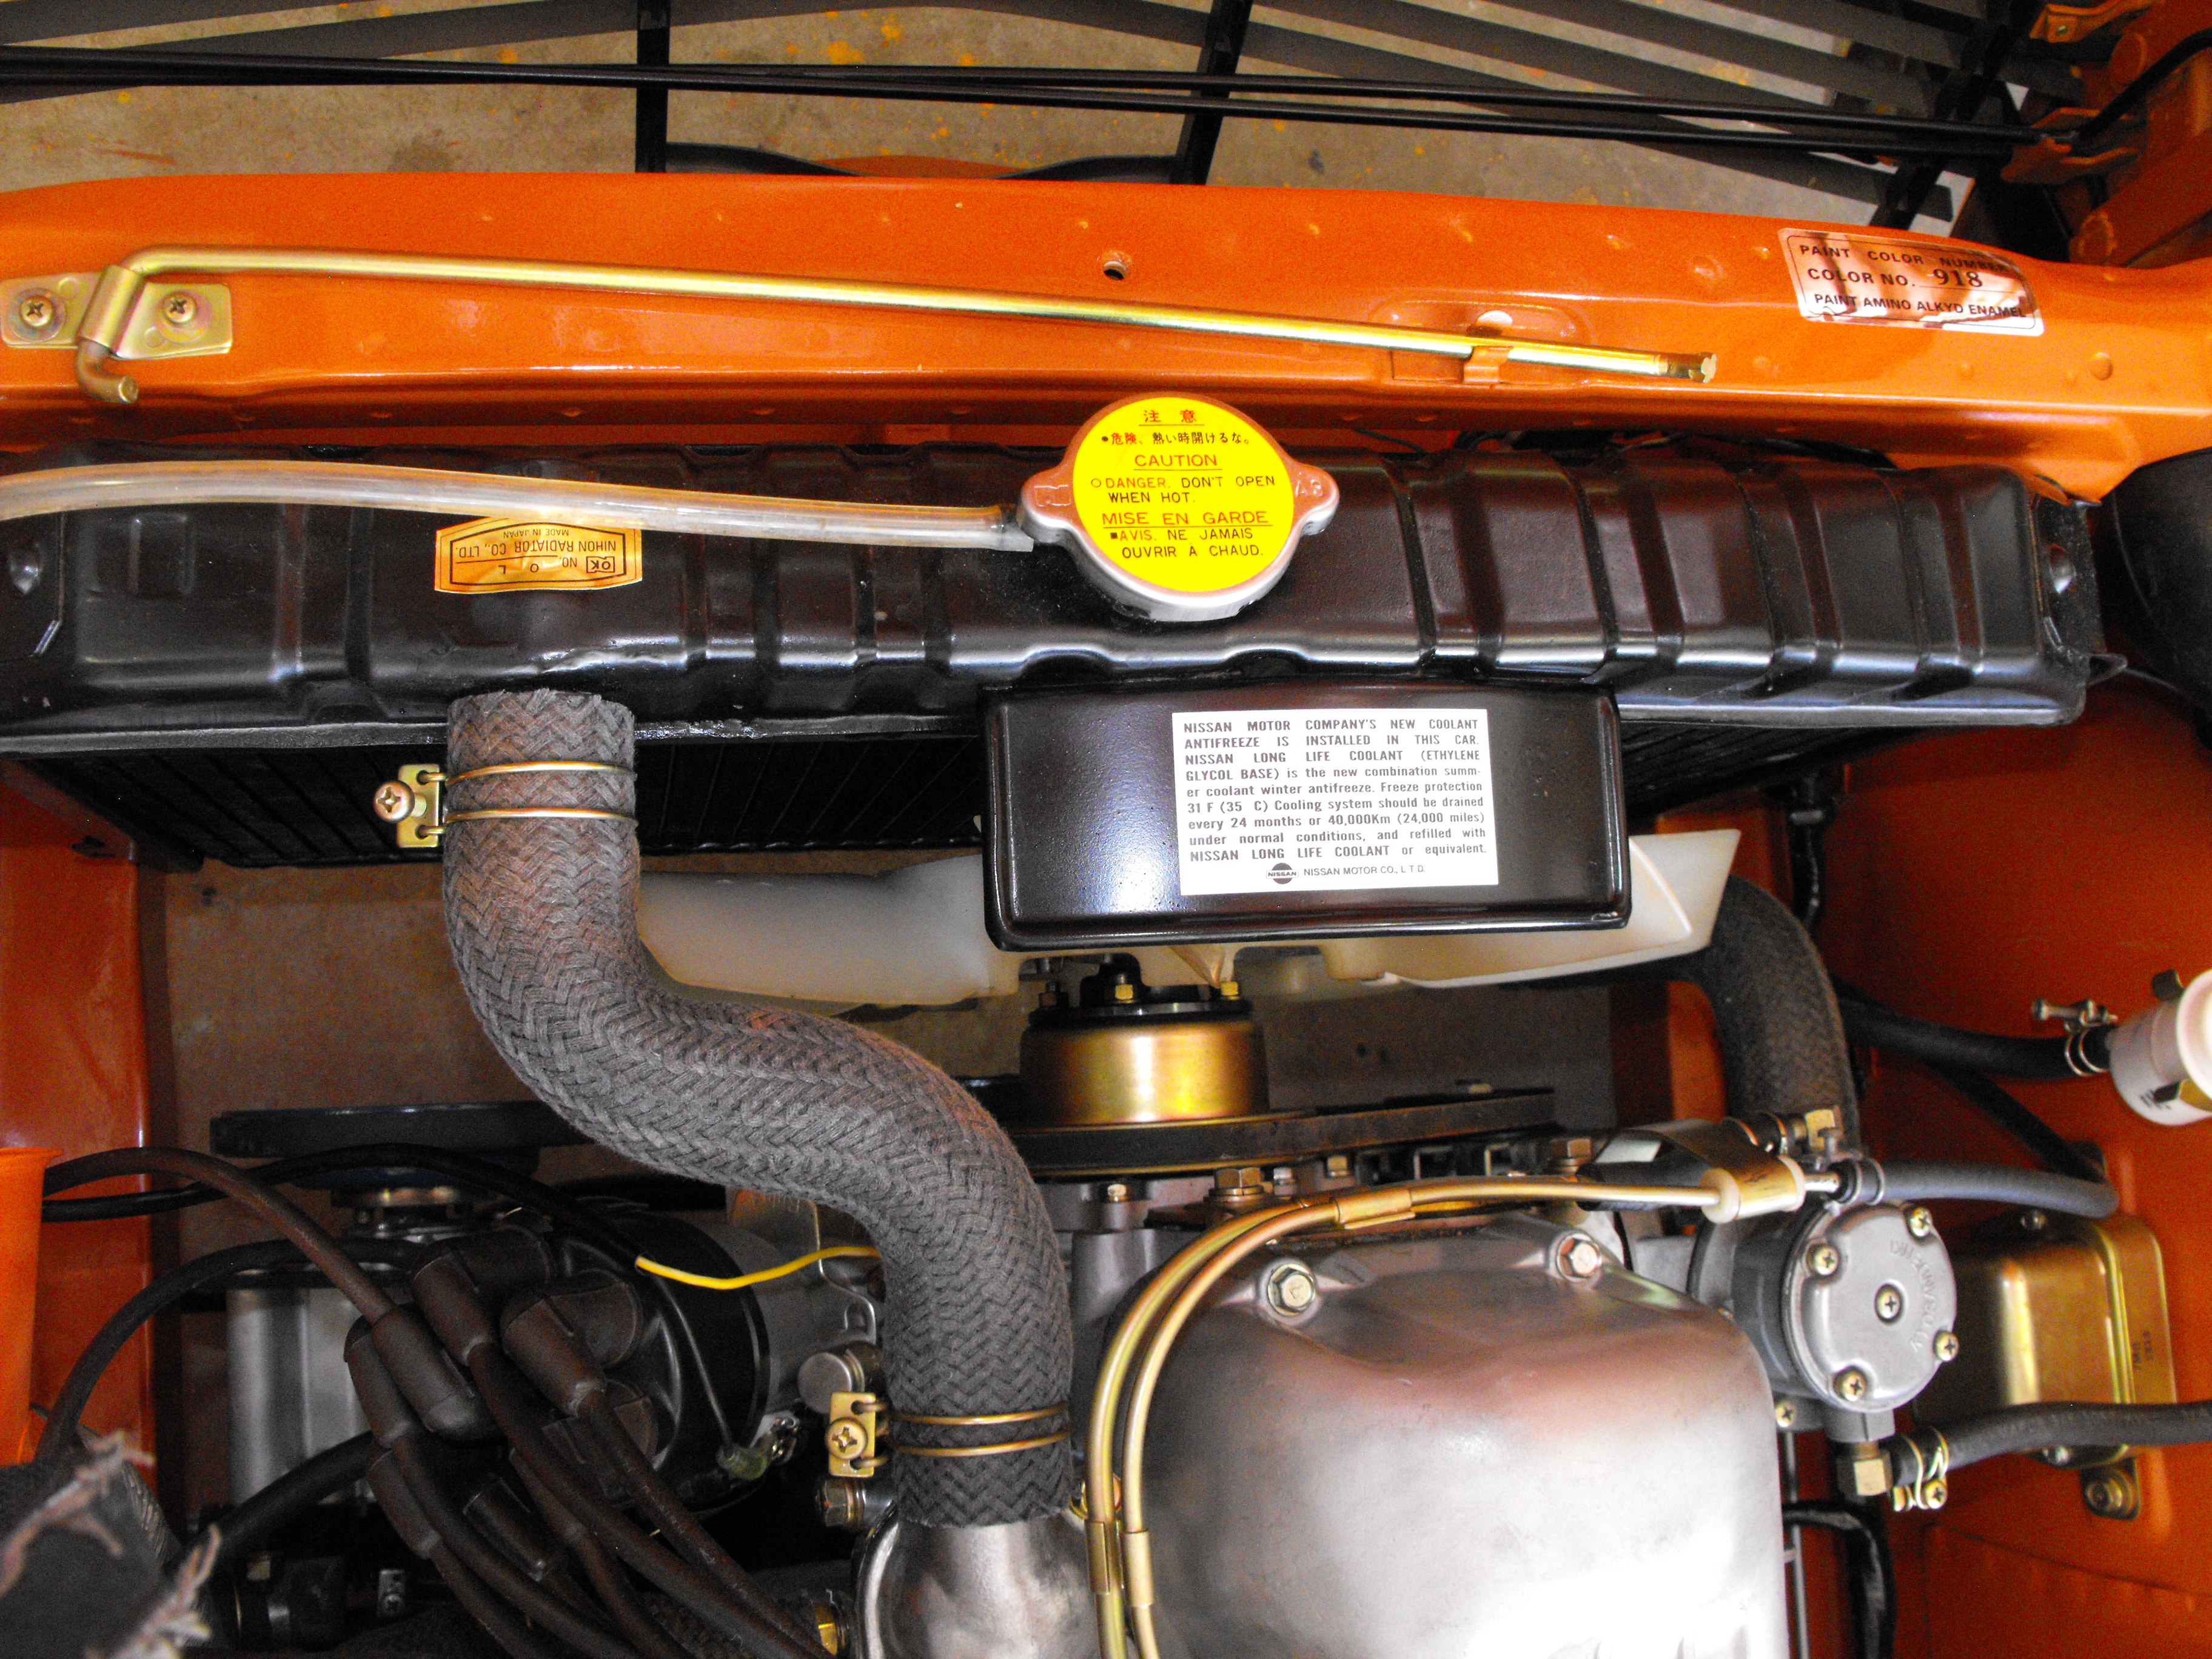
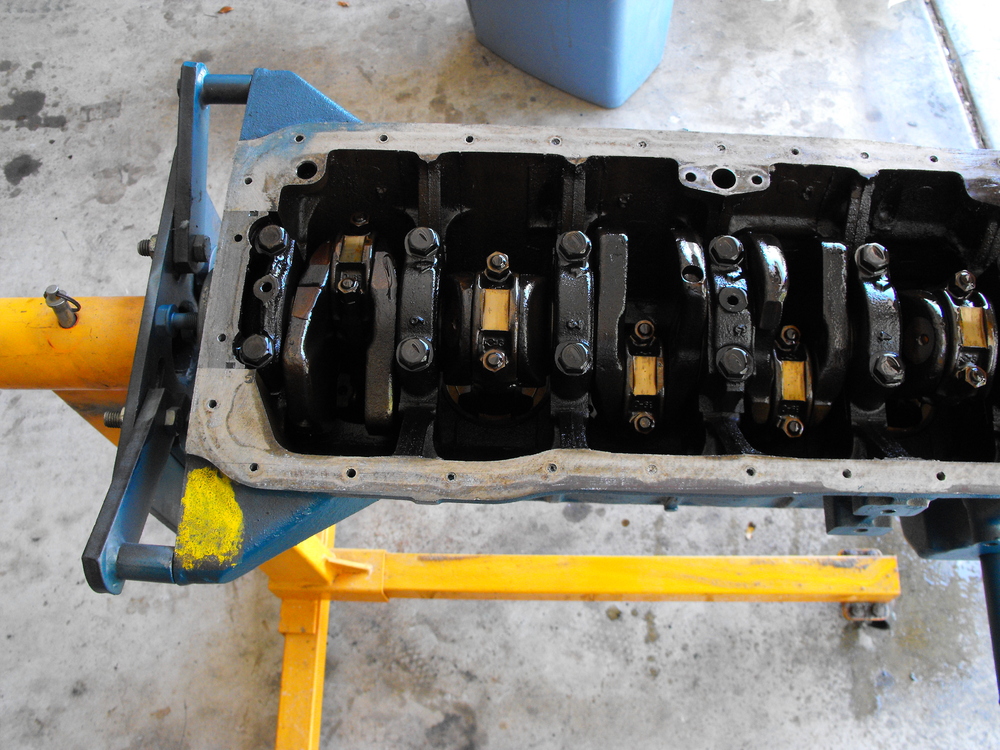
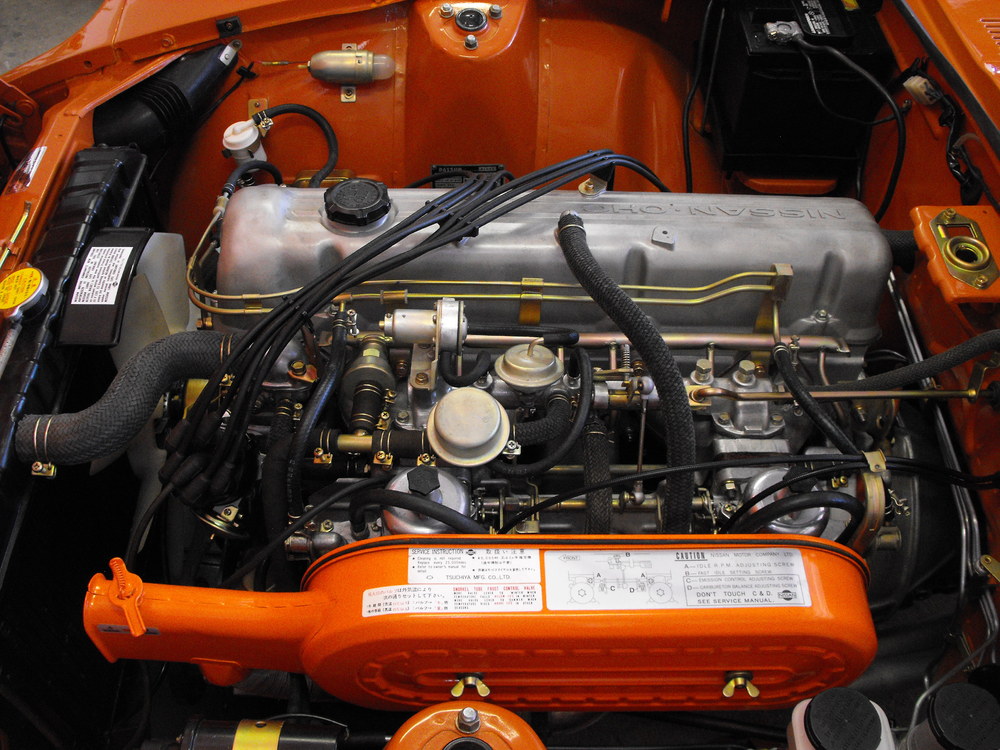
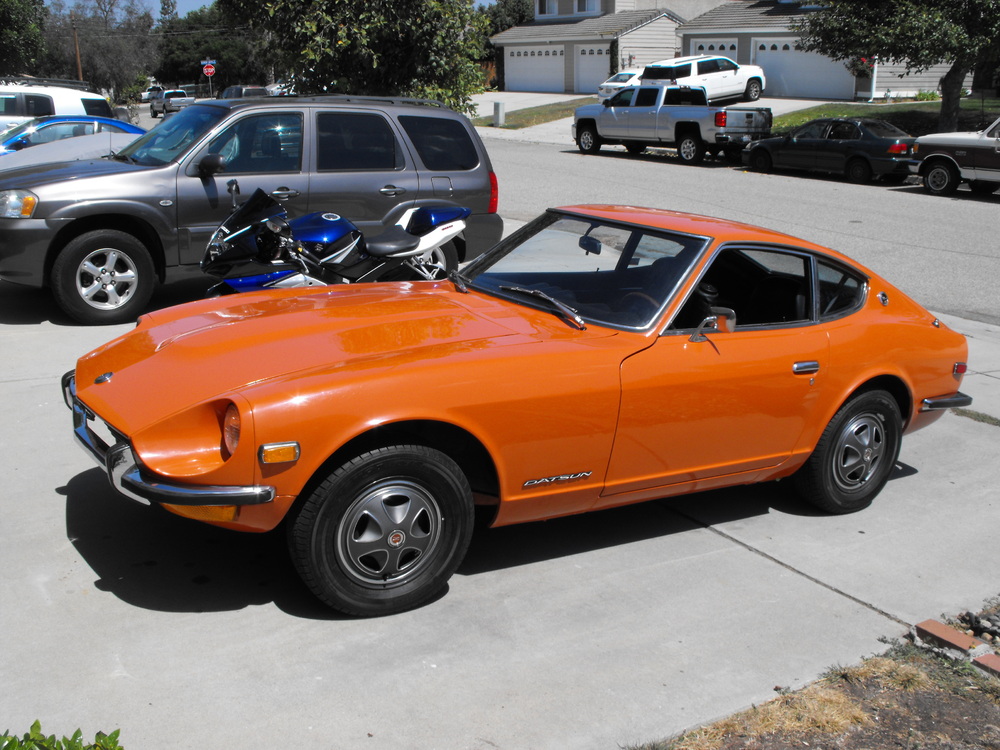
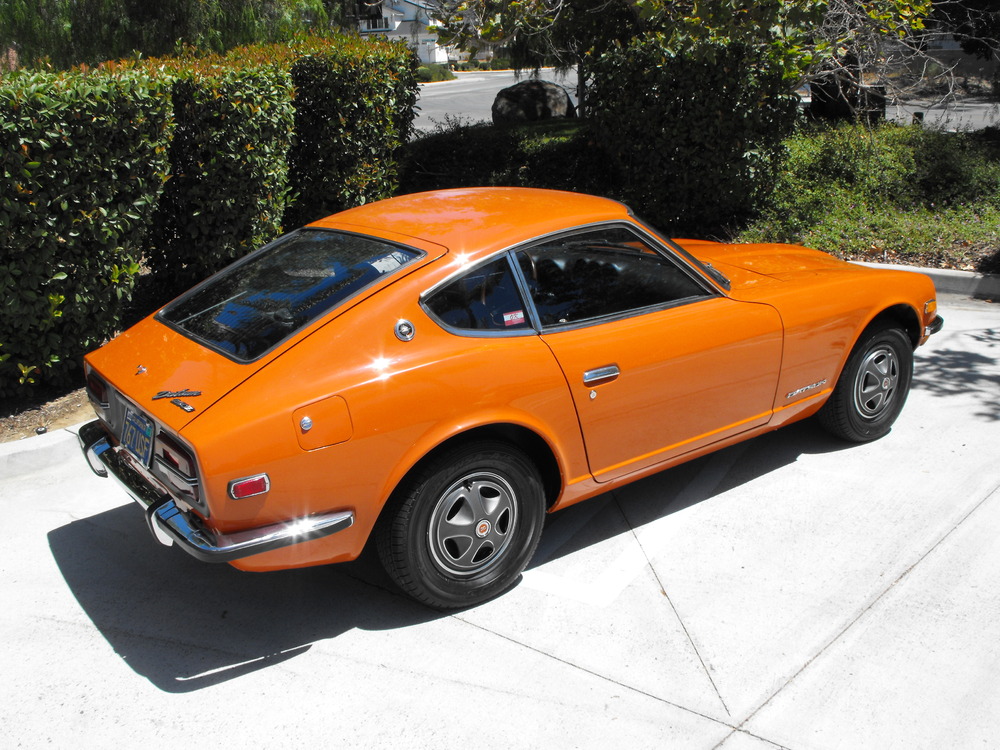
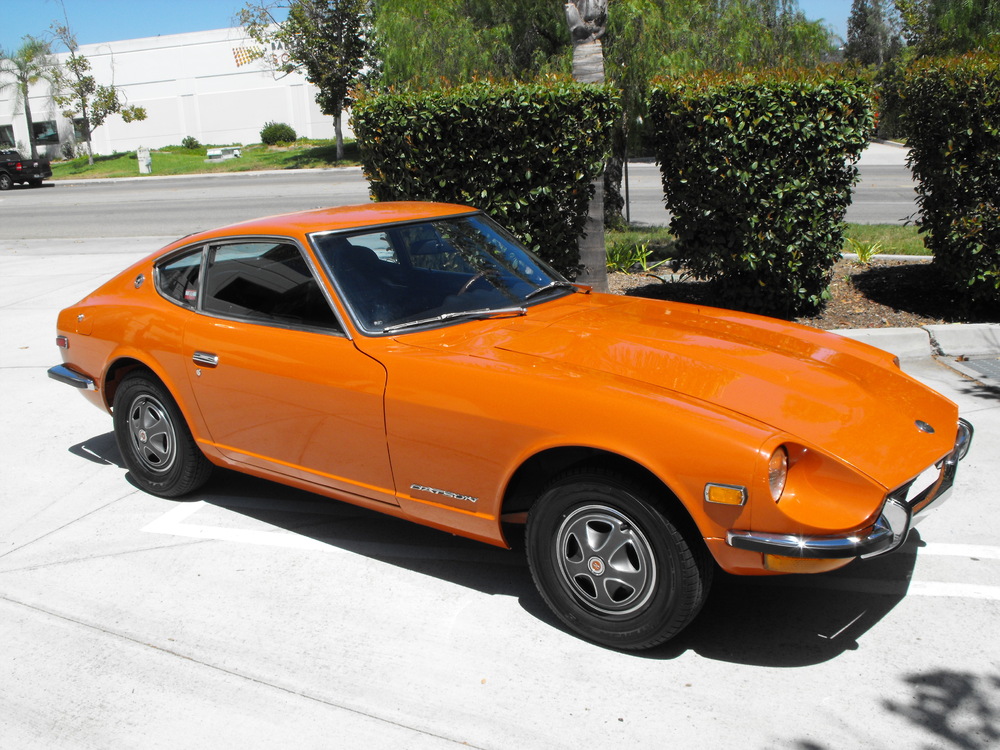
Some people have asked for the 'Before' pics off the car since they have gone missing. Here are a few of the initial pics of the car and motor.


-
This is the Carpet Kit I purchased. The carpet fit well and looks good. It also has the padding underneath. http://www.ebay.com/itm/1971-1974-DATSUN-240Z-260Z-7-pc-REPLACEMENT-BLACK-LOOP-CARPET-KIT-/391100508622?hash=item5b0f6829ce
-
Hmmm....... thought I could just drive this one off the lot, but the owner mentioned that it 'Will need work'. Nice that he was up front about that.
-
Thanks for the response everyone. It has really been fun (and educational) putting this all back together. I will probably take a break from the car restorations for a bit once the JCCS is past. I need to get going on some overdue house maintenance items. Not nearly as fun as working on the cars but very necessary. Thanks again, Rich
-
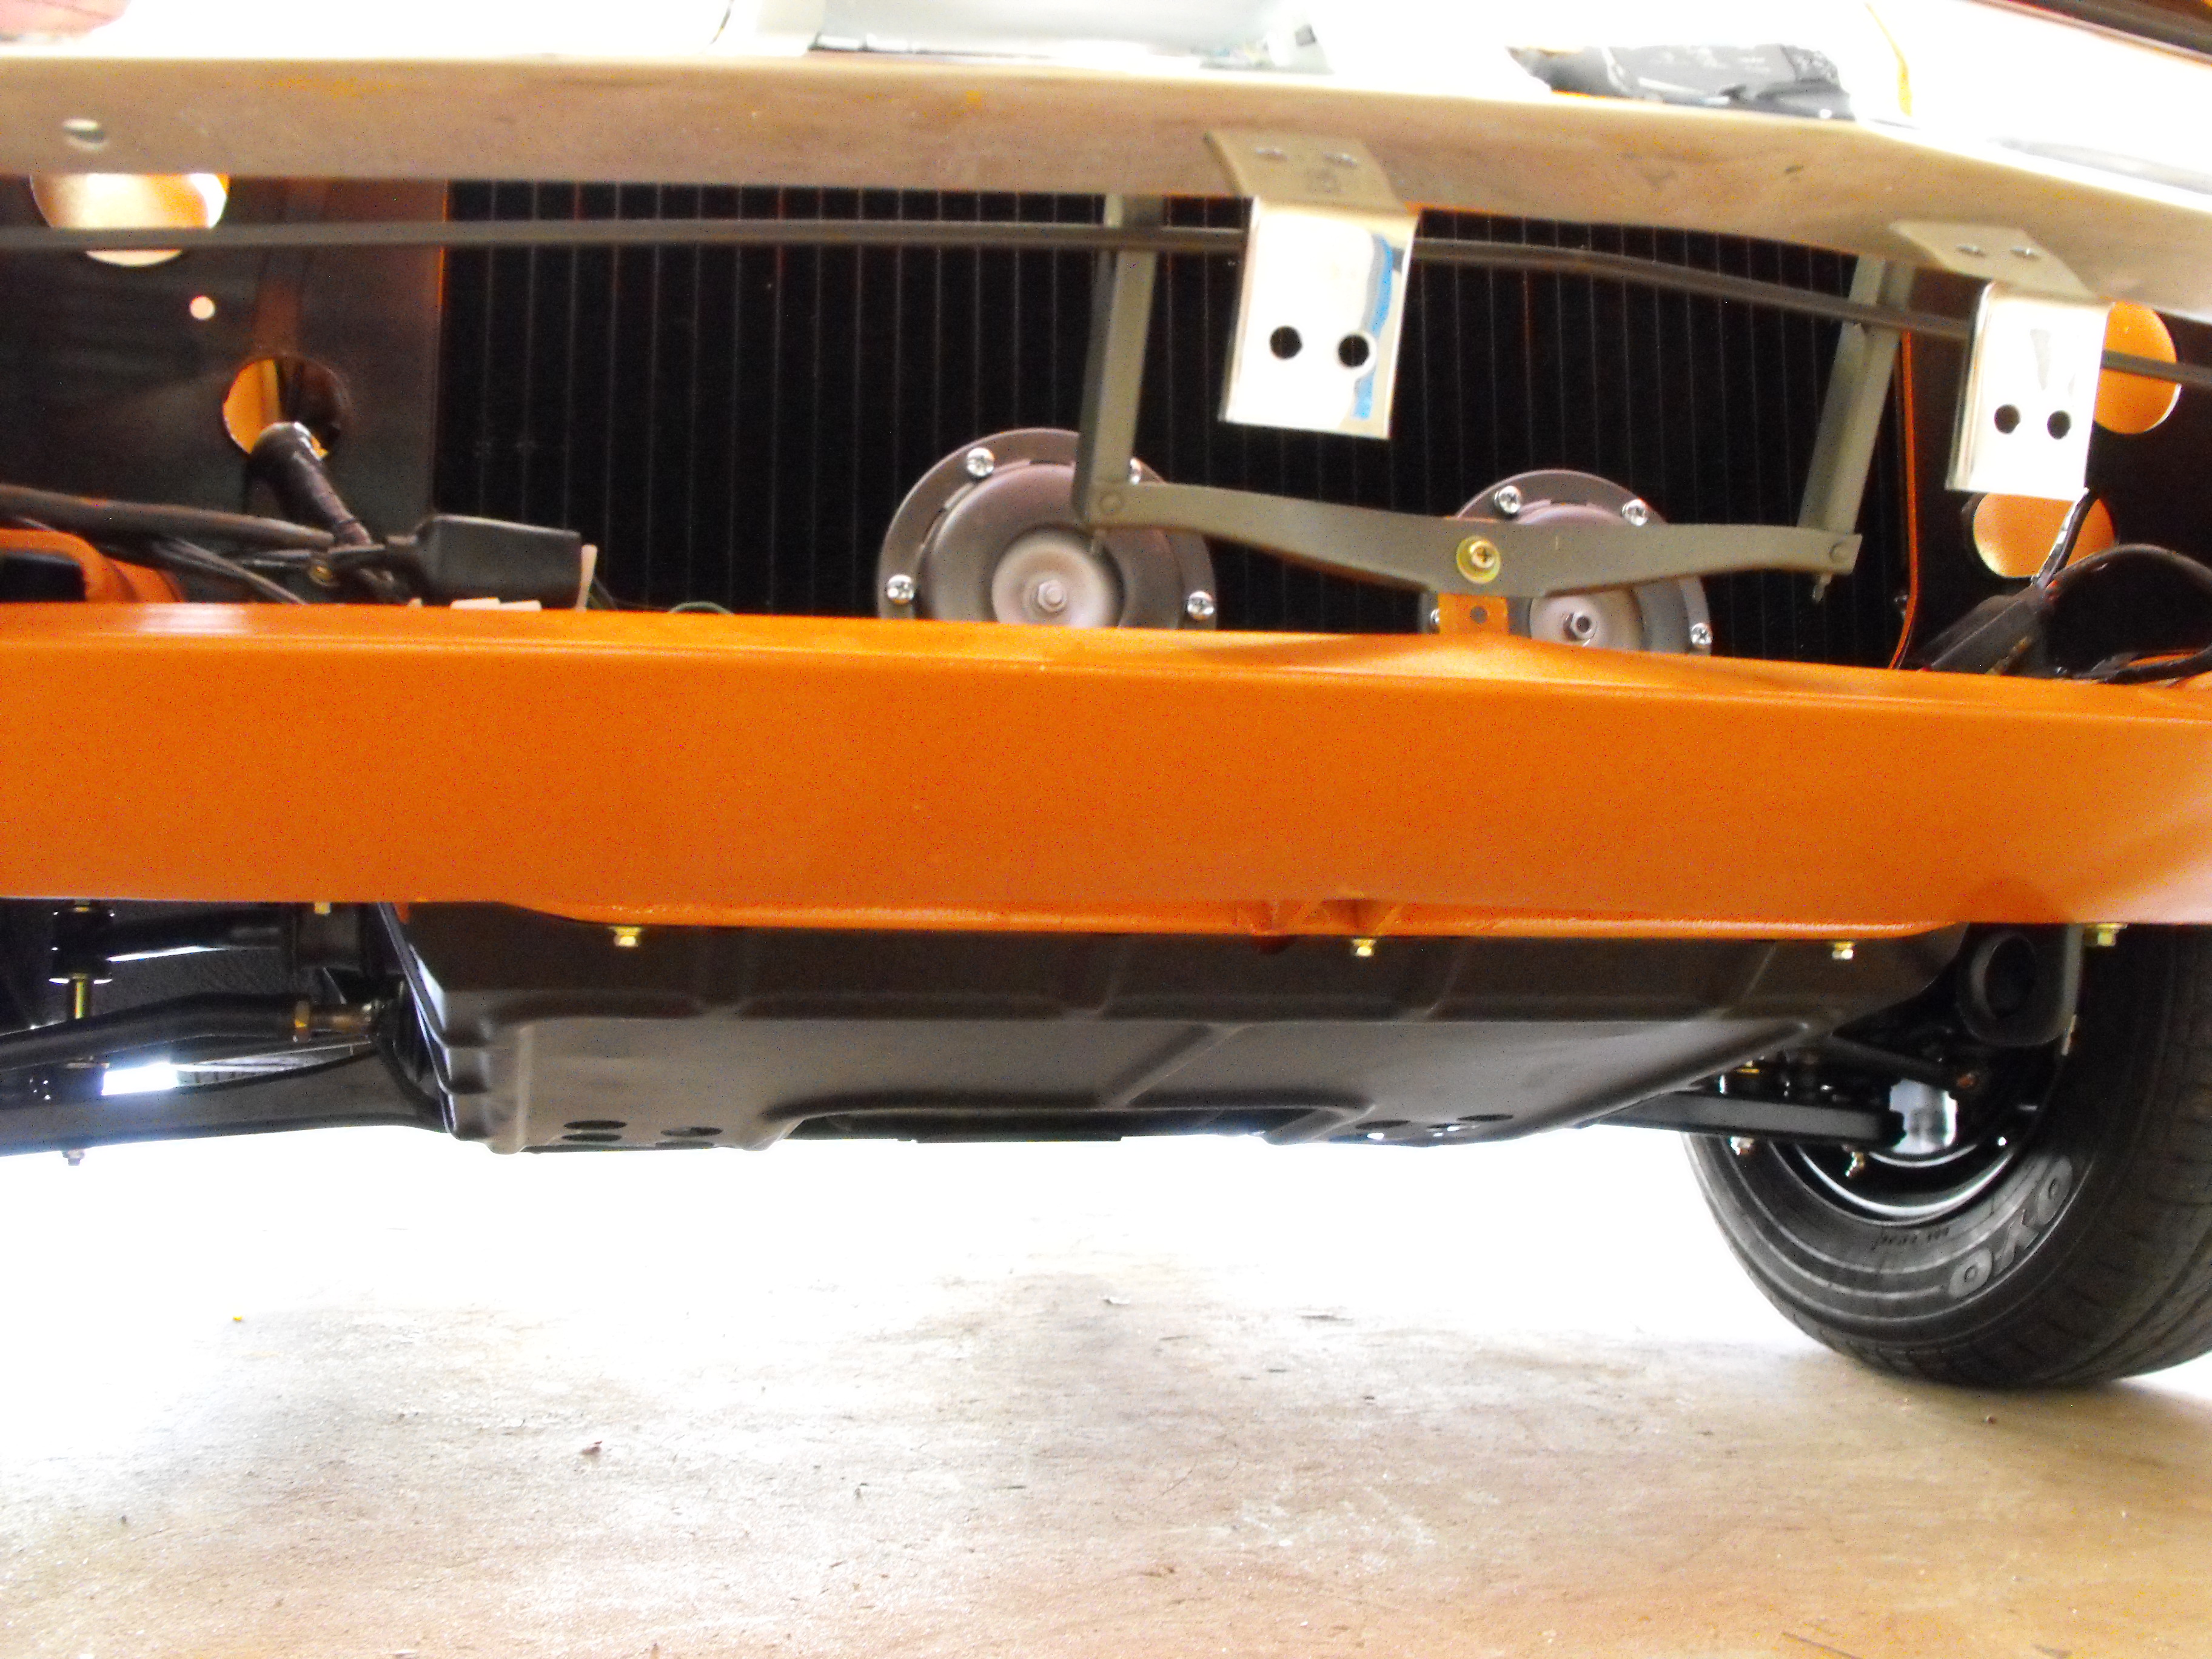
Got a few more items added to the car. Got the skid plate powder coated and attached to the underside of the car. Never realized that all of the nutplates are there on the bottom of the car. Bolted up nicely with some new M4 bolts. Got the horns re-furbed and installed. Also got the choke cable holder installed. Re-tuned the carbs while I had the air cleaner off. Also took the car for a nice drive to check everything out. It's running great with plenty of power. Very smooth and great to drive on the freeway. Took the car to the alignment shop last week and got that dialed in. Looking forward to the JCCS in a couple weeks. She is close to being finished.


-
I have never considered the blue chromate as a brightener. The blue helps with the 'rainbow' effects and sets up a good base for the yellow. Usually my bolts come out dark or brown when I leave them in the yellow for too long. I have heard what Blue mentioned above, nitric acid as a brightener, but I have never used it.
-
OK, got the steel wheels and hubcaps on. Time for a small photo shoot


-
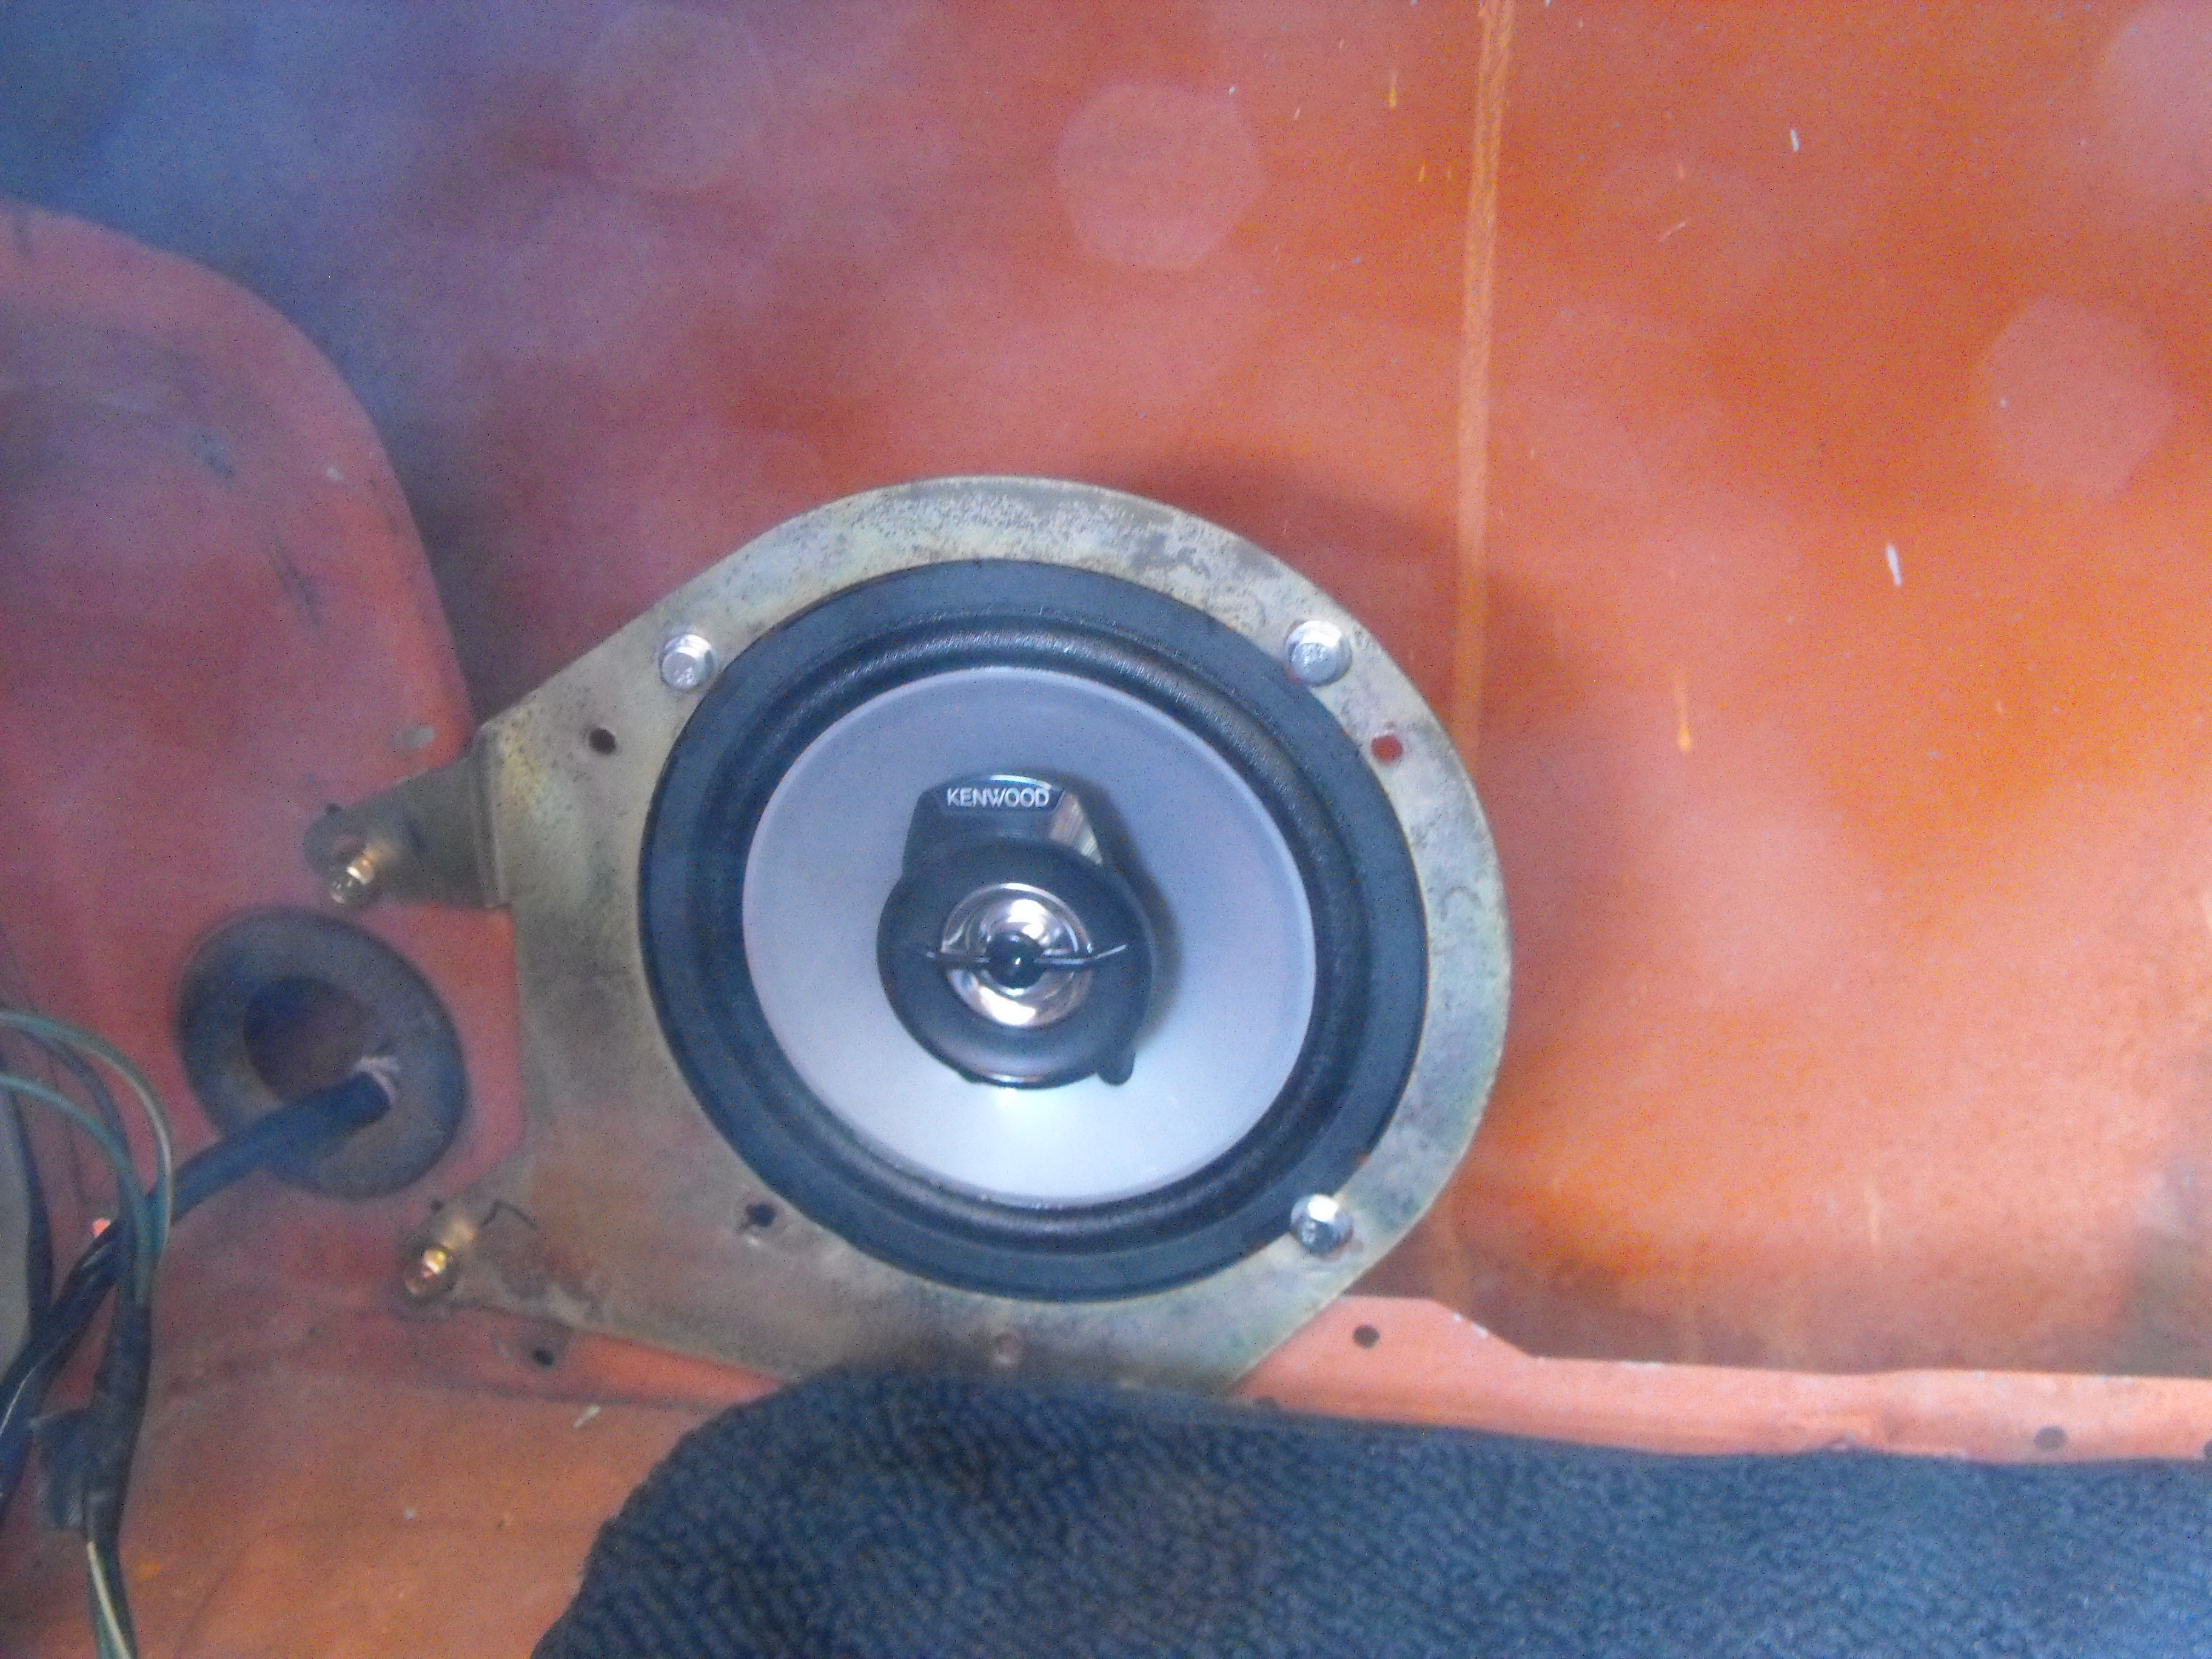
Did some detailing today. Also, added a pic of the diode on the antenna. It works great. Got some decals put on, buffed out the paint a bit and worked on the stereo install. Will get the original rims and hubcaps put on tomorrow. Here are some pics


-
I know, bummer. I got the cheap pull handle and cable from Thailand and it is kind of lame. I think I will swap this cable for the original one out of the my yellow Z eventually. The yellow Z is my operational donor.
-
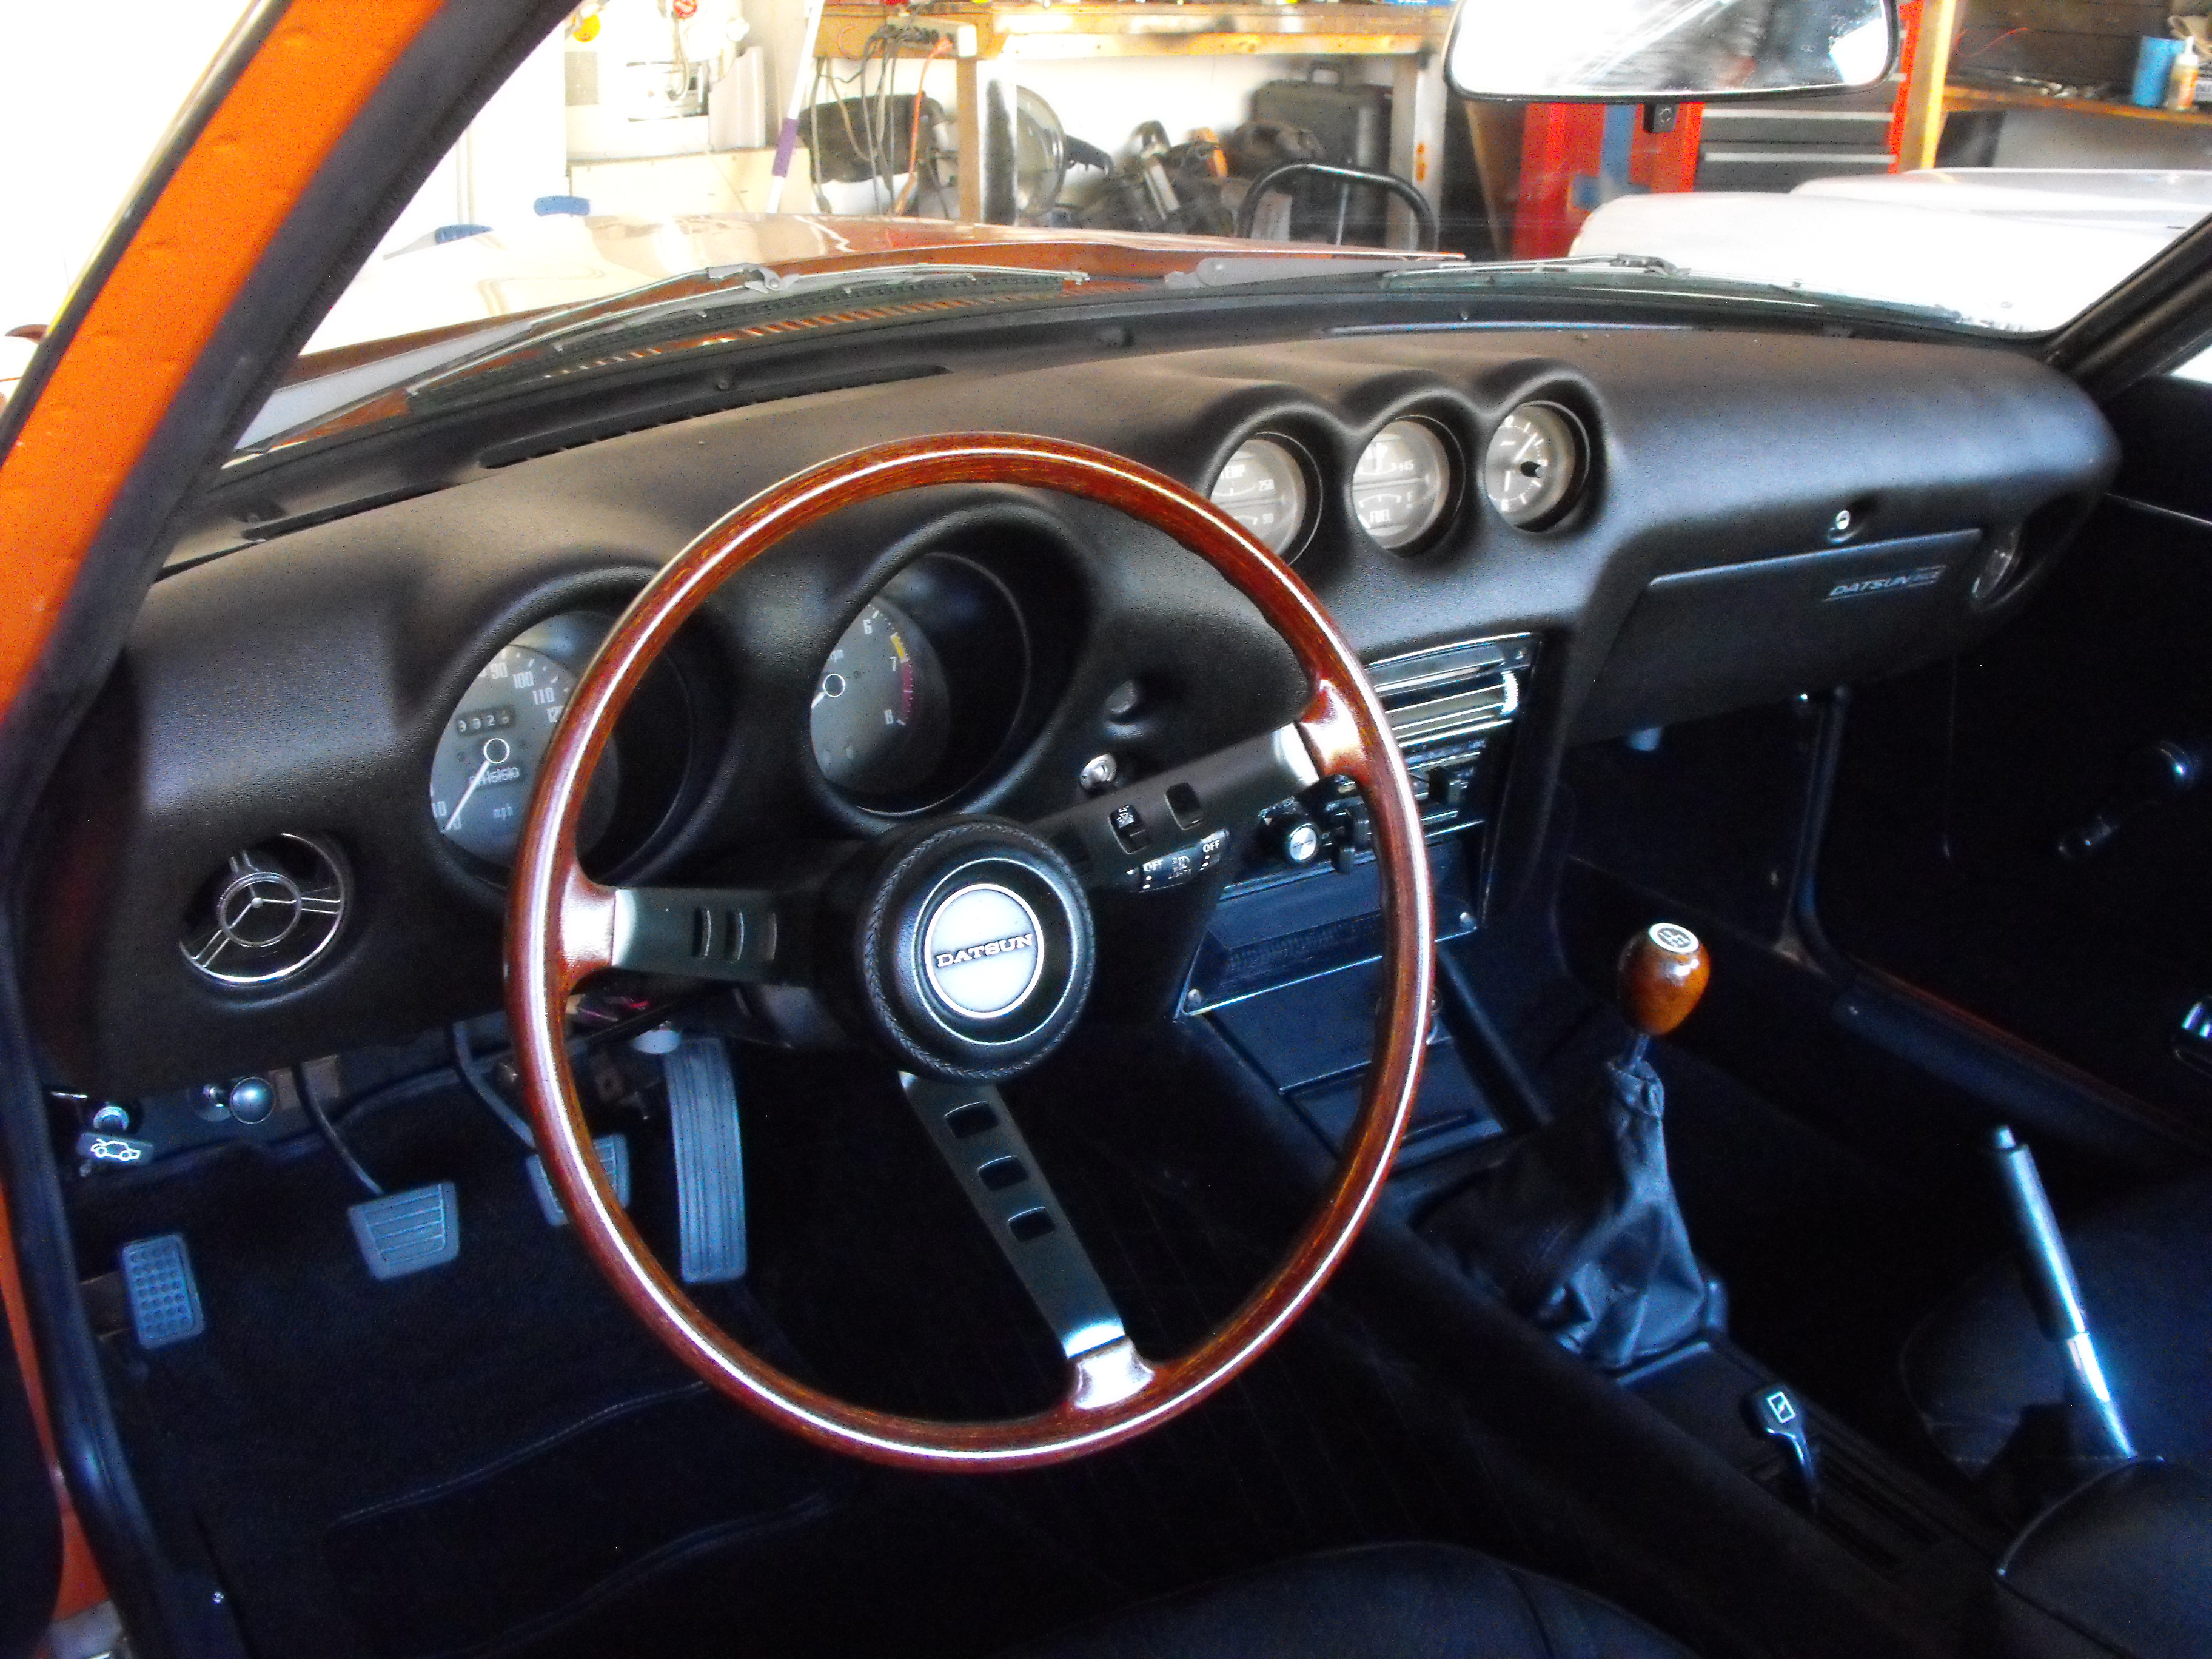
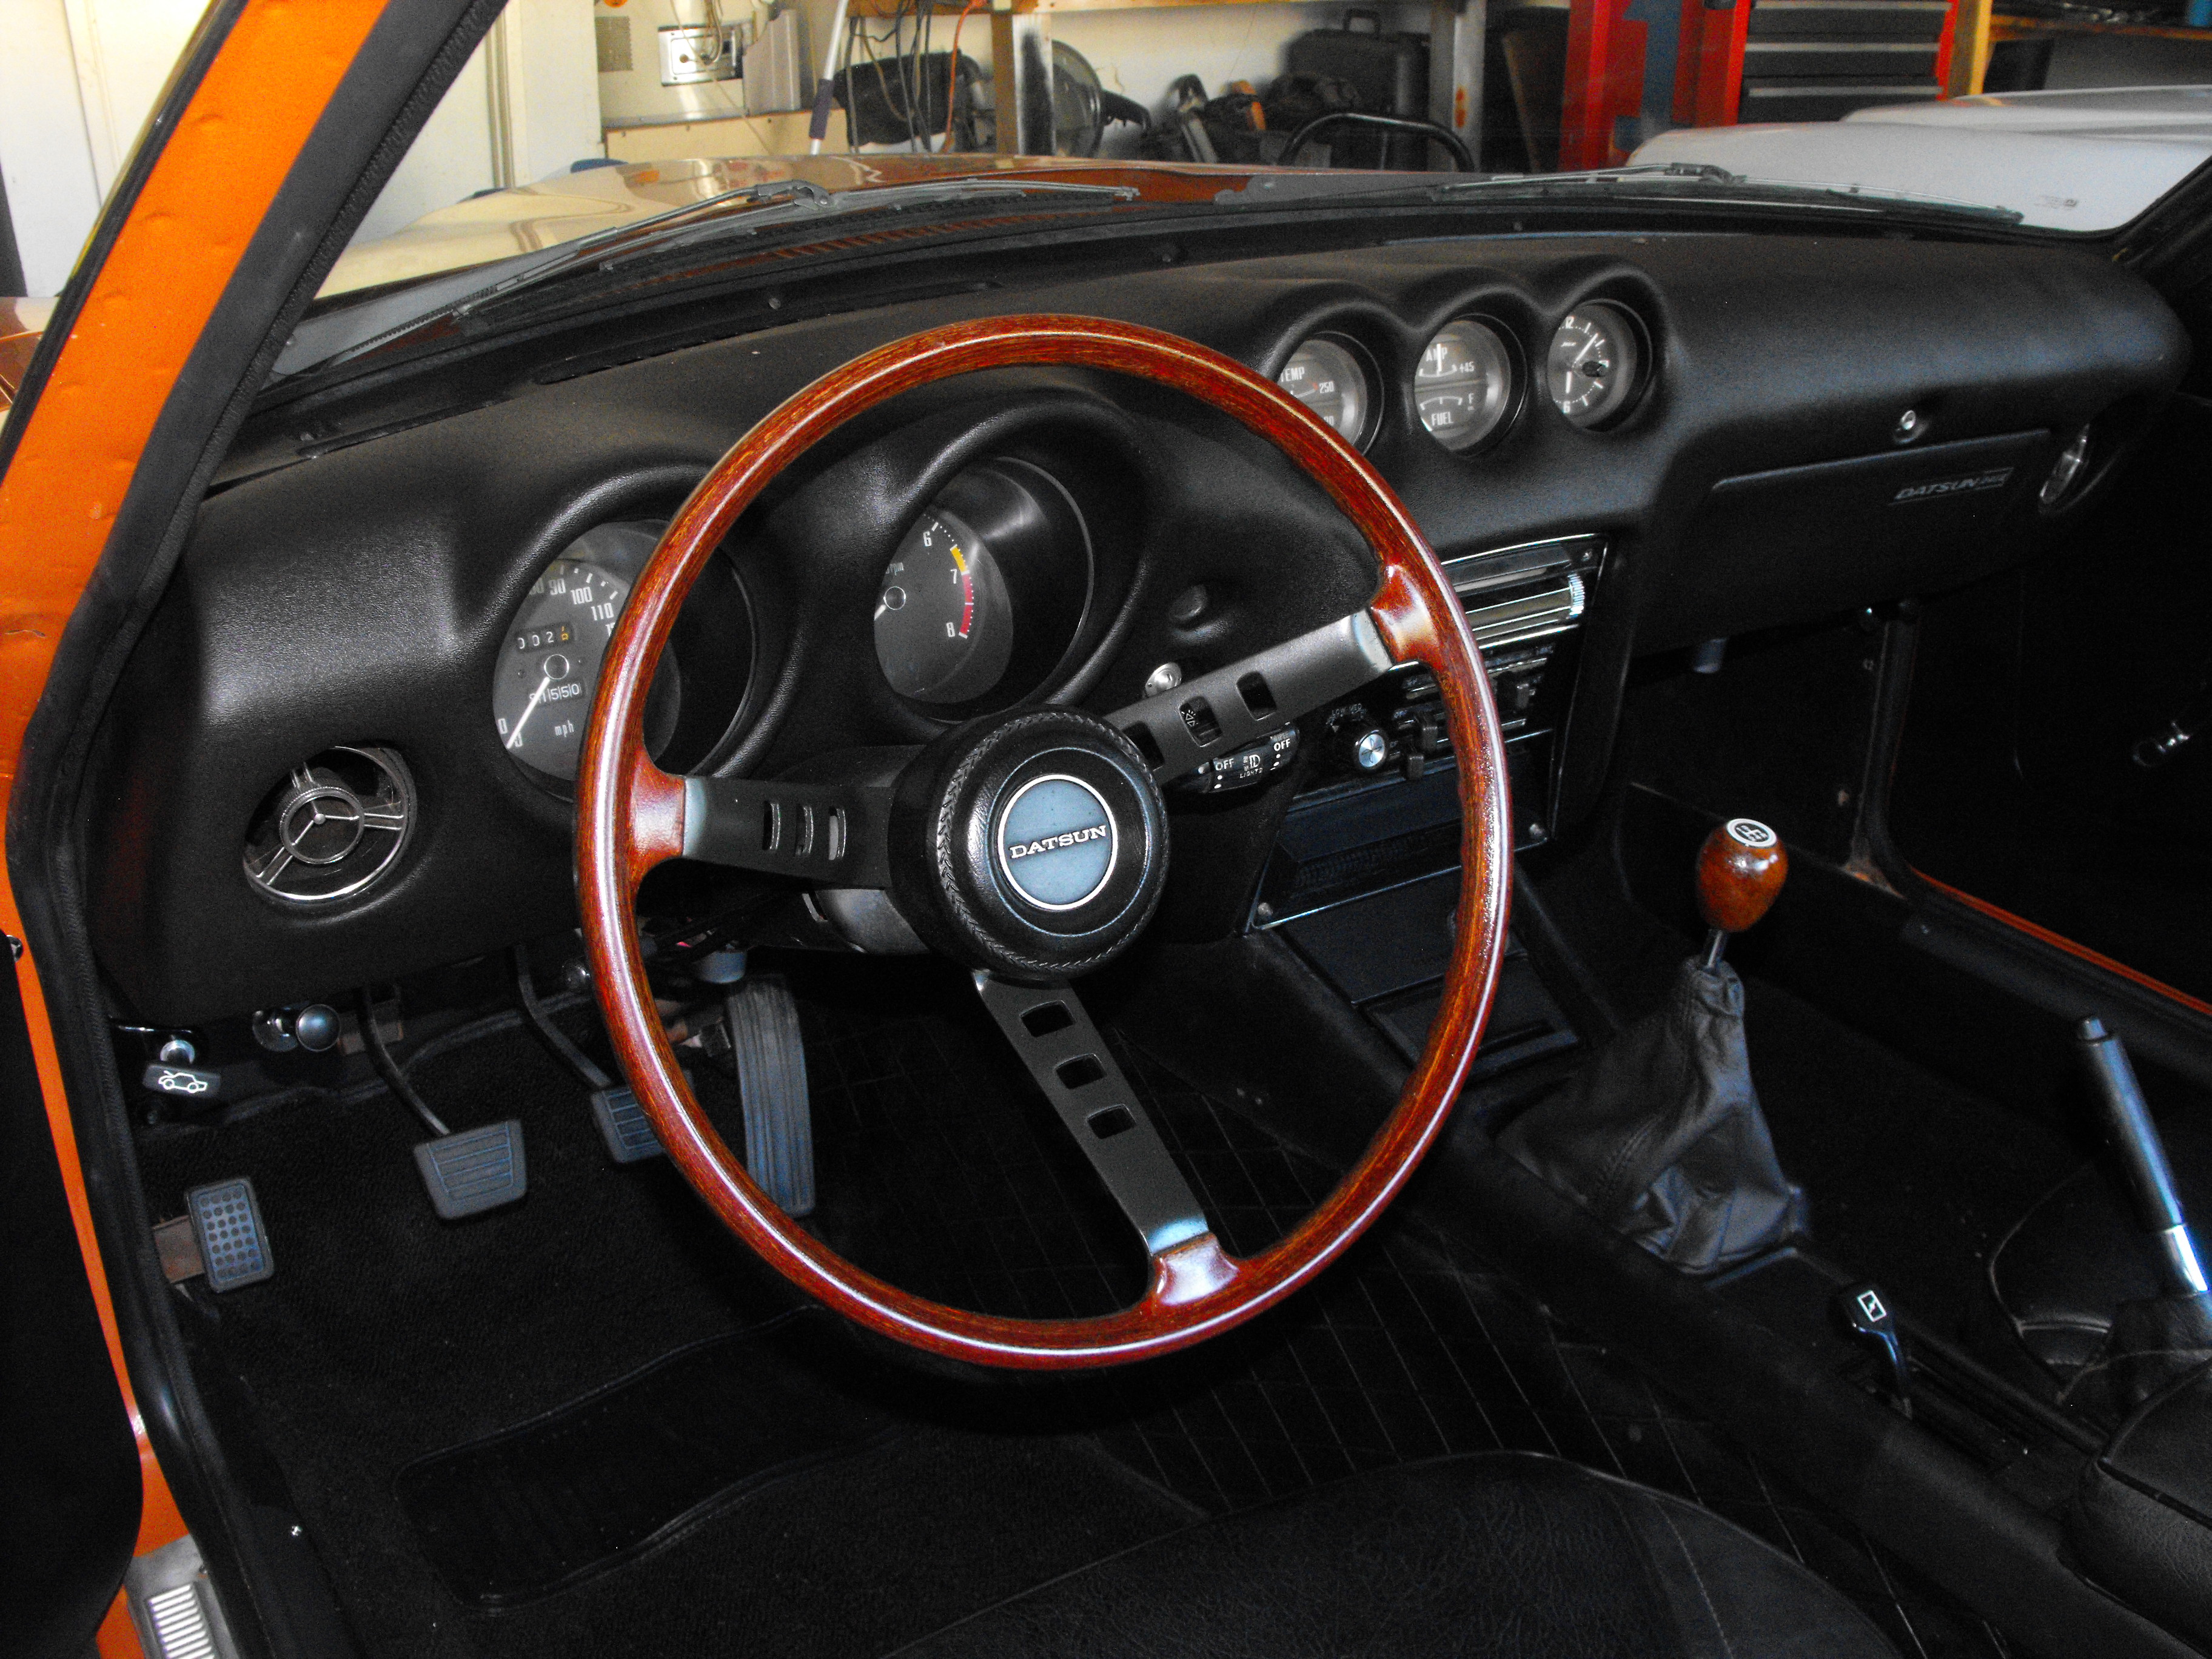
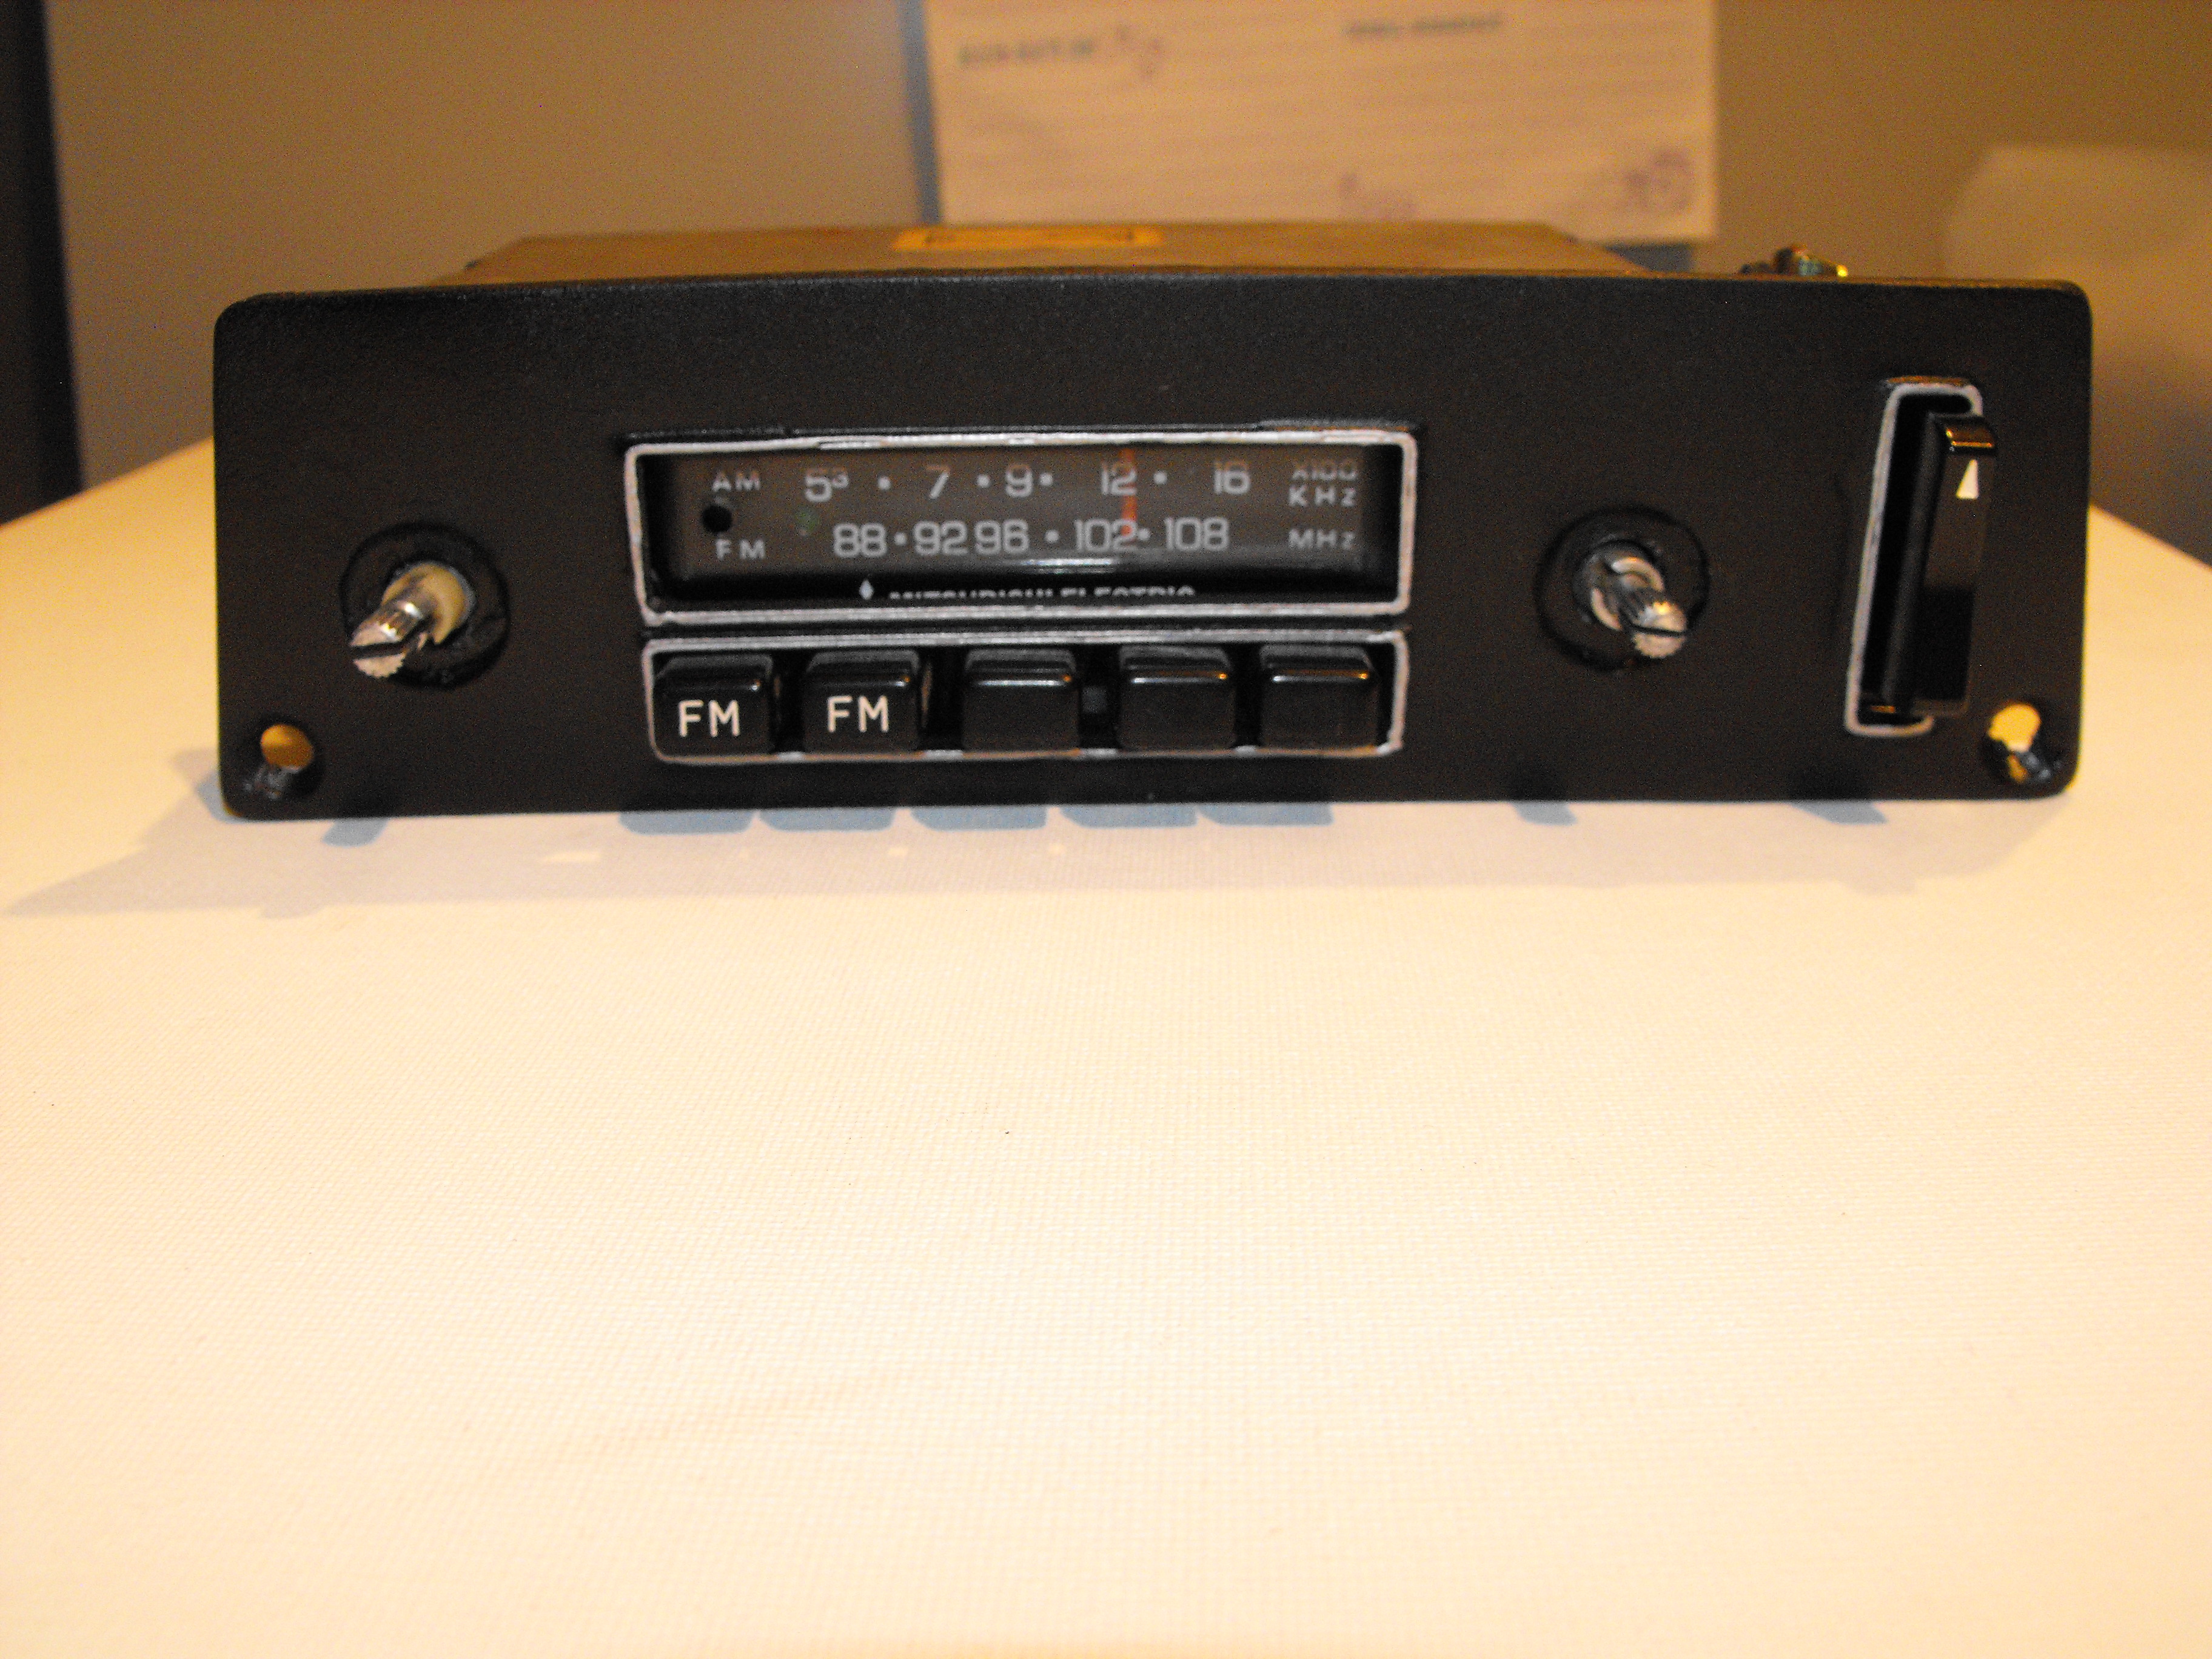
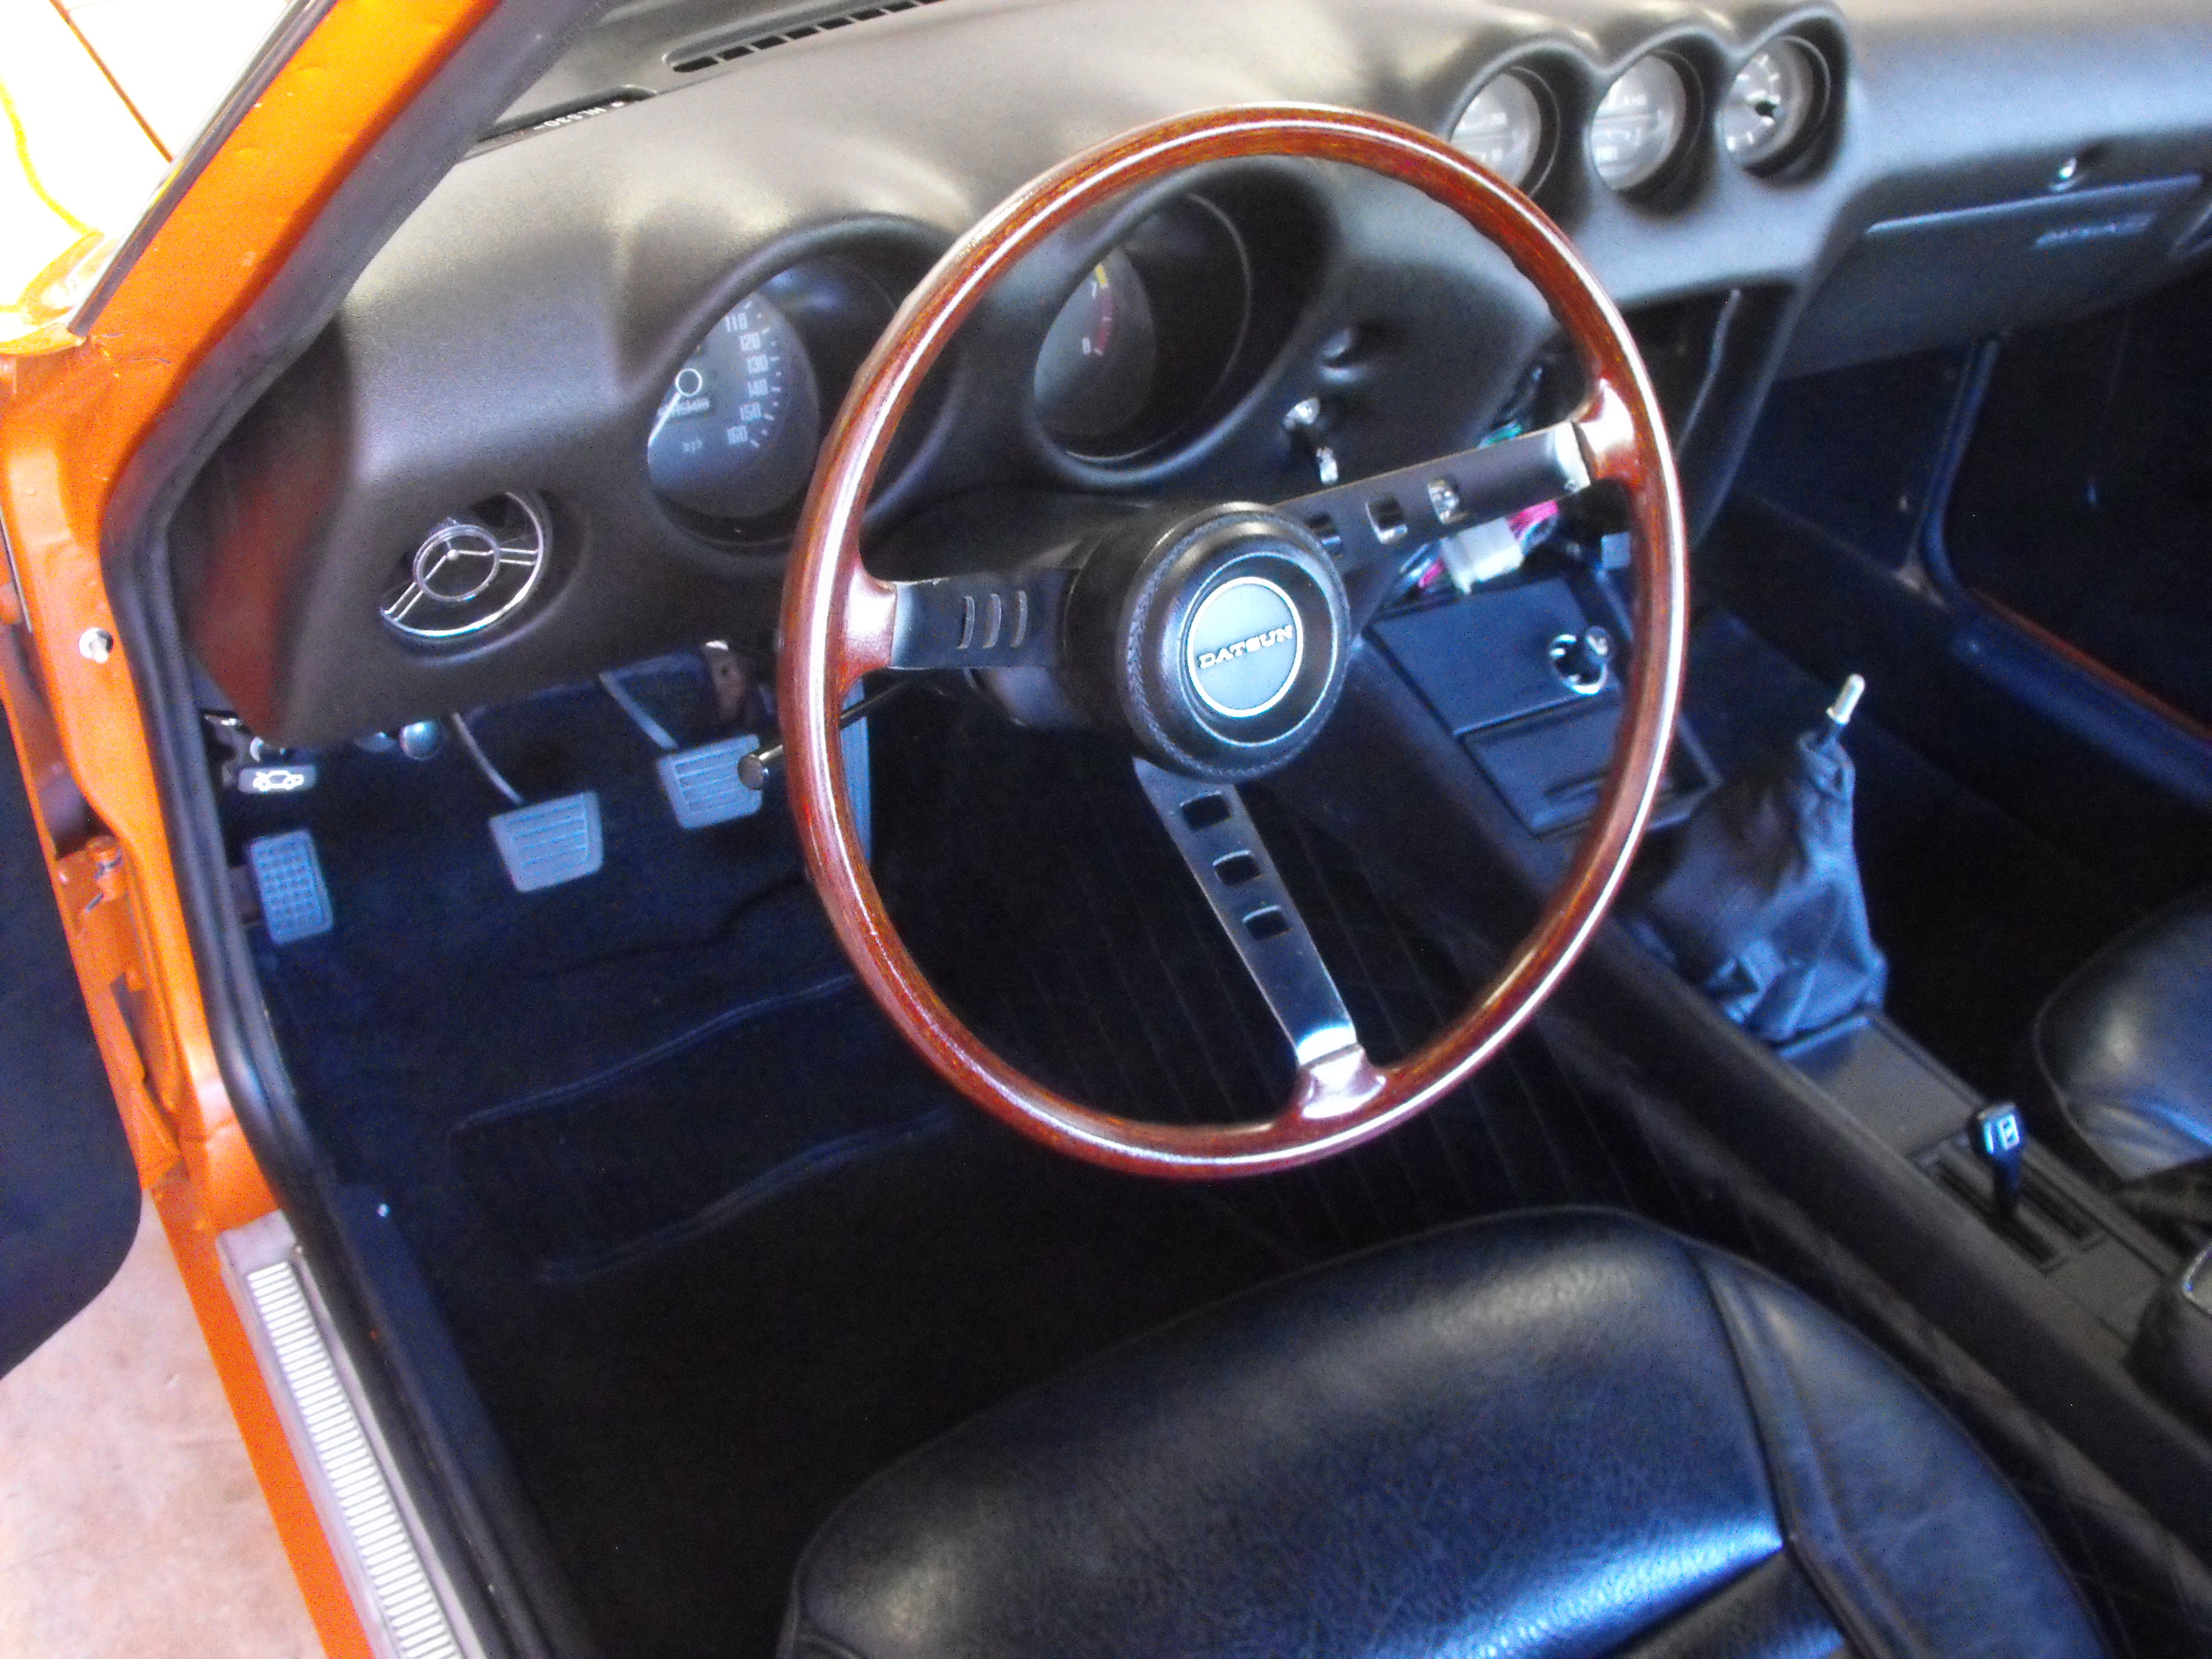
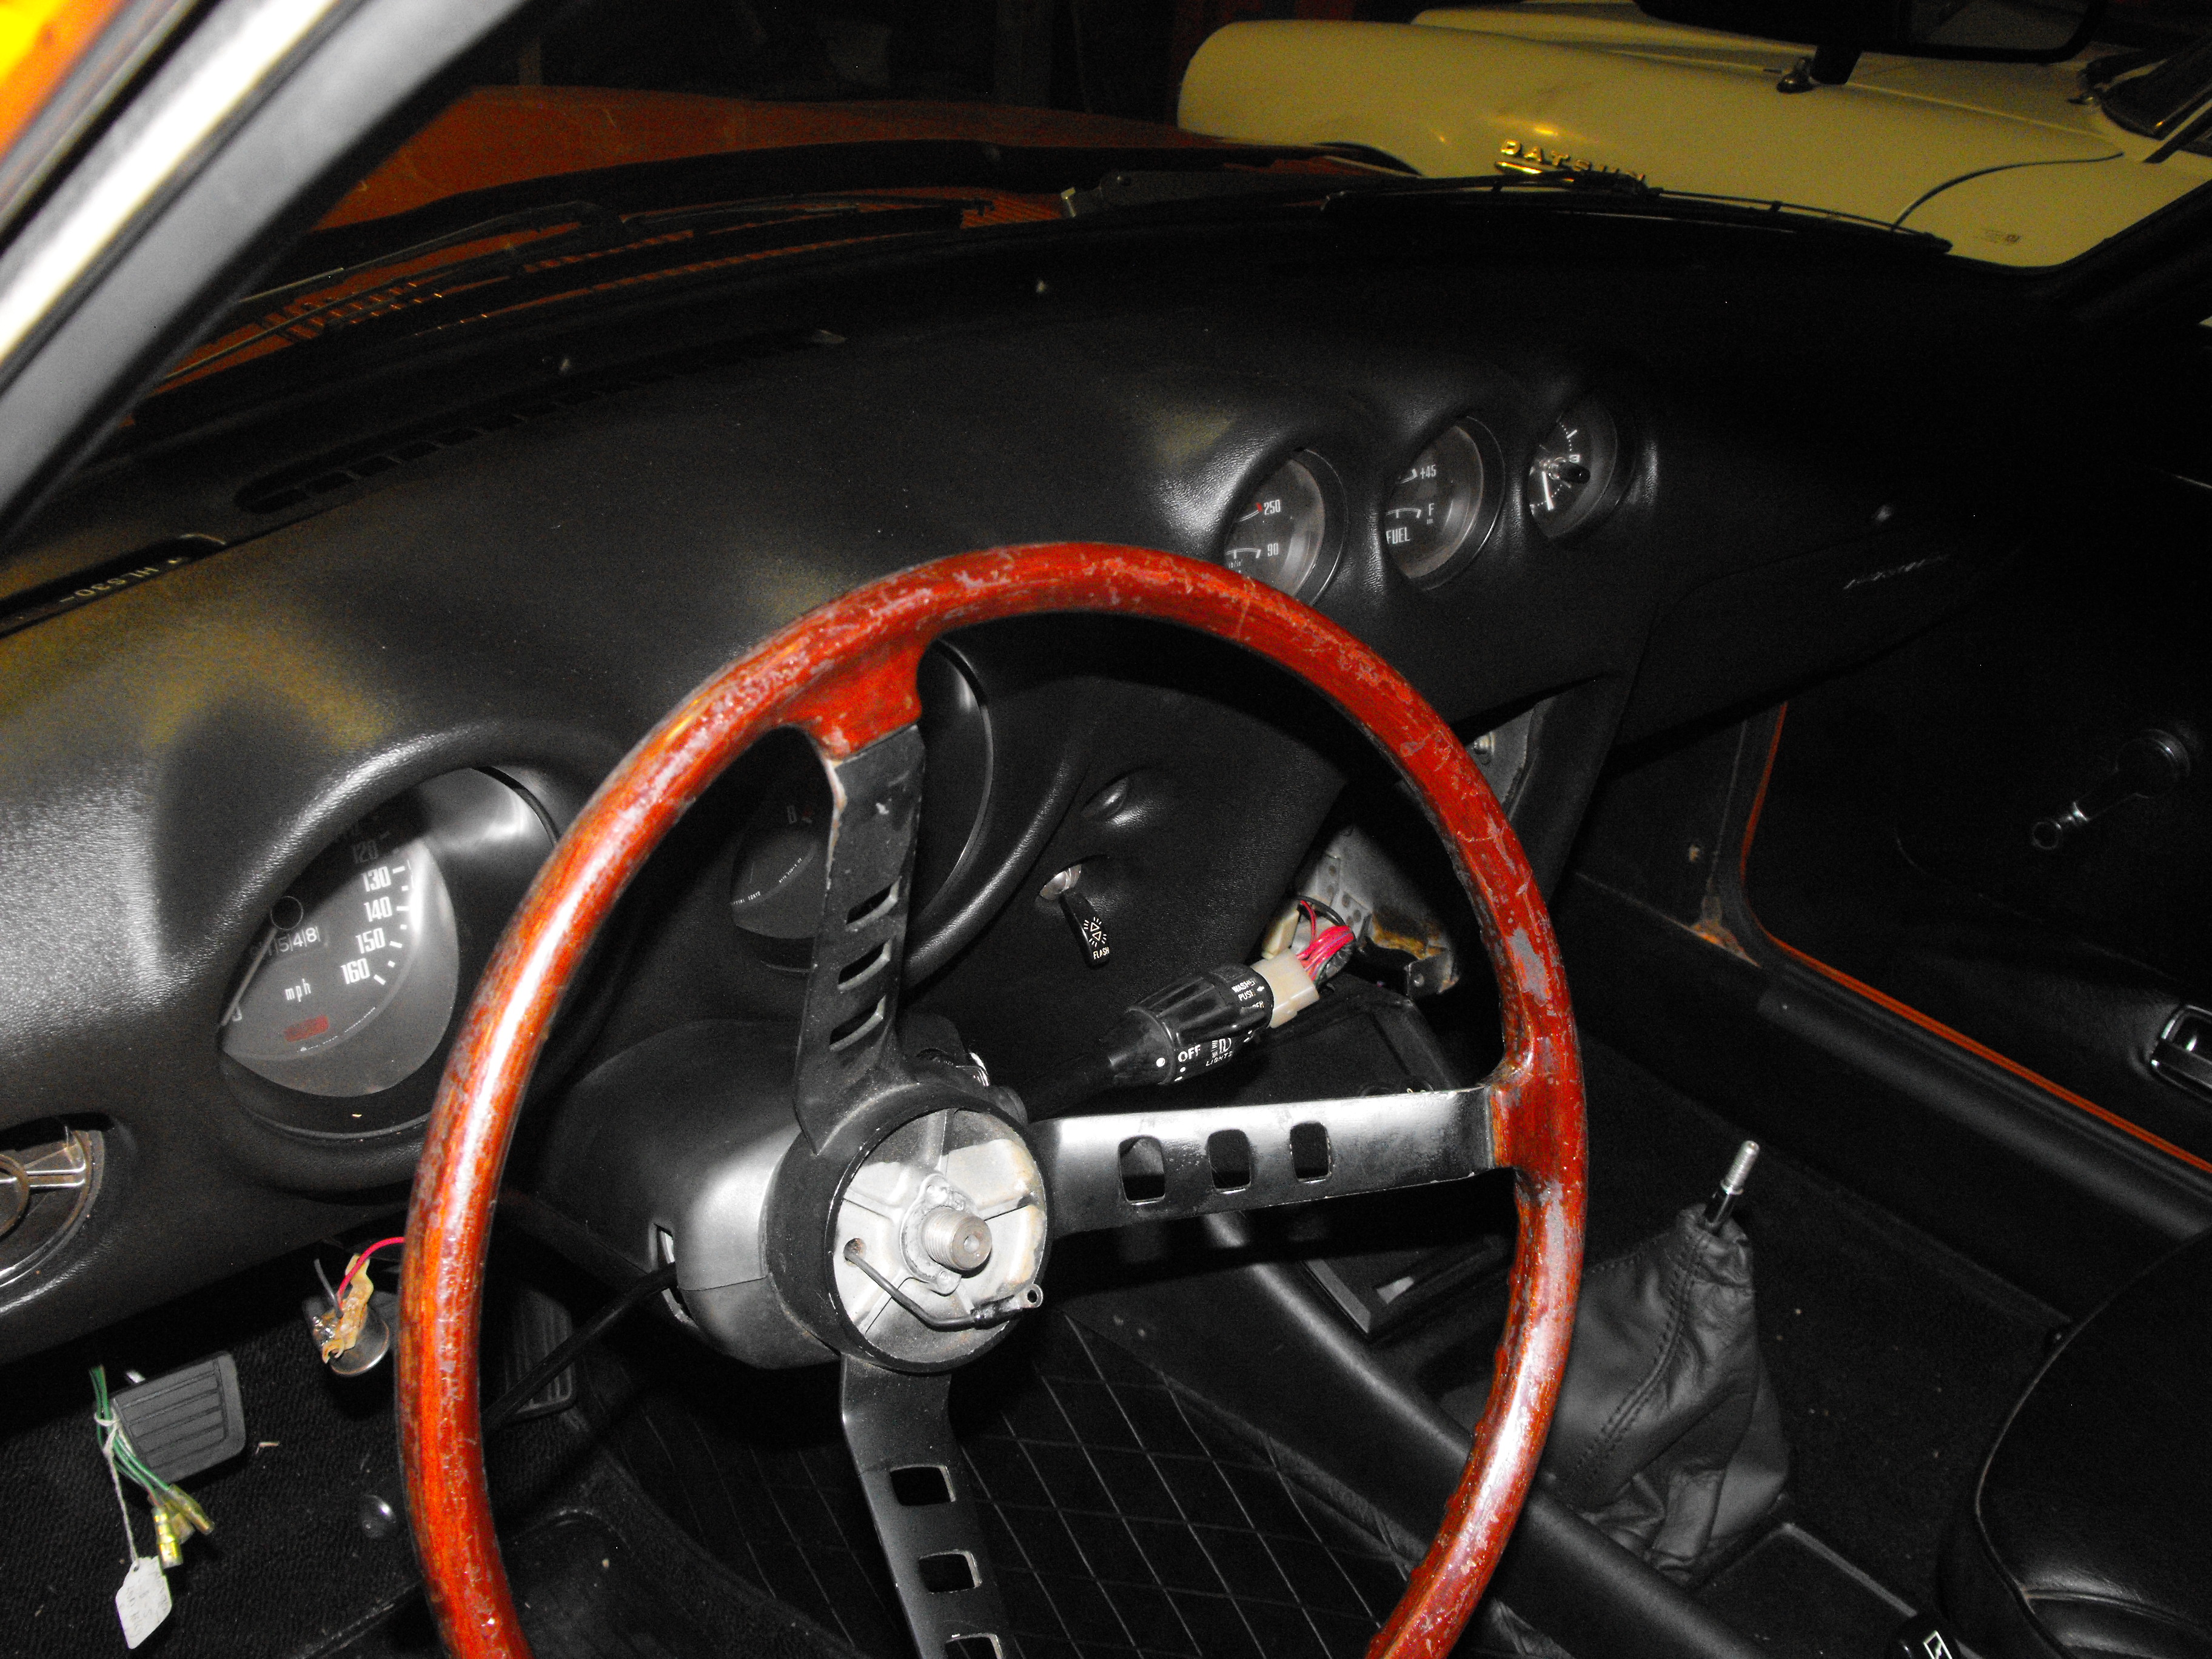
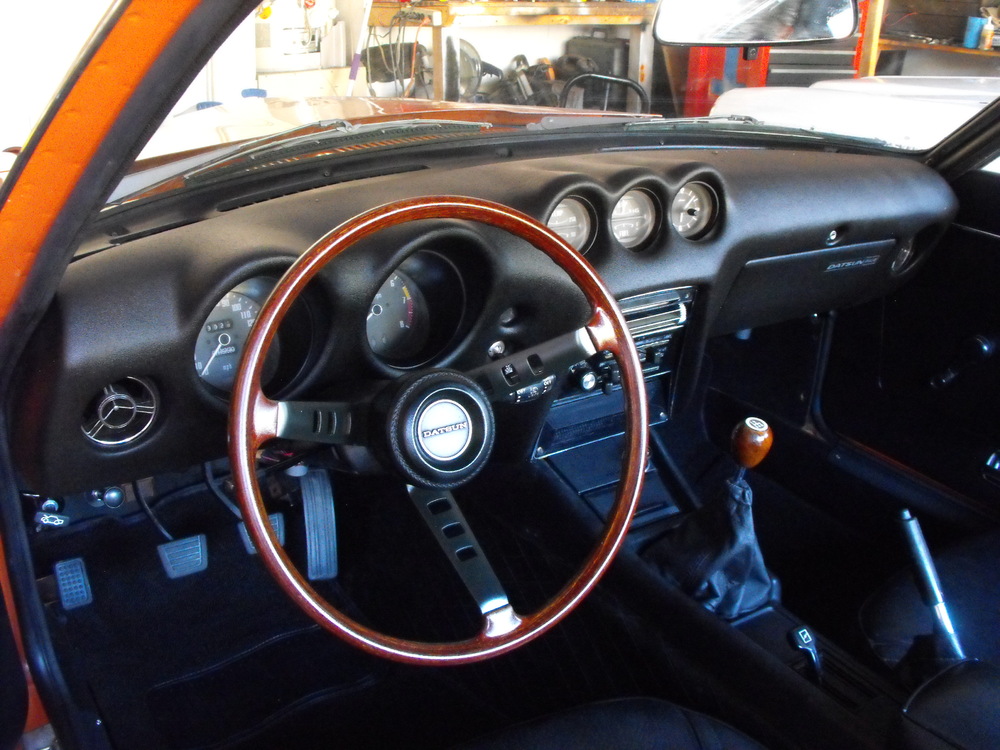
Still working on the interior. I put an aftermarket antenna in for temporary until I can find a nice original antenna at a reasonable price. I am setting it up to work off of the series 1 antenna switch that I got with the car. I will need a diode to get it to function correctly, but should work nice when done. Finally got the shift knob in and finished the black portion of the steering wheel. Very happy with how that came out. I currently have a blank faceplate in where the radio goes. I have a 3-D printed faceplate and old radio that I will install this week just so I have an operational system. Will keep a lookout for an original radio at a cheap price in addition to the antenna.


-
Looks beautiful! Love the red color and the interior is looking very nice.
-
It was in pretty good shape in the first place, so I just lightly sanded the front smooth surface of the steering wheel with 600 grit and then sprayed with clear enamel. You need to be careful with the bumpy part of the steering wheel (finger grips on the far side) when you refinish because you can wear through the wood grain. You will notice that these bumps are whitish and don't have any grain on some of the poorly restored 240Z steering wheels on e-bay. So be gentle with the bumps.
-
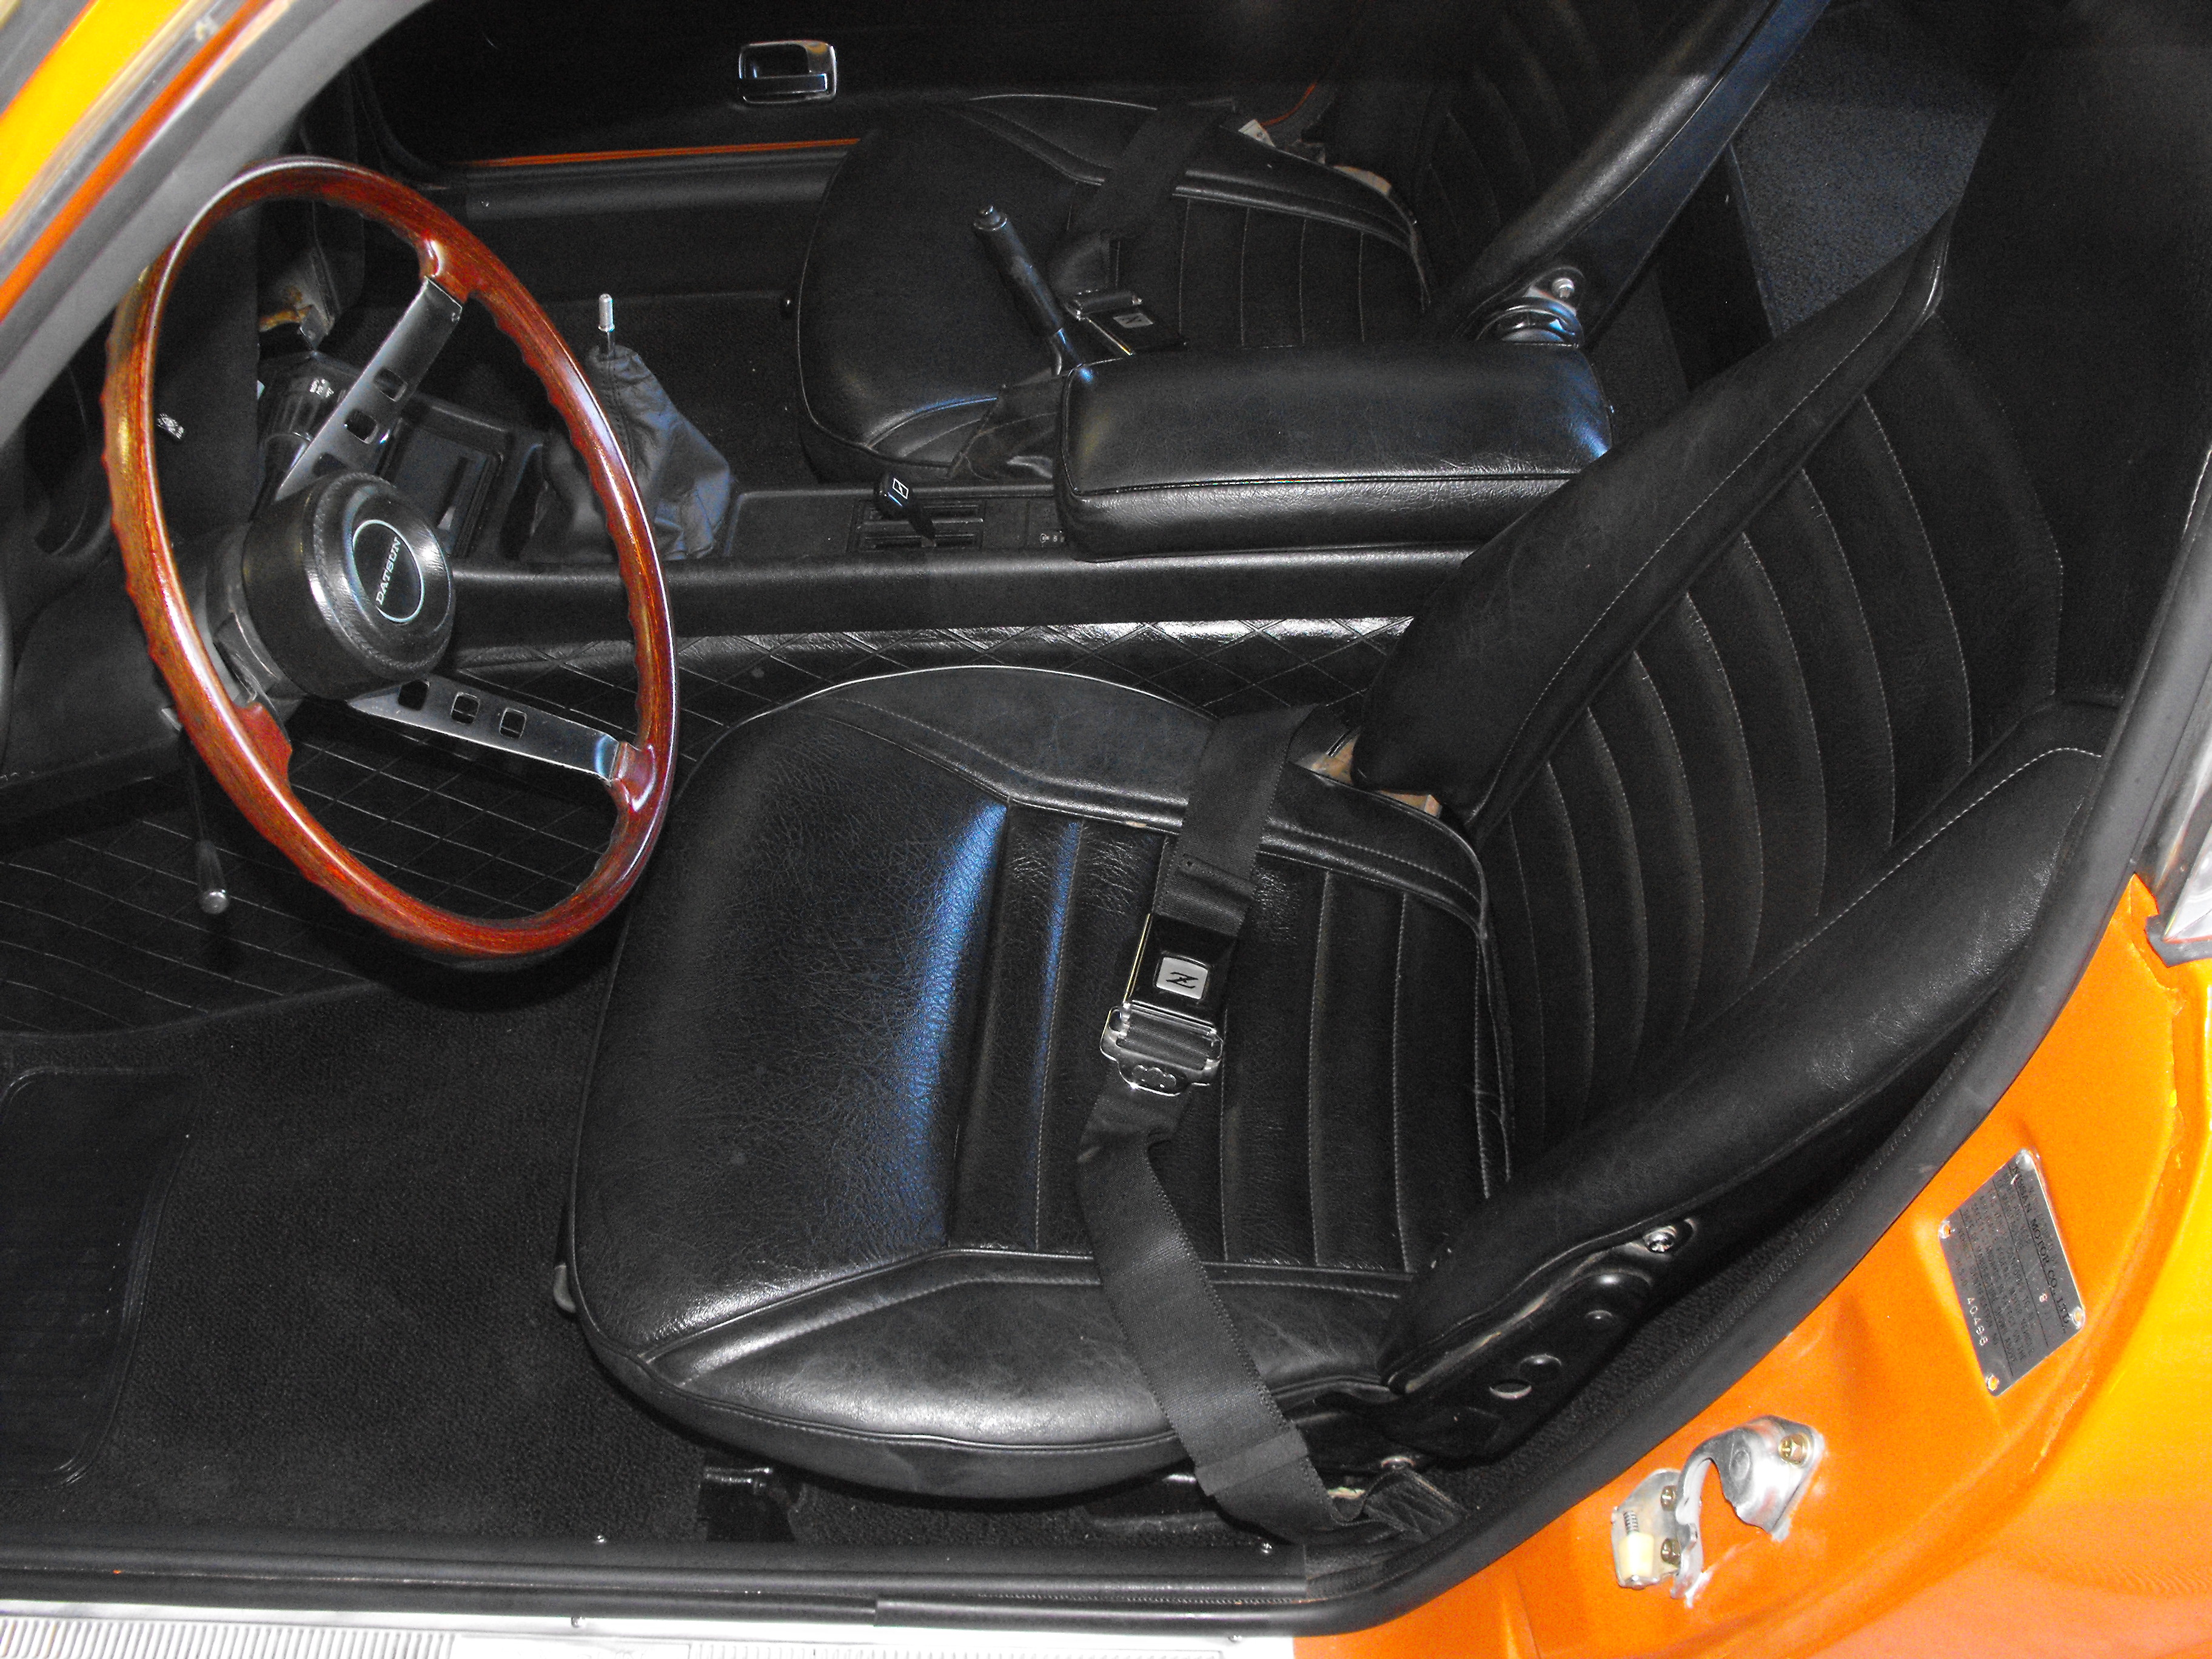
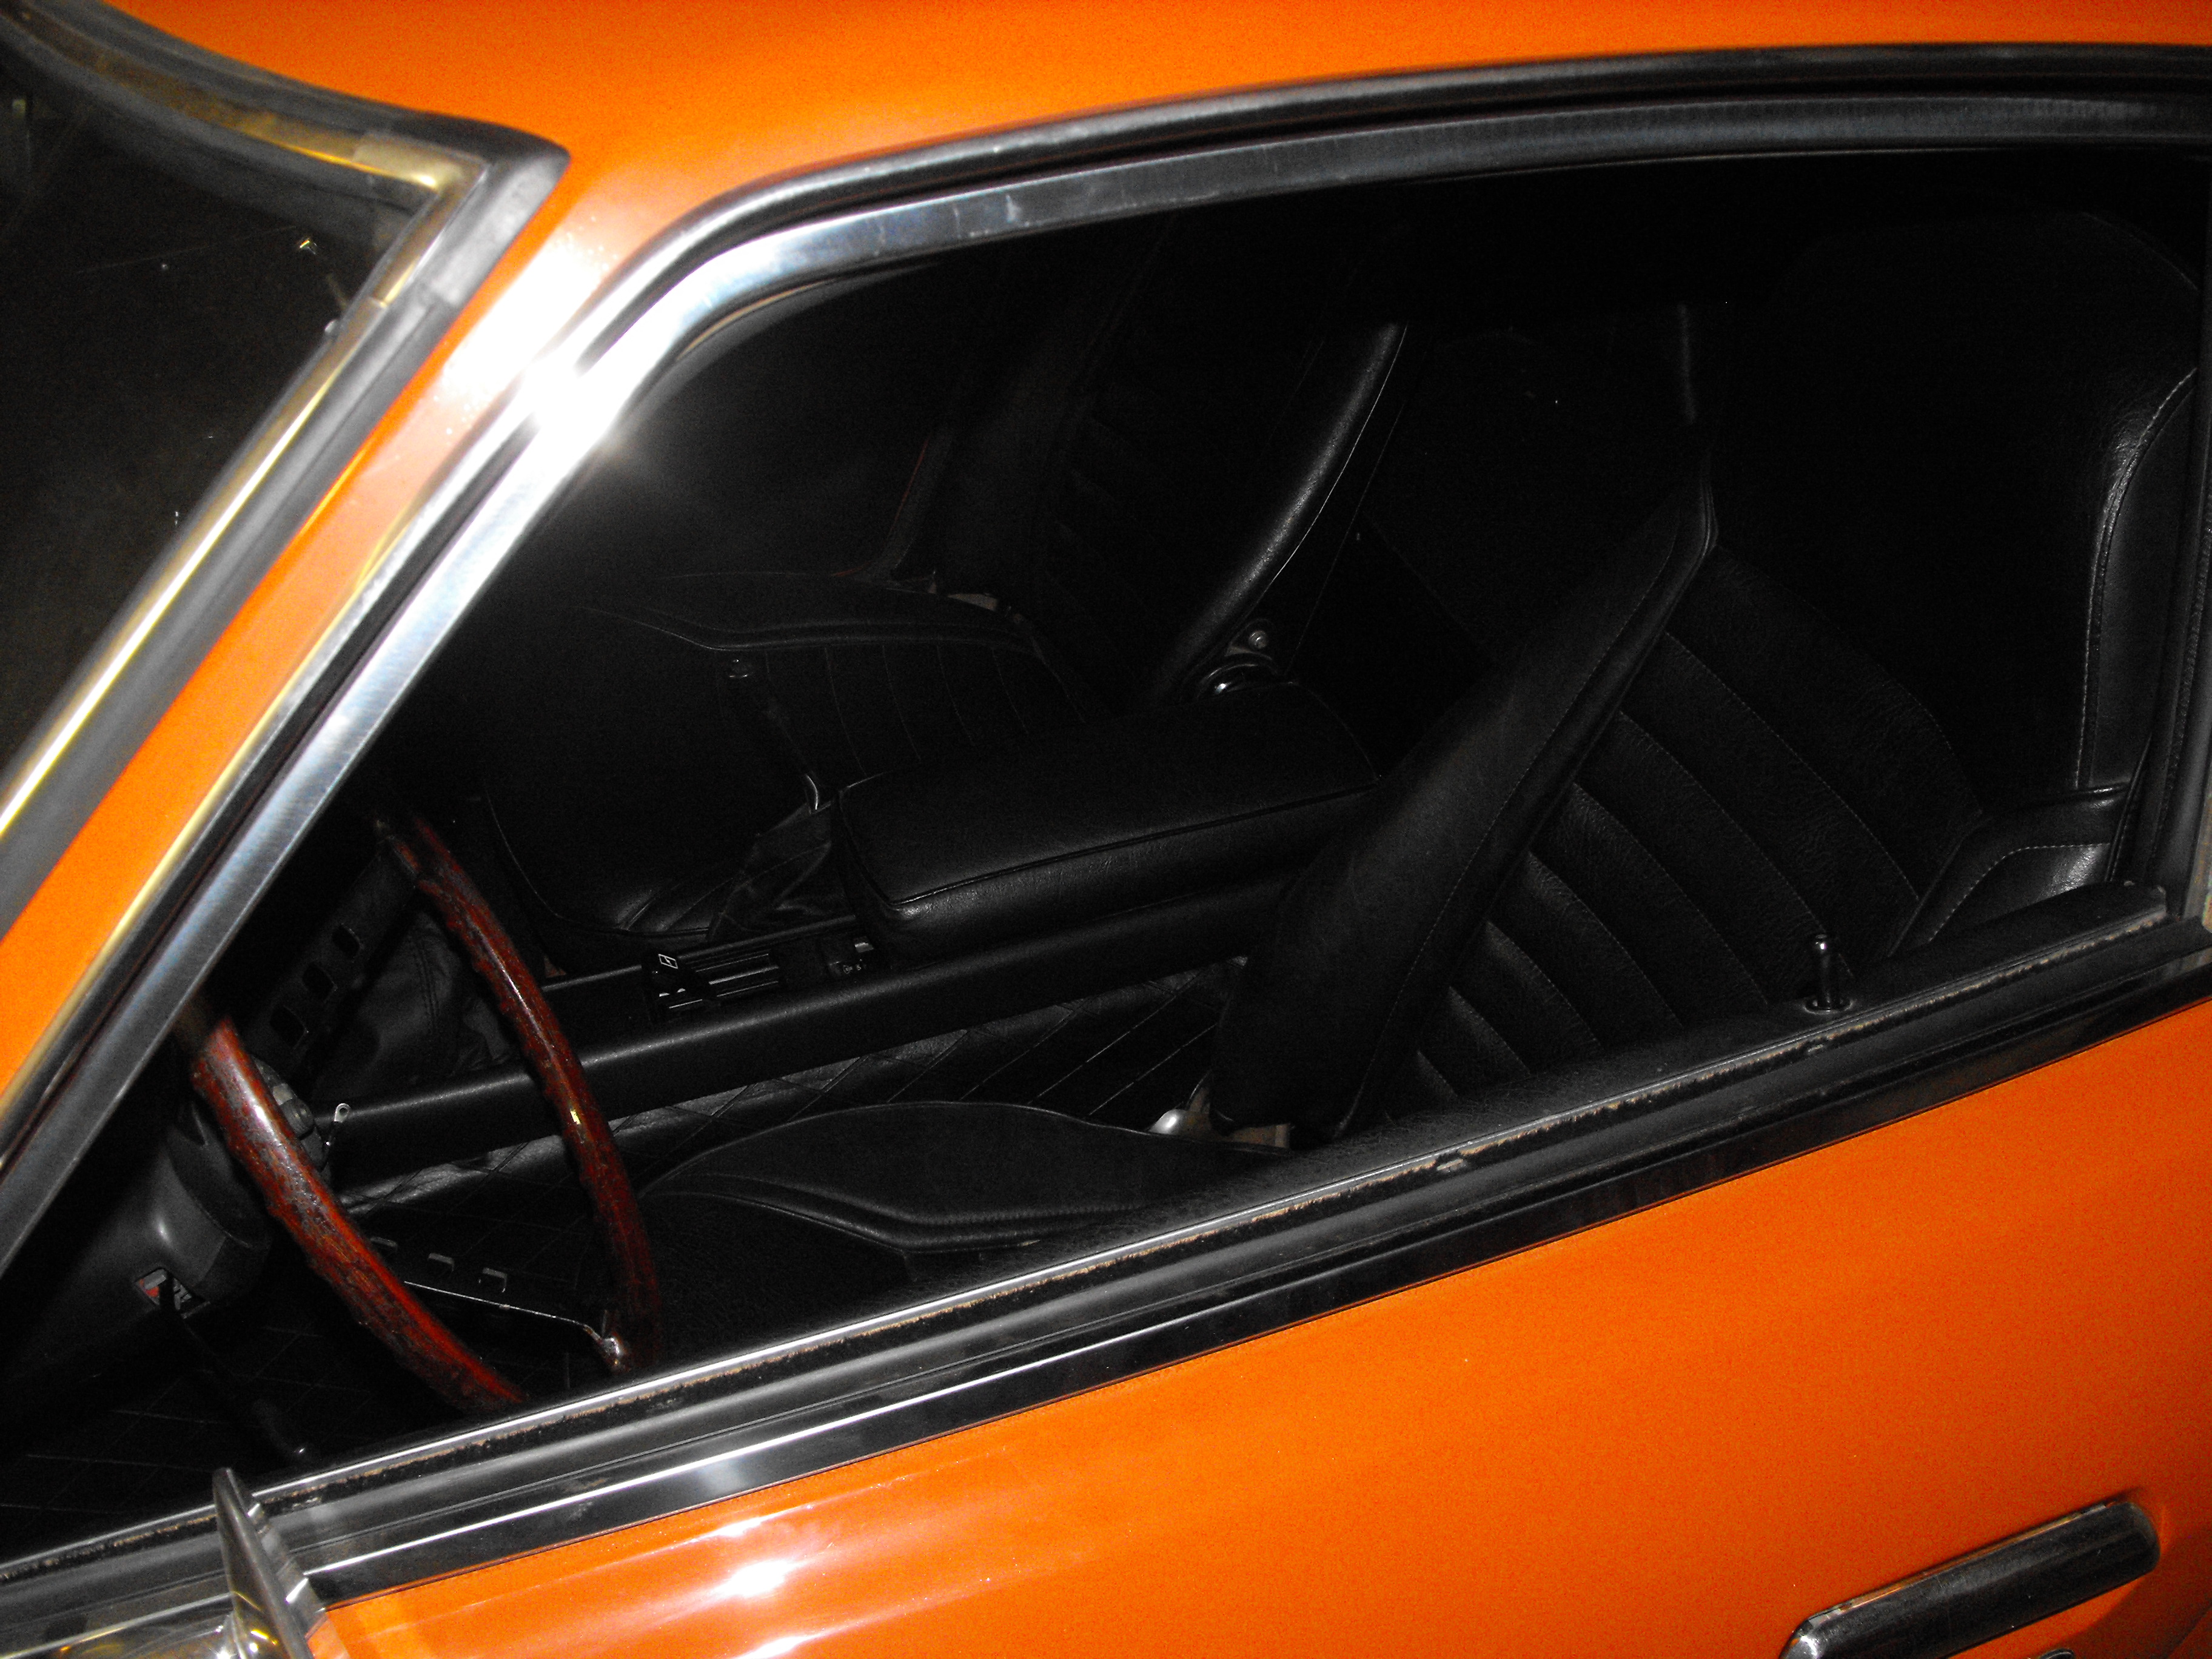
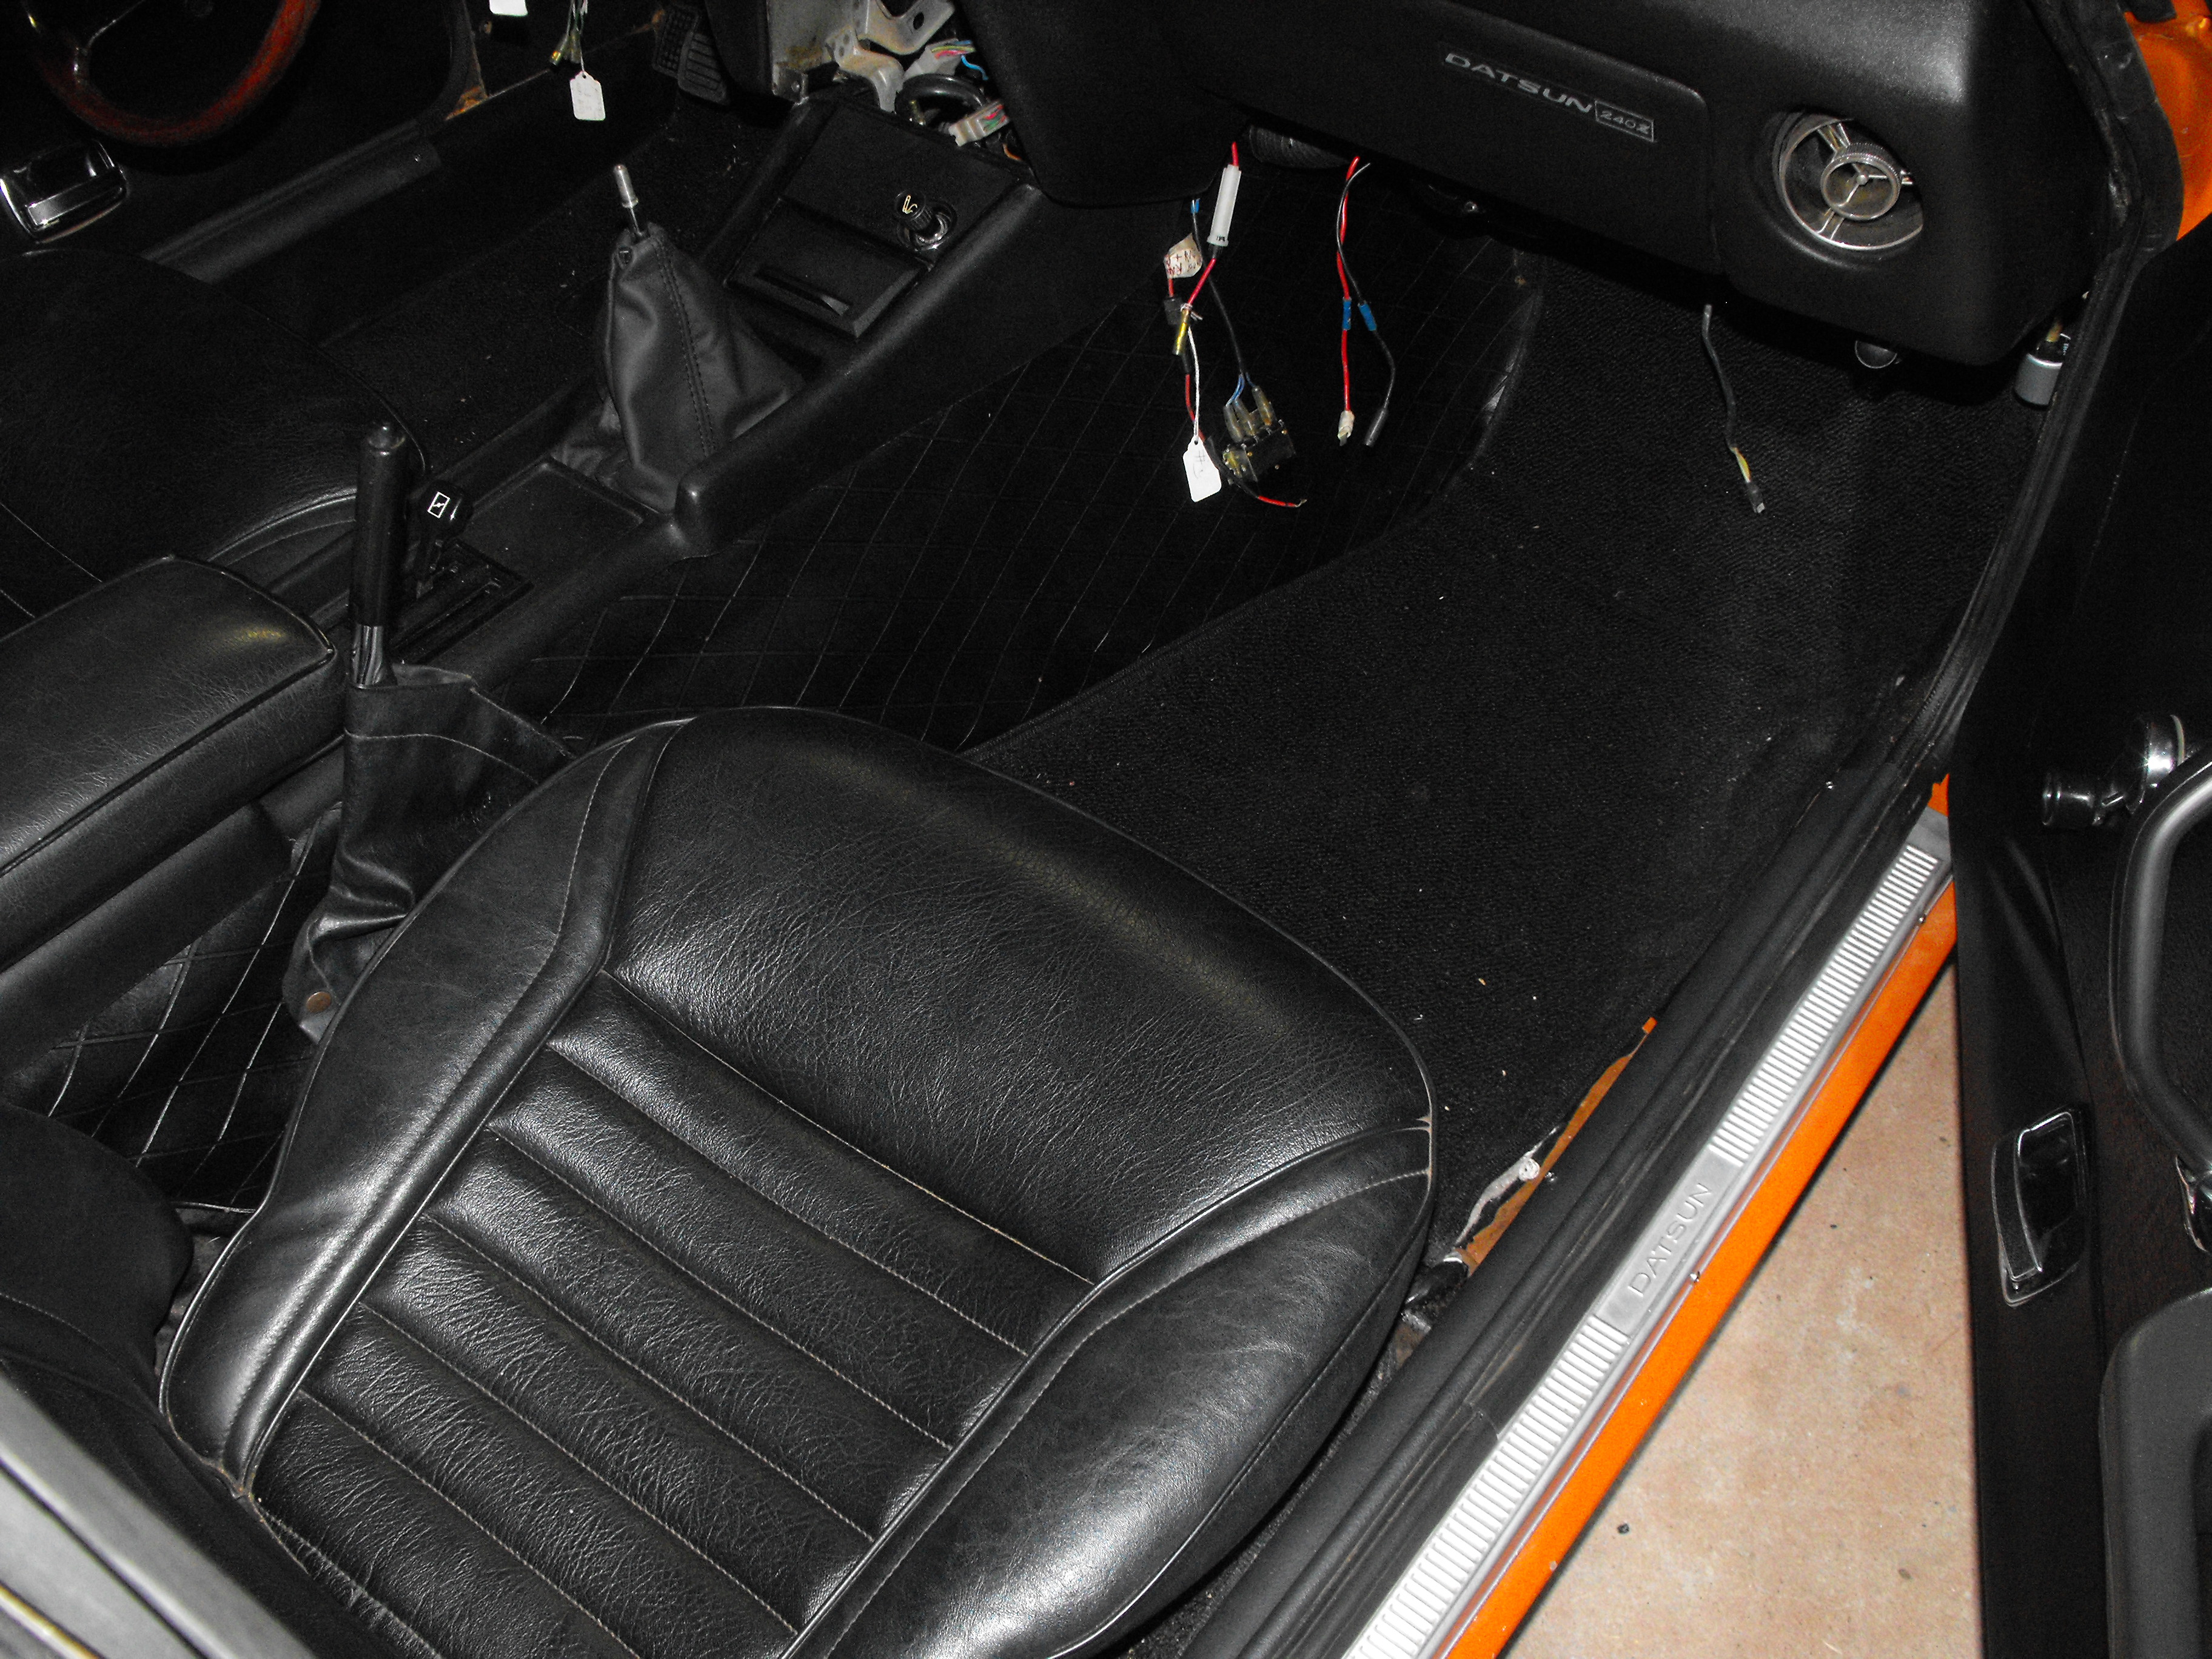
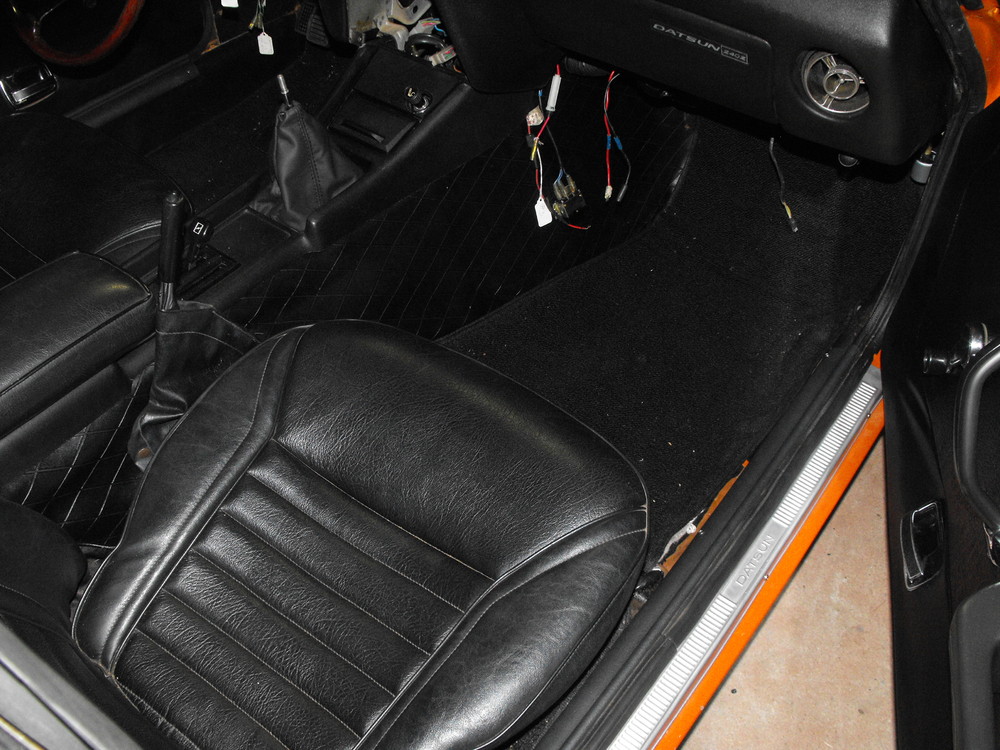
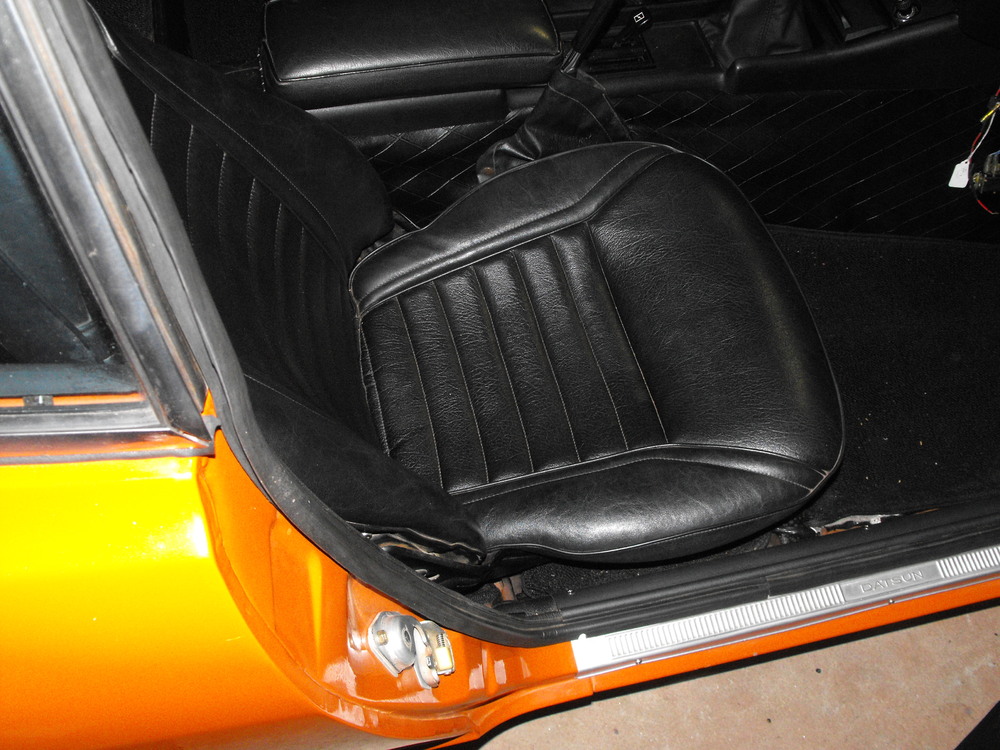
Got just a few things done this weekend. I put the seat belts in. Also removed the seats and cleaned and lubed the rails so it would move back and forth nicely. I did a touch-up on the wood part of the steering wheel. Will probably do the black parts a little later this week. I installed the horn assembly with the horn guts just because I had parts. Will have to remove it all to finish the black on the steering wheel, but that is fine. Also riveted in the door ID plate. I added some of the parts to the vent assembly panel, but not ready to tackle that yet. Maybe next weekend. Here are the pics.


-
Here are the latest pics. The interior is coming along. Still some electrical to finish.


-
Here is how I did mine. For the 3 piece strip, I put the center one in first, centering as best I could. Then put on the two sides....trimmed the extra length. Hope the pics are clear enough