


motorman7
Supporting Member
-
Joined
-
Last visited
Everything posted by motorman7
-
http://www.classiczcars.com/forums/showthread.php?t=34777&highlight=refresh&page=3 Check about 3/4th of the way down this page and you will see the cam timing marks and the crank timing marks along with the link marks (They are both offset by one link in the pics). Mine is a 240 also. The chain should have two marks (0's in the pics), 42 links apart. They should correspond with the cam and crank marks as shown in the pics. I believe in this configuration that the spline on the crank is facing up at 12 o'clock.
-
Hi Esprist, Any updates on the hose? Thanks, Rich
-
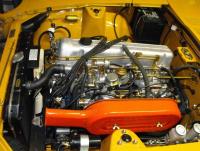
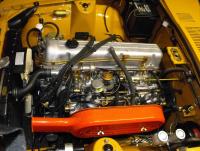
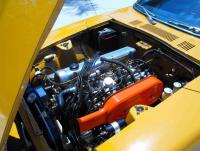
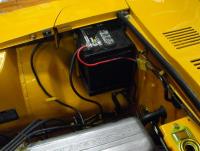
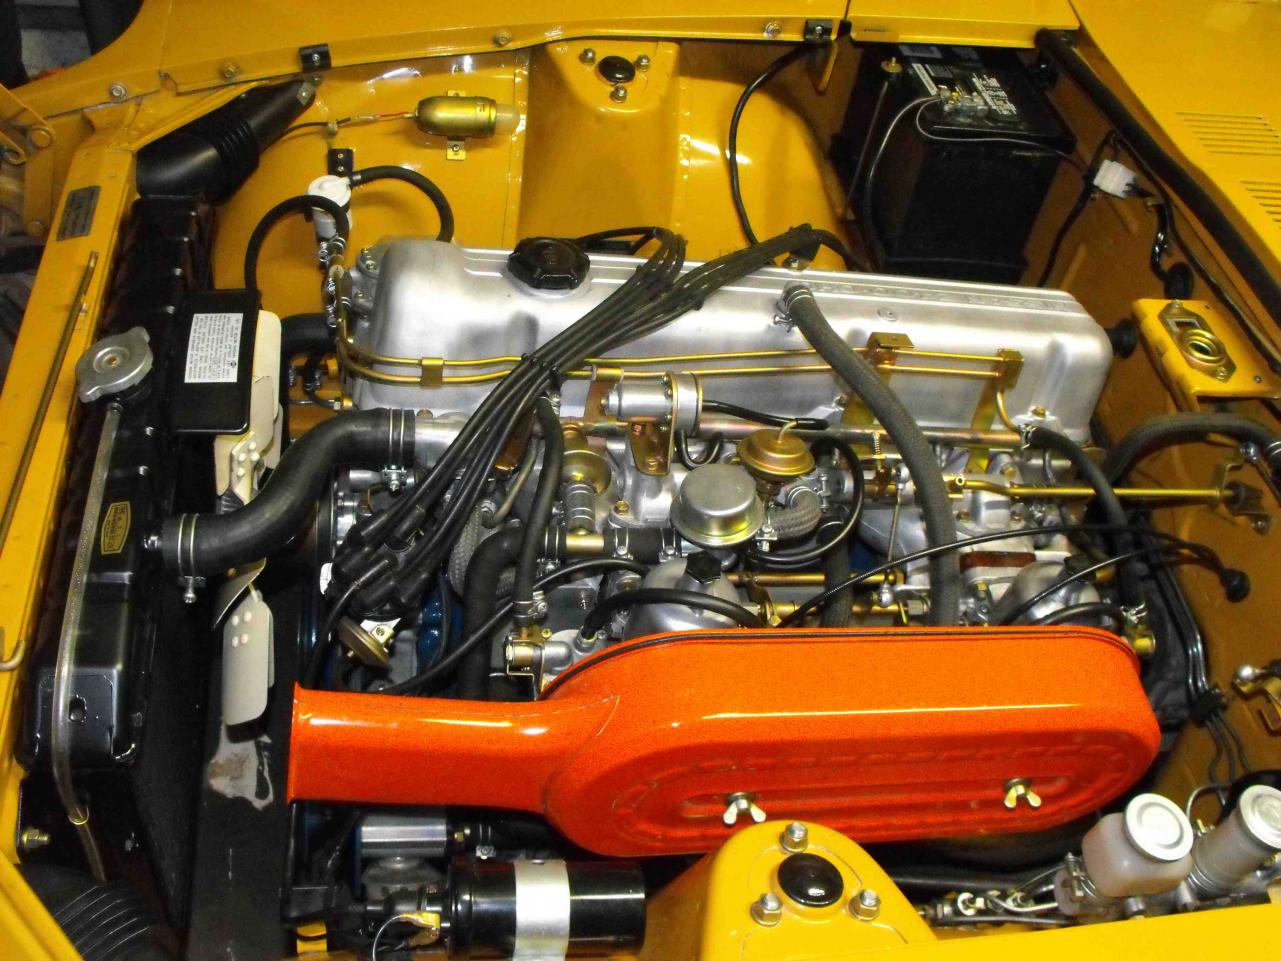
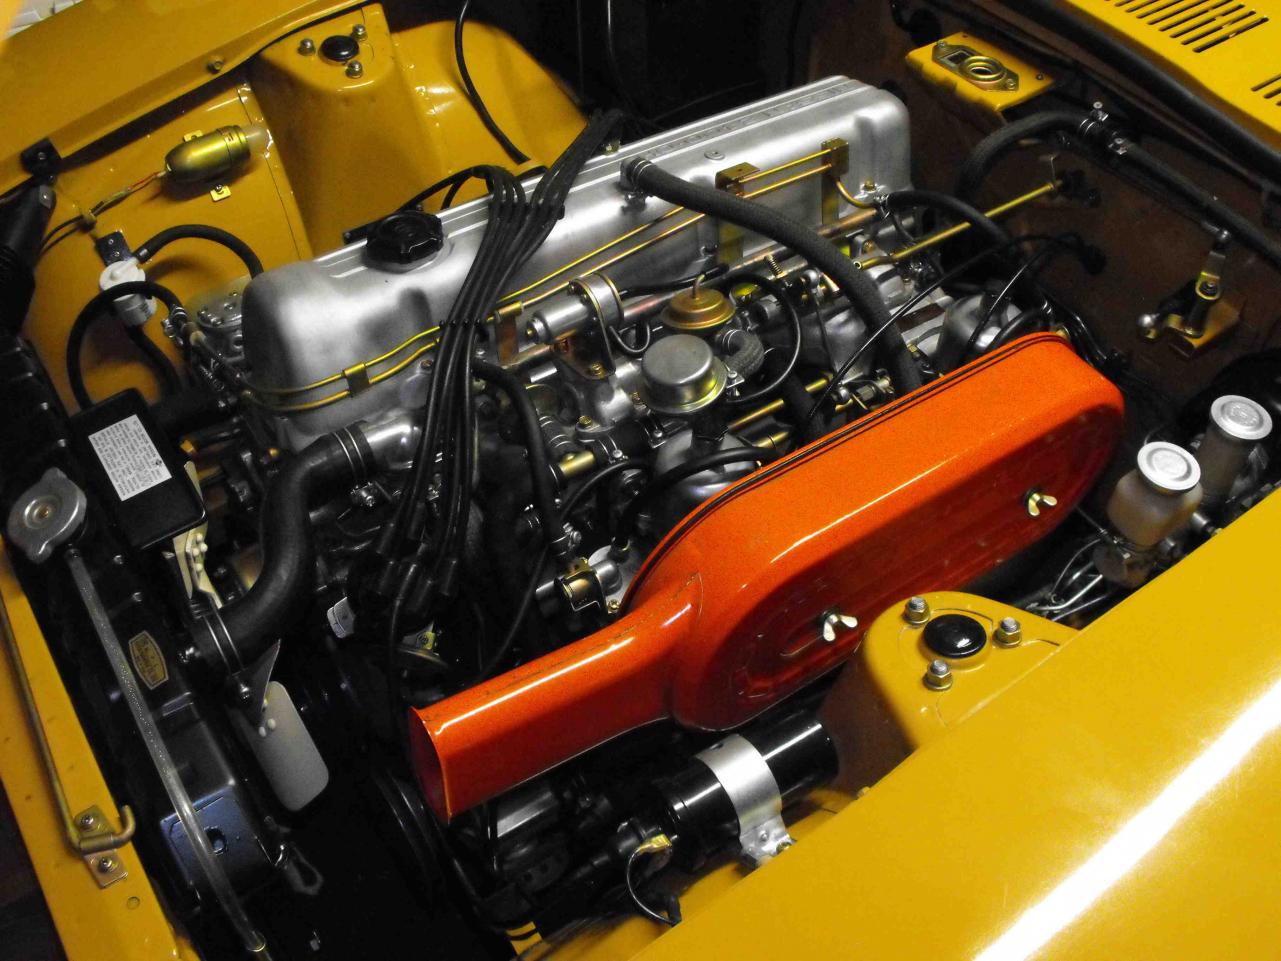
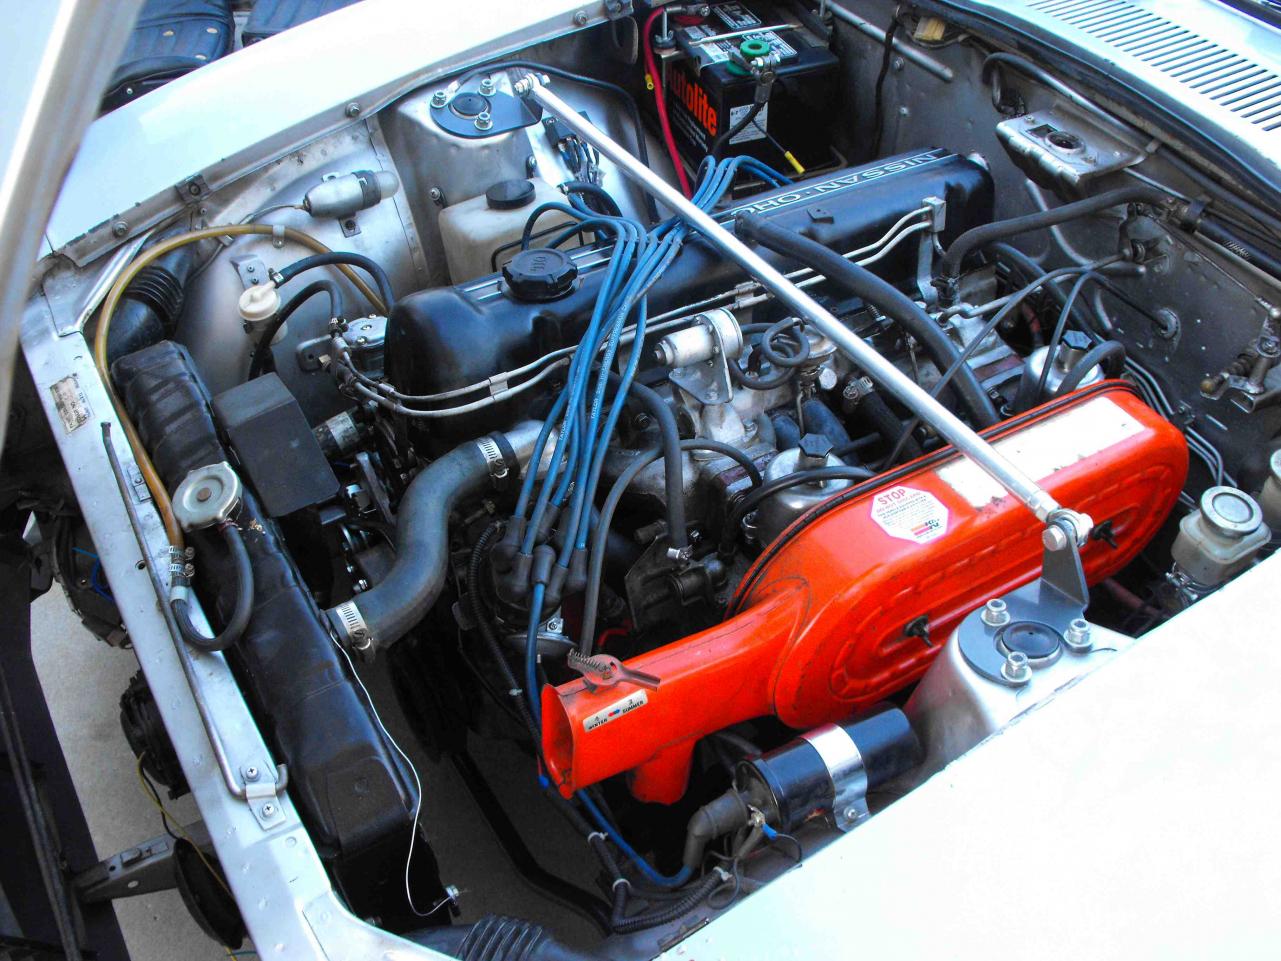
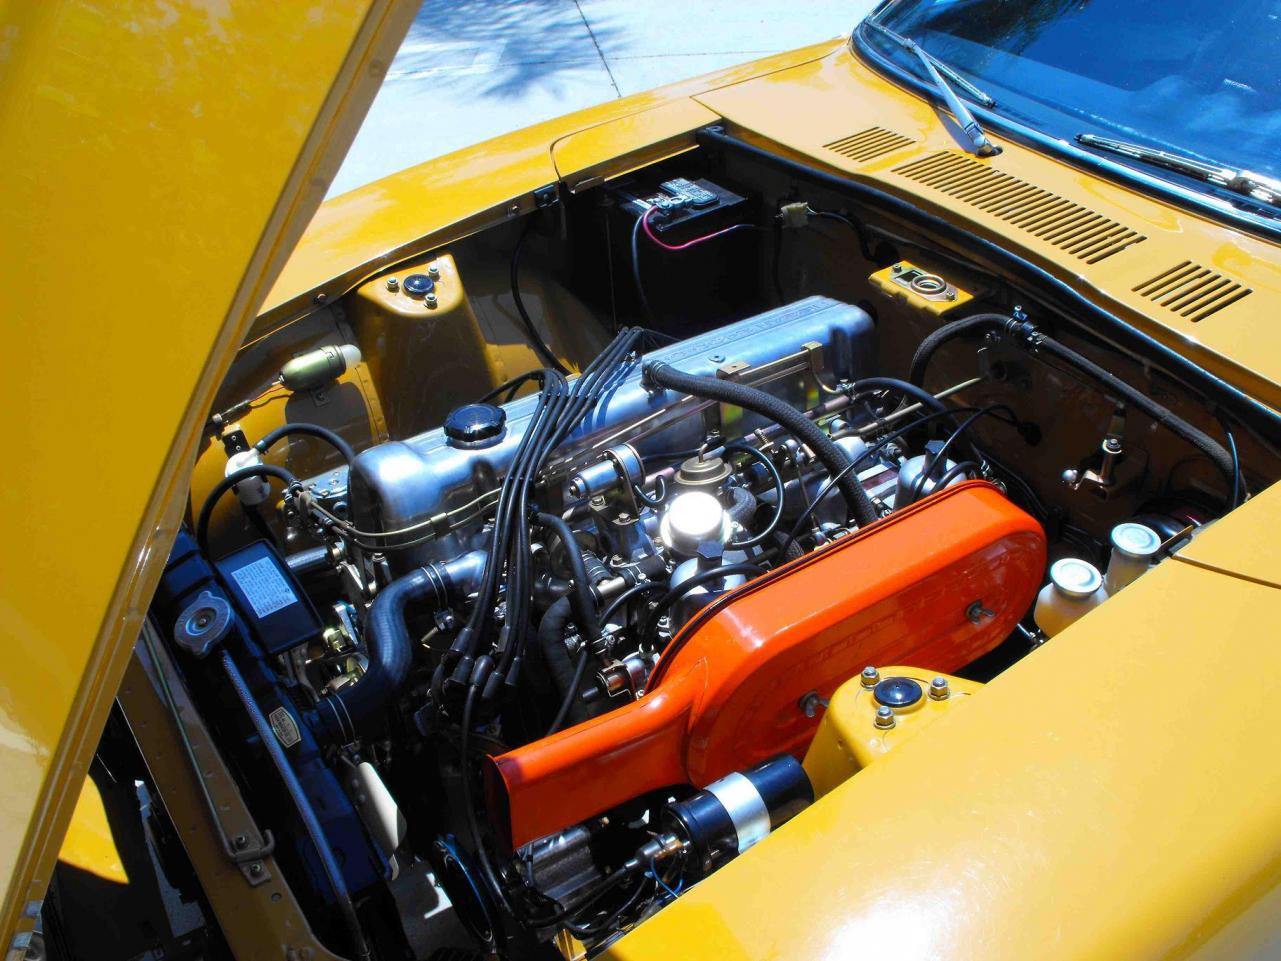
The engine refresh is now complete. The valve cover was bead blasted and a light coat of clear enamel sprayed over top. Battery ground cable has been replaced. The only outstanding issue at this point is the air galley. It discolored due to engine temp. I spoke with an expert in plating and he said that once above 150 deg C, the yellow chromate will discolor. He said this will happen on both cad or zinc base. He recommended a clear coat after the plating to help reduce the effects of the heat. I will send him one of my extra air galleys and see how this goes. Also, will close off the ends of the tubes feeding the galley. Hopefully this reduces the discoloration. I am not running the smog pump which is probably part of the problem.

-
I like your garage though! Seems nicely set up for working on the cars. I like the sand blast cabinet. Will have to get one some day. My main garage still has most of my wifes craft stuff and holiday decorations
-
I am still trying to figure my wife out on this one. She is a lot more accepting of my Z hobby than I had anticipated. We actually went to a local car show a couple weeks ago displaying the 70 Z (Cruising Grand in Escondido), and she really enjoyed it. Also, the thing she likes best is that my son and I work on it together. So, for now, this is a pretty good thing. Of course, with the speed and power of the new one, she did suggest that we up my insurance policy:rolleyes:
-
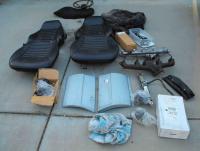
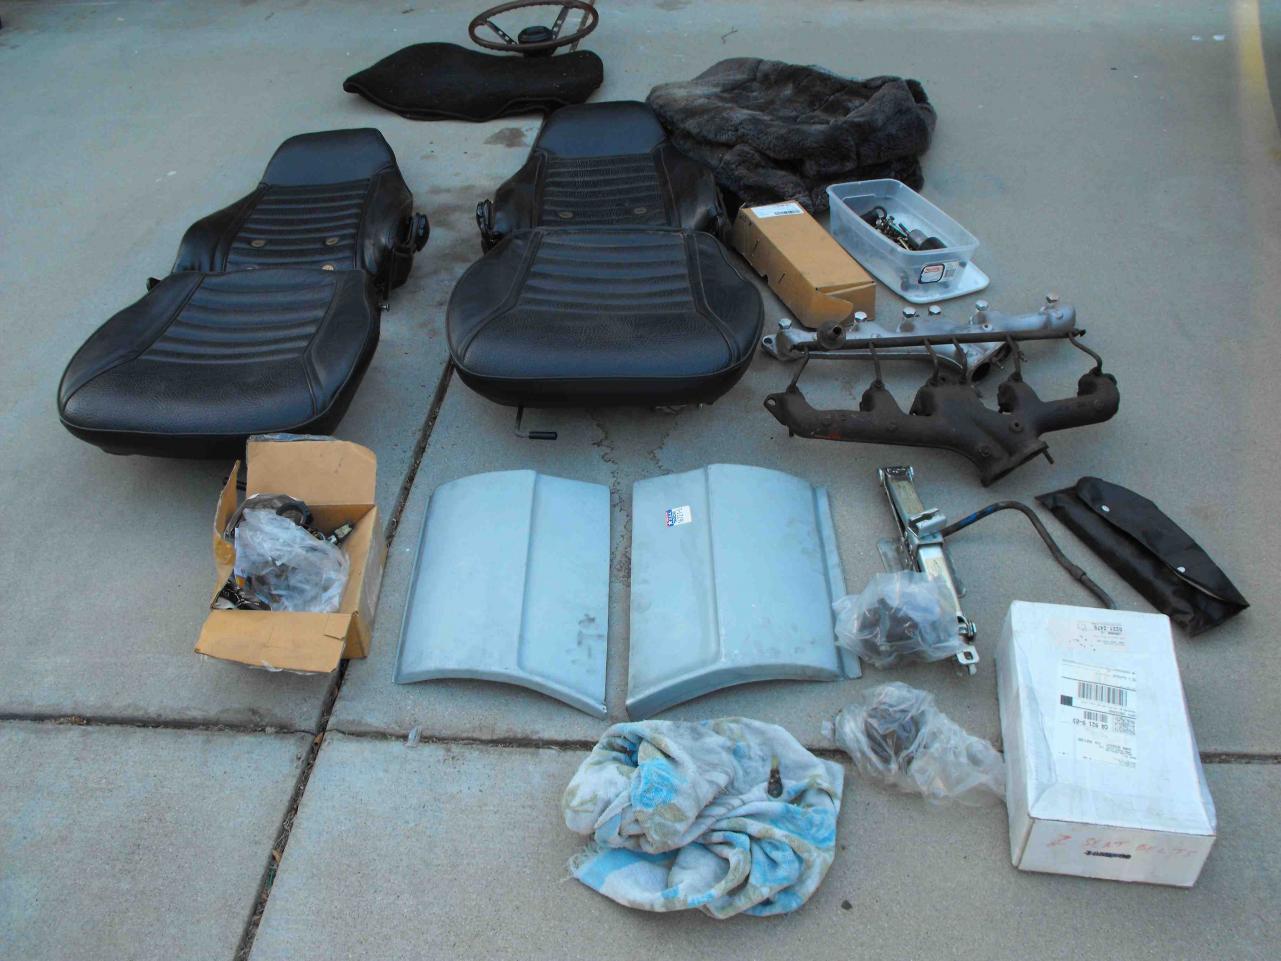
Got some bonus parts with the car also. The original seats are great. the steering wheel is decent as well. Will refinish that and put it back on.
-
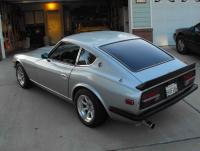
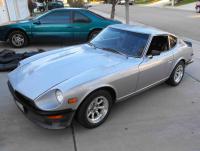
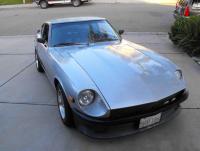
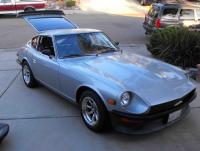
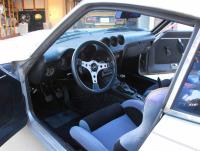
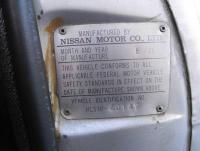
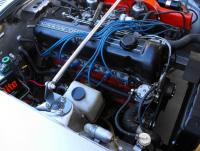
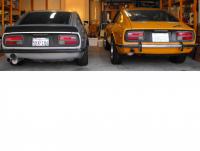
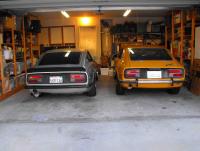
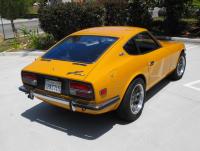
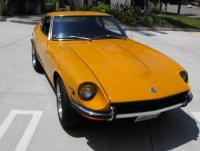
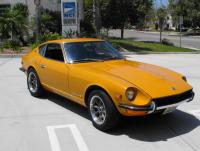
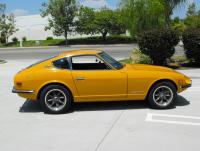
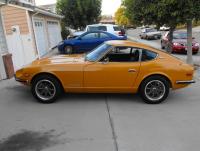
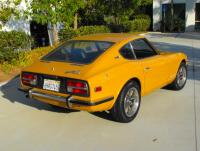
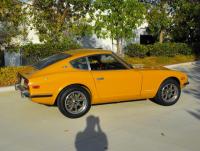
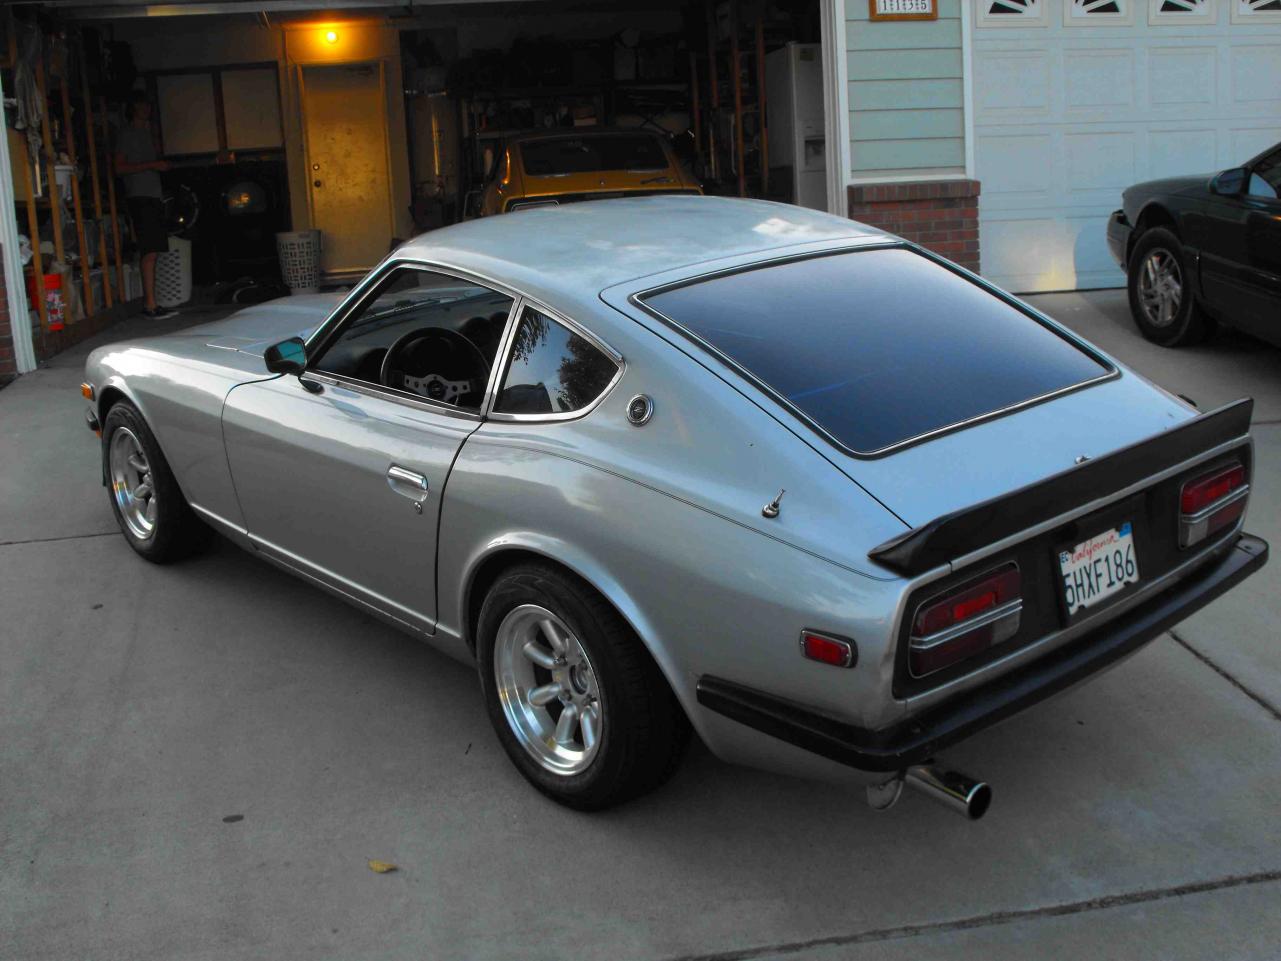
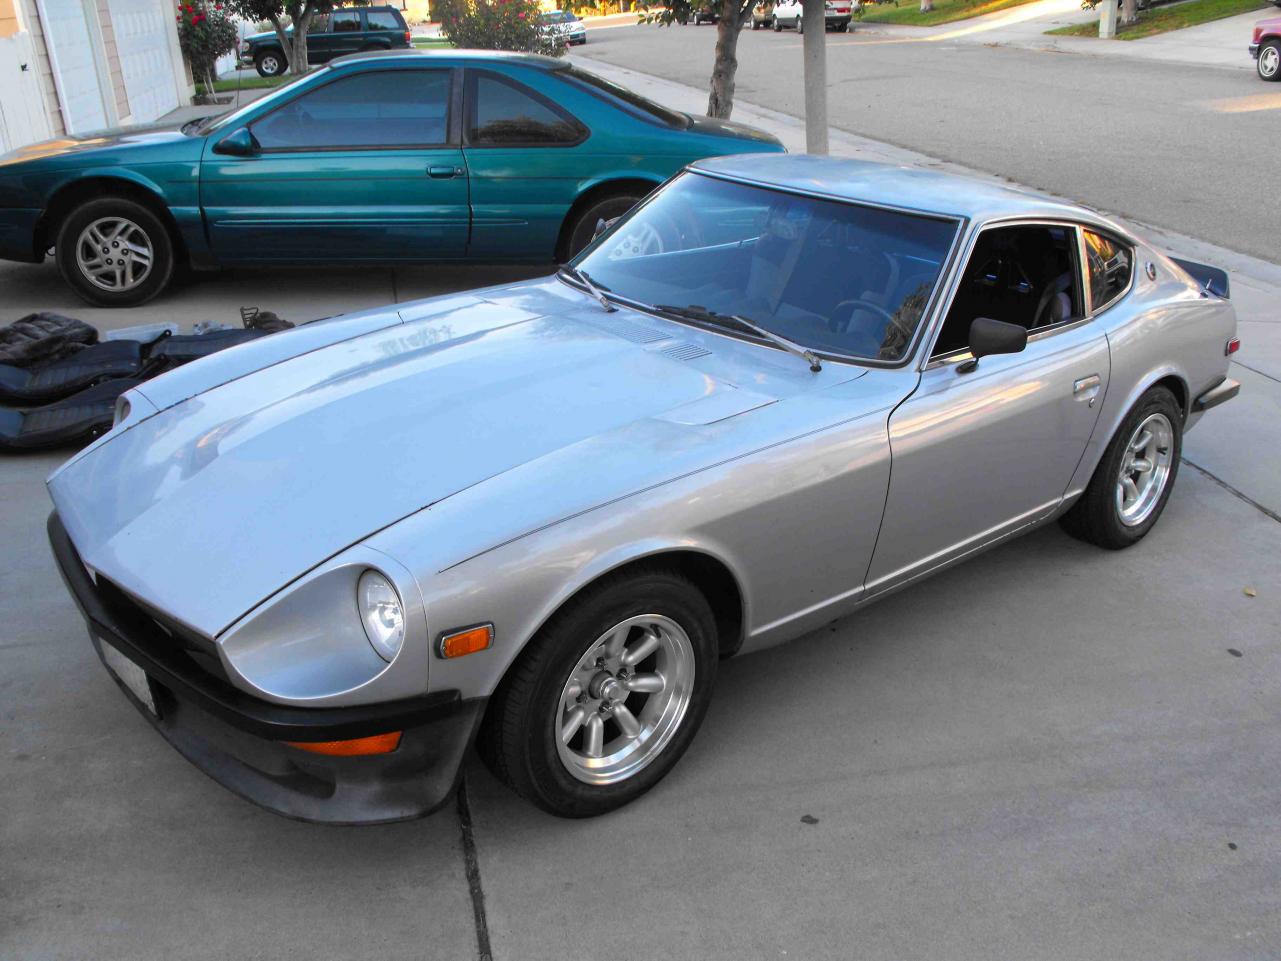
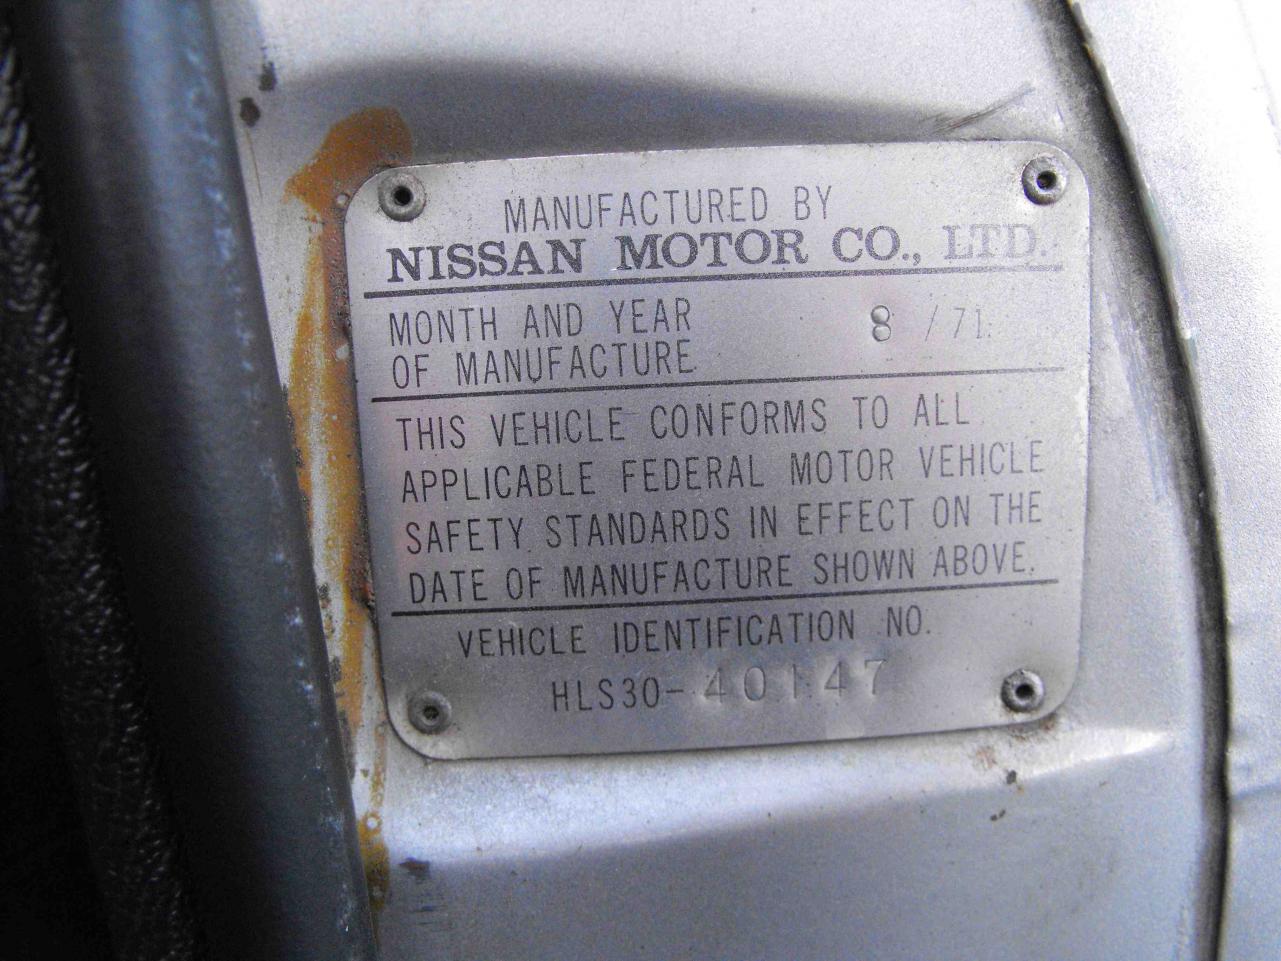
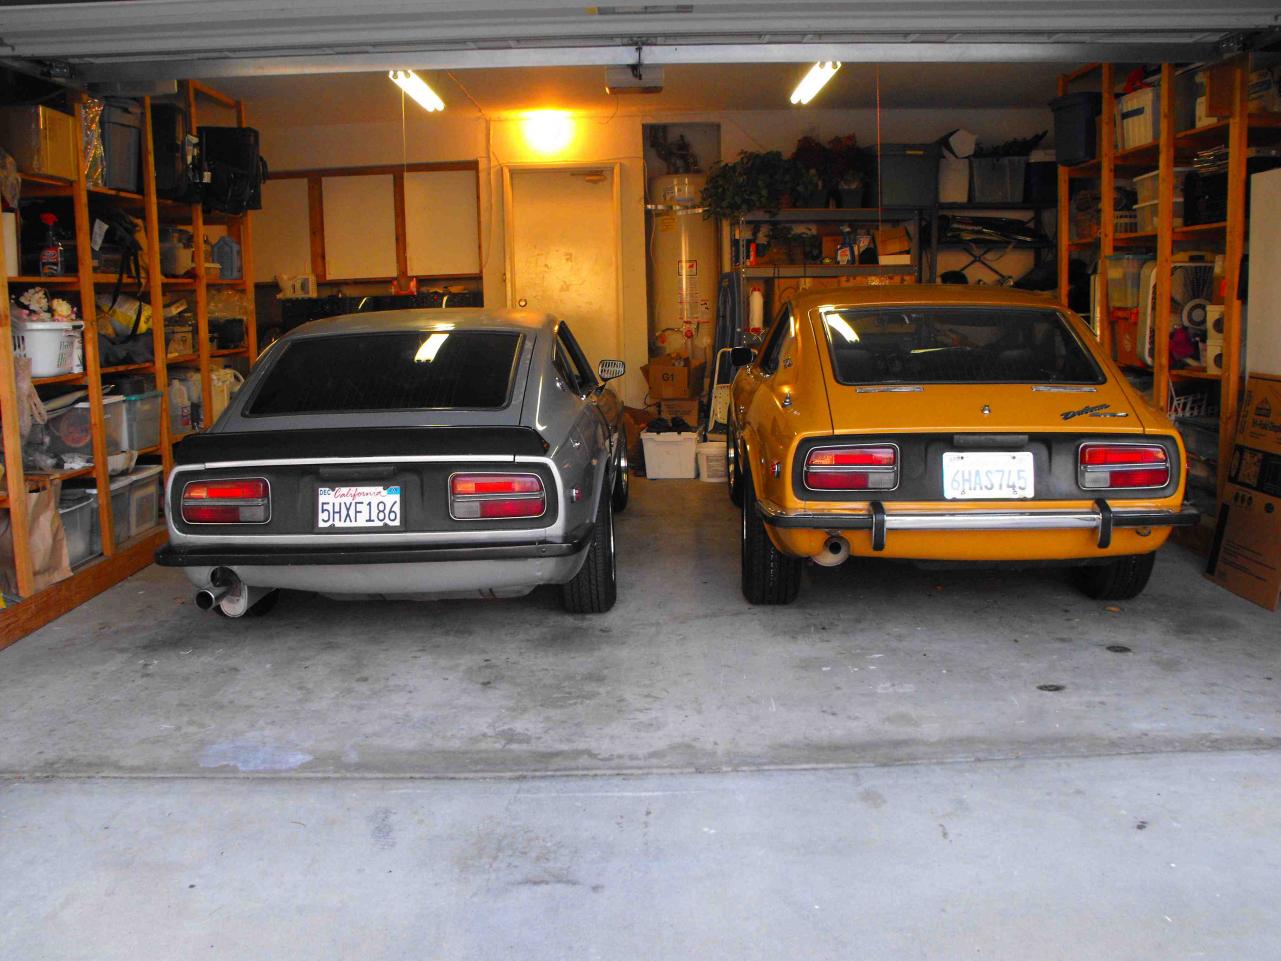
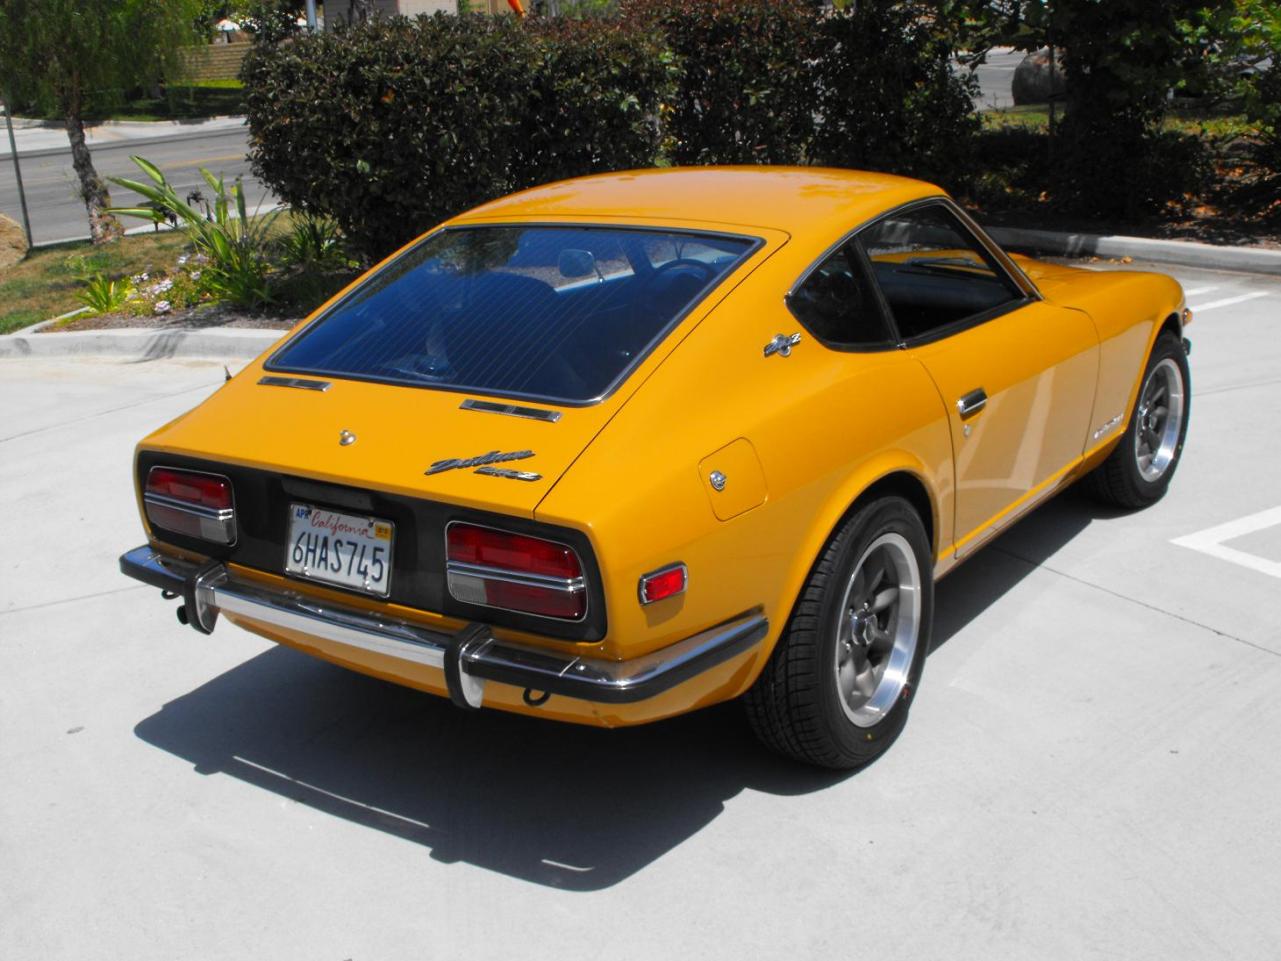
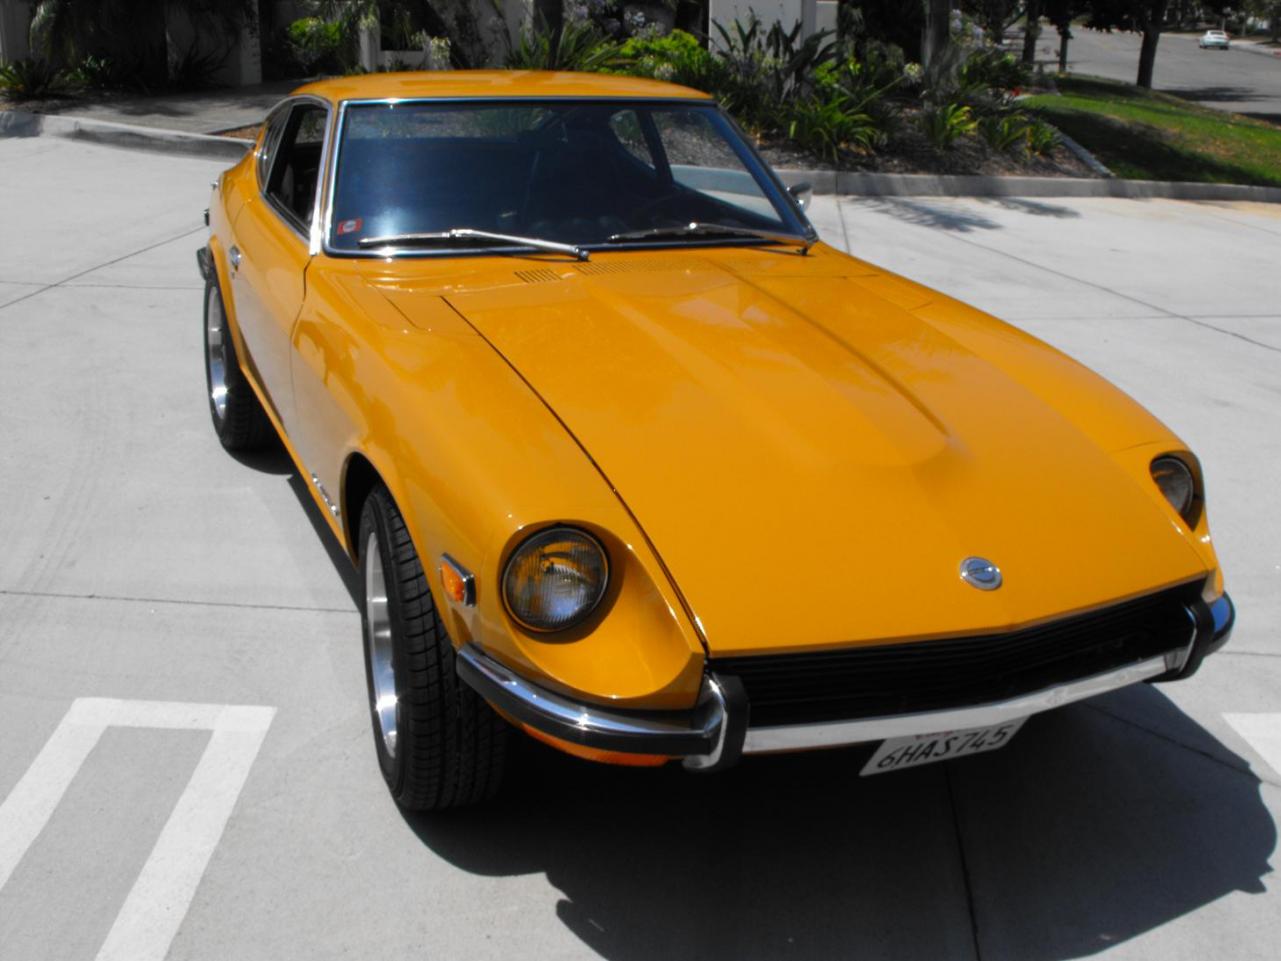
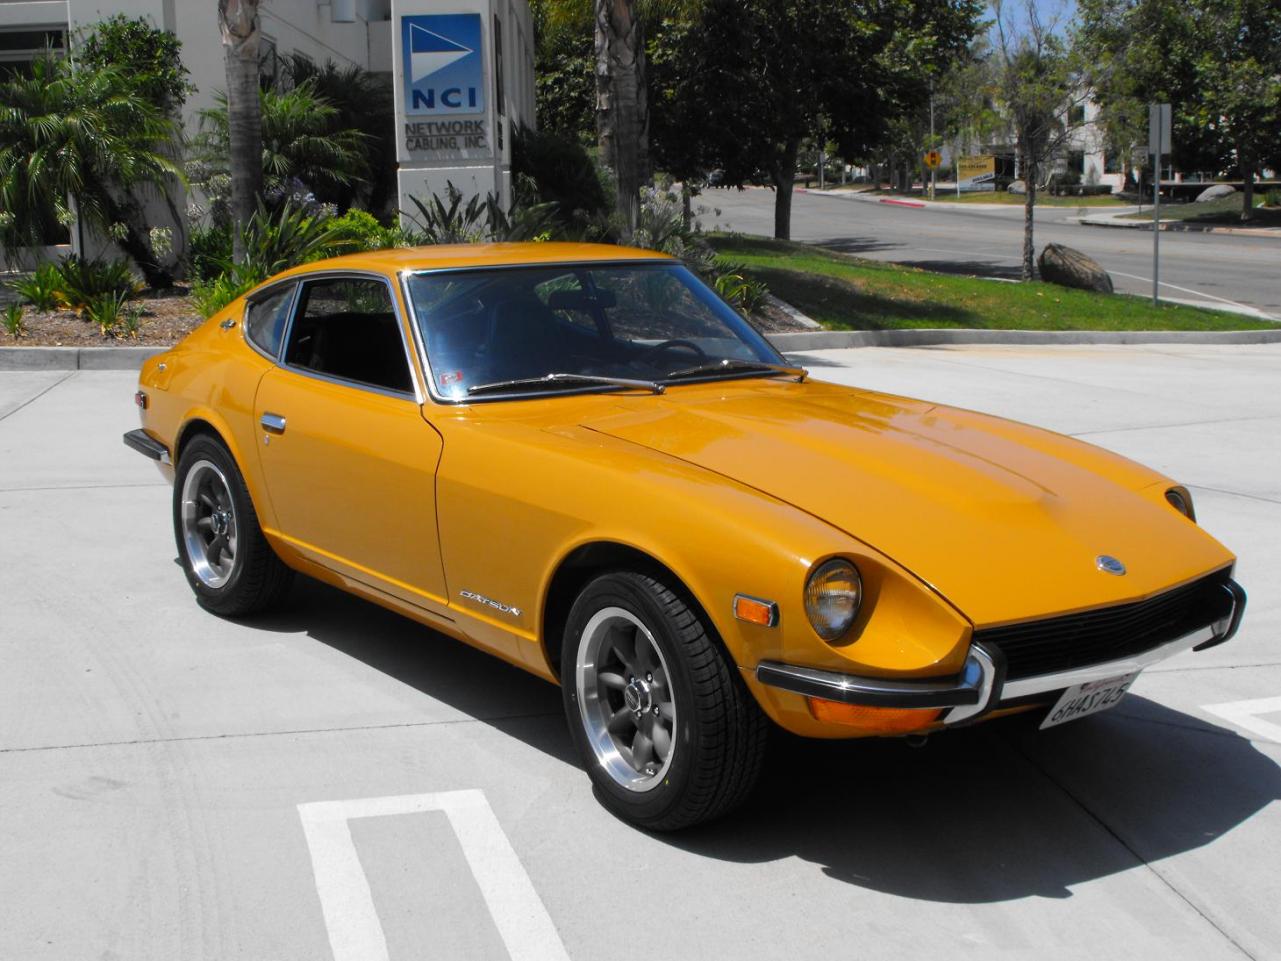
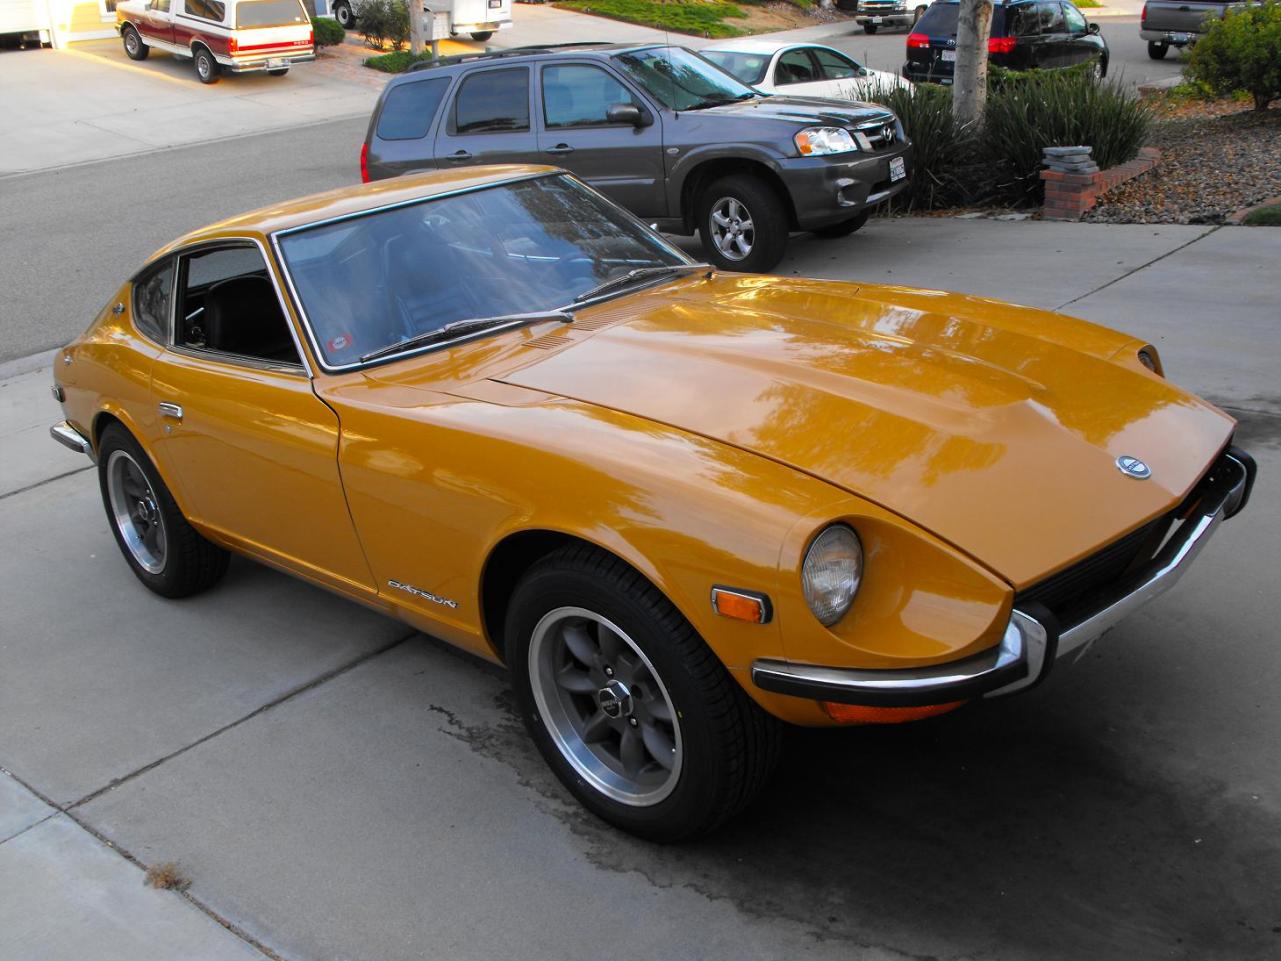
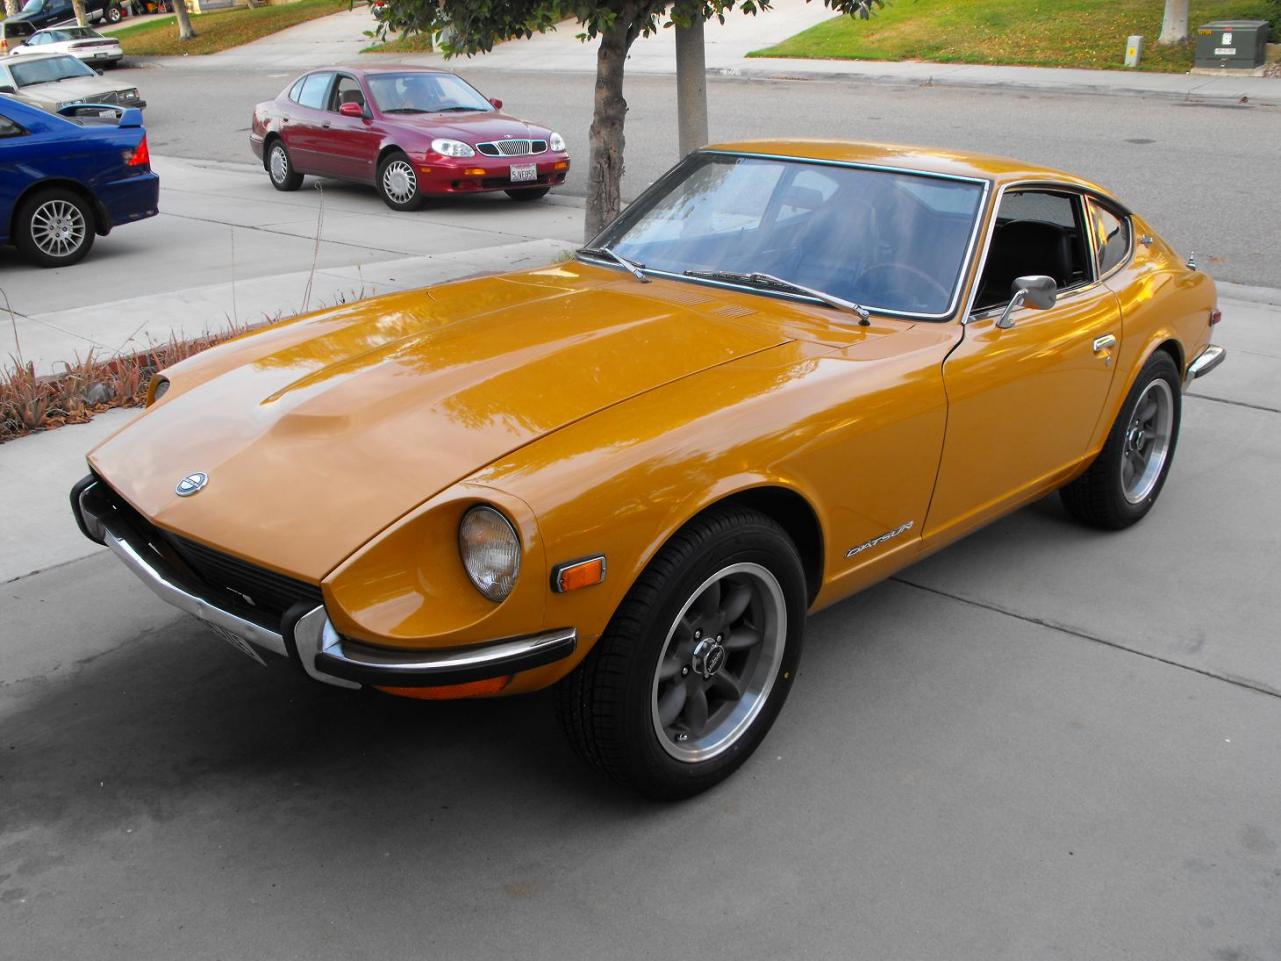
Well, just picked up a 71 240Z for play. It will join my 70 in the garage and be my daily driver. HLS30-40147 is a 71 Z in decent shape (minor rust on panels), but has an L26 engine inside. This is quite a blast to drive. My son loves it. The L26 is hooked up to a 5 peed with short throw shifter. The suspension package is also nice as the car does a great job cornering. The interior is in great shape including the door panels which look to be original. I hate the seat and the steering wheel. Will most likely sell them on e-bay and put the original seat and steering wheel back on. The seat would be great if I was 5'8" or shorter, but I am well over 6 feet tall. The original seat, which is nicely upholstered will fit me much better. Was thinking of pulling the engine this weekend and painting the block the correct Nissan Blue. The Chevy orange:sick: block bothers me and I dont care for the black valve cover (The combo reminds me of Halloween, scarey). Here are some pics of the car.

-
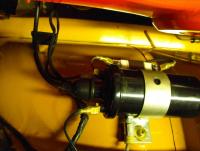
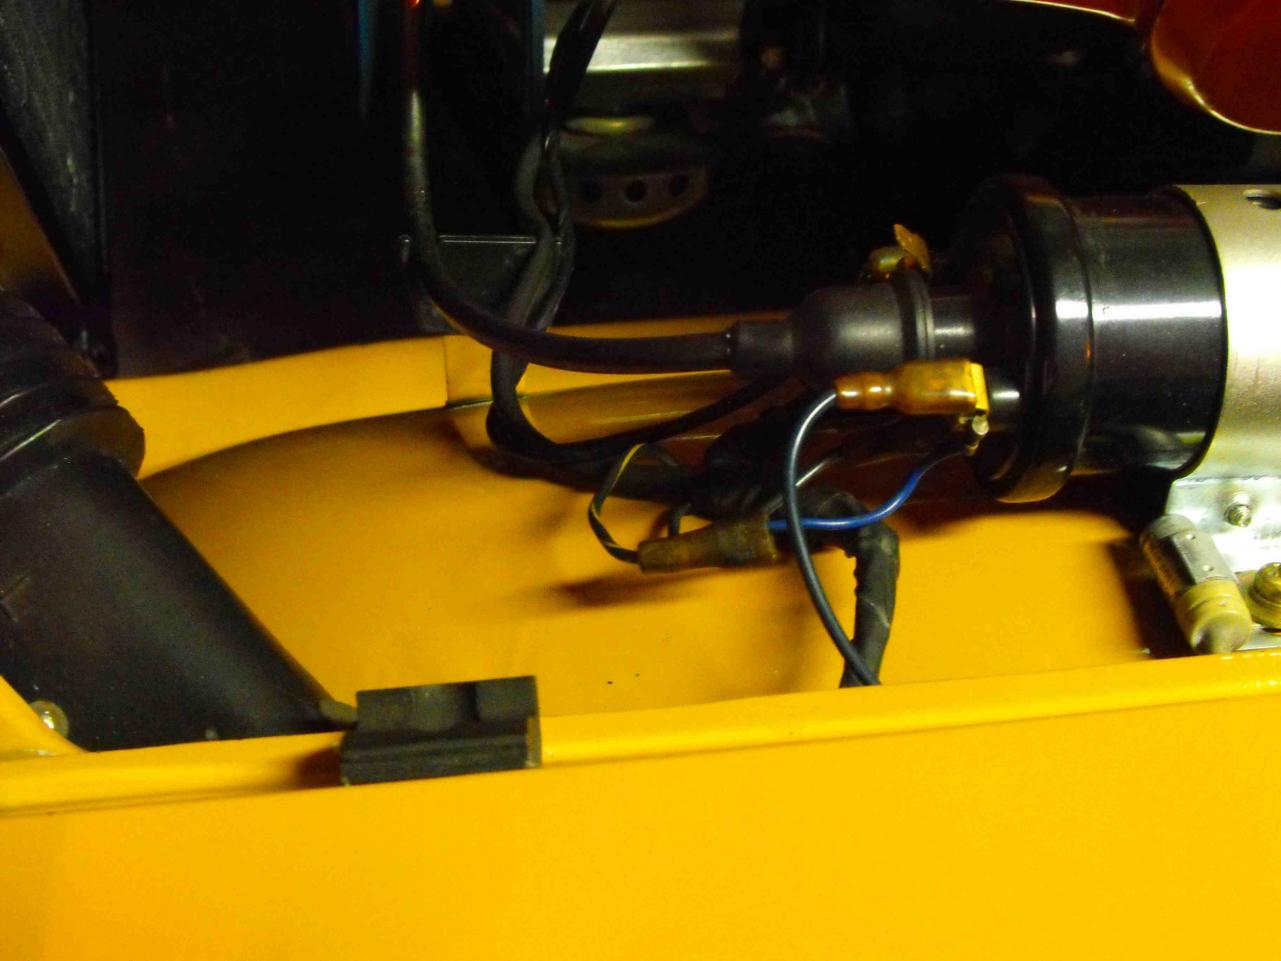
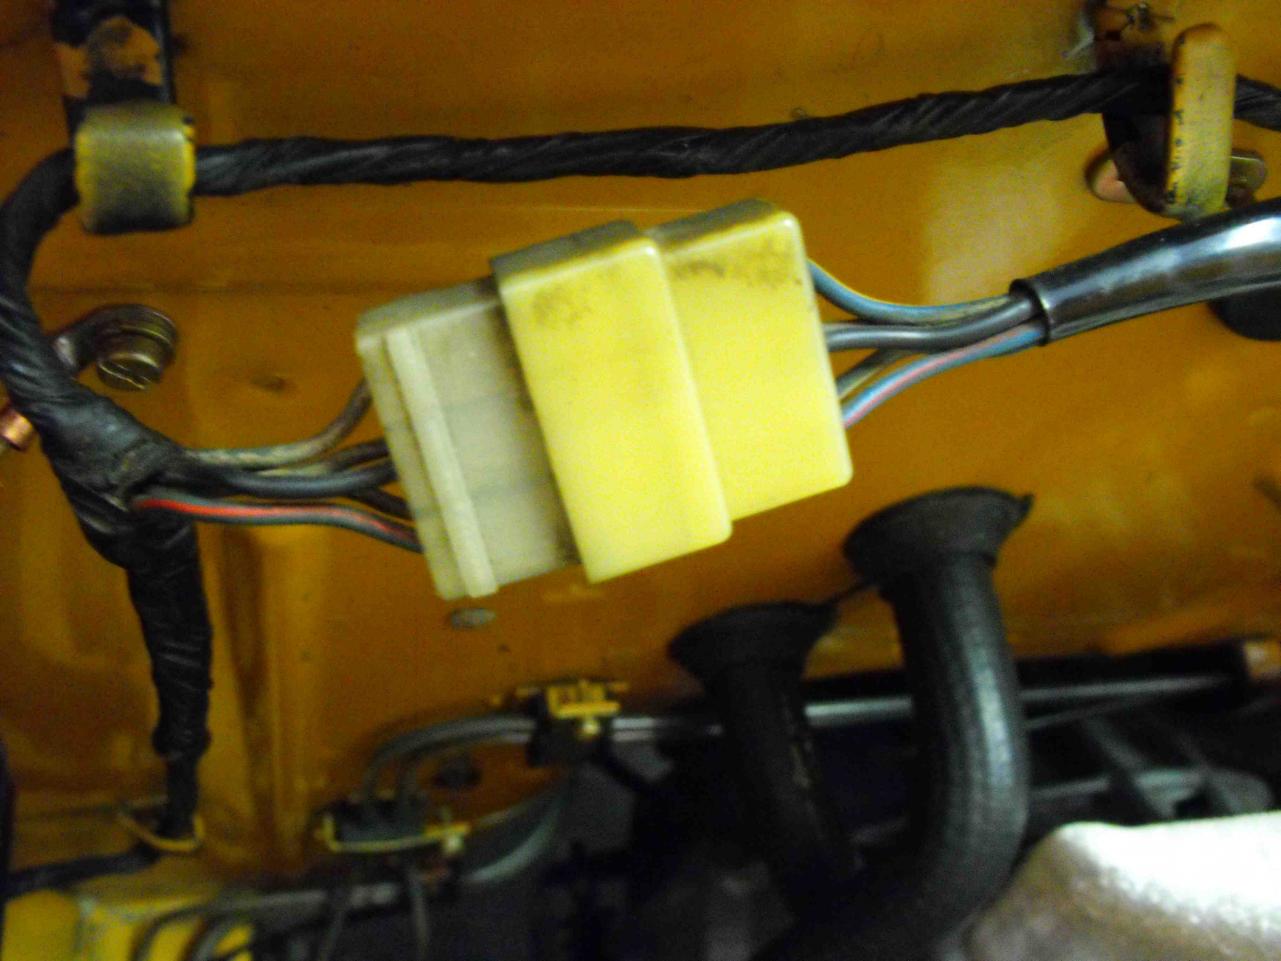
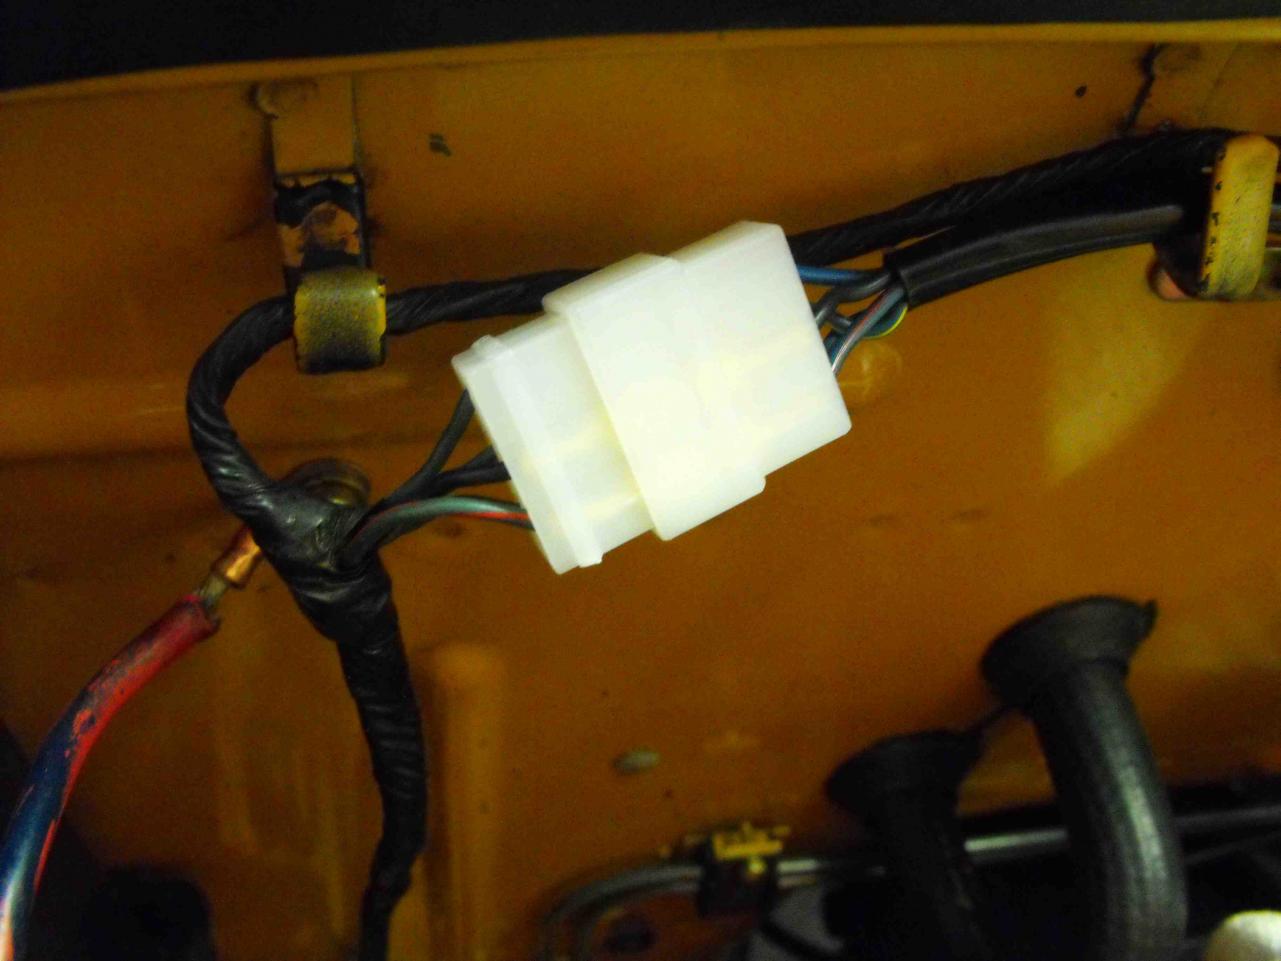
Thanks for the help there. The adhesive works great but is very hard to use. It drys fast and is very rubbery. Fun to peel off your fingers if you have the time. I replaced some of the electrical connectors at both the coil and the firewall. The originals had turned yellow and looked bad. I replaced them with some new ones from Banzai motor works. Looks a bit nicer and closer to original. Now I just need to get that battery ground cable corrected. Also, sent the valve cover out to get glass bead blasted. I look forward to getting that. the motor should look pretty sweet once that is done. The only question on that is how to protect the finish. And, I have really gone off the deep end here. I just put down a $200 deposit on a modified 71 240 Z. The body is silver and in decent shape. Black spook in front, small black rear spoiler. The motor is a 260Z motor hooked up to a 5 speed; Tokico shocks, limited slip defferential, MSA header and exhaust. I will pick it up Monday and attach photos. The plan is to clean it up a bit and use it as my daily driver. Rich


-
Not really sure it's related to the sea foam. Can't see how that would effect only one cylinder. It sounds more like an electrical arc in the distributor (or between wires if they are old) that causes #2 to fire before it should.
-
I would check the distributor cap for a crack or carbon trace. #2 cylinder may be igniting prematurely by the ajoining plug wire in the distributor cap. Had this happen once on my Mazda 626.
-
I need to replace the rubber cowl seal under the hood. Any tricks to getting this off without disturbing the paint? Any recommended glue for putting the new one on? Thanks, Rich
-
I'd give it a sharp tap with a hammer to see if I could loosen the splined coupling. A long 3/8" socket extension and a steel hammer would do the job. First try the tap on the nut. If that does not work, try it on the wheel hub.
-
Those are beautiful pictures...love each and every one of them.
-
Hi Ron, Really I like them all. I just have a preference for the stock vehicles at this stage in my life. I think I like the simplicity and the challenge of keeping them stock (as best I can anyway). And, I am sure I would get myself in big trouble if I had a racer. Doing my best to keep a low profile here and off the police radar. Best Regards, Rich
-
Yes, It's one of the larger shows in SoCal. Good variety of vehicles, both OEM and modified. Last years was great. There were a good number of the datsun roadsters which are some of my favorites (un-modified of course). Rich
-
I will be there! Already have my car entered. This will be my 3rd year in attendance, first year with a car entry. Looking forward to it. Rich
-
http://cgi.ebay.com/ebaymotors/ws/eBayISAPI.dll?ViewItem&item=110416390365&viewitem=&sspagename=STRK%3AMEWAX%3AIT Here is another one billed as "Rust Free" on e-bay. You should chack out the Hi-Res pics. Rust on one of the floorboards is so bad that there is a hole in it. I think people just cut and paste these words into thier ads whether they are true or not. Rich
-
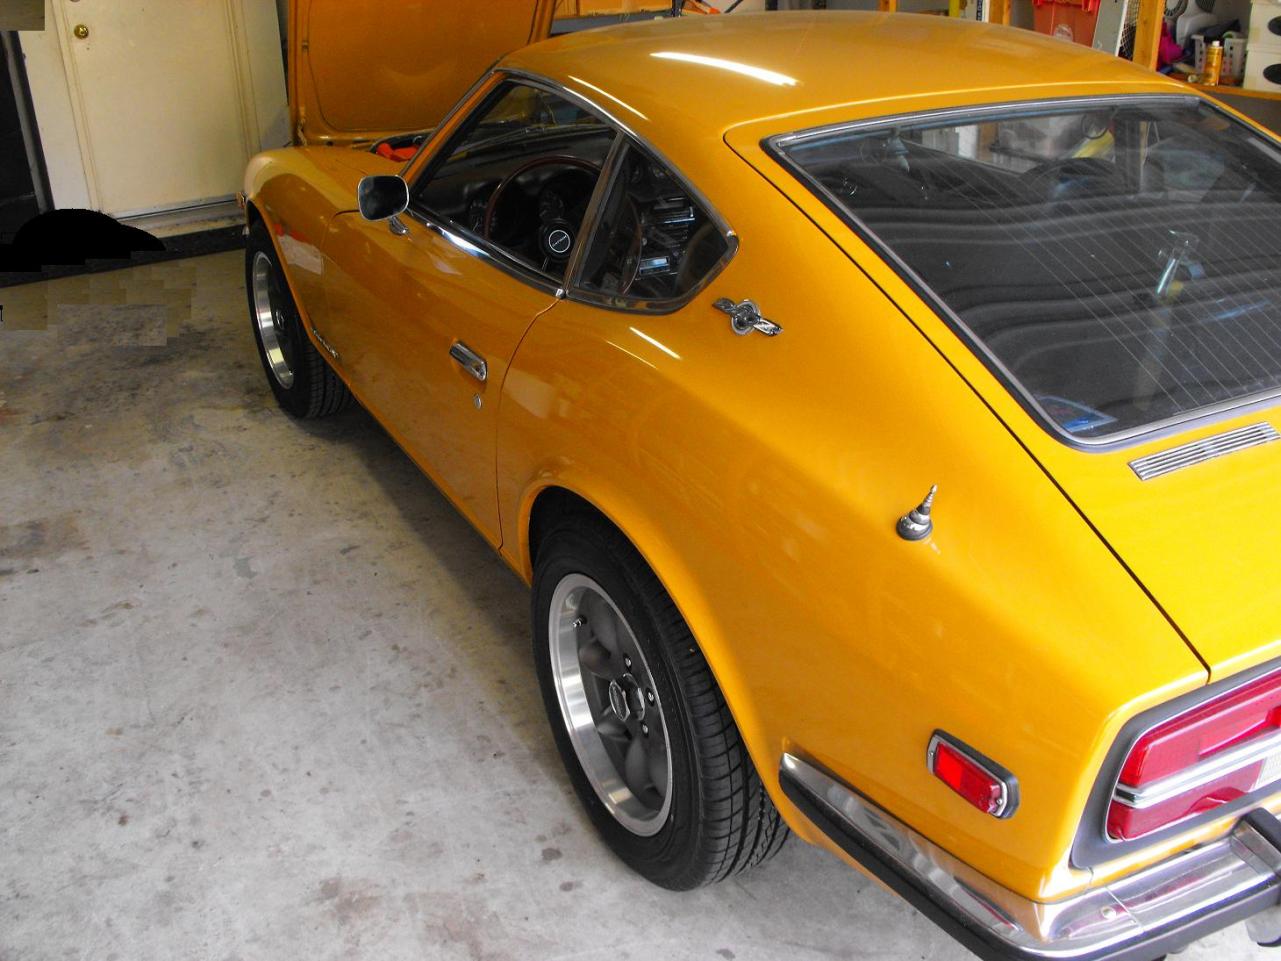
I saw Diseazd's pics and was quite jealous so I had to take a photo op of my own. It's solo, but that's ok for now. Also, cleaned up the original radiator cap and put it back on. Seems to work OK, but will keep the new one in the glove box just in case. Thanks Arne! Added a link to the song that runs through my head when I work in my car. It's era appropriate .

-
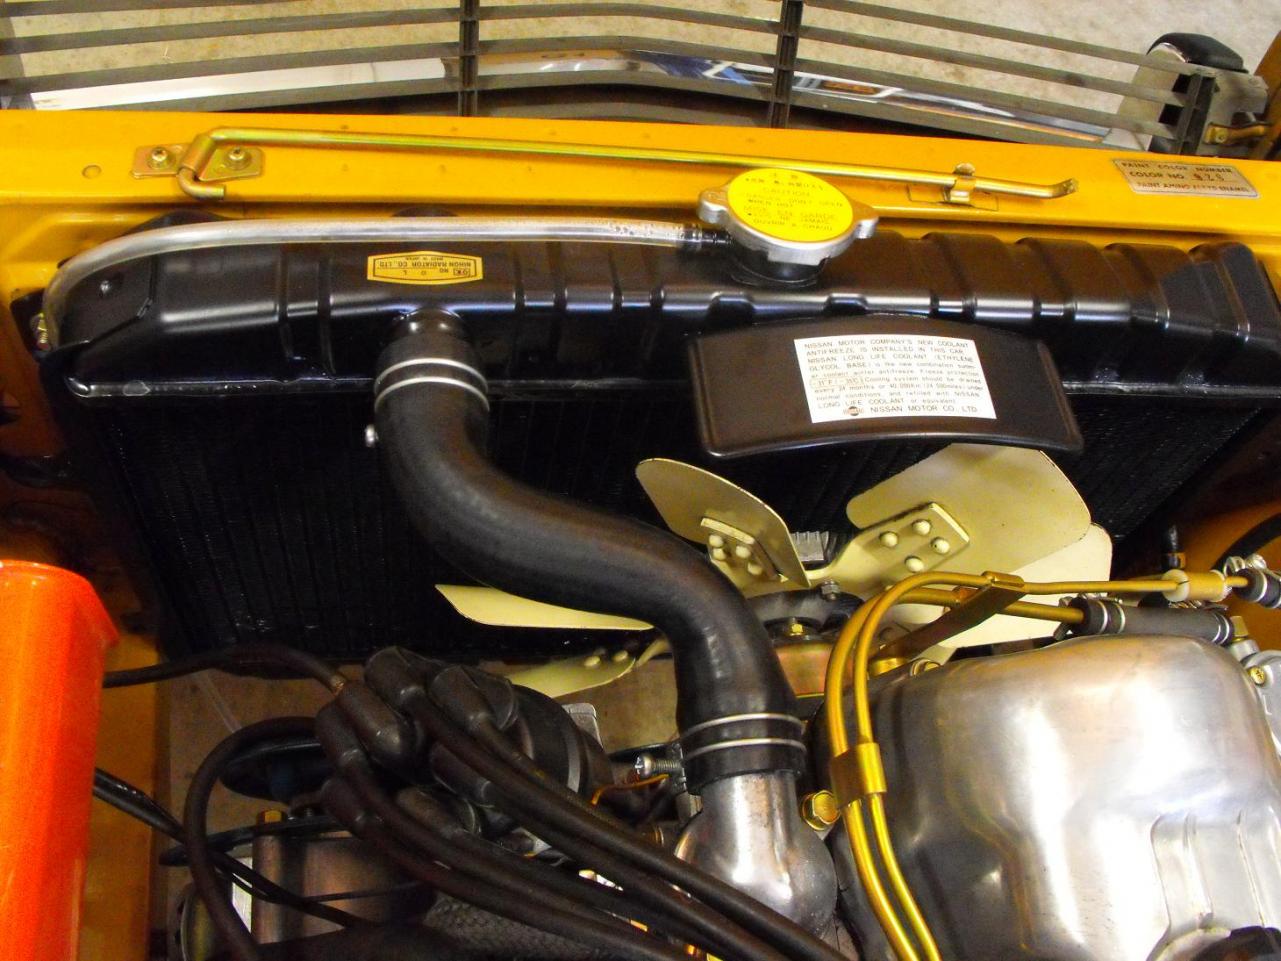
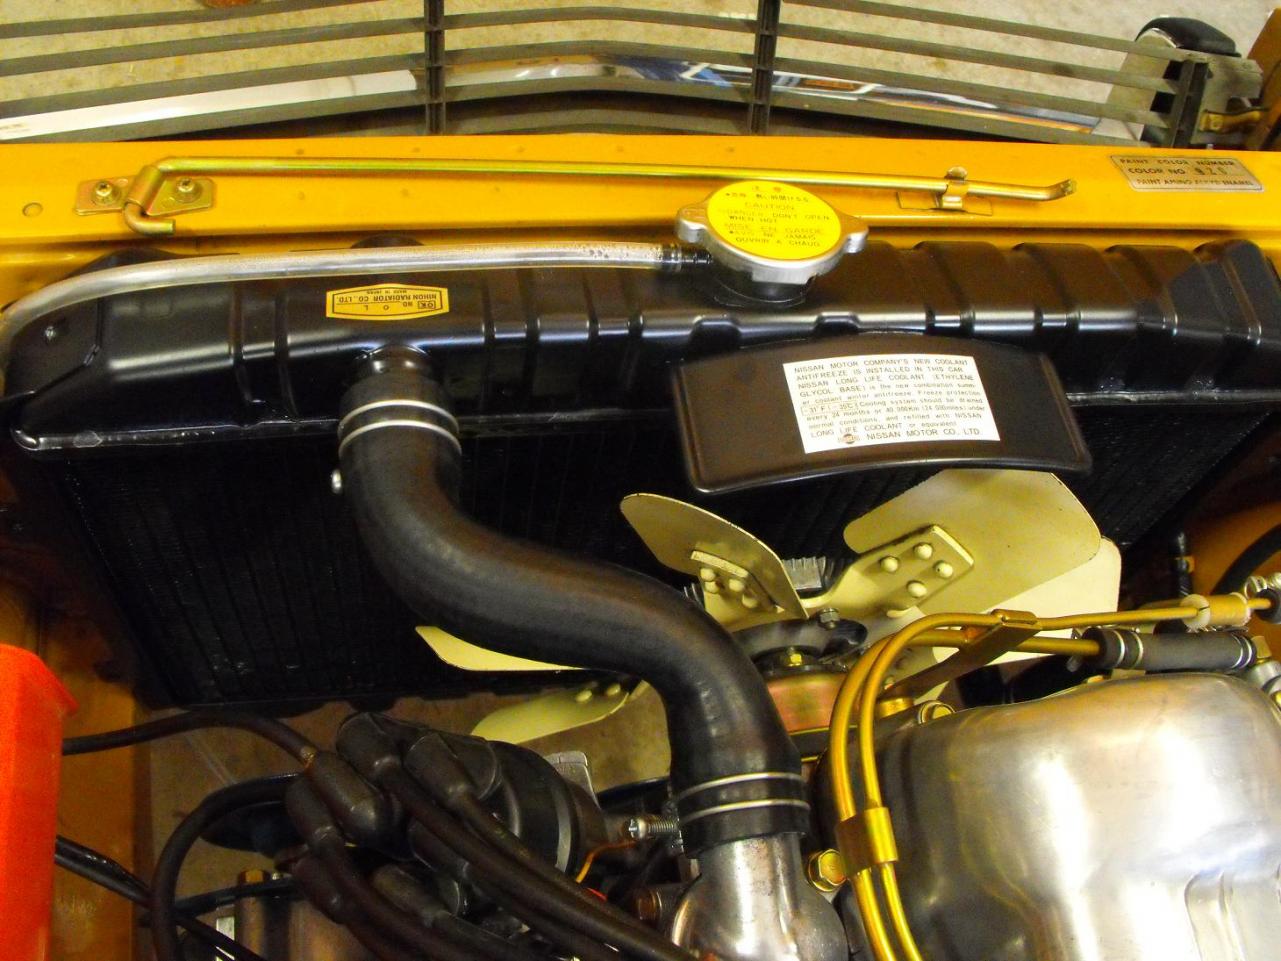
Finally got the radiator decals on. Checked my old pics to make sure I put them on right. I think in the refresh here, the radiator is the one part that is least original. I had it re-cored with a Modine 3 row core (versus the original 2 row core). When driving over Grants Pass and the Grapevine, the temp got a bit hot and never went down. Dad put an overflow recovery bottle in, but it never really worked. The temp gage would go to about 3/4 near the tops of the mountains and never go back down. I had to stop and refill the system at the bottom of the mountains. Hopefully the 3 core will solve the issue. I also tossed Dad's overflow recovery bottle, it was getting old (although I must say, it was very 'original'). I was able to clean up the air cleaner and fan blades pretty well. They are still the original 39 year old paint. They look pretty good, so no paint is needed. I attached one more pic of the car, under the flourescents with the new Panasports. I love the color of the Panasports. It is very close to the original hubcap center color so I thought it would be appropriate. I need to clean up the battery cables. I am guessing that these are not original. Does anyone know where some "original" or like original can be found? Still need to clean up some of the connectors. I bought some of the 4mm terminals, but they were too big. I am guessing the 3mm's are the one that fit the coil resistor. Also need to clean some of the old multiwire connectors. I thought about Zedyones comment about being an artist. Actually, I just have a beautiful subject and am pretty good at cleaning things up. Thanks for all the support. Rich


-
Took it out on Harmony Grove Road with the new rims (6 miles of twists, turns and hills with no stop signs) and it handles great, much better than the stock tires. Also, no worries of hubcaps falling off so it was perfect.
-
Love the parts! They look perfect. The car is coming along great. Very nice to watch the progress, Way cool! Can't wait to see the paint job. Rich
-
Latest pics with new rims...just for fun


-
Good Point. Will make sure to always keep an eye on it. Rich
-
I will most likely get some tires next week. I have some 16X7's and was wanting to go with as tall a tire as possible for two reasons. One; to reduce the 'air gap' in the wheel well. Two; to reduce the RPM's when driving freeway speeds. I will keep the stocks with hubcaps in the garage and save them for the shows. With the panasports I don't need to worry about the hubcaps coming off in corners or people 'procuring' them when it is outside. Rich
-


Important Information
By using this site, you agree to our Privacy Policy and Guidelines. We have placed cookies on your device to help make this website better. You can adjust your cookie settings, otherwise we'll assume you're okay to continue.