shamus1980
Free Member
-
Joined
-
Last visited
-
Very interesting, thanks for the detailed pics, definitely appreciated. How much metal ended up being removed from the inner wheel arches to meet it up with the outers? I've got some rust holes there that will hopefully be removed without needing to add new metal when I do my gaurds. Also did you try several positions for the height of the wheel flare or did you line it up with the height of the original outer lip? I've heard some people say they dropped theirs down to reduce any gap from wheel to flare. Did they sit neatly any lower? Good luck with the rest of the job. I'll be watching with interest.
-
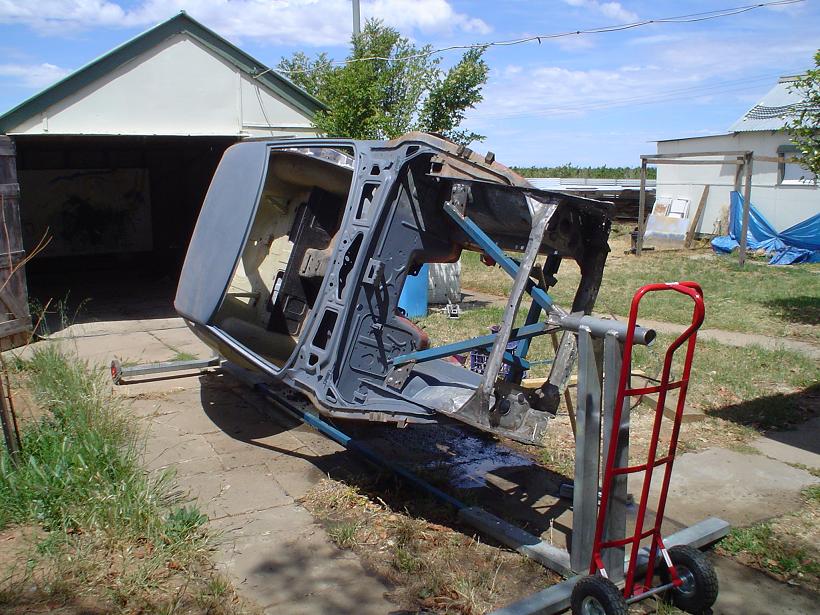
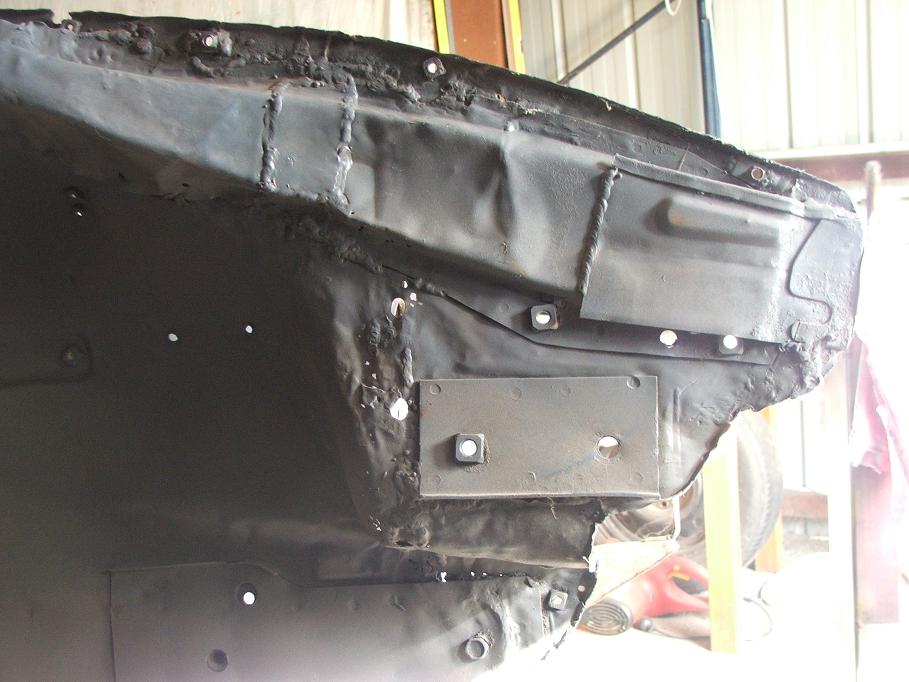
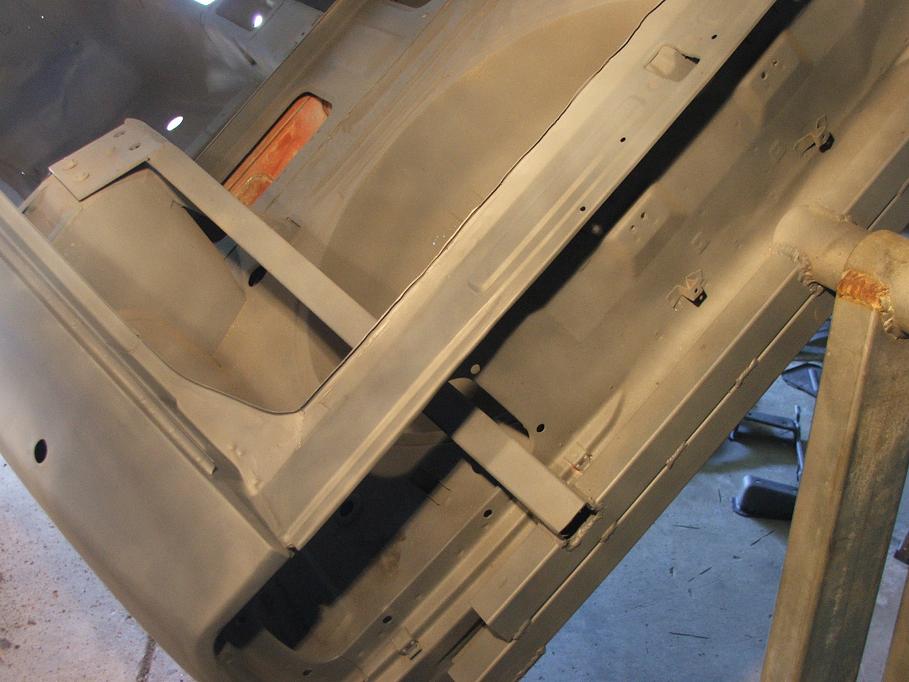
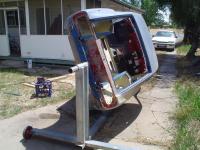
The best pics I have to show the mounting heights are some early ones when I first got the zed on there. I went a bit overkill on the front mount but mainly because I had to cut a lot of steel in the nose/rad support area of the car and figured I might as well keep everything nice and tied together. It also allowed me to get the mount nice and centre. I wanted two mounting points on the rear because there wasn't a lot of structure behind them bumper mounts to be hangin a car off (in my opinion). I only had a bit of a guess but it work out nearly spot on and has made working on the car and turning it over nice and easy. There is probably better ways than mine but I thought the idea of centering the weight might be useful to you.
-
My line of thought would be if you're thinking of scrapping it you won't be doing any harm trying to fix it first, especially if you've put a lot of work into the rest of the shell. If it were a jaguar or ferrari someone would fix it without batting an eyelid. Sure it won't be worth as much as a ferrari when finnished but it shouldn't cost you much more than your own time. The rails on zedfindings look good but if you need other parts there will be a sheetmetal place somewhere local that can fold you up something if you can take some good accurate measurements to them. I would guess the existing steel would be 1.2mm (not sure what gauge that is). You could go 1.6 which would be very strong. I've had floor rails and sill panels folded up locally for less than I can buy them for online so like you say if you can do the work yourself you're not out of pocket by too much and it will still be less work than starting a new shell. Good luck.
-
You didn't take all the foam out did you?! That's a structural part of the car! But seriously sorry to see the state of those rails. Although it's a fair bit of work I'd replace the rails. They're fairly basic items and there's no complex welding required just puddle/plug weld them on. All the work will be out of sight. Trying to weld a plate to rusty steel will also not produce very good welds. You'll only have to do the rails again if you don't do it properly or you'll always have that problem lurking in the back of your mind when you are trying to enjoy your zed. I did a dodgie job on a car I own and have never been happy with it since. Besides think how bad they'll look when the next person discovers your patch job. Best of luck.
-
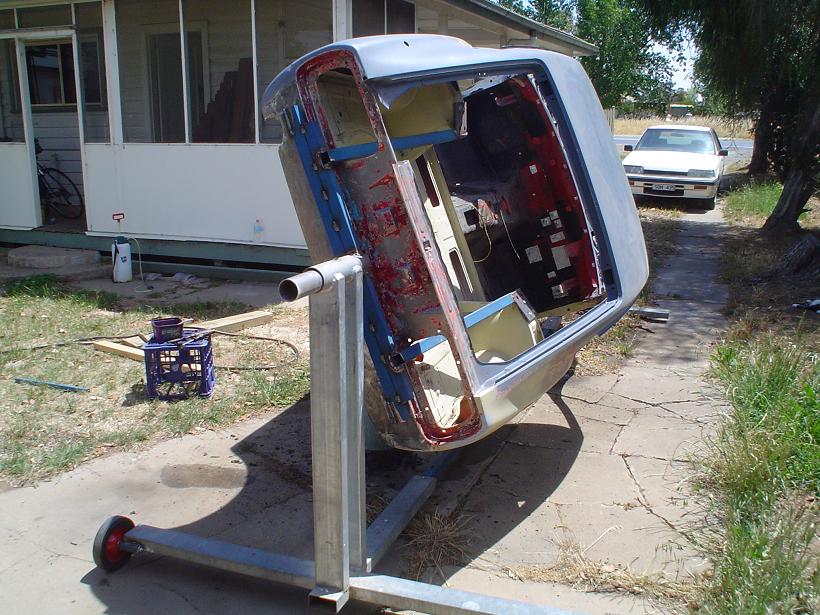
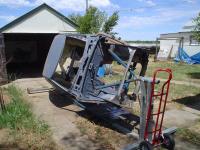
Good work on the rotisserie, makes life much easier. My advice would be when mounting try to judge the centre weight of the car as best possible rather than just half way up it. The lower half of the car will be heavier. If you get the centre weight right you'll be able to turn the car over by hand and the car will also not try to return the heaviest part to the bottom so it will stay where you want it to be when doing jobs on it without needing to chock it all the time.
-
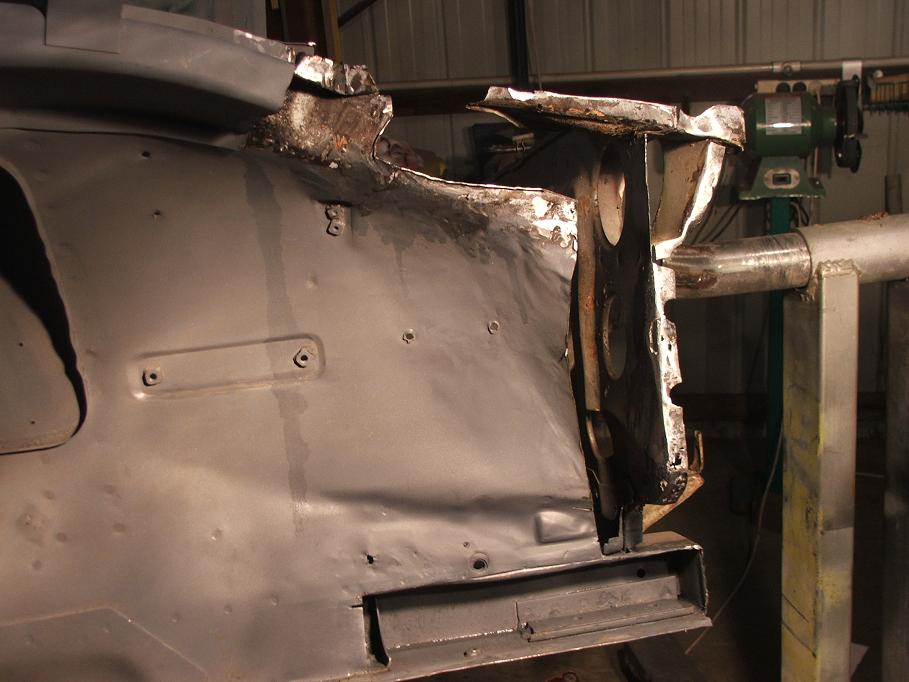
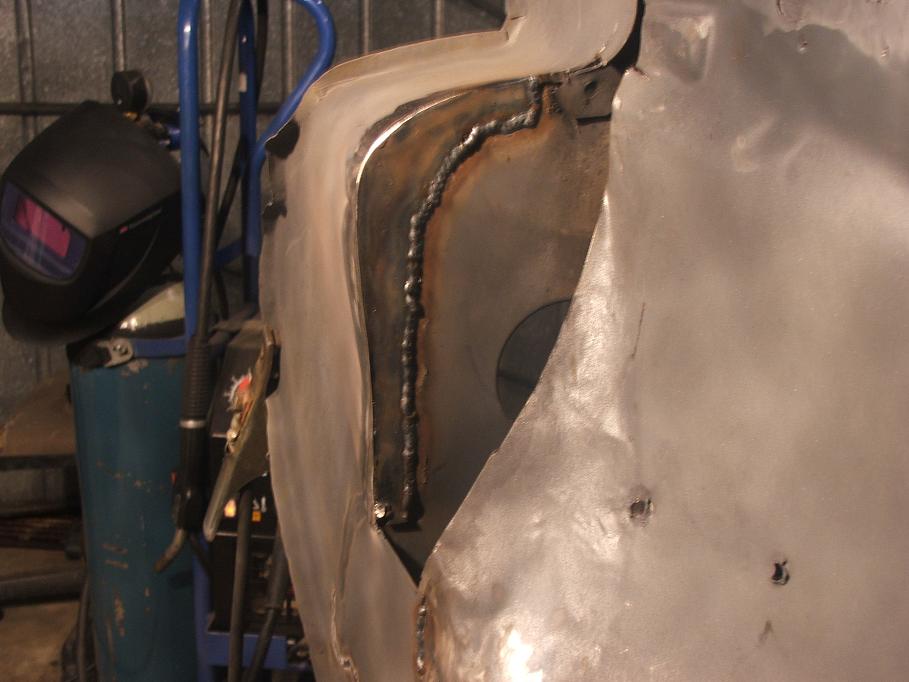
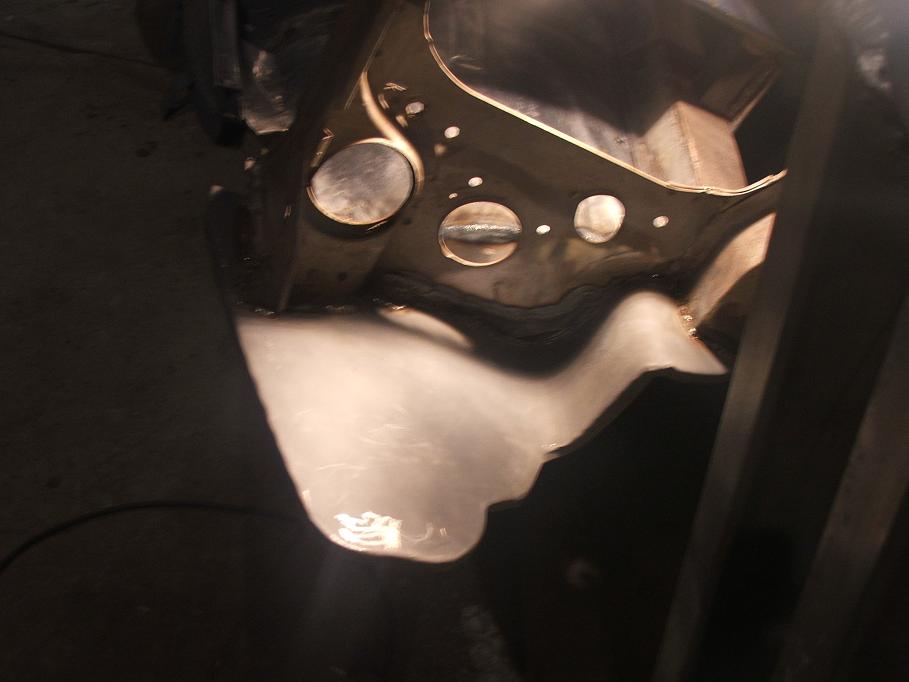
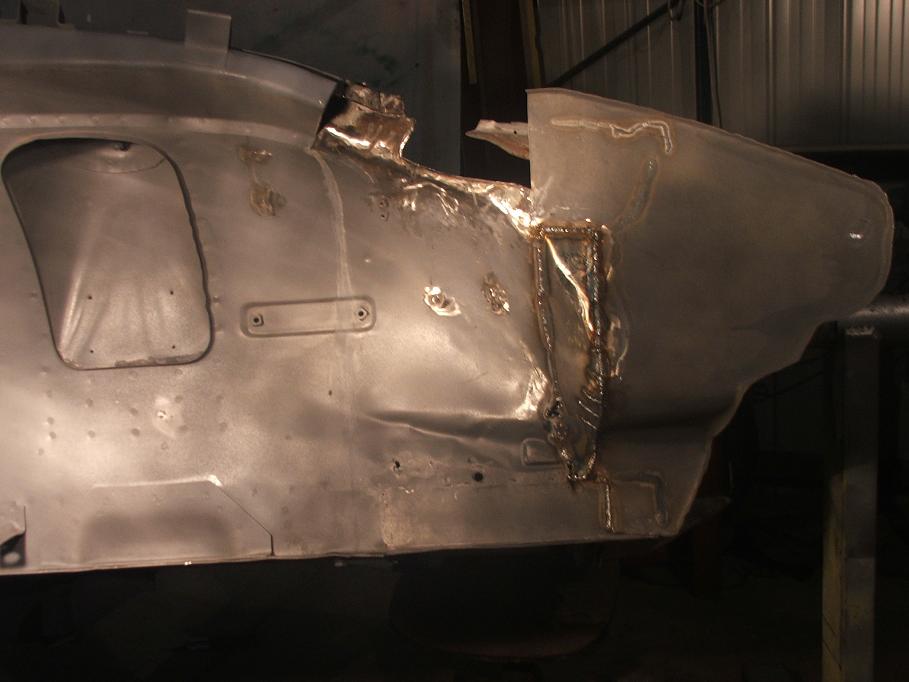
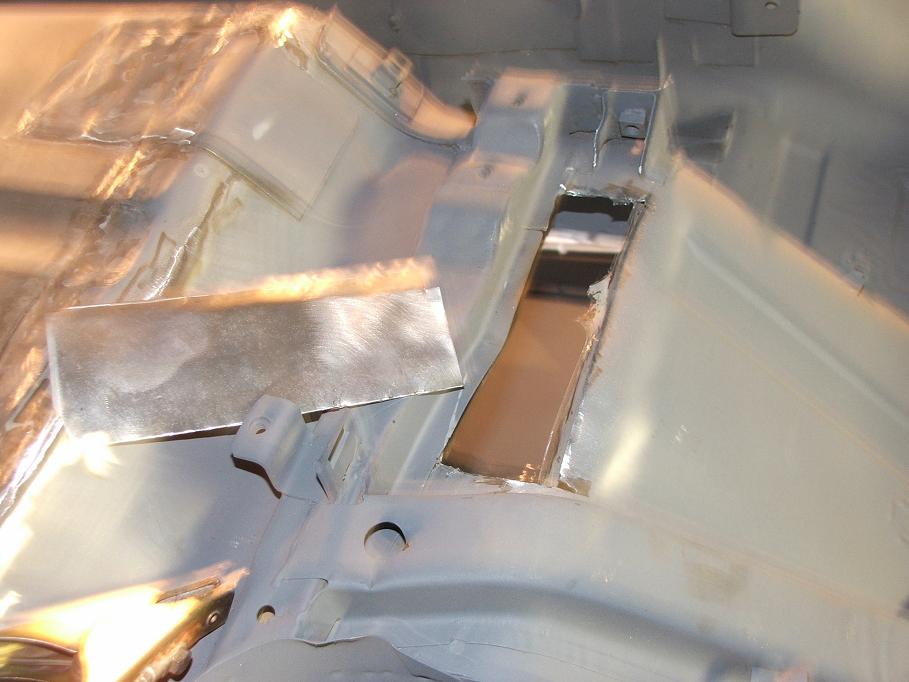
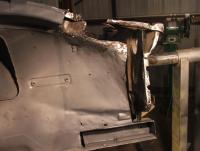
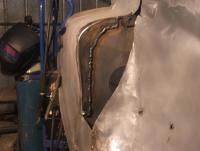
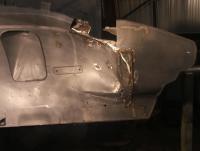
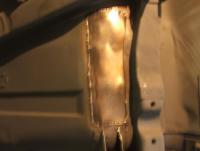
Well I've cut off the old nose and rusty section behind it. I had to remove the tow point support to get all of the nose section off and found it to be rusty behind it so I cut out the rust behind it too. When I plated it back up I forgot to weld in a support and two nuts on the back of the piece I welded in until it was too late! so there won't be a tow point at least on this side of the car. I'll probably weld something on later. I have got the new nose and repair section behind it welded on today. I had to cut the folded piece off the radiator support because it was rusted (see picture) and I also ended up having to put a patch on the back of it to get it to weld nicely to the new nose section. This isn't as tidy as I'd have liked to do it but the rad support was too thin to but weld in a piece and I have ended up burning holes in it or the weld cracking down the track. The patch is stronger and I'll probably hide it with seam sealer. Welding the nose section and the engine bay patch in seperately meant I could weld the nose to the rad support from the rear and grind it up neatly before putting in the engine bay section. I still have a little bit of steel to weld on and a couple of holes to fix up and all the welds need grinding and smoothing. I think this will probably take me all day tomorrow but I hope to have it finnished and primed by the end of the day. In my case my nose was so badly crumpled and rusted that I didn't have much choice but I guess it's probably taken me 4 full days to do this job (including tomorrow) so it's not one I'd recommend unless your's is in a similar state to mine.

-
No I removed the seat mounts because I put the floor in from the inside. I wanted the overlap in the trans tunnel to step so the tunnel piece went over the floor piece so there was less chance of water running in any gap in the weld. I overlapped all my joins by about 15mm. Keeping the front mount in place would help if you can do it that way. Or tack the mount to the new floor section as you're fitting the floor. You shouldn't have any troubles so long as you keep this in mind as you're going. I only got caught out because I didn't think of it.
-
Thanks guys, much appreciated. I guess I would have figured out when I went to put the gaurds back on. I'll make sure to put the holes in my new piece.
-
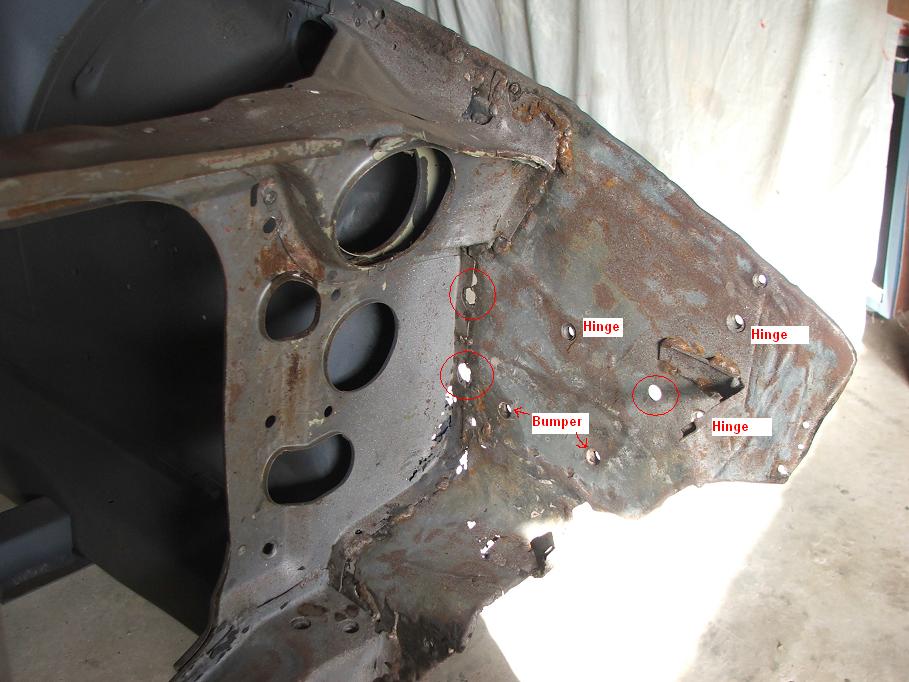
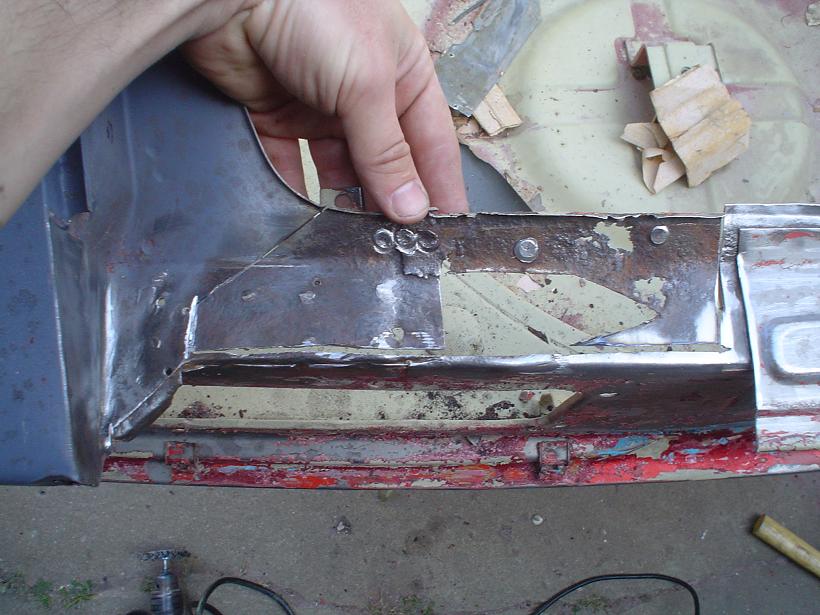
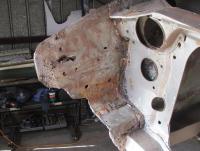
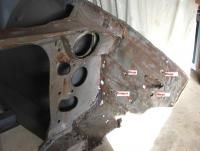
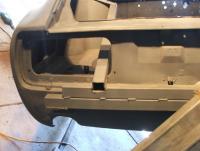
Hi Guys, I'm cutting off my nose this afternoon... not to spite my face, but to get rid of a rusty crumpled mess. I'm going to make new nose sections from scratch so I'll post some pics of the work once I've made some progress. I'm thinking I'll make a reversible steel template so I can flip it to make the other side. And I'll make a die to press the reinforcing rail that goes on the back. If it goes well and it's not too much work I might make so more if there's a need for them. I bought this car in pieces so there are a couple of holes in the nose I'm not sure what they are for. I've circled the mystery holes in the third attached photo. Two are up against the rad support and the third is in behind the bonnet hinge when it is mounted. If anyone could tell me what they are for I'd be grateful. If they aren't used I'll leave them out. I am sure which are the bonnet hinge holes and I'm guessing the other two are bumper bracket holes because of the reinforcement behind them. If I've got it wrong please let me know. Thanks in advance!
-
I've recently replaced one side with a replacement floor panel and I found once welded in it had about 10mm bow down in the centre. It's too far for me to persuade the original seat mount to take up so I'm going to have to fold up some new ones and make them fit. It was not distinguishable to the eye but when you put something flat across it it becomes obvious. Just something to keep in mind because I didn't think of it. Keep your seat mount or something flat handy and keep checking your floor is nice and flat as you weld it in. Good luck!
-
It seems a damn shame but I'm in agreeance with some of the previous posts. If you are like me and you spent all that time/money replacing the sections you mentioned you might still not be happy with the end result unless every single little bit of rust has been fixed and all the panels have been finnished to a point where there is not too much filler and the body has not twisted and the panel gaps are good. The extent of the repairs even if done well may negate any extra value the low vin gives the shell. I wouldn't let it put you off doing an S30 but it doesn't seem like the cars are that expensive in the US so I'd keep hunting. I bought a car that was supposedly "ready to paint" and although its not as bad as your I wish I'd started with a better shell.
-
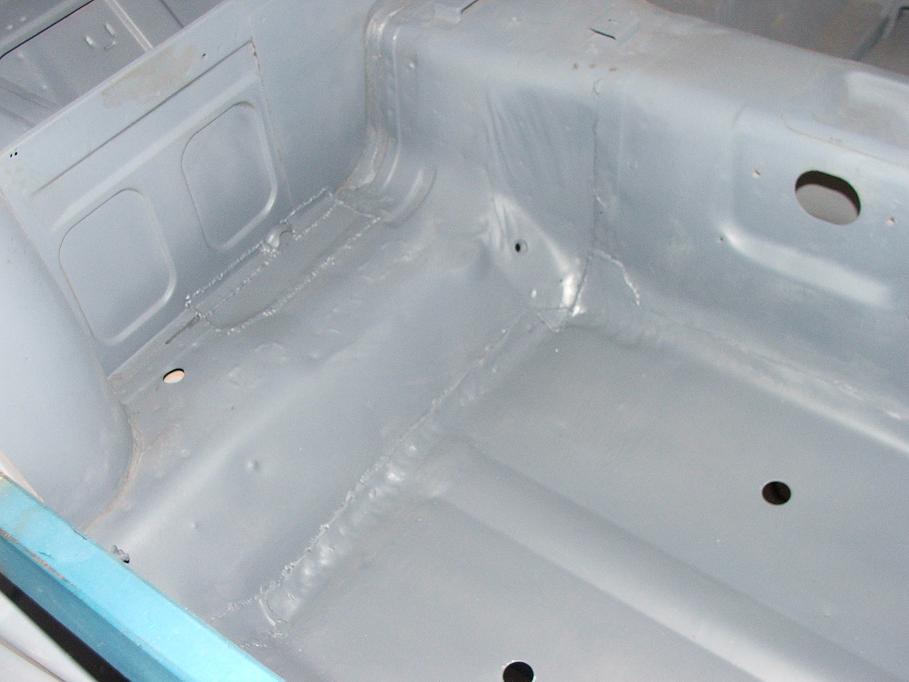
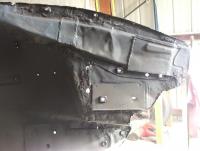
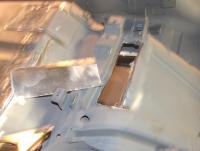
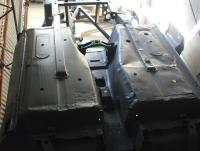
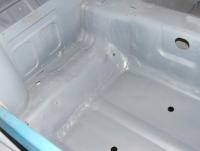
Some updates. On the the repair above the taillight I ended up cutting out the last piece of steel thru to the taillight hole and folding up 3 seperate sections that overlapped to replace all the steel. work is primed but no filler so fairly happy with result. I couldn't neatly replicate the small pressed 45degree finnish on the the left end of the panel so it just ends in the same profile. The other repair is behind the drivers seat in the bottom of the storage bin. Cut out from underneath. This will be covered in seam sealer and body deadener inside so I won't be trying to hide the welds. Also new vs old floor in primer. The plan for the passenger side is to remove the old rail and beat the floor flat and put my new rail on and plate the front section like I did with the first rail. Only the new floor looks so nice and straight I'm tempted to replace it but it doesn't actually have many rust holes in the floor and it's a hell of a lot of work to put a new floor in. To pull the floor hard up against the rail when I'm welding it I will drill spot/plug weld holes in the new rail and then tech screw thru them into the floor. This pulls the two panels tighly together because clamping it is not possible.


-
Thanks for the encouragement guys. I have used a thin strip of 1mm aluminium to fold up an accurate outside profile of my sills and a local sheetmetal place folded them up for me in 1.2mm steel. I think the originals would be .8mm but I'd prefer a bit more thickness. The pair cost me $109 AU. No postage also makes it cheaper. When I take off the sills I'll add some more pics, before and after sandblasting.
-
It's probably a biased question in this forum but being in the process of building a 240z from bare metal I have occasionally found myself thinking I would have been better off saving my pennies and buying one already done. But then I see nice restored examples for sale on the net for Aus $20000 to $24000 and questionable or unrestored cars for $10000 to $15000. Do these cars sell for this or are they "cheap advertising" prices waiing for a sucker to come along? I've always valued a good 240z at about Aus $10000 to $15000 but have things changed. It might be a totally different story in the US. It's funny I wouldn't pay $20000 for a 240z but when I've finnished mine I probably wouldn't sell it for $30000.
-
Thanks, All my recent hard work is in primer and another couple small patches finnished and a dozen odds and ends back from the sandblaster in rust treatment at the moment. It's a case of two steps forward and three steps back, I cut off the lower panel between the door and the rear wheel arch and found more rust. I was going to leave my sills on but I think now it will be both sills off and back to the sandblaster. One good point will be there is nowhere left for rust to hide.