dbcjmc
Free Member
-
Joined
-
Last visited
Everything posted by dbcjmc
-
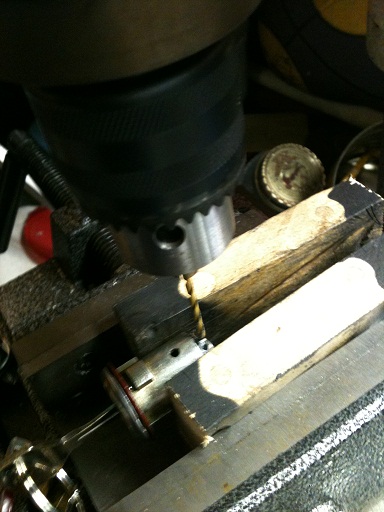
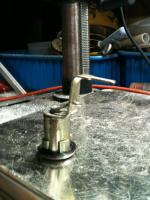
 My fix isn't so pretty, but works good. I was planning to drill and pin it, but discovered after drilling it that I located the hole 90 degrees offset. Doh! :stupid: So had to use the coat hanger wire. Hole size is 3/32". Just exactly the dia of my coat hanger. Not elegant, but it works! For now at any rate.


-
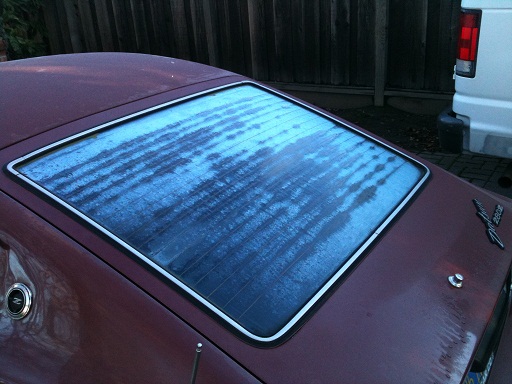
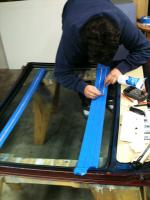
Hey Chris! No problem! My son and I did about 2 coats each. We shined the flashlight thru from the underside to double check the areas that needed extra coverage. No ohmmeter. Just used a continuity tester to see if we had a connection. The continuity tester I bought at OSH for $4.99 had a light in it. It seems the better the connection, the brighter the light. We did notice that the connection (light) got much better after 12hours of drying time. Cheers, and Happy New Year!! db
-
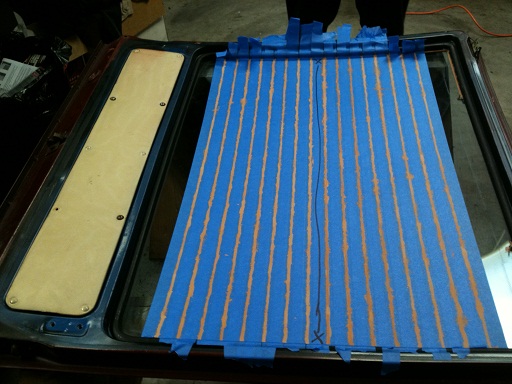
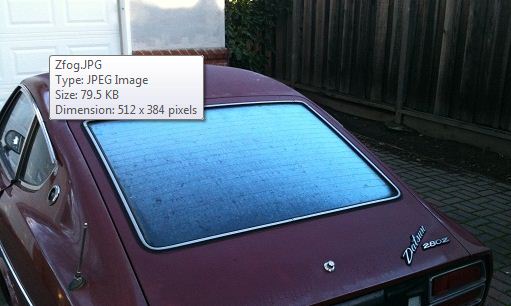
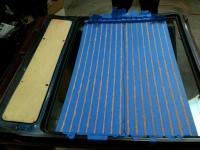
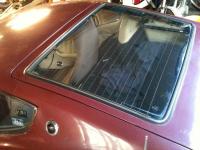
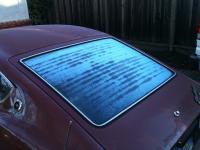
Hi guys! This string prompted me to finally fix our completely non functioning defrost on the 280Z. It's kind of an expensive fix.... it took 7 bottles of the Permatex repair stuff at $13each. Yikes! All told, it's working again and clears up the window in about 5 minutes.


-
Wow! That really came out nice. It's really cool following your progress with all the photo's. The paint job looked like a huge amount of work! I just gotta know... how much was it? Did you have to mortgage your house? Sell some children? Our Z has been ready for paint ever since we bought it this summer. We've been slowly improving it here and there and making our way ultimately to finish it off with paint. I'm afraid though, that to do it right might cost me the equivalent of 5 more Z's. Nice work!
-
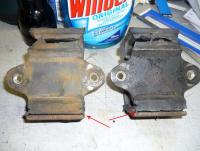
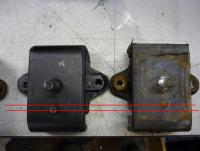
Hi Folks! Yep! You're right! Broken motor mounts indeed! Firs picture shows the rubber torn away from the mount housing. I had a pair of motor mounts from Black Dragon laying around waiting for me to put them in. But another surprise! They don't fit. The locating pin is around 1.5mm off from where it should be! That's about the 4th part that doesn't fit quite right. I'm off to find OEM mounts while the radiator gets repaired..... Cheers, db
-
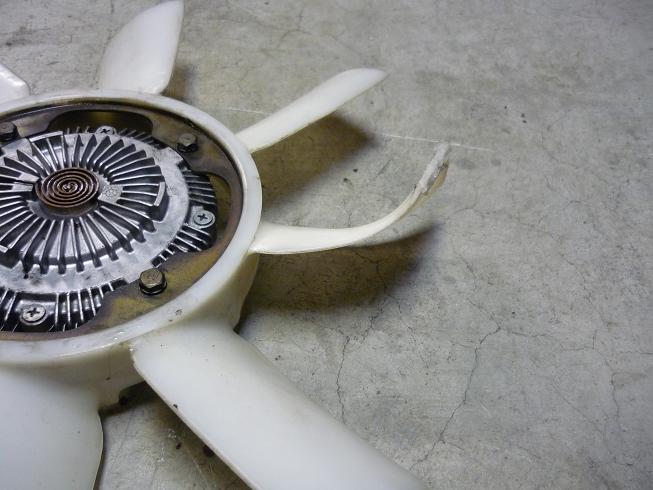
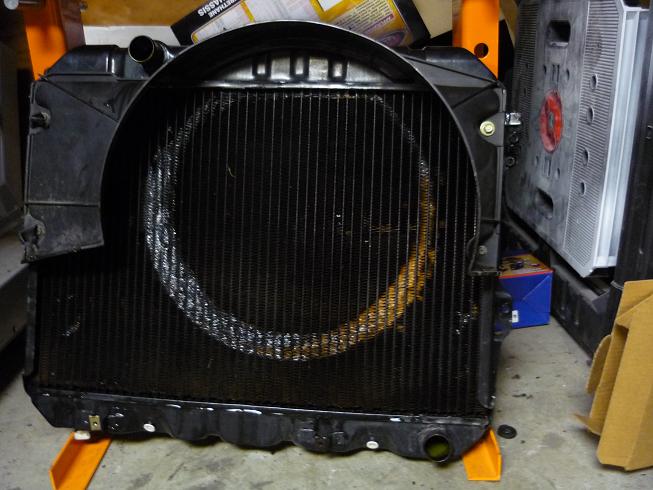
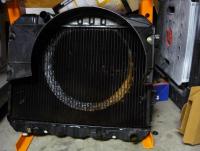
Hi Folks, Searching the forums, it's clear this isn't the first time a fan blade took chunks out of a radiator. This radiator is going to the radiator shop for repair on Monday. Two quesions. 1. What would cause one fan blade to bend? 2. If I buy an electric fan to replace it, how/where do I hook up the wire? See pics. Thanks! db

-
OOps! At least I'll know how to swap em out more quickly next time around. Cheers, db
-
Thanks Adam, I'm feeling rather silly... I discovered I had the coupler connected incorrectly. I thought the T-Bar from the steering wheel was supposed to line up with the T-Bar on the steering rod. Doh! :stupid: It's all good now. The new bushings, struts/springs makes it like new! BTW - i went with KYB gas shocks and Eibach springs. It lowered that car about an inch or so, and rides real nice!! Not sure why some on the forum discourage this combo. Cheers, db
-
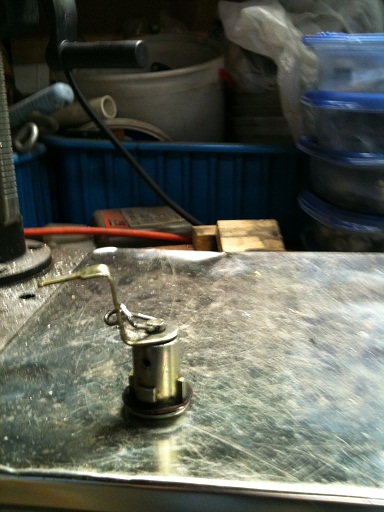
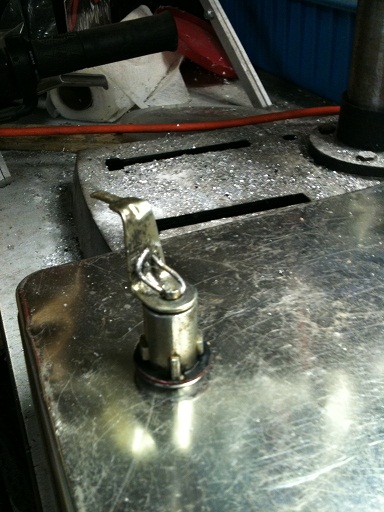
Hi Folks! The answer must be simple, but I haven't found it.... I replaced the steering coupler with polyeurathane one. The steering wheel is now exactly 90 degrees rotated. Simple! I say. I must have the coupler mounted 90 degrees off. So I reverse the coupler, and now it's 90 degrees the other way. The "Z" on the steering wheel turns into an "N" or an upside down "N". Hmmm. Is the coupler asymetric? What did I do wrong?
-
Excellent! Thanks for that. One more question. How do you get under the car to torque the control arm bolts under it's own weight? I'm not as big as my Avatar, but still couldn't get under there to move a wrench. So I torqued em up while jacked up. What's gonna happen? Still not clear on why FSM says to torque em up under the car's weight.
-
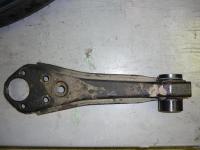
Hey there folks! I got the front control arm bushings pressed out and when going to install the polyeurathane replacements, the two halves are different! There's a thick shoulder bushing and a thin shoulder bushing. I'm not clear on which way to install them. Should the Thick shoulder go forward, or thin in the front?
-
6 or 8 Hrs for every last bushing??!! That'd have to be onehelluva mechanic! Or at least he would have had to have done a Z or two before. I have a new appreciation for mechanics. BTW - after pressing out the bushings on the transmission mount cross bar, I discovered the polyeurathane bushings to be a couple mm too small. Serious! No joke! Ended up having to scrounge another X-bar. So far, this one and the driver side rack and pinion bushings are the only ones that don't fit. I wonder if I got the wrong ones?
-
Thanks! After digging into it, it's looking like 1/3 to 1/2X. At least not more than X, which in my case is much too long. Good thing I don't have to feed myself at it. I'd go hungry for sure! Another trip to the machine shop to pop out the control arm bushings, and I think I'm good to go button it all back up. Cheers, db
-
More appropriately, I suppose I should call this "How long it took" to replace all the bushings and suspension in the rear. But finally, I'm done. New struts, springs, Inner/Outer Lower Control Arm bushings, Sway bar and stabilizer bar bushings. All told - too many hours. So much drama back there with Freakin' Spindle pin and bushing removal, etc etc. Triumphant at last. So here's my real question. If it took me X hours to do the back, how many more/less for the front? Struts, springs, and a box full of bushings from Black Dragon. Is it 2X or 1/2X?
-
Hi Folks! My speedo meter needle bounces erratically below 25mph, but once I get going it stablilizes. I removed the cable at the speedo and the tranny this afternoon, pulled out the cable from the tranny side and cleaned it. I cleaned out the cable as best I could with brake cleaner then lubed it as best I could with graphite and chain lube. Reinstalled the cable and put it all back together. Now the needle bounces erratically below 30mph but then stablizes at higher speed. Any ideas? Do I need a new cable? The condition looked pretty good.... What do you think?
-
Thanks folks! Found both!
-
Hi there! New on the forum here and new to the world of Z. We got a running 77 280Z all in good working order and hope to teach/learn a thing or 2 about working on cars. I'm a bike nut myself and wrench all the time so figure it's the same.... just bigger. So a couple questions to start... What's the torque value of the oil pan and valve covers? Can't seem to find it in my Clymer book... Then again, can't seem to find alot of stuff there. I'm hoping cinching down the bolts will stop the wee oil leaks. Otherwise off they come and new gaskets go in. Brakes - all work great! For a '77 Datsun. I see all kinds of rear brake upgrade options online, but what about the Fronts?