CaseyByrd72
Free Member
-
Joined
-
Last visited
-
 Back at it this past weekend after some much needed vacation! I removed the rear bumper, fuel expansion tank, and the interior. I had some help from my better half. We spent about 4 hours Saturday and 5 hours on Sunday. I started with the rear bumper. The original bumper has hole in the middle of the top, from what I presume was a hitch. The back side of the bumper has a good bit of rust. These two issues probably add up to a new bumper. Ouch! Next was removal of the fuel expansion tank and the fuel filler neck. The neck came out easy enough, but the filler neck was was not so easy. The flange at the top of the neck needed to be folded in so it would pass down through the hole in the body. The neck was badly damaged, no doubt contributing to the fuel smell when driving. Then we removed the interior, which was straight forward and has begun to reveal the extent of floorpan rust. The passenger side is worse, with complete rust-through just behind the rear most seat support, about one inch by four. I have about 75% of the floor insulation off and it appears it was good at holding moisture. As the plastic interior panels were removed, most broke since they have become so fragile with age. Next week I will remove the front and rear suspension and get unibody mounted to a rotisserie so I can get a good look at the underside and rails. Thanks for reading.
 -
This weekend I worked on starting the exterior teardown. I started with the rear finisher around the tail lights. This revealed more rust damage than what I expected. I knew the hatch sill would need to be replaced but now it seams like there is deeper damage. I will be able to determine the extent only after the sill is removed. I was also able to remove the hood cowl, wiper assembly and the front fenders. The first fender took a lot longer than anticipated. This was because the guide I'm using directed me to remove the top inner fender bolts, one near the rocker panel, and one in the door jamb. What it didn't tell me is that there are two near the rocker panel, seven along the top inner fender, two joining the front of the fender to the corner valance panel, and three behind the headlight. Only three broken bolt heads from both fenders. Not bad considering it appears all of them are originals! Once the fenders were removed and the areas were cleaned up, everything looked solid, which is amazing considering how much debris was accumulated there. I spent 5 hours working on the Z and no money spent. I'm still shooting for April 2nd to have everything off of the uni-body and I still feel good about that goal. Thanks for reading.
-
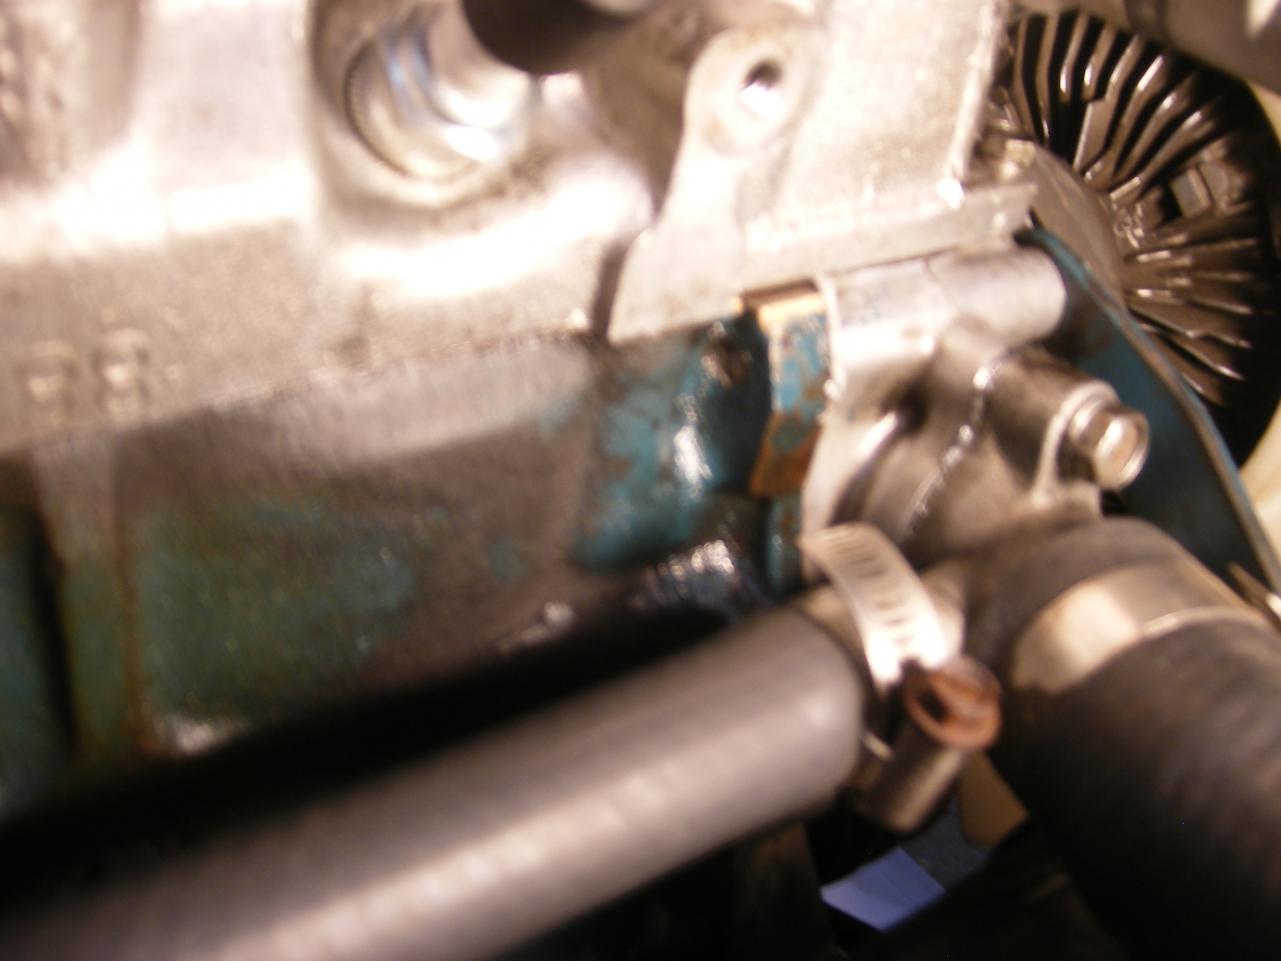
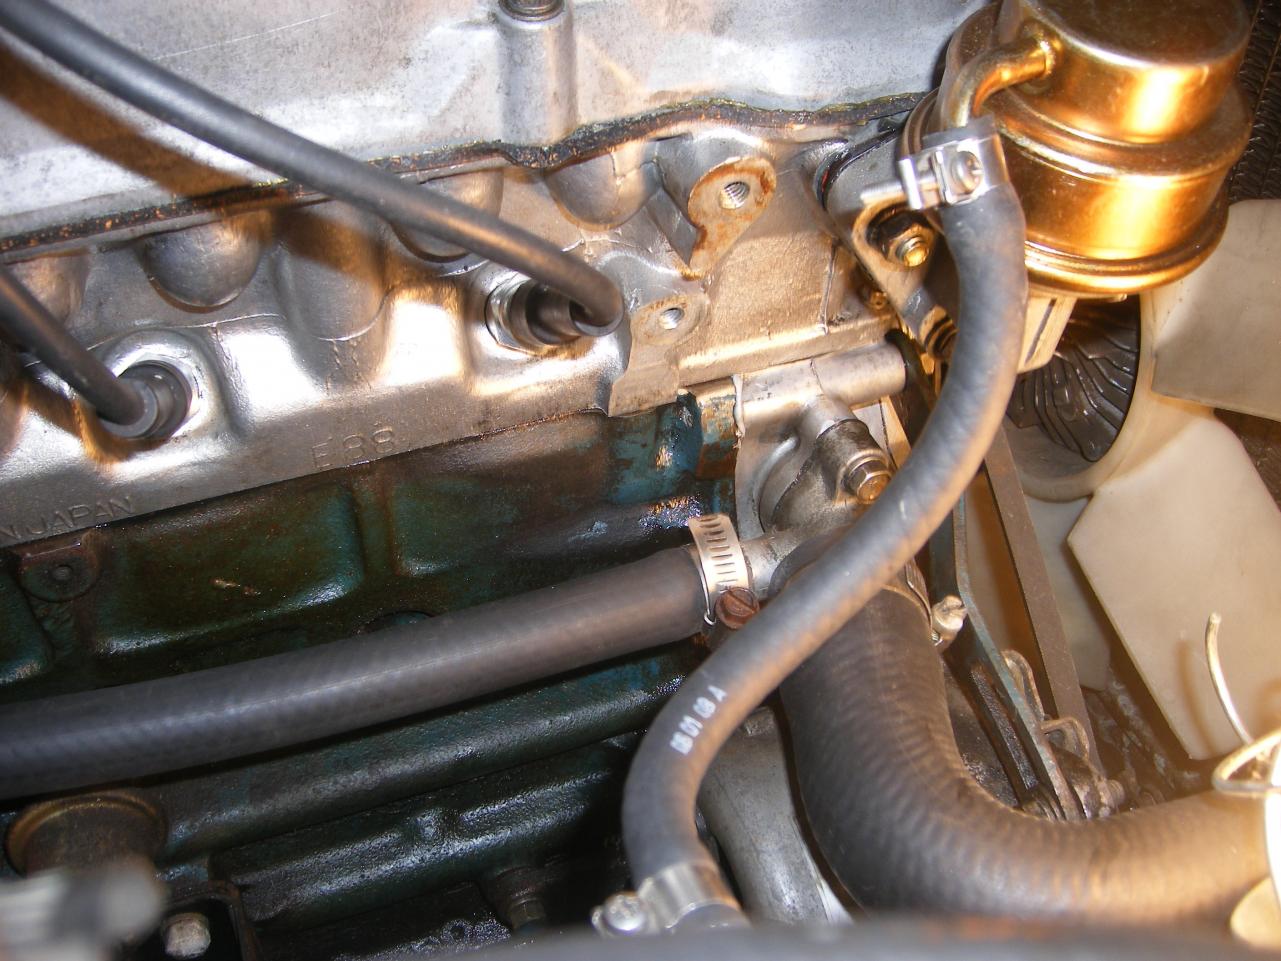
I continued removing hoses and the wiring harness from the engine bay. I labeled all the wires with duct tape and a sharpie. Also removed the gas tank. Other than 44 years of dirt and a small dent, it is in really good shape. I spent a total of about 4 hours working on it this weekend. No money spent this week, but I have started looking at the complete stainless steel hardware replacement kits. Looks like they run about $300, and for that price, well worth the convenience and quality upgrade. I've set a goal to have everything pulled off of the uni-body by April 2. I think short term goals will motivate me to keep going. I now understand why some restorations can take years! Lastly, I noticed that the pics in my first blog were not the best, so I tried to make a conscious effort to do better. Enjoy, and thanks for reading.
-
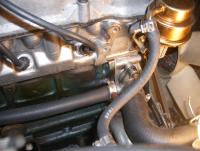
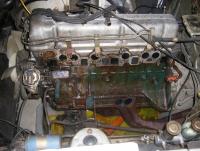
I will be restoring my 72z back to "near original" condition. I will utilize all original equipment that can be reused and replace what can't with new. I am not overly concerned with originality, especially if it is expensive. I have set a budget of $7,700, and must include some tools, but I will document that as I go. I will be utilizing two primary resources as guides for the process; How to Restore Your Datsun Z-Car by Wick Humble and of course, the Haynes manual. I began last weekend by disconnecting all wiring and hoses from the engine and transmission and, preparing for removal. Two of the rear drive shaft bolts did not want to break loose so I persuaded them with the sawzall. I used my floor jack to support and remove the transmission without much trouble. I used a 2 ton engine hoist to remove the engine with a 10 foot section of chain wrapped around the exhaust header and an M10 bolt inserted into the bracket hole(?) next to the fuel pump. I purchased a 750lb capacity engine stand from Harbor Freight for $46. You can see it in photo 108 attached. I had to purchase the mounting bolts ($9) which were M12x1.5, 75 mm long. Unfortunately they were too long for the stand and bottomed out in the engine block before tightening so I cut a little off. In all, It took me about 10 hours to get the engine and trans out. Today I worked for about 5 hours removing the battery doors, front bumper, grill, hood hinges, windshield cleaner reservoir, coil, and started brake lines. The brake lines have been a pain! I went to the auto parts store and got flared tube wrench for $6. Well worth the money, but I still couldn't get one loose. It's in the proportioning valve so...... Thanks for reading. Feel free to post questions, comments, and suggestions.
-
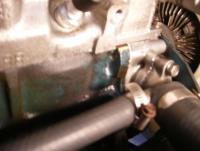
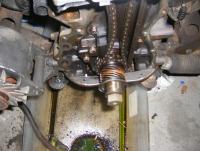
I finally got her back together and on the road last week. However, i have discovered and oil leak near the front cover. The attached photo shows the area of the leak. When i was installing the front cover, i bent the head gasket because the head and the oil pan were already installed. I had to "squeeze" the front cover in between them. When i did this, the head gasket bent and crimped. I believe this may be the reason there is oil leaking now. I have a new head gasket, but i didn't want to spend the time to replace it if i don't have to. Has anyone had this problem or have an idea of where/why the oil is coming out? Also, my oil pressure is reading low, about 15% of the gauge's range. This may be due to the old sending unit. The oil seams to leak worse when the engine is off. There is virtually no sign of the leak when the engine is running, but after sitting overnight there is a small puddle under the car, about 1" in diameter. Any suggestions would be helpful. Thanks.
-
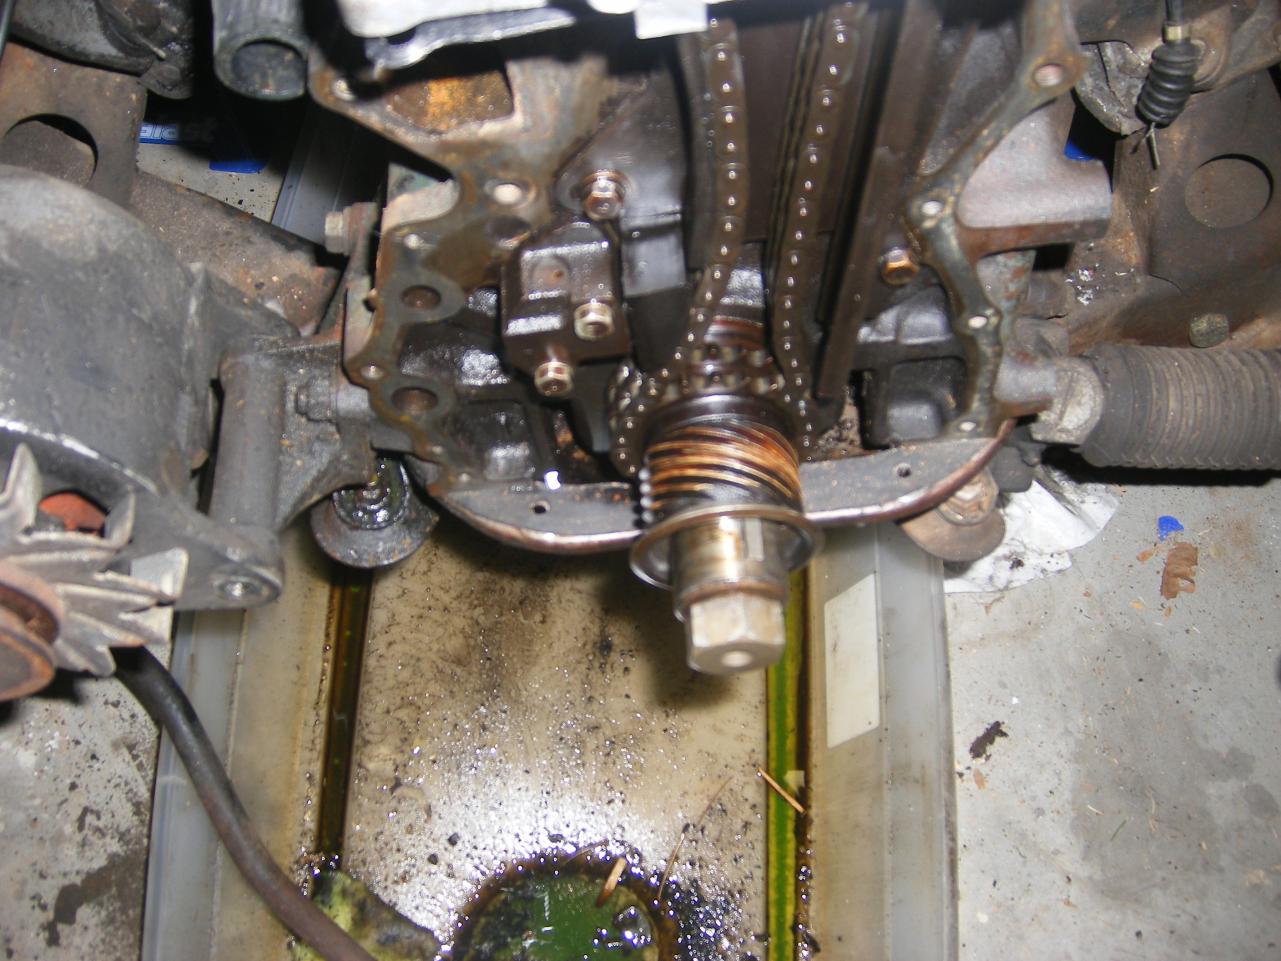
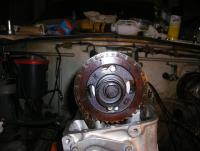
I think I have a problem. I reinstalled my head with the #1 valves closed and the crank dowel at 12 o'clock. I set the crank to TCD with the crank key at 12 o'clock. I installed the crank sprocket with the dowel in the no. 1 location hole. This set the no. 1 timing mark at about 2:30. I installed the chain with the bright link on the no. 1 timing mark on the crank sproket which positioned the second bright link at about 4 o'clock on the cam dowel. So far, so good. At that point, the right side of the chain was slack and the opposite side, with the chain tensioner was tight. With the chain still installed, I rotated the crank sightly which tightned the chain on the right and slacked it on the left. No problem, I thought. Tonight when I came back to tighten the cam bolt to 100 ft/lbs, the cam shaft rotated sightly, enough to put the slack back on the right side. Also, I noticed the the location notch on the cam sproket is no longer aligned with the groove on the cam tower. The sprocket notch is to the right (clockwise) of the groove. Pictures attached. I don't know for sure, but this does not seem correct? Any ideas? Thanks. Upon further review it appears that the second bright link is not aligned witht the timing mark on the crank.
-
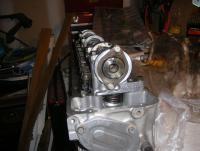
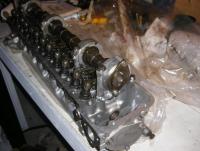
I removed my head for reconditioning and I am in the process of replacing all exterior gaskets and putting everything back together. I need to re-install the head and I have a couple of questions about the crank position and cam position. My guide says that I must set the #1 cylinder to TDC. Can I set it without a dial indicator? When I got my head back it was re-assembled with the crank dowel in the 12 o'clock postion (more or less, see photo). In this position, the #2 exhaust valve is open and the #3 intake valve is open. My guide says that if the cam dowel is in the 12 o'clock postion then the #1 intake/exhaust valves should be closed, but it does not say which valves are supposed to be open. I may just be paranoid, but I have to get it right now, or else... And finally, I still must remove and replace the front cover, oil pump and distributor. Since I have to re-set the timing, is the distributor position important to note before removal? Thanks

-
Got it. Good ol' PB Blaster to the rescue. That thing was 37 years tight.
-
I tried to put in gear, but it still turns.
-
Someone help! I'm trying to remove the camshaft sprocket nut but when I turn it, the motor turs over. I tried putting a wrench on the crank sprocket, but the engine still turns. How do I keep this from happeining? Thanks.
-
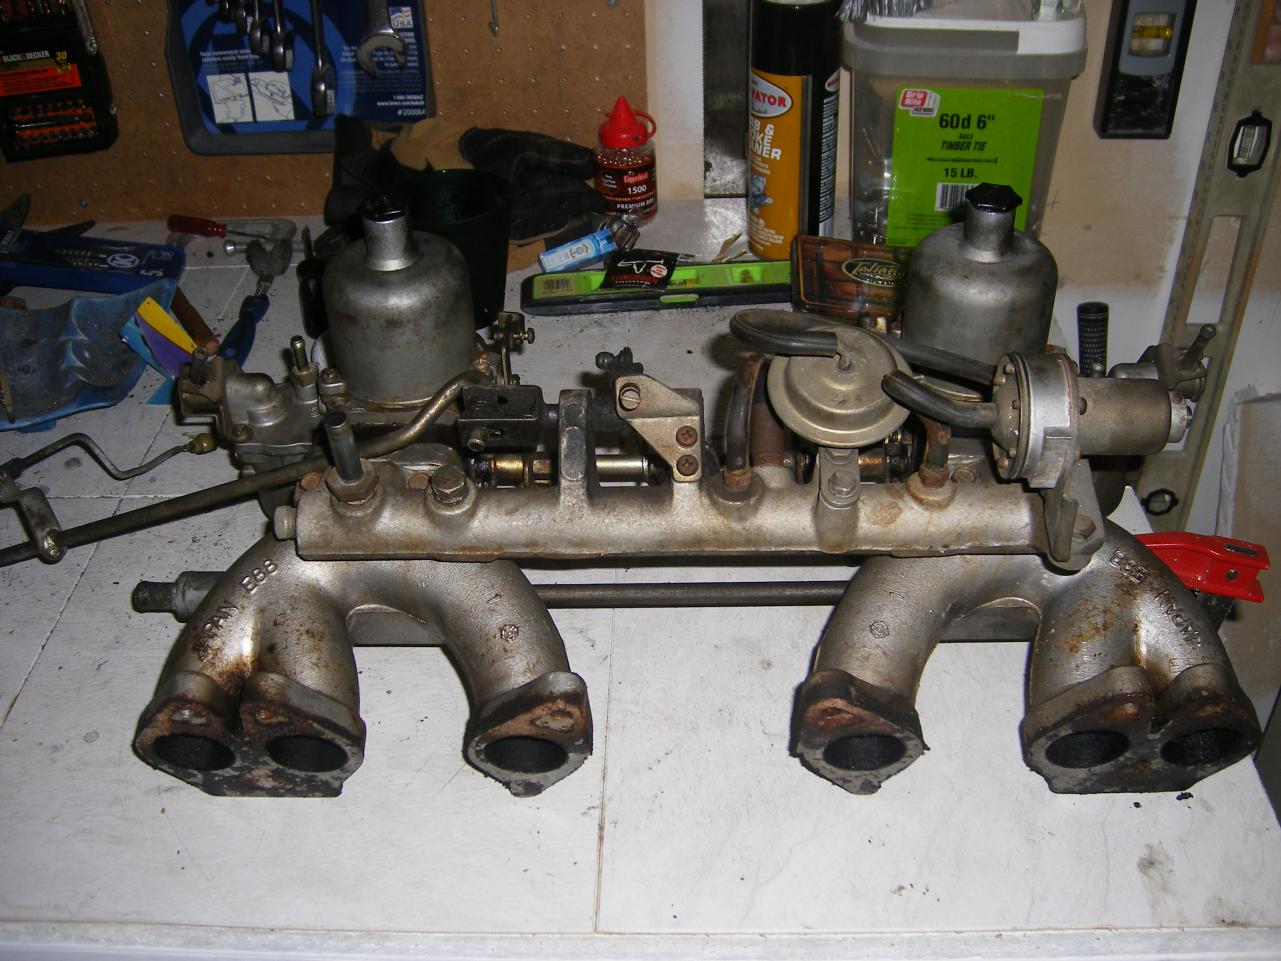
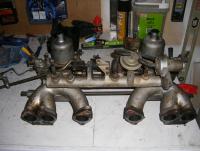
I have removed my intake/carb assembly and would like to rebuild the carbs. I had to remove one of the float bowls in order to access one of the manifold nuts and discovered that all of the carb gaskets are brittle and junk. The carbs seem to run fine the last time I started the car, so I don't think I need to replace all of the internal parts; needles, nozzles, ect. (not to mention I am not familar enough with these parts to just order a kit to replace them if it is not necessary.) However I do feel like the gasket replacement is strightforward enough for me to try. I have a question regarding the kits that are available. Z Therepy has a comprehensive kit available which inclueds the internal parts mentioned above. The only other kit I have been able to find is from MSA, which just contains the gaskets and hoses. There is a substatial difference in cost, and as stated above I don't want to buy parts I don't need. Does anyone have experience with either of these kits or may be able to recomend another? As always, your input is appreciated.

-
Unfortunately working on the Z doesn't pay the bills! The hose that you mention below, are they only abailable through Nissan dealers?
-
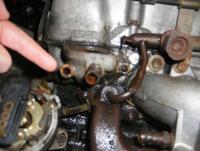
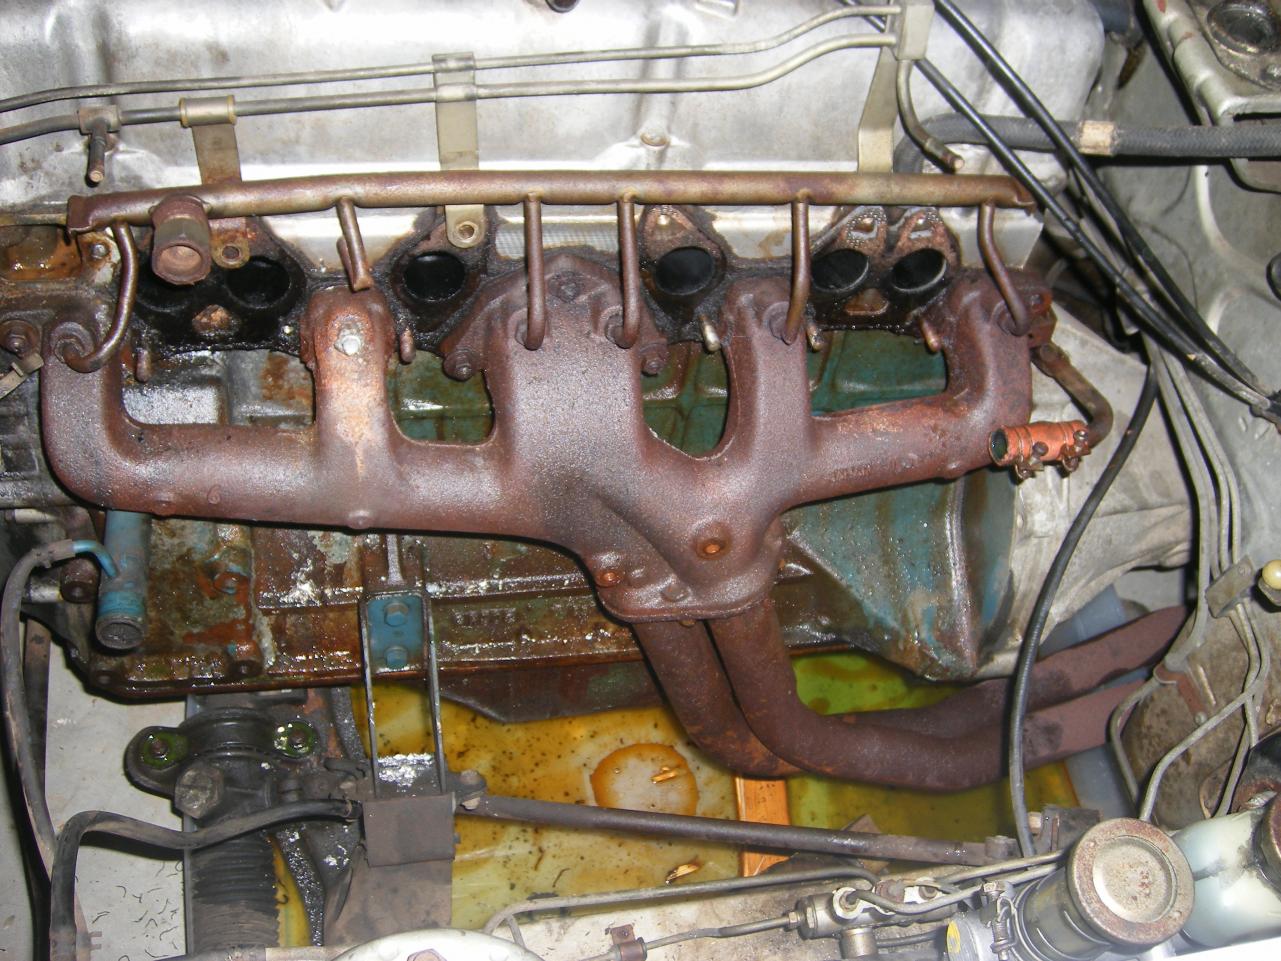
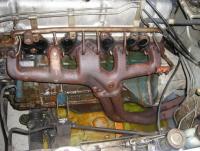
I started out with the intent on replacing the exhaust manifold on my all original '72 but it now seems there may be more I need to do. I got the manifold off tonigh with little trouble. There are a couple of studs that are stuck in the block and a thermostat bolt sheared off in the block. A little PB Blaster and I should be able to back it out. I hope I can use the vise grips on the studs after I let them soak for a few days. I should get my headers on Tuesday. I need to replace most of my hardware and all of my gaskets. All of the original hoses will need to be replaced. I am having trouble finding replacements for the insulated hoses. Particularly the brake servo hoses. Does anyone have any suggestions for hardware and hose replacement suppliers? I have Black Dragon and MSA but they seem to lack a lot. Any suggestions would be helpful. Thanks for looking.

-
Bob, That's great. Is the housing not threaded at all?
-
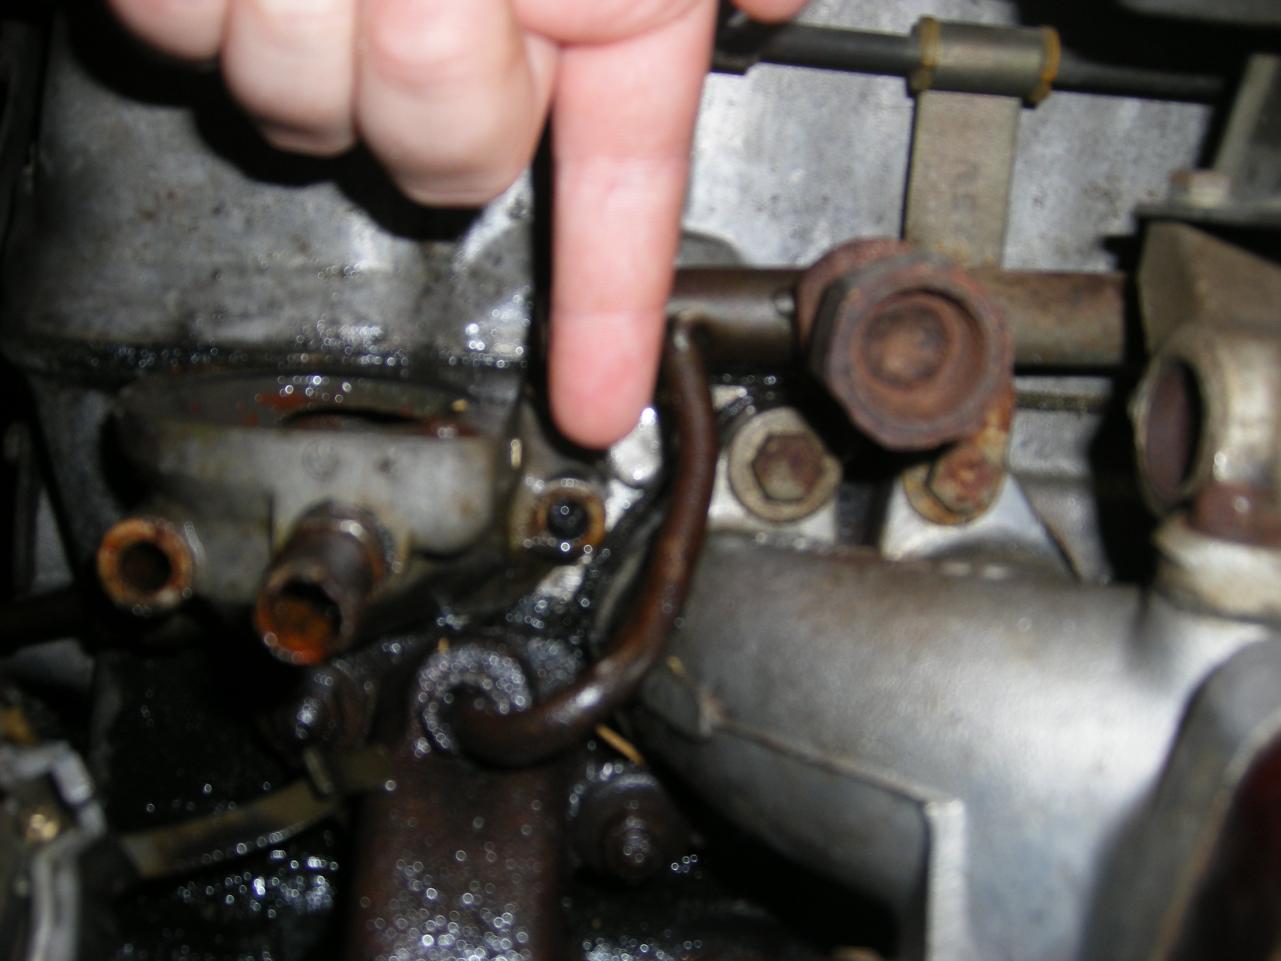
Bob, Good questions. I am trying to remove the entire housing from the block. The screw extractor would grip some but not enough to back it out. I think it must be rusted in the head. We drilled into the bolt almost to the block. We haven't tried to back the second bolt out. We hope that if we spray liquid wrench a few times, it may penetrate and work with time.