Mike W
Free Member
-
Joined
-
Last visited
Everything posted by Mike W
-
 Wow. That is so weird. The link and all of the other text shows up perfectly when I bring up the thread. Not sure why others are having an issue. Regardless, I'll try again to fill in the blanks. First is the link to the bushings that I purchased and notice they are the same part number as called out on the sheet that @EuroDat posted - 7.10102. https://www.amazon.com/gp/product/B000MWAO66/ref=oh_aui_search_detailpage?ie=UTF8&psc=1 A couple of other comments. The Sentra wheel that you have does not look like the one I purchased. The one I have is definitely deeper. I will try and get a picture this weekend so you can see. Also, I have the same billet hubs from TTT and at the time I purchased them they were listed as being applicable to all versions of the S30. I should have known better. However, when I went to install them on my late 260Z, I ran into the same offset problem. I ended up working with the Arizona Z folks to exchange my brackets to the earlier 240 ones and they worked fine with the TTT hubs. I informed Gabe about this when I ran into the problem and he acknowledged they needed to have a different setup for the late 260/ 280Z. I know they now list them separately but I assumed they machined a different hub rather than supplying the 240 version with a spacer. Also, even though the spare wheel I purchased was deep enough to get over the Wilwoods (which look to be the same ones that @wheee! is using), the center hole was not large enough to get over the bigger center of the TTT billet hubs. So I ended up purchasing a spacer from Z Car Depot (it's about 3/8" thick) that I can use between the wheel and the hub to make up the difference. Hope that helps. Let me know if this one is readable. Mike.
 -
-
I used the energy suspension kit for my rack (late 260 / 280) and each bushing came in 2 pieces and fit perfectly. In fact having them in 2 pieces made the install a lot easier. Here's a link to the ones I purchased. I thought ES was the only one that provided these in 2 pieces and so I'm surprised the ones you have from them are one piece versions. https://www.amazon.com/gp/product/B000MWAO66/ref=oh_aui_search_detailpage?ie=UTF8&psc=1 A couple of other comments. The Sentra wheel that you have does not look like the one I purchased. The one I have is definitely deeper. I will try and get a picture this weekend so you can see. Also, I have the same billet hubs from TTT and at the time I purchased them they were listed as being applicable to all versions of the S30. I should have known better. However, when I went to install them on my late 260Z, I ran into the same offset problem. I ended up working with the Arizona Z folks to exchange my brackets to the earlier 240 ones and they worked fine with the TTT hubs. I informed Gabe about this when I ran into the problem and he acknowledged they needed to have a different setup for the late 260/ 280Z. I know they now list them separately but I assumed they machined a different hub rather than supplying the 240 version with a spacer. Also, even though the spare wheel I purchased was deep enough to get over the Wilwoods (which look to be the same ones that @wheee! is using), the center hole was not large enough to get over the bigger center of the TTT billet hubs. So I ended up purchasing a spacer from Z Car Depot (it's about 3/8" thick) that I can use between the wheel and the hub to make up the difference. Hope that helps. Mike.
-
I used the upgrade kit from Arizona Z. Very good quality and they were easy to work with. Very pleased with the performance as compared to the stock brakes. Probably not the cheapest solution but it was brand new and in the limit performed extremely well. You will need to consider the following: 1. If you are running the standard 14 inch rims, they will not fit over the big brake kit. I have been told that 15" will work, but in my case I went with a 16" Konig rewind. You will also need to consider what you will want to do for a spare tire. I ended up getting a donut spare I believe from a later model Nissan Sentra that had the correct bolt spacing and also fit into the spare tire well. It easily fits over the bigger brakes. 2. At least with the Arizona Z kit, you will need to decide what to do for a emergency / parking brake. The Arizona kit as standard, does not include a replacement for the e-brake. They do sell a mechanical caliper which can be used to replace the OEM e-brake, but they only provide the caliper itself as well as a different mounting bracket. I had to design a method for connecting the e-brake to the brake handle and this was not straight forward. I have been meaning to do a write up on my implementation of this for some time but just haven't gotten around to it yet. If you decide to go in this direction, let me know and I'll get the write up done. Hope that helps. Mike.
-
@Hardway from this forum went through this exercise with the Chevette springs a few years ago and did a great write up on his experience. You can find the thread here: Don't recall if he ever got it the way he wanted it but there's a lot of good info in this thread. Mike.
-
I purchased one off of eBay and it was from a 2010 Nissan Sentra. Mine was a 16 inch but I know there are 15 inch versions as well. Fit perfectly both on the wheel studs as well as the spare tire well. Mike.
-
One of the best write ups on this topic was started by @Captain Obvious. You can find the start of the thread here: Just do a search on "steering rack rebuild" and you will get a lot of info on this topic. I have also rebuilt the two different style racks and contributed to the thread above as well as others. The rebuilds are not terribly difficult but do require a couple of special tools and a lot of patience. The hardest part is finding some of the replacement parts, particularly the rack housing end bushings, which I ended up having to have machined locally due to their odd ball size. I was also wondering about the new racks that were being sold by car steering on ebay ( I think they are still available) and how good of a product they were. Good to hear from @kully 560 that it worked well for him. Frankly for $272, going through a complete rebuild would probably cost more and certainly a lot more time (and headaches getting parts). Having said that I did enjoy actually doing the work and getting a better understanding of their operation and the differences between the 2 racks that were used on the S30's. Hope that help. Mike.
-
I did not want to cut into my hoses and I also did not want to use a temp probe that goes through the radiator fins, so I chose to install a sensor in the block. I removed the plug on the back side of the block on the drivers side and replaced it with an appropriate sensor. Works like a champ. I also used a fan controller from Dakota Digital. It is fully programmable in terms of on / off temps and even lets you program the fans to run for XX number of seconds after the engine is turned off. You can find more info about it here if you are interested: http://www.dakotadigital.com/index.cfm/page/ptype=product/product_id=852/category_id=403/mode=prod/prd852.htm Hope that helps. Mike.
-
OK. I found the site that had the best prices on these. Car Parts Discount. This is where I purchased them the last time. $58.55 each instead of $91. http://www.carpartsdiscount.com/auto/parts/catalog/nissan~280zx.html?3593=37540&3671=1002&r=2&gclid=Cj0KCQjw09zOBRCqARIsAH8XF1bN2LvN_yPpBzlKTUToGkfoPrArWPokJX3hJZfO-u29Li4i1AHVpmcaAo5aEALw_wcB Also if you are going to go through the exercise of rebuilding your rack, you also really want to consider new pinion bearings as well as replacing the inner sleeve bushings pressed into each end of the rack. I had to have those sleeve bearings made by a local machine shop as they are a very odd size. Actually I was thinking about offering a rebuild service for these old racks until I saw the new ones from car steering for around $300. If they are of good quality that would be a very interesting way to go. Mike.
-
So I have used the Rare Parts ITR ends on a couple of different rack rebuilds and they work great. All of the ones that you see from T3, Z Car Depot, etc are all the Rare Parts ones. I can definitely vouch for the quality and performance of the part. Looks a little different from the OEM one but works perfectly. I can also tell you for sure that the ZX TRE do not work on S30's. I purchased a set from Rock Auto that were listed for the S30 but turns out they were for the ZX and are nothing like the ones for our cars. I also know that you can get the Rare Parts ITR ends for around $60 but I'll have to look up the site where I purchased them Let me know if you are interested in that information. Mike.
-
Charles, The oil is supposed to help heat transfer and, as you point out, help to prevent the struts from rusting in the tubes over time. When I did mine I believe that I used a very lightweight oil and I used about 1/4 of a cup. I have heard that others have used ATF, but I can't seem to find those posts right now. In the limit I don't think the fluid type is critical as long as you have something in there for the above 2 reasons. Hope that helps. Mike.
-
I have a front bumper from 75-76 that would match the original one from her car. It is only the bumper bar (not the rubber pieces) and has a few small dings in it but overall it is in good condition. The one I have on my car has already been re-chromed and so I really don't have a need for the spare one that I have. If Jai wants it she can have it for the cost of shipping to her location. Hope that helps. Mike.
-
Yes I have successfully done this. The bearing is quite easy to find from multiple sources. I purchased mine from VXB bearings for about $20. It's an angular contact bearing with the correct ID and OD but it is 1mm thinner than the original. You can find it here: http://www.vxb.com/2-Angular-Contact-Bearing-7202B-15x35x11-p/kit1086.htm It is not sealed on one side but this replacement seemed to do the job without issue. You will need to source some shims to make up the 1mm difference. I actually used L6 valve spring seats / shims which were the proper OD and hardened and so they did the trick. Hope that helps. Mike.
-
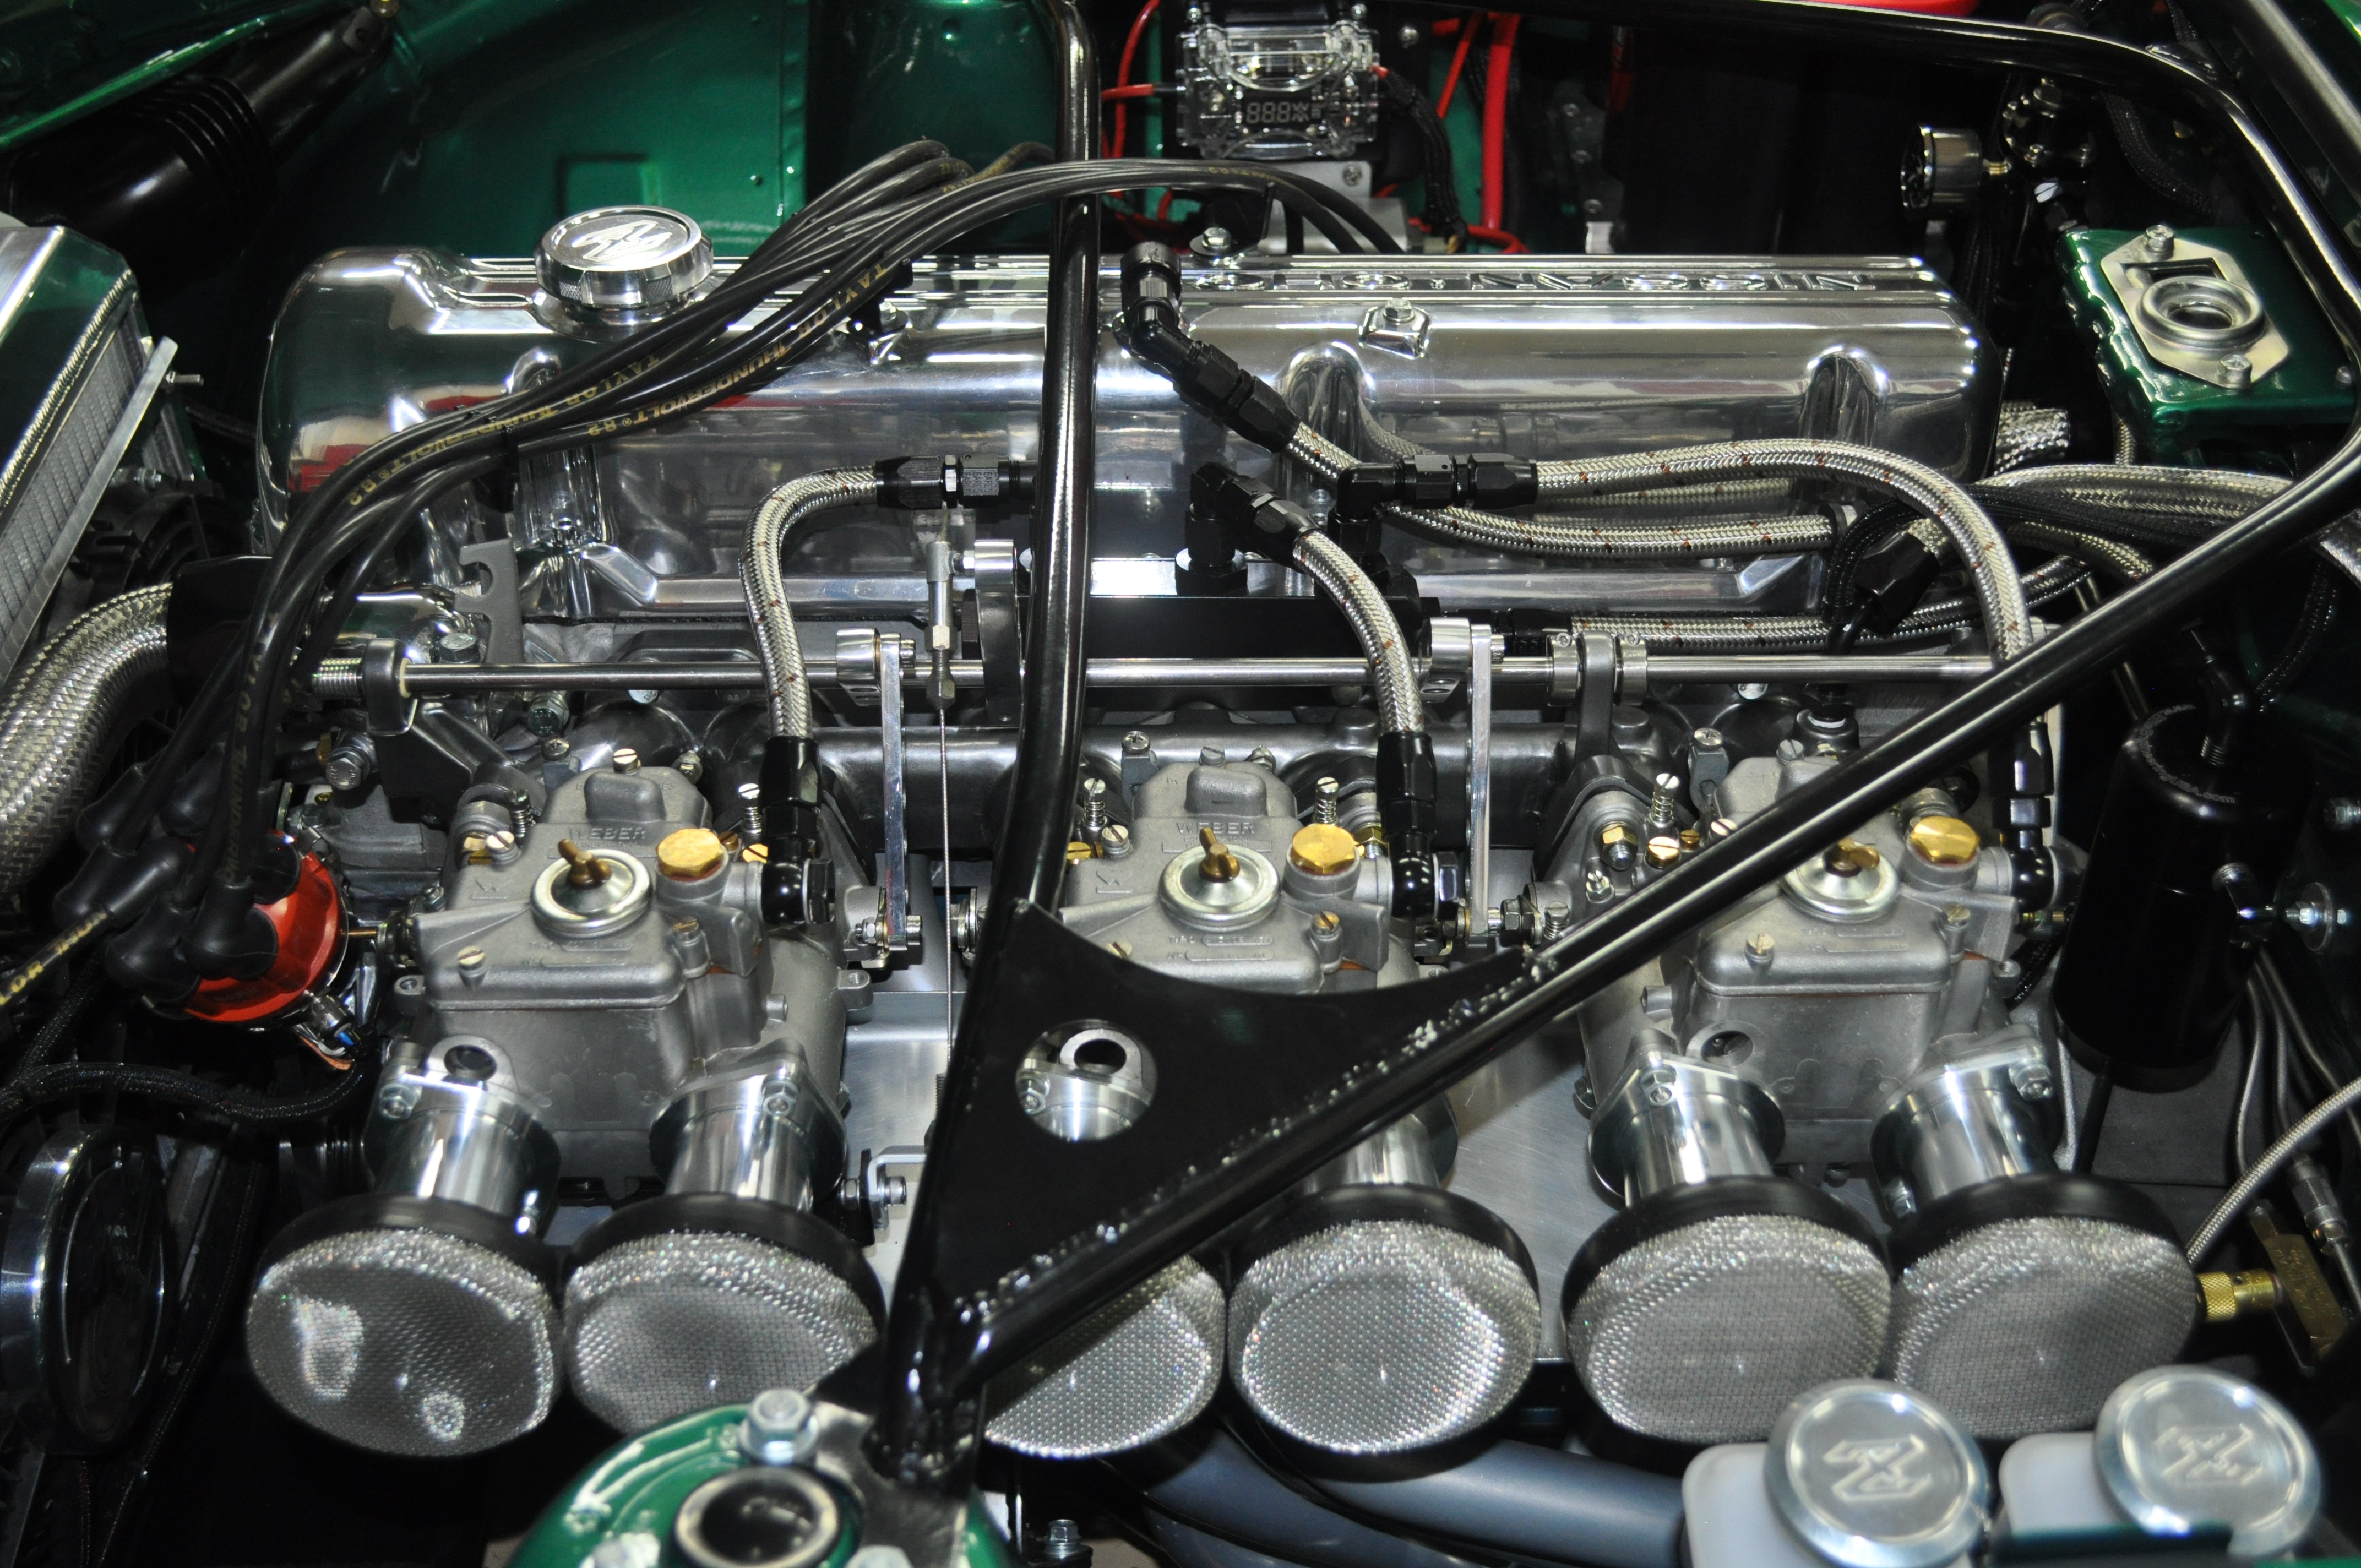
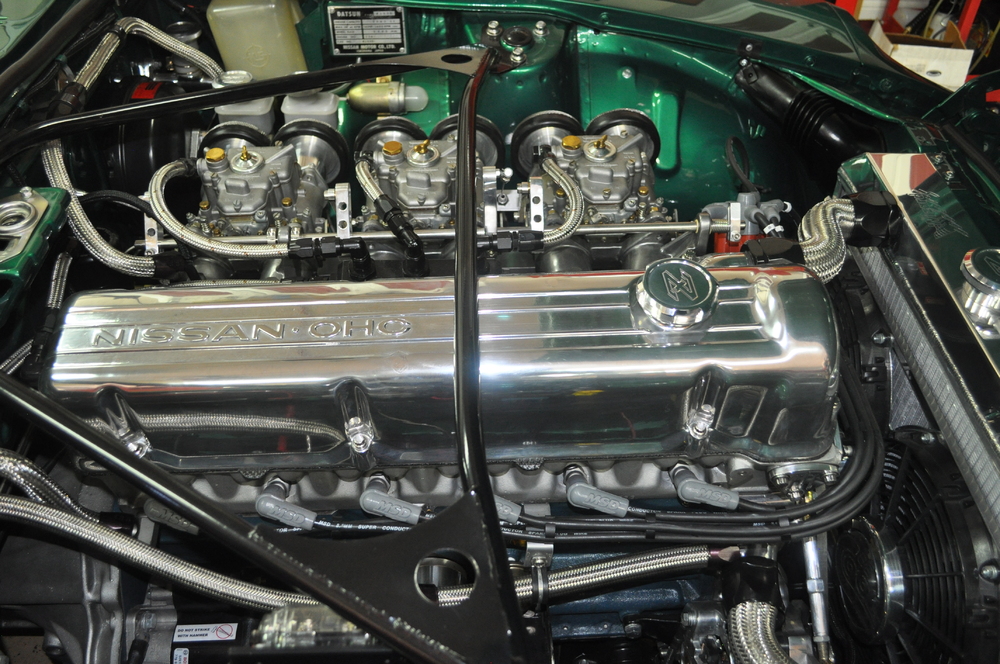
@Zup is correct. I have done this upgrade using the universal Lokar throttle cable, and yes it goes all the way to the pedal. It is one of the best, if not the best upgrade I have done to my car. I run triple Webers and always had a return to idle problem with the stock linkage. I tried literally for years to get the stock linkage to work properly, including the addition of 2 return springs and was never satisfied. The return springs definitely impacted drivability and still didn't totally resolve the return to idle issue. I finally bit the bullet and went with the Lokar cable and what a difference that made. The throttle response was much smoother and the return to idle problem disappeared. I was even able to remove both of the return springs and now I only use the integrated spring that isa part of the Harada manifold setup. I couldn't be happier. My only regret is that I wish I had done this years ago. Hope that helps. Mike.
-
-
I think the upgrade to cable for me was the biggest improvement to the drivability of my car of all of the upgrades I have done. I fought the OEM linkage for years and was never able to obtain an acceptable return to idle without having to kick the gas pedal. On top of that I used a couple of return springs to help with the idle return, but that resulted in erratic pedal acceleration and poor drivability. The cable changed all of that. Smooth acceleration. No linkage binding and a very smooth return to idle. Other than the built in return spring on the Harada manifold I use, there is nothing else on the linkage and my return to idle is perfect. Cleaned up my engine bay with the spring removal and ended up with a big overall improvement to the drivability. I would never go back to the OEM setup. Mike.
-
I have a big brake kit on my car (the Arizona Z kit) and as a result the standard 14 inch spare tire rim would not fit over them. I carried around a portable inflator for a while but never really liked that solution. I ended up getting a mini spare from a 2010 Nissan Sentra that worked perfectly. It's the right bolt pattern and fits over the big brakes. It's 125-70-16 and fits perfectly in the spare tire hole. Easy to find them on eBay. I think I paid about $50 shipped. Hope that helps. Mike.
-
They way that @w3wilkes has described the hook up is the exact way my pump is wired. It makes no sense to wire it to accessories as the pump would run when the engine was off and you would not want this situation. In addition you would not want it wired to just the start position as the pump would turn off after the car was started. You need the pump wired to the "on" position on the switch. This way you can go to "on" before starting the car so that the pump will run and prime the carbs (a necessary requirement with triple Webers as the bowls tend to evaporate when the car is not driven frequently). Once the car is started and the key is in the run position, the pump will continue to run while the engine runs. However, you should also install an inertia switch in the circuit as well so that in the event of an accident the inertia switch will trip and shut off power to the pump. You would not want the pump to continue to run after an accident especially if the engine shuts down as a result of the collision. Mike.
-
-
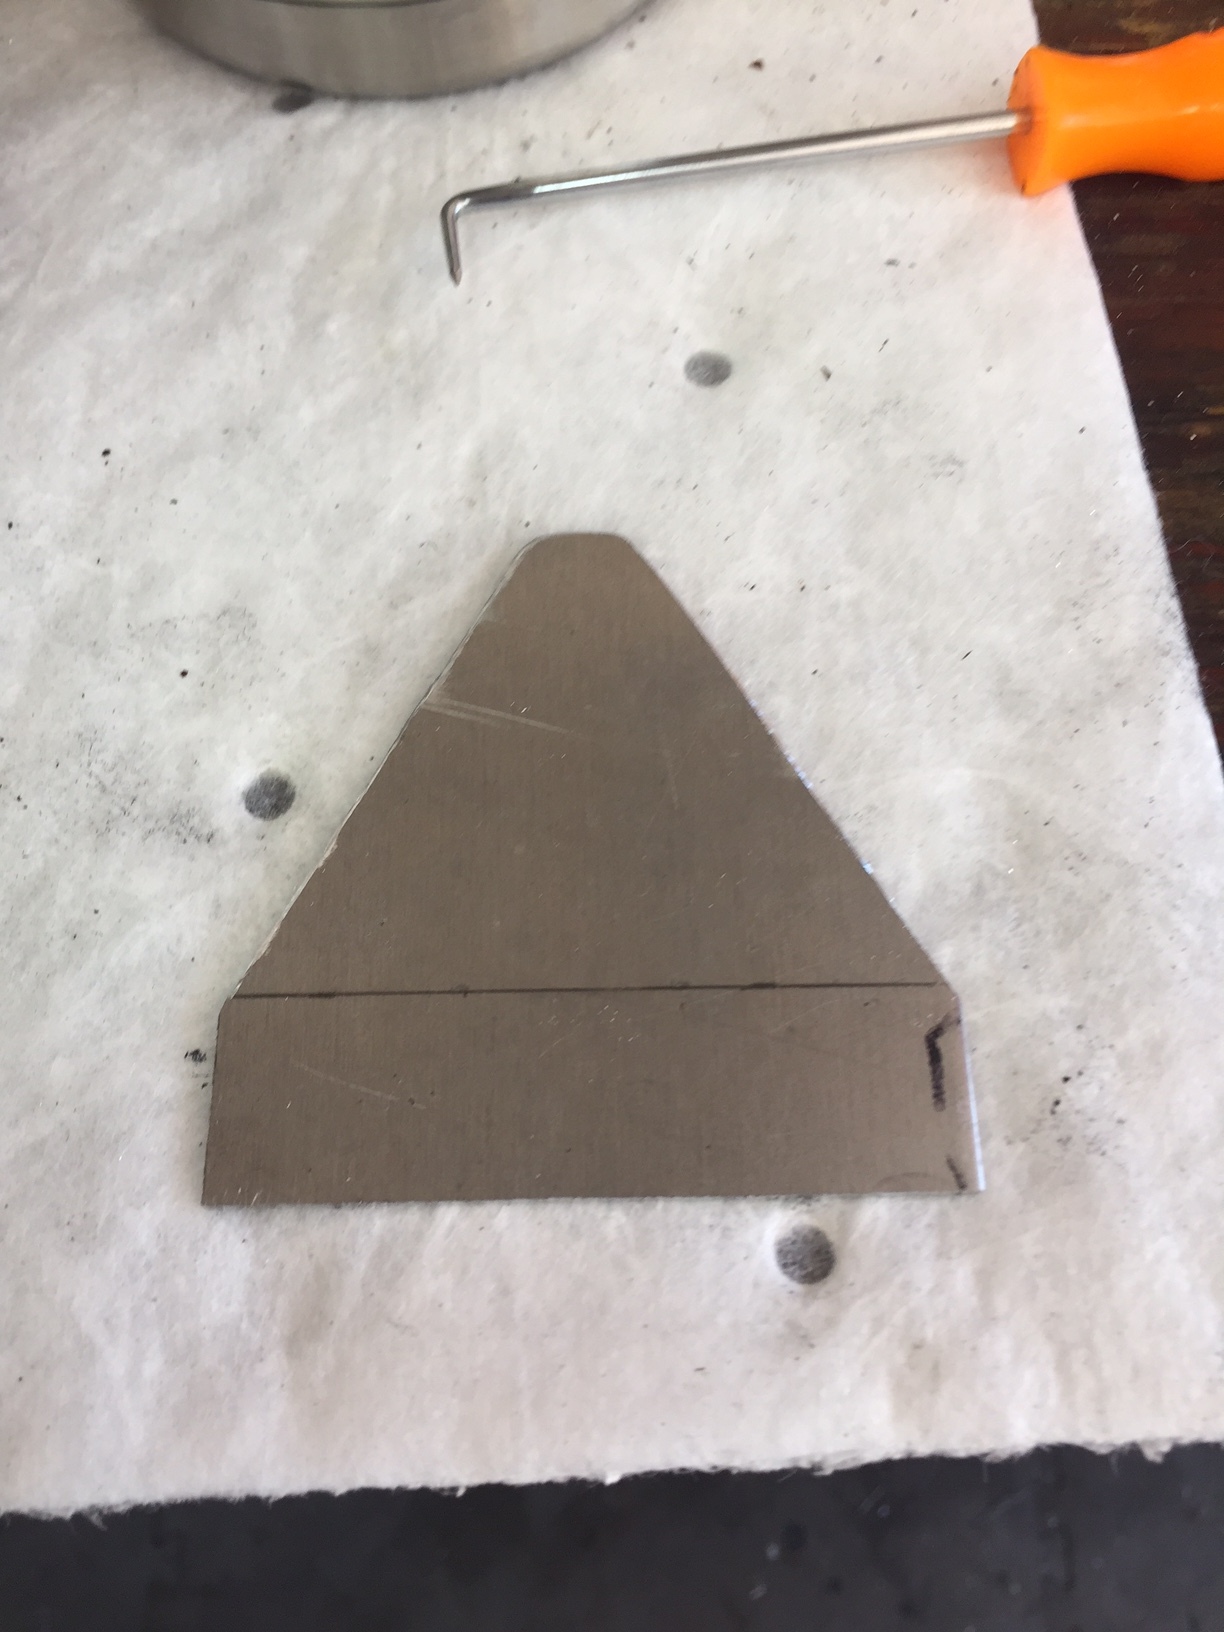
So there is very little room in the back of the valve cover as it relates to the last cam tower. As a result I have to dremel off the part of the bung that was protruding into the cover itself in order to make some additional room. You will see that in one of the pictures below. Also you will see the "bosses" that are cast into the top of tyhe cover and these I drilled and tapped so I could secure the new baffle to the cover. The only thing not shown in the pictures are the small holes that we drilled around the bung opening in the new baffle. Pretty straight forward and seems to work fine. Let me know if you have any other questions about this. Mike.

.thumb.JPG.d30ef76501bac09d278c871d45558c53.JPG)
.thumb.JPG.1f1ac9f125b64f2525782274ae23d292.JPG)
-
I agree with you on the baffle plate and so we designed something that I believe will be more than sufficient in terms of preventing a significant amount of oil from being slung around and ultimately ending up in the catch can. I removed the old baffle as it was no longer needed. There are 2 bosses cast into the cover at the very end of the cover. I drilled and tapped these so I had something to mount the new baffle to. I fabricated a very simple L bracket out of some 3/32 aluminum stock and this new bracket actually "covers" the hole made by the newly welded in bung. I then drilled about a dozen small holes in the bracket right around the area of the hole so it makes sort of a mesh filter. I mounted the new baffle and secured it in the cover with red loctite. So far so good. No significant flow of oil from the cover into the catch can and everything else seems to be running fine. Mike.
-
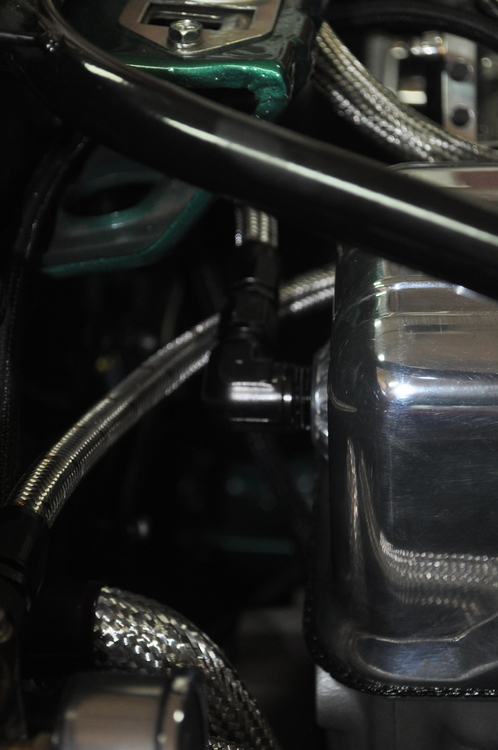
I've actually been through this as I wanted to install a catch can directly from the breather port and wanted to also us AN fittings. I can tell you for sure that the original threads are not 1/2 NPT. I purchased a 1/2 NPT right angle AN fitting and it was too big. I ended up purchasing a 1/2 NPT tap and retapped the hole. Was not a super hard effort and made for a nice solution in the end. Since then I have actually had the breather hole welded over and smoothed out to the contours of the valve cover and welded in a 1/2 NPT bung in the very back of the valve cover and have attached my catch can there. Makes for a cleaner and fairly unique installation.


-
So for polishing applications I pretty much use Menzerna products exclusively. I have also used their polymer sealant as well with good results. They tend to be on the expensive side but produce very good results. However, recently a good buddy of mine tried a product he received as a trial. It's called Trinova and for a fraction of the cost of the Menzerna it actually appeared to do a better job. Goes on easily and wipes off easily after the recommended drying time. I used it on my car right before ZCON and so I do not know about the longevity of the product, but the initial results were extremely good. You can pick this up on Amazon for about $14. I had not heard of the brand before but they have a full line of other car care products as well, although the carnuba based wax is the only one I have tried so far. Mike.
-
Zup uses it to soak up all of the gas that leak out of his flat tops. Sent from my iPhone using Classic Zcar Club mobile
-
Site- wish you could have been here. You have been missed Sent from my iPhone using Classic Zcar Club mobile


.JPG.d699ac2de0cad444a8f51f03ac18d25b.JPG)
.JPG.0d9b5d3f262f3e2131fe4deba6ae6e6e.JPG)