Mike W
Free Member
-
Joined
-
Last visited
Everything posted by Mike W
-
 Zedy, I was going to paste the link to Banzai Motorworks as Mike has had them in the past, but when I went to go to his site this is what i saw: This hosting account has been suspended. For more information please contact TargetMarket at: (843) 312-5293 or by email at accounting@targetmarketinc.com WOW. I hope everything is OK with Mike. Mike.
 -
I went through this same dilemma about a year ago when I upgraded my brakes with the big brake kit from Arizona Z Car. I did a lot of research on this and talked to a lot of people whose opinions I trust, but in the end I opted to give the DOT 5 a try. Here was my situation: 1. I do not track or autocross my car, but it does see a fair amount of spirited driving on the roads throughout Texas 2. The car is shown frequently, and so the corrosive nature of DOT 3/4 was a huge concern especially in the engine bay 3. All of the major components of the brake system were being replaced including a larger master cylinder and the proportioning valve, so most of the unions throughout the system had to be loosened and removed. As a result of this, there was at least some possibility that I would encounter a loose / leaking fitting on startup and run the risk of damaging my paint if I used DOT 3/4. Given that the car had recently been repainted, including the engine bay, I was extremely nervous about this possibility 4. Much of the material I had read about DOT 5 suggested that it was less compressable than DOT 3/4 resulting in a spongy pedal feel. Many articles also pointed out that it was difficult to remove all of the air from the system which would aggravate further the spongy pedal feel My installation procedure went as follows: 1. Since all of the major components were new, I was not all that concerned about the possibility of mixing the new DOT 5 fluid with remnants of any DOT 3/4 that might have still been in the system. Regardless, I did use compressed air to blow out my lines in order to remove any remaining DOT 3/4 that might have been in my lines 2. I used a pressure based Power Bleeder initially with just air to try and detect if any leaks were in my system. This did detect a couple of joints that had not been tightened sufficiently and so I had the chance to resolve those issues before a drop of fluid went into the system 3. Once that had been completed I filled the reservoirs with DOT 5 and began the bleeding process. Sure enough a number of leaks were observed especially around the new proportioning valve where I had to use adapters to go from metric to NPT and as it turns out these unions were just not tight enough. Fortunately, with the DOT 5 there were no detrimental effects to the paint 4. Once I cured all of the leaking unions, I completed the bleeding process and then let the car sit overnight 5. On the following day, I bled the entire system again and sure enough a little more air was detected in the system as things had settled out Finally time for the road test. Now bear in mind that my entire braking system had been upgraded from stock so it was not just a change of fluid from DOT 3/4 to DOT 5 so I was expecting things to feel different. To sum it up, I just could not believe the improvement in braking capability. Clearly much of this was due to the upgraded system, but I did not experience any sponginess in the pedal and in fact it never felt better. In all of the driving I have done over the last year I have not noticed any degradation in the braking power of the car or in the feel of the pedal. In the end I couldn't be happier. Even if the DOT 5 had resulted in some of the negatives associated with this fluid I would have likely replaced it with DOT 3/4, but at least with the DOT 5 I was been able to leak test the system without any detrimental effects to the paint. In the end, the DOT 5 has performed so well in my particular situation, I have decided to stick with it. I even went as far as changing out the fluid in my clutch system as well. Here's a few links that I used to help me decide the path to take: http://www.classiczcars.com/topic/49490-dot-5-fluid-in-my-240z-keep-or-flush/?hl=%2Bbrake+%2Bfluid http://forums.mtbr.com/brake-time/silicone-based-dot5-busting-myth-832808.html http://www.buckeyetriumphs.org/technical/Brakes/Fluid/Fluid.htm I suspect that this topic will always fuel a raging debate, but from my perspective if it is used in the proper application and you have a concern about detrimental effects to the looks of your car, DOT 5 can be a perfectly fine solution. Hope this helps. Mike.
-
Zup - A big congrats!! Nice going. Mike.
-
Zedy, I did my carpet a couple of times but the last and best quality one that I chose was from Chester and Herrod. These were supposedly the guys that provided dealer installed carpets when the cars did not come with carpets from the factory. My car is a transition car and so they ended up getting a few of the major pieces wrong, but they ultimately made good on everything and it was great quality. Loop pile just like the original. Hope that helps. Mike.
-
Just wanting to really understand what you did. Did you connect the master directly to the proportioning valve in some way or did you just bypass the OEM proportioning valve? Is the front splitter block still in place? Mike.
-
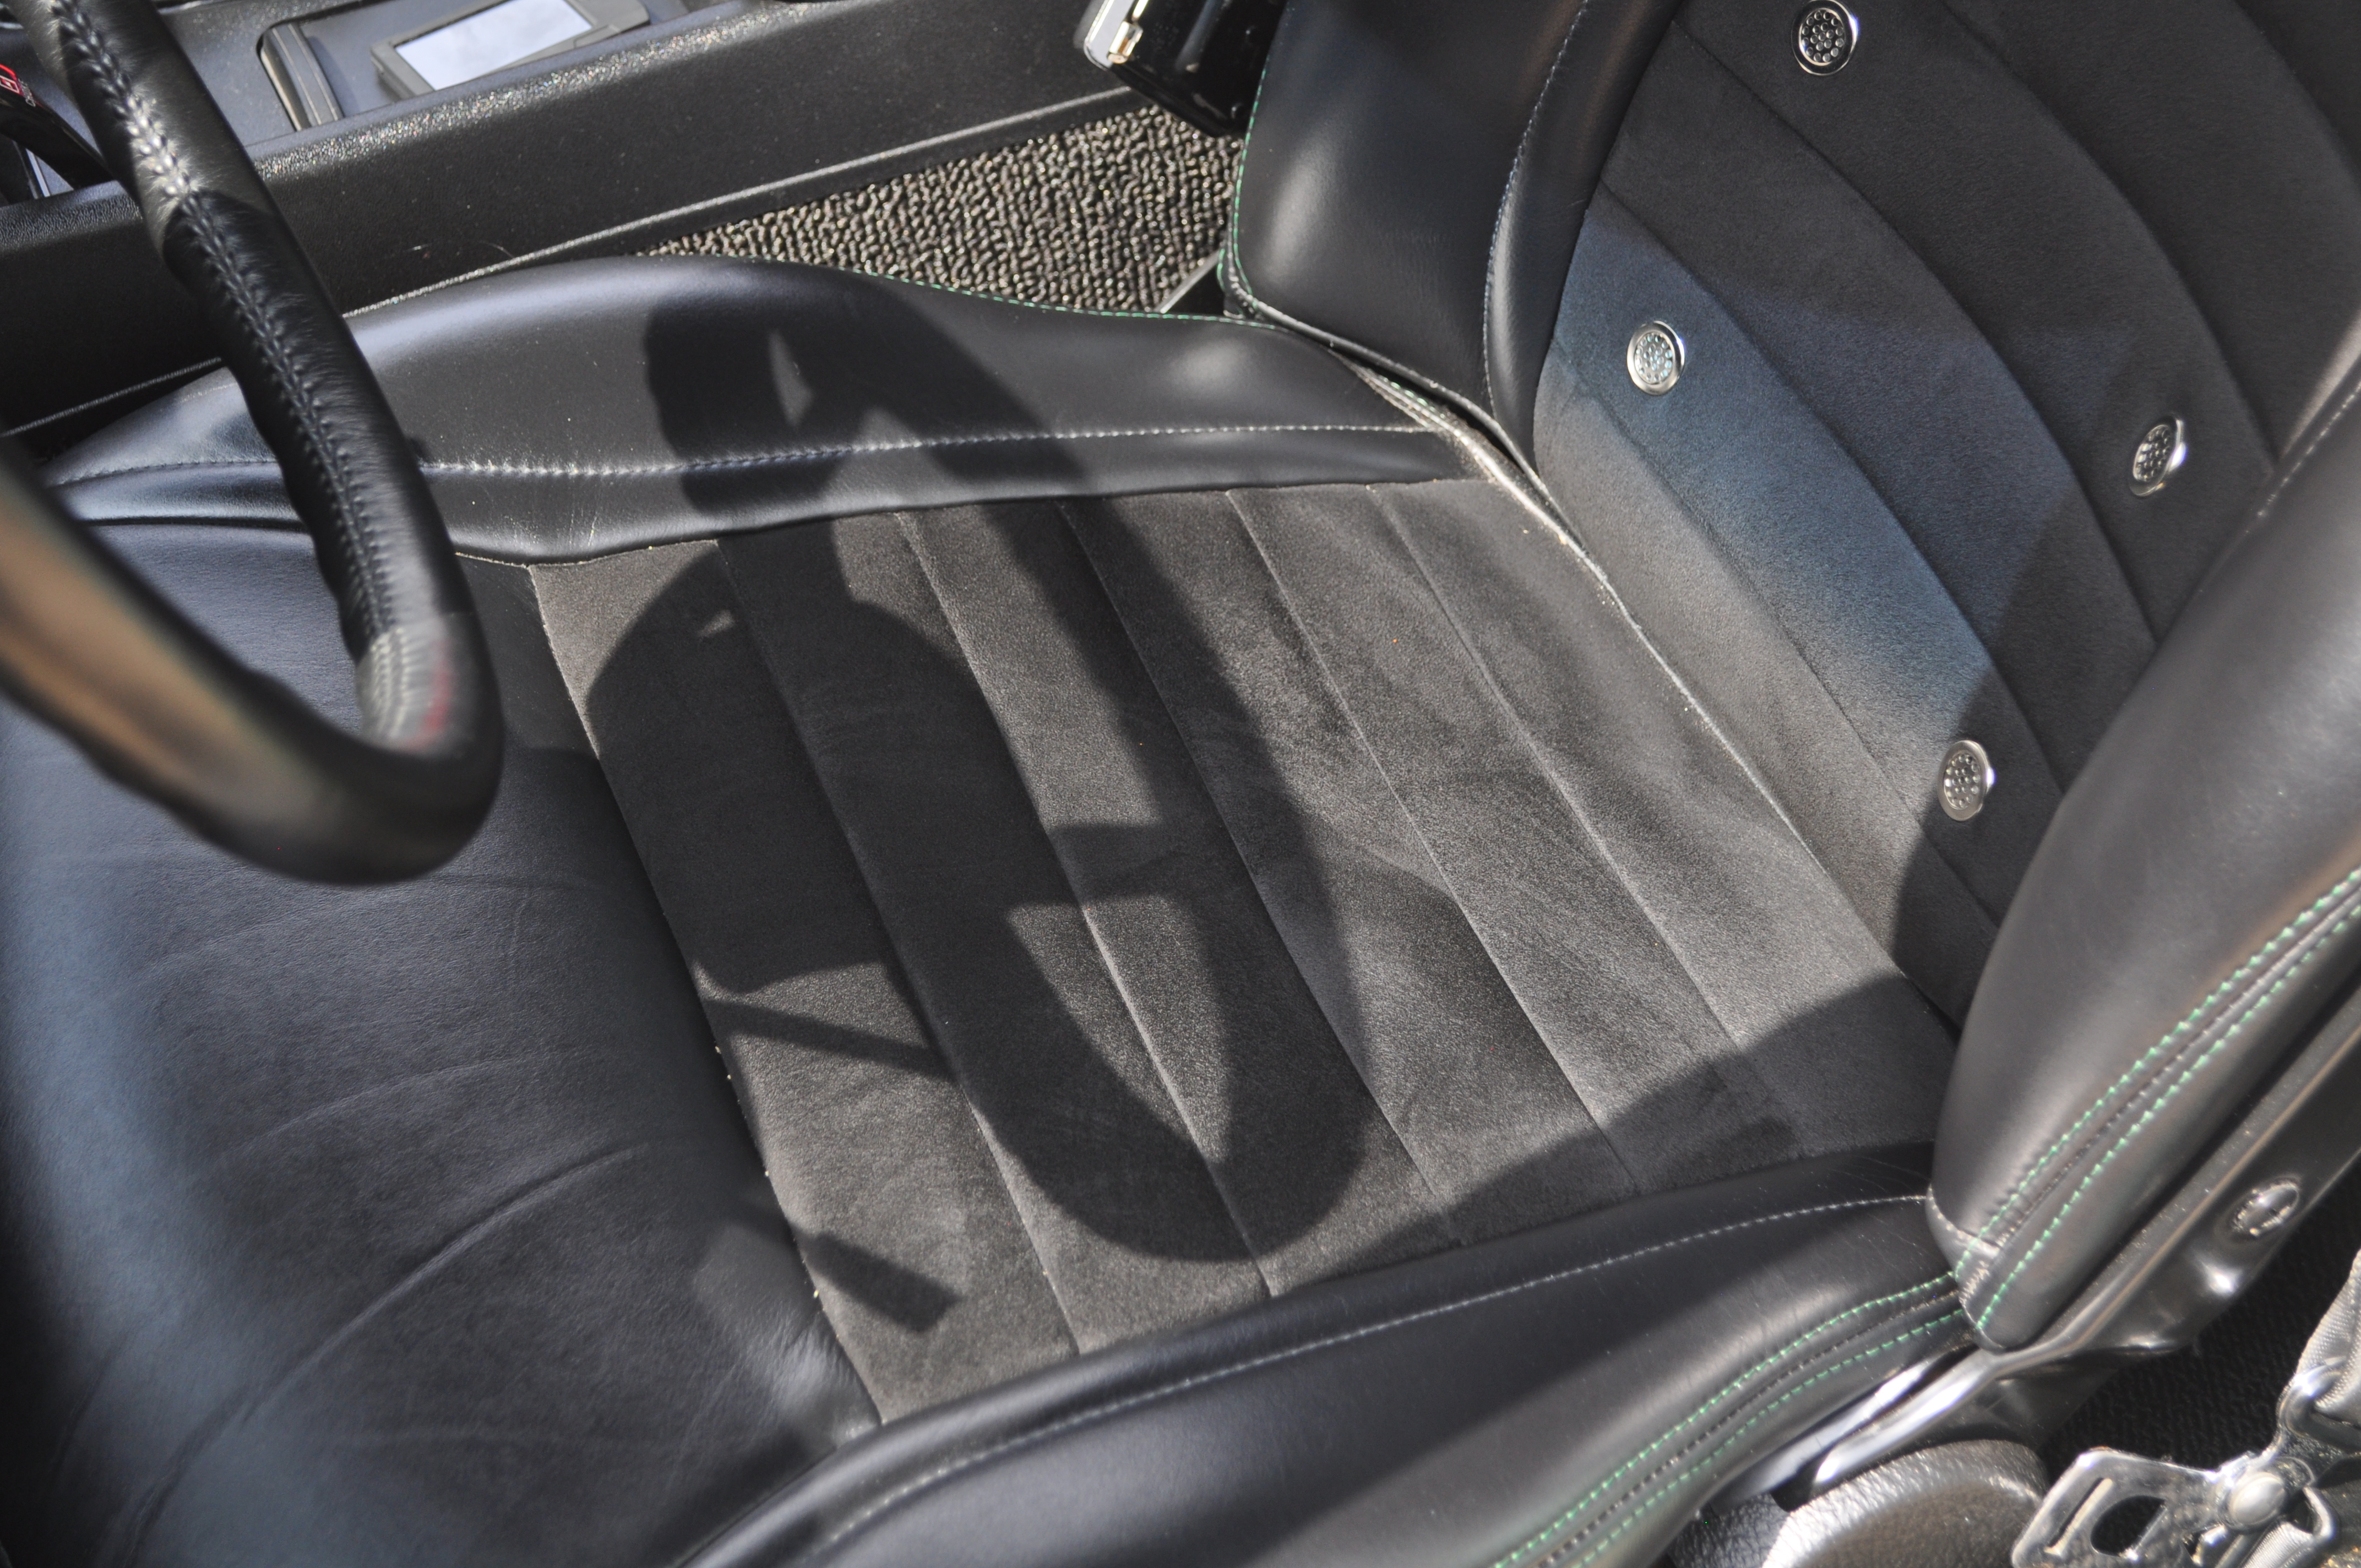
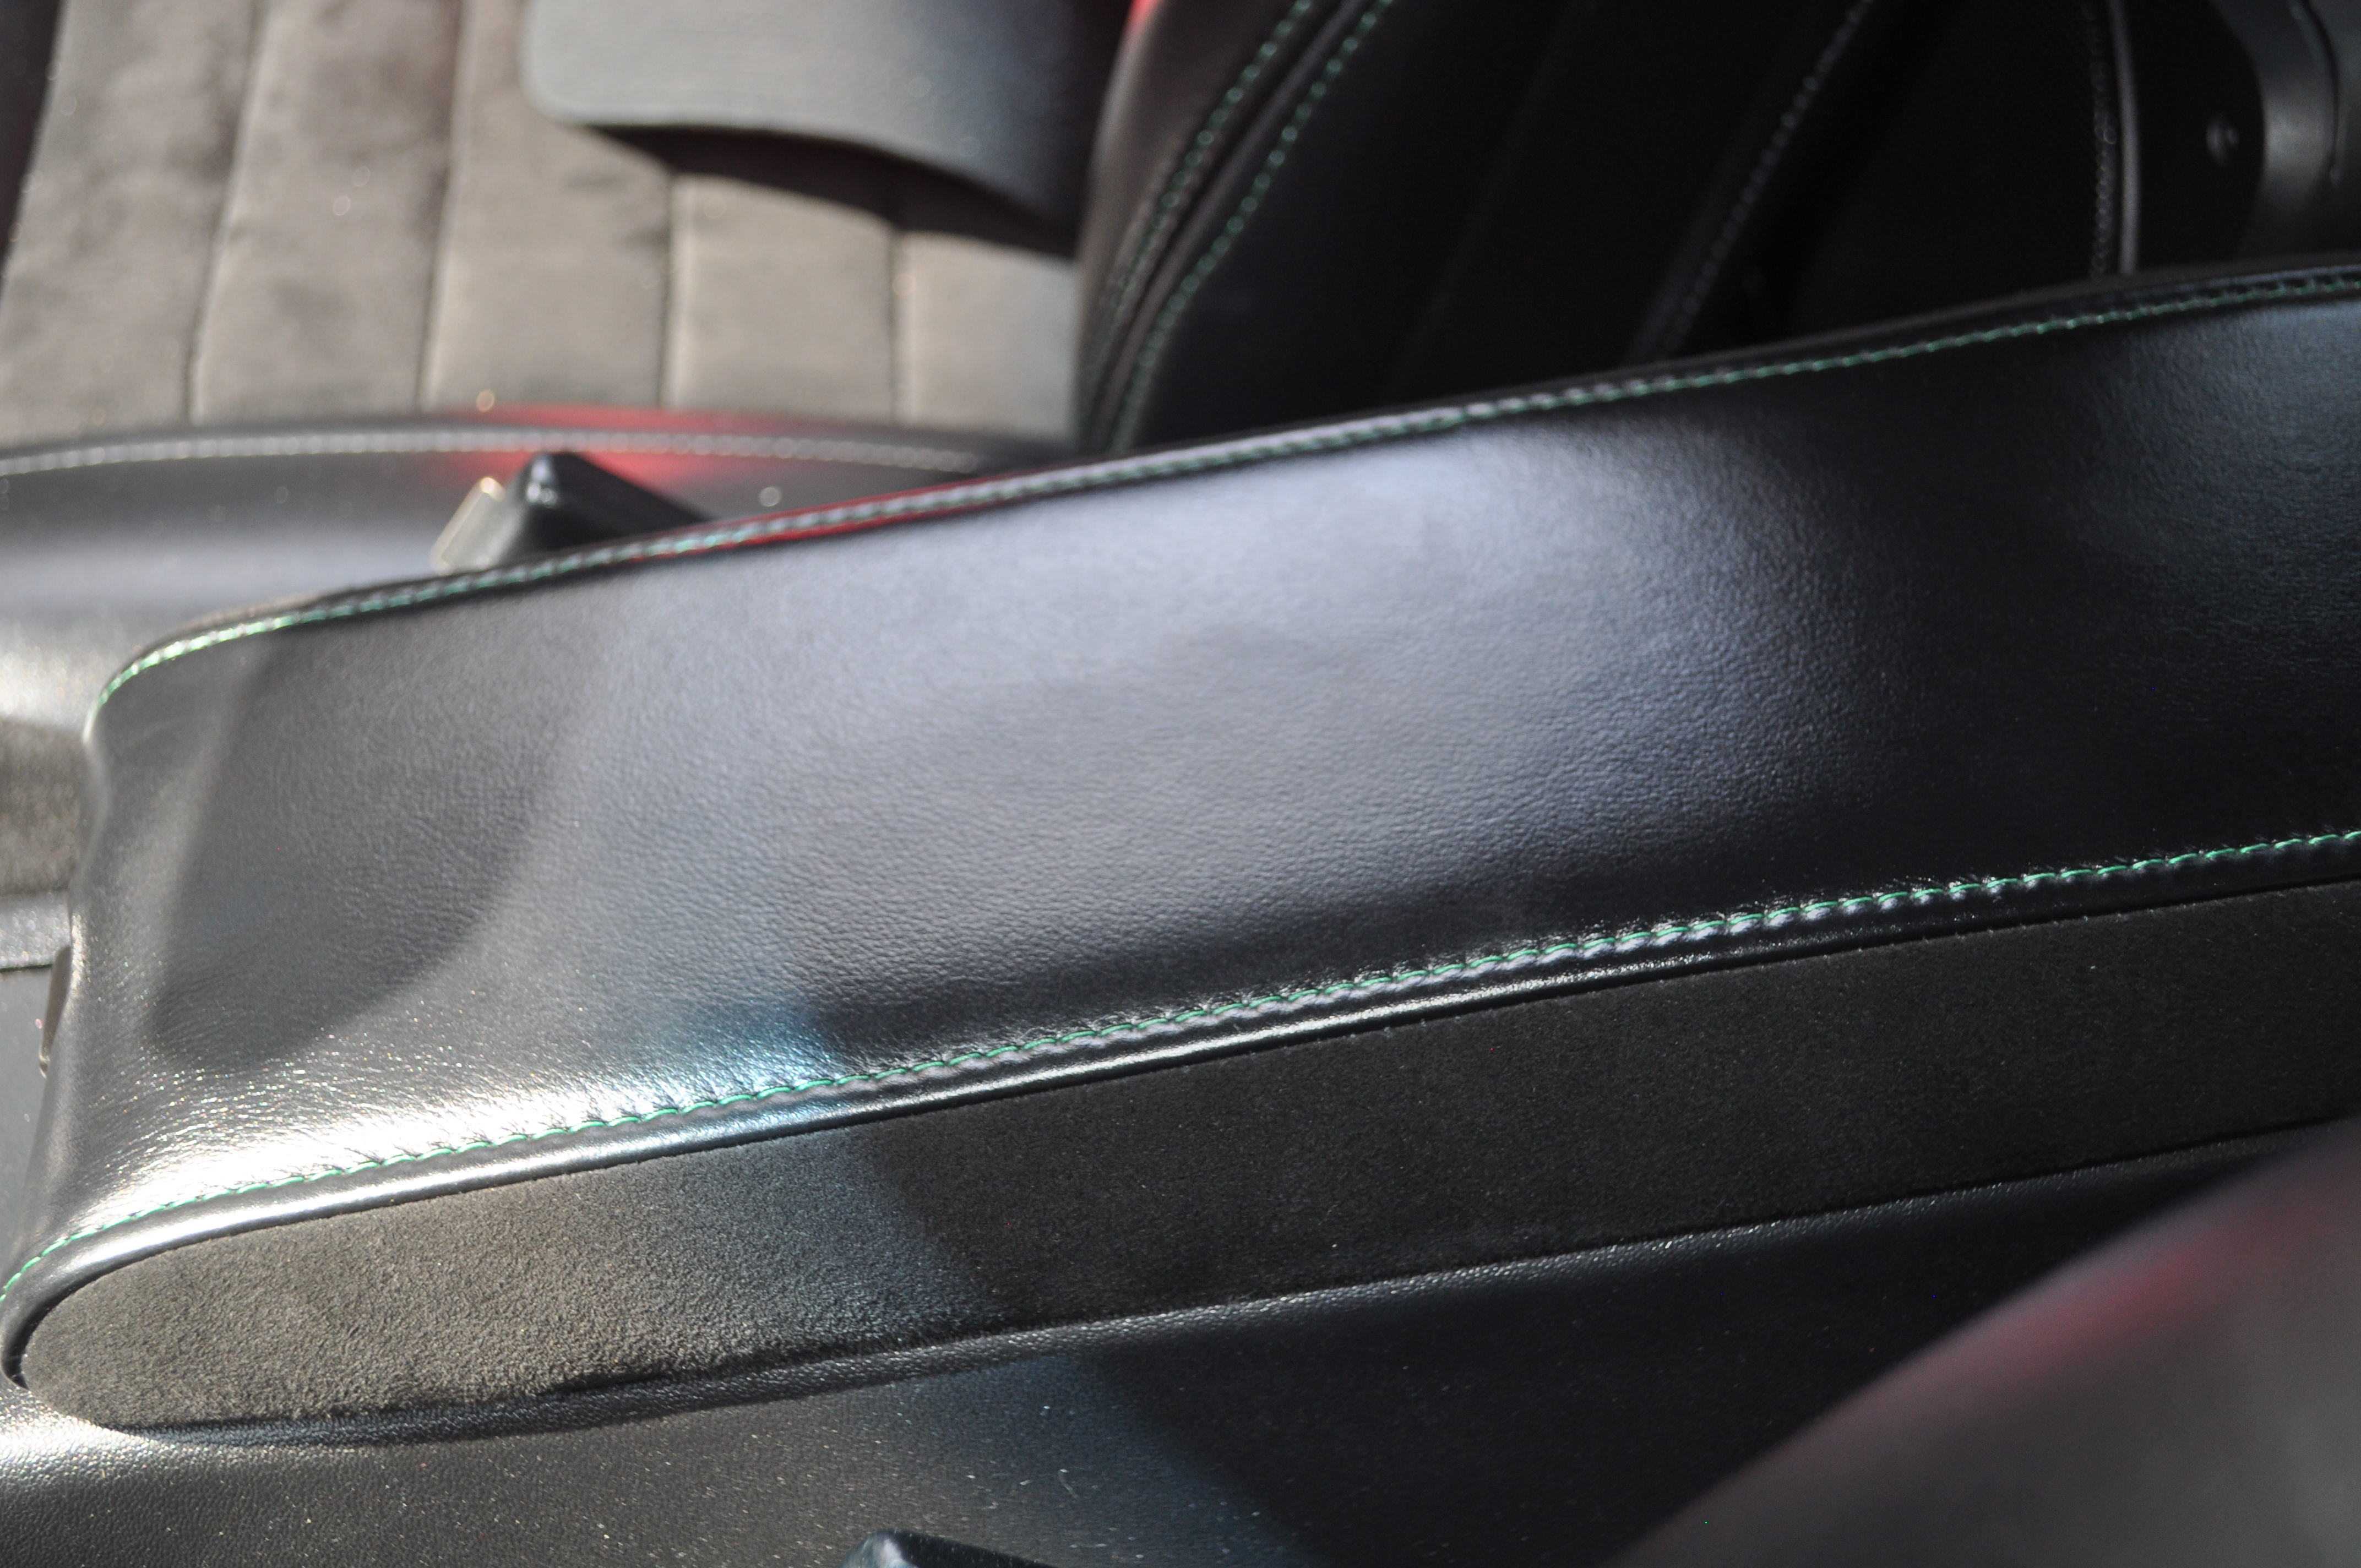
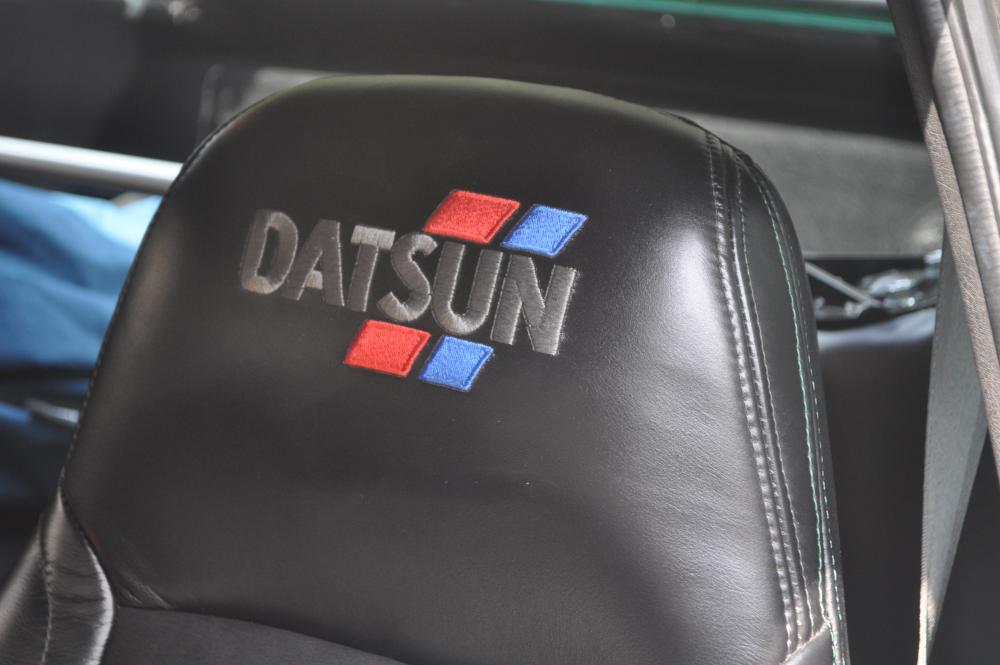
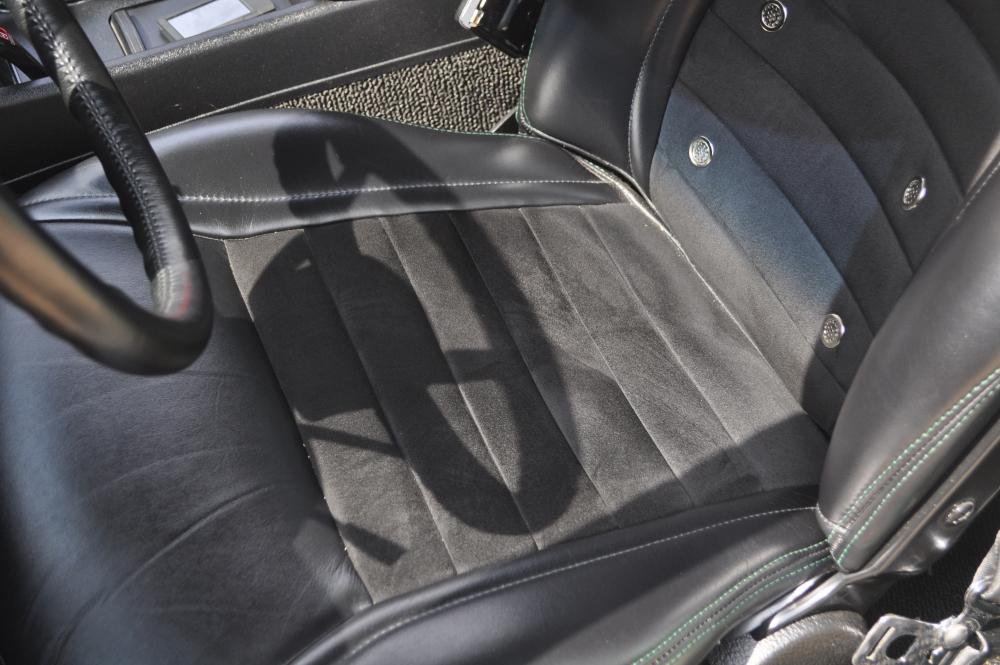
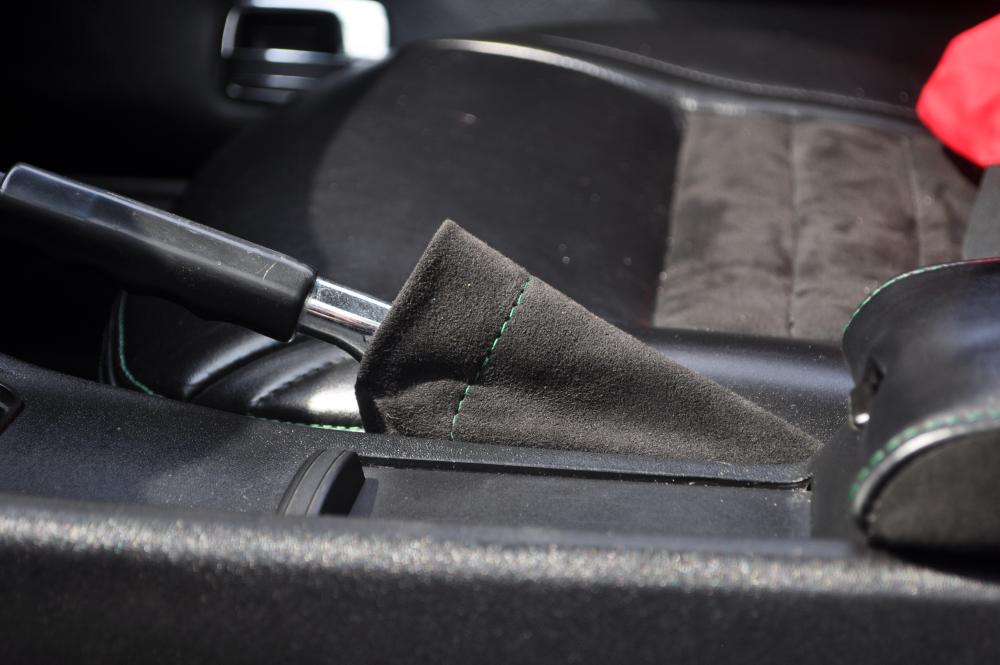
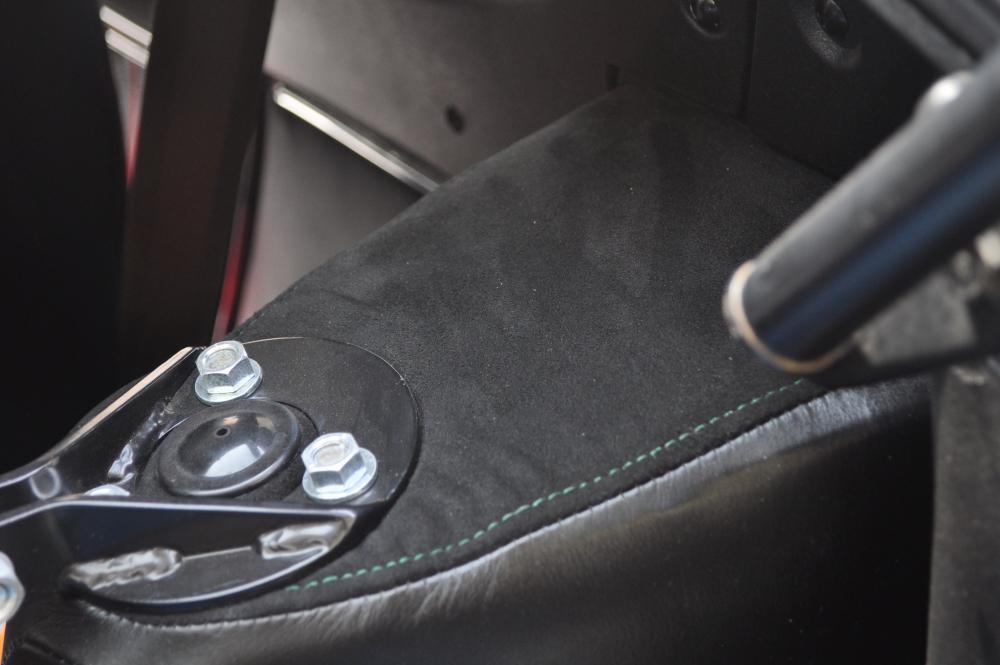
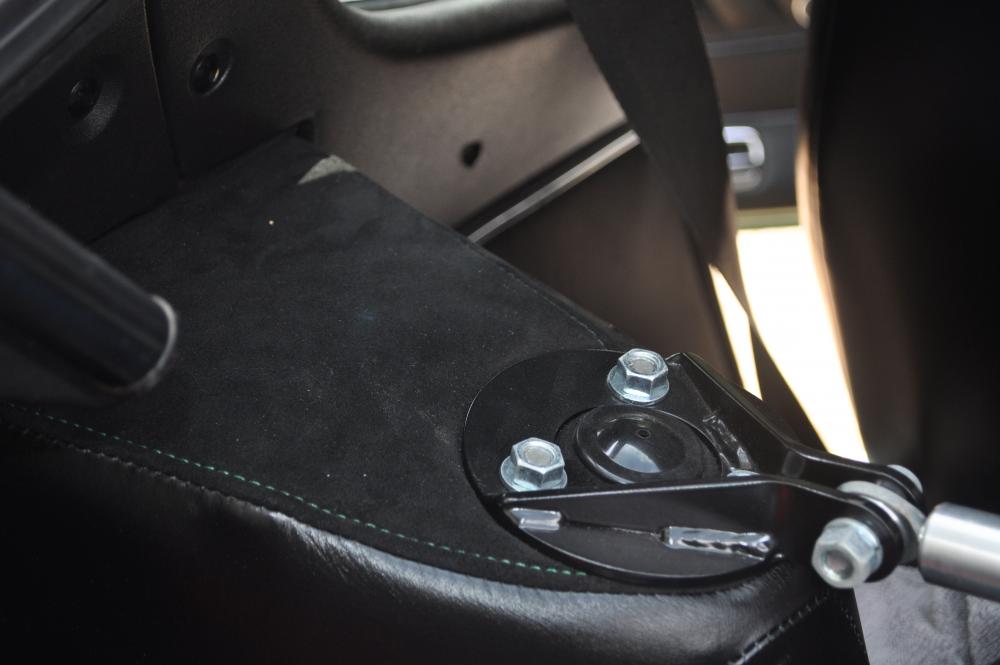
So after Cars and Coffee in Austin on Sunday, I finally had a chance to get a few pictures of my seats as well as other parts of the interior that I had redone as well. The seat leather is an Italian soft leather and they were cut directly from hides. The insides of the seat back and cushion are done with Alcantara which is like a micro fiber suede material (that also helps to keep you planted in the seat as well). All of the top stitching was done in a green to match the color of the car. Also had the armrest covered, as well as the sun visors. Had one side done in leather and the other in Alcantara. He also made me a shift boot and brake handle boot, all in Alcantara with green top stitching. Finally had the strut towers and wheel indents done in a combination of leather and Alcantara. Here's a few pictures.


-
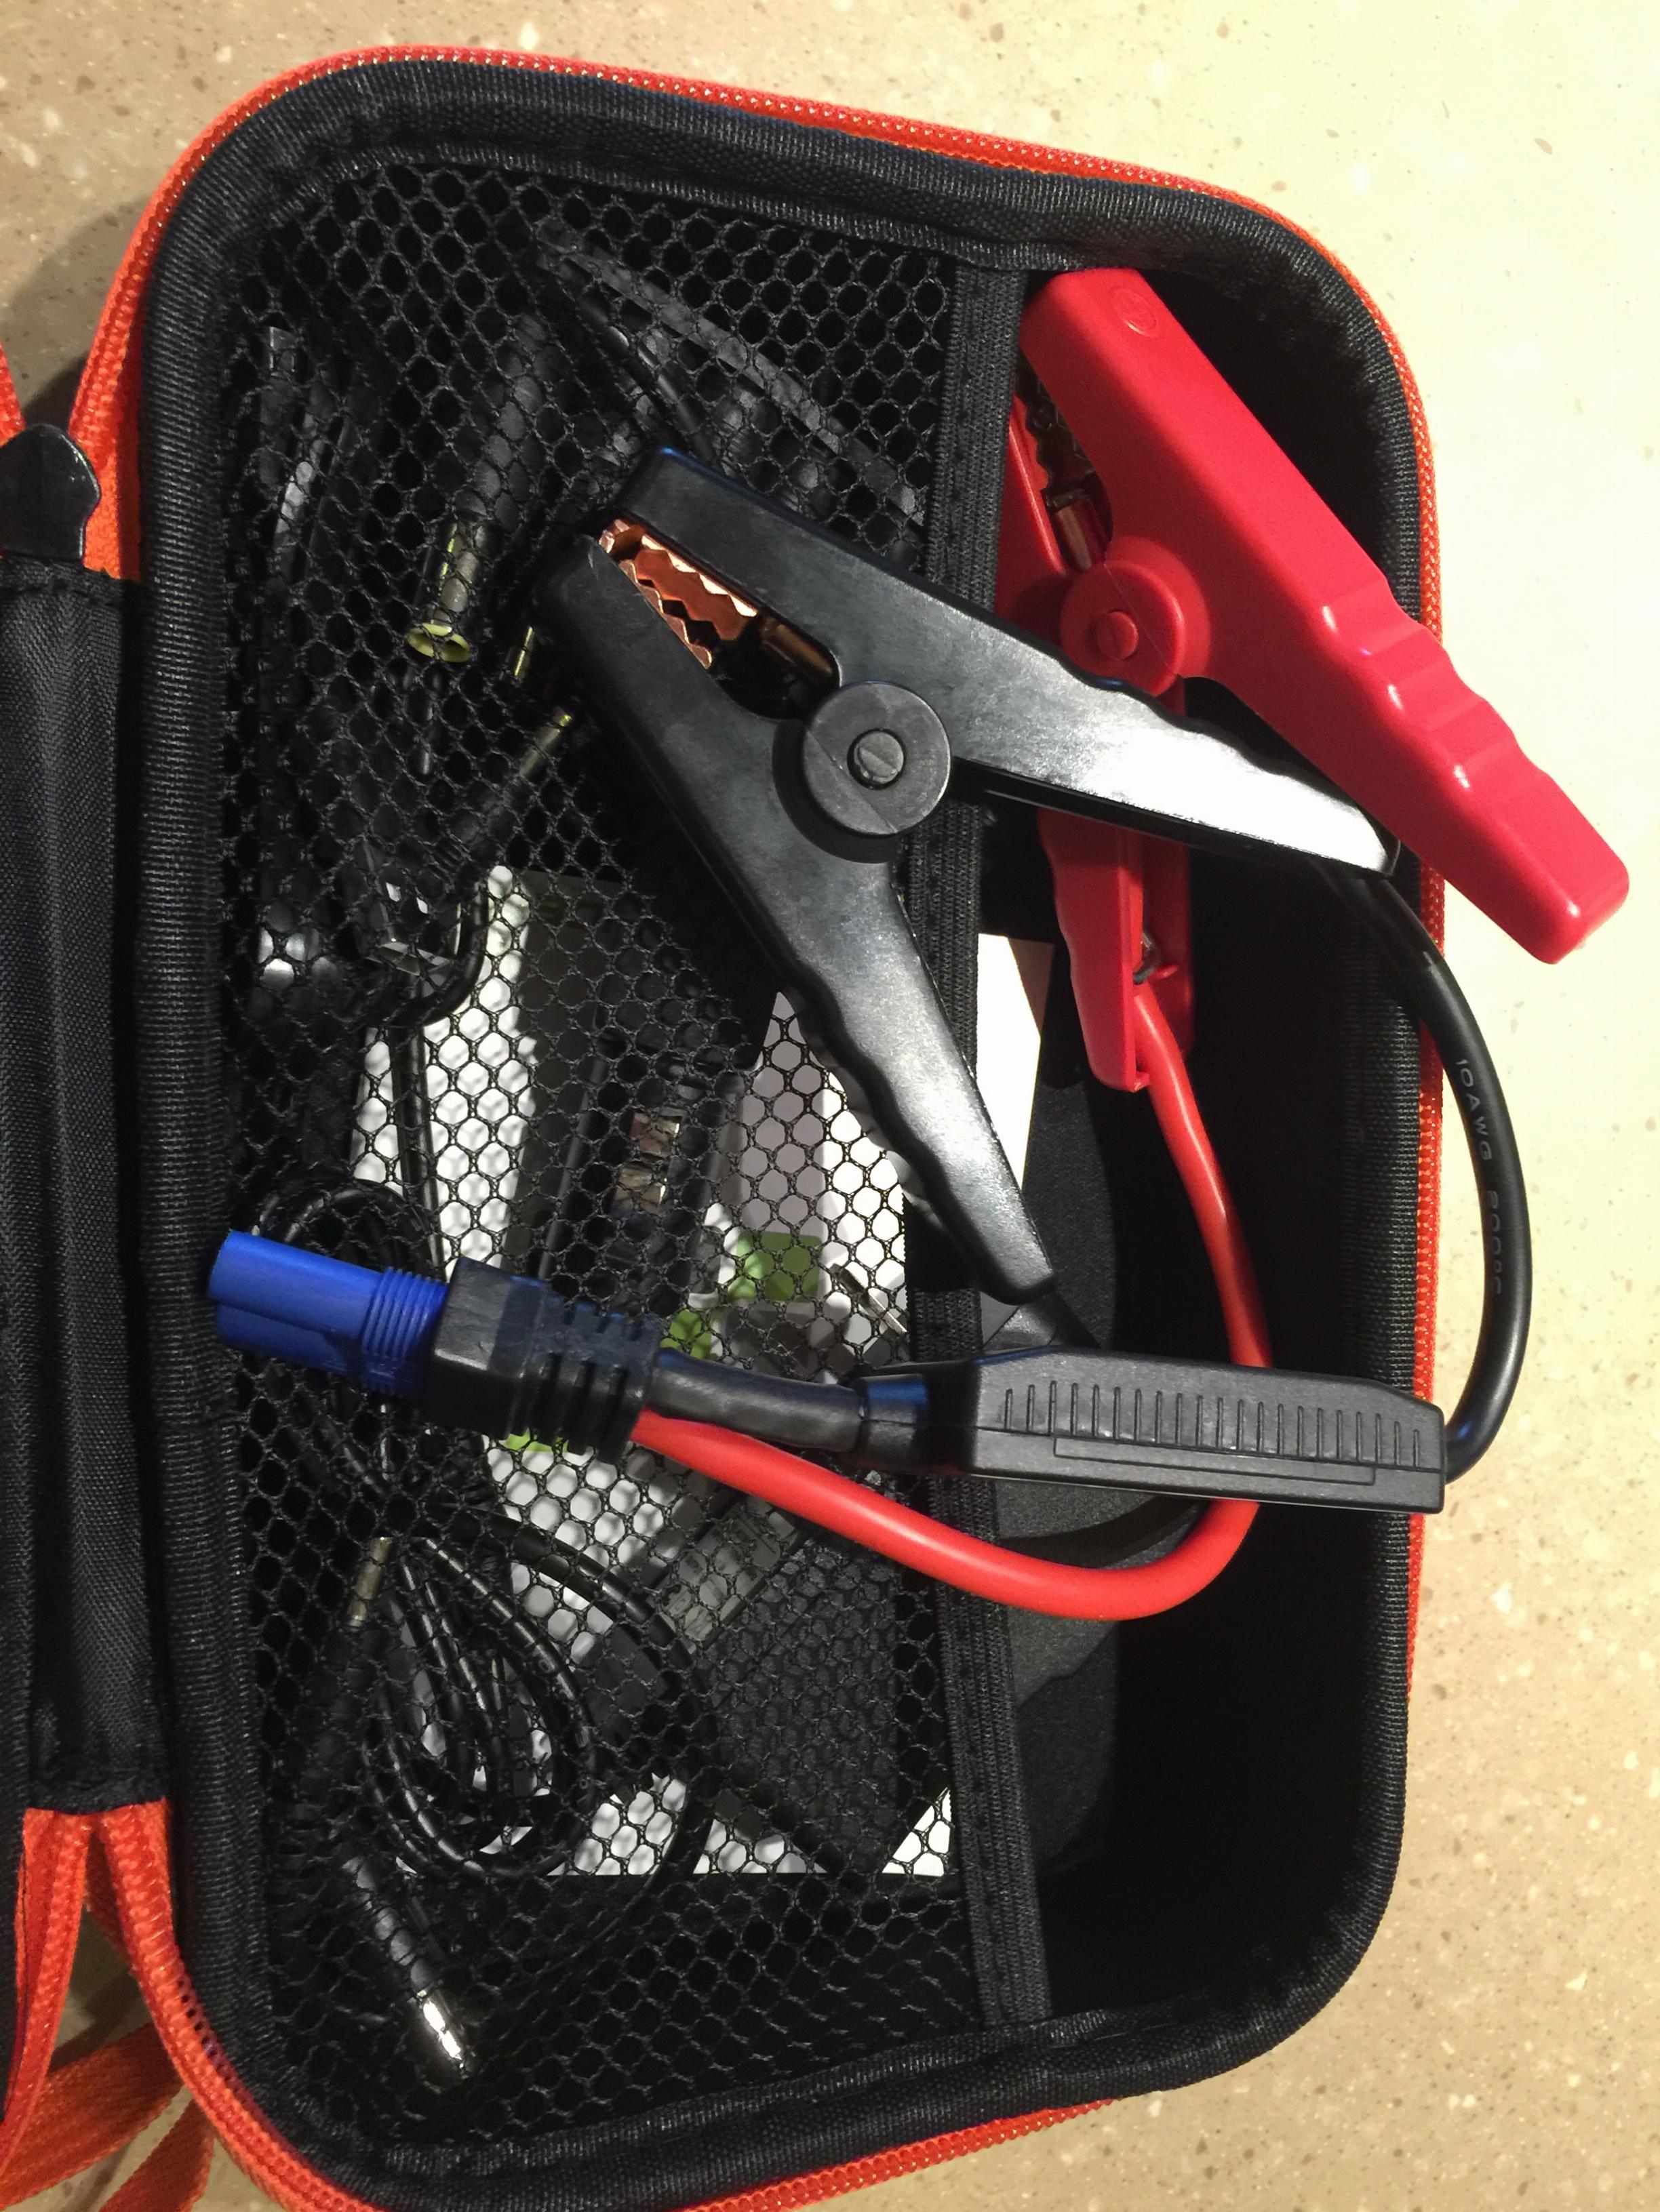
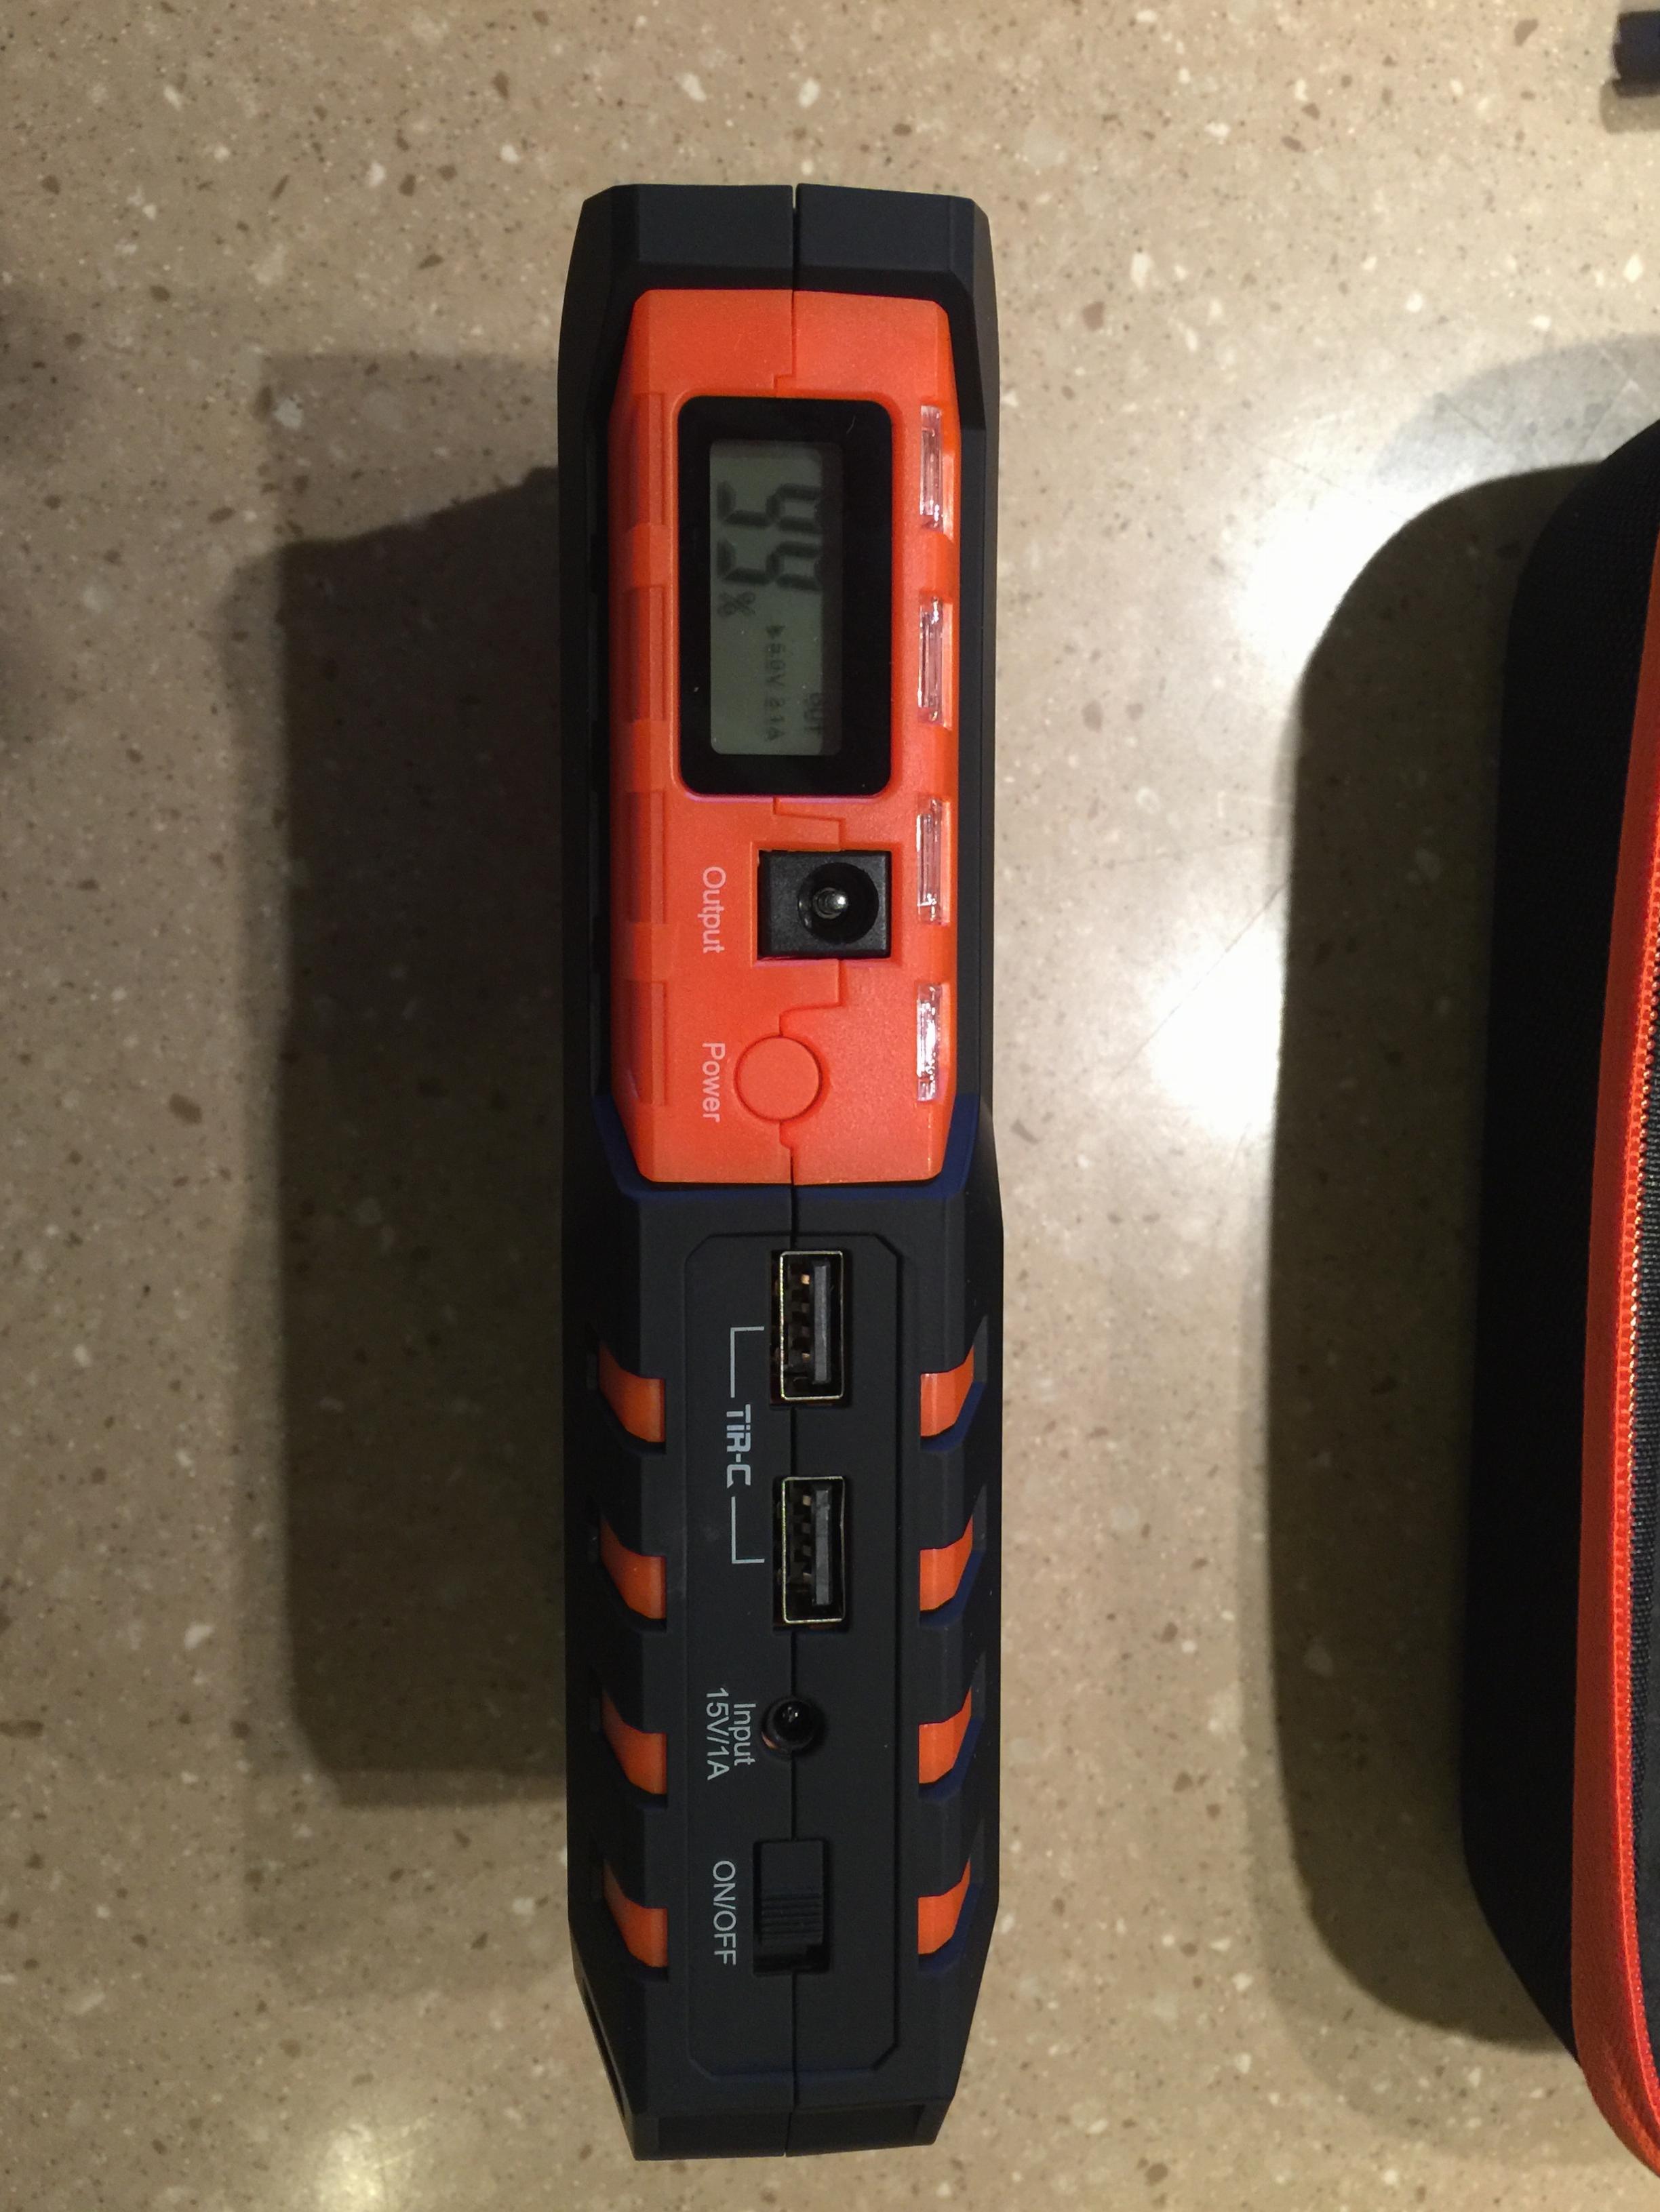
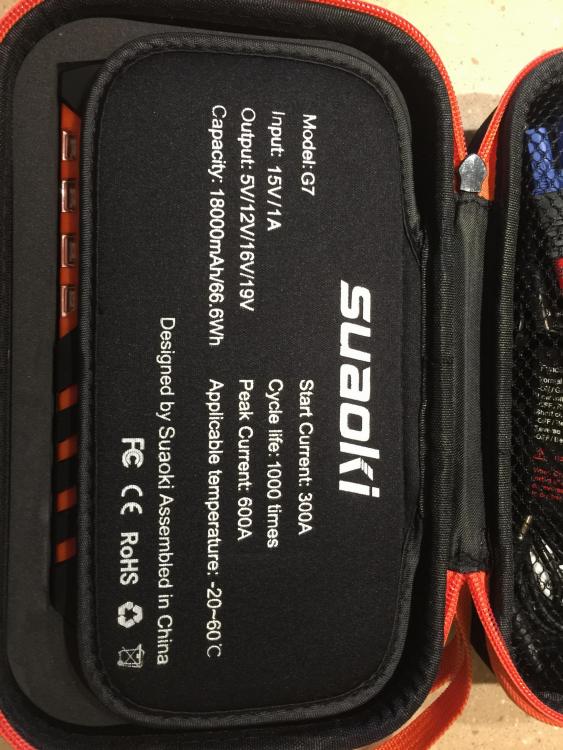
Greg, I actually purchased the version that includes the mini air compressor as well. Turns out that my wife's car is a Chevy Volt and so jump starting her car is not an issue but it does not come with a spare tire and so I thought having the small compressor would be more useful for her application. Admittedly I have not tried the small compressor yet so I cannot comment on its capability. The unit does come in a different size case in order to accommodate the compressor as well as all of the other accessories that are the same as the version I posted originally. Like the original, this seems very well made and thought out and all of the capabilities of the battery are the same as well. If I can get you any other info on this version, just let me know. Mike.
-
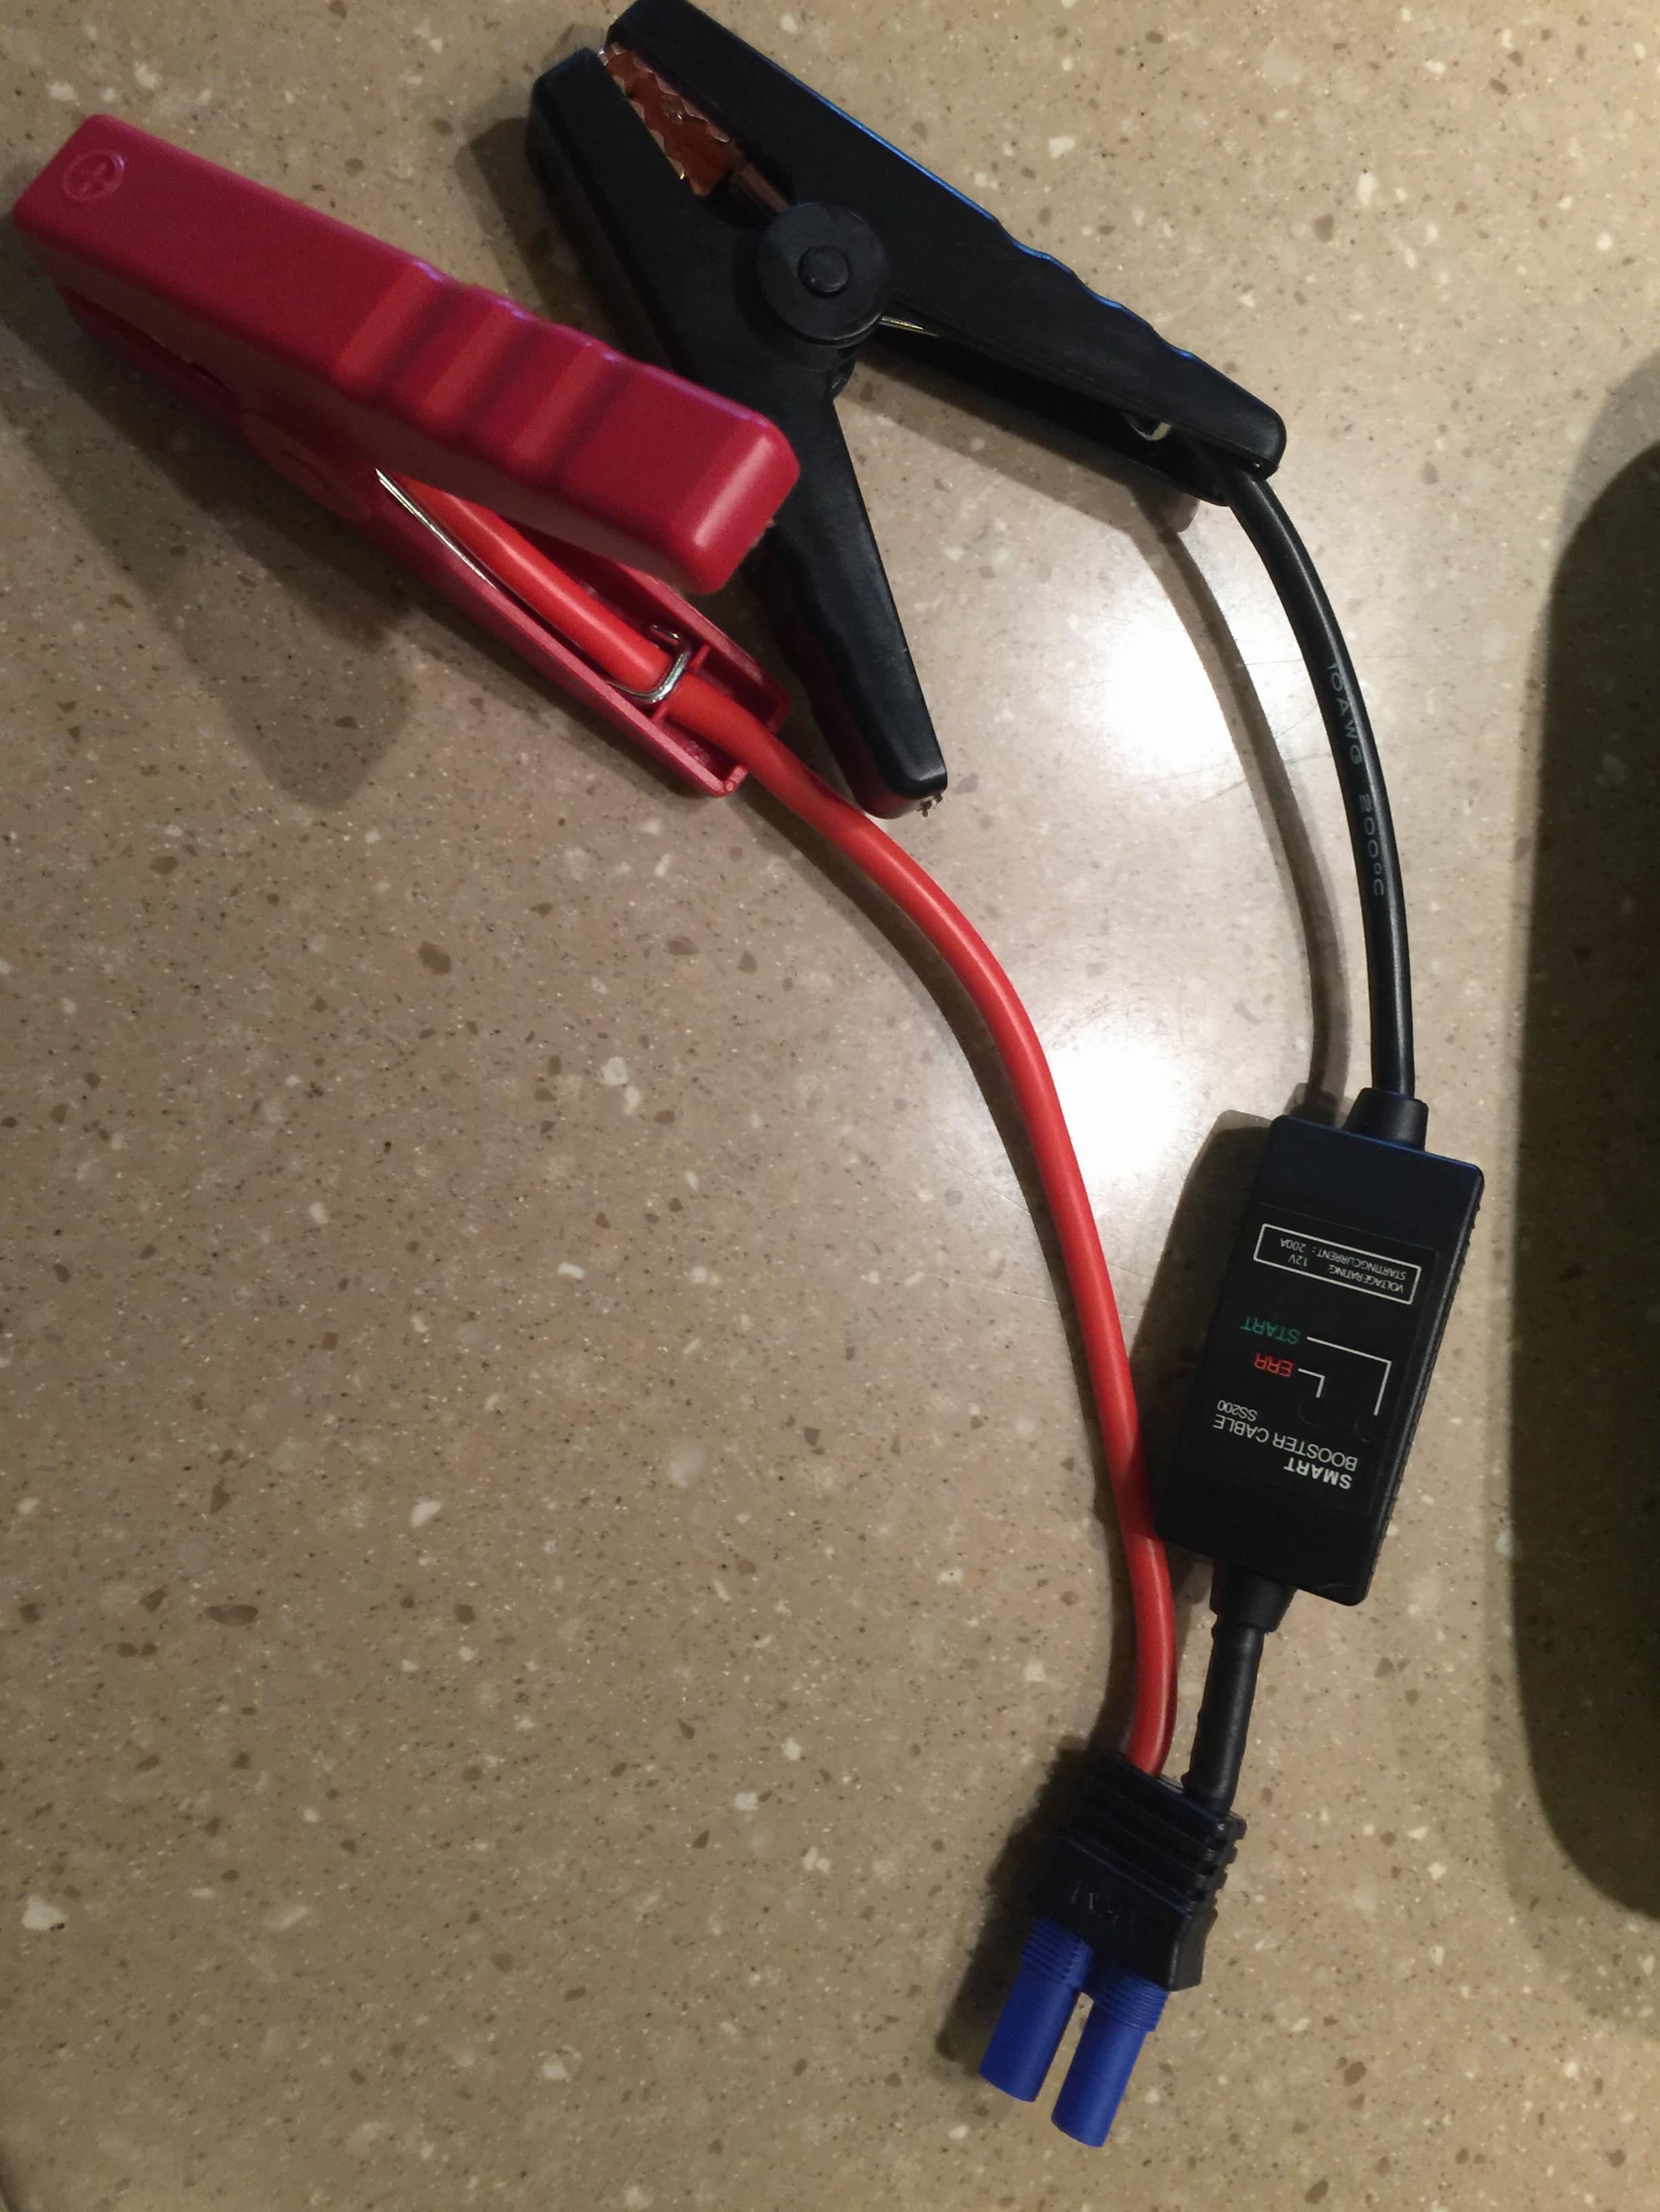
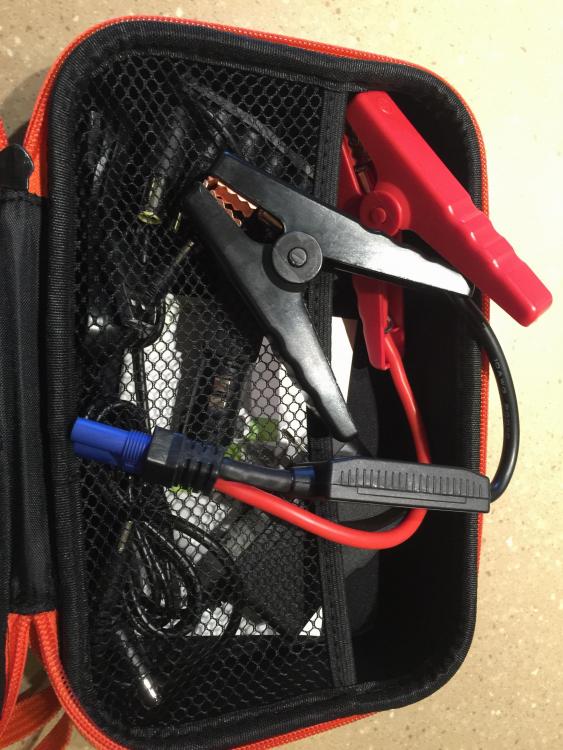
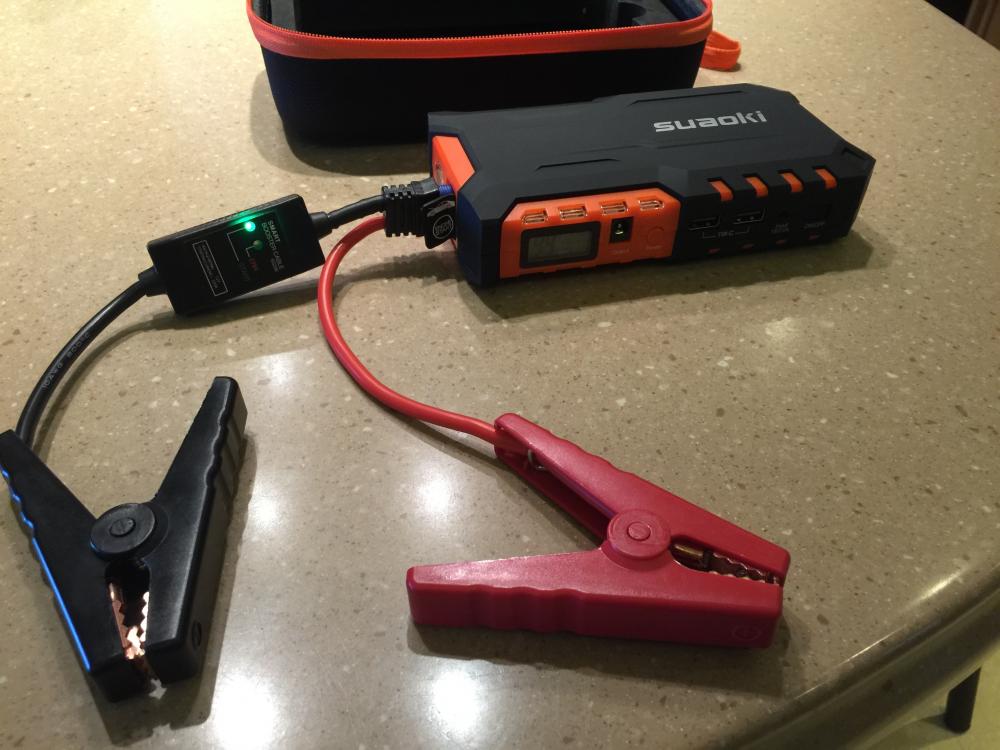
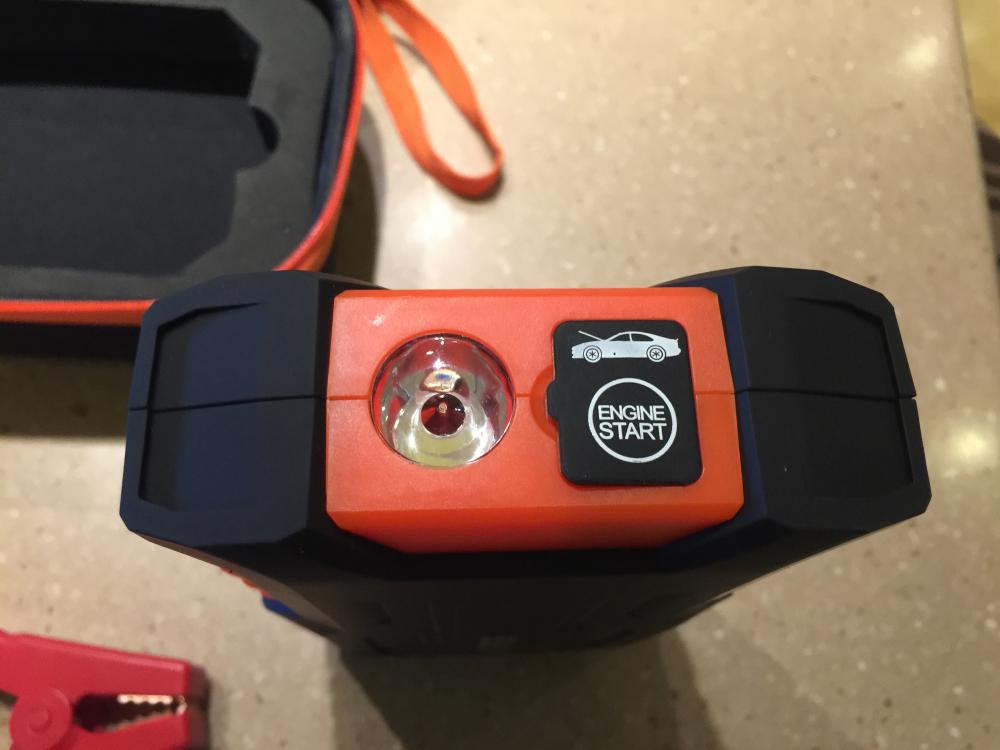
During the Branson Z Fest, Zup, Jim (S30Driver), and I spent a lot of time talking about everything under the sun as it related to cars and especially Z's. Unfortunately, it was more like under the rain as we had a lot of bad weather during the festival and therefore even more time to talk about everything related to cars. In any case, one topic that came up during discussion was jump starting our Z's during those times when you happened to have left your lights on, etc and in the course of that discussion I told my new found Z colleagues about this ultra portable jump starter that I had recently purchased. Zup and Jim had not seen one before and so after seeing mine, they suggested I write it up here for everyone else on the forum that might benefit. I did quite a bit of research on these before I made a purchase but ended up with 4 of them that I also gave as xmas gifts to my wife and kids. These were purchased on Amazon. Brand name is Suaoki. About $89 as I recall. The product is essentially a very high capacity Lithium Polymer battery in a very small size and is capable of jump starting cars. The manufacturer claims that it is a 1800 mAh battery. It comes with jumper cables, a variety of adapters to allow the ability to power / charge other devices, has USB ports, and can be charged from a variety of sources. It all comes packaged in a very nice case with multiple compartments. I have only had the ability to use it once, but it worked as advertised. It seems very well made and so far I am happy with the purchase. Will likely get another to carry in the Z just in case. Here's a few pictures of the product. Hope you all find this useful. Mike.


-
I'll take a stab at your questions. 1. Yes the generic rubber lines fit into the bracket on the strut tube and are held in place by the retaining clip. The hard lines screw into them. 2. If you are going to replace the rubber hoses, you may want to consider going with stainless steel braided lines instead. They are better and should last a lot longer. If you are trying to stay stock then the rubber ones would be your best bet. 3.I do believe you should be able to get the hardline nuts at a generic parts store, but you will need to re-flare the lines. If I am not mistaken I believe that it is a double flare and so you need to make sure you have the right tool otherwise they will leak. Hope that helps. Mike.
-
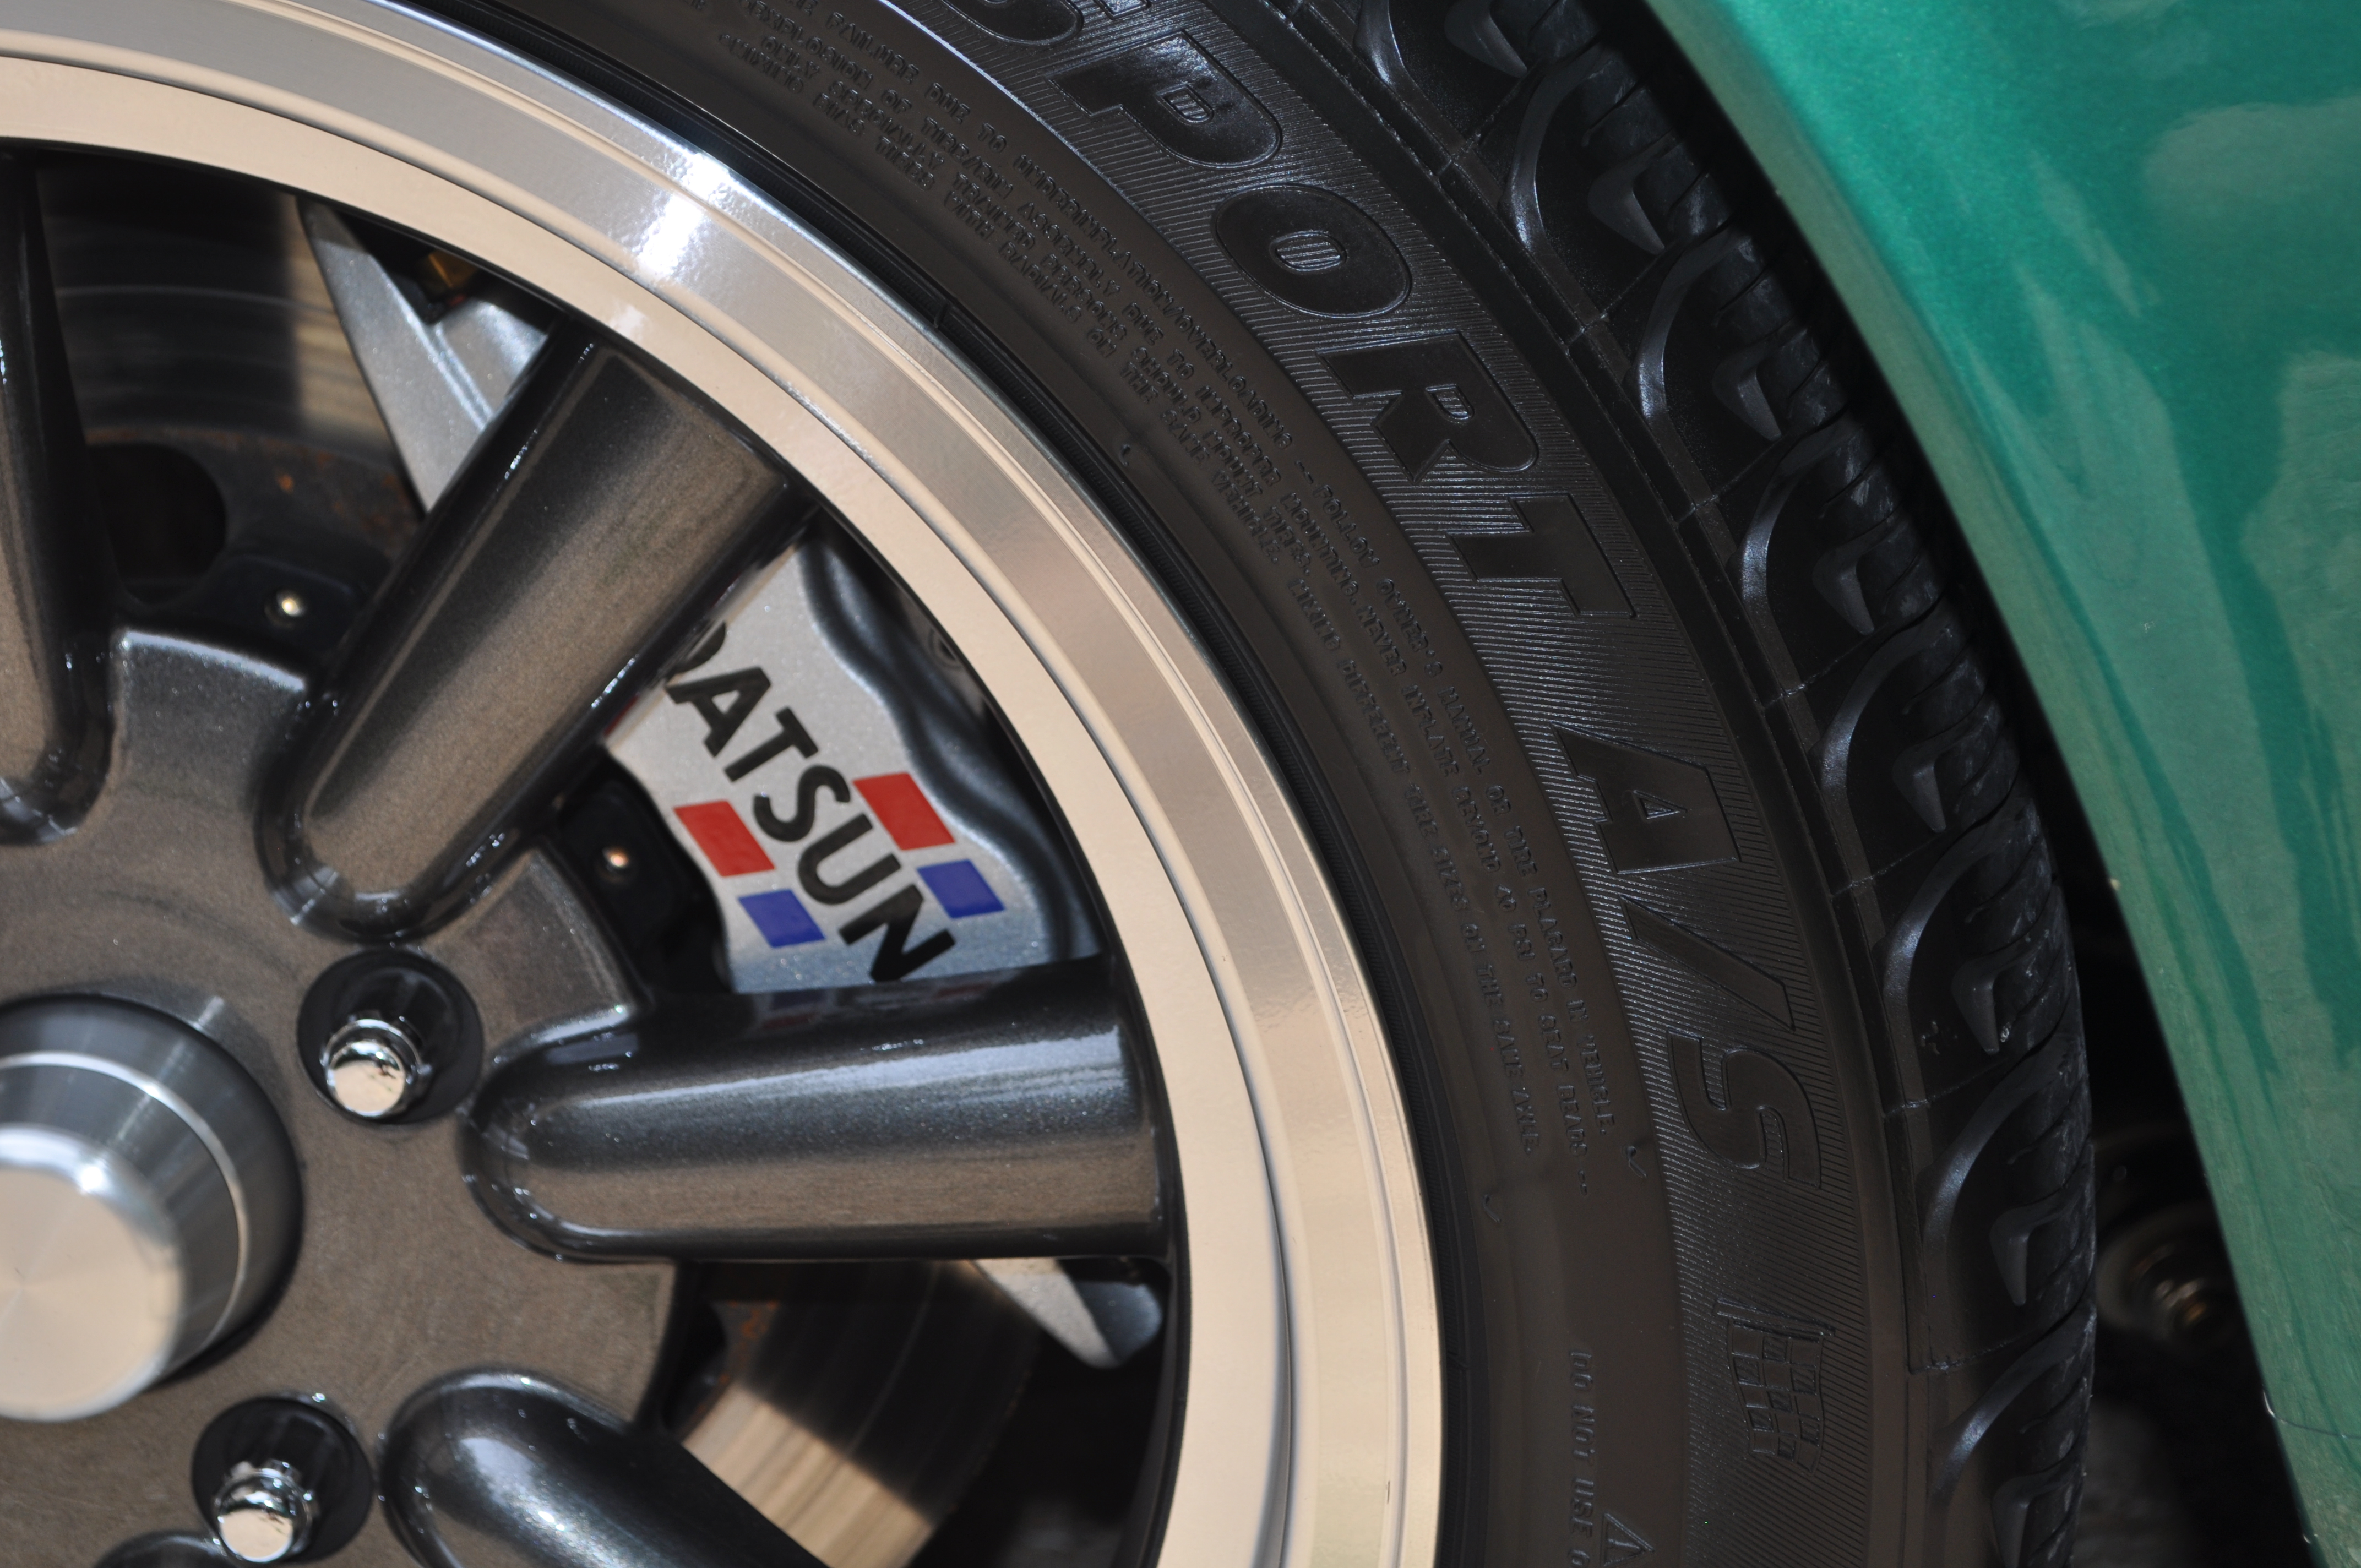
Zedy, I did something similar in my car last year before ZCON. Had my seats redone by a local upholsterer here in Austin and also used a "Datsun" logo on the back of the headrest and it matches the same logo that I have on my brake calipers. This same shop also recovered my strut towers, rear wheel area, sun visors, and made a custom brake boot and shift boot as well. Most of the top stitching was done in green to match the color of the car as well. In addition, (and I have to give credit to my son Alex for this idea), we used Alcantara, essentially a micro fiber based suede material, in the center of the seat cushions and backs. One of the real nice things about this is that the material makes you stick to your seat. No more sliding around on leather or vinyl. It feels great also. If you are interested I'll get some pictures taken and post them. Let me know and great hearing from you. Mike.
-
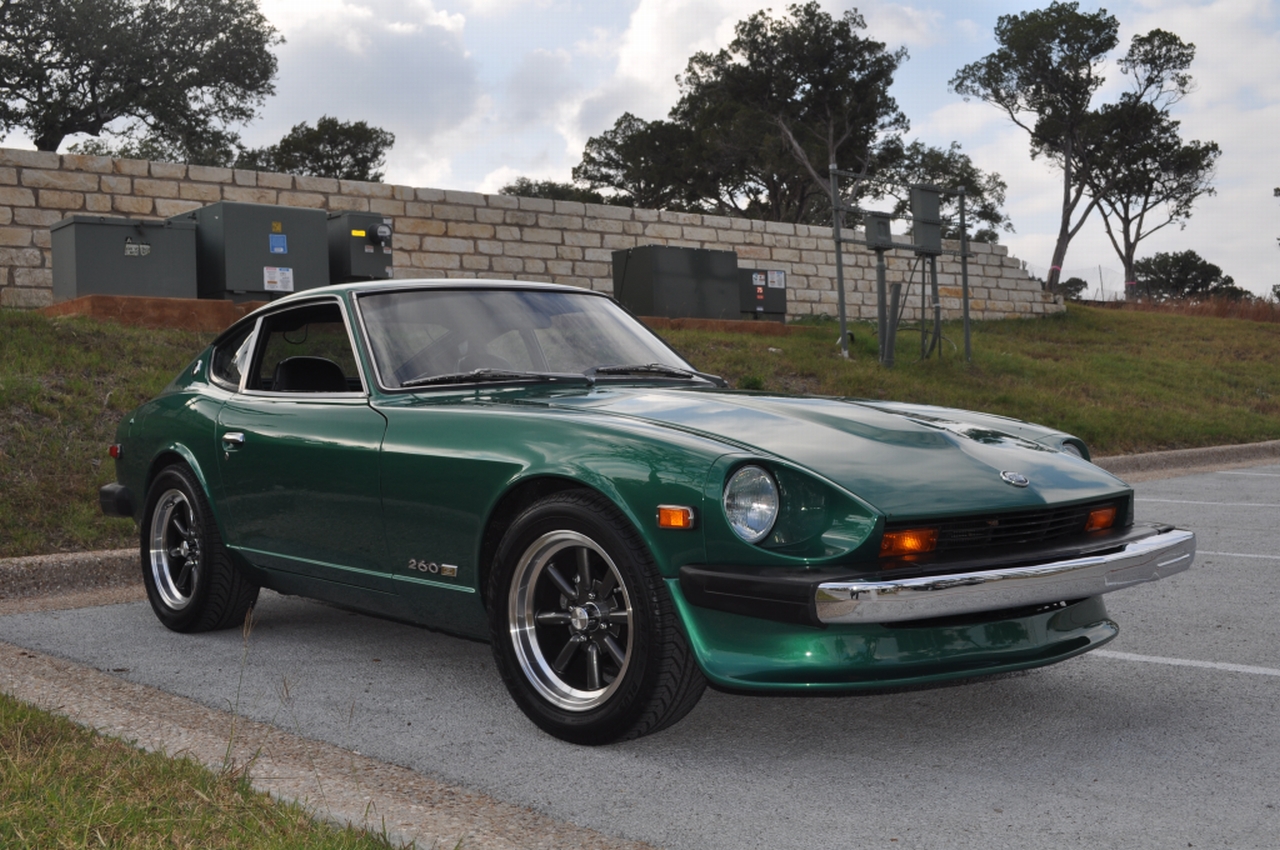
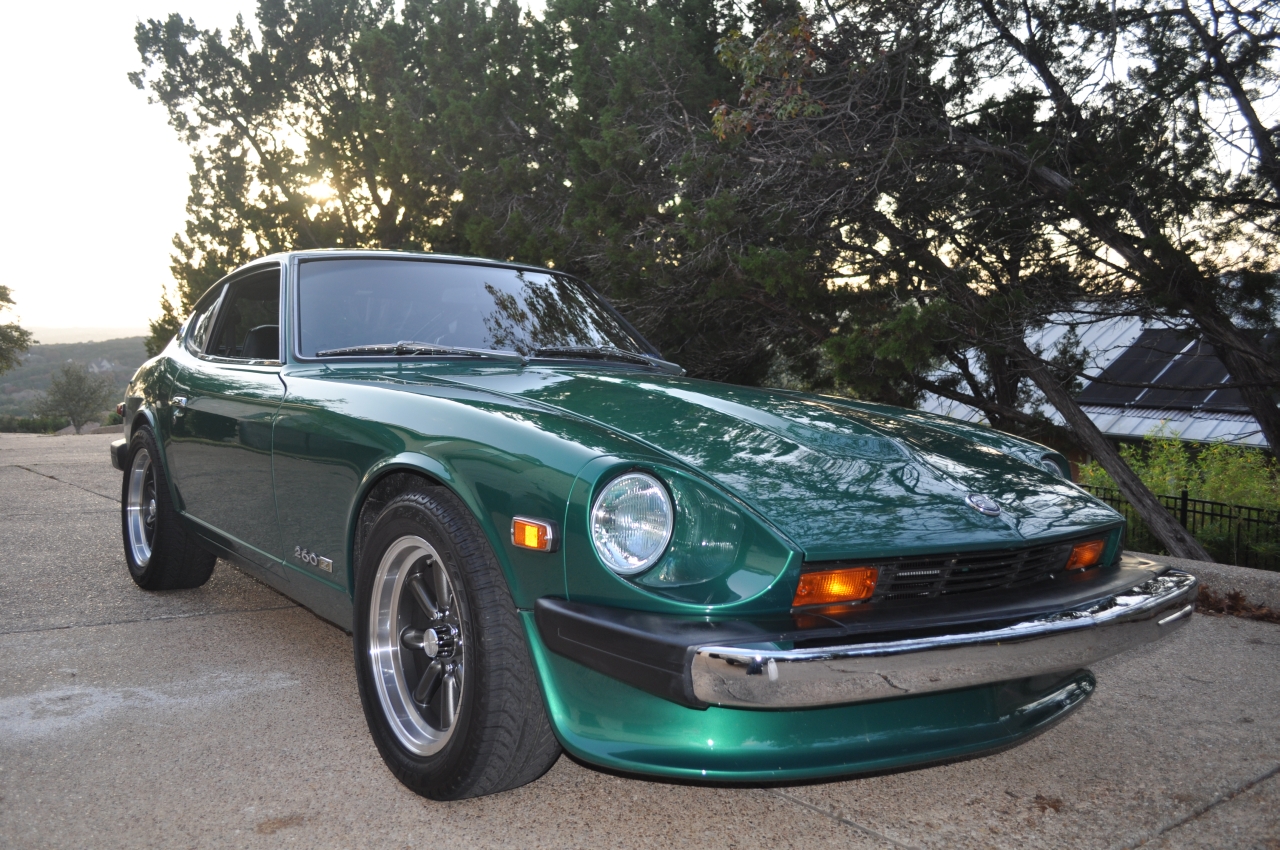
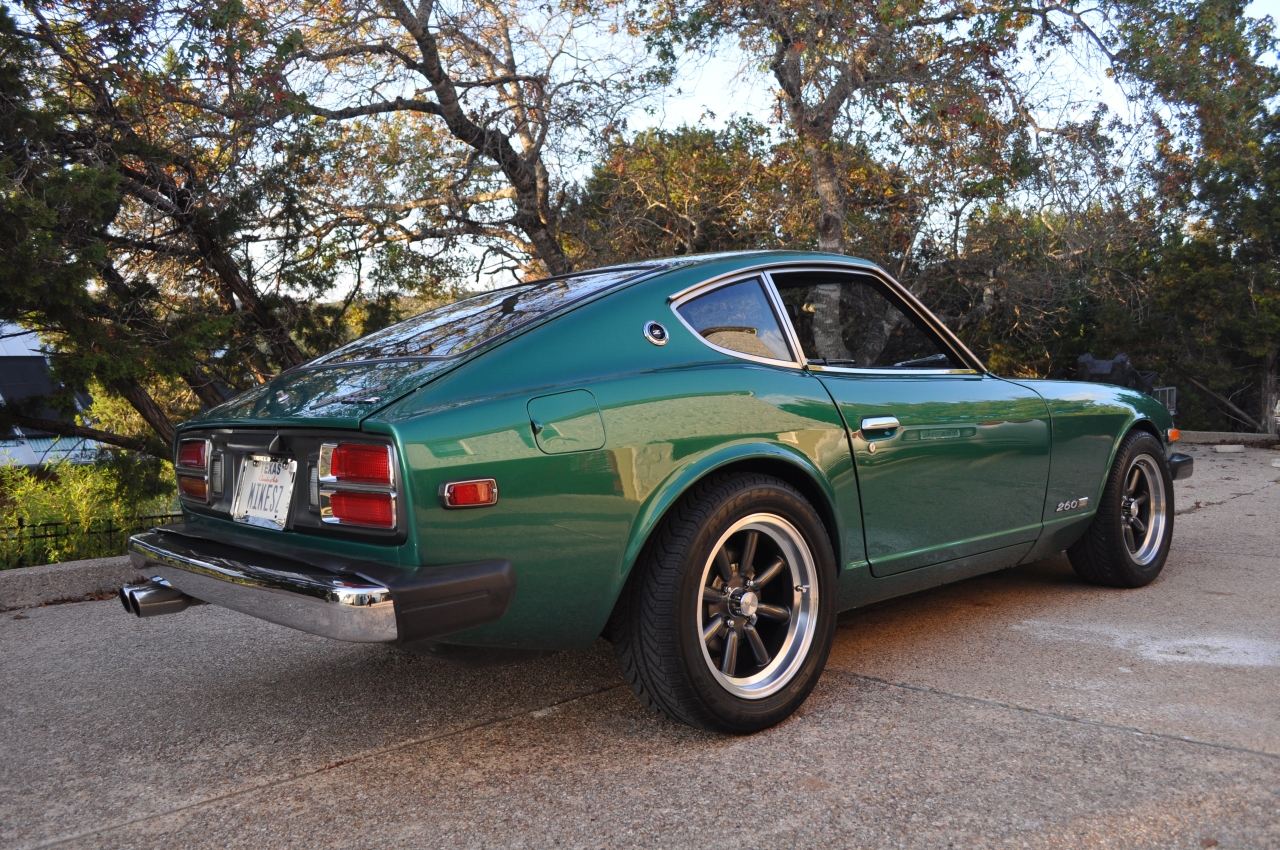
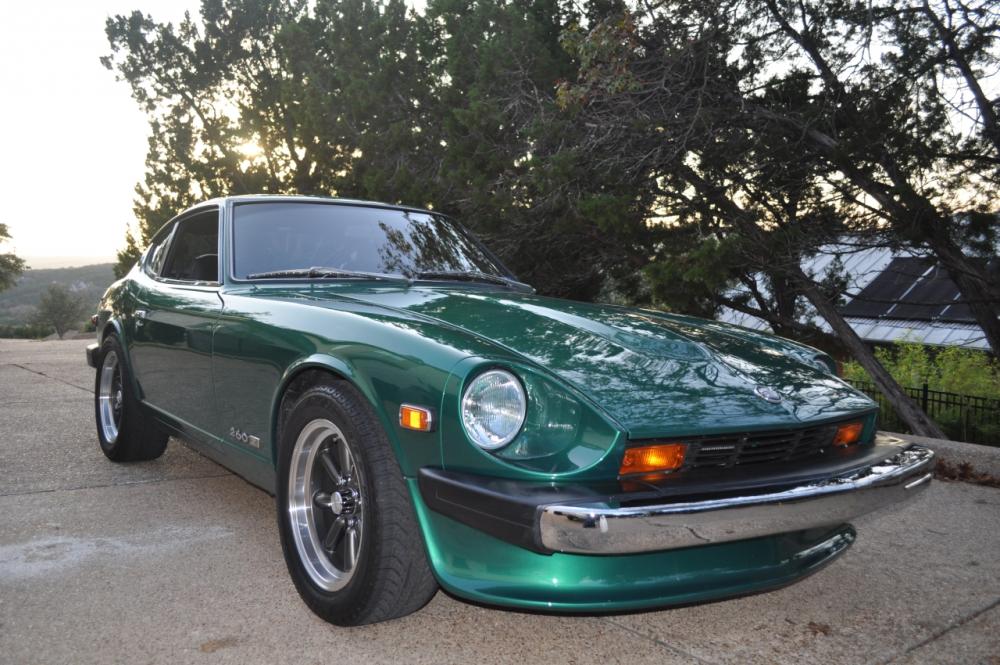
So here's some pictures of 303 Emerald Green Metallic. I've owned the car since new so even though it has been repainted I can attest for its originality. Hope this helps you out. Mike.


-
Awesome. Right now we are also getting in sometime on the 1st as well. Planning to stay at the host hotel and hoping to see some great live country music while we are there. Look forward to hooking up with you guys. Mike.
-
Anyone planning to attend the Branson Z fest in a couple of weeks? I'm planning to attend along with my wife and my Z. Would be cool to hook up if anyone else on the forum is planning to be there as well. Mike.
-
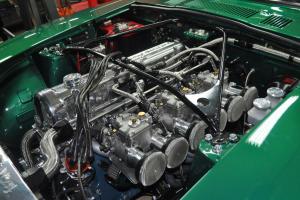
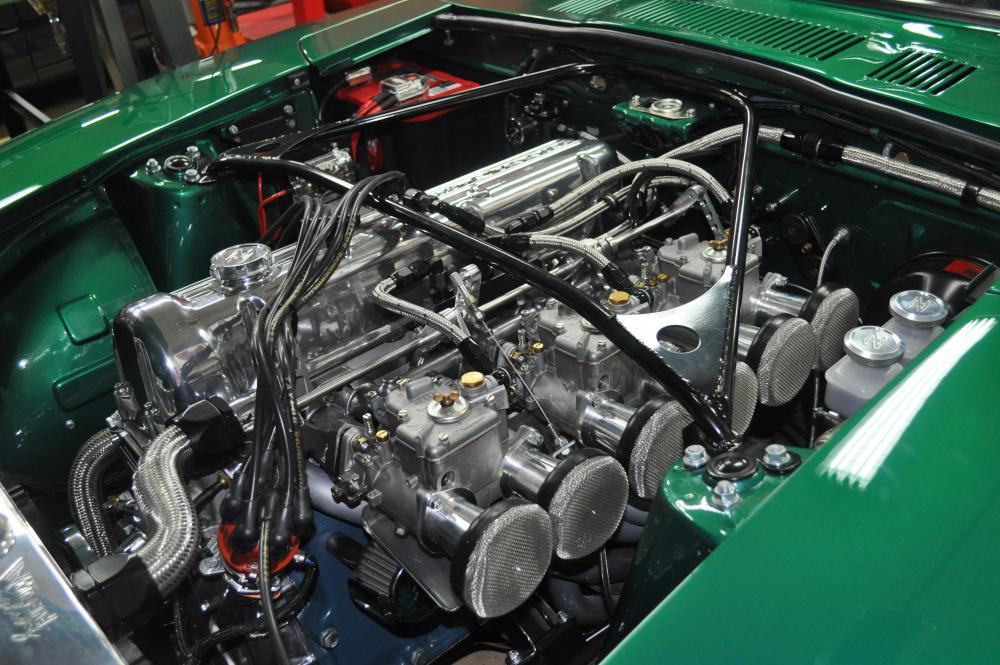
I also use a catch can for venting my valve cover, but my install is a little different from the others that have been described. I used SS braided lines and AN fittings for everything. I had to drill out and re-tap the valve cover hole as it was too small and not compatible with the AN fittings that I chose to use. The catch can itself was actually intended for a C5 Corvette and ended up fitting perfectly on the firewall. I used the bracket that came with the catch can, but shortened it so it would fit in that area. I then used a long spacer and bolted it to en existing threaded hole in the firewall. The install works great and matches the rest of my engine bay. The best part is no more oil residue all over my engine bay.


-
I used the Chester and Herod product and was very happy in the end. I also worked directly with Jim who was awesome. My car was a transition car from the late 260Z to the early 75 280Z and so there was initially some confusion about specific pieces, but in the end they stood by their product and my install was great. The initial version that I received from them was way off, but I spoke with Jim, sent him pictures, and he took the old one back and made me a brand new one. Customer service was awesome and I was very happy with the final product. Mike.
-
I highly recommend the distributor from 123 Ignition. It is fully digital and therefore fully programmable in terms of the advance cure that you want. It has a USB port which you connect to your PC and then use their software to define the exact advance curve that you want. If you don't like the curve or want to try something more aggressive, it takes literally 2 minutes to change it. One of the best upgrades I have done and a lot better and more flexible than the Mallory Unilite that I ran previously. You can find more info on it here: http://www.123ignitionusa.com/ Mike.
-
Glad it helped. However, I don't understand why you want to have one fan turn on at ignition and the other at temp. You will be running one fan all of the time which will shorten it's life and consume power when it's really not needed. I have mine set up so that both fans turn on at the desired temp and shut off once the temp has decreased to the desired level as well. That is one of the advantages of the Dakota controller. One other piece of data that could be useful for you as well. My original setup used a Champion radiator as well as the "generic" 12 inch fans that came with it. Frankly I was not at all happy with the build quality of the radiator and also did not find the cooling capacity of the radiator coupled with the fans to be much better than the stock setup. Ultimately I went to a radiator made by Wizard Cooling (located in NY and made in the USA) and fans from Spal. The radiator is a work of art and the fans sound like a turbine engine when they kick in. The fans are a big improvement over the generic ones so even if you do decide on a less expensive radiator like the Champion, my advice would be to go with the best fans you can afford. I can now sit in 105 degree weather in Austin, TX at a stop light and my temp never gets much past midway on the gauge. It's an awesome setup. Hope this helps. Mike.
-
Blue is ground if I am not mistaken. The blue and red are reversed in a positive ground setup so I do believe that is what it is for. I can check my actual install later today and confirm for you. Mike.
-
First, I used the Dakota Digital fan controller. It is all digital and fully programmable so you can set how long the fans run after the engine is off, as an example. You can also set turn on and turn off temp. Well worth the $$ in my opinion. I mounted the temp sensor in the block drain plug that is on the drivers side below the exhaust manifold and near to the firewall. I believe they are all in the same position for all of the different block types. I needed to get an adapter to adapt the threads of the sensor to the threads of the drain plug, but that was pretty simple. Hope that helps. Mike.
-
I have not used Atlas, but have used Speed Sport Chrome also in Houston. Not sure what you are needing plated, but if it's chrome I highly recommend Speed Sport Chrome. They did the bumpers on late model 260Z and did a fantastic job. Lifetime guarantee as well. You can find more about them here: http://www.speedsportchrome.com/ Mike.
-
OK. First my mistake. It is not acrylic and lacquer, but enamel and lacquer. I did find the article and will post it below. There are 2 primary issues that duplicolor brings up. The first is recoat window. Enamel paint apparently has a recoat window meaning that any additional coat must be applied within a specified period of time (usually 10's of minutes) after which you must wait until the prior coat is fully cured, which usually takes about a week. The second is compatibility of paint types. You cannot use lacquer over enamel. Although this was written by Duplicolor, I believe this is fairly generic to paints in general. Hope this helps. Mike. Duplicolor Paint Tips.pdf
-
I meant to respond to this earlier, but I guess the holidays and such got in the way. In any case, I have used the Eastwood Satin Chassis Black with extremely good results. It was used on literally all of my suspension components, engine bay hardware, and other various pieces in the car. I was initially very concerned about how it would hold up on the suspension given the extreme conditions that area of the car can be subjected to. However, I have been pleasantly surprised on how well it has done. I find it gets dirty but usually can be cleaned with some spray cleaner and a damp towel. A few dings here and there from rocks, but that's about it. However I will also say that in 100% of the parts and pieces that I used the Eastwood paint on, I also used Eastwood rust inhibitor / primer. I don't know if that might have made a difference, but so far I have not had the issues that site listed above. I would also add that the rust inhibitor was very very easy to use and also very forgiving. The chassis black took more time to get used to and was subject to drips more easily. I also found that he final coat needed to be fairly heavy so as to create a smoother satiny look (kind of like powder coat). It did take some getting used to but my results have been quite good. Finally, at least in the research that I have done, there are some compatibility issues between paint types that can cause issues. There is some combination of acrylic primer/paint and lacquer primer/paint that doesn't work although I cannot remember which of them is the problem combination. I do recall downloading an article about this from one of the big consumer paint providers (like rust-o-leum) that detailed the problem. I will see if I can locate that and will post if I do. Mike.
-
Mike is spot on with the removal process. Also I purchased these body tools from Harbor Freight and they are perfect for the job as they are nylon and much less likely to scratch the paint. I actually bought 2 sets and have found them invaluable for a number of different tasks. You can see them here: http://www.harborfreight.com/nylon-pry-bar-installer-kit-4-pc-69668.html Hope that helps. Mike.
-
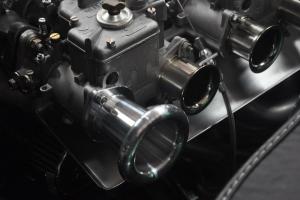
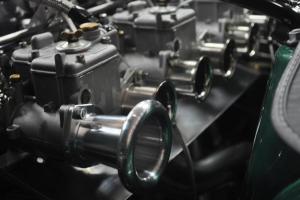
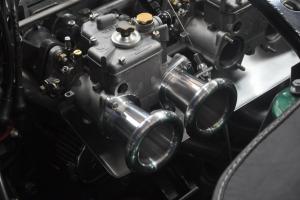
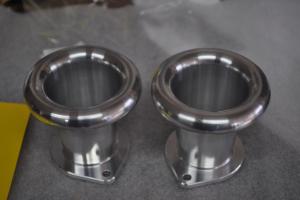
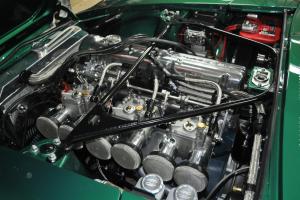
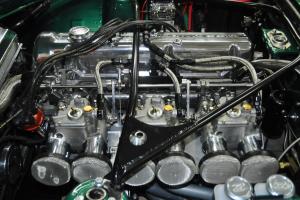
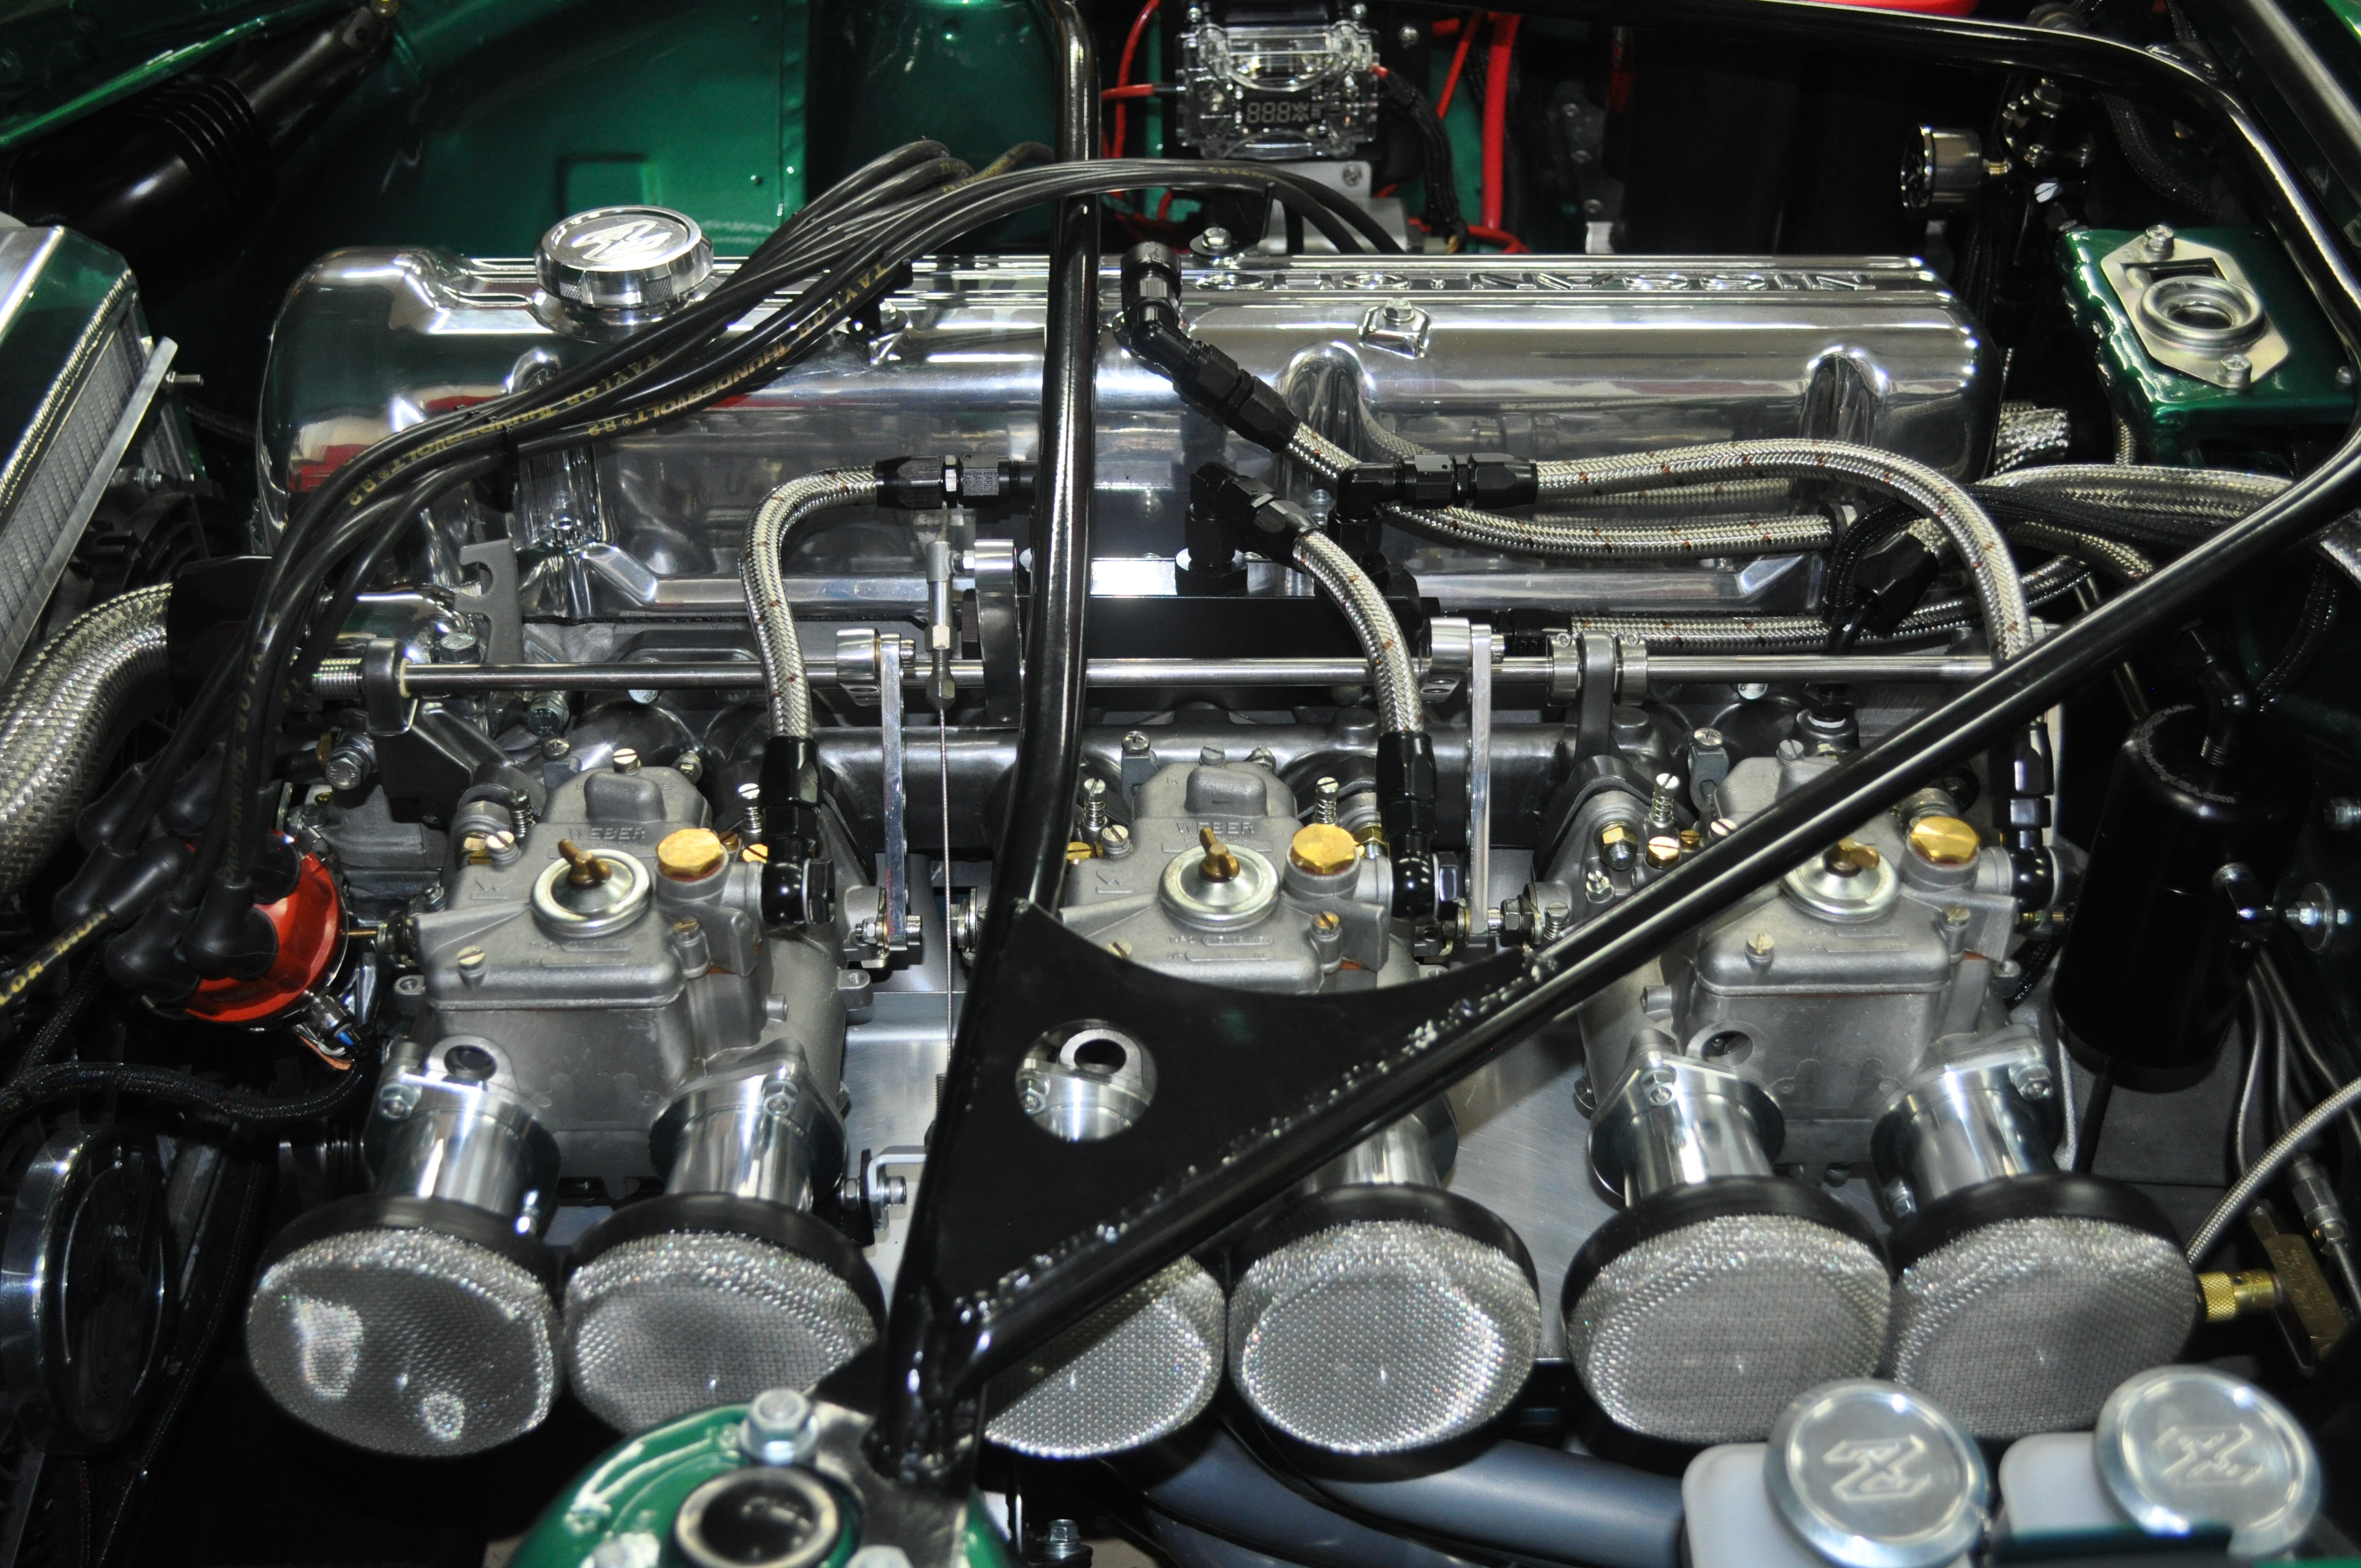
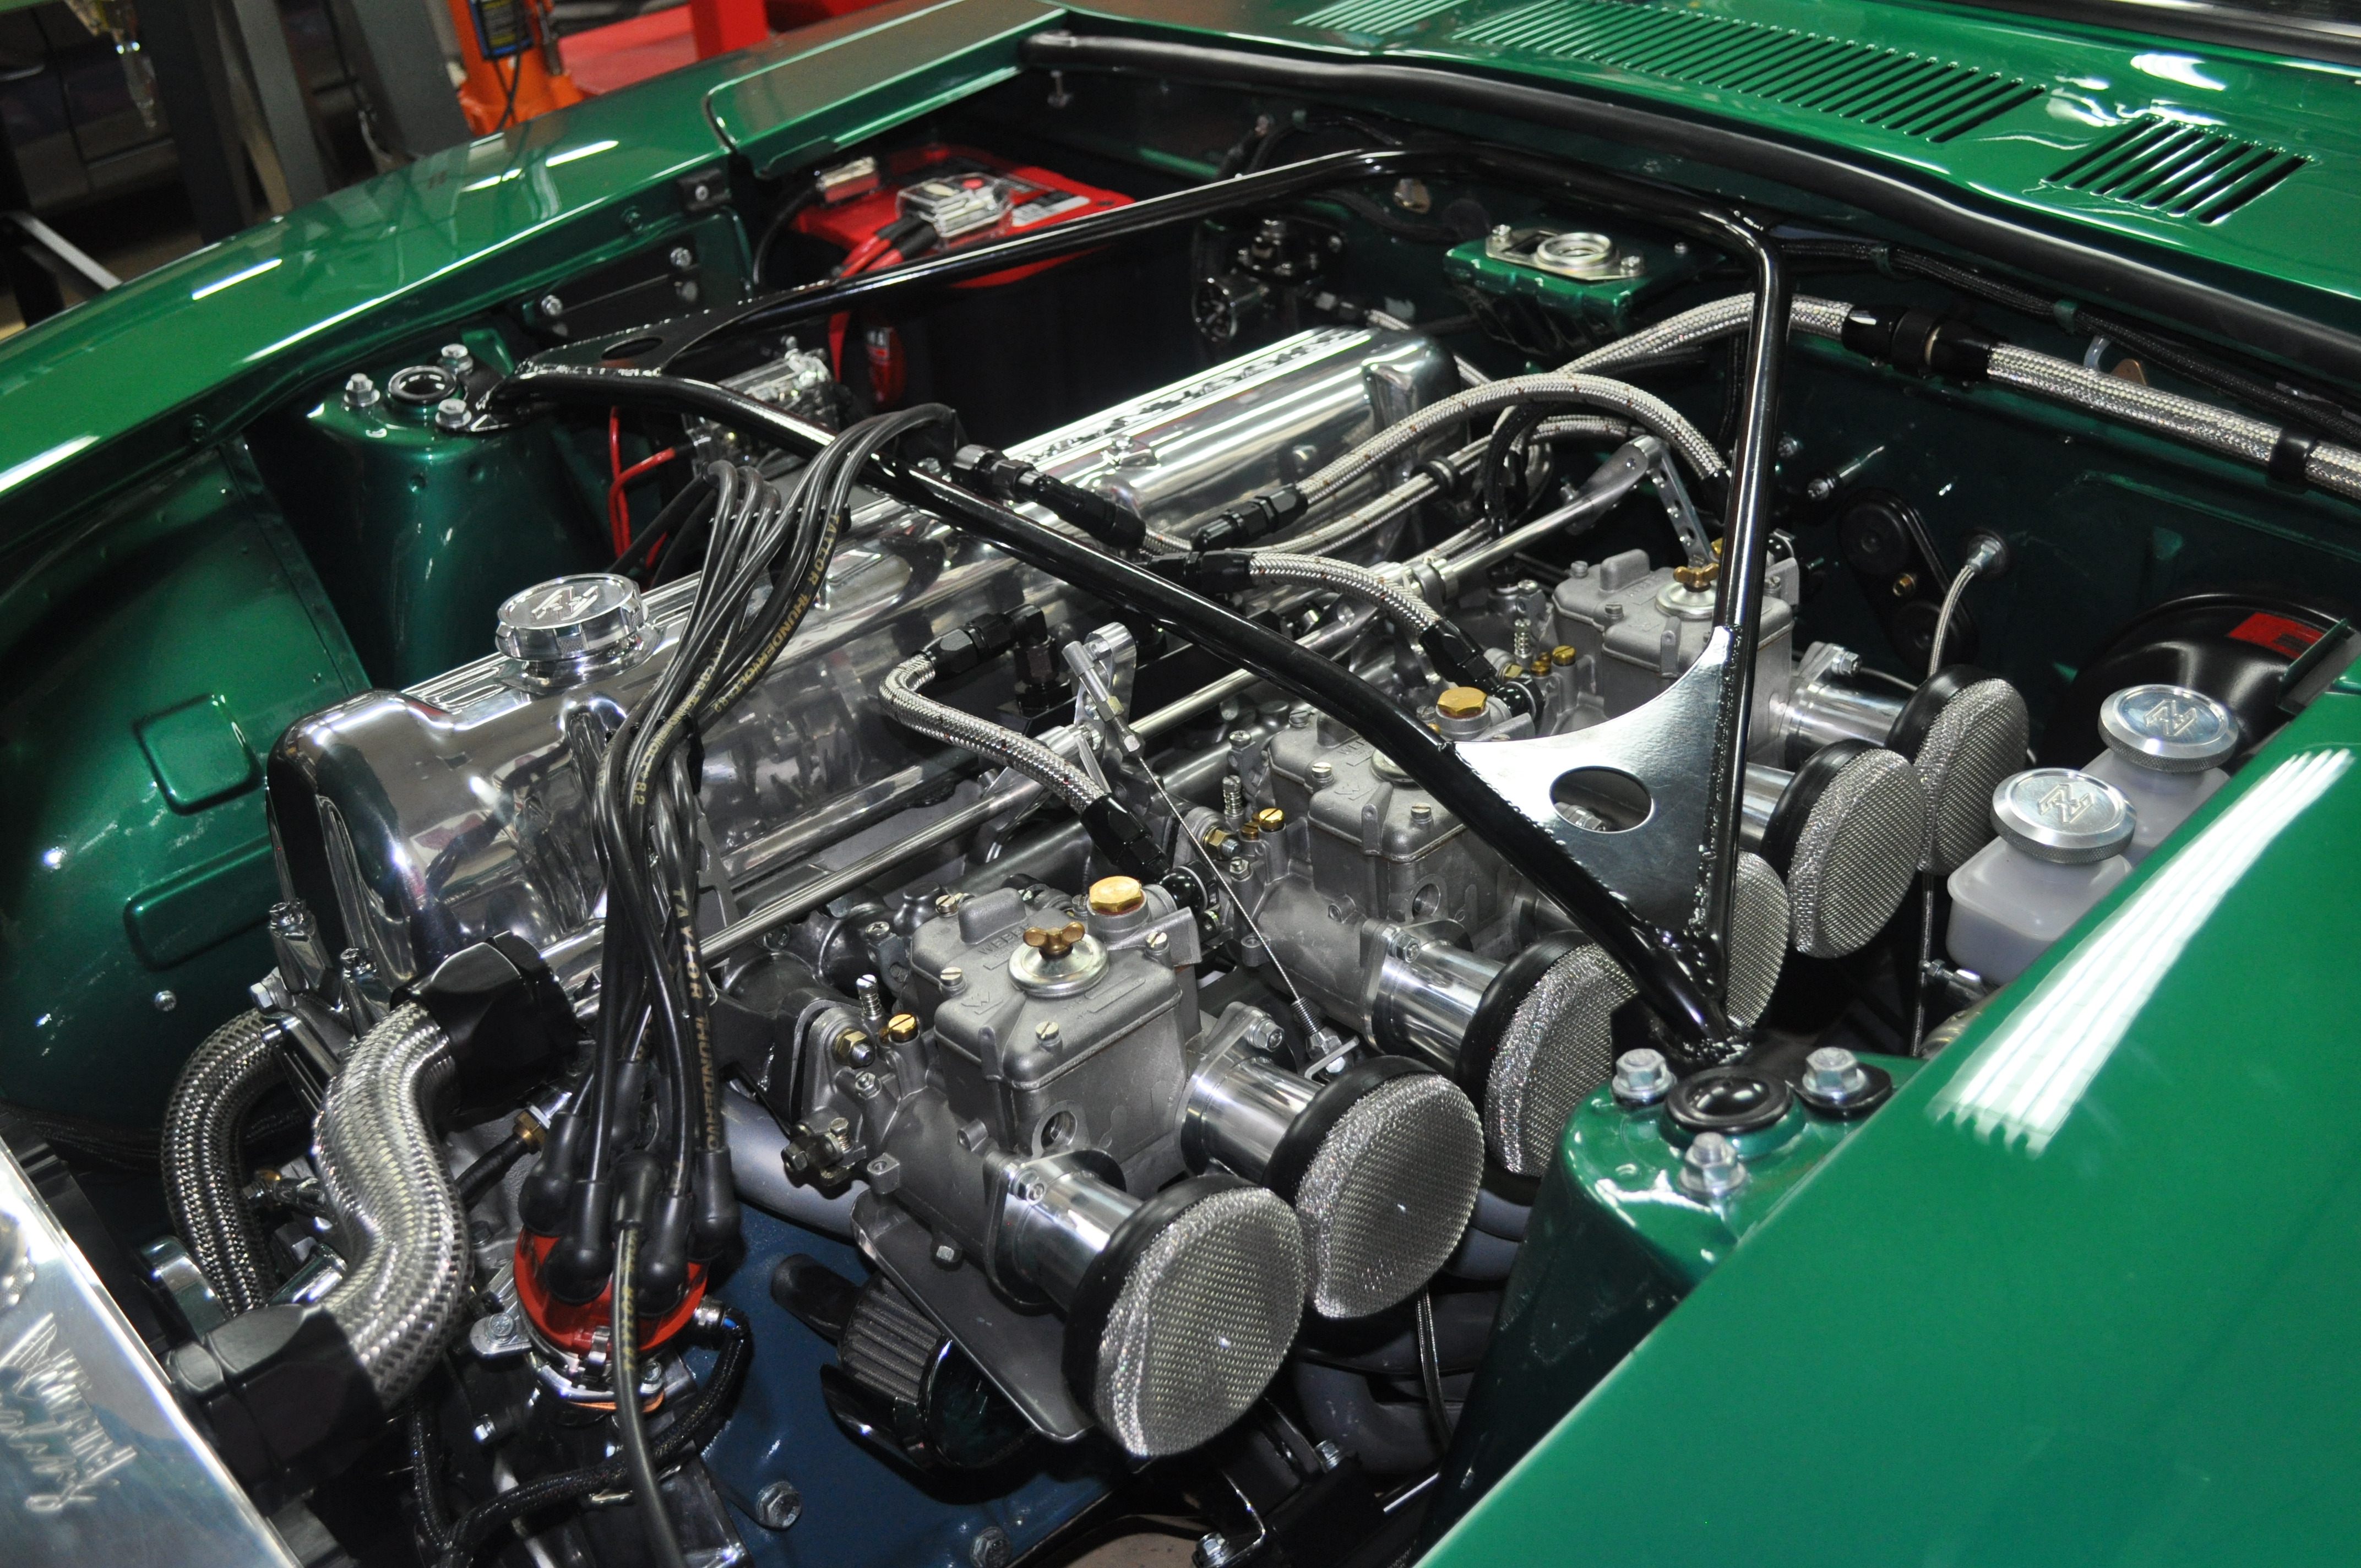
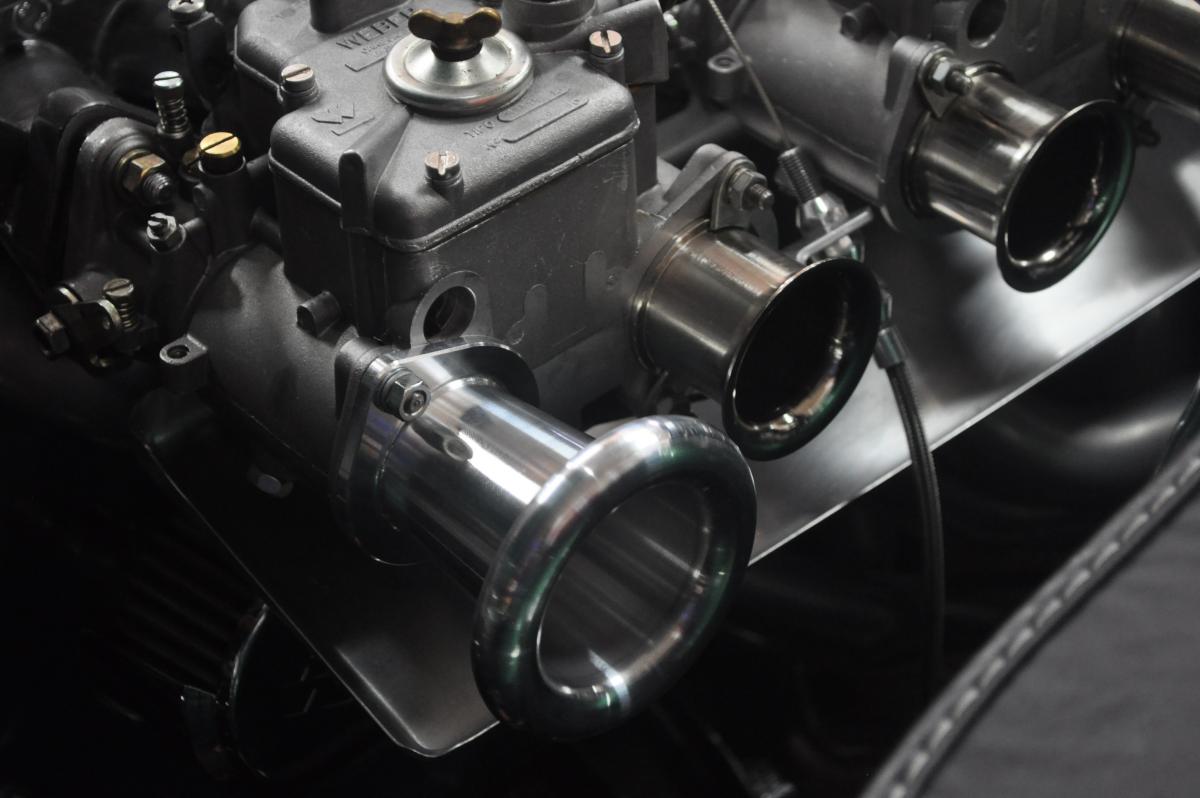
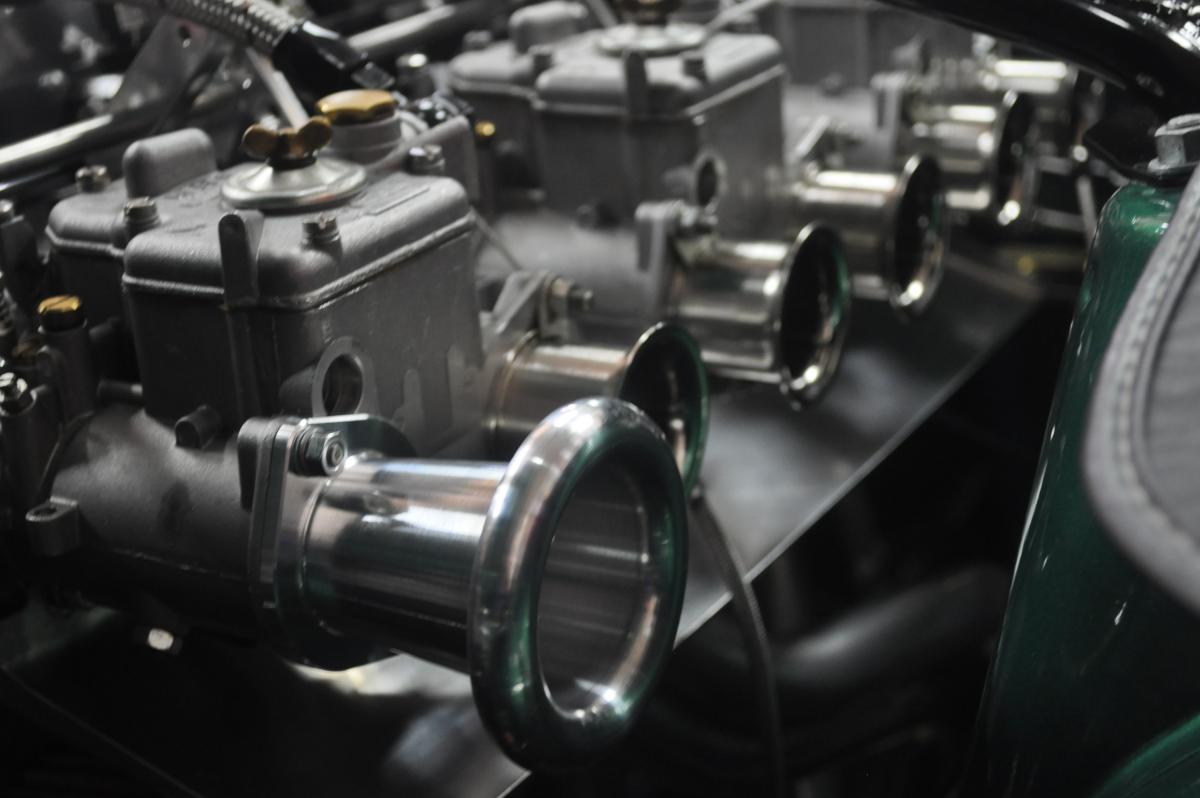
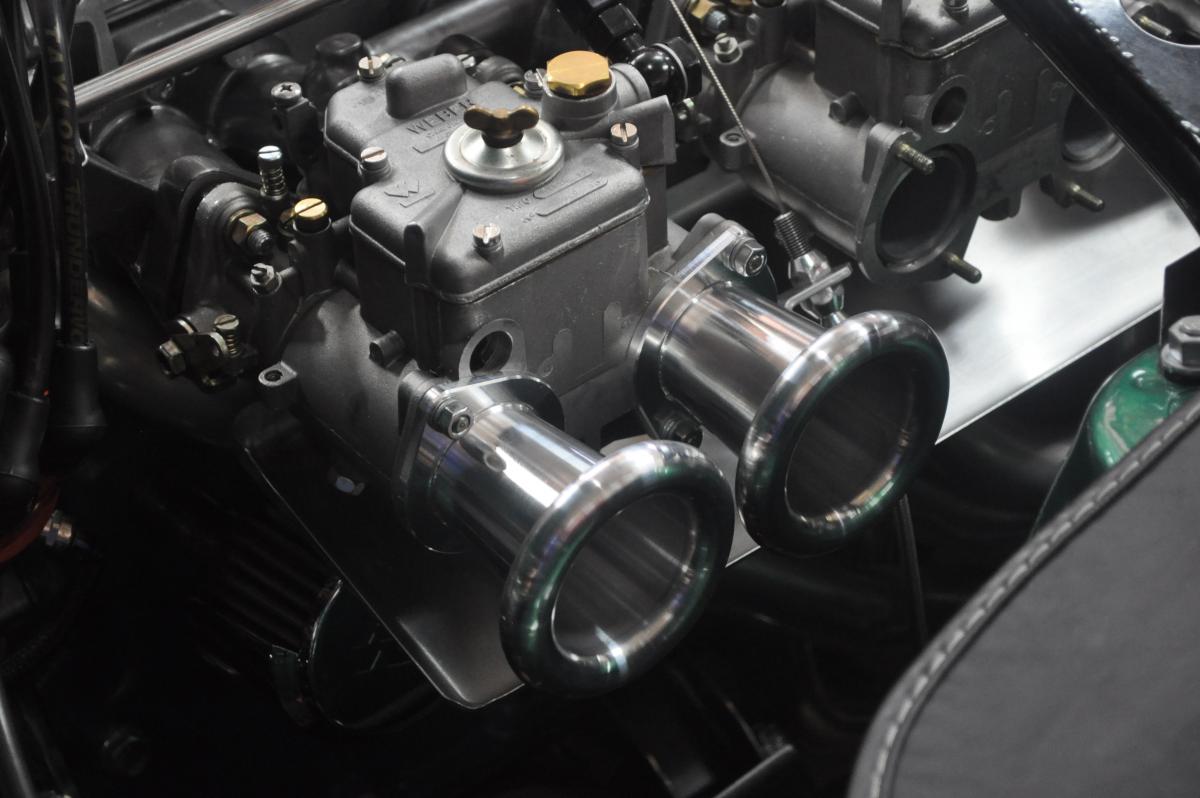
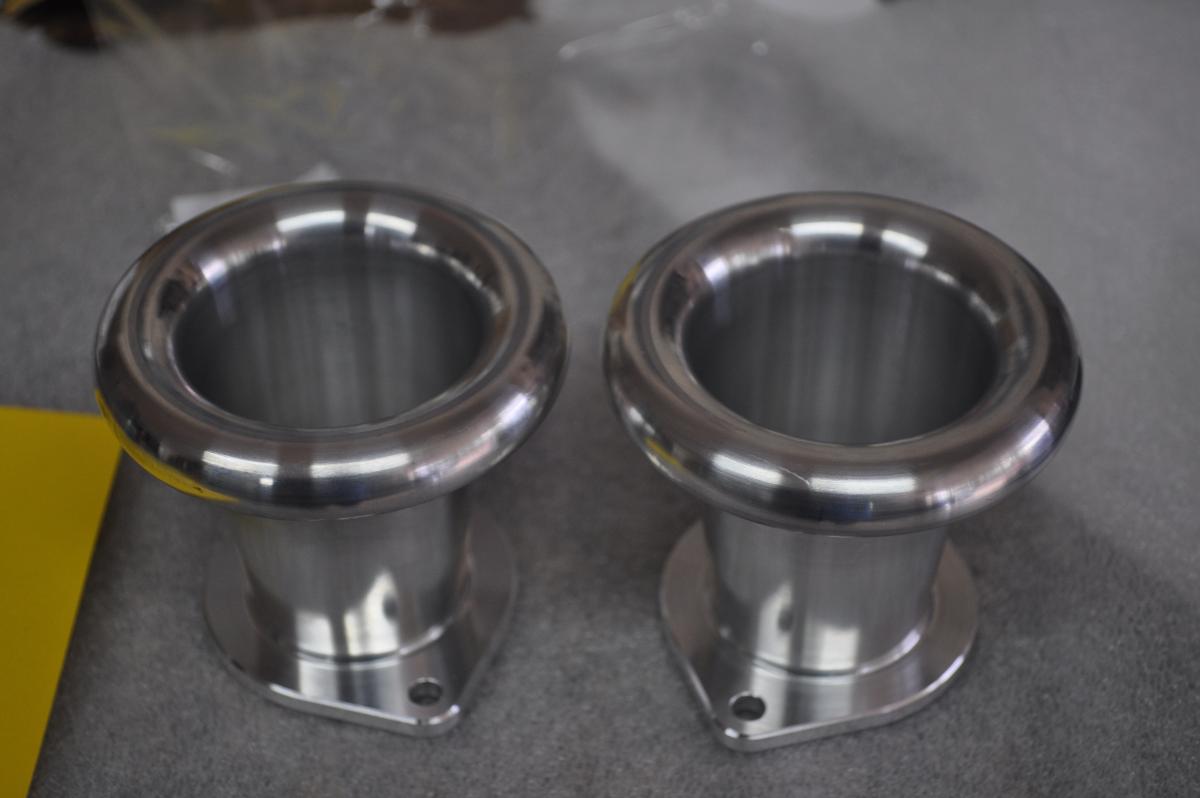
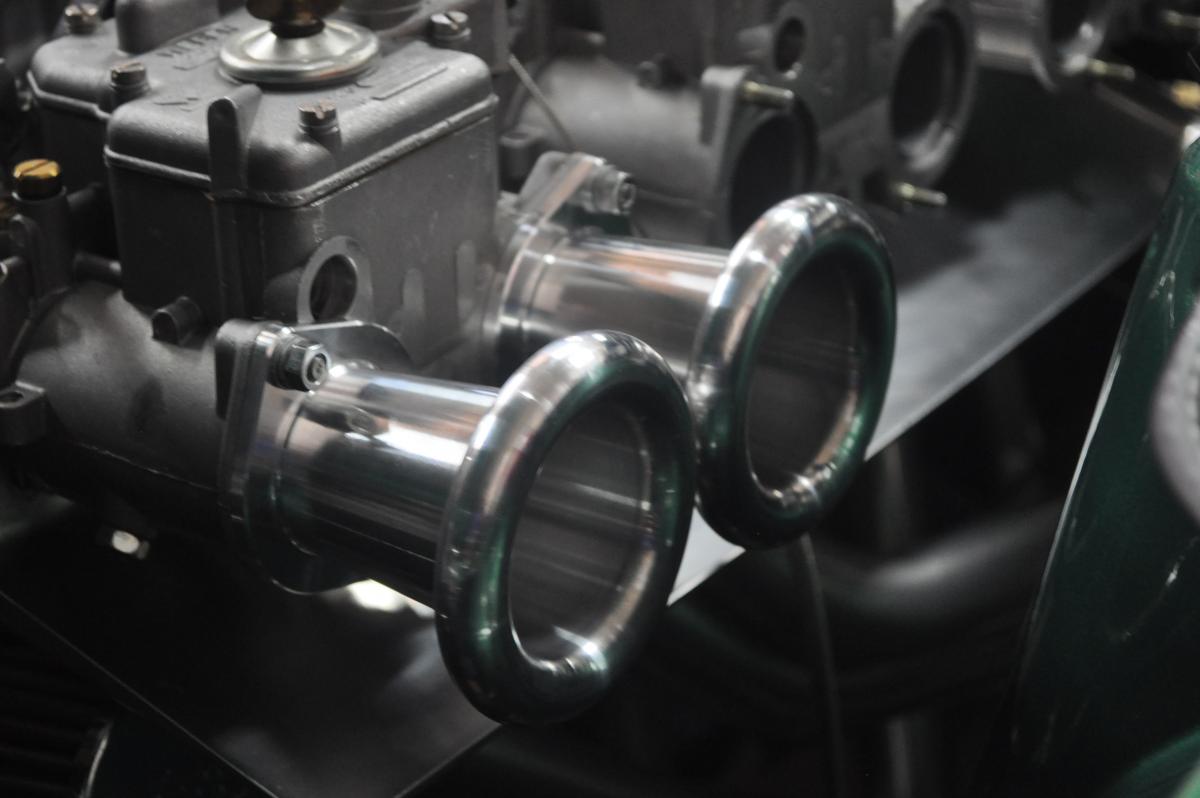
Steve, When I did the swap I also installed the heavier springs in the Webers directly not knowing if the single spring on the Harada would be sufficient. Turns out to be a great setup and as you'll see you can adjust the tension of the built in return spring as well so you can get it to feel exactly the way you want it. The heavier internal springs along with the built in one on the Harada provides a great feel and perfect return to idle. On the air horns, I first tried to procure them from Techno Toy Tuning, but Gabe did not have them in stock and did not know when he was going to manufacture any additional ones. They would have been a great way to go as they were relatively inexpensive and you can get them in multiple colors (including red). I ended up going with some from Borla Induction (formerly TWM Induction) and they are a work of art. They also did not have sufficient stock but I worked directly with their sales person and he was awesome as he had additional ones built for me. I don't believe that they are offered in different colors but given how accommodating they were, they might just do that for you. If you want I'd be happy to pass along the info on the contact I worked with there and you can talk to him about what you are looking for. About the only downside to this solution was the price. You can find more info about them here: https://www.borlainduction.com/for-weber-carburetors.html BTW I went with the 75 mm versions. Also Bills B Racing (BBR racing) did the custom air filters as well. I talked to Bill directly and he was also awesome to work with and in fact was the one who gave me the contact at Borla to work with as well. Hope that helps. Looking forward to your finished project. More pictures please!! Mike.
-
Great progress Steve!! You are definitely going to like the Harada. I stuck with the Lokar cable and it now has a perfect return to idle without having to kick my pedal every time. I was also able to eliminate the dual return springs I was using as a result of the one that is built in. About the only downside to this was that I had to move my throttle arm mechanism to the opposite side of the carbs as the return spring built into the Harada interfered with forward most carb. Other than that, and some retuning, it is a definite cut above the Cannon. Also turns out that the runners on the Harada are about an inch shorter than the Cannon and so I was able to install velocity stacks that had more rounded intakes and were longer than the stock ones that came with the Webers. I've attached some pictures below for those who might be interested. Looking forward to the finished product. Mike.