jwtaylor
Free Member
-
Joined
-
Last visited
Everything posted by jwtaylor
-
My clutch pedal had a thump when you pushed it in and let it back out. The original bushing was unevenly worn side to side so the pedal would move sideways as it went up and down. There was no sign of lubrication.
.thumb.JPG.1e964c62106da5a97de2480a16bbae1d.JPG)
-
I did find a few pictures. Not as many as I had hoped though. I got a little lax about taking photos over the years. I still need to finish putting the car back together at this point.
.thumb.JPG.d7c0c0528fa4f38ad04041ad22c2405a.JPG)
.thumb.JPG.db98760ad96254069c7b5dd2b173b784.JPG)
.thumb.JPG.6fa777e6e950fbb8d726c7a141c1ebf4.JPG)
-
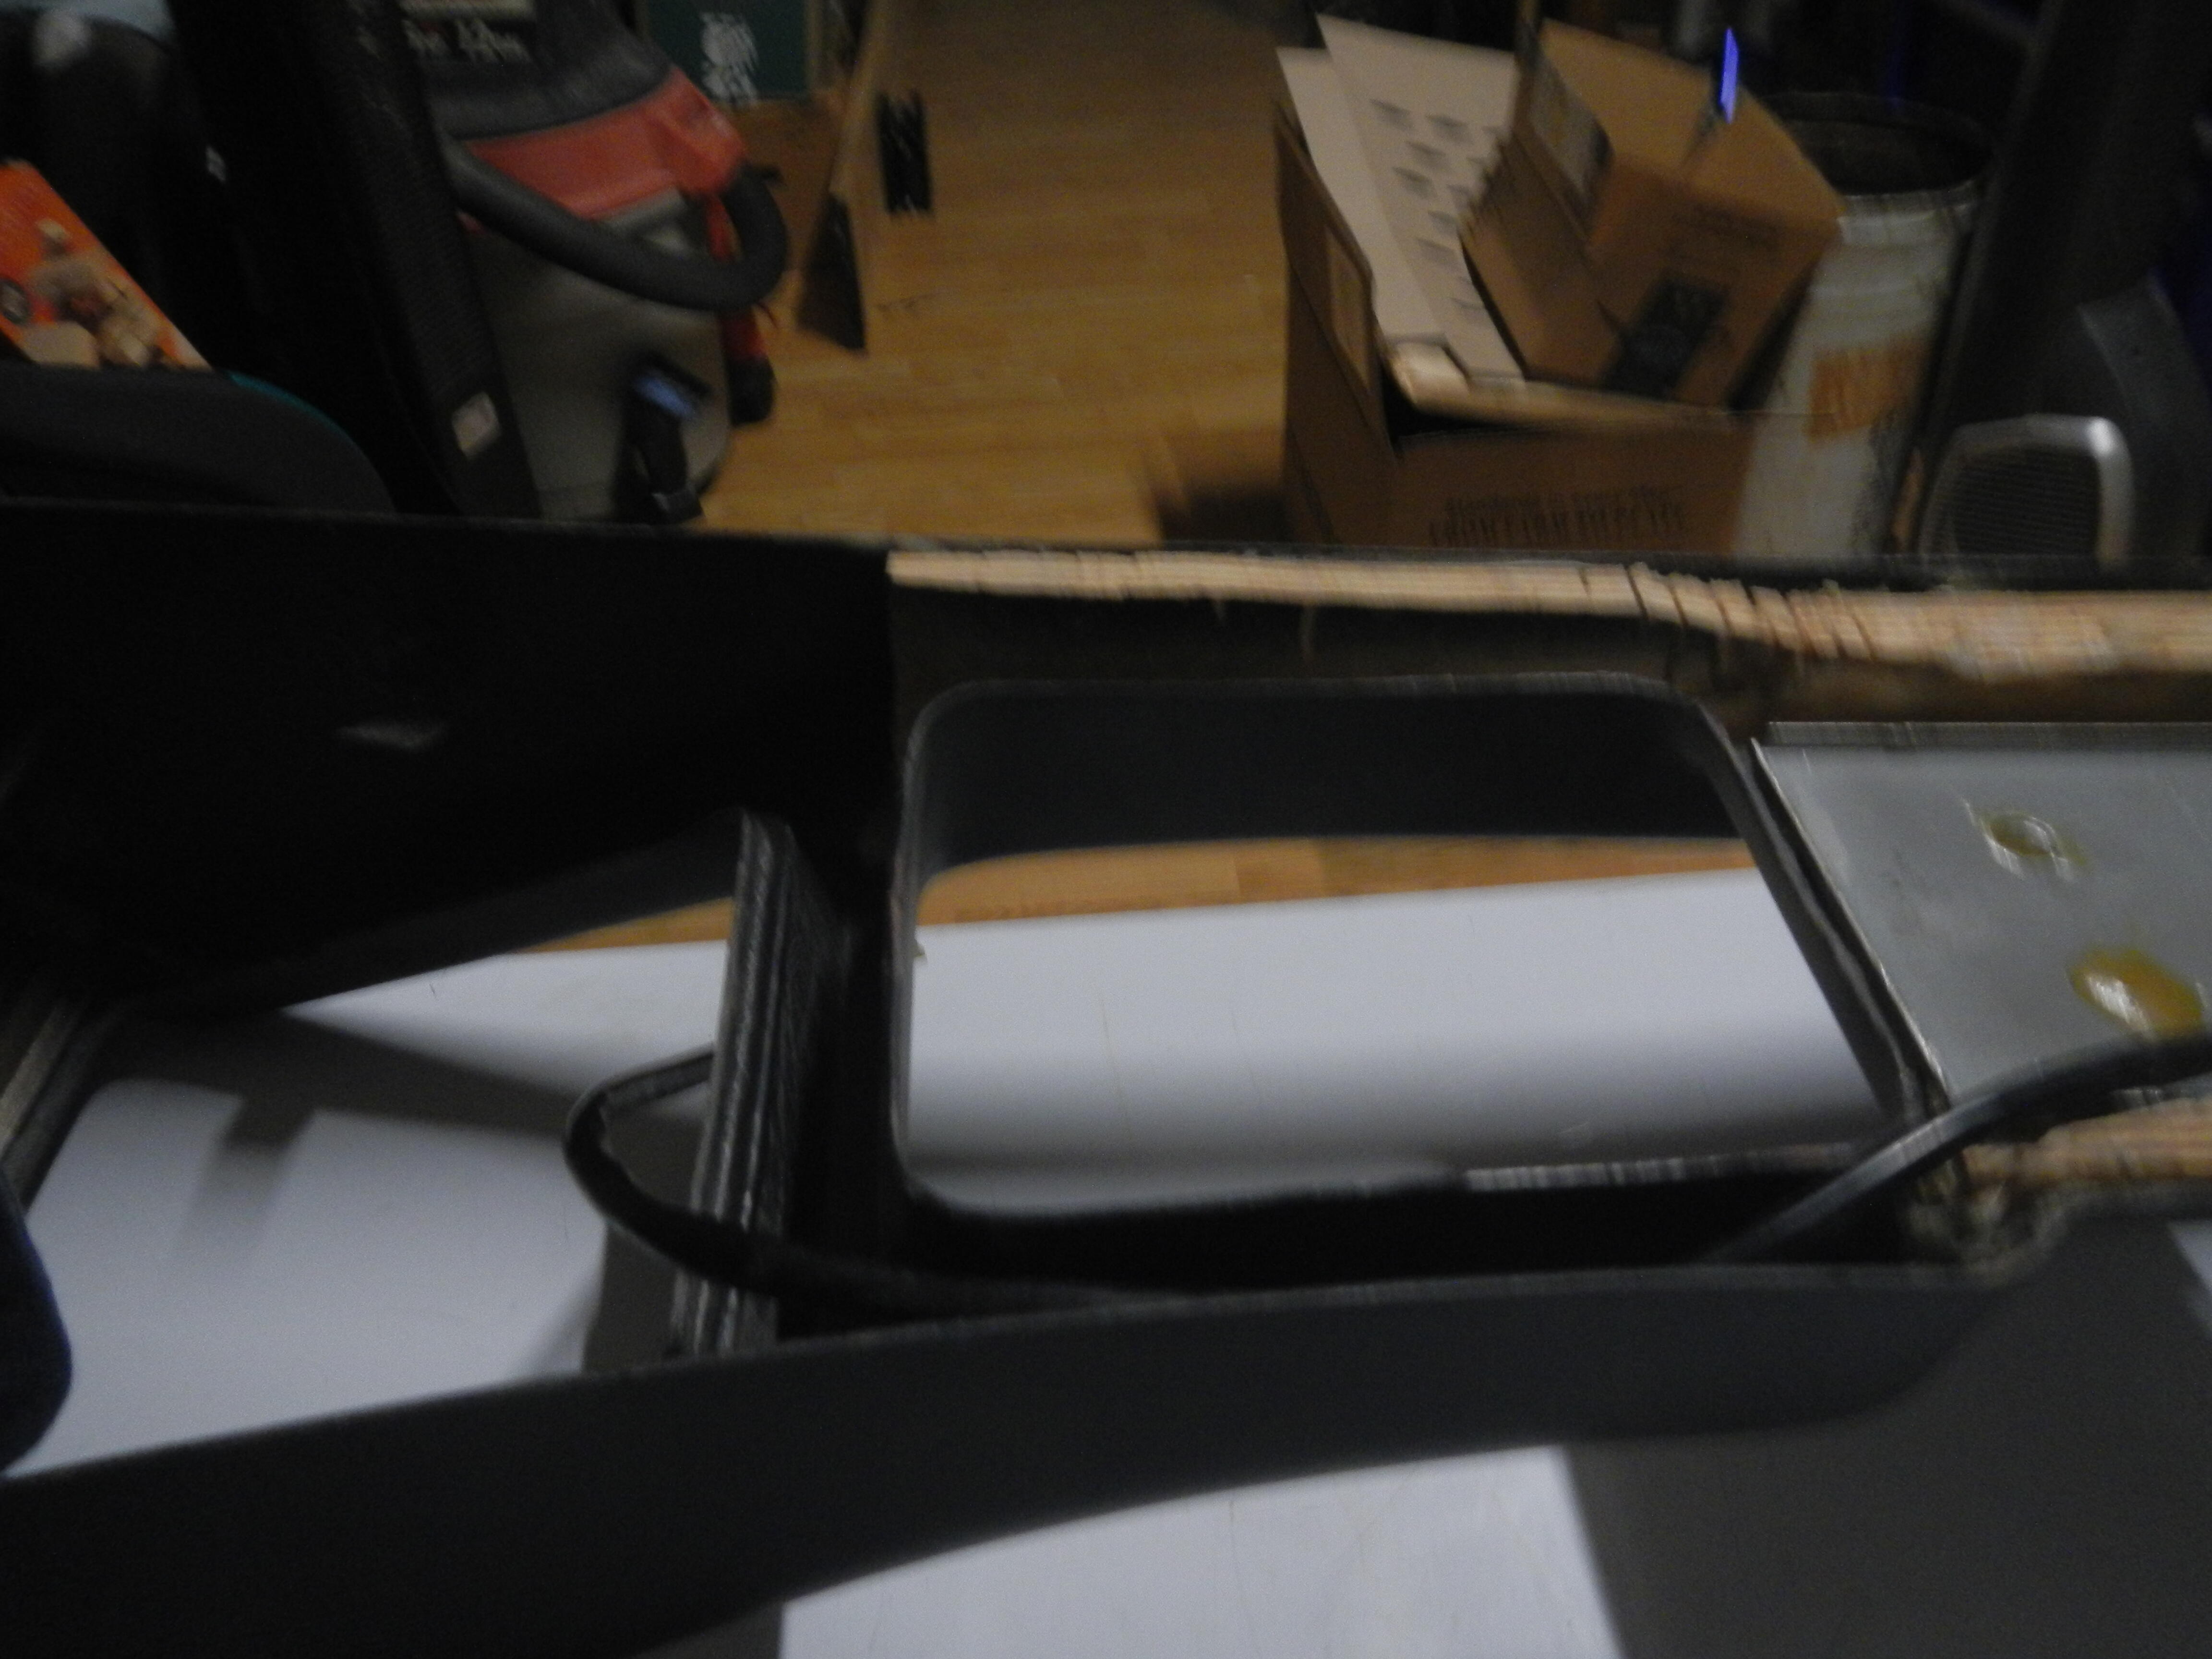
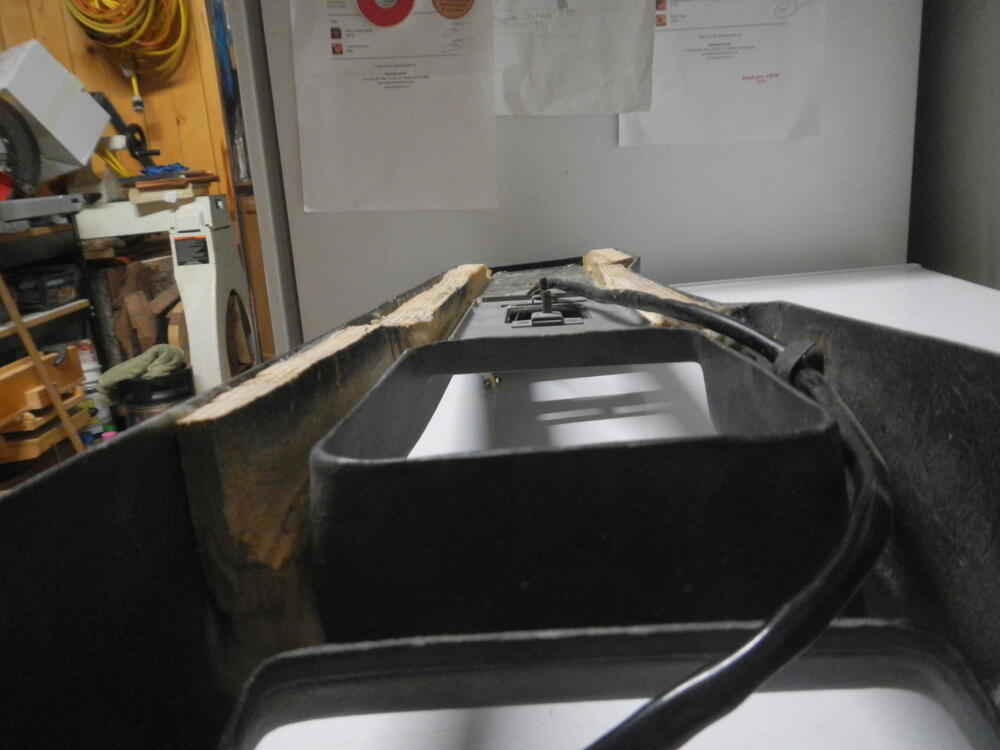
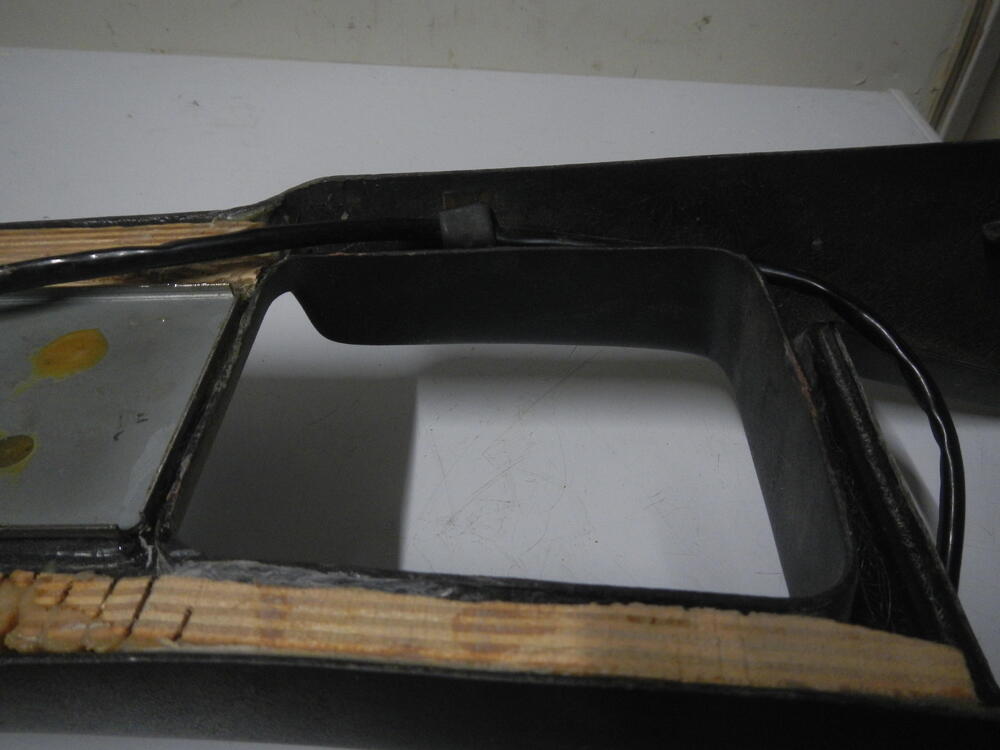
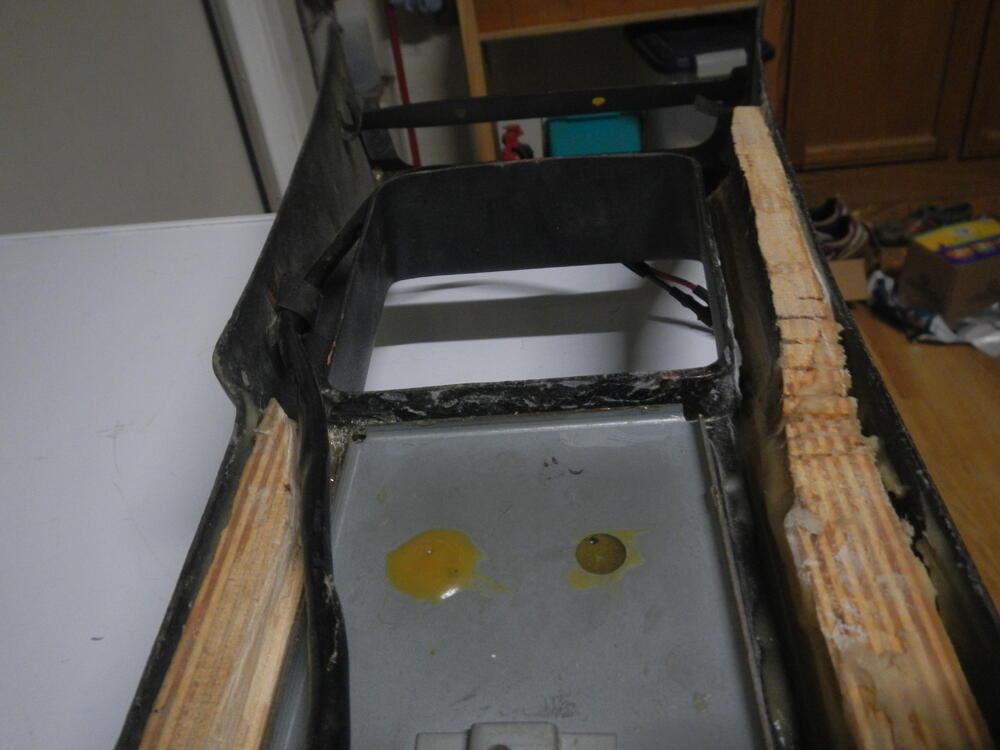
Here are the console pictures. Ignore the plywood pieces glued into sides, it was an attempt to stiffen the fiberglass.


-
I just took some pictures. The camera battery died right after I took the pictures, will post them after the battery charges.
-
My 240Z (12/70 build) has none of what is shown for the auto shifter. The shifter hole is just a straight hole with rounded corners, no slots for the metal strip, etc. No holes to mount the auto shifter parts or the feed though for the lamp wiring either. Looking at it again it looks like the shape of that area around the shifter is slightly different also.
-
I believe the grommet was installed on the harness when the harness was built. At least on my 12/70 240 I have removed and installed the harness with all the connectors installed. You have to feed the connectors through the fire wall one at a time twisting the connectors to fit. The firewall hole is pretty tight with them all in. You can then seat the sealing lip of the grommet if your grommet if it is soft.
-
Charles, Yes that is what I called the clamp strips. CanTechZ's post shows it quite well.
-
I taped mine down to some cardboard material to make a pattern. Lay them out in the sun or use a heat gun to get them to lay flat. Do you have the clamp strips that go around the headliner? I can get you some pictures if you need to see what they look like.
-
You should post more detailed photos of the car, photos of the rockers and dog legs, engine bay, underside, etc. Post the build date from the drivers door and the VIN. Also note that black is not a stock color for a '71. May not be important to some but a collector would expect a stock color.
-
I had 4 speed then switched to the 81 5 speed. Both seamed to to be fine. I never fully load the trailer to 1000 lbs, may of had around 750 lbs a few times. Braking distance defiantly was longer so use caution .
-
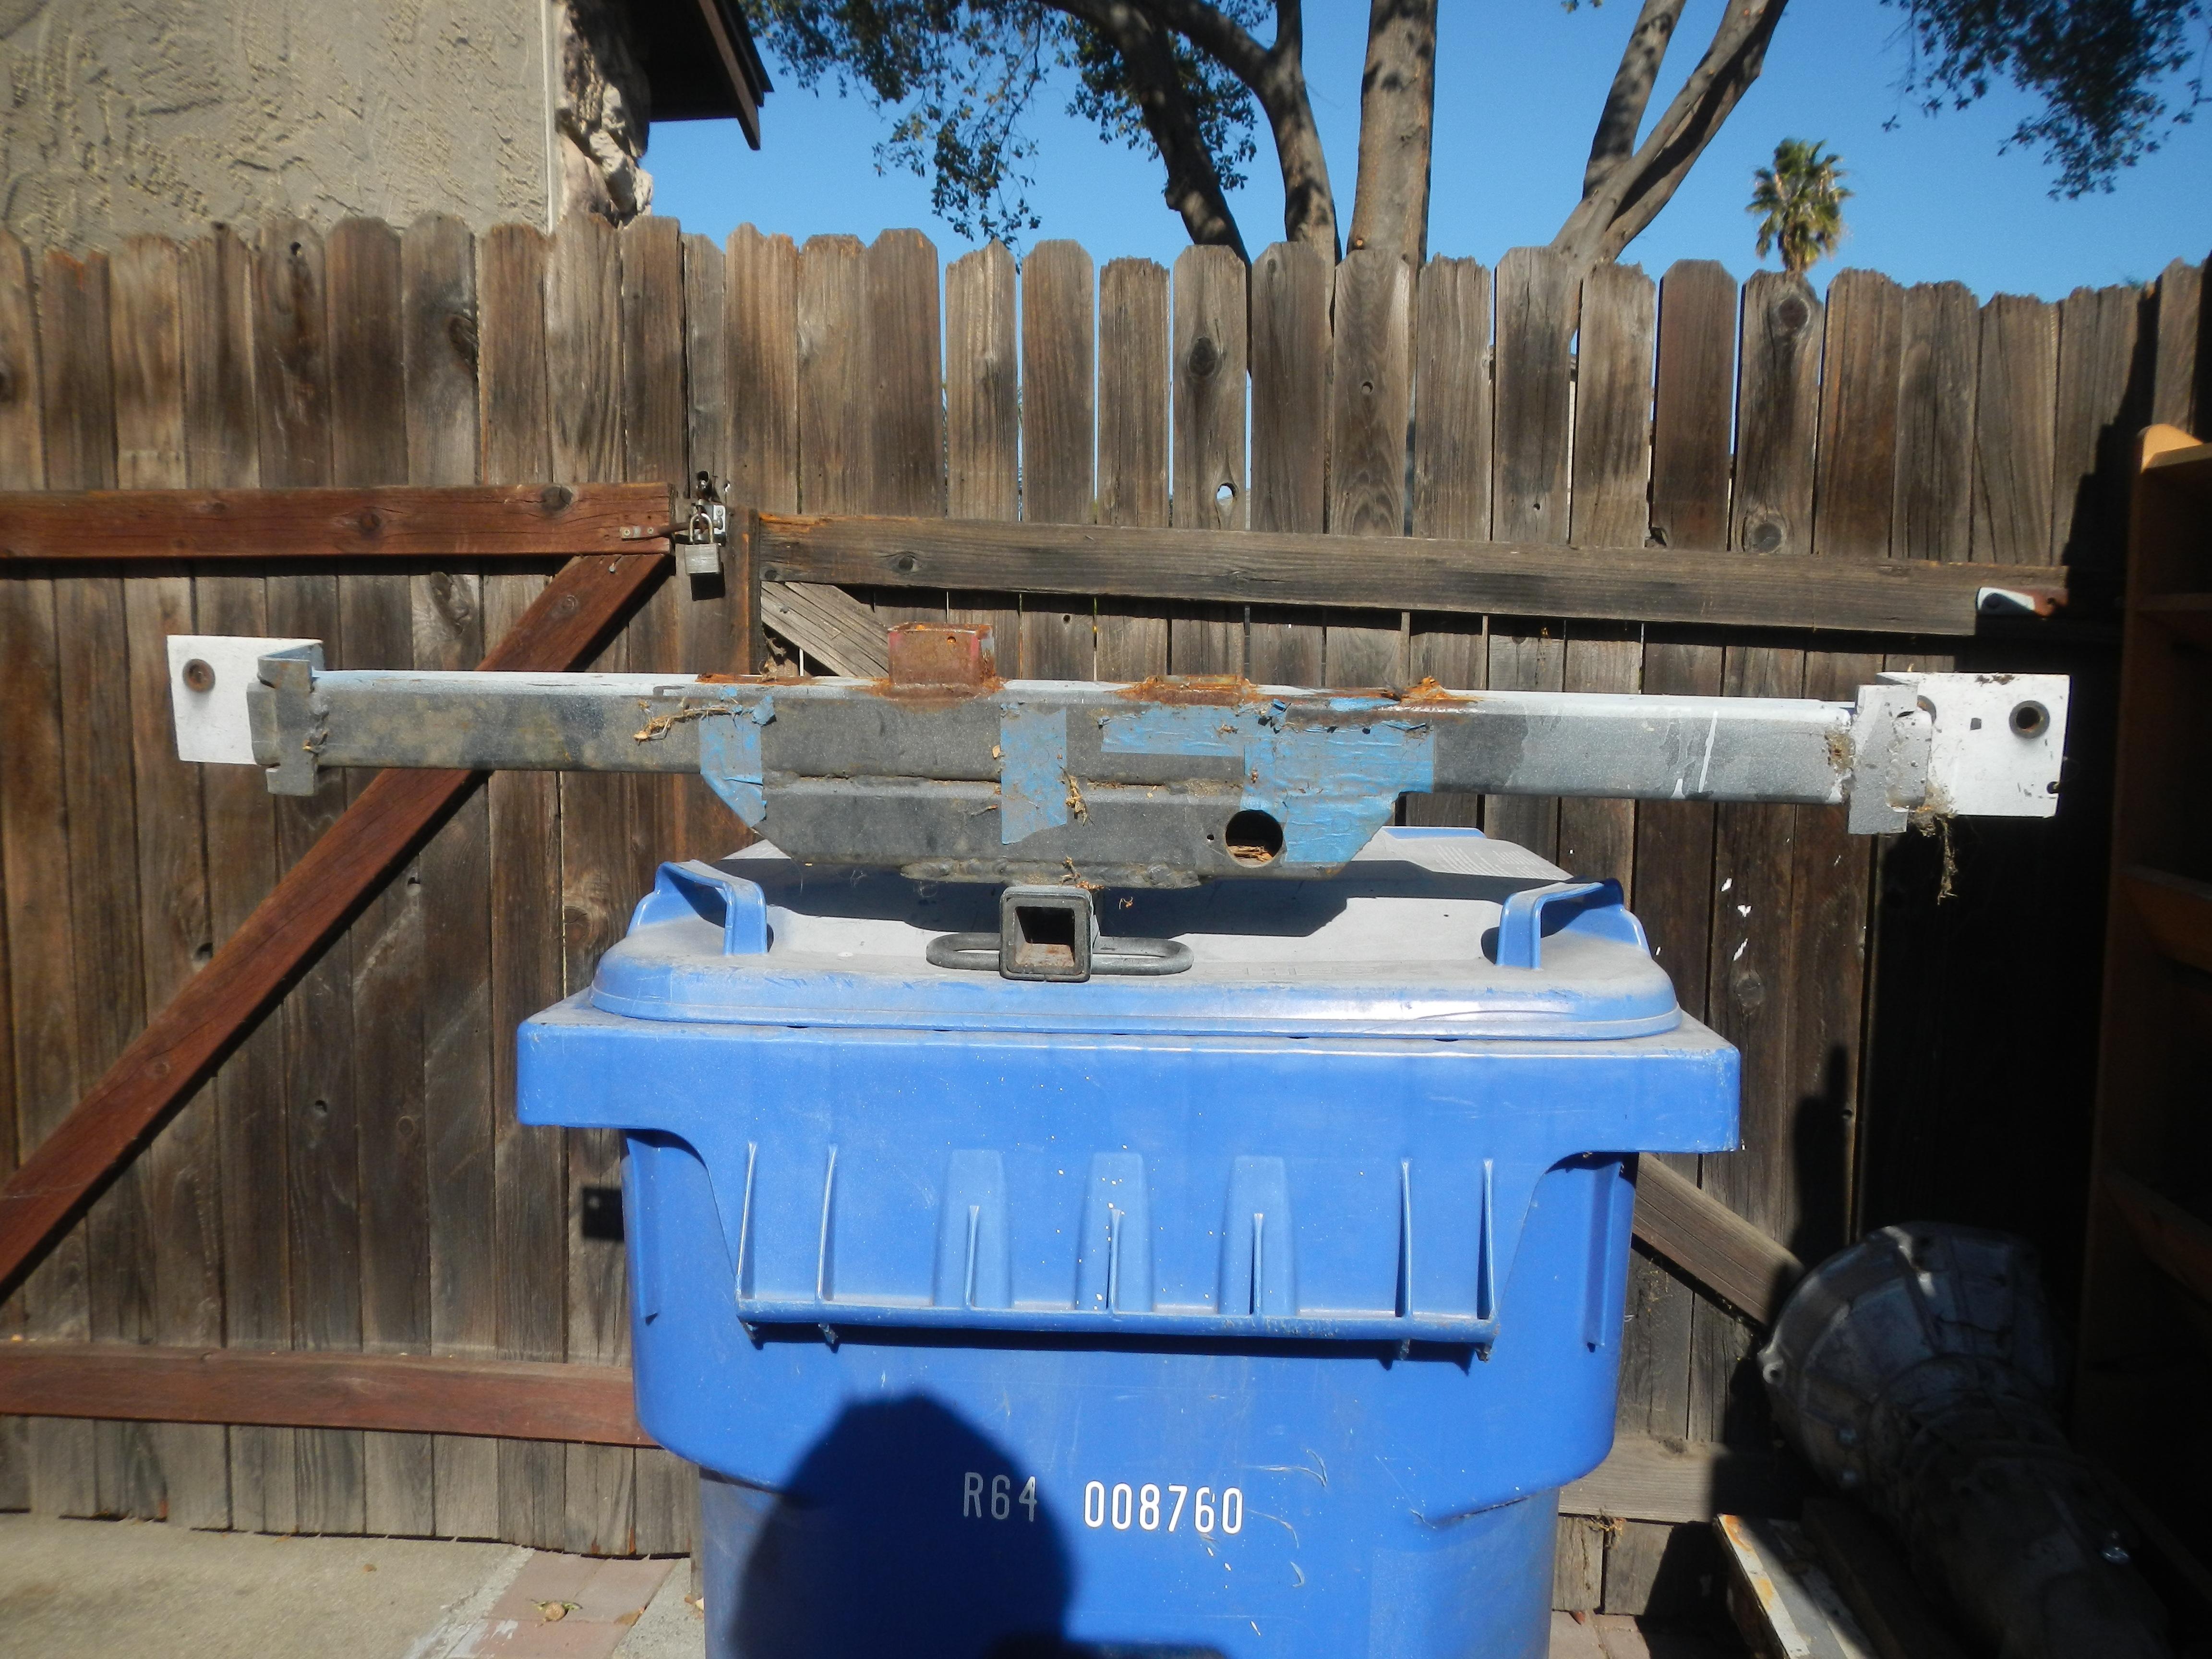
This is what I had on my 240Z. Bolted to the bumper mounting locations. Main bar is 2"x2" and 1/4" thick, weighs a lot. Used to tow a 4x8 trailer rated for 1000 lbs. I also used it as part of my rotisserie, that's what the parts welded to the top of the bar are. With slight trimming the bumper fit over this, leaving just the hitch and the shorter 2" bar in the center visible.

-
Gas in the early 70's was not that bad tasting, at least as I remember it. Once they started putting all the nasty anti smog crap in it no way would I put it into my mouth.
-
Electric pumps like this work best as pushers. Try moving the pump to the rear by the tank and see if that helps.
-
That will depend on your build date as to size, number and placement. I just made a drawing of all the holes and their diameters. I can no longer find that drawing so can't help you there.
-
Could that have been from the original balancing? I do not see how it could have been done by rubbing on something.
-
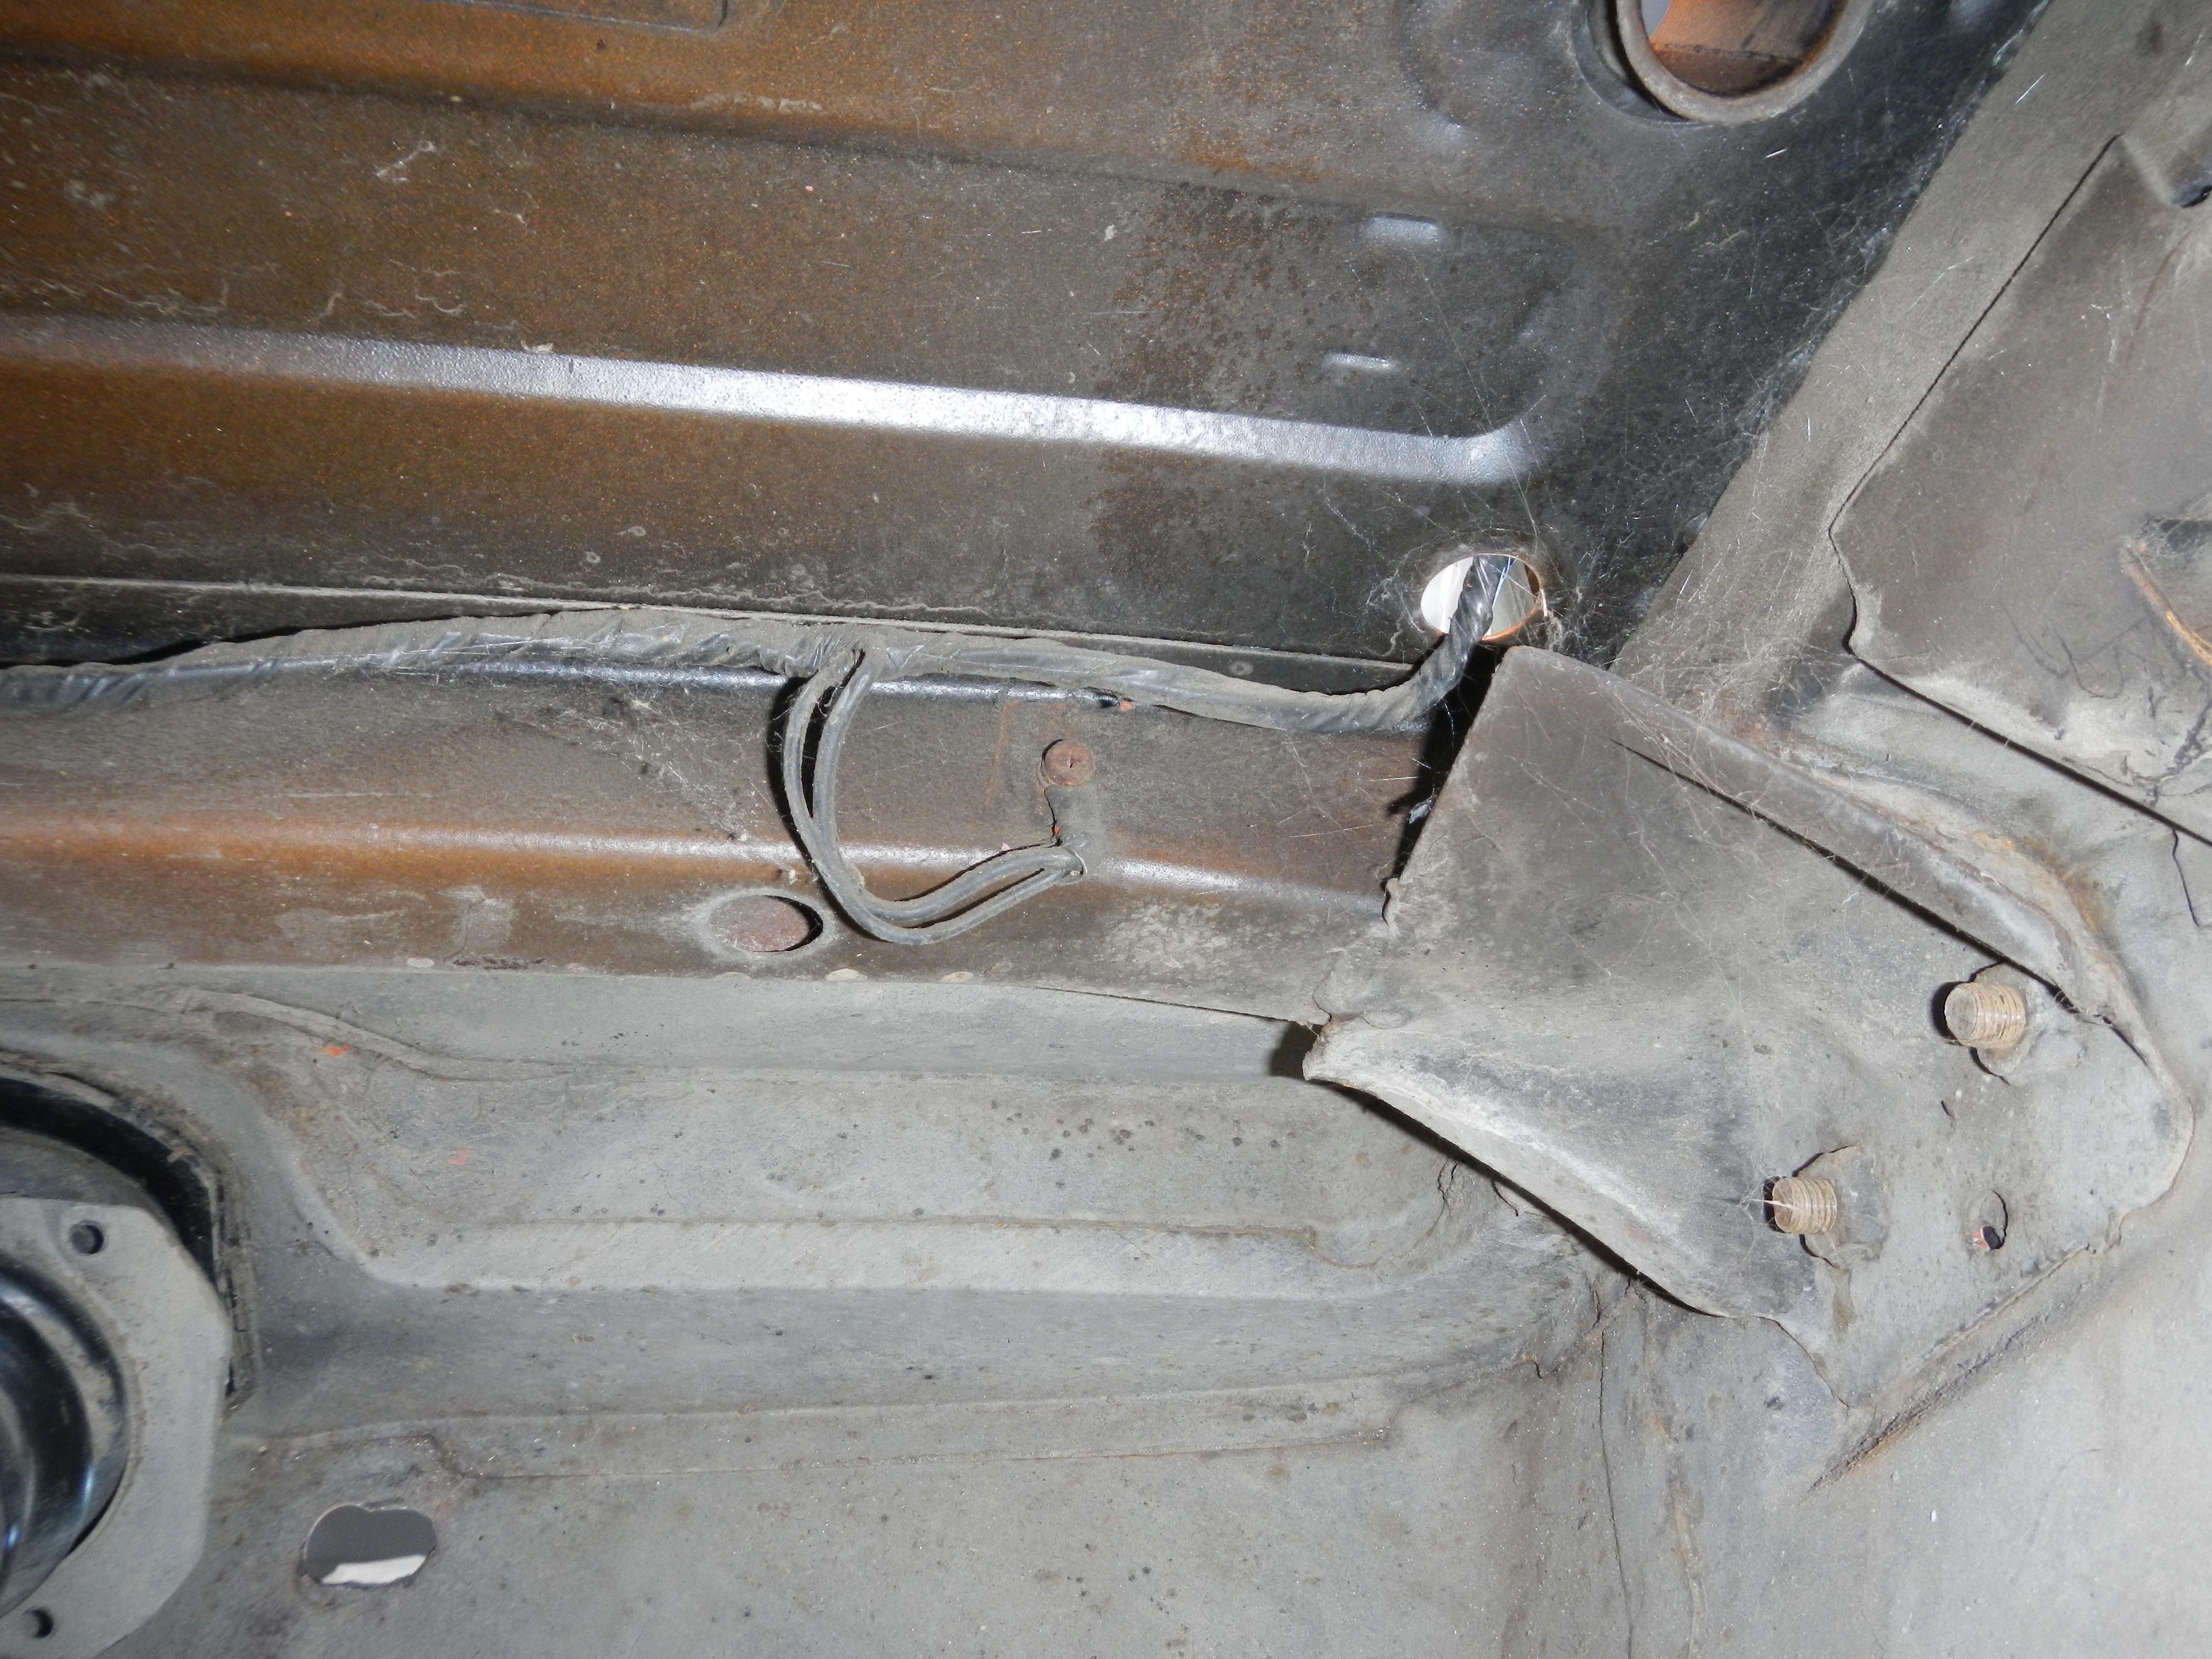
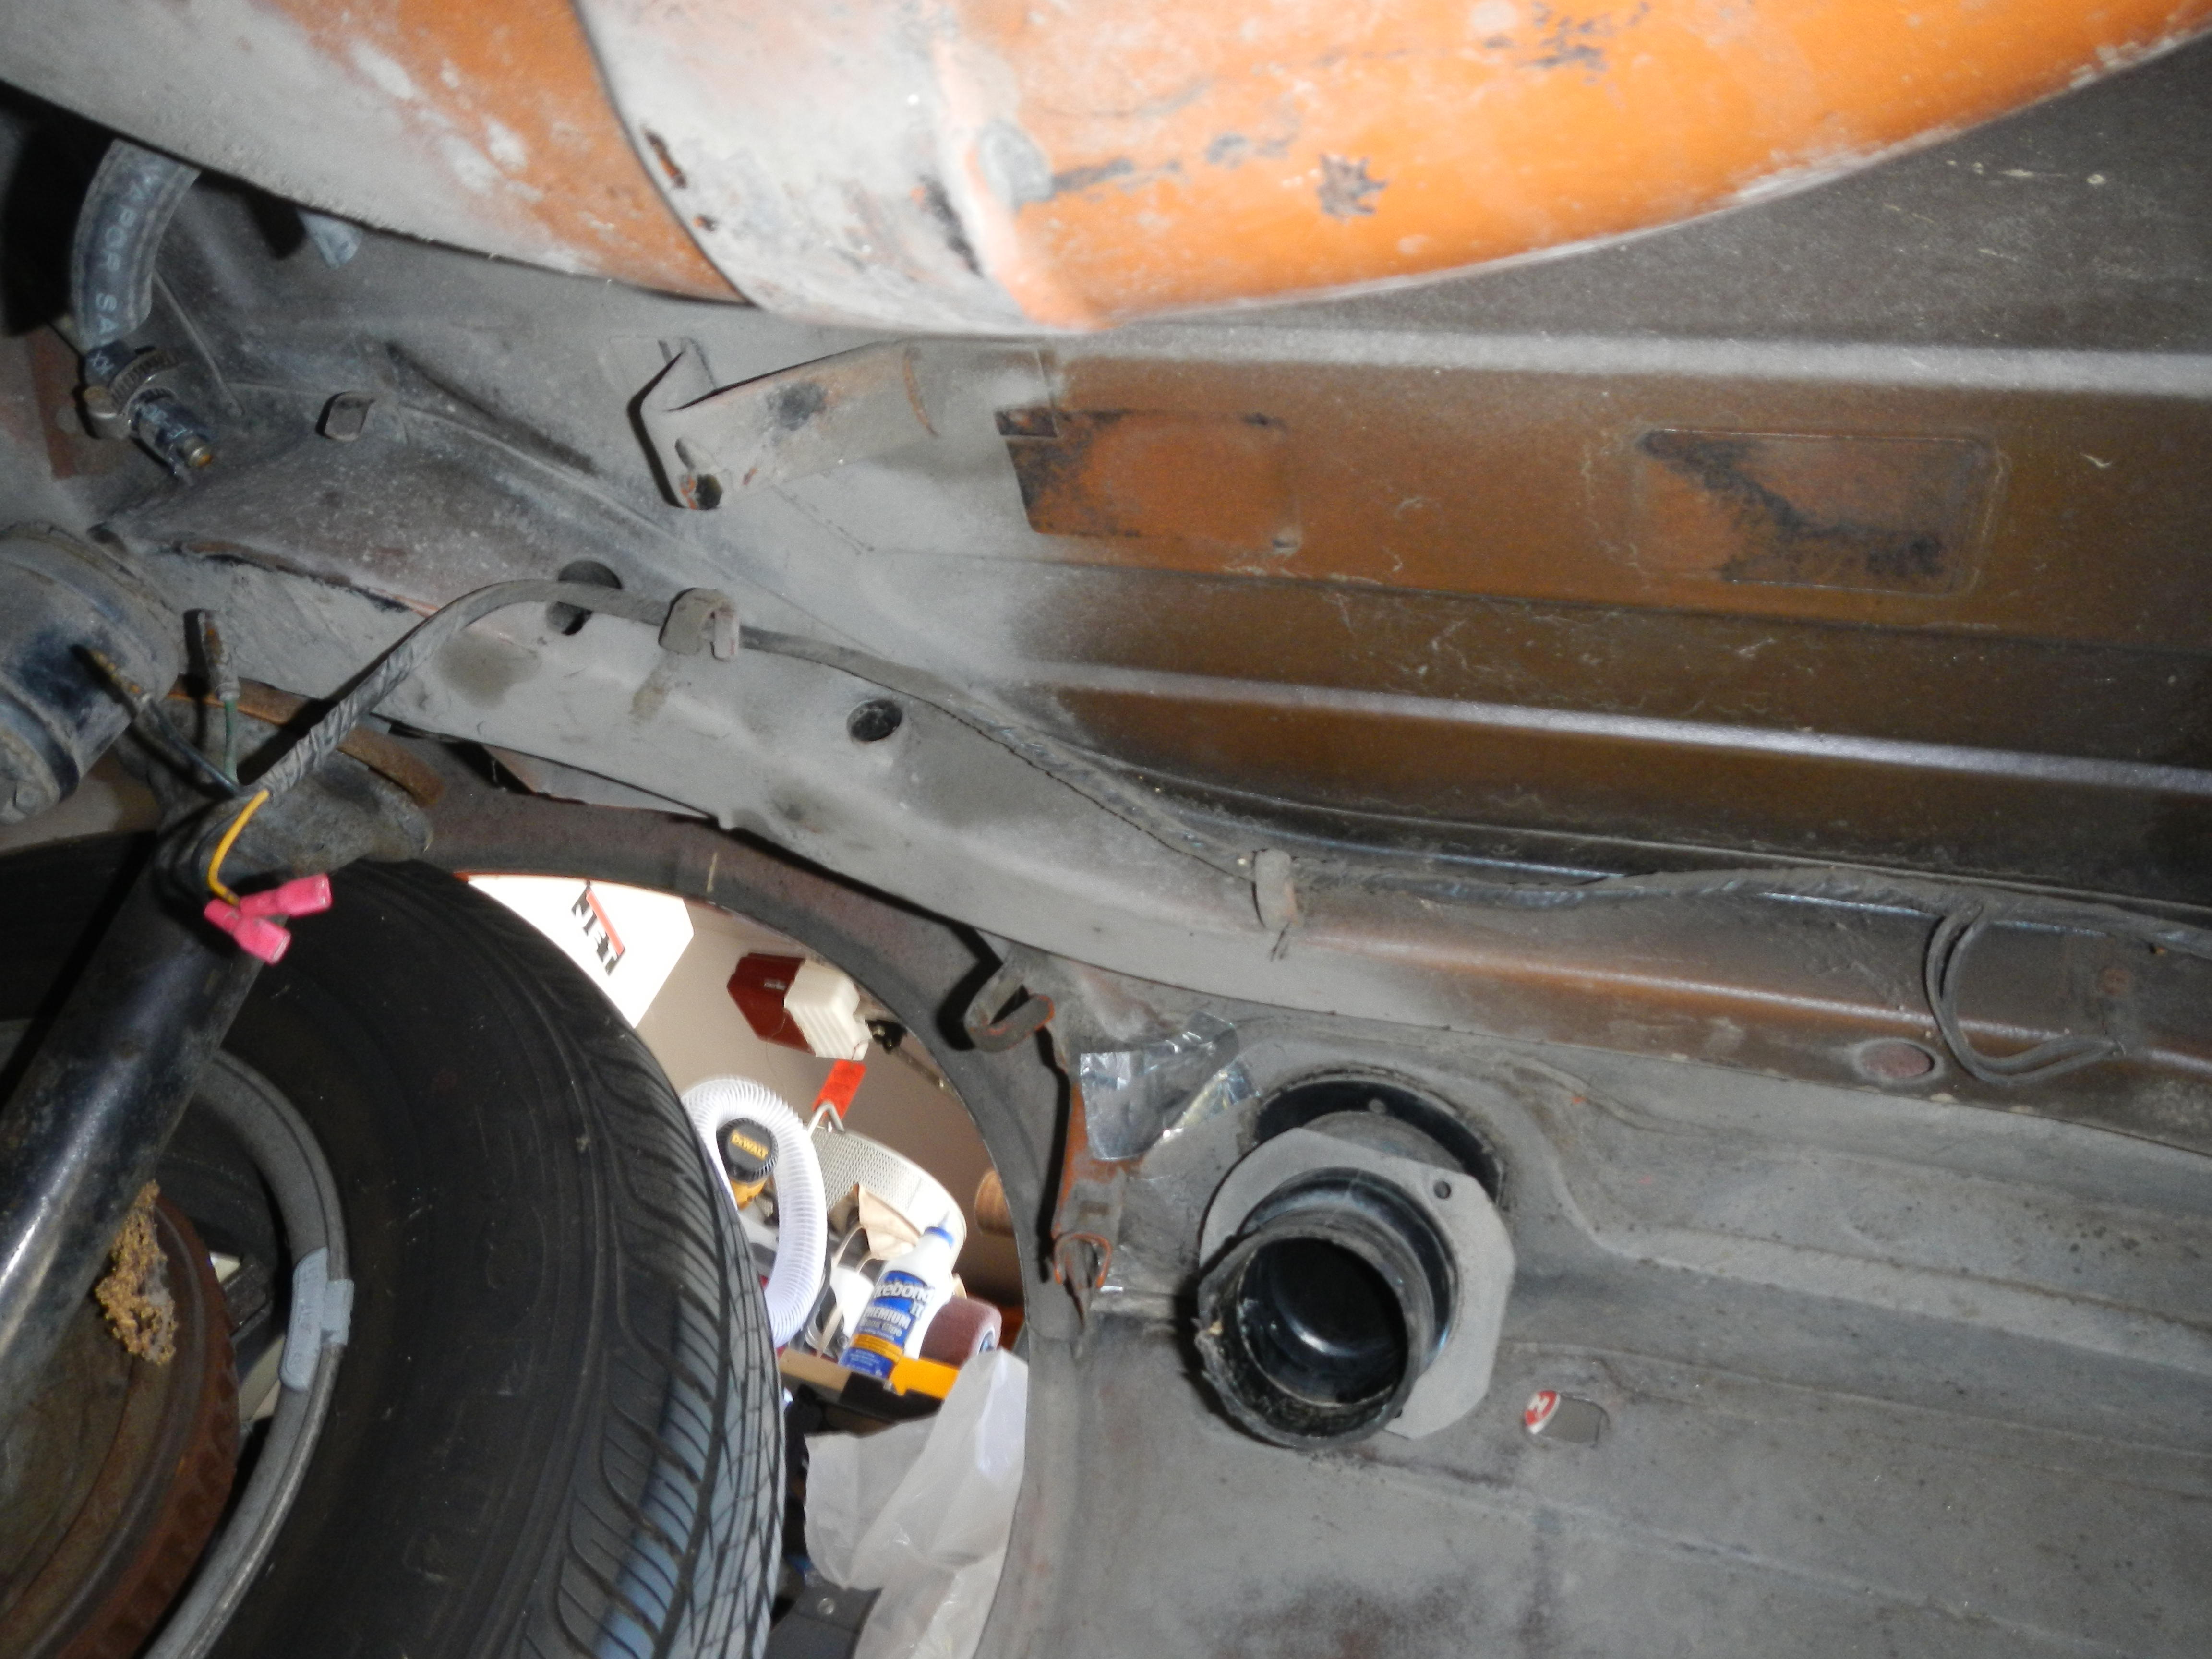
Just for future reference these two pictures show the routing of the fuel sender wiring on my 12/70 240Z. The ground connects to the frame rail, this needs to be connected before the tank goes in as you can not get to it with the tank in place.


-
New batteries can and do fail. I would check the battery voltage first. You can find battery charge/voltage charts on the web. Low horn would/could be another indicator of a low battery . After running and shut down the battery would have been charged some and the engine is warm.
-
While California does not require a SMOG test for cars before 1975, I believe that's the cut off year now, you are required to have the equipment on the car. You may be required to reinstall all original SMOG equipment if it's been removed. Now that being said, I don't know how often that happens. If you are not drag racing / driving crazy / speeding excessively probably not very often.
-
Perhaps a wire grommet would work?
-
I noticed that also. It looks like the fracture runs all the way though to the oil passage to me.
-
Anyone know if those 3 screw adapters from Patton Machine can be made to fit/work in 4 screw bodies? I know the mounting screws are an issue, but what else? I like the idea the original carb look with injectors hidden in them.
-
OK, and the answer is-------NO, the lower column can not be removed without removing the column. If you remove the mounting bolts at the firewall and column mount you can swing the column to the left about 4" the lower shaft will clear and can be pulled out. If you wanted to avoid messing with the wiring it could be an option. Also I do not have an engine in place so there may be problems with the exhaust, etc. Probably easier to just bite the bullet and pull it all out.
-
I do not think it would clear the fender/frame rail mounted in the stock position. The lower portion of upper shaft is fairly long, the splines join with the upper part of the column at about the mounting point for the column. If you undo the column mounts under the dash and loosen the firewall mounting bolts you may be able to move it enough to clear the fender/frame rail. If I can get some time tomorrow I will reinstall the steering column and see if the lower column shaft will clear. My car is getting paint work done now and it is all apart so this should only take a few minutes to see if it will come out.
-
Which set of hinges do you have? I used the white ones, in the pictures, which are from a '73. They will work on early Z if you do a small grind on the back corner so they will set as they should. First I installed the hinge pin Then the arm that runs on the roller was installed to door side of the hinge, the spring was put in it's location and then I used my bench vice to compress the arm and spring enough to allow the roller and it's pin to be started into the hole. This is kind of touchy as you have the spring compressed well to get into the hole. You can only get a small part of the arm to contact the vise jaws so be careful. Look back at post 2 - Hardway shows how he did it. The series 1 hinges are assembled in about the same procedure to get the arm pins in.
-
Whats the build date of your car and is it a California version? That diagram you posted is for the California version. That hose is plumbed into the fuel filler on my 240. OK I see you have a Jan. 74 260. so is it a California car?
.JPG.2704ab6ce97daa1c81a96aac4f46b9e0.JPG)
.JPG.8b7484f26237c73c68b6efe12b01c456.JPG)
.JPG.edd9a320c428c179b4ba9ec7027b4203.JPG)
.JPG.d43193a3588ab8dc3424b1703c6f85f1.JPG)