
Zed Head
Community Member
-
Joined
-
Last visited
-
Sometimes we never find out what caused a problem. I would just put it all back together, making sure that everything fits correctly, and run it. You've seen signs of unusual wear but there's no confirmed connection to any running problems.
-
It's been noticed in the past that many of the aftermarket FPR's seem(ed) to be set at 38 psi. Who knows why. A $20 38 psi FPR would be better than a leaking FPR, probably. Also, any used original FPR probably has a stiff crack-prone diaphragm inside. And, if you get tempted to buy an adjustable aluminum FPR, be aware that they all seem to leakdown as soon as the pump shuts off. It's a trilemma.
-
I'd bet that they're all made in Asia now. One of these under $30 280ZX units might be worth a gamble. Probably all come from the same place. Not sure of the mounting, might have to cobble something up, but the pressure specs are the same. https://www.ebay.com/itm/395767712629?_skw=280z+fuel+pressure+regulator
-
There are marks on the base plate, or you could mark it yourself. I don't really see any marks on your new parts. I'd just run it and see what happens. After making sure that center/coil wire was firmly seated. Did you get a new coil wire? If the contact at the end of the wire had a bad connection it might cause heat even if it was fully seated.
-
I would remove the distributor, put the cap back on, and spin it by hand while trying to make the rotor hit the electrodes. Maybe you'll notice something.
-
The rotor metal doesn't look bad. The cap looks like it had been misplaced in the past based on the marks at the base. The burned up center wire terminal is not related, it's an electrical issue. Probably a bad center wire or it was not fully seated, or there was contamination that allowed conduction past the rubber seal. Since you have new parts I'd just run them for a while and examine them after some time.
-
It's hard to tell much from your pictures. I'm not even sure that a little rubbing would cause running problems. Seems like if it was bad that you'd hear a buzzing noise from the distributor as the rotor ticks past each electrode. "Red herring" might be happening here.
-
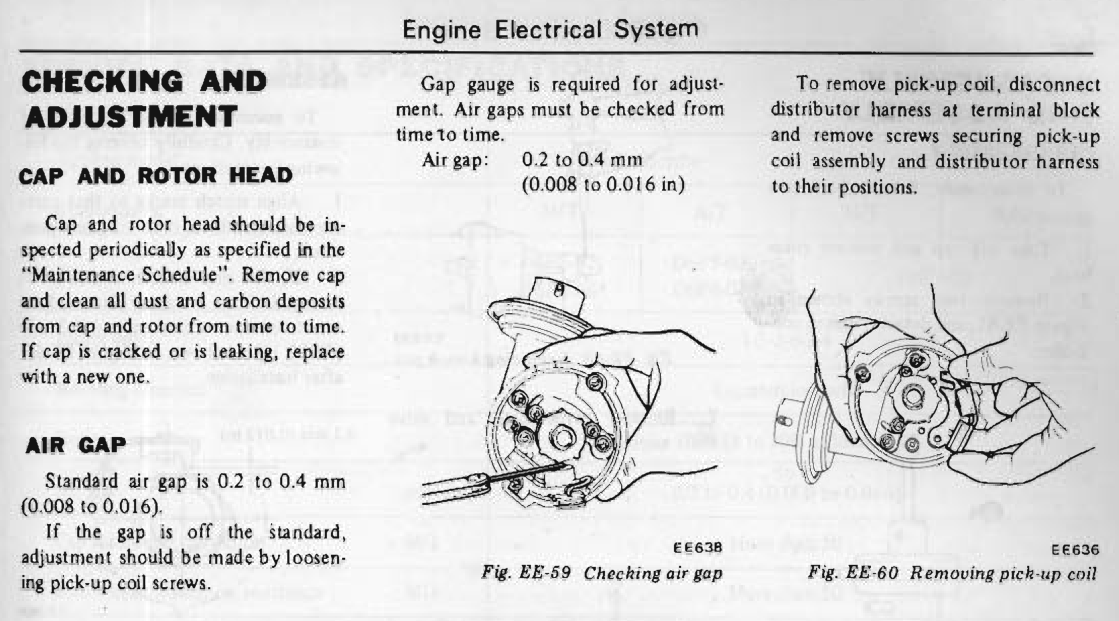
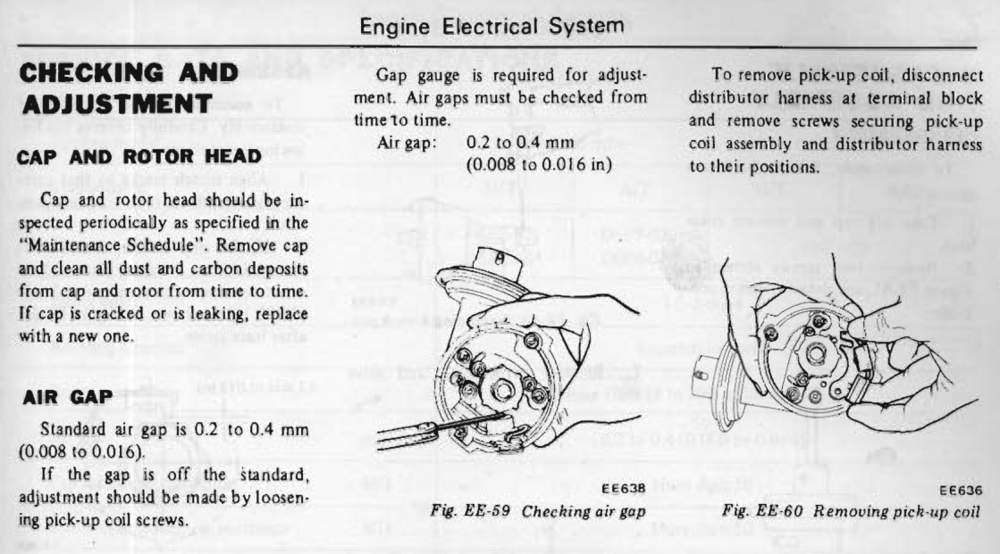
I would check that the rotor is actually seated completely. Besides having a loose one I also have a vague memory of a tight one or two. Maybe you're just not pushing it down all the way. If the shaft is moving then you'd also have problems with the air gap. Worth the time to check that while you're in there.
-
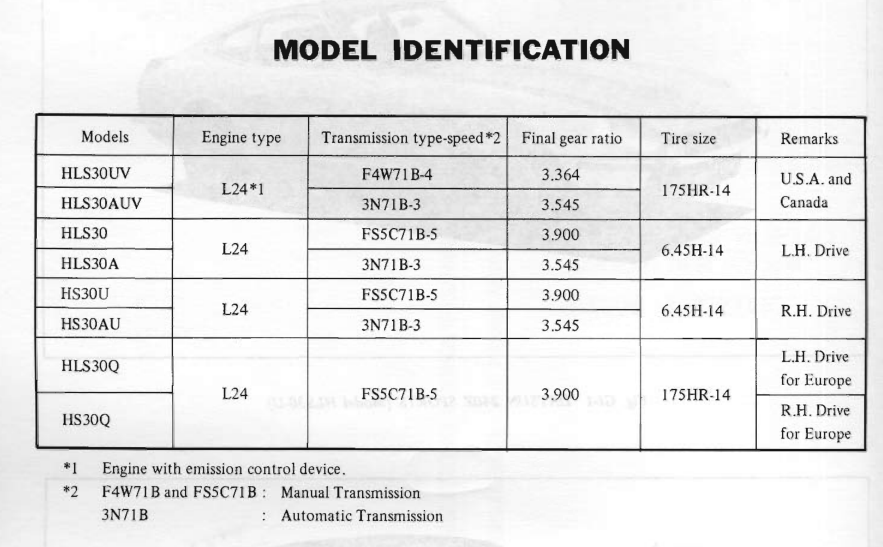
I've wondered about that. The FSM's don't show 3.36 until 1973, in the PD chapters. The image I posted is from the 1972 FSM. But. The General Information chapter shows a 3.364. Errors in the FSM. It's backward. I think that the 3.7 ratio is hard to find. Probably have to go 3.9. Good luck.
-
If you ask a company that sells "upgrade" parts if you need an upgrade they'll probably say yes. Many people that know say that a better flowing exhaust system (not headers, just the pipes from the manifolds to the back) gives noticeable results. The Pertronix won't change anything, it's just a points replacement. More less maintenance than performance. You probably have a 3.9 now, so 3.7 would be going the wrong way. I would get all of the original parts working correctly before deciding anything. You might be surprised.

-
Is it a 4 speed? Have you given it a tuneup and checked that the distributor is working correctly? The advance mechanisms inside, both vacuum and centrifugal, are important during the transition from idle to acceleration.
-
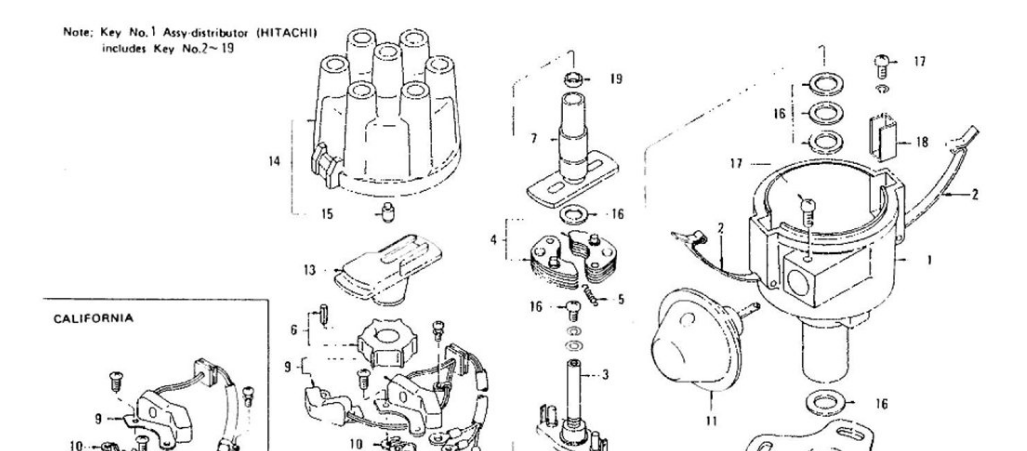
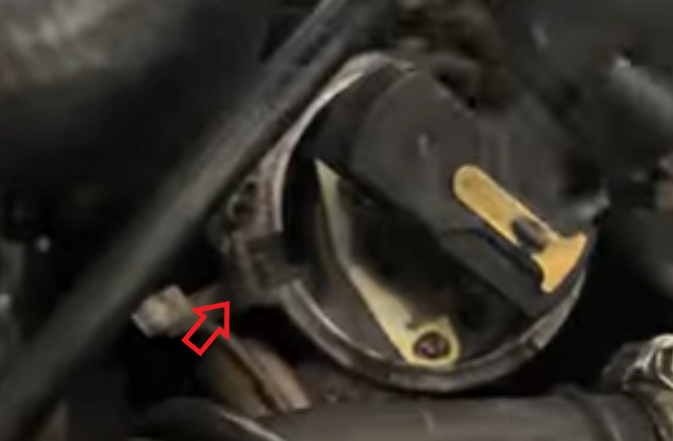
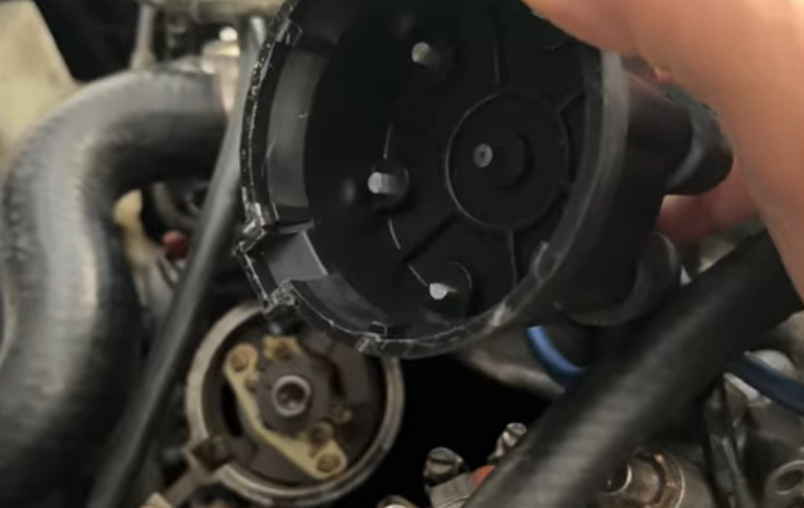
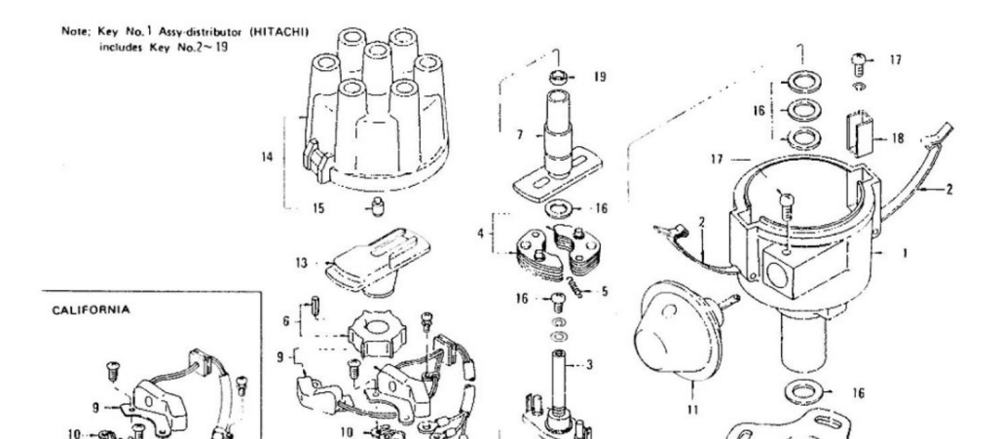
I do notice one odd thing in your video. You seem to have the cap on 180 off. I'm not sure how it would be possible if the square metal locating piece is installed. Can't really tell in your video if it's there. The breaker plate screw holds it in place. Maybe it's on the other side and the cap was installed correctly. Can't tell. Part 18 in the image below. And you didn't tell brand or source. Plus you didn't show it with the spring clamps in place. They can be hard to get on. I used to use a long screwdriver to lever against them from the side to get them to snap in to place. Couldn't get my fingers down there.
-
-
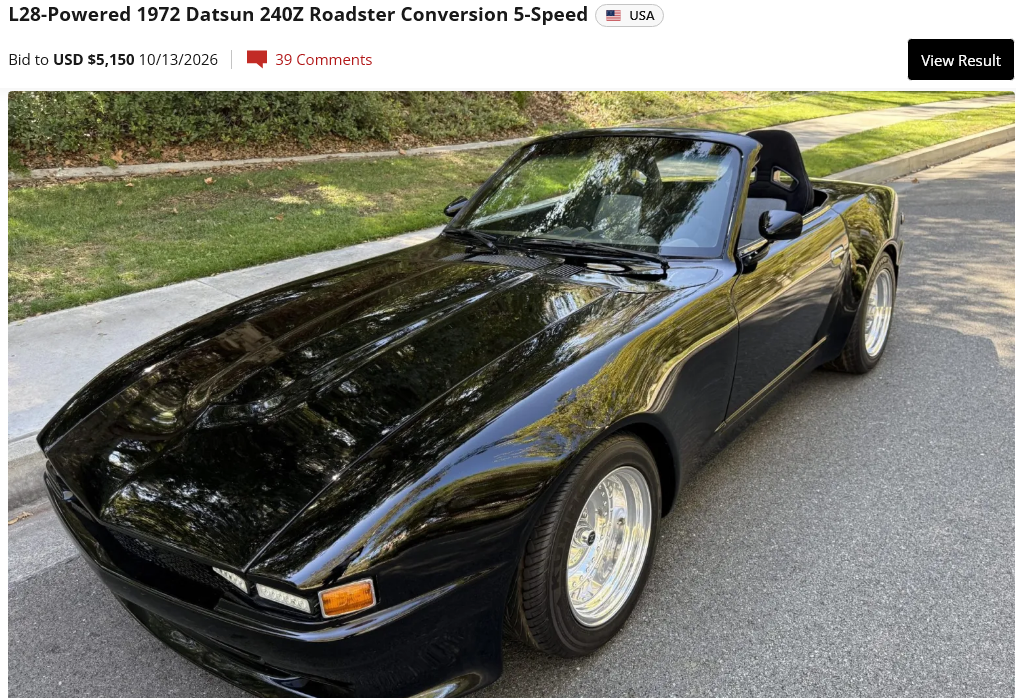
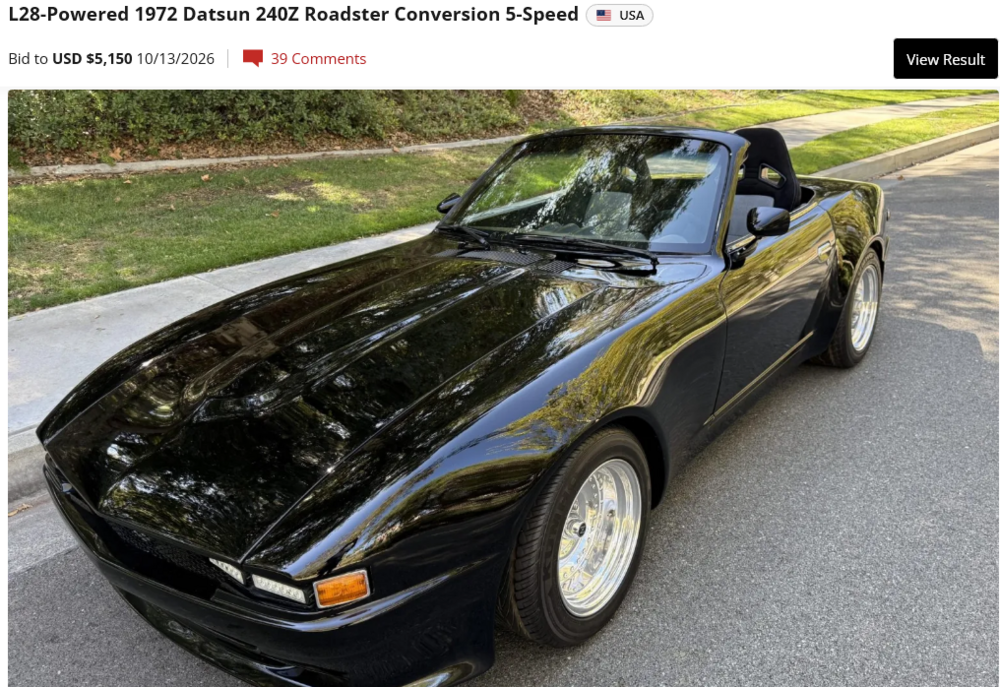
The original went for very low money. Surprising. $14,000 The modified one barely got a parts value bid. RNM. $5,150

-
Are the cap and rotor of the same brand? Where did you get them from? Post more pictures. Rotor installed, cap installed. I remember having a rotor that was loose because the spring inside was weak.