


Zed Head
Community Member
-
Joined
-
Last visited
Everything posted by Zed Head
-
Maybe it's sucking air through the inlet side. Any signs of seepage back there? A tiny liquid leak could be a big air leak.
-
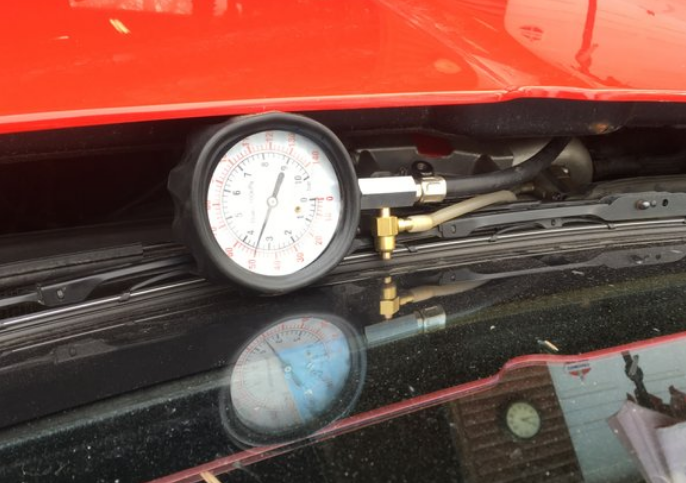
For the time that you're spending on the problem it might be worth the length of hose and the clamps to get that real-time data. Borrowed this from a Corvette forum.
-
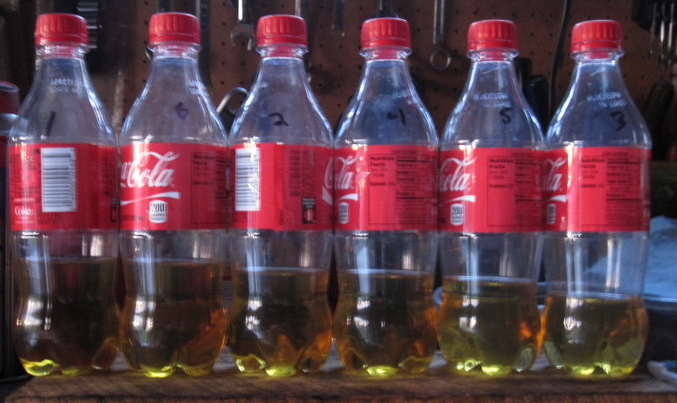
Seems like you're stuck in the classic "what happened" versus "make it run right" dilemma. Cliff's EGR suggestion might not cause a vacuum leak but might cause full-time EGR. Diluting the fuel-air mixture, lowering power. Might explain the lower idle RPM. Also not clear if your focus on the gauge reading is coloring your impressions or not. Trying to tune to the gauge instead of the actual performance. No offense, the human brain is a strange thing. You're discounting people's suggestions, but aren't showing that you fully understand the source of the problem. You're in the nope, nope, nope regime. If running without the vacuum hose helps power then using the potentiometer should also. Does the engine still "front-fire" if you try to accelerate at a moderate rate? Off of the full throttle area of the TPS? You're saying it has low power and lean gauge readings. How is power if you just go full throttle? When, exactly, do you feel that it has low power compared to before? Maybe all of the chaos broke some junk loose and clogged some injectors. My engine still ran well with these, below, after I replaced the AFM. Those injectors came with the car. But it ran a lot better with new injectors. I probably never needed a new AFM.
-
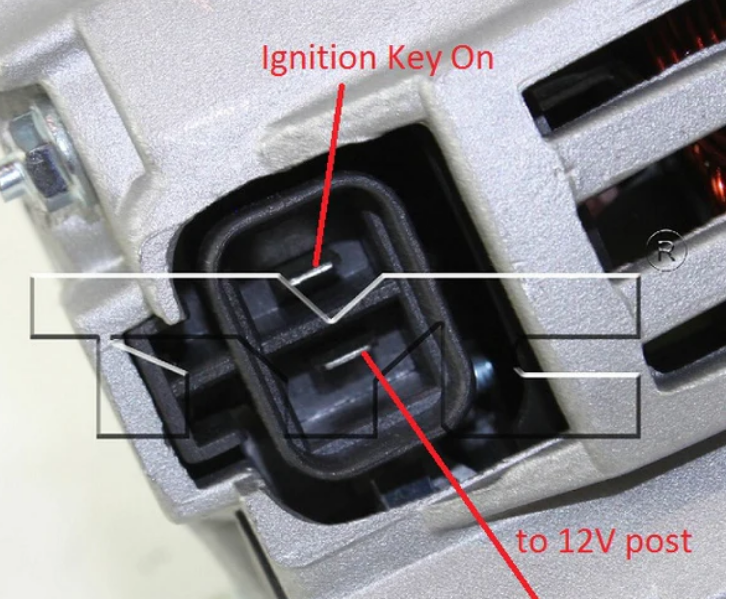
I would check for voltage at the L wire first. With the key on. That's the one.
-
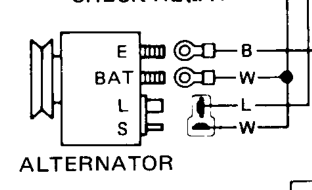
Some versions of this sometimes had a melting problem, I think. The wire with the diode (not resistor) is the wire that supplies power to energize the windings. I'd guess that that's the problem. Diodes do fail. It would be the L(amp) wire, the vertical leg of the T. This is a ZX drawing so the wire colors are different.
-
A new thought - maybe the front-back firing caused a vacuum leak. Split a hose, blew a gasket, popped an injector seal. I'd check those, maybe even try the propane or carb cleaner test (don't start a fire). Don't forget the PCV hose under the intake manifold.
-
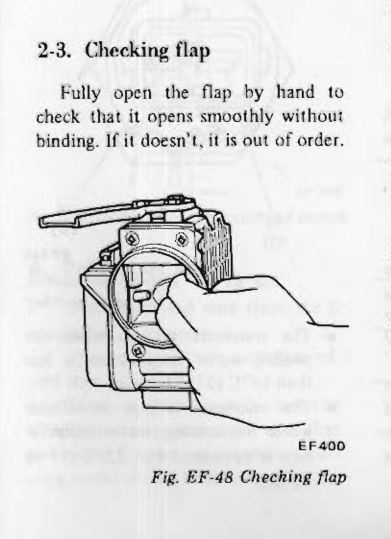
If I recall correctly the very early AFM's did not have a back/front fire protection spring on the AFM vane. It was added later. So Nissan was aware that it could damage the AFM. The simplest check would be to confirm that the AFM vane moves freely. Your AFM might be out of order. There's always more to the story... https://www.thezstore.com/category/150/air-flow-meter-parts
-
Front-firing is a good term for what happens when the system is running lean. That's where the noise is, in the intake manifold. Many of us have had the problem, it seems to be because of fuel changing since the seventiies or electronic component "drift". But it's common enough that people like Blue/240/260/280 have written up ways to fix it. It's a real thing. The fix easier than it seems. Hardest part is finding a potentiometer. Find the bullet connectors on the coolant temperature sensor circuit and insert the potentiomemter. Turn the knob until it runs right. Might be that you've been on the edge or maybe there's something in the ECU that fails and it finally happened to yours. Who knows. But the fix is simple and will tell you something. Linked above.
-
The pressure in the rail is what matters. But your numbers at the pump seem about right.
-
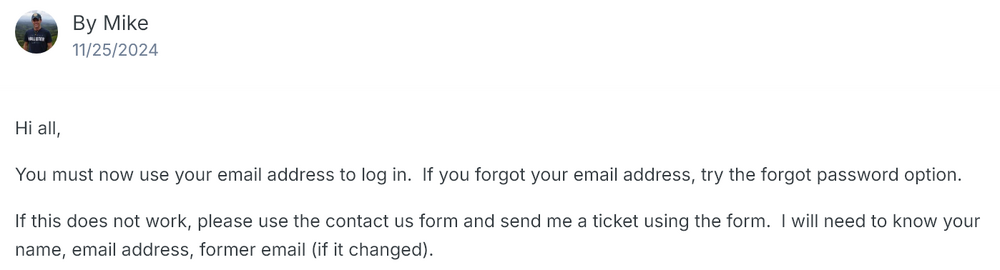
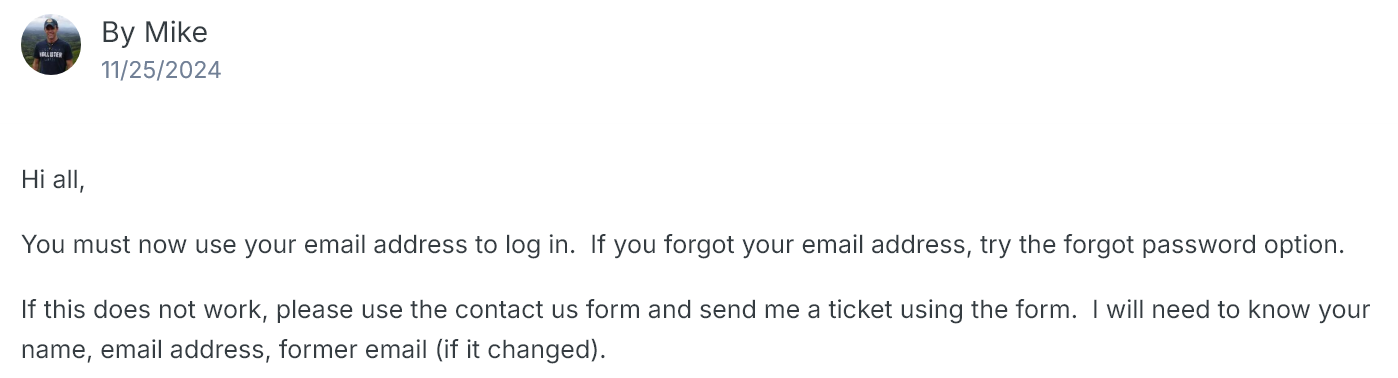
Mike changed the log-in procedure.
-
38 is actually high. Spec. is 36.3. Avoid the urge to break out the parts cannon. It can get expensive.
-
All of my comments were just based on logic, understanding how the system works, and the facts presented. No need for sunspots. Hard to see how you can still have excellent WOT performance if something at the hose from the tank to the pump was not right. Doesn't make sense. I'm going to go with coincidence then. Something else happened at the same time you replaced that hose. Good luck. p.s. the fuel pump and FPR are at the foundation of the Jetronic system. So if you're looking at fuel pressure you're looking at Jetronic.
-
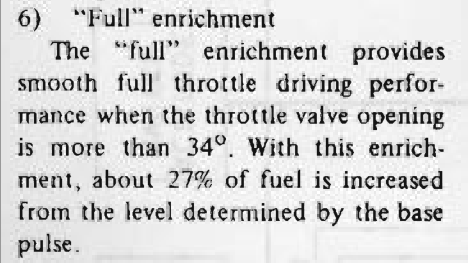
Or, maybe it never gets the 27%. Maybe the TPS never shows WOT. Could be a TPS problem. It's not clear when "sluggish" occurs. WOT or cruising. That would be another good clue. .
-
I would guess that with the vacuum hose connected it only runs well at throttle opening greater than 34 degrees.
-
Hate to keep harping on it but this statement seems to knock out several possibilities, without it there's not much to go on. The pump is able to make the engine run like a rocket, pressure and flow, apparently, once the regulation (pressure lowering) of the FPR is removed, and it seems reasonable to assume that ignition is fine for the same reasons. Pressure, flow, and ignition are available. I tried to lead to the new problem in my post above - the engine will run rich at less than close to WOT, without the FPR regulating pressure. The clues point to a lean mixture. The very common 280Z EFI problem.
-
Might help focus to restate the problem. If it runs great (like a rocket), what's the problem? I notice that you didn't report your AFR's in rocket mode. What are they compared to sluggish mode.
-
When you unplugged the vacuum reference hose you raised the fuel pressure in the fuel rail, engine running, making the fuel-air ratio richer at low to mid-range throttle opening. You would feel that effect if you were running lean before. At open throttle you'll get the same effect as removing the hose since there will be very little vacuum in the intake system so you shouldn't feel any difference, hose on or off. You might try the fuel tweak modification and see what happens. https://www.atlanticz.ca/zclub/techtips/tempsensorpot/index.html
-
@Racer X has a collection of cars. Might be willing to part with some parts.
-
Those are good points. Another that comes to mind is to pull the small wire from the starter solenoid, the one with the spade connector, and turn the key to Start. The engine won't crank but the fuel pump should get power. It's the Nissan recommended fuel pump test. Usually you can hear it run if it's running.
-
Might be that the pump itself is overheating and locking up from trying to pull through the filter. The factory only used a coarse sock in the tank. The pumps are designed to push, not pull. Might be worth a test with the filter removed. The new relay could be overheating also. It happens with the old orgiinal relays. If you can test for voltage at the pump it might tell you if it's electrical. Also test for voltage at the injectors if you changed the EFI relay. Or just test anyway, maybe you have a new problem not related to the parts you changed. 1978 had two separate realys, fuel pump and EFI. Earlier years had the two combined in to one unit. Not clear which you changed. And, of course, if you have the old parts you can swap them back in and see what happens. The heat soak problem with the EFI engines usually manifests as hard starting, then running like crap for about 20 seconds that feels like 20 minutes.
-
A sinlge odd story about "locking up" doesn't hold much weight. Might be that the user screwed something up. No reason for steel drums to perform differently than aluminum, as far as braking is concerned. They just weigh a bit more and hold more heat. I wonder where they got them. It looks like they found a drum from another vehicle with the same dimensions. https://www.thezstore.com/product/6204/steel-rear-brake-drum-70-78-240z-260z-280z Description: Nissan discontinued the original aluminum drums; however, we were able to locate these proper fitting and operating steel drums at a fair price. Sold individually; one required per side (2 per car).
-
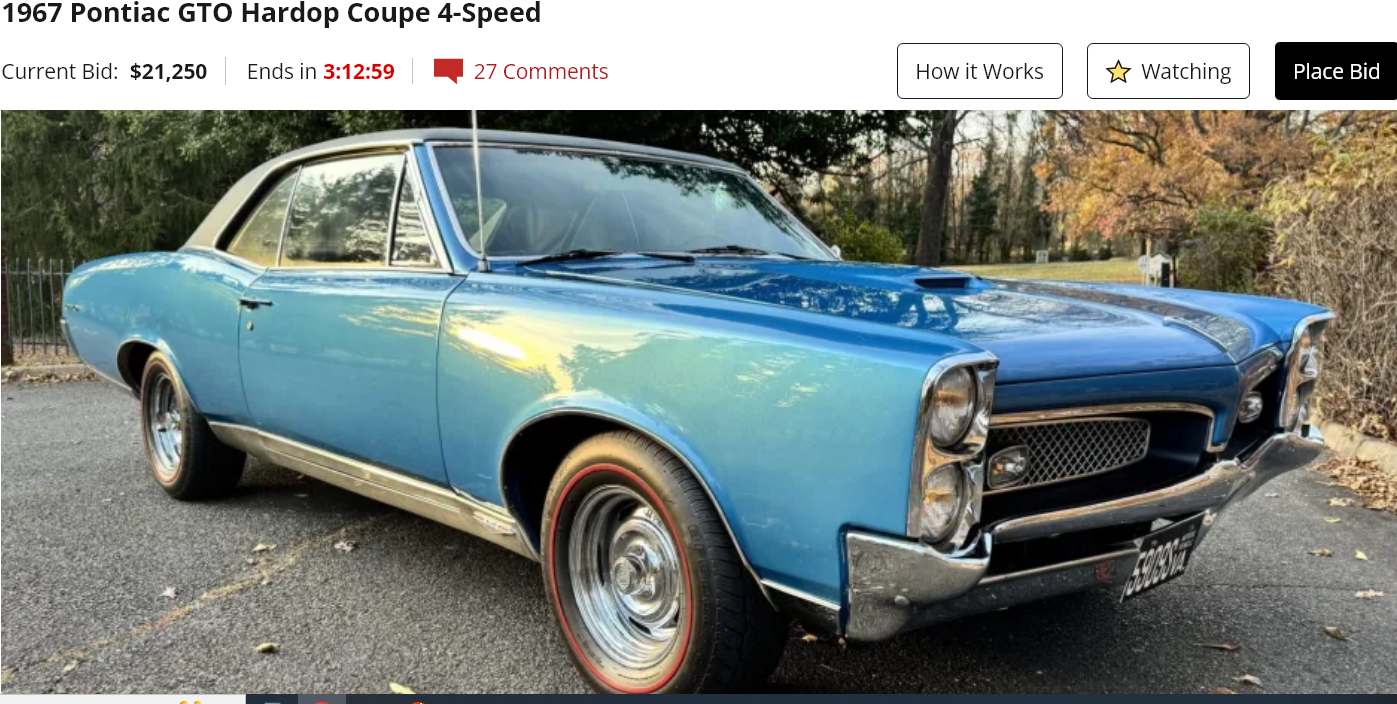
You can tell where it's leaking from the leakdown test, you don't need to tear in to it. That's the basic point of a leakdown test. Figure things out before tearing apart. It might not need anything. Could just be dry rings. Good luck.When did it last run? Didn't say what's leaking. Valves might just be a valve job, head removal. Rings mean more work.A battle between an old American muscle car and the old Japanese sports car today. https://bringatrailer.com/listing/1977-datsun-280z-124/ https://bringatrailer.com/listing/1967-pontiac-gto-167/


Important Information
By using this site, you agree to our Privacy Policy and Guidelines. We have placed cookies on your device to help make this website better. You can adjust your cookie settings, otherwise we'll assume you're okay to continue.