Zed Head
Community Member
-
Joined
-
Last visited
Everything posted by Zed Head
-
You guys probably knew that already. I imagined a question about the veracity of the Copart ad for some reason. Are diesel cranks still a thing?
-
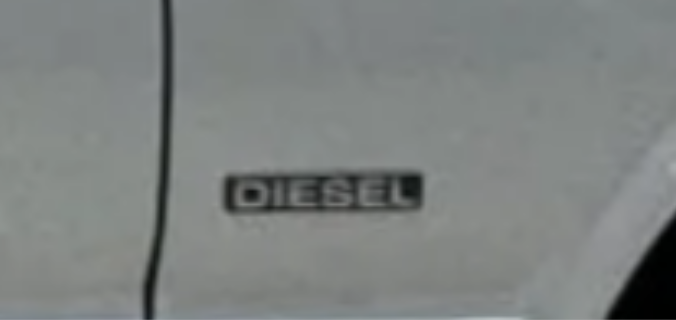
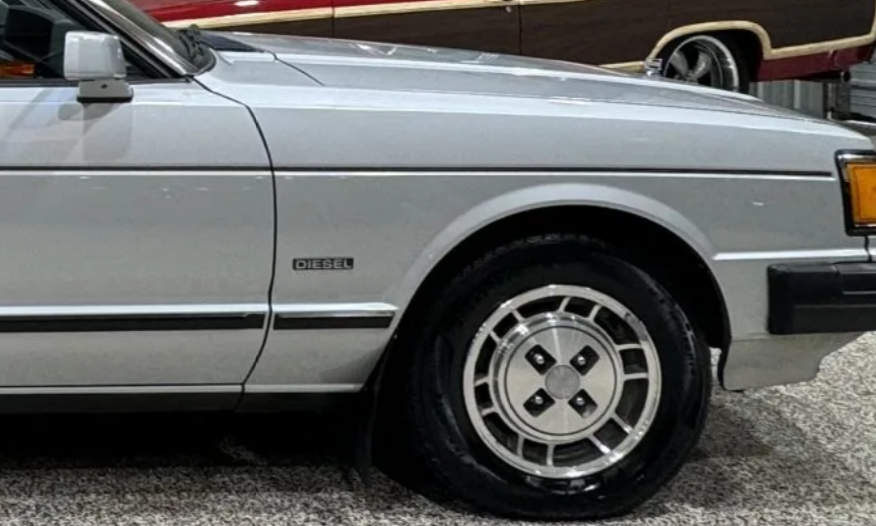
I might have found a clue. Picture 15 in the BaT listing below. The gas cars don't seem to have anything there. p.s. apparently you can reVIN your car with a label maker in Colorado. https://www.classic.com/veh/1981-datsun-810-maxima-jn1hu01sxbt004519-n3yxe6p/ https://bringatrailer.com/listing/1982-datsun-maxima-2/
-
There's a discussion back around page 17 and earlier about the weld bead and the modified nut. Suppsoedly there was a note on the MSA pages about it but I don't see it. You might contact Jospeh or Koni Lee since they were in the conversation. @Joseph@TheZStore @KONI Lee https://www.thezstore.com/product/4296/koni-sport-adjustable-gas-strut-rear-70-8-74-240z-260z-coupe
-
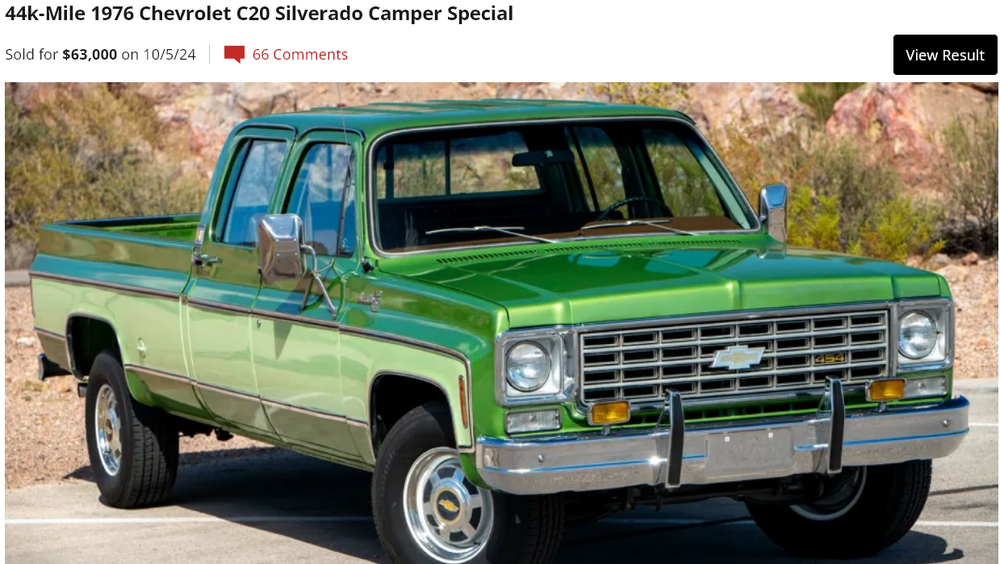
Some things just cannot be explained. https://bringatrailer.com/listing/1976-chevrolet-c20-pickup-5/
-
Driving video! I'd add details on the engine work. A summary of the overall build might help you too. The build thread is 26 pages long. TLDR is the acronym, I think? Good luck.
-
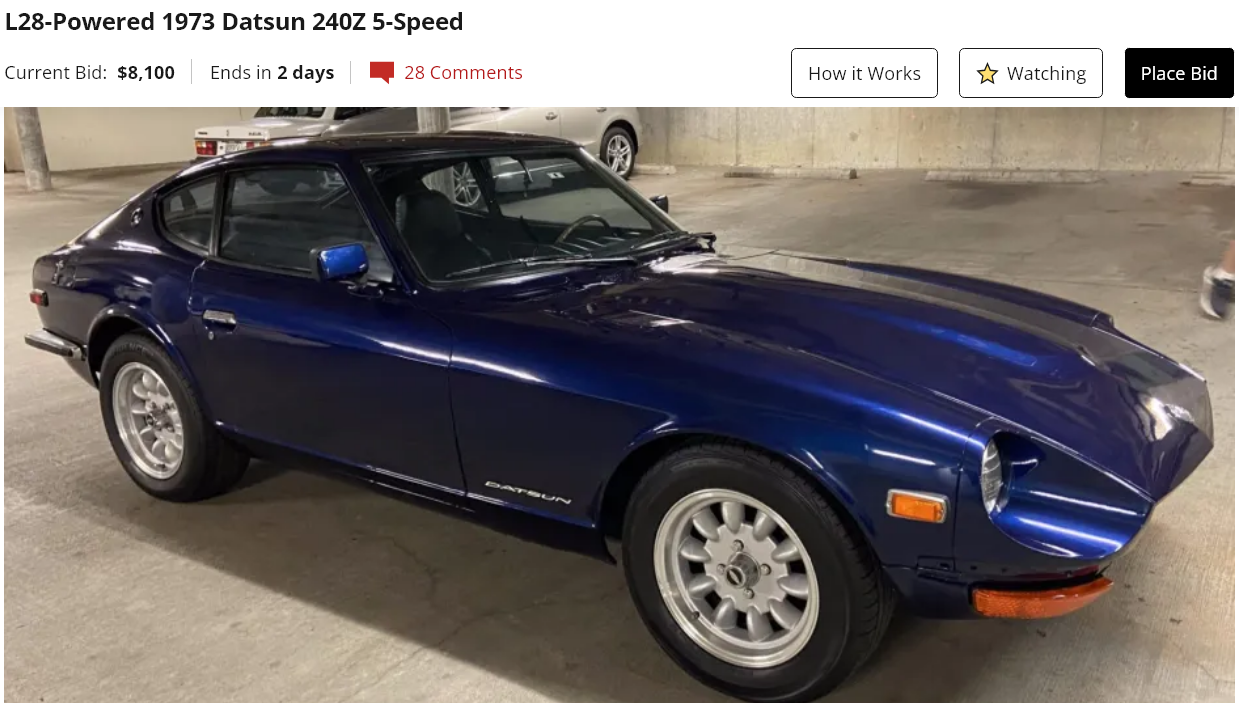
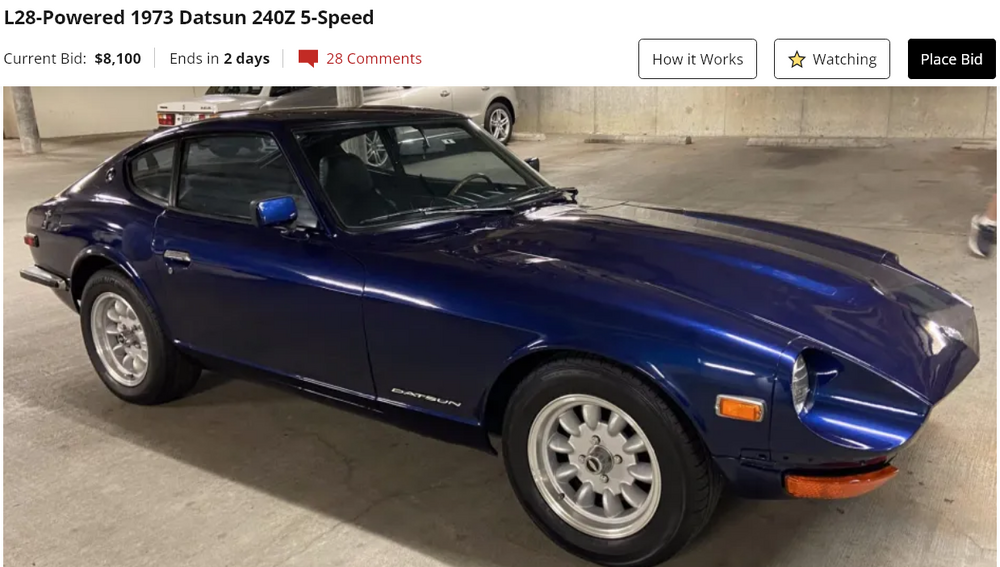
Here's another good starter Z. Needs work but looks decent. Good for hooning... https://bringatrailer.com/listing/1973-datsun-240z-272/#comments
-
If it's not module I'd start a new thread. This is a GM HEI module thread.
-
Those are big drops, with money tied up while sitting in his collection. Is the overall collector car market really that bad? Maybe he just got tired of them. He set the reserves pretty low. 124,240 (6/19) - 106,000 = 18,240 15% drop from the previous BaT sale. 62,500 - 39,000 = 23,500 38% drop from previous. The 72 actually sold for less than the first time it was sold on BaT. $41,250 (10/18), 62,500 (7/20), 39,000 (10/24). https://bringatrailer.com/listing/1972-datsun-240z-64/
-
The Mint car is really getting the adulation. People coming out of the woodwork to talk about it. The story seems bigger than the car itself. 17+ hours to go!!!! https://bringatrailer.com/listing/1970-datsun-240z-128/#comments
-
The stock coil should work fine. You haven't really confirmed that you have a coil or module problem.
-
That's what TheGuild implied. He also said that Spyder-Man displayed cars at the Nissan dealership. Looks like he paid a "display fee" of about $23,500 for about four years. $5.875 per year. Seems really odd that a businessman, a car dealer, would take such a big loss. Maybe he thinks he's avoiding an even greater loss. Who knows, but interesting to watch. If he's taking a loss here, a person would guess he'll take a loss on the Mint car. Of course, it's only a loss if the previous sales actually occurred, money changing hands. More stuff to make you wonder. Maybe BaT is just a facade. chigger1717 won the auction. Looks like they bid on a few Z's in the past.


-
Seems odd that both of the high dollar Z's are owned by the same guy, Spyder-Man on BaT according to TheGuild, but have titles in different states. The title for the 72 that is ending today is still from Oklahoma from when TheGuild owned it. Makes you wonder if it actually sold the last time. Even though BaT shows "Sold" I don't think that they verify ownership trasnfer. They just collect their fee and move on. The Mint car has a North Carolina title and supposedly changed owners after the last sale on BaT. But the location shows Portland Oregon, where 911r is apparently a professional BaT "seller". I think that the high dollar collector world is just full of intrigue. Hard to tell what's really going on.
-
Adjusting the hood rest bumpers and the latch should get rid of the vibration. Looks like you're assuming that air from underneath is lifting the hood and causing it to flutter as it squeezes out. But the vents should help with heat soak of the injectors and the hot start problem. Some people have the hood louvered via stamping. On that video, the guy writes about later 280Z's and hood vents and implies that it was done for hood vibration. Only one of them was functional. Fun fact. Not really clear why Nissan did the vent. It also leaked water on the battery, I think. Something to be aware of. They look good though.
-
This thread probably has some good knowledge in it, even without the Photo****et non-pictures.
-
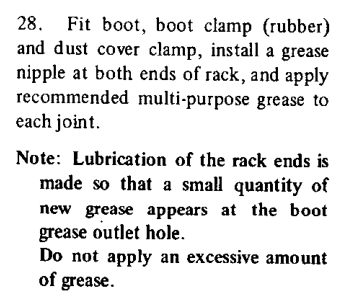
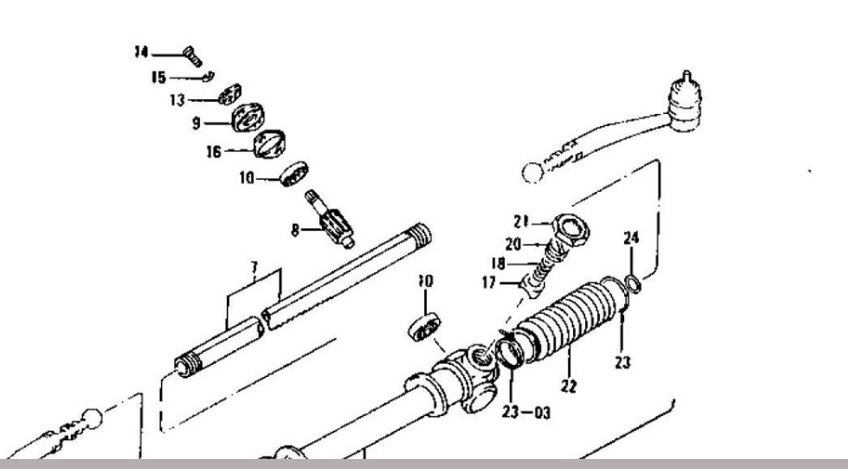
As usual, the FSM has good information. I'd have to have a rack in front of my eyes to know where to put the nipple and observe the outlet but apparently there is a lubrication procedure defined. Also, various grease applications described before this section. 1976 FSM - Steering.
-
I've never seen the multiple figure pages like that, with the arrow you have to click on to get to the next figure. Didn't know they existed on the carparts site. You're right, there's two versions. Many (some?) people remove parts 17, 18, 20 and 21 and pack grease in there. On the 2nd figure, Aug 73 and up. You can tighten it up a bit too, but you have to be sure it doesn't bind at the extremes of travel.
-
Was it running correctly when it got "bumped"? How hard was the bump? Where is the module mounted? Check the grounding to the mounting grommets. If it was a hard bump it might be that the air gap in the distributor got moved. Probably worthwhile to go through the basic distributor maintenance described in the FSM. It might not be the module, it might be the distributor itself. Maybe even something simple like the distributor cap got knocked loose.
-
The parts site shows no change of location over the years. Part 25, I think. https://www.carpartsmanual.com/datsun/Z-1969-1978/steering/steering-gear/25
-
Some people buy their cars to drive and enjoy. If you've been doing collector cars for years you might just see "restoration potential". There are other types out there! But...this person might not be one of them. Unless he has six other cars that he drives and enjoys. Who knows. "Sep 26 at 11:04 AM veyagus This author's likes: 1 Good run.. Ontarioglen. Almost had me give up. Thanks Skbarsdale. IT will be the 7th in my collection."
-
So it allows the true seller to stay anonymous. Makes sense now. Seems shady. The240ZGuild might actually be back there somewhere. Edit - actually he's posting on the page. Not clear if he's claimed ownership, have to read more.
-
Same seller as the one I mentioned above. Who is 911r? Looks like a heavy hitter. 1,470 past listings. Portland, Oregon. https://bringatrailer.com/listing/1972-datsun-240z-339/ https://bringatrailer.com/member/911r/ He made a BaT podcast. Didn't know that there was such a thing. https://bringatrailer.com/2021/02/13/the-bring-a-trailer-podcast-episode-2/
-
p.s. it should work. Probably best to match the year of booster. Not clear what changed for 82 and 83 280ZX's, which are left out of the fit list.
-
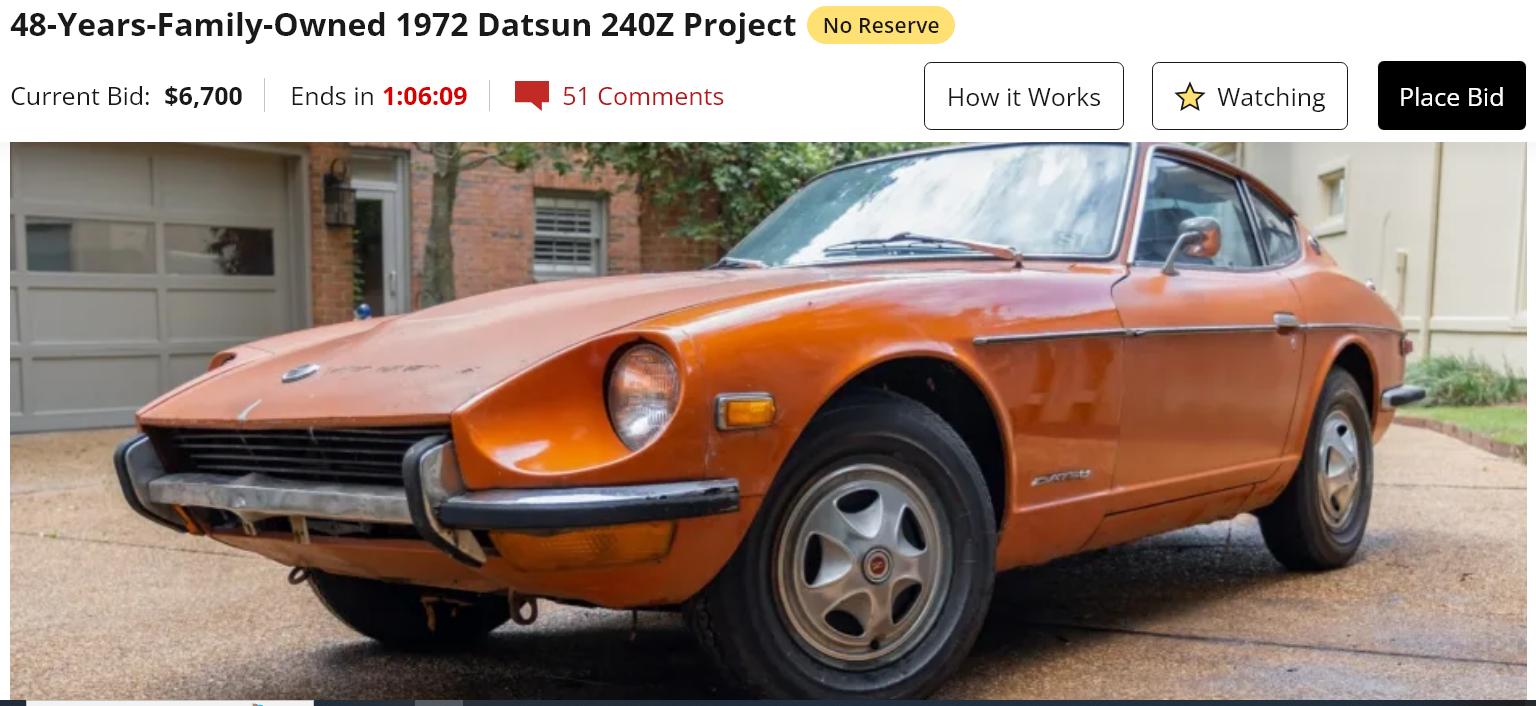
Here's a good starter Z. The usual been sitting for years but ran when parked problems, probably. https://bringatrailer.com/listing/1972-datsun-240z-337/

-
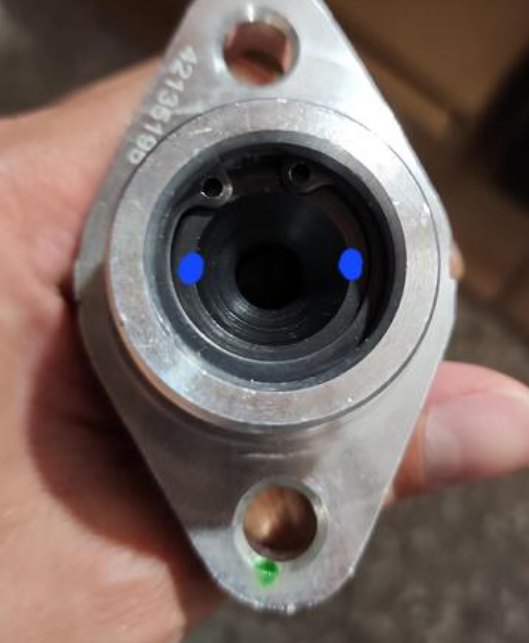
The rod from the booster fits in to the spherical pocket. The internal bore doesn't matter for connection to the booster. I'd worry more about getting the booster rod depth correctly set. That's where problems happen. If the internal bore has been enlarged it would affect pedal stroke slightly (more volume would give a shorter stroke) but, as CO points out, it's probably correct down where the piston is.
-
Autozone says it's right for some ZX's. https://www.autozone.com/brakes-and-traction-control/master-cylinder-brake-system/p/remanufactured-brake-master-cylinder-m51837/719096_0_0