philbar73
Free Member
-
Joined
-
Last visited
Everything posted by philbar73
-
I found this on ebay. Is this a good header? http://cgi.ebay.com/ebaymotors/Datsun-Z-240Z-280-N42-P90-E88-Ceramic-Coated-Header-NEW-_W0QQcmdZViewItemQQhashZitem5d2de95f6cQQitemZ400202227564QQptZMotorsQ5fCarQ5fTruckQ5fPartsQ5fAccessories
-
Thanks for the good words. They are flatbeding it to me in the morning, can’t wait. It took a few hours to get the garage ready but everything is set. It is getting real cold here in NY and my garage is small so I'm not going to be able to do a lot until it warms up. The fuel lines are new but the hoses to the evaporator are old and will be replaced. It will not take long to get it going and look forward to the spring and putting it on the road. I hope I can meet some other local Z owners and have some fun. Anybody in the long island area?
-
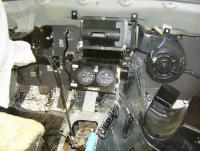
Thanks for the complements. I left the windshield it at the suggestion of the guy that owns the body shop(Carl). The edge of the gasket was cut away so the edges around the glass would get striped, sanded and paint. I had it under a canopy on the side of my house with a cover on it when I was working on it and it kept the cover from collecting stuff where the windshield is. It would have made a big indent that cover would have fallen into. It is getting a new windshield in a few days. I have new rubber for all the glass and the chrome trim is still good. I will have to use old glass everywhere else, I have glass from 3 cars. I don’t think the heaters on any of the hatch glass is good but I will figure it out(any suggestions will be appreciated) . There are still a lot of details but the major work is done. It runs great as far as I can tell. I have only driven it around the body shop ground but it all seems to work, new or rebuilt everything. I had a old hatch I used to close the back with when it was covered. I had 2 parts cars. I'm going to have a lot of extra parts when I'm finished. The dash has to go in next. I made a box out of some of the extra dash parts so I could run and test it with no dash. The dash has no cracks but looks its age, dull and discolored. Carl suggested using vinyl paint to make it look new. Everything he has suggested has come out great, he has been a body and car restoration man for 37 years. I’m a mechanical and electrical engineer so I understand most things about cars but body work and car restoration is only a hobby. I listen very closely to Carl, he knows cars. I’m trying to clean out my garage today, It’s not going to be under a canopy or stored outside ever again. I need a good cover too. Any suggestions on the cover would also be appreciated. The old cover was good for keeping out dirt but it is not a good cover.
-
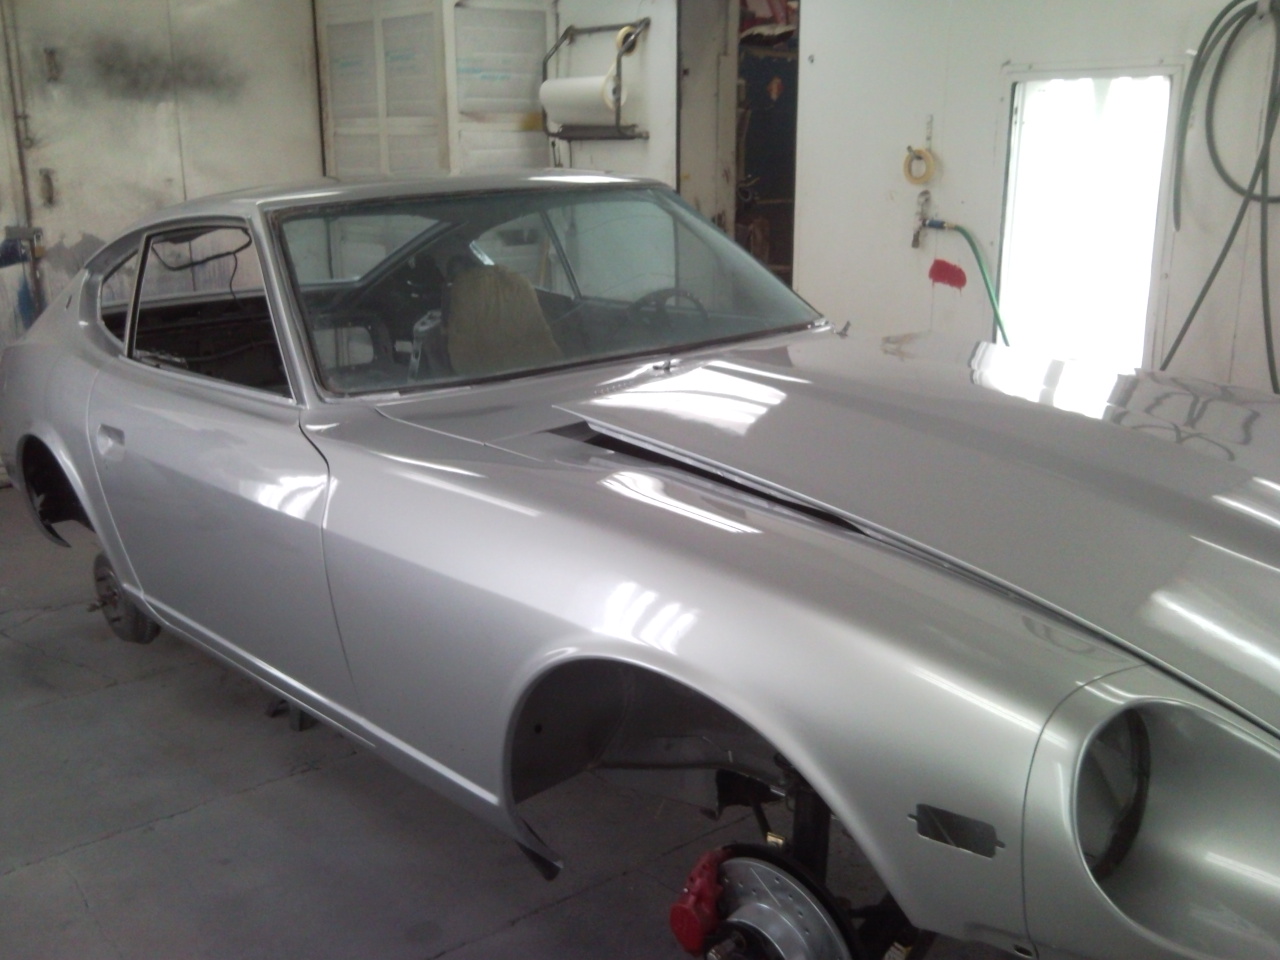
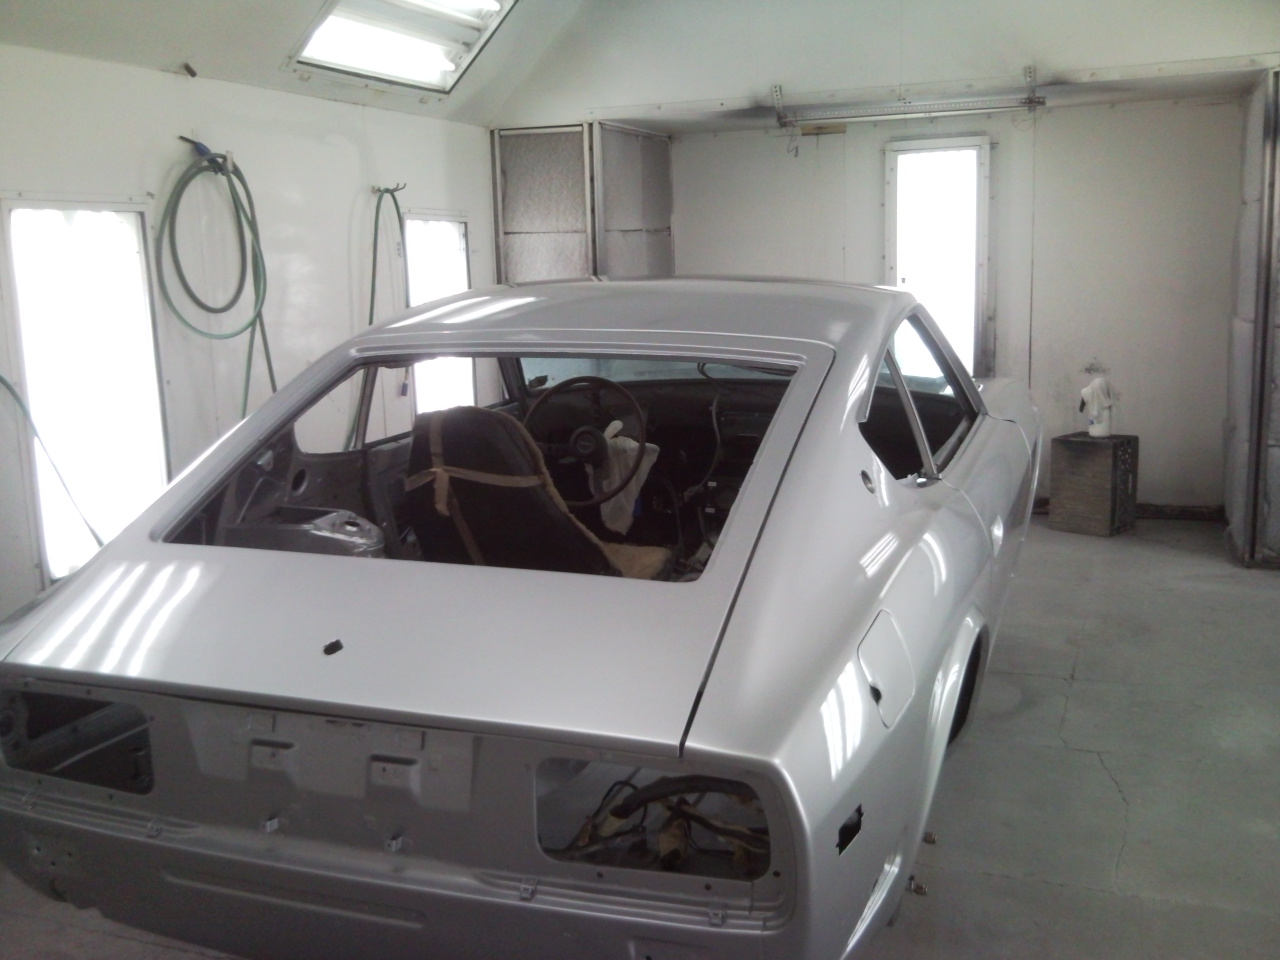
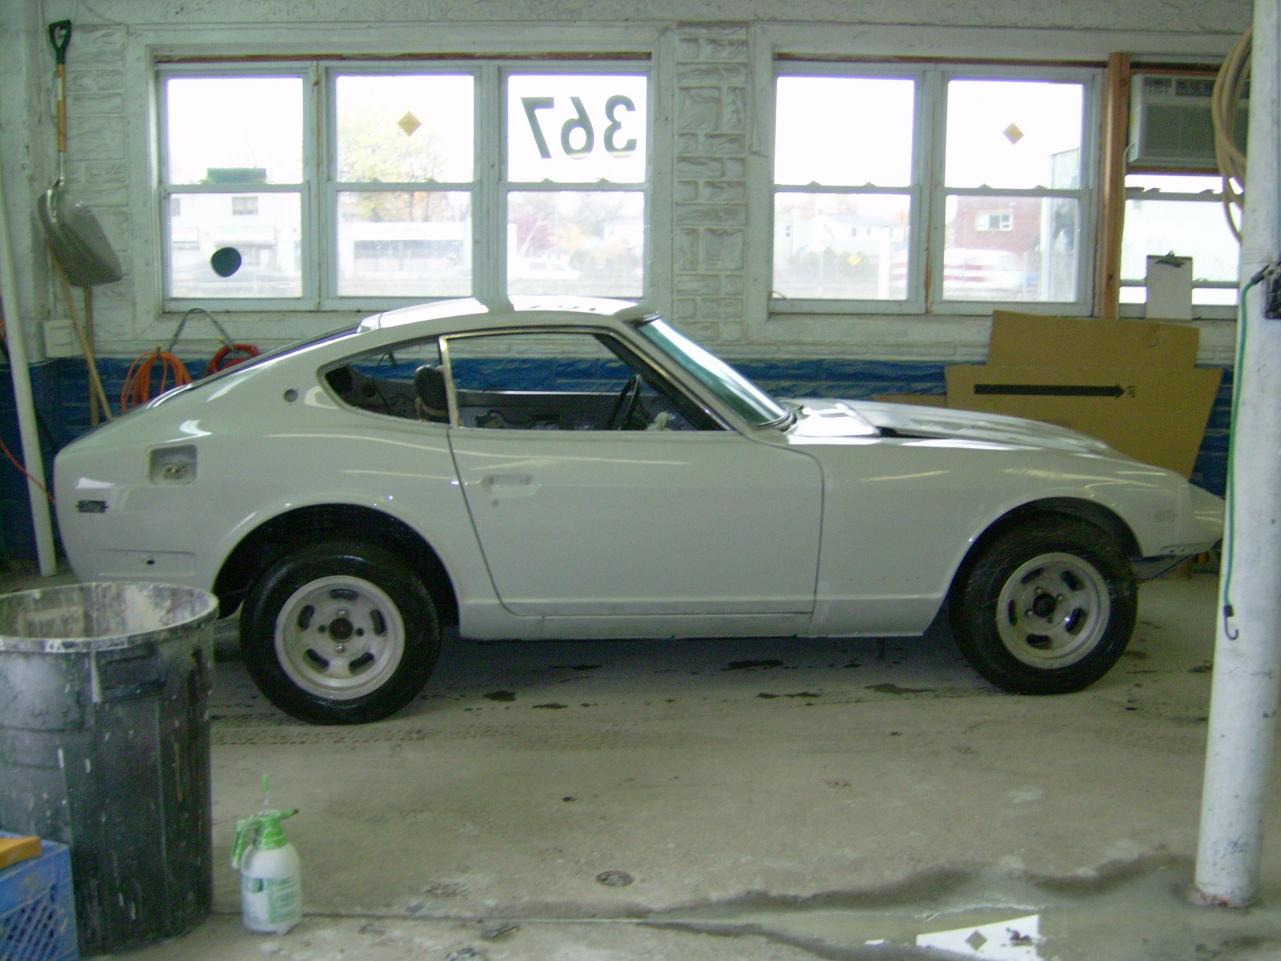
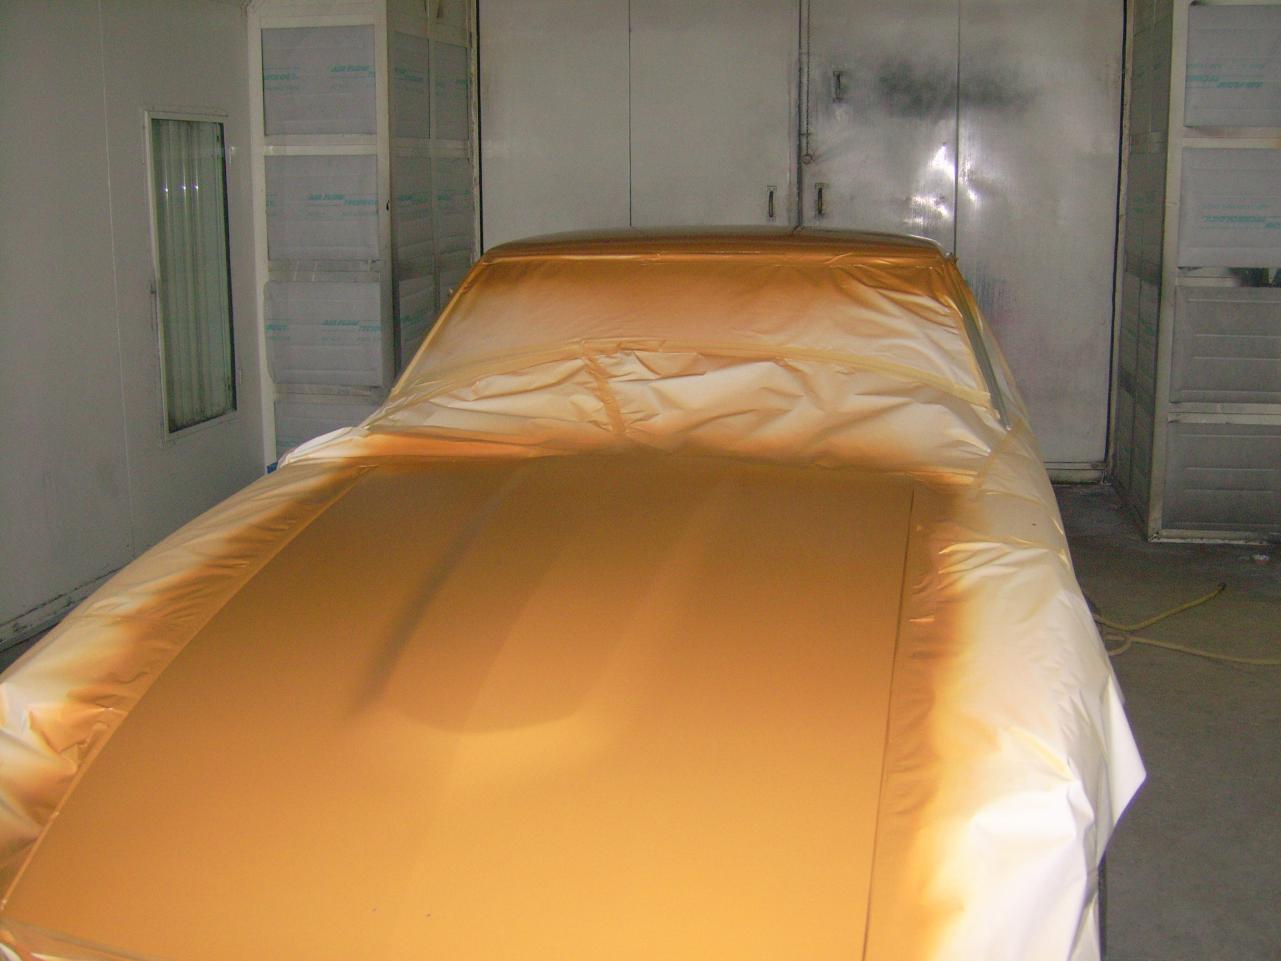
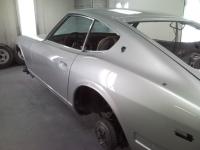
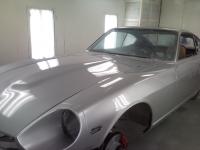
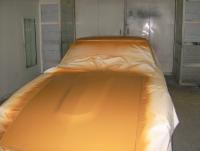
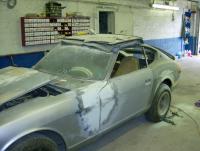
It's painted..This is a very happy day. 4 years in the making. I will have it back Monday. It will not take long to get it on the road. It may take a month or two until everything is done but the excitement is building.


-
I am rebuilding my old Z. I have a set of 4 that were in the box from the late 70's. They bolted right in not problem. I was told they were the best shocks available at the time. Looking around the internet I still think they are the best. I would use them if they are good or rebuild them so you don’t have any surprises. Good find…
-
I know I'm a little crazy with all the time and money I put into the old girl. I am looking forward to taking a ride. Thanks for the good words, it adds to the excitement. I looked at your pictures, nice Z. It is a beautiful. It looks like I’m on a similar road a few years behind you. I’ve been at it for almost 4 years part time to bring my old Z back to life. Did it take a long time to restore your car?
-
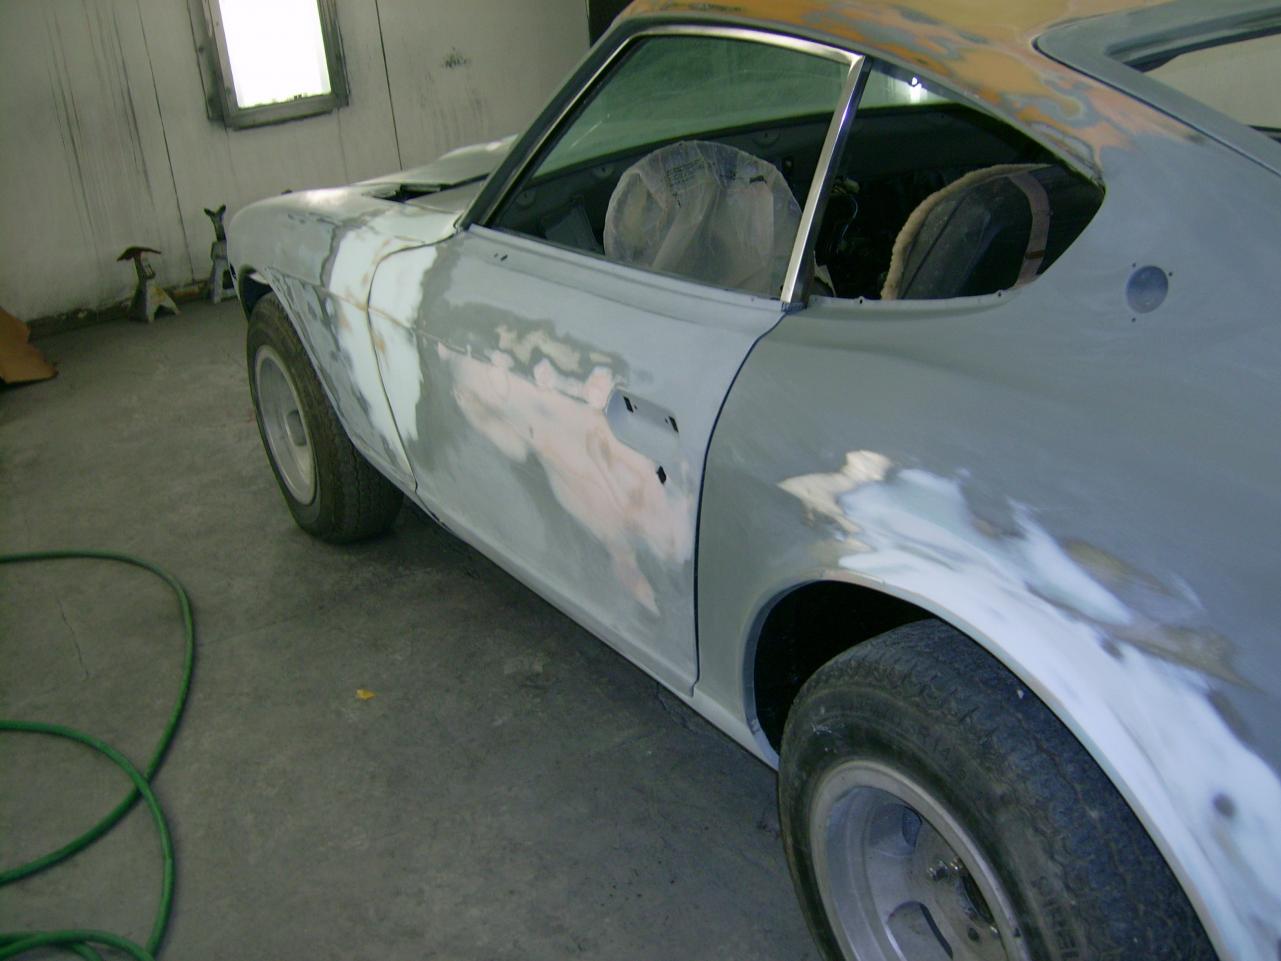
It is wet sanded.... Cant wait, should have paint soon....Carl the owner told me he normally will not take restorations and only helps preferred customers with this type of work. He told me he could fix a number of wrecks in the same time it takes to fix one old car so it’s hard to make money on restoration. I sent him a few people over the years so I’m a preferred customer. I guess I got lucky. I’m very happy.

-
Can someone actually reproduce this rubber????? That is very cool... What would a set cost?
-
I'm going to need bumper rubber too for my 73. Its getting paint right now and I would love to have it all together by spring. Let me know if you find a solution. I also need some of the chrome carrage bolts that hold the rear bumper together. I have a good rear bumper in pieces.
-
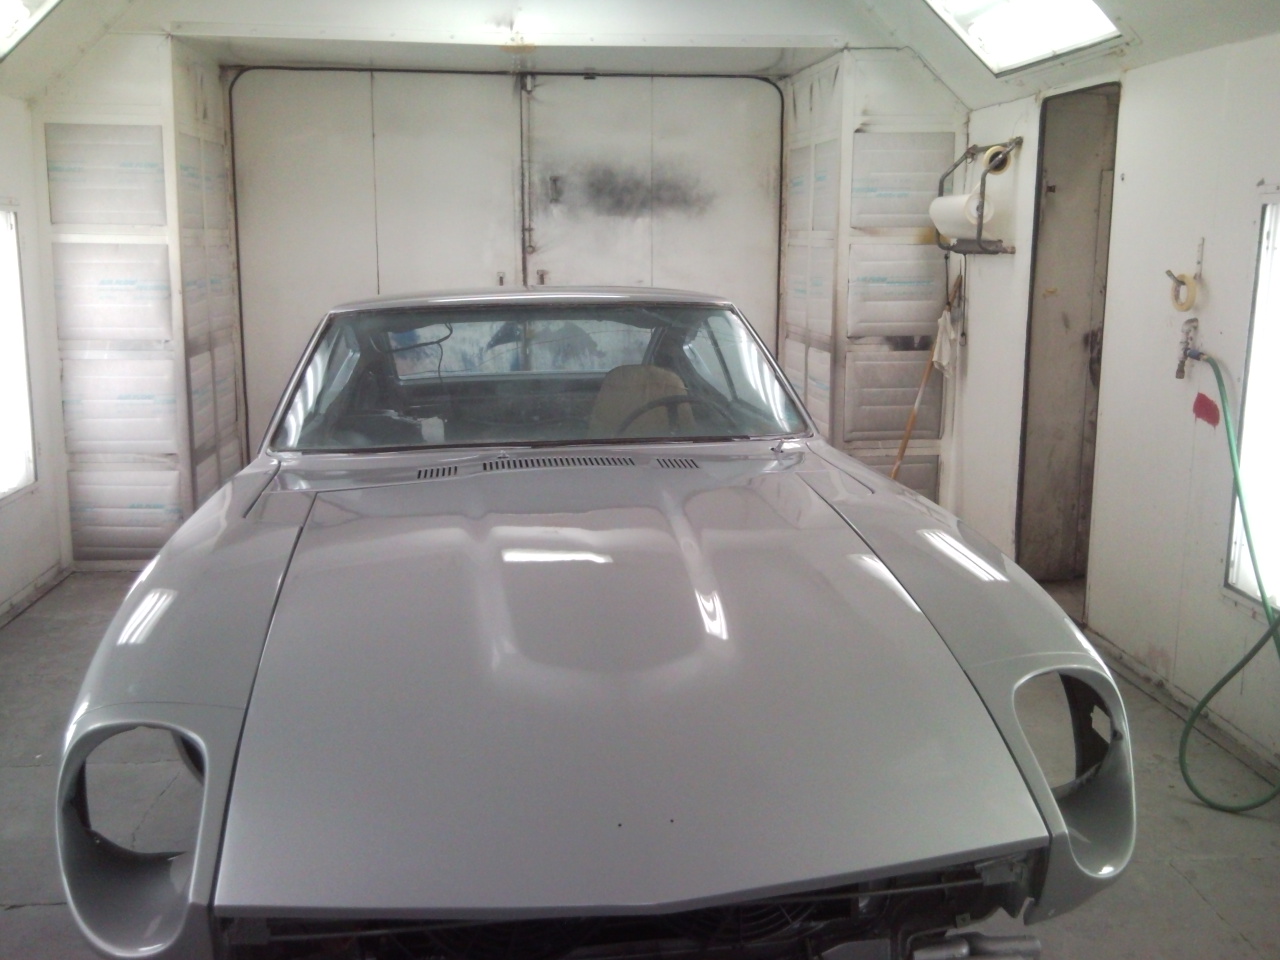
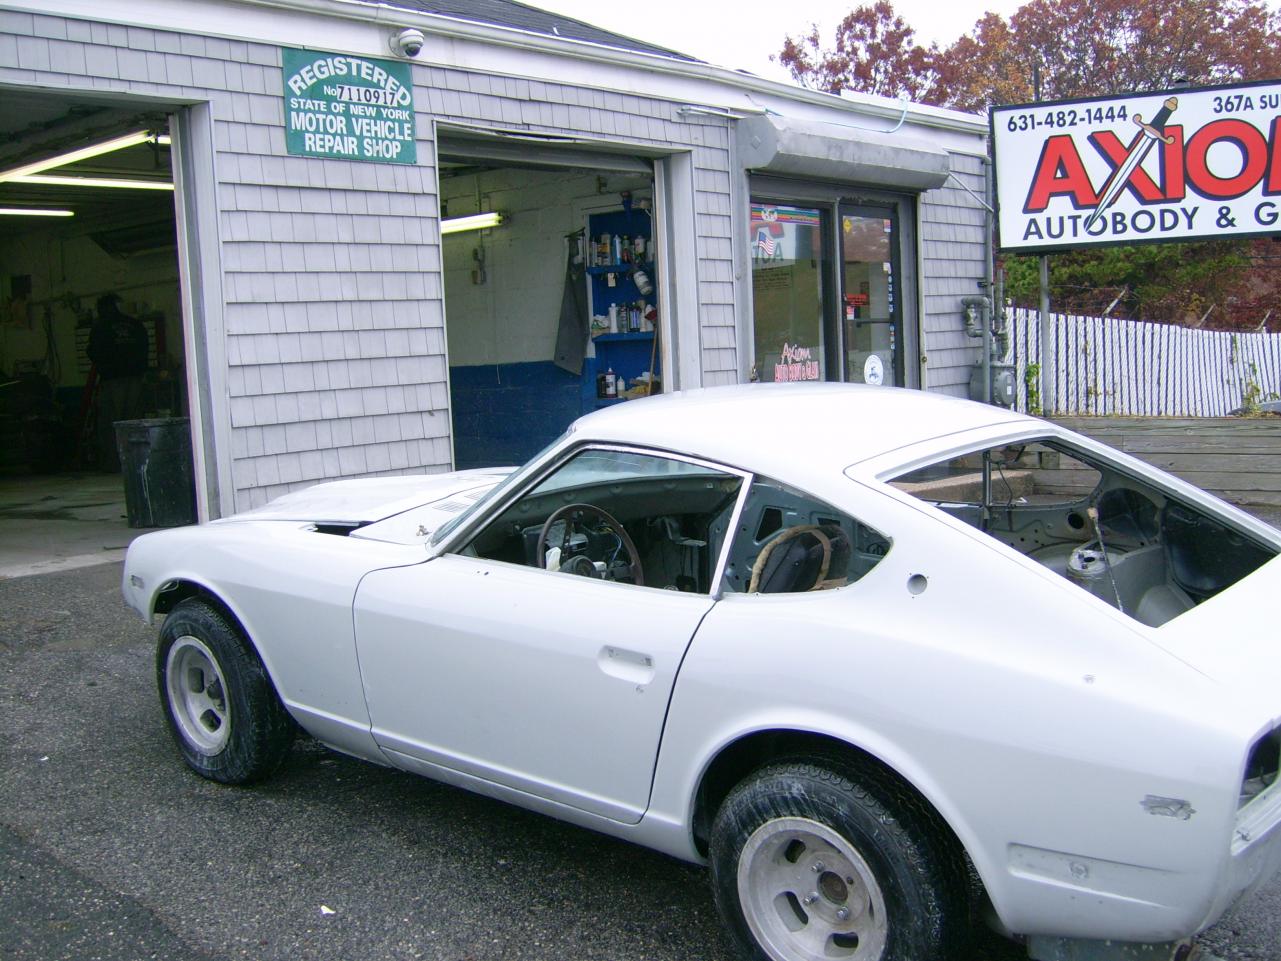
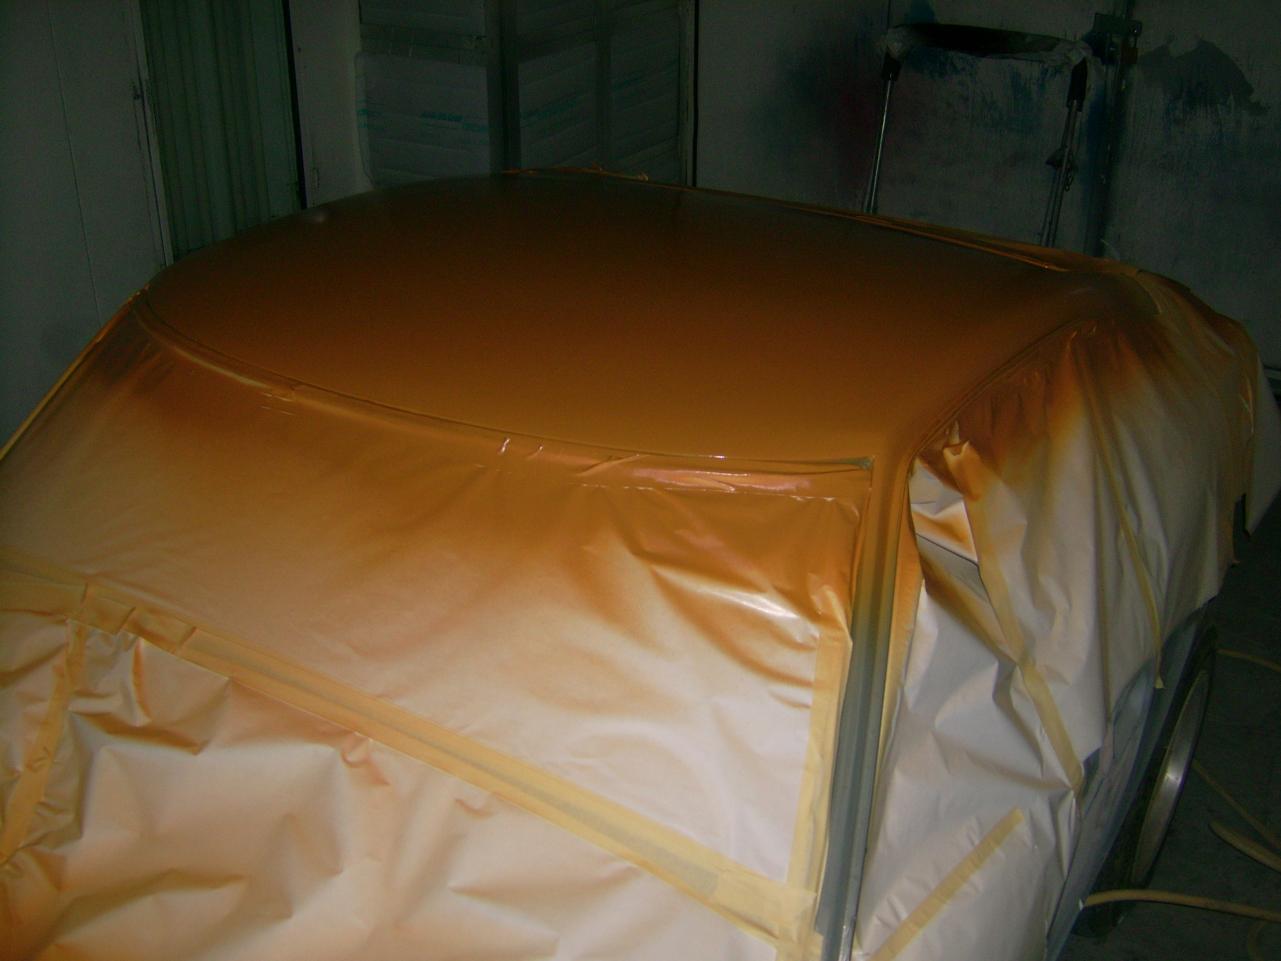
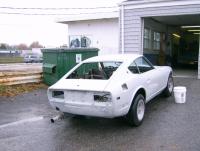
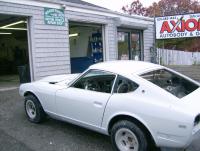
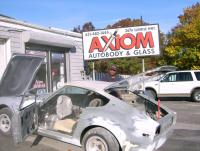
I don’t think I would have started to work on it without encouragement from Carl so I had to take a picture of Carl in front of his shop. We were able to get the primer on the hood, roof and hatch. He put almost a gallon of primer on, most will be sanded off. He didn't like the way the sides came out and is sending it back for more work, he’s a perfectionist... Looked good to me...thank you Carl. It will sit in the paint booth until Tuesday at an elevated temperature to cure the primer. I'm hoping the car will be ready for paint in a week or two. I drove it out of the front and around the back to the paint booth. They took off the muffler to clean up the bottom corner so it was loud. The only time I drove it (in the last 26 years) is when I moved it out of the tent on the side of the house where it has been being worked on for 4 years to the front of my house so they could take it to the body shop. That was 25 feet. The few hundred feet moving around at the body shop was a lot of fun. I’m smiling….


-
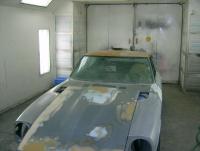
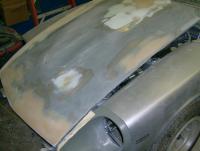
Today the car is going to get a coat of special primer "Rust Defender" Carl the owner of the body shop ask me to come down and help mask and block out the primer when its ready. The primer has a thick build so when you sand it out you can make it flat without a ton of plastic. It is also supposed to prevent rust from showing up later. I will post a picture or two from the paint booth.
-
I went back and ask and that’s exactly what I was told. There were not many around so the dealers were getting whatever they wanted at that time.
-
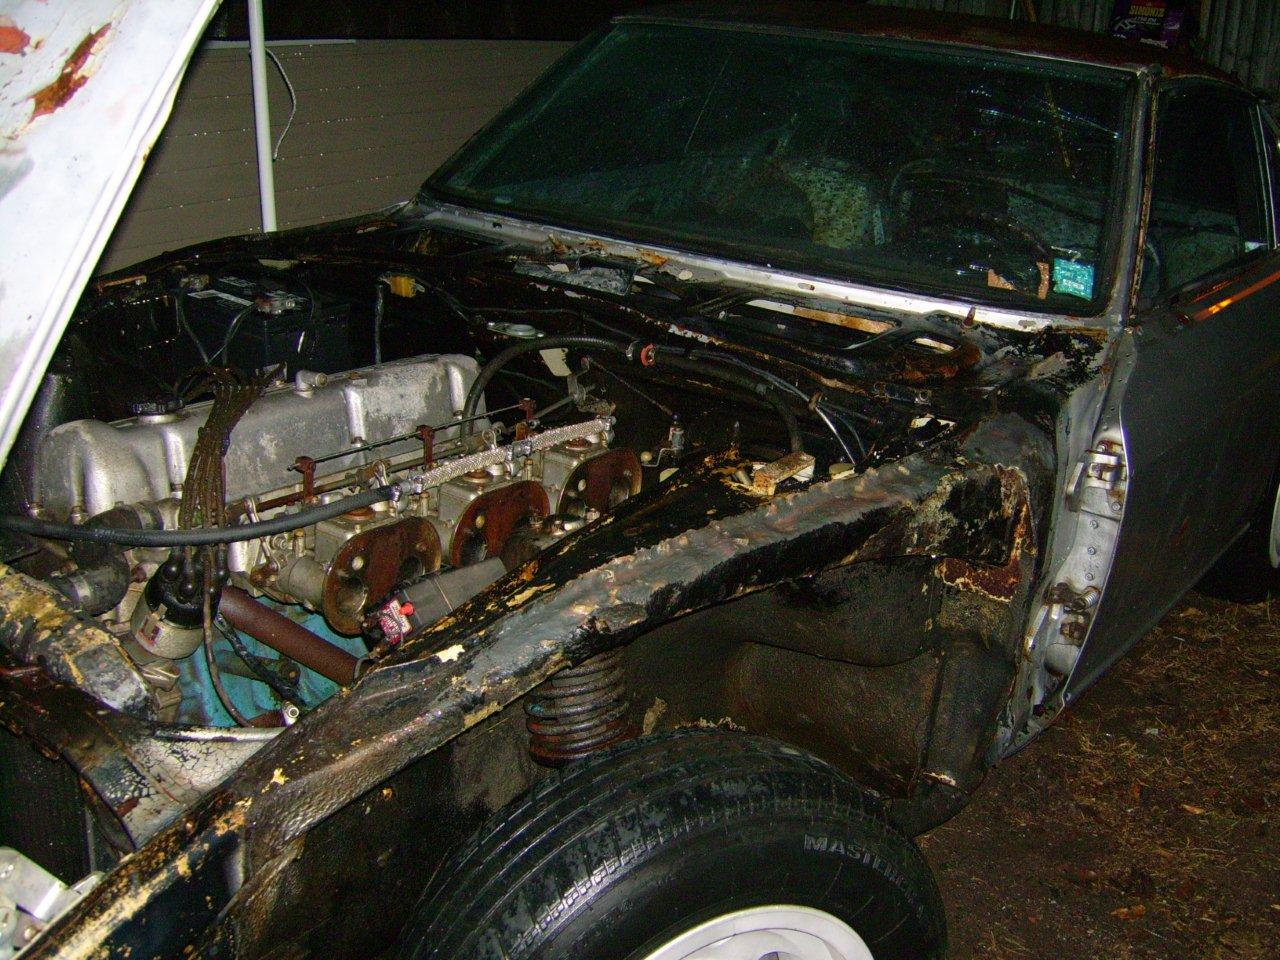
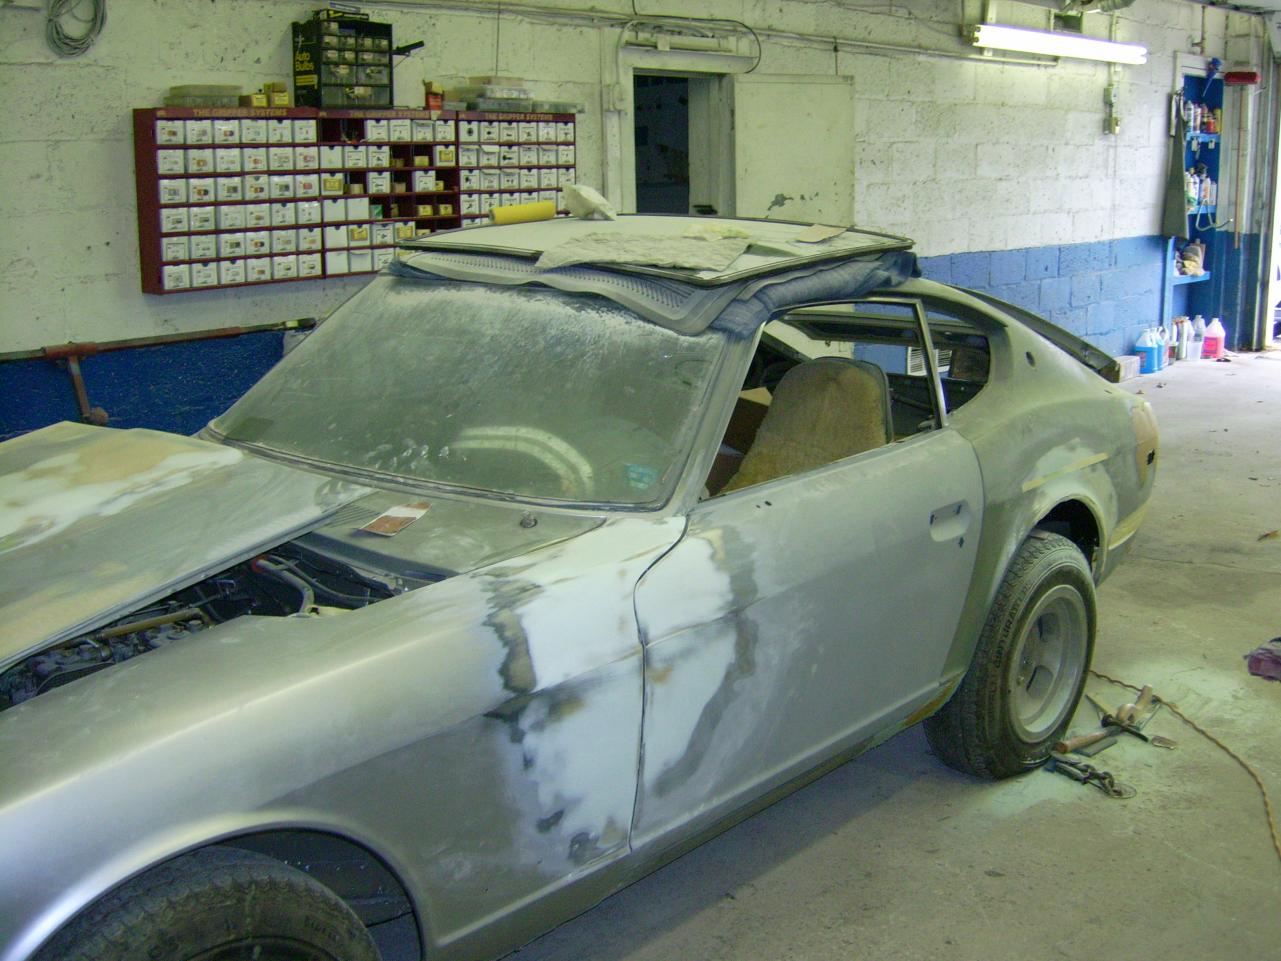
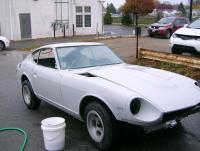
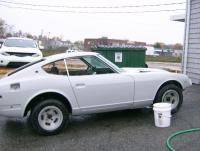
To give an idea where I started 4 years ago. Before and after


-
I cut and fit some of the metal but a professional did all the welding. I’m good at a lot of things but I'm not a body man. The car is mostly stock. I couldn't get the body panels to line up. They have it lined up straight as an arrow. The price of the GT-R could have been overstated . I replaced all the rubber and cleaned and painted everything. It has been almost 4 years to rebuild the drive train and suspension and fix all the rust. There were allot of stuck rusty parts. There is no rust now… I did all the work my self except the welding and now the finnish body work. I hope to have it on the road this spring.. I've had the car for over 30 years. I took it off the road in 1984 when I had my first Kid. It has been run once a year. The Kids are big now and I finaly have time and a little money for the old girl.
-
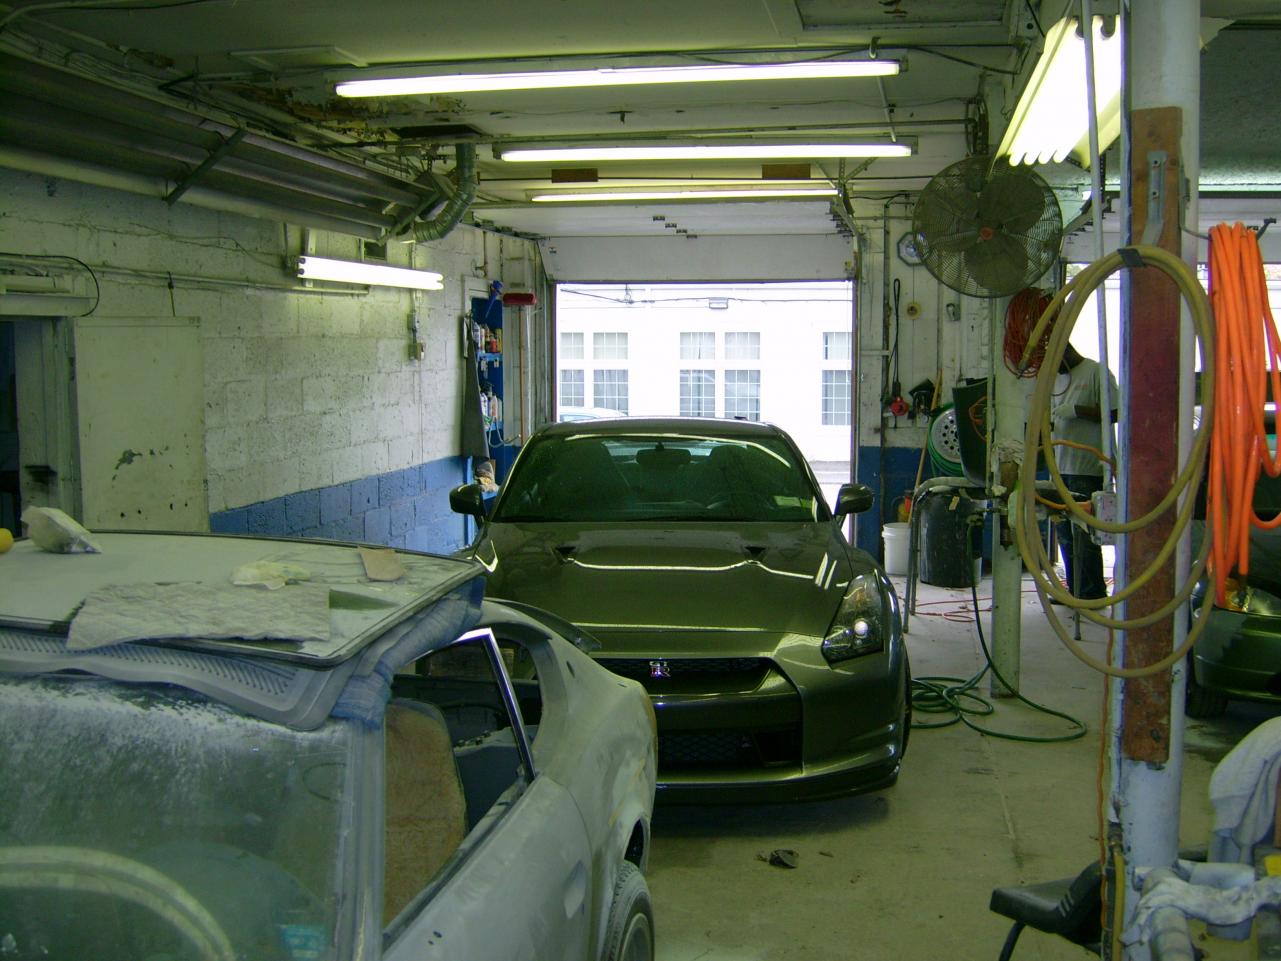
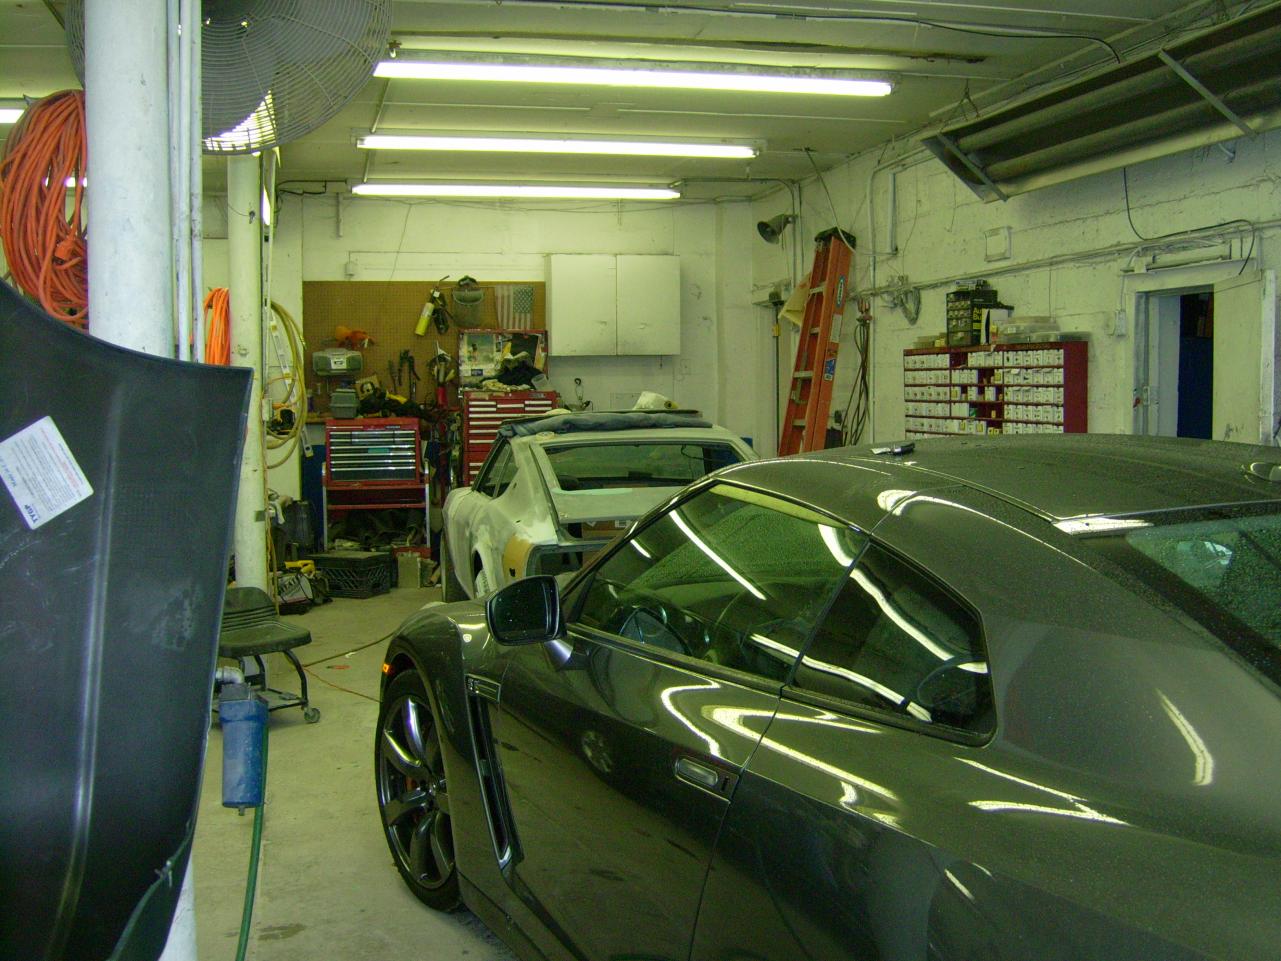
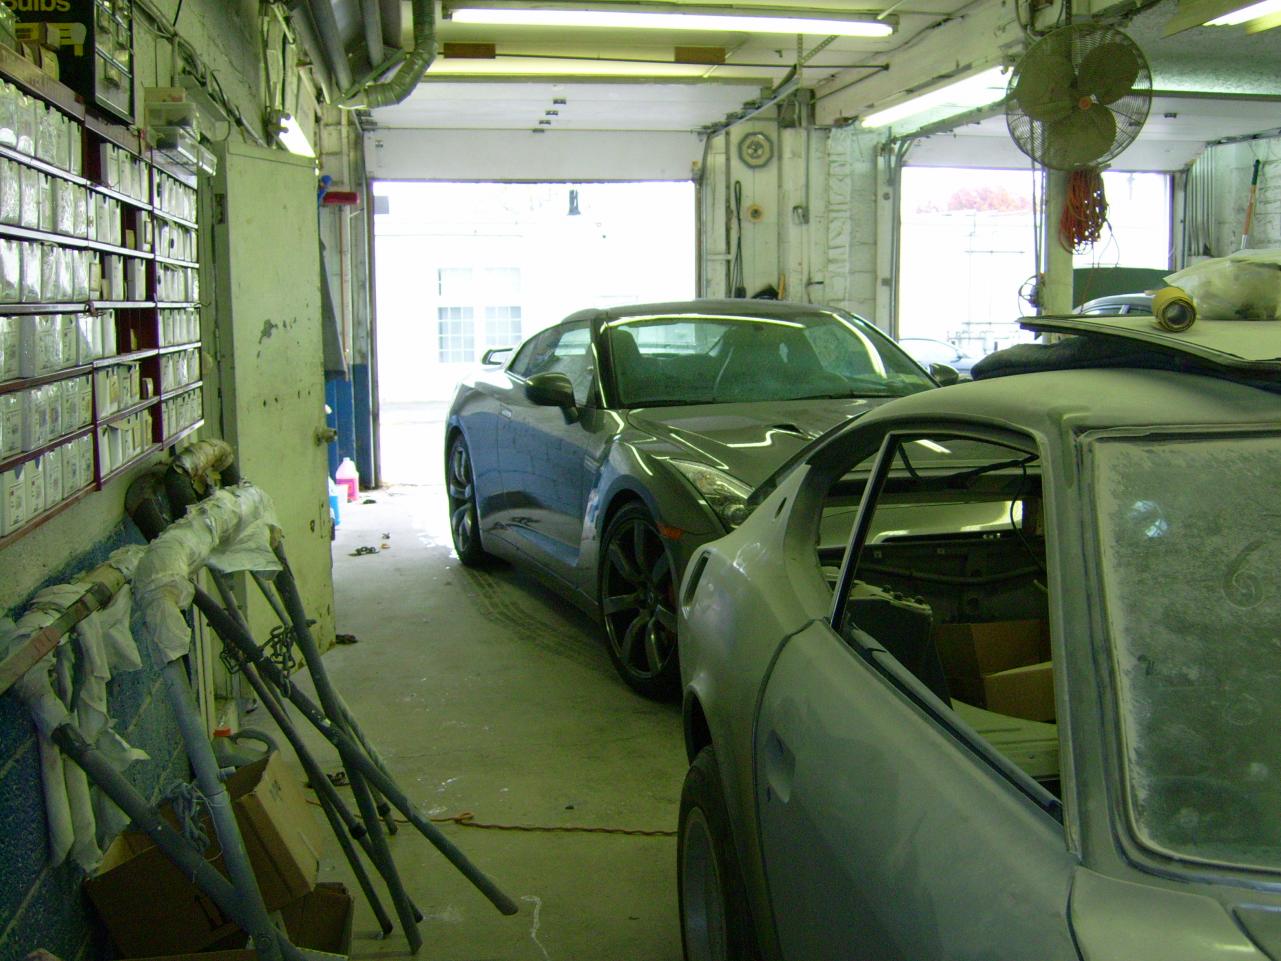
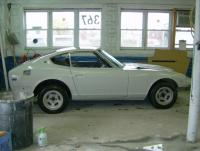
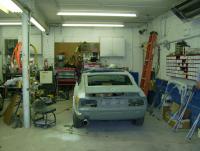
It has taken a long time to weld up all the rusty parts and put the car together. I went to the body shop to see, Carl the owner works on and inspects all the work. I'm realy excited....Check out the other car in the picture. Thats a $125,000.00 Nissan GT-R.


-
Wow, It Looks great
-
I had to make the same lines up. I found this tool worked well from Harborfraight.com. Home / Tube Bending Pliers Tube Bending Pliers Email to a Friend Click on image to zoom . Tube Bending Pliers Item # 95782 Manufacturer: Pittsburgh Only: $9.99 Sale: $7.99 Add Items to CartQty: Add to Cart . Add to Wishlist | Add to Compare .Shipping Economy Ground Shipping available. Availability: In stock Leaves the warehouse in 1-2 business days. Quick Overview Tube Bending Pliers Customer Rating: Be the first to review the Pittsburgh 95782 Description of Pittsburgh 95782 Custom-fit brake line tubing without kinks or awkward bends. ■Works on 3/16" and 1/4" tubing ■Easily align, bend and adjust tubing ■Drop-forged carbon steel ■Comfort grips Overall dimensions: 9-1/8" L x 2-5/16" W .
-
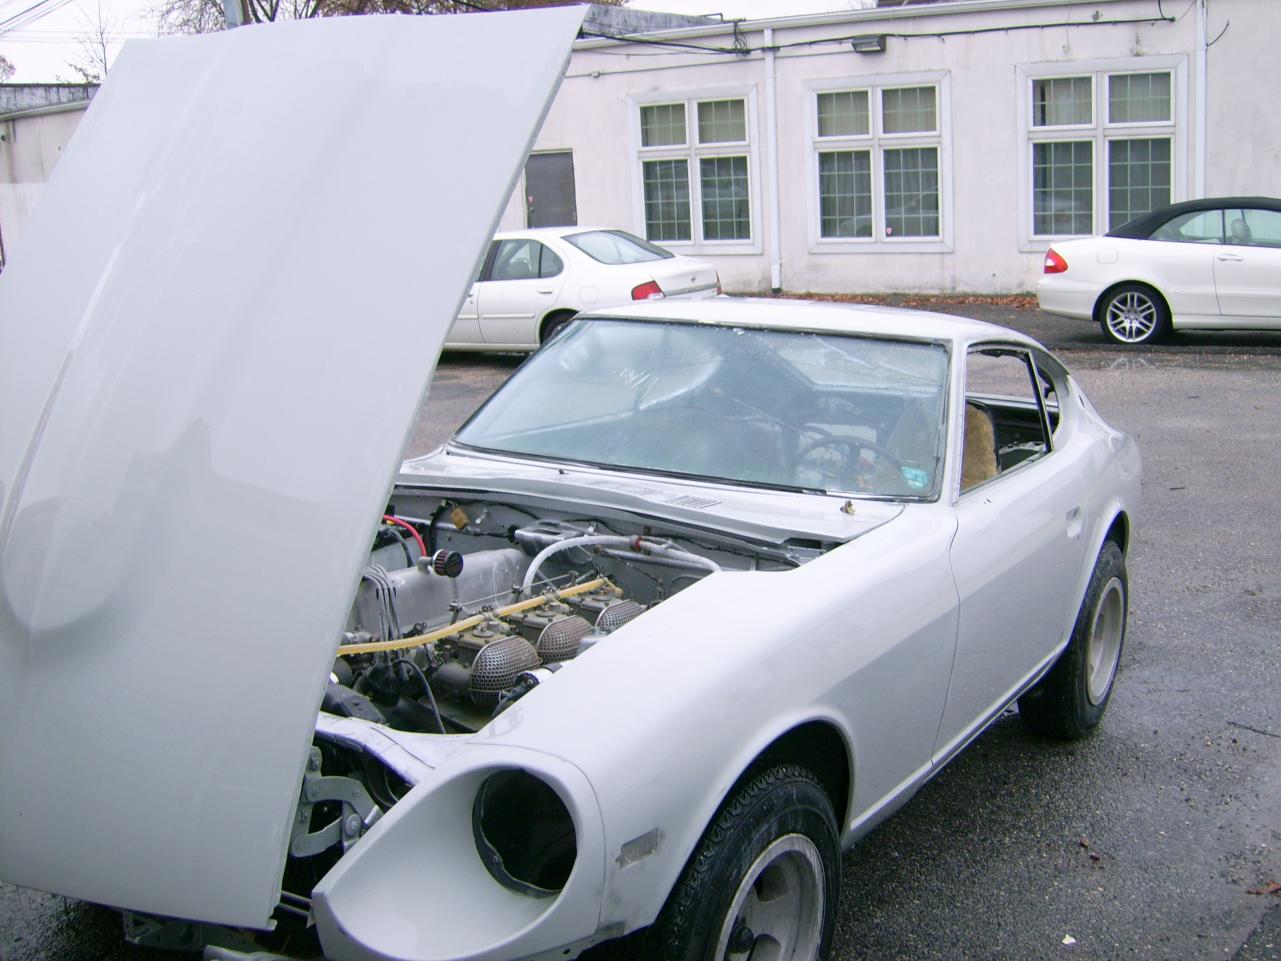
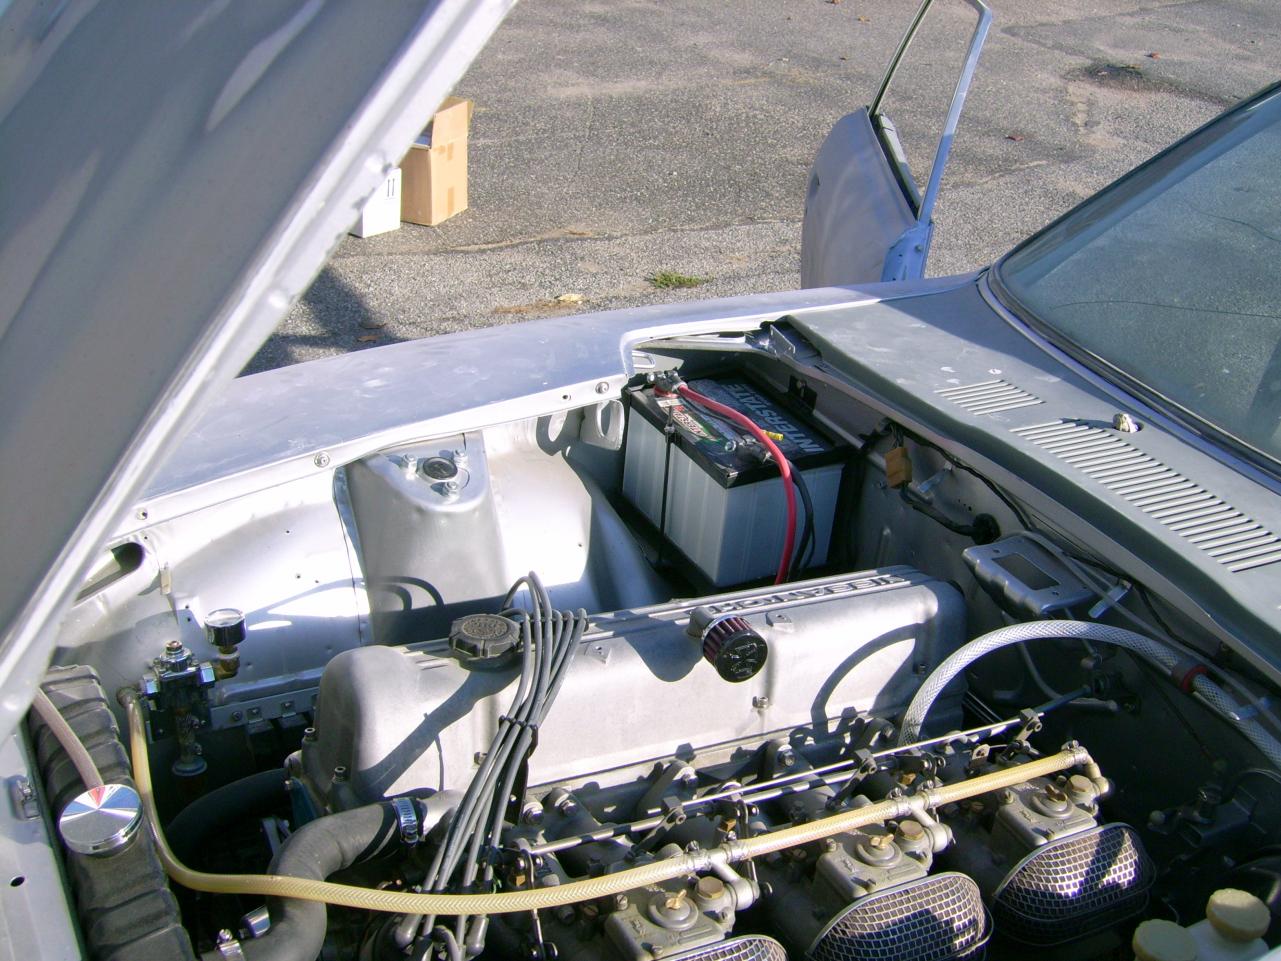
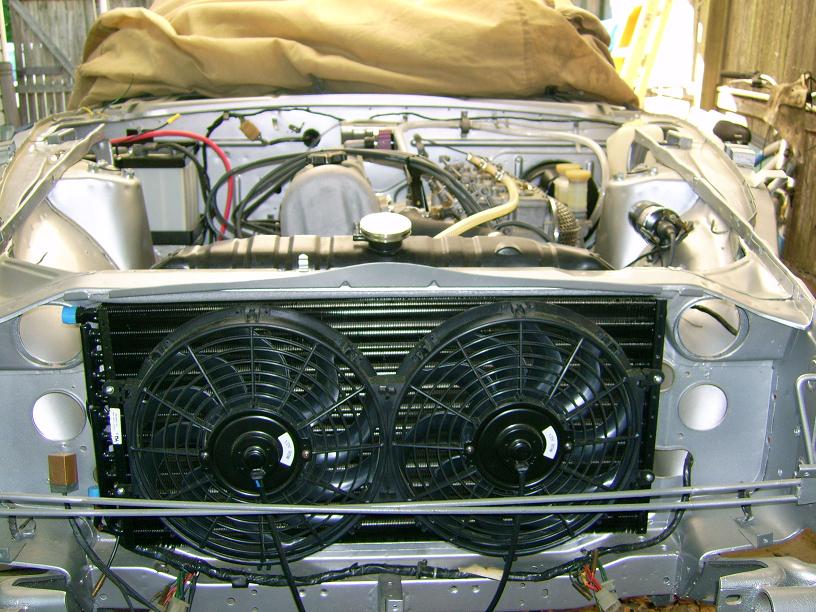
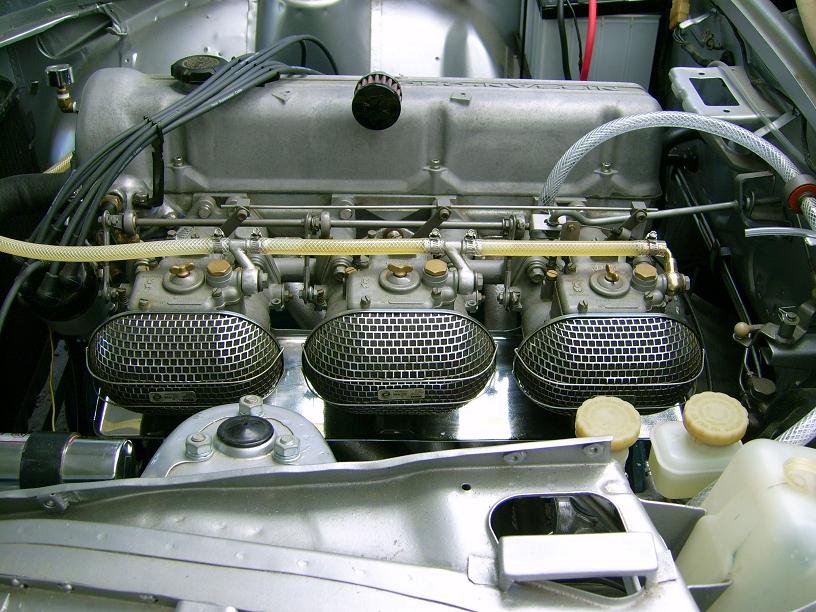
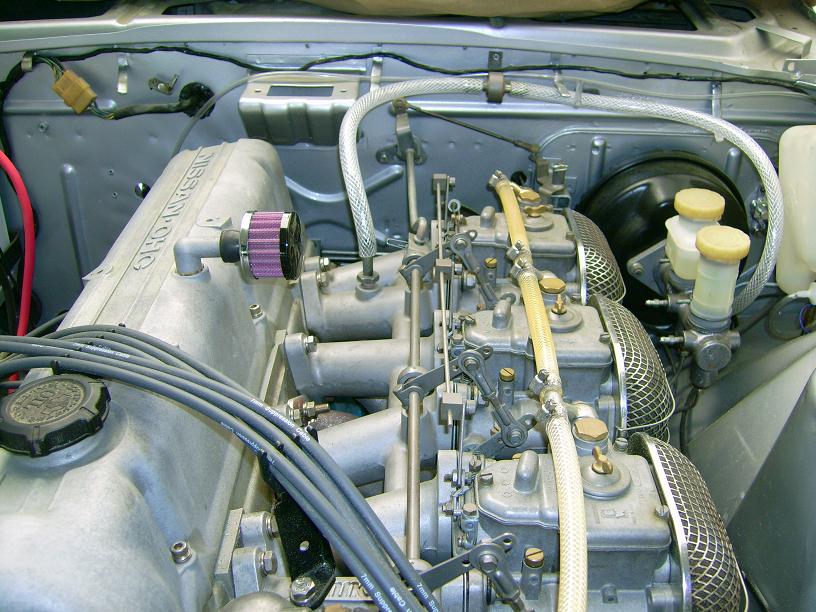
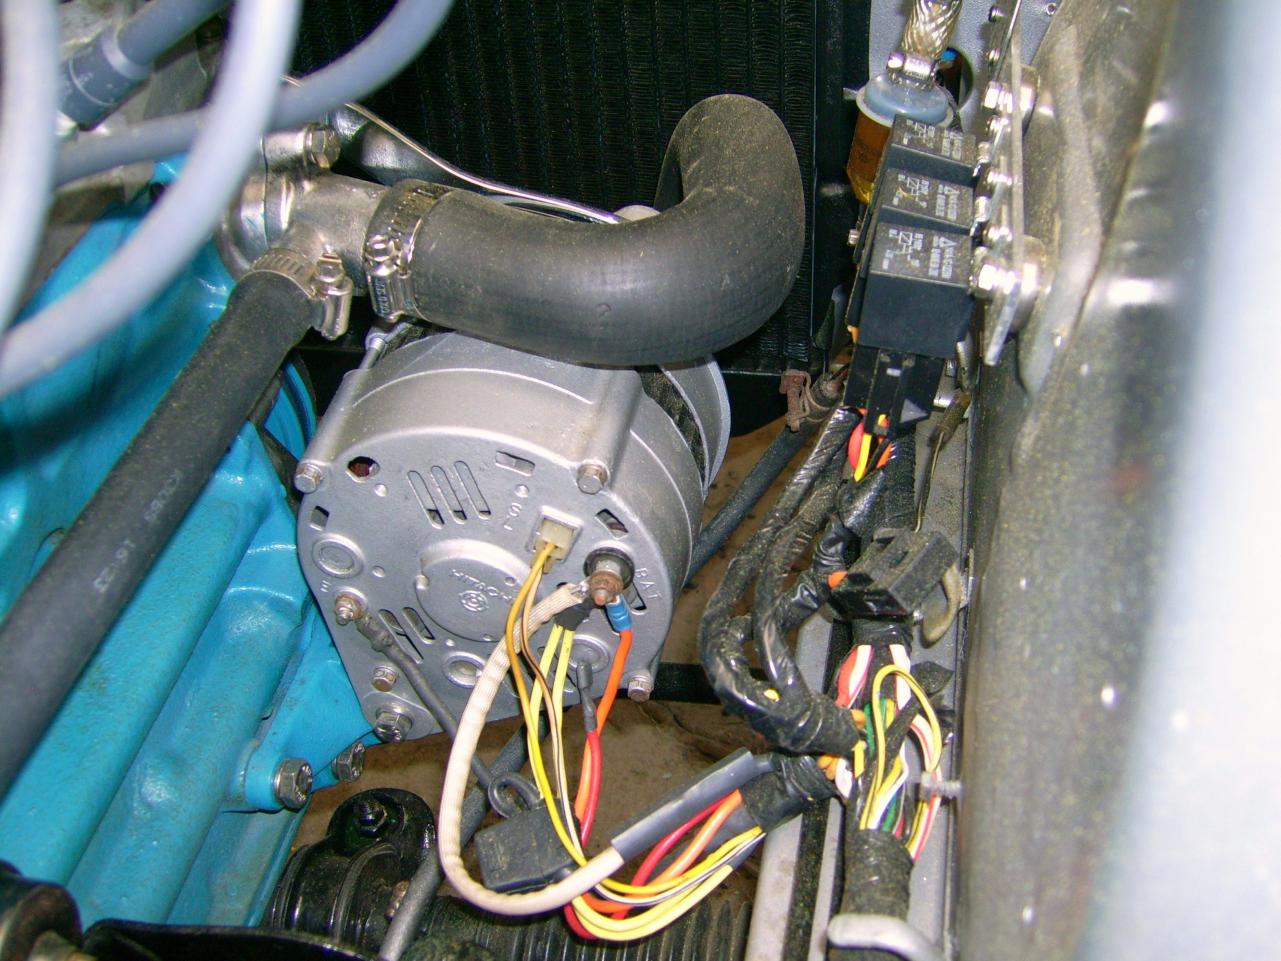
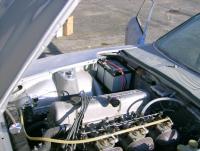
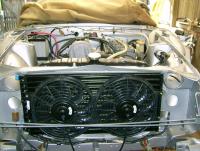
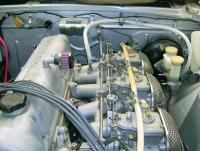
It is very exciting to put the car together. I am the second owner. I used the car as my daily drive from the 70’s to the 80’s. I stopped using the car when my wife told me she was pregnant in 1983. The car has been unused but was run once a year for the last 27 years. I have been taking it apart for 3 years. All the rust has been cut out and new metal has been welded in. All the rubber has been replaced hoses, seals, boots and mounts. The bottom of the car has been striped and painted. It is running for the first time in the rebuild. I have add a few new parts. New Bilstein shocks all around, stainless steel brake lines hard and soft, all new back and front brakes, master cylinder, power booster, Calipers, wheel cylinders, clutch, clutch master and slave, new hard and soft clutch lines, rebuilt Weber’s, Malory ignition, new heater core and control valve, new wheel bearings all around, new AC (134A), 2 speed electric fans, 60 amp alternator upgrade with internal regulator, headlight and fan relays directly connected to the alternator, Honda Heater blower upgrade, all new urethane bushings except rubber on the back torsion bar, most parts have been removed, striped and painted or clear coated. Most of the bolt used to reassemble the car are stainless steel. The motor was put together with racer brown cam, springs and valves by a friend when he was on Datsun race team in the 80's. Its going in for paint this winter. I’m very excited…


-
I can use the filler pieces on the ends on the front bummper on my 73 240Z. I have been working on the car and need new ones. The old ones are damaged and falling apart.
-
Looks like from the link 26th-Z sent you would not be the first to do this to a whole car. I did this to the inspection covers next to the hood. I had just started playing with the process and left the parts hooked up for a week. I cleaned them with steel wool and soap and water after that. They had no protection at all and I forgot them in my laundry room for the winter, 3 or 4 months and they didn't rust at all. It takes a little while to remove paint and the washing soda breaks down the grease and oil so the water can get real ugly on dirty, greasy parts but I have had amazing results. I didn’t have a tank big enough for the whole car or I would have tried. I don’t have a rotisserie so the bottom was fun with paint remover, power washing, rust remover/converter, seam sealing and painting lying on my back but the fun has begun. Time to make the doughnuts and put it back together. I’m a old Electrical / Magnetics engineer myself so what started as I’m going to clean it up and get it on the road again turned into a complete rebuild. I’m glad I did. I can’t wait to meet some of the other Z people, see what they have and show them what I have. I like my old 240Z better than any other car I have had.
-
I did search for rust removal but didn't see your info. It is a great process worth doing. Thanks for the link, I have been very happy with the results. I'm putting the car together after 3 years of cleaning, welding and collecting parts. I hope to drive my old Z this summer. This site has been great help to me and I appreciate all the input and information here. I should have joined the club when I got the car in 1975. Thanks, Its nice to know I'm not the only Z nut, there alot of us.
-
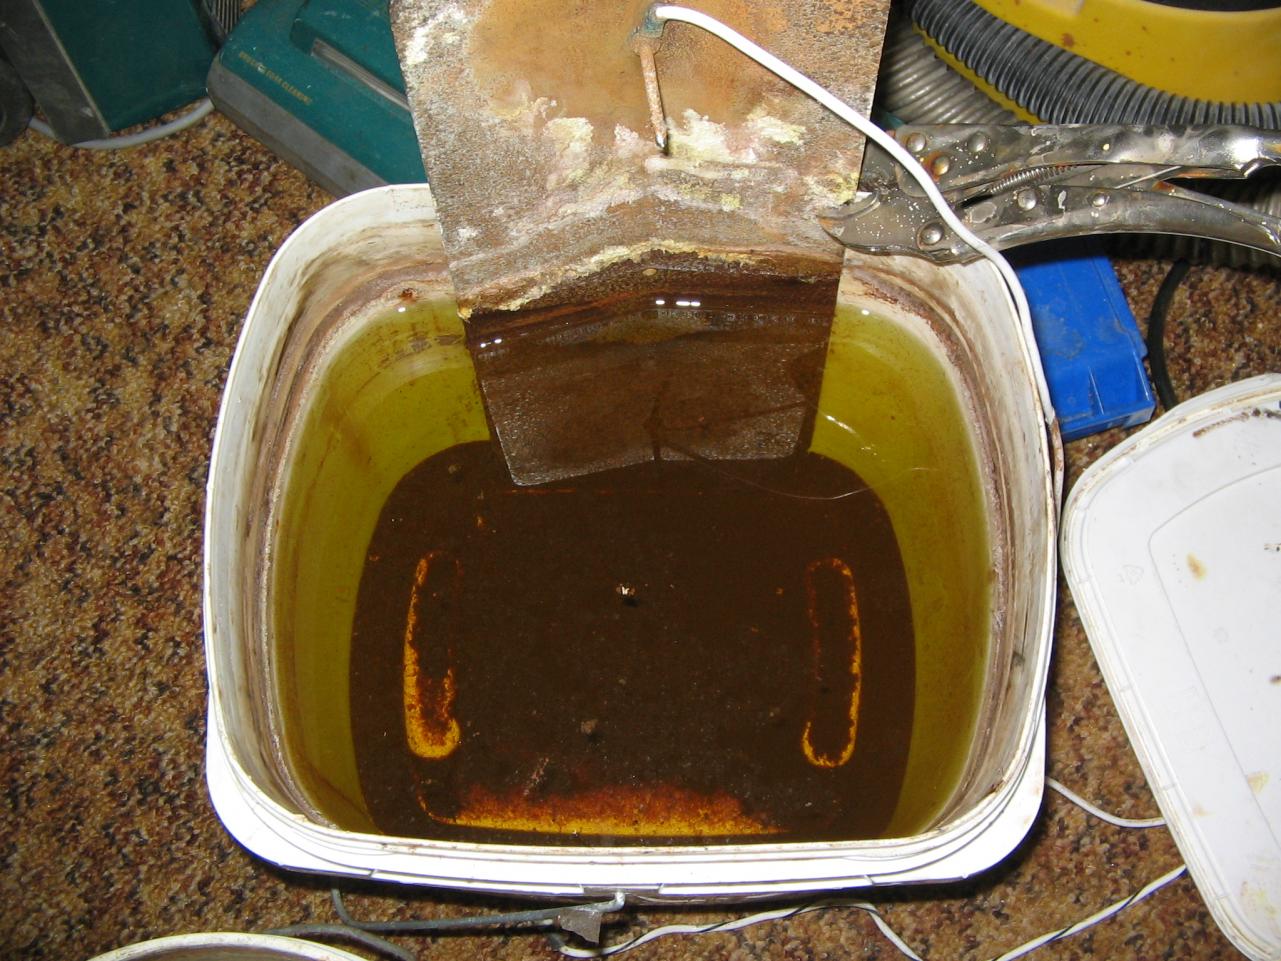
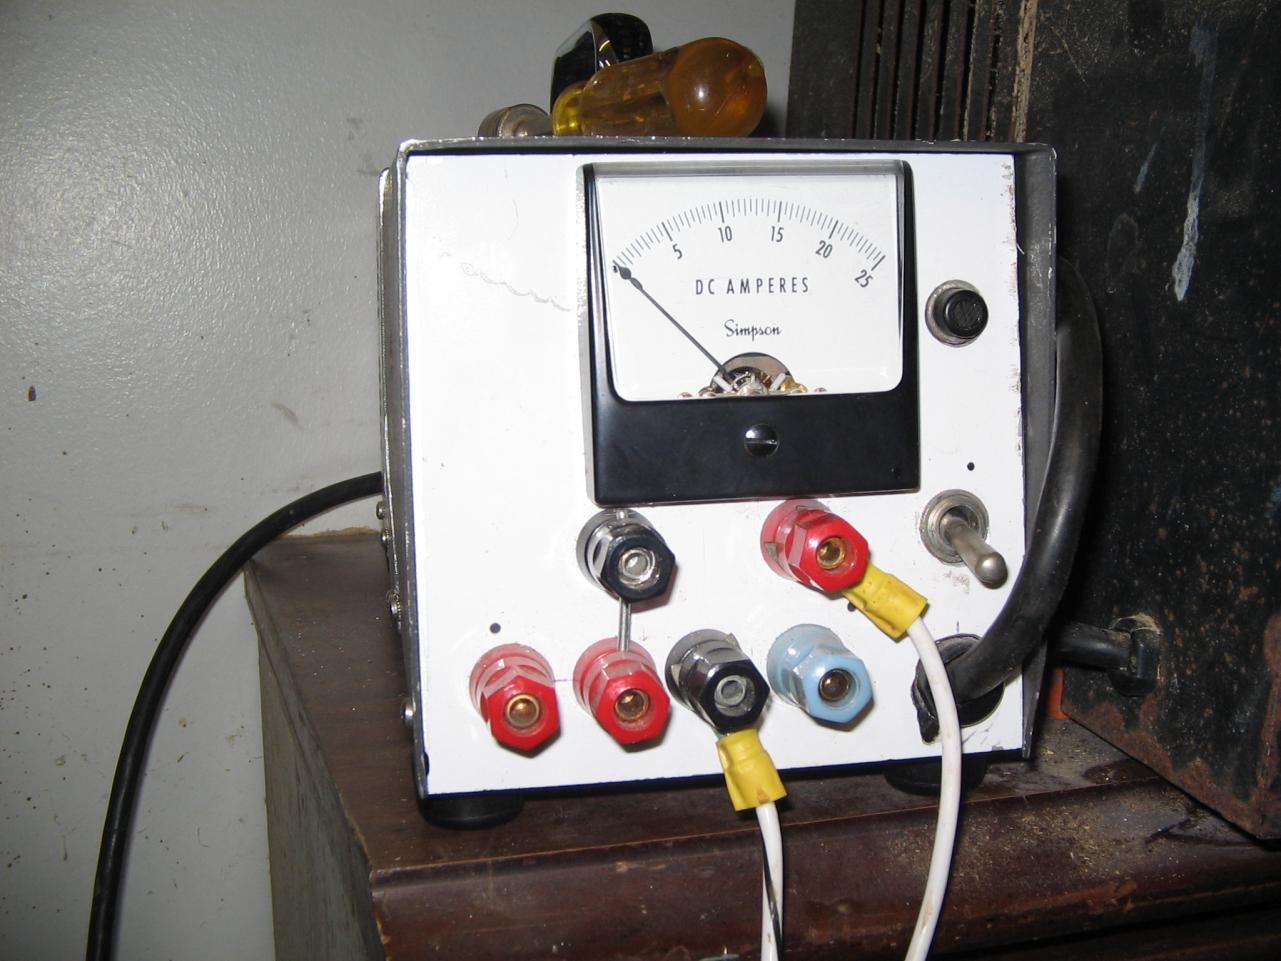
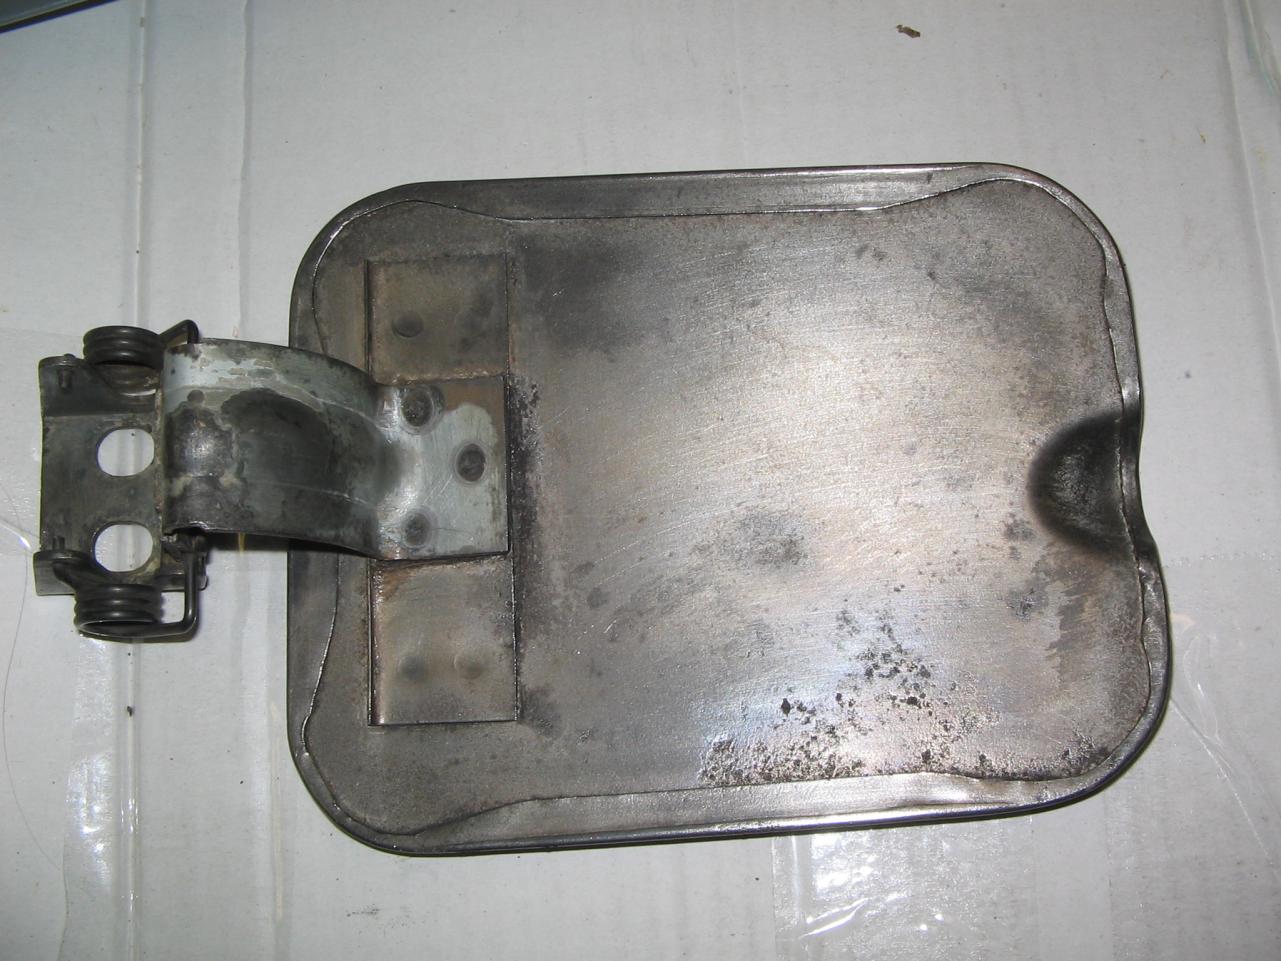
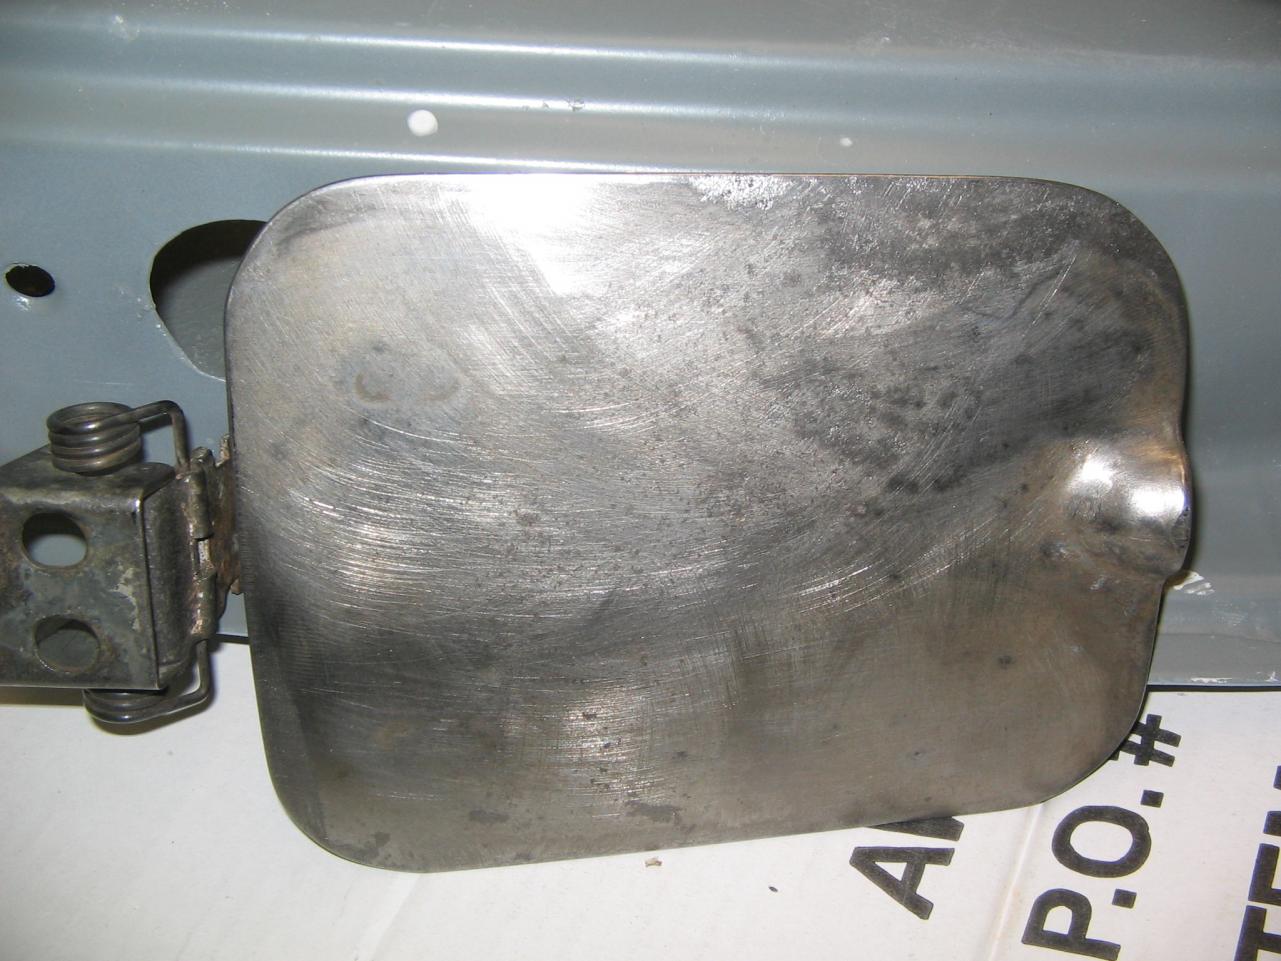
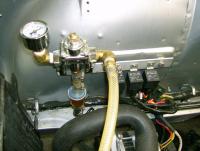
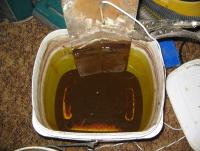
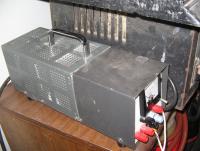
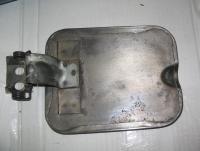
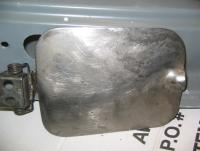
Hi everyone. I have found a trick to clean and remove the rust and paint from parts that I thought I would share with you. If you set up a plastic tank of water mixed with washing soda (can be found next to the laundry detergent as the store) you can use DC electricity to clean off crud and remove paint and rust. You connect the negative lead to the part you want to clean and use a sacrificial piece of steel for the positive. As the water is converted to gas through electrolysis bubbles form on the surface of the metal and it gets under the dirt grease paint and rust and eats away at it. A lot of dirt and crud forms on the positive plate and the part connected to the negative cleans up almost by itself. The metal comes out a little dirty and dark but with a little work with course steel wool and soap and water things clean up really nice. The electricity dose most of the work and if you leave the parts in long enough it get the rust out of all the little pits and may take time but it works great an makes it much easier. You can use a car battery charger and control the power level by putting more or less of the anode (the positive plate) in the solution of water and washing soda. I liked it so much I built a hi power DC supply to speed things up. I have used this process on everything I could fit in a plastic tank, body parts, mounts, small and big parts from all over the car. I even did my old header in a 50 gallon trash can. I still use rust converter/remover and epoxy primer (not on the header) but the work saved is amazing, and no chemicals or metal damage from sanding or blasting. I have attached a few pictures. One is a picture of the tank I used for my gas cap door, you can see the rust at the bottom. If you look closely at the door, you can see the pits that were full of rust and are now clean. I hope this help some of you, it has helped me. I put the parts in the process before I go to bed and in the morning a few minutes in the sink with the steel wool and there clean.

-
Thanks guys, I was asking about the foam on the top of the frame to support the top of the inner fender. A friend of mine from a body shop suggested a dollop of seam sealer on the supports. He said it will not hold water and in will harden enough to give good support but will not damage anything. I’m not sure I want to glue the frame to the fender as he suggests. The other side of that is he has been a body man for 35 years so his advice is most likely sound. He’s a good man. I cut and fit metal for around the rear fender lip on the driver’s side the front of both rockers and fit new floor boards and he welded them in a few hours. I’m very lucky to have a friend that has been welding for 35 years. The drain tubes look like a great idea. I don’t understand where they come out on the bottom. Did you have to cut away metal to make a exit point for the hose or are they coming out where the little flaps are in the wheel well? I had to replace the first 6 inches on the rockers because of the trapped dirt causing the metal to rot. If I could keep the junk out of that spot it would be great. I had thought of using thumb screws on the bottom of the fender so I could keep it clean but the extension tube are interesting. Thanks, it nice to talk to you. Phil
-
I have completely striped cleaned and painted the car. I'm starting to put it back together and need advice. There are some supports that are on top of the rails over the front wheels. They had some foam or something on them where they touch the inner fender, Any suggestions on what to put there for the rebuild will be helpful.
-
I'm starting to put together my old Z that has off the road for 24 years (it was run one day a year for 24 years). I'm going to replace the fuel pump and need some advice. The car has a triple Weber setup. I don't think I need a hi volume vane pump and would like a quiet impulse type pump. The mechanical fuel pump has been removed. any suggestions will be appreciated.