
mentalite
Free Member
-
Joined
-
Last visited
Everything posted by mentalite
-
Hi. My bushings are shot and need replaced. While at it, I figure I might as well do some cleaning and painting of the components as well. Somewhere, some time, I came across an article with tips on removing the front cross member and suspension as a unit while leaving the engine in place. I didn't bookmark it and can't find it now. I found a post by Chas on replacing engine mounts which is close, but this article I saw before was pretty in-depth. This ring a bell with anyone? A link would be very much appreciated.
-
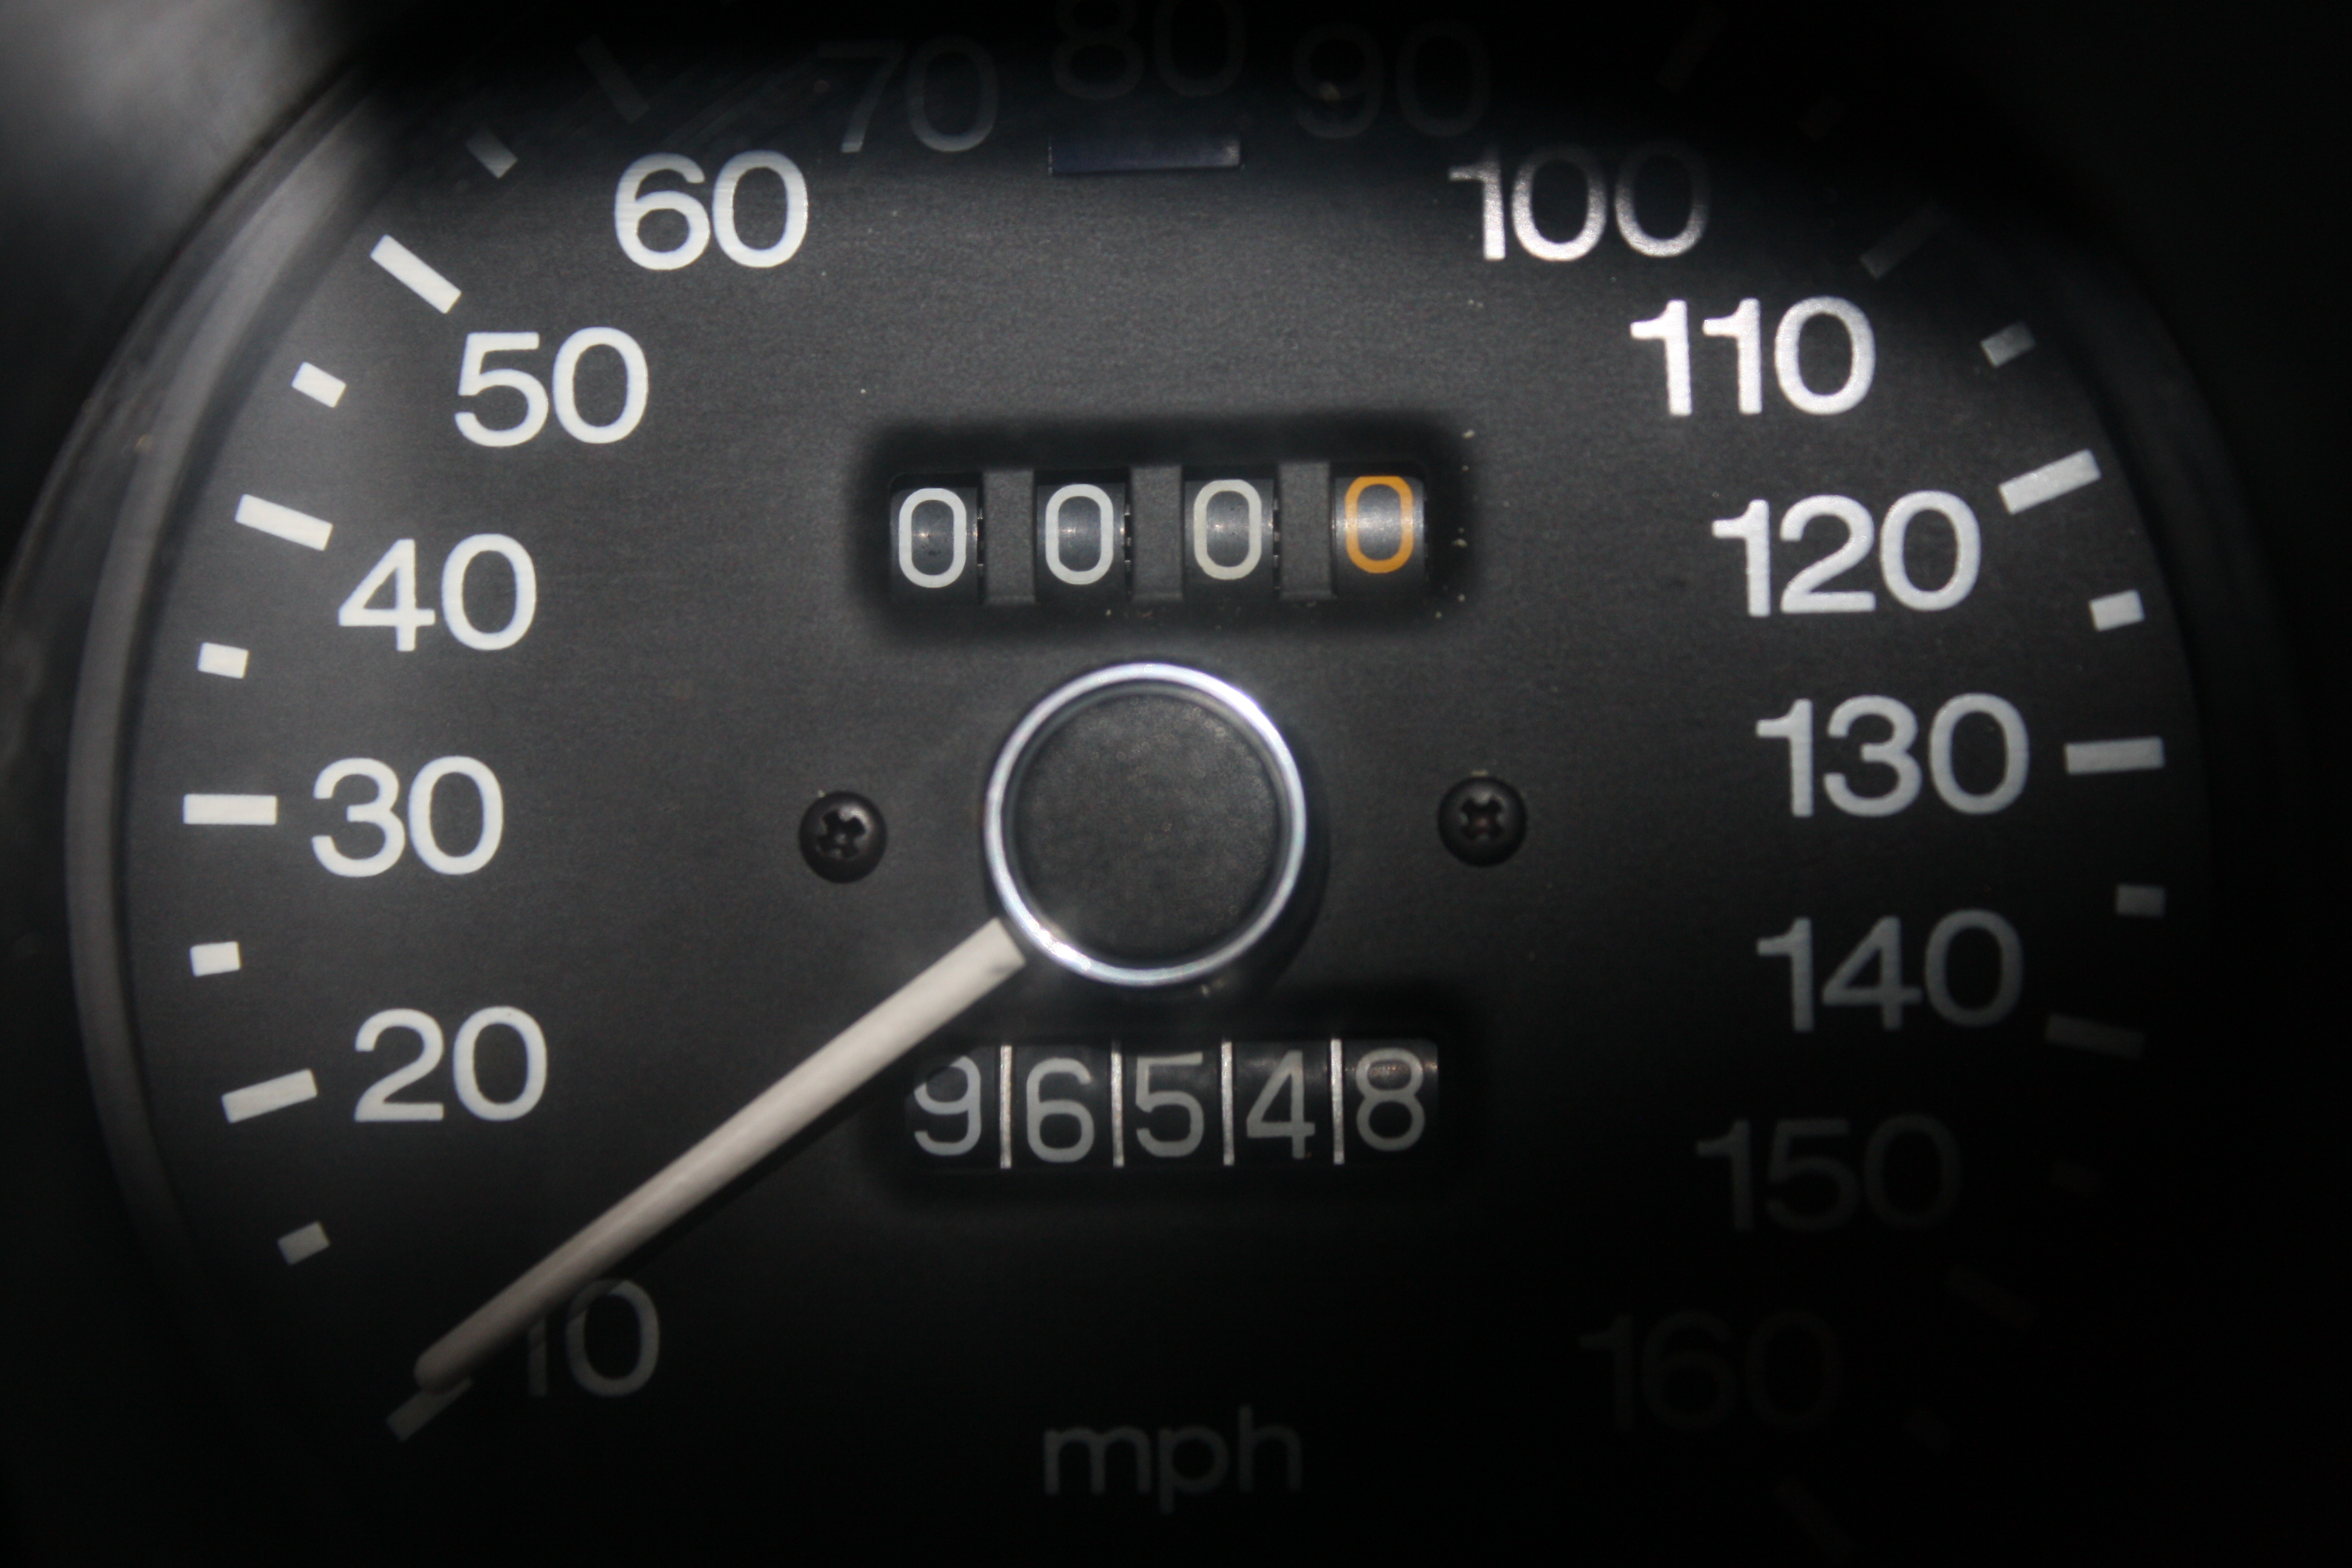
Gotta be the BCDD. Now that I know to pay attention, the high RPMs drop immediately when the speedo drops to 10MPH. Trouble is, adjusting doesn't seem to improve the situation, though I'll keep messing with it. I'm at 10 quarter turns clockwise so far. Interestingly, as soon as I put a wrench on the nut a hissing sound that I didn't even notice went away. It has stayed away after adjustment. The manual also shows a retention spring which is missing, so I'm hoping that's an indicator that the nut is out of adjustment because of that. I'm in a bit of a tough spot because I think I'm finding causes of the problems, but then getting the parts or making the fix isn't happening. I've expanded my AAR search to include other makes which have the Bosch system. Some are available, but man they're expensive!
-
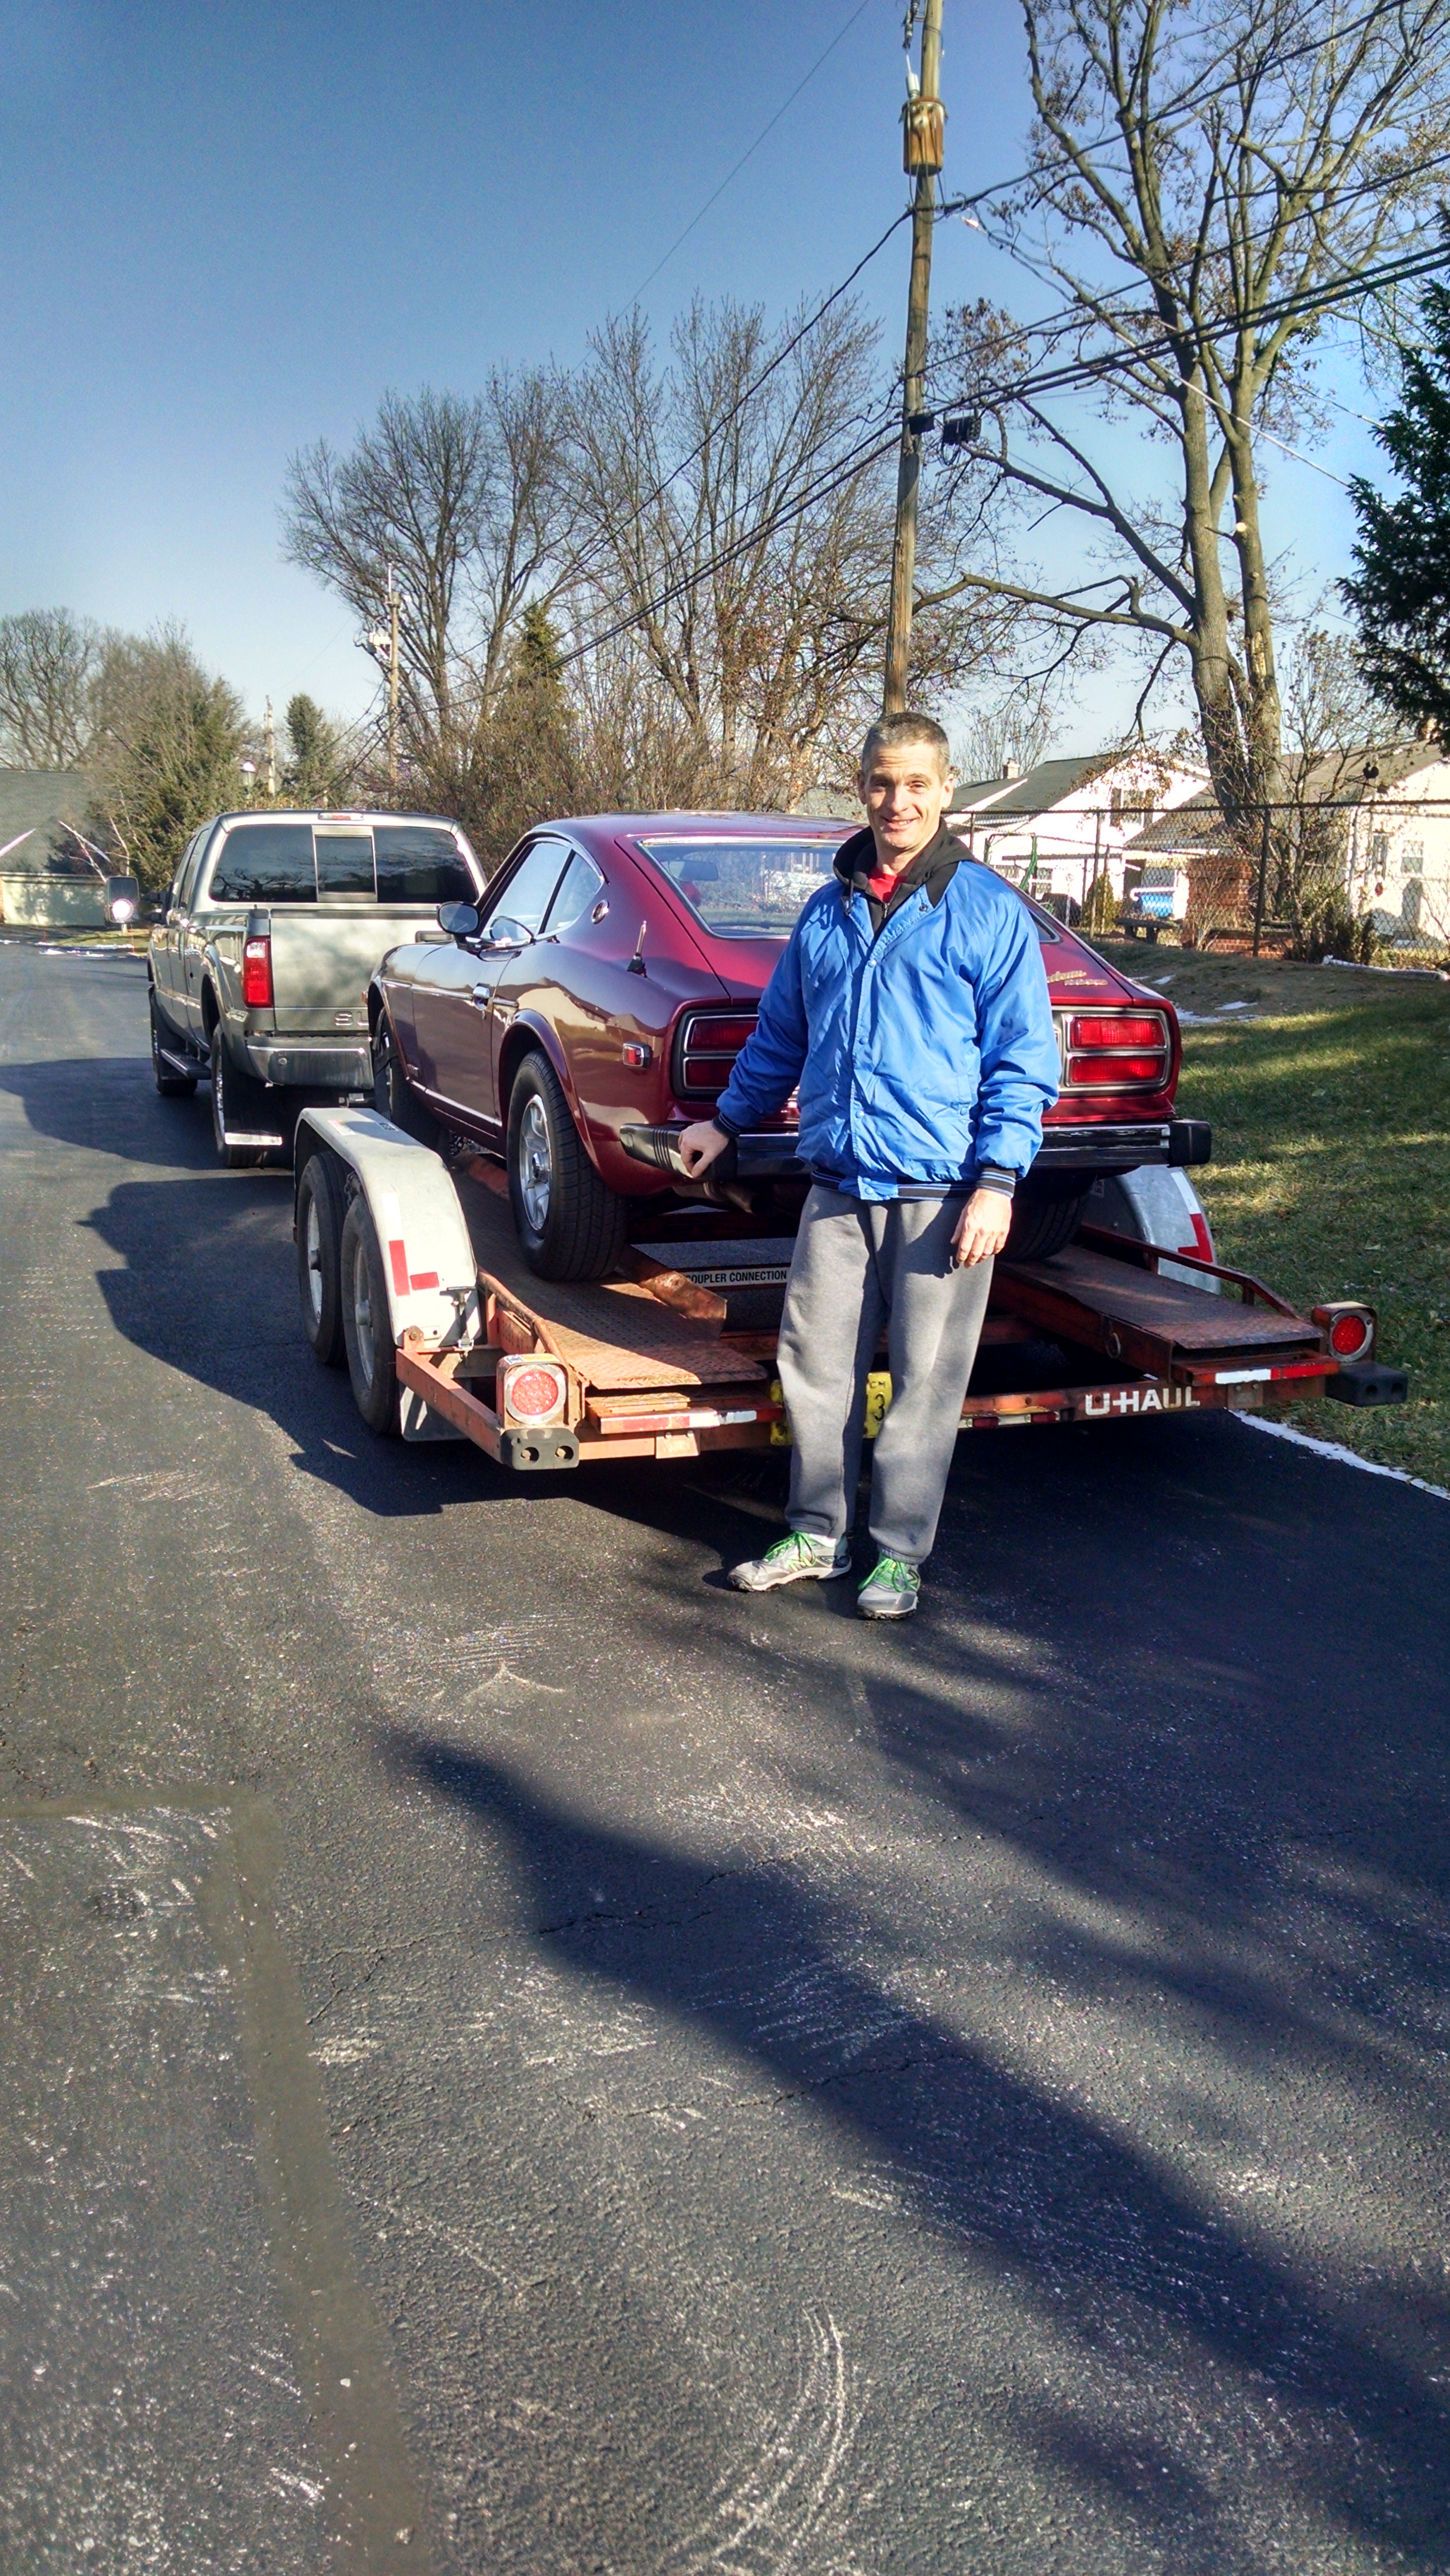
My wife volunteered. The hard part was sticking my head out the window to see around the hood.
-
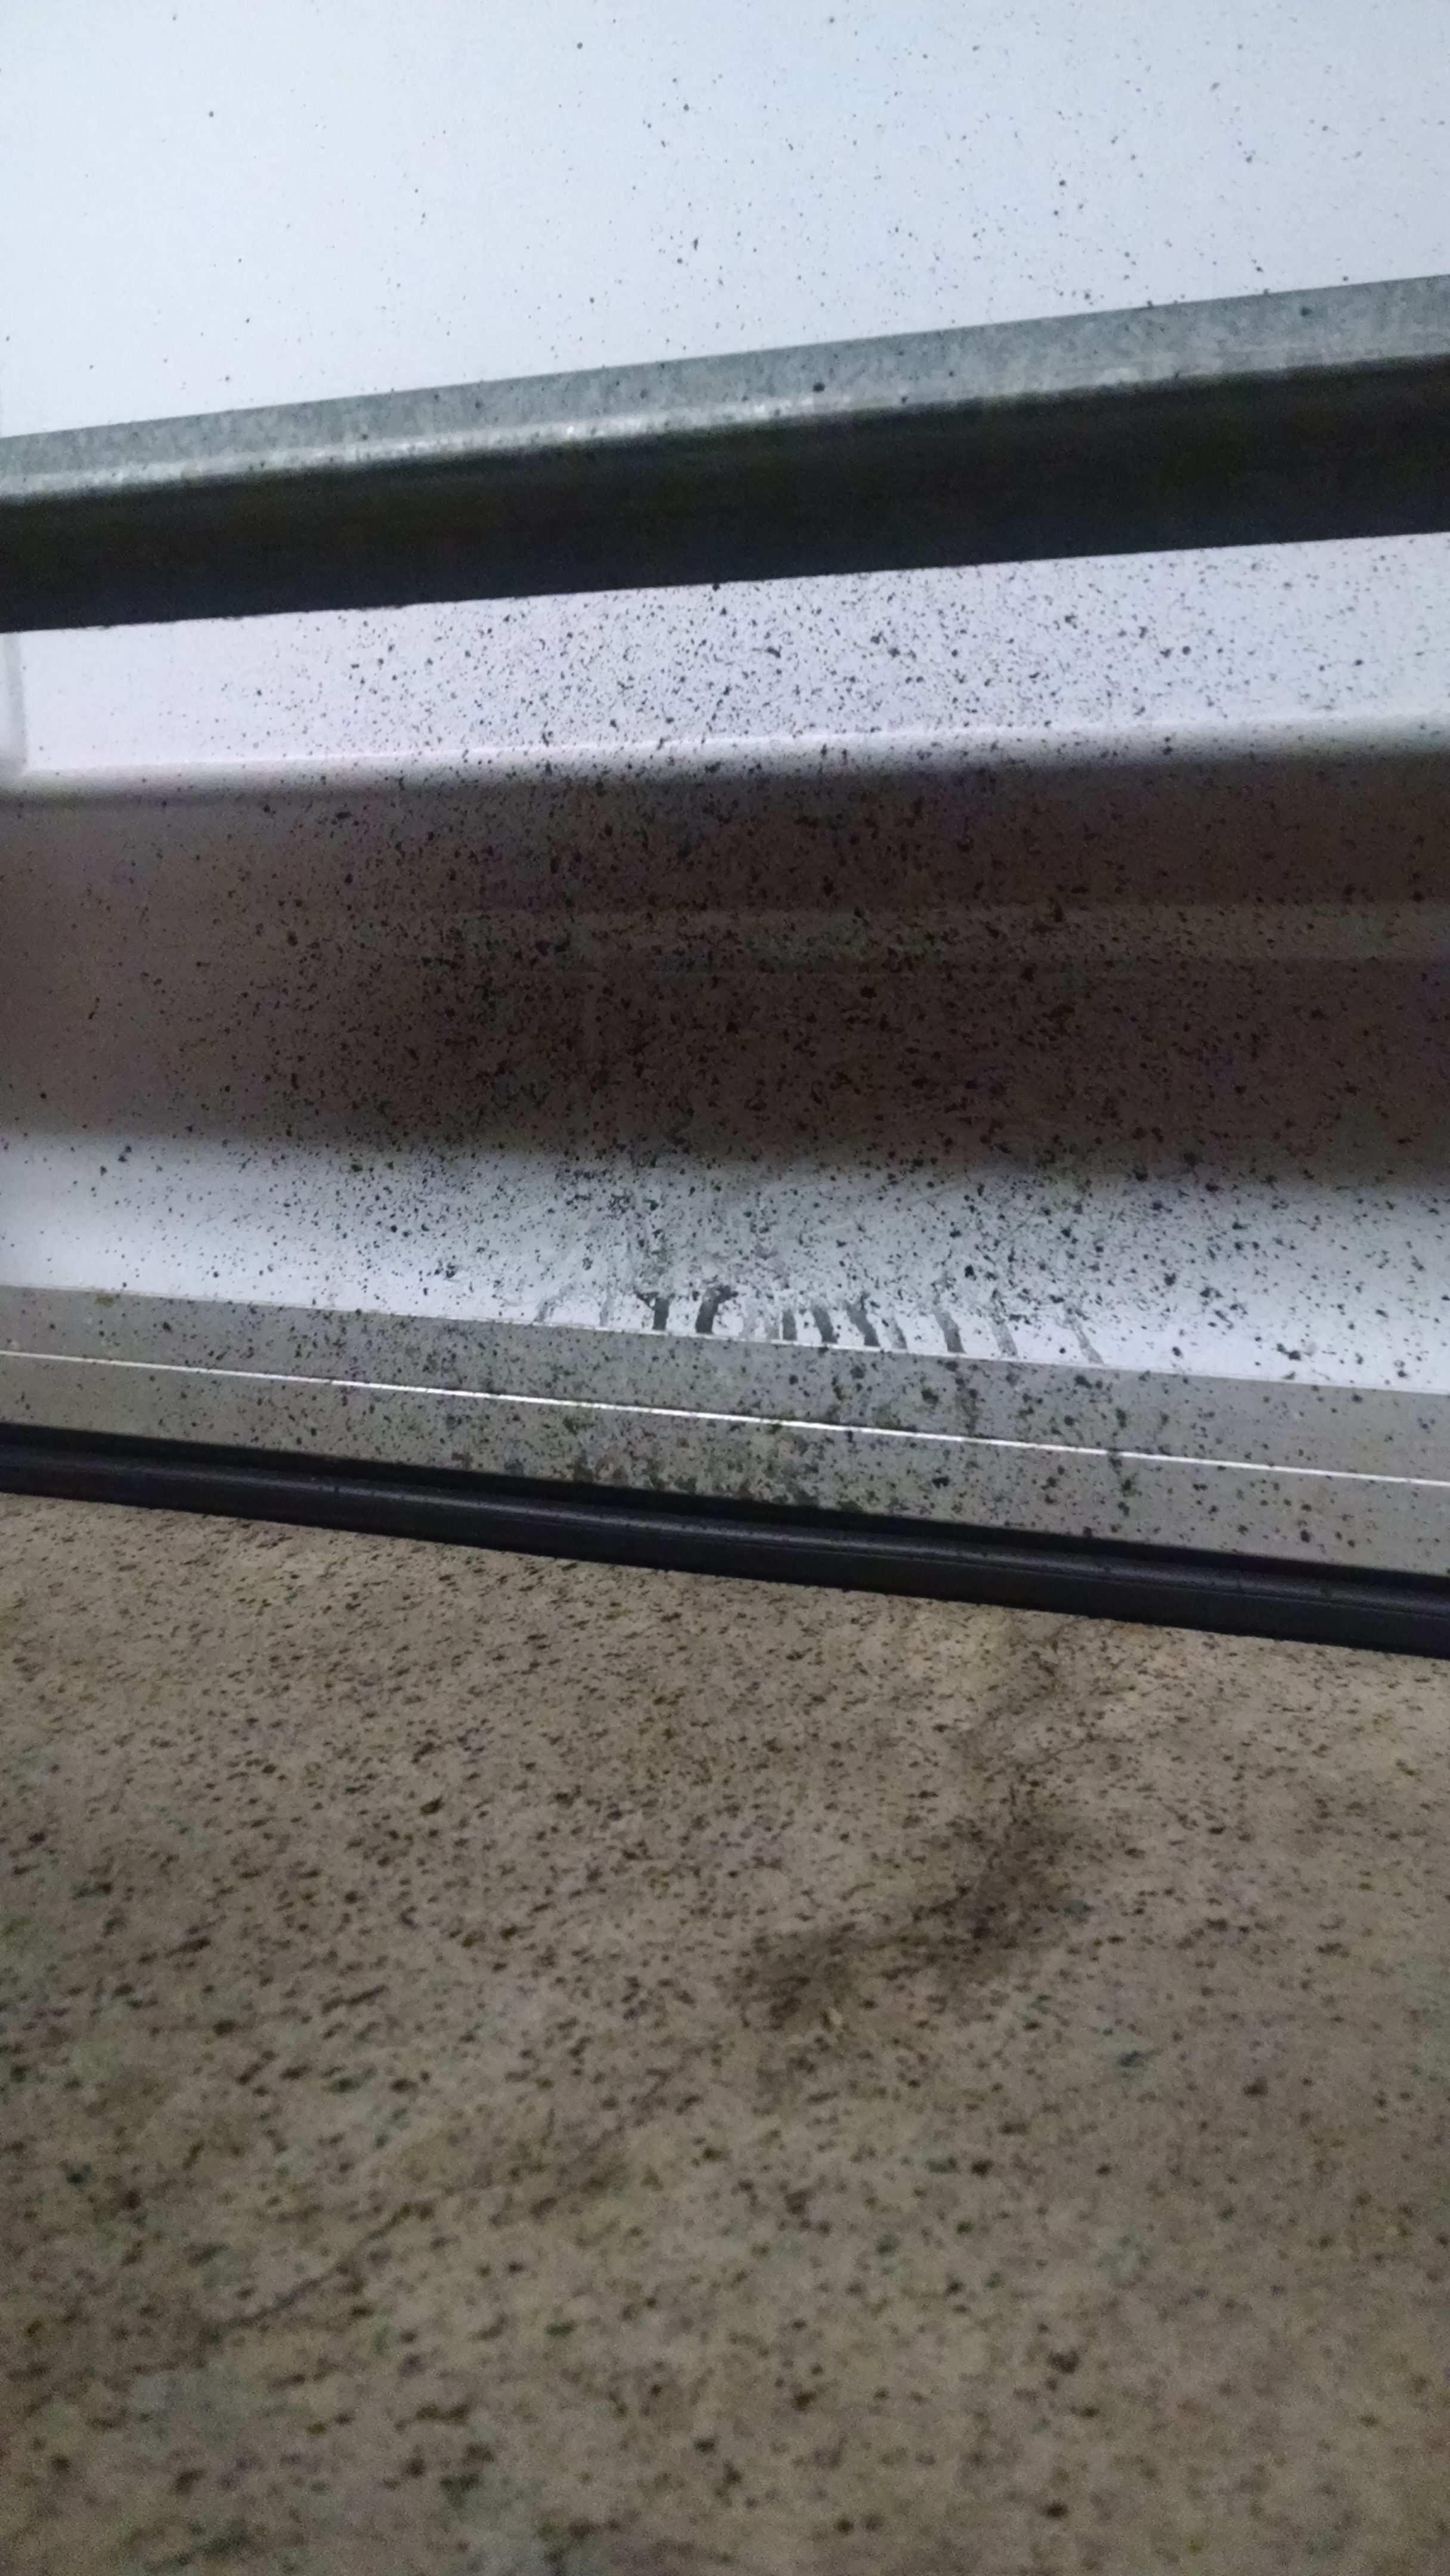
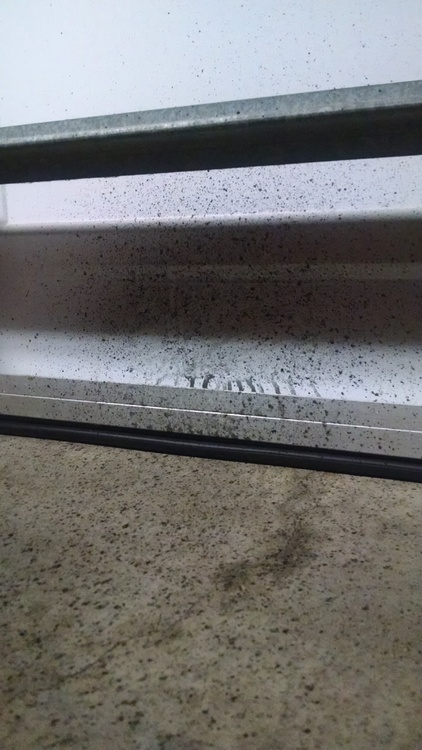
Correct, the gas pedal returns fully and pulling up with the toes doesn't move the pedal or drop the RPM. I'll do the FSM checks on it and also try Zed's suggestion on the dashpot. Wonder why it only hangs when driving, not when sitting in the garage revving? On a good note, the rest of the system is checking out well. I'm taking the advice to clean and check electrical and vacuum connections. It's going slowly because I'm wimpy and don't like the cold garage. While in the vicinity I checked the cold start valve, coolant temp and thermotime switches and they pass the tests. I will probably pull the throttle body to clean it regardless of the result of BCDD checks. This sludge that comes from the tailpipe upon initial startup is perplexing. I've got a pretty serious oil burning issue too which I'm thinking is the cause of this. See my garage door from the one time I had it down when starting.
-
Looks like I'll be going through the BCDD checks. I was hoping for the more simple cleaning of the throttle body.
-
Excellent information as always, gents. I'll investigate. Thanks.
-
It's there, Zed. Quite rusty but it is providing tension. The throttle snaps back quite nicely when operating it by hand in the engine bay.
-
Hi guys. Slowly working my way through the system trying to get everything right. My aux air regulator is definitely bad. It is nearly closed all the way when cold so my initial idle is way too low in this cold weather. If I loosen the clamp on the hose leading to the throttle body and use a screwdriver to let extra air in, the idle immediately picks up. Finding a new one seems like it will be a chore so I guess I'll clean/lubricate this one in hopes of freeing it up. I went for a drive today and now have an issue with the idle not dropping down when I take my foot off the gas. If I push in the clutch and coast the RPM will stay up around 2K for several seconds then drop down to normal. Under load it will continue to stay at 2K. The dashpot seems to retract quite slowly when releasing the throttle. Is this a potential cause of these symptoms? I've lubricated the pivot points of the throttle linkage. Thanks.
-
Oy! It's becoming clear that a car's best attribute is that PO's have left it alone.
-
Just a quick update to put a bow on this topic. Everything had checked out with the fuel pump relay. Then I poked around under the carpet behind the passenger seat and there were the two fuel pump wires laying there nicely. Looks like the factory wires from there to the fuel pump were just pulled out and sent to the trash at the time a PO did the direct wire of the pump. Quick tests right at these wires also showed power when key was in start and when the air flap was moved. Yay! Then it became a simple matter of cutting off the wires leading to the pump, putting on bullet connectors and plugging them into the harness. Luckily to PO rewire job went through the correct grommet in the floor to get to the pump. Once I started the car and verified all was working as intended I just had to pull out the switch and the wires. If only all fixes were this easy!
-
Dude! The handwriting is on the wall. Keep a couple feet of various hoses and associated clamps on hand.
-
Sure am. Until the last three months or so when it seems I've lost my motivation. I ride the road, mountain bike, and cyclocross but the road less and less. I'm weary of close calls. You?
-
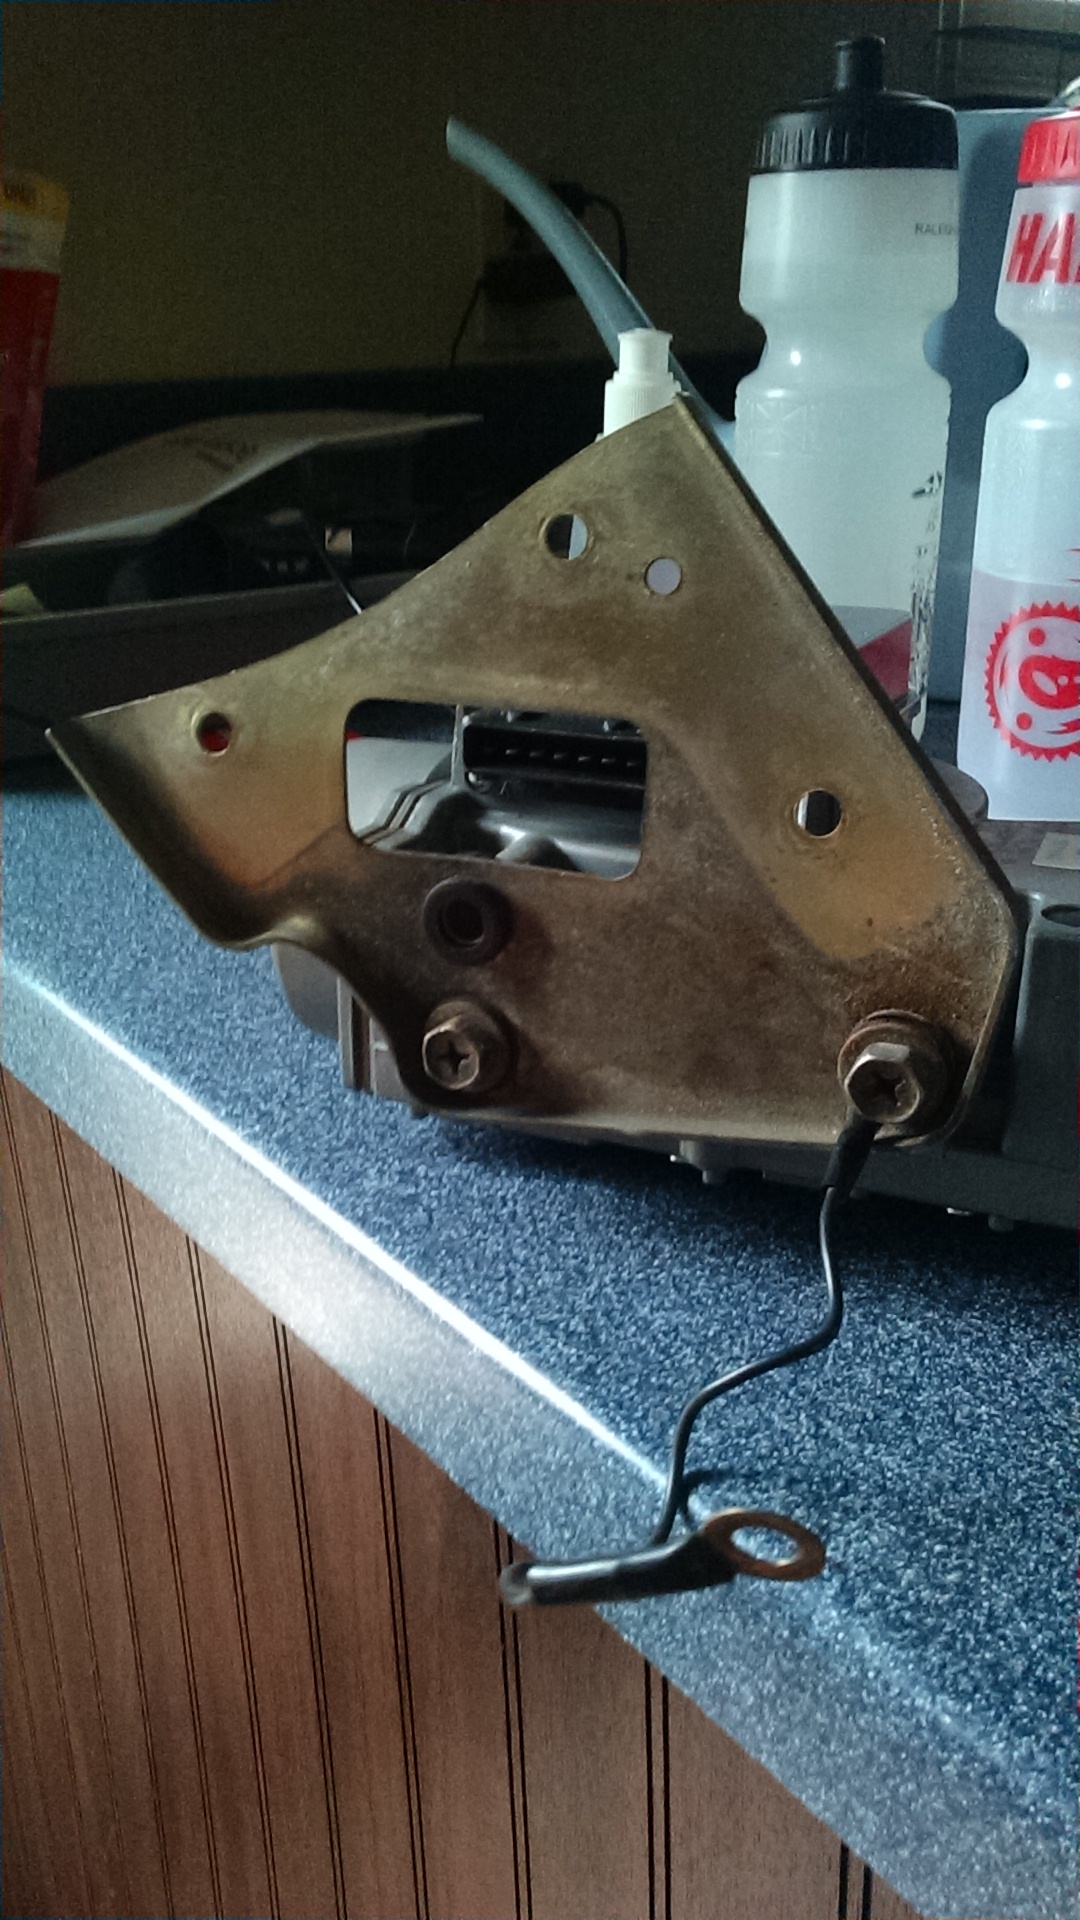
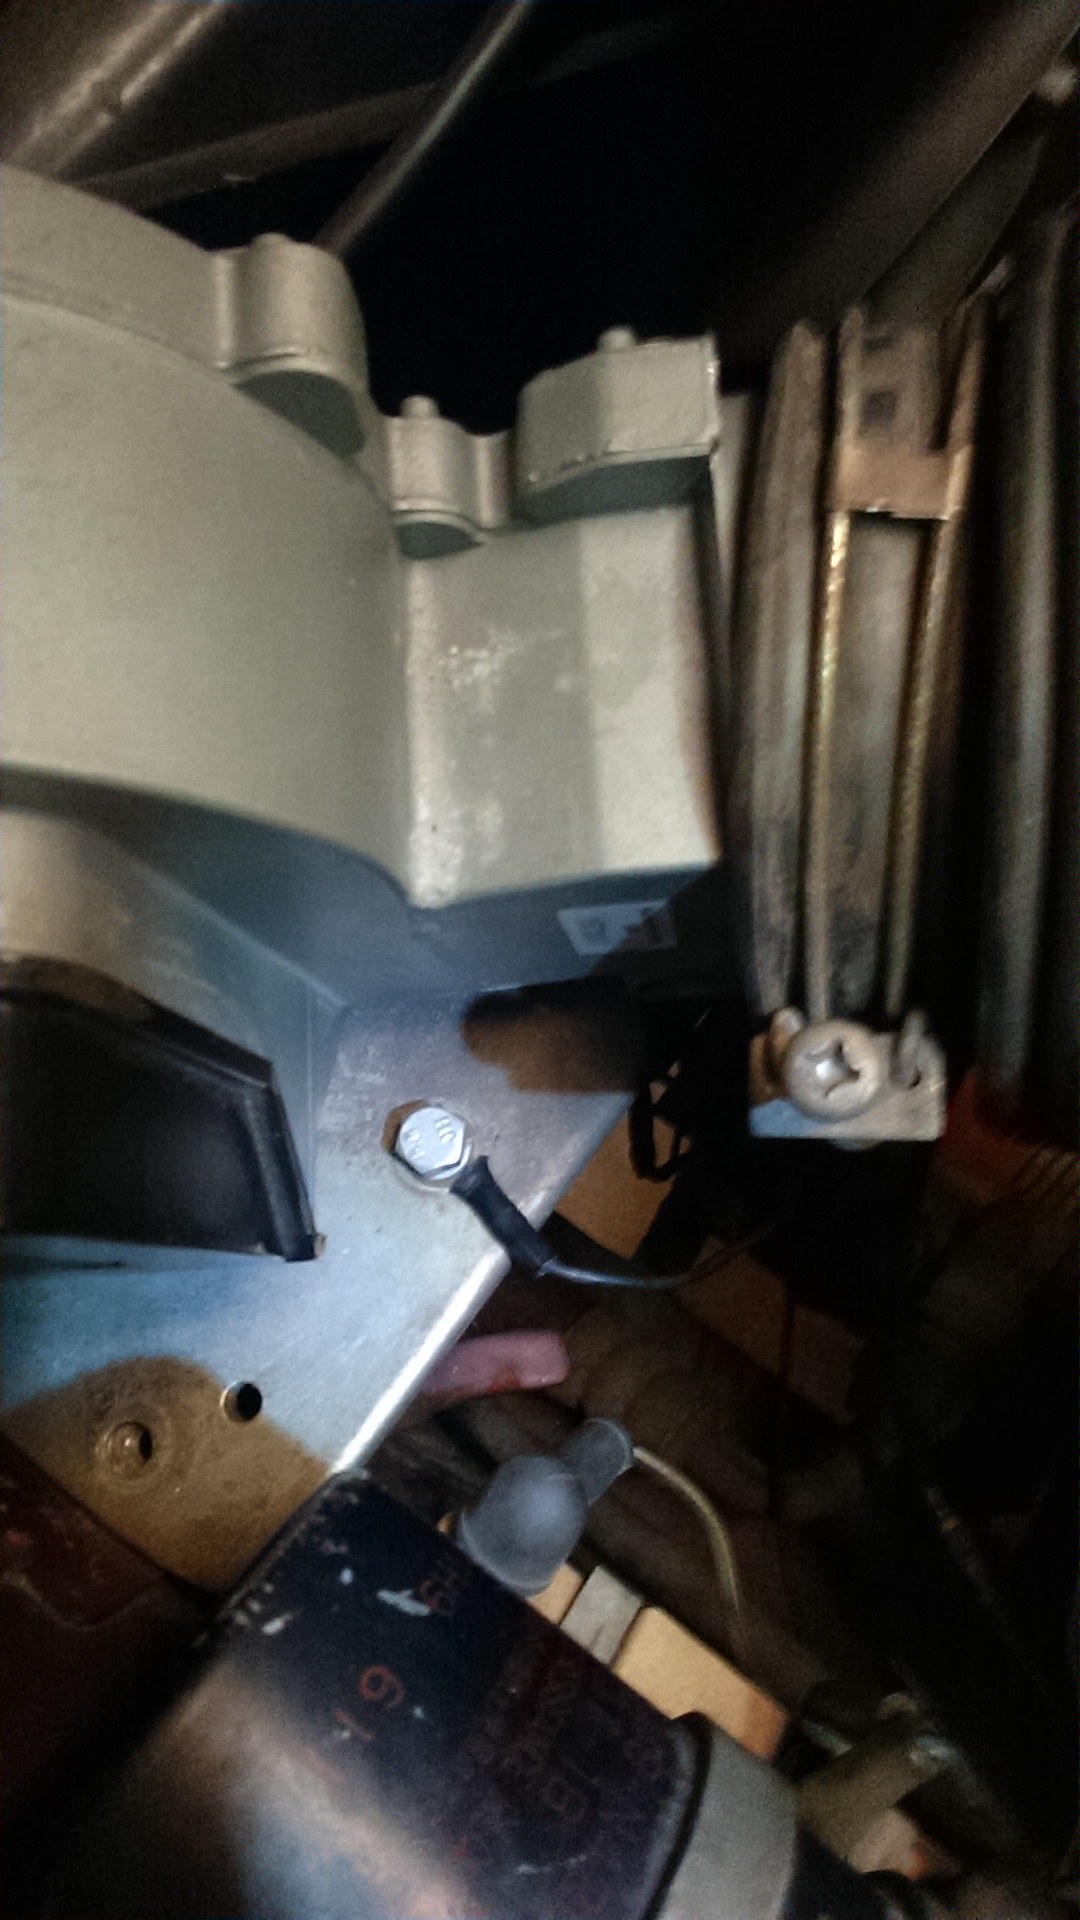
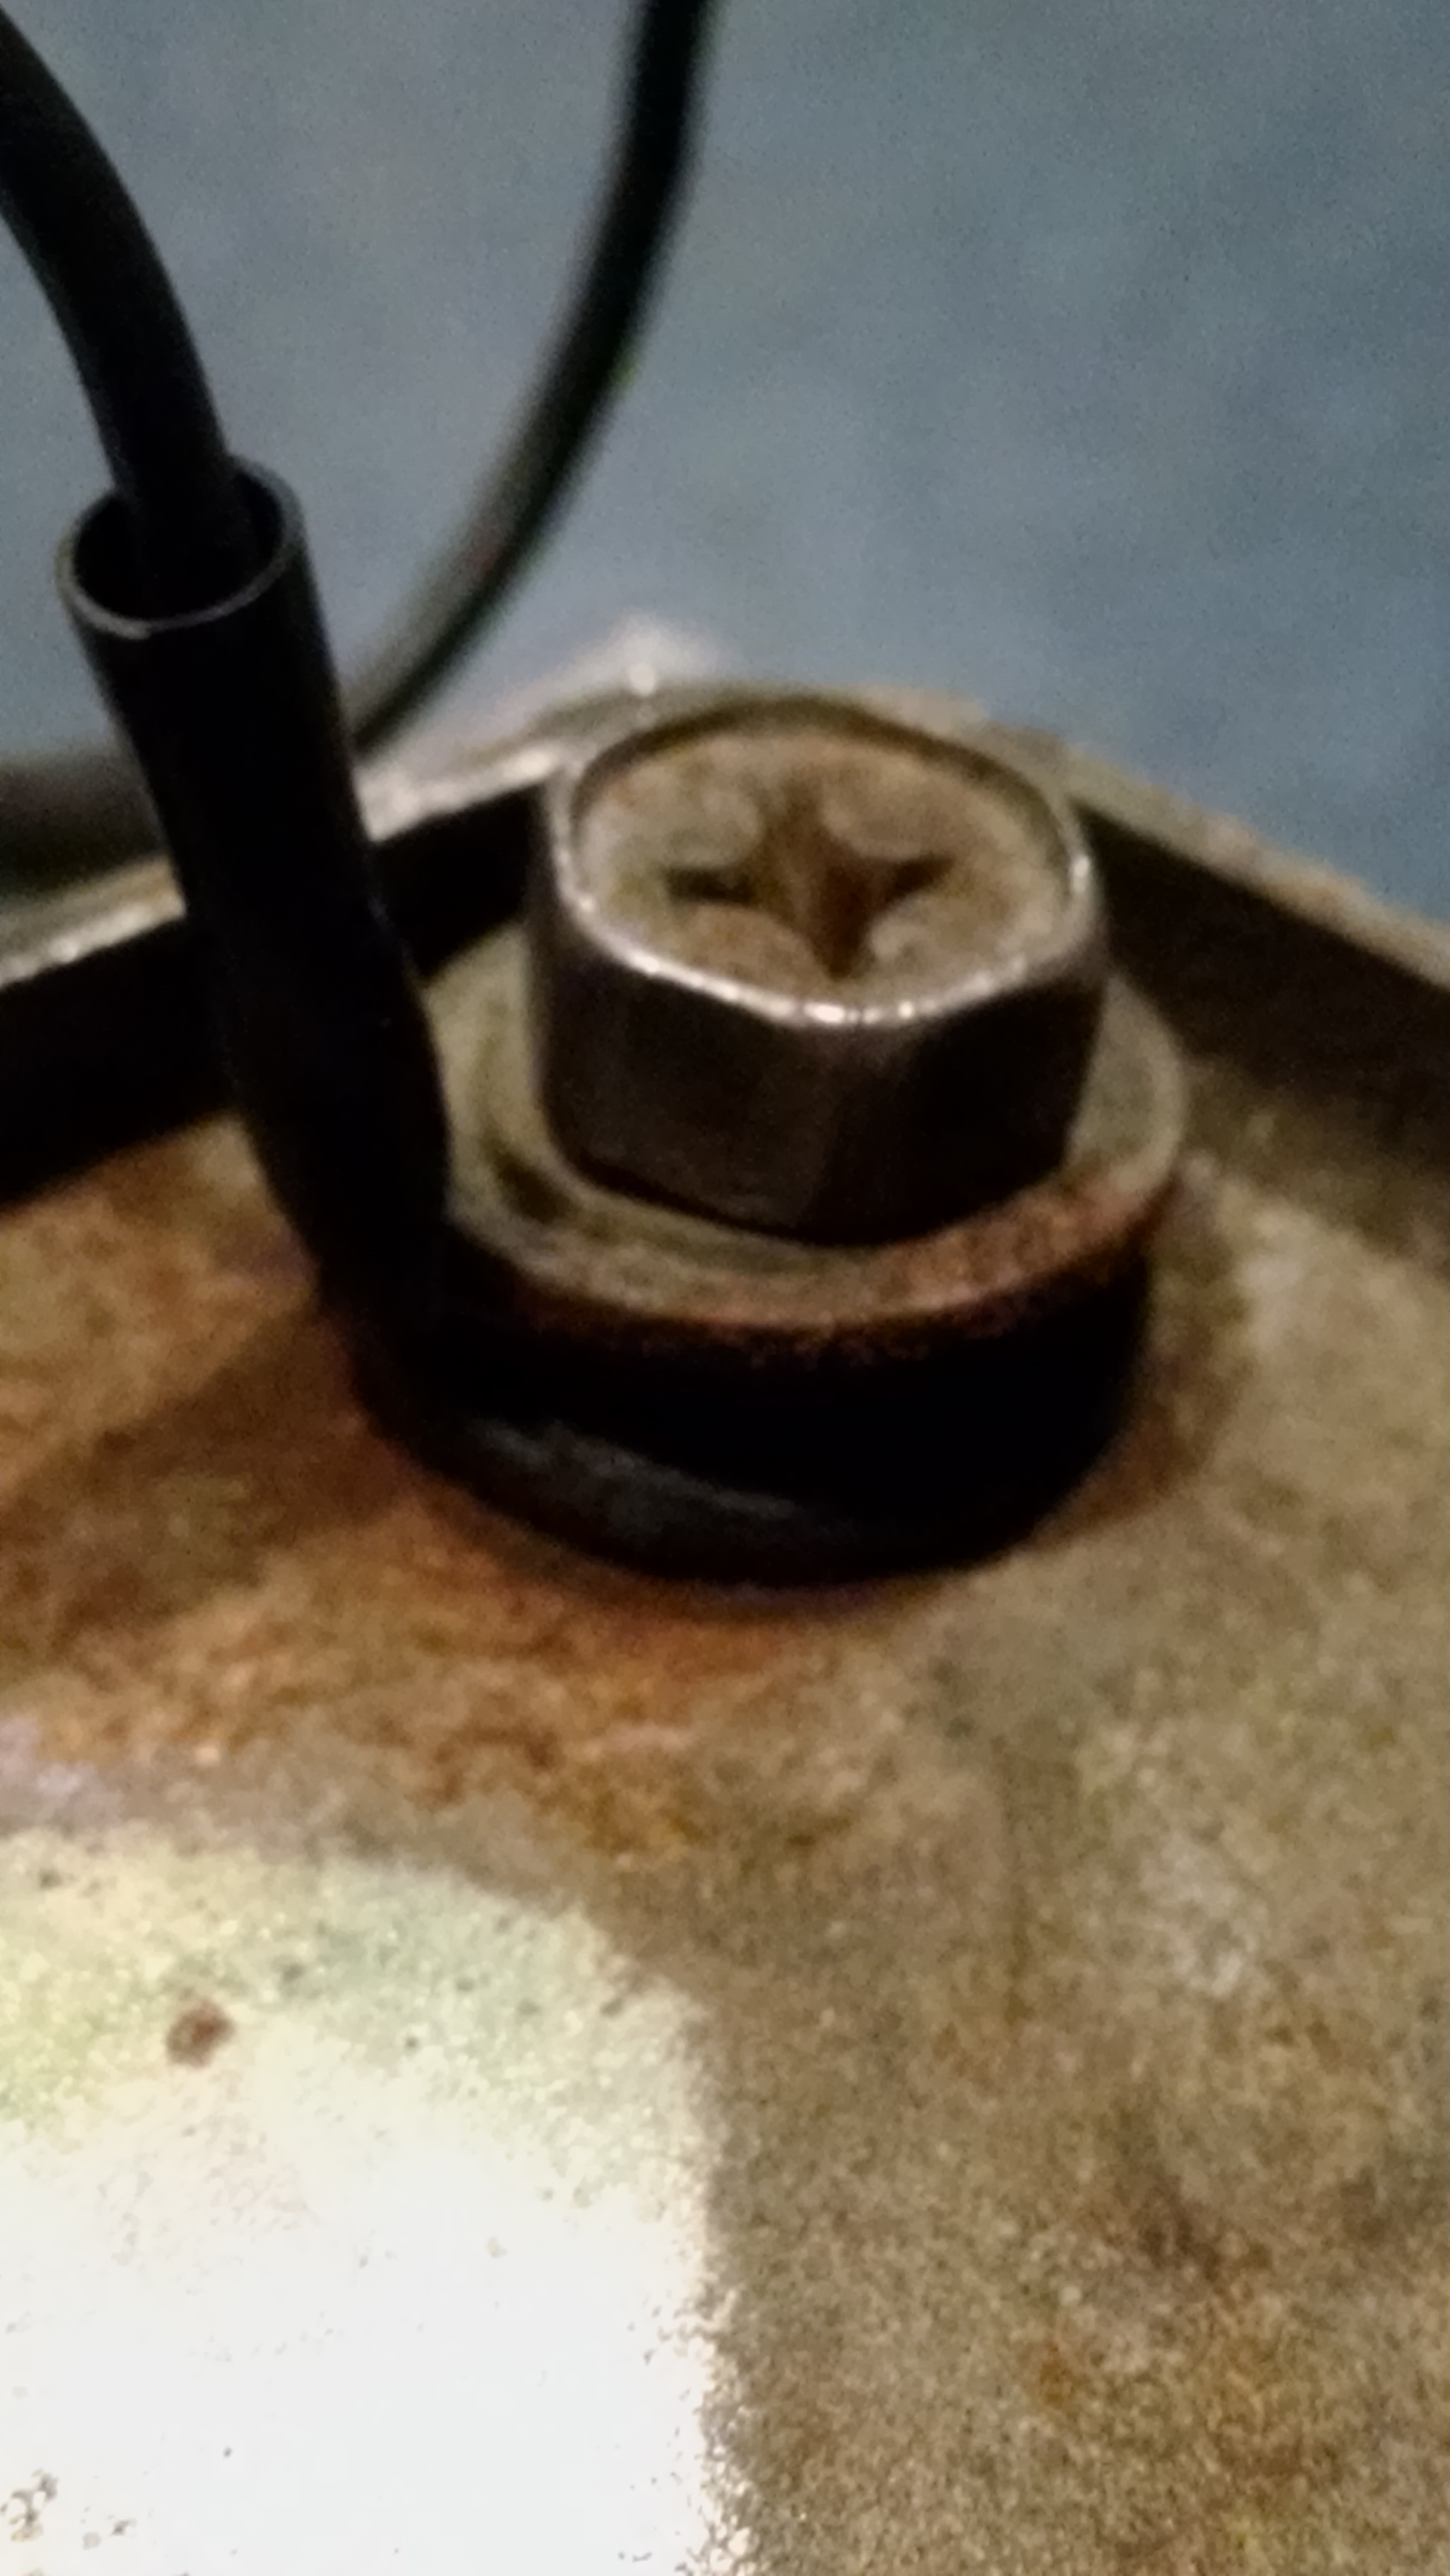
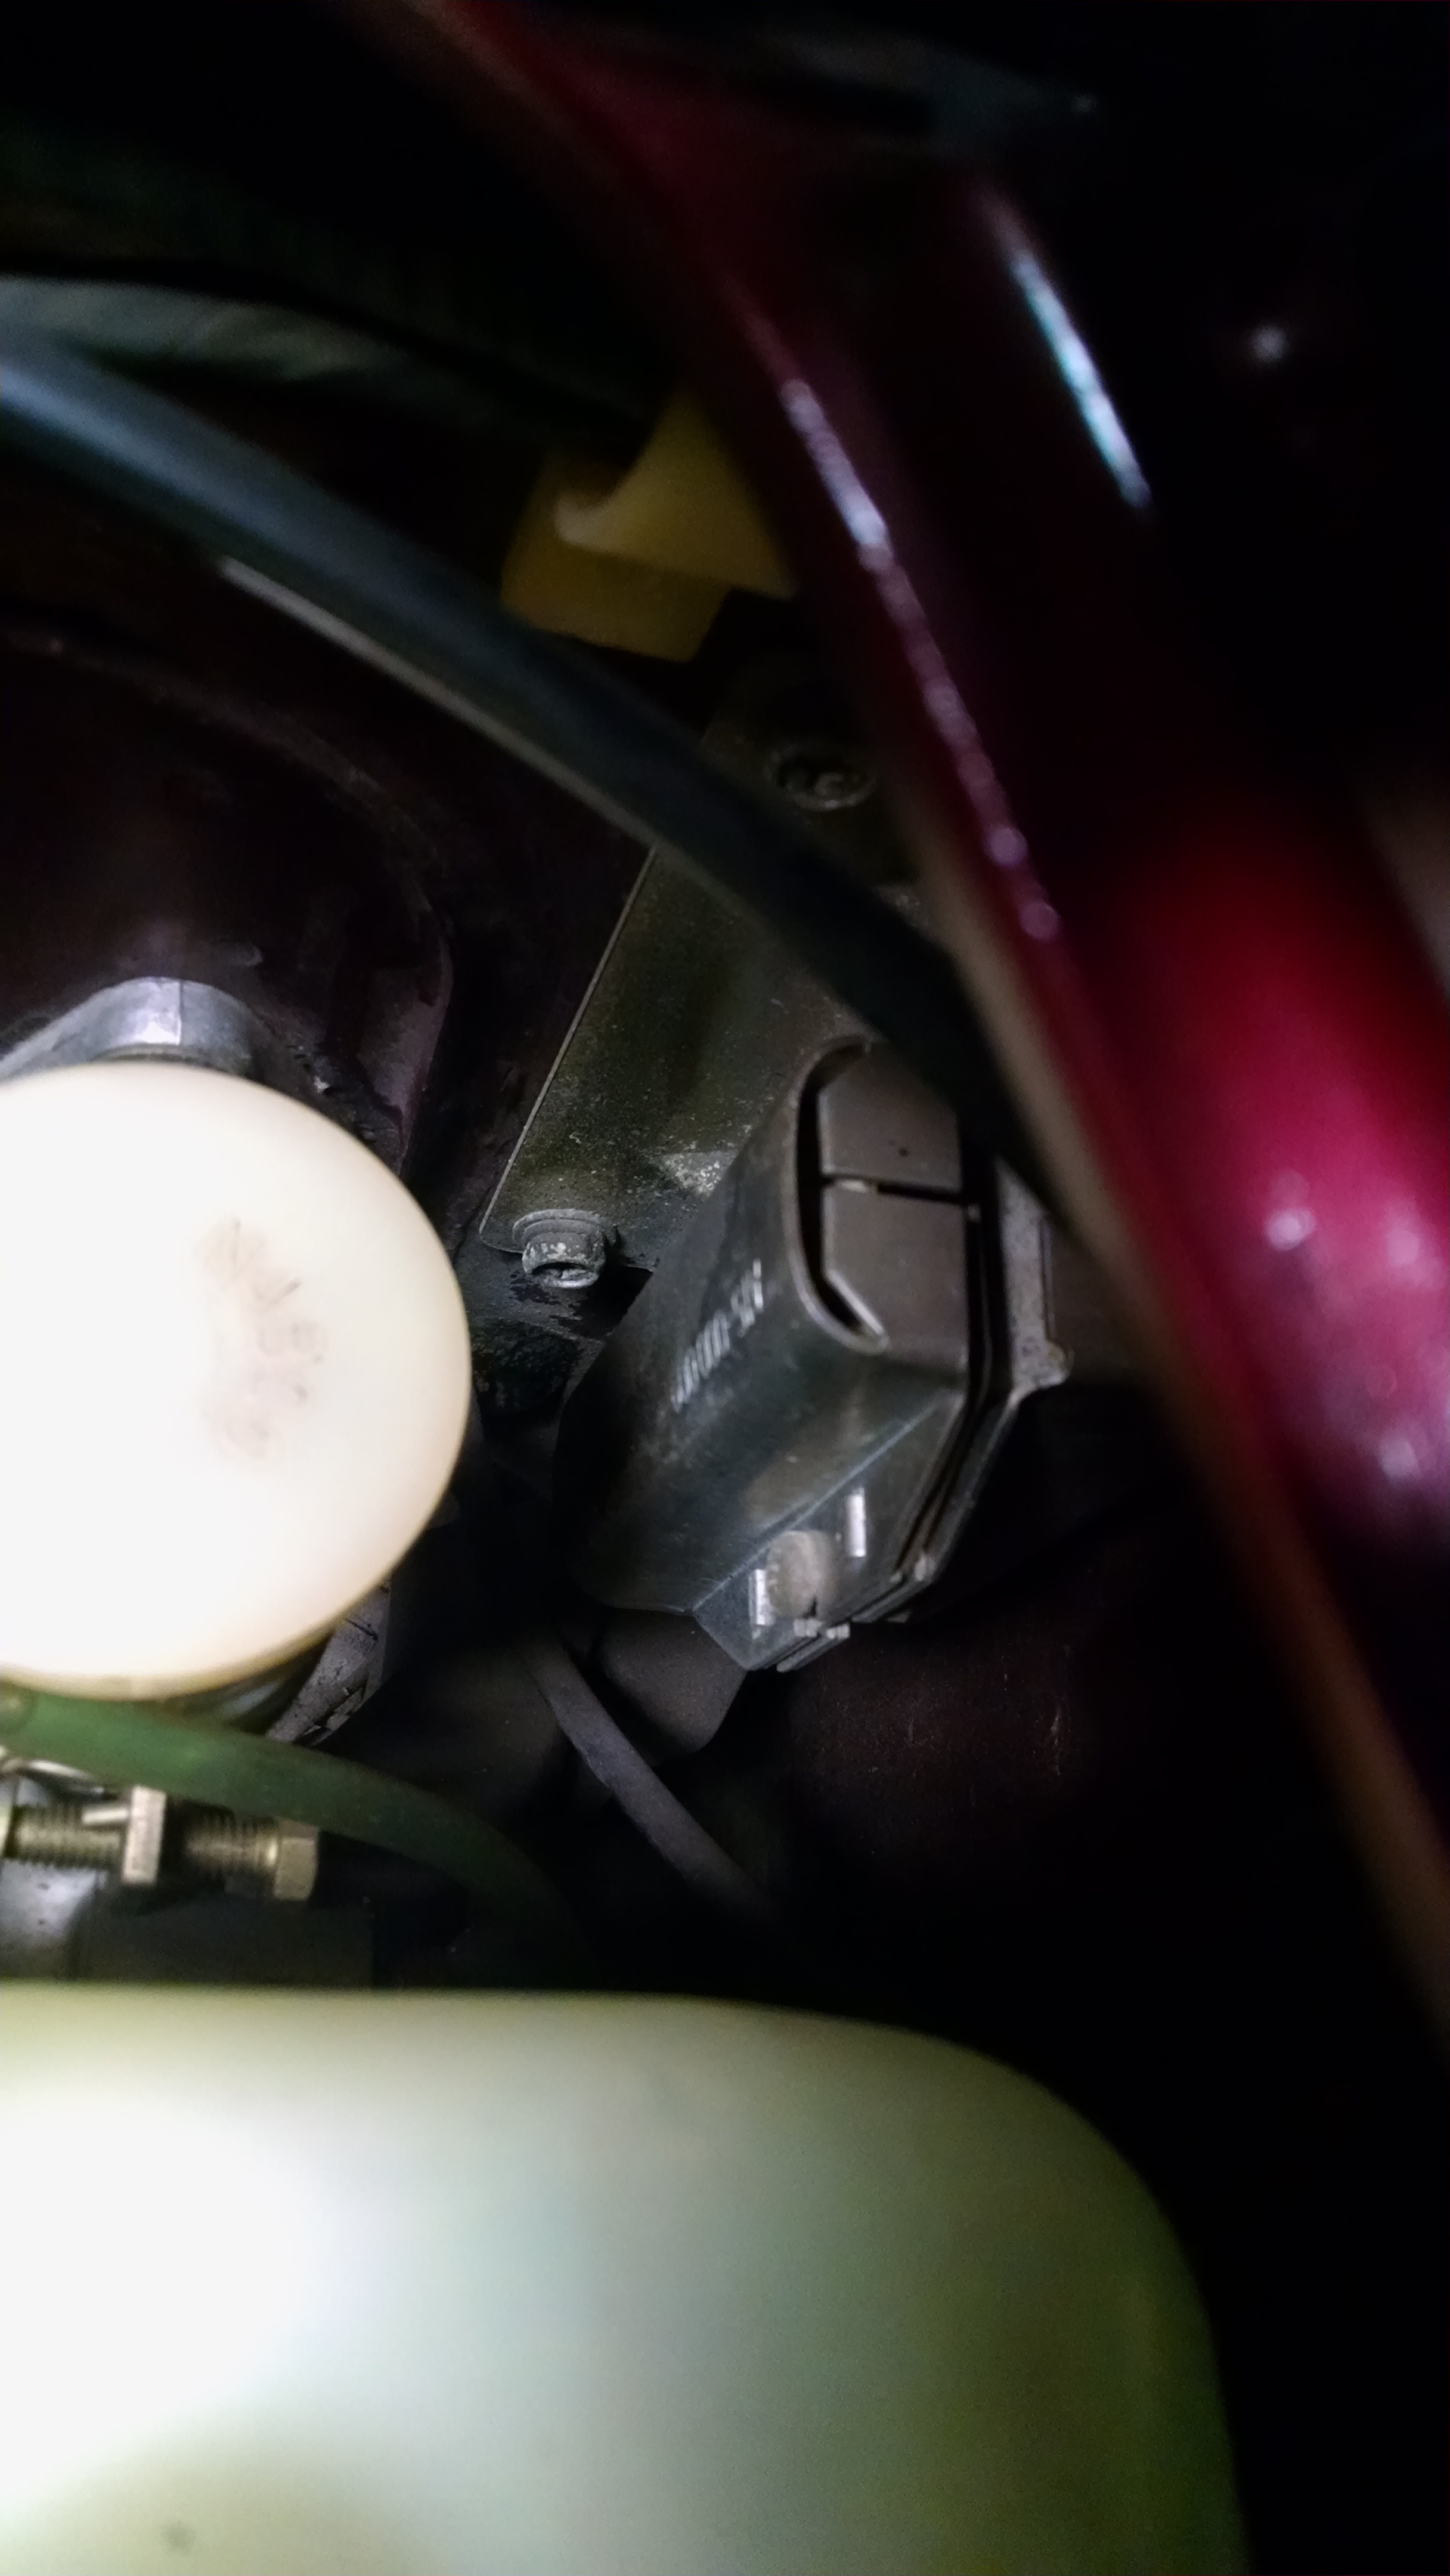
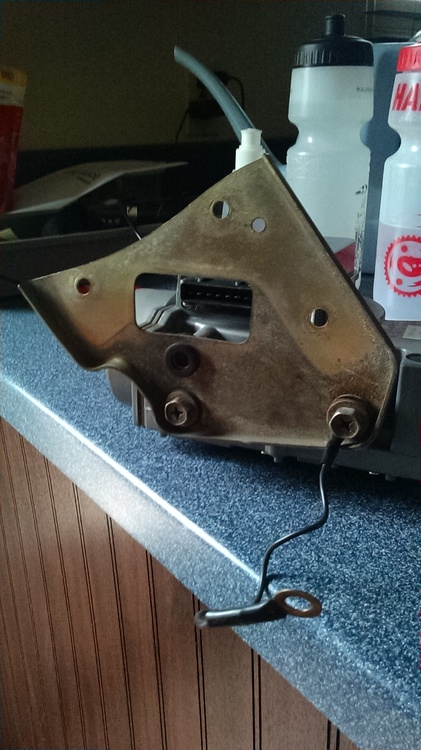
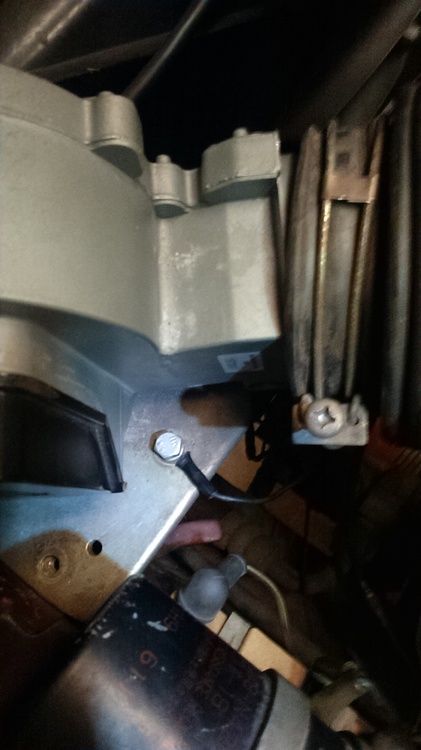
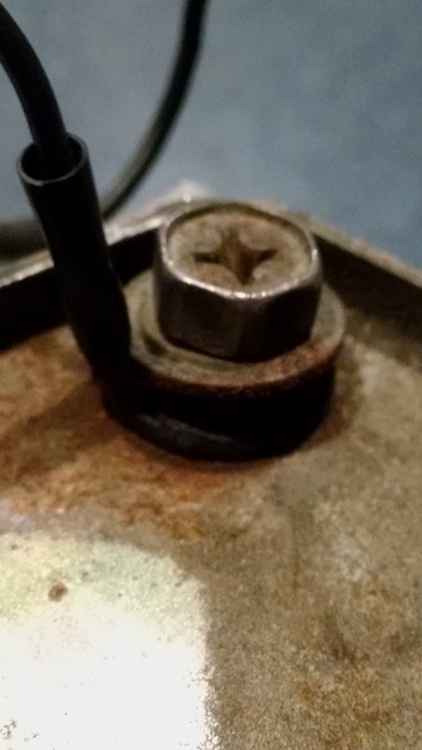
Before I finish hooking up the AFM I thought I'd double check the ground wire location which doesn't make sense to me. These photos show how I have done it, which is how it was before I took it off. It wouldn't be the first time that something wasn't wired correctly, right? I'm still confused because the ground wire doesn't touch the base but is between the rubber grommet and the washer (as seen in the previous post photo). I suppose it still makes a connection with the bolt which in turn makes contact with the base. The other end of the wire mounts to the top of the base when installed. This doesn't make sense to me either because it seems to merely be grounding itself to itself. So....my concern that something isn't quite right and it's better to ask one of you experts before I put power to it.
-
This one's legit. Traded emails and phone calls with this seller.
-
I get 5-1/2" Tom. Measured as you show - tip of the hood straight out to a vertical level on the bumper.
-
I need a totally functioning unit as a base to continue testing other areas of my FI system. Thanks.
-
Thanks for this, Zed. That's quite a fix EuroDat came up with but beyond my skills I'm afraid. I'll troll for temp sensors but I still will search for a known good AFM to put in.
-
It's funny you say this. The ground wire that ran from the bottom of the AFM and the mounting bracket was WAY loose. And there is a rubber gasket under it which doesn't make sense to me.
-
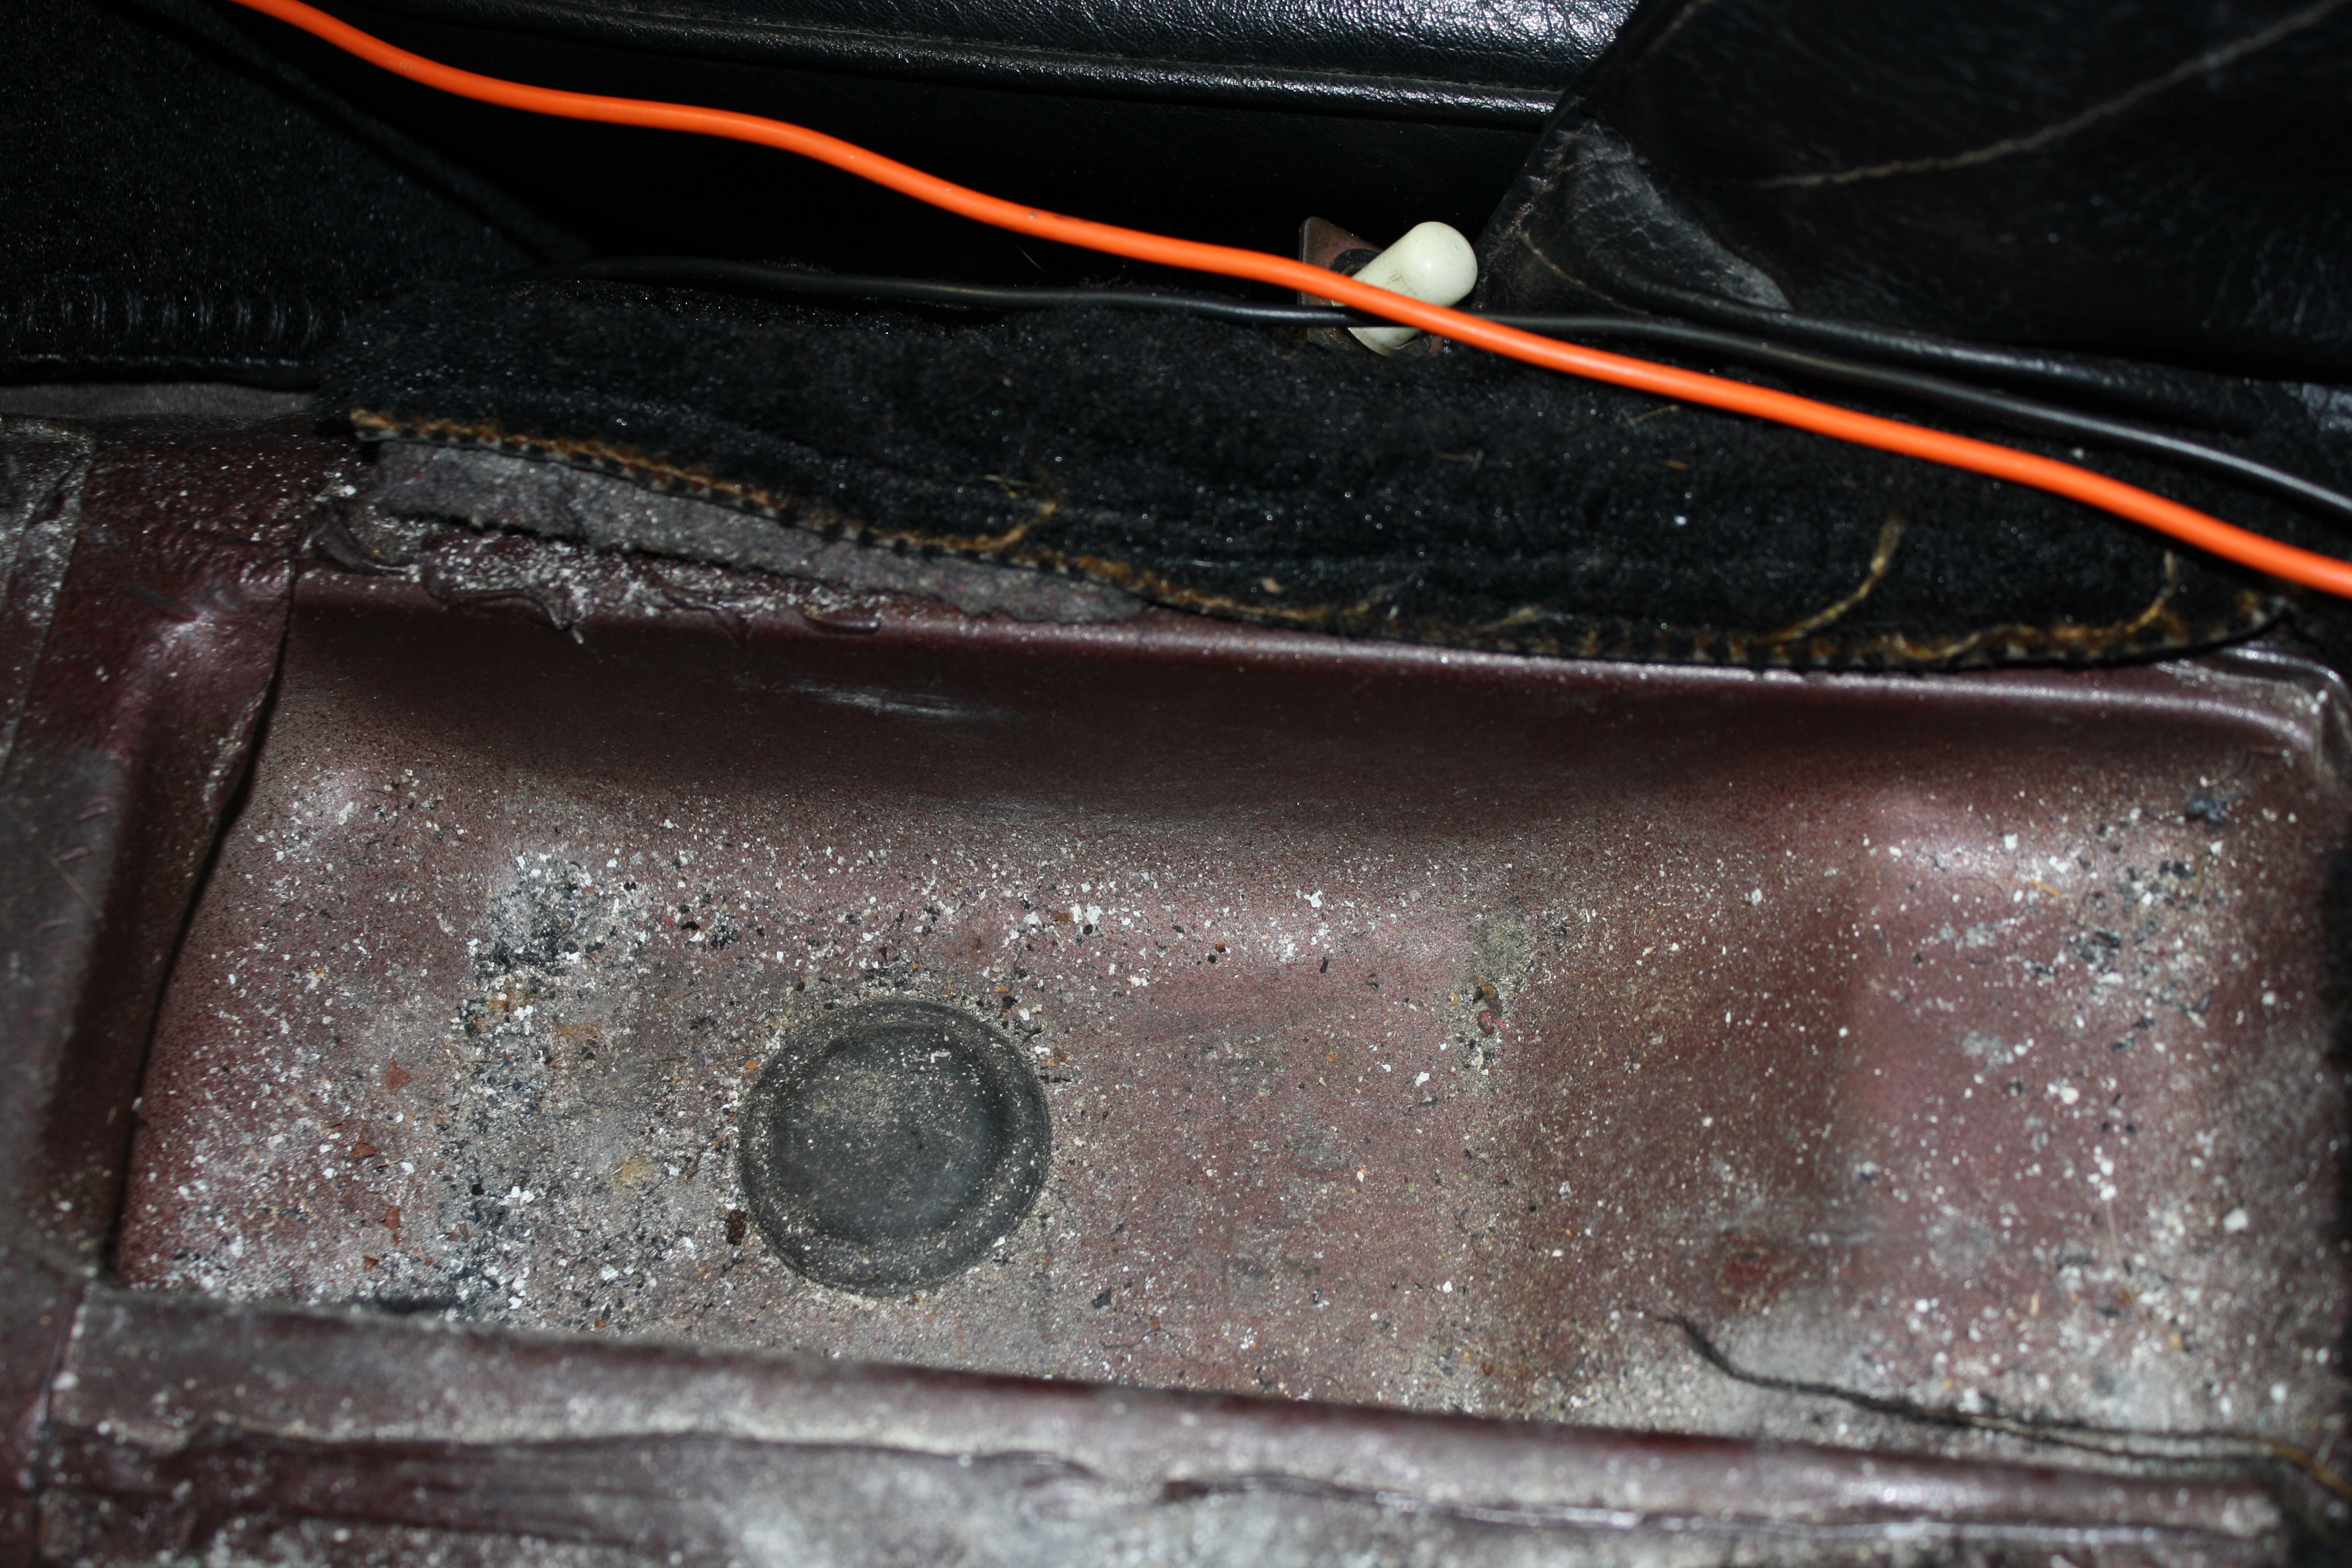
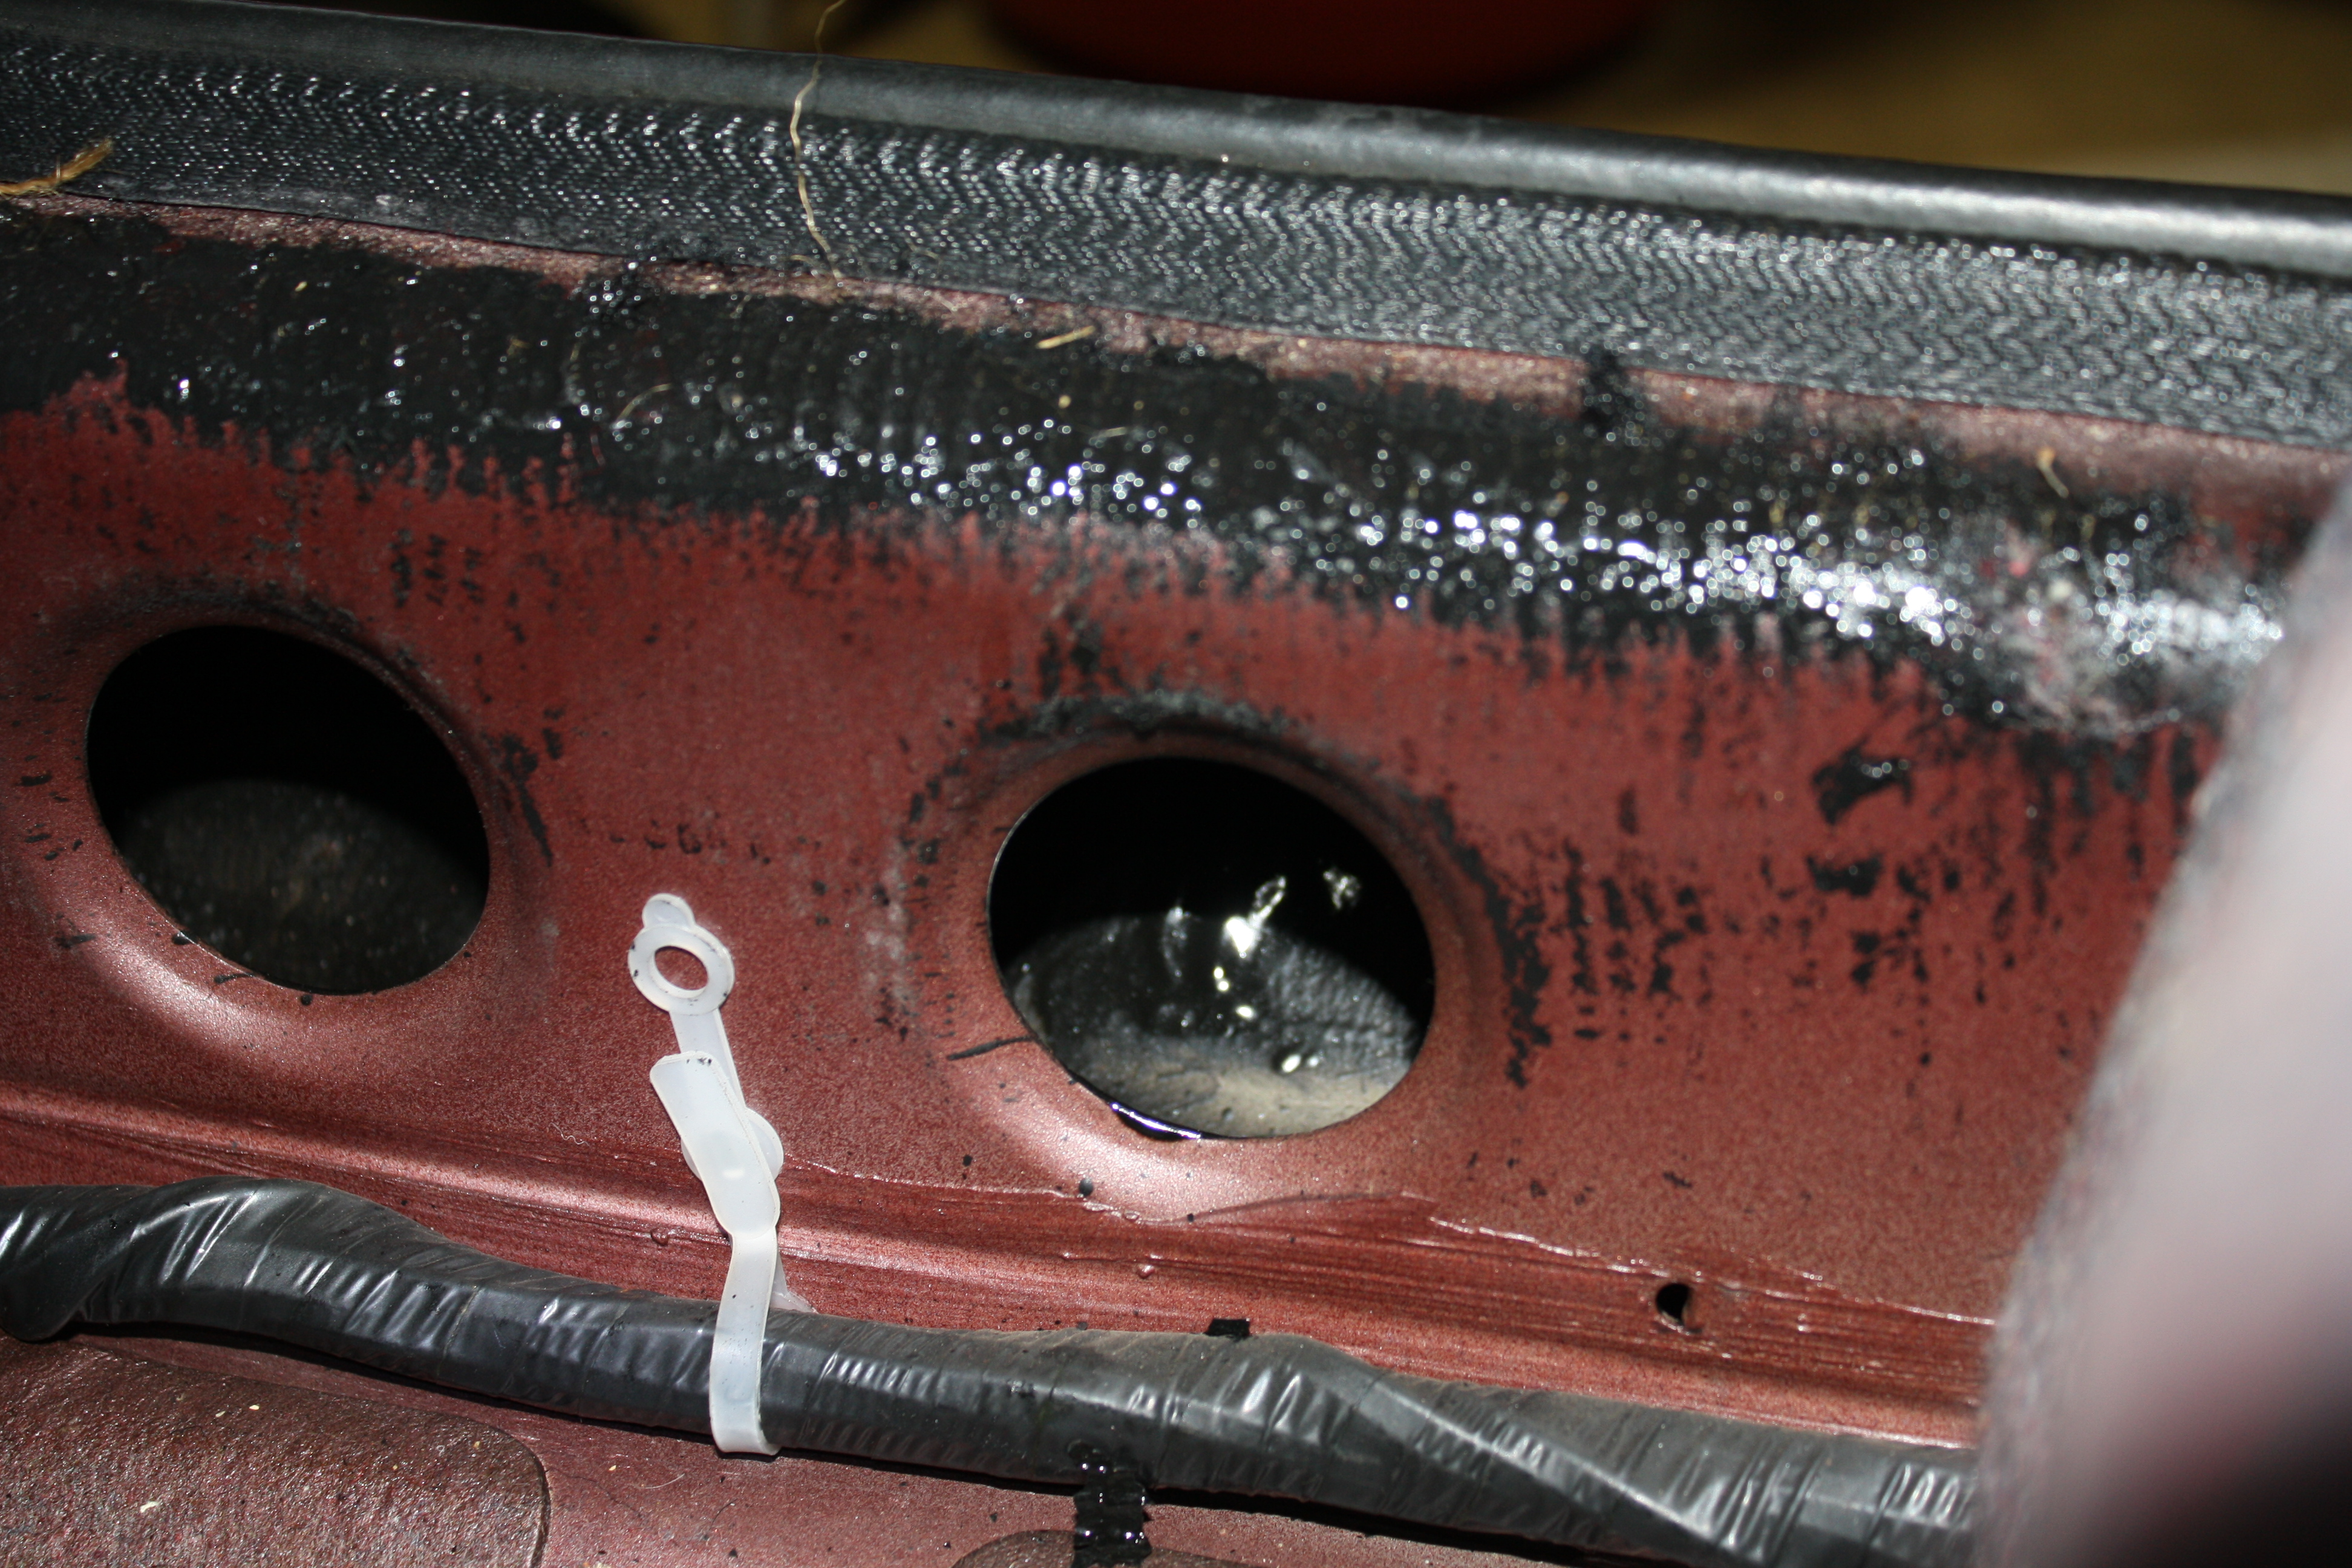
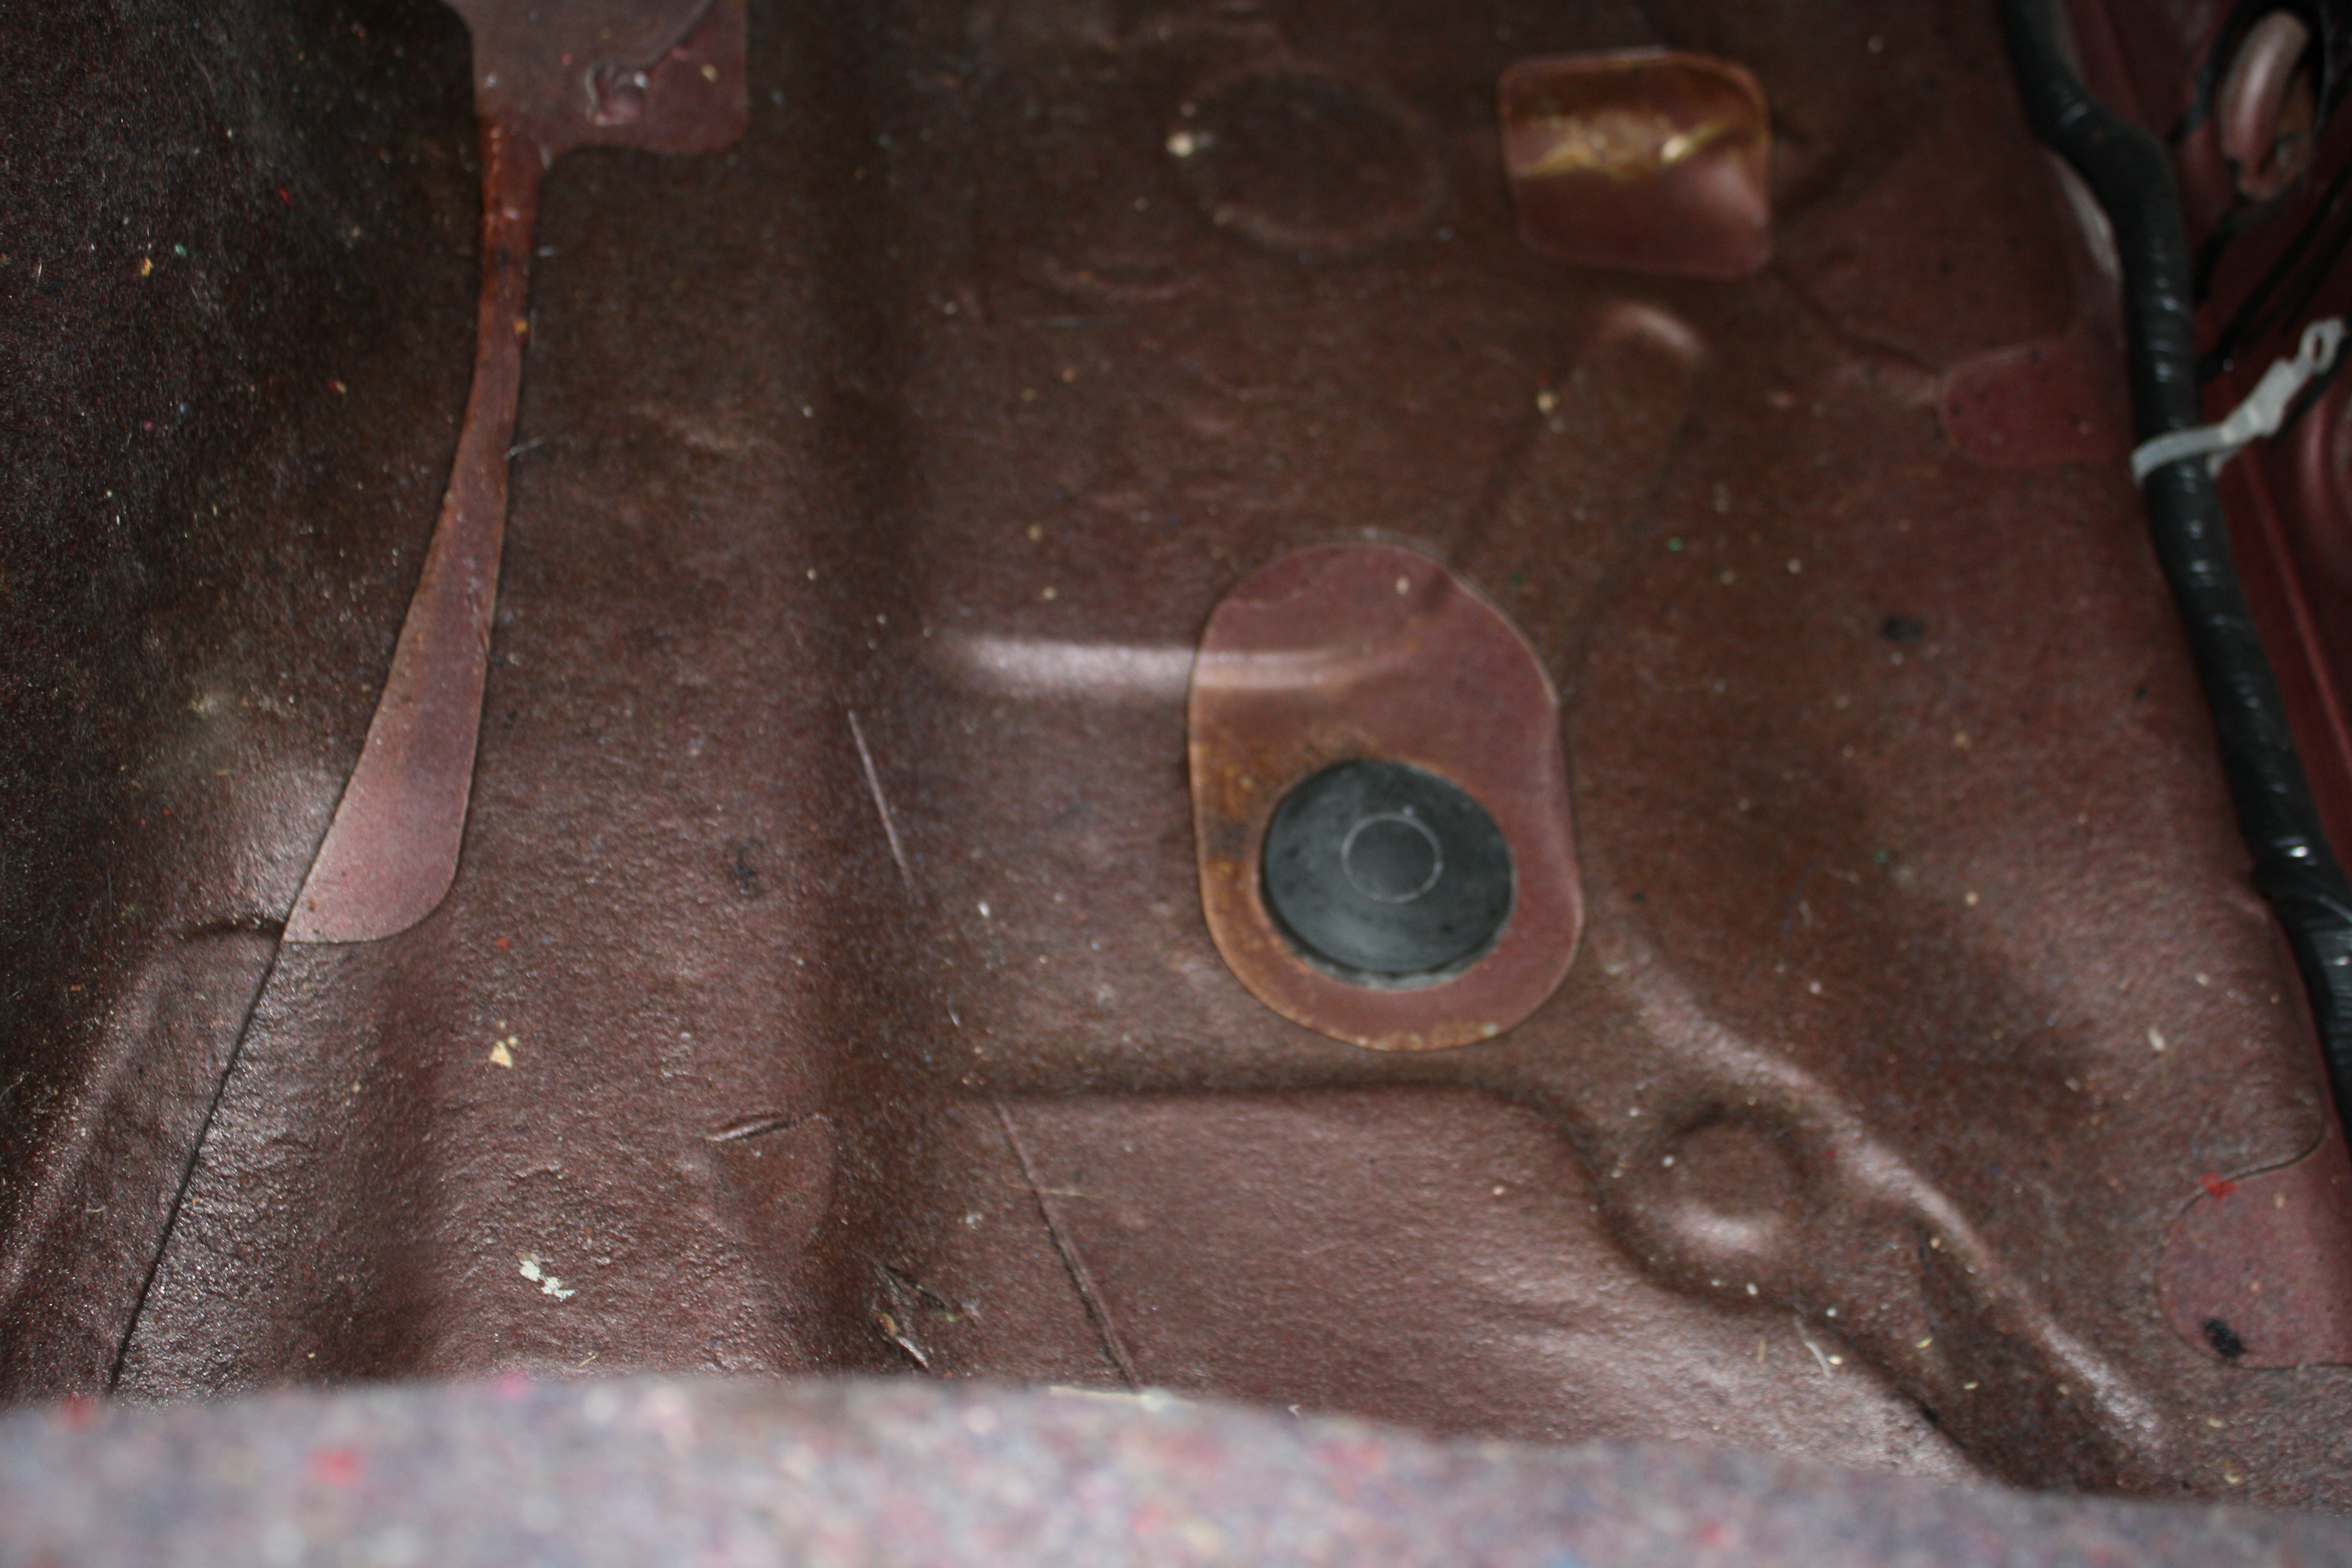
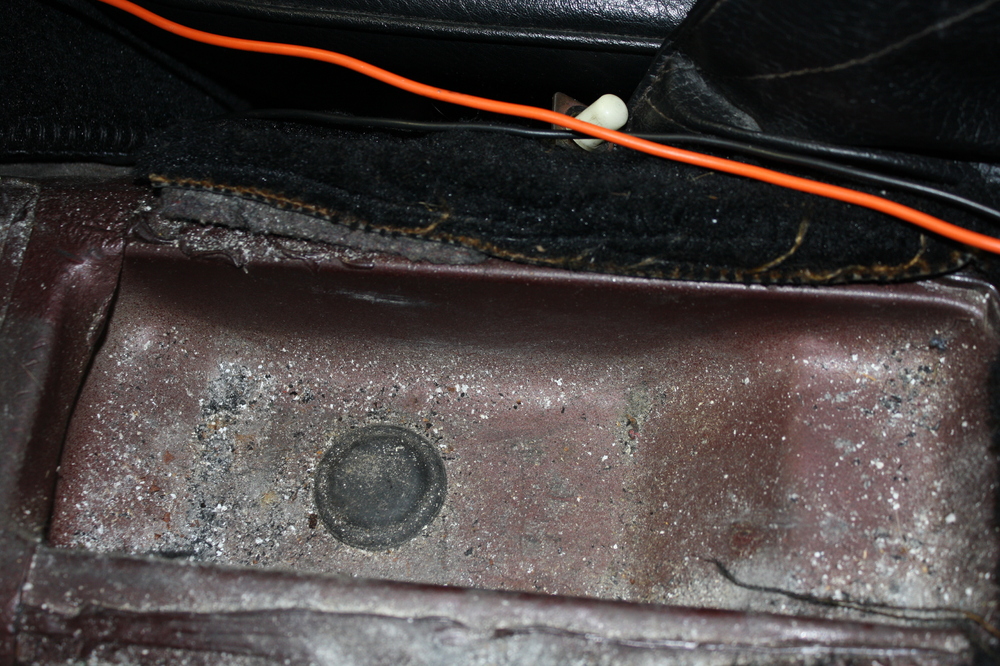
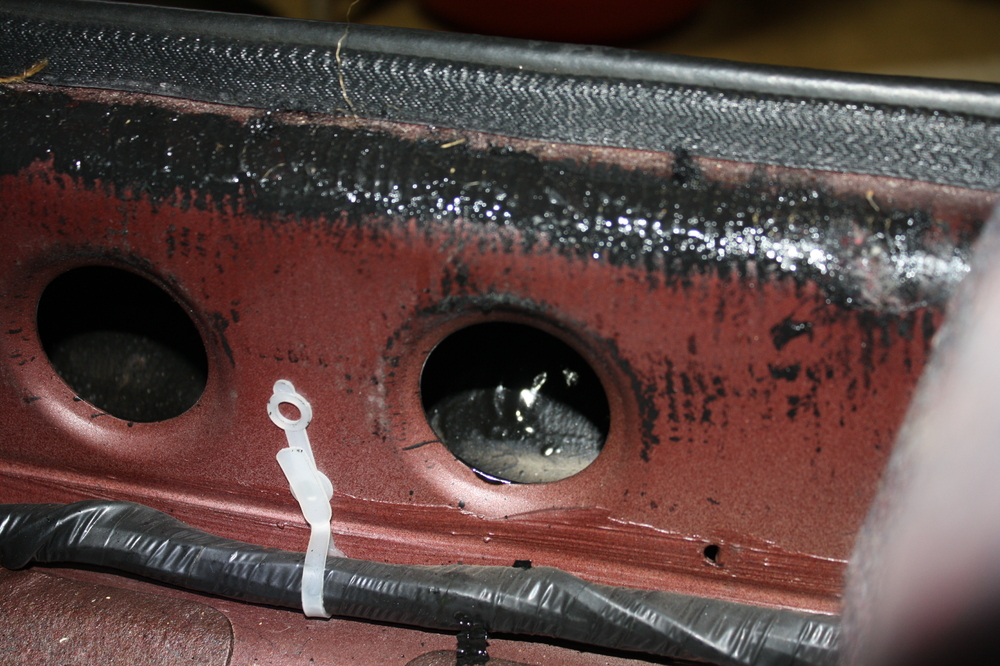
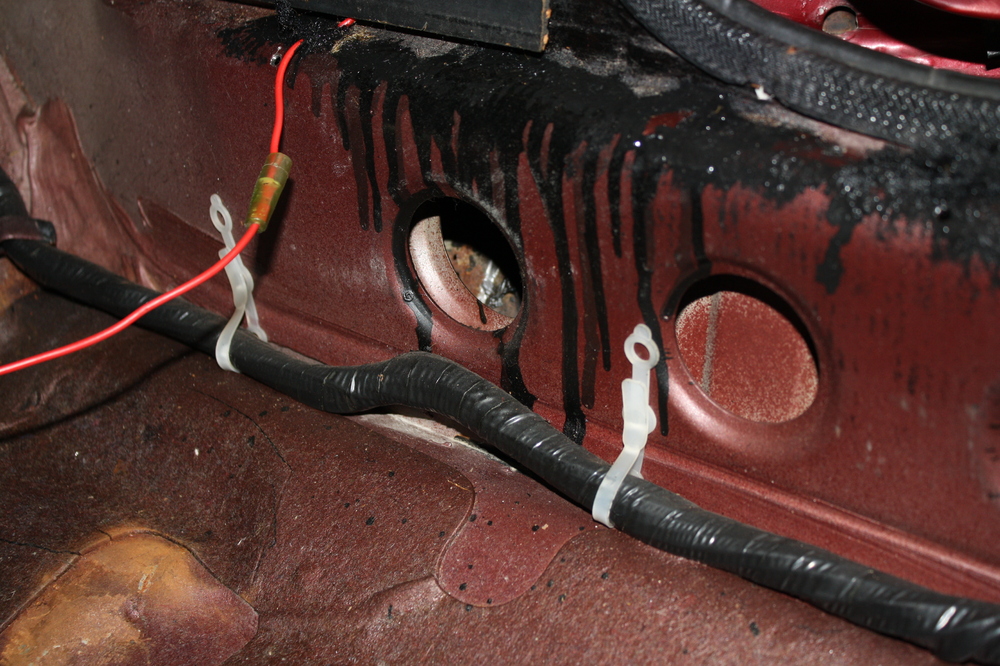
I took a few pictures this evening after taking the console out to repair shift linkage. The PO had said that the car was coated by Ziebart in 1980 (there was a sheet in the glovebox presumably from the second owner stating it was done then). He showed me the little holes drilled into the door jambs with little plugs but I was skeptical. I no longer am after the photos. The coating is visible through the holes in the inner rockers and I suppose this could be the reason the car is rust free in the critical areas. I like the look of the floor pans, that's for sure. Are these rubber plugs easy to get back in if I take them out? You'll see slight surface rust around it that I want to investigate. The cigarette ashes under the console were no extra charge.


-
Thanks, Zed. It sounds like the air temp sensor can be replaced separately. Sourcing one separately seems to be another issue. Any good sources for these or the entire AFM?
-
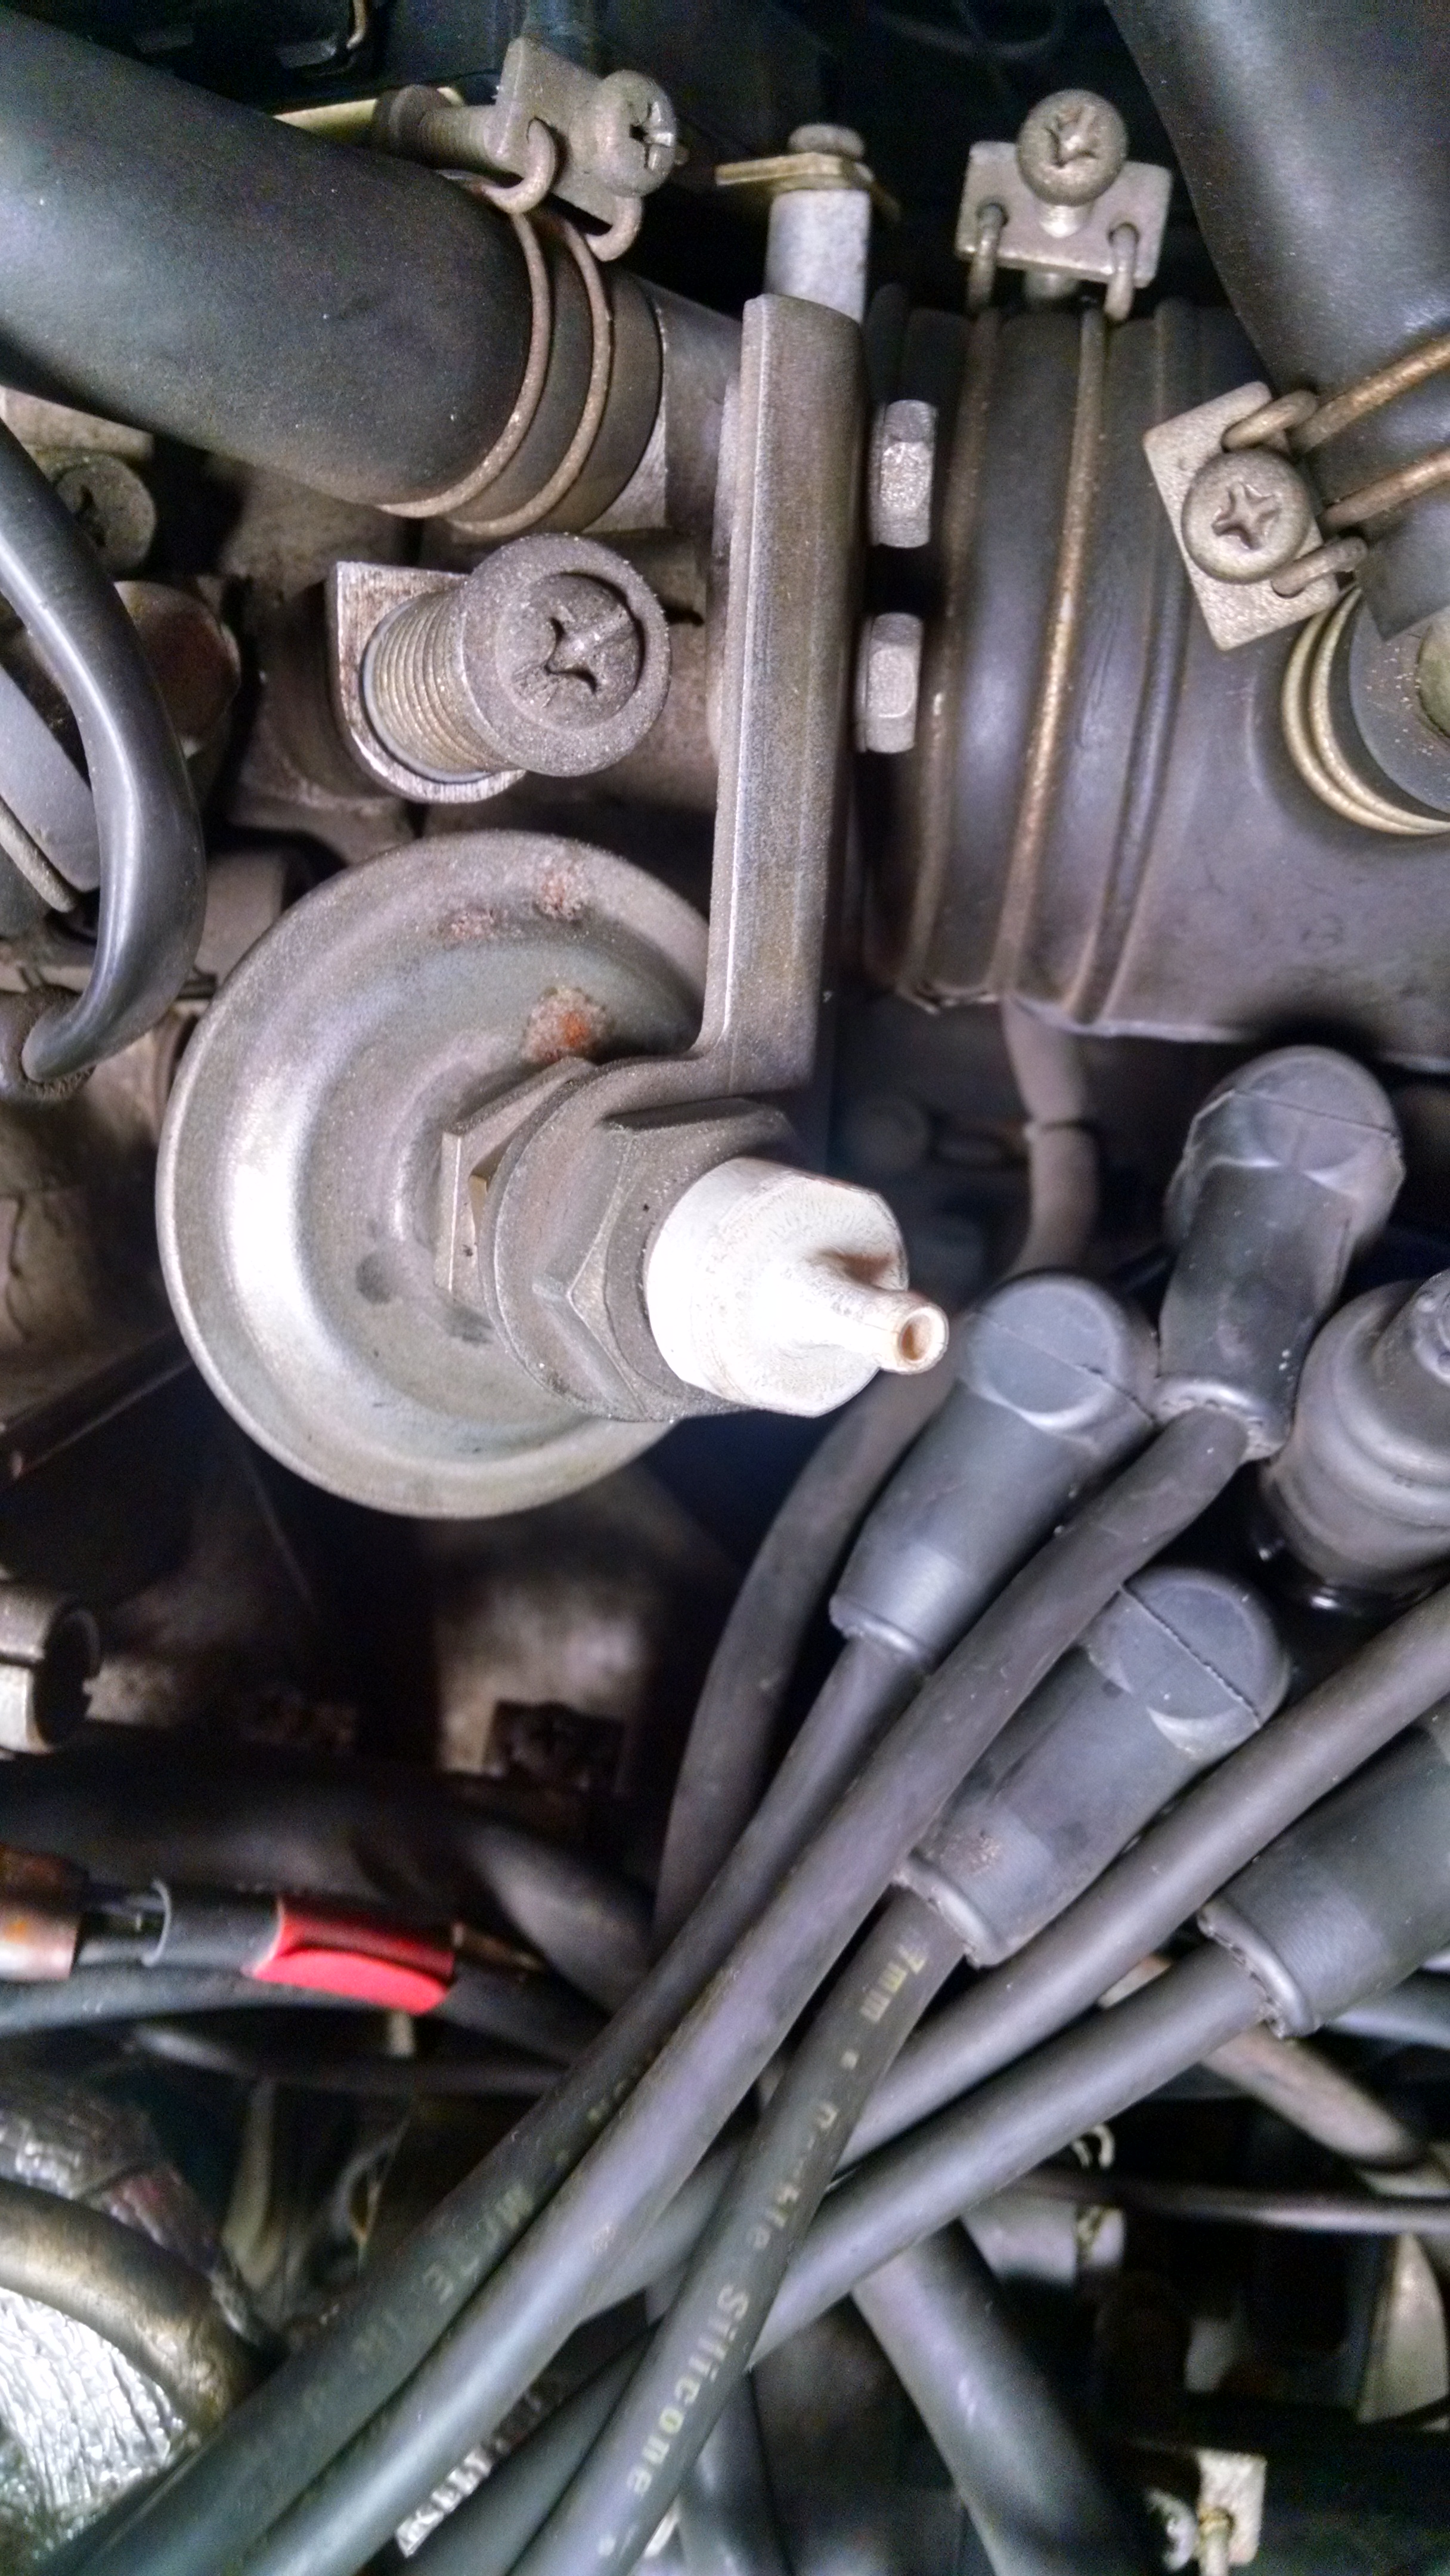
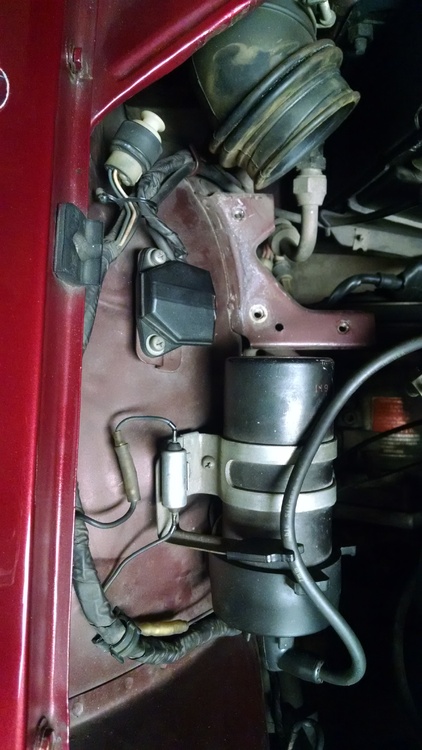
I went ahead and did the testing at the ECU and came up with a couple trouble spots. It looks like the AFM is toast, but I'd like to verify. The air temperature sensor is bad with no continuity at the ECM nor the AFM itself. The manual says that this means replace the entire thing, but is that really the case? Anyone break the unit open and replace the air temp sensor only? The flap on the AFM rubs the housing about halfway through it's travel making a nails on chalkboard sound. Seems like the flap could be filed down a bit, but is this also a certain replacement indicator? I don't see how the heck this could even happen. If the AFM is toast due to the temp sensor or the flap, ignore this paragraph. My resistance readings are off from the stated values in the manual. It would be nice if they gave a range of values, but not here. Readings at the ECU and the AFM are close to each other. Are these acceptable? I've read a couple other threads describing adjustment to change the resistance. Test between pins 6-8 is 228 ohms and should be 180 Between 7-8 is 255 ohms and should be miniscule Between 8-9 is 128 ohms and should be 100 Assuming I need to replace the AFM, could I get some advice on replacement options? I see reman units on ebay for $100. Oh yeah, today's Name That Component installment. Three items in one photo. The little bullet near the coil which has a wire leading to the distributor? The five sided black box? The white plug doohickey that has wires going into it, but leads to nowhere.
-
More good info, Zed. Thanks.
-
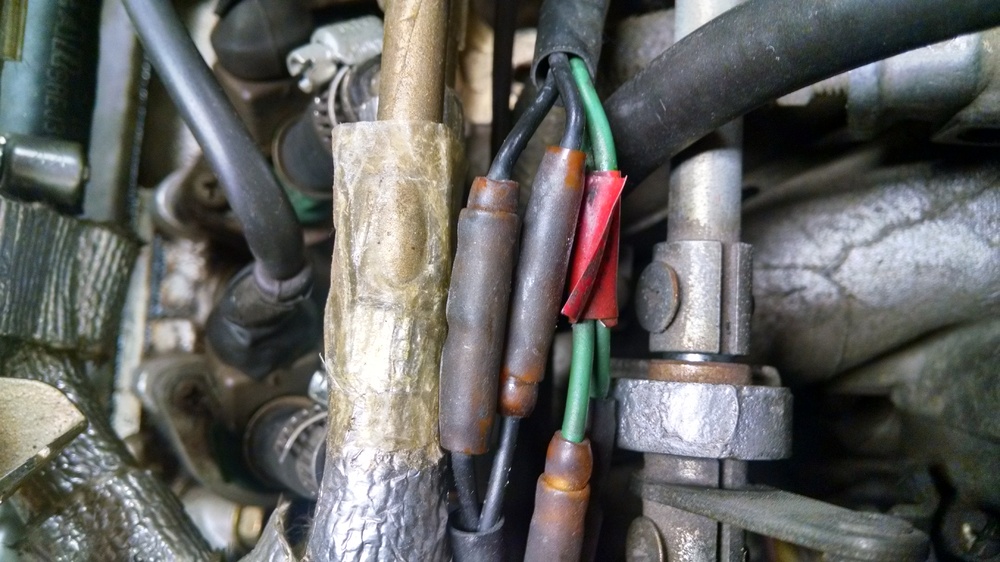
Sounds like fun doesn't it? The winner receives a free glass of water at their favorite restaurant! I started through the process of tracking down my fuel pump and richness condition by going through the wiring harness and checking all of the connections. Man, is this sage advice from ZedHead and others! I found corrosion in many places (still not done), the worst on the thermostat or coolant sensor housing connections. Of course since I am a complete rookie this leads to the inevitable list of questions. I started at what seems like the most logical place - the ECU. I started here to follow the harness to it's many terminations. Stumble #1 was an almost immediate link to a box just above the ECU which I believe is the fuel injection relay. Should I pull the plug on this and check for corrosion? The harness runs through the firewall and goes into this guy just below the power brake booster. Dropping resistor? Same question...check the harness here? Quite tricky to get to. Moving down the line I come to a nest of these types of connectors which are quite difficult to pull apart. I'm trying to be careful and not break any of these. Any advice on the correct method? I am having difficulty with these style connectors. I am able to do a half assed job using emory paper and a tiny flat blade screwdriver, but advice on a better way will be greatly appreciated. The largest trouble is broken connectors. I've found two broken ones and broke one myself. So first, what's the correct removal method so my ham fisted self doesn't break any more, and second are replacements available? Not related to my task at hand, but I came across this dude. Is this the dash pot? Should there be a vacuum line attached here? I can find no loose hose or apparent corresponding naked nipple. Last question for this round - what is the recommended method of removing vacuum hoses without tearing them up? So far most of mine seem pretty new and flexible, but older ones seem fragile. Did I mention that this is kinda fun?


-
Thanks, Zed. I've read that one a couple times now. Thanks also to whoever had the idea to upload manuals.
-
Oh yeah...step #1 will be to remove and check every connection. Would dielectric grease be recommended before reconnecting? Step #2 will be vacuum lines. Should I completely remove every line to get up close and personal to check for cracks? Thanks again.