S30Driver
Member
-
Joined
-
Last visited
Everything posted by S30Driver
-
 If you have a timing light, go down from 1 thru 6 on all cylinders one at a time and crank to verify that each plug is getting spark. If they all do, it should run for 3 or 4 seconds just on the starter fluid, unless the timing is way way off.
 -
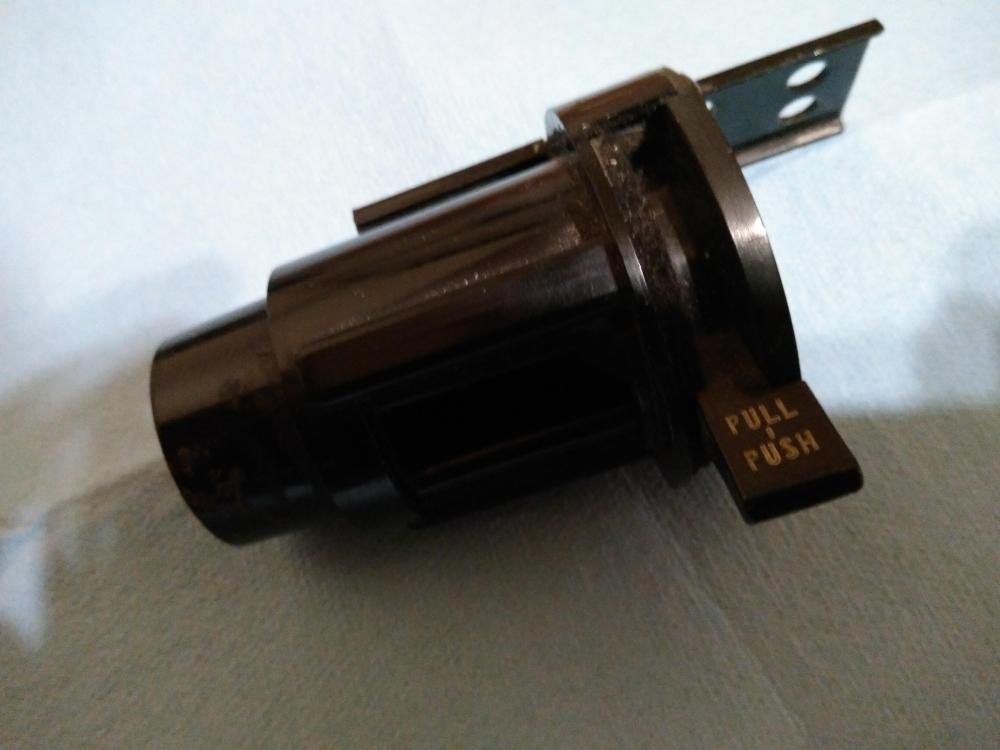
Here is one I have ... Lever opens a rectangular shaped vent opening. I think all the AC optioned 280's had them, many lost over the years from po foolery. Push to close, pull to open for that big blast of cool air on your feet.
-
Welcome, and great looking car. Looks good with the ARE Libre's. When you acquire the steel wheels, don't drive it too far with those original wheel covers on.
-
No have not seen that, just got notified within seconds of your post on the Bat 2+2.
-
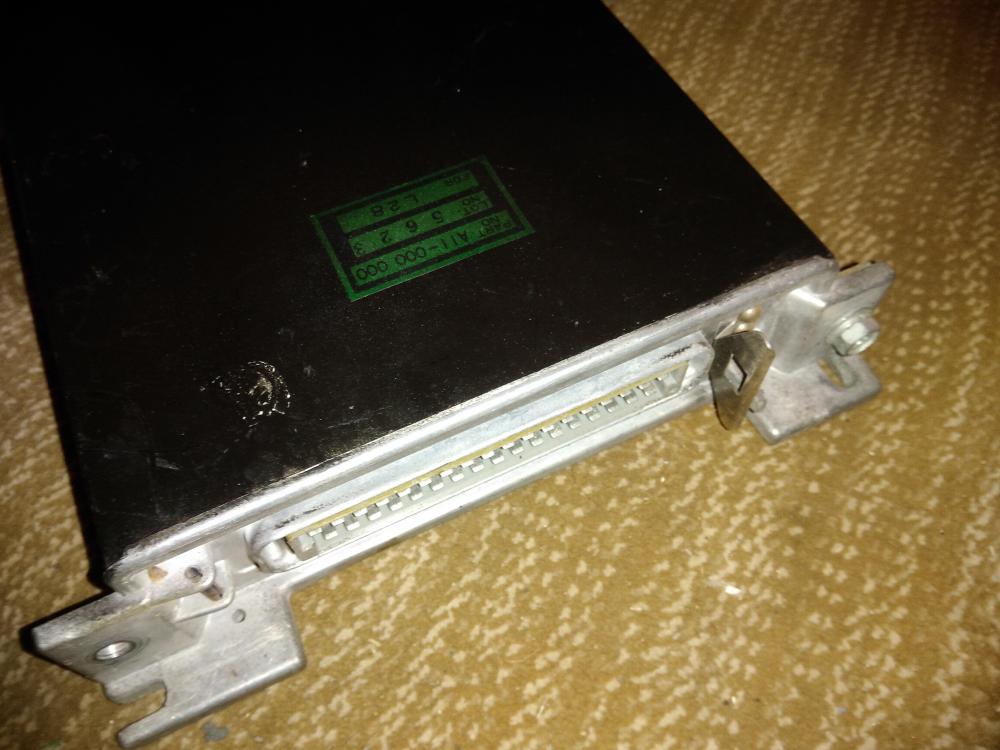
If the ECU becomes a issue, this one was known good from a running 75 280z, A11-000. Replaced with the FAST efi system.
-
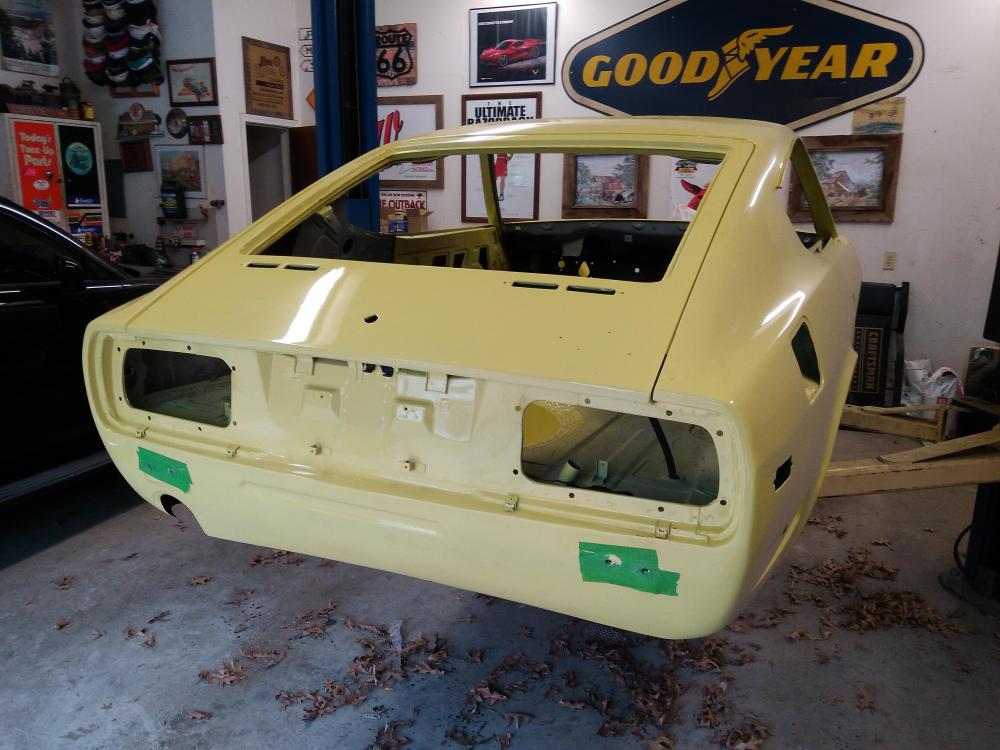
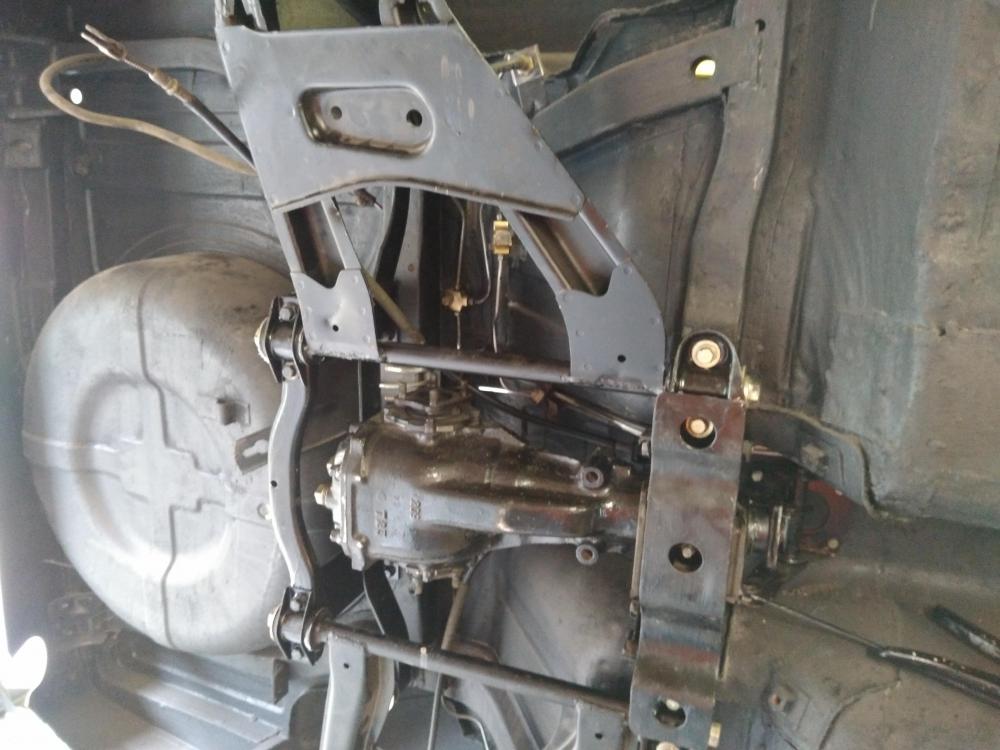
A small follow up on Harold's 240, and I guess a milestone, car is off the rotisserie, getting the front end stuff installed. Should have wheels and rolling around on the ground soon. I hope I have his level of energy and enthusiasm when I am in my eighties. If you look in the dictionary under work ethic, you will see his picture ...
-
Off topic for a moment but watch out for the severe weather in your area tonight Cliff. NWS tornado watch. Tried to send you a pm earlier but you have that disabled. Stay safe. back to regularly scheduled programming ...
-
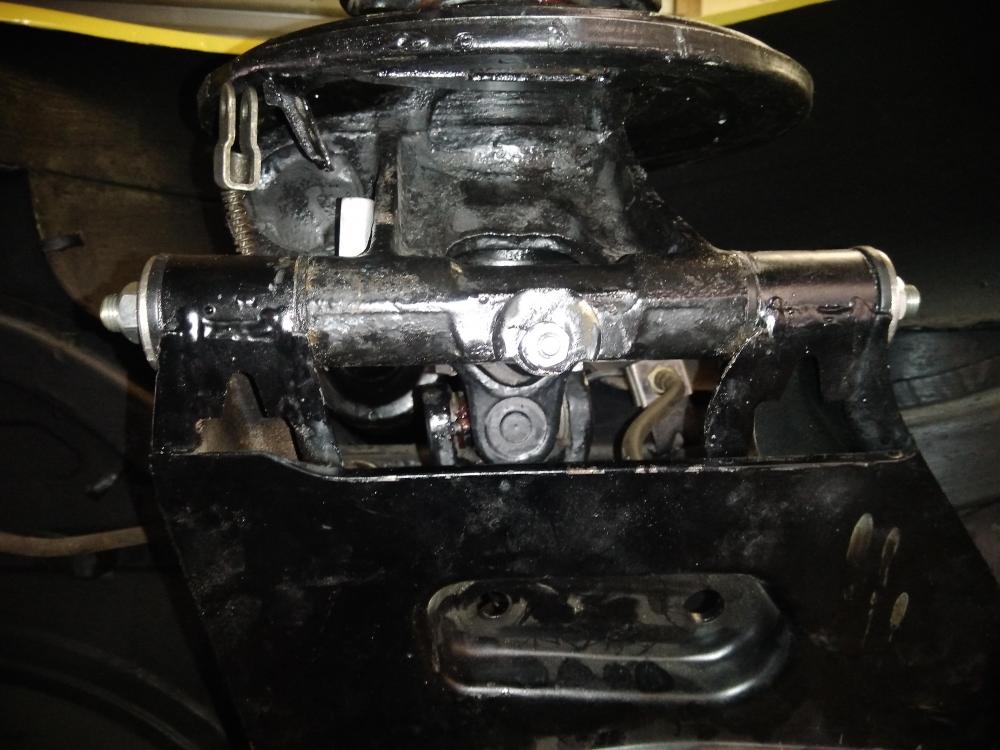
From the 77 factory shop manual : You will need a 10mm long hex socket for your torque wrench.

-
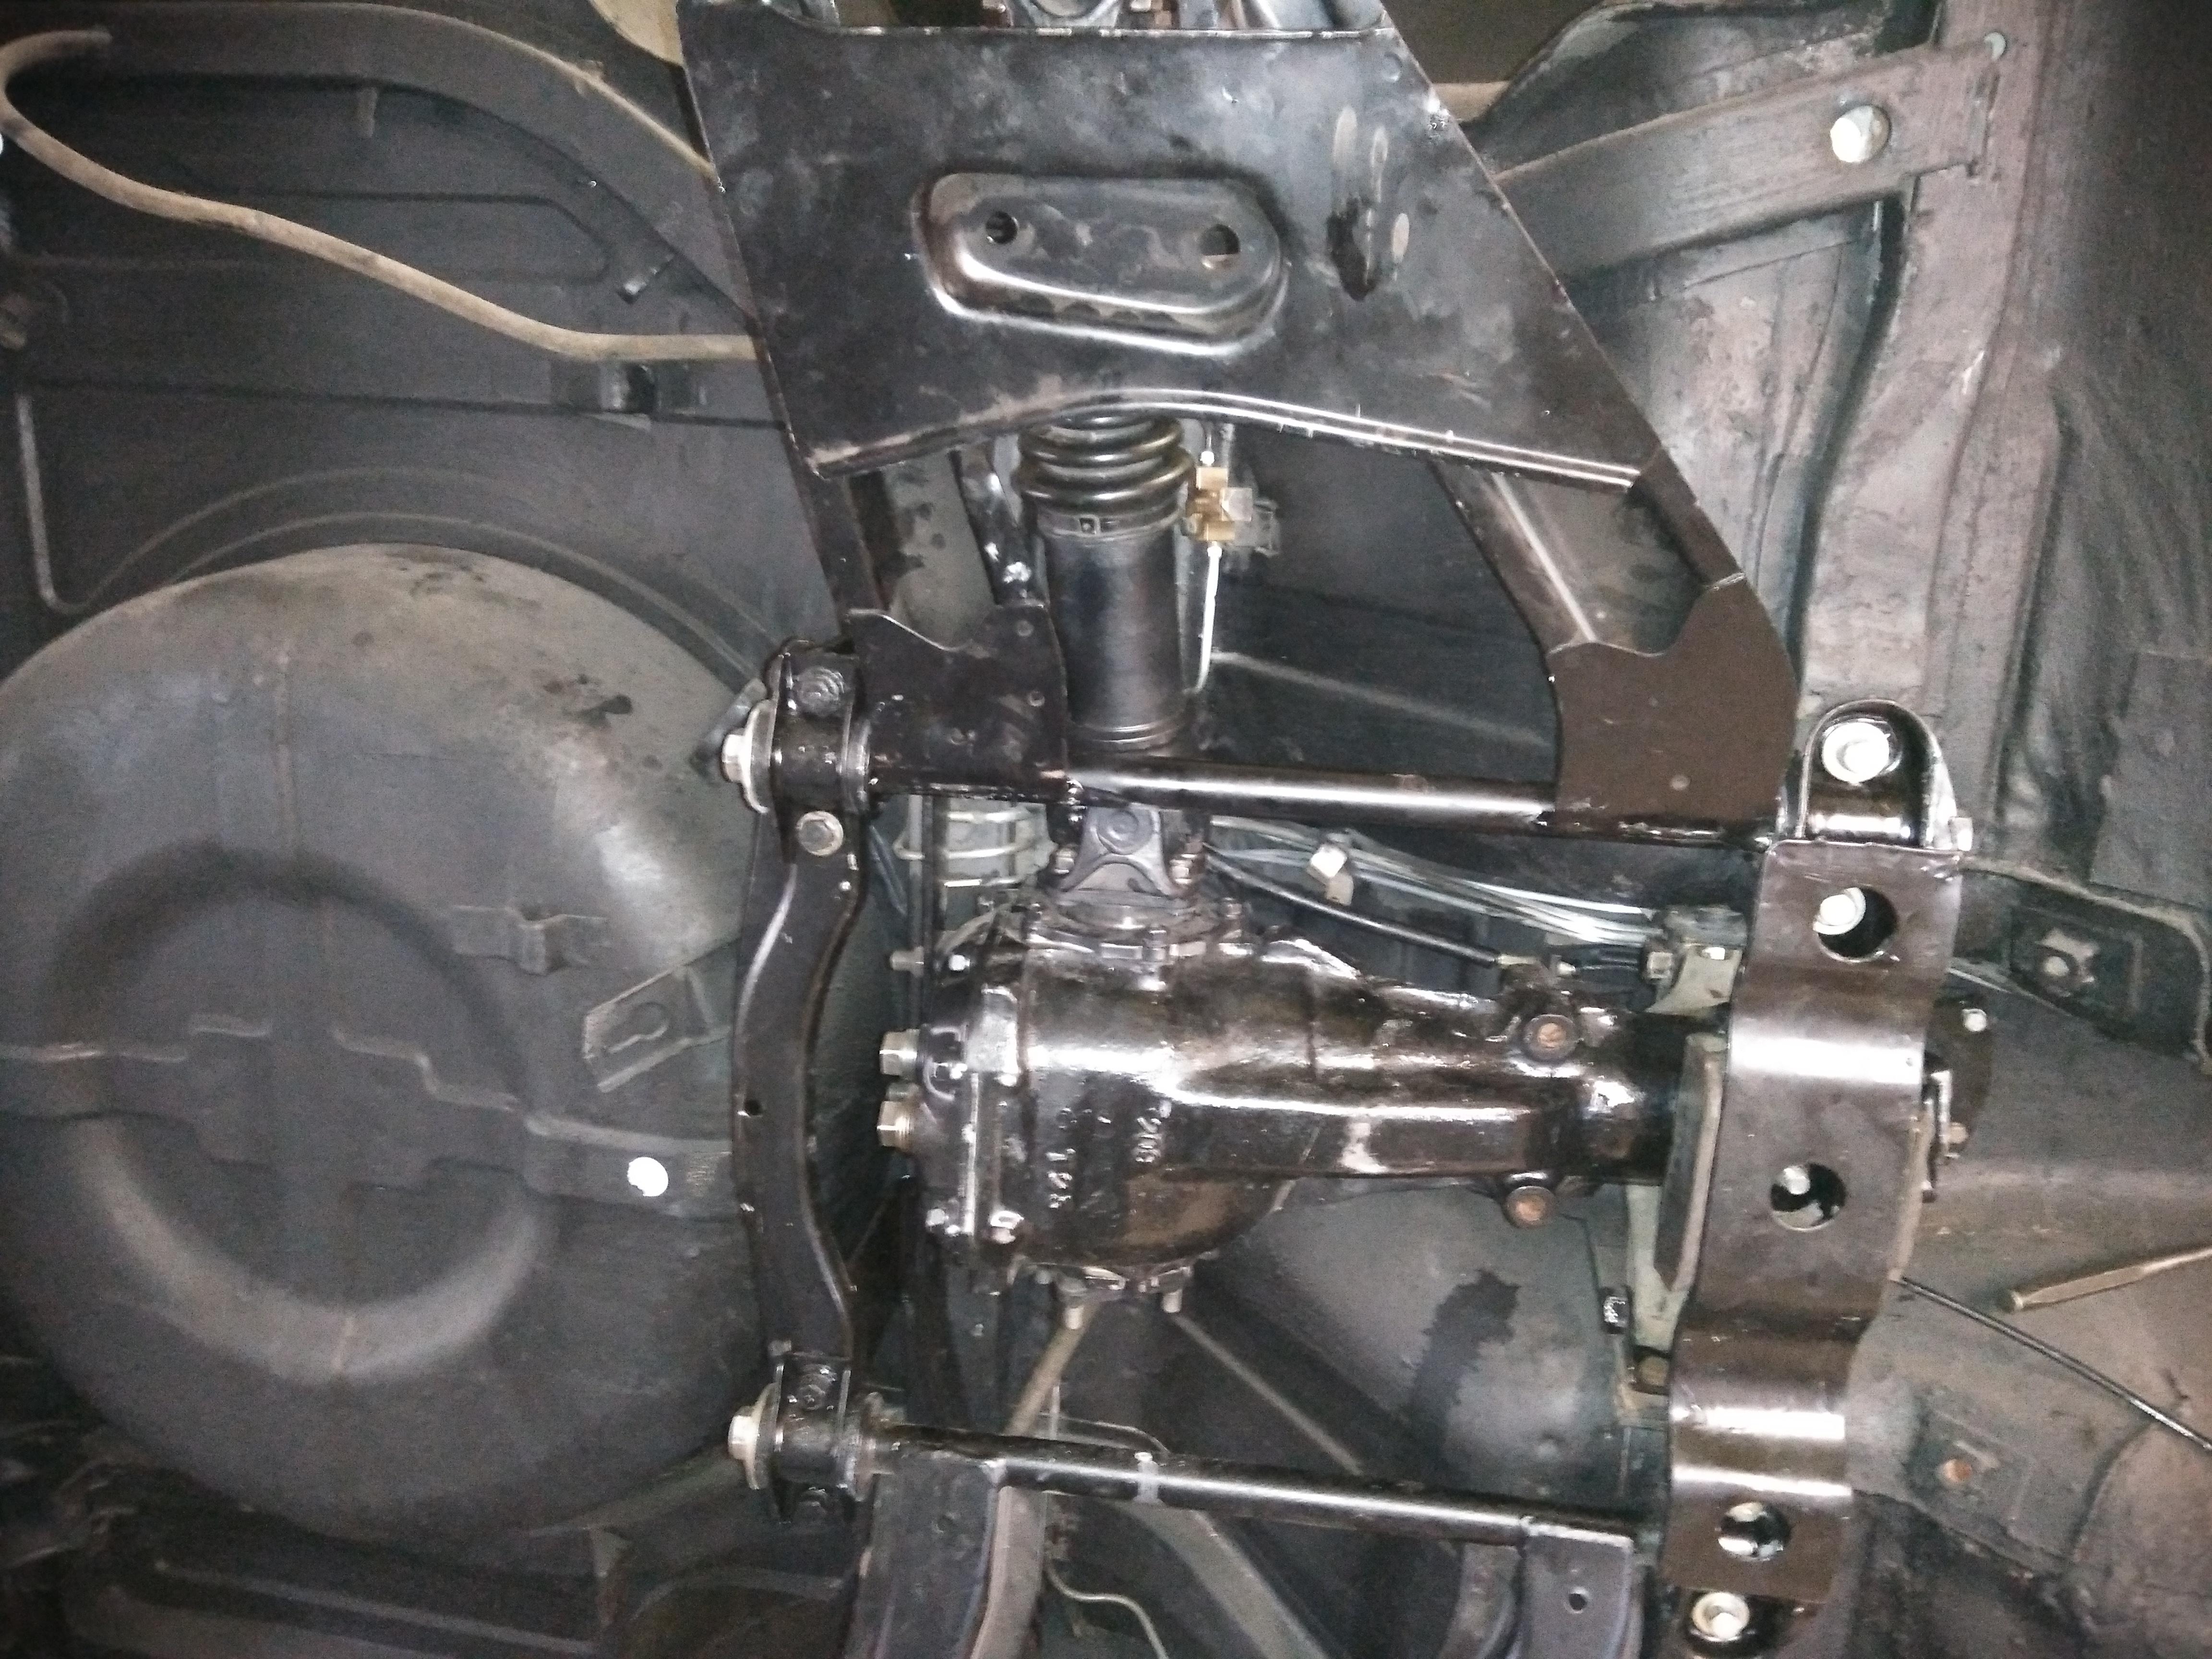
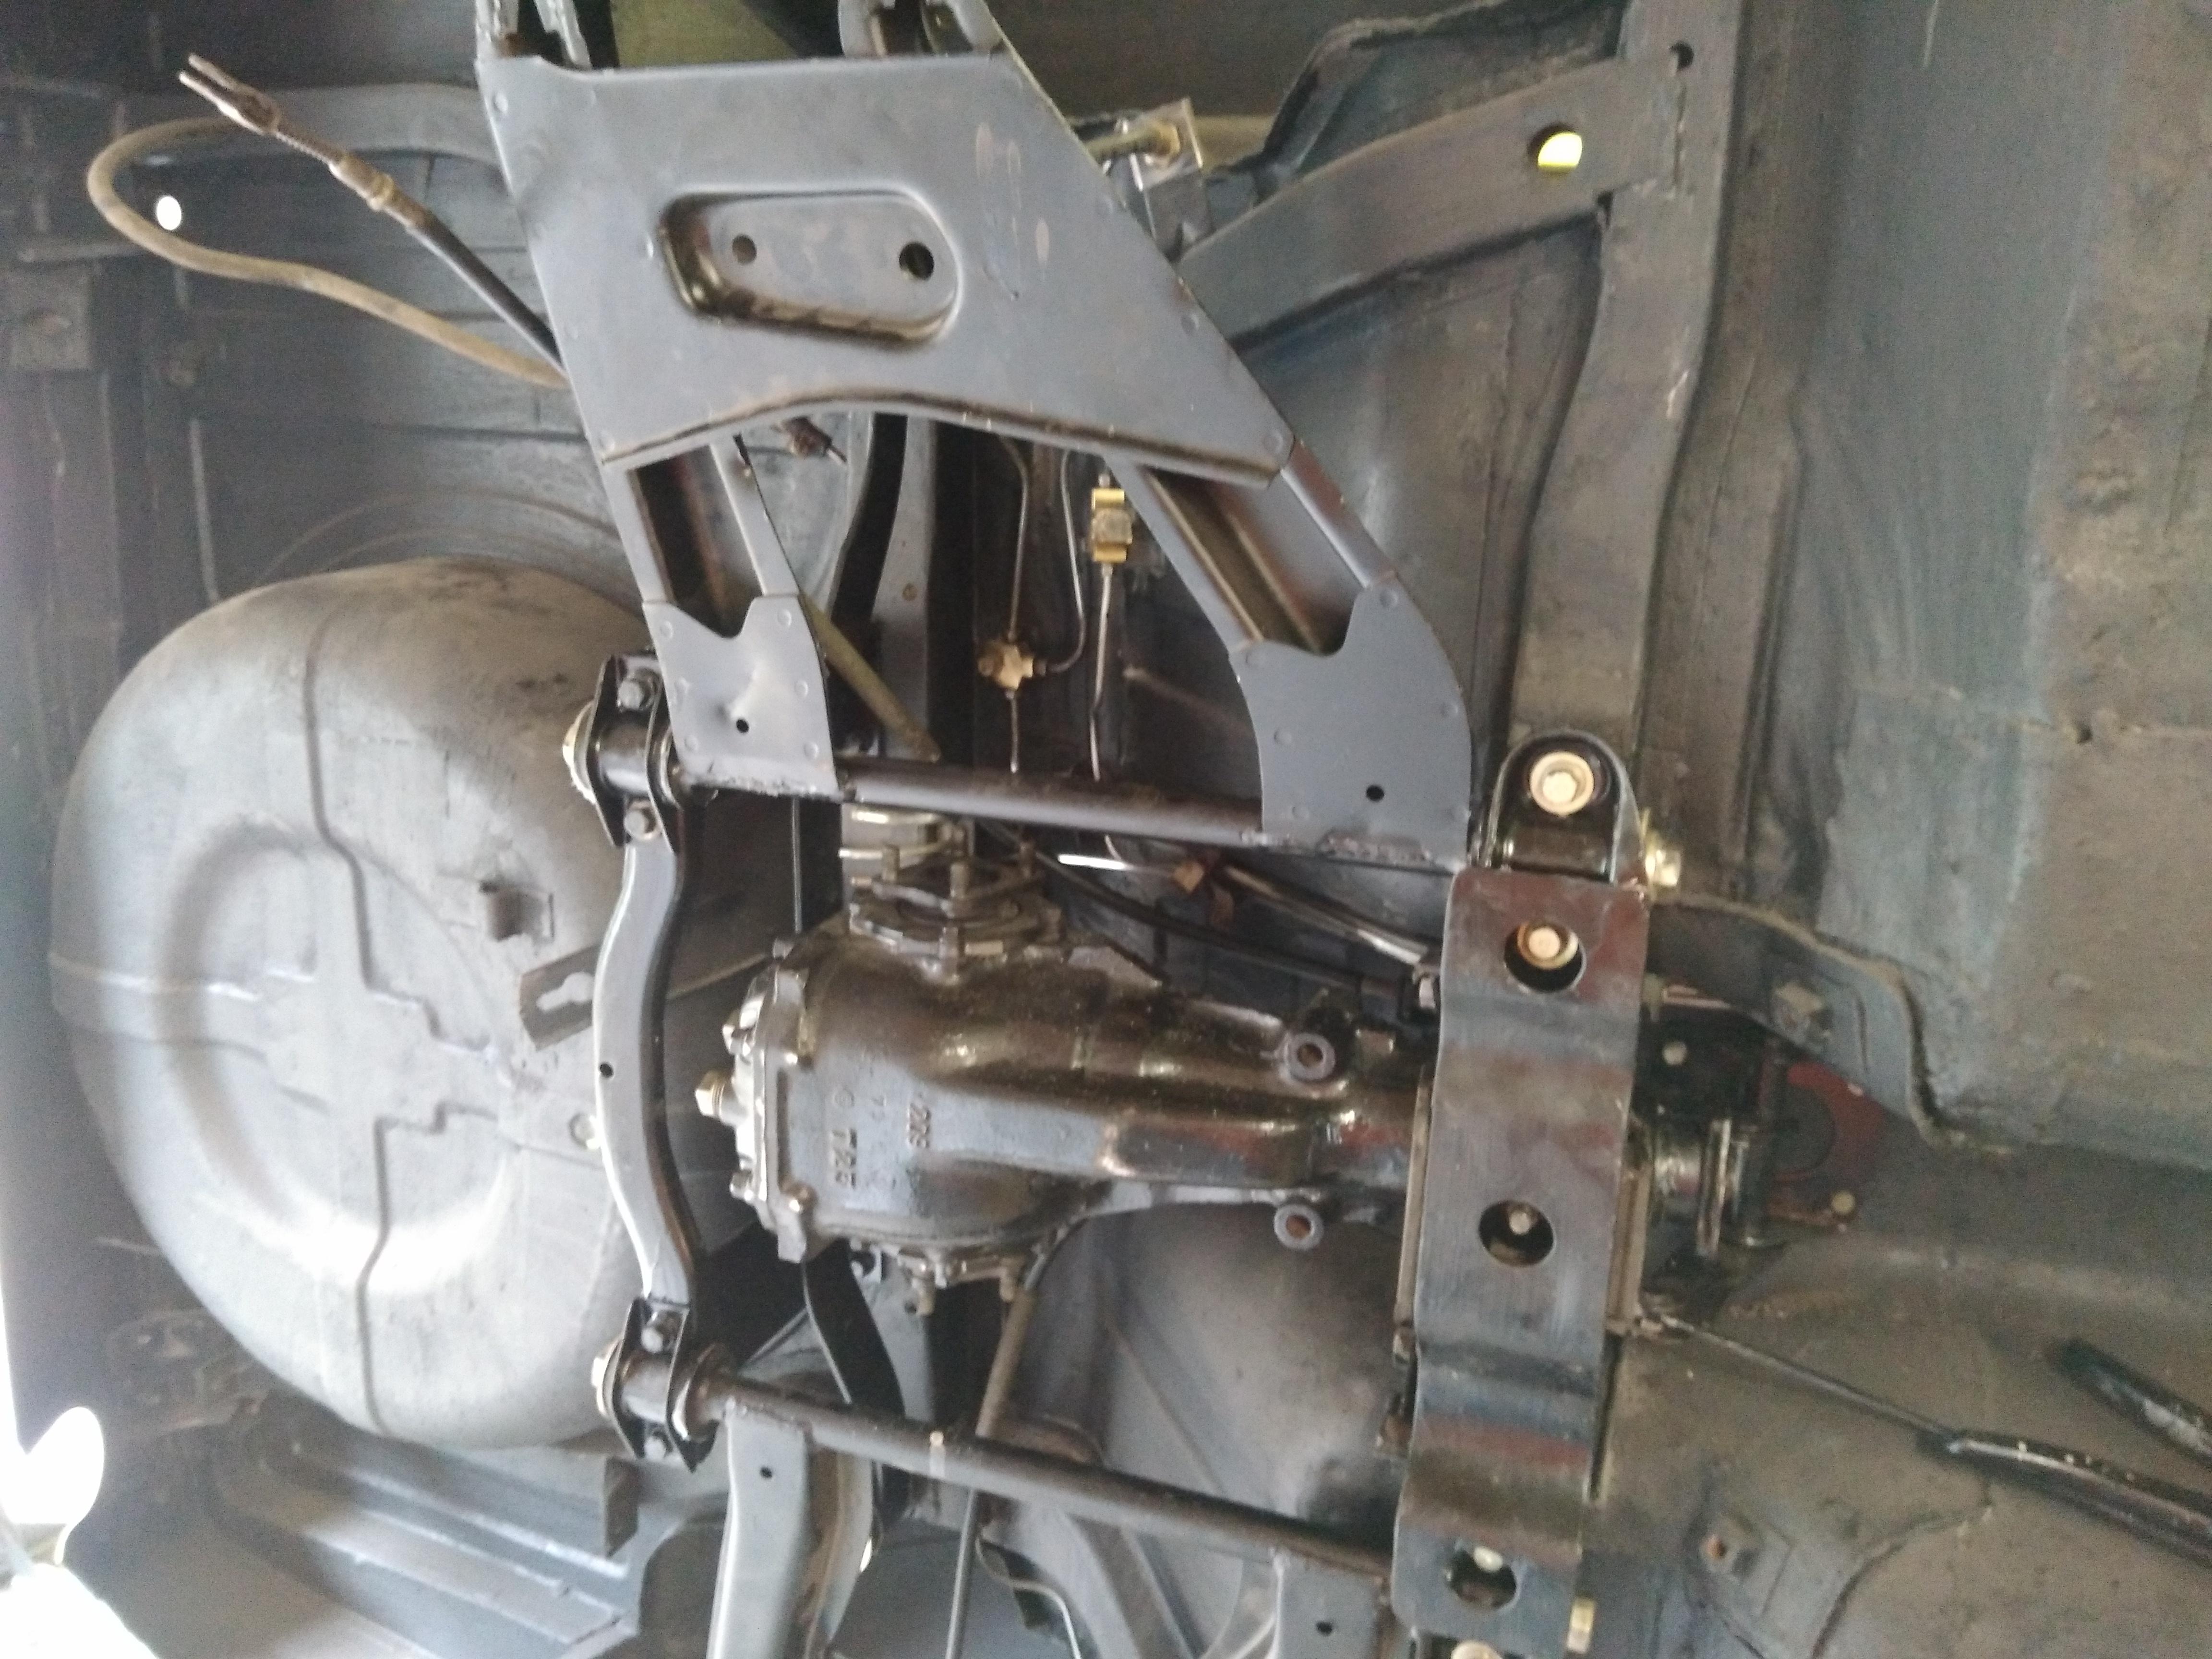
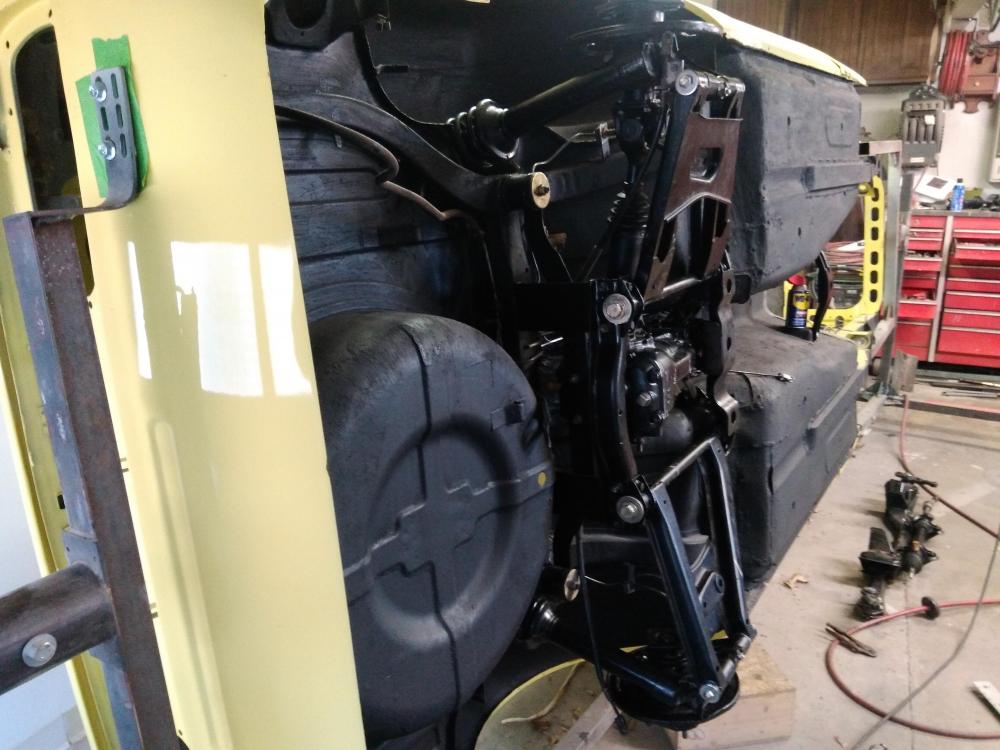
A very good point on weight Chris. Aside from a few finishing touches on the underside and maybe install the rear wheel cylinders and connect the brake lines, it's about to come off the rotisserie and transfer to the 2 post lift to get the front suspension, rack etc on and back on the ground.
-
You are so right Charles! Makes that headliner which is a pain normally a piece of cake.. lol. Trying to get all the stuff on the underside done before the front suspension goes on, and it comes off the rotisserie. The 2 post lift in garage will come in handy for that phase.
-
The gentleman who won it knows how to avoid those speed bumps... A fun one to watch, 4 serious bidders a one point. Ending comment from the winning bidder : KaiserKars This author's likes: 113 For those of you that are, will or have built cars like this or are having someone build it for them, only you know this is cheap. I value my time in being able to drive this now instead of waiting, crying and getting frustrated at the process. I am two years on some projects I wanted to count the beans on… screw that.
-
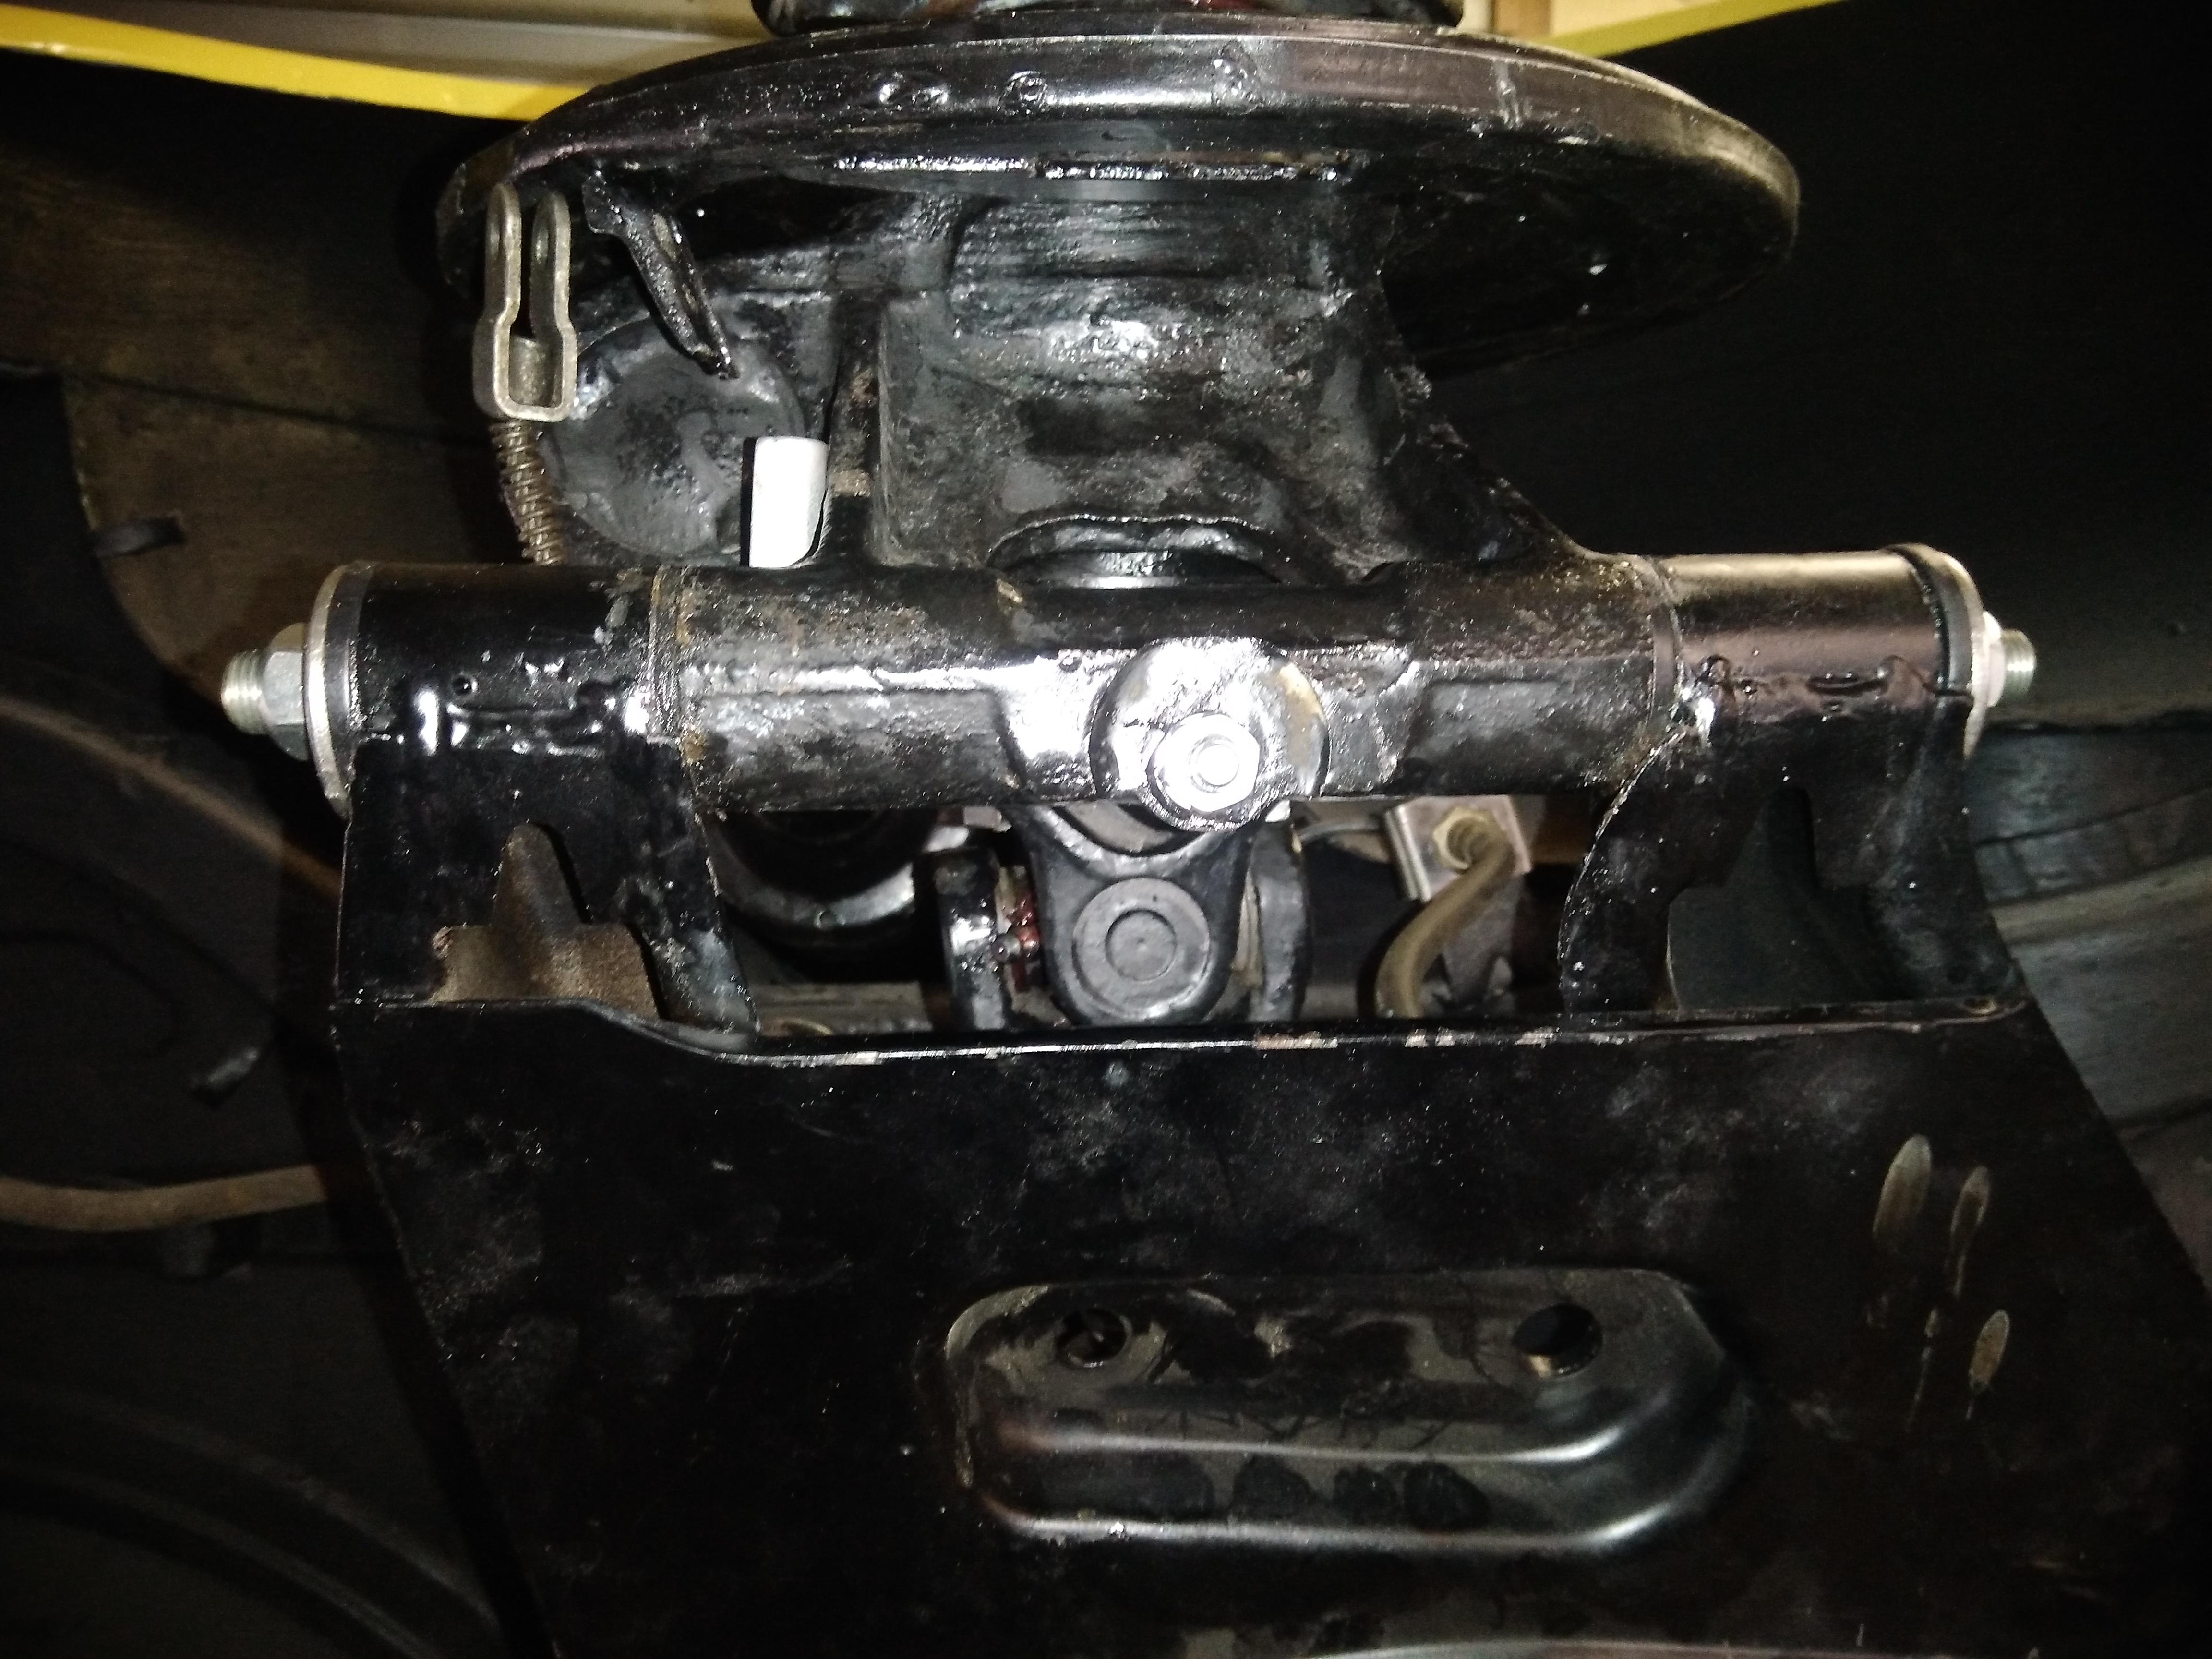
Success was achieved with the spindle pins. A little trimming and they are now in. Thanks for the suggestions!

-
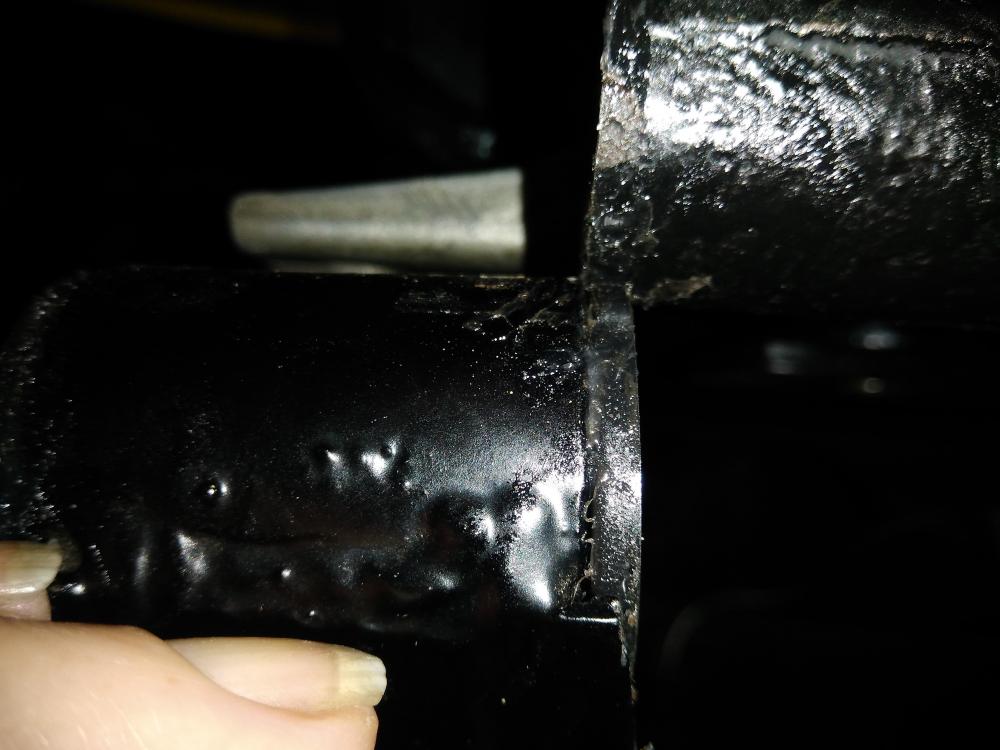
I agree with one of the glad nuts being possibly loose as the culprit. Zup had that happen on one of his rear struts a couple of years ago.
-
Beautiful original looking restoration! Safari Gold no less... In your climate, with the carbs dialed in correctly, I would guess it will start with no choke needed. I assume it is warm in your area of California. In any case, you want to use the least amount of choke and its time you can get away with. Nothing like washing the cylinder walls with gas if its left on too long.
-
Looks like a nicely sorted car... The sound is not normal, and you may have to get it up on a lift and start moving things such as ball joints to find it. One thing you can check easily on the ground are the rack bushings. Open the hood and observe if the rack moves up and down when you turn the steering wheel a little in each direction. Might need a helper to observe the passenger side. Hopefully its something minor and easily corrected.
-
I'll pay attention to that! Would hate to have to pull those new pins back out and turn them around ...
-
I agree. Harold has a big vertical belt sander in his shop. Might use that to trim down the bushing ends as small amount as necessary to fit.
-
Thanks ZH. We will see if we can trim those bushings tomorrow and see if it will fit together.
-
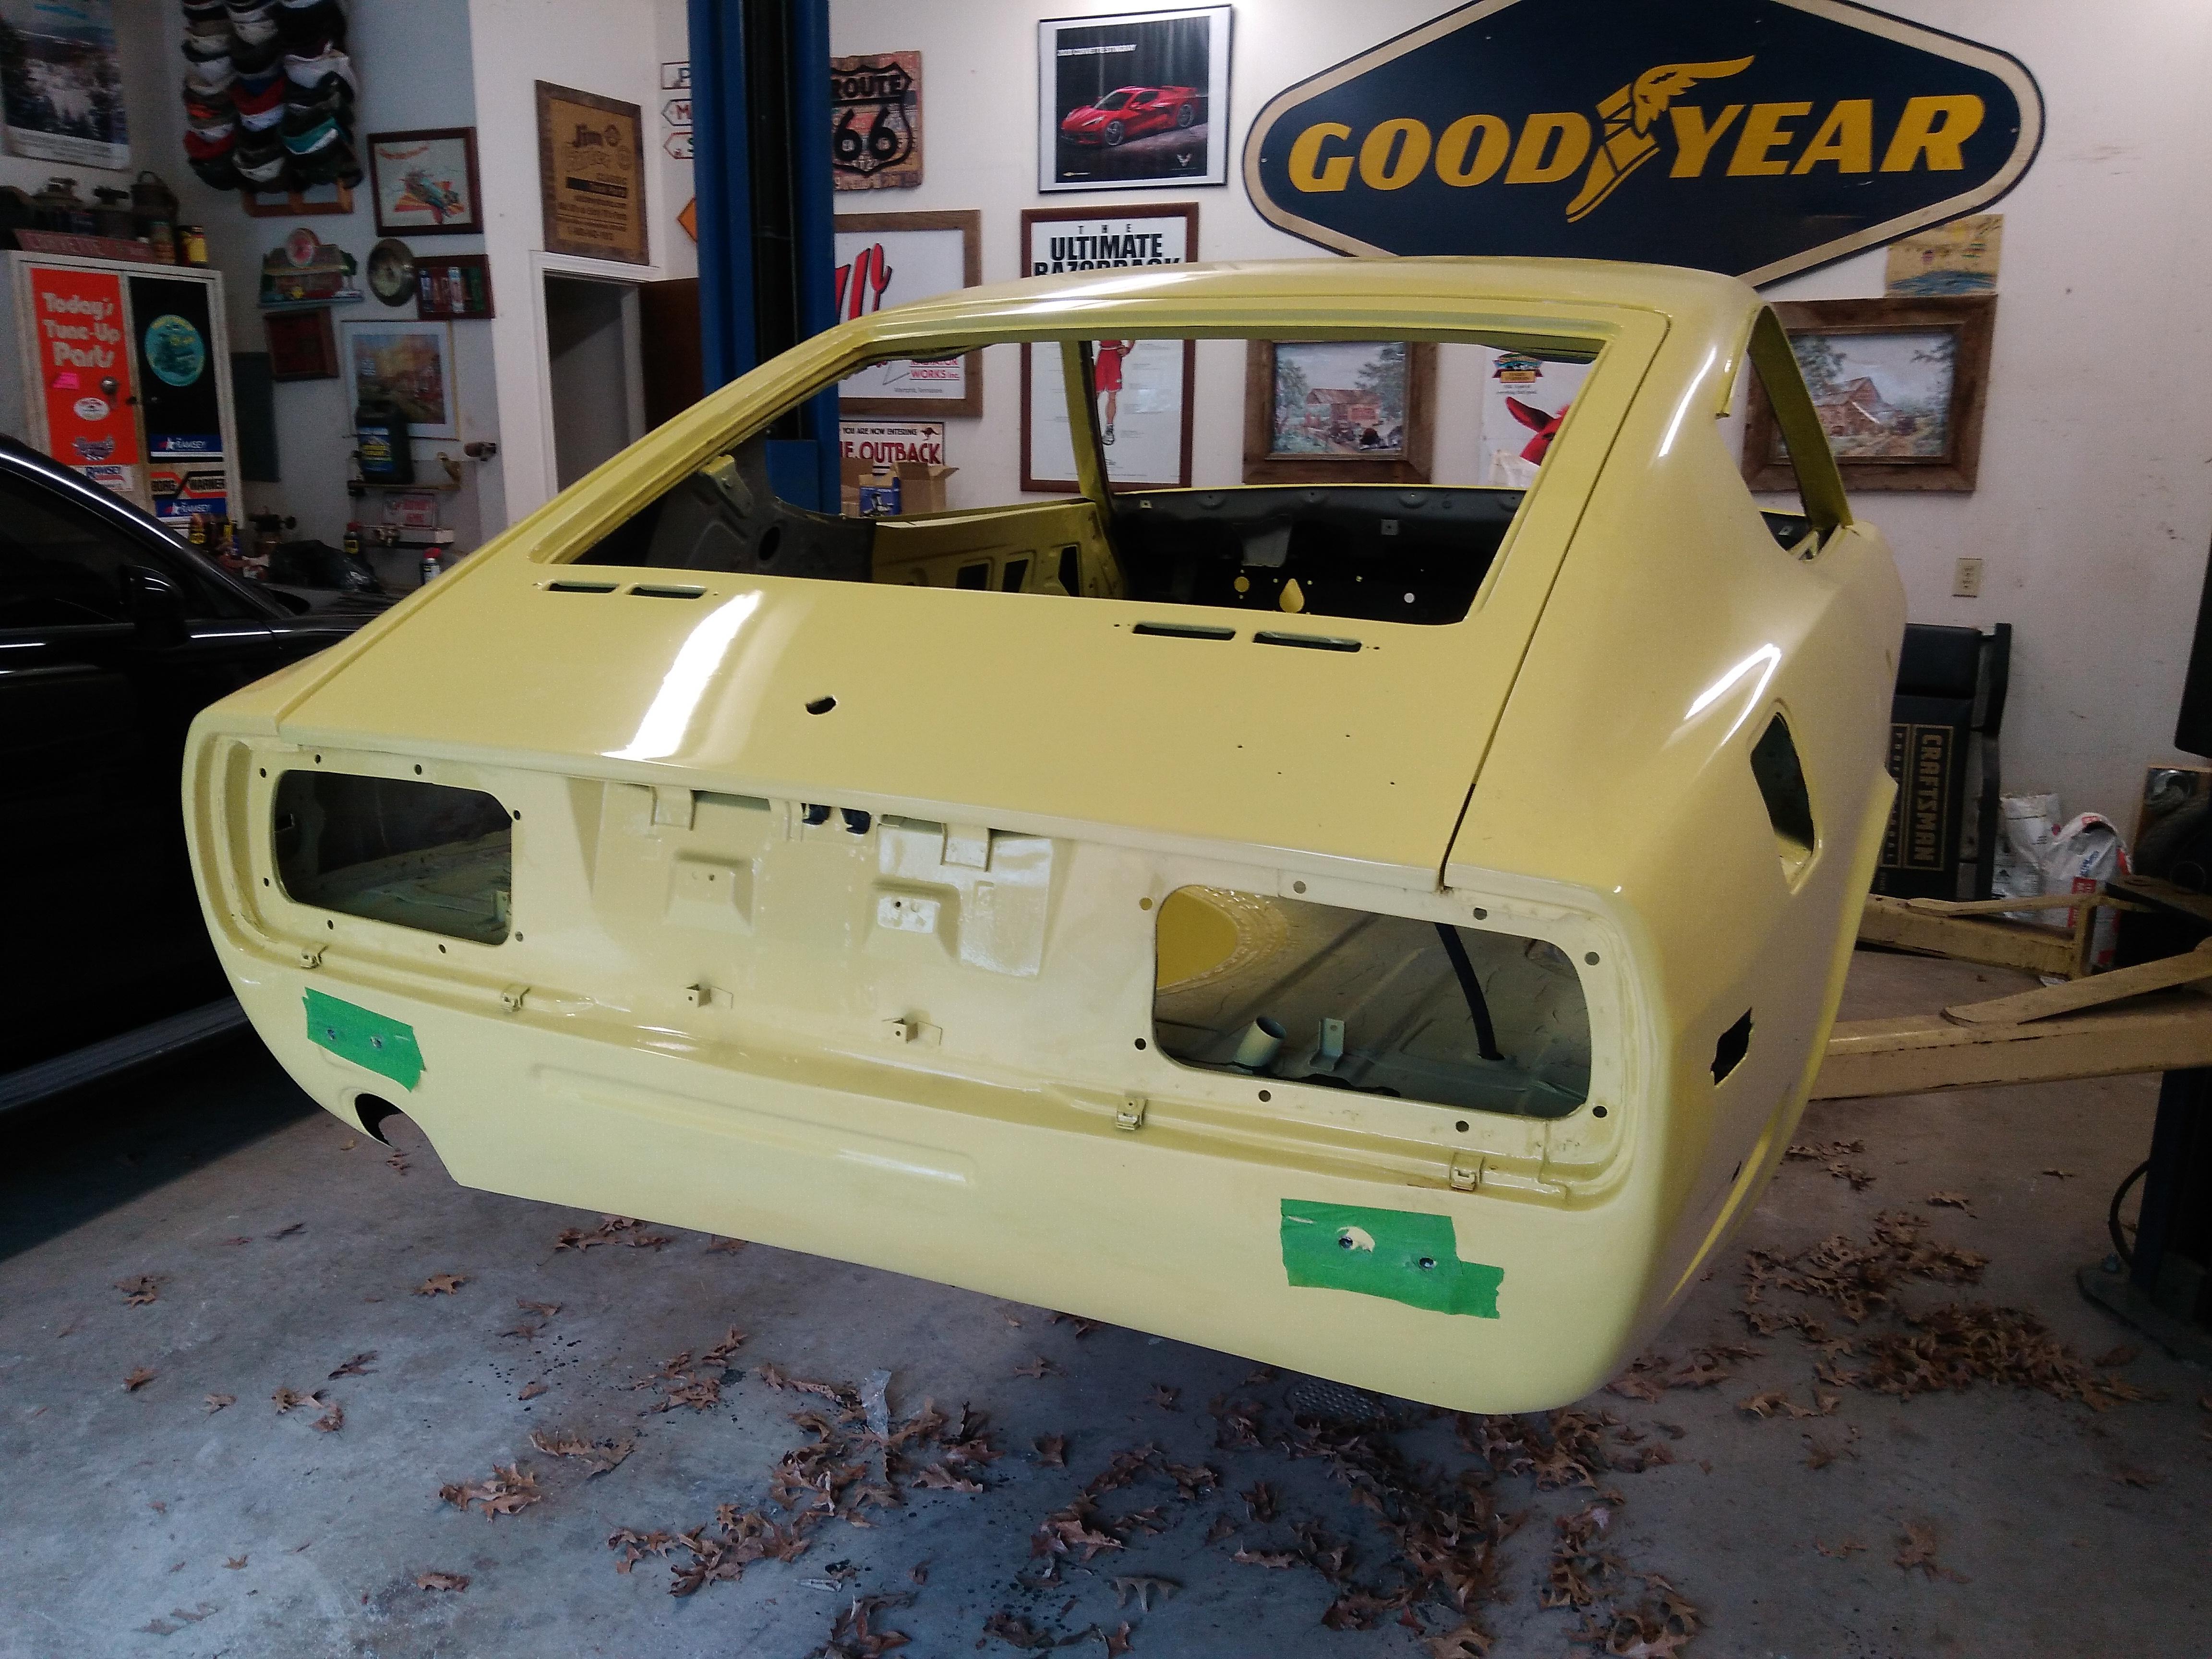
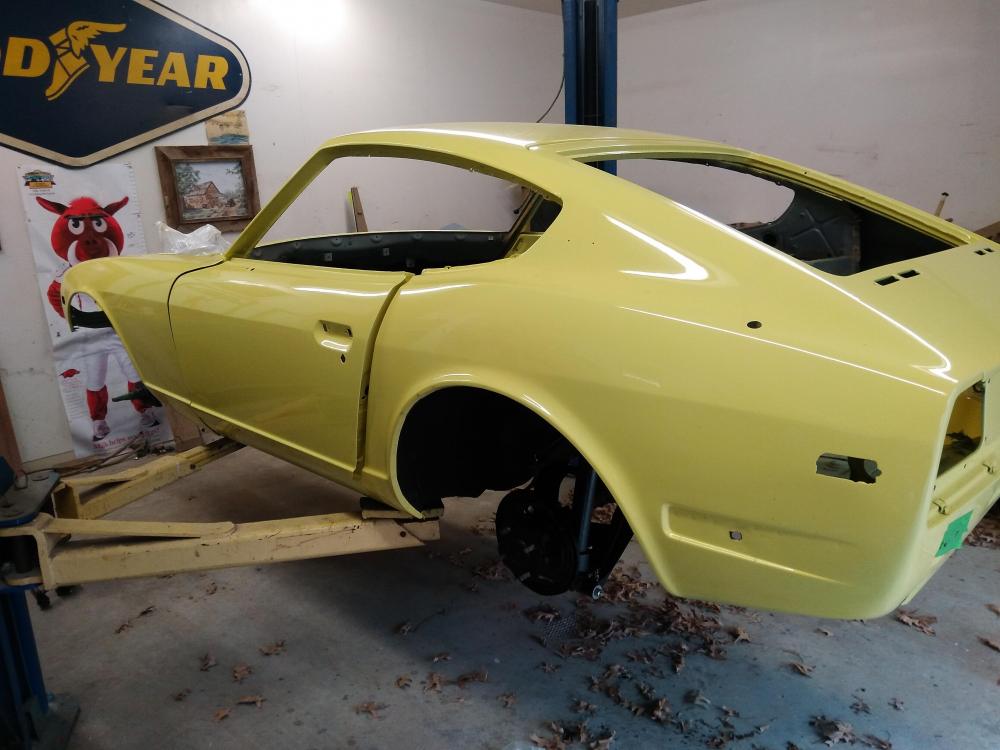
I am helping my nice retired neighbor out with his restoration of his series 1 240z. Paint and body all complete, assembly has begun. Car is on rotisserie. We are assembling the rear suspension and at the point of installing the new spindle pins and ......... can not get the lower control are to line up with the hub assembly to slide the new pins in. With the new poly bushings installed on the passenger side, the gap between the control arm is about 4 mm too small to fit in the hub assembly and get the pin in. I measured the driver side and it looks like it will fit ok on that side. Has anyone run into this? Am I missing something obvious? At a standstill until this is resolved.


-
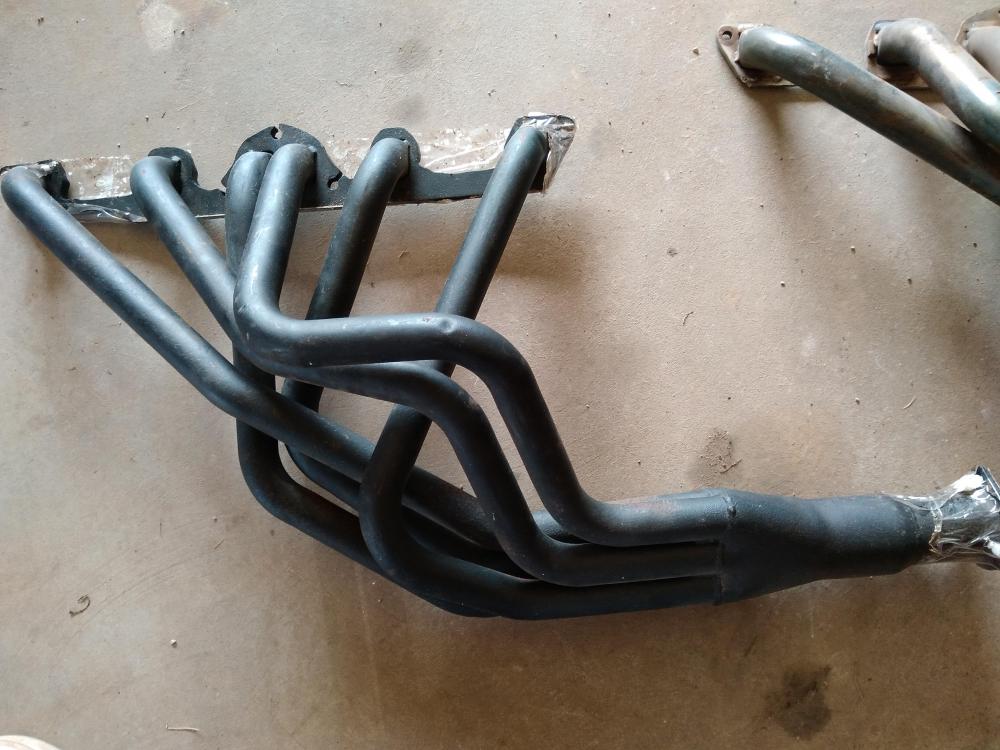
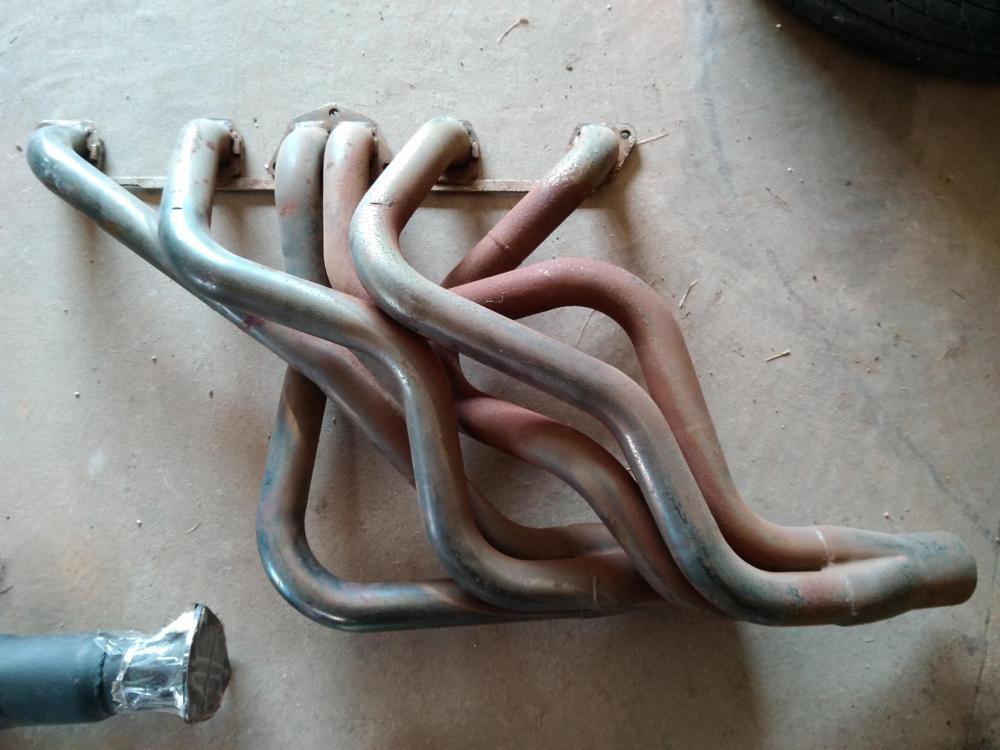
Thanks for all the comments. I'll continue with the inspection of the motor, cam wipe pattern, verify valve timing setup etc. I currently don't have headers installed but do have Sean Dezart's Z Story system. I'll report back with the progress...
-
All good advice. Yup, if I raised the compression, it would be premium fuel only time and I need to drive to Zcon this year. At a minimum, I will do a block color change...
-
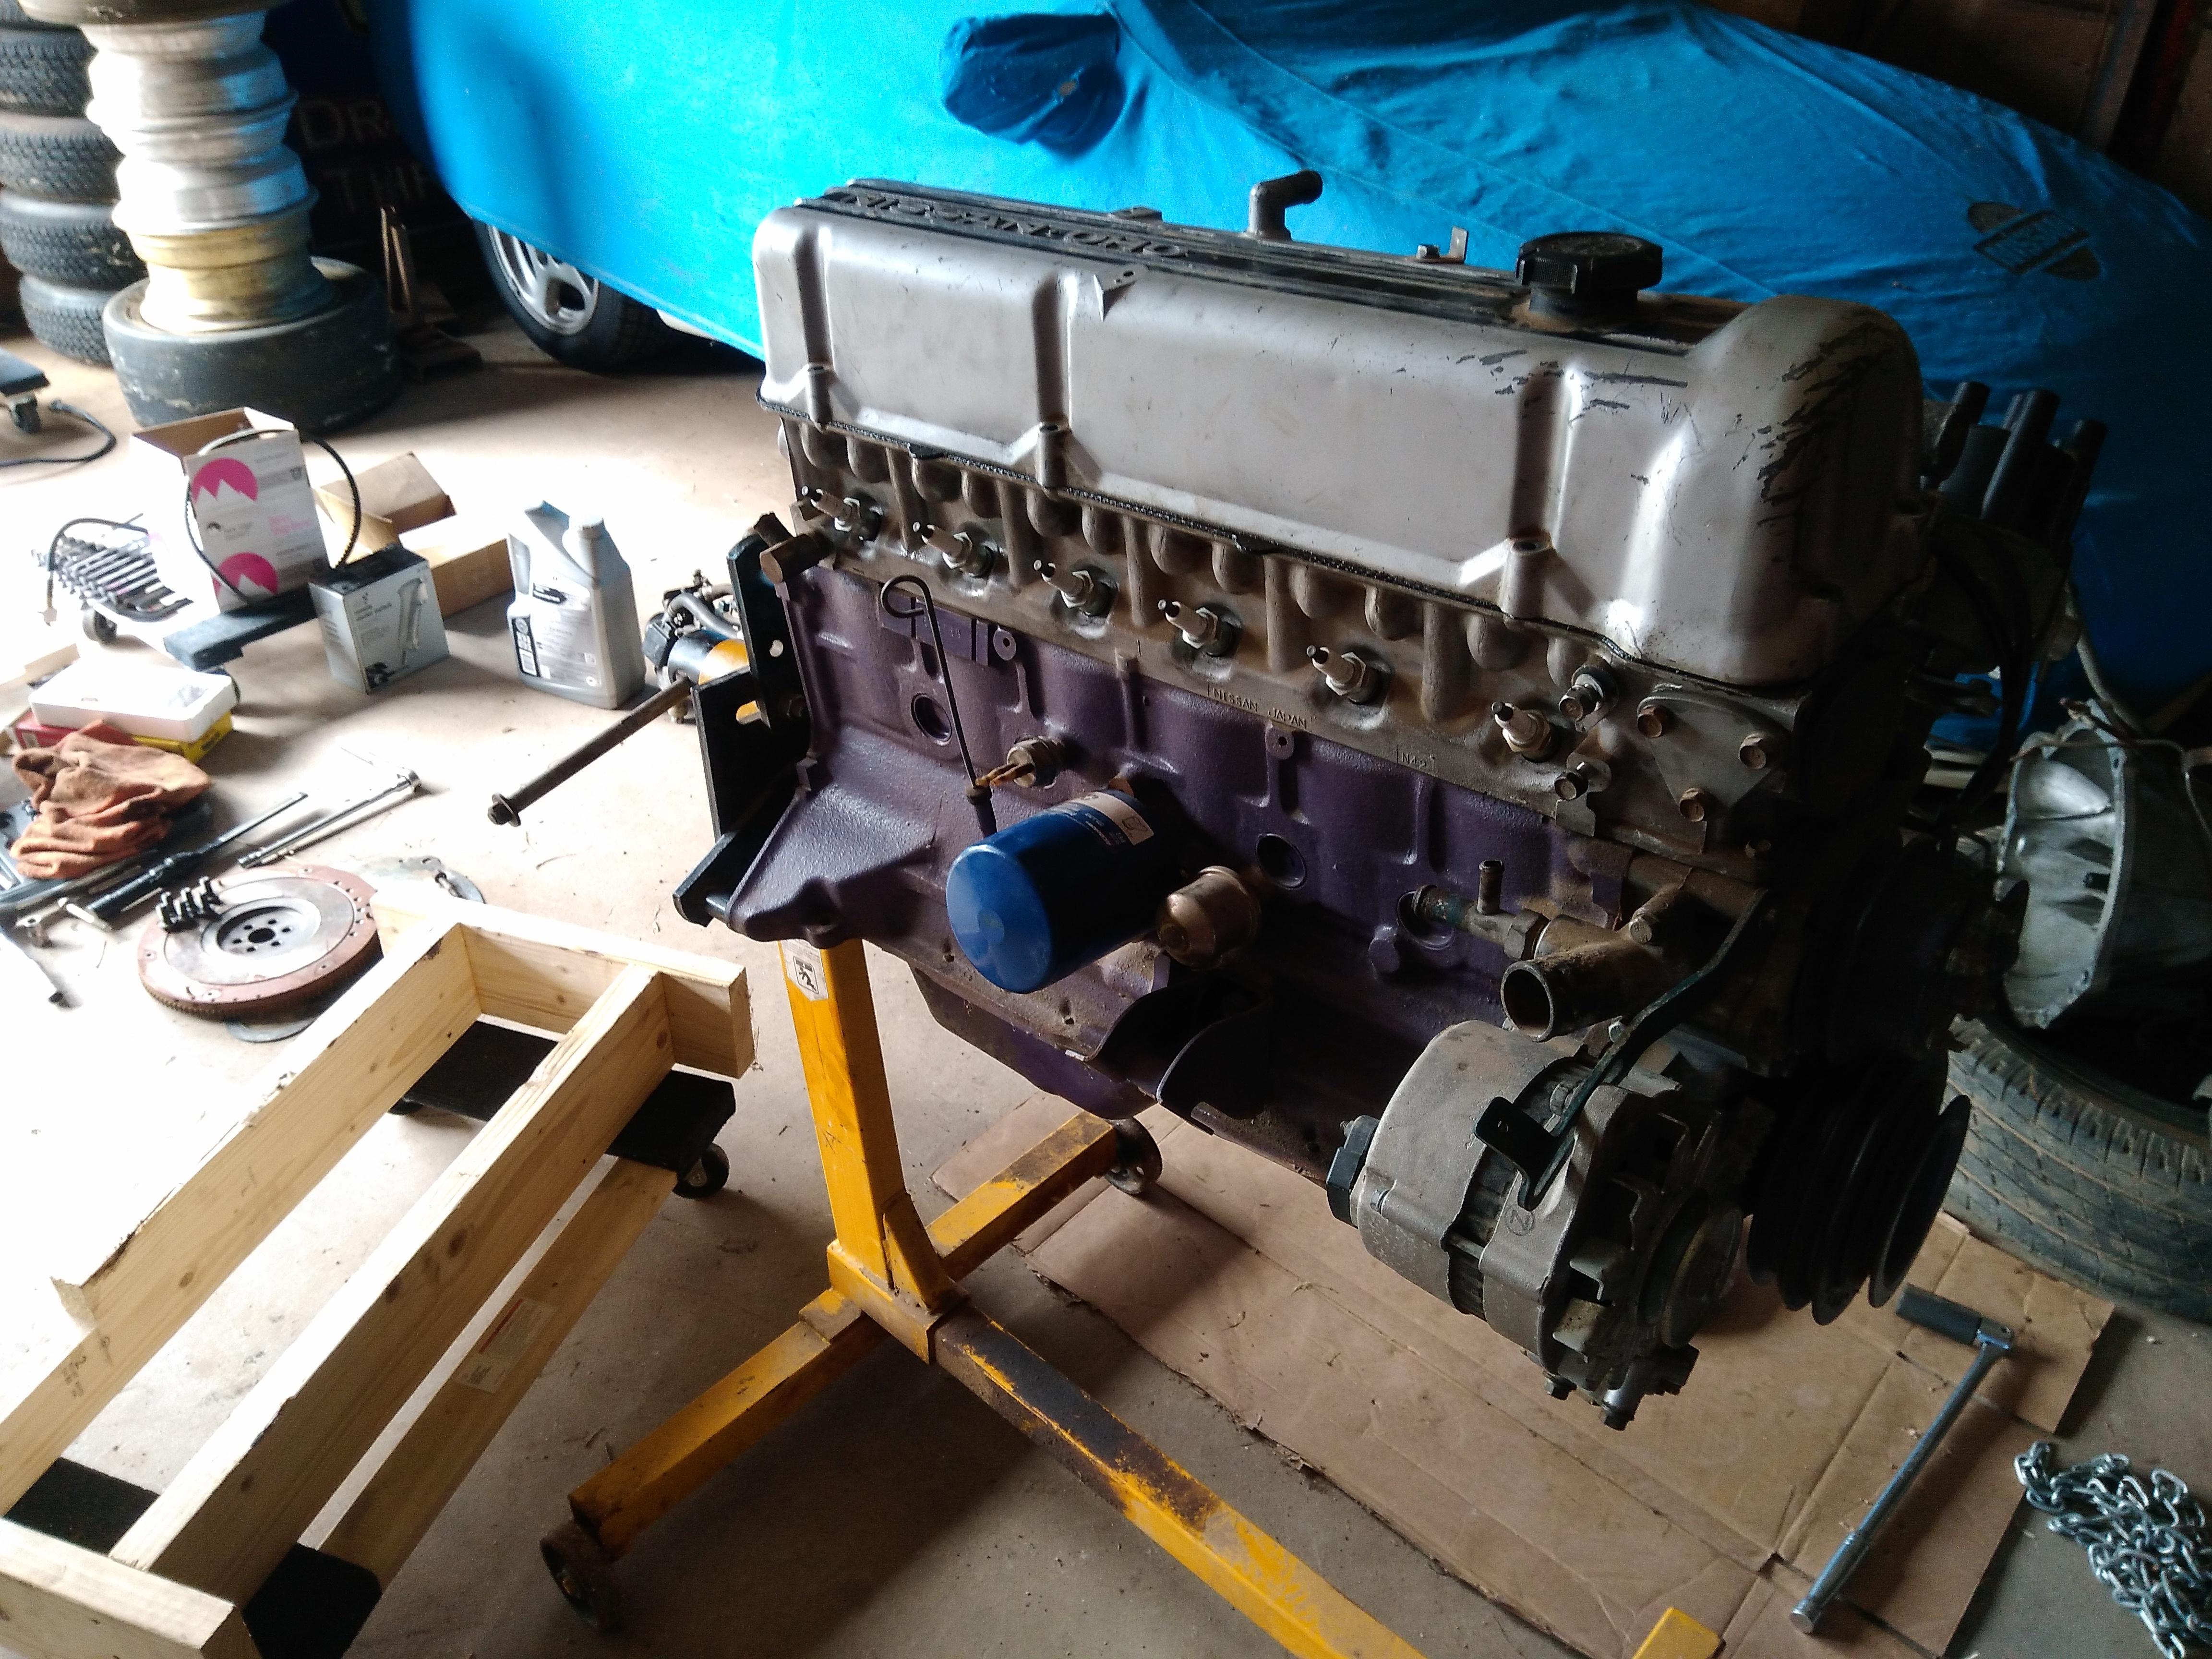
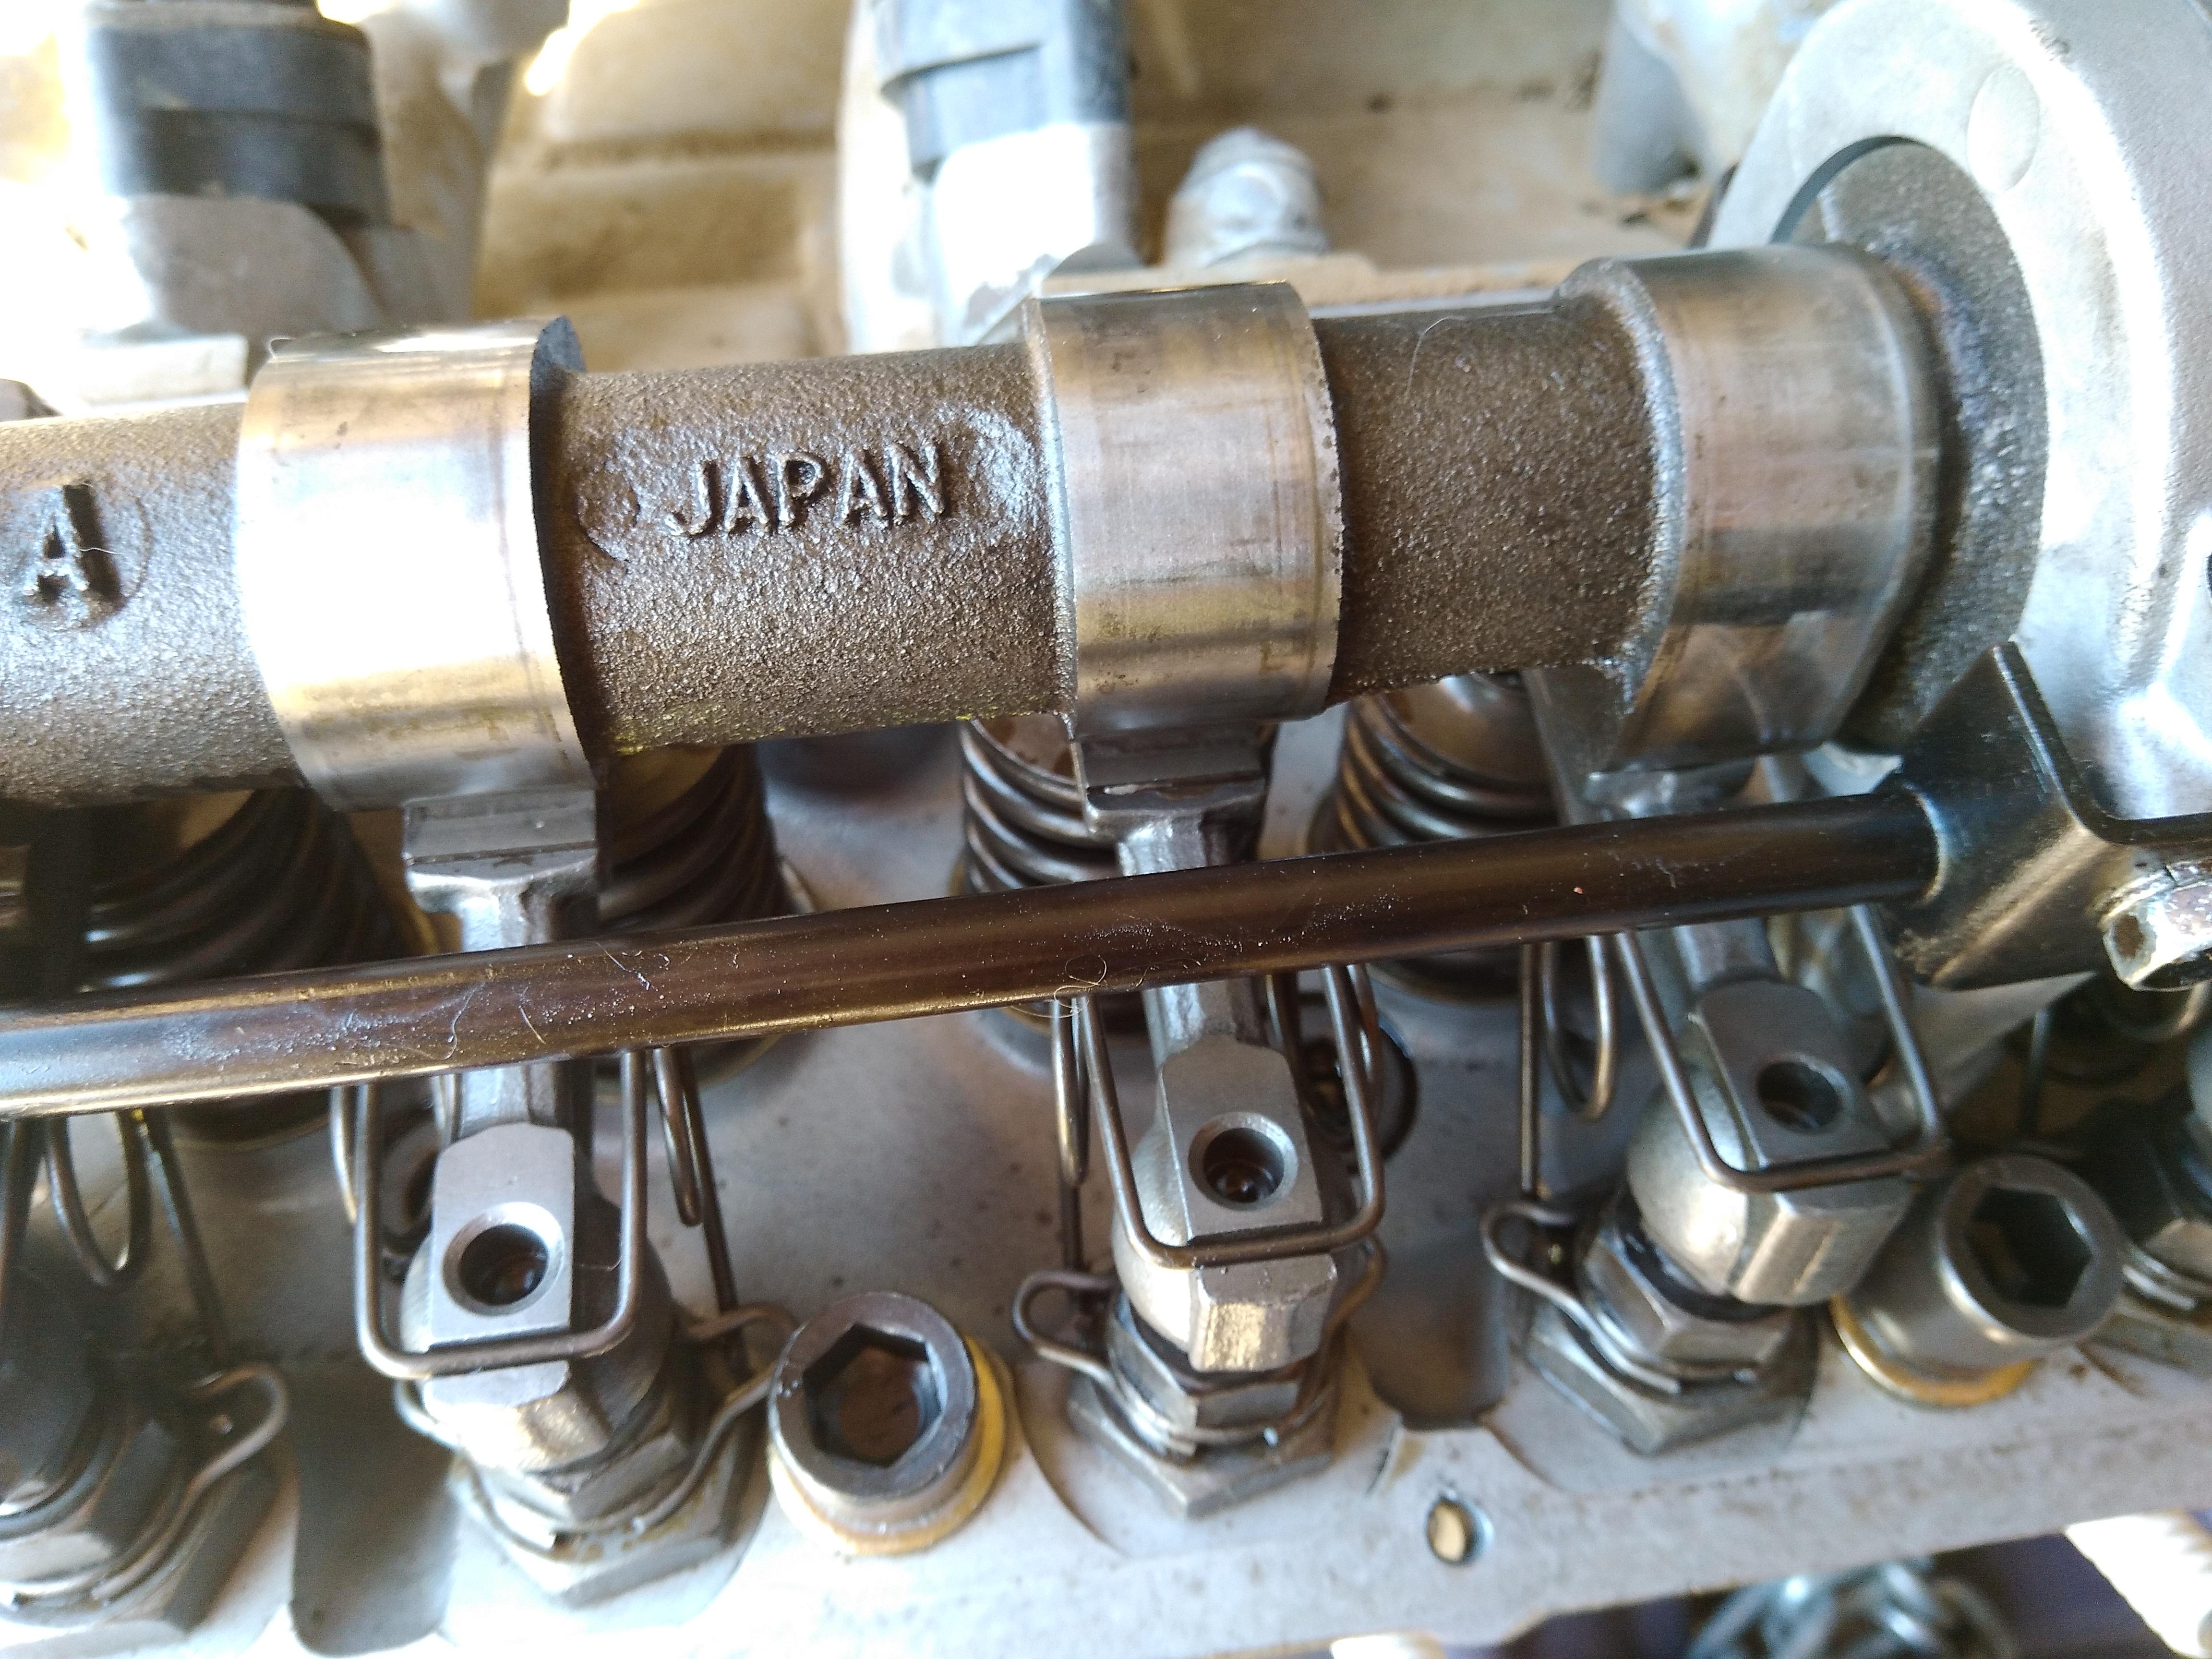
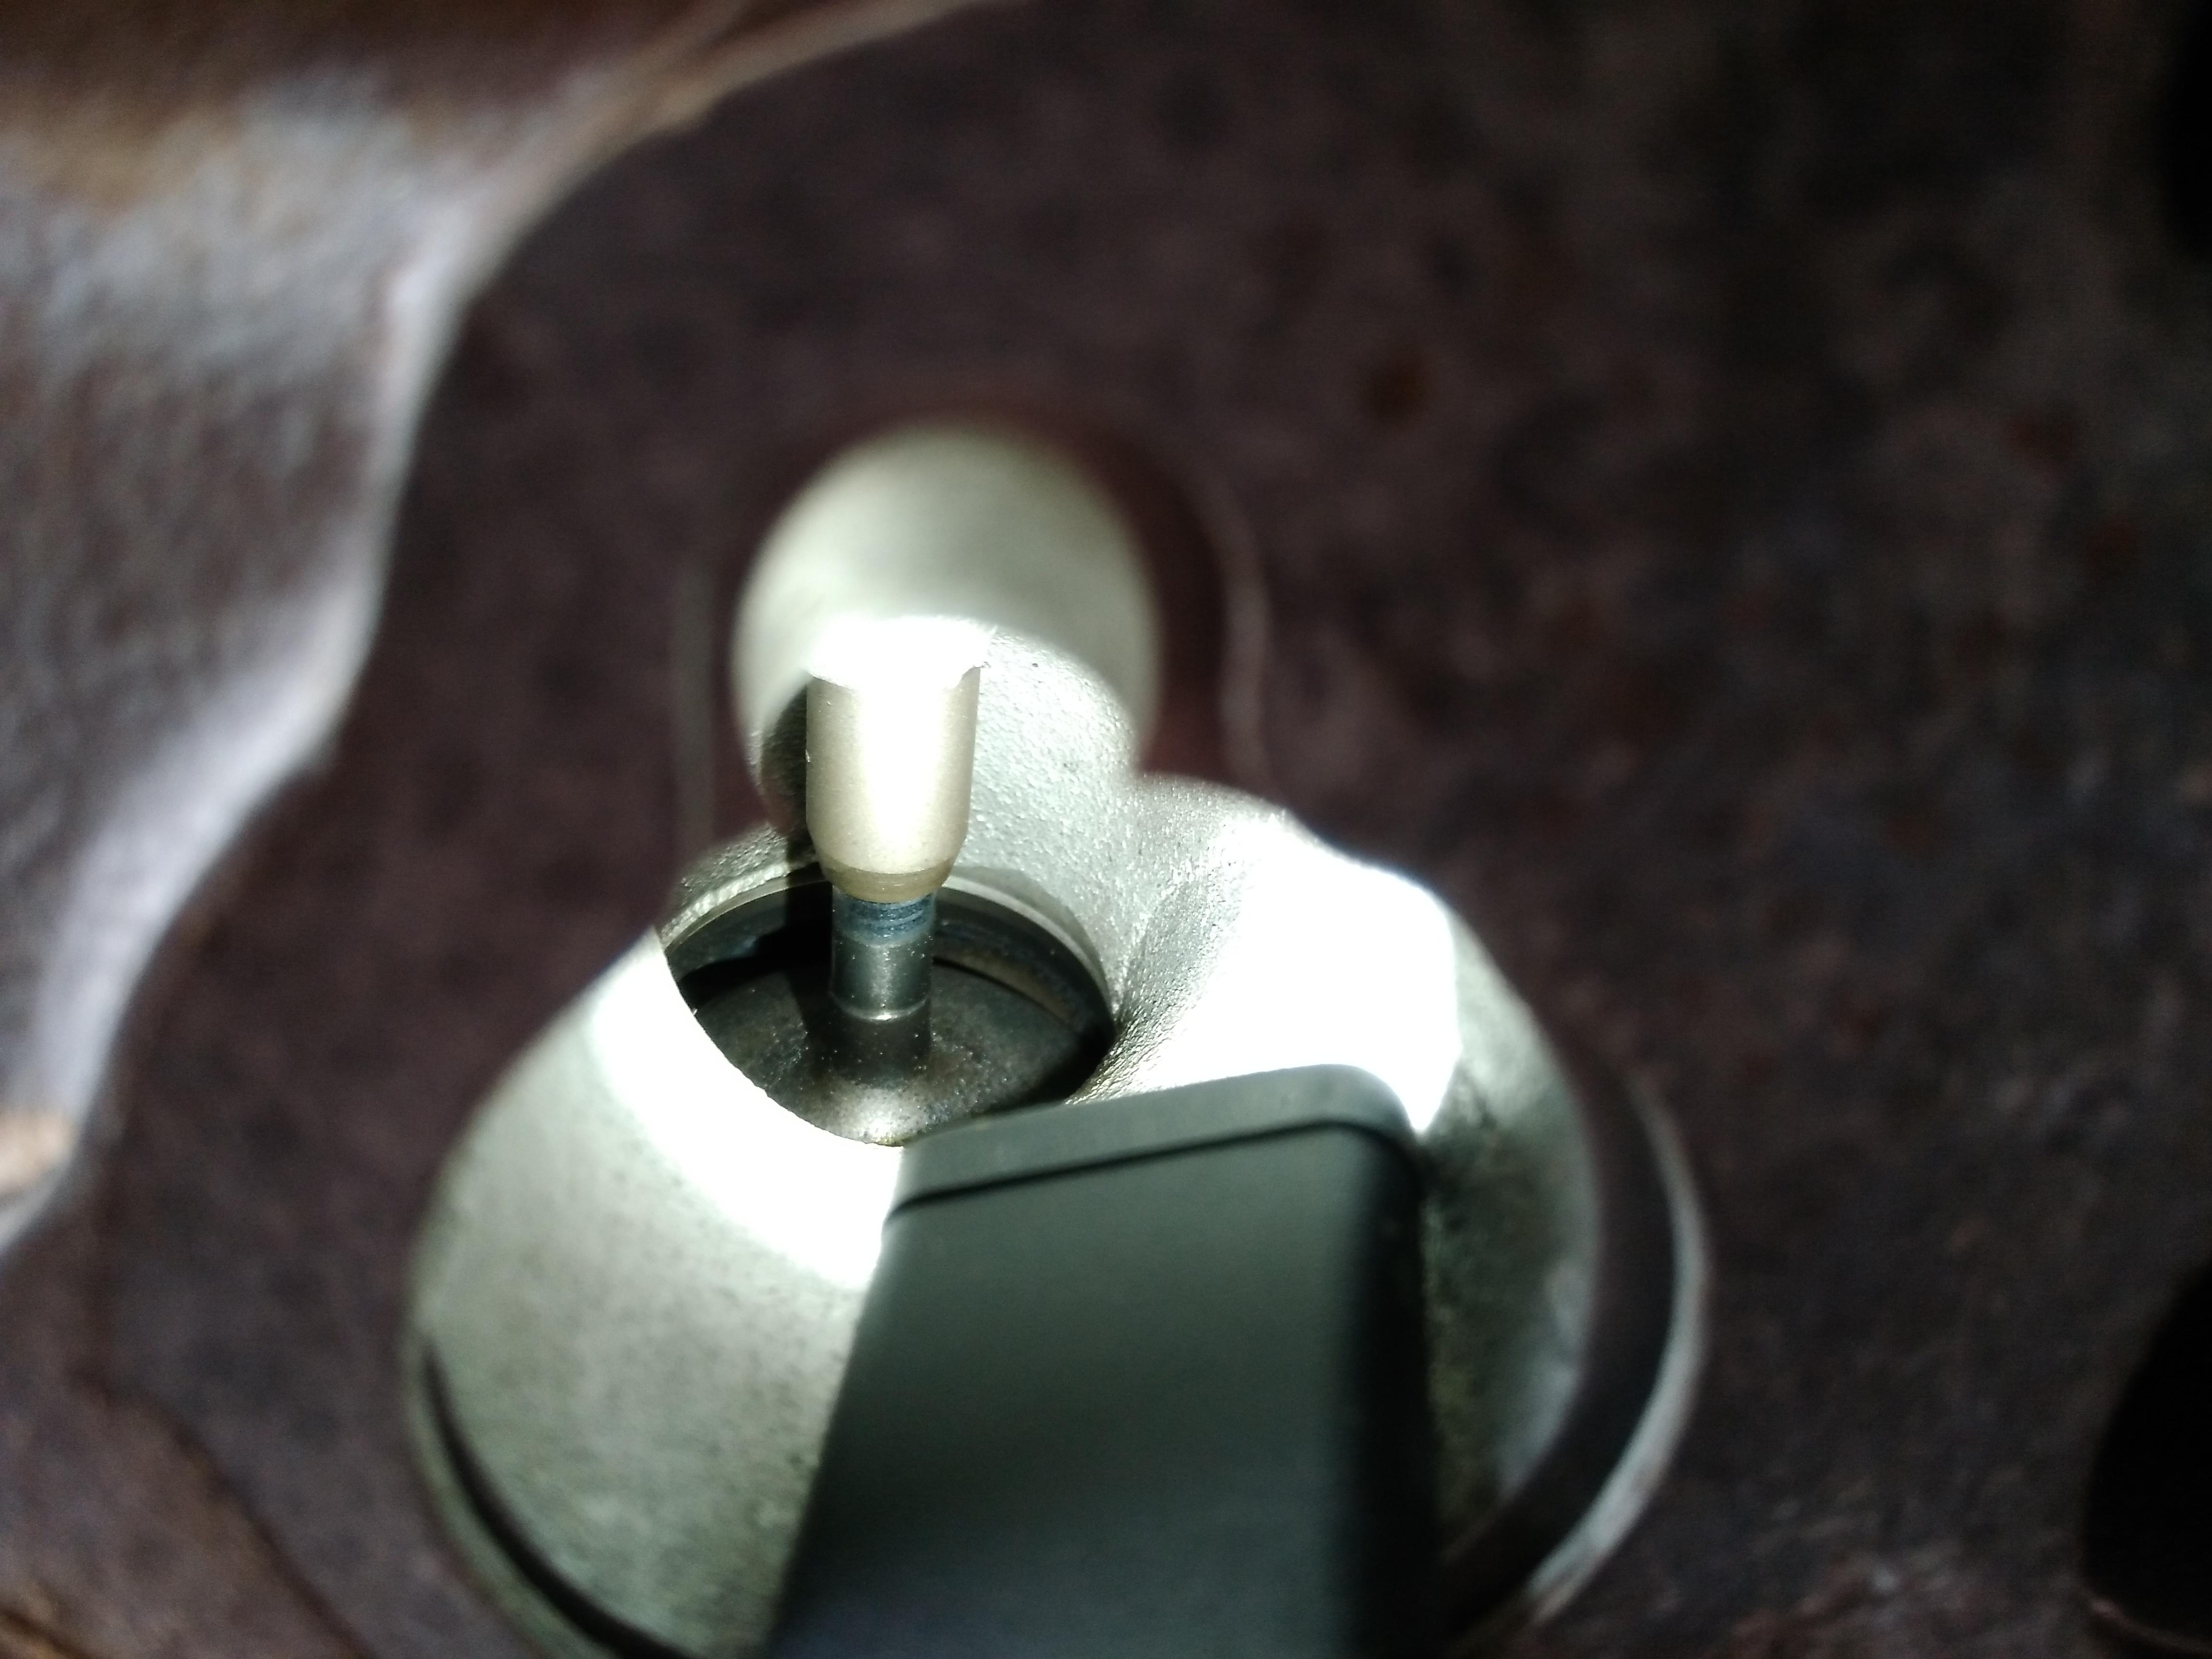
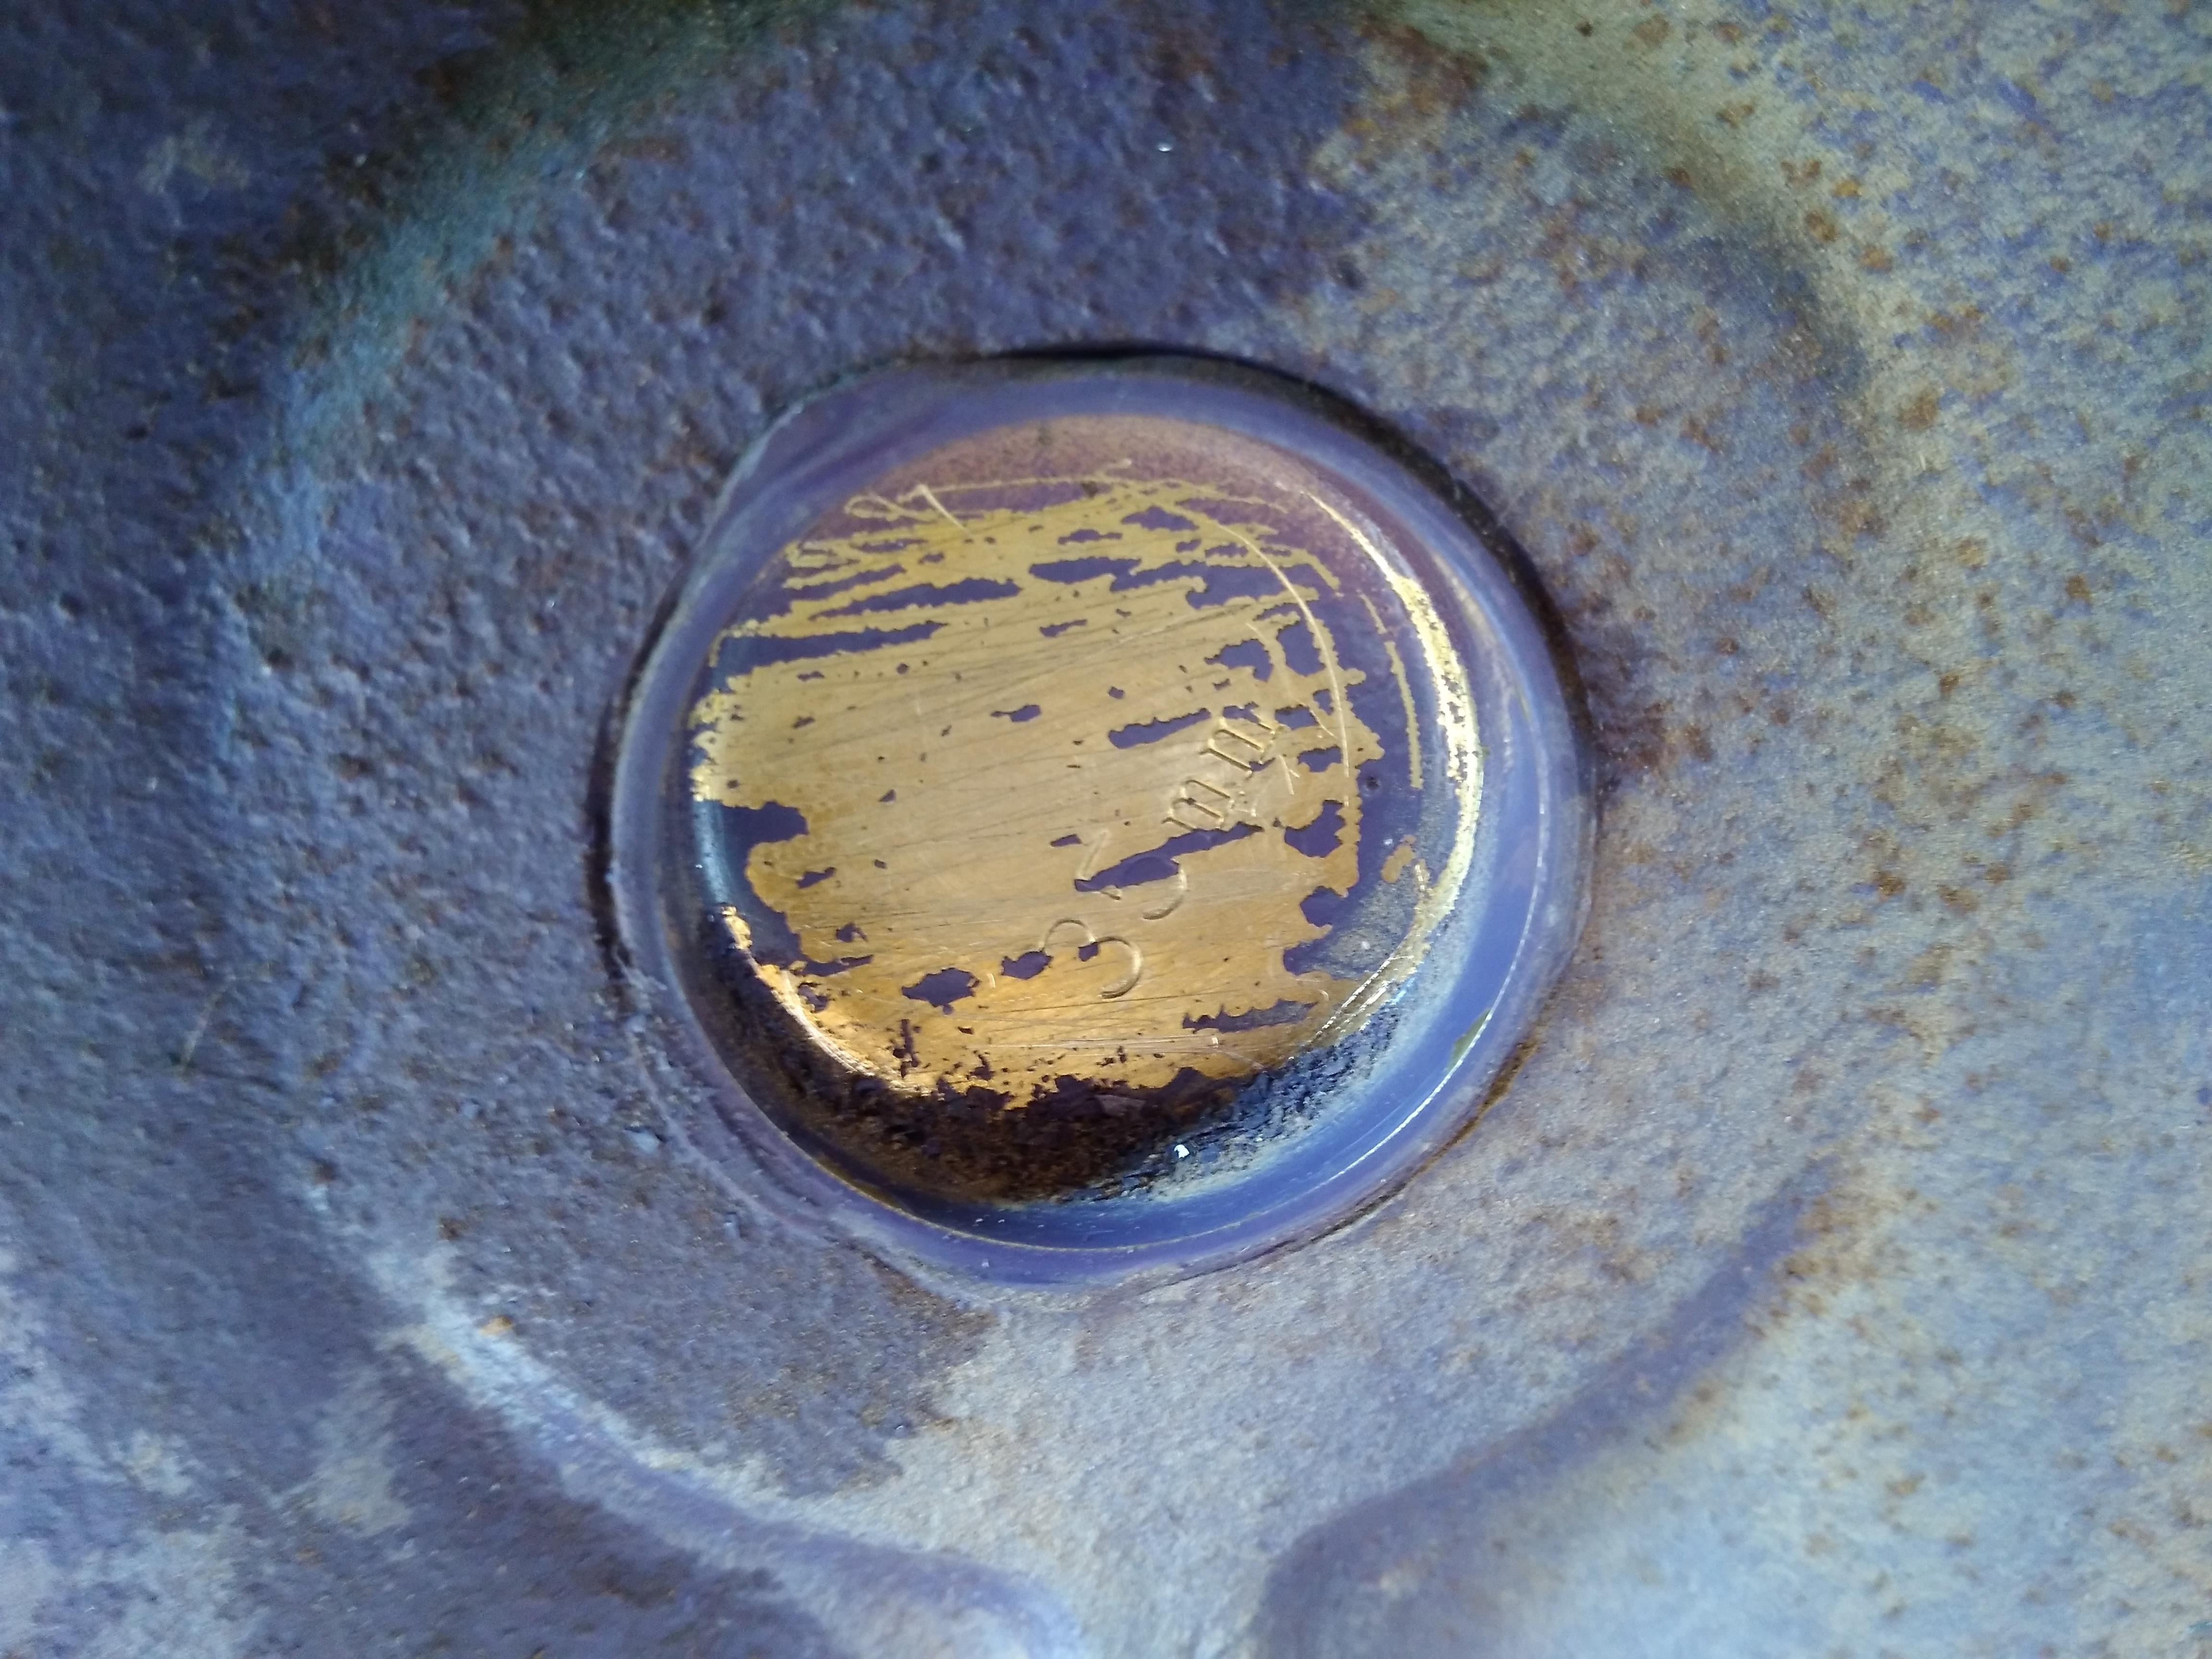
For the last couple of years, I have been planning to rebuild my 77 280z motor. It is getting tired, running well but oil consumption is a issue. I suspect rings & valve guides. Last year I acquired a interesting 2.8 motor and am now getting around to looking more closely at it. It is interesting in that it was claimed to have been rebuilt and never installed. (kind of like ran when parked, lol) It is a F54 block with a N42 head. Turbo oil pan but NA intake & exhaust manifolds. I had it sitting on a nice cradle & dolly, so easy to move around. I pulled the plugs, which are new NGK's and never fired. Got my laptop and borescope camera, inspected the cylinders and found it has dished pistons and what looks like a fresh hone. All looked very clean. Next, I removed the valve cover and lubed the valve train with some high zinc oil, added about 2 or 3 quarts more and turned it over by hand. All appeared to be well. Then bolted on a bell housing so I could add a starter and do a compression test. The compression results were pretty consistent around 150psi. 151 152 151 150 150 150 cylinders 1 thru 6. With the dished pistons, and Atlantic Z's calculator, looks like about 8.25 to 1 CR. Going to flat top pistons, approximately 9.7 to 1 CR. I am trying to decide if it is worth the trouble to source and install the flat top pistons. From my quick research, it looks like this heads design is not the best choice with flat tops. Since the head looks like it was totally redone - valve job etc. it would be nice to keep it on there as that is most of the money saved. What do you guys think my options are.. From what I see so far with this motor, it does indeed appear to show all the signs of a rebuild. The head / cam area are very clean, manifold gasket is new, scraped some purple paint from a few frost plugs to reveal new looking brass ones. Just transferred it to a engine stand and have not pulled the pan off yet to take a look at the bottom end. My goals are not huge performance with this motor, a little bump up would be nice, just looking to mainly maximize my time & dollars if I put this in my 280z. Already have a new Exedy clutch kit for it , and ordered a new Fidenza flywheel to keep up with Cliff & his Tilton.


-
Thanks for the helpful replies. I'll take a closer look at the headers and report back....
-
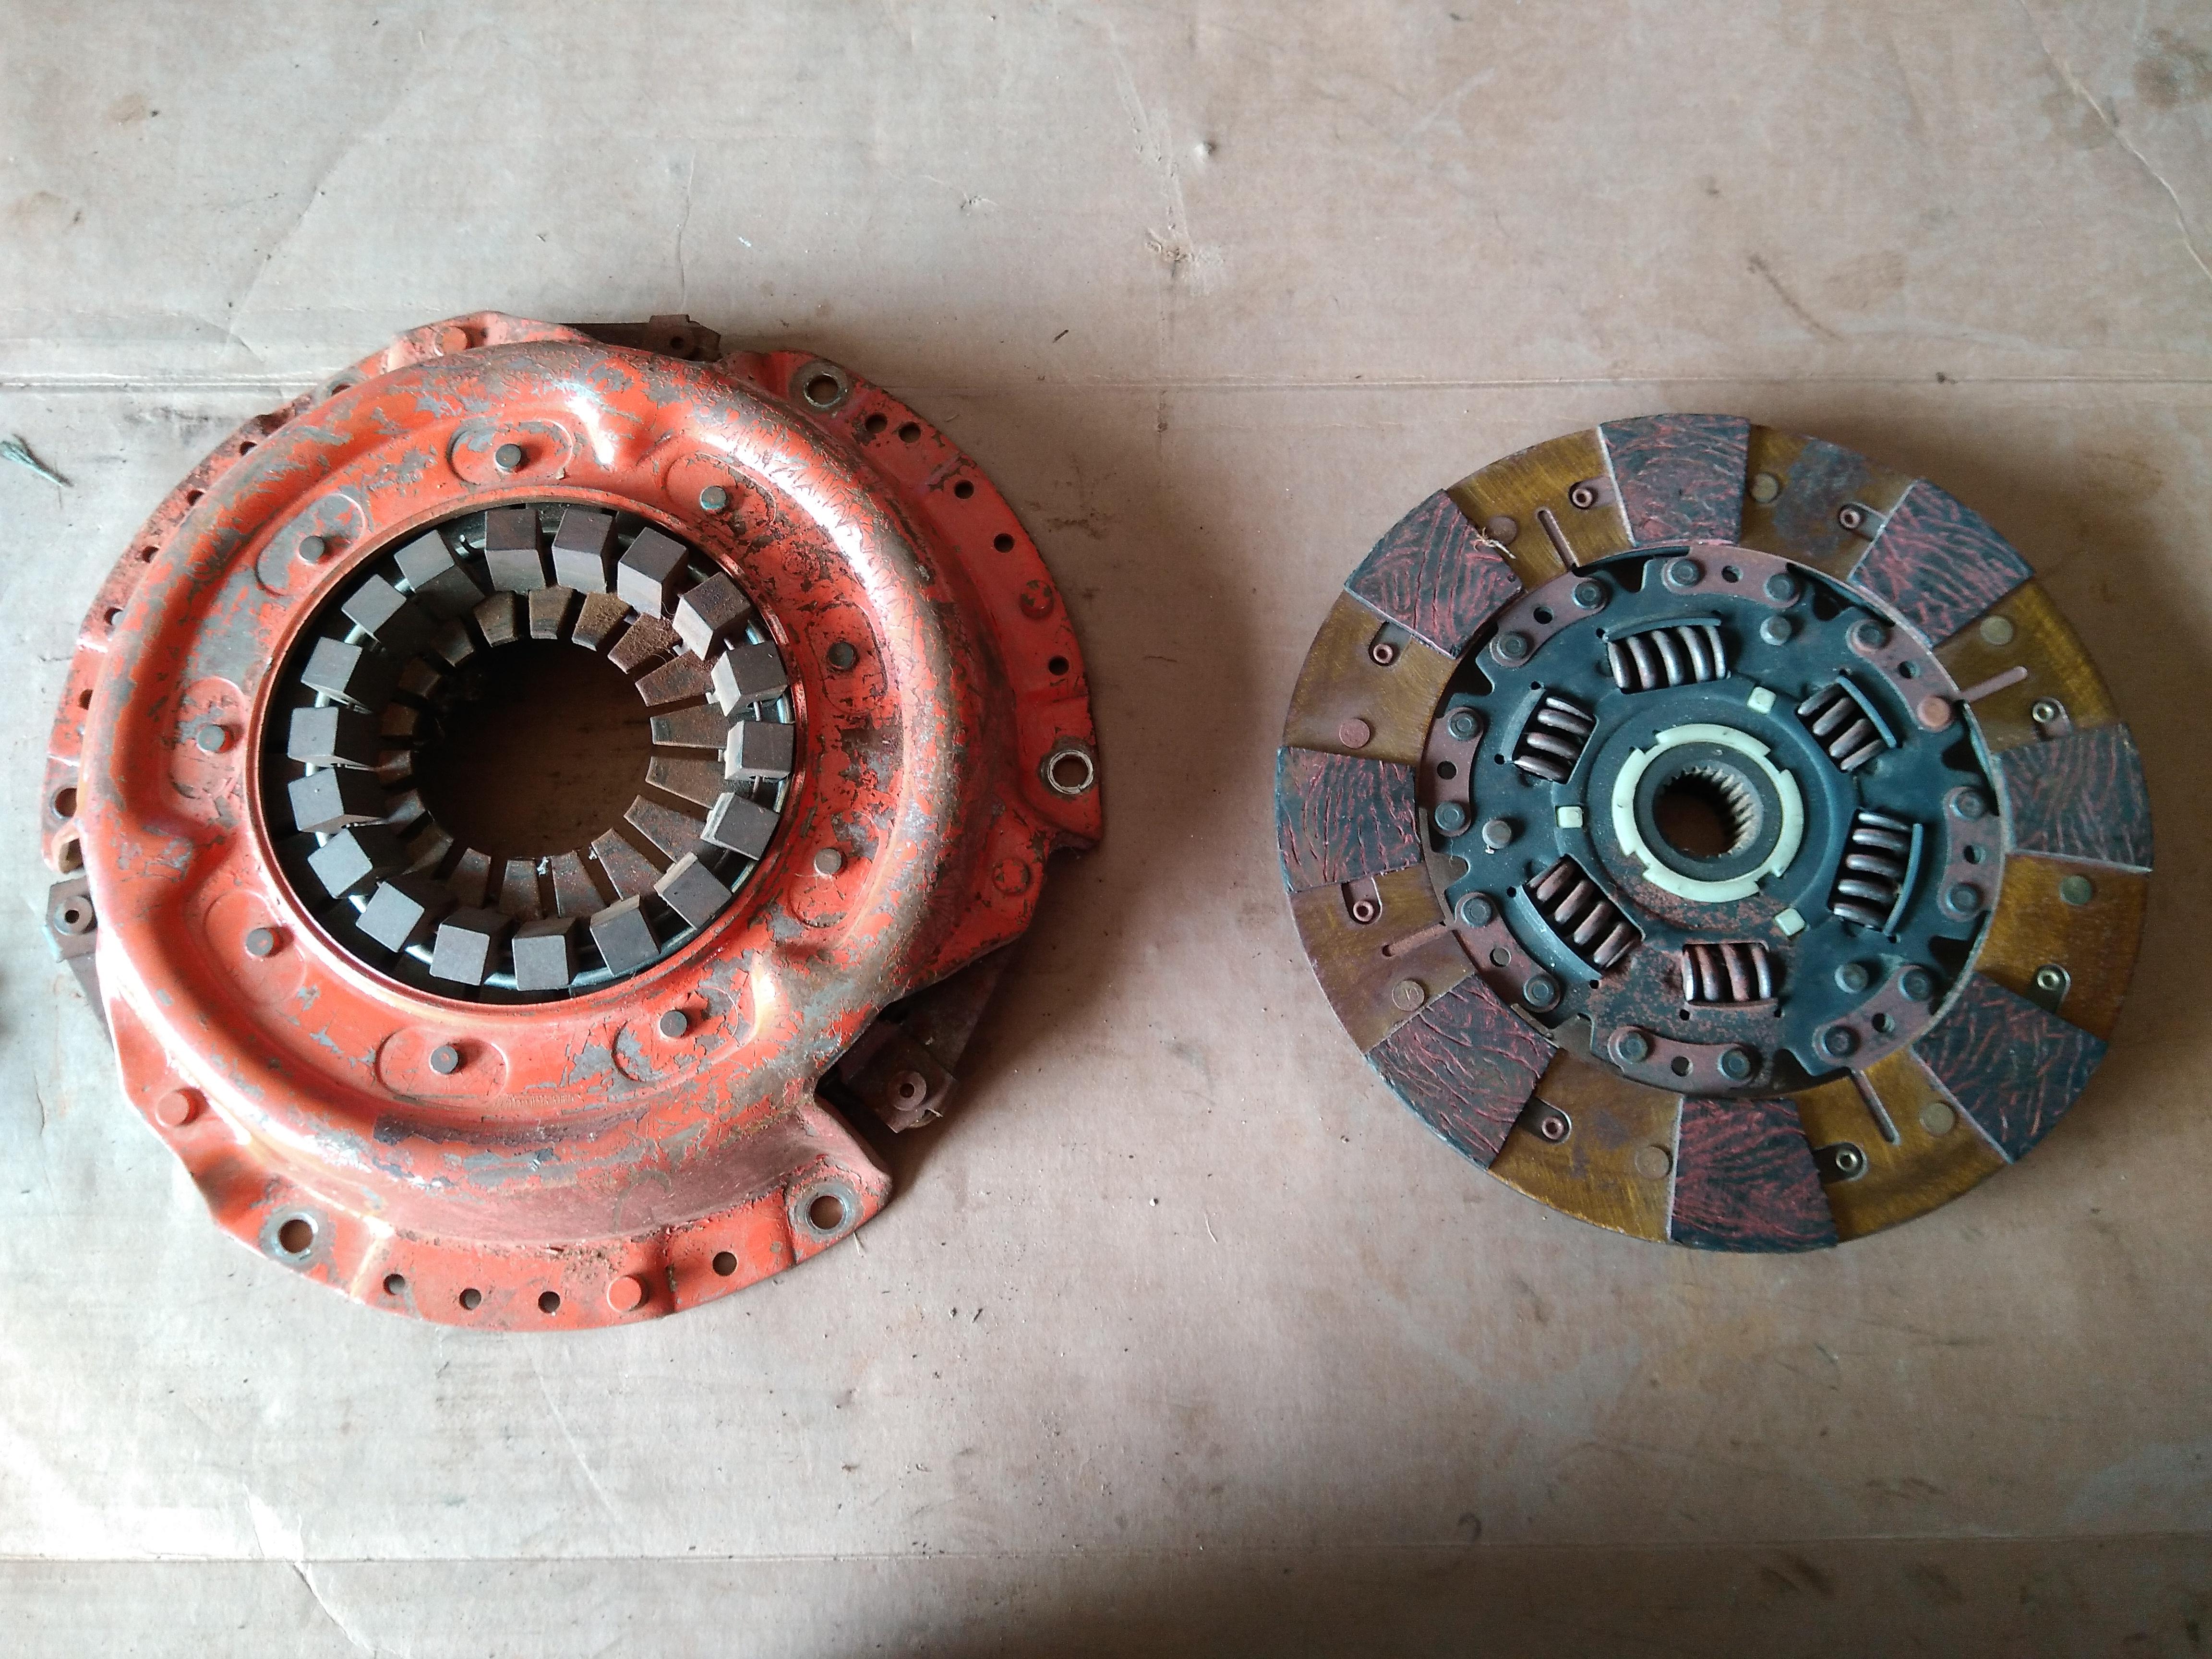
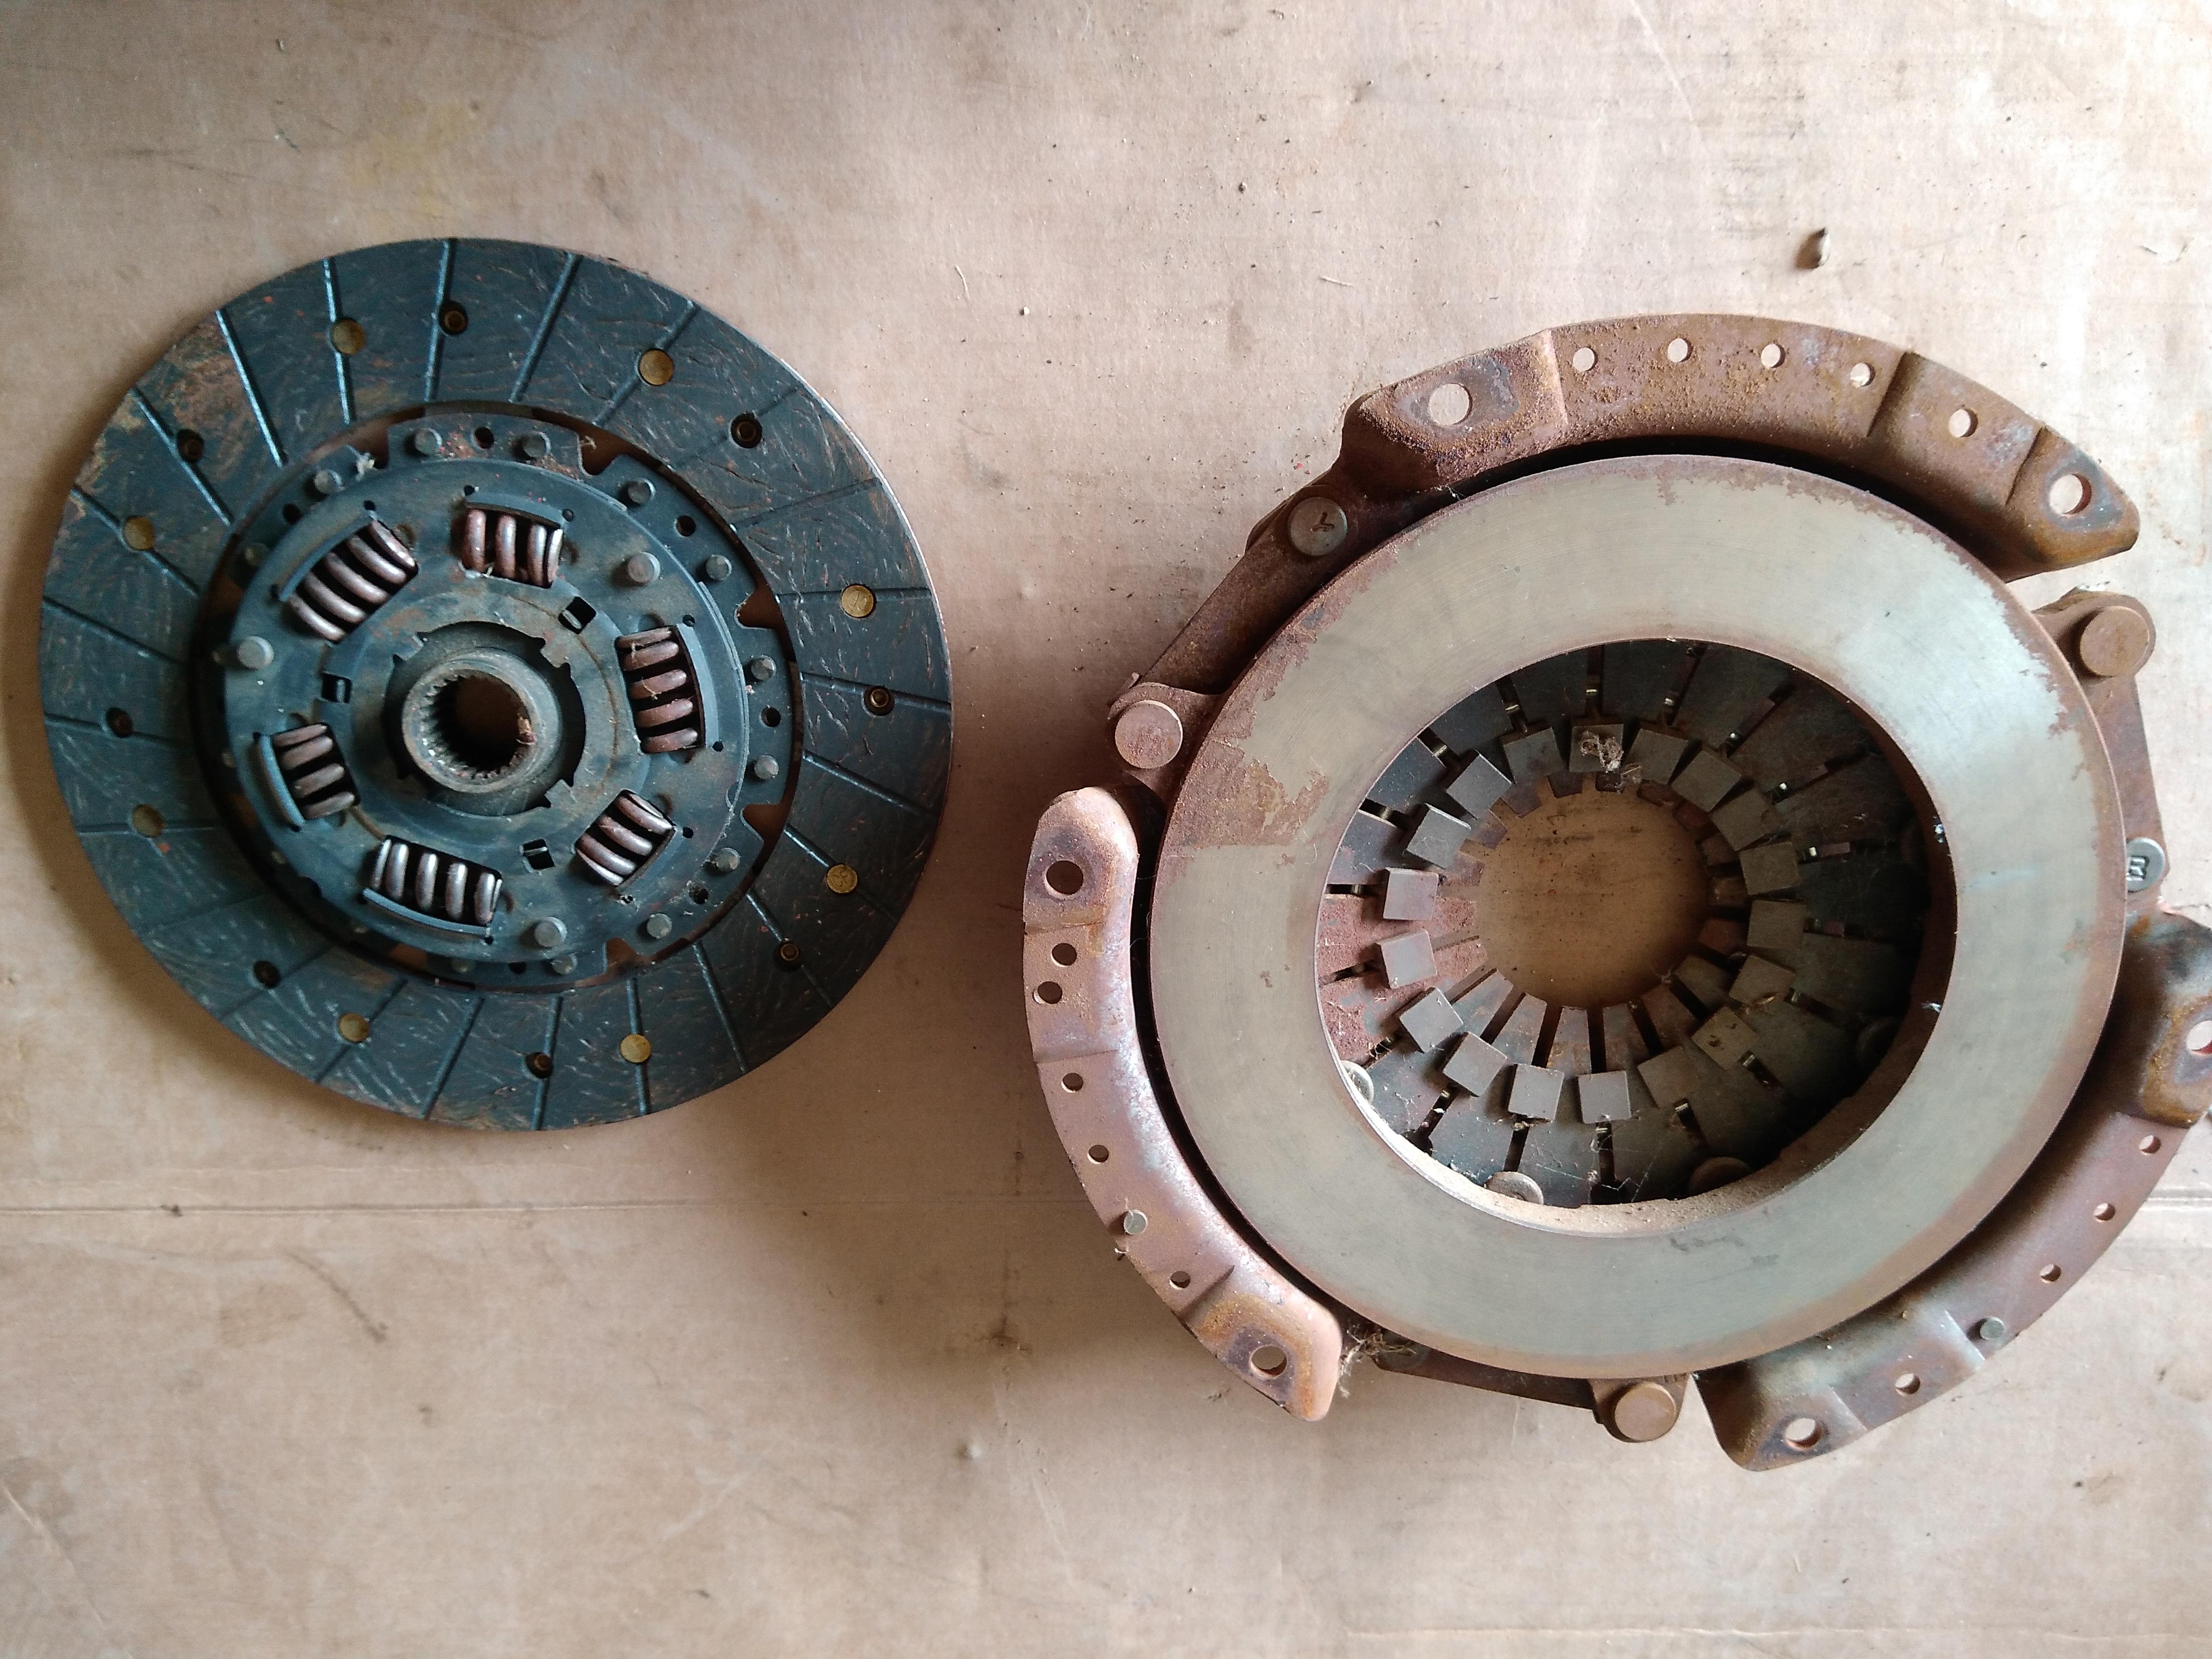
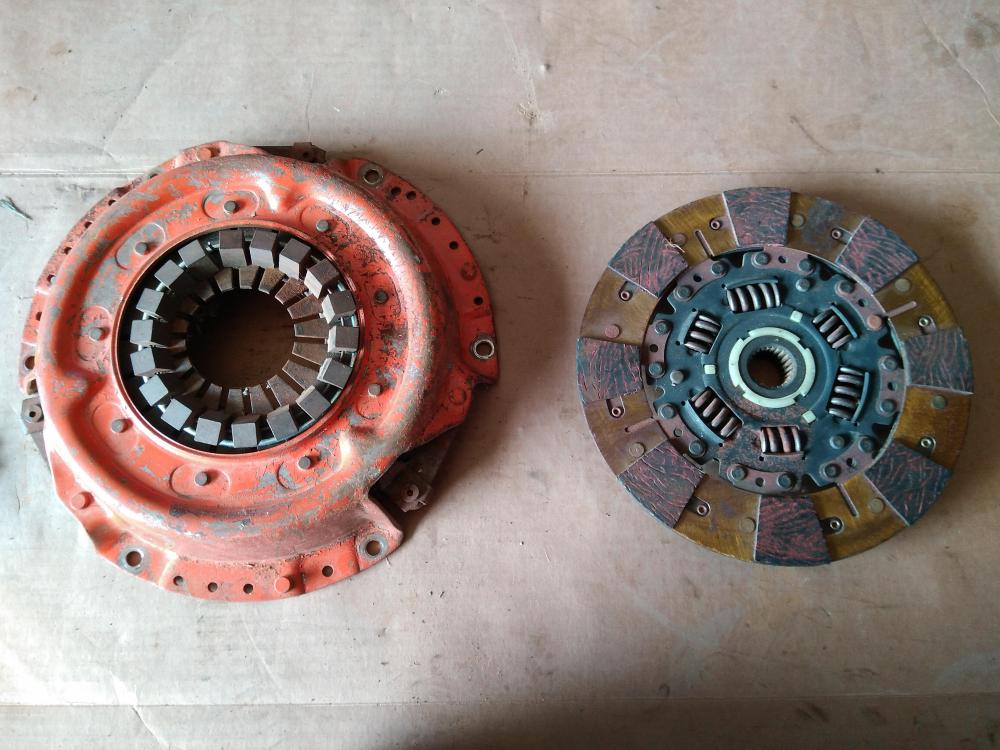
Some interesting parts have magically appeared in my garage over the past 2 weeks .... This is a small sample, does anyone recognize the 2 different headers? This is a clutch I took off a rebuilt motor I am toying with, (more on that later), am I right that it is a centerforce II?


-
All the 75 thru 78 ecu's are similar with subtle changes for the auto transmission, etc. They all used the same single amphenol style connector and therefore will plug into the harness as Zed Head has done. The later ecu's with support for the ECCS system, are a totally different connector style with 3 seperate connections.