S30Driver
Free Member
-
Joined
-
Last visited
Everything posted by S30Driver
-
 I check them infrequently, probably once a week.
 -
My driver side door lock has been getting progressively worse at unlocking the door over the past 6 months, so I decided to try the "coat hanger elbow modification." About 1 in every 3 times I had to get in and unlock the door from the rear hatch. Seemed to happen mostly if it was colder outside vs warm. Cannot use the passenger side door for entry as the key lock was missing its elbow that connects to the door latch mechanism since I have had the car. If anyone had one for the passenger side, let me know. Removed the lock on the driver side door, removed the elbow, (which was barely moving with the key turning) carefully drilled the hole for the coat hanger wire, re-installed the lock and voila, no problem with key opening and locking the door. Great fix because it is reversible if I ever put a new lock in the door. Now, I just need to find that elbow for the passenger side...
-
The big heavy cable running from the starter solenoid to the battery (held on with a nut)... is it on the battery terminal closest to the starter or the one under the inspection cover? It should go the the positive battery terminal. If you don't have the covers for the fusible links, I would invest in them, they are cheap.
-
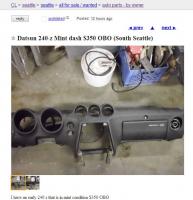
Looks like a decent shape 240z dash. Don't know what crack free ones are going for now. https://seattle.craigslist.org/see/pts/4619952535.html
-
Always interesting to check in on this thread... Great attention to detail. And nice goody choices!
-
Glad its figured out & finally running right! And get that fuel pressure gauge replaced to aid in future troubleshooting....
-
When you did your AFM adjustment ... was the area the wiper travels across in good shape? Did it appear to be un-tampered with from the previous owner - seals intact? About how far, how many teeth was your adjustment?
-
The broken plastic where the injector clip goes is not causing your problem. Blue's injector connection swap is the way to go to isolate the problem. If you don't have a stethoscope, just use any rigid handy device - a long screwdriver, snowbrush handle, and hold it to your ear. You will hear the injector CLICK when it fires.
-
For that kind of money, I would rather have the 240 that blakt out resto-modded about 4 years ago and then sold it for around 60K. I think he had well over 100K into it.
-
Thanks Chas I took the time & carefully drilled out the spot welds. The front - one bolt hole lines up for the new brackets, I had to drill a new hole in the frame on each side for the rear of the bracket. If I remember right, also relocated the horns.
-
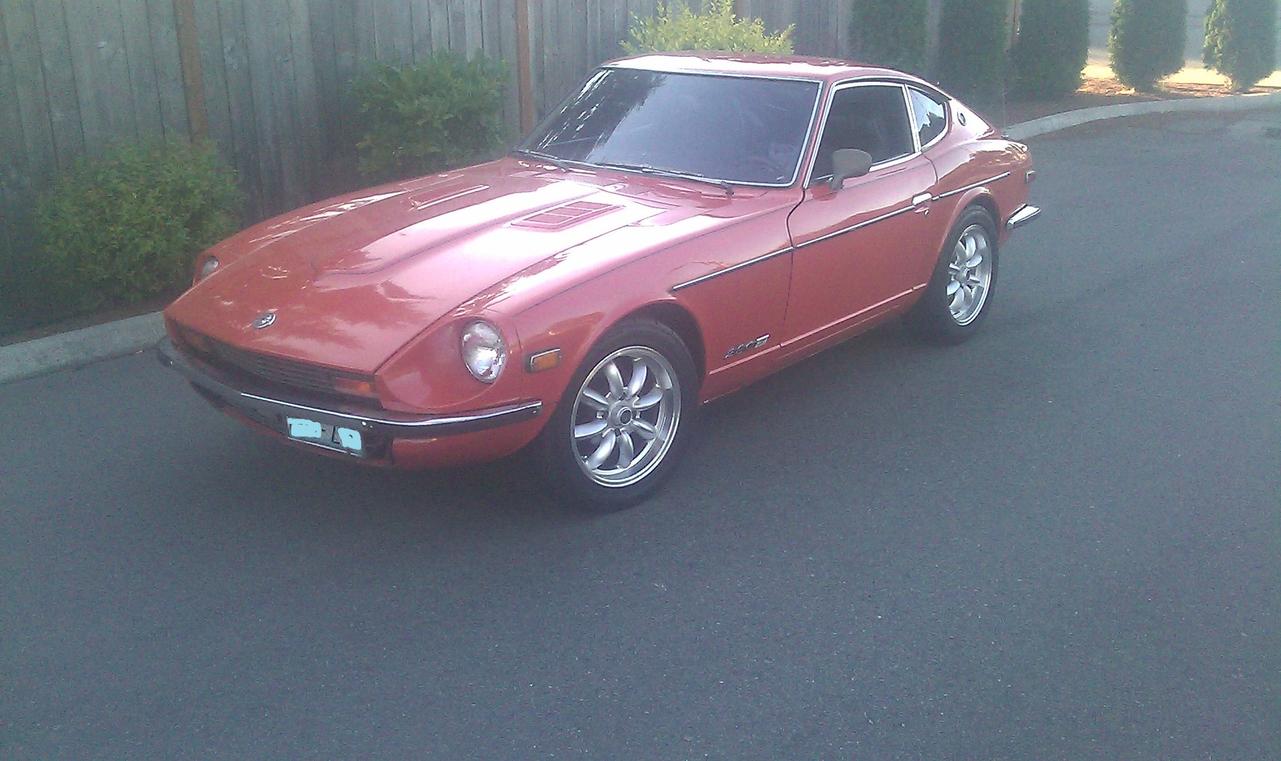
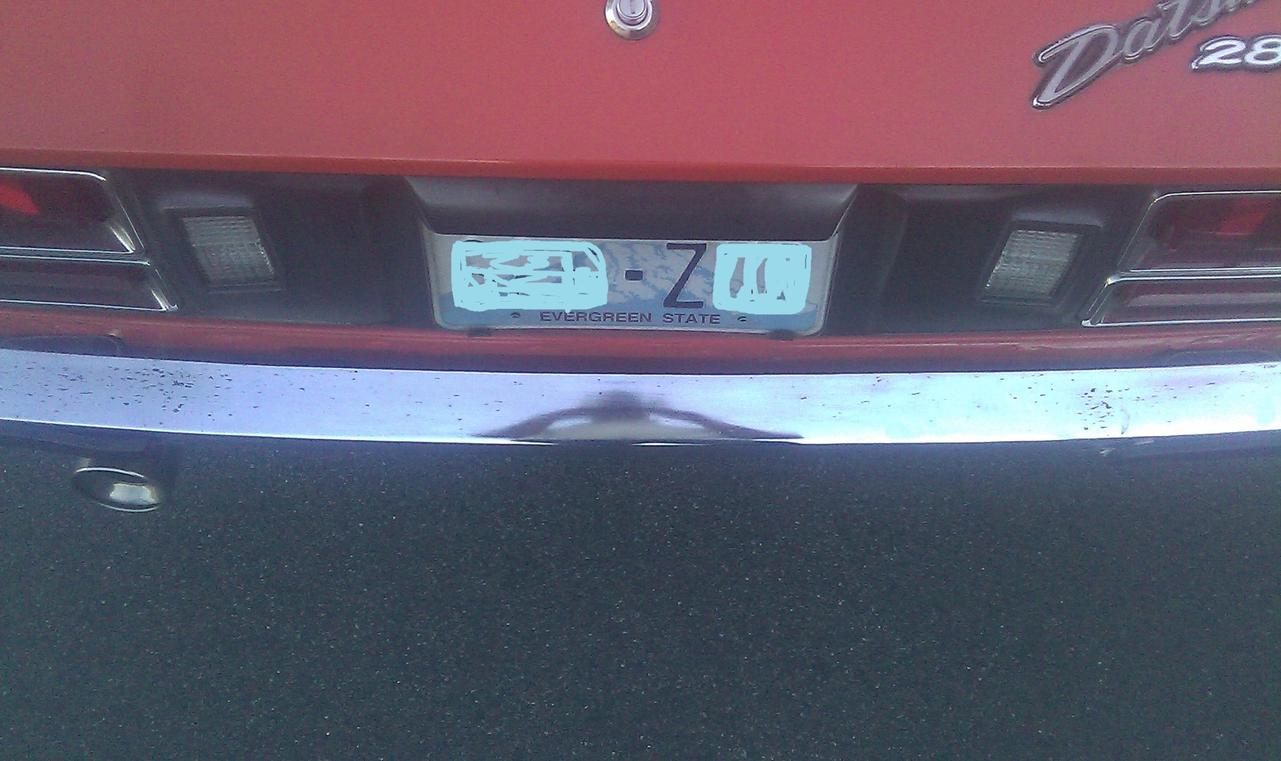
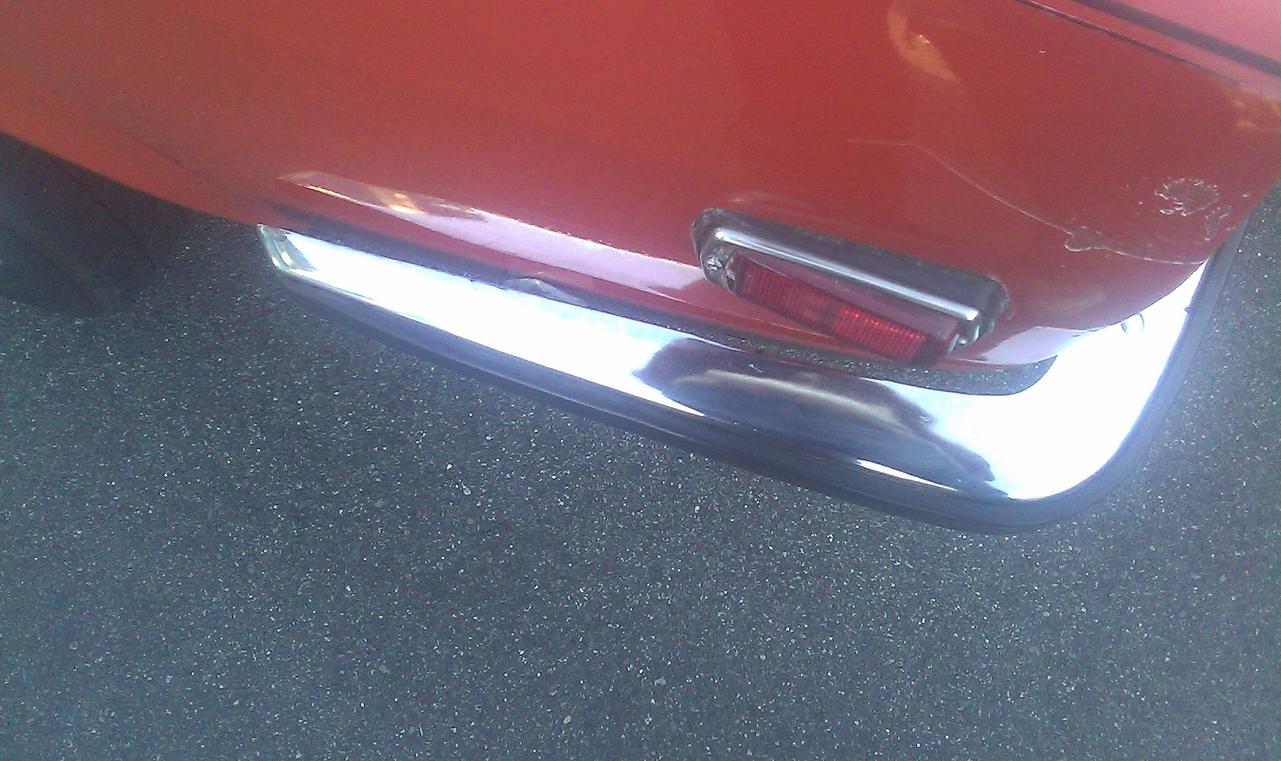
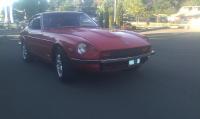
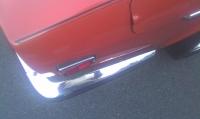
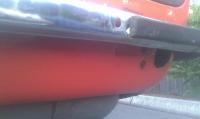
Ok, used a grinder to clean up the spot welds, sanded & cleaned, adhesive primer, paint. Not as nice as Black Golds rear valance, but it looks presentable for now. Using the 240 rear brackets, 1 bolt hole for the bracket to body on each side lines up. The right side will require drilling the 2nd hole for the bolt and a nut / fender washer on the inside. On the left side, the 2nd hole almost lines up - I notched the bracket for now to catch about 3/4 of the bolt/washer for now. Will fabricate & change out the brackets later - the weather is way too nice right now to have the car off the road for this project. Just need to drill 3 holes, pick up some stainless hardware & rubber washers to finish the mounting, polish the bumper and should be done for now. Looks like with the bumper on, it hides most of the holes, unless you crouch down. Mostly about half of the old shock holes are visible. Chas - here are some pix showing the front grill / bumper area and the gap on the rear sides. Let me know if you need anything else.


-
Glad things worked out in the end, & you got away from the dreaded minivan.... Persistence & patience paid off. Good looking booster too!
-
Chas On the front, I fabricated my own brackets to mount the bumper, although I still have the 240 brackets, I couldn't get them to work as easily. I offset the front license plate to the right to take up some of the gap under the bumper. Will eventually find another 280 grill the lower gap properly. On the rear sides, the bumper has some adjustment where the two end pieces attach to the center piece, as well as the welded side mounts are easily bendable. Looked ok on my 2nd test fit. I know what you mean about the recess though. Will take some pix later today. Rossiz Dual exhaust... wow, you should route it through the open holes the the bumper shocks went through. Wonder if anyone has ever done that. Would be trick. My next step is to clean up the spacer / spot weld area as well. Glad your Z is running well, are you back to driving it to work?
-
Just wanted to say thanks to Carl B. for the tip on the great Kano Kroil 2 for 1 offer. A terrific deal. It is $22 per can at my local nuts & bolts place, and I think the Kano deal is for the larger size can. I order it last night
-
On Friday I got back to it, lowered the fuel tank, removed the one remaining bolt on the passenger side bumper shock, and voila - the bumper shock slid out toward the wheel well. (on Wed & Thurs had to rescue a friend who broke the right rear ball joint on his Chrysler Sebring - replaced the upper control arm & ball joint. What a job that was.) While I was in there with the fuel tank lowered, I cleaned up the tank & refreshed its paint, and replaced the short fuel return line which felt hard compared to the others. Everything was in suprisingly good shape, especially the fuel filler which disconnected from the tank with no problem. Since I had the rear up on jack stands, and as a while i'm in there deal, I decided to bleed the brakes to replace all the old brake fluid. Everything went smooth & now I have a very hard pedal and super responsive brake system, with clean fresh fluid coursing through the system. Interestingly, the front almost self bled, hardly had to pump the pedal. I have heard people talk about gravity bleeding but never took it seriously. It was great, just had to watch my little bleeding reservoir fill, close the caliper bleeder, & keep the master cylinder topped off with fresh fluid. Rossiz I have not quite decided how I will finish up the back end, still test fitting and aligning the 240 bumper with the brackets. Very close now with the fit. The 240 bumper covers some of the holes and of course I am using some for the bumper mounts. Will look closer at it tomorrow when I do another fitment. Maybe I'll have a chance to see your car & see how your solution on the holes worked out. I still have to clean up the spot weld area where the bumper spacer was and drill the holes for the side mounts. (not looking forward to drilling into that beautiful body) I am wondering how level the bumper sides on the 240 are before I drill the holes. Possibly someone with a 240 & the rear bumper on it could make a measurement of the distance from the bottom of the rear marker light to the top of the bumper for me.
-
You can also get a turbo car (not the 2+2) driveshaft and then the rear flange off the turbo car diff. The bolt pattern is slightly different on the turbo shaft and flange. Then have that driveshaft shortened. The crossmember can work if it is turned around and modified for width. (cutting & welding)
-
Thanks for window seal info Zed, I'll take a look at that.
-
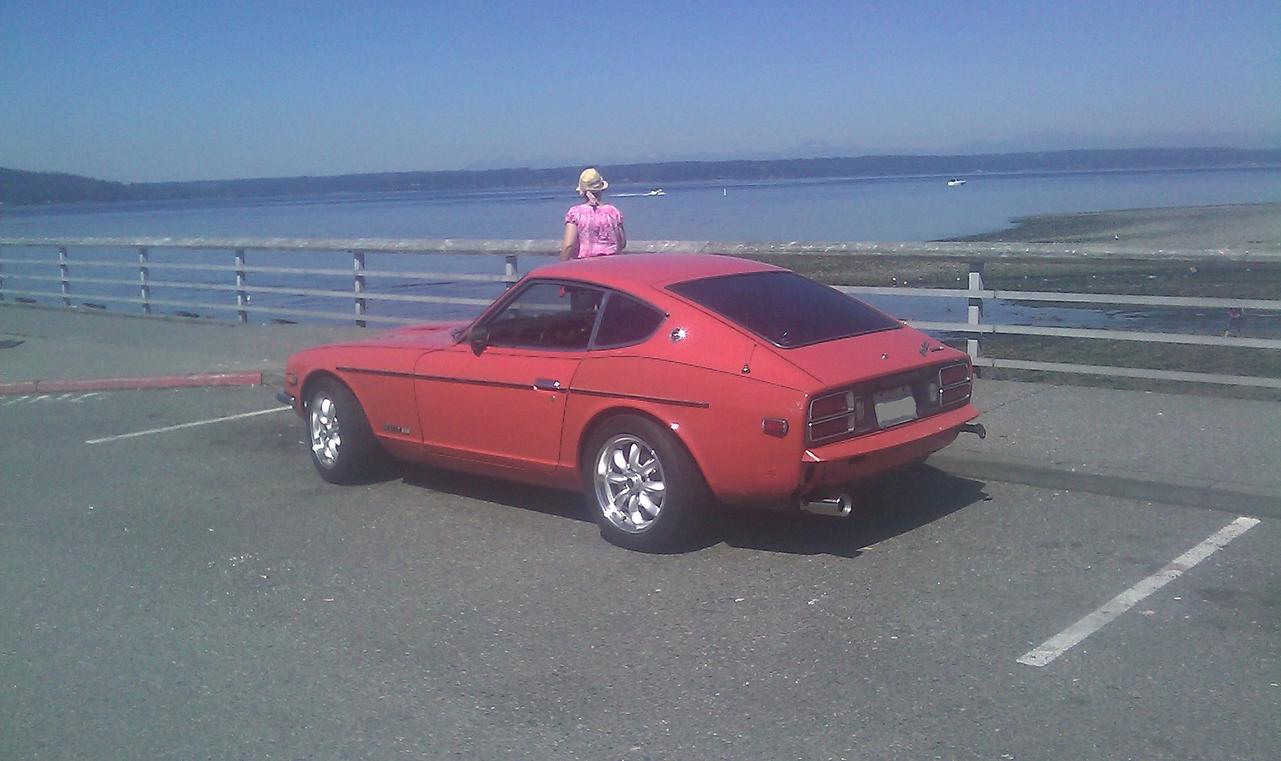
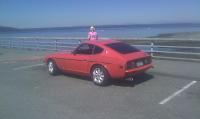
Finally getting around to my long put off conversion from the big 280 rear bumper to the 240. Did the front 240 bumper a long time ago. Driving around to burn up some gas, trying to only have a few gallons when I drain the tank to get the passenger side shock mount out. Stopped at the local marina. Very nice day. Everything more or less ready to go, removed all 3 17mm nuts above in the hatch area, and 2 of the 3 14mm bolts below by the fuel tank. Only the middle one remains, the filler neck hose blocks it. The secret to getting that shock out looks like the 4 screw access panel in the right rear wheel well. Once removed, you can see and get at many things much easier. Hoses, tank J bolts etc. As well as slide the freed shock out toward the wheel well, with the wheel removed, which is what I did on the driver side. Those nuts, bolts, and washers come in handy to re-use to plug the 3 holes left after removing the bumper shock. Seals the rear hatch floor back up nicely. Out of interest, I tried to collapse the shocks after removing the screw & releasing the gas. Whacked them pretty good with a wood block and a 5lb brass dead blow hammer - they didn't budge. I remember collapsing the zx bumpers by just removing the gas screw and pushing them in. I am wondering if the bumper had been called on to protect the car in a collision, if the bumper would have moved in & done any good. Hopefully will have time to get it out tomorrow & remove the bumper filler I left on as a fake bumper.
-
Sounds like it was a nice trip to NH.... I assume you have the false floor out at the front of the deck area so that you can get to the open storage bins up there. Inaccessible when the floor is still in. I have the same slight rain water leak at the lower right of the hatch. I think it is where my fairly new seal goes past the hatch strut, had a hard time getting it to fit right there.
-
Thanks for the info on the replacement board FastWoman. I will keep that option open for the future should I go that route. Zed, the ignition is off, and it only does it when the interior gets very hot inside. I think it the spring movement on the tach needle being expanded by the heat. More of an annoyance than a problem, its been hot in Seattle the last month or more.
-
Not a huge issue yet, but during the last two summers, when the car is parked outside & the interior heats up, the tachometer will rise from 0 to between 1 - 2000 rpm and just sit there. This is with the car not running, with a shade for the dash / front windshield, and usually occurs when it is hot weather, high 80's & 90's. Driving the car, the tach will respond at higher rpm's but will not drop below 2000. Looks like a sign to me that the tach is getting old & needs a rebuild or replacement. Anyone else experienced this or have any insight.
-
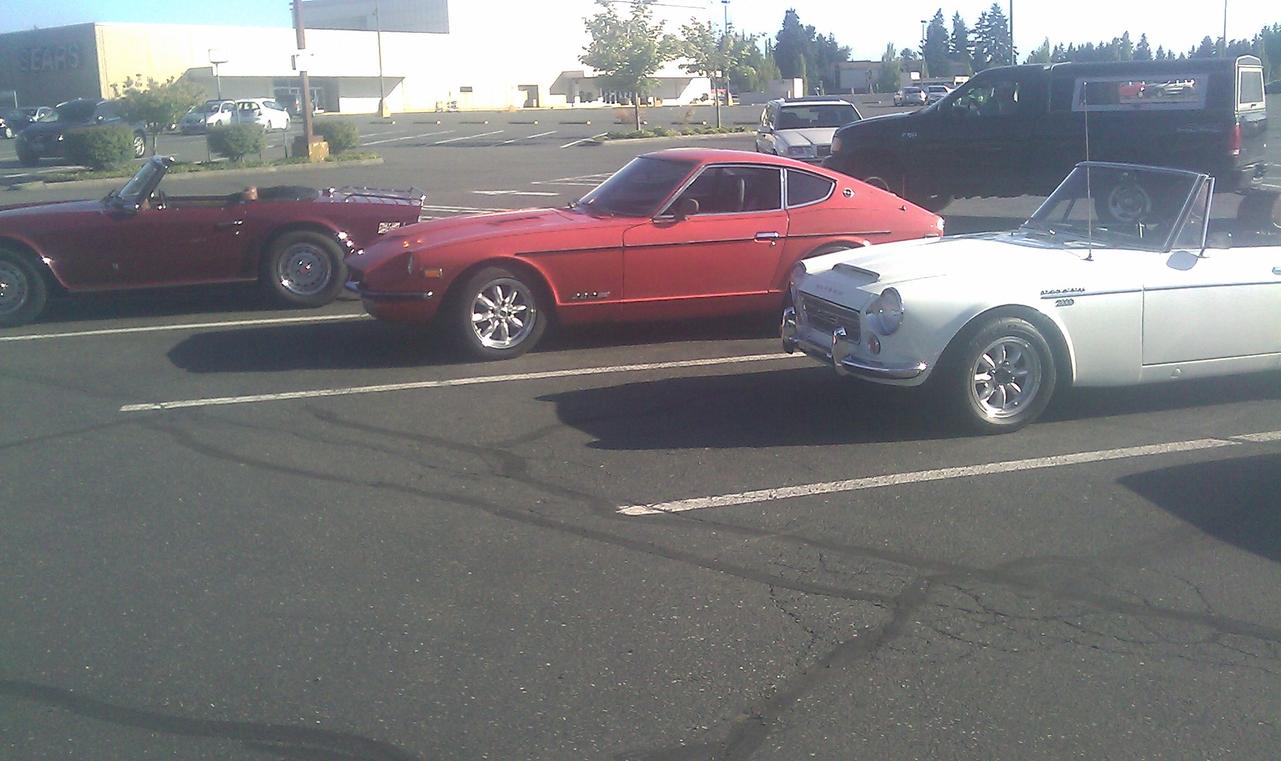
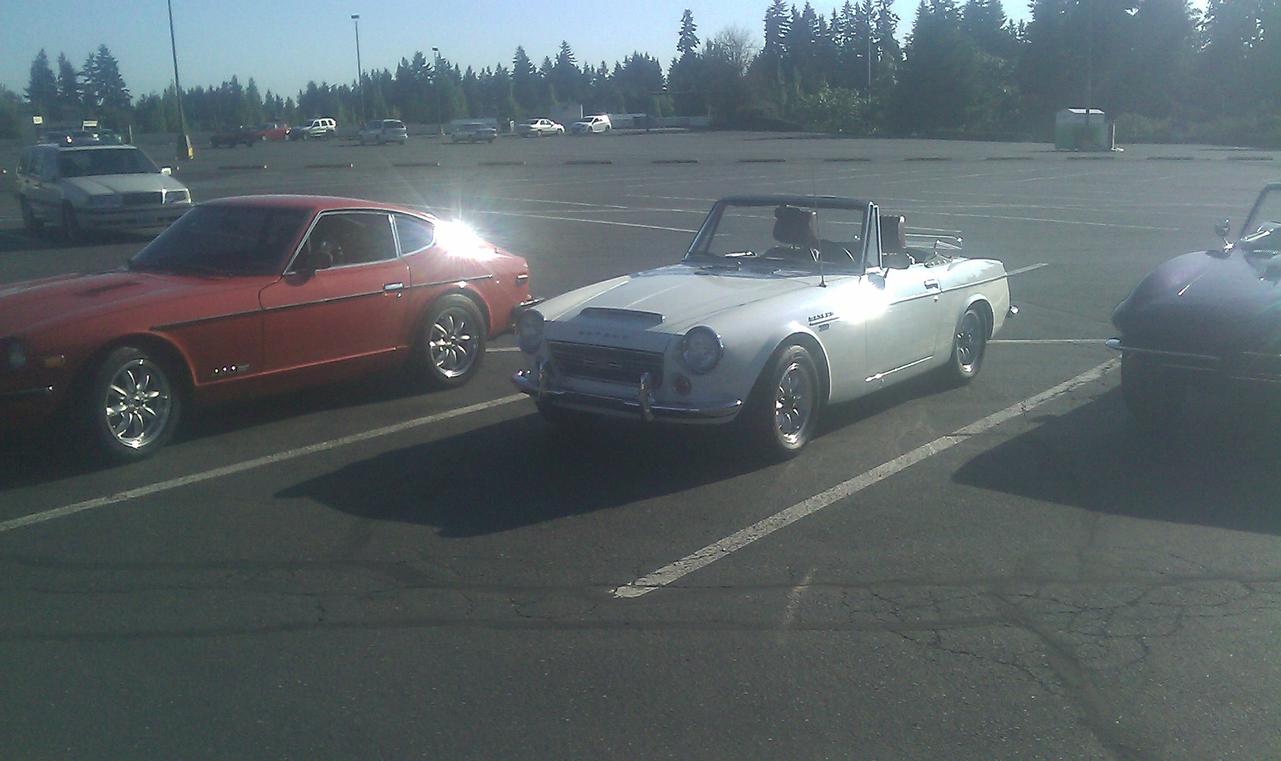
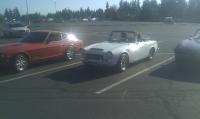
Went to a Cars & Coffee in Shoreline this morning. An interesting assortment of about 20 vehicles, nice people, 1 very nice 2000 roadster.

-
He purchased a reconditioned N42 instead of reworking his N47.
-
The transmission in your picture looks like an early 5 speed, the less desirable wide ratio - with the 2 ears on the tailshaft. Some transmissions had an extra switch that opened in top gear. It controlled power to a solenoid on the manifold to allow the vacuum advance to work, likely for emissions purposes. Hope this helps.
-
Nice work! Must have been a great feeling on that first test drive. Headers look great, & the bailing wire just adds the finishing touch to the underside. Again, good job!