S30Driver
Free Member
-
Joined
-
Last visited
Everything posted by S30Driver
-
 Double check that your connections at the thermostat housing for the CTS & Thermotime are not switched around. Should be something simple you have missed in any case. Glad your intake bolt issue worked out. When your all done, you should do a write up on the issues your found on the rebuild head. Might help someone making a decision in the future.
 -
Sounds like things are coming together beautifully. No more steam power - back to gas. Thanks for the pm.
-
The ECU needs pulse input from the ignition to fire the injectors. You need to check for continuity between the negative terminal of your coil and the #1 pin of your ECU. Might be time to go through the EFI bible and sort things out ....
-
Rossiz - Any progress on getting your new head installed, back on the road, and converting away from steam power and back to gas. Also, check your notifications - you have a pm.
-
What has happened with the car in the last 4 years... When was the last time it started? Has it sat for a long time? Have you made any recent changes and now it wont start?
-
Yes, I agree, very sad. Grand Prix is one of my favorite movies & Garner was the only one of the 4 main actors who could drive. I think the mid 60's was the hey day of F1 - beautiful cars - almost no safety features, took its toll on alot of drivers.
-
Zspecialties sells a belt for his high output alternator upgrade which addresses the same issue you have. You can check it out on his web site. If you get his belt, I think it has the manufacturer and part number so you can purchase one locally.
-
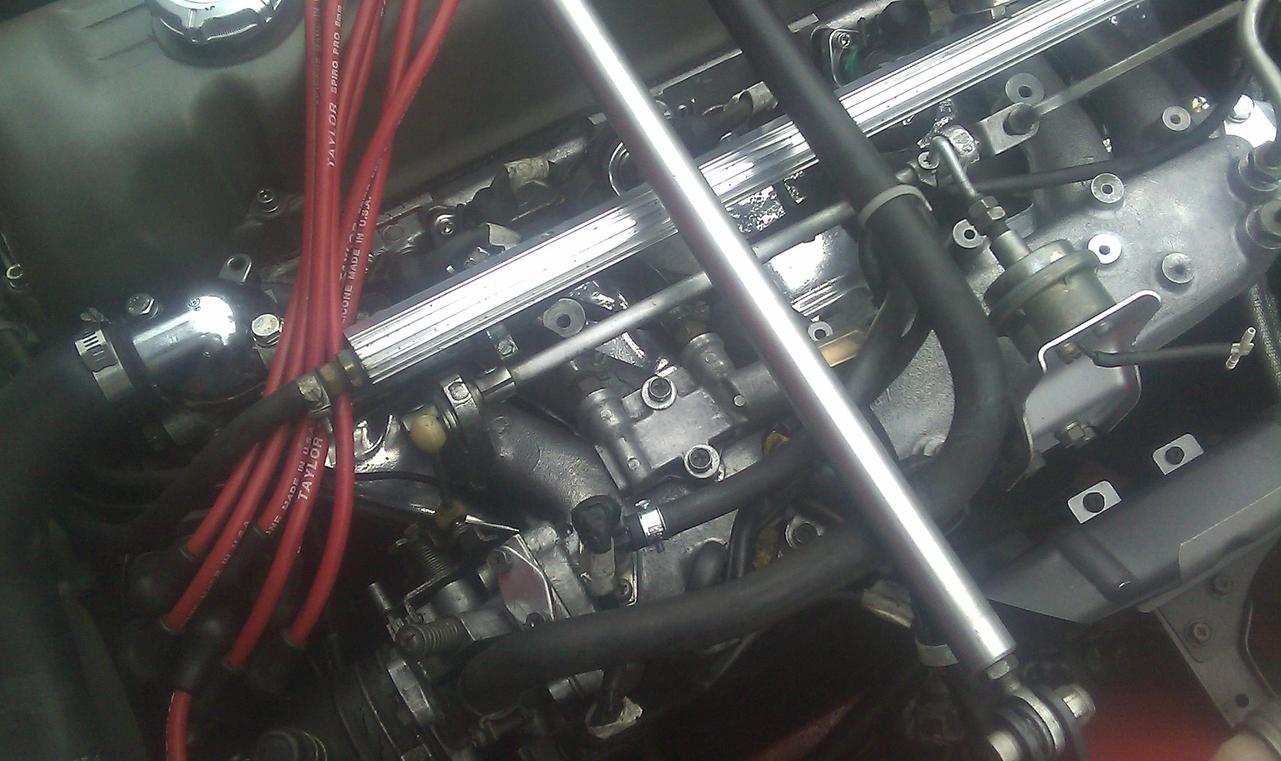
Thanks Steve Now I'll have to get the pass side of the engine bay a little cleaner to match the work I did on the driver side.... (my back is hurting from all the leaning over the fender)
-
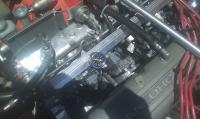
Mostly complete, runs much quieter & fairly well. Changed the oil & coolant as a treat for the beloved Z car. Need to check ign. timing & see if I can get the vacuum up from 15 or 16 in hg. Also idle is low - around 650 rpm which might account for the low vacuum. The intake & exhaust looks like they are sealed up well from the new gasket. Need to clean up the wiring a bit. See what tomorrow brings....

-
Parts finally ready at the coater's today, so stopped & picked them up on the way home. Started putting everything back together. The chromex on the heat shield looks nice. Probably should have looked for one that was less pitted where it is visible. I'm guessing rain and dirt coming in thru the hood vent and collecting on it, causes the rust and decay. But not now!


-
I will be very interested to hear the outcome of BackDoorZ's ethanol free gas test. My car has the stock green injectors, a Pallnet aluminum fuel rail, stock manifold & soon to install my chromex coated main heat shield.
-
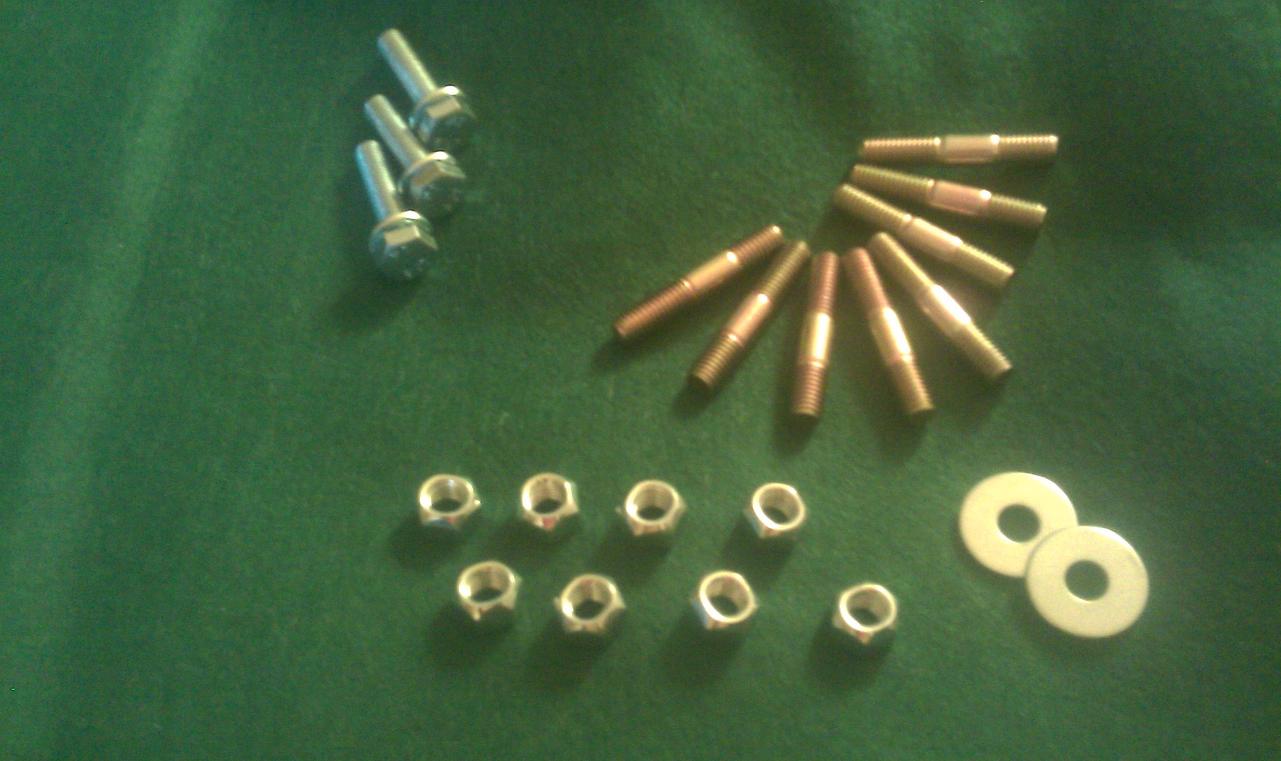
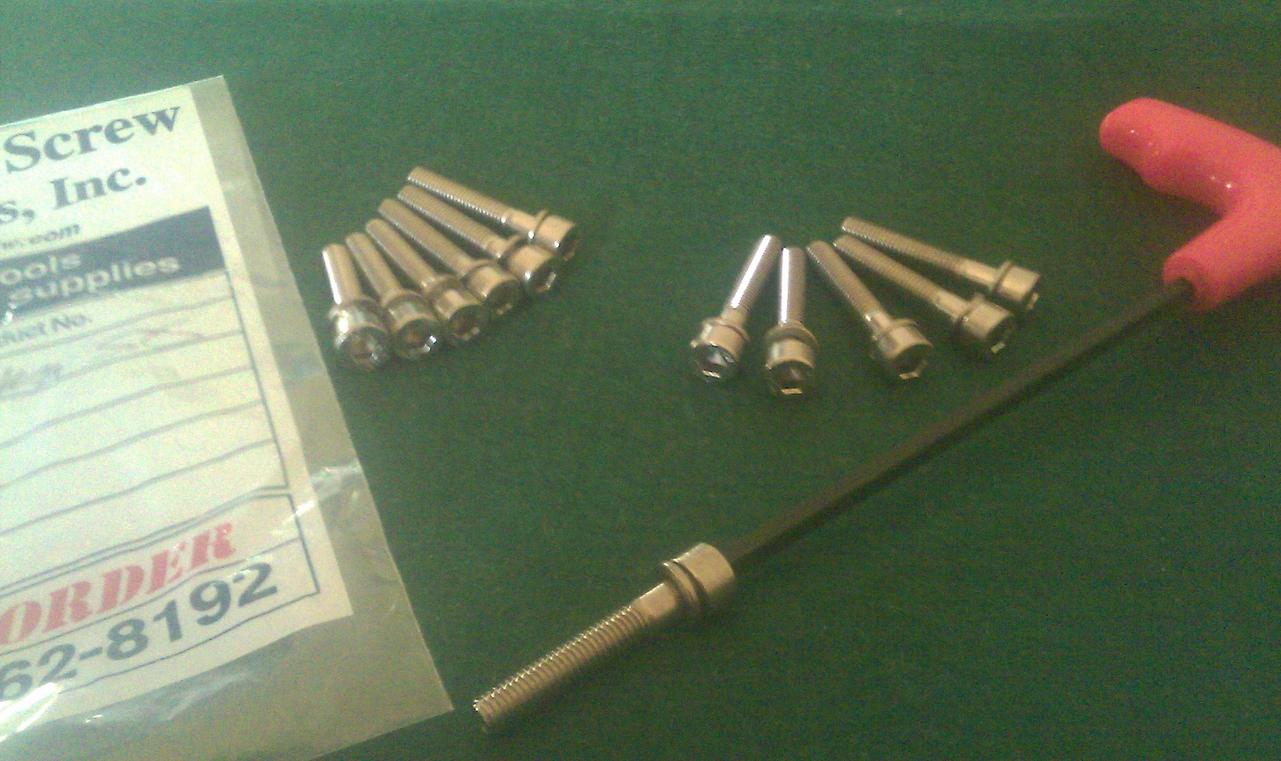
After much searching for the holy grail of exhaust studs, I ended up taking Zed's advice and a Nissan dealer parts guy put me onto a set of M8 upgraded studs for the 300zx turbo & pathfinder. They are grade 8.8. Turns out that in the world of double ended studs, it is very hard to match the A & B lengths that Nissan used. The A length needs to be 14mm (the short side that goes into the manifold) and every stud I found in M8 was 10mm on the A side. I did not want to sacrifice the other 4mm of thread into the head. The Nissan part number for the studs is 14065-V5004 Here is my kit I assembled for the manifolds, now just waiting for my heat shield & other stuff to come back from Performance Coatings ....

-
This might help you out on the injector screws. Go to any big industrial nut and bolt place and ask for ..... Stainless Steel M5 x 30mm metric socket head cap screws & the stainless M5 lock washers (12 needed) A long 4mm allen wrench is nice to have for them too. I just purchased some and they were $5.15 for the 12 stainless allen screws and a whopping 45 cents for the 12 lock washers. I don't know what nissan charges but it might be higher.....

-
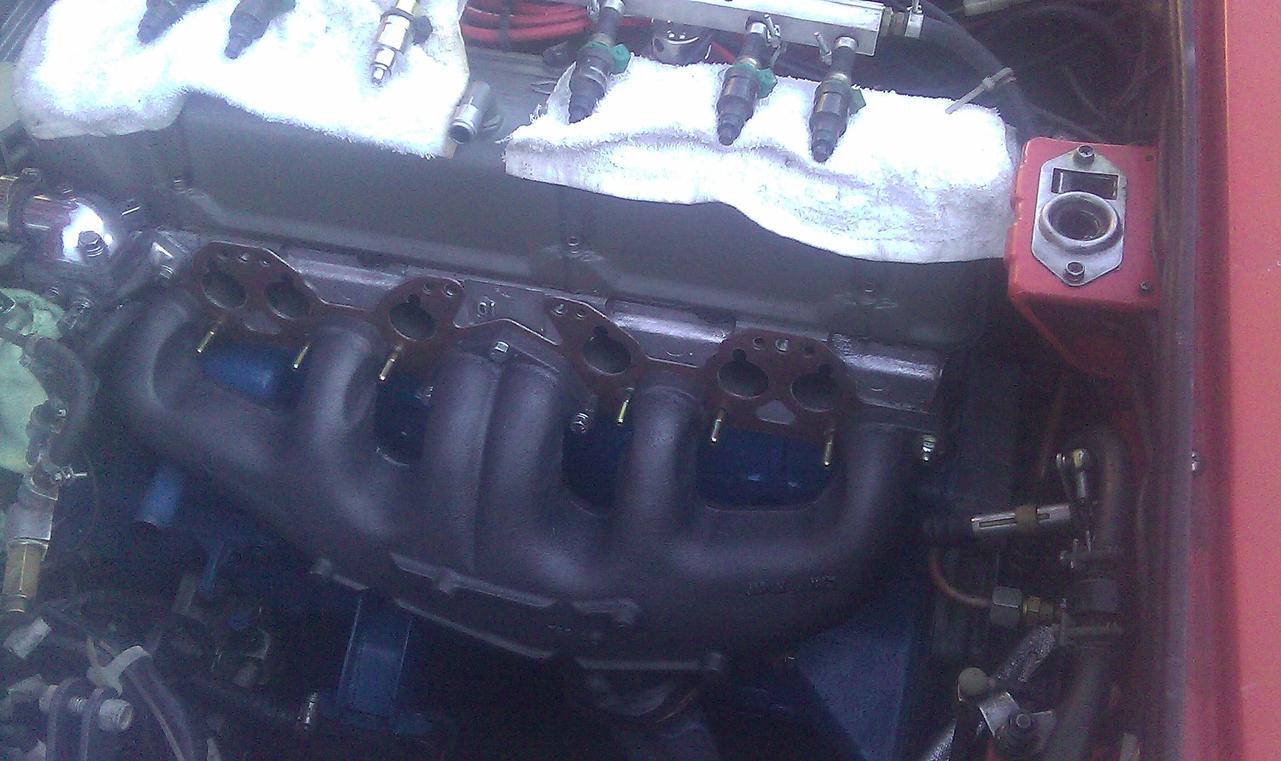
Be certain to only use fuel injector hose clamps for the connection to the rail. They are solid as opposed to the cheap gear clamps with the slots. The injector clamps won't cut into the fuel line when tightened. Hopefully they came with your rebuilt injectors.
-
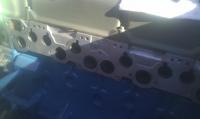
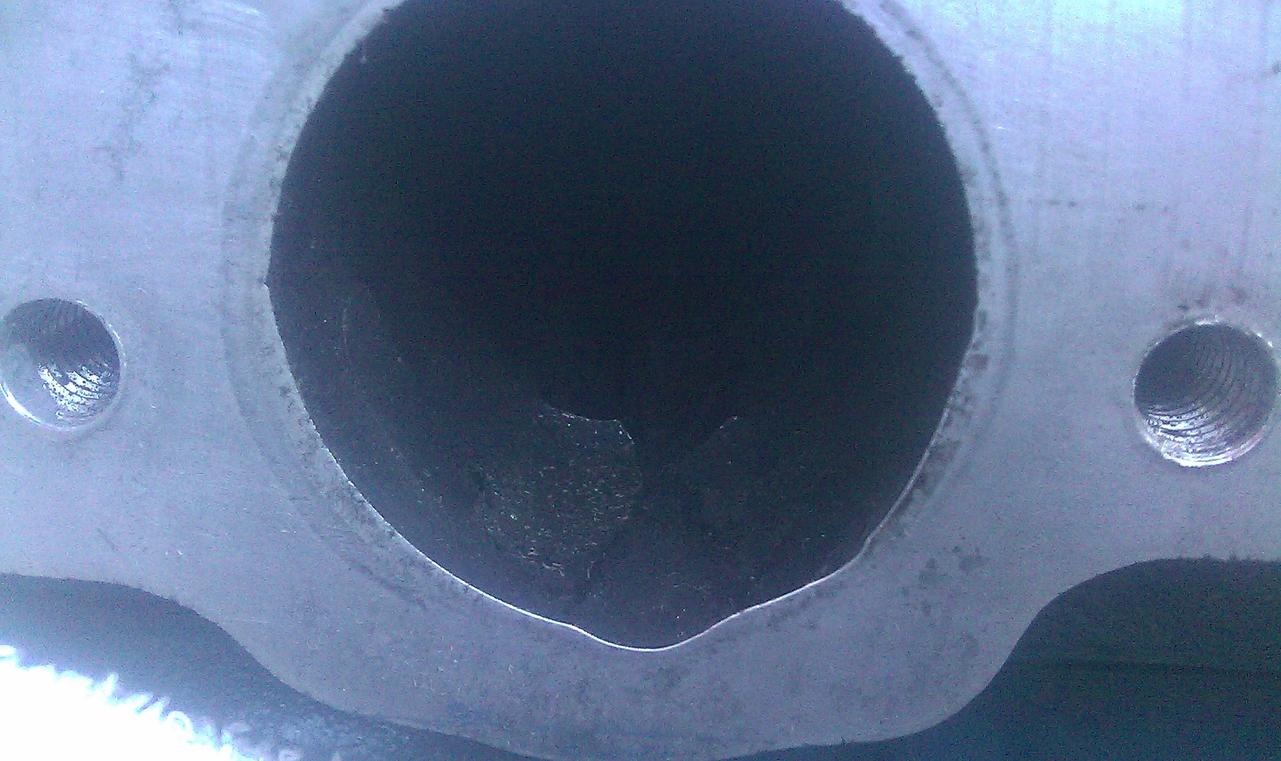
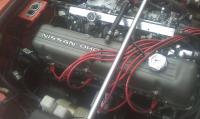
For what its worth, here is a pix of the number 2 exhaust port with the missing liner. Need to get better lighting and a better cam to show more detail. The 2 pieces I found in the down pipe flange area were rounded steel from the liner.

-
Thanks for the info Zed, I share your concern. However, I will live with it for now. maybe address it at some point in time when I have to remove the head. Too bad I can't get #4 liner out to give it some balance.
-
In other news... if you look at my 2nd picture, you can see that the liner is missing from the #2 exhaust port (N47 head). I actually found some pieces of it hung up in the downpipe area - hopefully the rest made its way thru the system to the muffler. I am wondering if this has any impact on the motor - good or bad. Is it possible to remove the other liners? Any thoughts....
-
Hey Zed, i like your theory.... Also, I think Nissan knew they had an issue, but it didn't show up until years down the road - many heat cycles and fatigue setting in. If you look the later ZX manifolds, they modified the design, slotted the ends to allow for some expansion and give. When I was still in Denver, I had a good friend that was an old Nissan service manager - he gave me the stud grade info and was generally a very knowledgeable guy. Wish he was out here. If I have to settle for grade 8 - then I can live with that.
-
Before you took the cam sprocket off from the old head, did you check to see if it was on position 1, 2, or 3 to compensate for chain wear / stretch? I assume you have not put a new timing set in. Might be something to check when you get the new head on. Hopefully it was not on 3 already.... Best of luck - let us know when the great fireup is about to happen....
-
How did the weld on the intake work out, and what was the cost? Just curious because I probably would have just sourced another N47 intake that was undamaged, the non egr ones are probably getting hard to find. Can't wait for the first fire up with new head! Best of luck ....
-
Hi Zed, I know you have a high level of knowledge on Z cars, maybe I was not clear with my intent previously. I assumed most everyone is familiar with why the number 6 stud always shears off flush with the head. I believe it is due to the long length of the 6 cyl manifold which bows over time causing it to put extreme tension or pressure on the 2 end studs in the vertical direction. The stock grade 7 stud can't handle it, the nut is fine. Nissan used pinch nuts which are 1 use only, eliminating lock washers, if you take them off - you are supposed to replace them. Pallnet sourced & used to sell a kit with 10.9 grade studs due to this problem. (I have his fuel rail on my car) I just hate fixing things twice, and my goal is to end up with good quality hardware that won't corrode, has extra strength for those extreme end studs, installed with some anti-seize so I will never have to worry about them.
-
Site - yes, my intake is N47 and the egr portion of the manifold was in good shape. I am deleting the egr however. Ya - Rossiz's intake was interesting, glad I didn't have to deal with that. Come the think of it - all his threads are interesting.... waiting to see how his new head works out.
-
Thanks for the insight you guys. I want the high grade studs for number 1 & 6, heat treated, for exhaust use. Nissan used grade 7 studs. The others don't suffer from the tension - breakage problem. Am replacing all the studs & bolts (except for the big intake bolts) because they were in poor shape and I don't want any issues with removal in the future. The last thing I would do is over tighten steel stud in a aluminum head beyond factory spec. I think Nissan used pinch nuts instead of washers - except on 1 & 6 which had washers.
-
Thanks siteunseen. I will keep those in mind, depending on what i find at the industrial fastener place i go to.
-
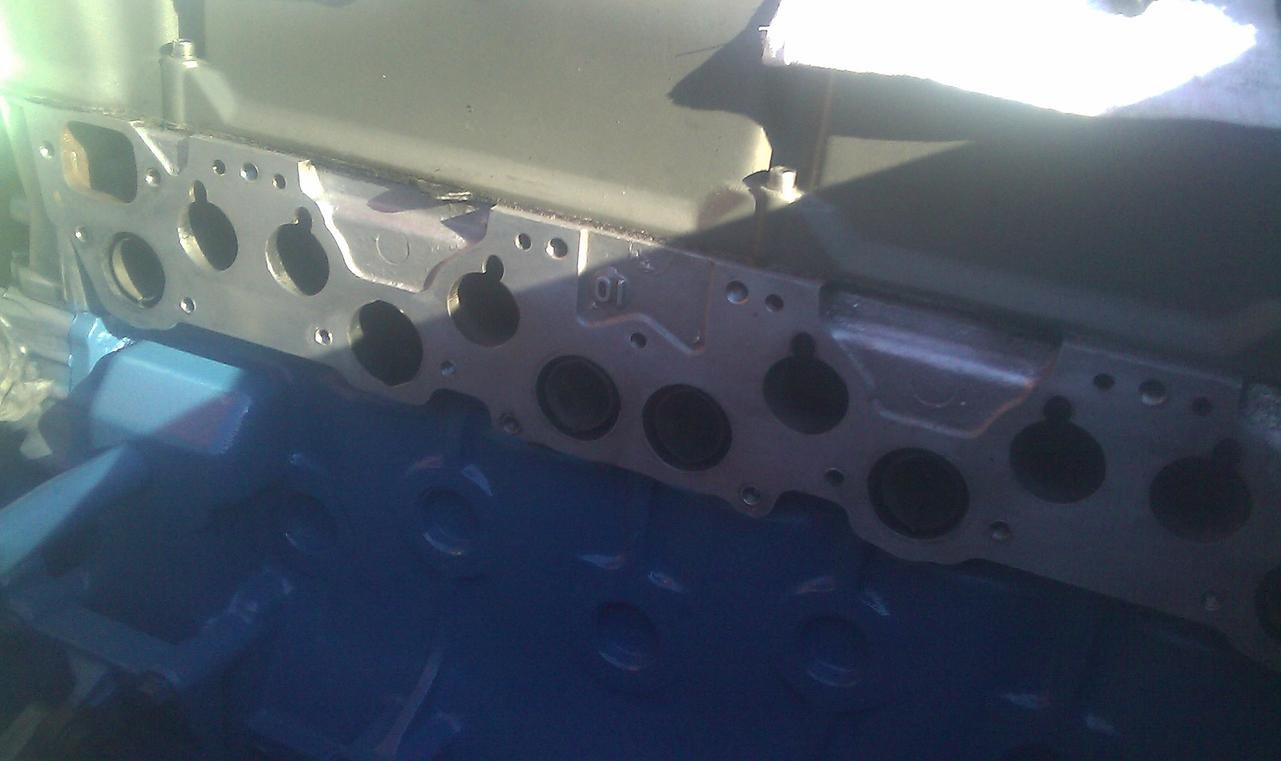
Late last year, I started developing an exhaust leak from the number 6 port which was... of course, broken off flush with the head. Probably has been broken for many years before I got the car. With the nice summer weather, I decided to replace the gasket & install all new high grade studs & bolts. Let PB Blaster go to work for a few days and went to work. I removed the manifolds and used left hand drill bits to extract the broken studs. (number 1 was also broken off - discovered when i removed the manifolds) Number 1 backed out by the time I got up to about a 3/16th bit. Number 6 refused to comply, so I drilled it out and re-tapped for the stud. Patience is definitely the key - accurate center punch mark, slow drill speed, cutting oil, don't overheat the small bit sizes. Chased all the threads and prepped the head for the new gasket. All is looking very good so far. Tomorrow, or the next day, will pick up the new stud & bolt hardware. Going to try and get grade 10.9 for the studs and 3 middle exhaust bolts. Grade 8 at least. Also, have the main heat shield and some other stuff at Performance Coatings for ceramic exhaust coating - Chromex. Should be ready in 3 or 4 days. Will be interesting if it has any impact on the minor heat soak issue I experience occasionally.... Will report back on that.