S30Driver
Member
-
Joined
-
Last visited
Everything posted by S30Driver
-
 Quantity 1 is $295 Steve. GRN is the code for the oem tint.
 -
@Mark Maras has much experience with the carb's & rails of the early cars, maybe he can shed some light ...
-
Vintage Glass, oem tint, no blue band across top. Stay away from PPG unless you like the blue shade band. Timely because I am working a deal with other local club members with S30's to purchase 5 windshields from Vintage, we pickup in Little Rock from their warehouse which waives the freight cost of $ 245 each.
-
I have had a Covercraft Evolution car cover for my S30 for over 10 years and have been very happy with it.
-
This solution works quite well. As usual, all in the prep. For the door card vinyl prep, use Sem soap. Highly recommended.
-
Nice additional very honest write up you did. Car looks great! Out of interest, and I may have missed why, is there a reason why you did not paint the hood vents blue 305 as opposed to black? Up to 11k so far, best of luck with sale ...
-
I spoke James at MSA before I built my harness and he indicated that they were out of stock.
-
Well said Captain! Nope, a little too much hassle for the sealed beam tests. But, I will rerun the Led current draw test with reference voltage to make sure of my numbers. All my other lights which activate with the headlights are also Led, I will also see what the parking light only circuit draws.
-
Relays in the circuit, car was not running, I dumbly did not check the voltage. It was late, and a hot day a couple of weeks ago when I did this so not fresh in my memory, Will rerun my tests after I get back from my trip this weekend. I am guessing that the Sylvania performance sealed beams draw more current than standard sealed beams.
-
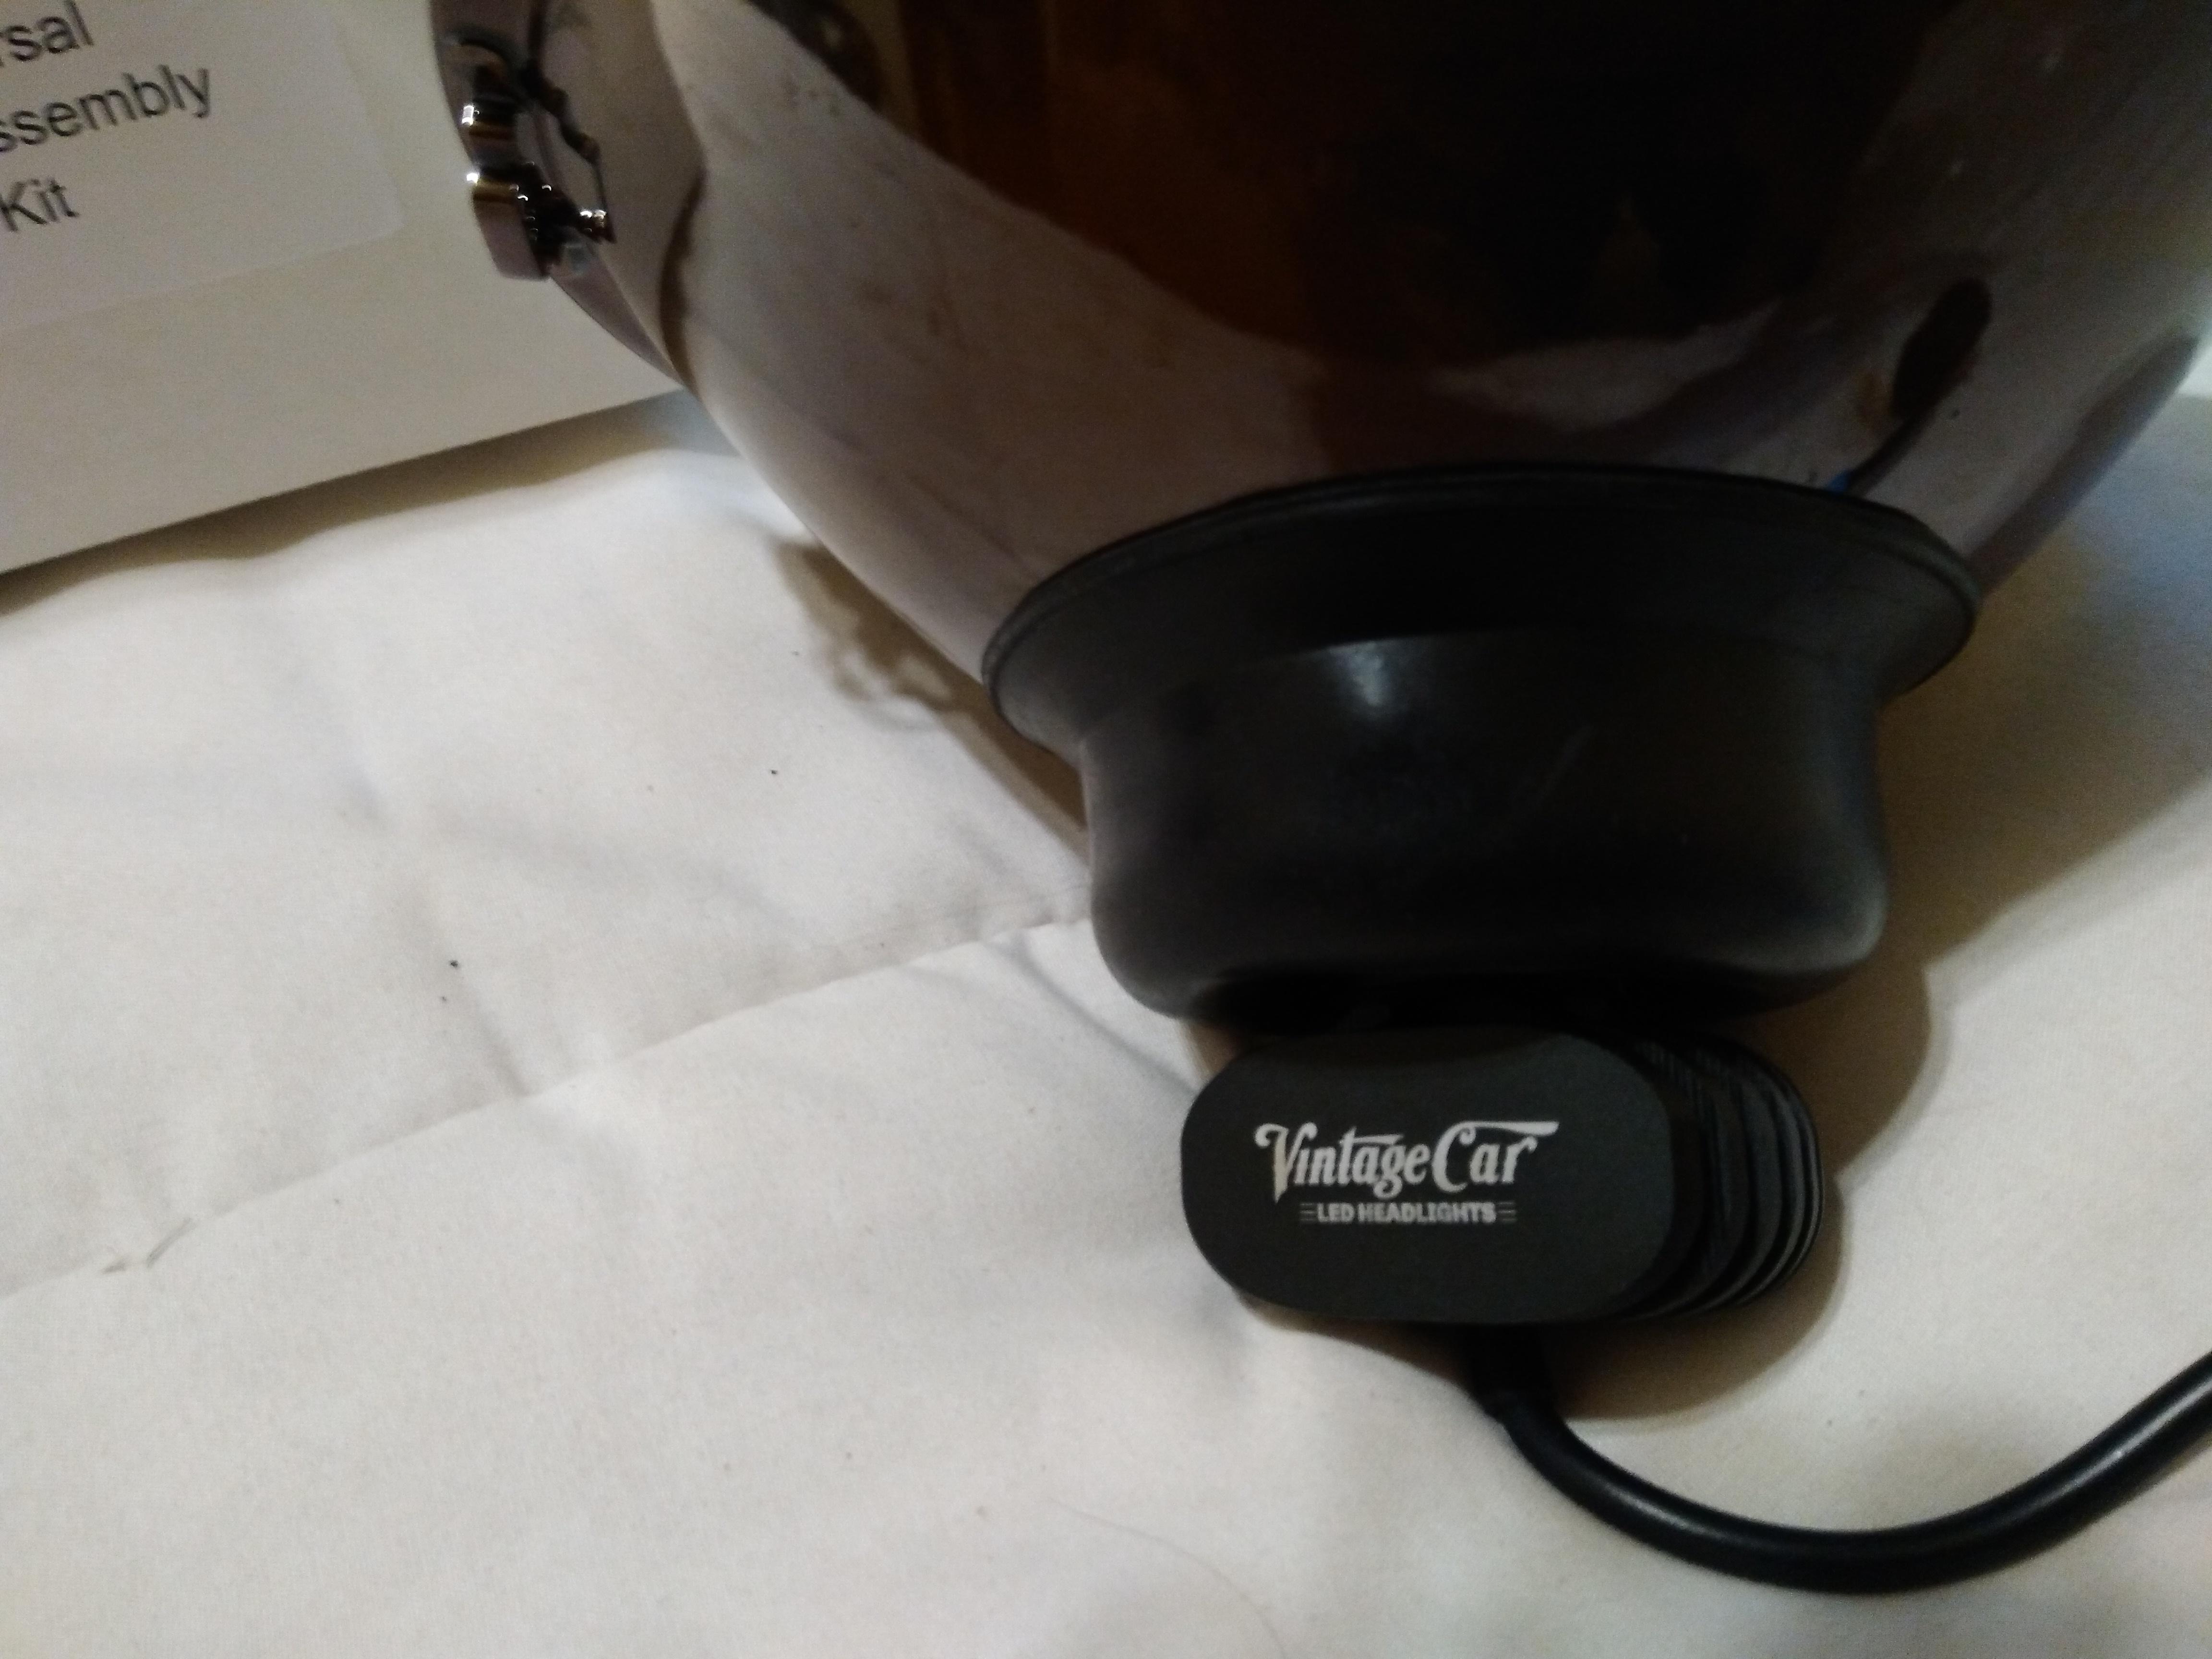
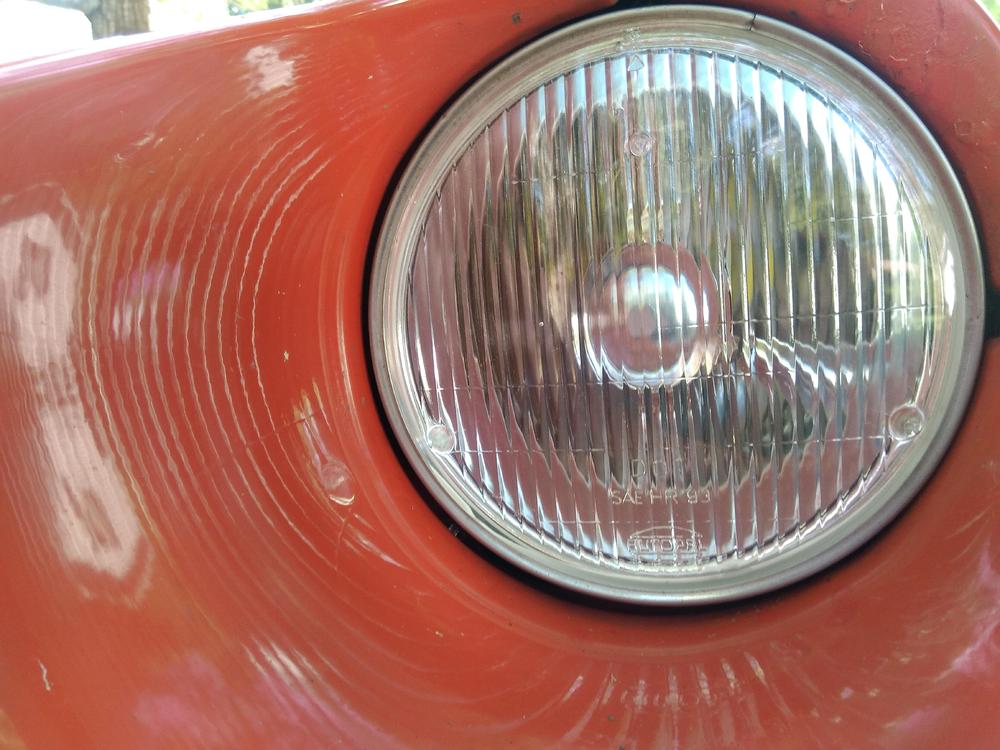
Vintage Car Led's has 2 options, the standard glass made by Autopal, and for $70 more the Hella glass housings. I went for the standard Autopal ones. When I get another set for the 71 car, I will get the Hella glass ones.
-
Wow, another one! glad you are ok. Nice looking car, hope the repair goes well. I am driving down to Hot Springs for the weekend, in light of all this, maybe I won't take as many backroads ...
-
Yes, I know what you mean. I measured it with a Fluke 88 at the battery (series) My test was using both low beams, high beams measured about 3.12 A. I should have measured the voltage as well, maybe re-run the tests now that the system is all installed.
-
Thanks Charles! Maybe the owner of the "goon" will consider a set ... Additionally, I neglected to include some rough current measurements I made : With the older sealed beams & low beams active - total current draw was 6.8 Amps. With the Led Headlights active on low beam the current draw dropped to : 1.7 Amps.
-
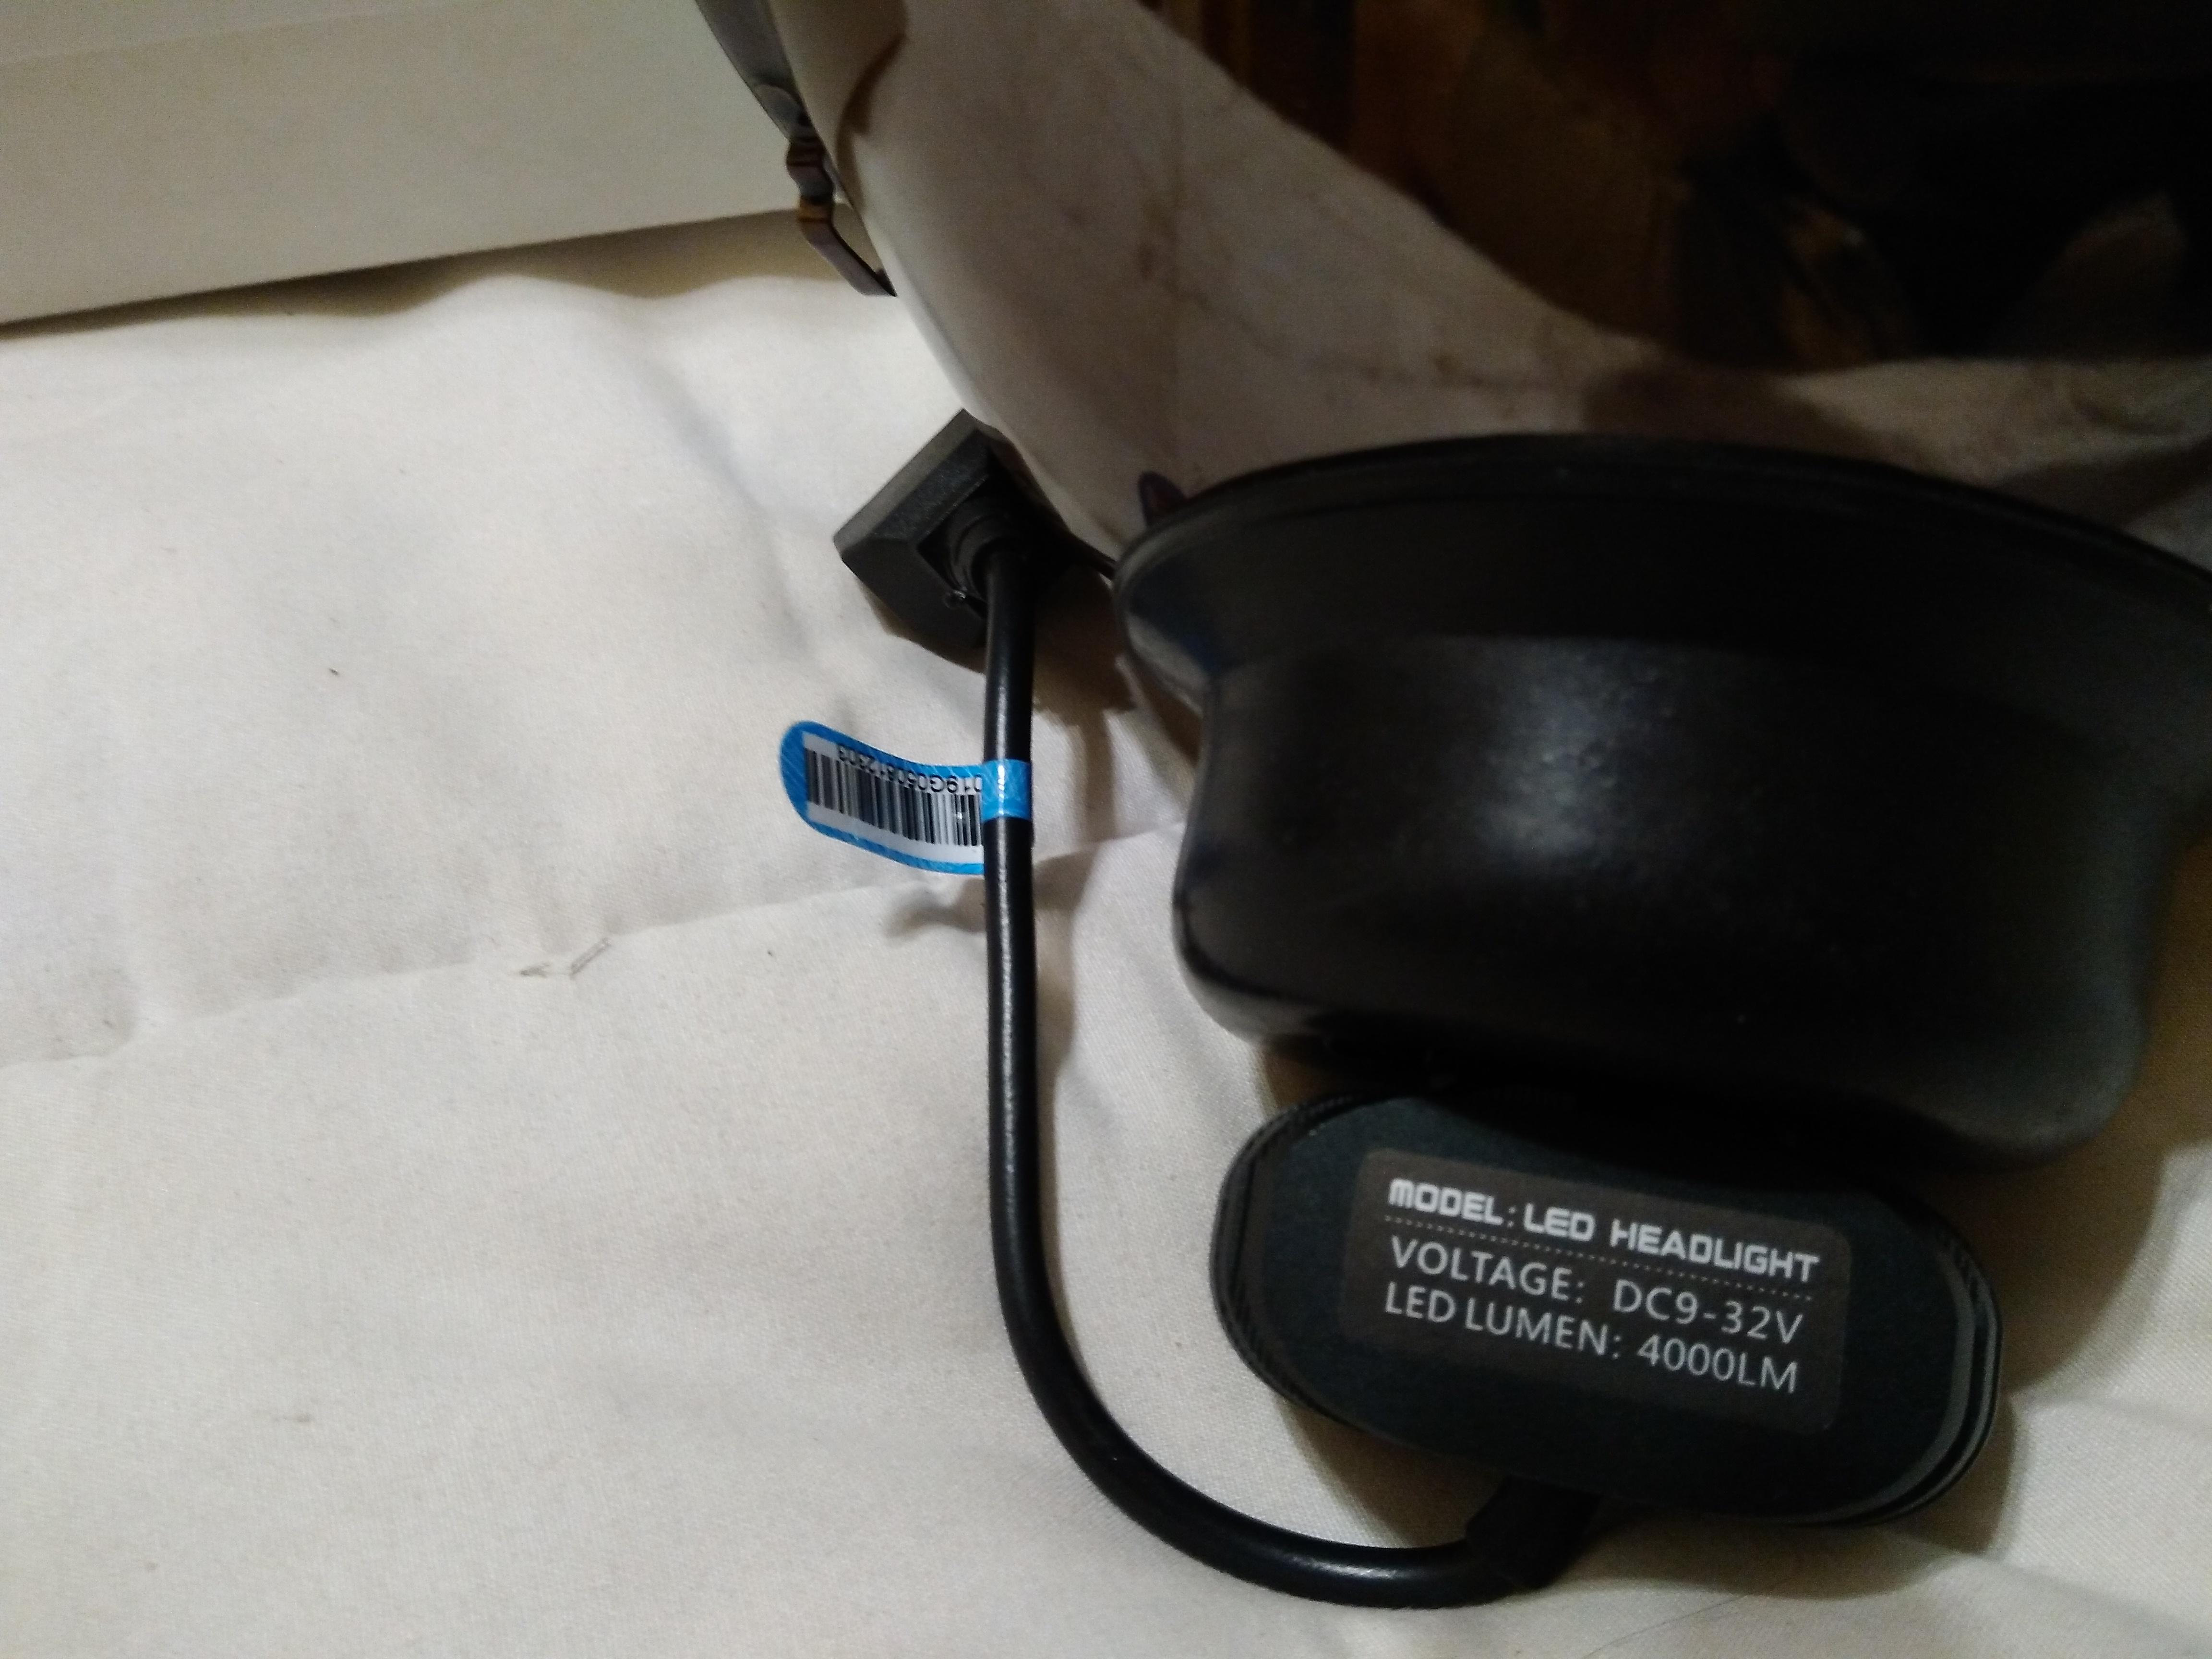
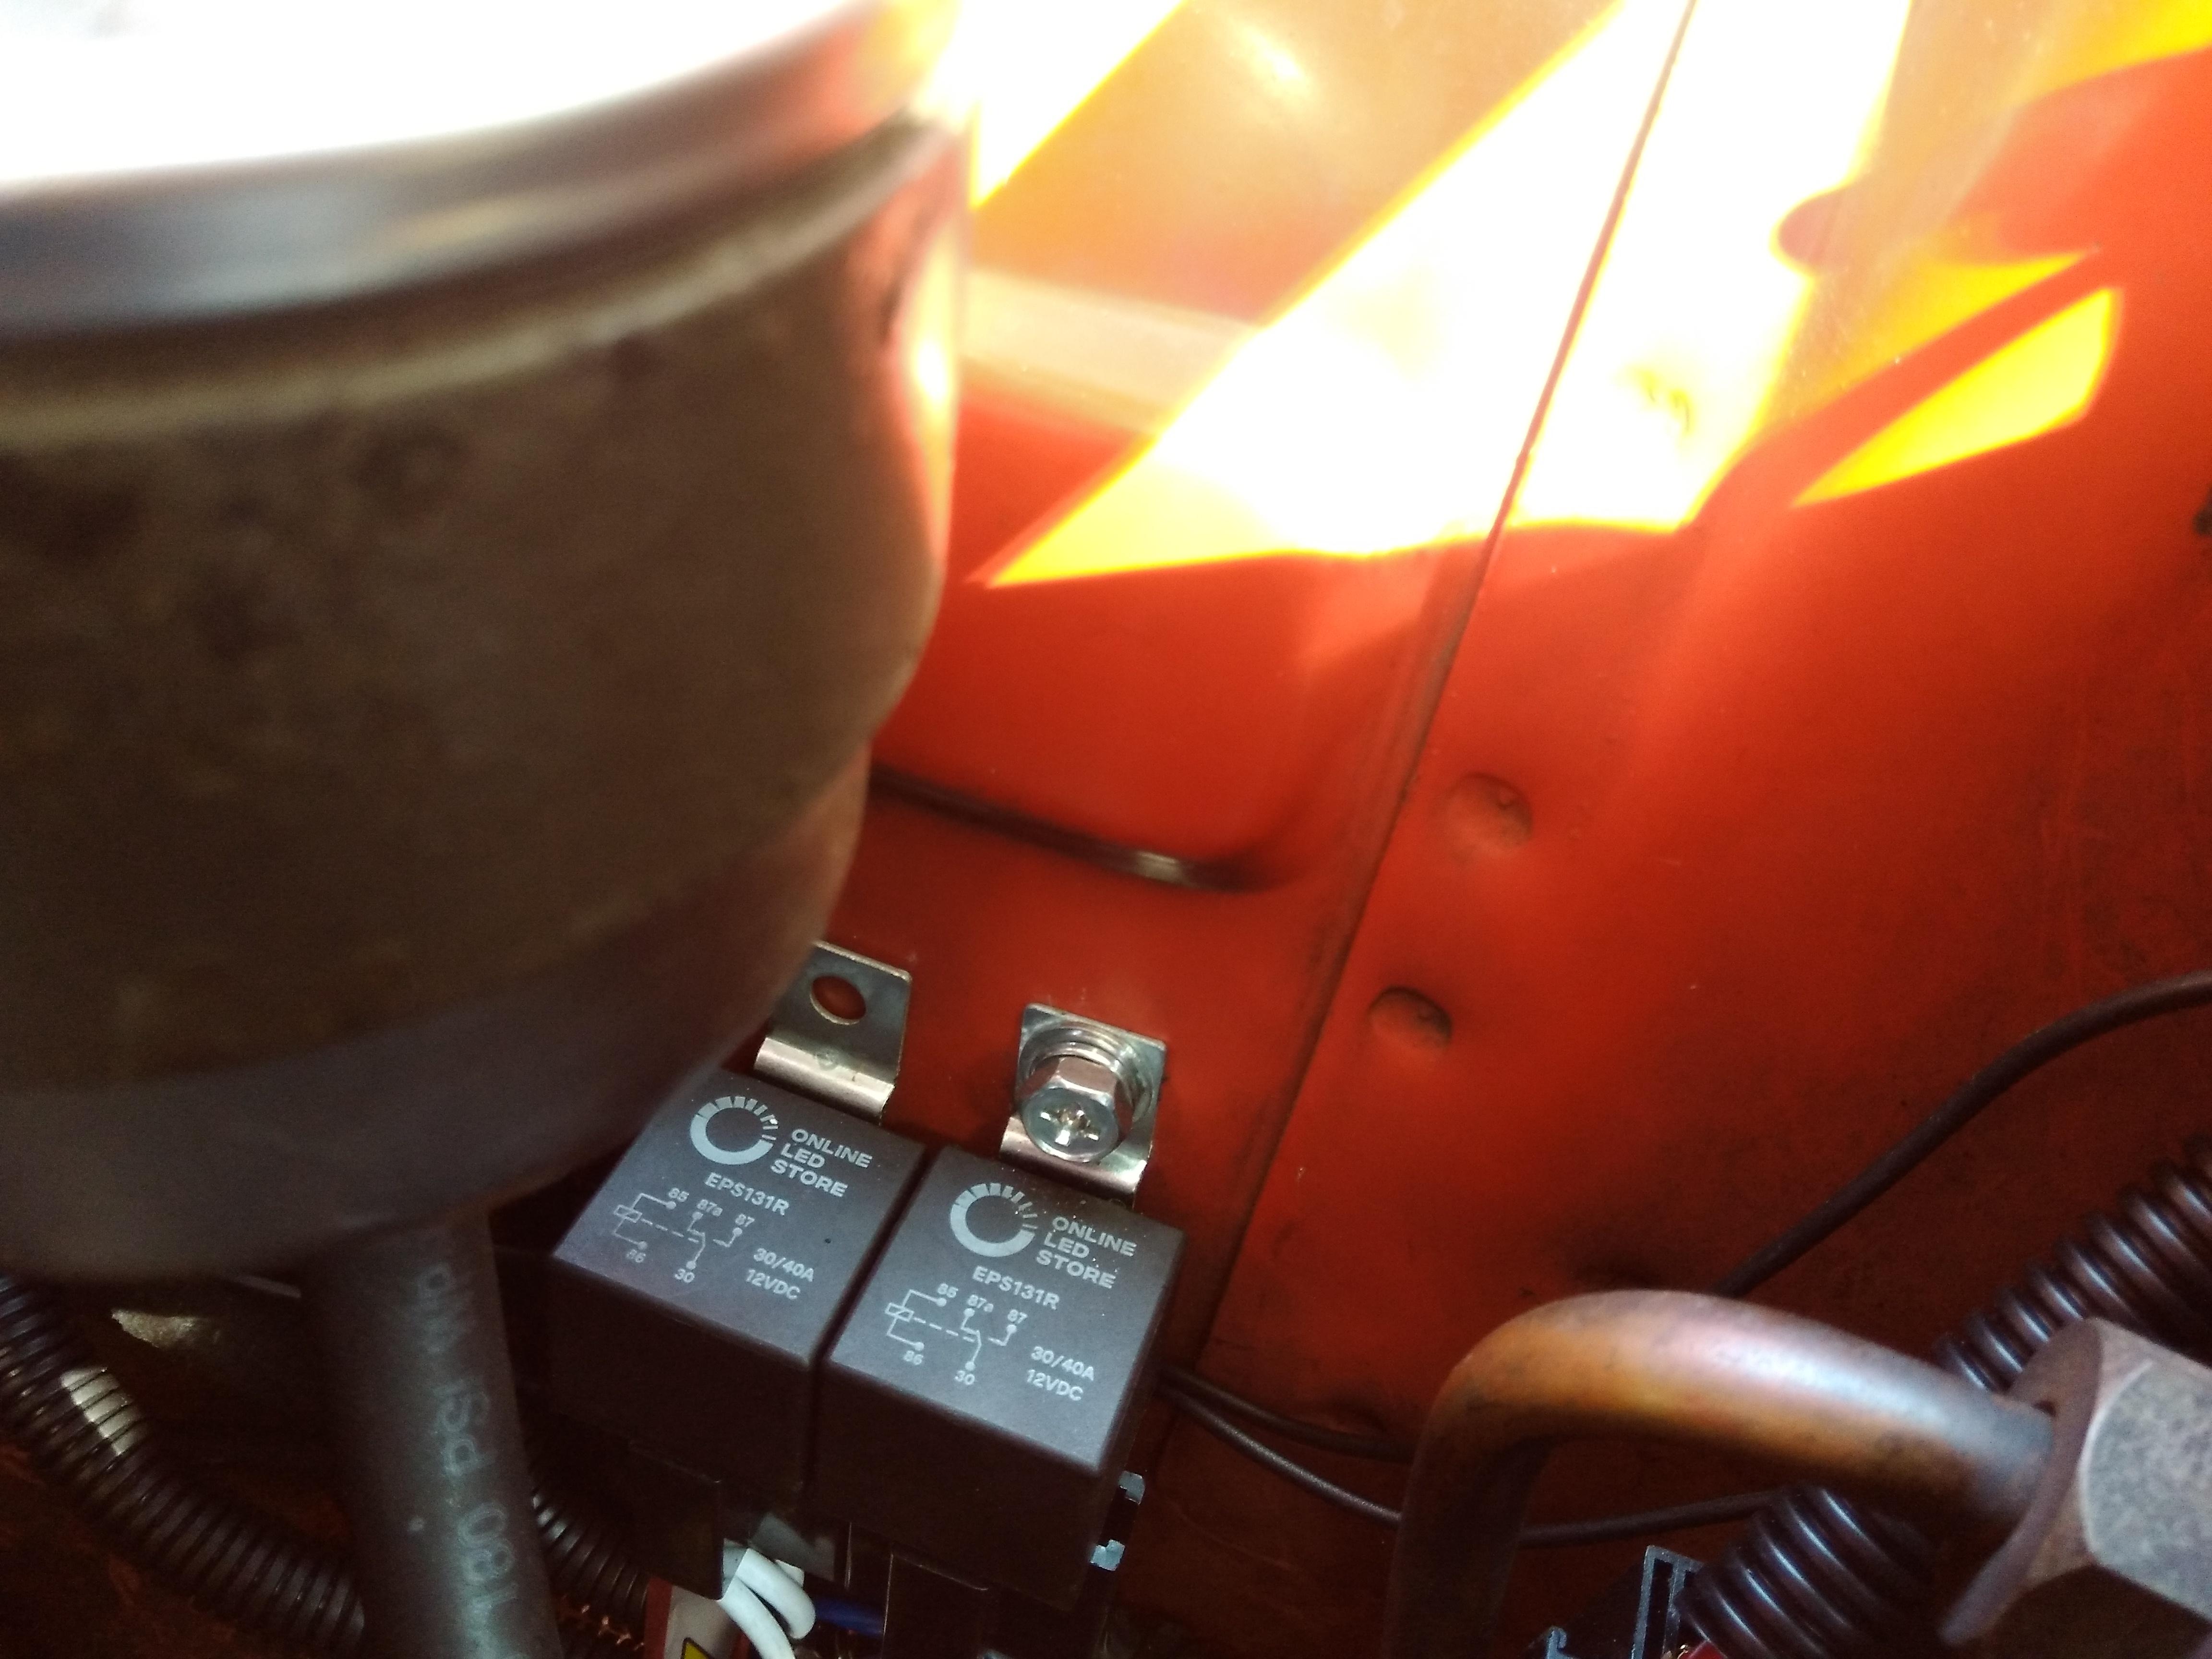
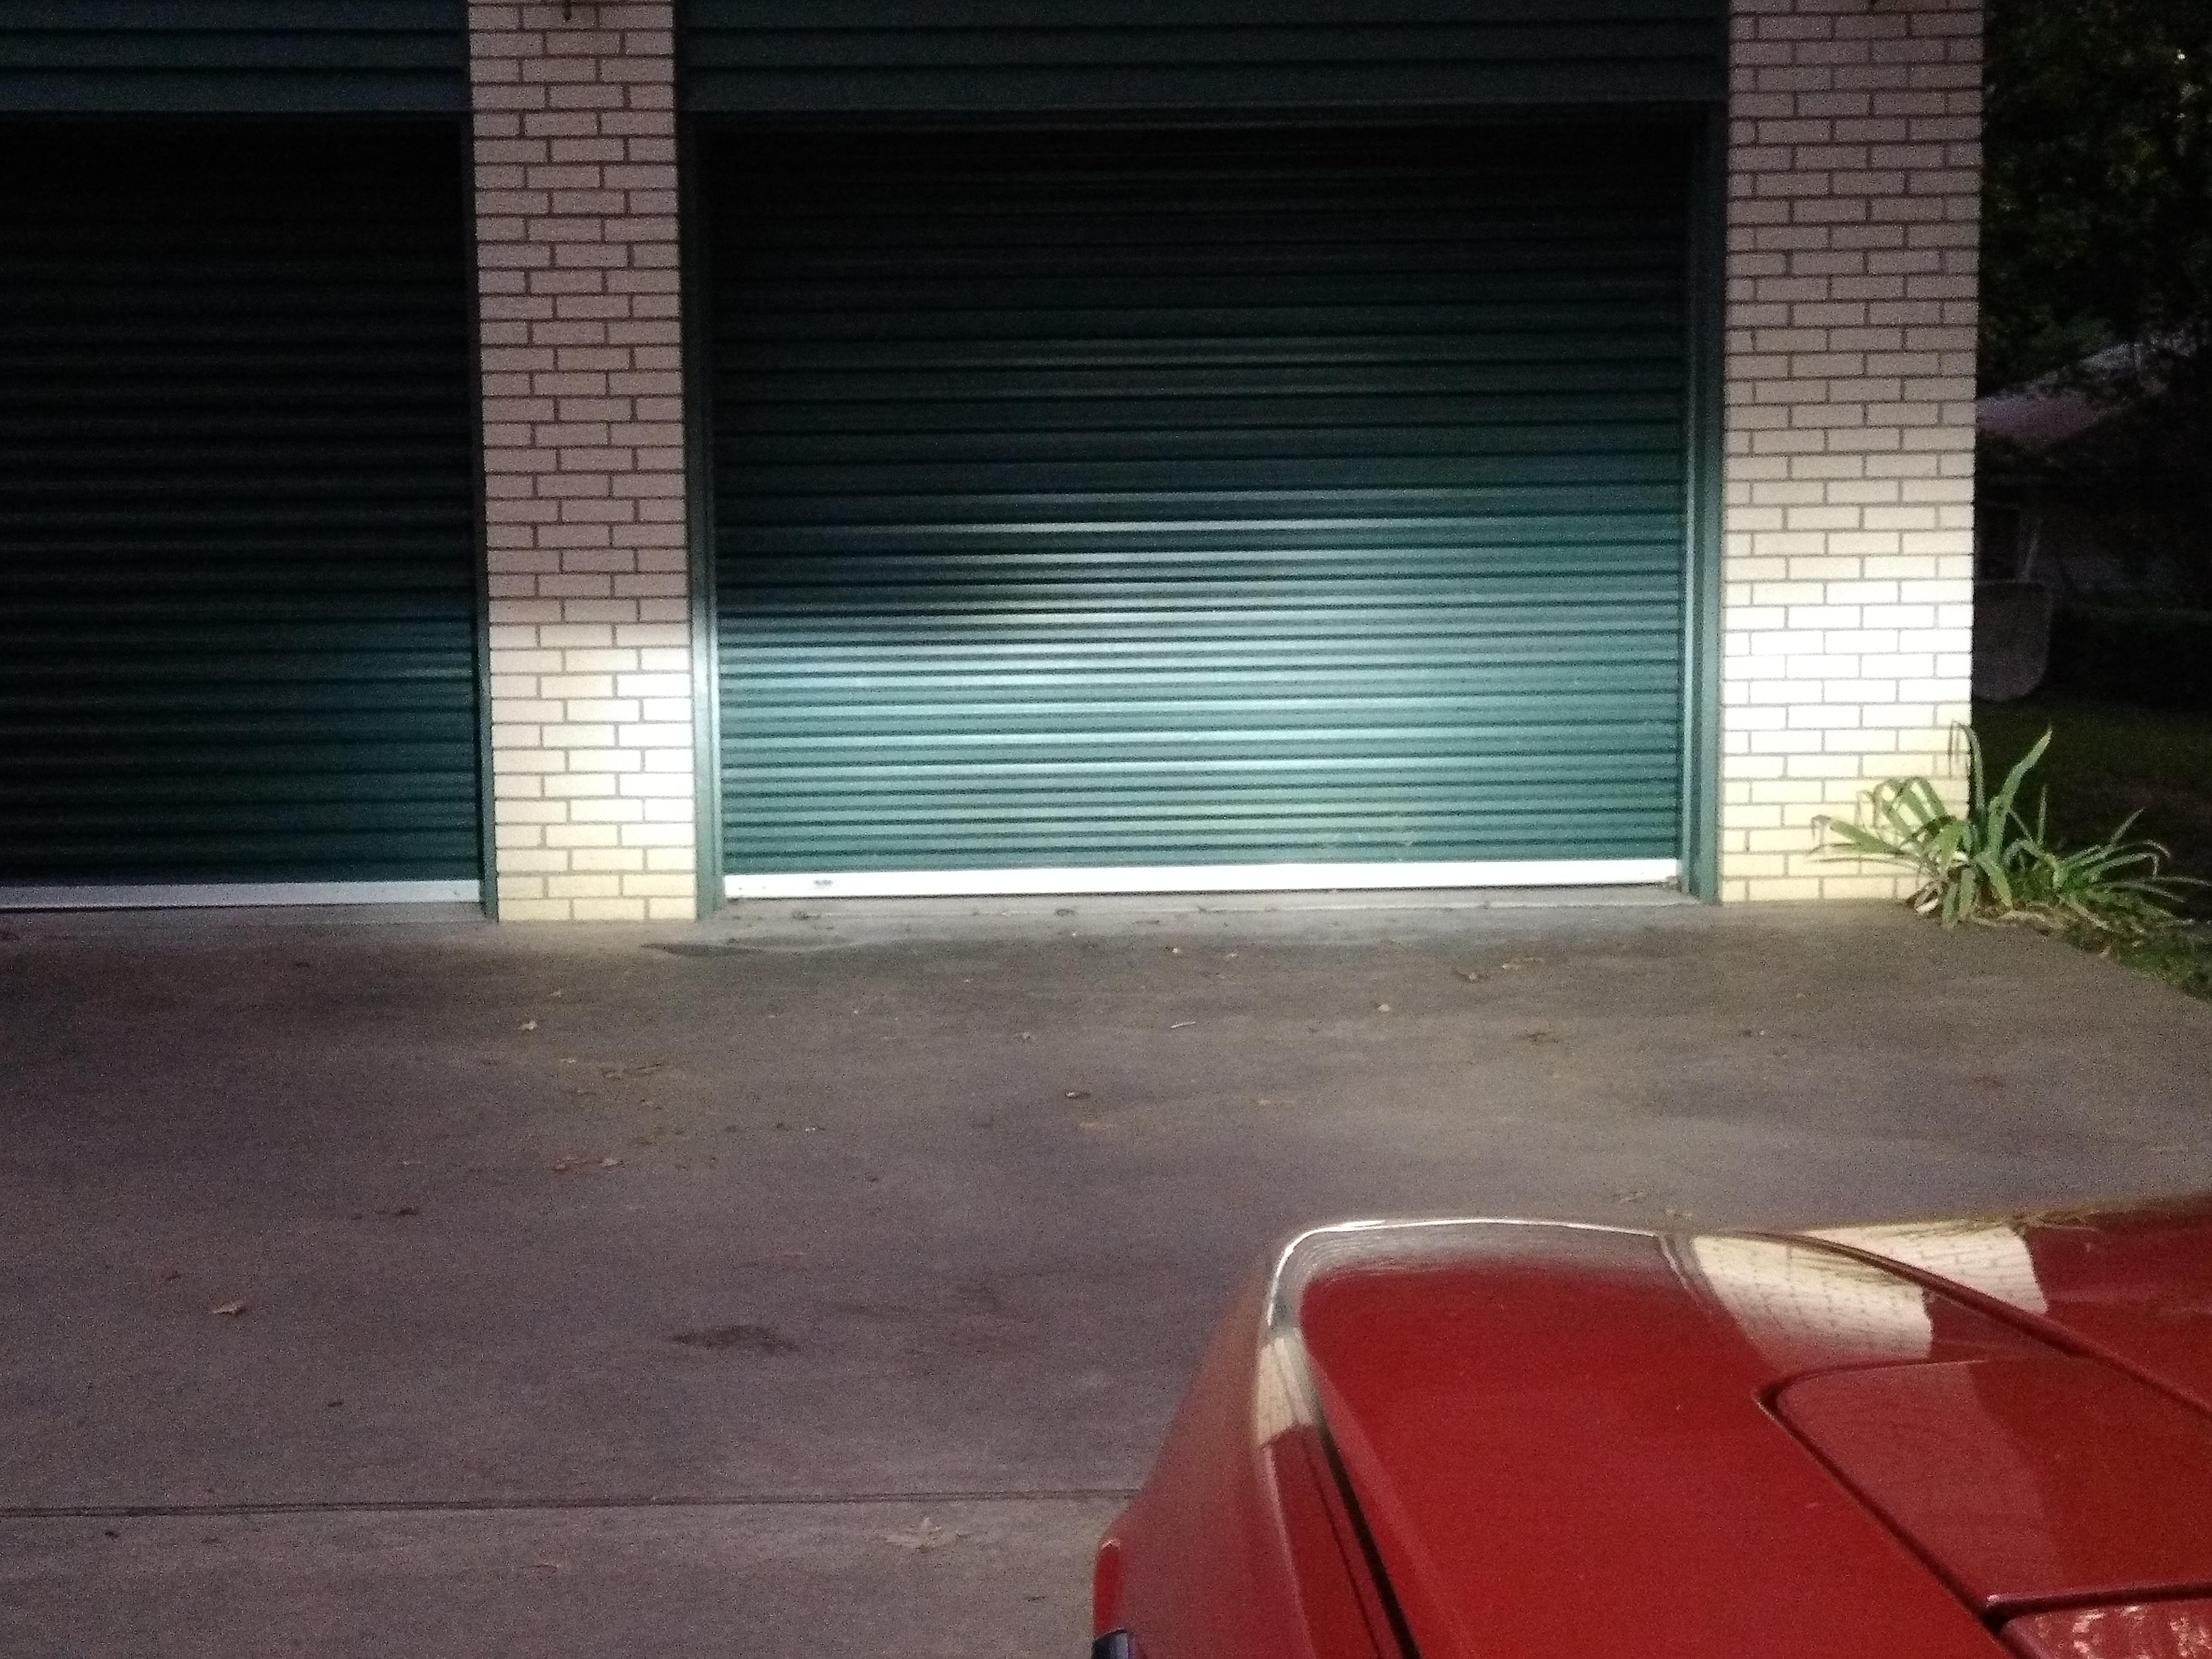
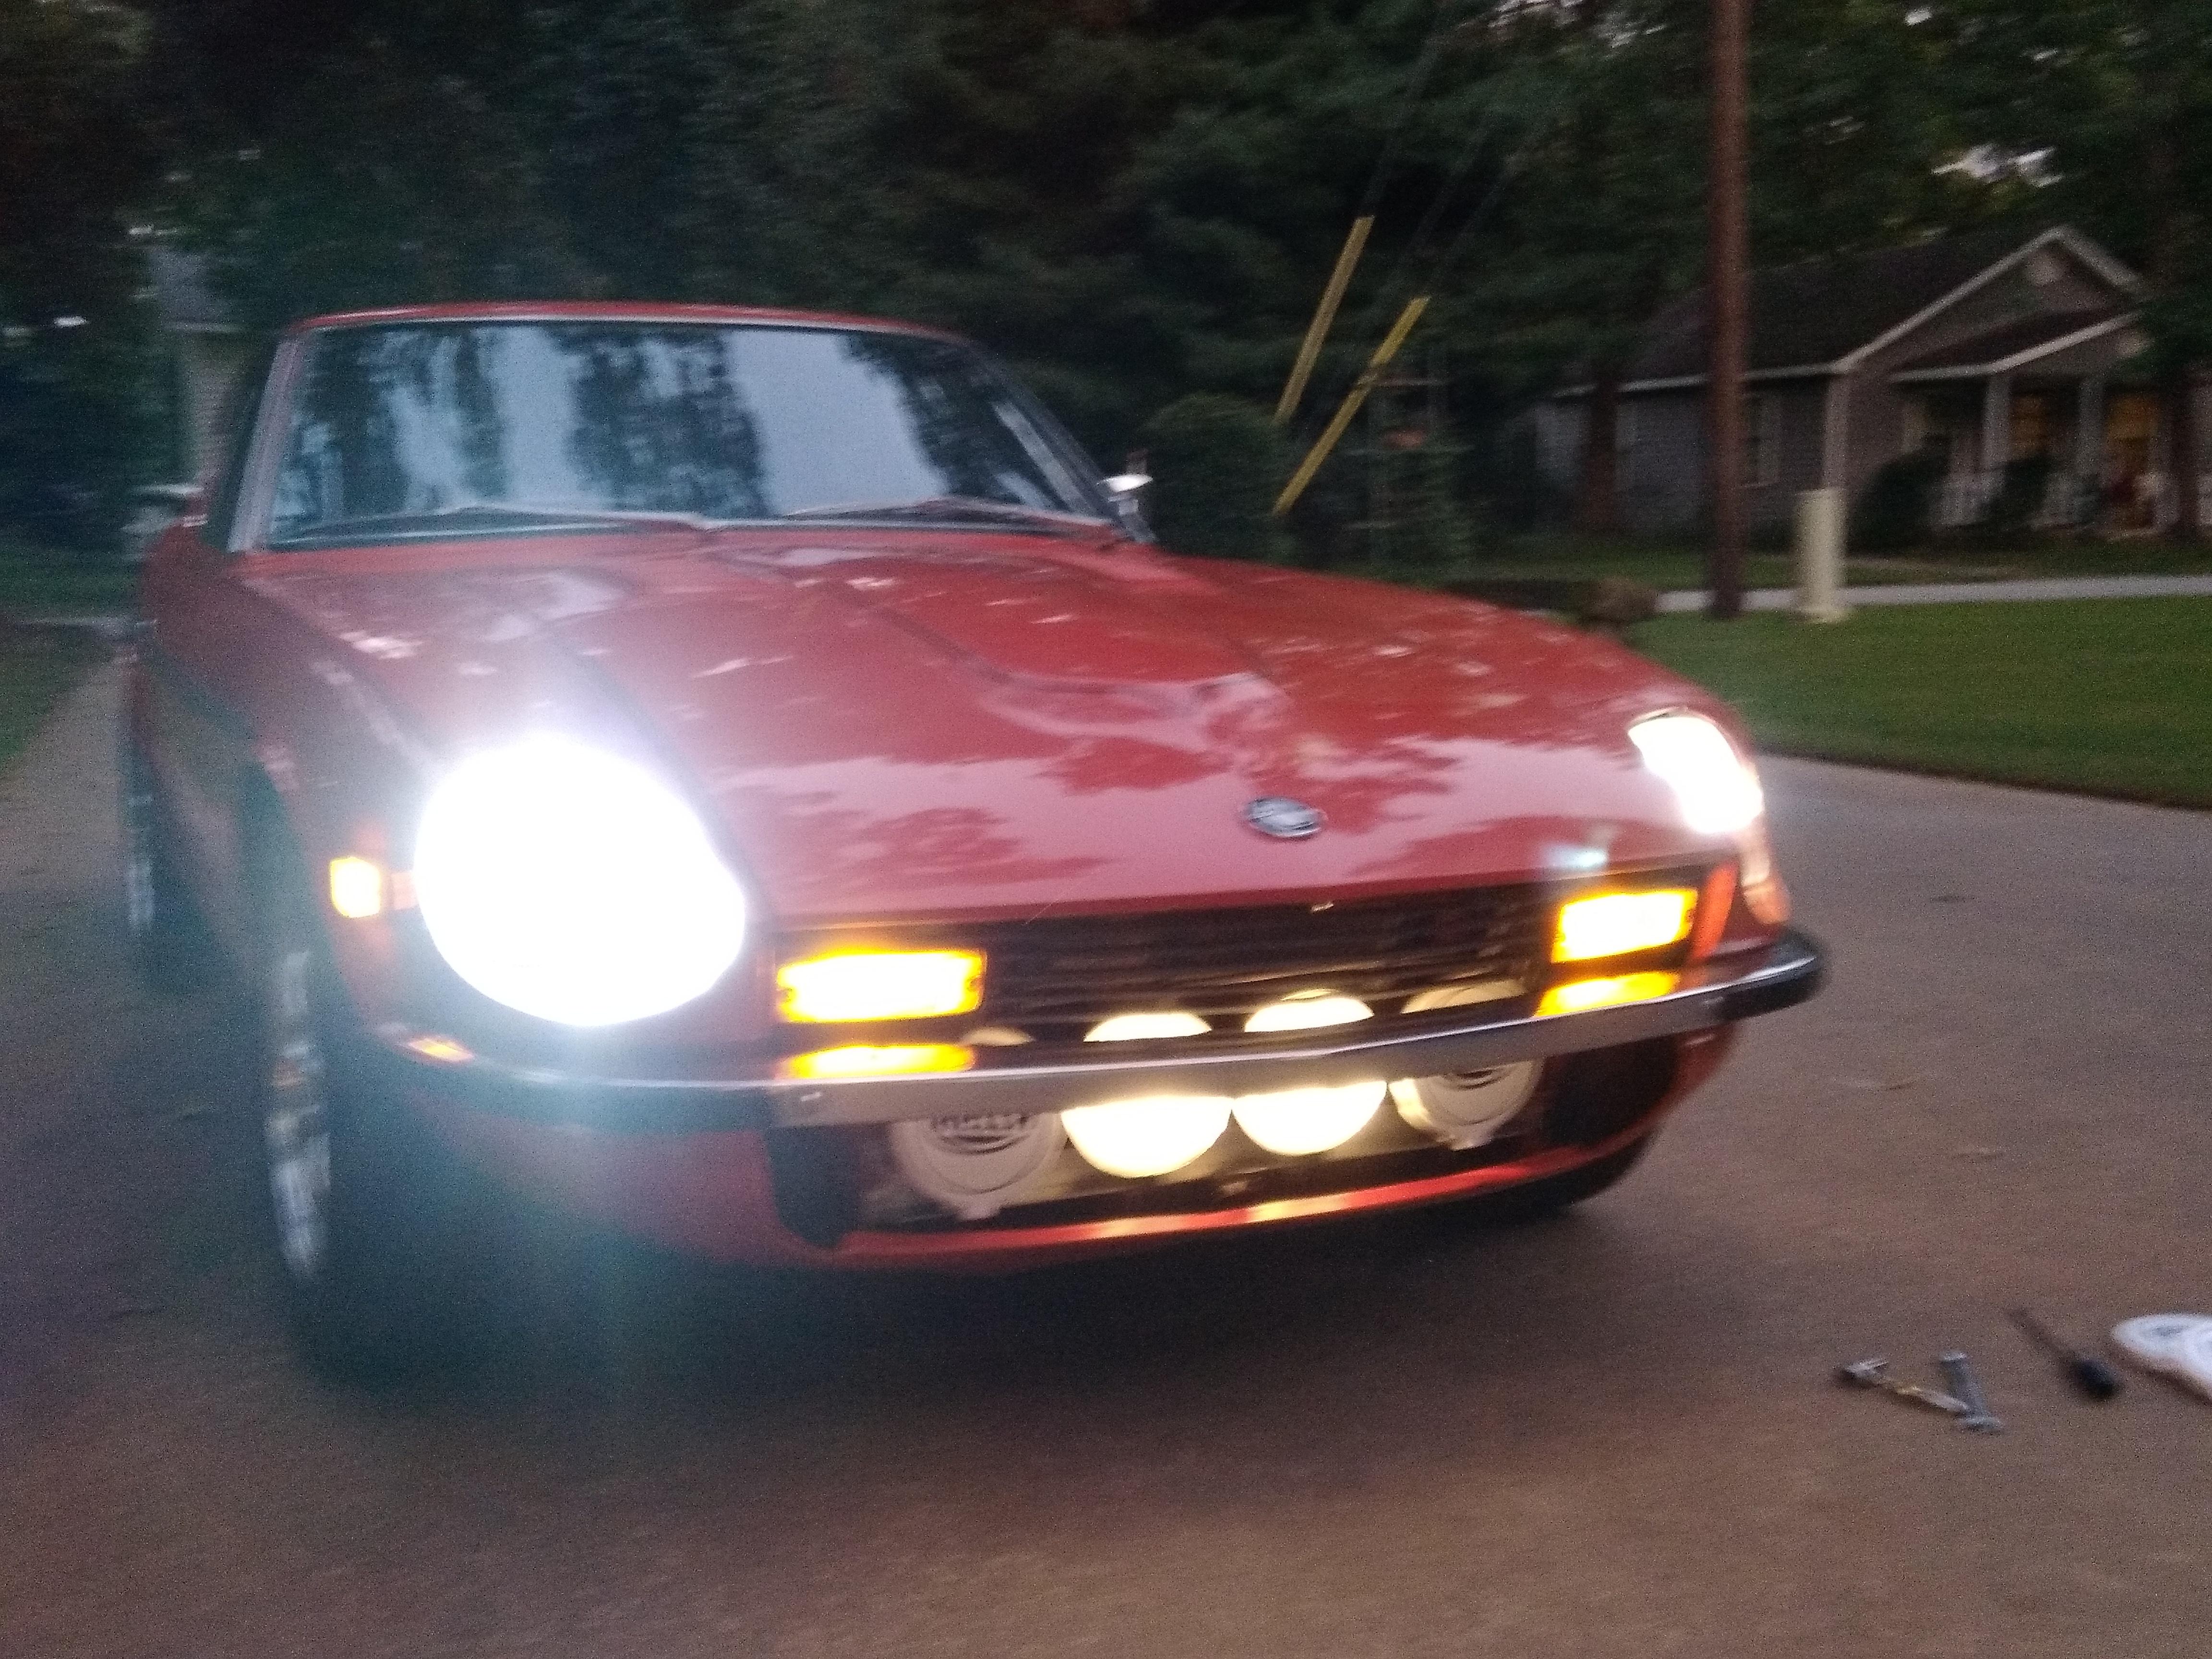
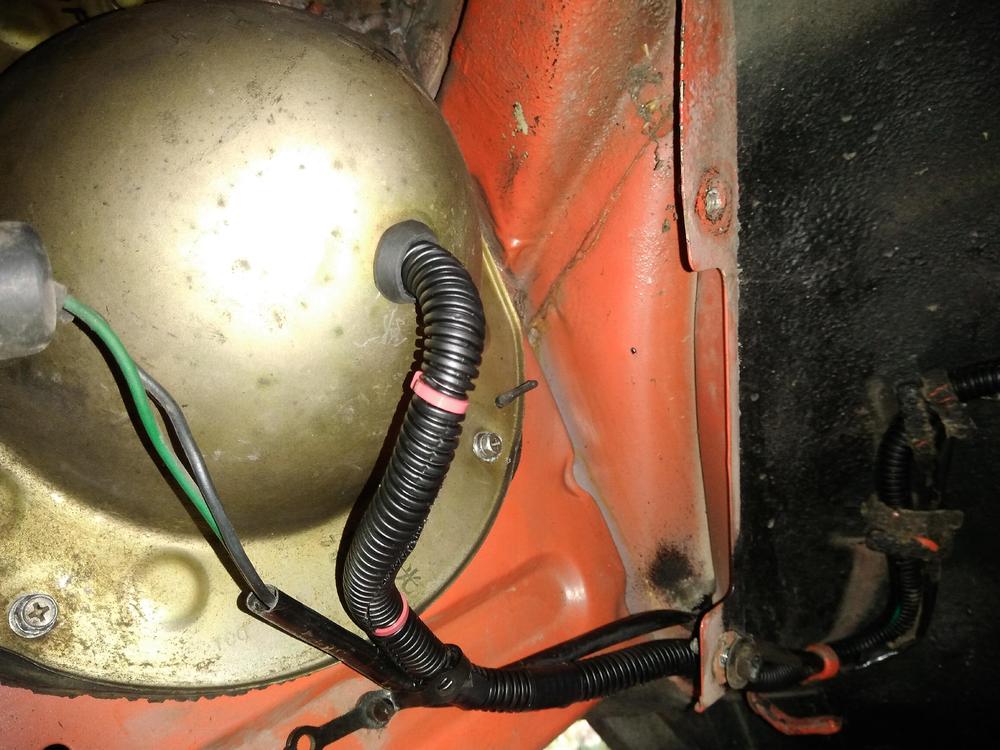
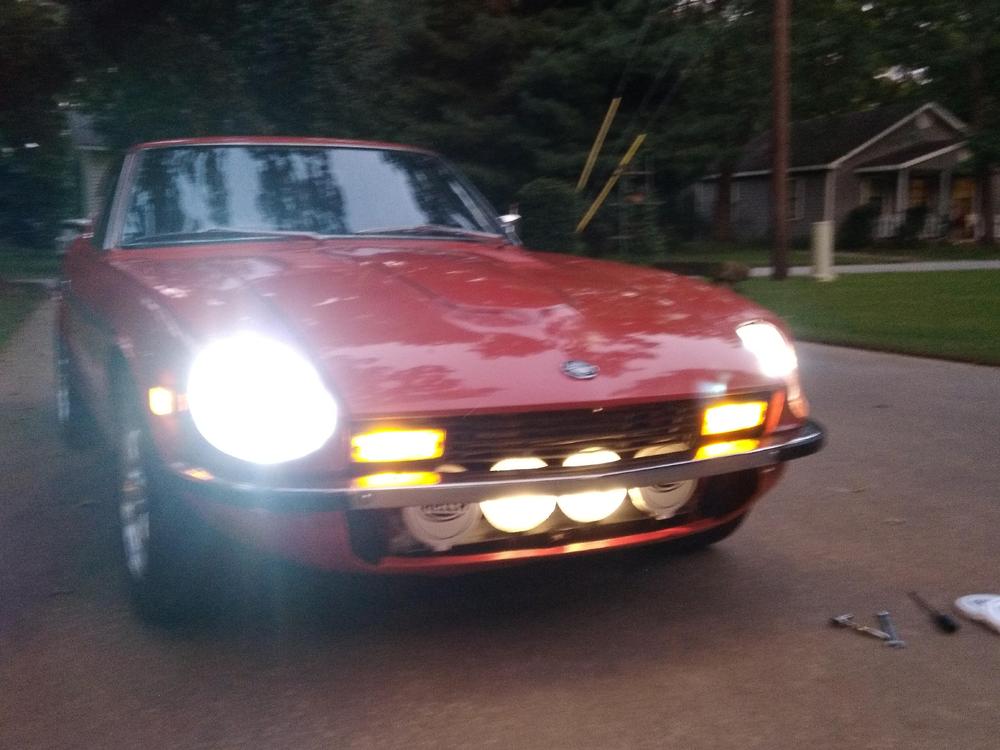
For the longest time, I have watched the evolution of the Led 7" round headlight technology and recently decided to upgrade to a set that fairly well mimic the look of the stock glass sealed beams at a reasonable price. I did not want the projector Hid look, too high tech looking, plastic, fan cooling, or a blue light hue. The set I found was from Vintage Car Leds who aim their products at the customer who wants the oem glass look with the advantages of Led bulbs. I chose the 3500 series of their lamps which are moderately priced, and appeared that with the bulb (4000 LM) / heat sink installed (no silly fan) would fit in the confines of the S30 housing. Of course as many are aware, Nissan and many other Japanese auto companies use negative switching of the ground side of the headlight system, the Led's expect the positive side to switch. That being said & with Dave Irwin no longer an option to supply the 240 kit (easy to adapt to the 280 style round connectors) I decided to build my own high quality negative switched harness. I did not want to hack the oem wiring, so I replaced the lighting harness all the way to the headlight buckets. I used real 12 gauge copper wire for the main power source and 14 gauge on the heavy lifting side of the relays feeding the headlights. On the low current trigger side from the combo switch to the relays is 16 gauge. My main intent was to make everything reversible without any modifications should the day ever come to put the system back to factory spec. The headlight assembly fits in the stock housing and its inside bracket but its a close fit, I tried using my bore scope camera thru the bucket grommet hole but could not get a worthwhile picture as it is difficult to maneuver in there. Looked to be about 1/16" clearance. The one gripe I have is that the pigtail from the bulb exits at the back of the heat sink, wish is was the side to provide more clearance. I also upgraded the headlight plug connector to a more heat resistant porcelain type. This plus into the pigtail from the Led bulb. The upshot of all this is ........ a dramatic change in usable light compared to the sealed beams without blinding oncoming traffic. Also,the very low current now thru the combination switch, I was saving a nos combo switch that I just installed which has never seen full load current - it should last a very long time. Impressed so far, will try to get some action pictures driving after dark, but so far - highly recommended. In other news .... I am playing around with the fog / driving lights as a inexpensive solution to fill the gap below the 240 bumper. Its still in progress, a fun project, will notch the fabricated bar I made to clear the lower grill mount and get them about an inch or more lower. Again, all factory mount holes were utilized, including relocating the horns.


-
Very glad you are ok my friend. Sorry that your luck with the car has been running bad of late - camshaft, now deer....
-
Park Benches = 1 Wildlife = 0 One of my biggest fears, hail being #1
-
On the 77 280z, there is a fuel pump switch built into the AFM that is activated when the flap moves and air is drawn in. A safety feature should the motor stop, such as in a accident, the pump is shut off. Zed's suggestion to unplug the starter solenoid and turn key to start bypasses this. Something to look at depending on what you find. The rough running is likely partly due to gummed up injectors after sitting for 10 years with fuel in them.
-
The switch is but a commonly available SPST toggle switch, easily replaceable unless you want to match the Nissan white plastic switch throw lever. This one is available form Amazon : about $4 Any autoparts store should have one.

-
CSV is the cold start valve, on my rail it is fed from a dedicated port on the fuel rail. you are correct on the 78 fpr, mine is mounted on the firewall with injector hose from the output of the rail. The other side goes to the fuel return line.
-
For fuel, fill it with a name brand gas station fuel. Regular is what the car runs on, no advantage in using another higher octane grade other than if non-ethanol fuel is available in your area, Add a bottle of gas line antifreeze / water absorber to eliminate any moisture - water in the fuel tank from sitting for extended periods. The car really needs to be driven to restore its driveability and performance. The potential buyer should understand that. Nice looking car, my favorite - original & unrestored. Best of luck with sale!
-
One option if you have the original clock is to purchase a refurbished circuit board from https://www.zclocks.com/sale-items.html $60 shipped
-
I'm hoping you were not working on this for 7 years and just now fixed the problem with the blower .... You should be able to re-work that connector by de-pinning it and achieve a tight connection and eliminate the cable ties.
-
Verify the timing & take it to a dyno. There is a shop with one in Bremerton.
-
Best of luck with the auction! Hope it exceeds your expectations ...
-
This is the Captain's thread on his donut tire conversion. The pics are mia unfortunately. Once done, the floor can be lowered & access to the storage bins is just a matter of cutting the false floor and the finish work to make it look nice.