Namerow
-
Posts
1,483 -
Joined
-
Last visited
-
Days Won
23
Content Type
Profiles
Knowledge Base
Zcar Wiki
Forums
Gallery
Events
Downloads
Store
Blogs
Collections
Classifieds
Everything posted by Namerow
-
So not an electrical grounding necessity, but instead just a mechanical positioner for the mast ?
-
That looks like an encabulator housing to me. Haven't seen one for years.
-
Did you take any pictures?
-
There's a diagram in the FSM titled, 'Door Sealing Screen' that provides a pretty good pattern for the OE barrier sheet. Unfortunately, I don't have a photo of same in my files.
-
That's what I did and I'm happy with the results. I didn't take all the old tape off, though. Just the regions that were damaged or gnarly. You can later wrap a cosmetic layer of new loom tape over the entire harness if you want a completely seamless, new appearance. The loom tape is cheap and it doesn't take long to do the wrap, once you get the hang of it. However, things will get a lot more challenging if you remove all of the old tape first. Leaving most of the old tape helps to keep all of the wiring nicely bundled together.
-
Hah! I remember using wintergreen oil on the tires of my slot-racing cars back in the 1960's. Nothing new under the sun, it seems. As for trying it out now on old Datsun rubber, I'll wit for someone else to try that and report back. I'm still not over the pain of the epsom-salts-and-vinegar electroplating set-up that was also 'guaranteed' to work.
-
I tried this (lacquer thinner) with a rock-hard side window bumper (the one that sits at the bottom-rear of the door). It worked beautifully and I thought that I'd finally discovered the secret to rejuvenating all of the aging rubber parts on my car . Sadly, after 24 hours I found that the rubber had returned to its original, rock-hard state. I've tried three different 'rubber and vinyl restoration' products to date and none of them have been effective in softening hardened rubber (or vinyl).
-
Not my favorite task fpr a Saturday or Sunday afternoon, but it's probably saved me $5k over the life of the '06 daily driver that I've owned since new. And I get to choose the rotors and pads.
-
What were we talking about? I've forgotten. 'Fumes'? Yes, I remember those. Lots of them, in fact.
-
Our Swiss friend on this site has a lot of expertise in the area of hydraulic seal materials and fluid compatibilities. In fact, I think he commented on exactly this point a few years ago (try a search on 'epdm'). I think it may have been in a thread related to rebuilding the brake no-pressure sensor/switch.
-
Antenna plastic ball = yes Fender mirror gasket = no
-
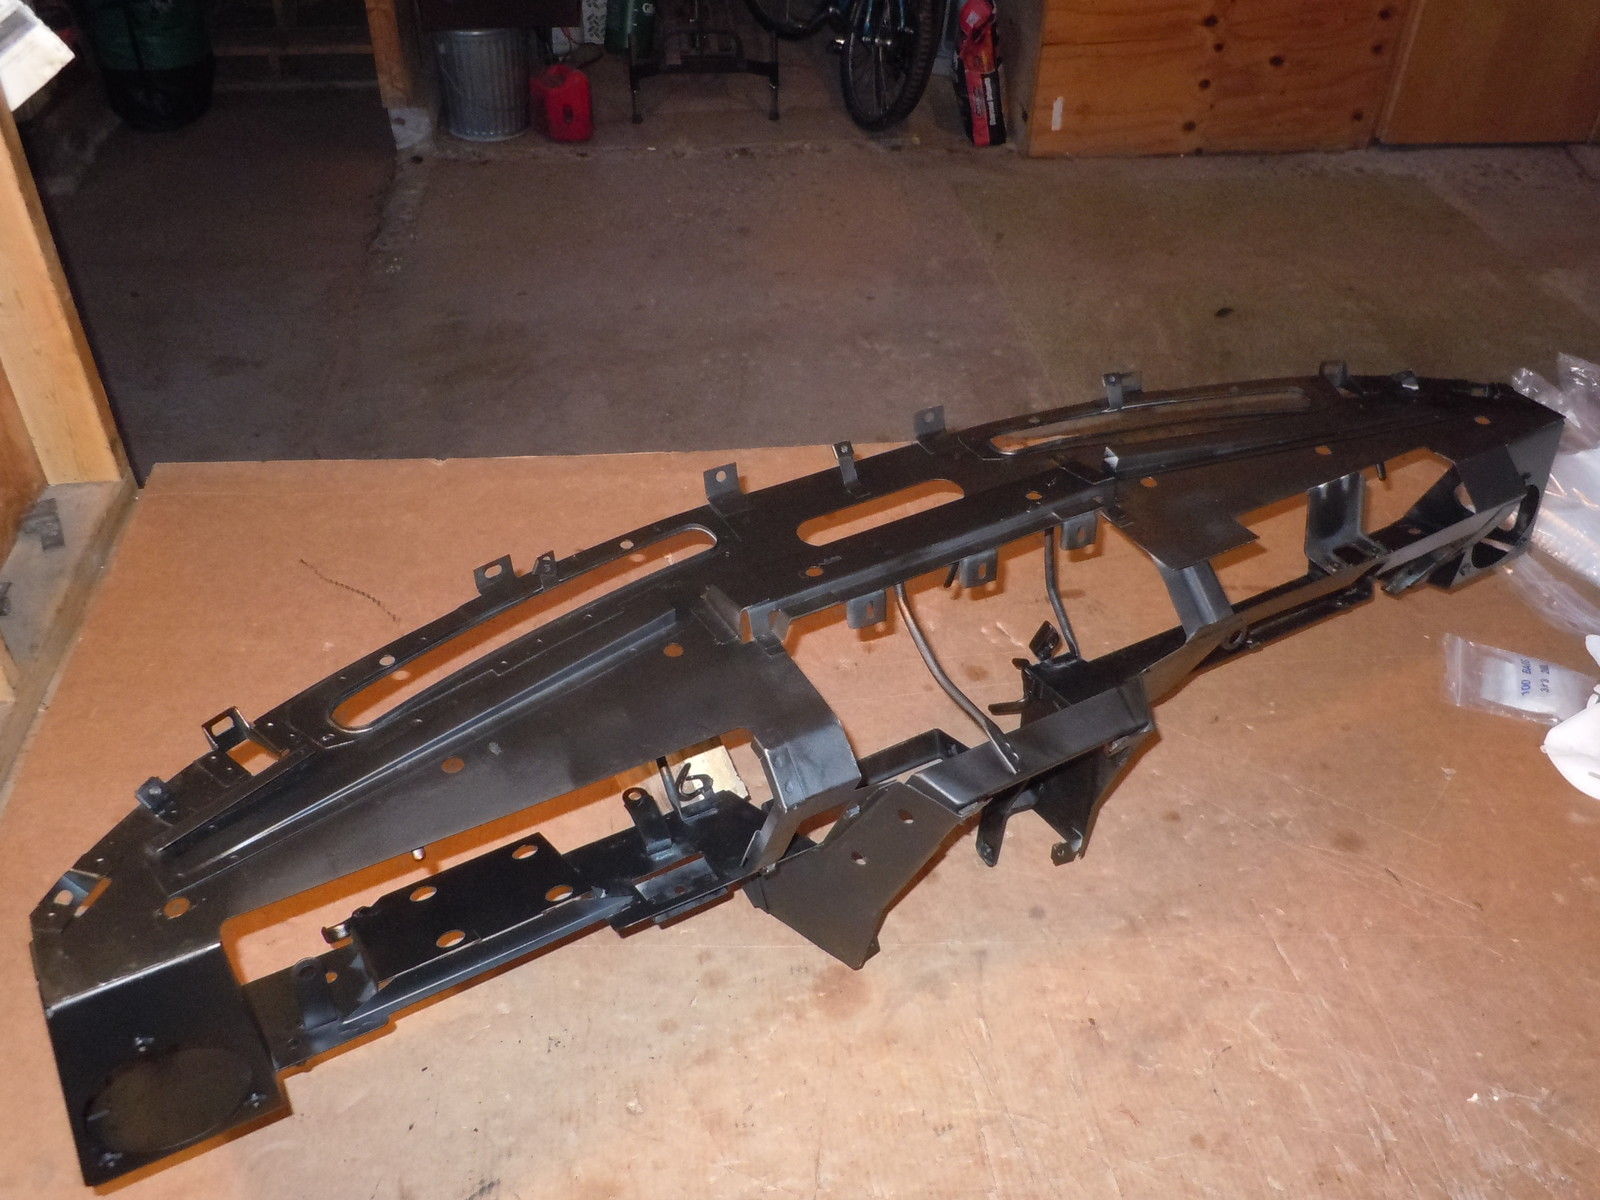
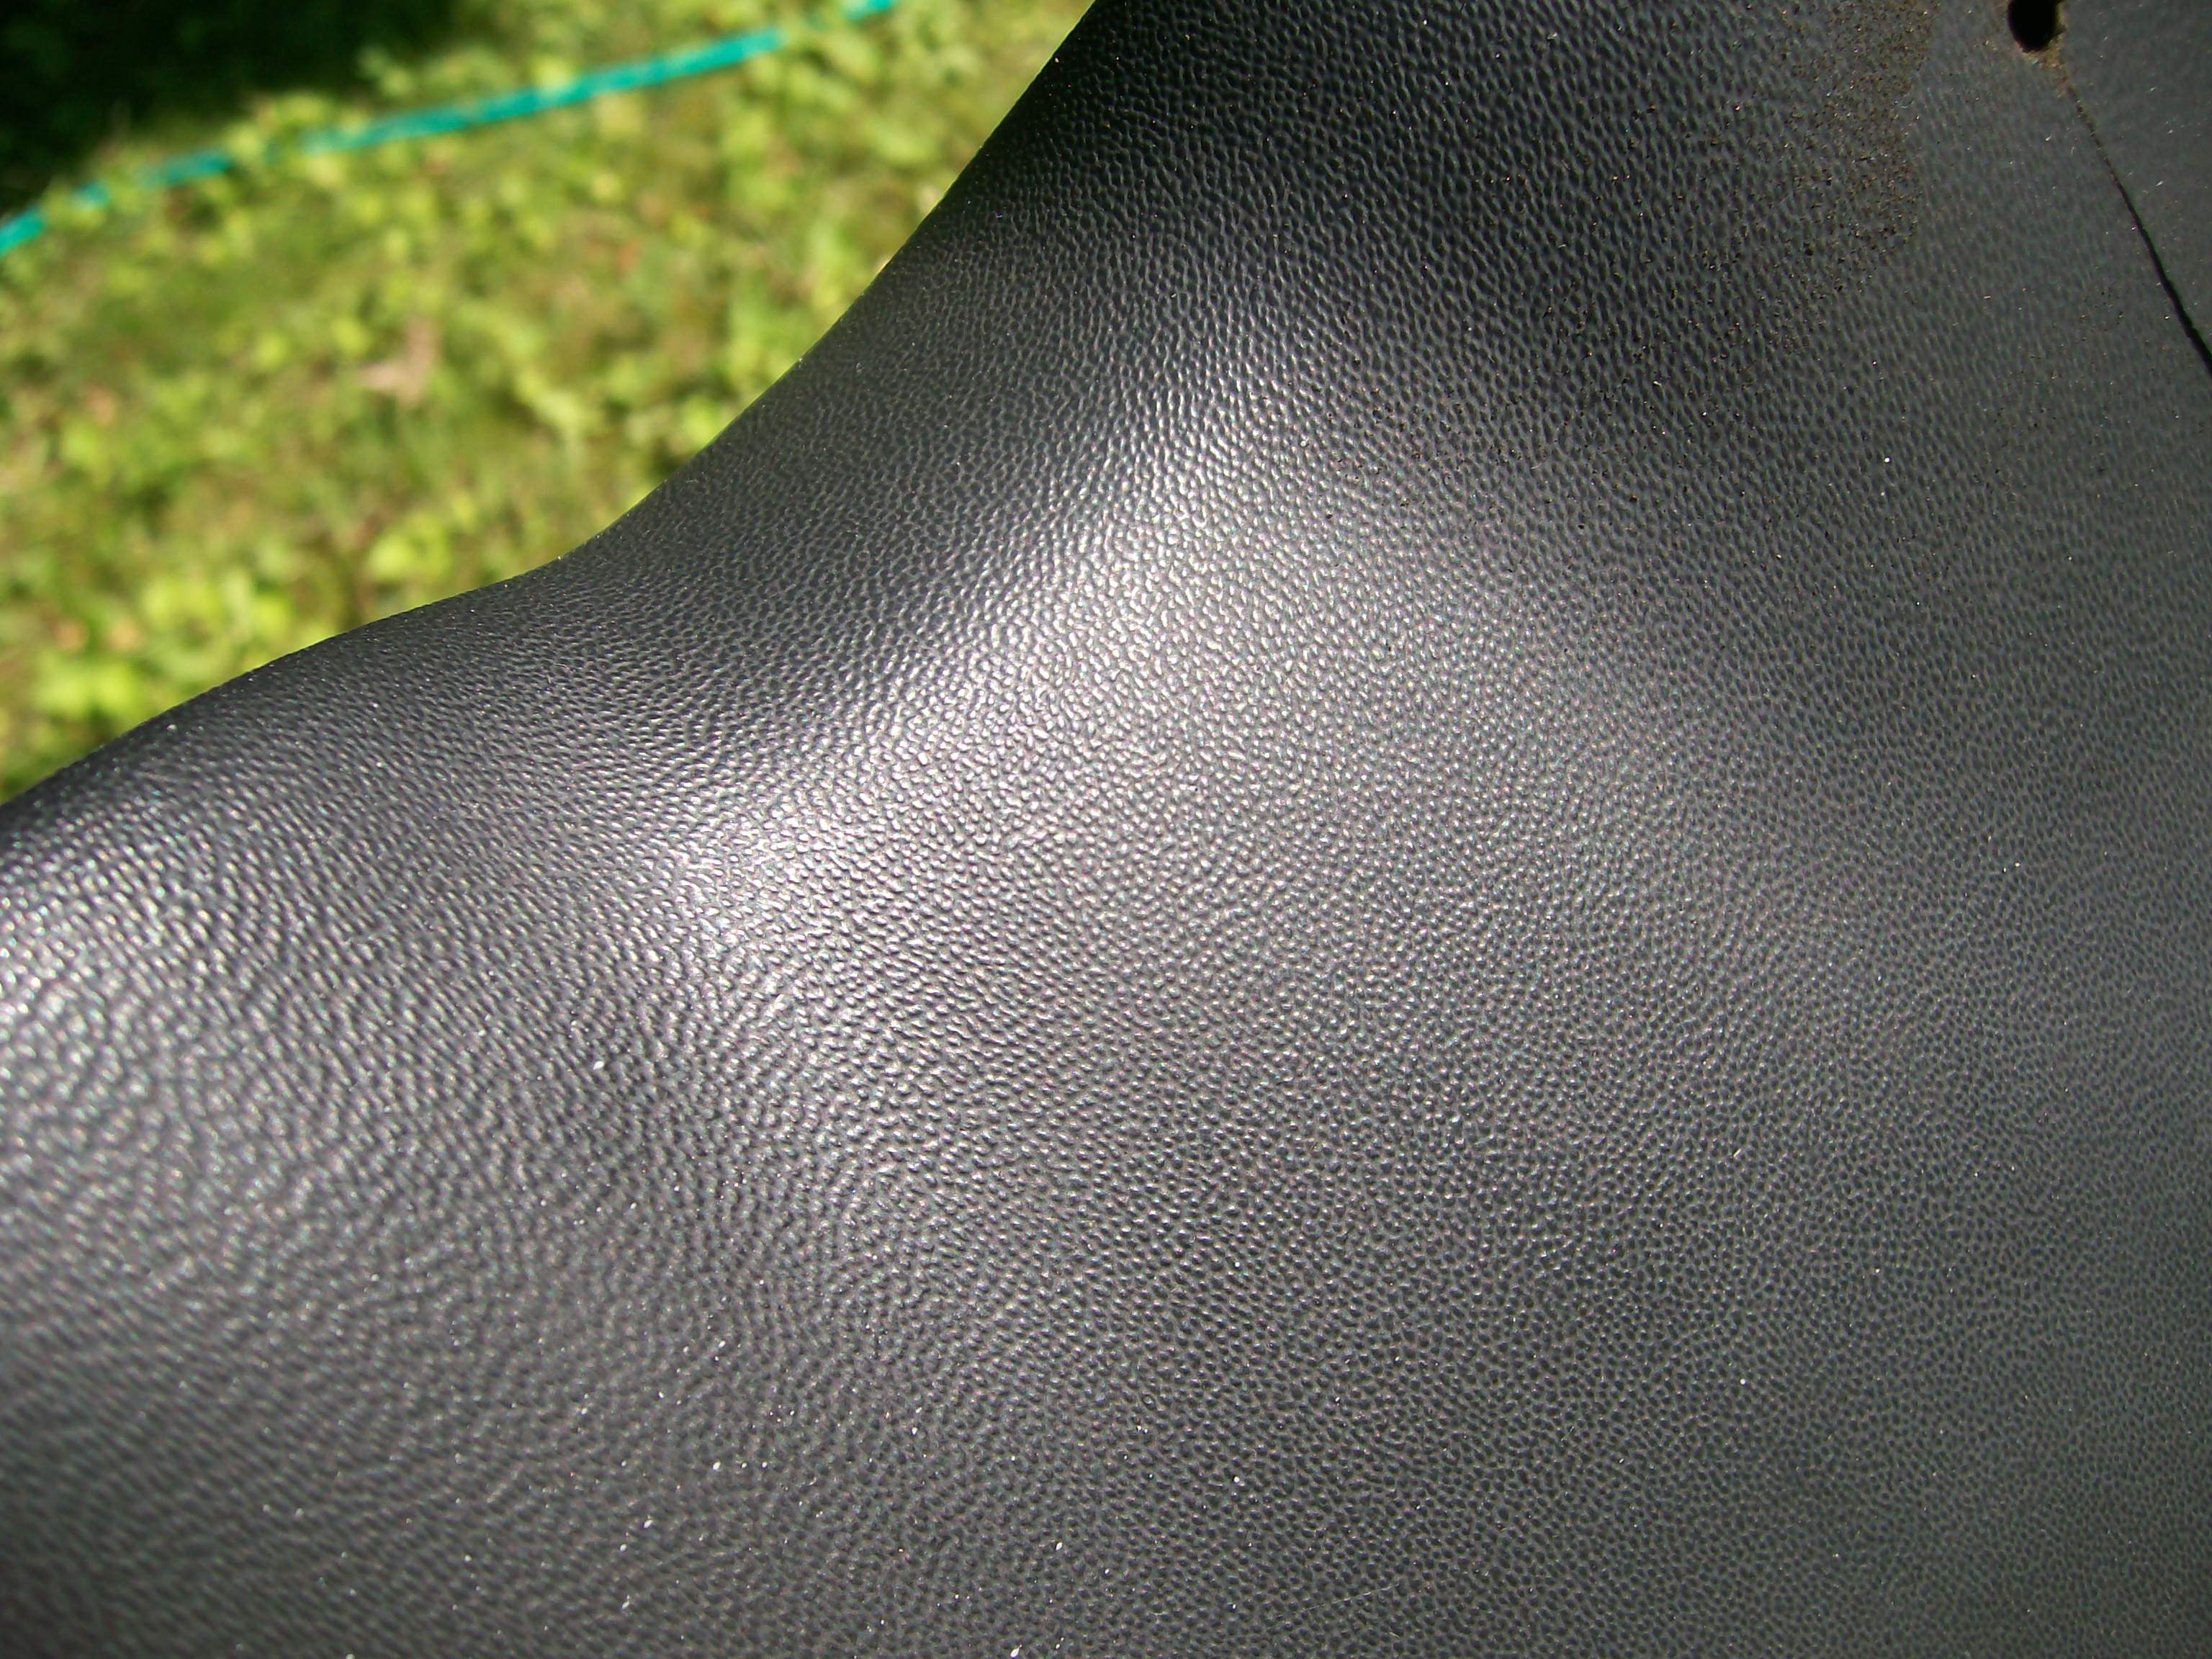
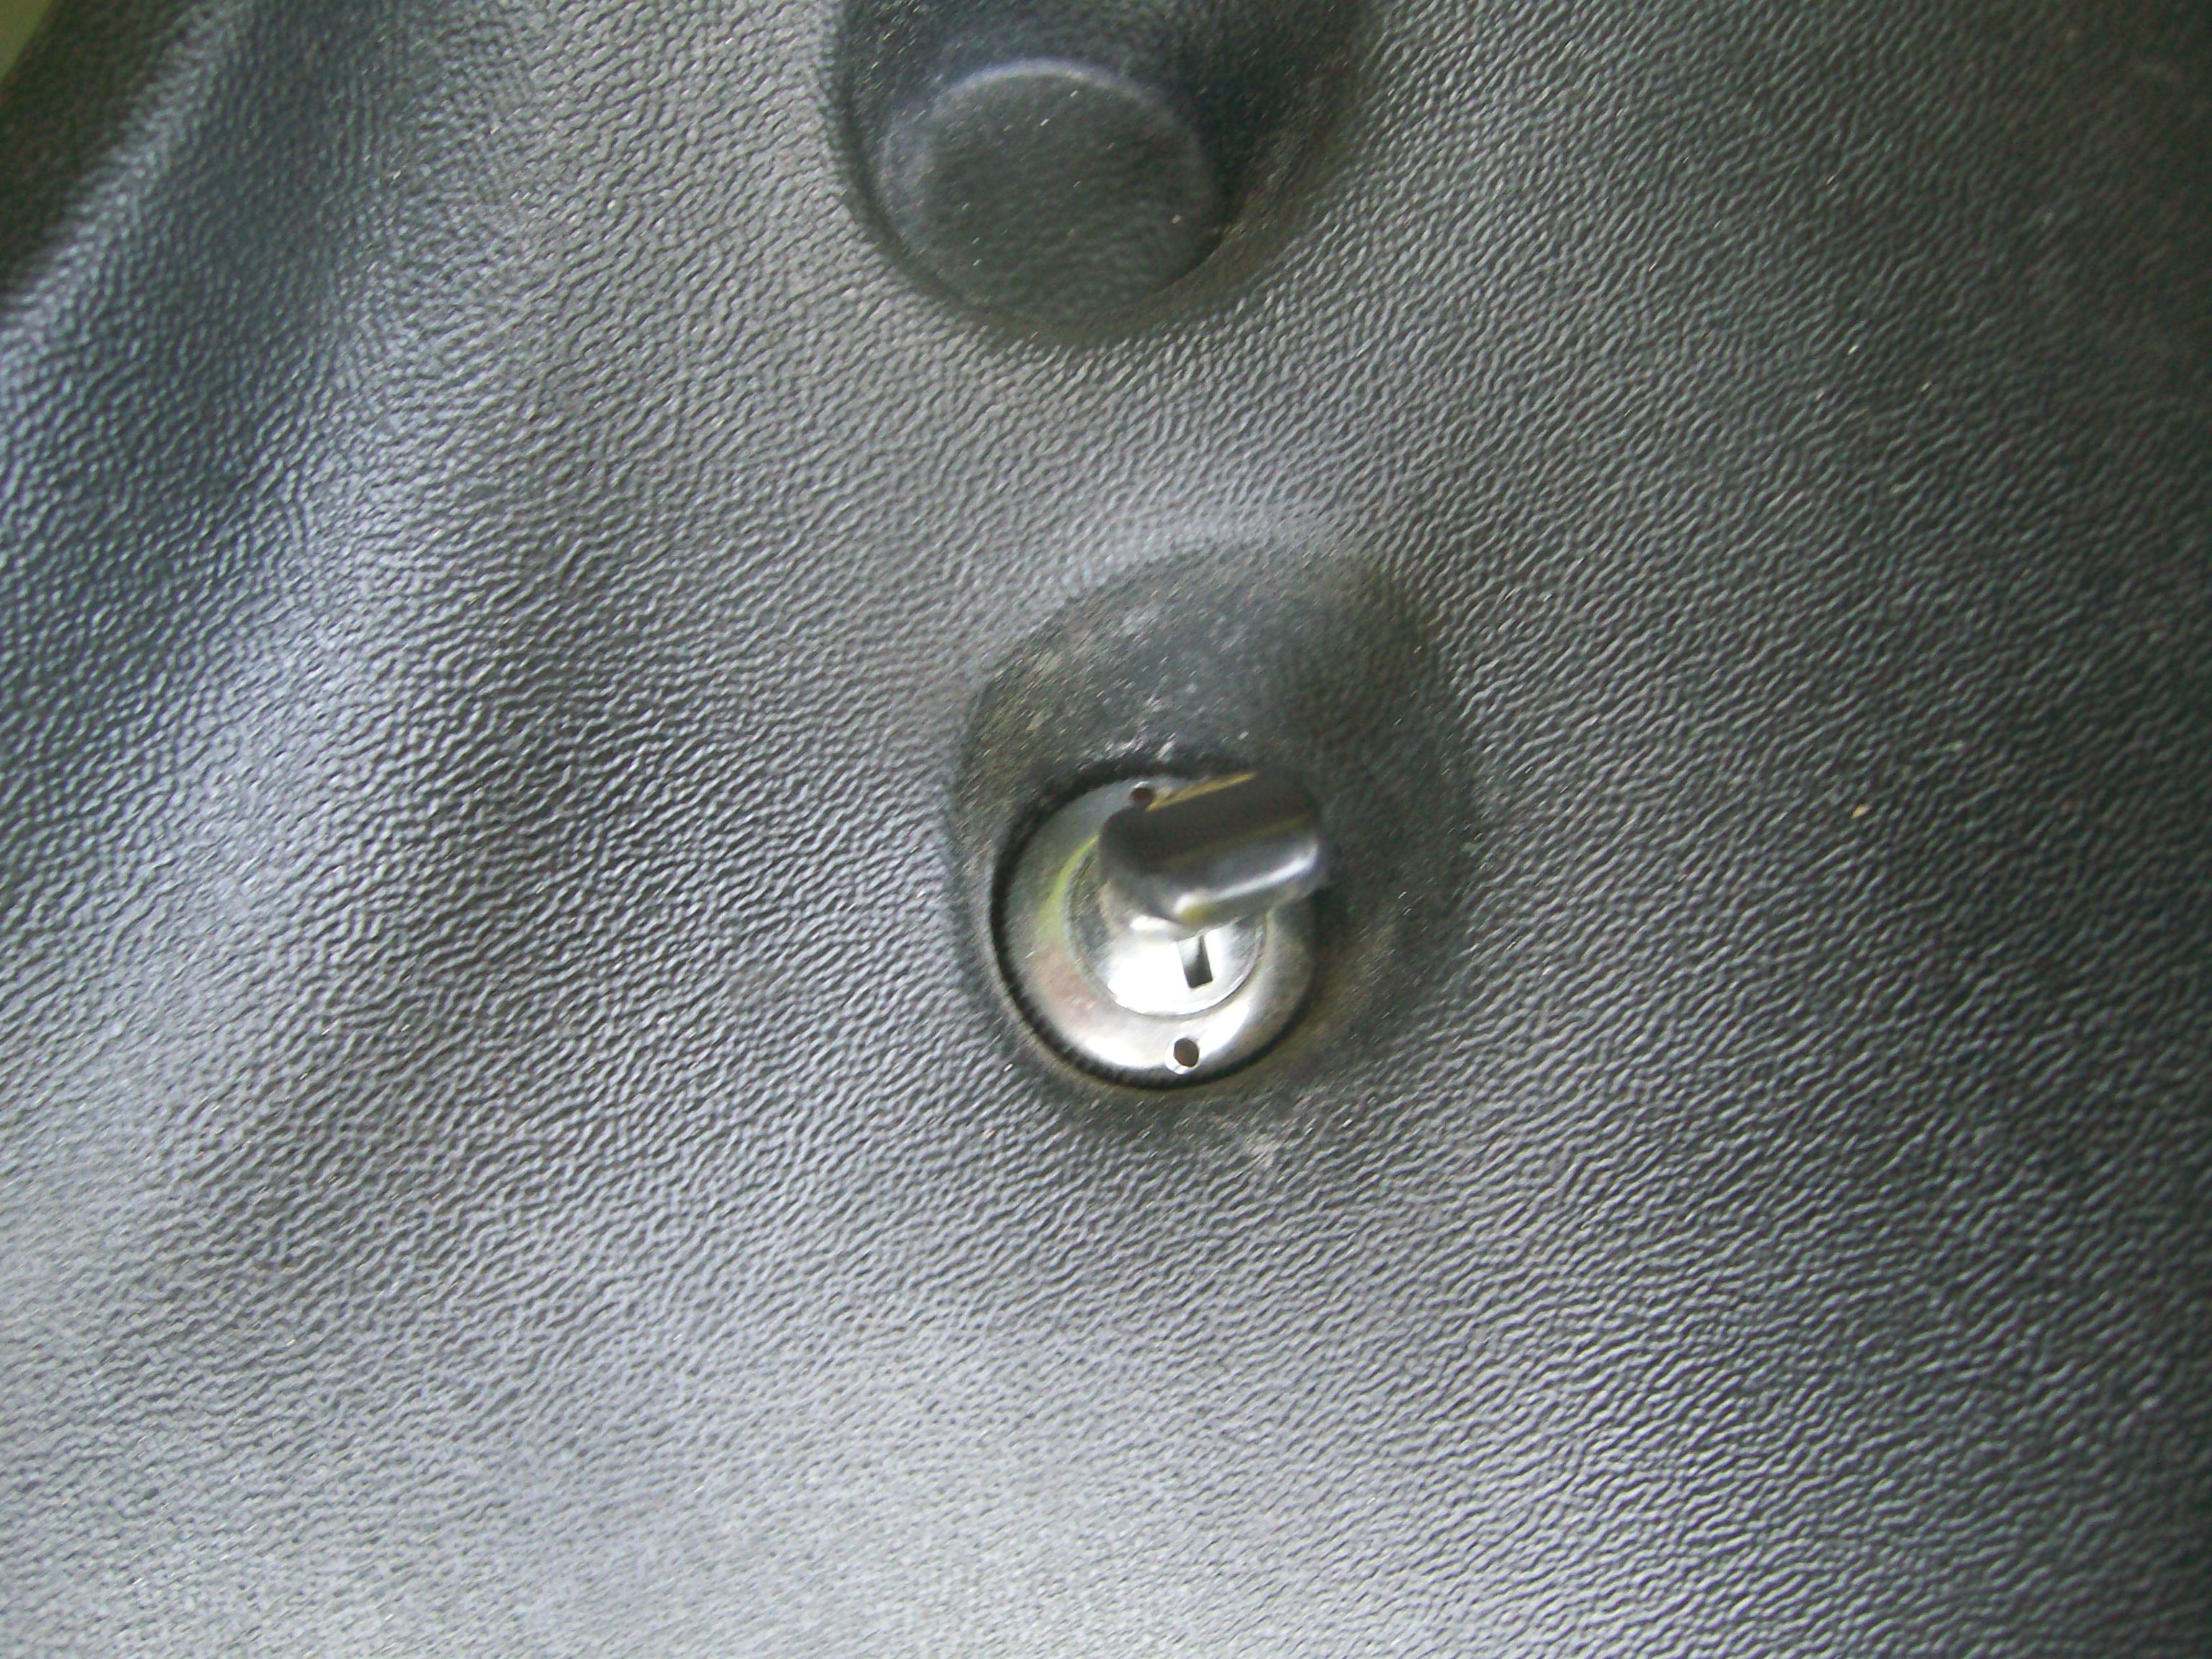
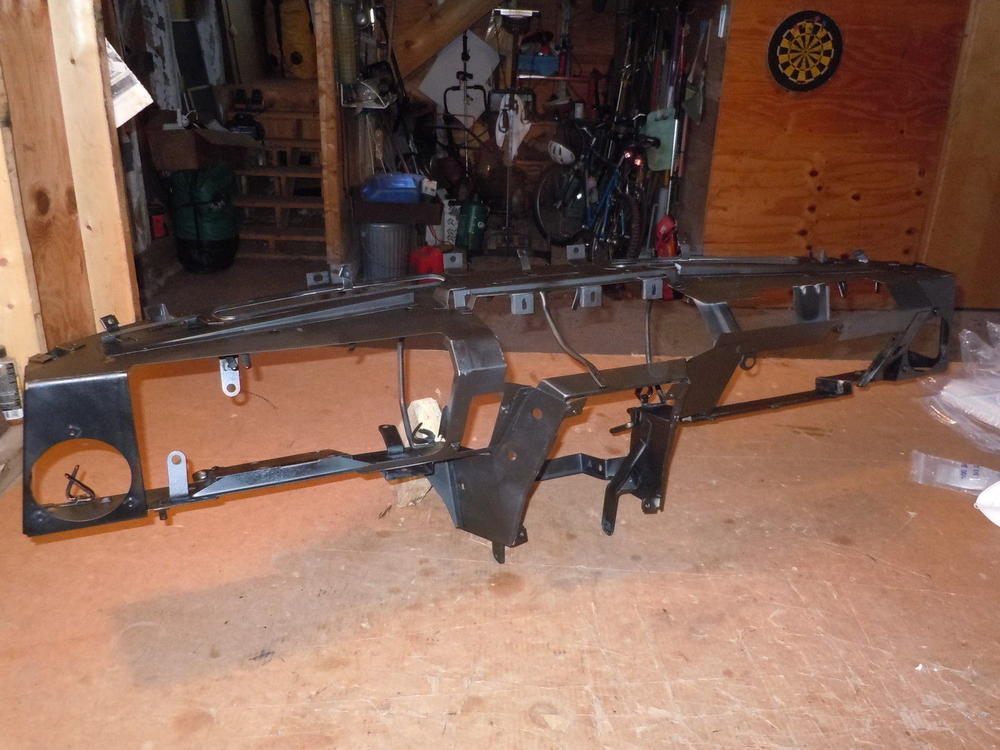
Just my luck that this new parts offering comes along after I'd finished restoring my 70 Z's dashcap. . I hope it all comes about. The Just Dashes route is just too pricey for many Z restorers (esp. those of us who live north of the US border). To help those of you who may be considering this new dash-restore option, here's a pixcture that another member posted several years ago of the bare frame ((sorry - I don't have a record of who the poster was, so can't give credit)... And here are a couple of close-ups of the texture of the OE vinyl covering. It's a version of what's known in the trade as 'haircell'. These are photos of the dash from my 70 Z (as confirmed by the surface crack that's visible in the first photo )...


-
And even if you do a lot of the work yourself, the cost is going to be much more than just the sum of the nice shiny parts that you buy. Most hobby-restorers don't really track the costs of the paints, solvents, chemicals, fasteners, special tools, etc. that go into one of these projects. They add up pretty quickly.
-

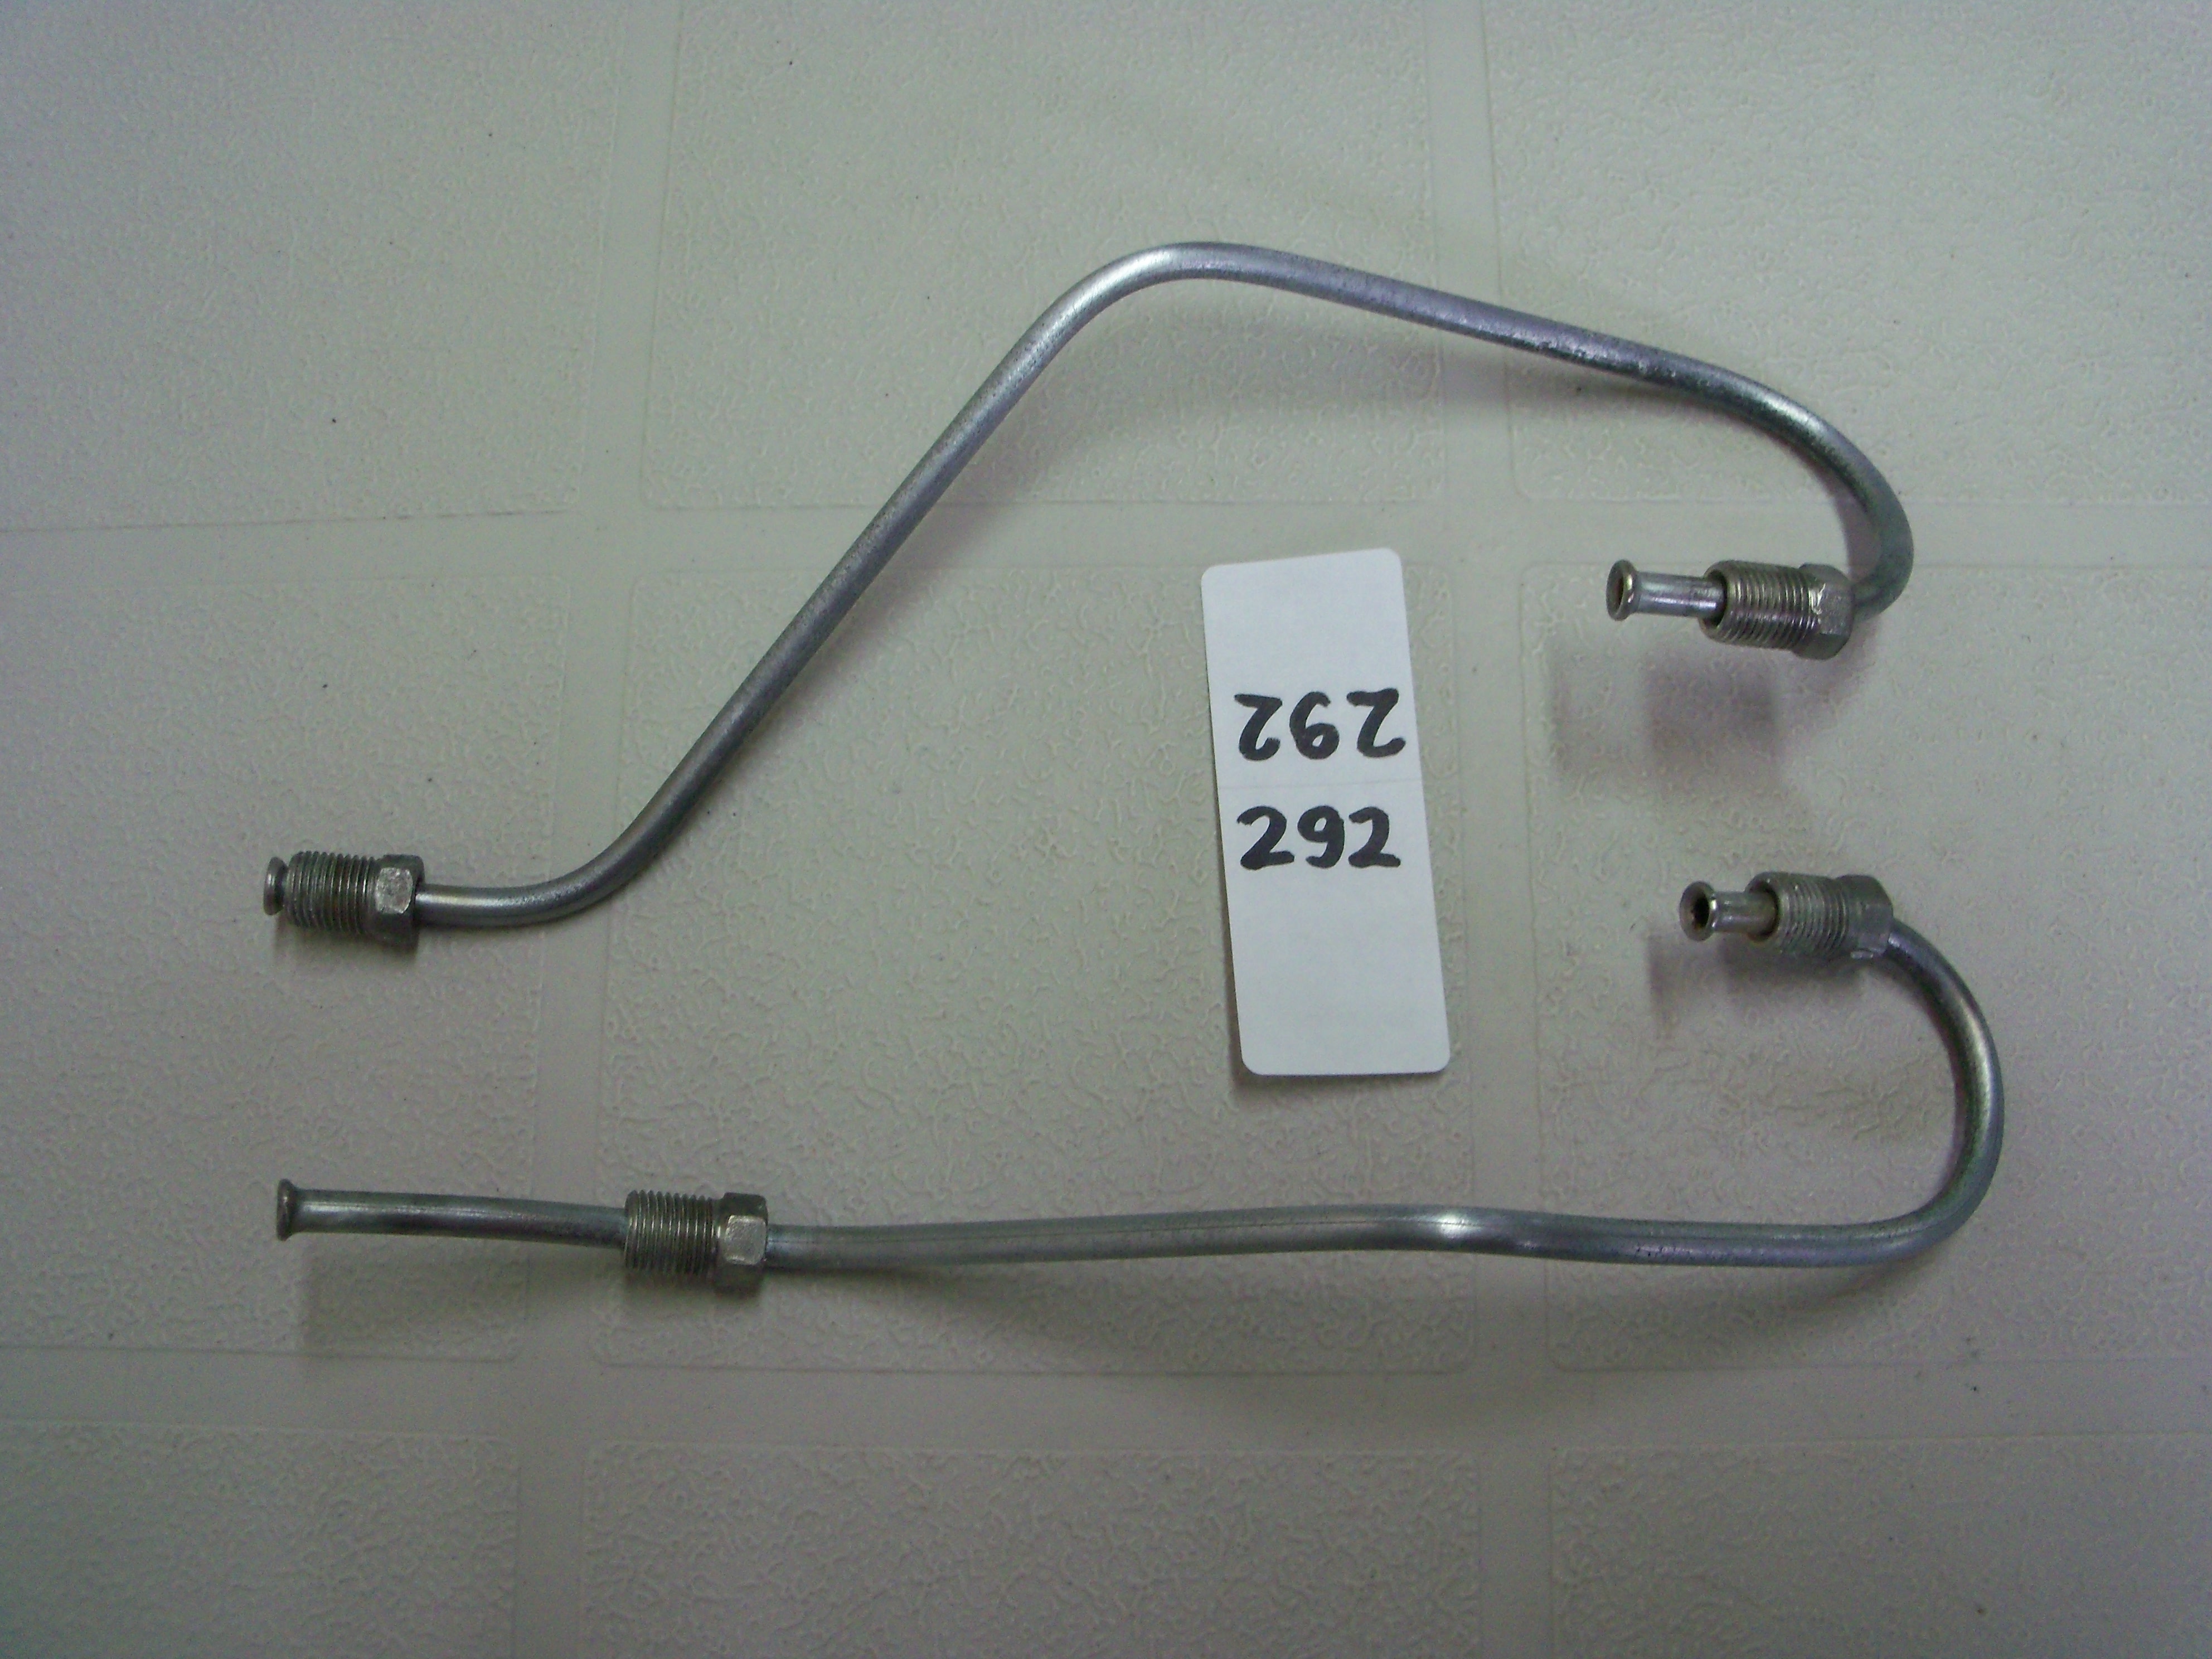
Looking for advice on replacing all the hard brake lines
Namerow replied to grannyknot's topic in Wheels & Brakes
Did I remember to say, 'Wear gloves, too?' -
Looking for advice on replacing all the hard brake lines
Namerow replied to grannyknot's topic in Wheels & Brakes
I used a foam-backed woodworker's sanding pad. Grit was probably 400 or a bit higher (but prob. coarser than 600). The foam backing was about 3/16" thick. I found it more effective to use than regular sandpaper because it seemed to conform to the curved surface of the tubing better. Just wrap it around the tube and have at it. The end result was a nice, silver sheen that didn't need any further work with, for example, steel wool. I just wiped down with wax-and-grease remover, then applied the clear coat. You can work the abrasive lengthwise over all but the last inch or so of the tubing run. When you get in close to the end fitting, you have to go with a different approach. Try cutting a few strips of sanding pad that are about 1/2-inch wide and 4 - 5" in length. If you can figure out a way to support the loose end of the tubing, you can then do a cross-wise push-pull with the sanding strip. I found that the sanding surface loaded up pretty quickly. I also found that the stuff coming off the outside of the tubing was pretty evil. Regardless of whether you go with sanding grit or steel wool, make sure you protect your lungs with a good particulate mask.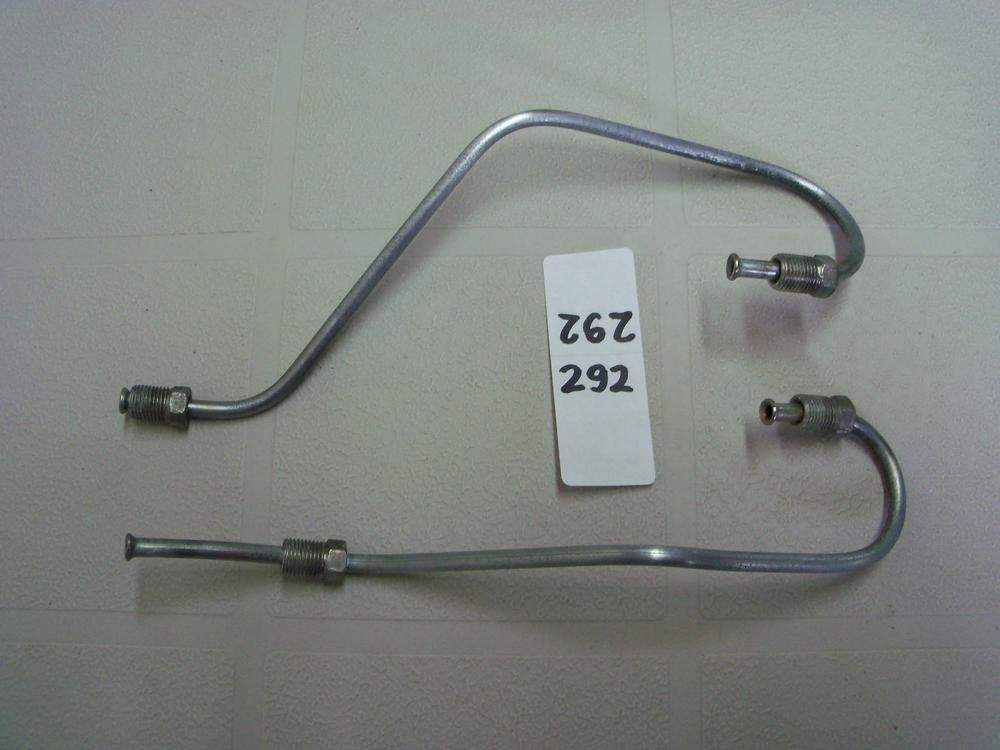
-
Steering Rack Disassembly and Refurb
Namerow replied to Captain Obvious's topic in Technical Articles
Maybe rig up some kind of lever-fulcrum arrangement inside the bore? 1/2"-dia hardened-steel bar stock for the lever. A shaped piece of hardwood might get the job done as a fulcrum. Alternatively, a piece of aluminum bar stock. I like the expanding collet idea, but not sure if you'll find a suitable item. The same principle (wedge-and-ramp) might be put in play if you can come up with a hardened-steel wedge that could be hammered in, riding on a hardwood (or metal) 'floor' inserted into the bore. I have a long (9") tapered punch in my toolbox that would be the first thing I'd try. Another idea: Thread a stud of appropriate length (equal to the inside dia. of the rack bore) and dia. (about the same as the dia. of the protruding pin) into a nut until the end of the stud reaches the opposite side of the nut. Now thread a couple of additional nuts onto the stud. Position them at the middle of the stud and jam them together. Insert into the bore, with the free end of the stud riding against the end of the pin. Now use a wrench on the jam nuts to back the stud out of the nut at the base. -
Post #60 in that thread provides a pretty good description of how to disassemble and reassemble. Is there any way you could rig up a brake hose from front or rear wheel cylinder line of an active vehicle to the appropriate port of the valve and then use hydraulic pressure (press on the brake pedal) to blow the piston out?
-
Worth a view (and listen), if you've never seen this segment. The Z's straight six, done up like this, sounds like half a Ferrari V12. Great sound. I'm usually not a fan of flared fenders on these cars, because they usually look too 'Hot Wheels'. This is the only Z I've seen with fender flares that add, rather than detract, from the car's looks.
-
A few years ago, I was in the middle of restoring the heater/blower system for my 70. All of the foam gaskets were shot, so I made tracings and used them to fabricate replacements from foam sheet. My approach involved making paper cut-outs that I could glue to the foam sheet and then use as a guide for cutting out the shapes and punching the holes. I didn't want to risk malking a mistake with my original tracings, so I scanned them into .pdf files and then used those to print out the pieces that I eventually glued to the foam. I ended up with a library of .pdf files for all of the system's gaskets. I posted these as part of a how-to article, but another member recently contacted me to say that they won't download any more. For that reason, I'm re-posting them here. Hope they can help someone else with their restoration. They should come out of your printer in 1:1 scale. For most of these gaskets, I recommend that you use the 1mm-thick closed-cell neoprene foam sheets that you can buy at crafts stores like Michaels. These sheets already have adhesive on one side, so they're very easy to use. You'll probably need at least a dozen sheets (maybe more). You'll need something thicker and softer to make the pads for the big airflow control flaps. I recommend 1/4"-thick open-cell foam. They need to be covered with thin, soft vinyl sheet. The foam that lines the plenum box for the centre air outlet grill is intended to reduce airflow noise. It needs to be made from open-cell foam (1/8"-thick). 240Z 1970-71 Series 1 - HVAC Foam Gasket Templates.zip
-
i believe we may be about to witness the effects of the main core (think bell curve) of the 'baby boomer' retirement phenomenon. This will unleash into the classic car market thousands of aging-but-wealthy people with time and a lot of money on their hands and a deep pool of nostalgia that they want to have serviced. There aren't enough Ferraris, Cobras, Maseratis and E-Types to go around, and too many of the other obvious choices are too uncomfortable or unreliable to suit a seventy-year-old trying to relive his or her youth in style, safety and comfort. The days of the $25K 240Z may be coming to and end soon. Only the Porsche 911 and the Alfa GTV tick the same boxes.
-
Thanks for posting. I could never figure out how to get the parts fiche files to load properly on my computer. Lots of interesting things in these files. Who knew, for example, that a headlight washing system was offered on S30's destined for the Swedish market?
-
Perhaps the 10000RPM instrument face could be created rather easily as a computer-generated image and then printed onto some type of thin, durable material by a commercial printer. It could then be carefully trimmed to shape and glued onto the existing instrument face (or maybe just laid over top, without using glue).
-
Thanks for the insights. It's additional details like these that help us all to learn how it's done (as opposed to simply admiring the end result and muttering, 'I wish I could do that.') In my case, I already have the dual-voltage Eastwood gun and have used it -- in combination with oven curing -- with good results on small pieces like the front tow hooks. However, I've had reservations about trying it on bigger parts and would never have even thought it feasible to do a really big piece like the front crossmember. That looked like a job for a commercial powder-coating shop. I have a small blast cabinet and have used it successfully with the lid open to do some work on parts up to the size of the engine valve cover. However, I've never considered trying the 'bucket-and-box' approach for larger parts. Thanks for showing that it can be done. I've used the copper slag media (purchased at Princess Auto) on a couple of parts and found it cuts very fast. Good to know that the post-blasting surface cleanup need only consist of air-blasting. Finally, your positive experience with re-positioning the IR light stand for curing powder on a really large part will probably result in a lot of us adding this piece of equipment to our shops. It would not have thought it possible to get such a nice result by sequential, zone-by-zone heating. Here, too, thanks for showing that it can be done.
-
Looks fabulous! Hard to believe you were outdoors doing sandblasting in Ft. Saskatchewan with temps at -25. A few questions about the paint: What make/model of powdercoat gun did you use? What powder did you use? Gloss, satin or something else? Now that you've seen the result, would you make the same choice a second time? How many pounds of powder did you use? Did you experience any difficulty getting the powder to coat the nooks and crannies? Any special tips to offer? How many times did you need to re-position the IR lamp to get heat coverage for the full surface area? A few questions about the paint prep: What media did you use for the sandblasting? How much media (lb) do you estimate you used for the job? How much media do you think you lost (not recovered from the catchment box) ? How long did the blasting job take until you were satisfied it was ready for paint? Did you do any final prep to the surfaces before powder application?
-
I'd call that 'patina' ! Great job straightening it out. I think I would have binned it. There's a YouTube video that shows a detailed restoration of a piece of kinked stainless. The piece was hammered, flat-filed, then taken through a sequence of sanding and buffing. Impressive results. You might consider whether flat-filing (without hammering) would be a remedy.