Ben's Z
Free Member
-
Joined
-
Last visited
Everything posted by Ben's Z
-
 Nice car, just about like mine in every way if I didn't have this horrible blue layover the first owner put on in 79.
 -
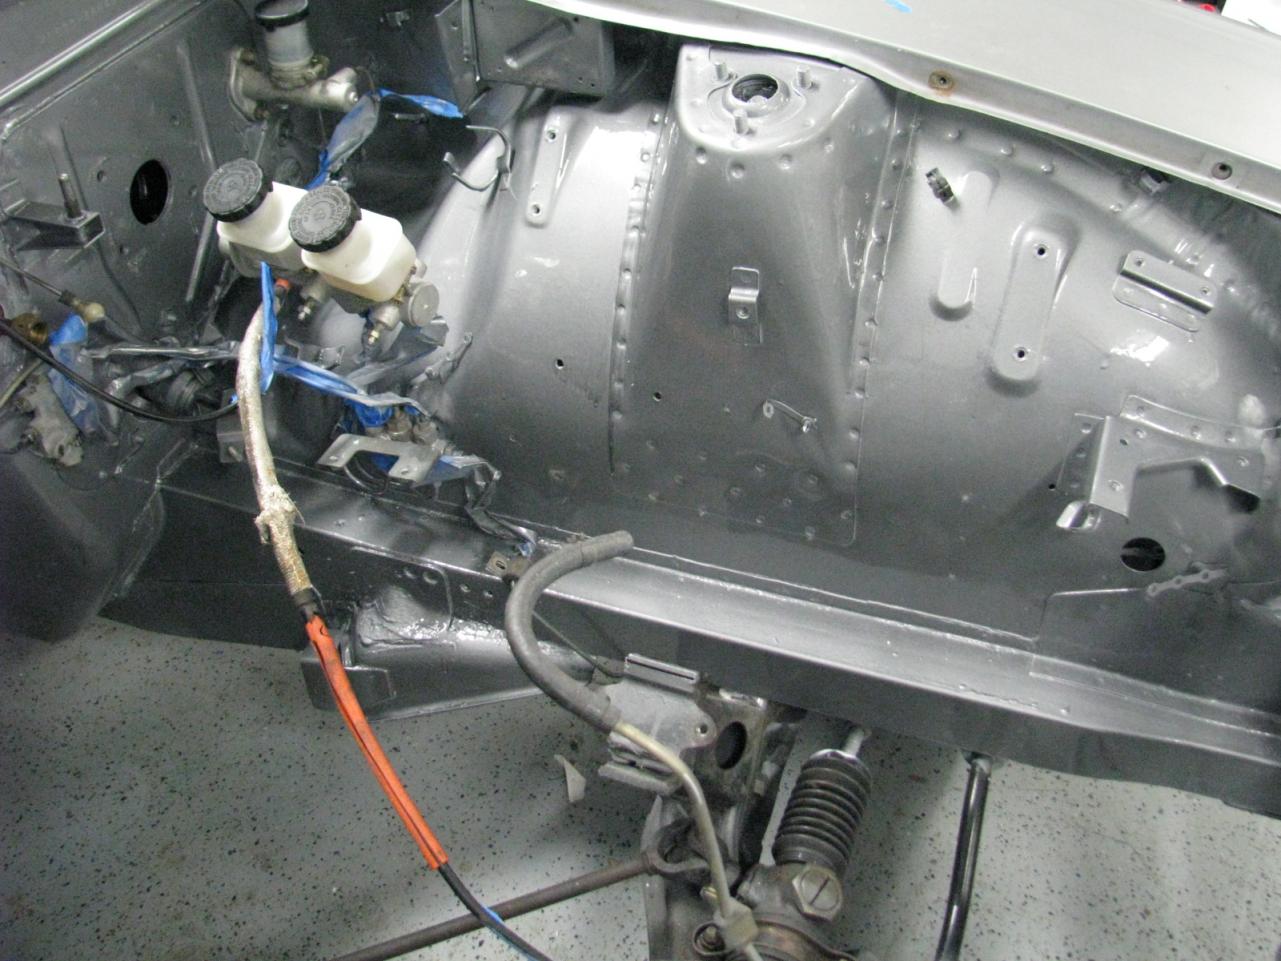
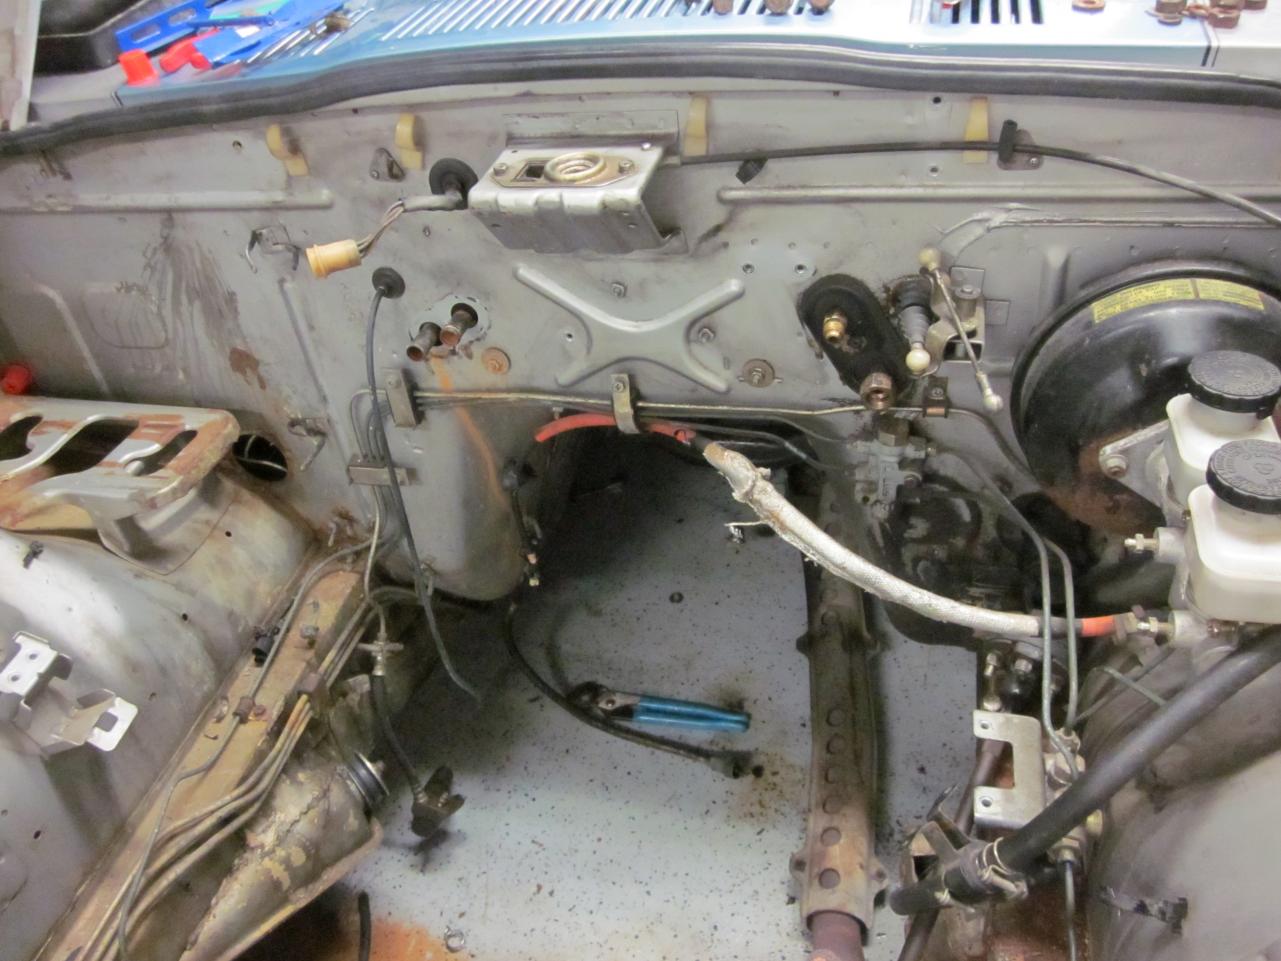
Pretty simple really. I took everything off and since I was going to install a new brake booster I took off the master cylinder and taped it up in a big ball. I left the clutch master on the firewall. I used aluminum foil around the cross member and I also pulled the bunched fuel and brake lines away from the frame and firewall and taped them off. I then used purple power degreaser straight up and washed the engine bay with a yellow kitchen sponge mostly using the abrasive green side. This in itself made the engine bay 80% better and if you didn't want to paint it I would recommend this along with then buffing out the paint as it does rough it up some. After I washed it doing that I used 3M red scotch brite pads to rough up the paint. You really want to make sure you get all the nooks and crannies as the primer has to adhere to this. I used a PPG white epoxy primer to spray the engine bay. On my crappy gravity fed gun I sprayed two good coats at around 45psi. I let this sit 48 hours and came back and wet sanded any areas with runs or orange peel with 800 grit, but I also used those scotch brite pads again. If I was going to do it again I would use 600 grit and wet sand with that. I then sprayed single stage Dupont acrylic enamel as I mentioned above at about 60 psi to make sure I didn't "tiger stripe" the metallic. If I was going to do it over again I would do base coat clear coat and use urethane paint. I would not recommend single stage with metallics and you cannot wet sand out and runs and buff this paint. I now have to buy a touch up gun, scuff those spots again and touch them up.
-
Not gonna believe this crap. I took the #2 cap off and the #1 cap off, both bearings were the same width. THE SECOND CAP IS NARROWER THAN ALL THE OTHERS!!! Why do you think this is?
-
I got the answer to this question from my machine shop today. #1 and #7 bearings are wider than 2,3,5,6. My wider bearing is currently on #2 so I am going to move it to the #1 spot. I think I got lucky and the other wide one is on #7, because none of the other are sticking past. I will check one more time. The machine shop doesn't feel this will matter because the thrust bearing is less than .007 and I could fit a .020 feeler gauge between that wider bearing on #2 and the journal for the throw for the rod.
-
I had a relative take a look at my bearing issue last night and he said "run with it". A .020 feeler gauge will fit between the bearing sticking out and the journal next to it. In my opinion with the thrust bearing doing its job there is no way it could hit that bearing.
-
I went out to the garage last night and checked the run out on the crank again. My .002 feeler definitely fit between the center thrust bearing and the crank, so it passes. I don't know whether to run with it or not. I am going to mike the crank caps width and see if that cap is narrower for some reason. I am also going to find my old bearings if possible.
-
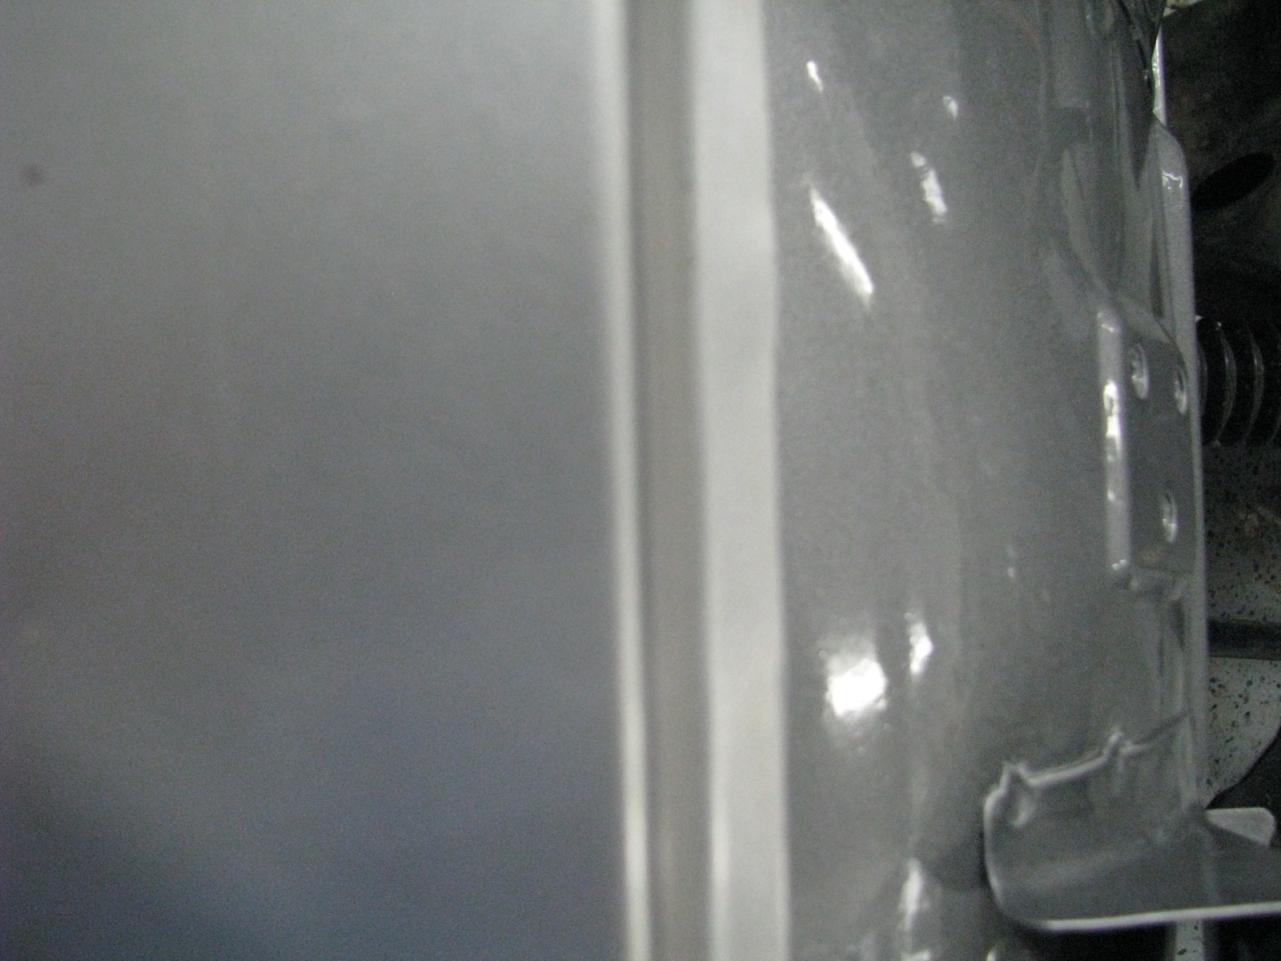
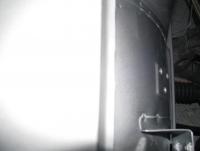
Here is a question. My car had some what I believe to be factory runs in the paint on the strut towers. Does anyone else have these? I wet sanded them out for the most part, but they almost ran 2/3 of the way down to the frame.
-
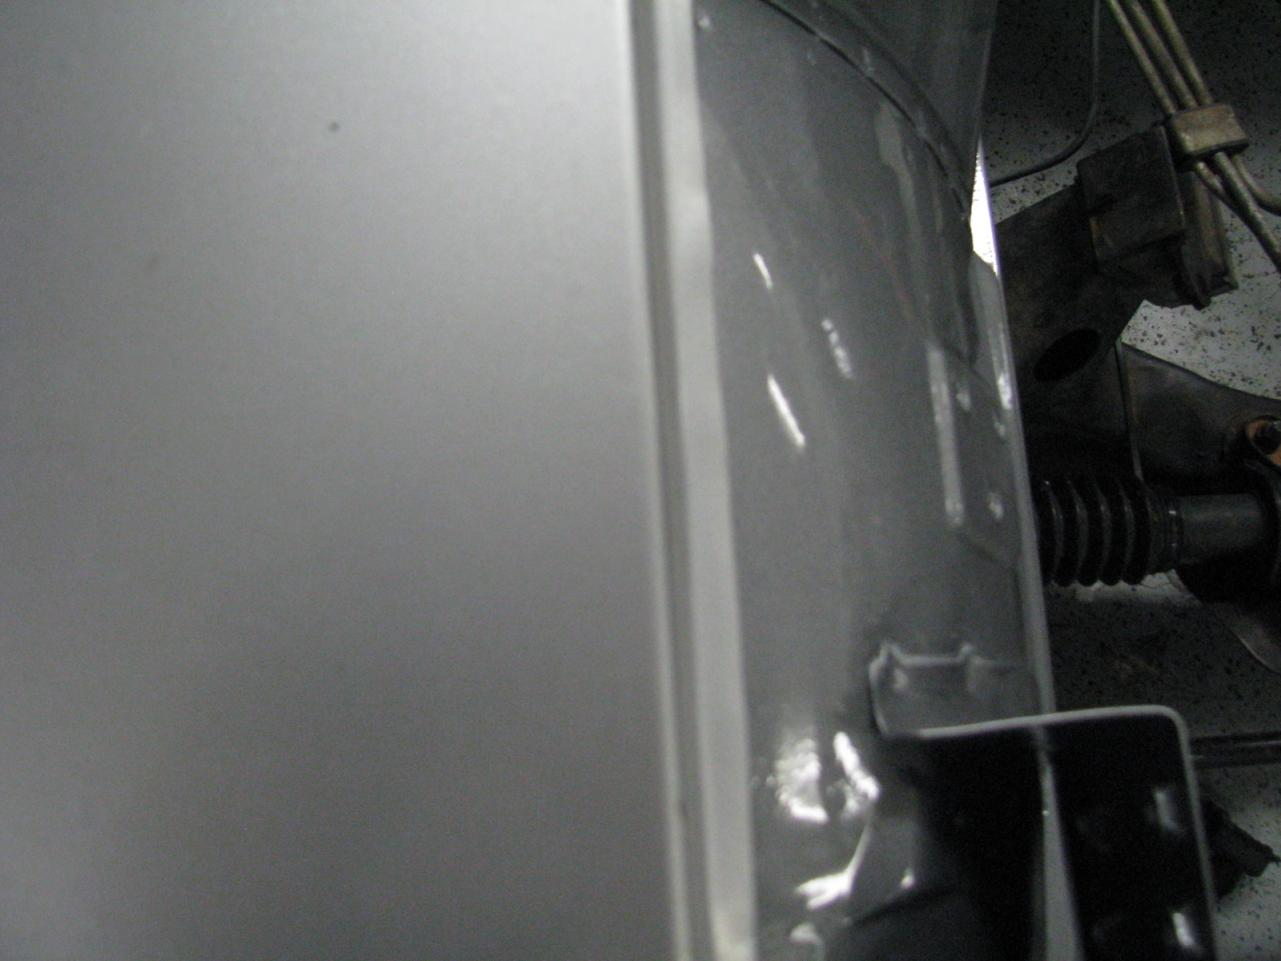
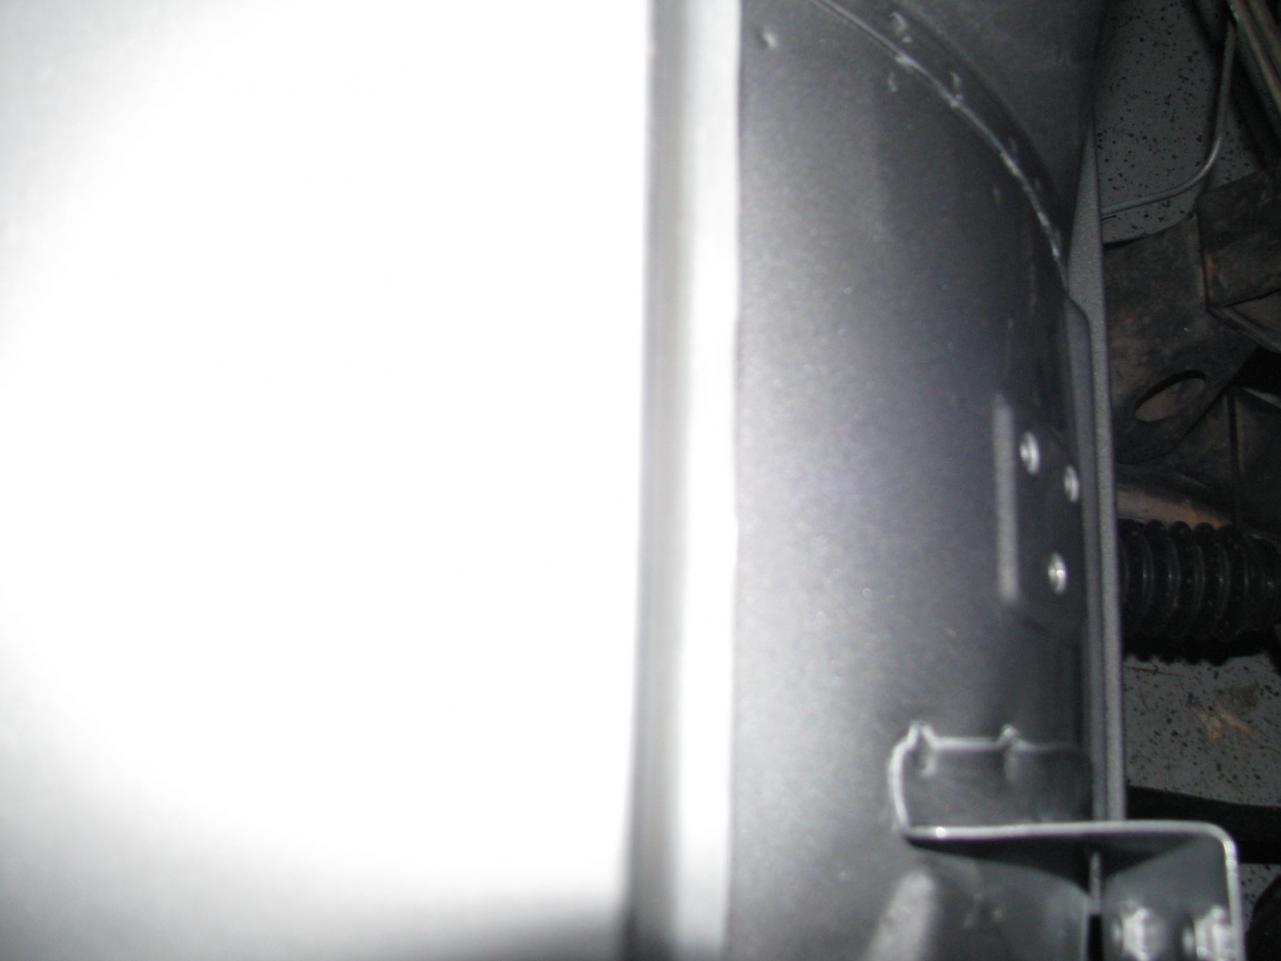
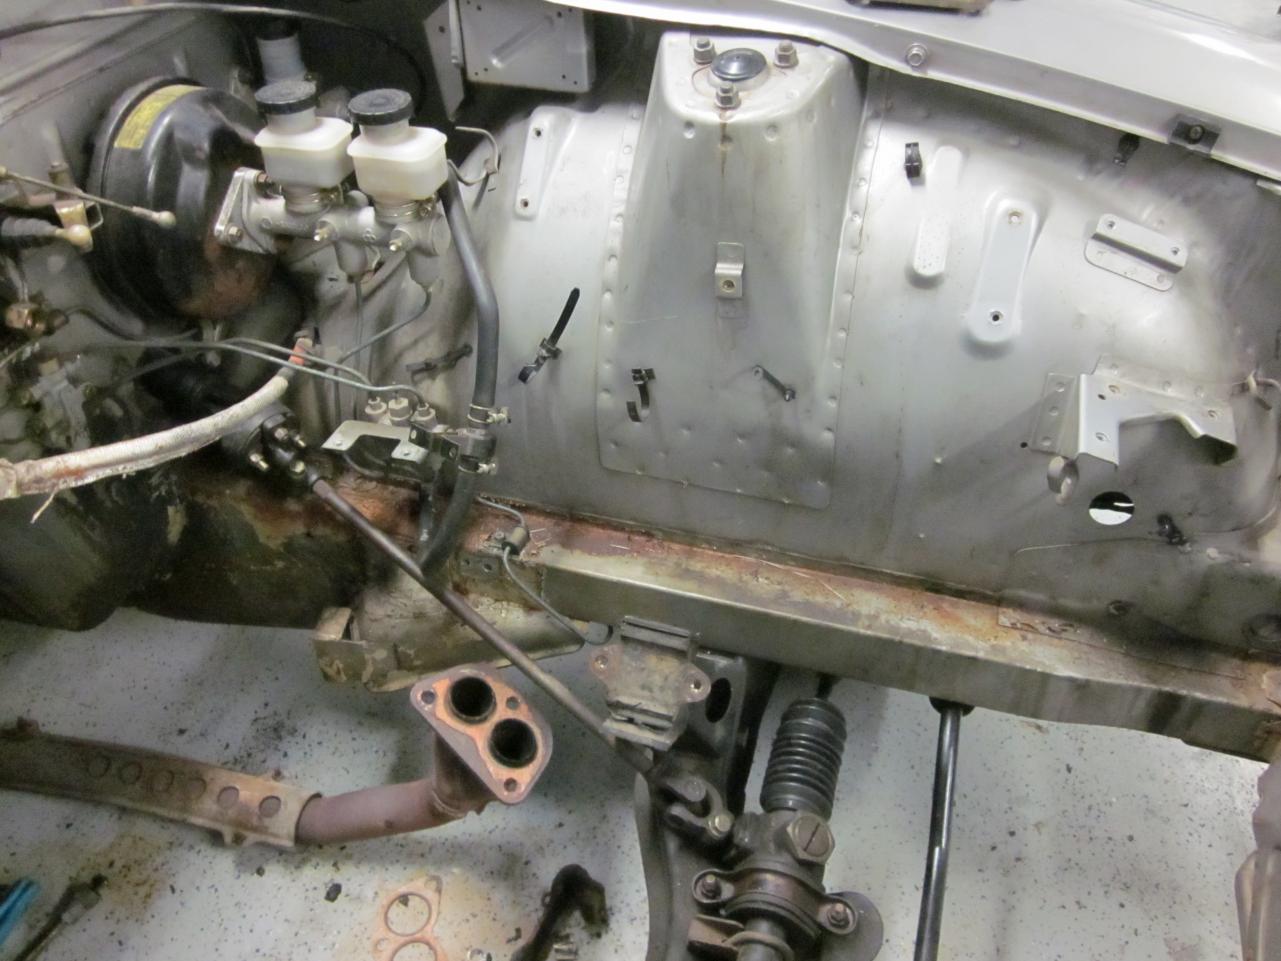
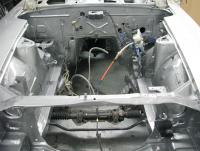
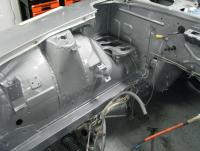
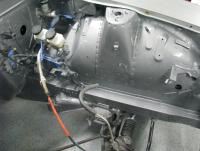
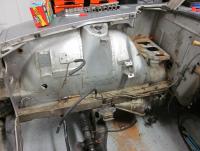
I painted the engine bay tonight. Talk about testing my patience.:mad: 1) Wet sanded some of the epoxy primer where the orange peel was the worst. 2) Jacked up car and put on jack stands to make life easier. (Was actually laying on my stomach and painting up to the trans tunnel and the frame at one point, all in my driveway. Neighbors must think I am crazy) 3) Loaded up Andrew Streckfuss's ZCurves touch up paint gun and went at it. Using a touch up paint gun rocks for an engine bay:cool: 4) Bumped the fan adjustment knob and proceeded to put runs where? On the fire wall of course, not underneath the battery tray where it would never be seen. 5) Missed some water left over from wet sanding and proceeded to blow the water out with the paint gun and into my fresh silver on top of the core support.:mad: 6) Go to reload the paint gun and one of the hooks on this siphon unit snaps off! Curing paint and my other paint gun is still tore down from the primer spray! :mad: 7) Put my gun together and load up the cup and go at it. Unfortunately my paint gun was bought my a deceased friend who used it to paint concrete pump trucks, so using it in an engine bay is like brushing your cats teeth with a toilet brush. 8) Painting around the brake diverter valve and master cylinder is a PITA and leads to some more runs. So you are thinking. "Damn Ben you are worthless and shouldn't even own a paint gun!" This is true to a certain degree. Did I mention I had 1) Never sprayed silver. 2) Never sprayed single stage paint? Actually my biggest concern is when I have the car painted on the outside will be the color match. This is supposed to be Paint Code 306, but damn it is darker! Mind you the last time my car was painted was 1979. Could the paint have faded that much? Operator error? Bad paint mix? All the above? I actually love the color, but the pros are going to have to try to match it when I plan on getting it repainted next year. Oh well here are the pictures. All in all when I fix my water spots in the paint and if I can attempt to wet sand out my runs which subsided quite a bit when the paint flashed; and given my working conditions I will rate my paint job a 7.5. I really don't think the color mismatch is really my fault. Maybe you guys who have had cars painted versus 30 year old paint can provide some insight.

-
If the bearing wasn't aligned with the saddle perfectly towards the front I would know what the problem is, but since it is I do not know. I am thinking about taking off two main caps and comparing the width of the bearings. Mayb that cap is narrower for some reason?
-
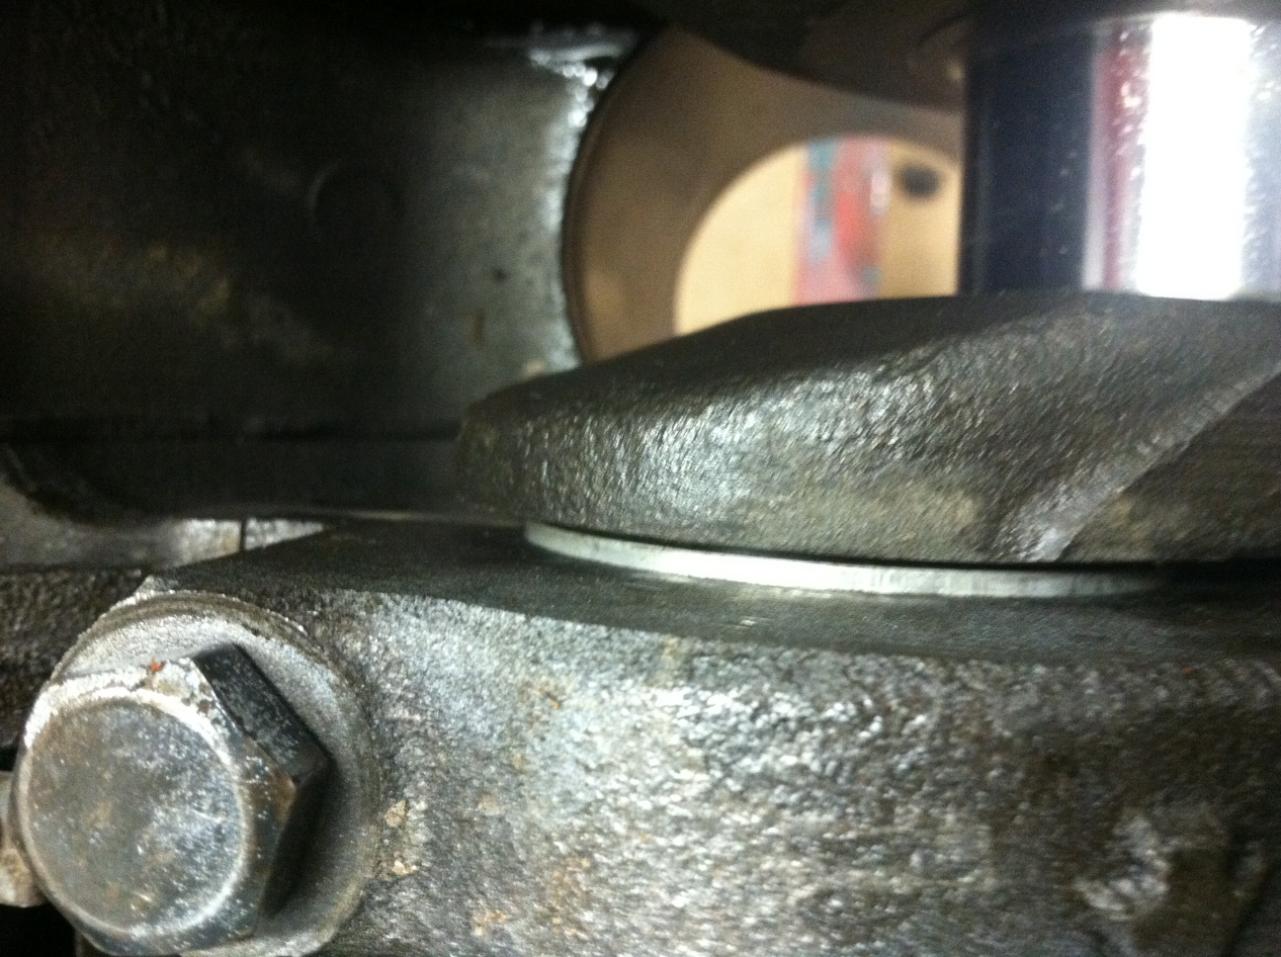
Yes that one picture shows (hard to see I know) the bearing being completely flush with the main saddle towards the front of the engine. All plastigage marks were equal across all main caps including this one when I checked them all.
-
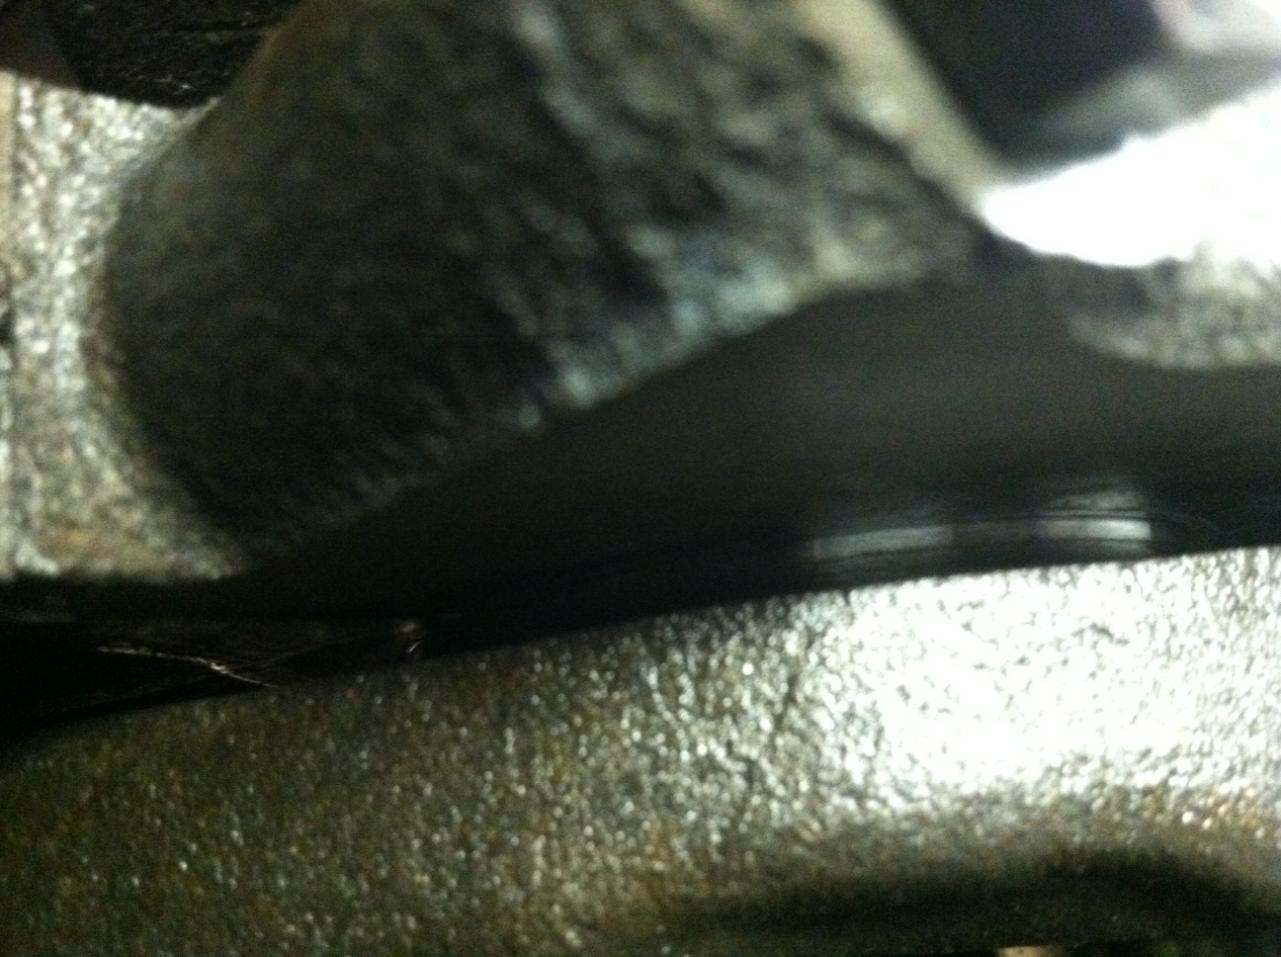
Seeing as this is my first engine I have ever built I have some concerns. 1) I did get the "nails" in from the Fel Pro kit but felt the instructions on the "How to" book were wrong and his way was holding me from getting them seated. He said to put the chamfered side towards the block so that the sharp side does not dig into the seal. After trying to force it in and bending the nails I turned them so the tapered side was going along the rubber and that helped a lot. It also took me about 20 minutes to work all of this out. Will this engine leak oil live a sieve? 2) See pictures. One of the main cap bearings is sticking out past the main cap saddle. I did this when I plastigaged all the caps and I rechecked it for alignment in the saddle before final install with no difference. Should this be something to be worried about? I checked for end play and could not get the .007 feeler between the thrust bearing and crank. I tried the .002 as stated in the rebuild book but it is so flimsy I wasn't sure if it was in there or not. Crank spins freely. 3) I notice that the rear main seal is not riding totally parallel to the back of the block will this leak? It is not that bad.


-
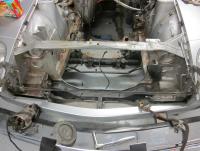
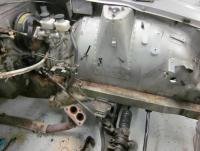
Well my engine bay is damn near empty and I spent about 1 hour destroying my wife's kitchen sponges with the green scrubber backing scrubbing my engine bay. I was quite surprised how well that with some dish soap made the engine bay look a lot better. I got my single stage DuPont Nason paint, unfortunately my customer I got it from gave me Acrylic Enamel, which is crap. I am going to shoot it anyhow since it is the engine bay. I am going to spend tomorrow with my posterior parked on the engine cross member using red scotch brite pads scuffing it all down. Wax and degrease one more time and then tape it off for paint on Sunday. Por 15 for the rust, followed by Dupont Epoxy primer and then top coat. Then I get to put all this crap back in! YAY!
-
Quality piece
-
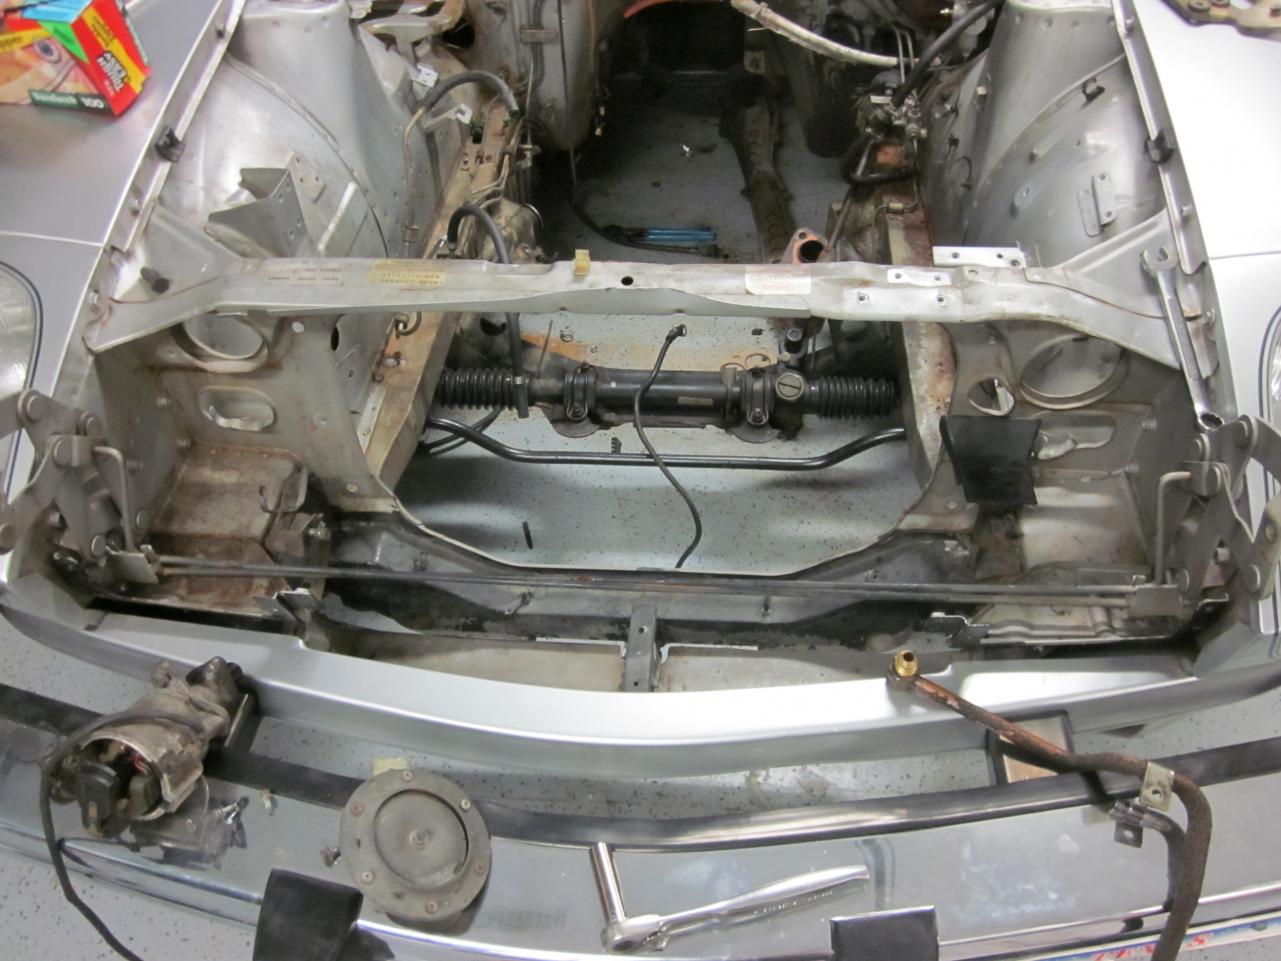
I'd try the rag joint coupler just outside of the firewall, at least check it. 105k easy miles or not that car is 35 years old. I spent 3 months on my back last summer with my 280z on 6 4x4's and stripped the entire chassis. I media blasted it all, painted it, put in all new poly bushings, KYB strut cartridges and Eibach springs. It was quite the project, I even did the spindle pins, what a bastard those are. I even tried to replicate all the factory assembly line paint dabs and created by hand a stencil to reduplicate the numbers found on the mustache bar that you might be able to see through the right rear wheel well where it attached to the body.
-
Those fenders have more dimples than a post menapausel 65 year old mother of 4 in a two piece. A few more at this point won't matter until she goes in for plastic surgery aka the repaint.
-
Where do I measure from?
-
Well I finally got lucky and got a good cylinder head back from the shop with a new valve job. The cam checked out to be ok. I did not have them resurface the rockers arms, is this a big deal?:stupid: I have the "How to Rebuild your OHC Datsun Engine" and plan on freshening up on the cylinder head section this evening. The shop had to take 15 thousandths off the head, which I believe puts you right on the edge of needing shims, but they felt it may have been milled before, they don't know how much. How should I go about ordering cam tower shims? Any and all advice would be great.
-
No turning back now.:stupid: If I can get done doing crap around the house I am going to start scuffing the engine bay, removing rust where I can, and POR 15'ing where I can't. I want to have the car running again by Thanksgiving, one can only hope.

-
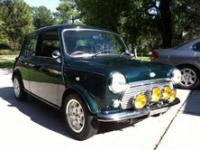
This arrived last week from Long Island, NY. Bought it off of ebay. 1996 Mini re-titled as a 1976. Japanese market model with factory A/C. 45,000km. Walnut dash and walnut on tops of doors and quarter window. Brown leather with green piping that matches the paint. Xenon headlamps. RHD. Definitely a head turner.
-
Wow, learned a lot here. I did the rear 280zx disc brake swap mostly for aesthetic reasons. I was going to do the 15/16" 280zx MC and the Toyota 4x4 brake upgrade, but all I do with this car is cruise around. Waste of money eh boys?
-
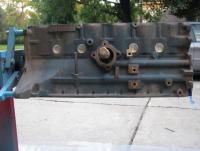
I have a 77 280z with 93k on the clock. I just pulled my N/A engine because I am doing the 280zxt swap. My engine also smoked when cold under acceleration. I never investigated the problem fully but can tell you that a dry compression test yielded anywhere between 138PSI and 141PSI across all 6 cylinders. Having inspected that engine a little more the other night when I took the manifolds off I believe the motor would have been fine with a rebuilt head. I just had my turbo head rebuilt and the shop did it for 200 dollars. While my 163k turbo block was at the shop they evaluated the condition of the block, and even with all of those miles, and it being a turbo engine, a simple ball hone restored the cylinder walls to satisfactory condition. These blocks are really tough, I doubt this is all from the rings.
-
Nowhere near that bad thank god. If you are following my engine rebuild thread, I have my motor and trans out along with just about every other piece bolted to the inner fenders and fire wall. I have a serious undertaking on my hands now. I'll post some pictures in my engine build thread in a few days. I am going to degrease everything with purple power, then wax and grease remover and scuff sand any good areas with 320 grit wet. I think I can get my air angle grinder with roll lock discs on most of the rusty areas.
-
You folks done anything in the past to get te rust off the metal underneath the battery tray? I was going to use this stuff called evap o rust and perhaps then zinc prime the metal before top coating with epoxy primer then paint. Anyone ever put por 15 on there and then painted over that?
-
My 280z ac condenser is black, but a lot of the paint has chipped off with time. Can I LIGHTLY media blast the condenser and repaint it? If read this affects cooling. Would you use normal paint?
-
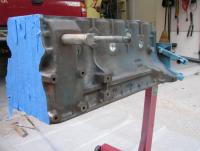
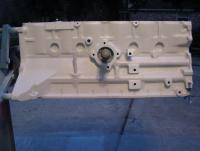
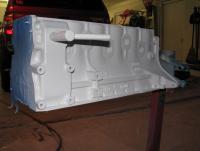
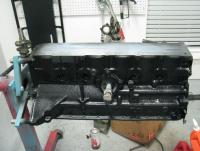
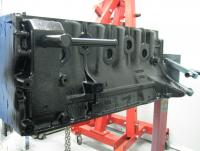
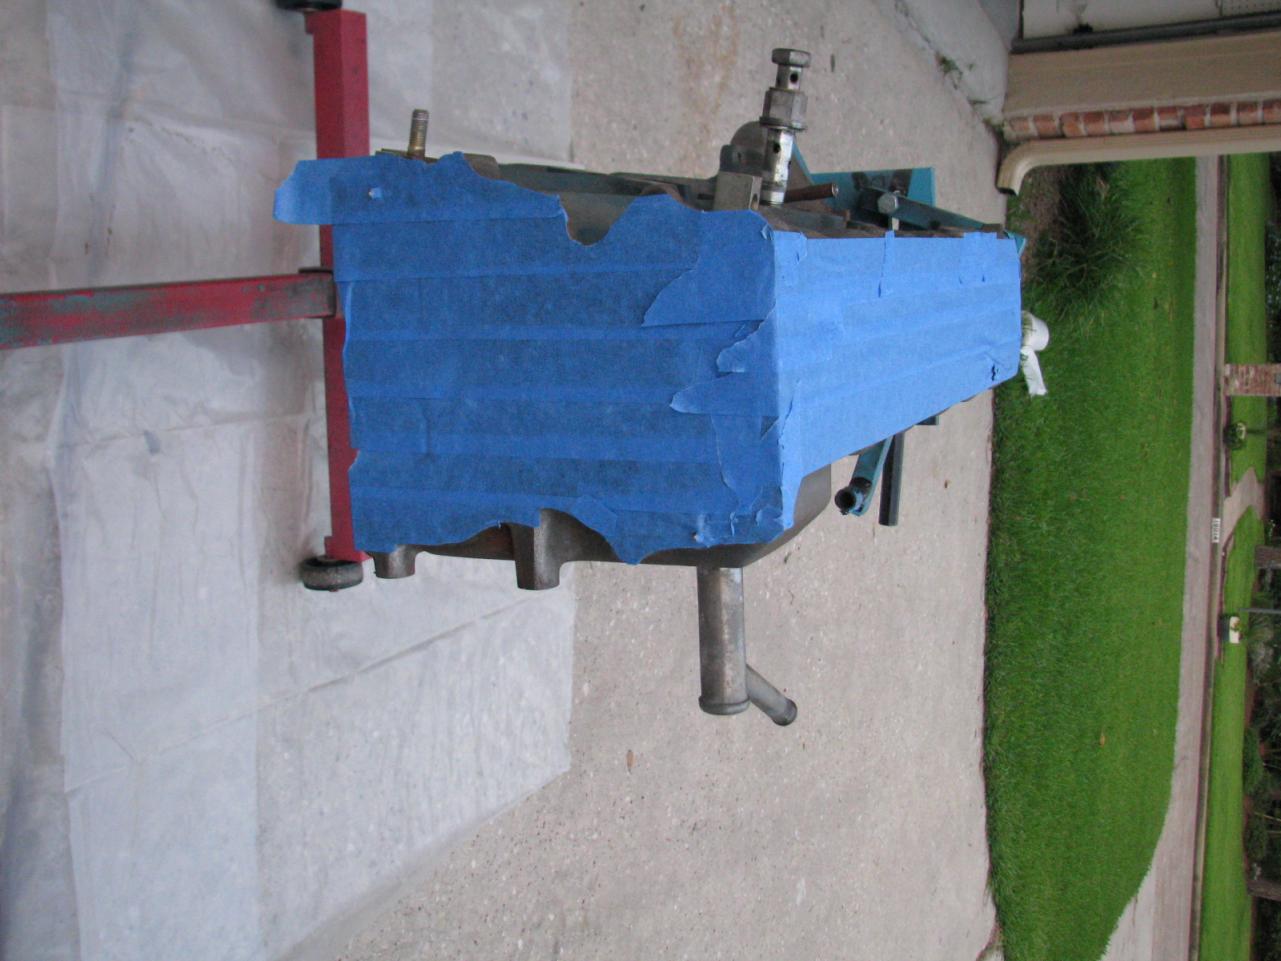
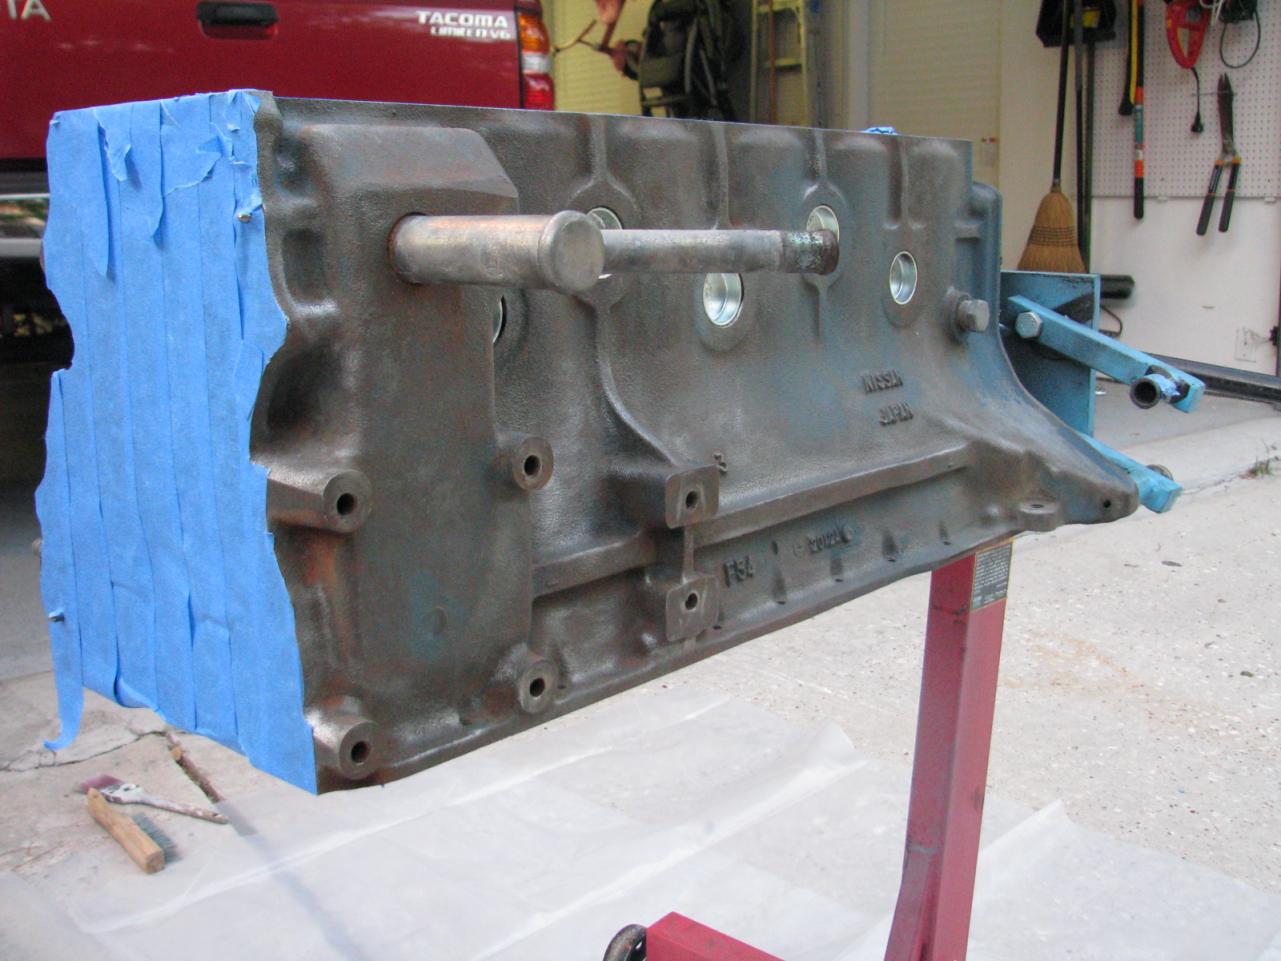
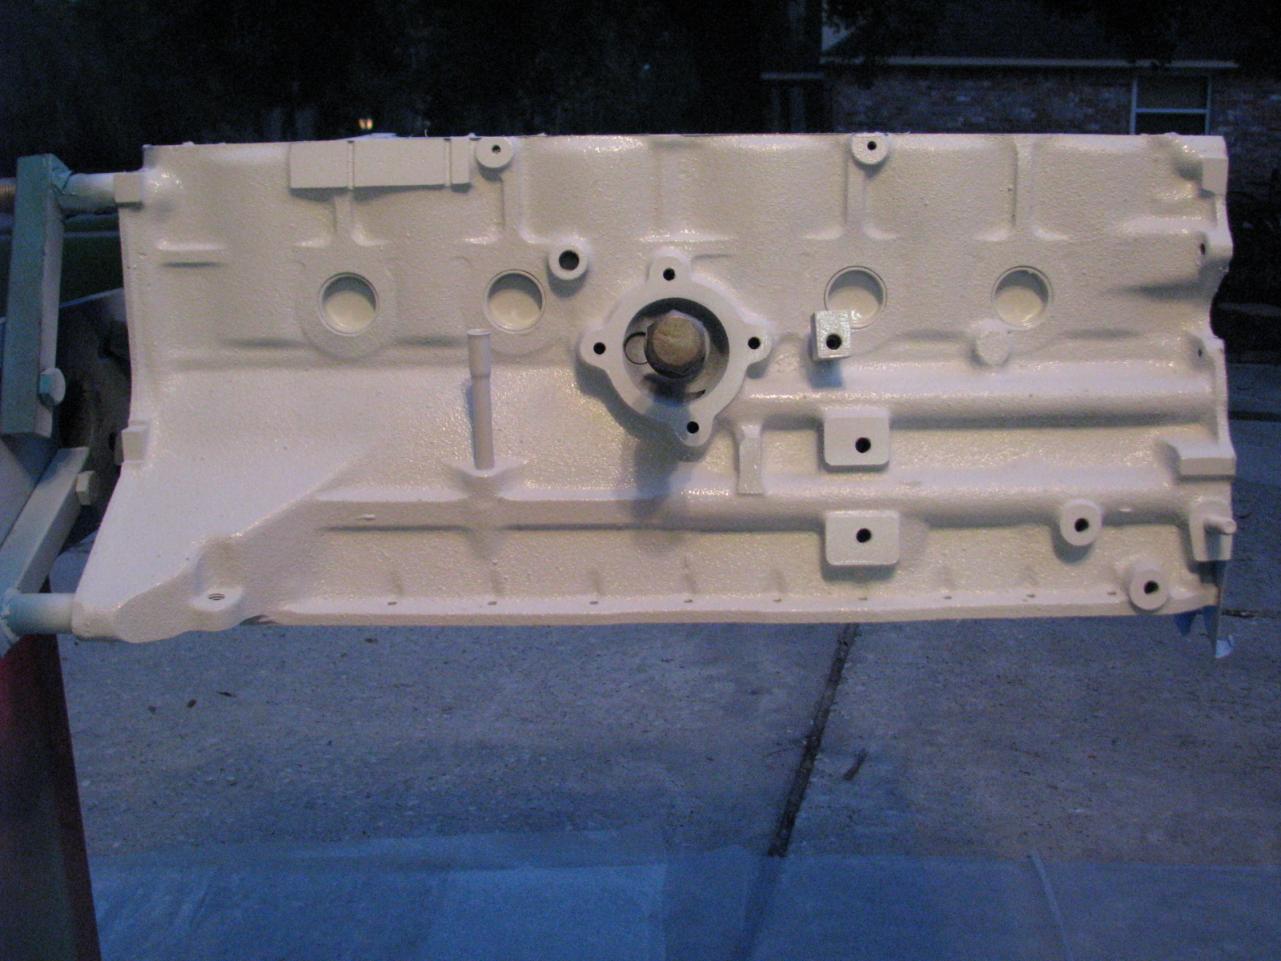
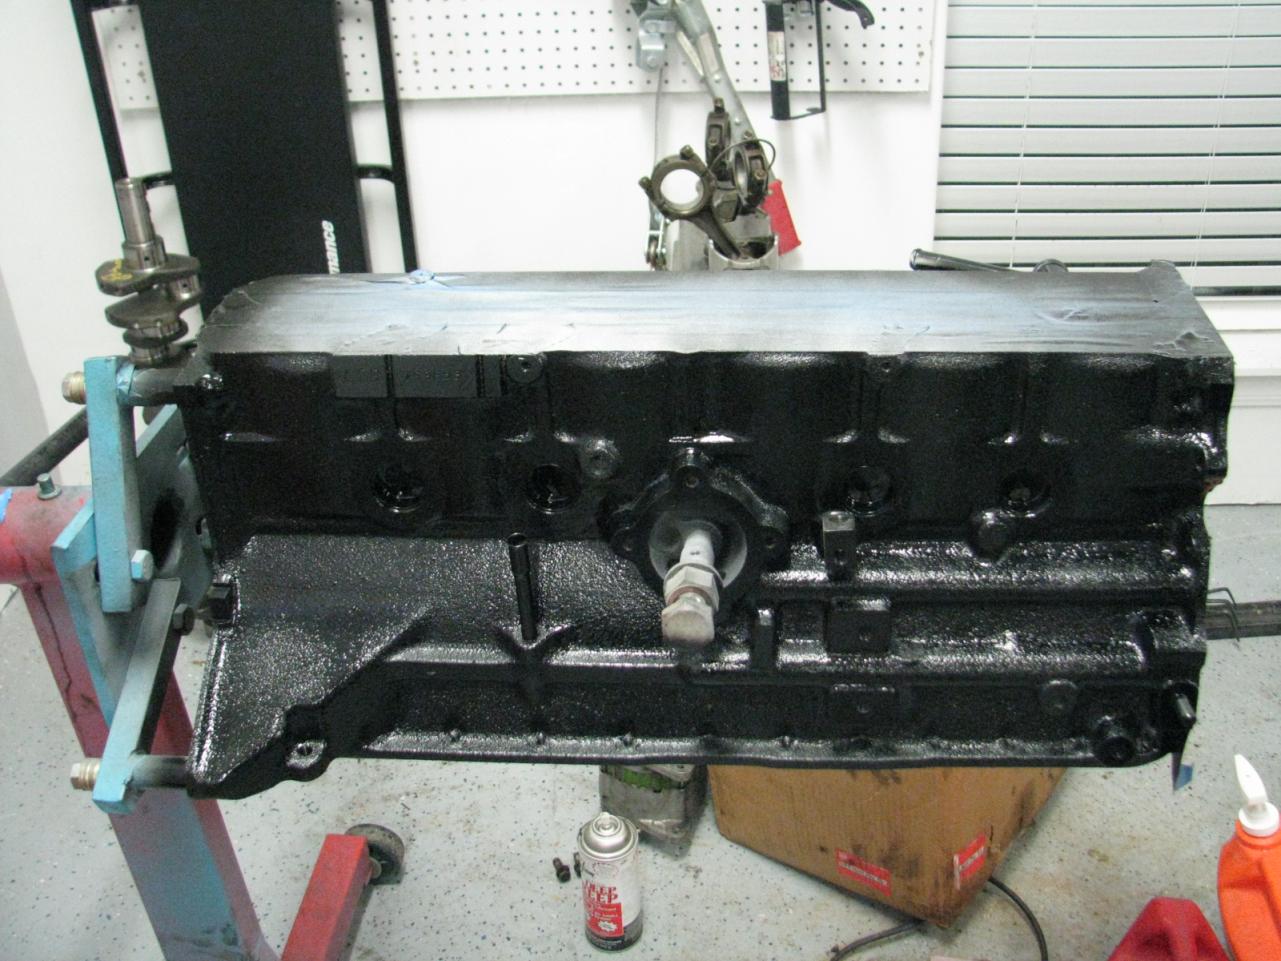
Did one final degrease wipe down, epoxy primed and painted the block tonight. I did tear off my tape after I took these pictures, and did miss one little spot on the casting because of tape application error. (DAMN!) I used a PPG epoxy primer, hopefully this will bond well with the multi substrate, i.e. old paint and bare metal. I used VHT engine paint in GM satin black. I think this will look very subtle with the cast aluminum head and when I refinish the turbo valve cover with the wrinkle paint. Sort of wish the engine shop would have put in brass freeze plugs, but such is life. I have not made up my mind up yet on whether to paint the intake or media blast it clean and maybe just clear coat the bare aluminum. The VHT can said to paint below 60% humidity (!) Good luck with that Mr. Paint Manufacturer in Houston between April and ? Well enough with the BS, here is the Intro of a 25 chapter book.