Torby
Free Member
-
Joined
-
Last visited
Everything posted by Torby
-
Thanks for sharing you work, truely inspirational! Keep it up!
-
This is a very interesting discussion, and it all boils down to personal taste. As for myself, I would never do a V8 swap, as I personally think the inline six really defines the character of the Z. I can still both understand and admire people who do V8 swaps or the like. Imho, the exterior should be kept close to factory, or at least somewhat era correct. There are a lot of mods one can do without destroying the design of the car. The S30 is in my opinion one of the most beautiful cars ever designed, and should not be carlessly messed with.
-
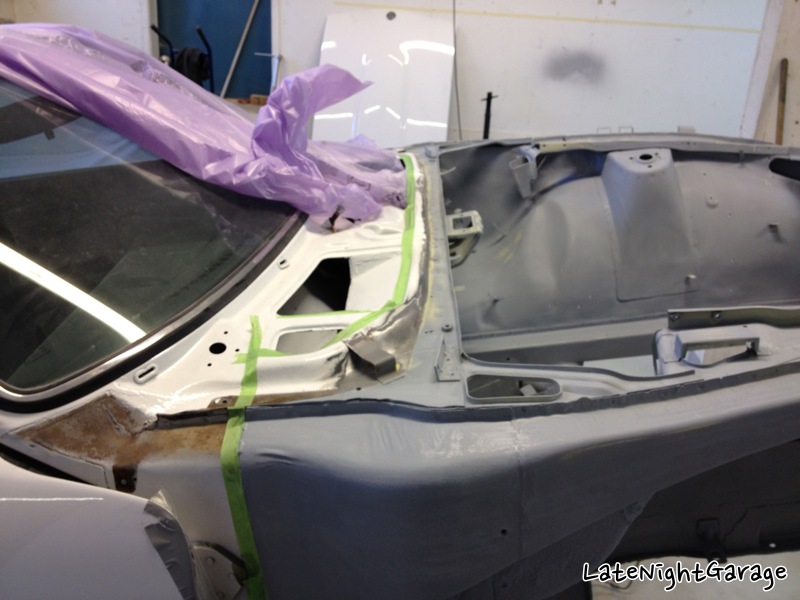
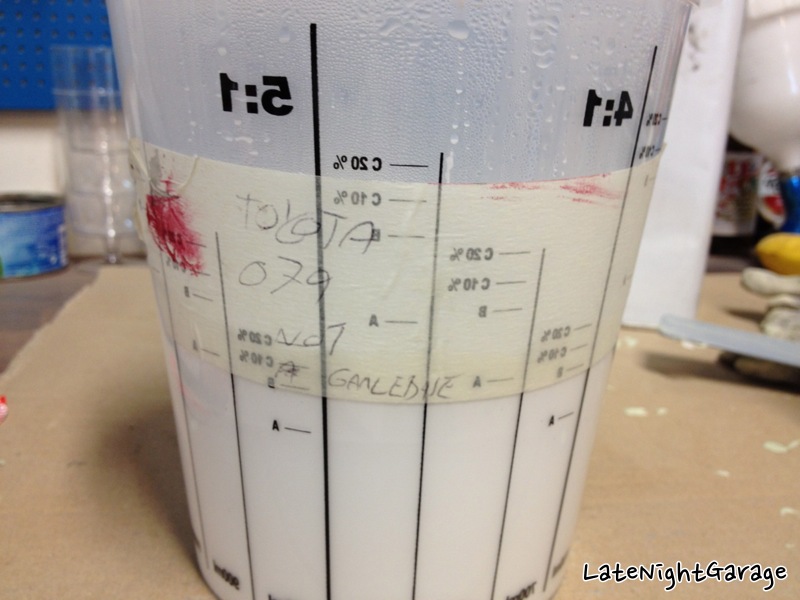
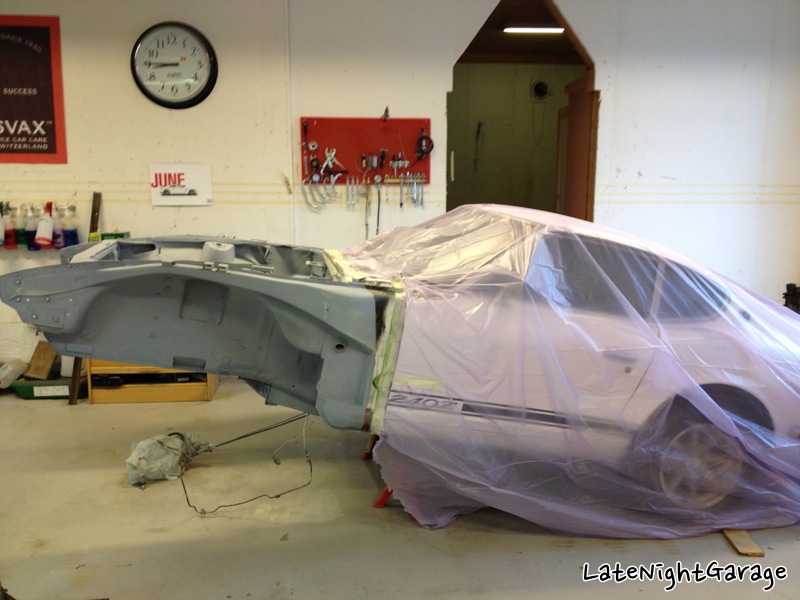
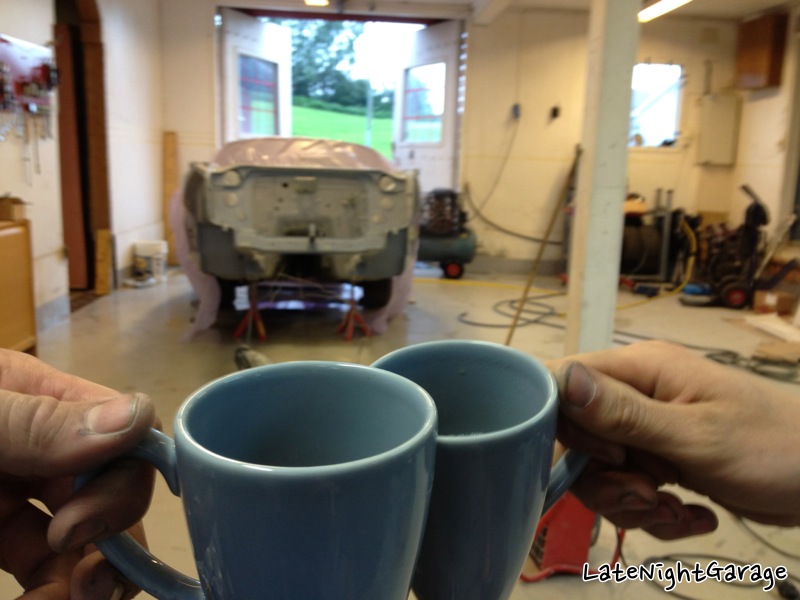
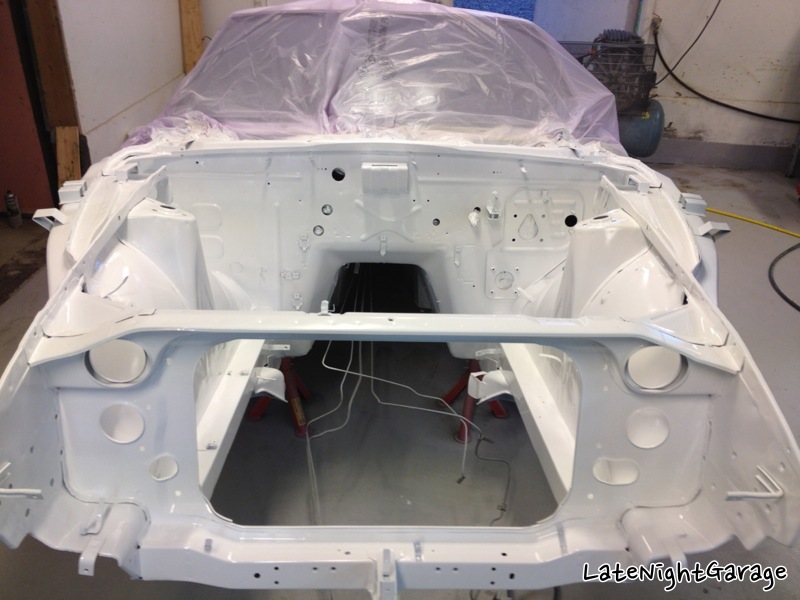
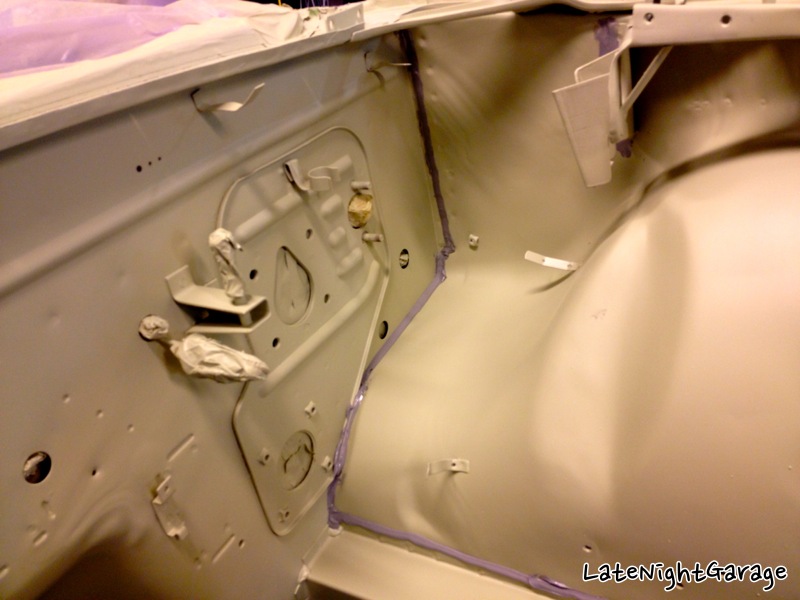
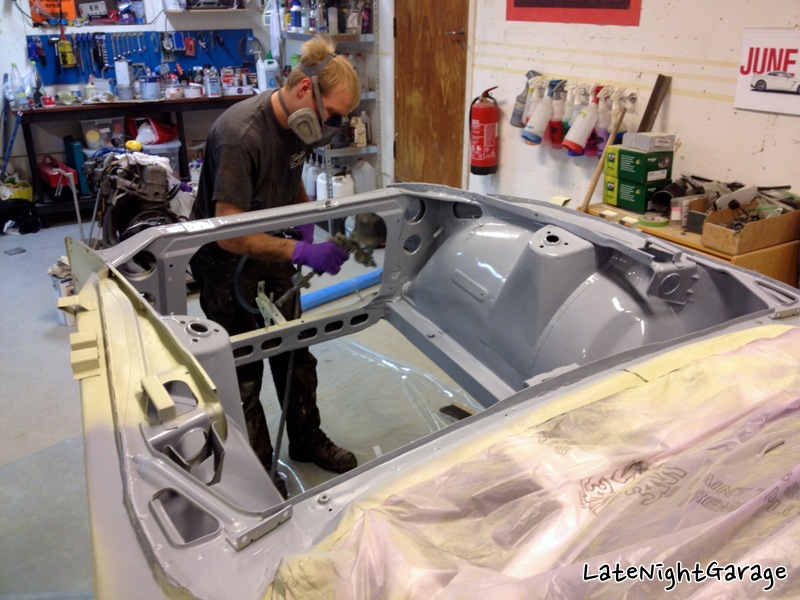
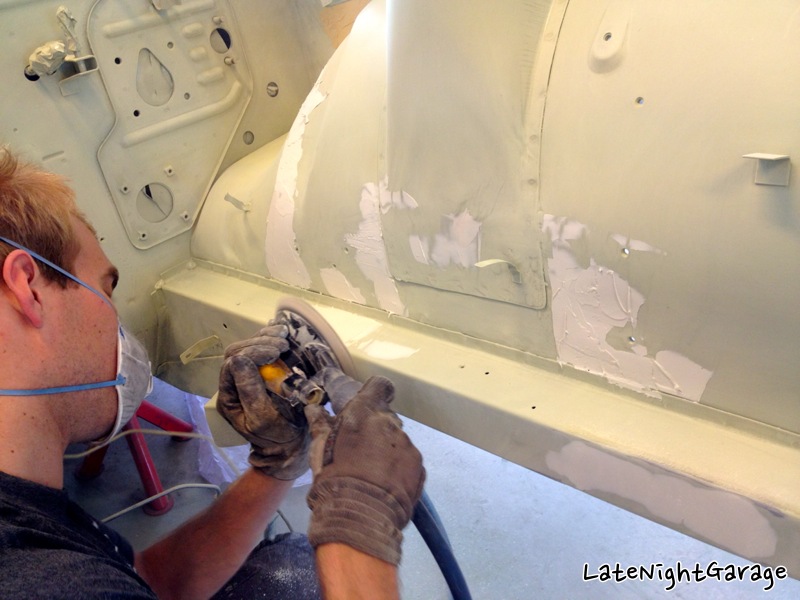
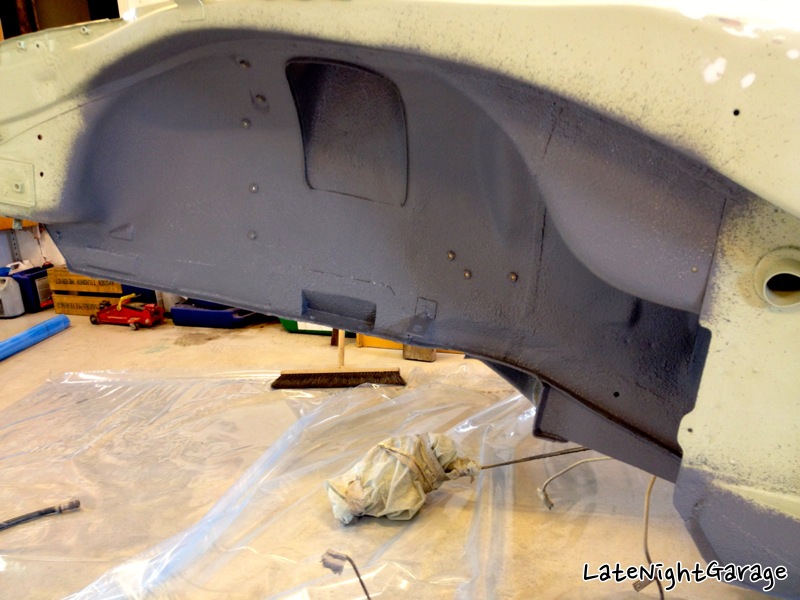
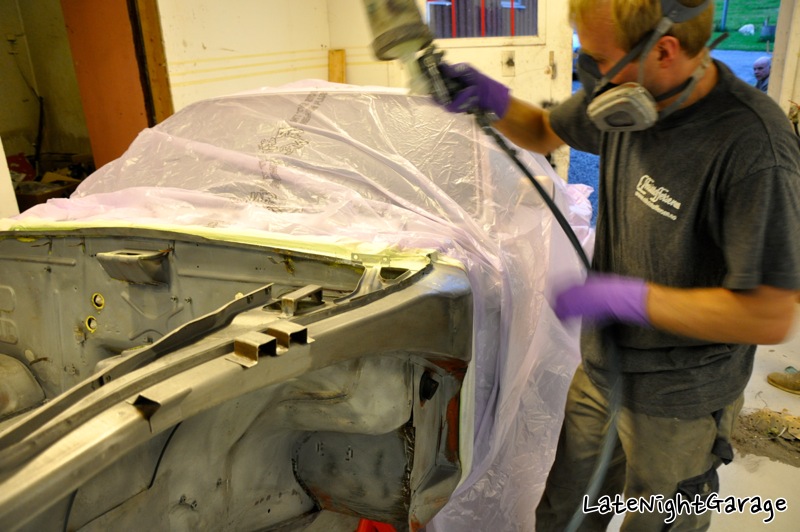
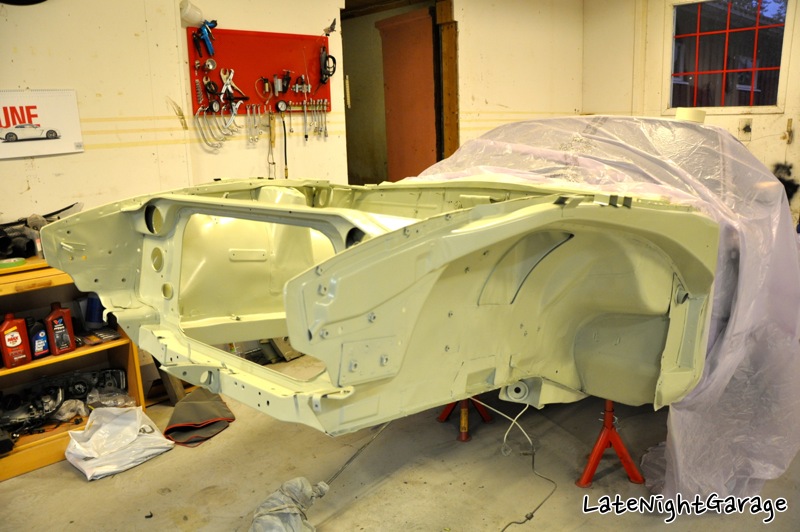
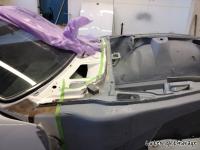
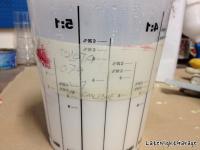
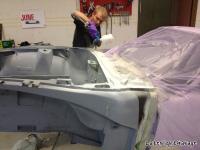
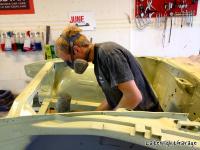
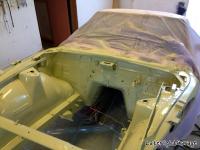
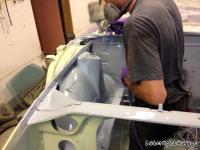
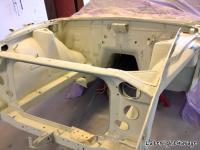
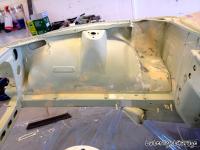
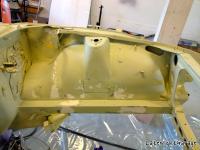
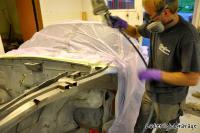
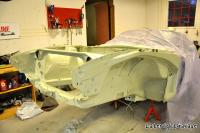
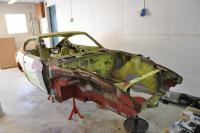
Oh boy, sanding down filler isn't much fun, but imagining the end results helps on motivation. Today started with a few hours of sanding.. Sanding with 500 grit, pretty smooth. As I suppose you can see, the front end will never look completely like OEM, but I think it's starting to look pretty ok. Maybe the next time I buy a Z, I can find a shell in mint condition... :classic: Time to mask things up again. The color. We scanned and matched the paintwork, and found Toyota 079 to be the closest match. If (or rather when) the rest of the car will be repainted, this will be the color.. Masking done, bay wiped down with silicone remover and then tack-cloth. Sit back, have a coffee and get ready to lay down the color.. And finally - the engine bay is starting to look the way I want it. Not too bad, I think? :classic: Have to touch up a couple of runs tomorrow, and then add the clear. Thanks for looking, more later! :classic:


-
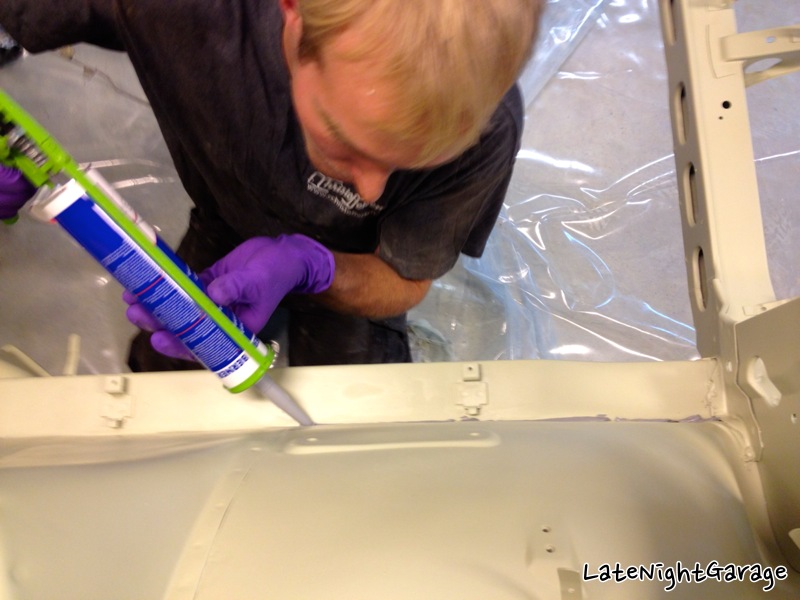
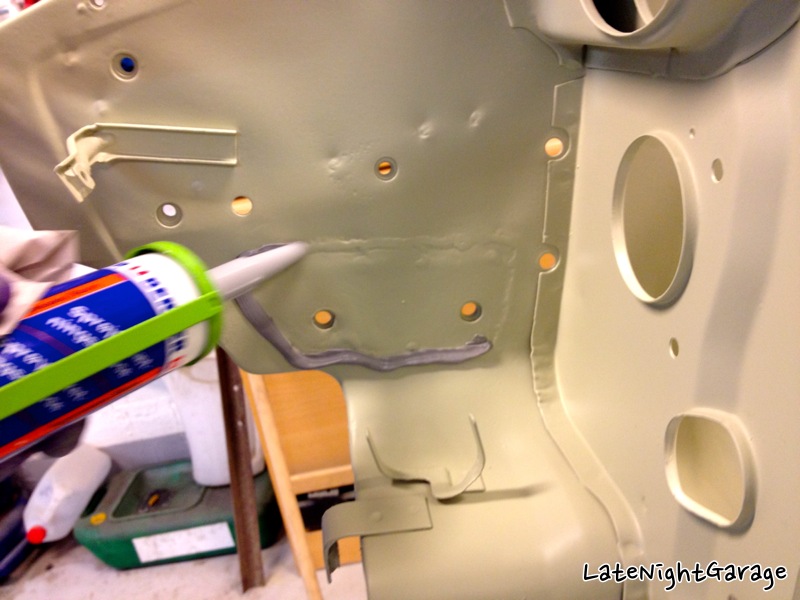
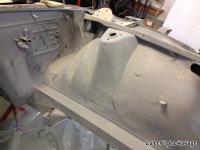
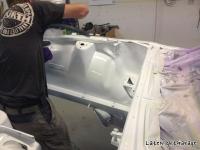
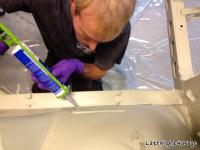
Then it was time for another coat of epoxy primer, to seal the body filler completely. While the epoxy was left to dry, we headed over to my buddy's house, to dismantle this rusty old Mk3 Hilux for parts. :classic: After several hours of hacking up the old Toyota, the epoxy was dry, and it was time for seam sealer. This was smoother out, to finish off the bay properly. We also covered some old welds in the front end, to make them a little less visible. And at last, a coat of filler-primer (right word?), which was left to dry until tomorrow. :classic: Thanks for looking, more tomorrow! :classic:


-
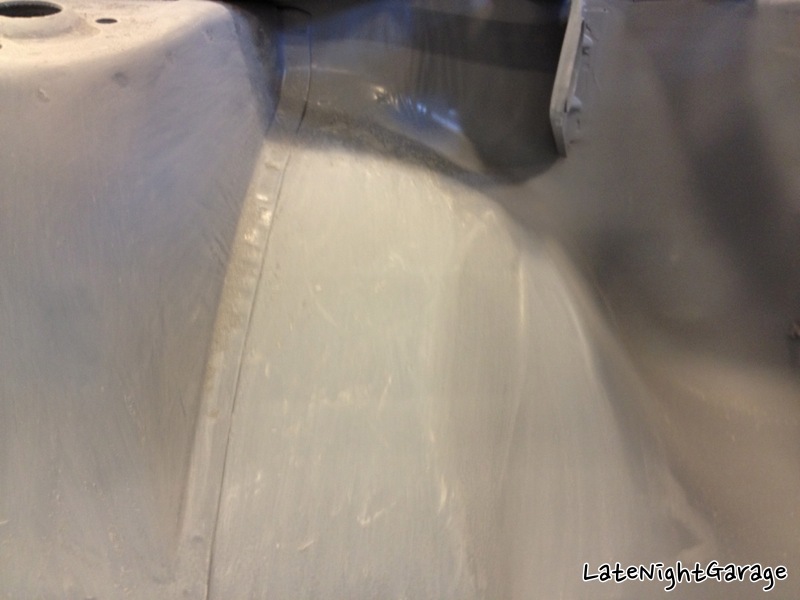
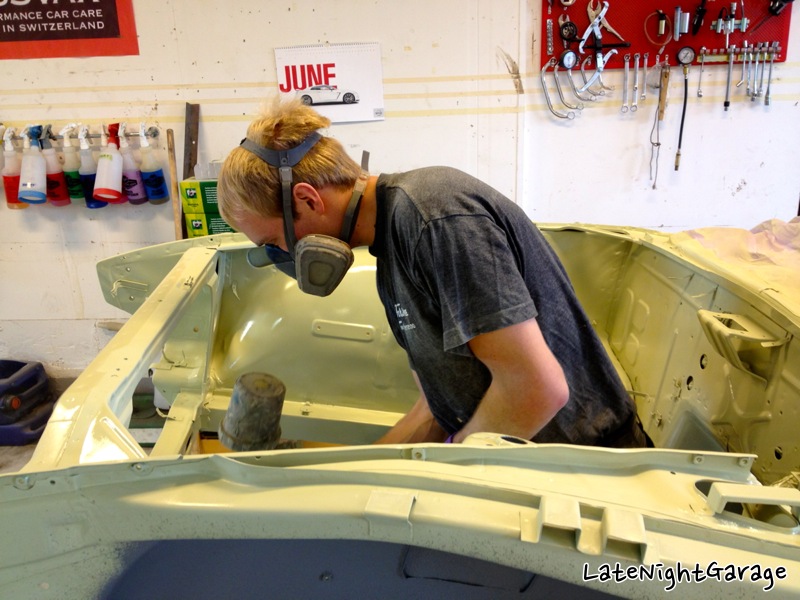
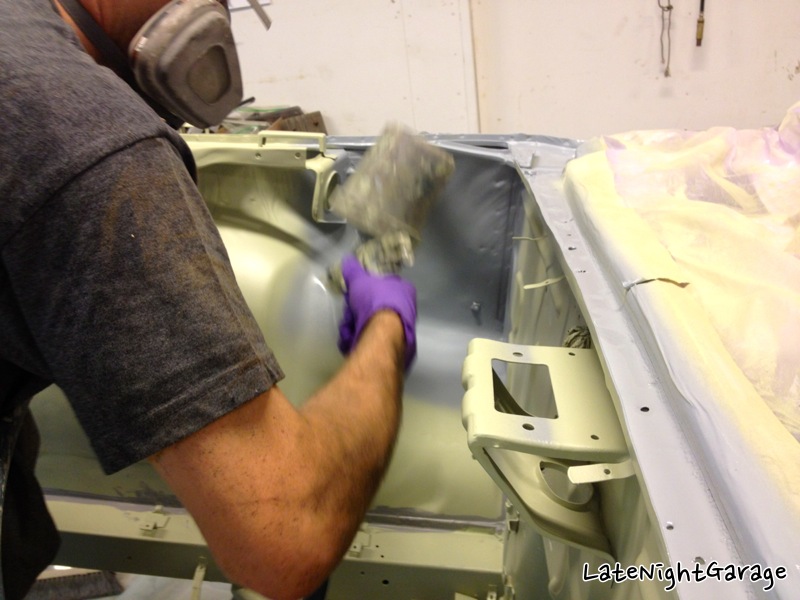
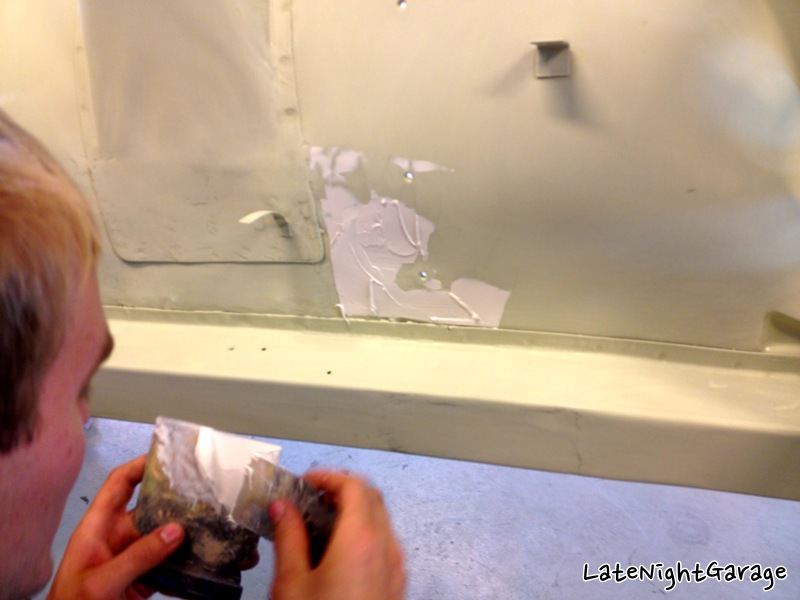
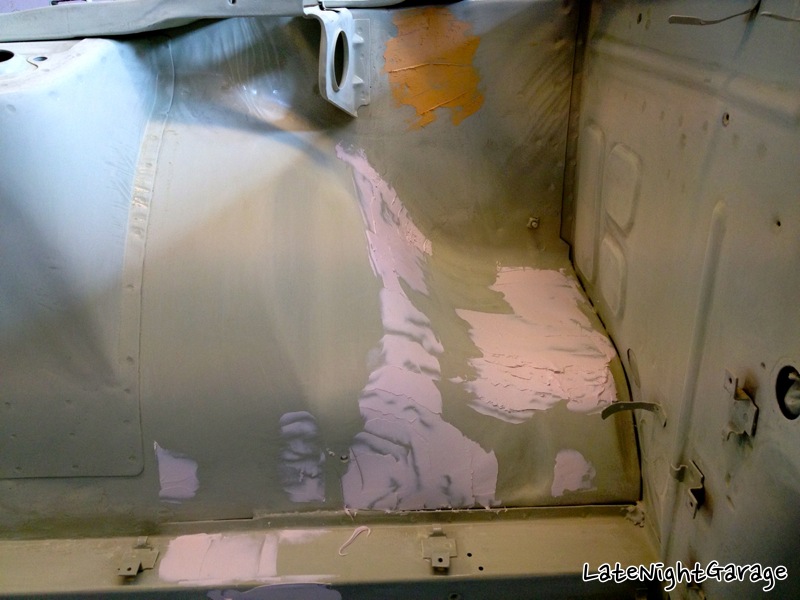
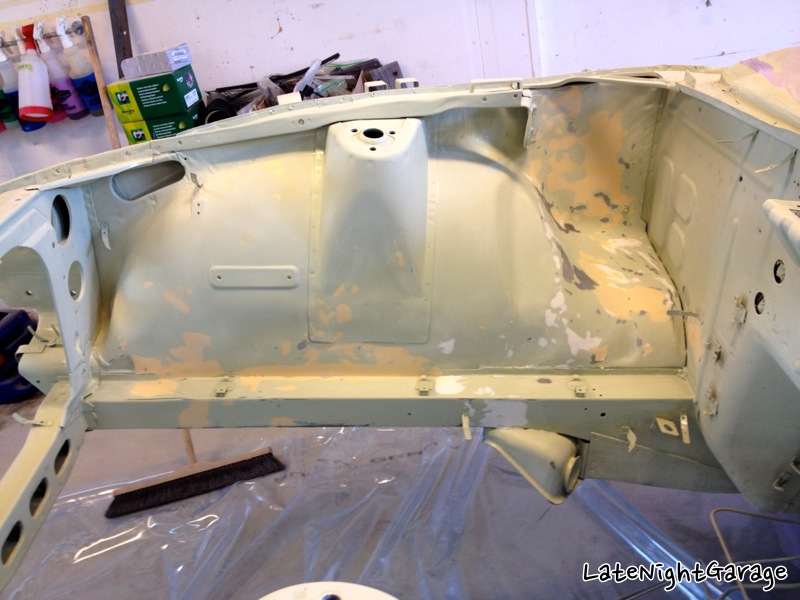
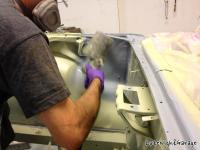
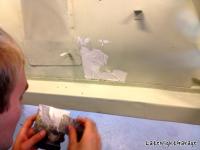
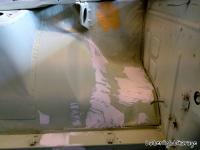
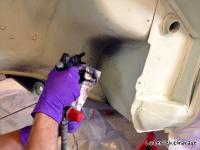
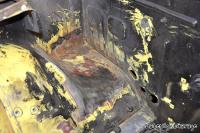
Thanks! :classic: I must admit I was thinking "what the h*** do I do about this?" and secondly, "what the h*** did we just do?!" right after we chopped the front end off. Today has been a pretty productive day. Started out by rubbing down the primer with 240 grit dry, and then applying body filler where needed. This was sanded down and reapplied where needed. While the last bit of filler was drying up, we applied 3M undercoating in the wheel wells (right word?). Tried to cover the areas most prone to stone chips etc. The car won't be seeing any rough roads or rain (hopefully) when done, however I want do this properly the first time, and this undercoating gives peace of mind, sort of. Next up, sand down the last of the filler. More in the next post. :classic:


-
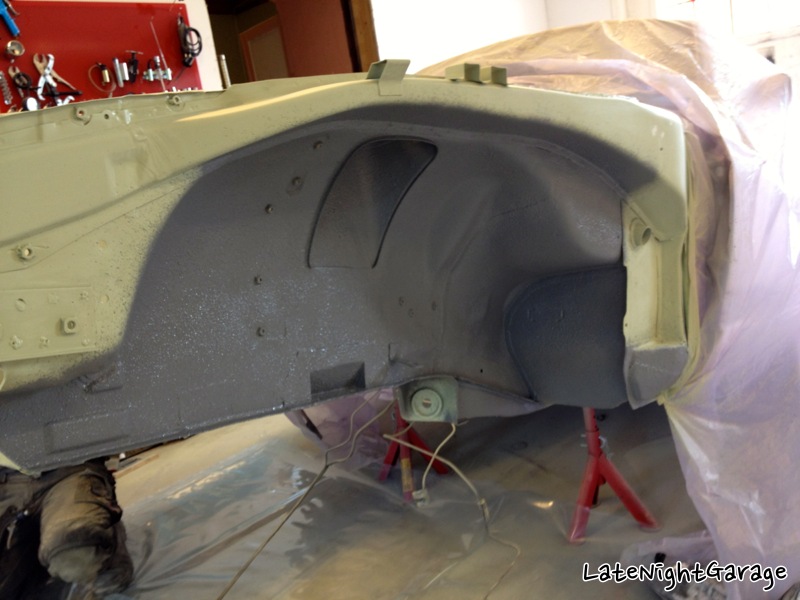
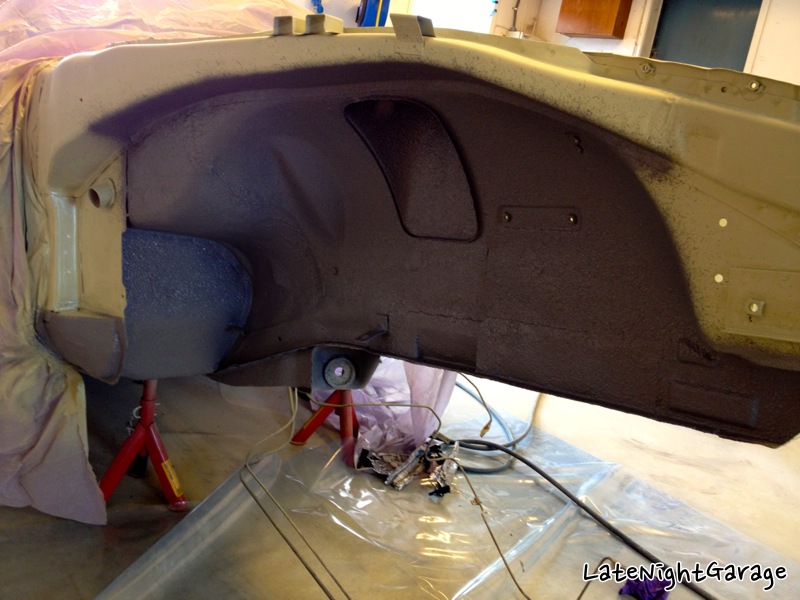
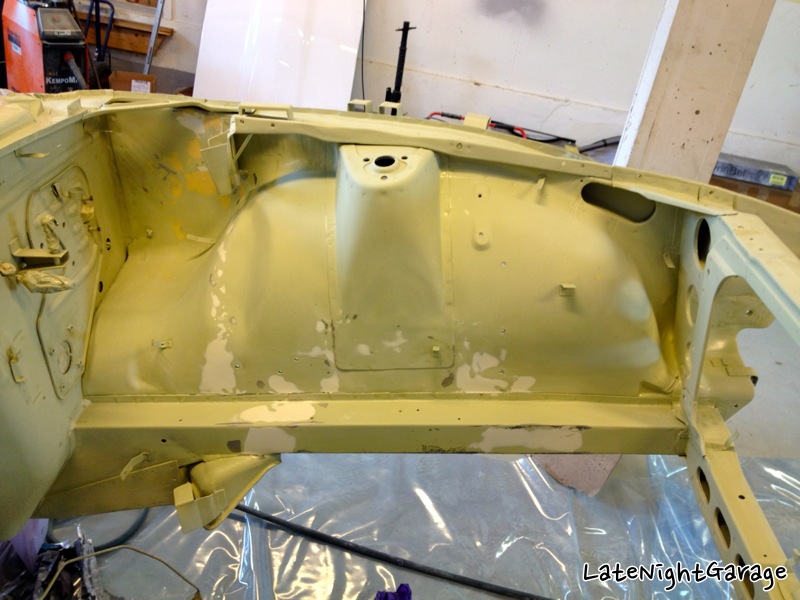
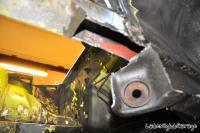
Thanks again for the kind comments! :classic: I'm very fortunate to have friends who can help me out with this sort of stuff. I wouldn't been able to this kind of work on my own. Gathered up some supplies today, - some satin black paint for the radiator support. Going to try make this look close to OEM. Also picked up some 3M 2K undercoating / stonechip, to use in the the wheel wells. A bit pricey, but hopefully worth it in the long run. There has been a bit of welding, so the undercoating will also hide this. I'm a bit undecisive about what do to with the front suspension, some of it will definitely need to be refurbed along with the engine bay, at least the crossmember. I have a full set of poly bushes ready, but I would also like to go for a Techno Toy Tuning setup with adjustable arms, coilovers etc. Can't seem to make up my mind about this. Also, I need to figure out what do do about several other things, BMC, ignition setup, fuel and brake lines etc. I would really like to make a set of stainless steel pipes, but this could prove to be difficult. Again, thanks for your comments, all feedback is very much appreciated! :classic:
-
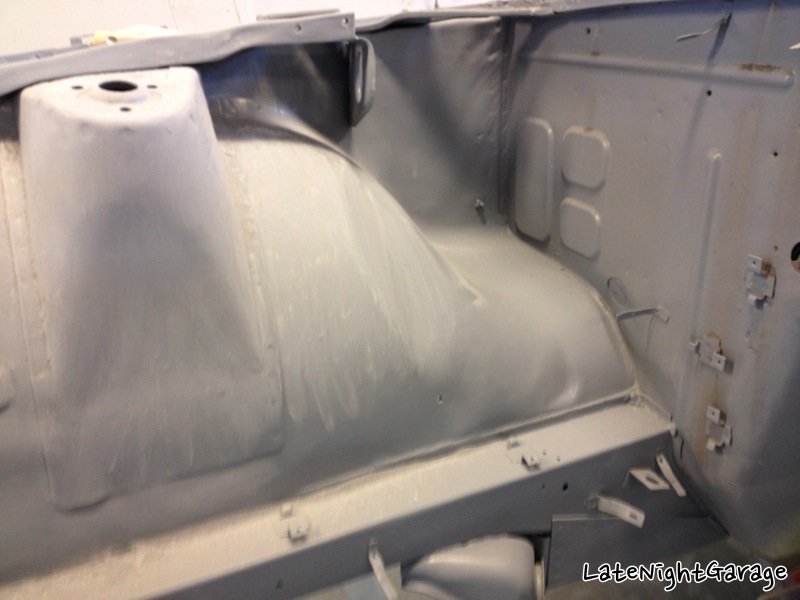
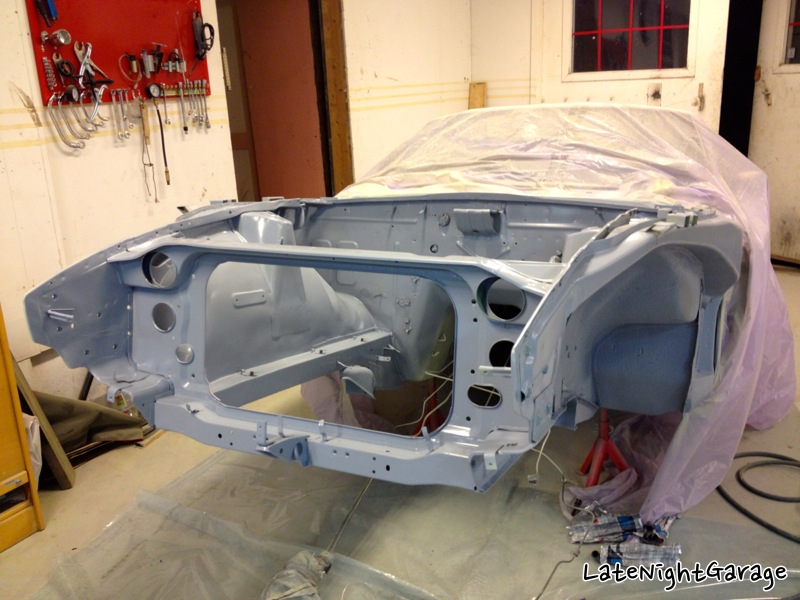
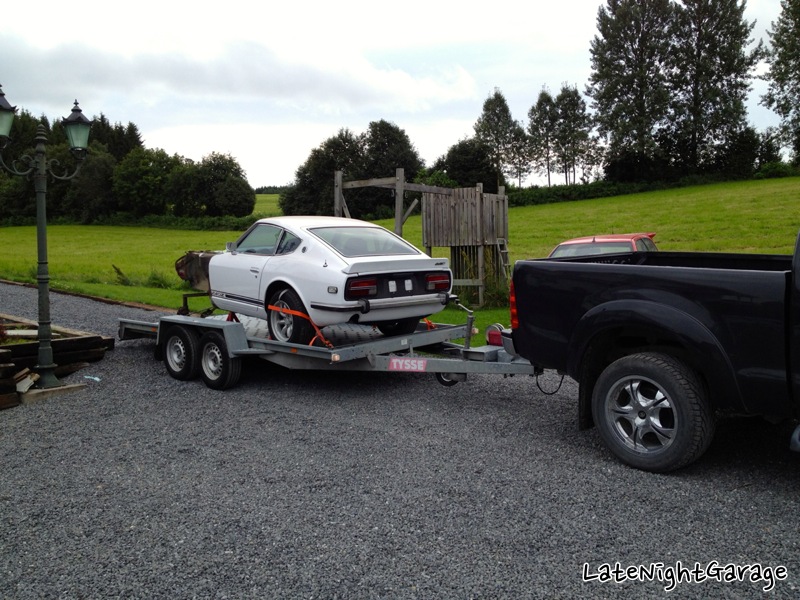
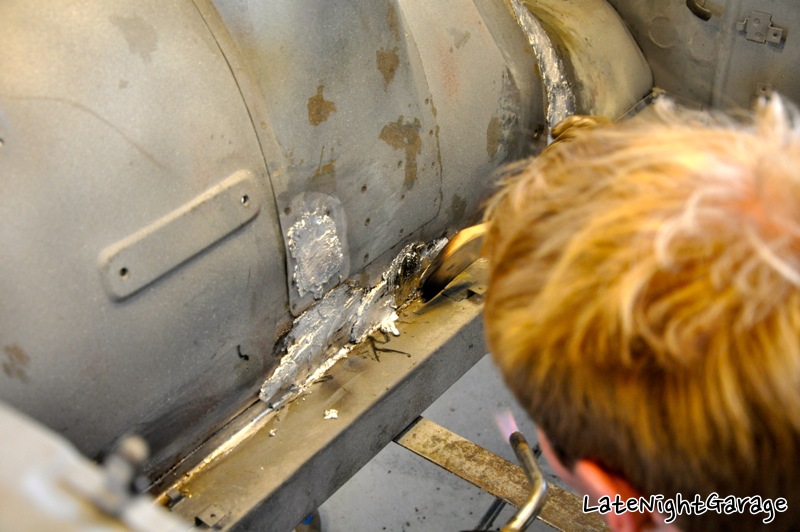
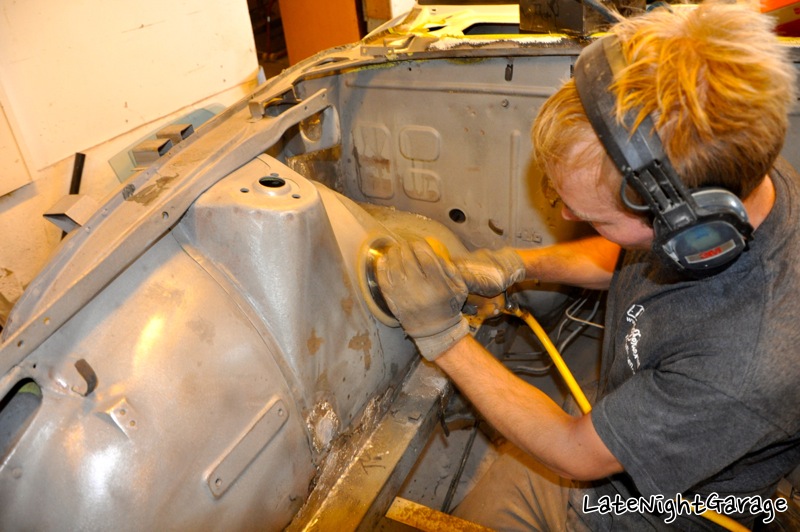
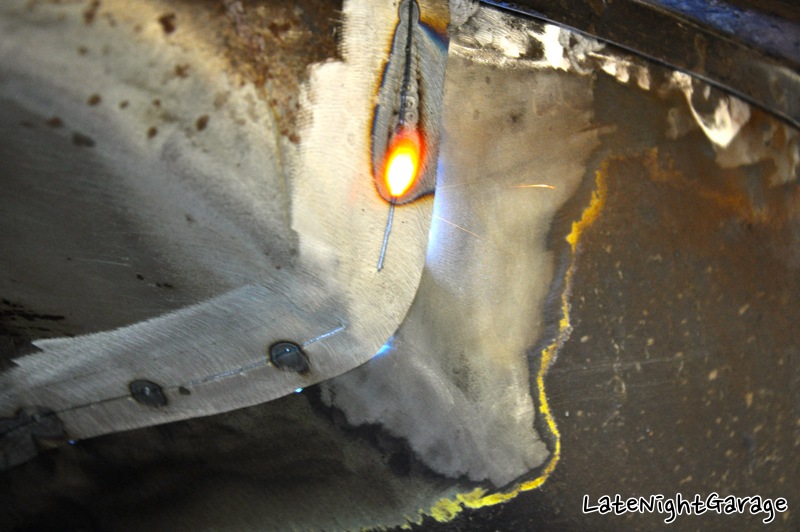
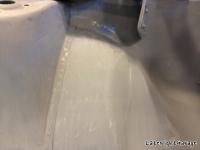
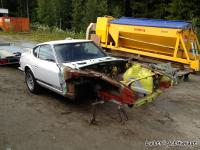
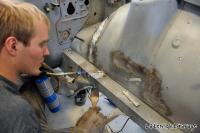
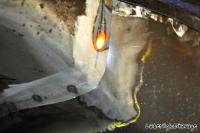
Thanks for the kind comments. I had a look at your pictures, and wow! What a collection of Z's! :eek: Hope you don't mind a few more pictures. Anyway, had the front end sandblasted now. My daily driver isn't suited for towing heavy loads, but luckily a good friend came to the rescue with a proper truck. I was able to borrow the car trailer from another friend, so we loaded the Z up, and headed off. Note the prototype state-of-the-art front suspension setup we made.. The blasting only took about an hour, and the price was fair - however the guy didn't reach all the areas I wanted to have blasted, so that meant a few hours grinding and spot-blasting when we got back. Next up was applying the special primer and then tin work (don't know if this is called tin over in the US). All the welds were covered, to ensure pores and small holes in the welds are sealed. I tried a bit of tin work myself, and it's not as easy as it looks, so I left most of it to the pro. Sanding and grinding, however, I can manage.. A fair amount of time was spent removing remains of old seam sealer, rubber on the cable clips etc, to ensure we got all areas covered in primer. Due to the rough finish from blasting, everything was rubbed down with 120 grit dry after smoothing out the tin work. Next was 3 layers of epoxy primer, which also etches into the metal to (hopefully) keep the rust from returning. Now the primer is left to dry, before we can start applying filler, more primer and finally paint. Hopefully it will be all painted by the end of the week! :classic: Thanks for looking, more later! :classic:


-
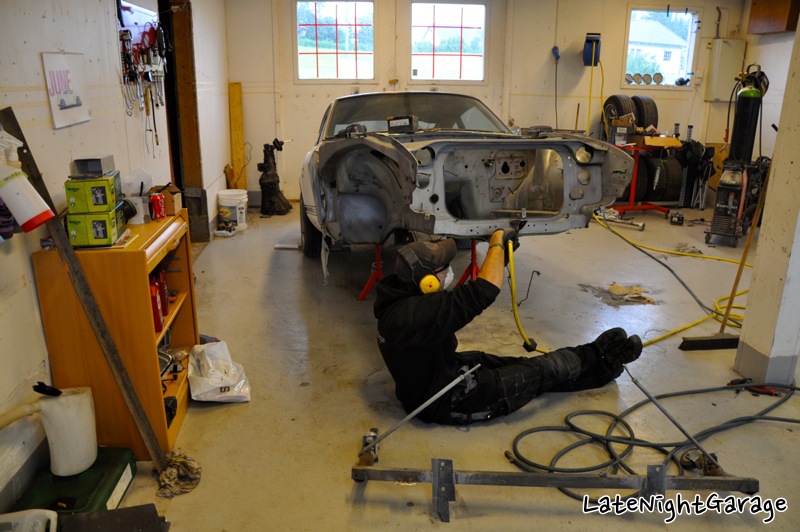
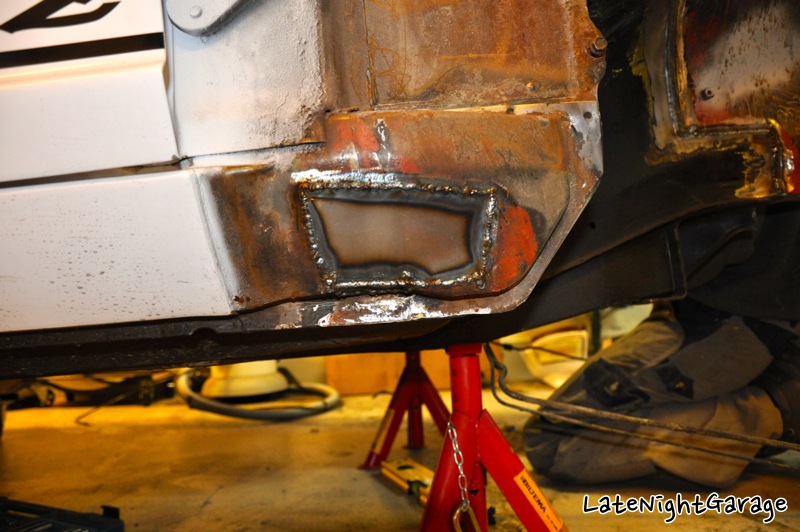
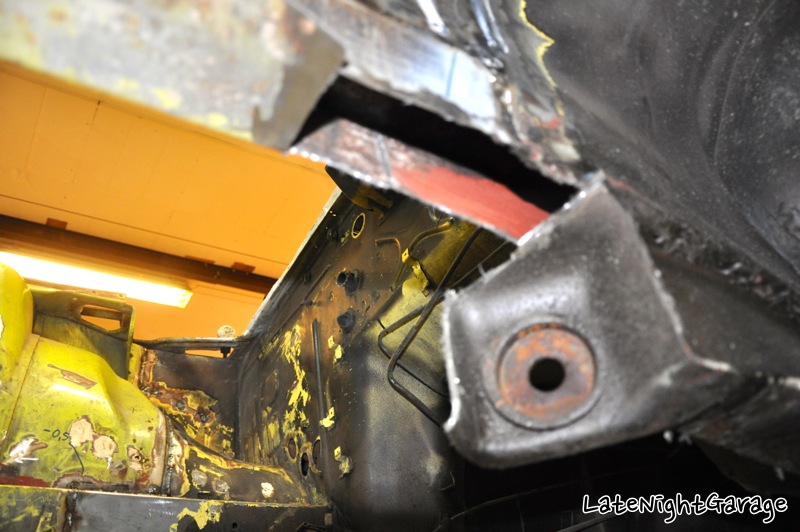
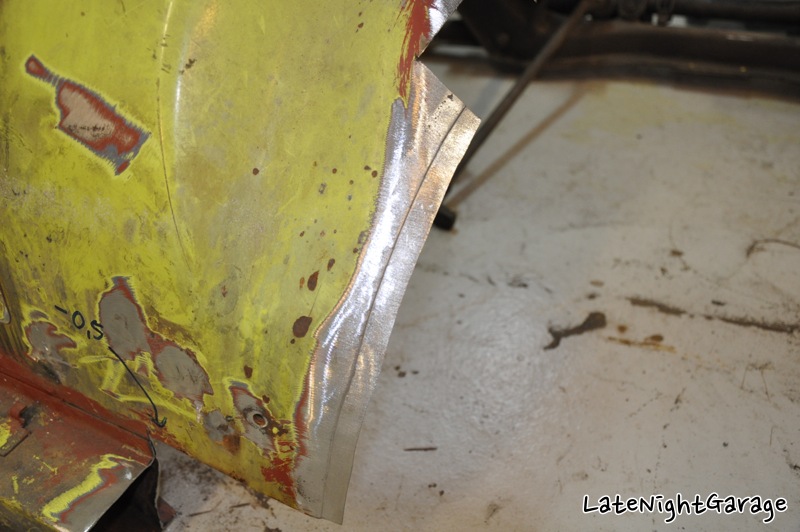
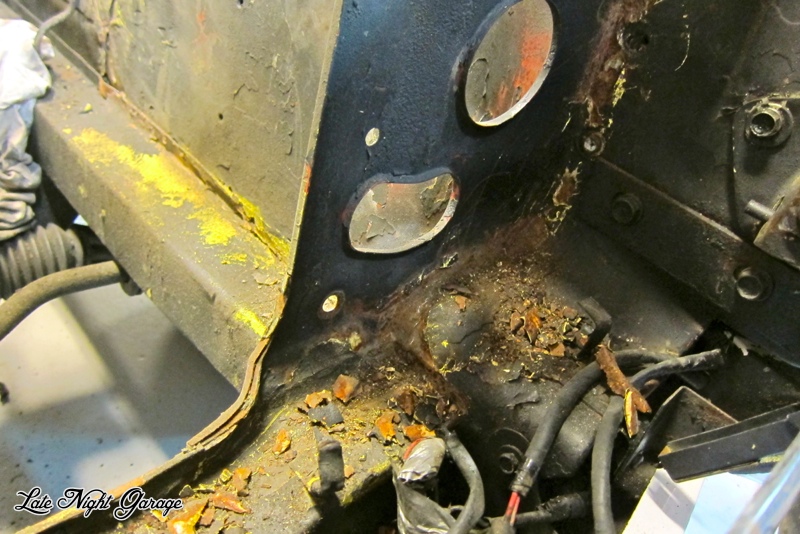
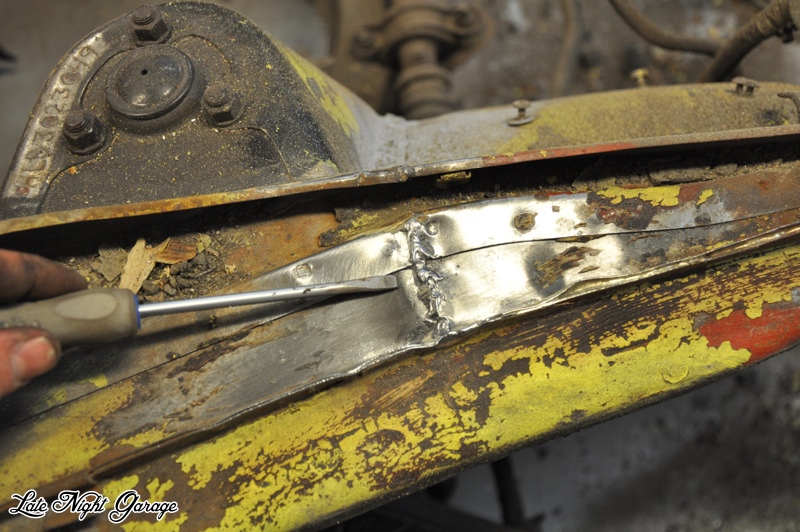
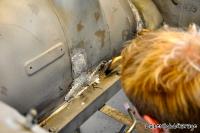
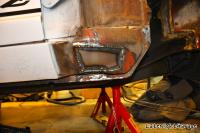
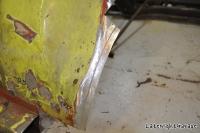
Thanks for your kind comments, guys! :classic: I would like to note that all this work is done in my garage, but would never have been possible without the good help from my friend, who does this for a living.. The previous owner of the car was very honest about the state of the car, which he knew very little about. He never investigated it either, but what can you do, when dents in the frame rails are completely covered in body filler and paint..? I did investigate the history of the car, and there were 3 owners in the country before I bought it, but I couldn't find out much about previous restoration work. My guess is that the repair work was done in the US, but I can't be certain. No offence, though! :classic: A couple of more pictures of the repairs we did. This piece had to be complete replaced, as it was rusted from the inside. The rust had eaten all the way through the 3mm metal, and just the outer 1.1mm skin was left. Both layers of metal were completely replaced with fresh parts made to fit. I removed the battery tray, and welded the holes that were left. The holes in the firewall from the A/C were also welded shut. I plan to re-route the wiring in the engine bay, to keep it as clean as possible, but chose to keep the hole in the firewall, in case I change my mind. It could easily be plugged later if necessary. I removed the OEM wiring clamps, though, to force myself into finding a solution for rewiring. This picture was also in my previous post, but I would like to comment that this part was spot welded, as well as fully seam welded on the inside, to preserve the strength of the chassis. The welds will be cleaned up and smoothed with tin, to keep the cosmetics side of things done properly as well. Terje: I live about 25 km north of Hamar. Feel free to stop by for coffee! :classic: Again, thanks for the kind comments, I will probably be asking for a lot of advice later, when I get the body work out of the way.
-
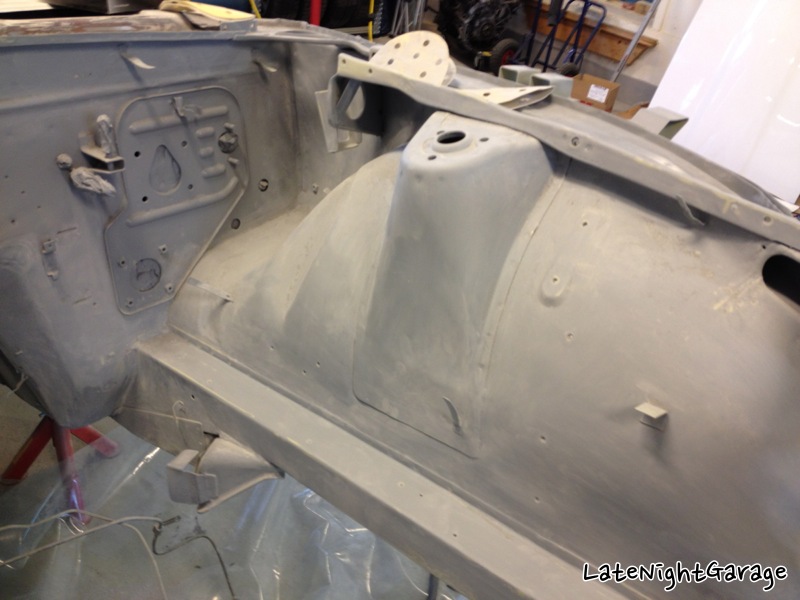
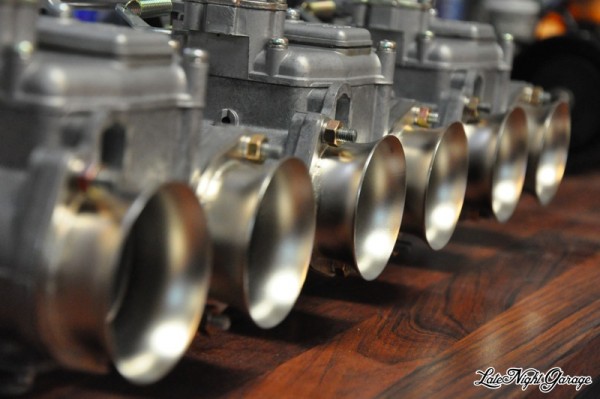
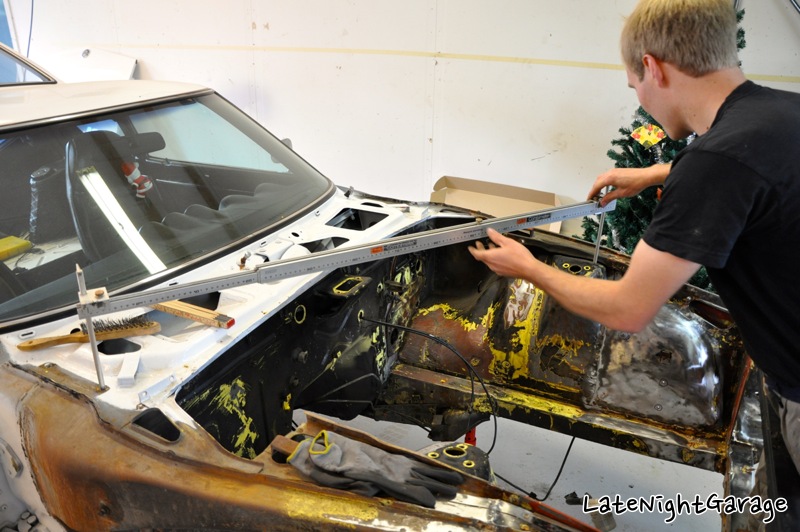
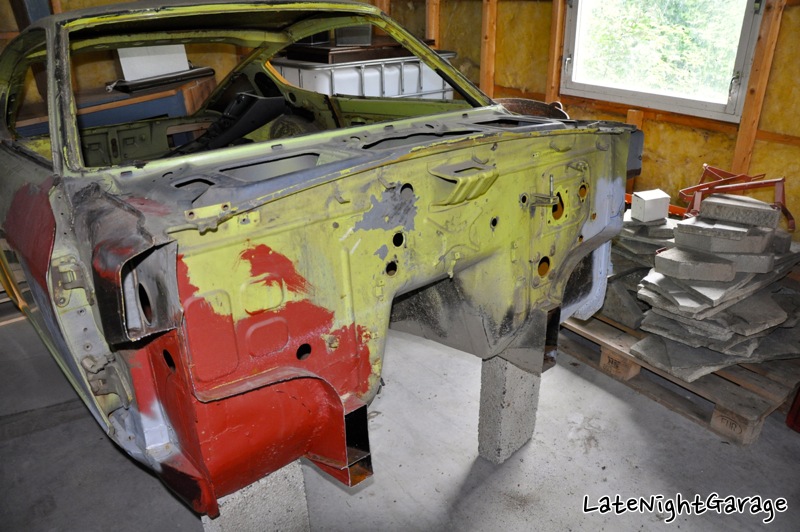
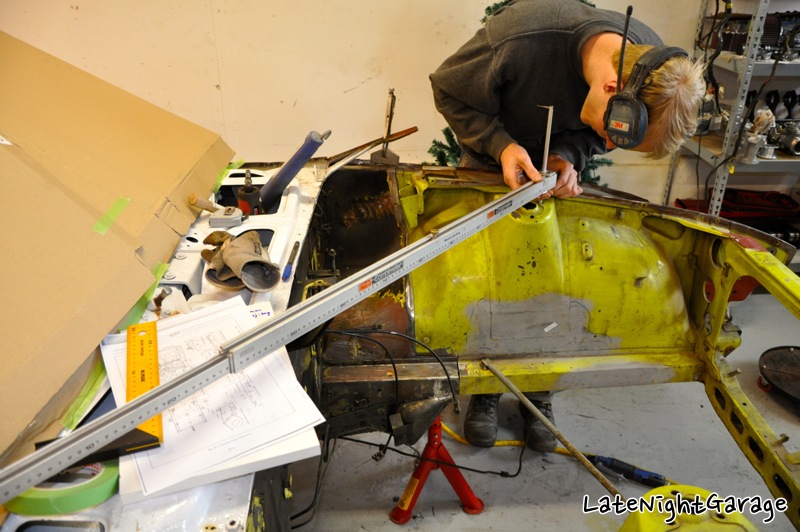
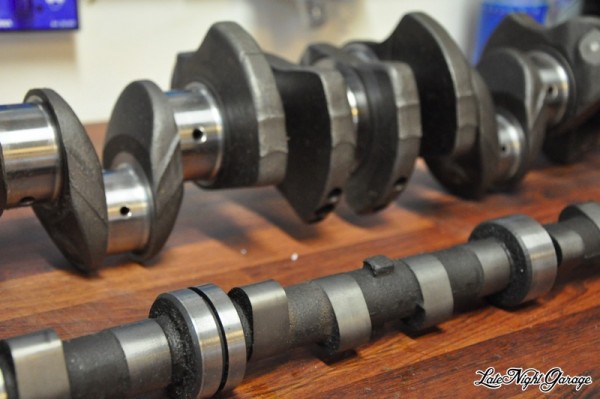
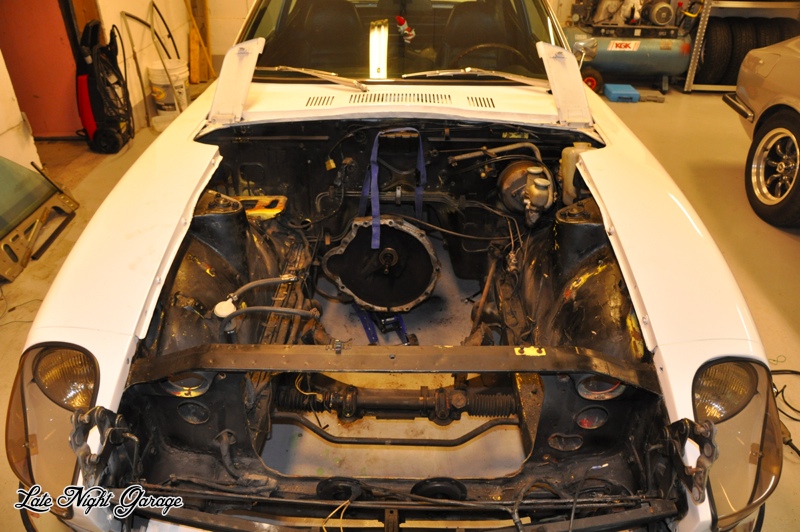
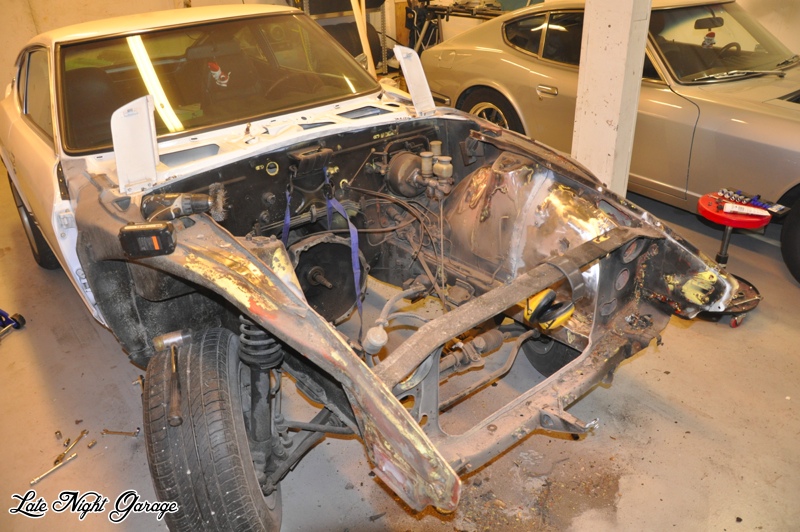
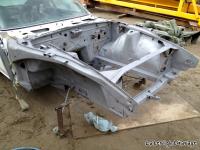
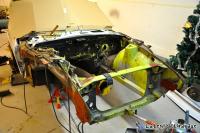
Ok, a bit of good news in between all the sad news - shiny new parts for the engine rebuild: 45mm Mikunis on an original Datsun Competition manifold :classic: JE pistons (10,5:1), Eagle rods. Rebello stroker crank, hot street cam + bearings, gaskets, bolts etc. Then, fast forward a few months and it's time to get the front end sorted. Luckily, I have a good friend who's certified for bodywork and paint, so I got him to help me out. We measured up the front end, and found that it was crooked from the previous crash. More than half an inch to the side, actually. The crooked front, combined with all the dodgy repair work done previously, we figured it would be easier to replace the whole front end. So we chopped off the front from the first Z, and started working. Lots of hours were spent trial fitting, adjusting, measuring and more adjusting. And this is how the car stands today, all rust removed from the front end and replaced with fresh metal. The front is now straight down to +/- 1mm, which I believe to be well within factory specs from 1971. Now I'm just waiting to have the front end sandblasted before we can start doing tin work, and hopefully very soon - paint. Further plans are to modify and improve as I go along. Hopefully, I will manage to rebuild the engine this winter, and have the car back on the road next spring. I will try to modernize a little bit, like replacing the alternator for a new one with internal voltage regulator, new fuse box and stuff like that. Thanks for looking, I will try to keep this thread updated as I go along. :classic:


-
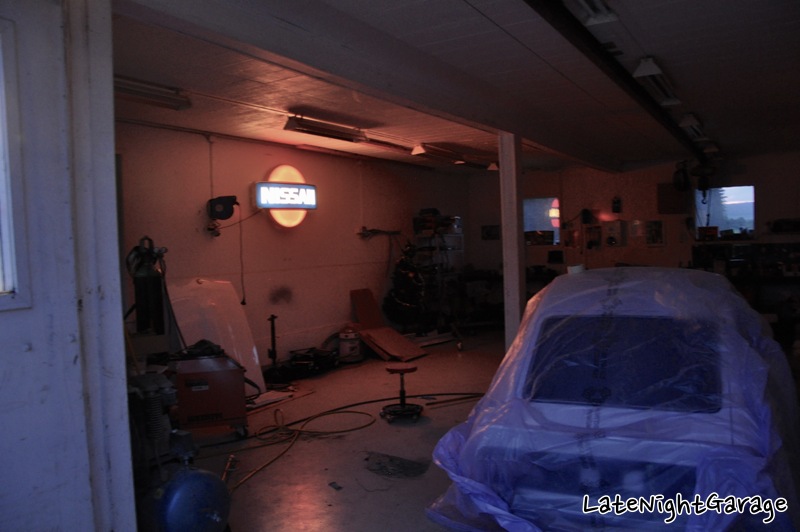
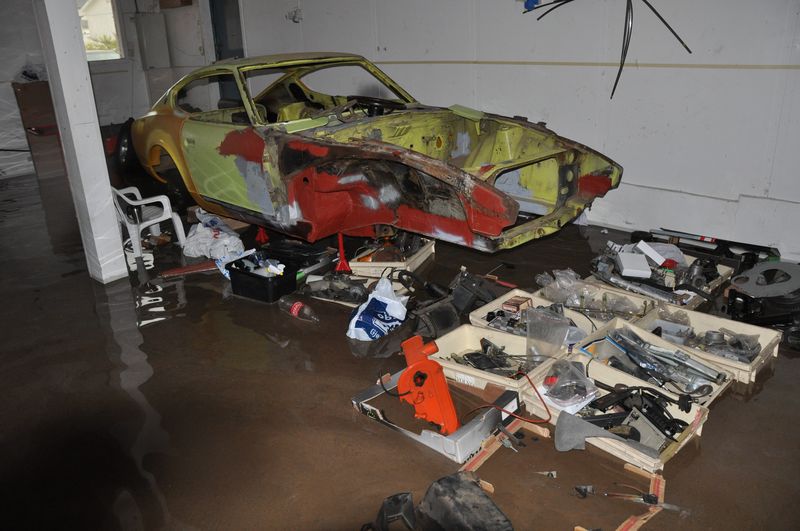
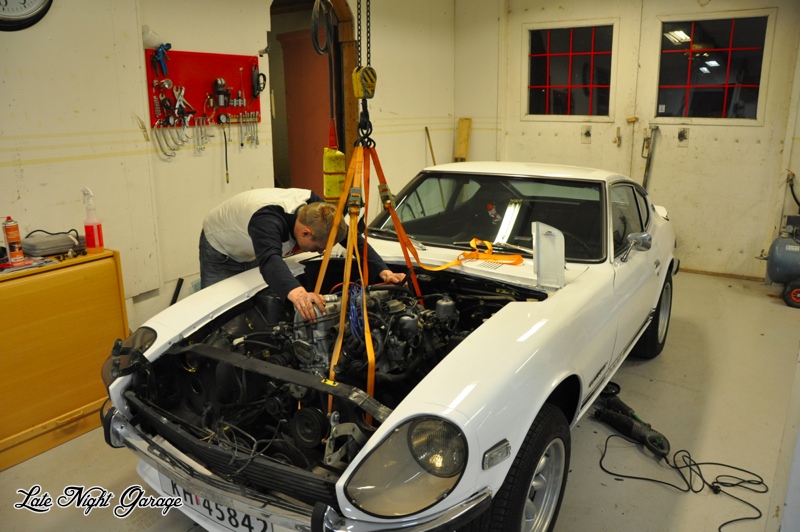
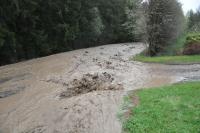
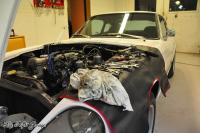
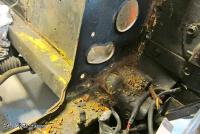
Hi guys! :classic: Thought I'd make a thread about my Z project, as there's finally some progress. A couple of years ago, I bought this almost complete Z. (Se my introduction post here: http://www.classiczcars.com/forums/thread40142.html) The previous owner, who imported this car from the US got tired of welding, and sold it to me for cheap. It came with all the parts in boxes, as well as a lot of new parts like complete poly bushes, rebuild parts etc. My original plan was to do a full nut and bolt restoration, but then we had a serious rainstorm, and my workshop was flooded. This was the road outside our house. To be honest, 20 cm (8 inches) of mud and water flooding the workshop pretty much killed my motivation, and the project was halted for a year, while I was gathering some parts. A year later, I figured I had bitten more than I could chew, and found a new Z. It was in good condition (or so I thought), but the engine bay was in need of a bit of paint. New plan - remove the engine, simplify the engine bay, give it a bit of paint, and rebuild the engine from the other Z. Removed the AC (28kg worth of junk) and then the engine. Then it became pretty obvious that the engine bay was in need of more work than just a bit of paint. Several hours of grinding, and out comes the truth - the car has been crashed, and the previous repair work is dodgy at best. More to come in the next post...:classic:


-
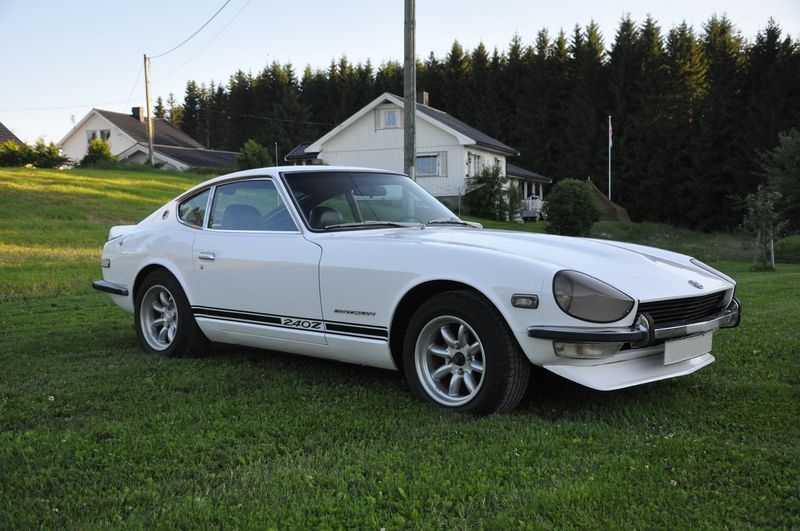
Hi guys! Been lurking around for a while, but thought it was about time I registered on the forums. I have a 72 S30 #112 yellow (actually made 9/71 - HLS30-46315) which has been imported to Norway from PA. It has got the original engine and is 100% stock atm, although it has seen some extensive welding since being imported. It still need LOTS of work, but I hope to have it back on the road in a few years. I'll try to do as much as I can on the car myself, learning as I go. This winter's project will be rebuilding the engine, and hopefully gain some hp's, too.. Here are a few pics from when I picked it up earlier this year: The guy who imported the car had bought a lot of parts for it, including a complete (I think) poly-bush kit, restored all bolts, and lots of other parts for the rebuild. I'll go back to searching and reading now..