Patcon
 Subscriber
-
Joined
-
Last visited
Everything posted by Patcon
-
 Pretty Car
 -
Harbor freight has little assortment boxes. I bought three a viton assortment, a nitrile and an EPDM?
-
If the vin on the firewall and the vin on the shock tower match the title, I would work on getting reproductions for the other locations
-
I have found if the jamb side latch is too far in towards the interior, the door runs out of room before the second latch engages. Sort of a compromise between the door sealing good and being able to get the second catch
-
Says it fails but not which side of 13.5 or 15.4. So it could be too high
-
Thats probablythe thing I hate most about body work! The assemble, disassemble, reassemble, disassemble ...
-
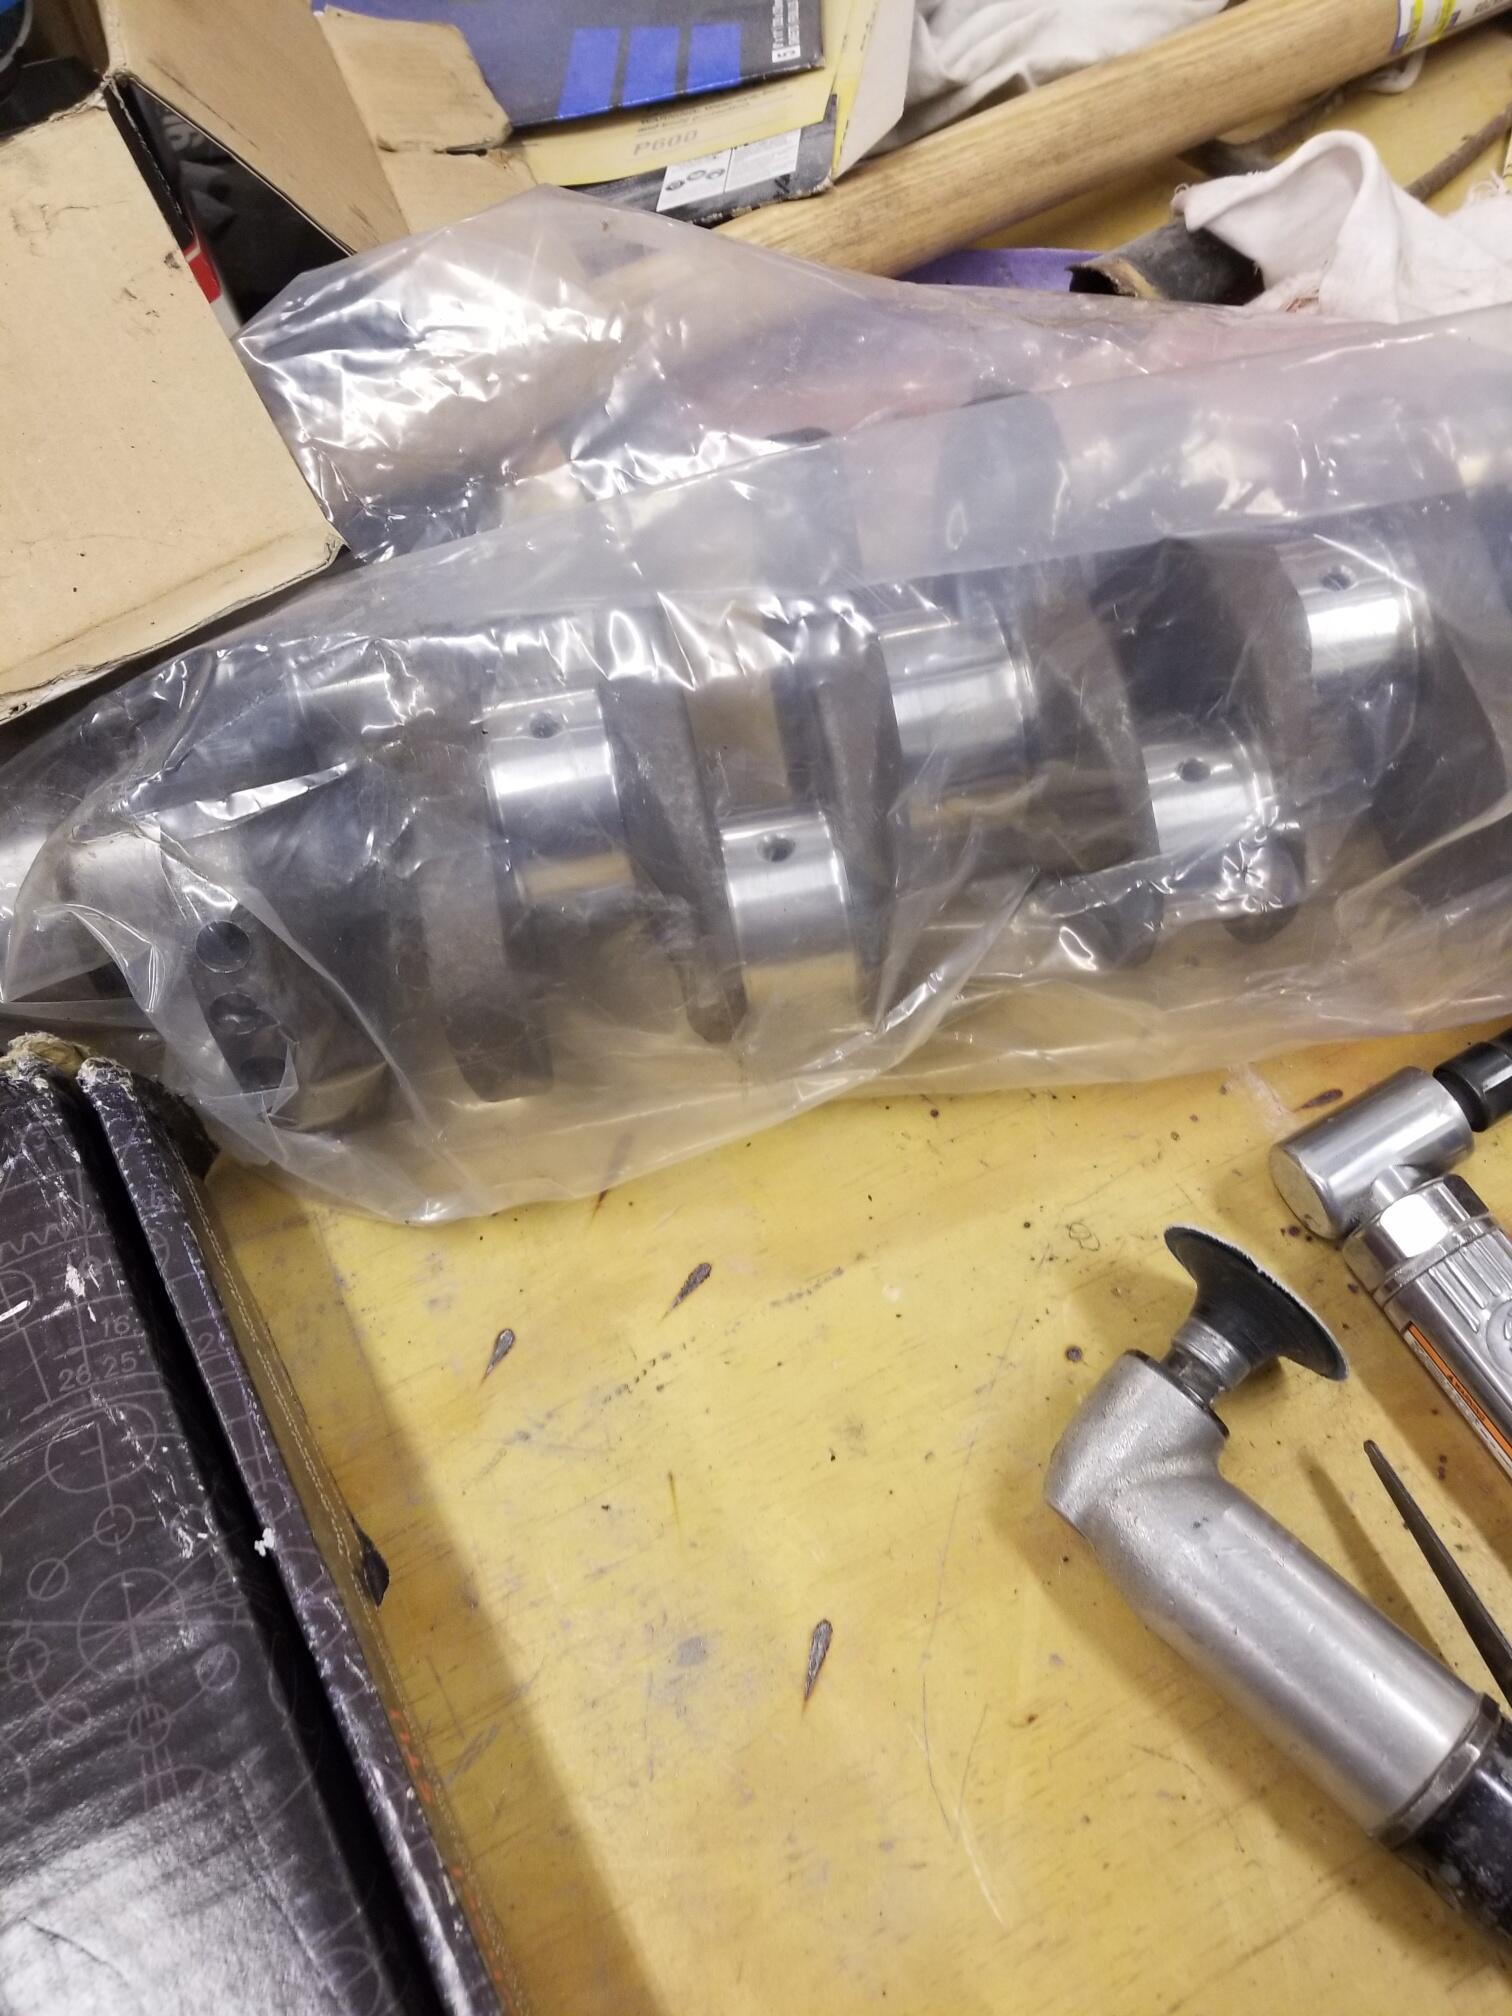
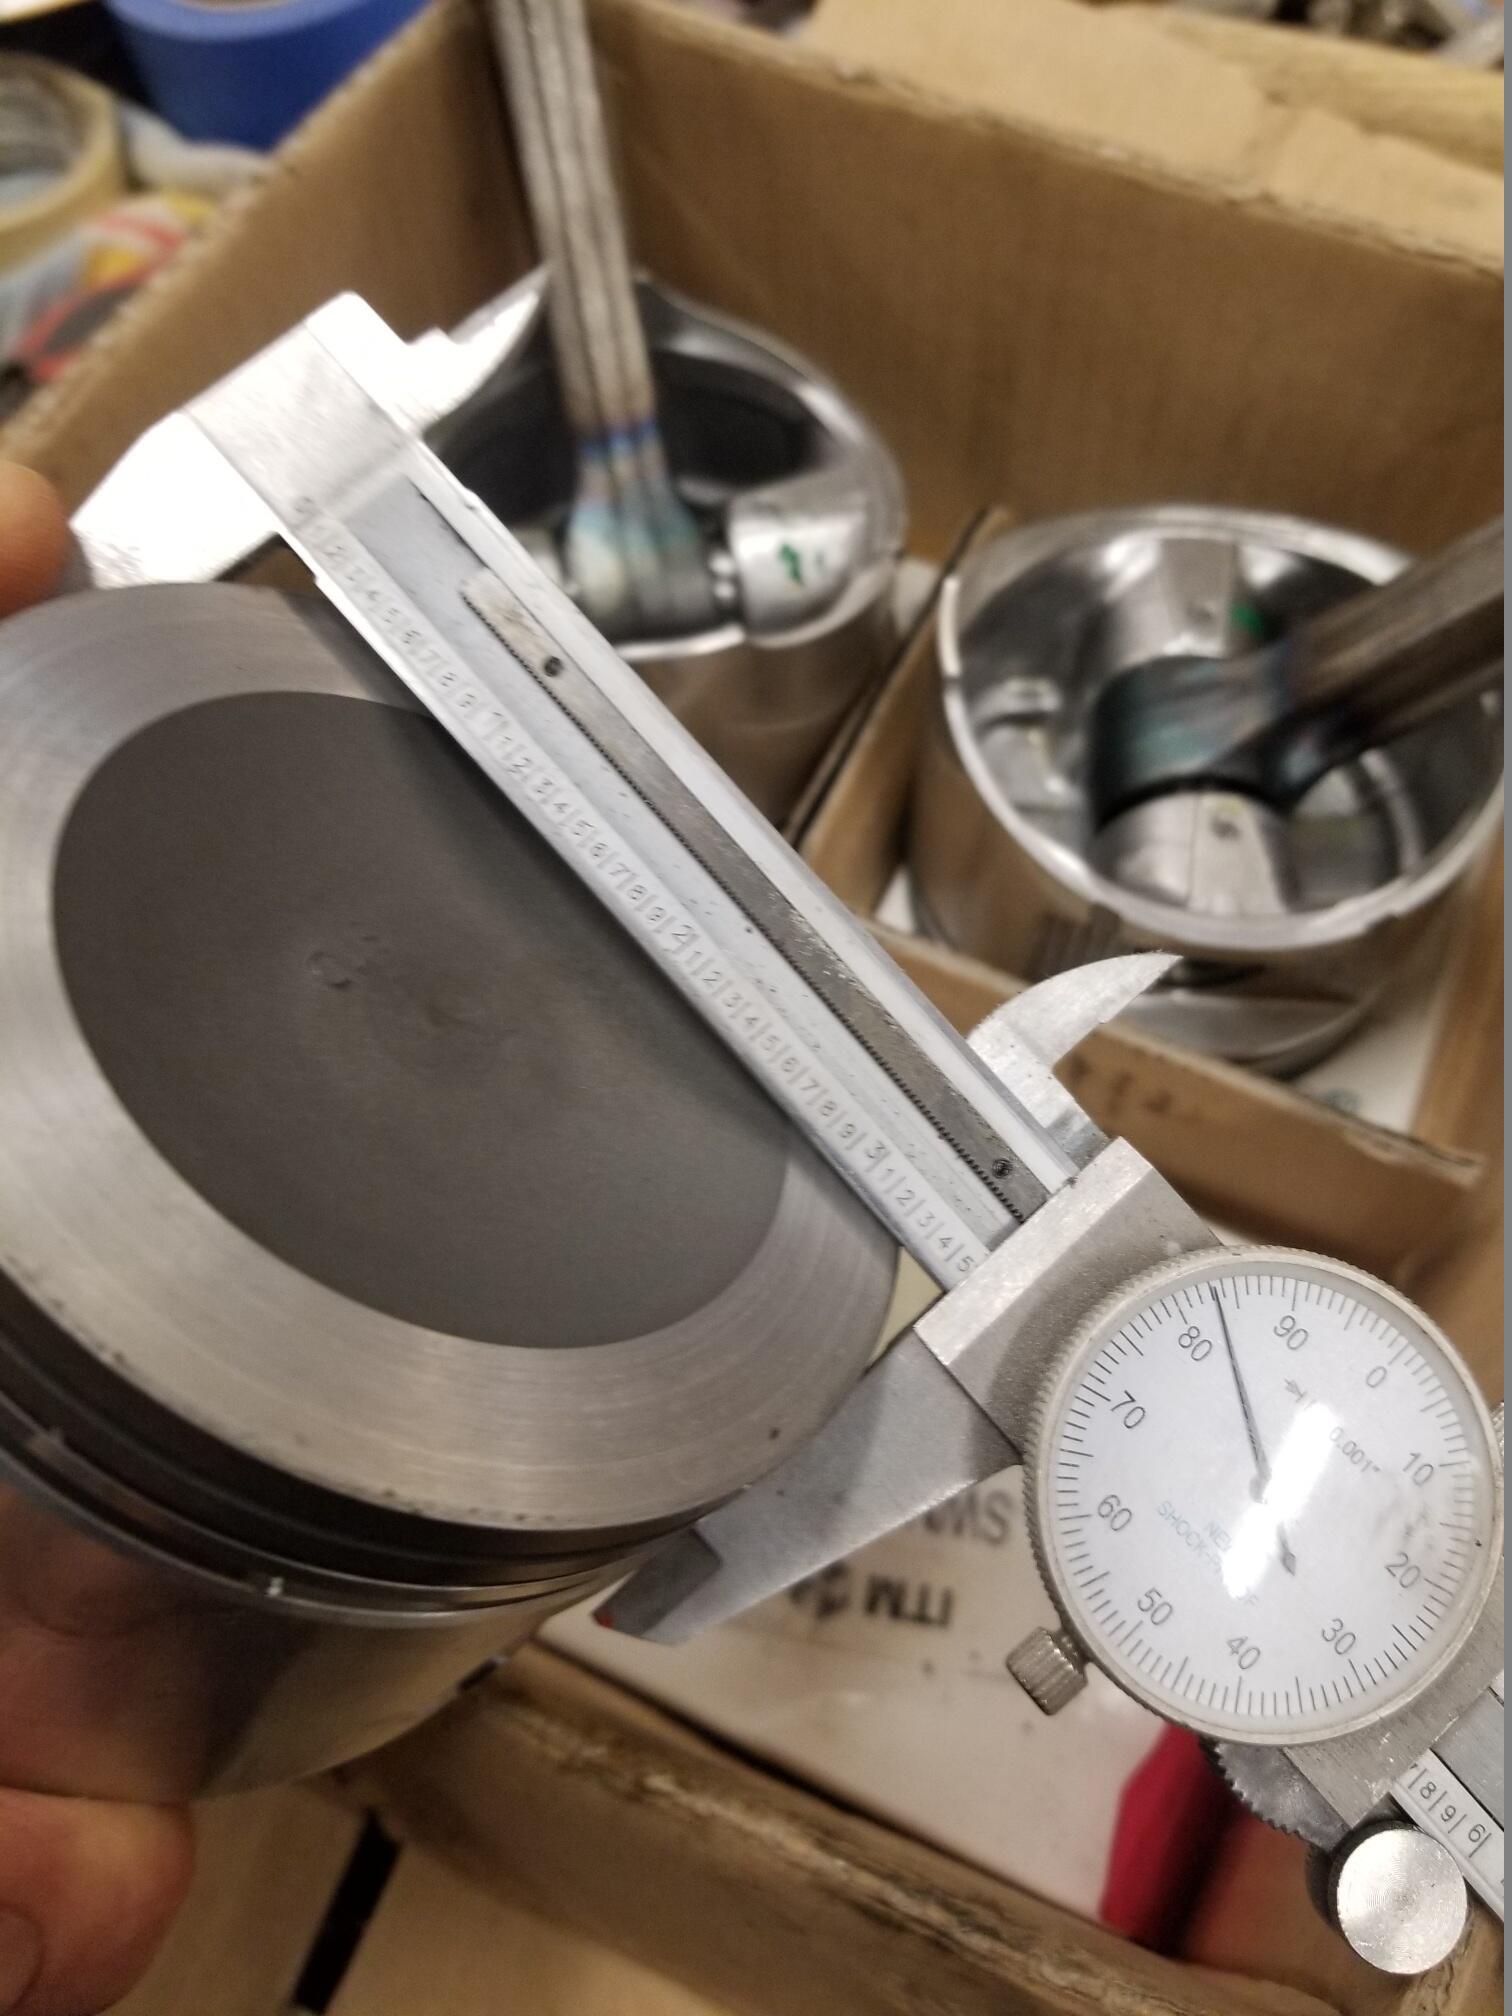
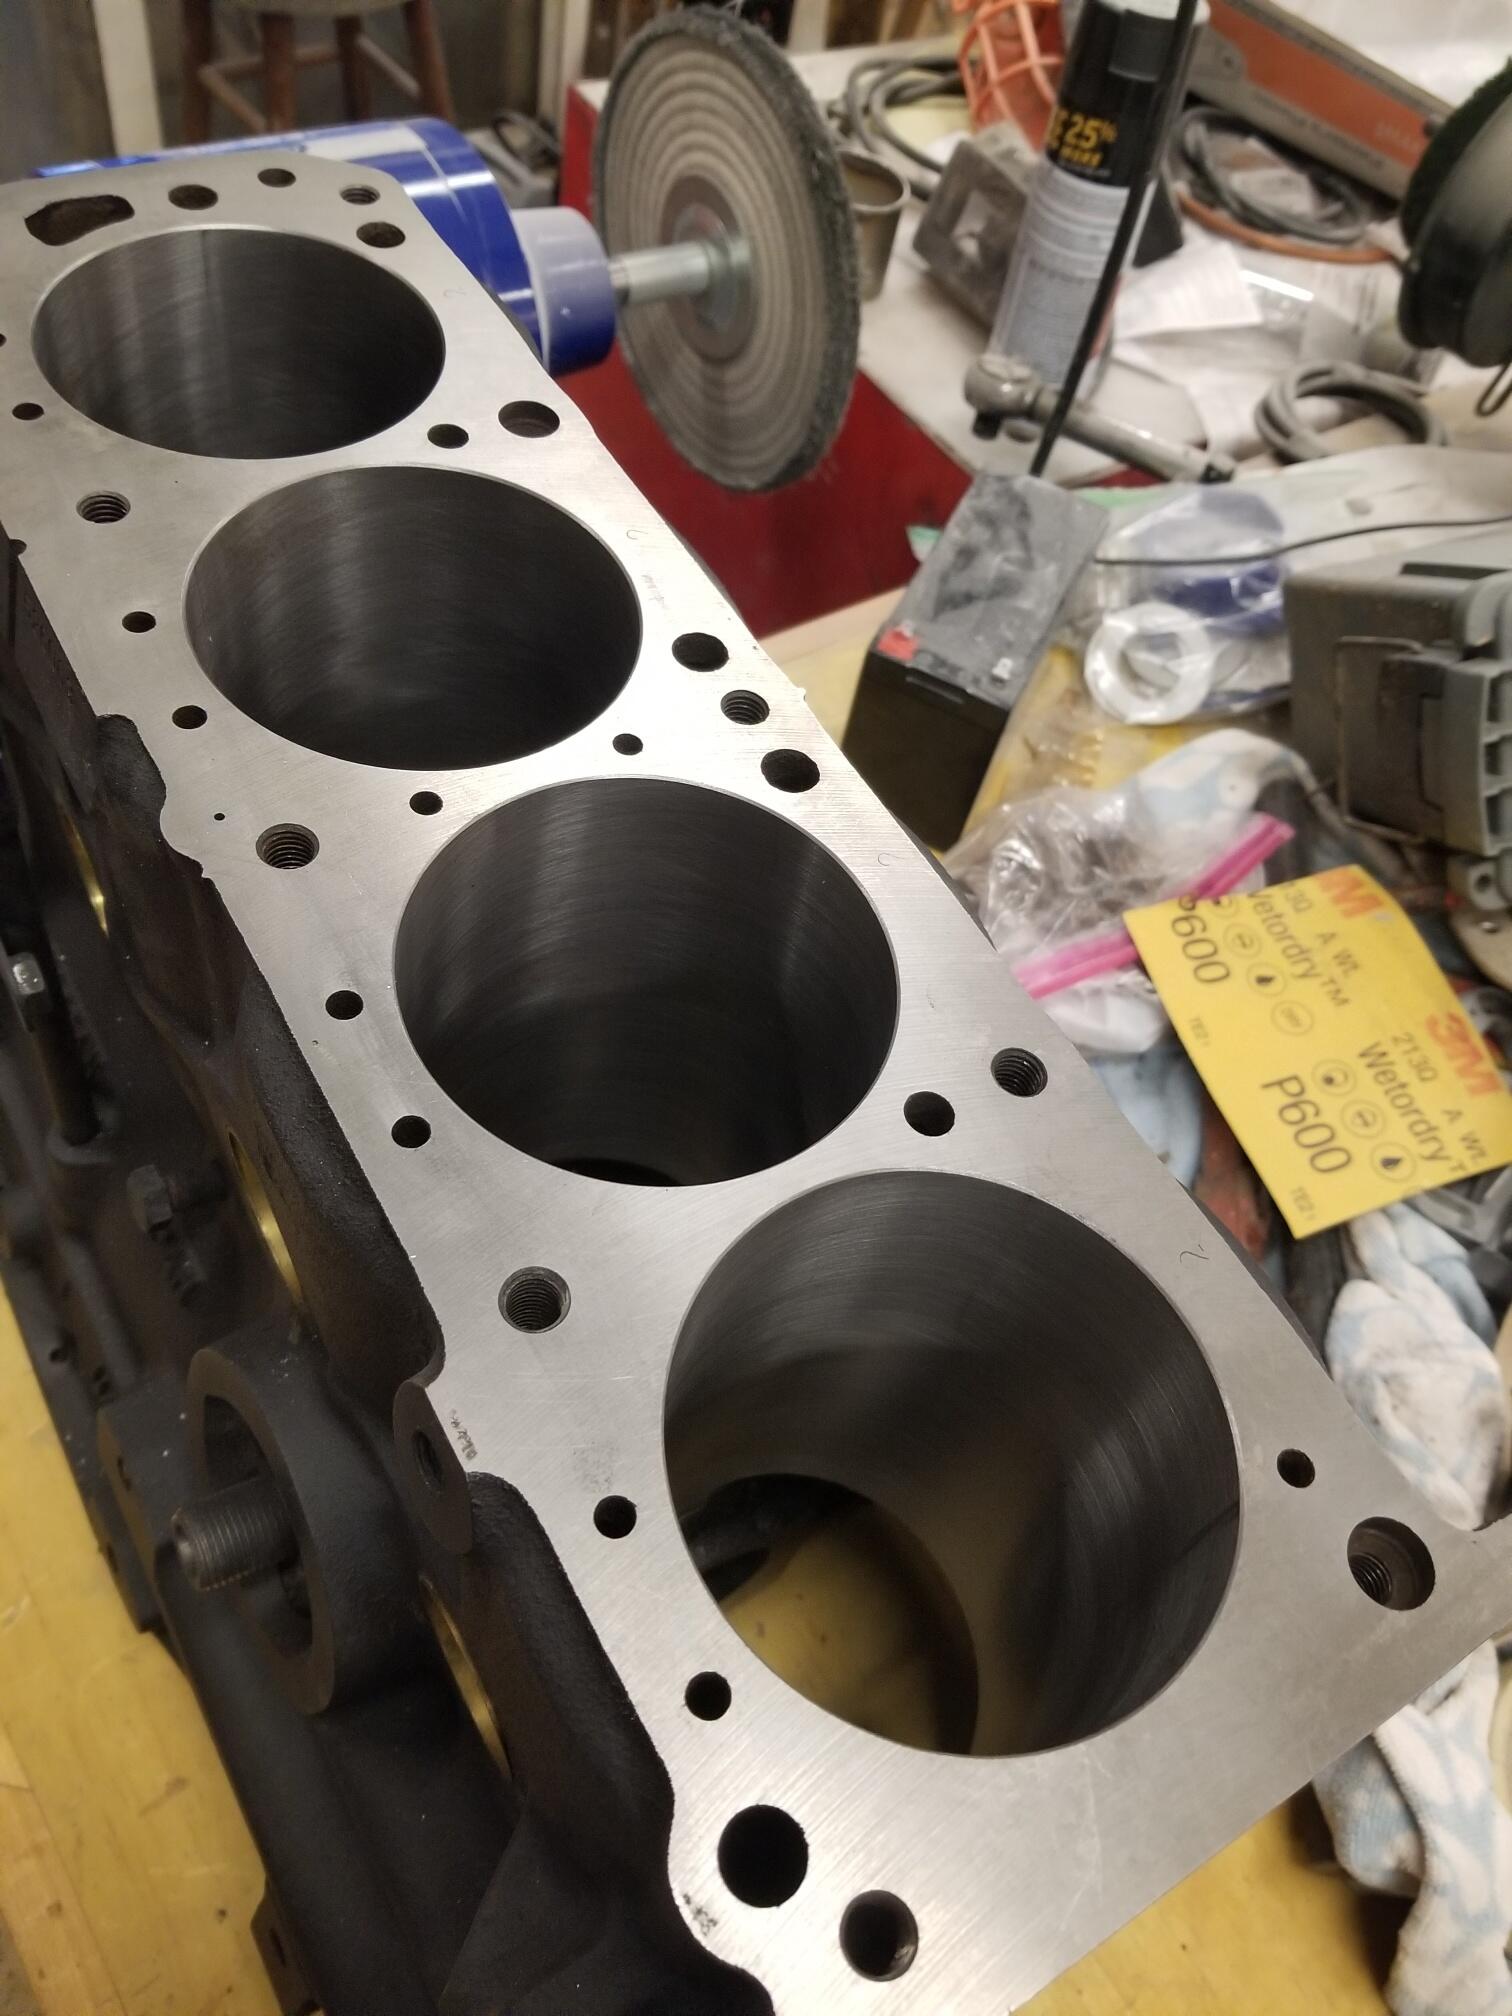
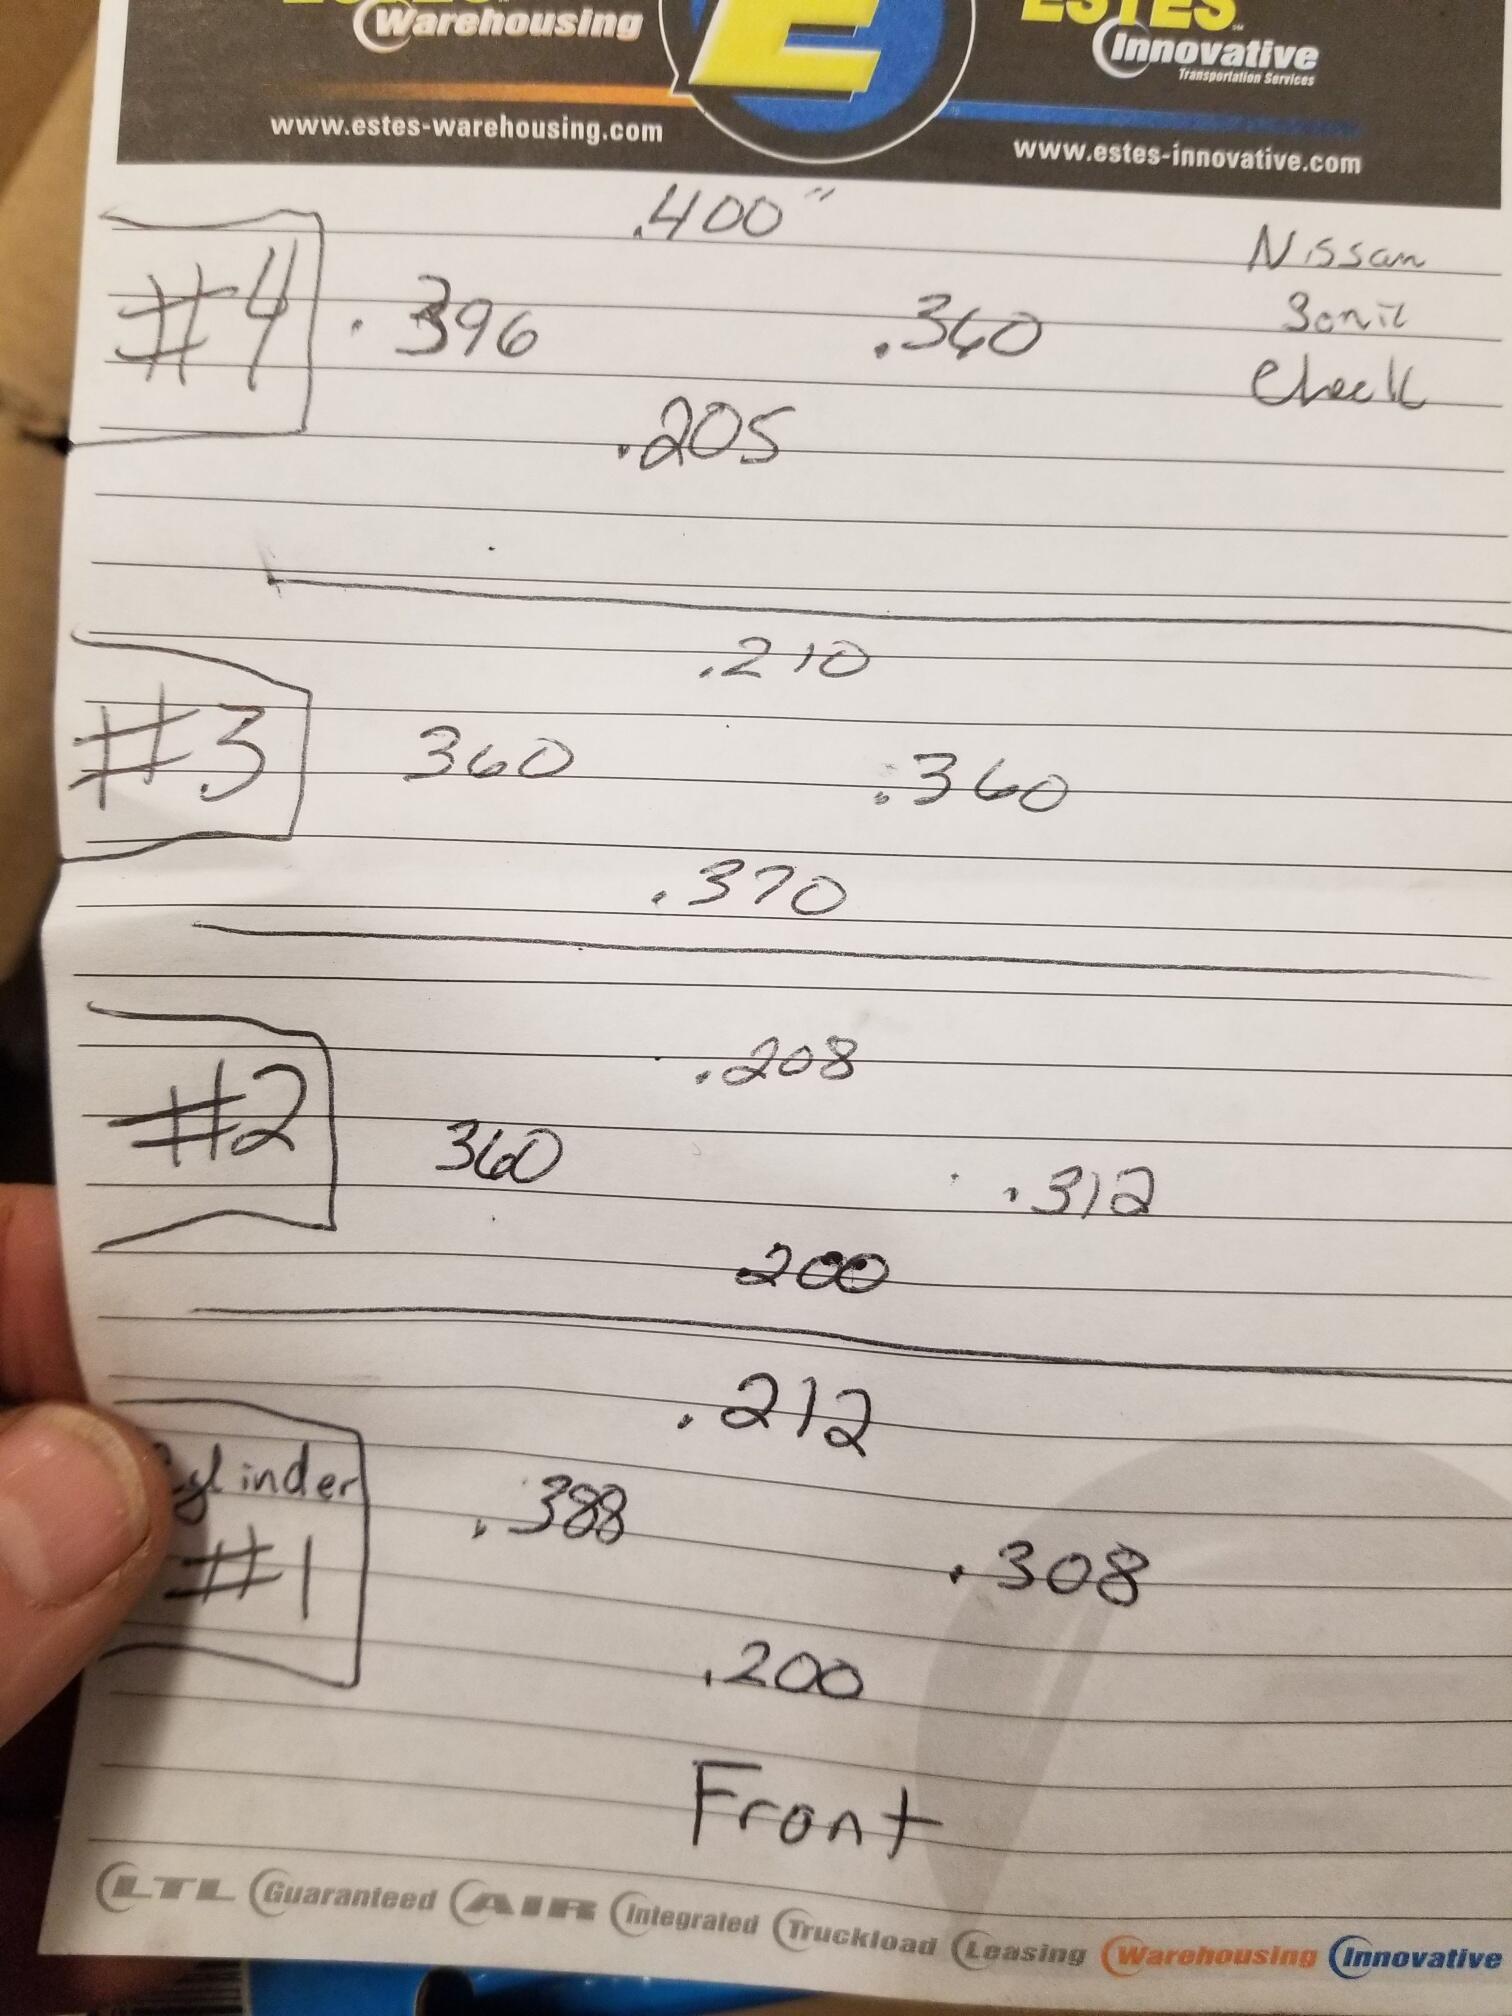
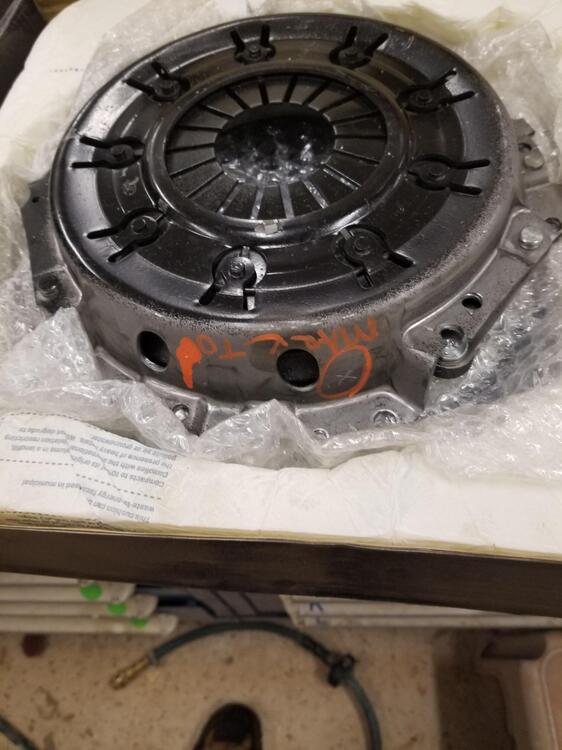
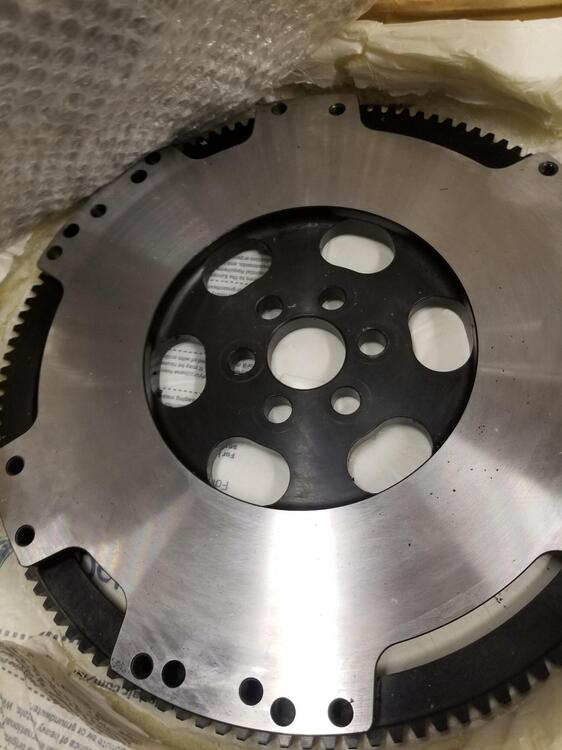
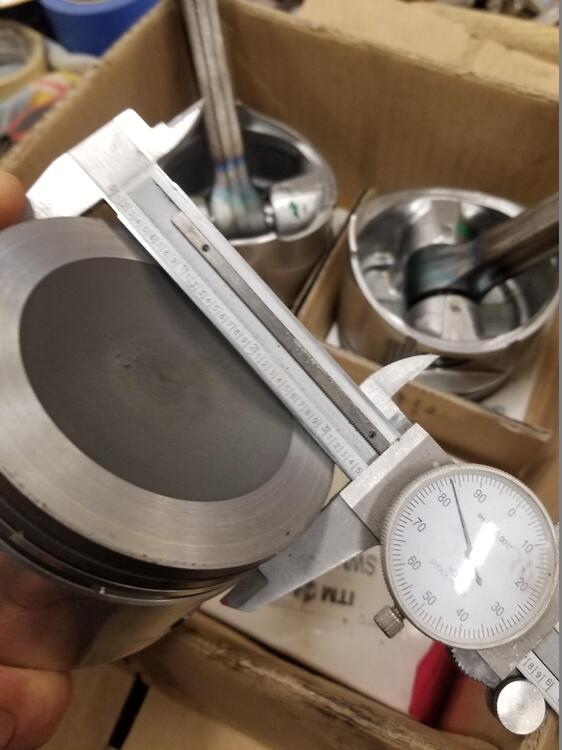
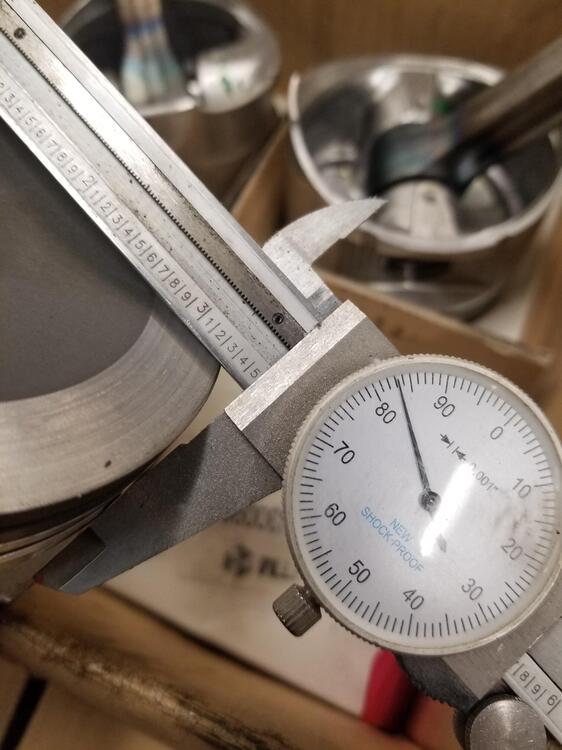
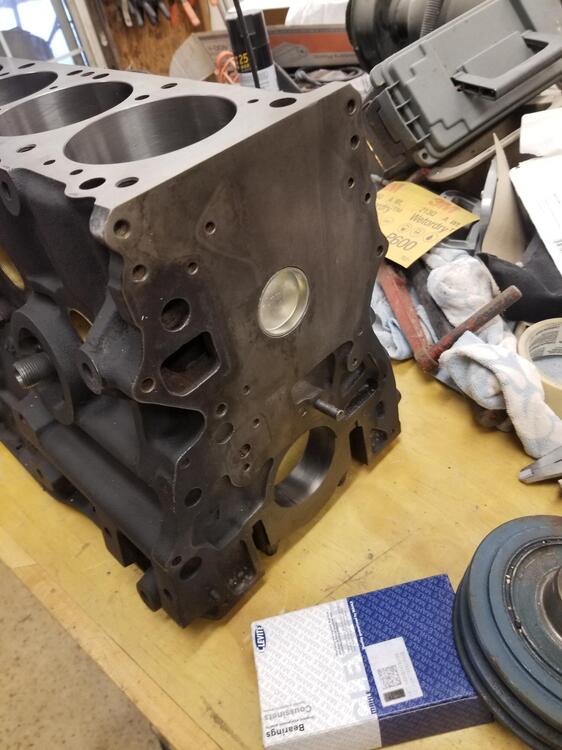
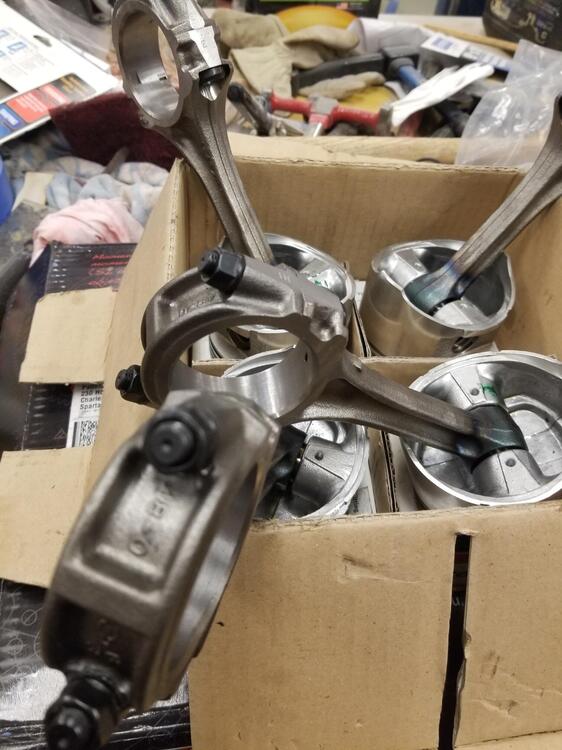
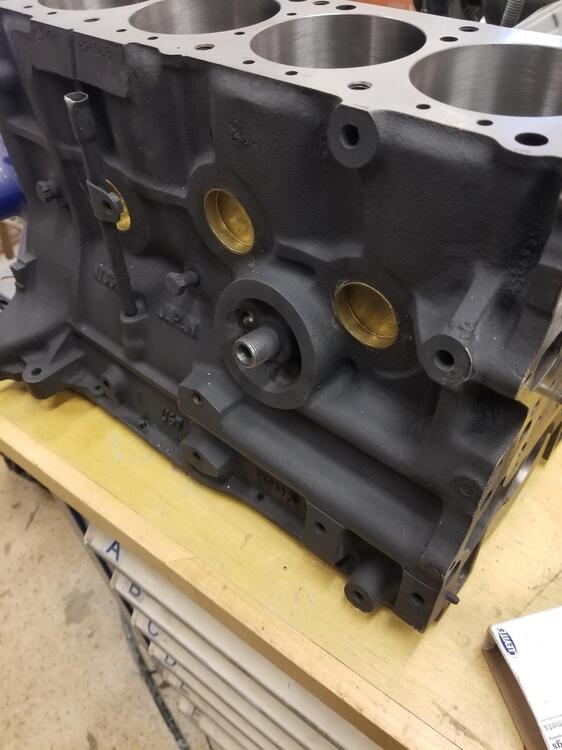
So I took the block and rotating assembly to a local machine shop about the end of August. He finished it right before Christmas. I picked it up a week ago. Stock bore and stroke is 85mm x 86mm. We punched it out to 89mm. I sourced the pistons from Dave Rebello I believe they're KA's turned down They sonic checked the block after boring. I was told the minimum would be 0.0100". We are well within that. All line bored and balanced Everything has a witness mark so we can reassemble the way it was balanced Crank was turned 0.010 & 0.010 es w The challenge now is getting bearings. I have the rod bearings now but am having trouble getting the main bearings. I made another order the other day because the first order got delayed. Many places were saying end of April for bearings!! Evidently freeze plugs are hard to get too. That is why one of them is steel and not brass. Any recommendations on engine paint? Not super obsessive about true Datsun blue but would like it to be close.


-
With the door open, can you manually latch the mechanism to the second position?
-
Probably not easy. I would think a good heat gun would be the tool of choice but the car will need to be painted afterwards due to collateral damage... It's also possible you could use a flap disc on a grinder but exceedingly dusty and you would need to take precautions for your lungs and drift
-
I agree, I struggle to view these cars in light of the current market. I have bought and sold many Zs for a few hundred dollars. Many of them running cars. I suspect when it comes to the $70k bidding, that the car is viewd as cheap at that price point. So there are plenty of bidders willing to buy at that level. It tapers off until the auction gets closer until closing. My guess $120k, wouldn't be surprised at $150k
-
@kats So nice to see you around here!
-
-
Used a lot on firearms
-
The push rod looked pretty long in the Russian booster. Did you get that to work out?
-
They would cut a new piece of mirror A good glass shop aught to be able to if you have them out of the housing
-
I would see if you can rent a pressure tester. Pump the radiator up to about 15#s and use a flashlight to try to find the leak. It could be as easy as a loose hose clamp...
-
Or water valve?
-
Gasoline can vary greatly over the United states. I suspect even more so internationally. You have tried a great many things but not always in a methodical manner. I too am unconvinced you don't have an internal issue
-
-
Mounting point is for a mechanical fuel pump, provided the hole into the timing chain was milled open. Is there a reason you wouldn't want to do a head gasket? I think if I had the engine out, I would do the head gasket. It allows you to inspect the jackets for corrosion and the valve seats as well as clean up the combustion chambers. It's mostly labor, the gasket is pretty cheap. Technically you shouldn't reuse the head bolts but many people do.
-
I ran epoxy primer and then shot under coater over it. My car had been blasted on a rotisserie. I would not use wax, that's just me. A correct restoration would be primer, then paint even in the wheel wells. I like the wheel wells to be blacked out. So that is part of the reason I went with under coater. I don't intend to baby the car so I wanted something a little tougher than paint. The car is 50+ years old and this installation and these materials far exceed the factory install. It won't be a problem in my lifetime and my kids will be in their 60's before they should have to worry about it, if ever.
-
I think I have done that a couple of times over my extended years! 😉
-
Those look really nice! The battery tray is such a nice repop item!
-
I believe it should slide past. Once the balancer is on and tightened down, it can't move. IIRC...
-
Really nice repair! Other than the diameter of the spot welds its invisible