Patcon
 Subscriber
-
Joined
-
Last visited
Everything posted by Patcon
-
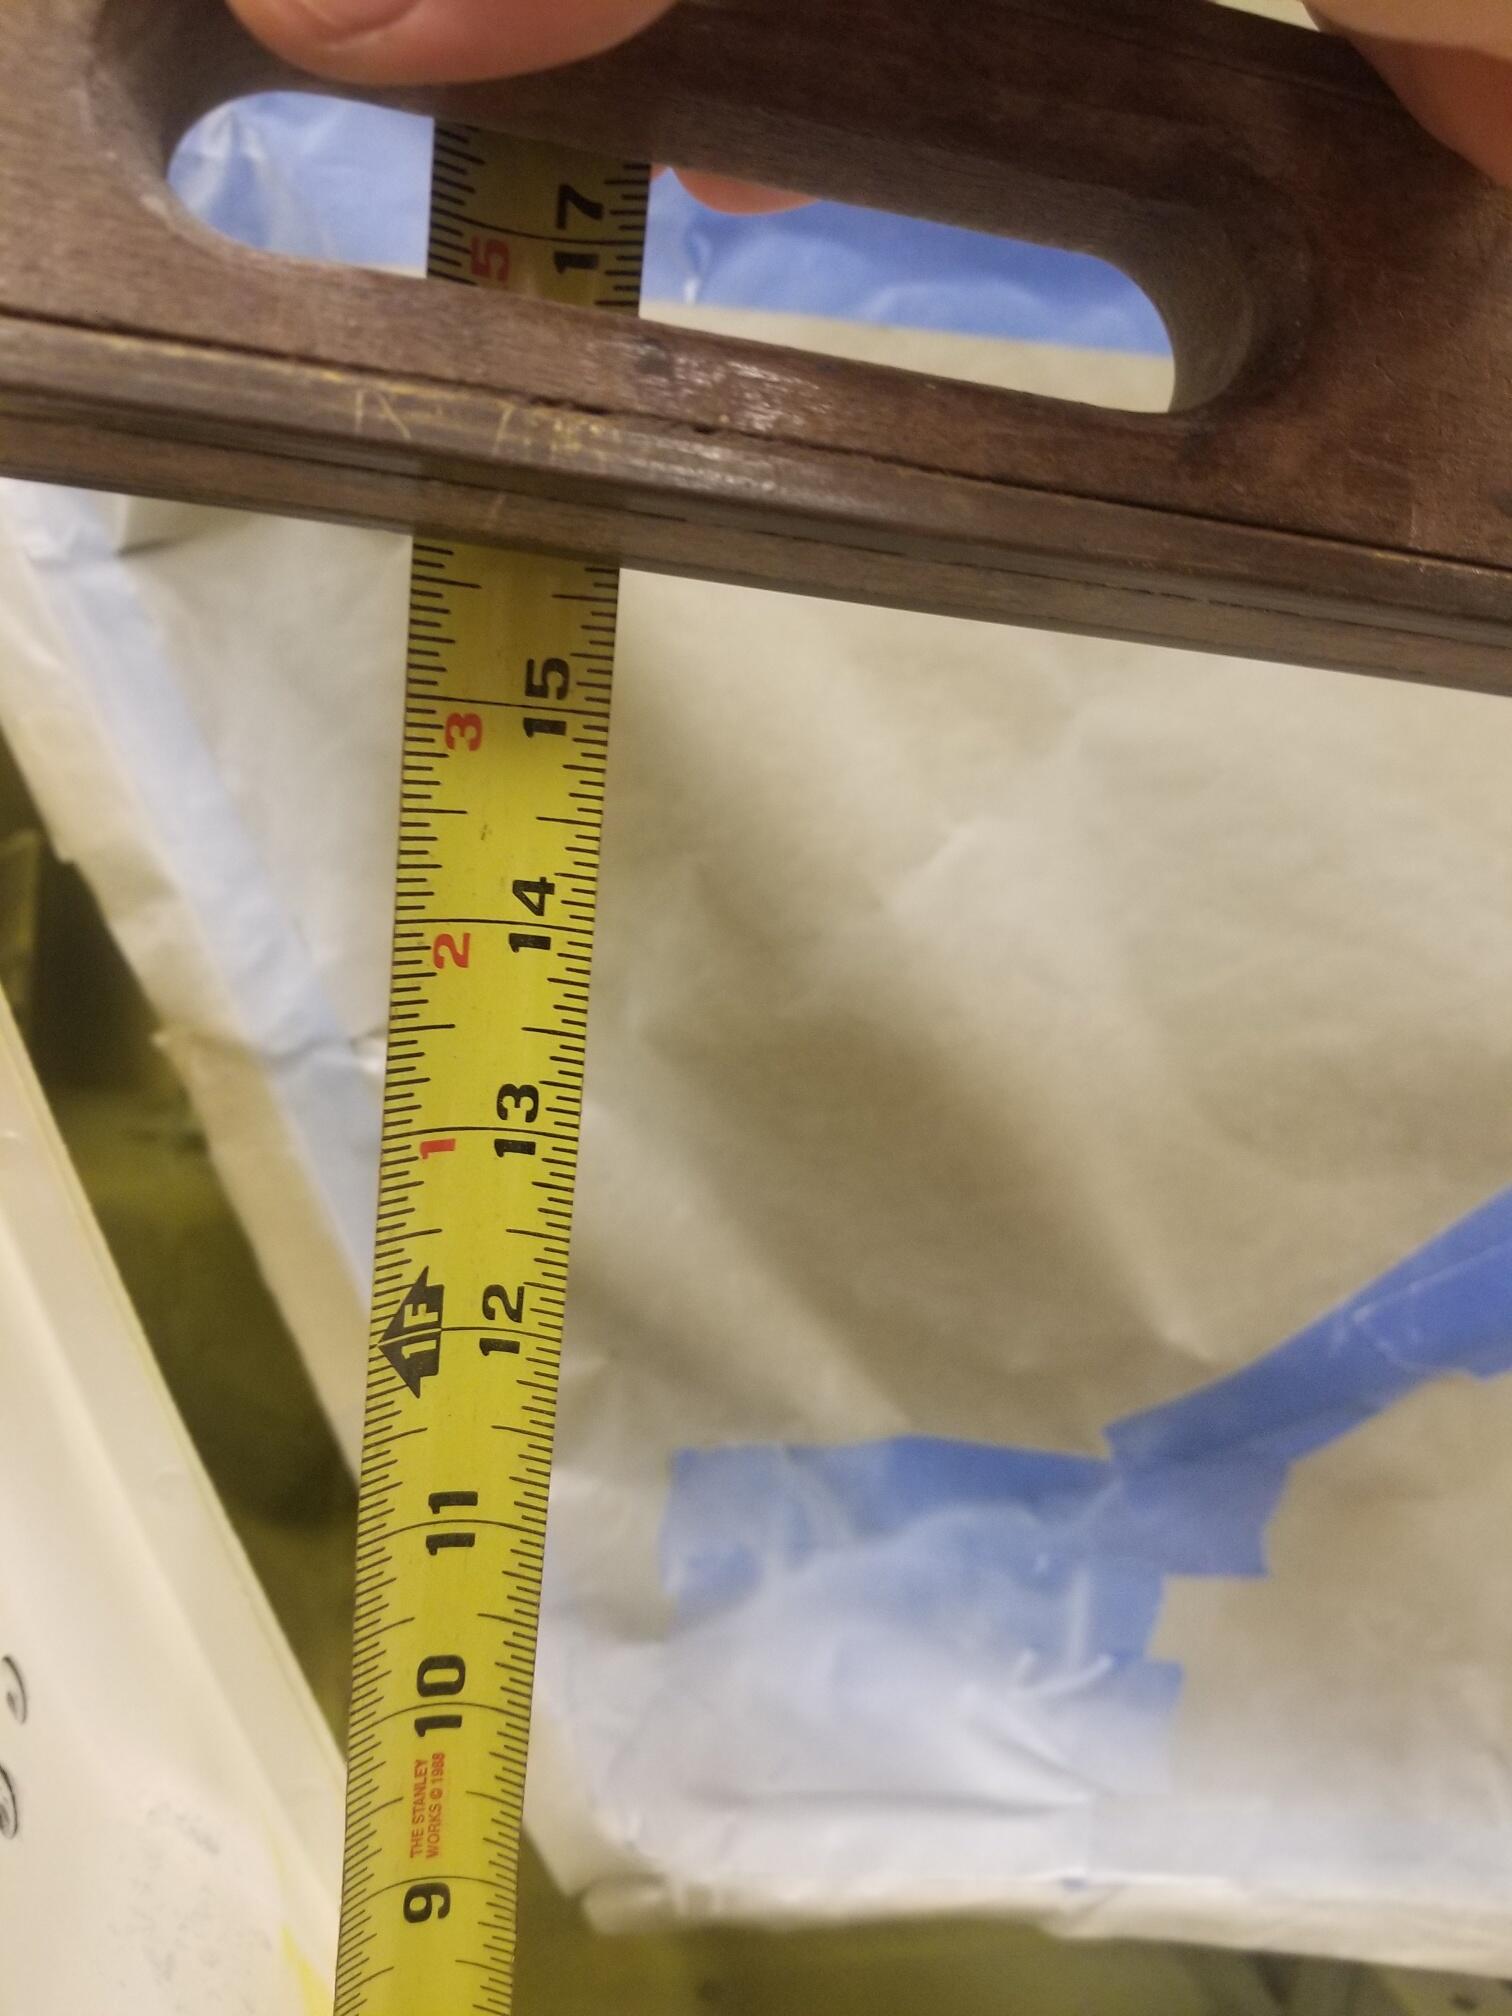
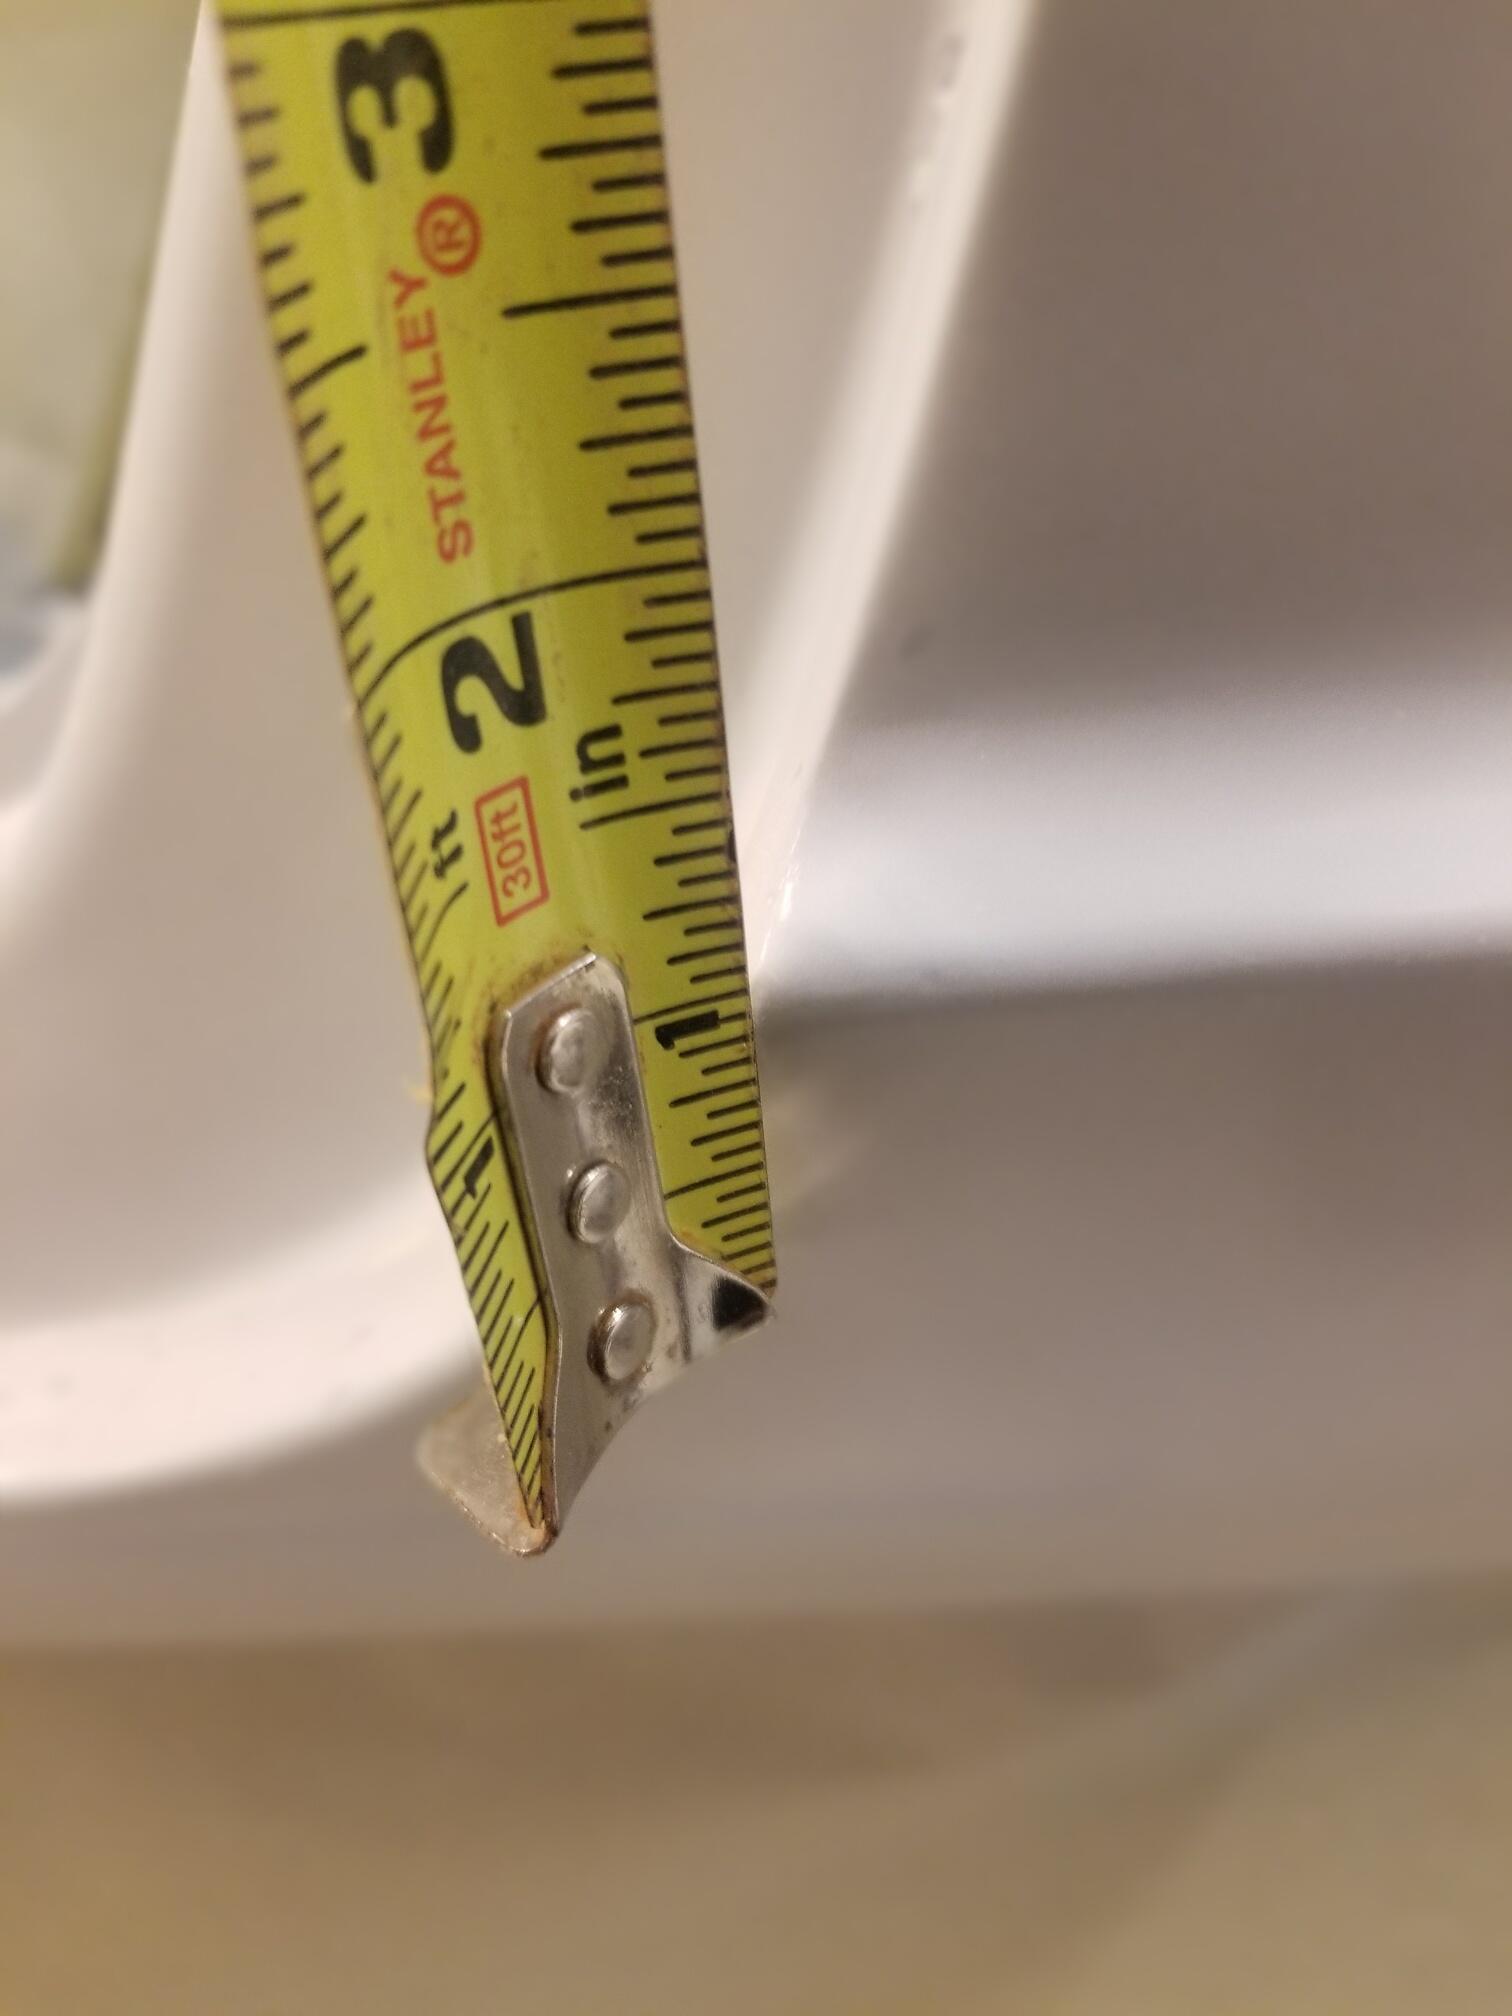
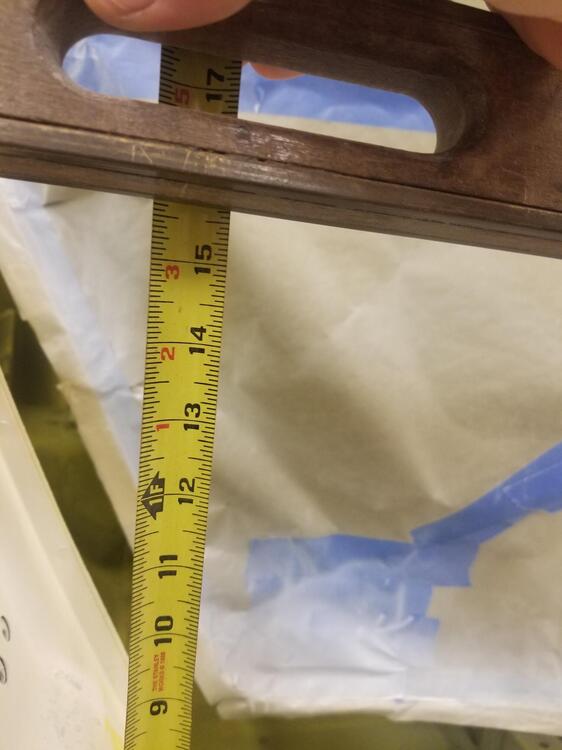
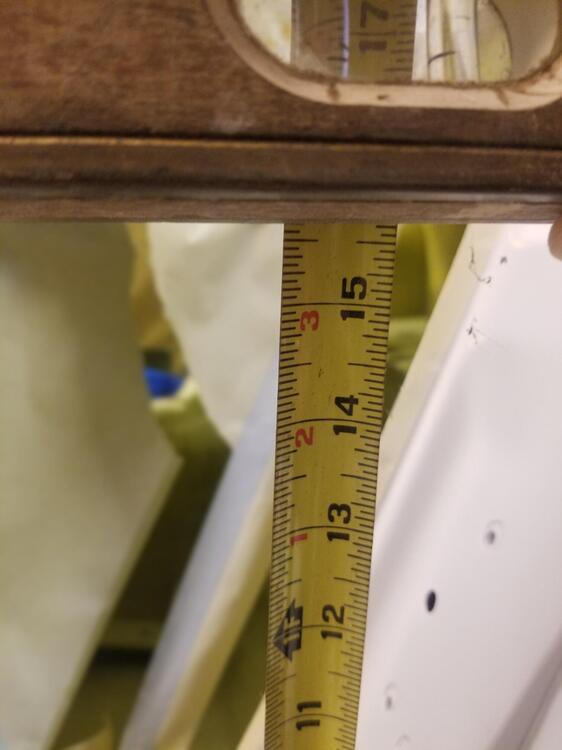
 Is this what you wanted? 15 5/8" "cut an inch" So 14 5/8" x 25.4 = 371.5mm The level is not "level" but extended along the body line
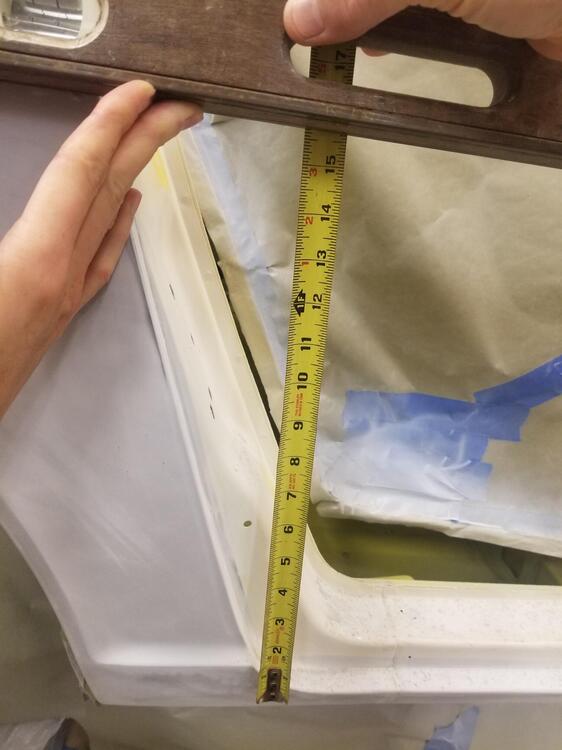

-
-
View Advert 14" mesh wheels I was originally going to use these on my Datsun, but that plan has changed. I would let them go cheap to find them a good home. Otherwise I will scrap them I was going to polish the rims and shoot a hammered gunmetal looking paint on the mesh centers Make me an offer... Shipping is a possibility at the buyers expense Advertiser Patcon Date 12/27/2021 Price $1,234 Category Parts for Sale
-
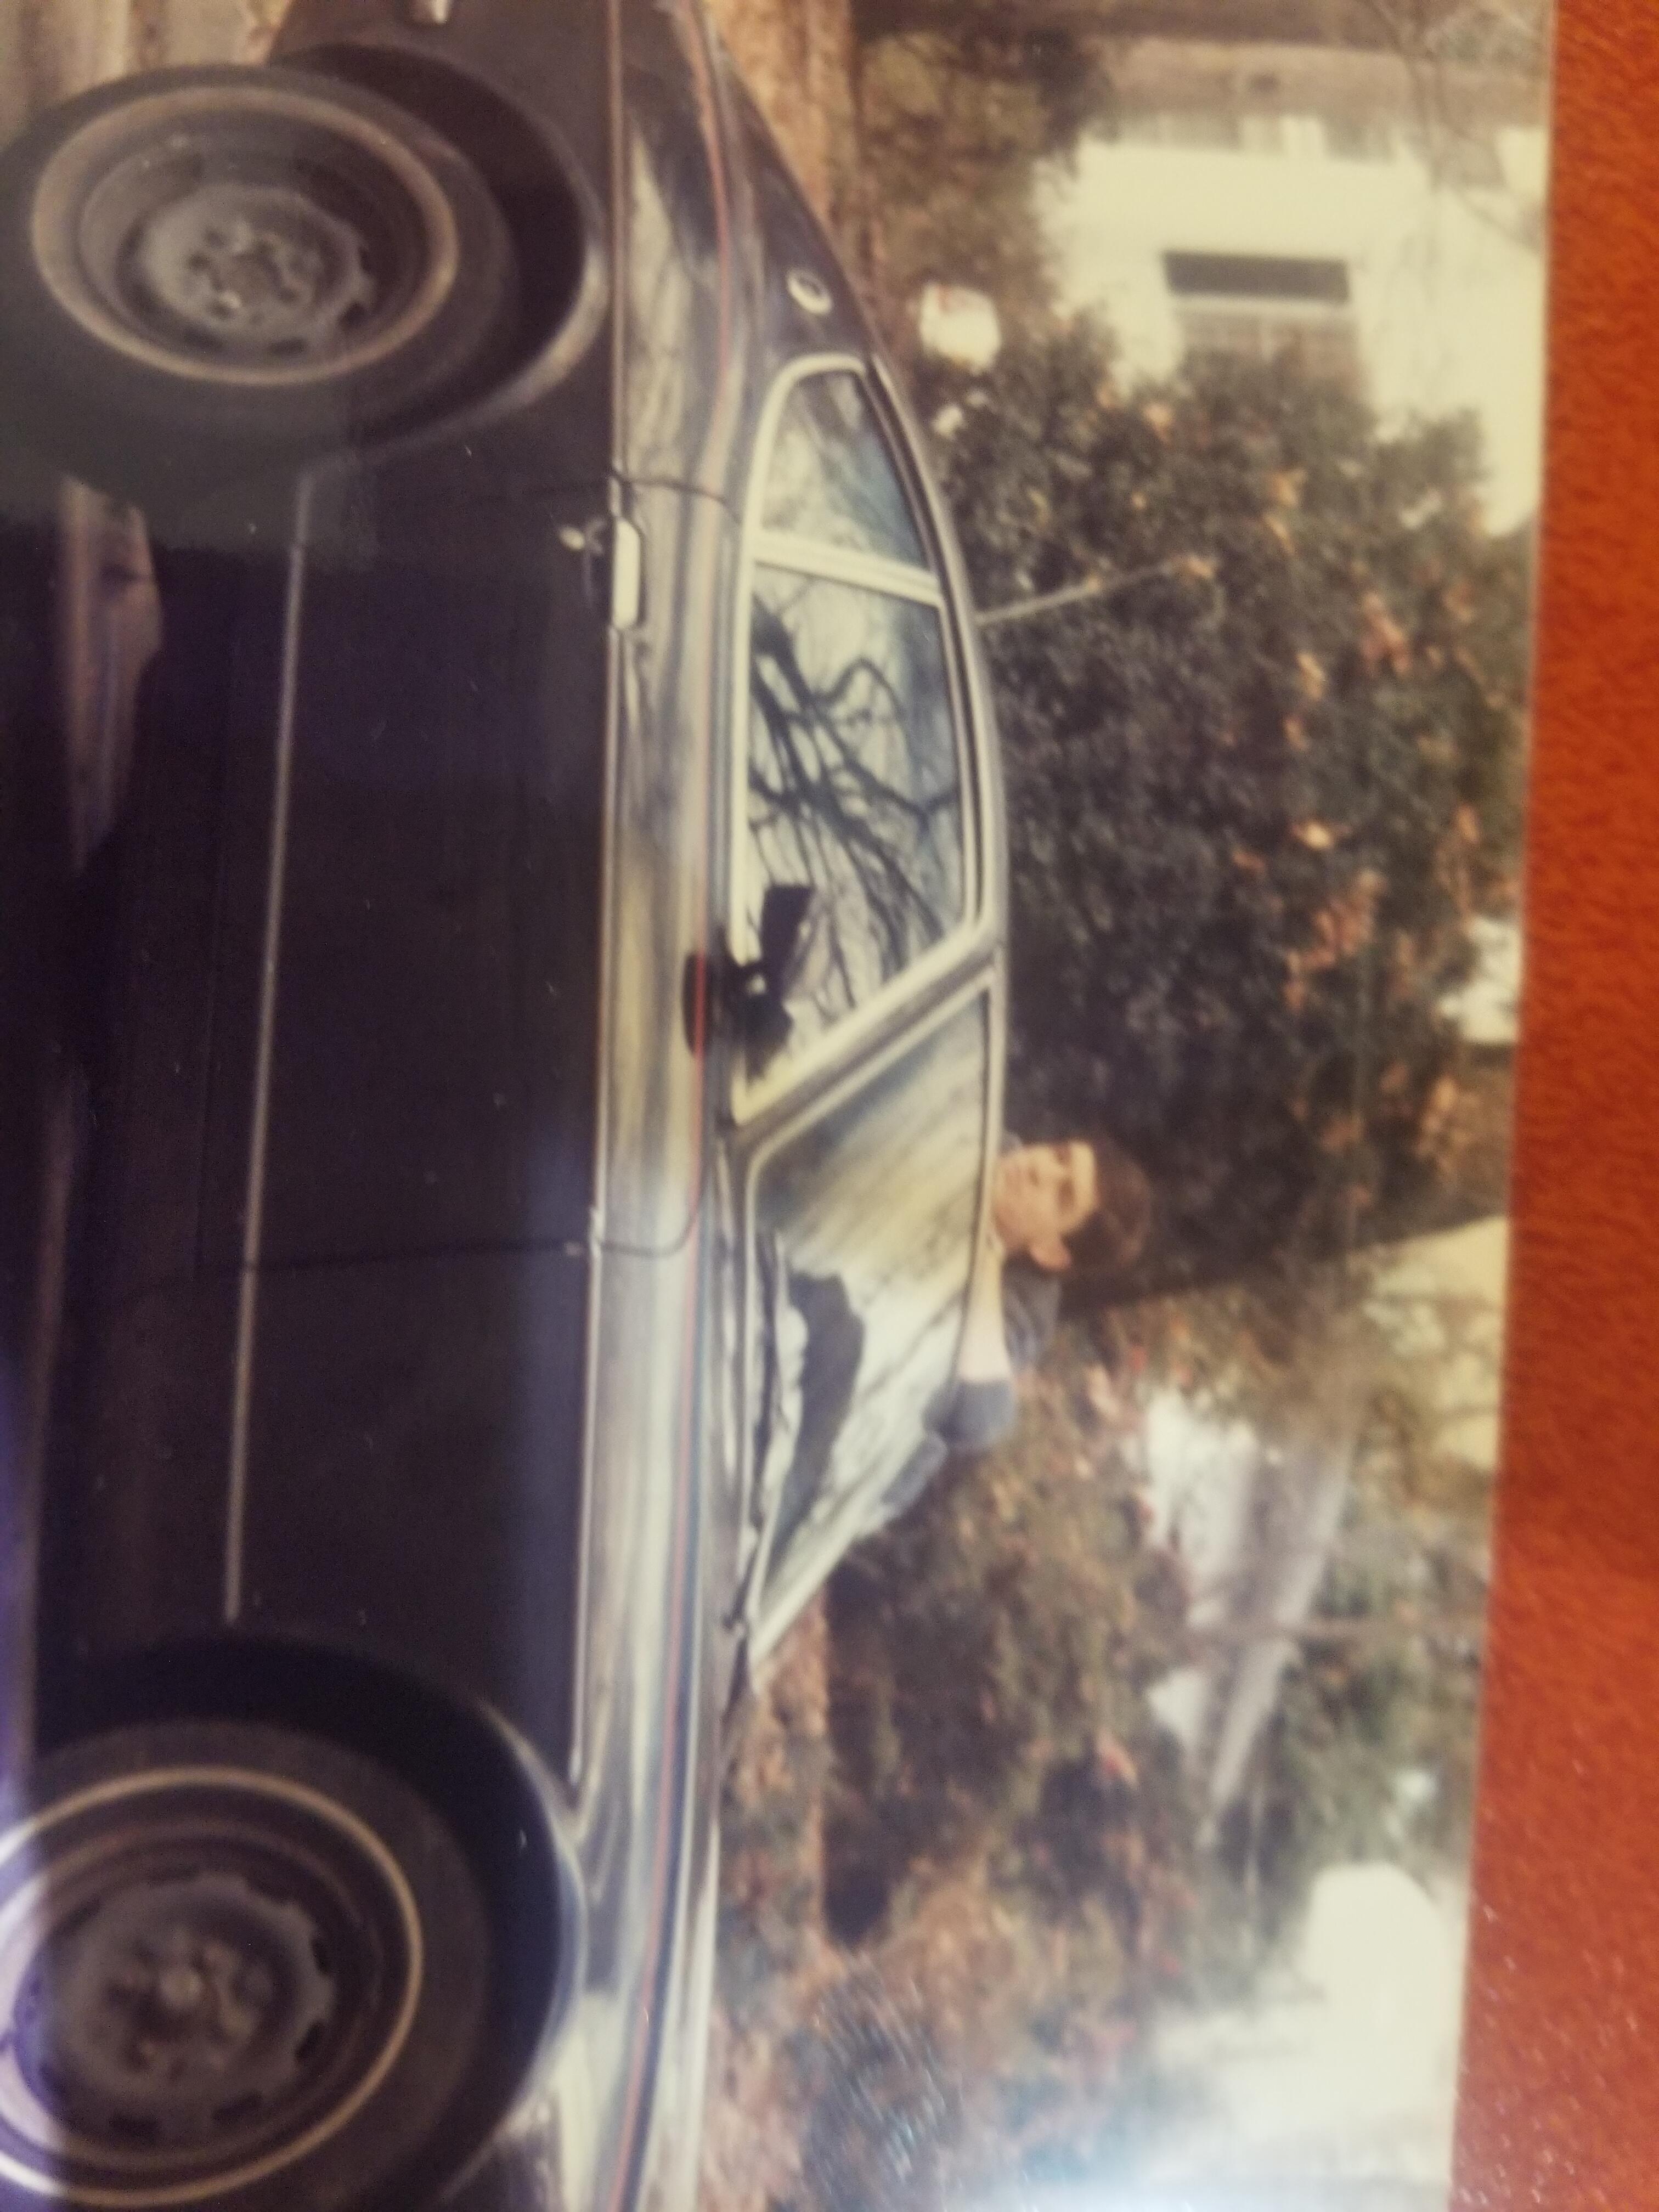
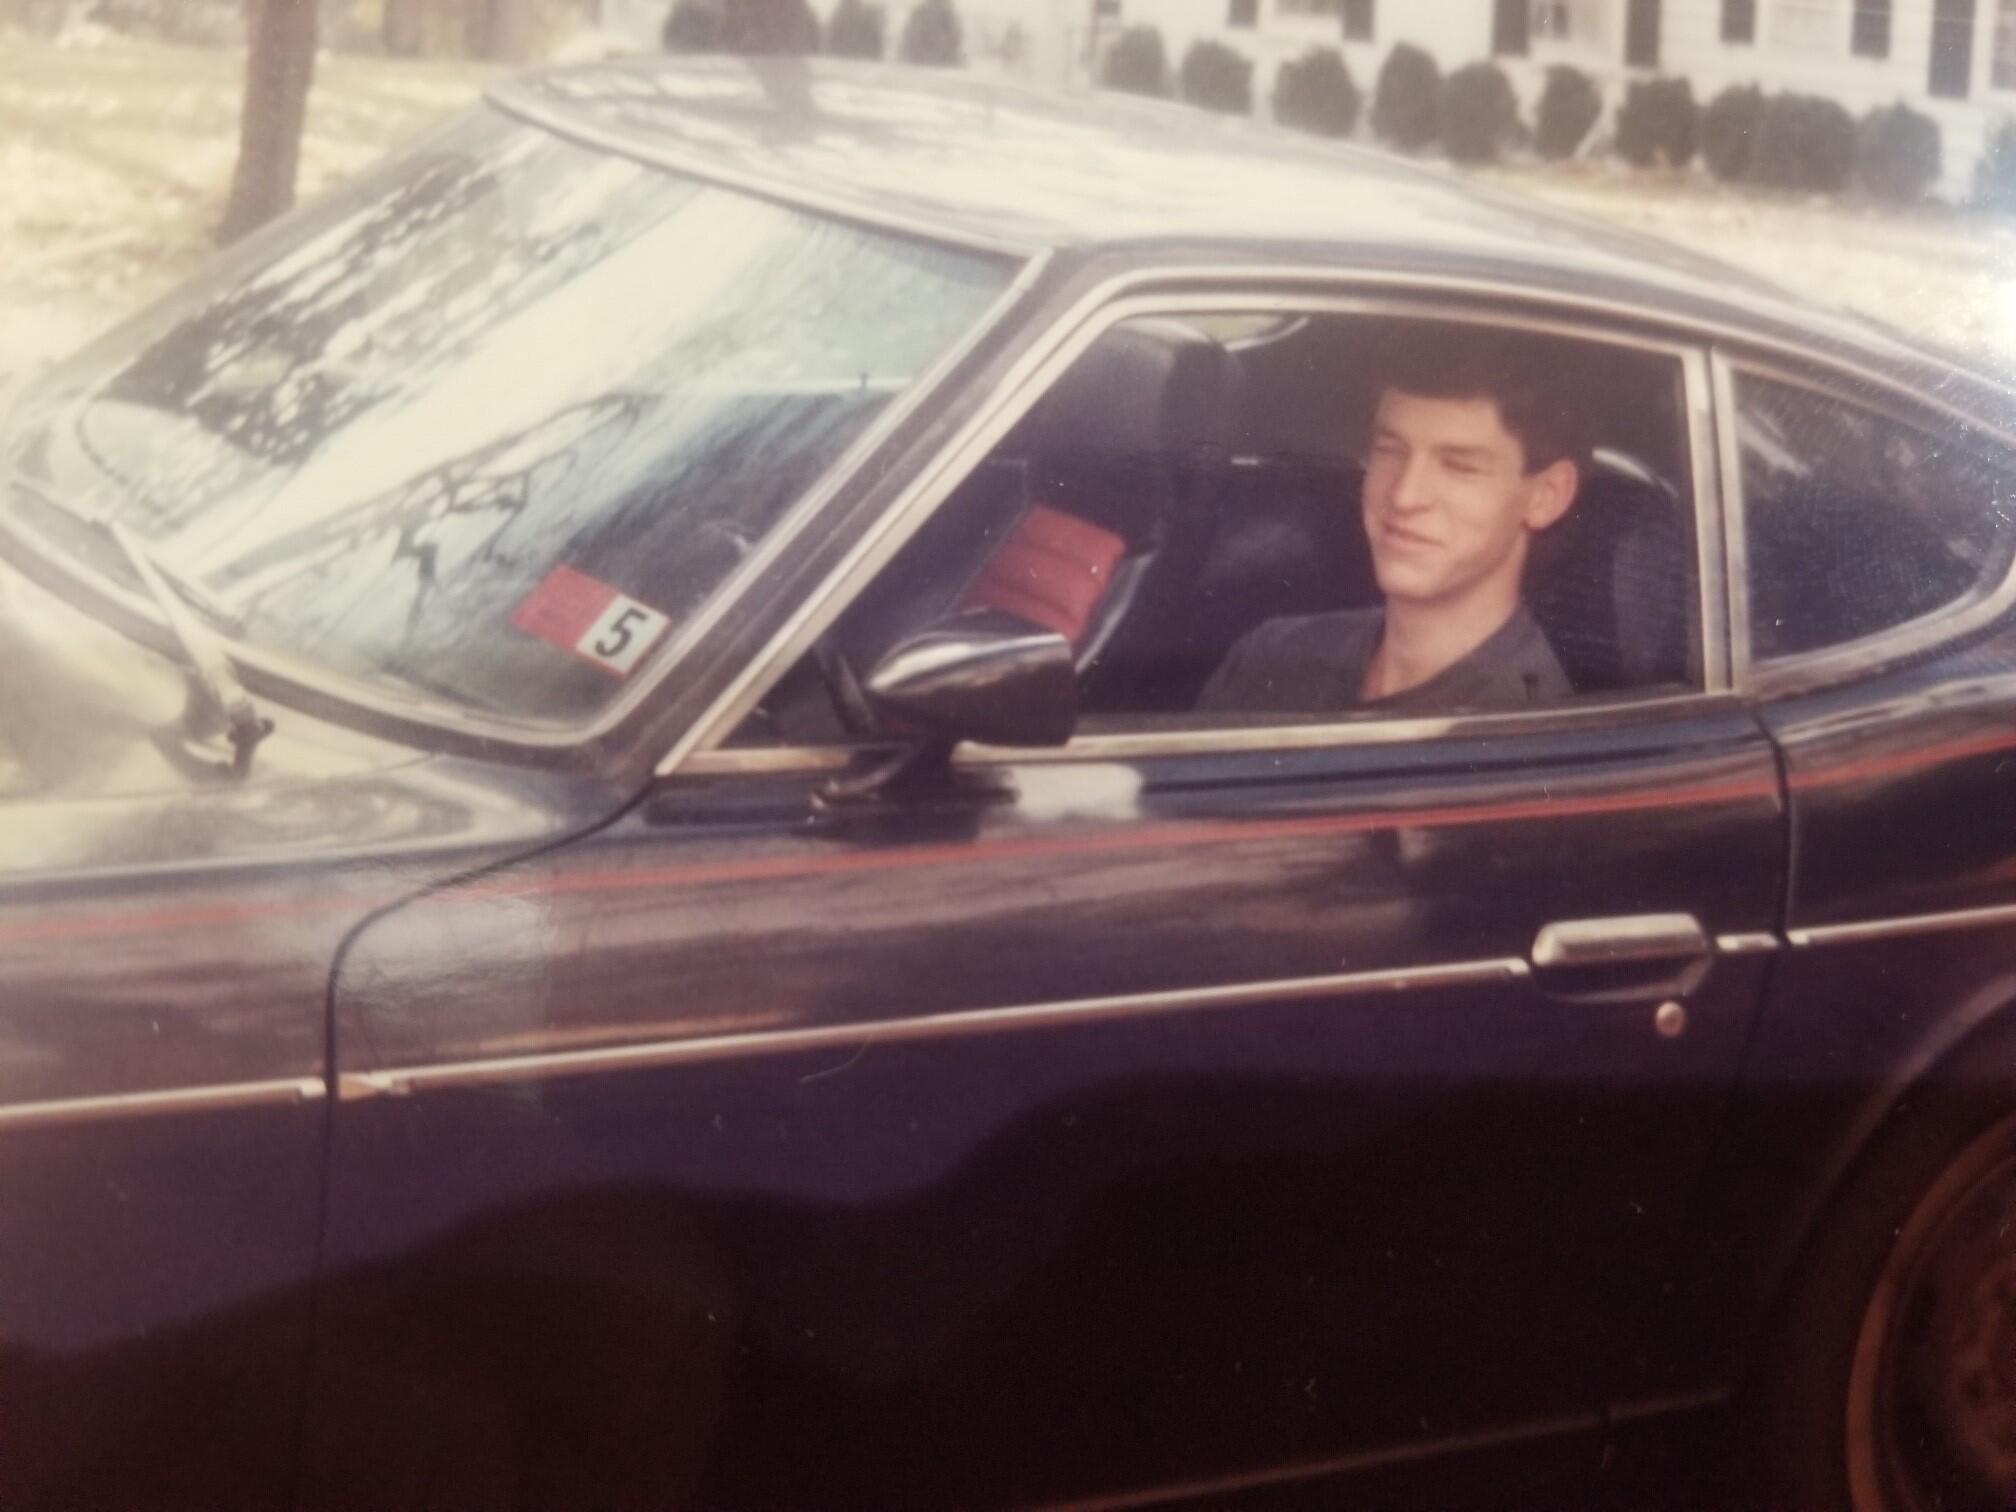
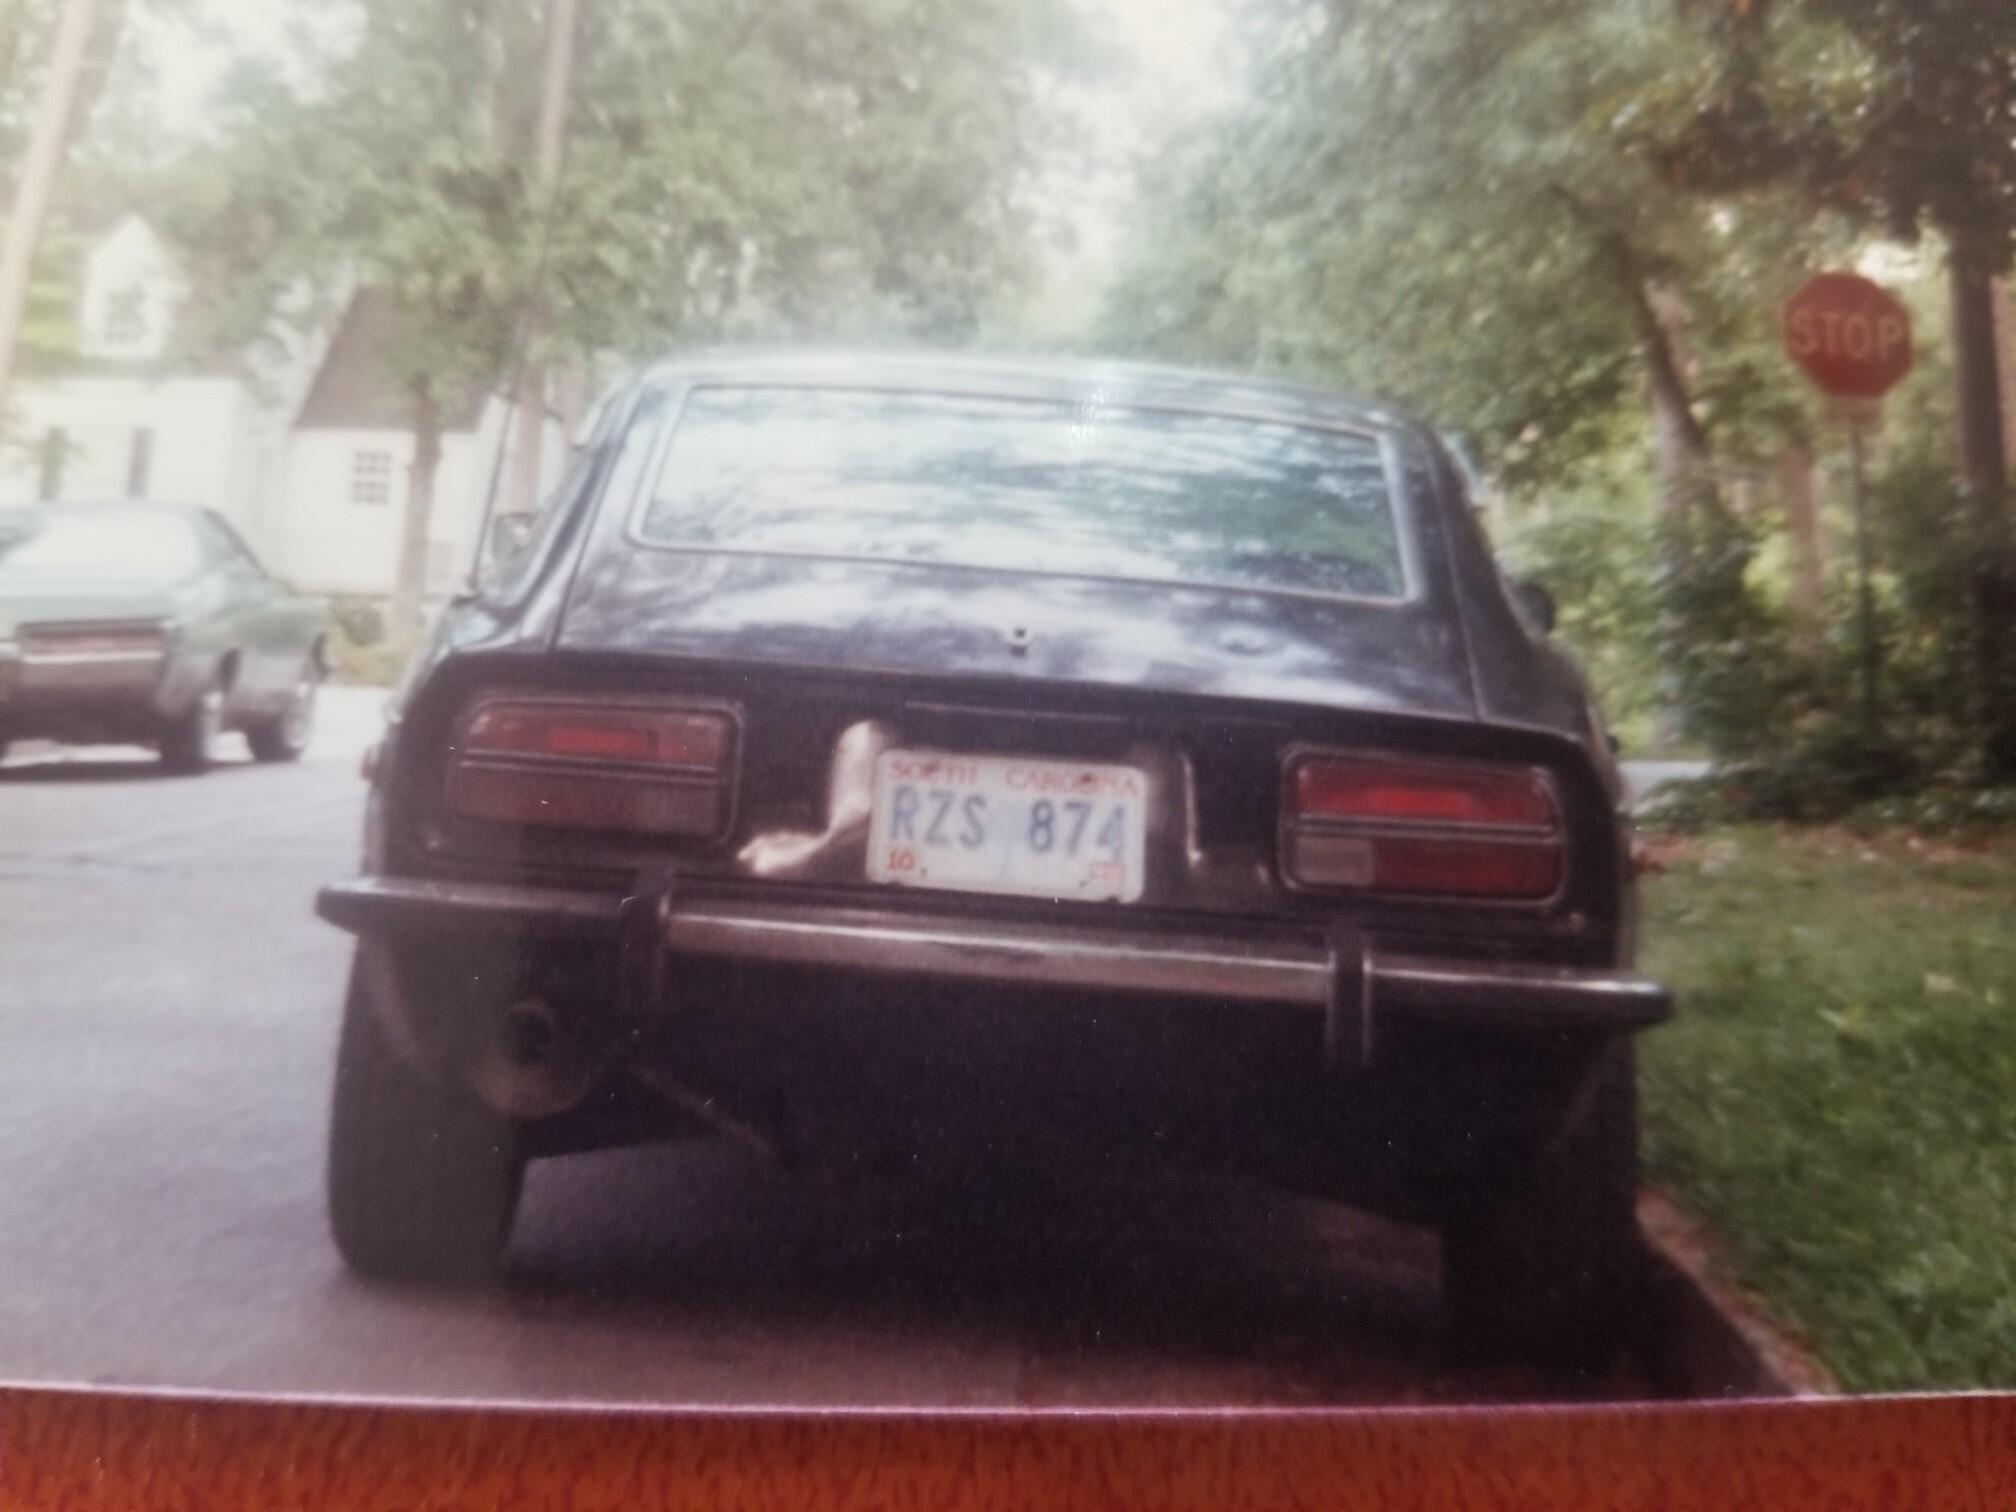
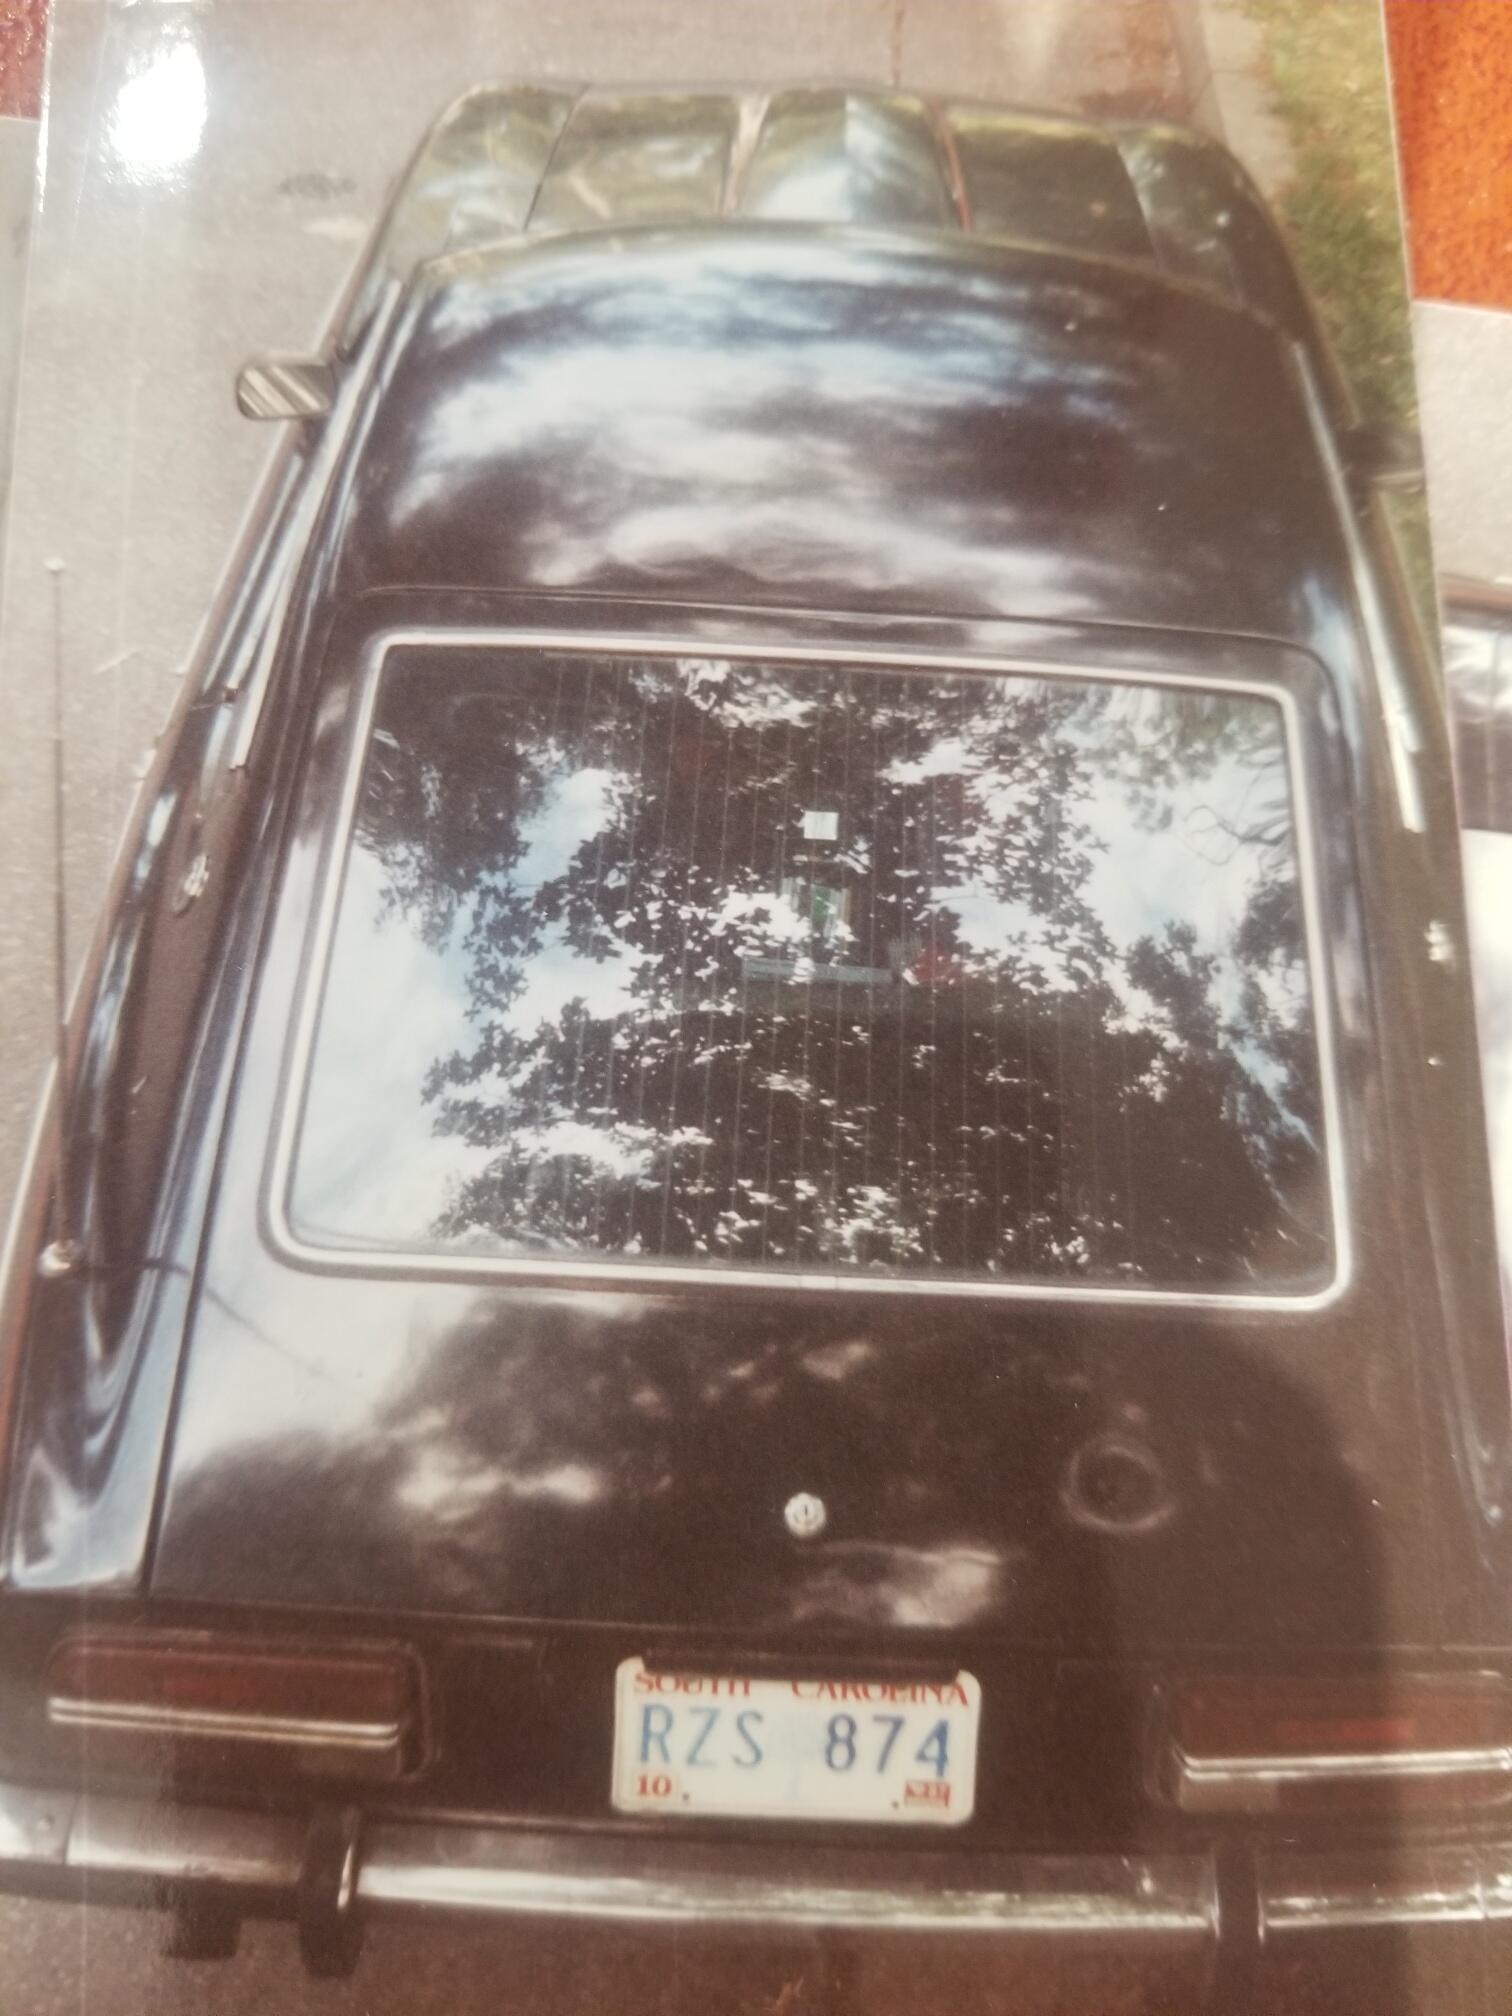
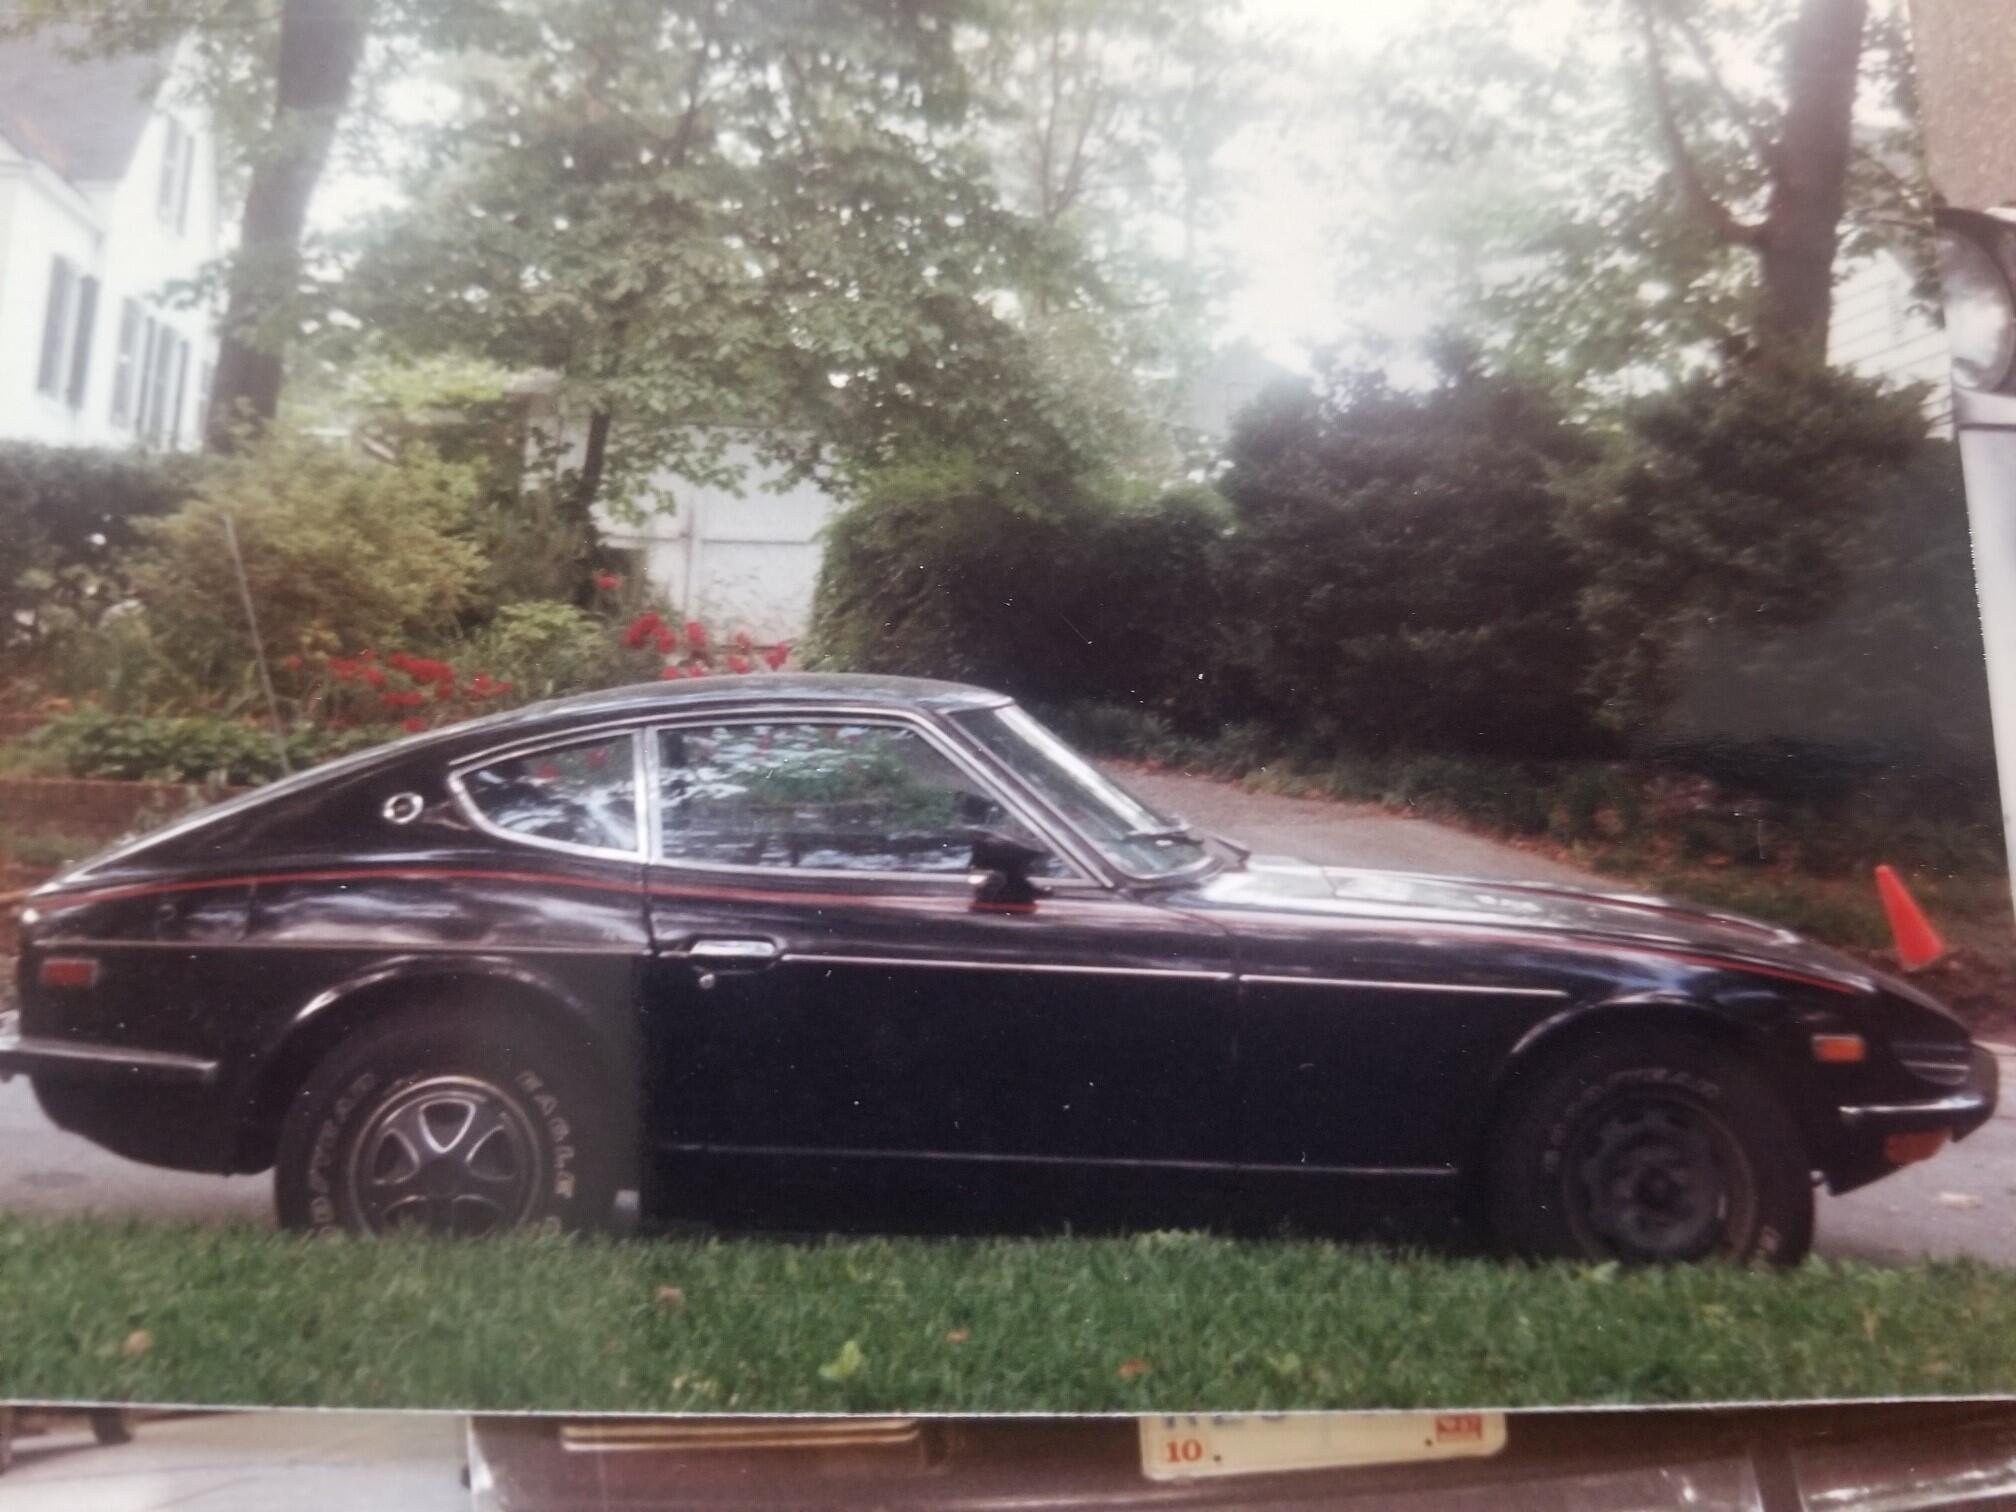
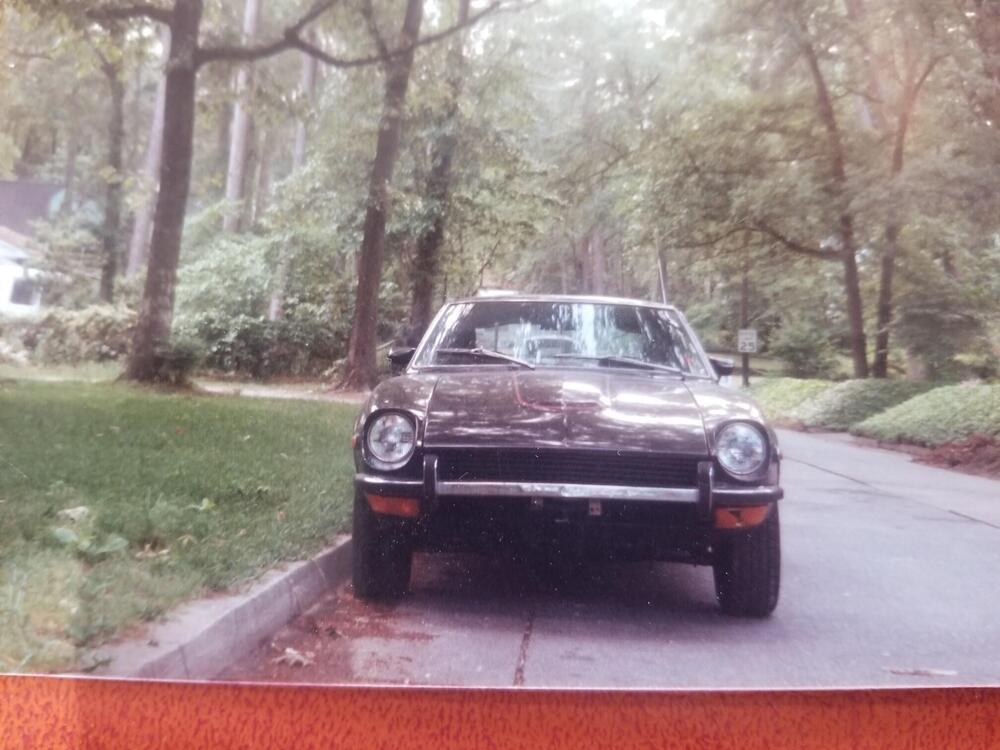
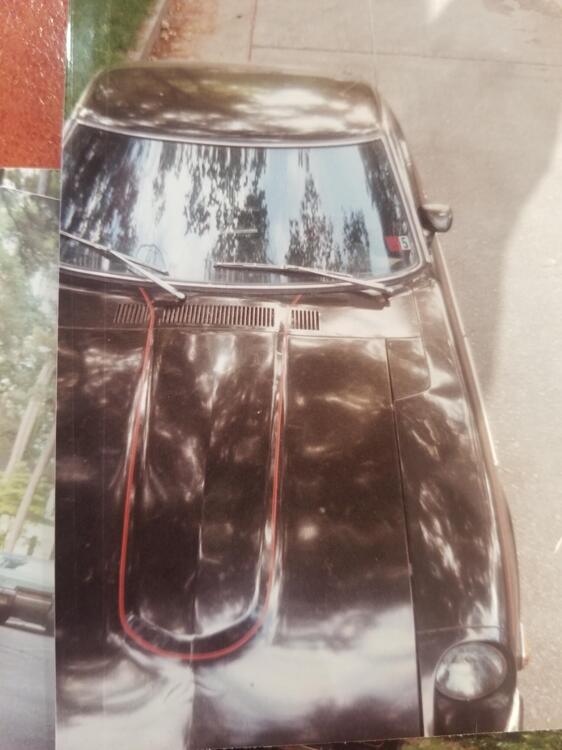
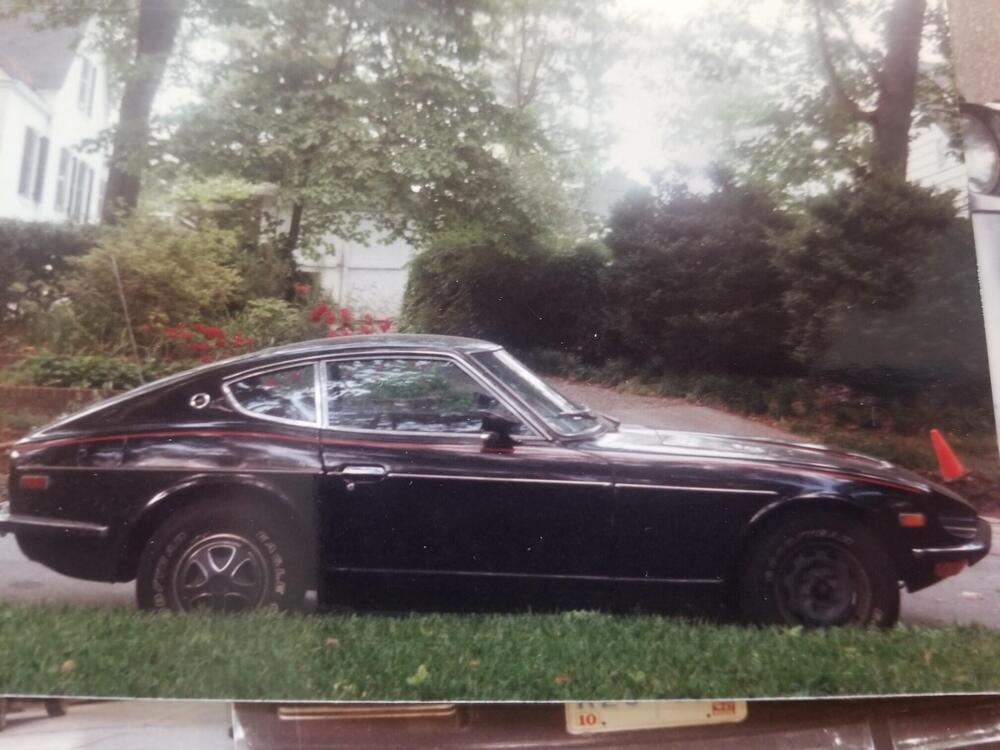
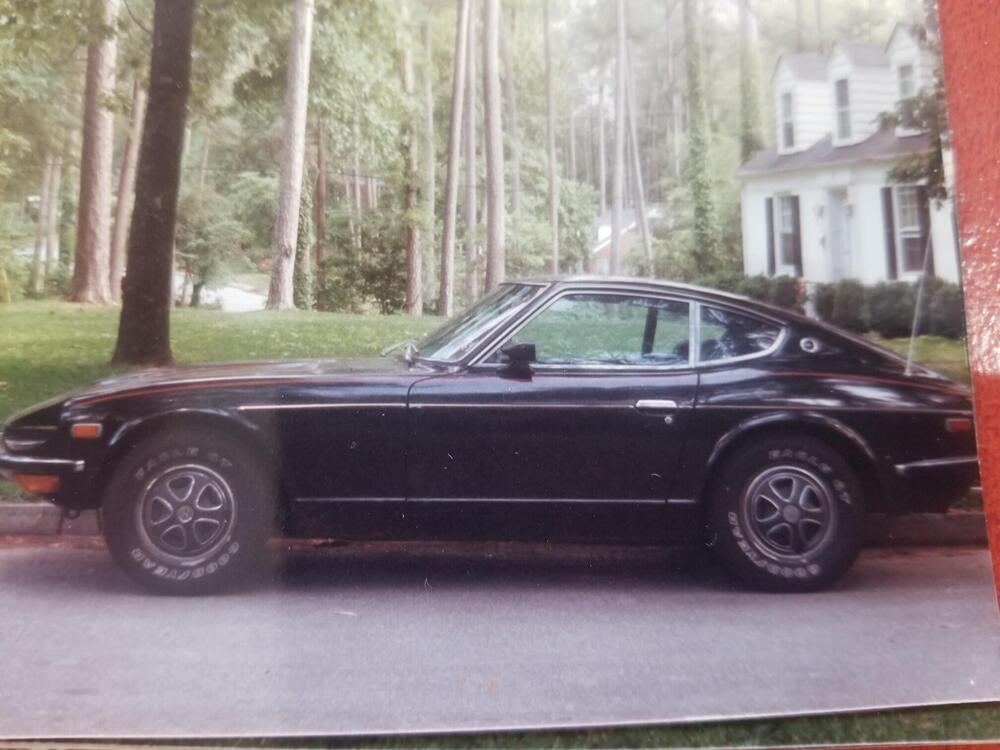
1987 My first car purchase. Saved for 2 1/2 years


-
I think some of those guys don't have an answer for me. It's a unique problem... I would have to replace the sealer with a new can because I removed too much of the liquid from the original can and not enough of the solids. So the sealer might be compromised at this point and the remainder of the can might be too. I also have the issue of trash still. Which is probably a sealer problem. I have a gallon of white base that Finishmaster's gave me to make up for my trouble, which was nice. I had about decide to run white Southern Poly epoxy over the car after I get it clean. Hopefully nothing will lift. I have found with my sanding the roof and quarters could be flatter. That is why I was asking about the acrylic boards. It is a lot of coats and that was always going to be an issue with a white under coat. I might spot prime my sand throughs but there are already a bunch of them. So that might be impractical
-
I thought the 18" curved would be nice. I thought about getting a 24" straight but there are almost no straight sections on the whole car. Im not even sure the doors are truly straight. Have you seen my thread at autobody101?
-
Chris, So I was shopping for some new blocks, since I will have to reblock the whole car. They don't have a complete sets but they do have individual blocks. If you were going to buy one flexible block and one straight block, what lengths would you want and why?
-
That's a good price. I will resist the need to hoard!
-
Rear brake bias is one of the potential issues with the rear disc brake swap.
-
I don't think air could be an issue. I have a very high quality redundant air filtration system. I am filtering through cone filters that are evidently 150-200 micron filters. I haven't seen 50 micron filters It is possible that static is an issue sometimes. Although it had rained the day before and was fairly humid so static risk should have been low. I have not been onto Autobody 101 to ask. I guess that could be an option. At one time I did have a ground cable to the chassis but have not done it in a while. The alcohol wipe is a good idea. I don't know that I will use sealer again after getting burned like this. 800 seems pretty fine?
-
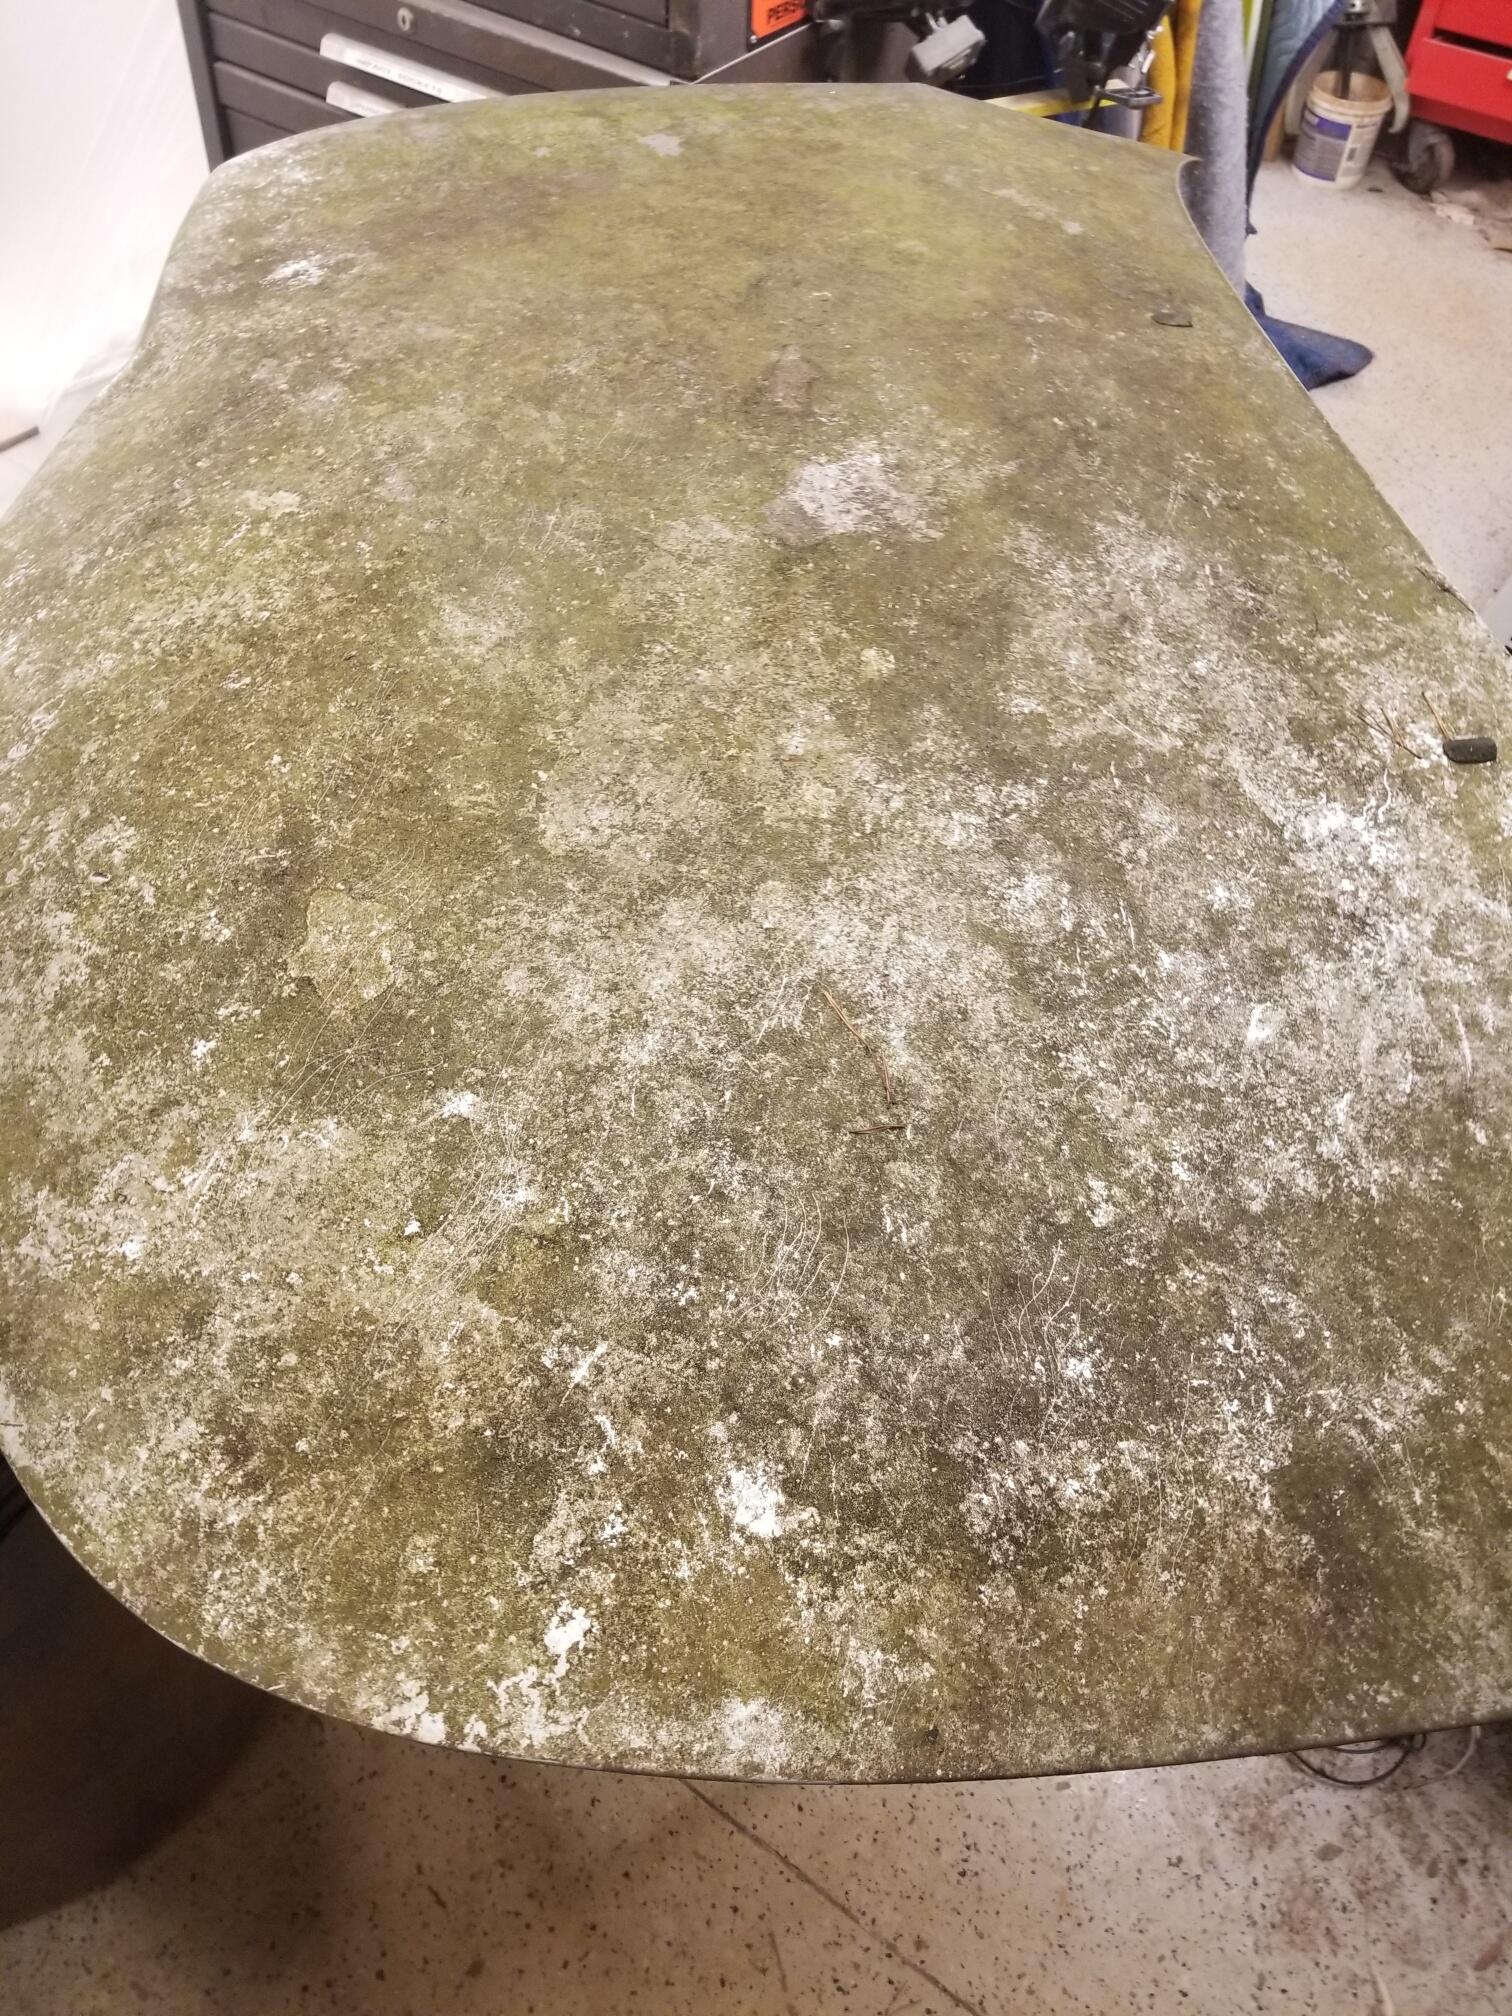
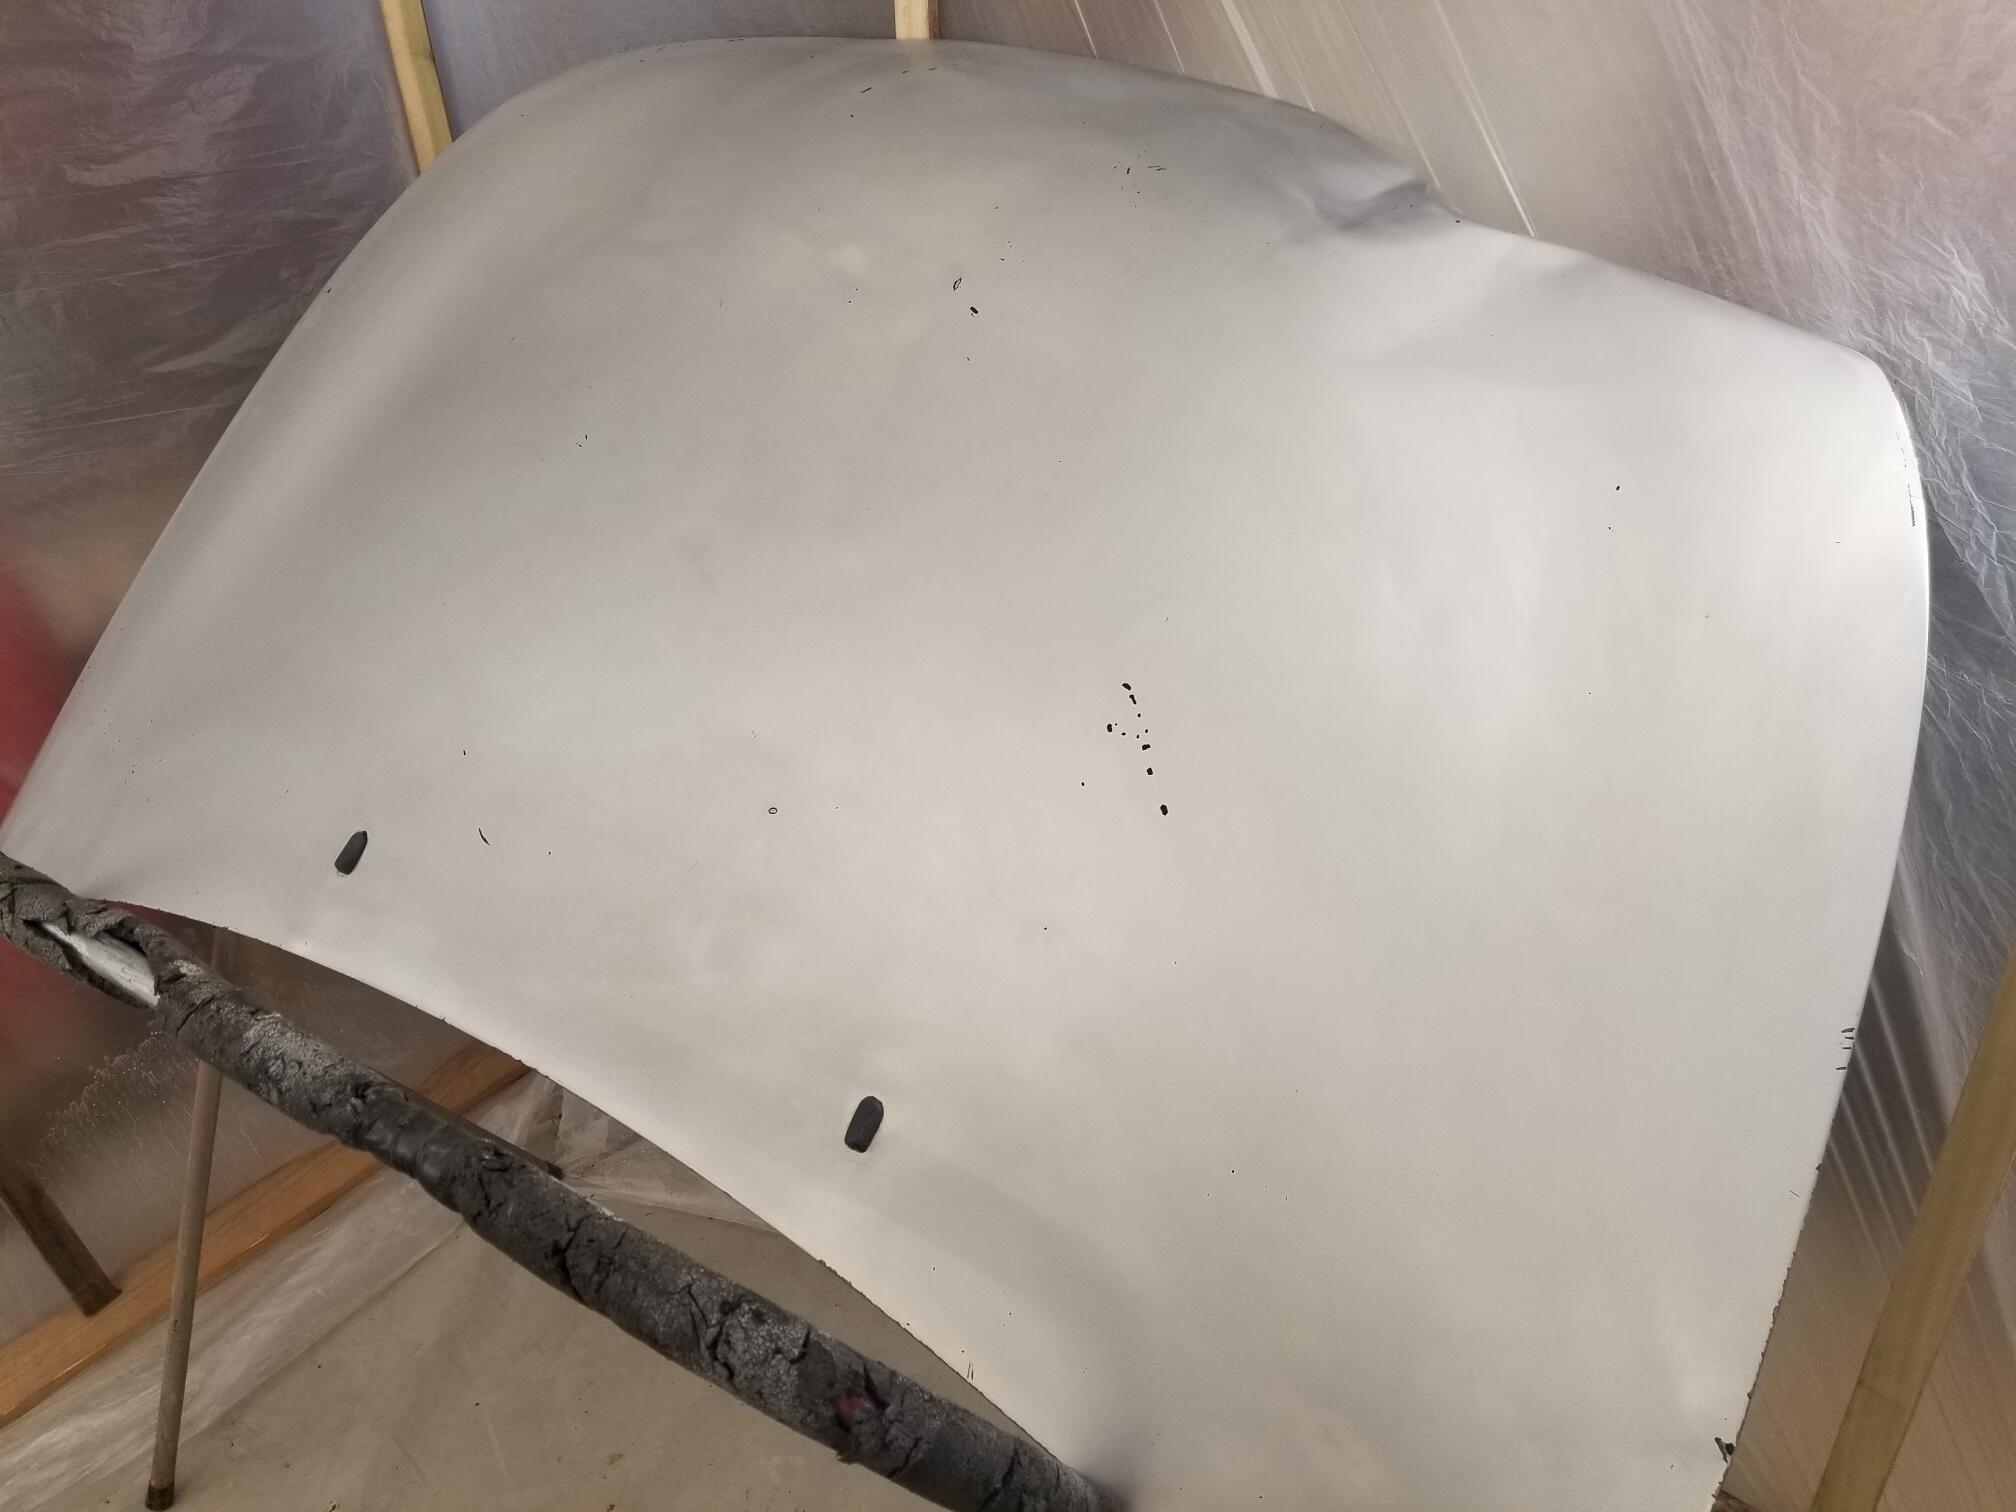
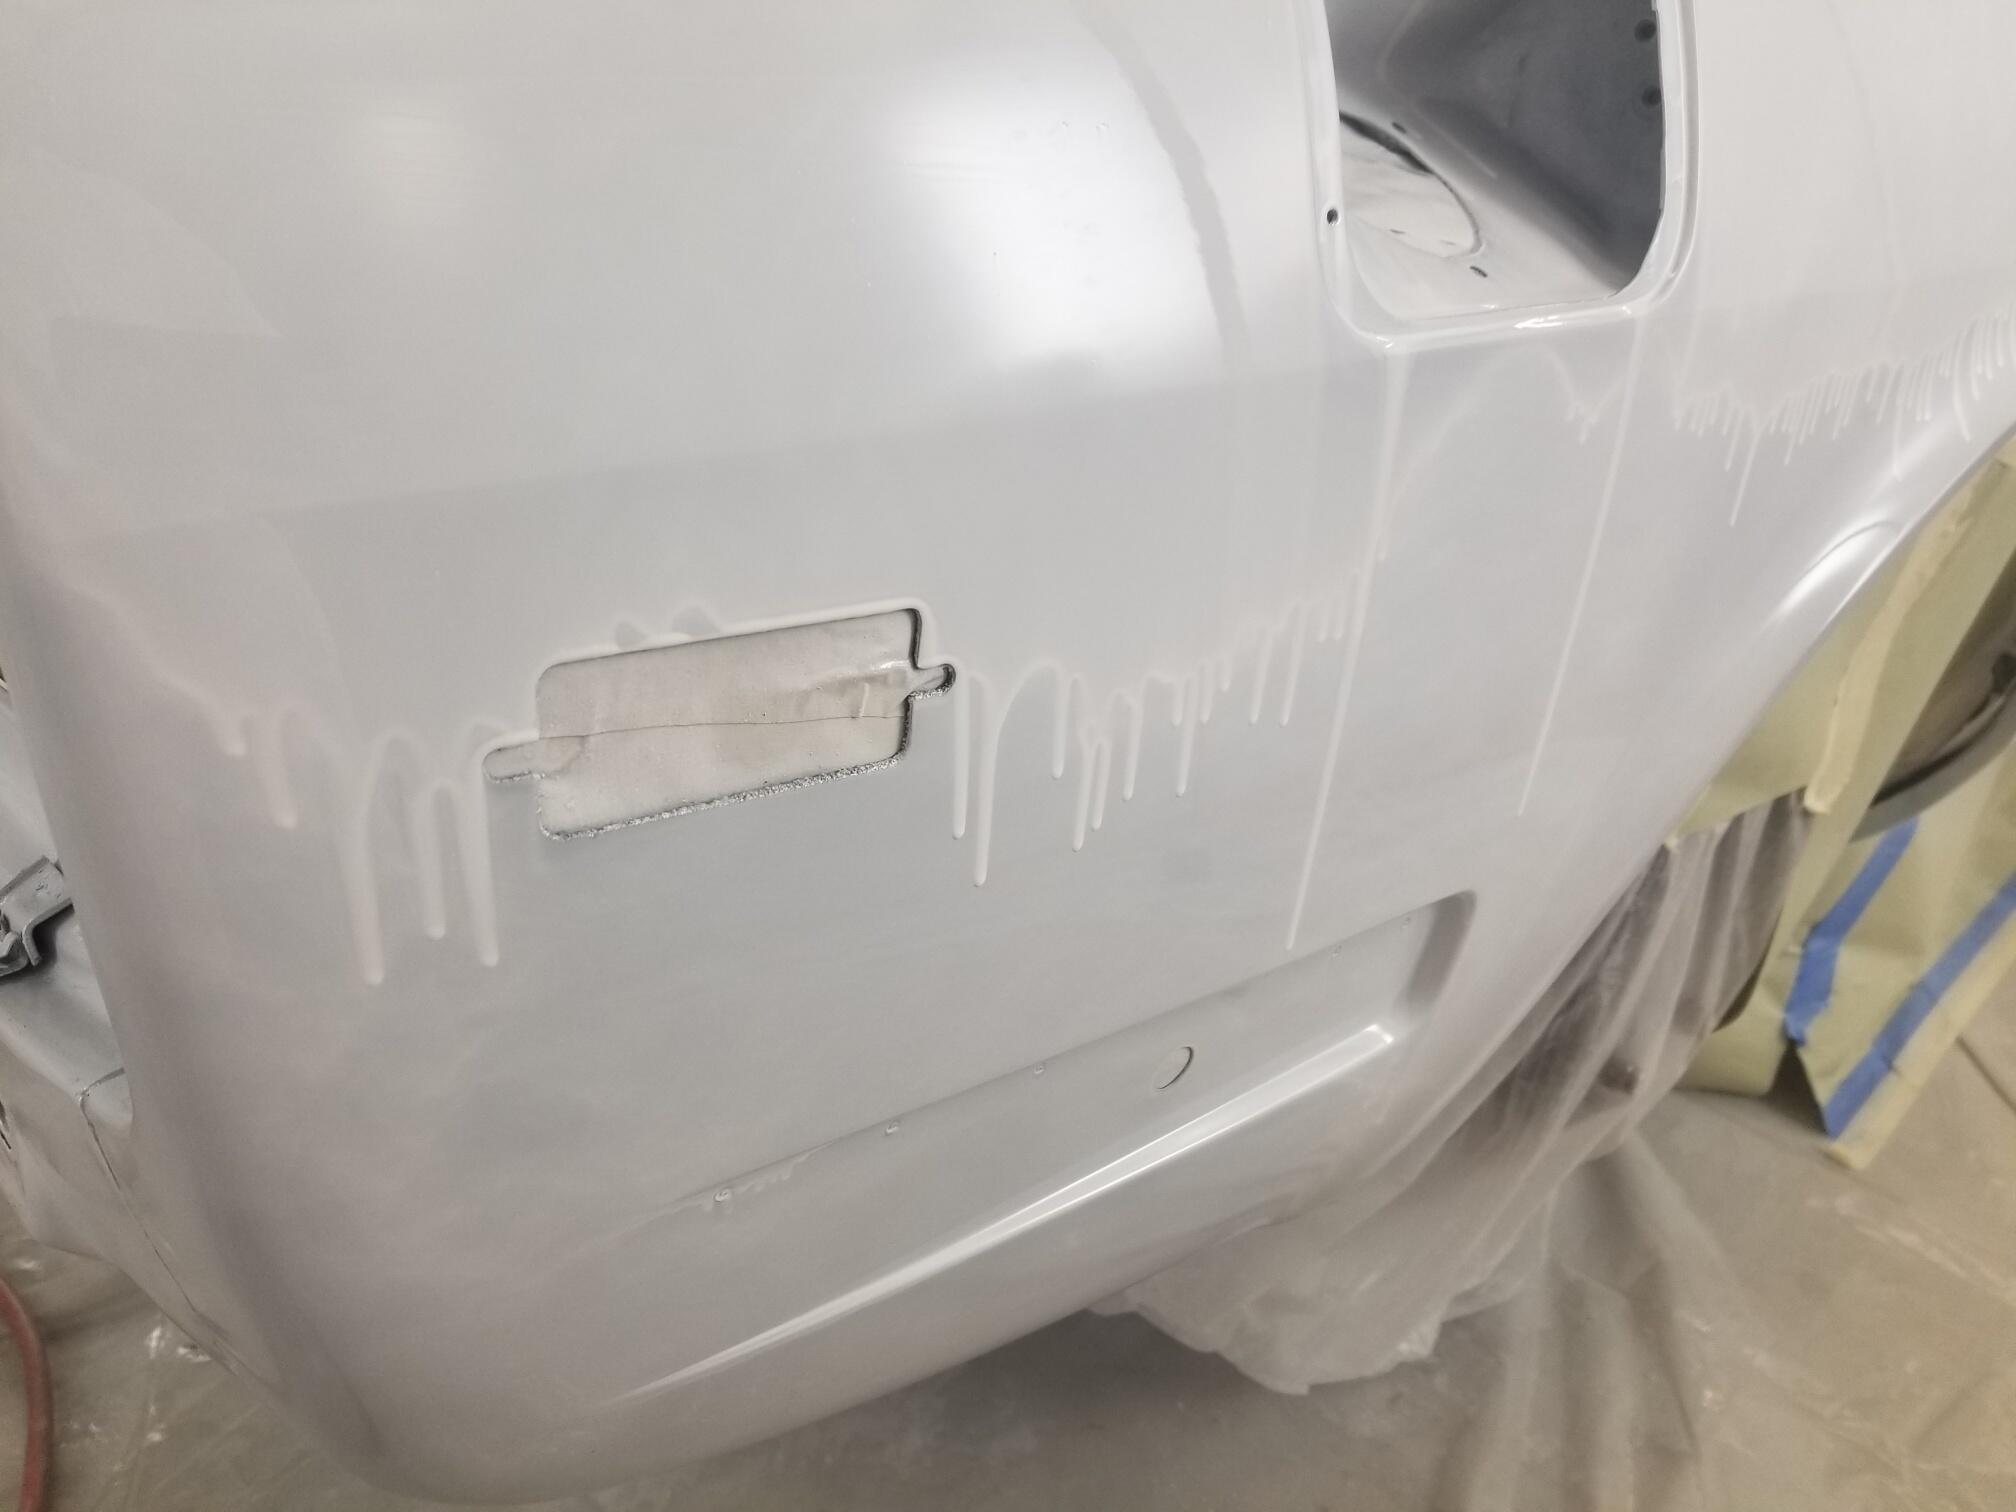
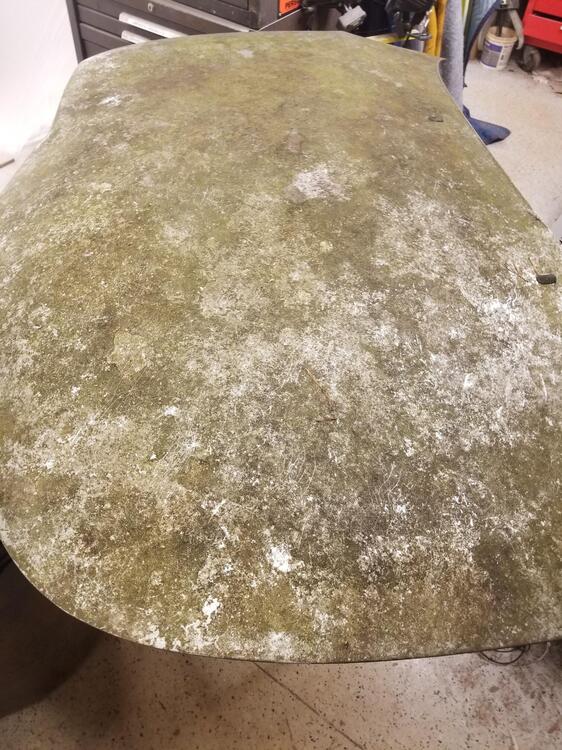
I made a test panel today. Pulled an old junk hood out of the yard. Covered in green funk. Scrubbed it with warm soapy water, degrease, wet sand at 600, then sealer. Still have some funk in the sealer but maybe not as much So I spent over an hour at finishmasters today. The general consensus is the sealer wasn't mixed enough but we can't account for the specs. He did some testing on the can but it didn't show a problem. It's possible the catalyst is going bad. Either way I'm not going to use any more of the sealer going forward. I will use white base coat like I originally did. The bad news is all of the white sealer needs to come off. It's not very thick but it's hard! I've already cut through in some areas and my blocking is already ruined in many areas. So I won't have a car ready for Zcon this year 😞 I have pushed pretty hard this fall to get the car ready for paint and now I have 60-100 hours of sanding to get back to GO. Then I will need to reprime, block, retape, rebuild the booth, etc. Pretty demoralizing...


-
I don't find it to be a dumb question, but I don't know enough about the internal details of a master cylinder to know if the ports can be used interchangeably
-
https://www.chevelles.com/threads/nason-primer-sealer.344661/ This might be an apt description "looks sandy"
-
I really don't know. That is part of what's so frustrating. The shop was about 64 degrees when I went in this morning and heated it up to close to 70 before spraying. I am using a normal activator. I assume they offer a faster catalyst which might help. I can rule out the new gun, because I didn't use it. The sealer wanted a 1.5 tip and the new gun only has tips up to 1.4. So I used my old gun. I didn't get runs on the left side of the car where I laid a flash coat down and then a second flash coat. It almost covered with two flash coats. The bigger problem than the runs is the trash. I always have some trash in my paint no matter how hard I try, but I suspect the sealer. I have had it for a while but not an unreasonably long time. There is trash in the rocker panels and low on the rear valance. So probably not airborne dust. I also should have tried to get the runs off the car before they cured. They are gonna be a pain to deal with... I think my next step is to pull an old piece of sheet metal out of the pile and prep it to 600. If it's not windy outside tomorrow I will shoot sealer on it. If it has tons of crap in it then it's nothing to do with the shop and it's in the sealer.
-
Post #128 in the first one; #14 in the second link
-
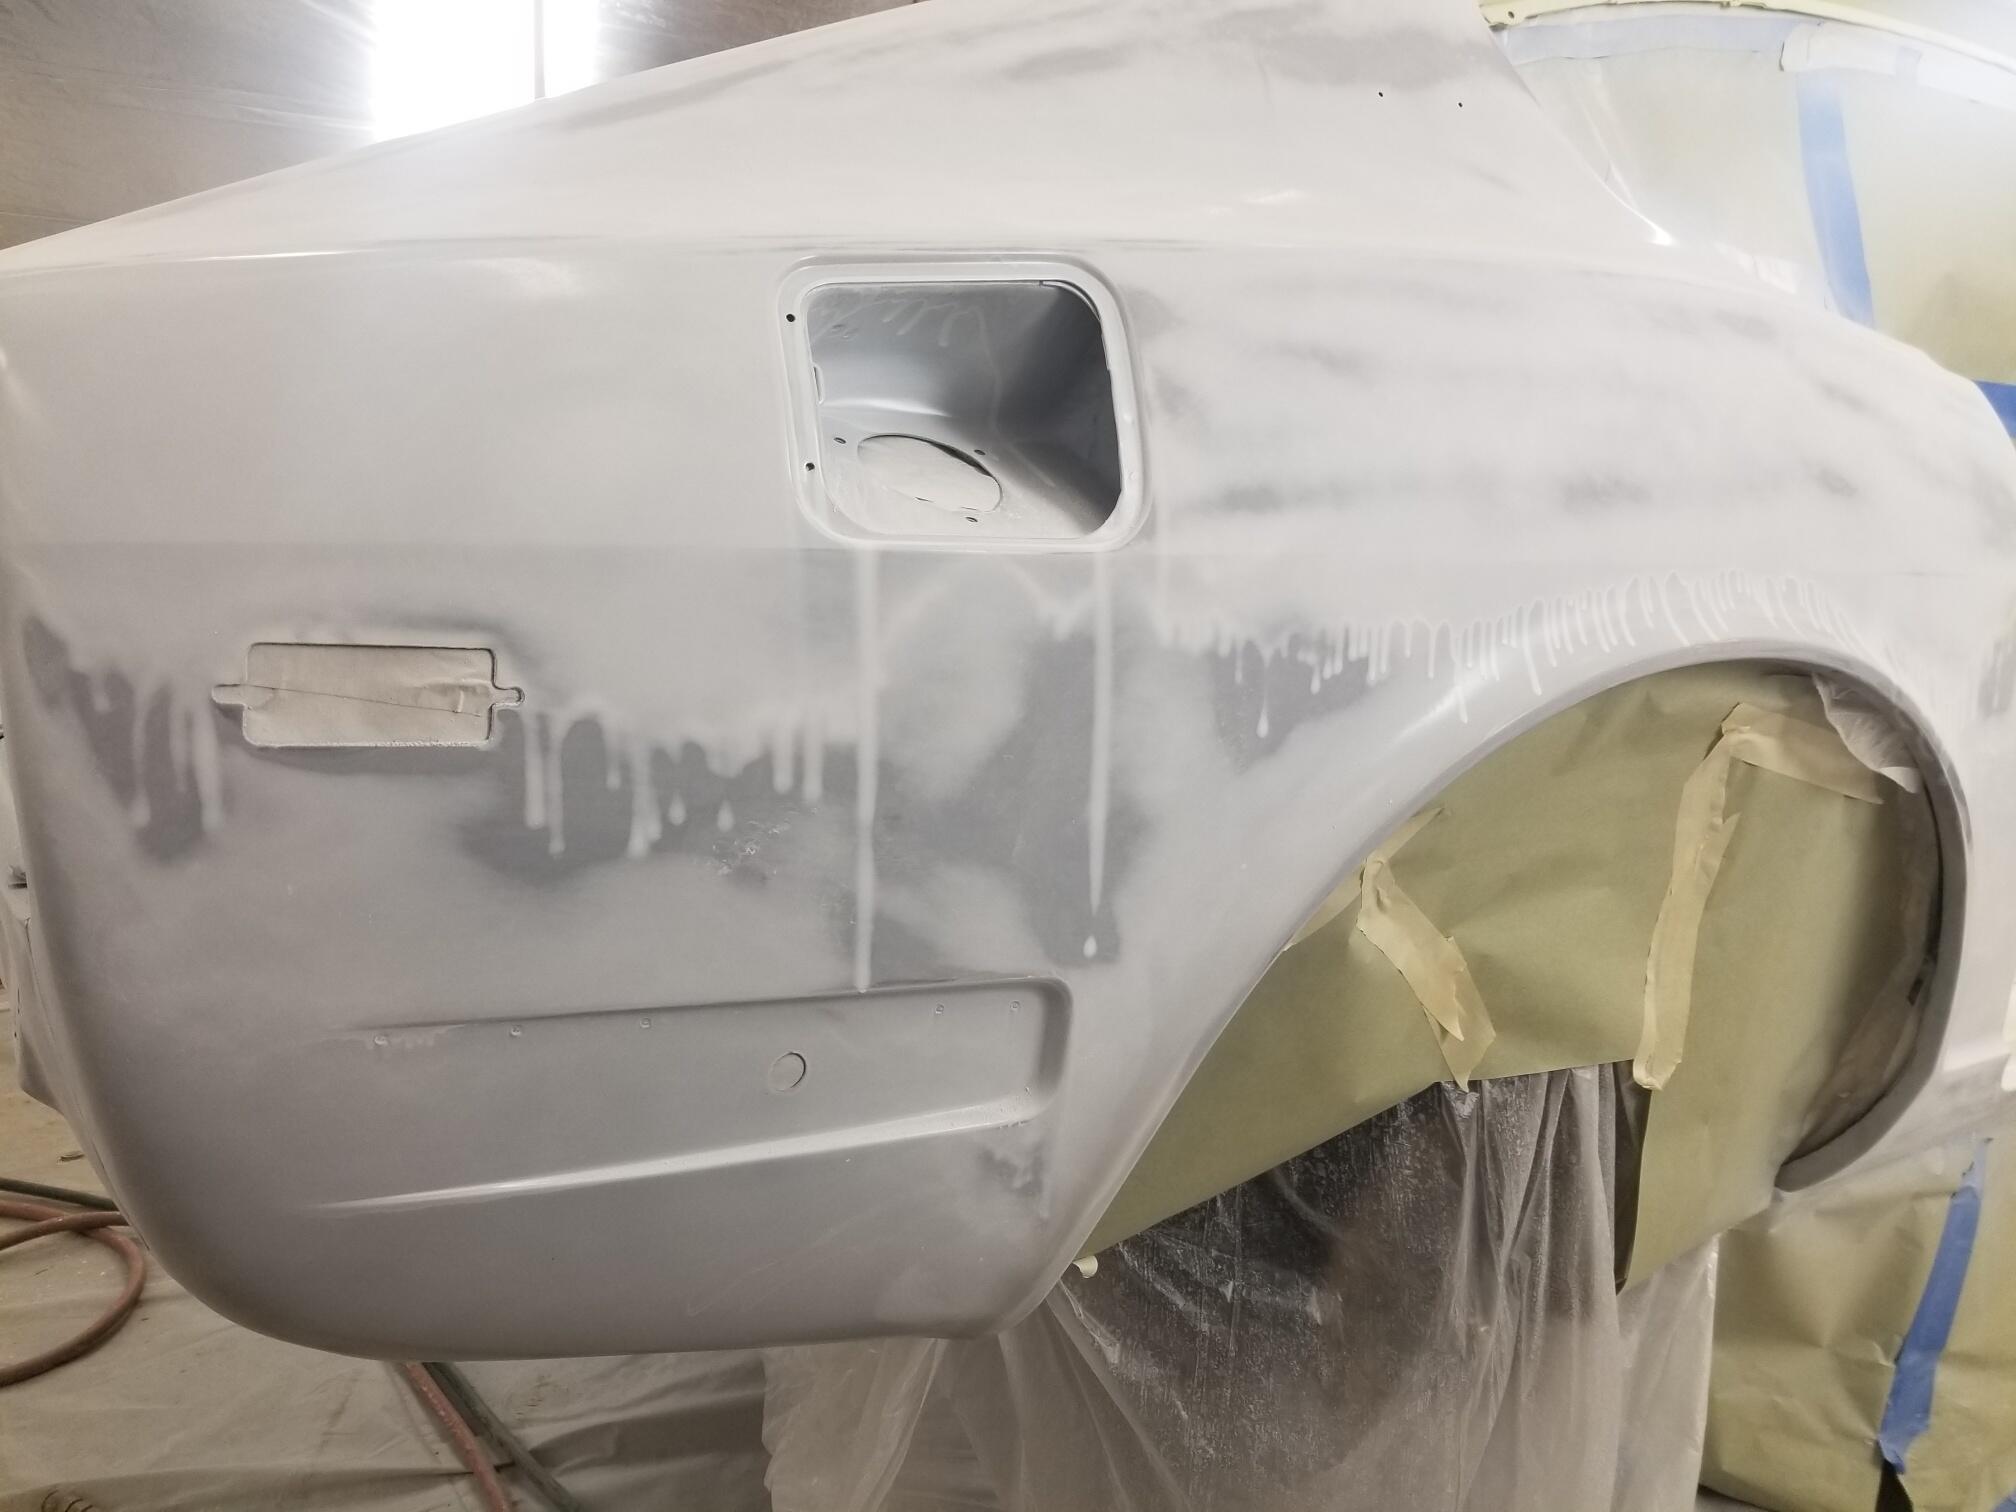
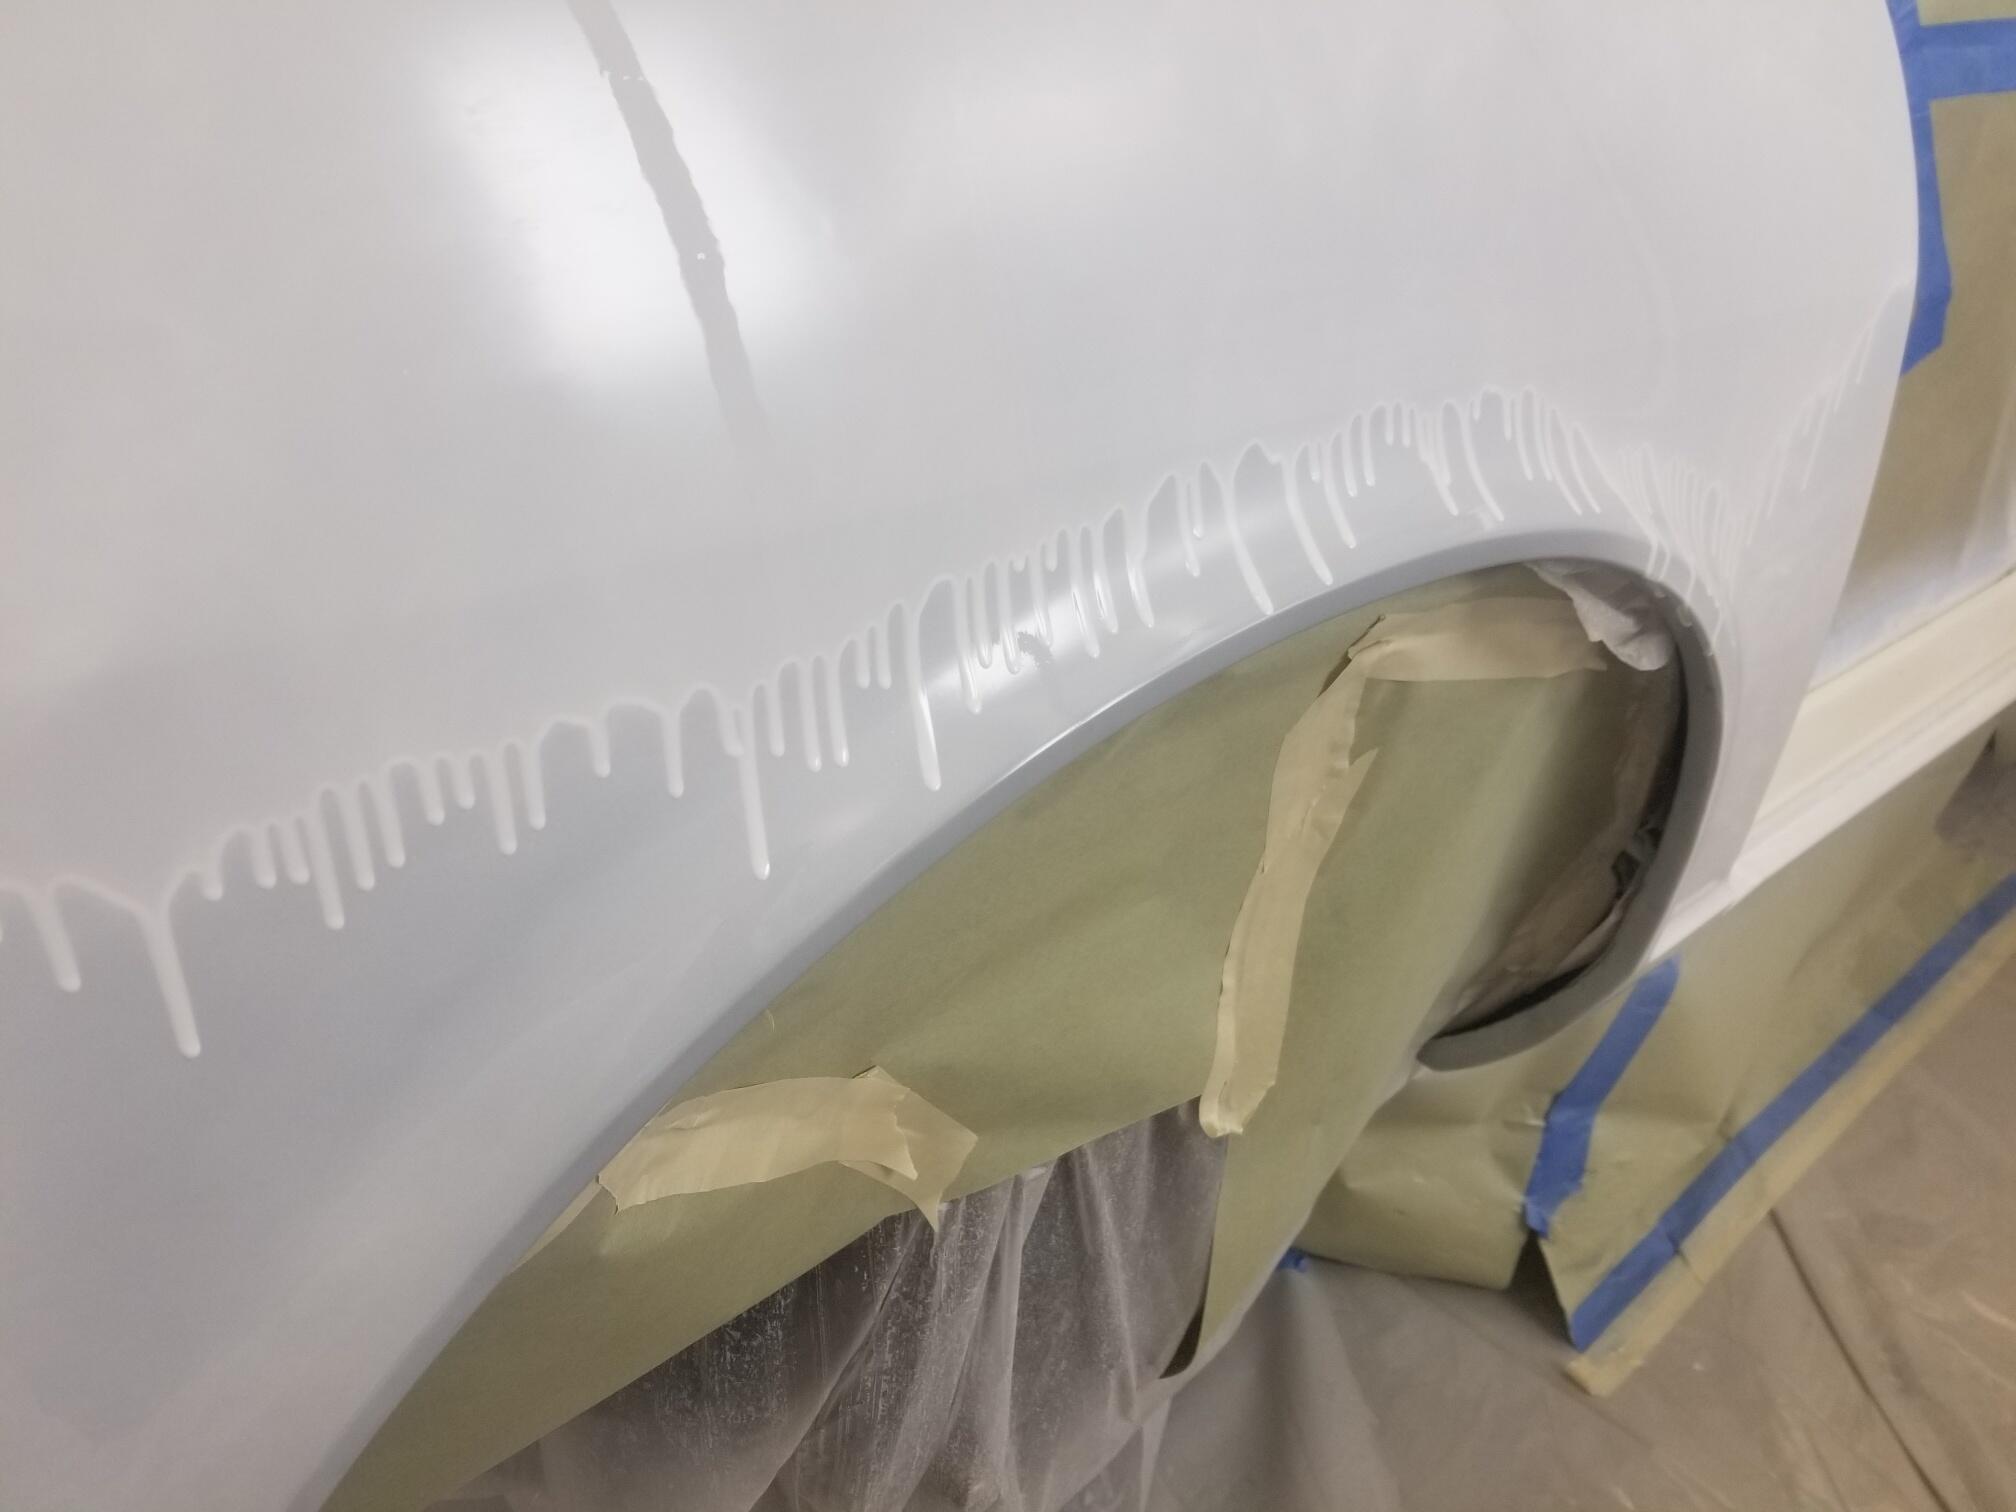
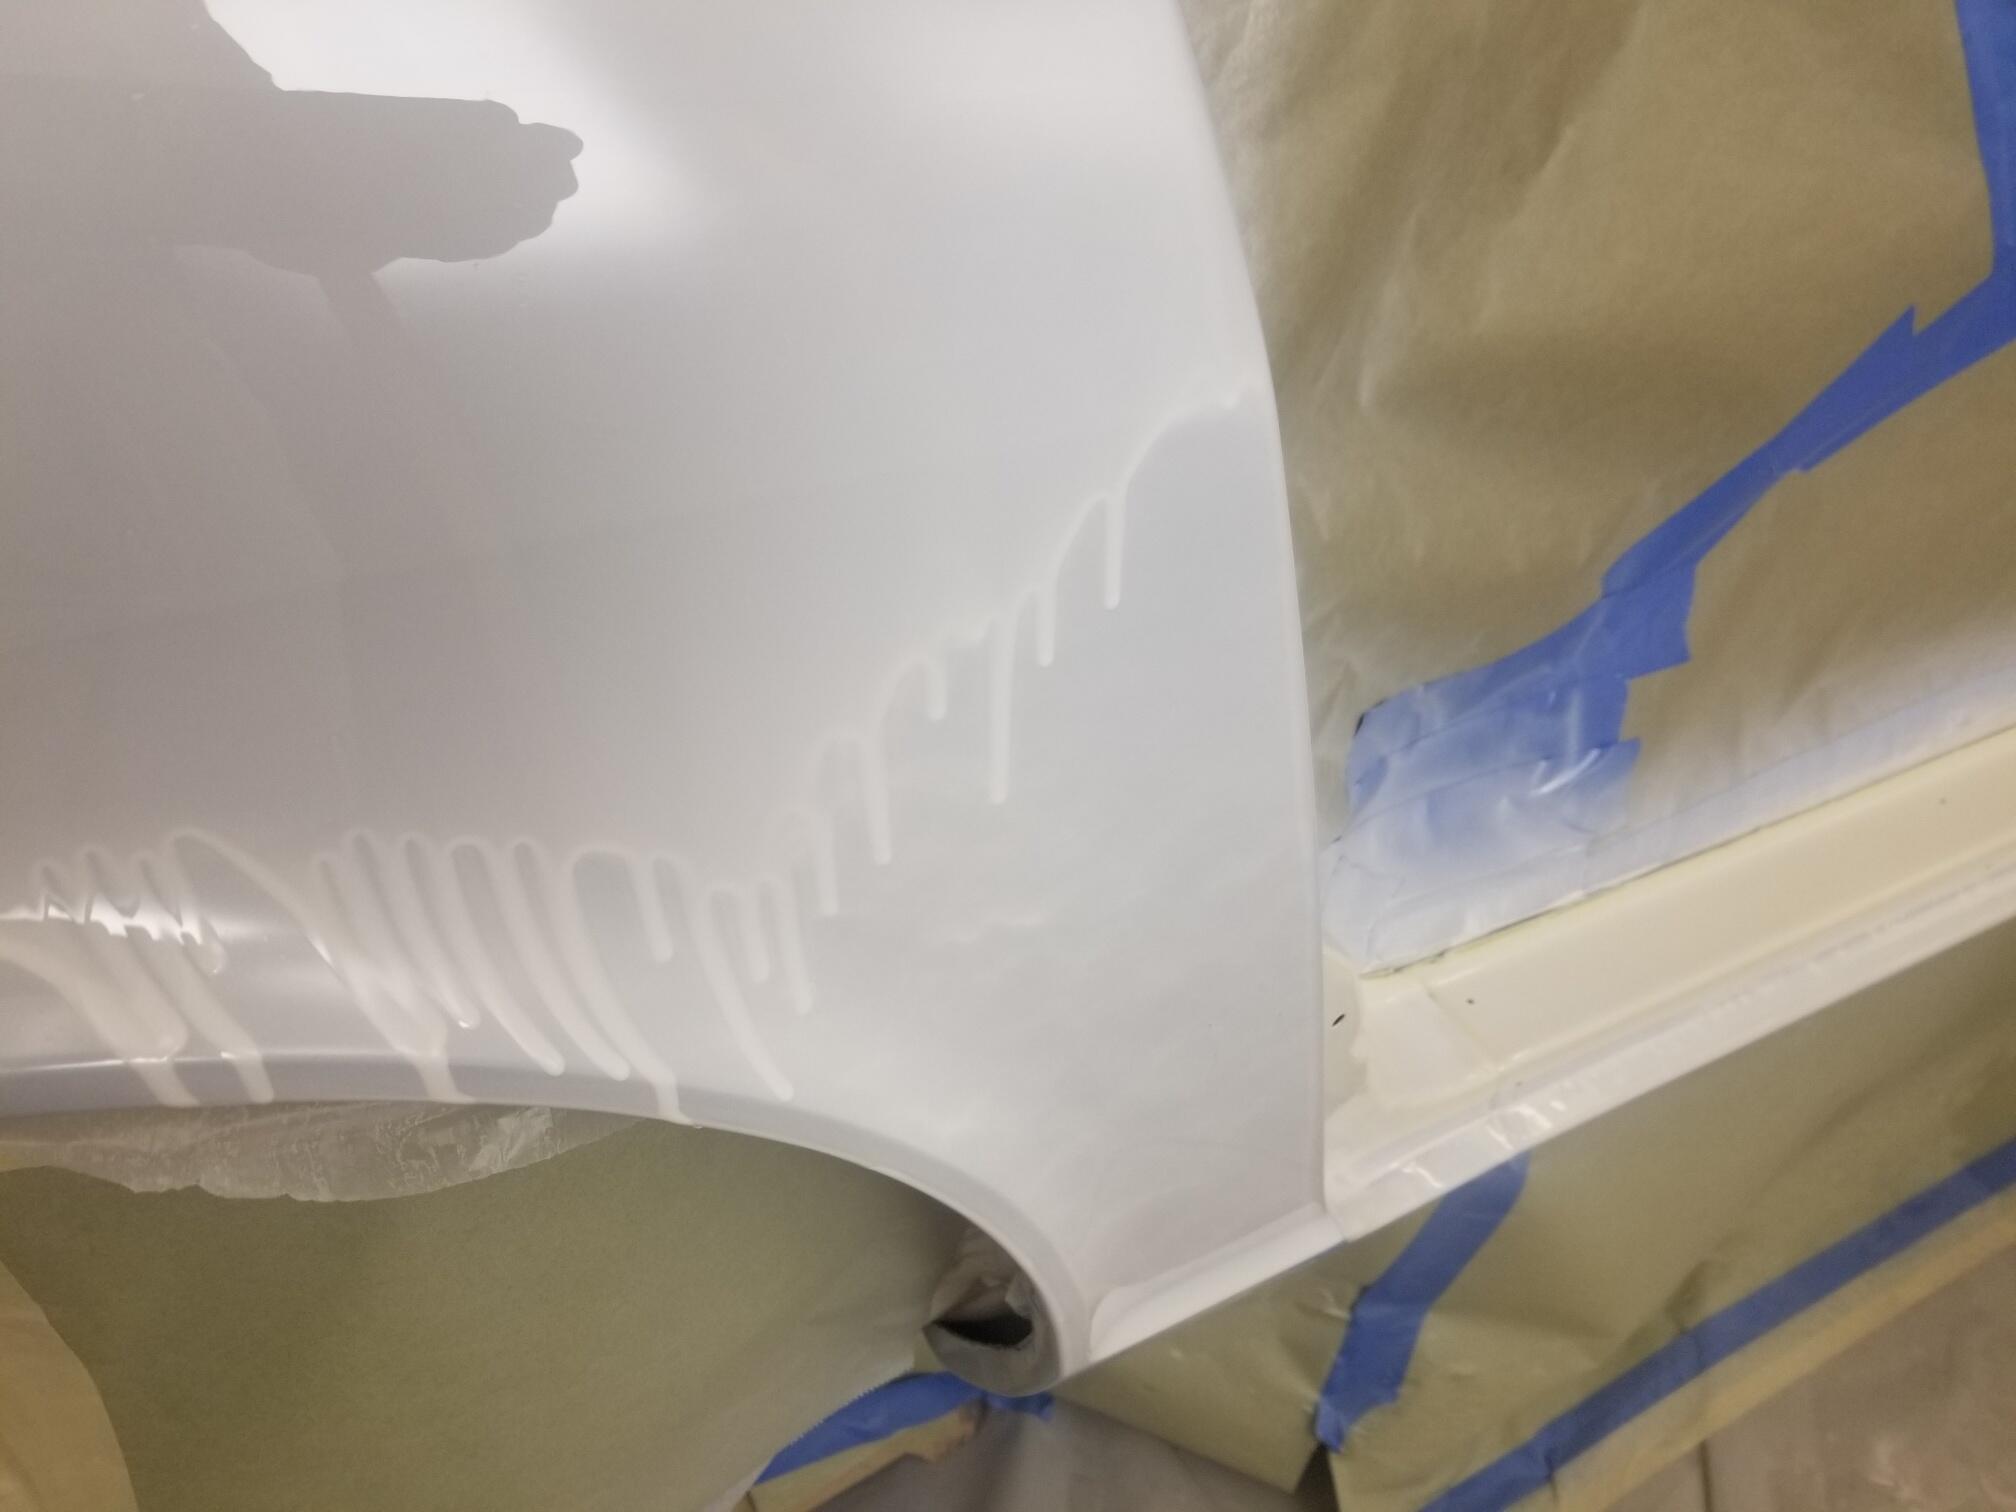
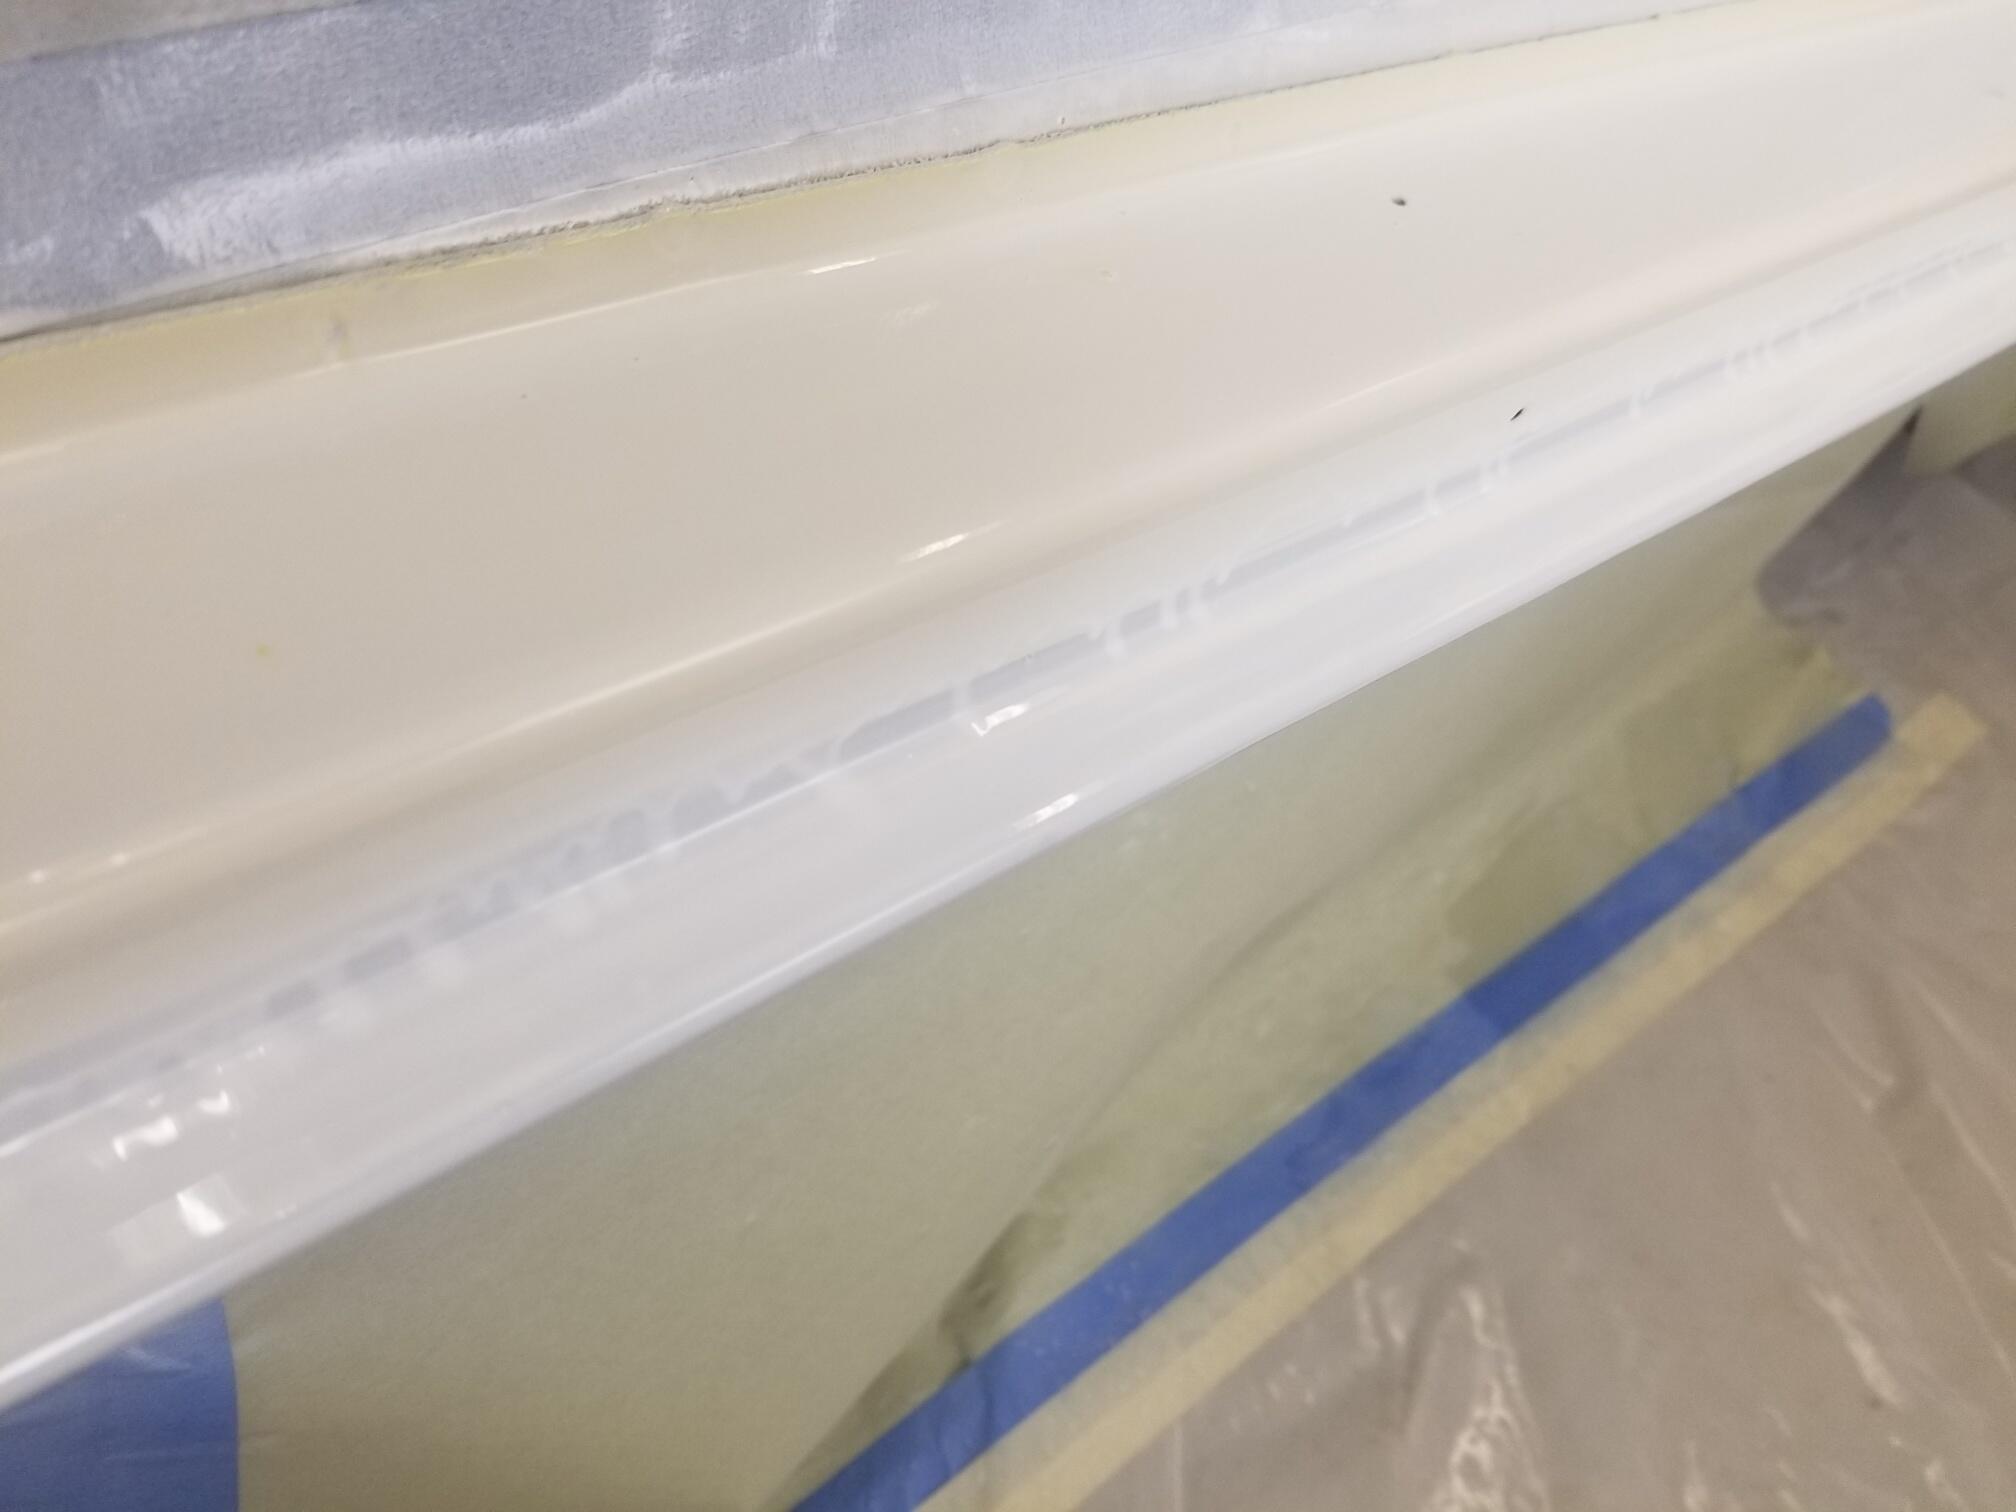
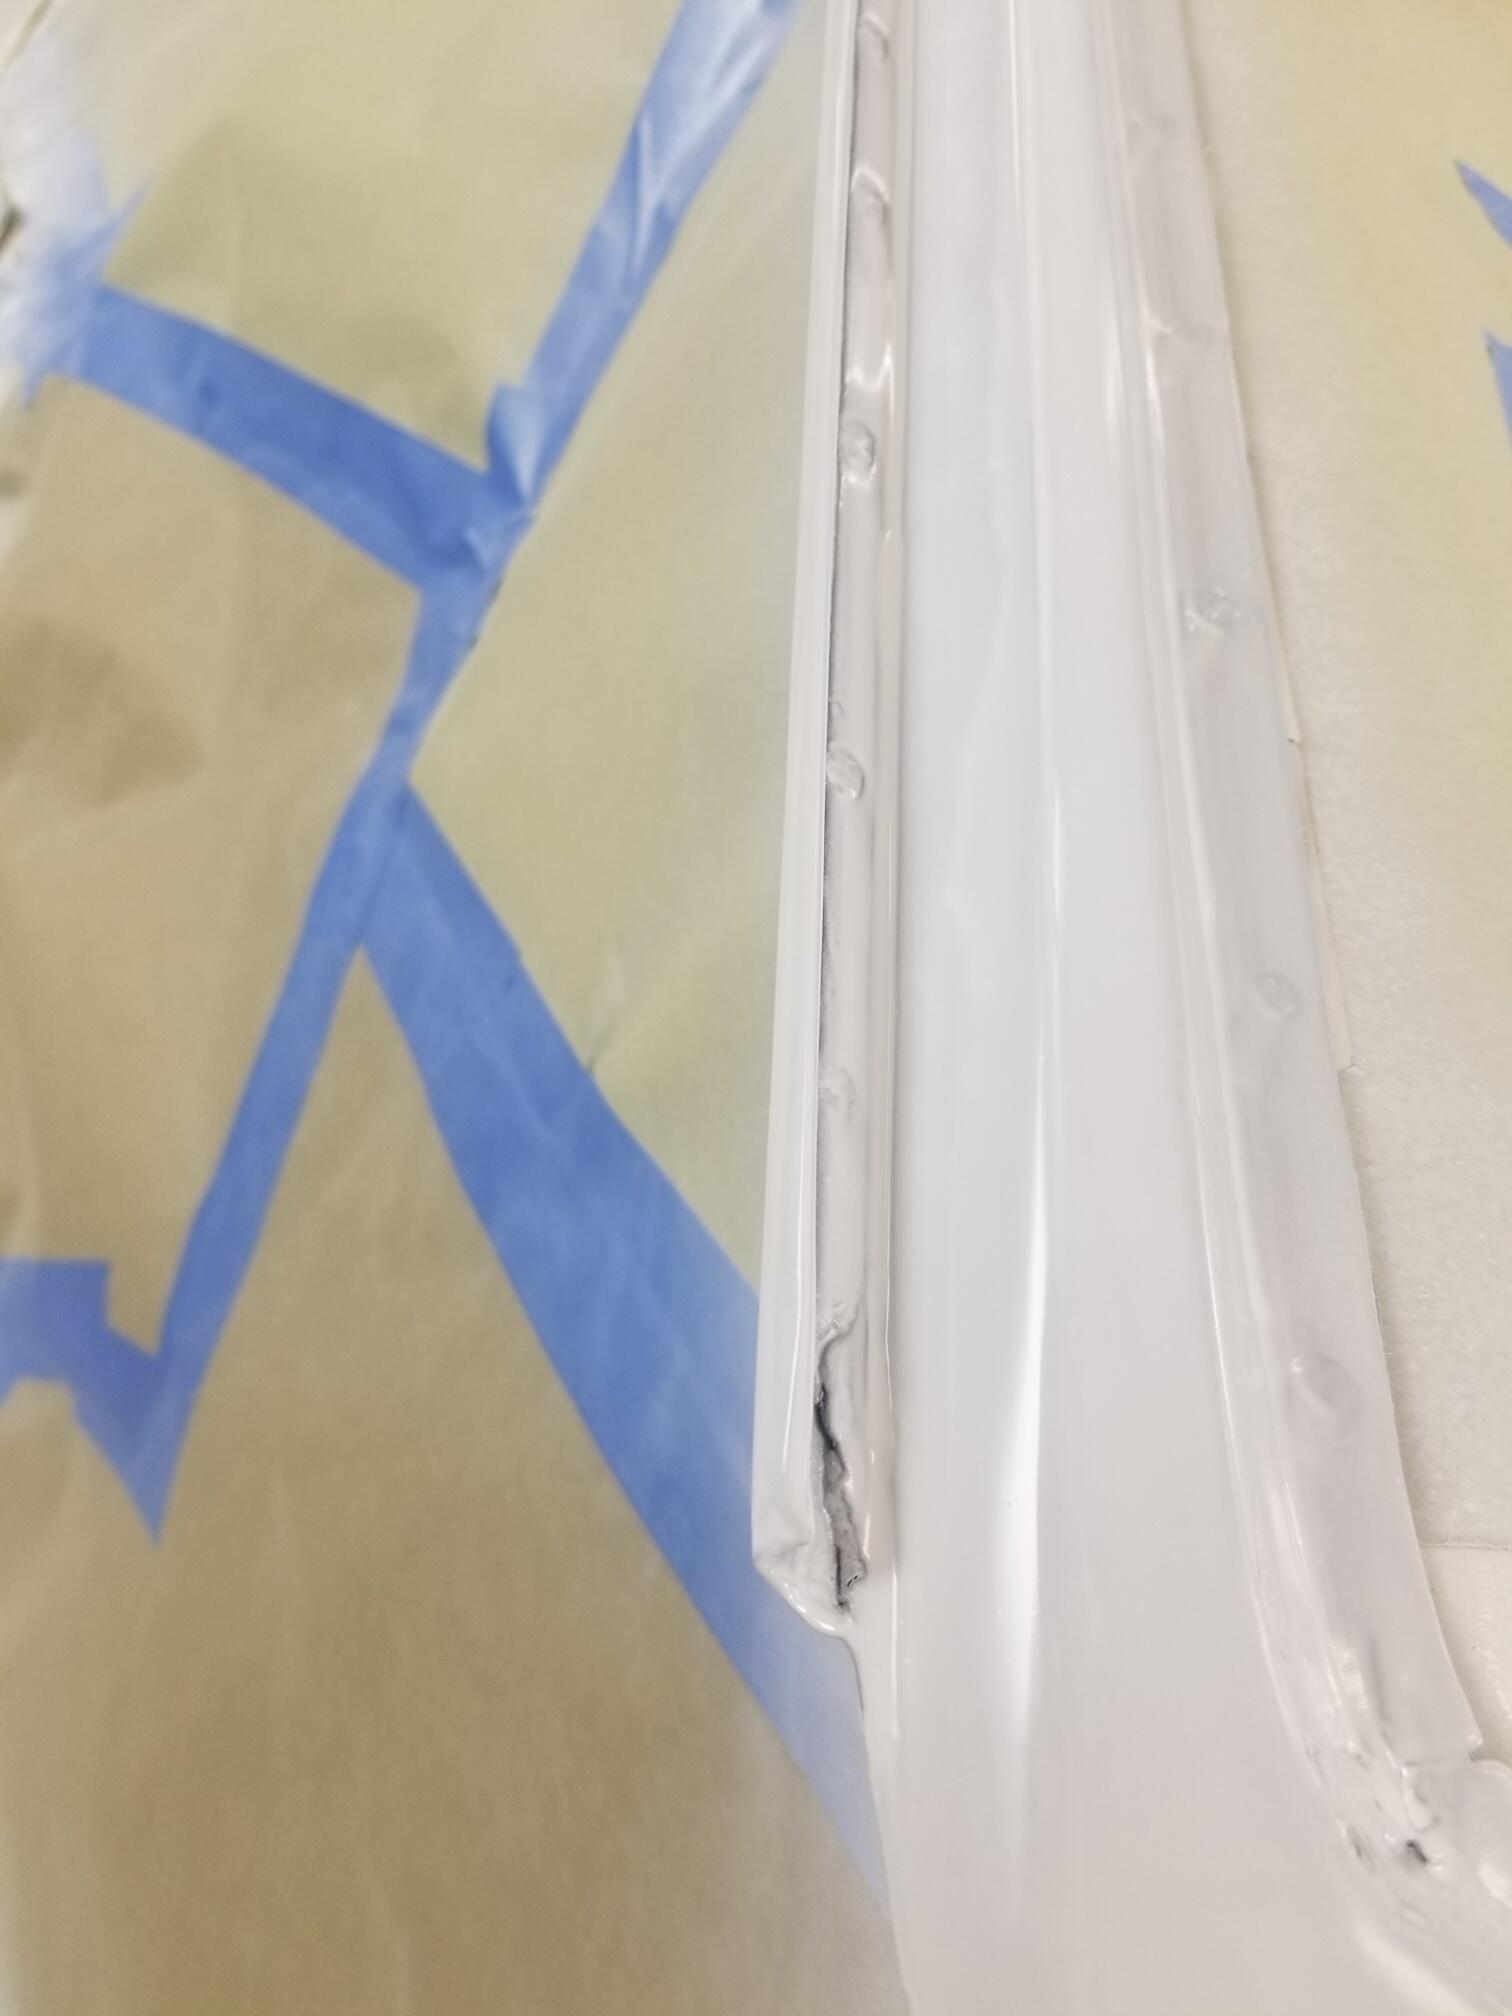
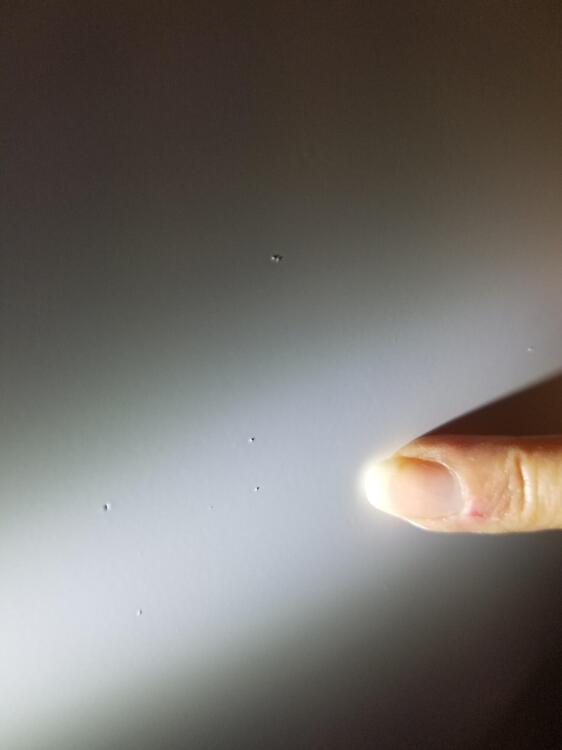
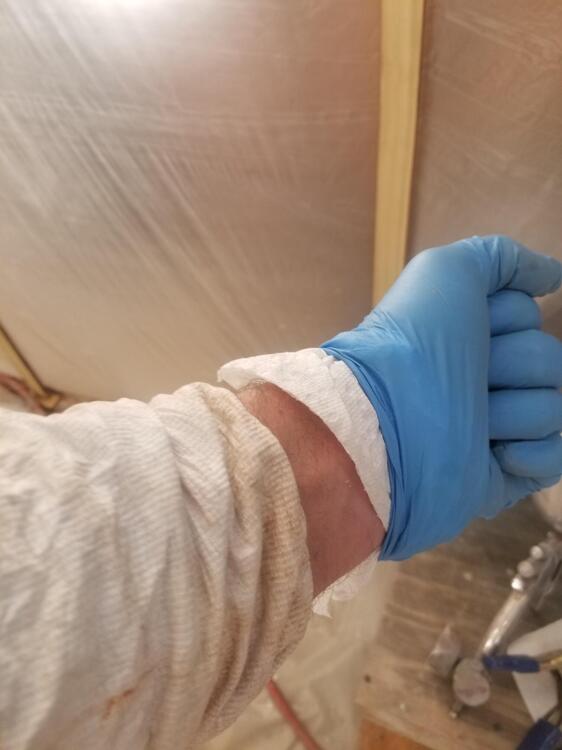
Well, I'm unhappy! That's really an understatement. I'm absolutely pissed!! 🤬 So I ran the heater in the shop for a while to warm it up. Degrease the car and tack it good. Wet the floor down, ready to spray Using a Tyveck suit I had and I have found that tucking paper towels into my gloves prevents dripping on the panels So I am running a white sealer coat. The P sheet calls for one "medium coat to coverage" Well that's not gonna happen!!! Even at the coverage level where it runs, it hasn't covered the grey primer. The yellow needs a white base or it's a different shade when shot over a darker base Not only did the sealer run really easy but I have tons of sh!t in the paint. I mean everywhere! I have no idea where it came from?? I had planned on sealer, then base coat, then clear. Now I have to sand again and get dust everywhere which will just compound the problem. and I will have to seal again. So frustrating...


-
It's always nice when the solution gets posted up, even if it's a little embarrassing. Glad you got it sorted!
-
I agree going from thick new metal to old thin metal can be a challenge. You did really well and there's not really a better method other than a spot welder. One continuous seam line would be easier. I normally tack all the floor tabs to the tunnel with ¼" self tapping screws and cut through both layers with a cut off wheel.
-
Thats why I asked earlier if they were stainless . Stainless can be very difficult to seal, especially if the flares aren't perfect .
-
If I thought they shipped me a cracked line, I would expect them, to make it right!
-
The floor pan looks really good. You did a good job!
-
Oh my!!! I think those are the rustiest Zs I've ever seen! They want a $1000 each!!!
-
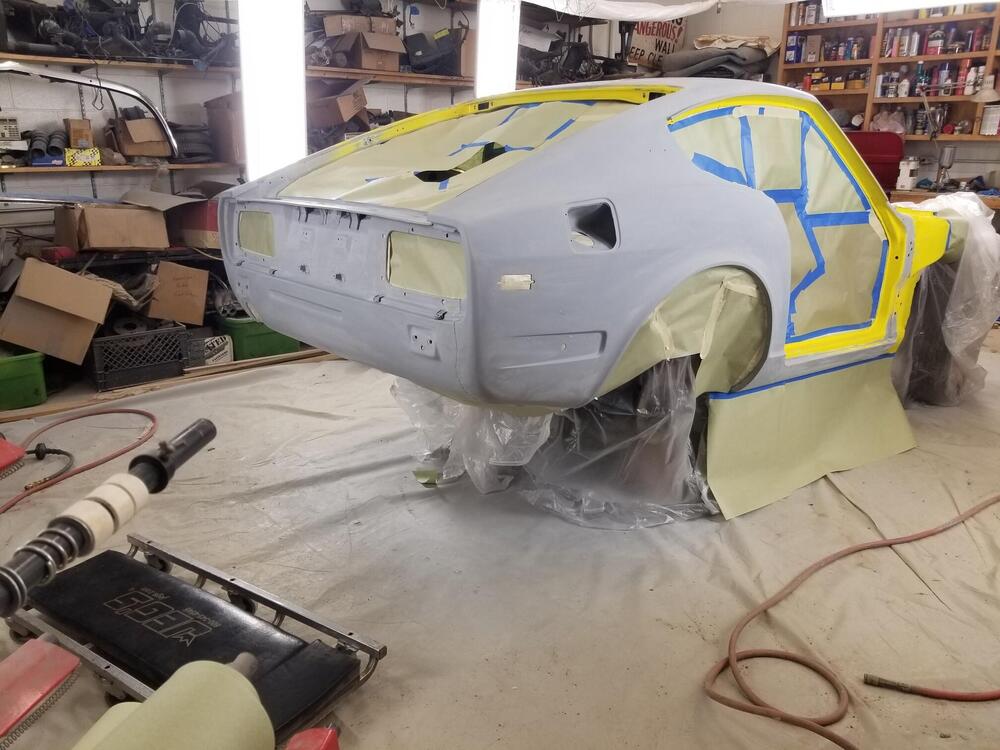
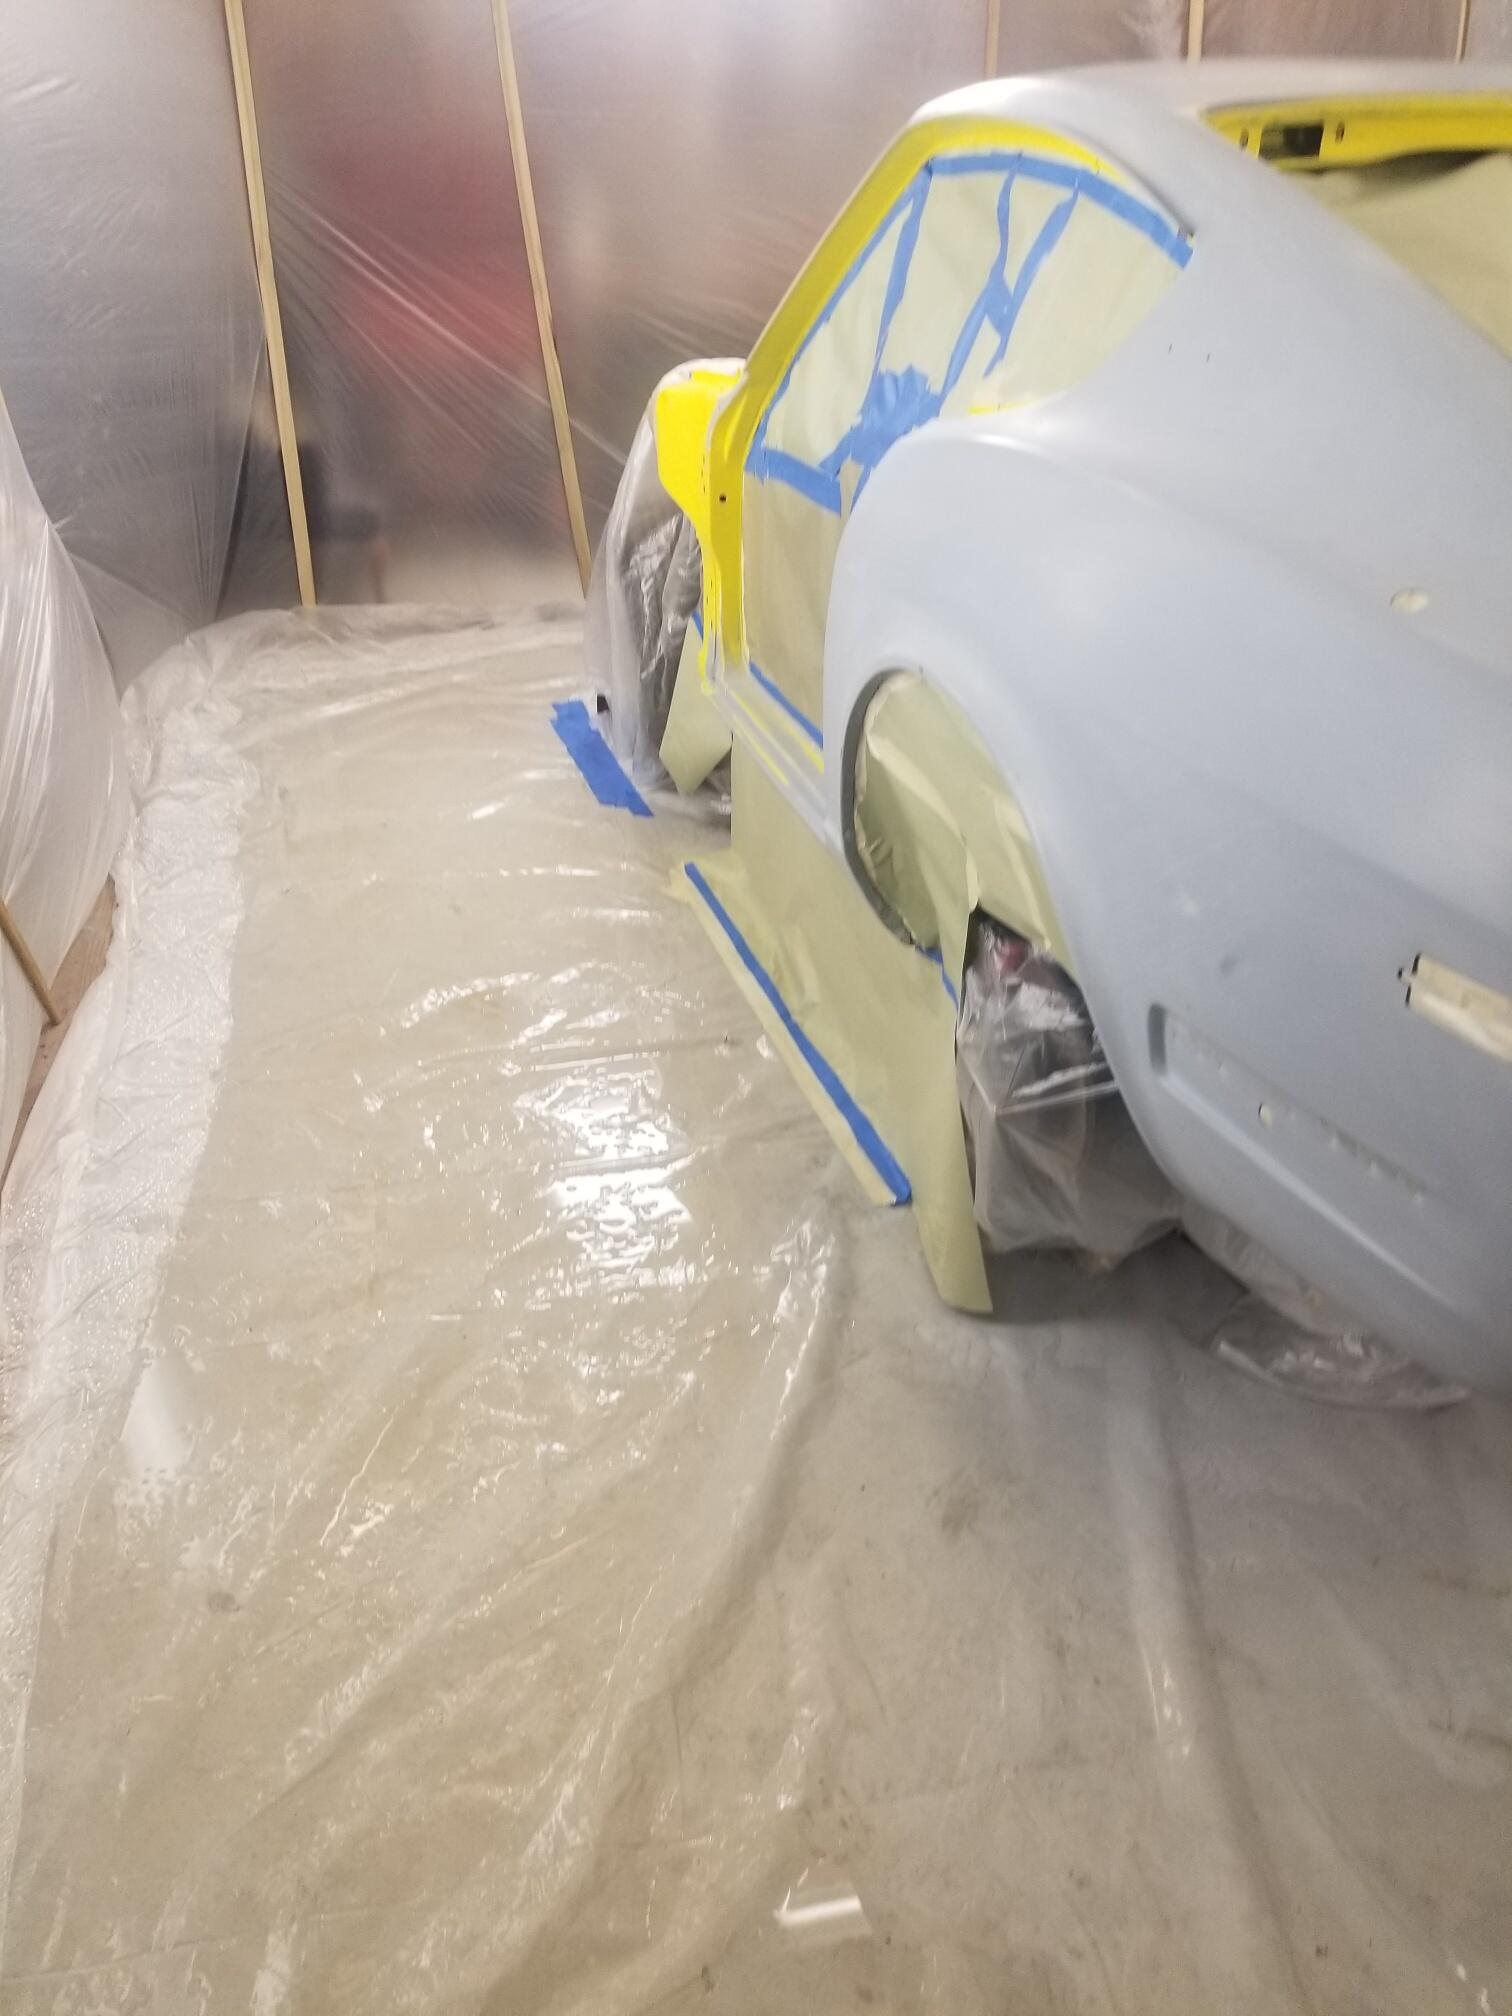
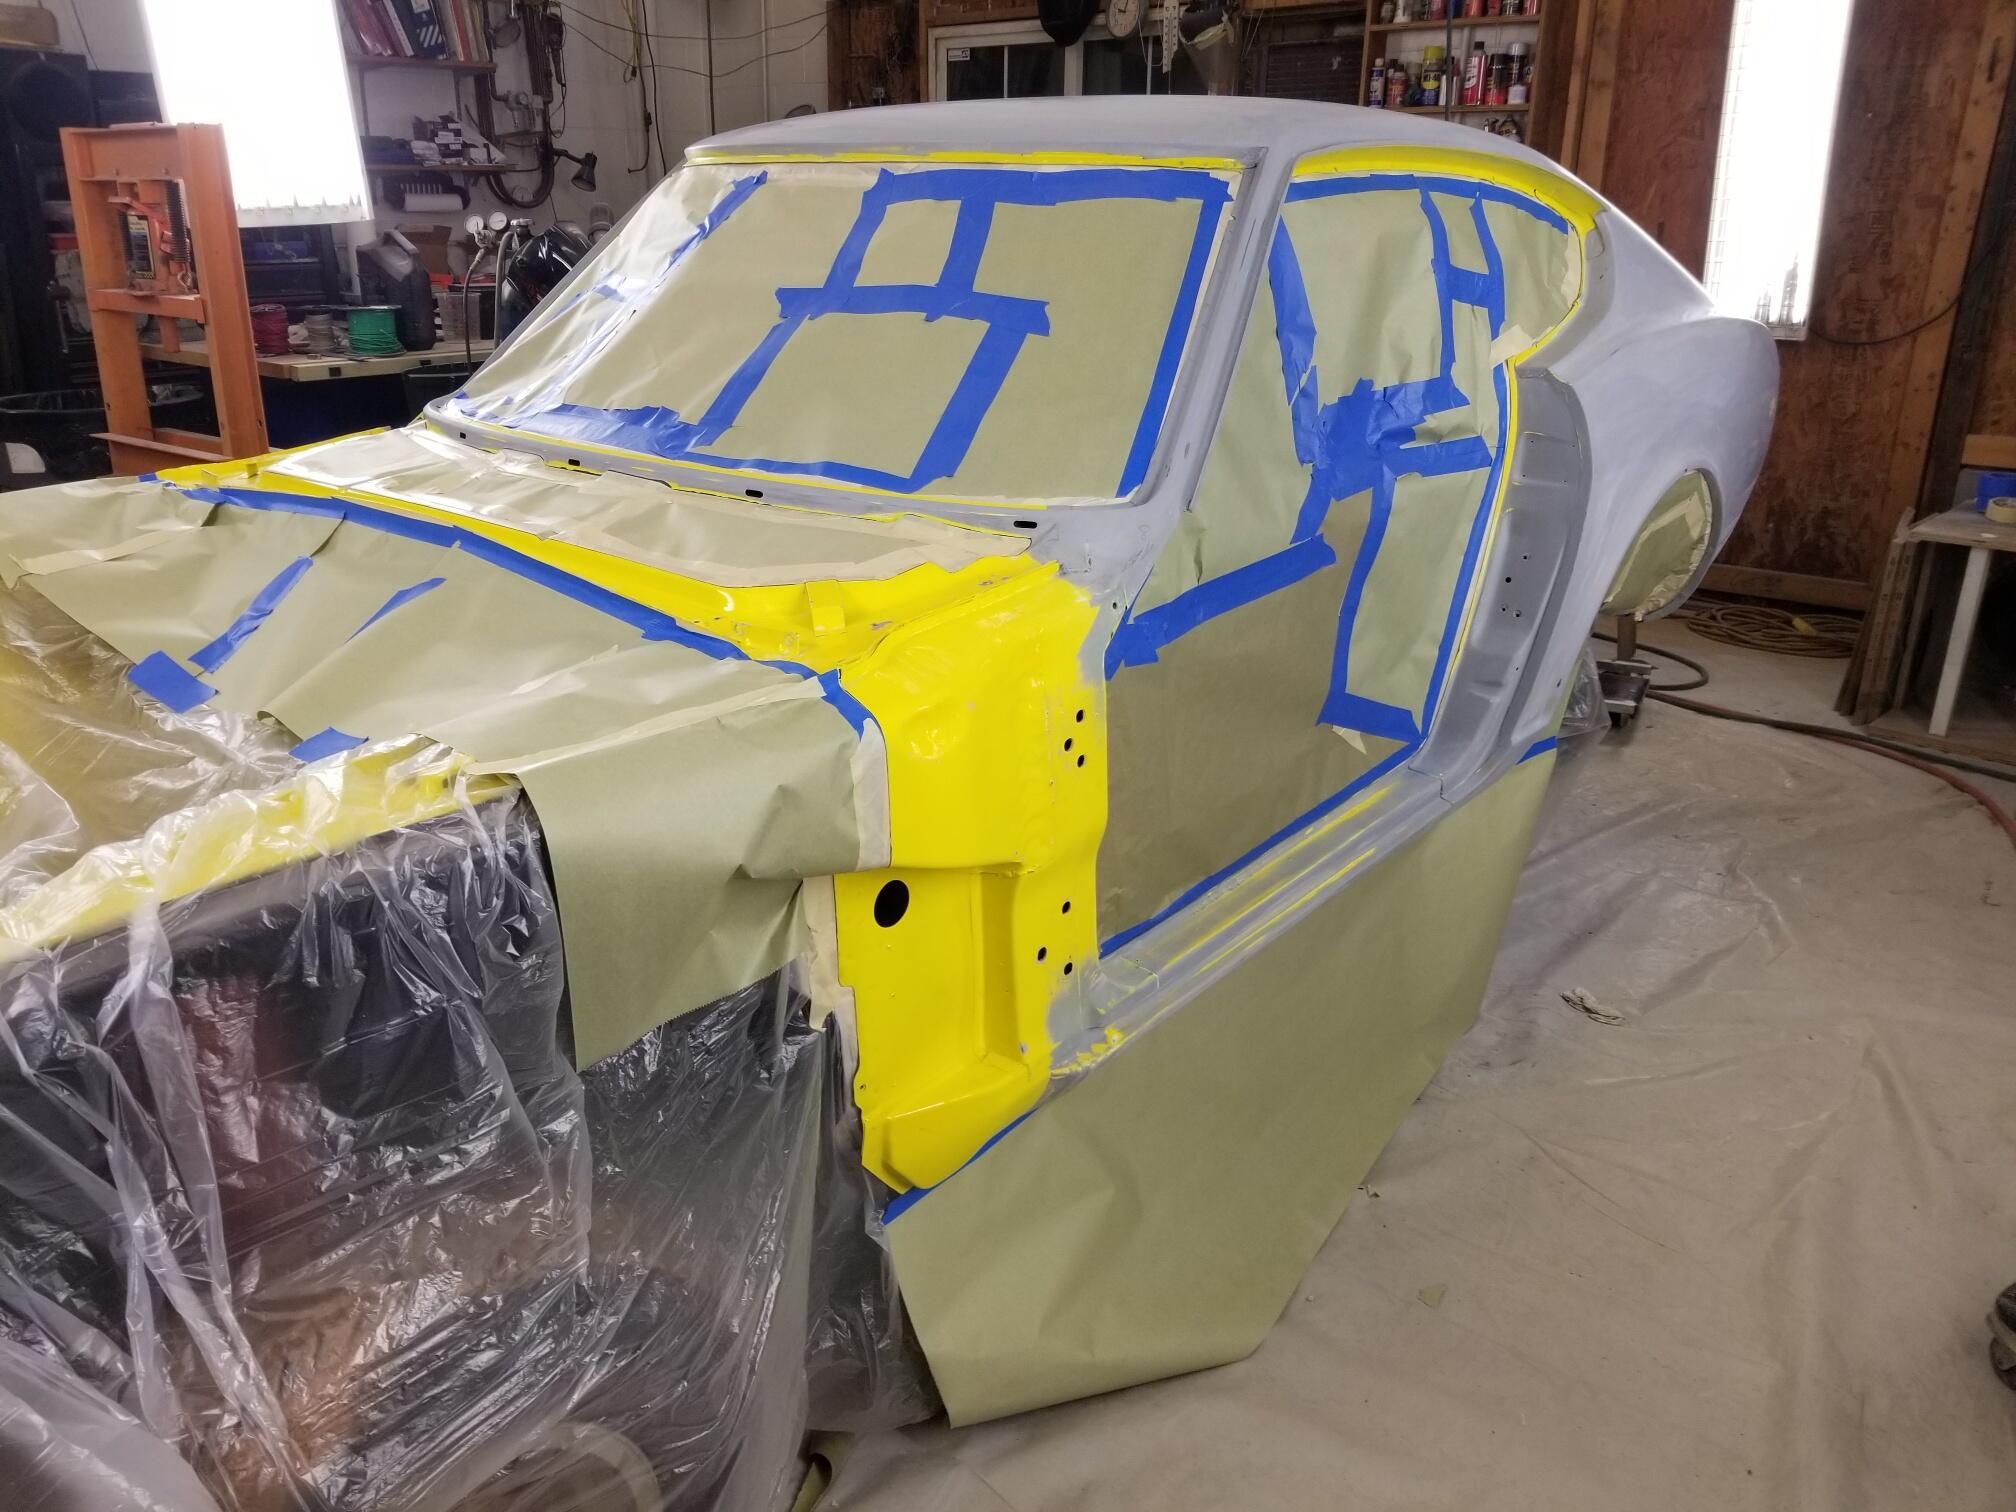
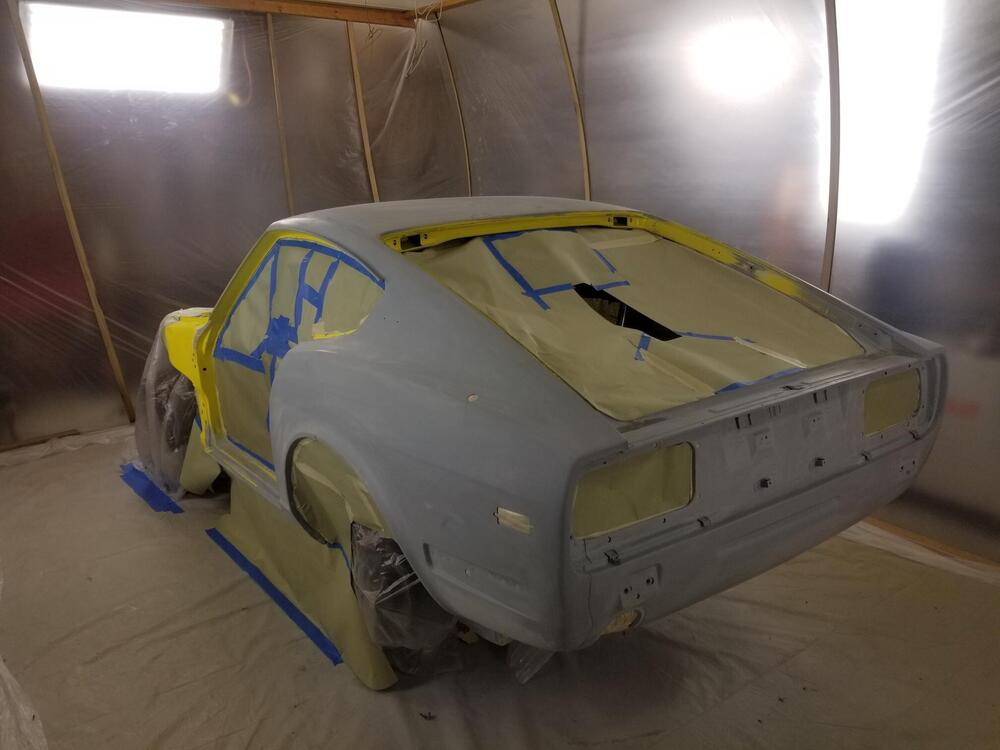
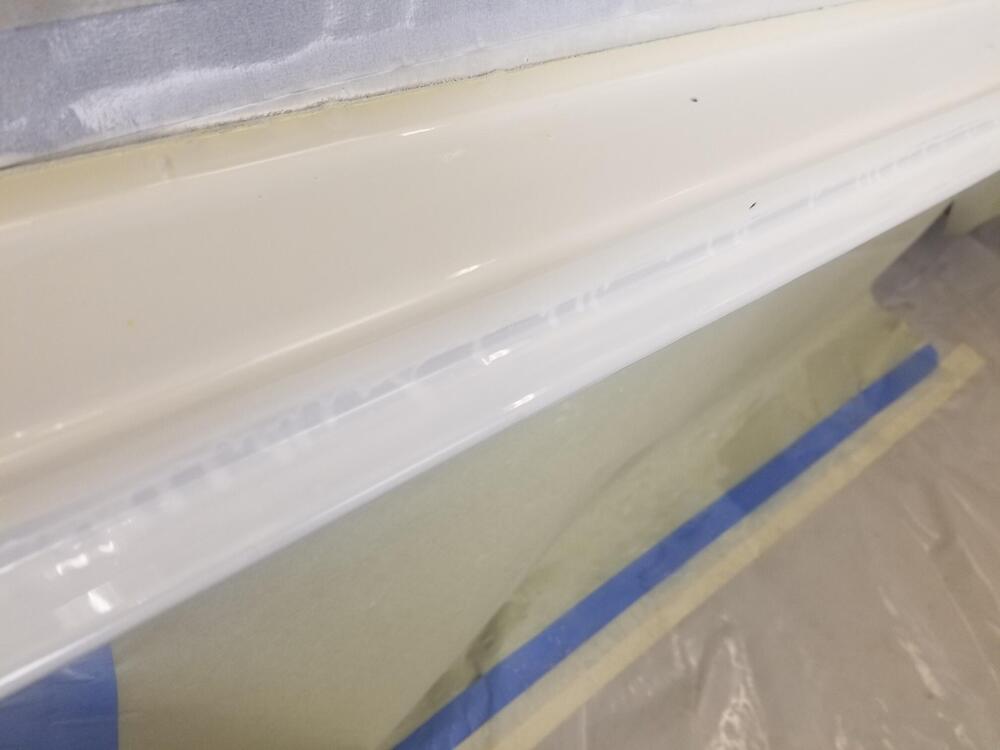
She's going to be that yellow that is already on her. I jambed the car out a few years ago but decided on moving my paint edge, so I am shooting over some of the existing single stage
-
Are these Stainless lines? I agree with Zed, look for a crack or other flaw in the flare and cone
-
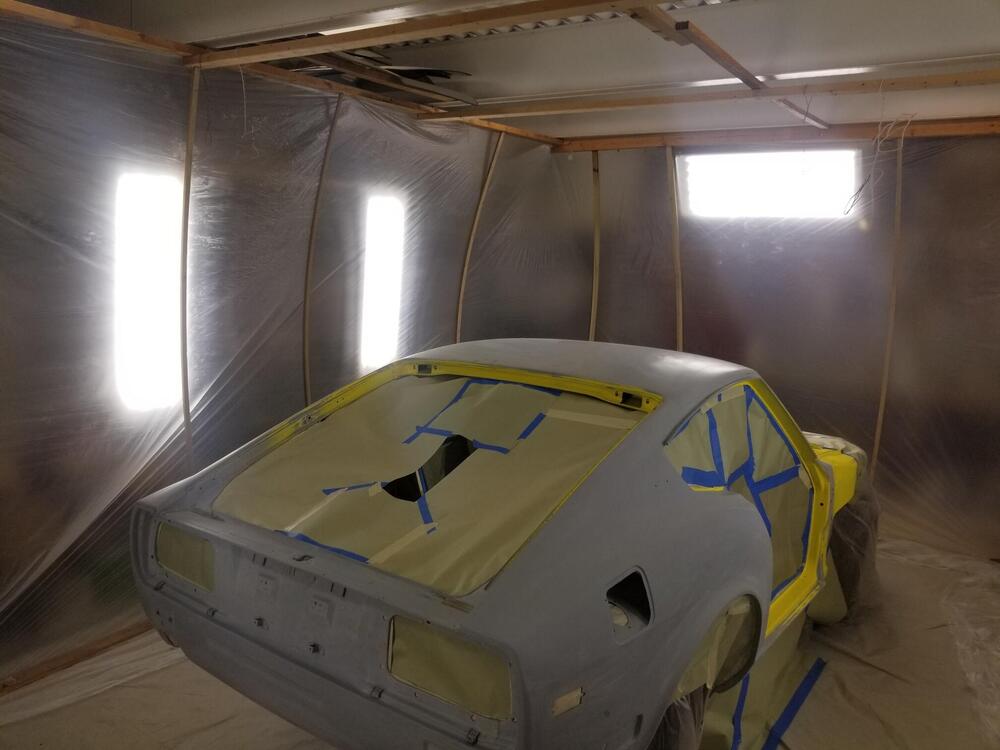
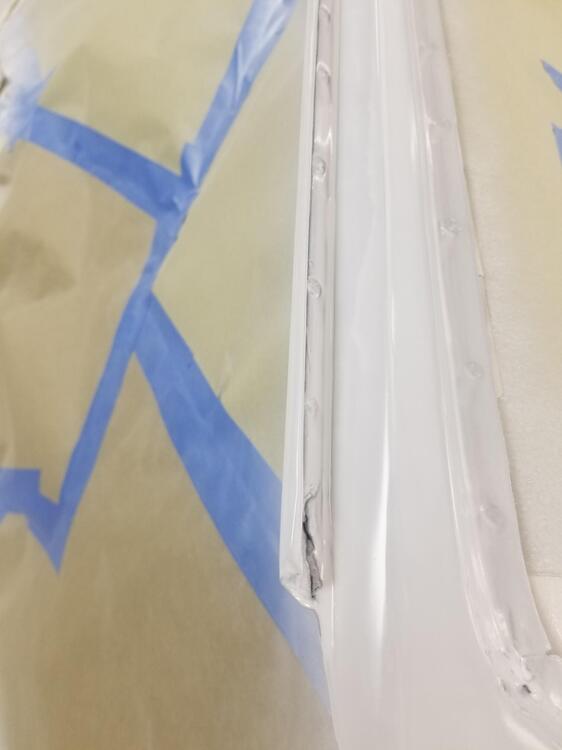
Tonight, I worked on wrapping her back up again