Patcon
 Subscriber
-
Joined
-
Last visited
Everything posted by Patcon
-
 Do you have to string small parts before shipping?
 -
Contact therapy and see if they will sell you one
-
Rich, So I have a question. SavOn plating basically charges a barrel charge for each lot. So that means you really want ALL the hardware to go to the plater at one time. Carb parts, nuts, bolts, screws from the fuel pump, horns, etc. Is that what you do or is there another method?
-
They show up on the parts diagrams. I have never seen a car with them on it. I'm unsure if the ever really existed, at least in North America
-
It's yours!!
-
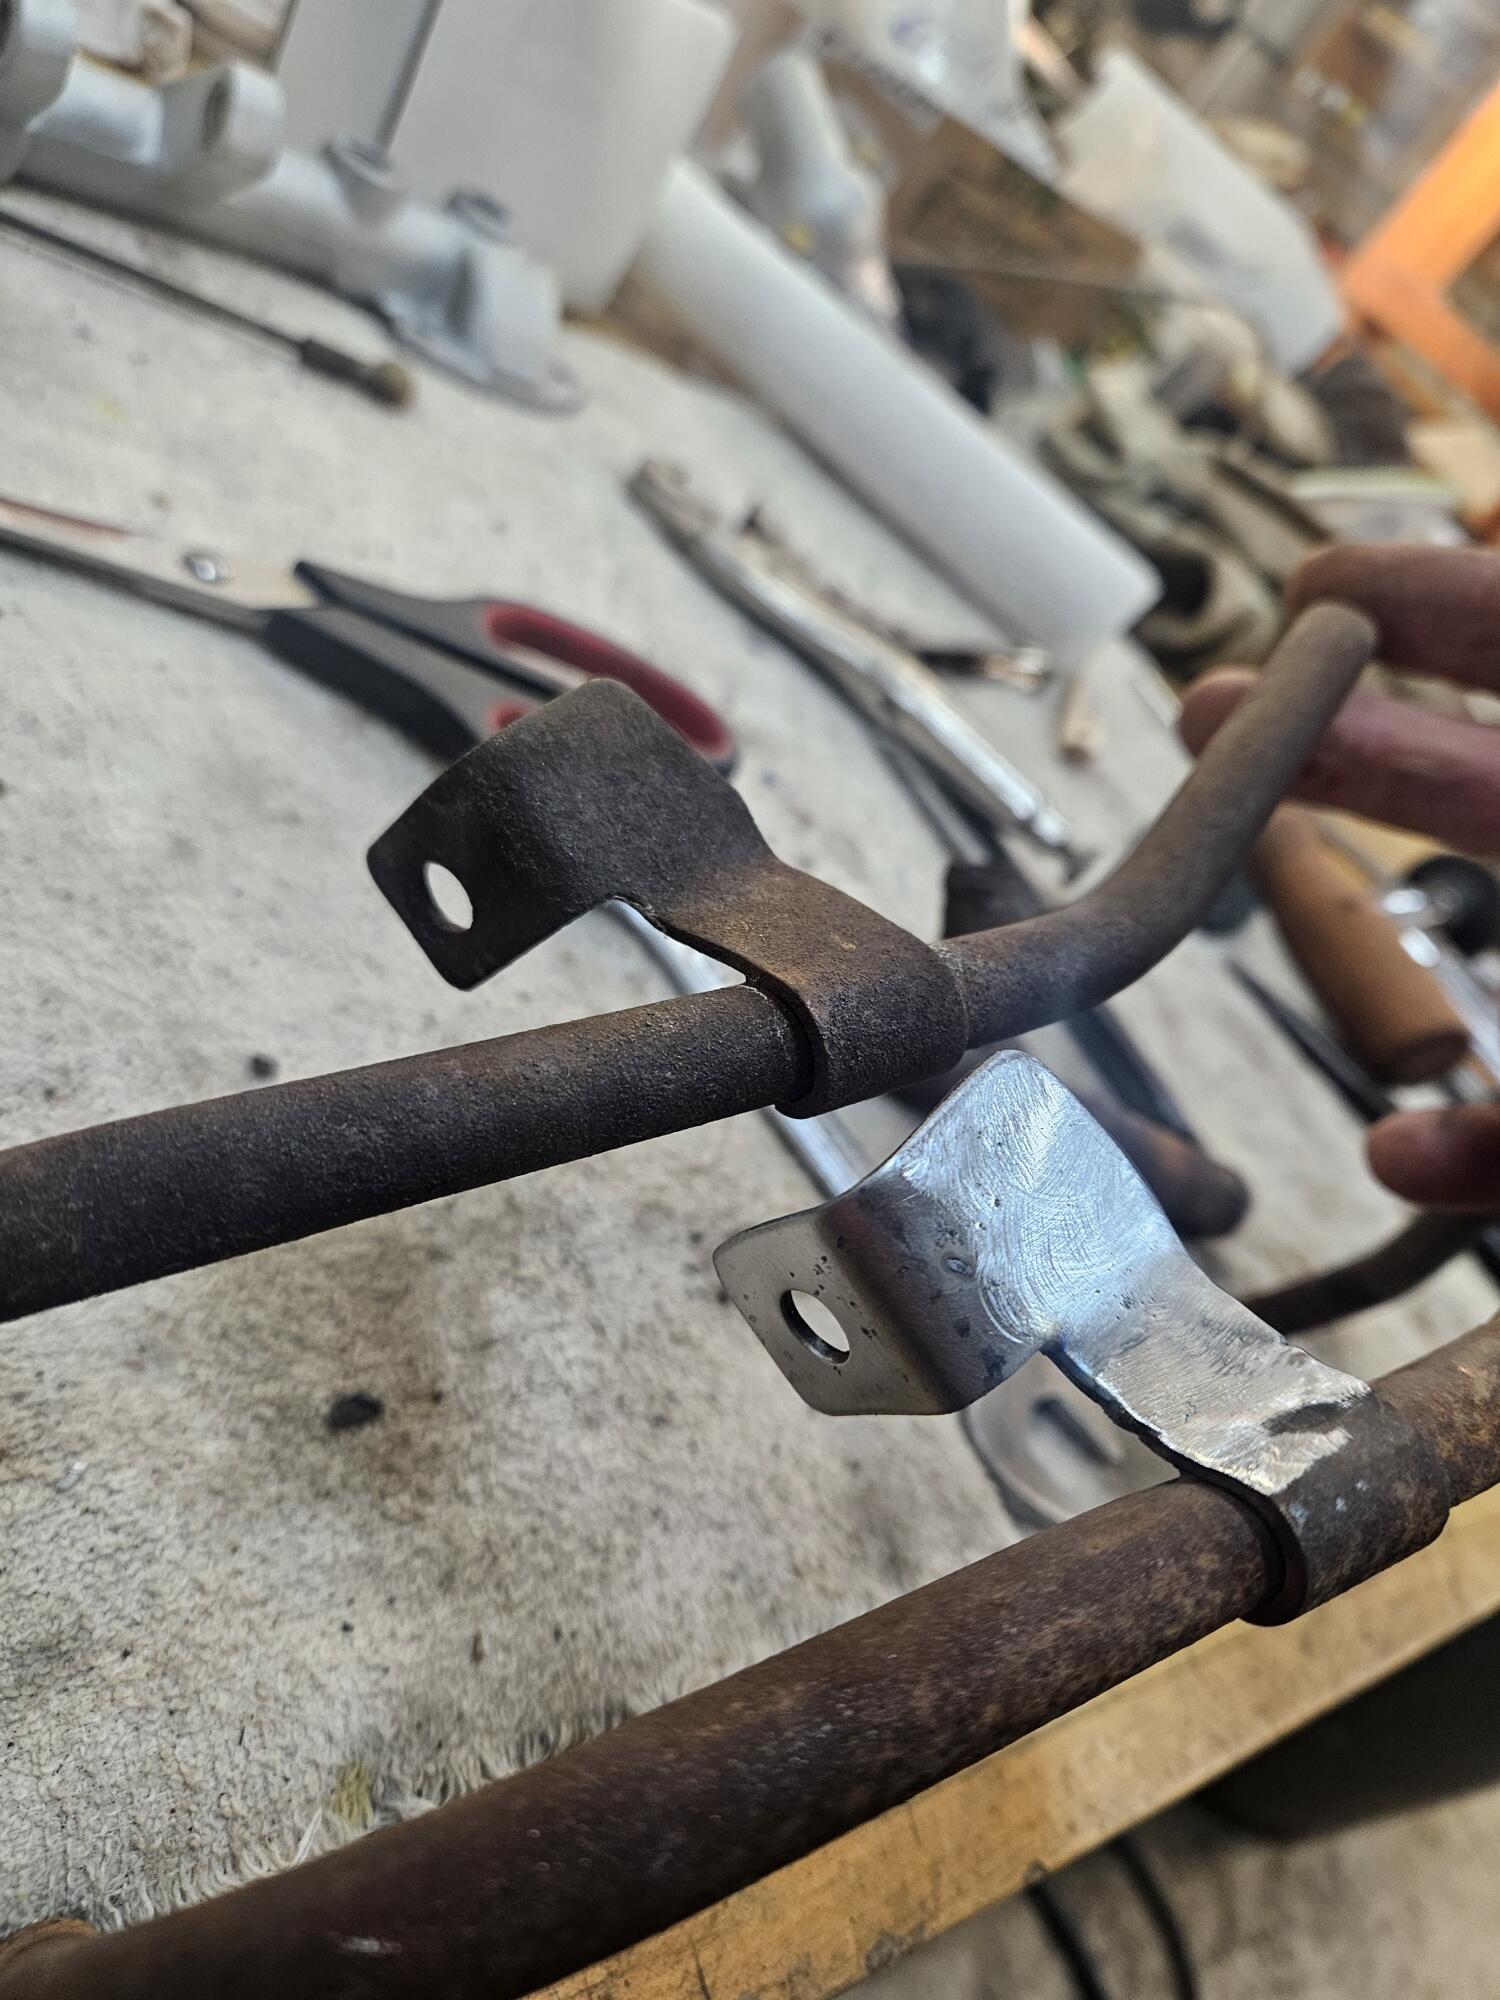
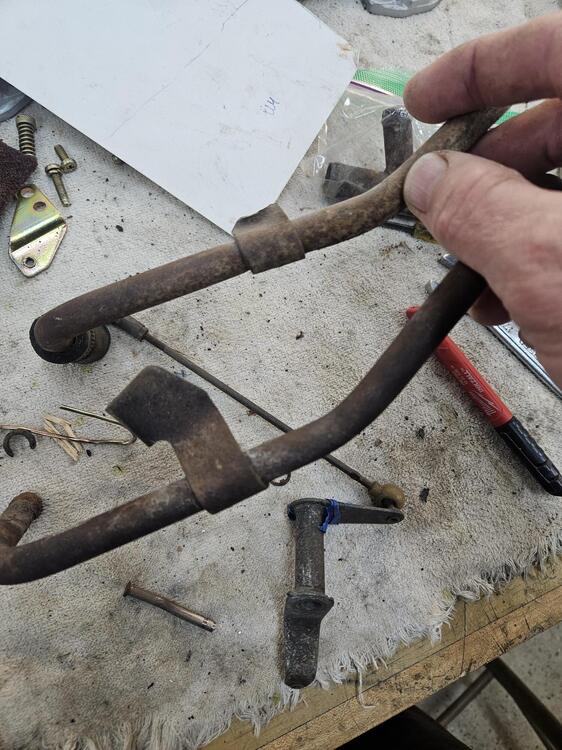
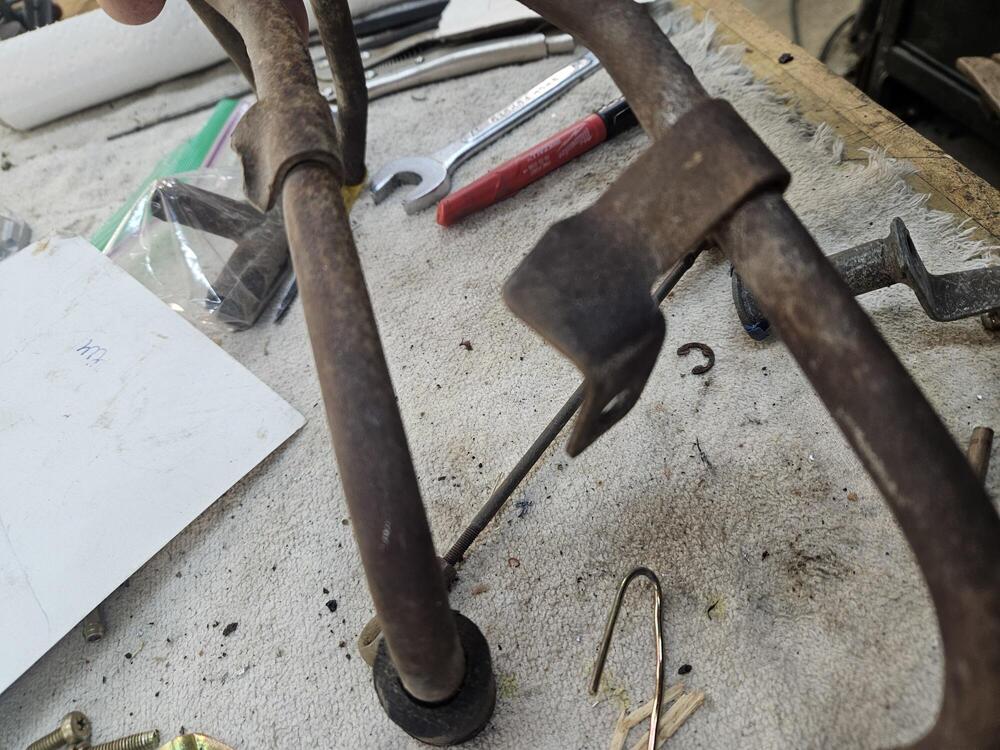
I believe the idea of bending the bar (#1) originated from Ztherapy IINM
-
I have friends and tools local in TN. So if I can get there I should be good. 😉
-
I am installing their interior kit instead of vinyl and if I recover the seats I will use their kit. I'm not too concerned about wearing through the color. Pretty much all of my cars have leather and I've never worn a seat out. And I love the smell of real leather!
-
It is my understanding that the bar #1 that is connected to the bottom of the jet need to be bent to make the needles not stick. Although I am not totally certain which way to bend it to prevent binding when the choke is applied
-
I would use leather. Like these https://interior-innovations.com/product/datsun-240z260z280z-genuine-leather-seat-covers/
-
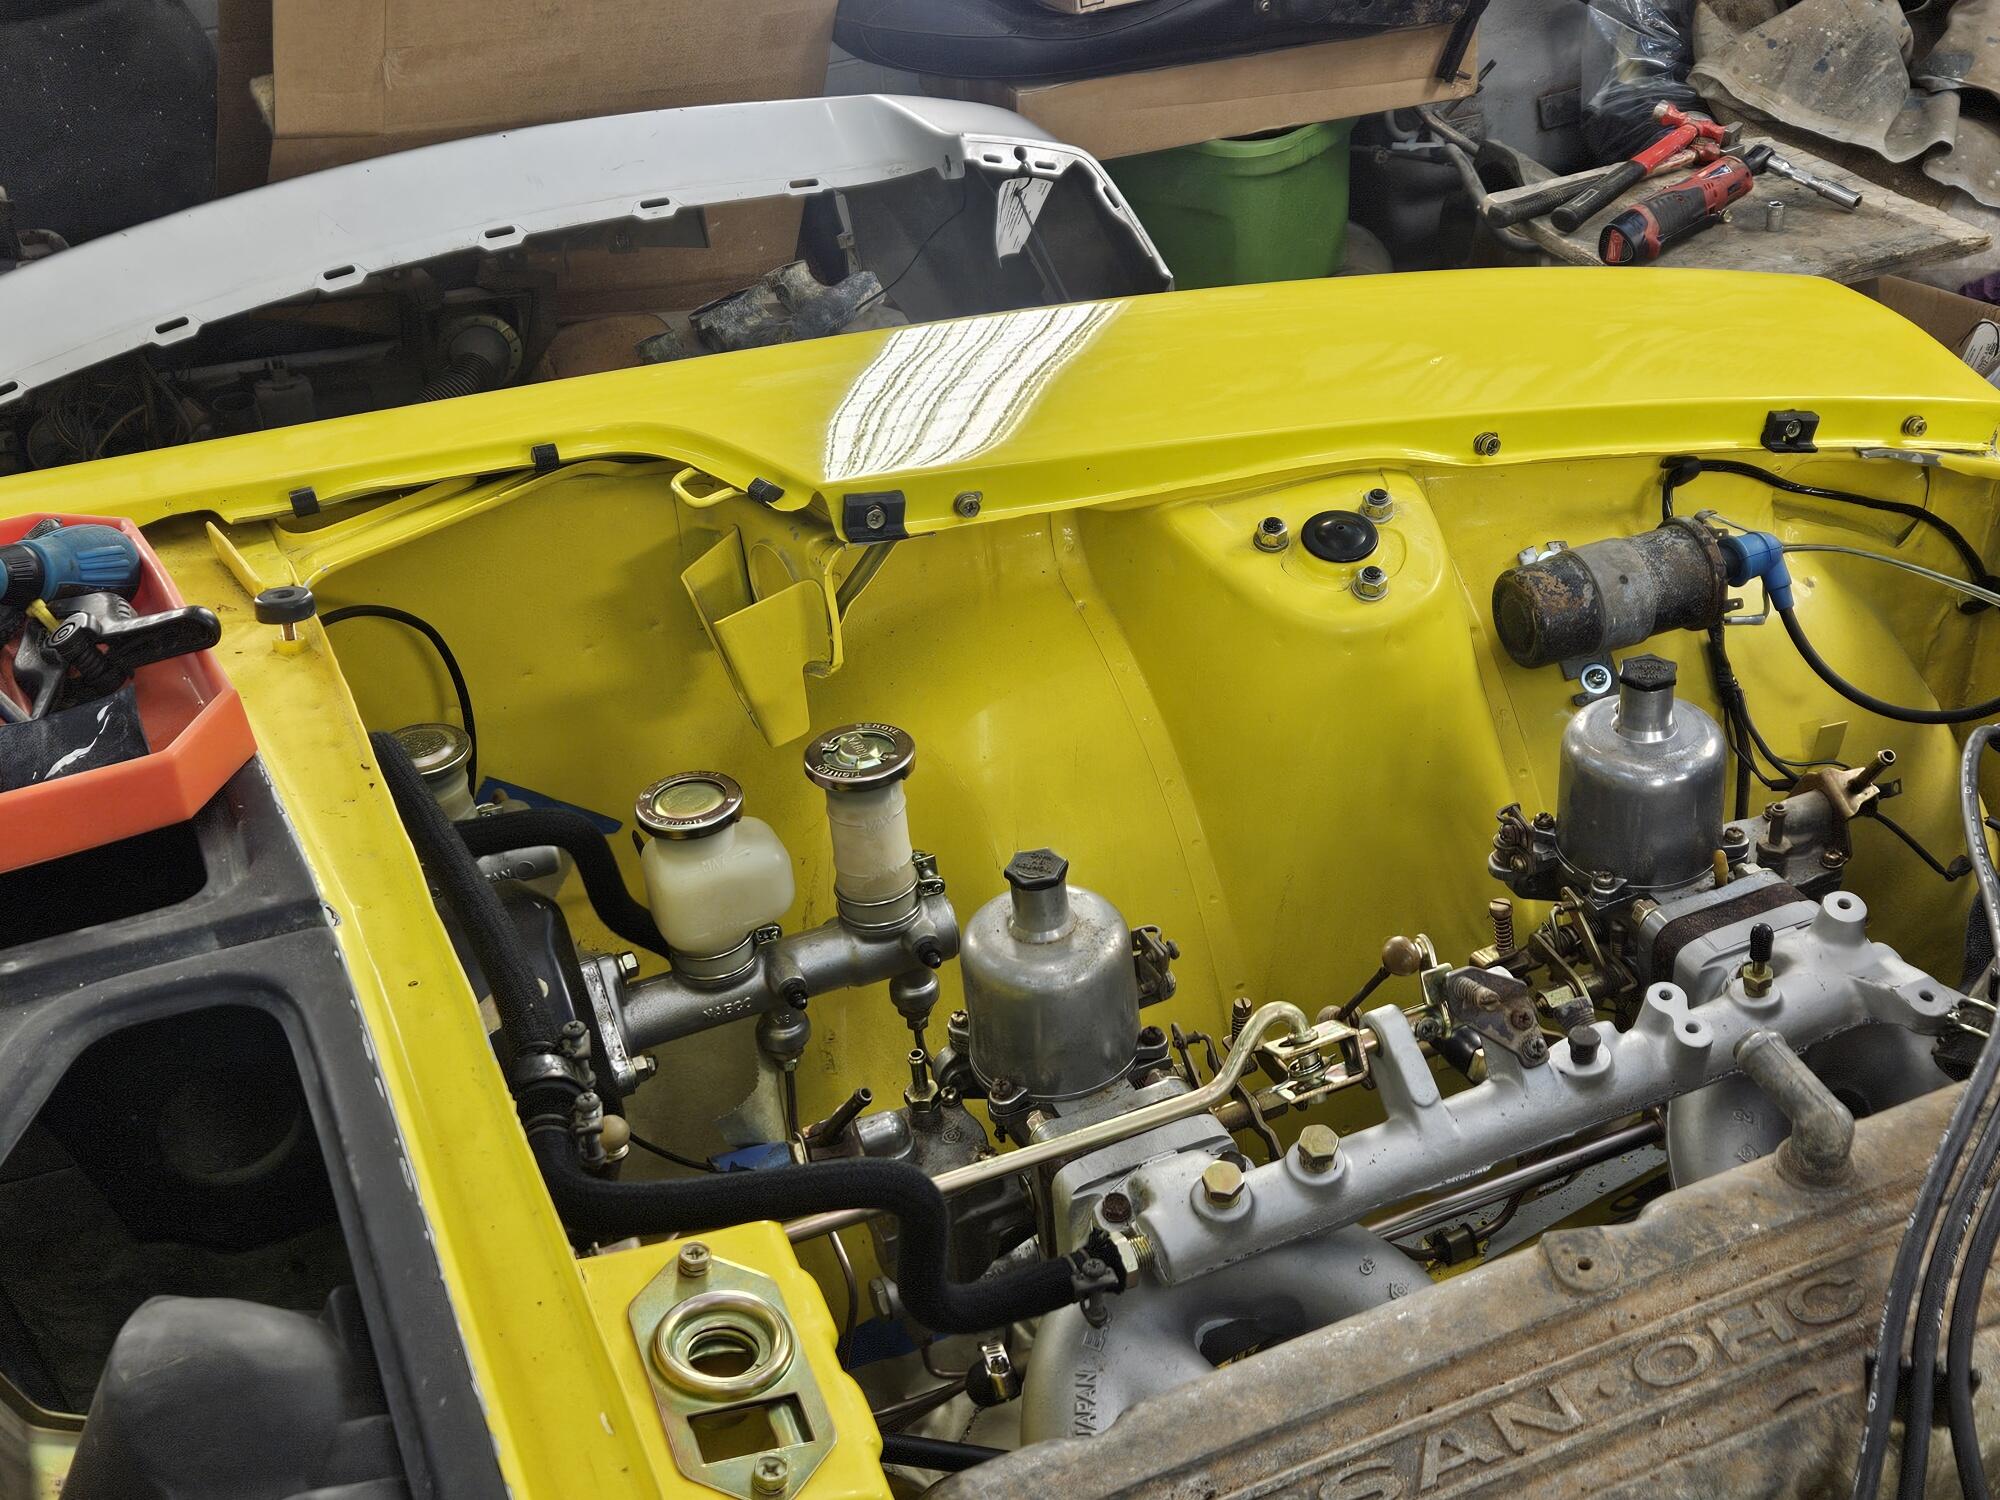
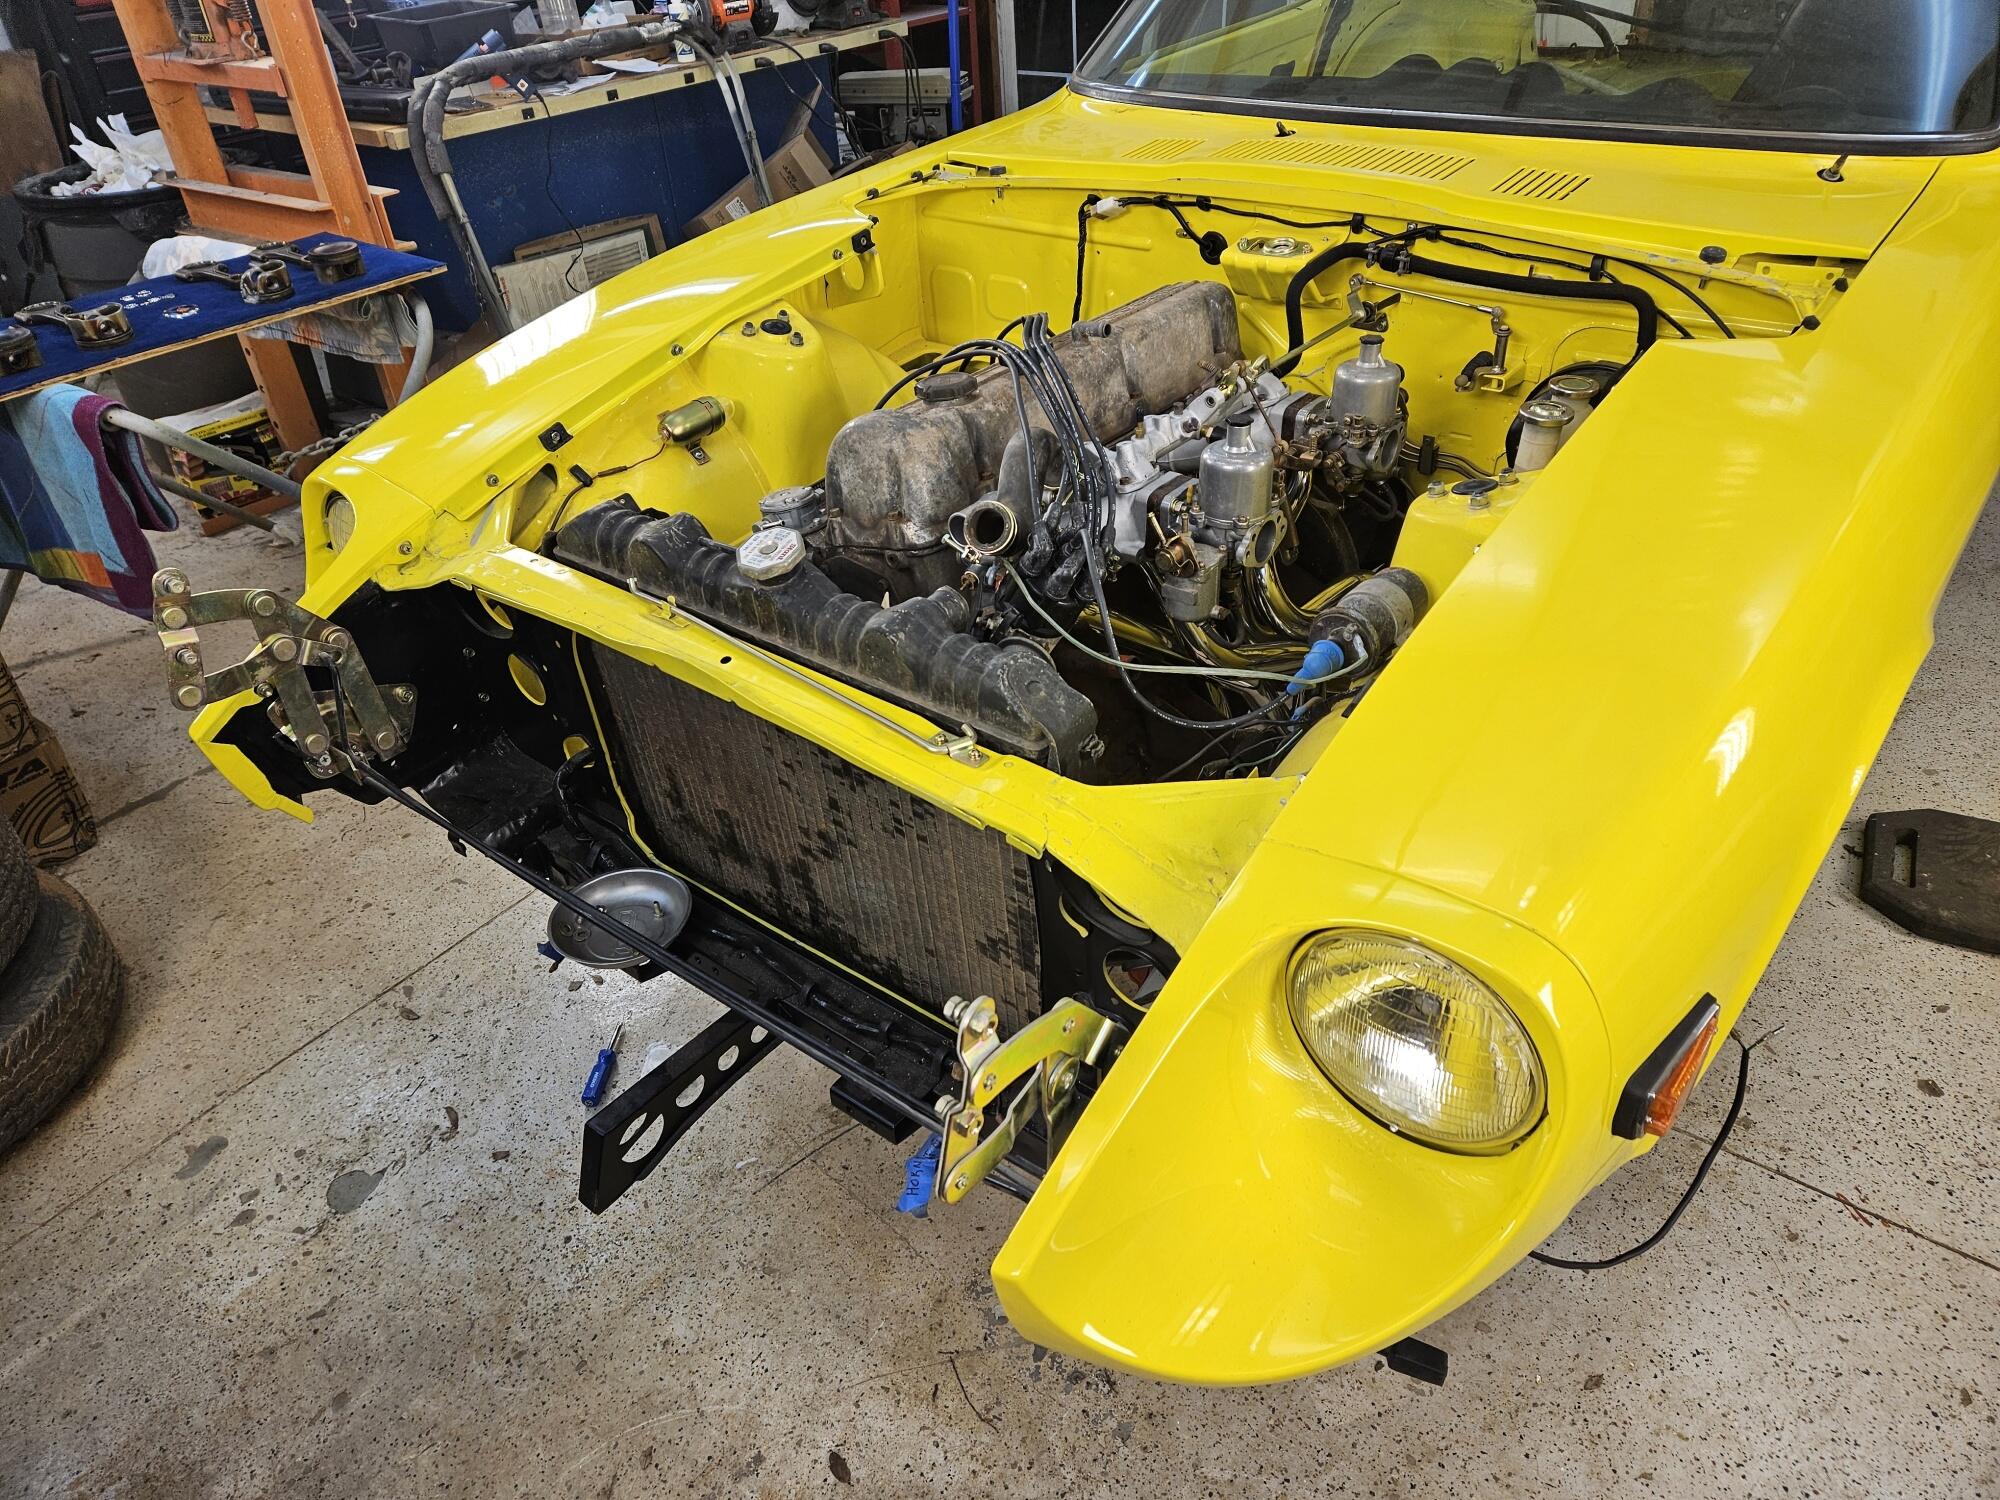
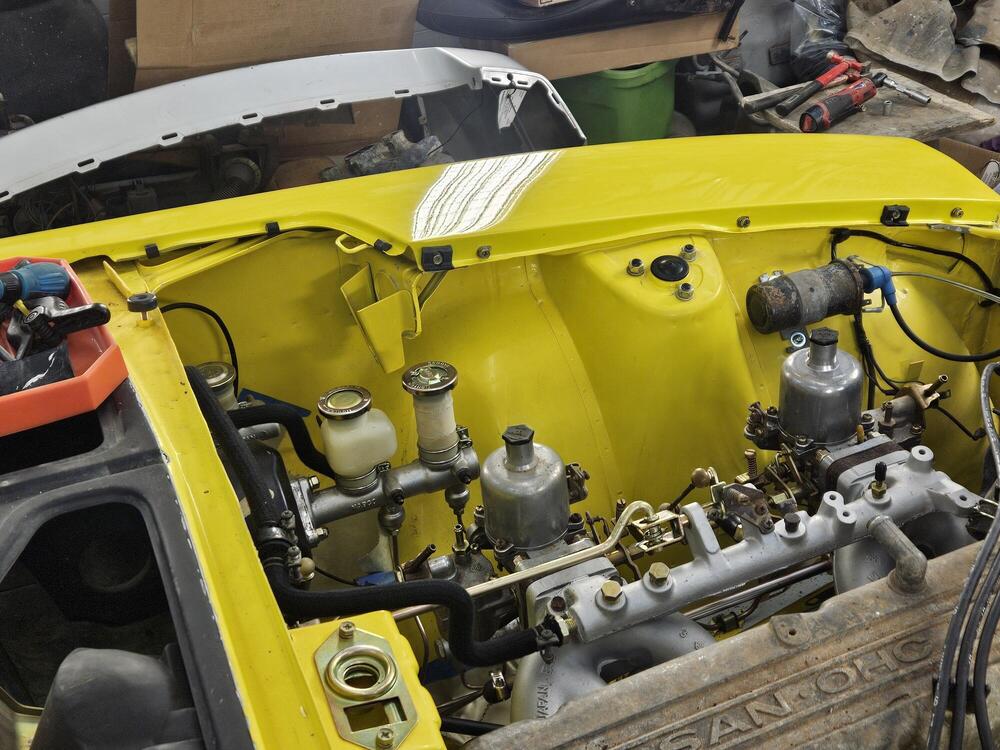
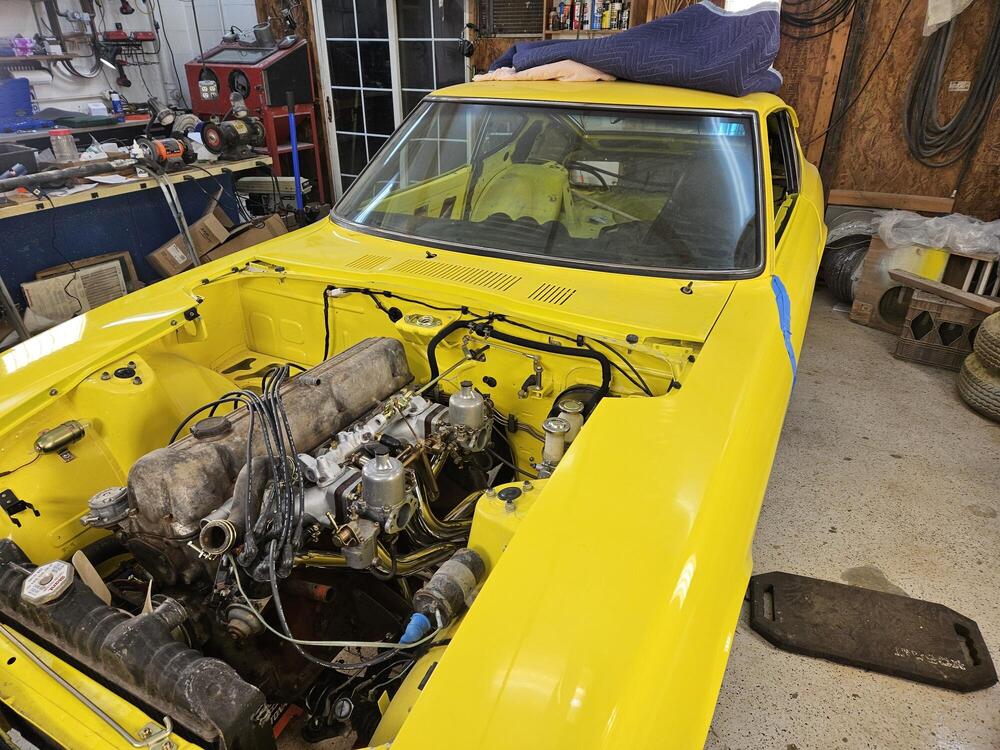
This engine is a temporary thing. If I have time I will build an engine before Zconn 2025. If not this just needs to run well enough to get me there. There will be a long punch list after the car is running. The engine being one and the missing paint in the engine bay being the other one
-
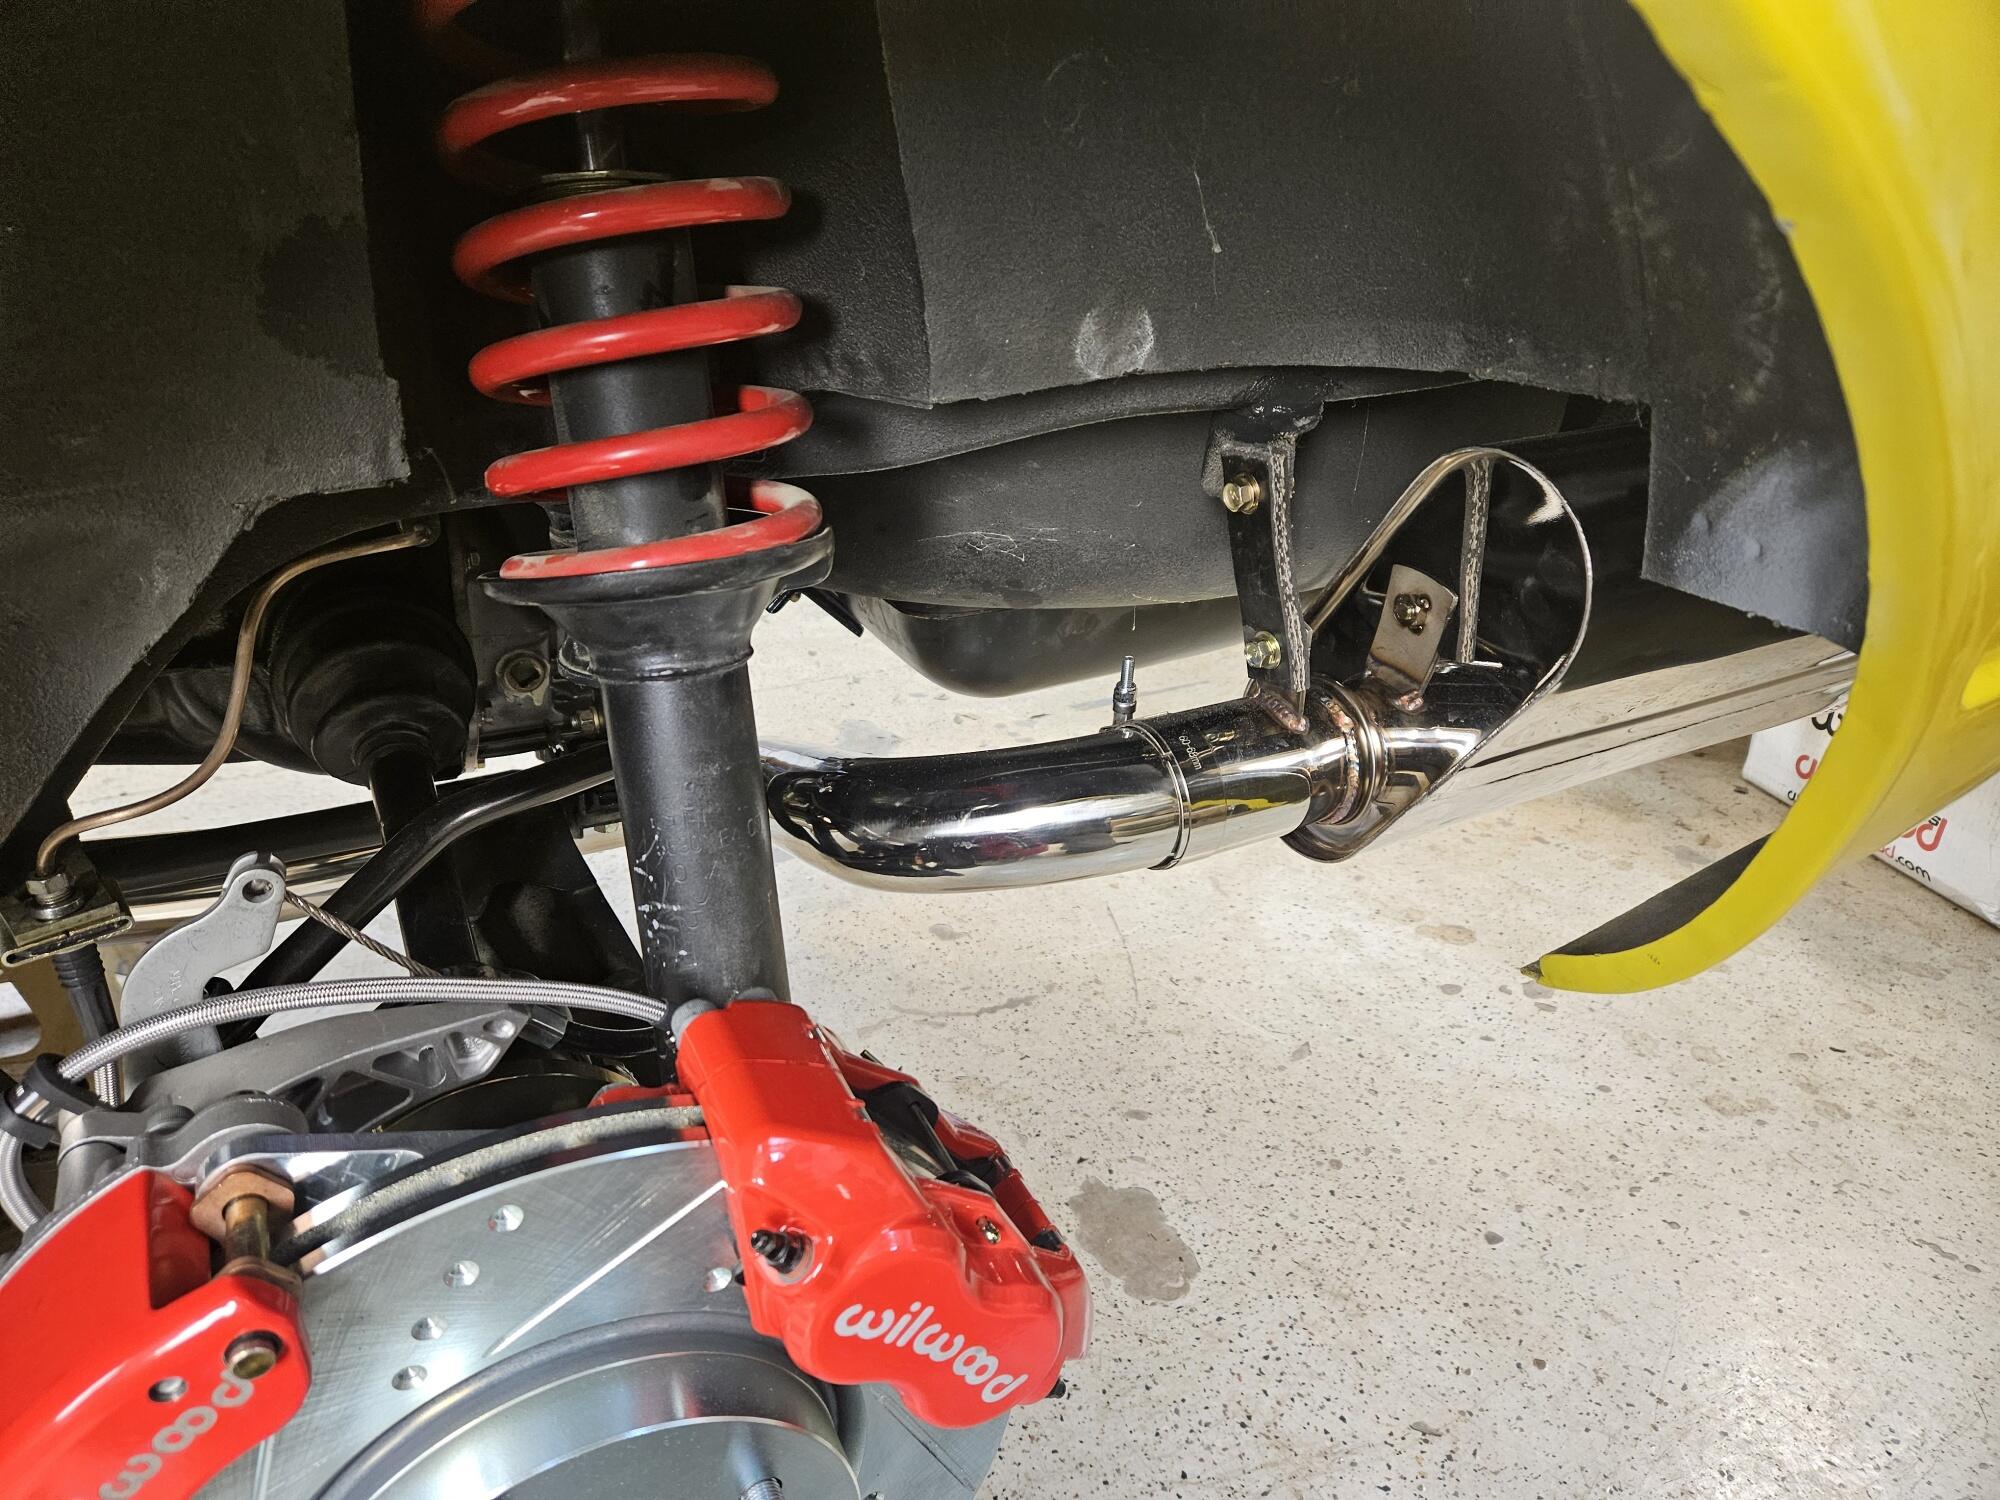
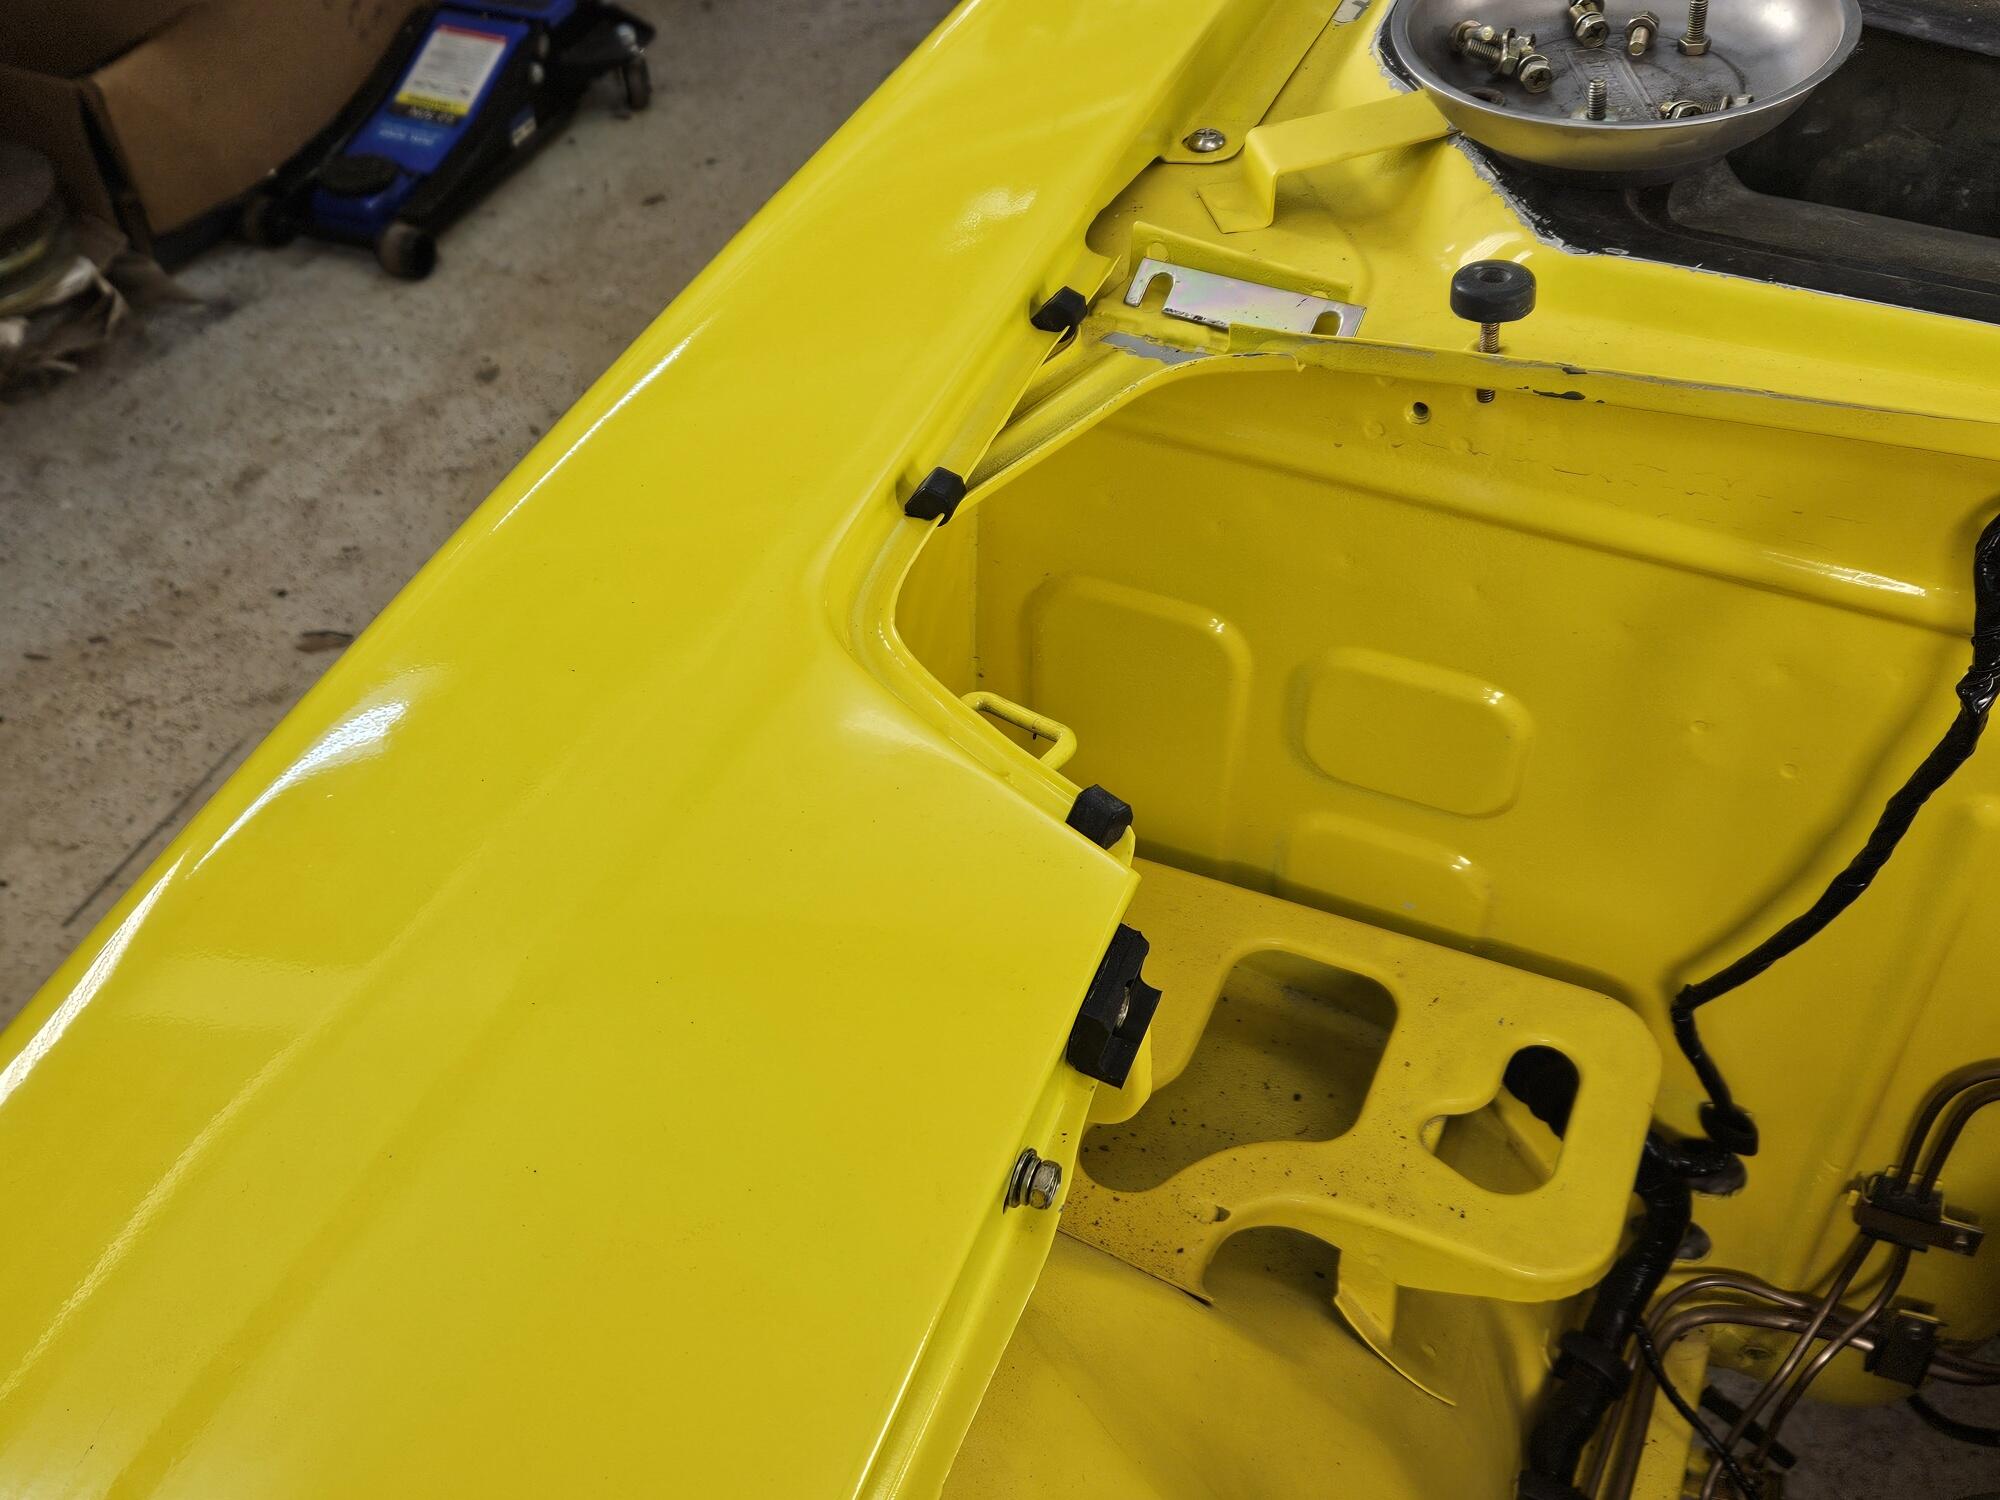
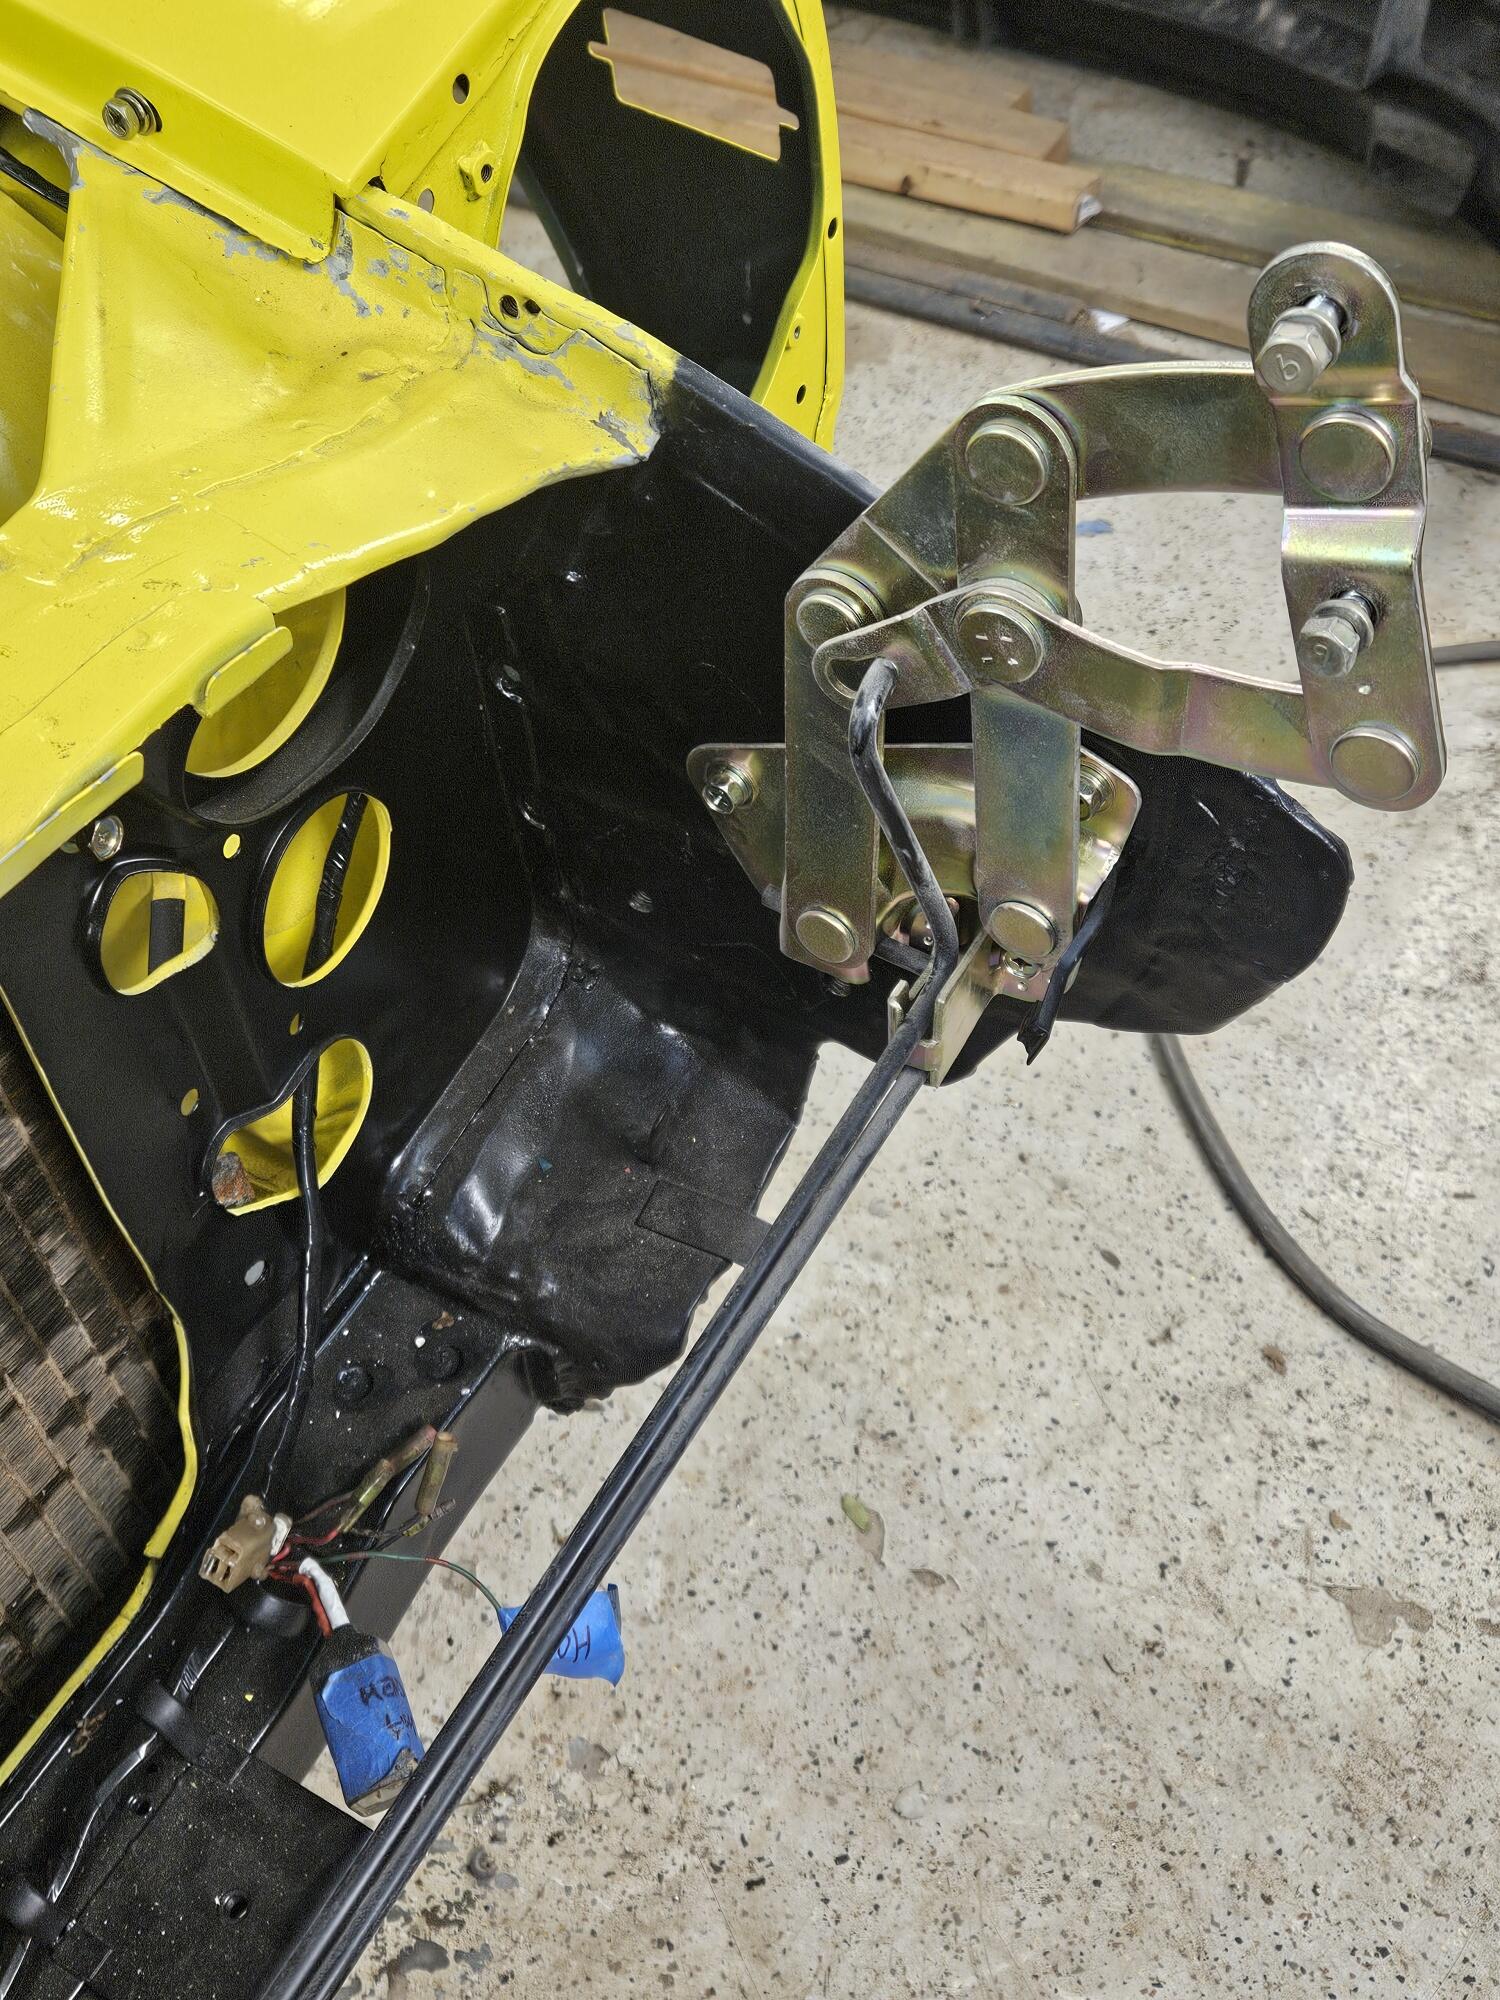
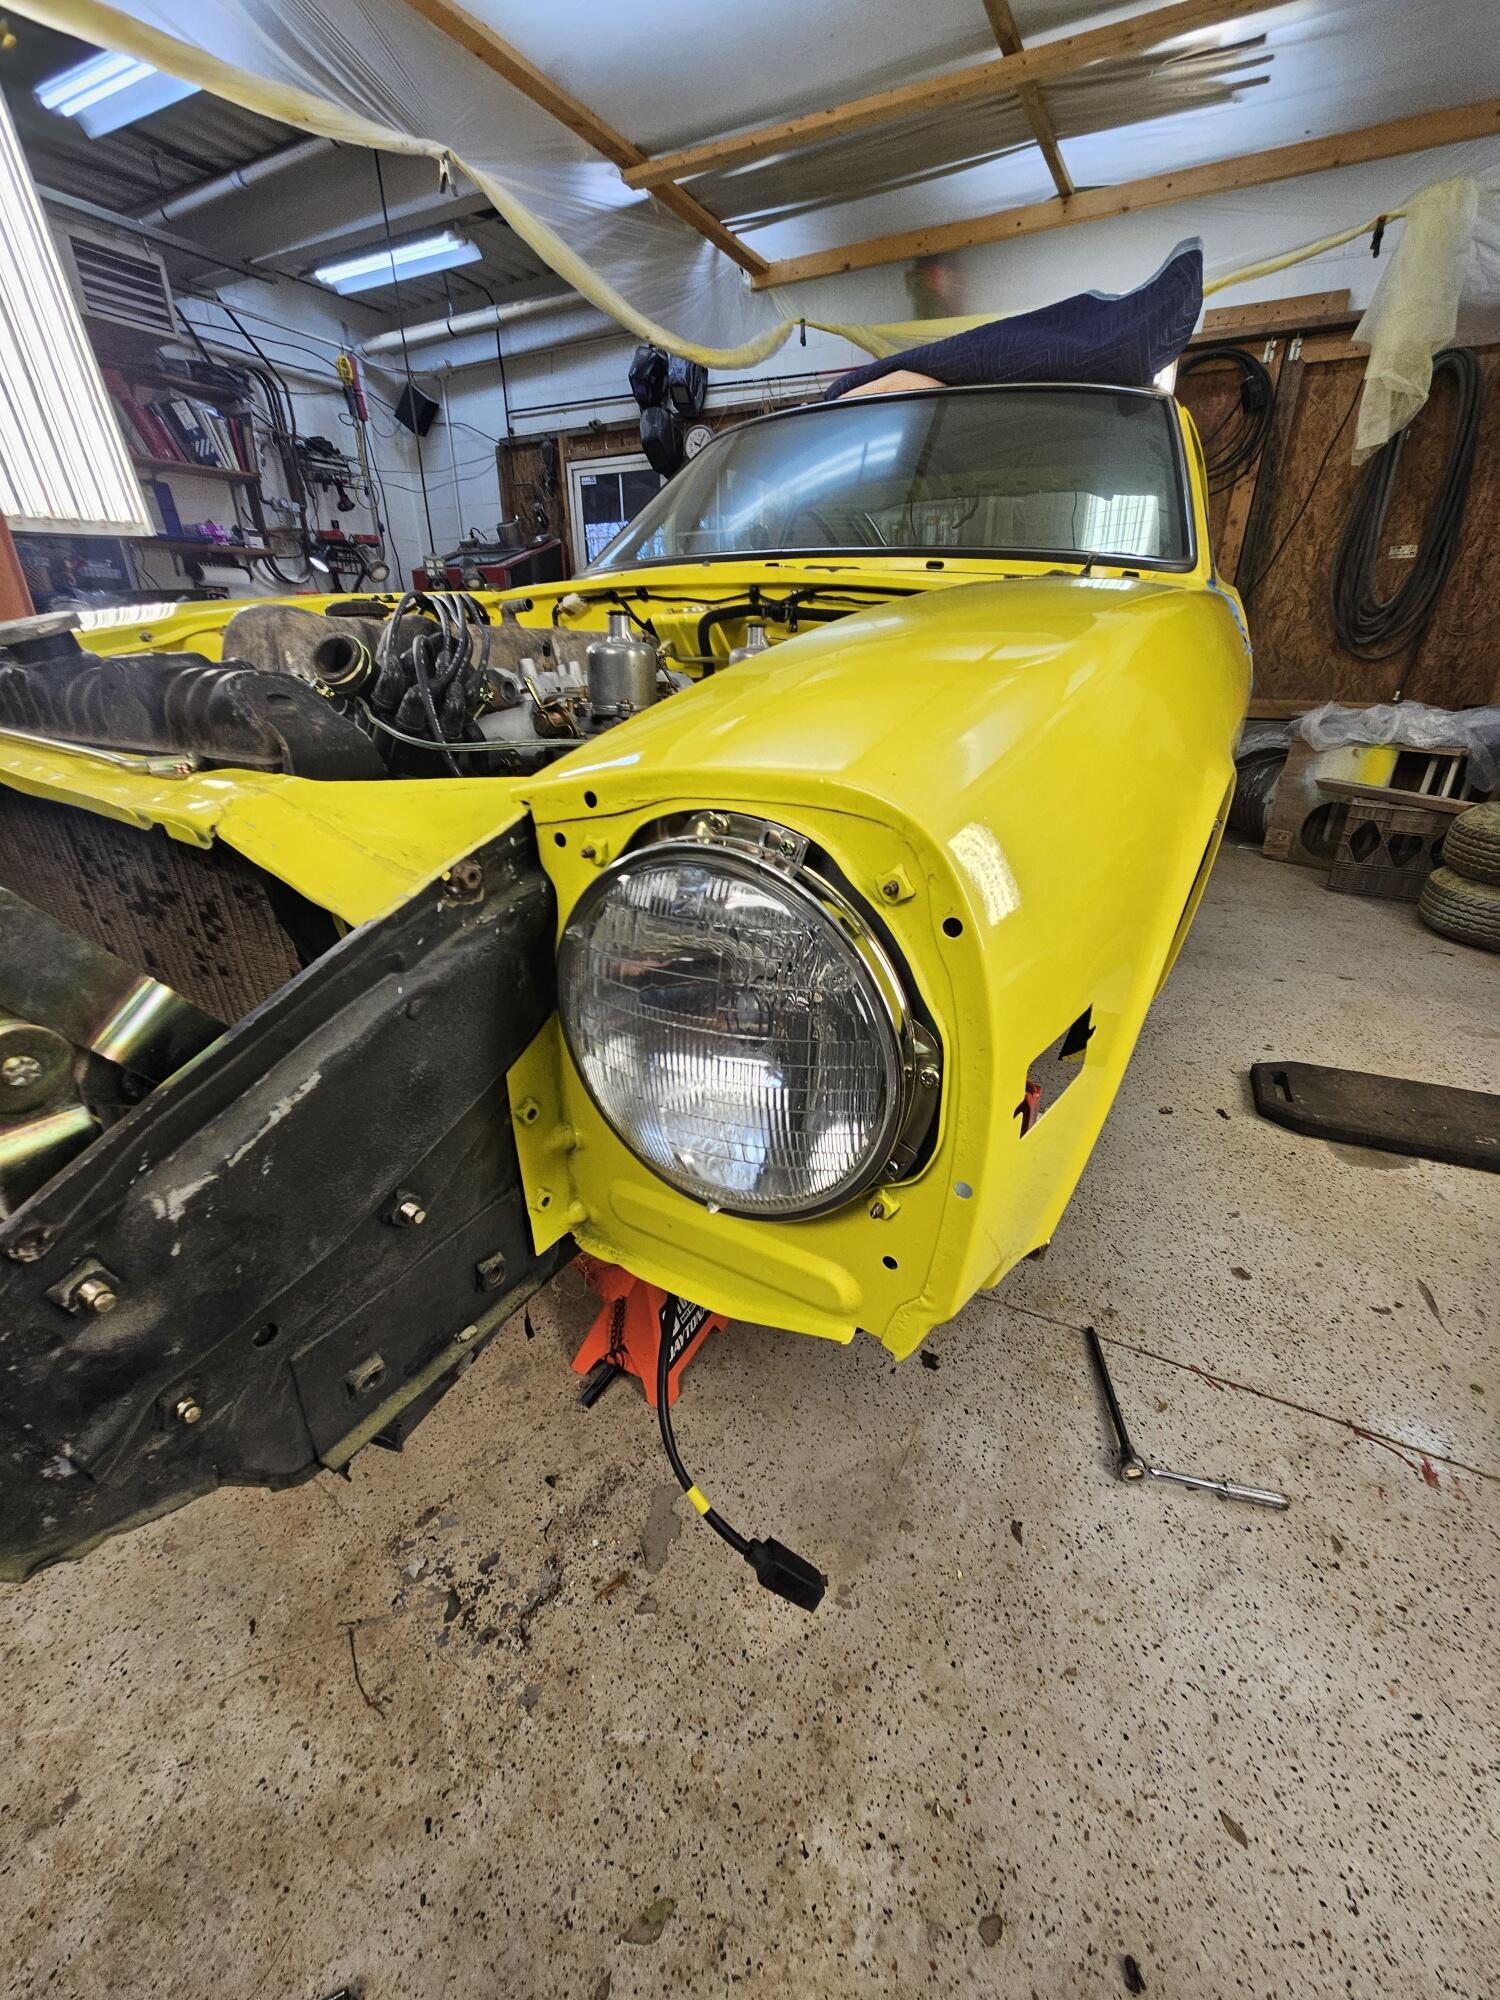
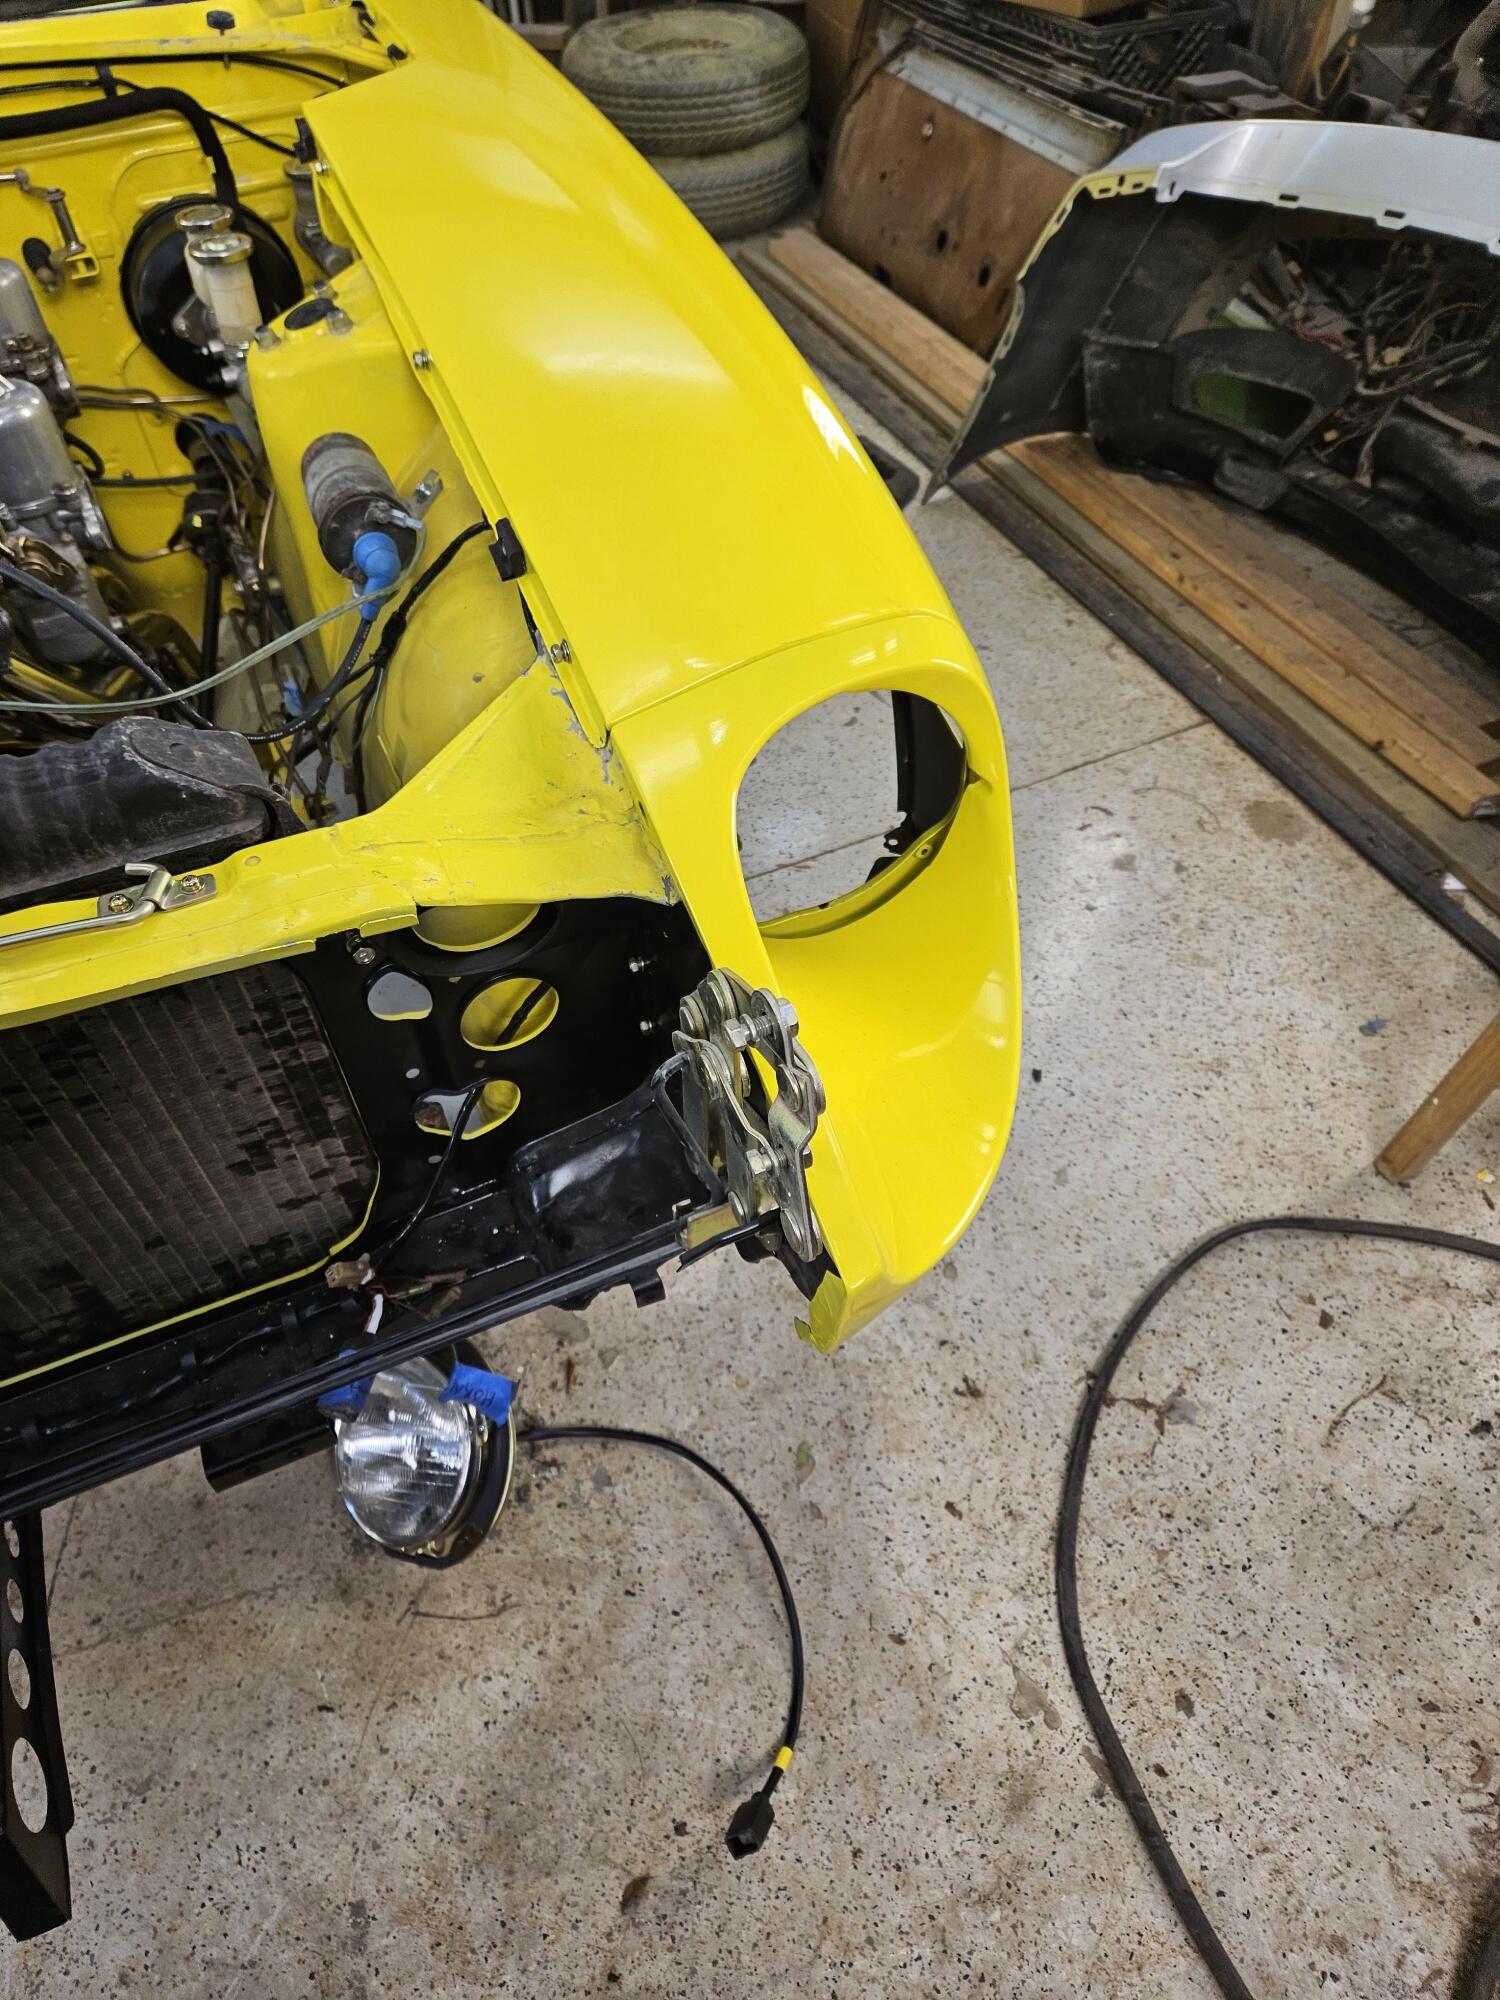
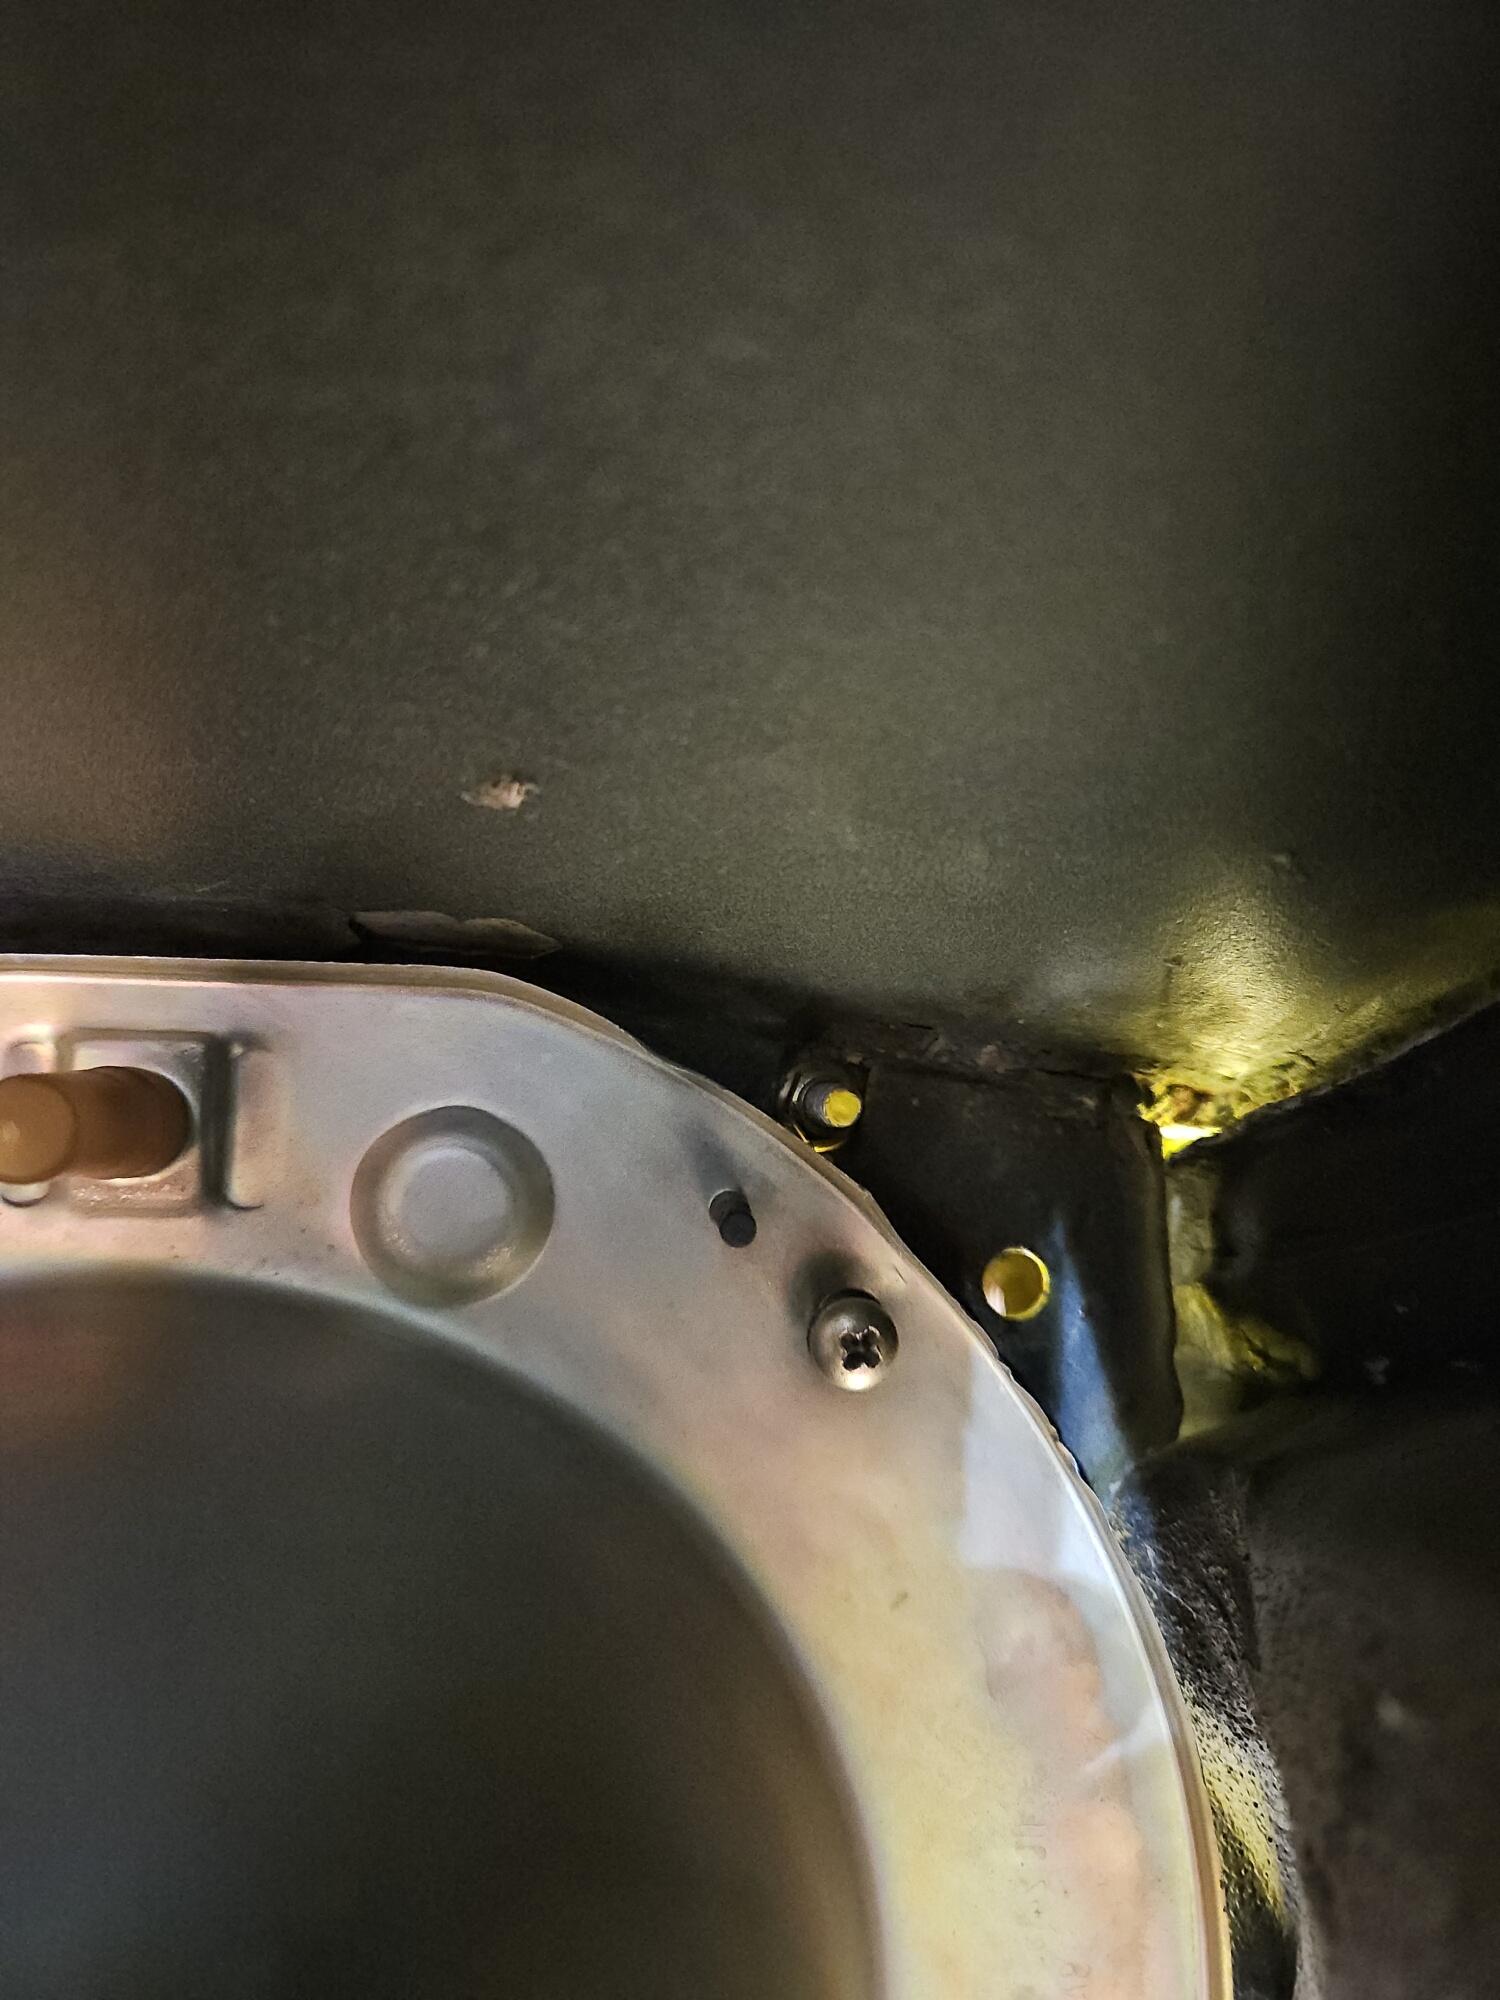
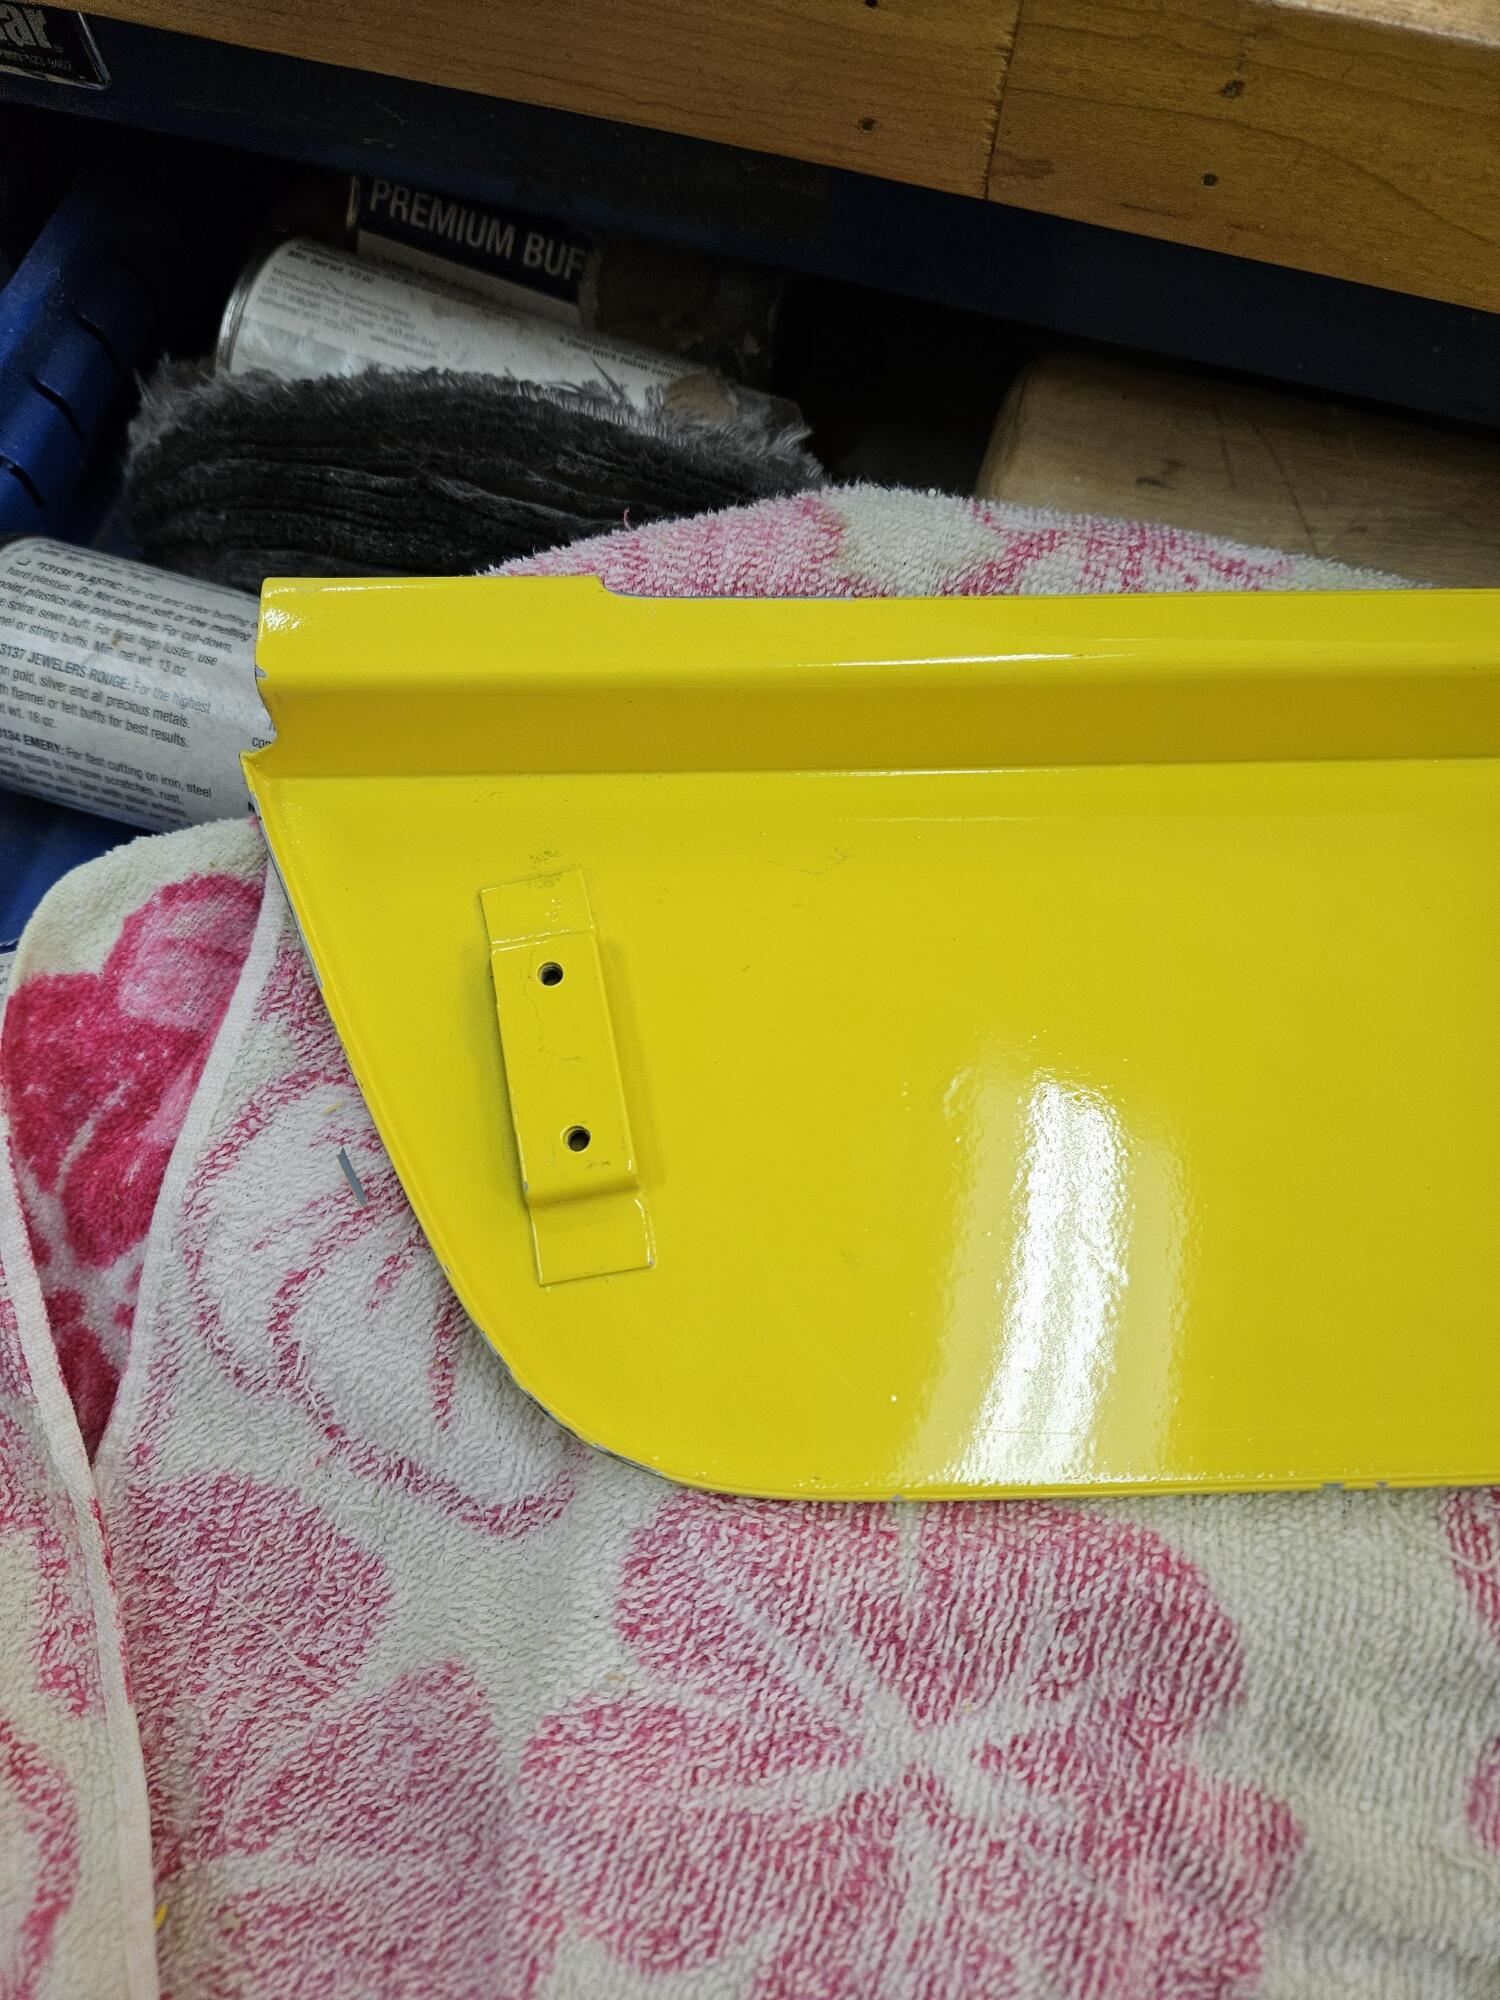
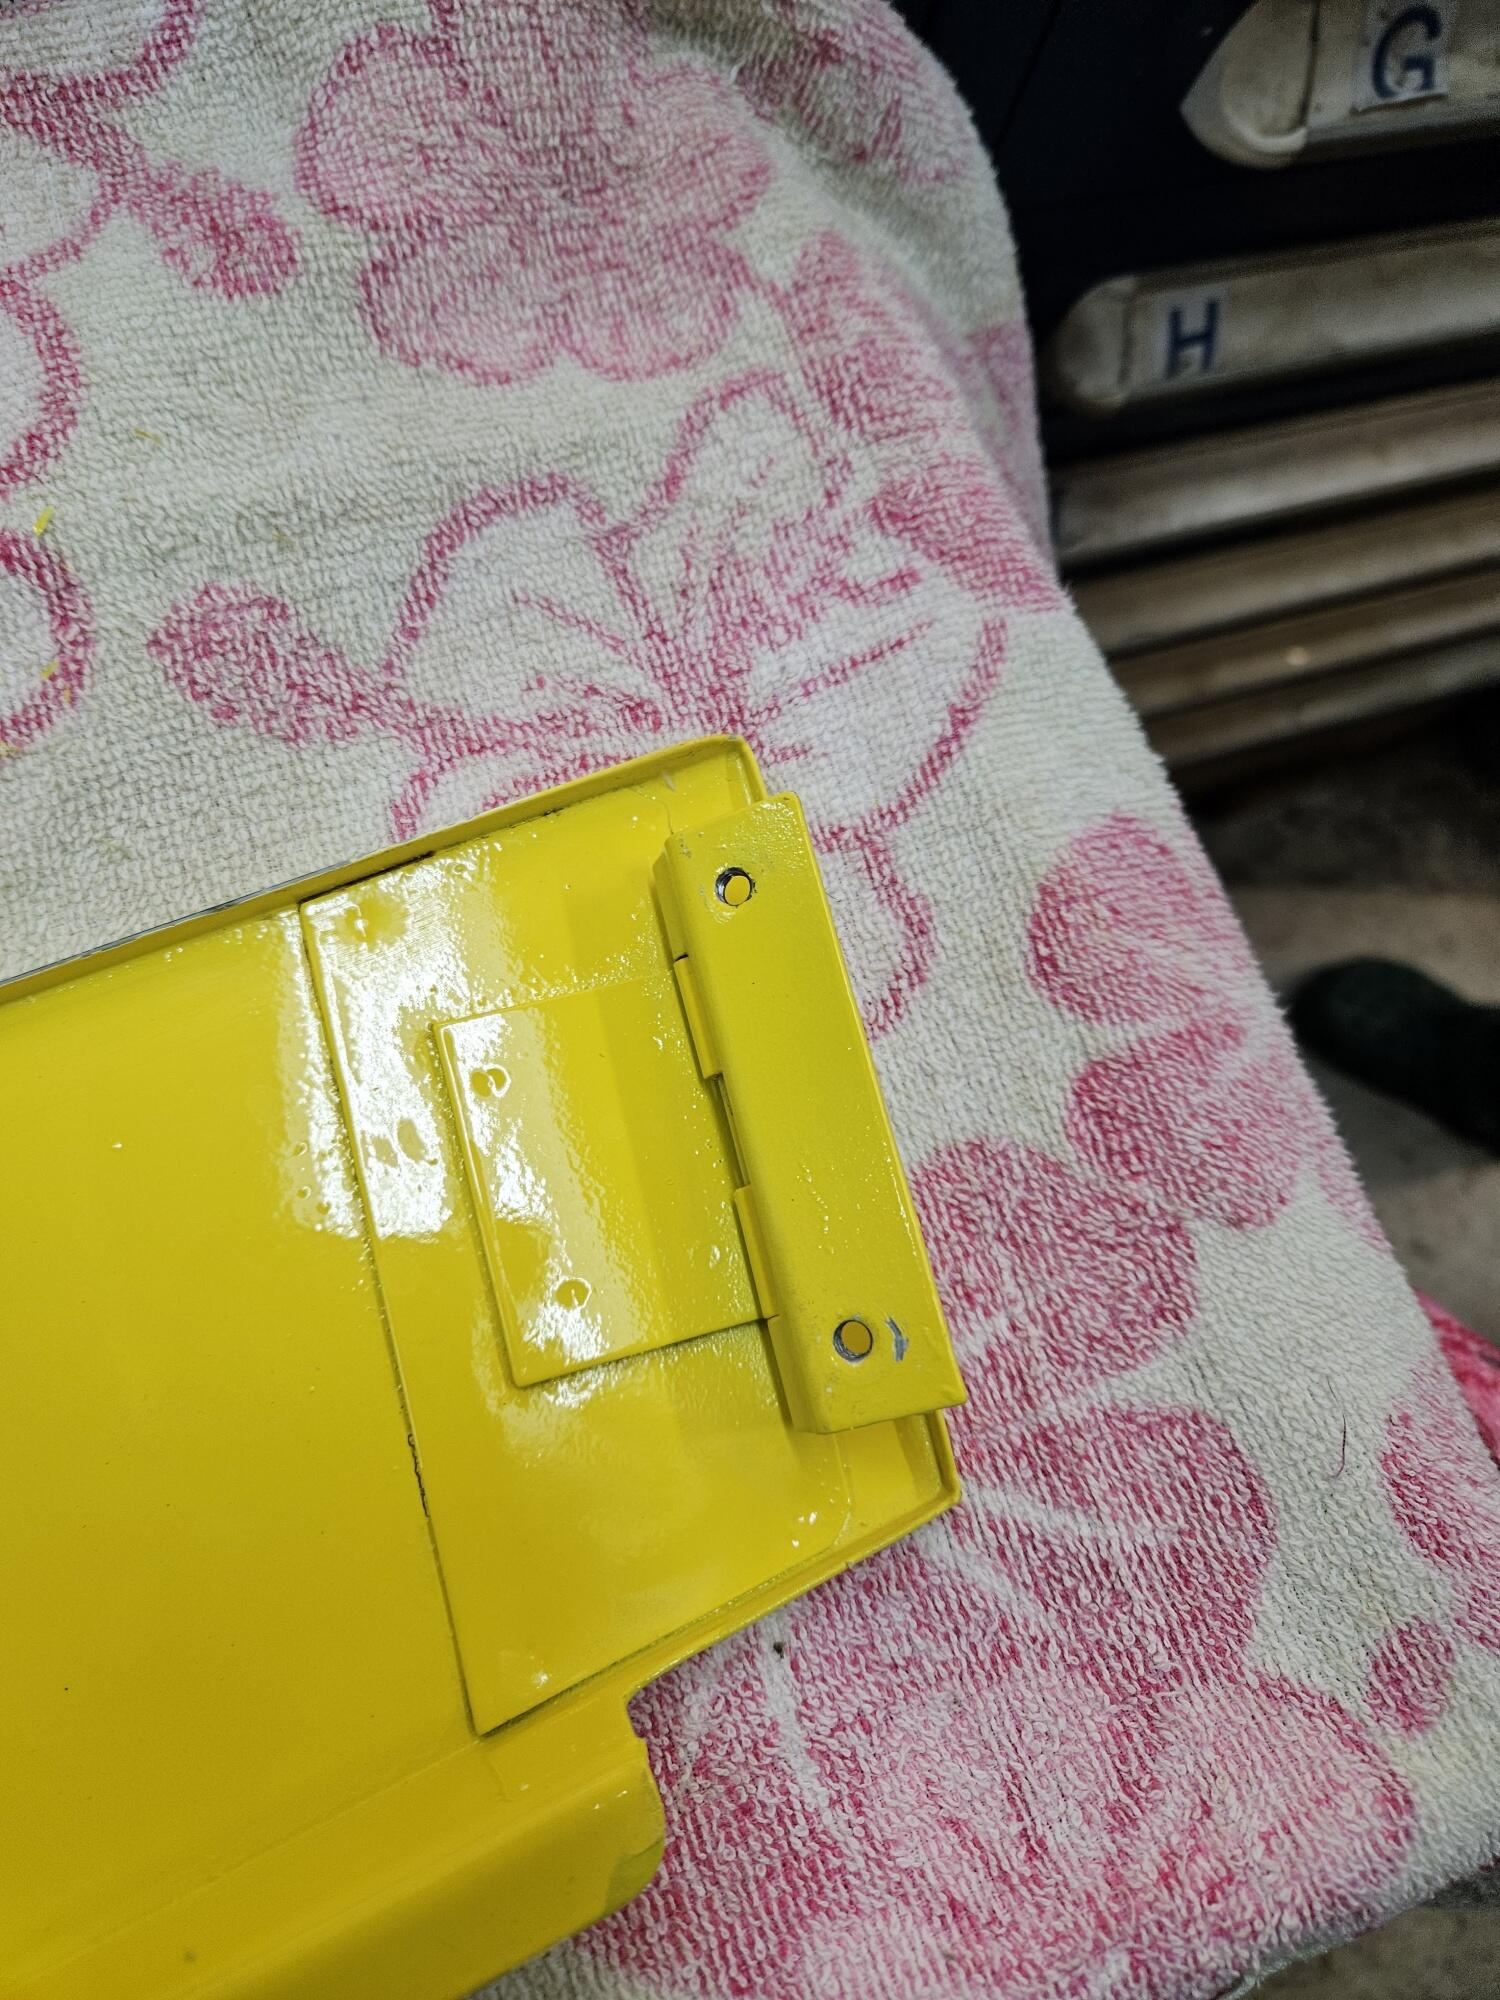
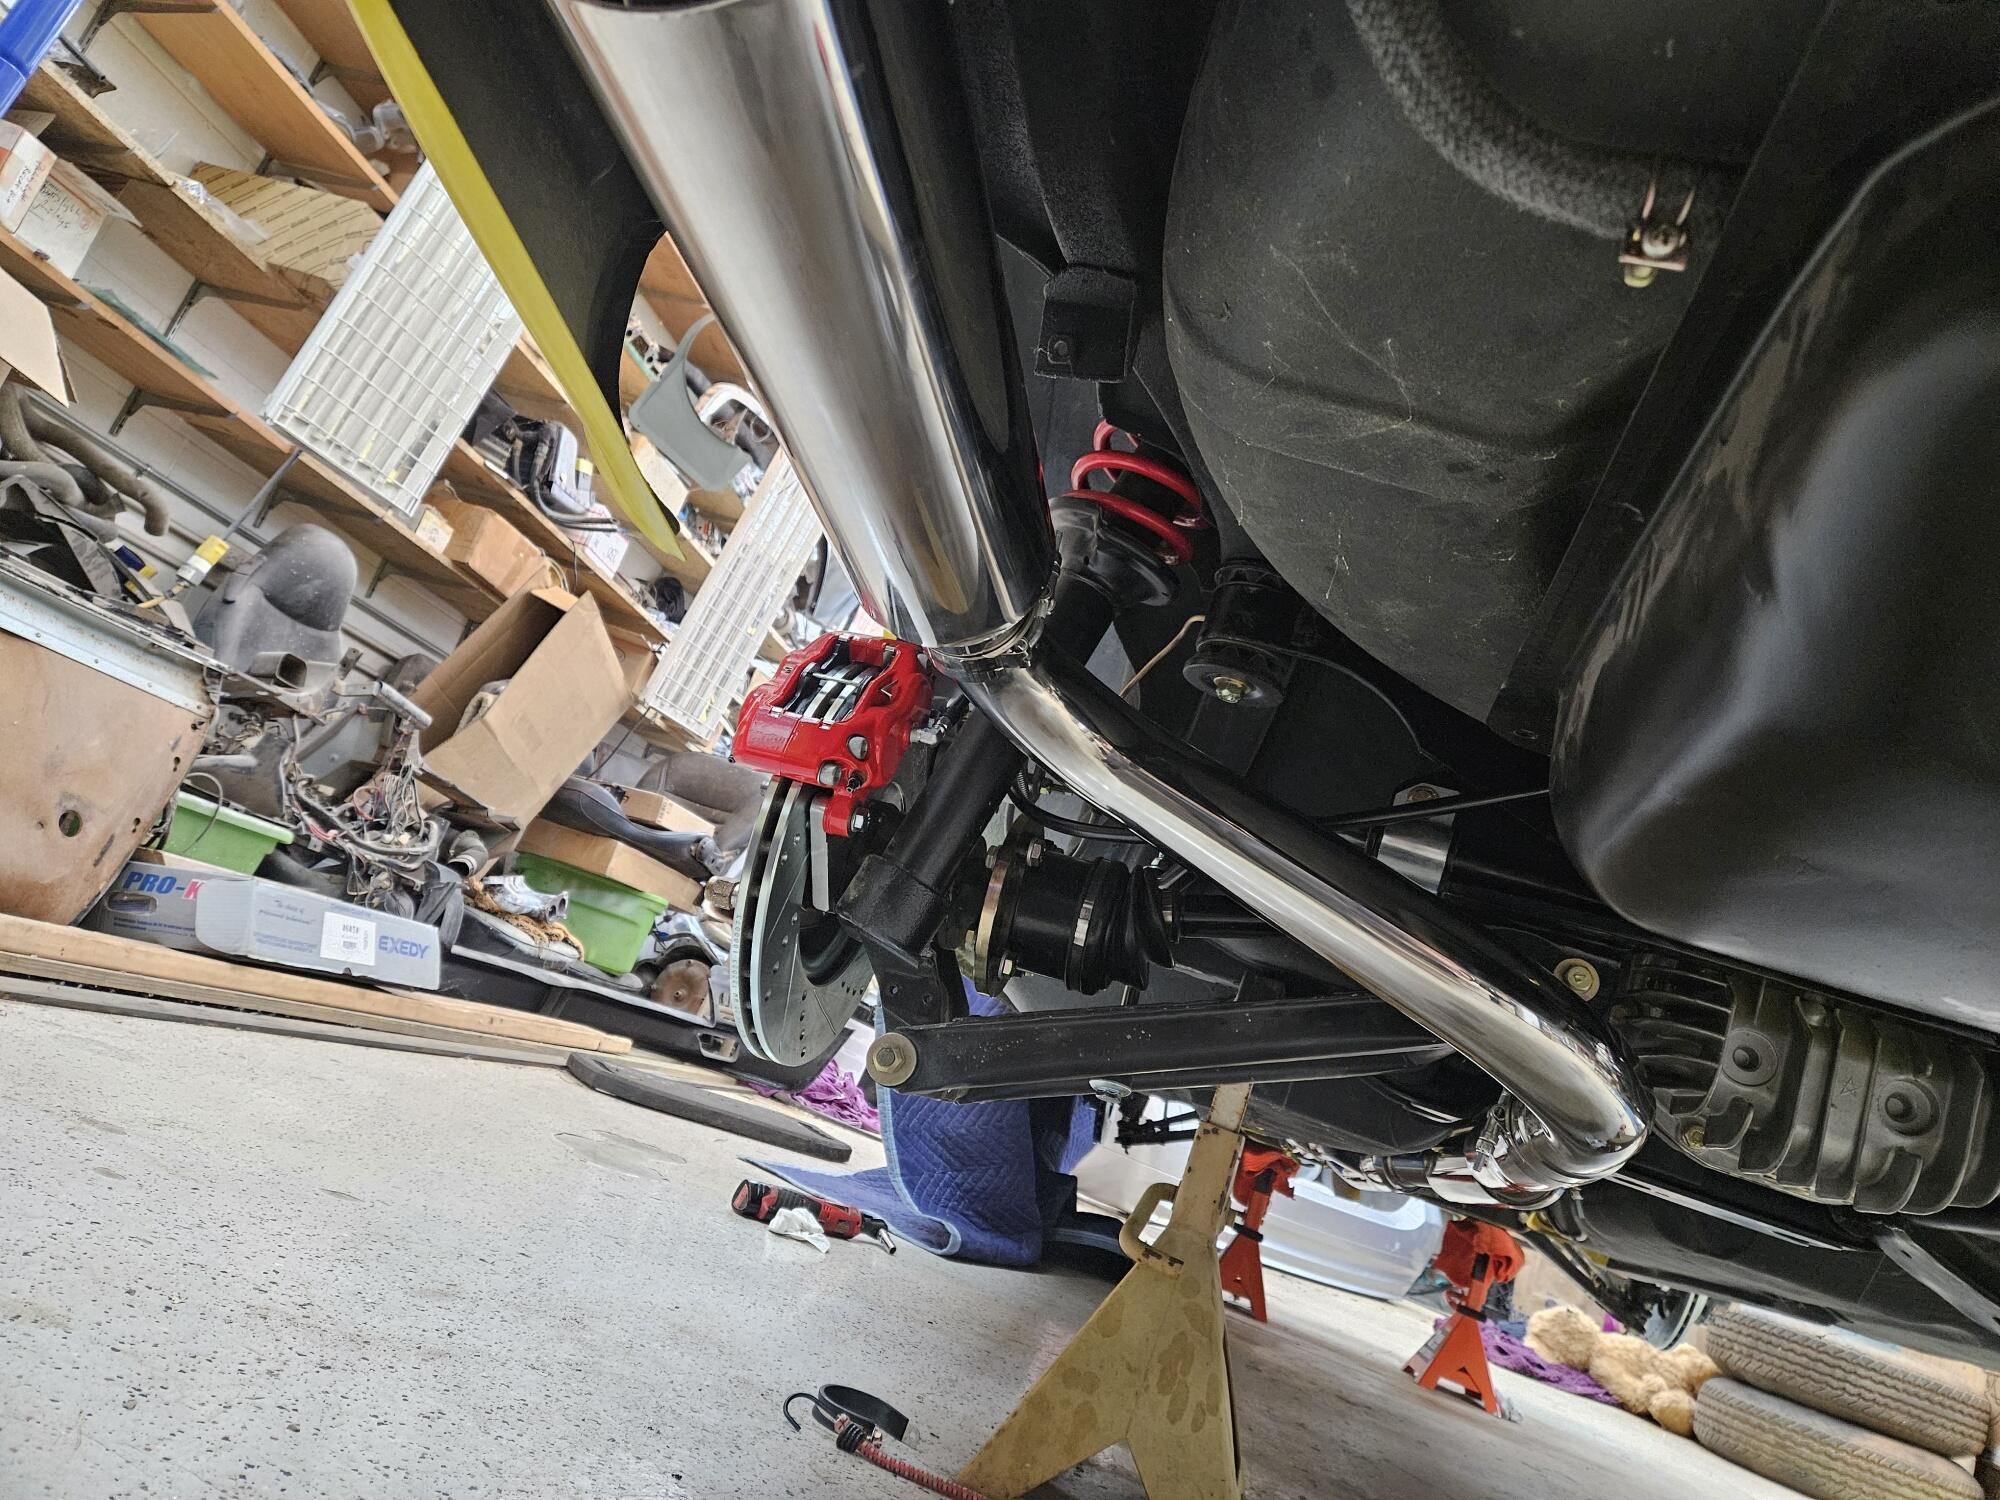
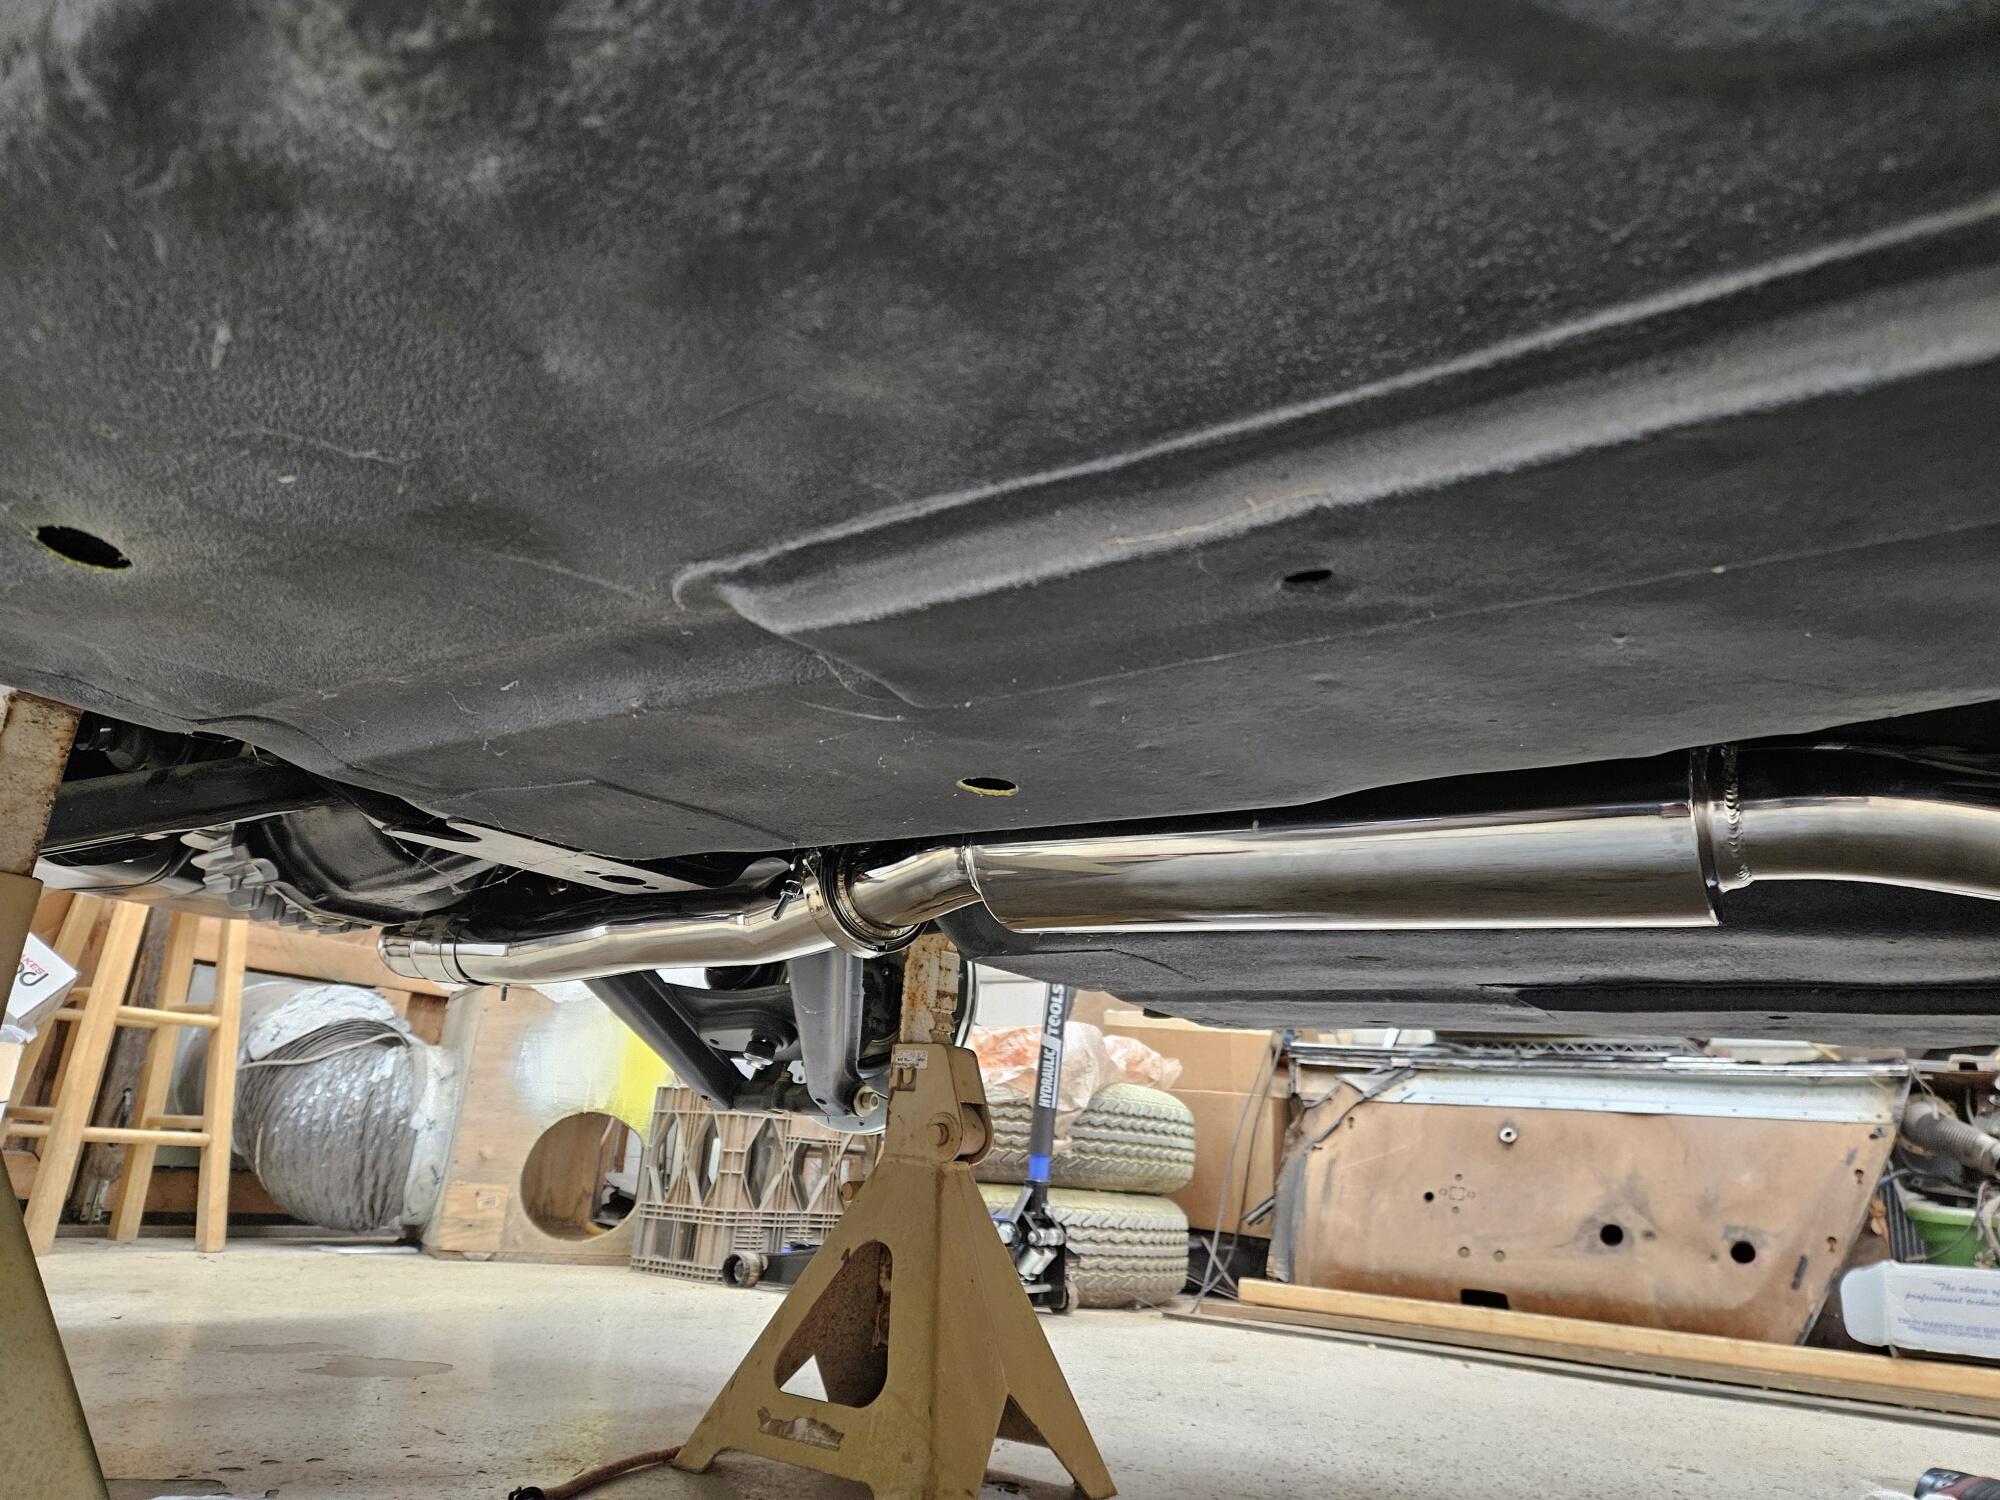
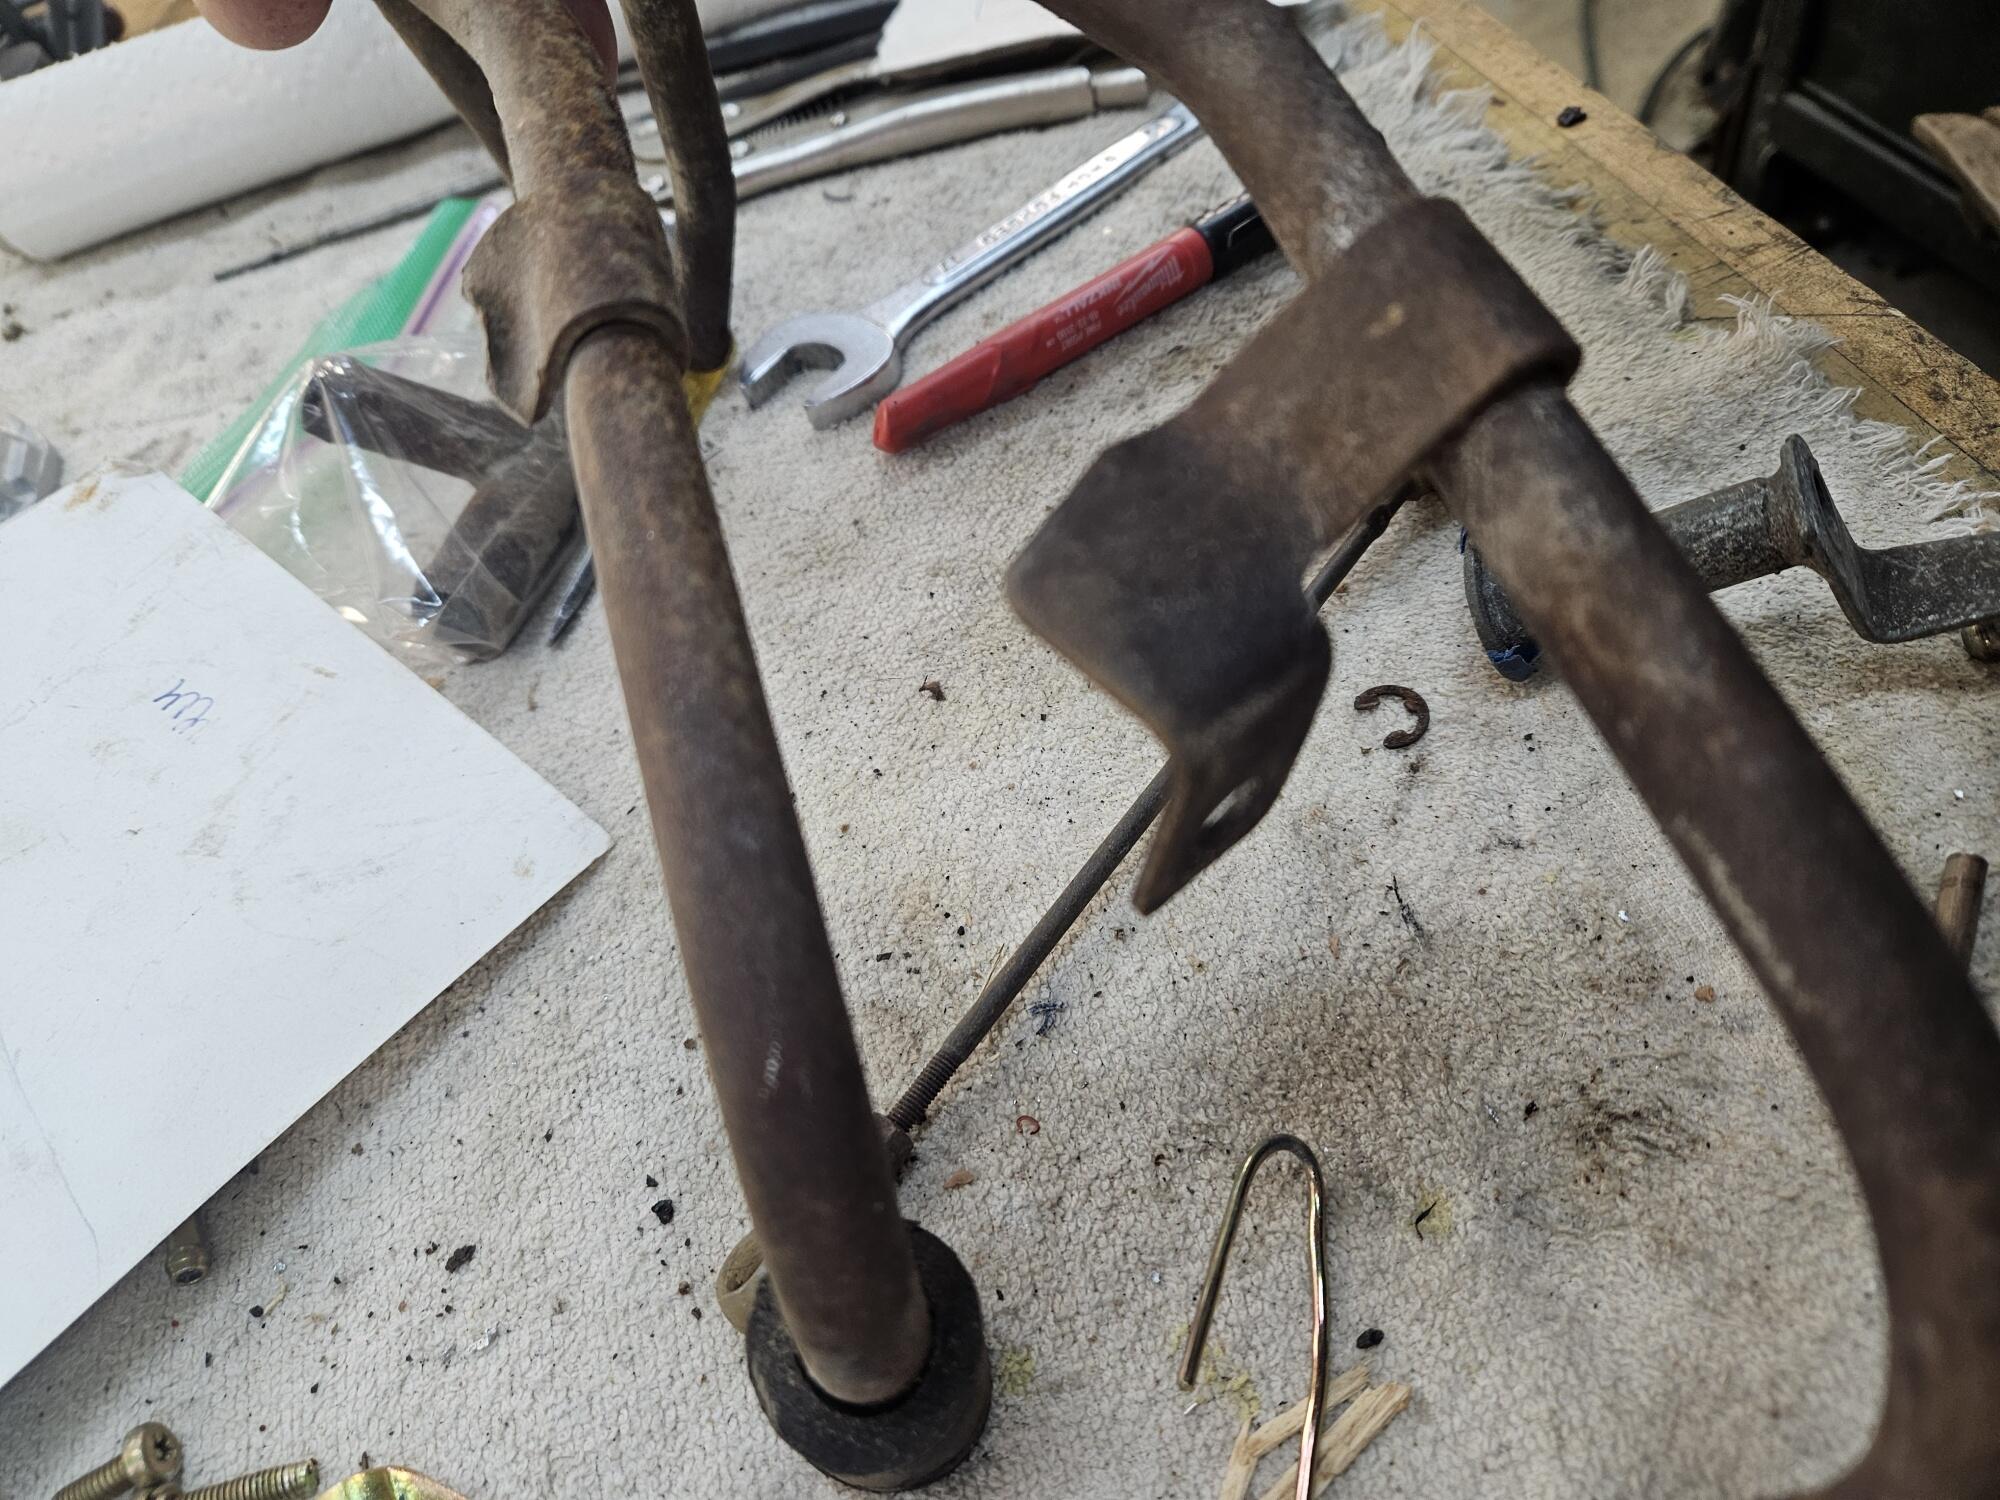
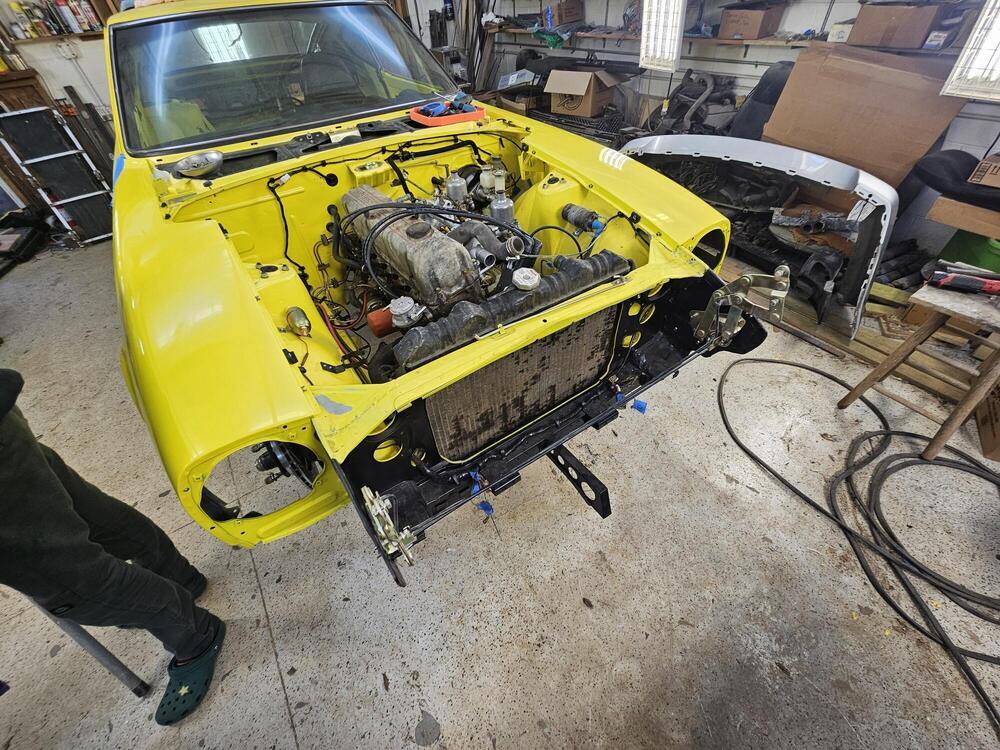
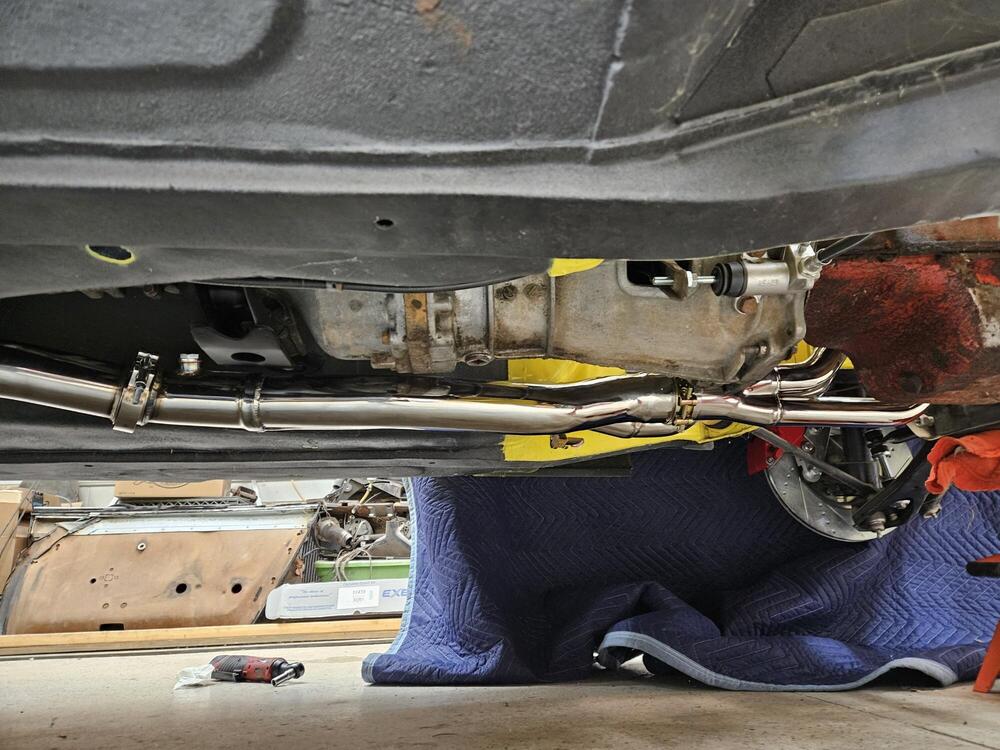
So I worked on the car some more today. I made progress but it was still frustrating! I worked on the exhaust a little more. Added this mounting strap on the tire side of the muffler. I need to add a hanger strap near the differential but I will have to fab a bracket to do that. Worked on mounting fenders and adding bumpers to the fenders Installed the hood hinges Put in the headlights Then realized that you can't put the sugar scoops on with the headlights in place! 😞 The studs are blocked by the headlight frame I put the windshield cowl on four or five times. Had to adjust fenders multiple times and every time I took it on or off I chipped the paint somewhere new. Really irritating!! I have to take it off again, maybe tomorrow to adjust the passenger side fender. The inspection cover won't fit in the gap I have currently on the passenger side. I also can't find the hardware for the inspection lids. I know I have it and it's been plated but I can't find it. Really irritating. Luckily, I'm a packrat and had some other lids with the hardware but it will have to be plated. 2 forward , 1 back


-
-
I thought about that one...
-
Who is Newman talking to?
-
Question: What do other people use for duplicating the yellow marks on the final torqued suspension fasteners? Material and applicator?
-
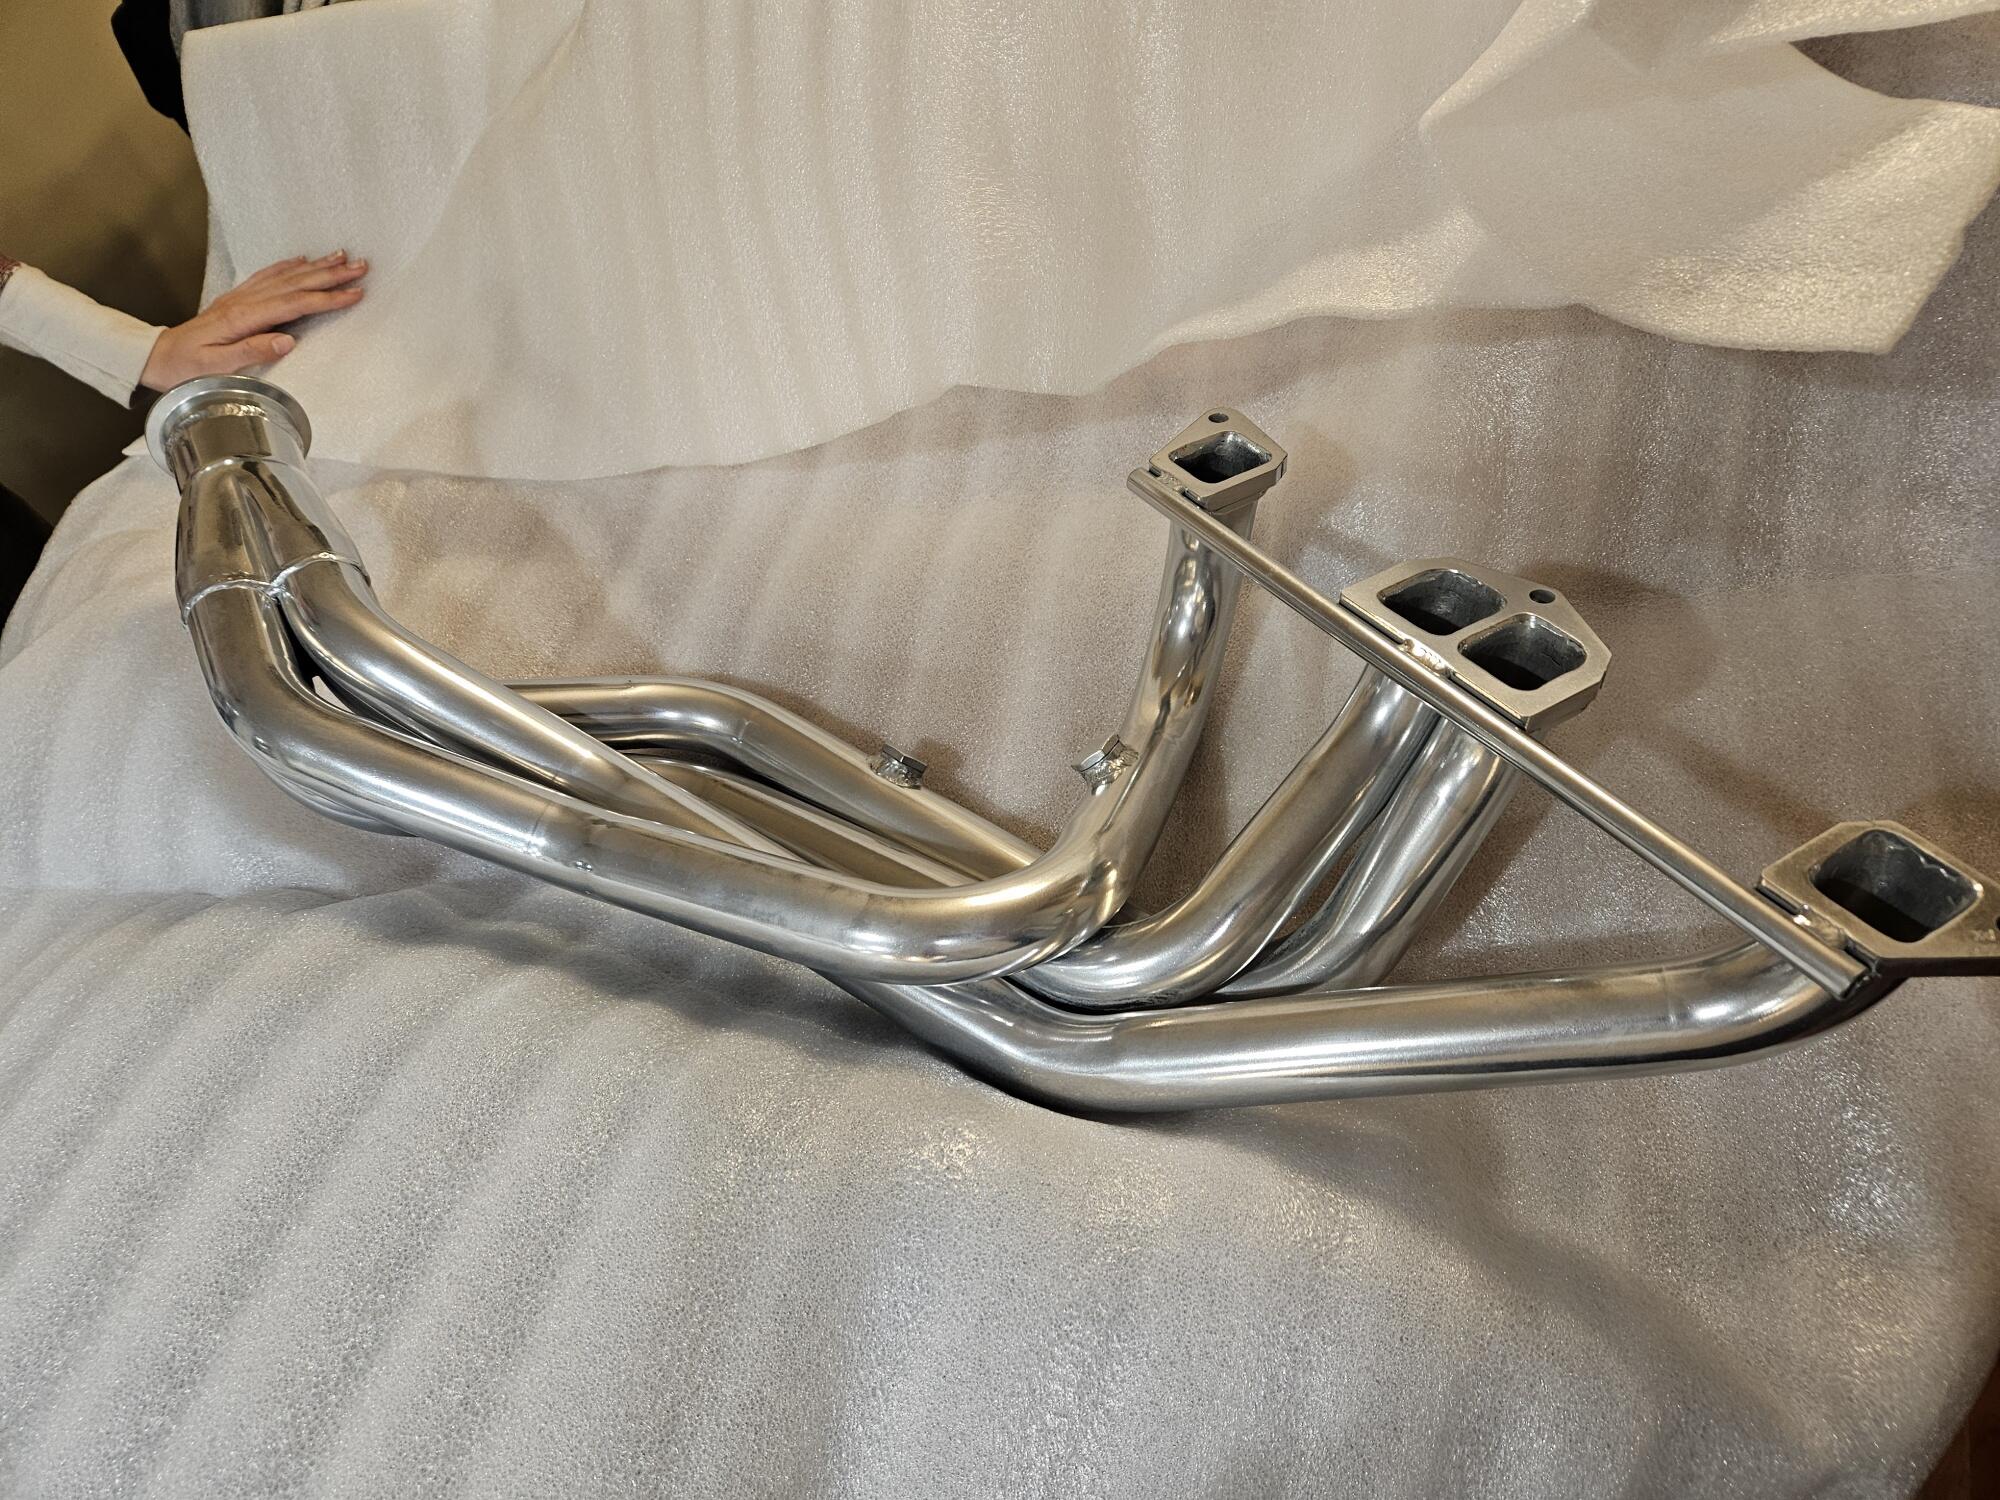
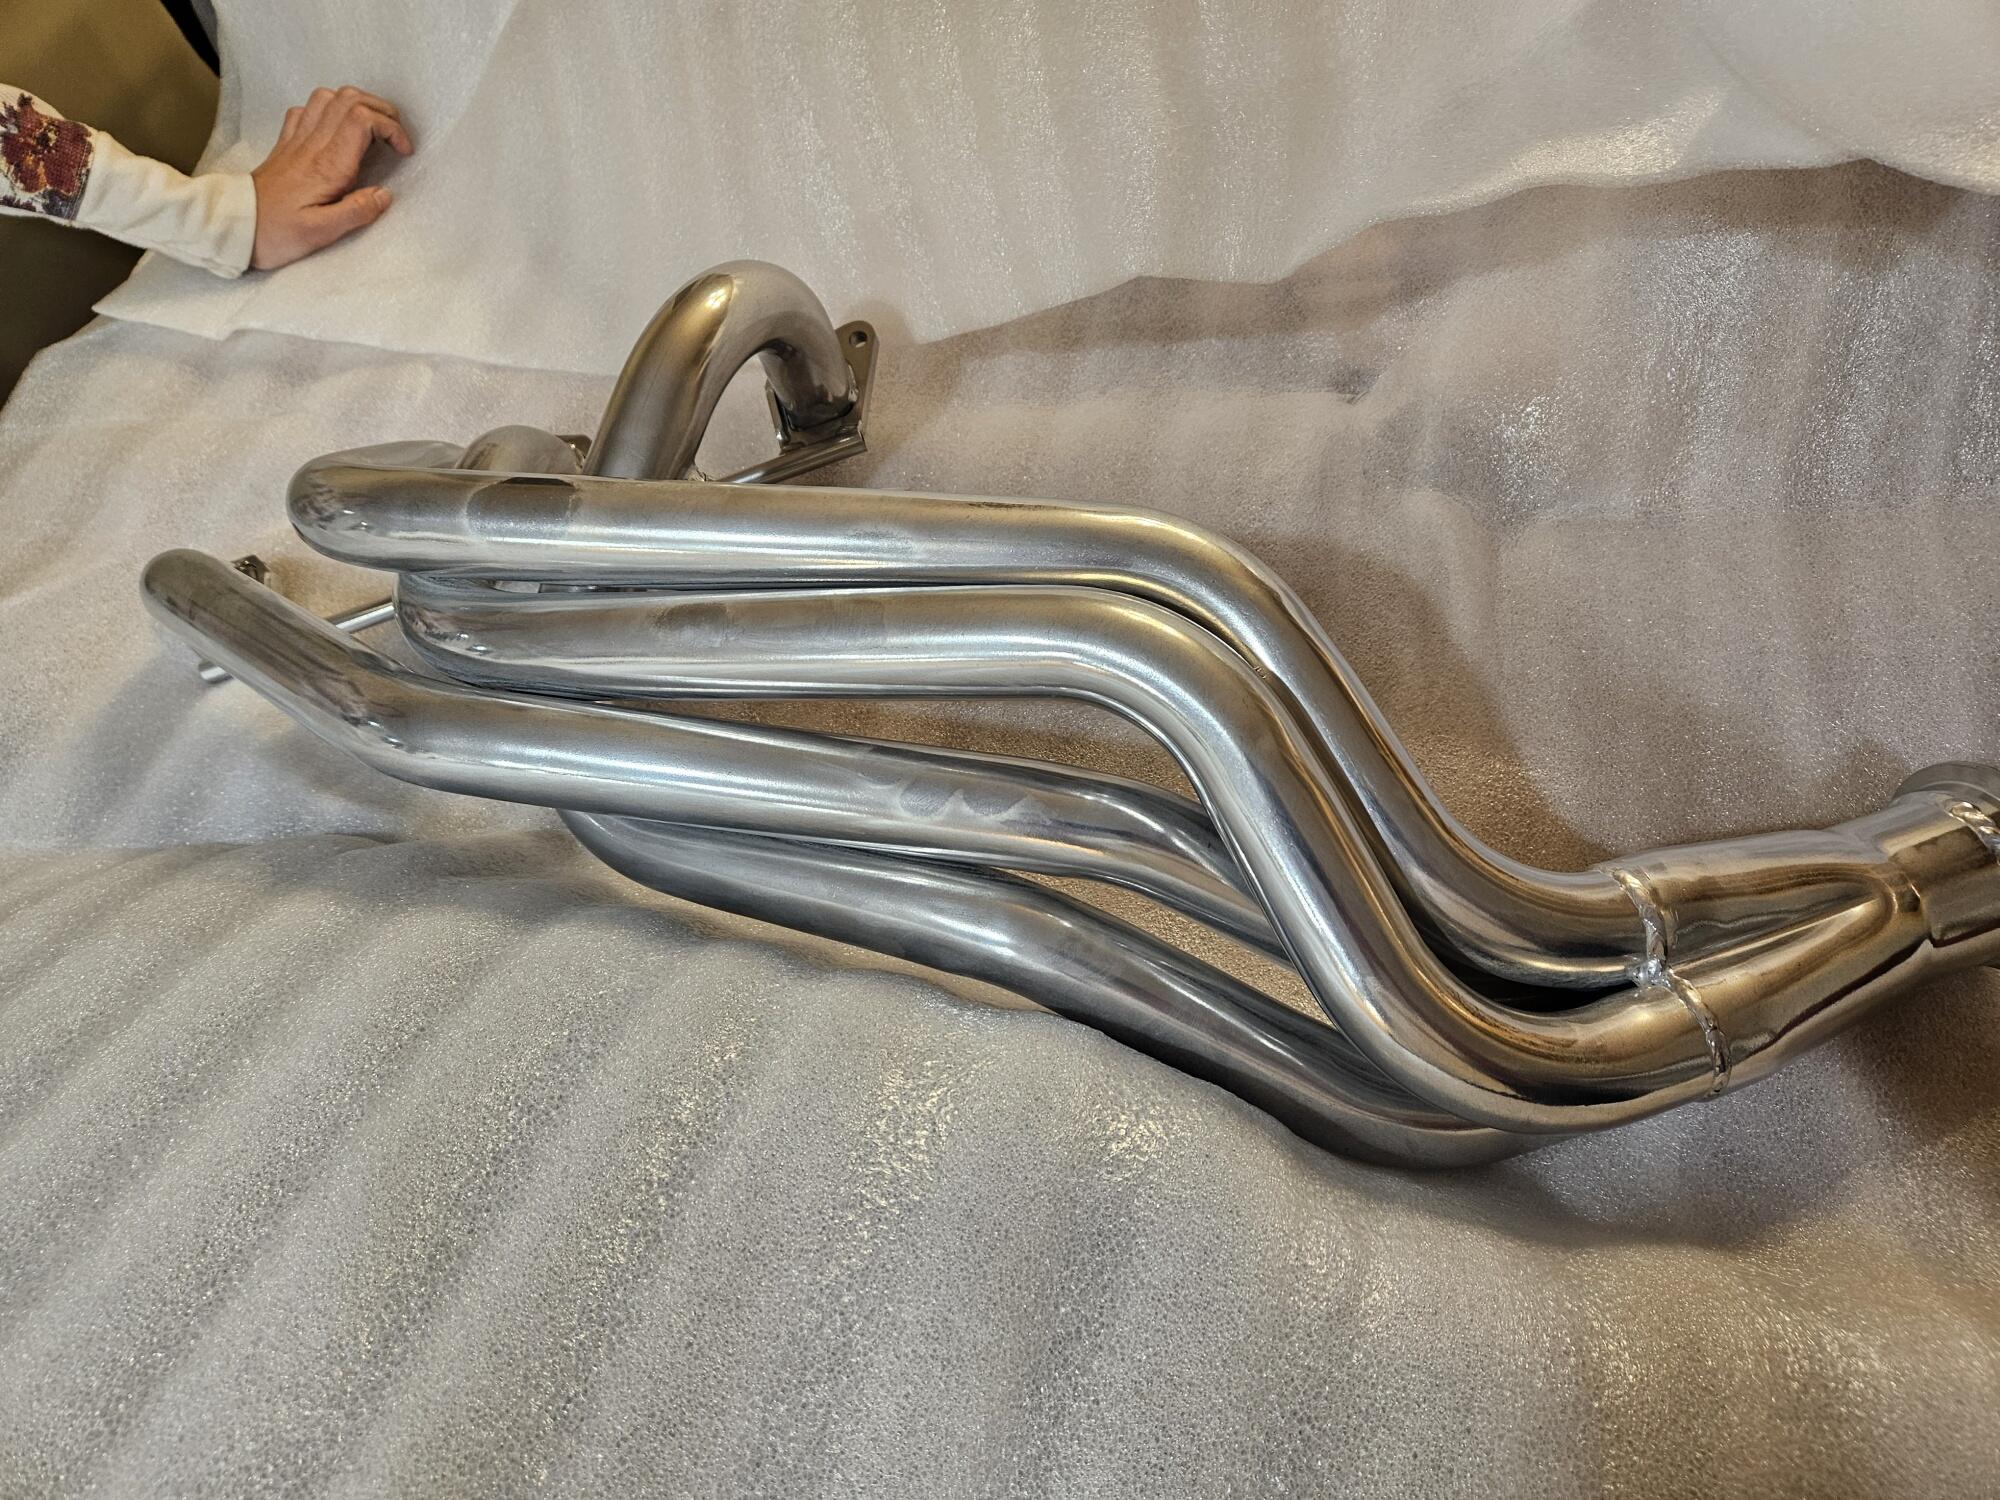
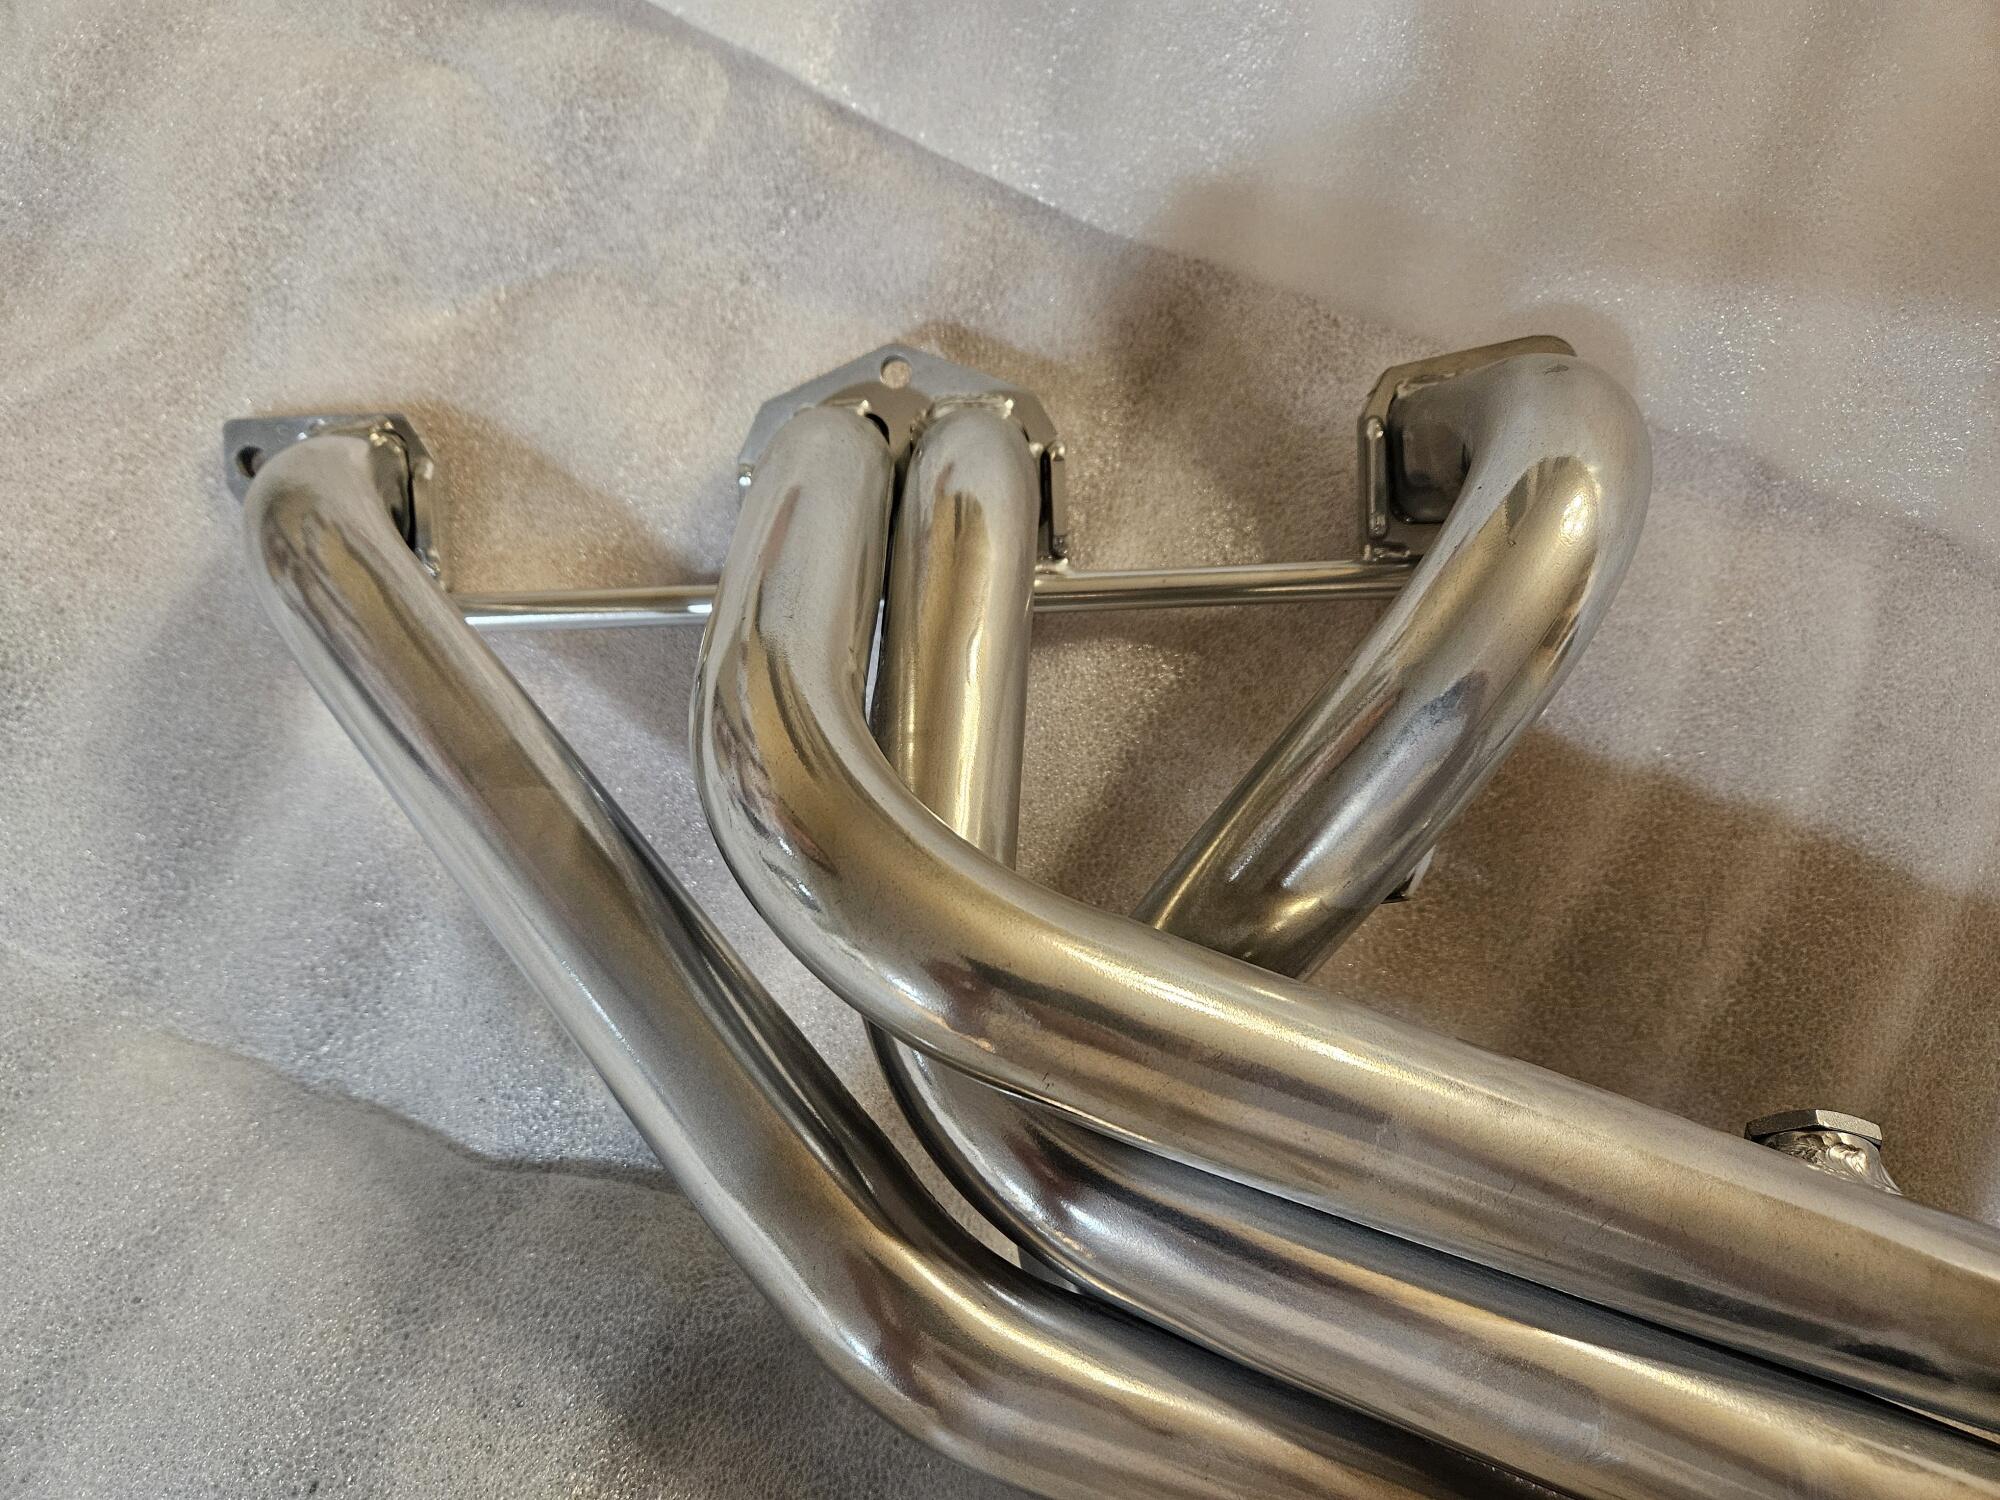
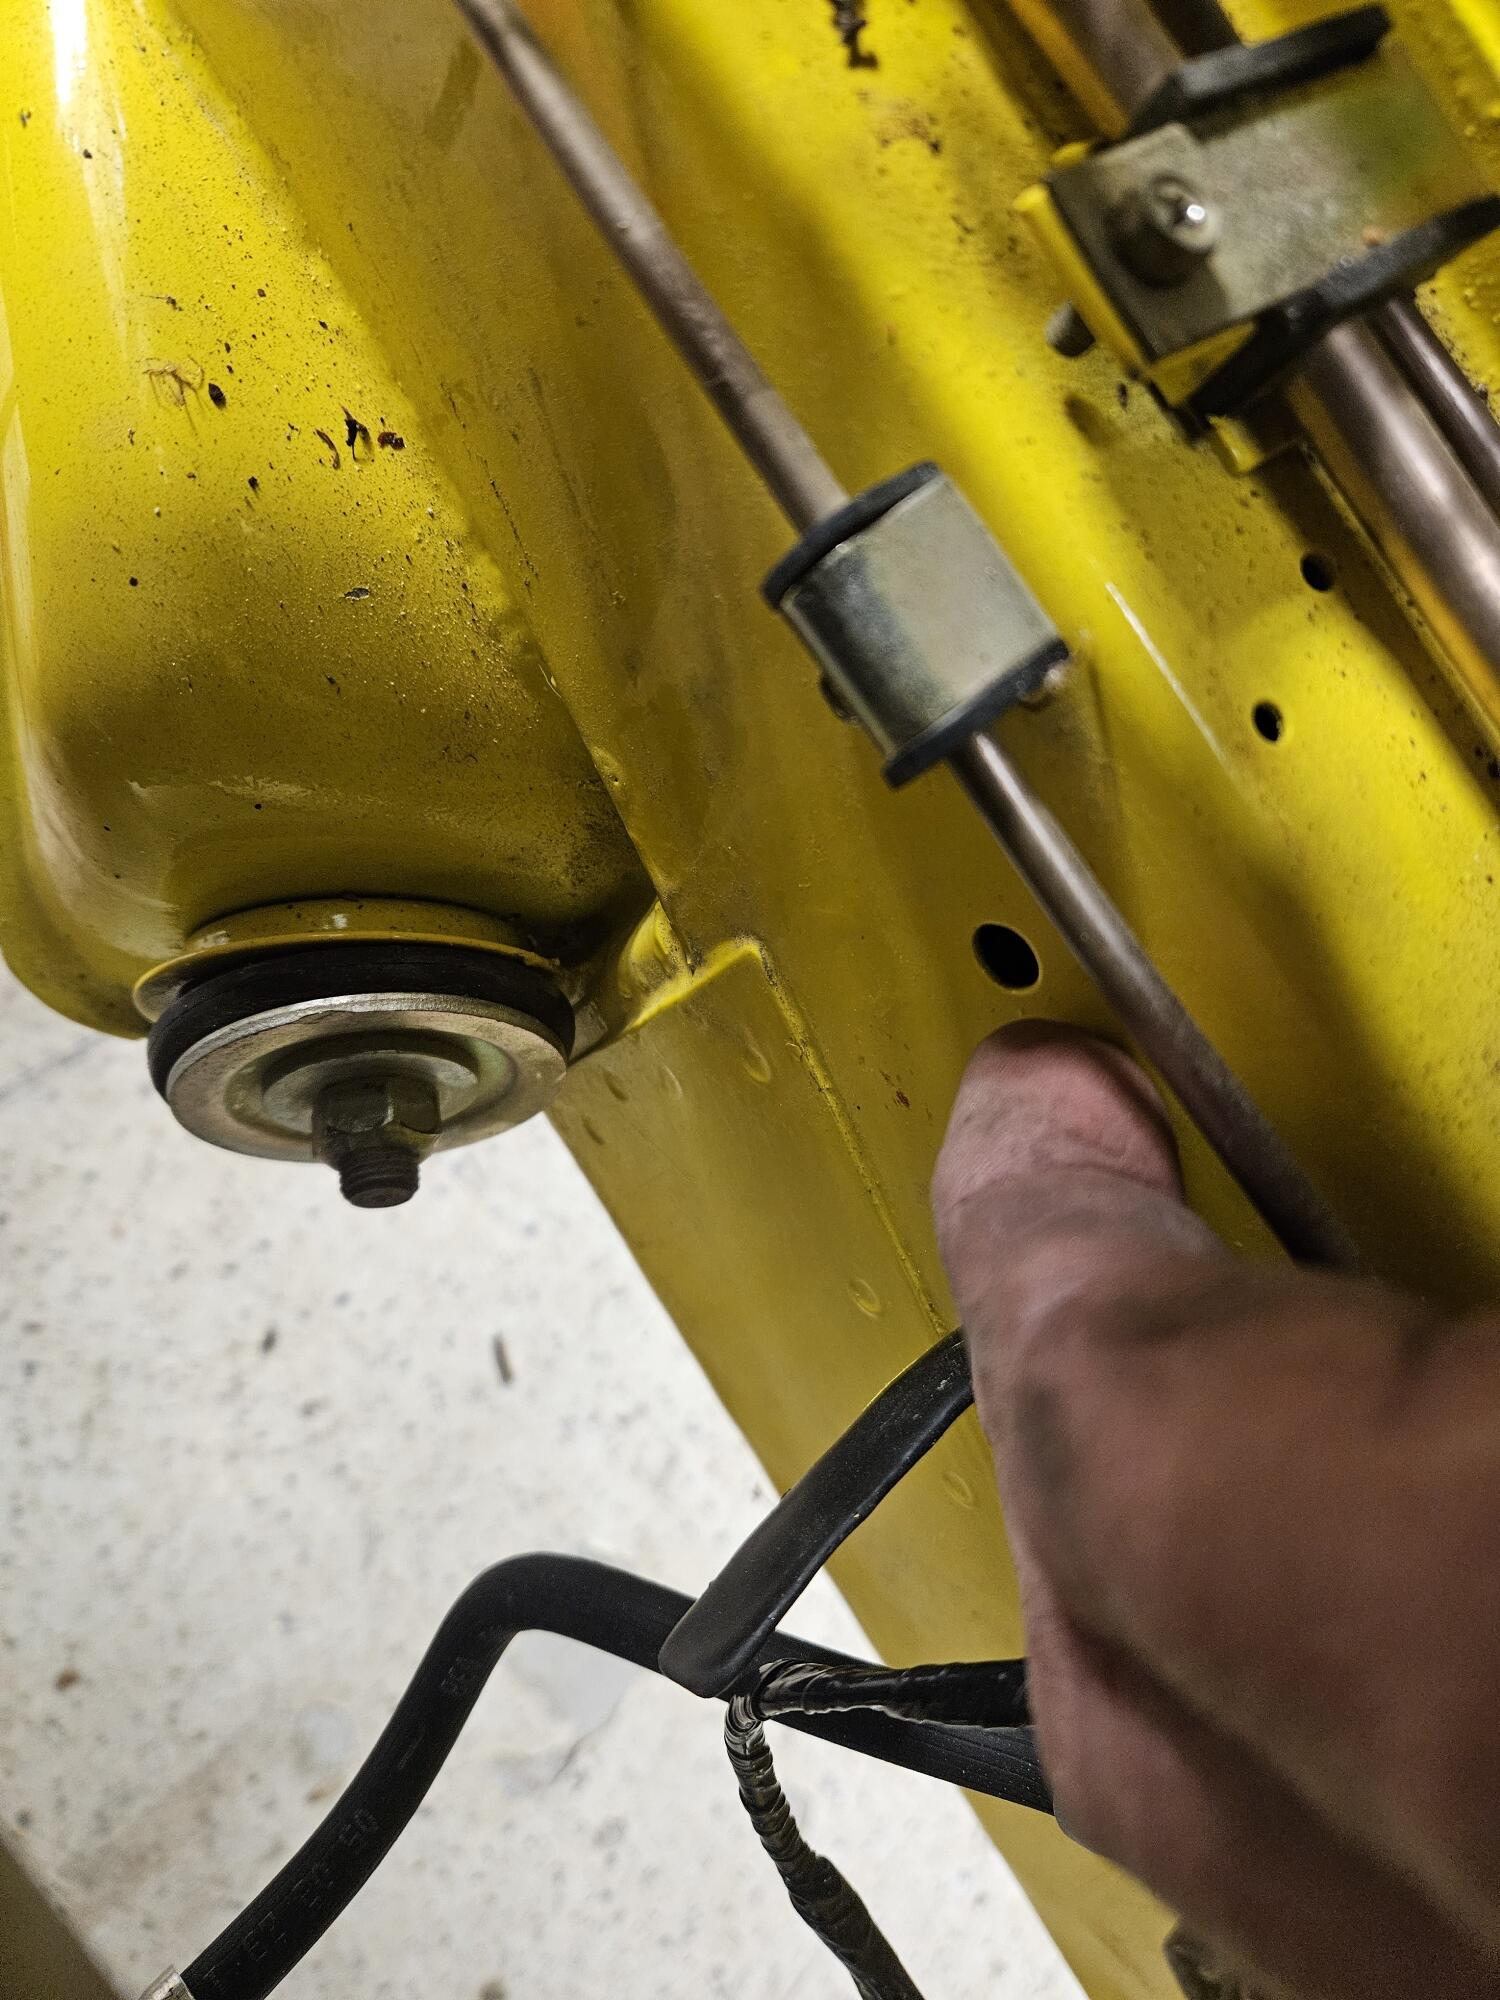
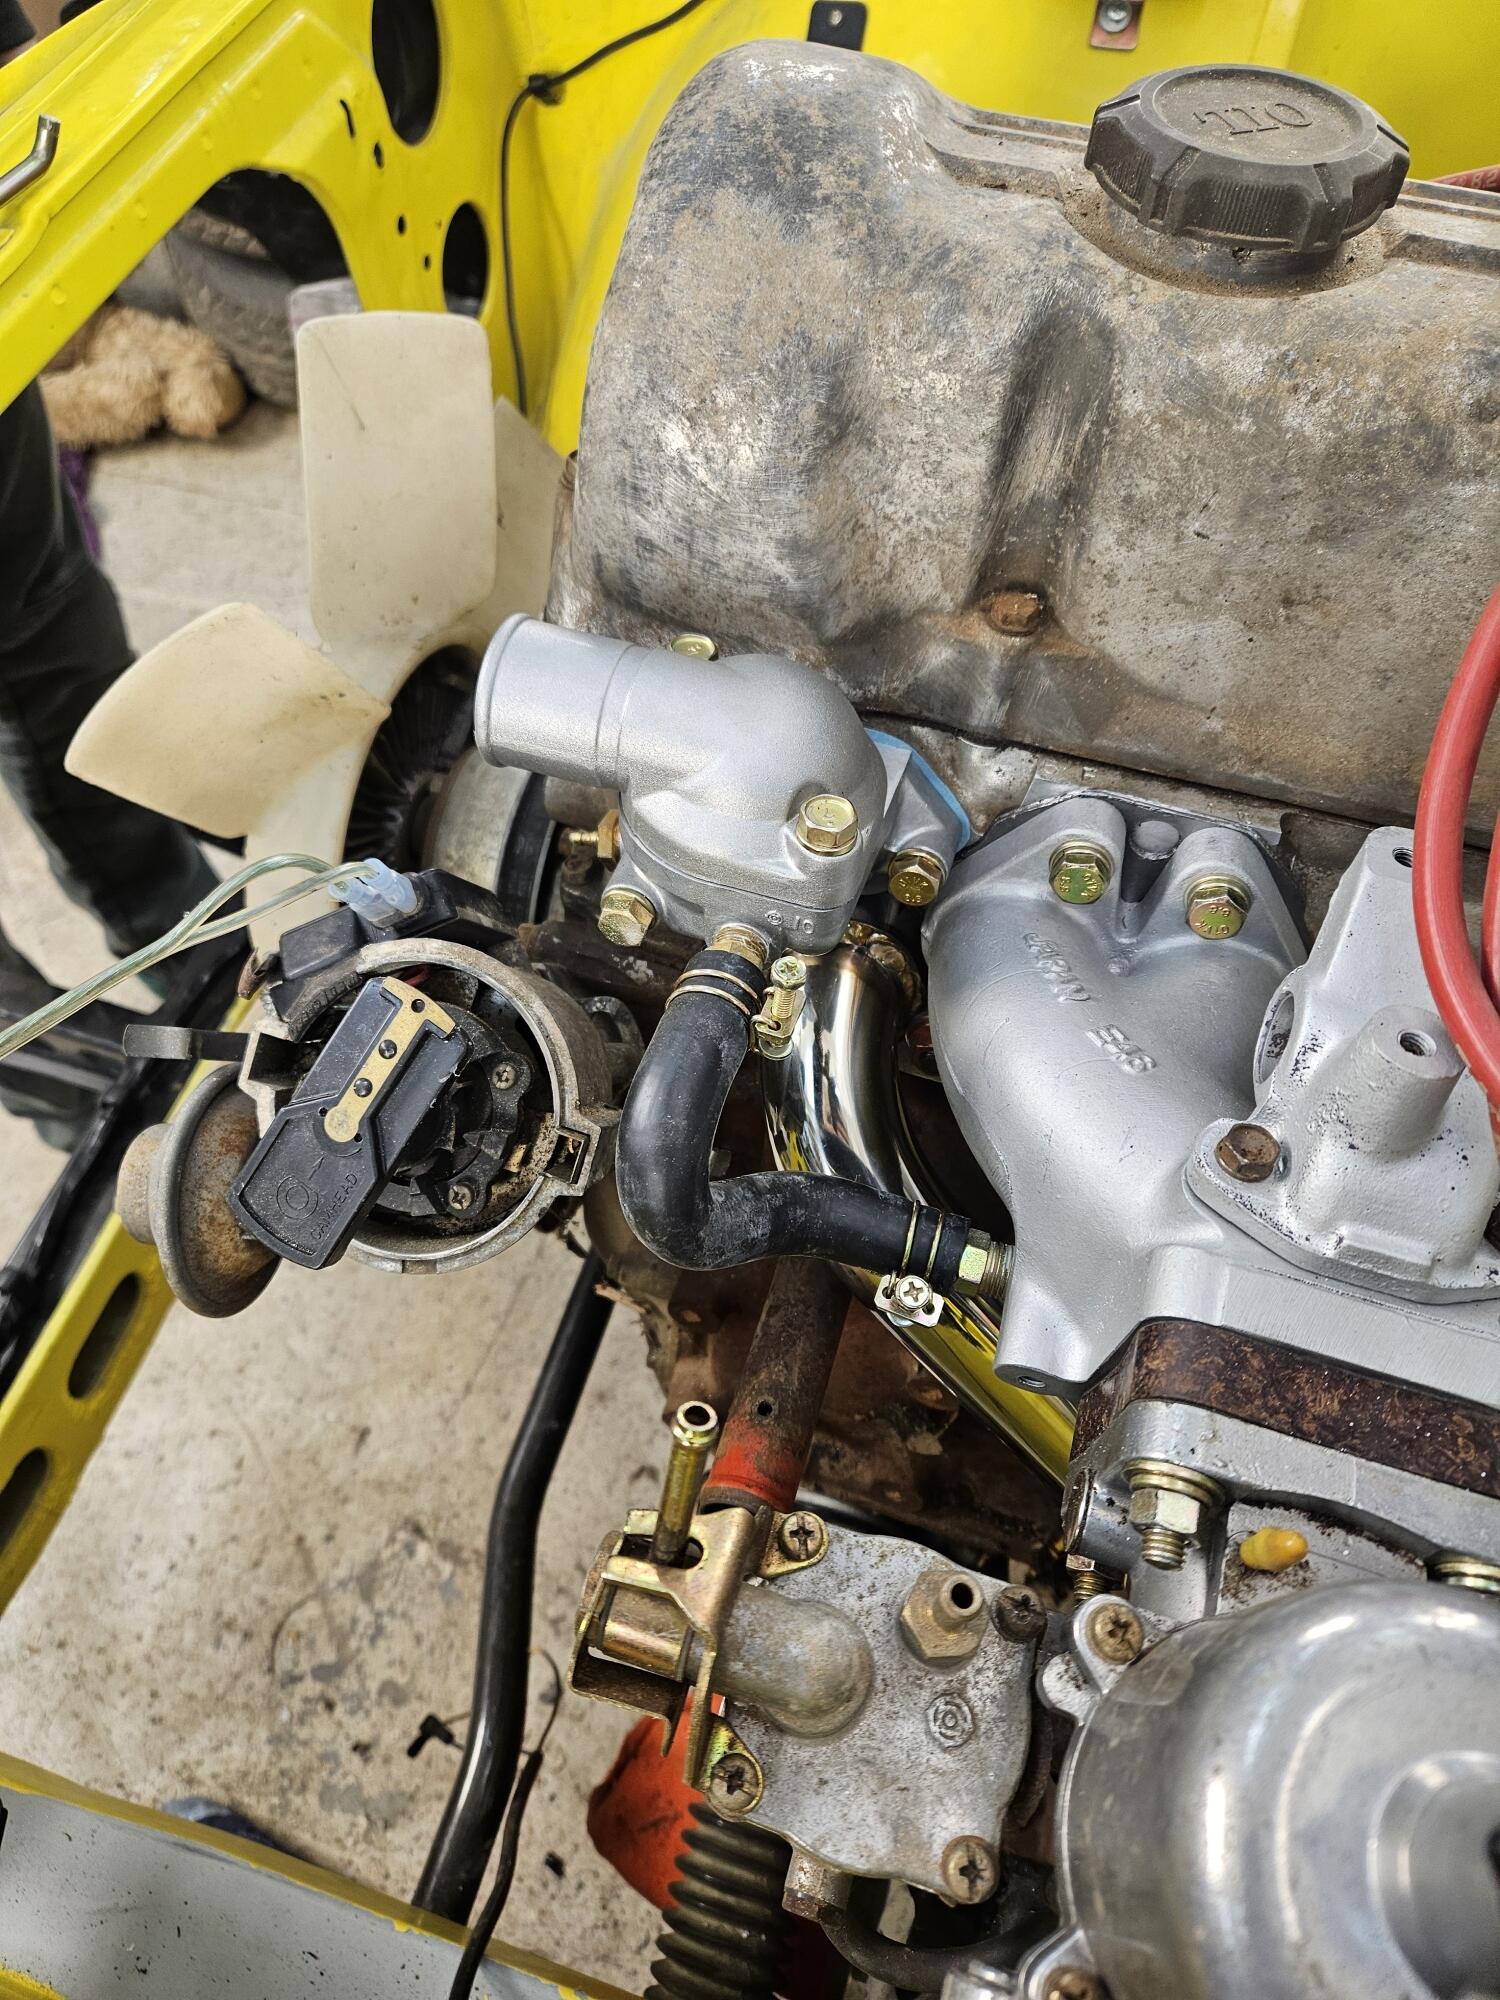
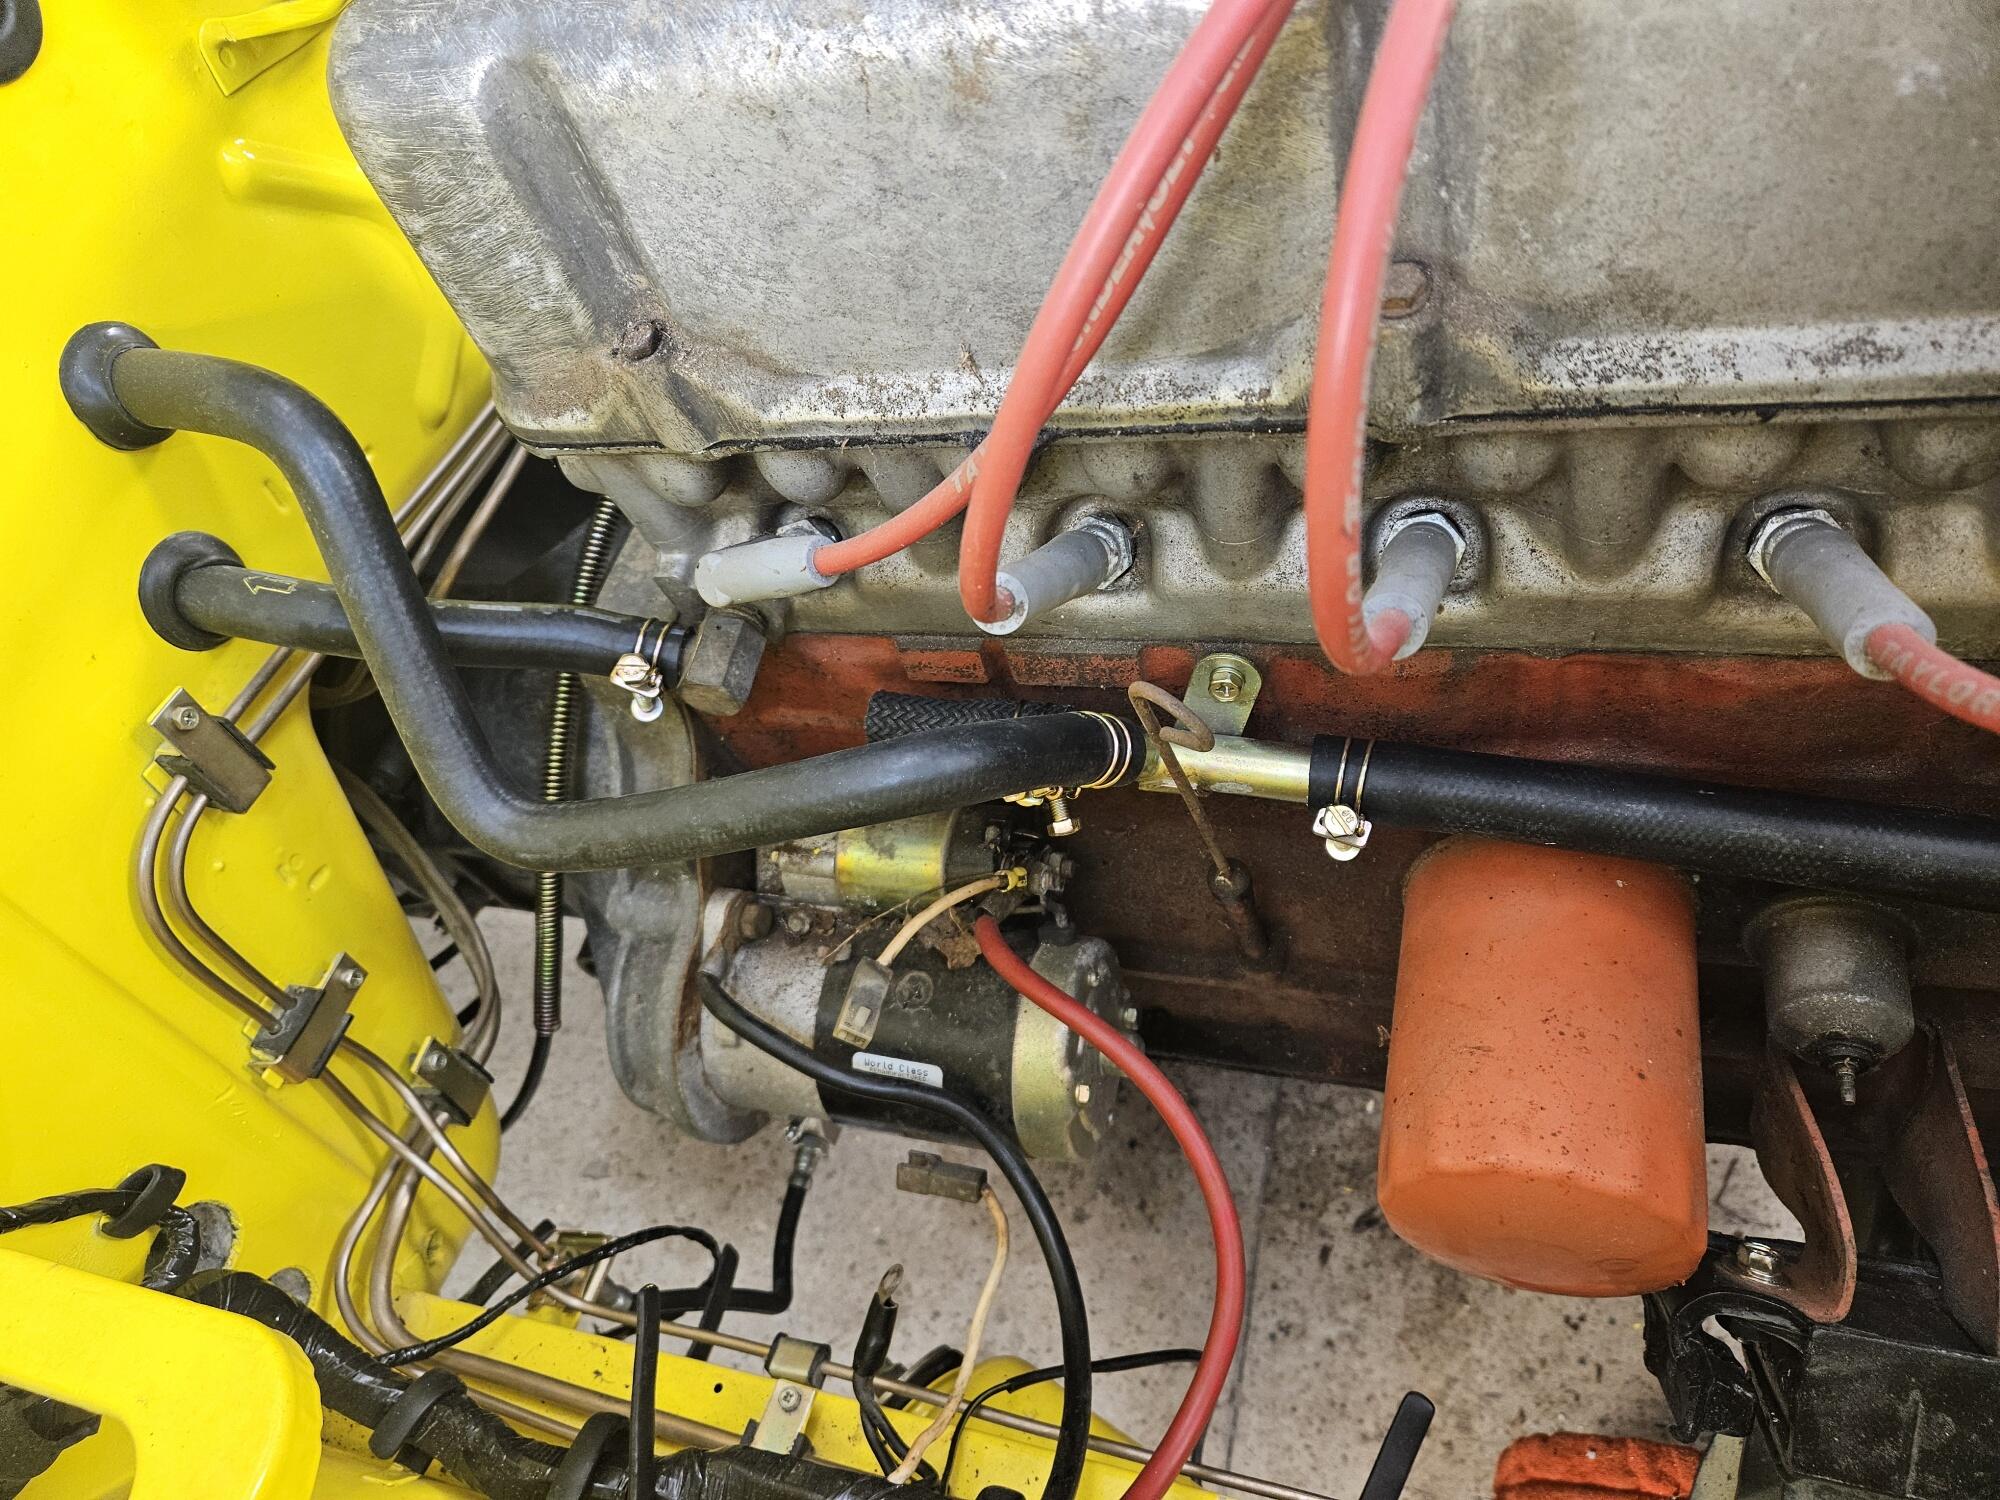
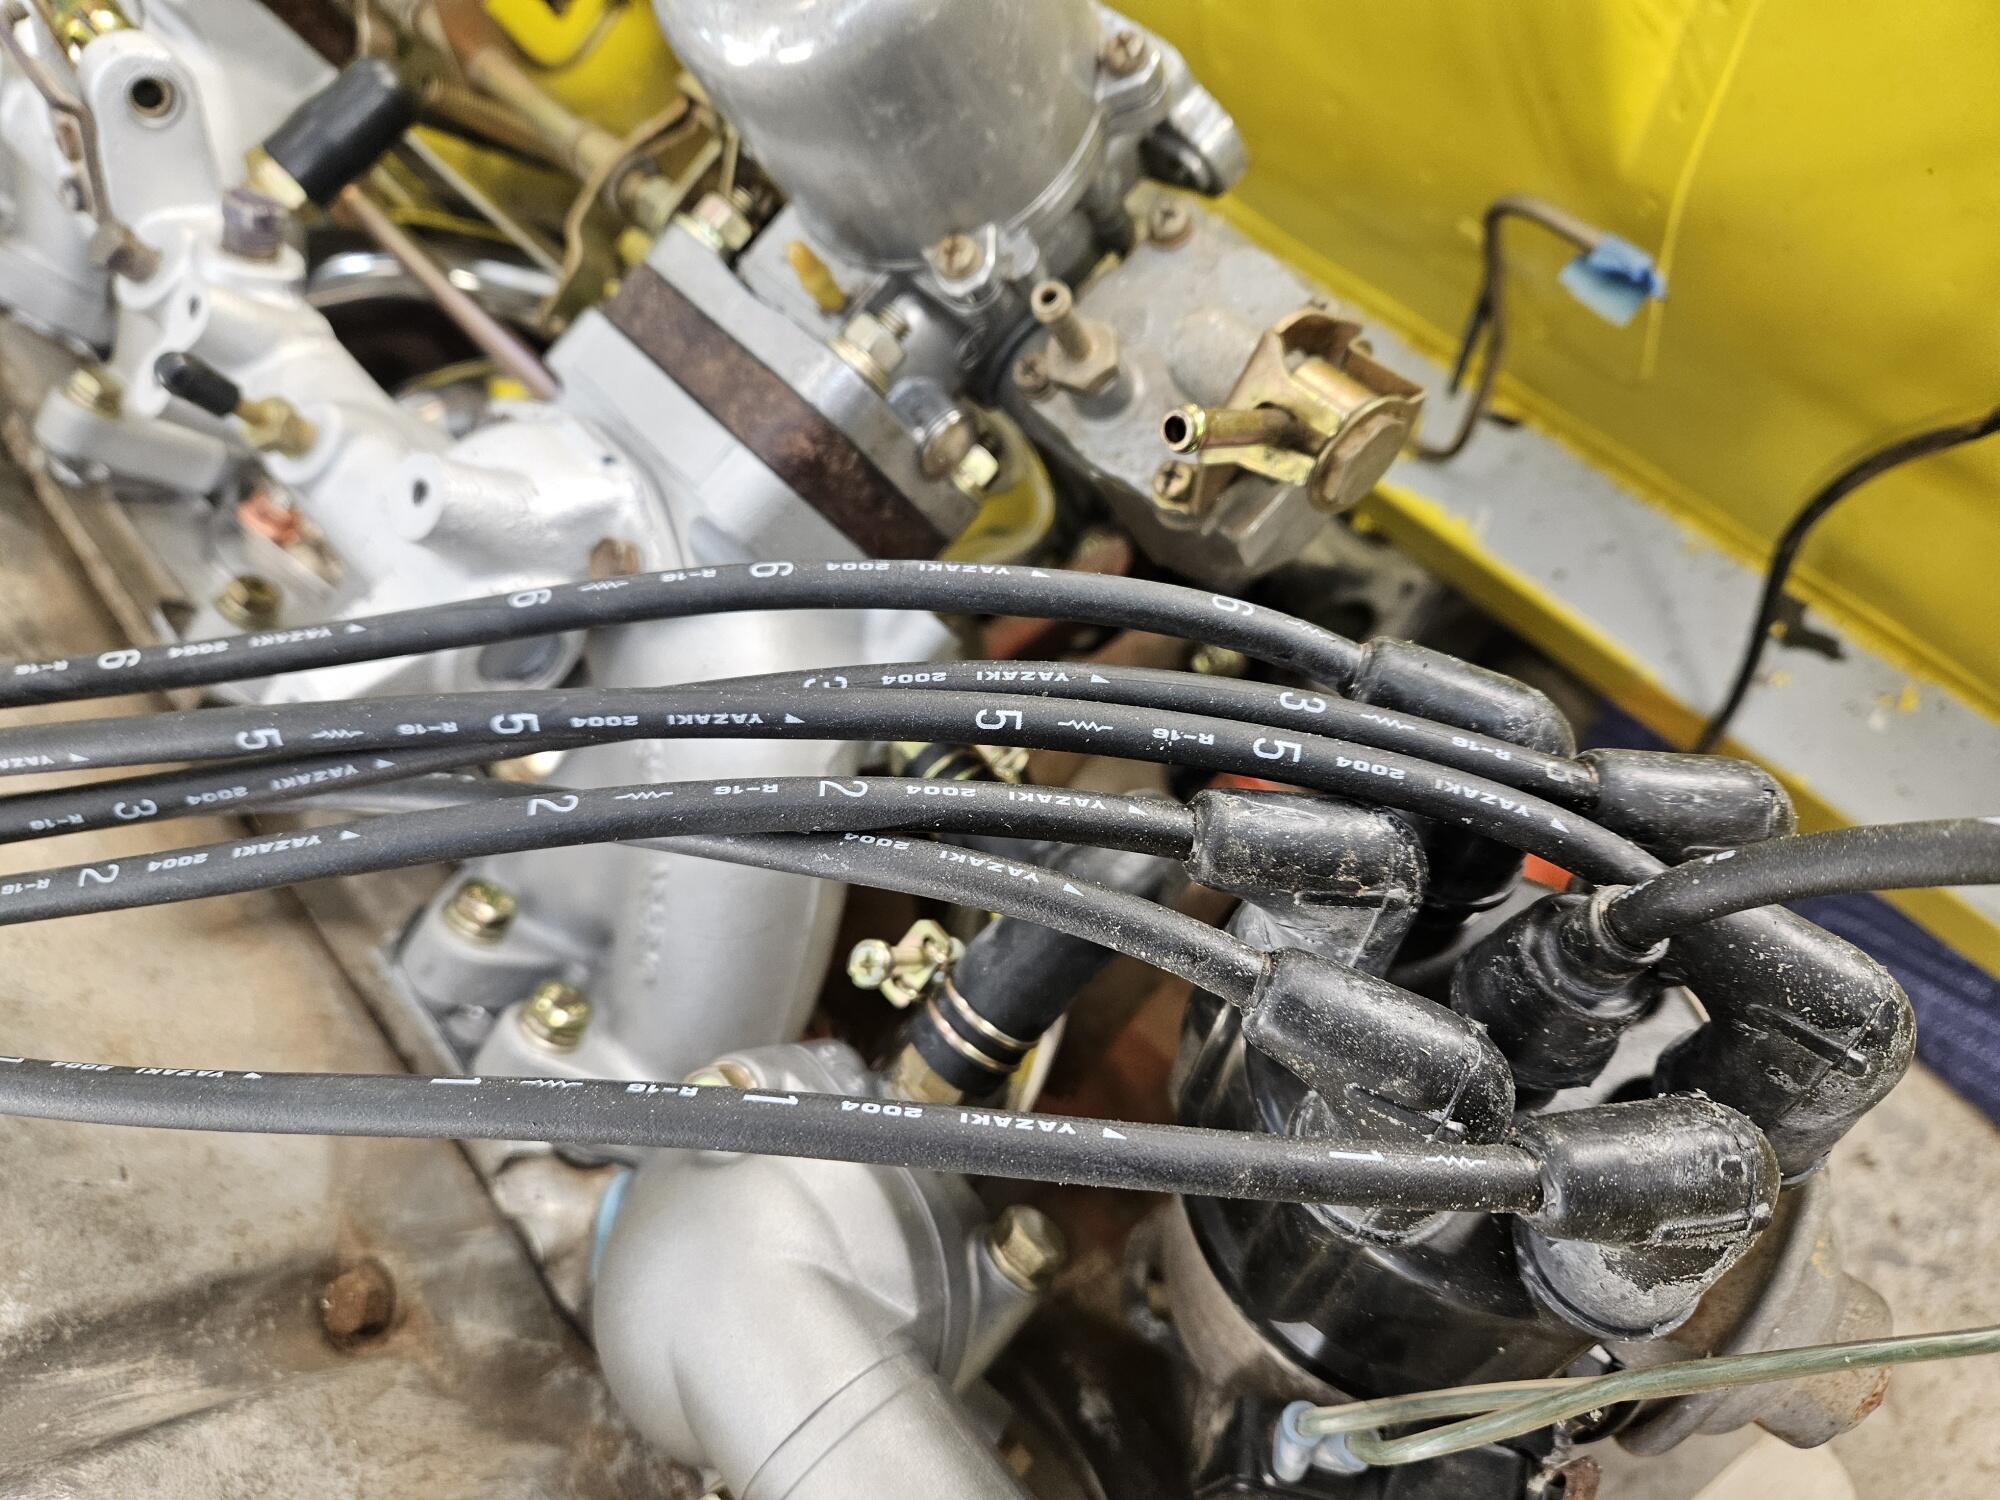
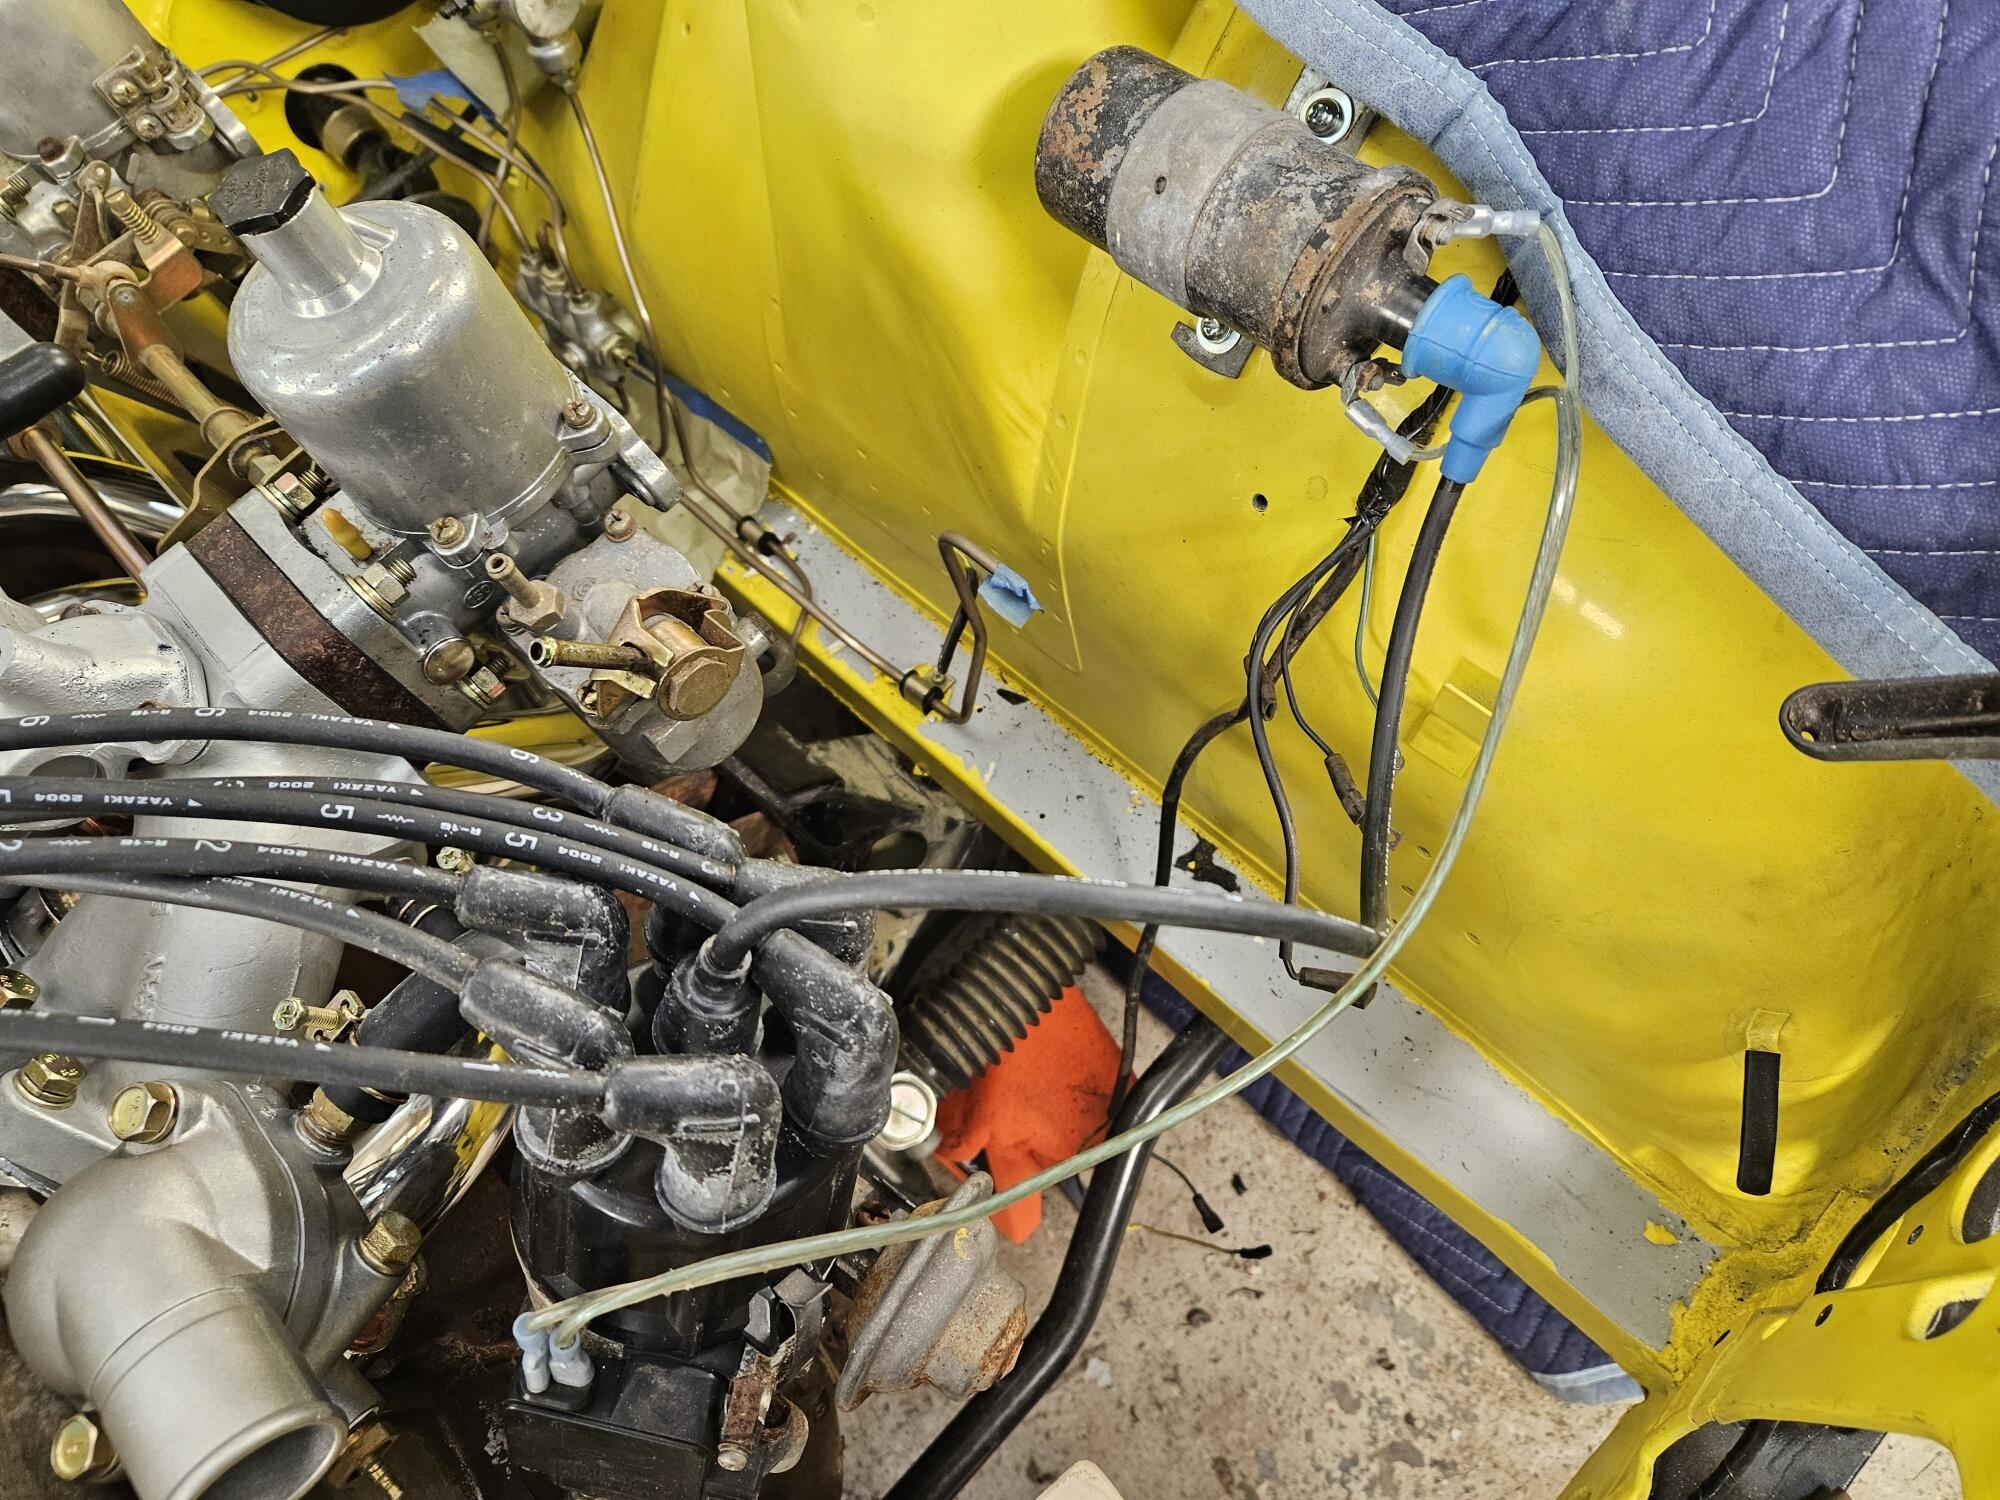
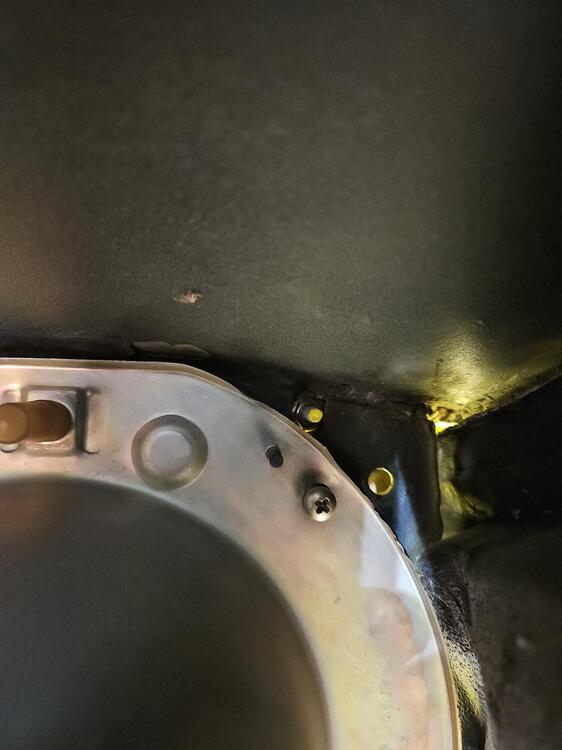
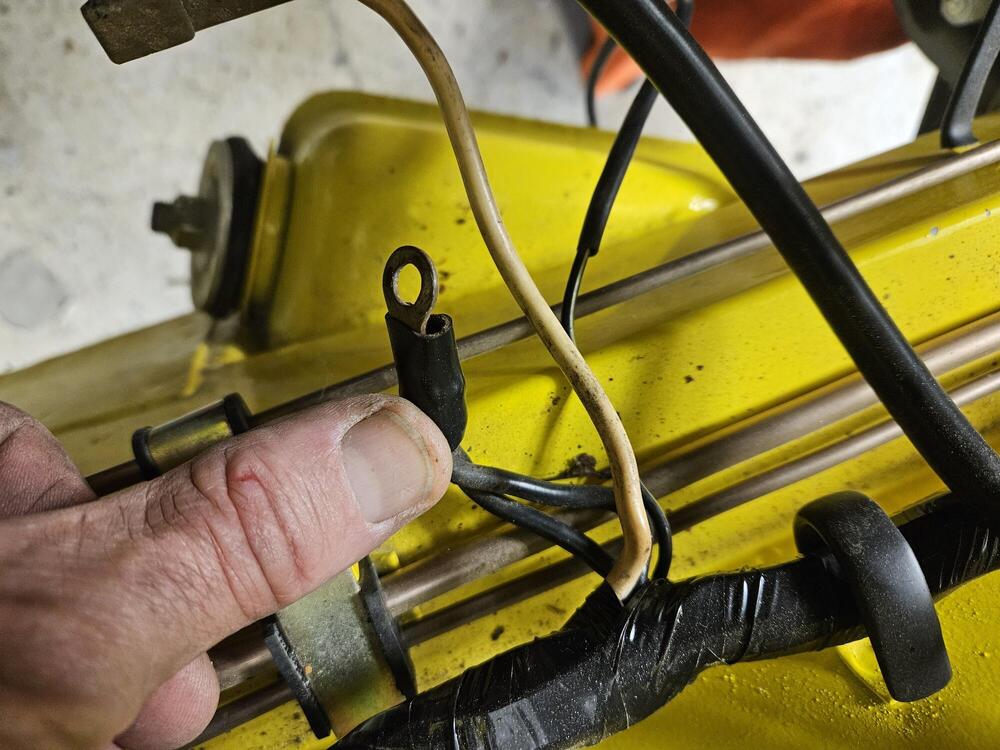
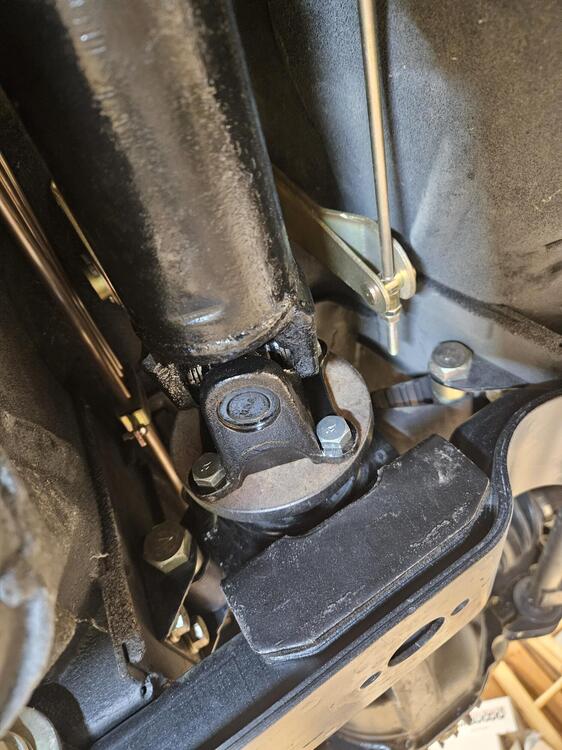
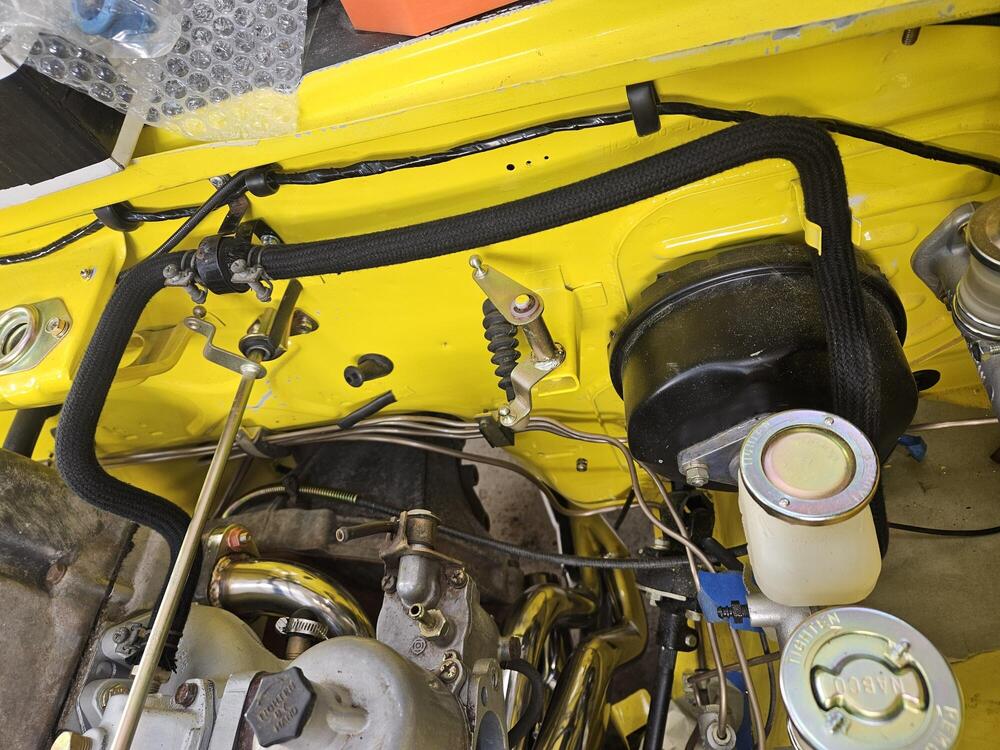
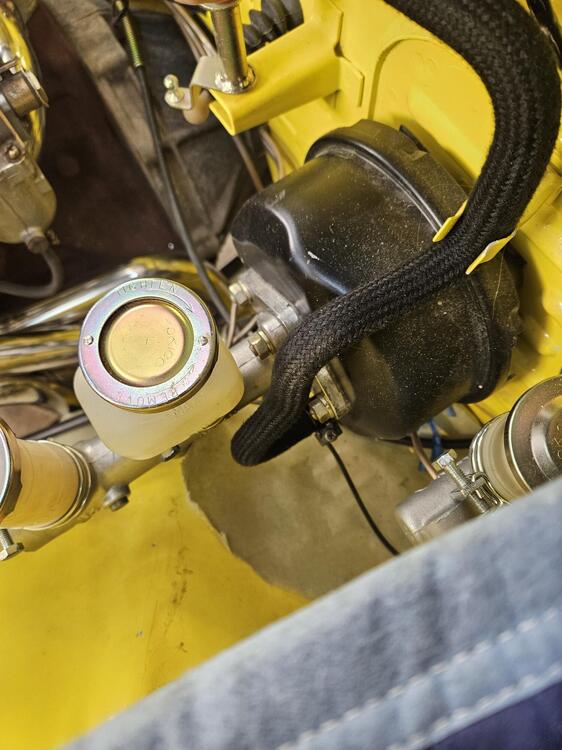
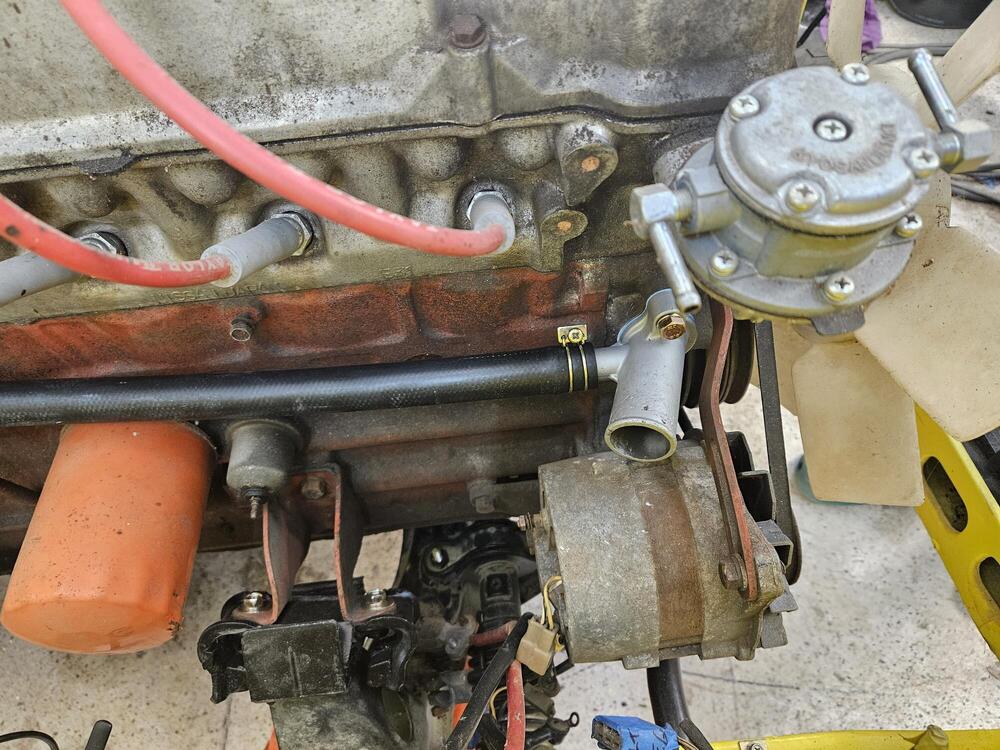
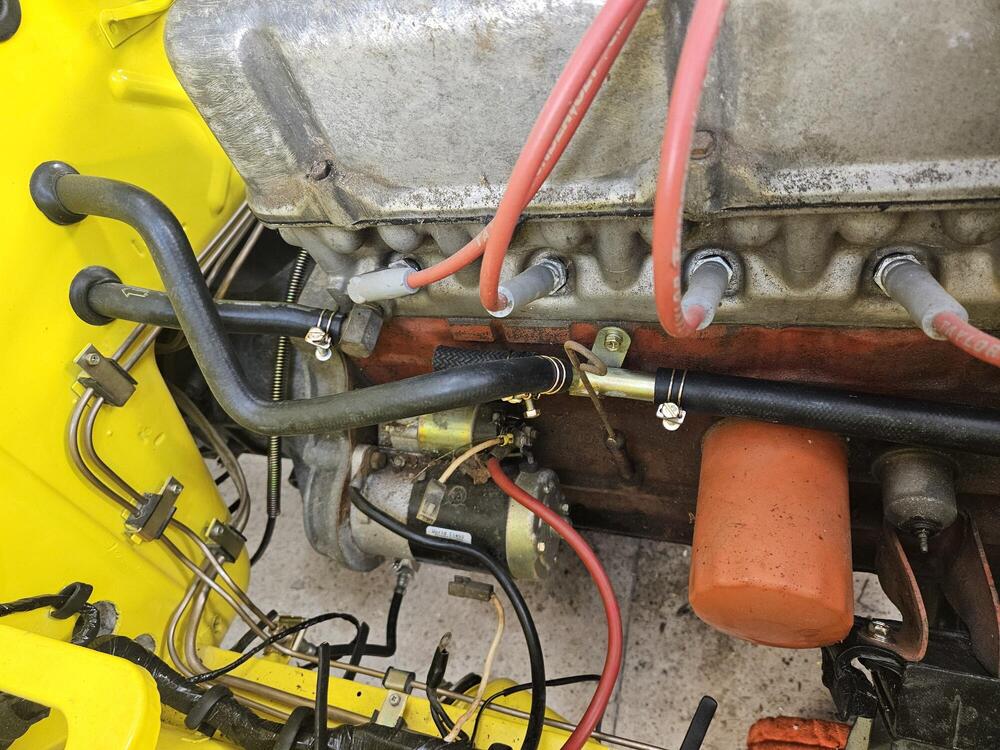
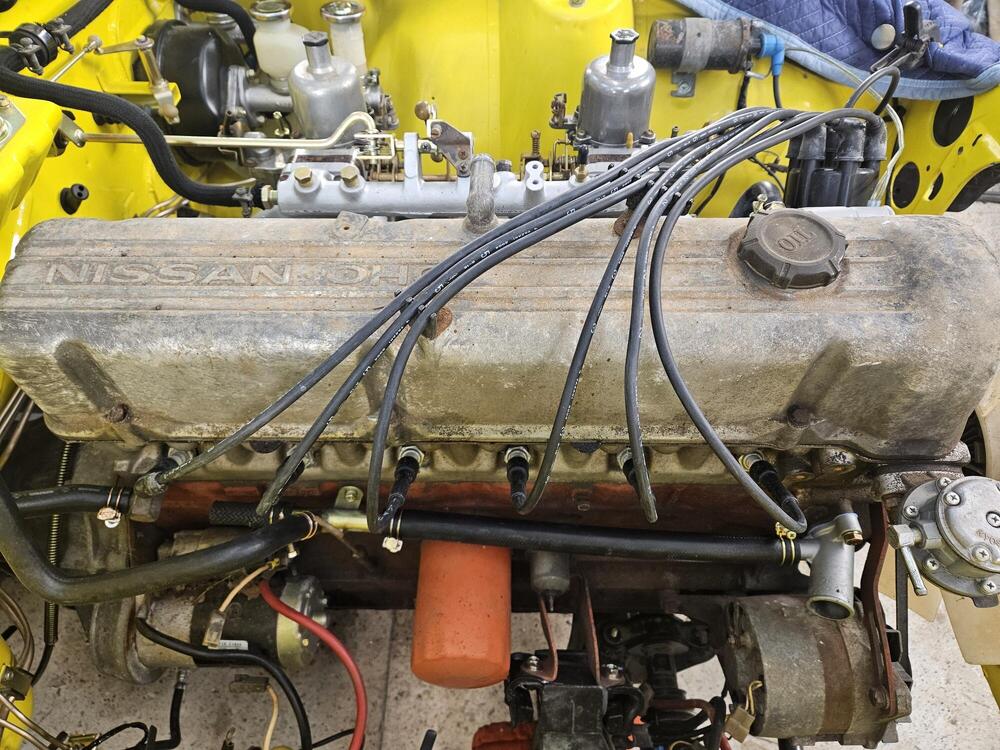
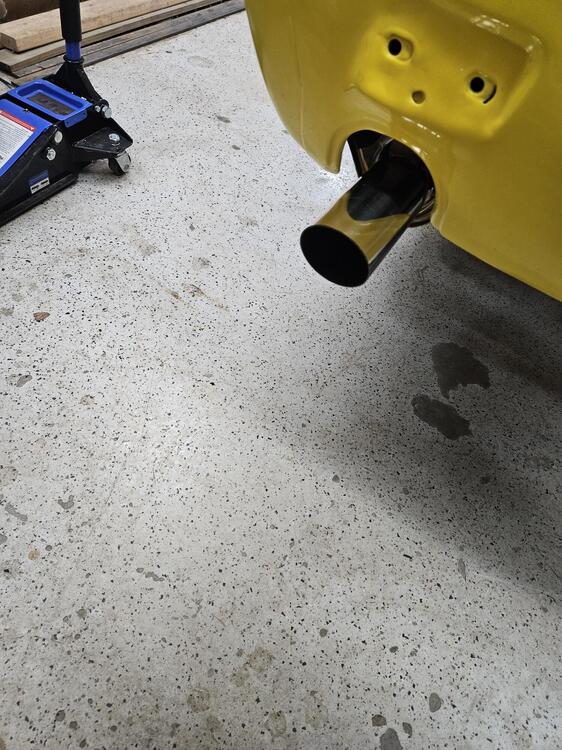
Today my daughter helped me in the shop. We made some good progress. I got the driveshaft in and mated up to the R200 with the Zcardepot flange Brake booster lines and check valve installed Water necks and thermostat housing installed Heater hoses hooked up I replaced the red plug wires with a set of factory wires. They are absolutely beautiful!! Also got Sean's exhaust hung under the car. It needs a few details to finish I assume this ground is supposed to attach to the frame rail here?? Not too far from being ready for some coolant, fuel and a start up


-
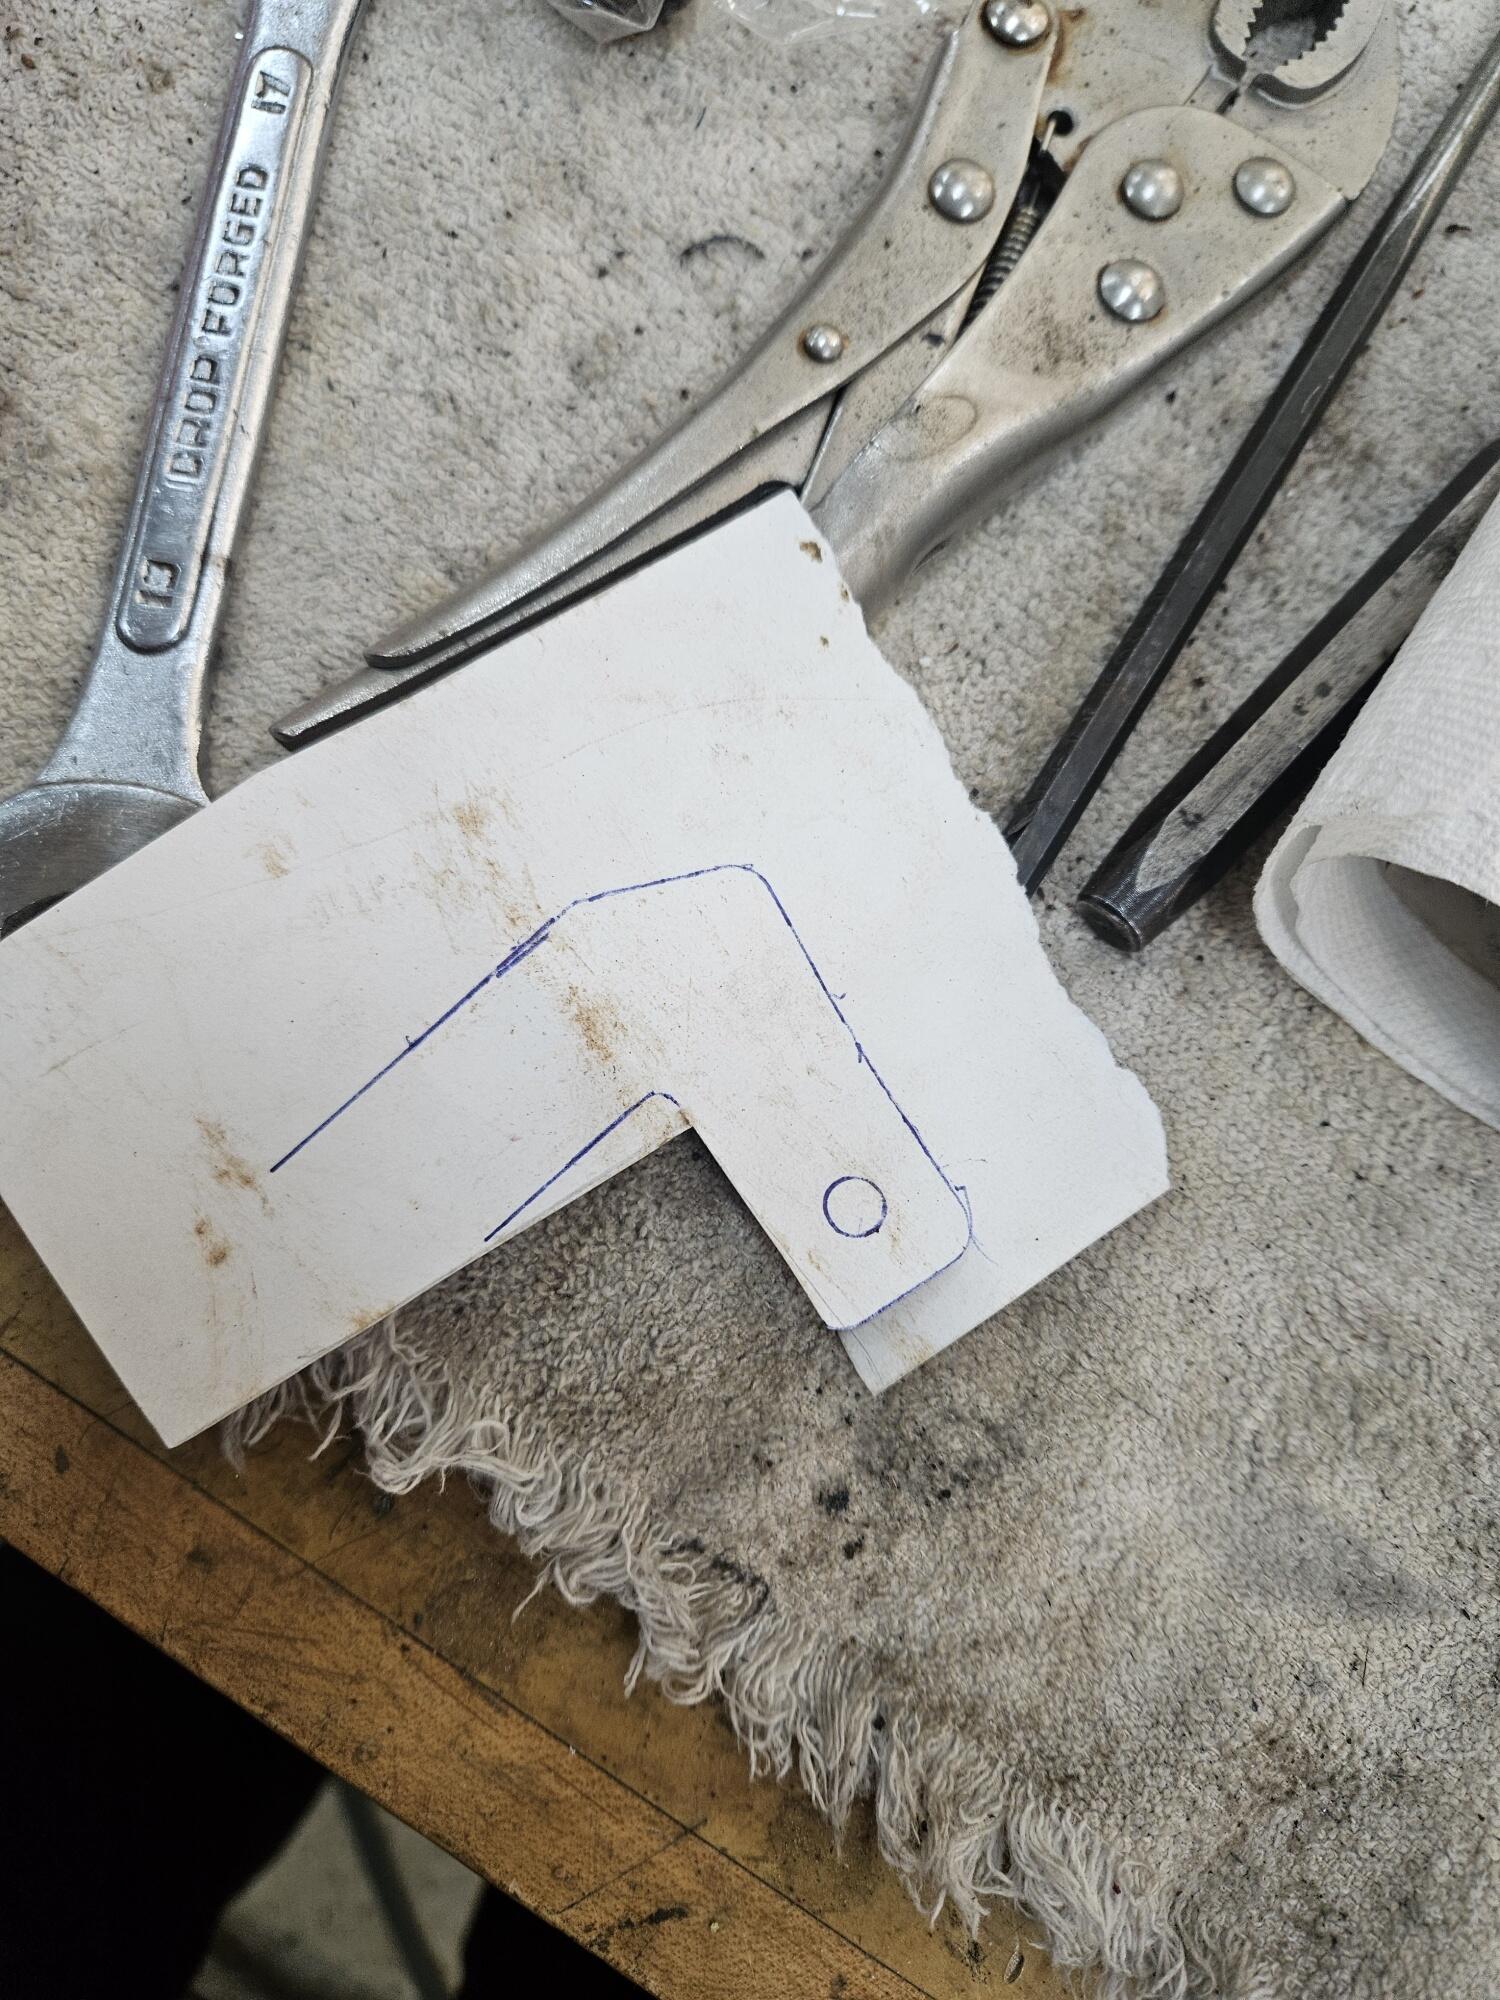
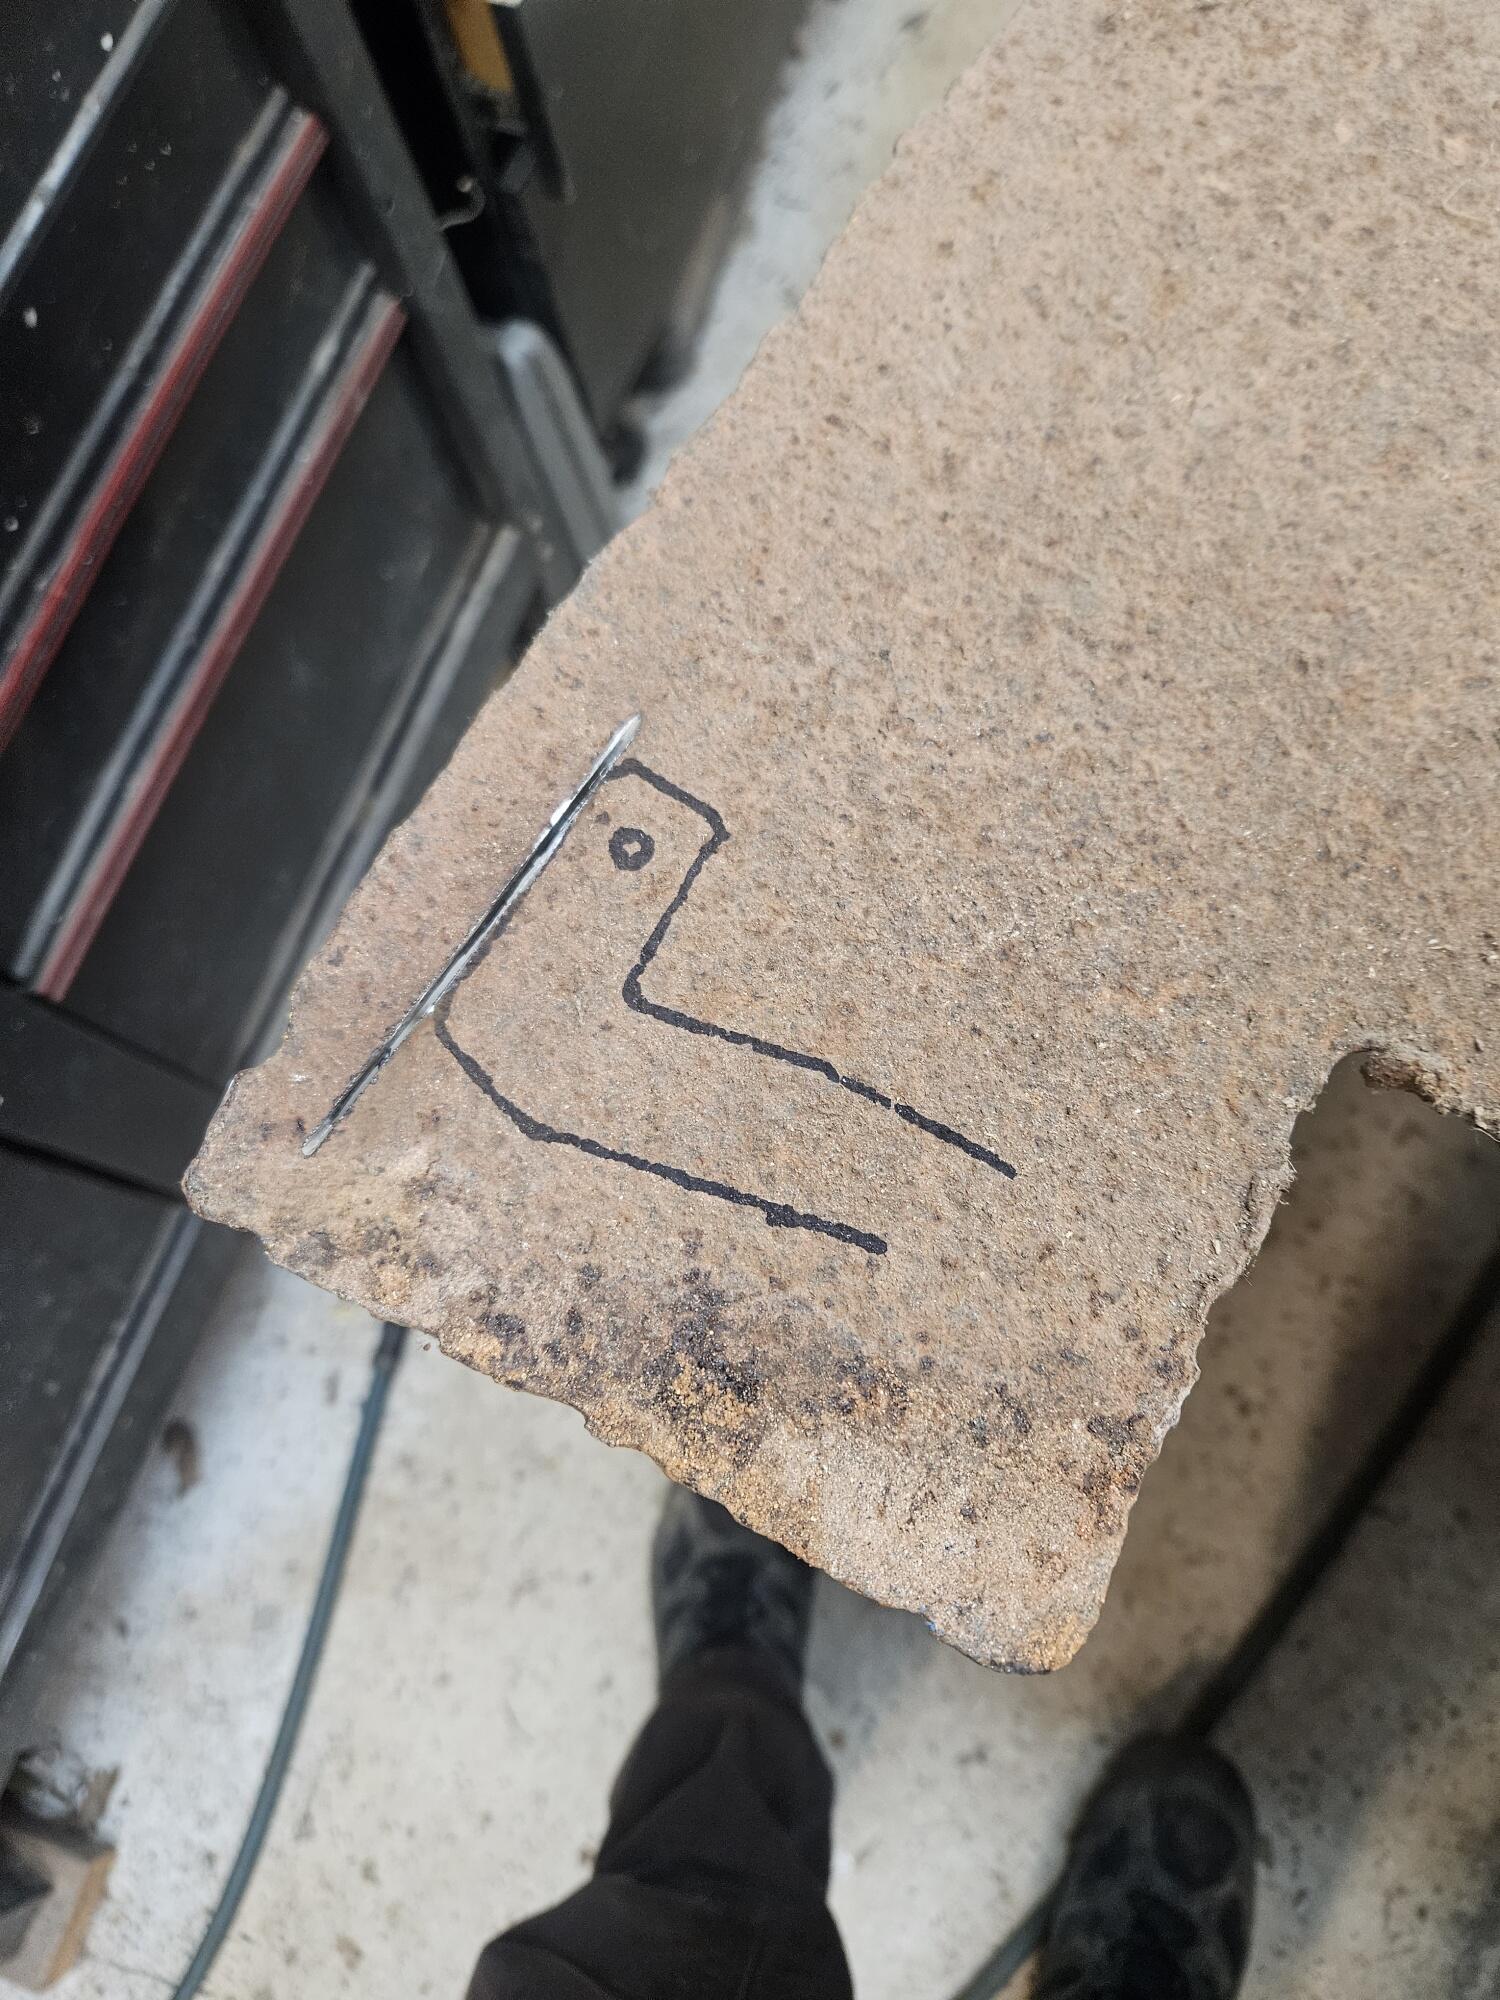
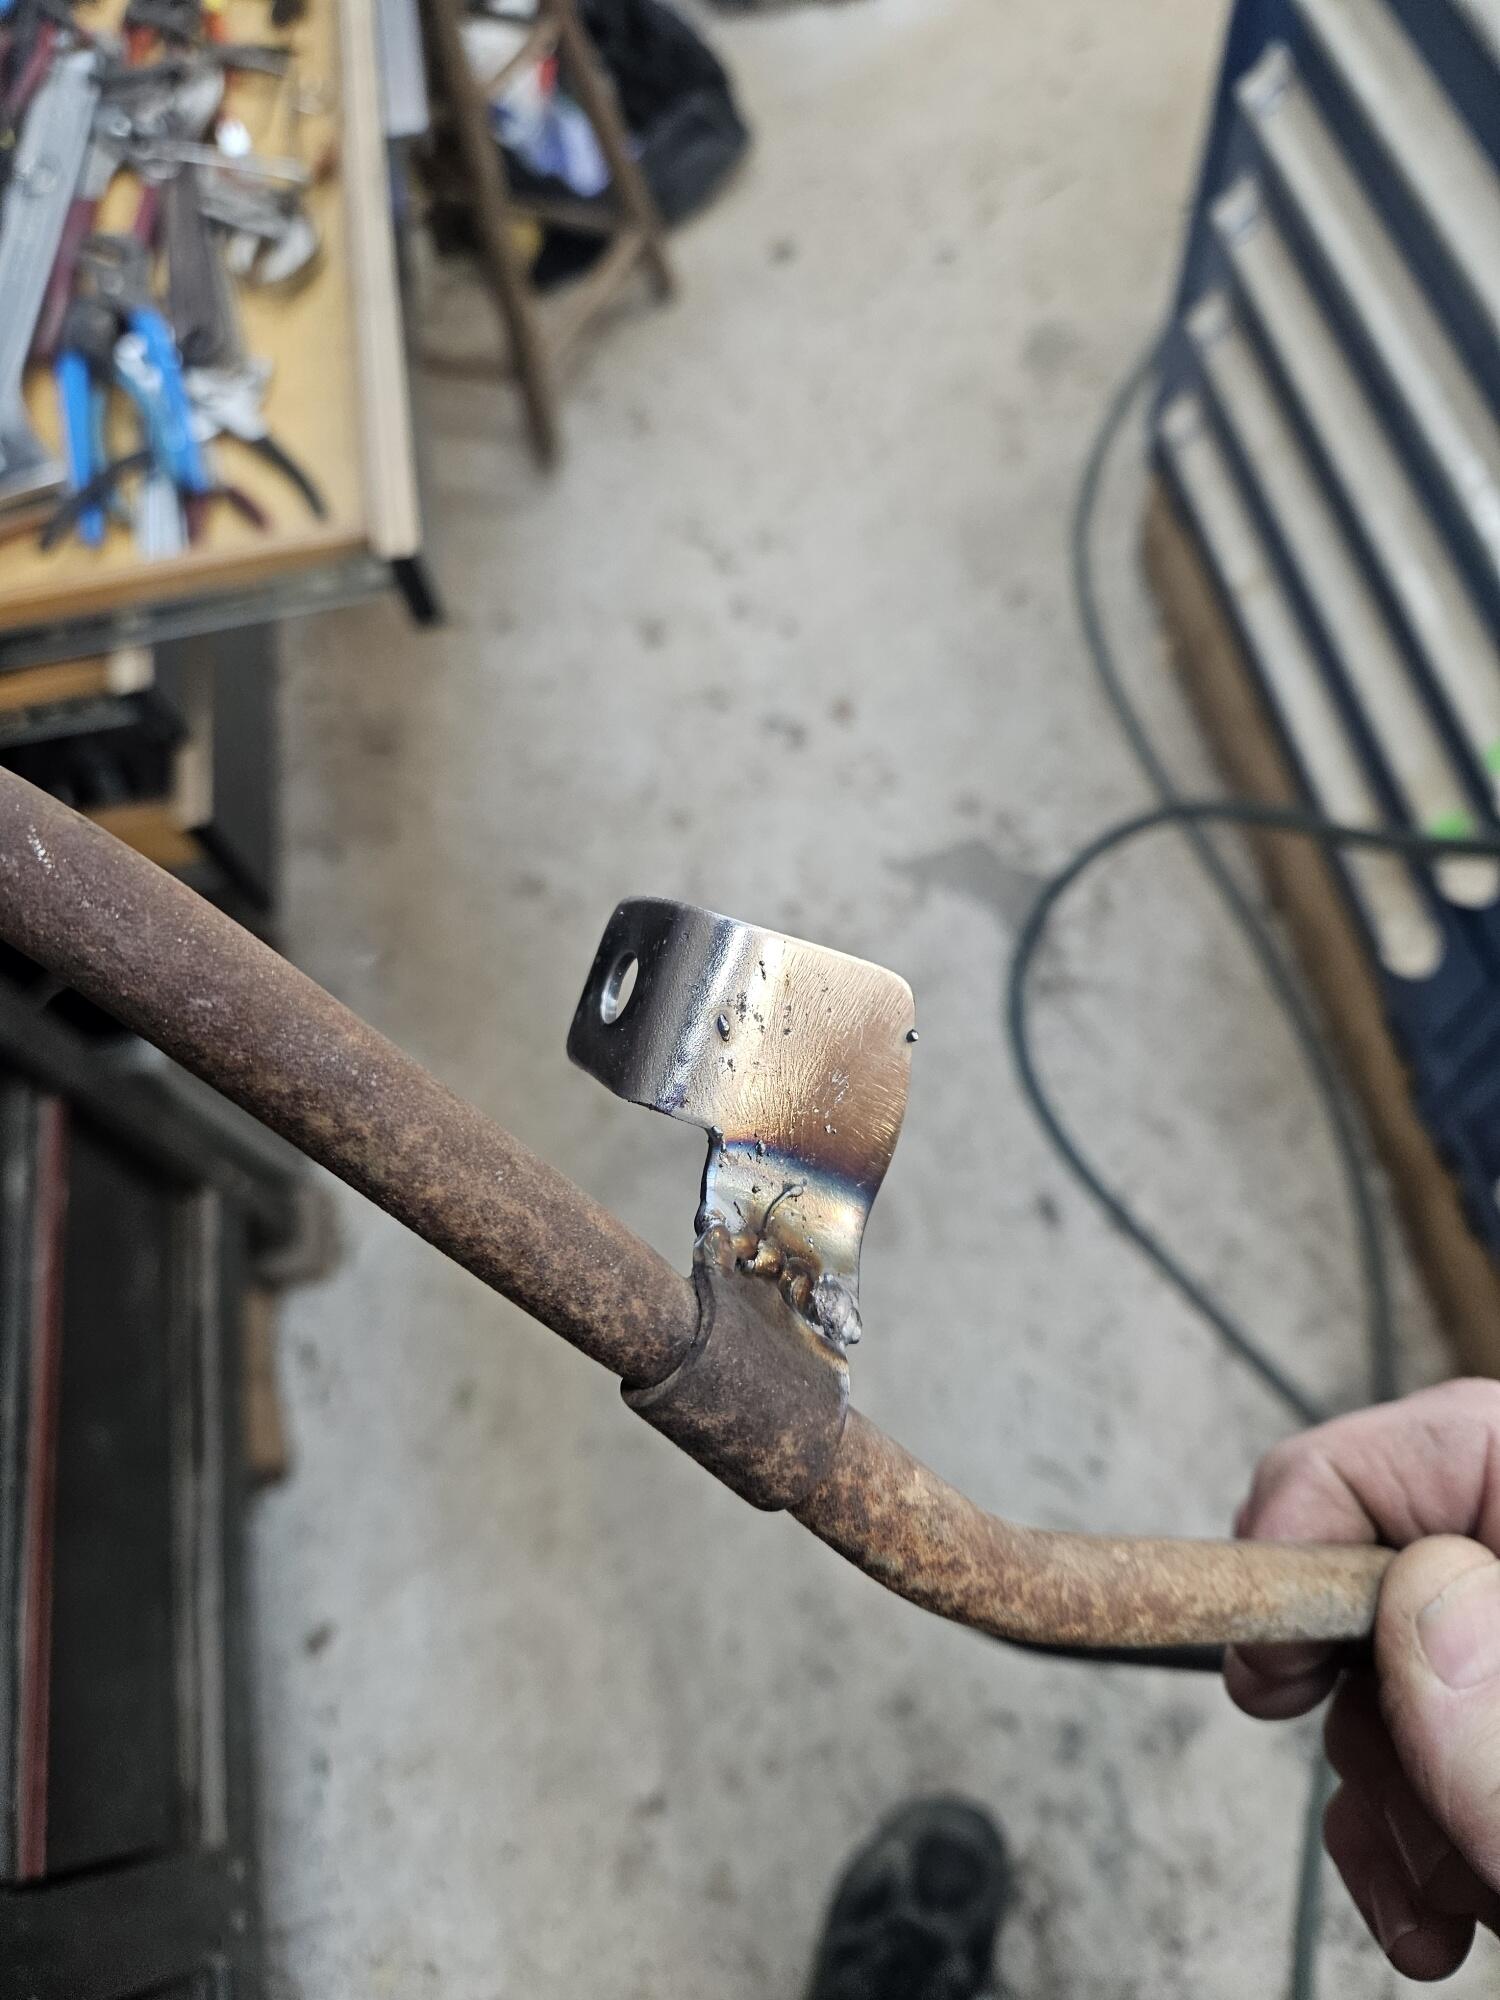
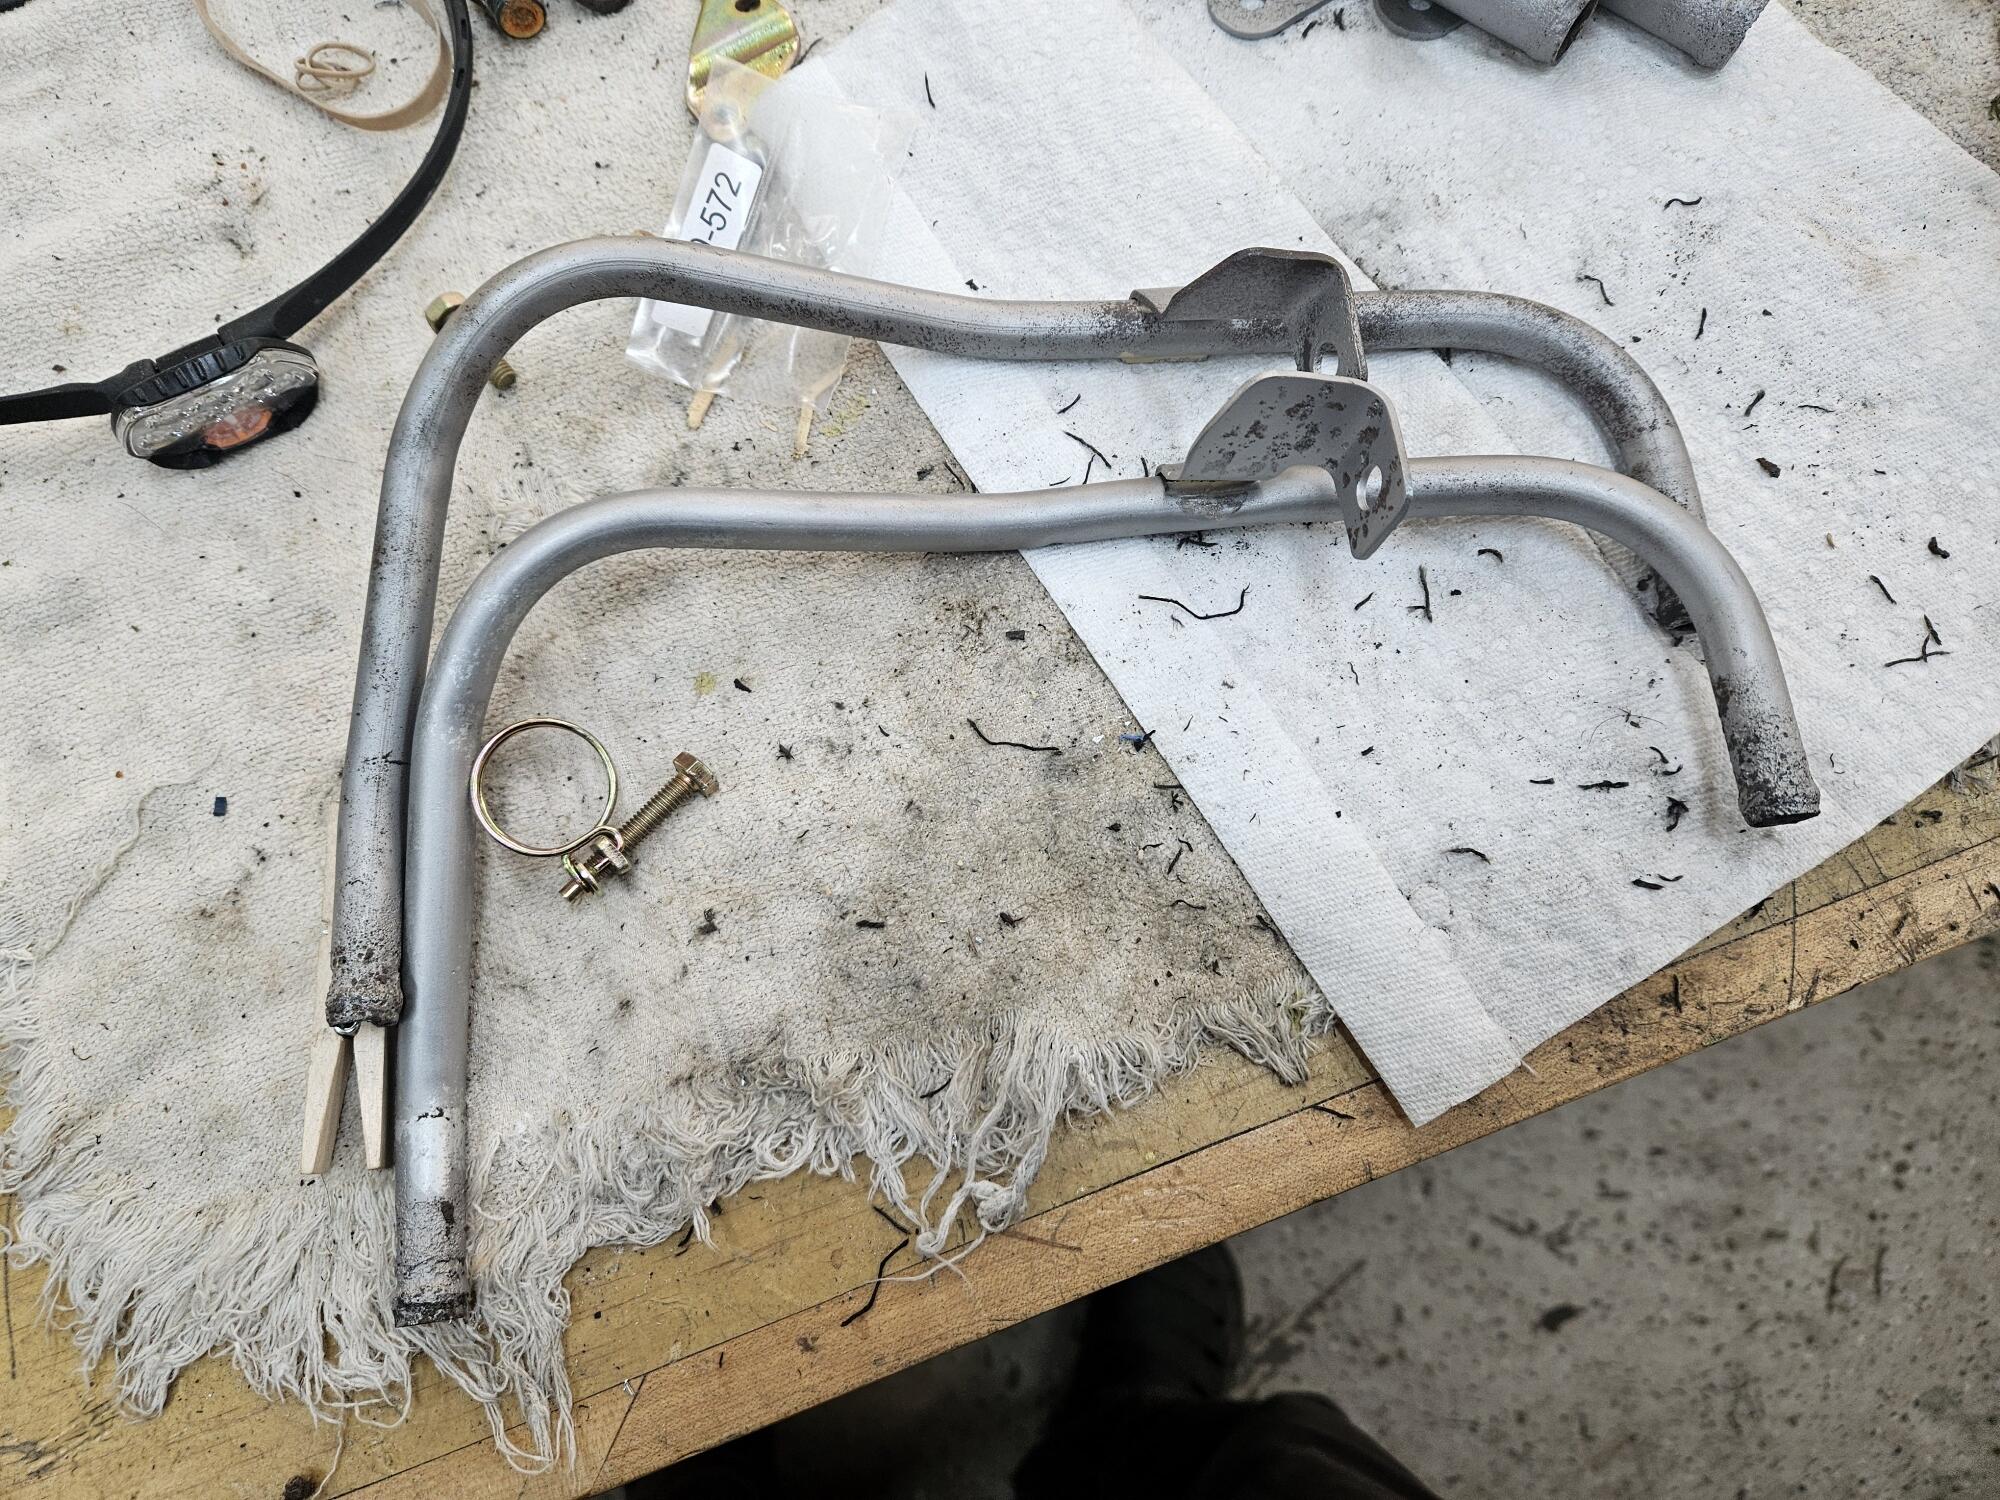
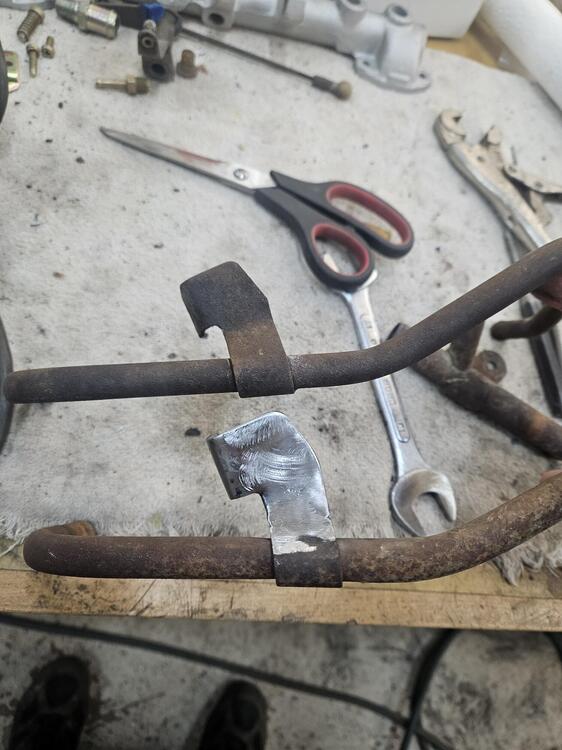
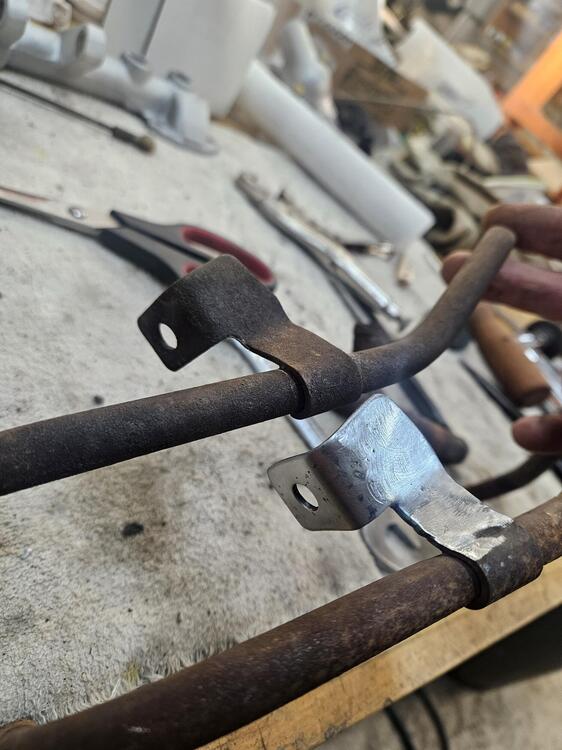
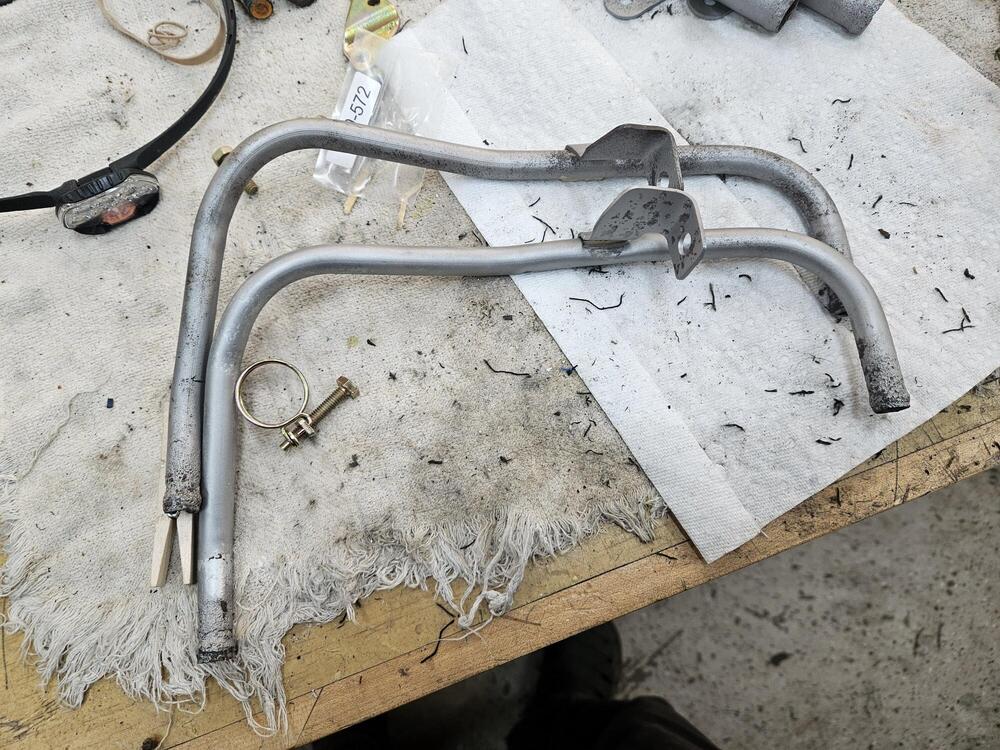
Last weekend I worked on the carb heater tubes. I have one with a decent bracket but it's got a hole in it. I have another that has a damaged bracket. So I worked on fixing the bracket. Made a template and then cut it out and dressed it. I'm going to try to plate them but I'm not sure I can get a good plate on them. It's a shame there are no reproduction sources available


-
South carolina allows YOM plates but you have to know what letter it needs to start with. Not any plate of the same year will do. The YOM plate is used instead of the regular state license plate. We have YOM plates for Cody's goon.
-
37 Zs! Now I can tell my wife I don't really have that many!! 🤣 I bought my first car, a black 240z in 1986 at 17 y.o. too!
-
It can take a good bit of heat. Your hood up to about 1000d F after about 1200 you get aluminum puddles A good electric heat gun. Chuck it up in a vise pointing upward. Add some wd40 and heat it up. I use an IR gun to monitor heat
-
Have you tried heat and penetrating oil? I have found if I heat it to 350f or so and put some oil down it, I can push down on the pushrod with a punch to get it loosened up. Then it will tap right out. The aluminum grows faster than the steel pistons. Rebuild kits is another matter...
-
What areas needed modification?
-
Hopefully this job will be done and off your list soon!
-
I believe this is the one I used years ago. I didn't find them to be a great fit. https://tabcoparts.com/product/16750/ Why don't you post up some pictures of your fitment issues and see if we can address that? KF has a good reputation for quality parts