Patcon
 Subscriber
-
Joined
-
Last visited
Everything posted by Patcon
-
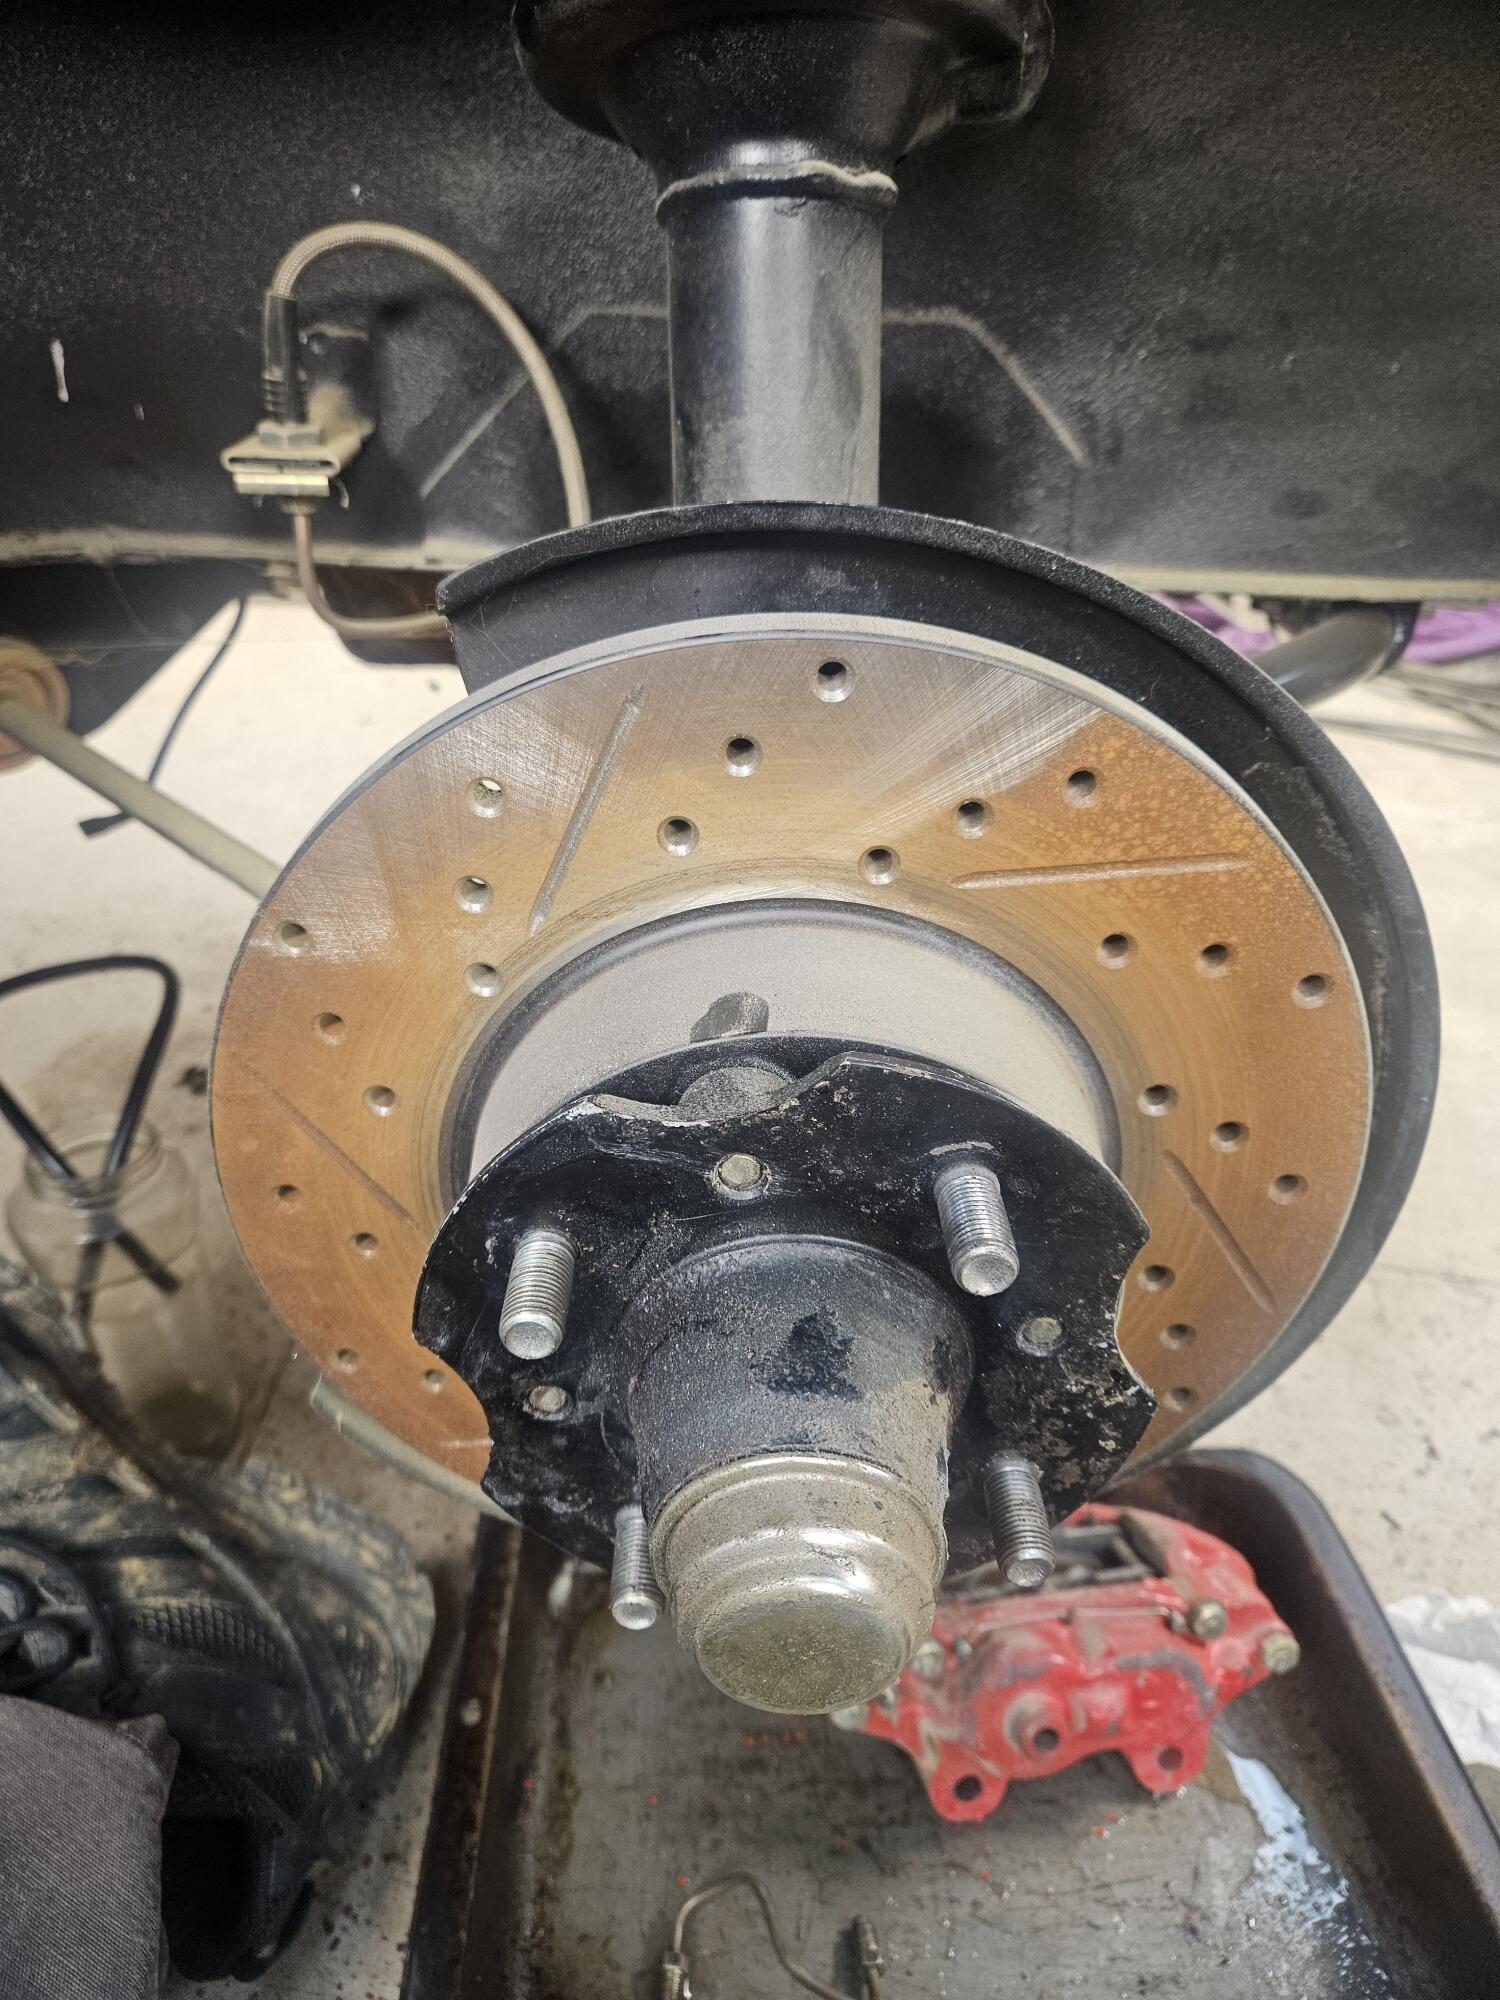
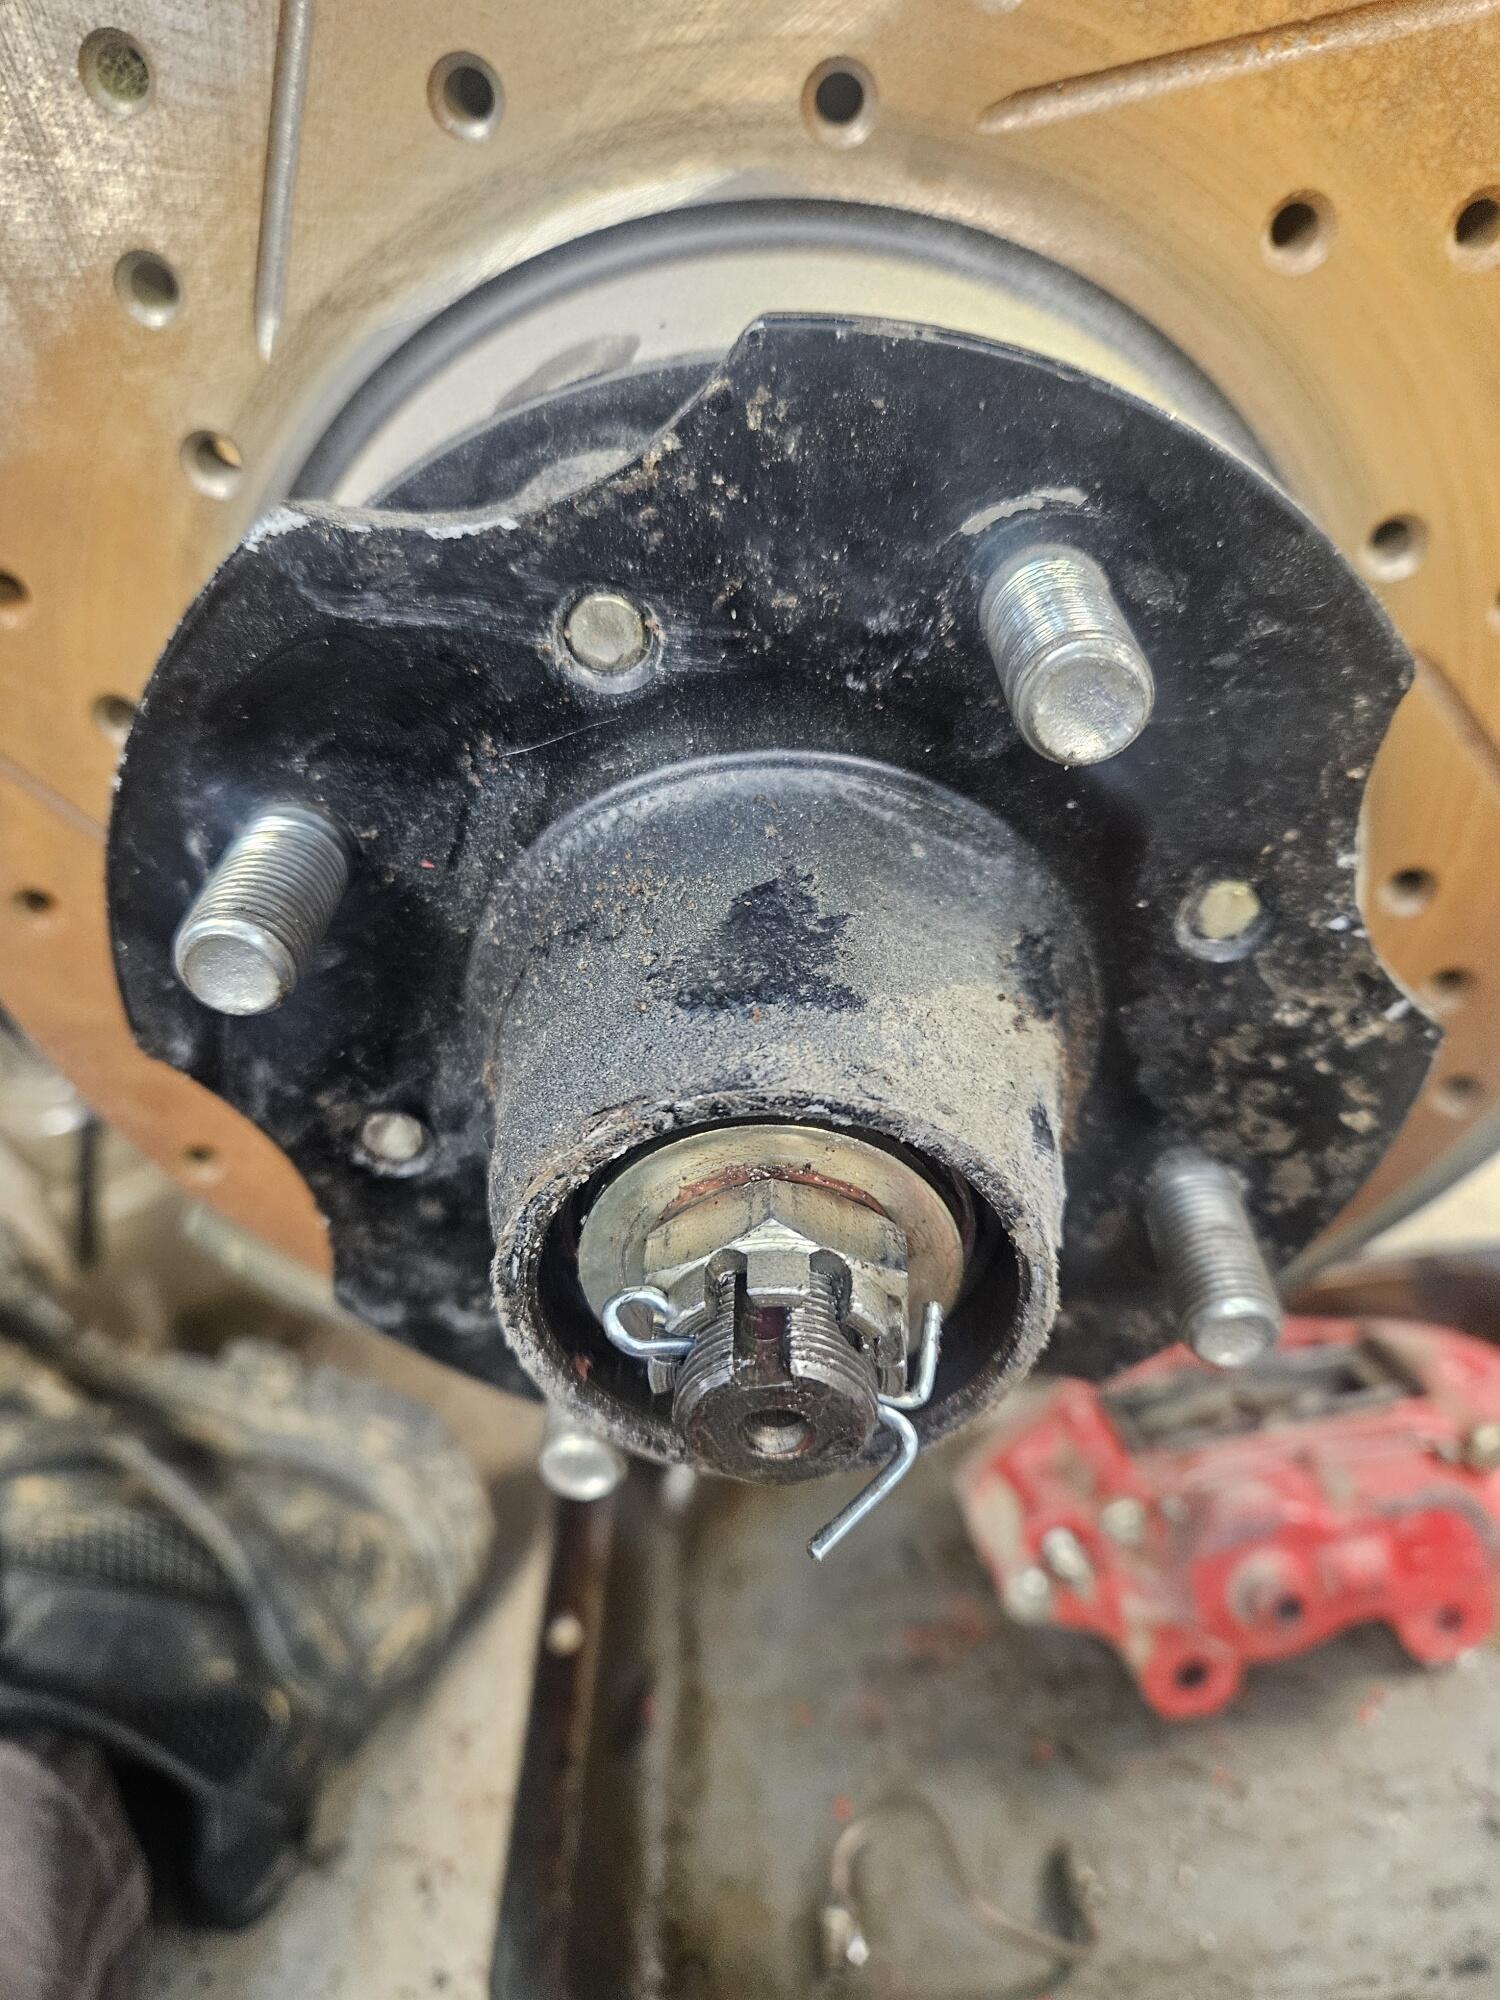
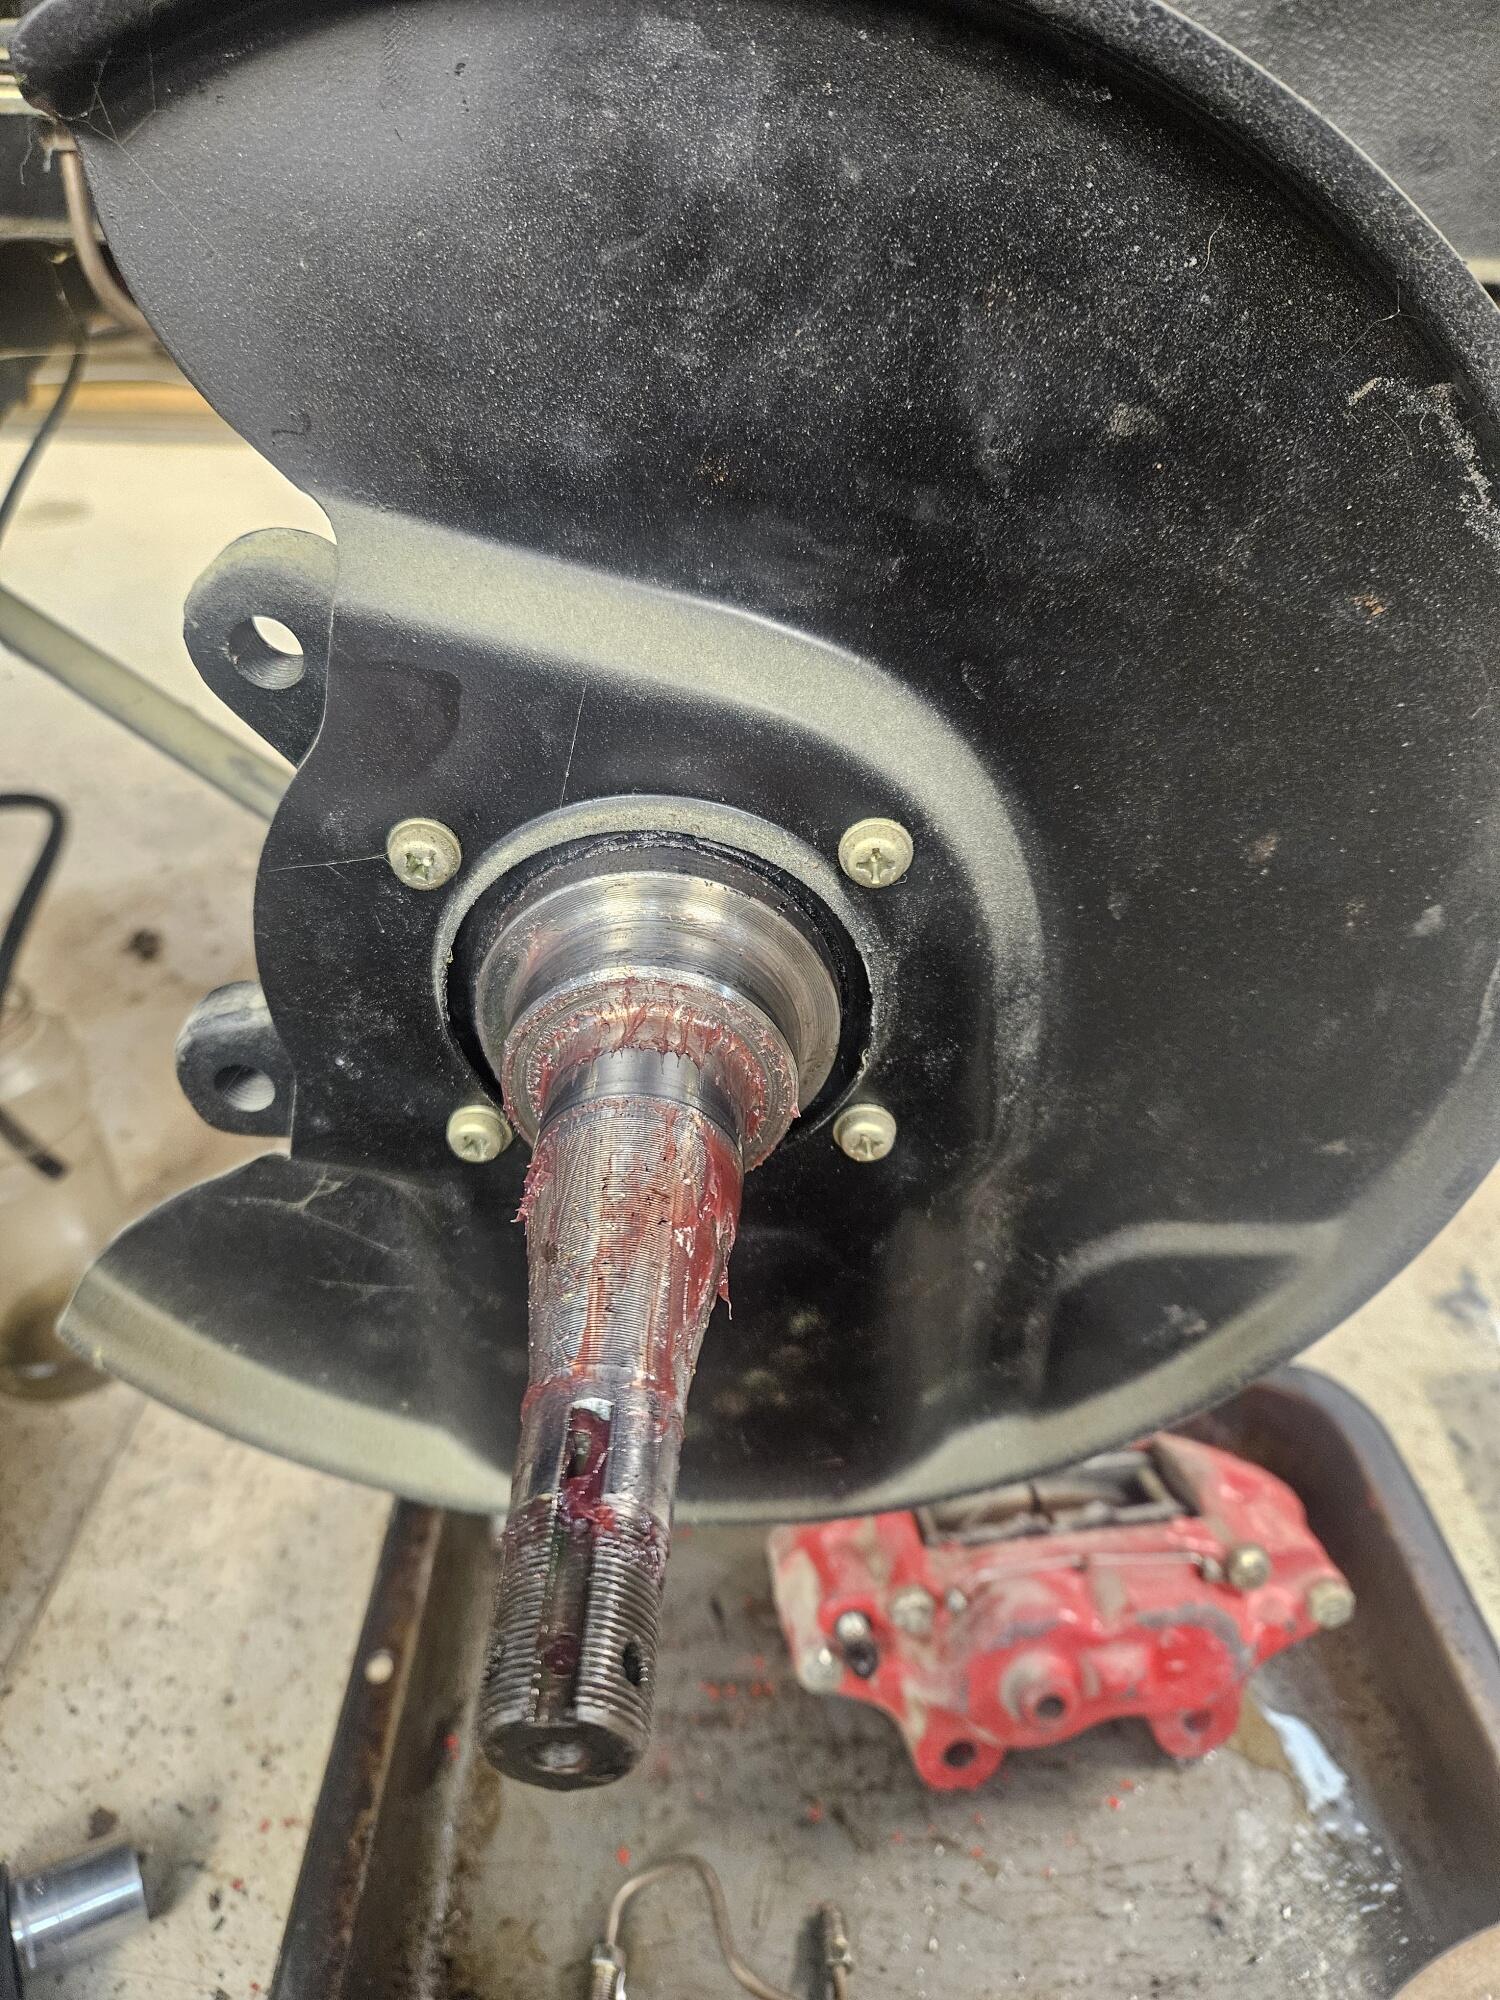
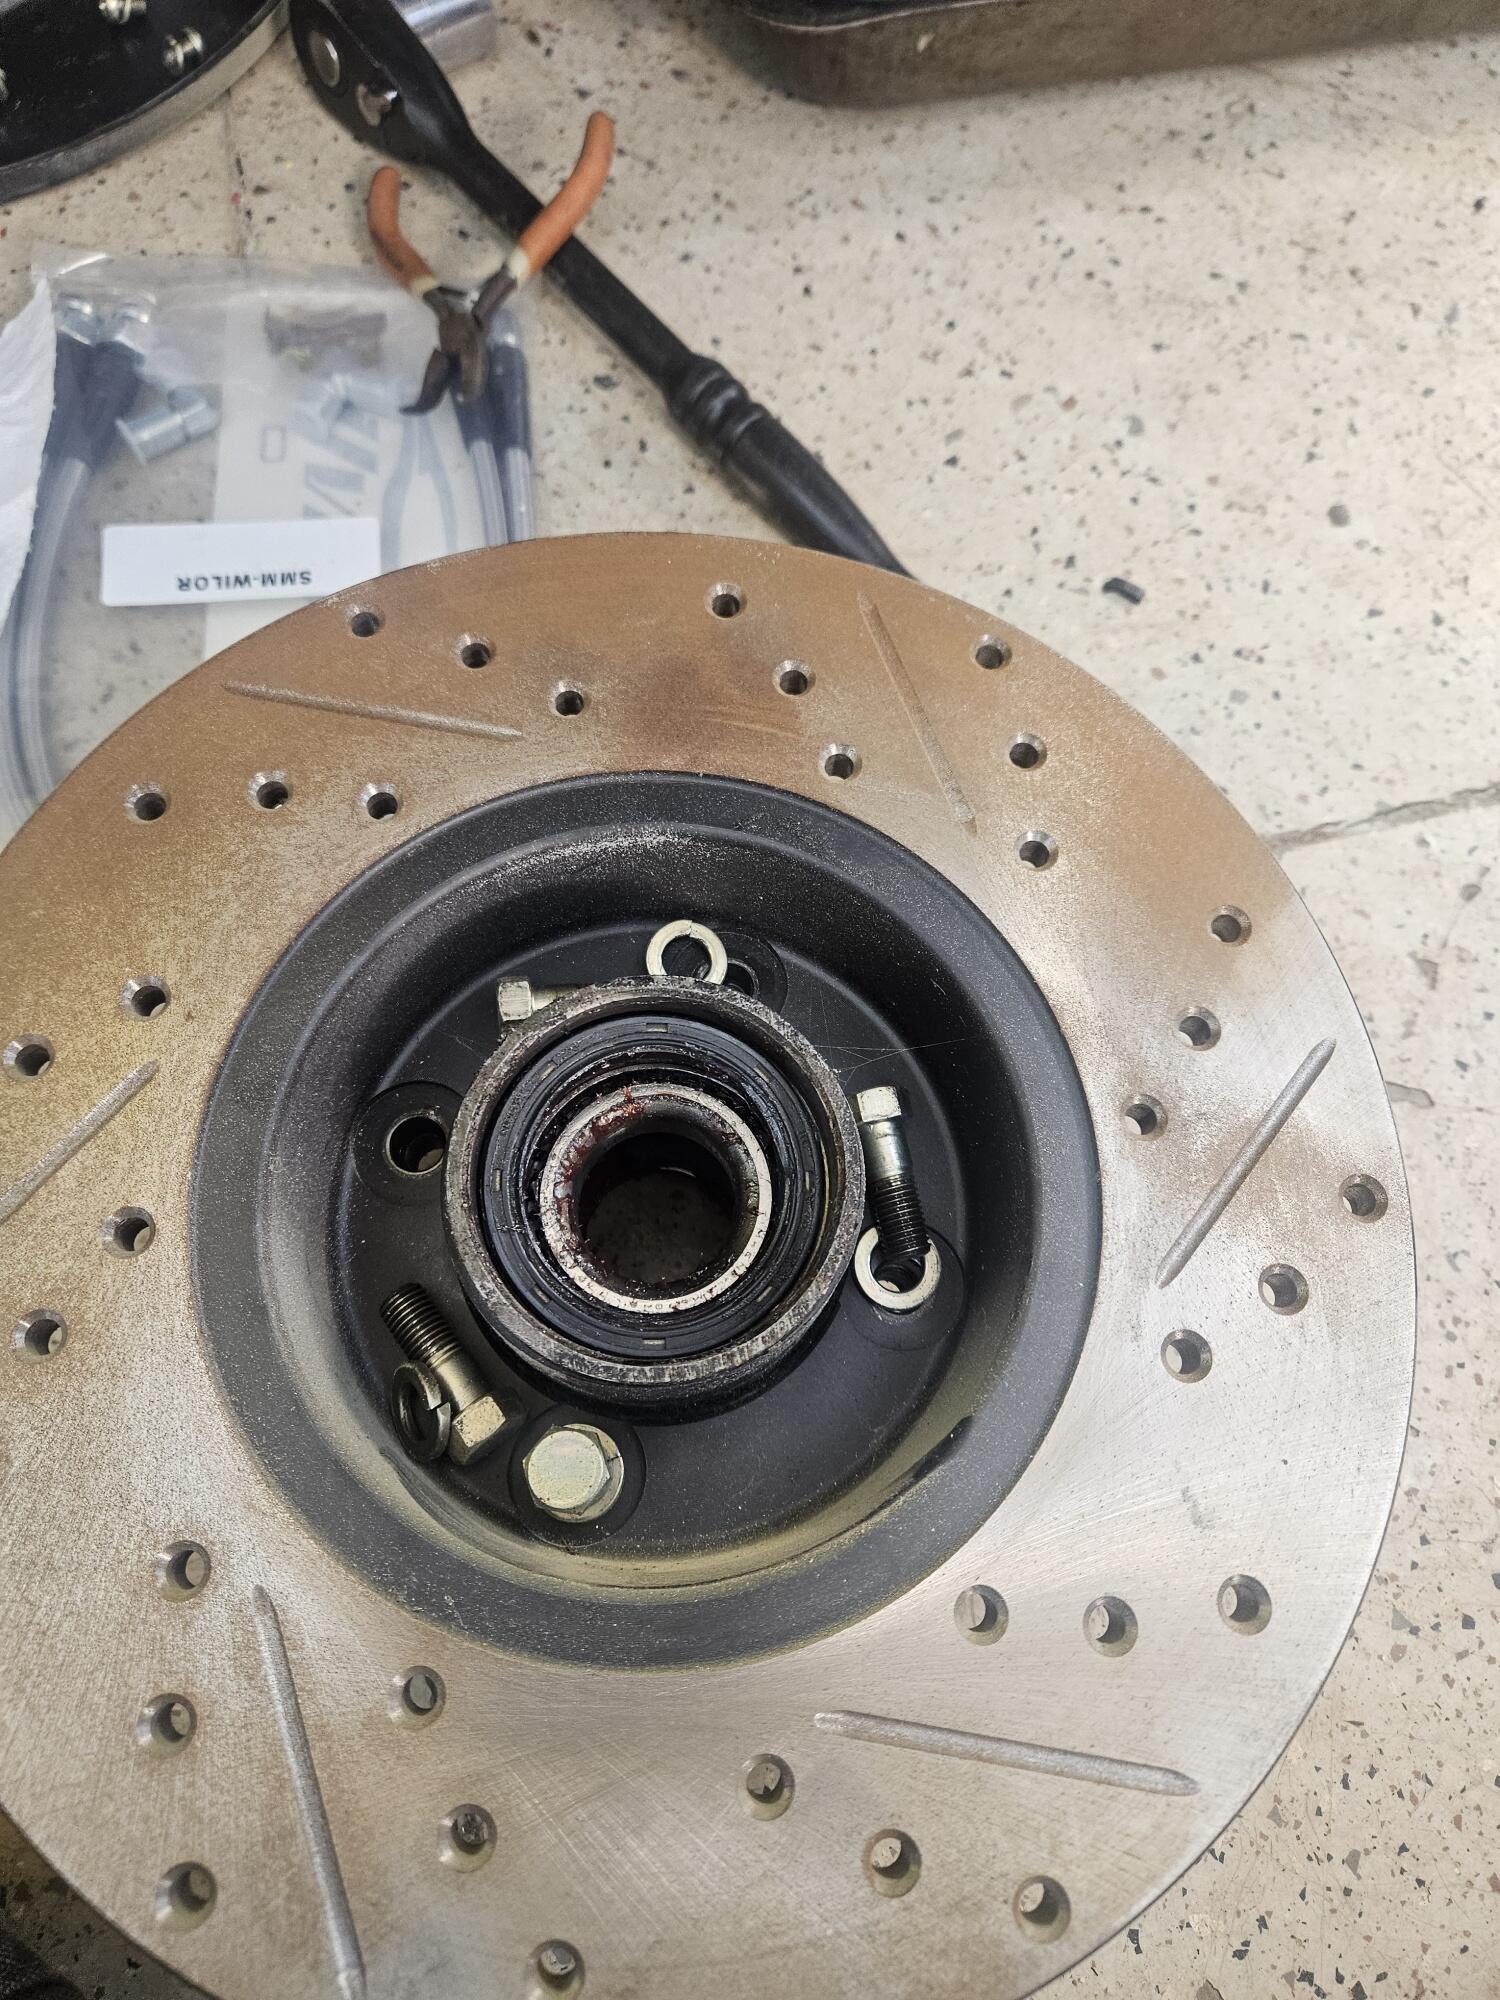
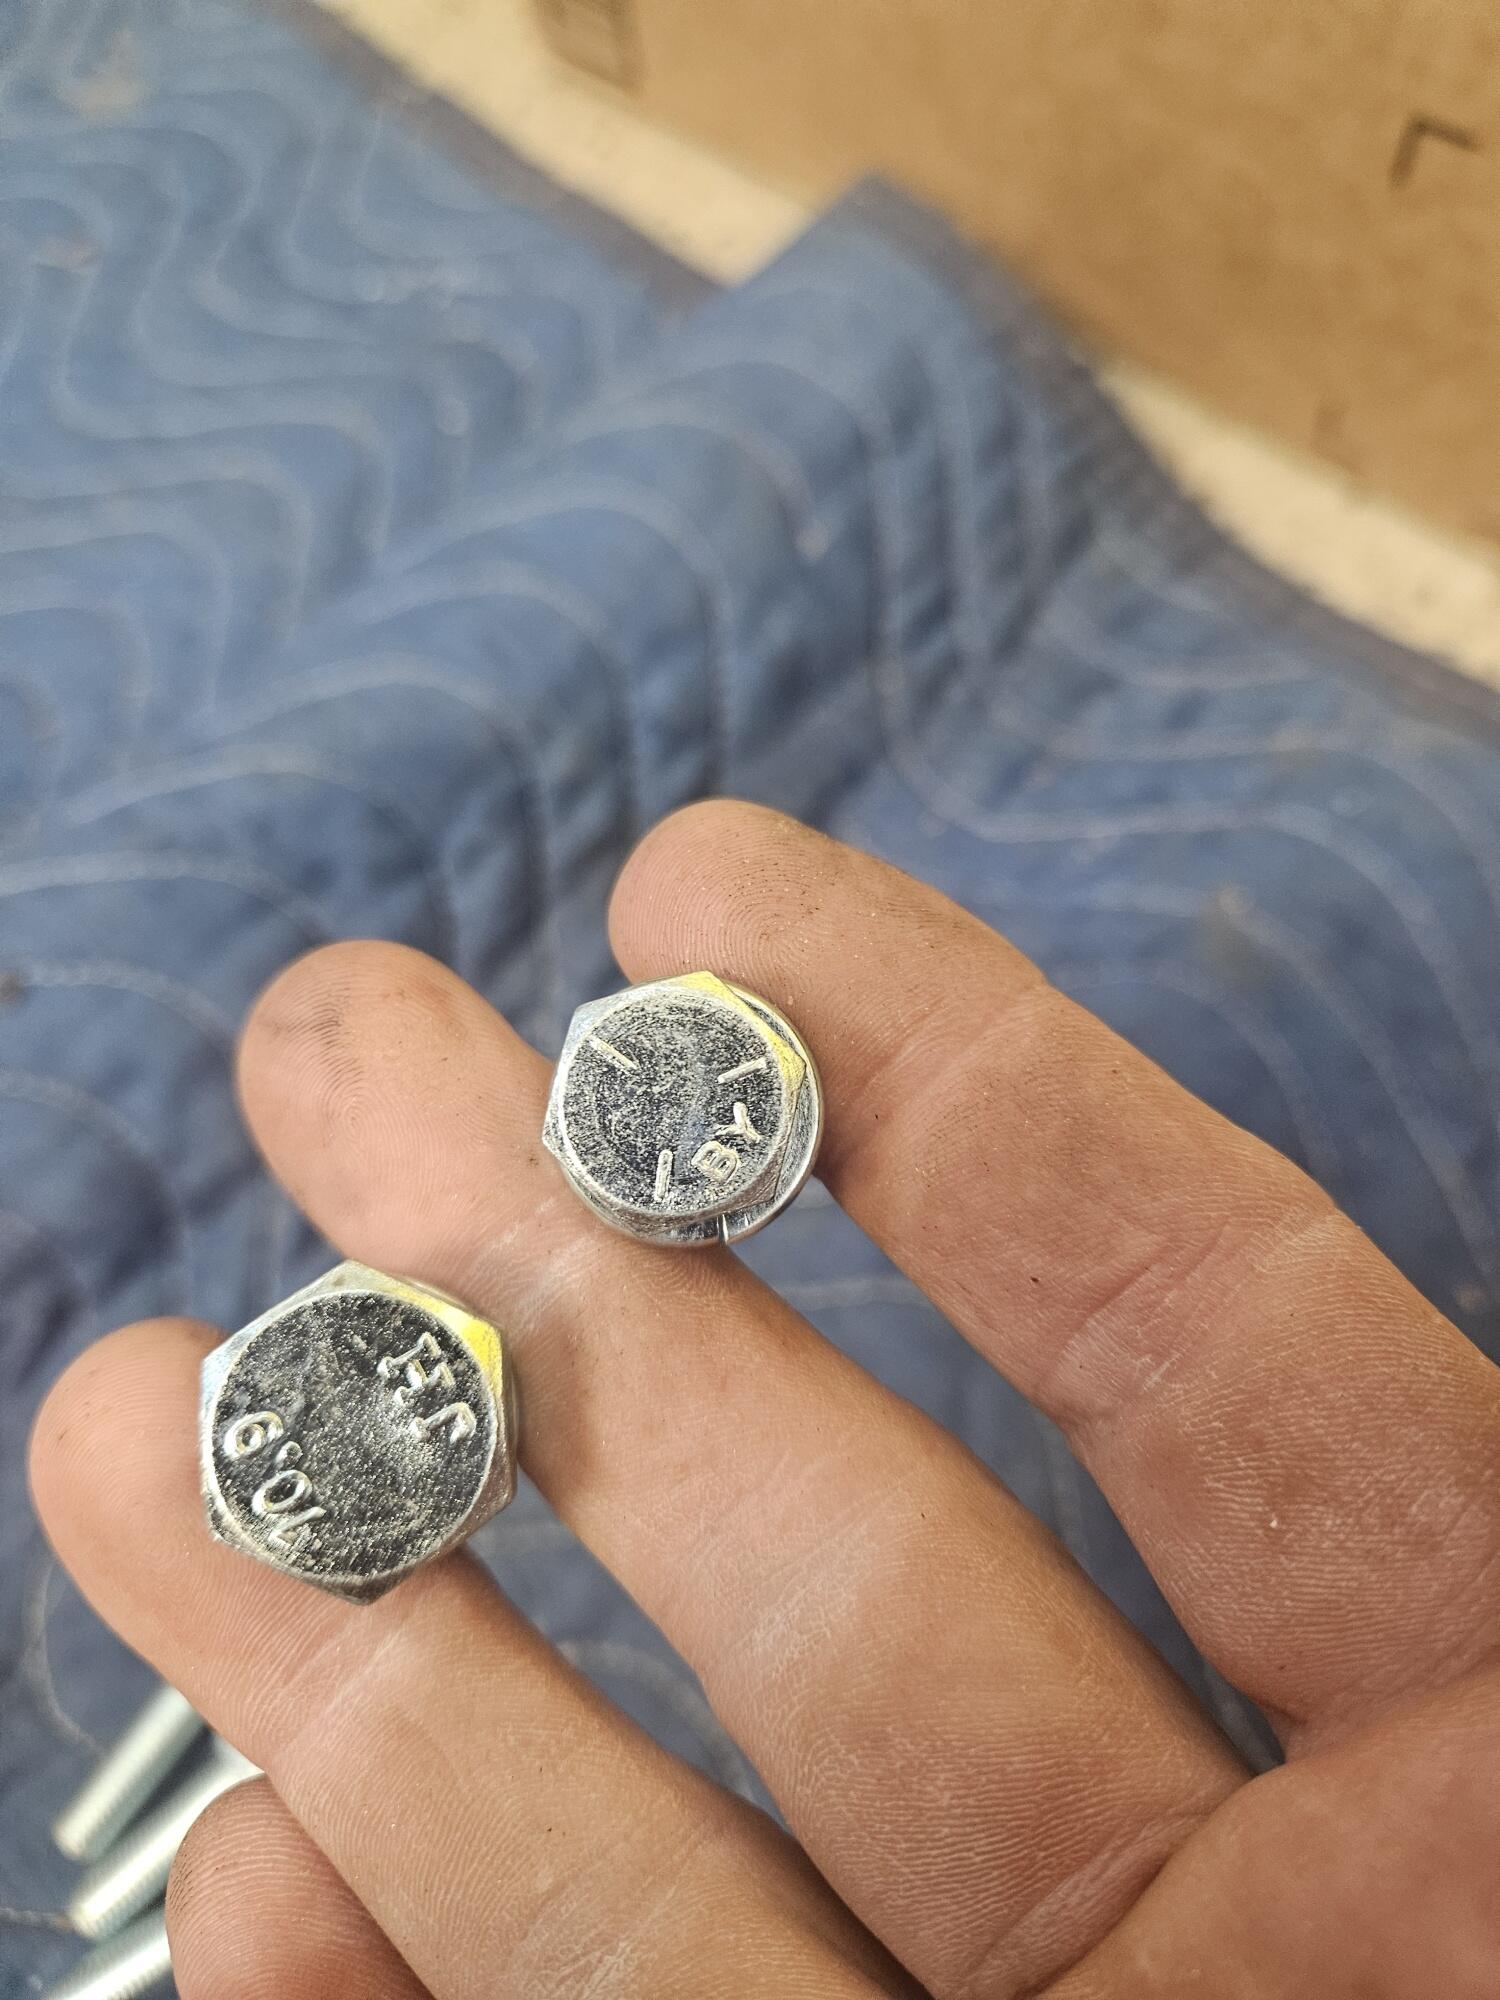
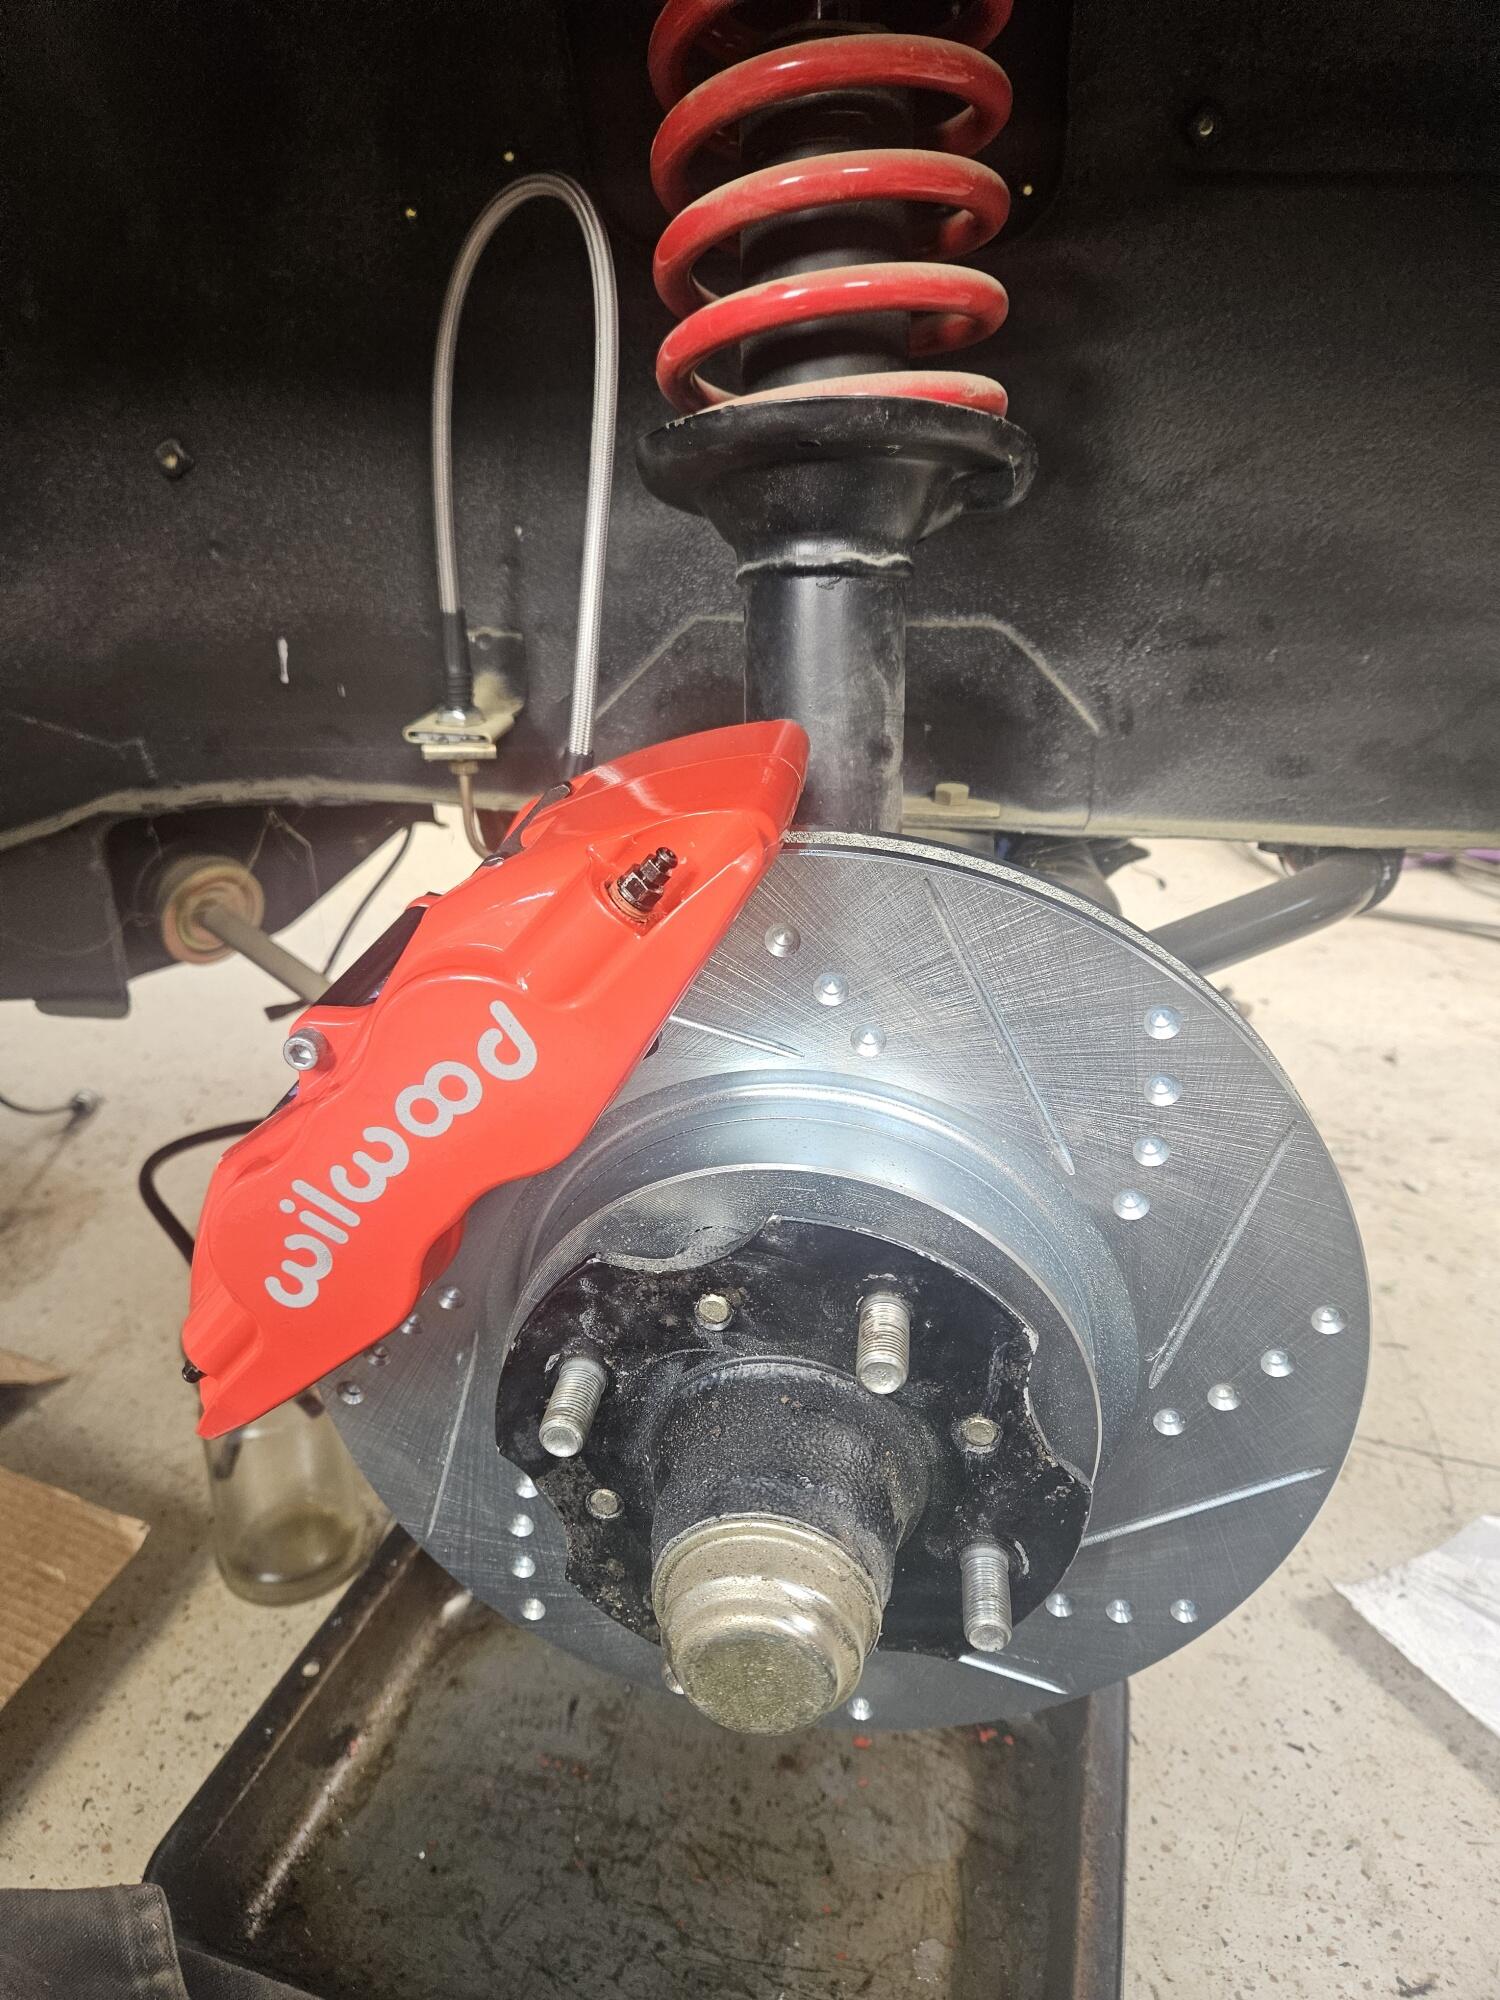
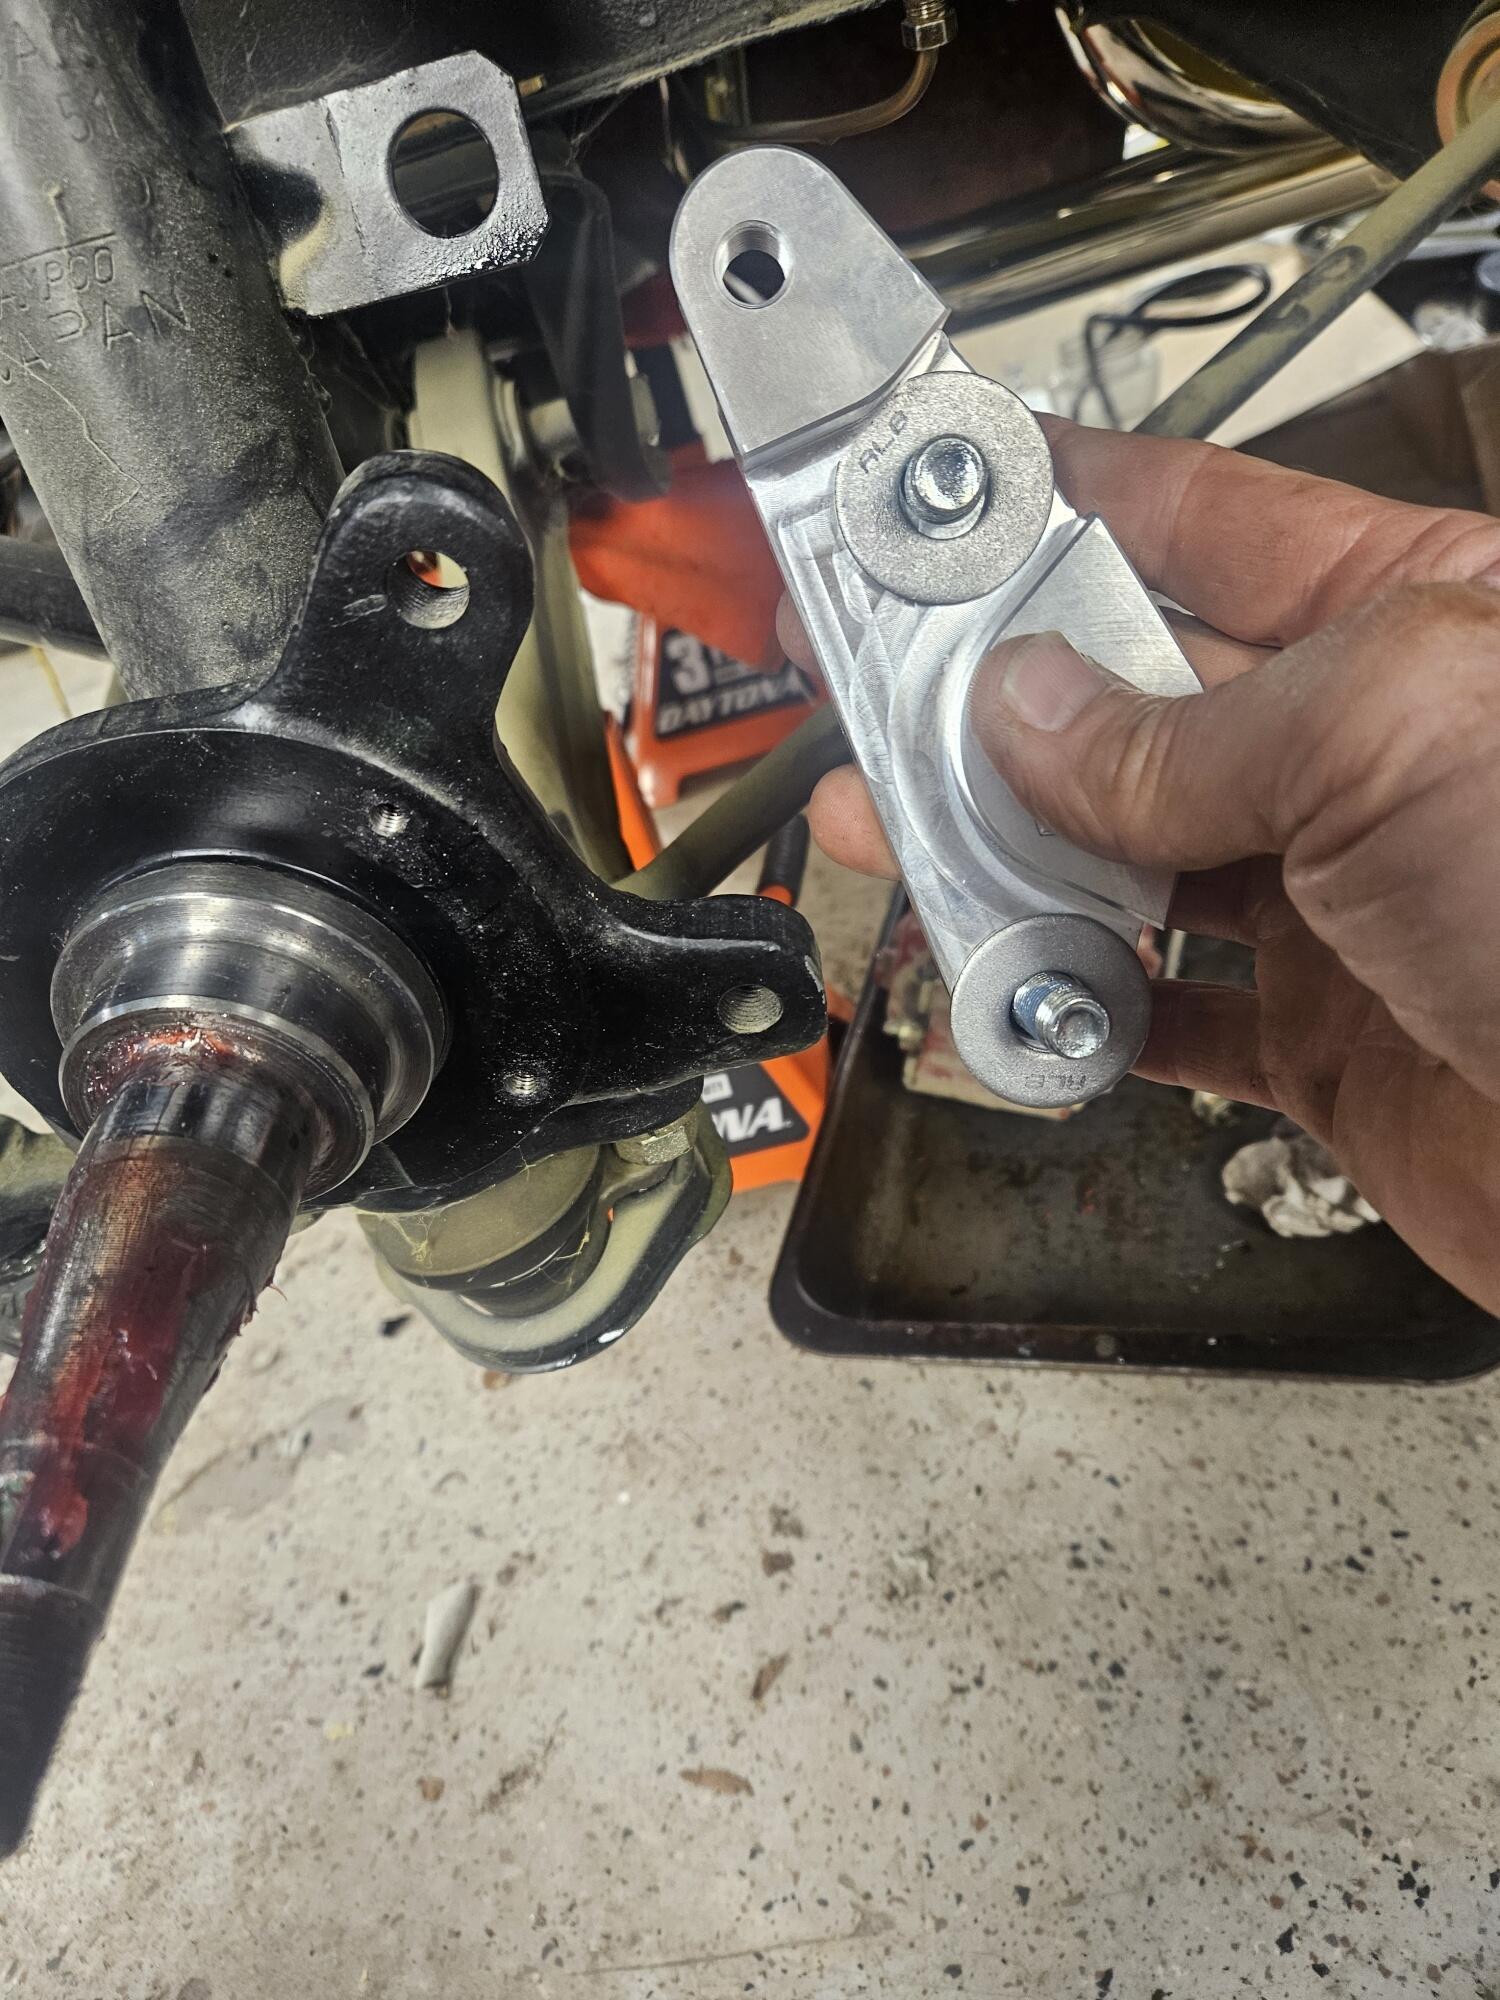
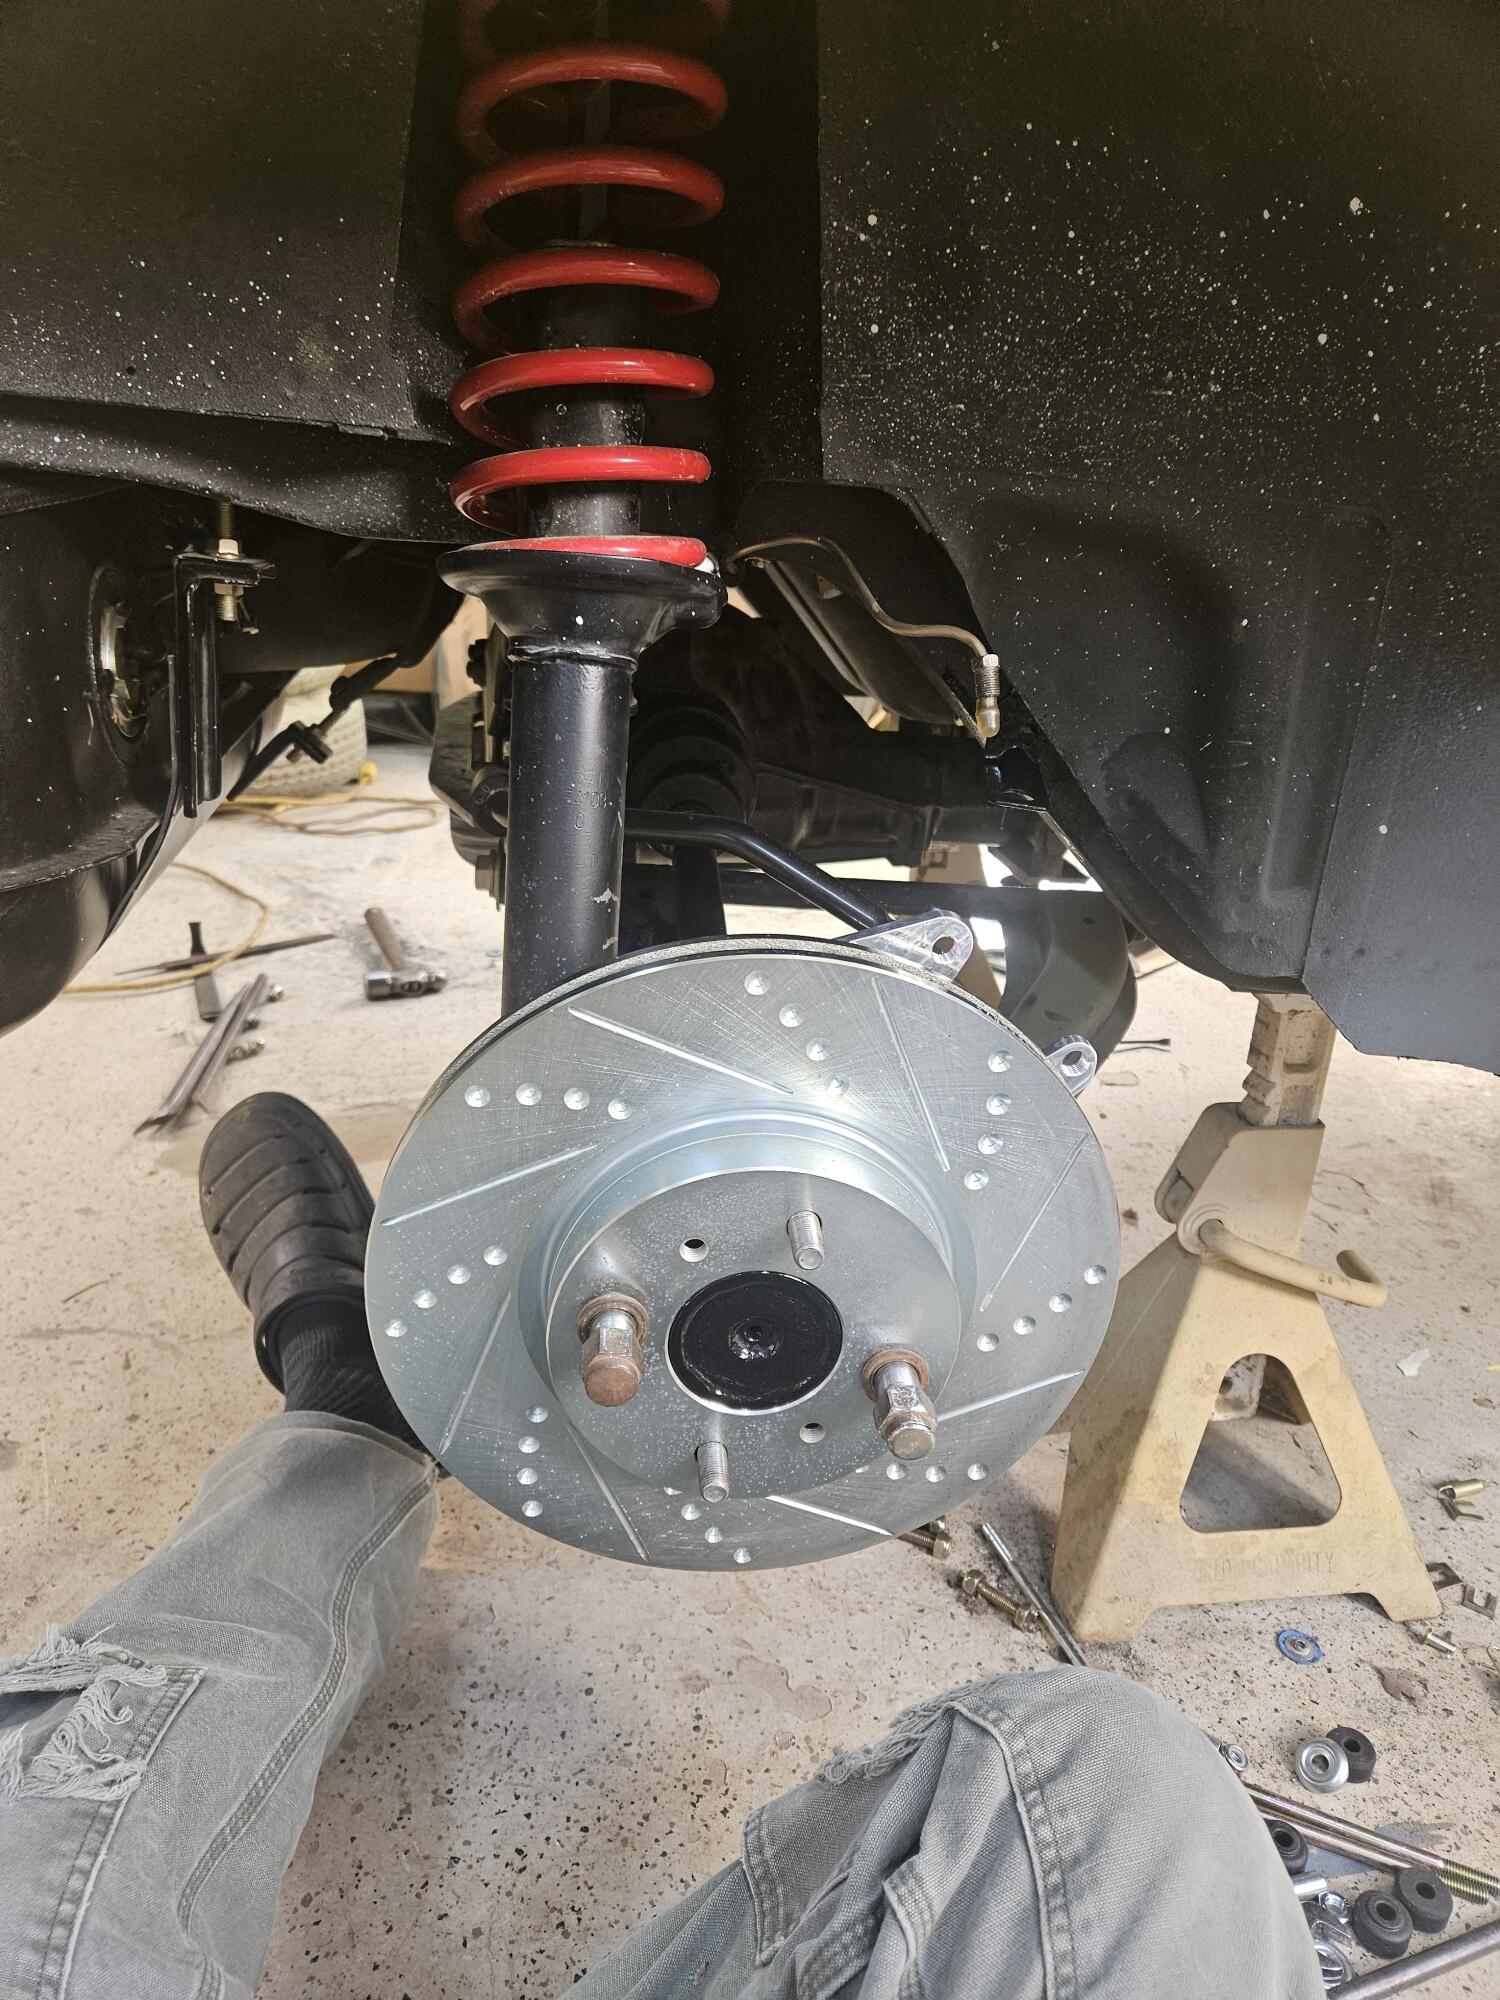
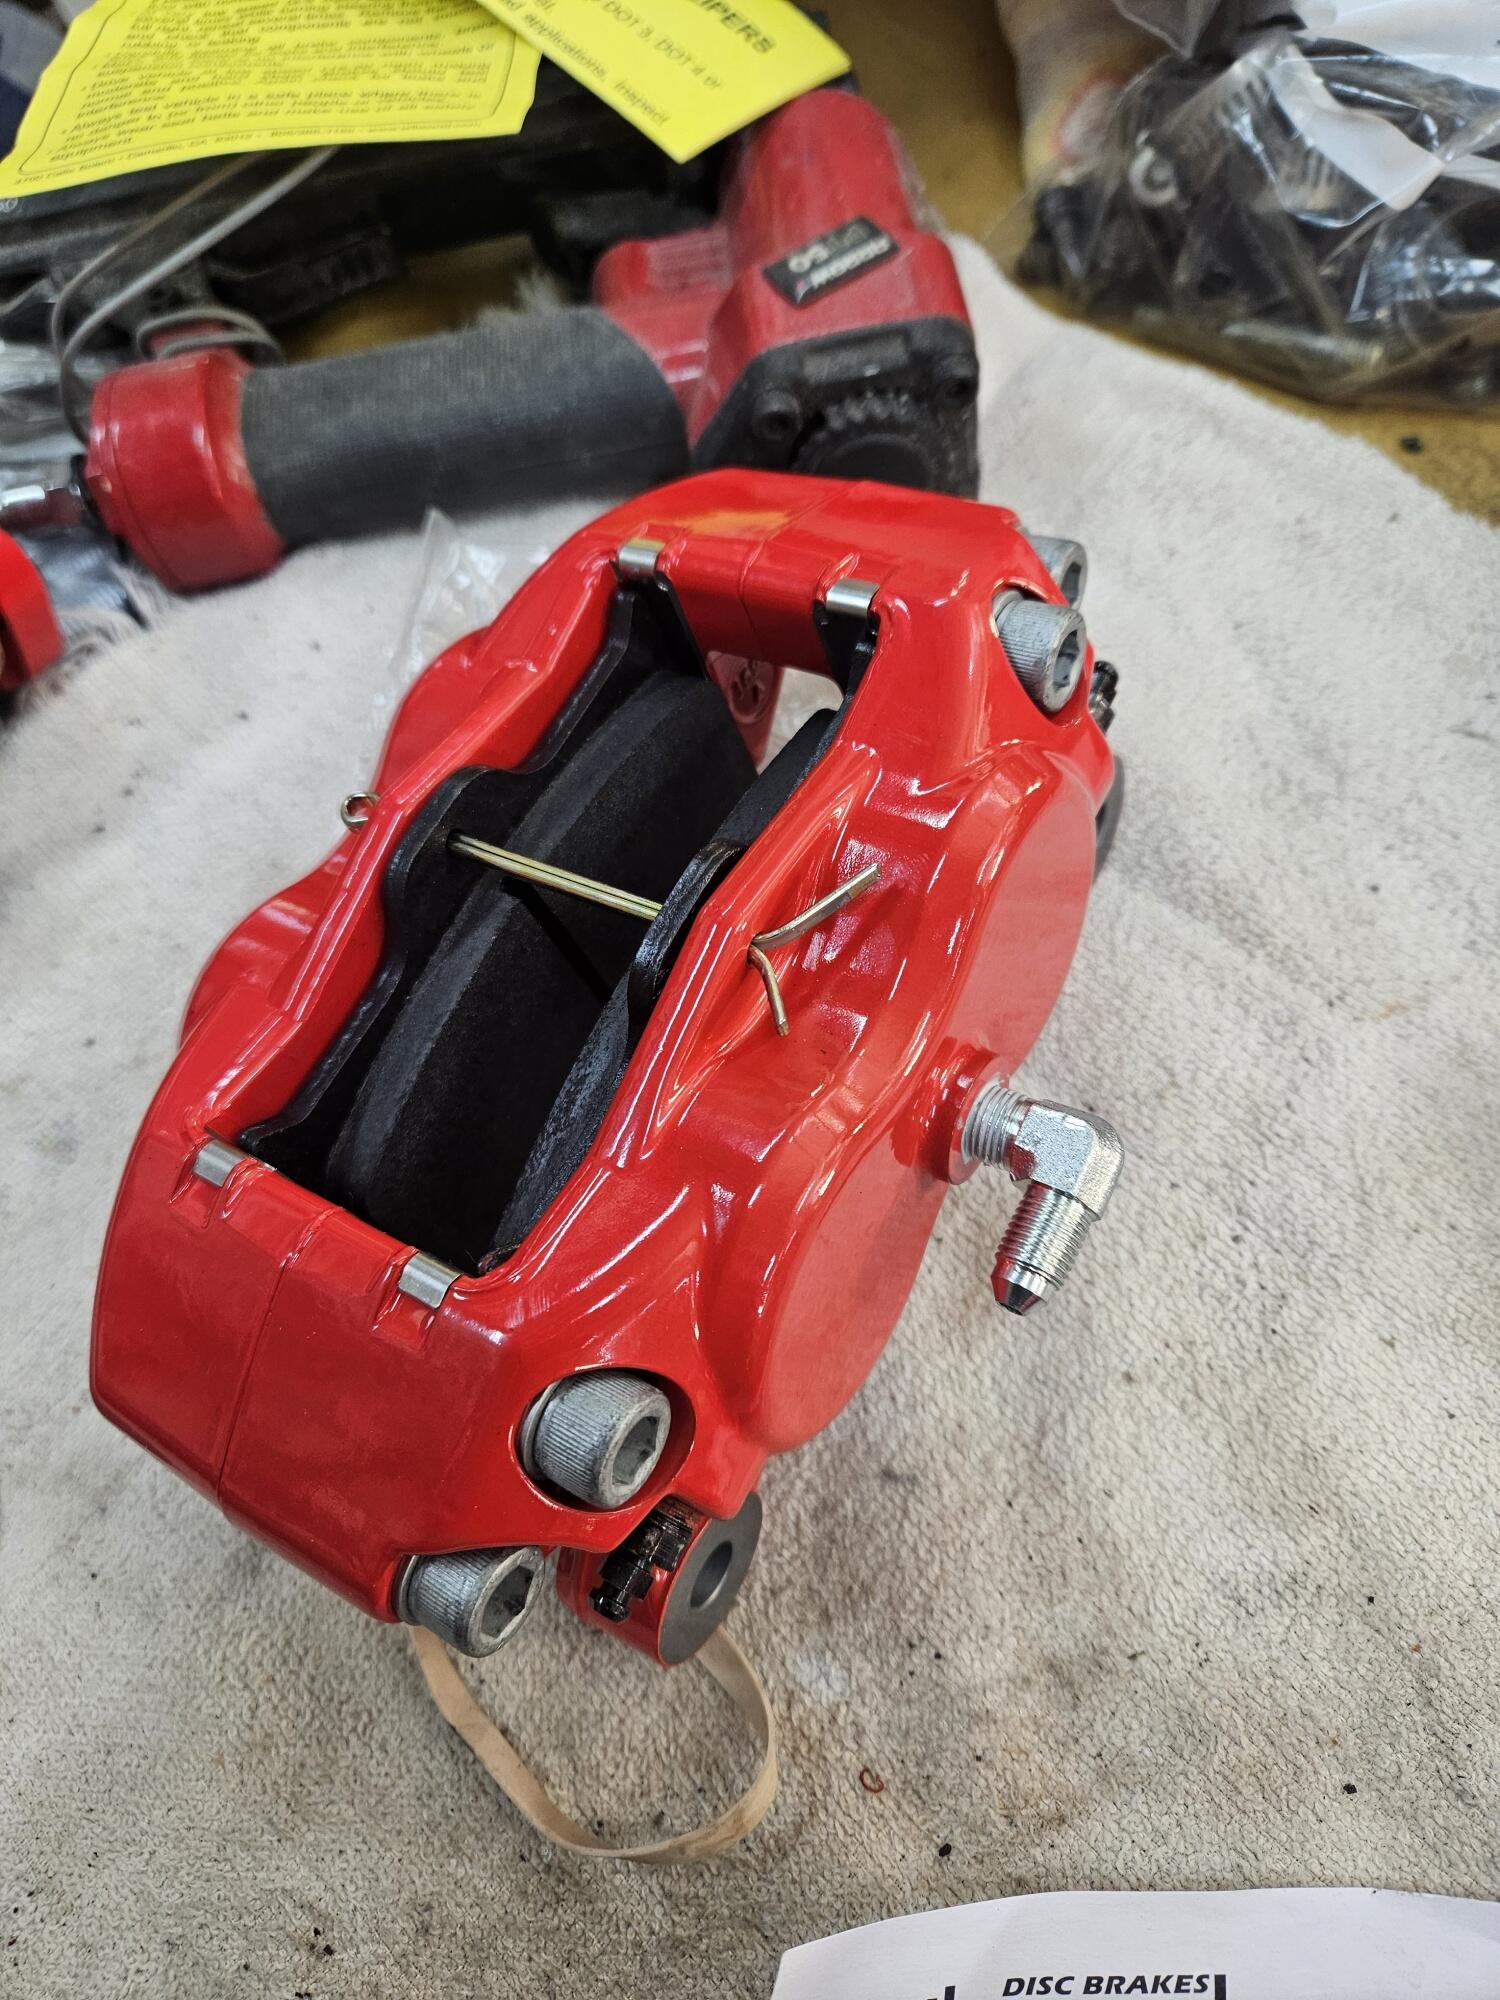
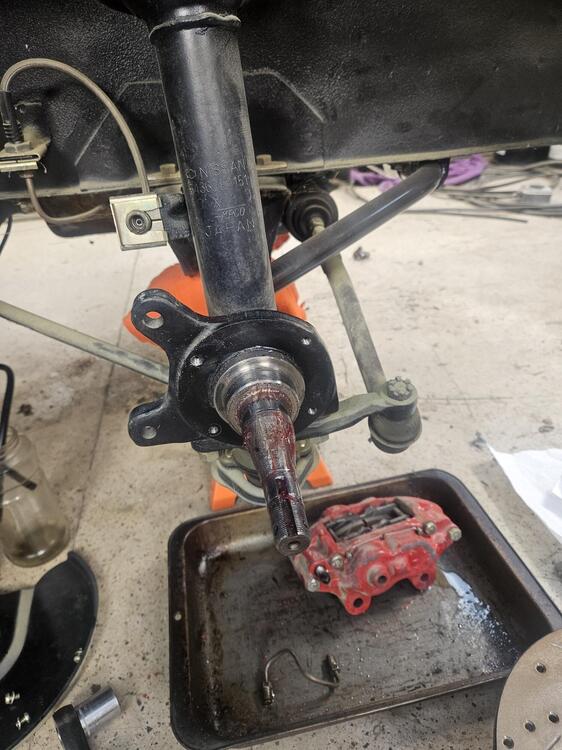
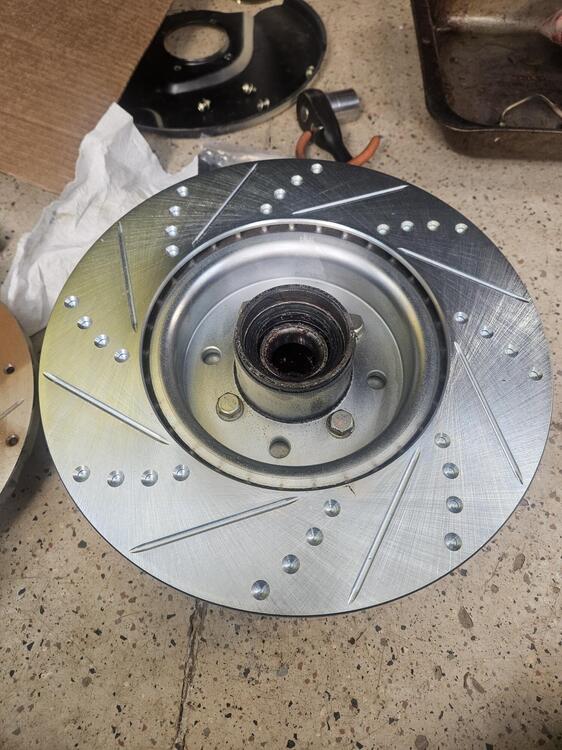
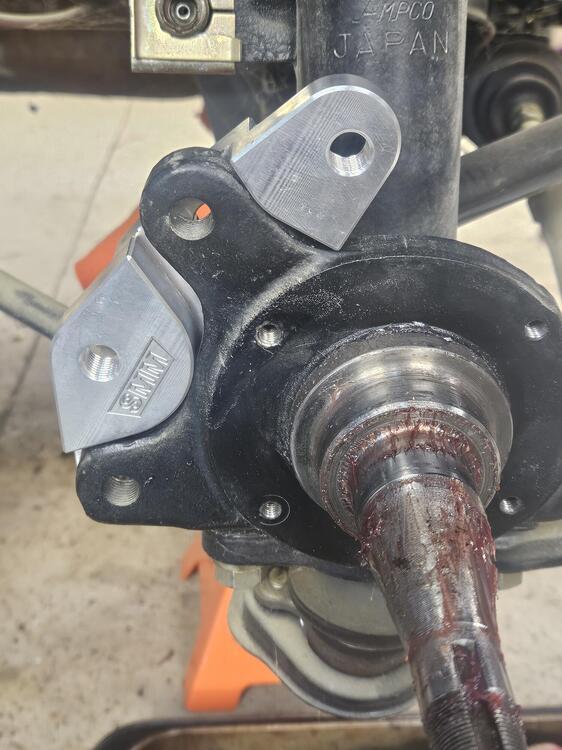
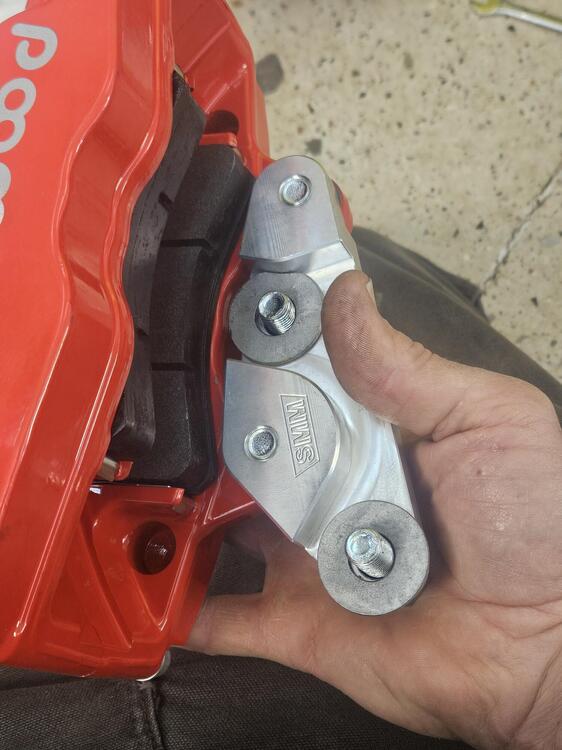
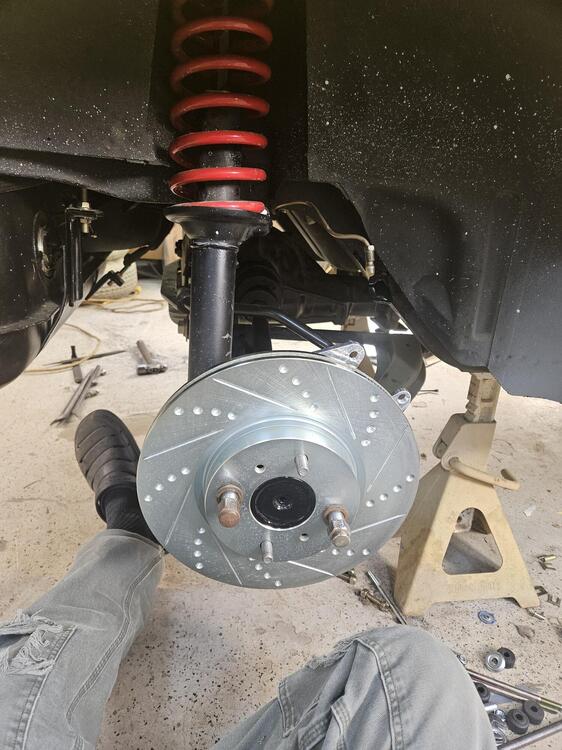
 I have another thread documenting the Wilwood rear brake install I did. In this thread I am going to document the front disc install. I am using the Wilwood Dynalights. The discs are the same front and back but the swept area of the pad is different. The front discs have also been drilled to match the bolt pattern of the hub. The new front calipers are very light. All aluminum. Here it is compared to the Toyota caliper Here is the starting point for my front brakes. I did have the Toyota caliper on and the dust shields have been trimmed Hub has to come off Then the dust shield needs to come off Then remove the bolts from the hub and swap rotors A brass hammer might be helpful to get every thing lined up and seated Everything on the Wilwoods seems to be SAE so there are two different bolts in the kit. The two metric bolts for bolting the adapter to the strut ears and the two SAE bolts for attaching the caliper to the adapter plate The Silvermine logo appears to face outward on these adapters When I first bolted this side up, it bound up against the rotor. So I had to add some washers to space it back a little bit. The metric bolts have plenty of length so that wasn't an issue. I didn't have any pretty washers to use so I used these. Also I had to trim the upper washer because the OD was too large to center over the hole All together It is easier to add the washers when installing the adapter if you know you'll need to I guess you could install it with washers and you don't need them you can drop them out. It's a lot easier to drop them out than get them in and centered over the bolts. This install is on an early series one car. Your mileage might vary...
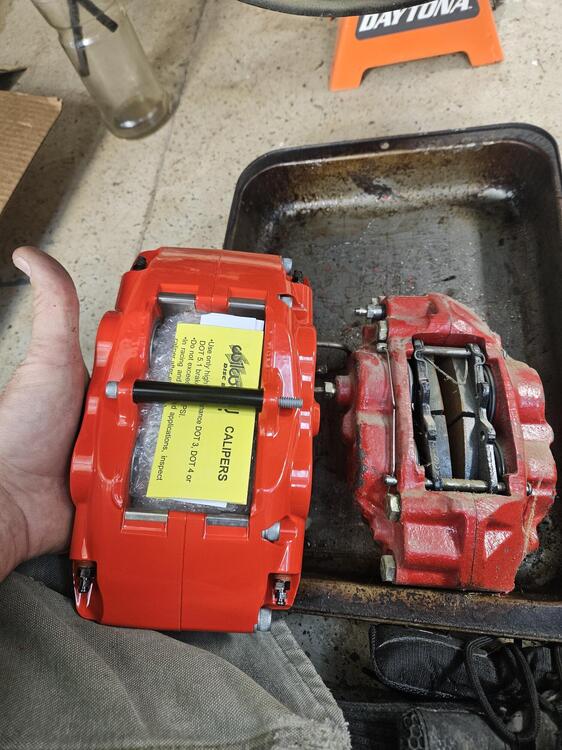


-
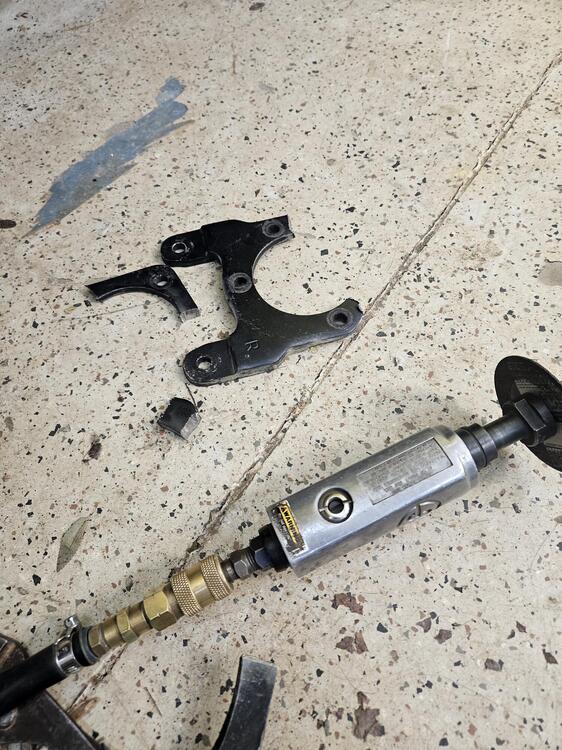
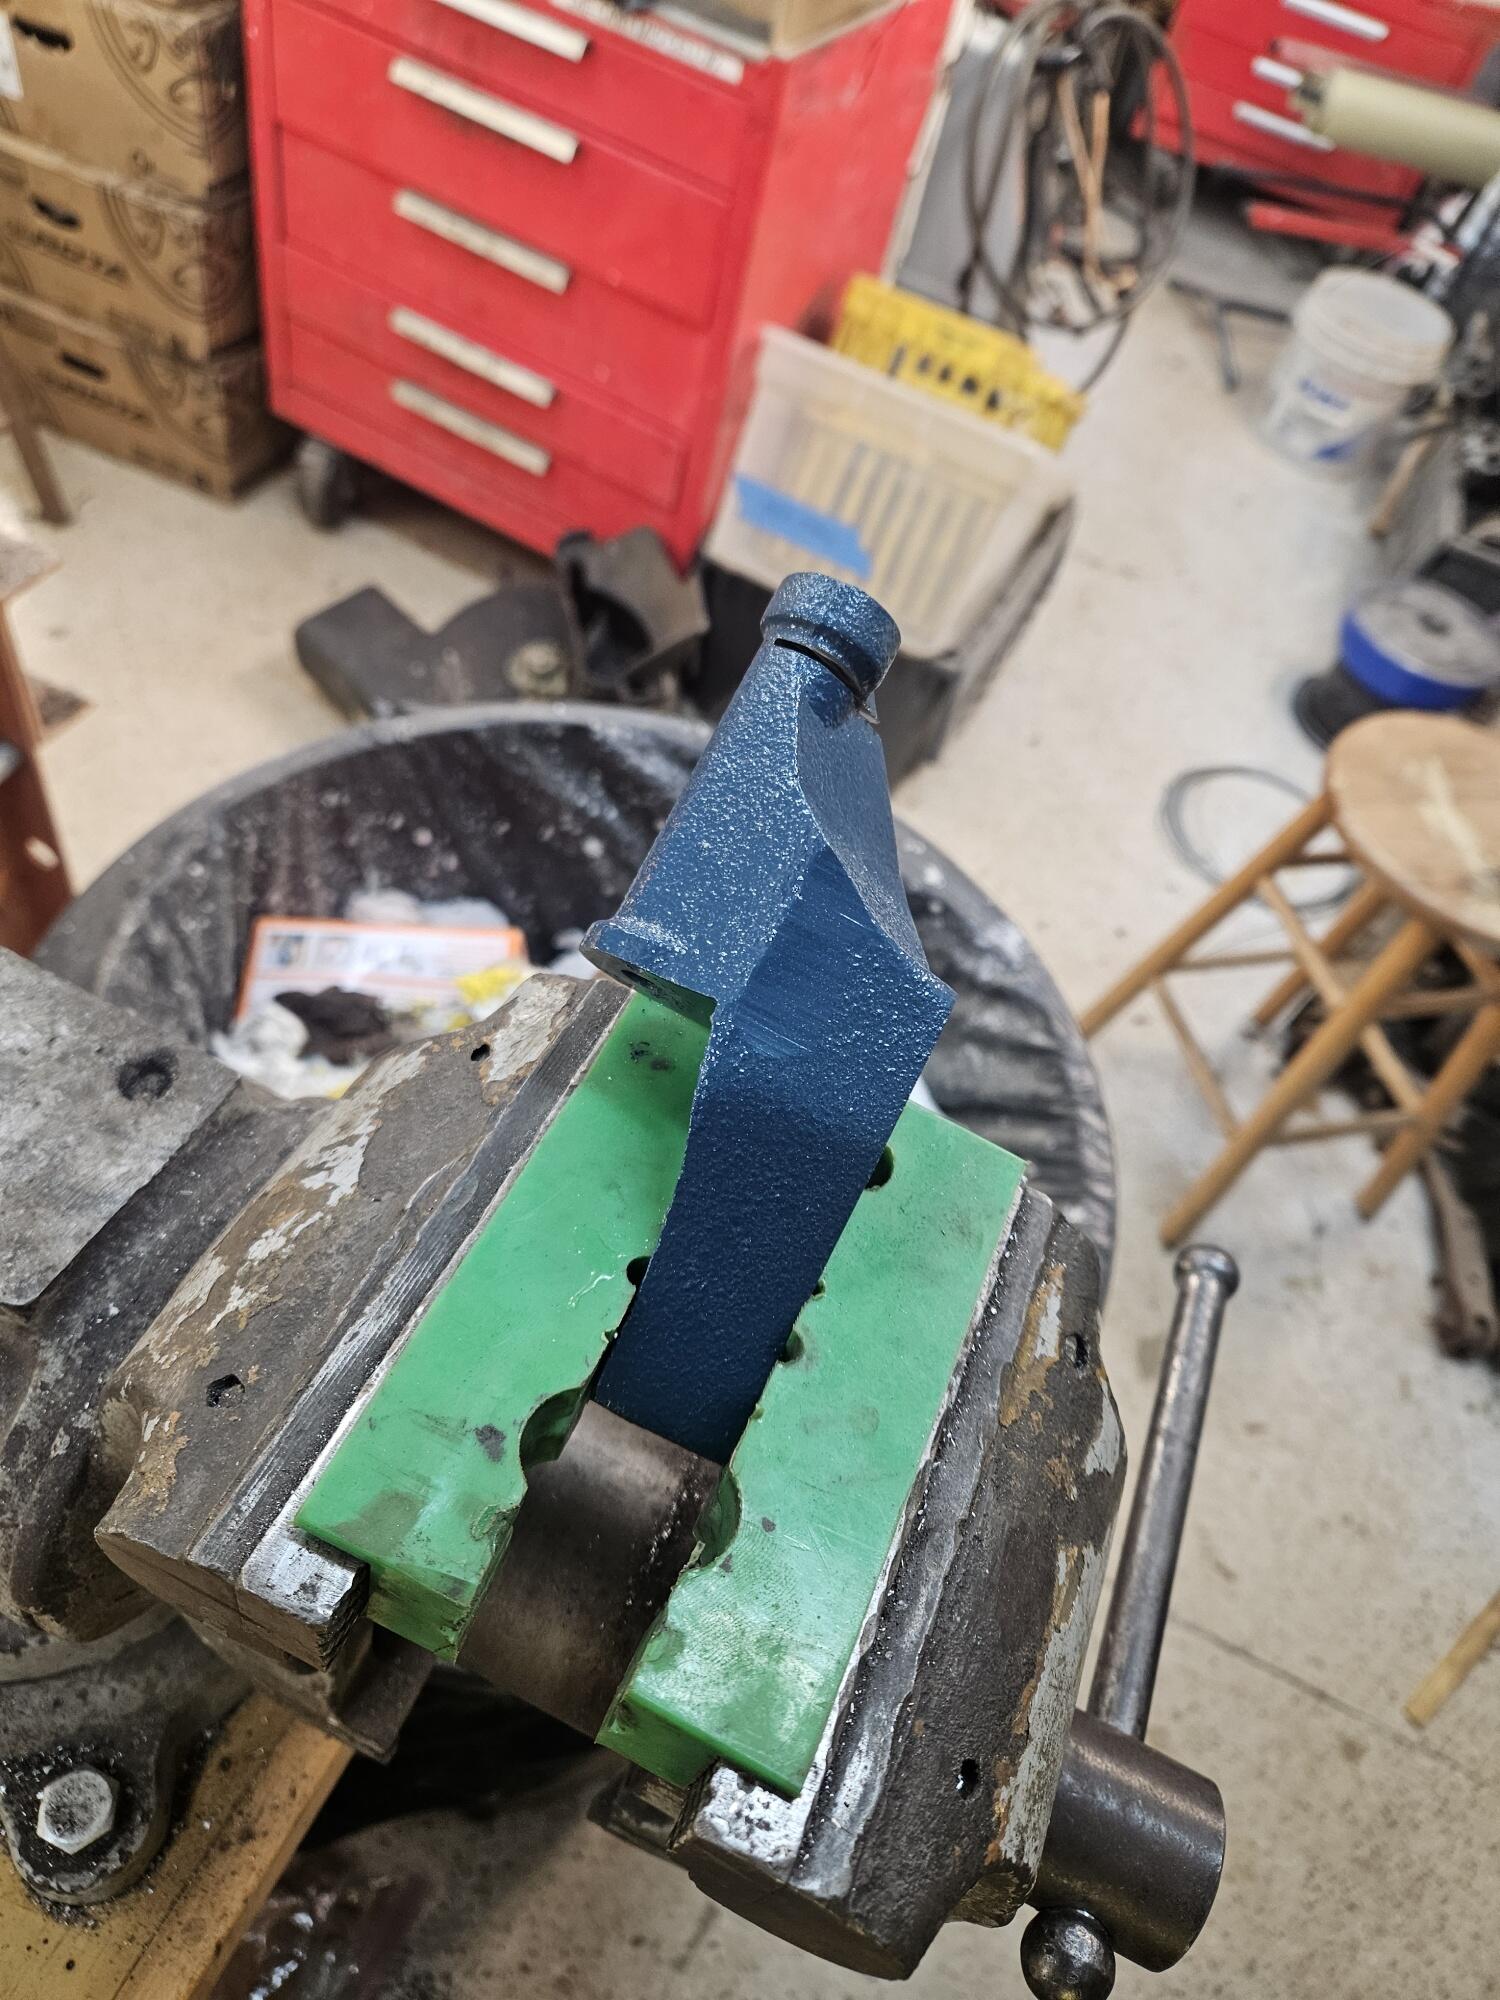
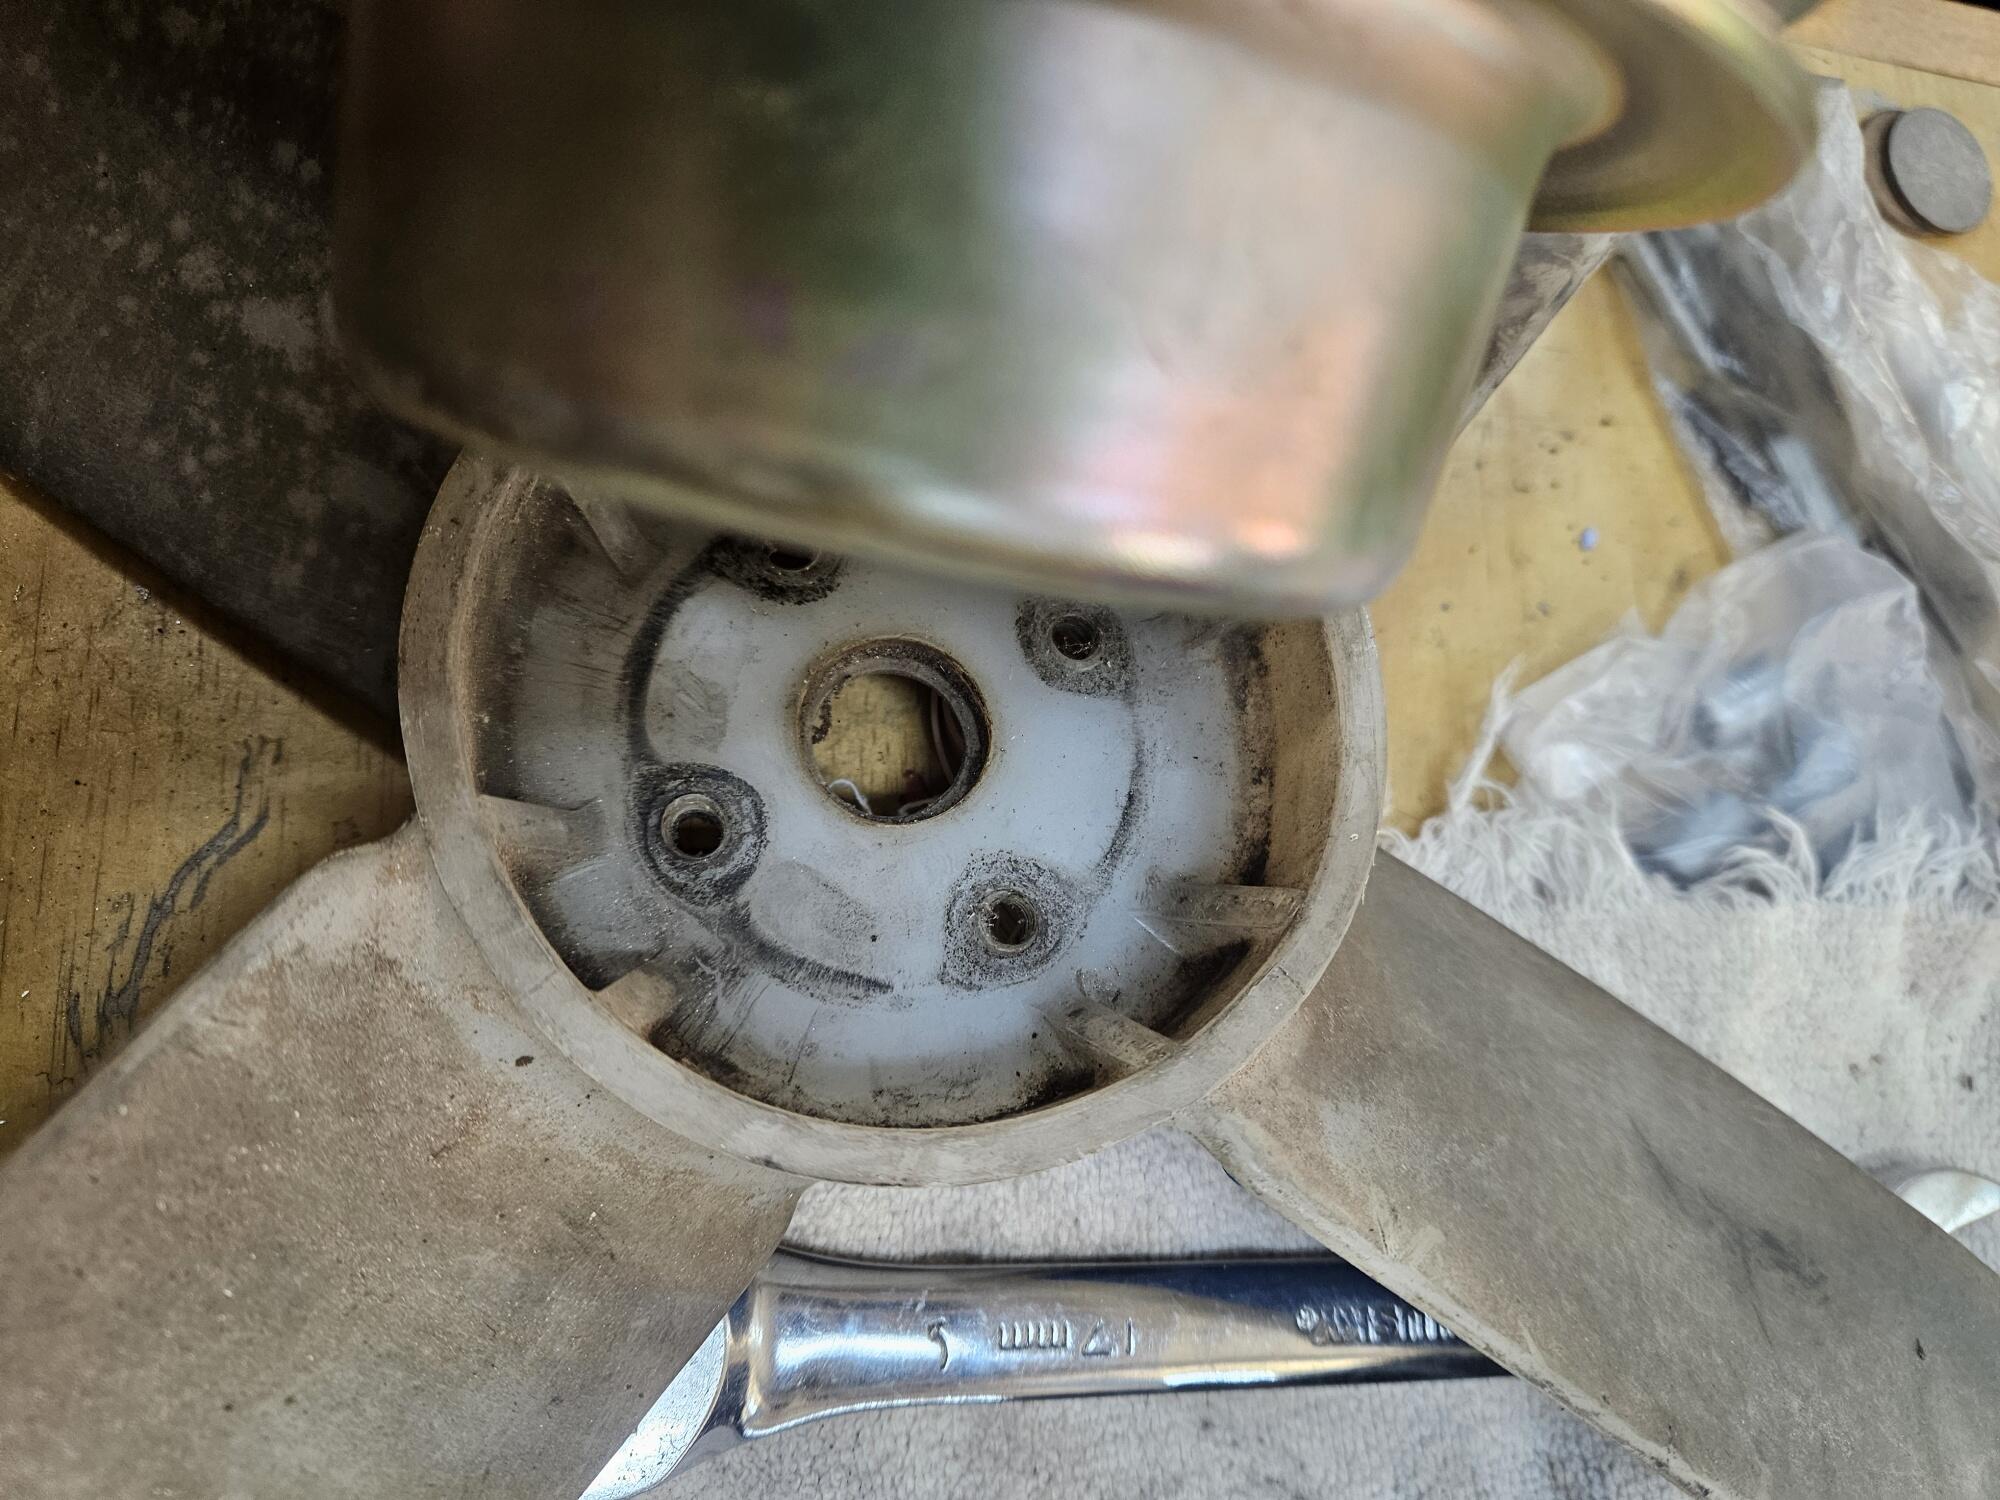
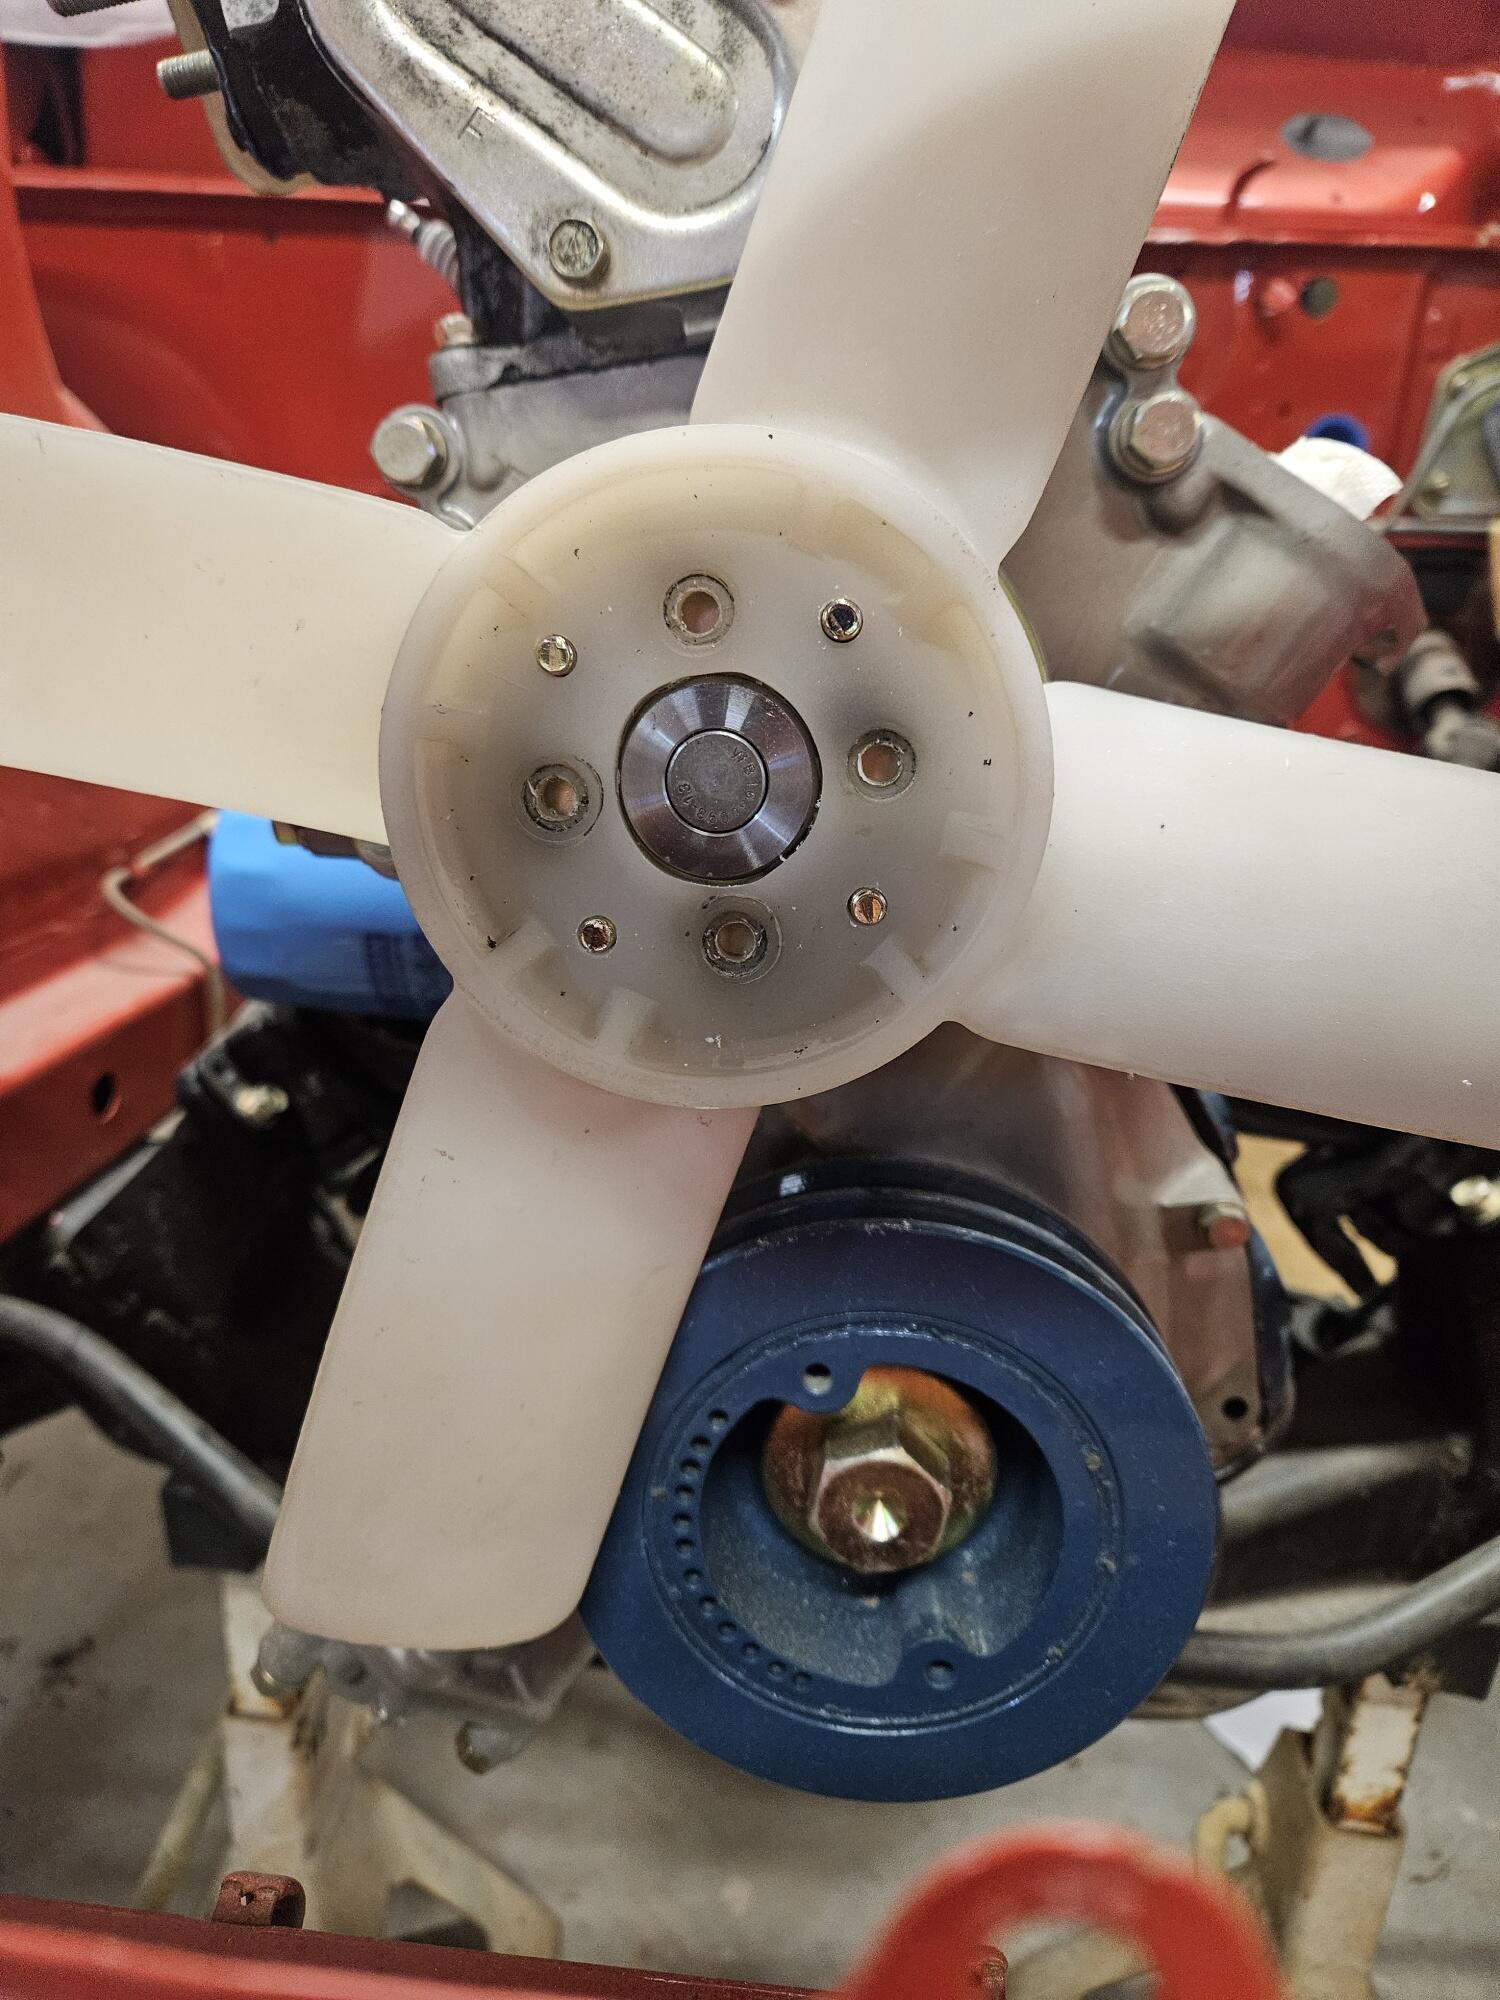
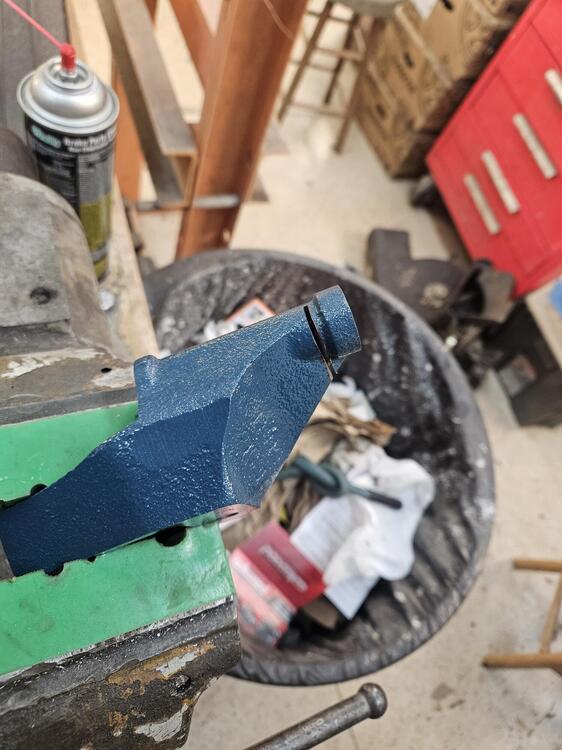
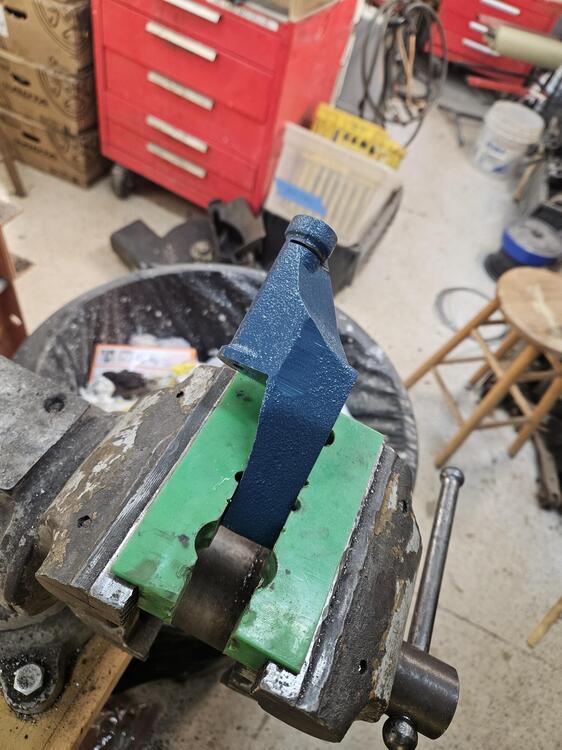
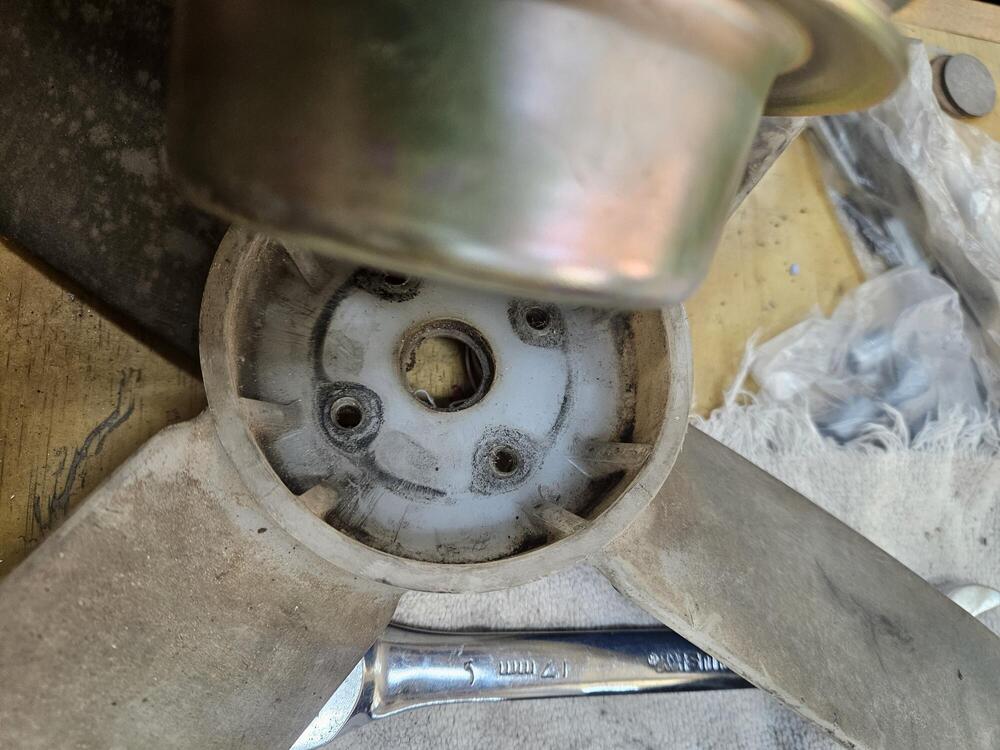
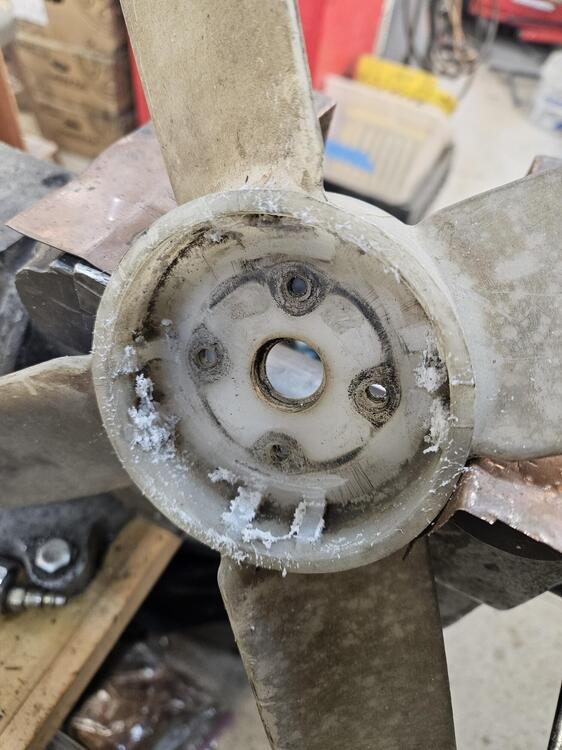
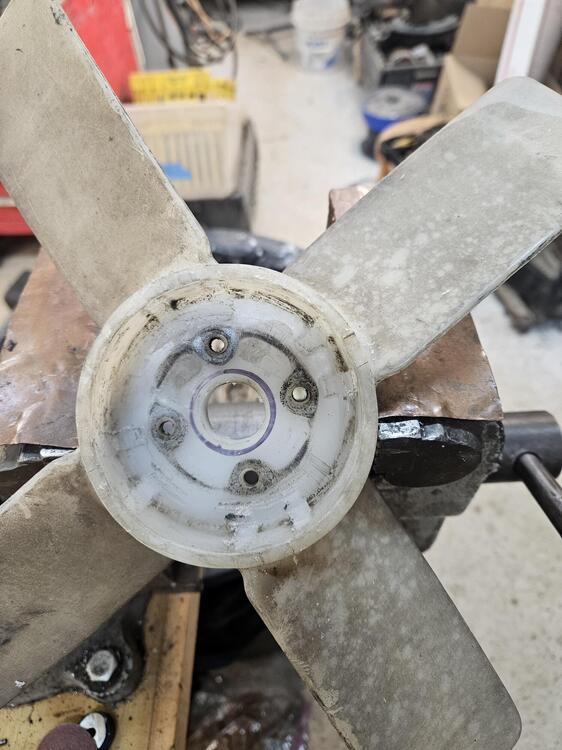
So over Thanksgiving when Cody and I were working on the car. We were trying to get it ready for startup. Maybe Christmas, we'll see. We were working on getting the alternator on. Well when you change to the 240z water pump and damper that means the alternator doesn't line up anymore... 😞 So we got out the cut off wheels I cut this off the front and dressed it out and move d it to the rear with a washer. In the future we might make a more elegant solution, but for now it works Another problem we created with the 240z water pump is the 510 fan doesn't fit anymore and there's not enough room for a 240z setup. So these ribs inside the fan prevent it from fitting down against the pulley So more air tools I dressed them up nicely and lightly bead blasted it. I had to make the center hole larger by free-handing it. I also had to add 4 new bolts holes because the bolt pattern is different I had to order longer studs from BelMetric too... Two forward, one back... 😉

-
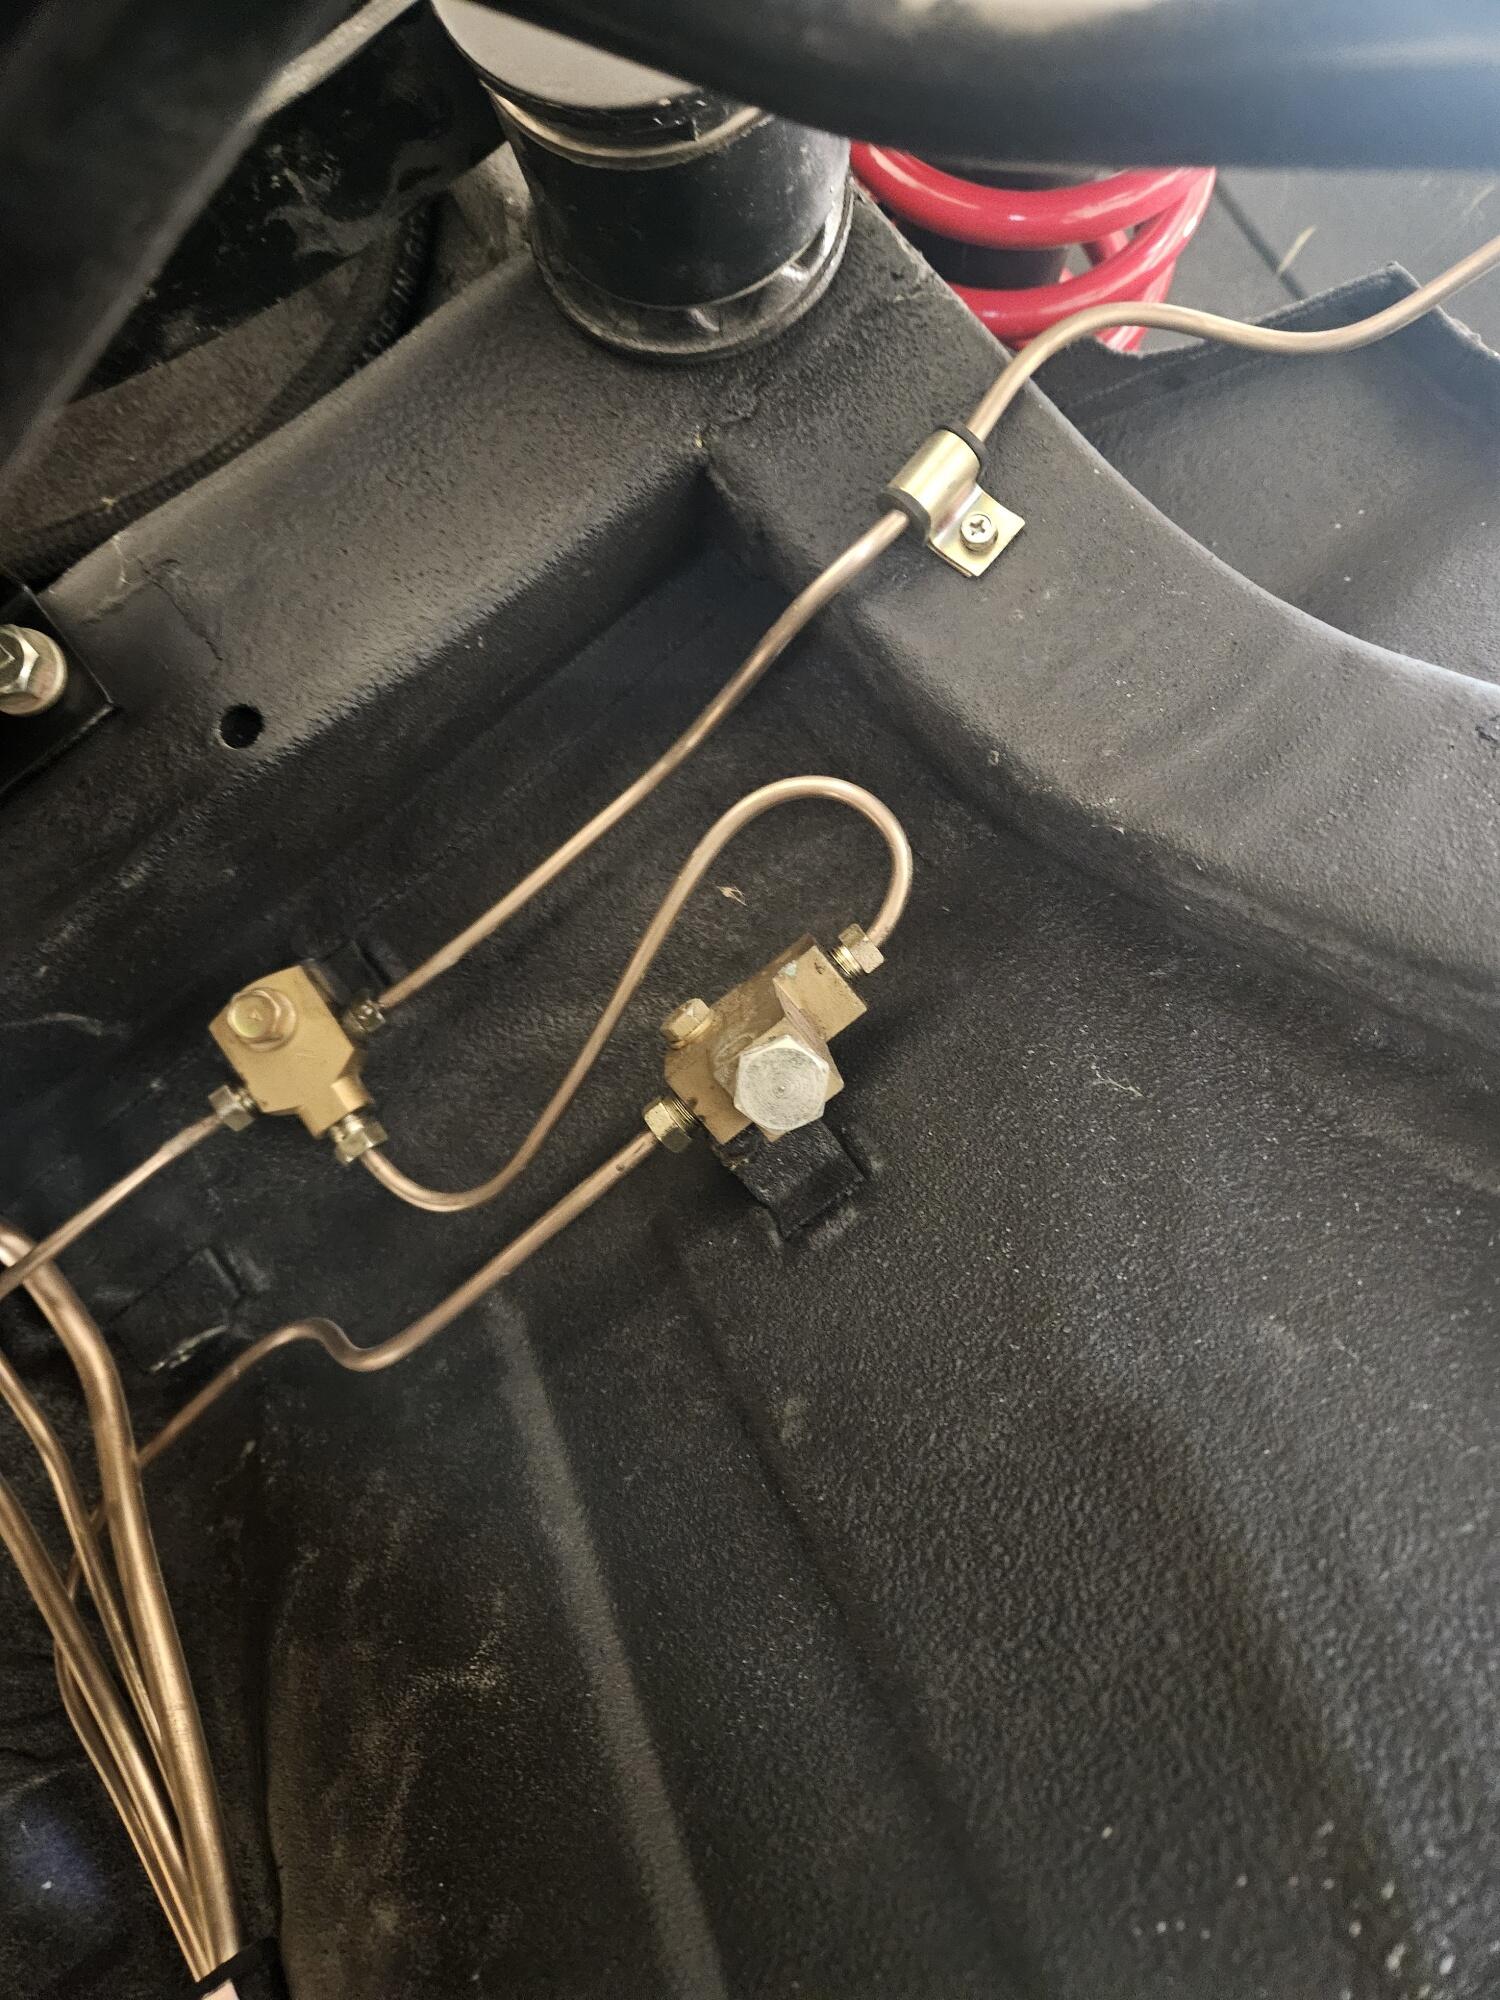
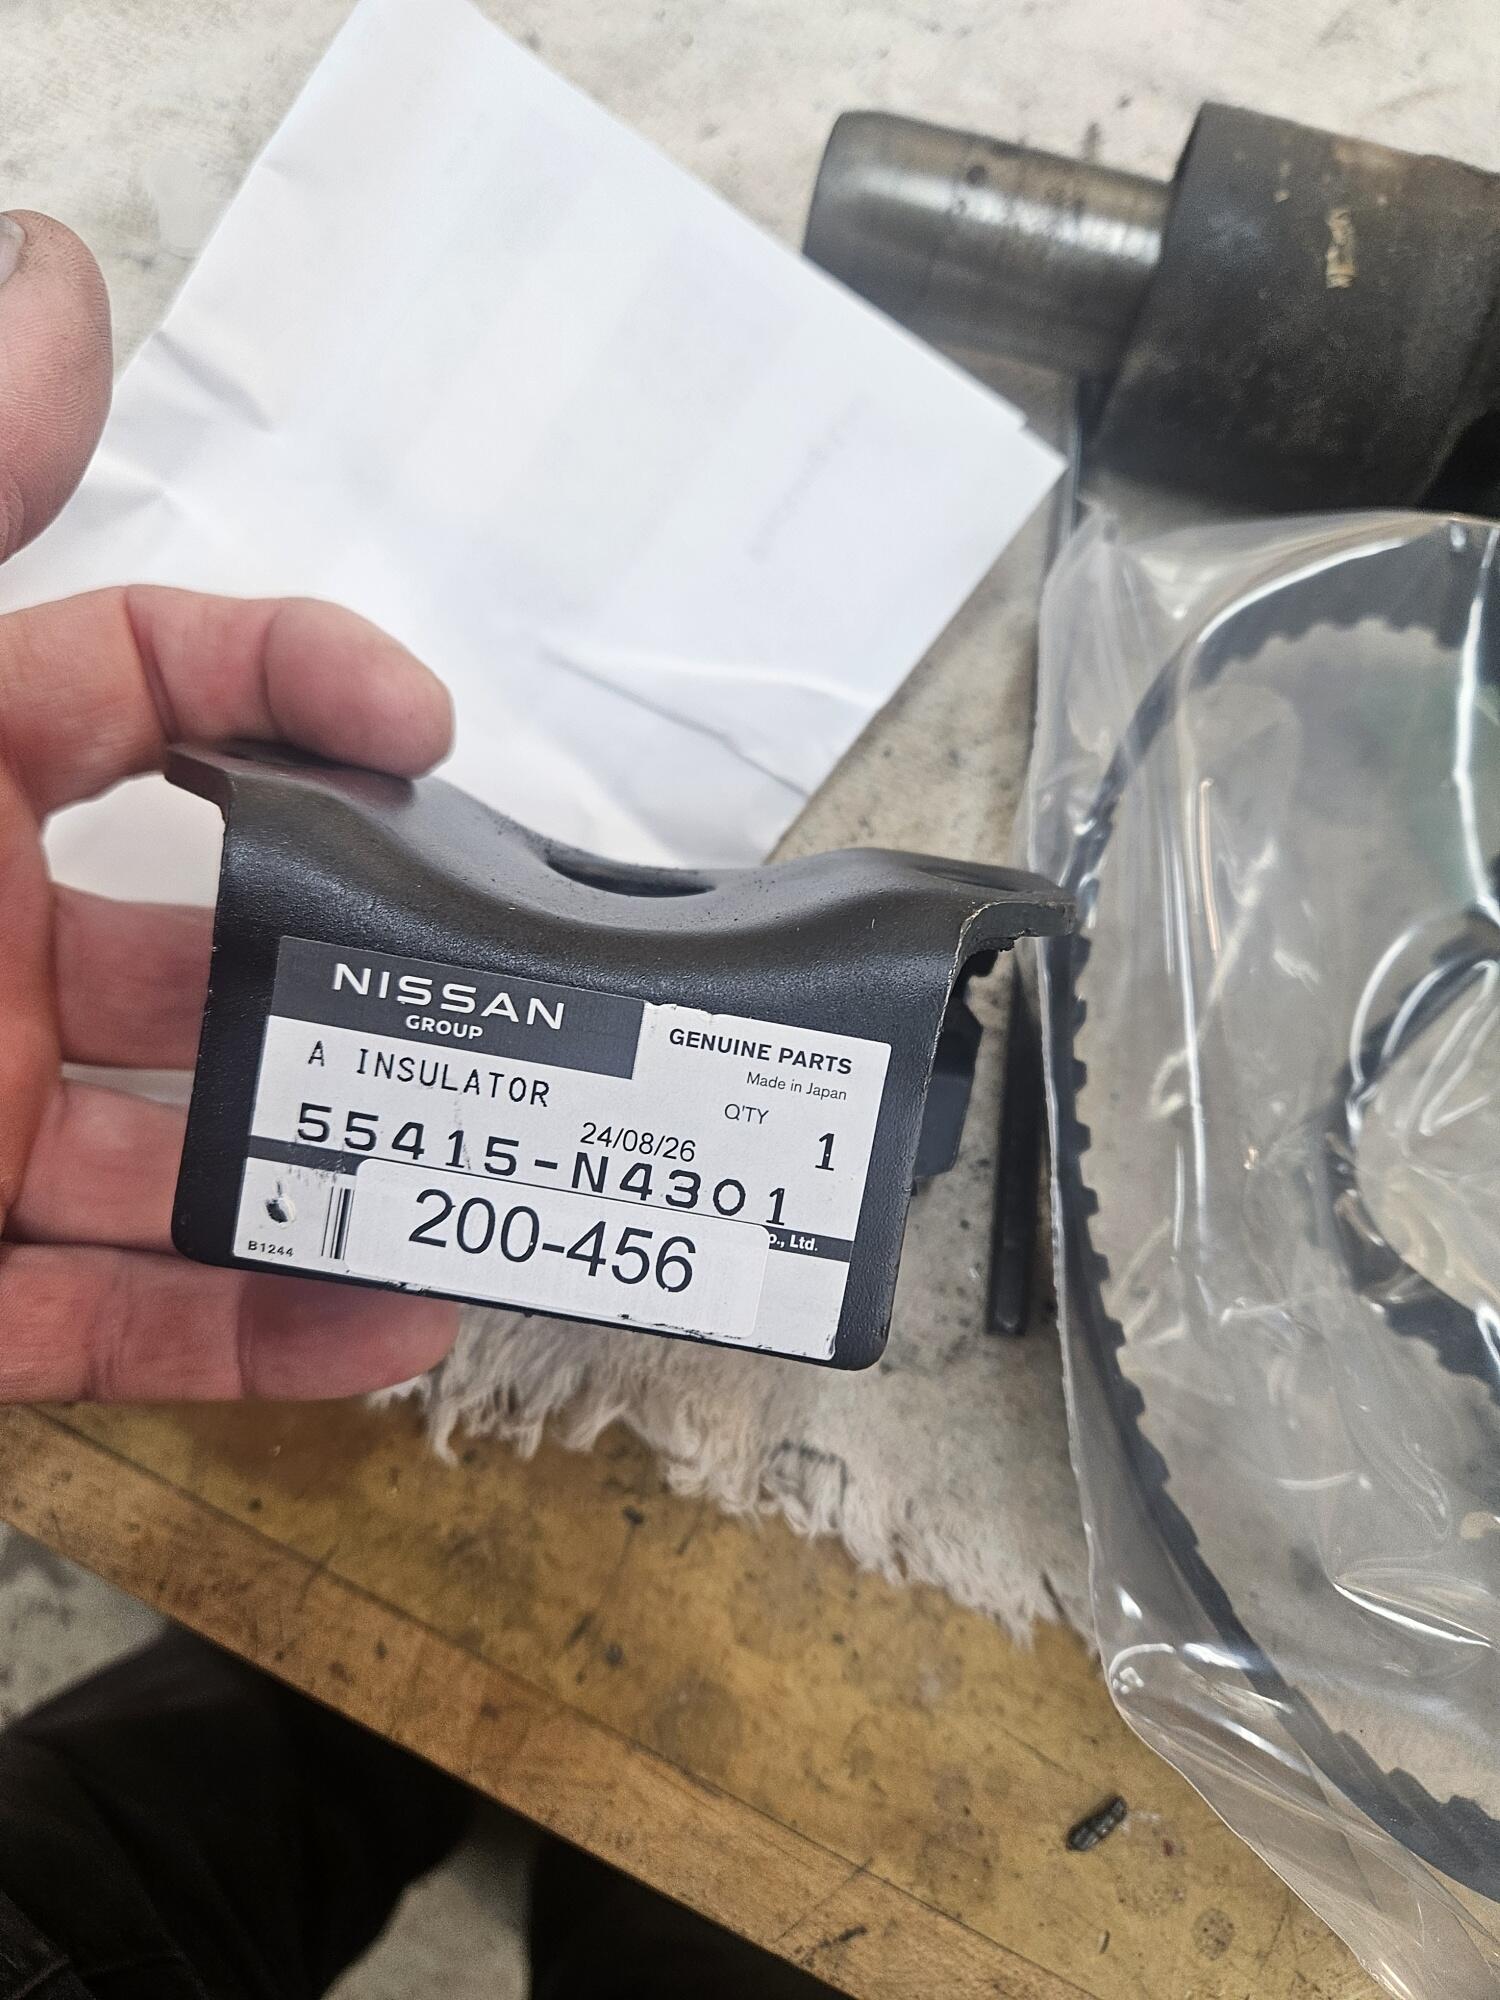
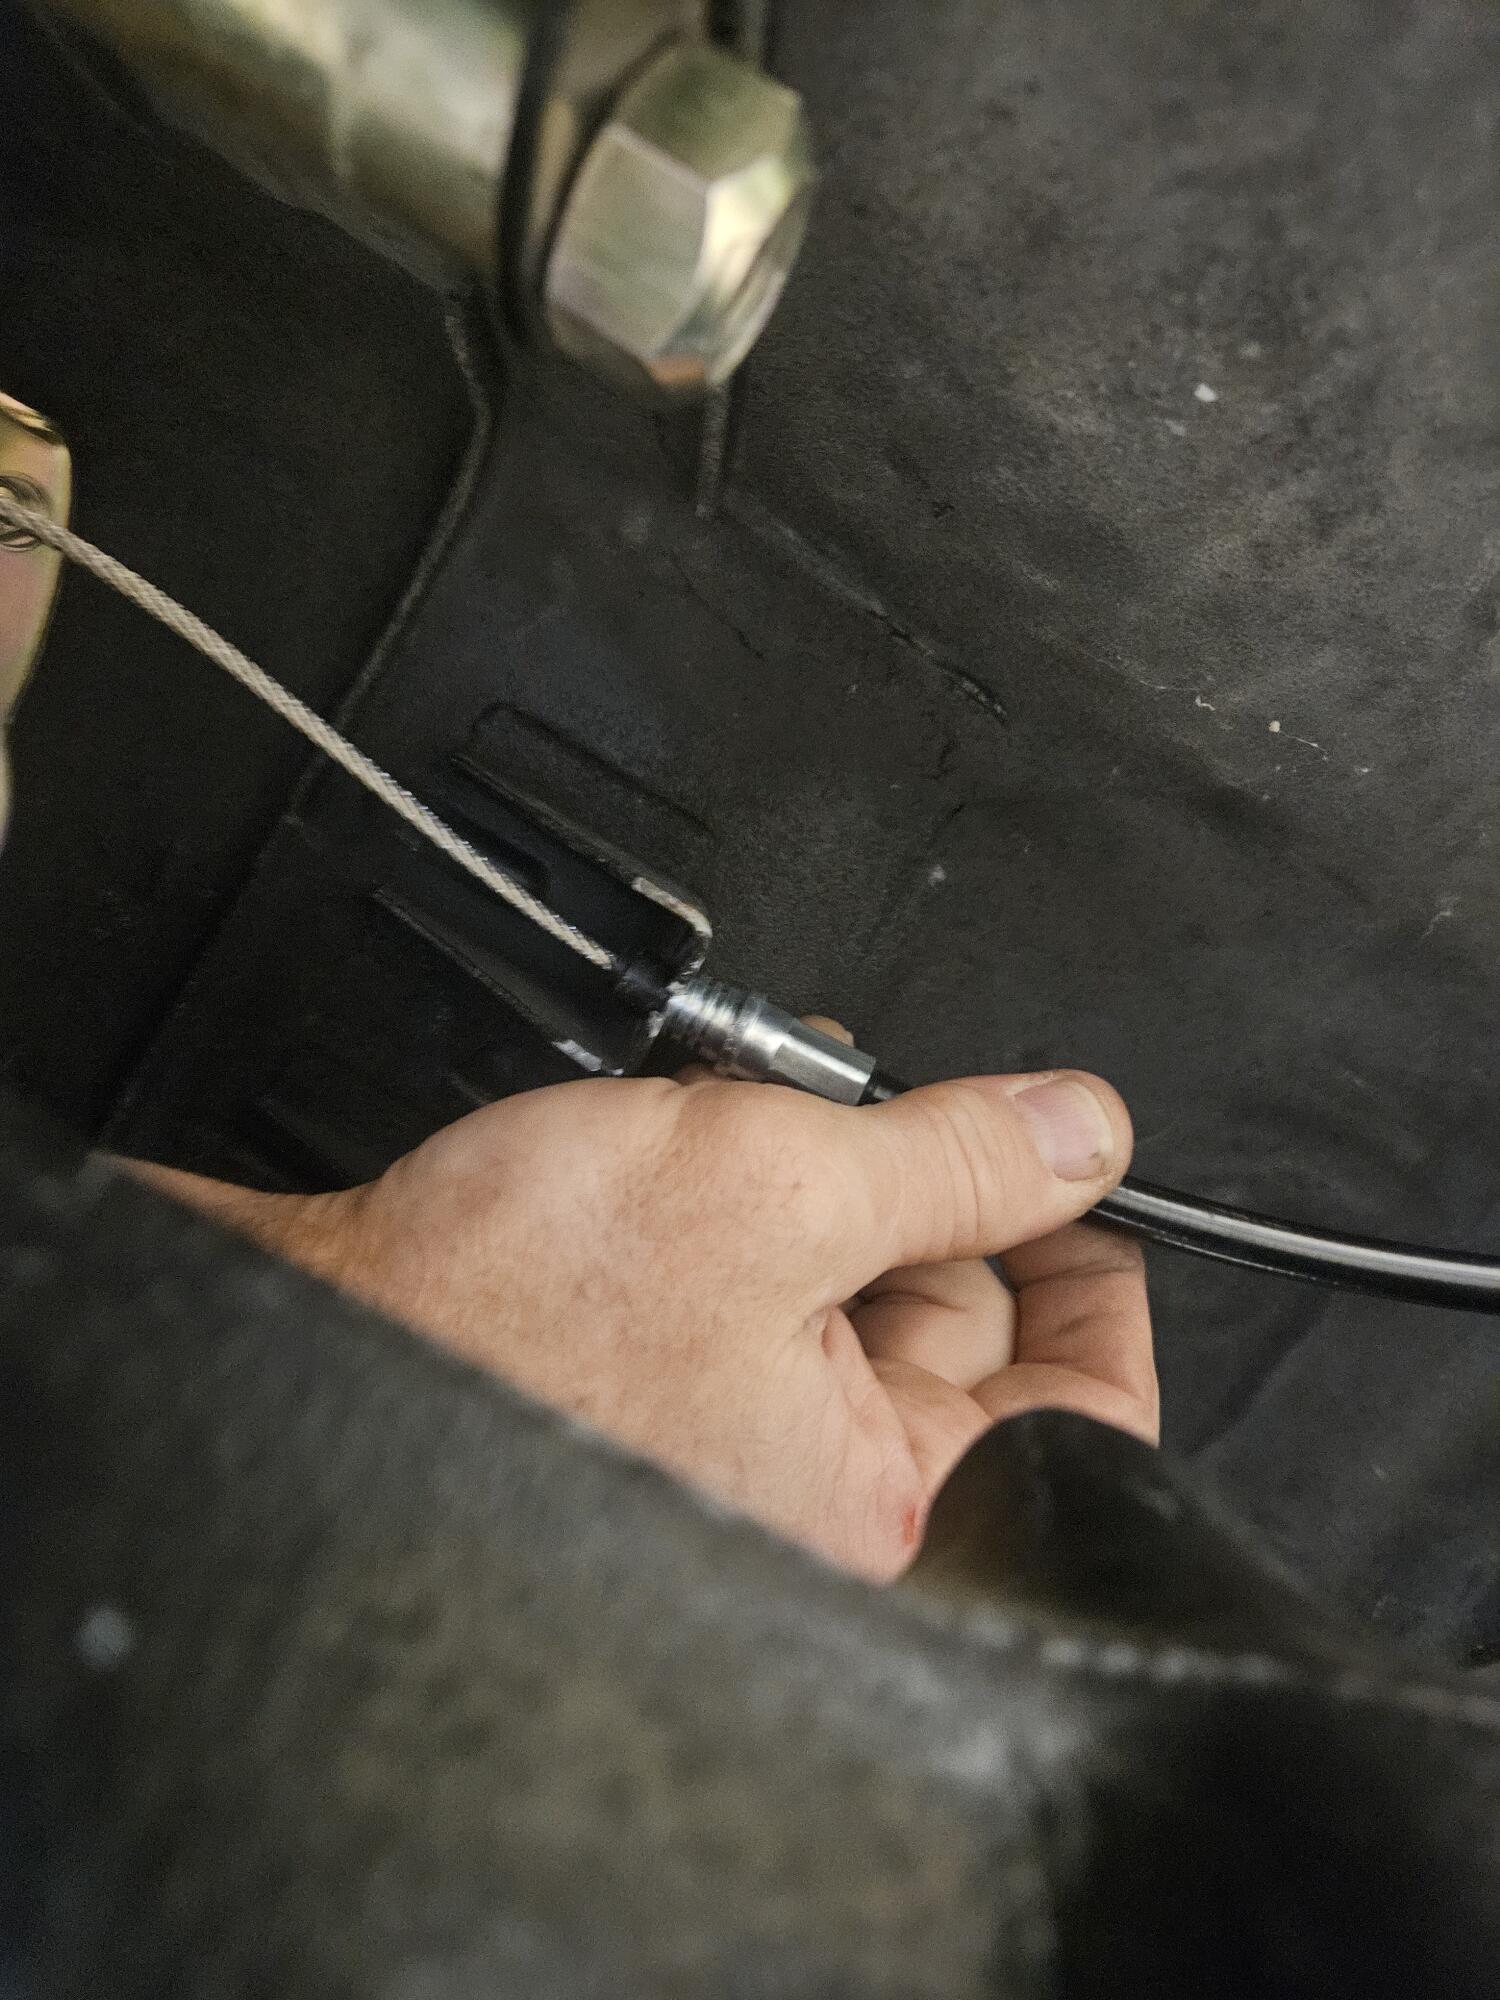
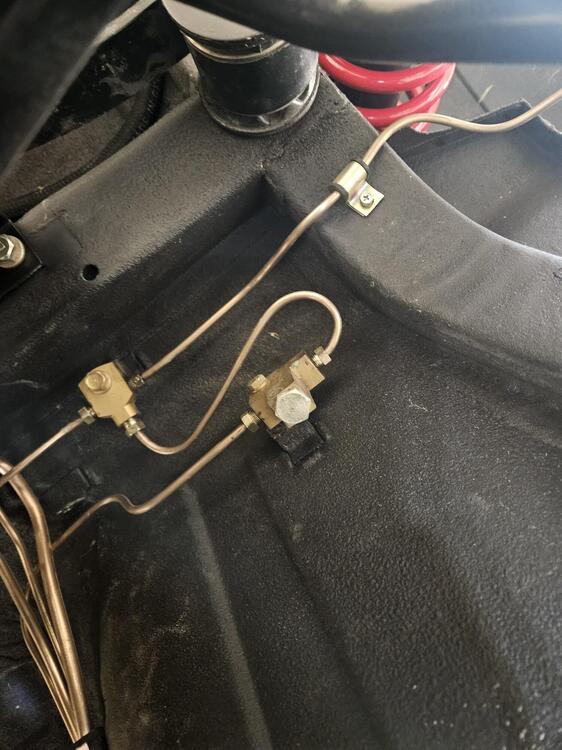
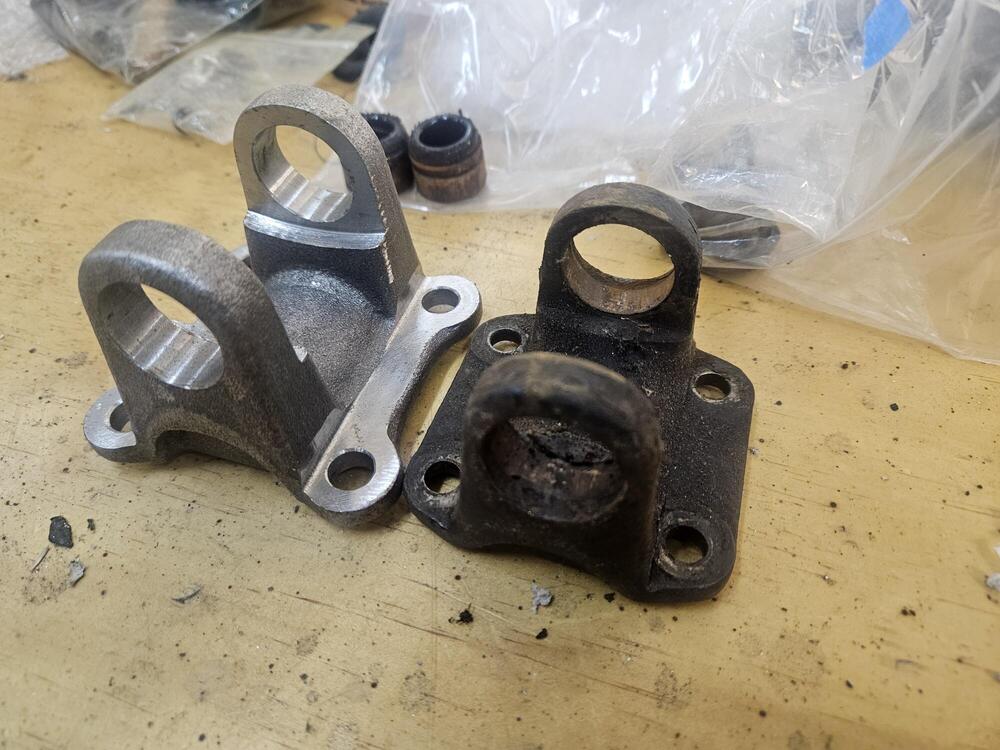
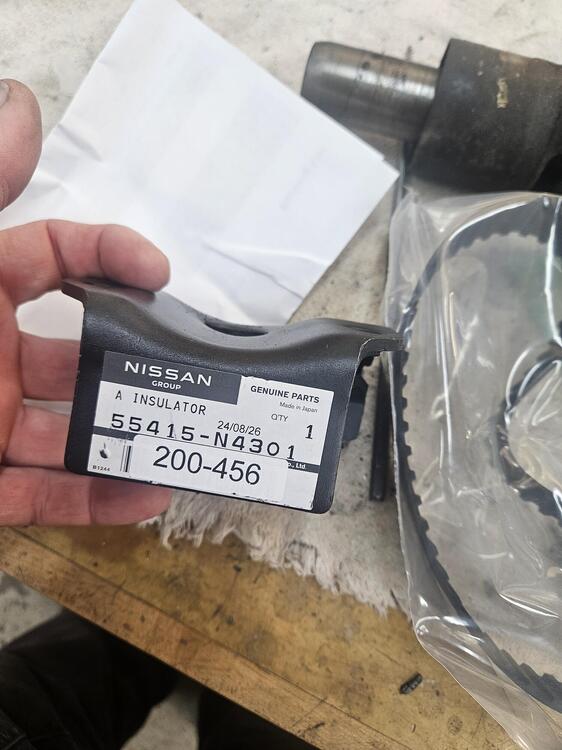
I am thinking I will remove the incoming line from the rear brake device and route it straight into the brass union I bought a R200 flange for the driveshaft from Zcardepot. Looks like it will work good. Here it is next to the old flange I also bought a new rear diff mount. I suspect these are available straight from Nissan

-
-
I use to be 6'-5" and never had that issue with the wheel. I agree, the seat seems to be really close to the wheel. Are the seat rails all the way against the floor bracket? Metal to metal? No plastic spacers in the way?
-
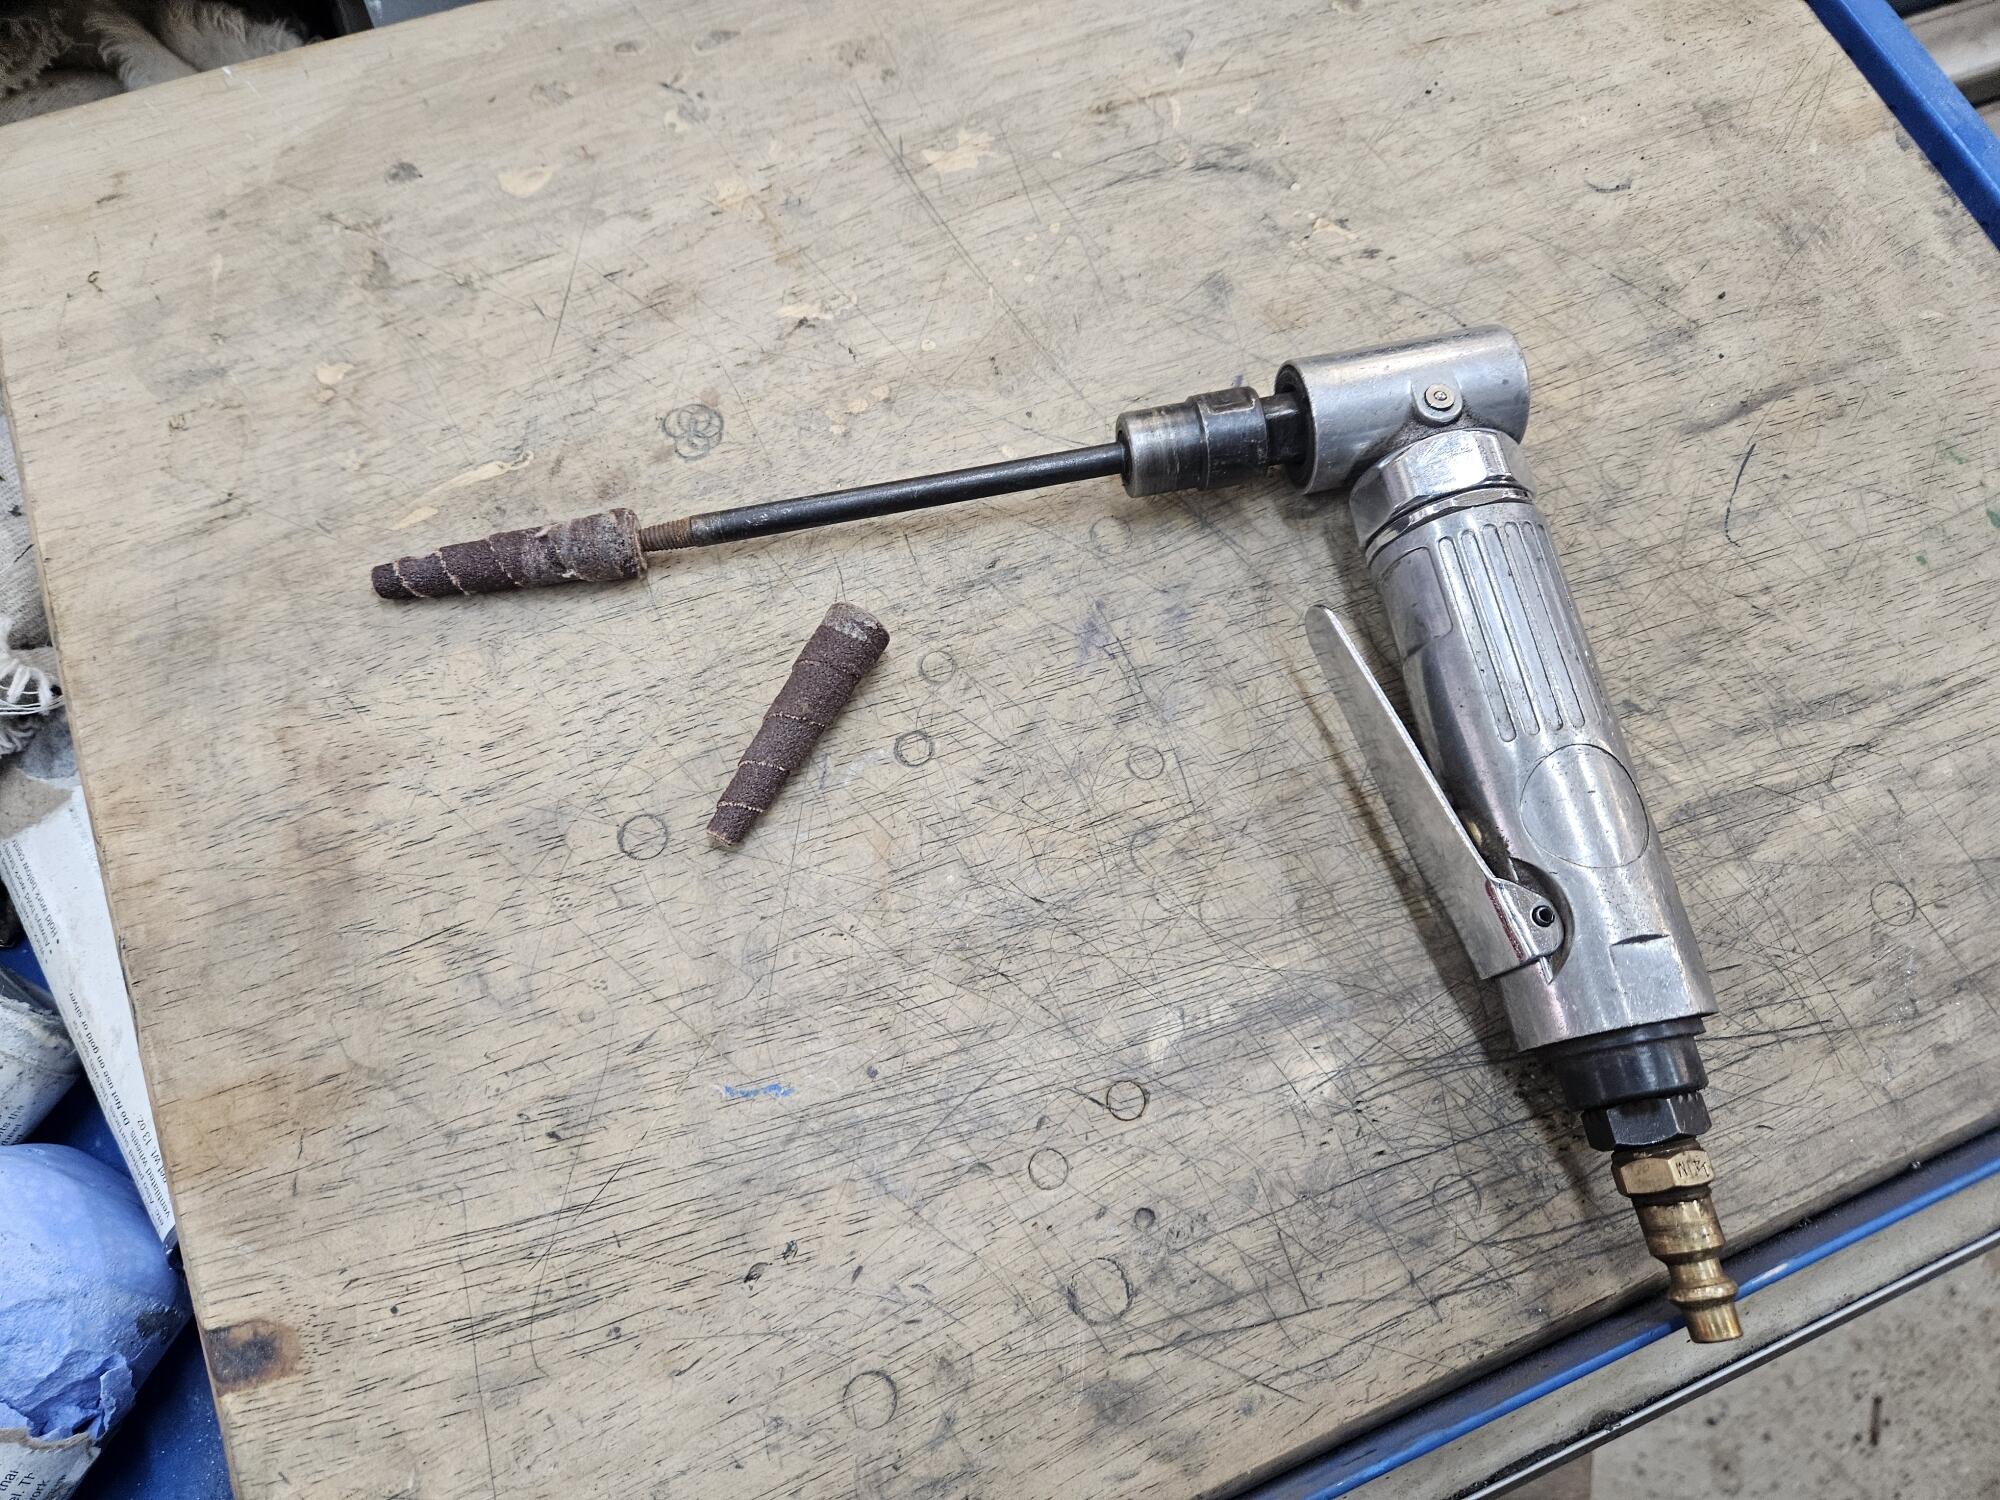
So at Thanksgiving Cody and I tried to prime his engine using a battery and a jump box. Eventually the battery ran down. So today I used my diesel F350 and jumper cables. I cranked it and cranked it. Even in the cold temperatures the starter got warm and I never got flow on the camshaft. So I am going to need to prime it with a drill. Does anyone offer a premade priming spindle? I might have any extra quill somewhere and could DIY something but was wondering if a premade solution existed?
-
Btw, I wasn't suggesting for you to go solid lifter. I was thinking there might be some hydraulic ones available at hybrid Z from them going to solid lifter
-
You could try something like Rislone. I use it in my BMW's sometimes when the valvetrain is noisy
-
You might also have success at hybridZ. Many convert their heads to solid pivot heads
-
-
I couldn't find his number and Zedfindings didn't bring up a website
-
https://m.facebook.com/ZeddFindings/ Im not sure Charlie is still selling pans
-
I'm glad you've got a solution going. I know a half dozen or so people that have had knee replacement in the last couple of years. All of them much better off shortly after surgery. Here's to a quick recovery!
-
What are the differences in the gas door lids?
-
Timely though. I need to do this on a driveshaft for Lily
-
Progress on the rear brakes is here in this thread...
-
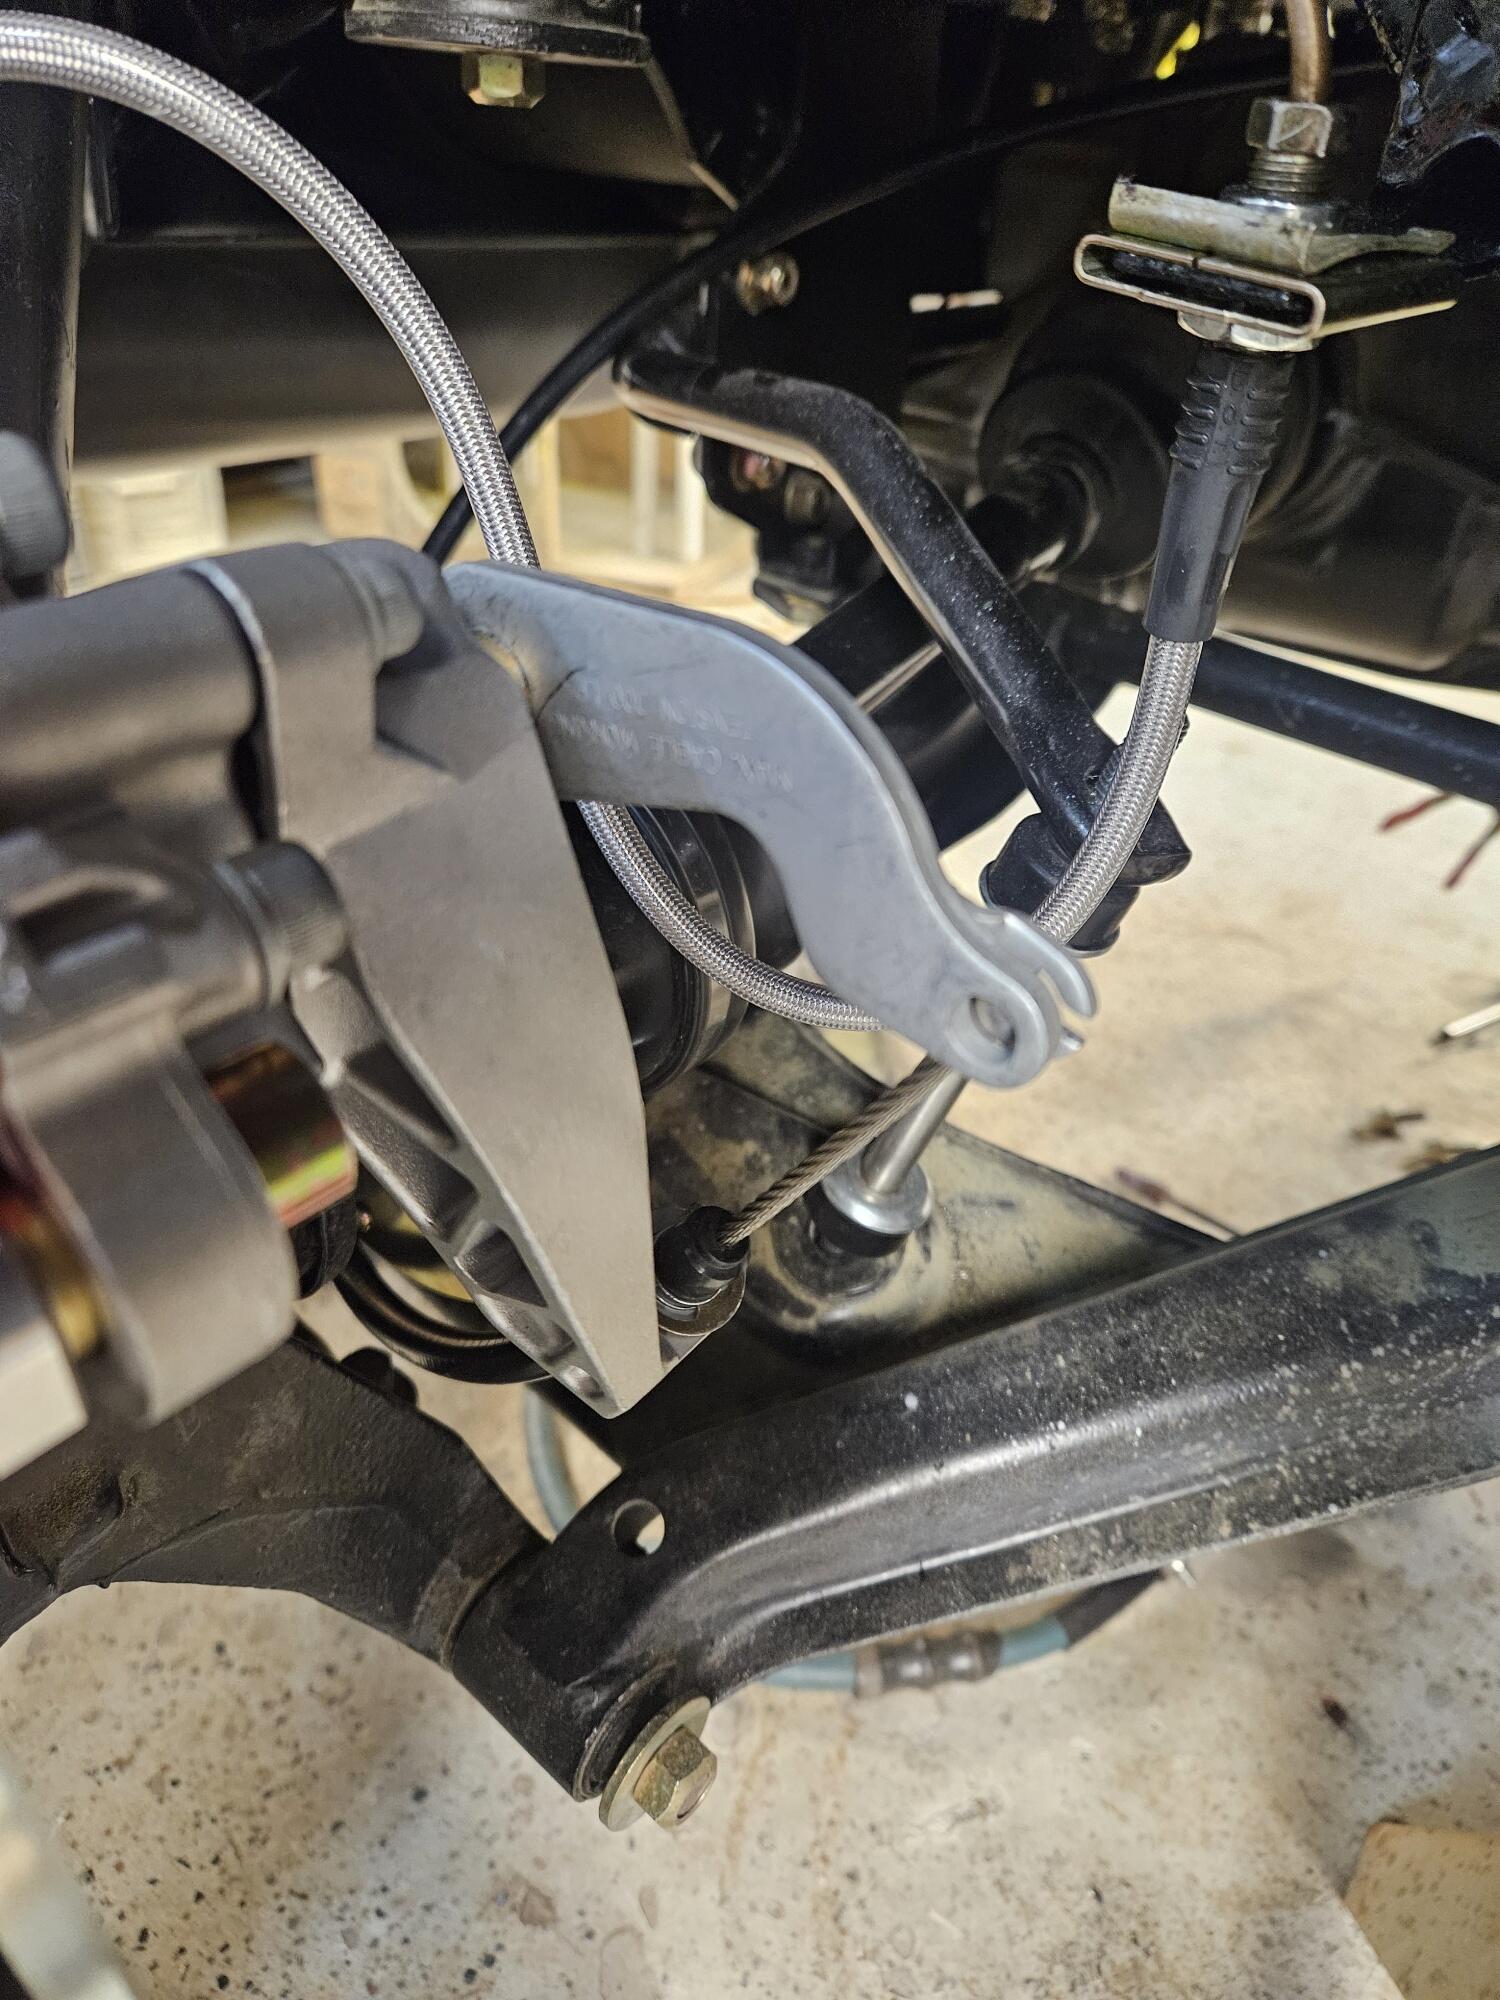
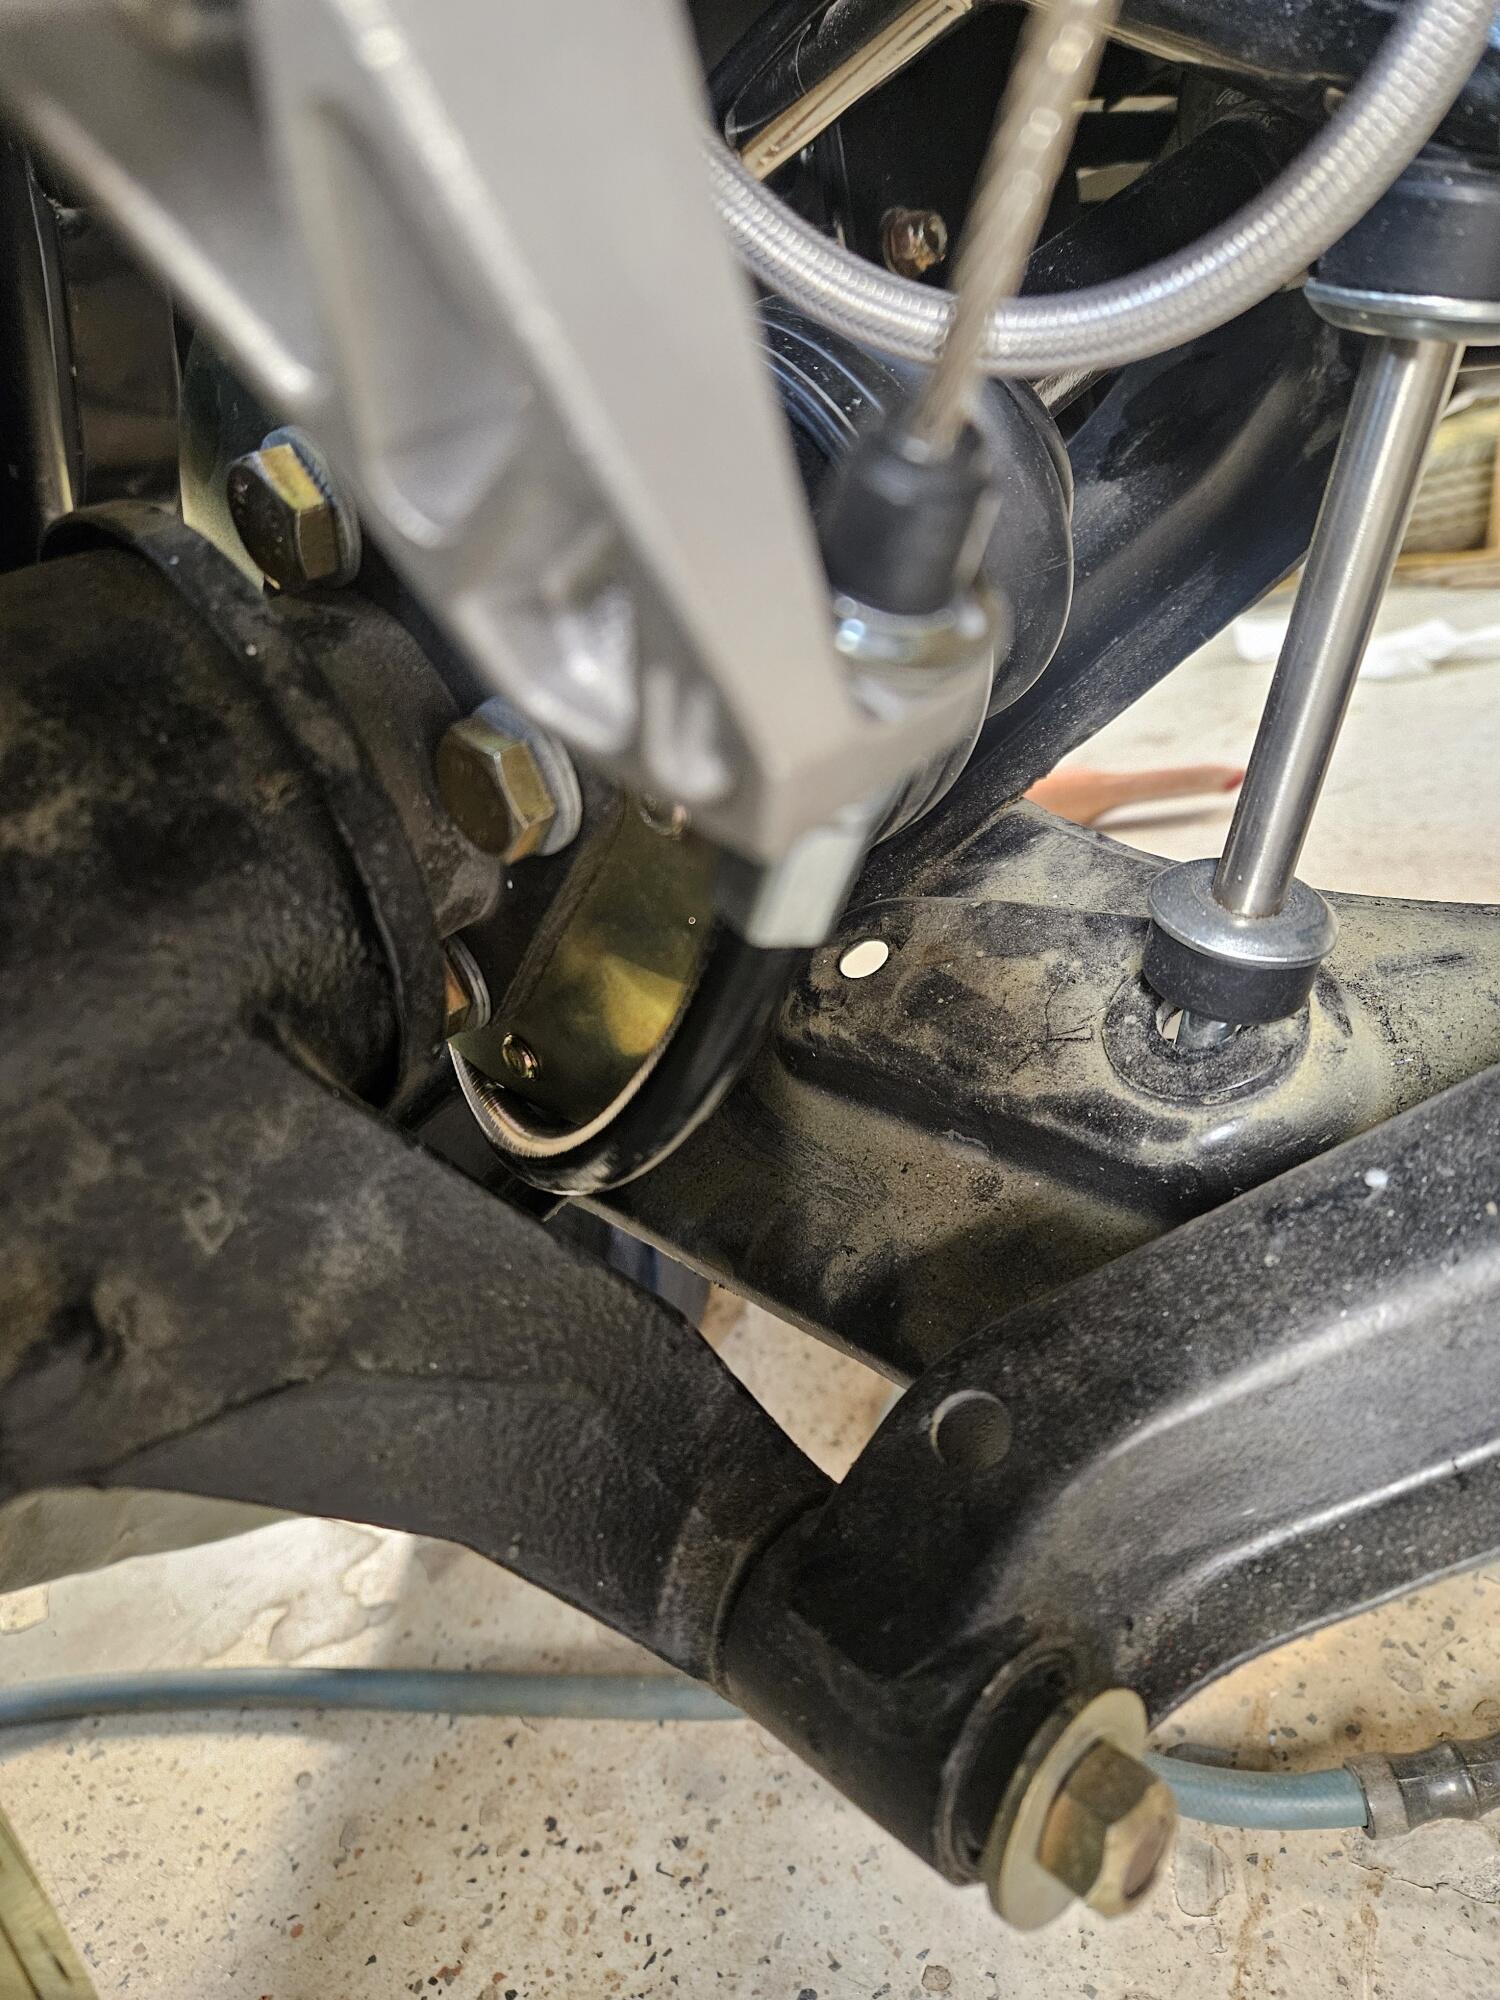
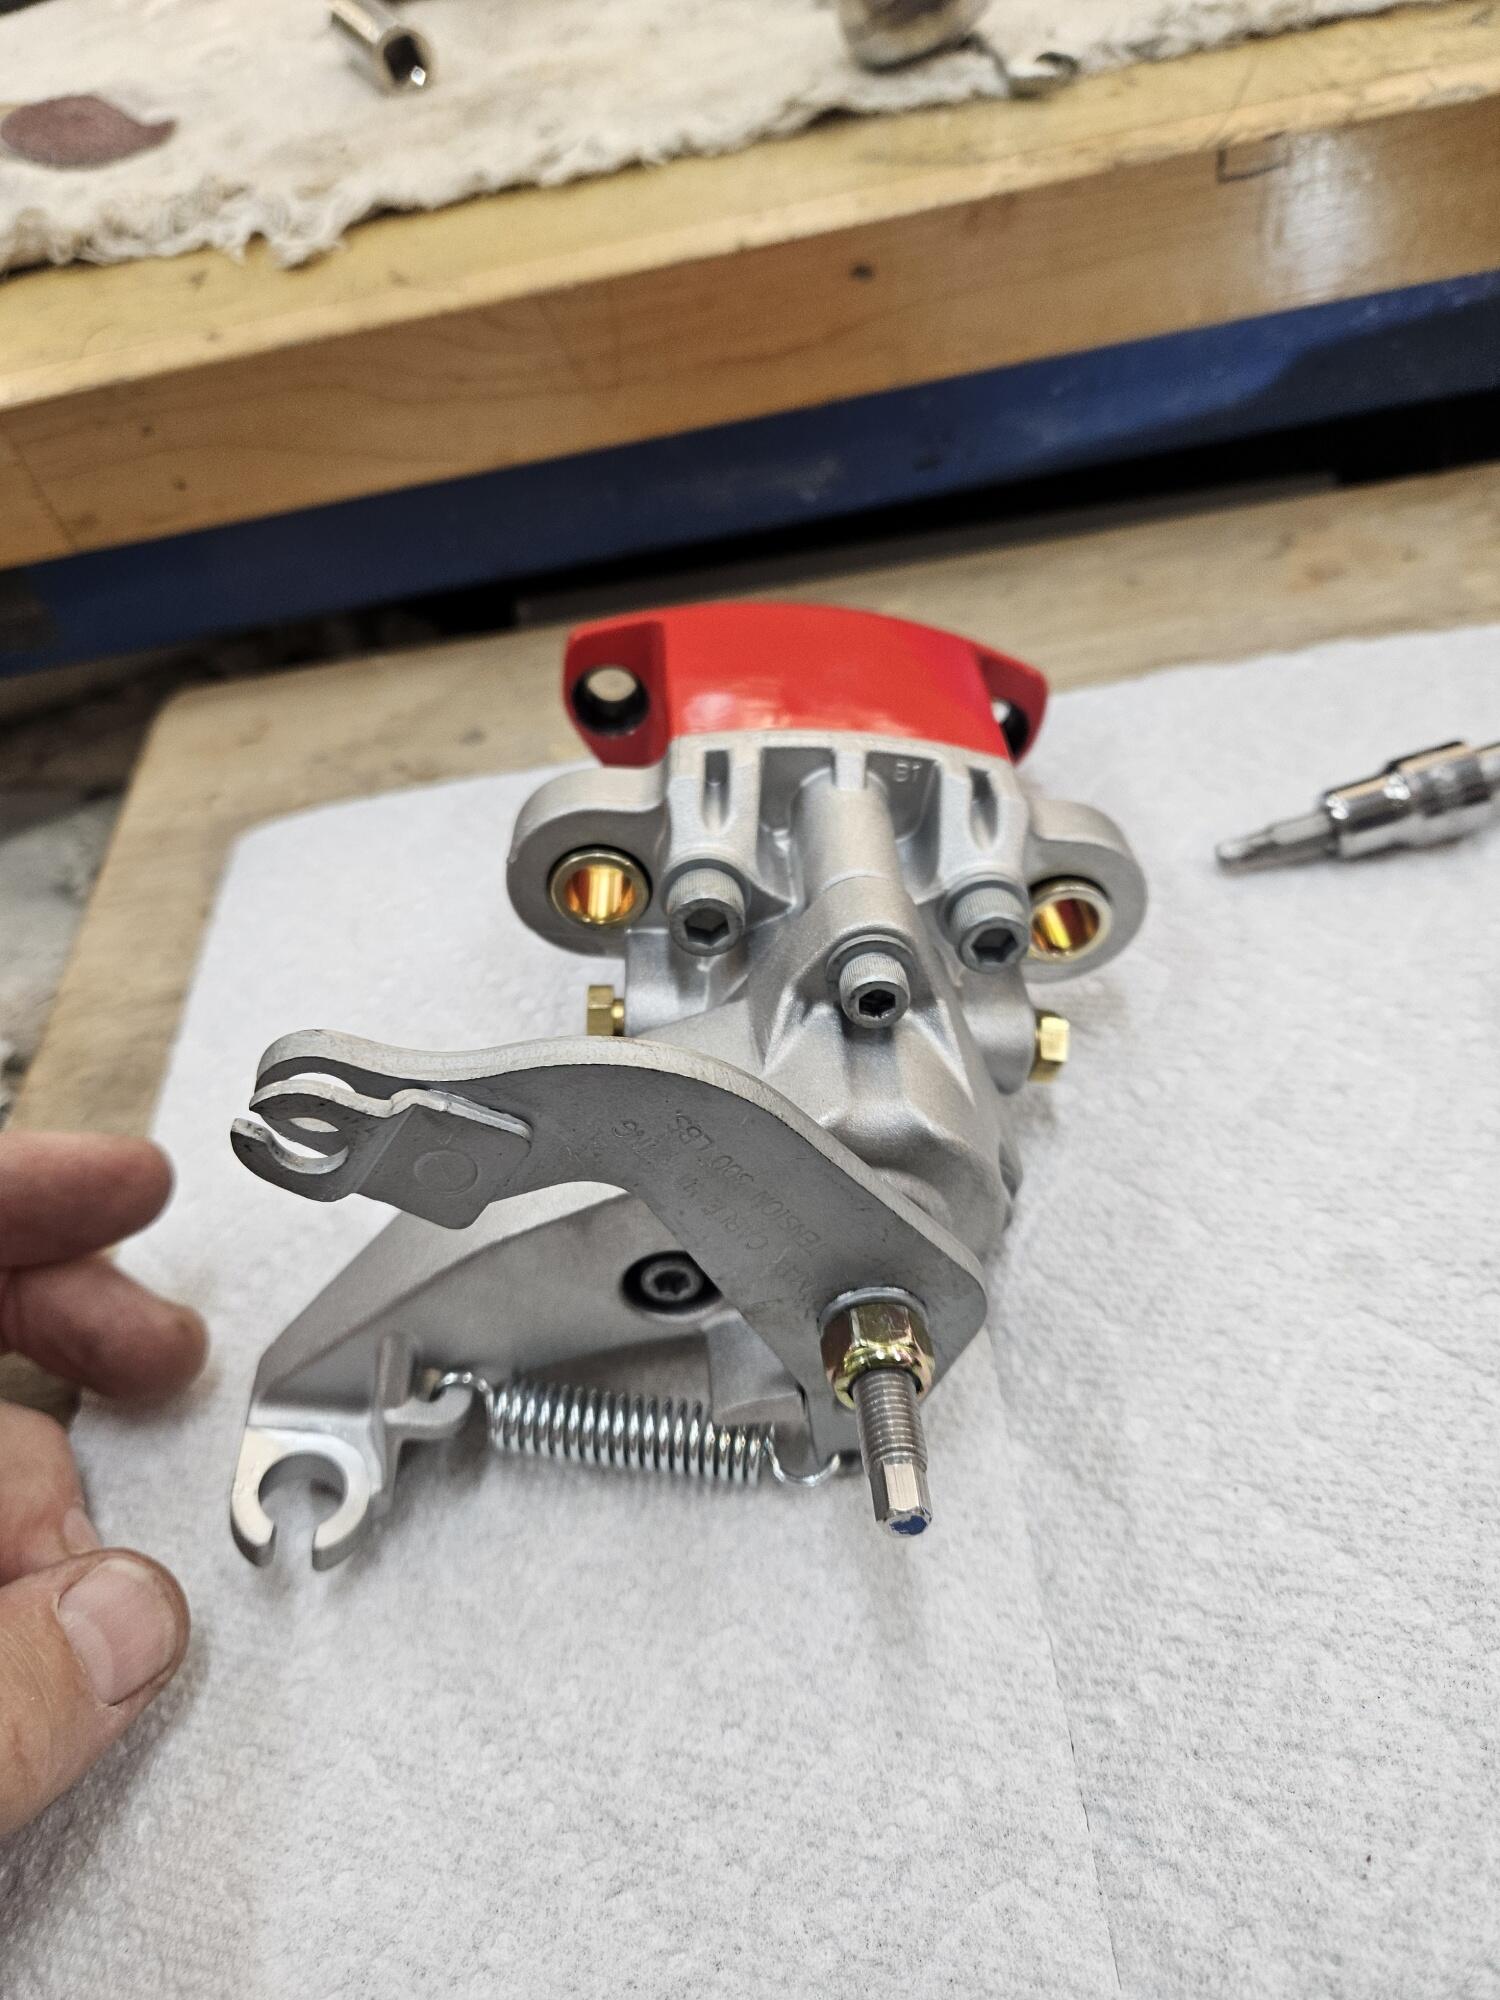
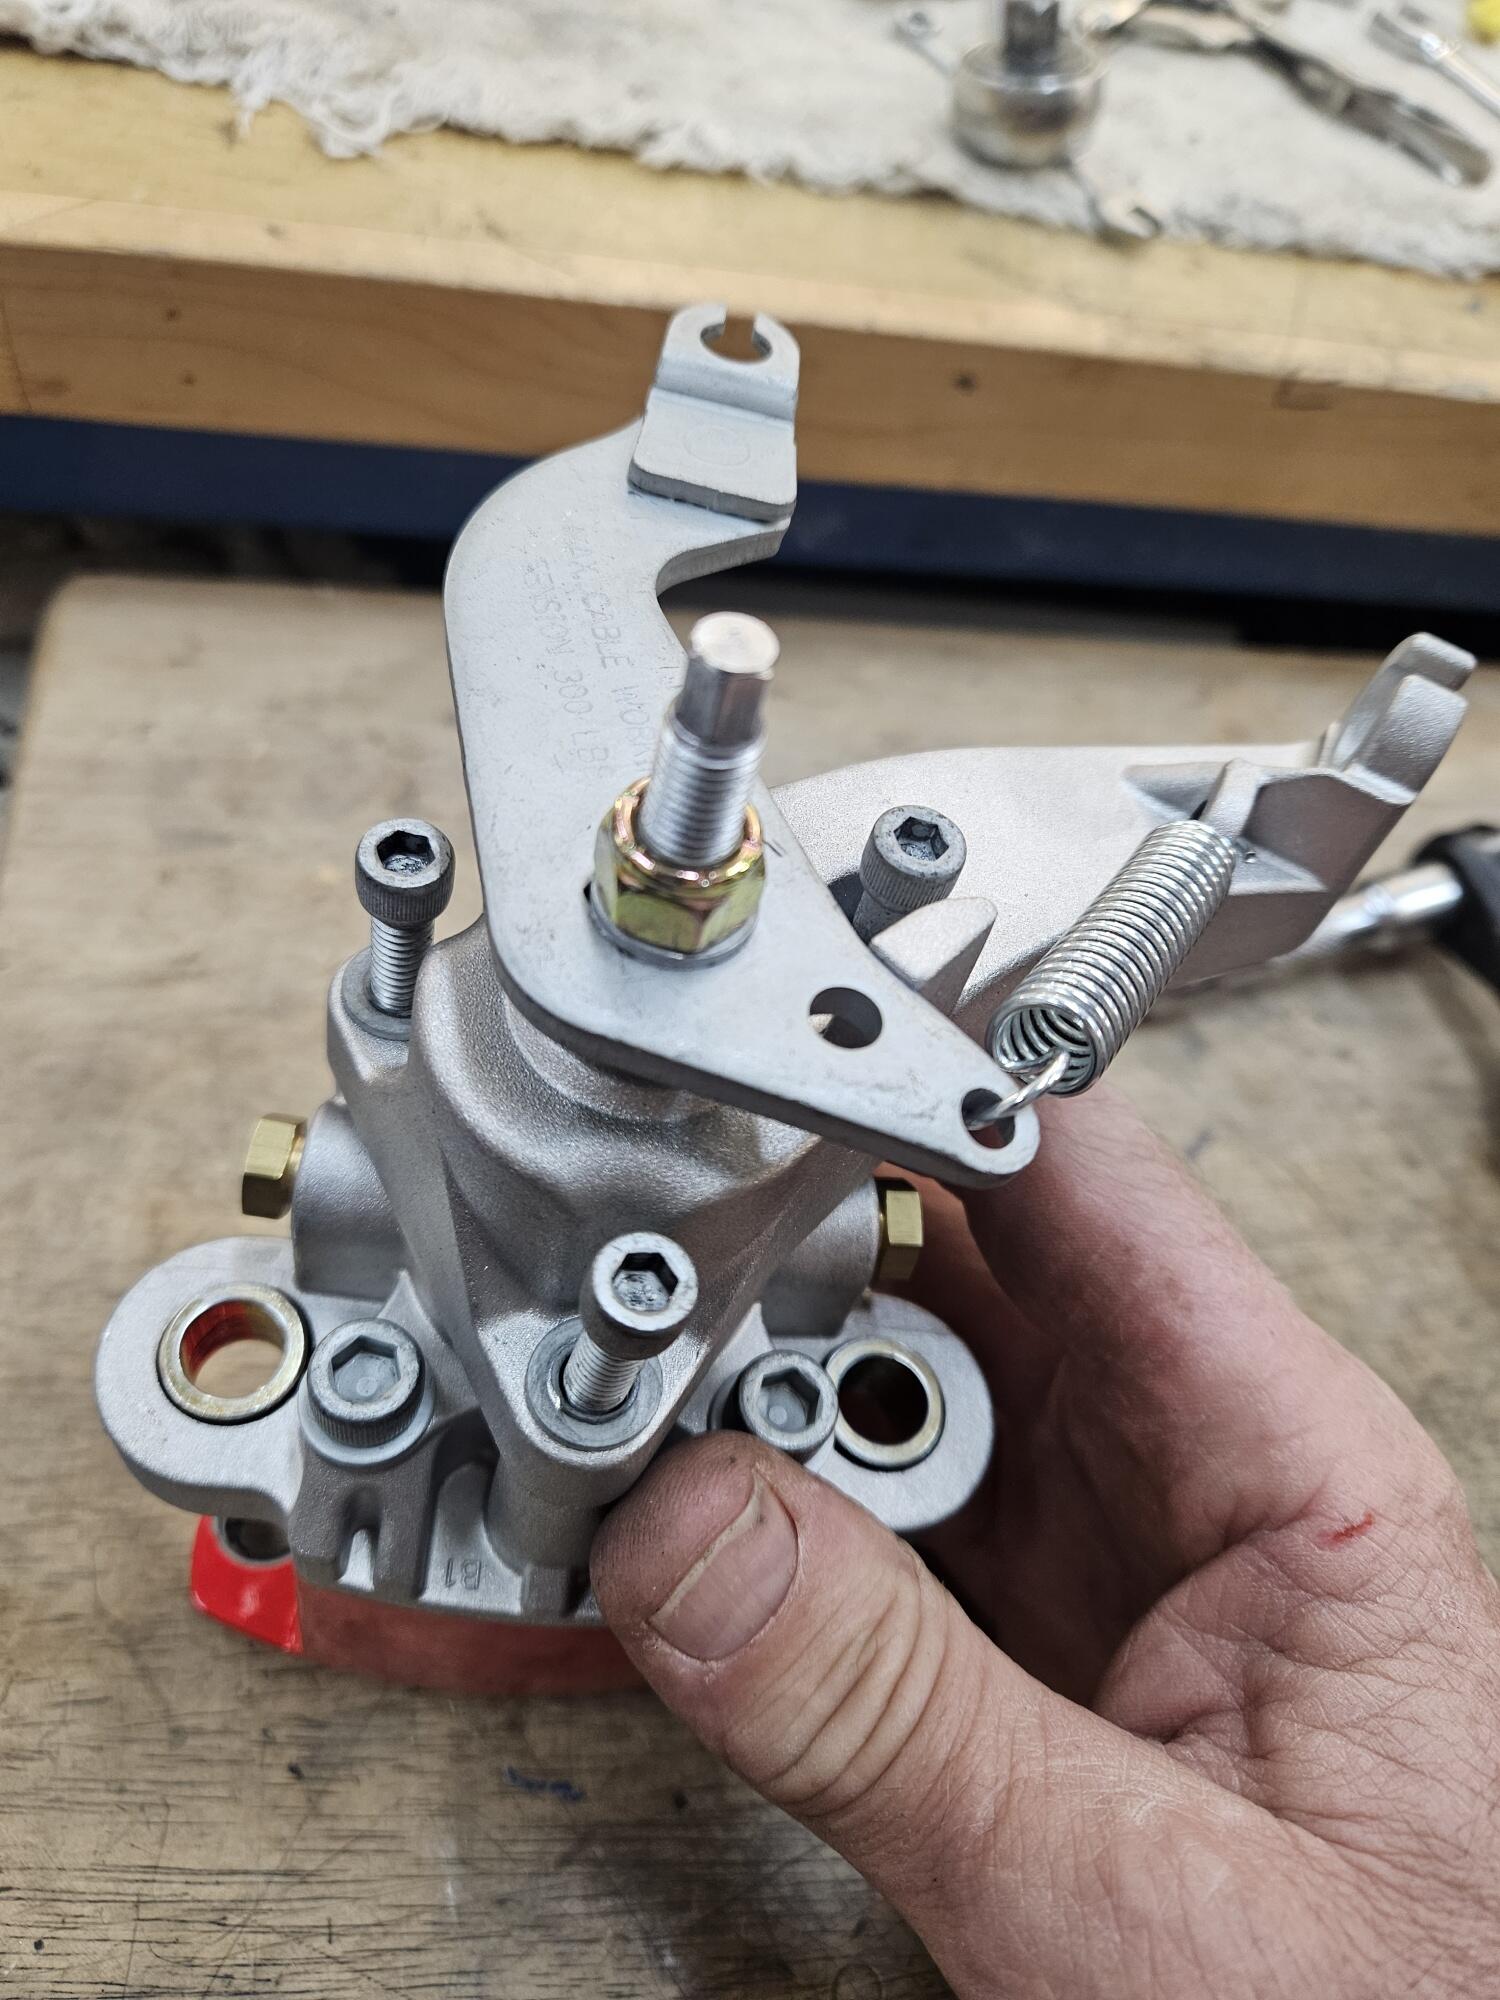
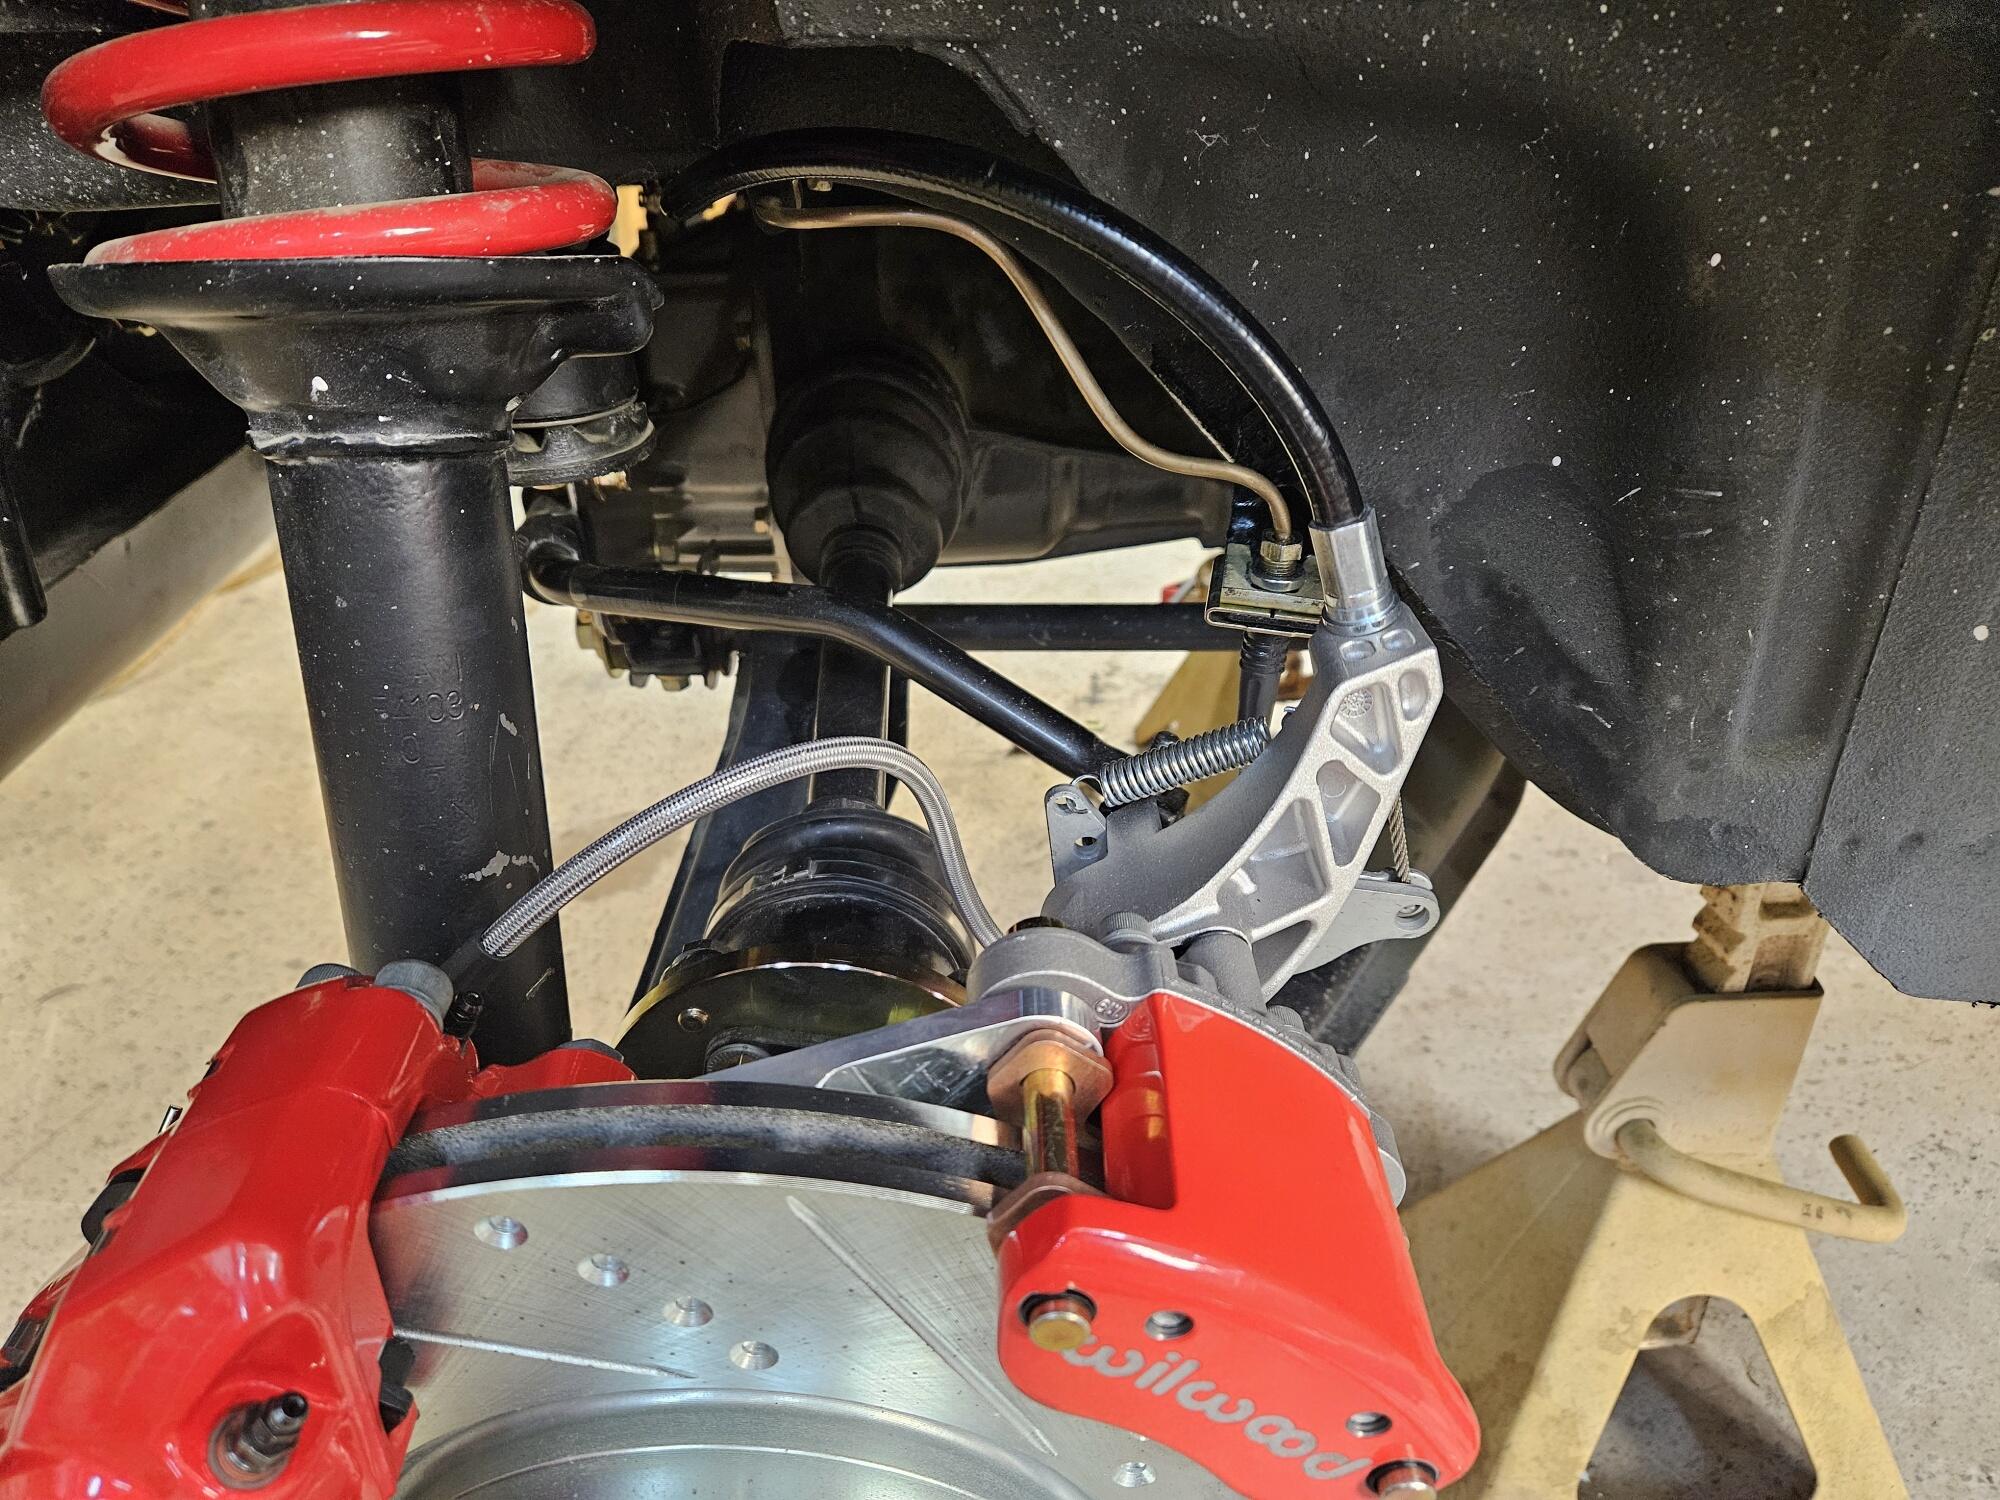
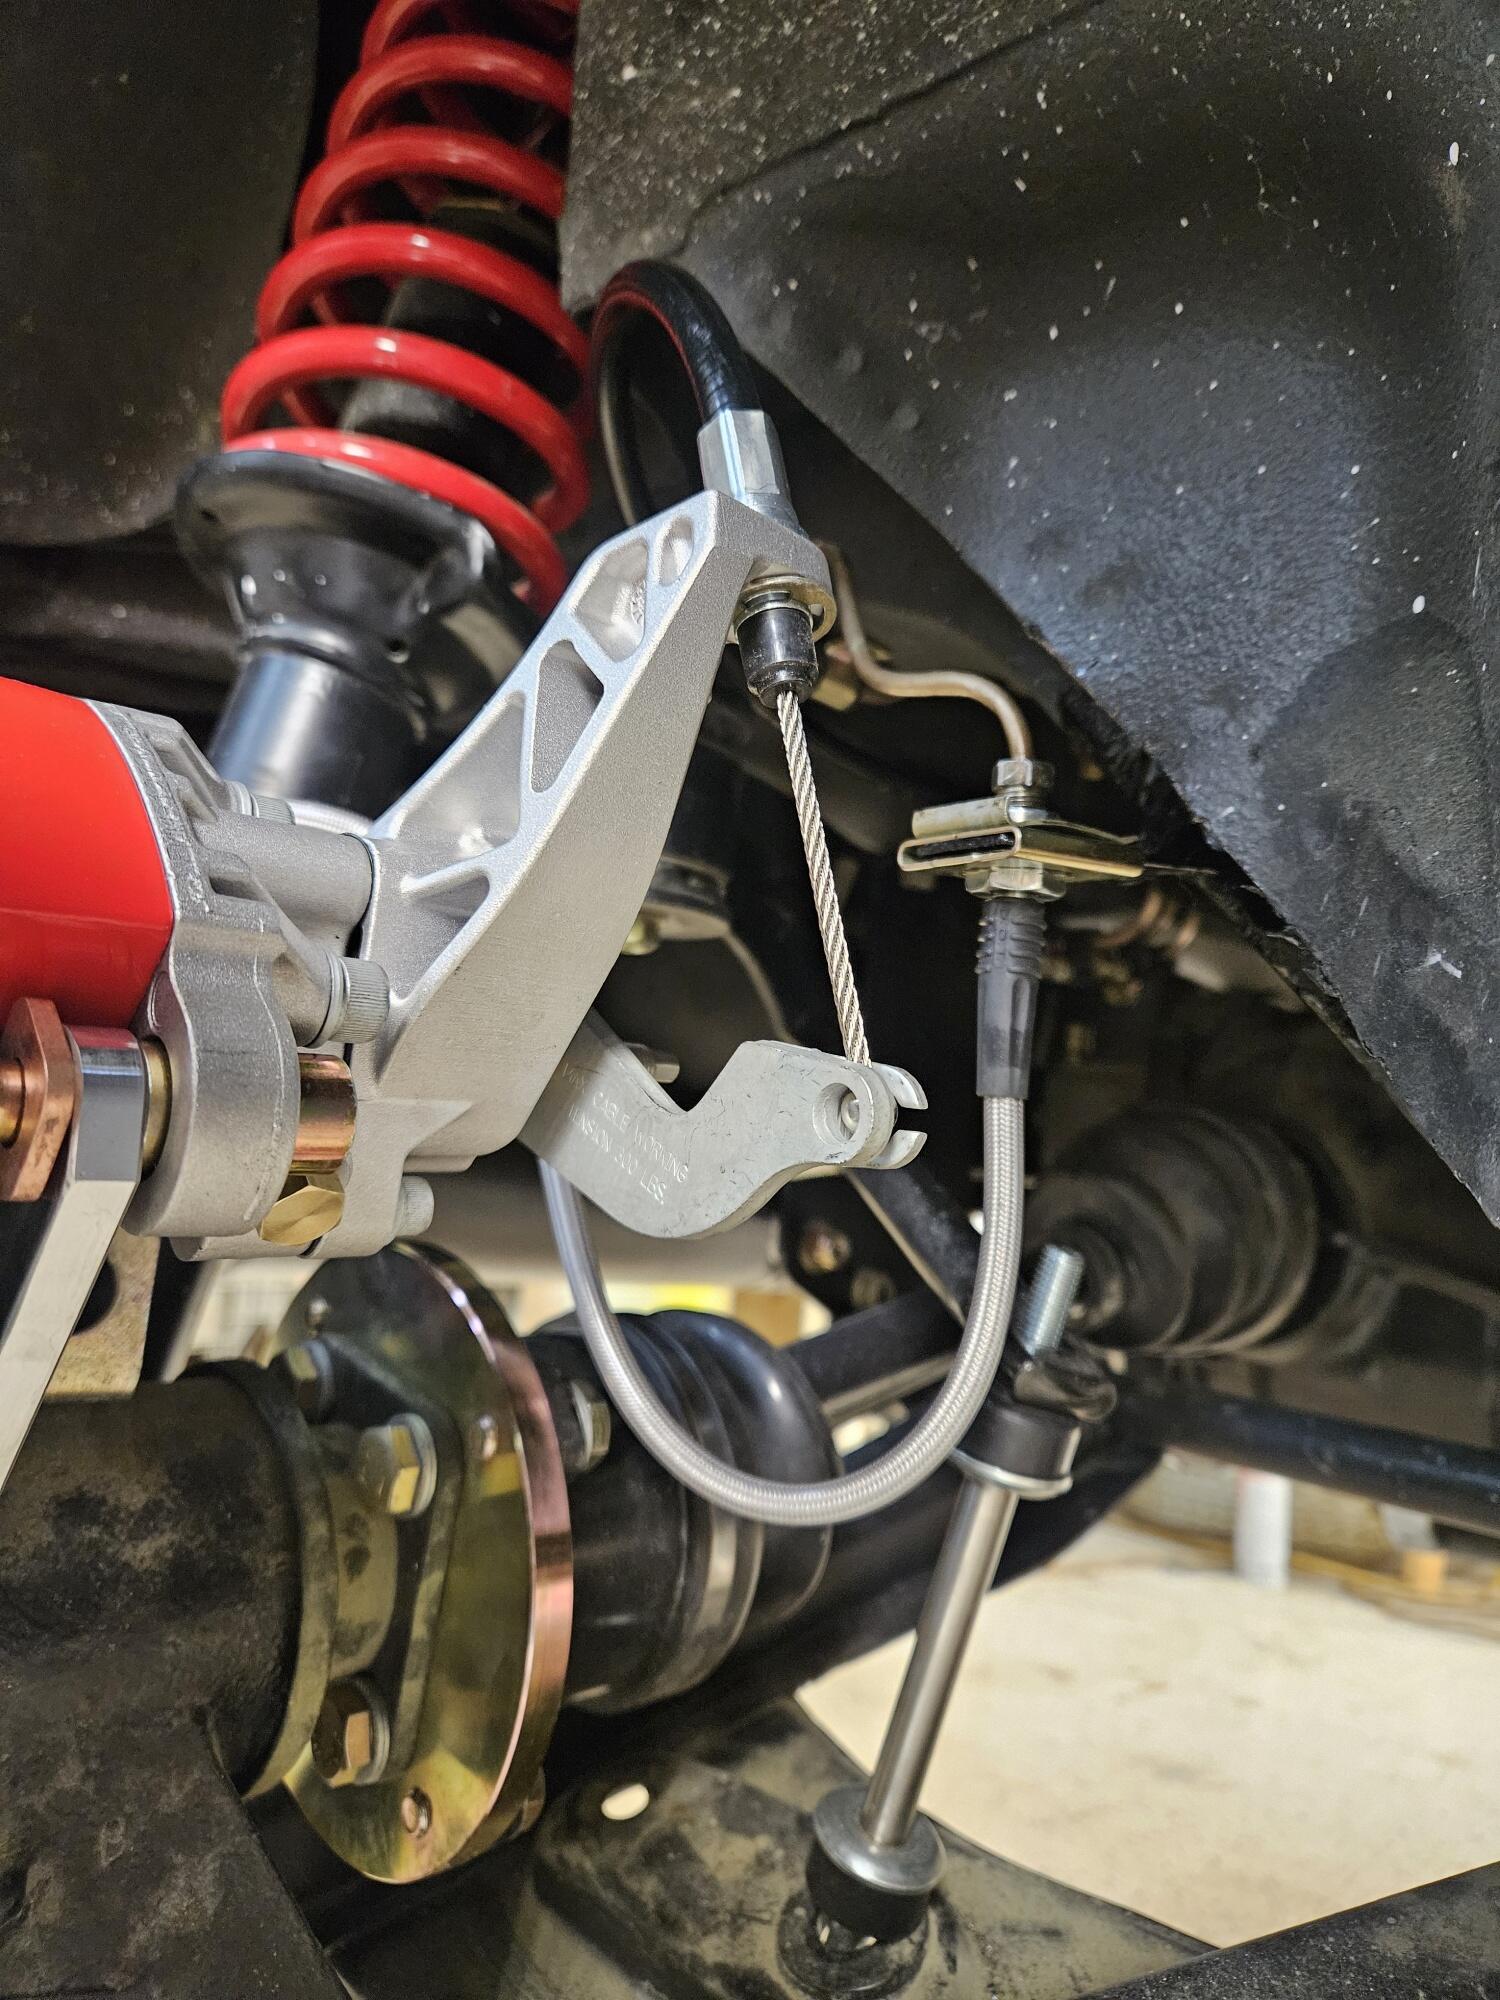
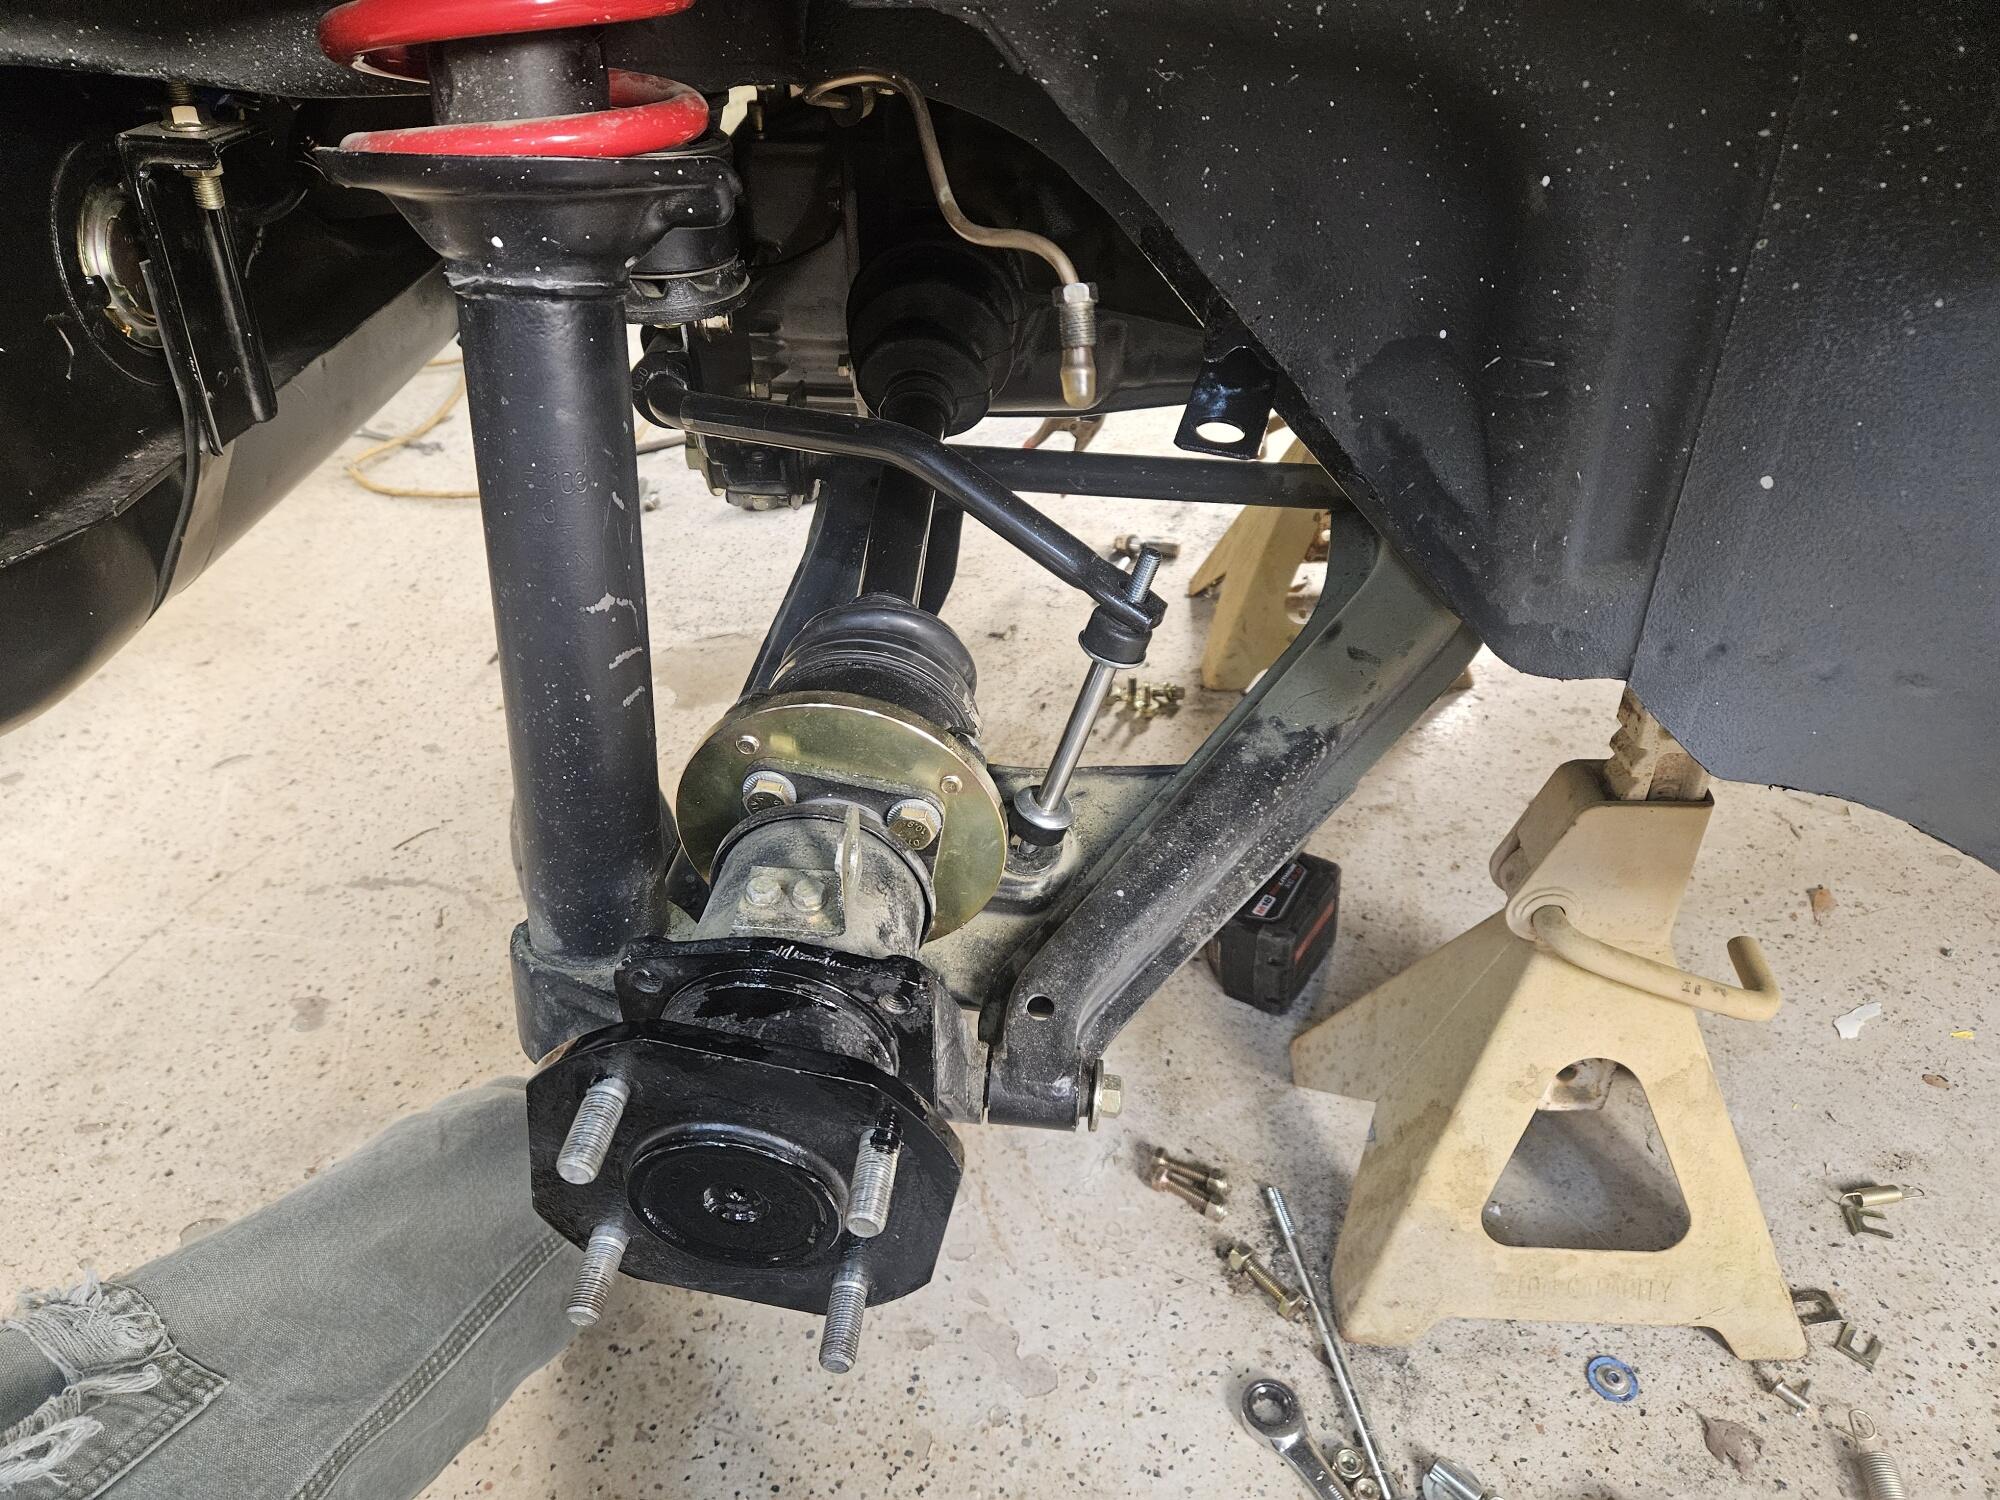
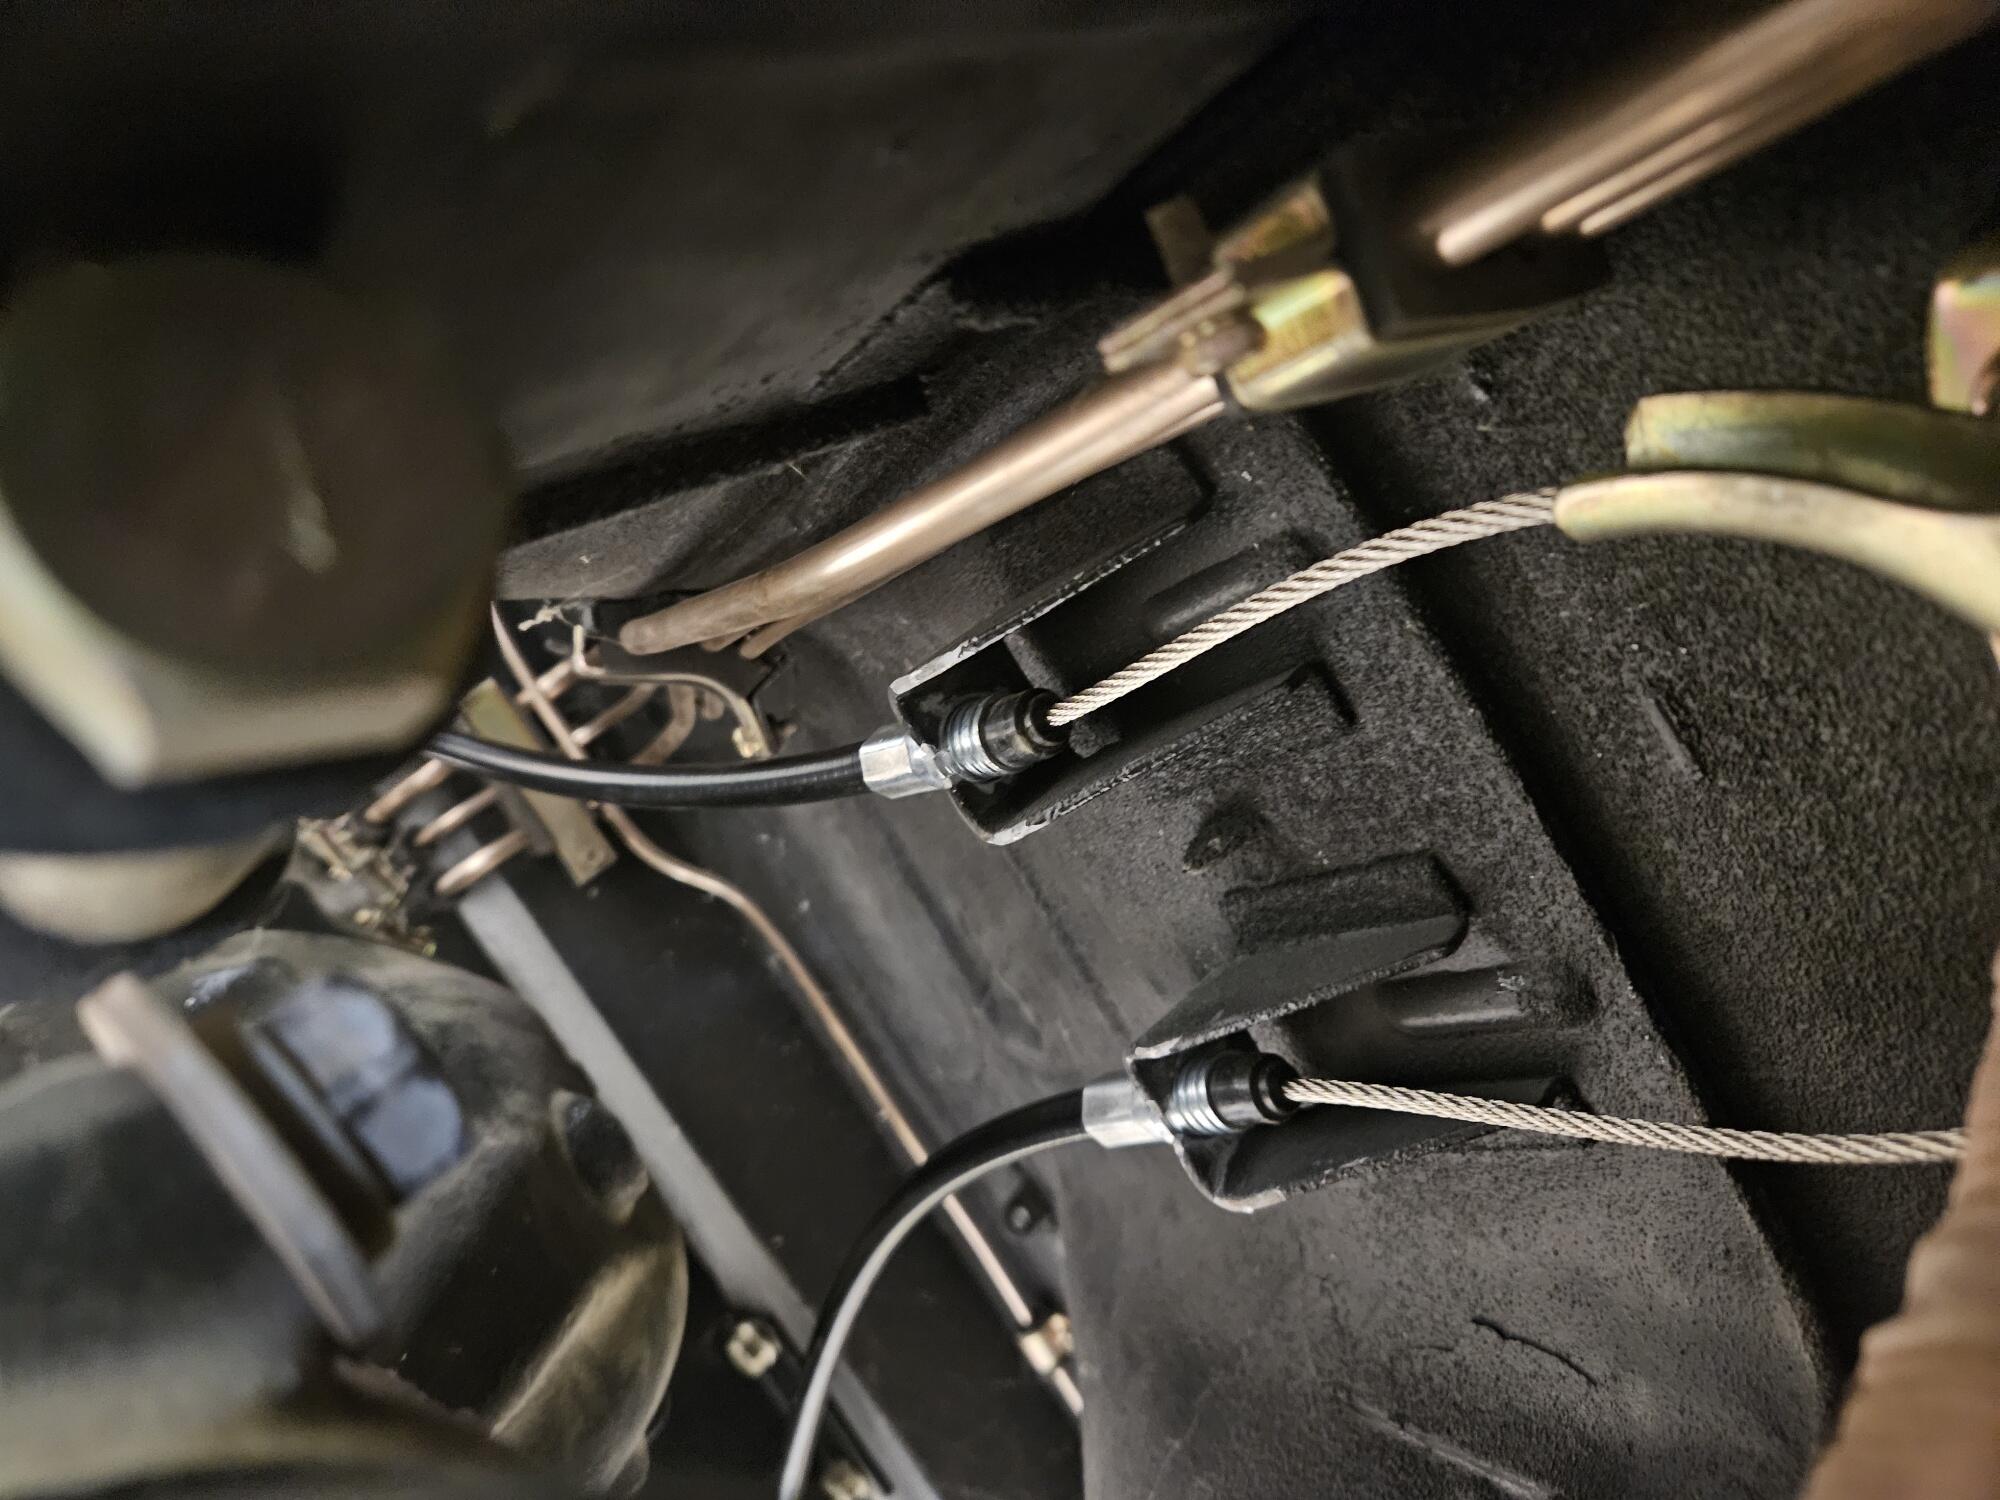
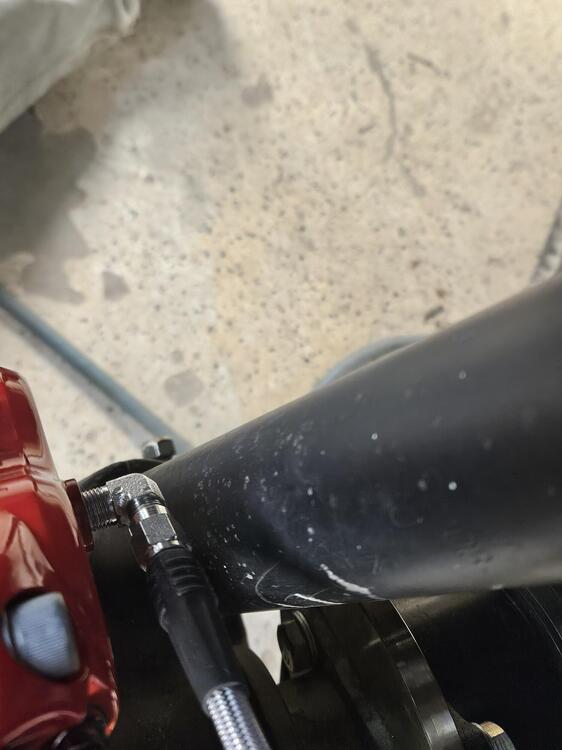
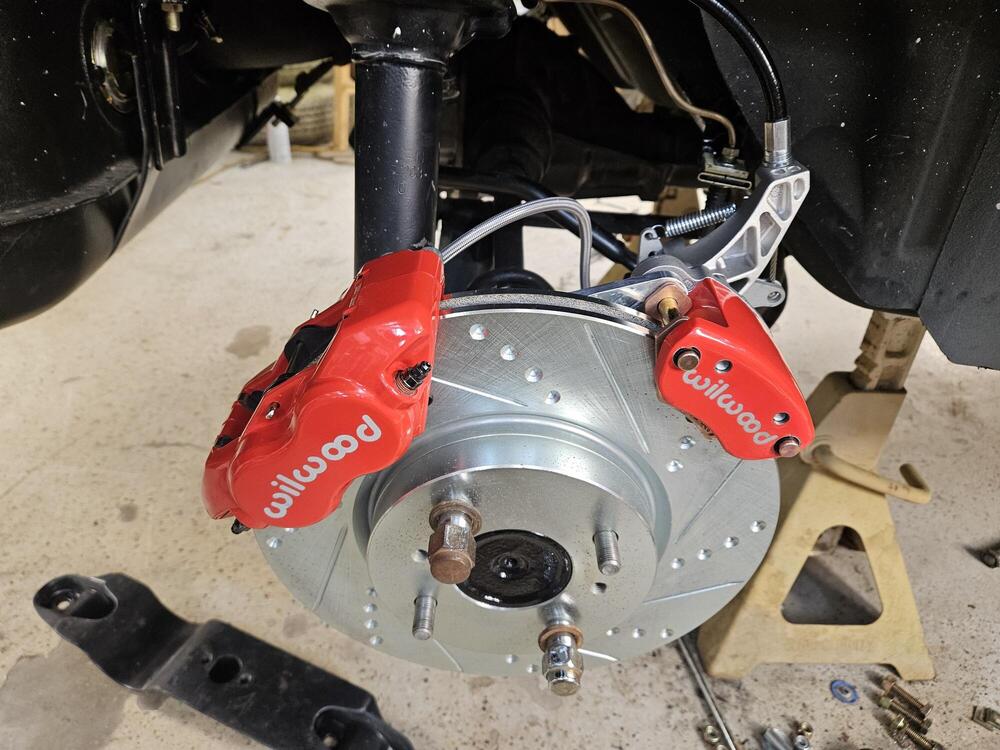
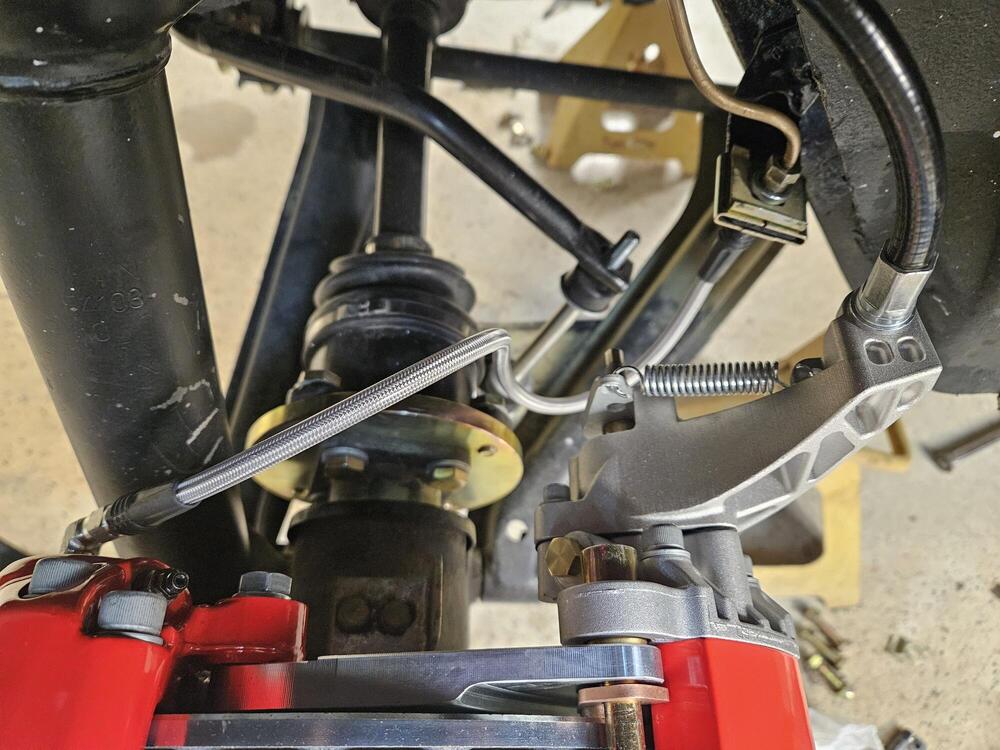
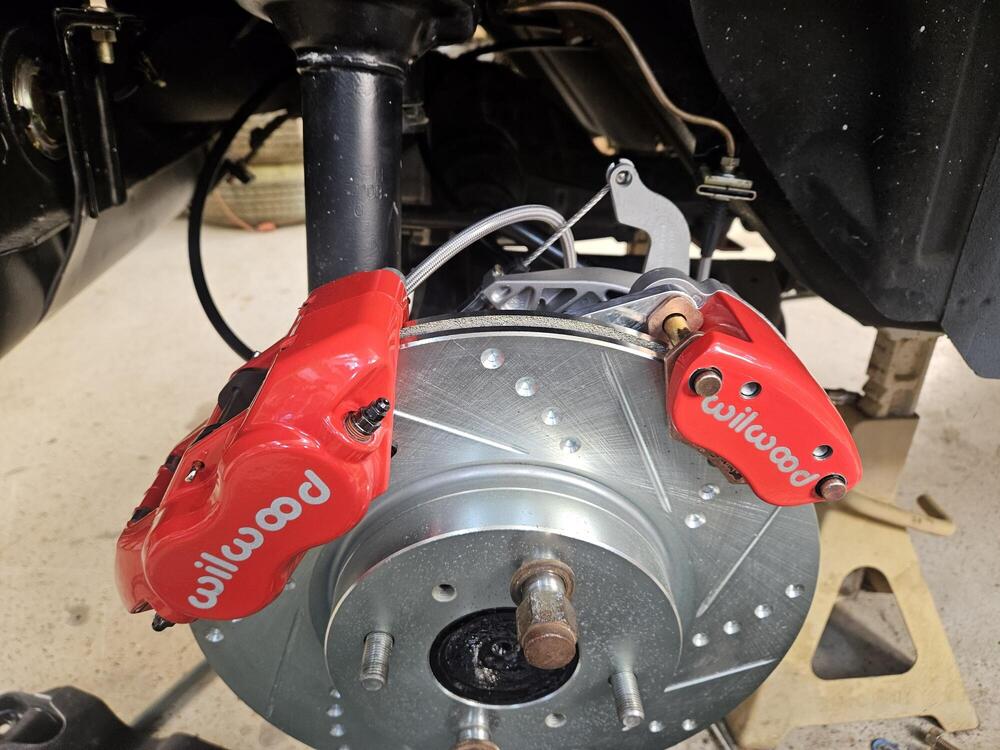
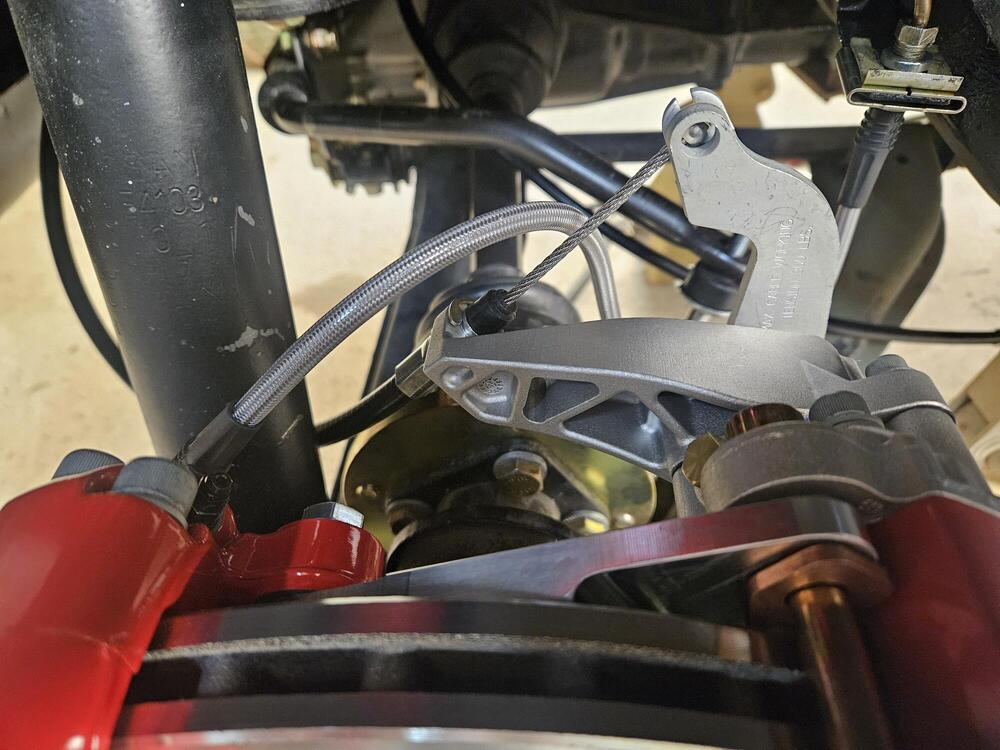
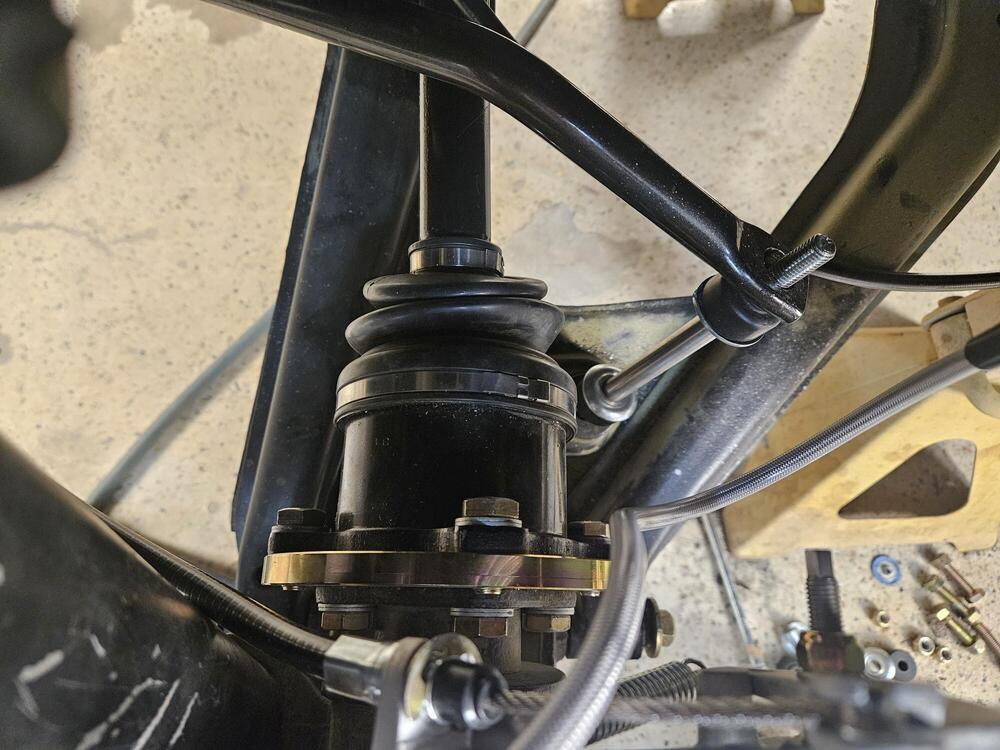
When the caliper is installed, it is very close to the strut. I didn't remember that Wheee had used a very similar setup or I would have cribbed off of what he did. He mentions in his build thread that attaching the lines to the calipers before mounting them would be best because of lack of space. The hardest part of the whole job is finding the right orientation for the parking brakes and routing the cable I started with this orientation But the cable was touching my CV axle adapter plates. It might work with the factory halfshafts... So the MC4 is indexable at 120 degree intervals If you loosen these three screws the back can be turned to another position. Be careful to get the thin rubber seal back in the right place before reattaching it. So each caliper had 3 position and the calipers are handed. So there are six possible orientations available. So then I tried this orientation I liked it pretty well until I realized this is at full droop and when the suspension gets loaded the cable is going to get pinched by the underside of the car. The cable really needs to be more horizontal... So then I set it up like this... The strut is minimally in the way, but it seems to work and disengage properly. I believe this is the same orientation that Wheee used. It is easier to get the cable into the caliper first before mounting it to the adapter plate. I am going to work on some brake line brackets to make sure the hydraulic line doesn't rub on anything. I crossed the cables under the car with the left feeding the right side, and the right feeding the left. I ran them above the differential and through the mustache bar to loop around from the rear. Hope this helps...


-
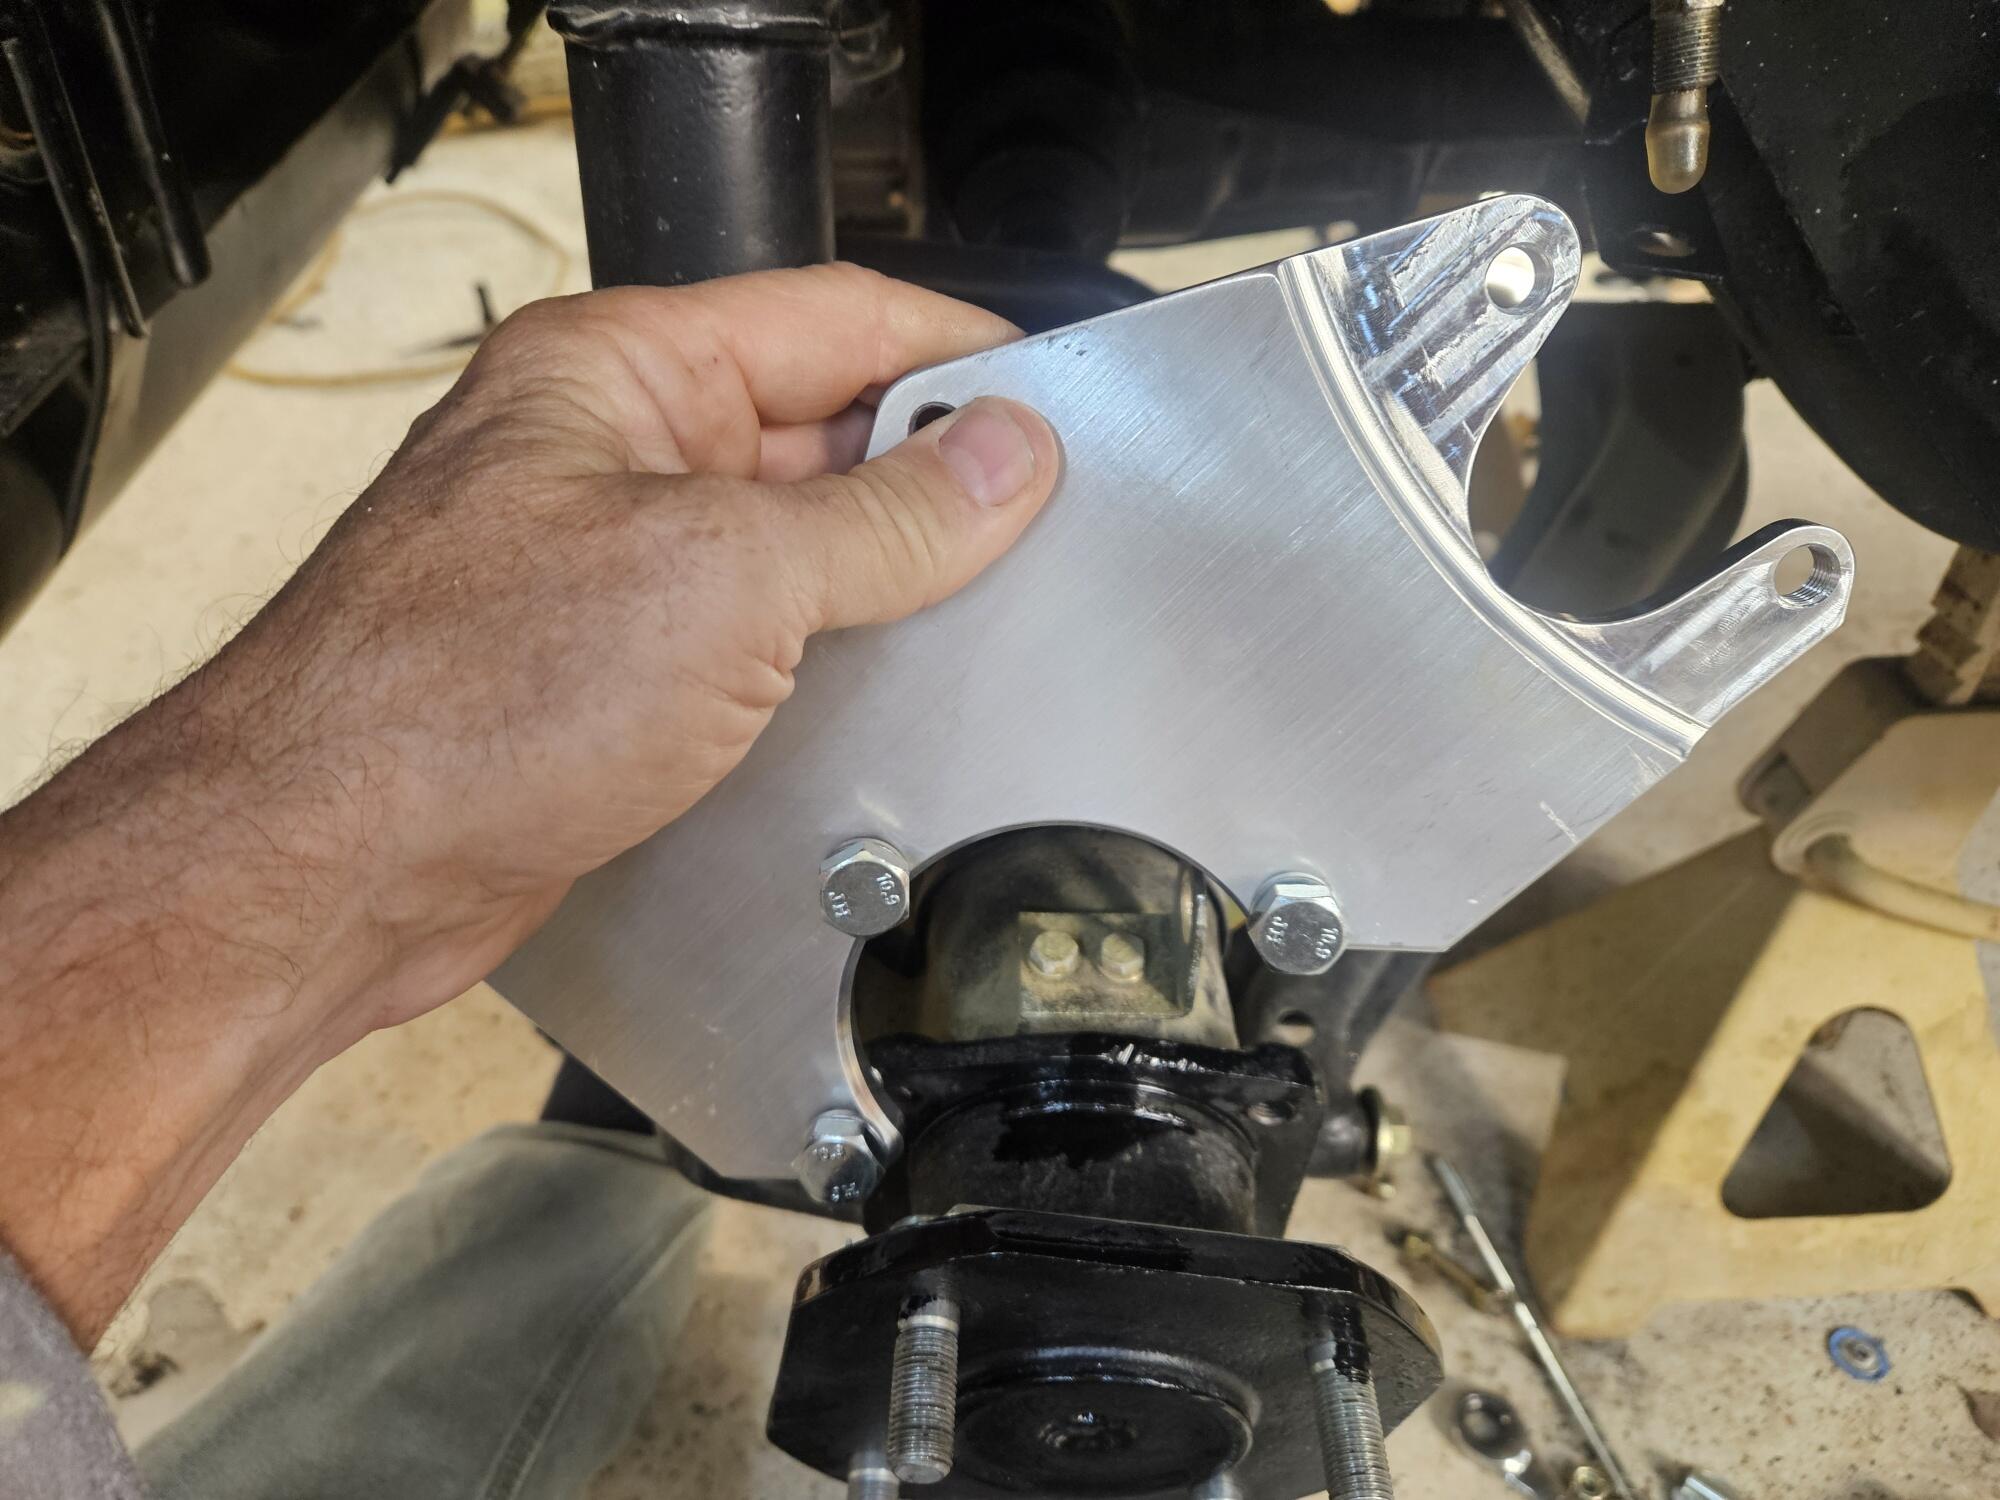
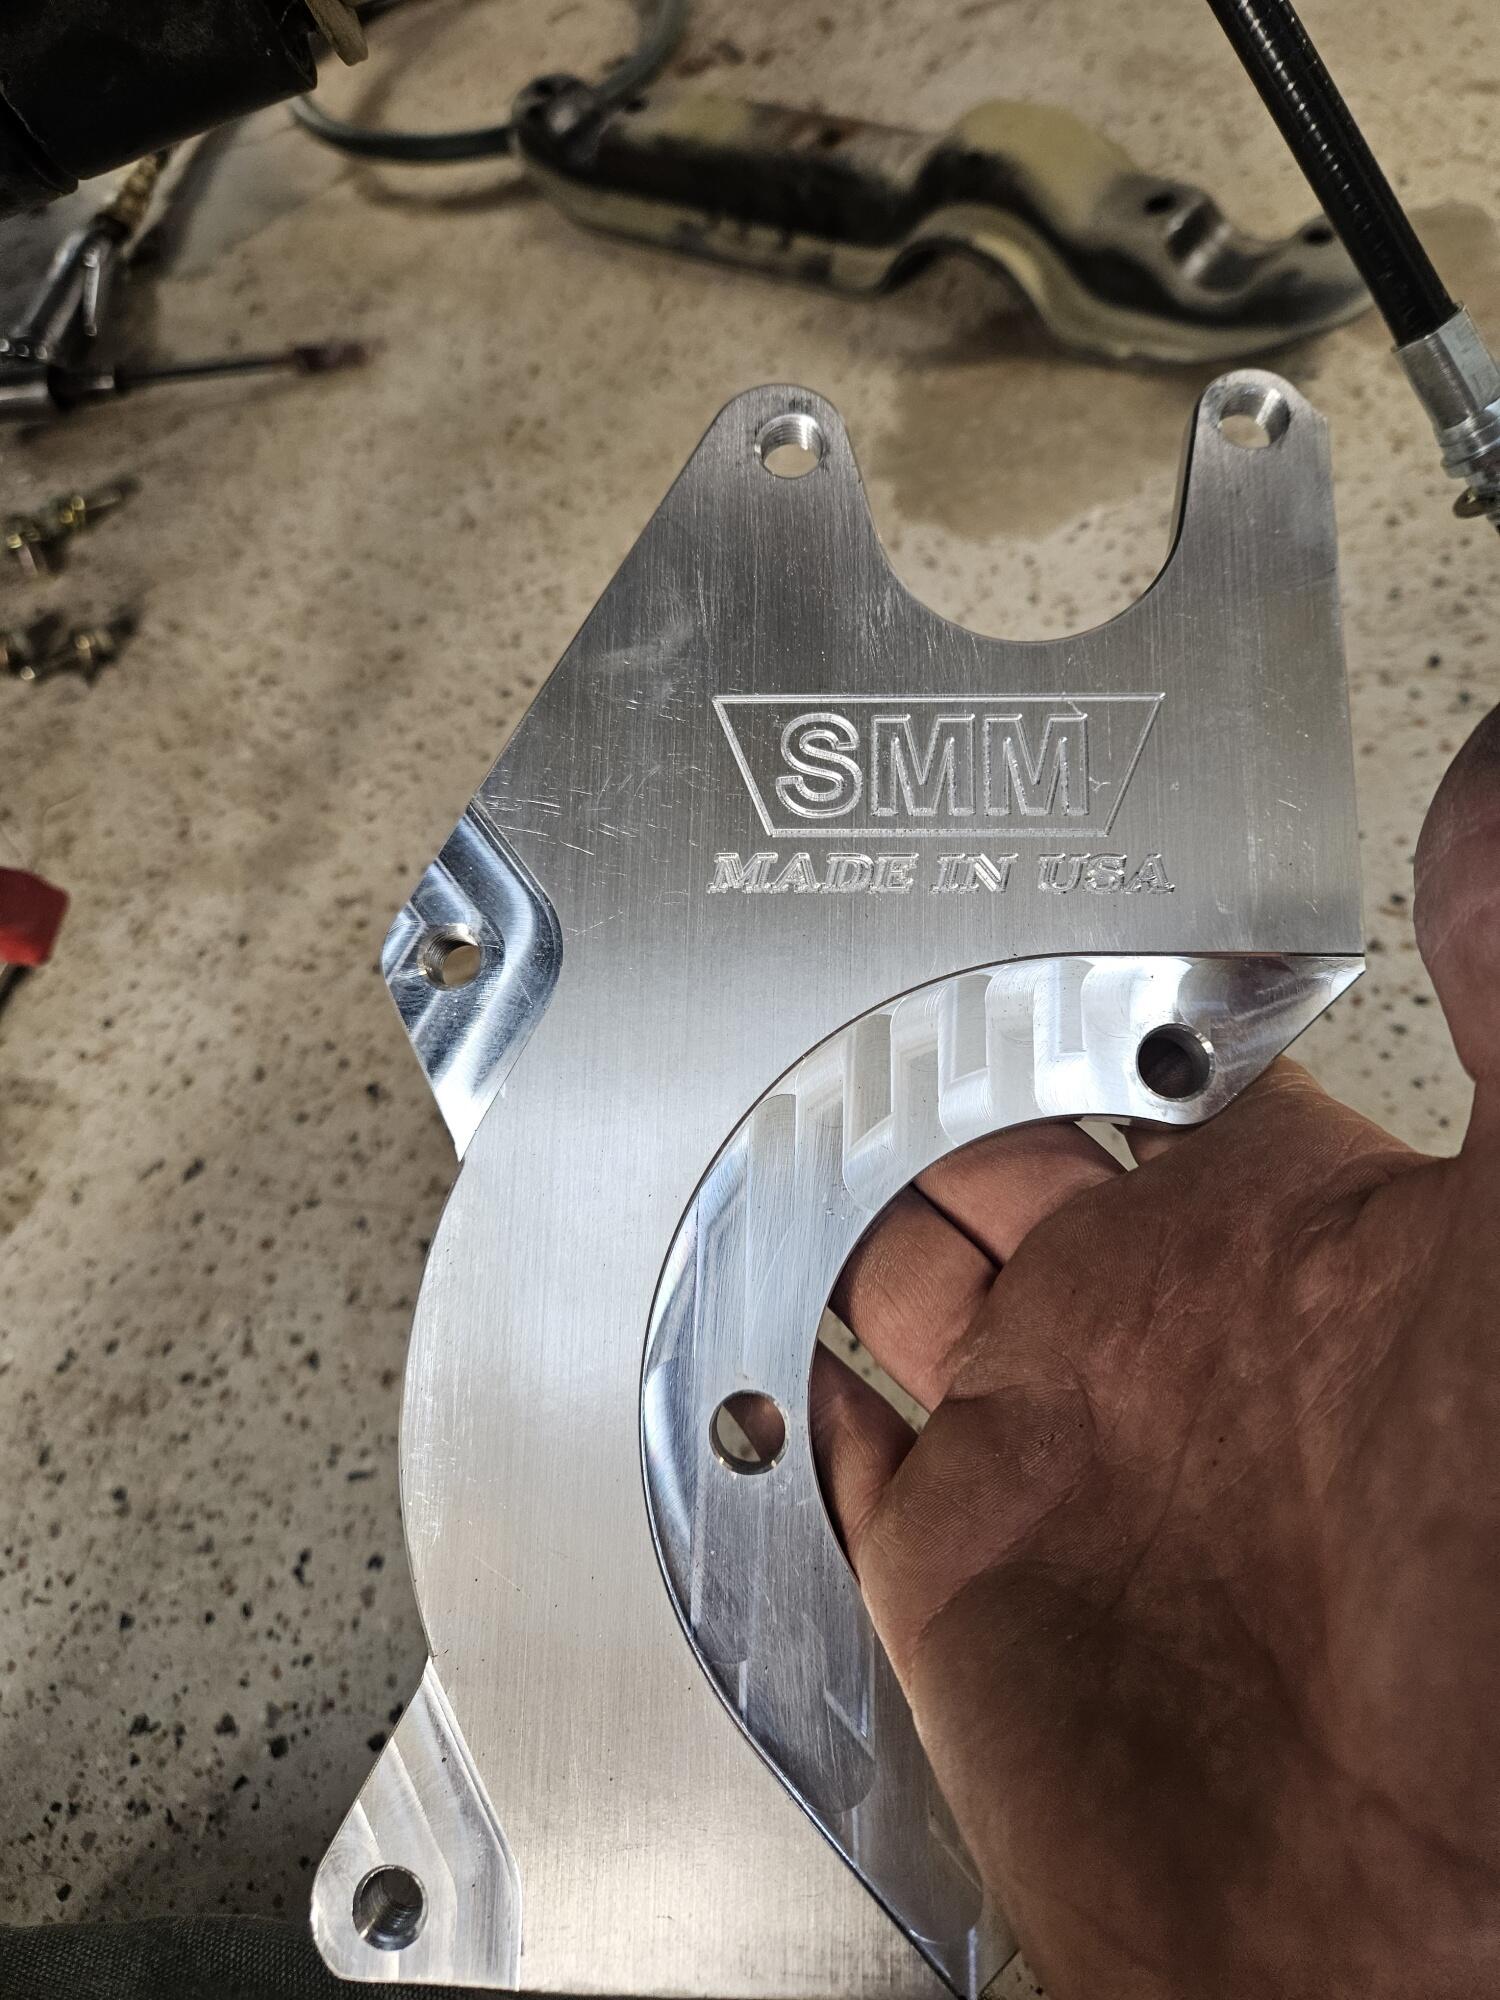
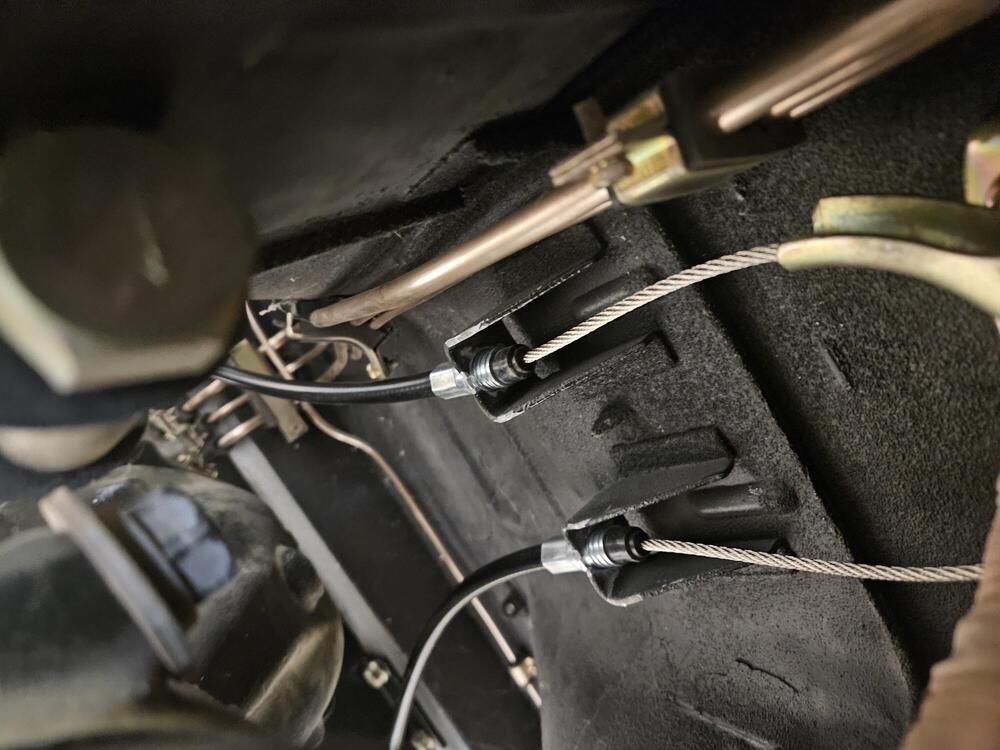
So here is the starting point The adapter bracket goes on like this The SSM logo goes facing the underside of the car. I mocked it up to make sure everything was going to center The new parking brake cable wouldn't fit in the brackets at the parking brake. I tried spreading the ears some but that wasn't going to work. There was 1 1/2mm different in diameter. So I used this with a sand paper roll About 10 minutes and all was better Threaded the elbow into the caliper


-
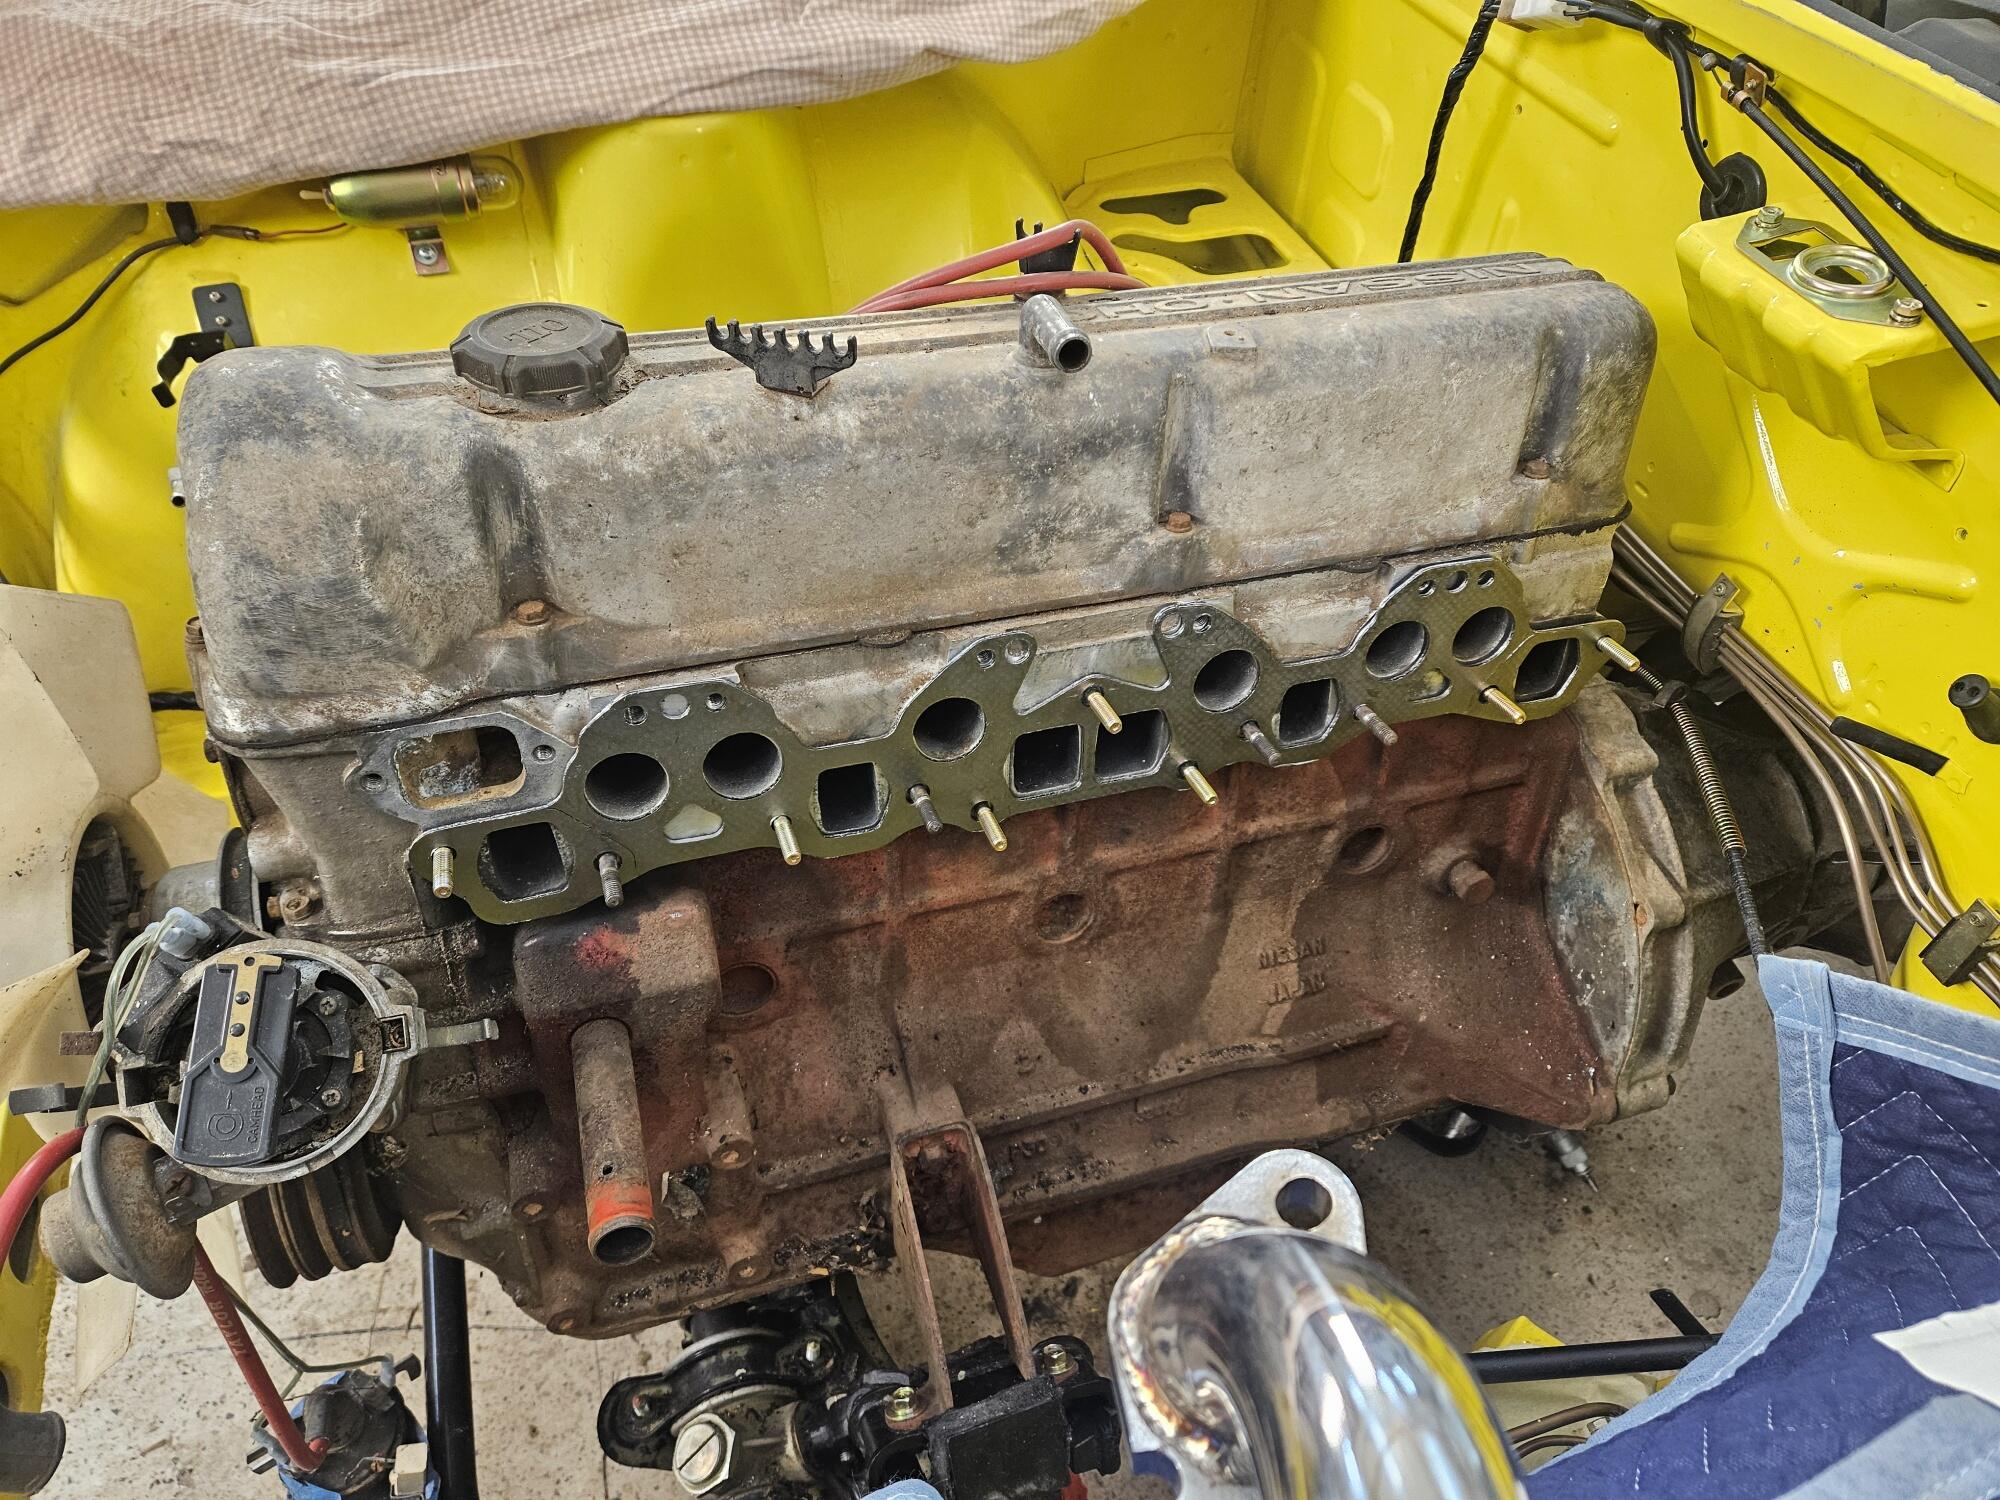
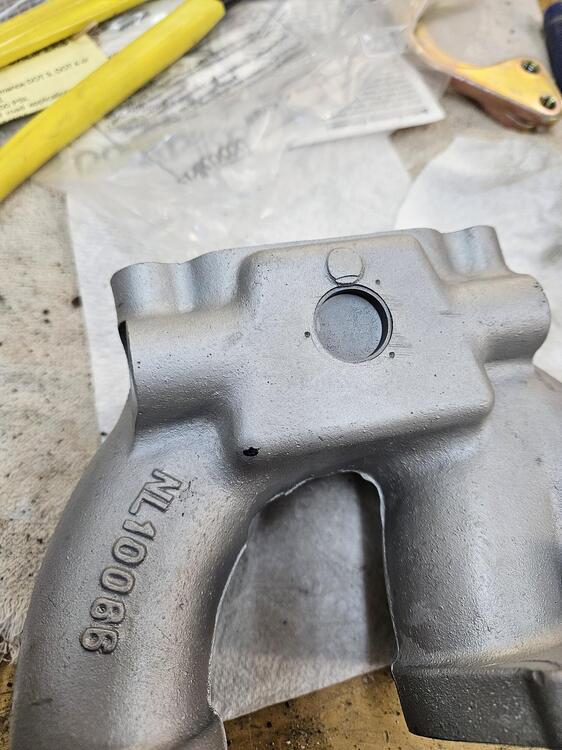
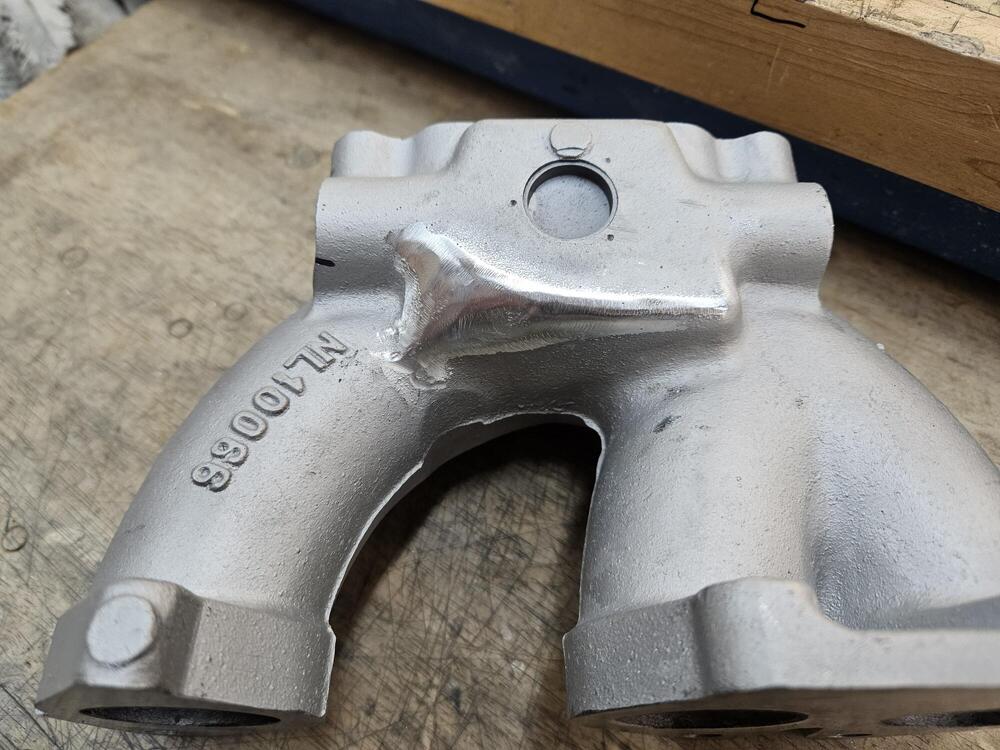
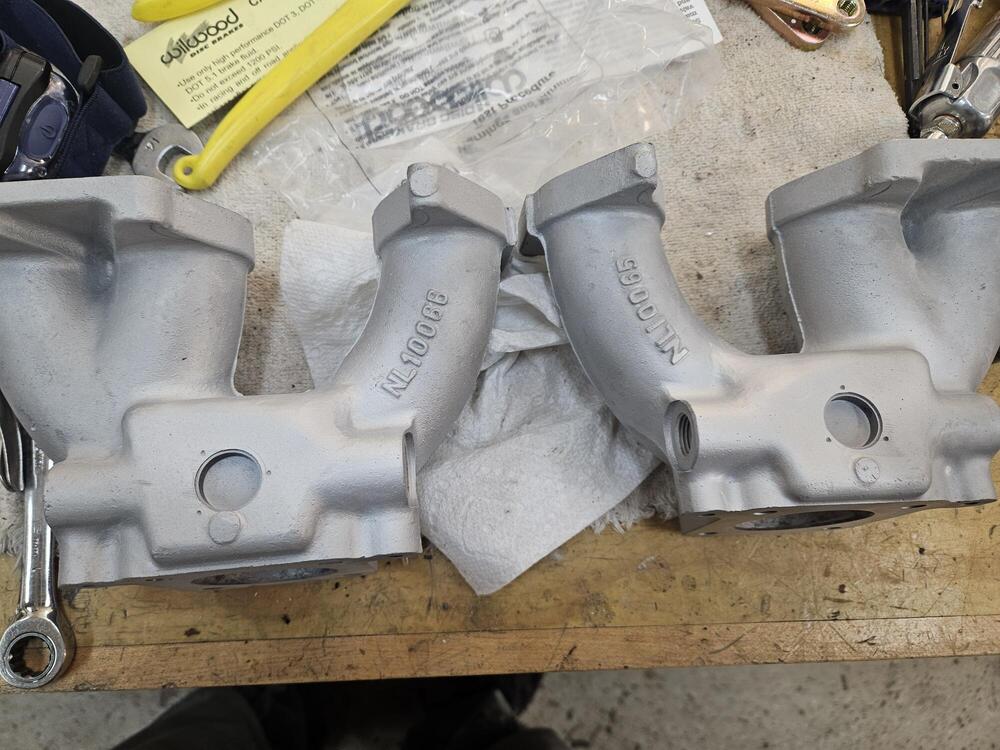
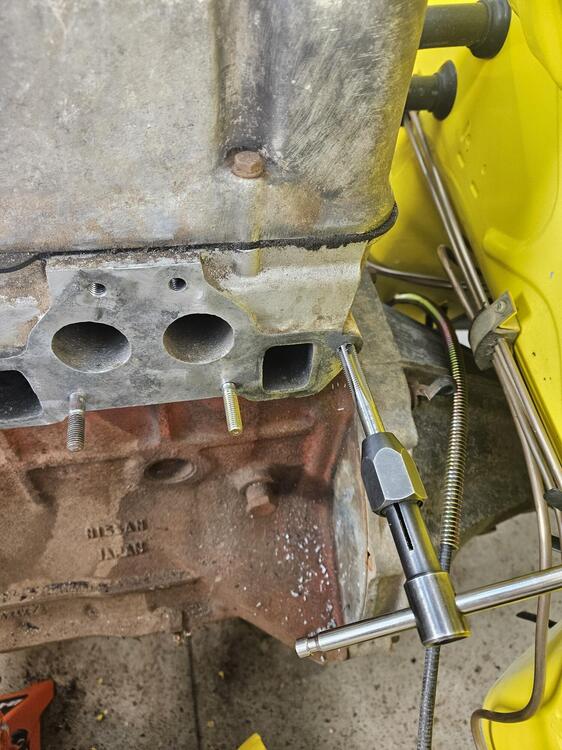
I worked on clearancing the manifolds. Contact at the sharpie mark After grinding with a burr in a die grinder and some light polishing work Then I put them back in the bead blasting cabinet to even out the finish. I didn't cut through into the water passage. Although I don't know how thick the remaining material is... Also I tried to run a copper exhaust nut on to the #6 stud and wrung it off. Since Cody was home, I enlisted him to get the stud out. There was some incidental damage to the threads, so I helicoiled it

-
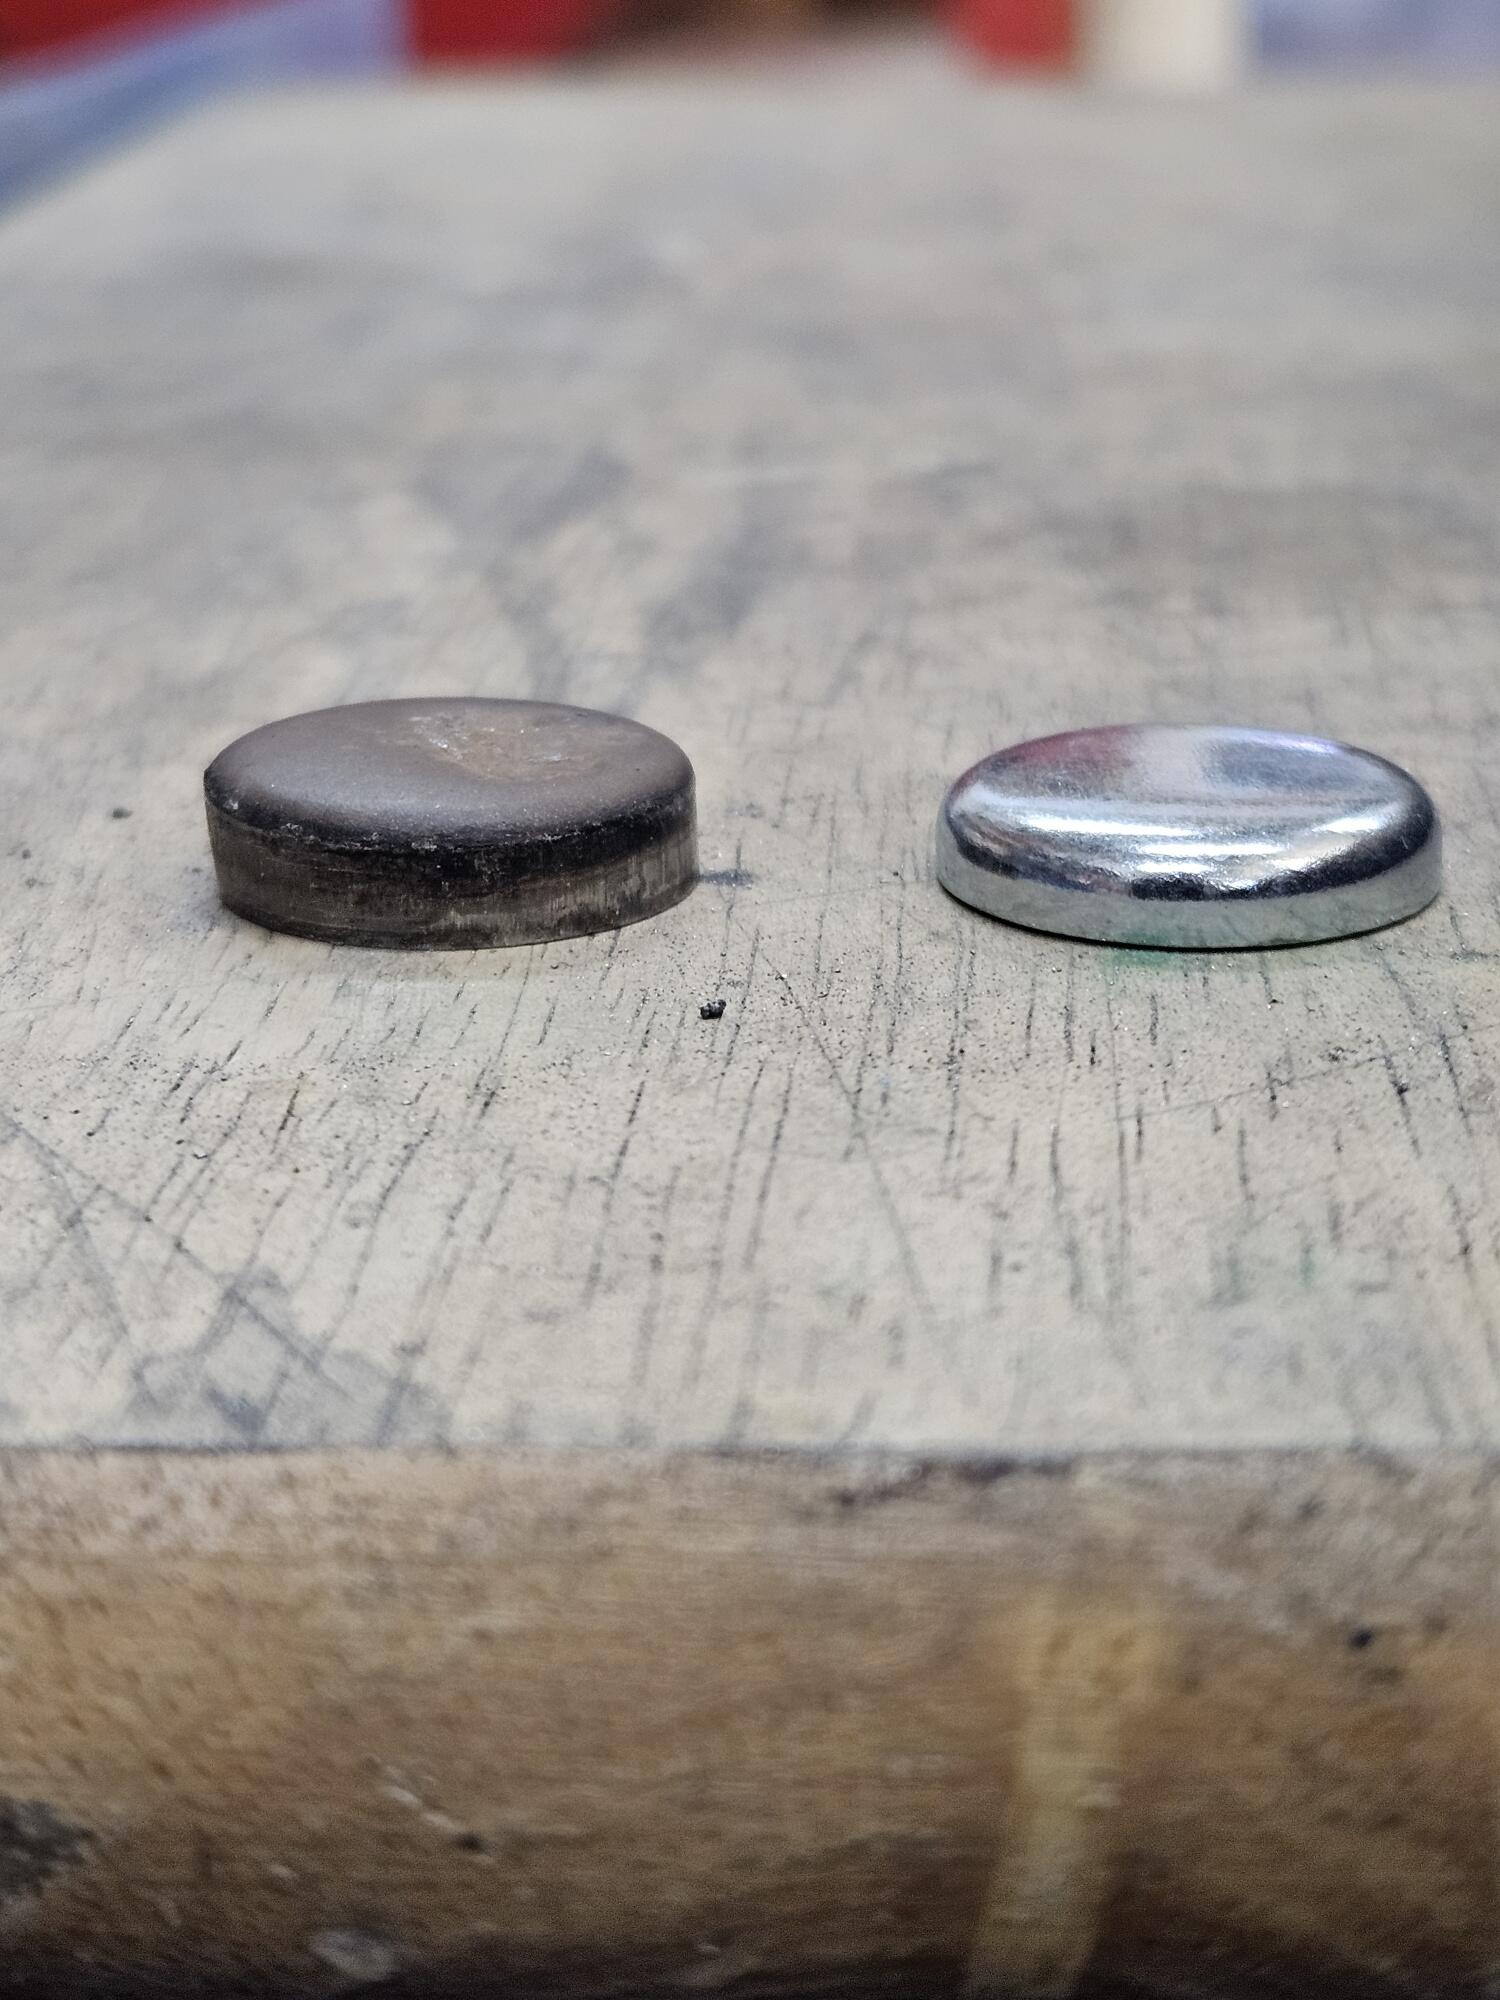
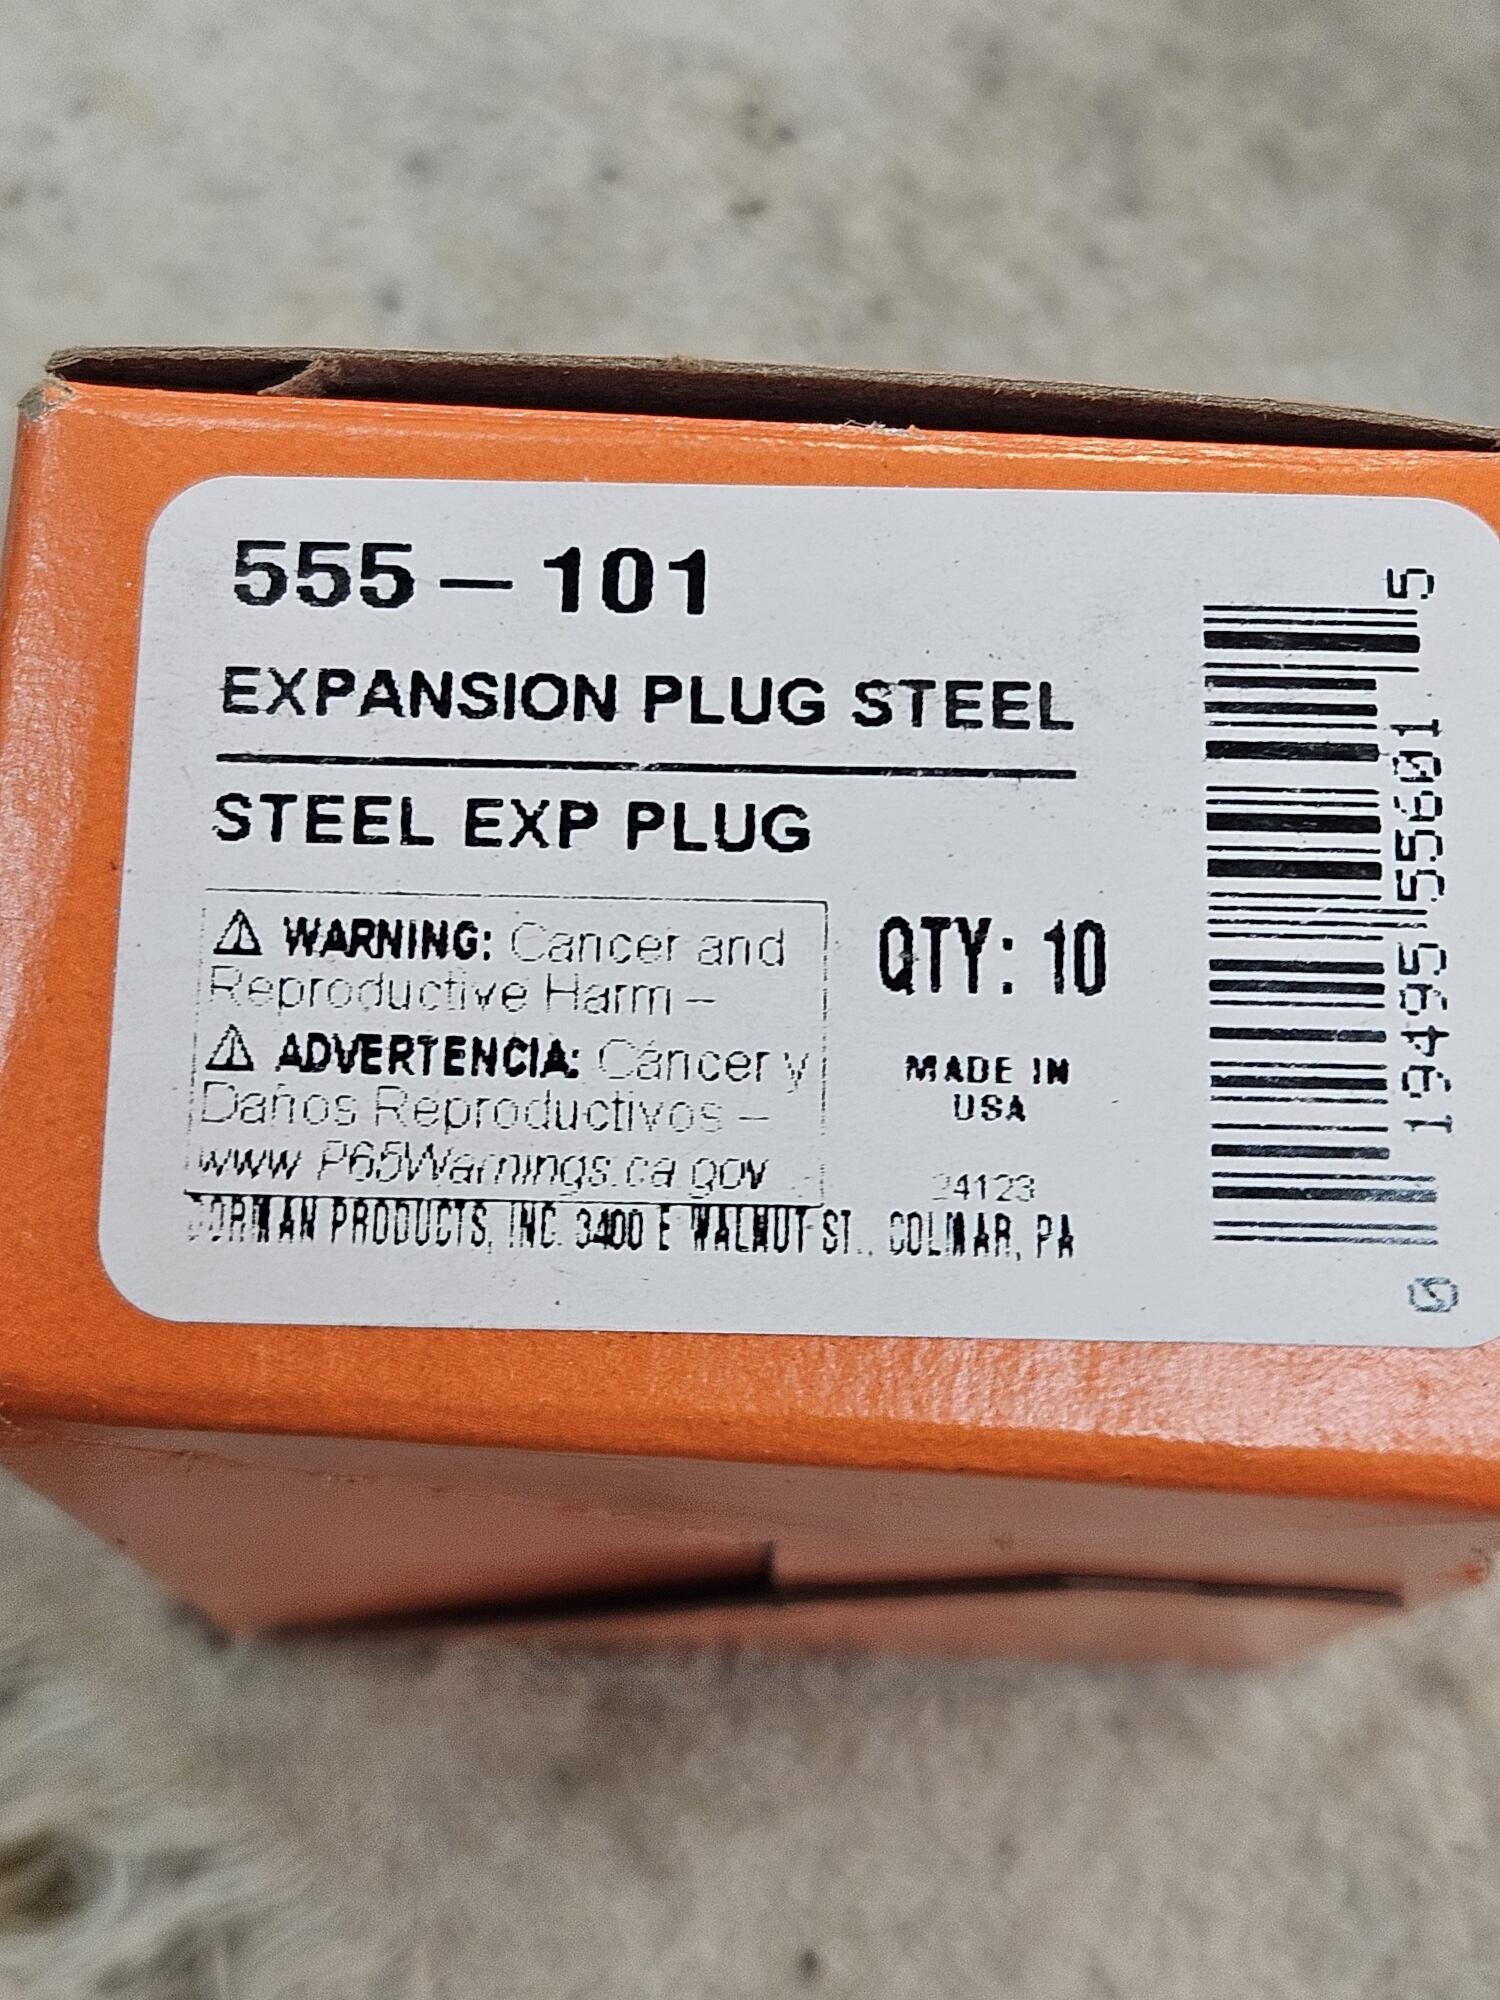
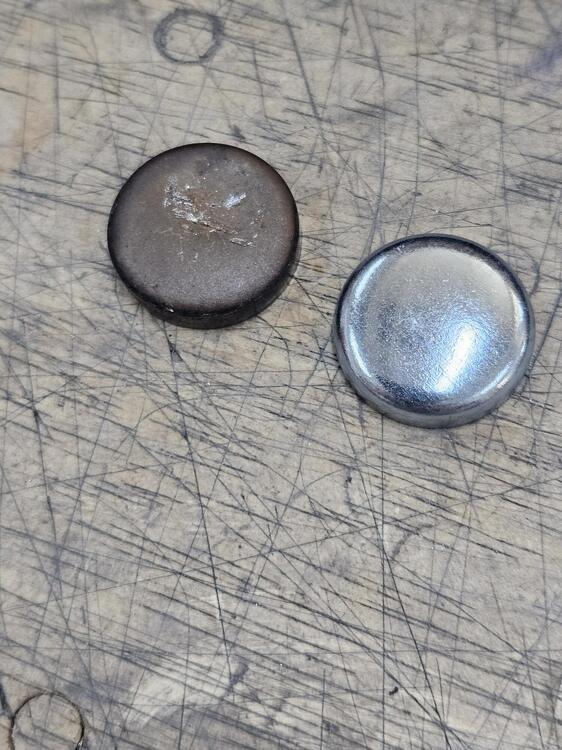
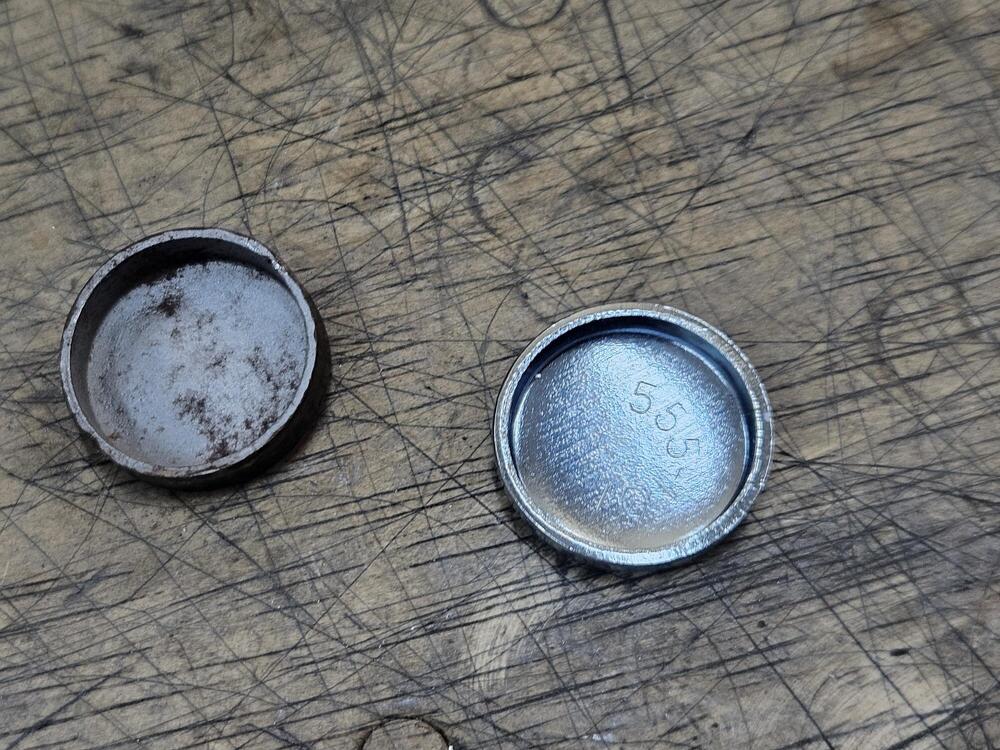
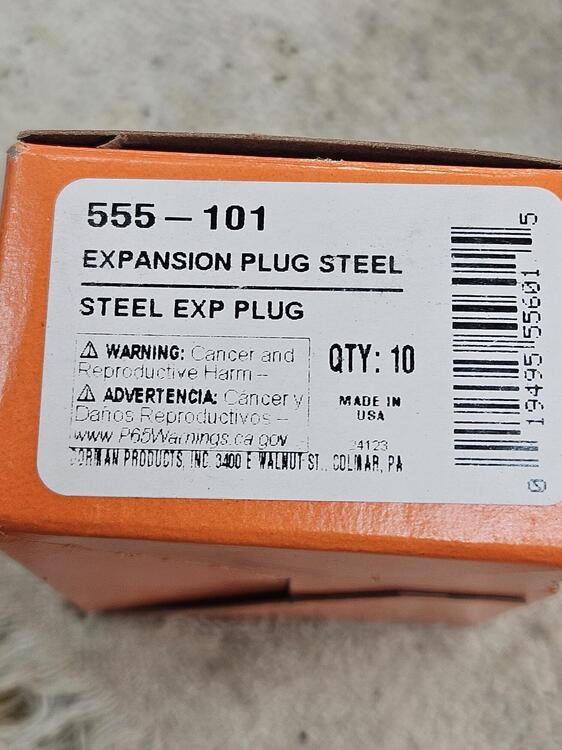
So I took a #3 rebar (3/8") and had to smooth it out some as a long punch. Then I knocked out the end plug. I bought a box of 20mm plugs to replace it with. Although I believe that plug is still available from Nissan The Id of the tube is about 3/4" So I will make up a piece of copper to use as a backer for the TIG welder. Next step is trimming the lumps off the tube...


-
I am sure I will build a motor at some point and may go turbo at some point. It will probably have 300-350HP at some point in the future. We have some great mountain roads near us and the stock brakes don't like those long twisty downhill sections. They would always get hot and smell. These should stay nice and cool no matter how hard I push! 😉
-
I agree, he should take them back. They're not close to being salvageable.. Too bad
-
I am replacing the fronts with larger Wilwood's too. If necessary I will add a proportioning valve to get the bias right. They don't really provide any instructions. So I decided Id make a thread
-
-
Also if you're starting from drums you will need to remove the all the drum brakes, shoes, hardware and the drum backing plate. To remove it whole, requires pulling the stub axle. The medieval method is to cut it in half. I had to cut off my old adapter plates.They were an old design that I installed when I had the stub axles out. All the new designs only use 3 of the four backer plate holes