Patcon
Supporting Member
-
Joined
-
Last visited
Everything posted by Patcon
-
New cam, I would expect new or reconditioned rocker arms. Wipe pattern will have to be checked and that might require new lash pads...
-
I have the same alligatoring. I hadn't decided if I was going to try to fix it. This seems like a good solution
-
If it were mine I would swap out the entire ignition system. Coil and distributor with no pertronix
-
You still running the pertronix???
-
-
I think the spacer goes between the hub and the rotor. So it would shift the rotor inboard
-
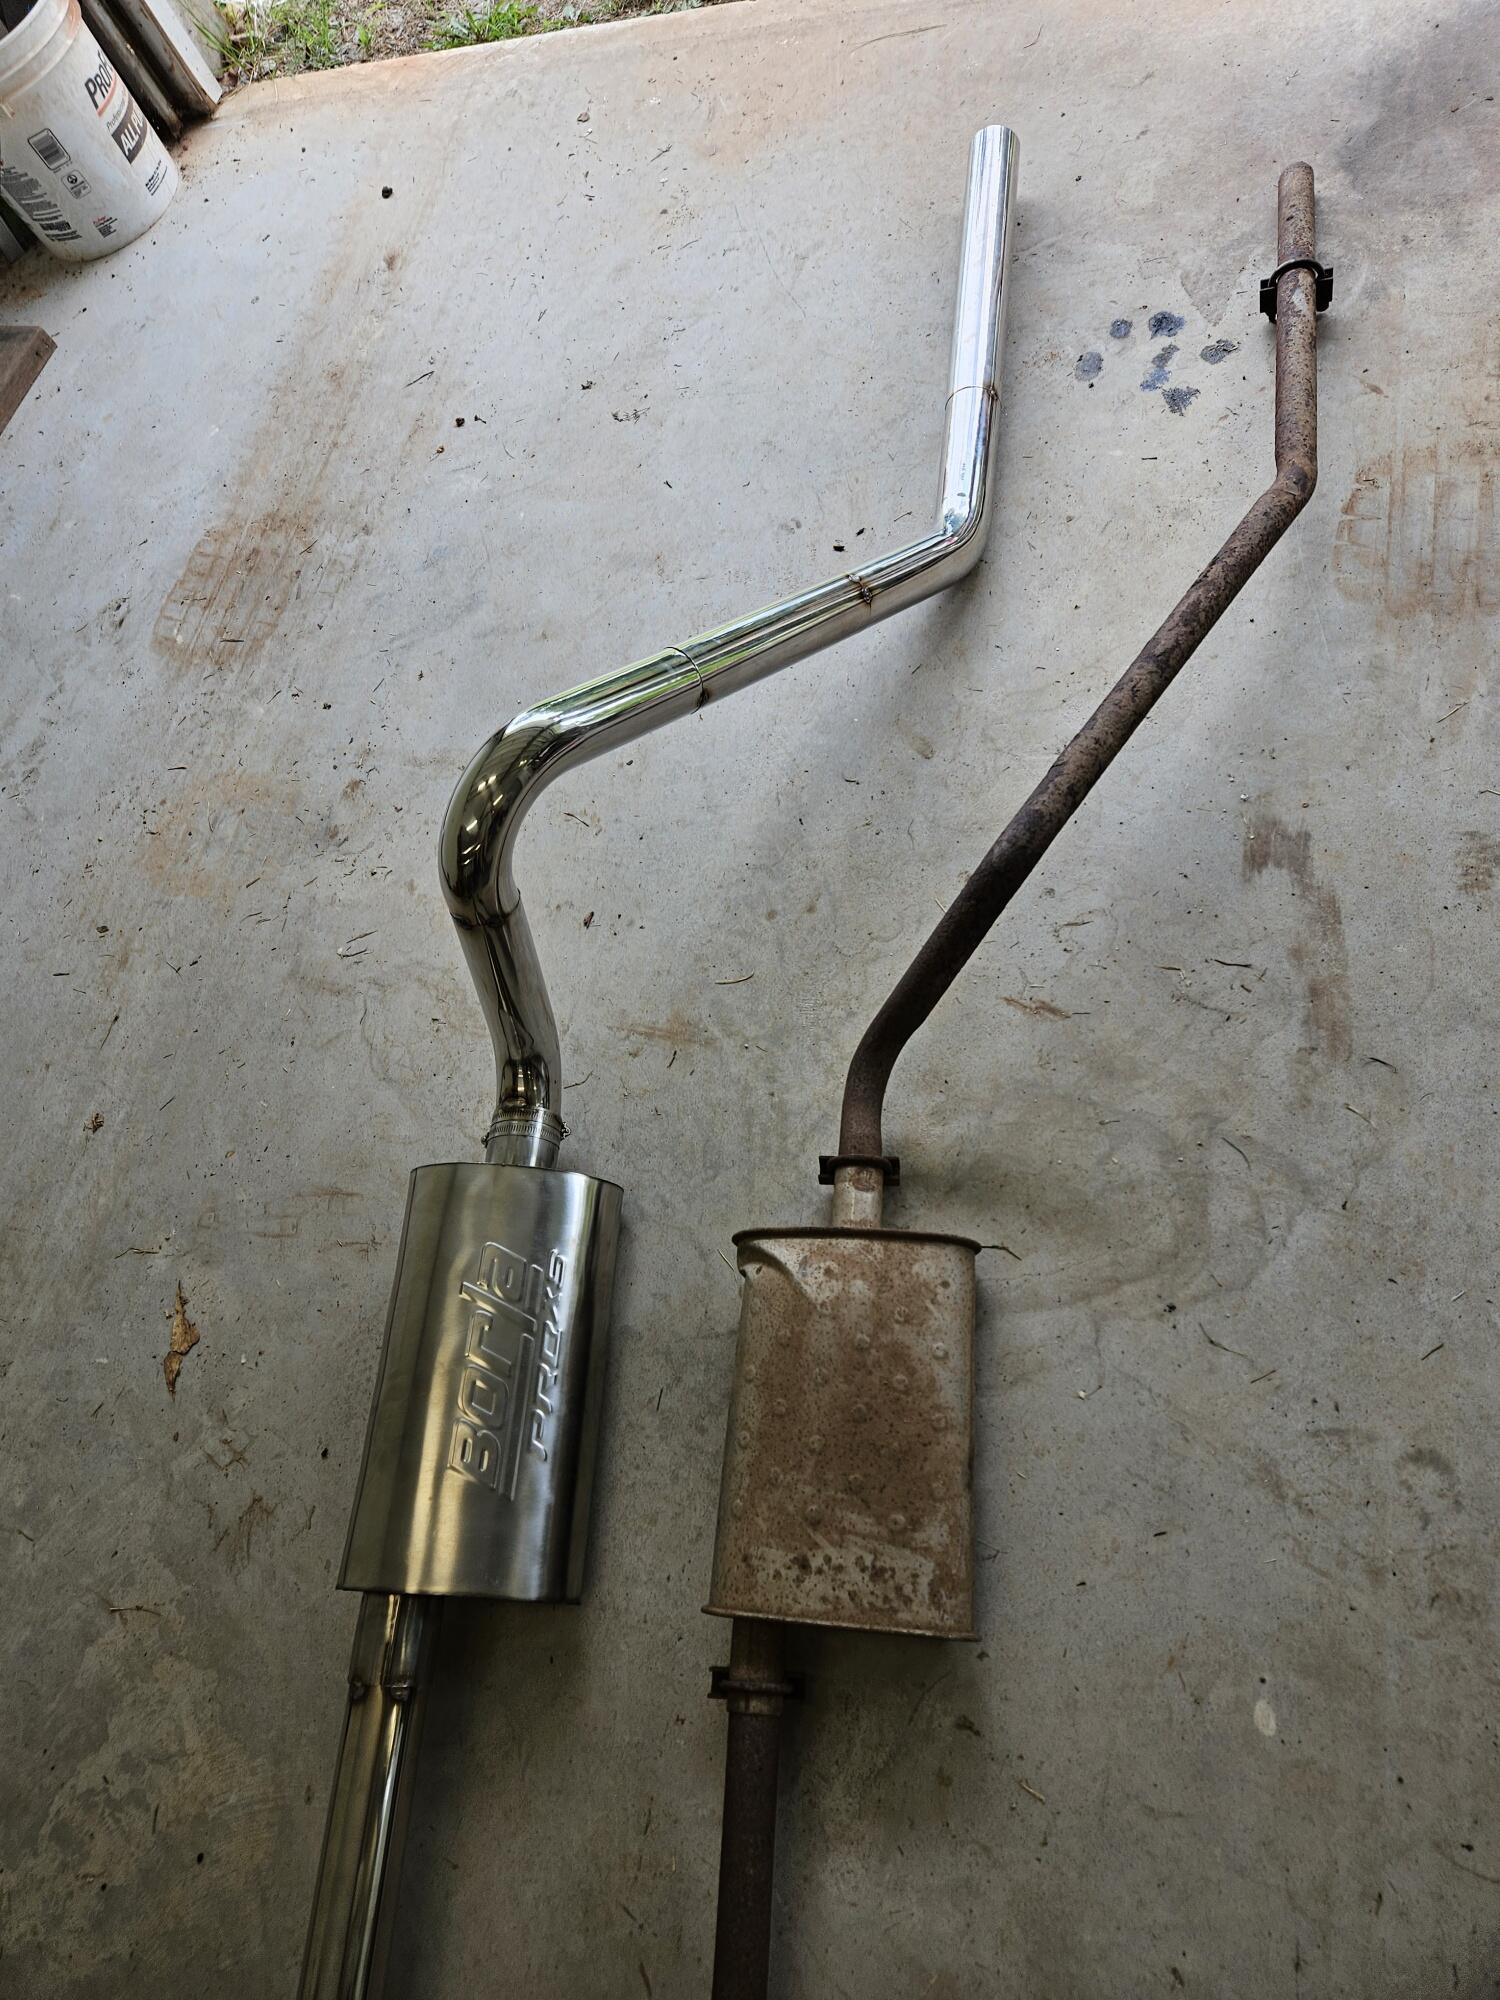
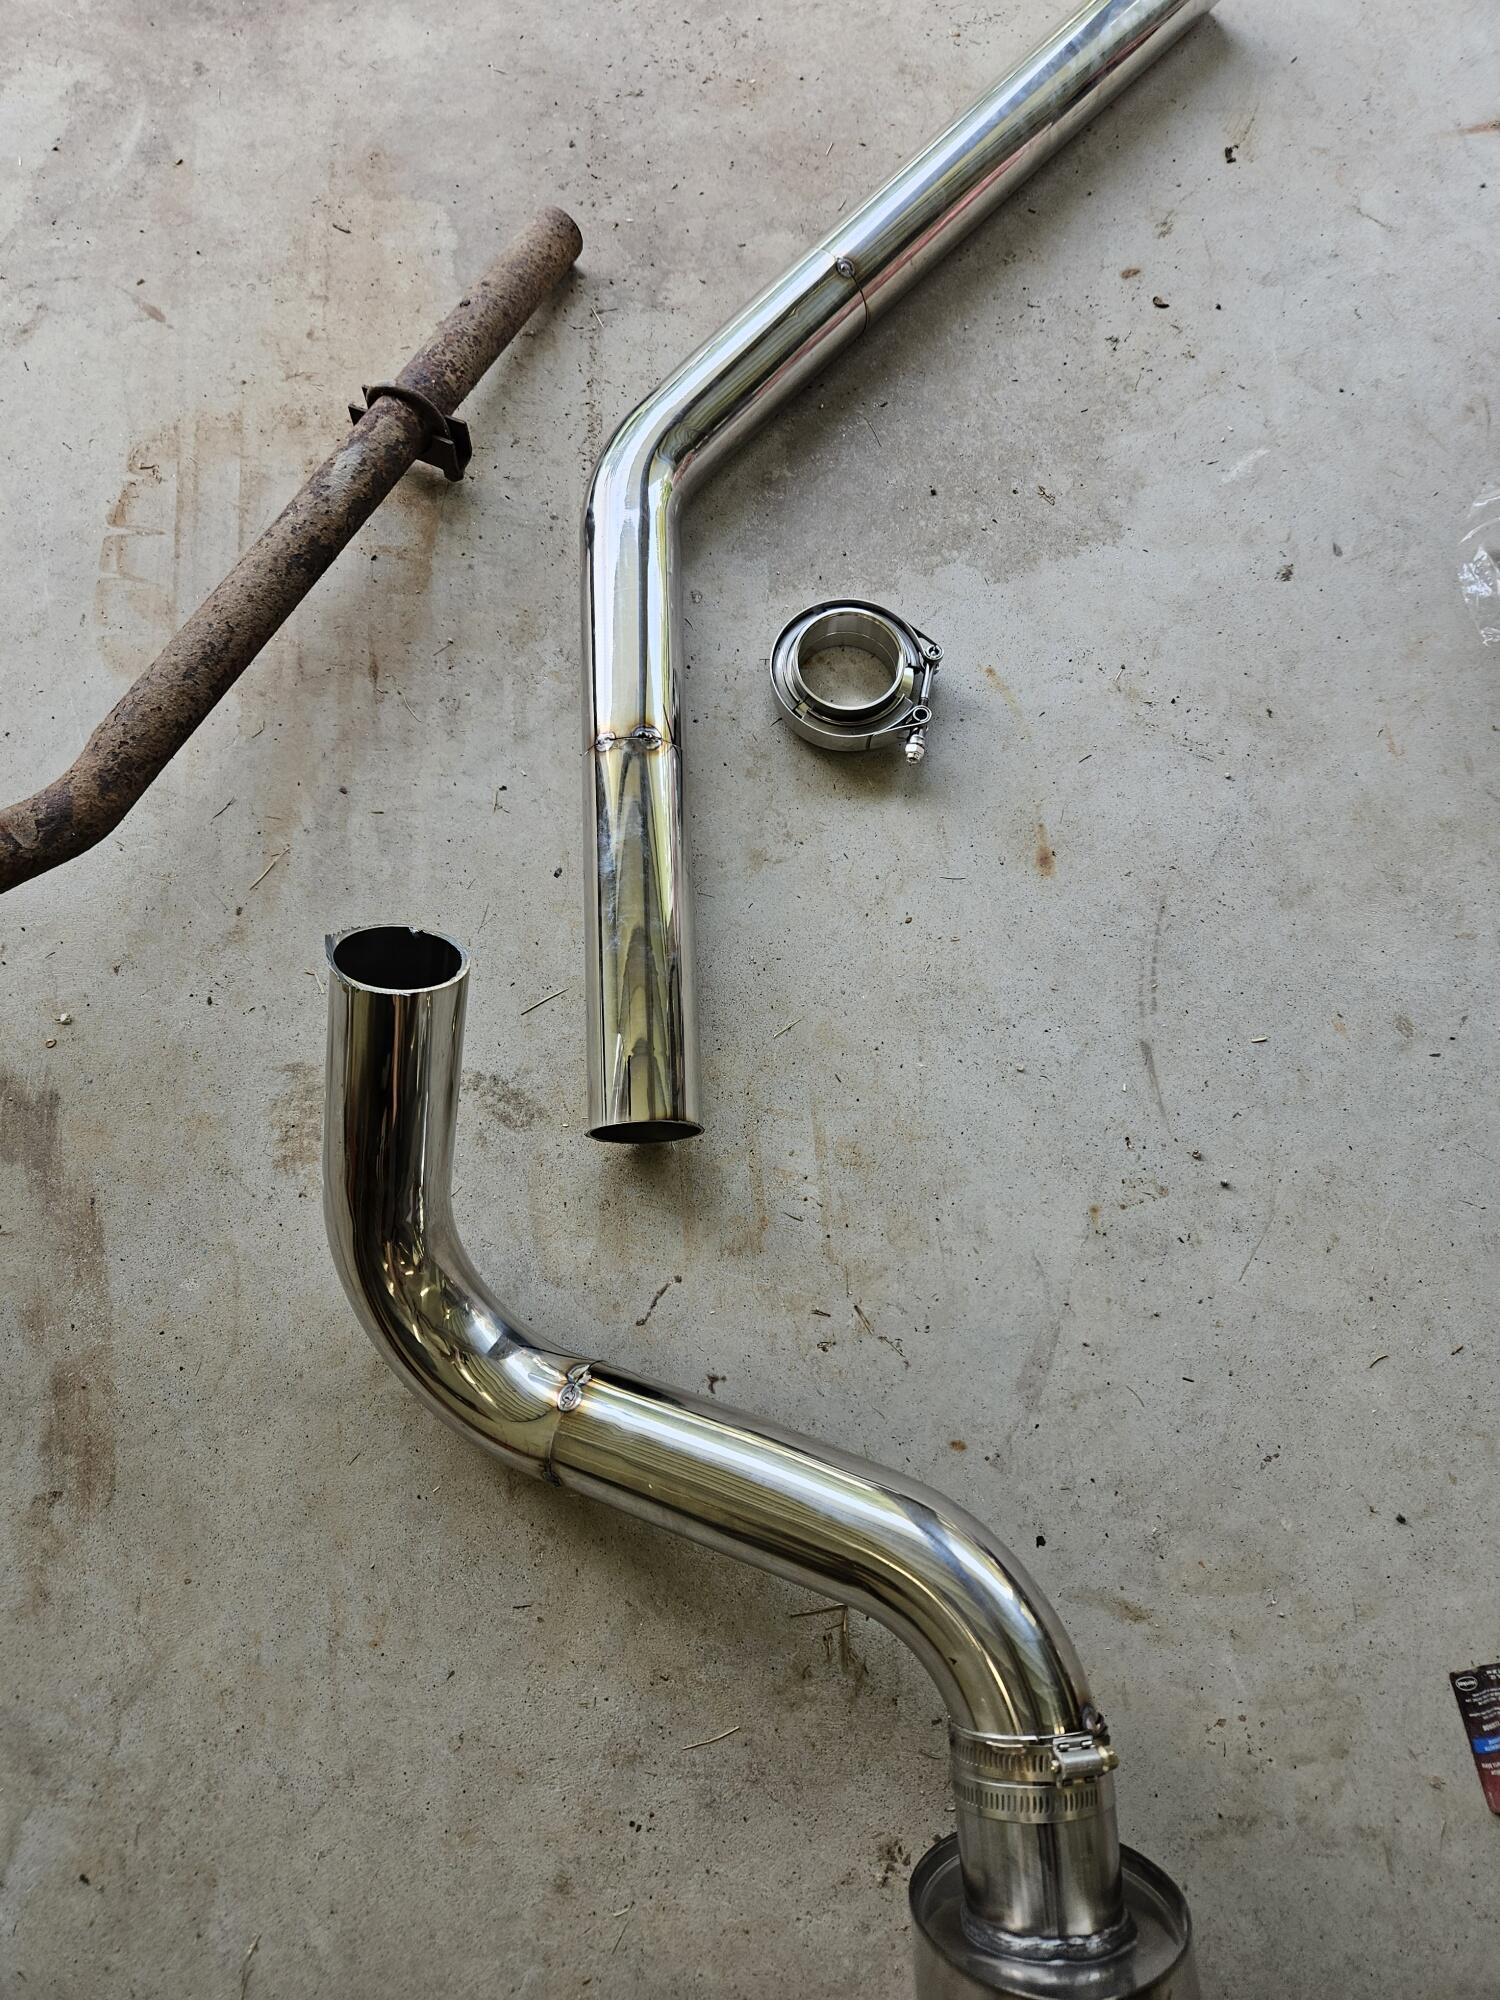
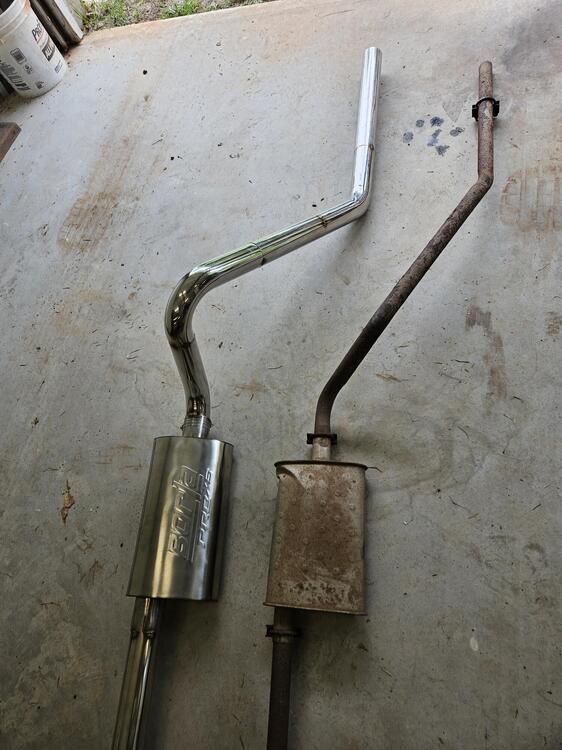
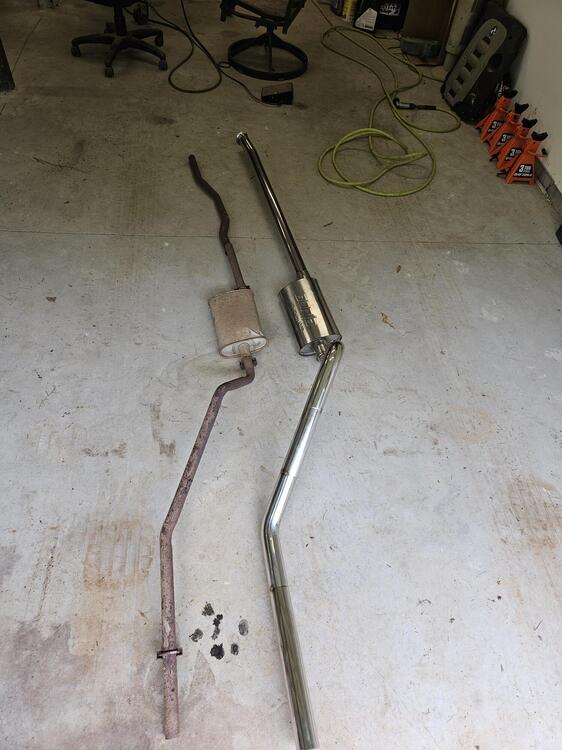
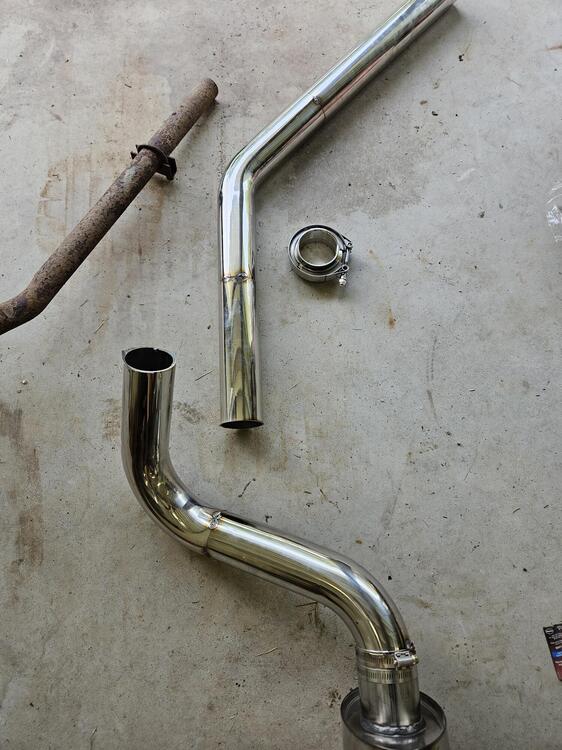
So more exhaust work last weekend I can't load all the images I want to. I get an unknown server error -200 @Mike Here are the one's that did load Old next to new We couldn't get the exhaust back under the car once it was tacked up. So we cut it here and will add another Vband. It pretty much all tacked up up. Once we verify that, we will ship off the header for jet coating. The cross section on the new exhaust is 315% bigger then the stock exhaust (1.25" vs 2.5"). It'll probably be rowdy but Cody will like that
-
Man I hope mines right. I don't want to have to pull it back out!
-
Steve's website very often shows out of stock but he will make them on order. All of his parts are hand made here in the US
-
Bearings are usually non ferrous. I agree, debris in the pan at 800 miles isn't a good sign. I would change the oil on a shorter interval for the next couple of changes and cut the oil filter open too to see if the engine continues to make debris. Maybe it was just an anomily
-
Did you all read all the comments? BaT threatened the seller with a site ban if they don't close the deal. BaT evidently has the right to add the difference if a car gets close to reserve...
-
You could shorten the port by an 1/8"
-
I'm not a huge fan of clamping brake lines but it shouldn't hurt them
-
I like the idea of swapping axle shafts side to side.
-
I like the idea of swapping axle shafts side to side.
-
Interested in what they say
-
I would tint after install. A good tint shop aught to be able to trim right at the gasket accurately enough. Also if the tint needs changing you can remove it all and replace. And also for the reasons you have expressed
-
That's a good plan. It is a pretty extensive list. I would be interested in your local platers contact info for the gas door locks, hatch lock buttons etc.
-
I did the same thing but then these sat for anumber of years and had gas dry out in them. So they needed cleaning and double checking. They needed very little adjustment
-
These carbs are therapy carbs. Done probably ten years ago
-
I have been dealing with them a lot lately too. Matter of fact I have an order in route as we speak... Great service
-
Im not a huge fan of Amazon but they are becoming the distribution network for all businesses. That ship has sailed I think. I had that truck for another 4 or 5 years probably. The only thing i don't know is how flexible it is after it's cured
-
I have used this before on an early 80s Ford fuel tank that had pin holes near the mid line. It worked great and lasted as long as I had the truck https://www.amazon.com/Seal-All-380112-Contact-Adhesive-Sealant/dp/B008VK0JS4
-
Sorry about your mum. Hopefully she comes through it ok.
-
That was my concern and I figure the high percentage result is to just use gasoline