Patcon
Supporting Member
-
Joined
-
Last visited
Everything posted by Patcon
-
I think that's a decent plan, if it works out. I have never done any aluminum welding. Cody has taken a stab at some Aluminum TIG work and it can be unpredictable.
-
I understand. I was working on putting the metal brackets back onto the door glass yesterday. The passenger glass has some scratching and I used some Cerium Oxide on it, but it's not going to be enough. I will have to get more medieval to get the glass polished properly. Was just curious if you had gotten it figured out.
-
Garrett, Did you ever get your glass polishing figured out?
-
Those are all Precision seals. They're not perfect around the glass. Maybe they'll get better with time
-
I agree with the vendor. I think the gunmetal will look more black. The Hyperblack have so much metal flake in them that they look silver grey from many angles. They only look black under certain lighting conditions
-
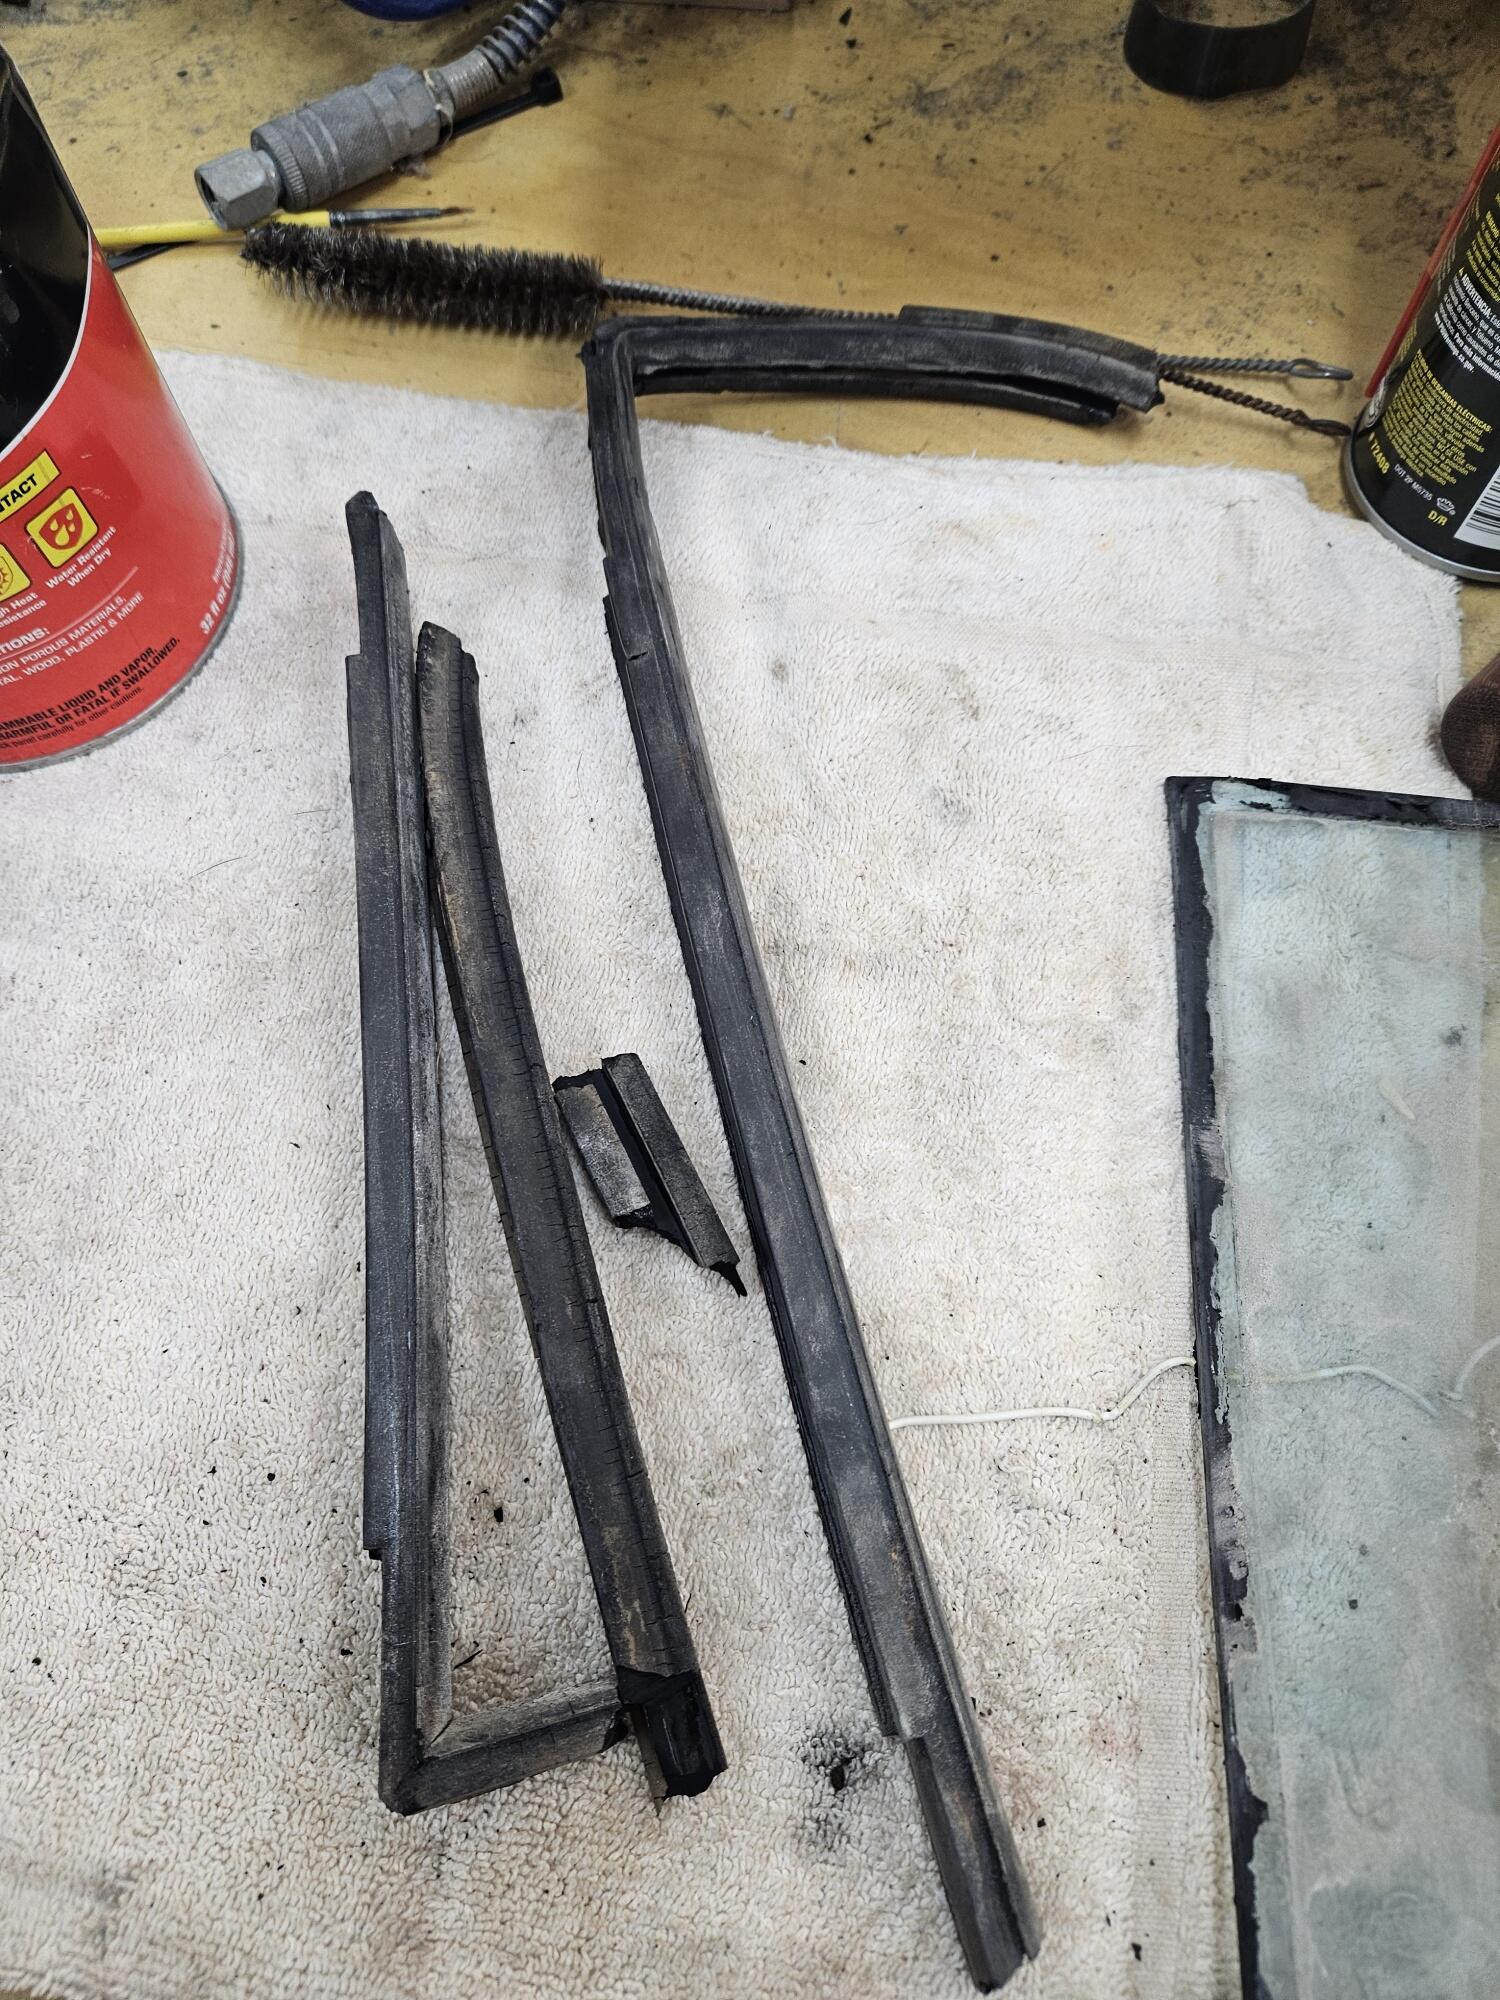
Went to the shop last night and worked on qtr windows some Old Old glass seal was toast New upper qtr seal They are ready for the car now


-
I think those are Hyper black. I just ordered a set of those
-
SteveJ has a tutorial somewhere on a bench he built for just this type or under dash work
-
I assume there is no wideband available
-
I might have a donor gun?
-
Get him!!!
-
Have you done the hatch inner weatherstrip yet? I need my tutorial 😁
-
I have also never left the glass in with the regulator out. I usually take the glass out first. Then the window frame
-
What centers the wheel on a Datsun? The hub bore or the lug nuts? I had always thought the lug nuts centered the wheel. If thats the case the hub or wheel could be relieved so it sits flush. If thats not the case then it gets tougher and the machining needs to be more precise
-
I would think permanent use is not a good idea
-
Thats worth a try
-
Valve seals on #4 have been replaced
-
I guess part of my suspicion is based on the fact that the #4 plug doesn't foul unless it's idled too long. If there was a ring problem then you would expect to see more of it off idle when the vacuum is higher in the motor. Or smoking on acceleration or deceleration. So if it's not a ring problem and the valve seals have been successfully replaced then I would look at what hasn't been replaced. I believe the only thing that hasn't been touched is the dizzy and the pertronix... It could be cam related but that seems like a stretch. I guess all the lobes could be mic'd to verify but still seems like a long shot Jalex, Did you physically move the shaft around in the dizzy? It needs to be more than a visual inspection.
-
Is a gear reduction starter available new from Nissan? Looks like the the 280zx starter is 23300-N5903. Looks like it's pretty hard to find. There is a newer part number that looks to be a reman 23300-N5903R Ferg, maybe you could find one in Japan or Europe when you travel or have another pilot look for you
-
I don't have anything to contribute directly to the question but it does make think about the current attitudes towards repowering or increasing power in these cars. I think many people approach these cars and think they want 4, 5 or 600 horsepower. What they fail to keep in mind is this is an old light beer can of a car. It's not a modern 4 or 5000# car. It will move along nicely with 250hp and really move with 350hp. There's no real need for more than that you'll just break stuff or damage the chassis. Providing you can get it to hook up...
-
You've done valve seals and touched almost every other external aspect of this engine. If it were mine, I would replace the dizzy, plug wires and coil. If that doesn't fix the issue then it pretty much has to be internal to the engine
-
Replacing the dizzy and pertronix is easier than building an engine
-
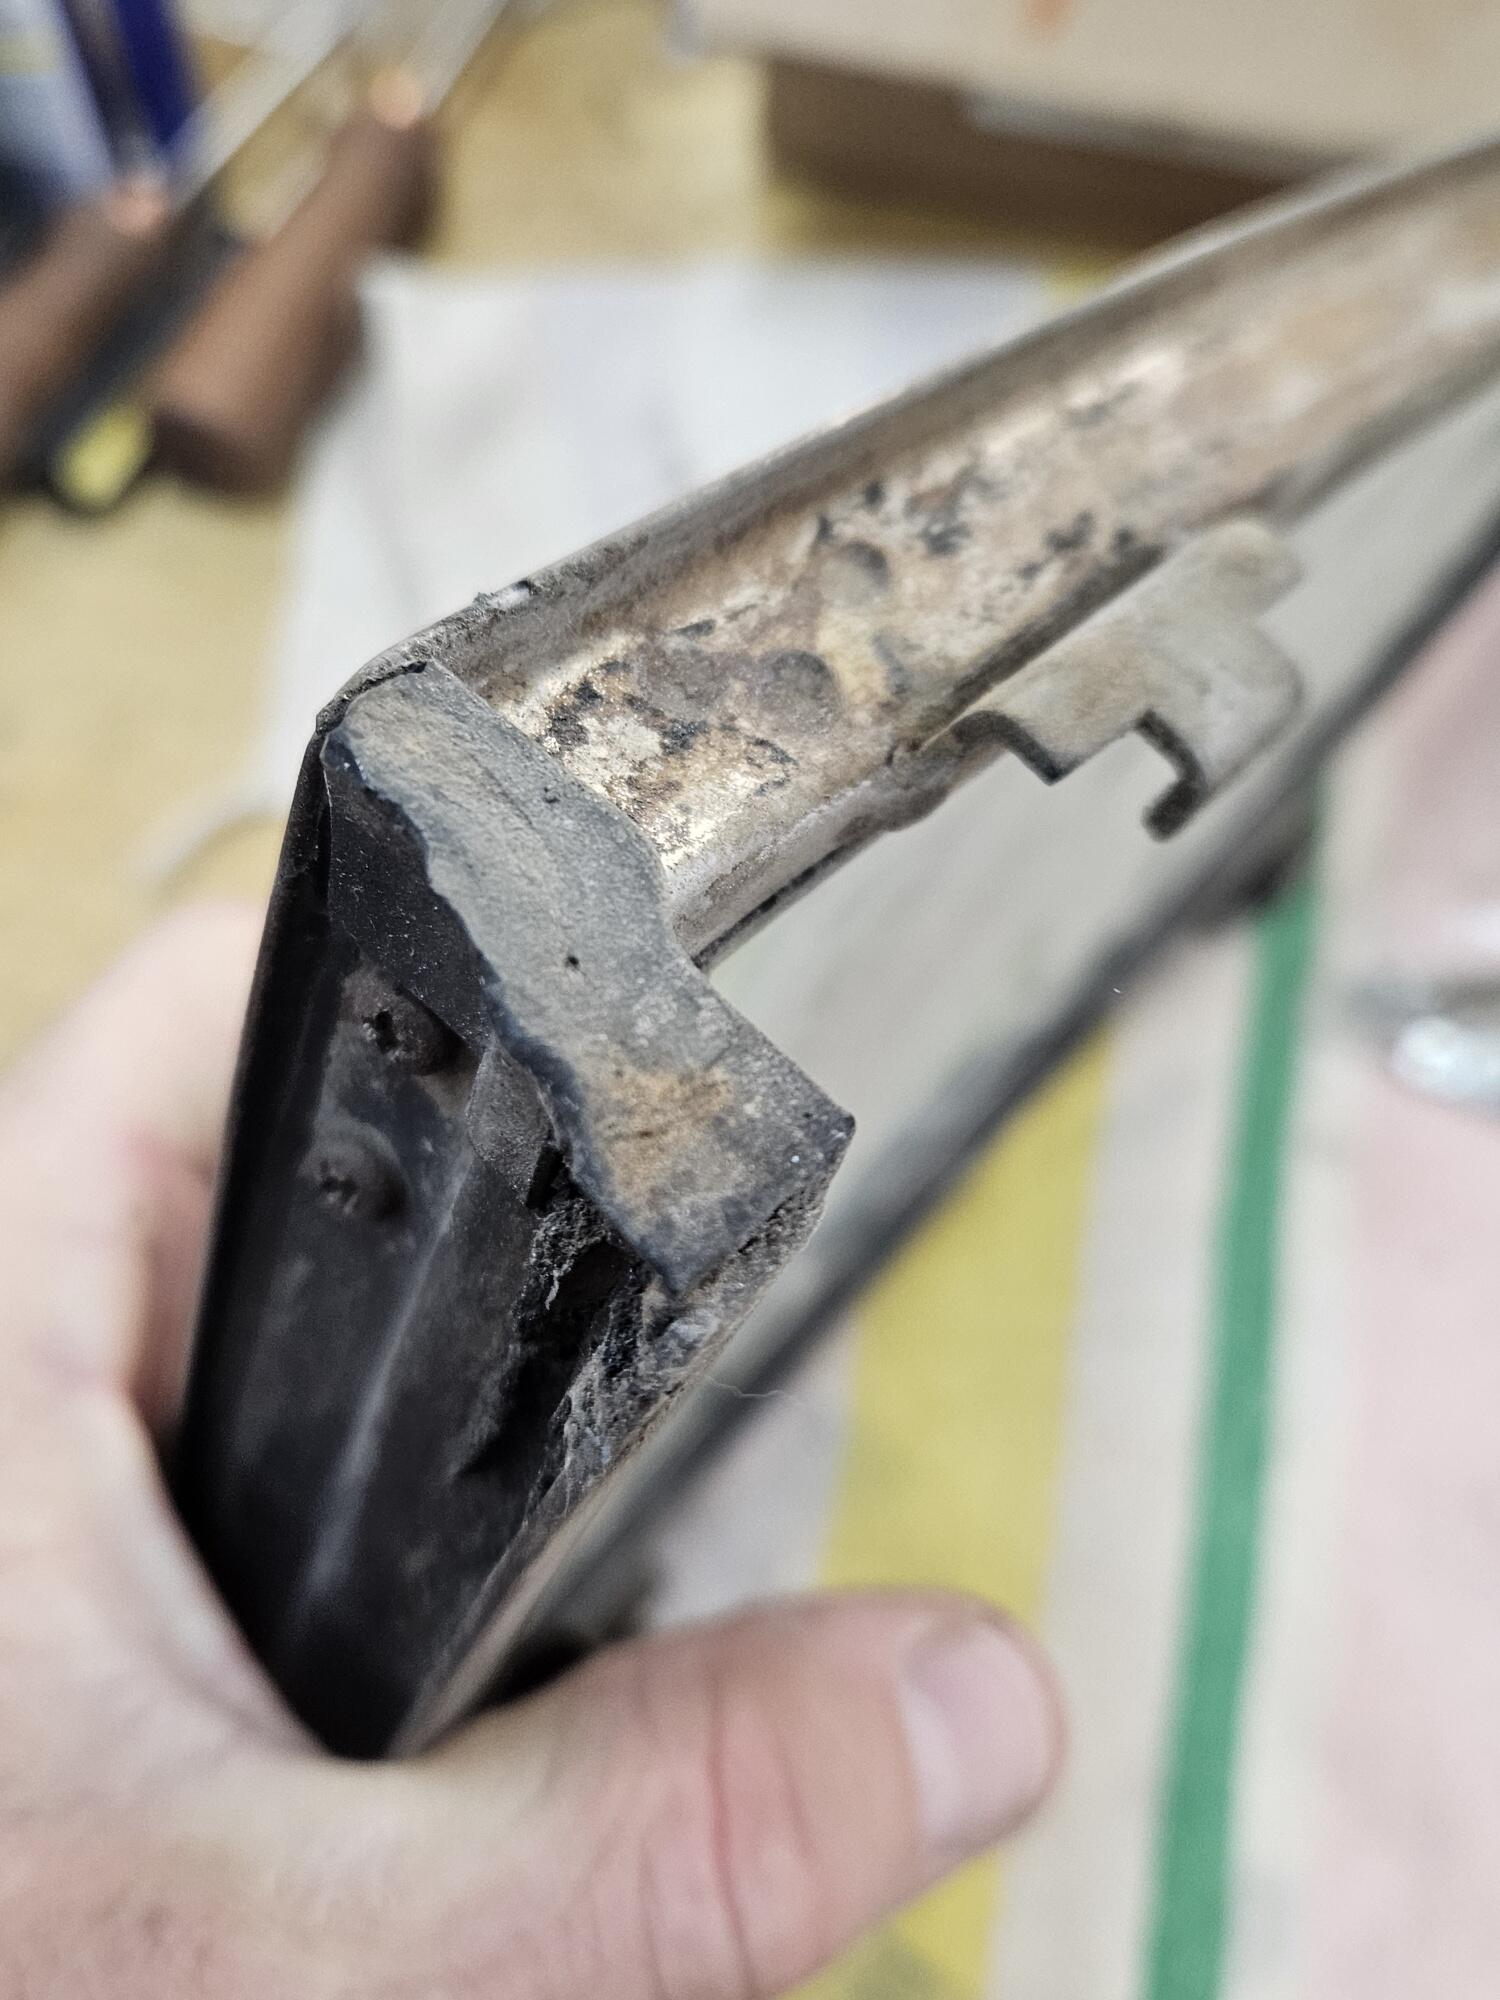
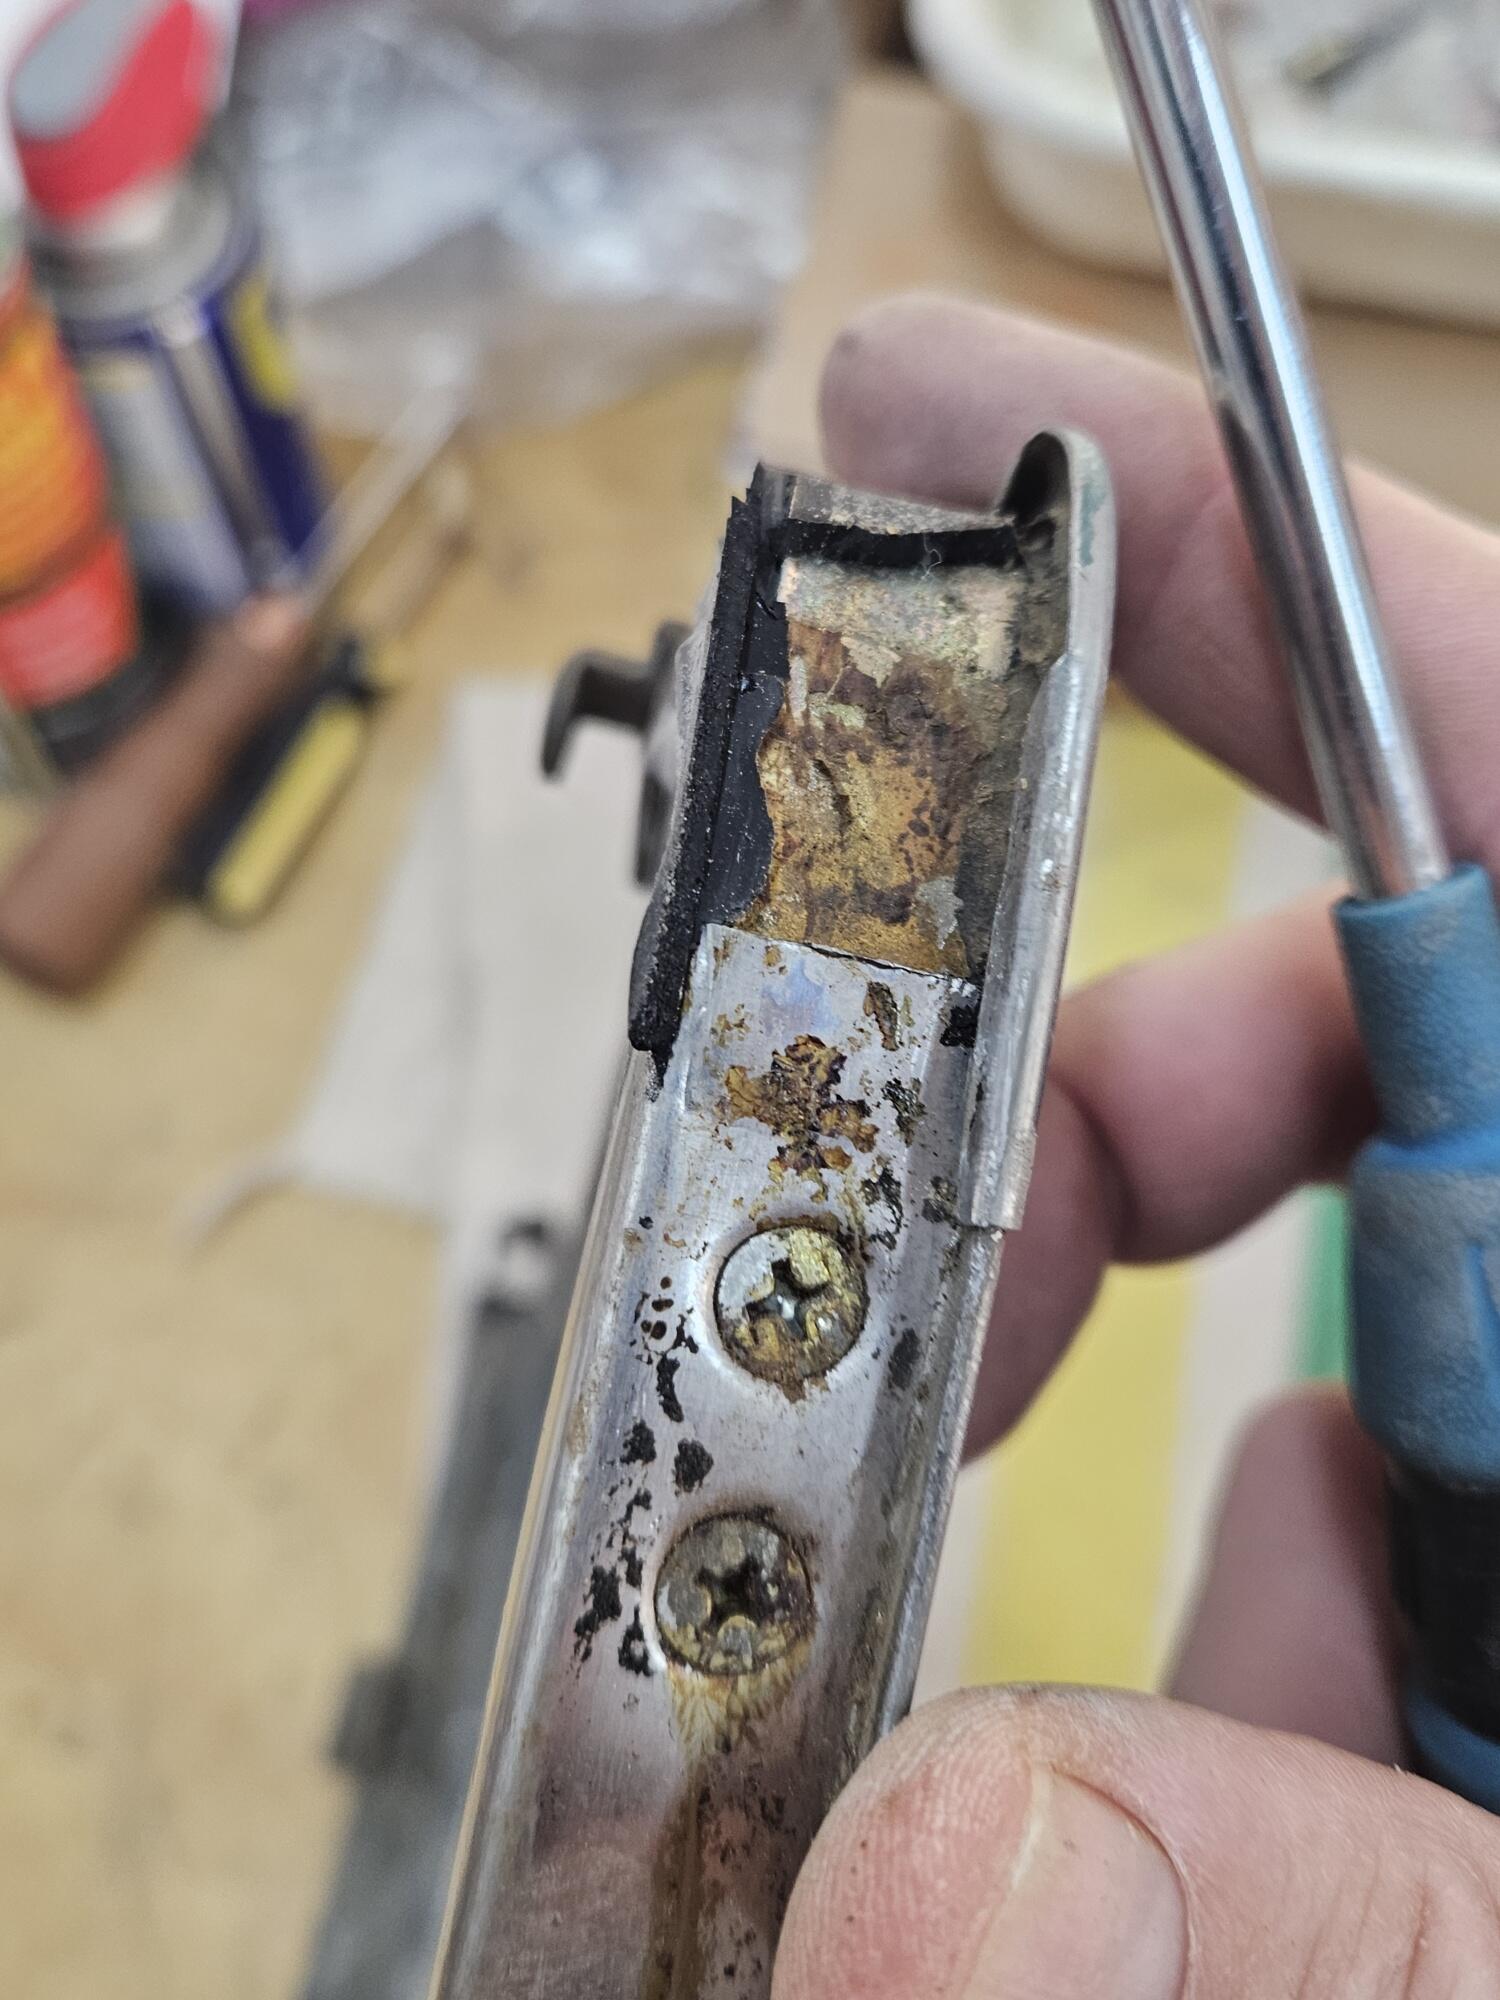
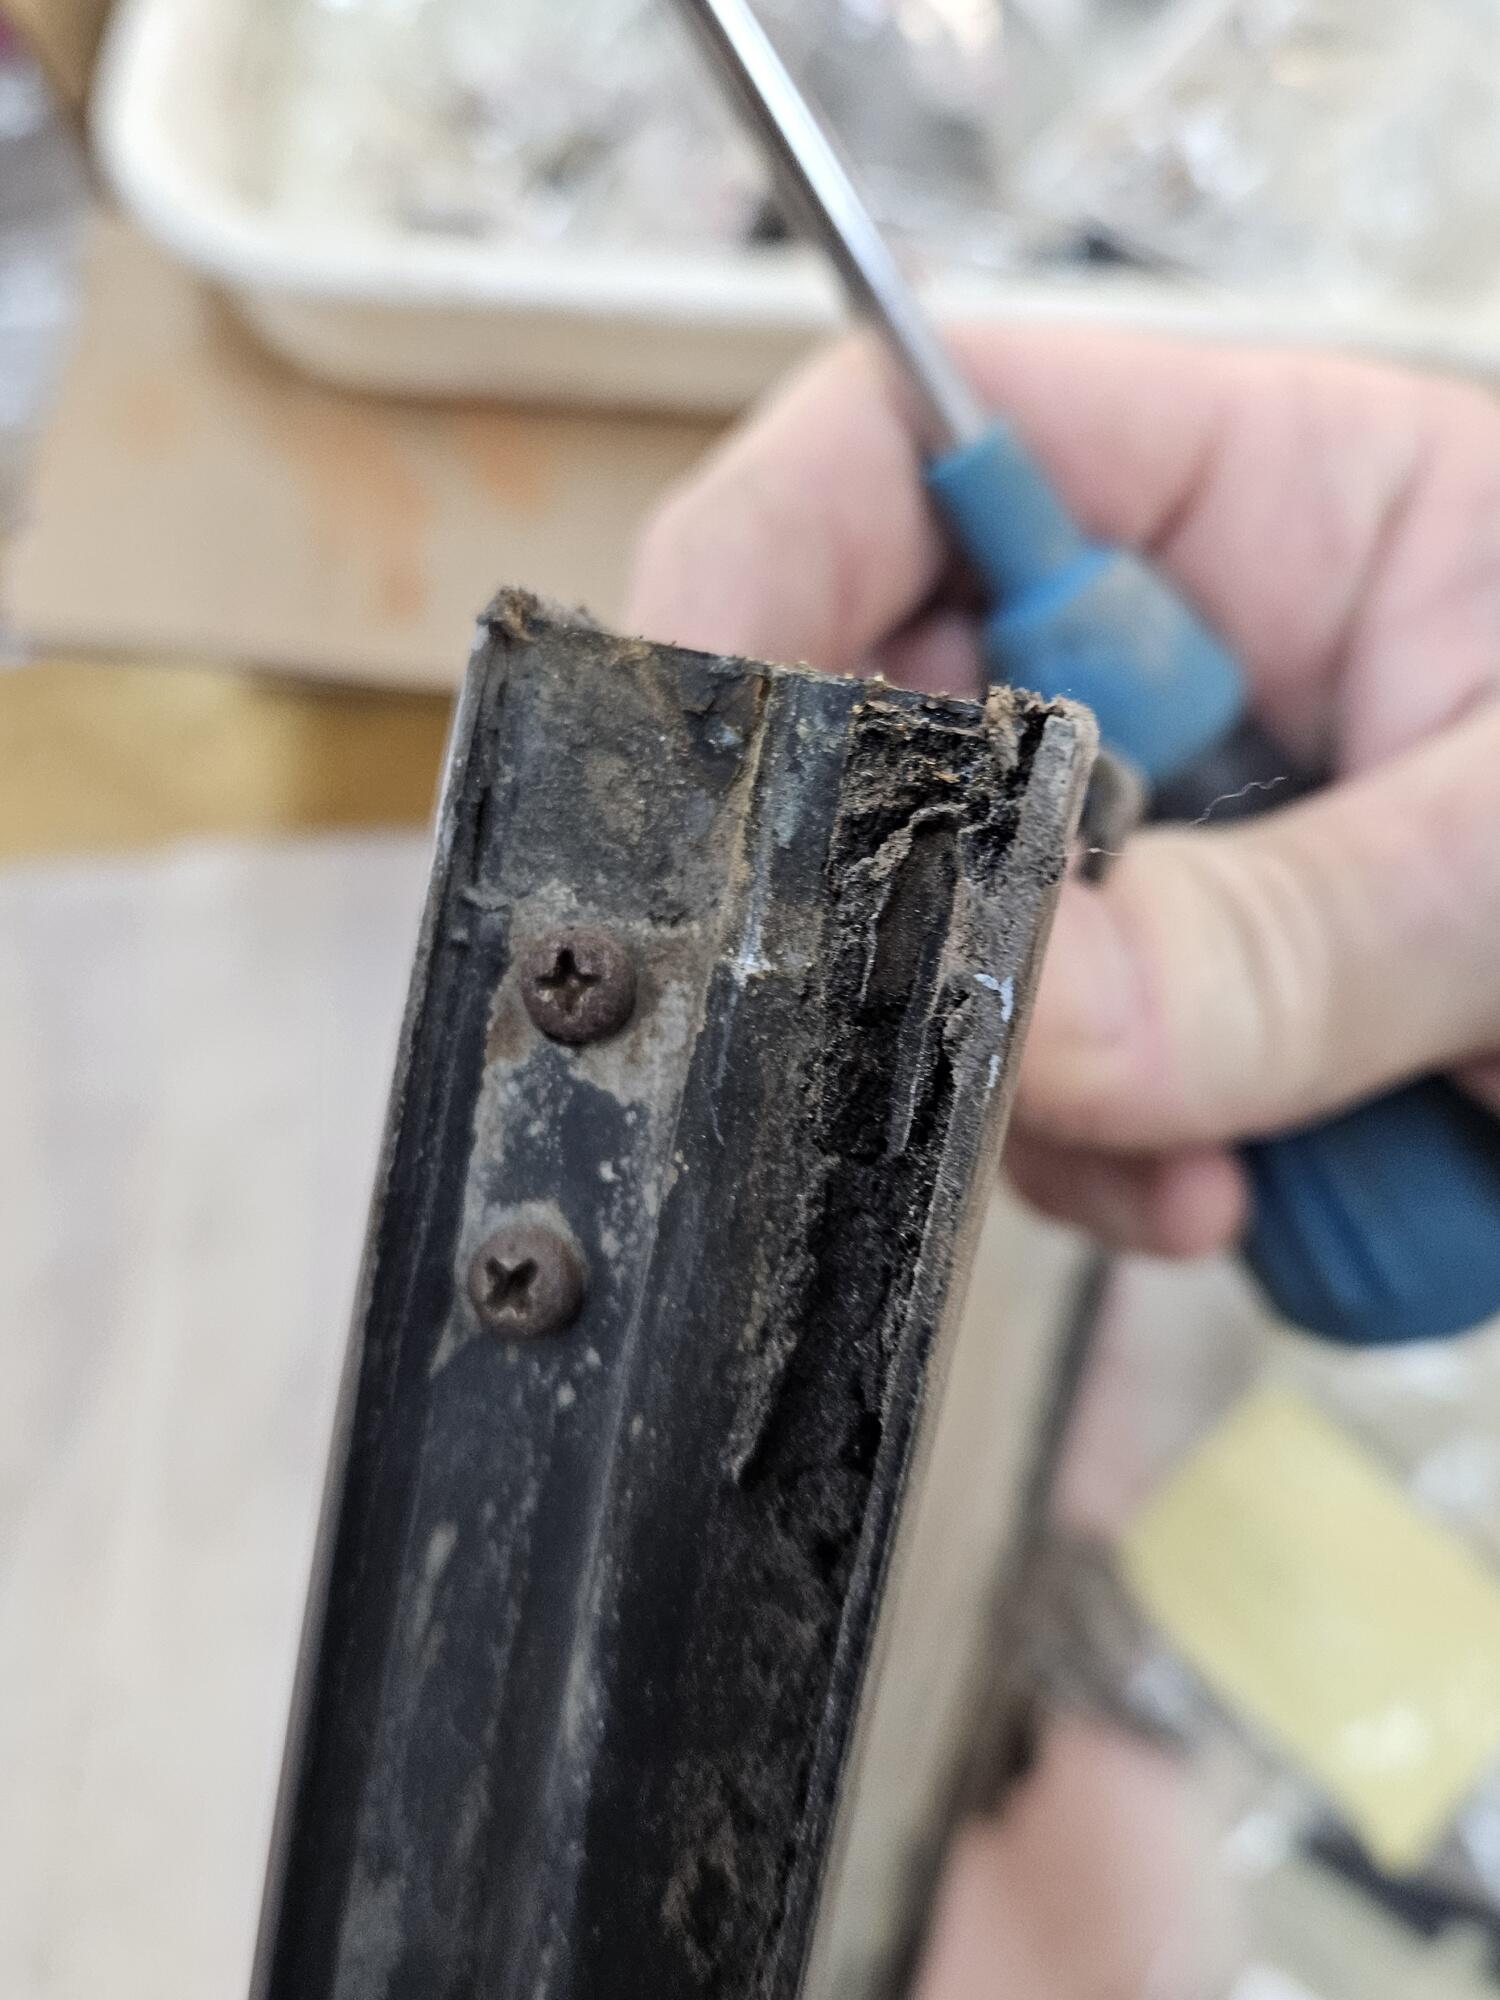
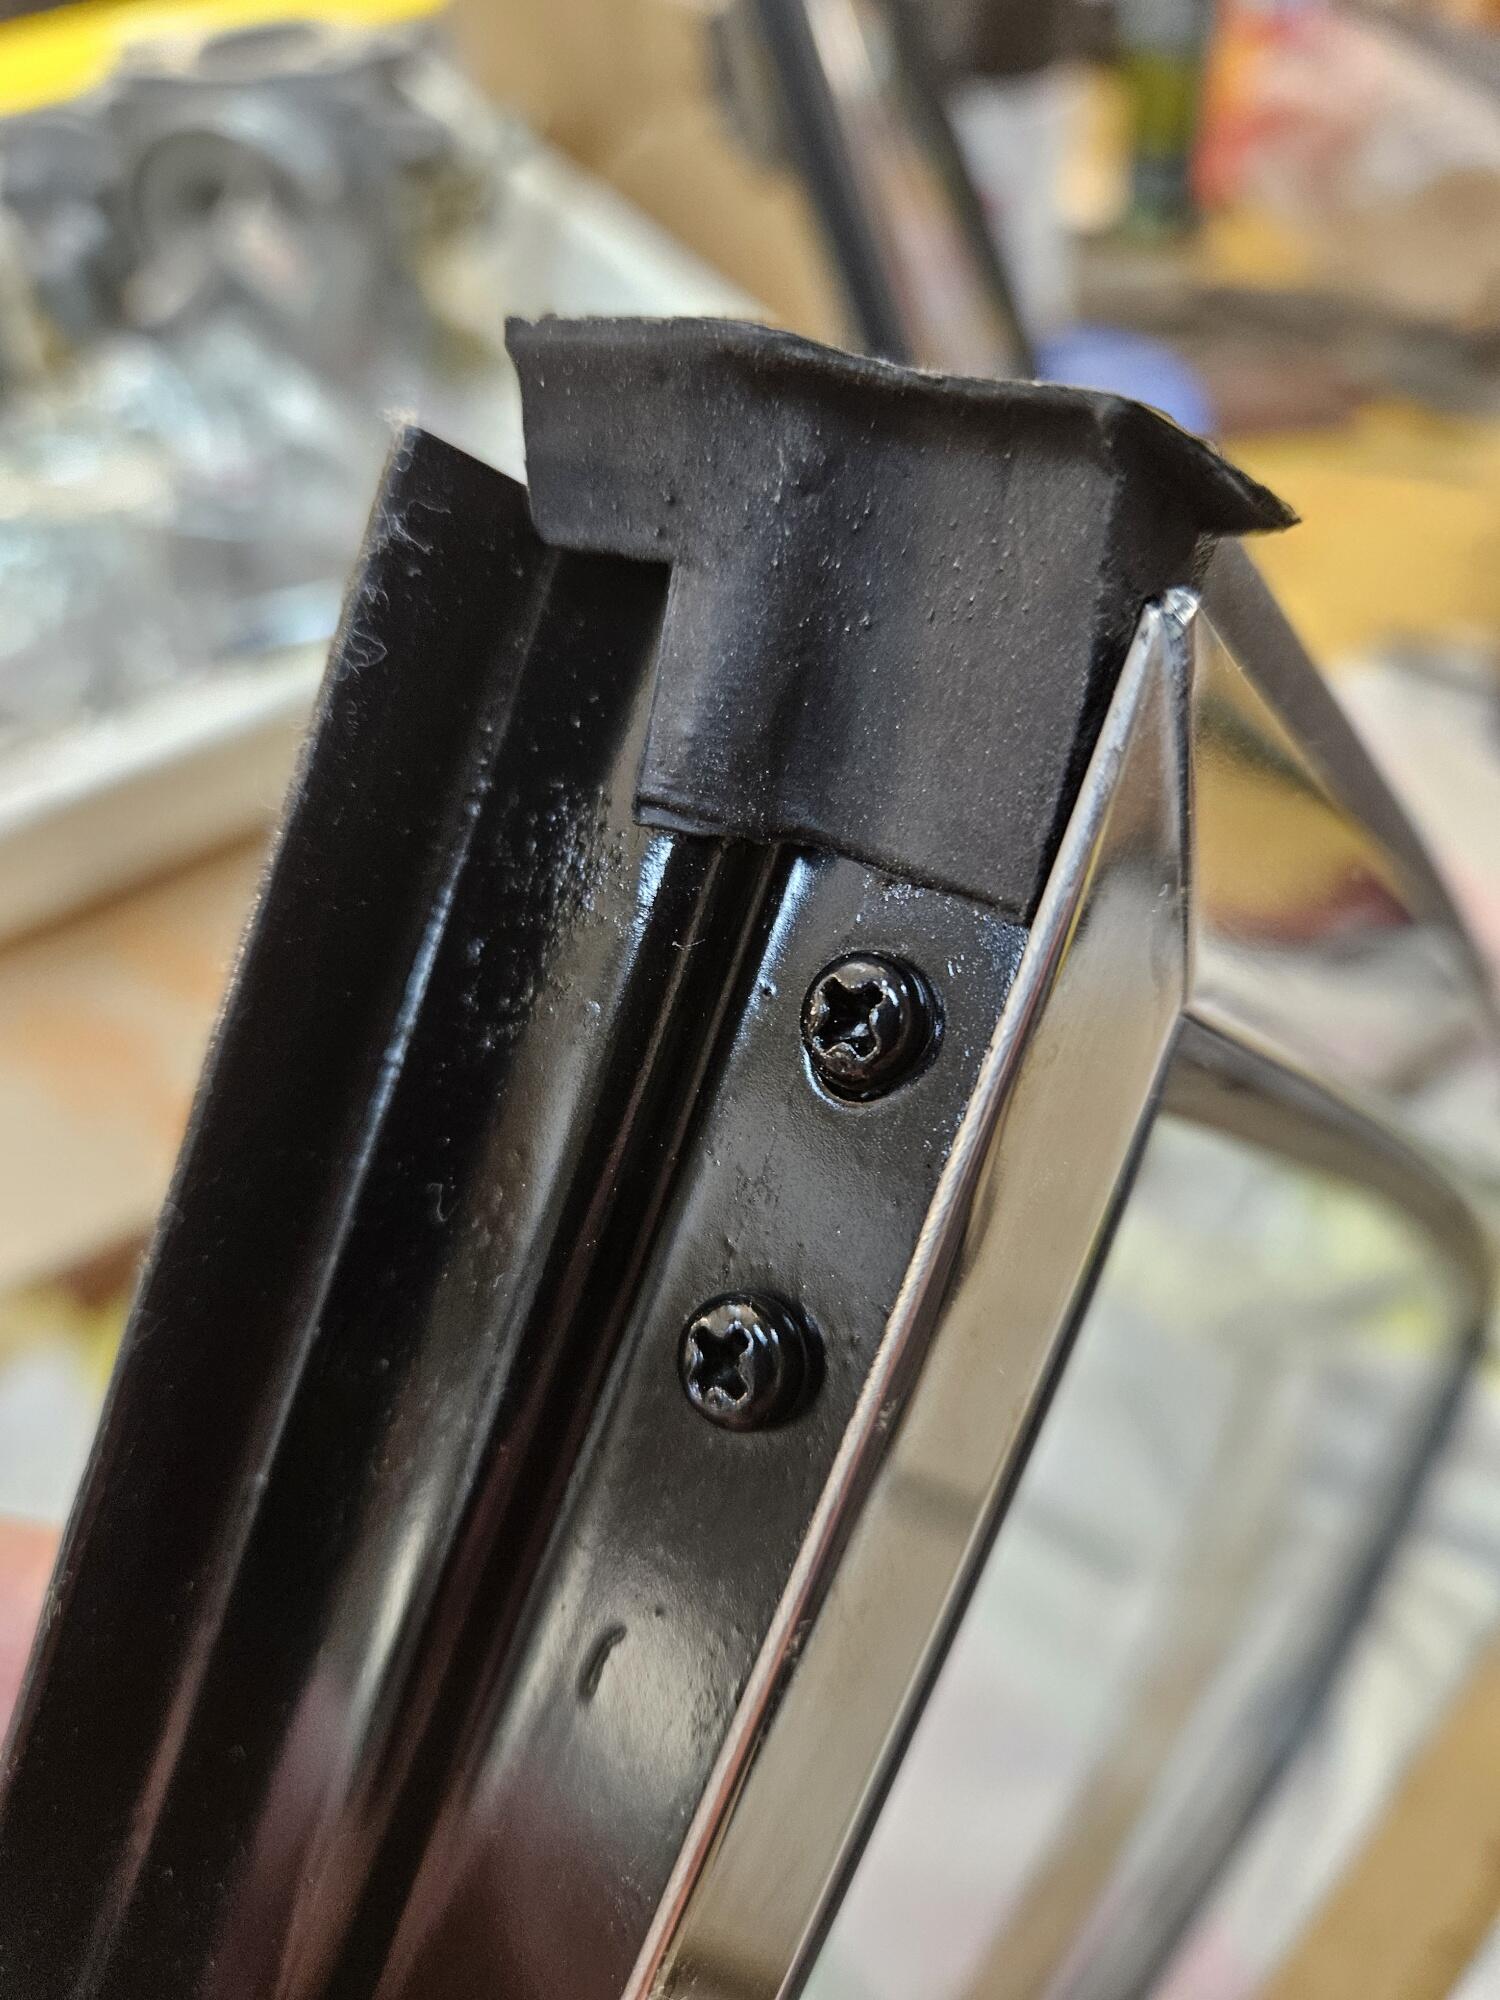
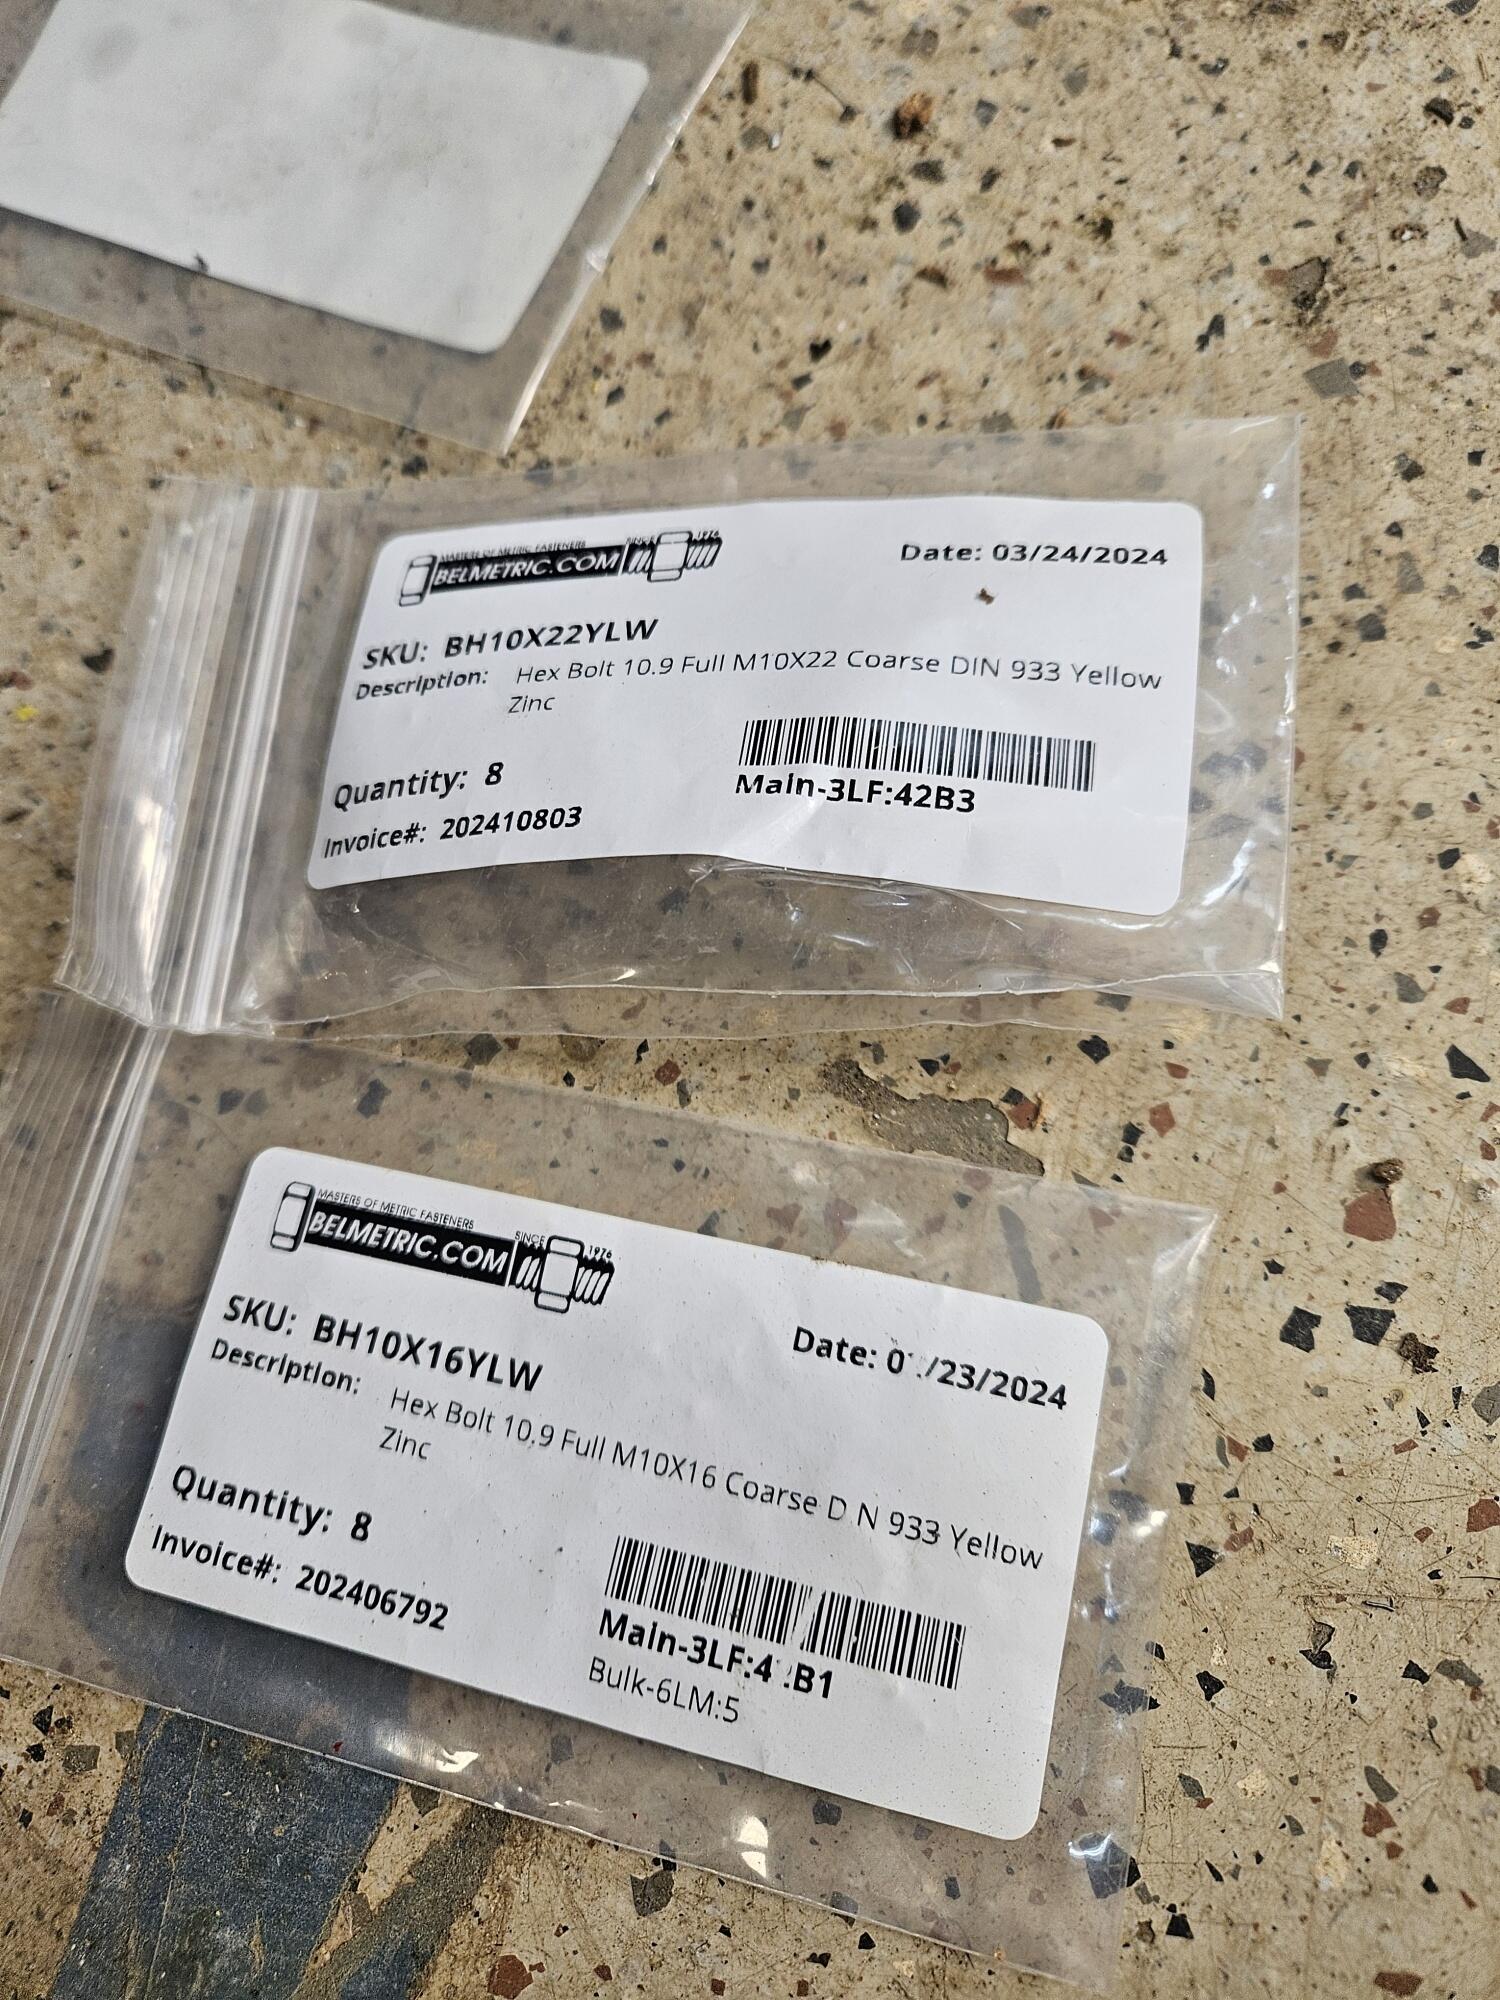
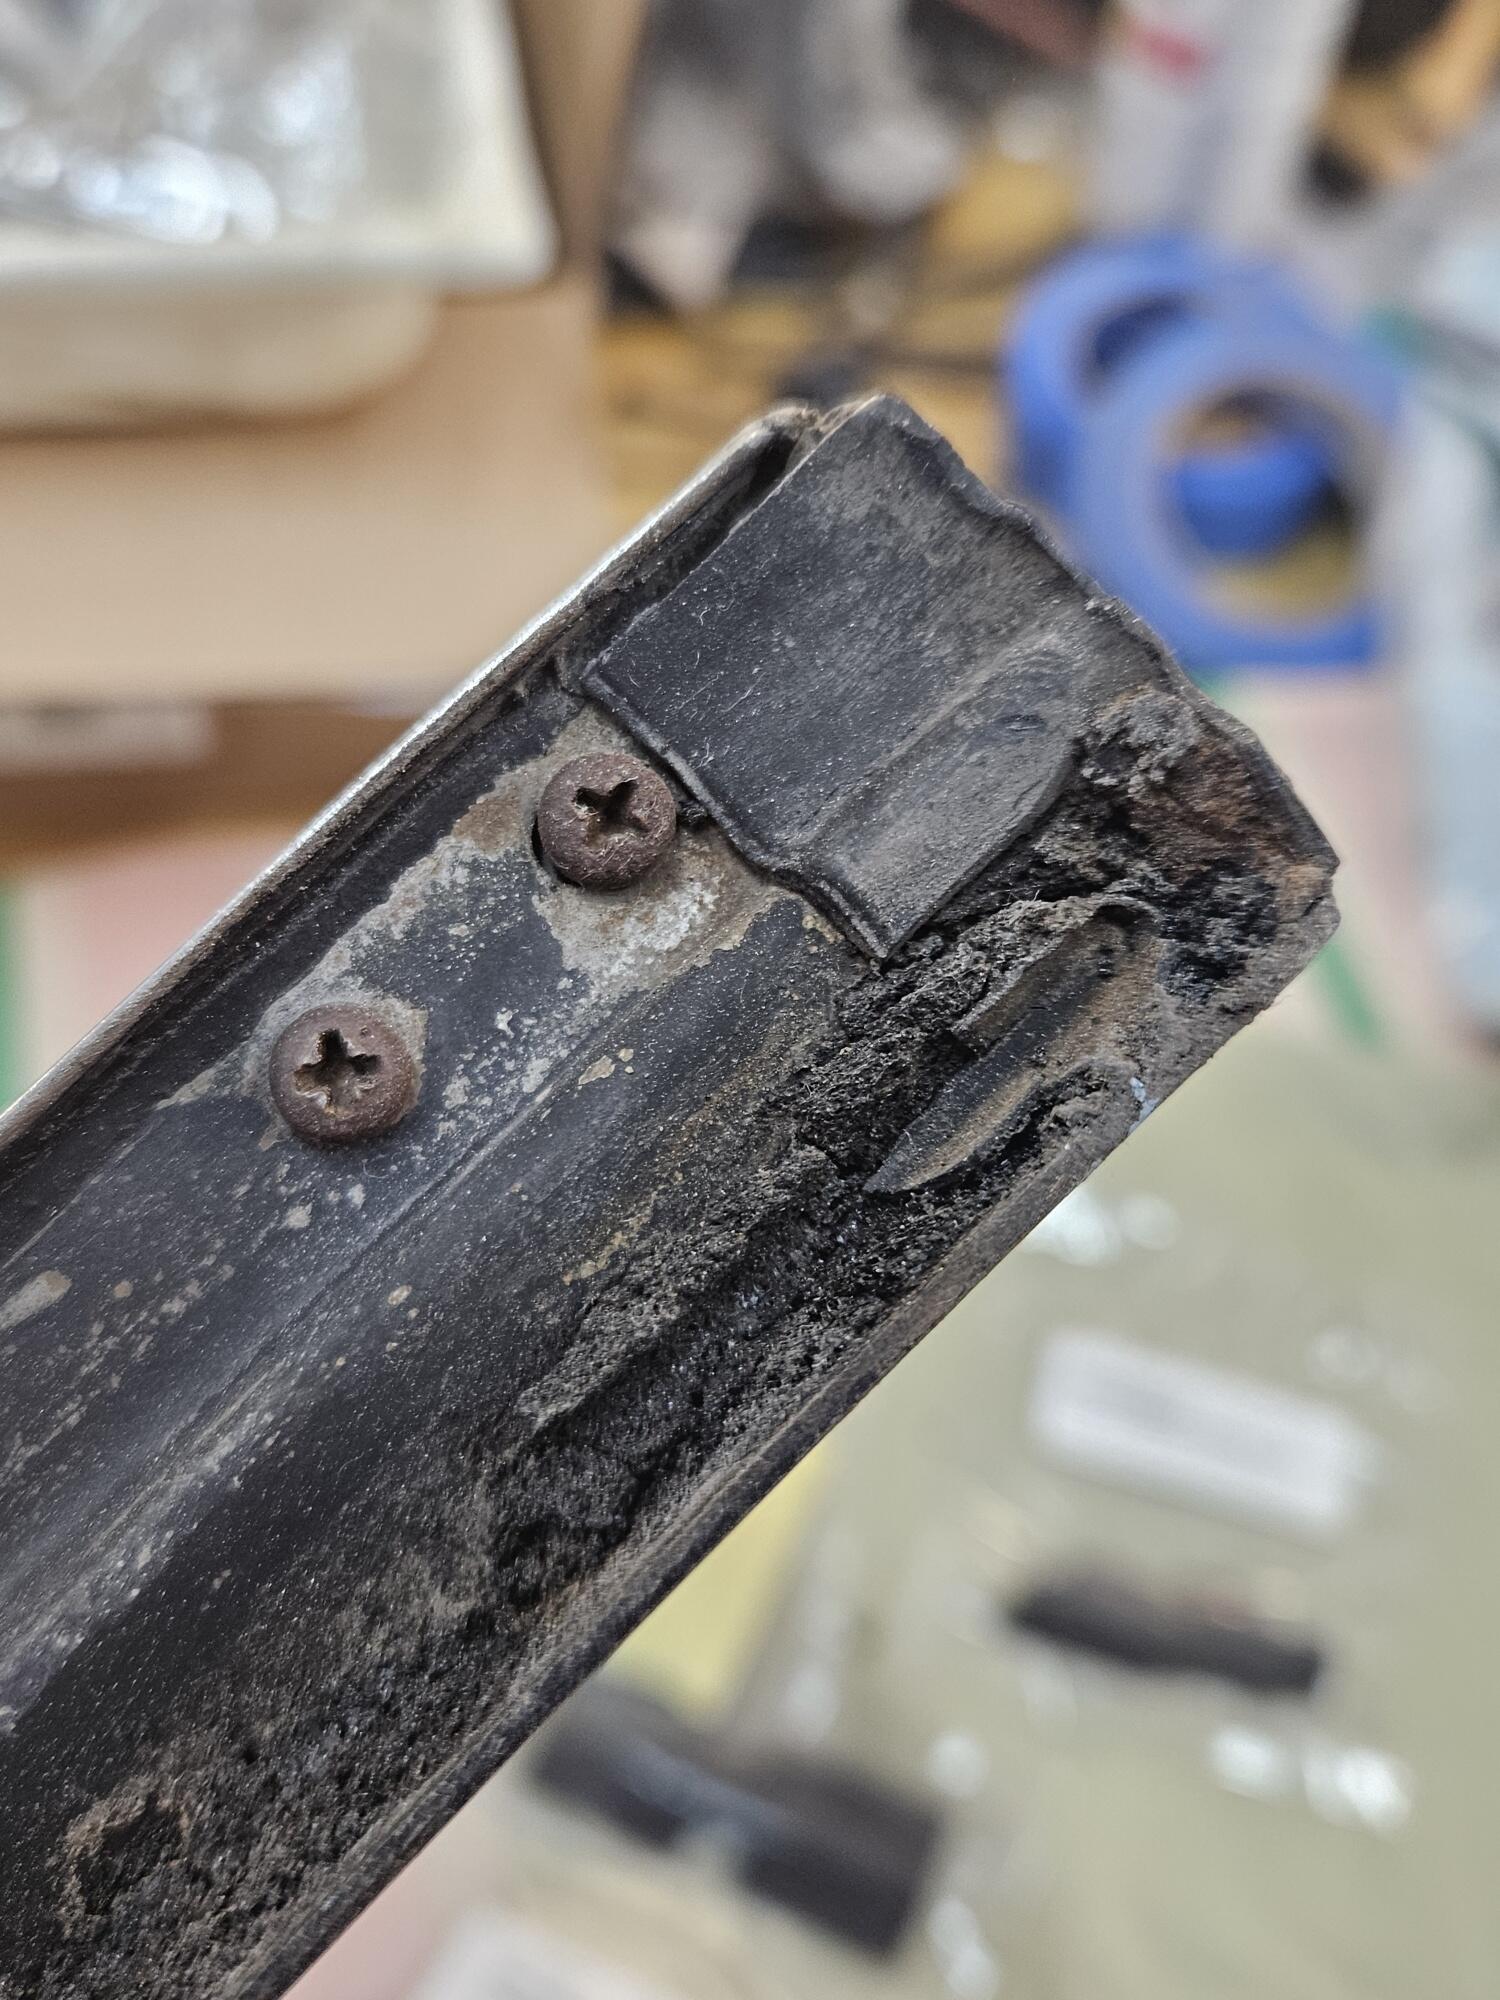
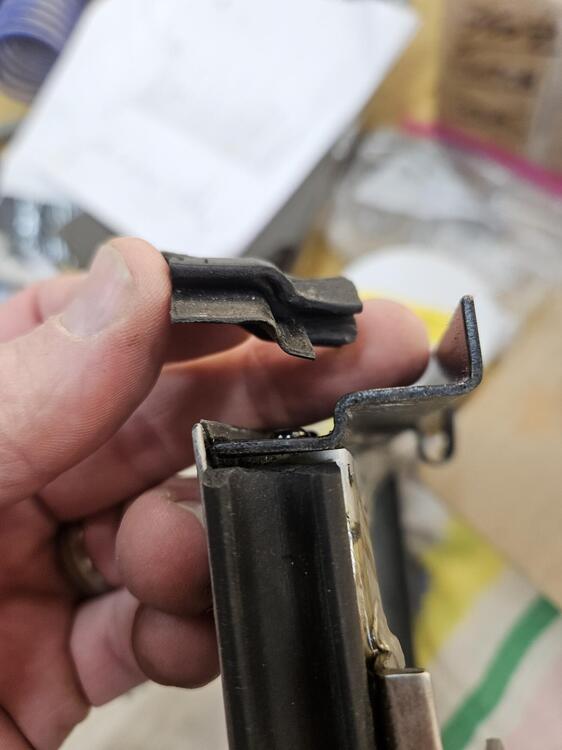
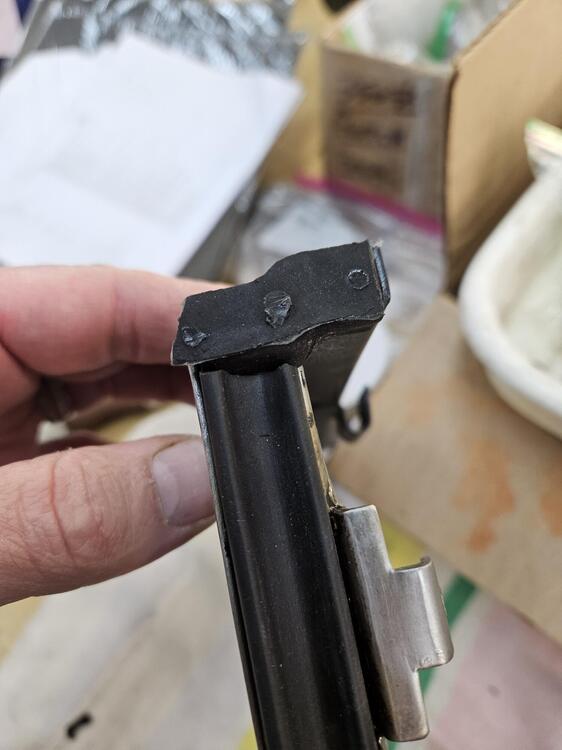
I worked on the second quarter window some today. This is the remnants of one of the corner seals. The old glass seal was crispy I also got the proper bolts into the axle adapters The stub axle side is 17mm 10.9's and the differential side are 22mm 10.9s. You can see in this picture the difference in length I have the quarter windows most of the way done today.


-
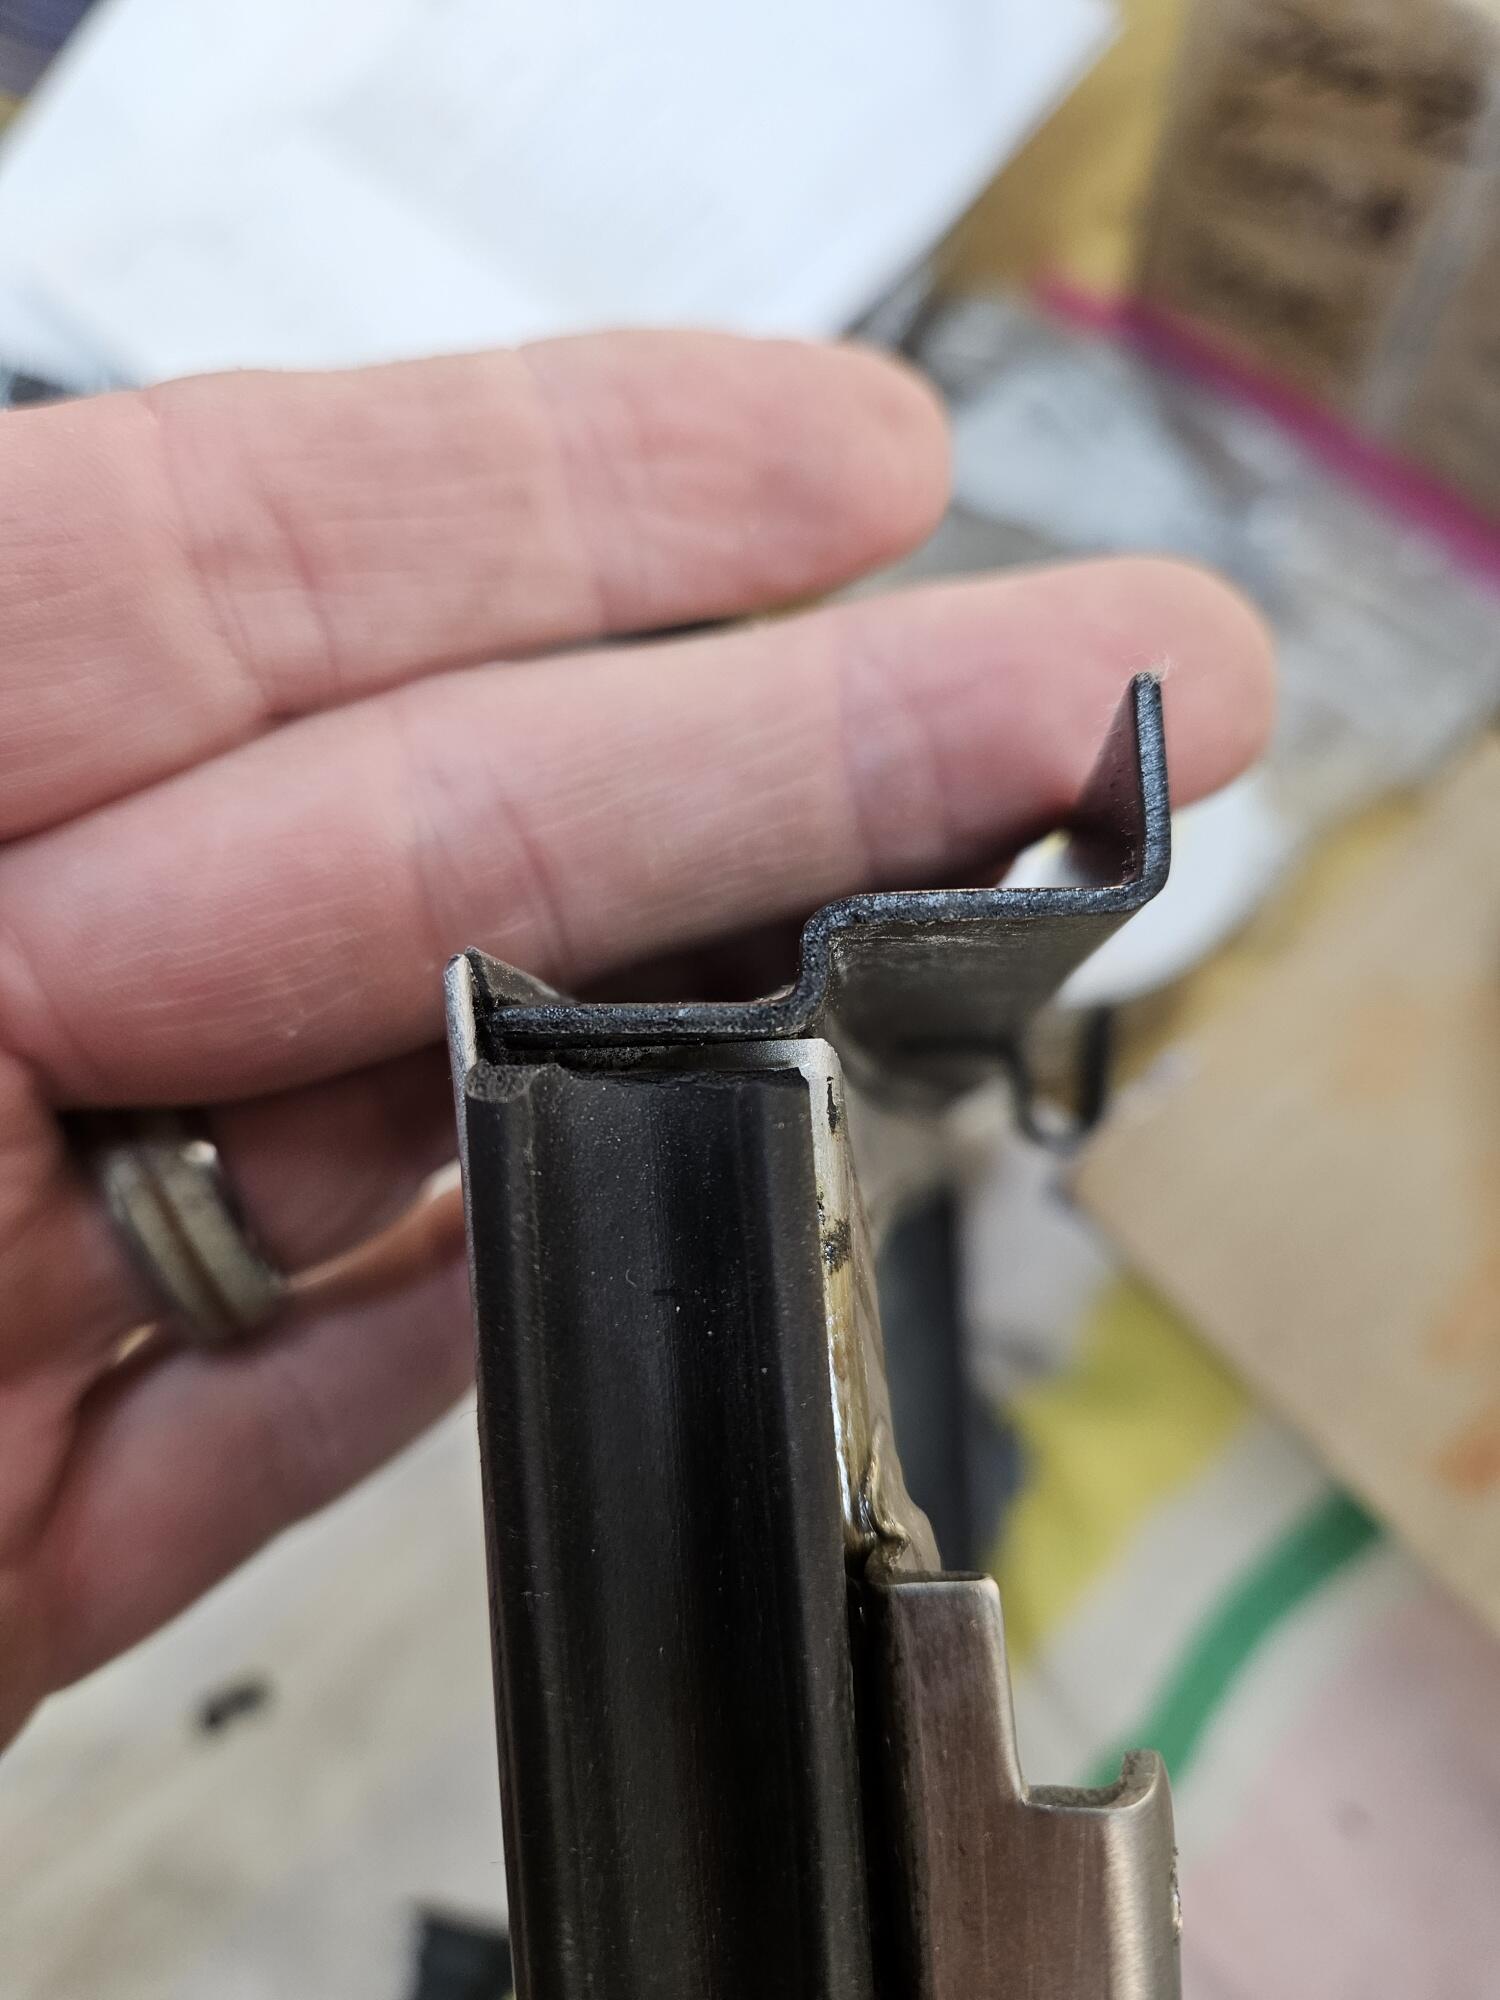
Yes! So I guess the second picture is probably the more correct where it laps up onto the window frame?
-
I have a question about the lower quarter windows seals. How do they go on? I can't find any images of them installed.